A Guide to Desert Bikepacking
Feeling the itch to head south? Make the most of the American Southwest desert season with our guide to fine tuning your bikepacking rig for a winter adventure. Glean techniques on repairing tubeless tires, helpful tips to get you started, a suggested packlist to get you going, and ideas on where to ride.
PUBLISHED Mar 14, 2016
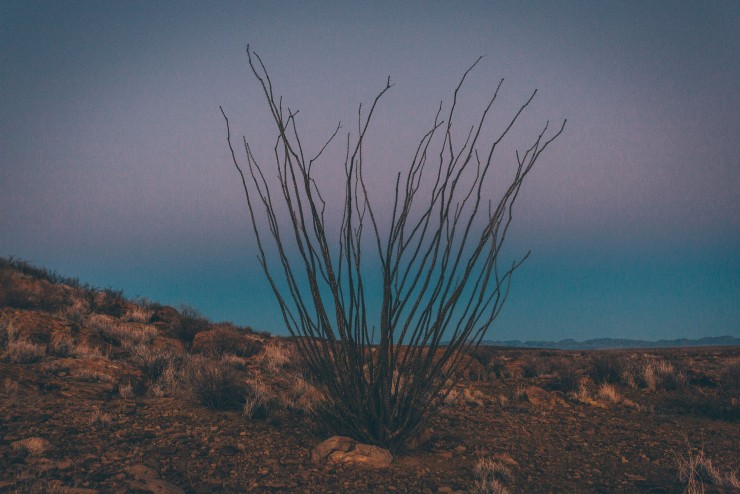
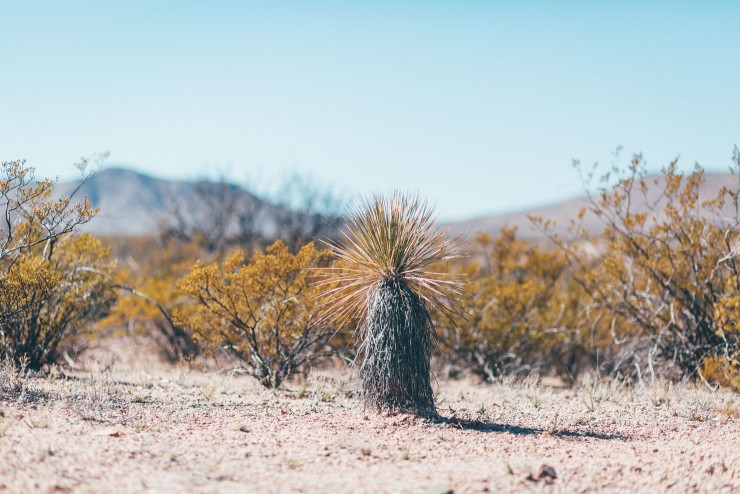
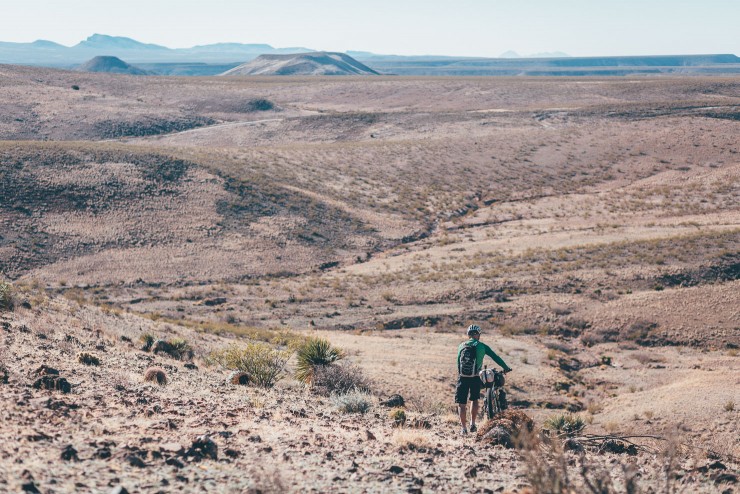
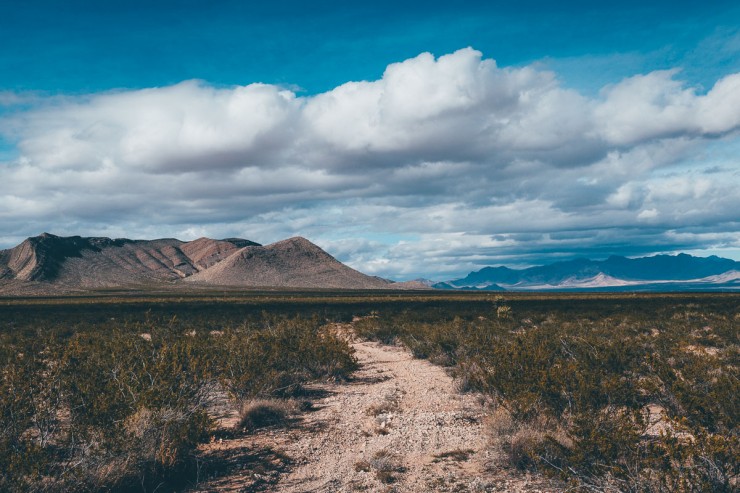
Aside from the relatively newfound joys of winter fat biking, the dark and frigid winter days can be a challenging time for bikepackers. But fear not… if you’re dreaming of sunshine and blue skies, a bout of desert bikepacking provides the perfect antidote to tide you through till spring. What’s more, there’s little to beat a desert adventure to lift the spirits. Far removed from sprawling cities and their pervasive light pollution, kipping out under a night sky crammed with stars is a grounding experience that’s hard to match. Likewise, exploring the bizarre and prickly world of desert cacti, grasses, shrubs, and wildflowers is a wonder in itself.
7 Desert Bikepacking Tips
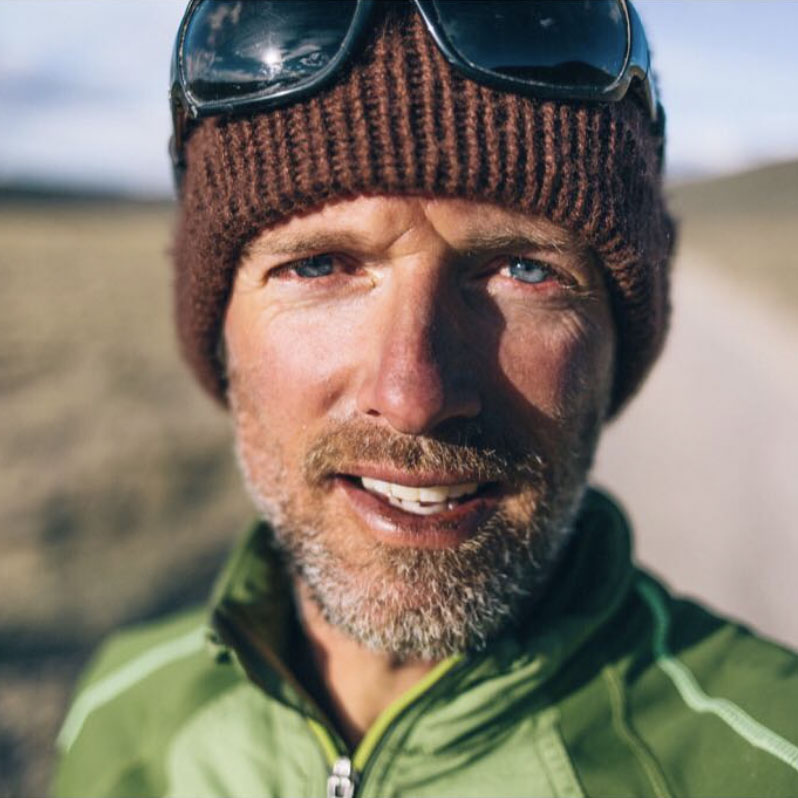
Like anything else, desert bikepacking has its own set of considerations and gear refinements. Given that locals inevitably have their own, well-honed take on the subject, we talked to Gary Blakley, an experienced Southwest bikepacker, about what he packs on a typical desert tour. Here’s the tips he had to share.
1. Don’t run out of H20!
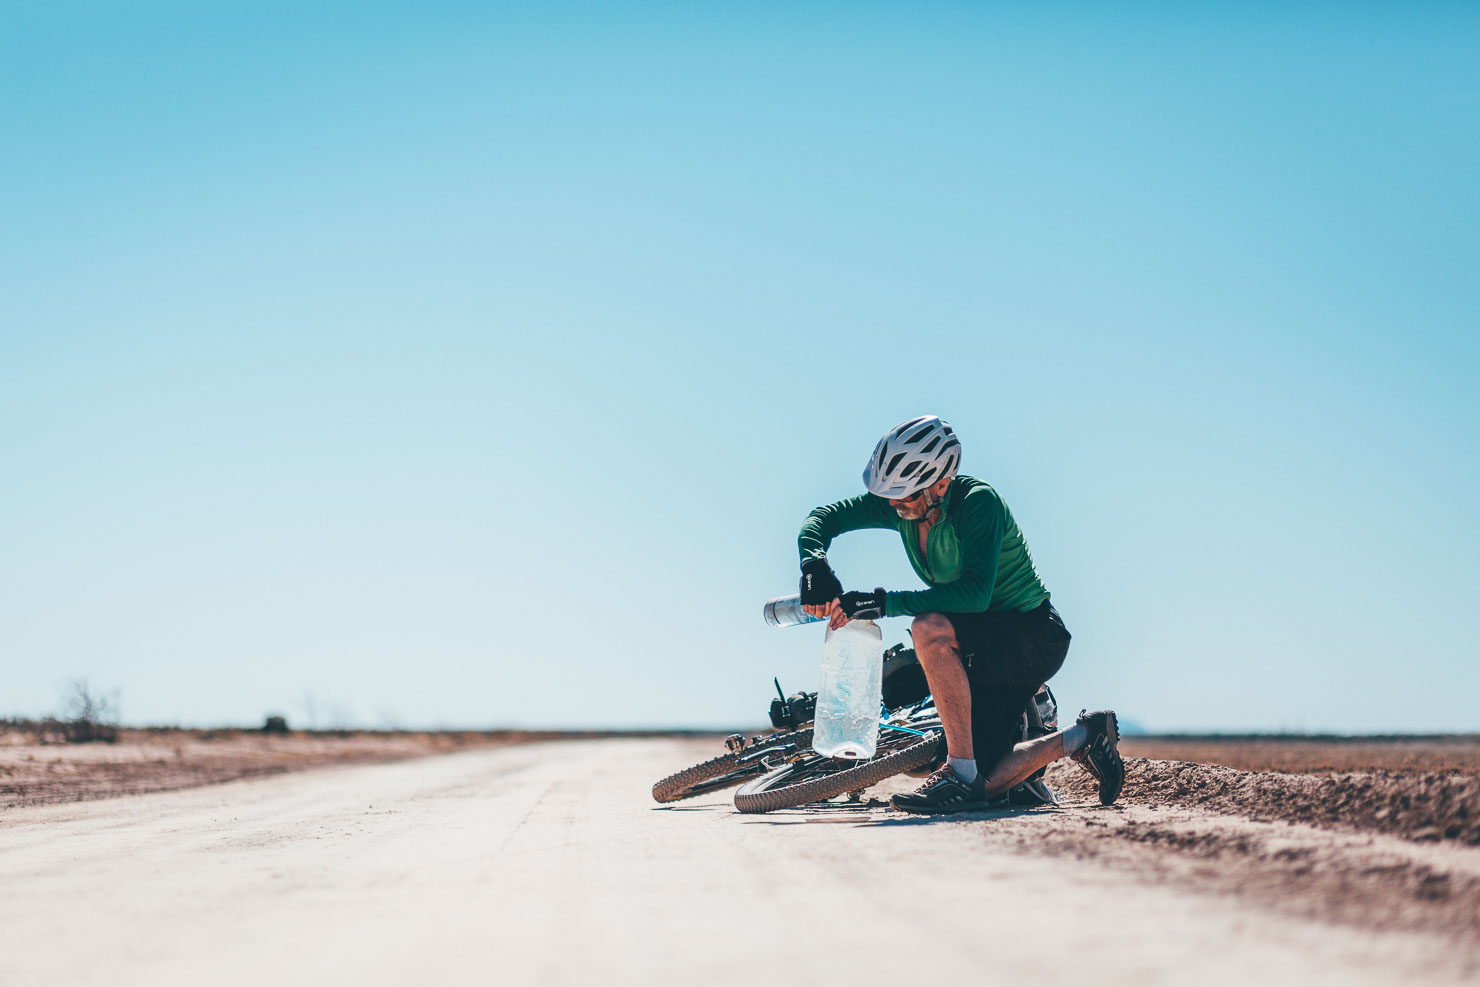
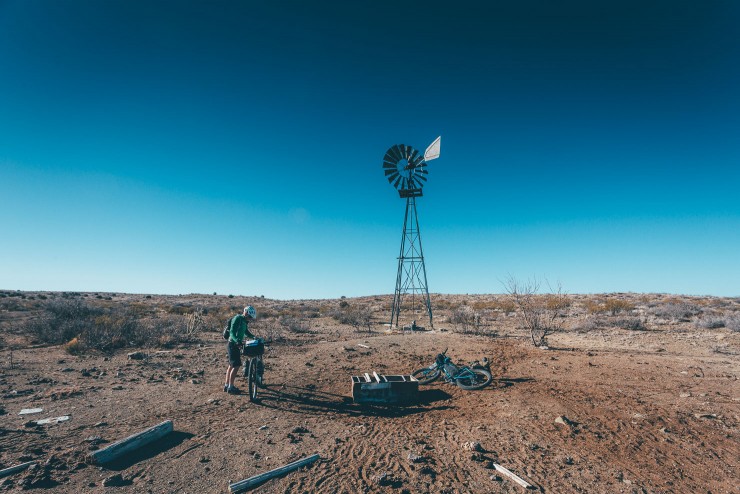
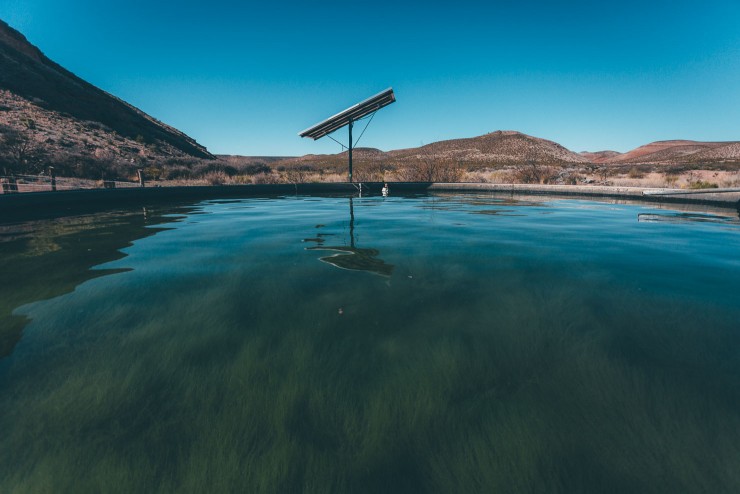
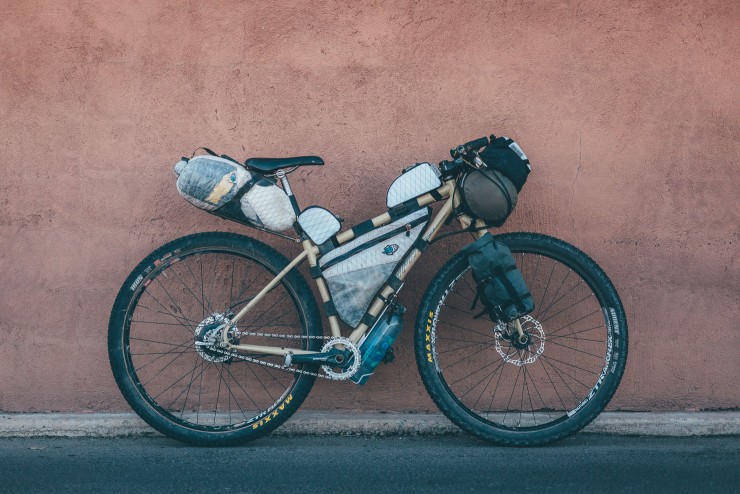
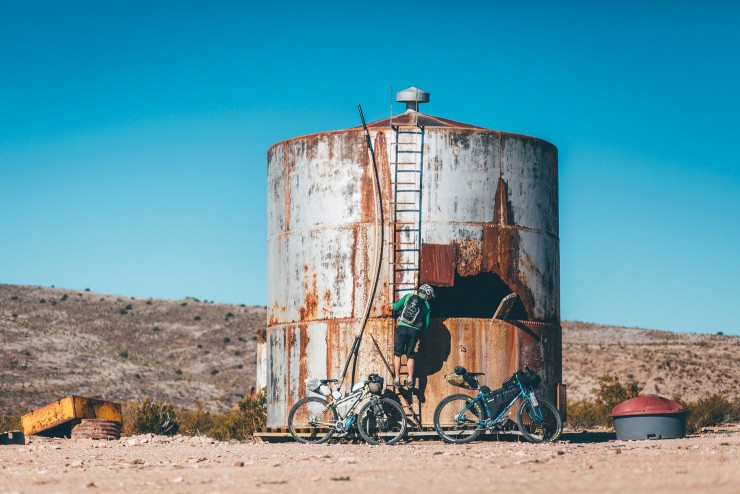
On a typical desert bikepack – particularly where water points are unknown – reckon on carrying a maximum of to 5-7 litres (170-240oz) of water at any one time. Gary stores up to 3 liters in his framebag, using a Platy Bottle, 1 1/2 under the downtube using an extended cage (see Bike setup below), and up 3 more in a backpack when necessary. Keep a beady eye out for windmills and solar powered wells. Unless pumped water is flowing strongly, filtering water is generally recommended; use a bandana to strain it first to remove particulates, if needed. Gary normally packs Aquamira drops, or a Sawyer Mini Filter. The USB-powered STERIPen Freecom, which can be charged via a dynamo hub or solar panels, is also a good option.
2. Bring electrolytes too
Drinking water isn’t always enough on its own. Electrolytes help your body absorb H2O more efficiently, replacing valuable salts and minerals that are lost through sweat and exertion. They’ll also a great way to replenish your energy levels at the end of the day, setting you up for the next round of riding. Nuun tablets are a favourite, while Gary opts for Hammer Endurolytes.
3. Ditch the Tubes
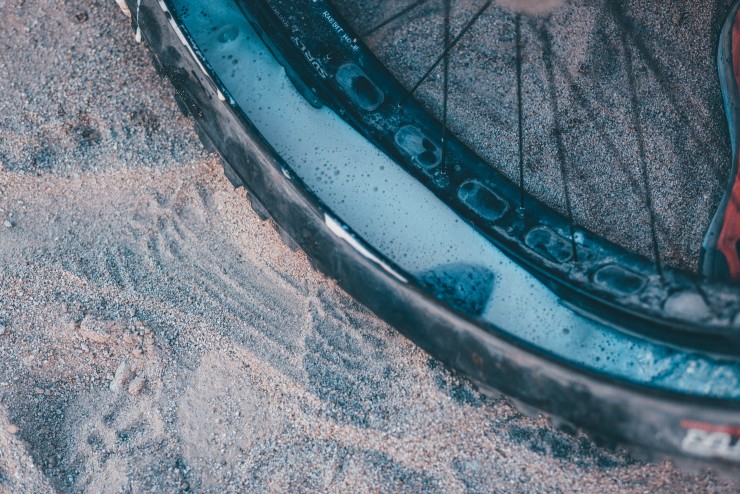
Go tubeless! The American Southwest is mined with cacti and goatheads; tubeless is really the only way to go to enjoy puncture-free outings. Be generous with the amount of sealant you load into your tires. Add an extra ounce or two for each relevant tire size and carry 2-4oz spare too. Here at Bikepacking.com, we’ve had lots of success with both Stans and Orange Seal; the later seems to ball up a bit less in dry climates. In the unlikely event that your sealant won’t plug a hole, make sure you check your tire thoroughly first before you fit a tube. If you do insist on running tubes, choose the kind that feature a removable core and gorge them with with sealant. Take extra care not to stray off trail, as that’s where the majority of goatheads lurk. Lastly, choose a tire with a robust sidewall, as volcanic rock and lava flows can be razor sharp. As a general rule of thumb, the heavier the tire, the stouter the sidewall.
4. Know how to repair a sidewall
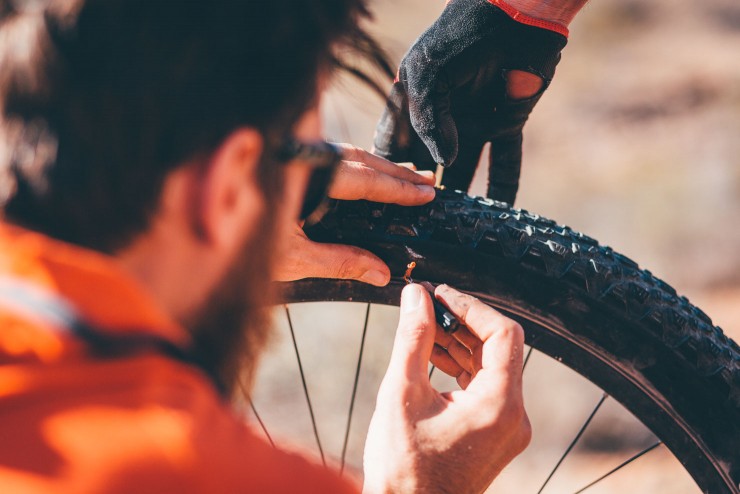
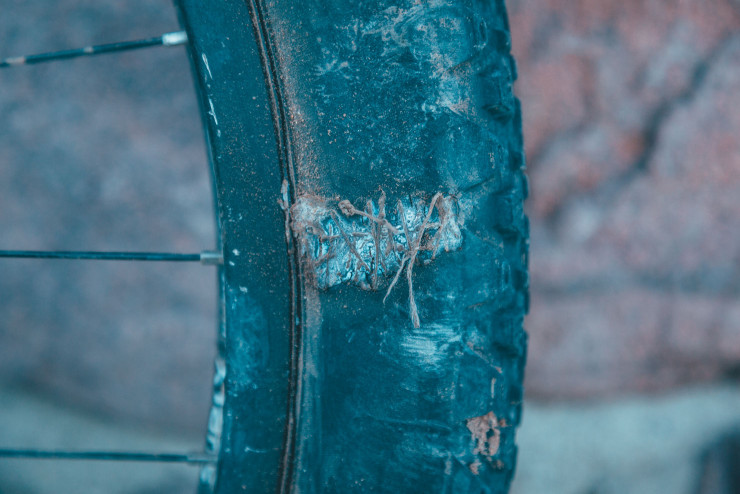
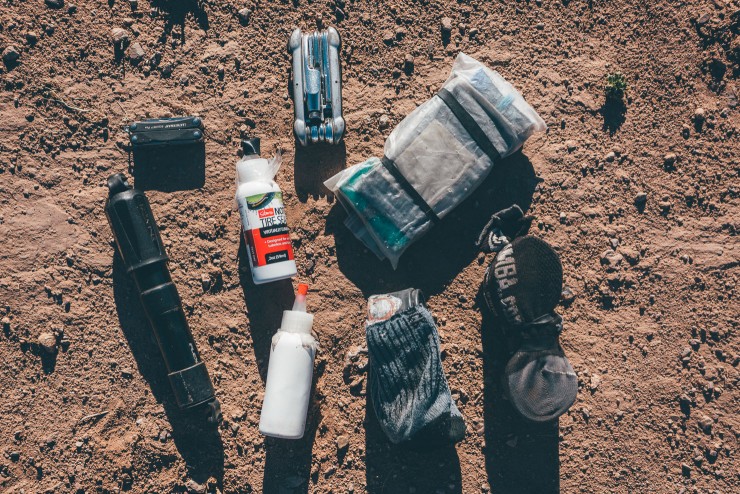
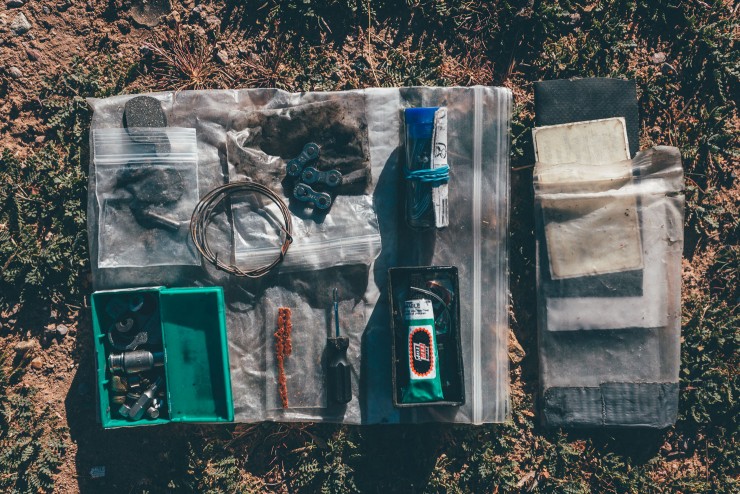
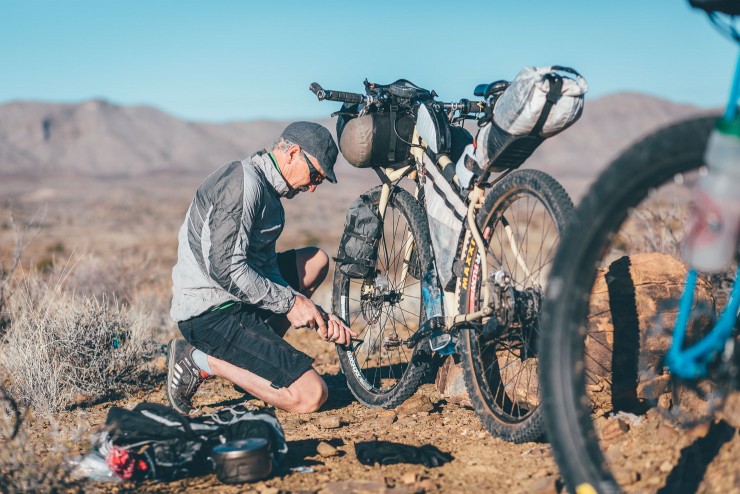
Given that desert terrain can be a jumble of razor sharp rocks – and tubeless tires are more prone to sidewall failures than regular ones – knowing what to do in an emergency is extremely useful. Tire plugs will repair most cuts – use them with the tool provided to blot a tire wound. To fix larger cuts without unseating the tire, use a heavy, curved needle (size 6 or 7) and a length of dental floss or better still, kite string. Superglue dabbed over your needlework is recommended too.
For longer, 2-3” gashes where the tire bead needs to be broken, clean the area thoroughly and add a section of sidewall cut out from an old tire or motorbike patch, using Shoe Goo (REI has small containers) to glue in the boot after sewing the cut (if you’re running tubes, Park Tool’s TB2 glueless tire boots work well). Ideally, let the glue dry overnight with an inflated tube in place to hold pressure on it. When carrying out this repair, try not to break both sides of your tire bead – this will make it far easier to reinflate tubeless using a trail pump. If your in-the-field fix won’t hold, make sure you remove all the thorns from the casing before you fit an inner tube.
5. Leave the stove at home
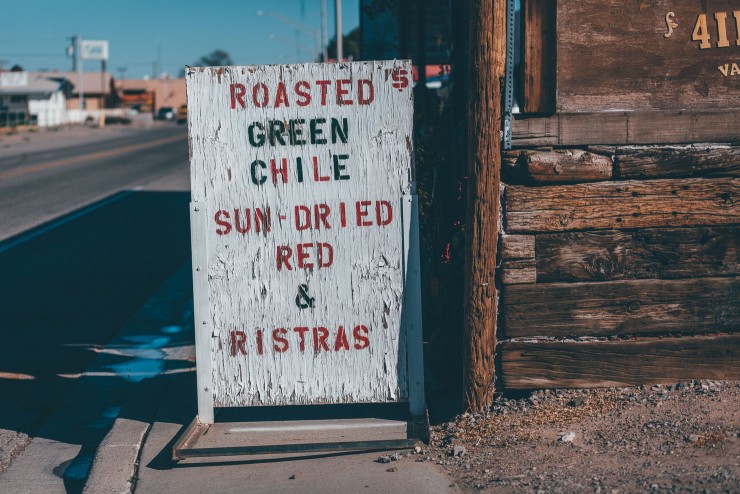
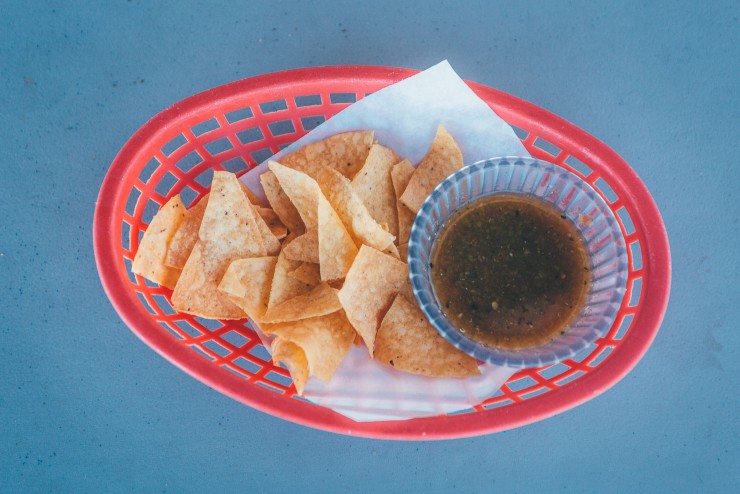
If you know you’re sure you’ll have regular resupply points en route, save weight by indulging in local cuisine. The Southwest abounds with great Mexican restaurants; a take out burrito makes the perfect, transportable, bikepacking dinner. Coffee drinkers may well find Instant Starbucks Via, mixed with whole dried milk and cold water in a bike bottle, surprisingly agreeable. As for breakfast, instant oatmeal will rehydrate fine in cold water.
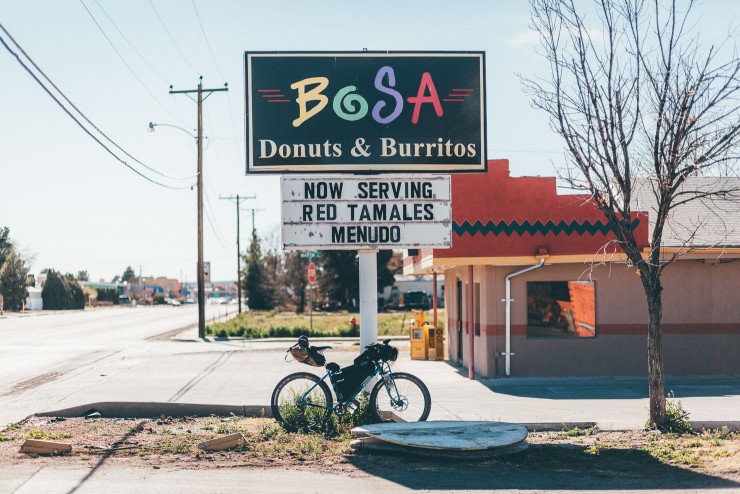
6. Leave the tent at home
Always check the weather before you go. For the most part, a simple, lightweight and minimal tarp will suffice – to cut blustery evening winds, more than anything. Note that spring can bring strong wind conditions. Otherwise, sleeping out under the stars is one of the great treats of desert bikepacking. Generally speaking, critters hibernate during the winter, so there’s not too much to fear… Arroyos offer soft, thorn and wind free cubby holes in which to roll out your mat. But choose elevated ones and avoid at all costs if the weather is mixed – especially if there’s any risk of a flash flood. Although critters are rarely an issue over winter, sleep away from vegetation where possible.
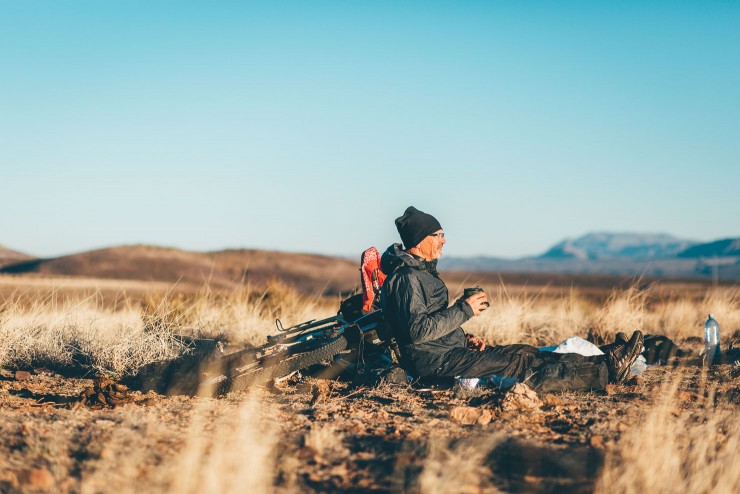
7. Protect yourself from the sun
Long sleeve, synthetic tops often work best for riding in. Don’t forget your sunglasses, and be sure not to skimp on sun cream. Dermatone offer a good range of compact, lips and face protection.
The bike
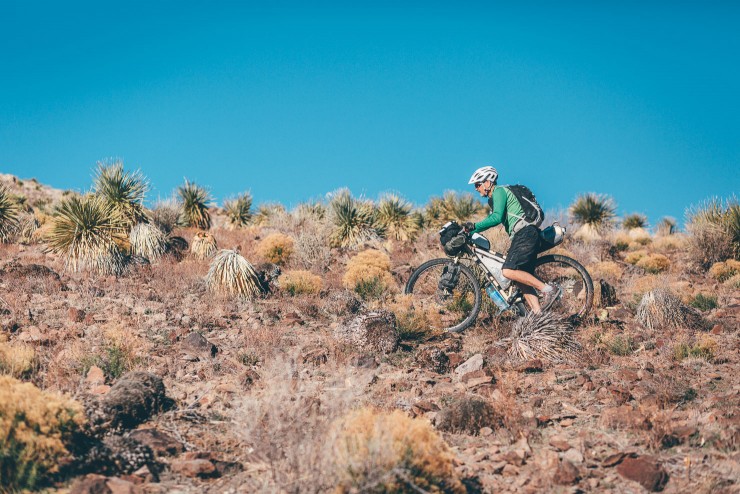
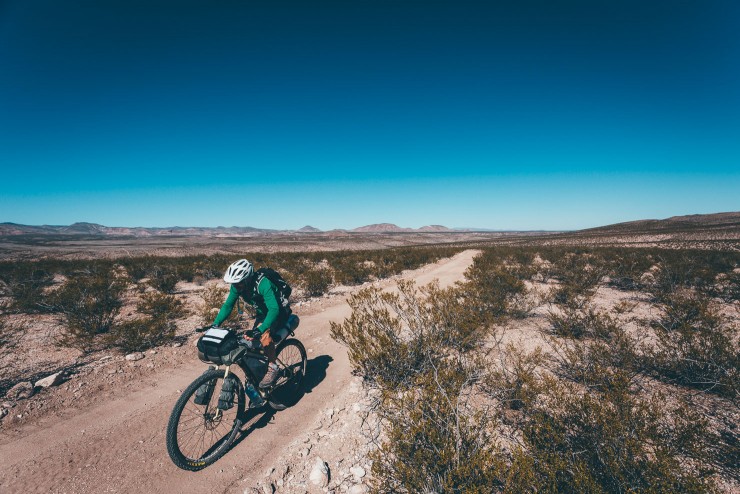
Aside from running your tires up tubeless, setting up your bike for a desert adventure doesn’t require any radical changes, except for the provision to carry extra water. Water bottle cages can easily be supplemented to suspension forks with hose clamps, or even just electrical tape. As you can see from the images below, Gary’s AM Peirce is a custom frameset built with bikepacking in mind. For off the shelf options, you can always invest in a bikepacking-specific rigid fork from the likes of Surly or Salsa that features eyelets for water bottles cages, a Salsa Anything Cage or Blackburn Designs’ Outpost Cargo Cage, freeing up framebag space to carry extra H2O. Centering the weight, frame bags provide the perfect place to stash an extra water bladder, along with a water bottle cage under the downtube – some frames even have room for an Anything Cage, with a 64oz Kleen Kanteen (Revelate’s Washboard straps are great for holding it in place). For more water hauling ideas, see here. Unless your route demands extended hike a bikes, we’d always recommend getting your bike to do the heavy lifting, and not your shoulders. Gary uses a mix of lightweight bikepacking gear – some of which is constructed with Cuben Fiber – from Porcelain Rocket and Oveja Negra.
As for tires, large volume and ‘Plus’ sizes help considerably when negotiating both rocky and sandy stretches. If you have one in your quiver, a fat bike will open up potential for serious arroyo explorations.
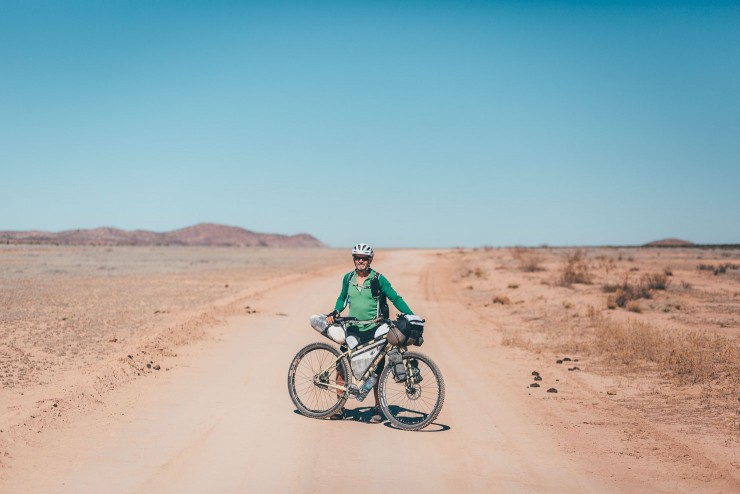
The Desert Packlist
We asked Gary to share his typical packlist – which, as you can see, is a mixture of purchased gear and homemade items. Treat it as a good starting point/checklist to be adapted and honed for your own needs, factoring in local conditions before making your final selection. Note that Gary’s packlist isn’t aiming to be a race-light setup. Rather, it’s a streamlined, time-tested suggestion that caters for a variety of conditions, without overly sacrificing comfort. Remember that deserts can get cold and windy at night, especially when they’re at high elevation.
CLOTHING
- Regular bike shorts worn under Endura Humvee ¾ length pants or Endura Singletrack shorts, depending on temperatures.
- One Smartwool and one polypropylene top; if it’s cool I wear them both. I like zips on at least one of them. Most people love wool, and for wet environments it may be best. But for dry places I prefer Poly as it dries faster, feels cooler, and lasts forever.
- A super light windshirt (less than 4 oz). Mine is by Montane. It’s one of my most used pieces of clothing, as it breathes really well and adds warmth for very little weight. It also dries very quickly.
- Leg warmers; that I roll up to make knee warmers.
- Gloves; a set for cycling, along with over gloves for cold/rain
- Sunglasses
- Bike-specific shoes; Pearl Izumi’s X-Alp series are by far the best hike-a-bike shoes I’ve worn. I far prefer a rubber sole over a plastic one, especially for hiking and walking.
- Light wool cap and thin balaclava
- Patagonia rain jacket; for desert trips where there’s not too much chance of rain, it only needs to be light and basic.
- Montbell UL down jacket; one of my favorite pieces of clothing, it offers a lot of warmth for very little weight, and packs down quite small.
During the day, I keep the clothing I think I’ll need in my Osprey Talon 11 backpack for easy access.
At night, I always sleep with long underwear to keep the bag clean and help with comfort. In colder weather I wear a light polypro or thin wool top and bottom, and in warm weather I use very thin silk. The socks I wear depend on the expected temperature.
Sleeping
- Homemade Tyvek bivy – Kite Tyvek (available on Ebay) is quieter and less stiff than the regular house wrap. I used spray adhesive to hold it together, with velcro strips where a zipper would go. The design is modelled around a Montbell bivy.
- Western Mountaineering Summerlite (32 deg, 19 oz); amply wamr for most situations, especially when teamed with my homemade Tyvek bivy, along with extra clothing. I can sleep fairly comfortably down to the mid to low 20’s (-5c).
- 6 Moon Designs Deschutes tarp; if I’m expecting wind or any rain. Note that tent stakes designed for sandy conditions – like MSR’s Blizzard stakes – can be useful, depending on terrain.
- Thermarest Neo Air; the Short version to save bulk and weight.
- Ground cloth; I use a piece of Polycryo ground cloth, a heat shrink window film that’s amazingly tough and weighs virtually nothing. It’s a pain to set up in the wind though – I use rocks to hold it in place.
Kitchen
- Homemade beer can alcohol stove (click here for fabrication ideas)
- Homemade pot support and windscreen
- Evernew 900ml Ti pot
- Lexan spoon
- Pocket knife
- Lighter
- Matches
- Wool hat as cozy or mylar bubble insulation pot cozy
- GSI insulated mug; a nice ‘luxury’ for when you have time to sit and enjoy the morning coffee.
- Aquamira drops; I have a Sawyer Mini filter too but prefer the drops unless I expect nasty water, as they’re less hassle.
- Sit pad; I use a small section of car windshield heat reflector to sit on, well worth the extra weight.
- Trowel; indirectly related to eating… eg Deuce UL trowel. Please remember the Leave No Trace principles.
Electronics
- Lumix DMC-Zs25 point and shoot carried in pouch on shoulder strap of pack.
- Smartphone with a spare battery. Mine is a Galaxy S4; batteries are inexpensive and it has an SD card slot for storing base maps, downloaded via Gaia’s Navigational App.
- Garmin GPS
- Headtorch; I love my Black Diamond Revolt. It can be charge via USB, but conveniently, also uses AAA batteries.
Spares/Tools
- 2×29” tubes w/removable cores, QBP brand
- 2 oz. bottle of Stans sealant (I take 2 of these on a long trip)
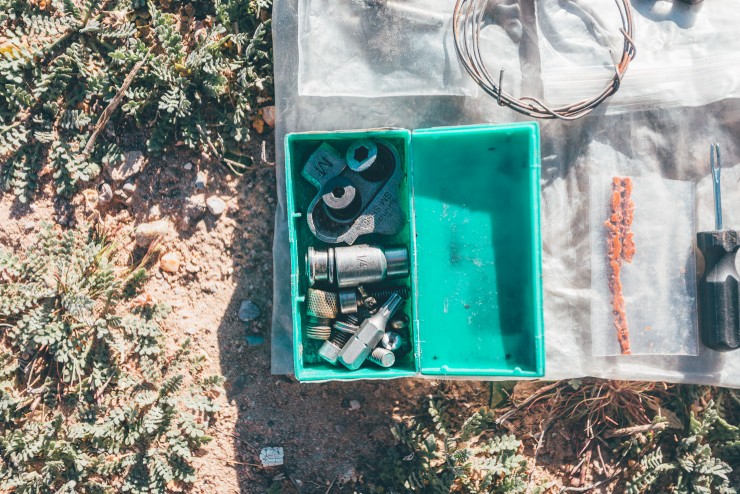
- Topeak multitool w/chainbreaker, separate small hex wrenches
- Leatherman Squirt (tiny tool w/pliers and scissors)
- Bolts; extra water cage bolt, chainring nut and bolt, cleat bolt
- Tire repair: tire boot material, needle and thread for tire repair, tire plug kit, shoe goo, super glue, patch kit
- Shift cable
- 1 set of brake pads
- Fiber Fix spoke
- Spare alloy nipples
- Around 6 extra chain links and 2 extra quick links
- Safety wire, lots of zip ties and assorted rubber bands
- Duct tape and electrical tape wrapped around a pump
- Small bottle of lube and rag; desert conditions strip oil in no time.
Where to go
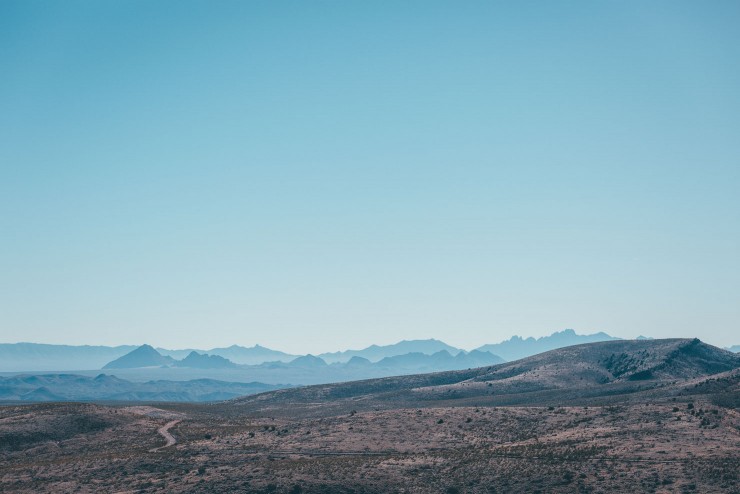
In the States, the Southwest abounds with great desert riding over the winter, including Arizona, New Mexico, Utah, Nevada and Southern California. Grab a Delorme Gazetteer, or plug into Google Earth, and start exploring. Pipeline and powerline roads are inevitably direct, but can often be monotonous or exhausting, as they’re not known for following the contours of the land. For the most part, large swathes of National Forest and BLM land means access is very good in the Southwest – just be aware of private ranchland and federal Indian reservations, the borders of which aren’t always shown on maps. To help figure out boundaries and avoid privae property in the US, CalTopo is a great program to become familiar with, thanks to its Land Management layer.
Some of our favourites winter desert tours include:
- Black Canyon Trail, Arizona
- Stagecoach 400, California
- A Historical Tour of New Mexico
- Monumental Loop, New Mexico
- The Camino Diablo, Arizona
- The Gila River Ramble, Arizona
Have more time to ride? Head south to Mexico’s Baja California:
- Baja Divide, Mexico
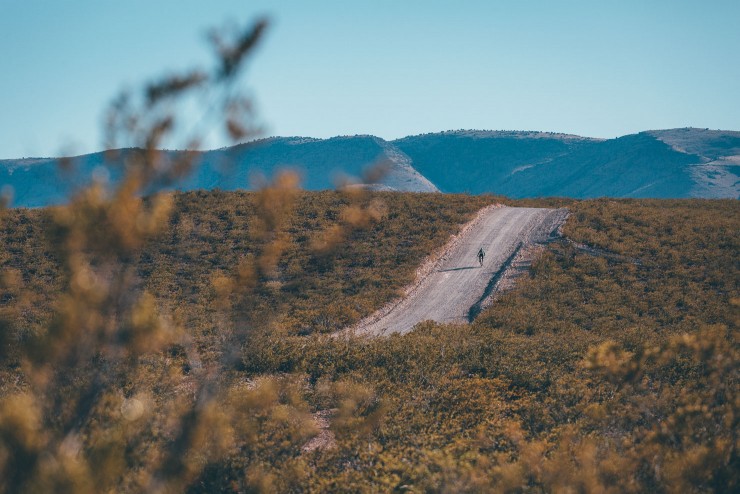
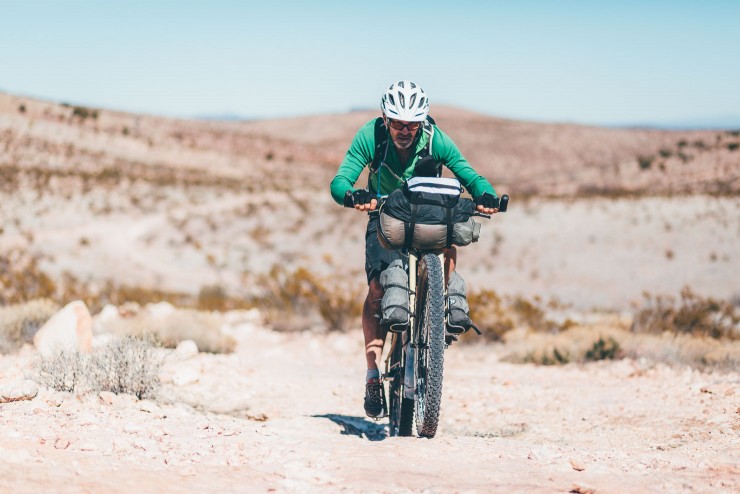
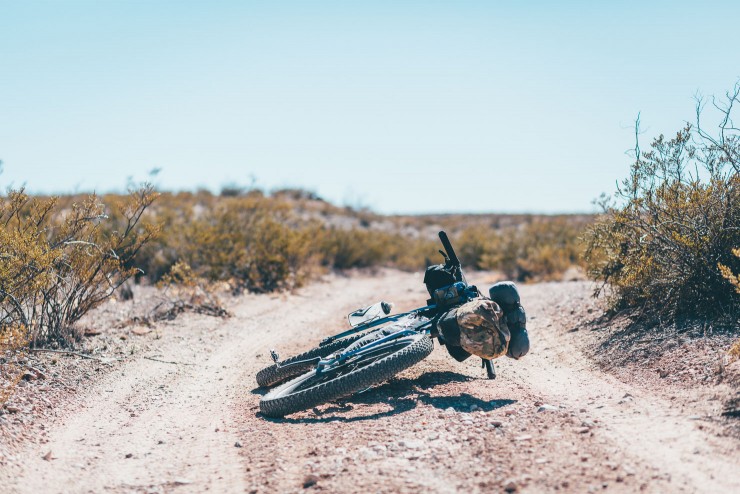
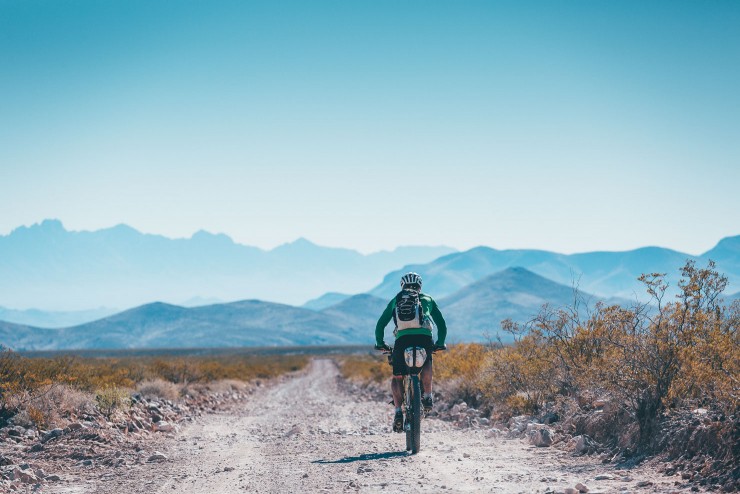
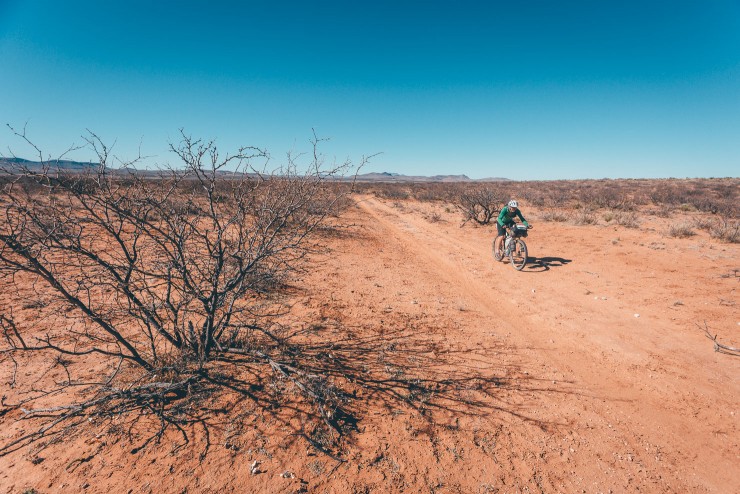
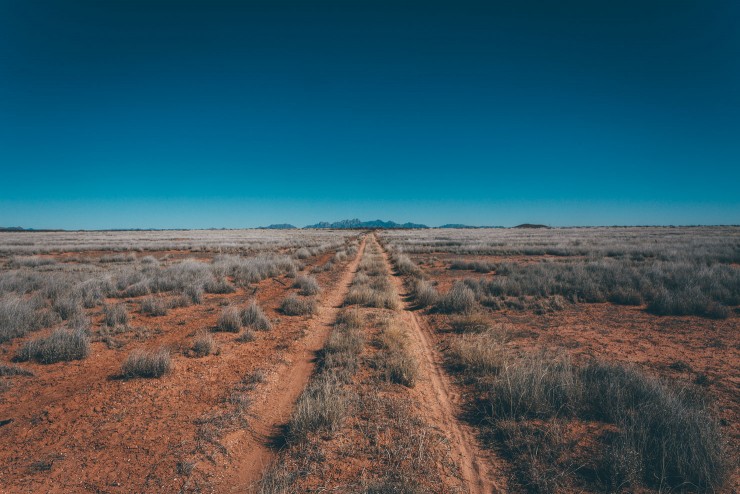
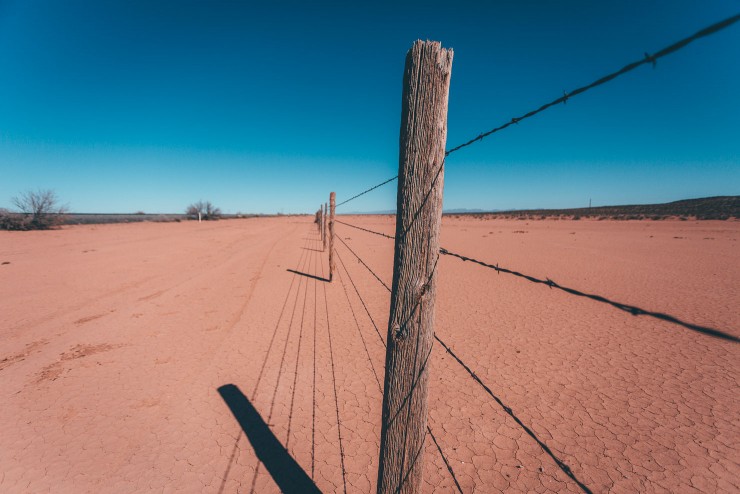
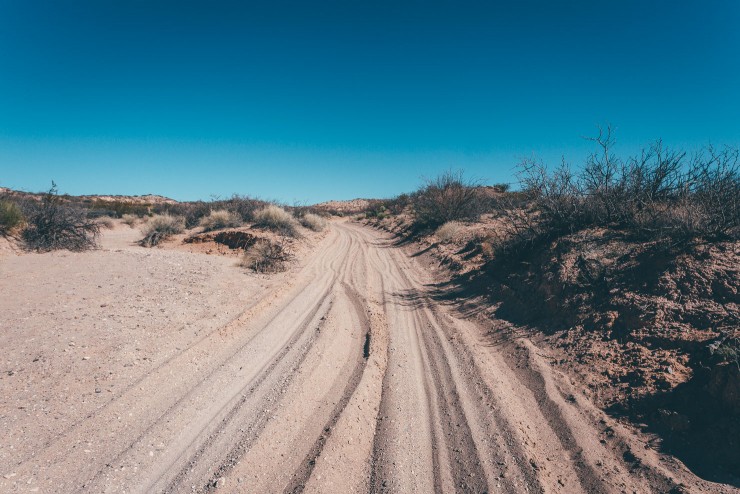
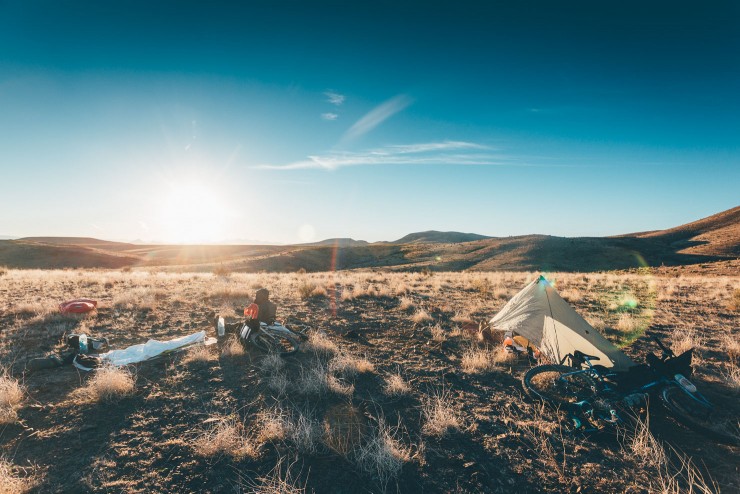
The images for this post were taken on a winter bikepacking trip in Southern New Mexico, a section of which was part of the Monumental Loop. Thanks to Gary Blakley for his insights and the bikepacking crew in Las Cruces for their excellent trail advice.
Have any desert riding tips to share? Let us know in the comments below!
FILED IN (CATEGORIES & TAGS)
Plan
Bikepacking Guides
bikepacking-arizona bikepacking-colorado bikepacking-new-mexicoPlease keep the conversation civil, constructive, and inclusive, or your comment will be removed.
We're independent
and member-supported.
Join the Bikepacking Collective to make our work possible:


