


Installing Rivet Nut/Rivnut Bottle Cage Mounts
We used rivnuts, aka rivet nuts or threaded rivet inserts, to add bottle bosses and attach an Anything Cage to a steel fork. It worked well, but here are some things we learned, and what we’d do differently next time. Plus, everything you’ll need to do it yourself…

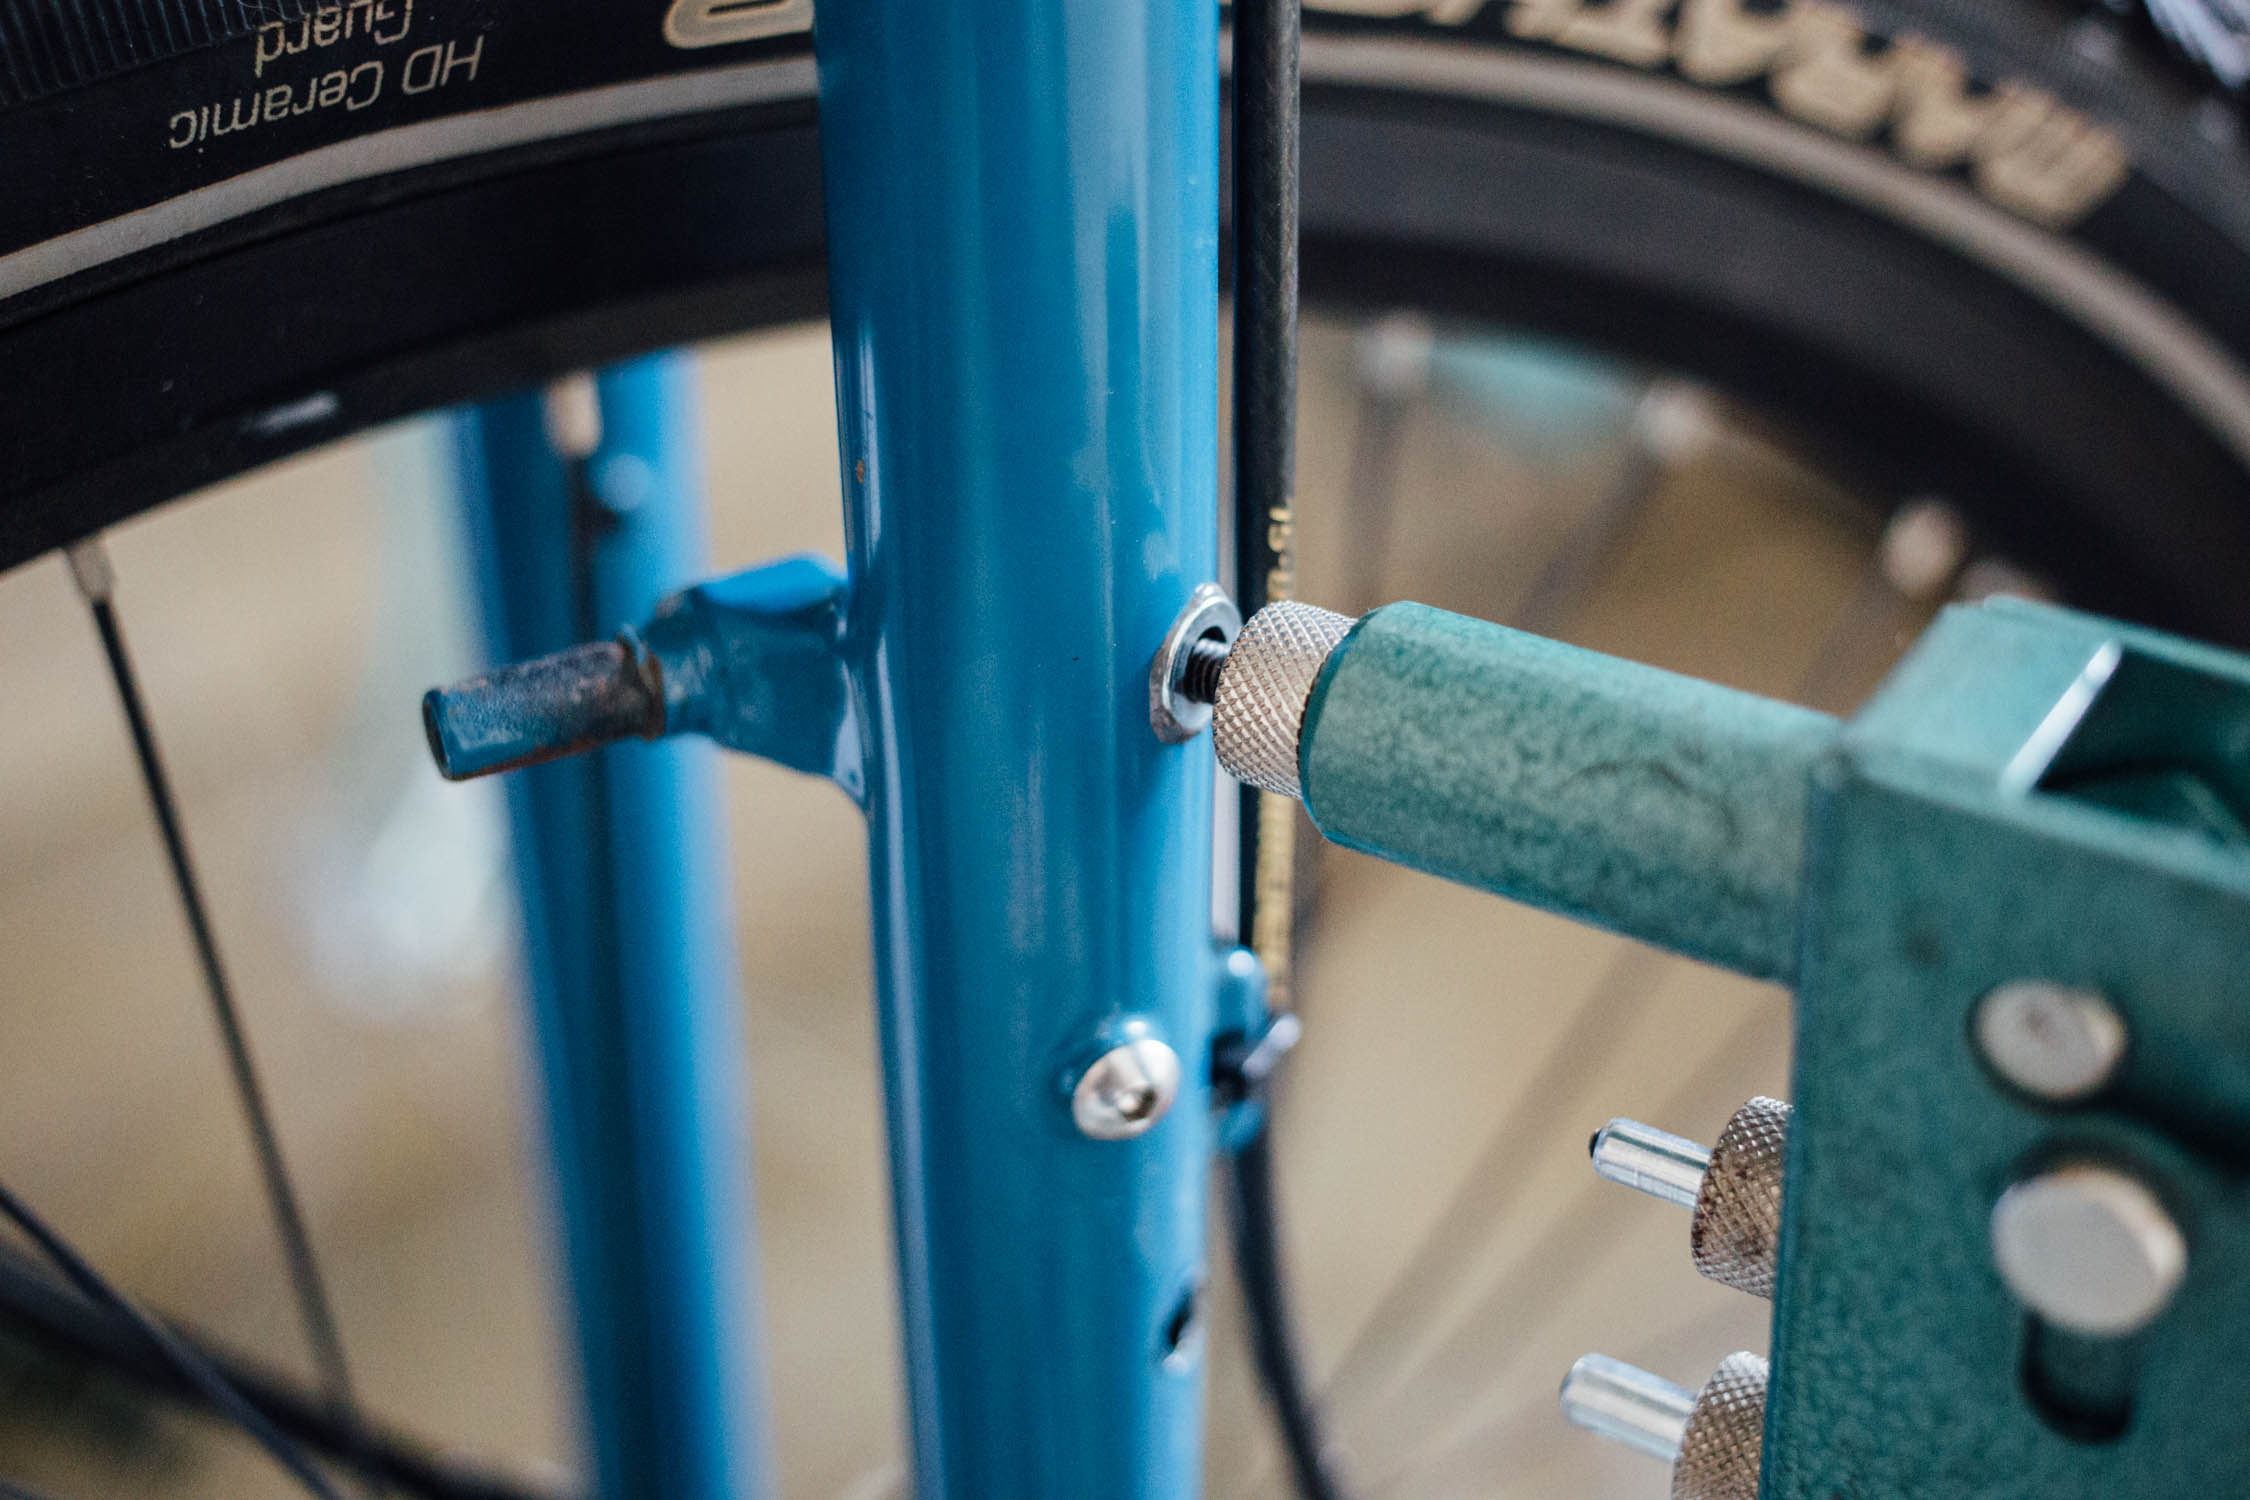
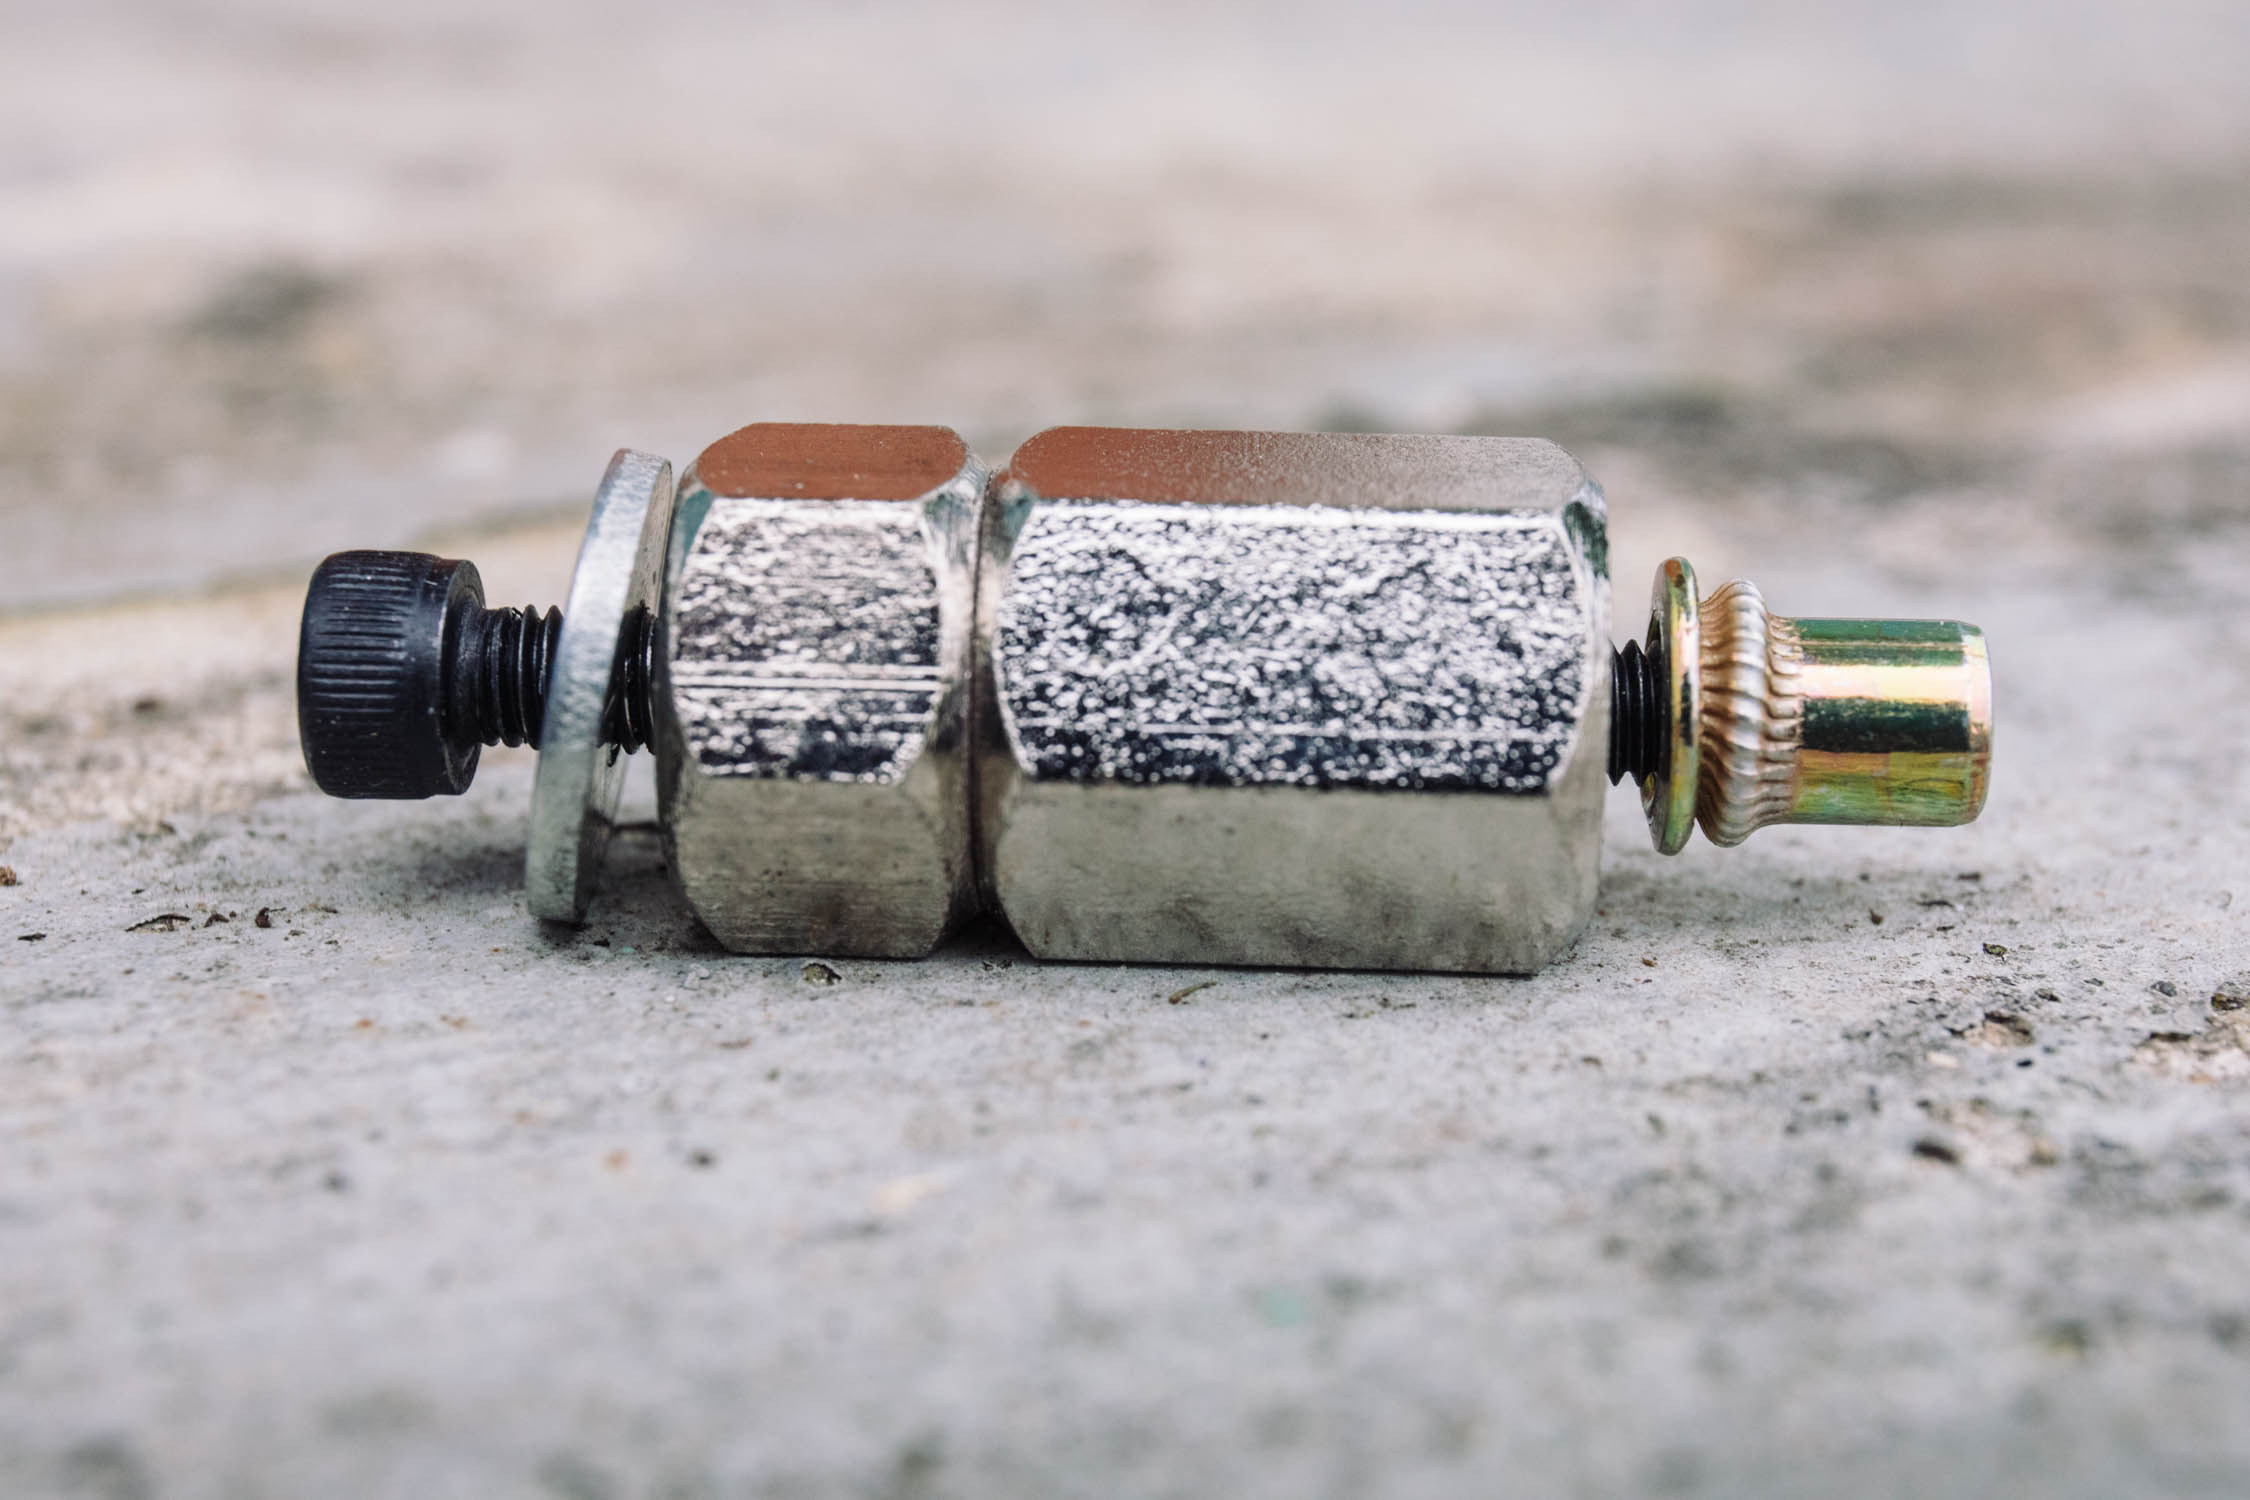
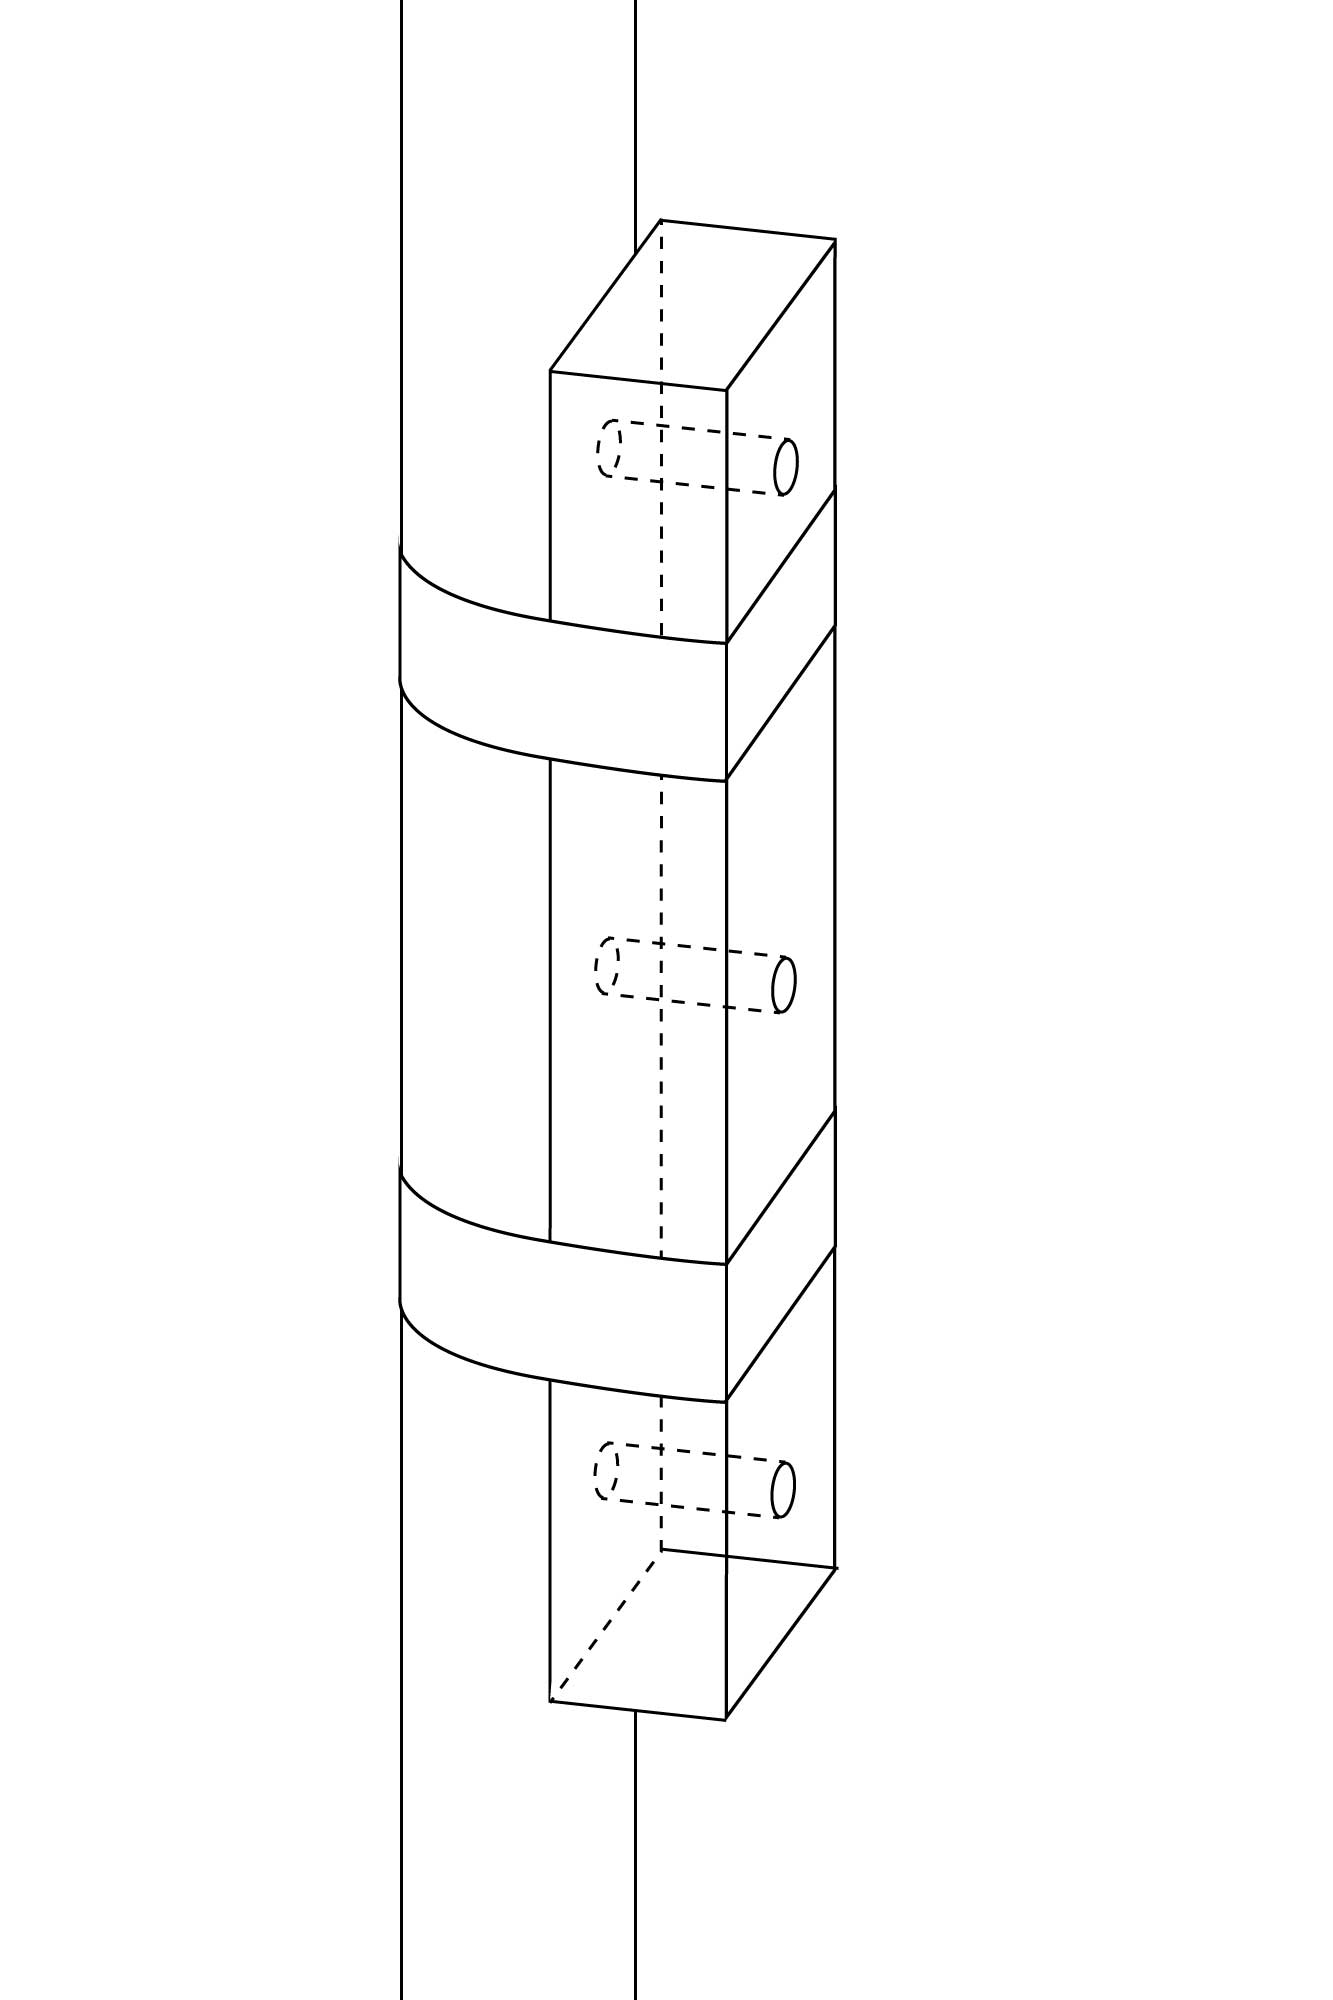
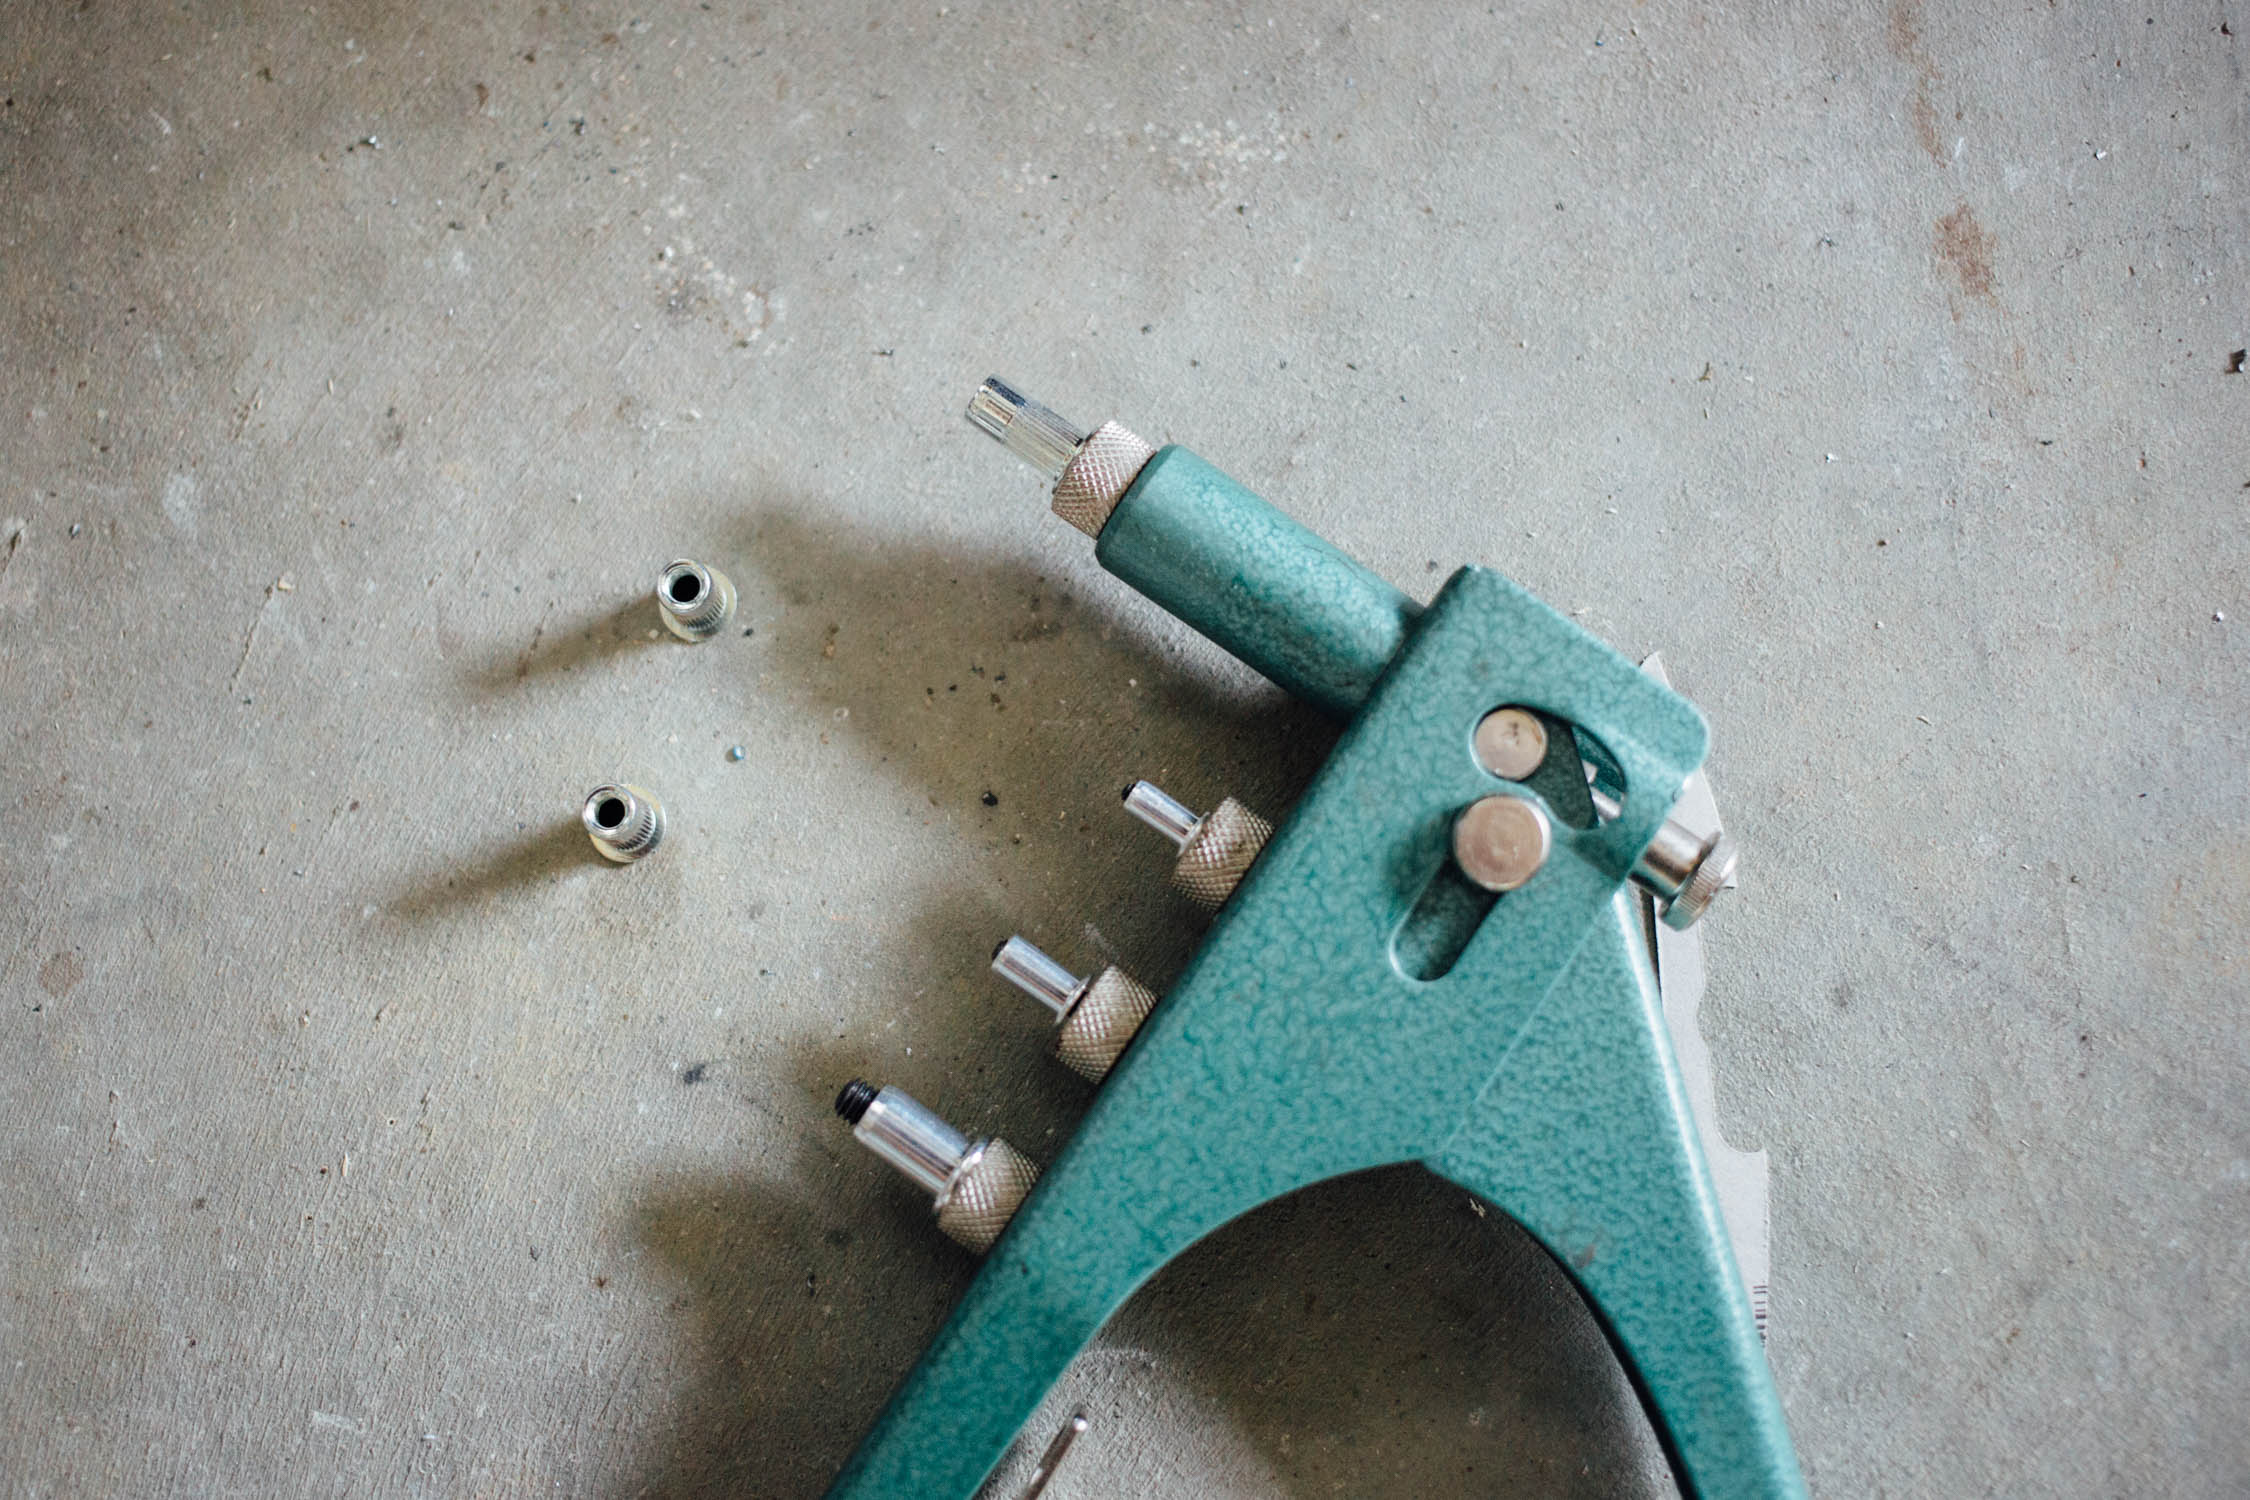
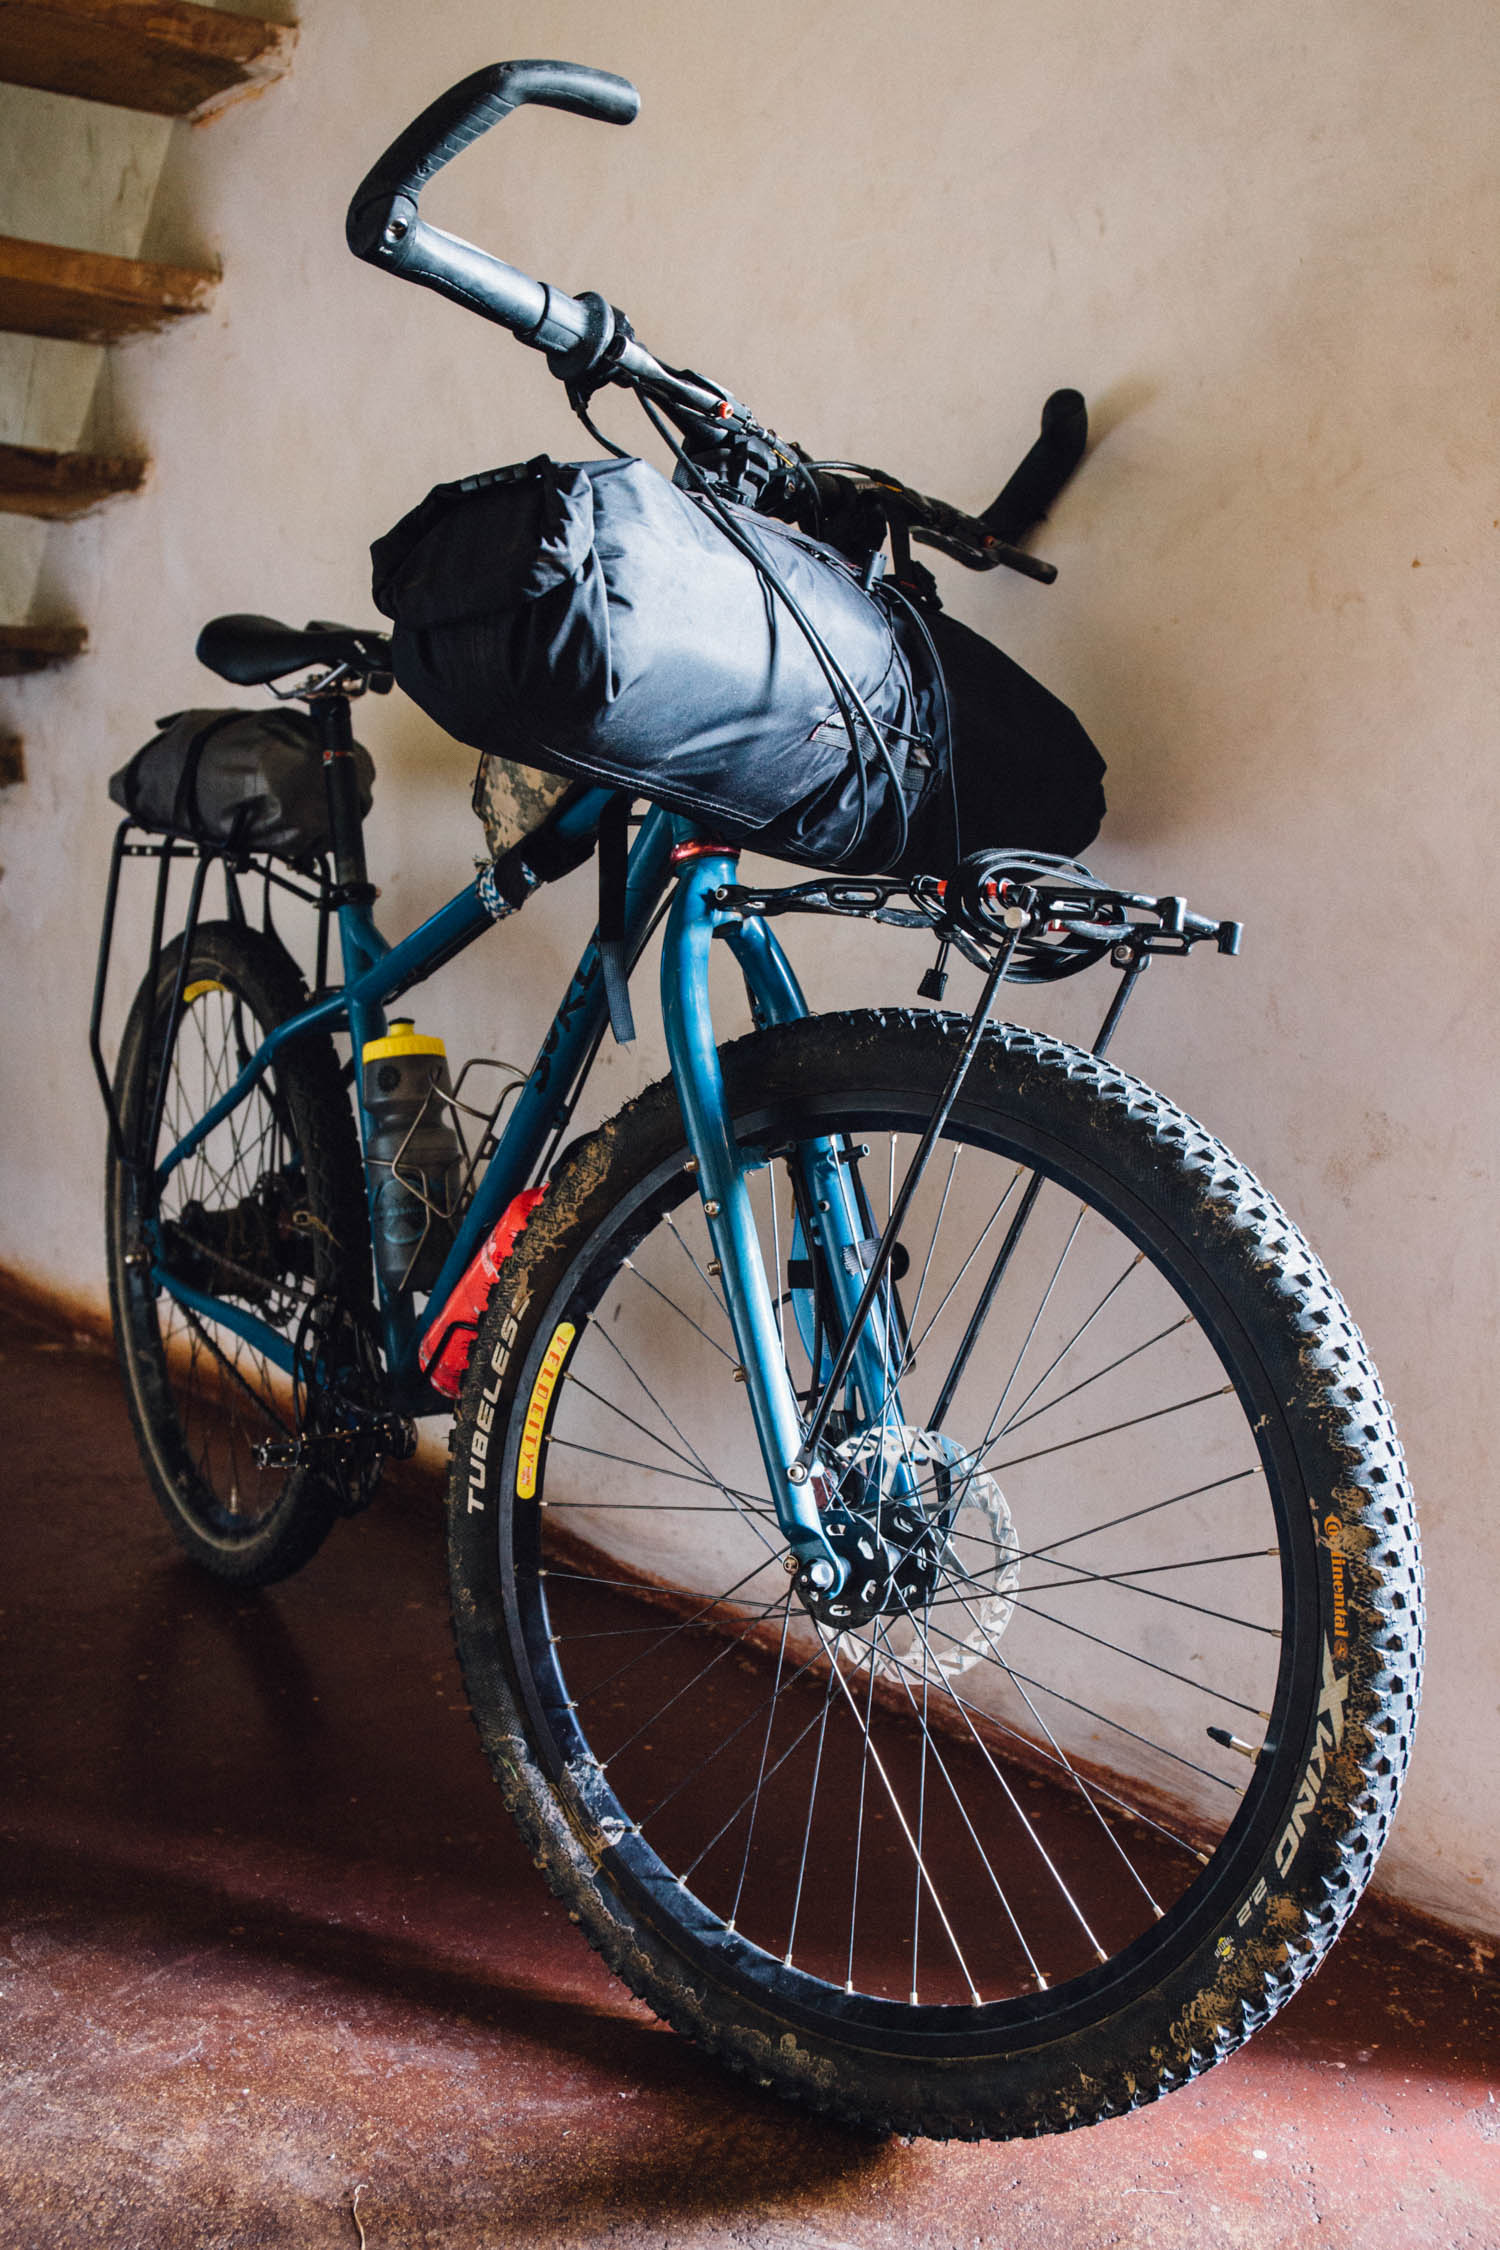
A couple of notes before we begin. Firstly, this post is long overdue. We added rivnut bottle cage mounts to a boss-less, version 1 Surly Troll fork way back in 2013. To do so, we used rivet nuts (rivnuts): one-piece, internally threaded tubular rivets that can be anchored from one side. To clarify, a rivnut attaches by way of a threaded tool that compresses it, buckles one side, and clamps it onto the panel in which it’s being riveted (see photo below). Our goal was to mount a three-hole Salsa Anything Cage to Gin’s blue Troll for extra gear and food during our trip through Africa. The install went fairly smoothly, and those DIY riv-nut bosses carried bottles and cargo for thousands of miles without fail.
Now that we have another related post in the works, I thought I’d finally dig up my notes and photos to share what I learned. Note that this isn’t really a how-to.; it’s more about how I did it and what I’d do differently if I were to do it again. So, if you are interested in drilling holes in a perfectly good steel frame, here’s how it went and what we used to make it happen.
Before we go on, are you sure you want to drill holes in your frame? Be aware that rivnuts require rather larges holes (~7mm) and some folks suggest that they might weaken the frame. That said, steel MTB forks/frames are built to carry a lot of weight, and to withstand very rugged circumstances. Unless I was expecting to haul an extremely heavy load, or to encounter massive drops and jumps, I personally wouldn’t hesitate to do this with any production steel MTB frame. In the end, it’s much cheaper than buying a new fork. Alternatively, look into have a frame builder braze on threaded water bottle bosses, or there are many other ways to mount bags and cages—stay tuned for a full list.
Which Rivnuts for Bottle Cage Mounts?
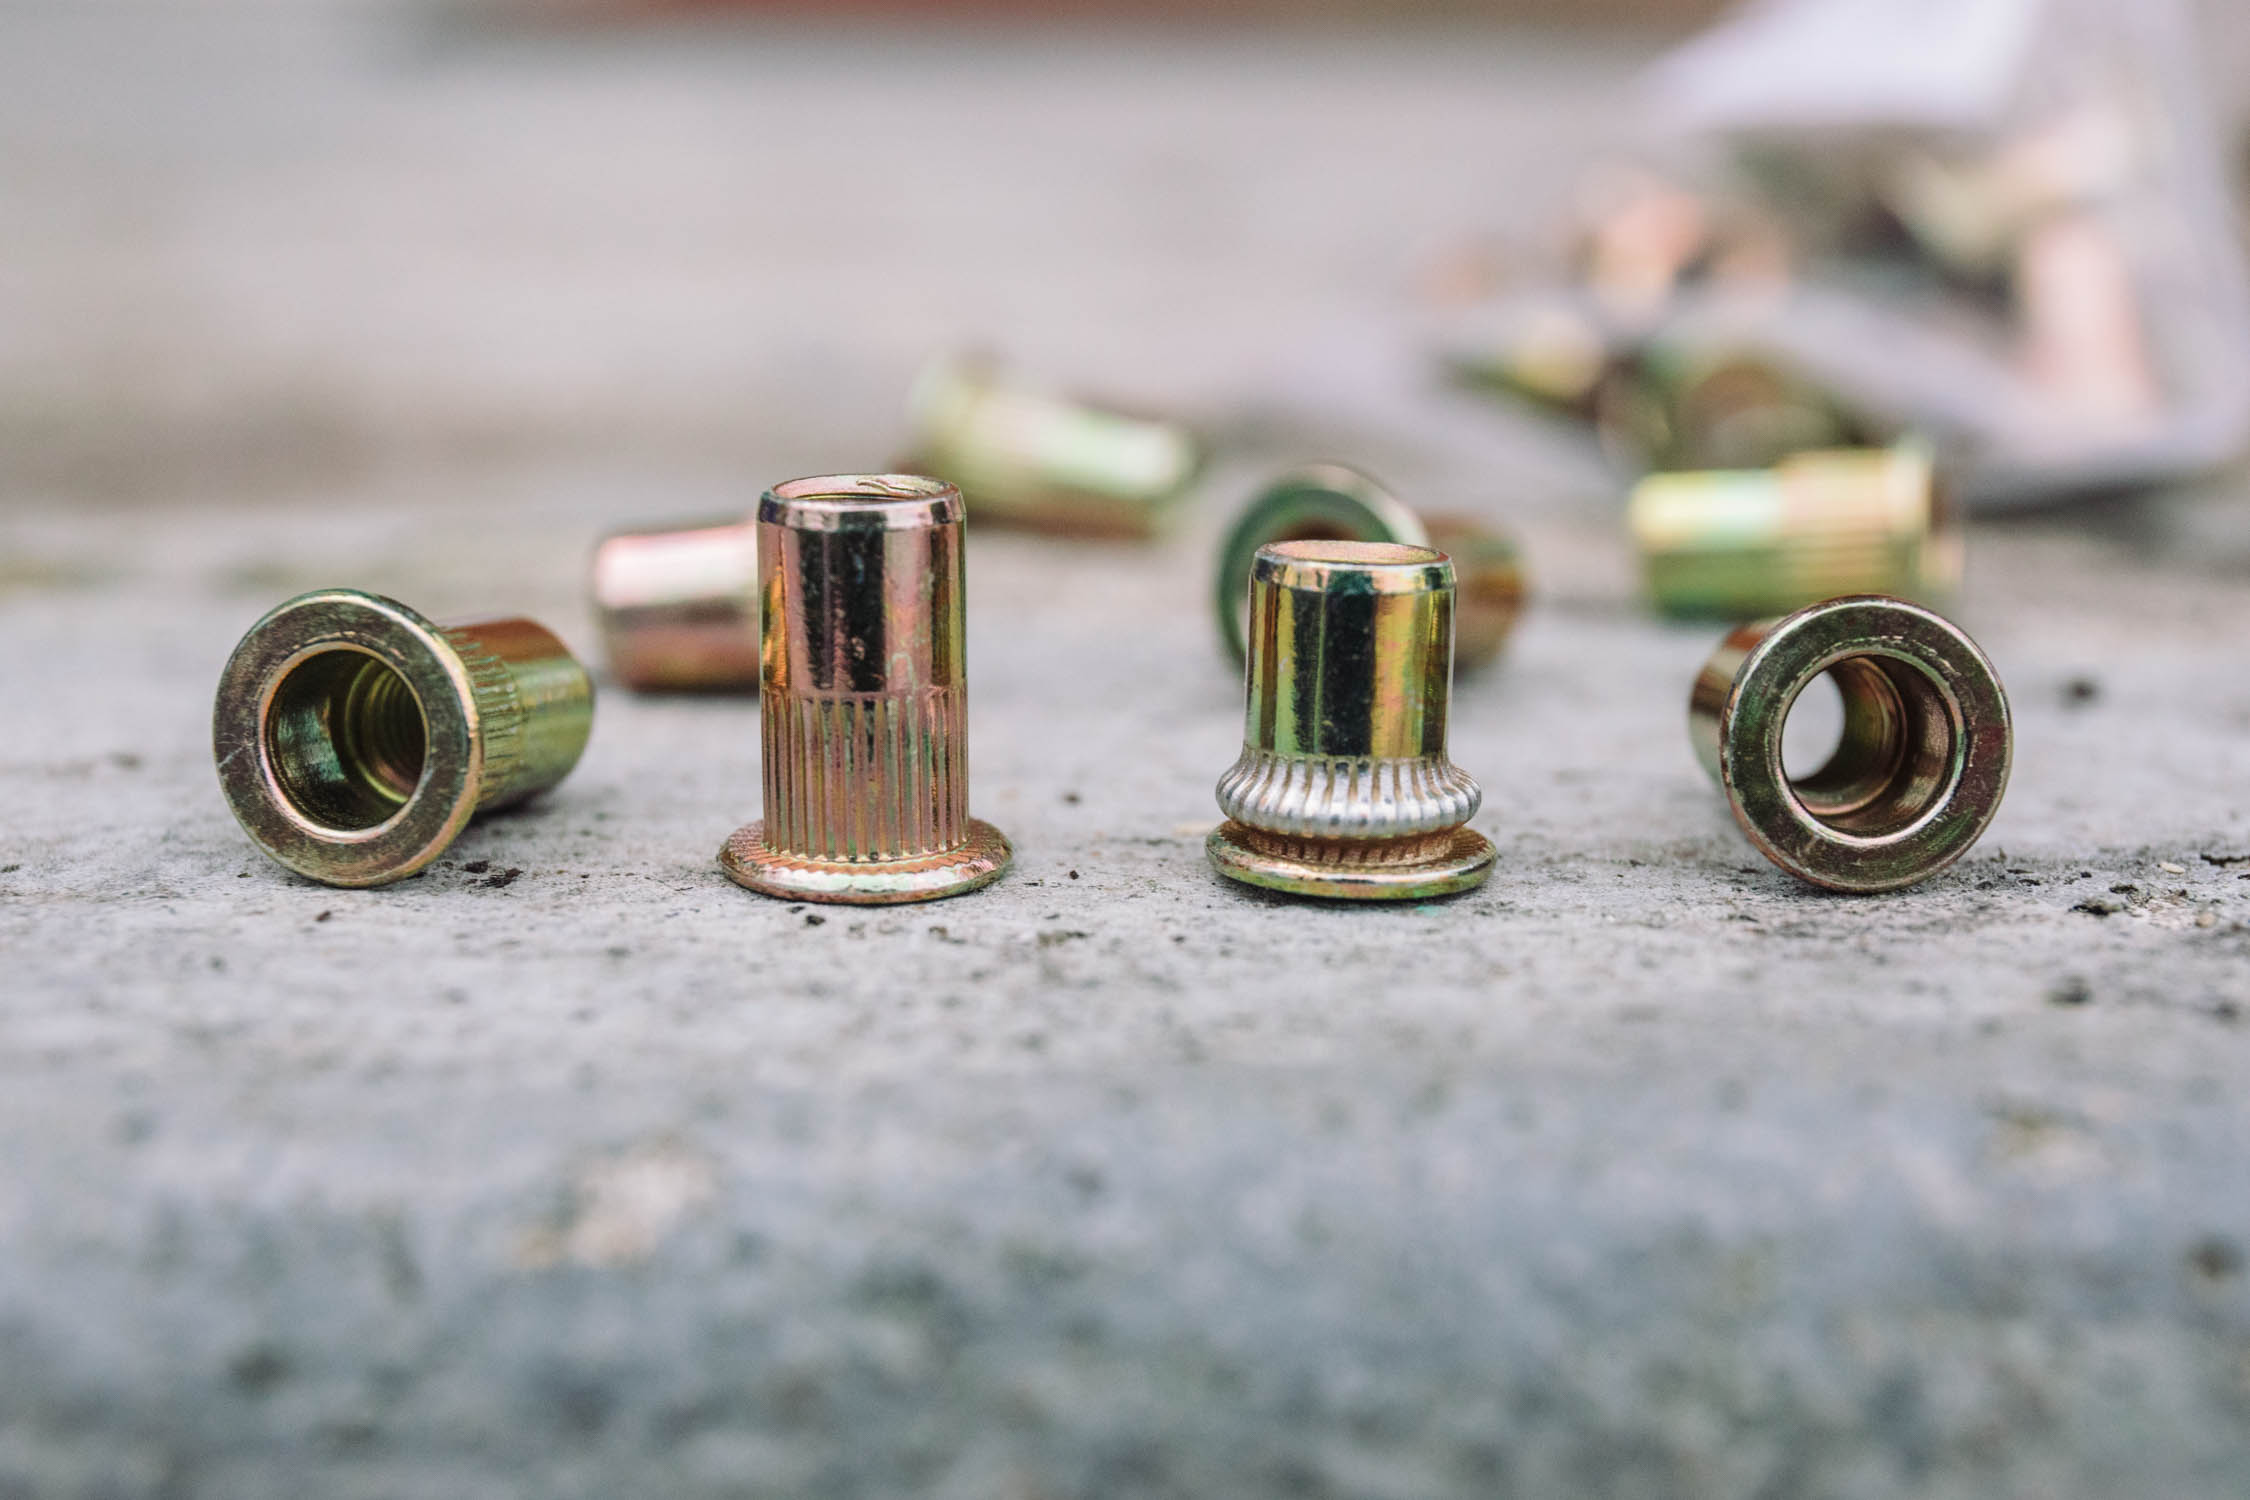
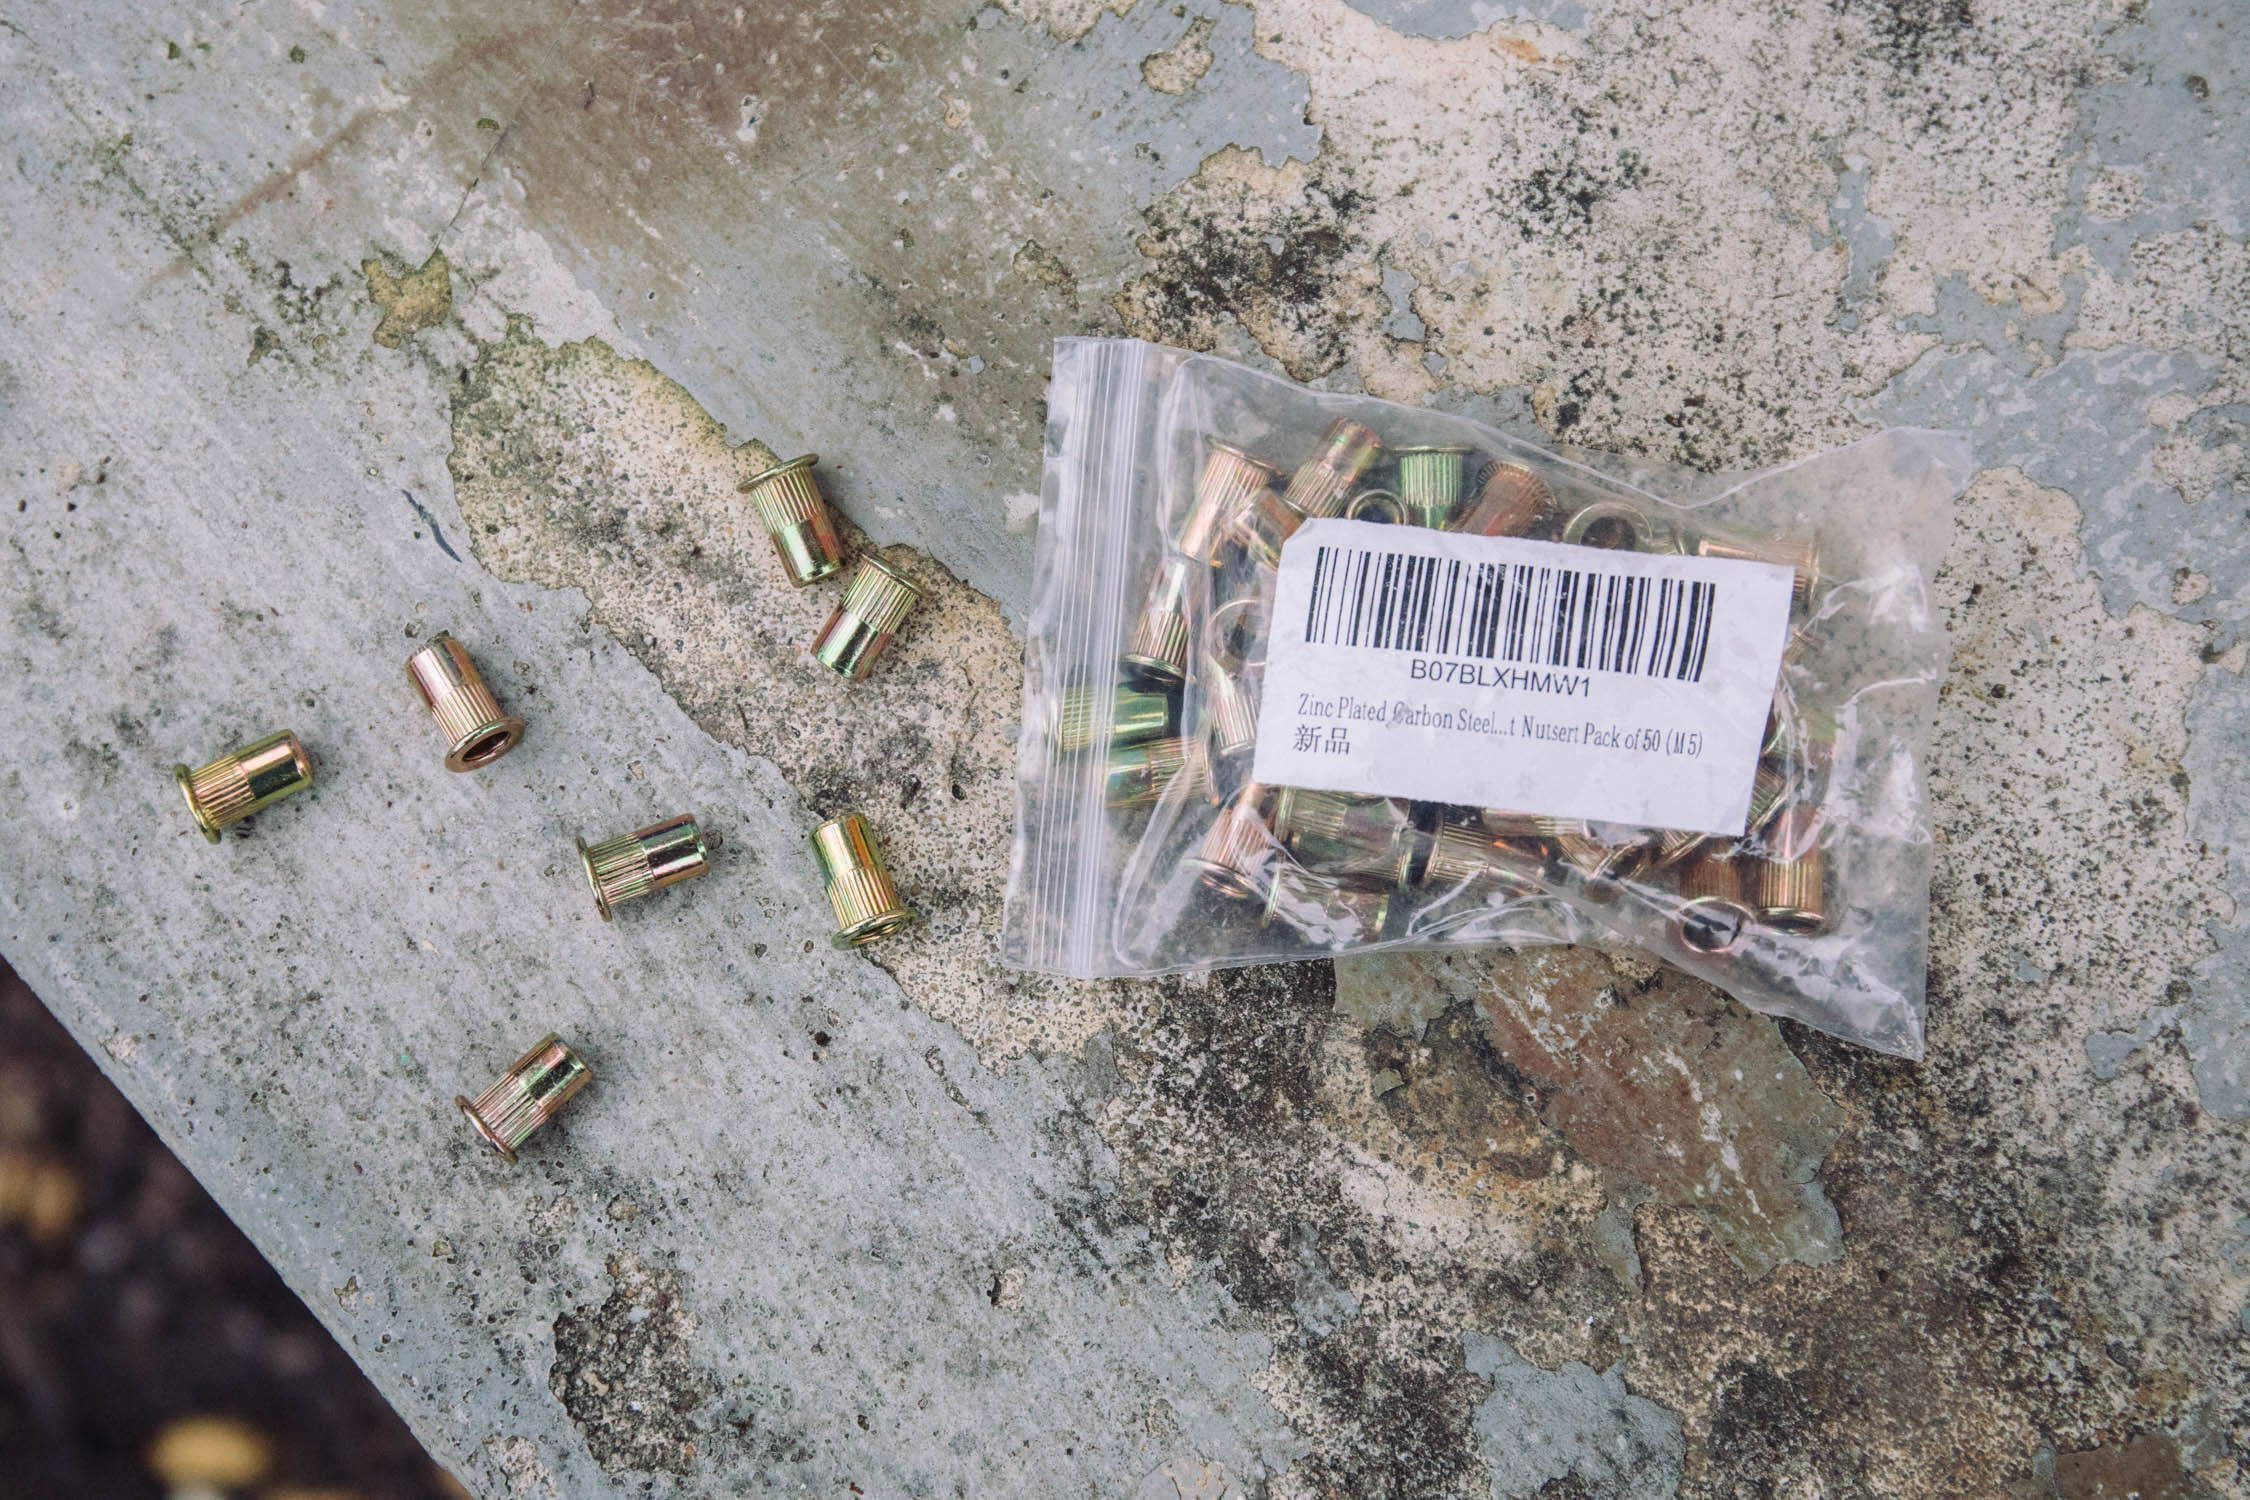
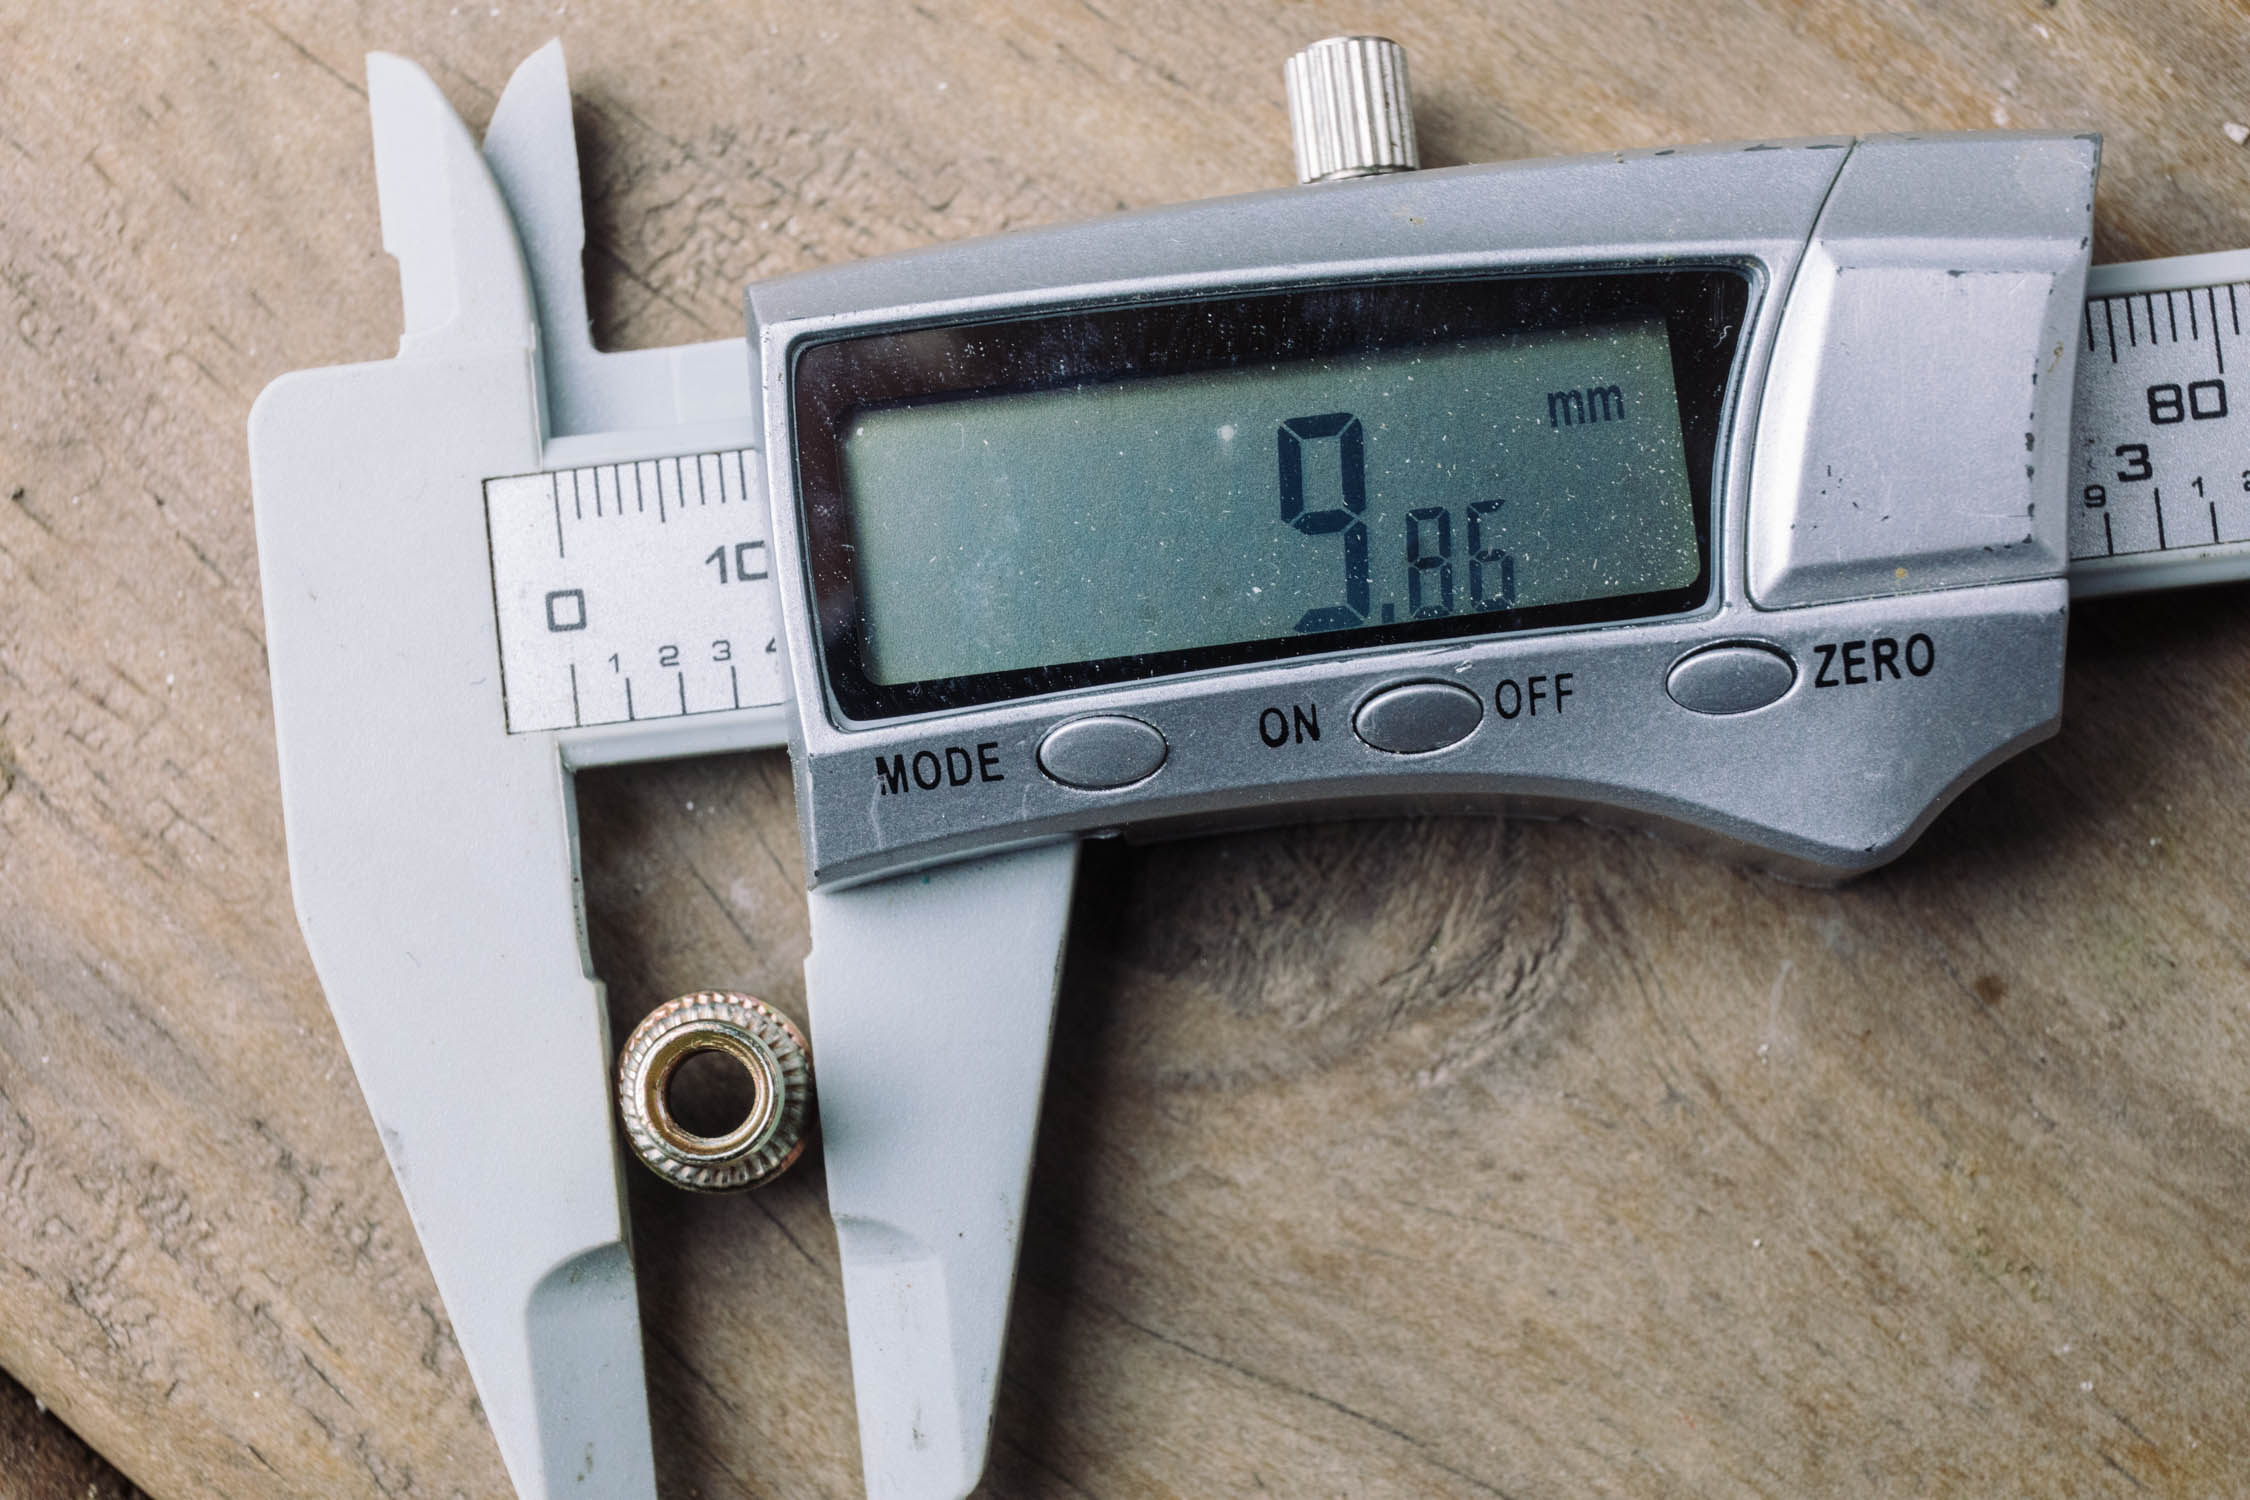
“Rivnuts,” also known as rivet nuts or threaded rivet inserts, come in all shapes and sizes. To match the threading of a standard bottle boss, you need the M5 x 0.80 size rivnuts. Rivnuts come in several types of metal as well. After a bit of research, I chose to use stainless steel rivet nuts as they won’t corrode when in contact with Chromoly steel like aluminum inserts would. However, there are also zinc-plated carbon steel options that might work even better with a chromoly frame.
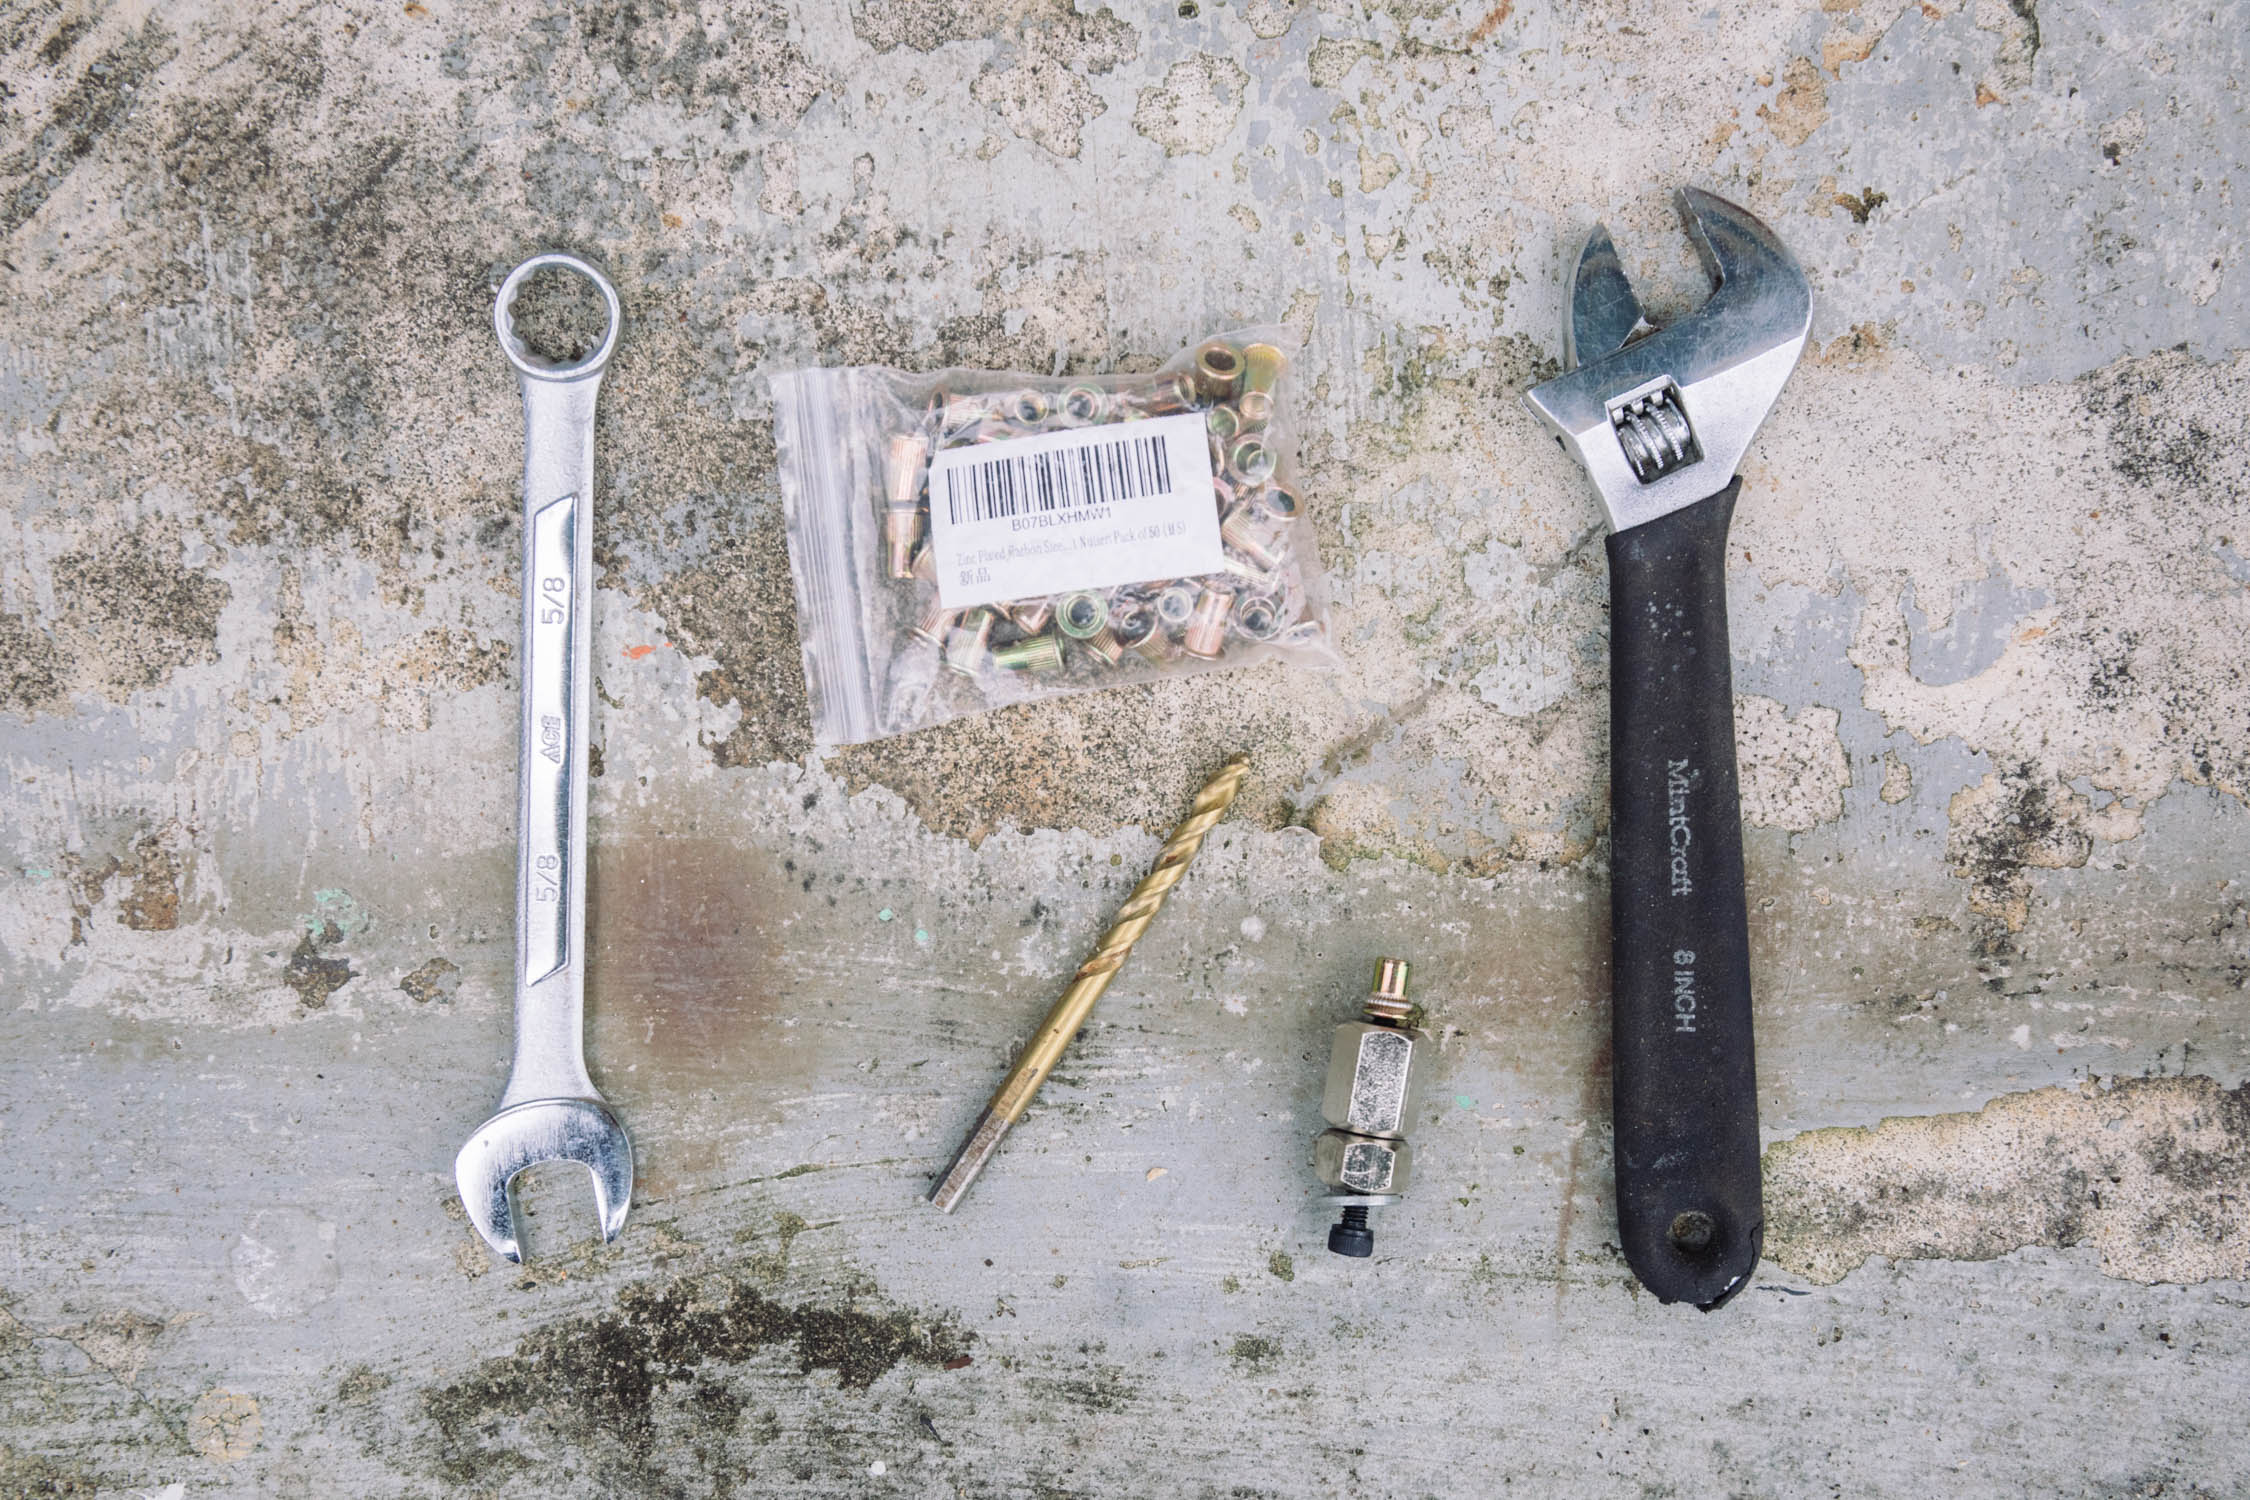

Other tools and materials
Fortunately, there aren’t too many things you need to make this happen, aside from a standard power drill and a few odds and ends. As long as you have a drill, the biggest investment is the actual rivet nut tool. There are DIY options (see the video at the bottom of this post) as well as a $15 manual setter that does the same thing (linked below and shown above-right). Here’s the full list:
- Carbon steel rivet nuts (50-pack on Amazon)
- Riv-nut tool (bestseller on Amazon and a cheaper, manual option)
- JB Weld (or JB Quick) ($14 on Amazon)
- 3mm and 7mm Drill Bit (and/or step drill bit)
- Salsa Anything Cage or King Many Things Cage
Step-by-step
Now, a step-by-step how-to guide with notes on what we’d do differently.
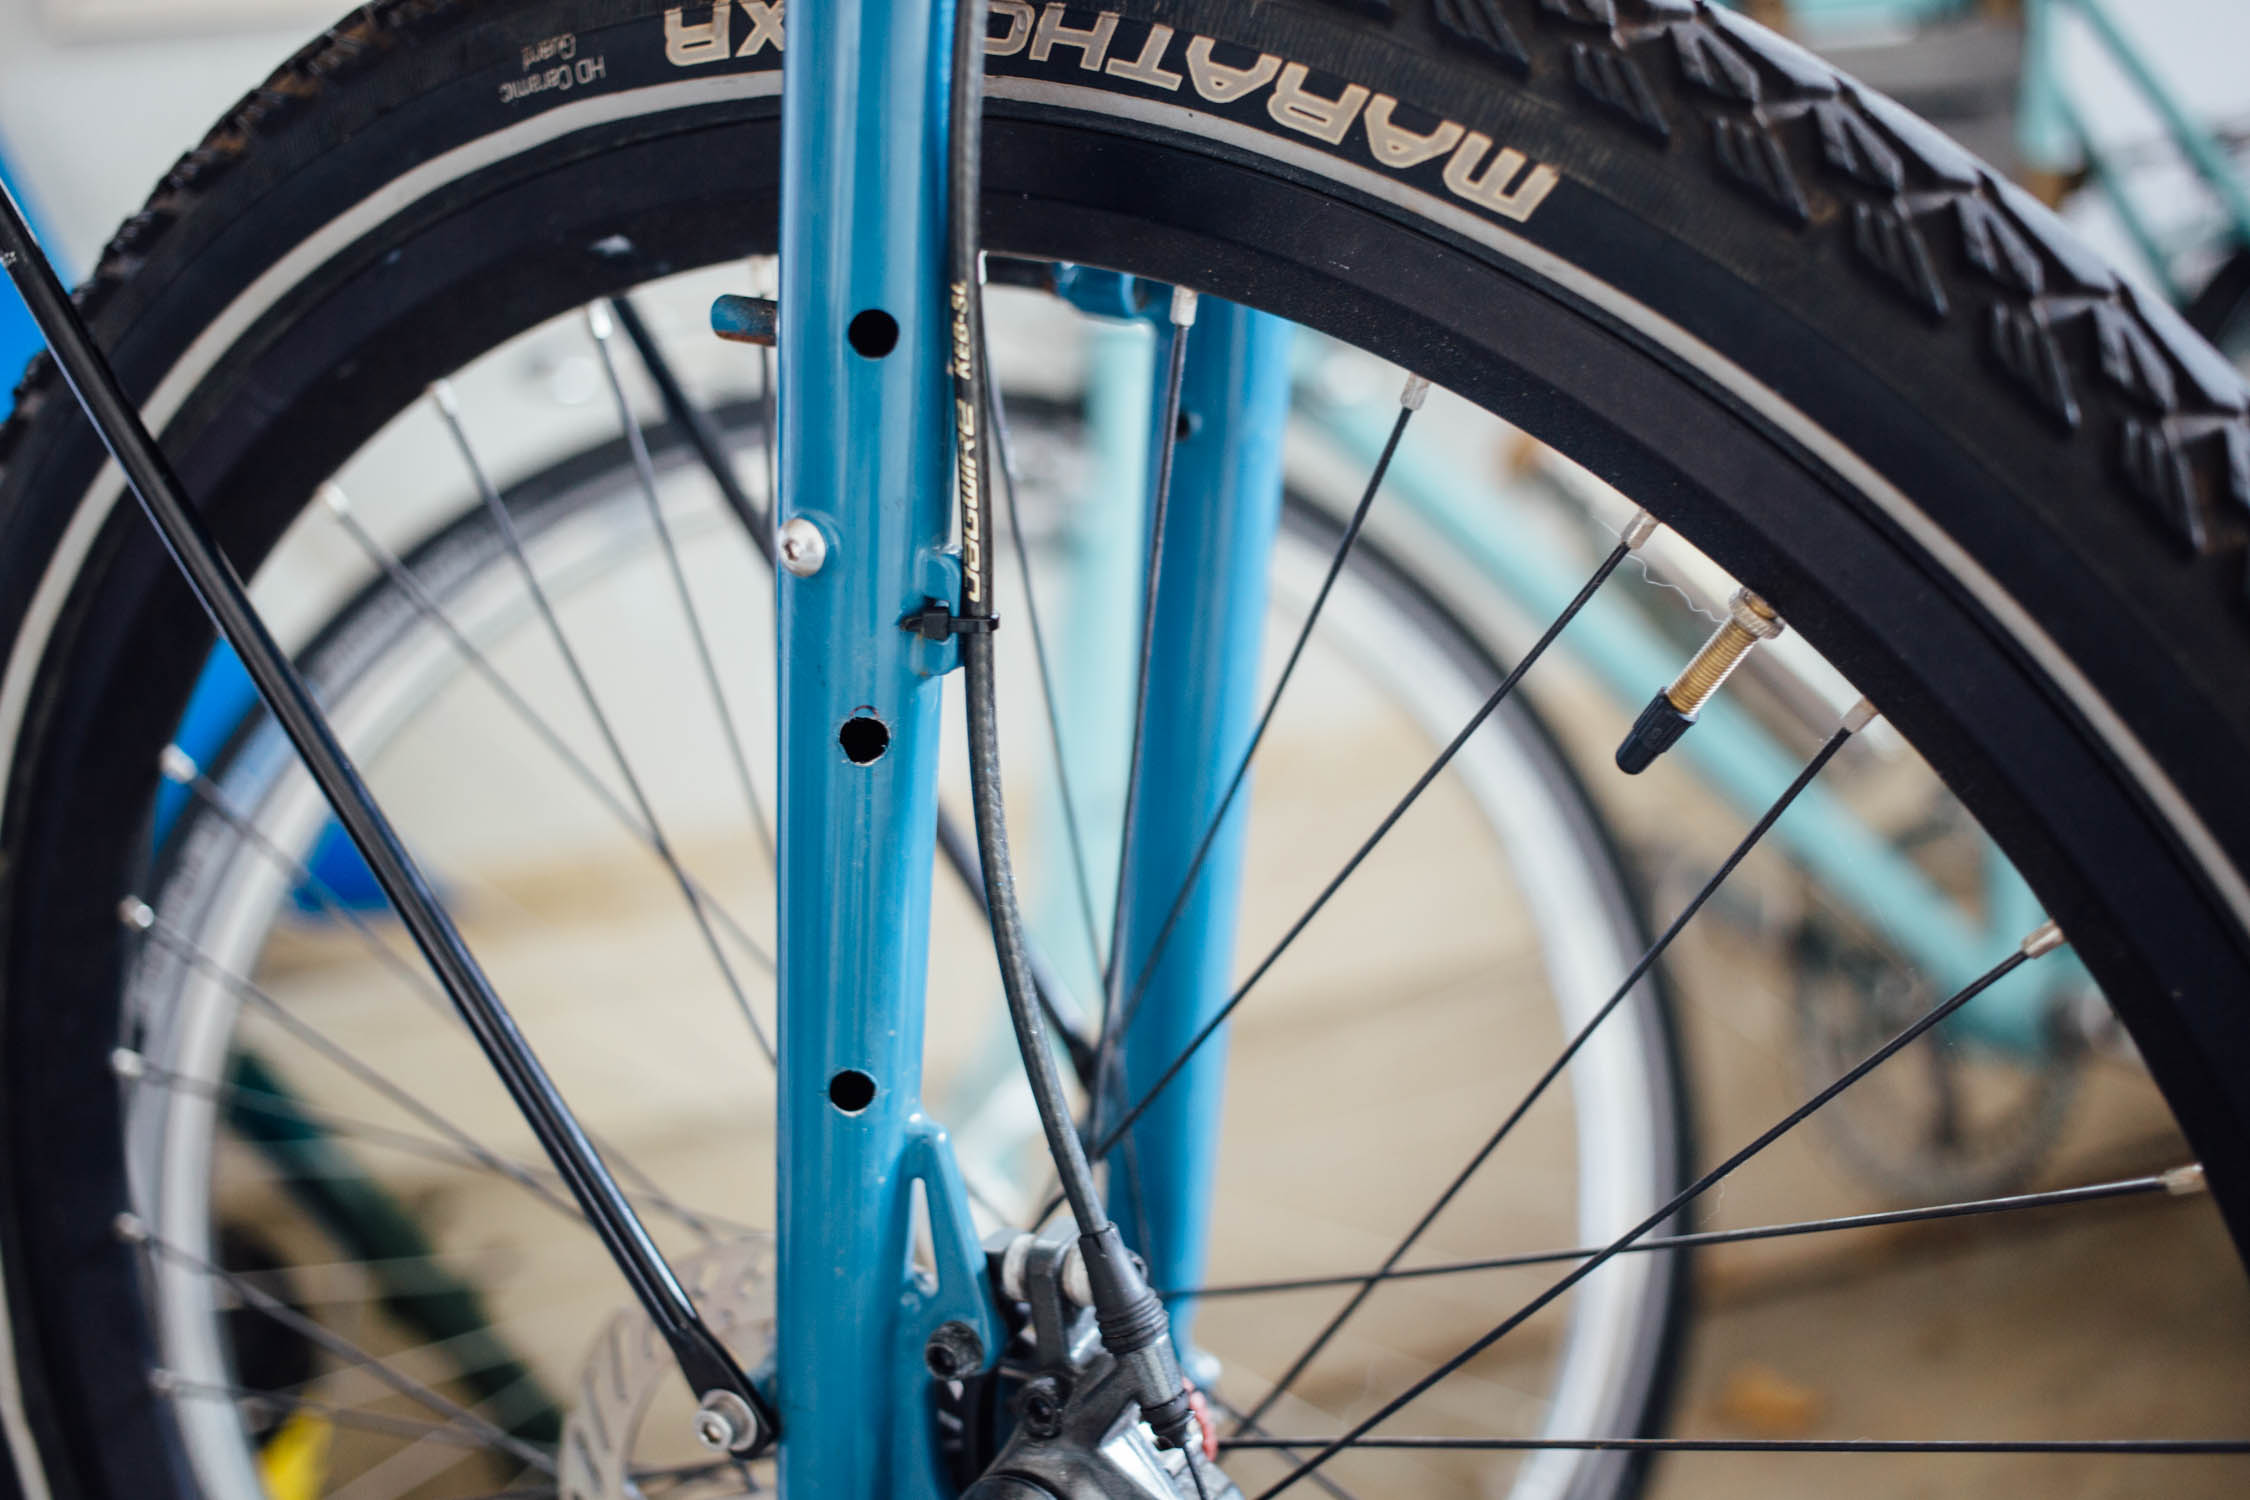
1. Mark the Three-pack Boss pattern using a cage
Simply hold the cage against the fork or downtube and mark the three holes with a Sharpie. If you are adding rivnut bosses to a fork, make sure to carefully consider what angle you want the cage to be oriented, as well as how it will interact with other components and luggage, such as a rack. Take foot clearance into account if you are angling it rearward. And if you’re adding mounts to the downtube, hold a cage and bottle in place to check for adequate tire clearance.
1b. Create a guide
To be clear, I thought of creating a drill guide after the fact. In short, I found that a standard power drill was difficult to align on the cylindrical steel tube; the bit tended to drift around the tube. Even after I created a small pilot hole for each boss, the bigger drill bit shifted to the side a little. In the end, once the cage was bolted in place, I realized that one of the bosses was misaligned along its cylindrical axis. Fortunately, it wasn’t off by much, but it tweaked the alignment ever so slightly and caused the cage to twist. Ultimately, this wasn’t an issue, but if I were to do it again, I’d make a wooden block guide with a drill press using a 7mm bit. Then, by securing the block to the fork blade with pipe clamps, the holes would serve as a guide for accurate drilling. Better yet, the guide could be fabricated from a flat piece of steel bar stock.
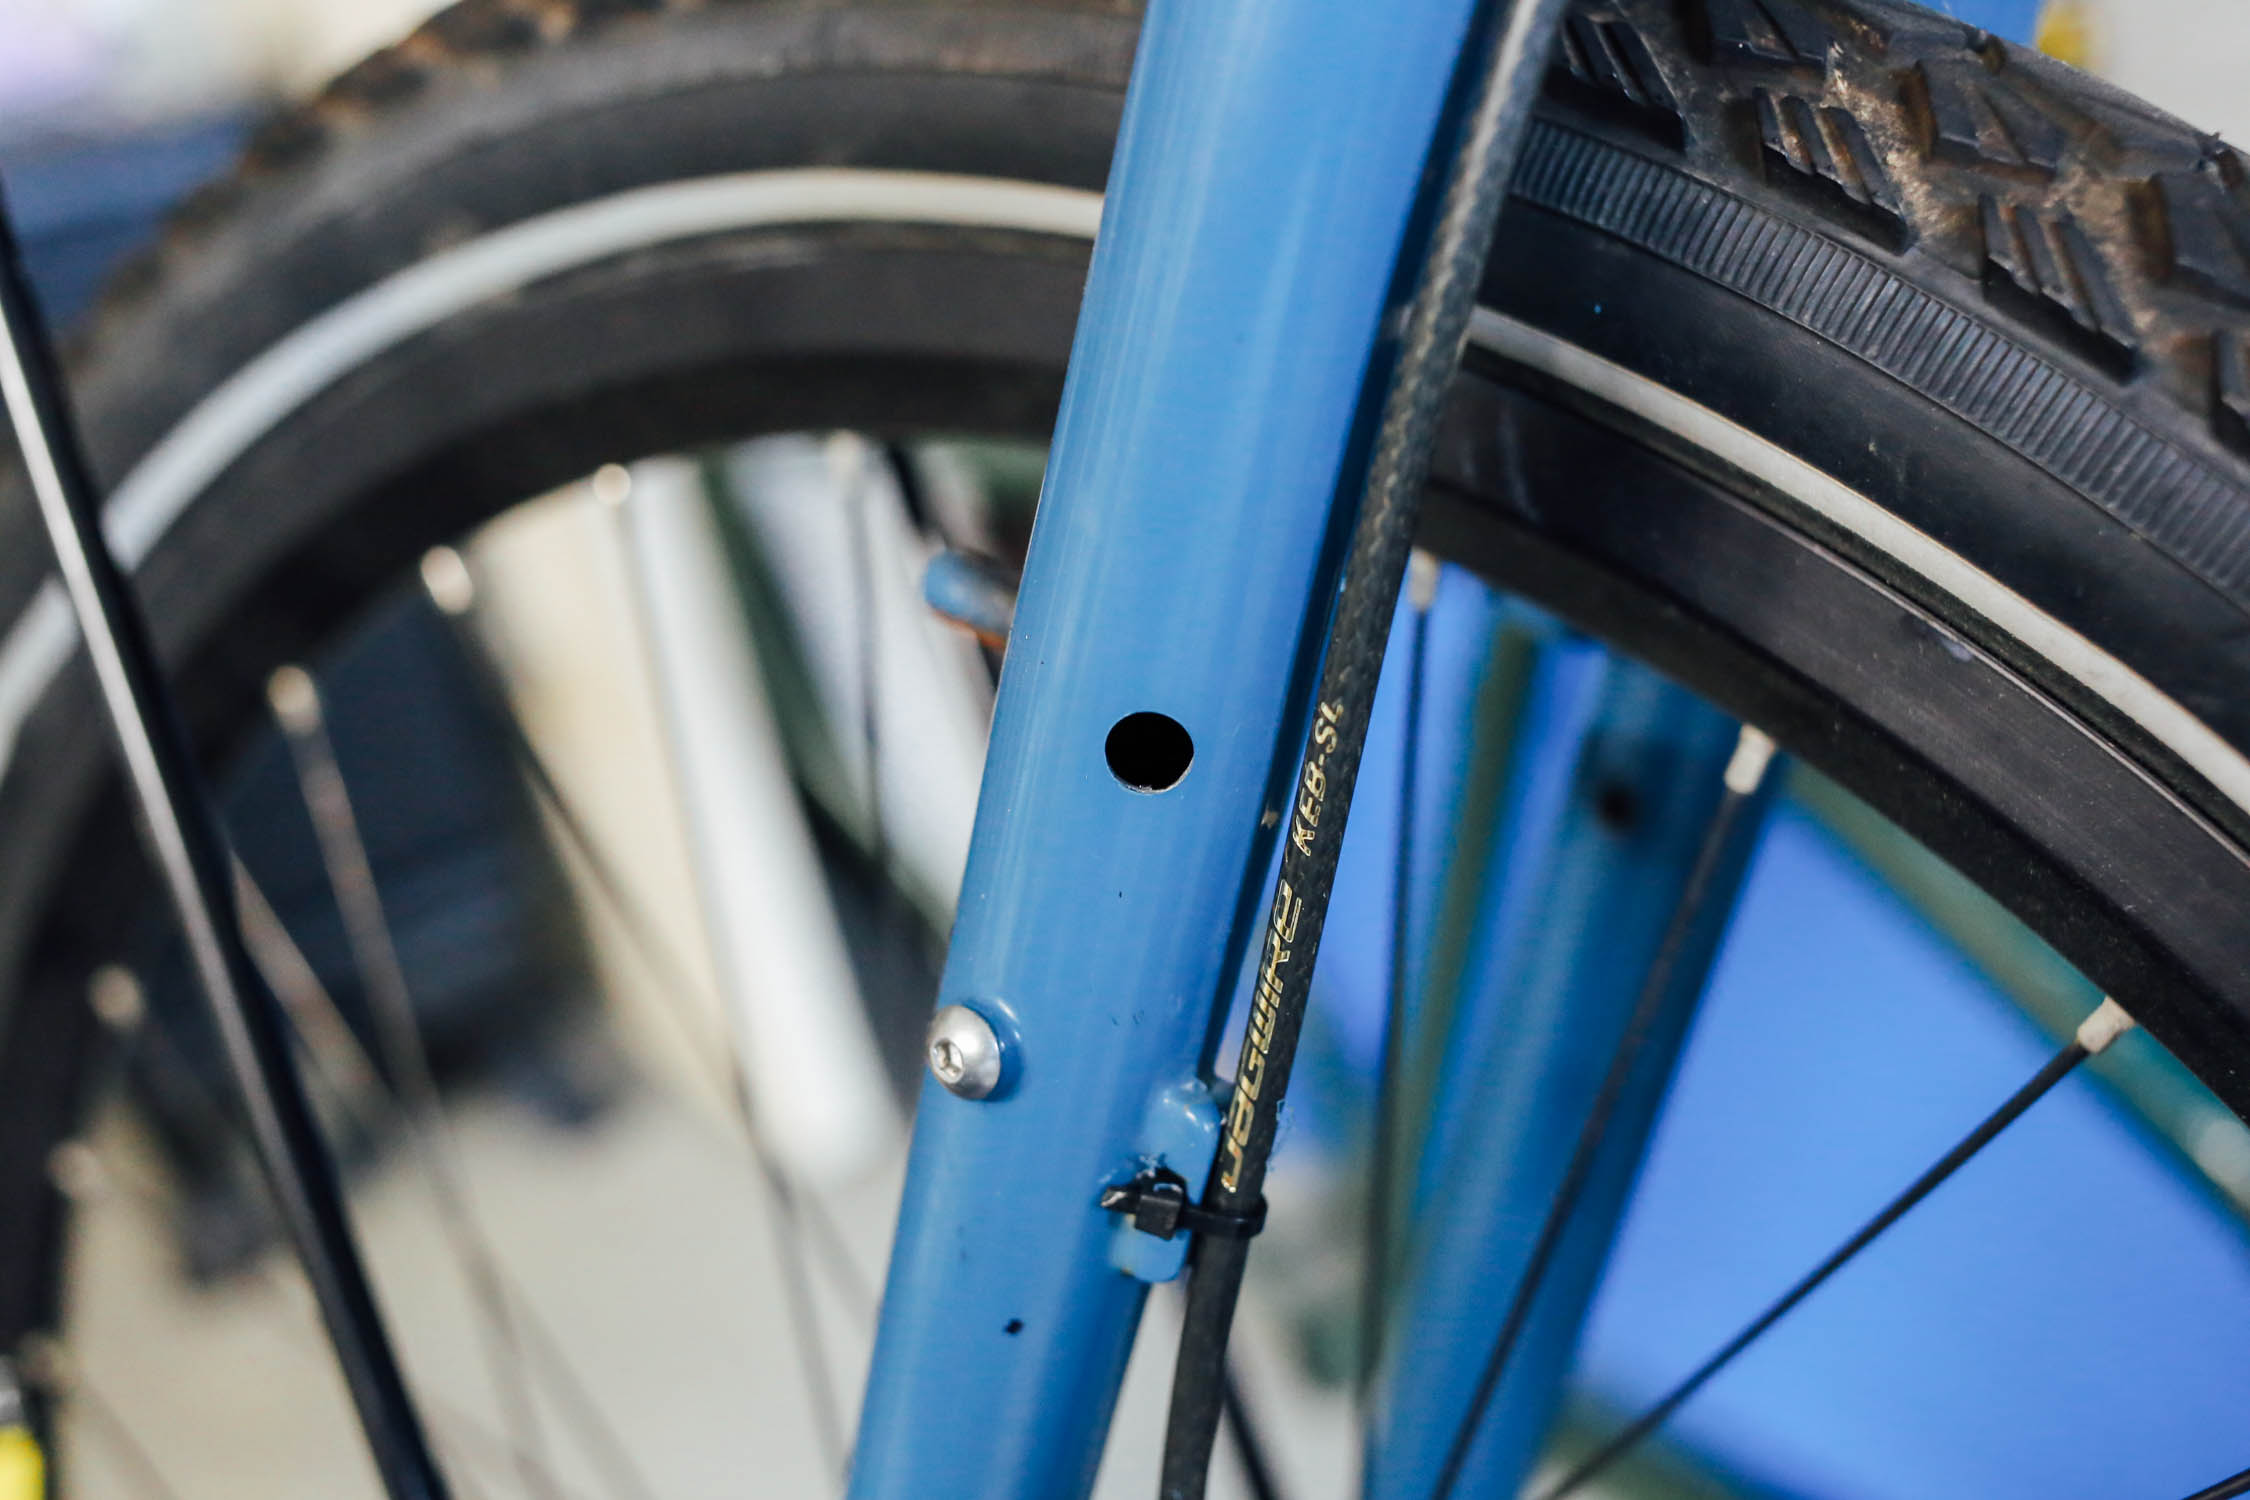
2. Drill holes
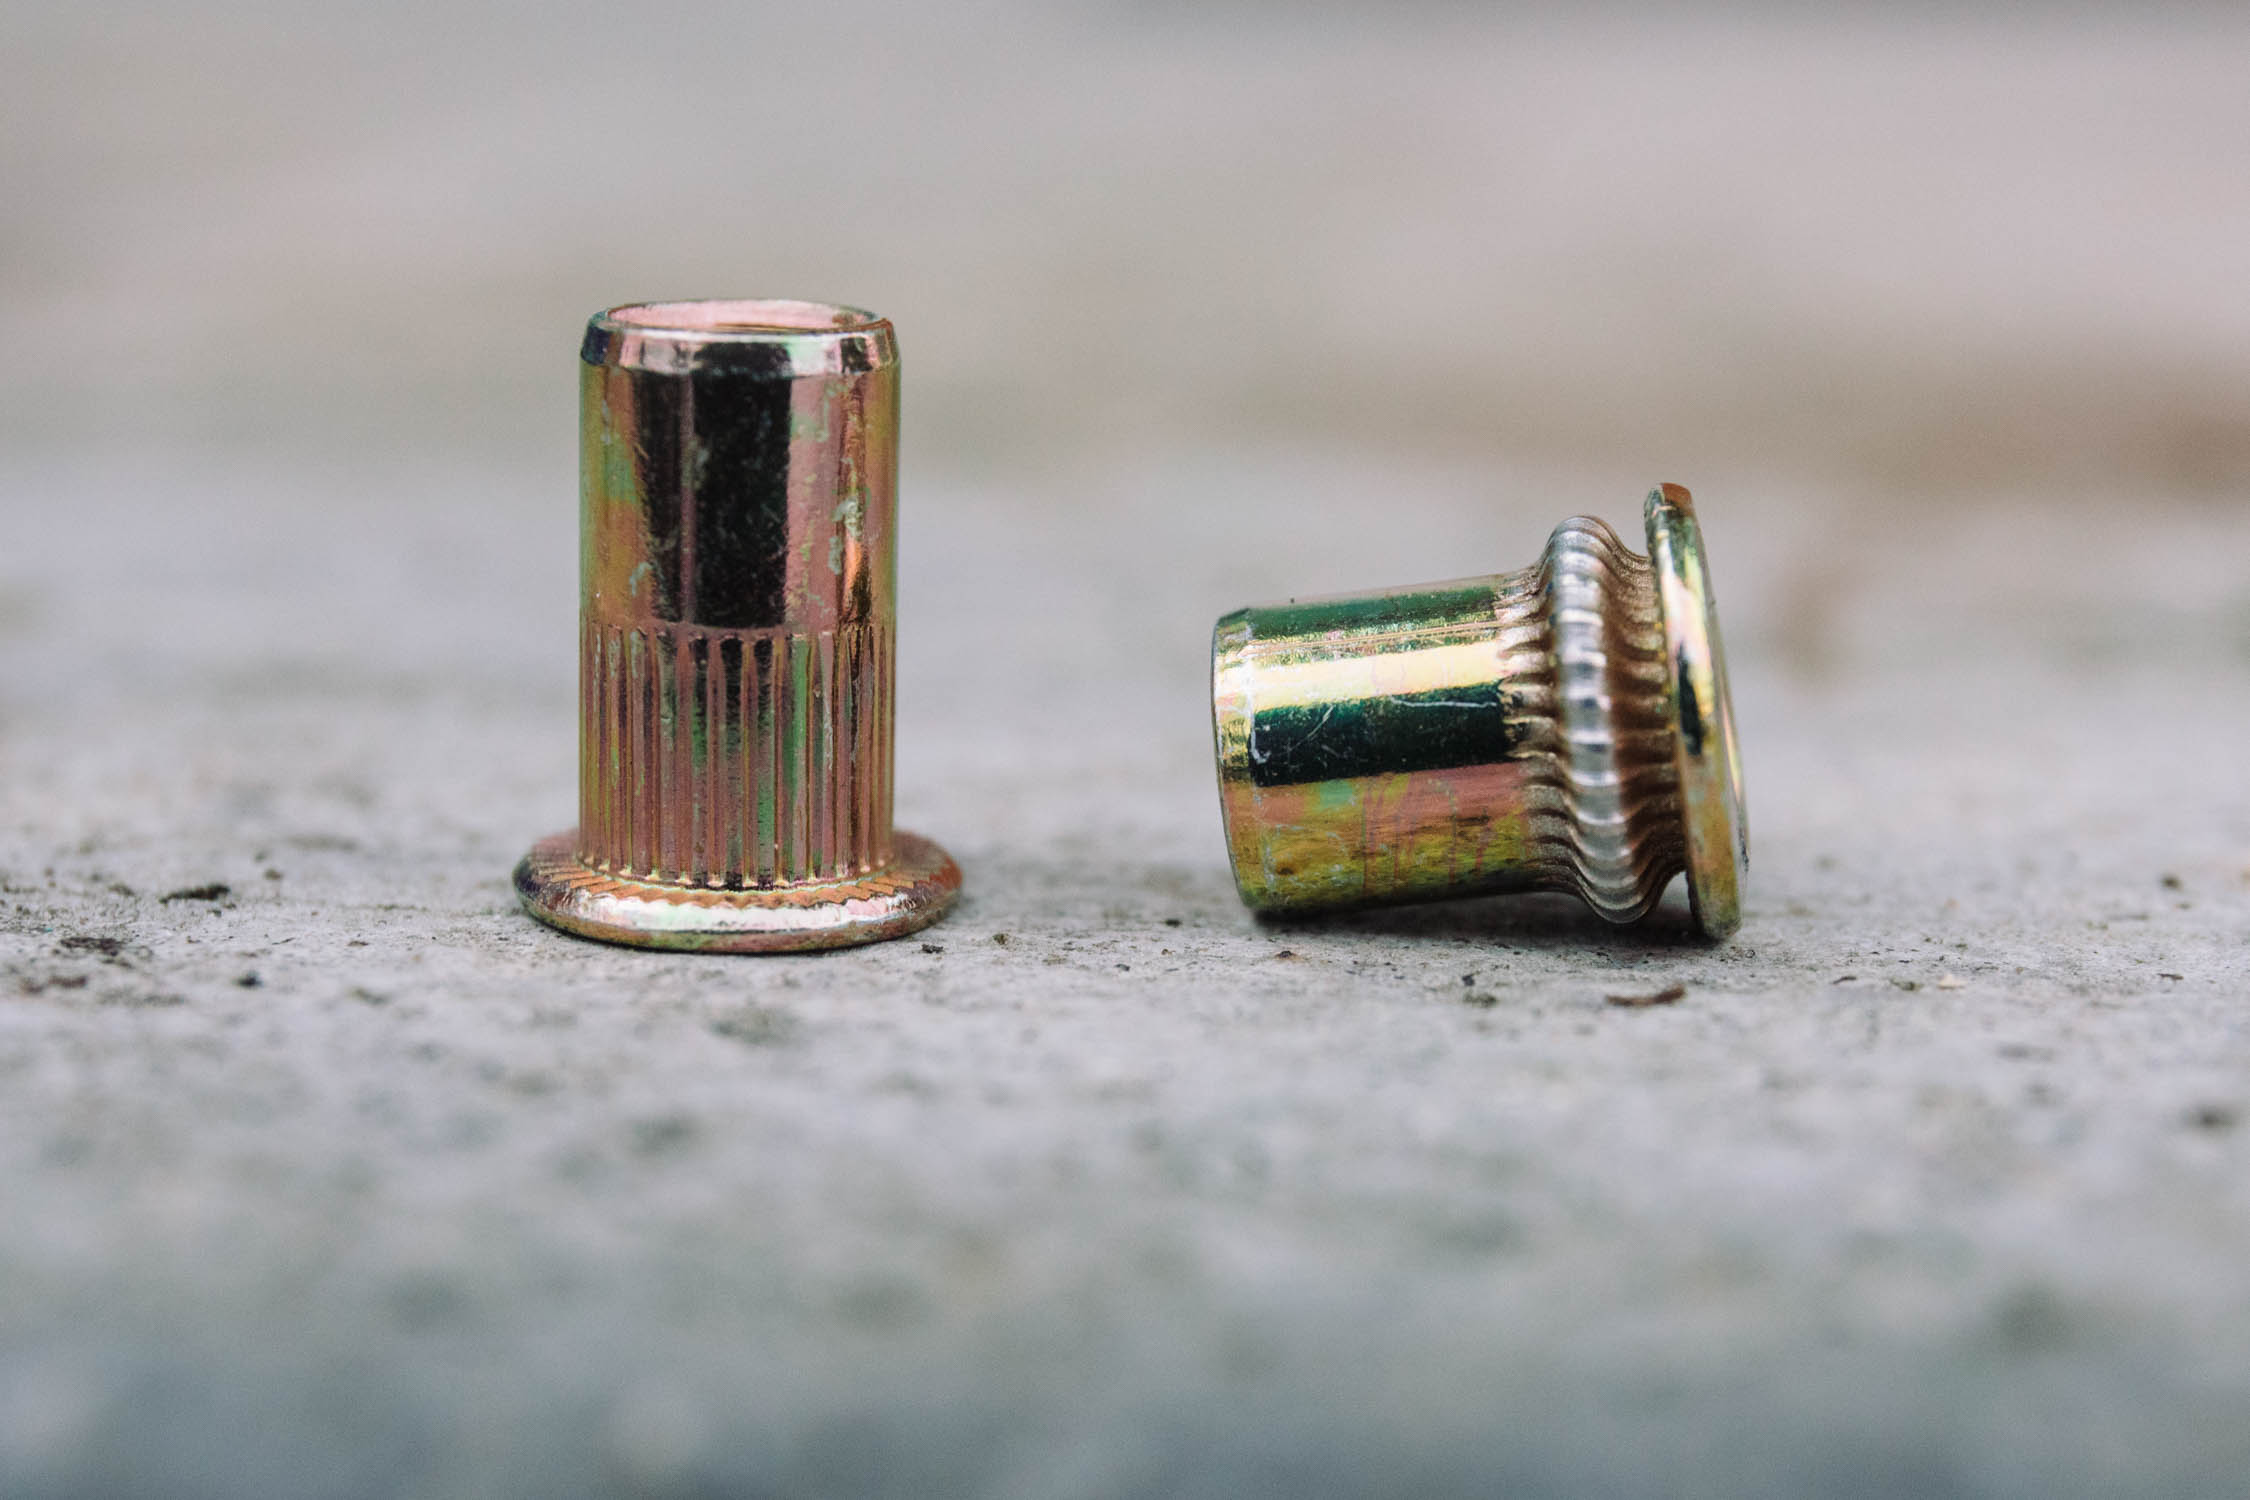
If you aren’t using a clamping guide as outlined in 1b above, drill a pilot hole using a sharp 3mm (or 1/8″) drill bit. Then use either a 7mm drill bit, or a step drill bit to finish the 7mm hole. Make sure the holes aren’t too big. As shown below, the clamping area of a rivnut is only 1.5mm. If the holes are too tight, use a fine round file to remove excess material until the rivet nuts can slide into place. Either way, after drilling the holes, deburr the edges with a small round file or a sharp knife. According to some frame builders, this is the key step to not harming the integrity of the frame when adding braze-ons.


3. Apply JB Weld
Mix up a little JB Weld or JB Quick and apply to the riv-nut prior to installation. When the rivnut is clamped into the tube, the JB weld helps secure it and keep it from spinning in place, should it loosen over time. Plus, it helps seal any raw metal from the elements.
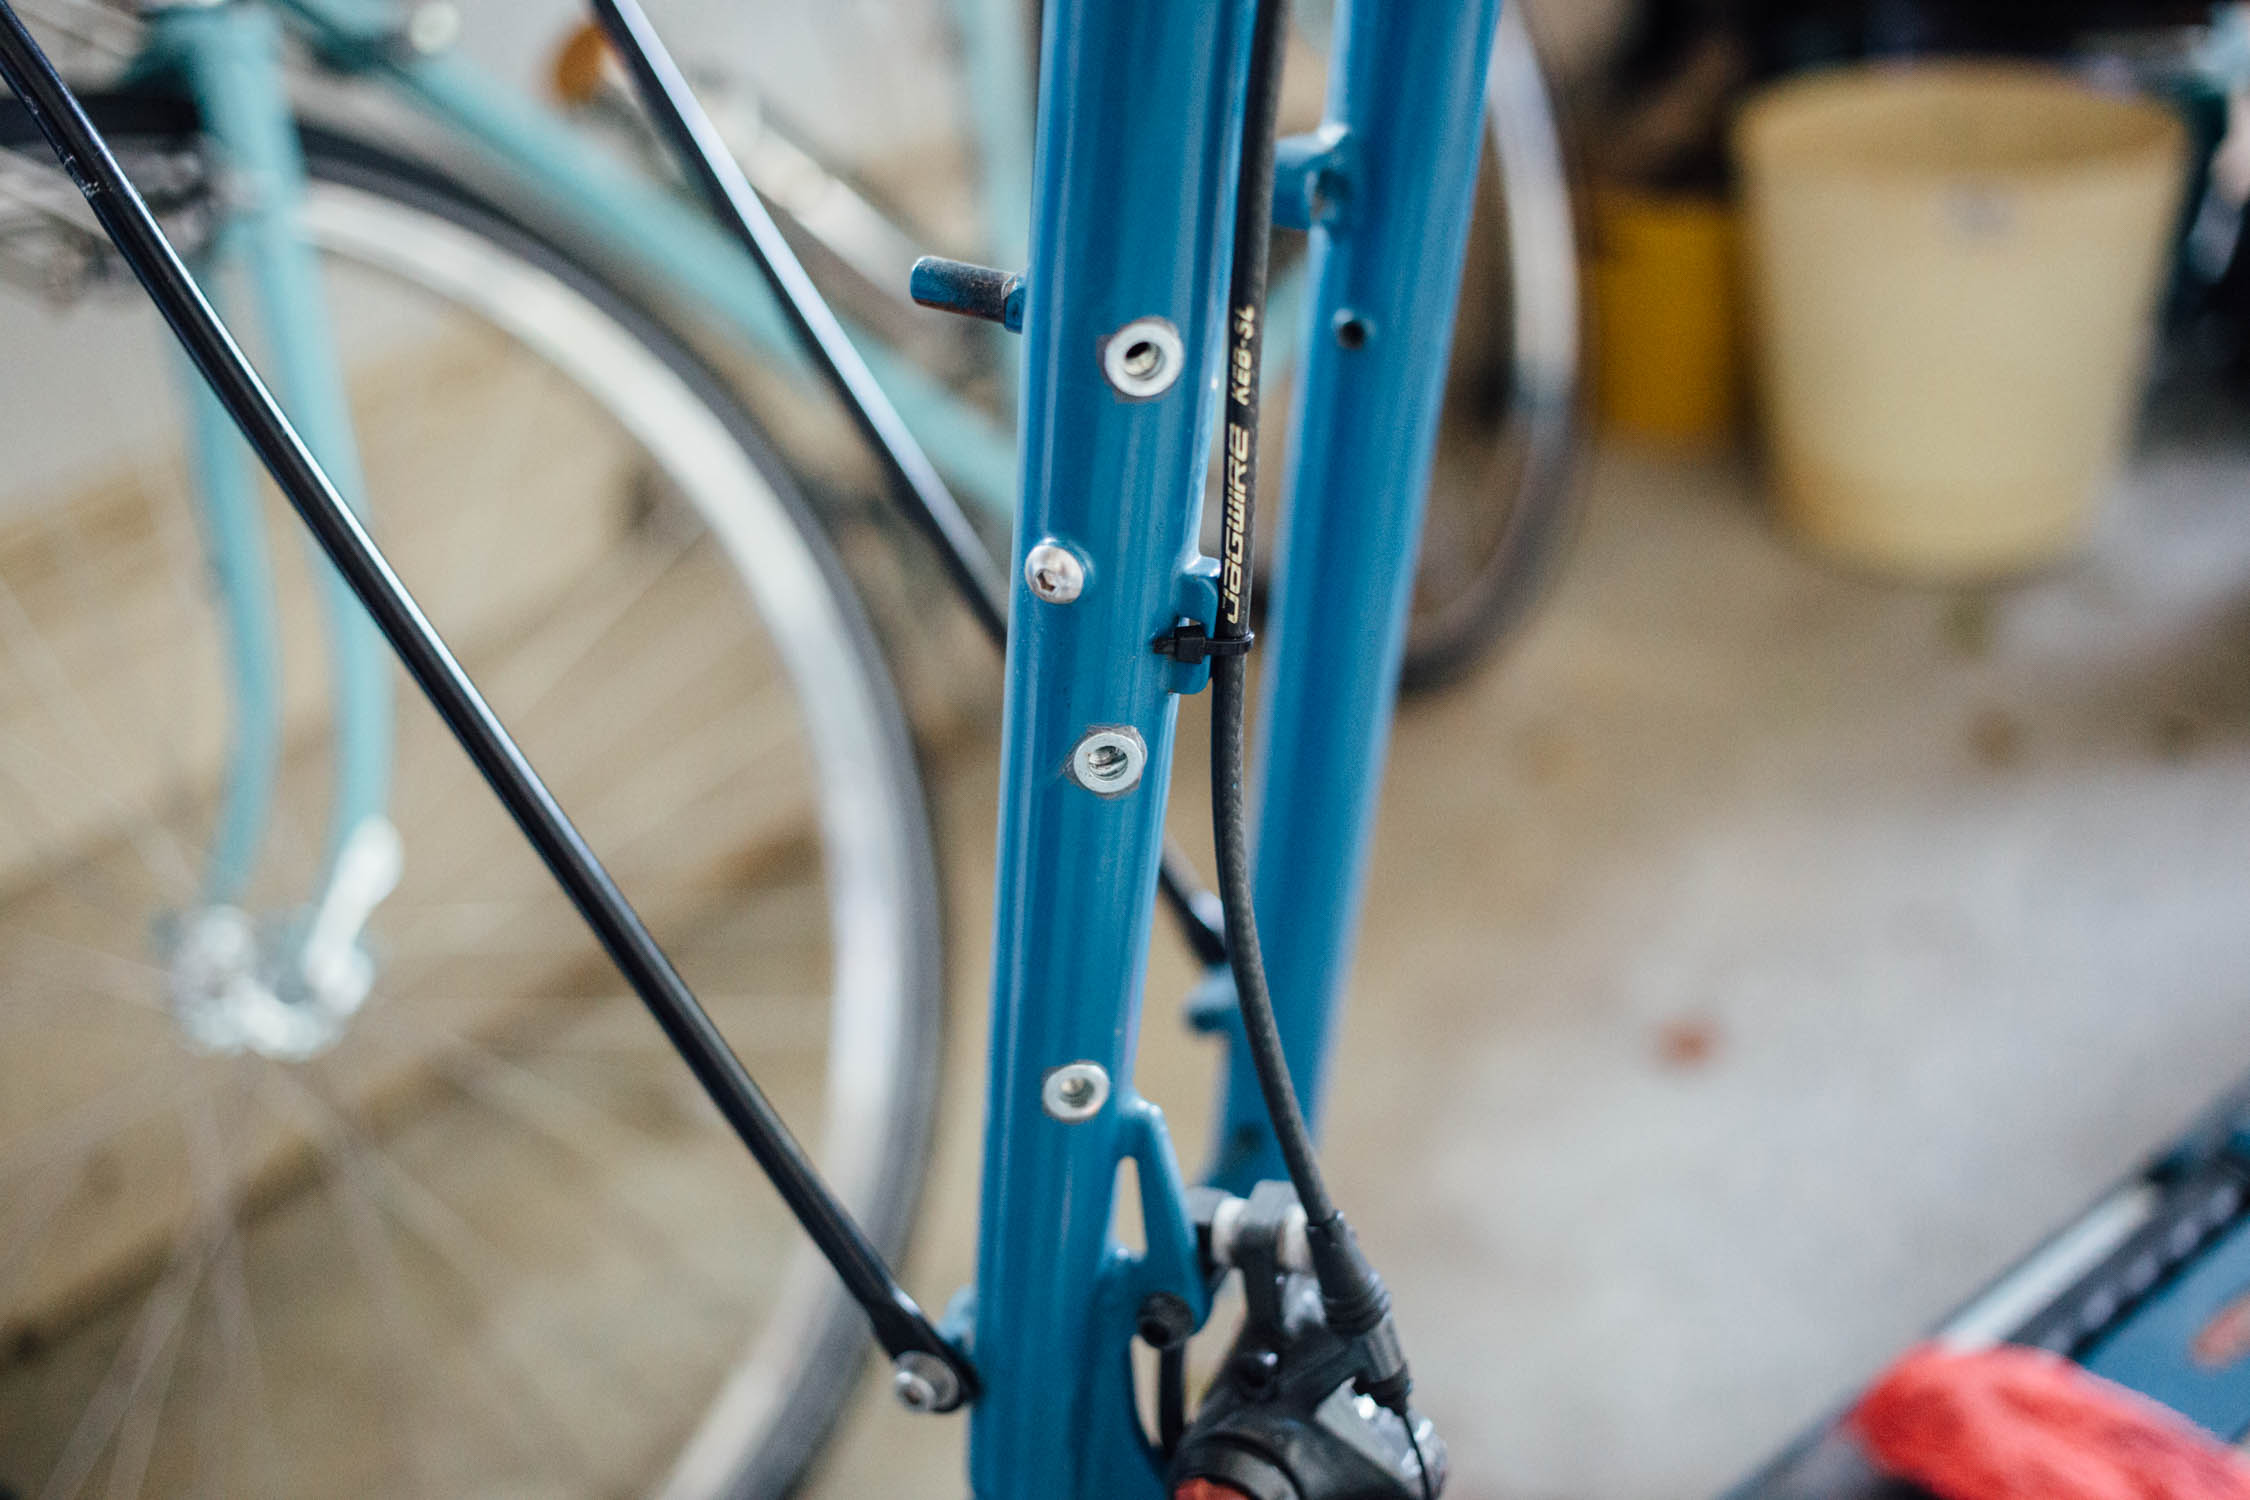
4. Install the Rivnut
Using the rivet nut tool, set the rivnut into place. Warning, with hard steel threaded inserts, this takes some strong hands with the plier grip style rivnut tool I used. As mentioned, this cheaper, manual version is a solid option that’s actually easier to fully engage the rivnut (see video below for a DIY version of this). Once the rivnut is installed, wipe off the excess JB Weld and let it sit overnight. Congrats, you just voided your bike’s warranty; now go ride it. :)
Wrap Up
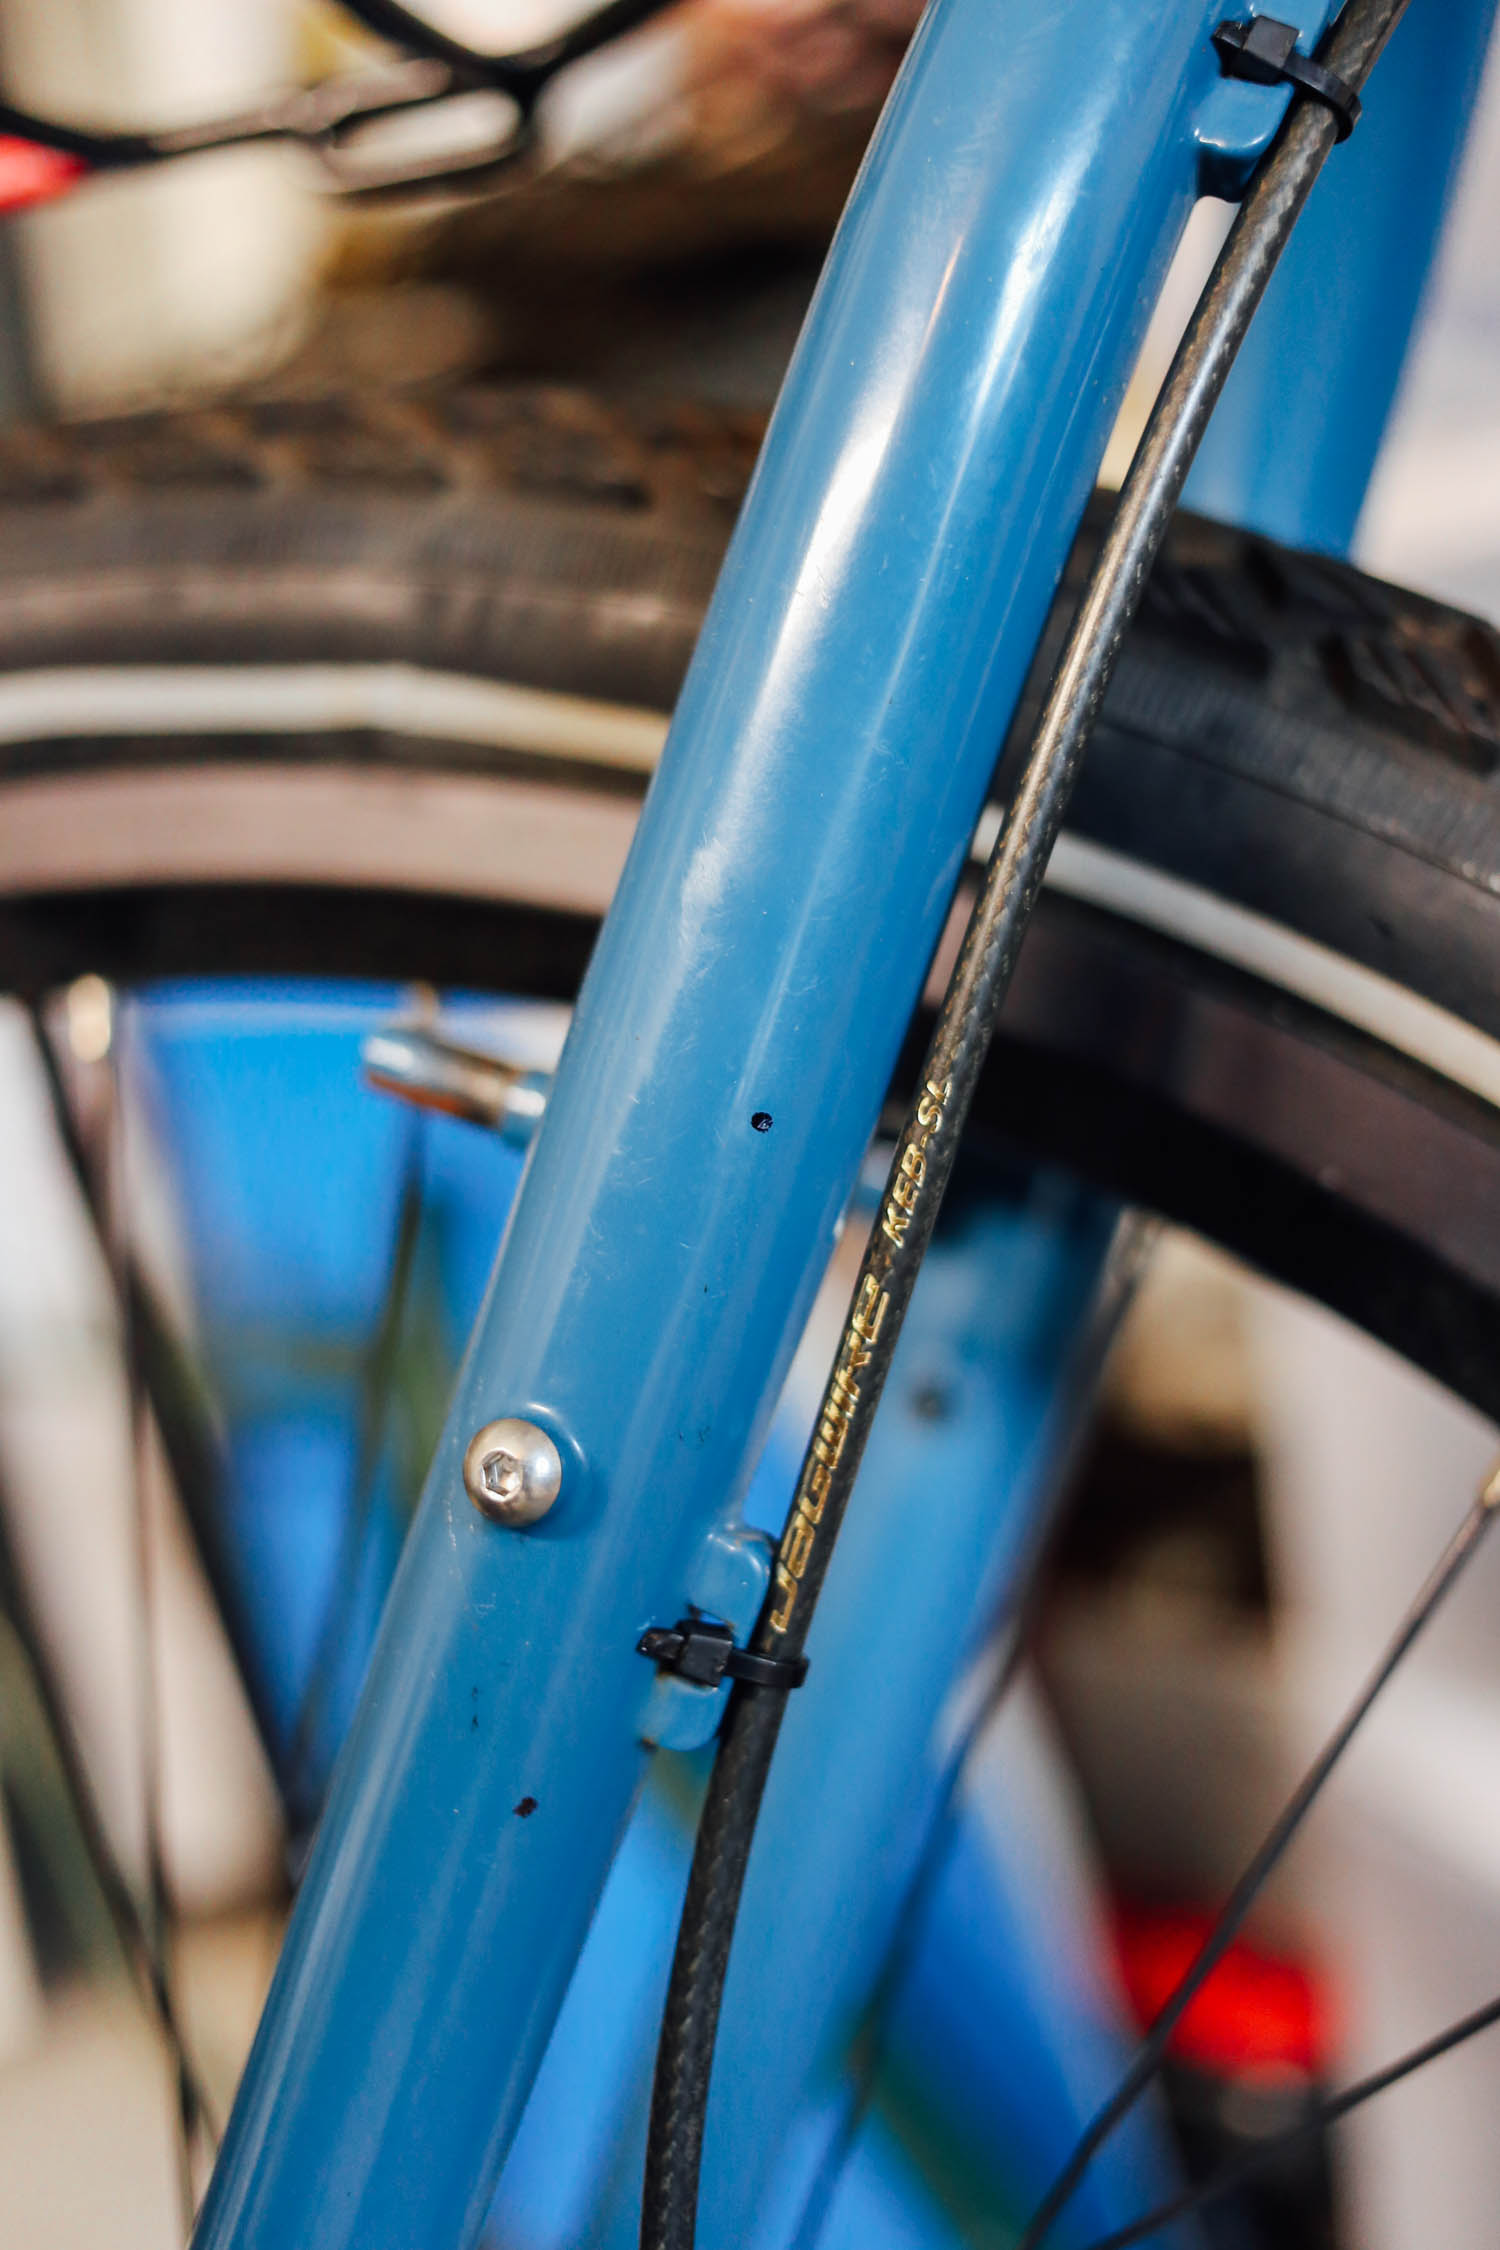
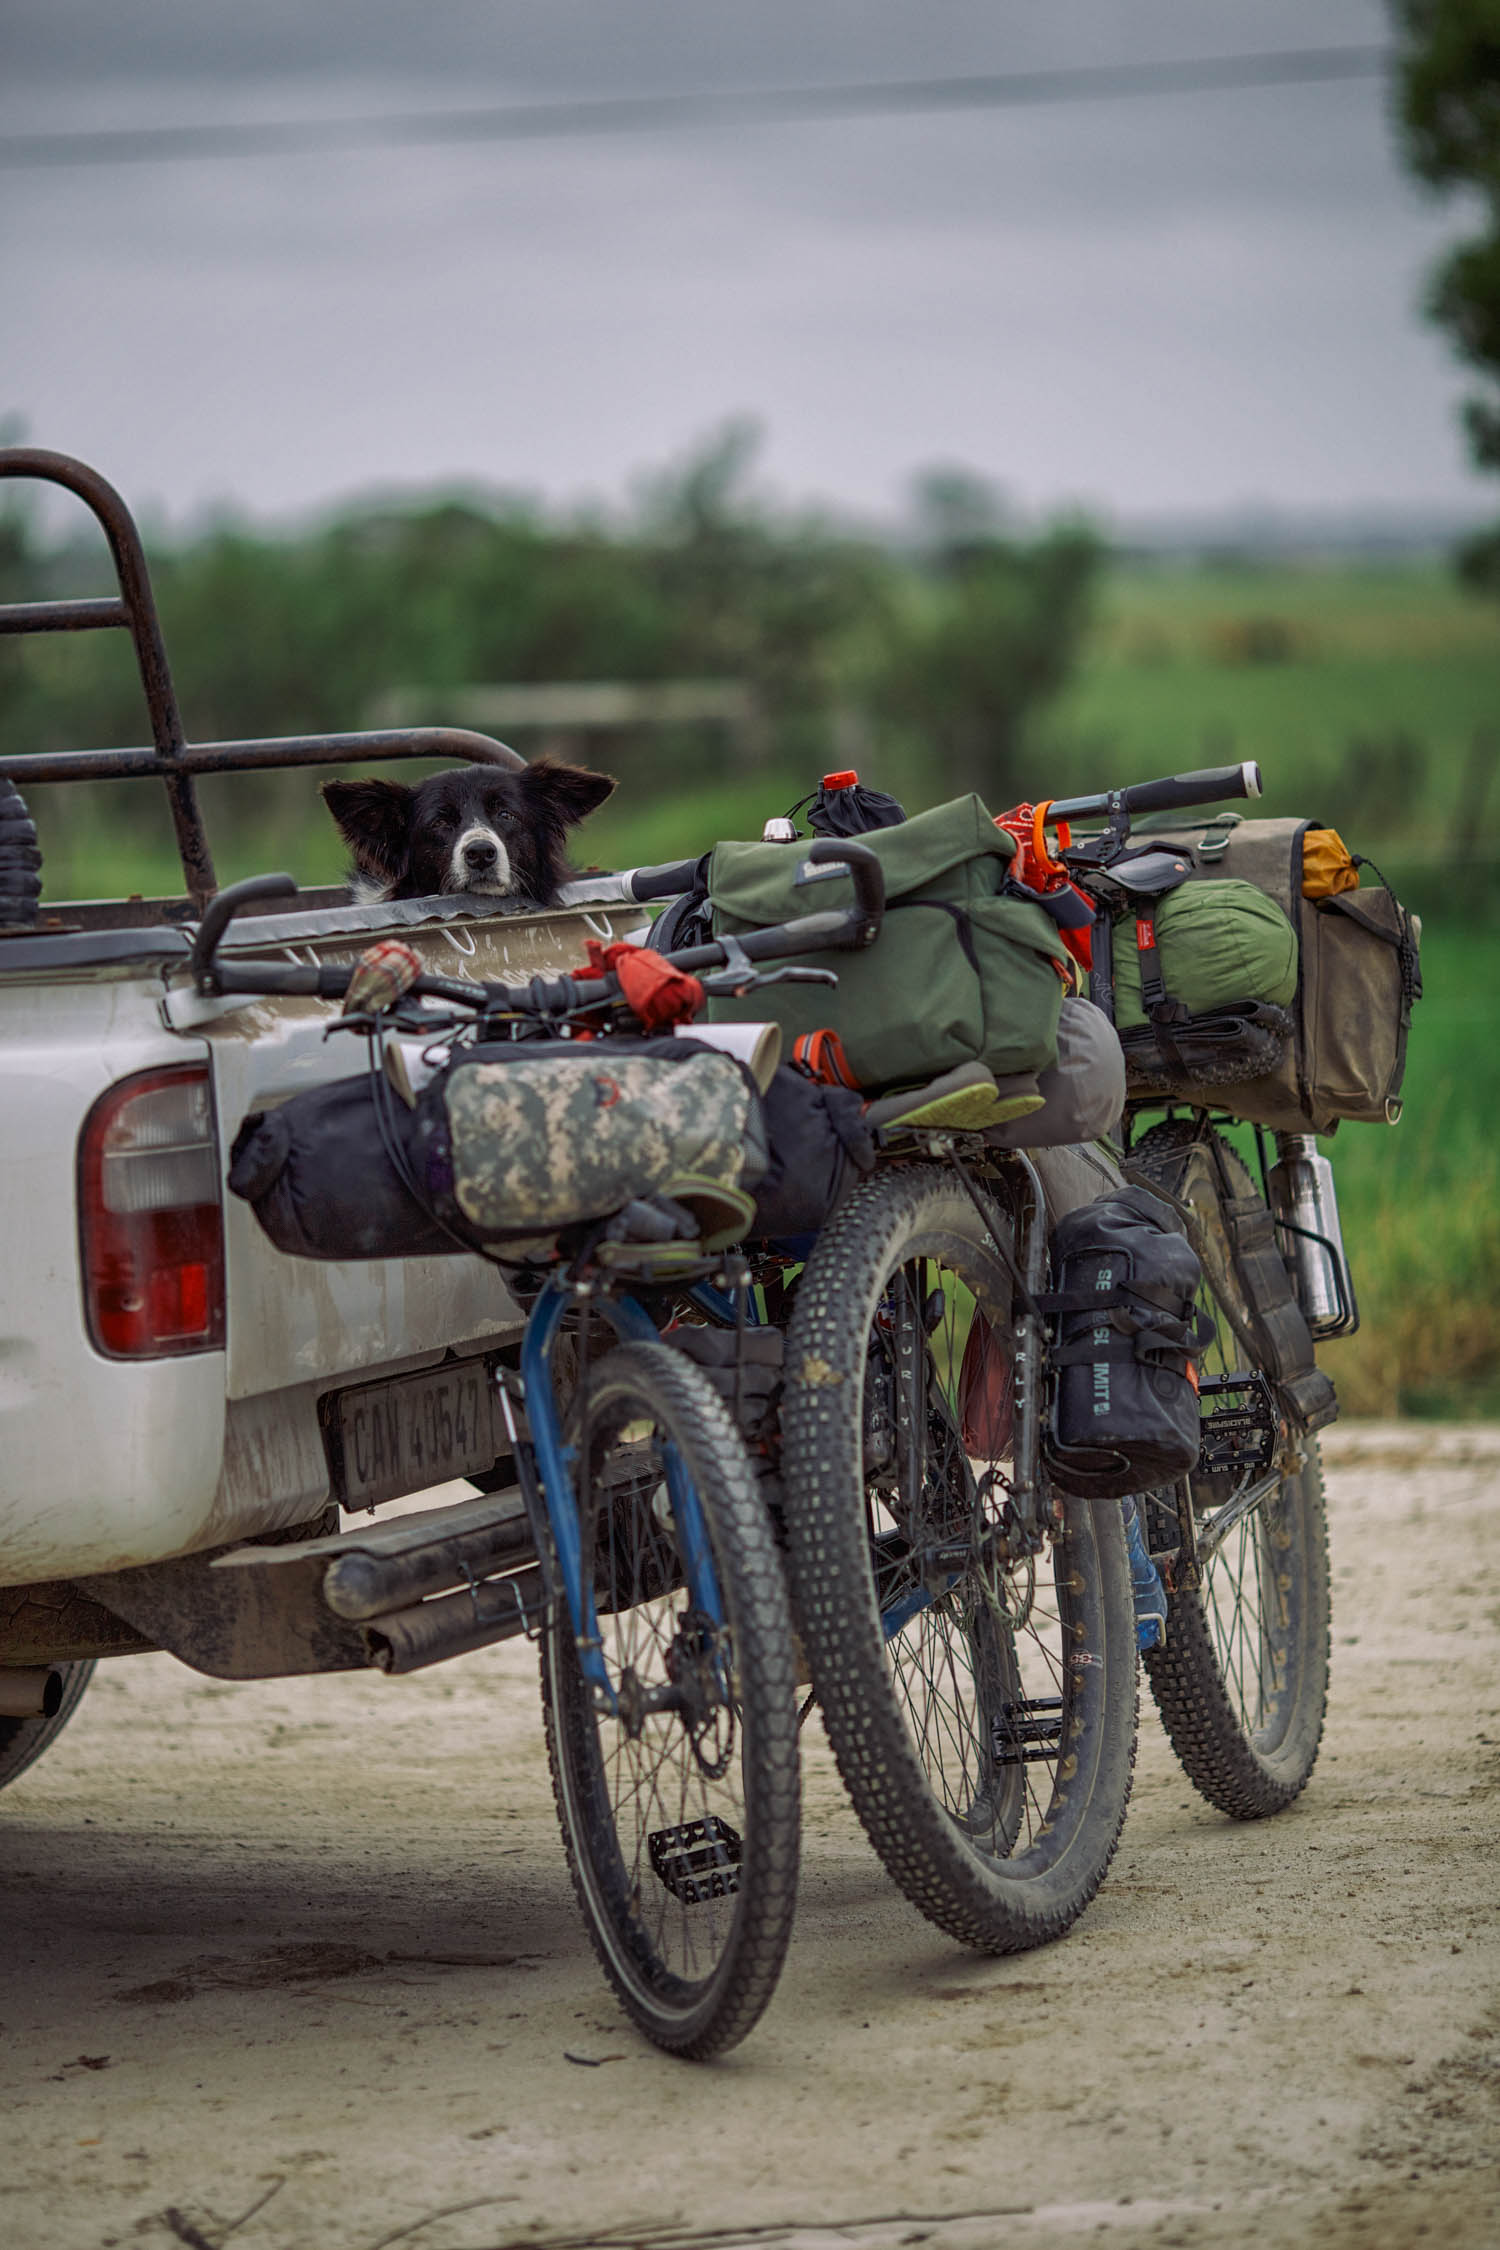
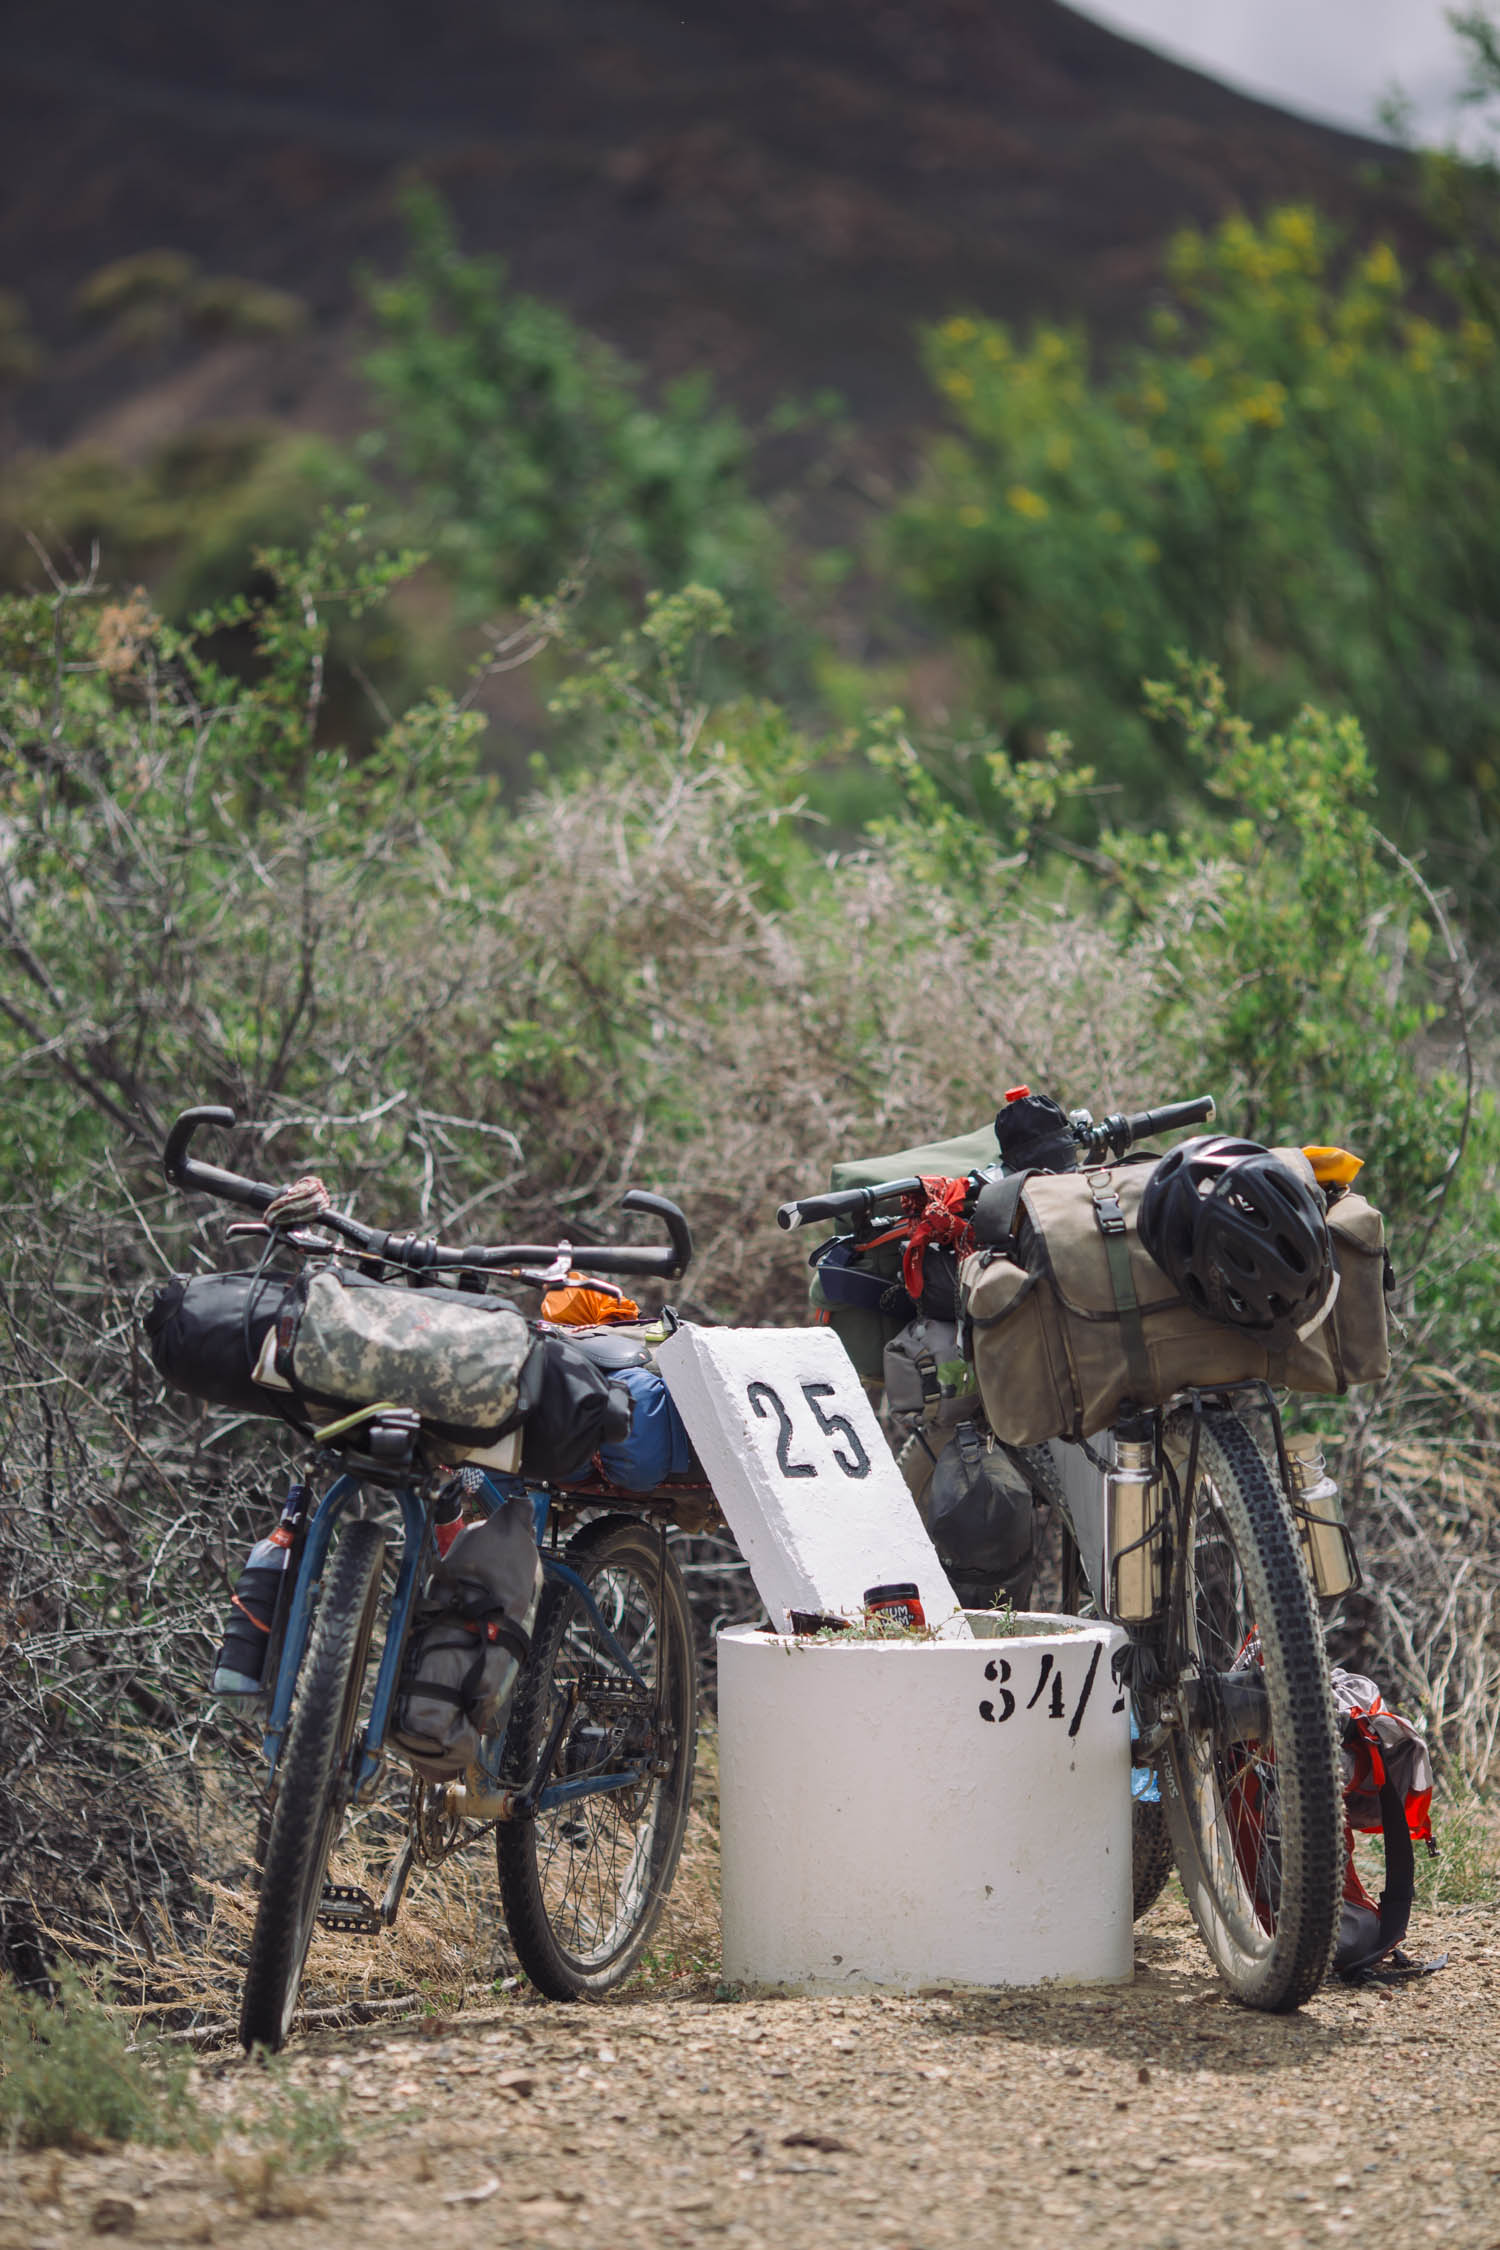
Ultimately, Gin’s Surly Troll saw thousands of miles from Cape Town to Tanzania after these rivnut bottle cage mounts were installed. The Anything Cage eventually broke—as did most of Salsa’s V1 Anything Cages. We had it welded in Lesotho, but then it broke again (no fault of the riv-nut bosses). Afterward, she carried an oversized bottle cage in its place. The rivnuts never came loose or had any issues to speak of.
If you’re interested in adding bottle bosses, and don’t mind permanently defacing your fork or frame, this is a good solution that can be implemented for a fairly reasonable price. Structurally, the Surly fork remained intact and showed no issues. That said, we can’t claim the same outcome for all forks, and some would argue that rivnuts weaken bike tubes. So, if you’re in doubt, check with a frame builder or a mechanic. Would I do it again? Yes, but I like to tinker. However, there are plenty of great options for adding mounts to your frame without wielding a power drill, and more and more bikes are coming with plenty of bottle bosses. But if you don’t mind putting a few holes in your bike, it does offer a cheap, working option and a clean look.
Have you installed rivnut bottle cage mounts on your bike and had success, or failure? If so, leave a comment below.
Please keep the conversation civil, constructive, and inclusive, or your comment will be removed.
We're independent
and member-supported.
Join the Bikepacking Collective to make our work possible:


