


Bikepacking Recipe: Holy Moly Granoly Bars
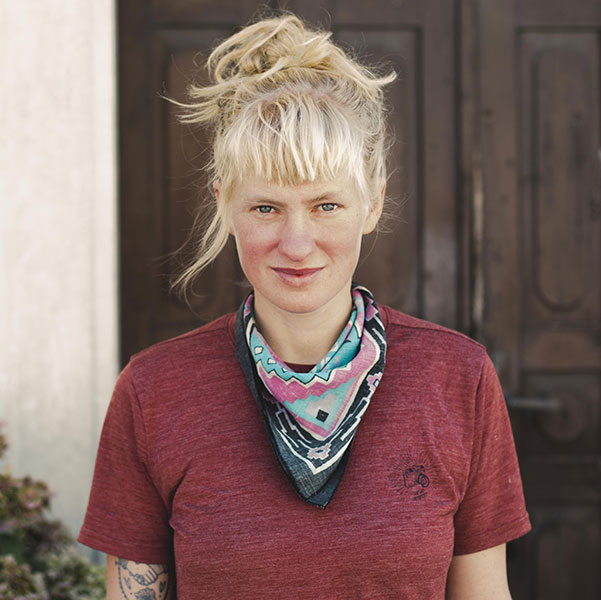
Hesitant to buy another expensive, sugar-packed, individually wrapped energy bar, Franzi Wernsing teamed up with chef Mario Presi to create the Holy Moly Granoly Bar, a snack that tastes great and is built to survive being bashed around in a handlebar bag. Find the recipe here…
Having sustained myself for a long time on a limited variety of pasta dishes and sugary biscuits during my bikepacking journey across the Americas, I’ve become increasingly interested in how to integrate healthy and sustainable foods into my diet while bikepacking. While living on the road, I often found it challenging to find foods that fit the budget, provided enough energy, didn’t take up much space, and survived being bashed around on the bike for days on end. Unfortunately, not many made the cut besides pasta and chocolate cookies (delicious as they are).
Now that my partner Jona and I are back in Europe and have a more permanent home, we’ve been excitedly experimenting with making our own provisions for our bikepacking trips. Although most supermarkets stock a seemingly endless variety of “nutrition” and energy bars, we don’t appreciate that they typically come individually packaged, include a lot of refined sugars, and come with a lavish price tag.
That’s not to say making our own energy bars has been the most straightforward journey, either. Too chewy, too dry, too crumbly. This is why after a few failed attempts, I reached out on Instagram for any helpful advice. I promptly received a message from Mario Presi (@chefonabike), the owner of Alpine Endurance Nutrition. He’s a former pro BMX racer turned enduro and bikepacking geek. He’s also a professional chef. Apart from his day job as a head chef, he’s truly passionate about real food nutrition for performance. He not only offered to help, but kindly even shared one of his creations with me. And after I made the first batch I was sold.
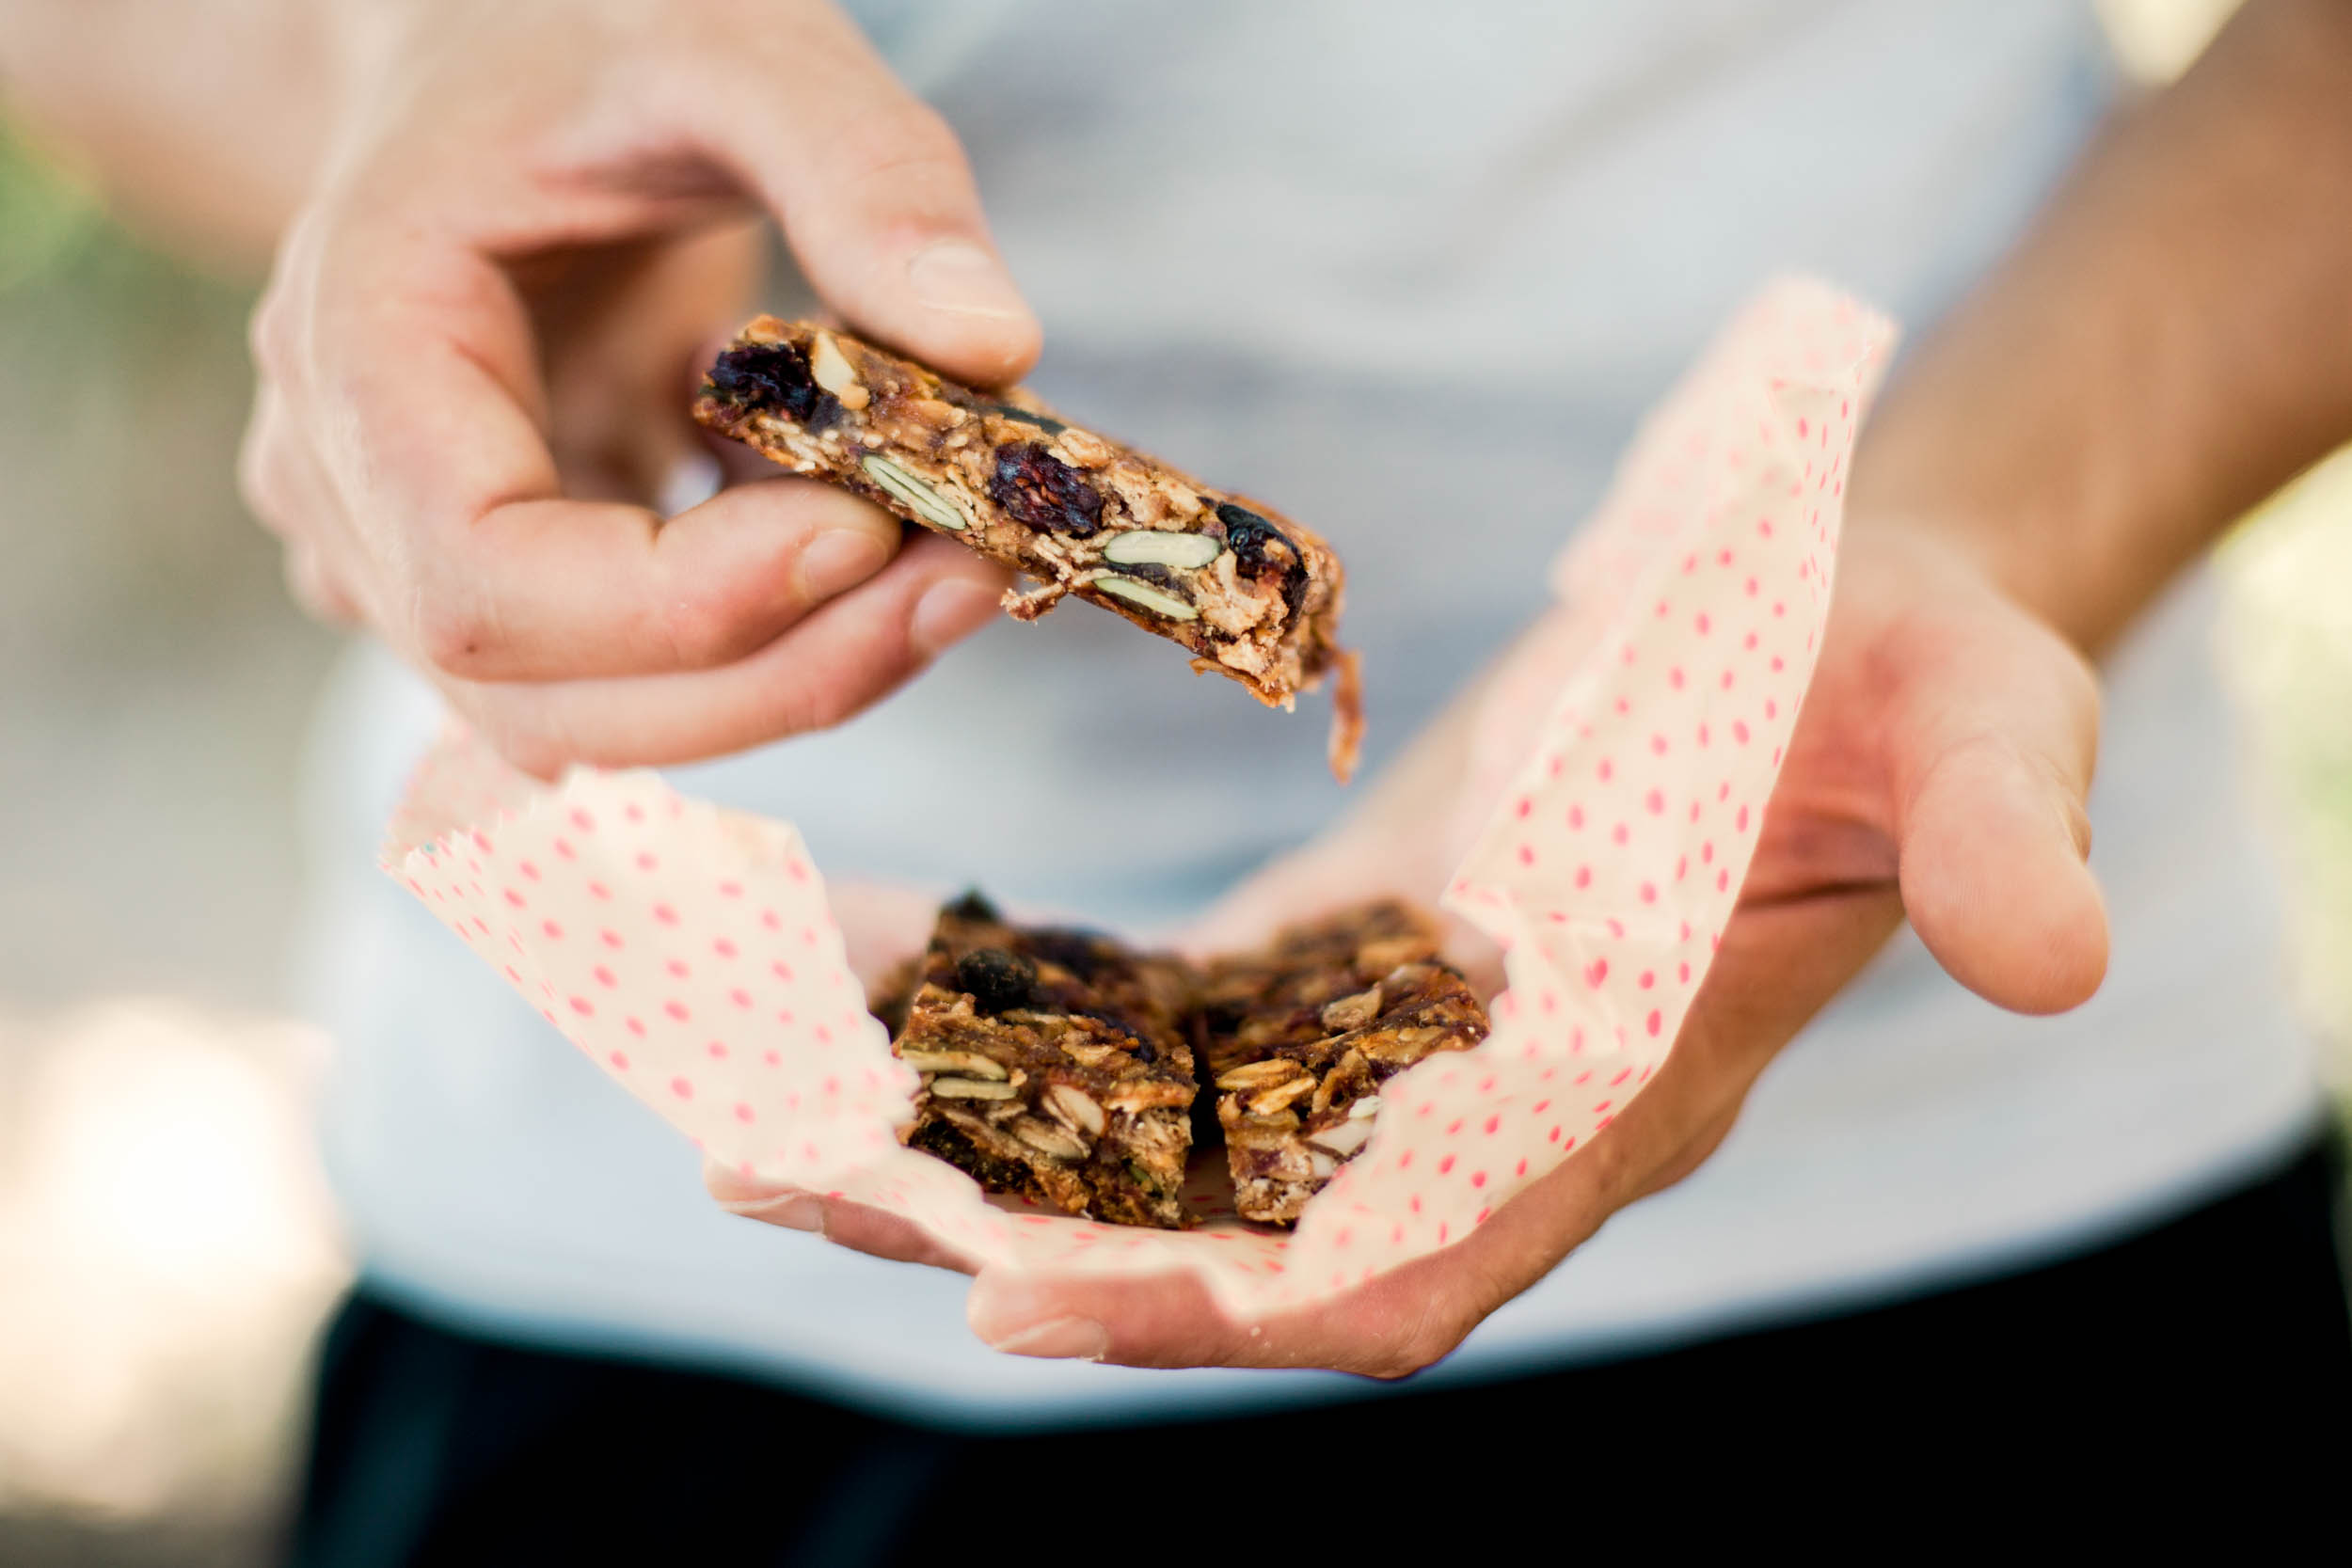
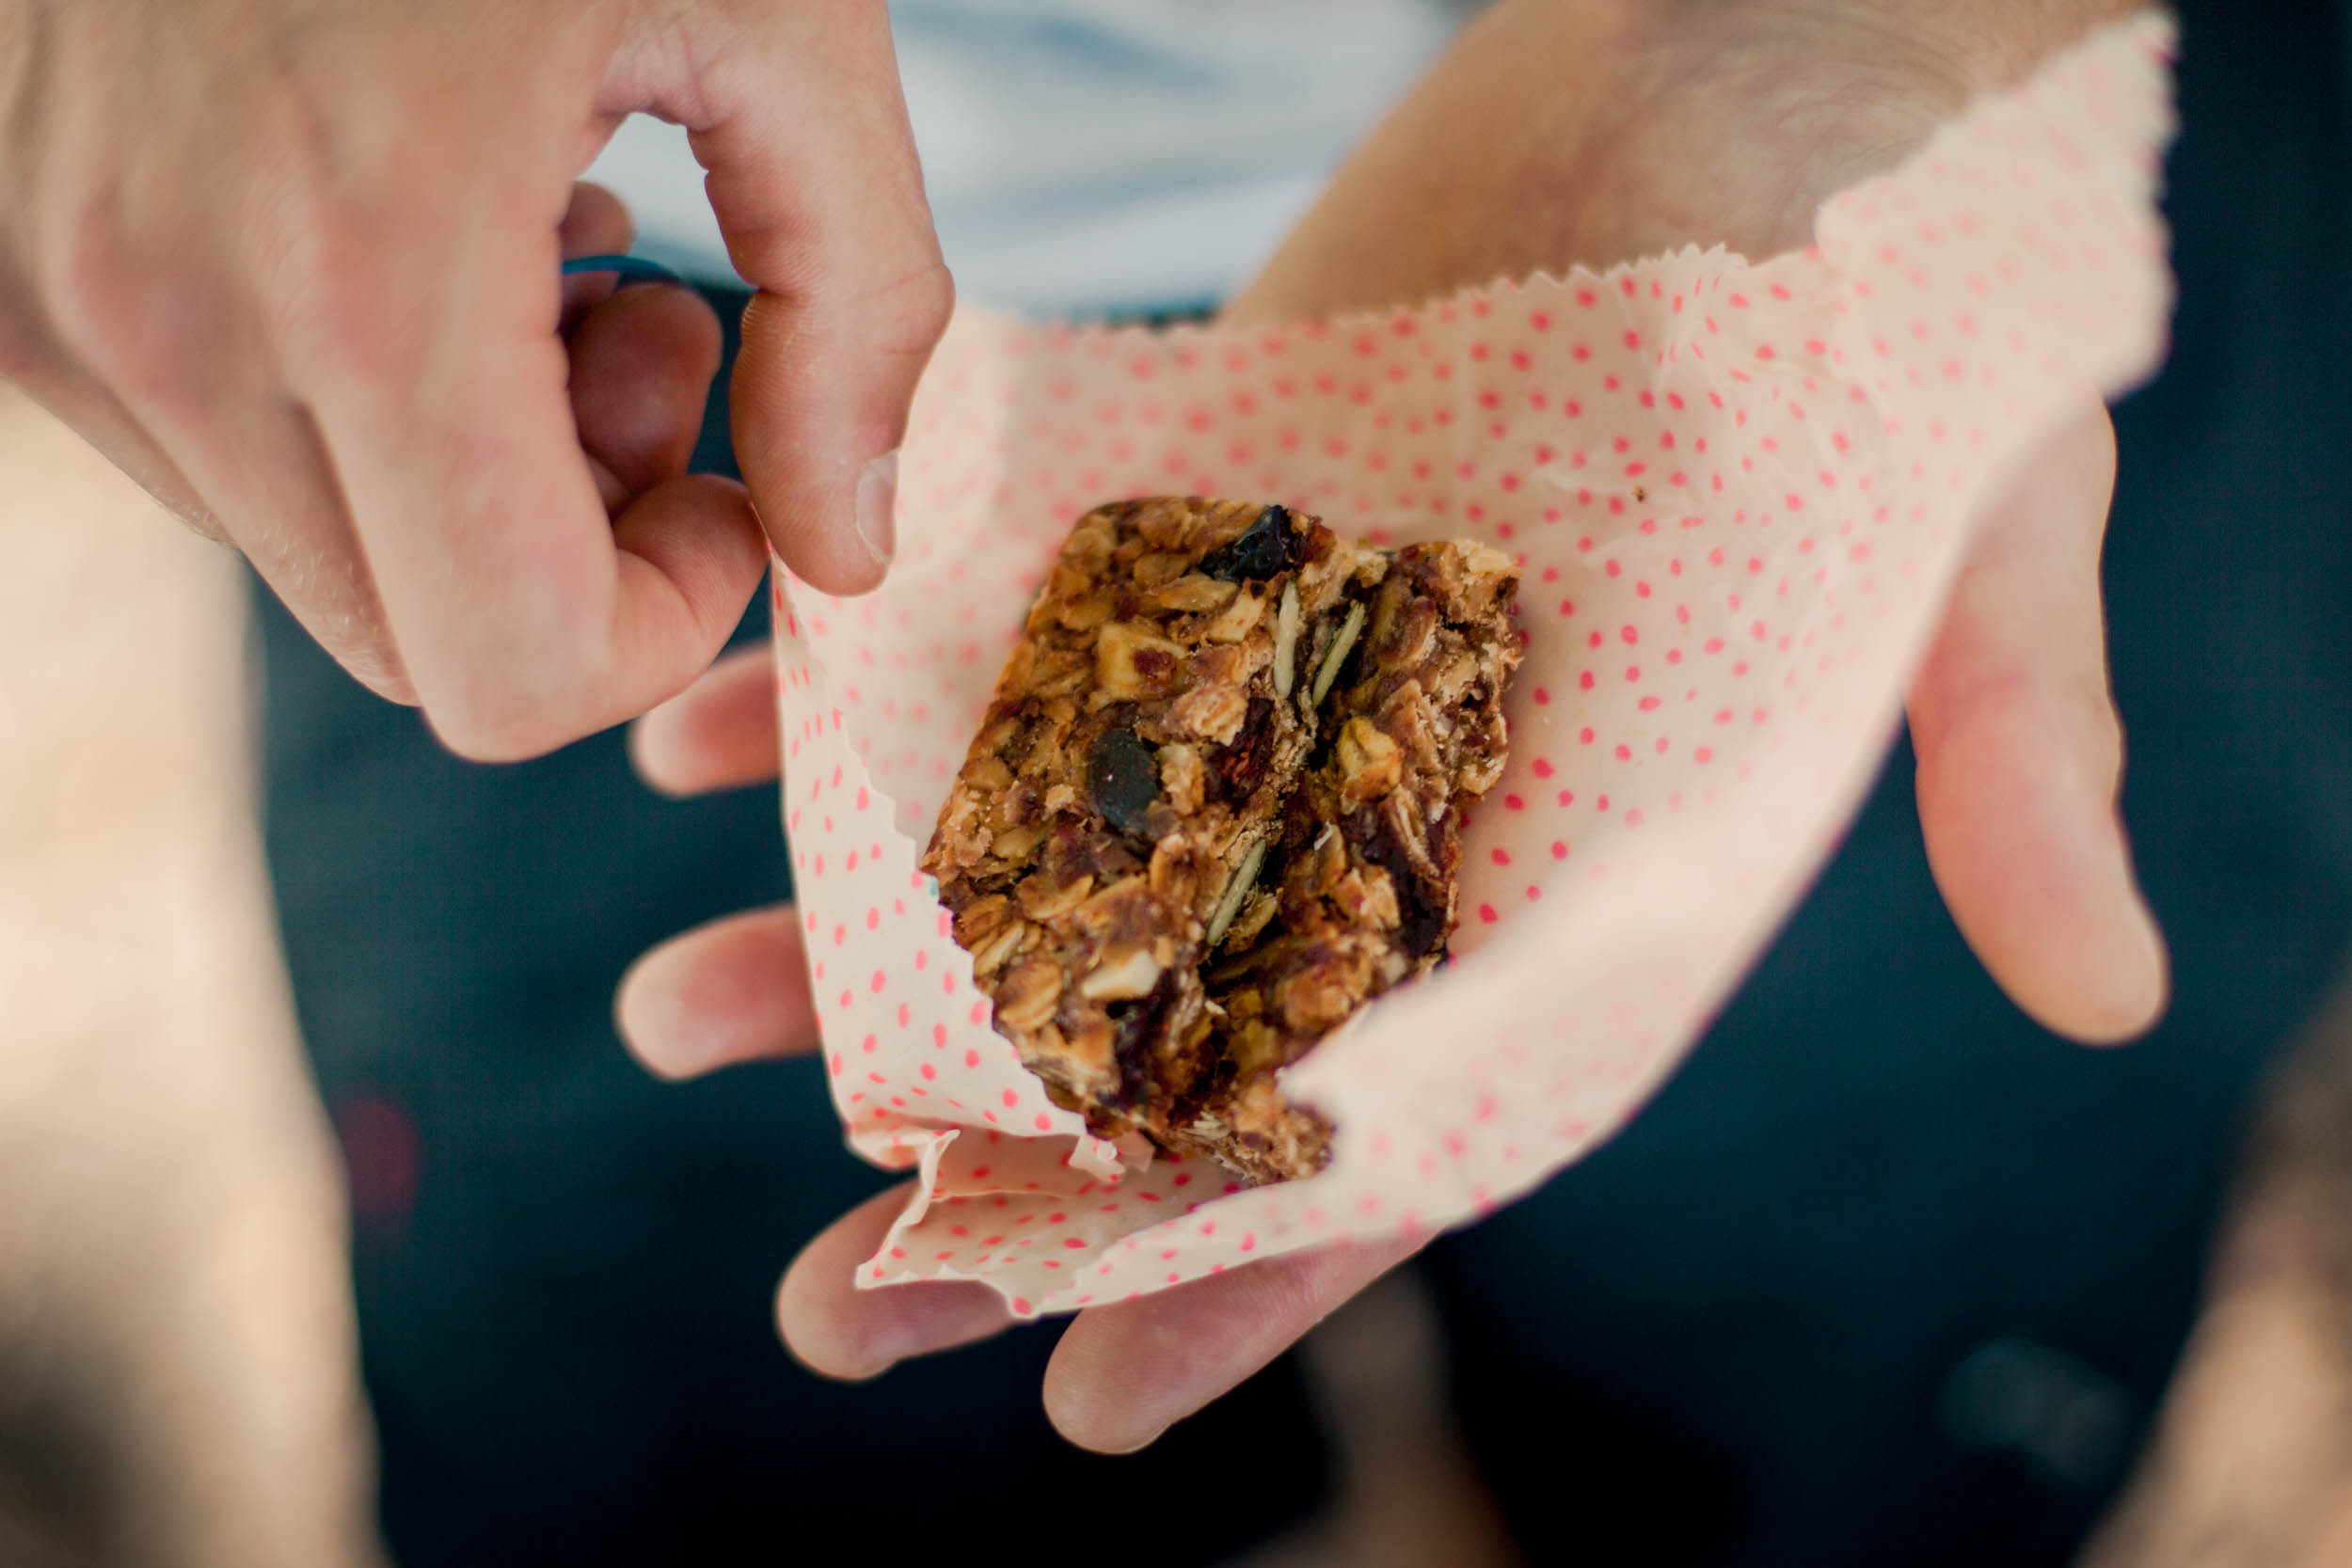
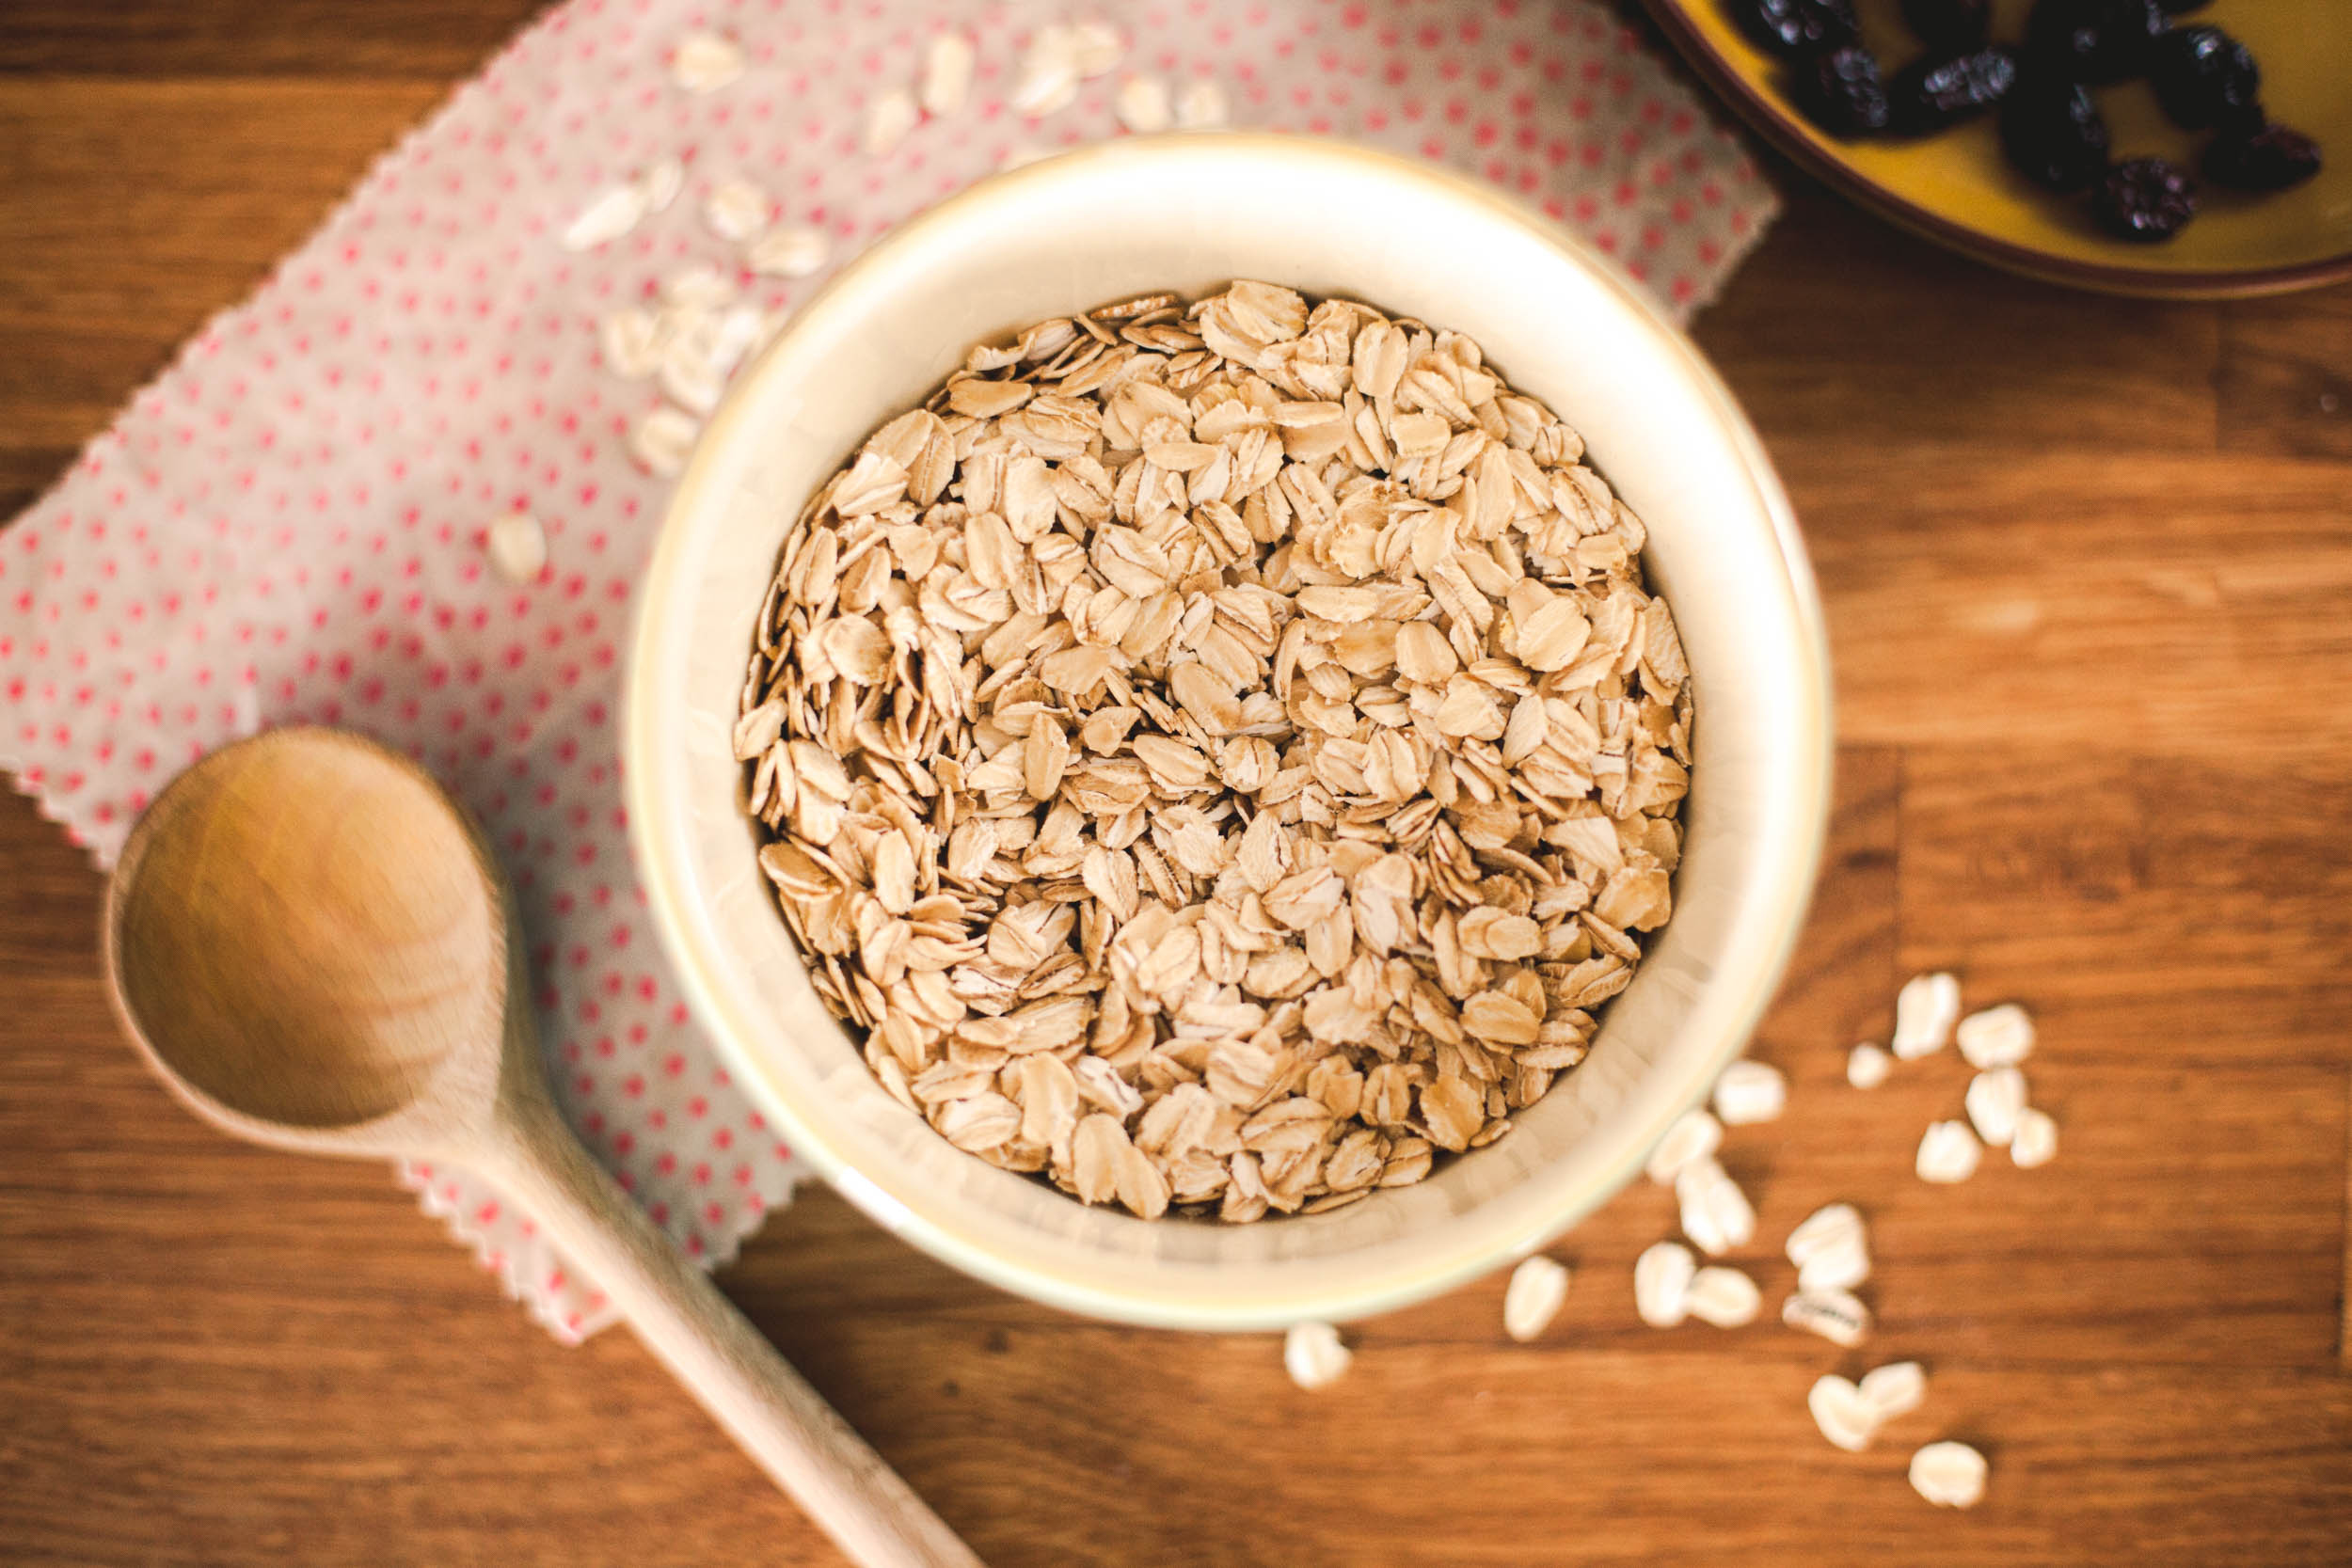
For me, these bars tick all the boxes: they’re easy to make, don’t require any hard-to-get ingredients, and are super tasty. The base of the bar is lightly toasted oats and dates, which not only makes them gluten free, but the sweetness of the dates also means there’s no need to add additional refined sugars to the mix, which I really like. Once baked (the baking process adds flavour and crucially gets rid of extra moisture) and cooled overnight, they can be cut into solid bars that survive bumpy rides with grace. And due to the fact they’ve been baked, they hold up well even in warmer temperatures.
The bars can last up to two weeks in the fridge, and even longer in the freezer (I’m currently testing the exact time, but I’m guessing about a month). For me, that’s a definite advantage because it means I can save time by making the double amount—two full baking trays—and storing them for when we leave on a trip, provided we manage to restrain ourselves from eating them beforehand.

Equipment
- A blender (to puree the dates)
- 1 large bowl
- 1 large spoon
- 2 medium sized baking trays
- 2 sheet of baking parchment
Ingredients (yields 10-12 Bars)
- 3 cups (300gr) rolled oats
- ½ cup (50gr) chopped raw almonds*
- ½ cup (100gr) nut butter**
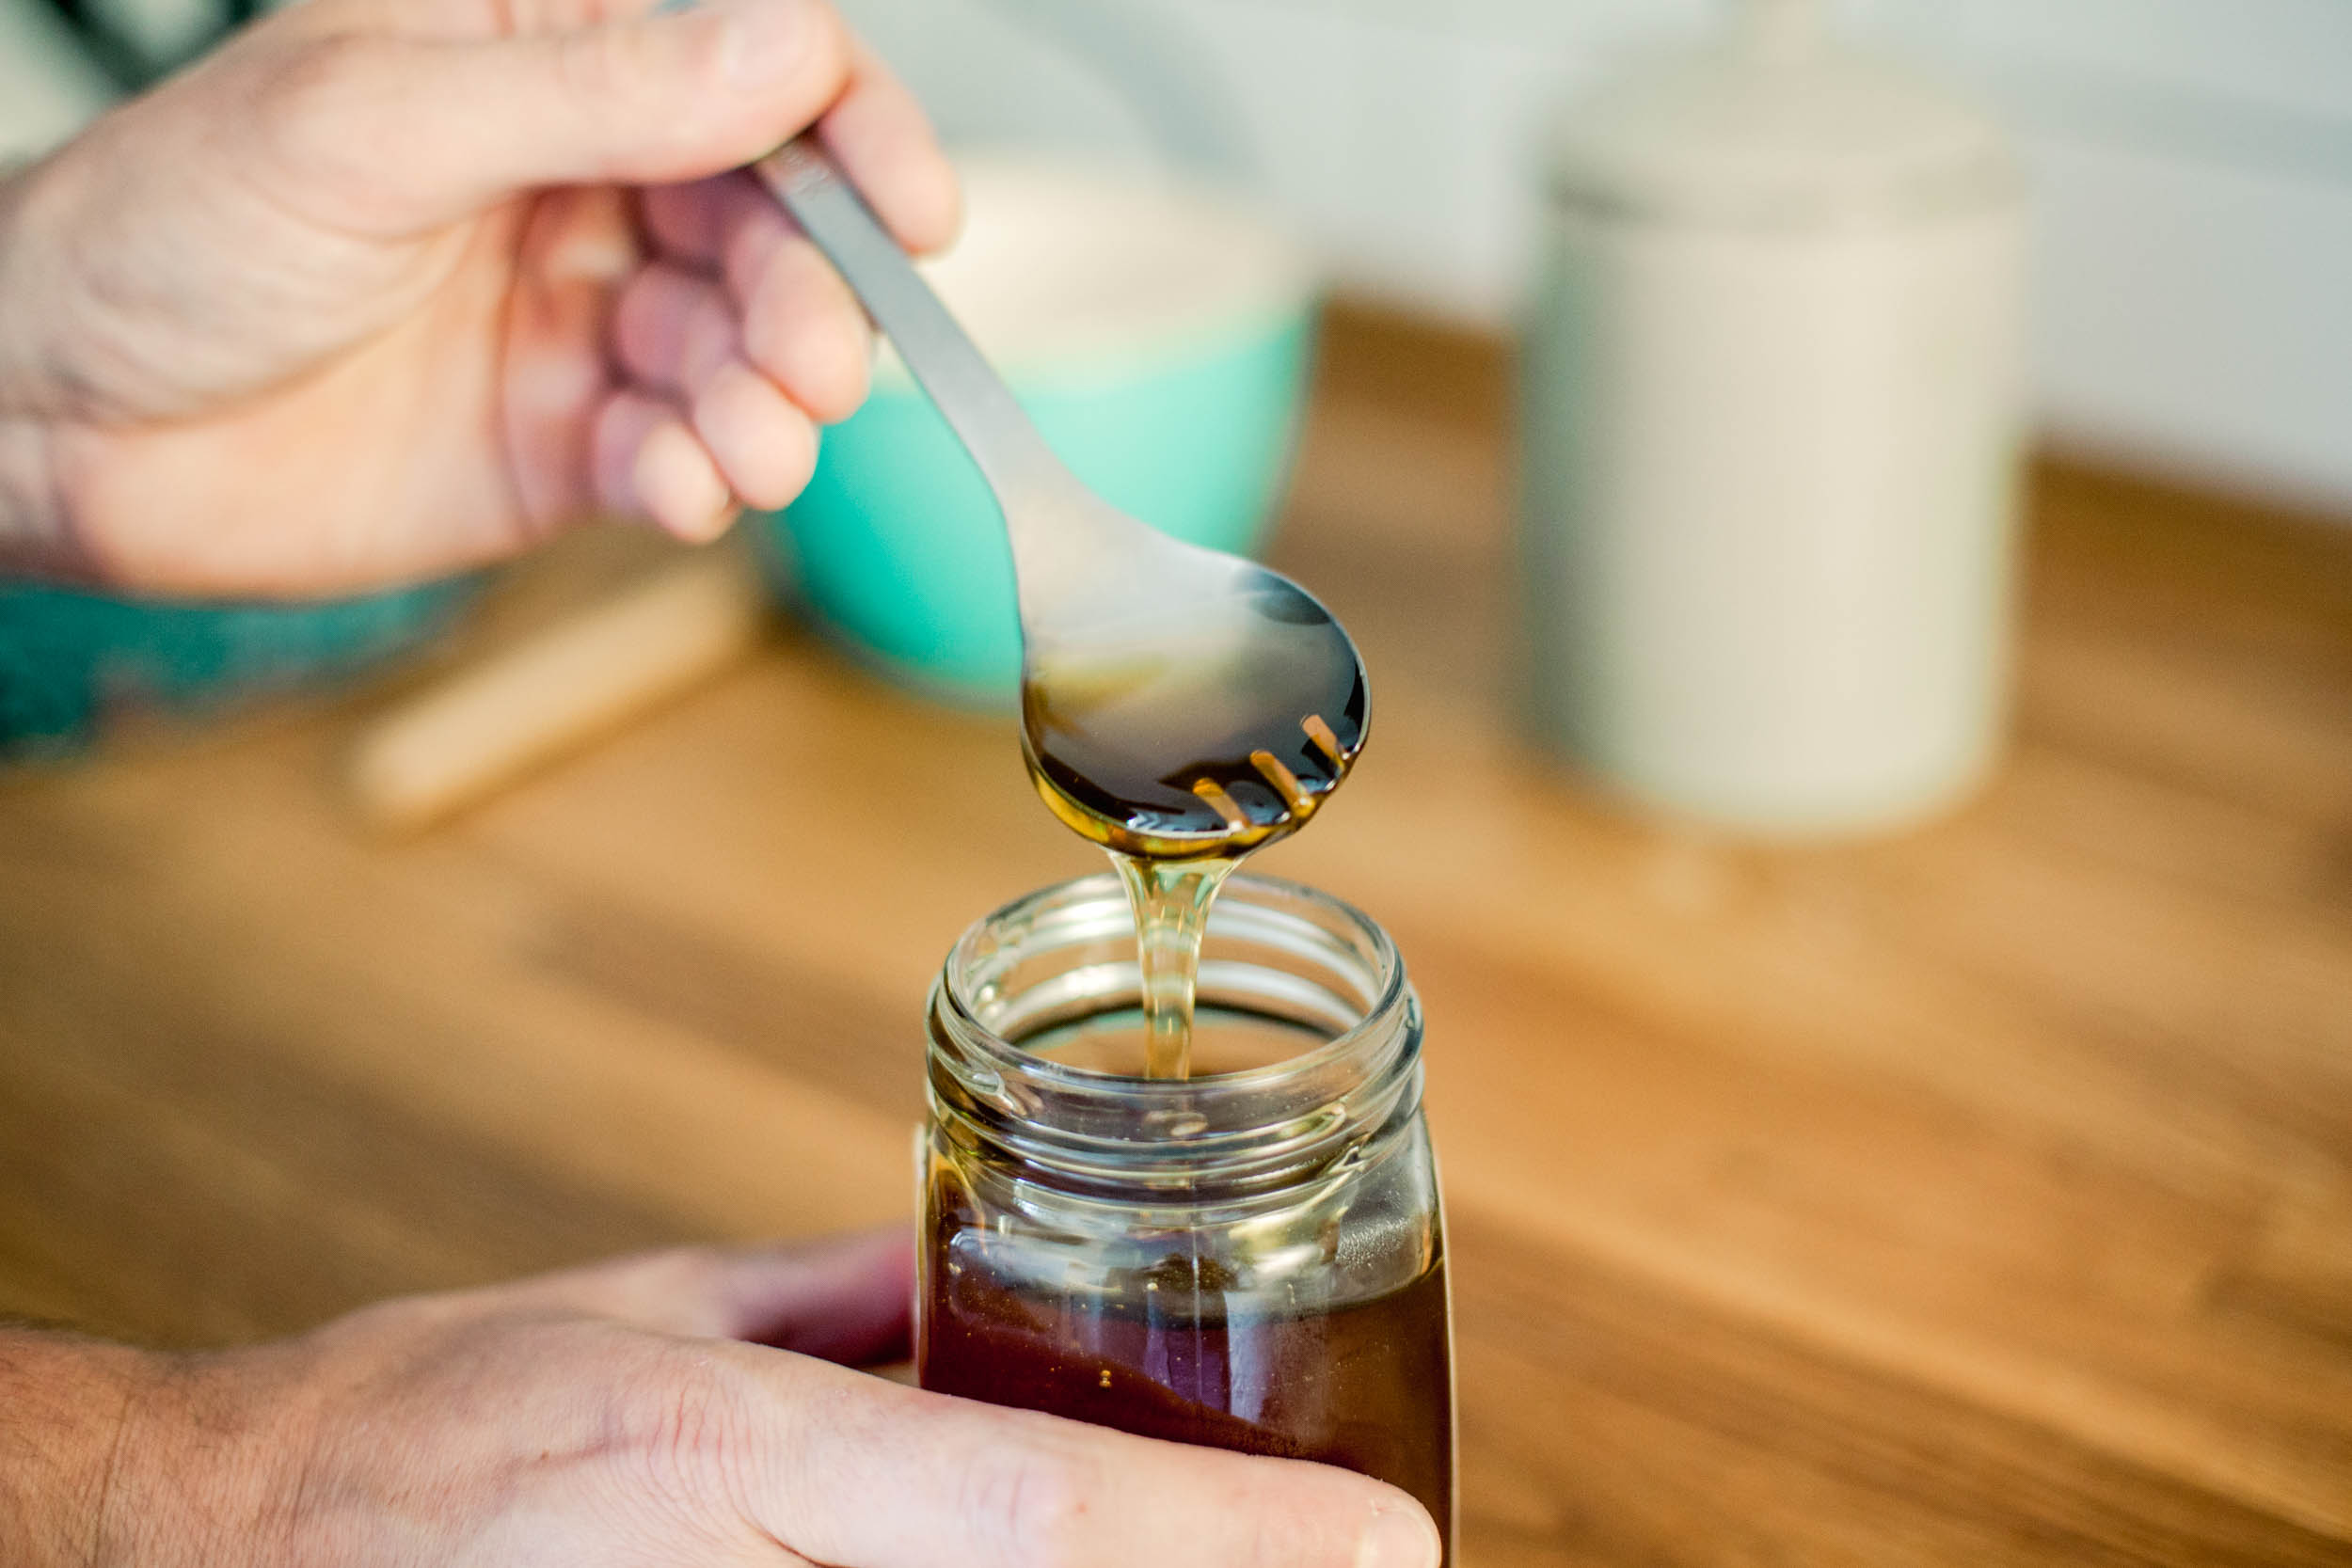
- 3 tablespoons honey
- 1 ½ cup (300gr) dates
- ⅛ cup (15gr) pumpkin seeds
- ⅛ cup (15gr) dried cranberries
*other nuts like cashews, walnuts, hazelnuts work just as well.
**almond butter is quite mild and naturally sweet but feel free to use any nut butter you like.

Directions
- Preheat the oven to 160°C (320°F)
- Spread the oats onto a baking tray and toast them in the oven for about 15min
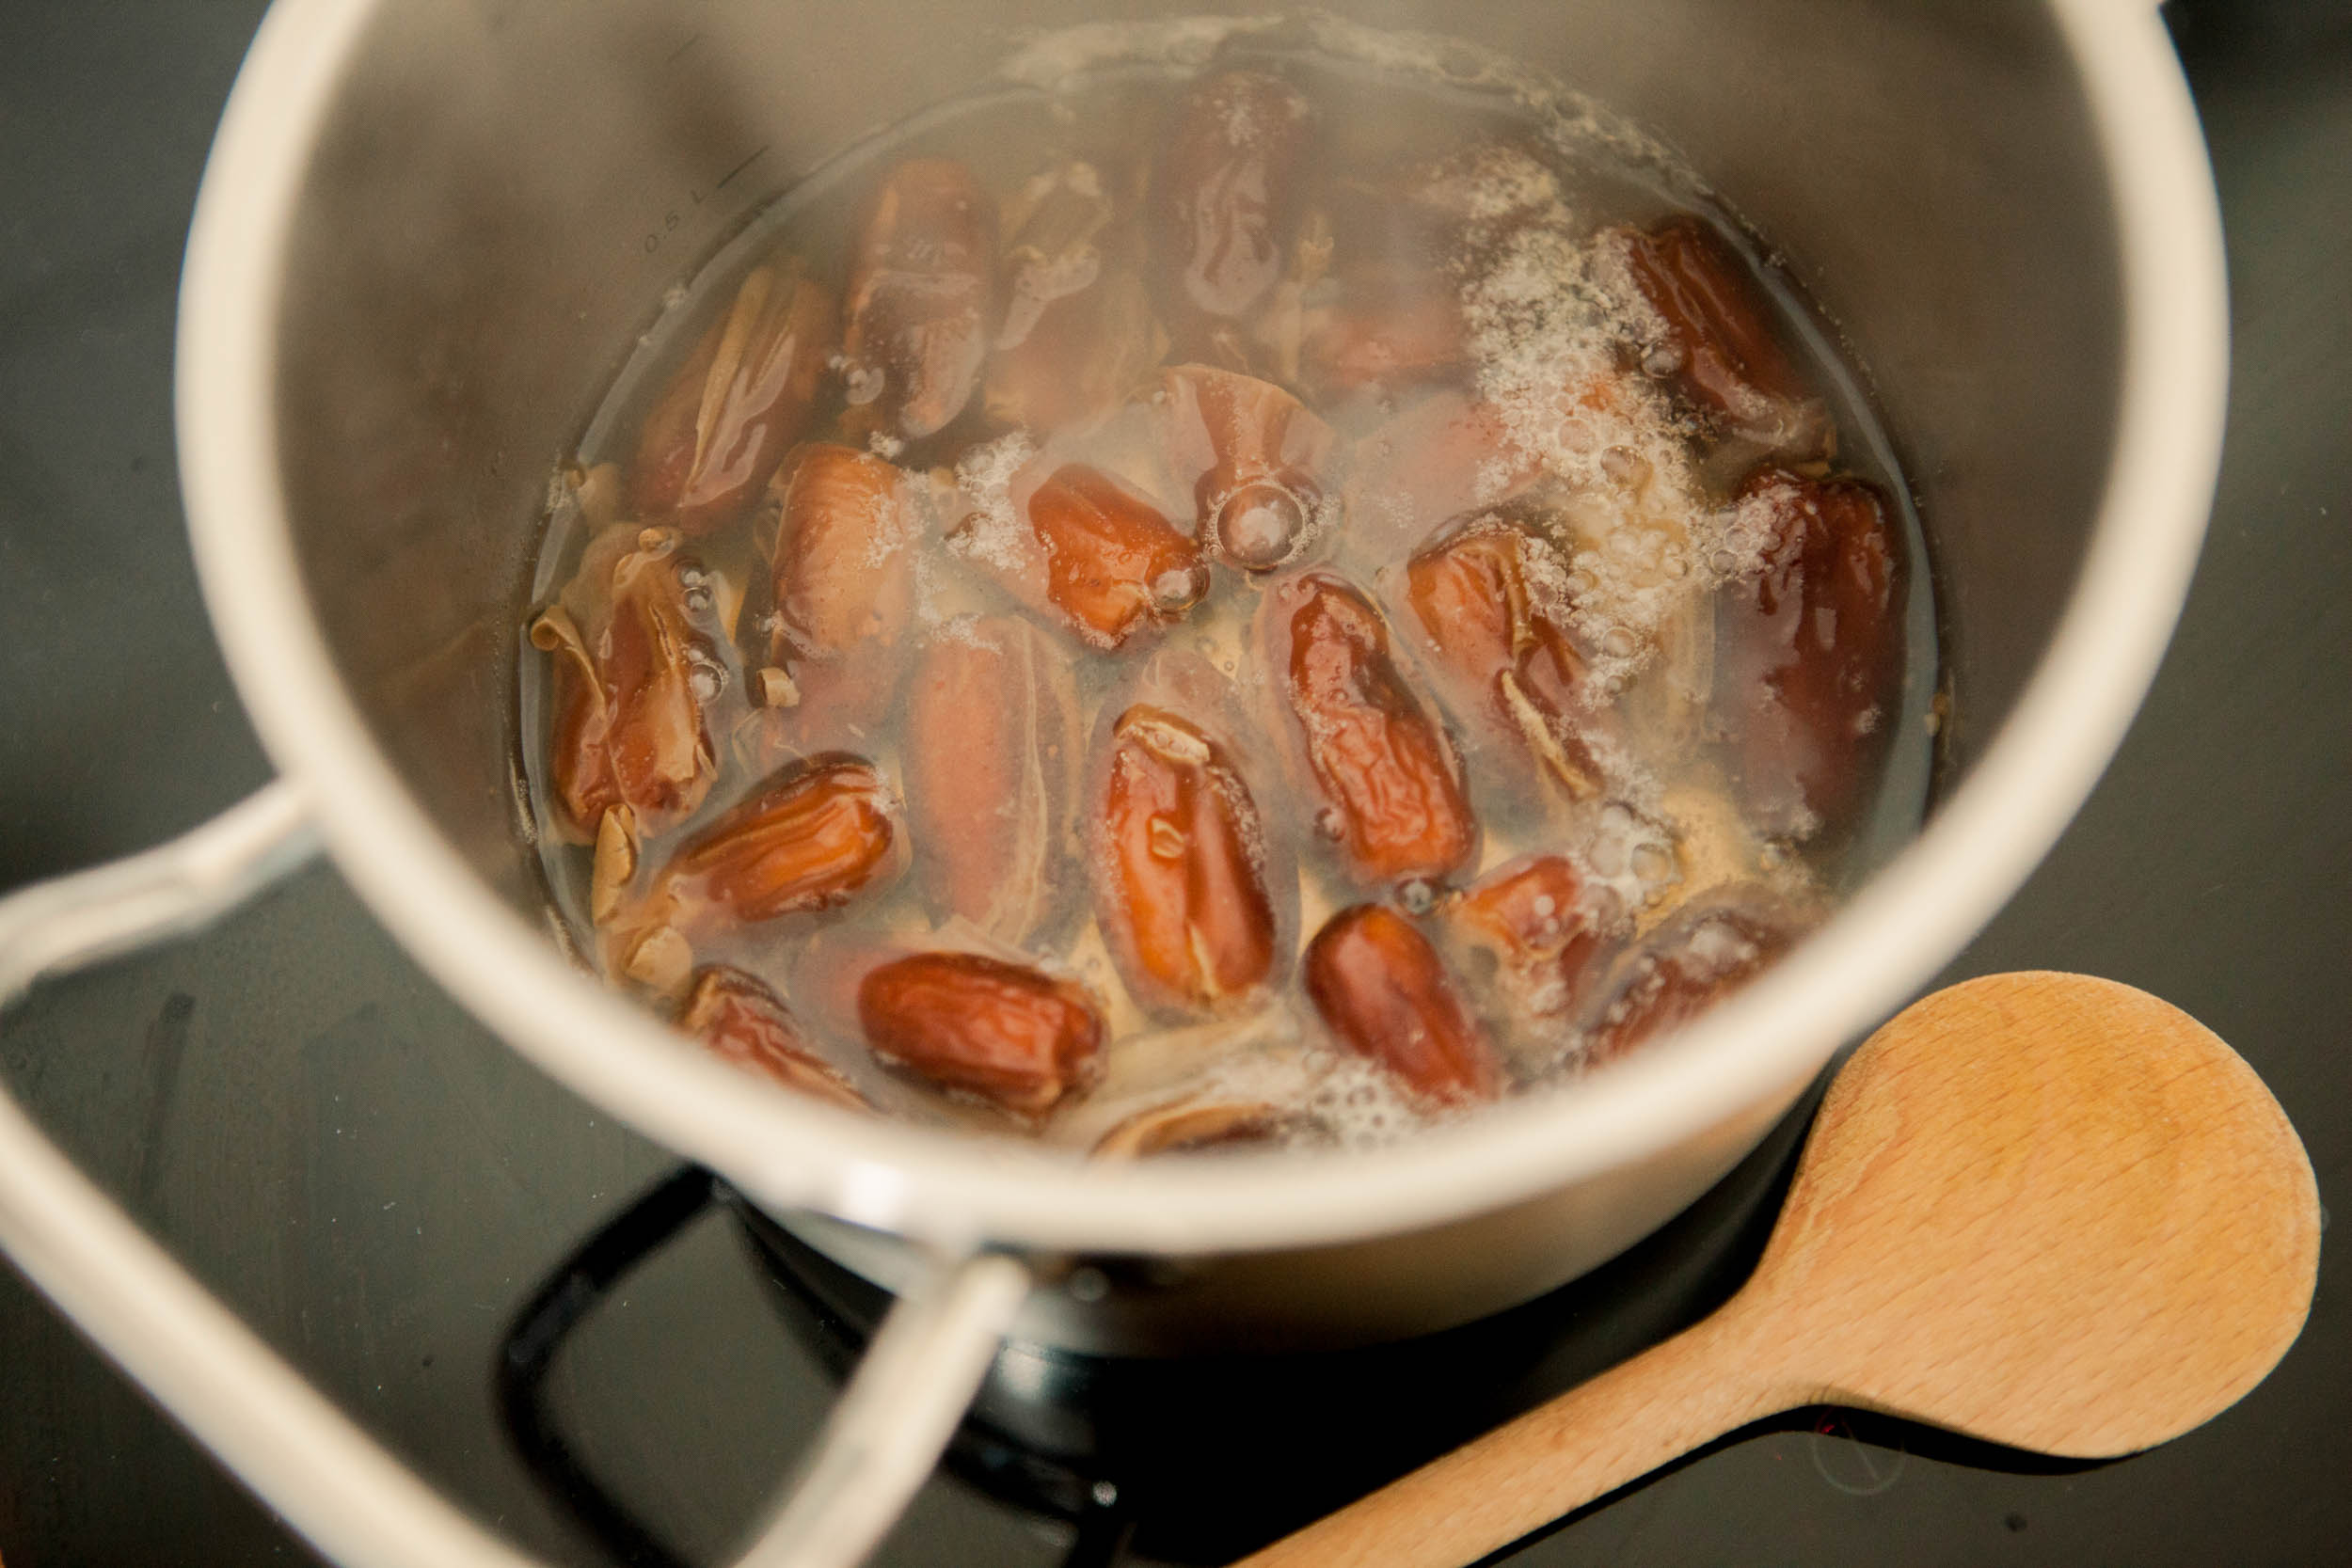
- In the meantime, remove the pits from the dates and let them simmer in a pot with ½ cup of water for ten minutes or until soft
- Let the dates cool down for a bit, then blend them to a smooth puree
- Combine all the ingredients in a large mixing bowl and stir until all ingredients are covered
- Spread the mixture on a baking tray lined with baking paper and put it in the oven at 160°C (320°F) for about 25 min
- Remove the tray from the oven, let it cool down a bit before placing another baking parchment on top, and add another baking tray or flat object on top with some weight (I used water bottles)
- Let cool overnight, cut the bars, and enjoy
Please keep the conversation civil, constructive, and inclusive, or your comment will be removed.
We're independent
and member-supported.
Join the Bikepacking Collective to make our work possible:


