How To Install A Patch (The Easy Way)
There are several ways to attach a patch. Some people like to sew them on, others prefer an iron, but if you don’t want to spend your precious time doing either, there’s an easy alternative. In this video, Neil introduces Badge Magic and shares step-by-step instructions on how to install a patch quickly and effectively. Plus, find a few reader recommendations on how they attach their patches…
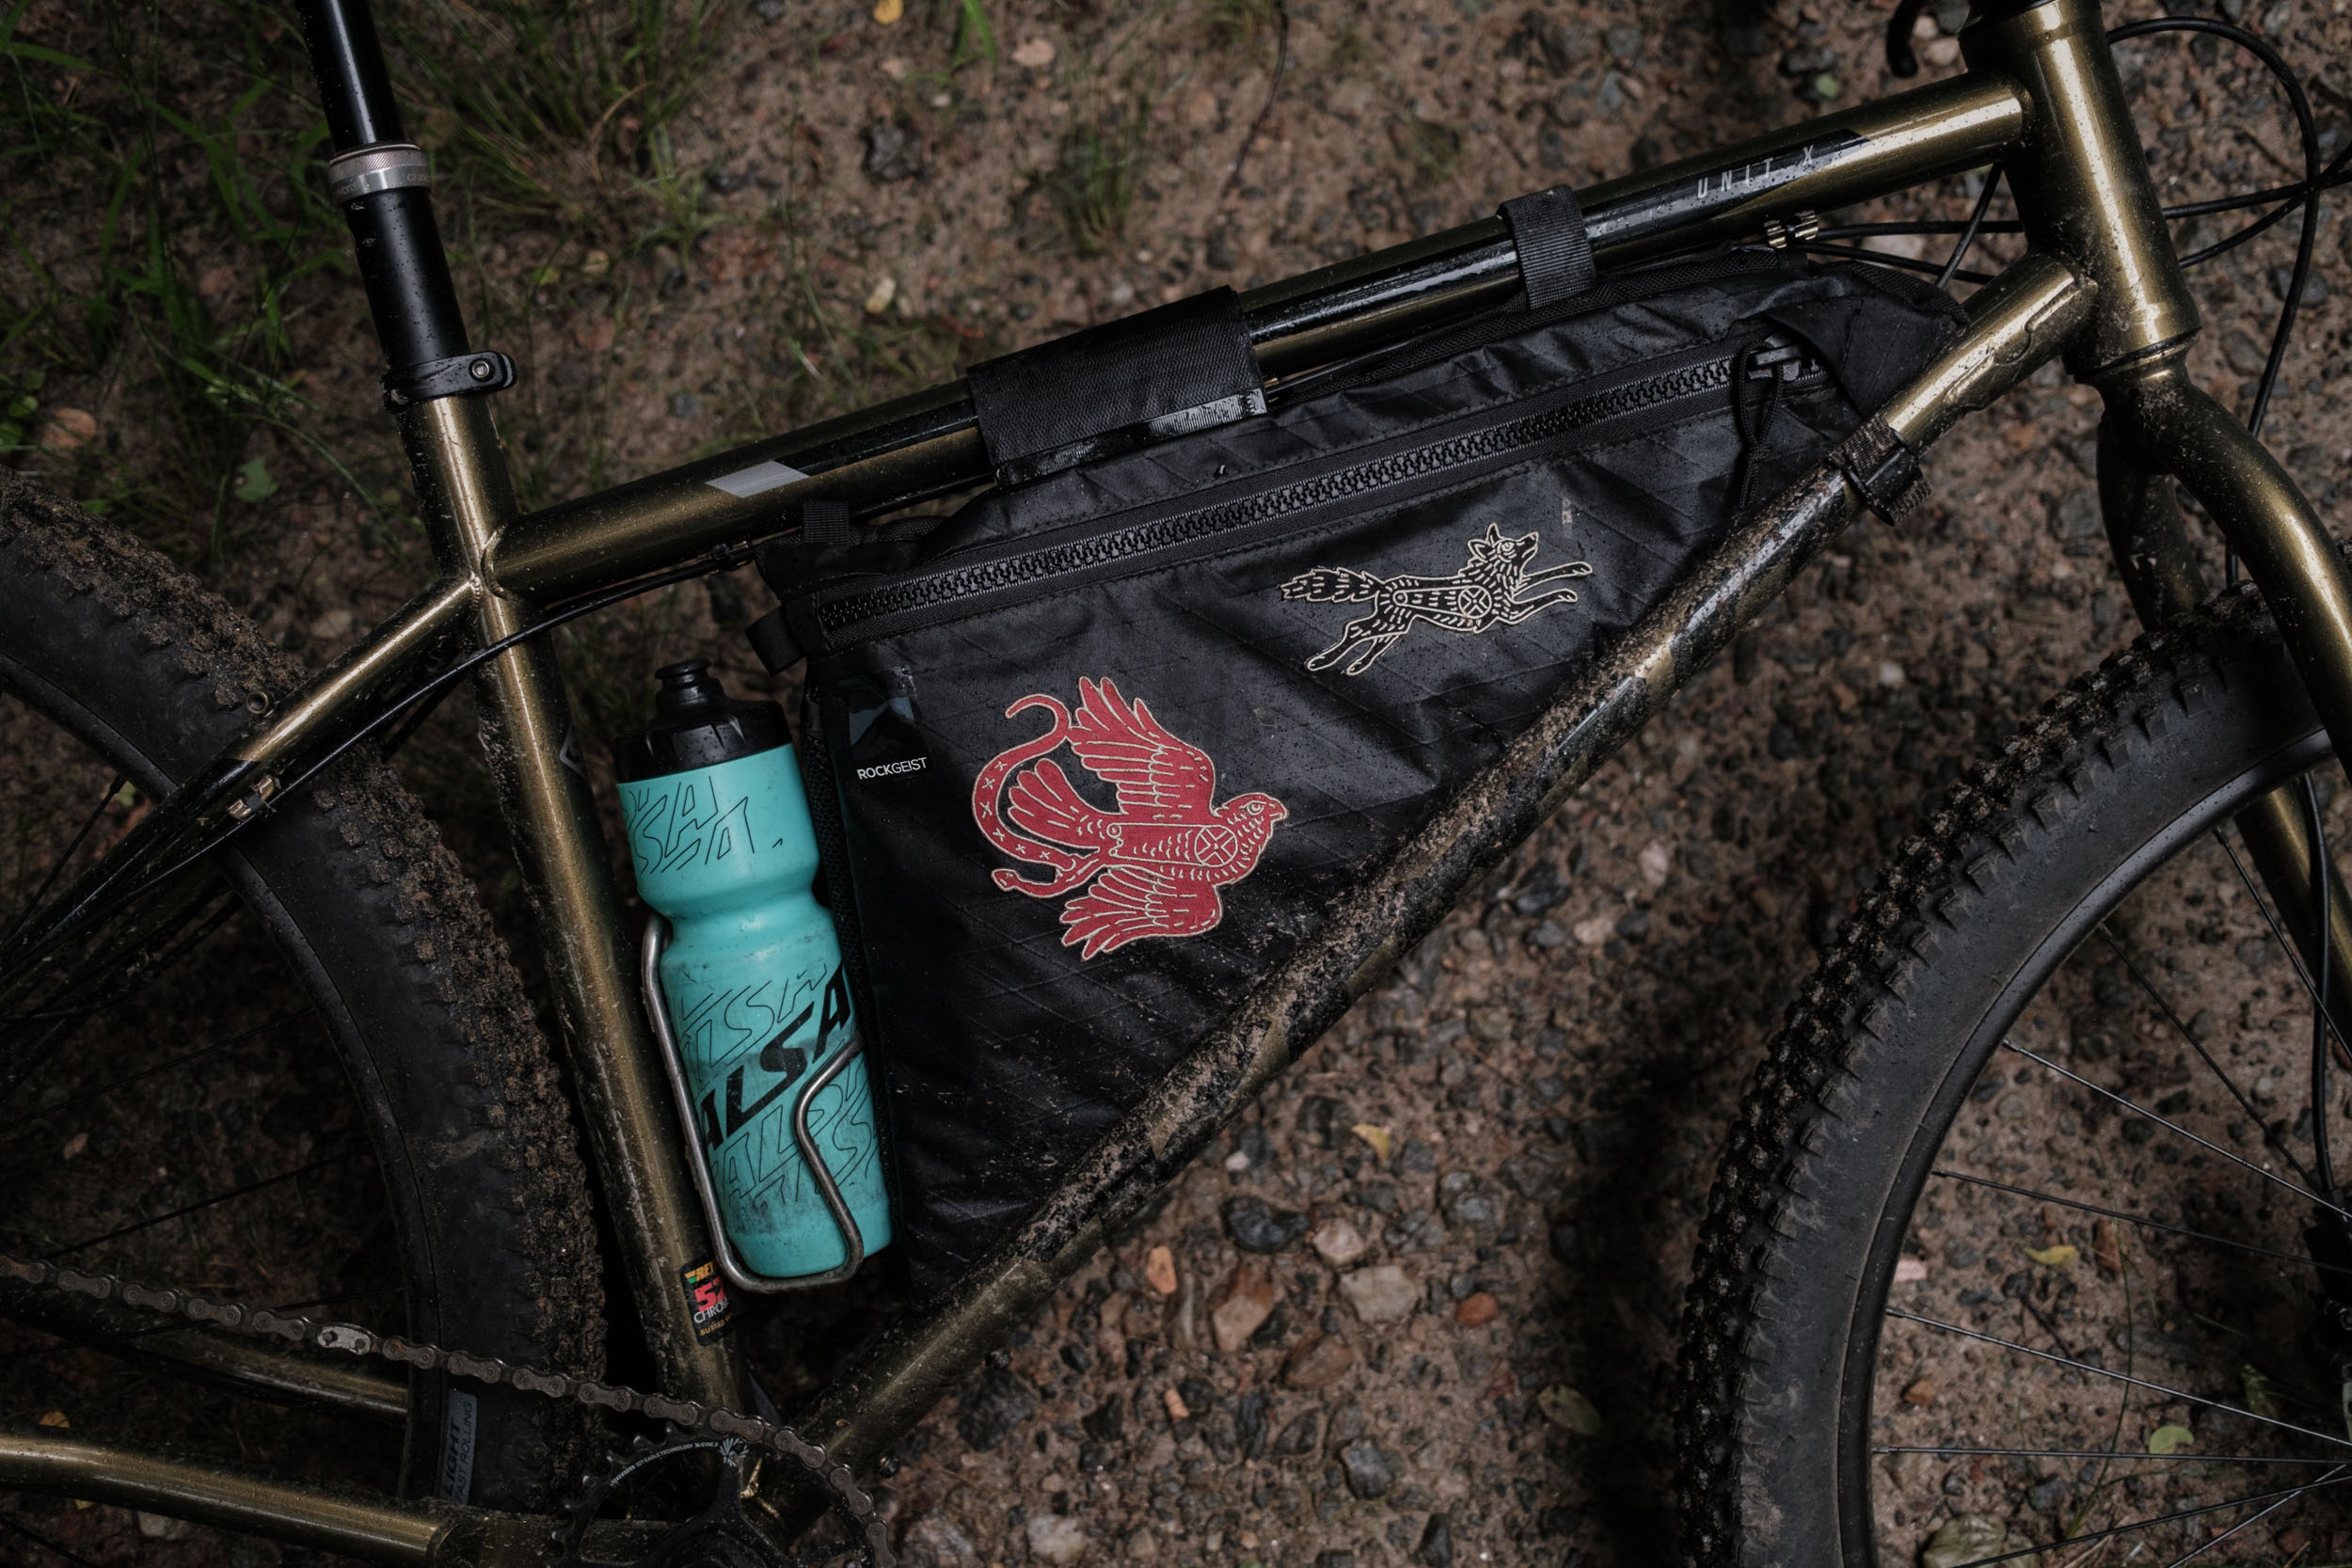
Patches and badges have become a special part of bikepacking culture, and cycling culture in general, but it always seems more difficult than it should be to install patches on bags, clothing, and gear. I’ve tried an iron a couple of times and failed, once melting a frame bag in the process. I’ve also sewn patches onto bags. It works well for cotton-duck cloth, but it’s tedious work and stitching patches on X-Pac is a no-go as it leaves visible holes in the material.
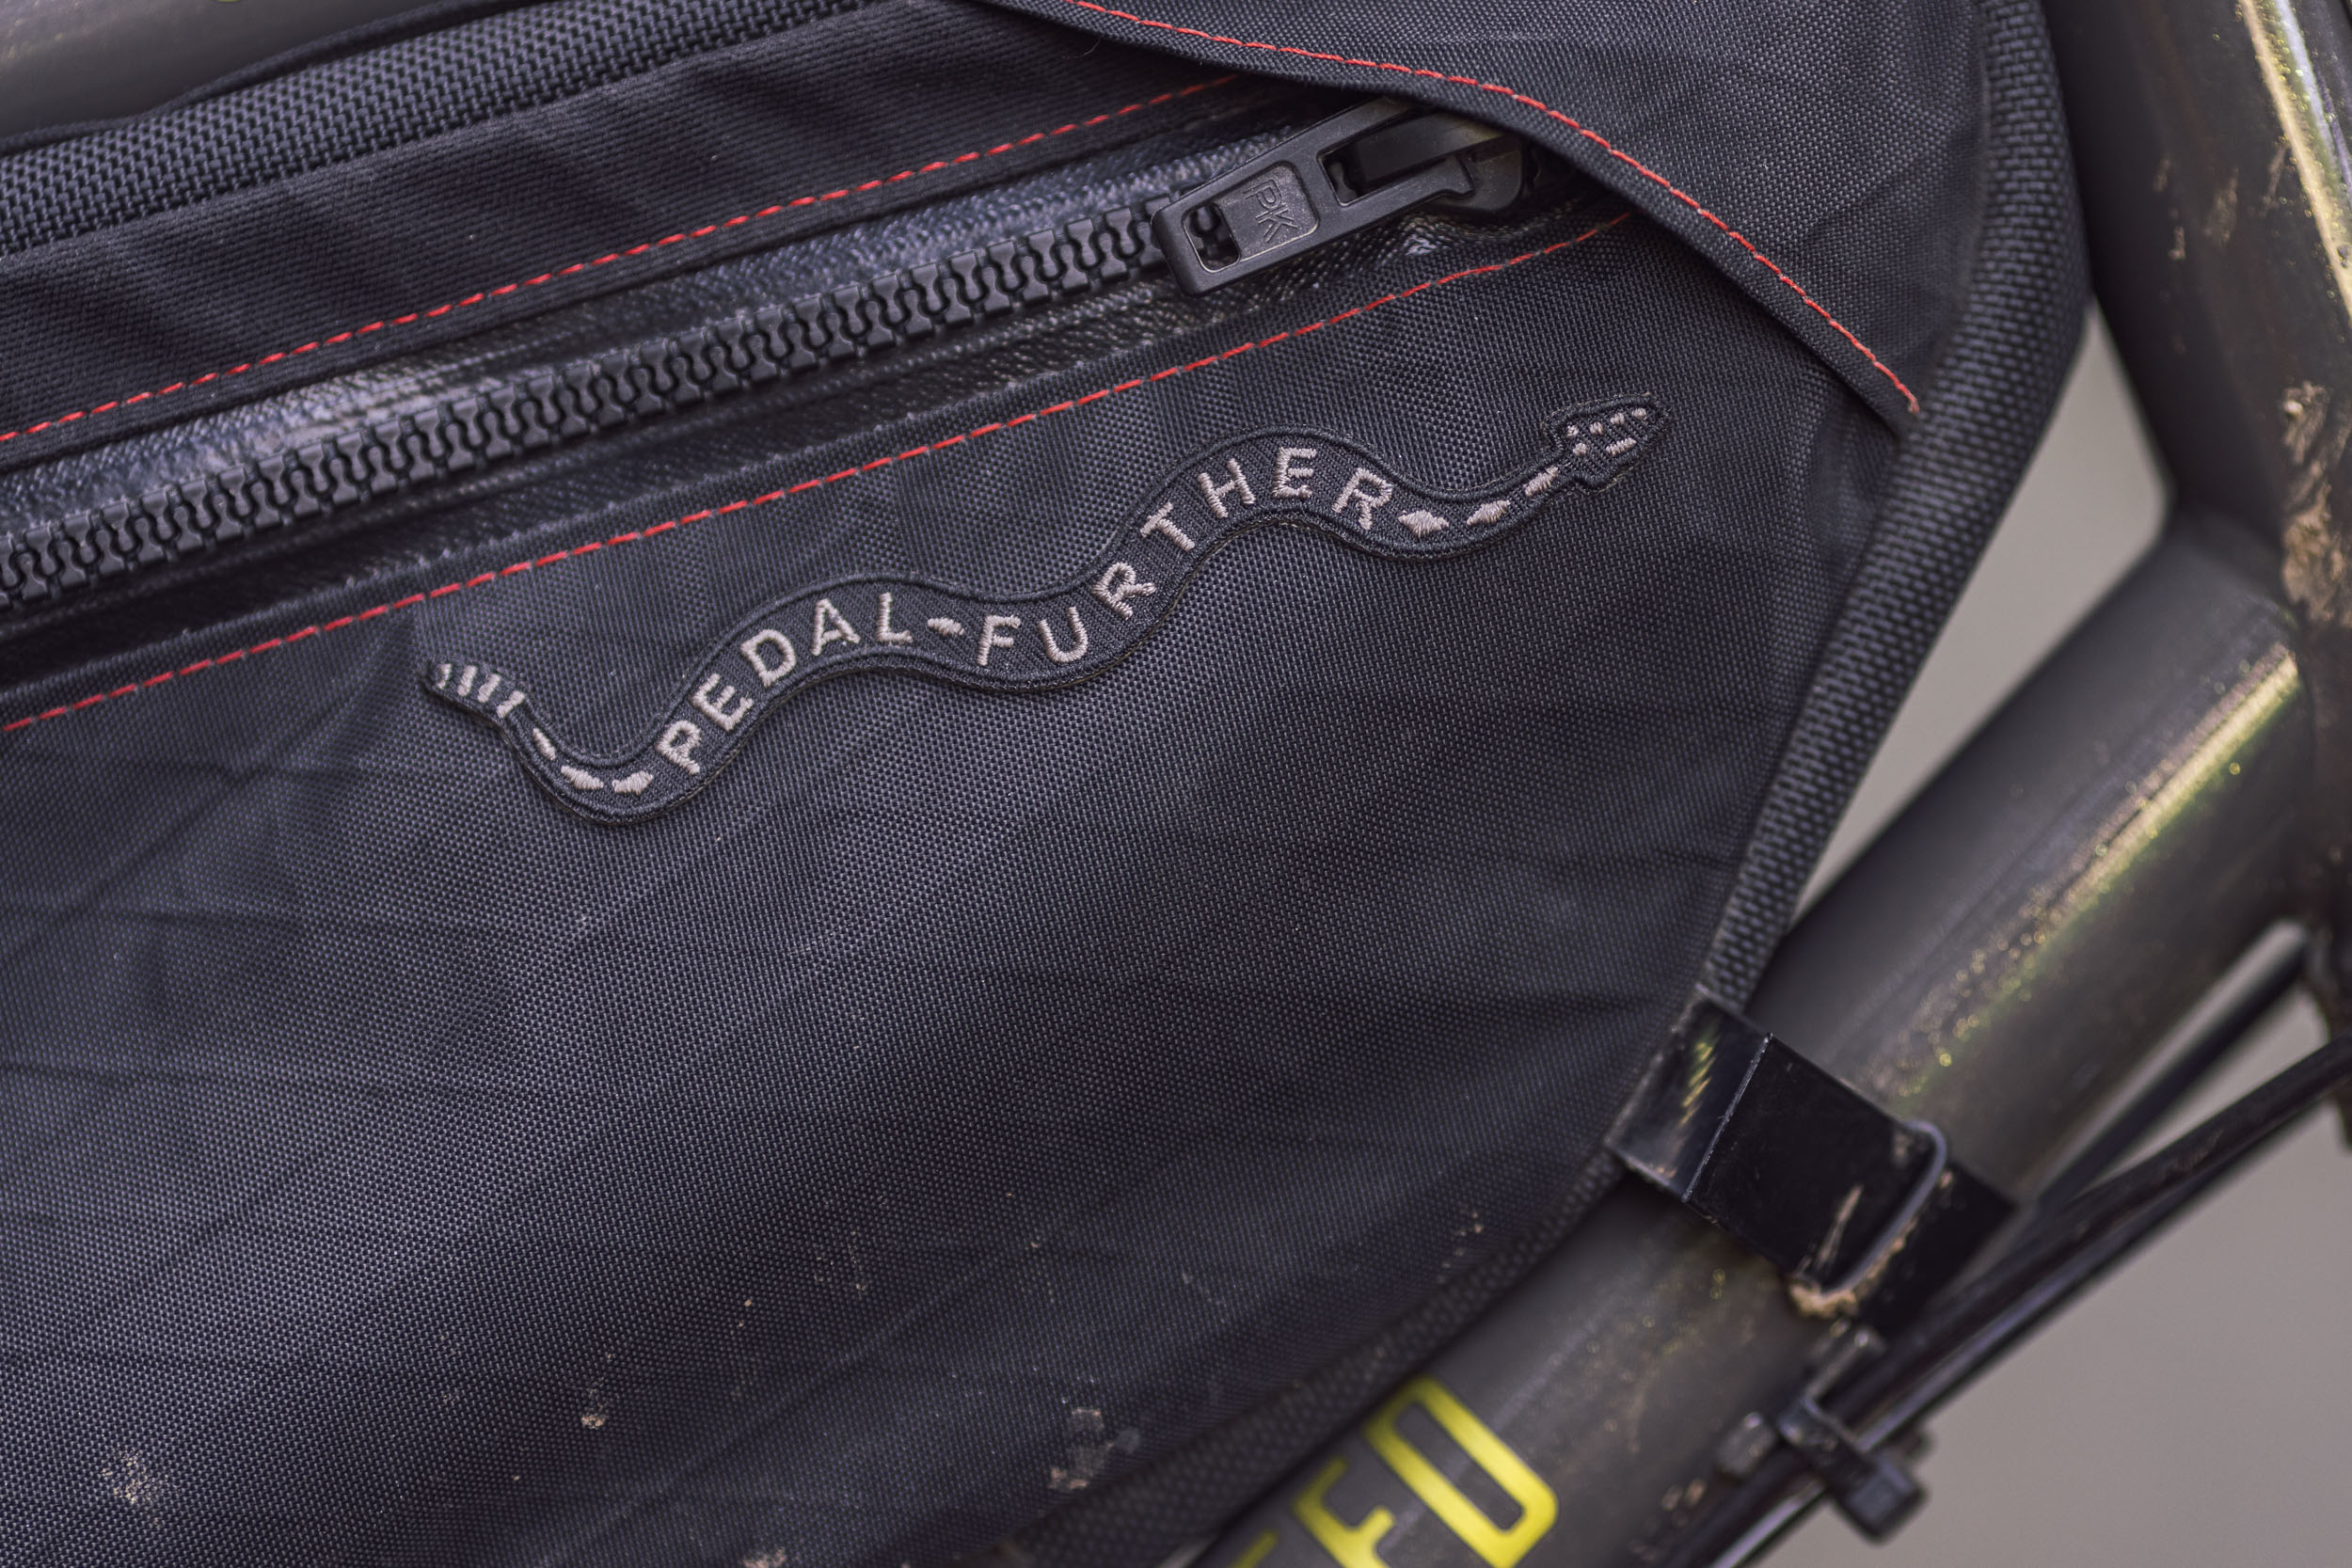
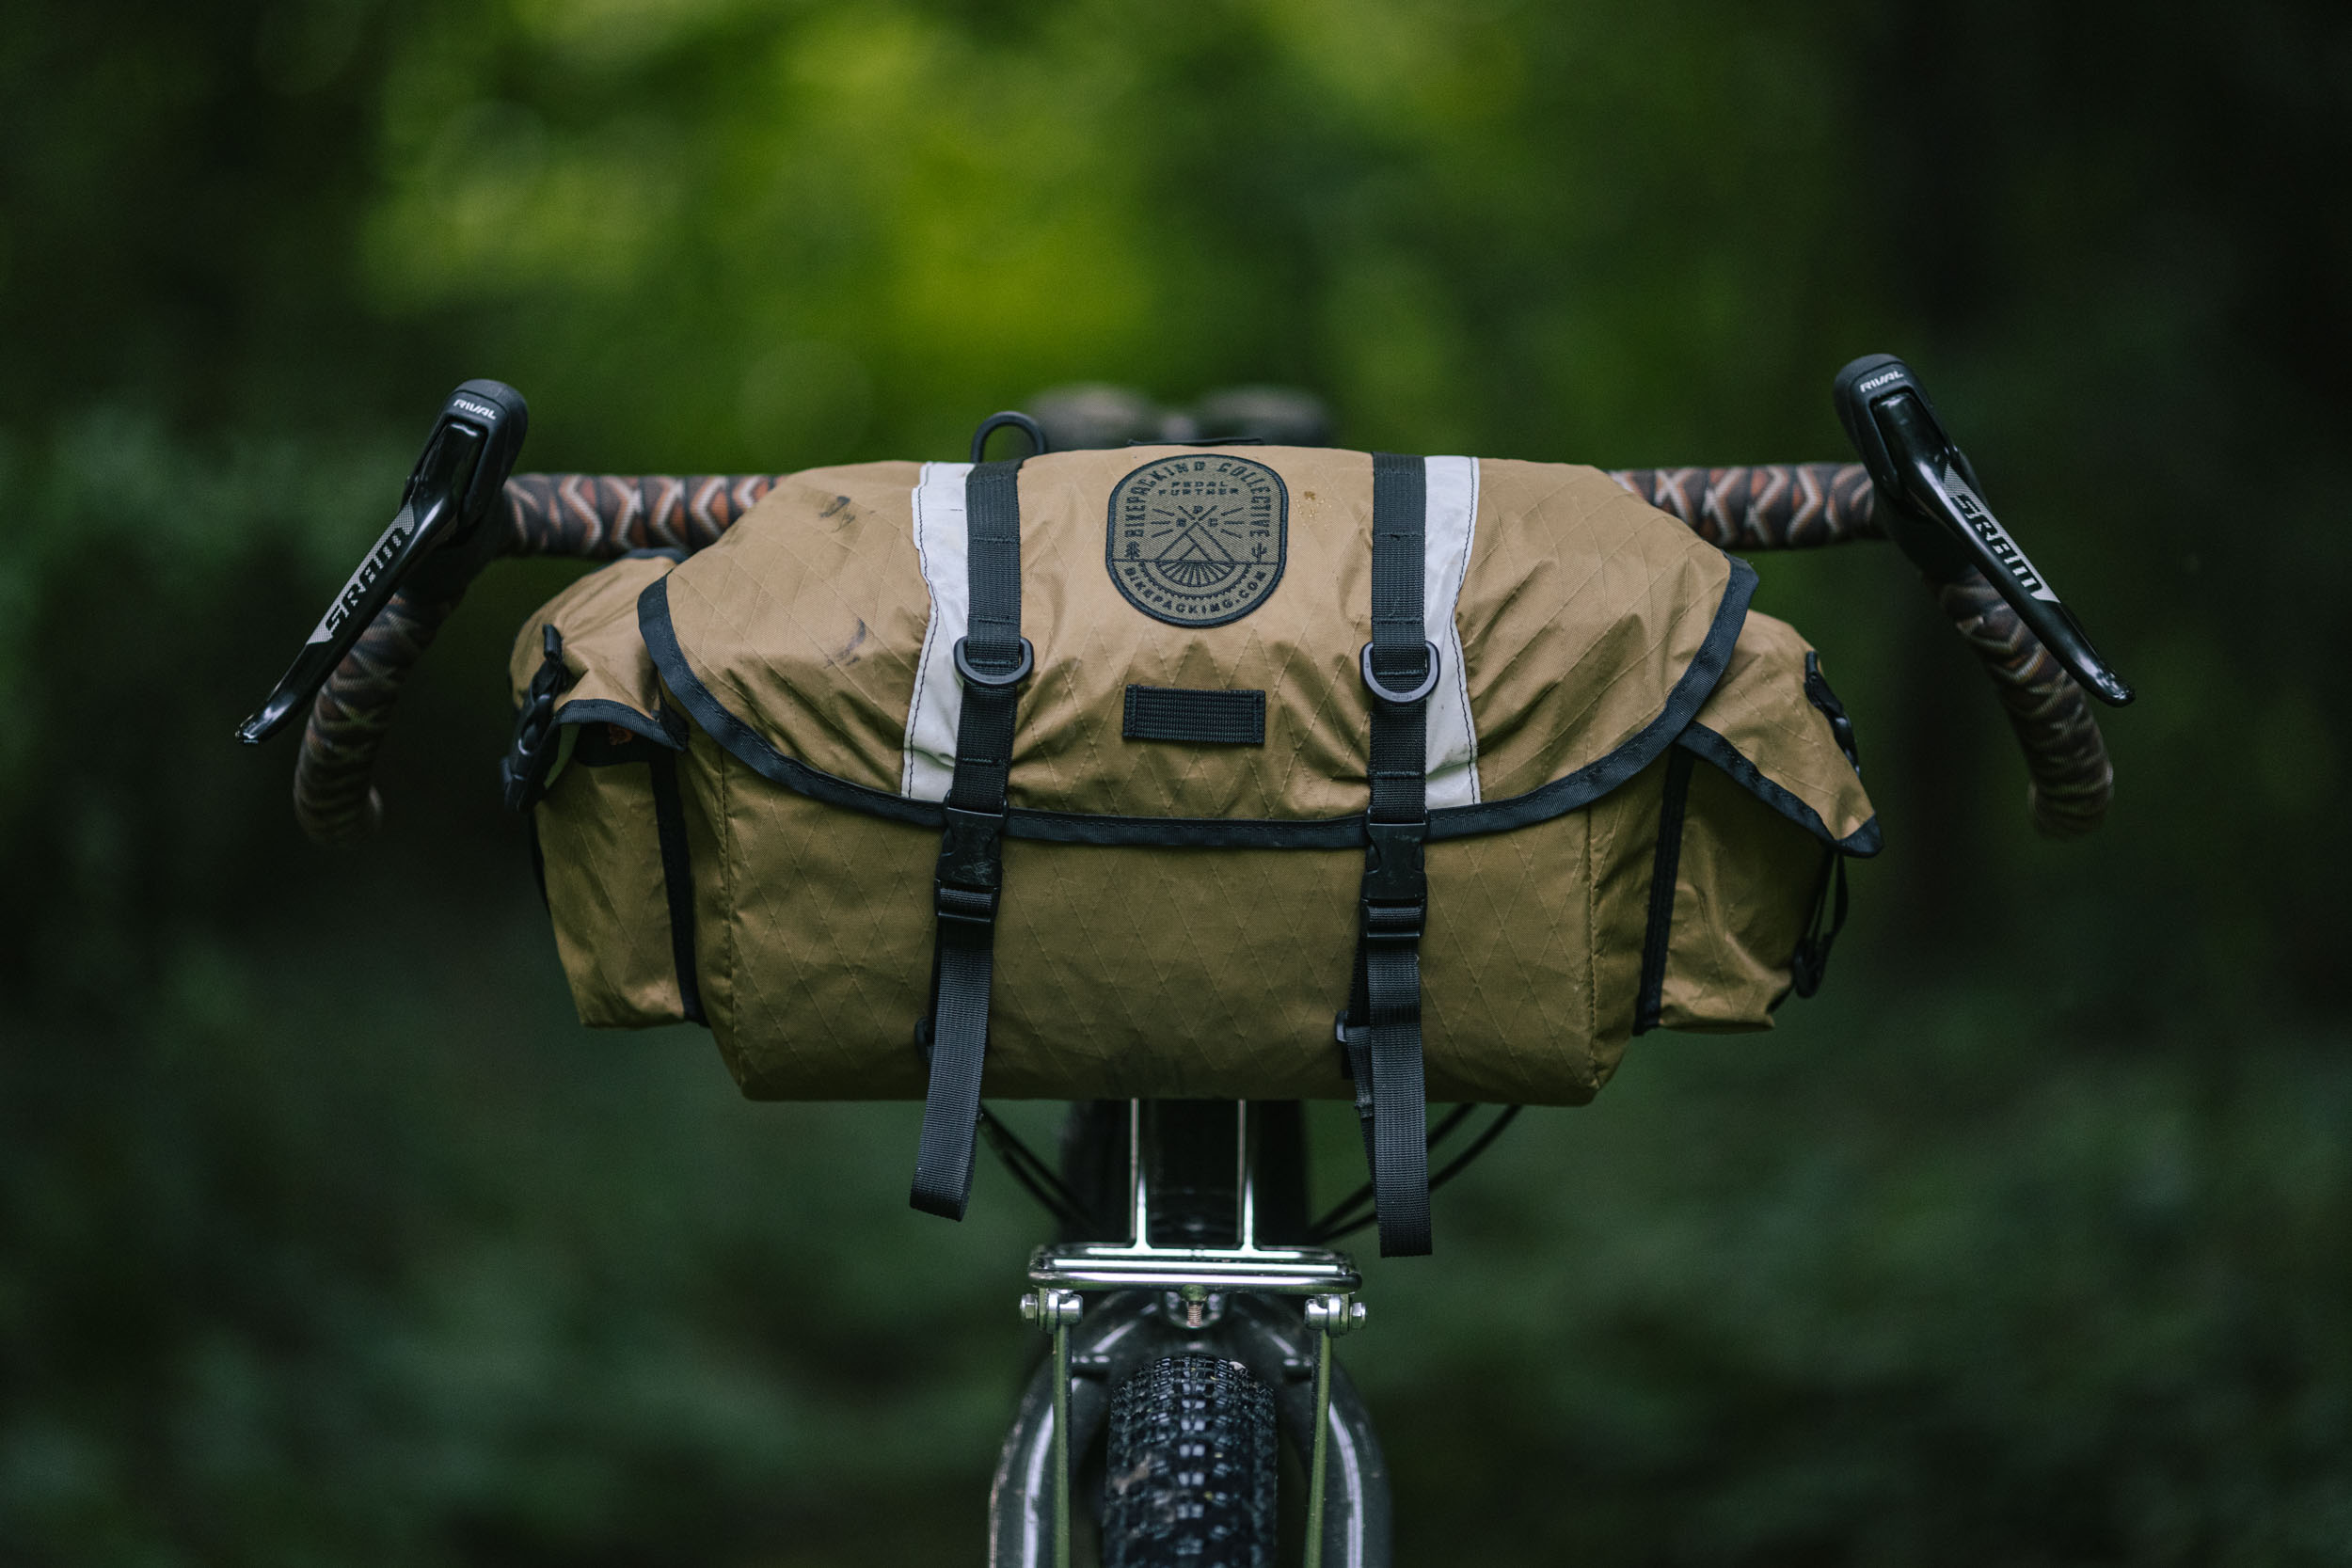
Previously, the best way to install a patch onto bags—before I found this method—was super glue or gear repair glue. However, that can be messy, and it’s more of a permanent solution. Then I asked Joe Cruz how he secured his I Never Go For a Hike Without My Bike patch onto his waterproof Revelate Egress handlebar bag without unwaterproofing it (photo below), and it’s since become the most common patch installation method for all of us on the team. To illustrate, Neil made this video on our YouTube channel. Watch it here, then scroll down for a few additional reader recommendations.

Reader Recommendations
In addition to the Badge Magic we went over in the video—which can be purchased directly here or at the big A for $9.99—we also asked our YouTube audience for their recommendations on how they install patches. Here are a few with links where we could find them:
Joshea D. – I use a Cricut Mini Press [$49] for stick-on applications, and works like a charm. A tailside idea taking a hint from cooking, take a brick warmed in the oven (~110-120 F) and use that to apply both weight and heat to the adhesive to get a better bond.
Daniel Z. – 3M’s double sided tape for floor covering works magic too.
Dieter O. – I’ve used Gear Aid waterproof repair glue [$8.95]. The type used for waders. It’s messy but works. Haven’t had it come off yet.
Jason K. – (LOL) Usually I use about a half dozen sheet metal screws and some pre-drilled wood or plexi for backing. Very secure. Then again I usually use an overturned canoe for a raincoat so what do I know?
P.S. We have a lot of new merchandise in the works, including fresh stickers and patches. Bikepacking Collective members, stay tuned! In the next month, we’ll be sending out an email to let you know when everything goes on sale.
Please keep the conversation civil, constructive, and inclusive, or your comment will be removed.
We're independent
and member-supported.
Join the Bikepacking Collective to make our work possible: