


Bikepacking with a Suspension Fork: Setup, Service, and Reliability


While a lot of modern bike standards and technologies are widely adopted at this point, some folks might still question whether it’s okay to go bikepacking with a suspension fork, particularly on extra-long trips. Others might have questions about maintenance, service intervals, reliability, and setup. To test all this, we put over 1,500 miles on a fork during a big bikepacking trip, then met with a veteran suspension expert to see how it fared, answer some questions, and do some science…
PUBLISHED Aug 25, 2022
It wasn’t that long ago when big bikepacking trips called for strict adherence to old bicycle standards. Mechanical brakes, 36-spoke wheels, QR dropouts, and zero moving suspension parts were all tactical selections made to ensure that your bike was bombproof and field serviceable wherever your travels took you.
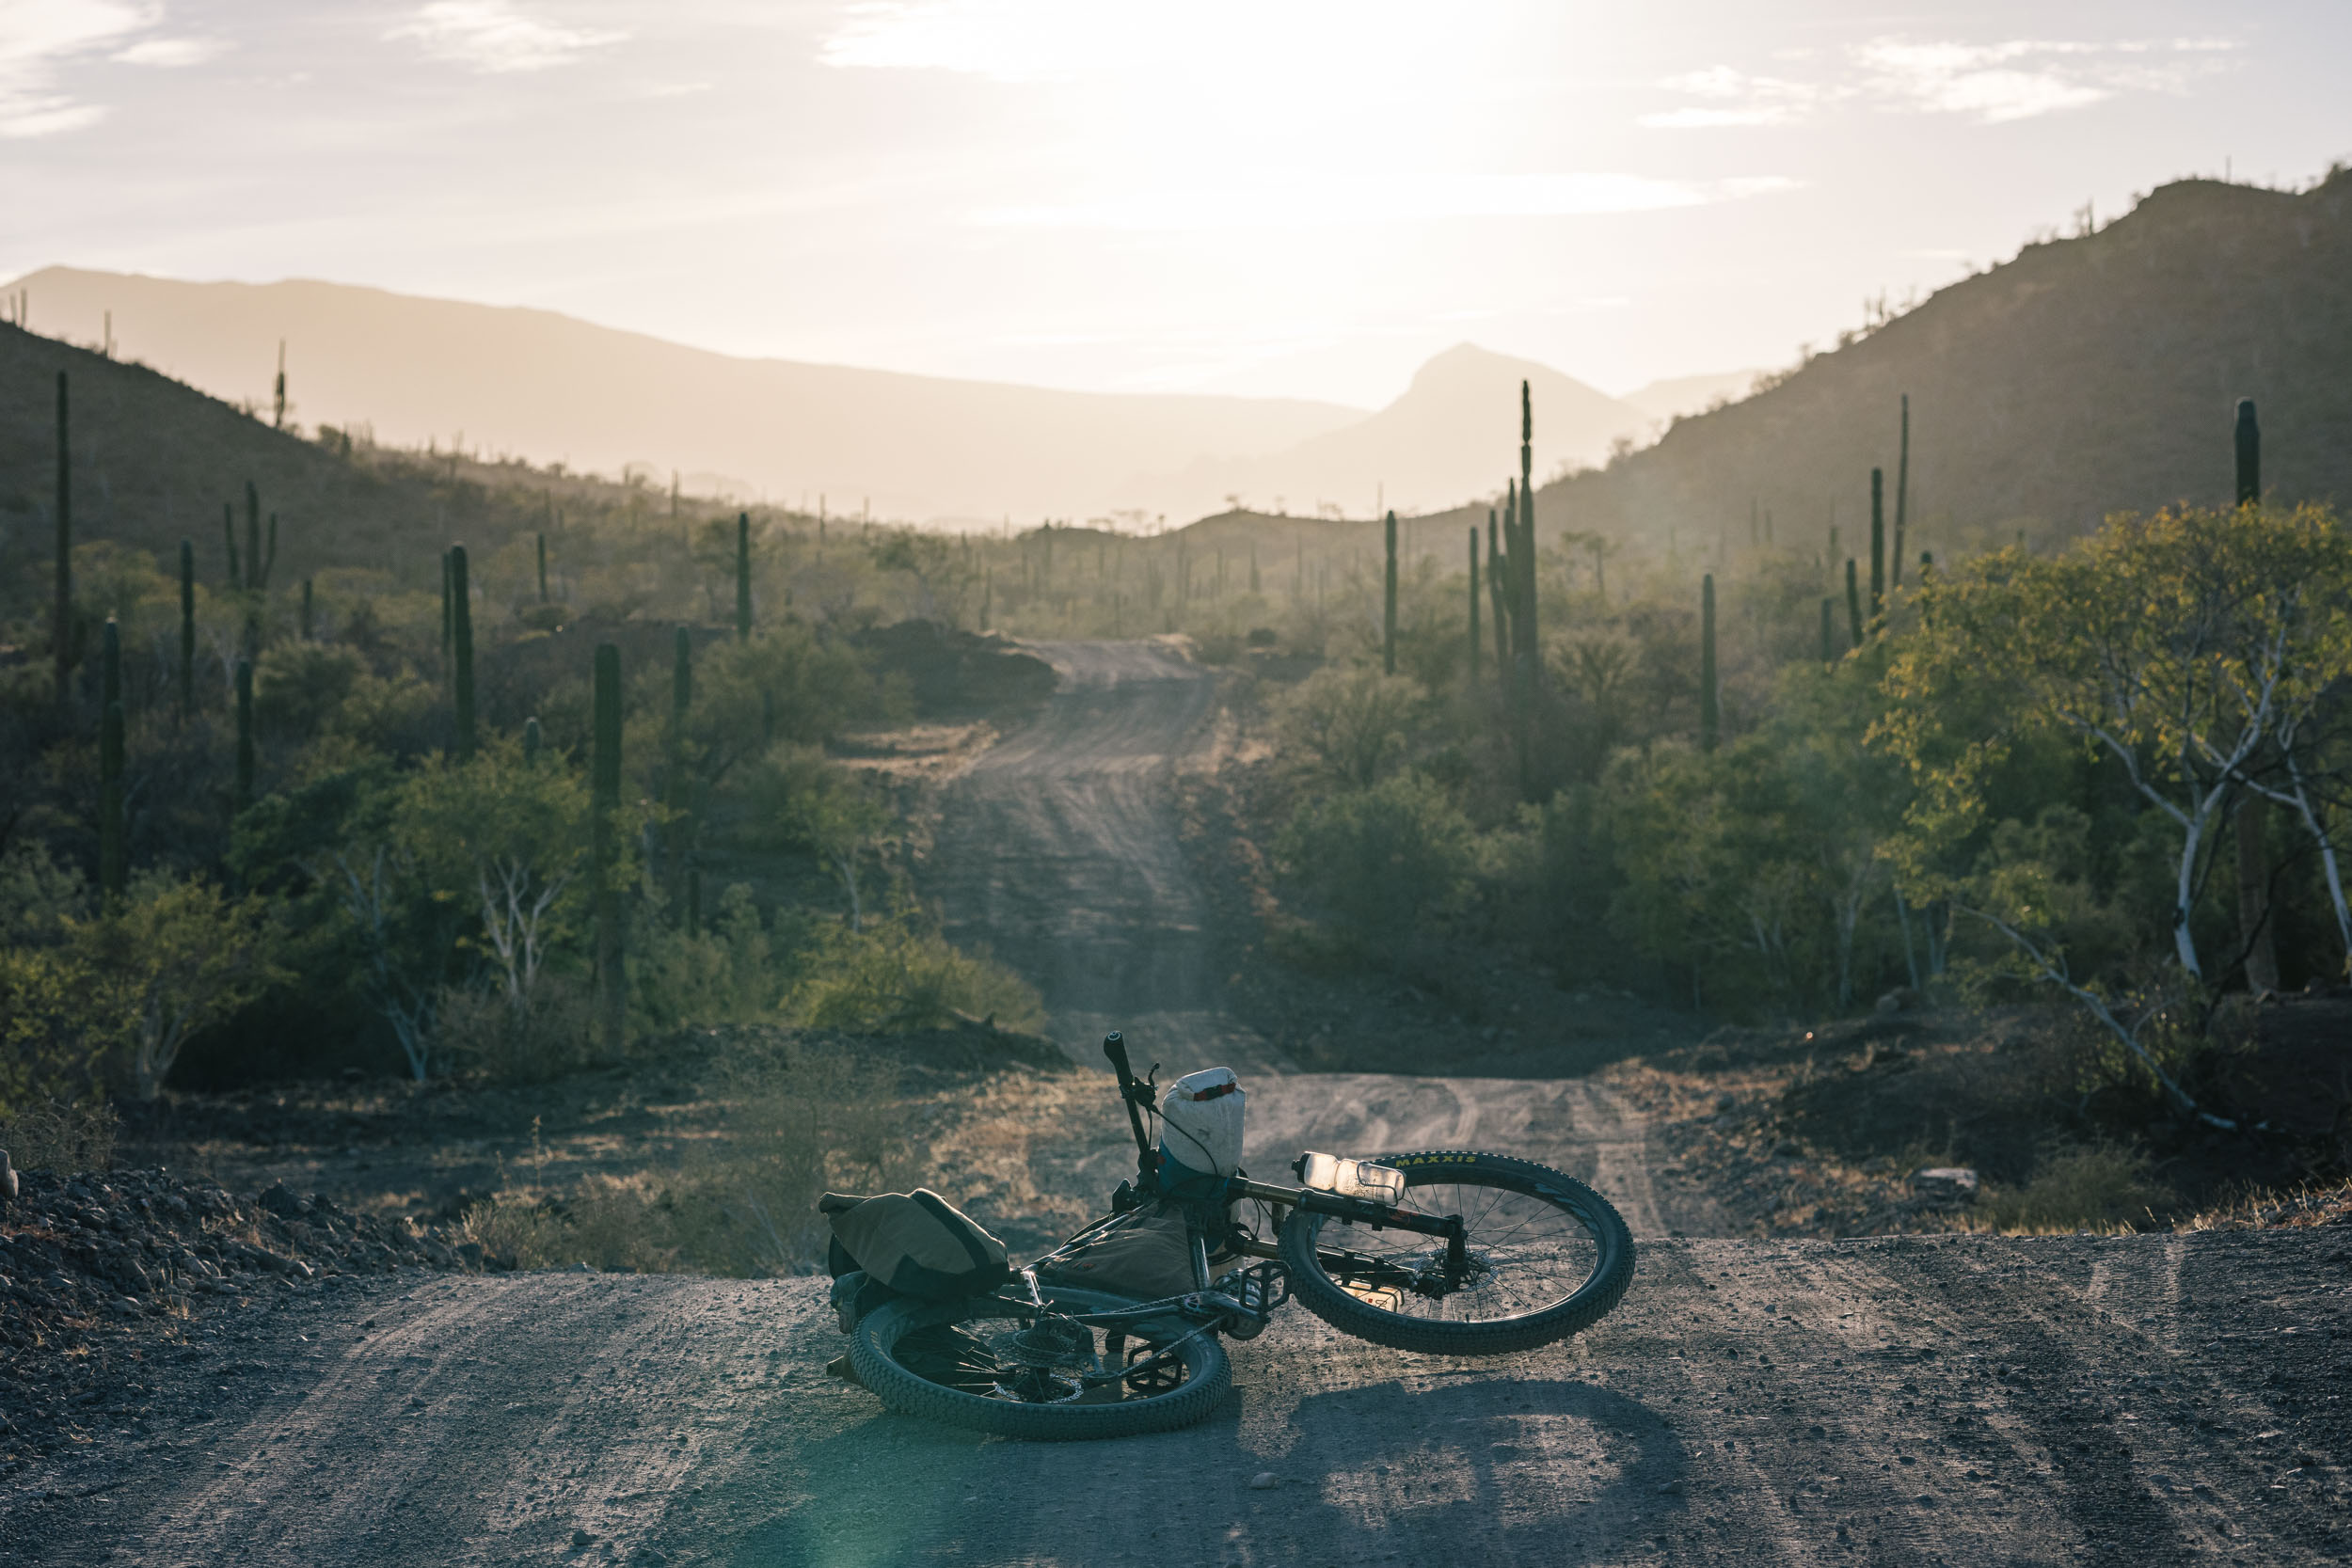
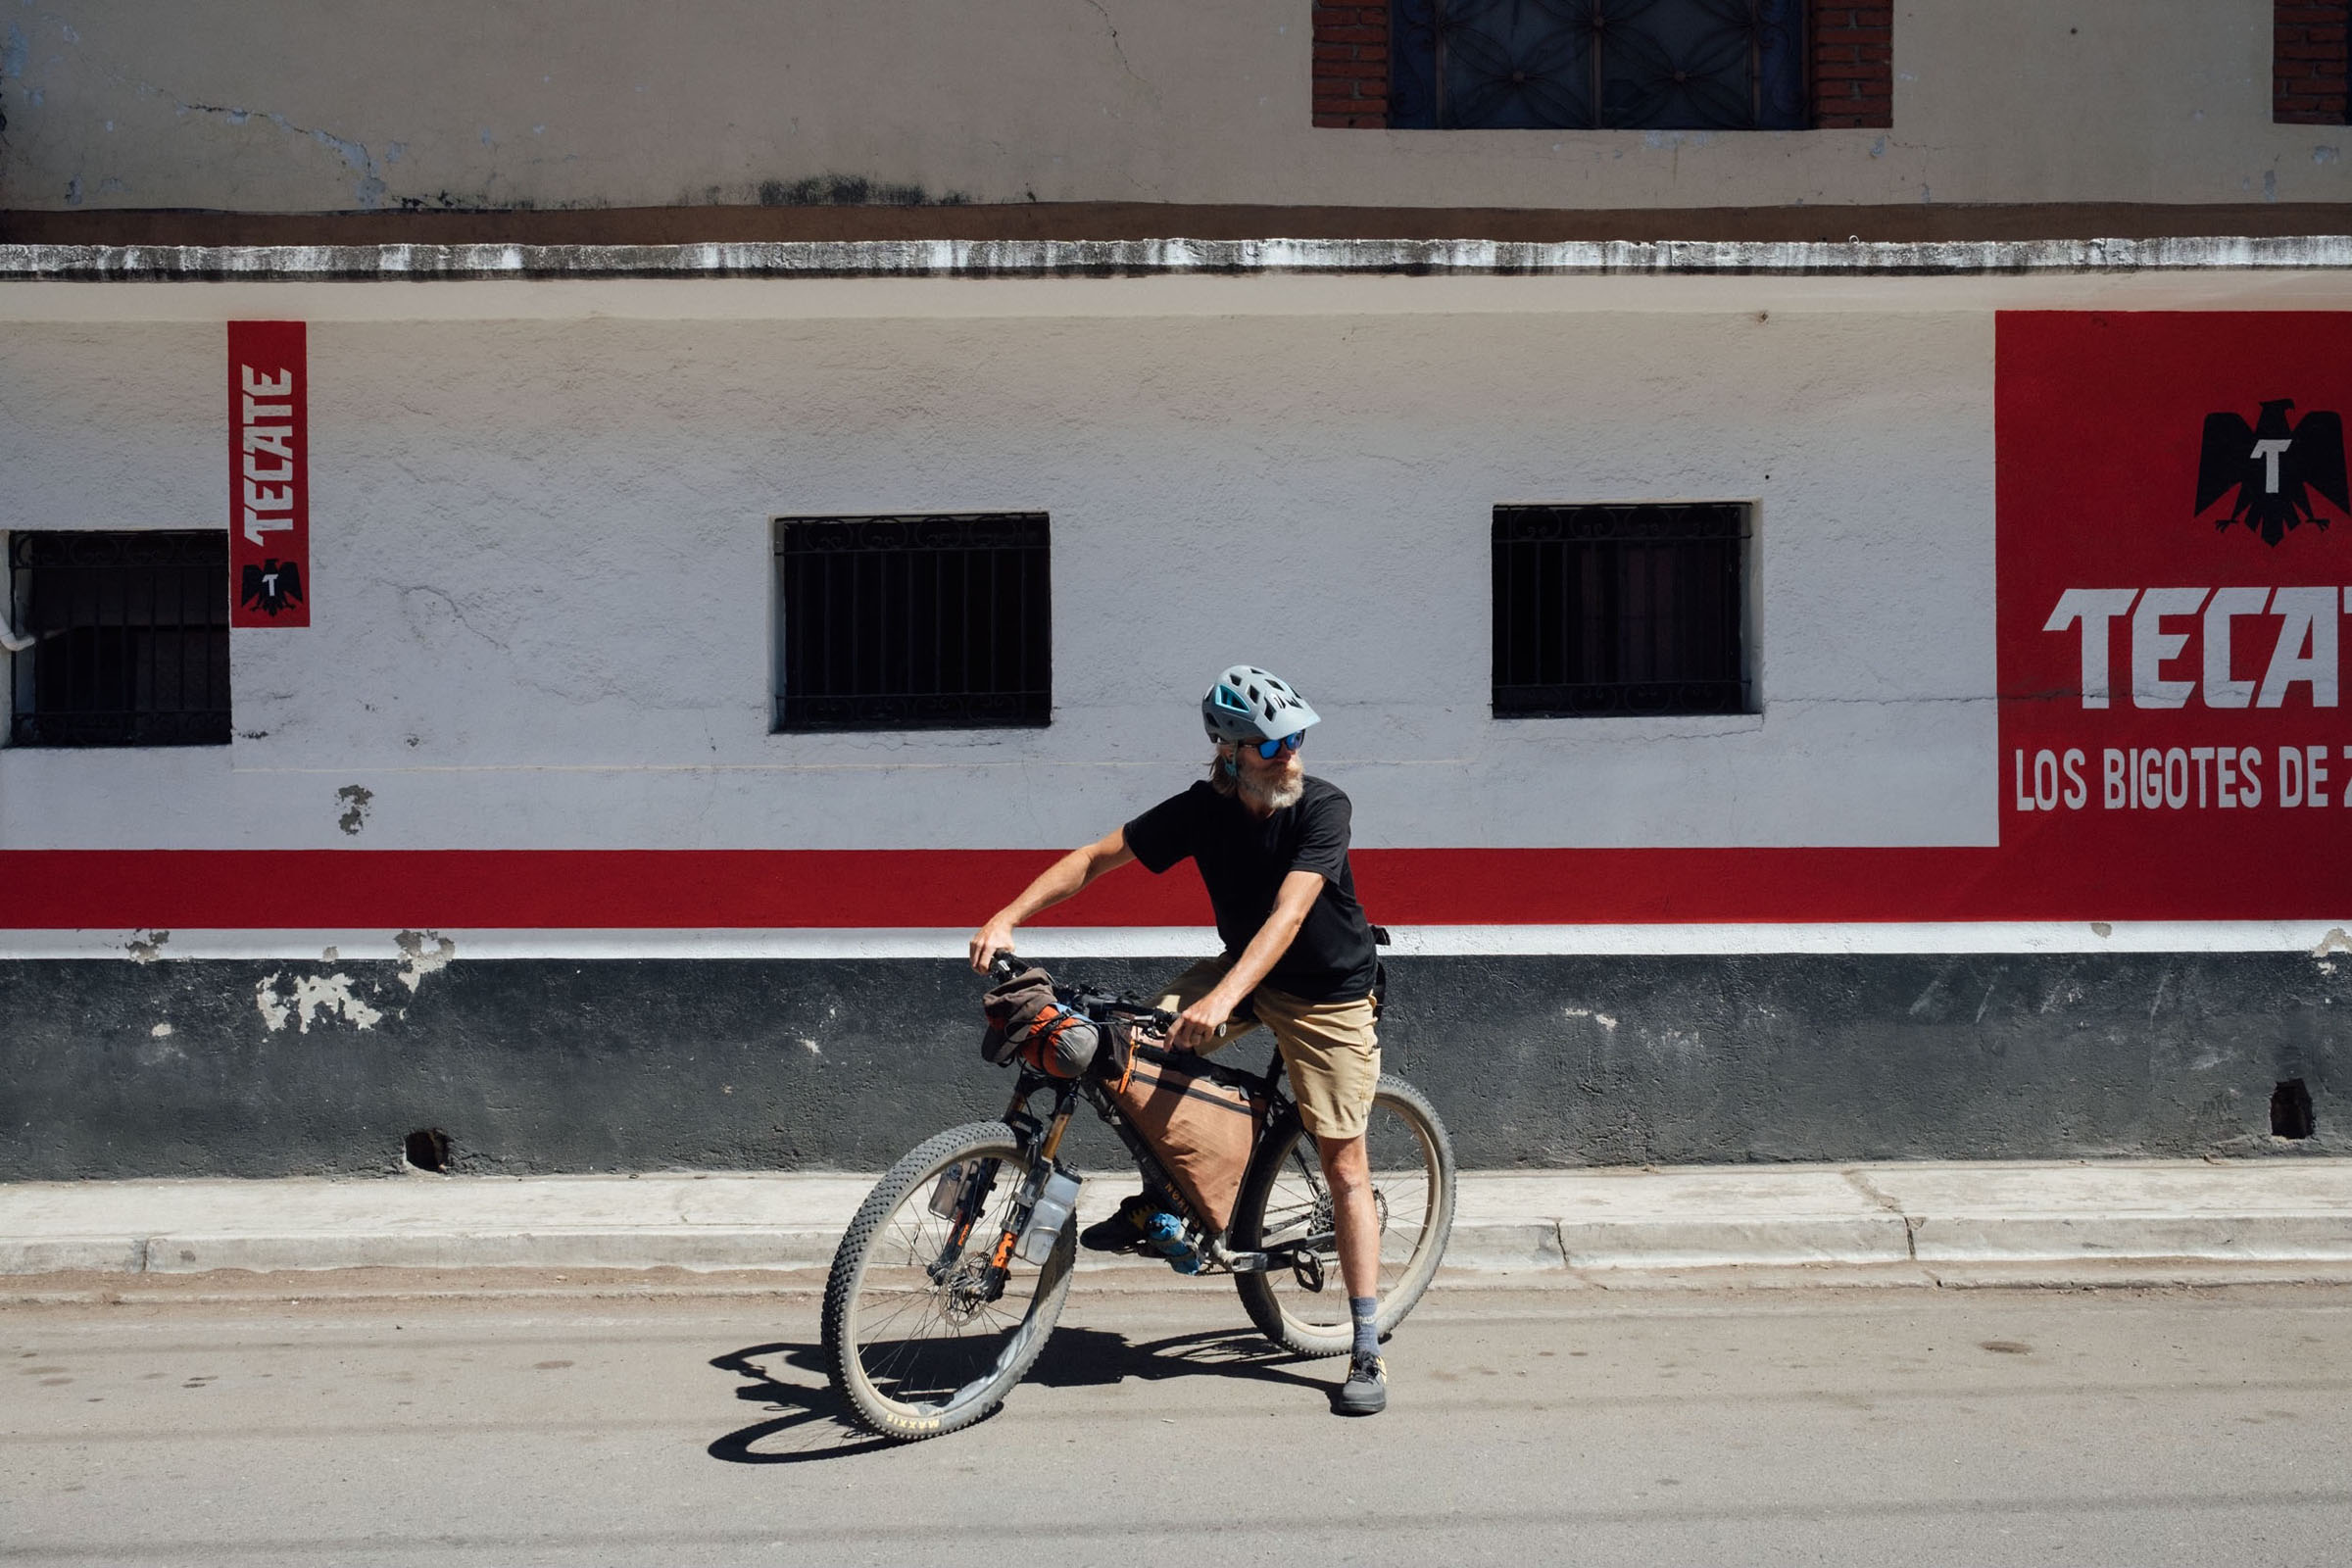
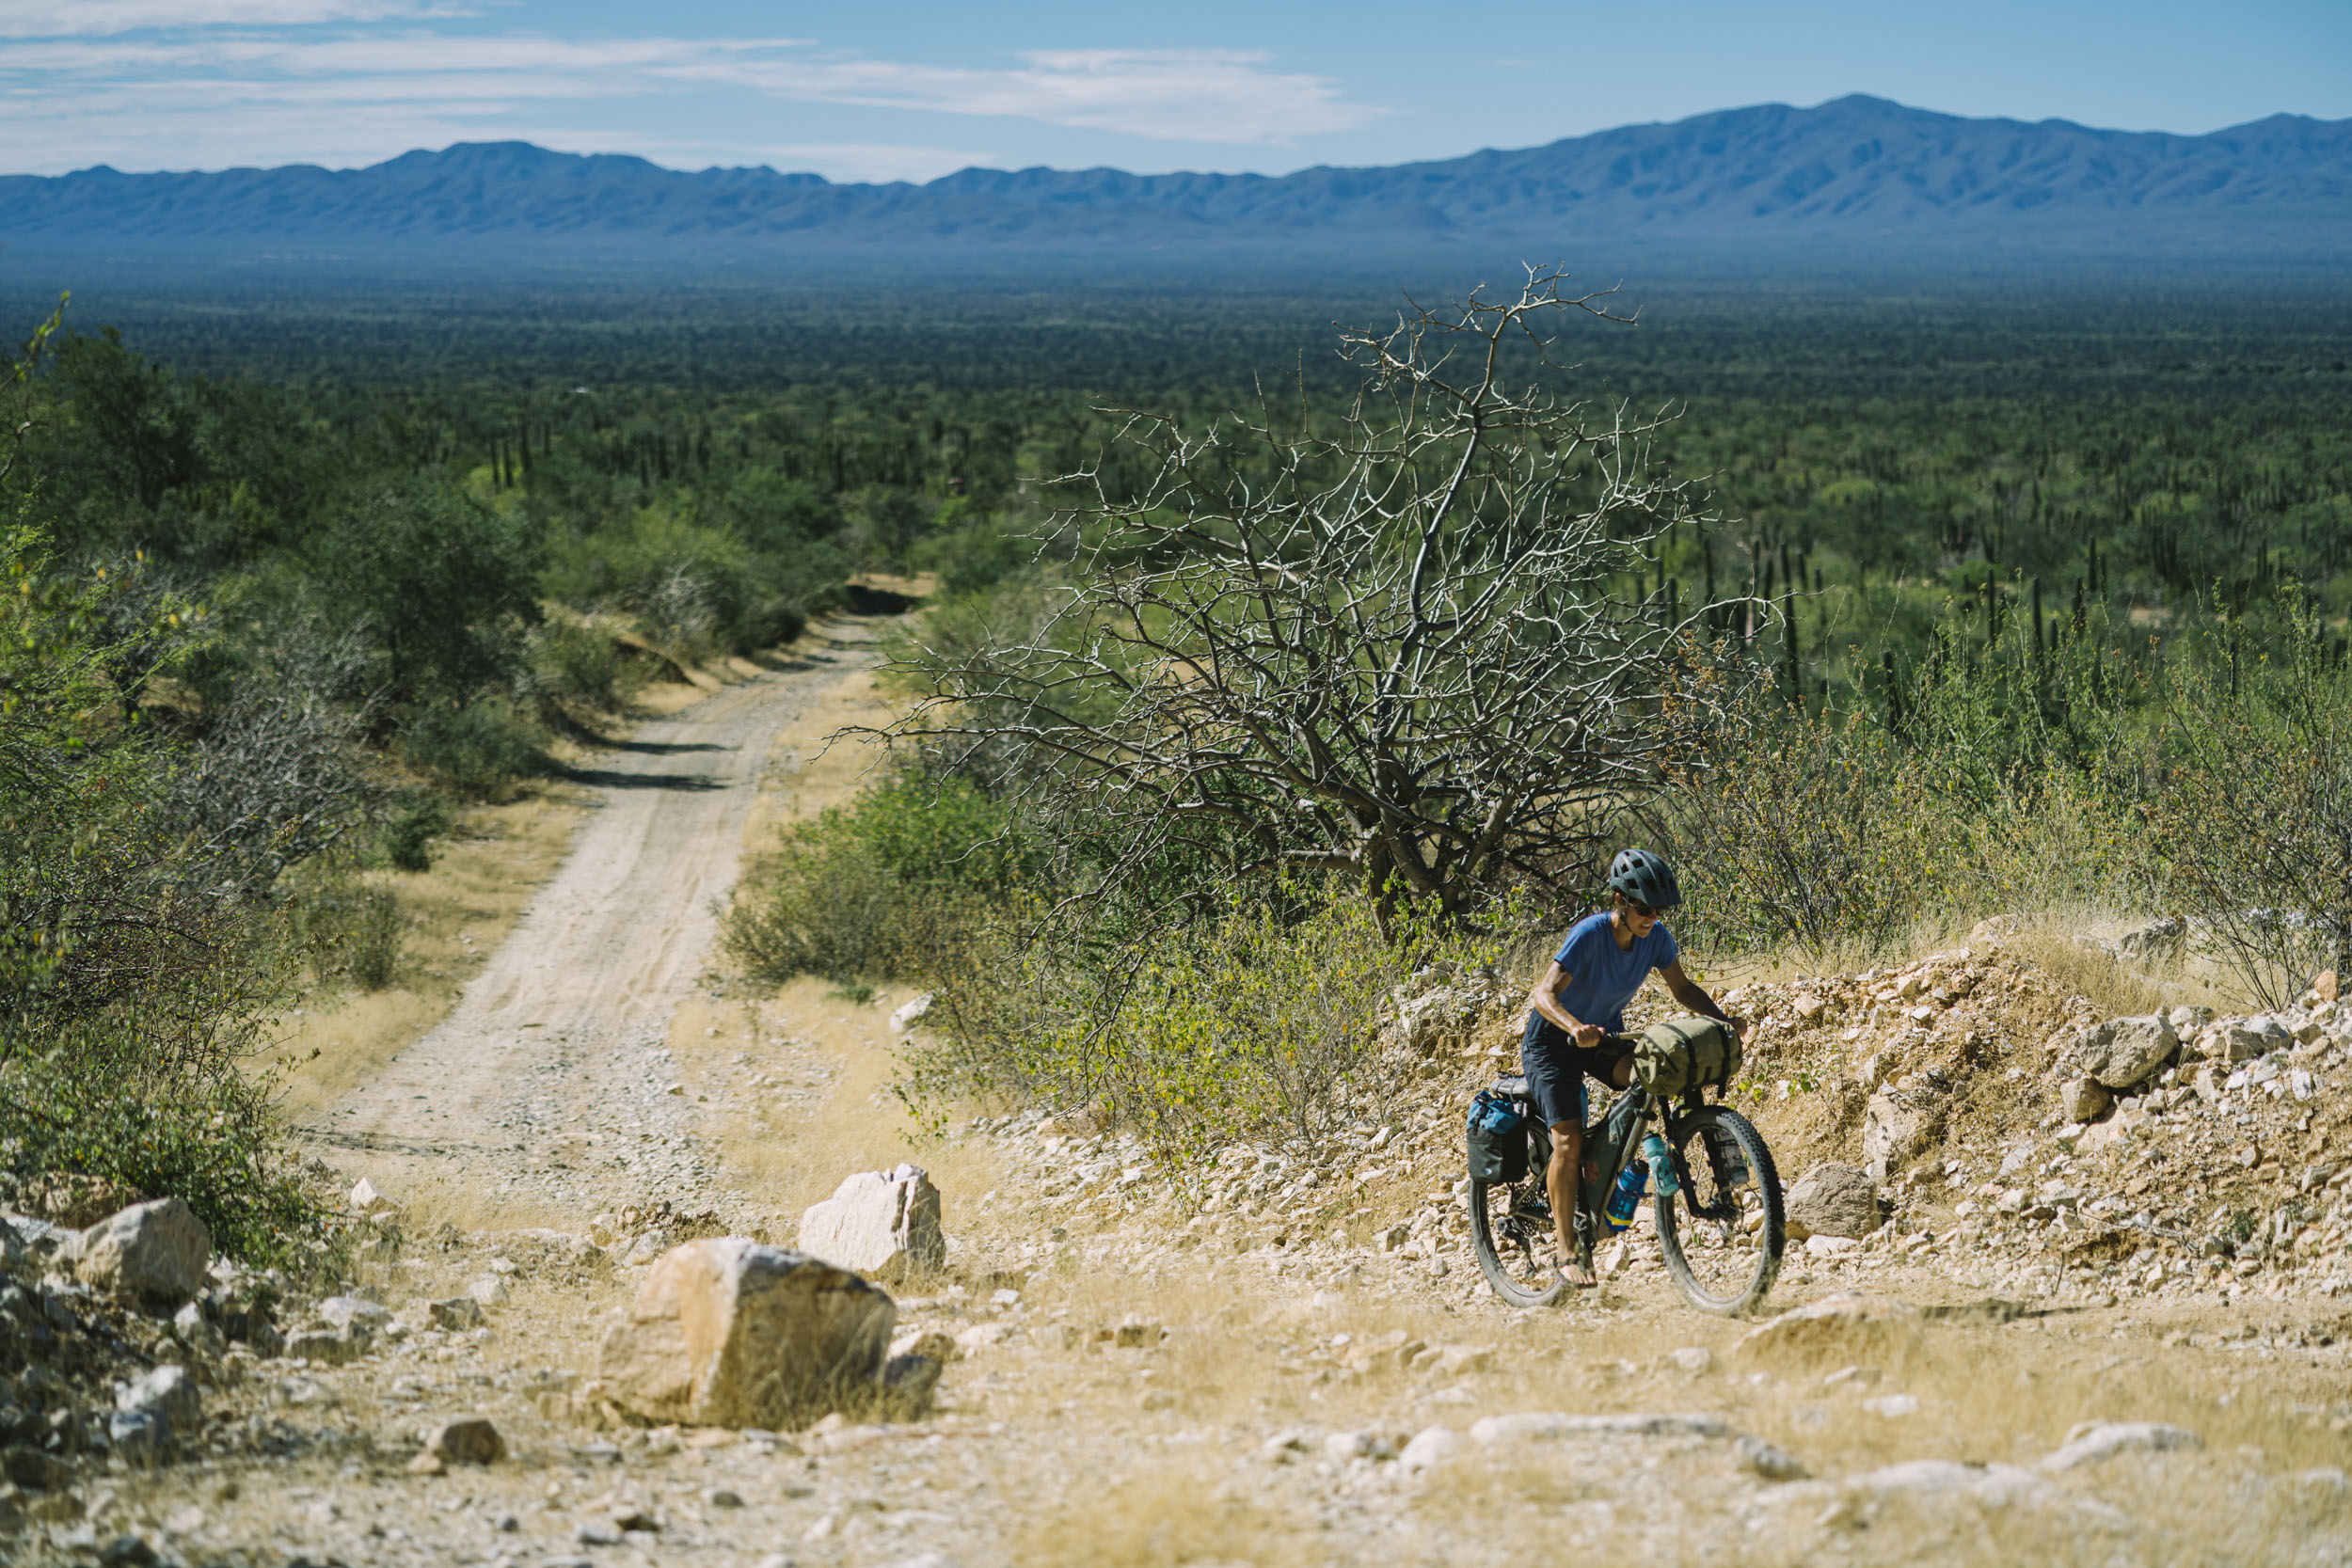
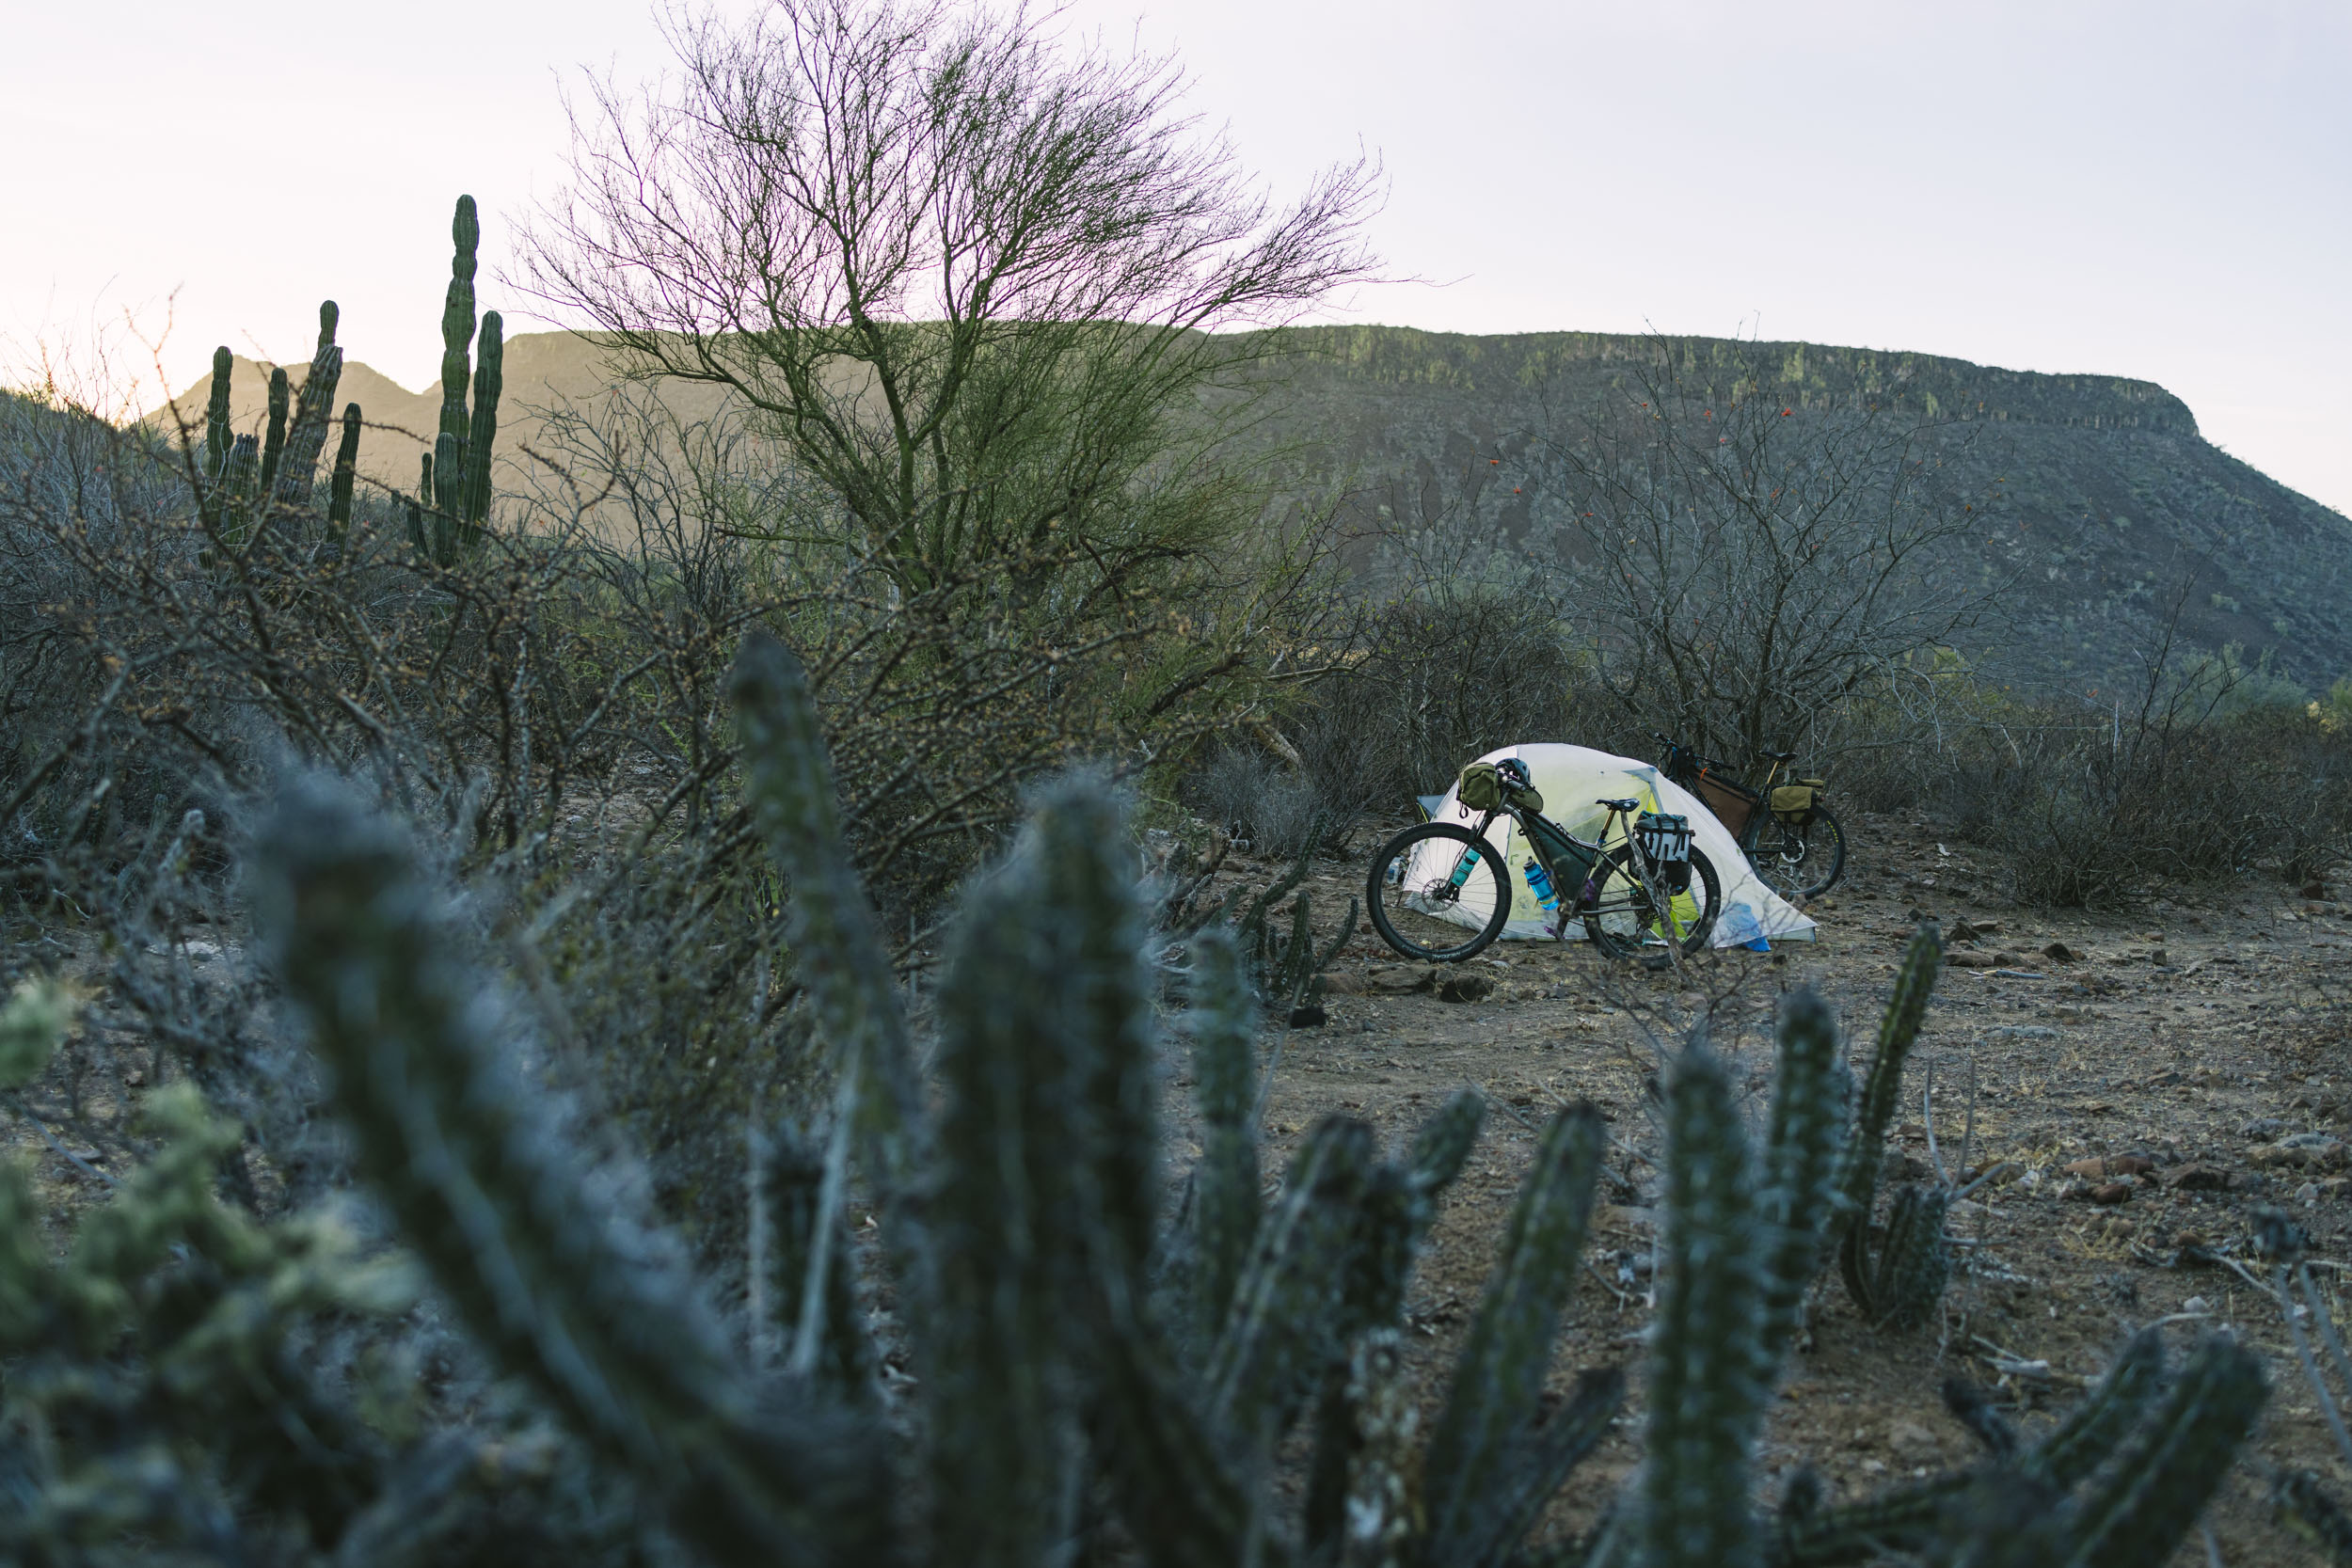
But things have changed. Components are more reliable. And the world is a smaller place—that is, in terms of being able to access parts and service. Either way, a lot of folks are still skeptical of a few modern technologies when planning for a long and remote bikepacking trip. Hydraulic brakes, dropper seat posts, and suspension forks all come to mind. On our Baja Divide trip—and then on to Oaxaca—last winter, Virginia and I brought all three of those “risky” components.

We weren’t haphazard about it, though. Before setting out, we took a few precautions to inspect, service, and make sure we had the right tools and spare parts on hand in case of issues. One such checklist item was getting our forks properly serviced by a trusted technician.
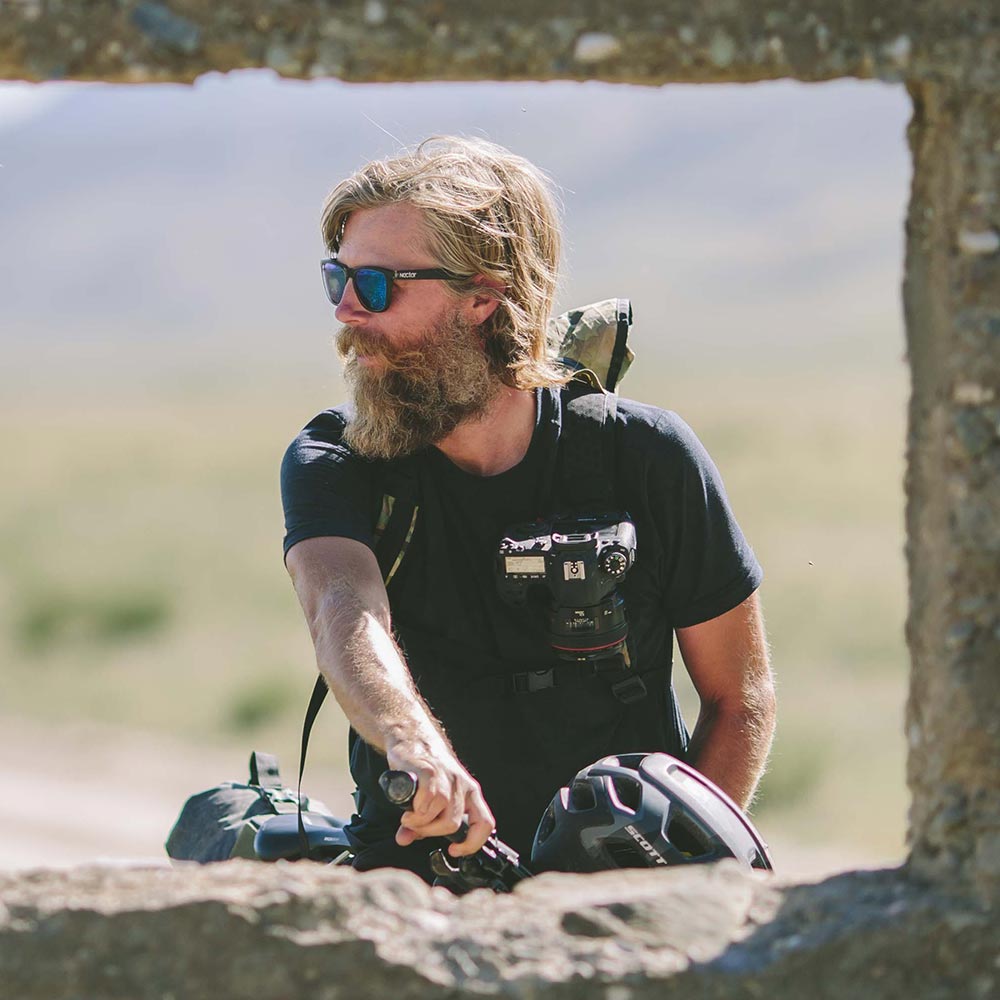
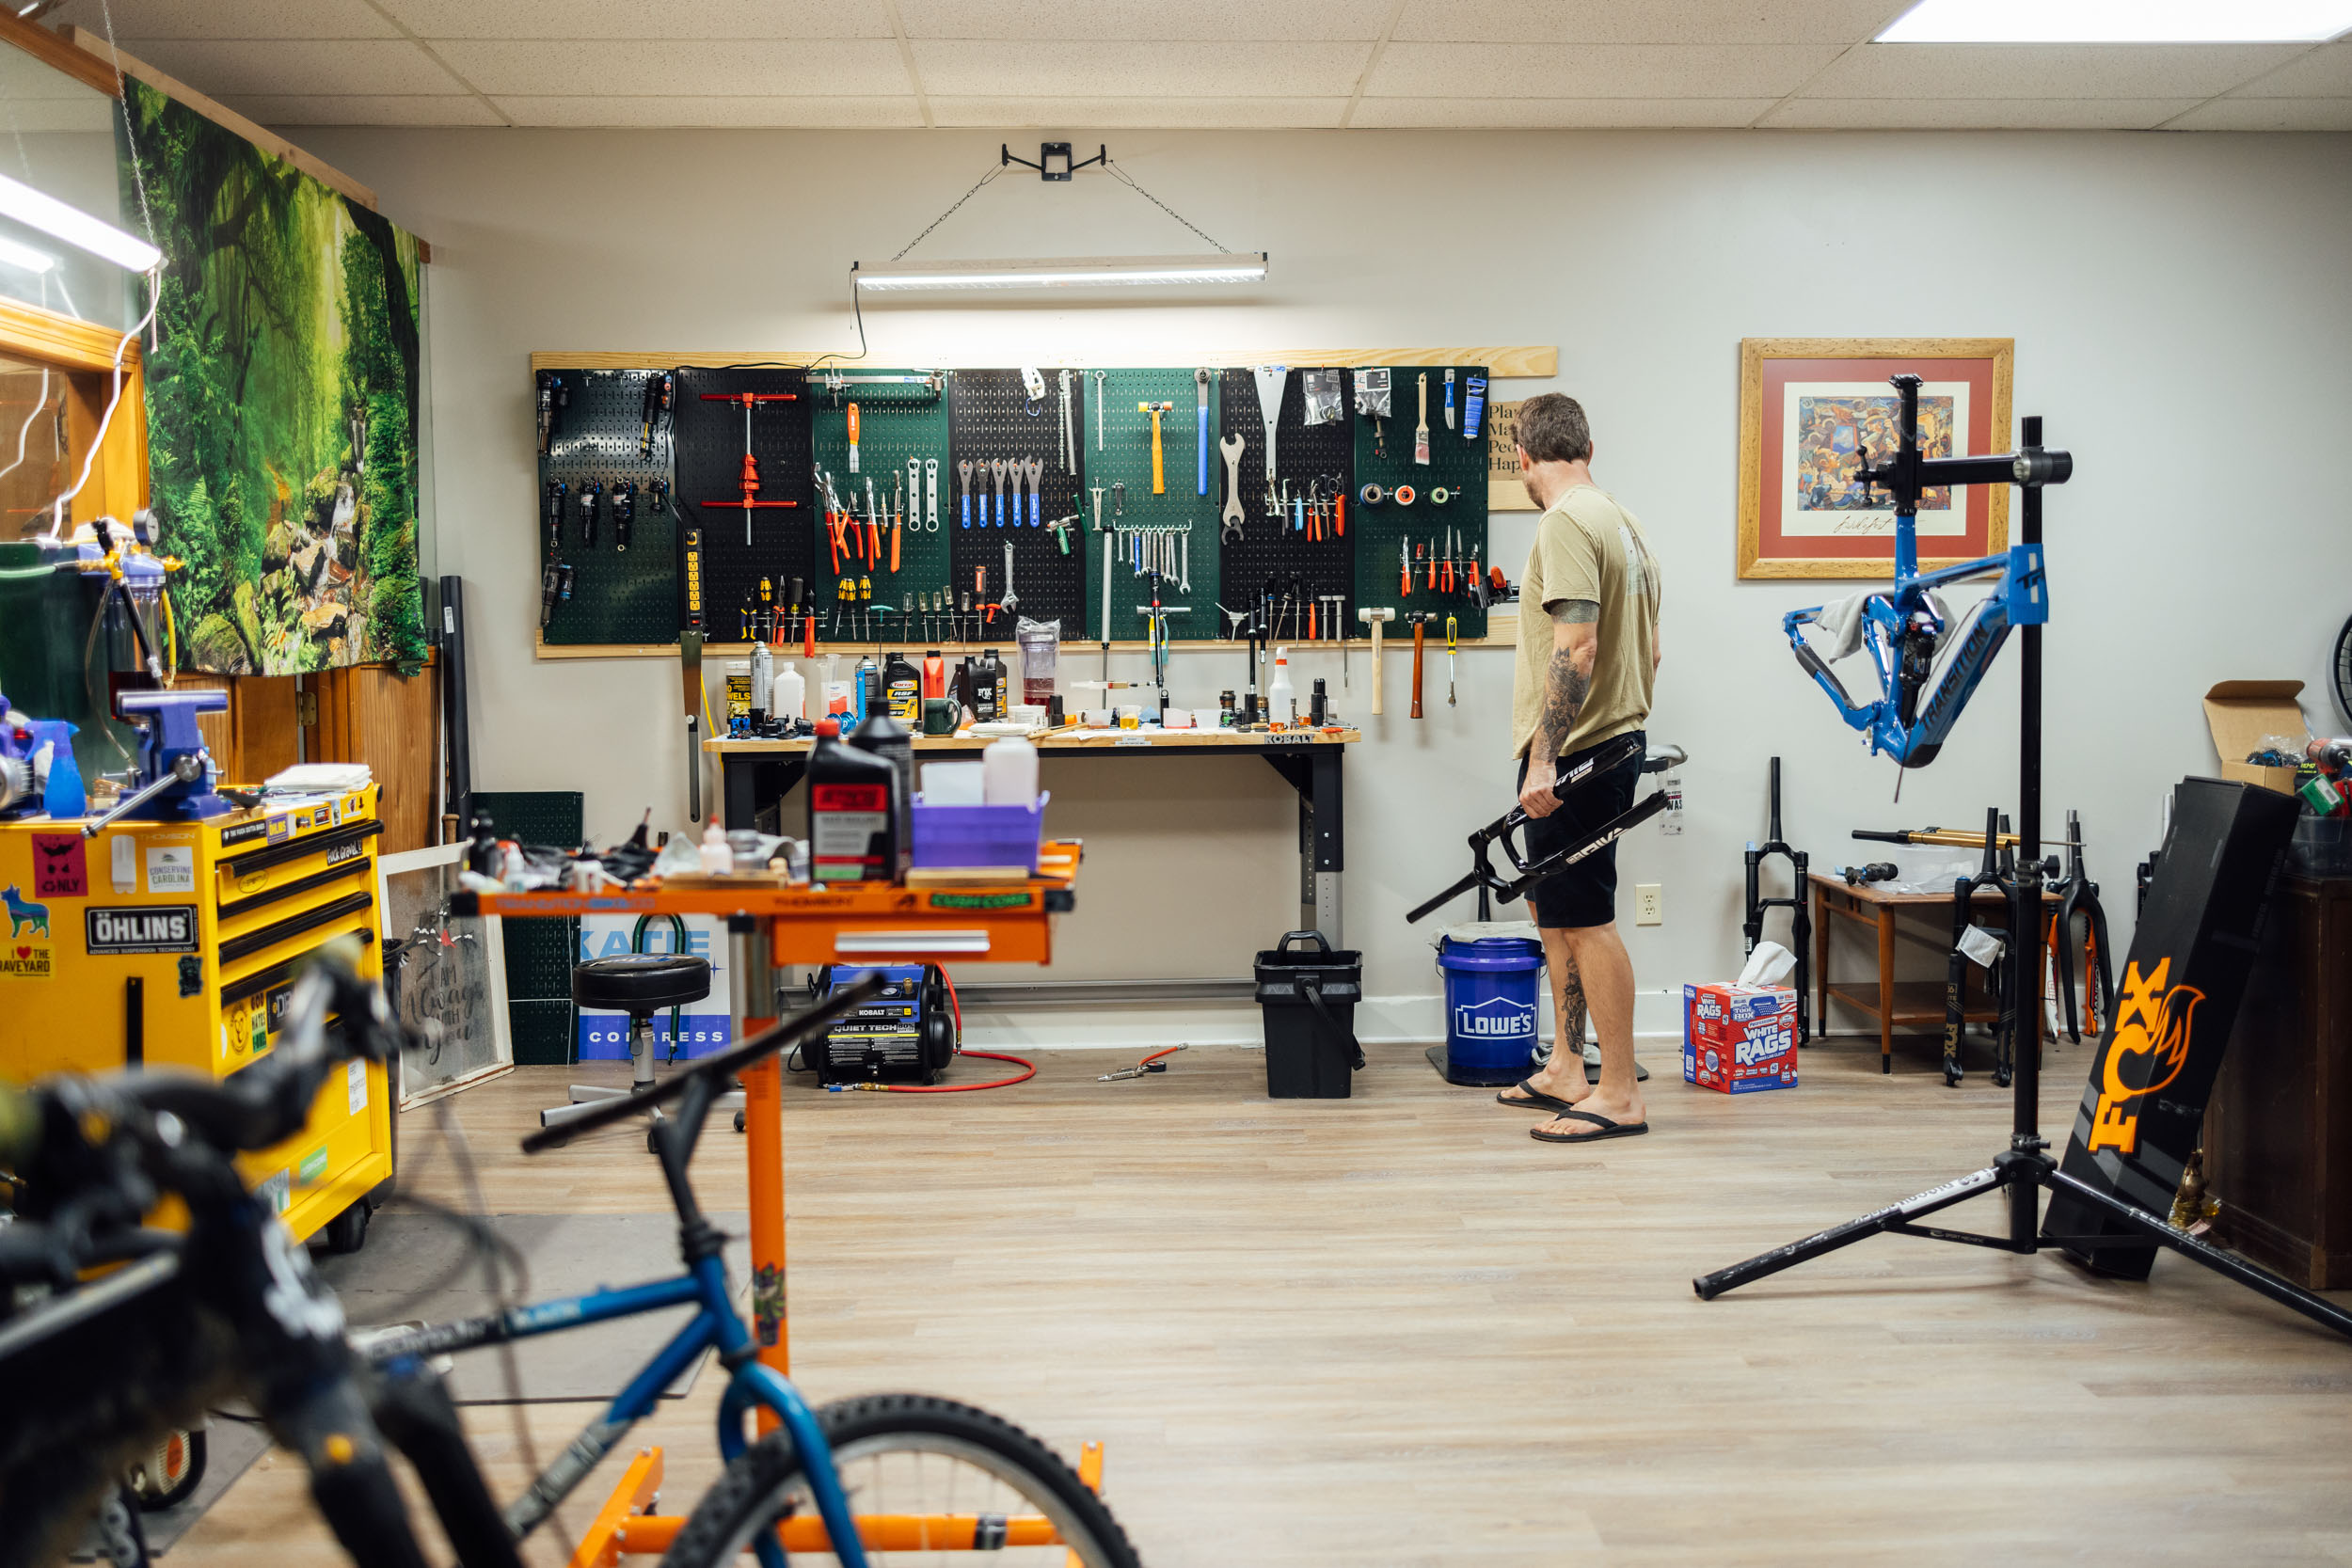
Randy Collette is a local small business owner here in Brevard who runs MTB Suspension Service (DBA as Collette Machine and Tool). Randy has been in the suspension game for nearly a decade, previously working at another suspension specialist company, where he serviced and upgraded forks and shocks, and even developed innovative ways of doing so before the major bike suspension players offered service support programs. Randy handles the majority of the “heavy-lifting” suspension work for our local bike shop, too.
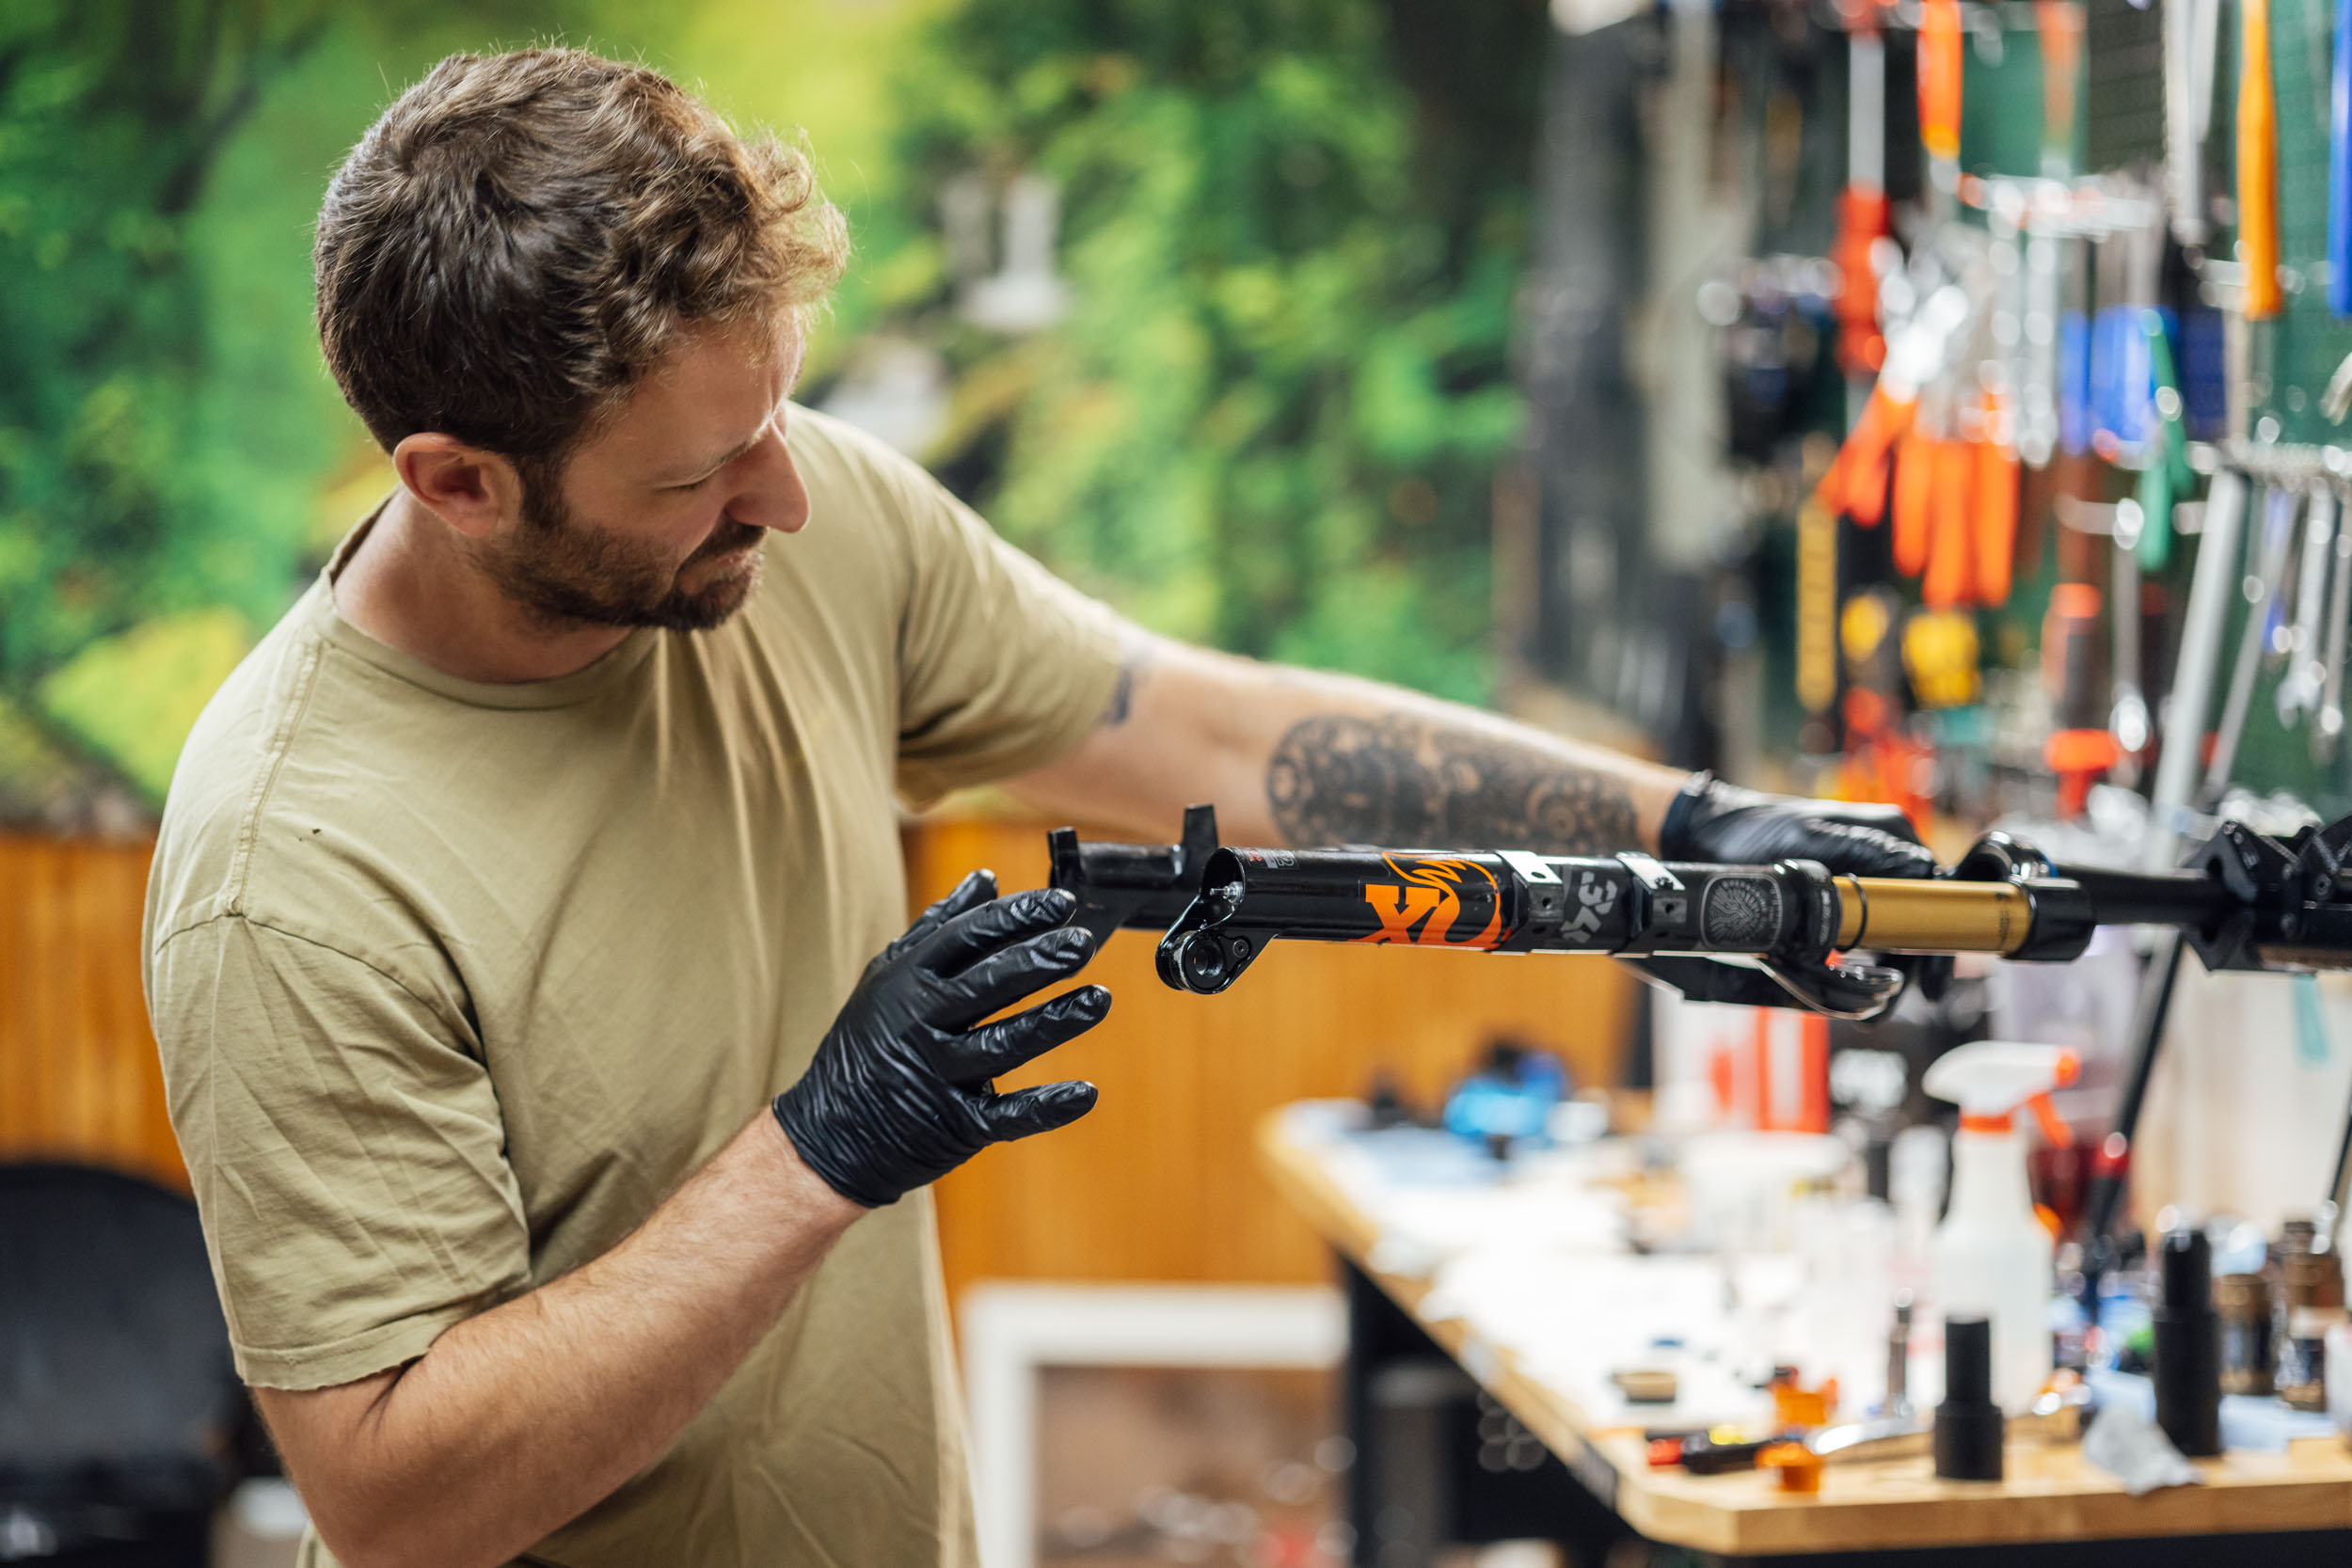

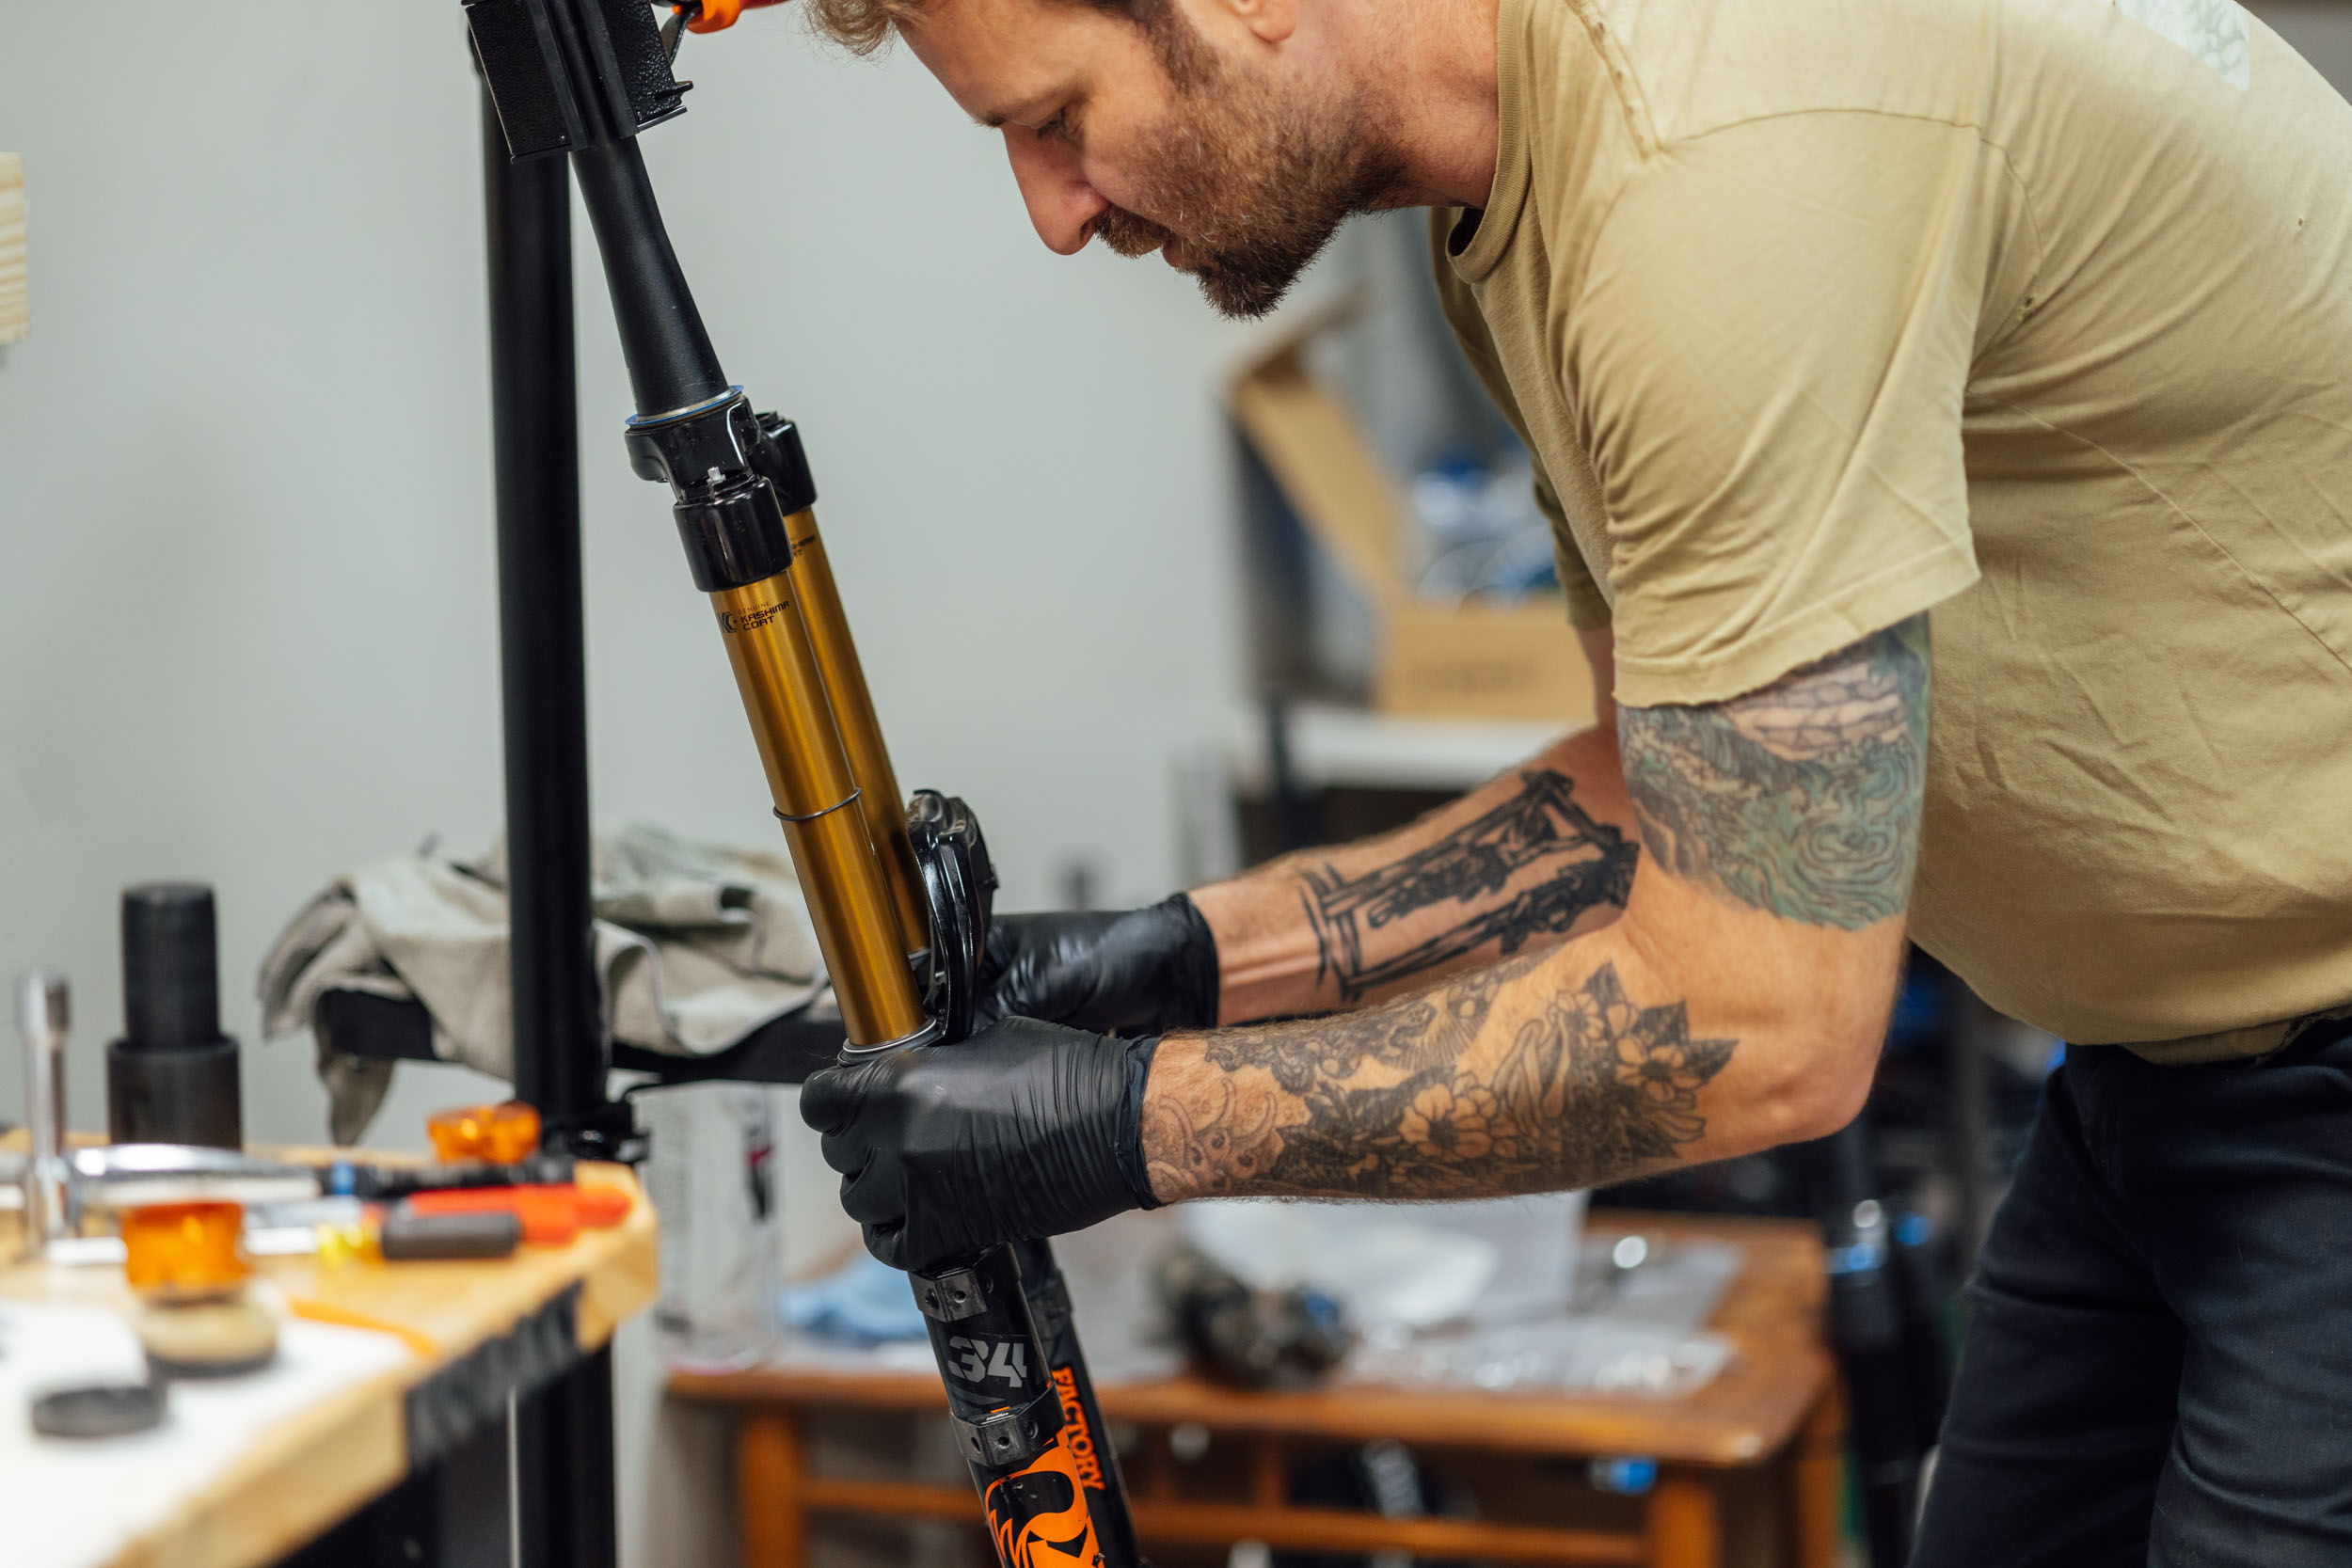
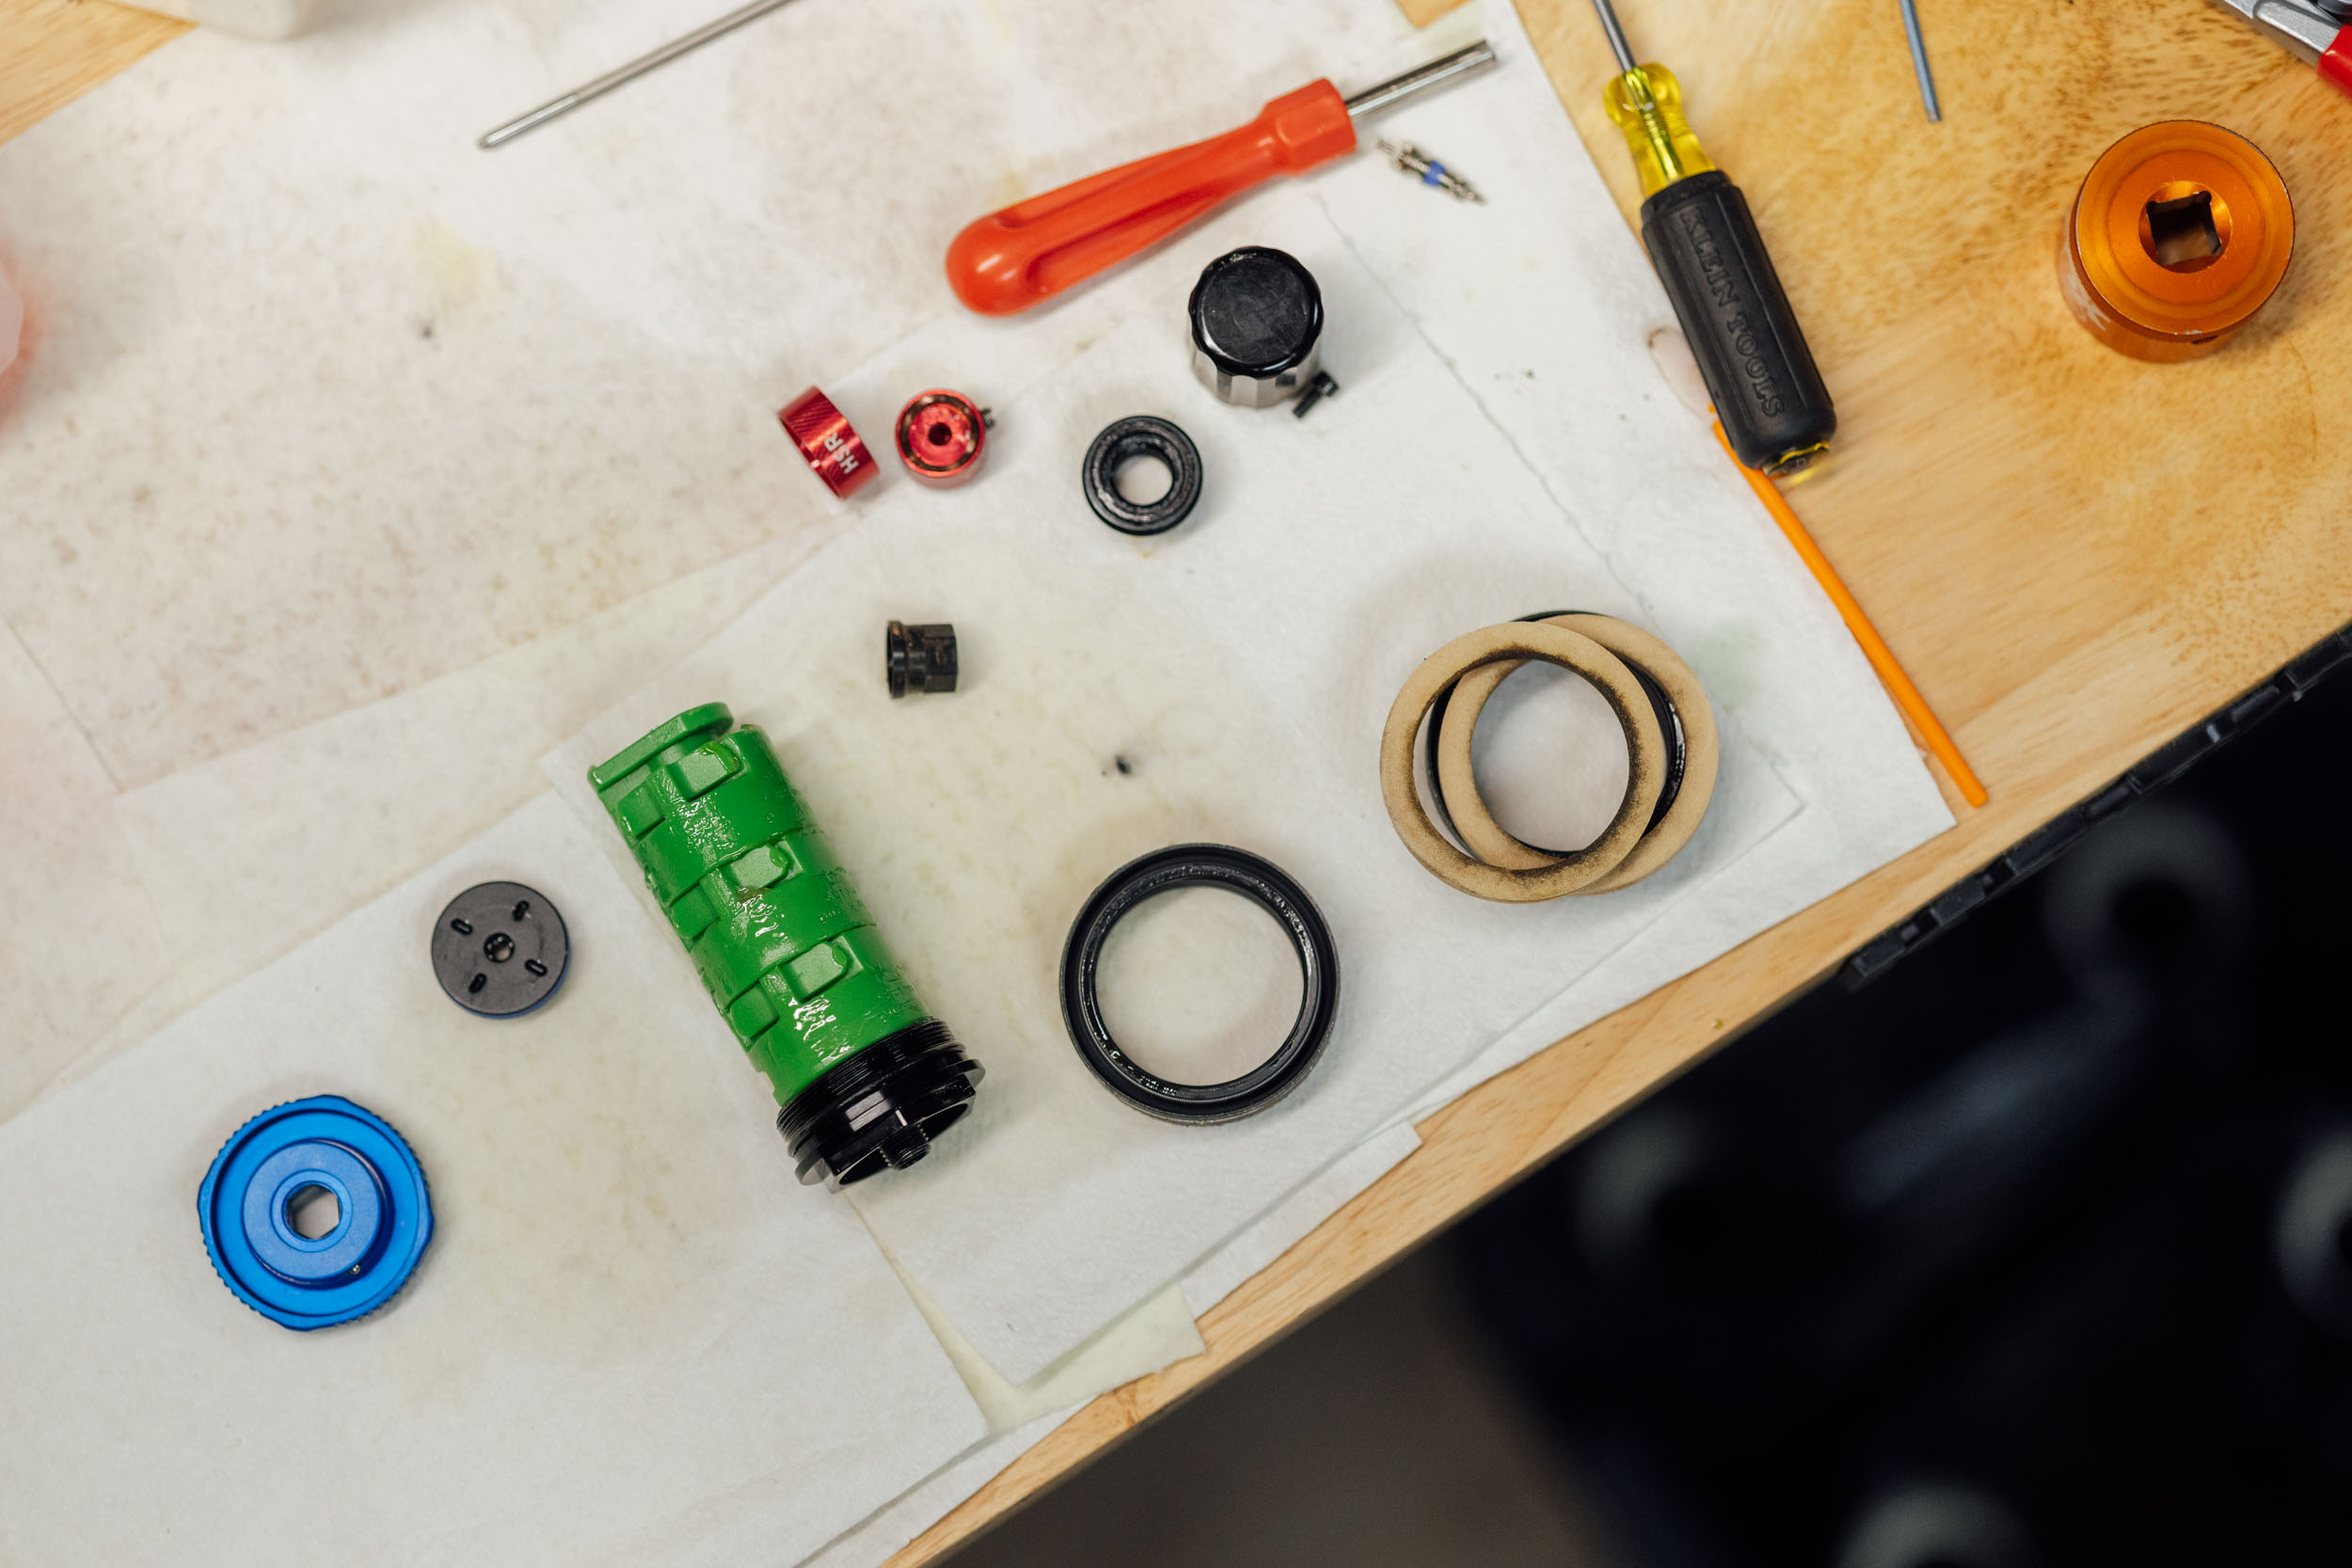
Randy serviced both of our forks just before we left on our trip to Mexico. I was running a Fox 34 110mm, and Virginia had a RockShox Pike 120. After we got home some two and a half months and 1,600 miles later, I brought my fork back to Randy and had him tear it down and see how it fared. For the record, those weren’t easygoing miles, either. There was a lot of rocky, dusty, and even salt water caked rugged dirt roads in Baja, fully loaded. Then, there was more bikepacking in Oaxaca, as well as a lot of day rides that were even dustier and rougher at times. I expected the fork to be shot, blown, dry-rotted, and full of sand—especially after something along the way ripped off one of the metal dust seal retainers, something Randy said he’s never seen in all his years doing this. After I watched him pull the lowers and carefully inspect everything, I was shocked. In Randy’s words, the seals, oil, and foam rings all “looked like it could have been ridden once.”
Obviously, I was delighted by this. It not only bolsters my trust in one of my favorite modern components, it drives another stake in the coffin of things to worry about while out bikepacking. With that, I decided to ask Randy a few questions about suspension fork service intervals, reliability, failure potential, performance, and other concerns that I’ve had over the years. We also ran some experiments with clamp-on mounts to address a concern many readers have brought up over the years. Read on for a guide to bikepacking with a suspension fork with insights from Randy provided throughout.
Service Intervals vs. Bikepacking
First, the elephant in the room. What are realistic service intervals for a suspension fork, and how does that work while on a long bikepacking trip or dirt tour? It’s certainly something I hadn’t quite wrapped my head around prior to this experiment. Fox recommends a service interval after every 125 hours of riding, or annually (whichever comes first). Rockshox recommends a lower service every 50 hours and a damper/spring service every 200. I obviously blew these numbers out of the water on this fork. When I asked Randy about this, he suggested, “Consistent riding without washing is great for the fork and keeps lubricant moving around where needed. When the bike sits for awhile, seals dry out and the fluids all sink to the bottom. When the fork is ridden intermittently and then let sit, it experiences more friction and allows more contaminants to enter. High-pressure washing easily sends water past the dust wiper into the fork, and this is worse when there isn’t proper grease and oil to guard against water.”
Randy added, “In my general experience, I don’t see every product make it all the way to those manufacturers service numbers without incurring wear. My advice is usually annual service at least and more frequent depending on how you’re riding. Considering, I think the manufacturers recommendations are very appropriate.”
Our trip was long, and went above the suggest hourly interval, but what about someone doing something like a six-month trip? Randy said, “Your fork would have fared the same after six months in that region, but probably not if you were riding La Ruta de Conquistadores [in Costa Rica]. If you were going somewhere wet for six months, we could look at an oil seal beneath the dust wiper. Or say, ‘I’m traveling the world for six months and I’m fine with $300 of service when I get home.’ It’s all about balance. And things happen. So, if a severe enough breakdown occurs, sometimes we have to be more flexible about killing a part for the sake of adventure. Or find a shop.”
Get a Professional Service
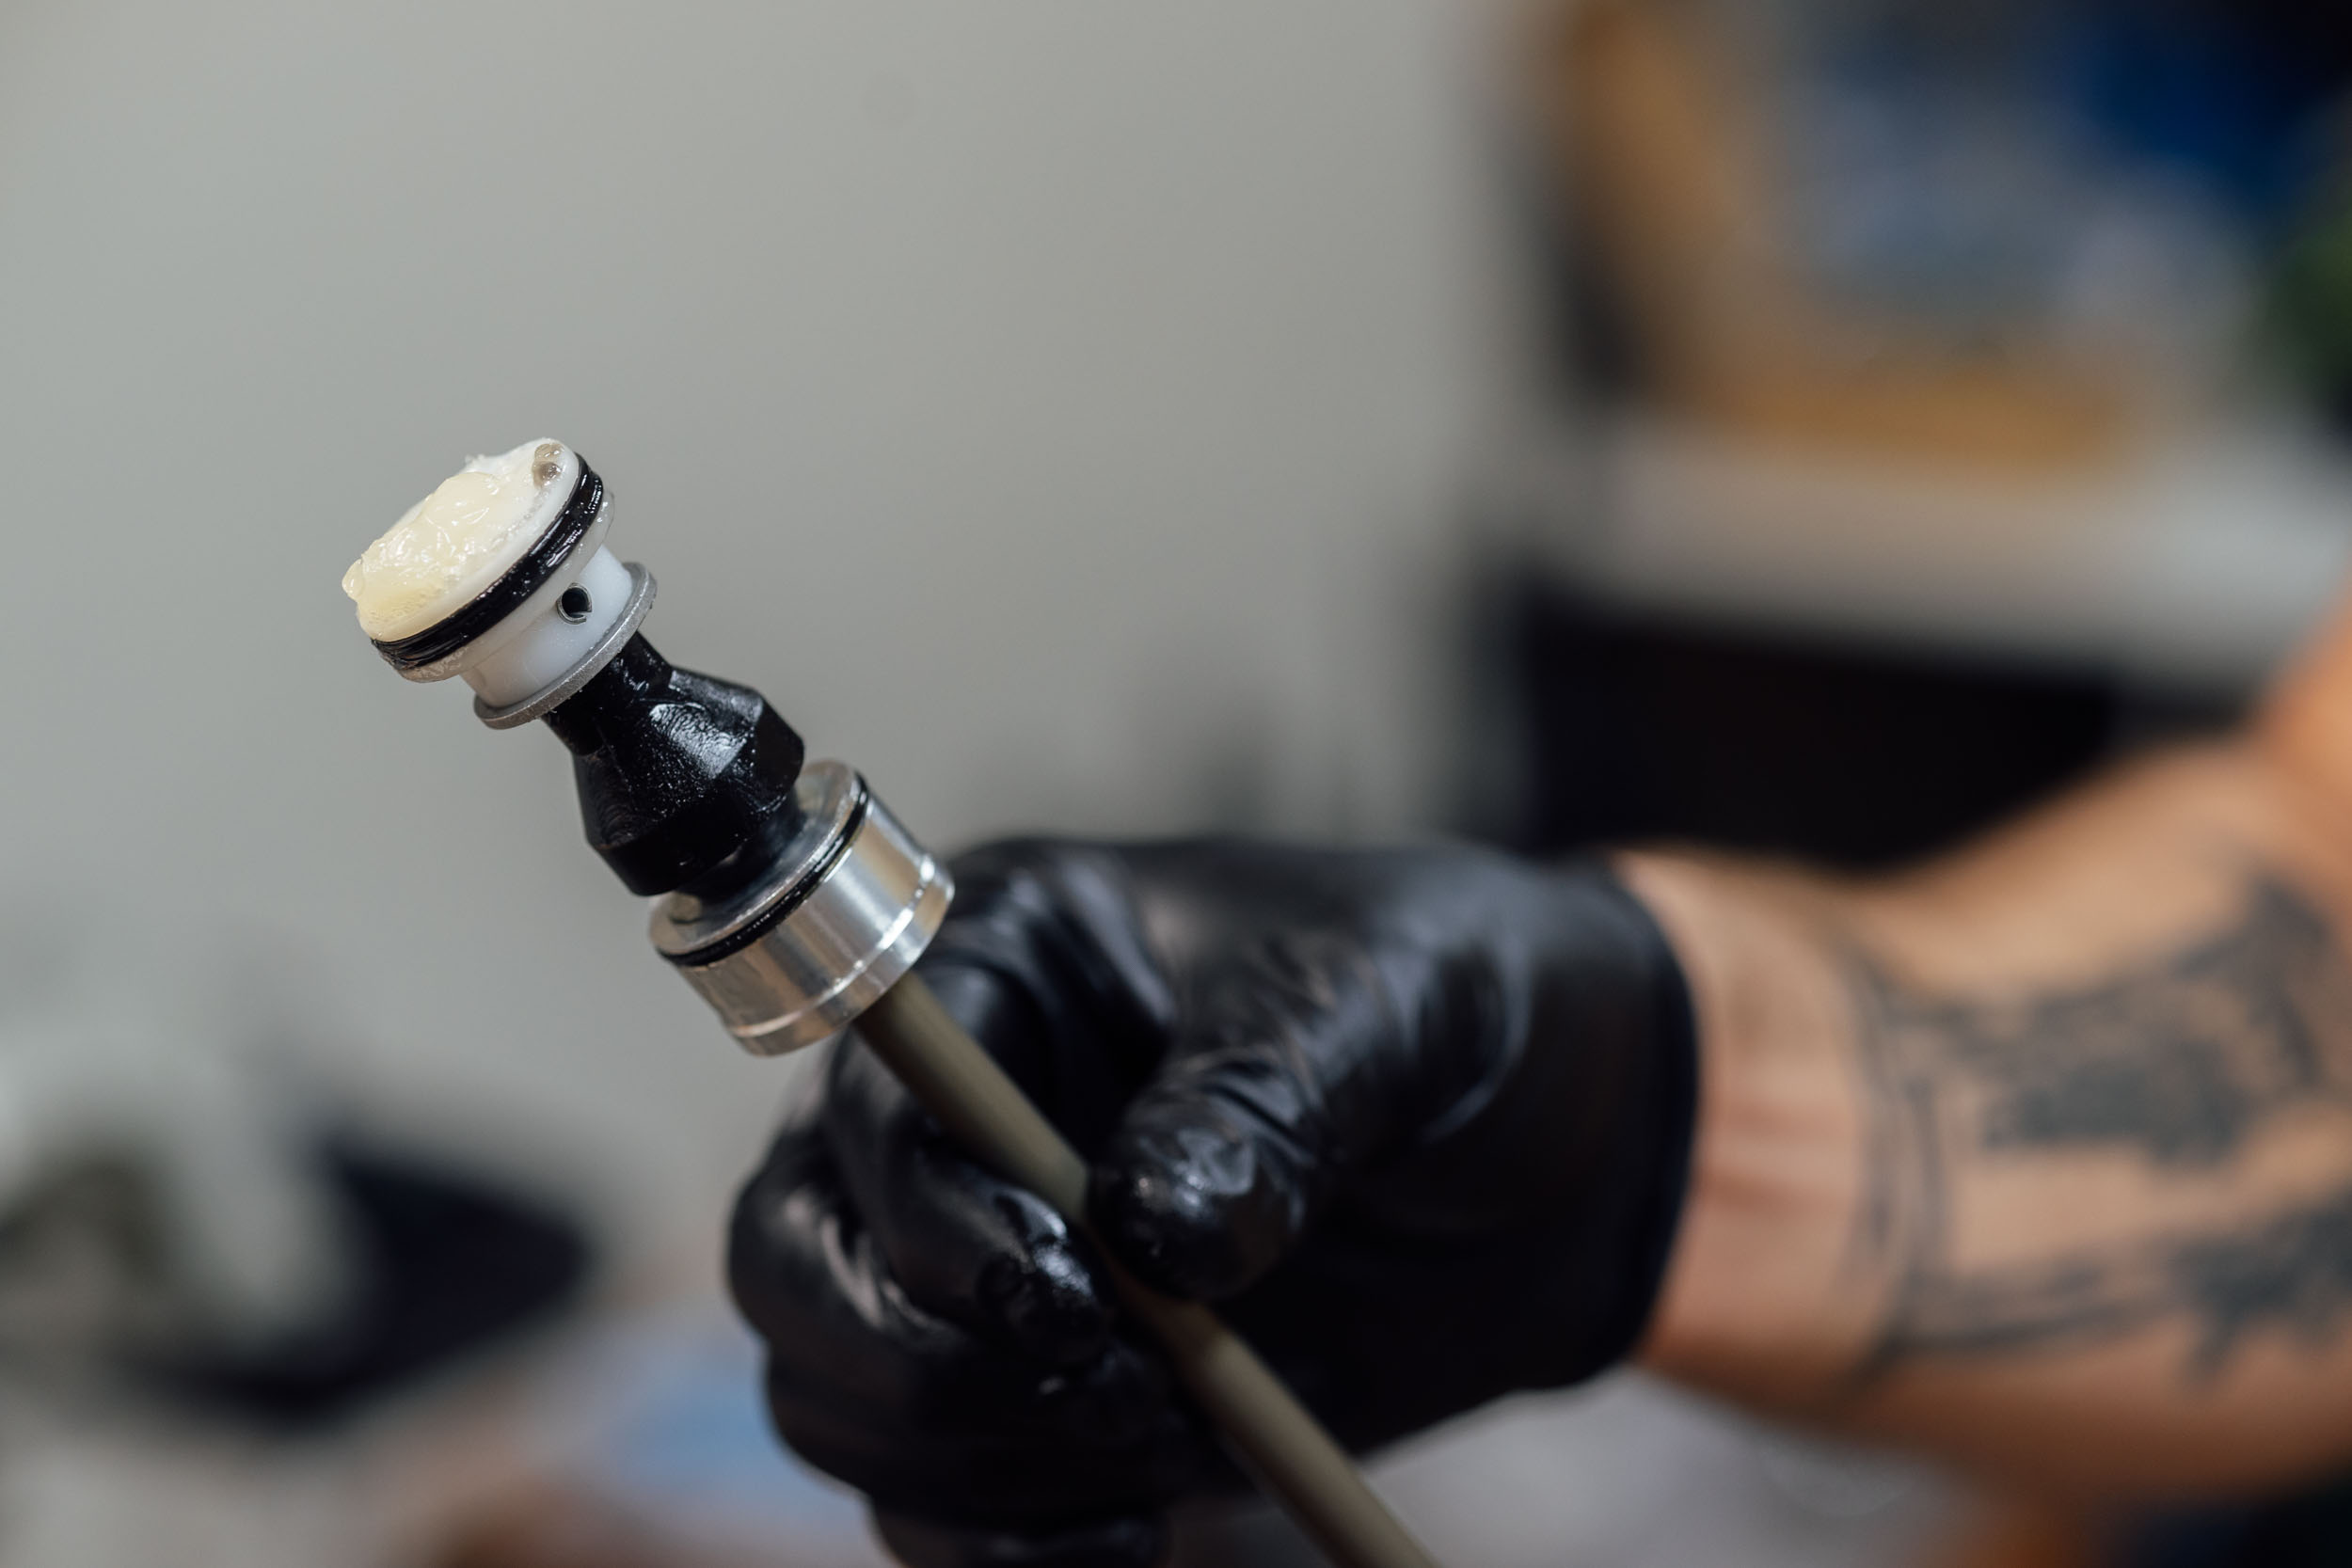
Considering the pristine condition of this fork, it’s important to note that I had Randy prepare it for our trip and then checked it after we returned. That brings me to another piece of advice Randy gave me: “Always get an overhaul when the fork is new so you have a baseline.” That generally requires a technician—Randy in this case—to take it apart, lube appropriately, and reassemble carefully (and identifying the placement of the lower bushing—which we’ll talk about in the “mounting stuff to your fork” section). And if it’s not new, that also includes cleaning it thoroughly, inspecting it, and if necessary, replacing parts.
Why do this when it’s brand new? In short, forks aren’t always lubricated properly when they come straight from the factory. Sometimes oil levels are low, for example. And, bushings and wiper seals are usually dry. Simply greasing them makes a huge difference in durability, especially in wet areas. As some people have reported, manufacturers don’t do this because when a customer sees grease on the fork stanchion they think their new expensive fork is leaking.


It’s also important to have someone who knows what they’re doing service your fork. Most bike shops offer suspension service, but the attention to detail depends on the mechanic’s experience. Not to downplay bike mechanics, by any means, but I think of it the same way as I do when hiring a wheel builder: it’s something anyone can do with the right tools, a manual, and YouTube, but I want someone who’s an expert on the subject to build and maintain certain specialty components, especially before a big trip. The quality of workmanship could mean the difference between finishing the trip or having to quit. Randy is one of those specialists I trust, as evidenced in the continued discussion, “… because our climate is especially bad, I’d never do a lowers service if I hadn’t already gone through the whole fork. One wet Pisgah trip can cause more wear than a year of riding somewhere dry. However, super fine dust from the high deserts can be problematic as well, so it just depends on the rider and the climate. You can better prepare the suspension before a trip depending on where and how long.“
Tuning Your Fork
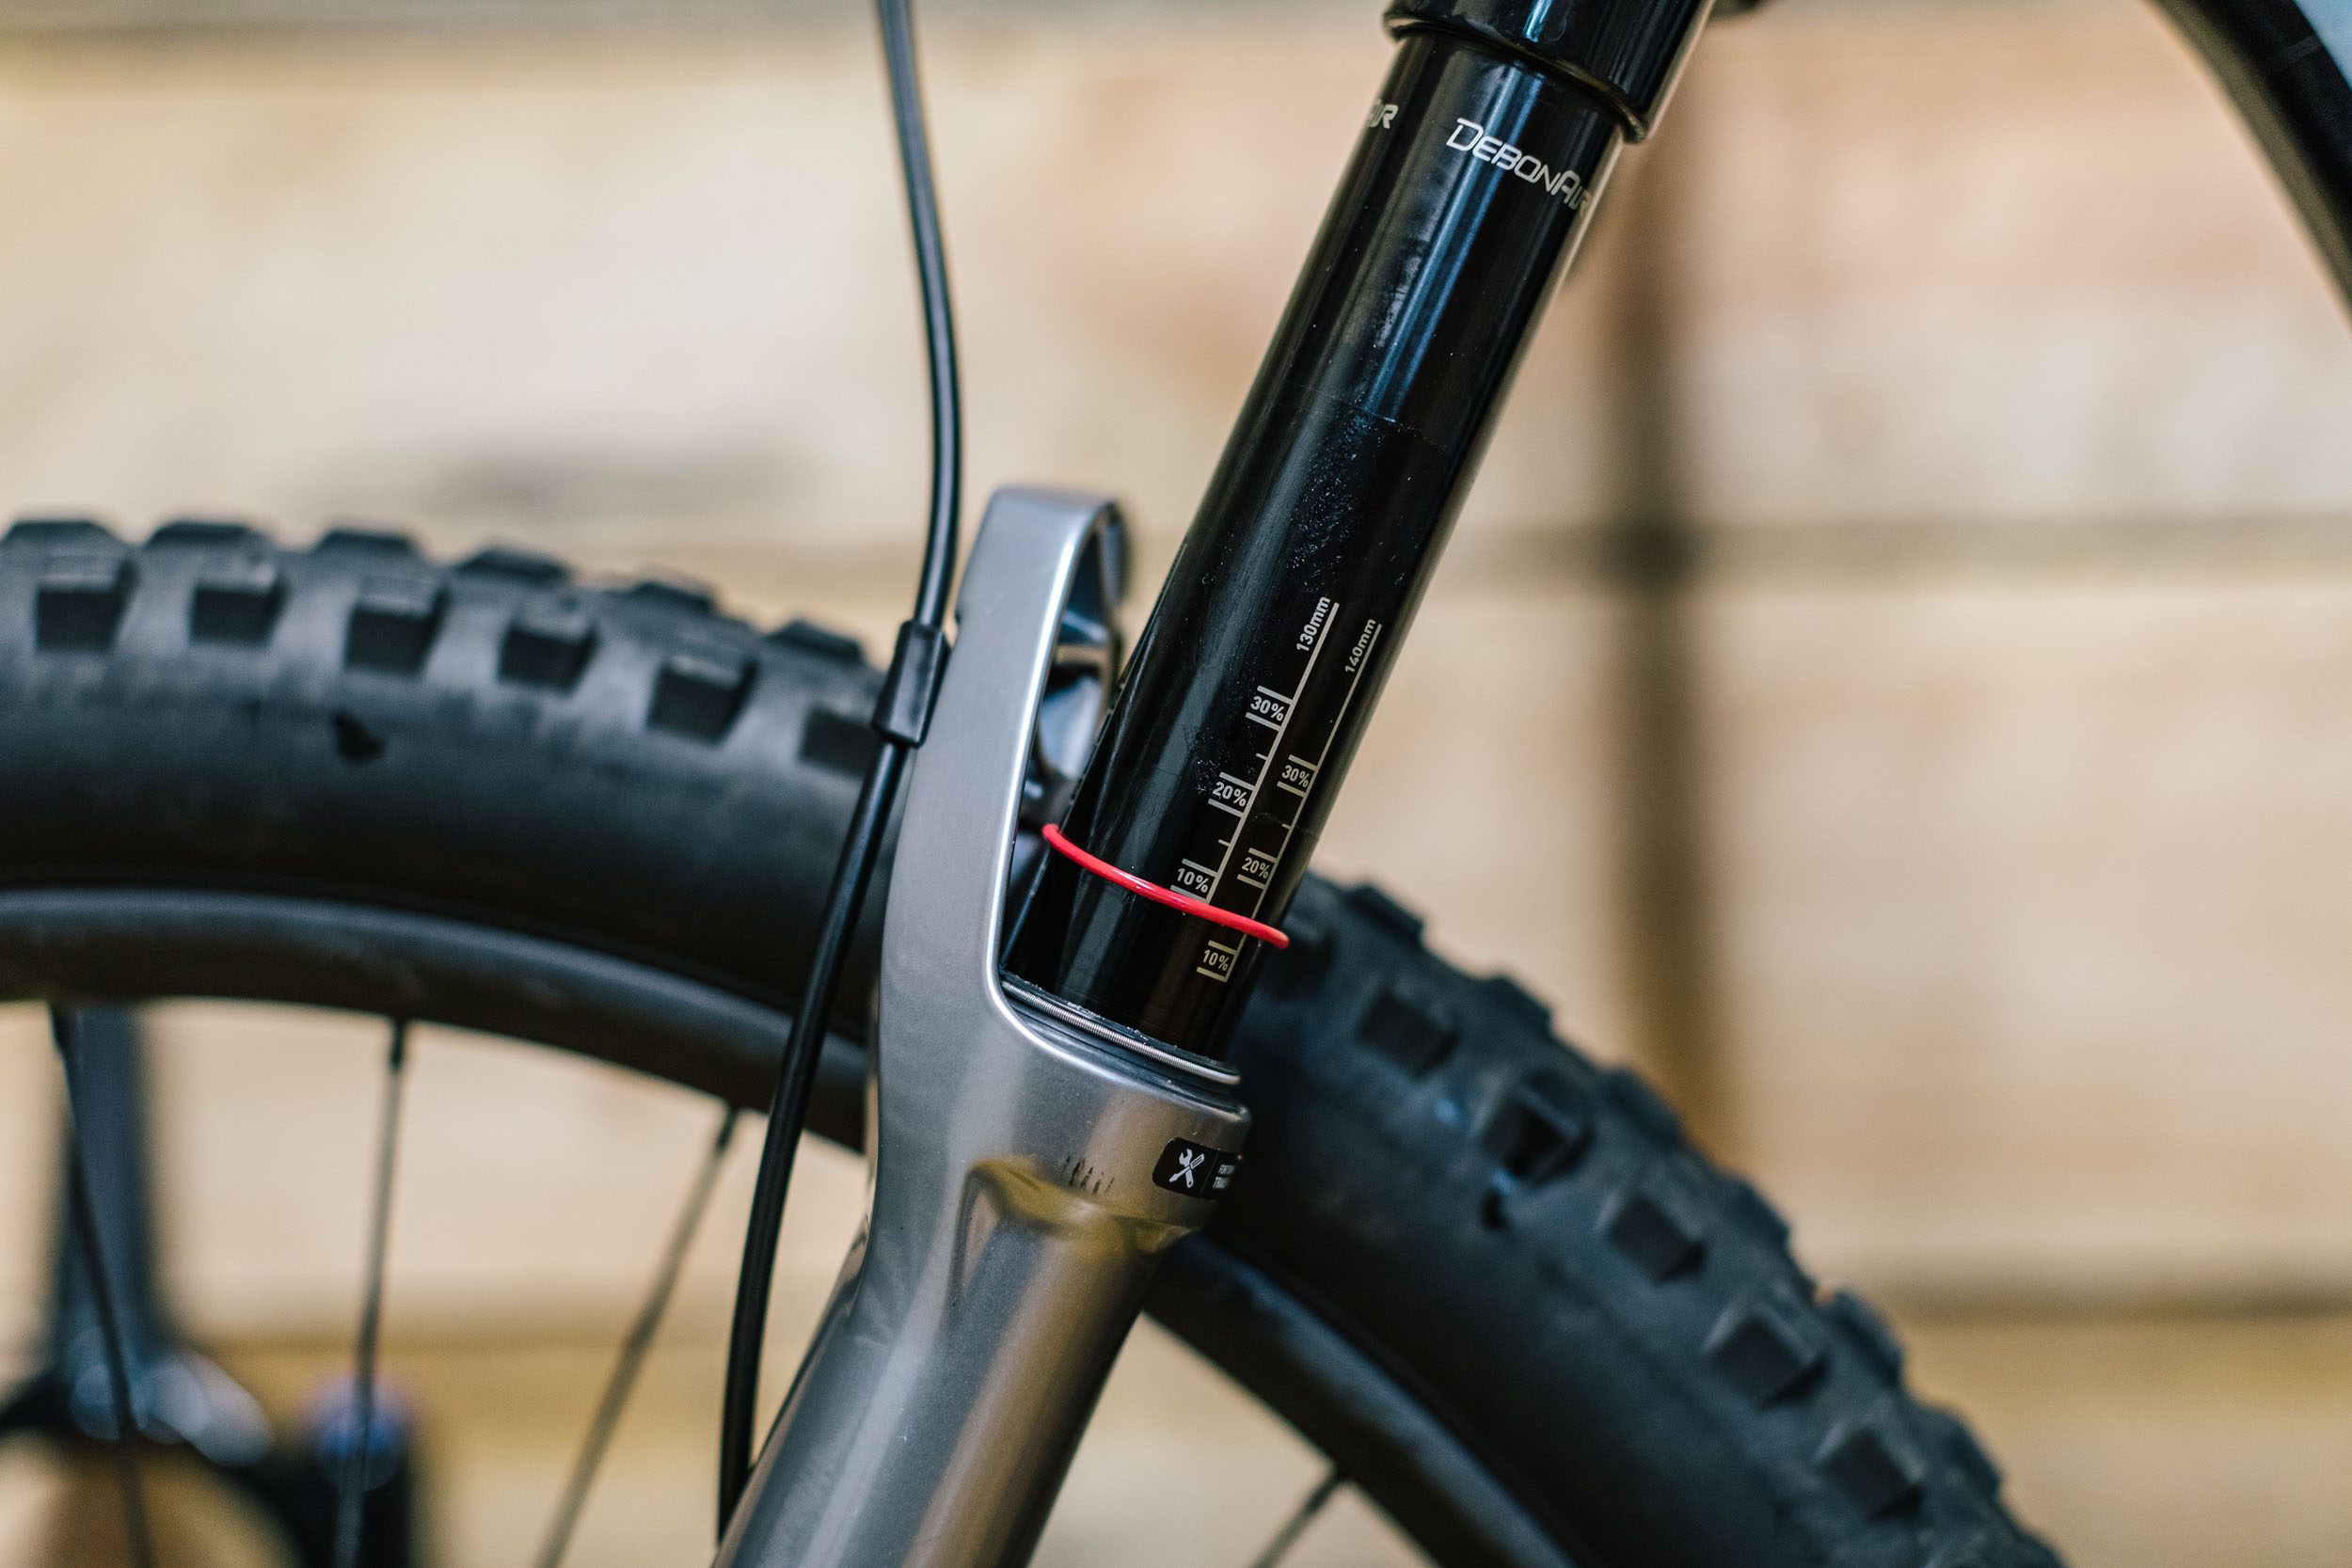
It’s widely accepted that the first step in setting up your suspension fork is by using sag. Sag is the amount suspension settles with the rider (and gear) weight in a neutral stance. It’s a fairly simple metric that gauges the stiffness of the air spring proportional to the load—your weight plus the bike’s weight and gear attached to it. For those unfamiliar, it’s fairly easy to measure your fork’s sag. You simply steady your bike against a wall (usually using a handlebar end as a stabilizer), sit on the bike, and then bounce around a little, settle into a riding stance, and move the sag gauge rubber O-ring to the bottom of the fork stanchion. Then you gently dismount and allow the fork to decompress. The proportion of vertical space under the O-ring on the stanchion is the sag percentage. Some forks have gauge markings, but if not, you can use a measuring tape to figure out the sag percentage. Most manufacturers recommend 15-20%. I always opt for 20%.

Although most manufacturers also provide a pressure chart based on rider weight, suspension tuning isn’t an exact science. In my opinion, sag is the best tool we have for suspension setup because it’s a ratio that can be applied to bikes with a load. It’s certainly not the only metric to consider, but it’s the easiest way to begin tuning your fork.
Adjusting pressure based on the addition of bikepacking gear is pretty straightforward. For overnighters and smaller trips, I often don’t change the fork’s pressure. But, I generally pack light on the front of the bike, with a lightweight tent, quilt, and sleeping pad as the only items in the handlebar bag. For a longer trip, such as in Baja, I tune the fork by adjusting pressure based on 20% sag with the bike loaded. When I asked Randy if he had any tips, he suggested, “You could also start by simply adding 10psi to your fork for general bikepacking. Make sure you’re happy with how the bike operates before you add a touring kit so you know what feel you want. Also, make sure that your bar roll is above the fork crown or it will contact the tire. That being said, the manufacturers’ suggestions are a great starting point, but they are just a starting point. Sag isn’t your air pressure setting. It’s where you start looking for pressure setting. Just remember, these things only apply to a properly serviced product as your starting point. Many people who ask me for custom tuning had a shock that just needed a rebuild.”

Is There a Most Reliable Fork?
I’ve used a variety of forks on long trips. My first time long-term bikepacking with a suspension fork was across Spain back in 2015 with a Fox Float 34. However, I knew there would be a couple of modern bike shops en route, in case I needed a service. In 2016, I set out on an expedition through Kyrgyzstan with a RockShox Yari. Since then, I’ve been confident in taking any decent fork out on a trip and haven’t had any issues with any of them. I feel like most name-brand forks are pretty good. That said, I generally prefer a higher-end Fox 34 or RockShox Pike as I find both operate at a very high level and are comparably lightweight. I plan on following up this post with a comparison of the two.
I asked Randy if he thought there was a “most reliable fork” and he replied, “I don’t think one fork is inherently more reliable than the other, although Fox is best at making parts available. The most important thing is having a knowledgeable person prepare the fork first. I wouldn’t take any suspension product out of a factory box and go on a trip without making some changes to aid durability and lubrication. I feel like as long as you keep moving, a well-prepped suspension fork will make it through a long journey. Overall, maintenance and proper build are what matter. Not the brand, model, or price. For travel and transportation, you need the durability and reliability that comes from a quality service. Maybe I am biased.”

DIY Maintenance: Spares and Tools
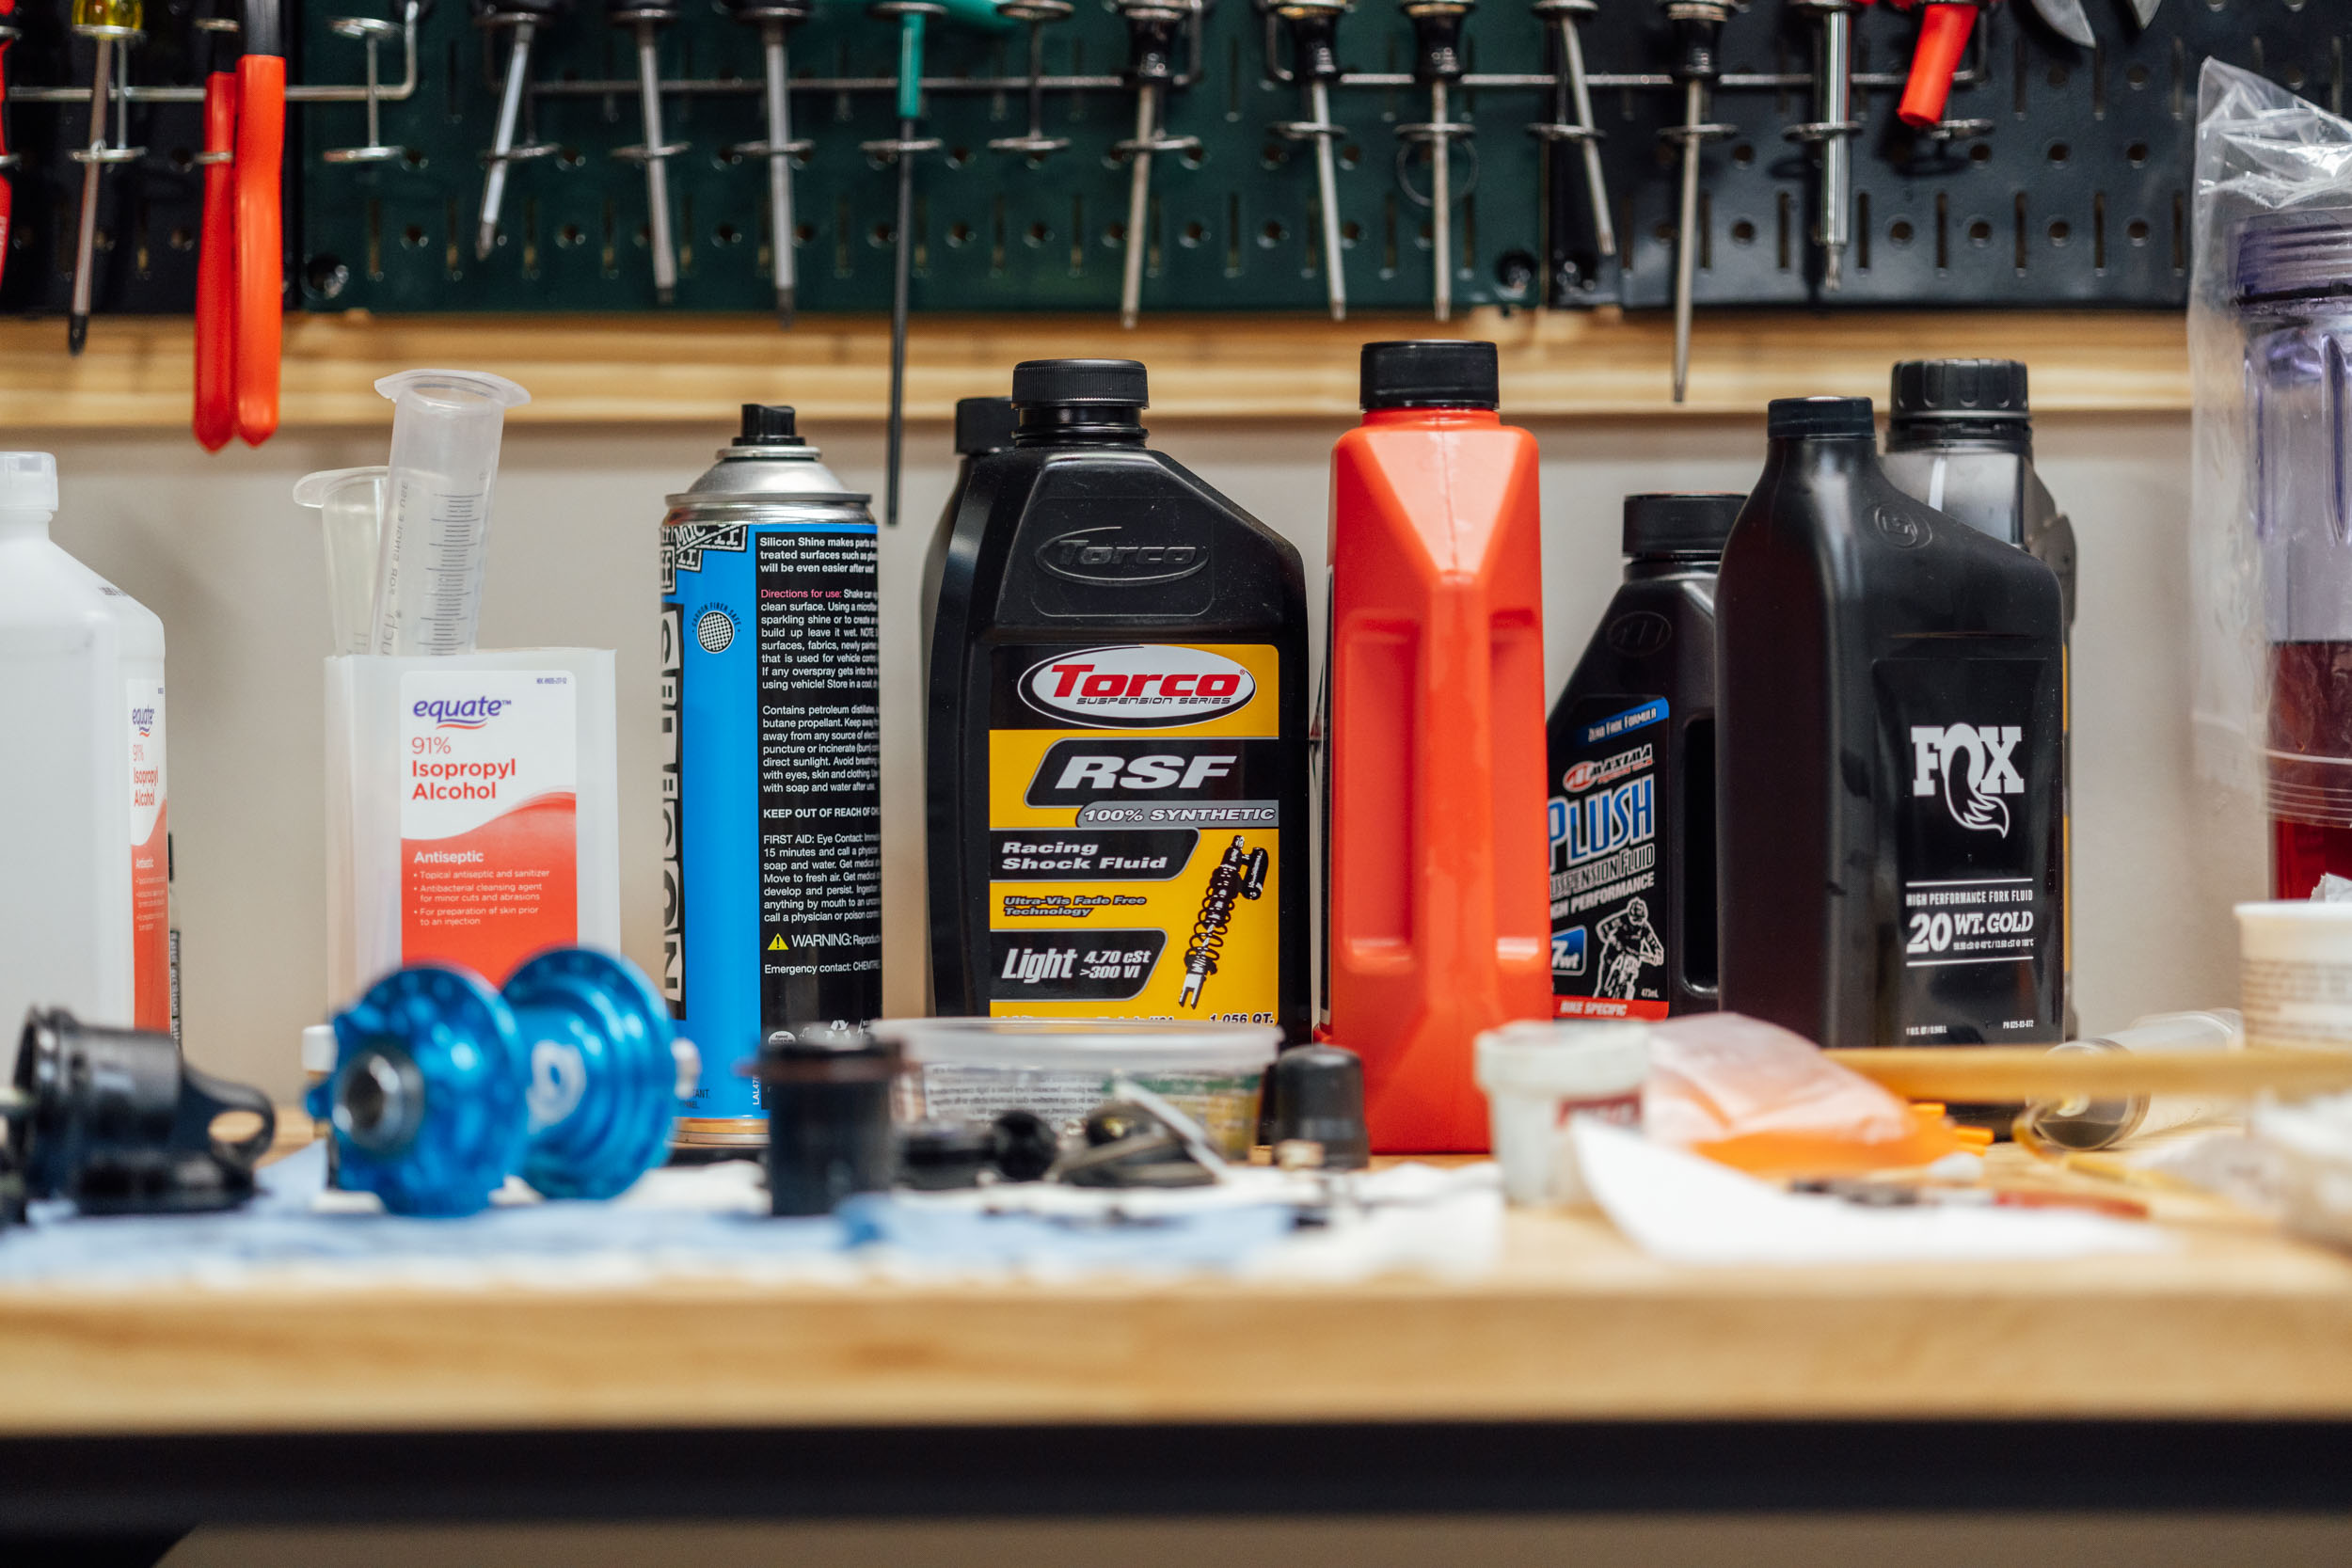
There are a couple of extras you’ll want to carry in your toolkit if you’re on an extended bikepacking trip with a suspension fork. The main item is a shock pump. Generally speaking, tire pumps don’t provide enough pressure to properly inflate a fork or shock. I’ve managed to do it with a Lezyne Micro FloorDrive, but it’s not recommended. Fortunately, there are a few small and lightweight shock pumps on the market. Here are several we’ve found. Note that we recommend buying these at your local bike shop, but if you can’t for whatever reason, we’ve provided links and prices where we found them online:
- Birzman Macht: 240x25x30mm / 84 grams / $40 (at AMZ)
- Topeak Microshock: 210x20x20mm / 48 grams / $28 / Details
- Lezyne Digital Shock Drive: 225x35x20mm / 110 grams / $80 at Jenson
“I always carry a valve core tool and a spare core. The tiny shock pump from Lezyne works very well. I like to have a fender to keep dirt off the stanchions and wiper seals, too. I also like to carry a tiny set of pliers, like the XS Knipex Cobra,” Randy added.
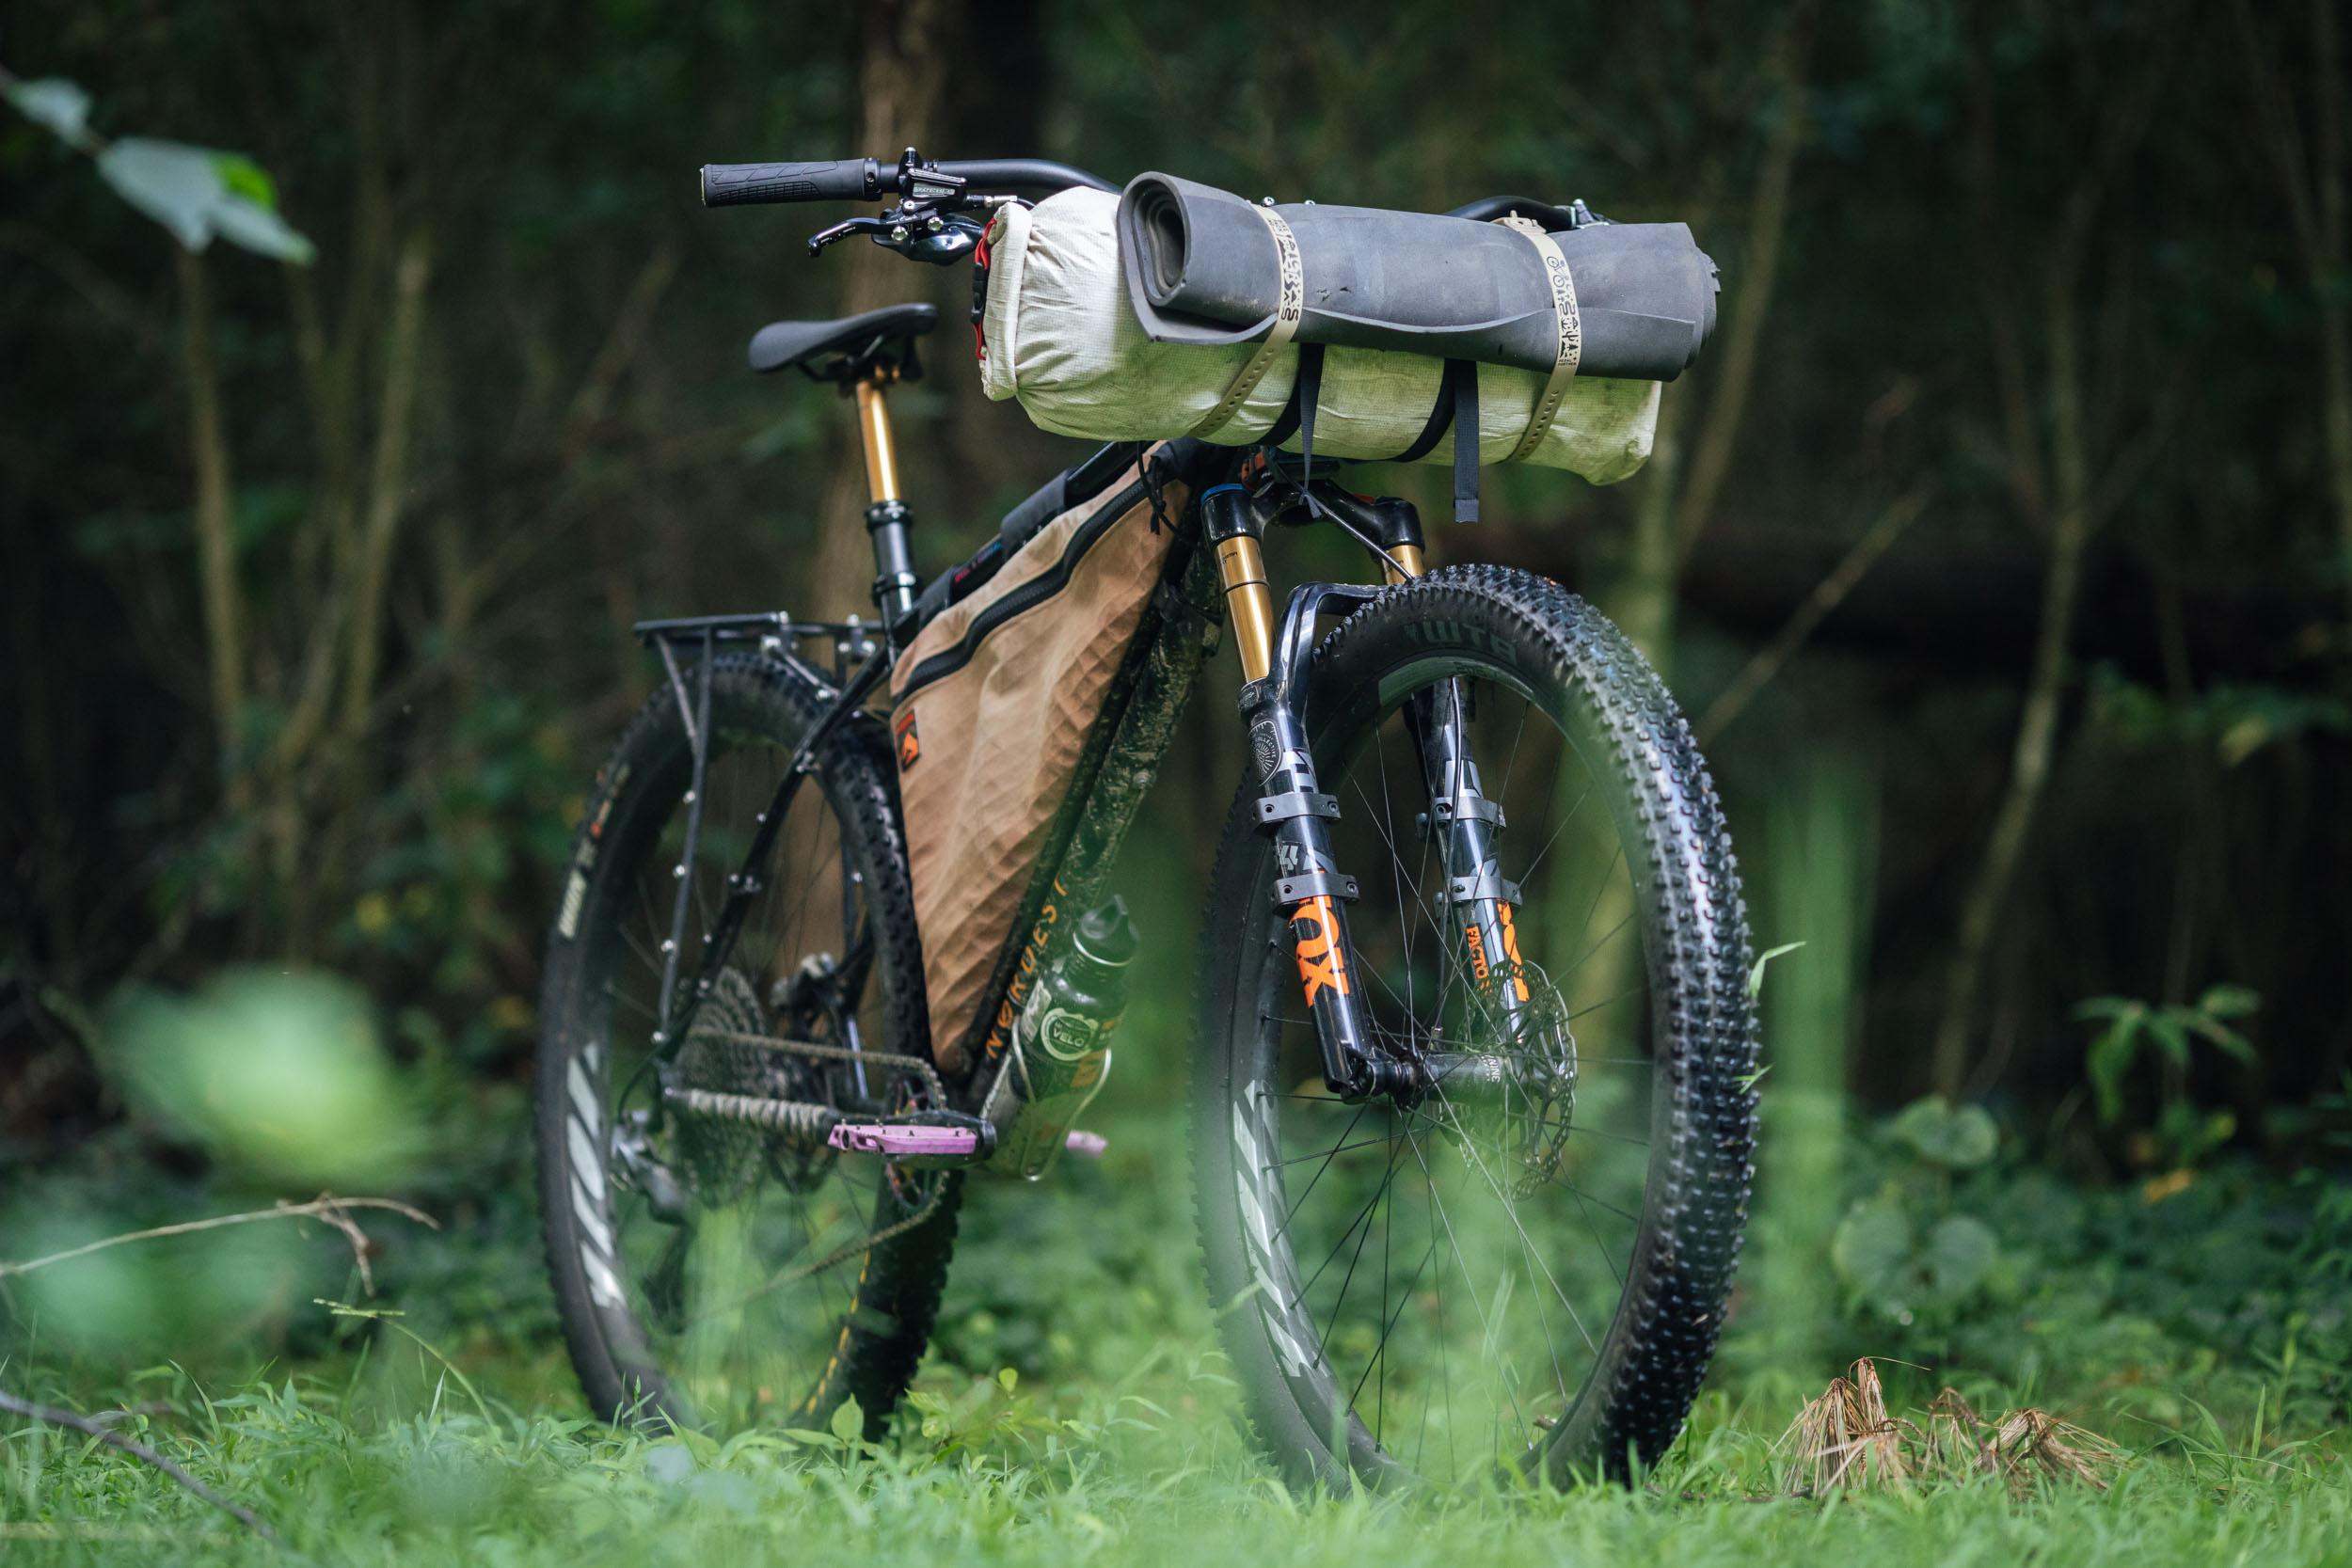
I couple other items I usually carry on larger trips that could come into play are Gorilla Tape and a steel hose clamp. Gorilla Tape might come in handy for a lot of things, but one scenario, which is rare, is a cracked lower. As illustrated in the grizzly photo above, it’s not out of the question that a rock can tear a hole in a magnesium lower. This fork still could work, however. The bath oil would leak out, but you could easily tape over the hole and keep going. I carry a hose clamp in case of a dropper post failure, but that cold theoretically be applied to a fork stanchion in the event of an air-spring failure (very rare, see Lightning Round Q&A below).
Is it okay to mount stuff to your fork?
It’s fairly commonplace to see bottles and various bags attached to the legs of a suspension fork. But is it bad for a suspension fork? Items stored in this location range from water bottles to smaller stuff sacks for tools and spares, and from medium-sized items—like a a Jetboil or sleeping pad—to larger cargo cages with dry-bags strapped in. You may not need this extra storage, depending on the length of your trip, how much water you require, and the storage capacity of your rear luggage and frame bag, but it’s worth considering.
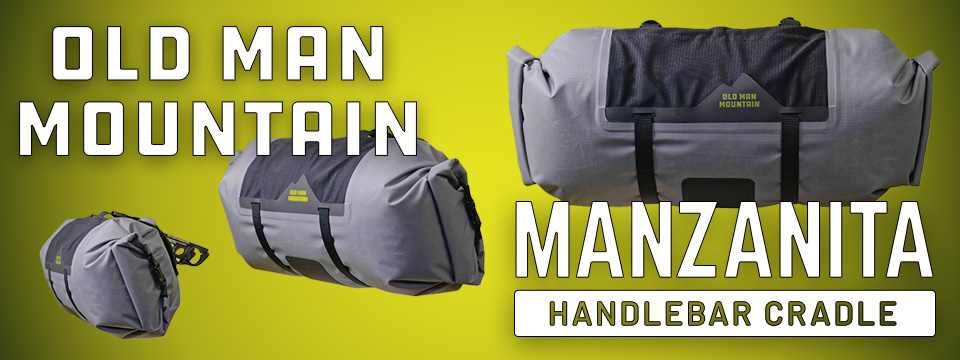
What’s the best way to attach cages and mounts? The classic method is to use steel hose clamps to lash on a cage, usually with a layer of inner tube rubber used to protect the fork. You can also tape on a cage, which we’ll touch on later. These days, there are a lot of good options for clamping on mounts. Here are a couple of our favorites:
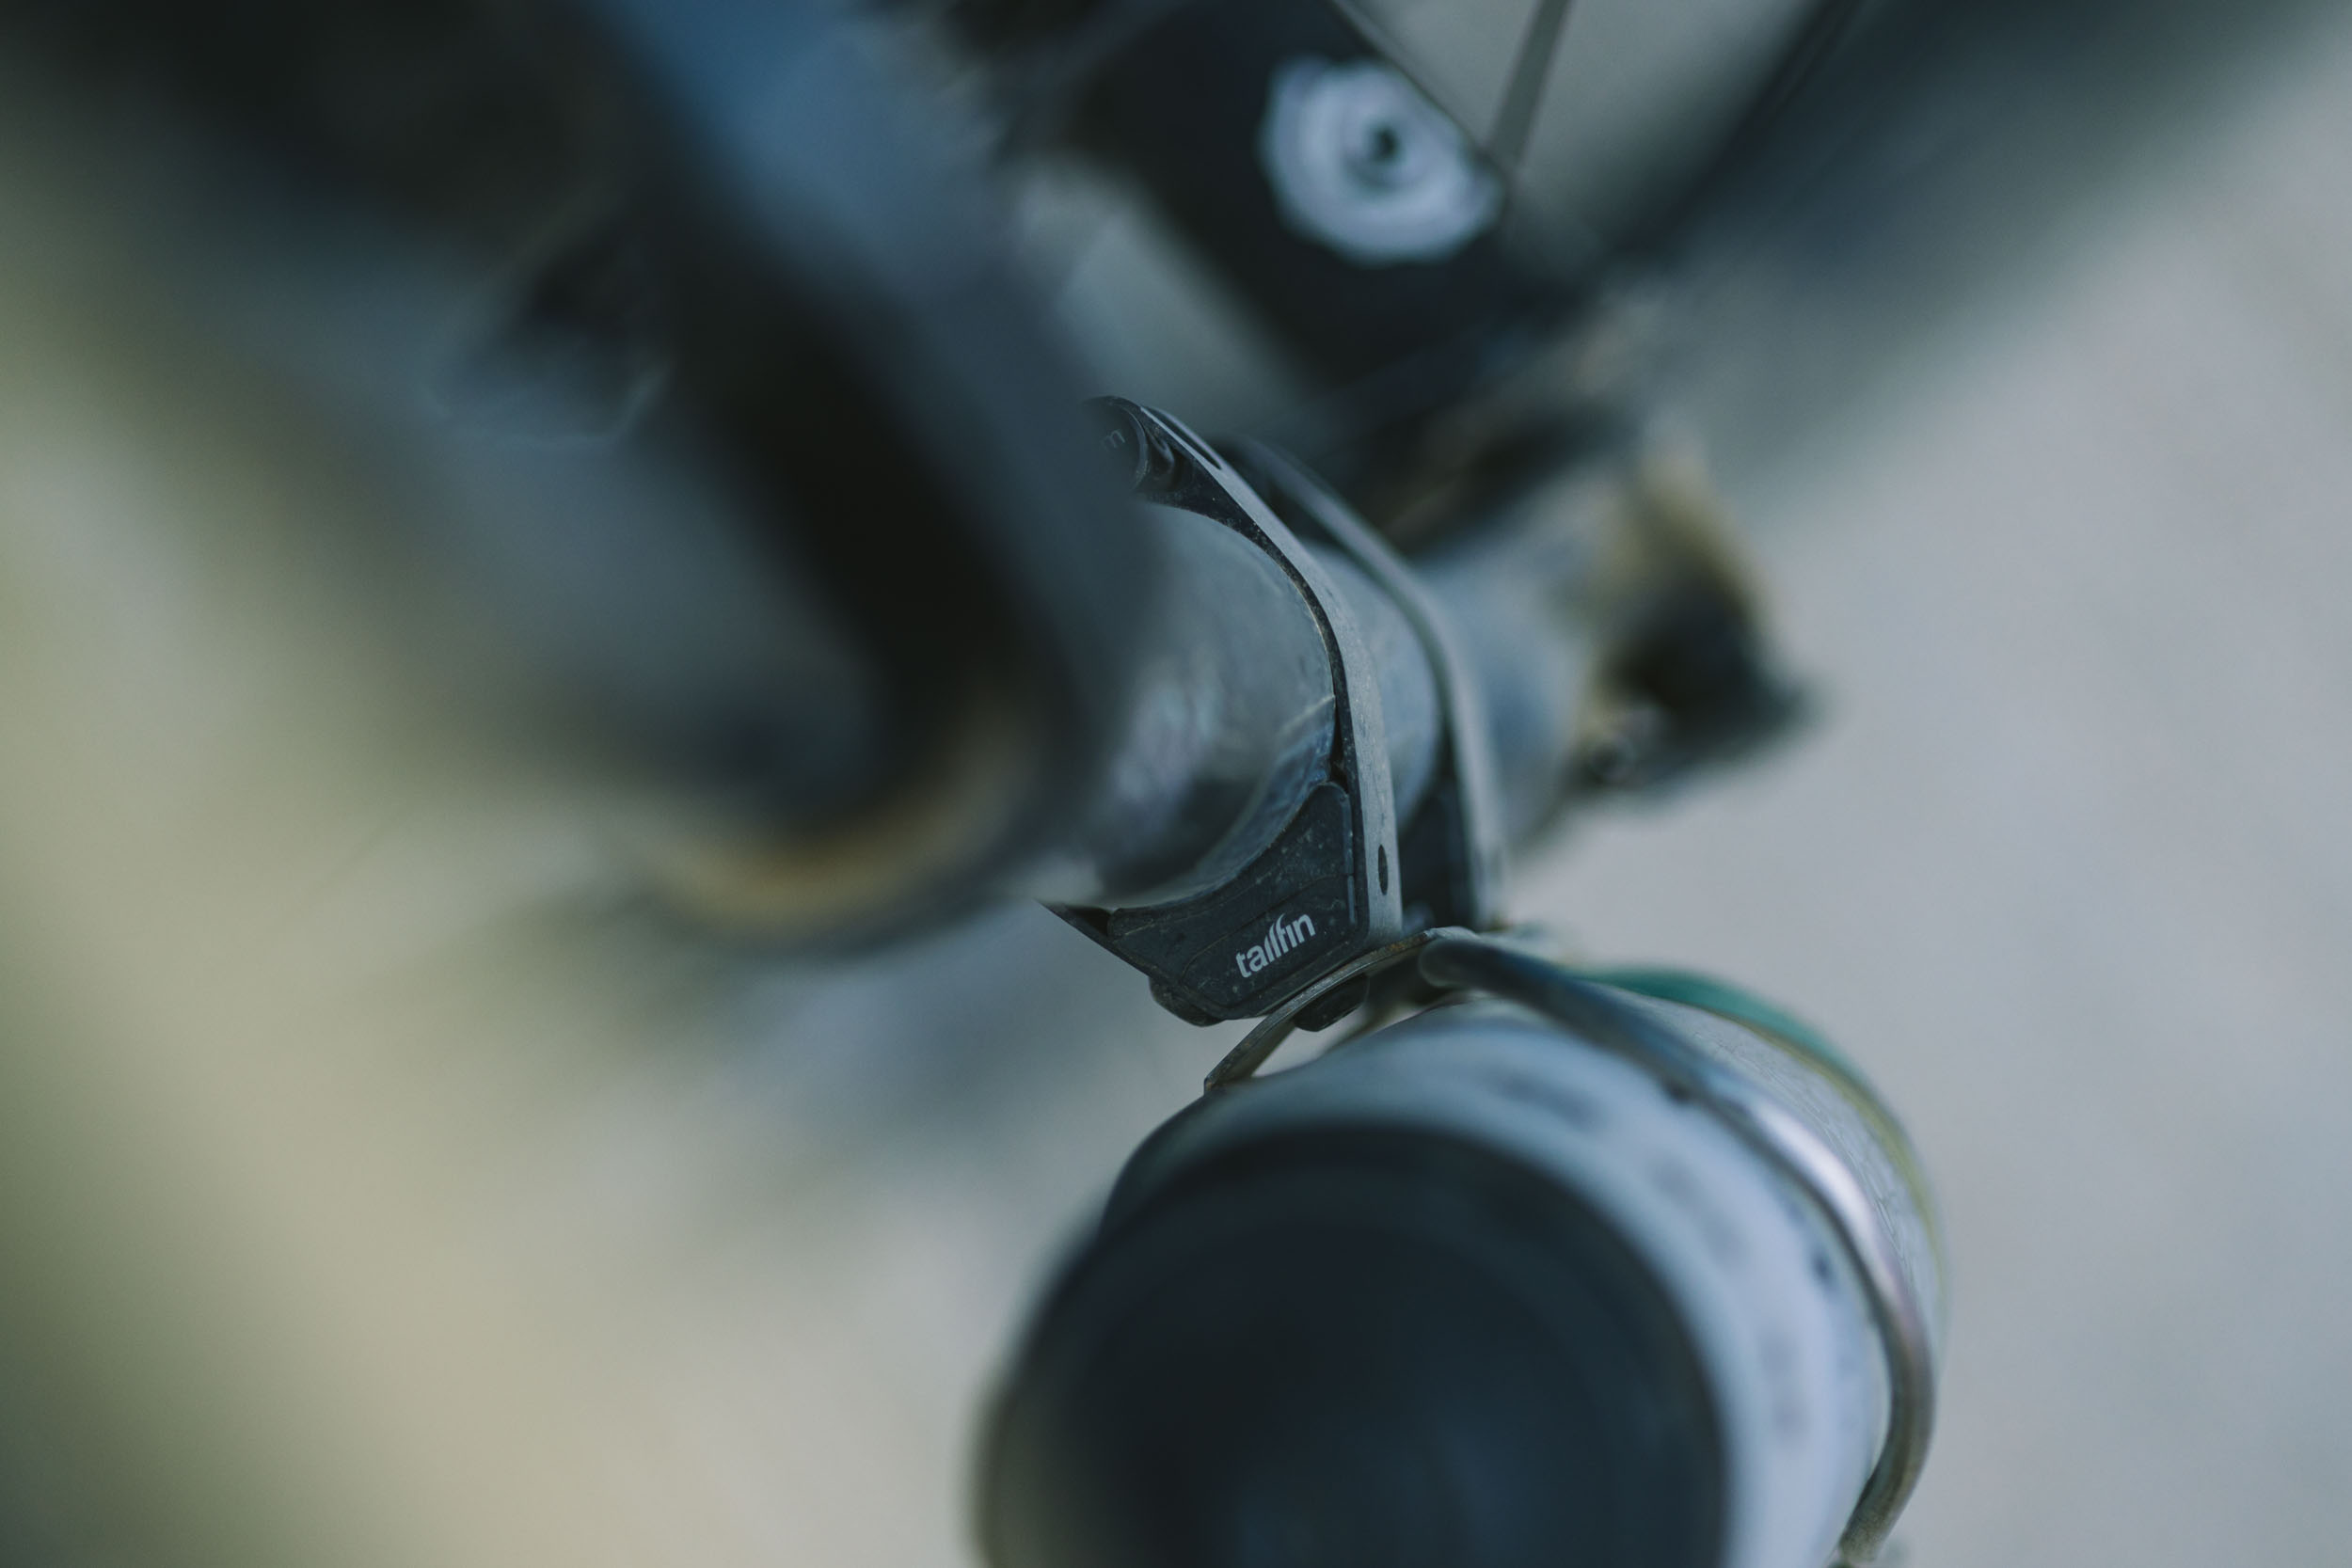

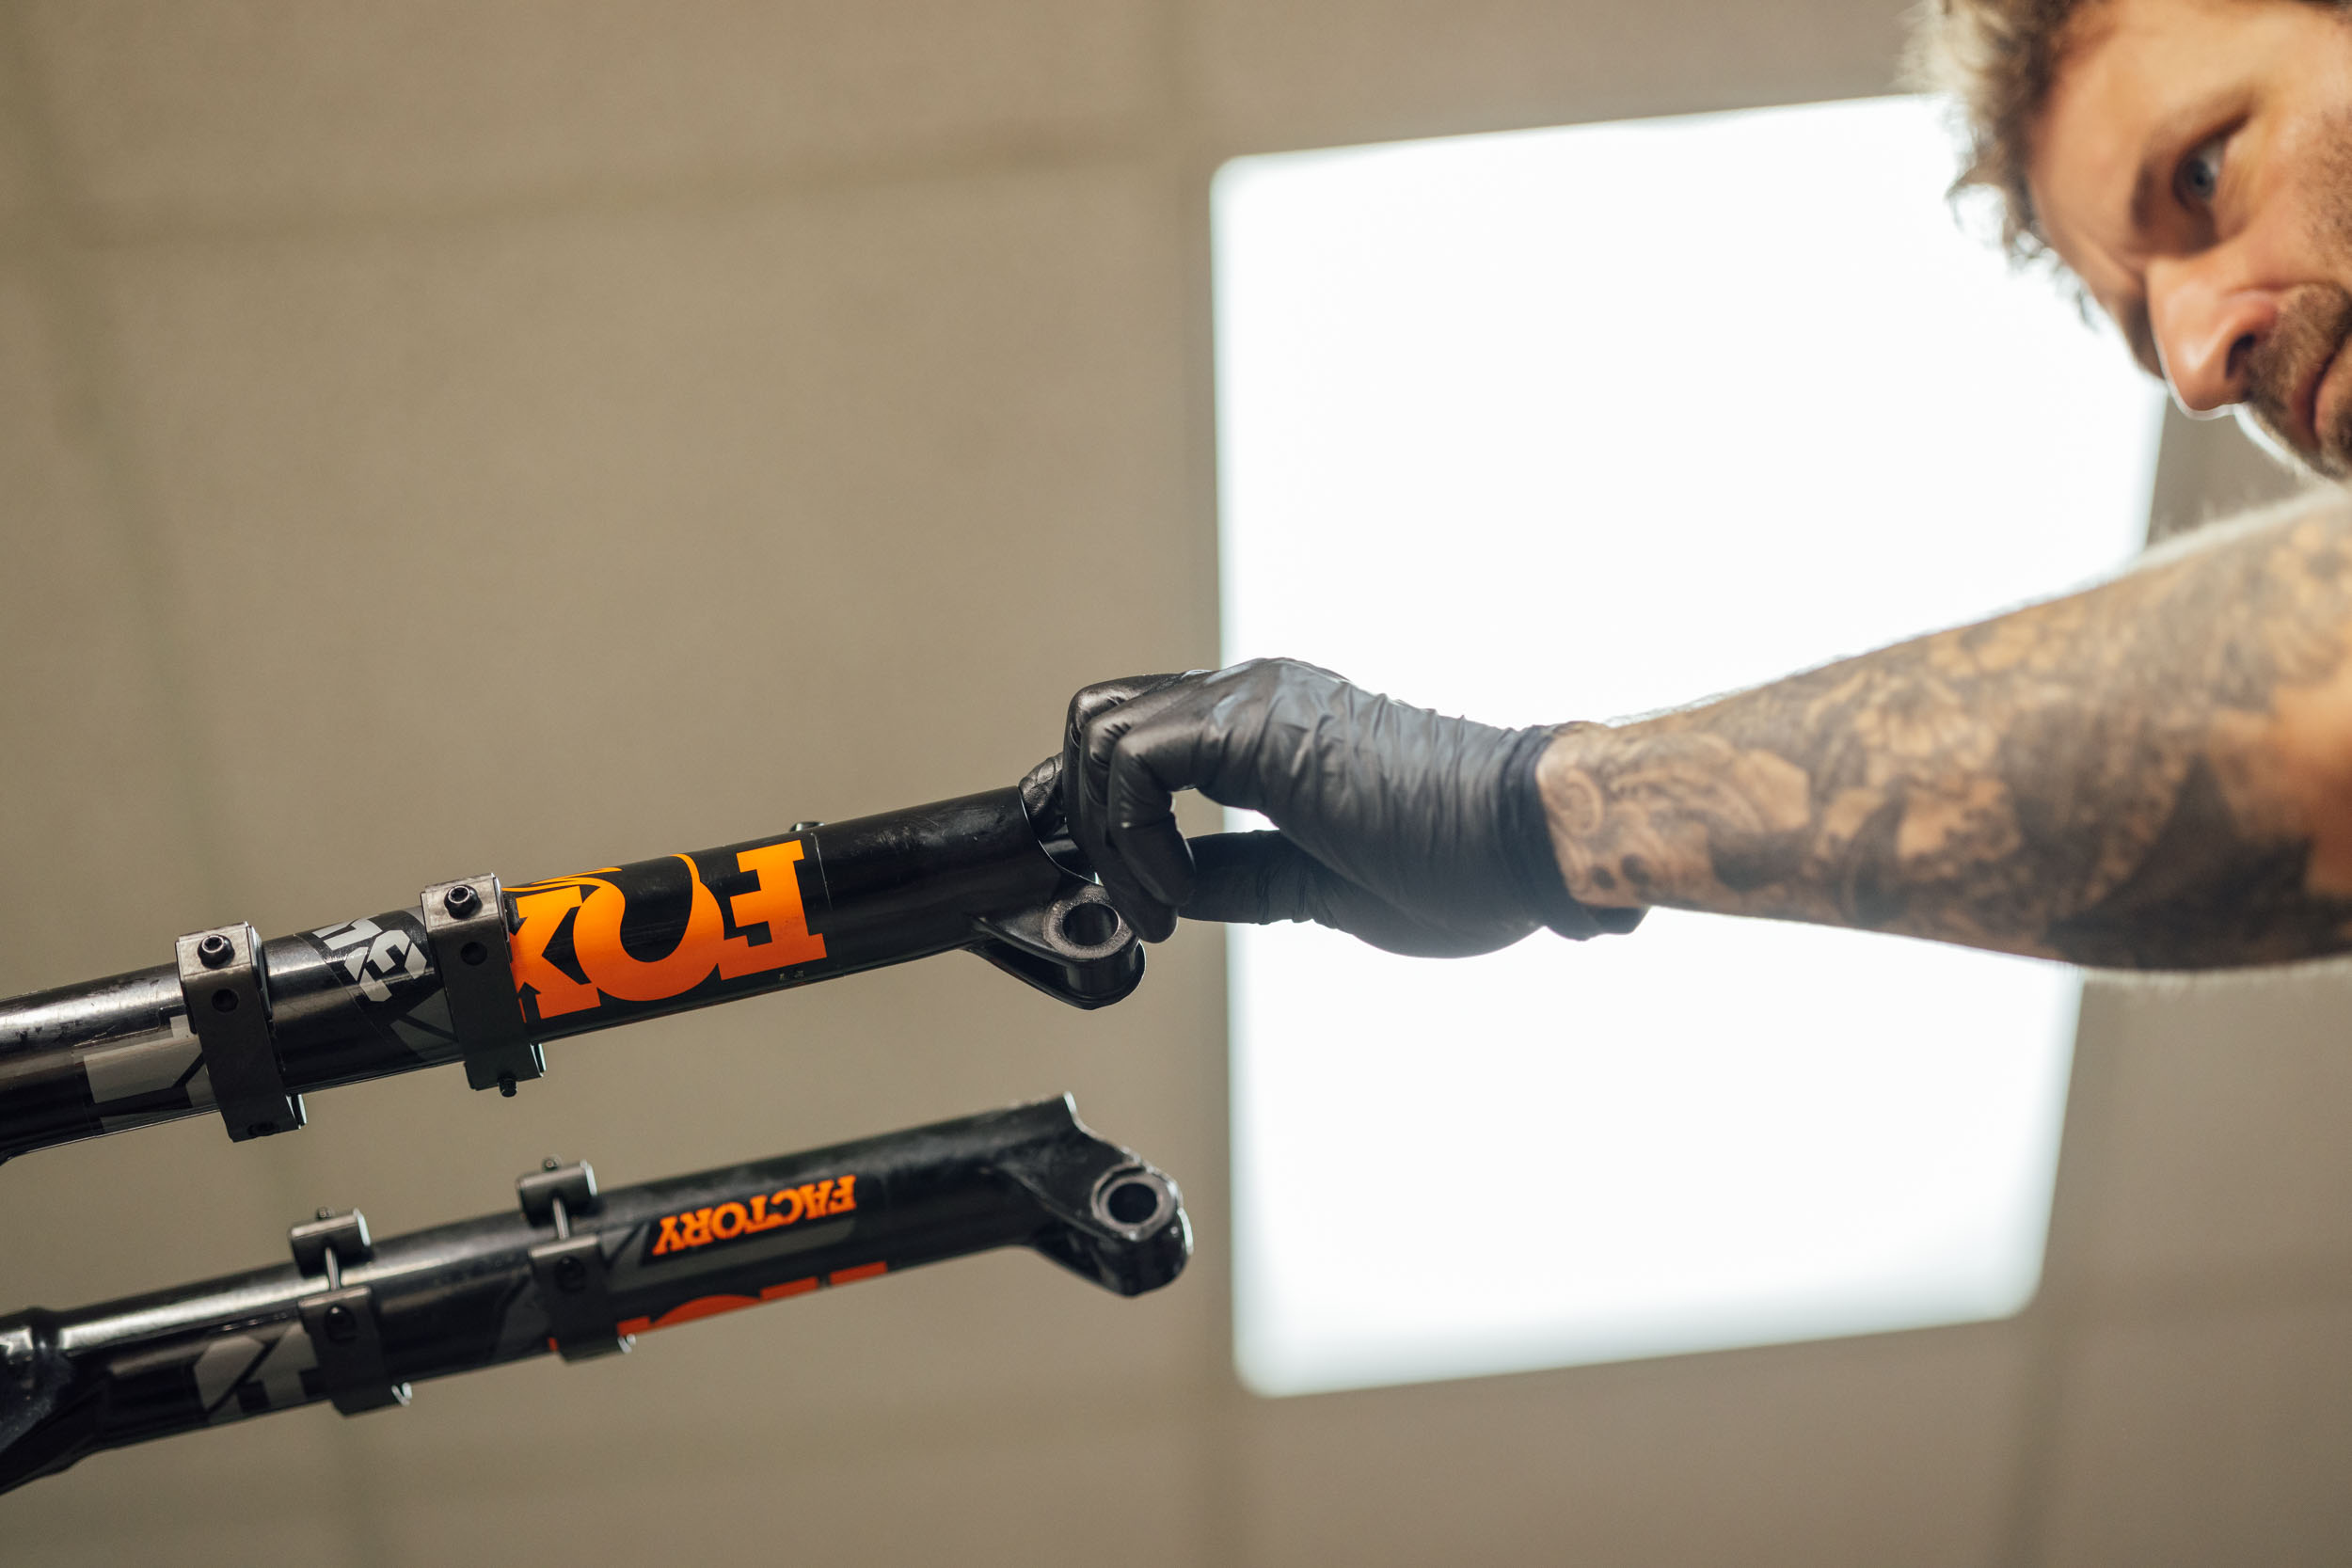
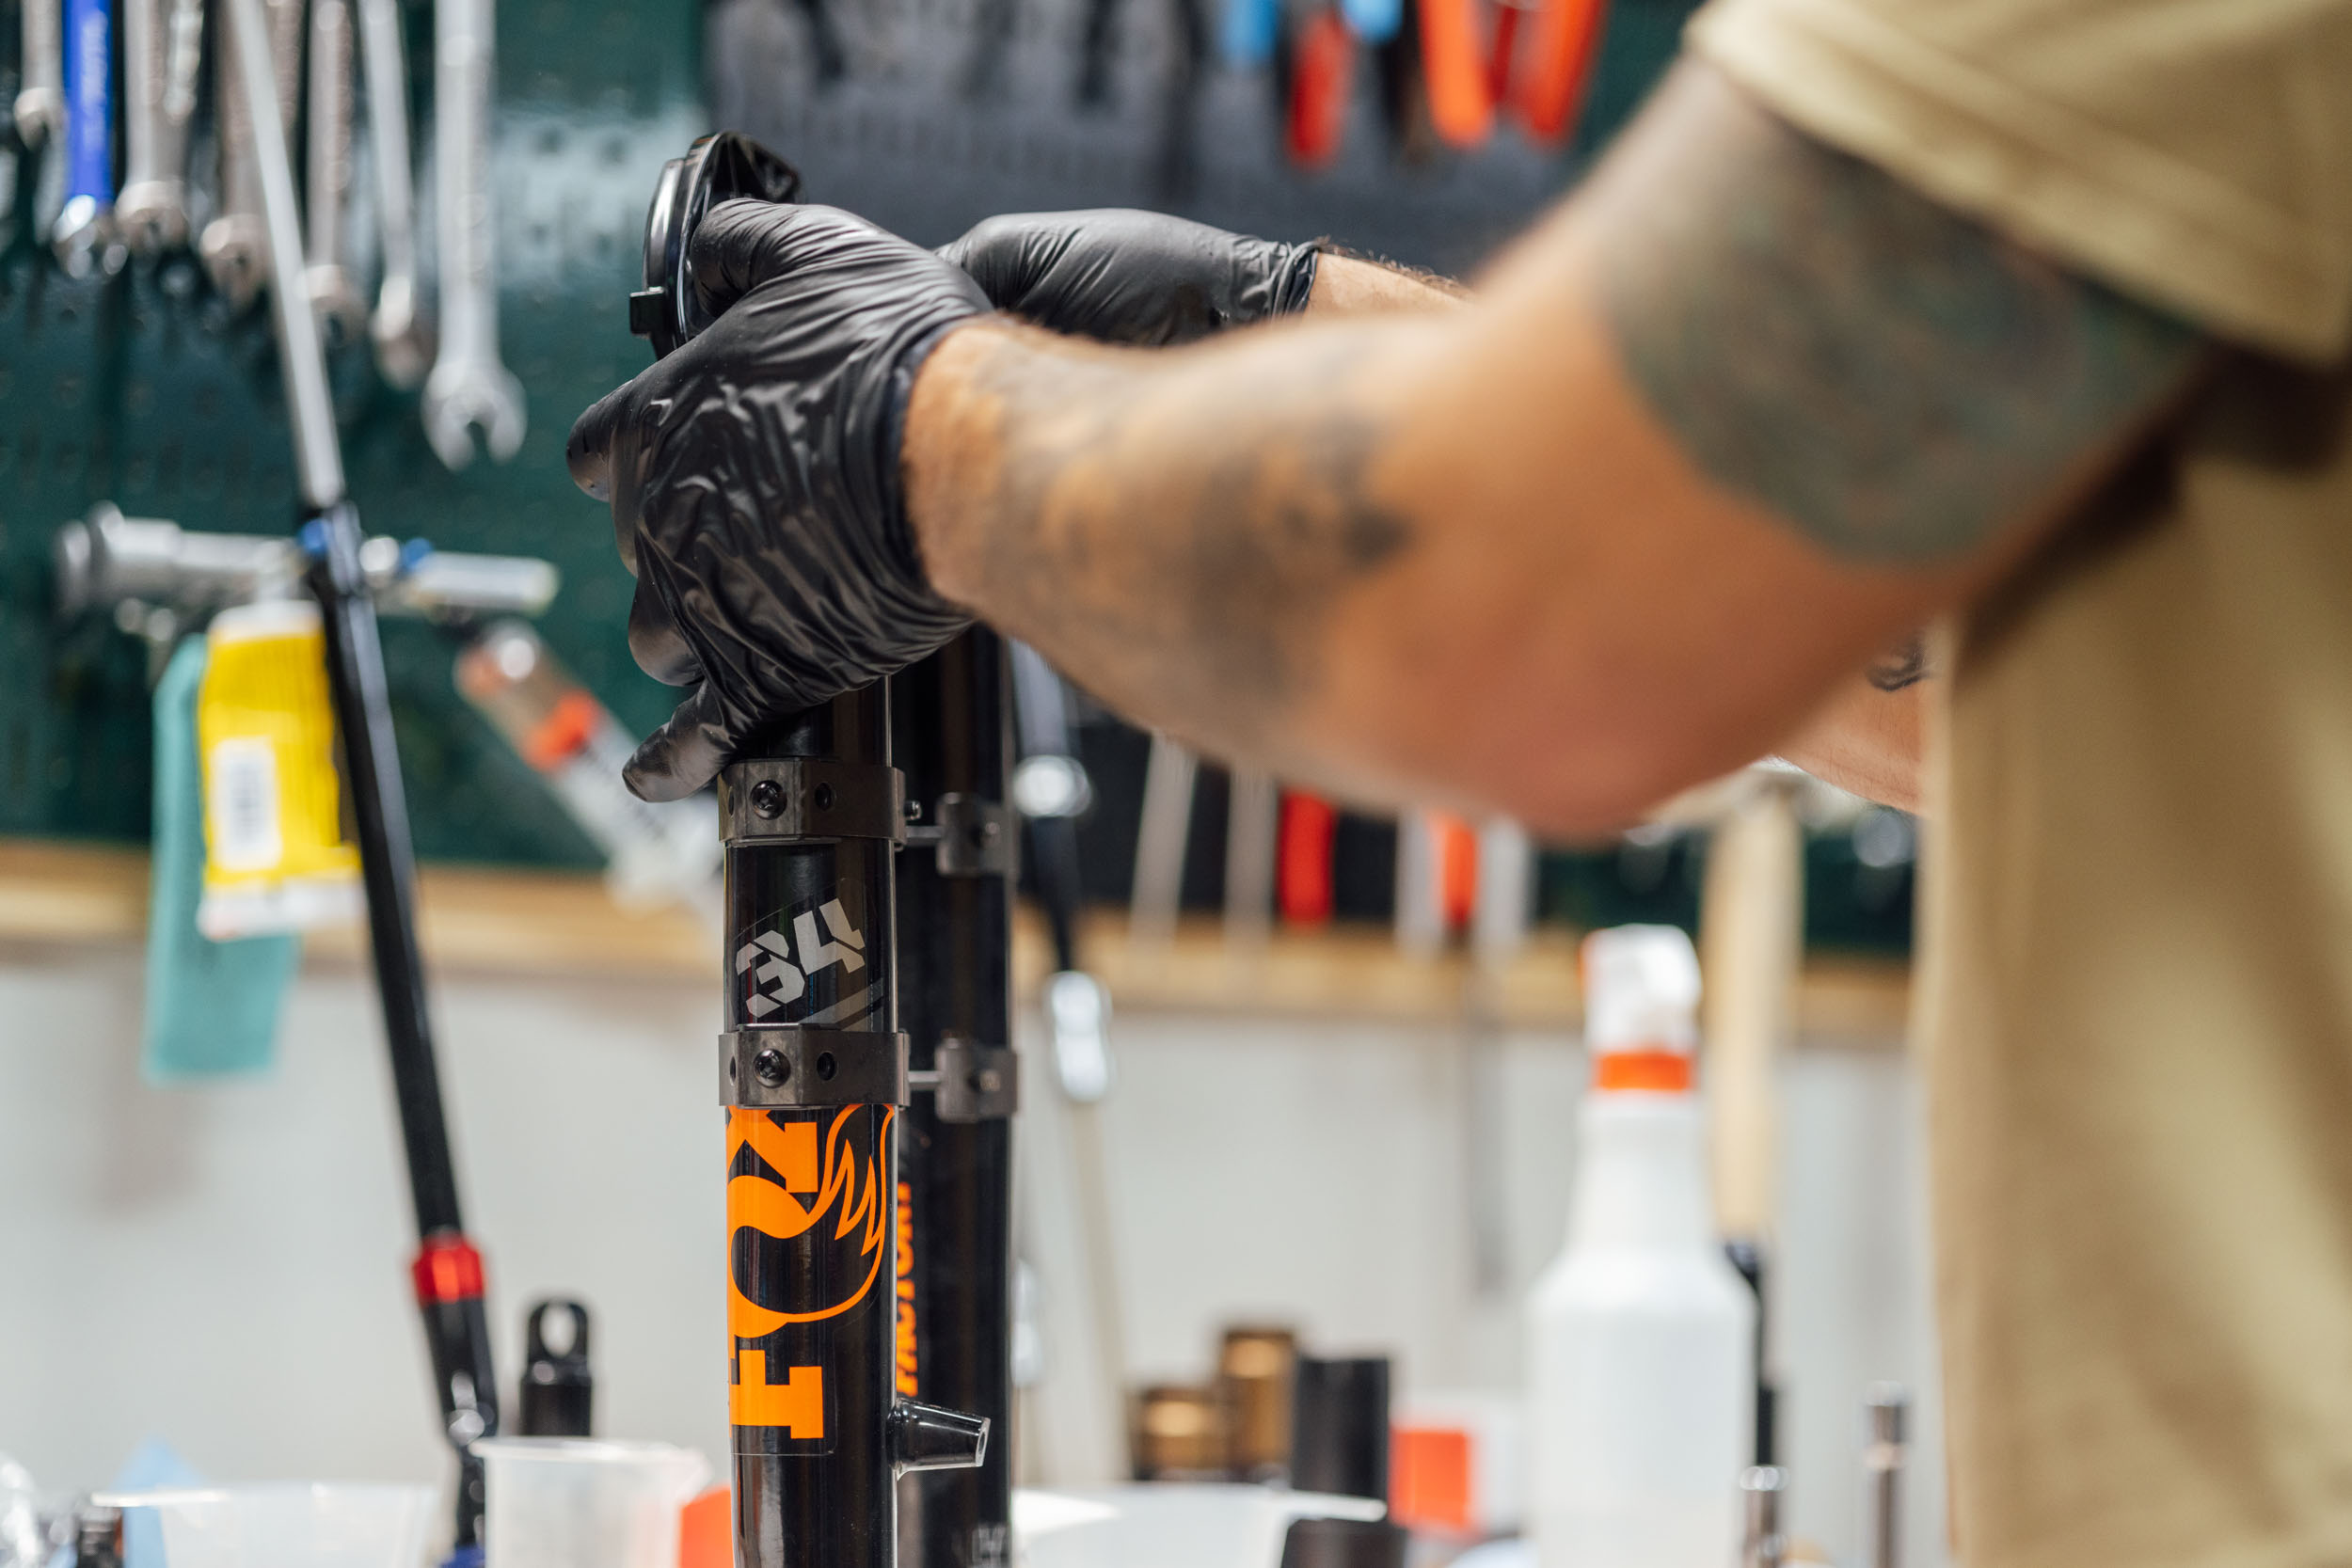
I’ve been mounting bottles and various bags to suspension forks for nearly a decade and haven’t had any issues as a result, so I was surprised to hear Randy’s trepidation. And although he was admittedly reassured after checking out the Tailfin SFM, one of our favorite products to attach cages, we decided to conduct a few experiments. As Randy mentioned “Although I thought that product was very cool, it’s important not to put clamping pressure near the bushings, if possible. It could damage them and even ruin the fork in some cases. Those lowers are magnesium, which is one of the strongest structural metals, but it doesn’t take much force to change the fit of the bushing to the stanchion.”

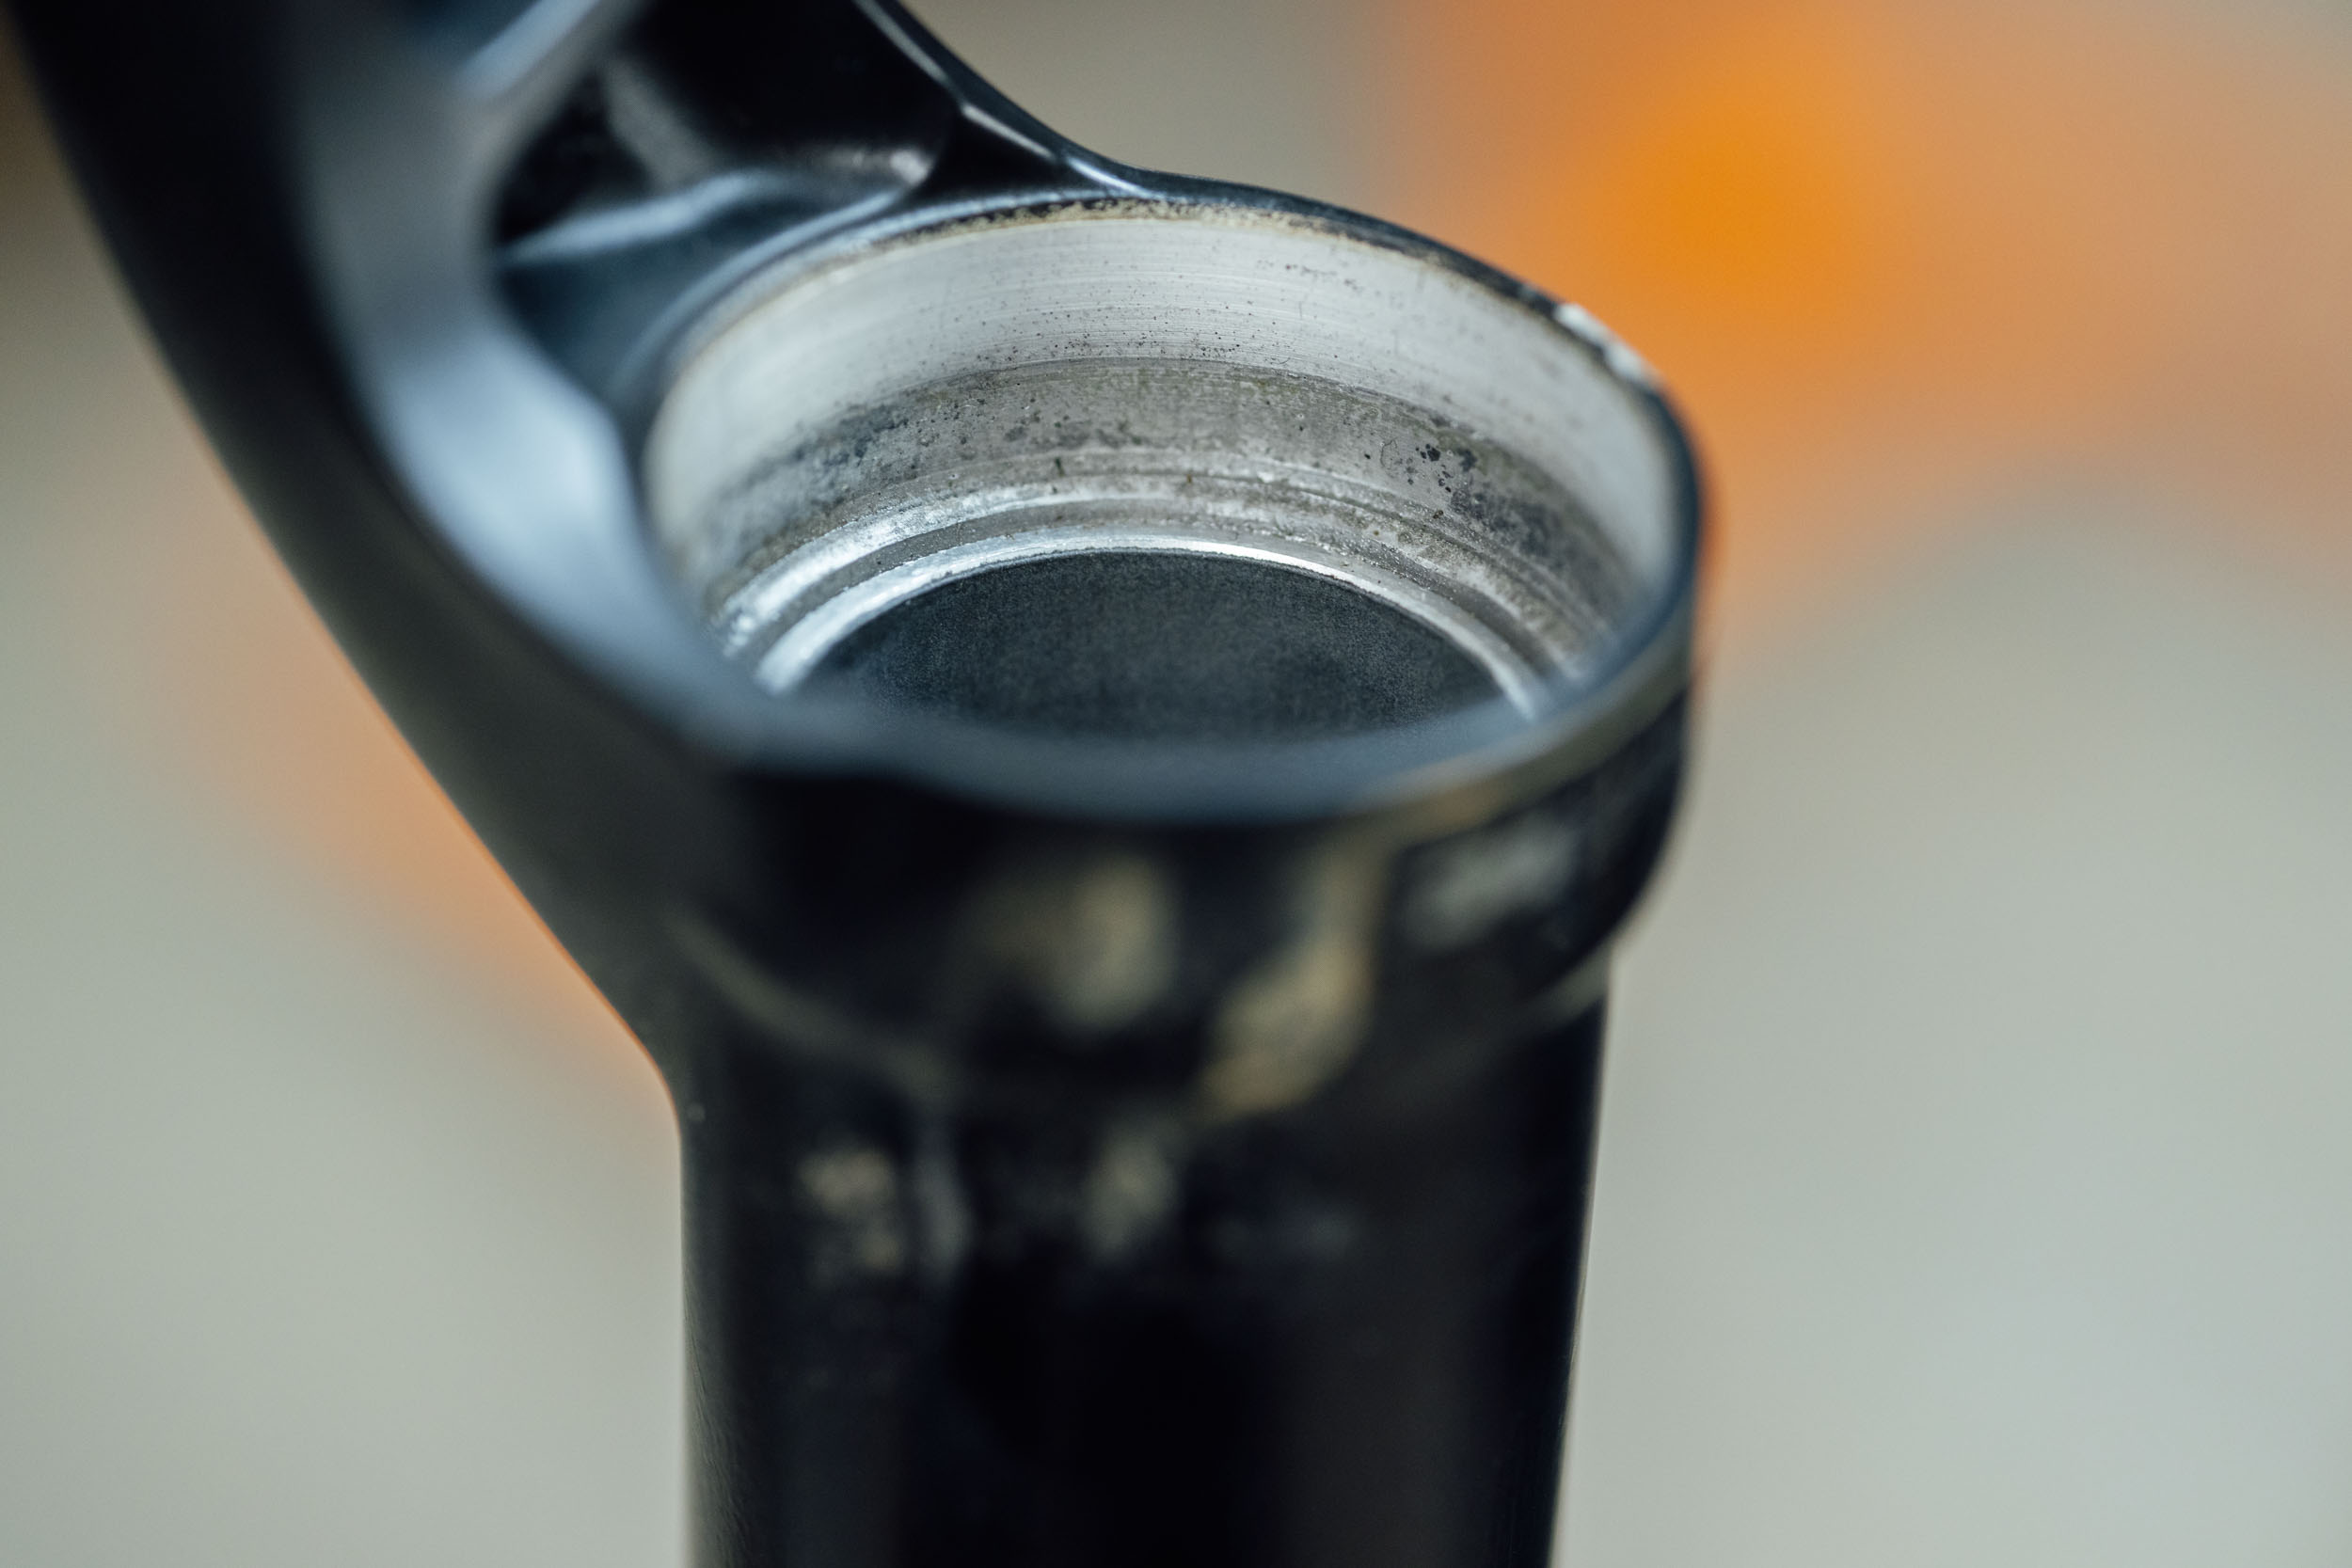

To test this, Randy had a an upper assembly (crown and stanchions) and magnesium lower of a Fox Rhythm fork in a parts bucket. He clamped it into a stand and demonstrated how the bushings allow the stanchions to move freely within the lower. In short, each fork leg has two metal ring-shaped bushings (above-left) that are usually press-fit into the magnesium lower. One is just below the wiper seals at the top of the leg, and the second is placed about 4-6″ (10-16cm) beneath it, depending on the fork’s travel. These are the contact points that keep the stanchions in place; they allow the stanchions to move smoothly but they have near-exact tolerances that stop any play from happening in the interface.
The theory was, if a clamp-on mount—such as the Tailfin SFM or the King Cage USBs—is installed right on the bushing, the clamping force could transfer to the bushing, thus constricting on the stanchion and affecting the performance of the fork, or even causing lasting damage. Here comes the science.
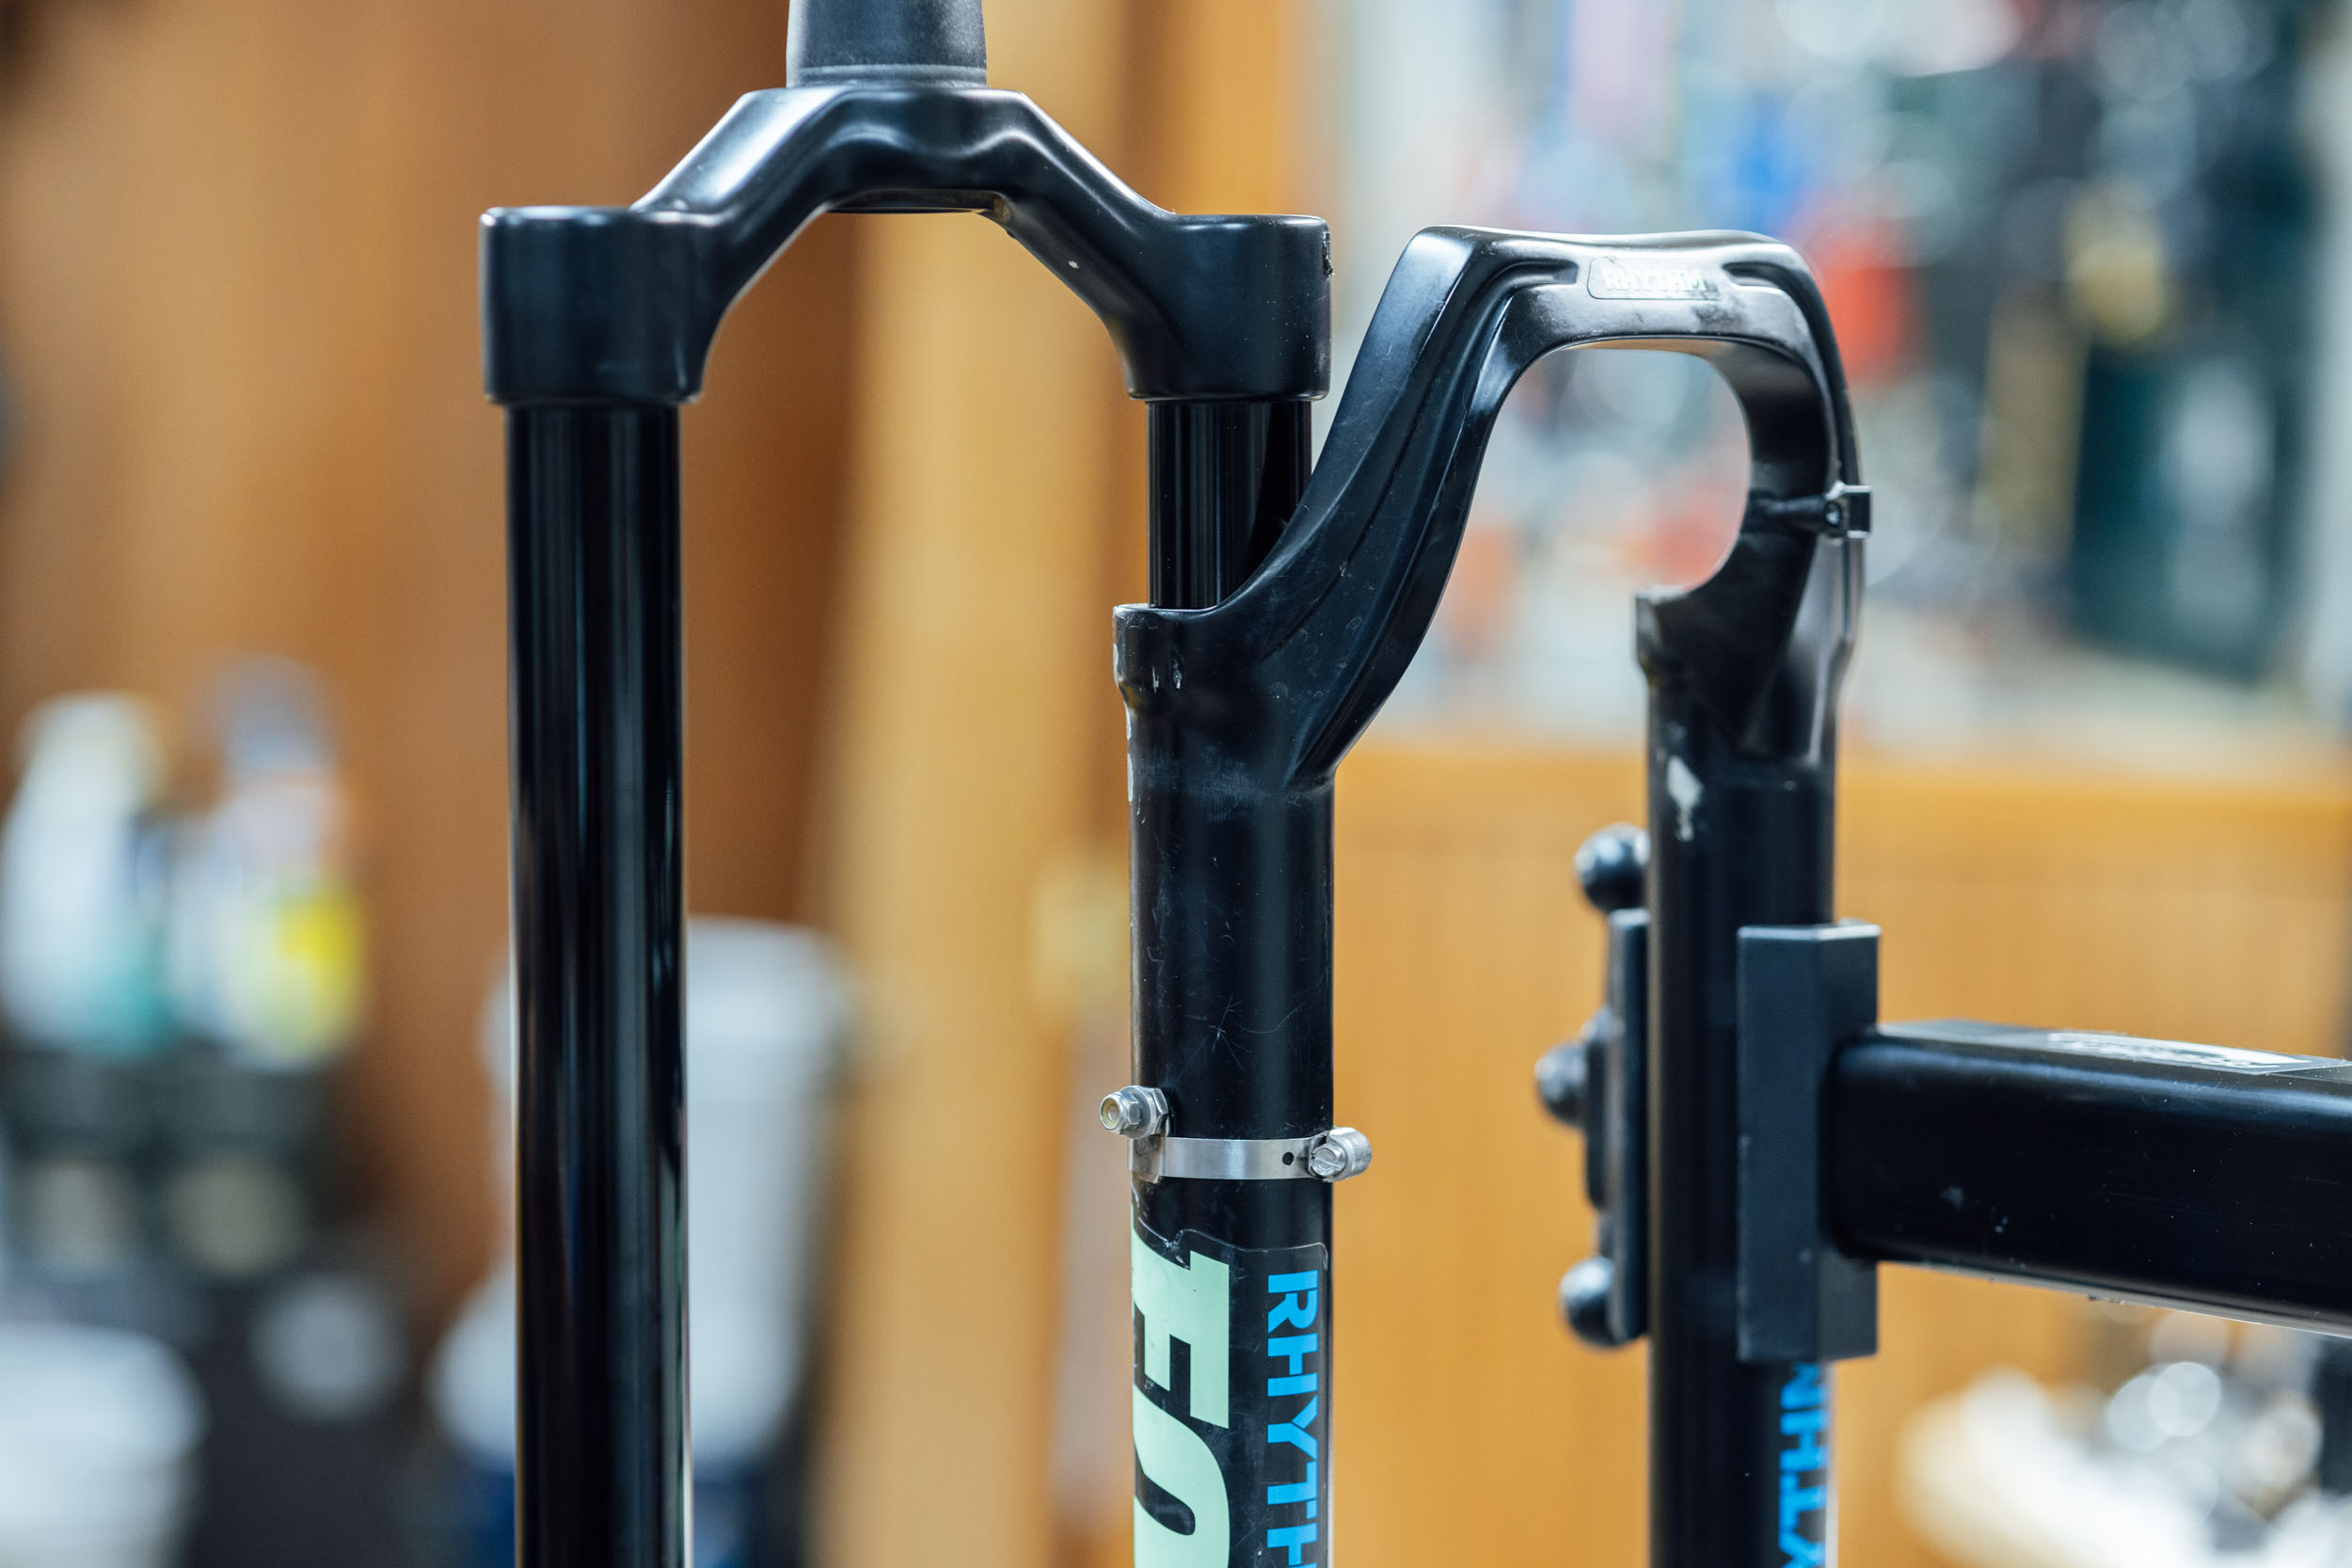
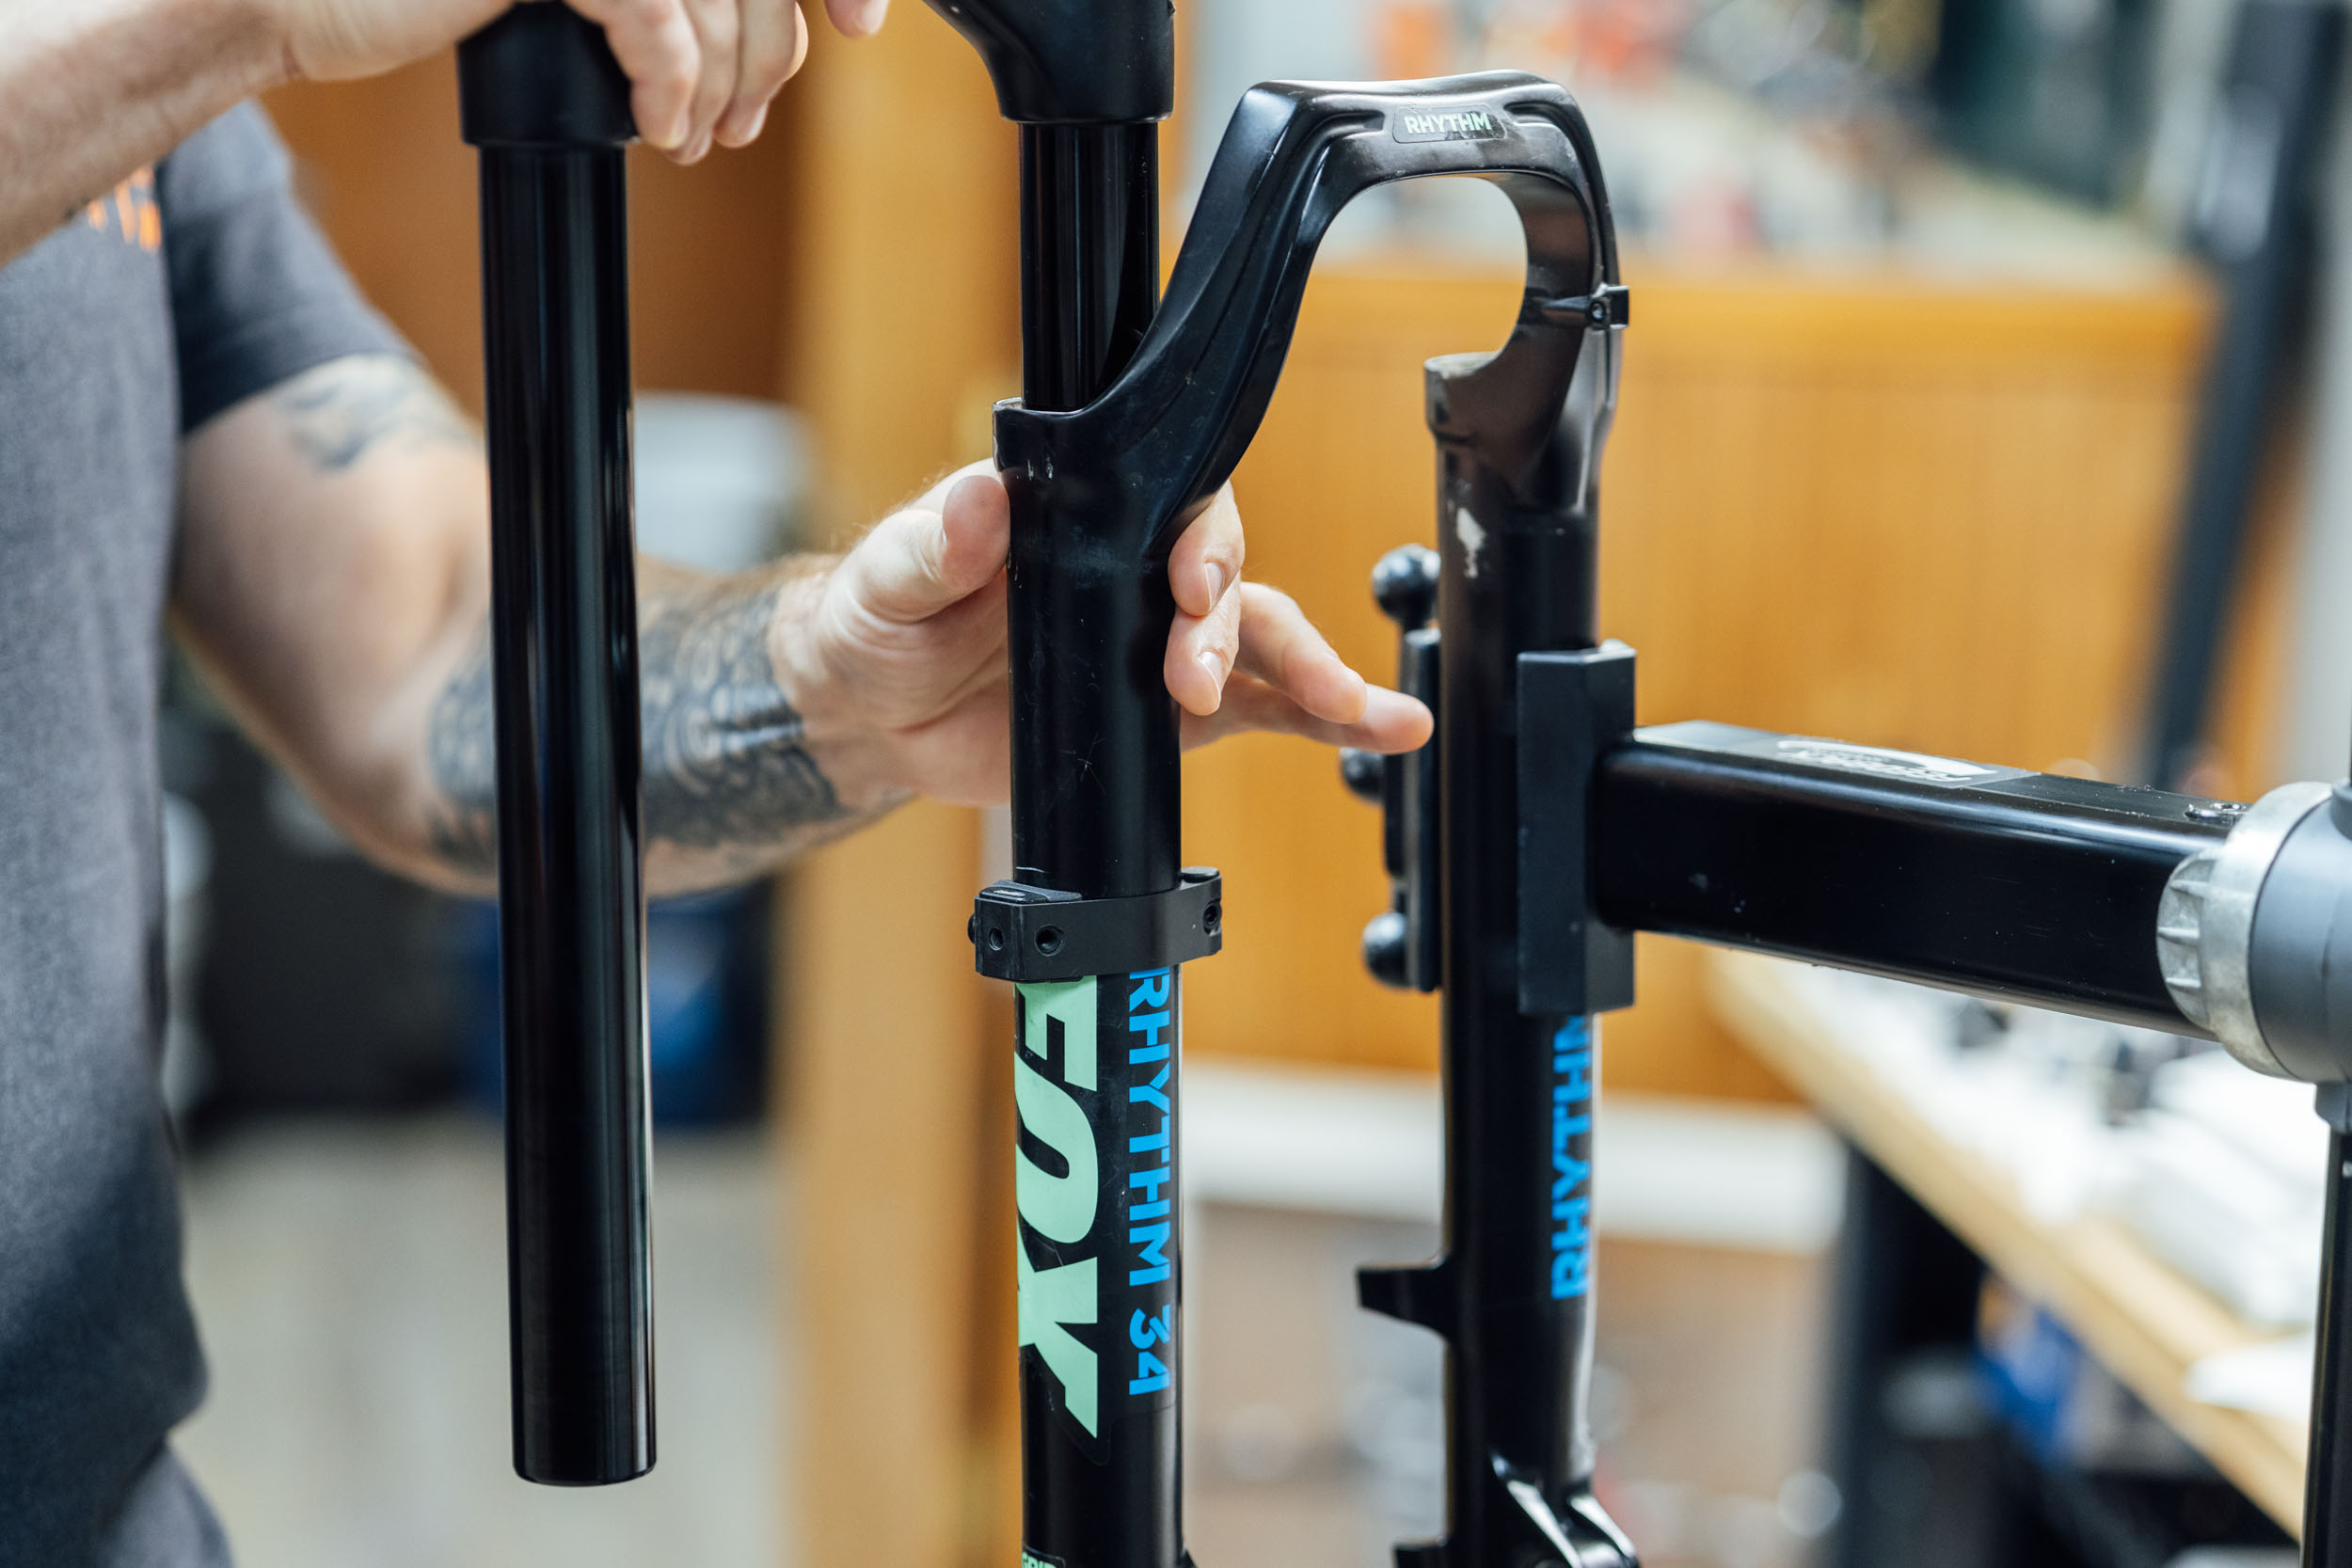
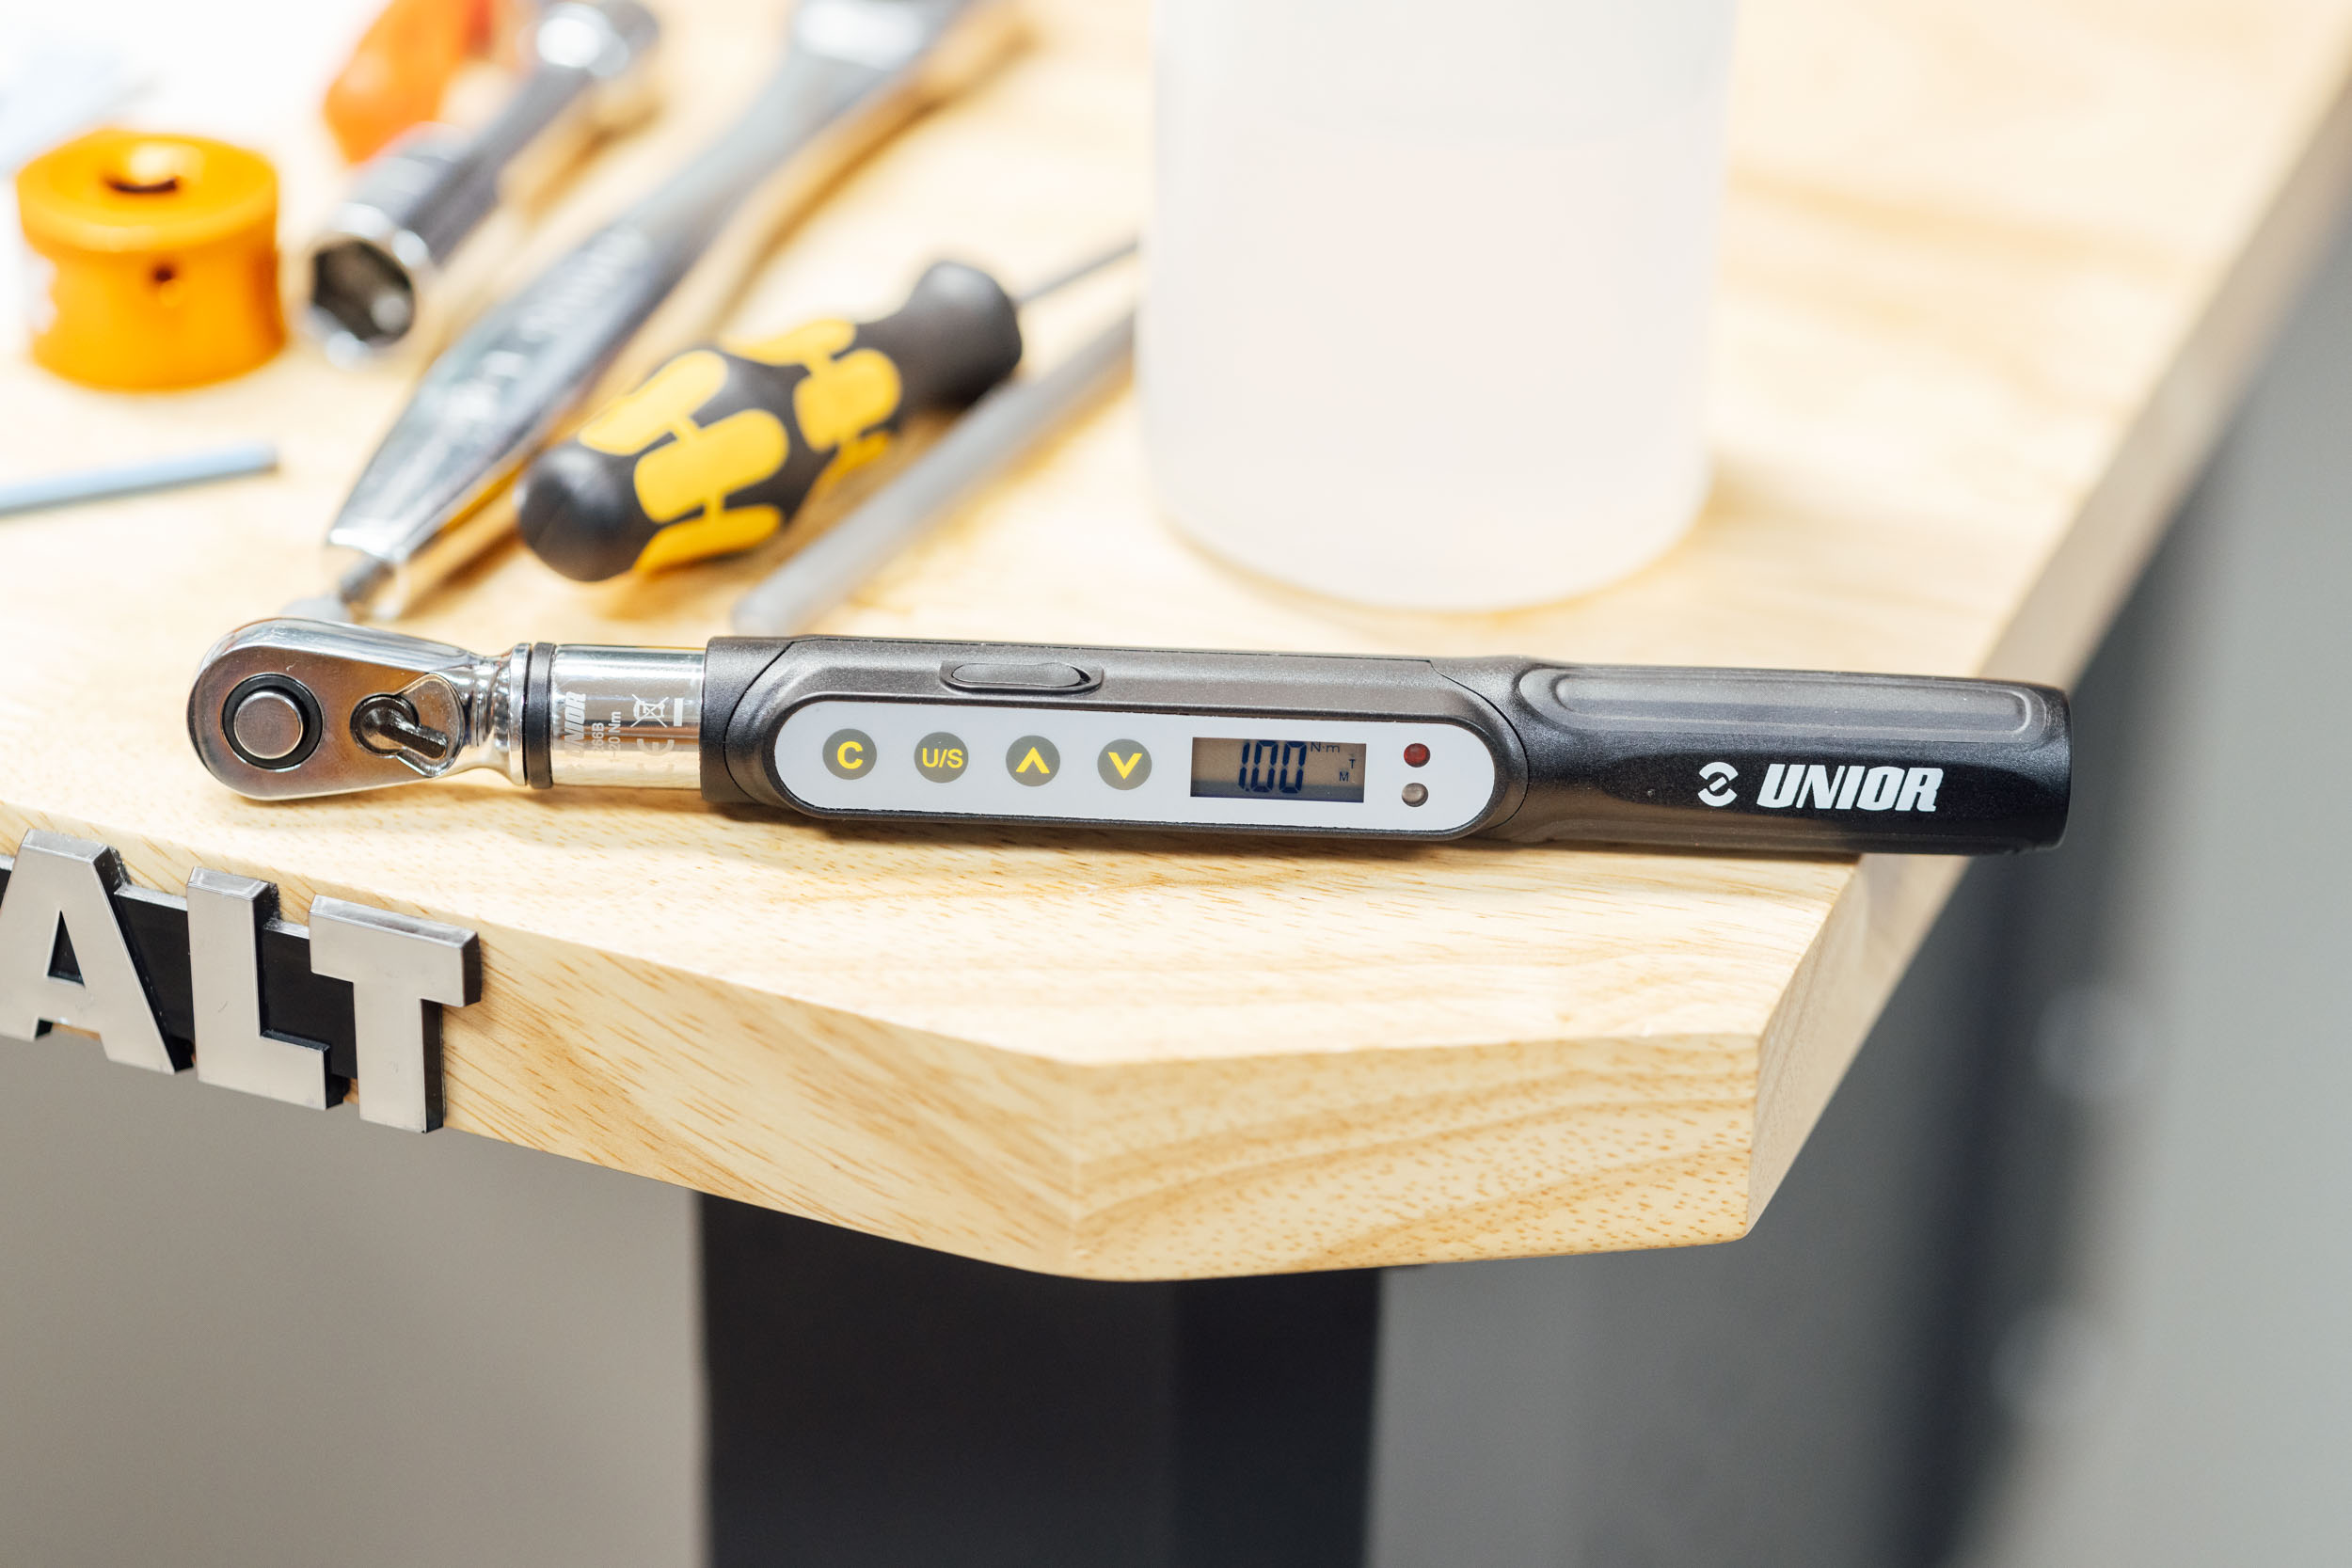
First, we measured where the bushing was within the lower. Unfortunately, there’s no exact way to determine this without opening up your fork. You can guesstimate, but it’s best if you have a technician mark this for you when you get that first service. We made a little mark on the lower and then clamped the Tailfin SFM right on top of the lower bushing. We torqued the bolt to Tailfin’s max spec, 3nm. I was surprised to see that this caused quite a bit of compression and greatly reduced the ease at which the stanchion moved within the bushing, to the point where it didn’t move at all without a little force. We then reduced it to 2nm and there was still noticeable pressure. At 1nm the amount of movement seemed normal. We tried moving the SFM off the bushing, upward, between the upper bushing and the lower. At 3nm, there was noticeable compression, and at 2nm, it felt almost fluid and normal with just a little constriction. We tried the same experiment with the King Cage USB mount and had the same results.
Three Solutions
In the end, the added constriction that 2-3nm imparts on the bushings isn’t likely going to “kill” your fork on a bikepacking trip. However, it’s best to take precautions for optimal performance and to not cause any damage. Option 1: The obvious solution is just to keep pressure light (like 1.0-1.5nm and try to avoid clamping on the lower bushing. The risk of such light clamping force is having a cage and bottle/gear rotate into the spokes of your front wheel, which is pretty dangerous. The Tailfin felt quite sturdy at 1nm, however. You could potentially wrap a wind or two of electrical tape around the mount to ensure that it doesn’t rotate. Option 2: Keep it at around 2nm and use the top and bottom mounts on a 3-bolt cage, like the King Cage Manythings Cage; this would likely create enough space between the two SFM mounts so they would be above and below the lower bushing. Option 3: Use the tried and true electrical tape method (find that here). There isn’t any pressure with adhesive tape and it works great.
Personally, I think it’s not much of a risk and I plan on continuing to use the Tailfin SFM mounts, trying to keep them off of the lower bushing (and clamp them to 1-1.5nm of pressure). When two are installed, the rubber shim that’s embedded in the mount really does a good job of keeping it from rotating. As Randy suggested, “In the end, it’s all about weighing the risks and benefits. I have no problem using the mounts, and think having that storage option is well worth the risk. No component is going to last forever, and I love the concept of using the Tailfin mounts to strap my Jetboil to the fork.”
What about a lock out?
I remember thinking that having the ability to lock out the suspension was an absolute necessity back when I first started bikepacking with a suspension fork. I’ve long since abandoned that preconception, but it’s still something to consider. Some folks might want a lockout for more efficient climbing—usually that’s more important with a longer travel fork (140mm+). For me, that doesn’t make sense as I’m very sensitive to stack height and geometry, so when a fork is unsagged and locked out, it simply throws off the bike’s geometry. This is more of a factor with a hardtail, of course.
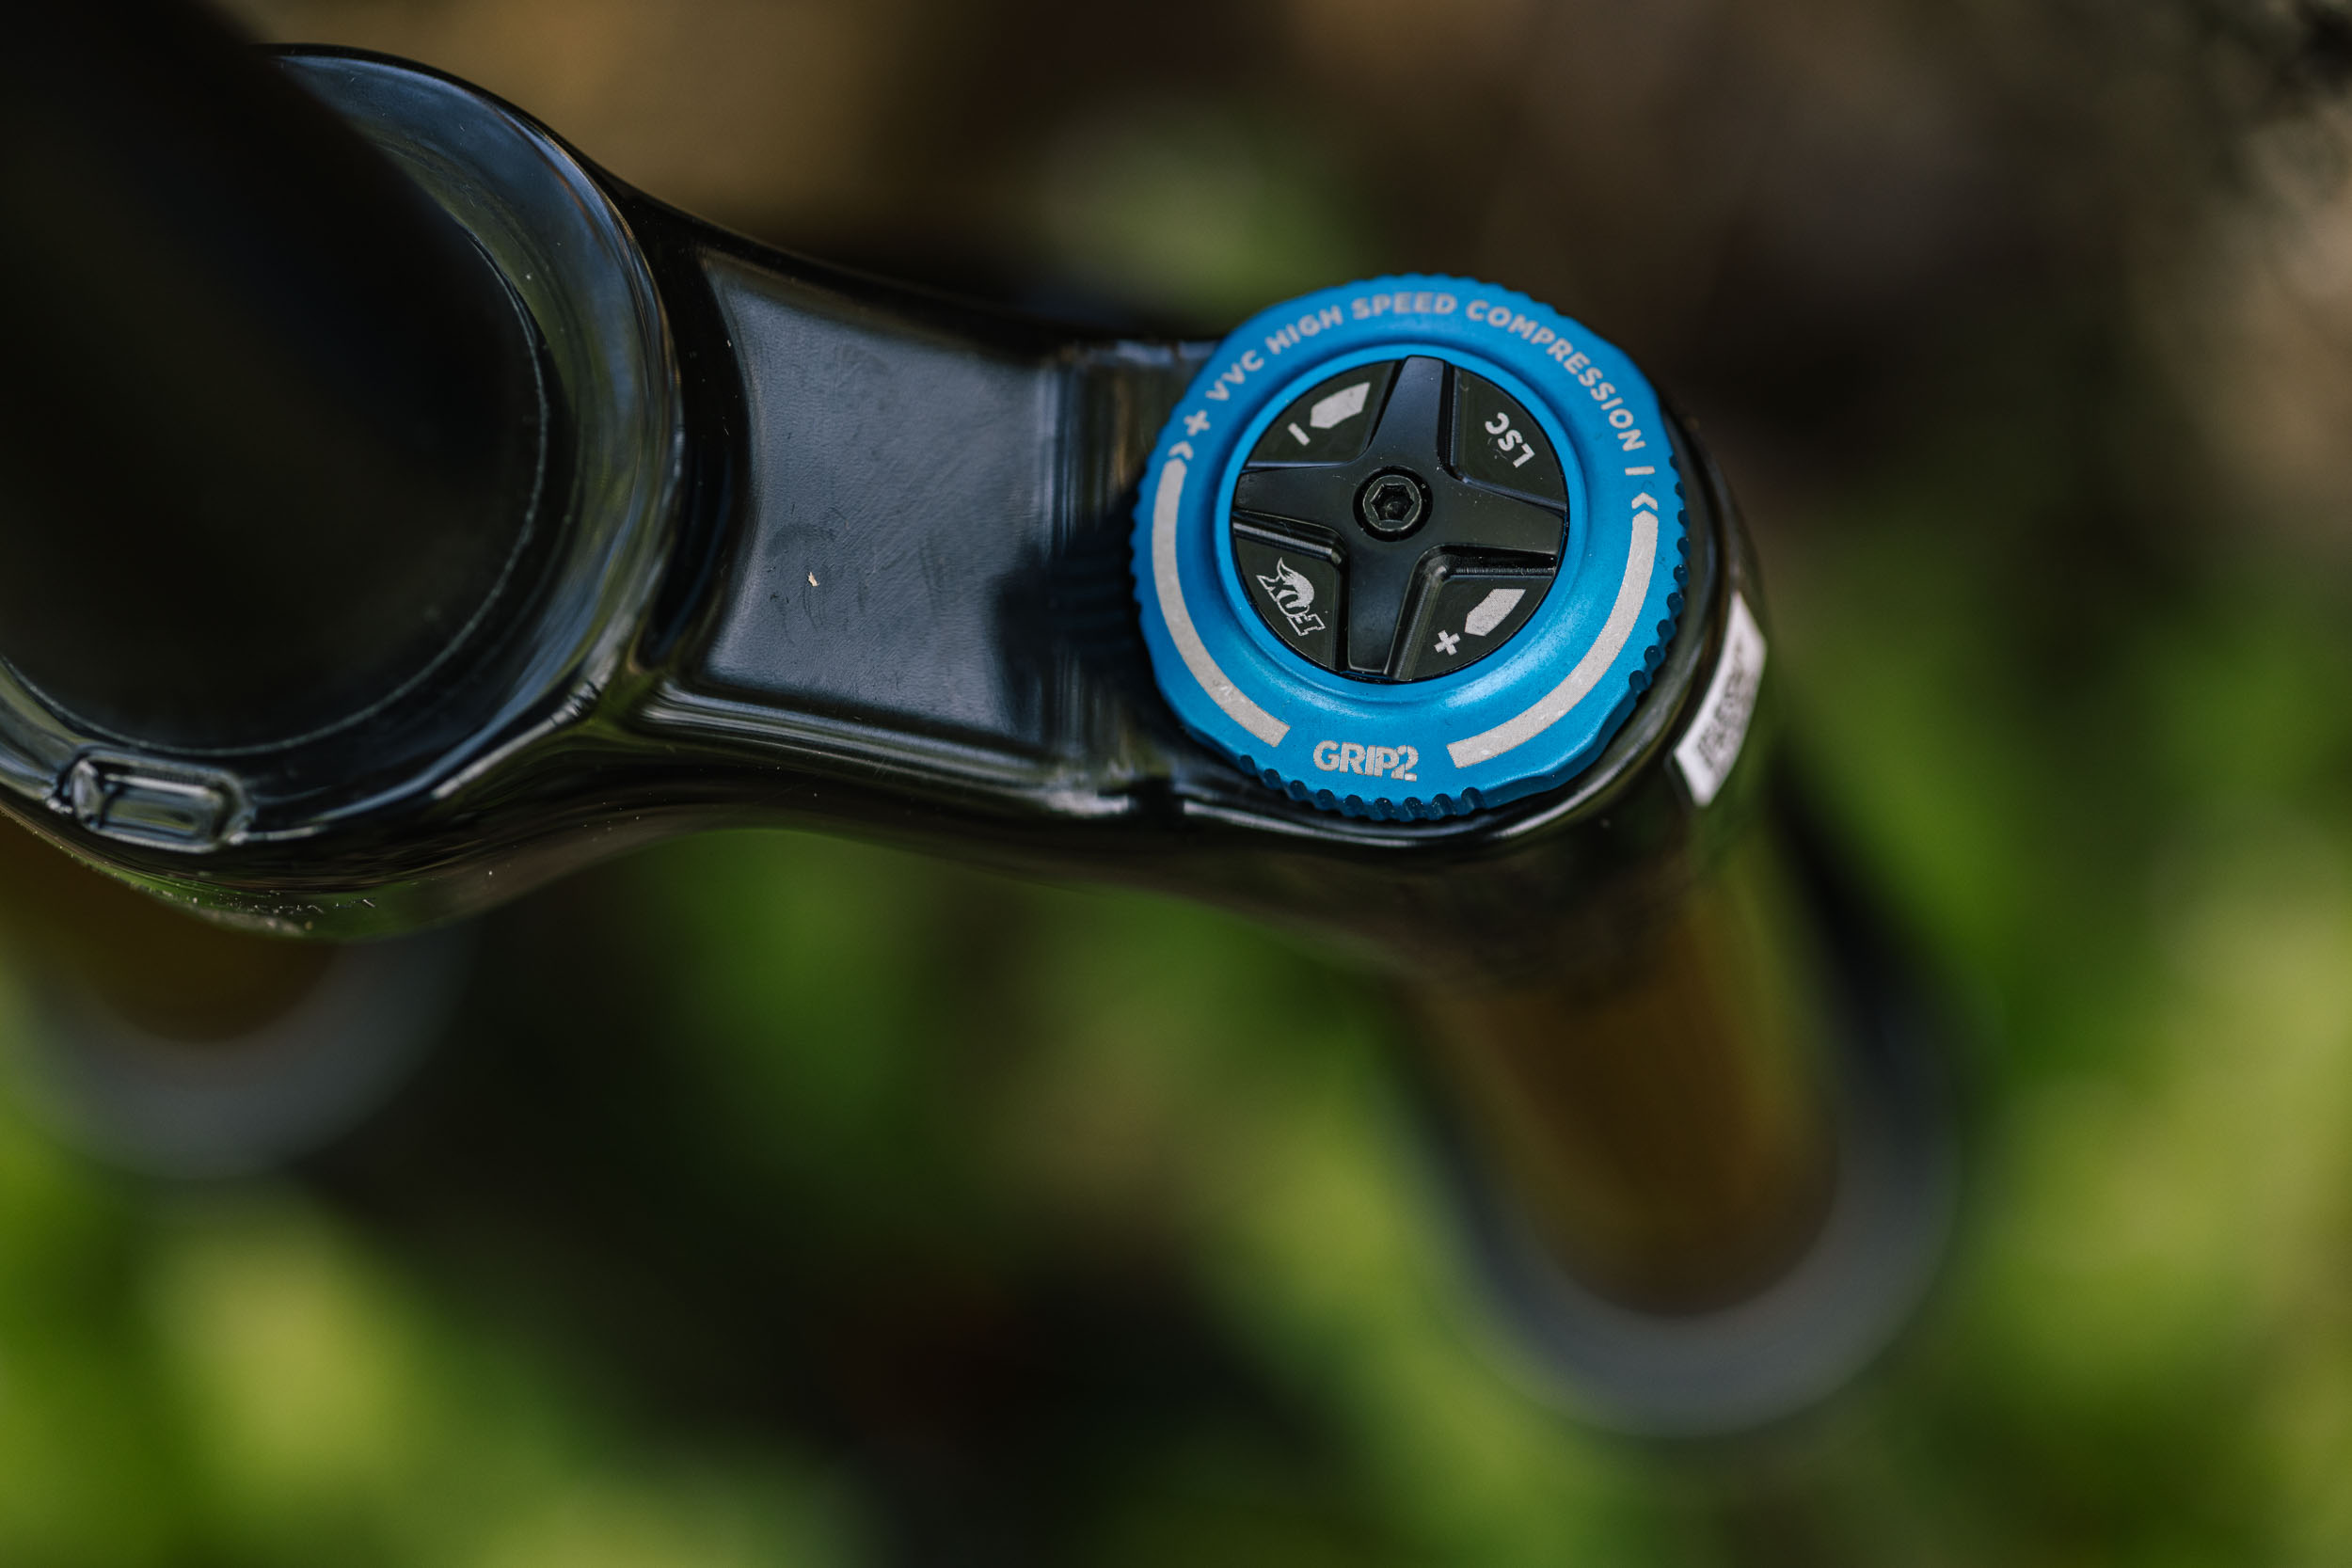
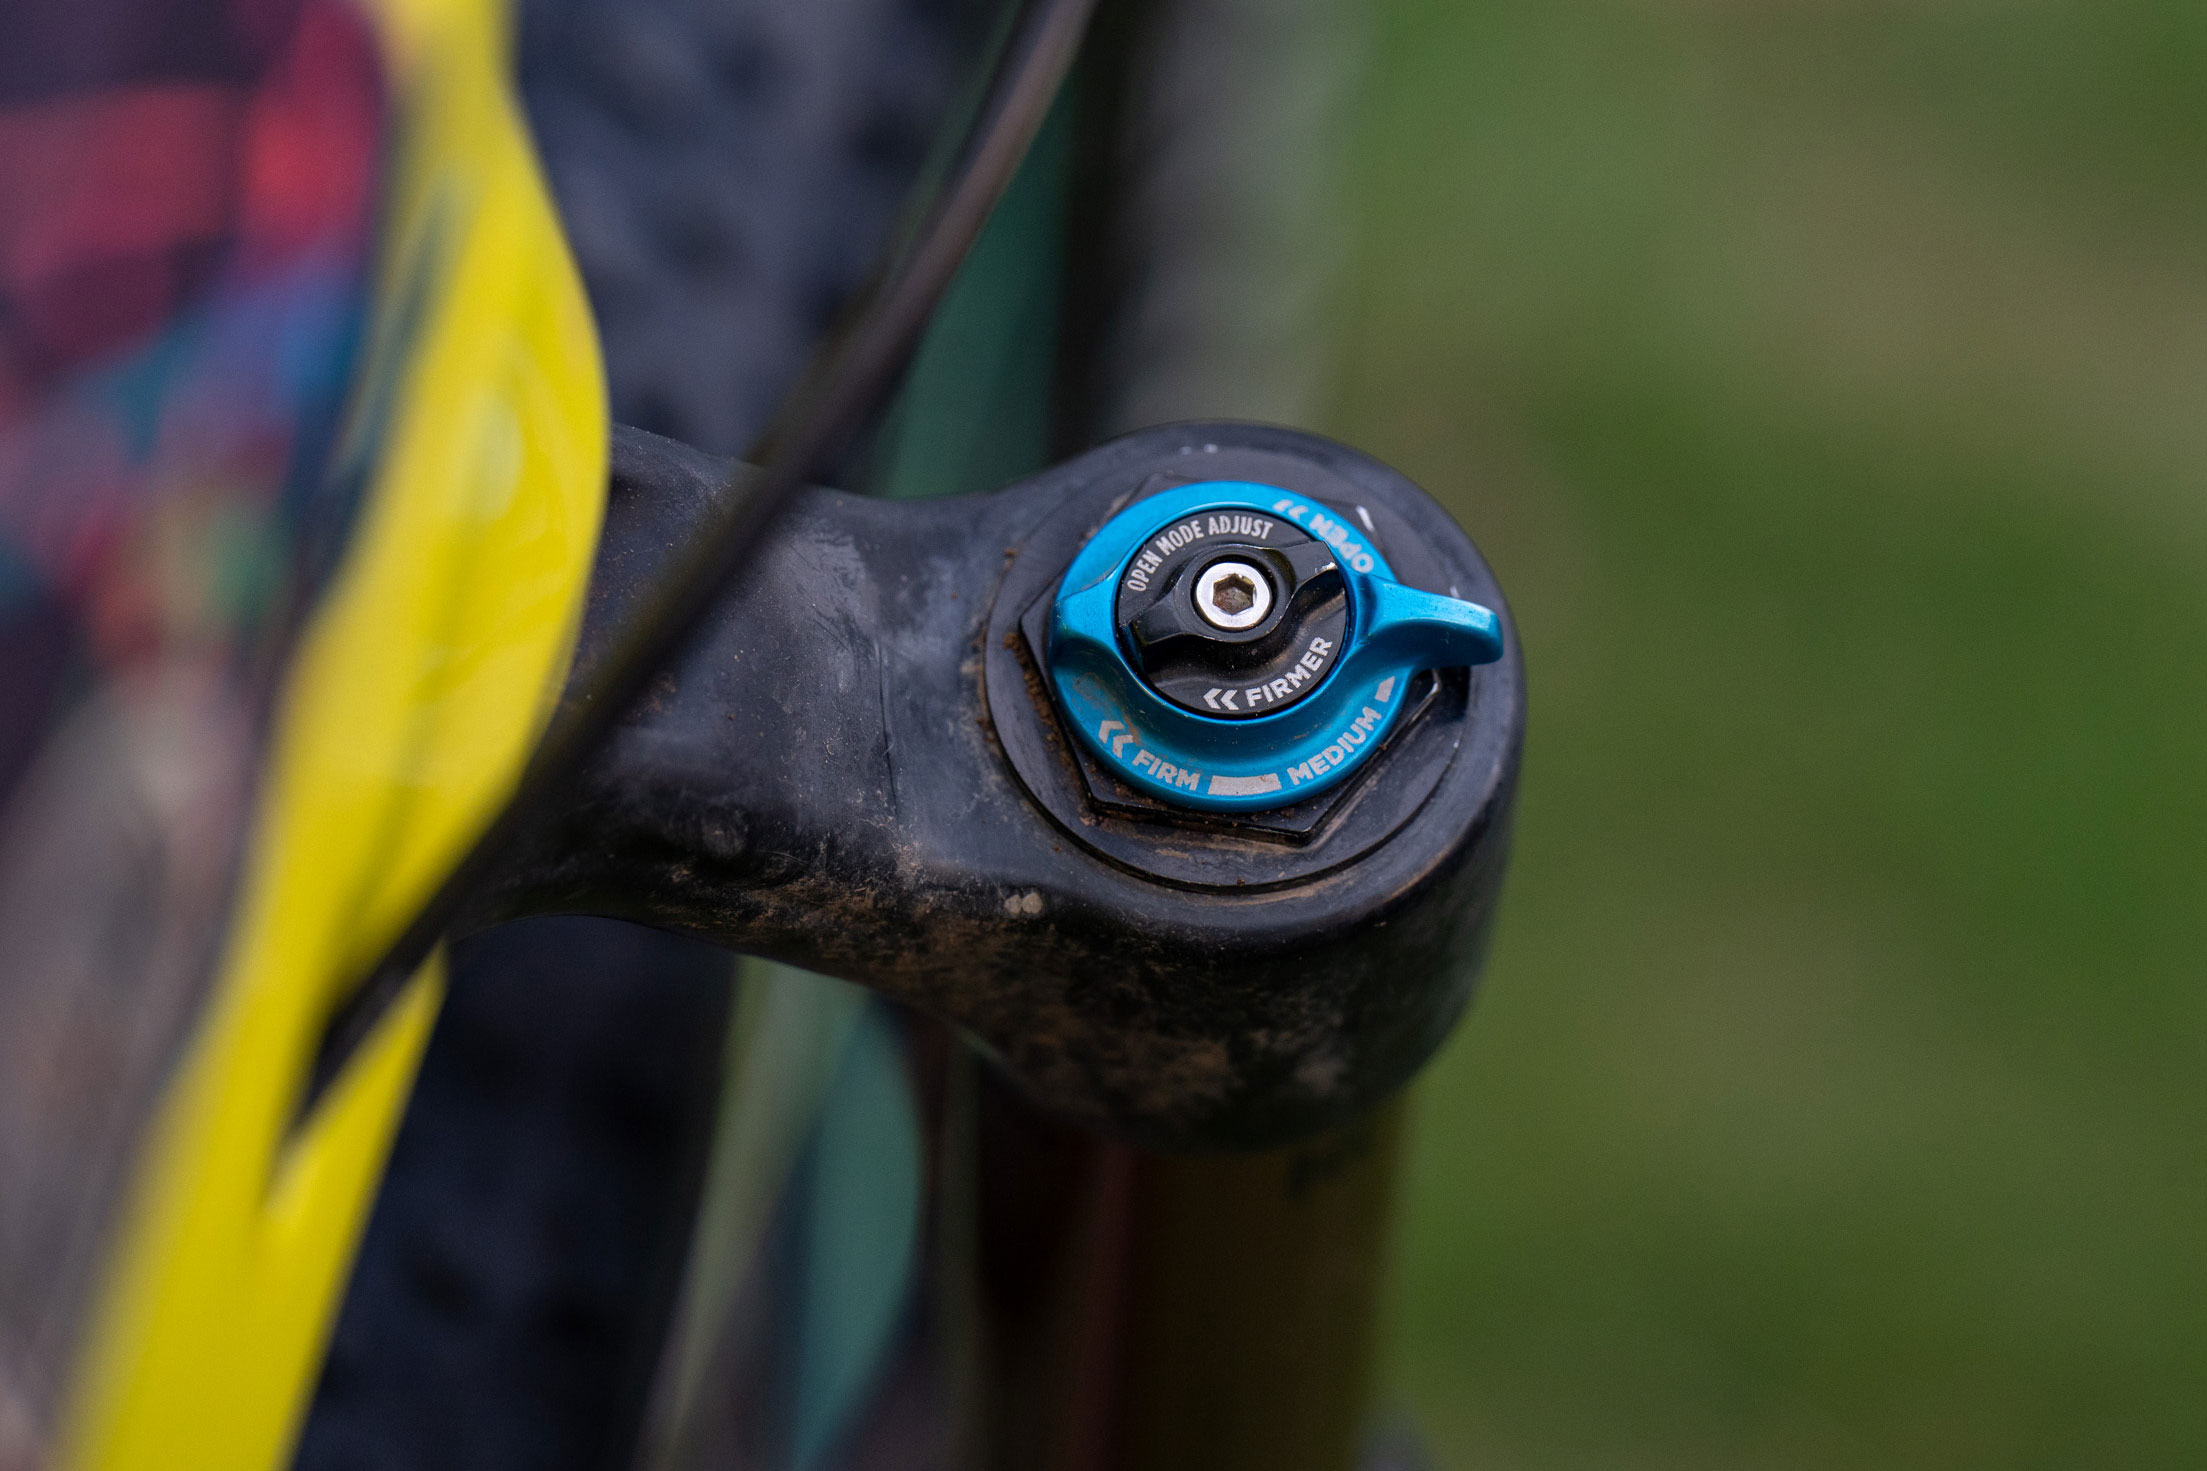
The reality is, forks have gotten a lot more efficient over the years, and many of the modern dampers don’t even offer a lockout. Neither of the two major “trail” dampers—the Fox Grip 2 or the Rockshox Charger 3—have a lockout feature. They are more geared toward adjustability and performance with high- and low-speed compression dials and other features to tune the feel of the fork, particularly for descending. There are still a few forks with lockouts, however. Here is a list of some of the better options in the XC/Trail range, which are probably most applicable to bikepacking:
Lockout
- Fox 32 (FIT GRIP)—Open/Firm
- Fox 32 Stepcast (FIT4)—Open/Medium/Firm
- Fox 34 (FIT4)—Open/Medium/Firm
- RockShox SID Ultimate (Charger Race Day)
- RockShox SID (+/Select) (Charger RL)
No Lockout
- Fox 34 (Grip 2 Damper)
- Fox 36 (Grip 2 Damper)
- Rockshox Pike (Charger 3)
- Rockshox Yari RC (Motion Control)
Note that the FIT4 isn’t a true/solid lockout, but the firm setting comes close and improves pedaling efficiency. Typically, folks contemplating the lockout vs. not conundrum are trying to decide between the Grip 2 damper or the FIT4 on the Fox 34 or 36 forks, or trying to decide between a Pike and a Fox 34. I opted for the Grip 2 on the Fox 34 that I tested for this article. The performance gains are noticeable, and I like the adjustability. I also don’t see a lot of advantages in a lockout with a short-travel fork, a small and light front bag, and proper tuning. When I asked Randy his thoughts on the two, he suggested, “FIT4 is more of a pedal damper, and Grip 2 is decidedly more oriented toward descending. So, which one matters more to the rider? Do you prefer pedaling performance or descending performance? Both are quality dampers. I think for bikepacking, the FIT4 with a lockout is just a little more versatile because you can flip a lever and have a stiffer fork for adding weight to the bars or carrying some extra food or riding uphill on pavement for three hours.”
Lightning Round
I asked Randy a few more random questions that I was curious about:
Do forks ever fail?
It’s very rare, but the worst case scenario involves losing air in the spring—a cracked air spring or internal scratch or abrasion. The worst thing that could happen is that you have to ride the fork in the compressed position—think the head tube angle of a 90s mountain bike. However, the bike would still be rideable, so it’s not “trip ending.” The main causes of failure or damage I see are from improper service or the improper use of bike roof racks causing drop-out damage.
What do you think about the Quarq Shockwiz, a high-tech shock tuning gadget?
The Shockwiz is great if all the directions are followed. It’s not compatible with all products, but it’s the best solution when solid individual advice isn’t available. Any service center will also be able to help you.
Is there any performance or reliability advantage based on the amount of travel a fork is set up with? For example, is a 110mm fork more reliable than a 130mm fork?
Shorter travel forks are more durable than longer travel forks, given the same chassis. It’s simply a shorter lever that has a higher force needed to buckle it. There’s much less stress on the headtube, steerer, stanchions and bushings, and shorter forks resist torsional forces better as well. Think turning the bar to pop the wheel out of a rut.
Does hanging a bike vertically on a wall have any ill effect on a suspension fork?
Nah. If anything, it’s better, because it turns the fork slightly upside down and allows the oil to sit higher in the fork lowers and keep the foam rings soaked. 99% of the time, gravity is forcing the oil to the bottom and the fork relies on pressure build up as it moves to push the oil up to the top bushing and foam ring. A little upside down time is great. This is assuming the seals are all intact.
If you had to pick a suspension fork for a bikepacking trip, which would it be?
Personally I have a RockShox Lyrik that is still awesome after 6-7 years of use, but it’s been serviced 2-3 times per year. I’d take it just because it’s proven. I would be perfectly happy with a well-prepped Fox 34-36 or Rockshox Pike for any big trip, can’t really go wrong with the current offerings from Fox or RockShox.
Conversely, what’s your favorite fork for riding our trails around here in Pisgah?
For general trail riding here, I ride an Ohlins RFX 36 with their heaviest coil. Because after servicing suspension all day, I don’t want to check anything on my own. I really like the traction from coil suspension on wet roots and rocks and ice.
Thanks to Randy Collette for helping out on this one. If you’re local in western NC and want to book Randy for a fork or shock overhaul, service, or repair, find him at MTBSuspensionService.com. If you have any more questions or suggestions about bikepacking with a suspension fork, please leave a comment in the conversation below.
Related Content
Make sure to dig into these related articles for more info...


Please keep the conversation civil, constructive, and inclusive, or your comment will be removed.