


An Impromptu Overnighter


It’s fairly uncomplicated to gather some provisions, lash some dry bags to a bike, and disappear into the woods for a couple of days. Read Logan’s account of a last-minute decision to go bikepacking back in 2013. Plus, a how-to starter kit for an easy overnighter.
PUBLISHED Mar 13, 2018
Immediately upon returning from my first long distance bike tour, I was anxious to get back out on the bike. Truth be told, I had been dreaming up several backcountry bikepacking rides while I was still on that trip. I’m reminded of the old adage, “Don’t start thinking about dinner while you’re still eating breakfast.” But this was different. It was more like dessert. We began that long tour through Mexico and Central America on paved roads with heavy kits in tow, but as we worked our way south, we sought out gravel and dirt roads that would take us beyond what was accessible from the paved byways. I knew my next trip would be different. I would be on my mountain bike, on trails, and in the forest.

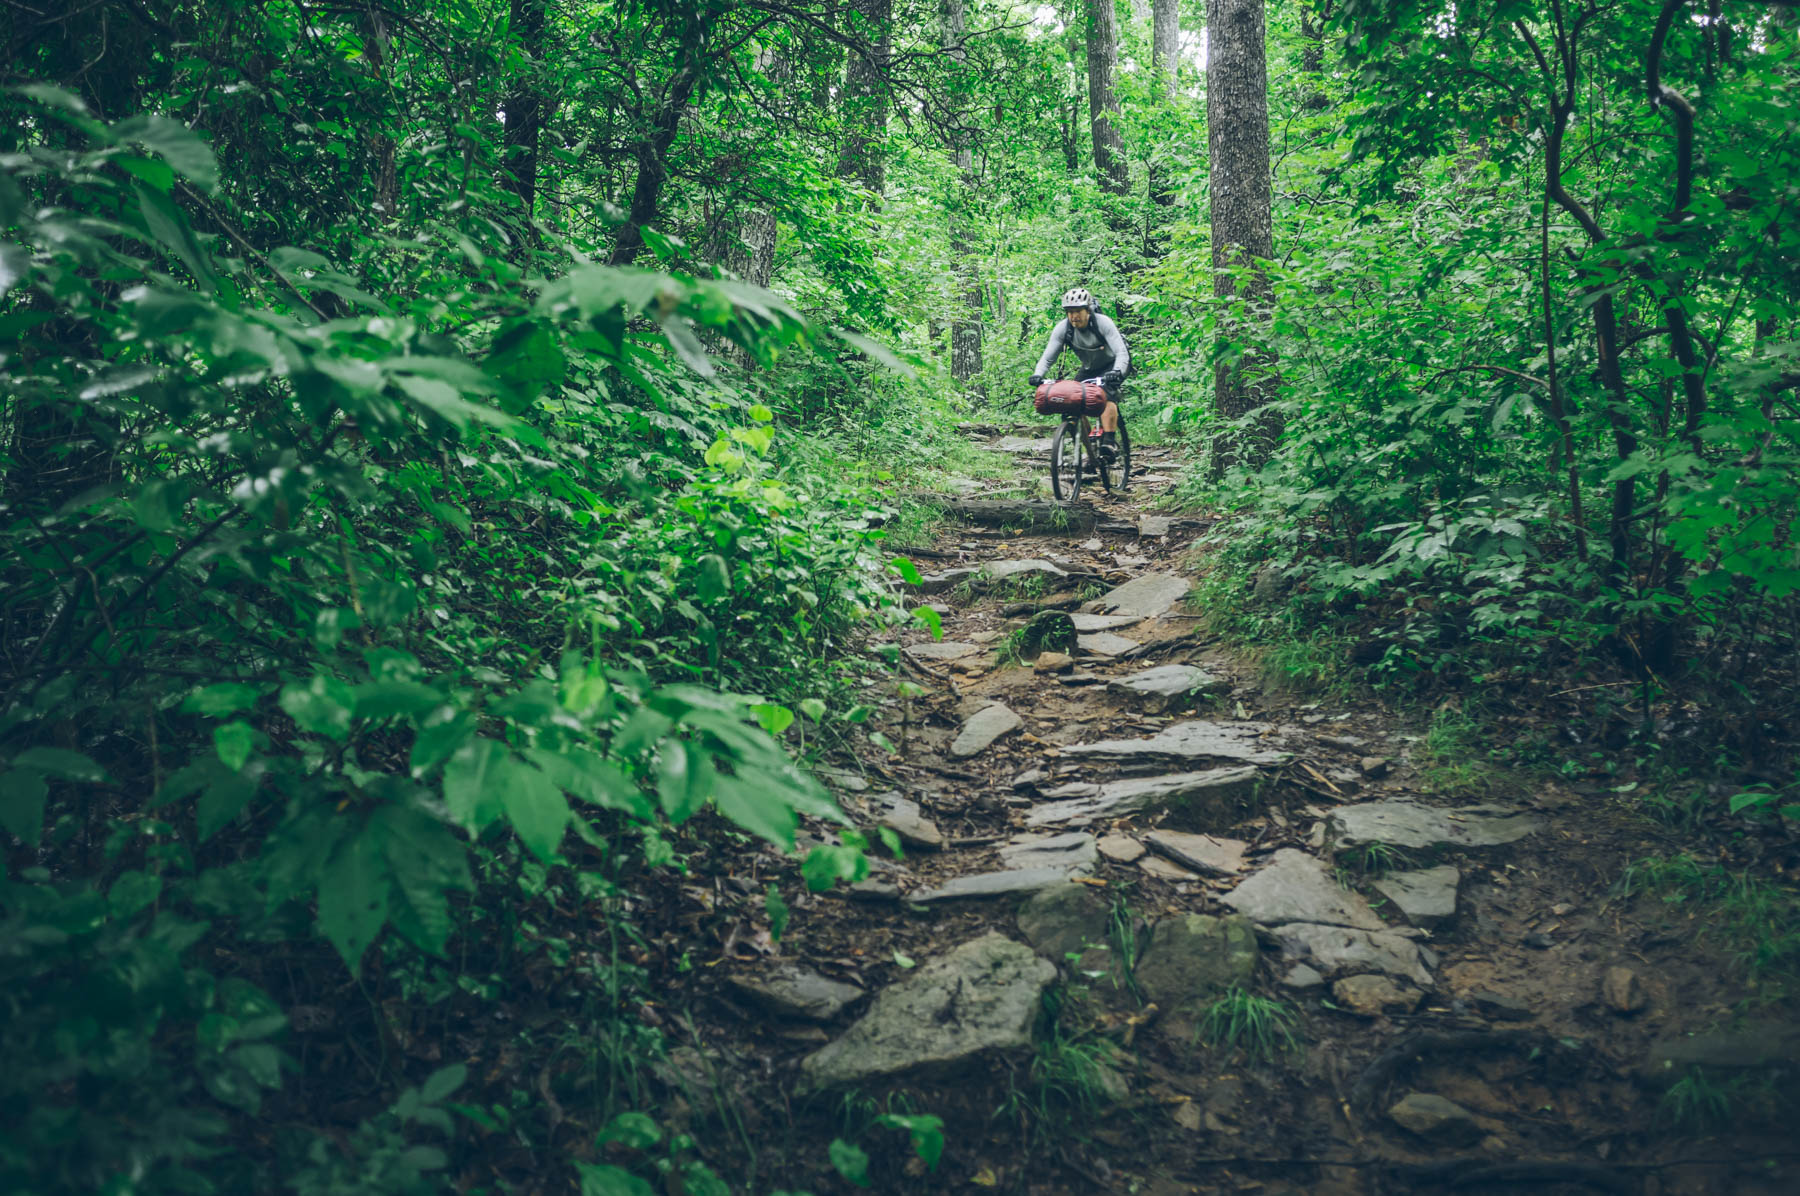
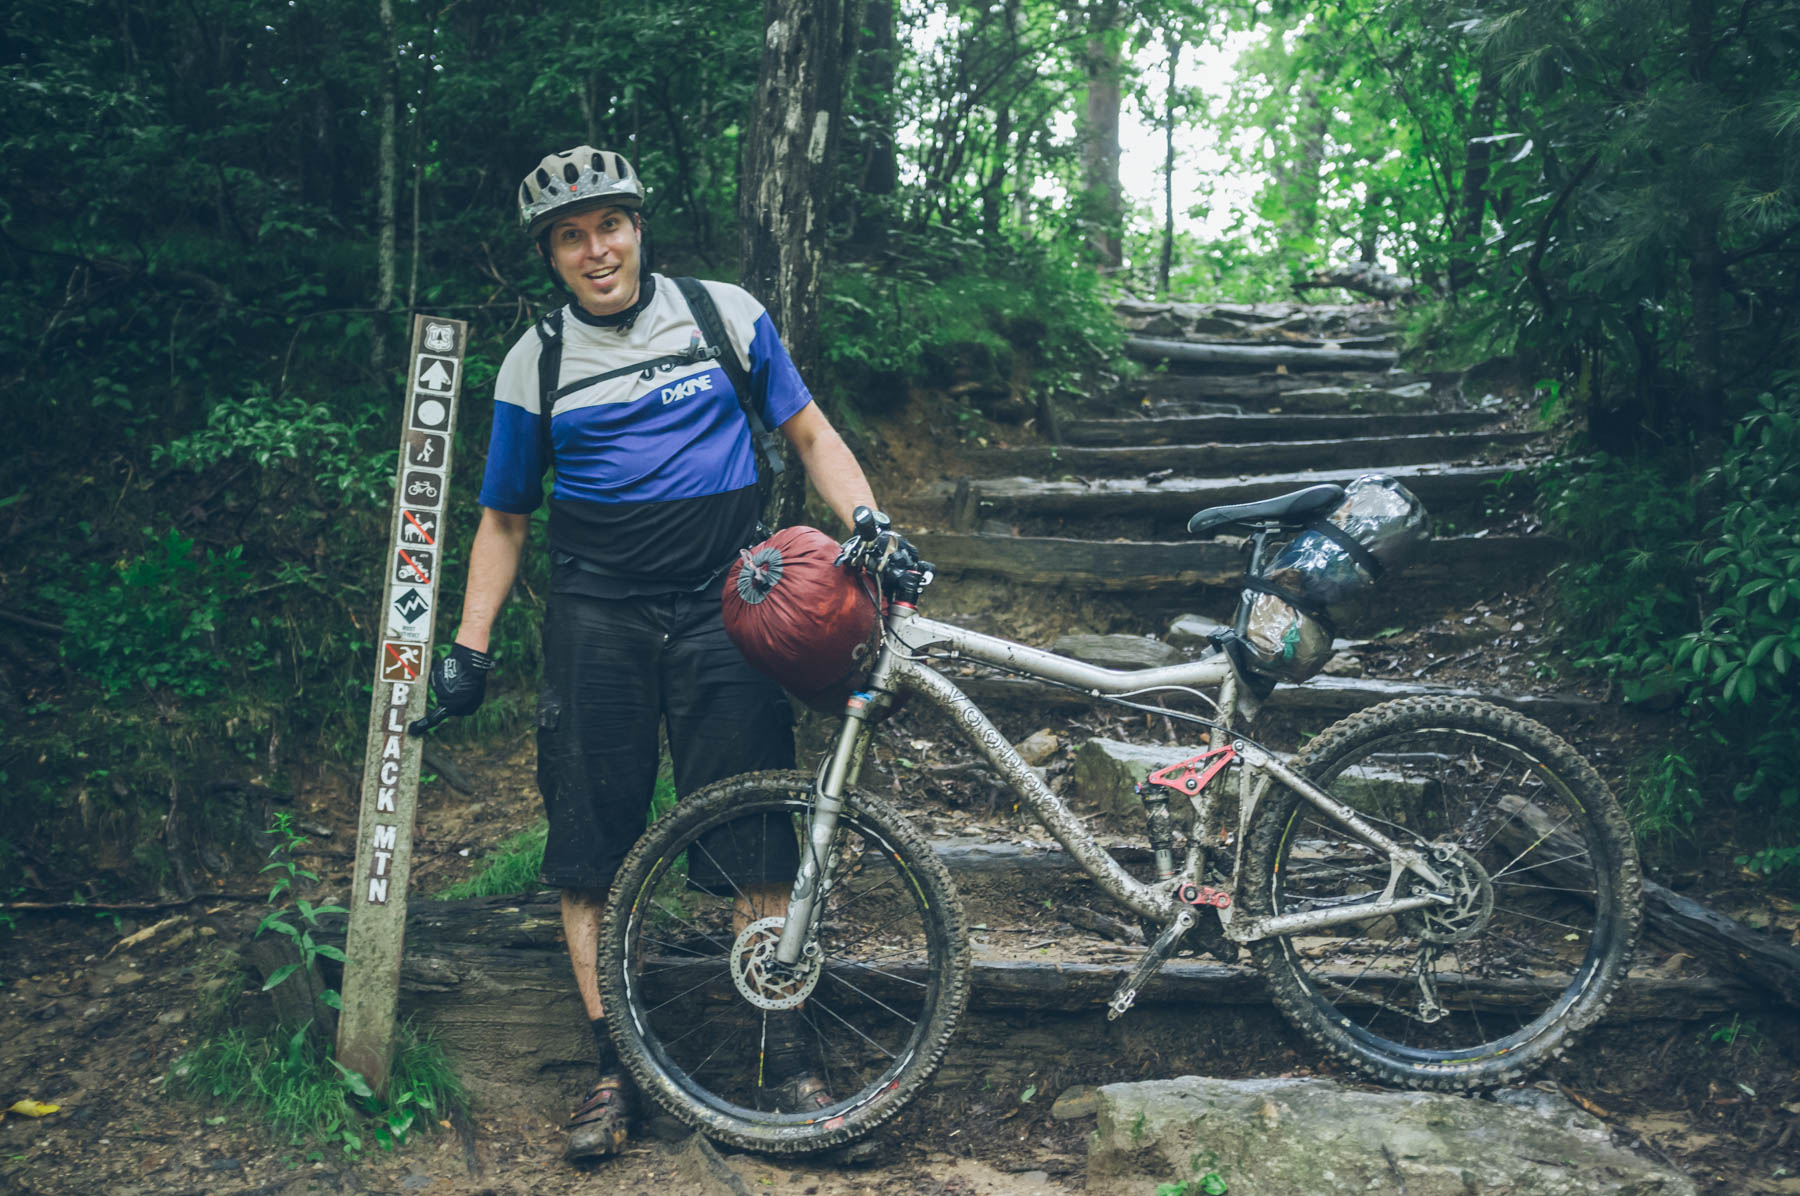
That Friday, I made a last-minute decision to tackle an ambitious overnight ride in North Carolina’s Pisgah National Forest. And, by last minute, I mean less than half and hour before walking out the door. I called Dustin, my riding partner for the weekend, on the drive up to Brevard and proposed a change in plans.
“How about we strap some stuff to our bikes and make it an overnight campout ride?” I asked.
“Can we do that this late in the game?” Dustin replied. “What all do I need?”
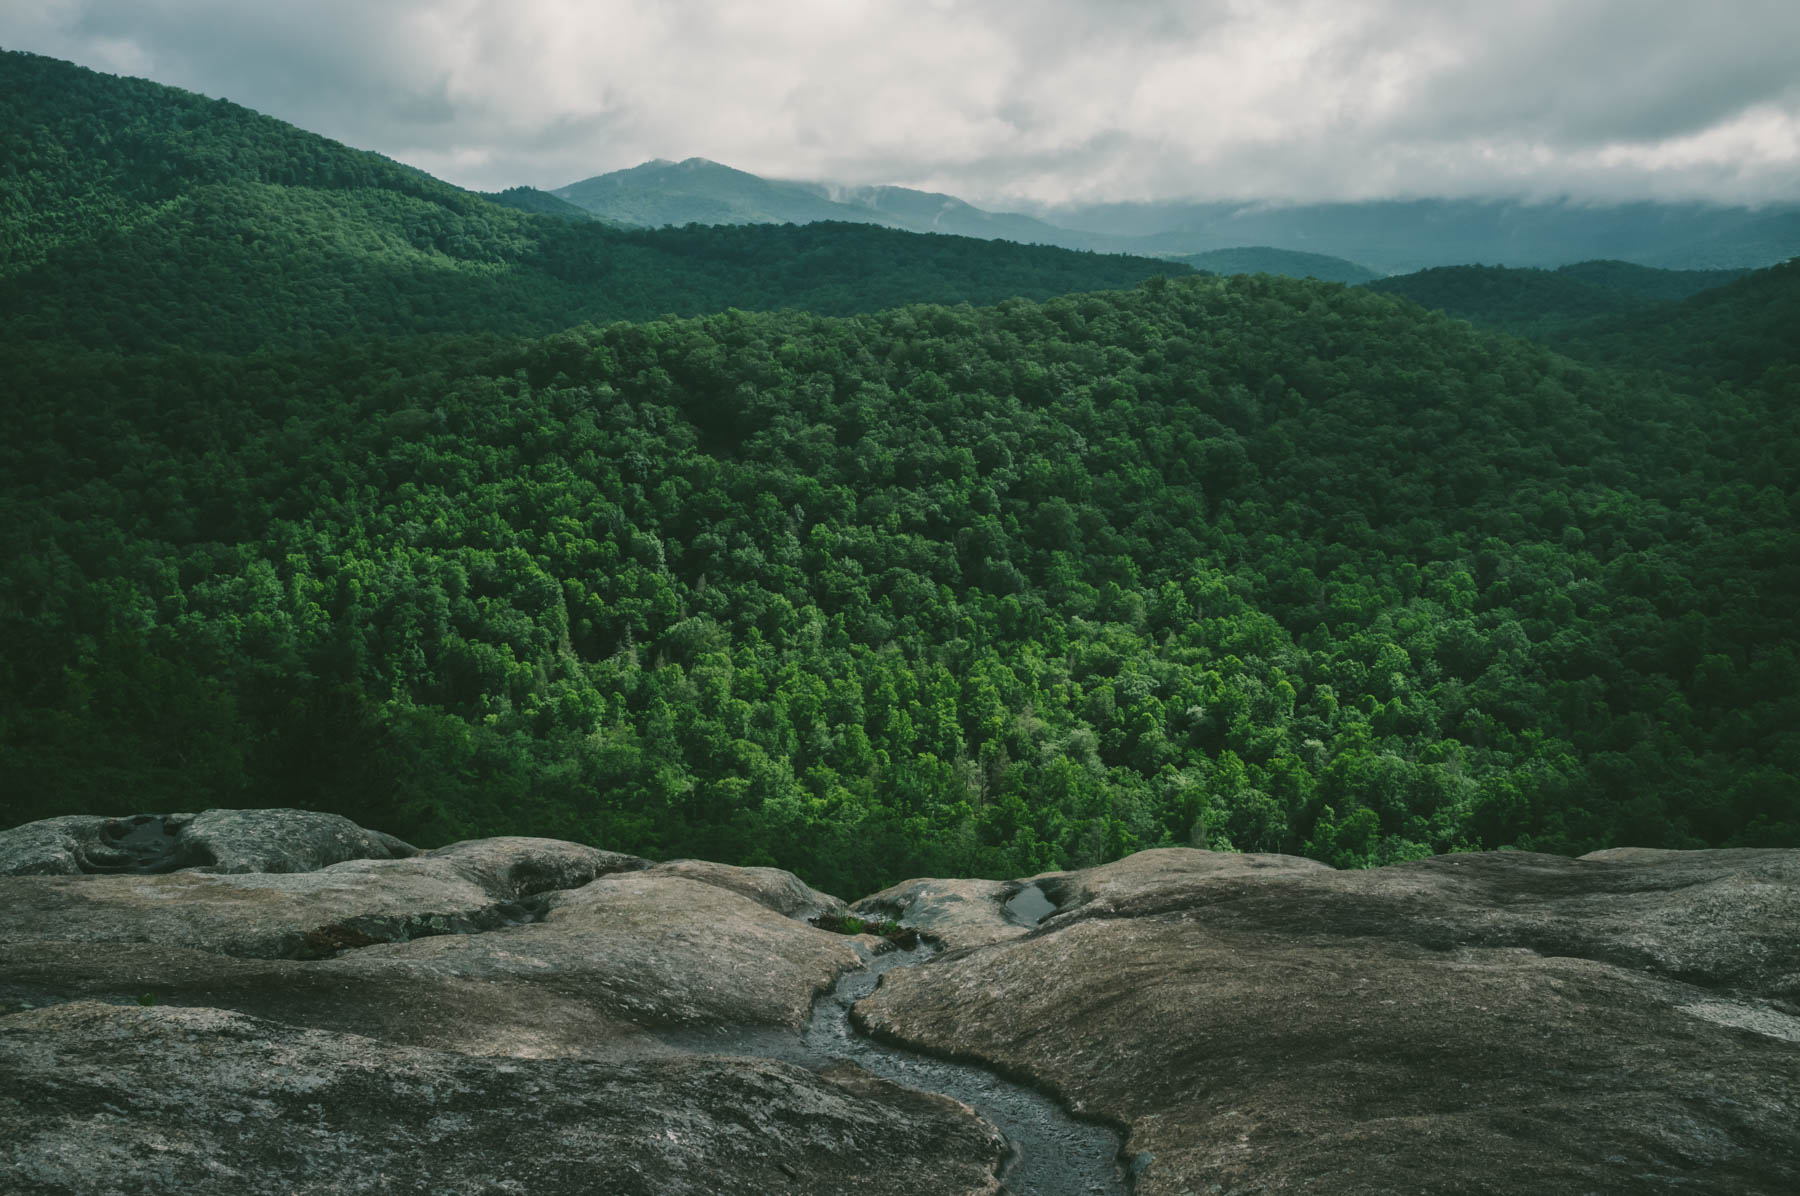

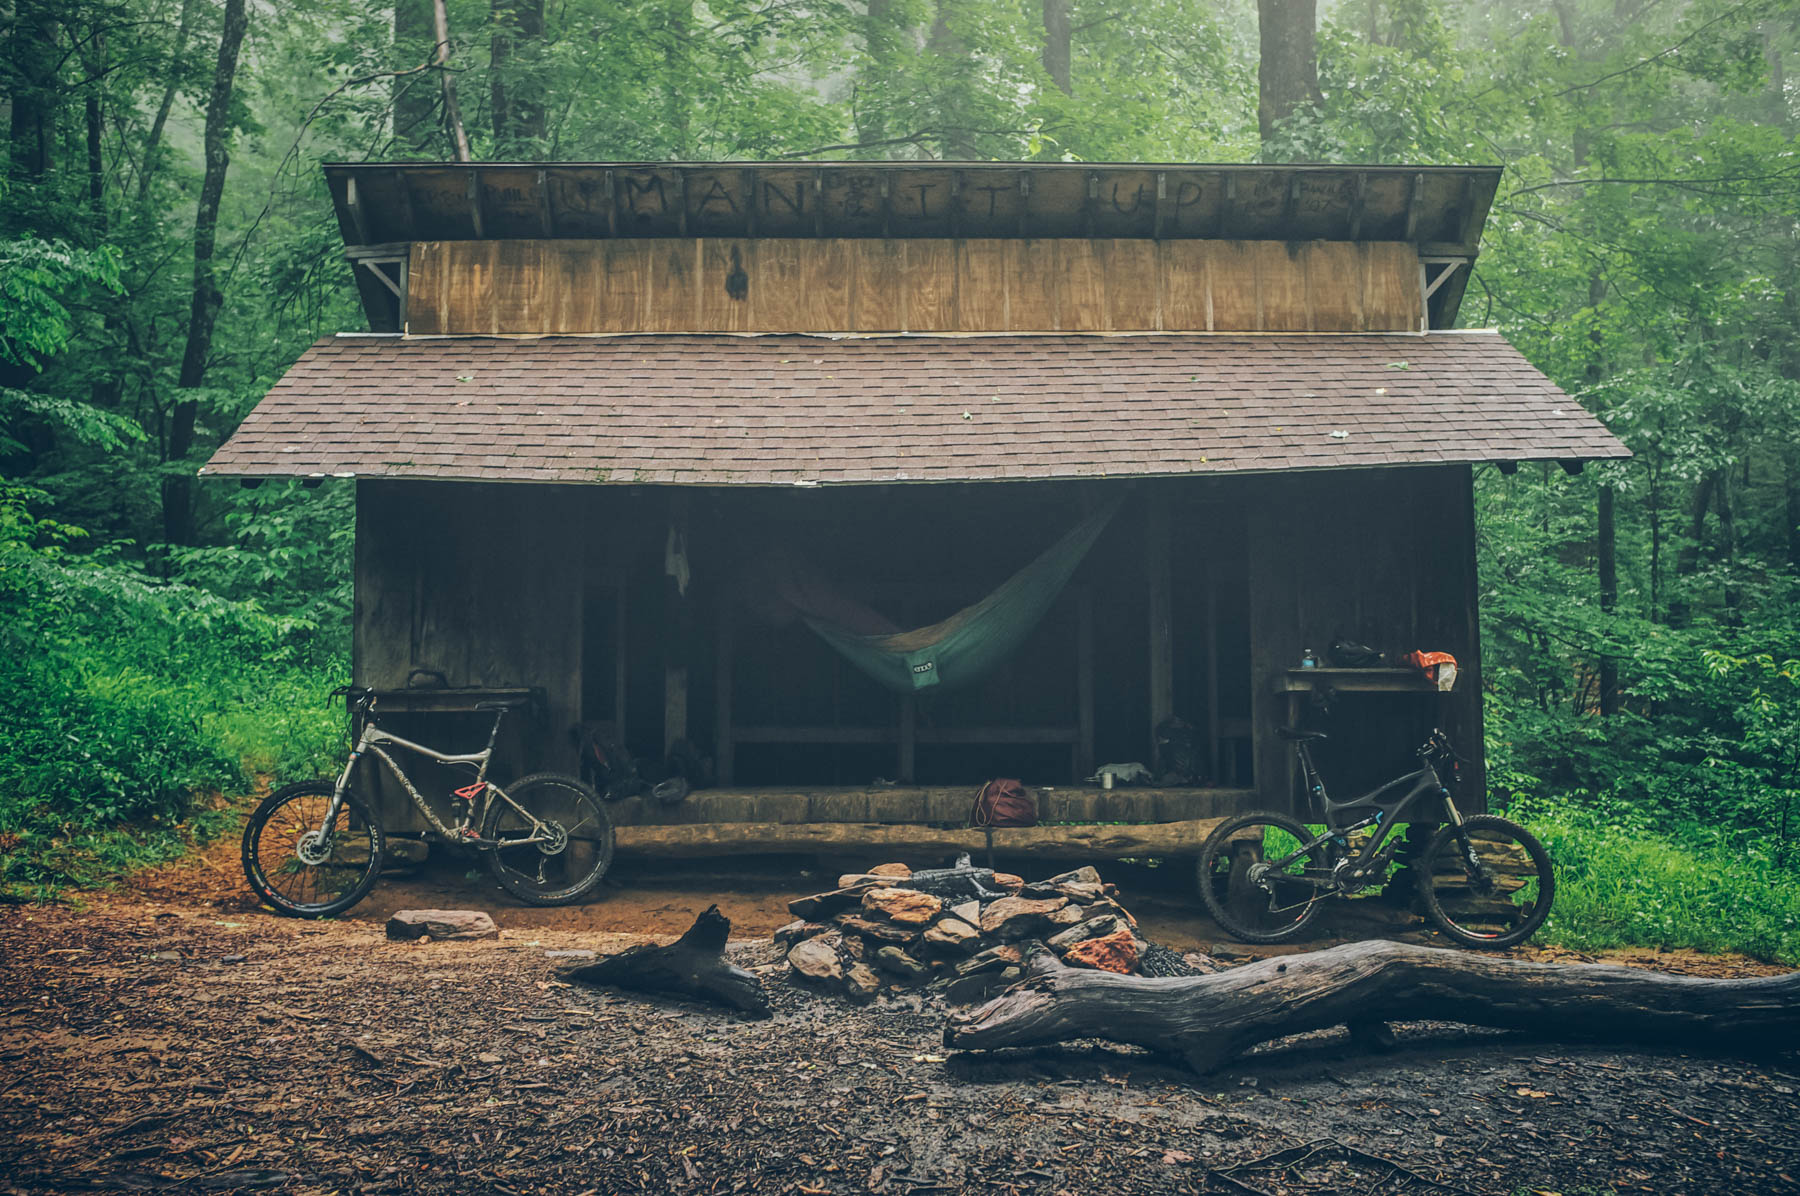
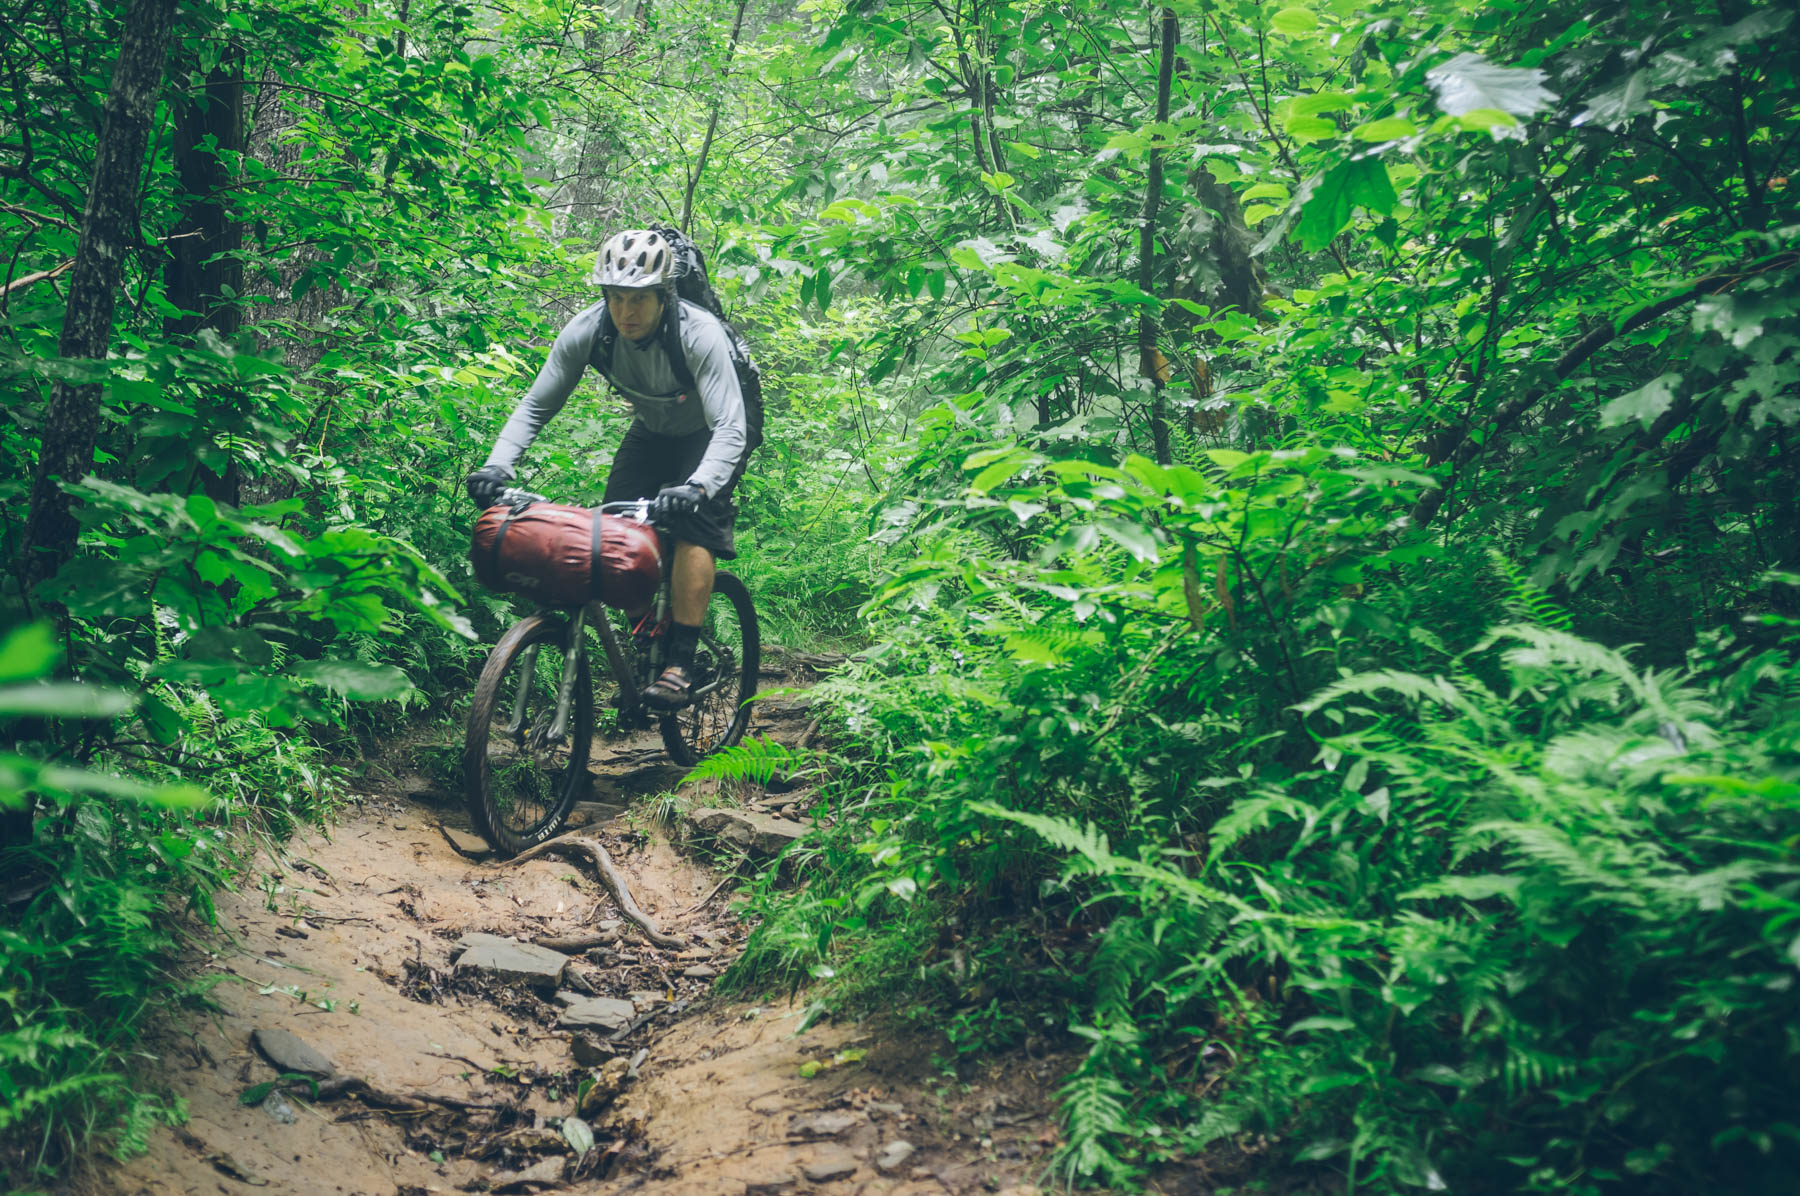
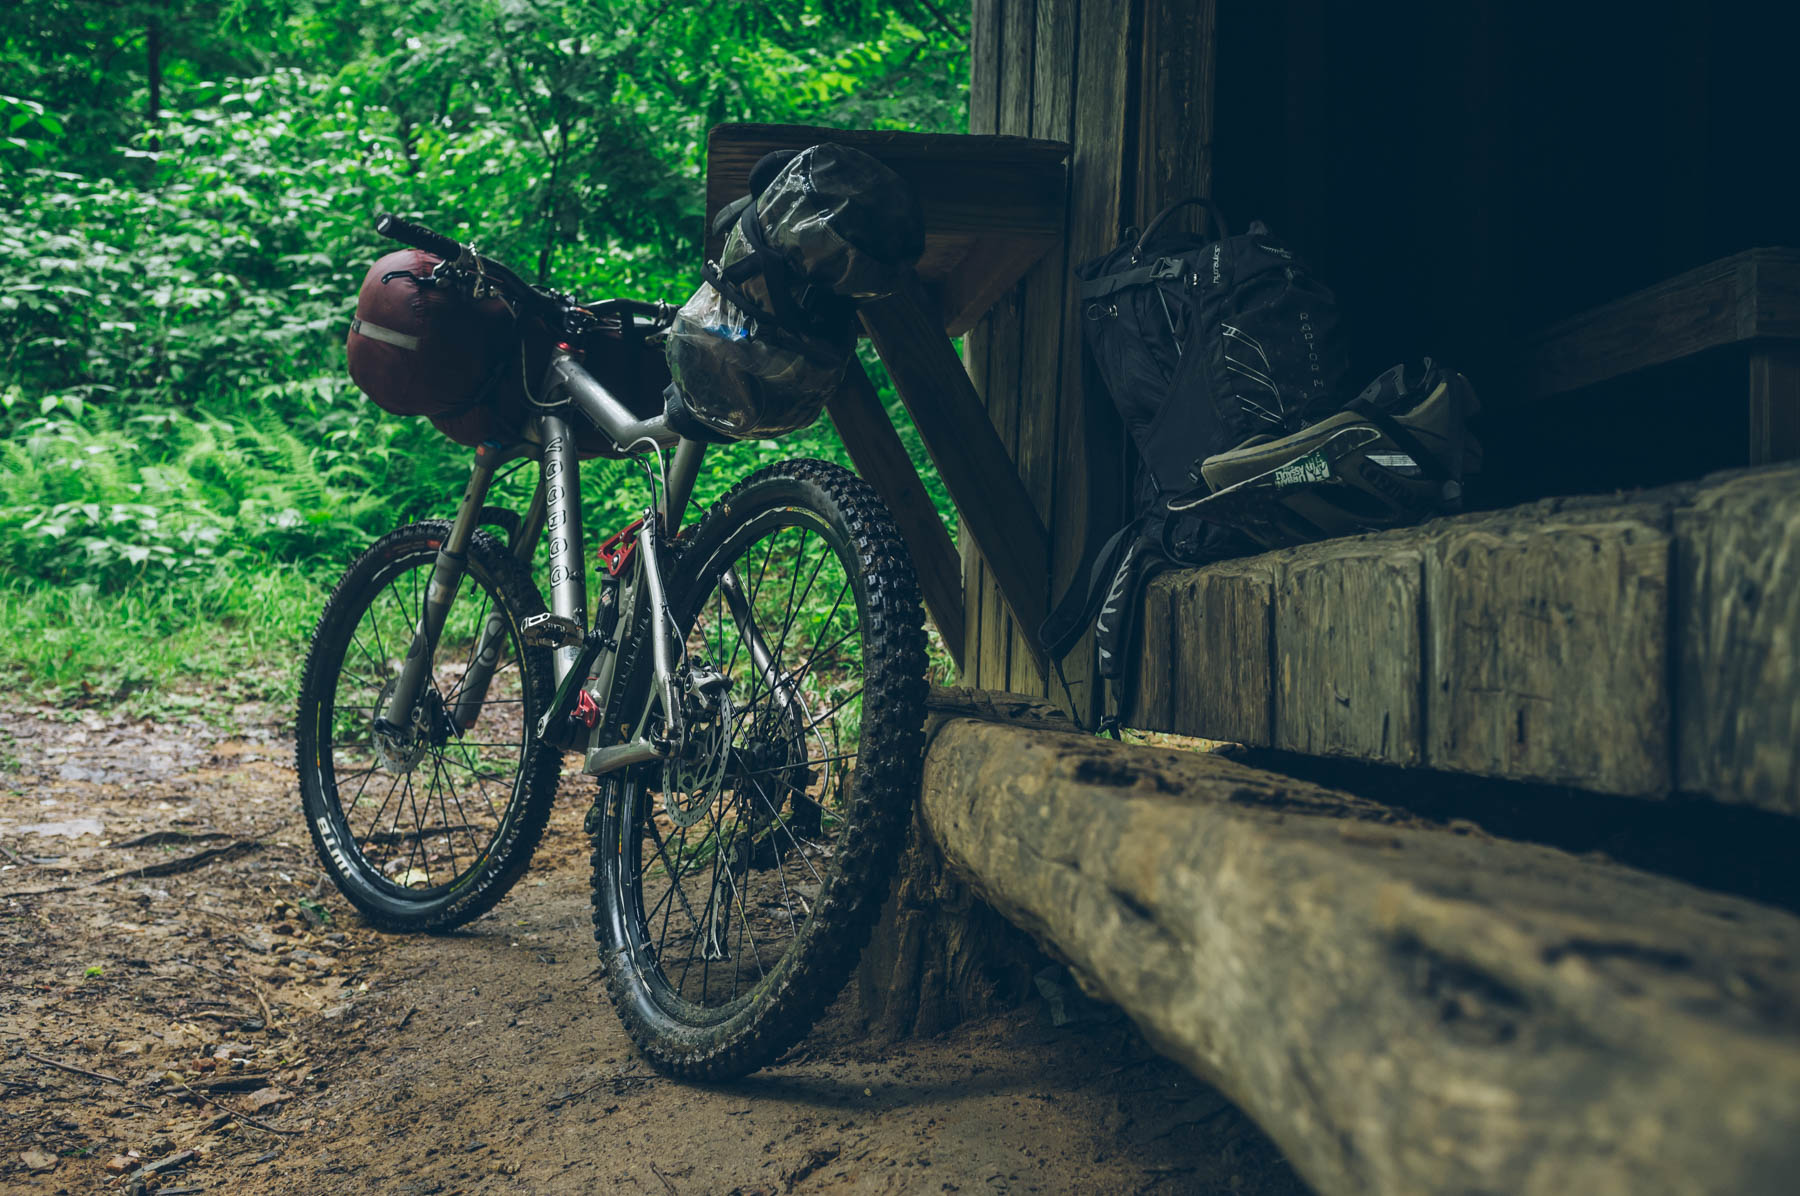
I assured him a couple of dry bags, a change of clothes, straps, a sleeping bag, and a spoon would suffice. So we quickly cobbled together our kits and concocted a route that would link several of our favorite descents in the Pisgah Ranger District with an overnight stop at the shelter on Rich Mountain. We set out on from Mills River and quickly found ourselves on the long climb up the Laurel Mountain Trail. After topping out, we made some great turns down Pilot Rock, followed the Pilot Cove Loop, and then made the trudge over 1206 and up the South Mills River Trail.

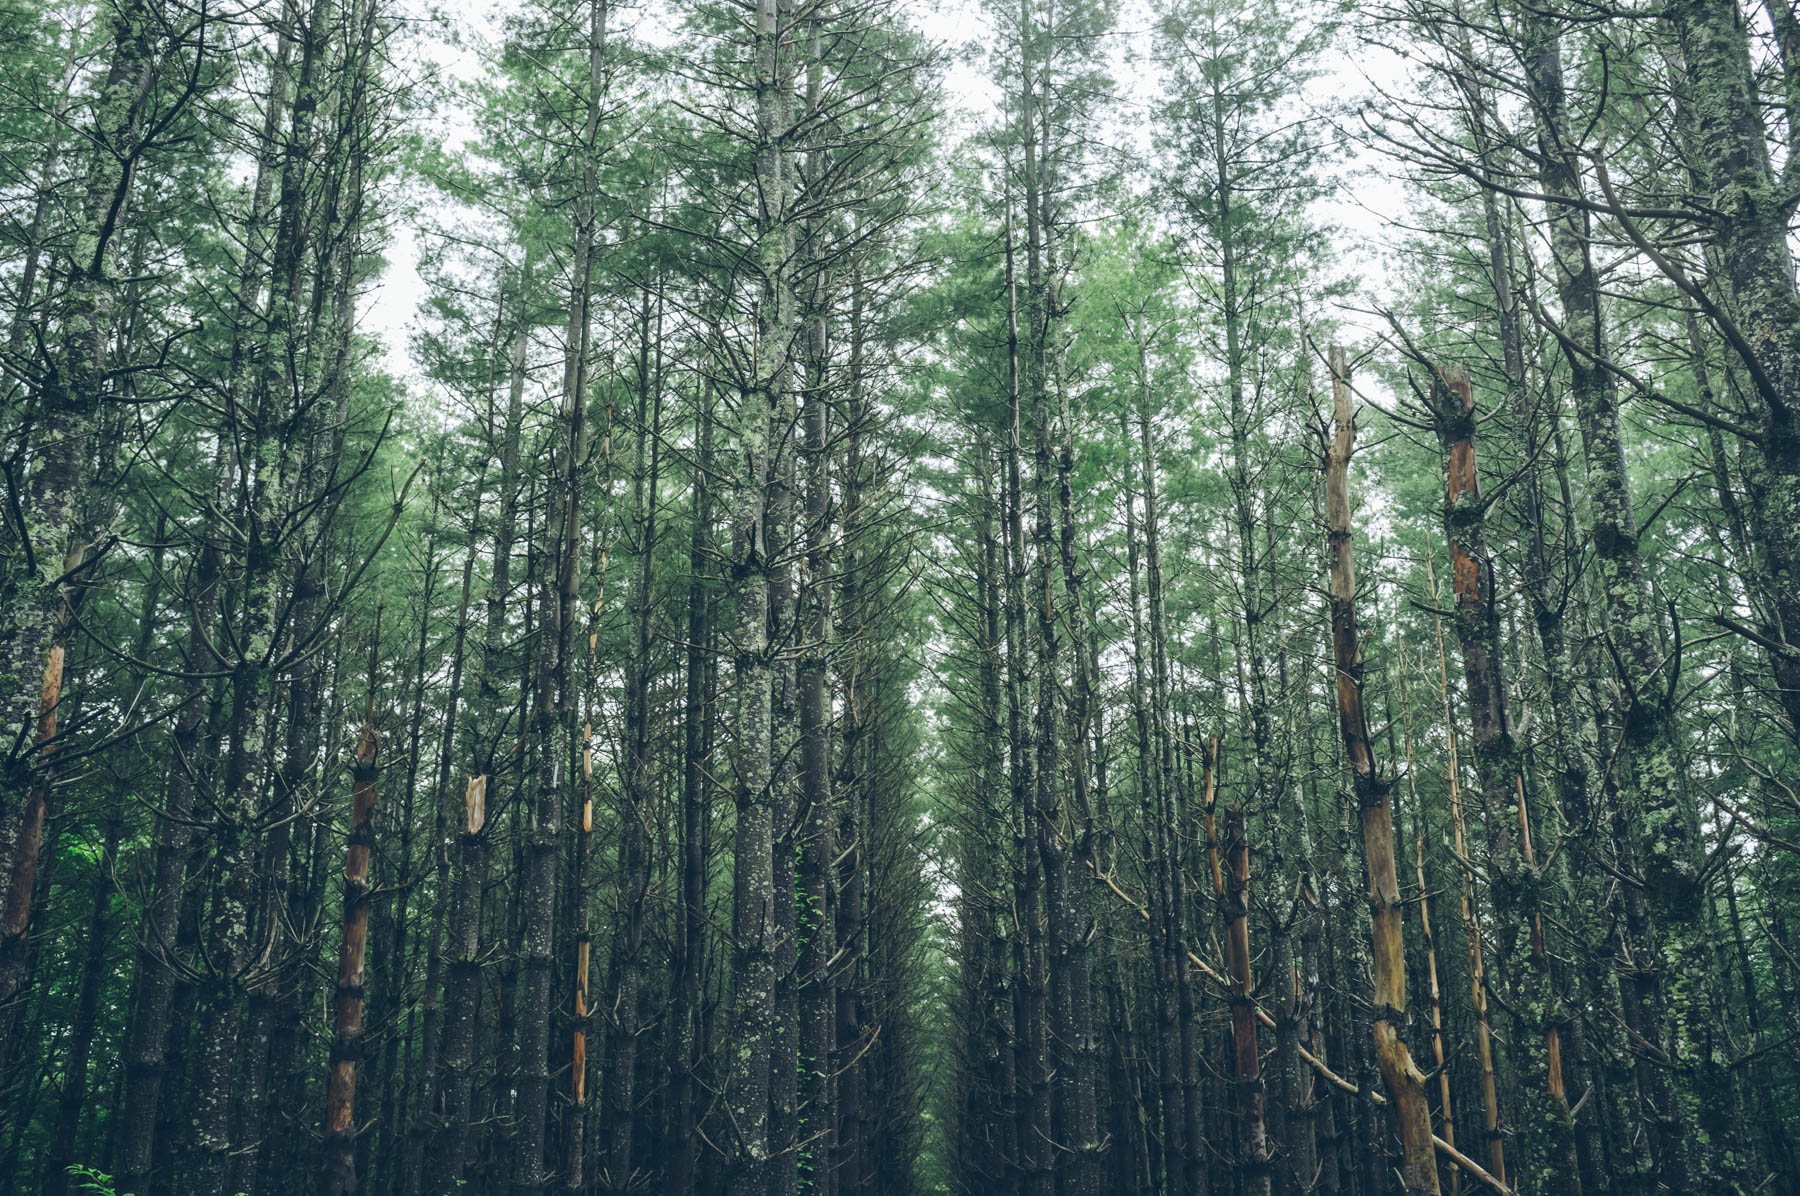
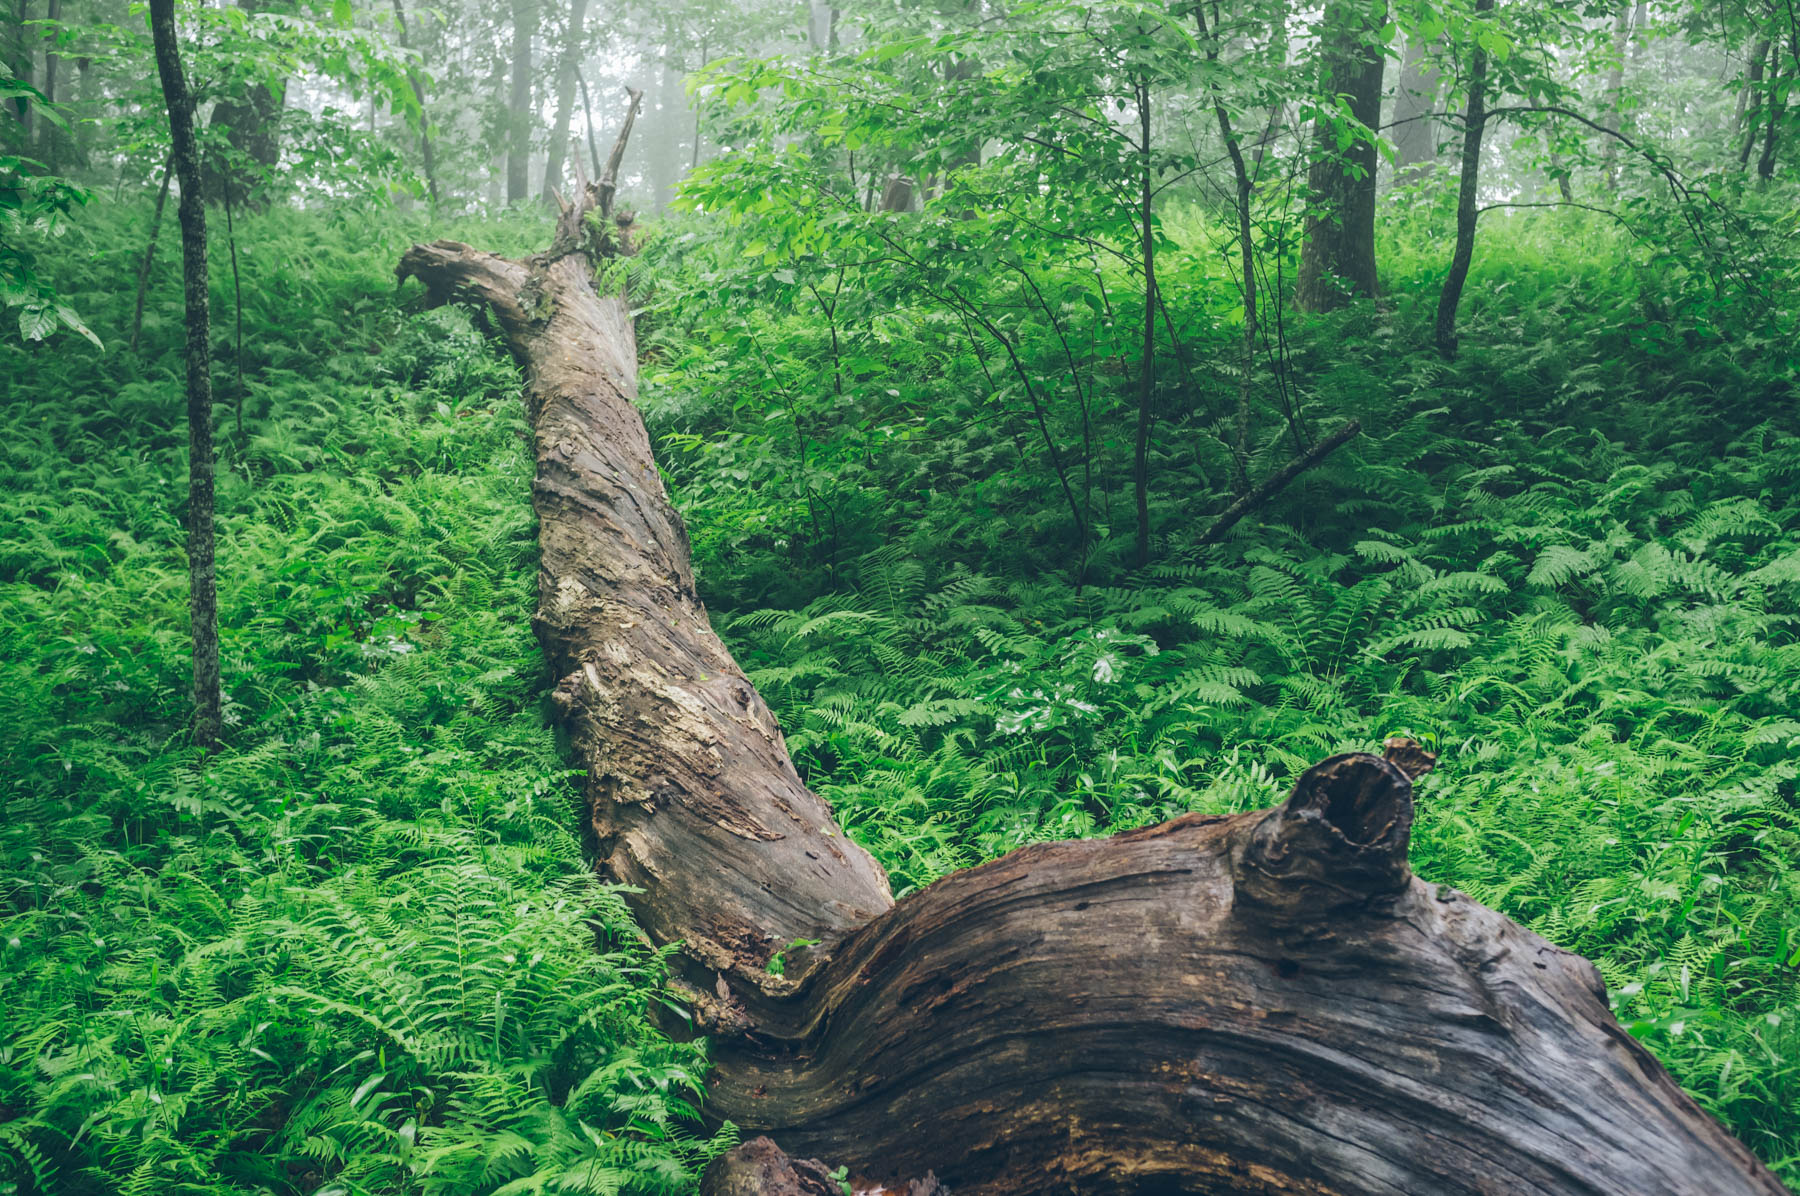
Three-walled backpacker huts and shelters make great spots for bike overnights. Fortunately for us, the Buckhorn Shelter was a much needed respite from a couple inches of rain that blew in that evening. We settled in with a single can of Dale’s Pale Ale, a small box of Cabernet, and a meal I’d quickly made out of a pouch of Trader Joe’s chana masala. I fell asleep on our wooden platform after marinating for a while in the deep, dark forest glow, hoping the resident mouse within the three-walled structure wouldn’t try to make a home in my beard.
As is the magic of bikepacking, the next morning we got to wake up and ride our bikes again. We capped off our mini-journey with a climb up Clawhammer Mountain and made the legendary descent down the Black Mountain Trail. And, of course, as we made the last few turns back to Dustin’s car, my mind was already scheming up the next trip.


A Starter Bikepacking Kit
From The Complete Guide to Bikepacking Bags
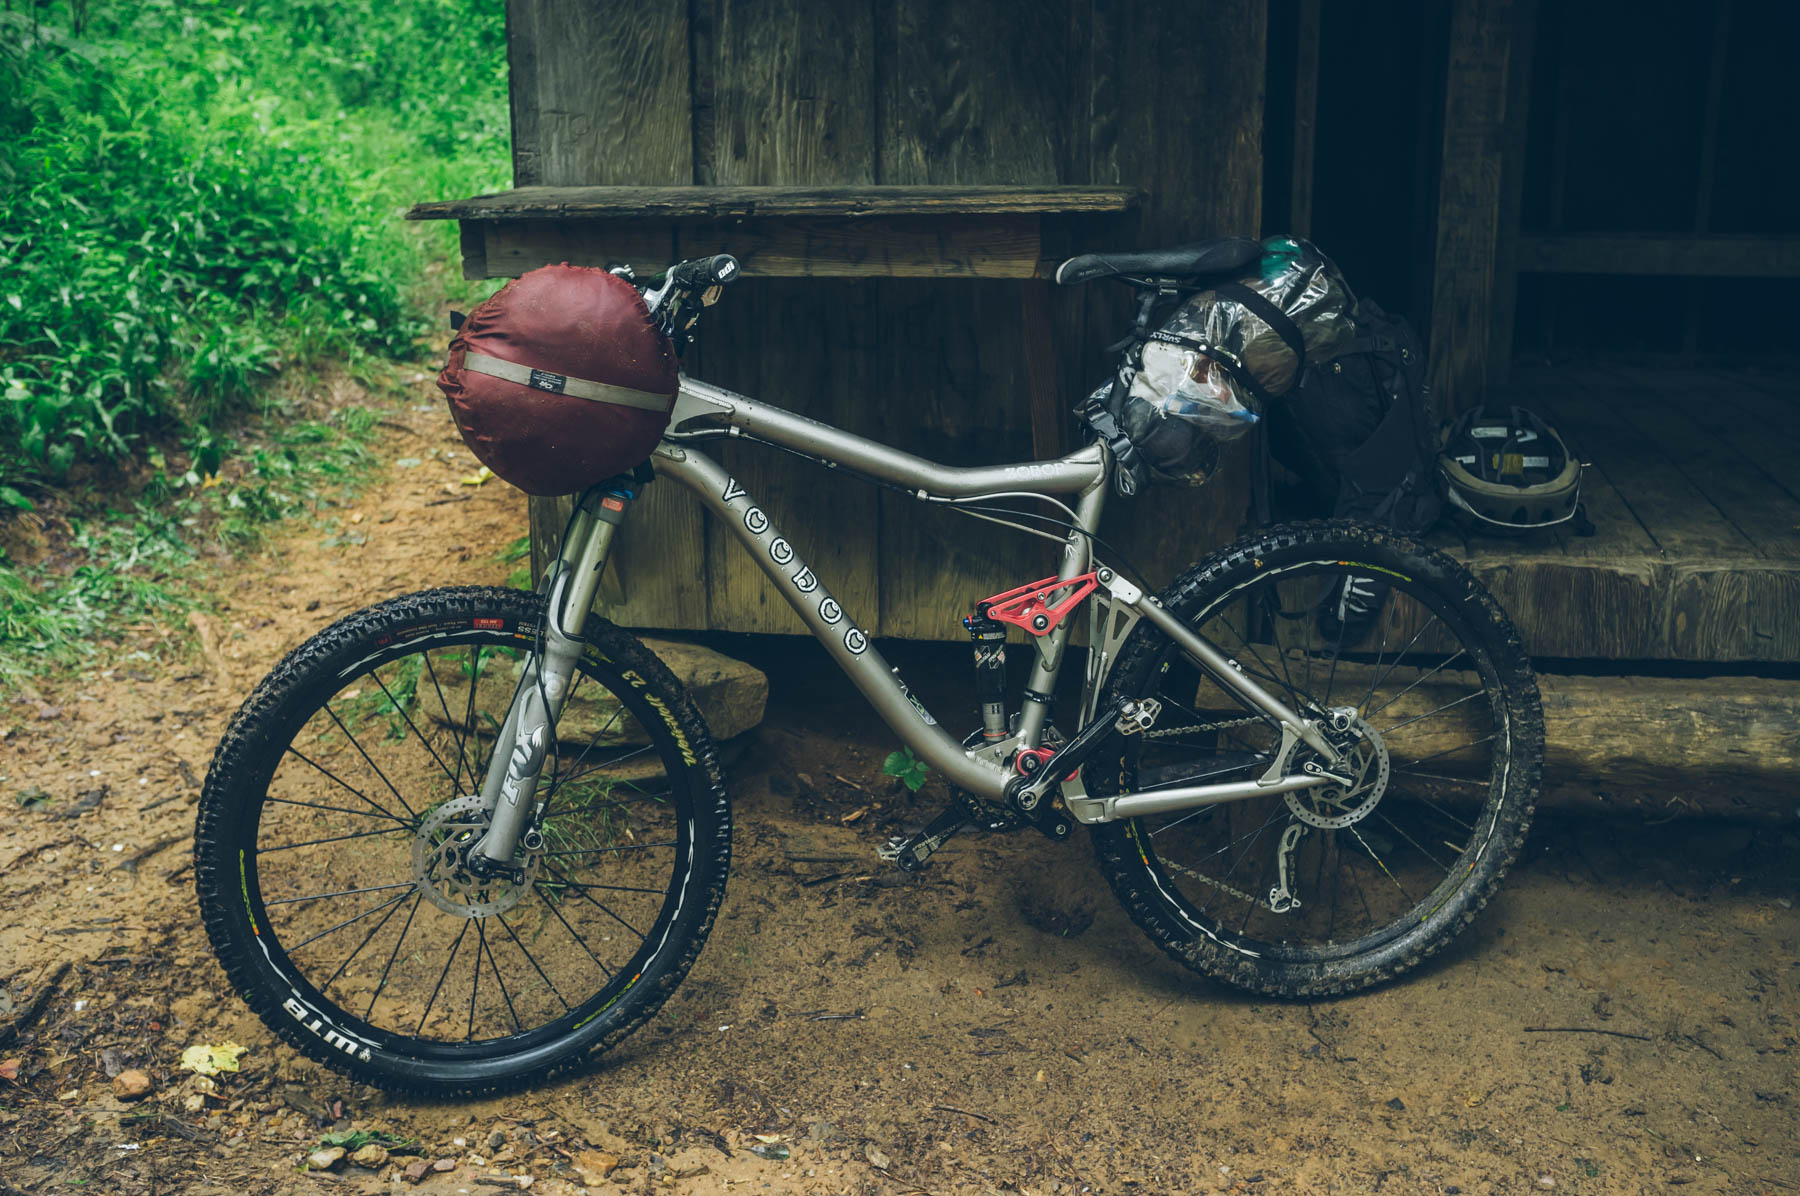
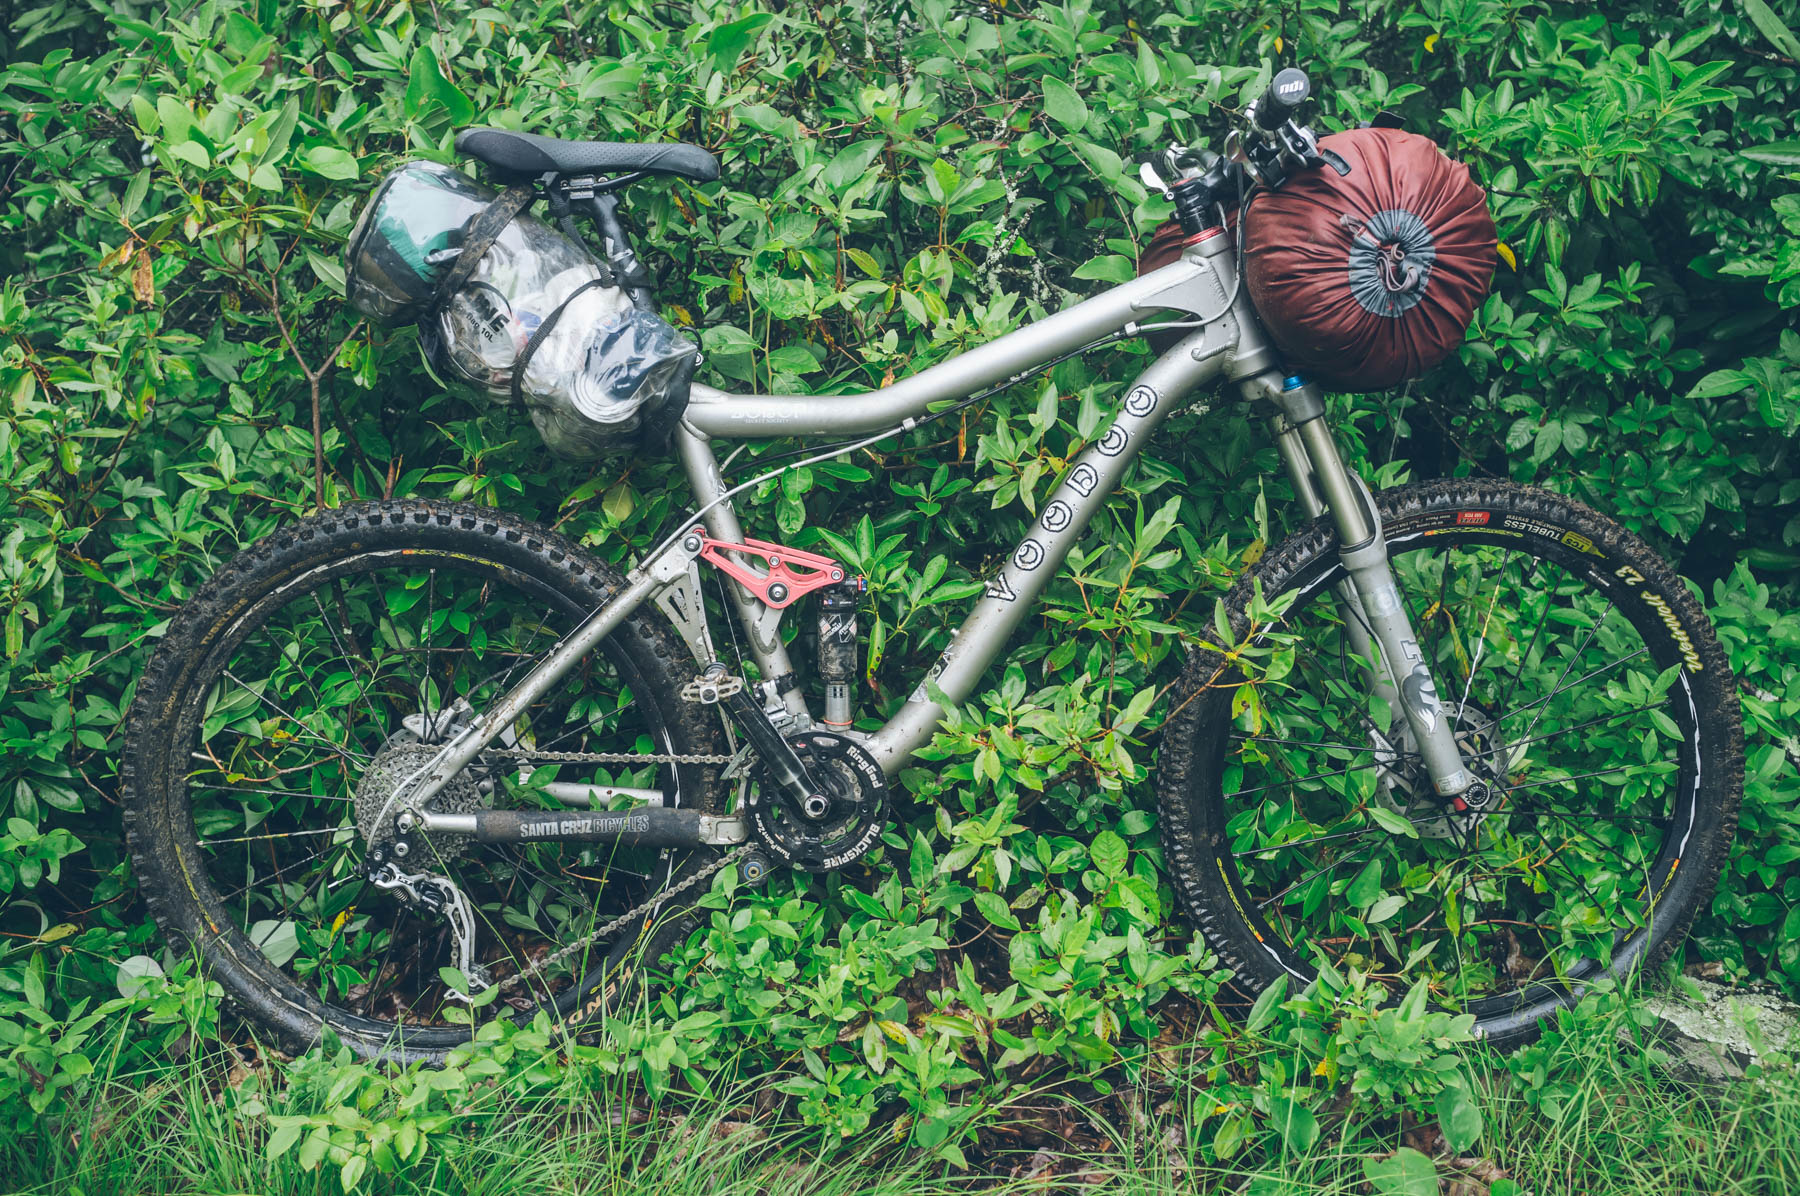
There is quite a bit of gear built specifically for bikepacking, but a quick overnight can be done with minimal equipment and a few minutes of preparation. A comfortable daypack teamed with dry bags lashed to your handlebars and seatpost makes a good barebones approach. This is especially true for overnight trips, or summer trips that might not require heavy gear to keep you warm. If you’re new to bikepacking and just want to try it out, plan a short 20-40 mile trip punctuated by a campsite or shelter somewhere in the middle. This starter kit is a great way of discovering the wonderful world of bikepacking.
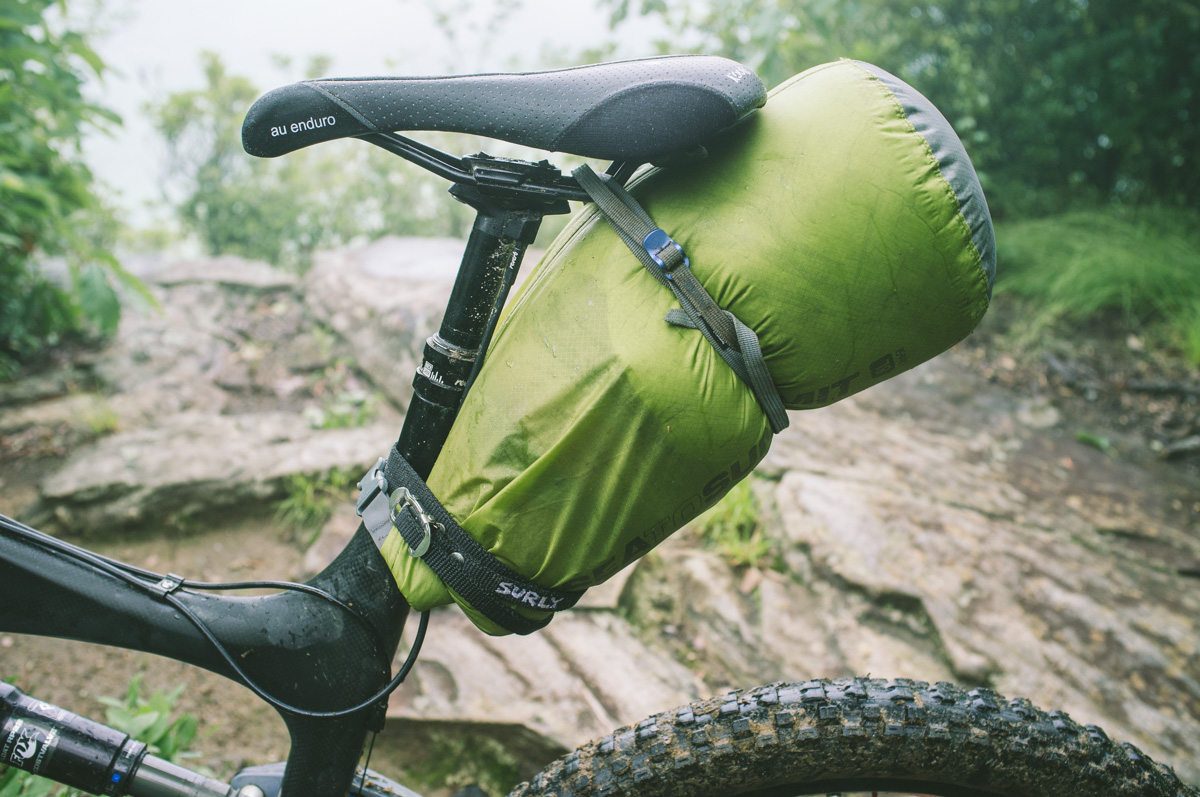
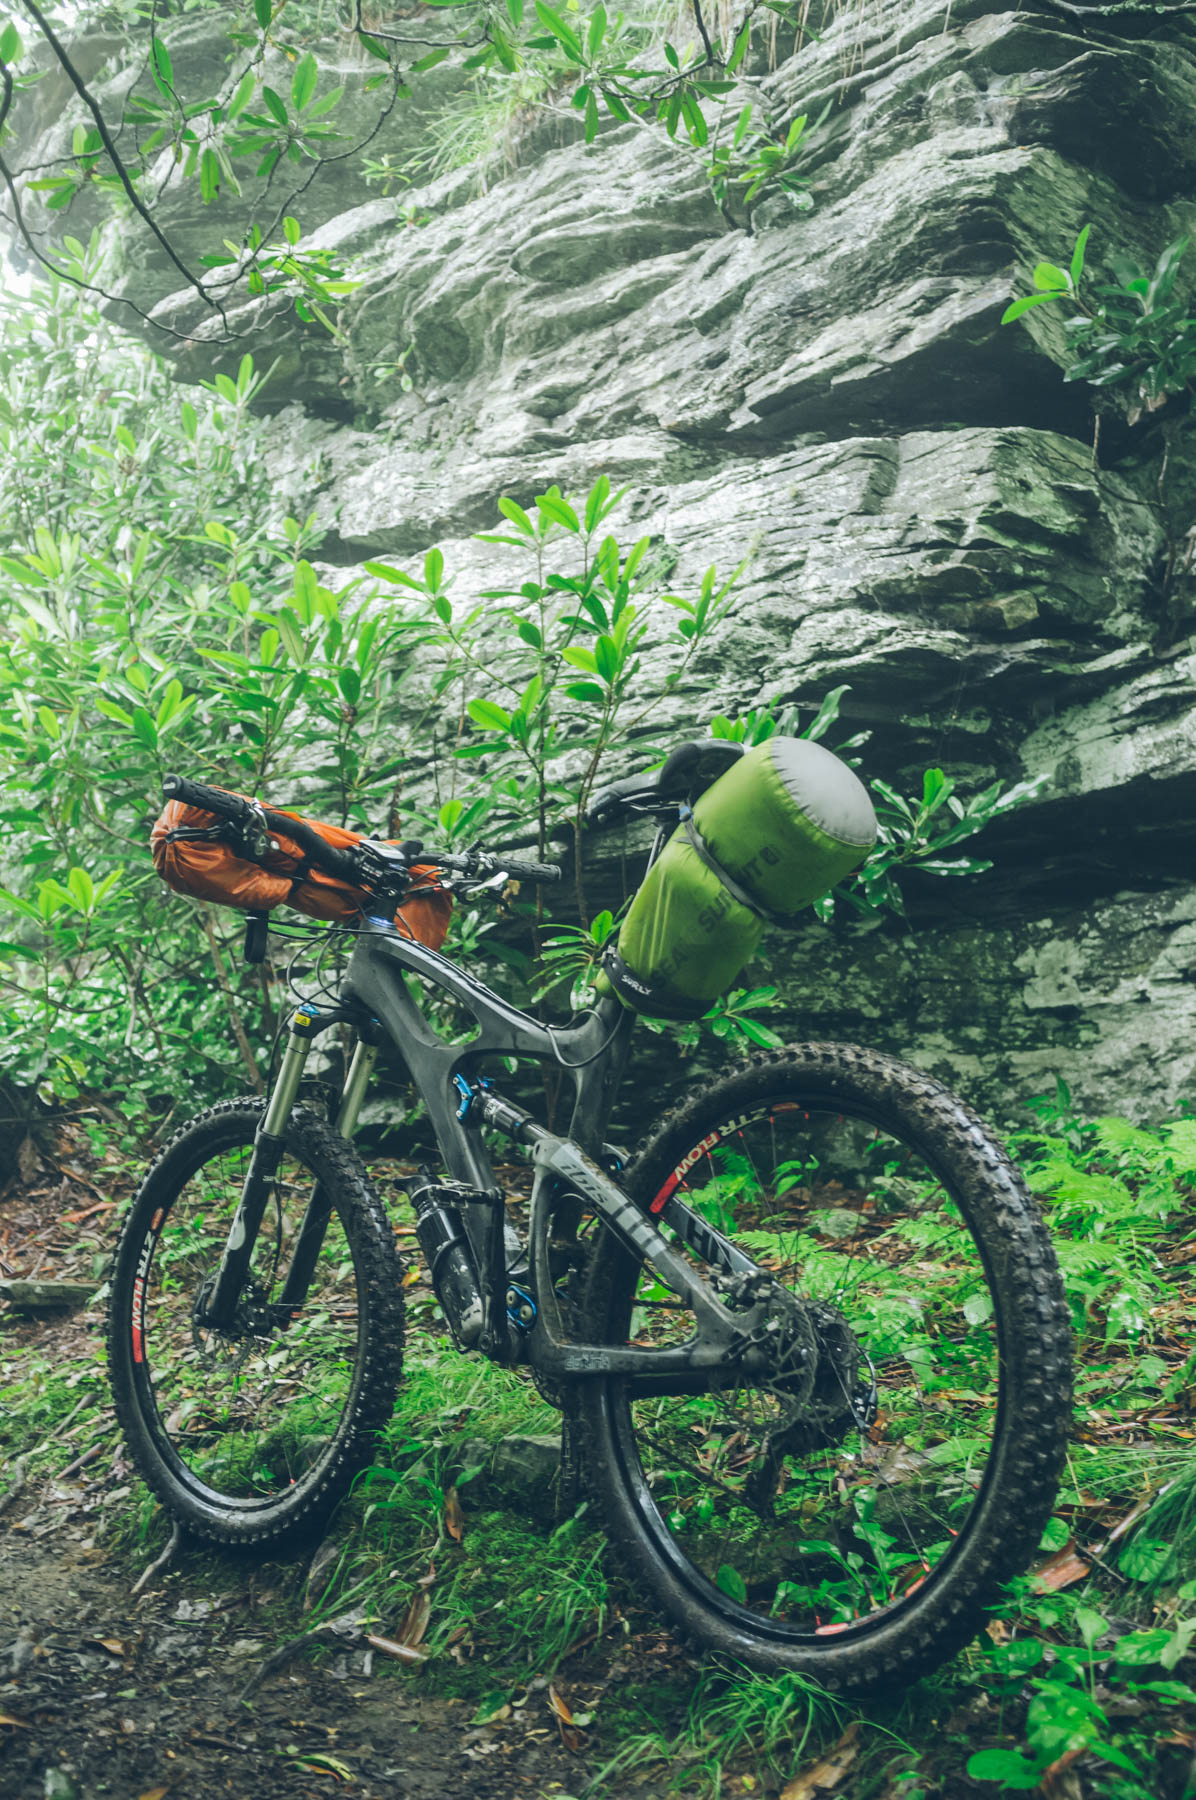
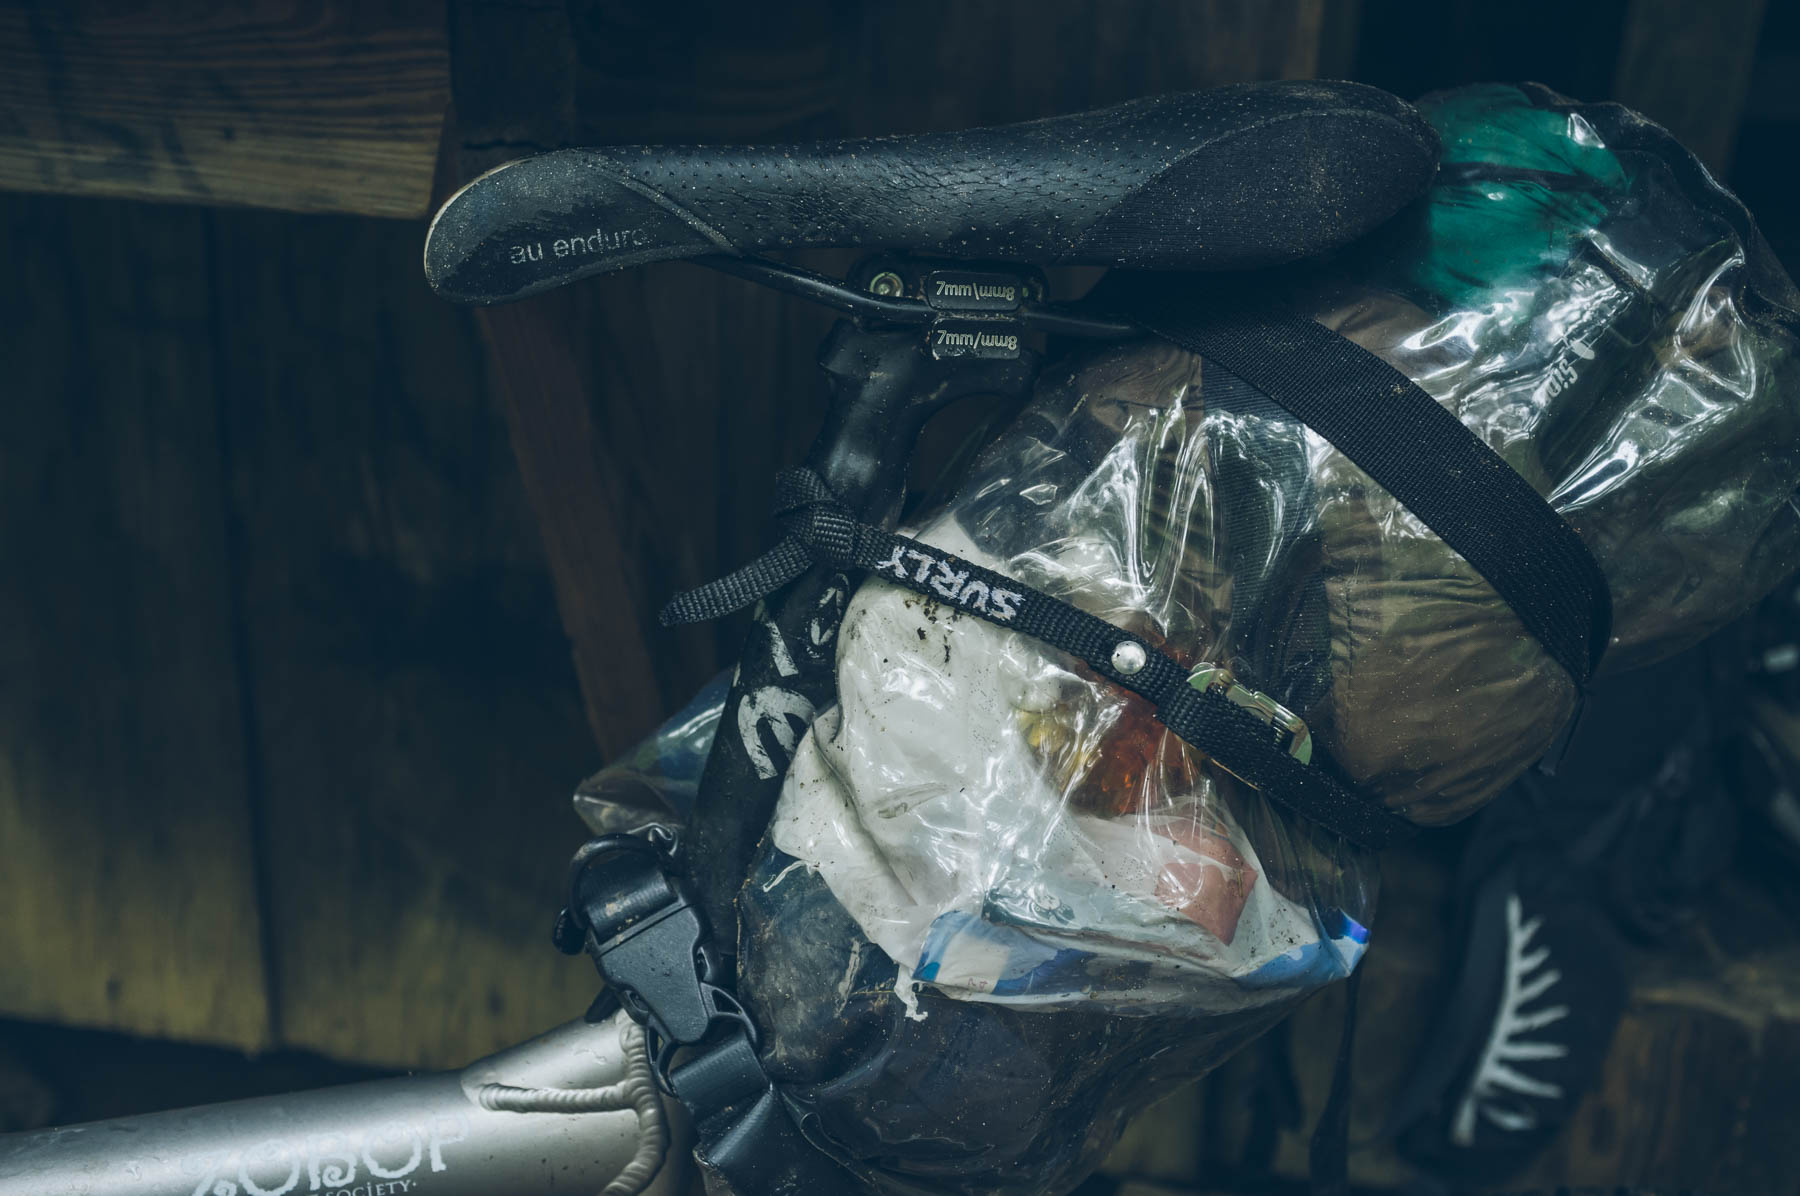
Seat ‘Pack’
Use a 5-7 liter dry bag clipped around the seatpost and cinched to the saddle rails with a webbing strap. Store a change of clothes and a few other odds and ends in it. It helps stabilize it if there’s something stiff within the bag, such as tightly rolled clothing.
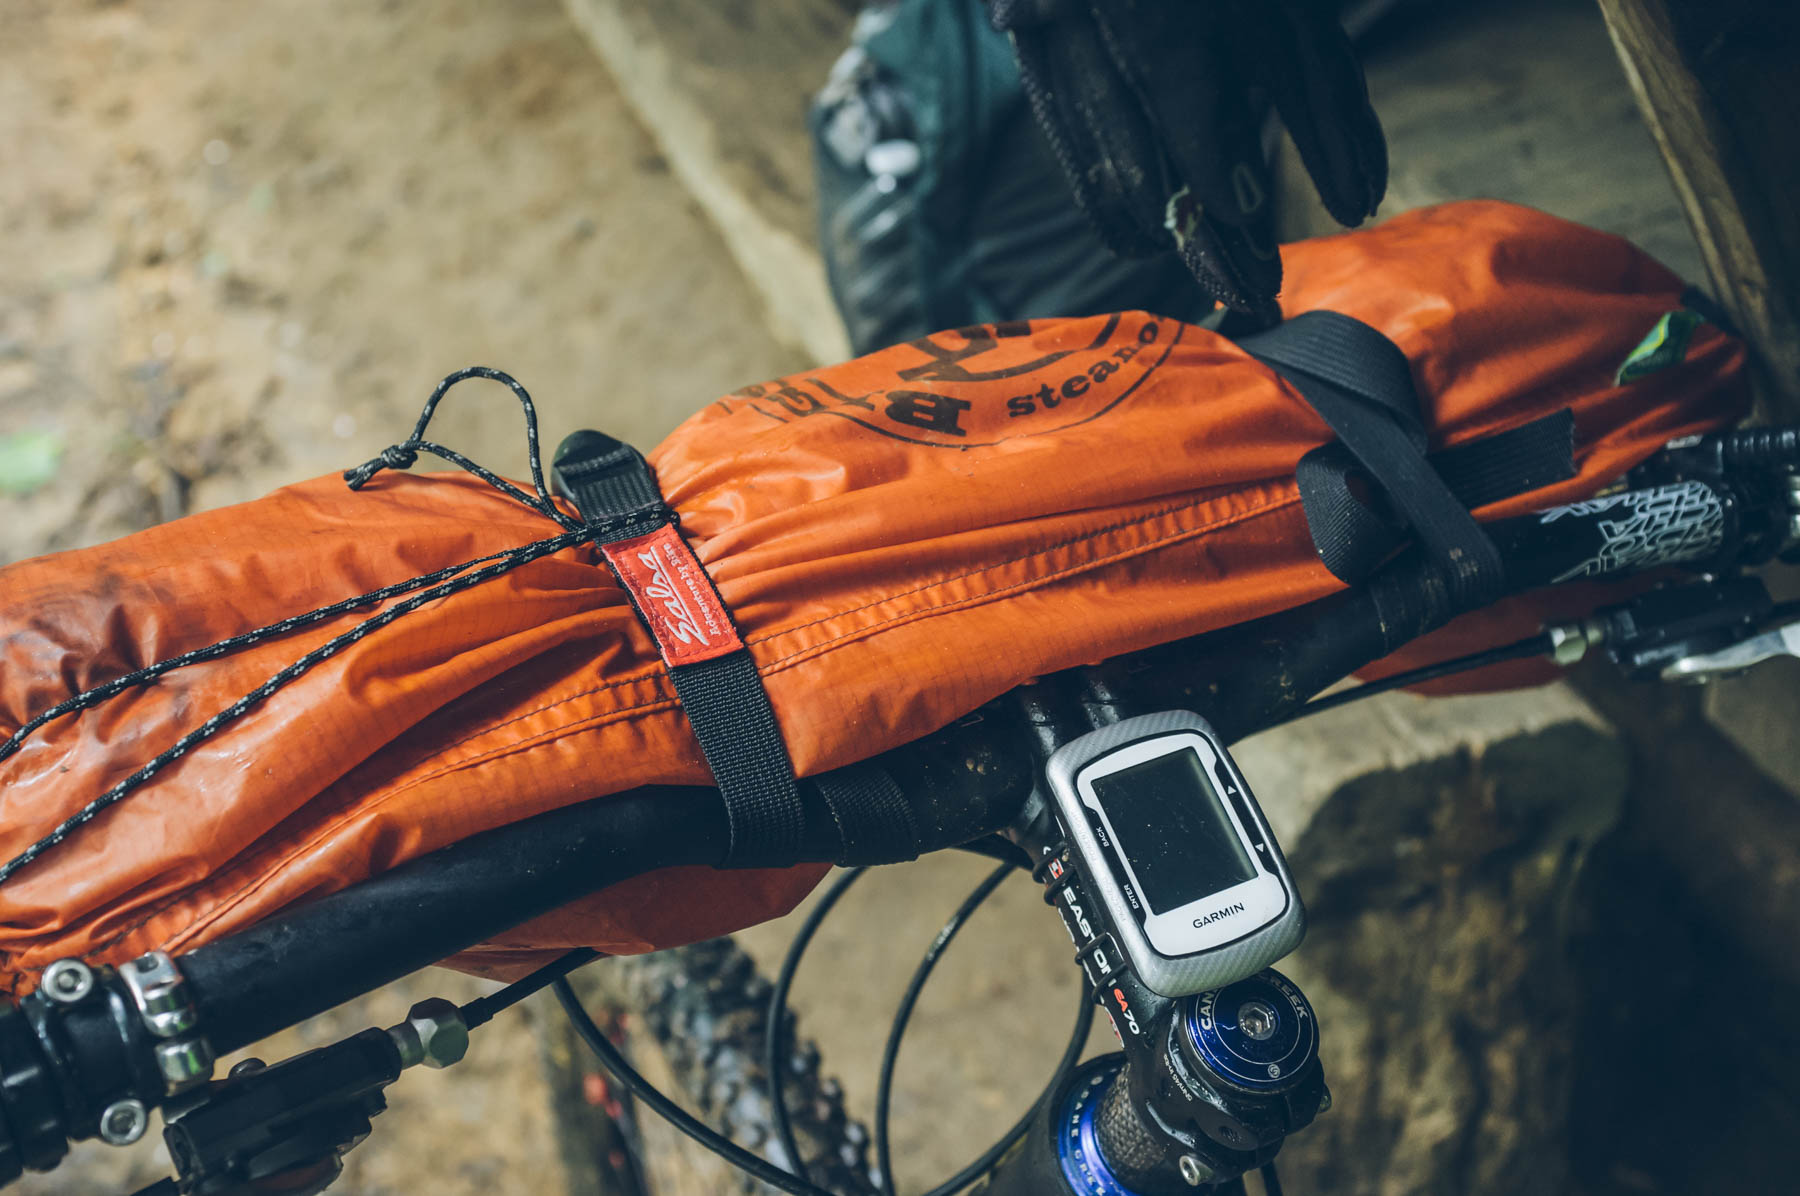
Handlebar Roll
A larger 14-20 liter dry bag can be cinched to the handlebars with two webbing cinch straps or Voile straps. Include a small tent (the poles will help keep a straight shape to the bag) and a lightweight sleeping bag. Add duct tape to contact points between the dry bag and cables and/or brake levers. Otherwise, pick up a Revelate Salty Roll for $39 and get two 25” Voilé straps (around $6.50 each).
Daypack
Chances are you already have a day pack; bike specific models that are 14+ liters in capacity are best. Use your backpack to carry sleeping gear, rain gear, or food and cooking supplies. Start with packing your inflatable sleeping pad and a few dehydrated meals; or you can strap a closed cell foam pad to the outside of the pack. Keep it as light as possible.
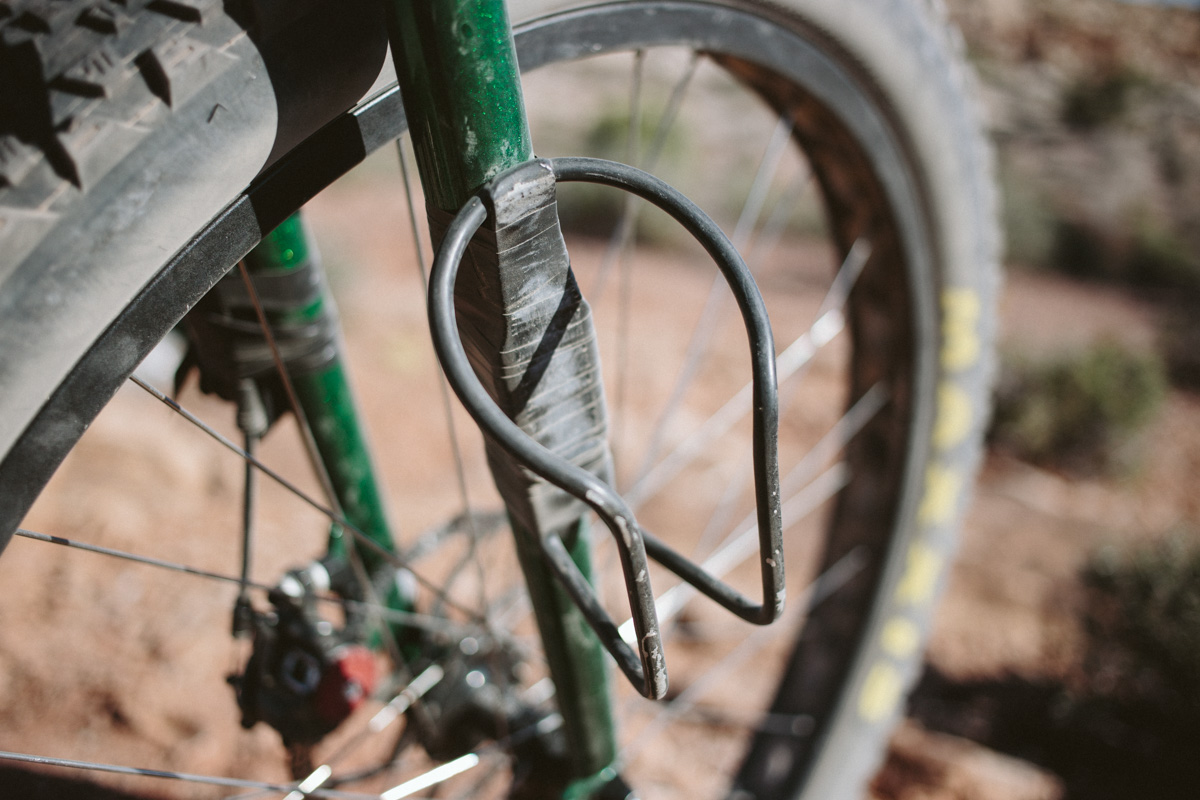
Electrical Tape Bottle Cages
In addition to your standard water bottle cage mounts, use about a half roll of electrical tape to add bottle cages to your fork legs or the underside of your downtube. This will reduce the water you need to carry on your back and help maximize the storage space in your backpack. Lezyne Power Cages work well, but most any cage will do. Other space saving tricks include using electrical tape attach a spare inner tube to your bike, such as below the top of the downtube.
Added Utility
Use cord to tie your tent poles onto the side of your bike’s top-tube. In addition, you can use straps to affix your tire pump, a larger water bottle or other items to your bike frame.

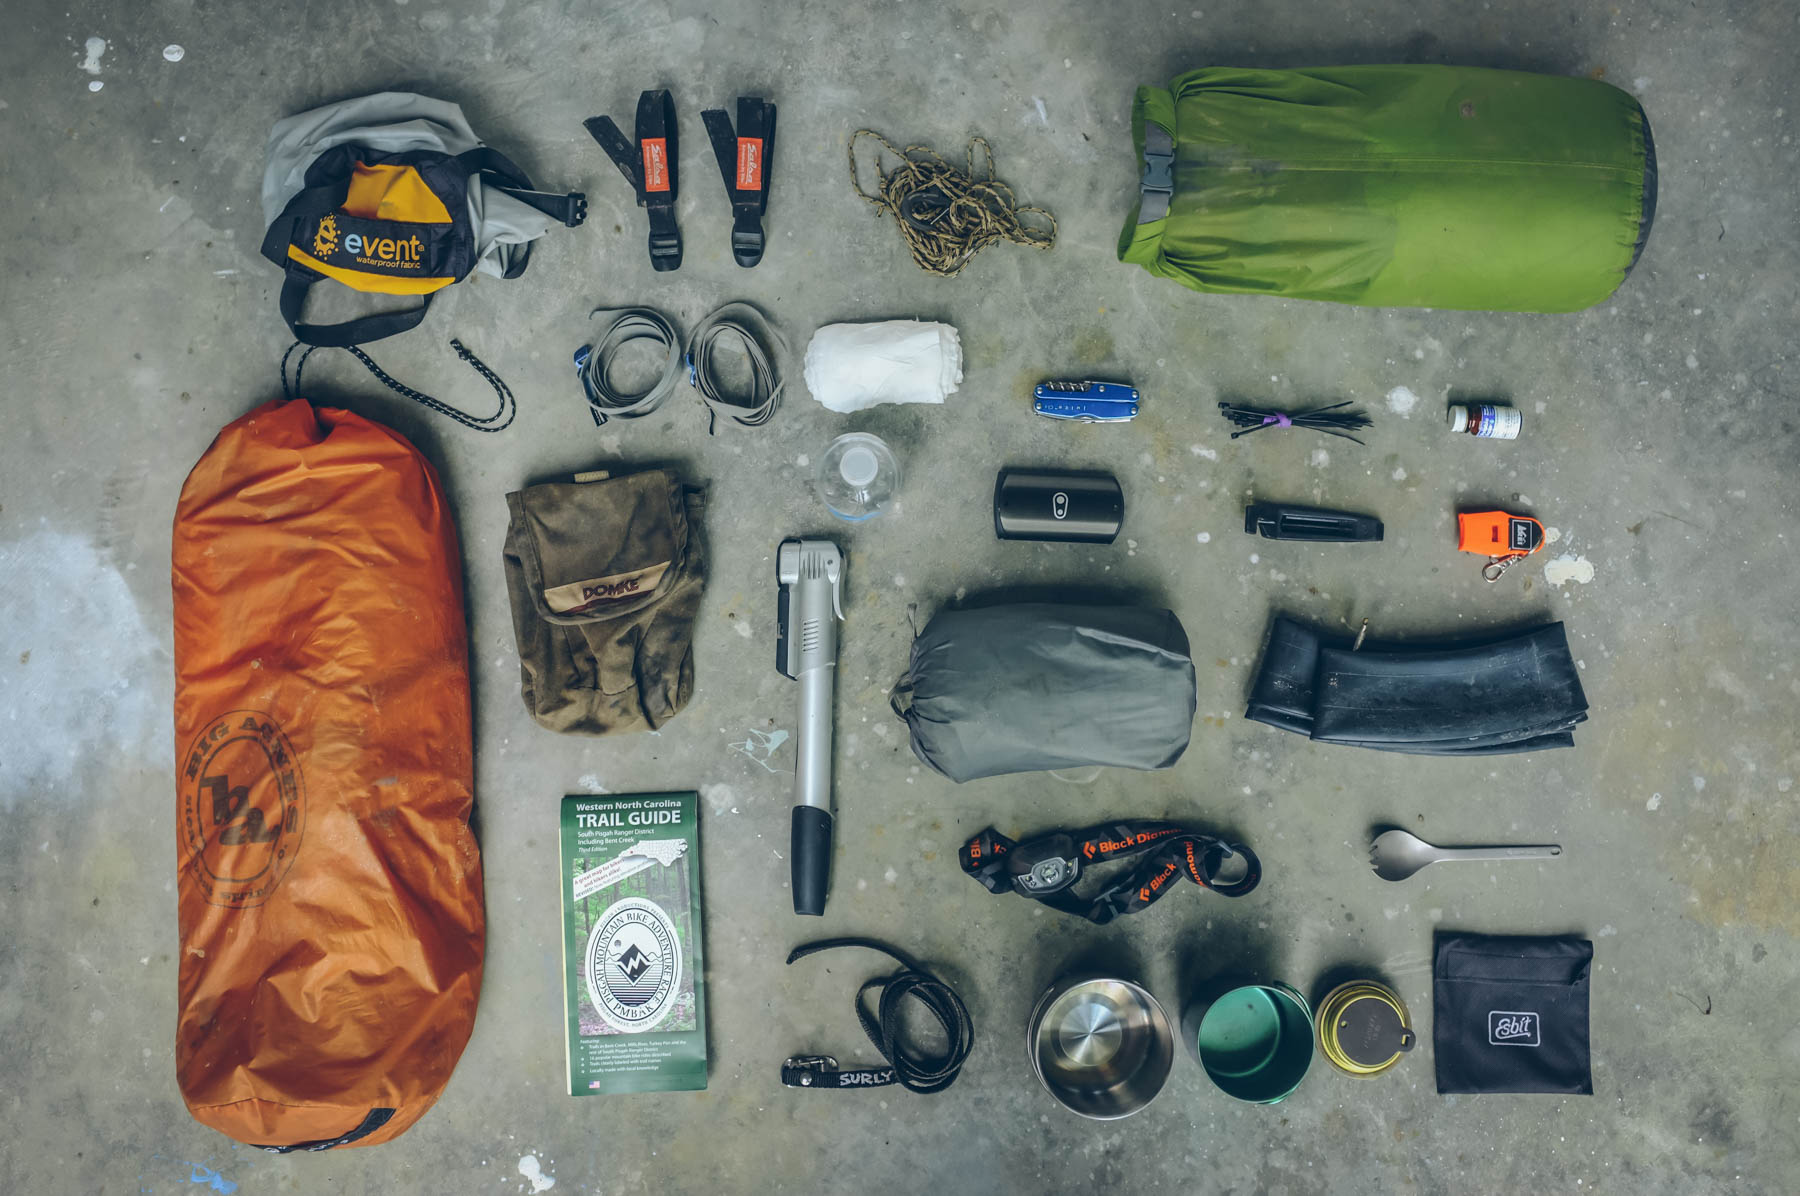
My quick overnight kit:
- Big Agnes Copper Spur UL3 (in fast-fly setup)
- In green drybag: Big Agnes Air Core sleeping pad and Big Agnes Pitchpine sleeping bag.
- Cooking: Trangia spirit burner; Esbit screen/stand; MSR stainless 1 liter pot; Snowpeak titanium mug; Snowpeak titanium spork; small plastic bottle of denatured alcohol
- Straps: 2 Sea-to-Summit accessory straps; 1 Surly Junk Strap; 2 Salsa accessory straps
- Tools: 1 spare tube; tire lever; Crank Bros multitool; zip ties; Leatherman Juice; Trail Map of Pisgah Ranger District; tire pump
- Other: whistle; line (for bear bag); mountain money; Black Diamond headlamp; Iodine tablets; Mountain Hardware rain jacket
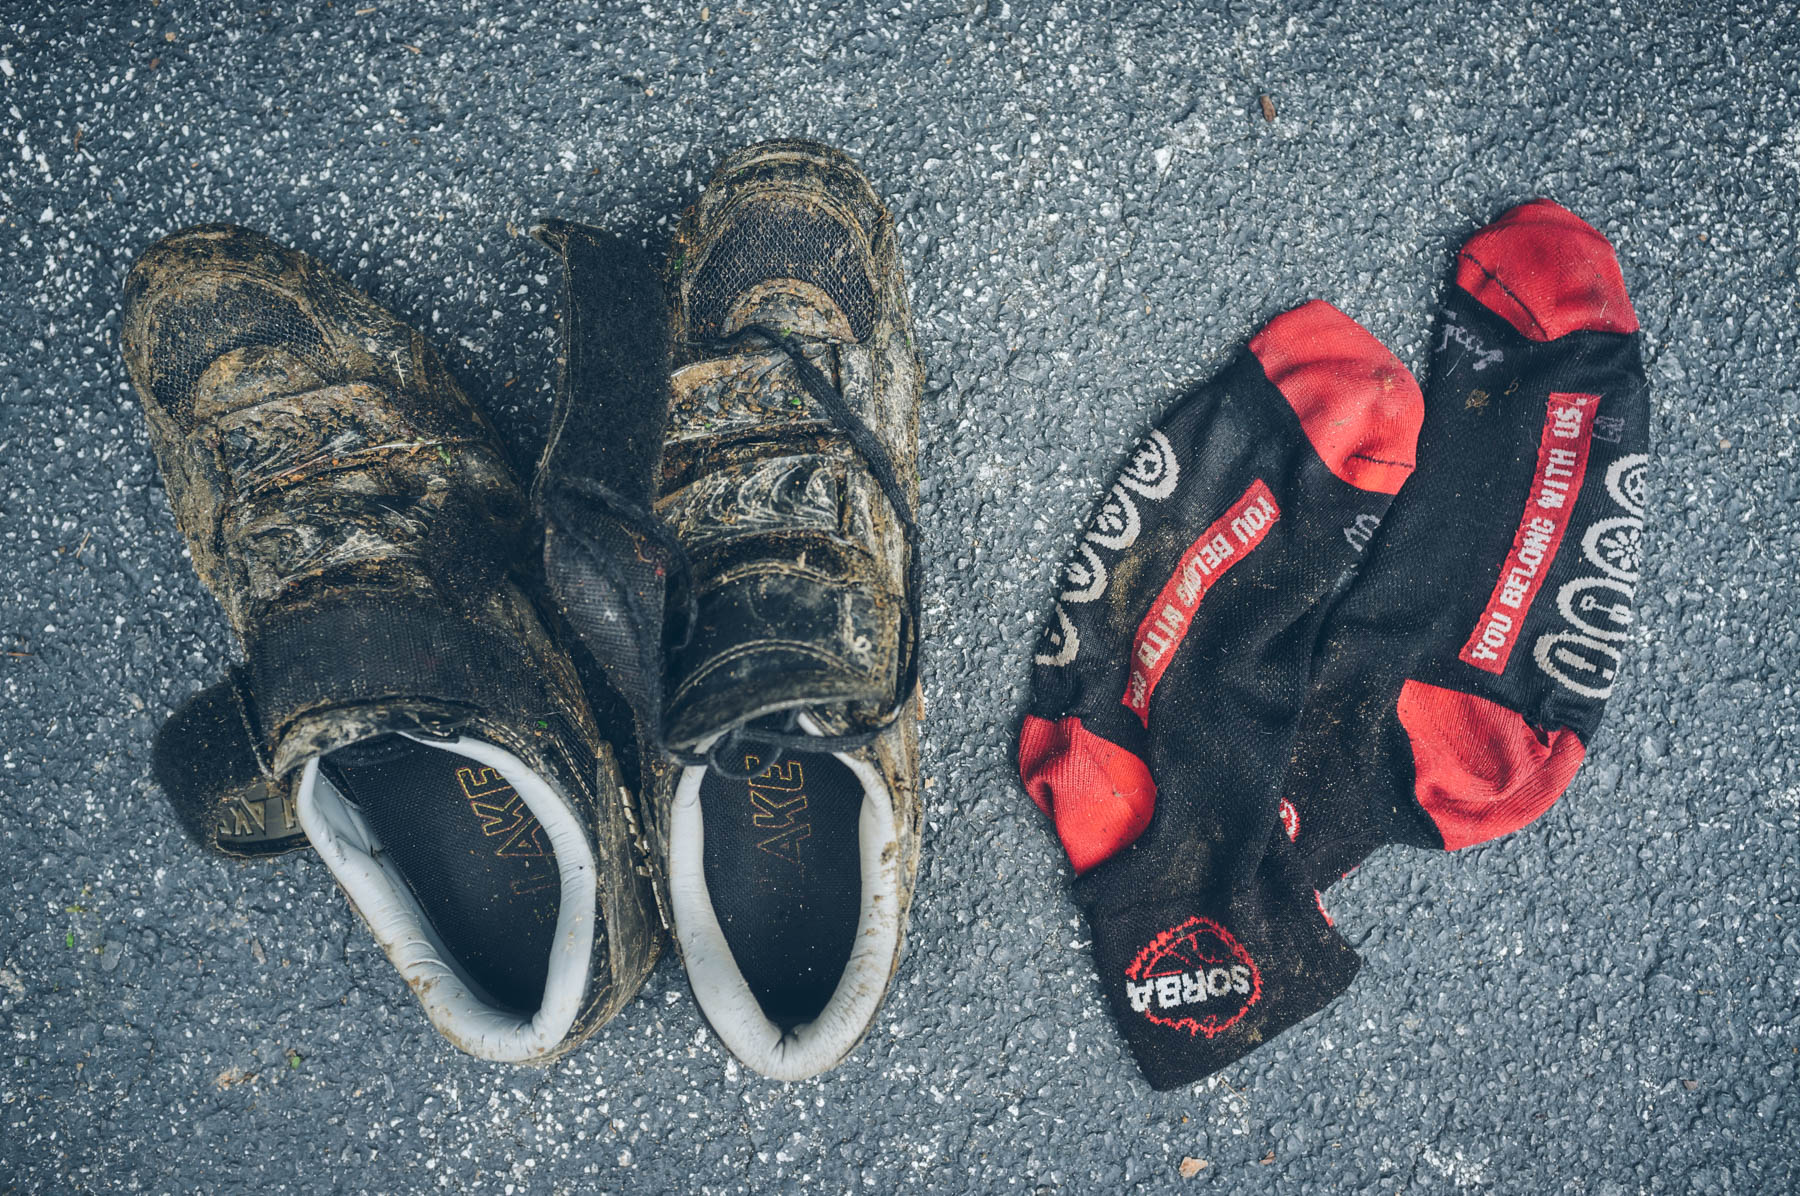
- Not shown: Fuji X100 camera; spare tshirt, underwear, socks; Osprey Raptor 18 pack
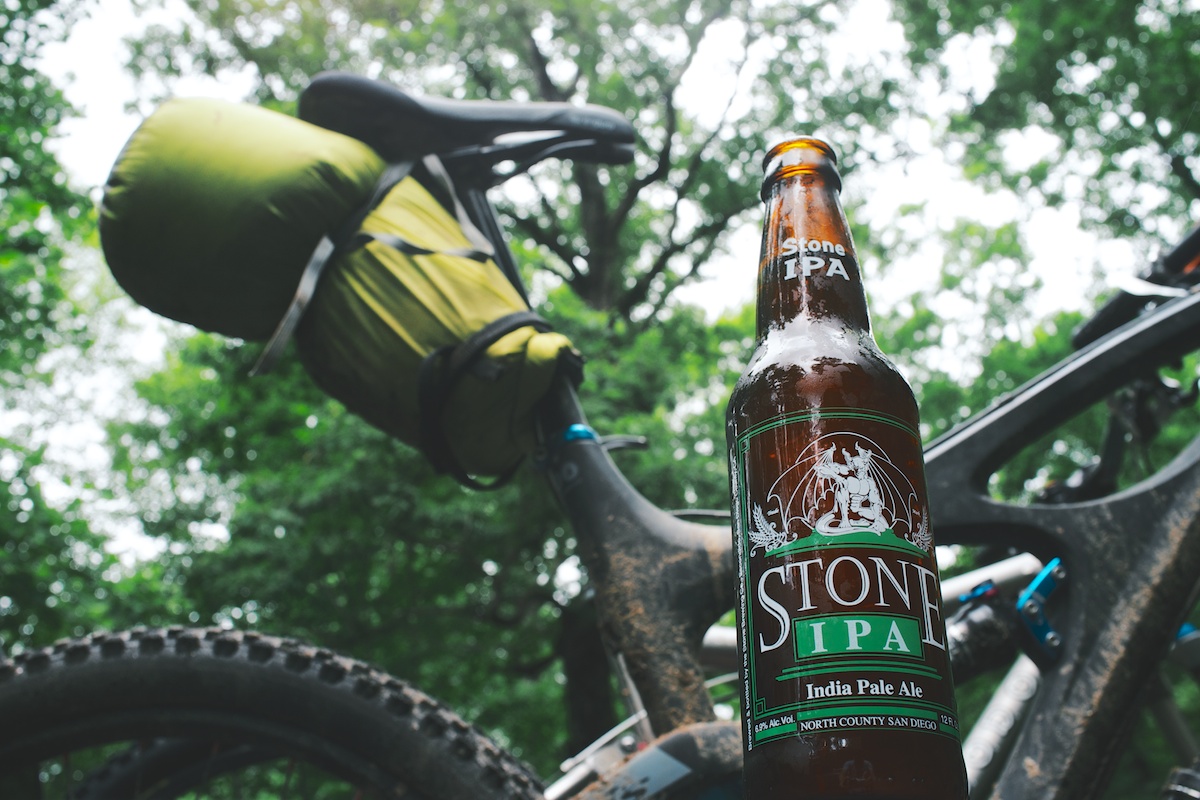

Interested in this route? Check out the Appalachian Beer Trail. The section ridden during this bikepacking overnight runs from about mile 64 to mile 92 of the ABT.
FILED IN (CATEGORIES & TAGS)
Inspiration
Your Stories
Bikepacking Gear Lists
pisgah nc-mtb revelate-bagsPlease keep the conversation civil, constructive, and inclusive, or your comment will be removed.