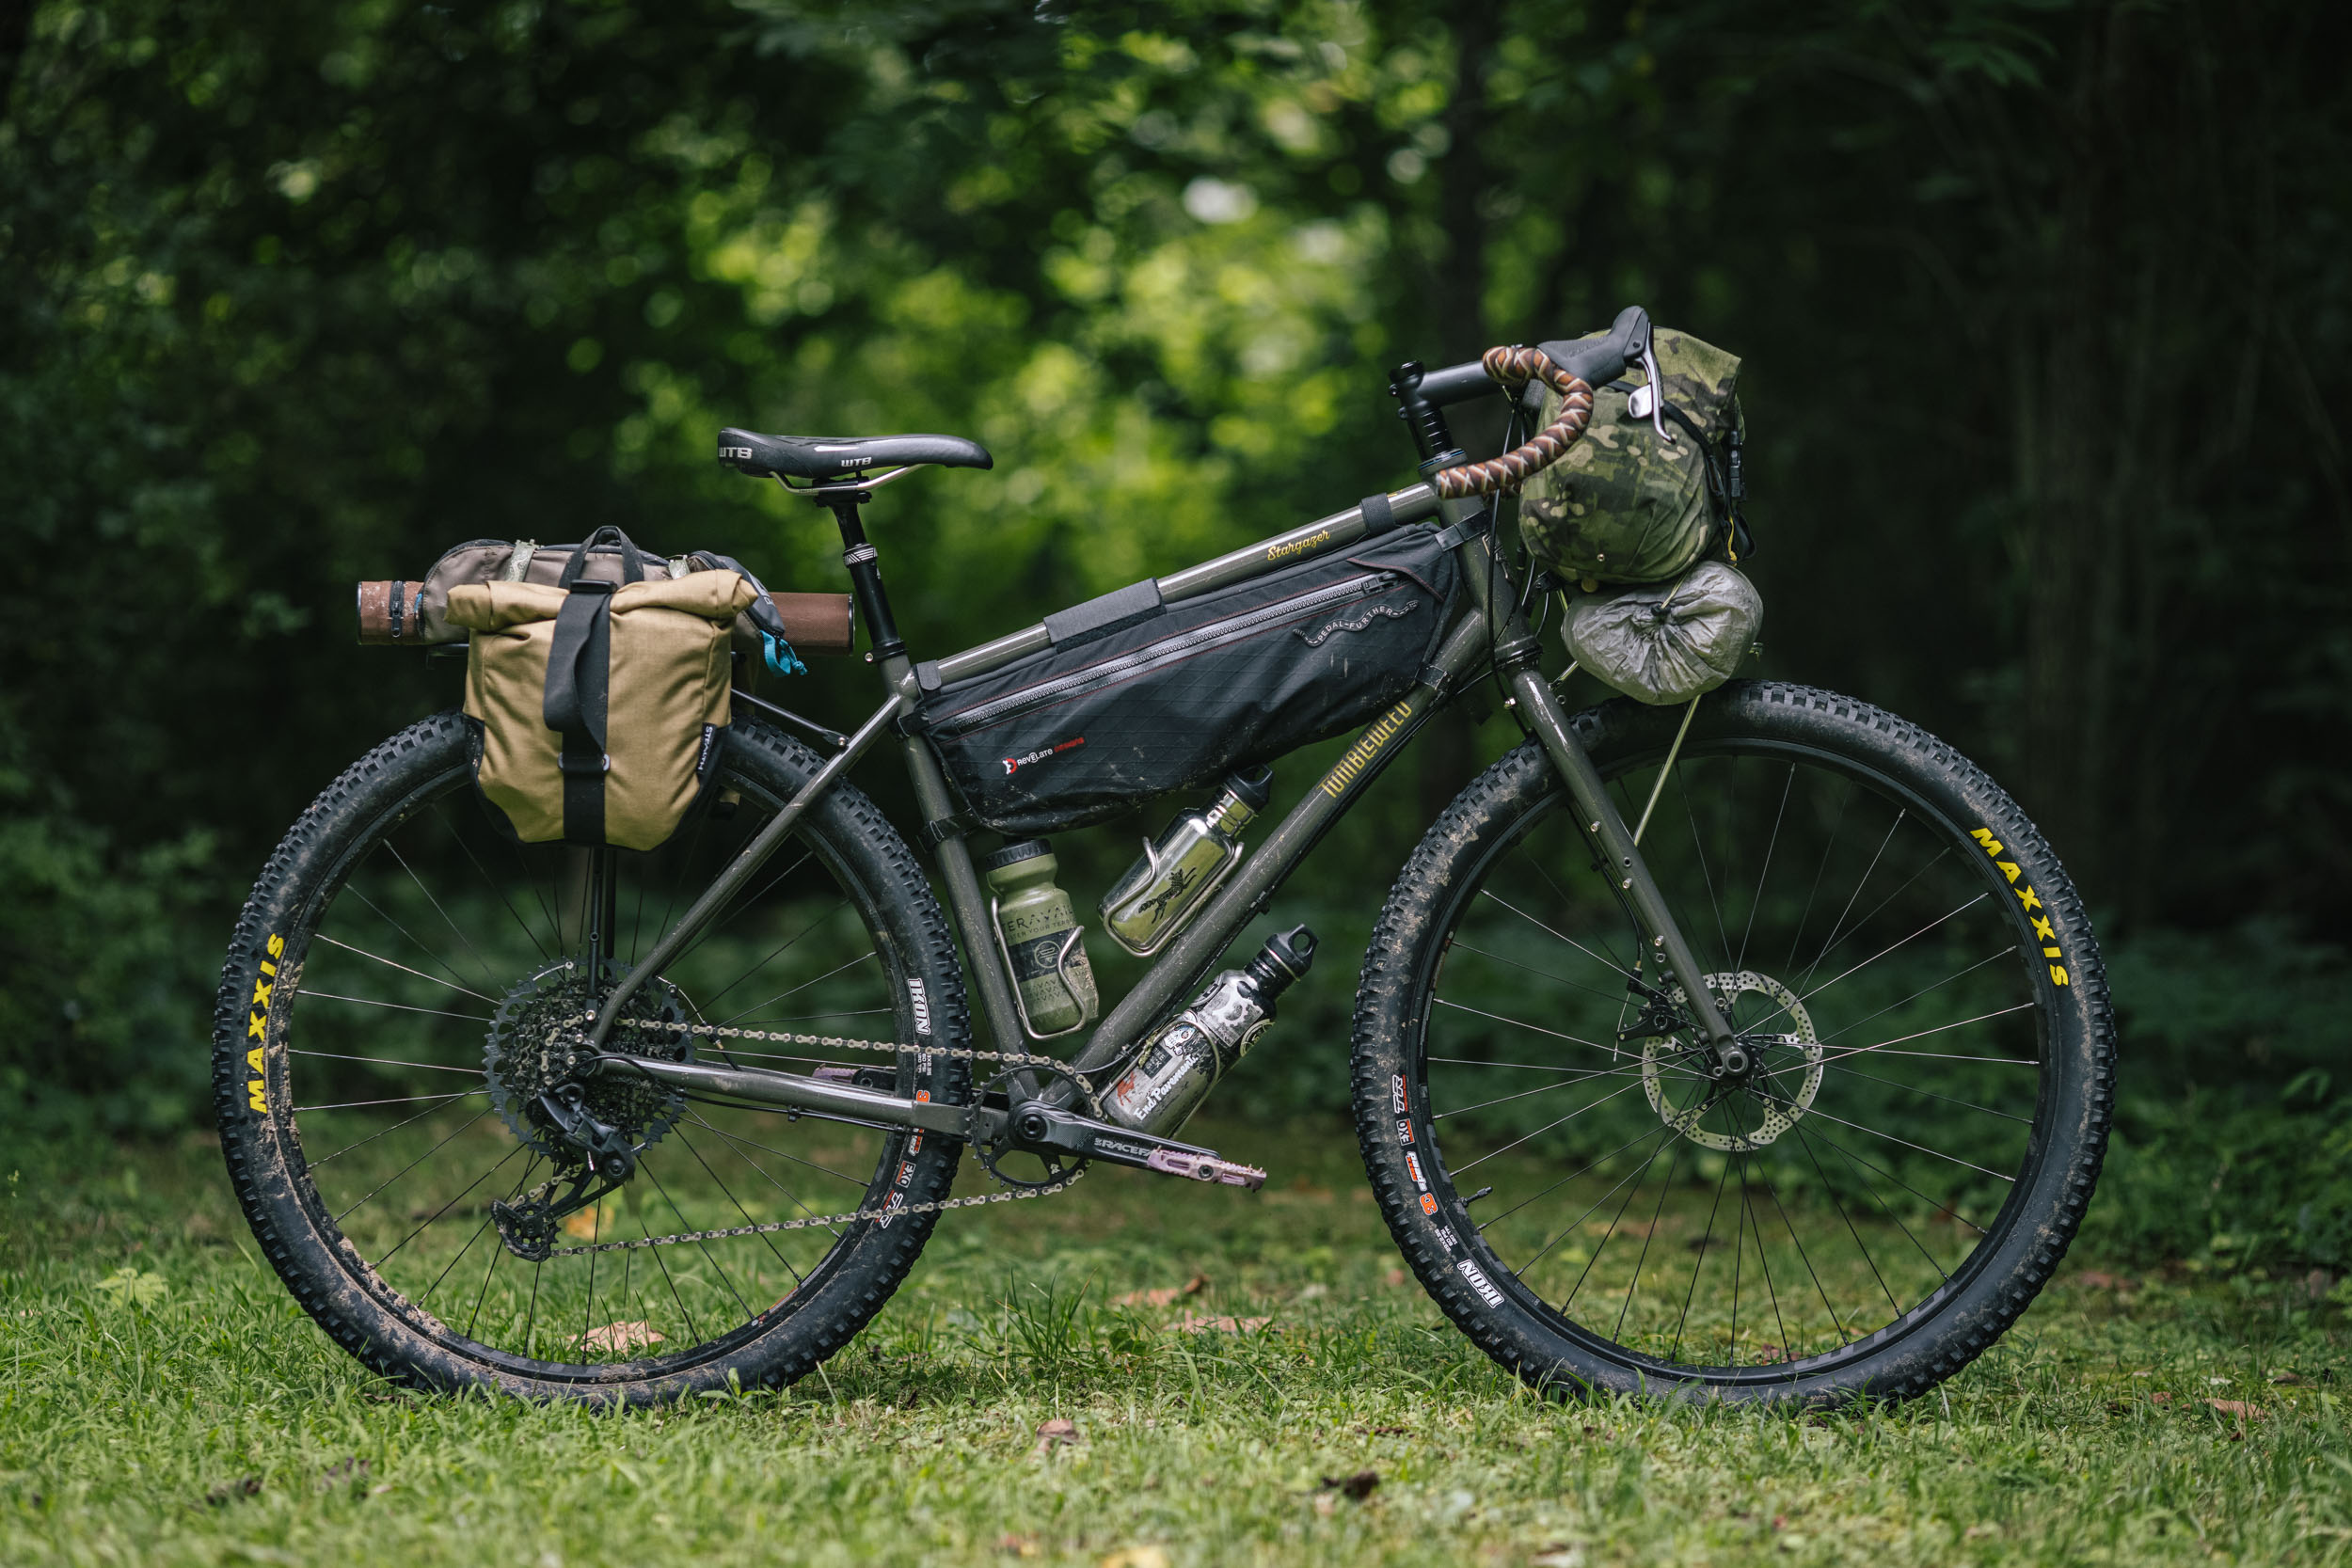
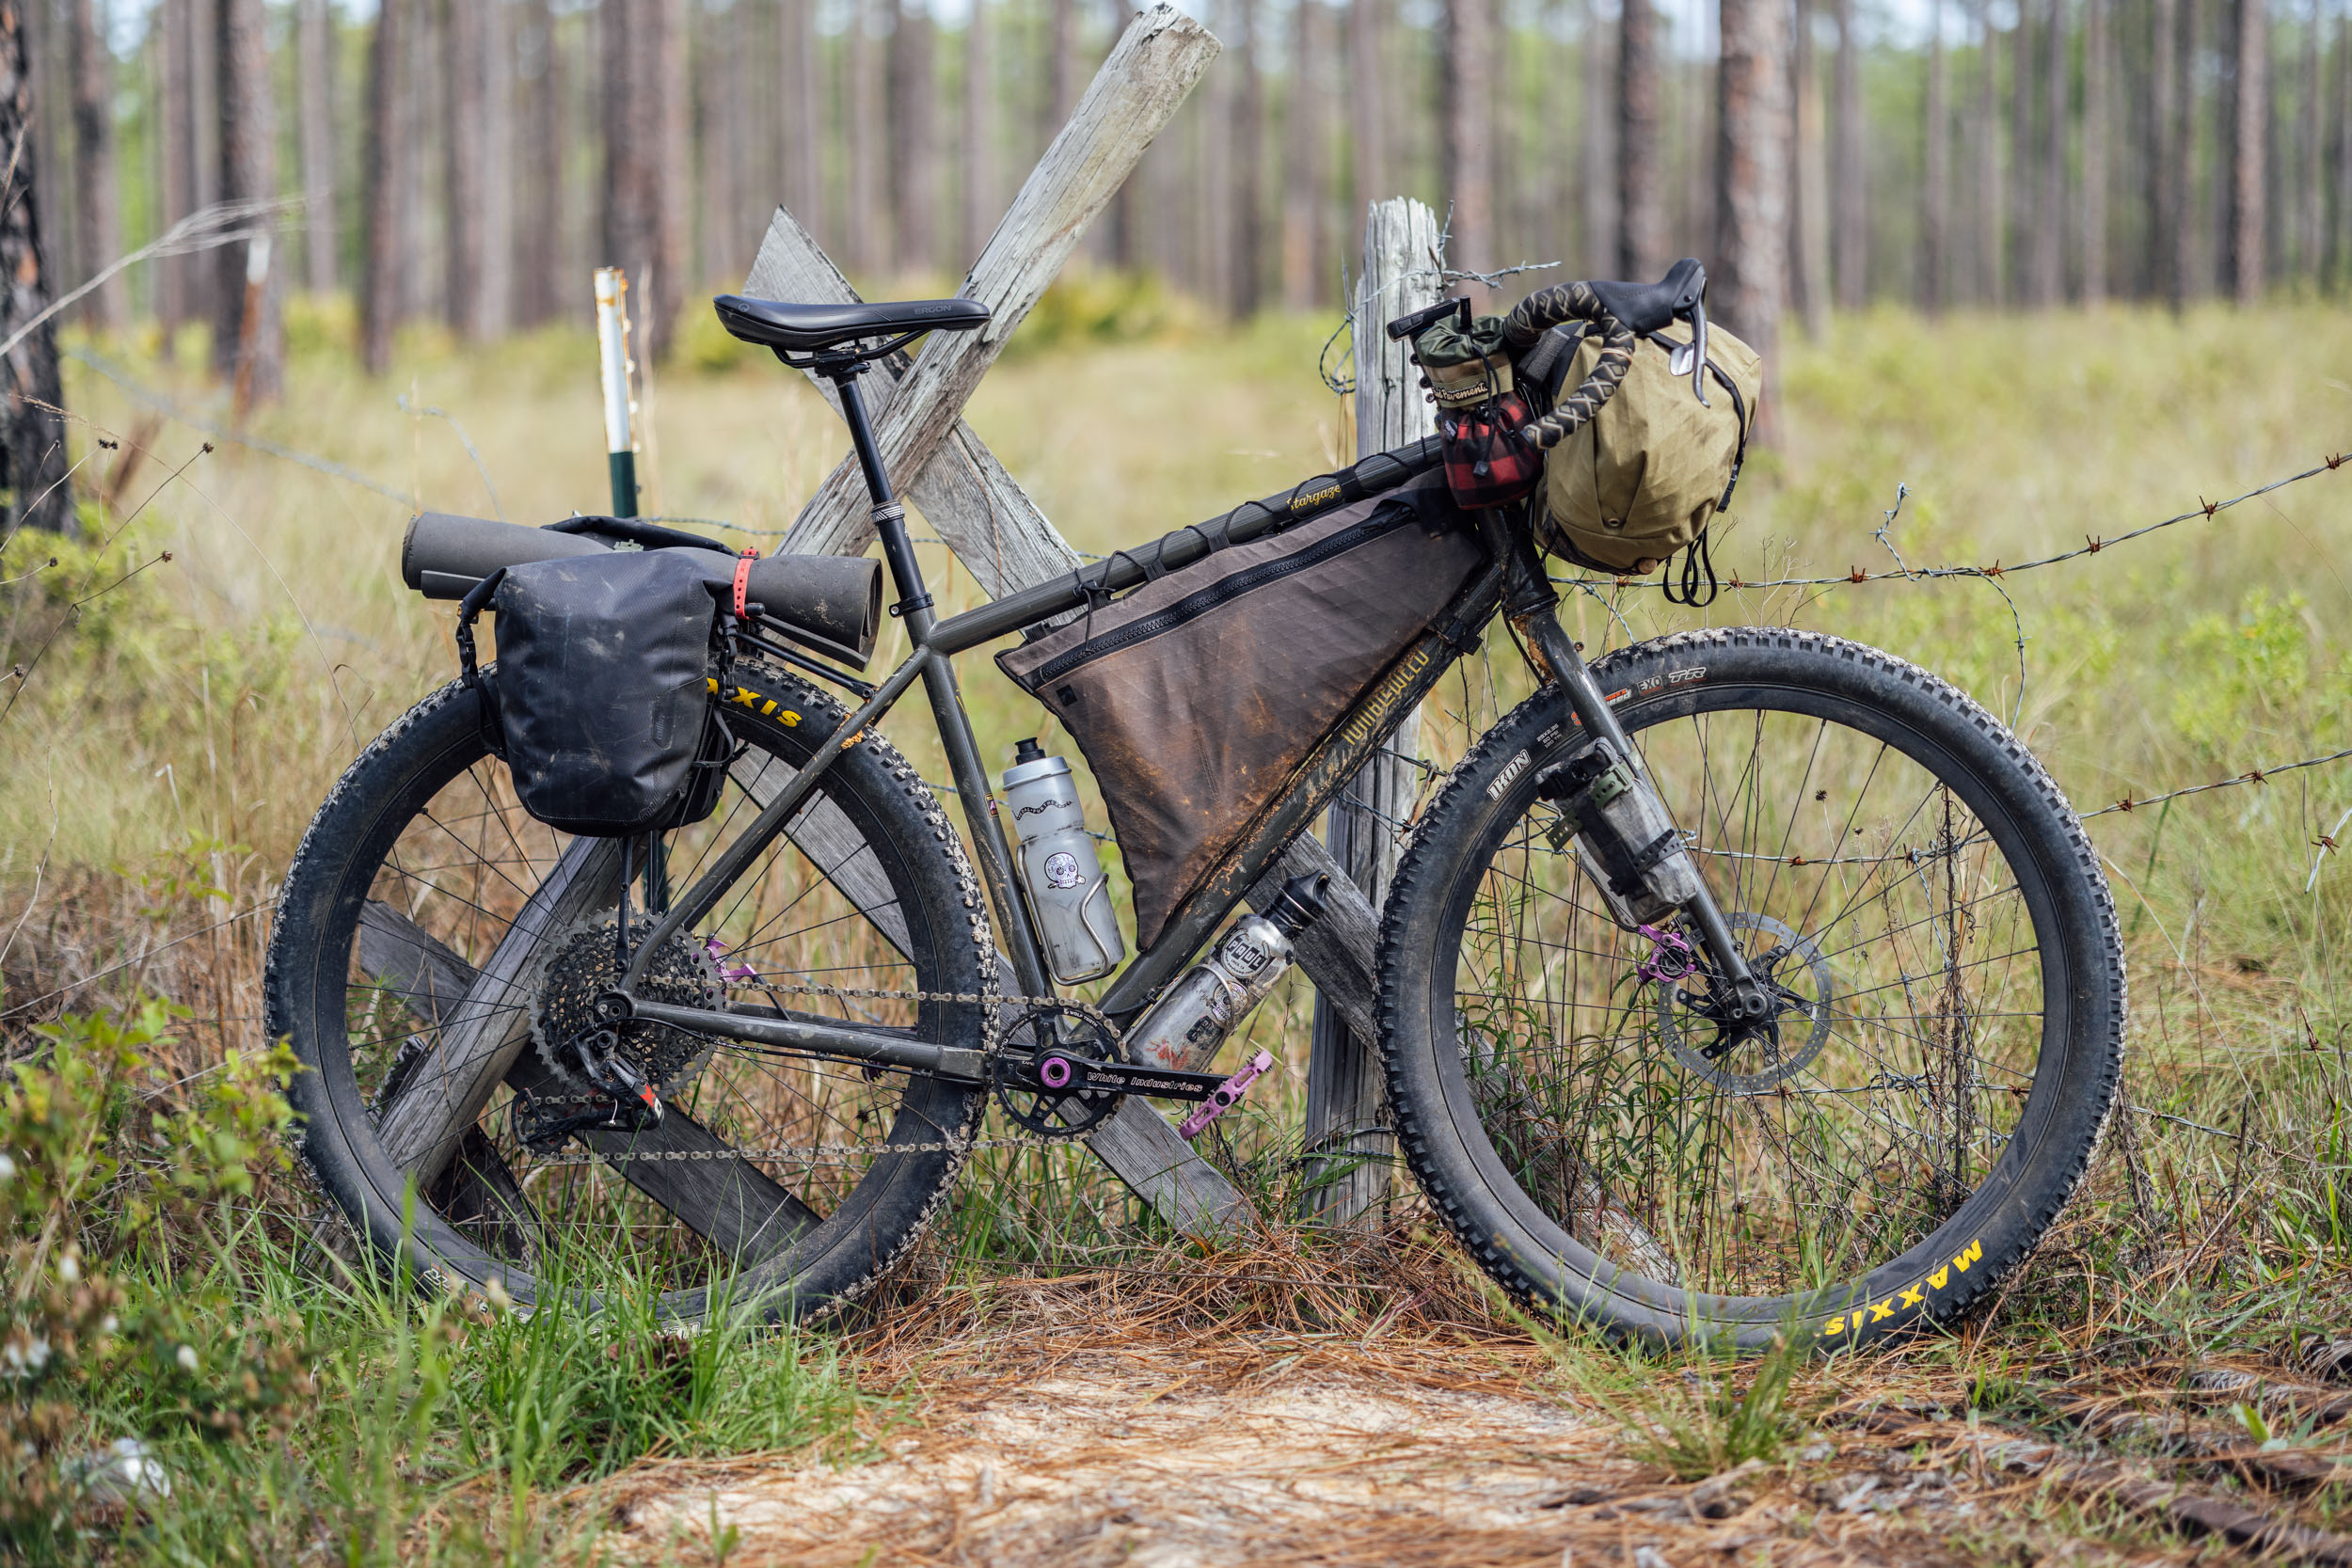
In the Studio: Behind the Scenes with the Tumbleweed Stargazer
We were impressed by Tumbleweed Bicycle Co.’s gorgeous Stargazer ad in the eighth issue of The Bikepacking Journal, especially when we learned it was made in a studio. To learn more about the creative process that went into building the incredible scene, we reached out to photographer and designer Matthew Wordell of Visionkit Studios for details. See more here…
PUBLISHED Nov 16, 2022
Words and photos by Matthew Wordell of Visionkit Studio
If you’re a member of the Bikepacking Collective, you’ll likely have cracked open your copy of The Bikepacking Journal 08 by now. It’s yet another issue full of beautiful photos, essays, and stories encapsulating the unique passion and drive that folks from around the bikepacking community share for pushing themselves and experiencing new things.
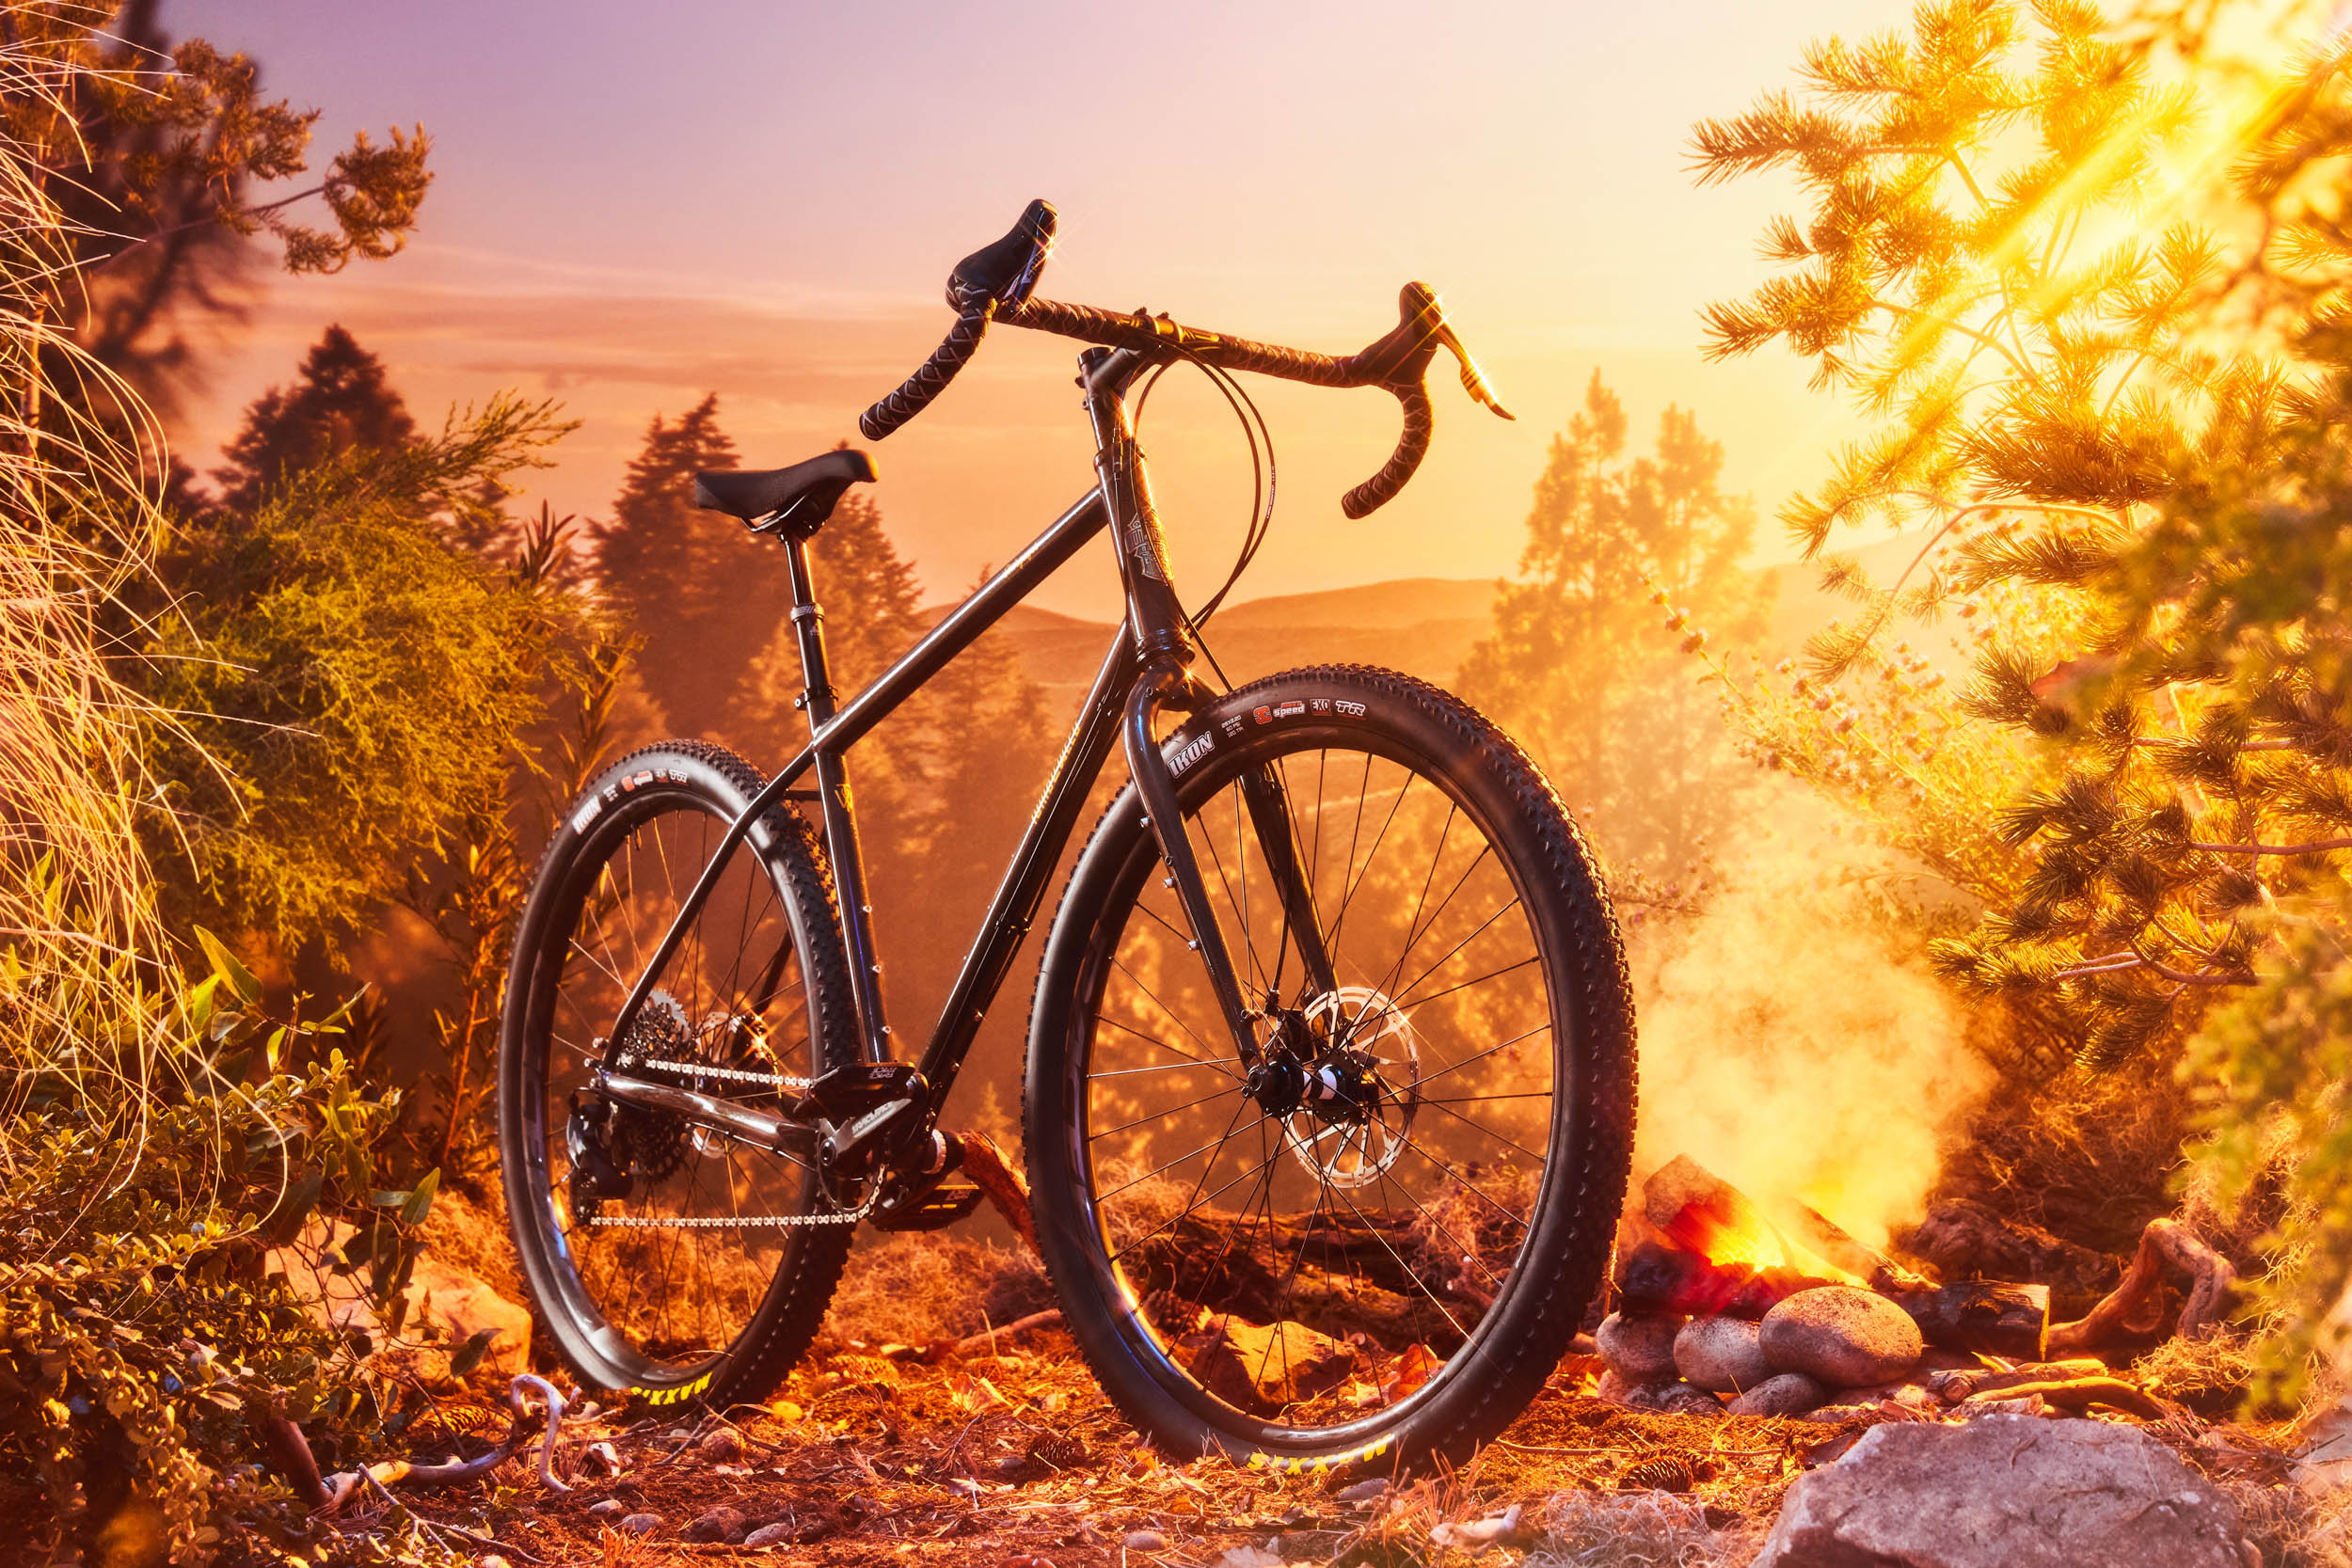
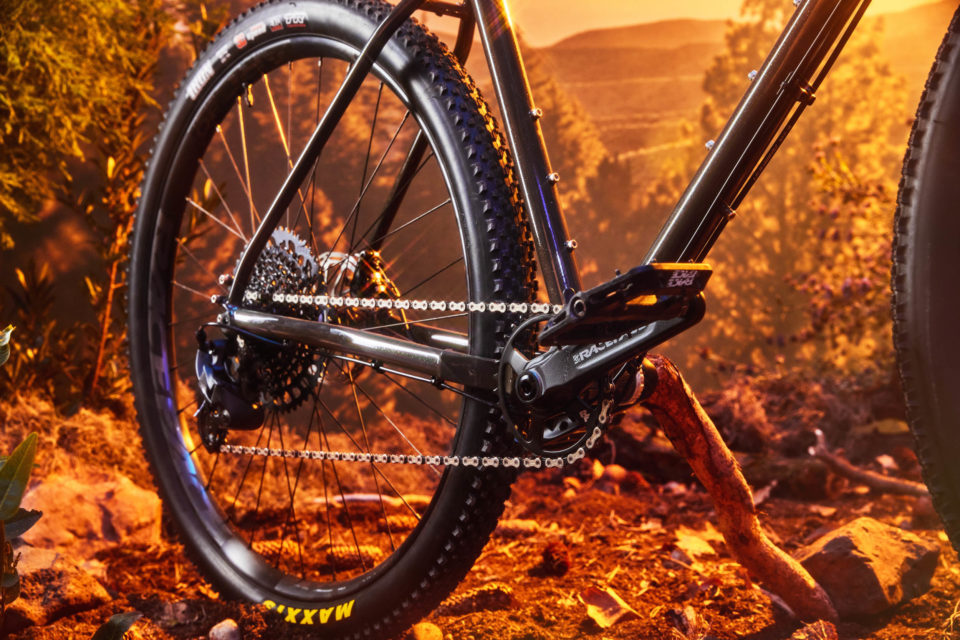
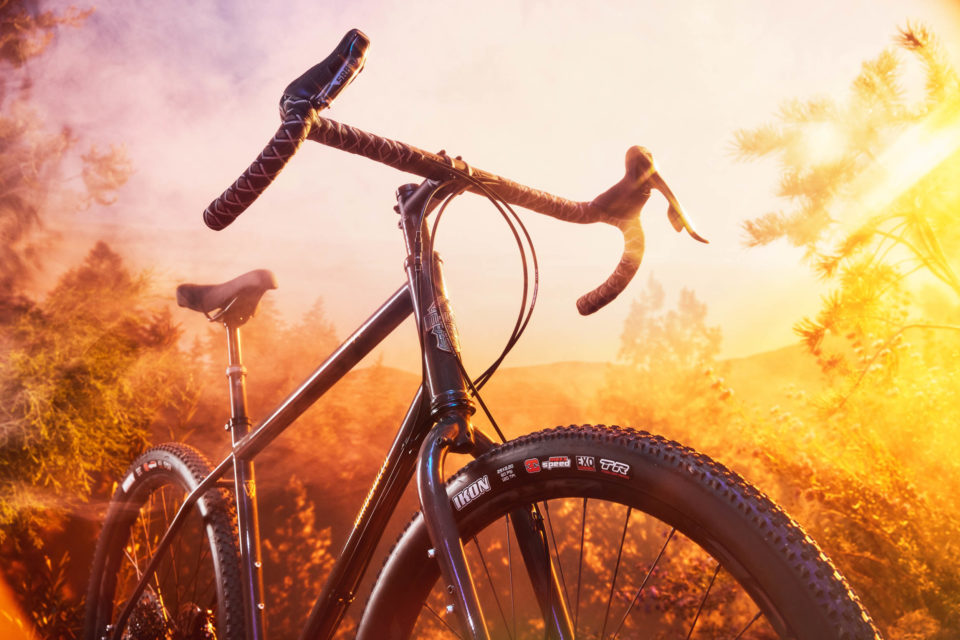
I’ve been a longtime admirer of the publication, so when Tumbleweed Bicycles asked my small photography studio to help them dream up a two-page ad spread for their Stargazer in The Bikepacking Journal, we leaped at the opportunity. Our goal was to tap into the community’s drive and curiosity by creating something that highlights the fleeting beauty of a perfect evening on the bike. You know, one where the golden glow of sunset cascades through the trees and time slips away. Annnnnd just for fun, we wanted to see if we could pull the whole thing off inside the studio.
When the BIKEPACKING.com team realized the artwork we created for the ad wasn’t actually shot outside, they couldn’t believe it, and they asked us to share a little something about what went into making it. Find our process outlined in eight steps below.
Step 1: Gather Inspo and Sketch!
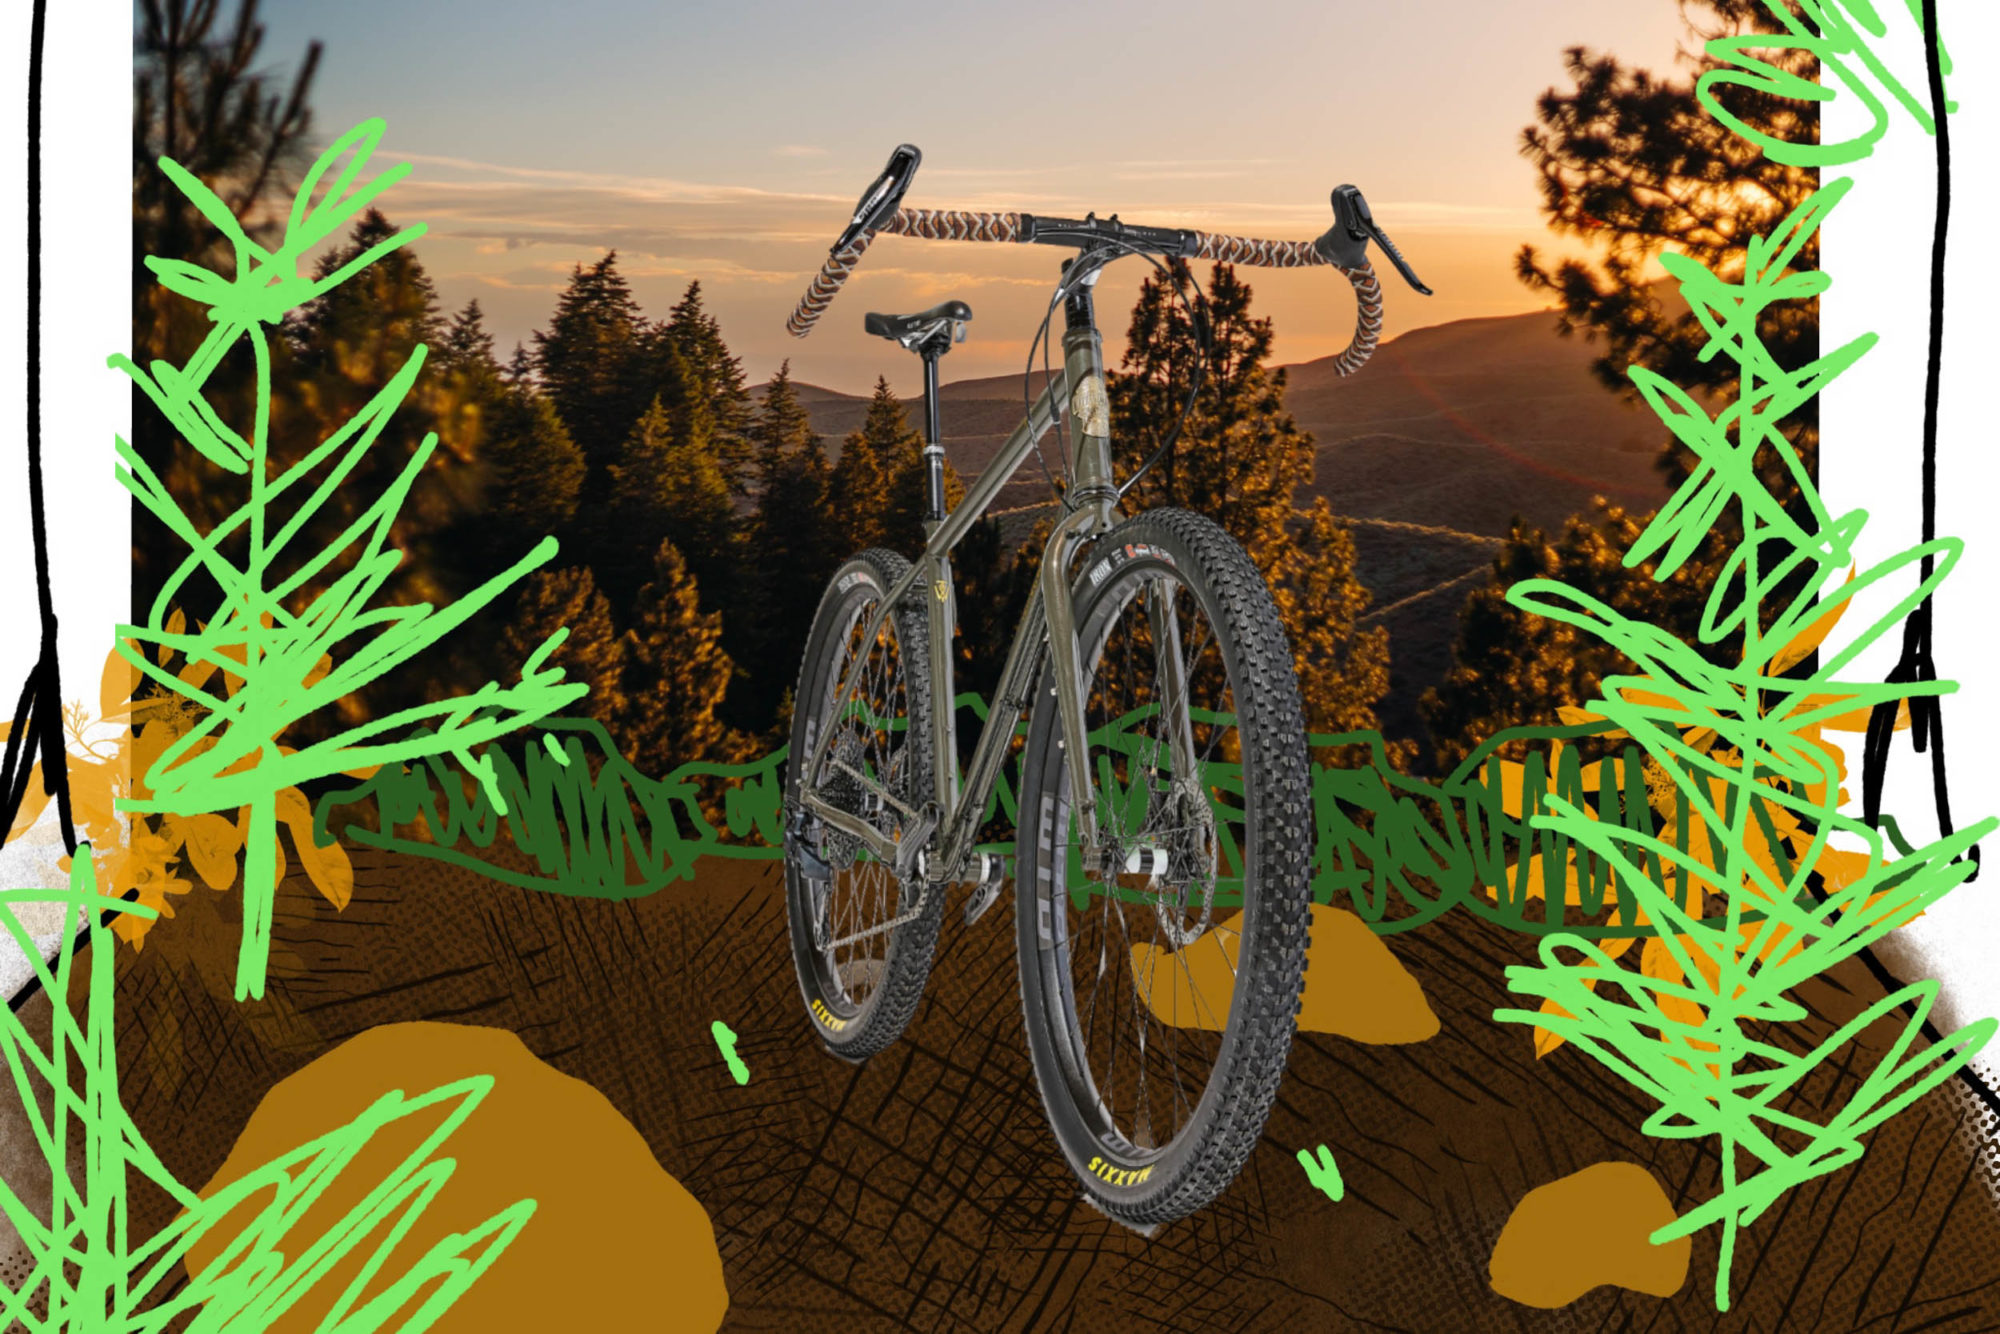
To kick things off, we decided to create a very mediocre sketch of our idea. In this case, we were going for a beautiful shot of the Stargazer set against a backdrop of the Boise foothills. The inspiration for this idea came from a Fabletics ad we’d seen featuring Kevin Hart, which also replicated an outdoor scene shot in the studio.
Step 2: Present Concept!
We met up with Daniel from Tumbleweed to present the concept. He was skeptical, bordering on unconvinced. It’s fine; I don’t blame him. The sketch took like one minute, in truth.
Step 2.5: Convince!
A classic step in any creative process, step 2.5 is to do a little convincing to get the client to trust the creative process. Thankfully, in this case, it worked.
Step 3: Success! Begin pre-production!
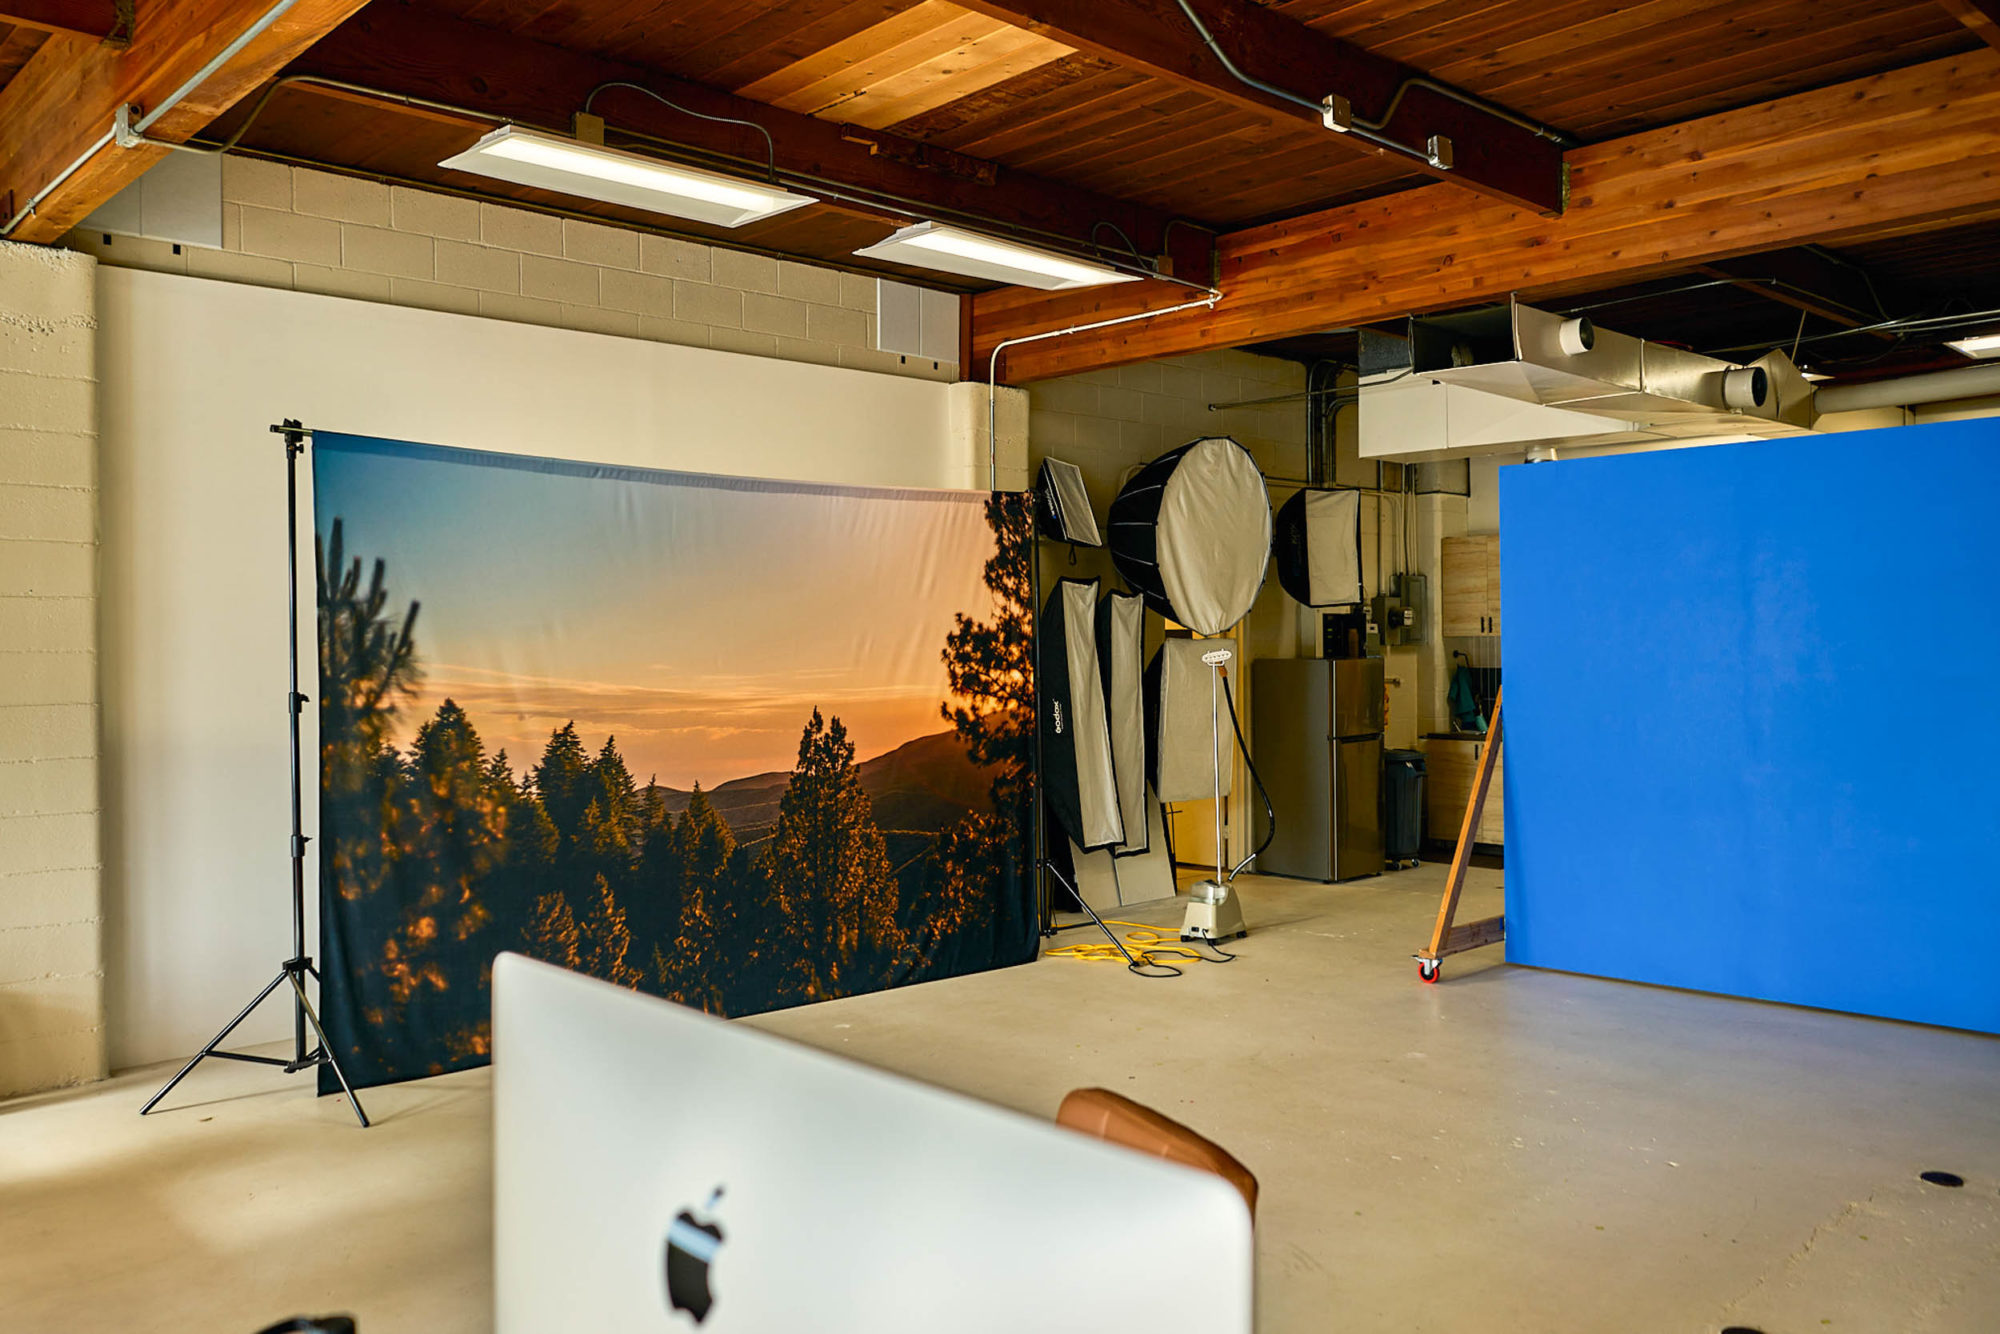
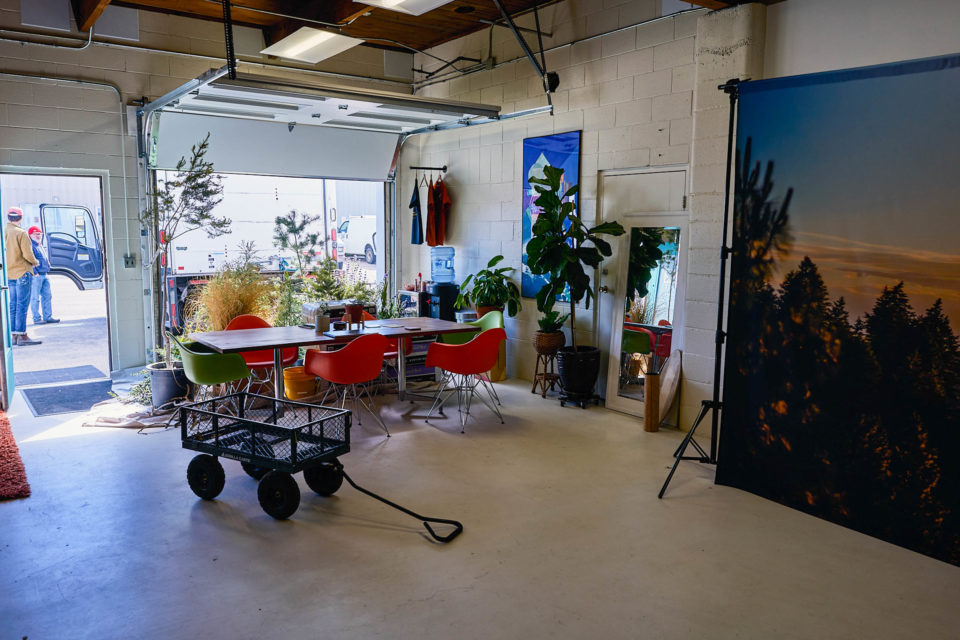
Next, we had to print a massive fabric background of a sunset over the Boise foothills, pulled from our archives. Side note: If you ever wonder why you’re holding onto hundreds of random landscape photos, here’s one super obscure reason! Don’t delete them! Seriously.
Step 4: Plants!
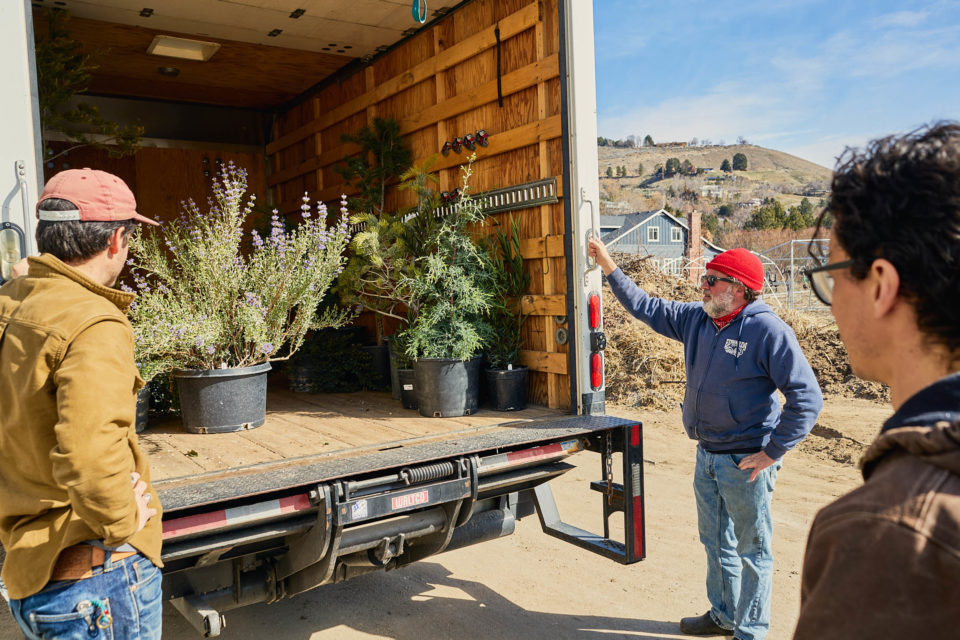
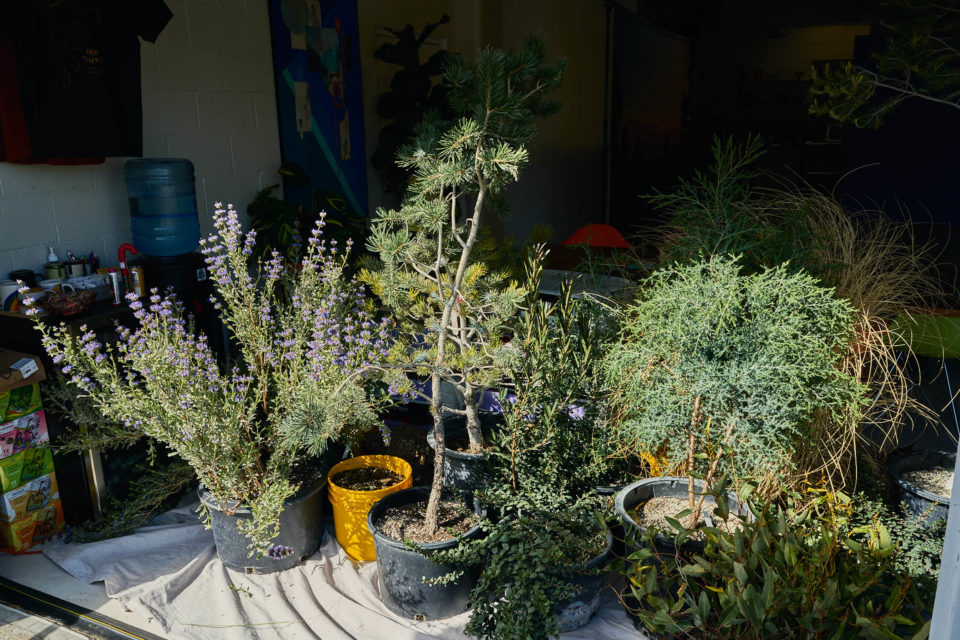
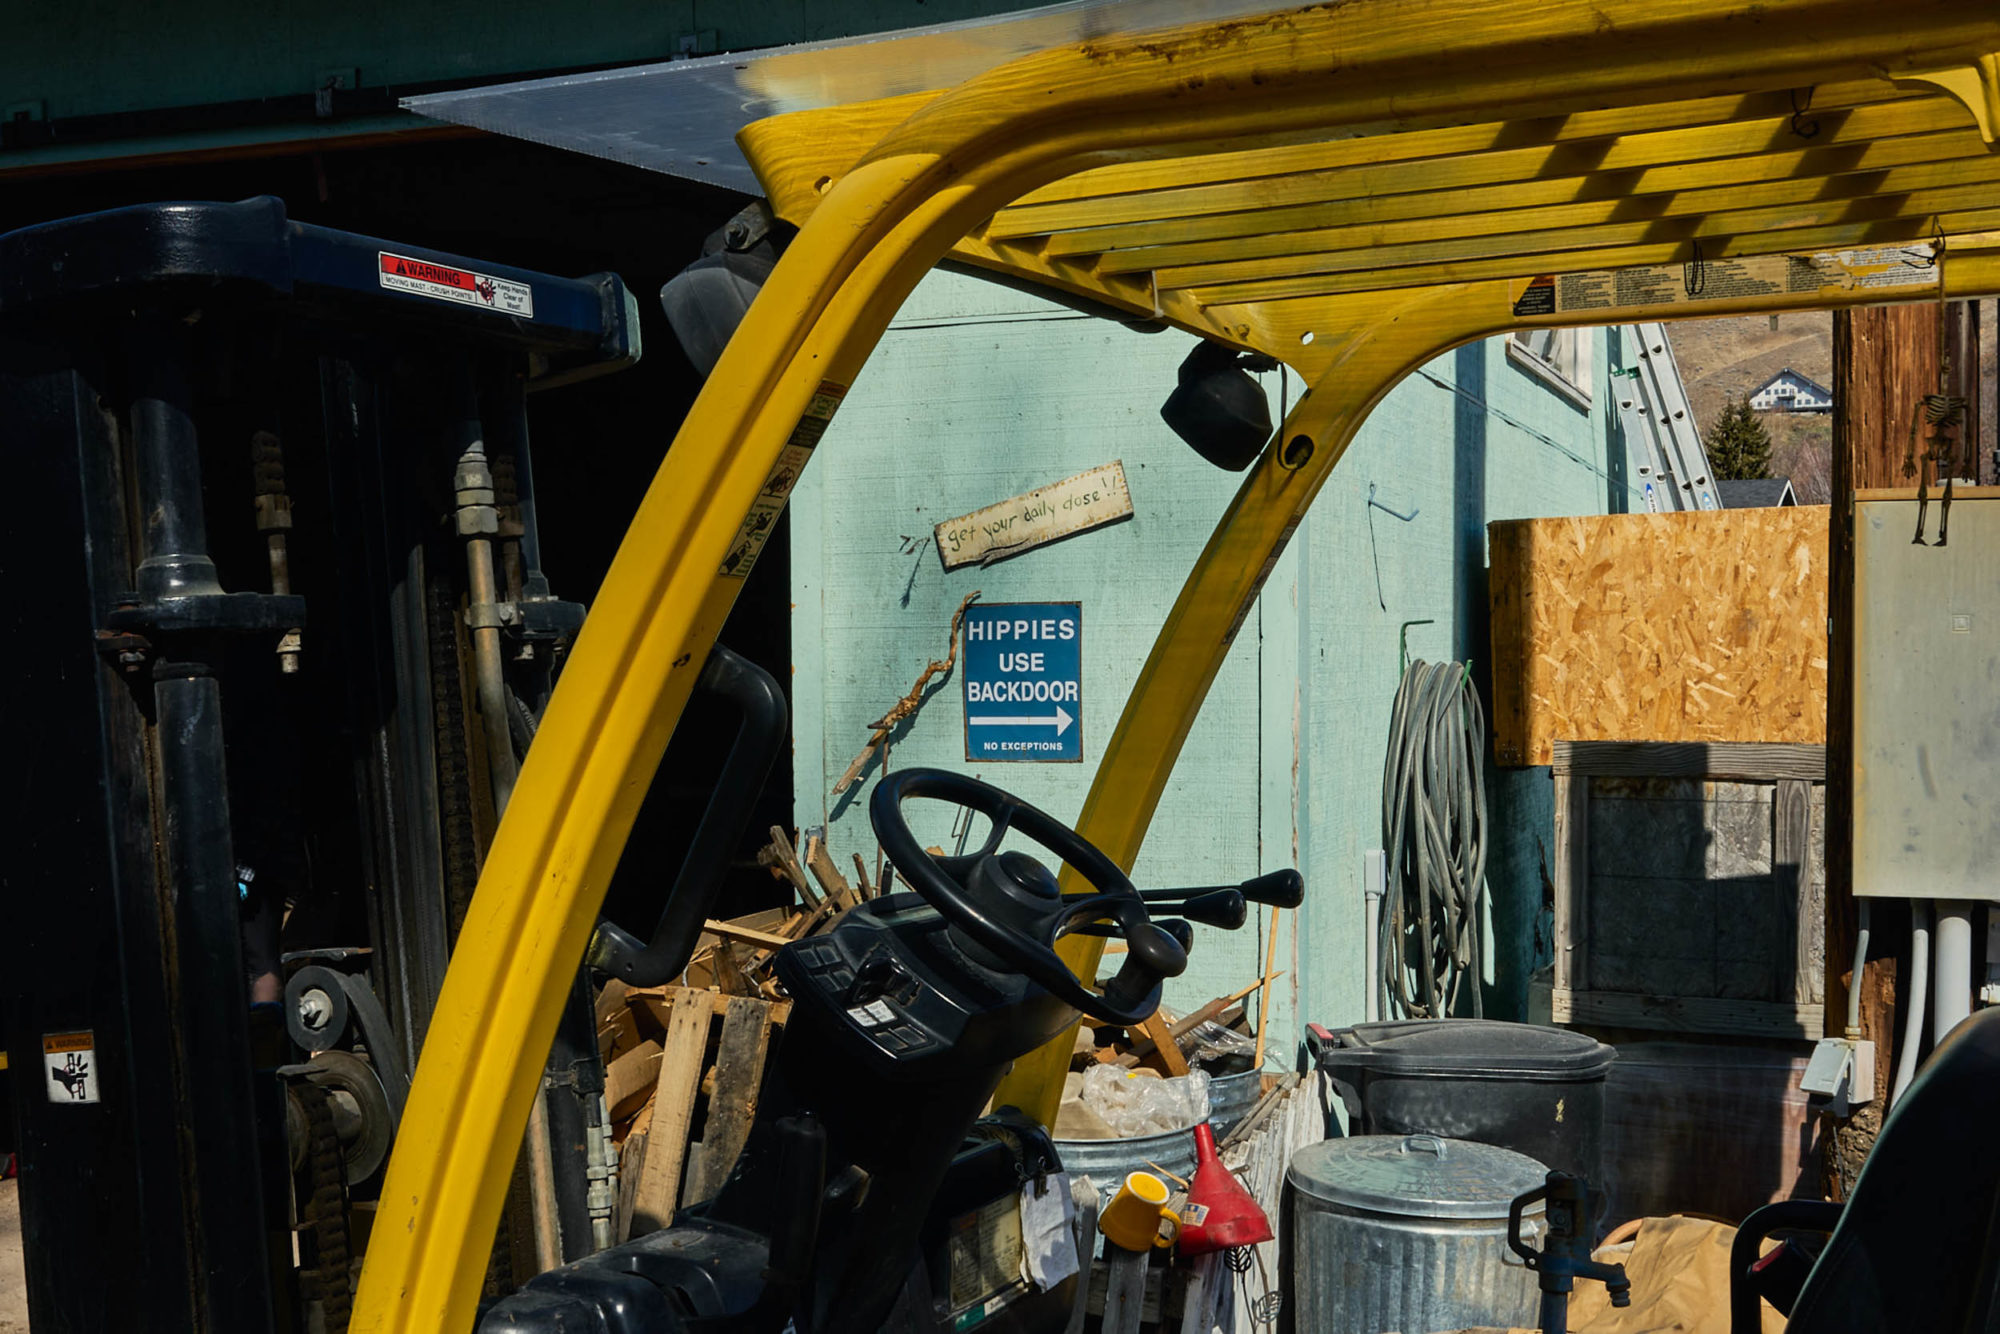
We needed plants to make it look real, so we contacted a local greenhouse and somehow convinced them to deliver an entire box truck of native plants to the studio for a very small fee which, for legal reasons, cannot be disclosed here. Thank you, Edwards Greenhouse, we love you.
Step 5: Pause!
Take a deeeeeeeeep breath in. Exhale. Mmmmm, the aroma of sage is intoxicating when it’s in an enclosed space. This is probably the best the studio has ever smelled, even with three sweaty people working in it (four if you count Daniel lounging on the couch).
Step 6: Shoot Day!
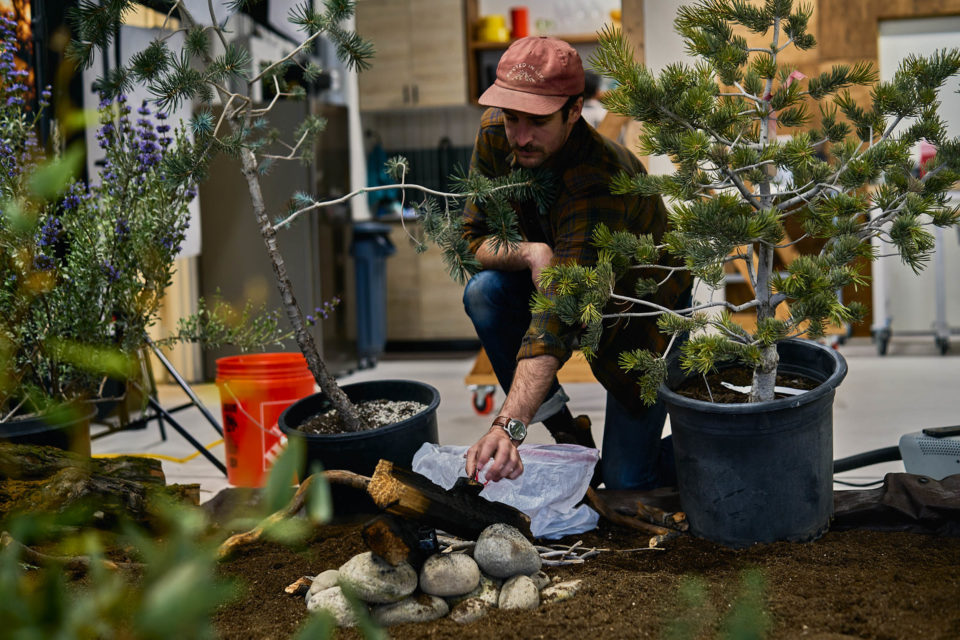
To lay the foundation of our scene, we used tarps to help contain the soil, dirt, leaves, and pine needles, which were all mixed together to create a forest floor upon which our newly acquired plant friends could frolic freely. Using logs and large rocks, we hid the fabric border and the transition between the foreground and the background for a more realistic forest appearance.
Next up, a campfire was in order. Sadly, this part of the set design went undocumented, but here’s the recipe for a fake photoshoot campfire if ever you are in need: Six rocks, one construction lamp with red and orange gels taped on, and one fog machine piped under the set using an old shop vac hose found in the landlord’s storage closet. You can thank me later.
Step 7: Stage Product and Begin Lighting!
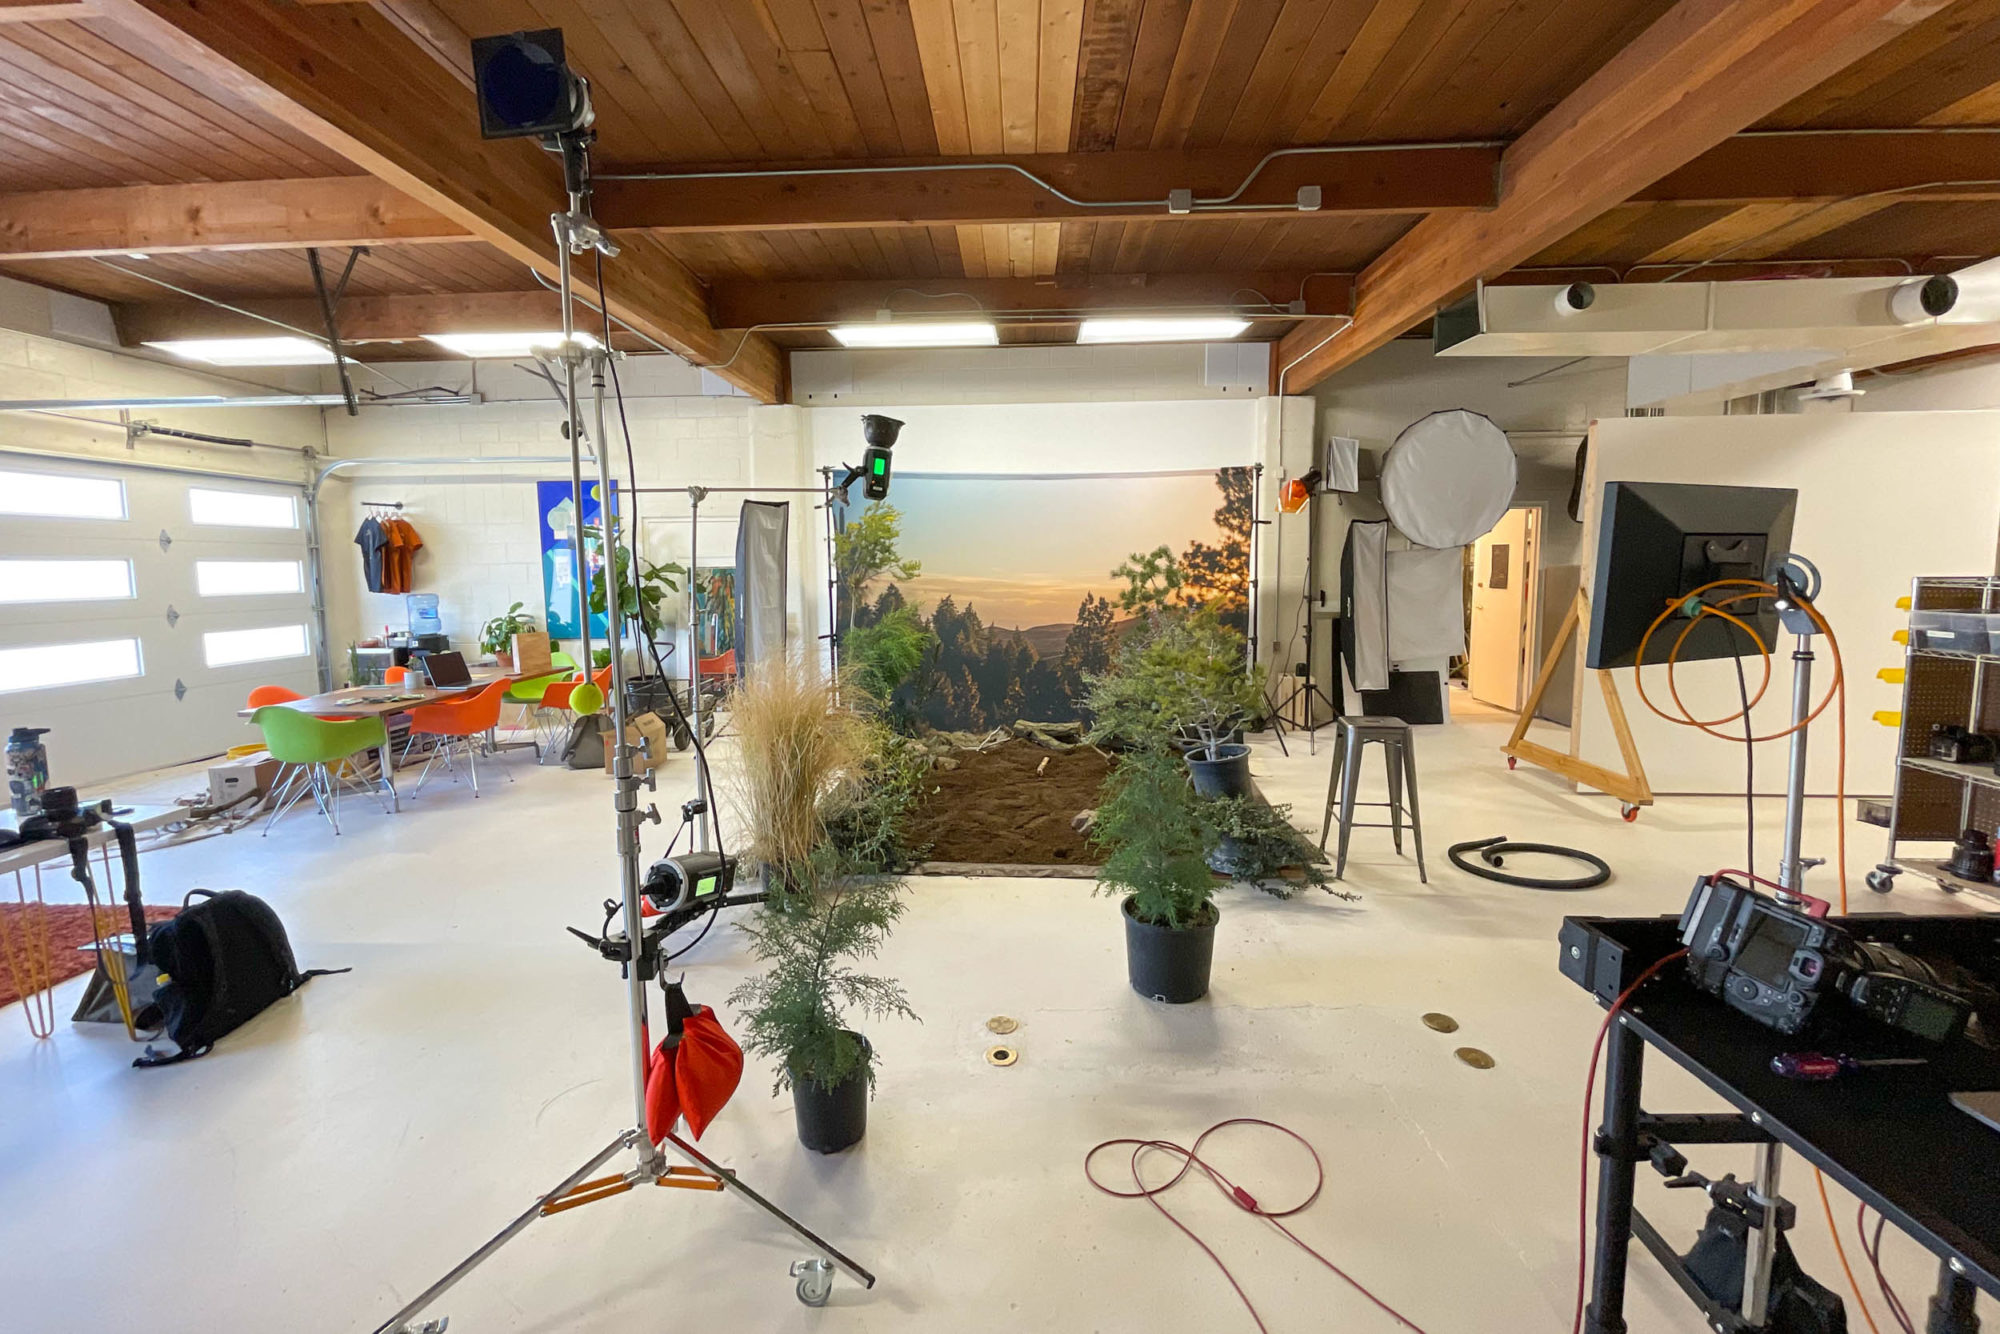
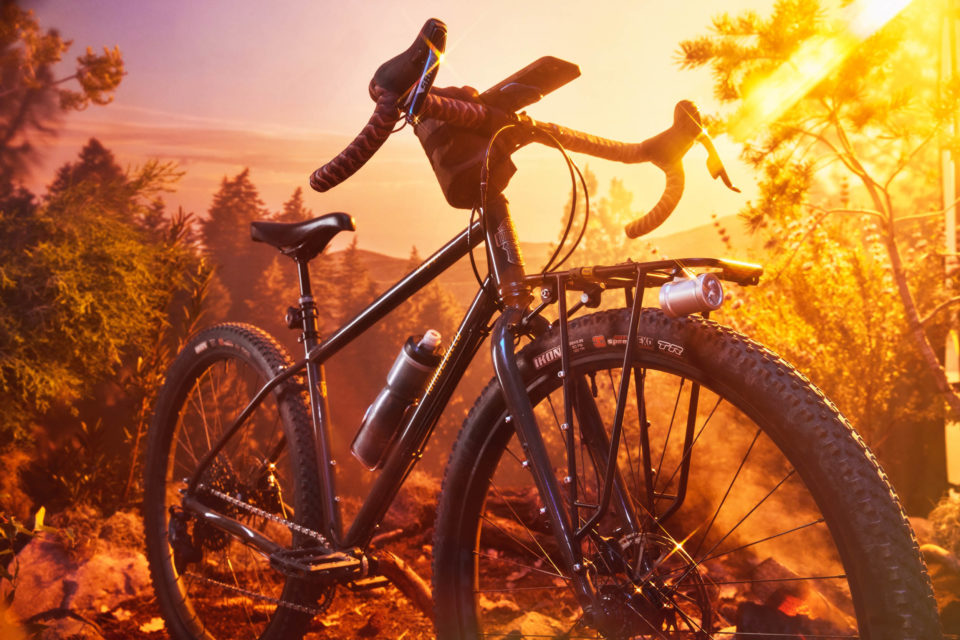
This step is for the photo nerds. The lighting design in this shoot is maybe one of our favorites we’ve ever pulled off. To make it look like the sun was streaking in through the trees, we used a gelled can light and a four-cross filter on the lens to create this fantastic sun-like flare peeking in across the scene. A large strip-box light added clean detail lines on the frame, and a bounce off the studio’s back wall added a big soft fill to the entire scene. The last touch was a light behind the fabric background to make the highlights of the photo register as if they were actually a part of the studio image.
Step 8: Take Photos!
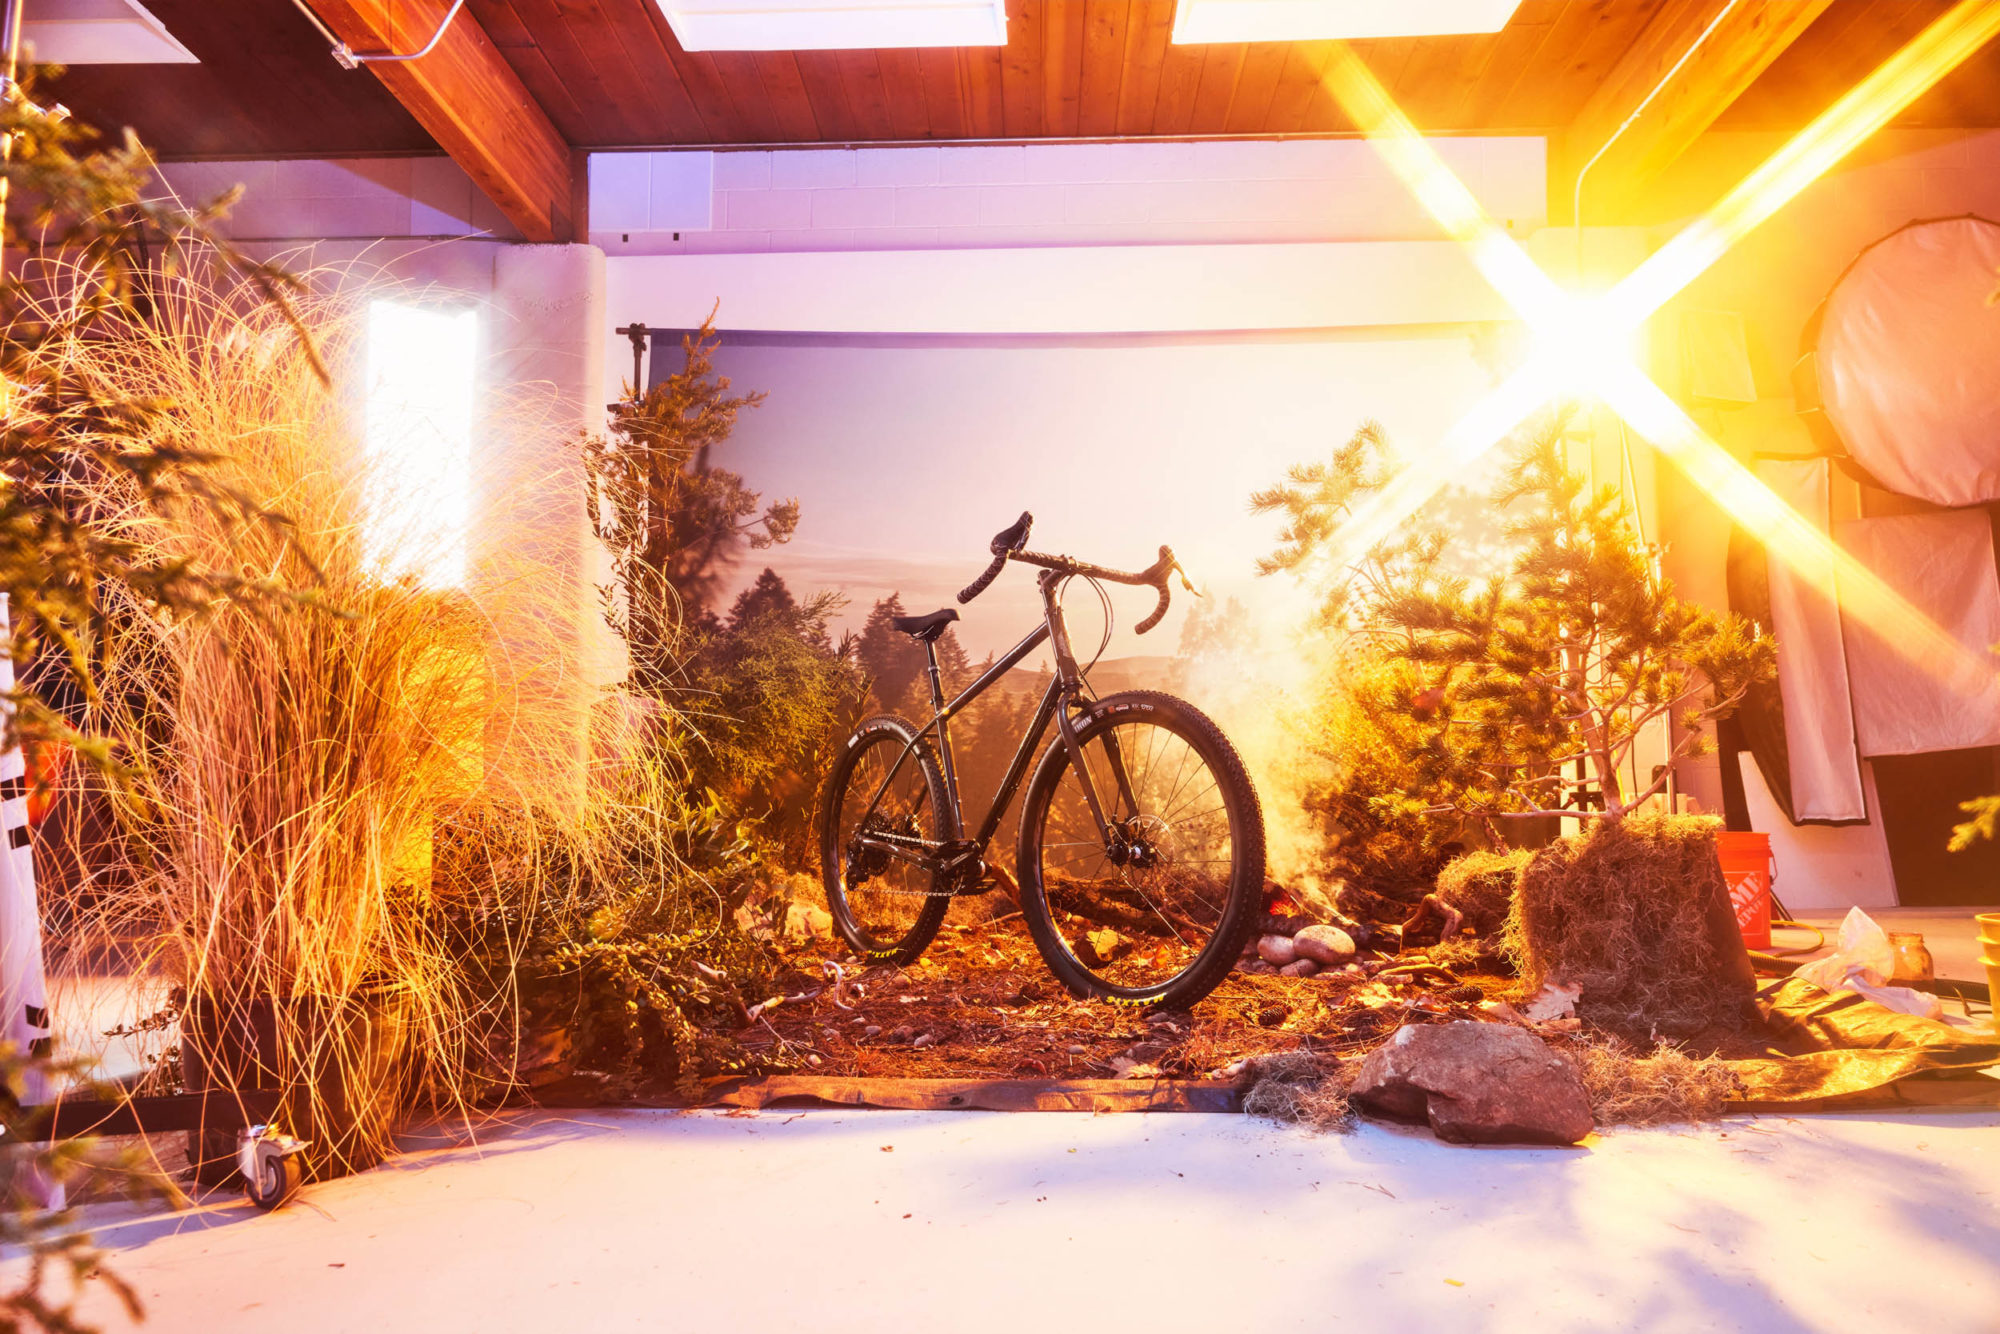
With the lighting design dialed in, it was time to start the fog machine and blast off photos. After about 30 minutes of shooting and cycling through a few Stargazer builds, we ended up with a handful of ad-worthy shots. With a little color grading and some light editing in post-production, the photos were ready to ship. Take a look at how they turned out below!
Related Content
Make sure to dig into these related articles for more info...
Please keep the conversation civil, constructive, and inclusive, or your comment will be removed.


