A Guide to Understanding, Downloading, and Following Our Routes
An important and growing part of BIKEPACKING.com is the routes resource, covering rides of different styles and lengths, drawn from all around the globe. Each route post is accompanied by a GPX track to load into your GPS, be it a standalone device or a smartphone. These can be downloaded directly from the site, or pushed via Ride With GPS. To make this process easier, here’s how to go about it, as well as a few potential pitfalls to watch out for and some advice on navigation apps…
PUBLISHED Nov 17, 2017
First things first. While we take pride in curating and maintaining our Bikepacking Routes – both developing our own multi-day rides and drawing from the wealth of our contributors’ experience and knowledge – we ultimately consider this key part of the site to be developed for the bikepacking community and motivated by their needs. As such, we welcome all feedback and updates on an ongoing basis; after all, each route is a living entity that will undoubtedly change over time. If anyone discovers aspects of a route that needs to be changed, let us know. And if you scout a better way to navigate a particular section, please share this information so we can continue to evolve the rides we post, and make BIKEPACKING.com the best resource we can.
UNDERSTANDING OUR RATING SYSTEM
Before digging into the details of downloading and using our GPX files, this is a reminder to note the stats and ratings at the top of each route. While we are in the process of updating the difficulty ratings across many routes (on some you’ll note a new ‘Difficulty’ description within the text to help expand on the rating), the number itself is left up to the discretion of the route contributor/designer/author. If you have questions regarding this, be sure to read the comments section, or post a comment of your own. Also, note the ‘% Unpaved’ refers to the percentage of total unsurfaced road or trail on the entirety of the route. Likewise, ‘% Singletrack’ refers to the percentage of singletrack trail on the entire route. The ‘% Rideable’ refers to the amount of the route that can be cycled, as opposed to hike-a-biked. This is approximated by time, and can vary according to your skill level.
LOOKING FOR THE GPX FILE?
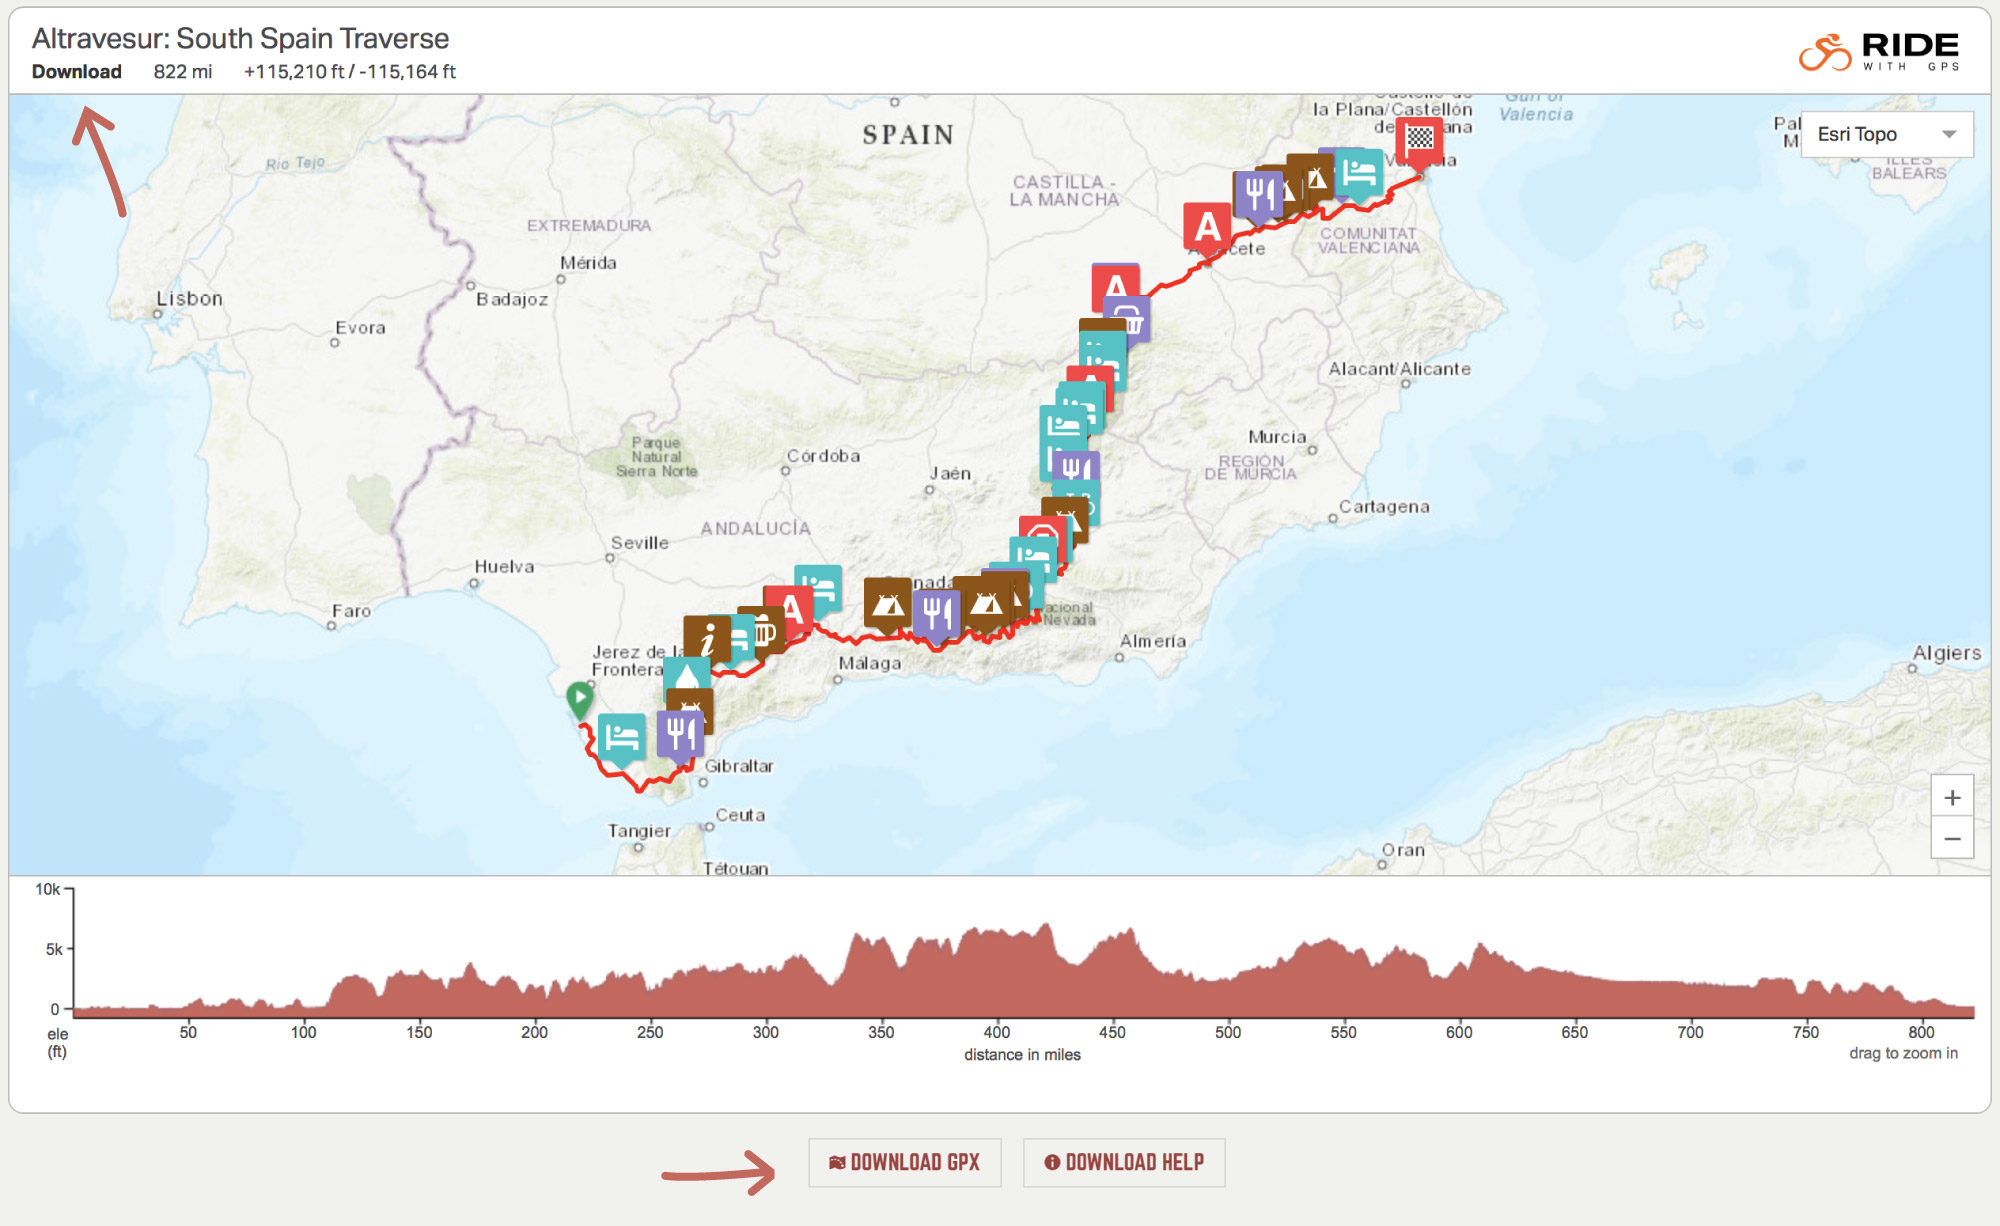
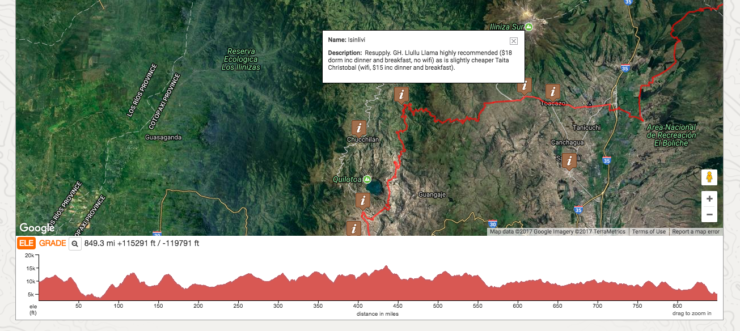
Downloading a gpx file of the route in question is simply a case of clicking the Download GPX box below the map and loading it into your device. This file includes POIs (Points of Interest) seen on our embedded maps saved as waypoints. Going forwards, we’ll also be including a date with each file – by year, month, and day – to ensure you’re working from the latest, updated version. Always check back before you start your ride.
You can also push the route directly to your Garmin Edge, Wahoo, iPhone or Android device (via the RWGPS App) by clicking on the Send to Device box, in the top left of the box.
USING ‘RIDE WITH GPS’ WITH DIFFERENT BASEMAPS AND FILE FORMATS
We are currently embedding Ride With GPS maps into our routes; toggle through the mapping layers to see the route set against satellite imagery and various OSM basemaps. We recommend ‘OSM Cycle’ for planning, but display most with ESRI too for visual clarity.
If you’re after a file format that’s different from a gpx file, each route can also be downloaded for free in the format of your choice by accessing the route on Ride With GPS’s browser. To do this, click ‘Send to Device’ in the embedded map, and then click the route title. Clicking through to the ‘Export’ tab in the top right column will allow you to choose how that file is download and what additional information it includes (be sure to tick ‘Include POIs as Waypoints’ box (see the Check, Check and Triple Check paragraph for a caveat).
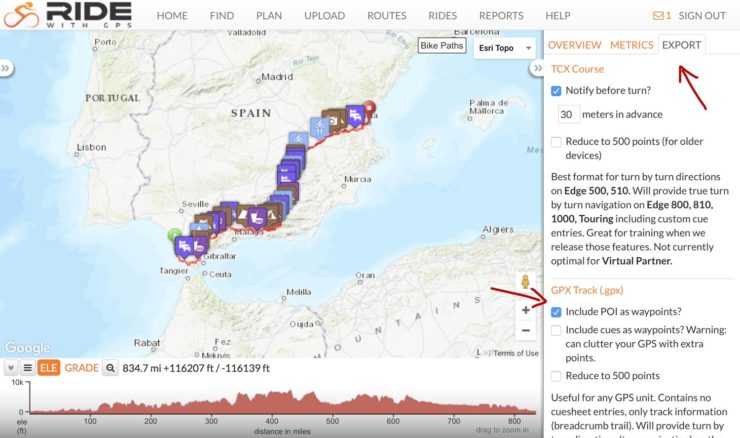
You can download gpx and kml files for free, without signing up to RWGPS, but note that this free service has limited functionality – see here for details on the various plans and what are offered. For instance, you’ll need to subscribe to the basic package ($6 a month) in order to download the useful Points of Interest as waypoints. The free service will still provide the complete gpx file, but will strip it of POIs.
We’ve also noticed that some devices remove embedded information from within the POIs/Waypoints, so before you head out, check that these can be accessed from your downloaded file, including POI ‘names’ and ‘descriptions’. If they’re not all there, you’ll need to input them manually.
GETTING FRIENDLY WITH YOUR GPS UNIT
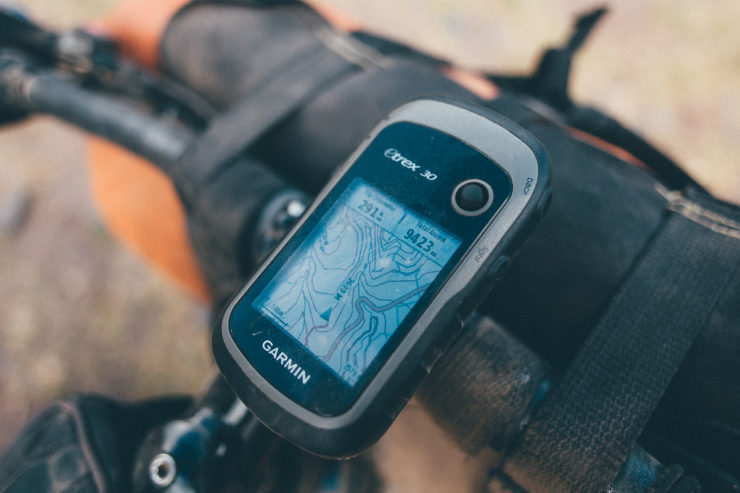
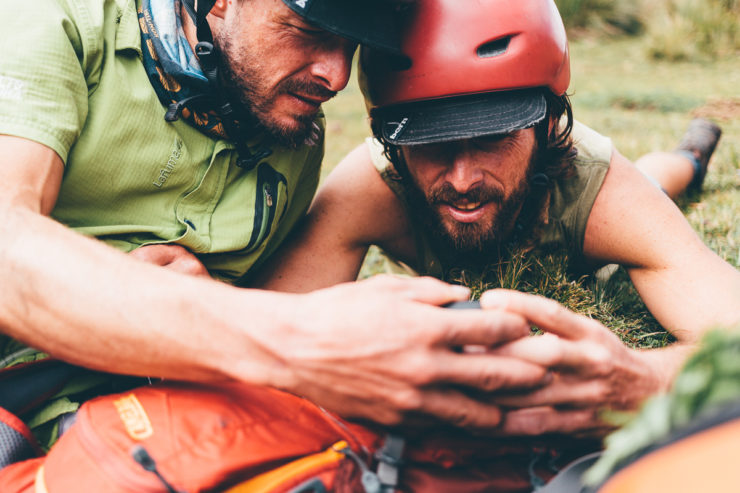
It goes without saying… but we’re going to say it anyway! Make sure you fully understand your GPS unit or smartphone app before, especially if it’s new, heading into the backcountry! Not all devices are intuitive, so be comfortable with all their intricacies first, such as access to files and mapping, as well as device orientation when in use. Choose the right basemap to download into your GPS (GPS File Depot is a good place to start) and/or research the best OSM or topo layers for your app.
BACKUPS, CHARGING, & SAFETY
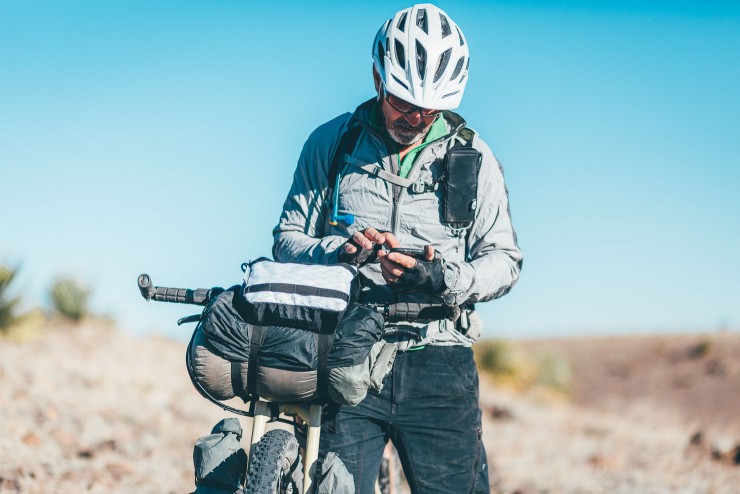
While we always encourage carrying paper map backups of the routes you ride, reliable printed maps aren’t always available for the regions we cover. If you’re using a handlebar mounted GPS, it’s highly advised that you carry both spare batteries and a backup GPS unit or a smartphone if travelling alone.
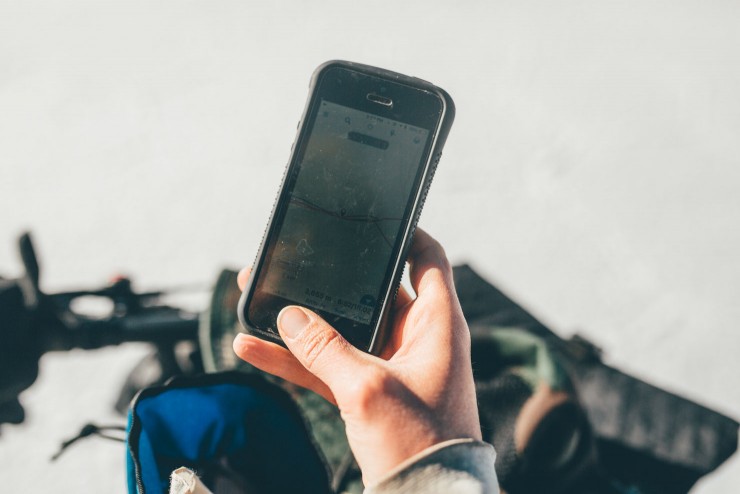
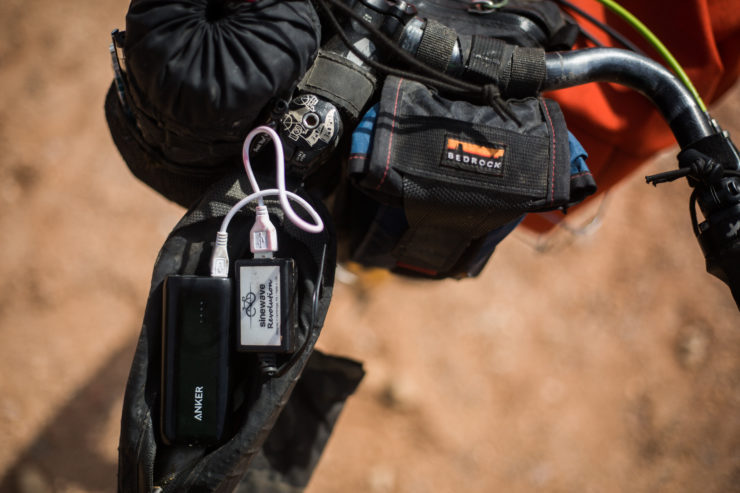
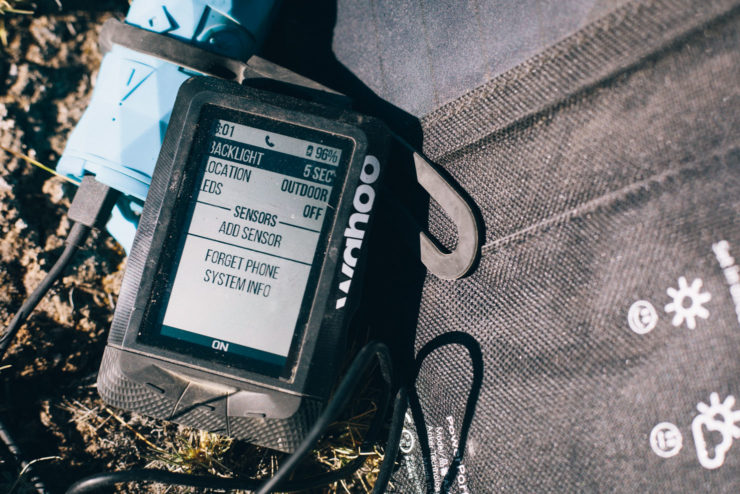
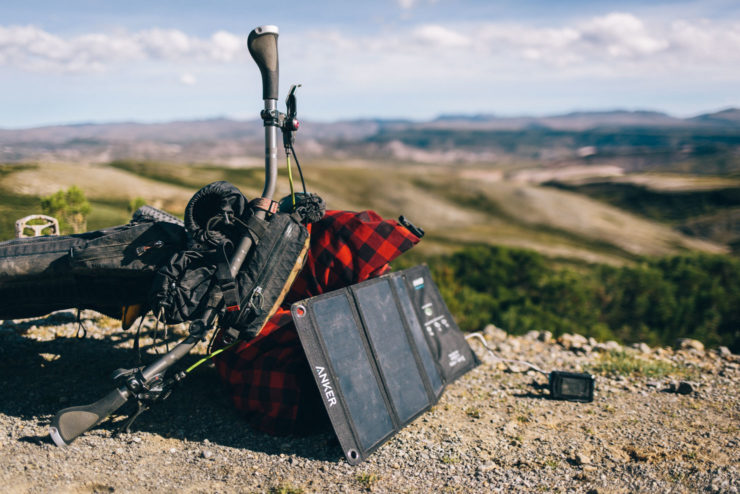
If you’re using a smartphone to navigate, load the file into at least two different apps, in case you have any issues with your primary source of navigation. And make sure you have a backup cache battery, ideally in addition to a way of charging your device on the trail, whether it be a solar panel or dynamo driven.
As for apps, we recommend Gaia GPS as your primary means of smartphone navigation. At $19.99 a year, it’s a well priced and reliable app. Although there are other good programs available, we’re pointing our readers towards Gaia as we’ve had excellent, longterm experience, particularly with iPhones. If Gaia offers more functionality than you need, MapOut (iPhone only) is an easy to use alternative with some very nice features: you can quickly drop markers to see both distances between parts of the route you’re following and a profile, and create reroutes on the fly. Maps are on the basic side, but they download quickly.
As for Android users, AlpineQuest GPS ($10 single purchase) comes highly recommended, as does OsmAnd.
Whatever app you choose, just make sure you’re familiar with it. As a general note, programs like Gaia GPS, Mapout, AlpineQuest, and others also allow users to download the relevant maps for their ride that can be accessed offline. We’d suggest also downloading a buffer map of the surrounding area, in case you stray off your route.
We also highly recommend downloading a copy of the route into Ride With GPS’ own app (even if you don’t download the relevant maps), as this will guarantee you can access POIs and all their details, along with profiles, distances, and stats that can be seen on our embedded maps.
Additionally, we recommend supplementing a specialist, paid navigation app like Gaia with a free, easy to learn one like Maps.me as a backup. Maps.me is a useful way of seeing major road arteries around the route; these can serve as bailout option in a technical or medical emergency.
If traveling solo, we’d always advise forwarding a track of your intended route to a friend or relative, and considering the likes of SPOT Tracker too.
CHECK, CHECK and TRIPLE CHECK!
Before heading into the backcountry, make sure the complete GPX file has transferred to your unit. We’ve never had an issue with smartphone apps but have noticed that some Garmin units struggle with the longer routes that are published on this site. To confirm the file has been uploaded into your GPS as expected, check that the distance tallies with the info on the site, with the start and end points that you’re expecting. And zoom in to make sure all the details are there and you have a relatively ‘smooth’ route, devoid of long straight lines.
If your device is struggling with the amount of points in the file, which can be an issue with the longer routes posted to the site, you can use GPS Visualiser to reduce to the amount of points by setting the ‘Trackpoint Theshold’ to 10m and making it more digestible for older units, whilst also including wapoints. Don’t be surprised to see the distance of the route shrink a little, due to the simplified track.
If you subscribe to RWGPS’s Basic package, other options including chopping up longer routes into more Garmin-friendly portions – and keep those all-important Waypoints/POIs – by highlighting the relevant section of the route, clicking on the ‘Trim Ends’ function with the Edit command (below the map), and Saving as New with an updated name/number.
Otherwise, you split tracks in Garmin’s own Basecamp program.
READING THE FINE PRINT
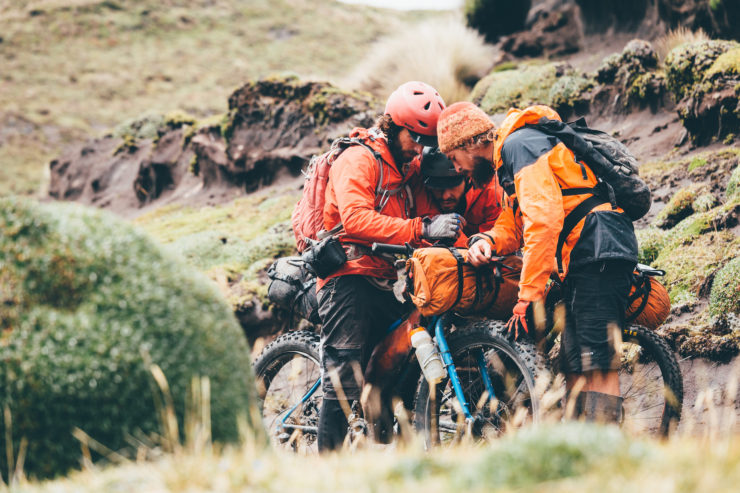
Make sure you read the complete route post – including each of the tabs below the map (or icons on mobile view). These include ‘Must Know’, which covers details such as when to go, the type of bike we recommend, permits, and other important information. Check tabs for Camping and Food/H20 too. And don’t miss the Trail Notes tab, which often contains additional details we can’t fit into a GPX file, or even detailed itineraries. Lastly, the images we post will offer a feel the variety of terrain to be expected.
ROOM FOR IMPROVEMENTS? TELL US!
Changes happen! Mistakes are made! If you spot anything that looks to have gone awry on one of our routes, please note down the details and pass them on in the comment field of the relevant post. Similarly, if you have an improvement to offer, please share them with us. To help locate the exact area in question, an app like Gaia GPS allows you to quickly label a waypoint and export it via an email. We will likely build a form for route changes, but in the meantime we can be contacted on Facebook, make sure to lead your message with ‘Route Change’, along with the name of the route. If you don’t use Facebook, leave a comment on the particular route for which you have a recommended change.
RECOMMENDED READING
- Learn about the pros and cons of smartphones v dedicated GPS units in our Using Your Smartphone as a GPS Unit post.
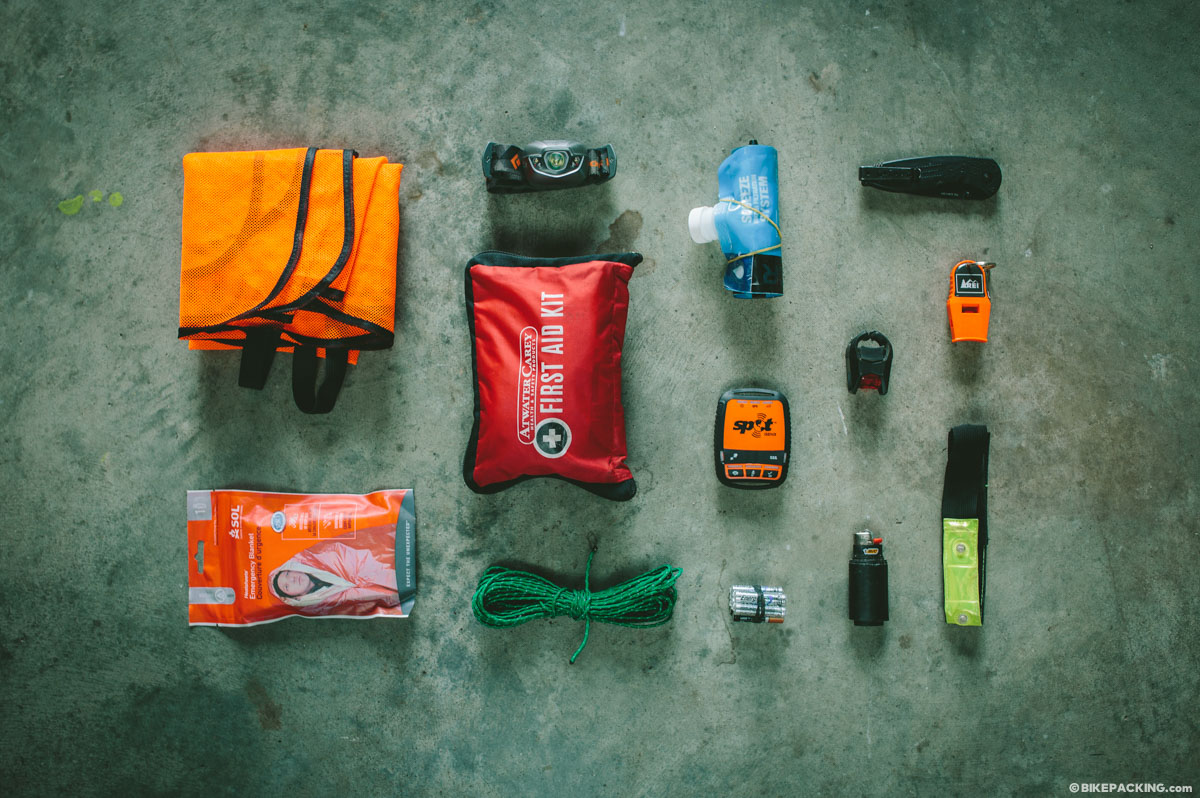
- Heading into the backcountry? Check out our suggested Bikepacking First Aid Kit.
- Inspired to create your own route? Read our Complete Route Planning Guide.
- Wherever you choose to ride, please follow the seven ‘Leave No Trace’ principles we’ve set out for responsible bikepacking.
Please keep the conversation civil, constructive, and inclusive, or your comment will be removed.
We're independent
and member-supported.
Join the Bikepacking Collective to make our work possible:


