


Bikepacking Hacks: 3 DIY Seat Packs


Seat packs and saddlebags are quintessential pieces of bikepacking gear, but they’re often pricey. In our latest Bikepacking Hacks video, Neil walks through some simple and affordable DIY solutions for carrying gear at the rear end of your bike. Watch it here and find a list of options and notes we put together for other low-budget seat pack solutions…
PUBLISHED Feb 15, 2022
Bikepacking bags are a hefty investment, and with prices often ranging from $125-250, complicated seat packs and saddlebags can be one of the most costly pieces of luggage in a proper bikepacking kit. They can be an excellent investment that will last for years, but if you’re just looking to try bikepacking and you’re not ready to make a commitment, it’s a big outlay. Fortunately, there are options at lower price points. Following our recent post featuring DIY and low-budget handlebar bags (find it in the related links grid at the bottom of this article), here are few ways you can improvise with a DIY seat pack, plus a couple of low-cost alternatives. Watch Neil’s video below, then find notes and a few more details after that.
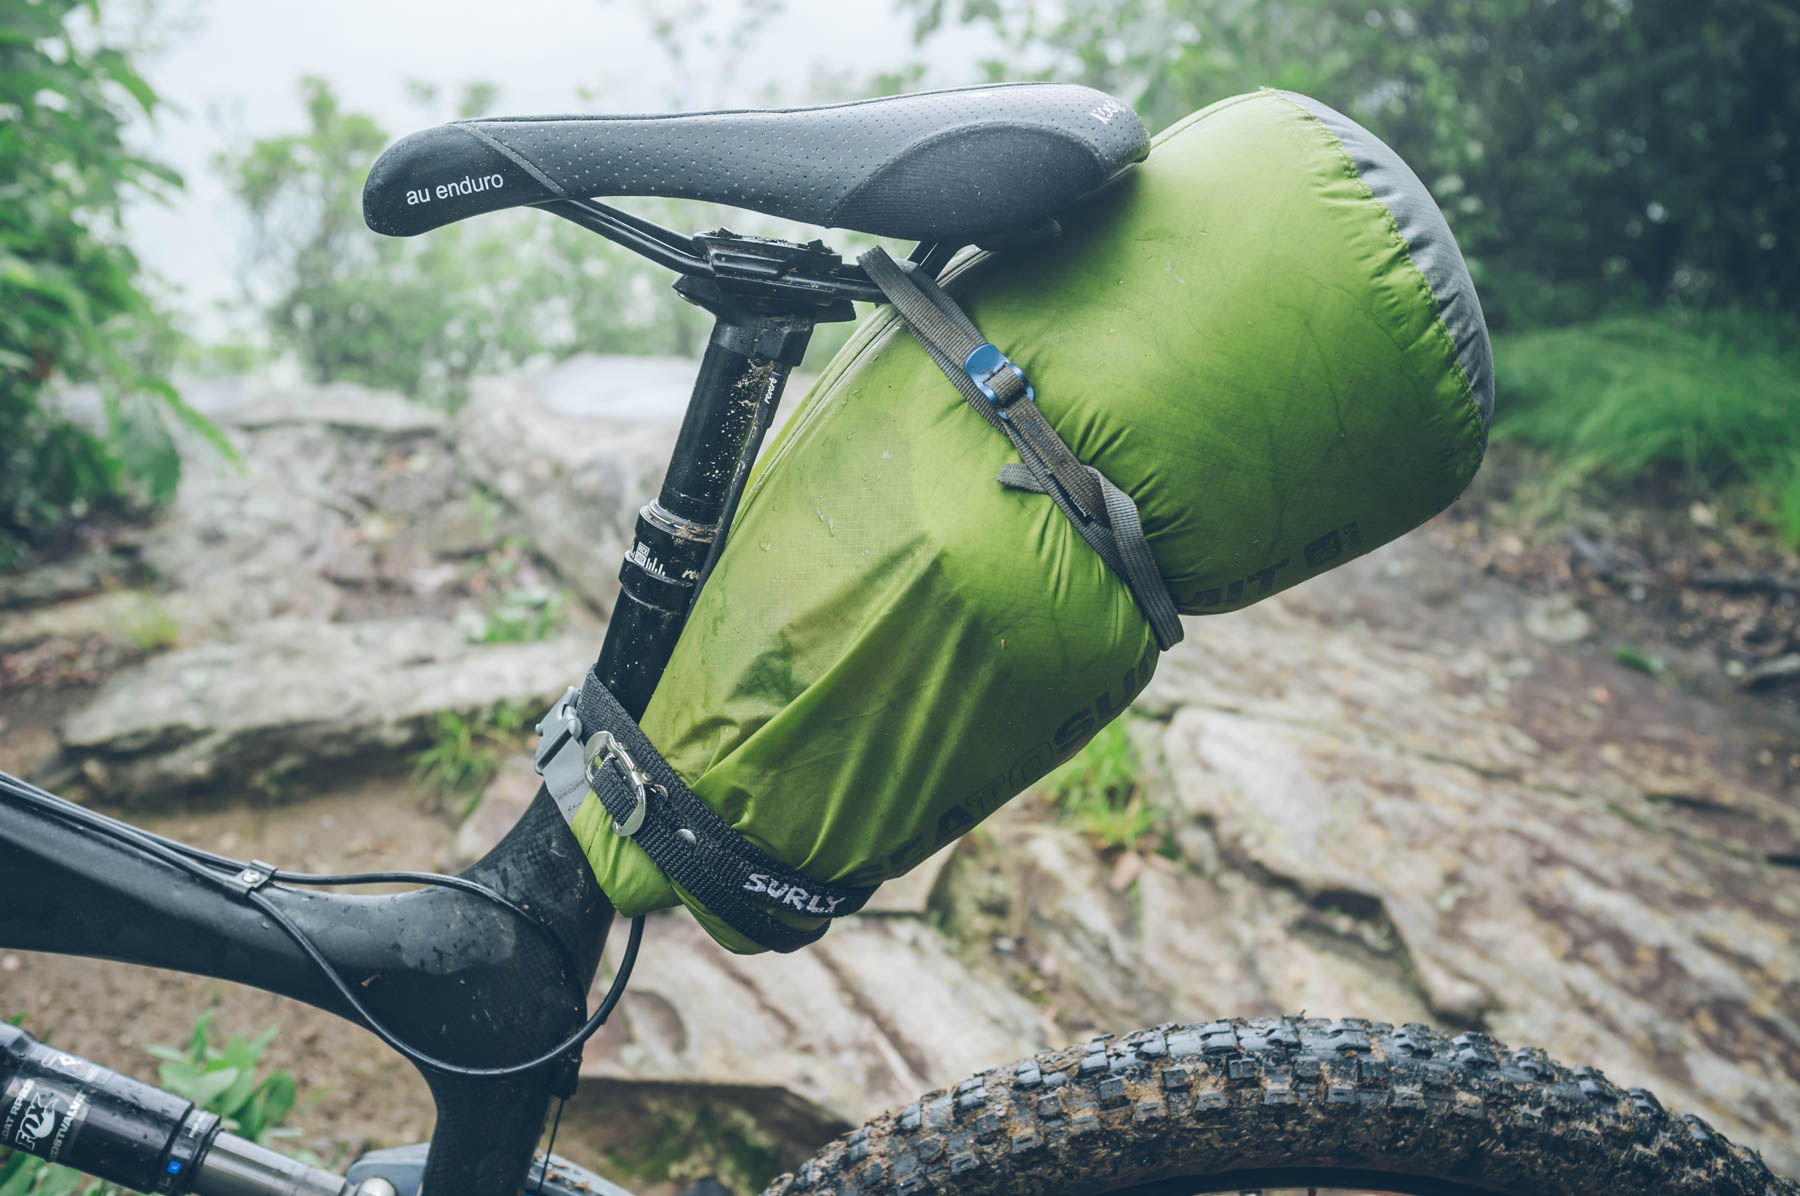

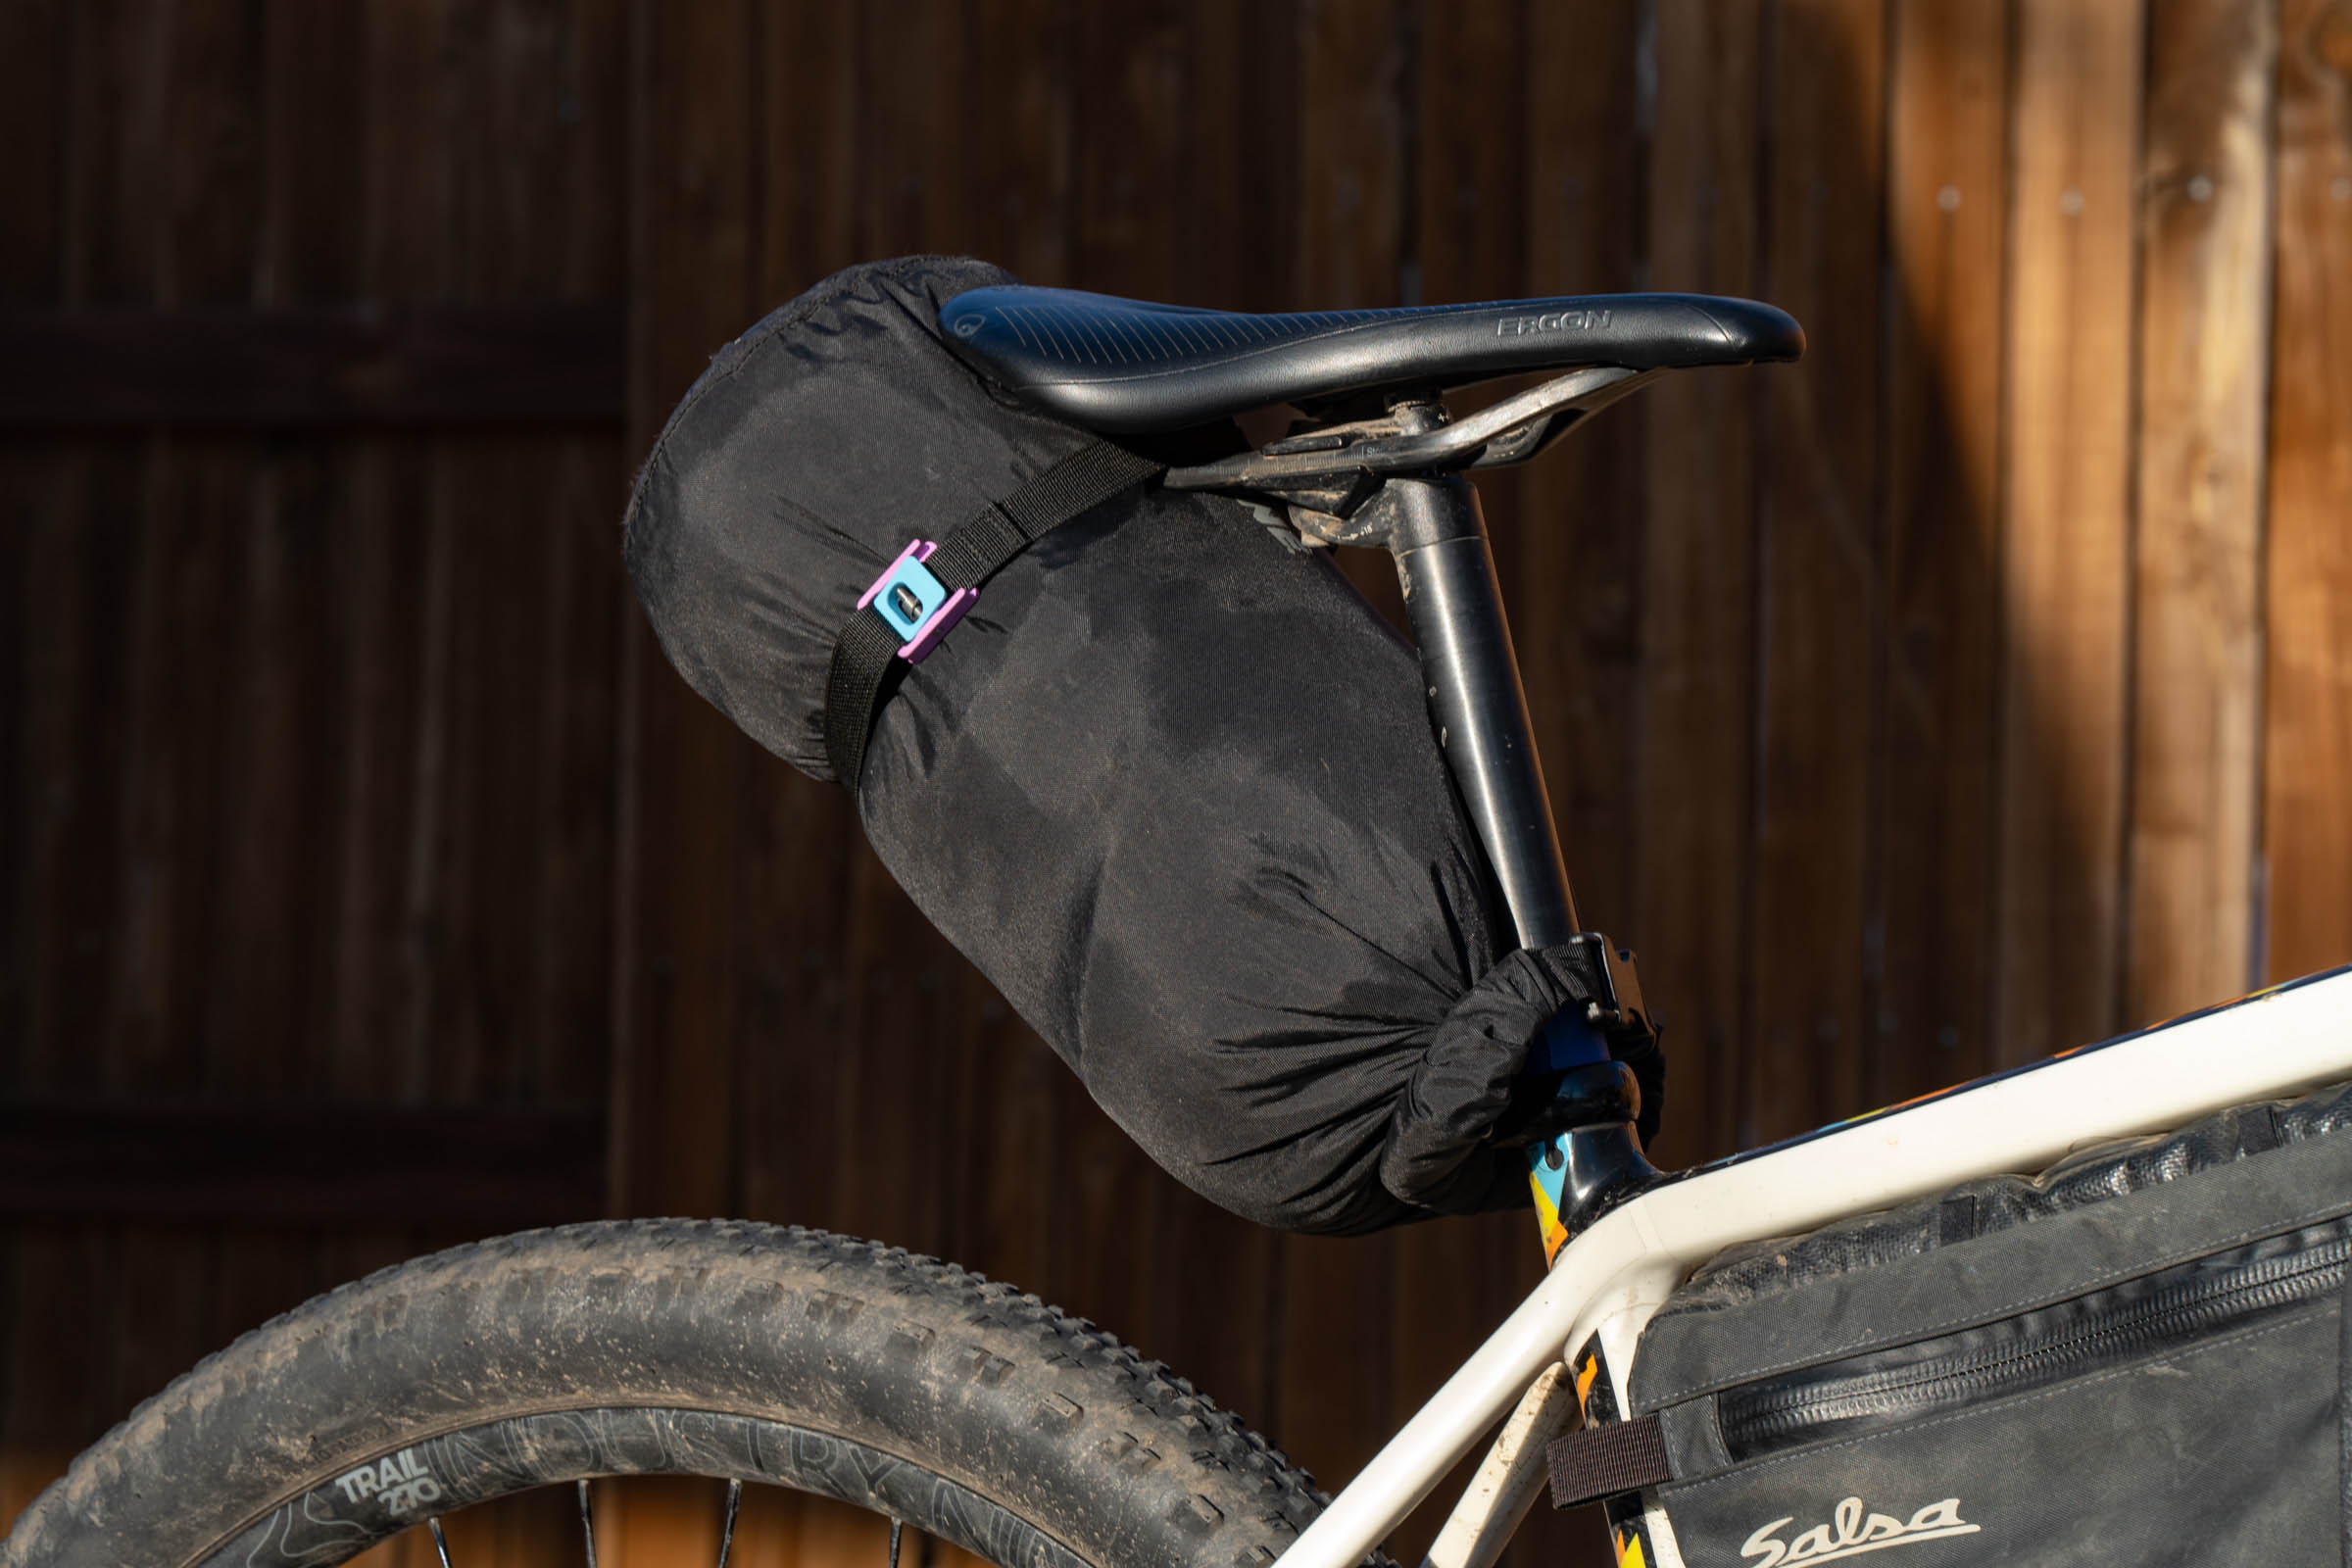
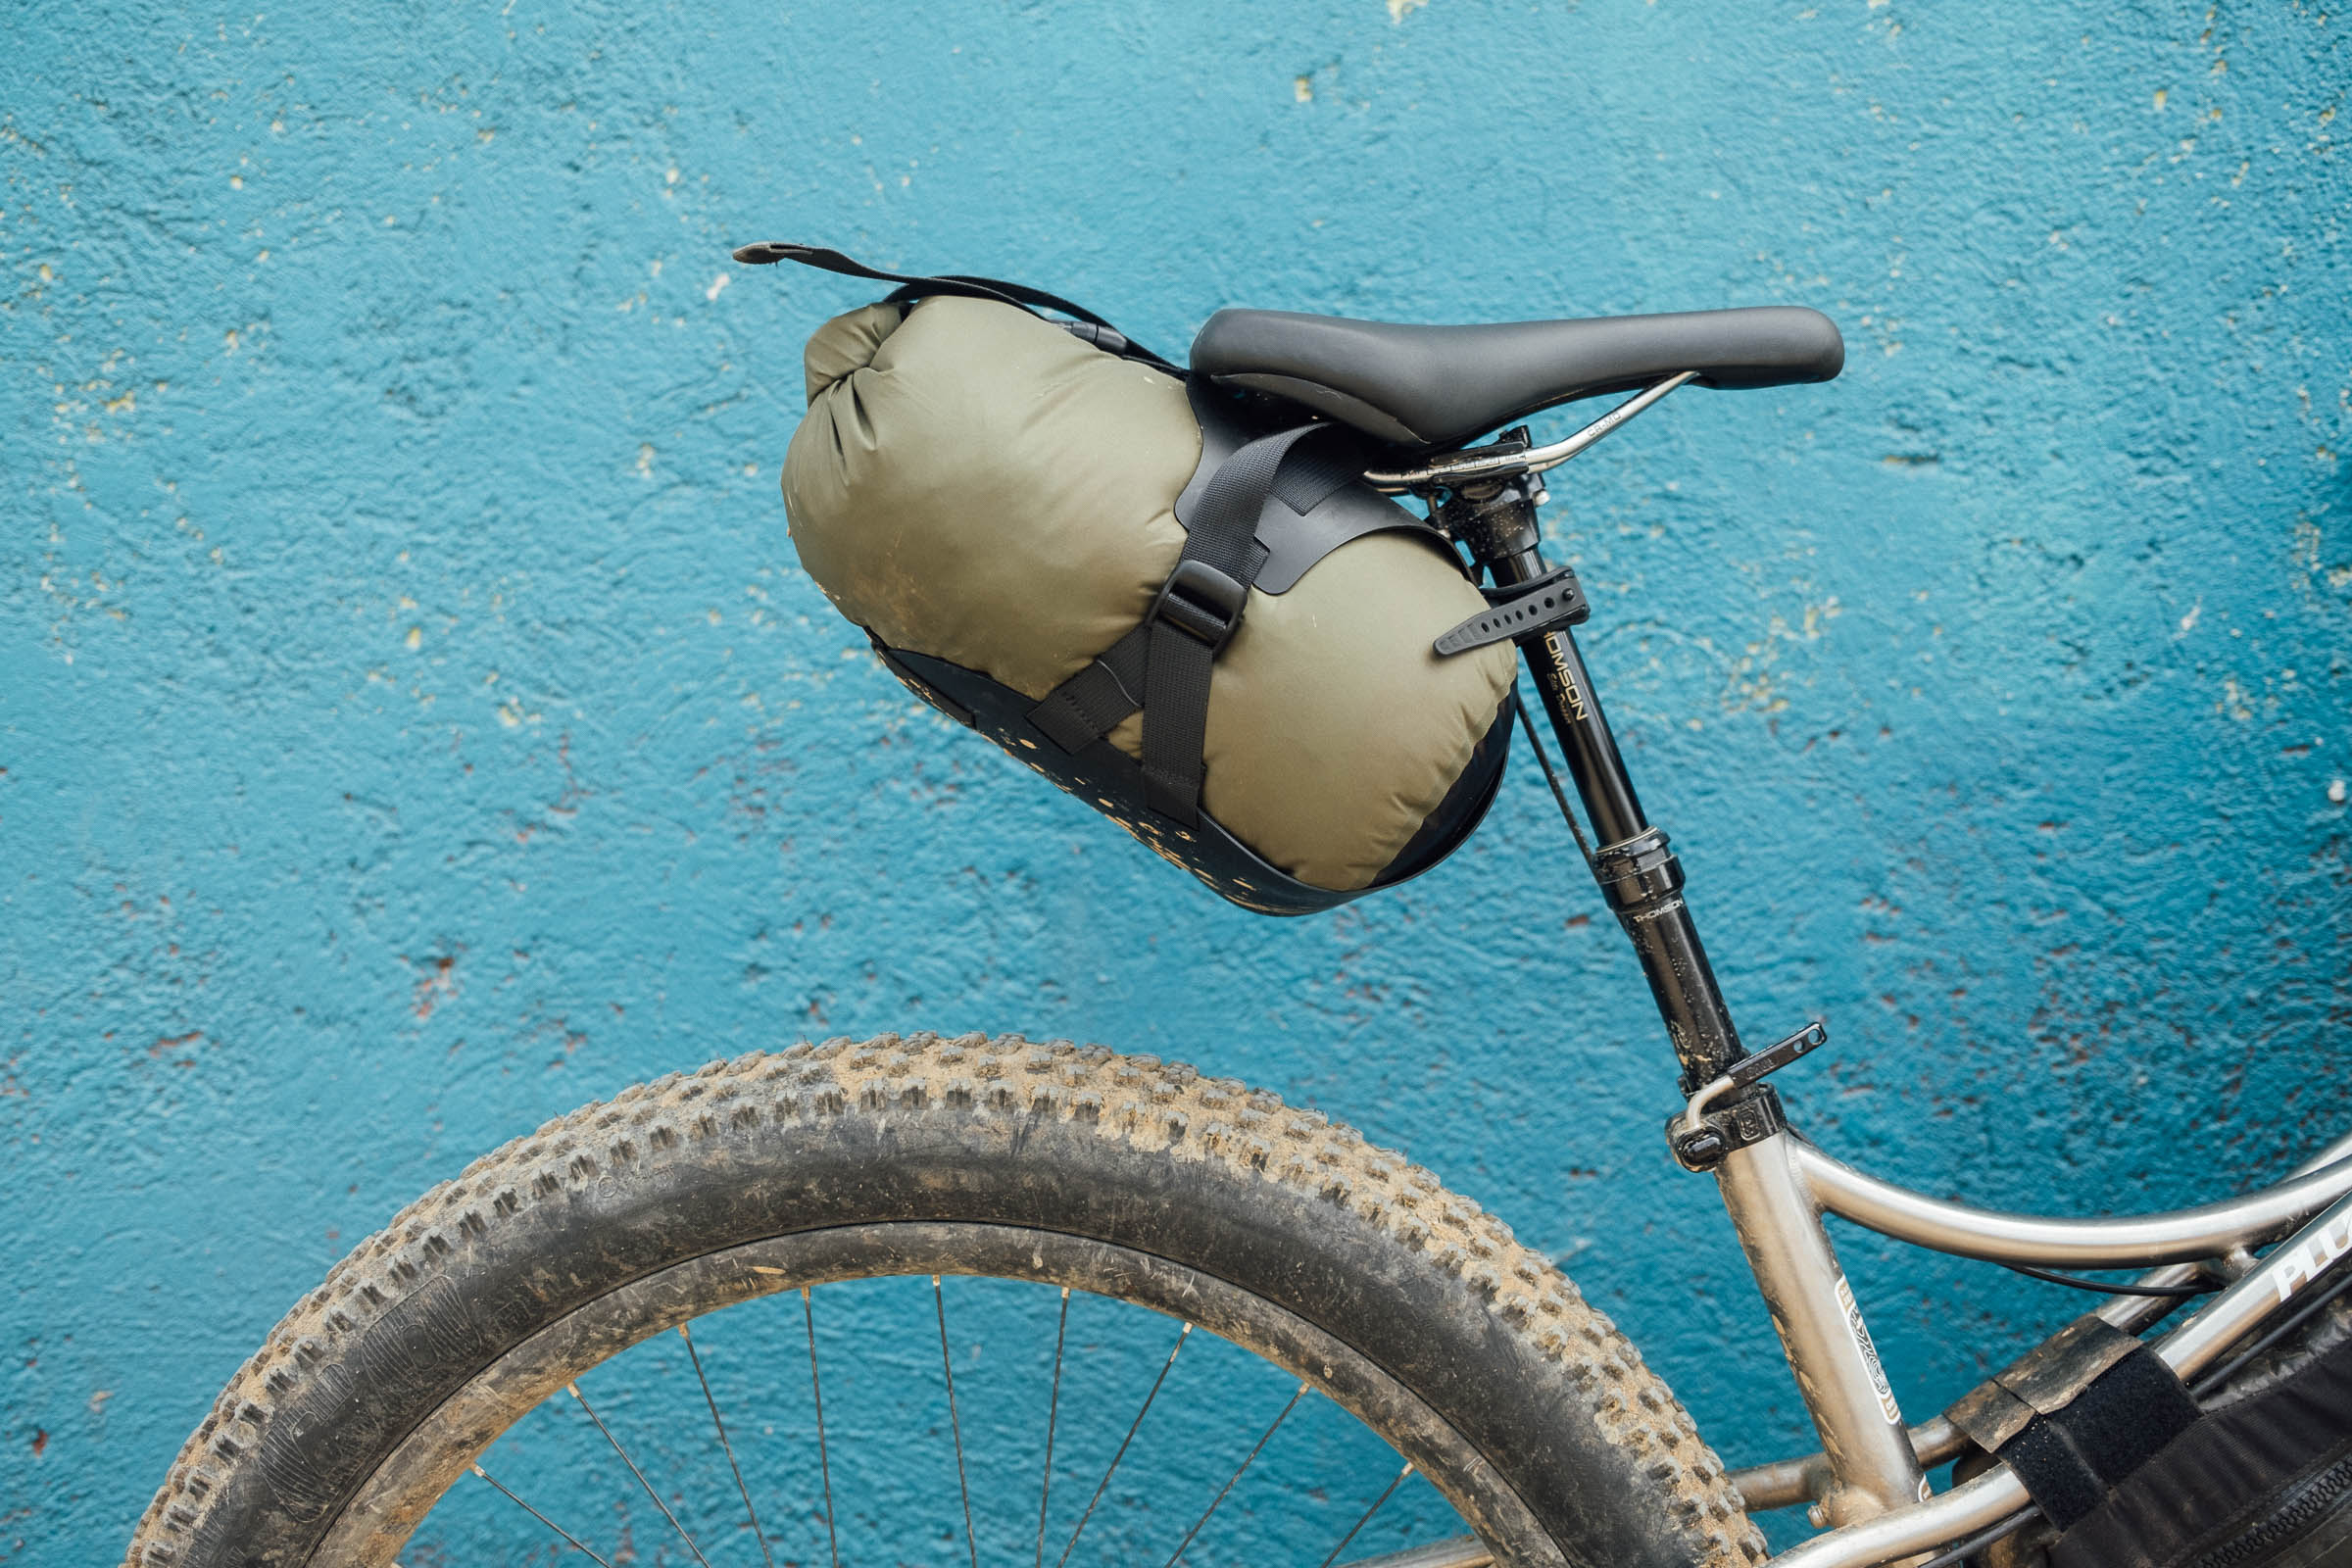
DIY Seat Pack 1: Dry Bag + Strap ($0-$30)
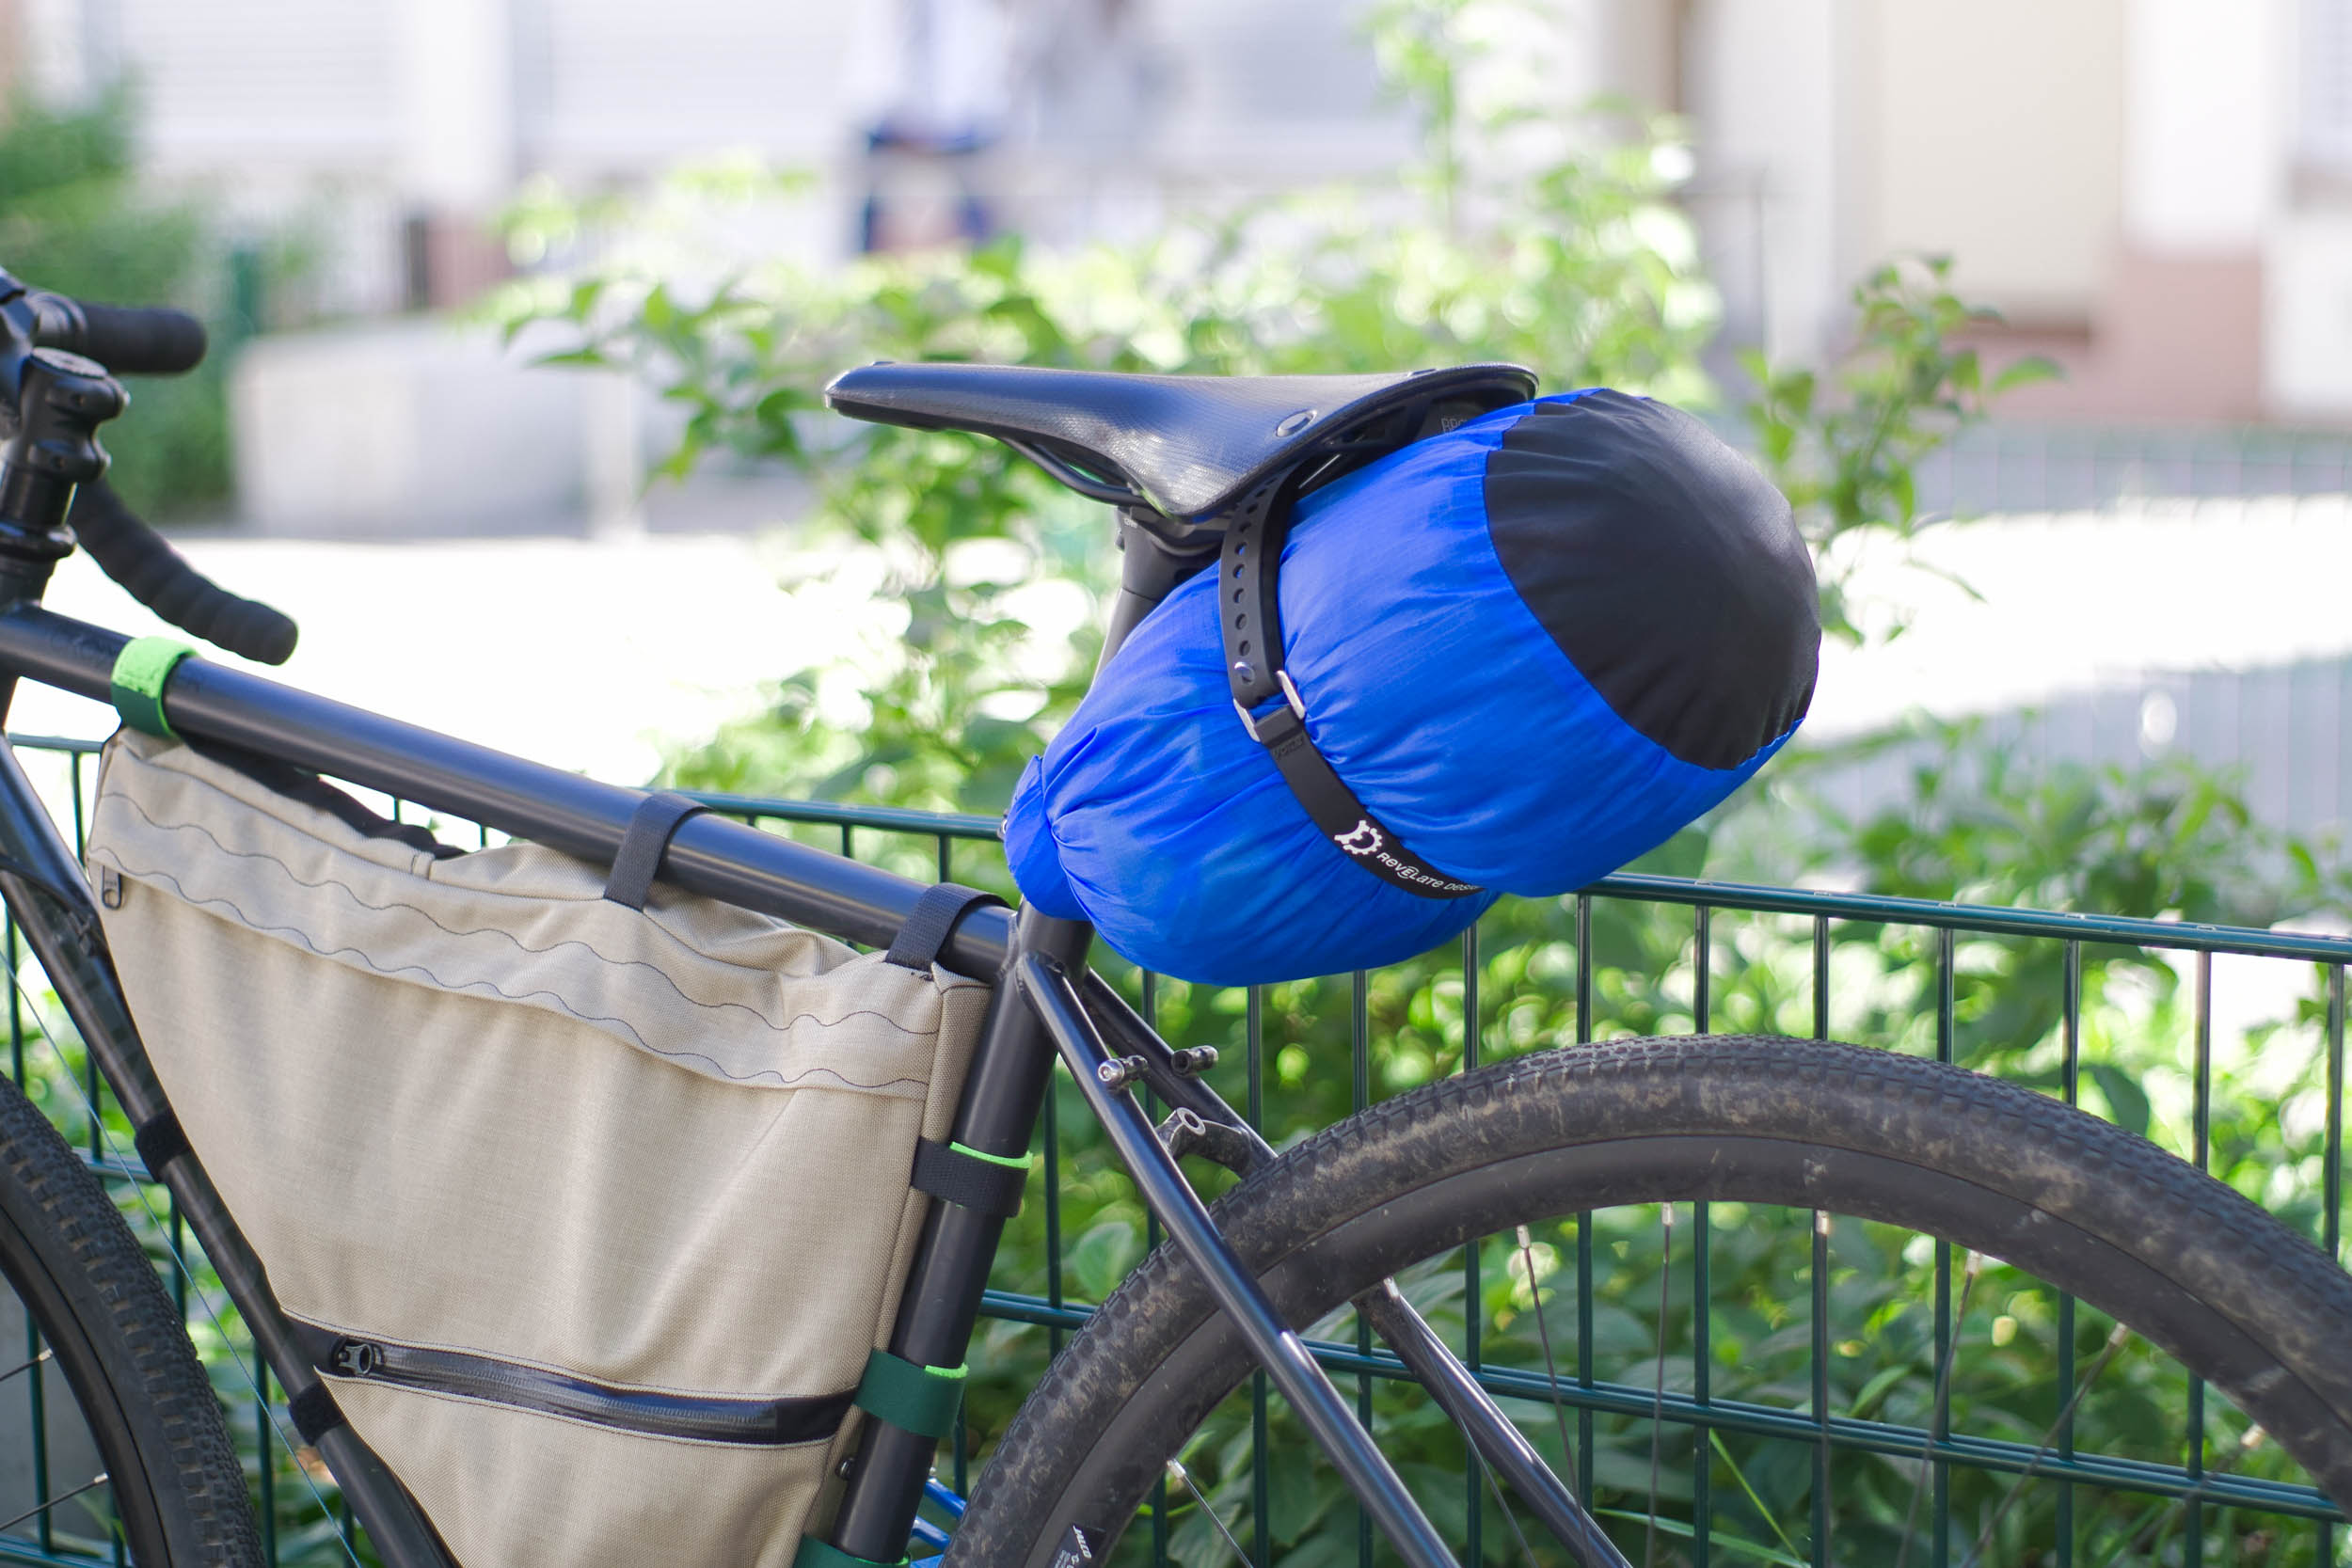
As Neil demonstrated, use a small 5-10 liter dry bag clipped around the seatpost and cinched to the saddle rails with a webbing strap, bungee, or, ideally, a Voilé strap. Store a change of clothes and a few other odds and ends inside. It helps stabilize it if there’s something stiff within the bag, such as tightly rolled clothing or a pair of flip flops. It’s best to use a long and narrow dry bag if you have one. Neil is using the Seal Line 10L bag that’s available for $22-26. You can also make your own stuff sack (find that tutorial linked below as well).
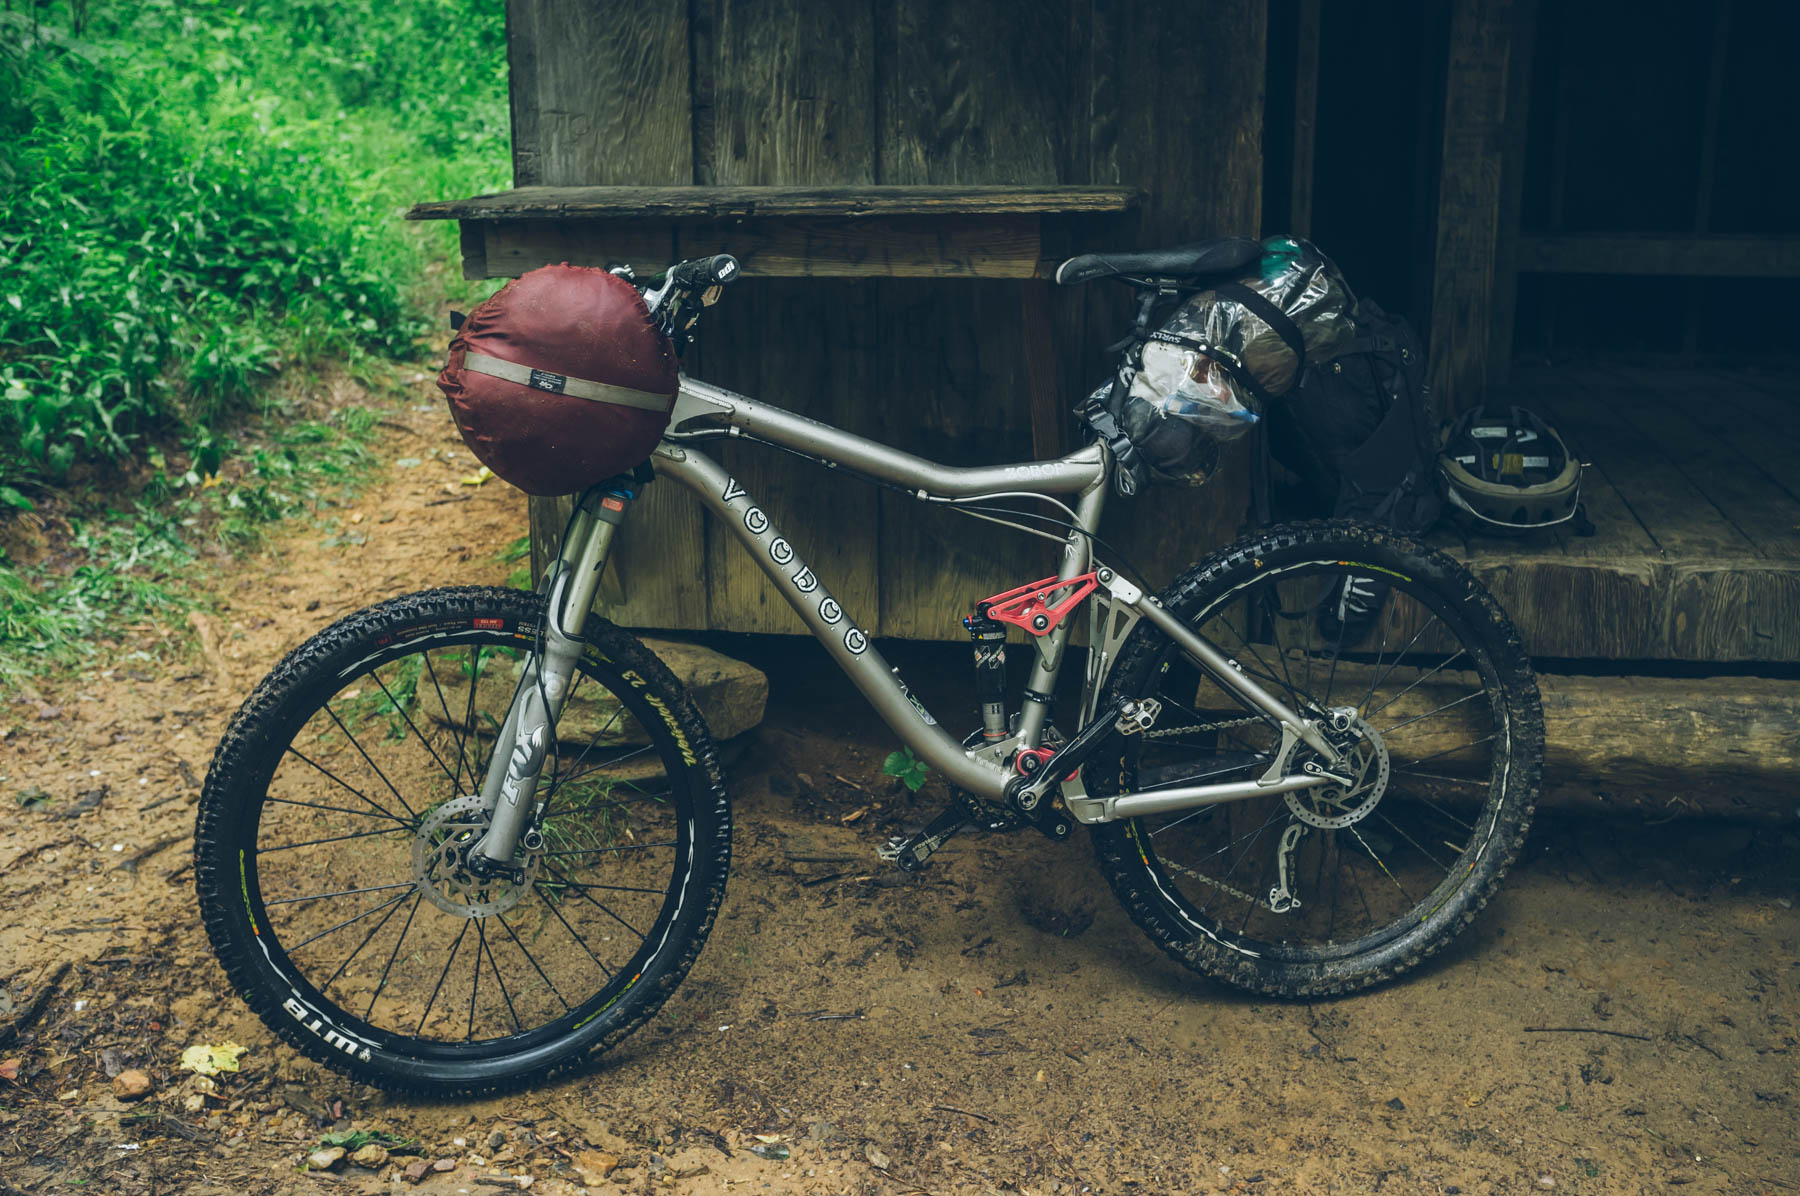
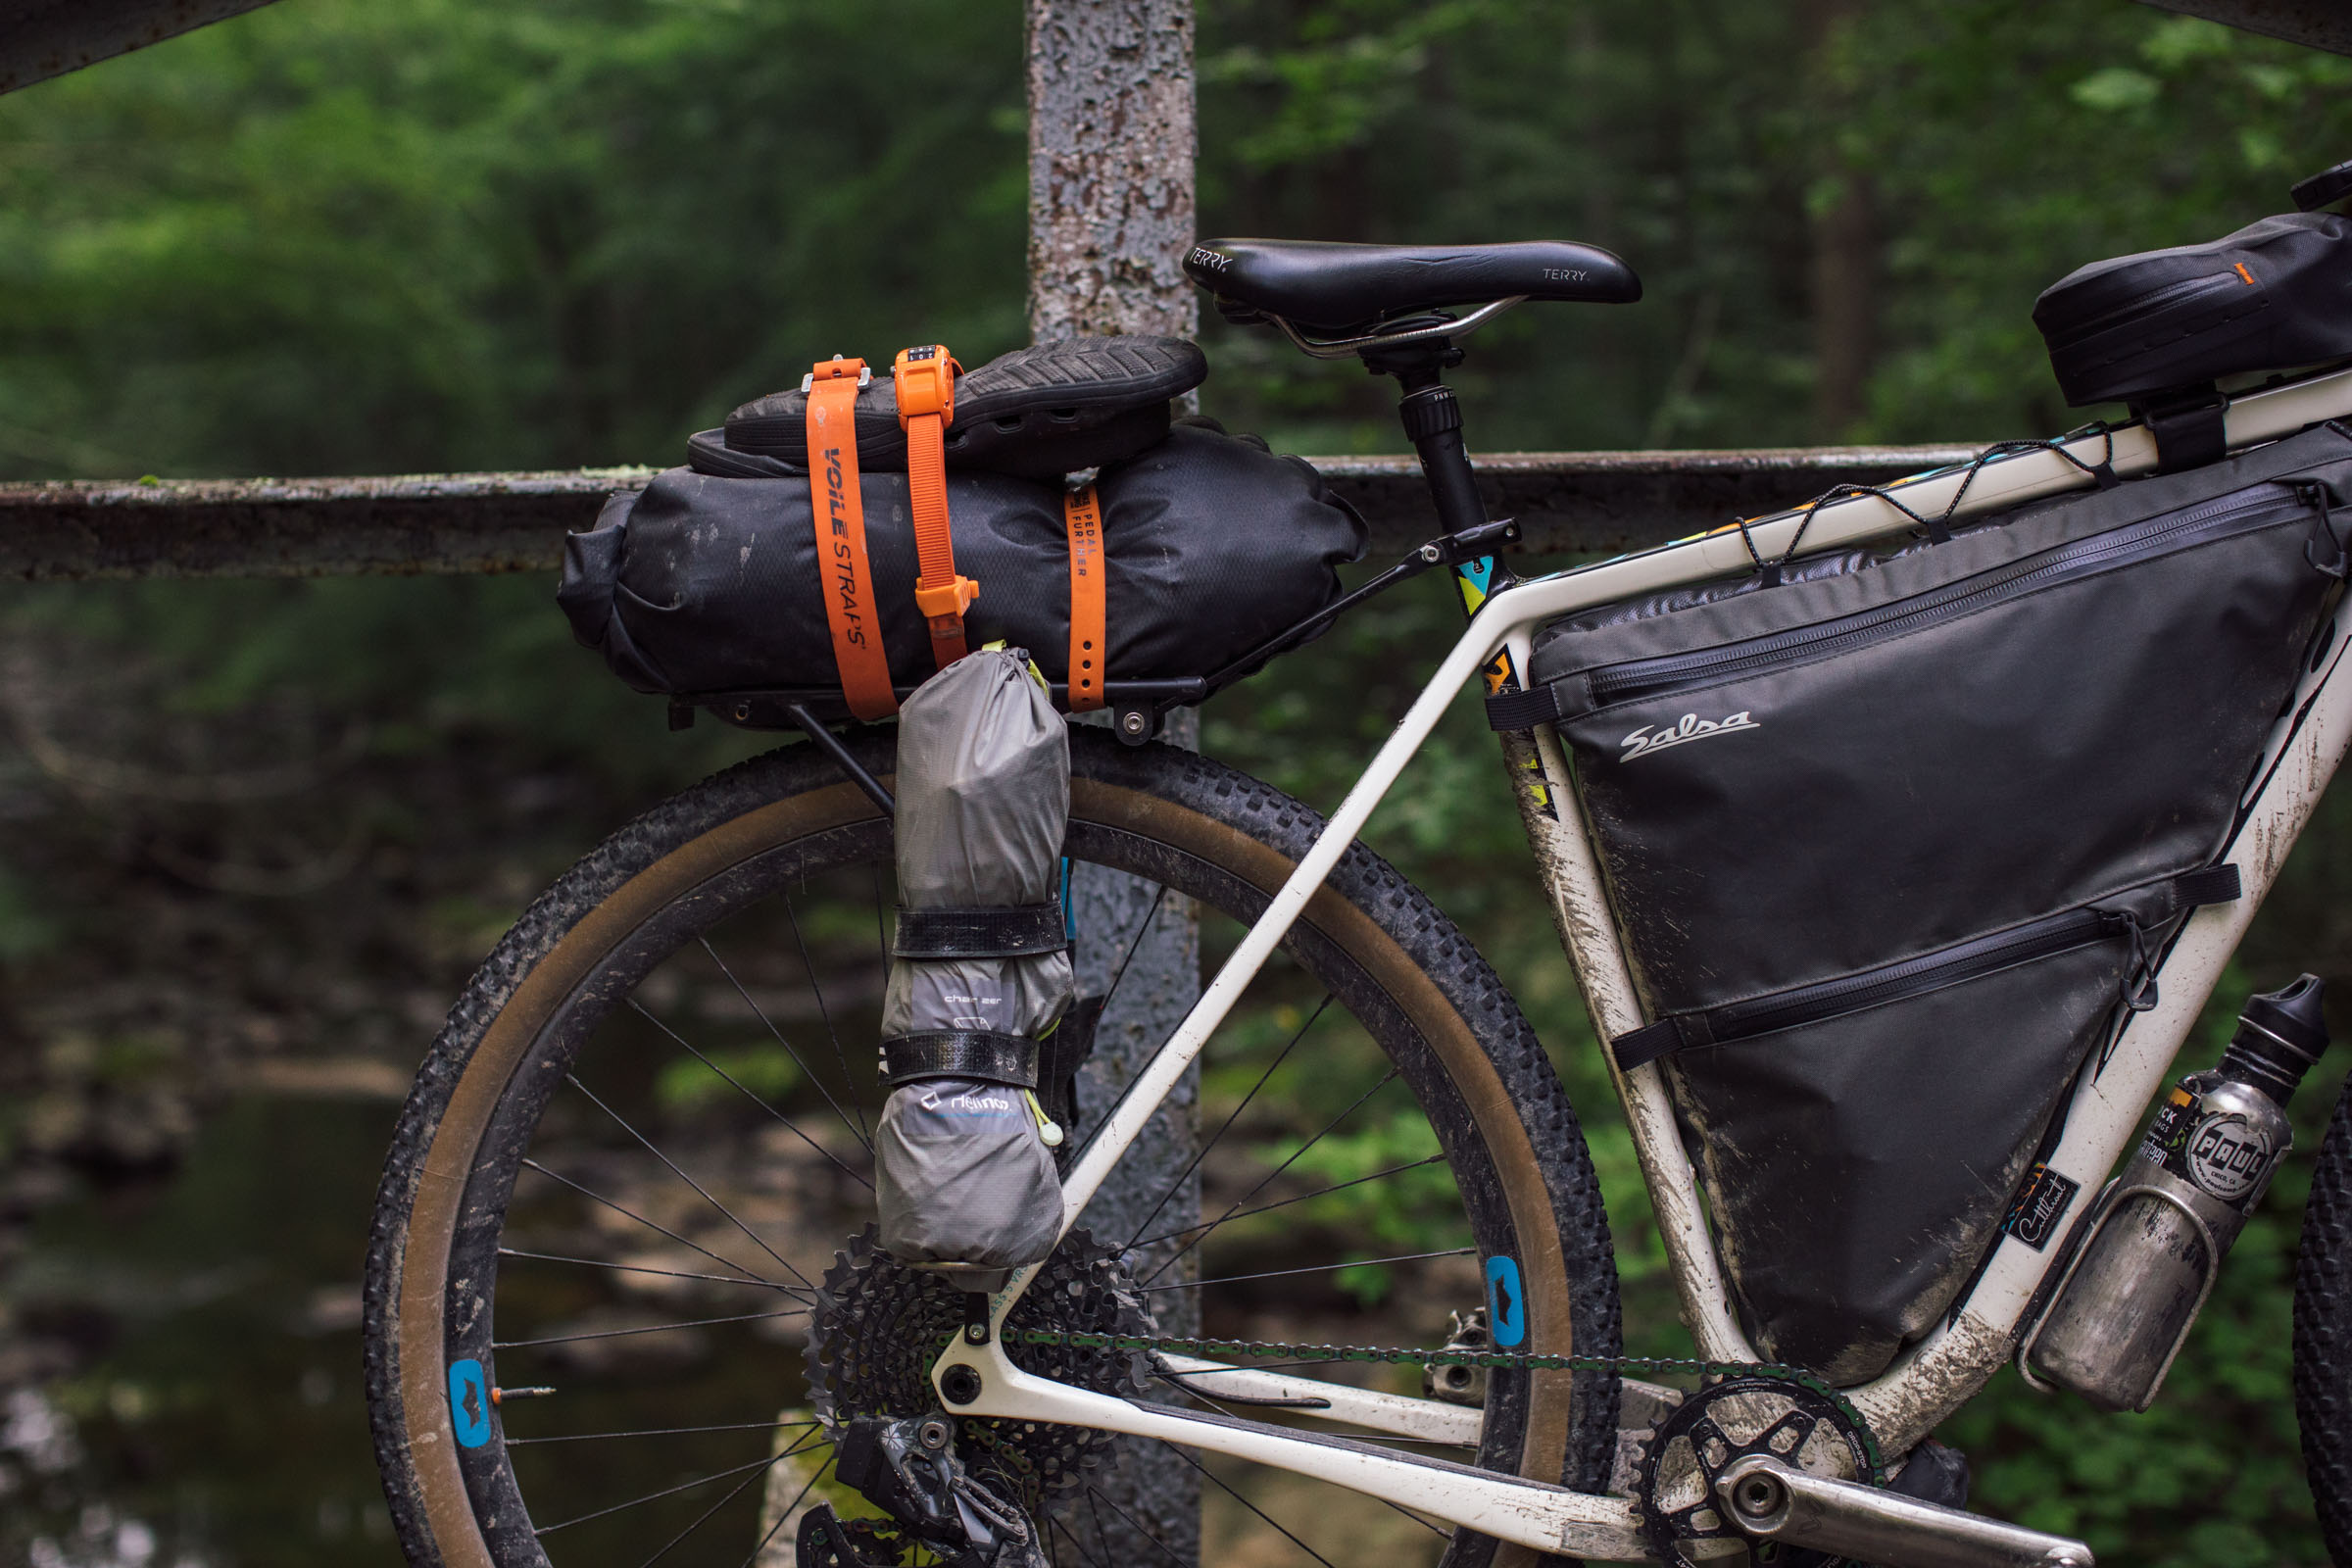
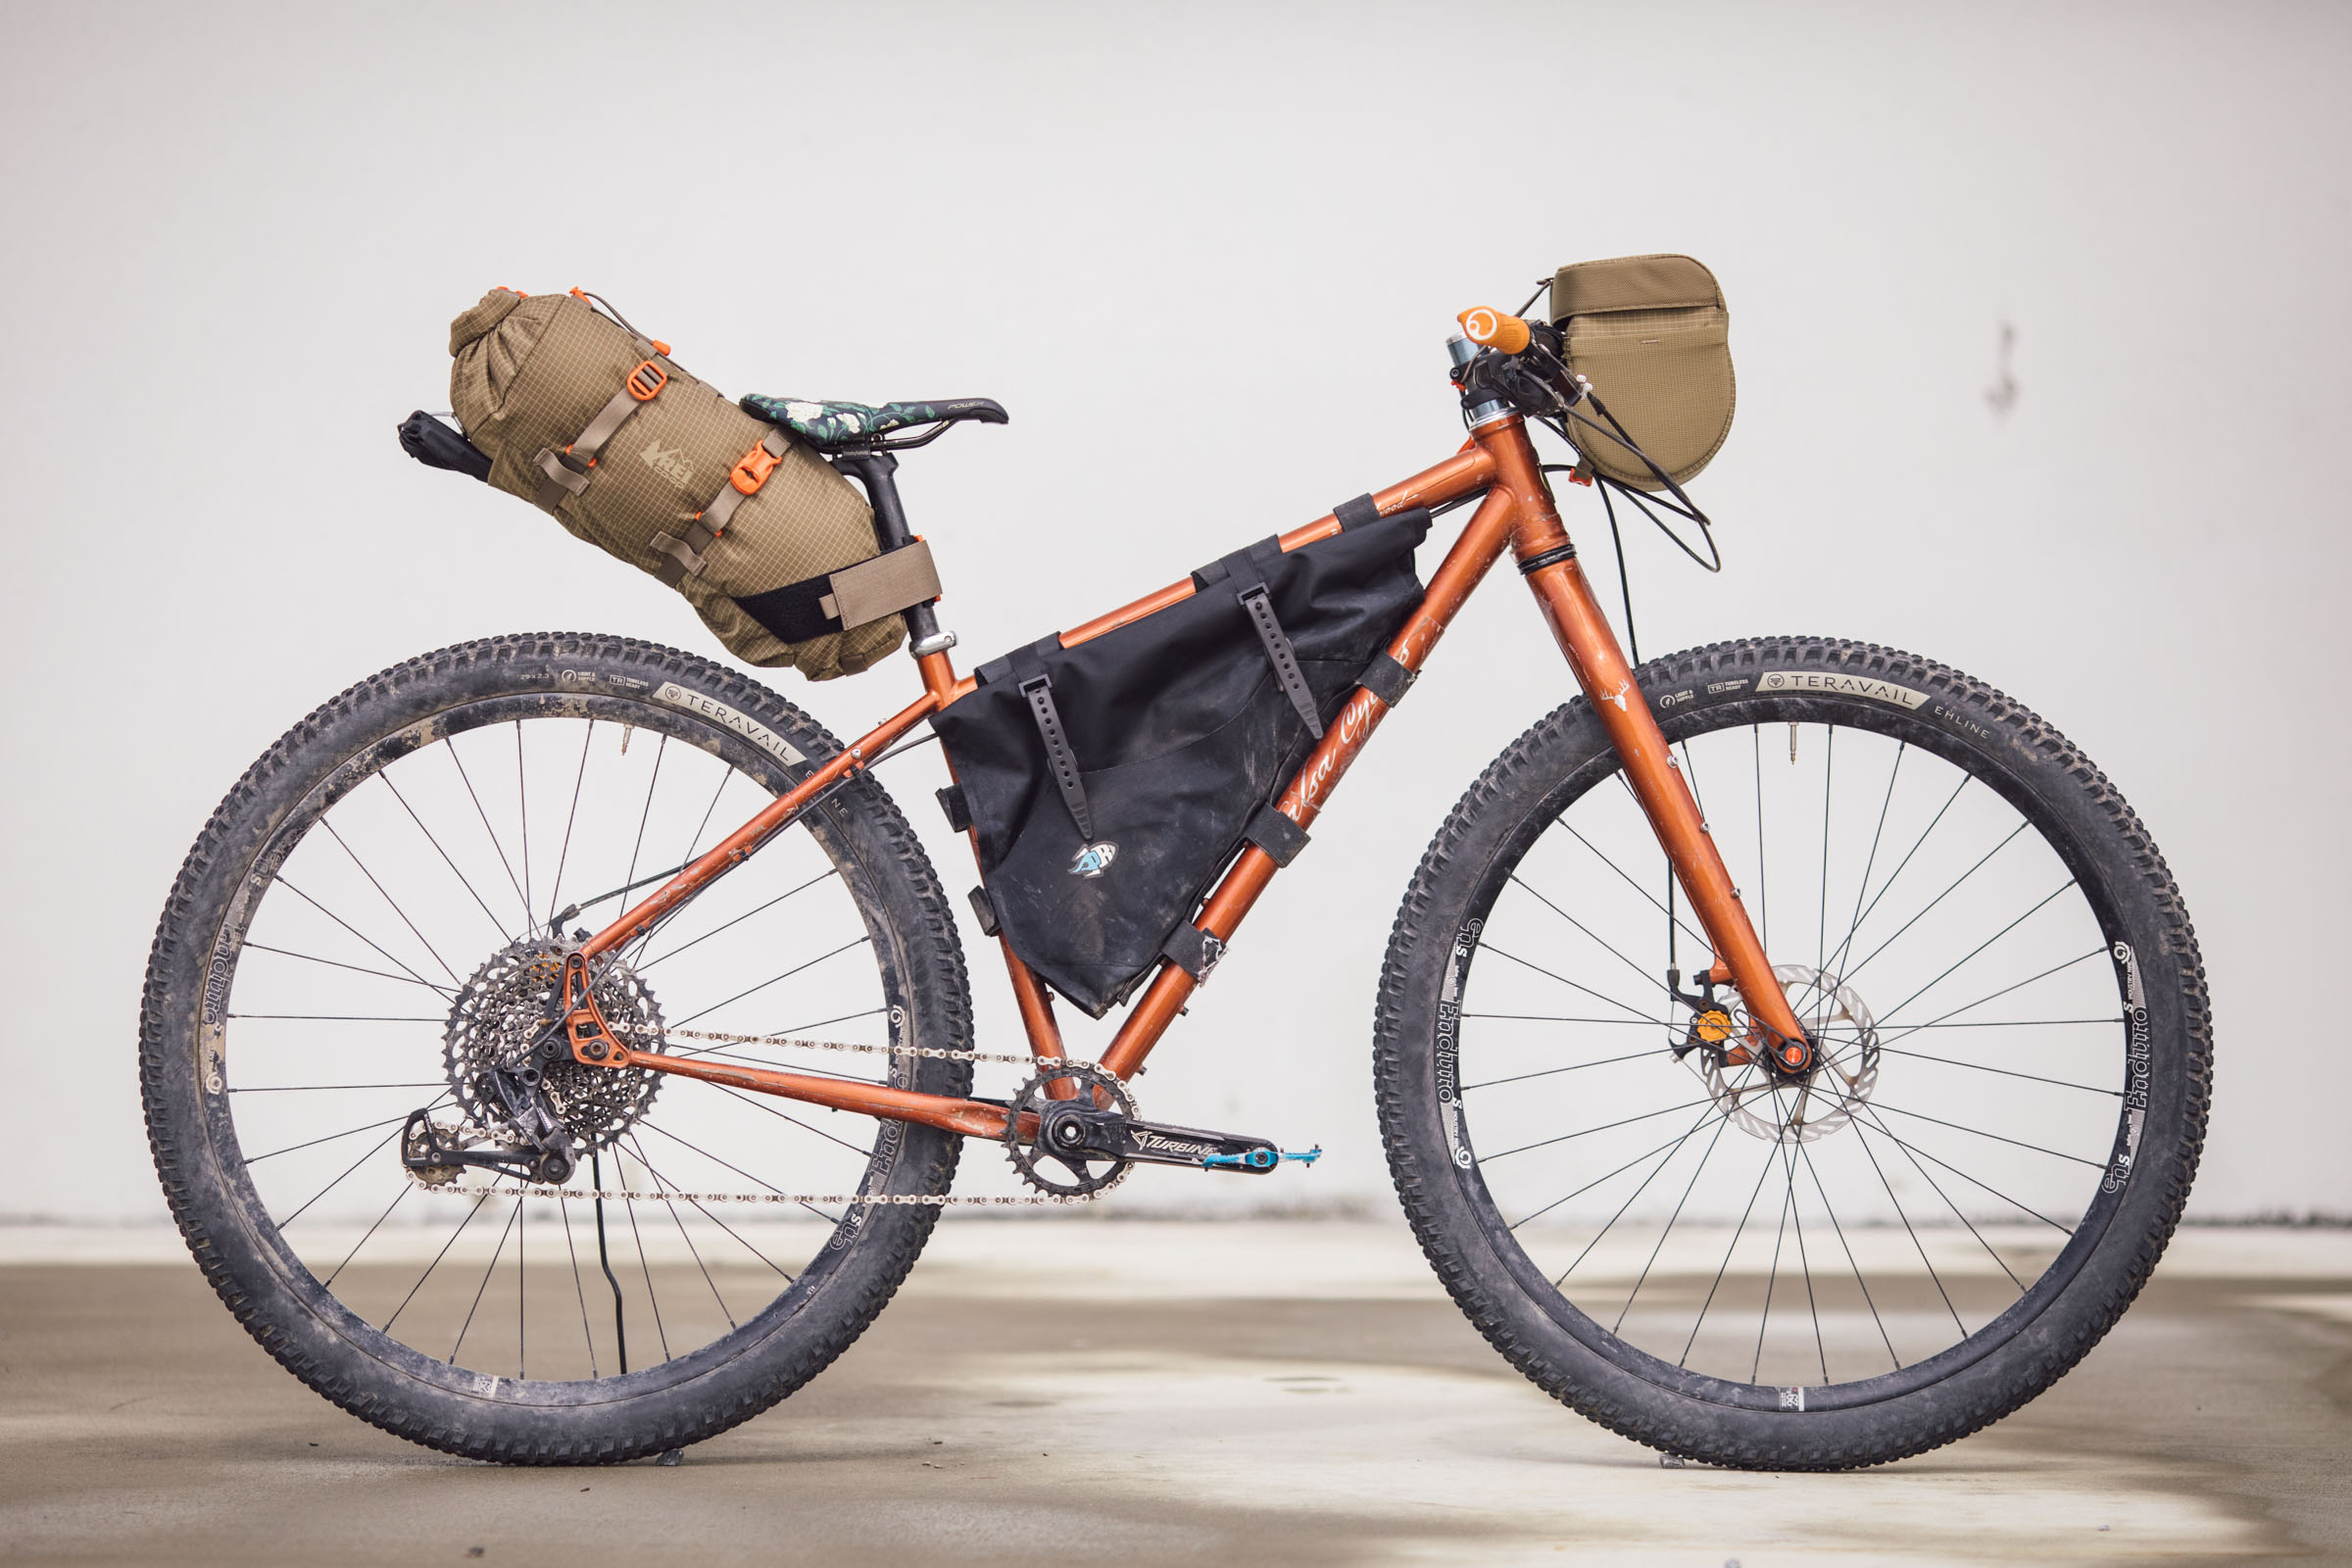
DIY Seat Pack 2: Rack + Dry Bag ($20-$75)
If your bike has mounts, it’s hard to beat the ease and efficiency rack and dry bag combo. This is a tried and true method that some people still prefer over saddlebags and seat packs. And it works with dropper posts, which many seat bags do not. As Neil mentions in the video, there are a lot of rack options, and you’ll need to check specs and compatibility to make sure you find a rack that will work with your bike. A few popular racks available from online retailers (and probably your local bike shop) include options from Topeak ($48), Planet Cyclery ($42), or this minimal folding rack from Schwinn ($20). You can also often find used racks on Facebook Marketplace and secondhand stores. Note that we don’t have any experience with the three options mentioned above, so if you have an inexpensive rack that you’d recommend, please leave it in the conversation section below.
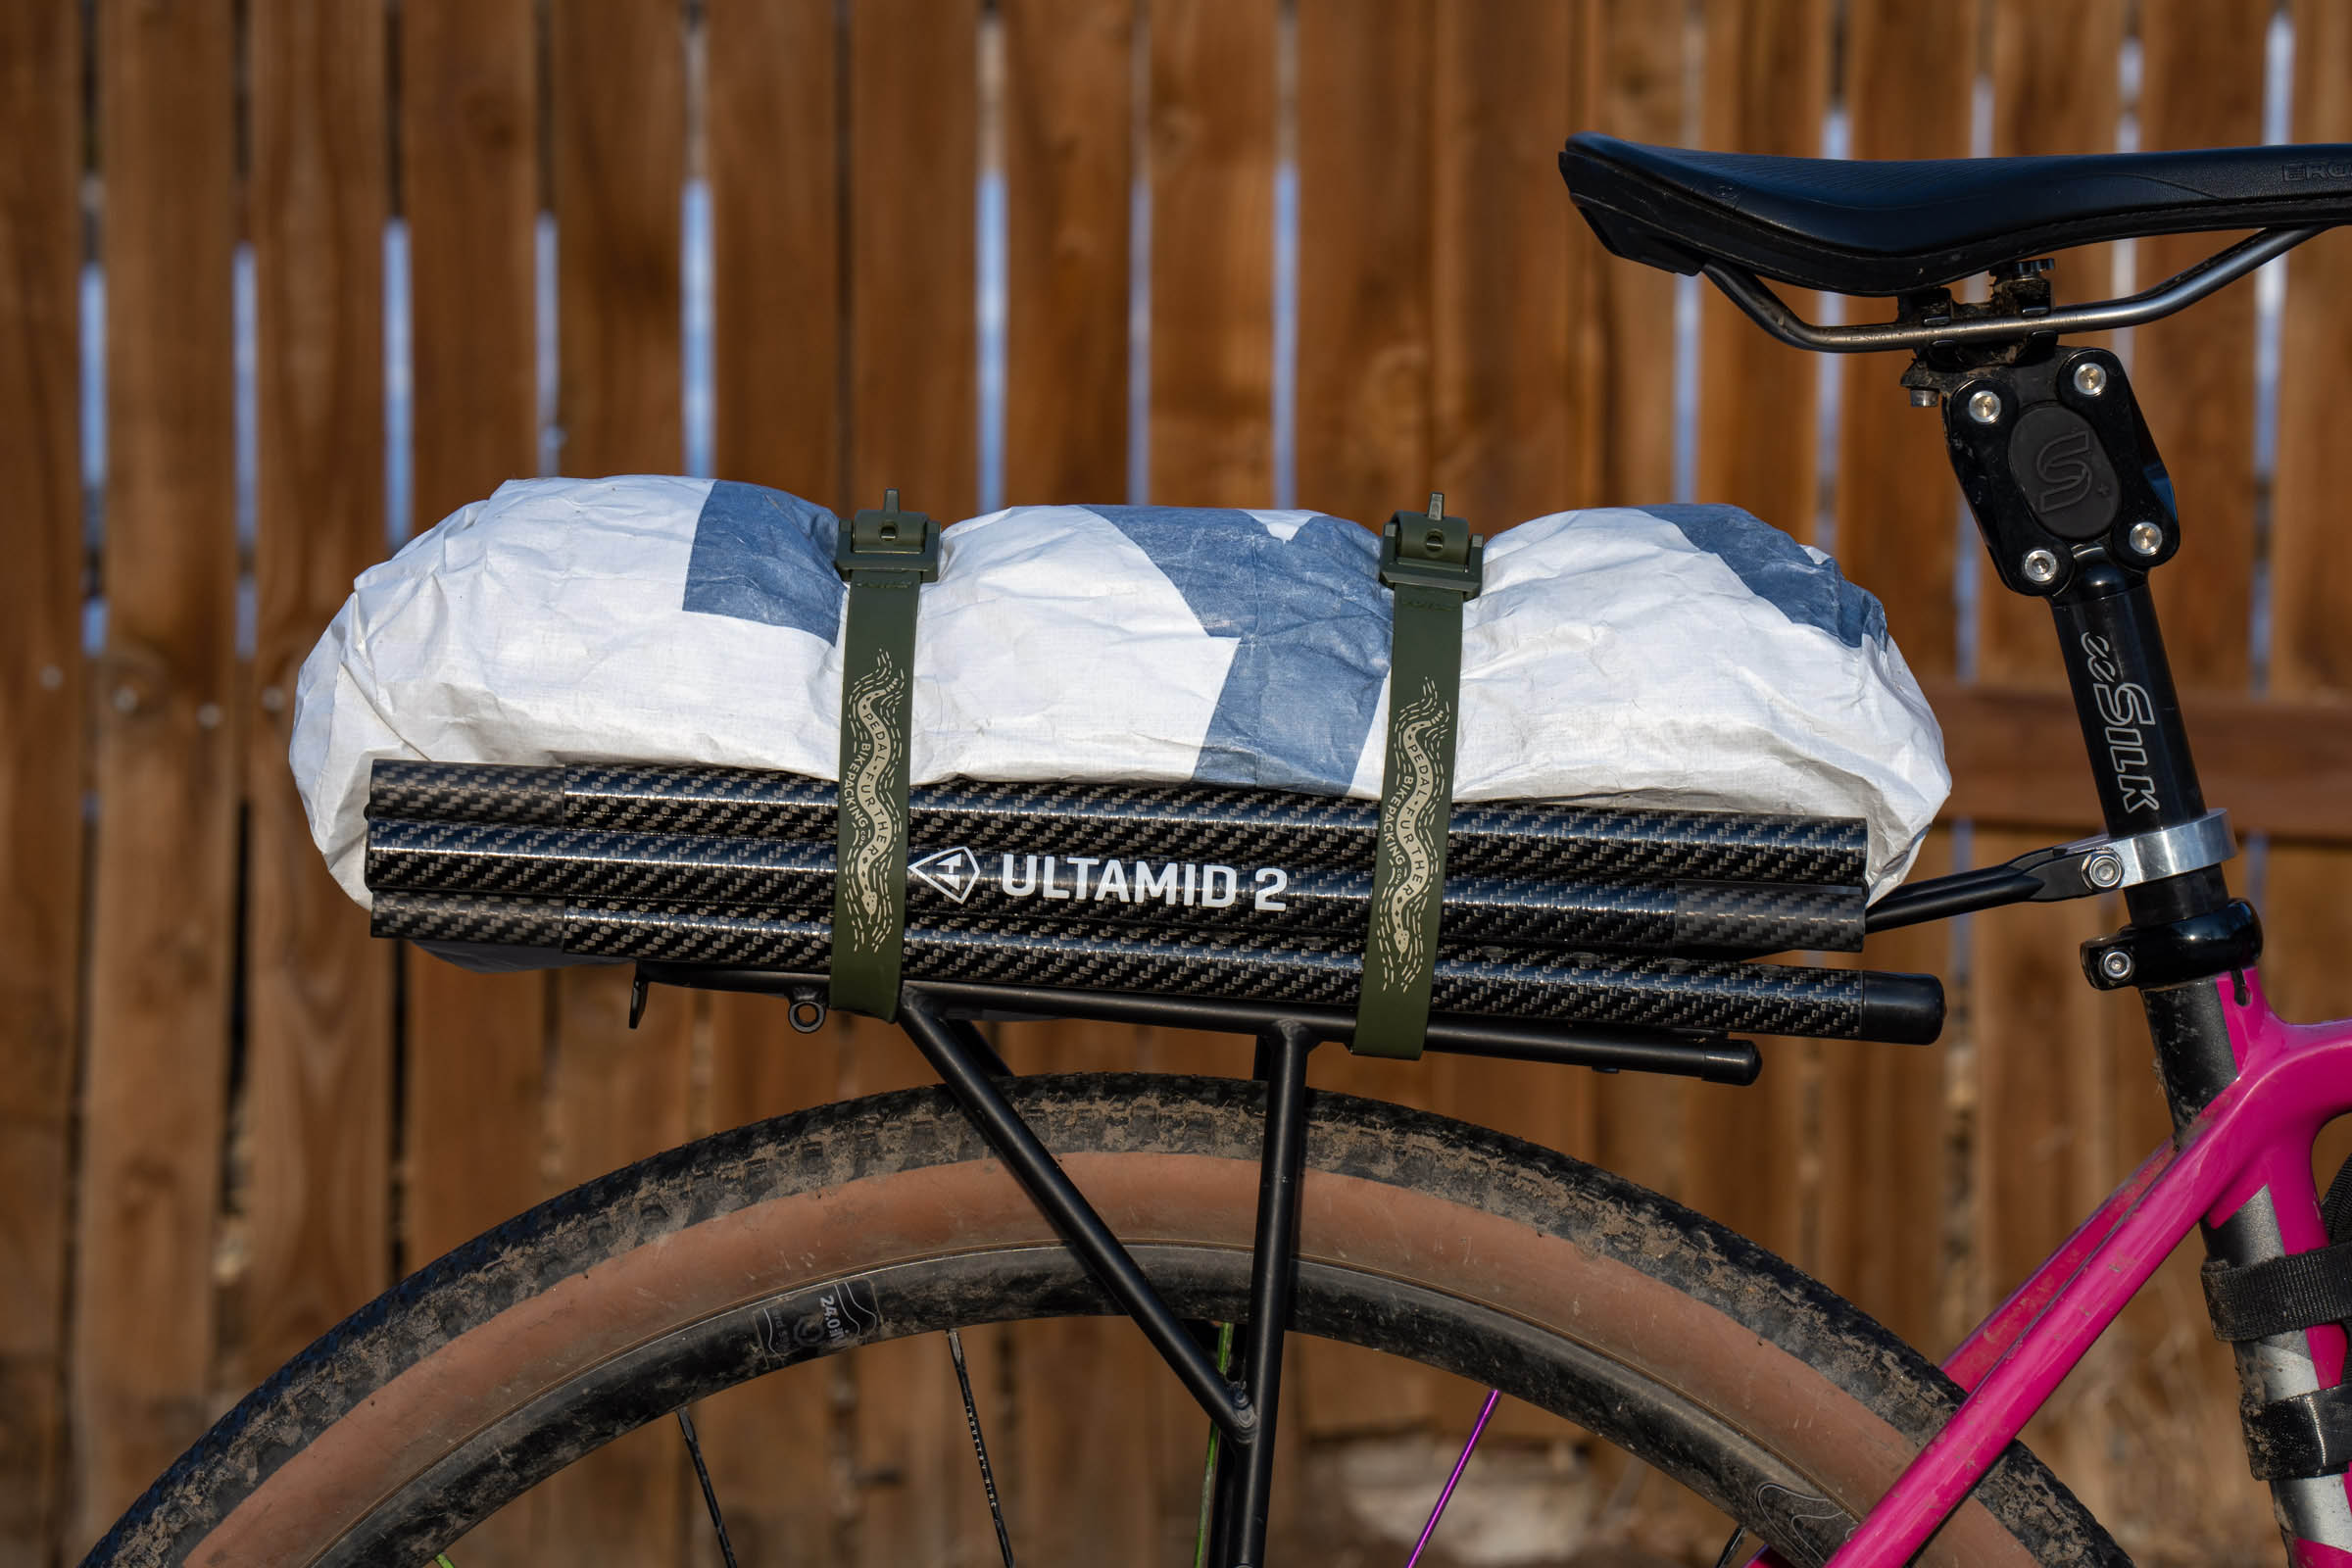
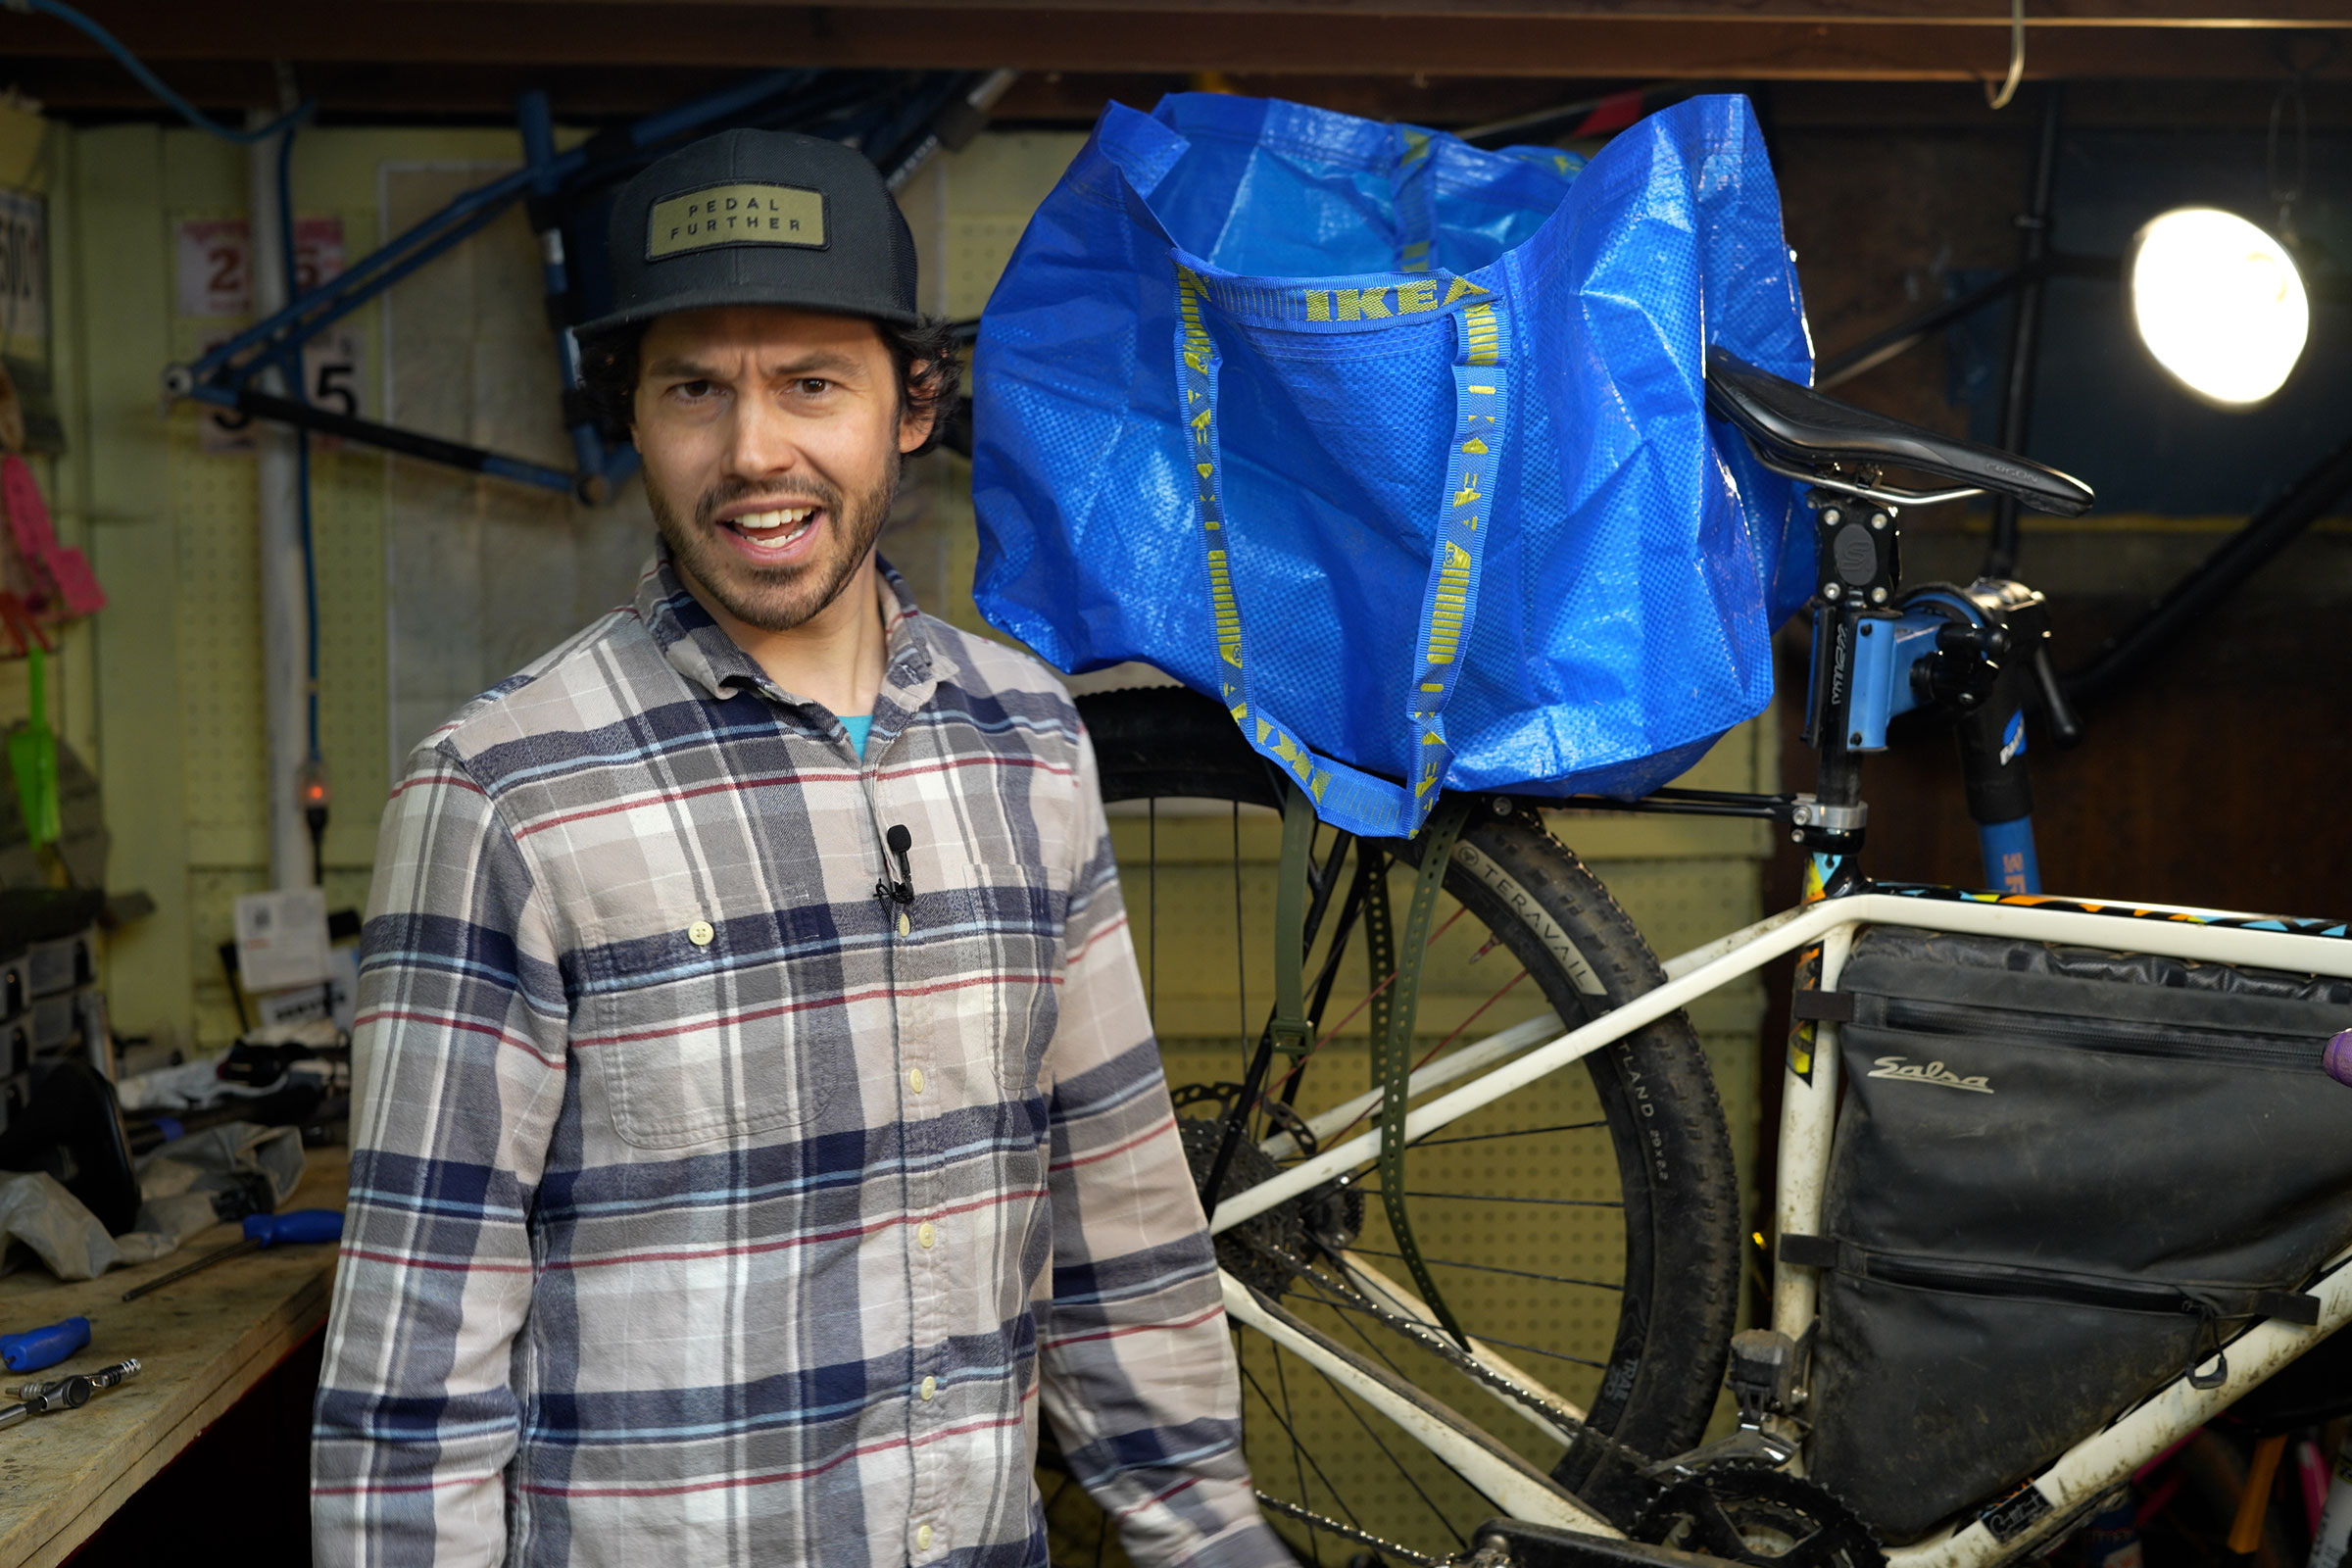
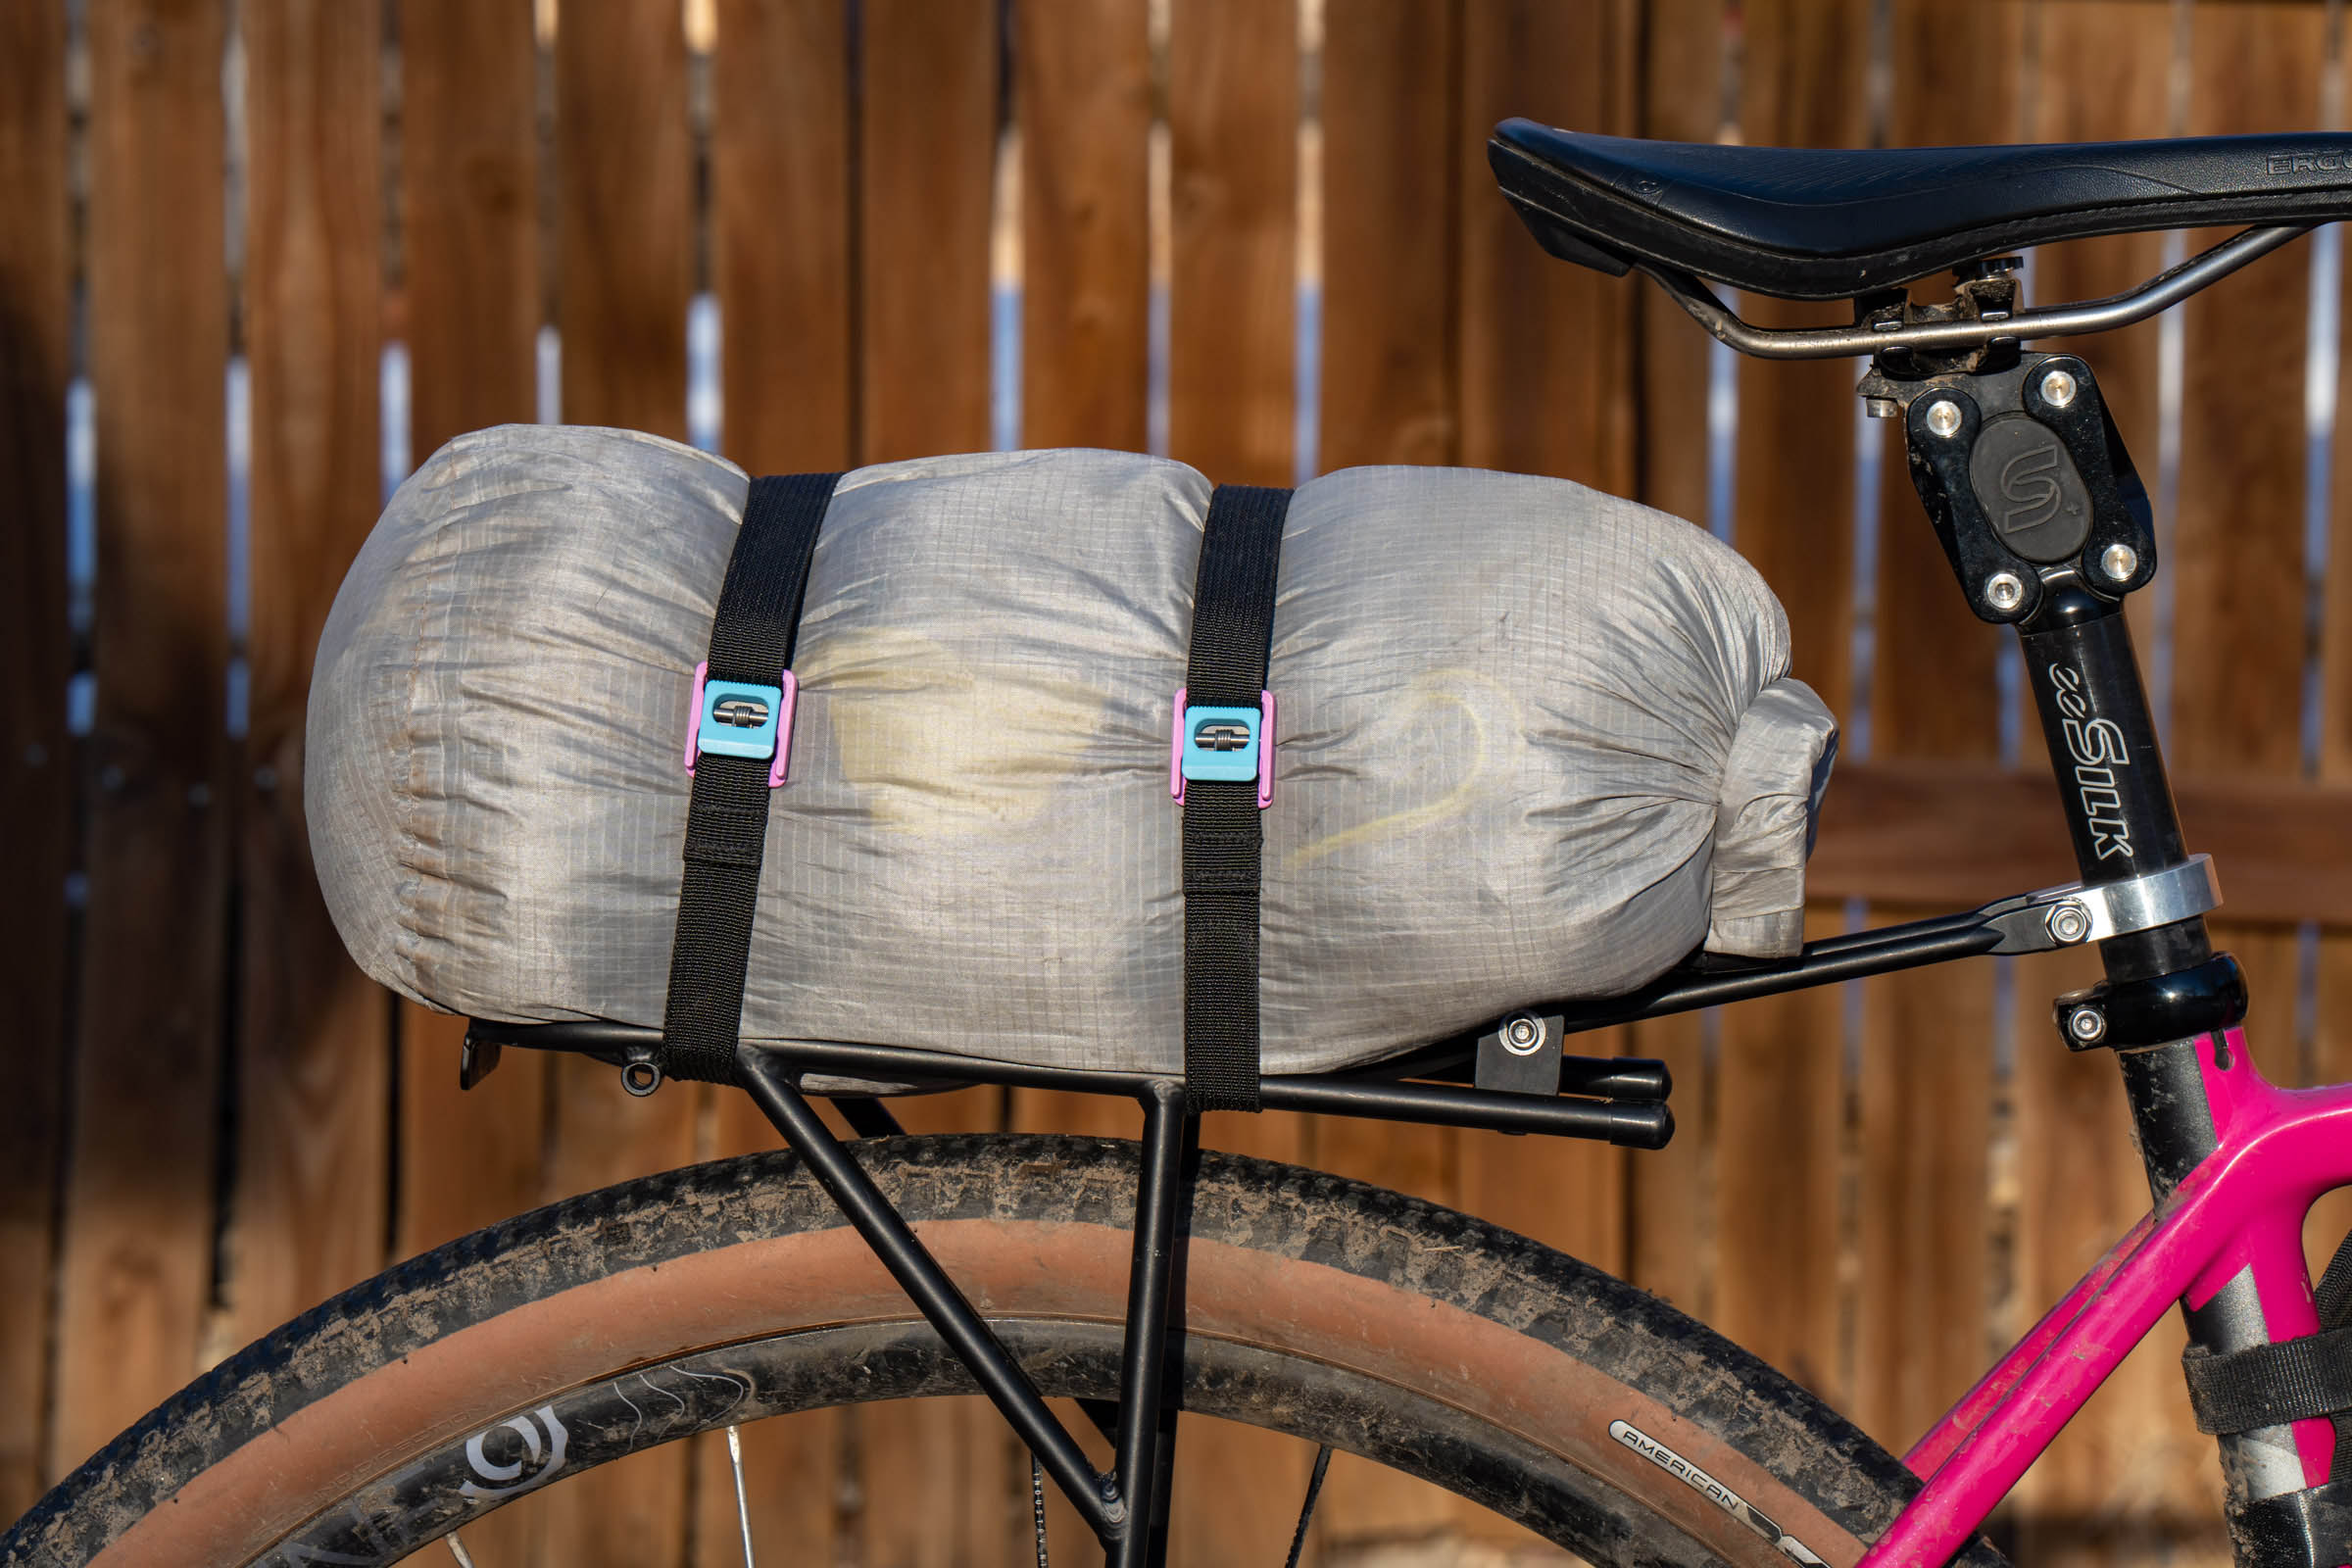
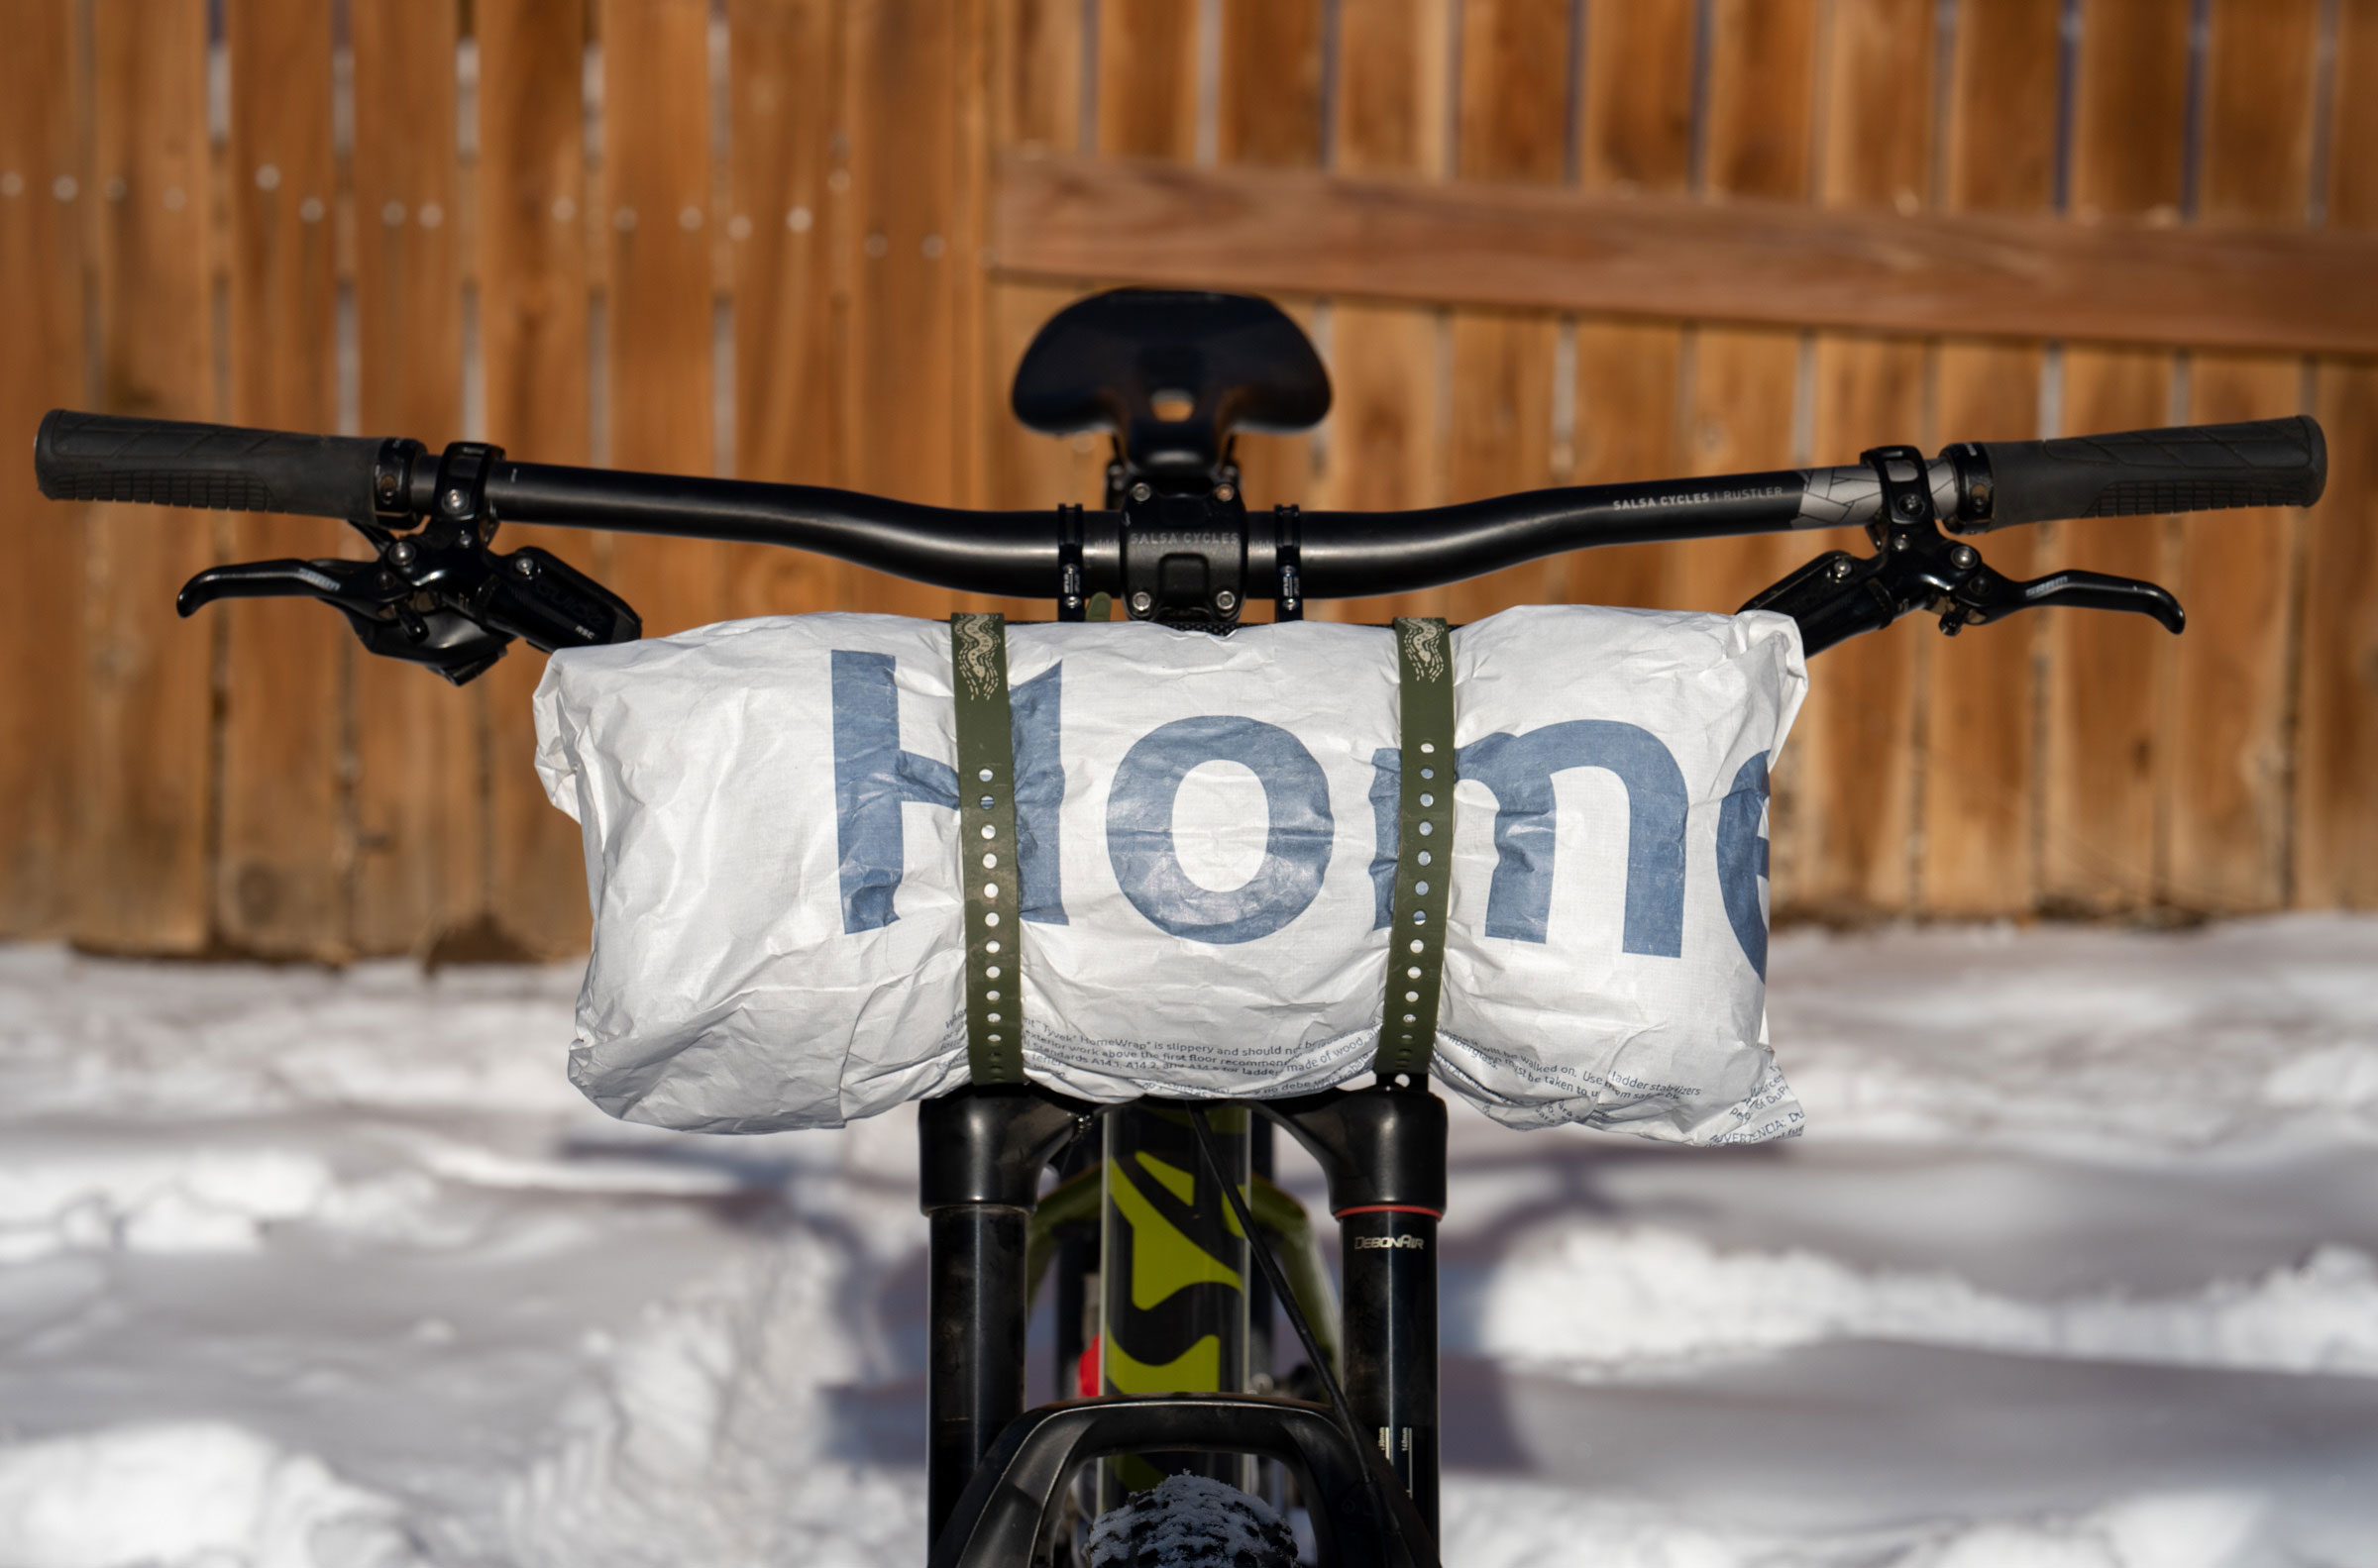
DIY Seat Pack 3: Rack + Tyvek Burrito (or Ikea Bag) ($20-$75)
As seen in the video above, you can easily wrap up your gear in a Tyvek burrito roll (similar to the Tyvek burrito used in the DIY handlebar bags video last week) or an Ikea bag to make a bundle that’s easy to strap to your rack. Or just strap your tent or other items on directly.
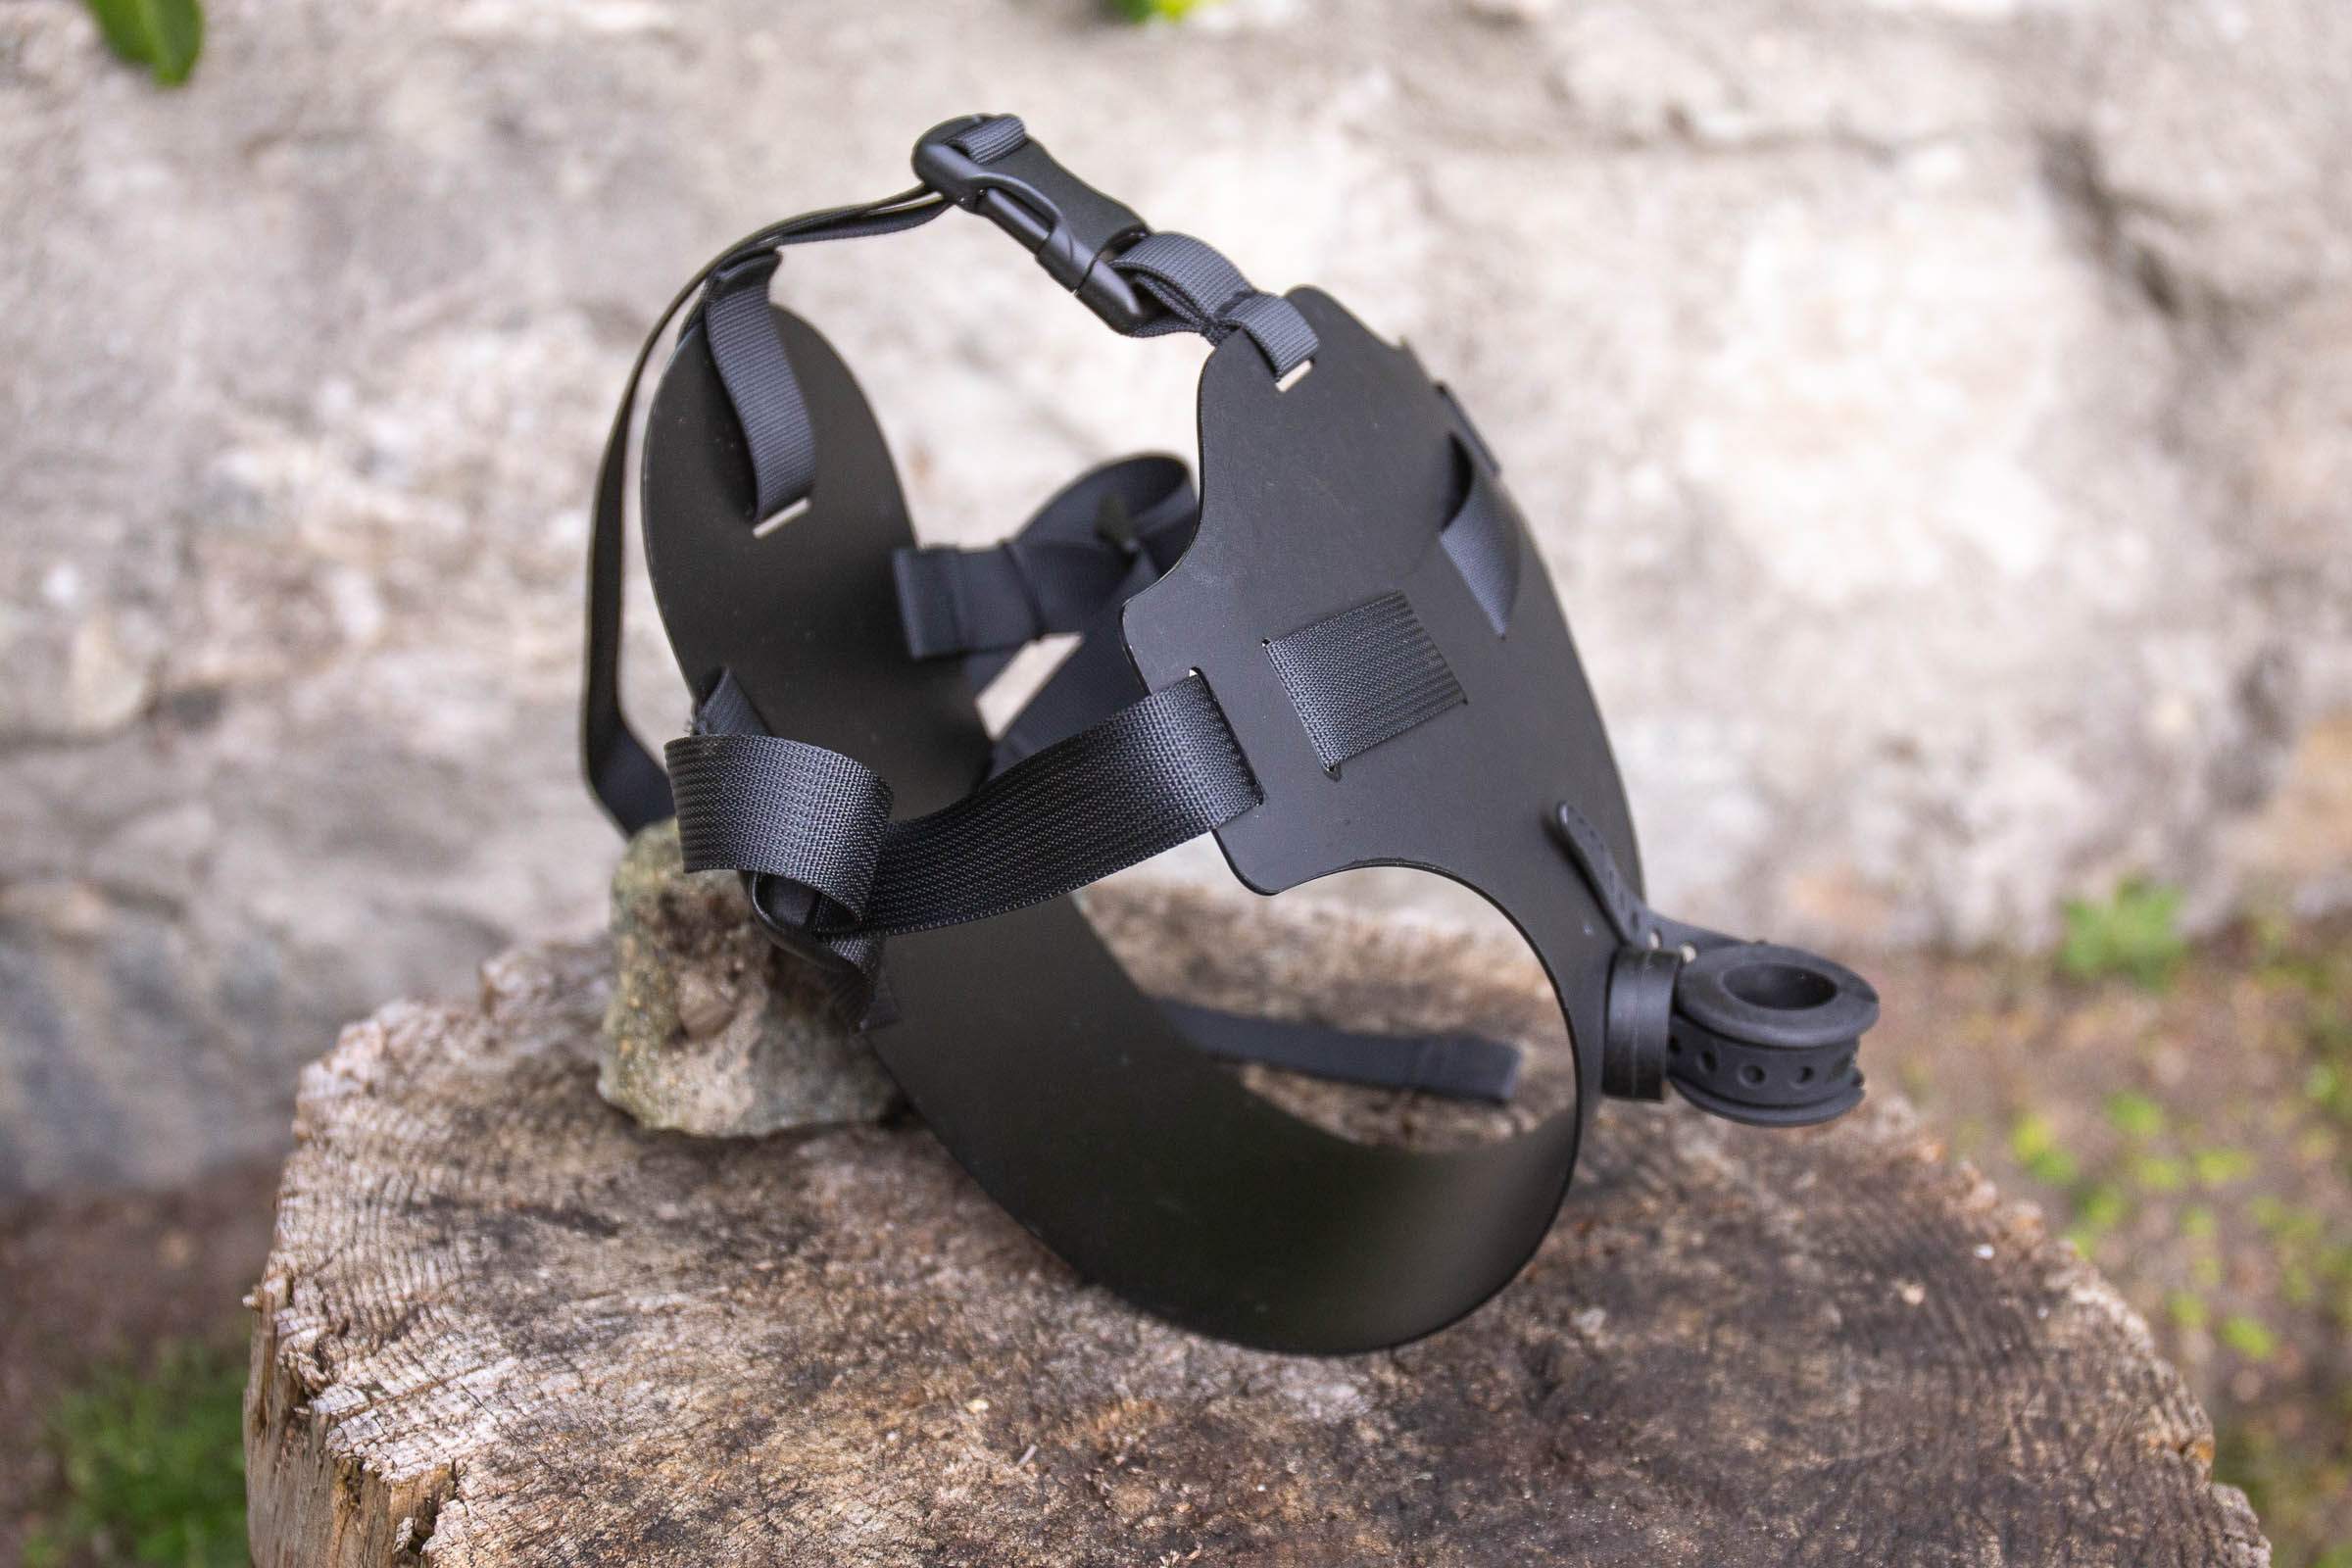
Budget Seat Pack 1: Wayward Louise ($70)
The Wayward Riders Louise Dropper Post Harness is a stable seat pack harness that holds dry bags ranging from 3 to 13L. It’s a very simple system, but it’s well made and works incredibly well (and it’s dropper-friendly). And for about $68 USD, it’s hard to find anything better. See our review of the recently updated Louise here.
Other Budget Seat Packs!? ($60-70)
As Neil mentioned in the video, there are quite a few factory-made seat packs and saddlebags available online. We haven’t tried many of them, and haven’t heard great things about a lot of them, either. The only one we have experience with is the REI Link seat pack, which retails for $70 (find our review here). We haven’t put it through extensive testing, but it seems like an okay value as long as you keep the load relatively light. If any of you have experience with it, or any other low-cost seat packs, let us know in the conversation below.
Related Content
Make sure to dig into these related articles for more info...

Please keep the conversation civil, constructive, and inclusive, or your comment will be removed.