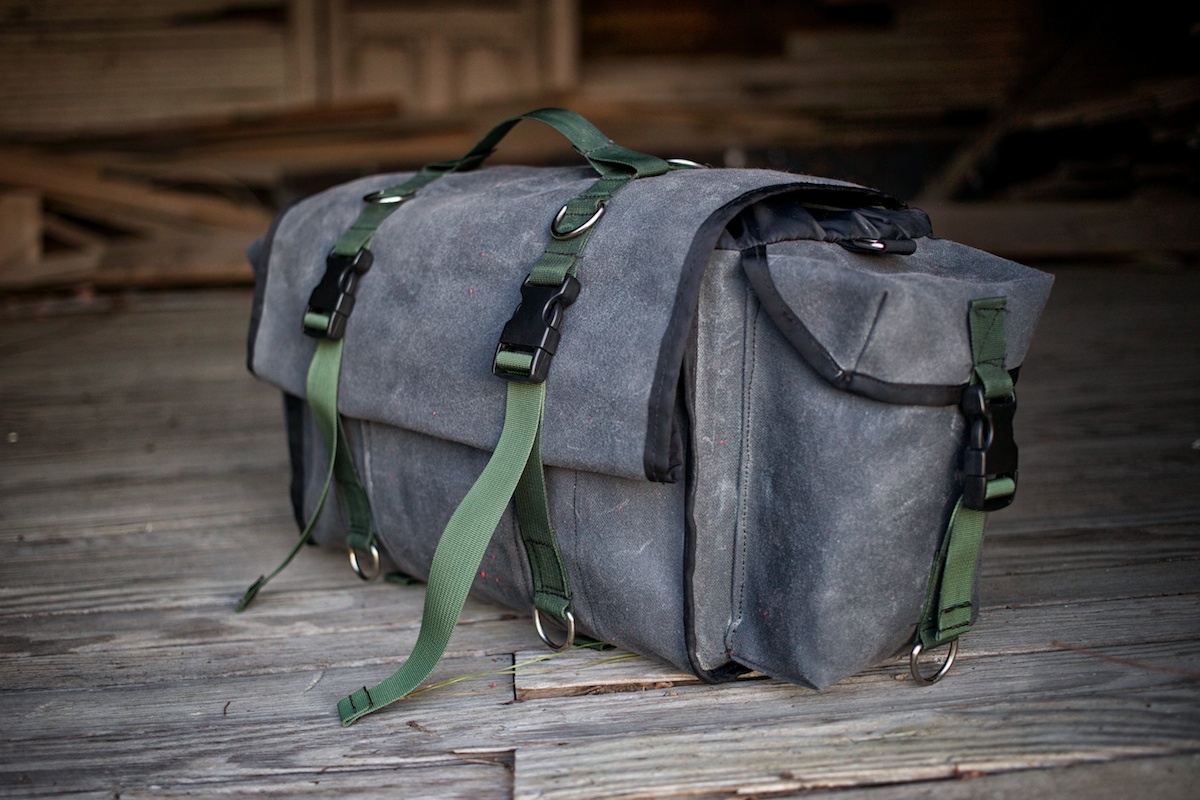
A DIY Longflap Saddlebag for Minimalist Dirt Touring
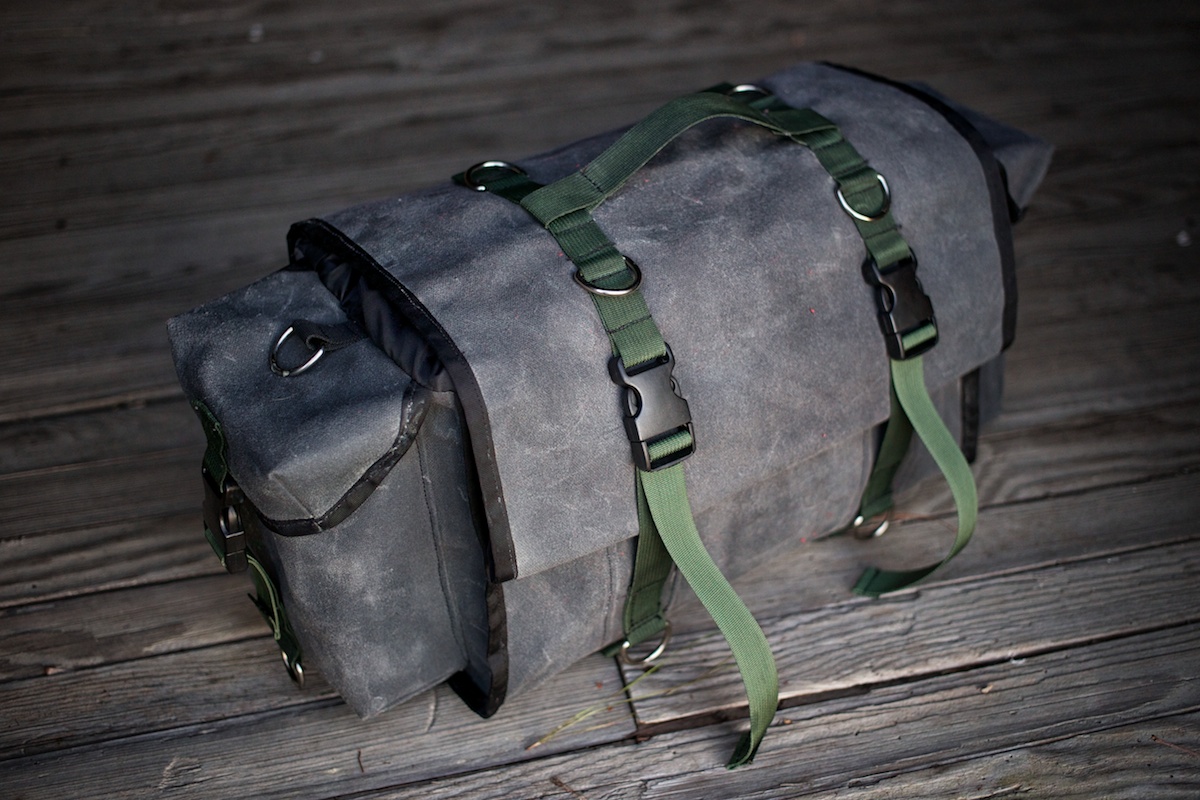
Created with classic styling, this longflap saddlebag is like a Frankensatchel, timeless waxed canvas cobbled with modern materials and a few extra useful features.
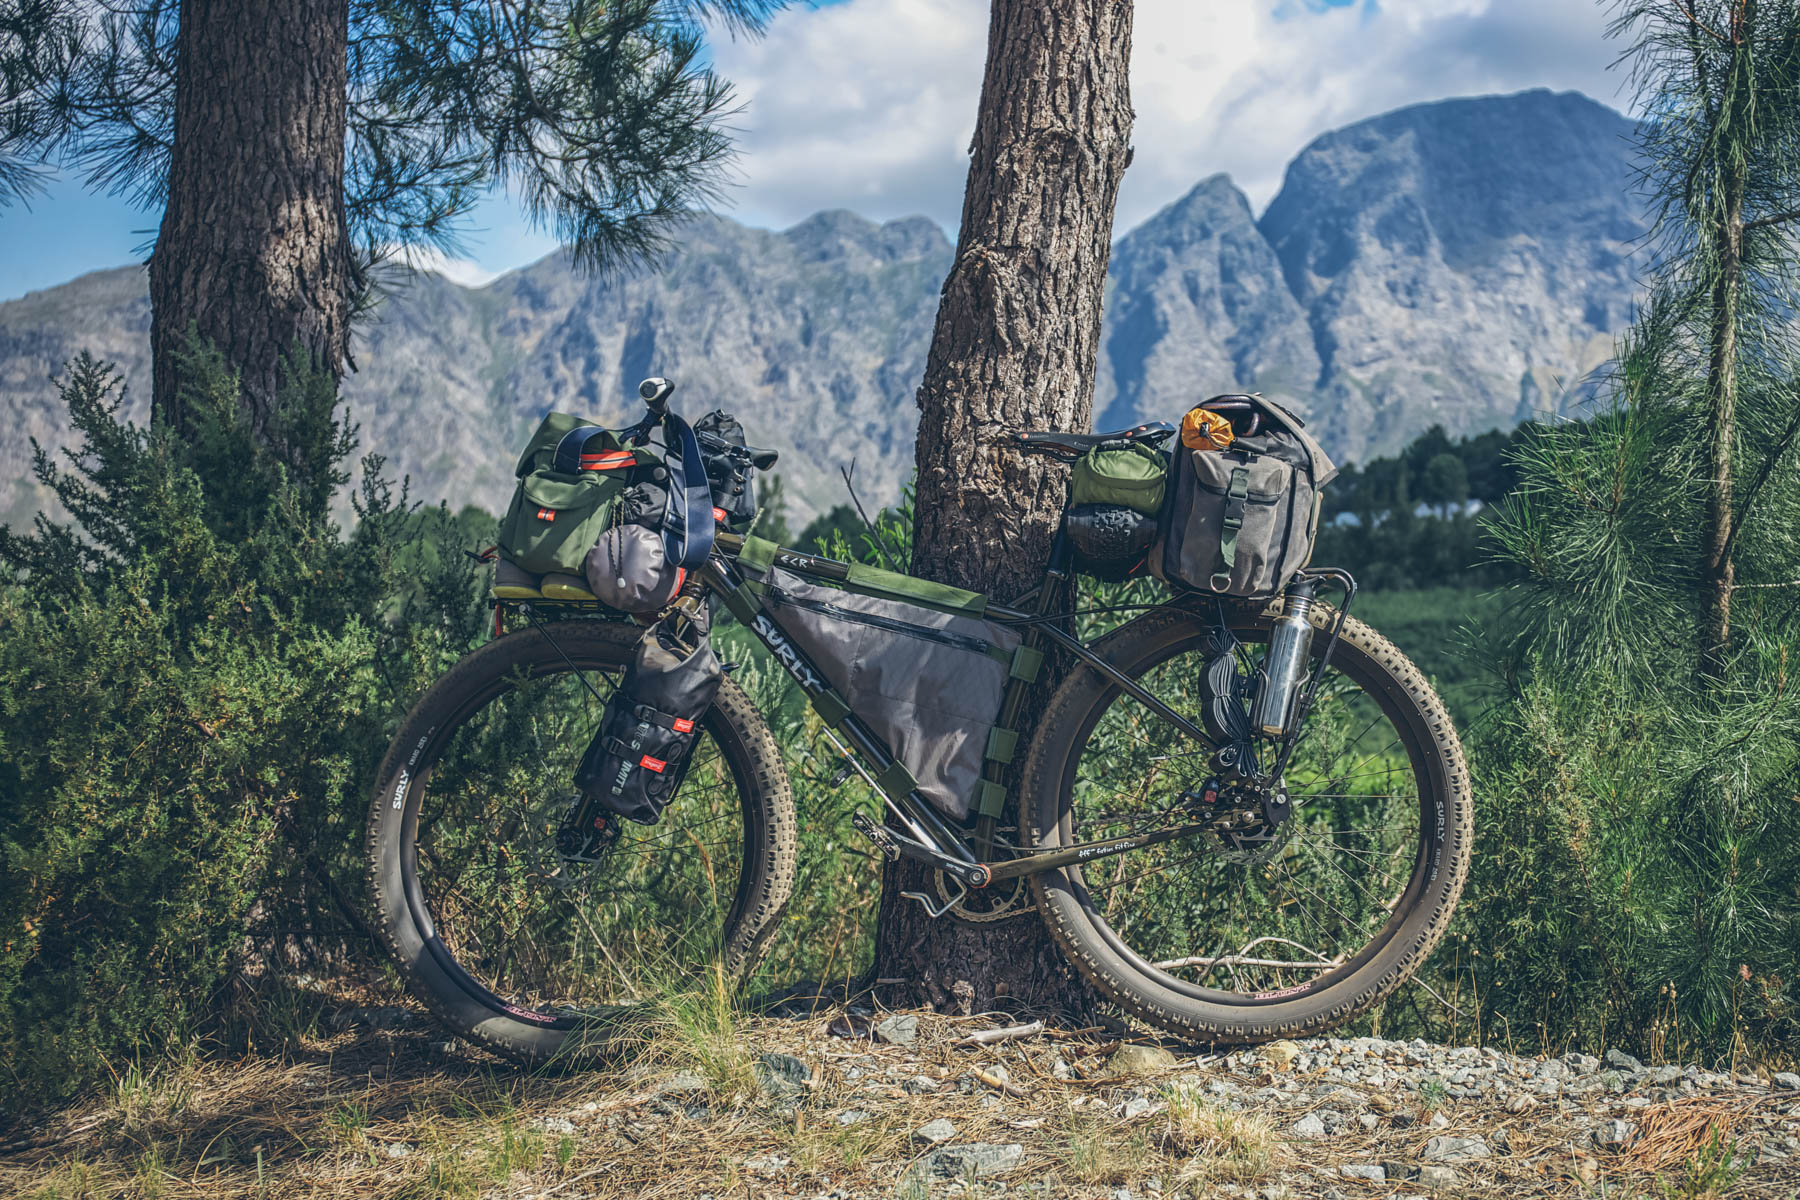
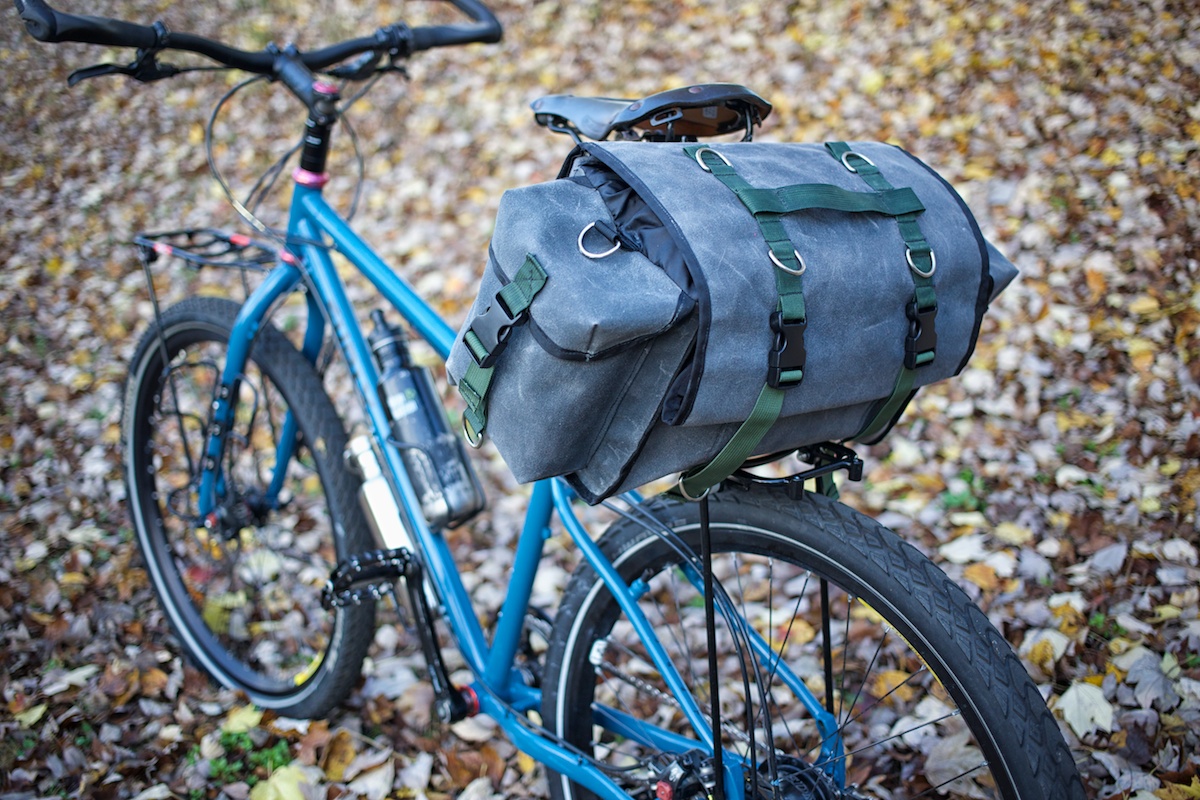
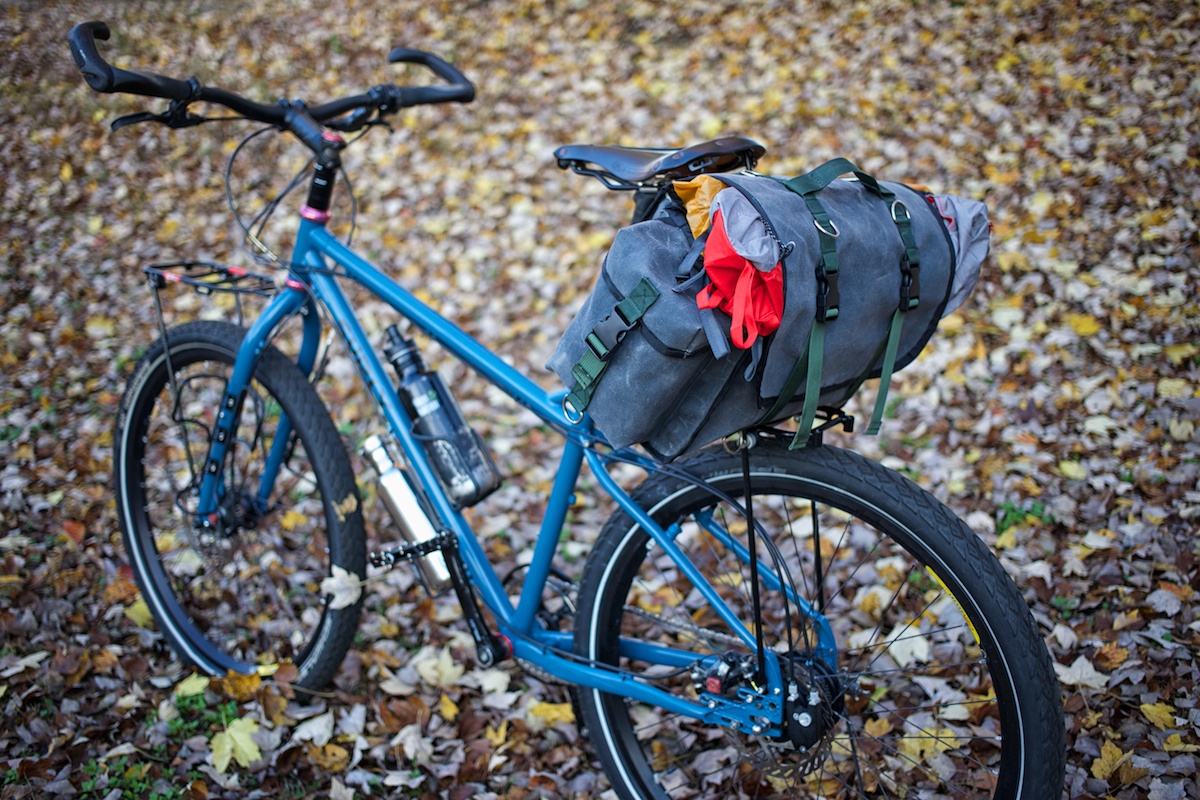
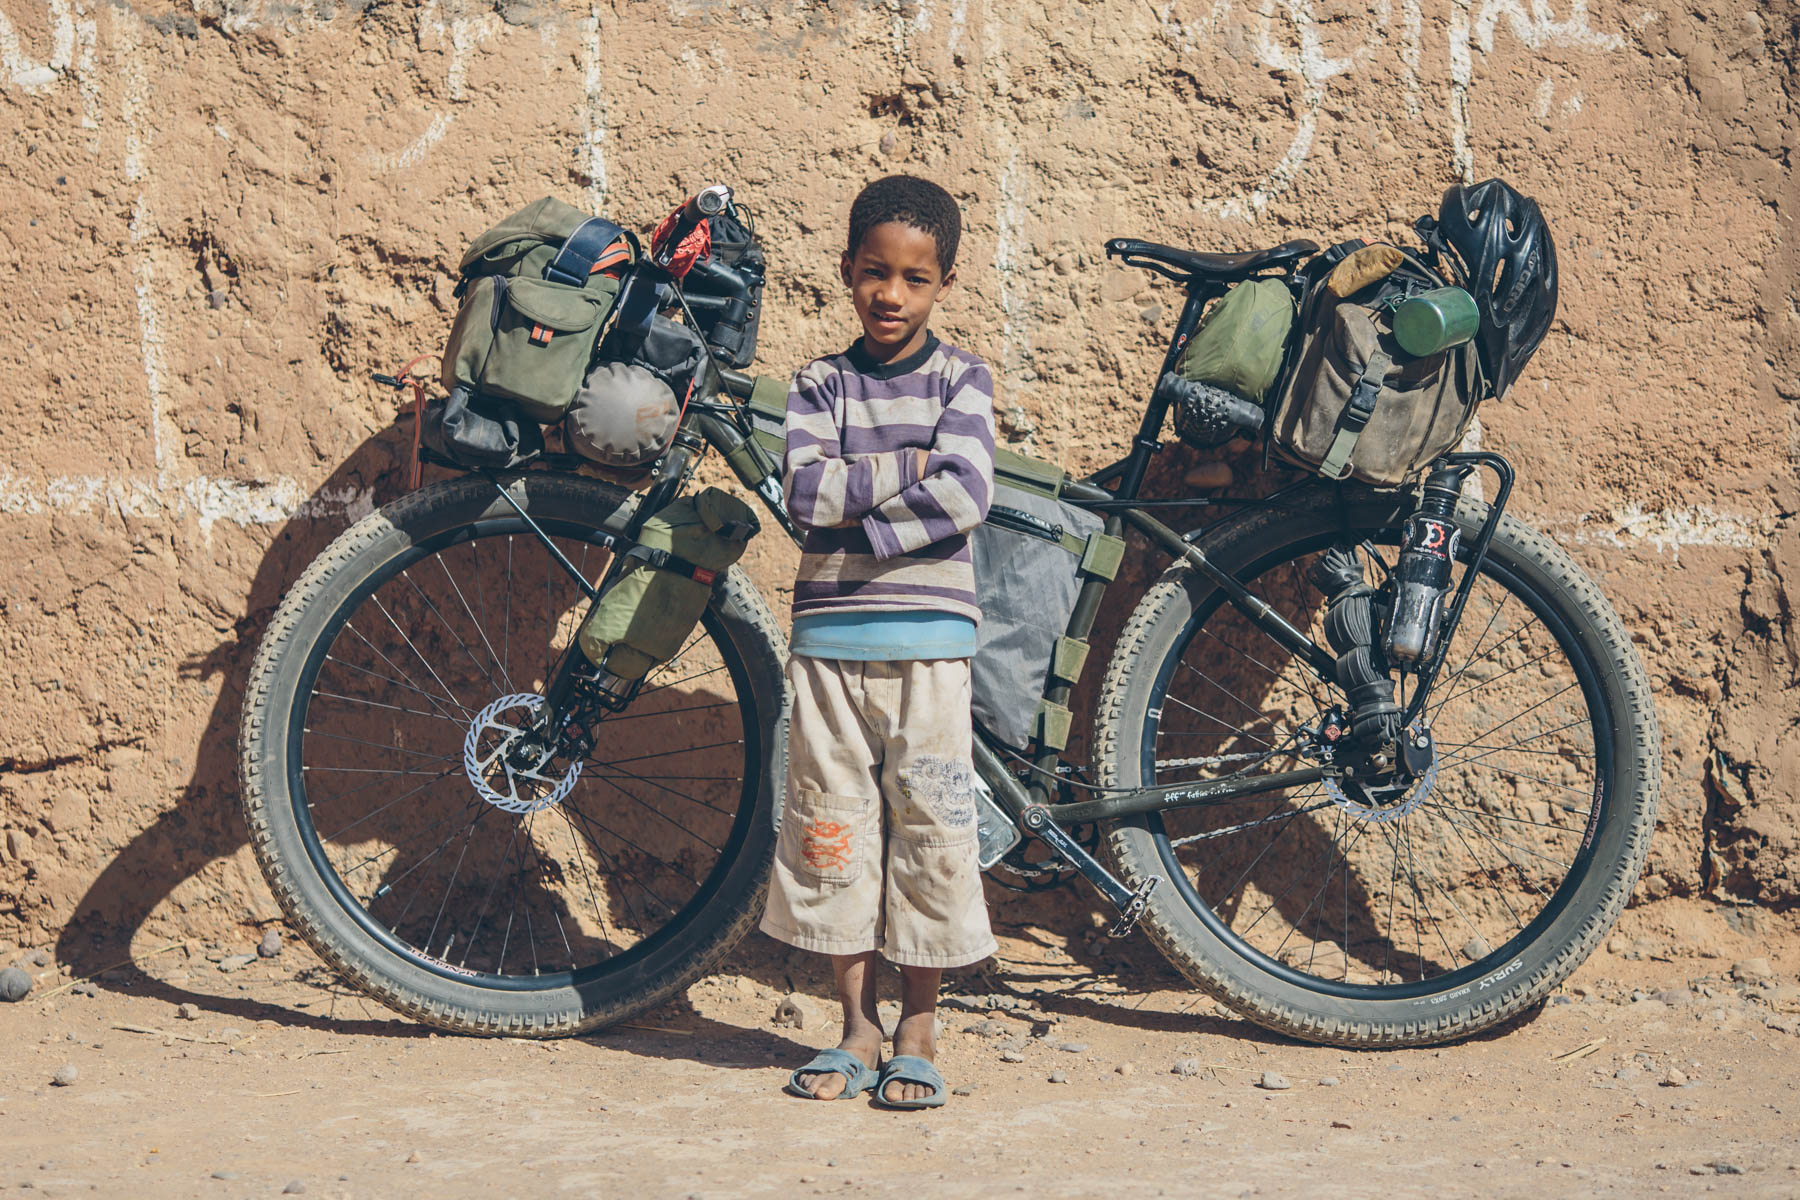
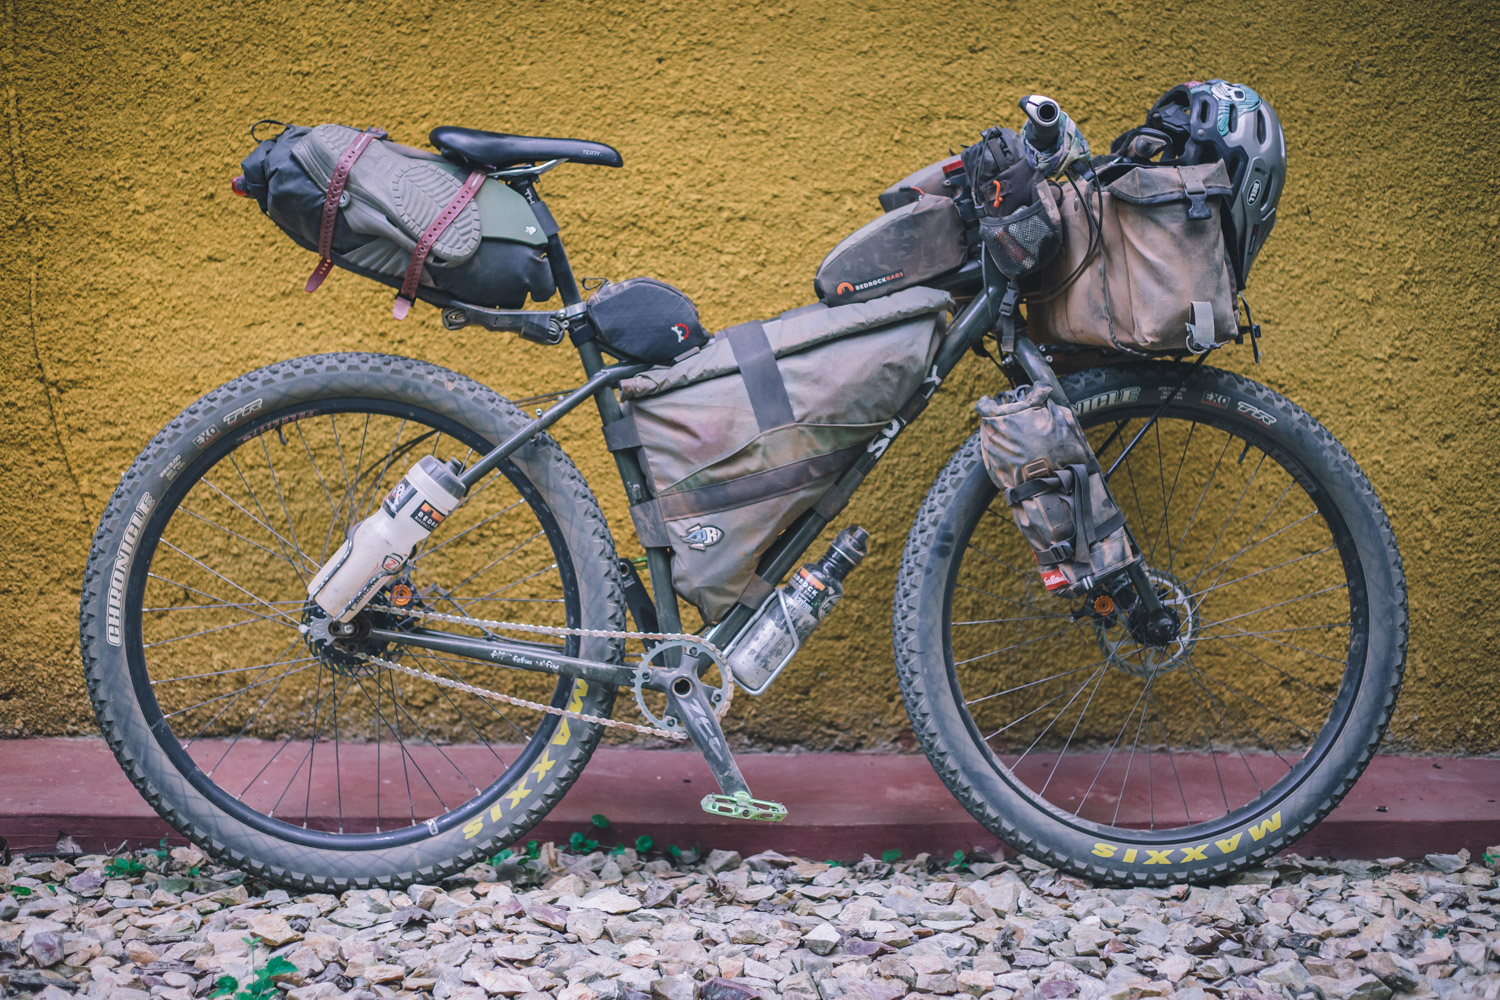
A while back I ran across photos of Nick’s setup and was inspired to try this minimal style of packing for our next bike dirt tour. I generally find that a slimmer bikepacking setup makes for a more pleasurable ride than the wide payload of panniers, especially on single track and dirt, which is where my heart lies. On our last tour I simply carried too much stuff. I also had too much space, which naturally gets filled if available. So I decided to give the saddlebag method a try and make it the heart of my luggage setup for a dirt bikepacking tour through Africa.
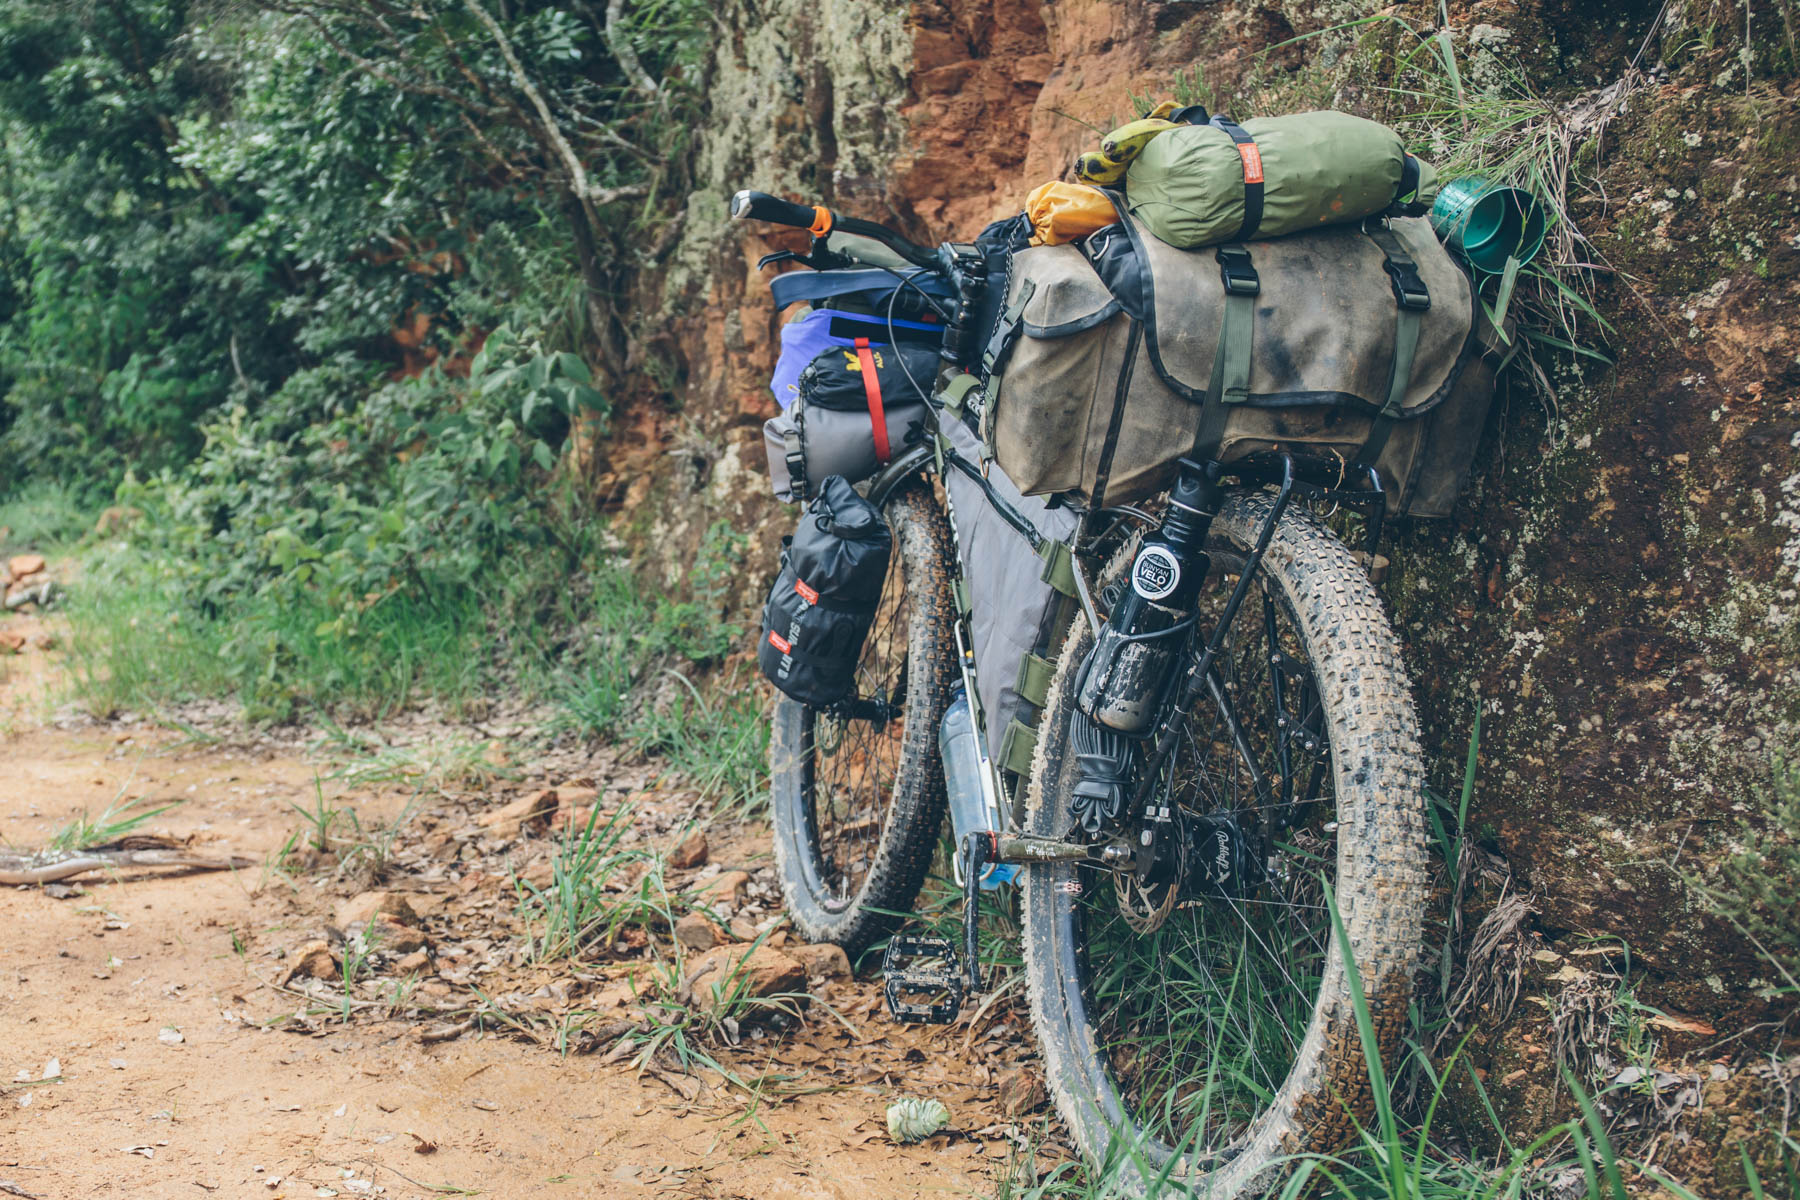
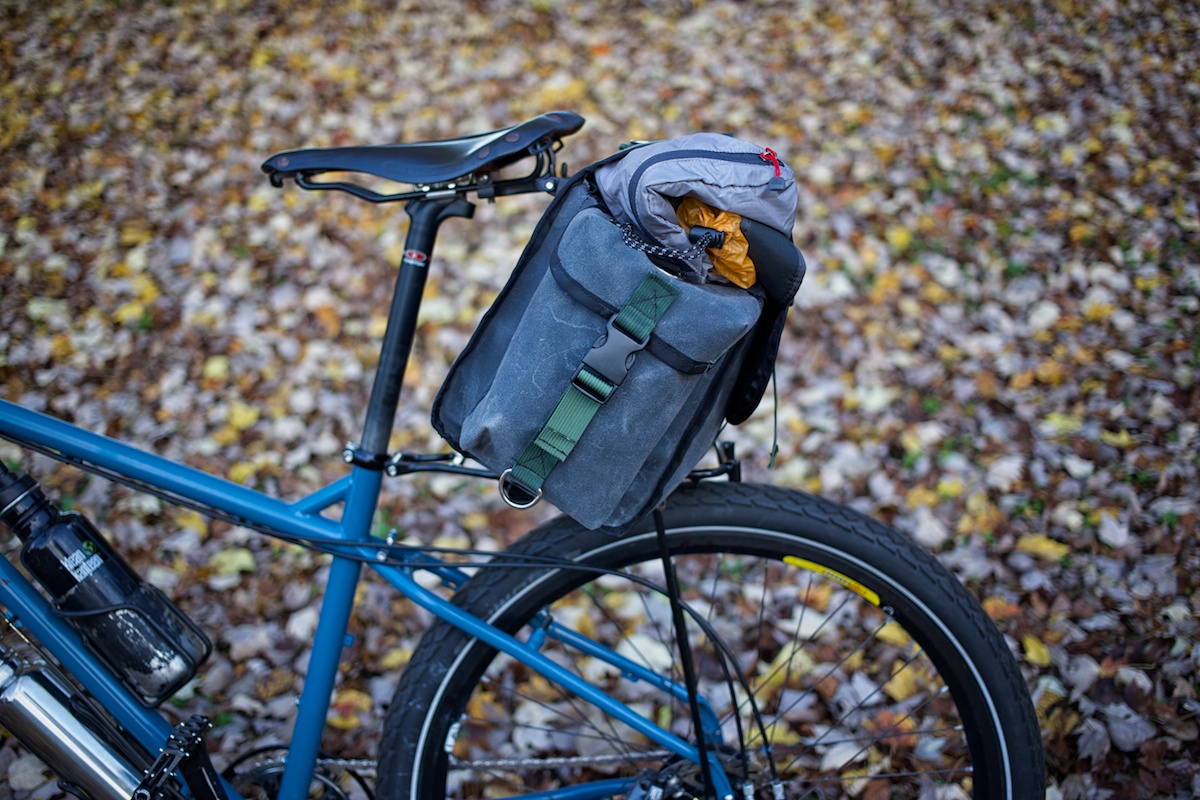
It’s astonishing how much can fit in a saddlebag of this size. The Carradice Camper claims a generous 24 liters and this bag has about 23. Within its cavernous recesses I can basically fit all of my clothes, a Macbook Air, a toolkit (tubes, tools and spare parts), a pair of binoculars, toiletries, and an assortment of cords for electronics. The ‘longflap’ can also be employed to cinch down additional tube-shaped items such as tent poles, a rolled jacket, or compressible pack.
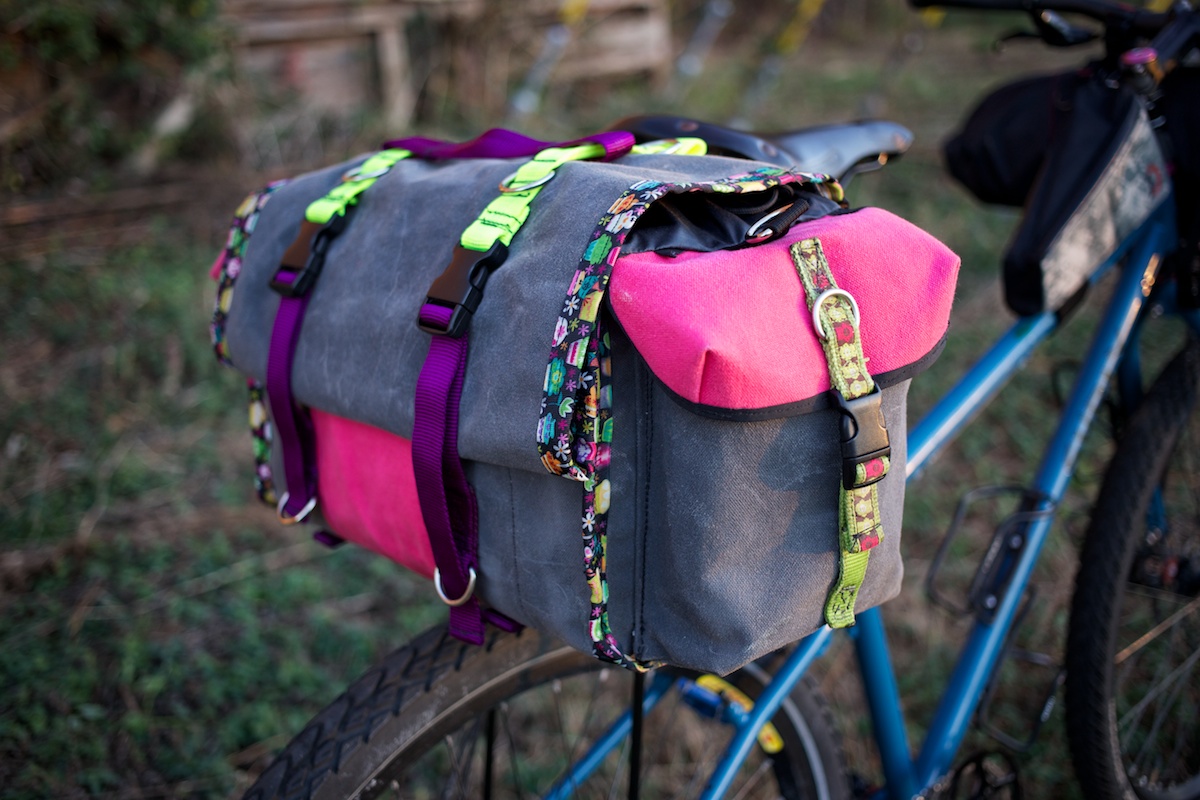
I thought about simply using the Carradice Camper longflap, but I wanted to create something of my own, with a couple more features and slightly different specs. Similar in size to the Camper, but with a few extra bells and whistles, this longflap saddlebag was built to take a beating. The planning and construction process took a while, longer than I’d care to admit, but was a learning experience, and I am pretty good at the helm of a Singer as a result.
Longflap Saddlebag Specs/Details
- 22.5” wide X 8.5” long X 10” deep
- About 23 liters capacity
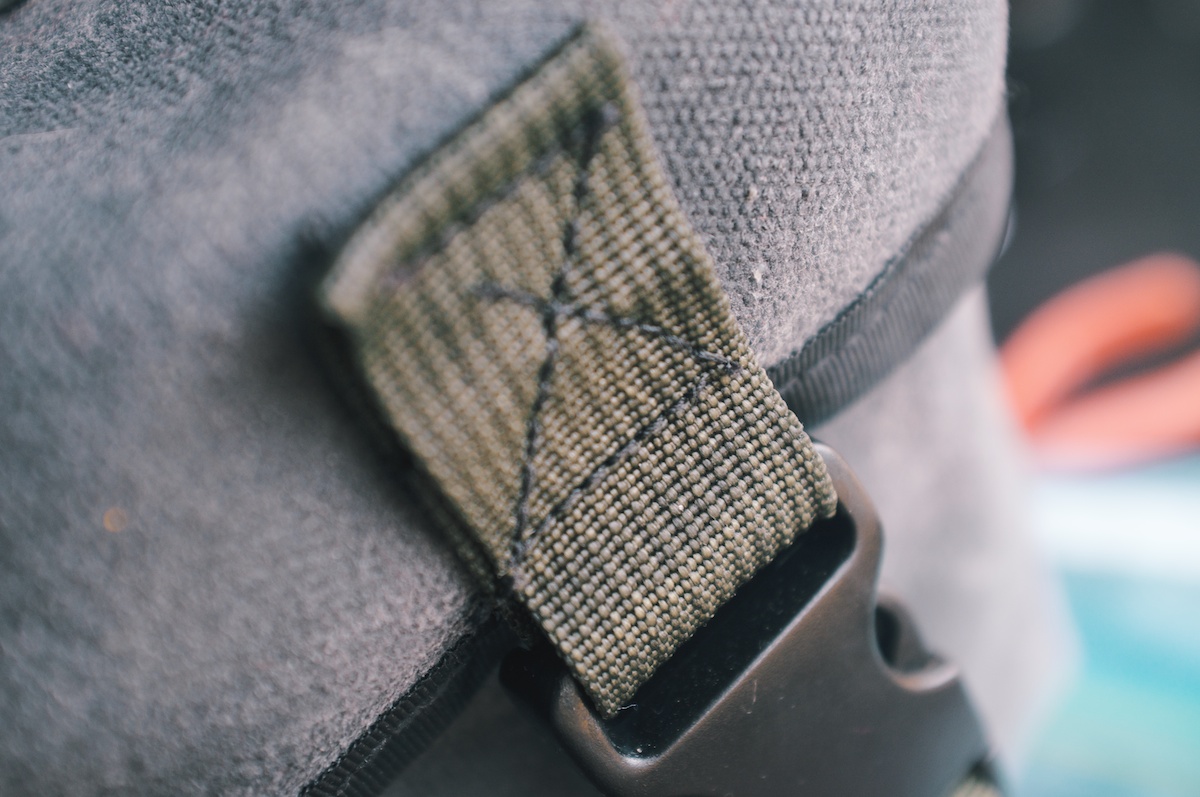
- Modern materials, like plastic side release buckles and nylon webbing, give this classic saddlebag design some useful features.
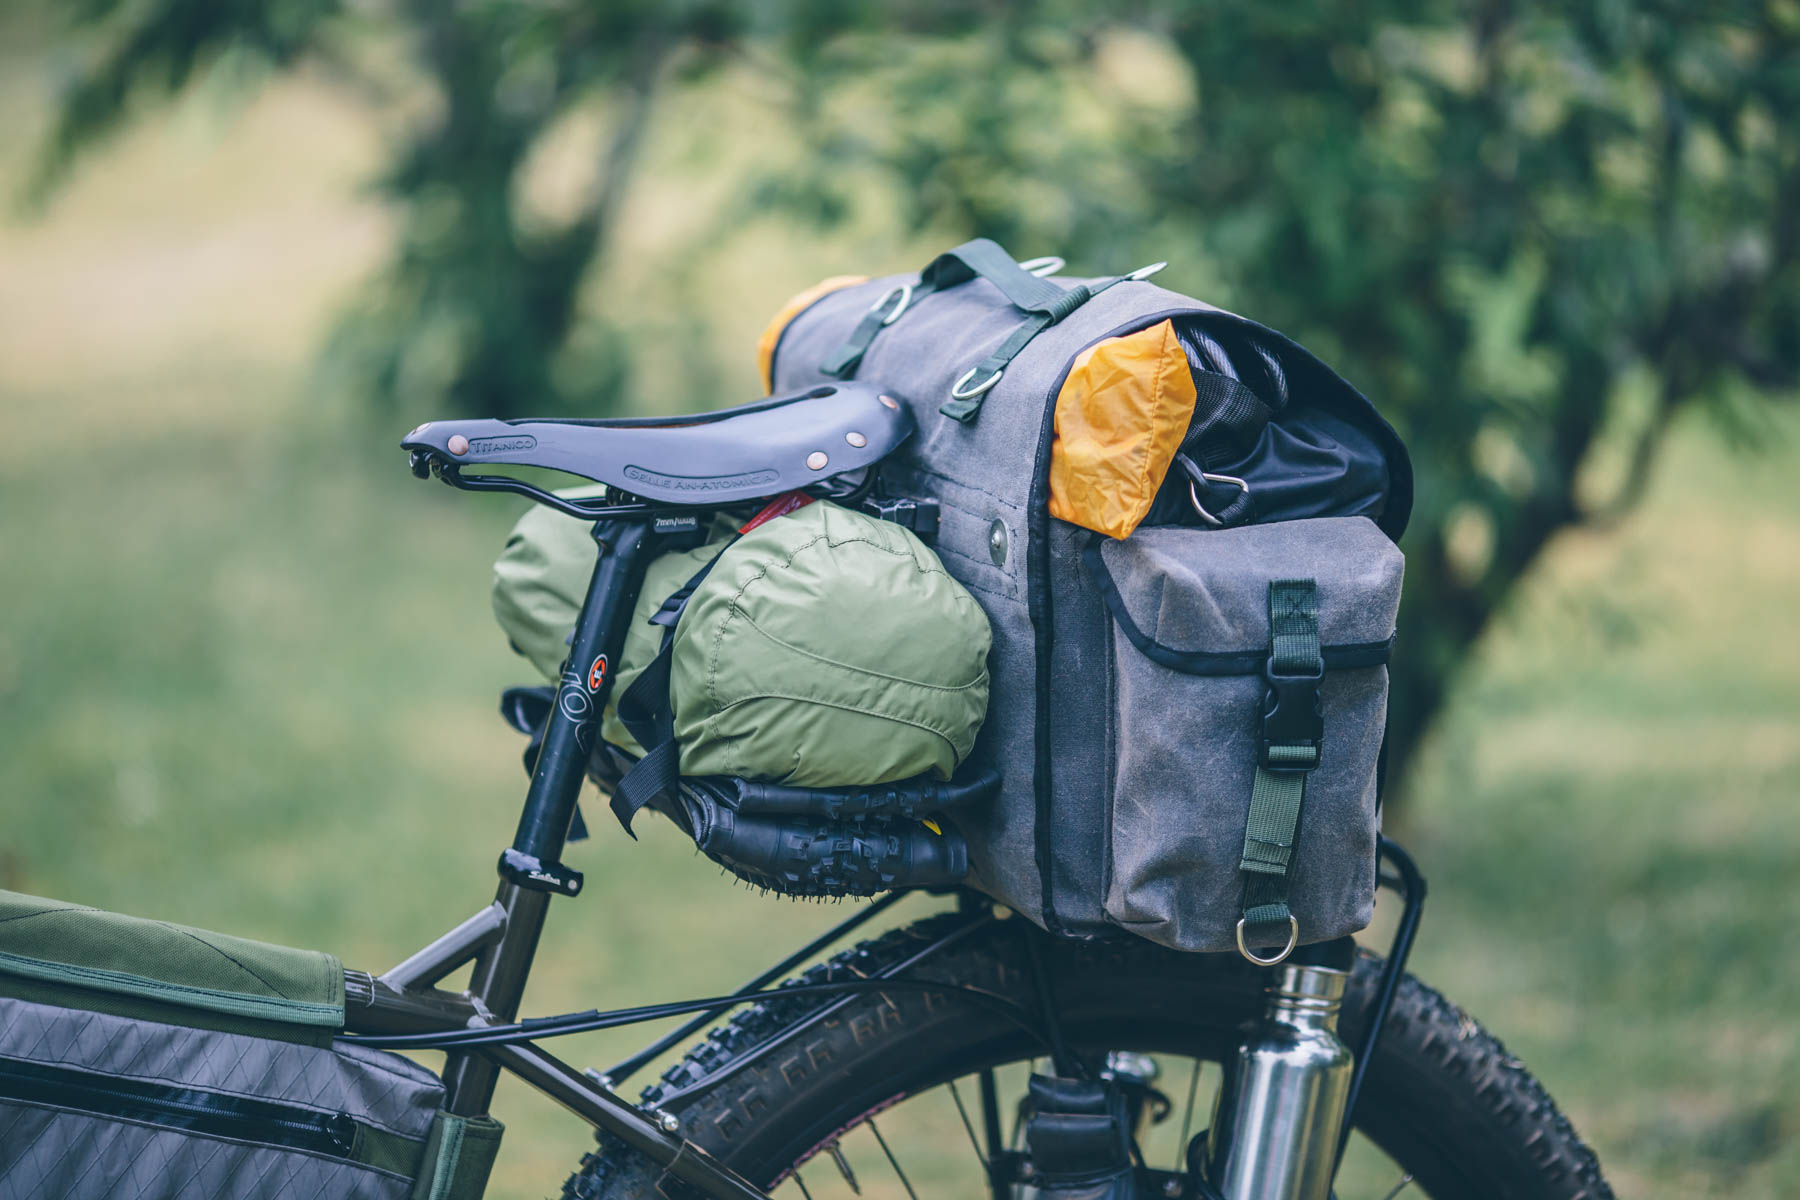
- A daisy chain, d-rings and a handle were features I wanted on the top of the bag.
- Cordura fabric was used to make a cinching top.
- Gray waxed canvas and drab nylon webbing make up the overall look of the bag.
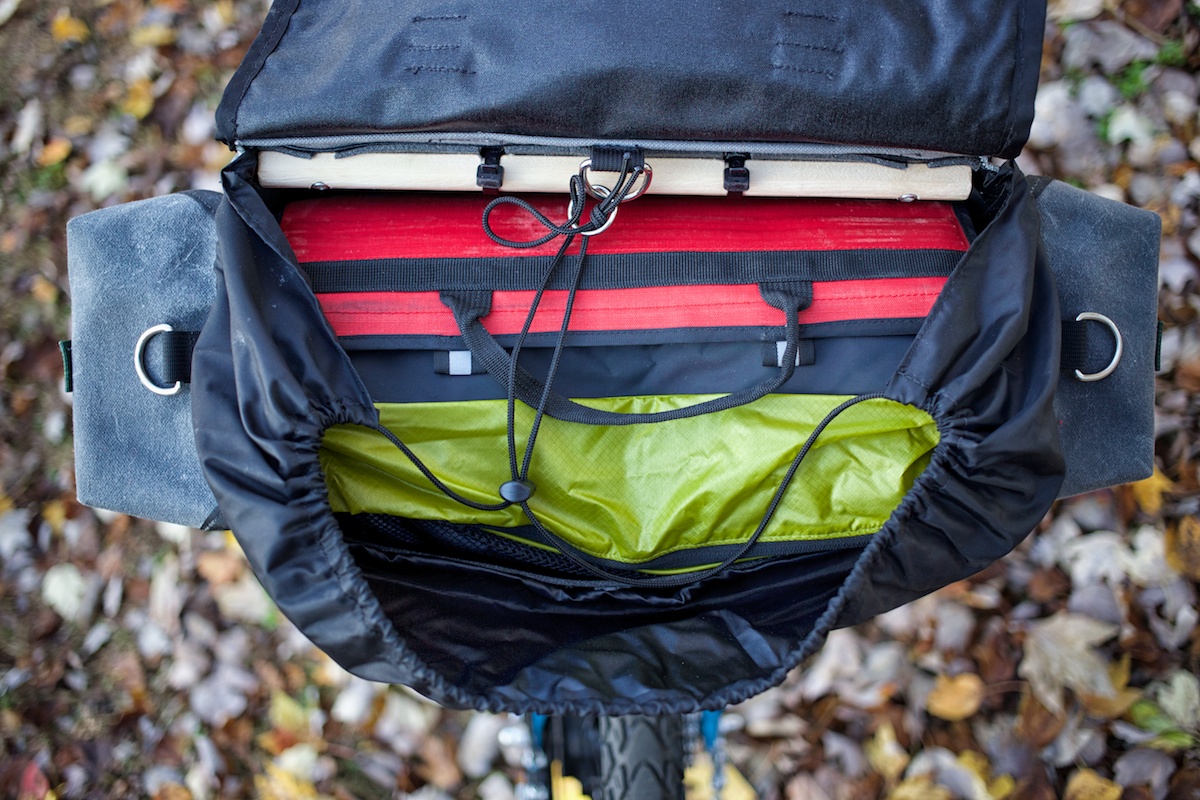
- The two dominant items packed inside are a Sea to Summit Travel Light Garment Bag (M) containing all of my clothing and a padded laptop bag for a MacBook Air.


Materials for a Waxed Canvas Longflap Saddlebag
The saddlebag is made from #8 cotton duck, hand waxed with Otter Wax. Here is the material list. Note: I estimated most of the measurements, after the fact, so if you are interested in making a similar bag, order a little extra… or feel free to ask for more details (UPDATE: I no longer have direct access to the bag (it’s in storage), so please find answers in a laundry list of comments below.) Most of the materials were purchased from RockyWoods.com and links are below.
- #8 Cotton Duck (from bigduckcanvas.com)
- About 2’ square of 500 denier coated CORDURA® Nylon Fabric (as a reinforcement layer on the ‘longflap’)
- About 1 x 3’ of 200 denier coated Oxford Nylon Fabric (for the cinch cloth).
- 3-4 spools of Dual Duty thread (craft and button, which is the thickest I could find)
- 8-10 feet of 1” nylon webbing (purchased from Rocky Woods)
- Approximately 20 feet grosgrain or bias tape
- 16 x 1.5” leather, or tough pleather strap. I used an old belt.
- 11 D-rings
- 4 – 1″ Side Release Buckles
- 1 – Ellipse Cordlocks
- About 60” 1/8″ Black Nylon Round Cord
- One can of Otter Wax Heat Activated Fabric Dressing
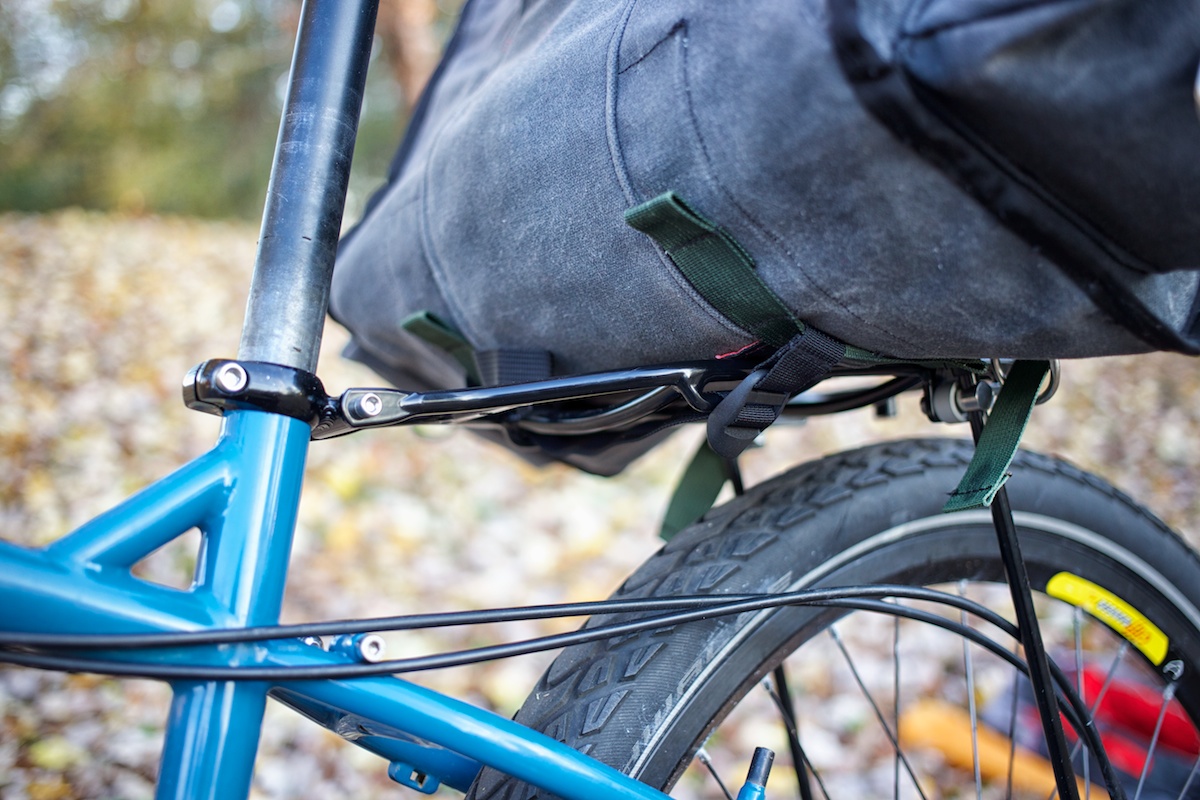
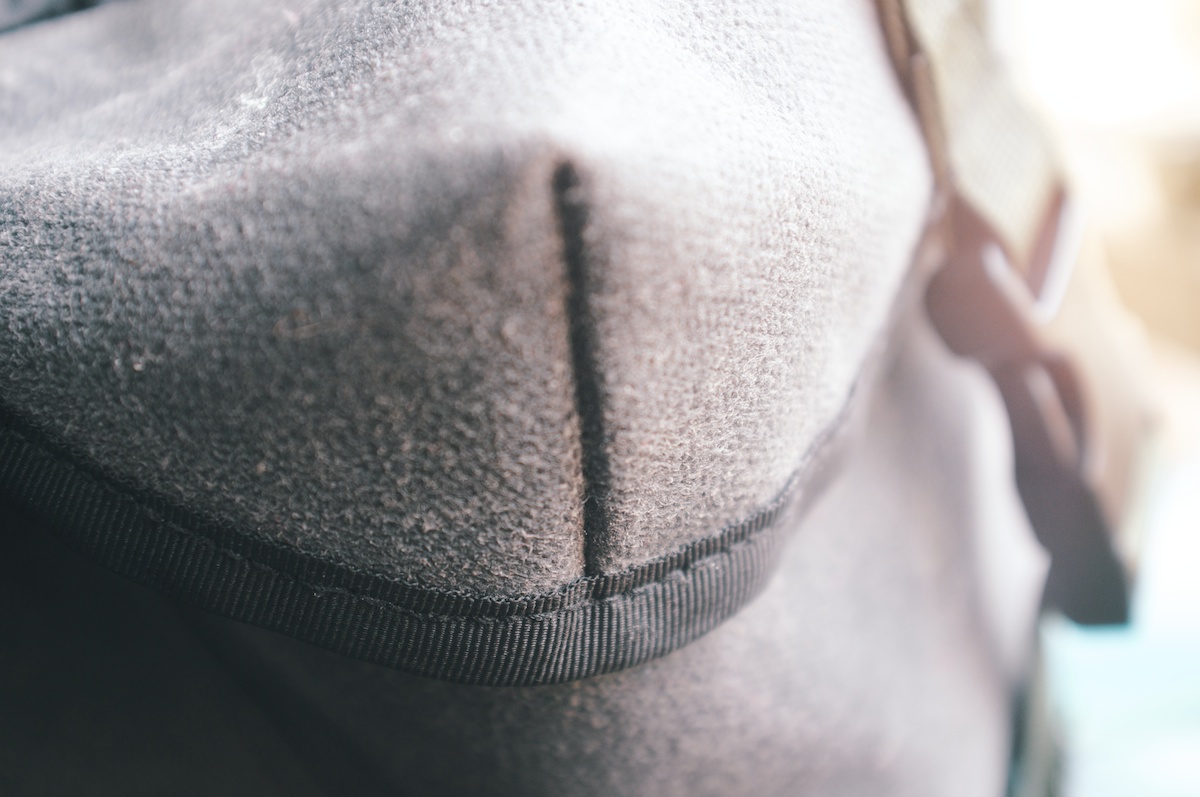
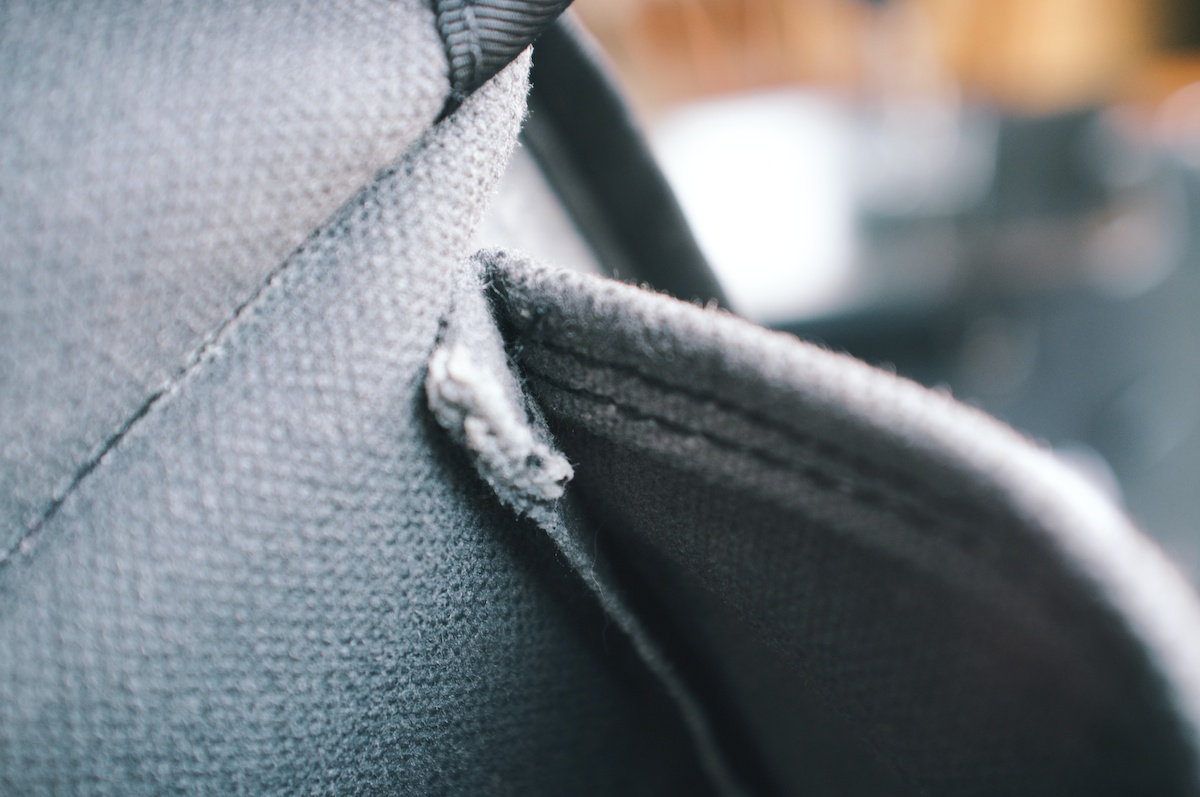
Details
Here are some detail shots. Pay no attention to the stitches, I’m slowly getting better.


How to Make a Long Flap Saddlebag (in pictures)
This is by no means a step-by-step how-to… just a few snaps of the process and measurements of the various panels. If you would like to attempt to make one of these, give me a shout on FaceBook and I’ll be glad to help with any details. (UPDATE: I no longer have direct access to the bag (it’s in storage), so please find answers in a laundry list of comments below; I outlined all of the measurements for someo.)

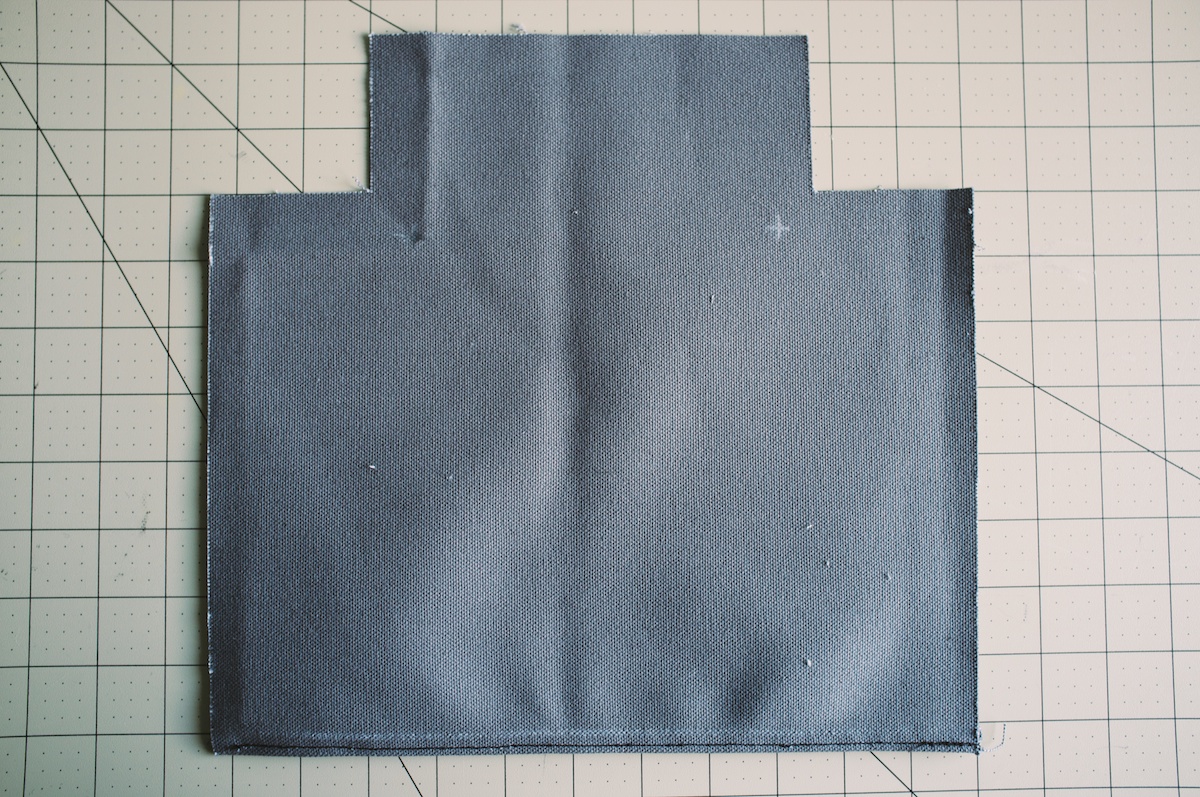


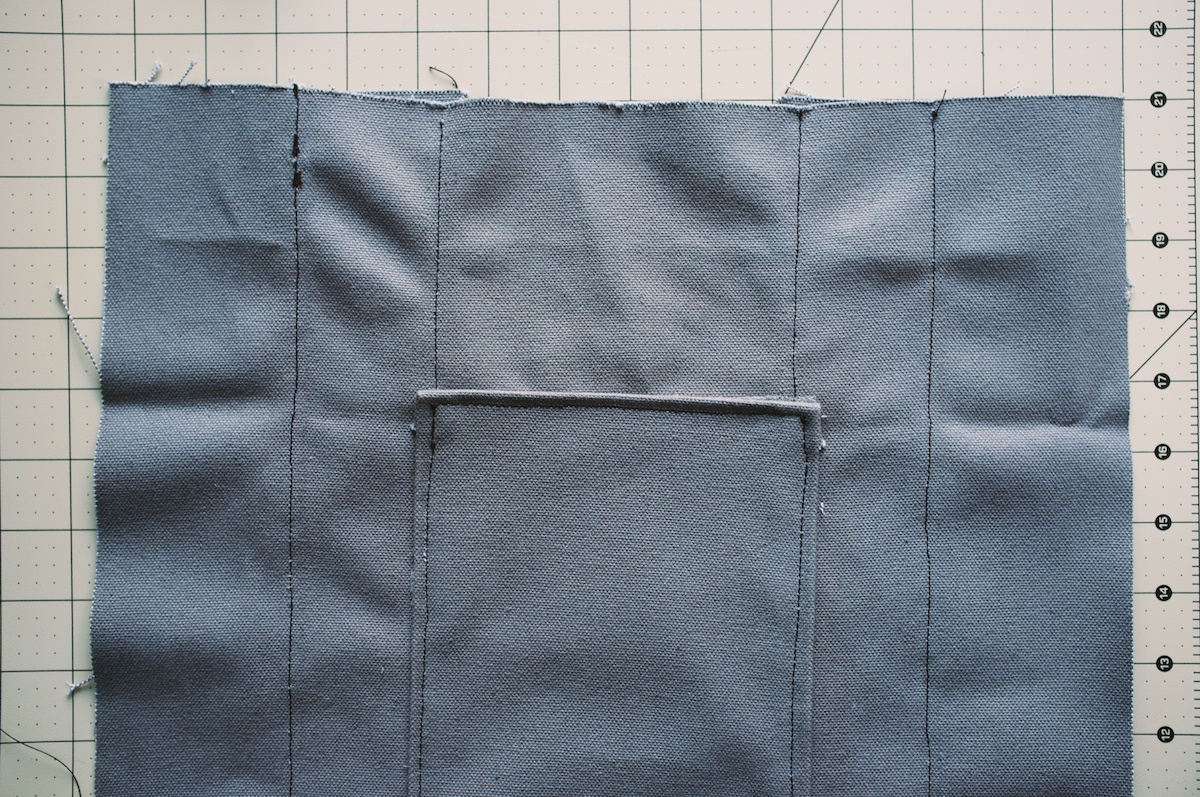
To make the pockets: a) Sew them inside out – the bottom corners of the pocket and the pocket top; b) sew the straps to length on each pocket part; c) once the straps are sewn on, stitch the pocket bottom to the each side panel (8.5 x 10″ with rounded bottoms) — see photo above with the pencil lines drawn; d) stitch the pocket tops along with the straps and d-rings for a shoulder-strap addition (if you wish)).
With these parts in place I used binder clips and pins to put the bag together and get the feel of where the straps needed to go and how long. Then I added the straps on the main panel.
From there I stitched the bias binding around the entire flap and begin sewing the side panels onto the main panel. This is where it got really tricky. I would advise doing a hand loop stitch on the corners of the side panels where the curves meet to hold it together or you will be wrestling grosgrain fro hours.
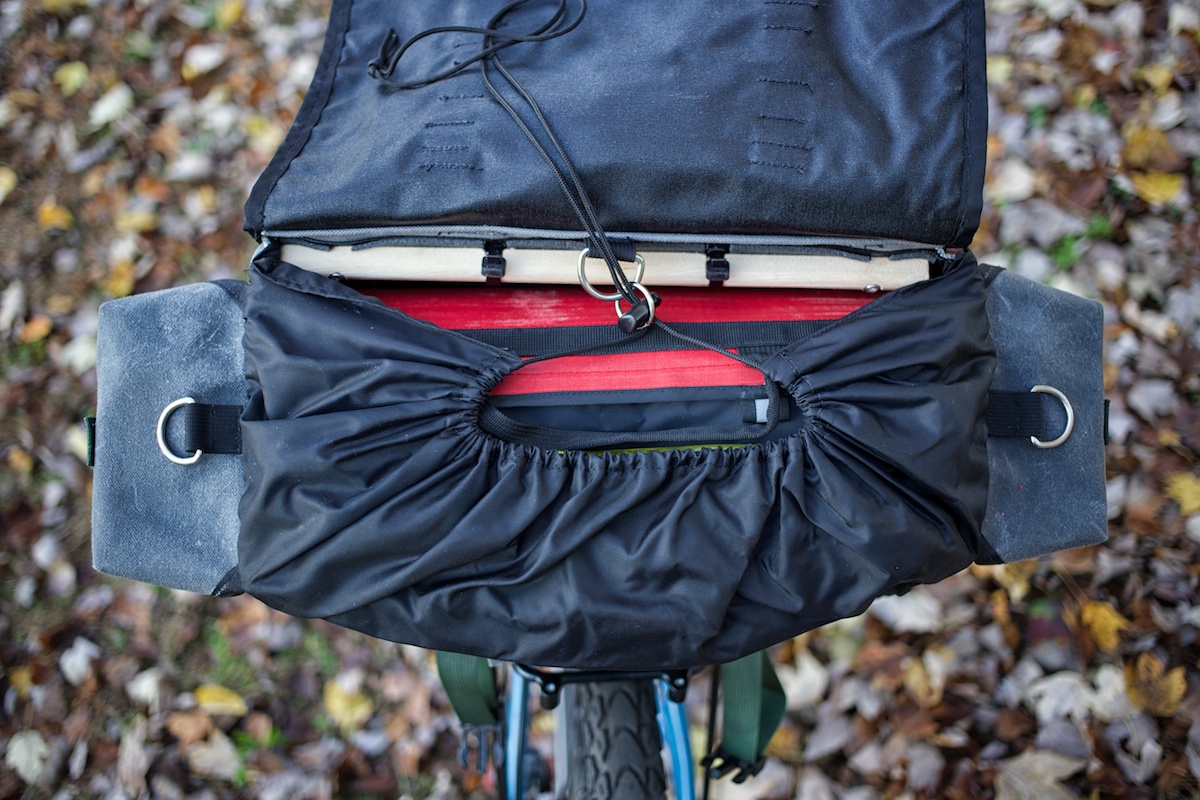
Once I got that together, the overall bag was in place. The next step was to create the cinch fabric. I did so by looping the end and sewing it off so that a drawstring can be threaded through later. Then I overlapped that on the rim and stitched around the front and two sides.
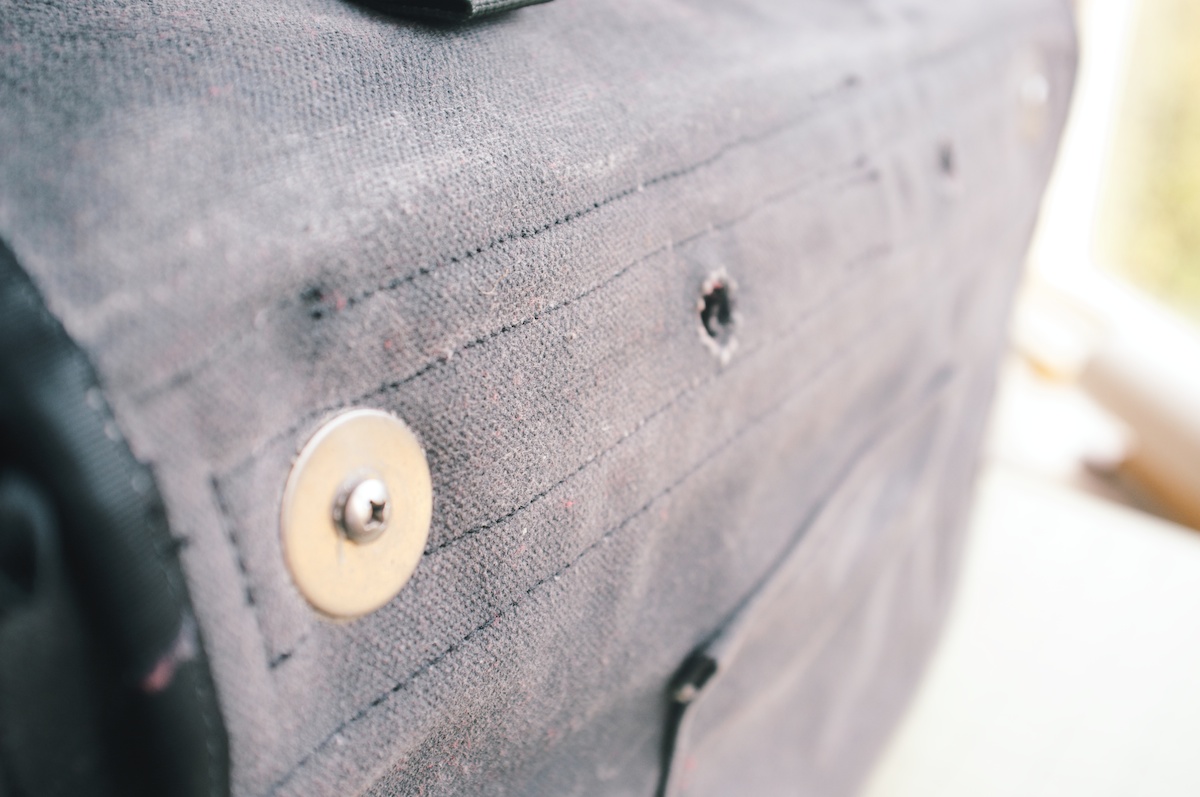
The final step was to add the dowel rod to the top back (cut to length of bag). I put two half inch holes where the saddle loops are (then put superglue on the edges to make sure they don’t fray), to 1/8″ holes where you will bolt in the dowel. I used a hole punch set, put a block of wood underneath and hammered with a rubber mallet to make the holes.
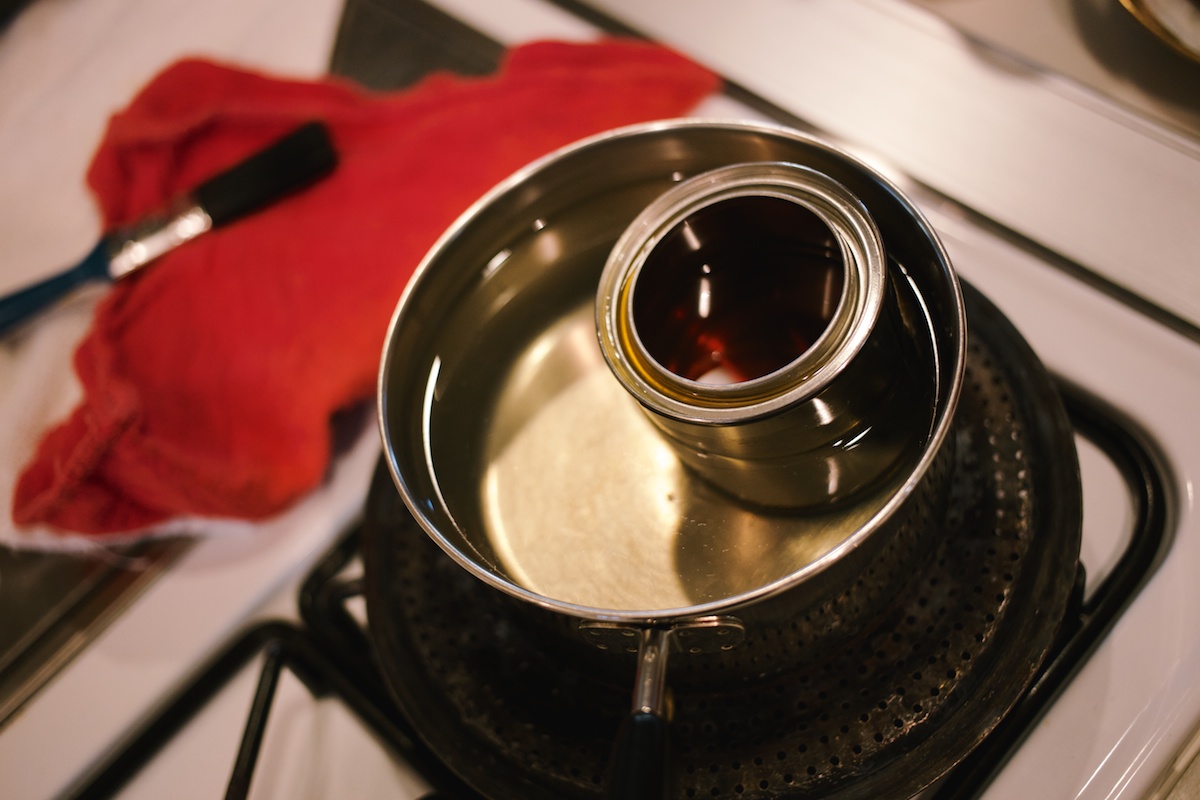
Otter Wax Heat Activated Fabric Dressing melting in hot water. Applied using a stiff brush and melted further using a heat gun. Cotton Duck stiffened up nicely once the wax cured.
I recommend waxing all of the cotton before construction… you can do so by applying Otter wax bar on the duck (as they instruct), then putting the duck in a pillowcase, tie it off, then put it in the dryer for 15 or 20 minutes until the wax absorbs — if you don’t tie the pillowcase, you’ll have wax all over your dryer. That said, this method worked well and the bag was indeed rainproof.

UPDATE: This bag has held up well without any repairs or relaxing for almost 10,000 miles! I’ve since retired it as I prefer the simplicity and streamlined and balanced feel of a good seat pack, such as the Porcelain Rocket Mr. Fusion or the Revelate Terrapin.
FILED IN (CATEGORIES & TAGS)
Bikepacking Gear
Bikepacking Bags
bike-touring-gear bike-touring-luggage bikepacking-seat-packs myobg surly-trollPlease keep the conversation civil, constructive, and inclusive, or your comment will be removed.
We're independent
and member-supported.
Join the Bikepacking Collective to make our work possible: