Make Your Own Cycling Cap
In this Make Your Own Bikepacking Gear (MYOBG) tutorial, Franzi Wernsing provides a step-by-step guide to making your own cycling cap. Find her detailed tutorial here, complete with lots of photos…
PUBLISHED May 13, 2020
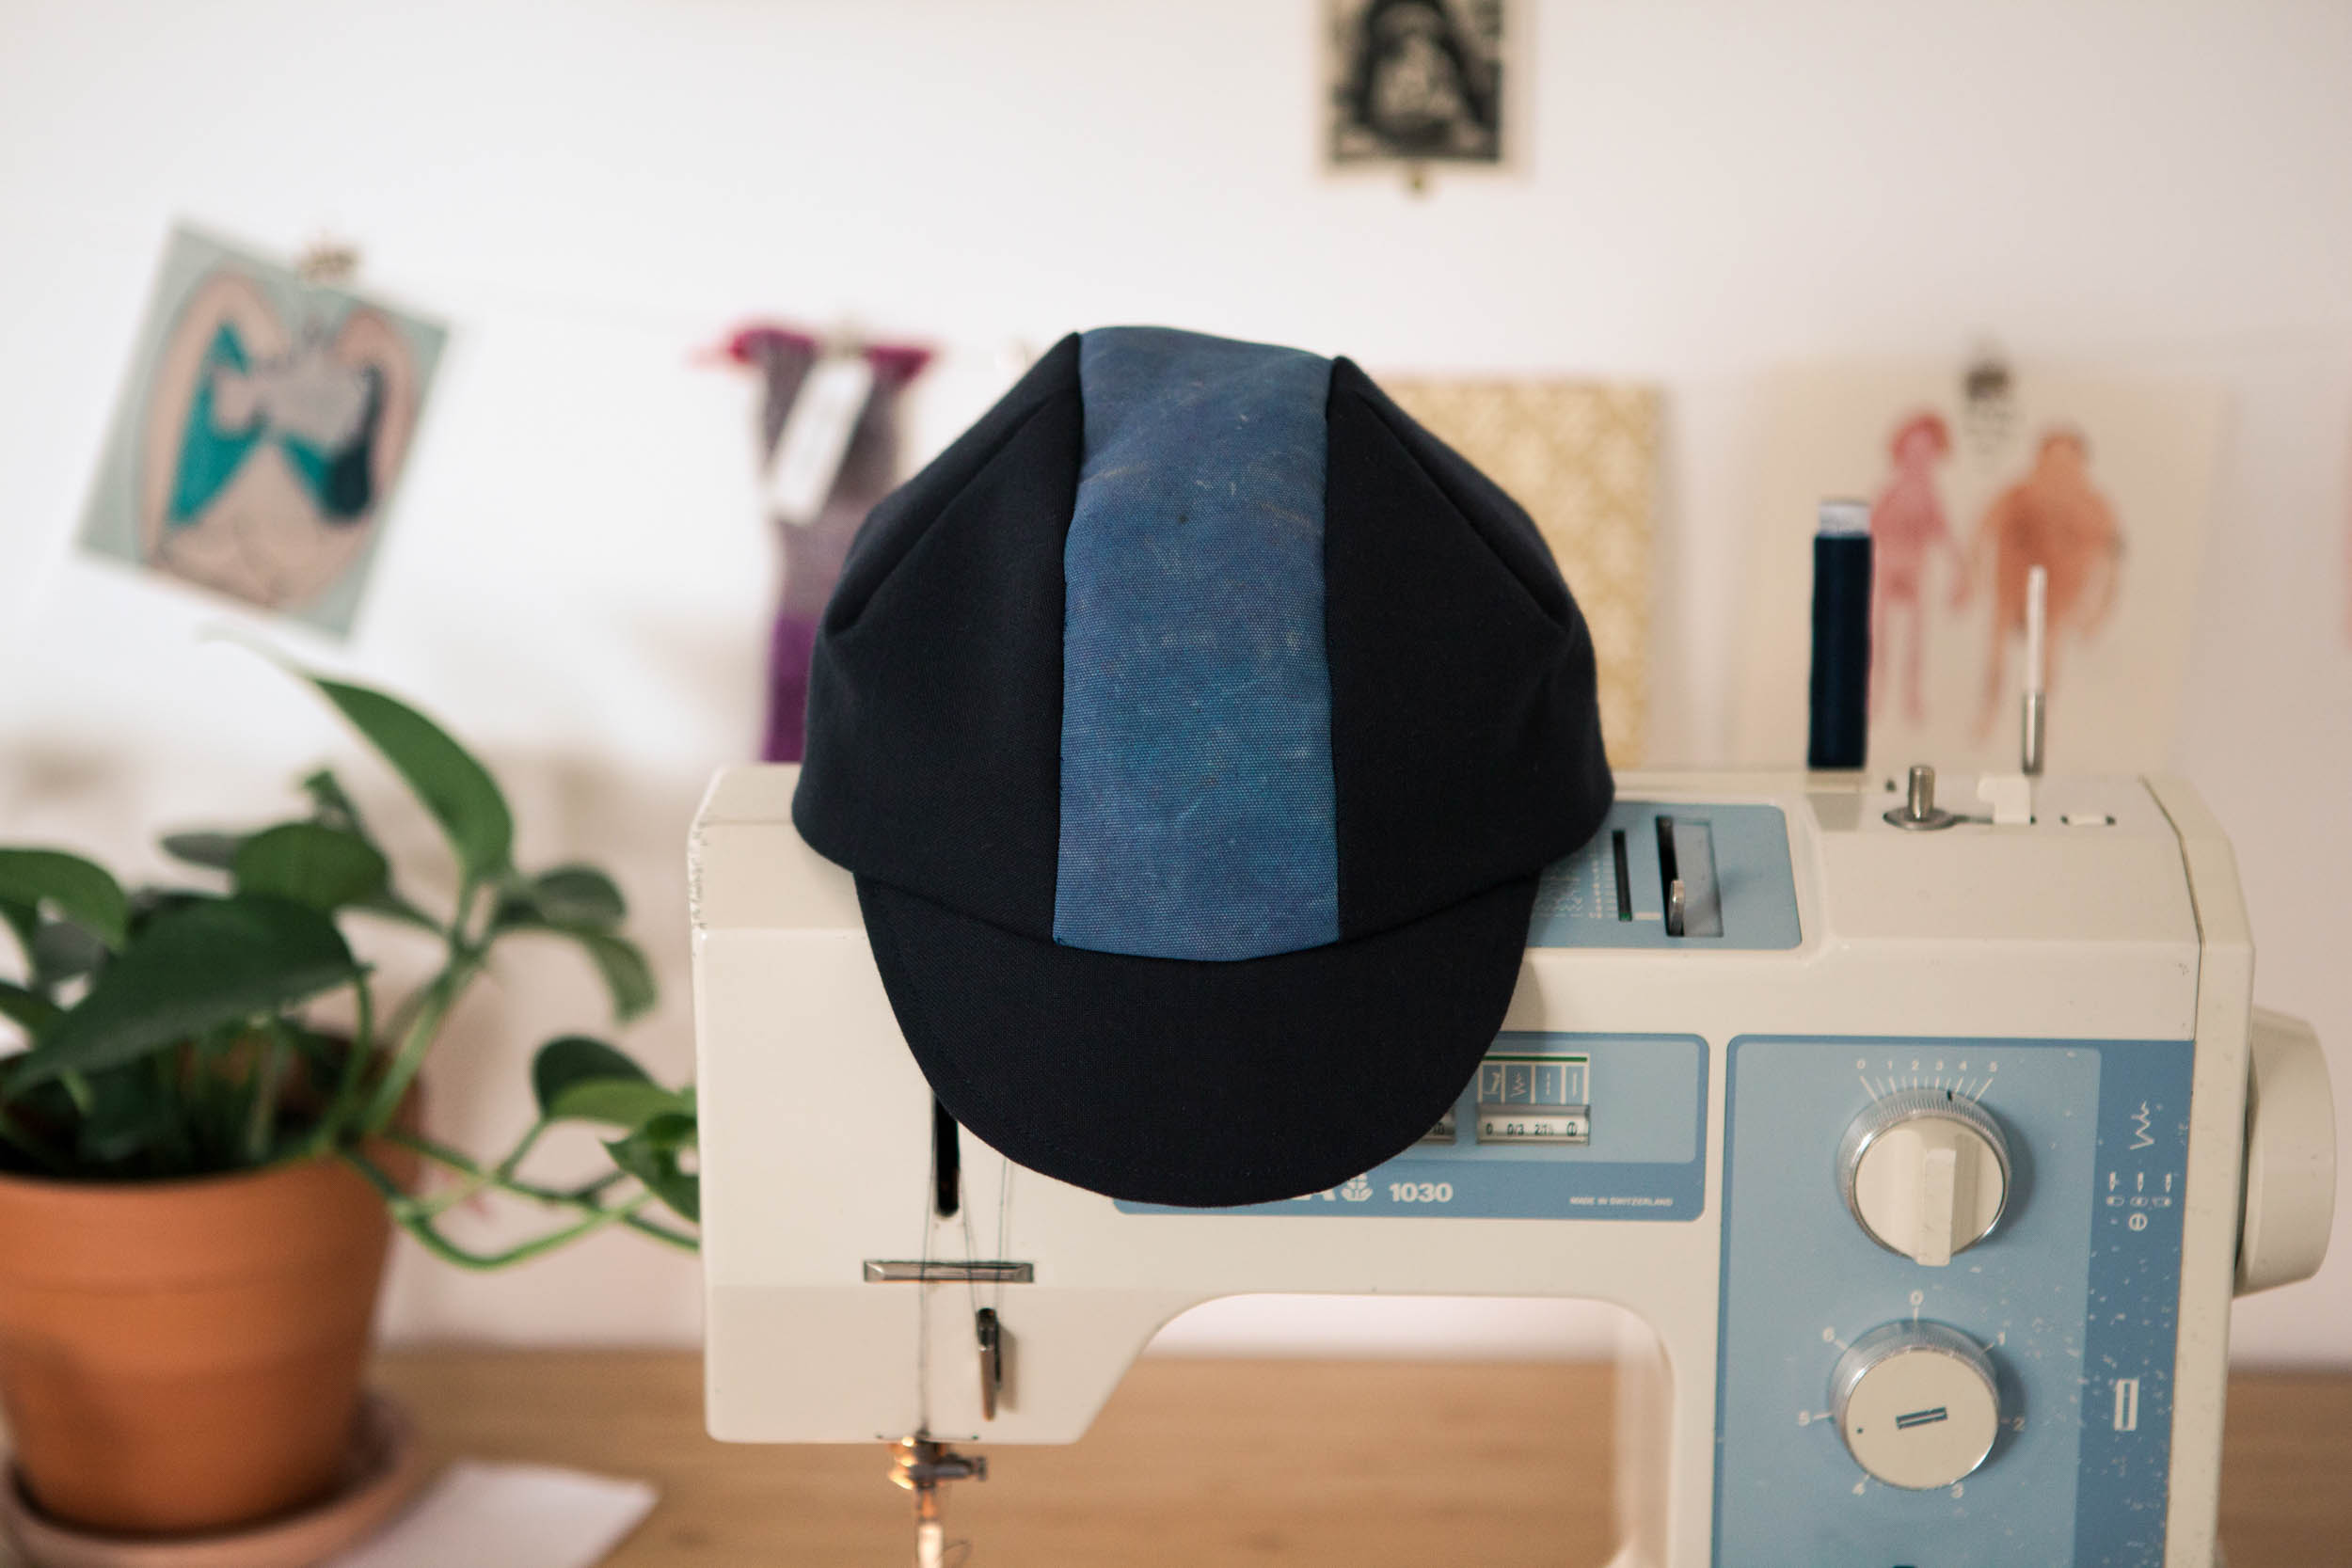
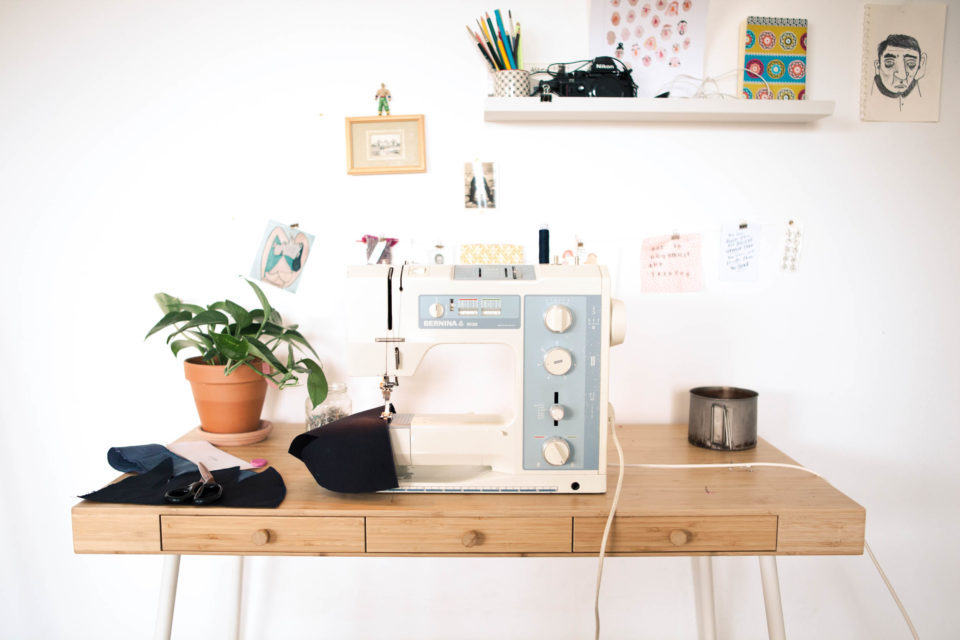
Cycling caps are a staple cycling accessory, and you can never have too many. When my partner Jona’s favorite cap fell apart after nearly two years of shielding his head from the elements on our bikepacking trip down the Americas, I decided to experiment with making a replacement myself. I dusted off the trusty sewing machine I inherited from my grandmother, gathered some leftover fabrics, and started teaching myself how to sew by watching YouTube videos.
I had anticipated it being a brief endeavor, but after making the first couple of cycling caps I kept finding little things I could improve. It didn’t help that Jona was also super fussy about how his cap fit, either. After making some more and sharing them with friends, I came to realize that Jona wasn’t the only one stressing about what might seem to some like minor details. Clearly, finding the “right” cycling cap is something very personal.
As such, I decided to put together this DIY tutorial for everyone who’s interested in making a cycling cap from whatever fabrics and colours suit their unique style. You can either take the downloadable pattern and follow the instructions or take this a loose guide to designing your own.
What You’ll Need
- A printed version of this PDF pattern
- 40cm (15.7″) of fabric (heavier is better!)
- 20cm (7.9″) of Decovil I light liner fabric
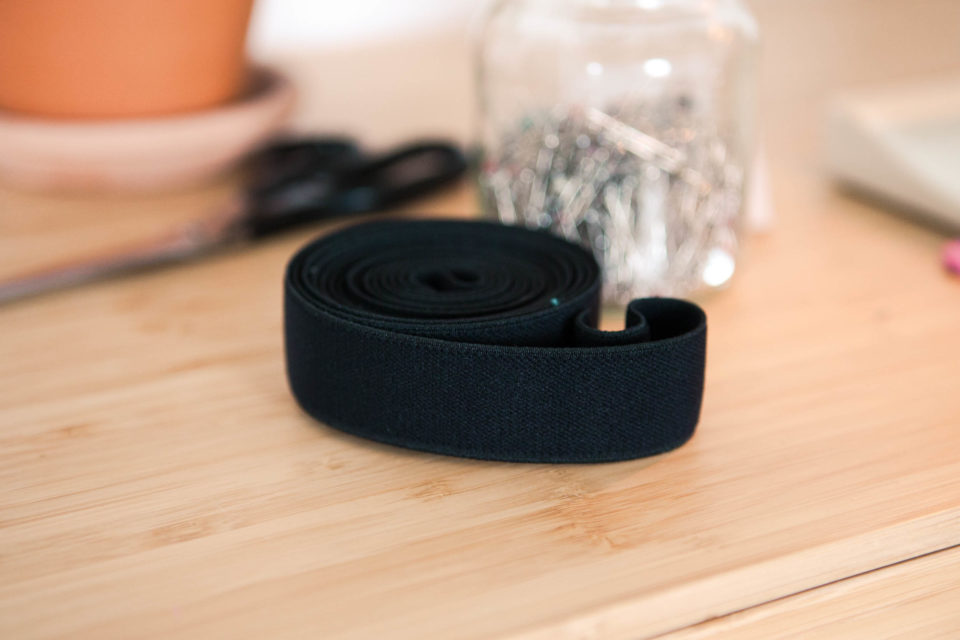
- 60cm (23.6″) of 30mm wide velour elastic
- A sewing machine (with options for zigzag and straight stitching)
- Sharp Scissors
- An iron
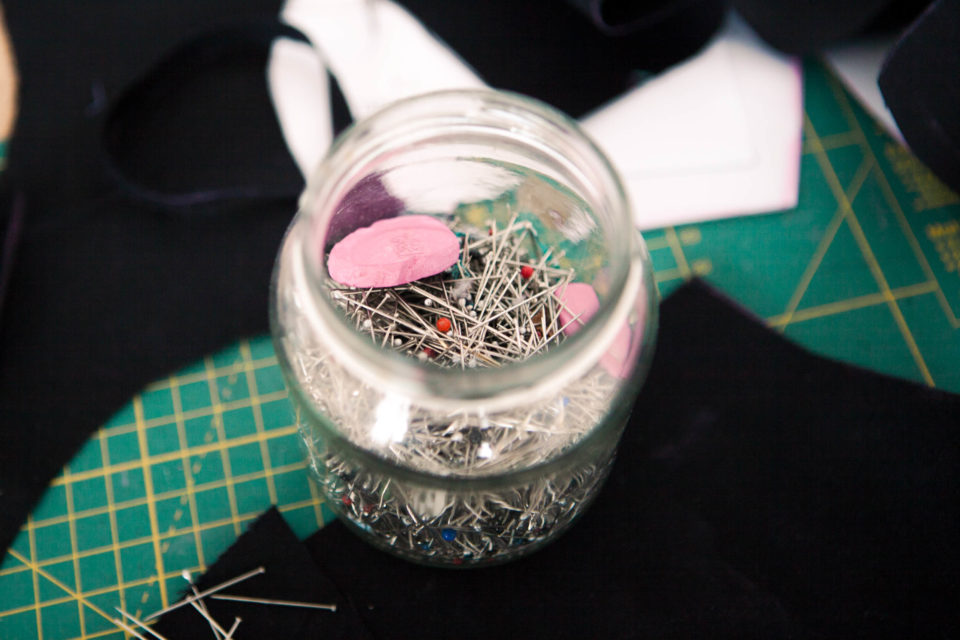
- Tailor’s chalk
- Pins
Step 1: Before You Begin
First, read through the entire instructions, making sure you understand each of the steps. I used to make the mistake of rushing into projects without being fully aware of the whole process, which often led me to make simple mistakes that I could have easily avoided.
Notes:
- Right side of the fabric = the side you want to be on the outside of your cycling cap.
- Left side of the fabric = the side that will be on the inside of your cap.
Step 2: Preparations
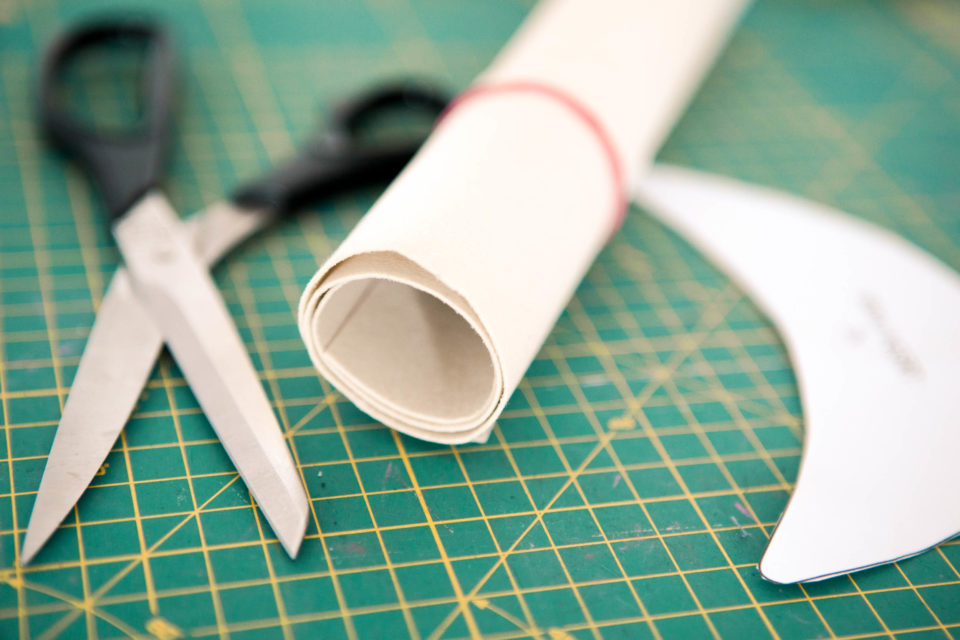
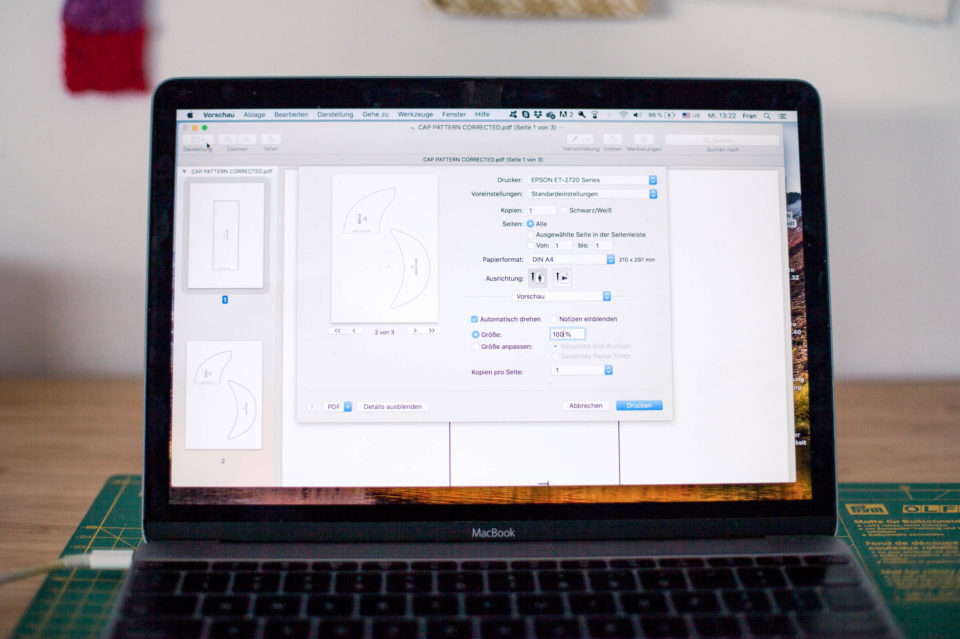
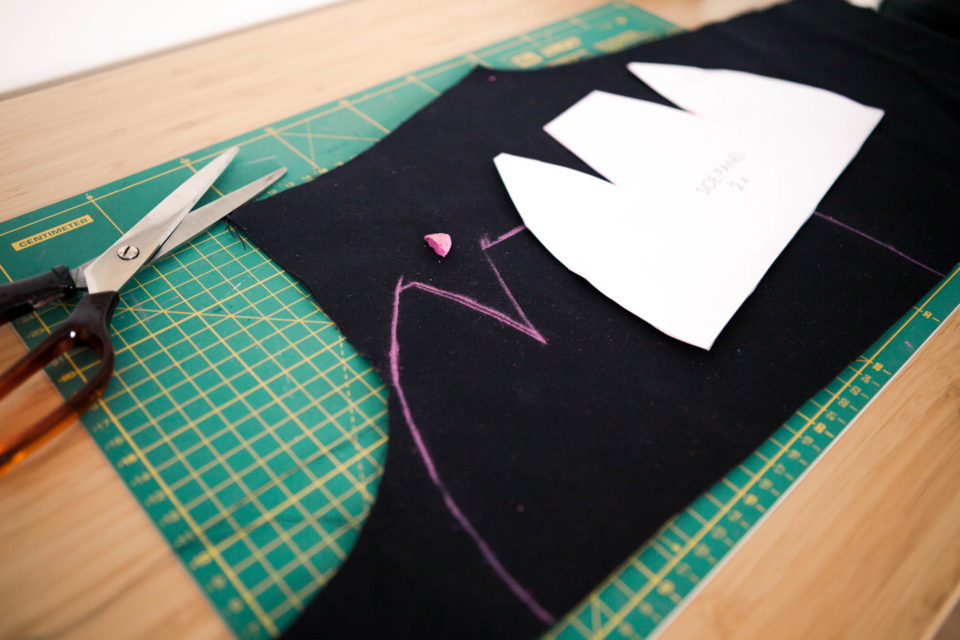
Print and cut out the PDF pattern and gather your materials and tools. Make sure you’re printing the pattern to scale (100%) and your printer isn’t resizing the document.
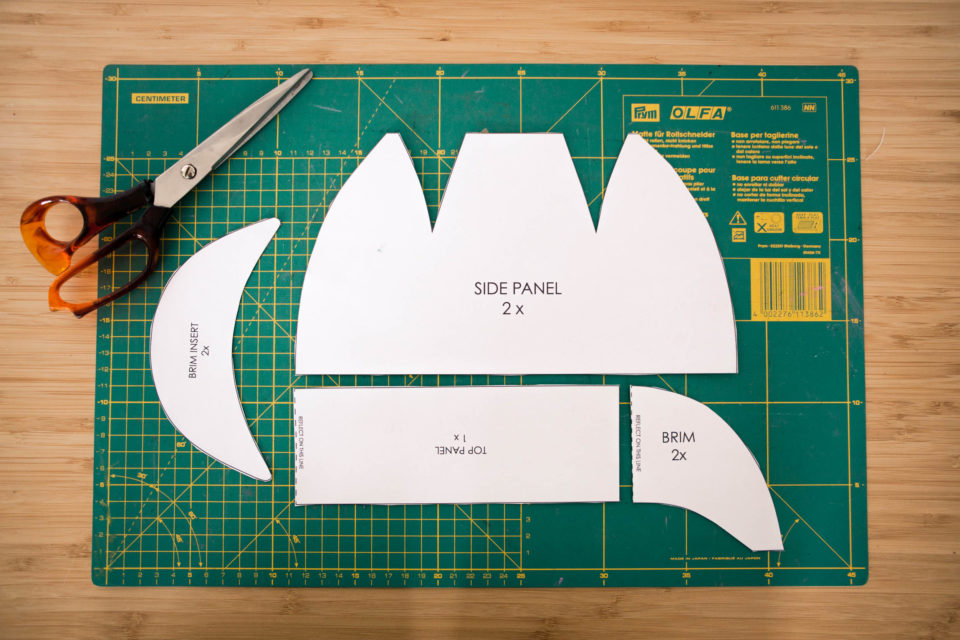
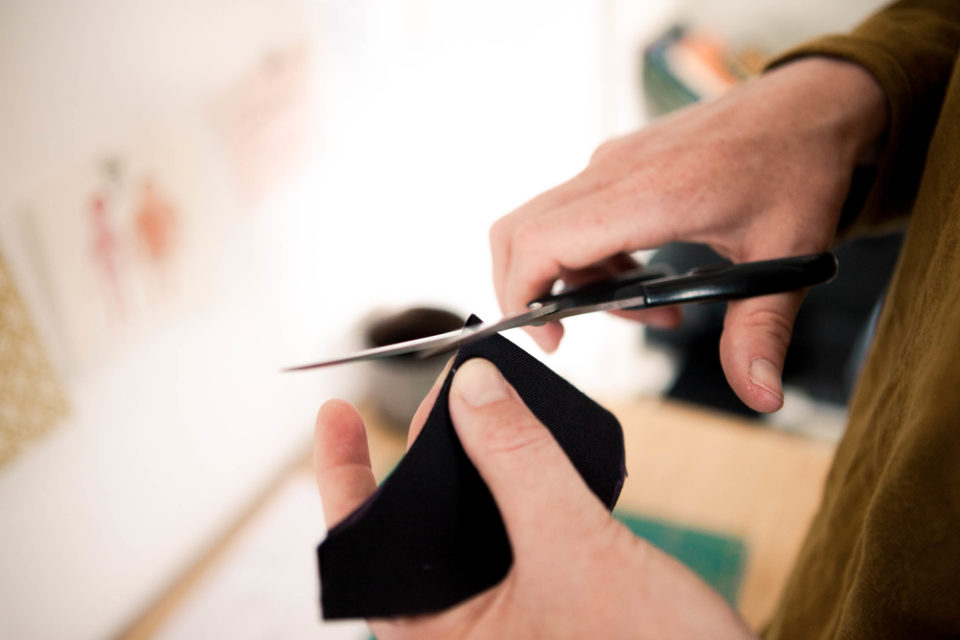
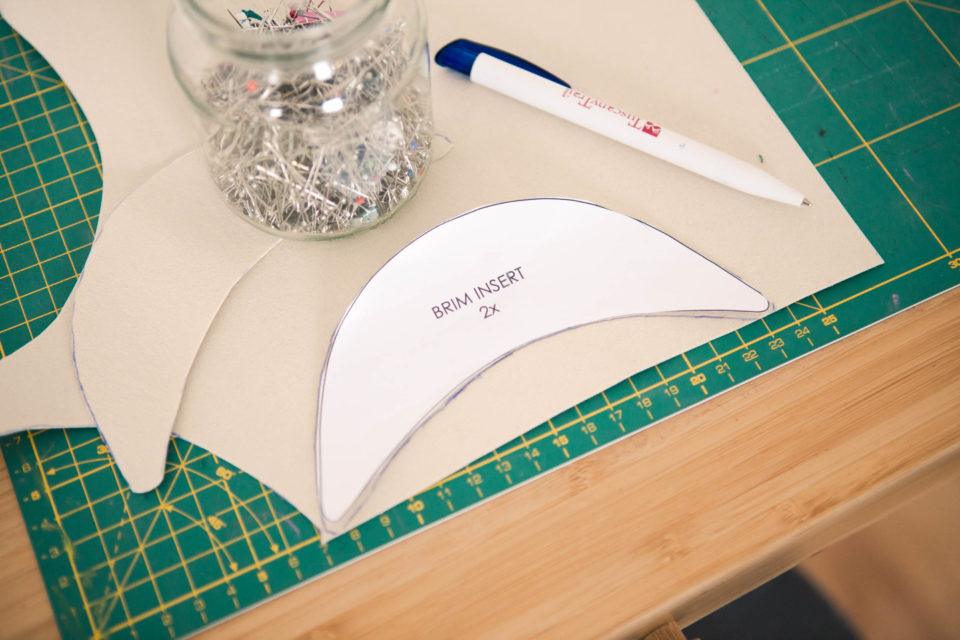
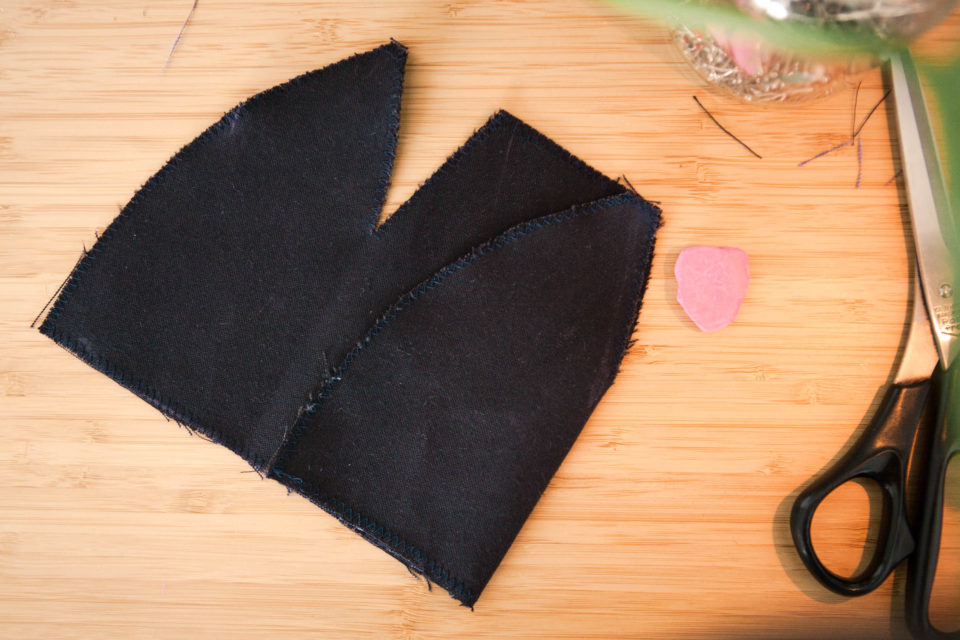
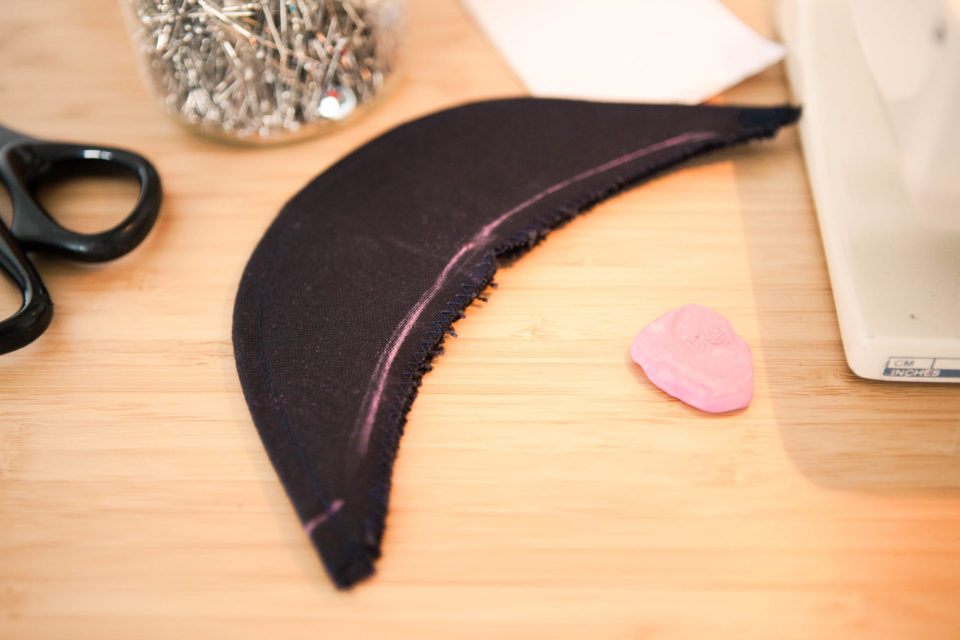
Draw the pattern onto the right side of your fabric and cut it out. Only cut out the brim inserts from the Decovil I Light. You should now have: 2x side panels, 1x top panel, 2x brims, 2x brim inserts.
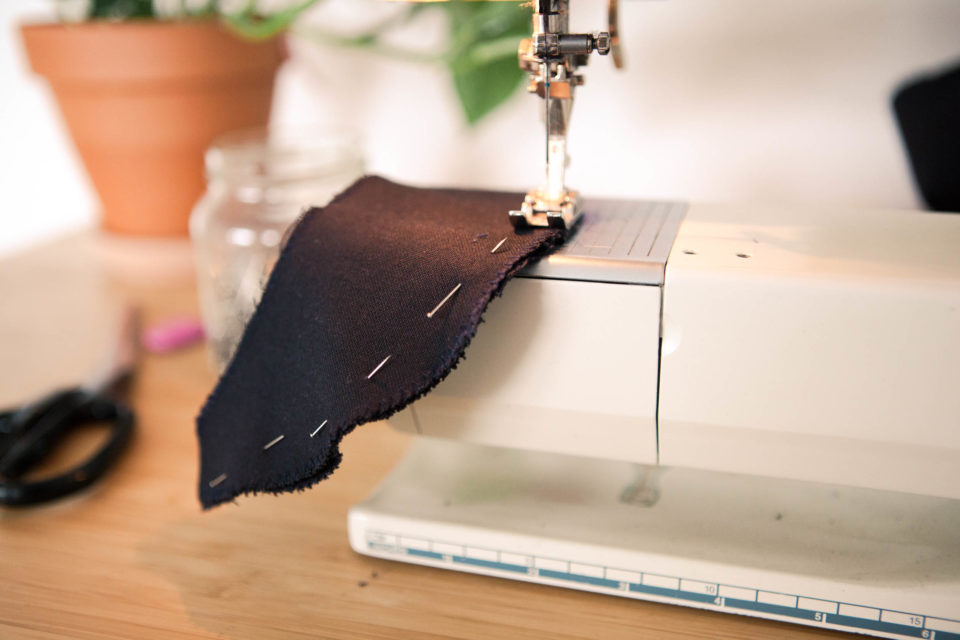
Before starting to stitch everything together, make sure to sew the raw edges of the pieces with a zigzag stitch to stop them from fraying. Also, mark the middle of the top panel, brims, and brim inserts. A simple way to do so is by folding them in half and making a little cut with your scissors where the middle is.
Notes:
- The pattern includes 5mm (3/16’’) of seam allowance
- The arrows on the pattern should be aligned with the direction of the fabric
- Patterns marked with a dashed line need to be reflected over the dashed line
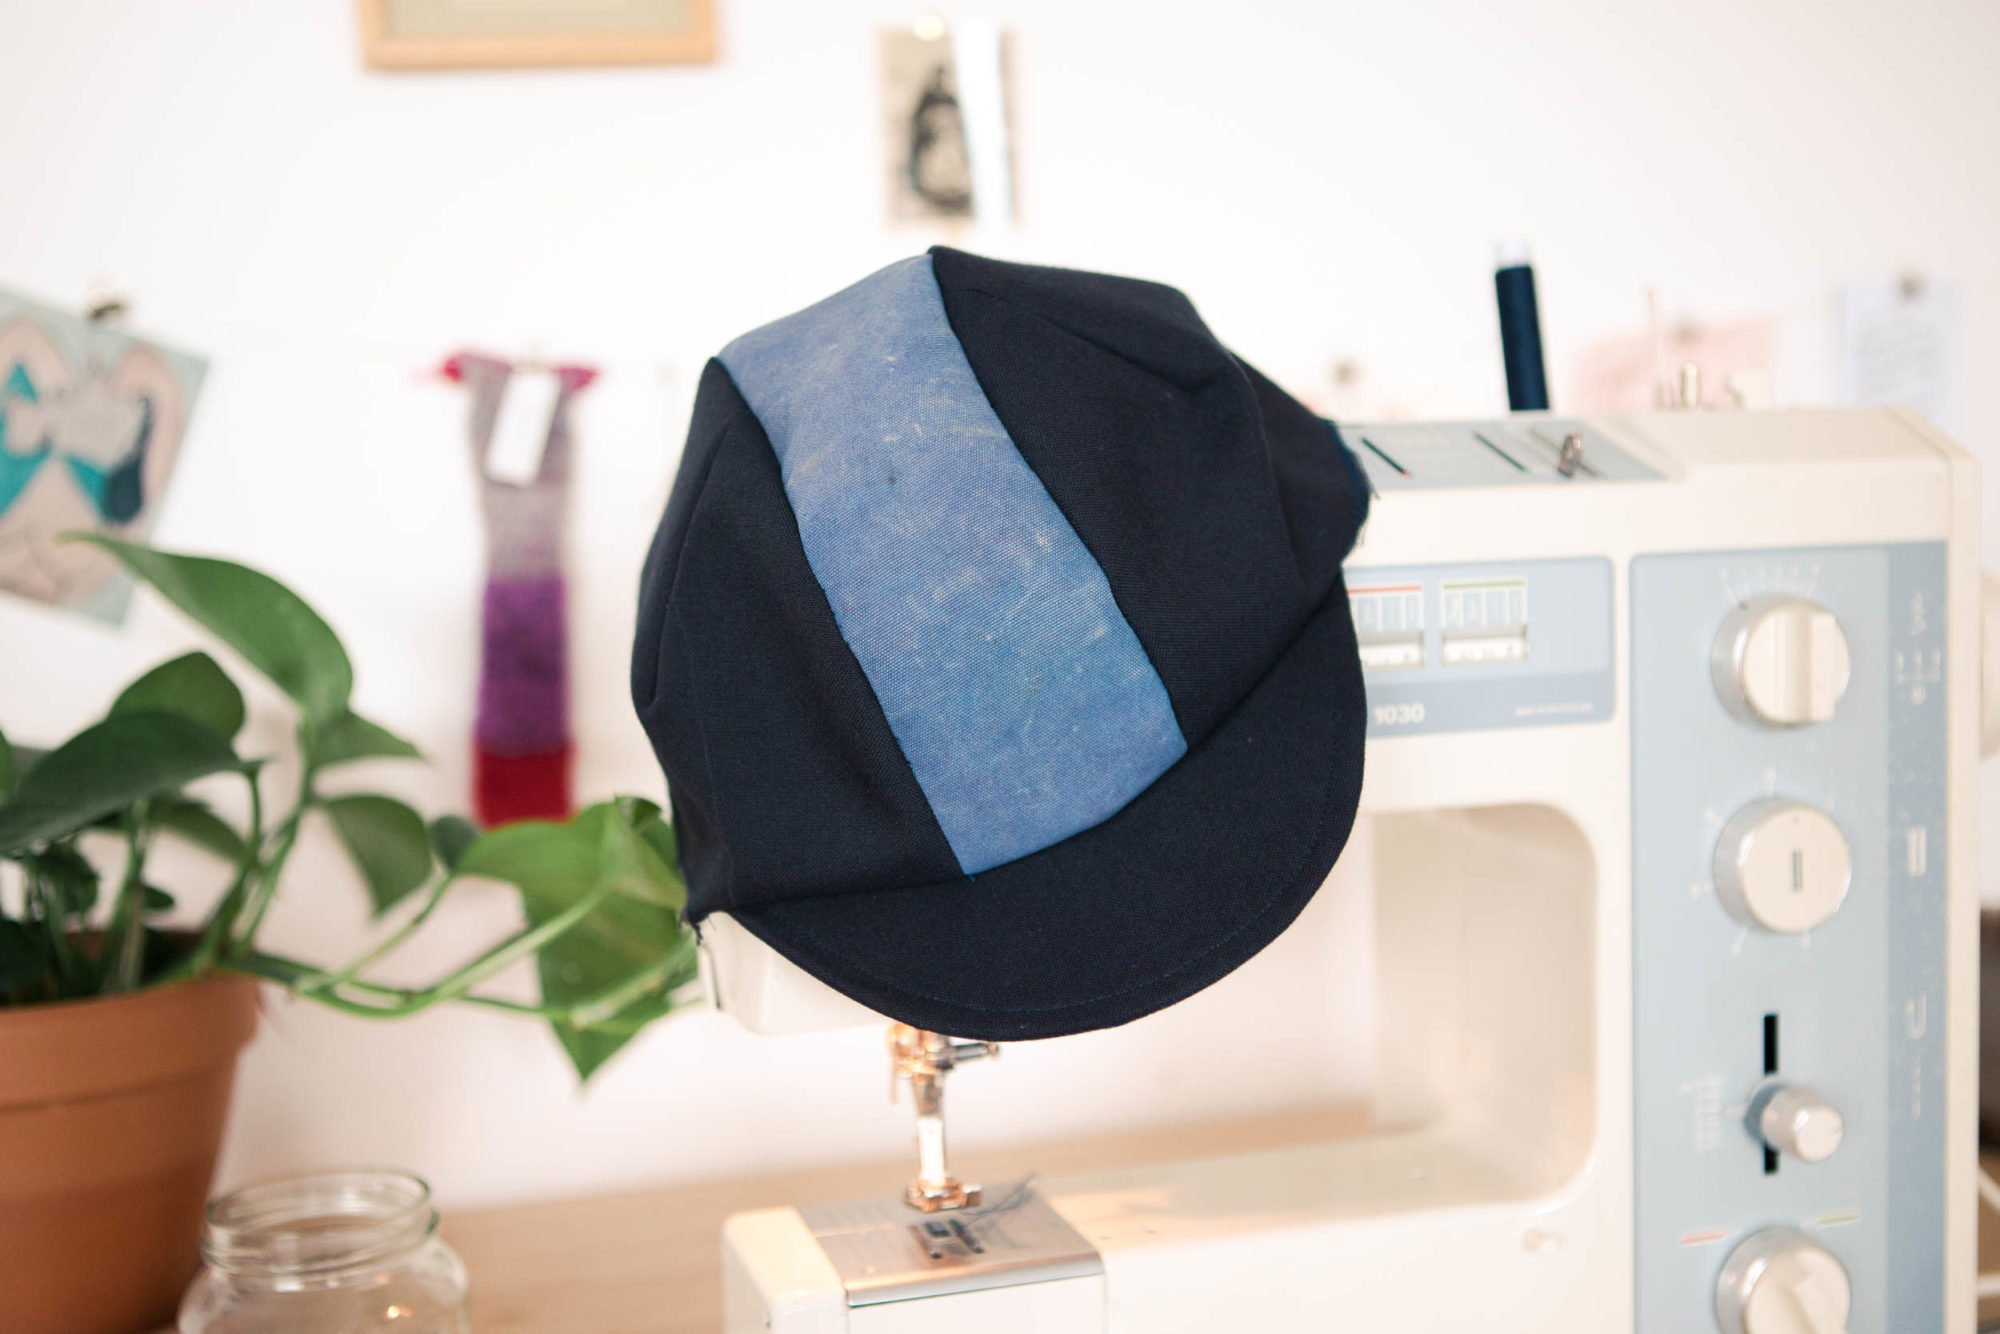
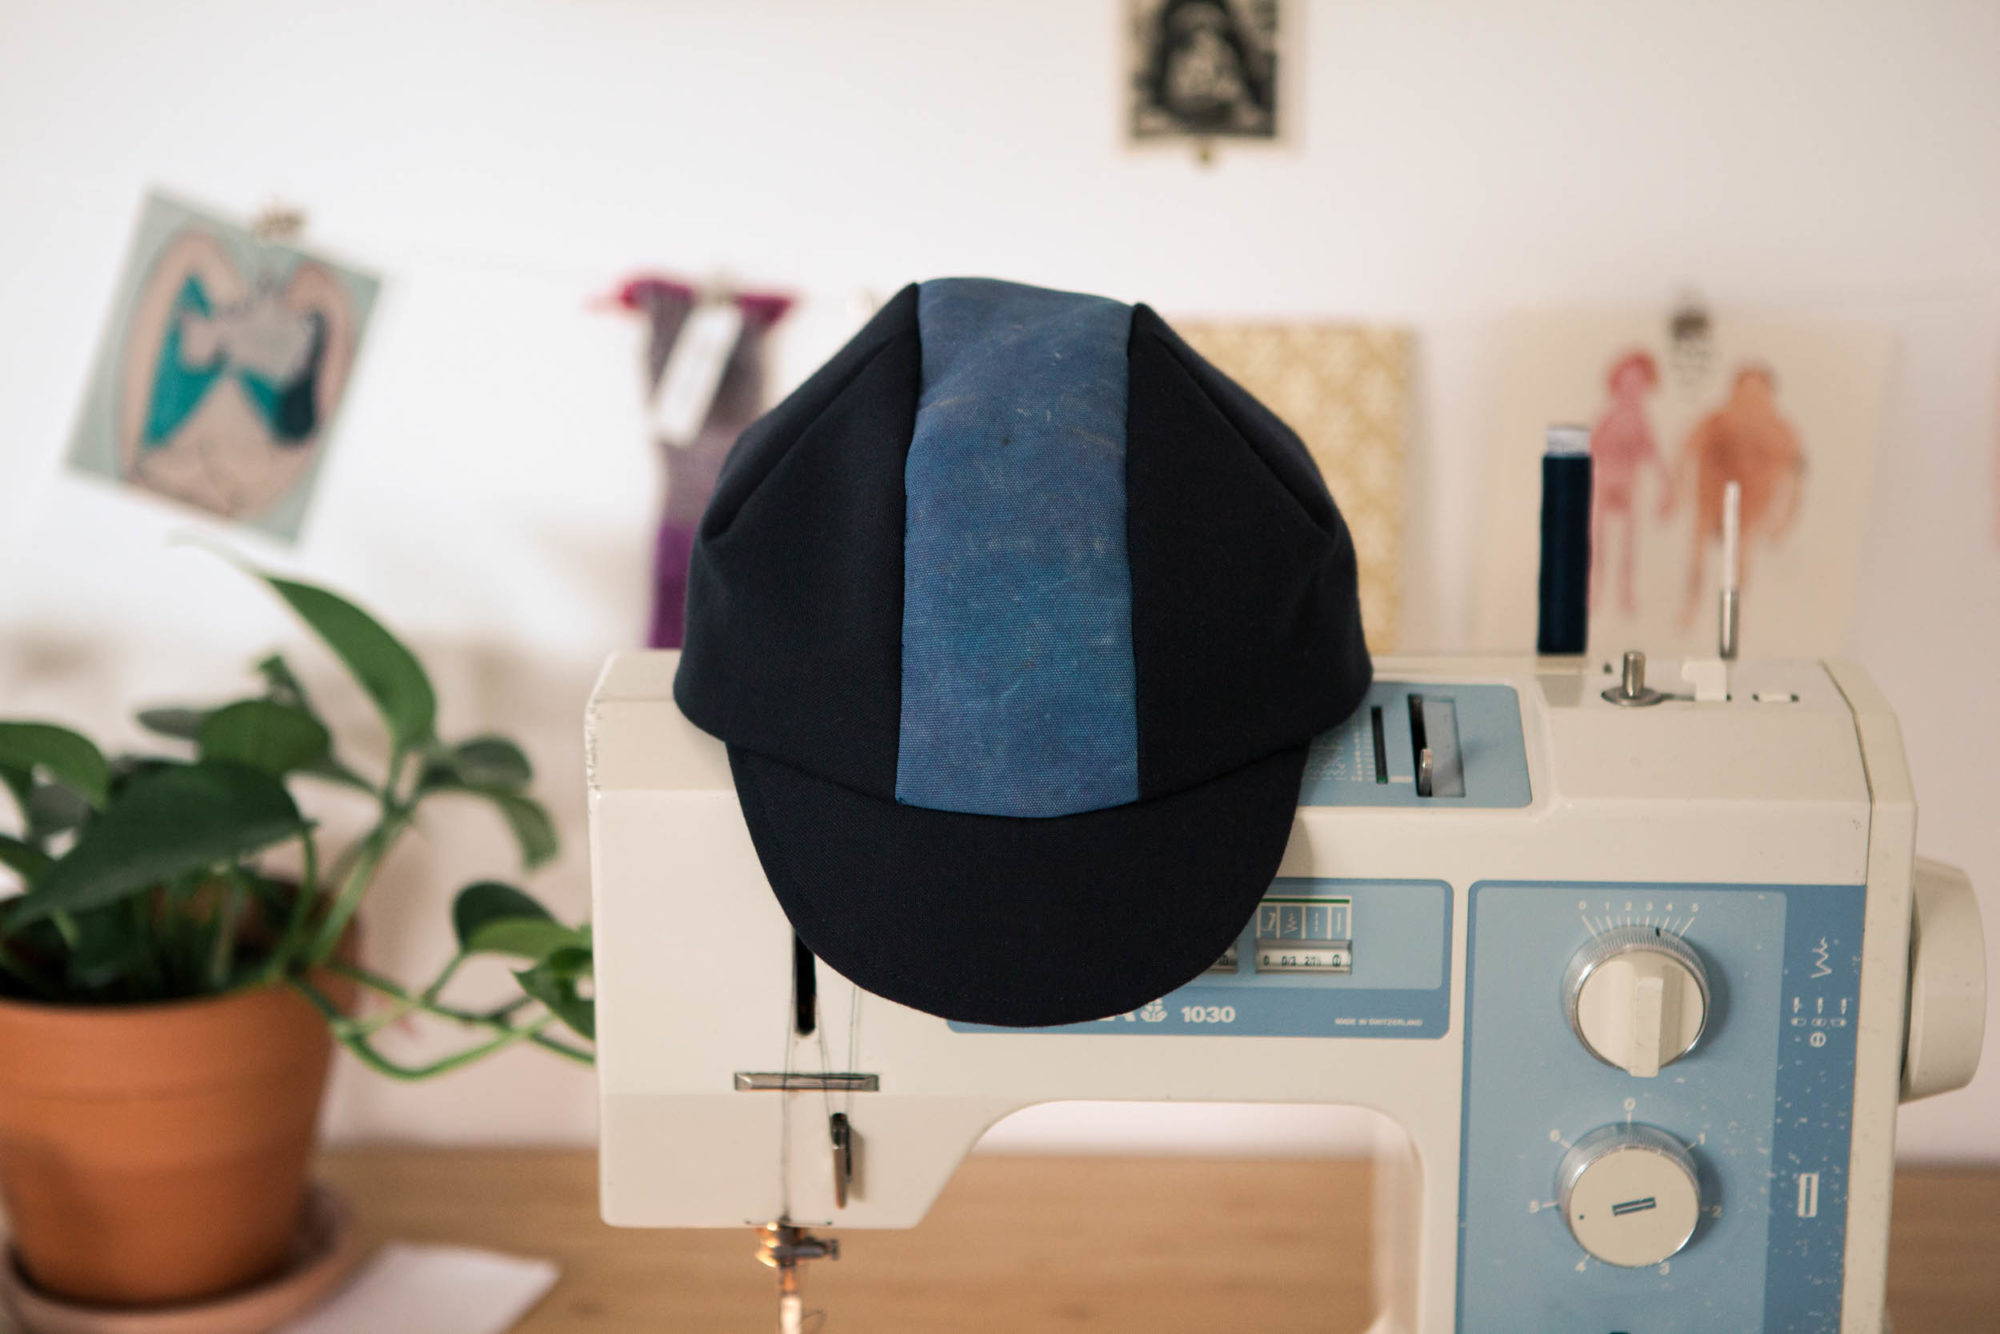
- You can see that my top panel is made out of two pieces in the photos, but that’s only because I loved that fabric and it wasn’t long enough, so I had to modify it a bit
Step 3: Making the Crown
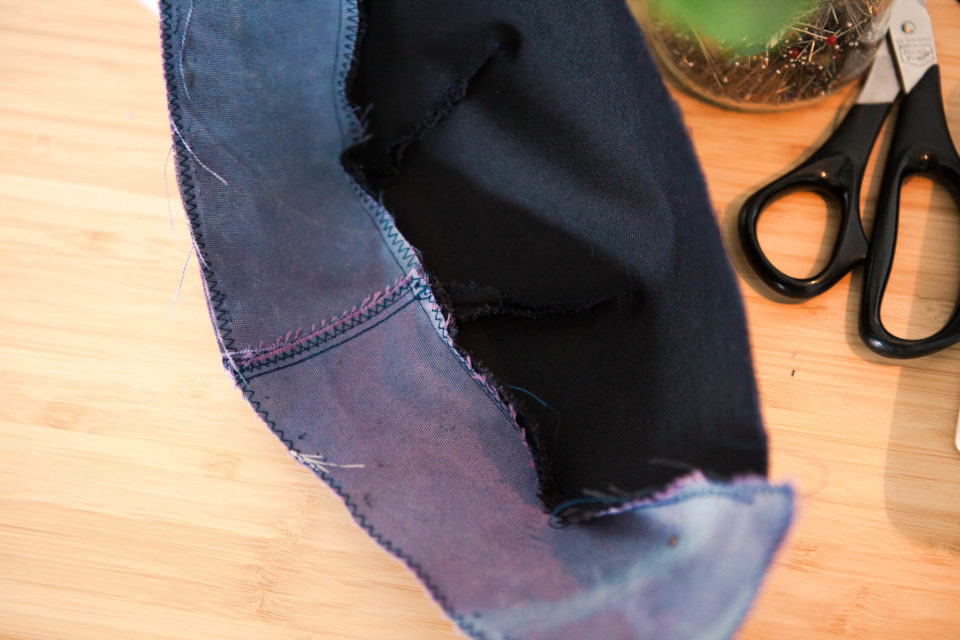
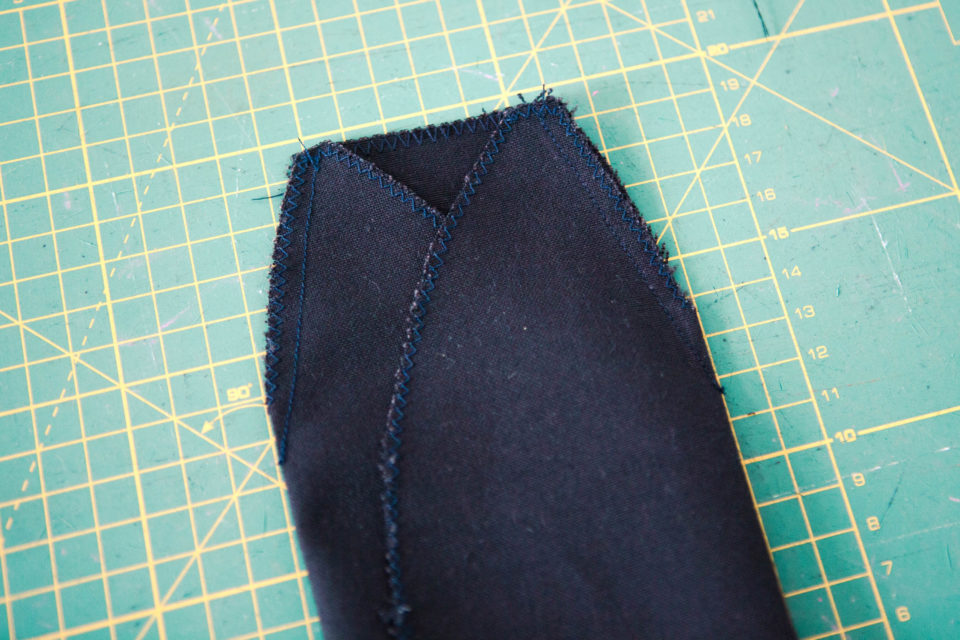
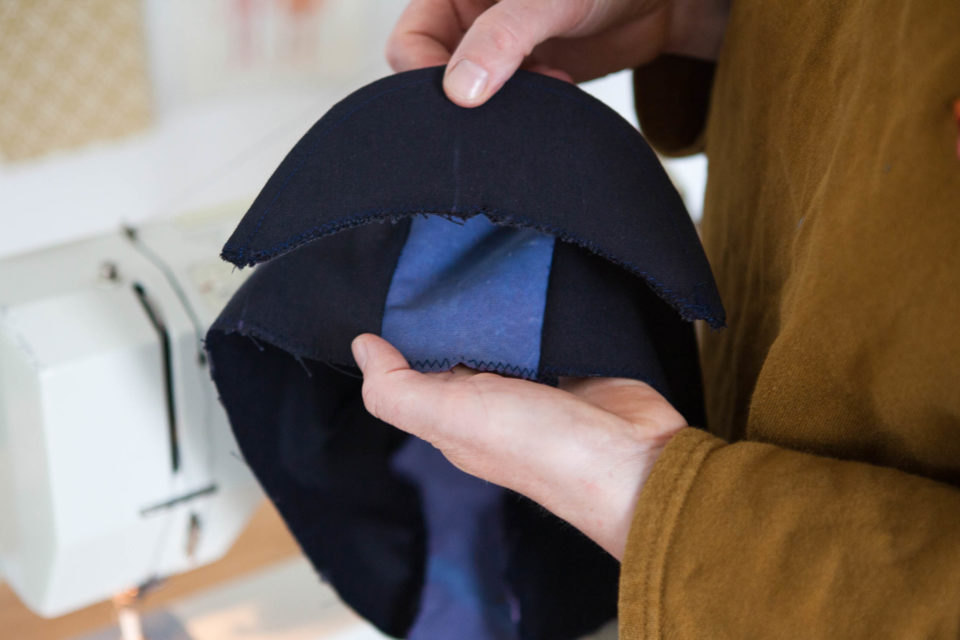
After preparing everything, first sew the two seams together on the side panels. To do so, fold the outsides in and sew along the edges on the left side of your fabric.
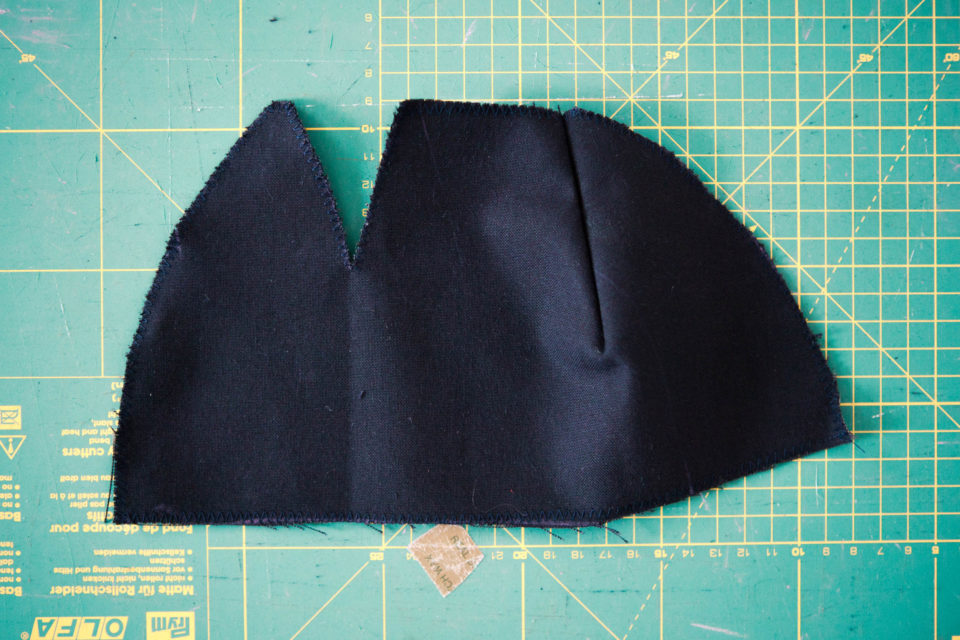
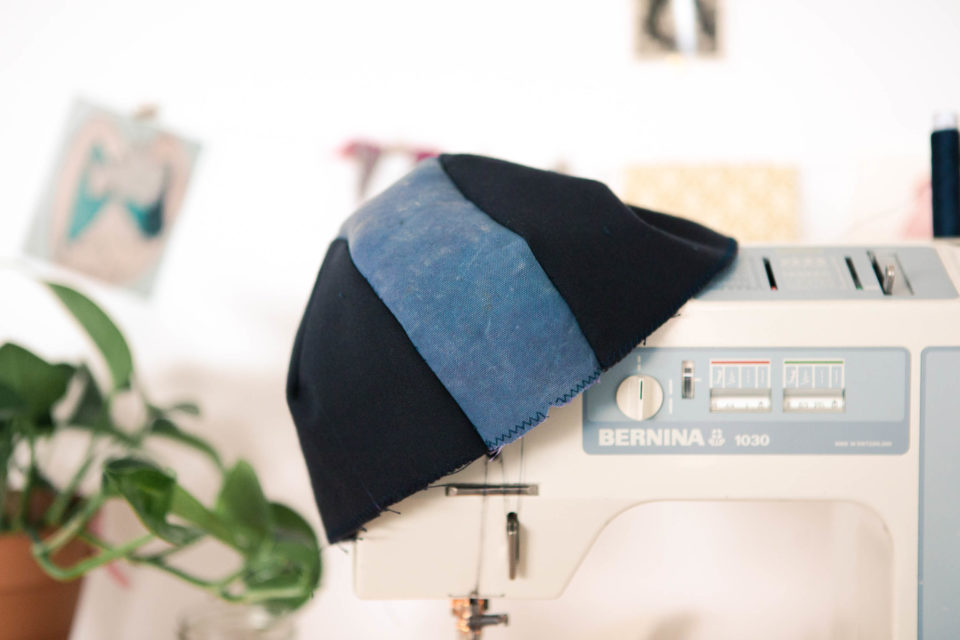
Once both side panels are sewn, you can already see how they’ll shape the crown of your cap later. Now you add the top panel. Start with one side, making sure the right sides of your fabric are facing each other (also check that the part of the top panel is in front where you marked its middle). It’s best to work slow here, being sure the pieces align with each other as you go. Press the seams of the side panels flat once you reach them. Do the same with your second side panel.
Now the crown of the cap is ready. Don’t worry if the top panel is sticking out a couple of cm at the back. Just cut it off (I made it a wee bit longer to avoid it being too short, as there can be small variations when you’re sewing.)
Step 4: Sewing the Brim
Making the brim and attaching it to the cap is probably the trickiest part of making this cap, but don’t be intimidated! Just make sure you fit them together as precisely as possible.
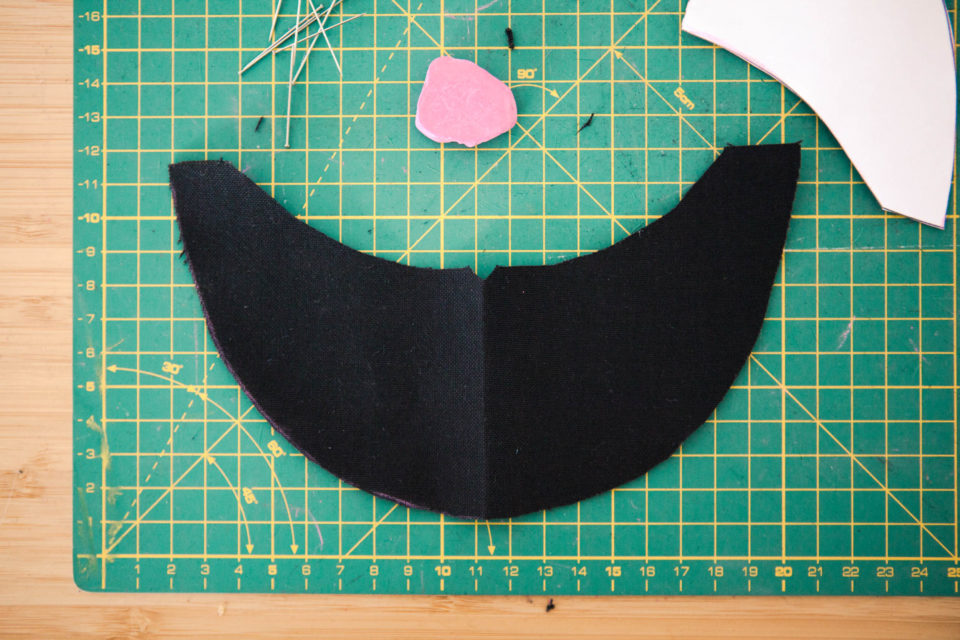
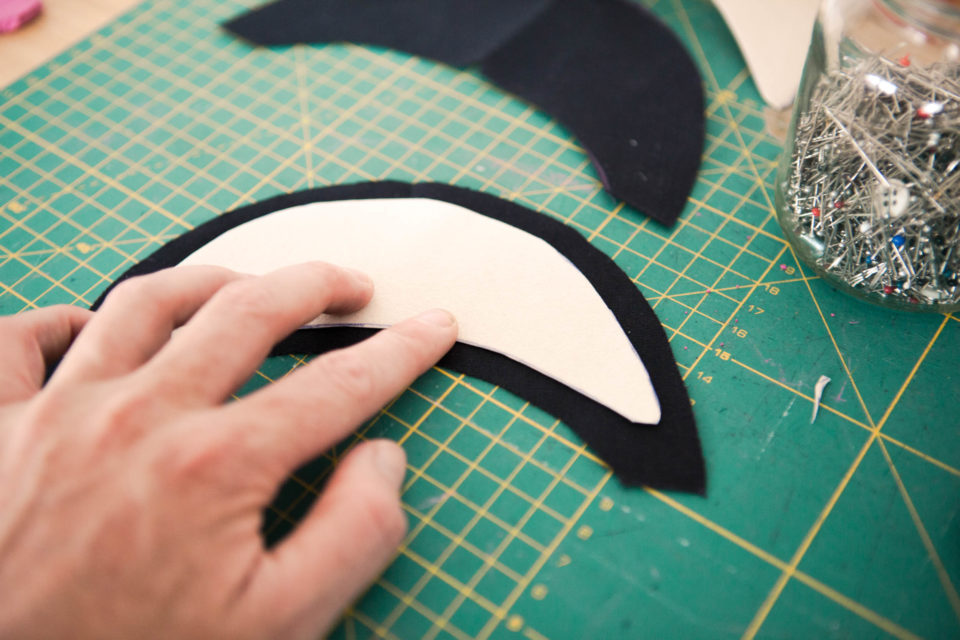
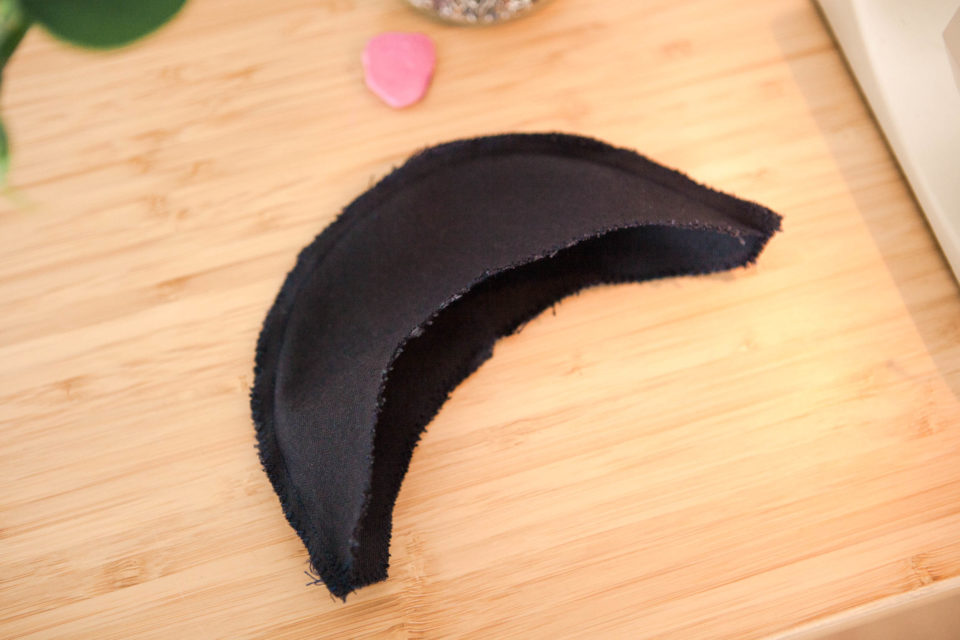
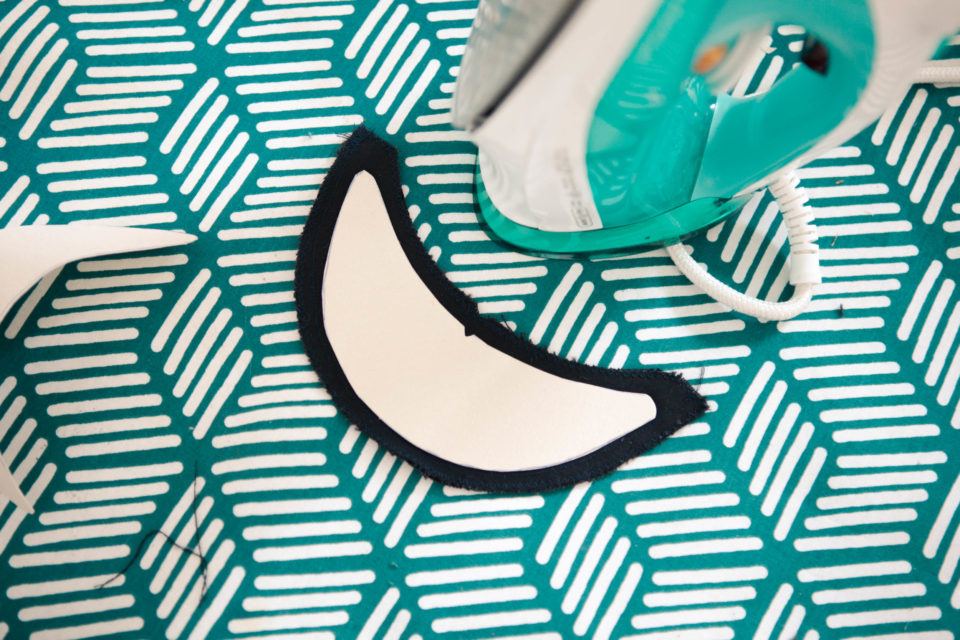
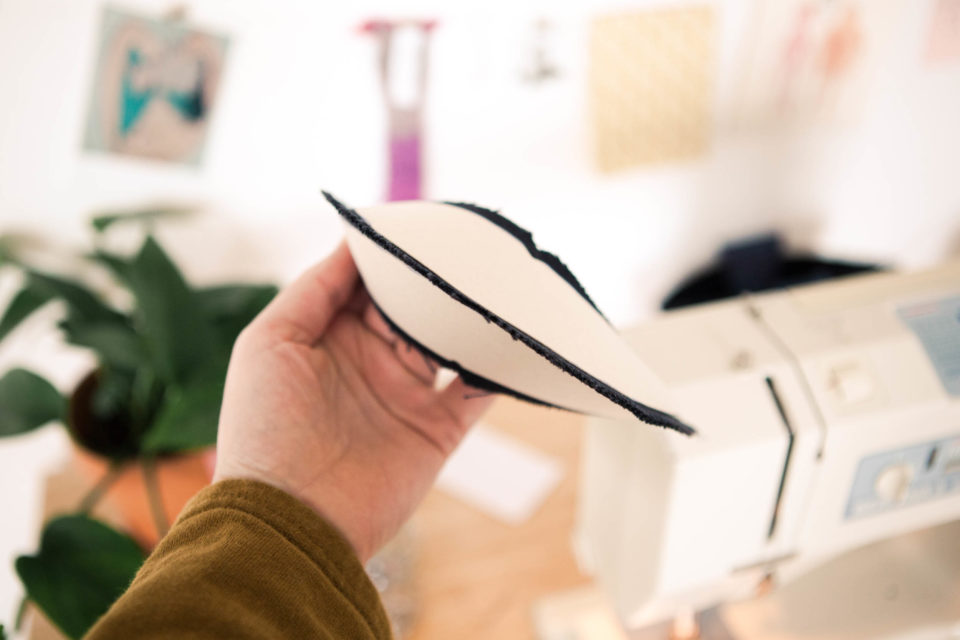
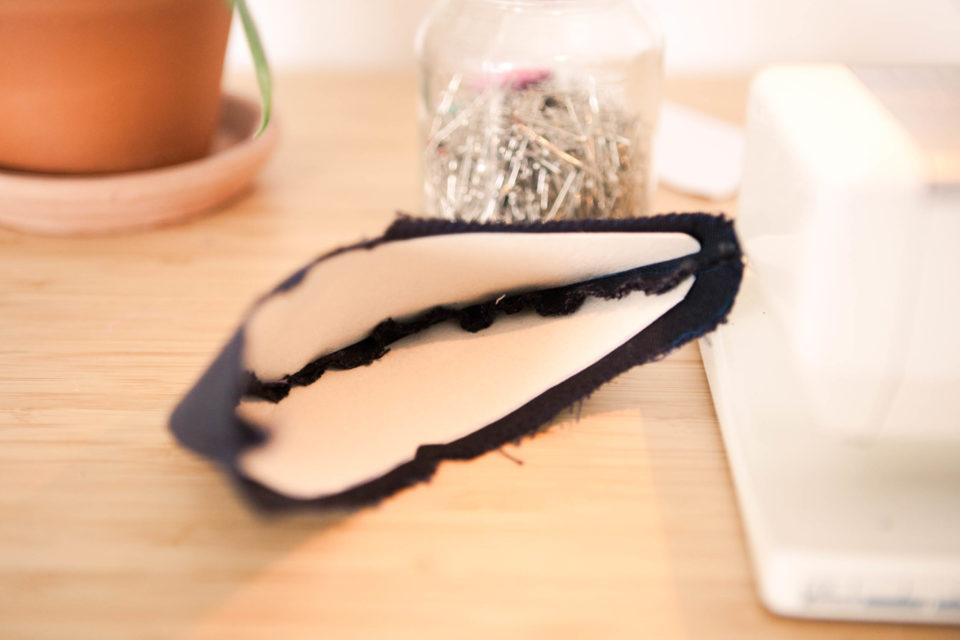
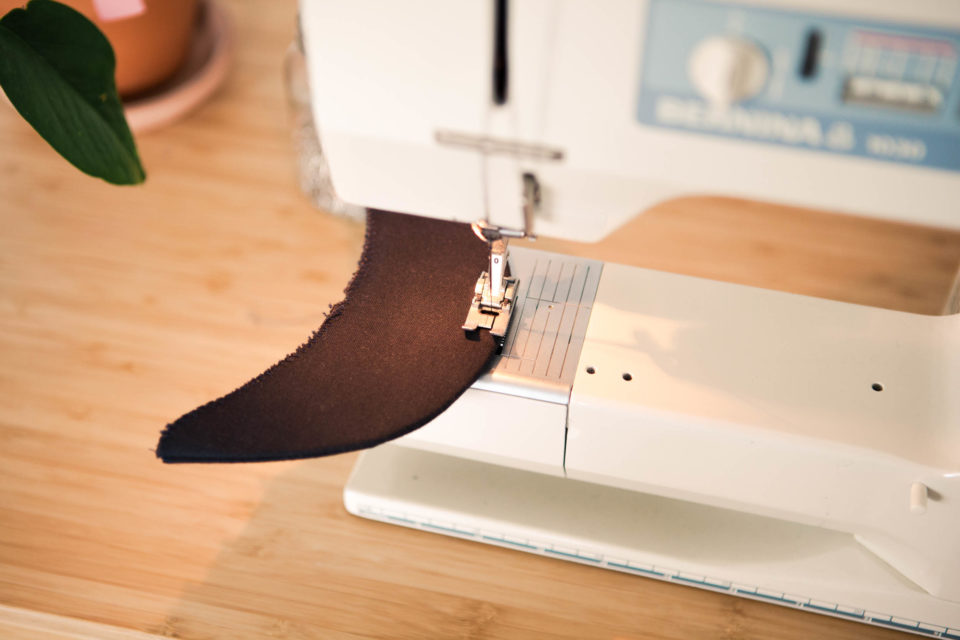
Sew both brim pieces together, again with the right sides facing each other. After that, place the brim inserts with the coated side onto your fabric (left side), one on each side. Marking the middle as instructed earlier will be a huge help. Once placed, use your iron and a damp cloth to press down on it for around eight seconds to make the adhesive work. Choose the heat according to your fabric: the lower the heat, the longer you’ll need to press down. Let the brim cool for at least 30 minutes. Note that you can also start with this step and sew the crown while the brim is cooling down.
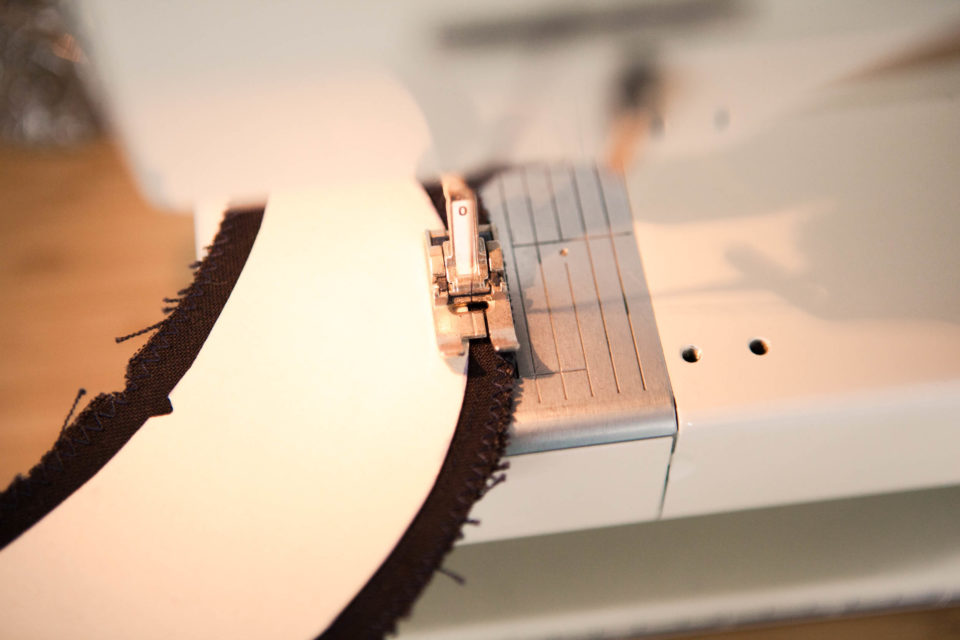
After the brim has cooled down, sew along the edge of the brim inserts again to make them fit super snug around the edges. Then you can finally turn the brim inside out. The seam allowance should now be tugged between the two brim inserts and the outside edge of the brim should be smooth and round. If you find little bumps, now’s a good time to fix them.
Next, you can add as many decorative seams on the outside of your brim as you want. I would recommend at least one to strengthen and flatten the edge of the brim.
Step 5: Attaching the Brim
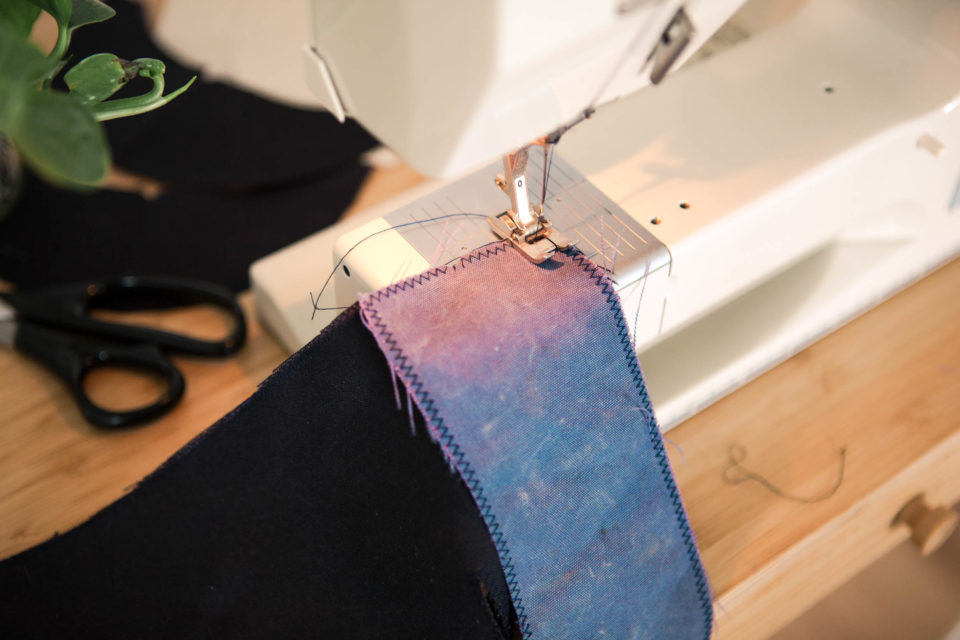
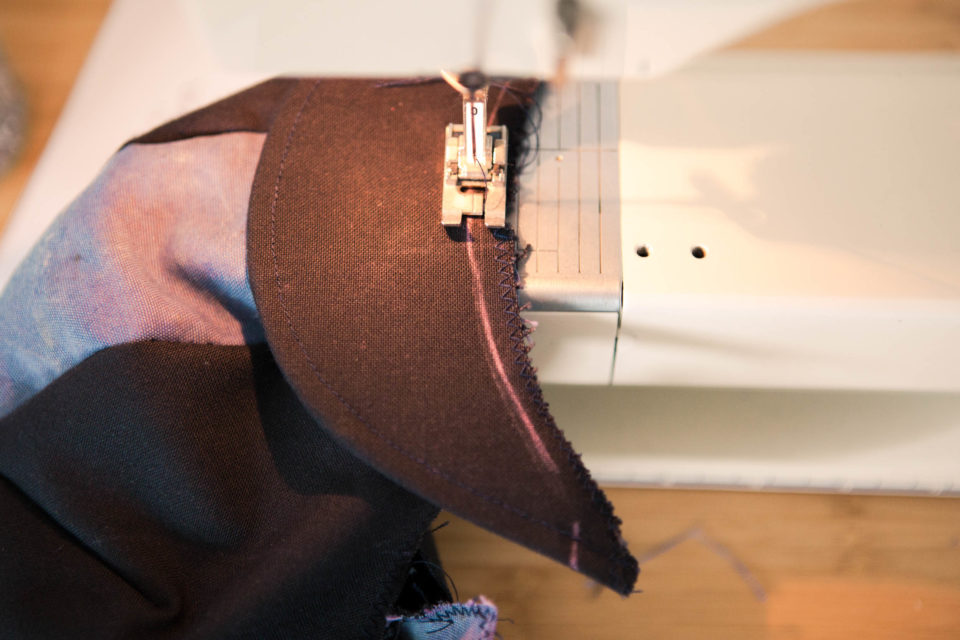
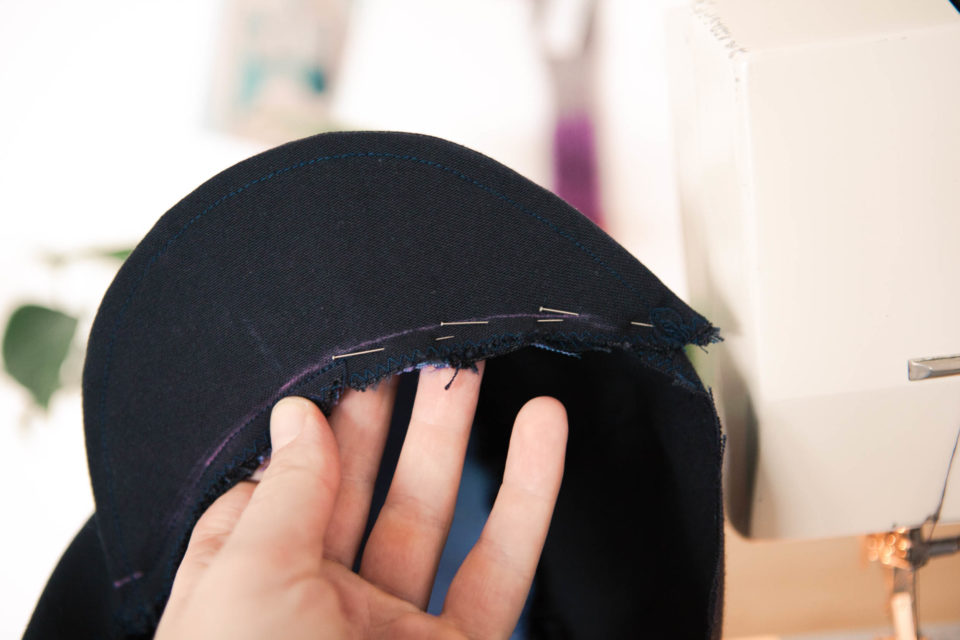
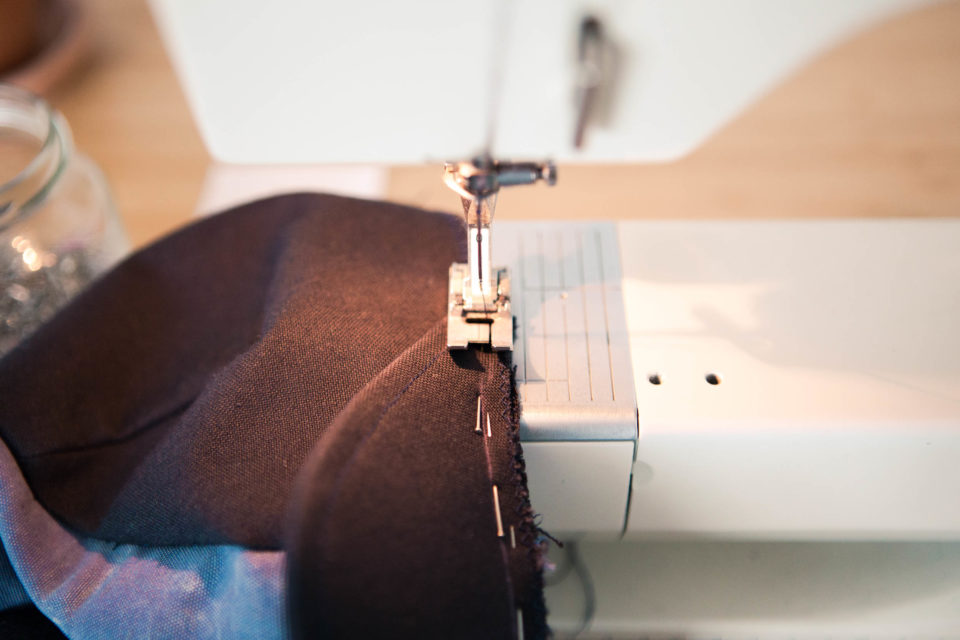
Use the tailor’s chalk to mark the edge of the inserts inside your brim. I always do this since I prefer to sew as close to the inserts as possible. Line up your center marks on the brim and on the top panel (crown of your cap) to make sure your brim will sit in the middle. Start sewing from the middle to the outside edge of your cap’s crown, lining up the brim as you stitch along. Then turn the cap and pin down the other side of your brim to the cap. Next, sew from the outside towards the middle, removing the pins as you go, making sure you stick to the chalk line you drew earlier. Finally, the brim is on the cap. The hardest part is done! I always take some time to confirm that the brim is really in the middle of the crown by double checking with a measuring tape.
Step 6: Fitting the Cap
The final step is to attach the velour elastic on the inside of your cap and fit it to your head. Unfortunately, there’s no one-size-fits-all-technique, so you’ll have to experiment with how tightly you pull the elastic at the end and how snug you want your cap to fit.
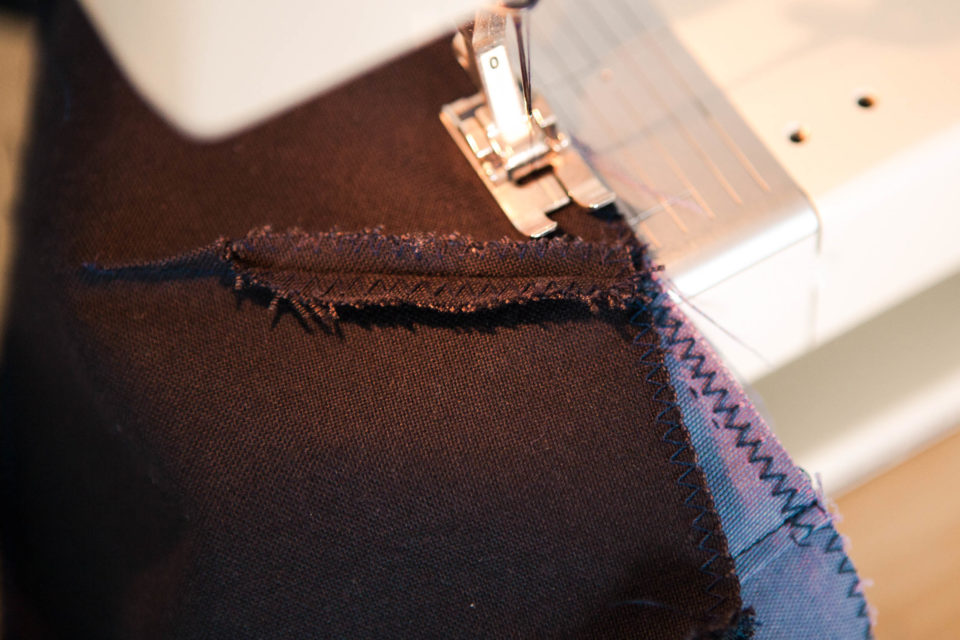
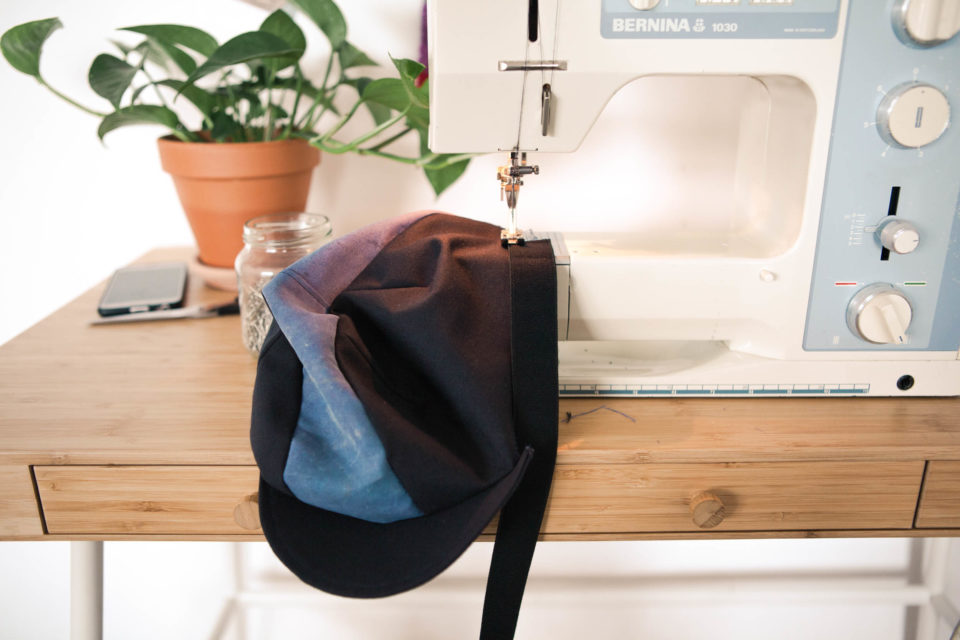
First, though, roughly estimate the length of the elastic by measuring the circumference of your head and mark the velour elastic at that length (but don’t cut it yet!). Next, place the cap (right side up under your sewing machine) and lay the elastic on top of it, overlapping the fabric by around 5mm (3/16’’), starting 5cm (1.9”) after the top panel at the back of the cap.
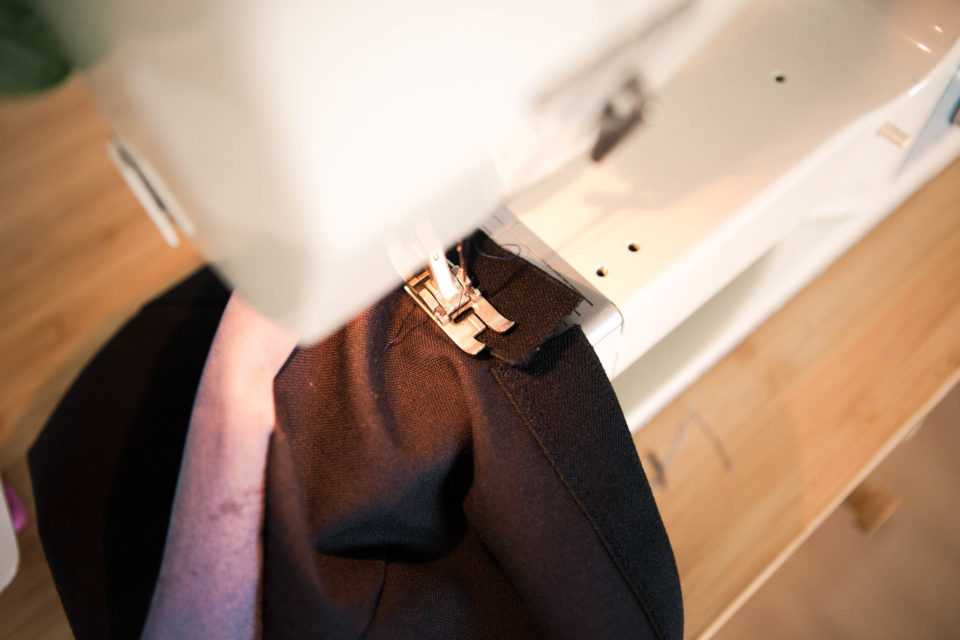
Use the zigzag stitch to sew on the velour elastic. Don’t pull it tight until you reach the back of the cap, 5cm (1.9’’) before the seam with the top panel. Now, pull the velour elastic tight until you reach its beginning again. Before you zigzag both ends together, try on the cap and see if it fits. If it’s too loose or too tight, the only solution is to unpick the seam to the point from which you have started to pull it, then do it again. Finally, flip the elastic on the inside of your cap. That’s it, you’ve made your first cycling cap!
Looking for more DIY tutorials? Check out #MYOBG for step-by-step guides to making a hip pack, stuff sack, stem bag, and lots more.
Please keep the conversation civil, constructive, and inclusive, or your comment will be removed.

We're independent
and member-supported.
Join the Bikepacking Collective to make our work possible:


