Make Your Own Stem Bag: MYOBG
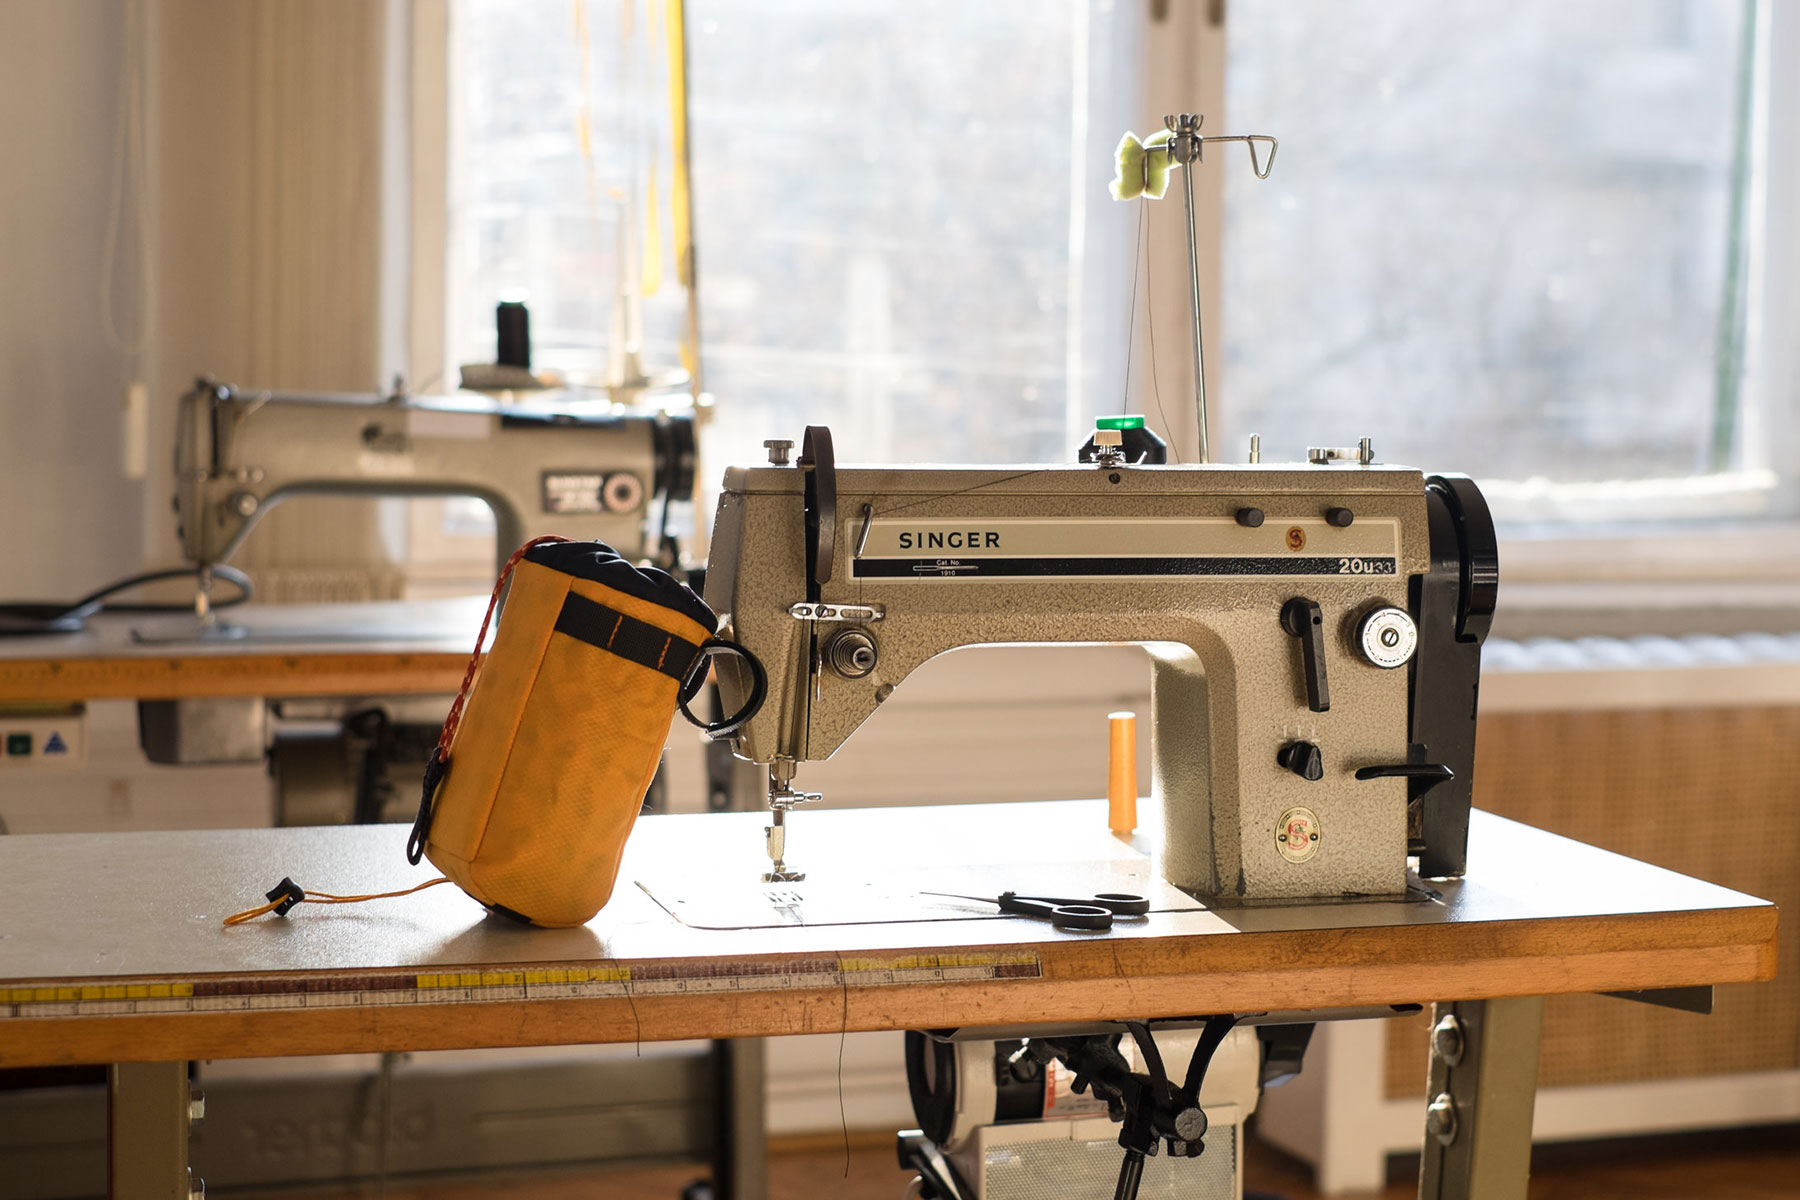
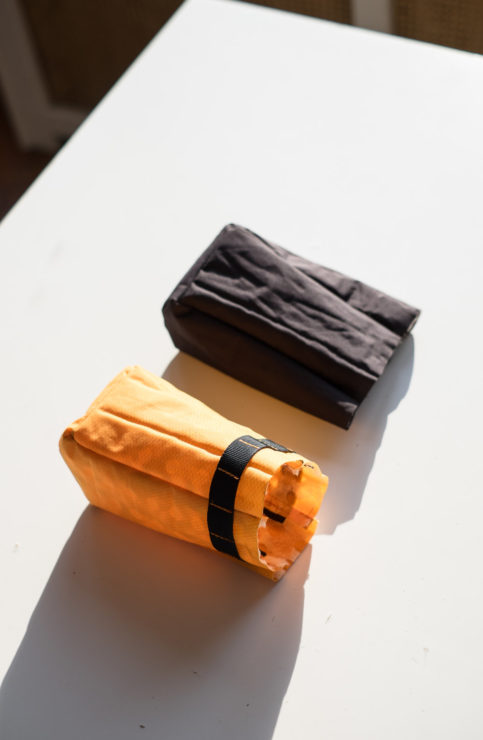
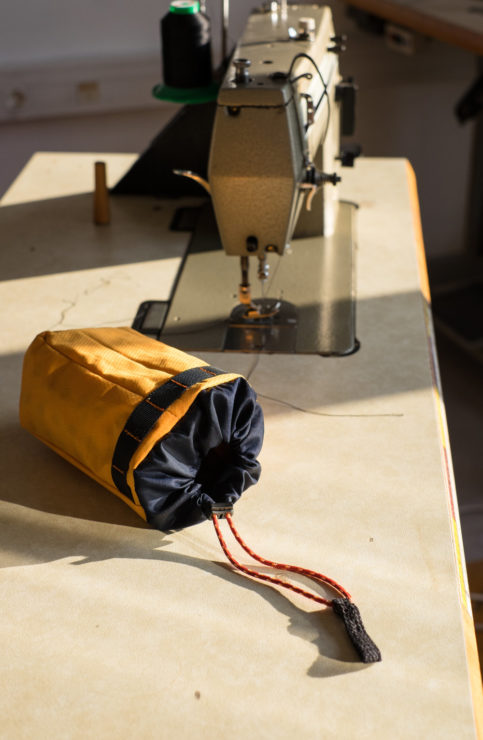
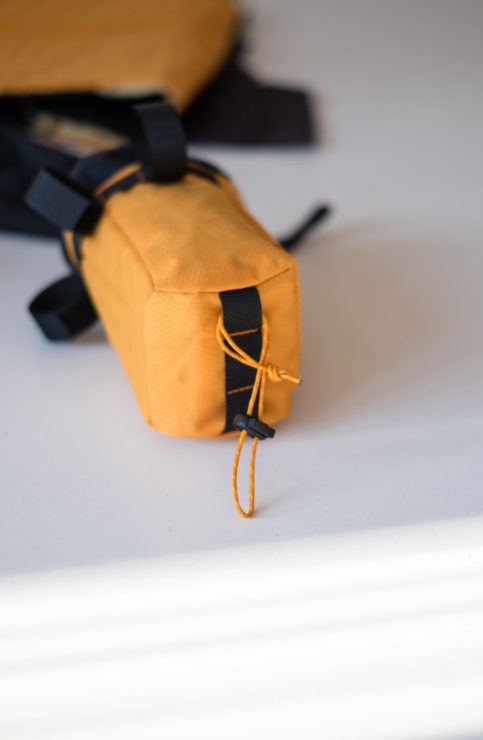
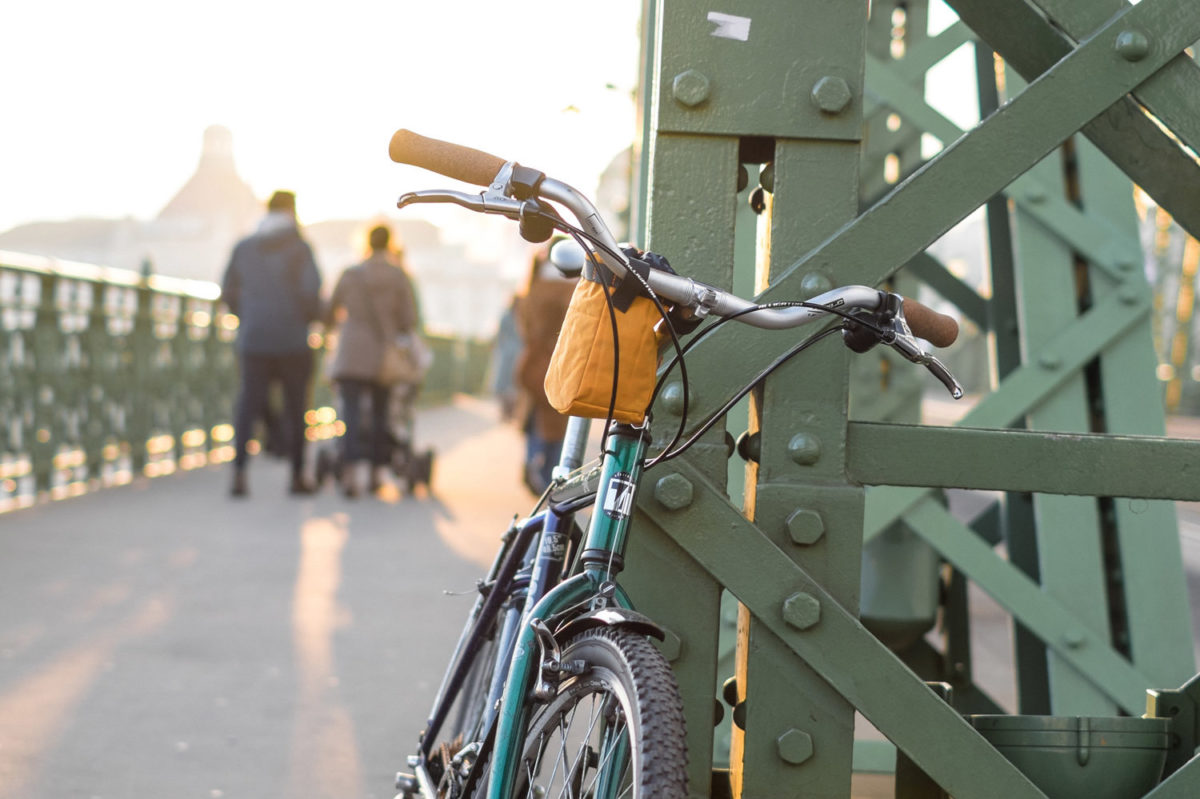
Learn how make your own stem bag from old recycled gear in this step-by-step ‘MYOBG’ tutorial. Follow along as Neža makes a ‘snack bag’ (i.e. feed bag) from an old inflatable air mattress.
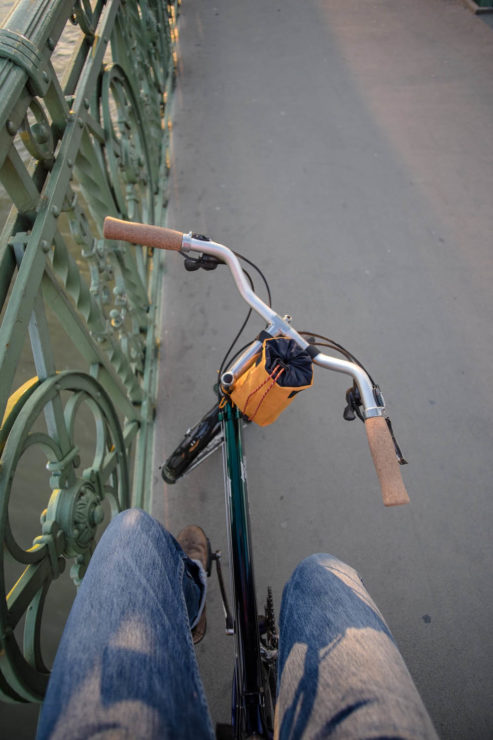
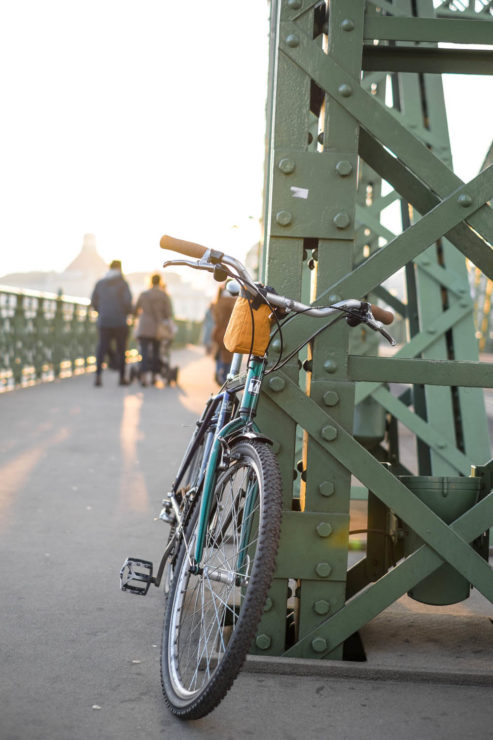
Whatever you might call them, ‘feed bags’, ‘snack bags’, or ‘food sacks’, there’s no doubt that stem bags are one of the handiest accessories for stashing on the go trail snacks. They’re also suited for carrying a variety of other items you might need close at hand – a water bottle, phone, sunglasses, compact camera, spare lens, gloves, or even a clothing layer.
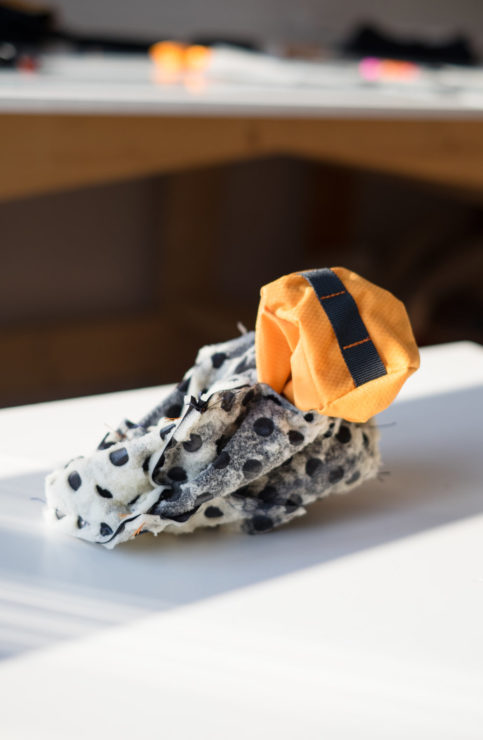
In this tutorial we take you through the process of making one from scratch. While there are a few materials and tools you need, the beauty of making a small bag such as this one is that it can be fabricated with leftover materials… or from repurposed or defunct gear, such as a leaky inflatable air mattress. What better to do with old equipment than to ‘Make Your own Bikepacking Gear’ (MYOBG). P.S. you can find a few more DIY articles at the MYOBG tag here. We hope to add more to this collection in the not too distant future.
Stuff you’ll need
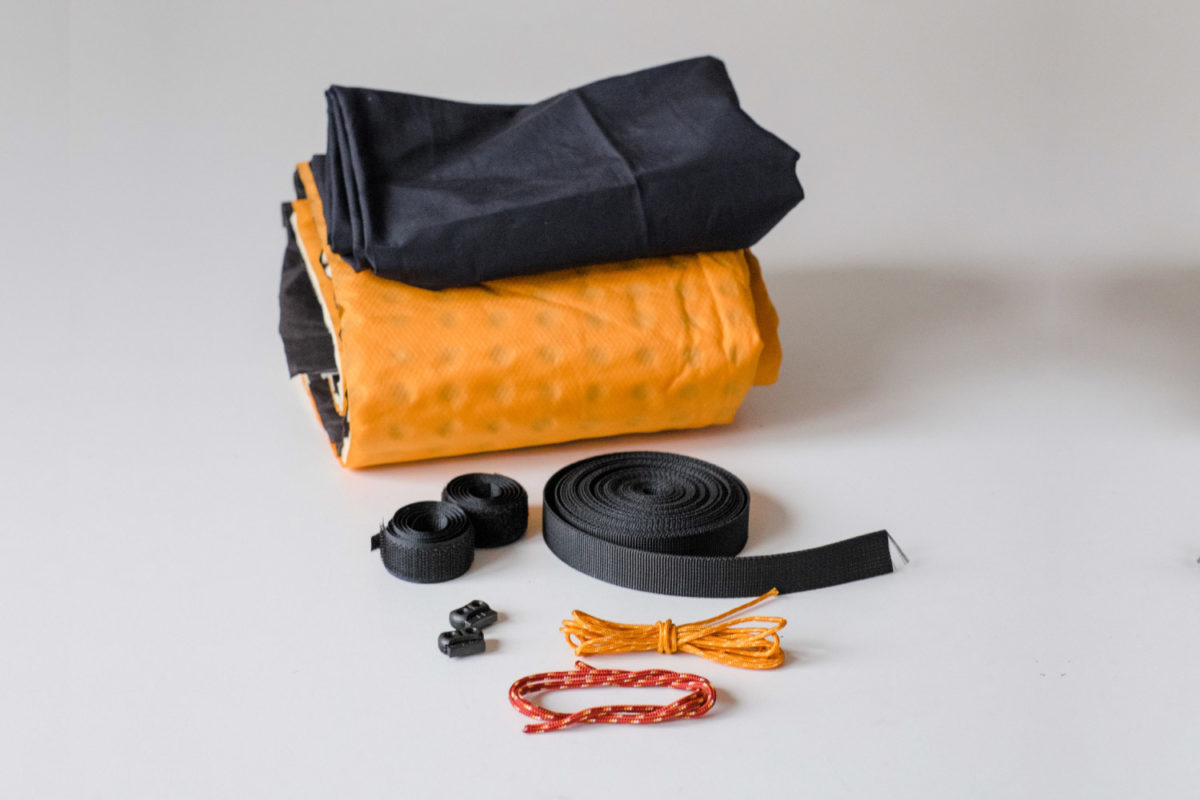
This will be the outer material of the bag, therefore you need it to be durable. You can use fabrics such as: X-Pac, Cordura, heavy Ripstop, waxed canvas duck, or recycle some of your old camping gear.
– 0.5 meter of lining material (I recommend using lighter synthetic fabric, preferably waterproof)
– 1.0 meter (40″) Paracord string or elastic cord
– 2 x Cord stopper
– 0.5 meter (20″) webbing (20mm or 1 inch width)
– 0.5 meter (20″) velcro (hook + loop) in 20mm or 1 inch width
– Small piece of closed cell foam (evazote), for padding if you are planning to carry a camera/lens
Step 1
Print this downloadable PDF pattern on A4 paper (do not resize!) and cut it out.
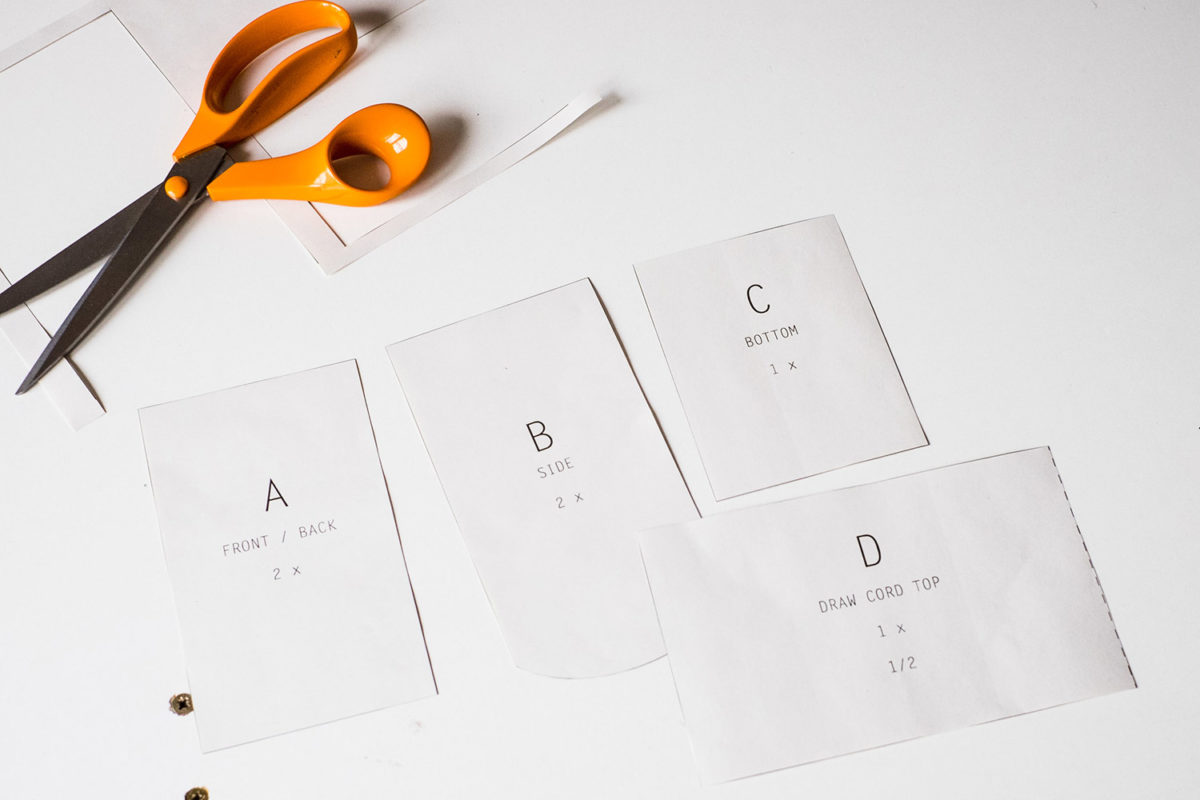
Cut the patterns out of paper.
—–
Step 2
Cut parts A, B, and C from thicker waterproof fabric and from lining fabric.
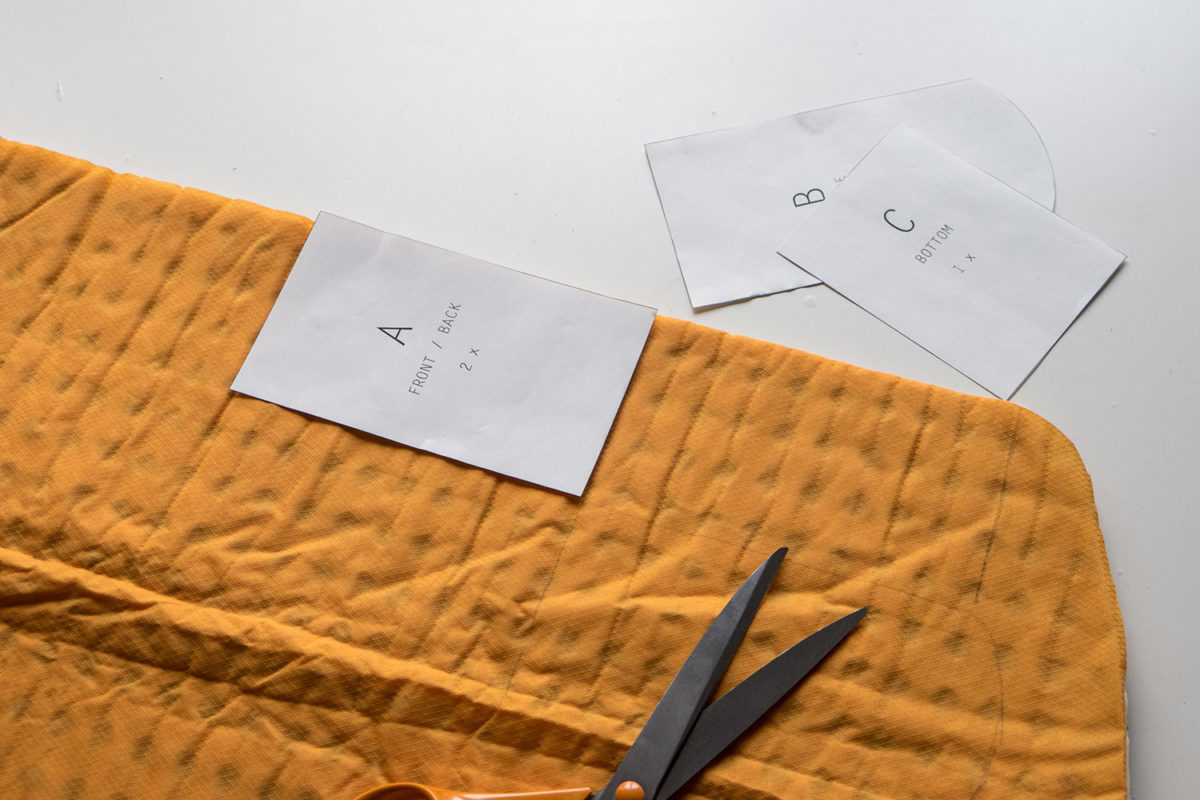
Cut out the pattern from waterproof and lining fabric in amounts given on the pattern.
—–
Step 3
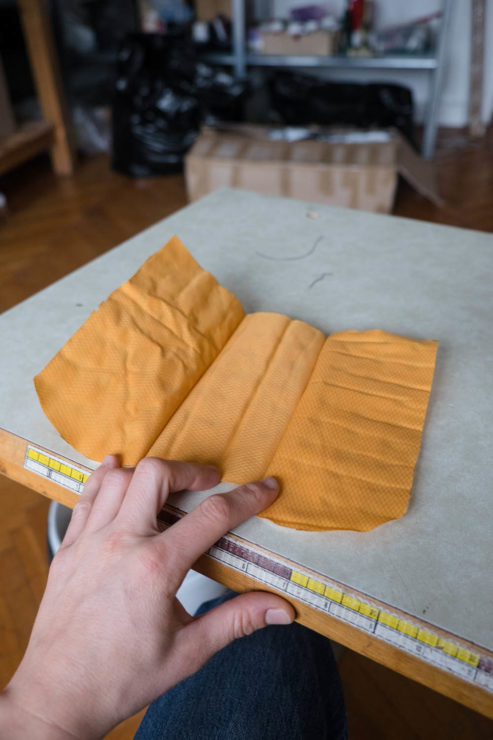
Cut part D from light ripstop fabric, reflecting the pattern over the dashed line.
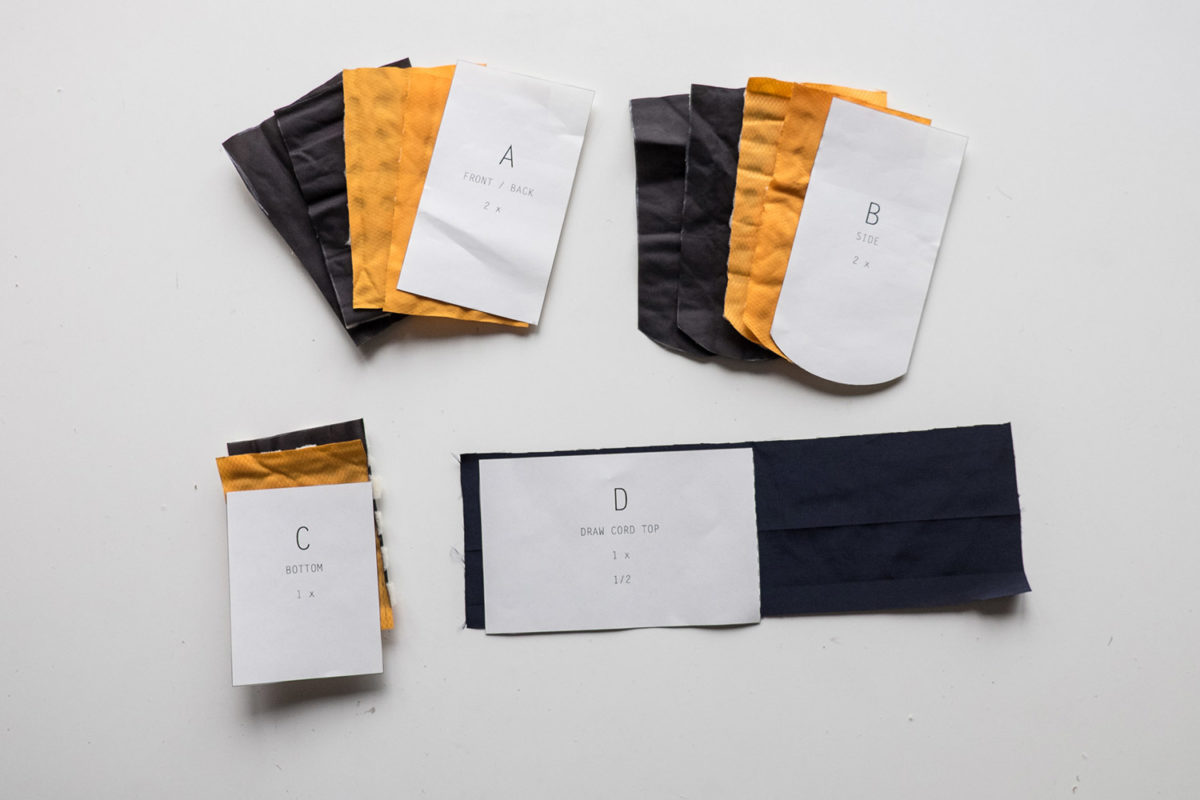
These are the parts you should have after you cut out all the patterns in the amounts given.
—–
Step 4
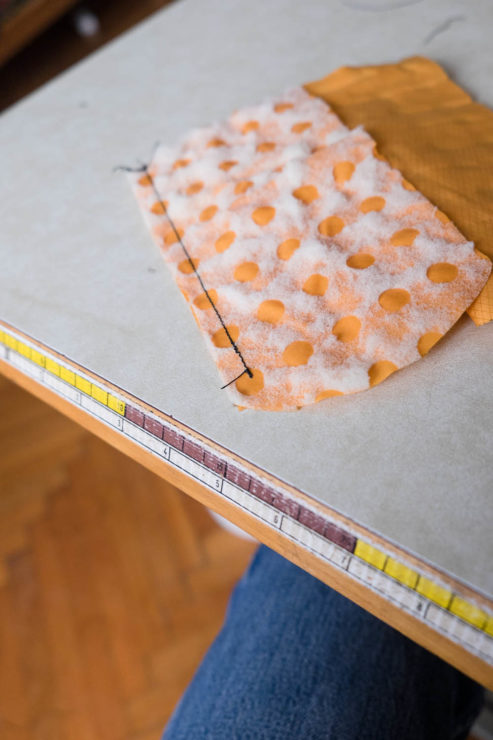
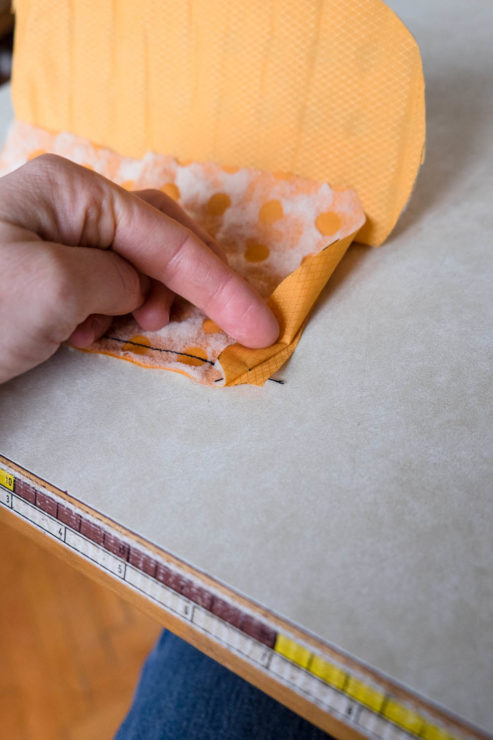
First sew together A + B + A together on their longer sides and leave 1 cm (0.4″) out before finishing the stitch (this will make it easier to sew on the bottom).
NOTE: The pattern contains a 1 cm (0.4″) seam allowance.
—–
Step 5
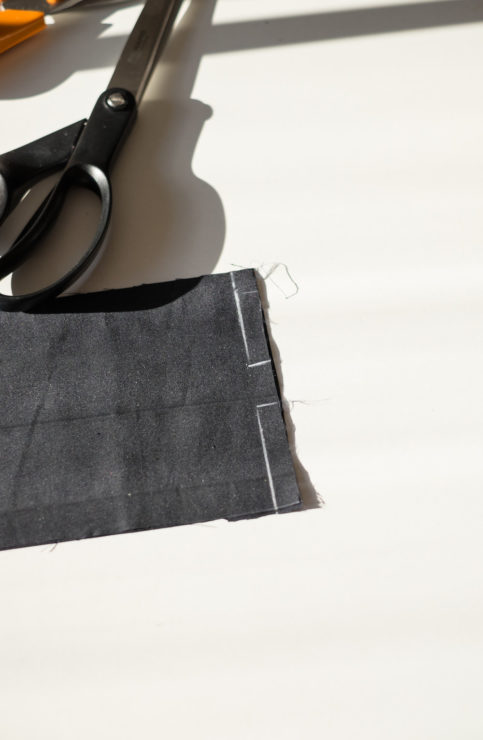
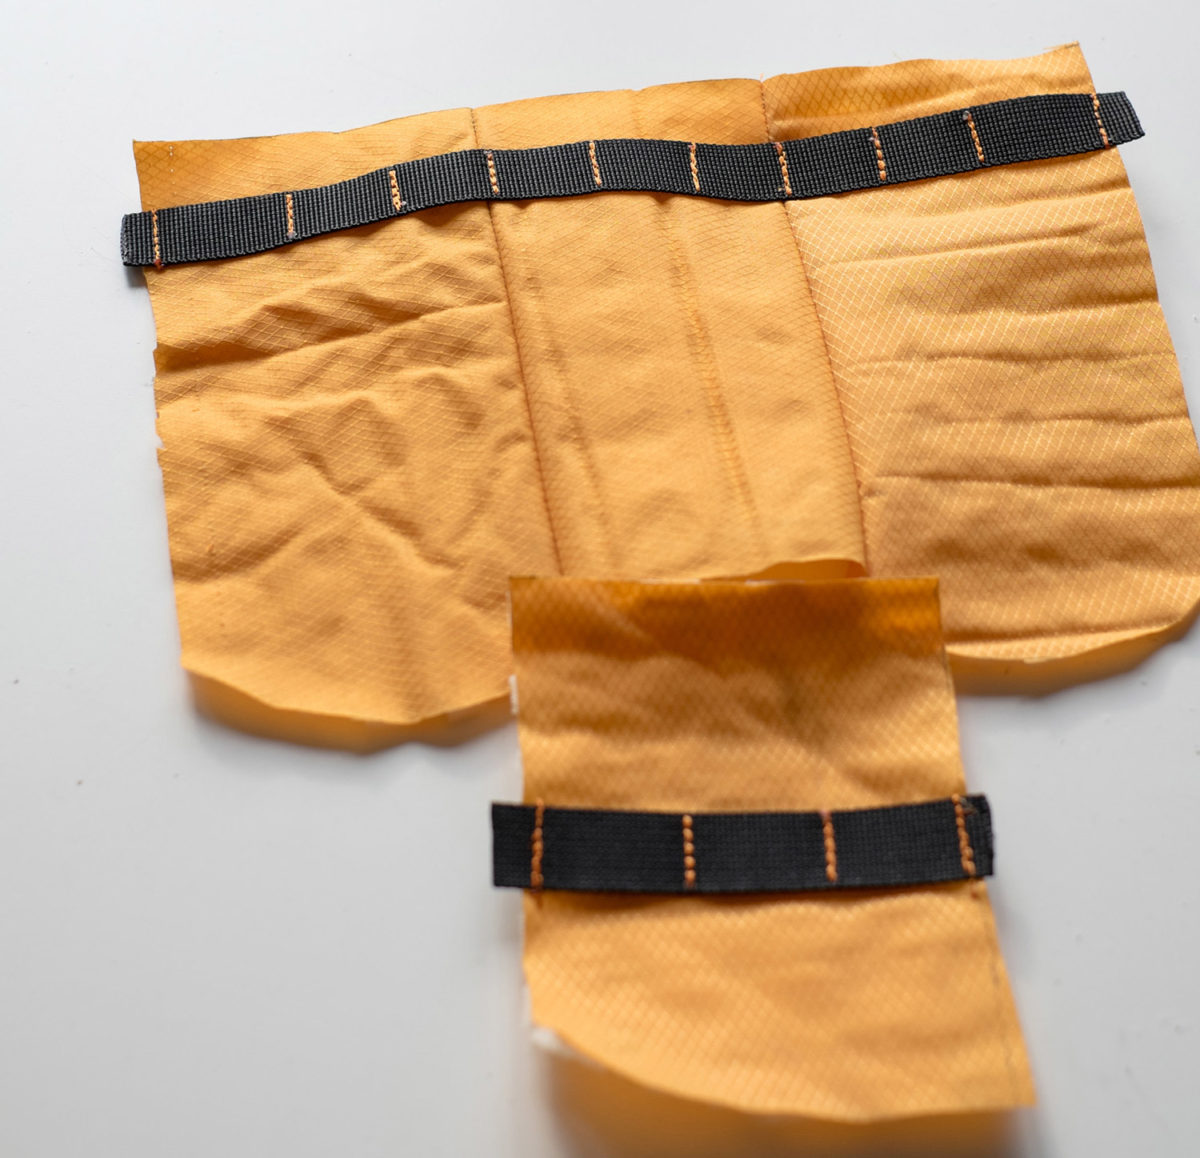
I Apply the 27 cm long nylon webbing, just 2cm (0.8″) under the top.
Make sure you melt both ends of the webbing strap before sewing it on (this will prevent the strap from fraying). Make loops with the distances of 2.5 cm (1″ — or about 1.25″ if you are using 1″ velcro)… not smaller, otherwise the velcro straps won’t fit into them. Run each stitch 2 times forth and back to secure it and burn the leftover thread, that way you can avoid stitch opening.
—–
Step 6
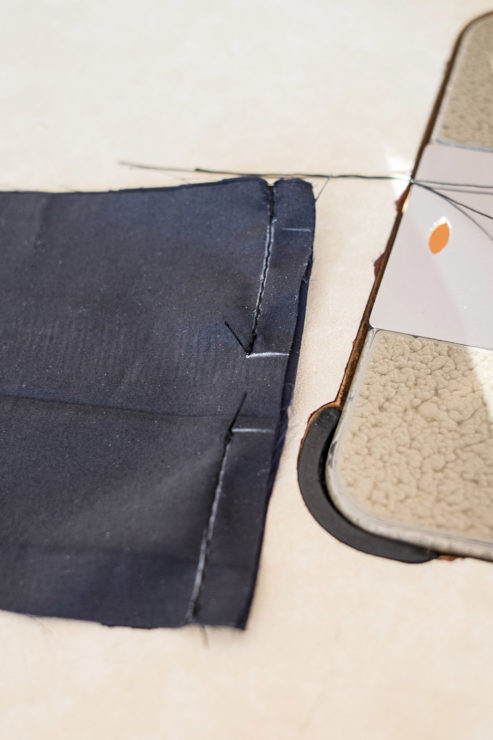
Apply 11 cm (4.3″) long webbing strap on the C part in the middle and sew on 2.5 cm (1″) loops on it.
Webbing straps sewn on with loops of 2.5 cm (1″) width.
—–
Step 7
Sew together the remaining part of the B pattern to the A+B+A part, which you sew together in the beginning.
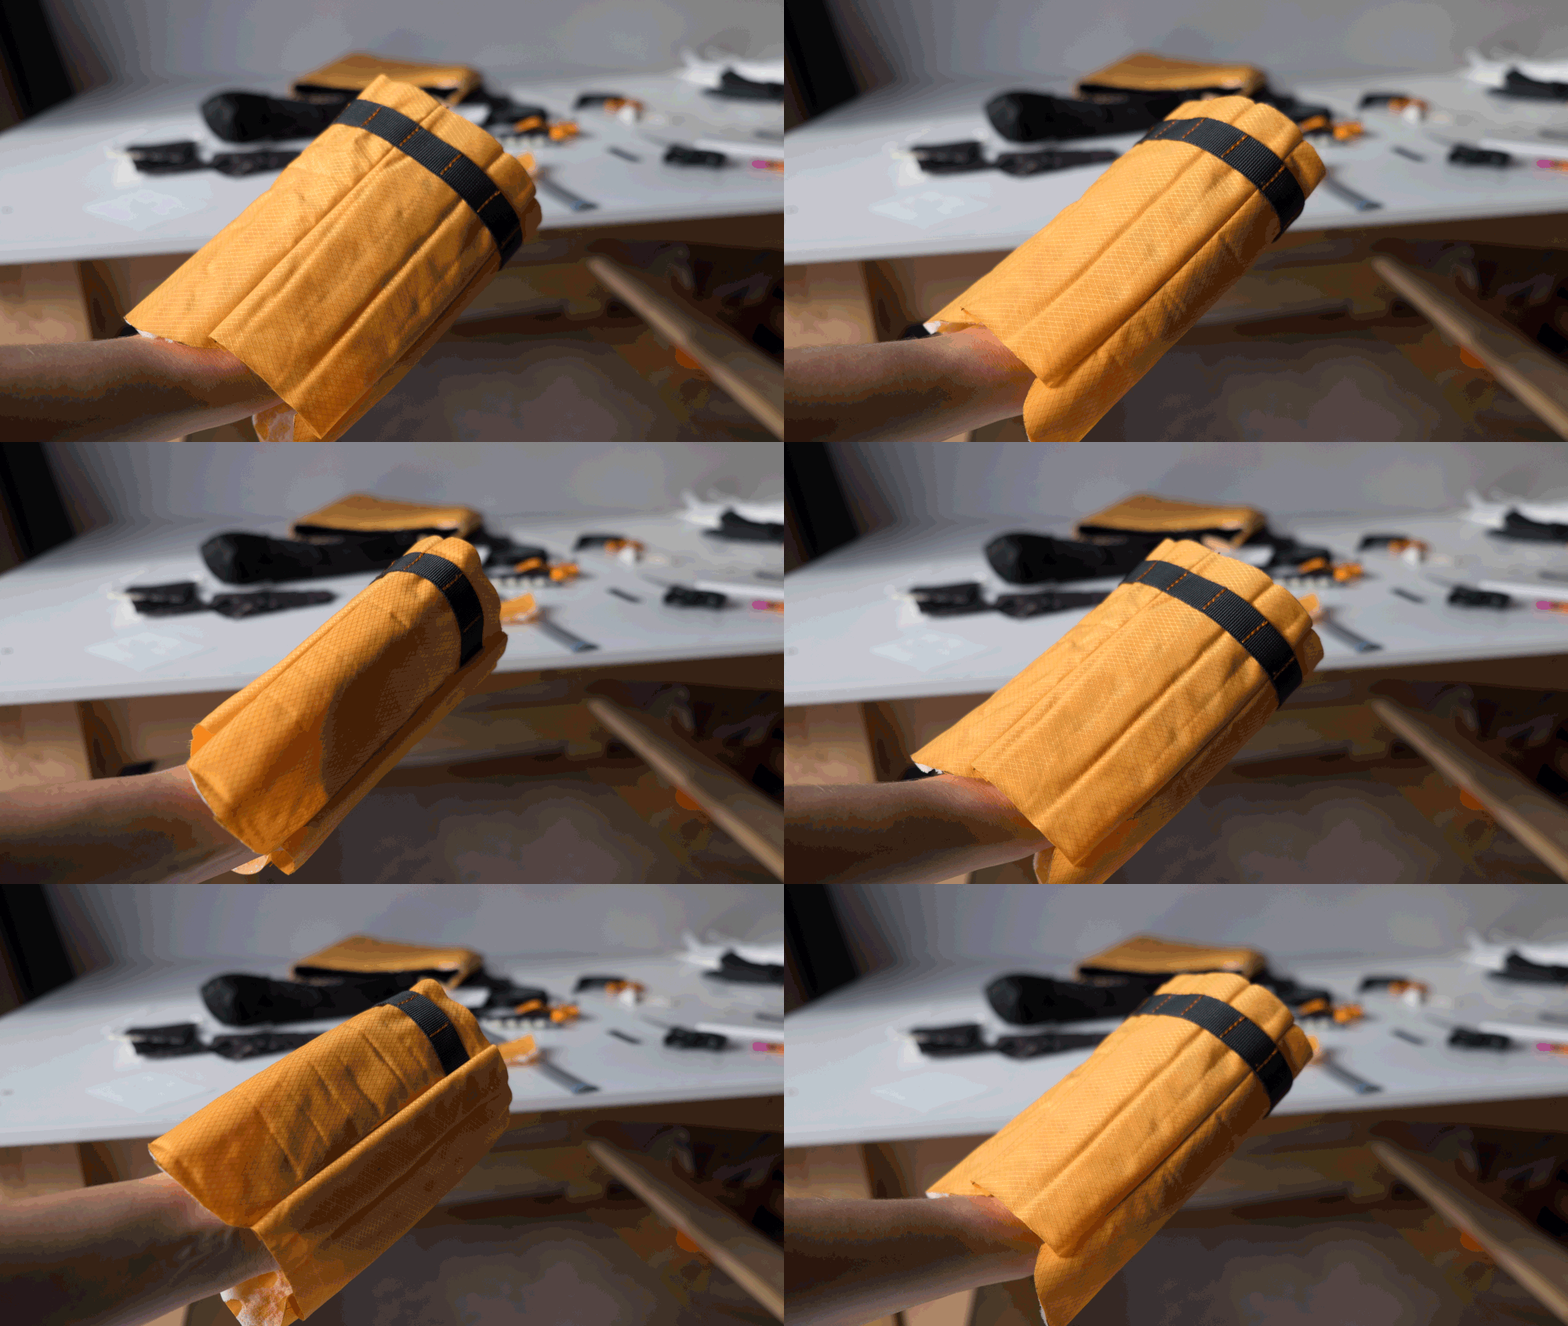
Now you have the body of the bag.
—–
Step 8
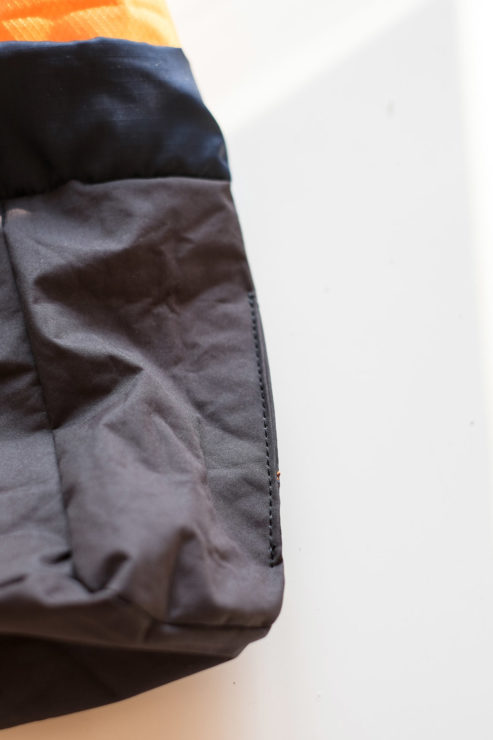
Sew on the C part (the bottom).
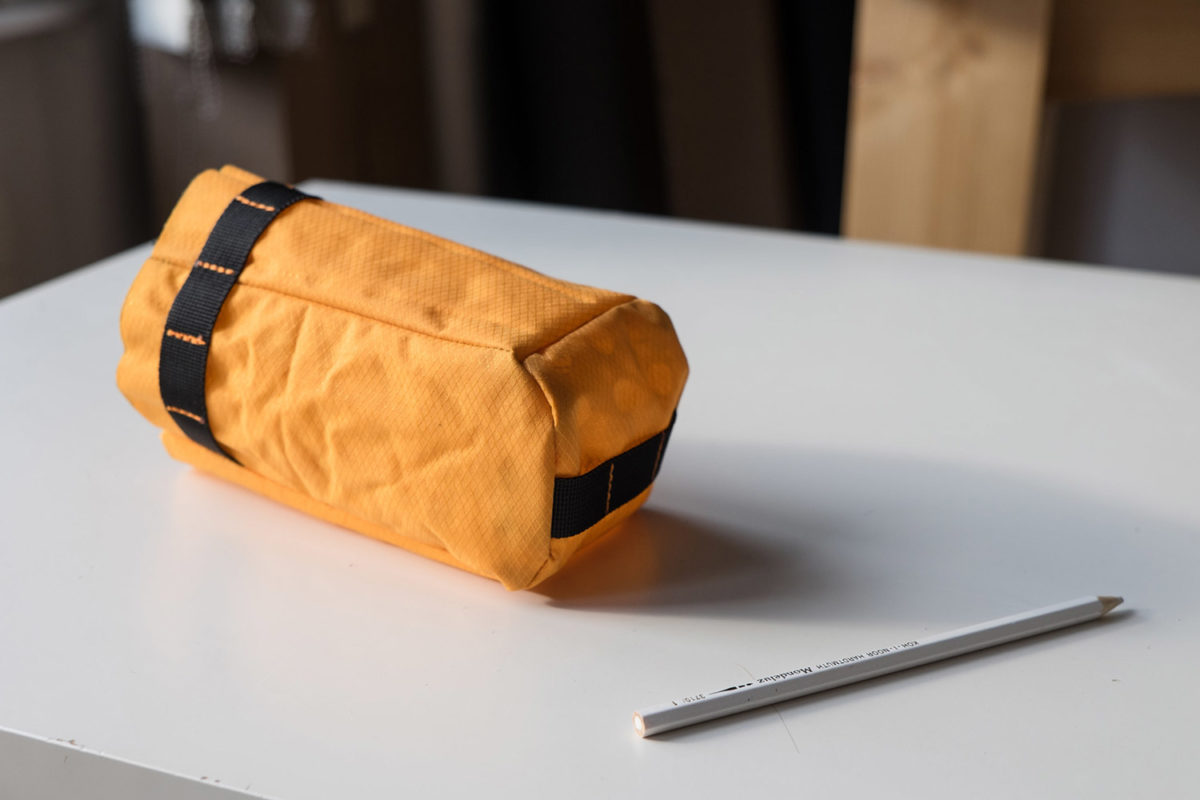
The outer body of the bag sewn together with the bottom.
—–
Step 9
Follow the same process with the lining fabric, skipping the application of webbing.
Leave a small hole on the A+B side of approx. 6 cm (2.4″) length (the hole will serve for turning the lining inside-out, when it’s sewn on the outer part).
—–
Step 10
Now comes the draw cord closing top.
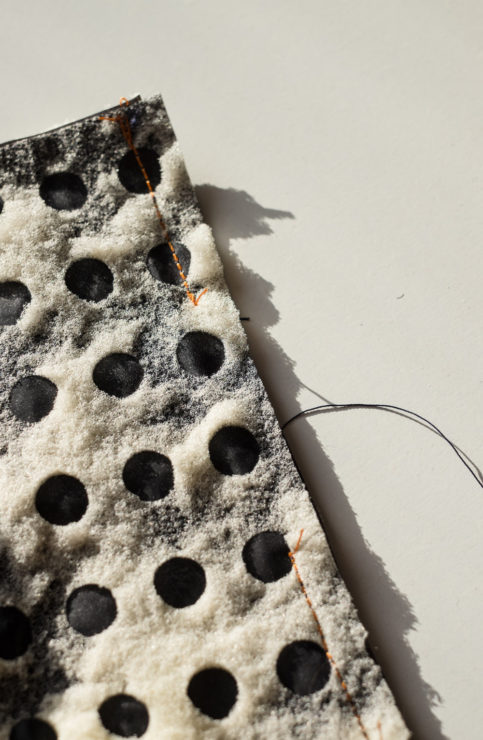
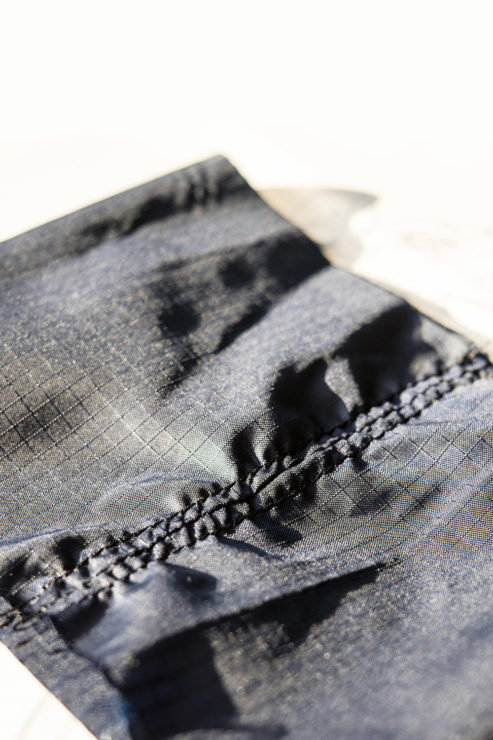
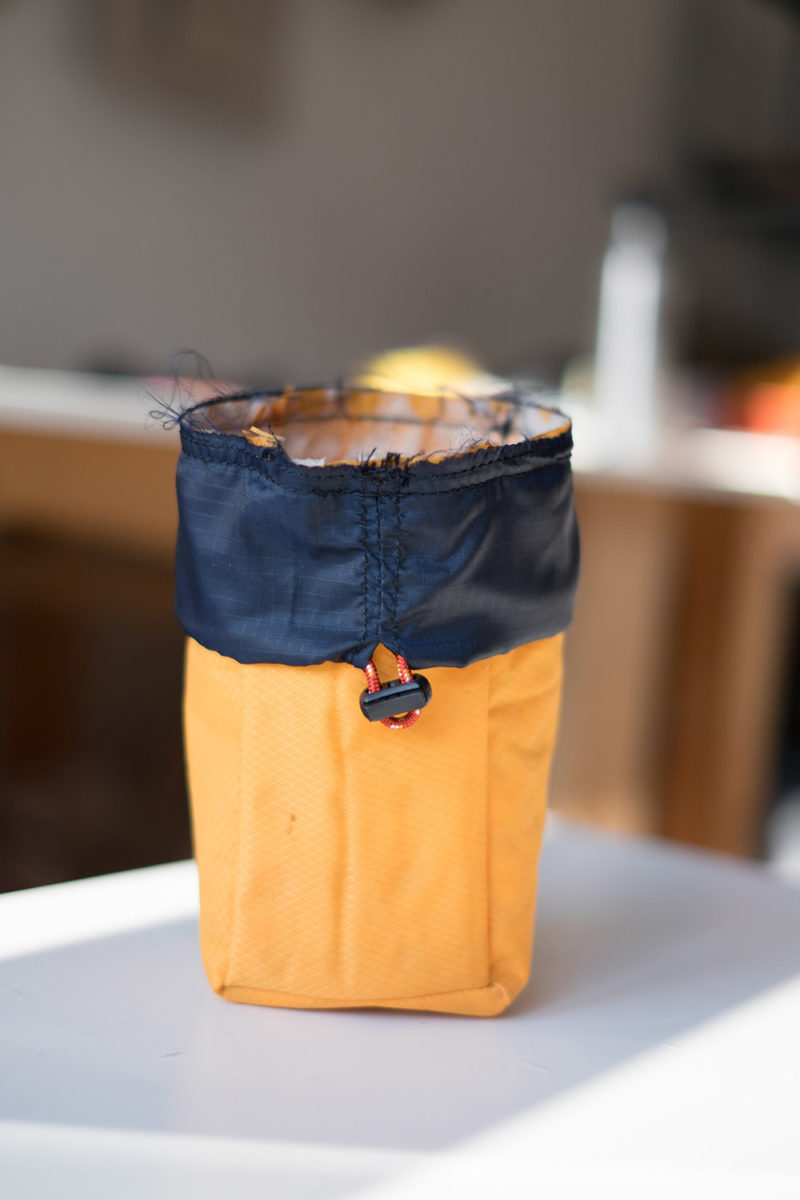
Fold the fabric on half and sew it as show on the picture. Leave a hole of approx. 2 cm (0.8″) length in the middle, this will be the hole where the draw cord will exit.
—–
Step 11
Fold the two sides of the fabric apart and top-stitch them. Now fold the fabric on half, so you have the cord exit hole on the top.
Top stitch the two folded sides.
—–
Step 12
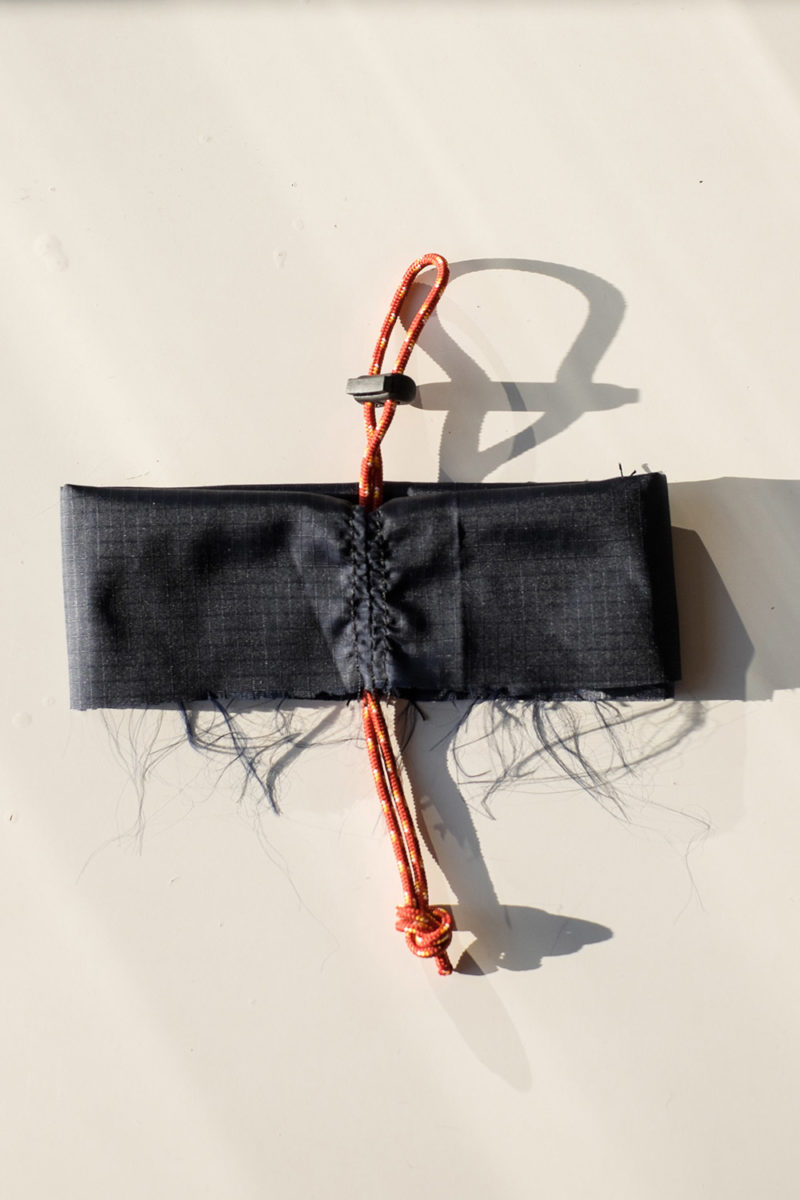
Introduce the cord with the cord stopper through the hole and make a knot at the end (you can do this at the end as well).
Insert the drawcord with the cord stopper through the hole. Make a knot at the end.
—–
Step 13
Sew the D part on the outer part of the bag, facing downwards.
Sew on the drawcord closing part onto the outer body of the bag.
—–
Step 14
Turn the lining inside out, and sew it on the outer body of the bag and the drawcord part.
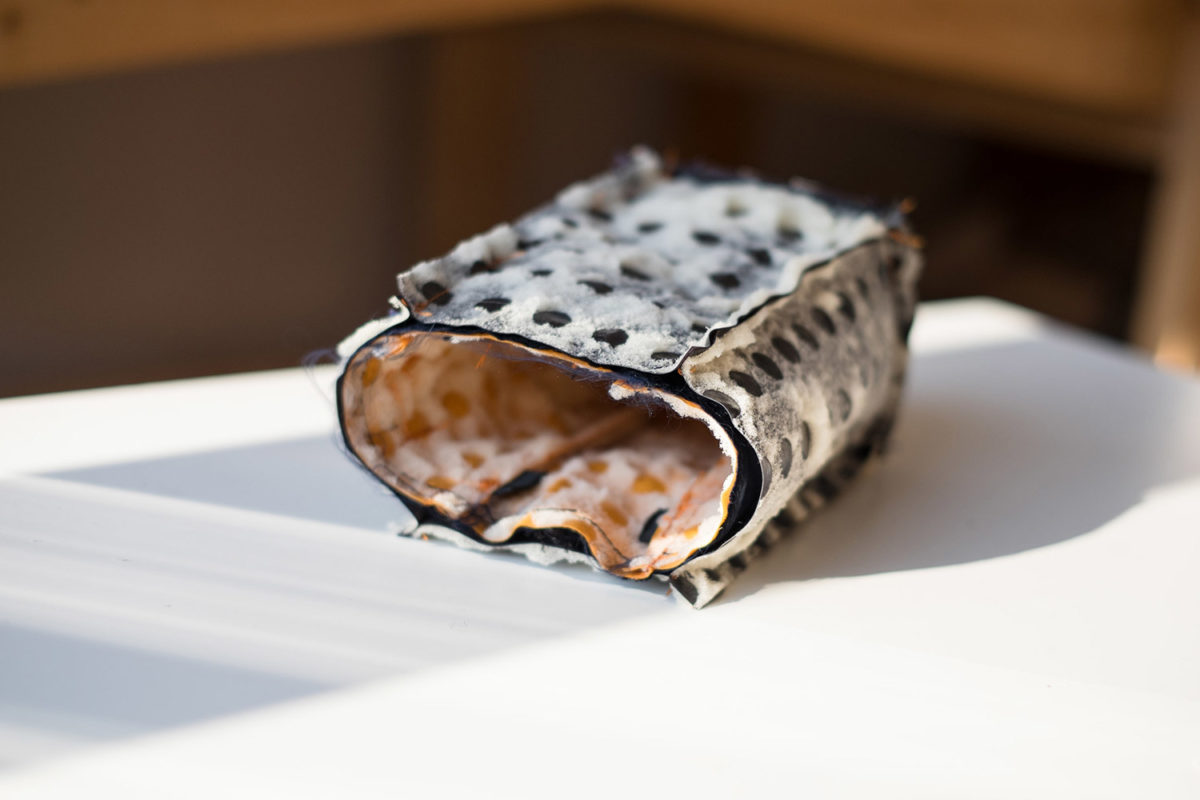
The outer parts of body and lining should face each other before sewn together at the top.
—–
Step 15
Turn the lining inside out, through that 5 cm (2″) hole you’ve left open.
—–
Step 16
Sew up the small hole.
—–
Step 17
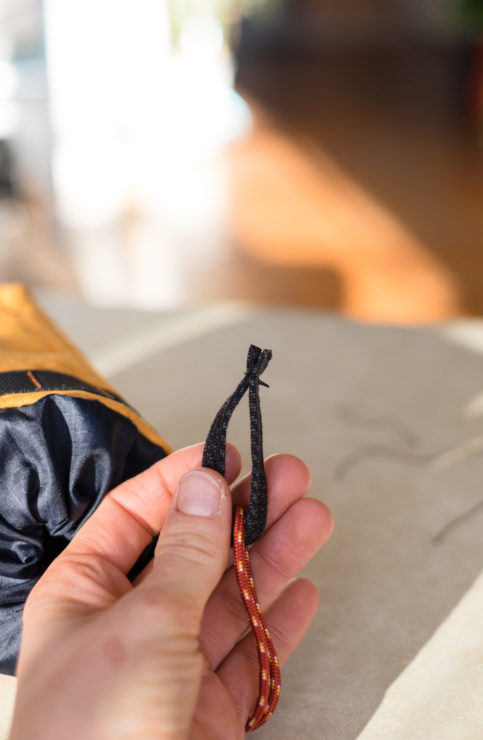
Sew on a draw cord puller (you can skip it, but it’s handy especially when riding with gloves).
—–
Step 18
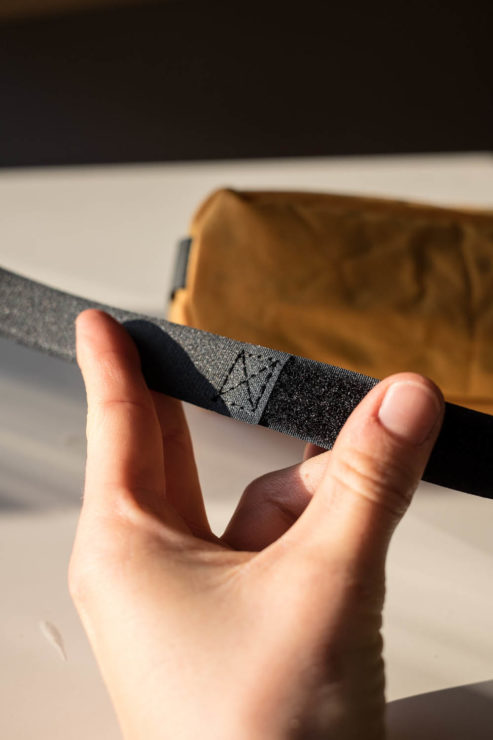
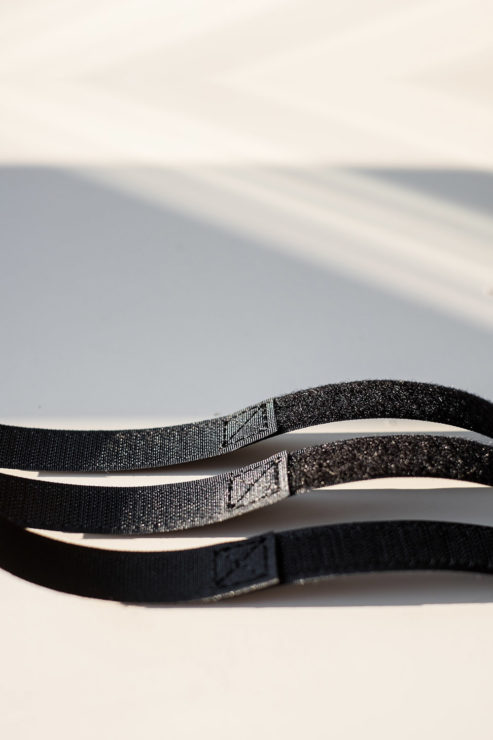
Make 3 x velcro straps by cutting 3 x 8 cm (hook) and 3 x 8 cm (loop) and face them together on the surface of 2 cm. Sew that part with a ‘safety square’.
NOTE: Length of the velcro straps depends on your stem and handlebar circumference.
—–
Step 19
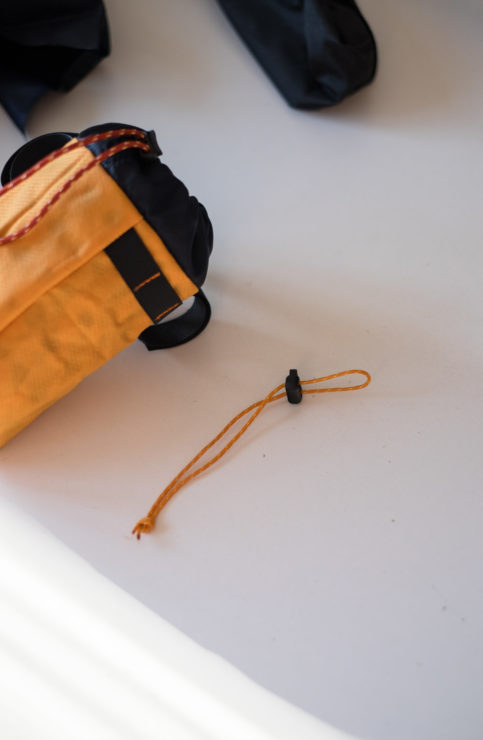
Make a safety draw cord for attaching the bag through the loops of the D part onto the bike frame.
—–
Step 20
Voila! Now strap on the bag on your bike and you are ready to go!
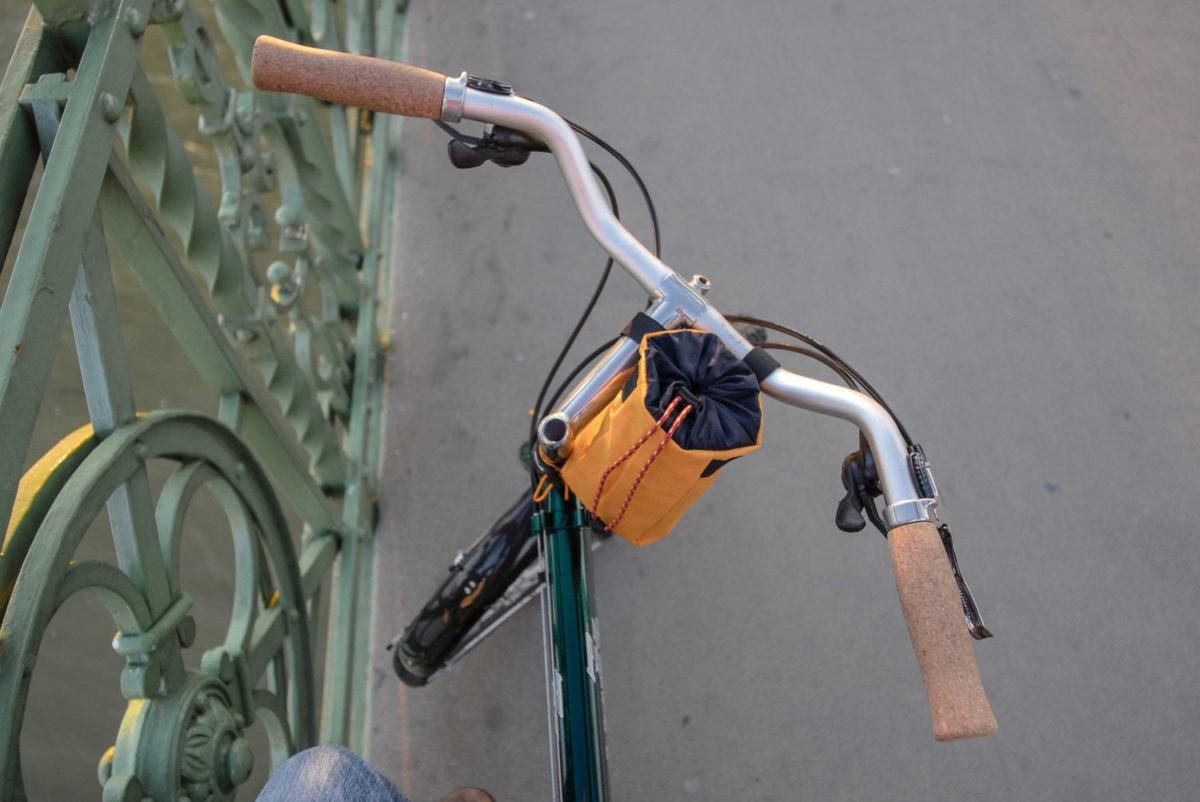
—–
If you have any questions about this tutorial feel free to ask!
Again, find more DIY articles at the MYOBG tag here. In addition check out our stem bag roundup from a couple years ago… and check out a couple stem bag reviews such as the Revelate Mountain Feedbag and others at the tag here.
Please keep the conversation civil, constructive, and inclusive, or your comment will be removed.


