


PS Bagworks: A Camera Carrying System

How best to carry a camera on a bikepacking trip is an age-old quandary. With its wide range of options and price points, PS Bagworks’ interchangeable Rider Strap and Wrist Strap have been working out well for Cass Gilbert. In this review, he explains why…
PUBLISHED Aug 5, 2021
These days, an increasing number of bikepackers enjoy capturing moments of their trips through photography. But how best to carry your camera – and make it accessible enough that you can do so without completely changing the dynamic of the ride – can be a challenge.
This post isn’t about all the various methods for carrying cameras or even the merits of different cameras themselves, though that’s something that would be great to visit. Rather, it’s a look at a camera shoulder and wrist strap system that’s been working well for me, with the gear I use – one that’s been helping me get out there and take photos, which is what it’s all about!
Rider Strap
Some time ago, Miles reviewed Outer Shell’s Camera Strap, and whilst Minneapolis PS Bagworks’ Rider Strap is similar in concept, it features some notable differences that make it more tailored to my needs.
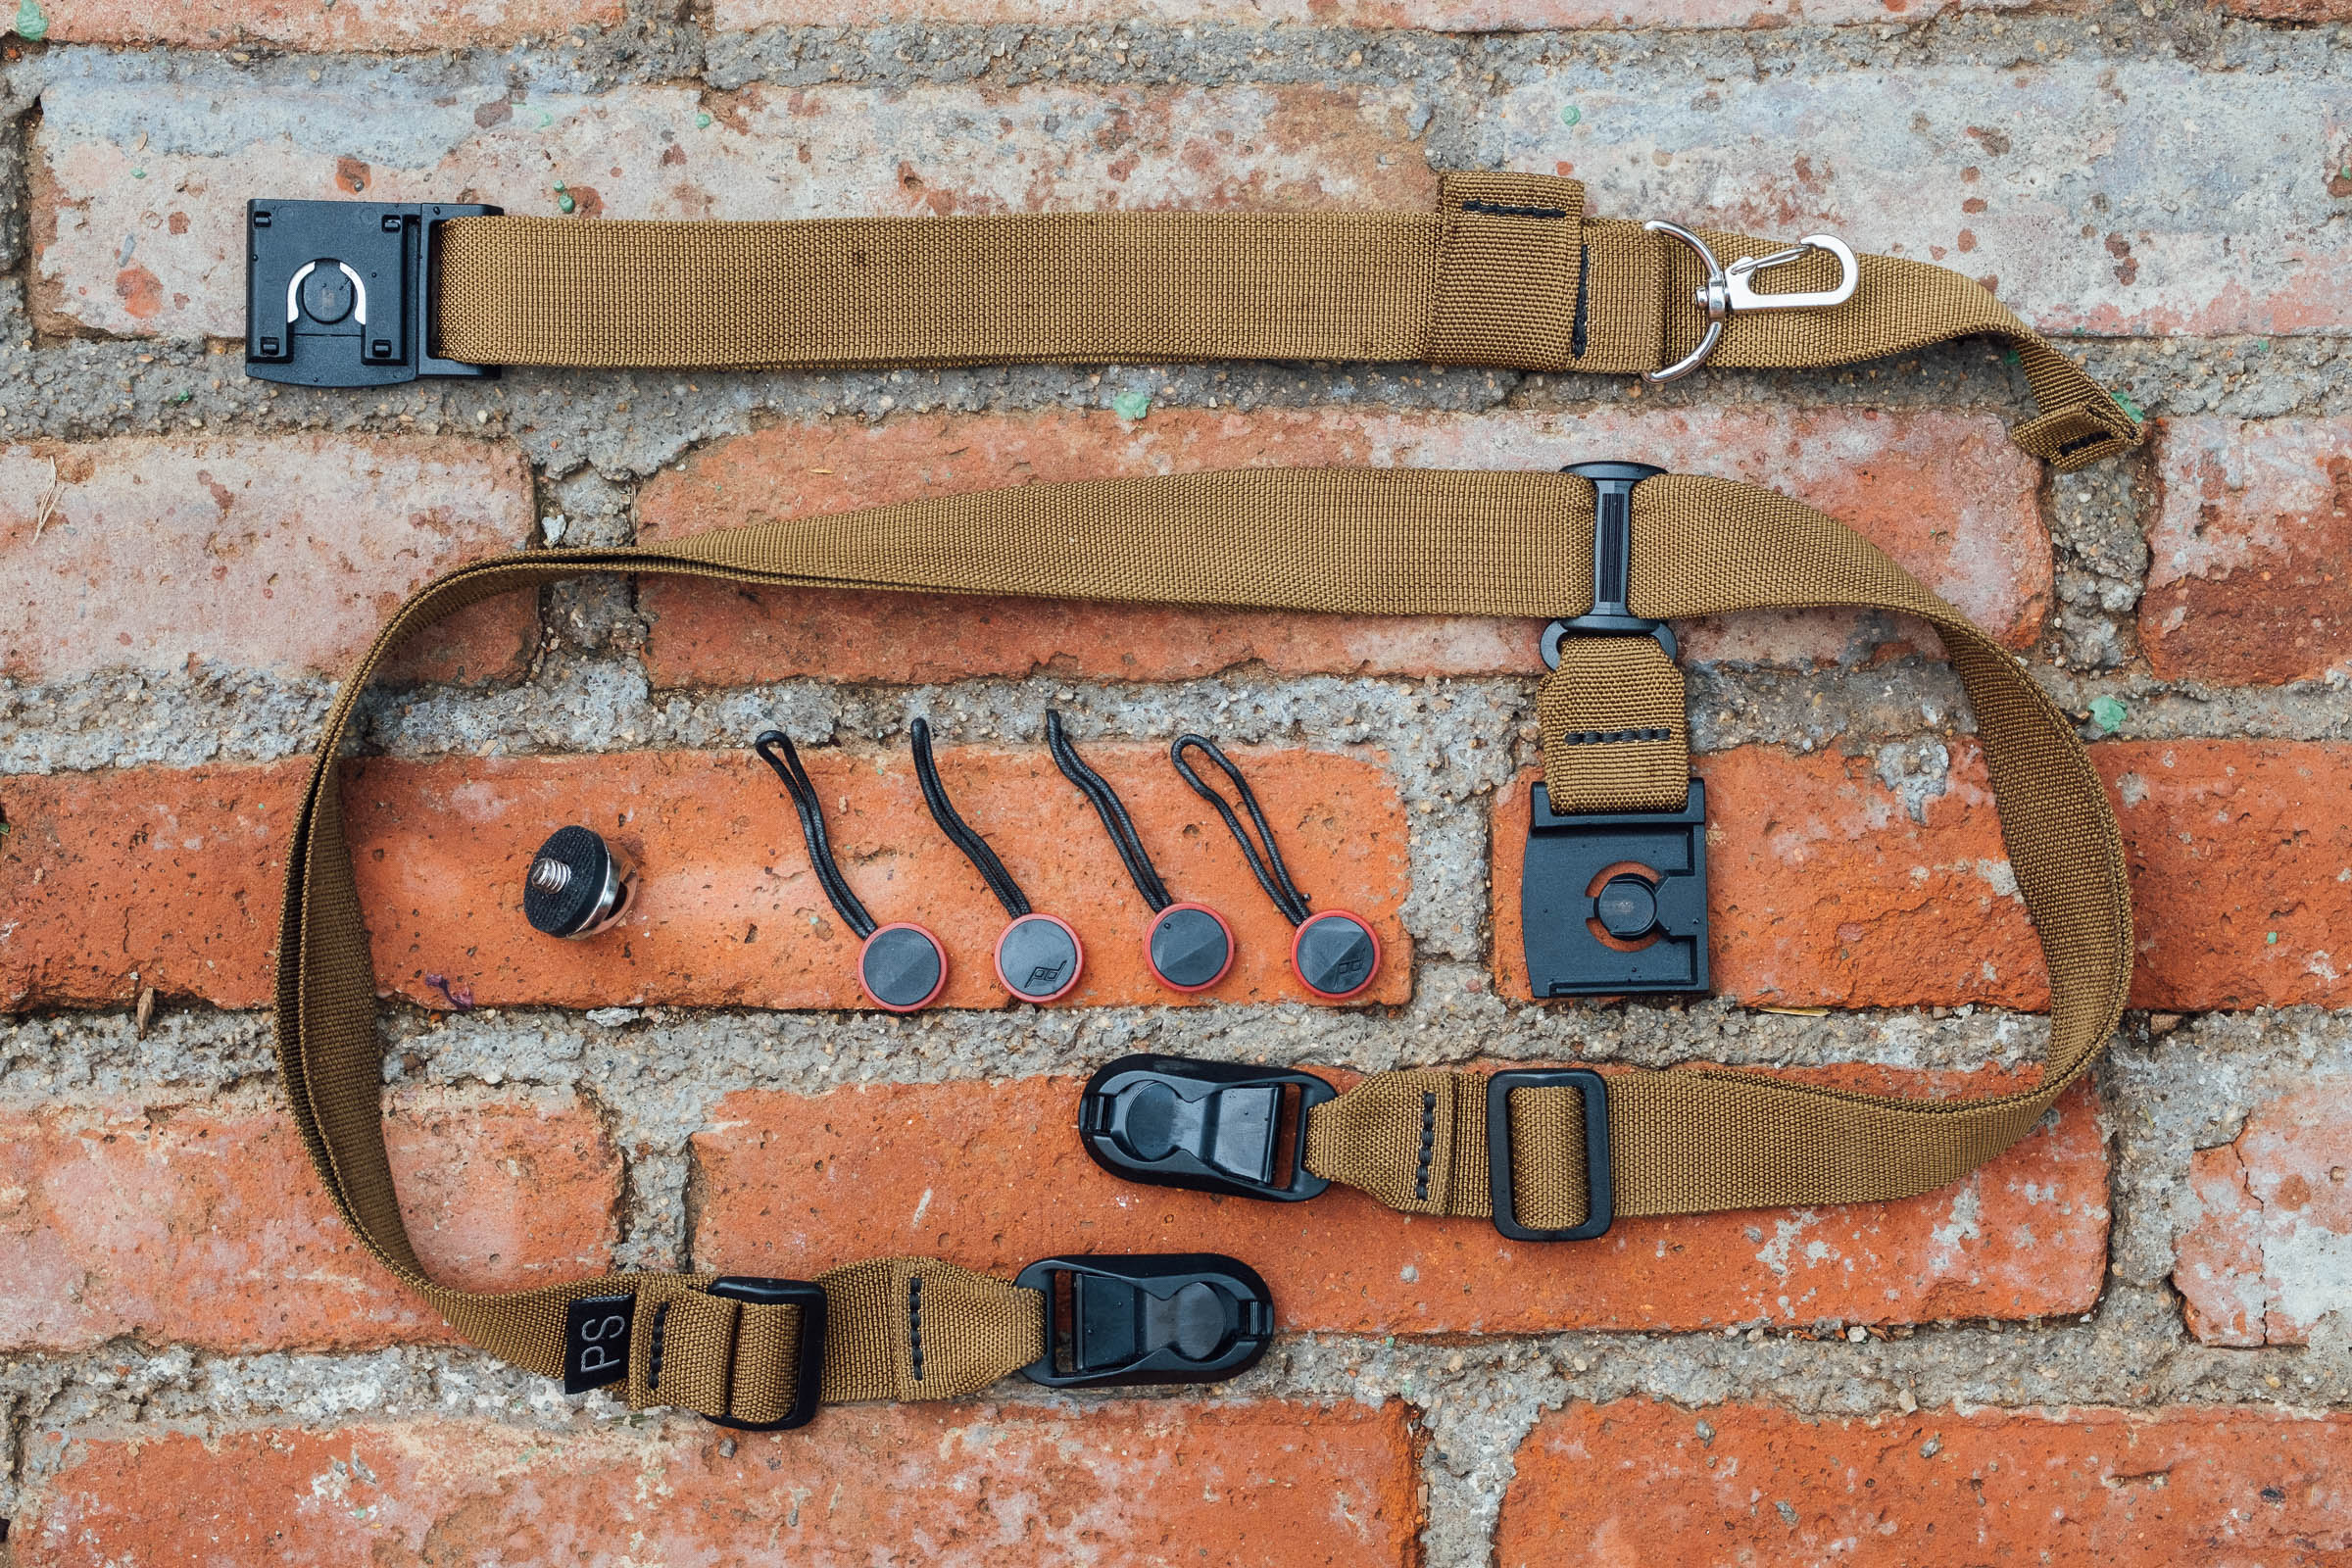
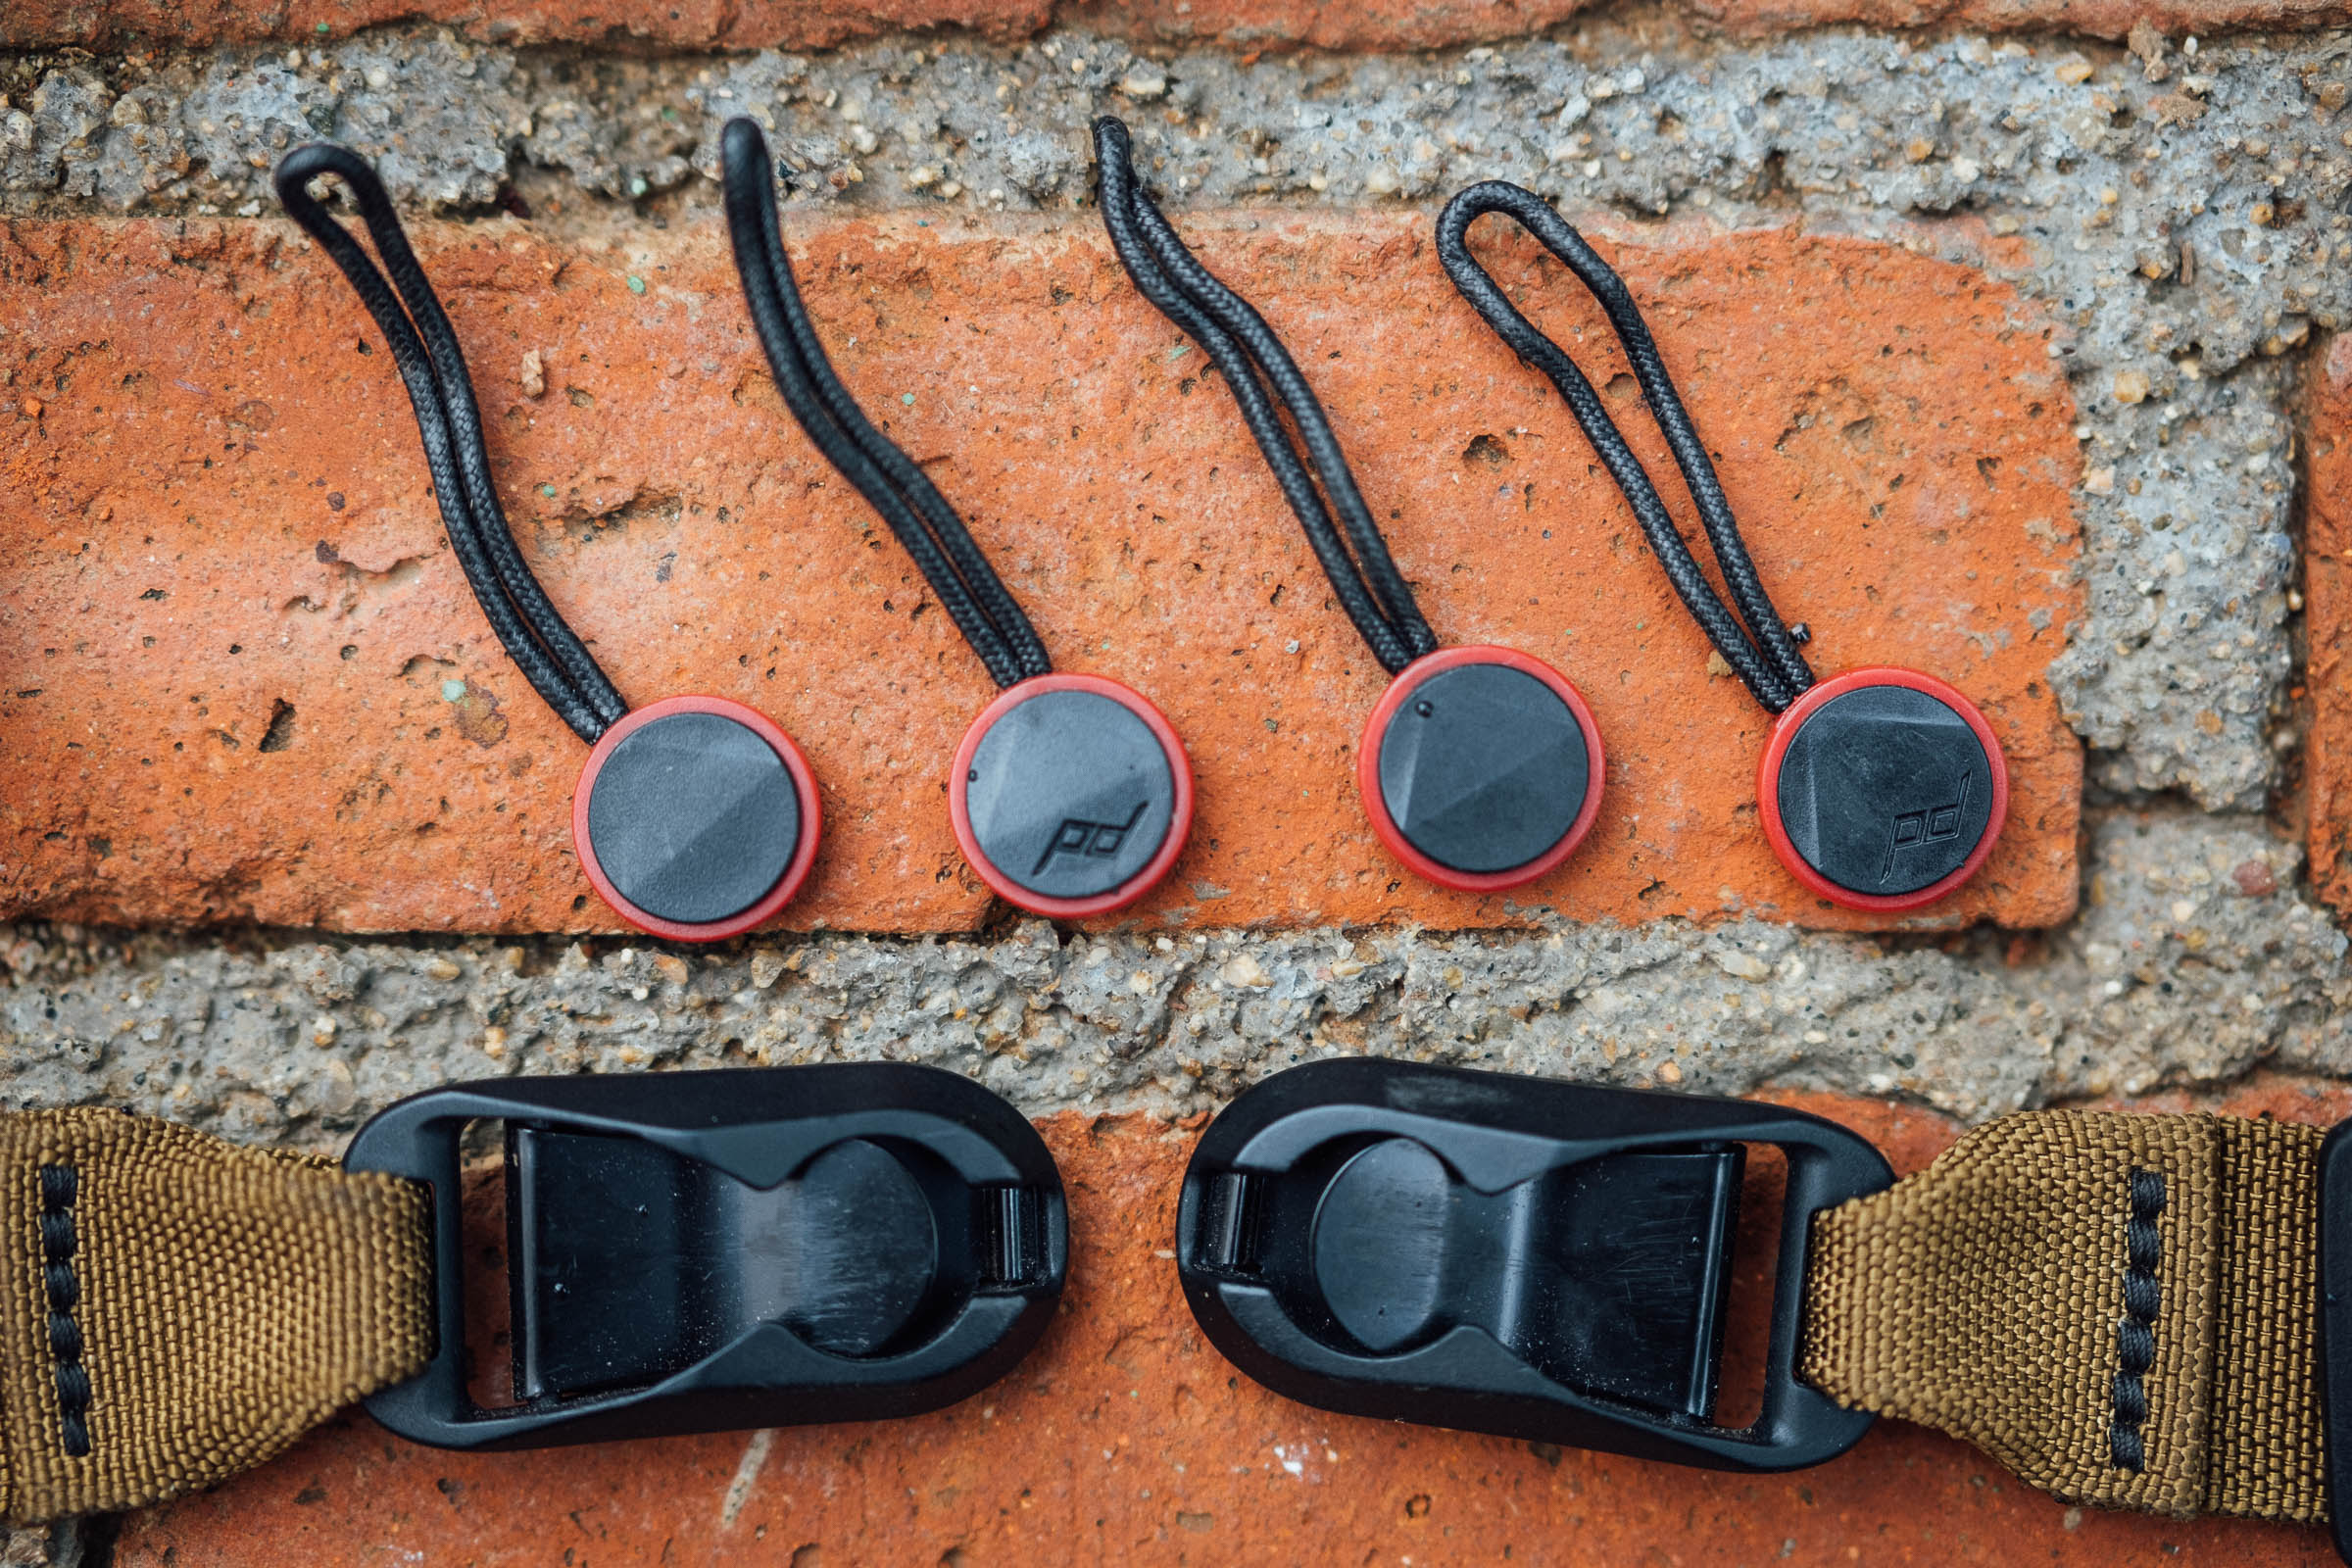
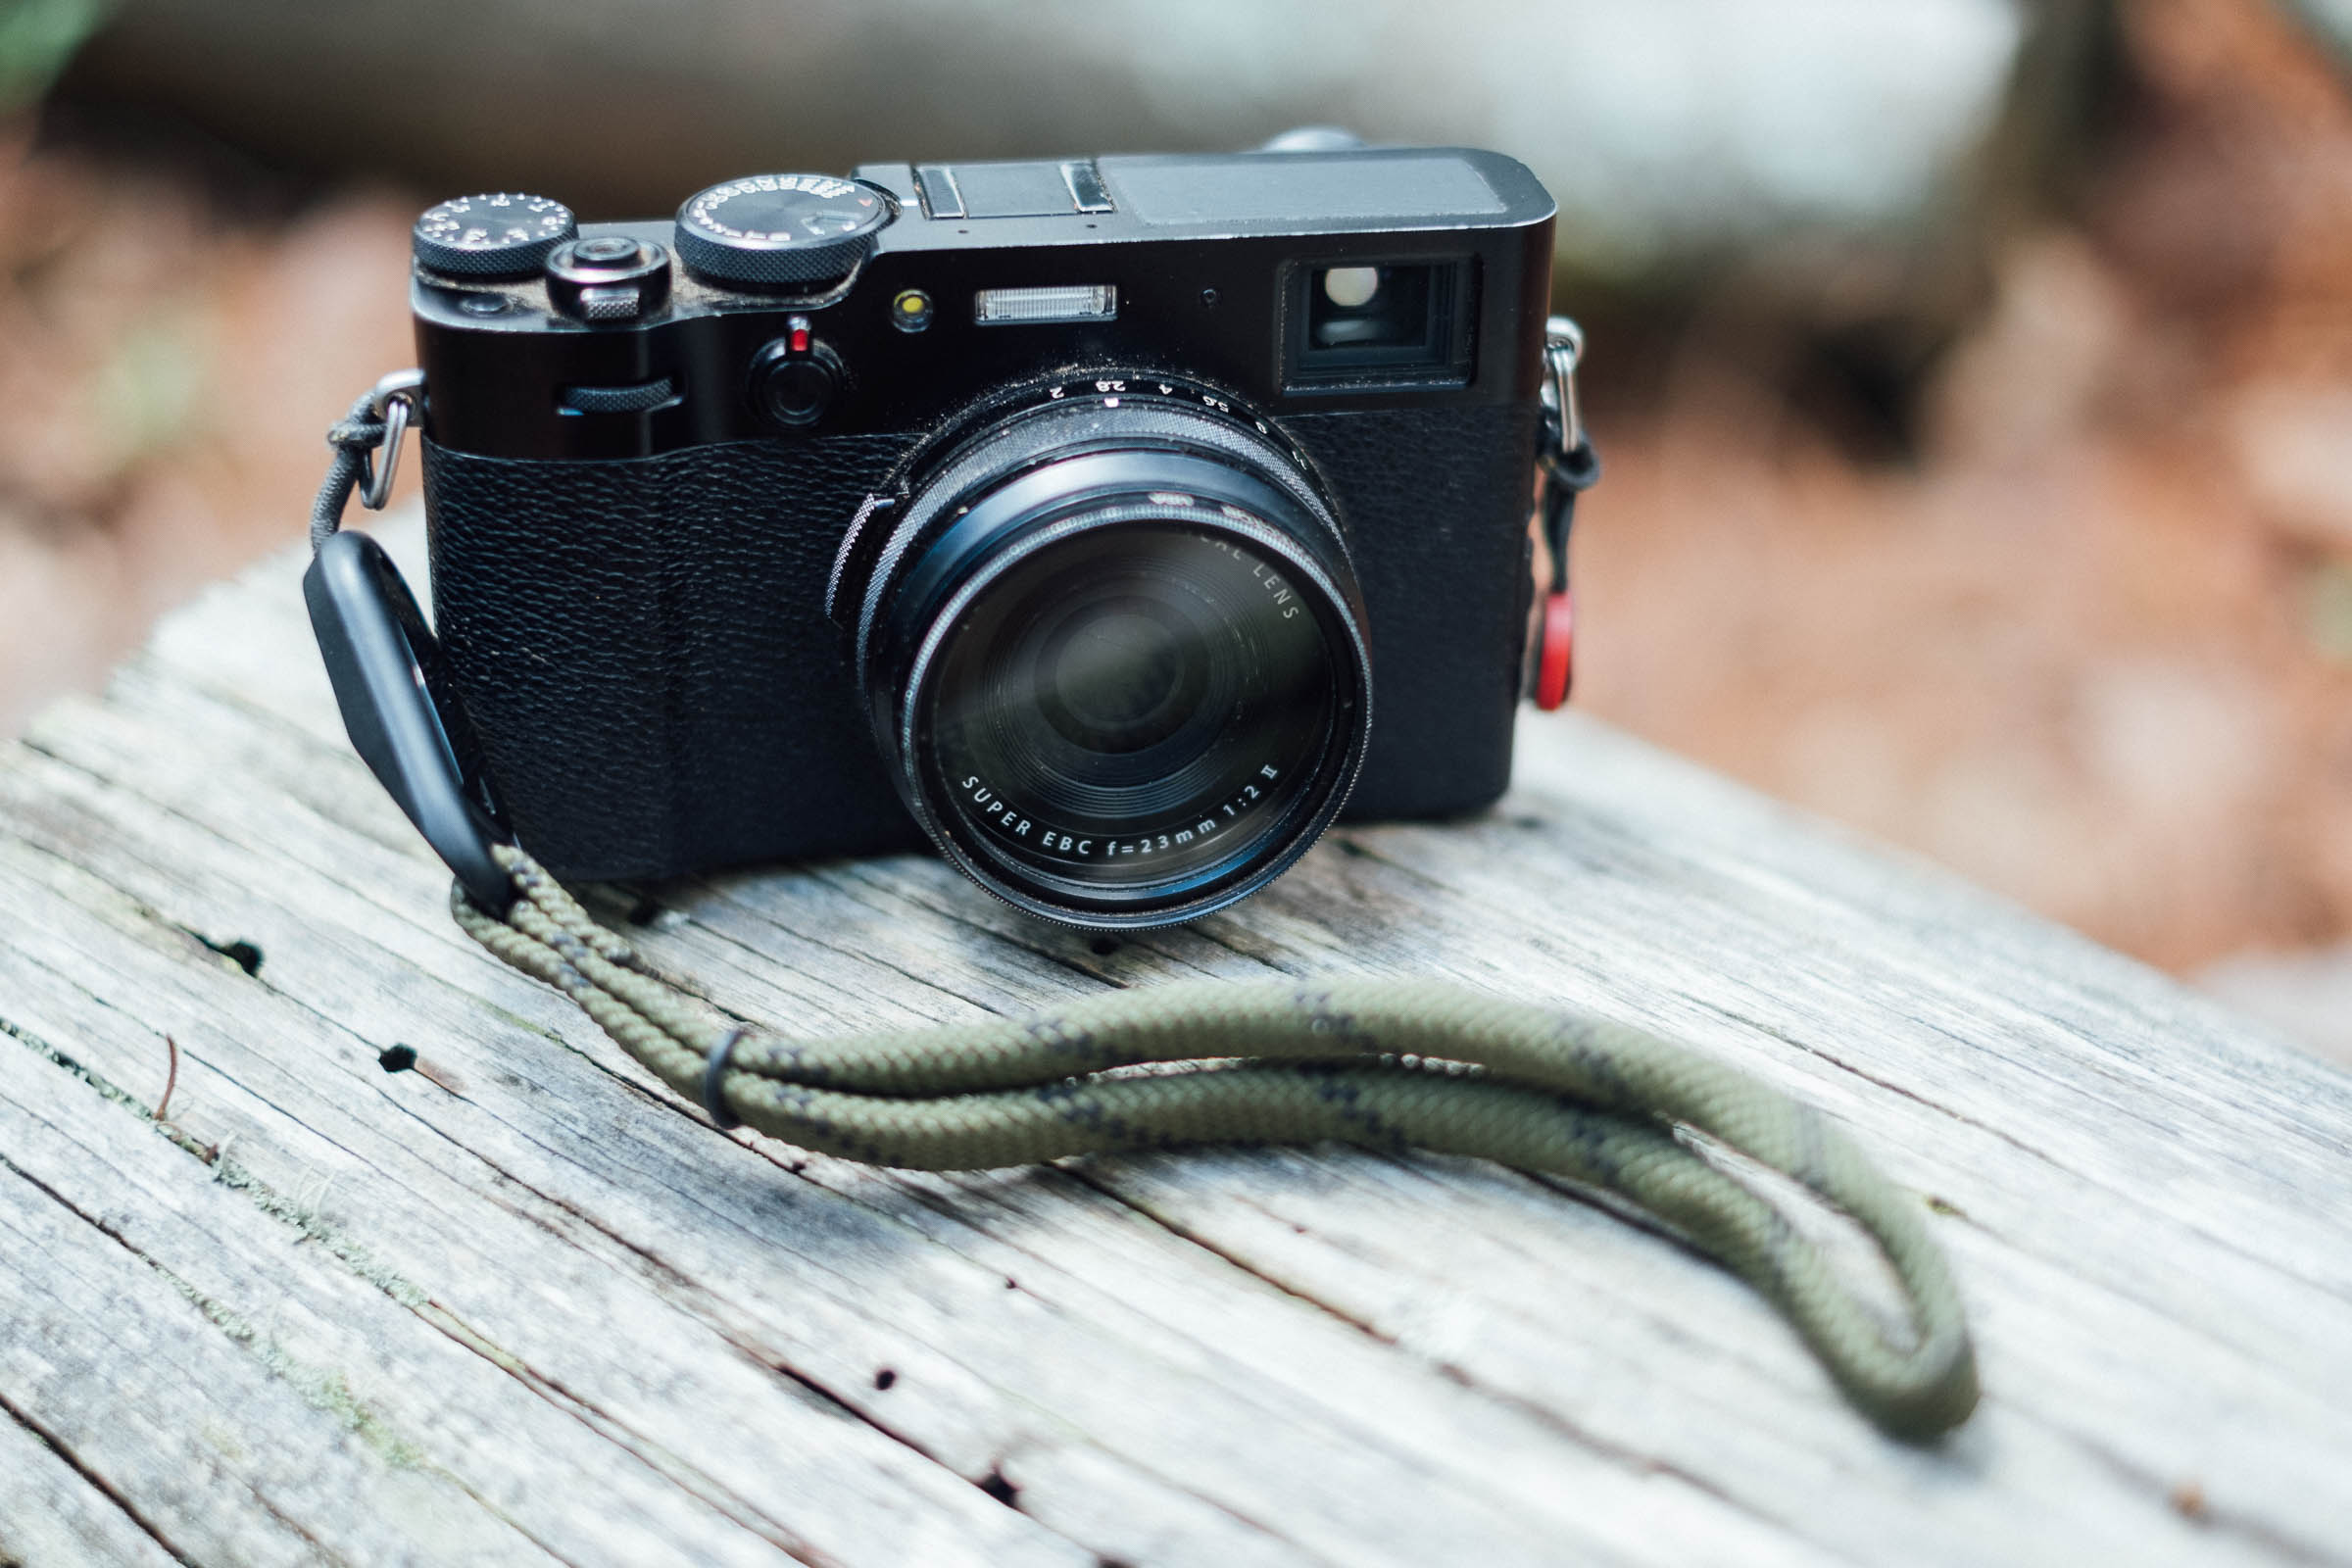
For a start, it’s offered in three options. The base option includes split rings to attach the main shoulder strap to the camera. But for $3, you can also upgrade to OpTech Mini QD quick releases or, for a more costly $23, to Peak Design’s Anchor Links. Despite the considerable increase in price, I find Peak Design’s anchor links completely worth it because 1) their pop-in and pop-out action is really quick and very secure, 2) I’ve never had one fray, and 3) you get a spare set included, which you can fit to another camera. In my case, this allows me to easily swap the Rider Strap between a Fuji X100V, my day to day camera, and a Fuji X-T2, which I sometimes use on longer trips.
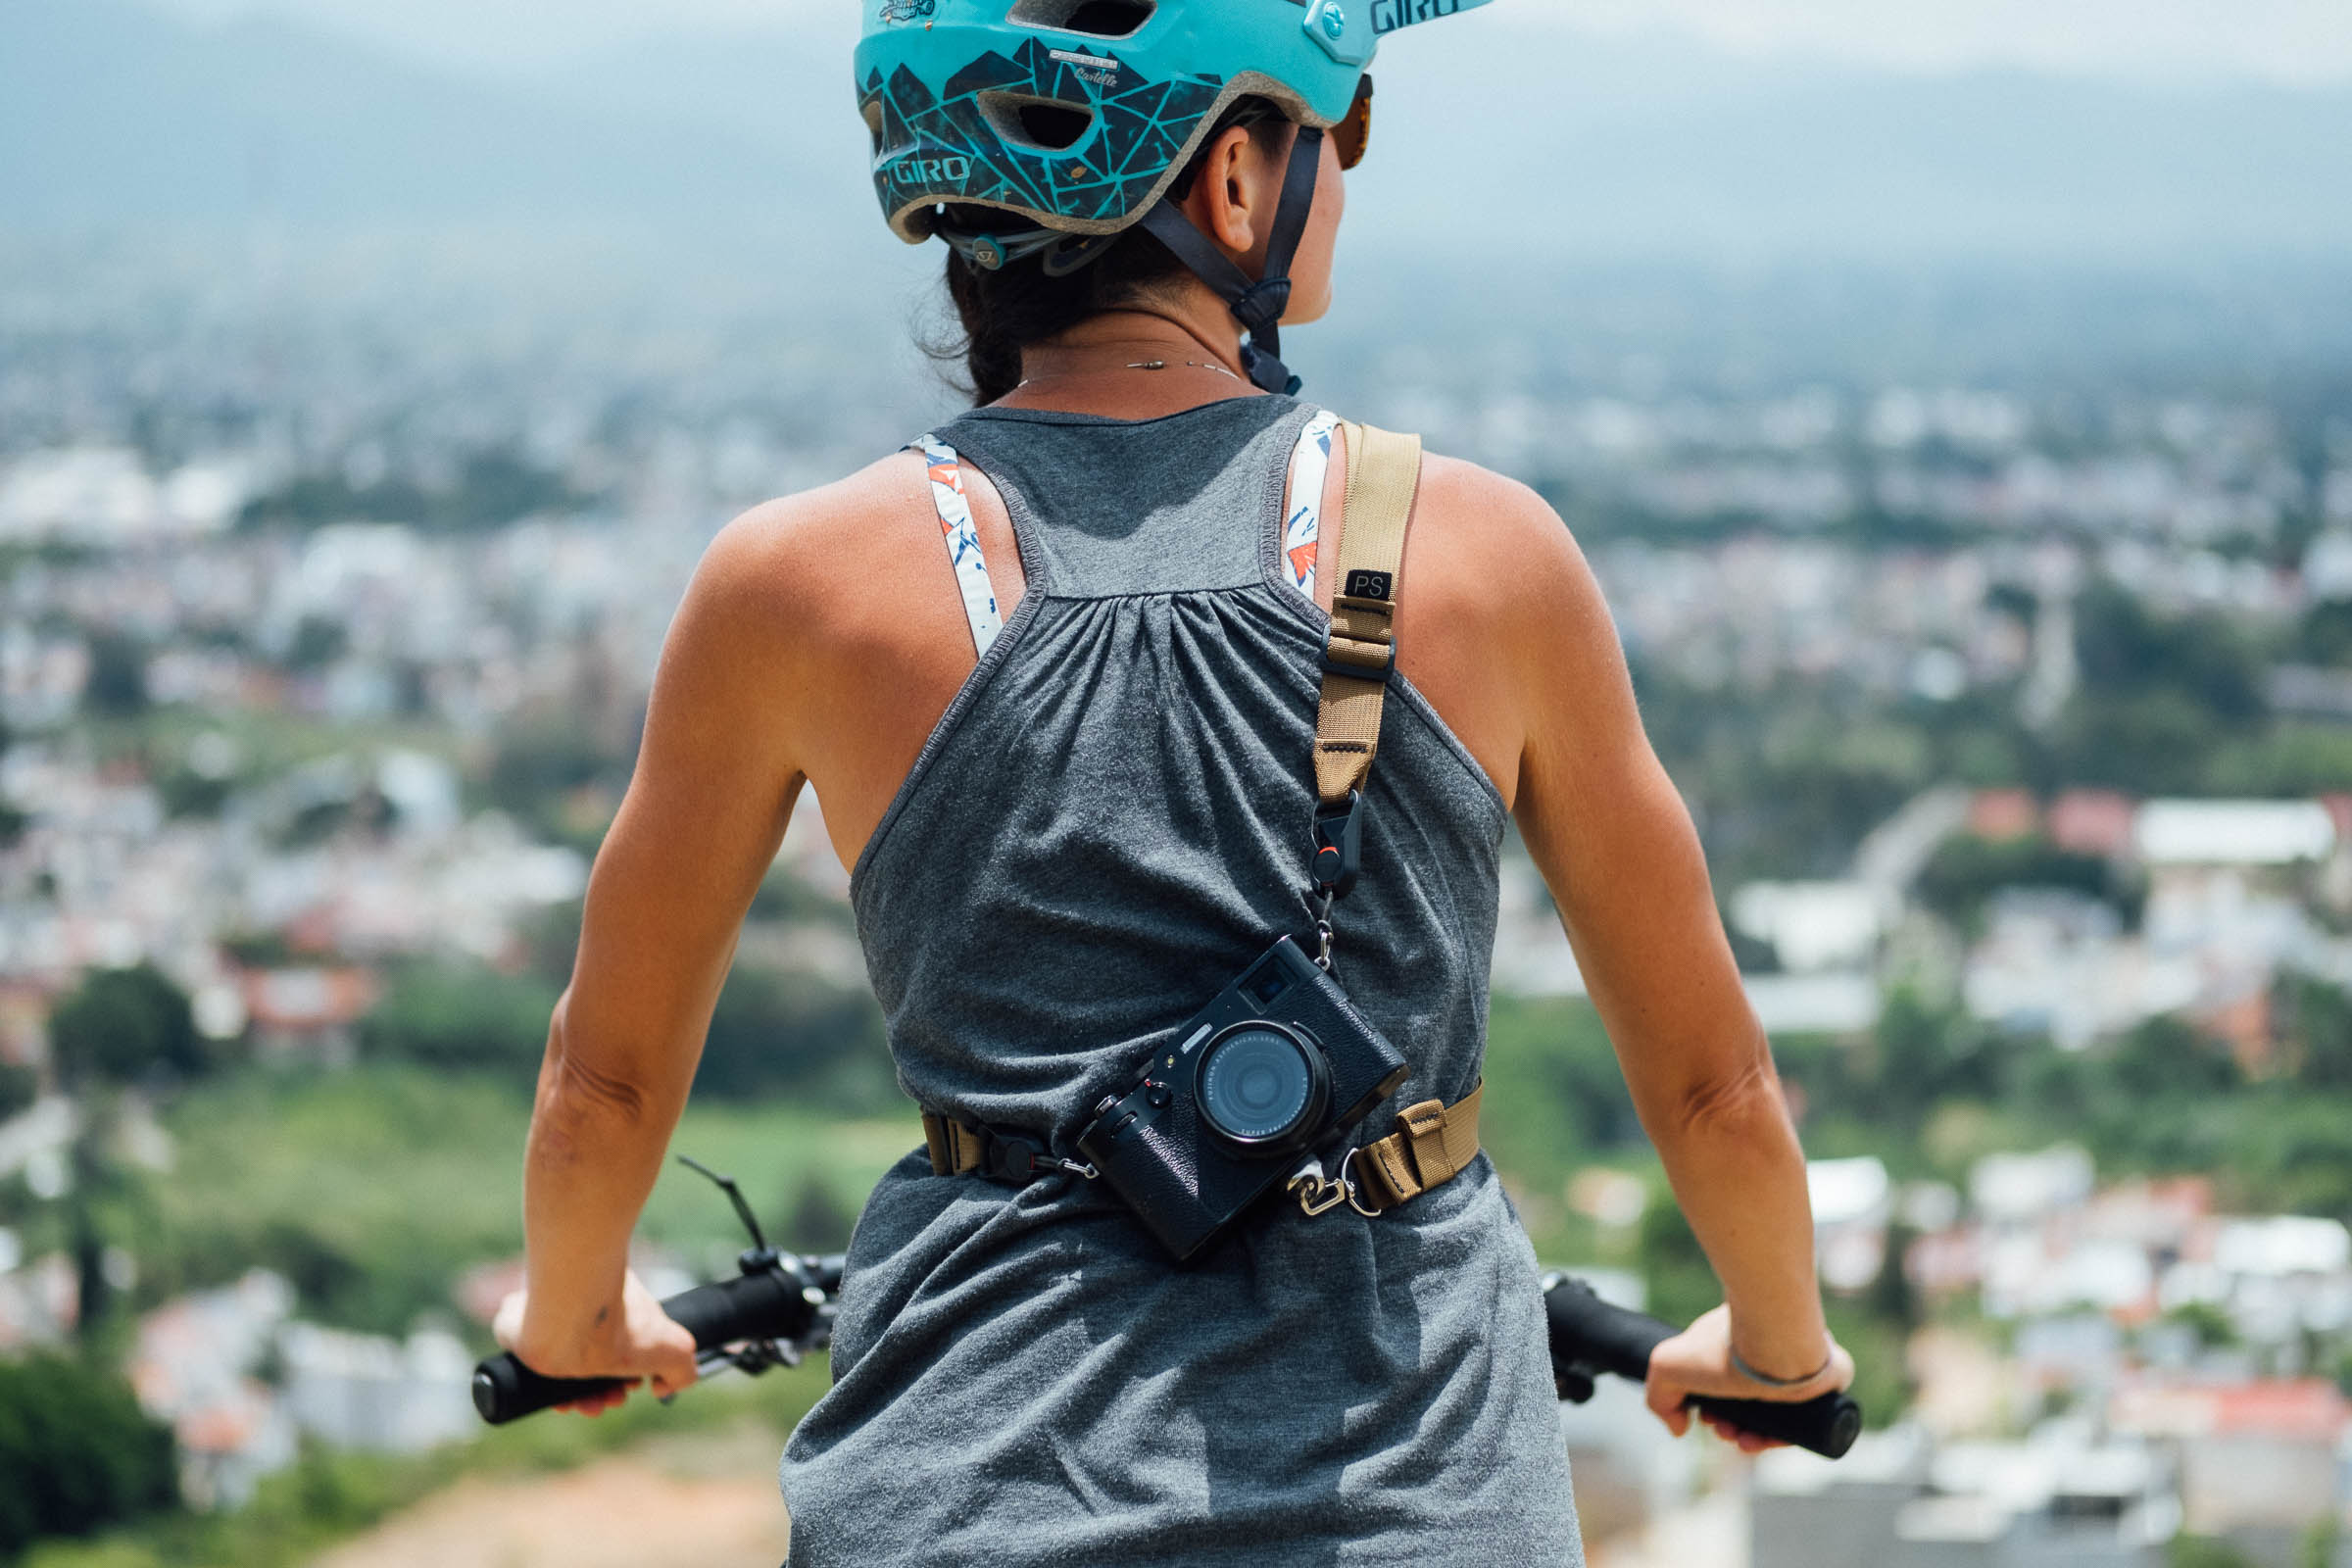
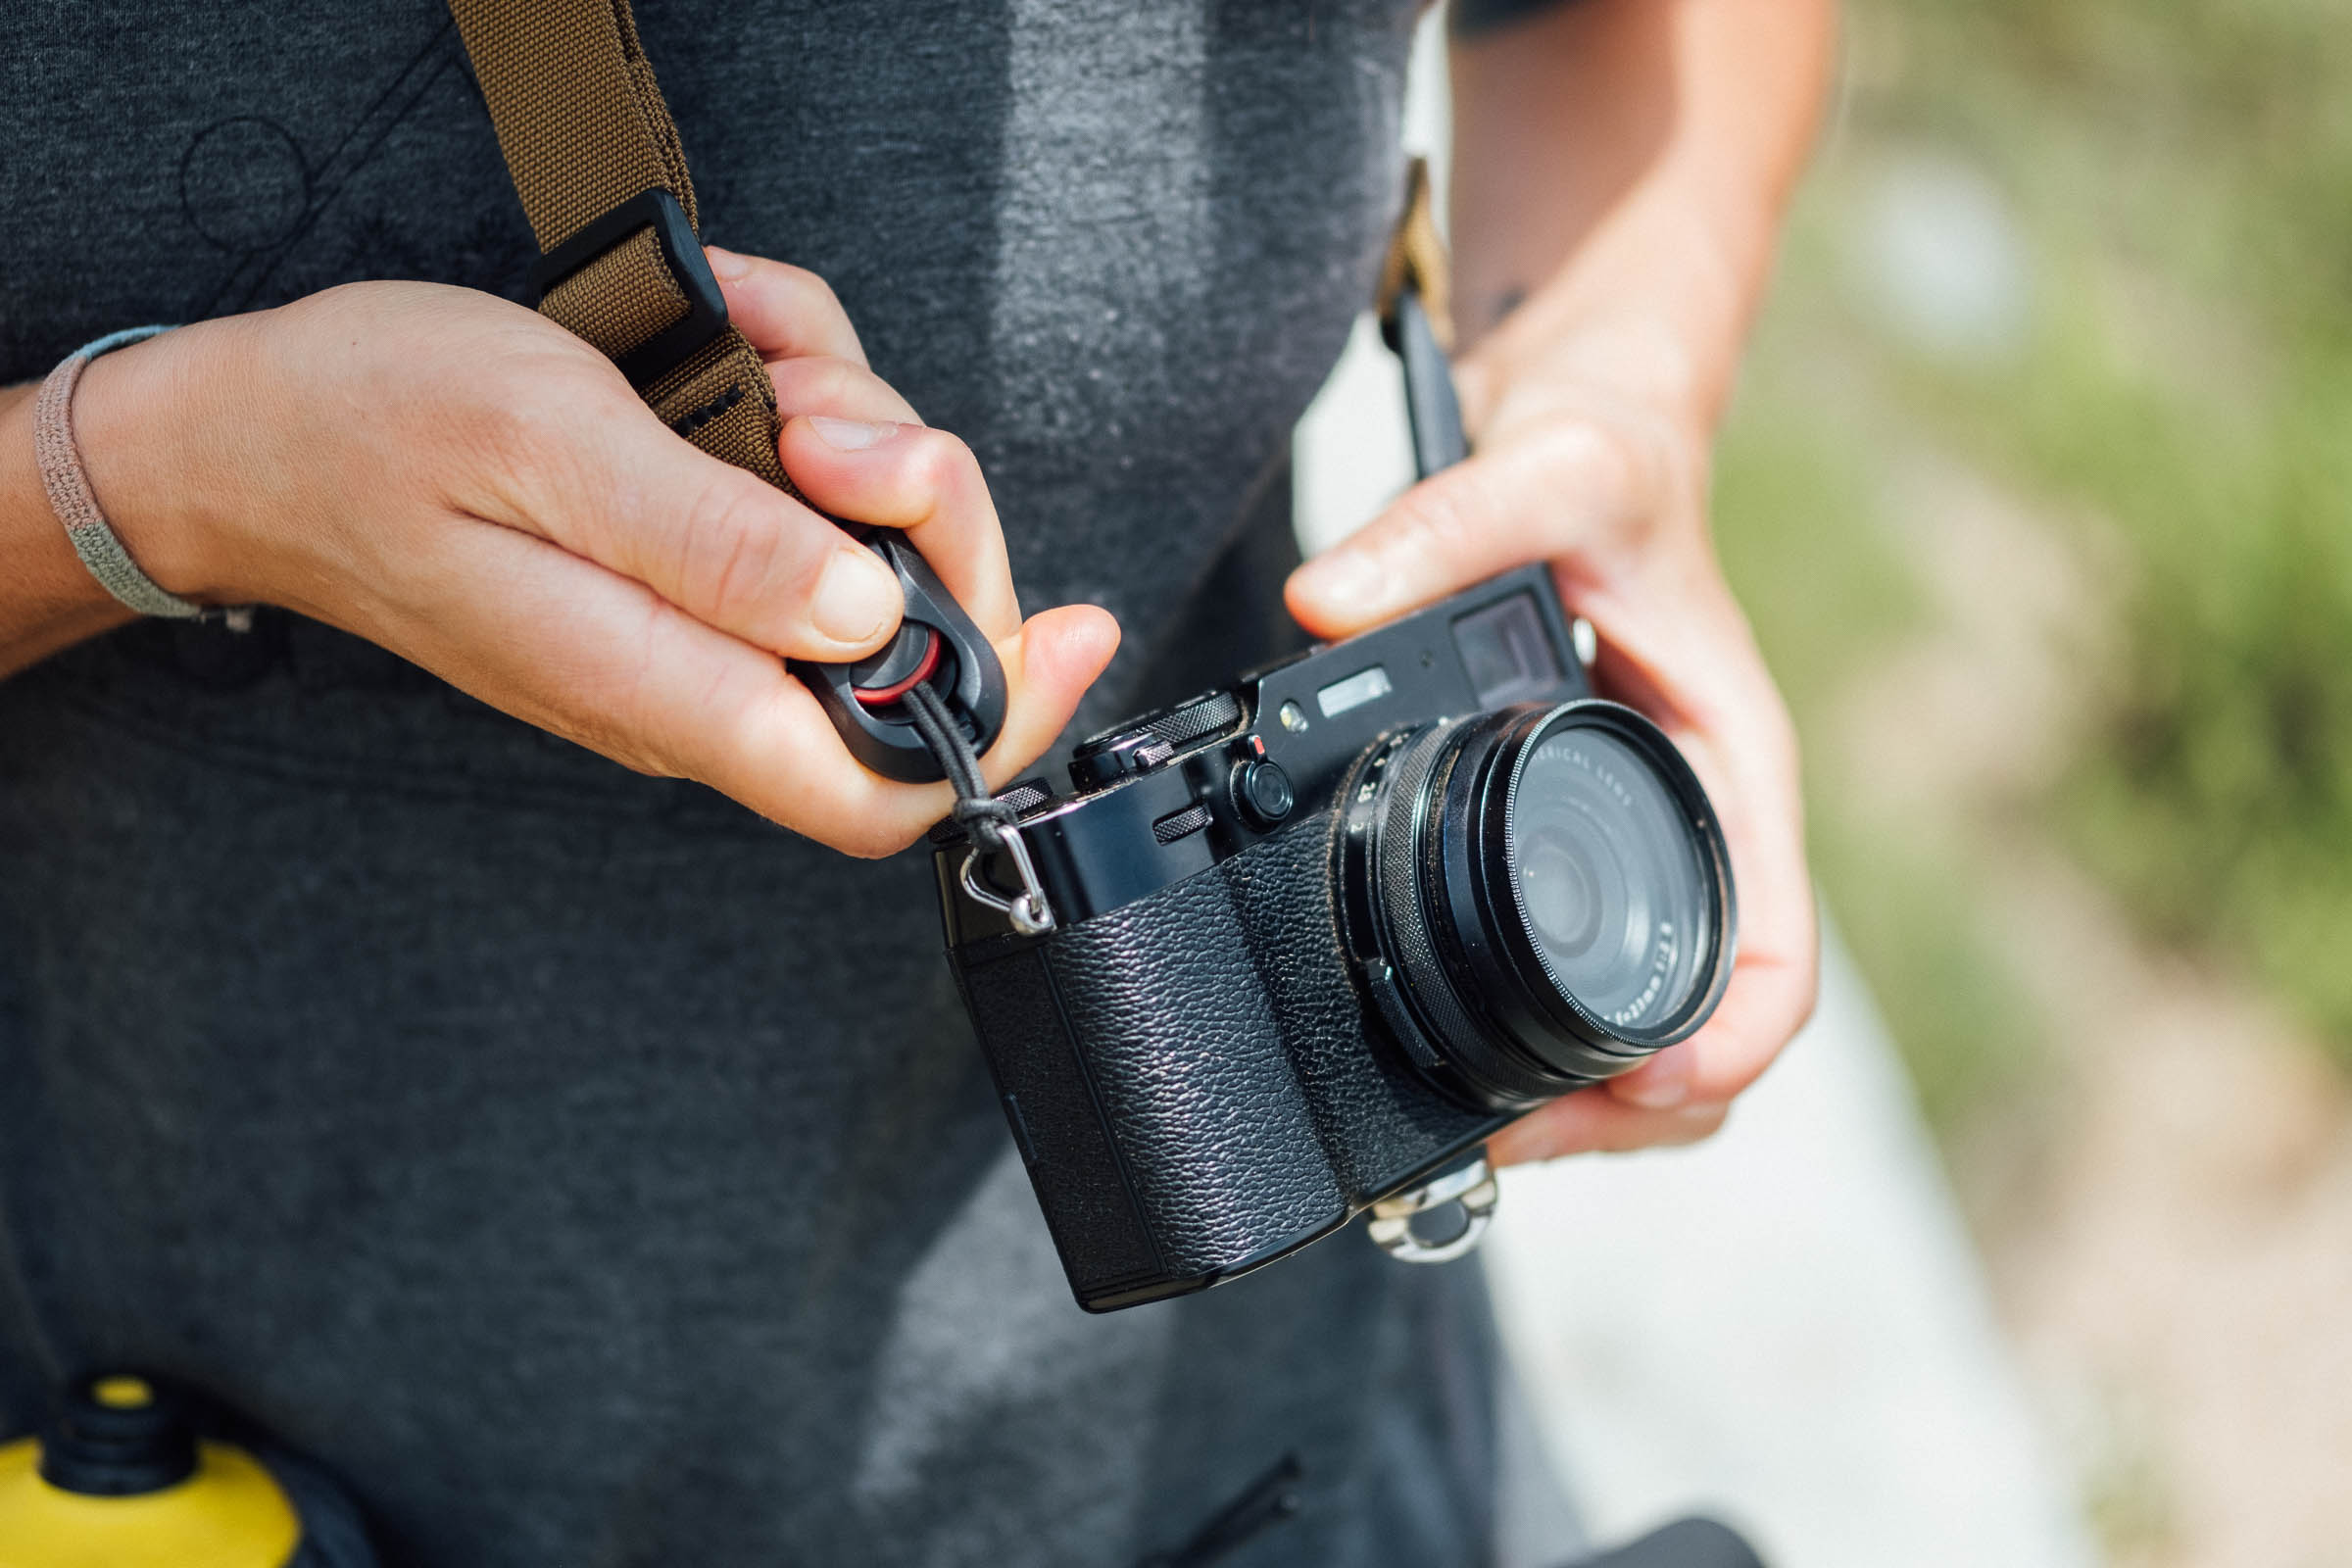
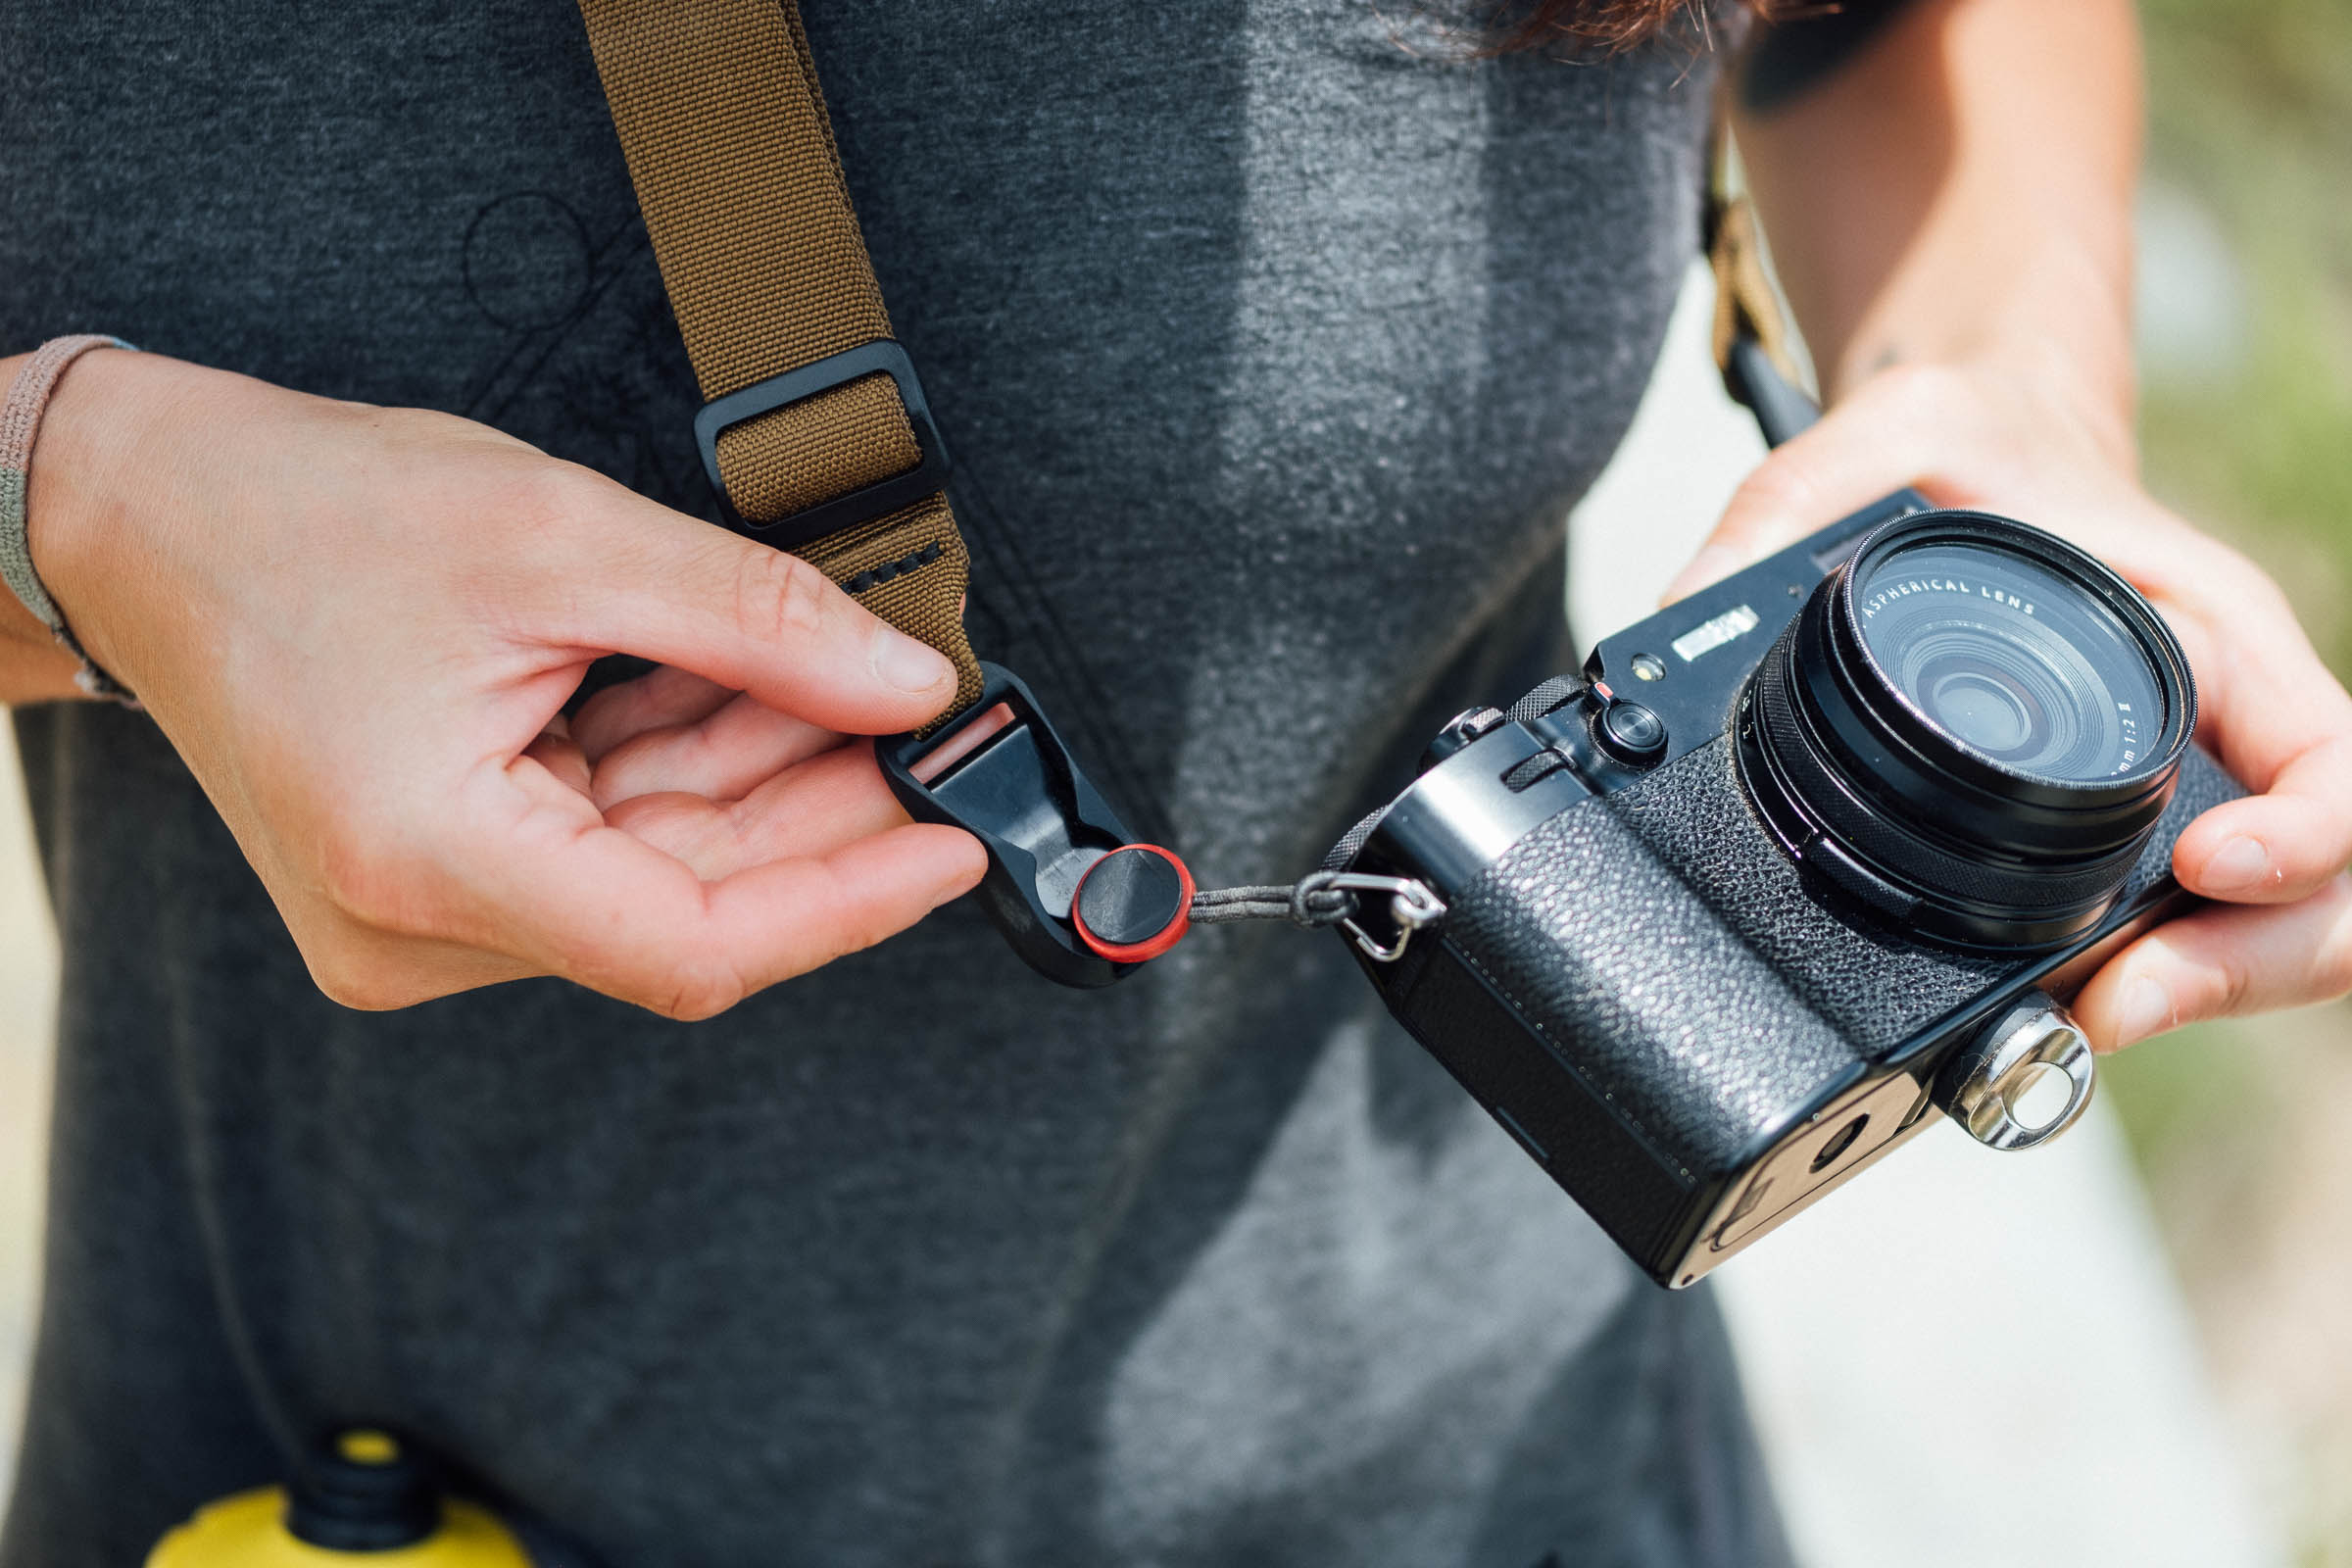
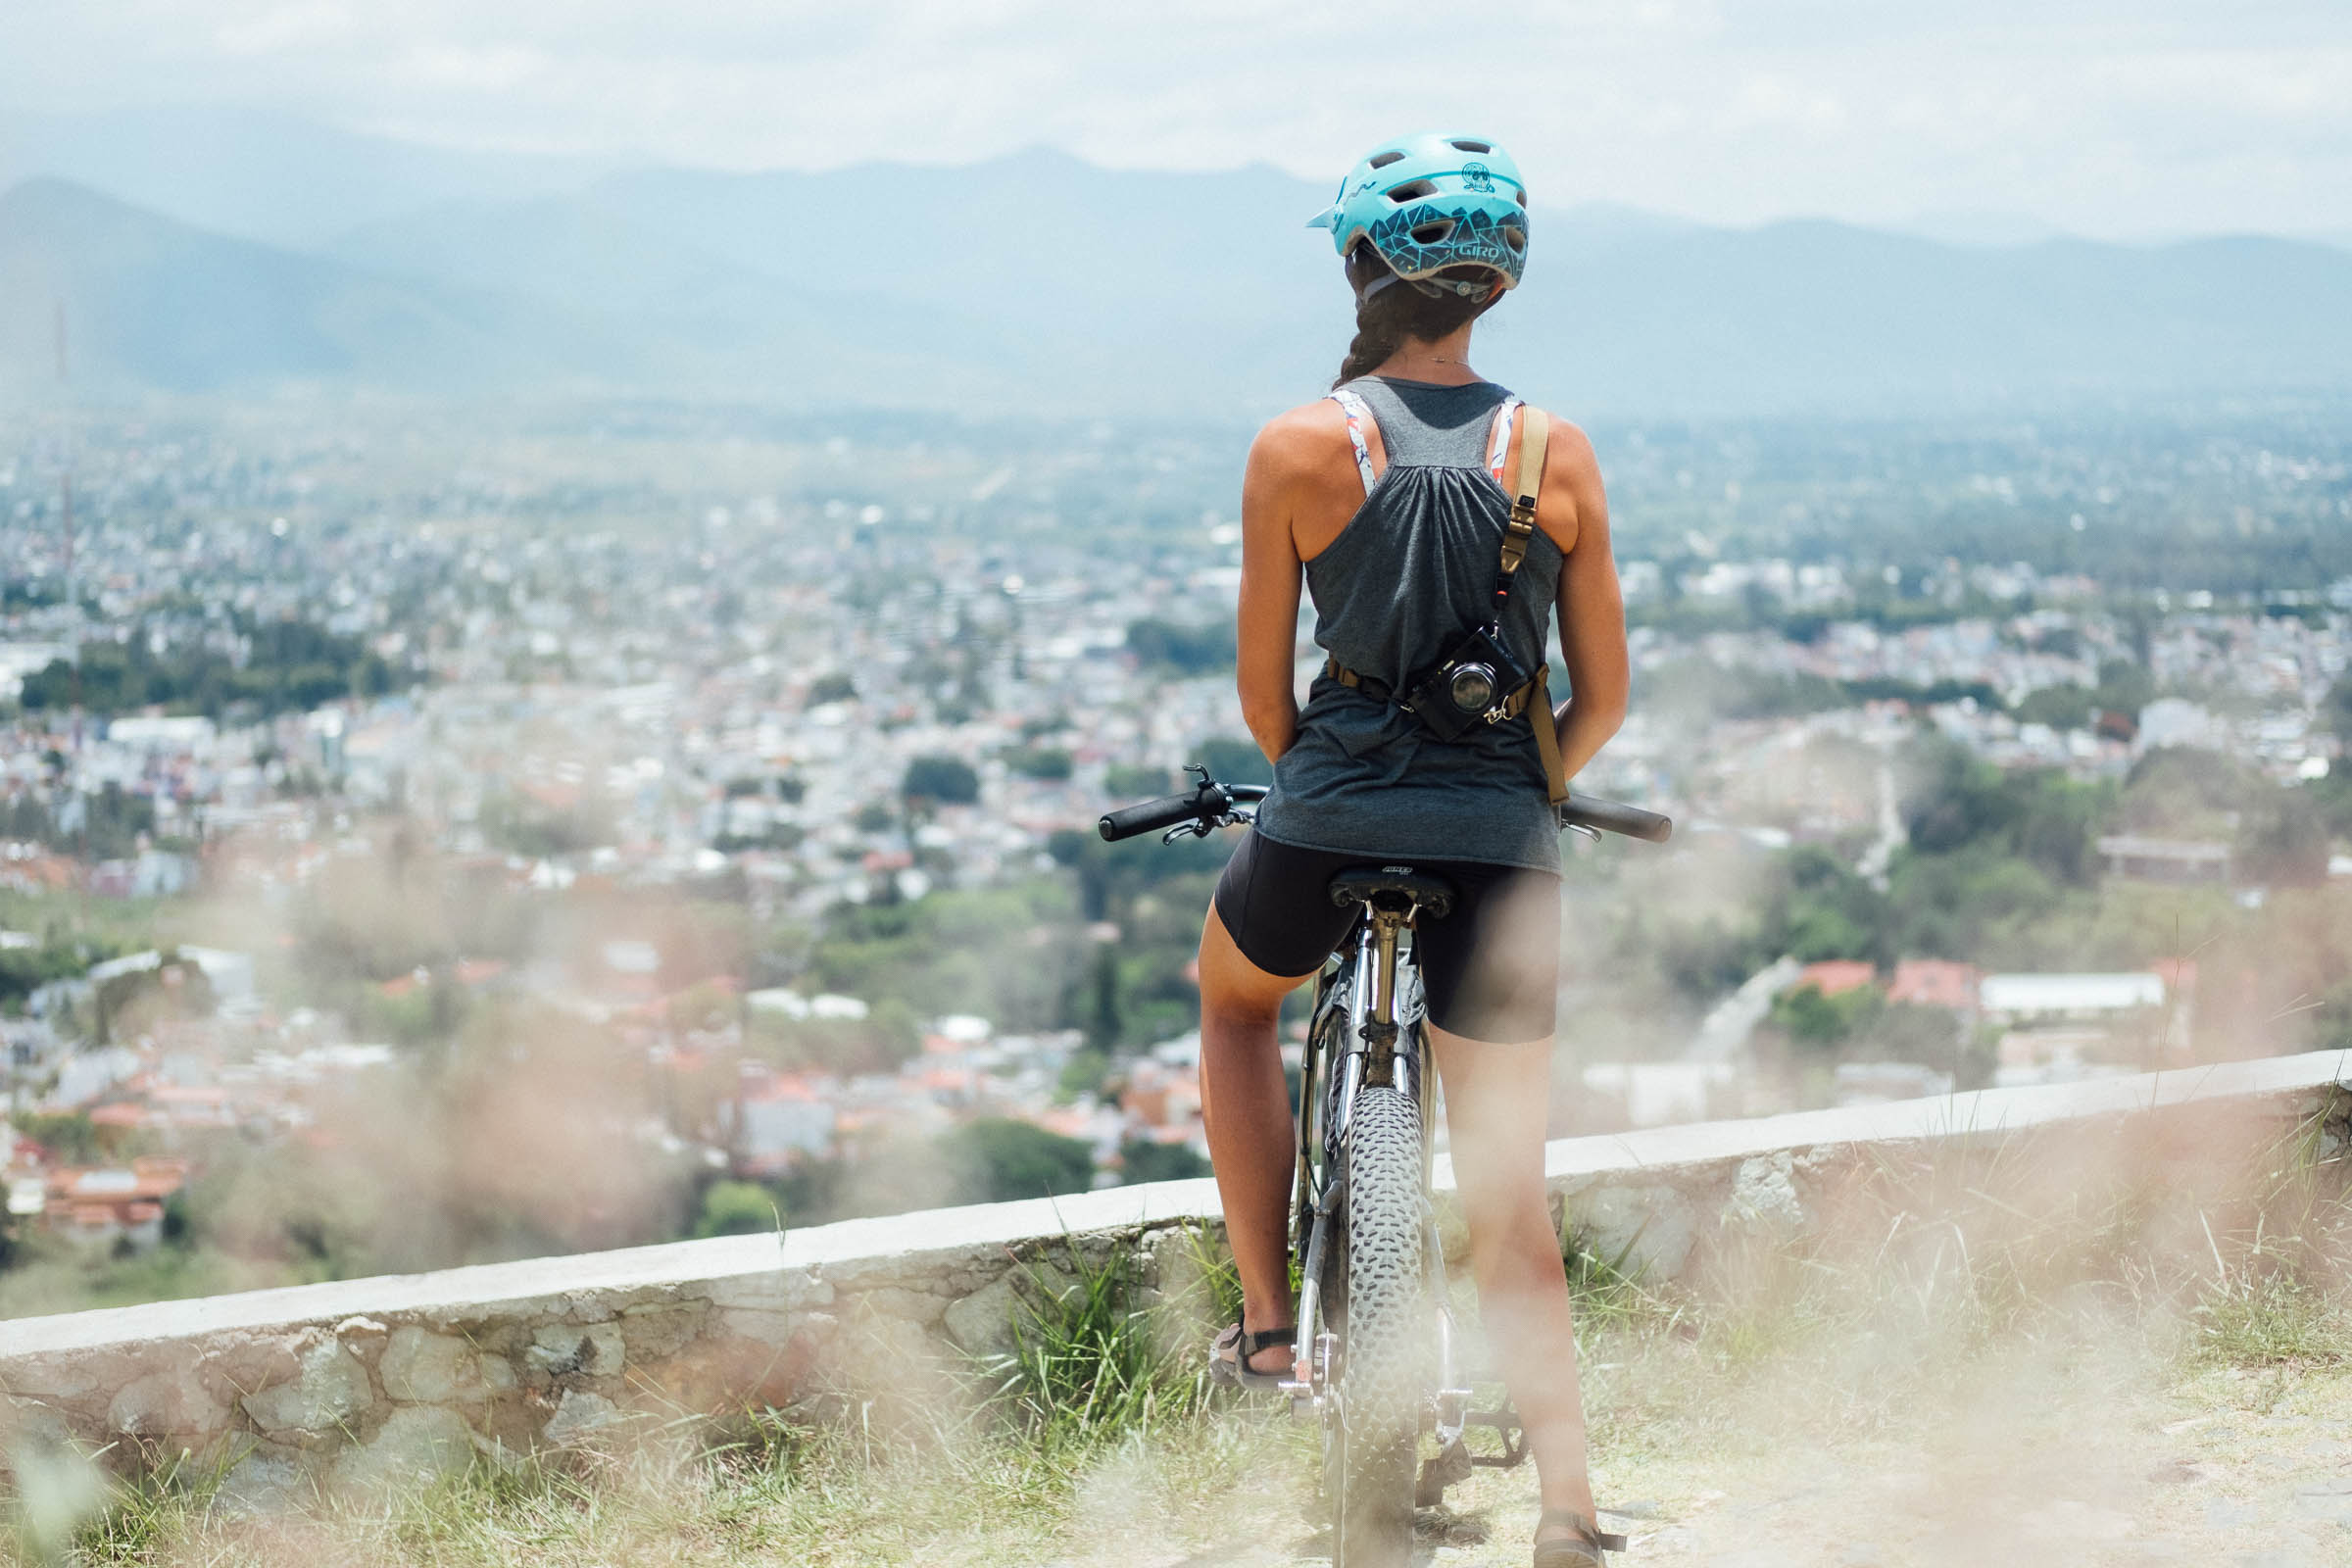
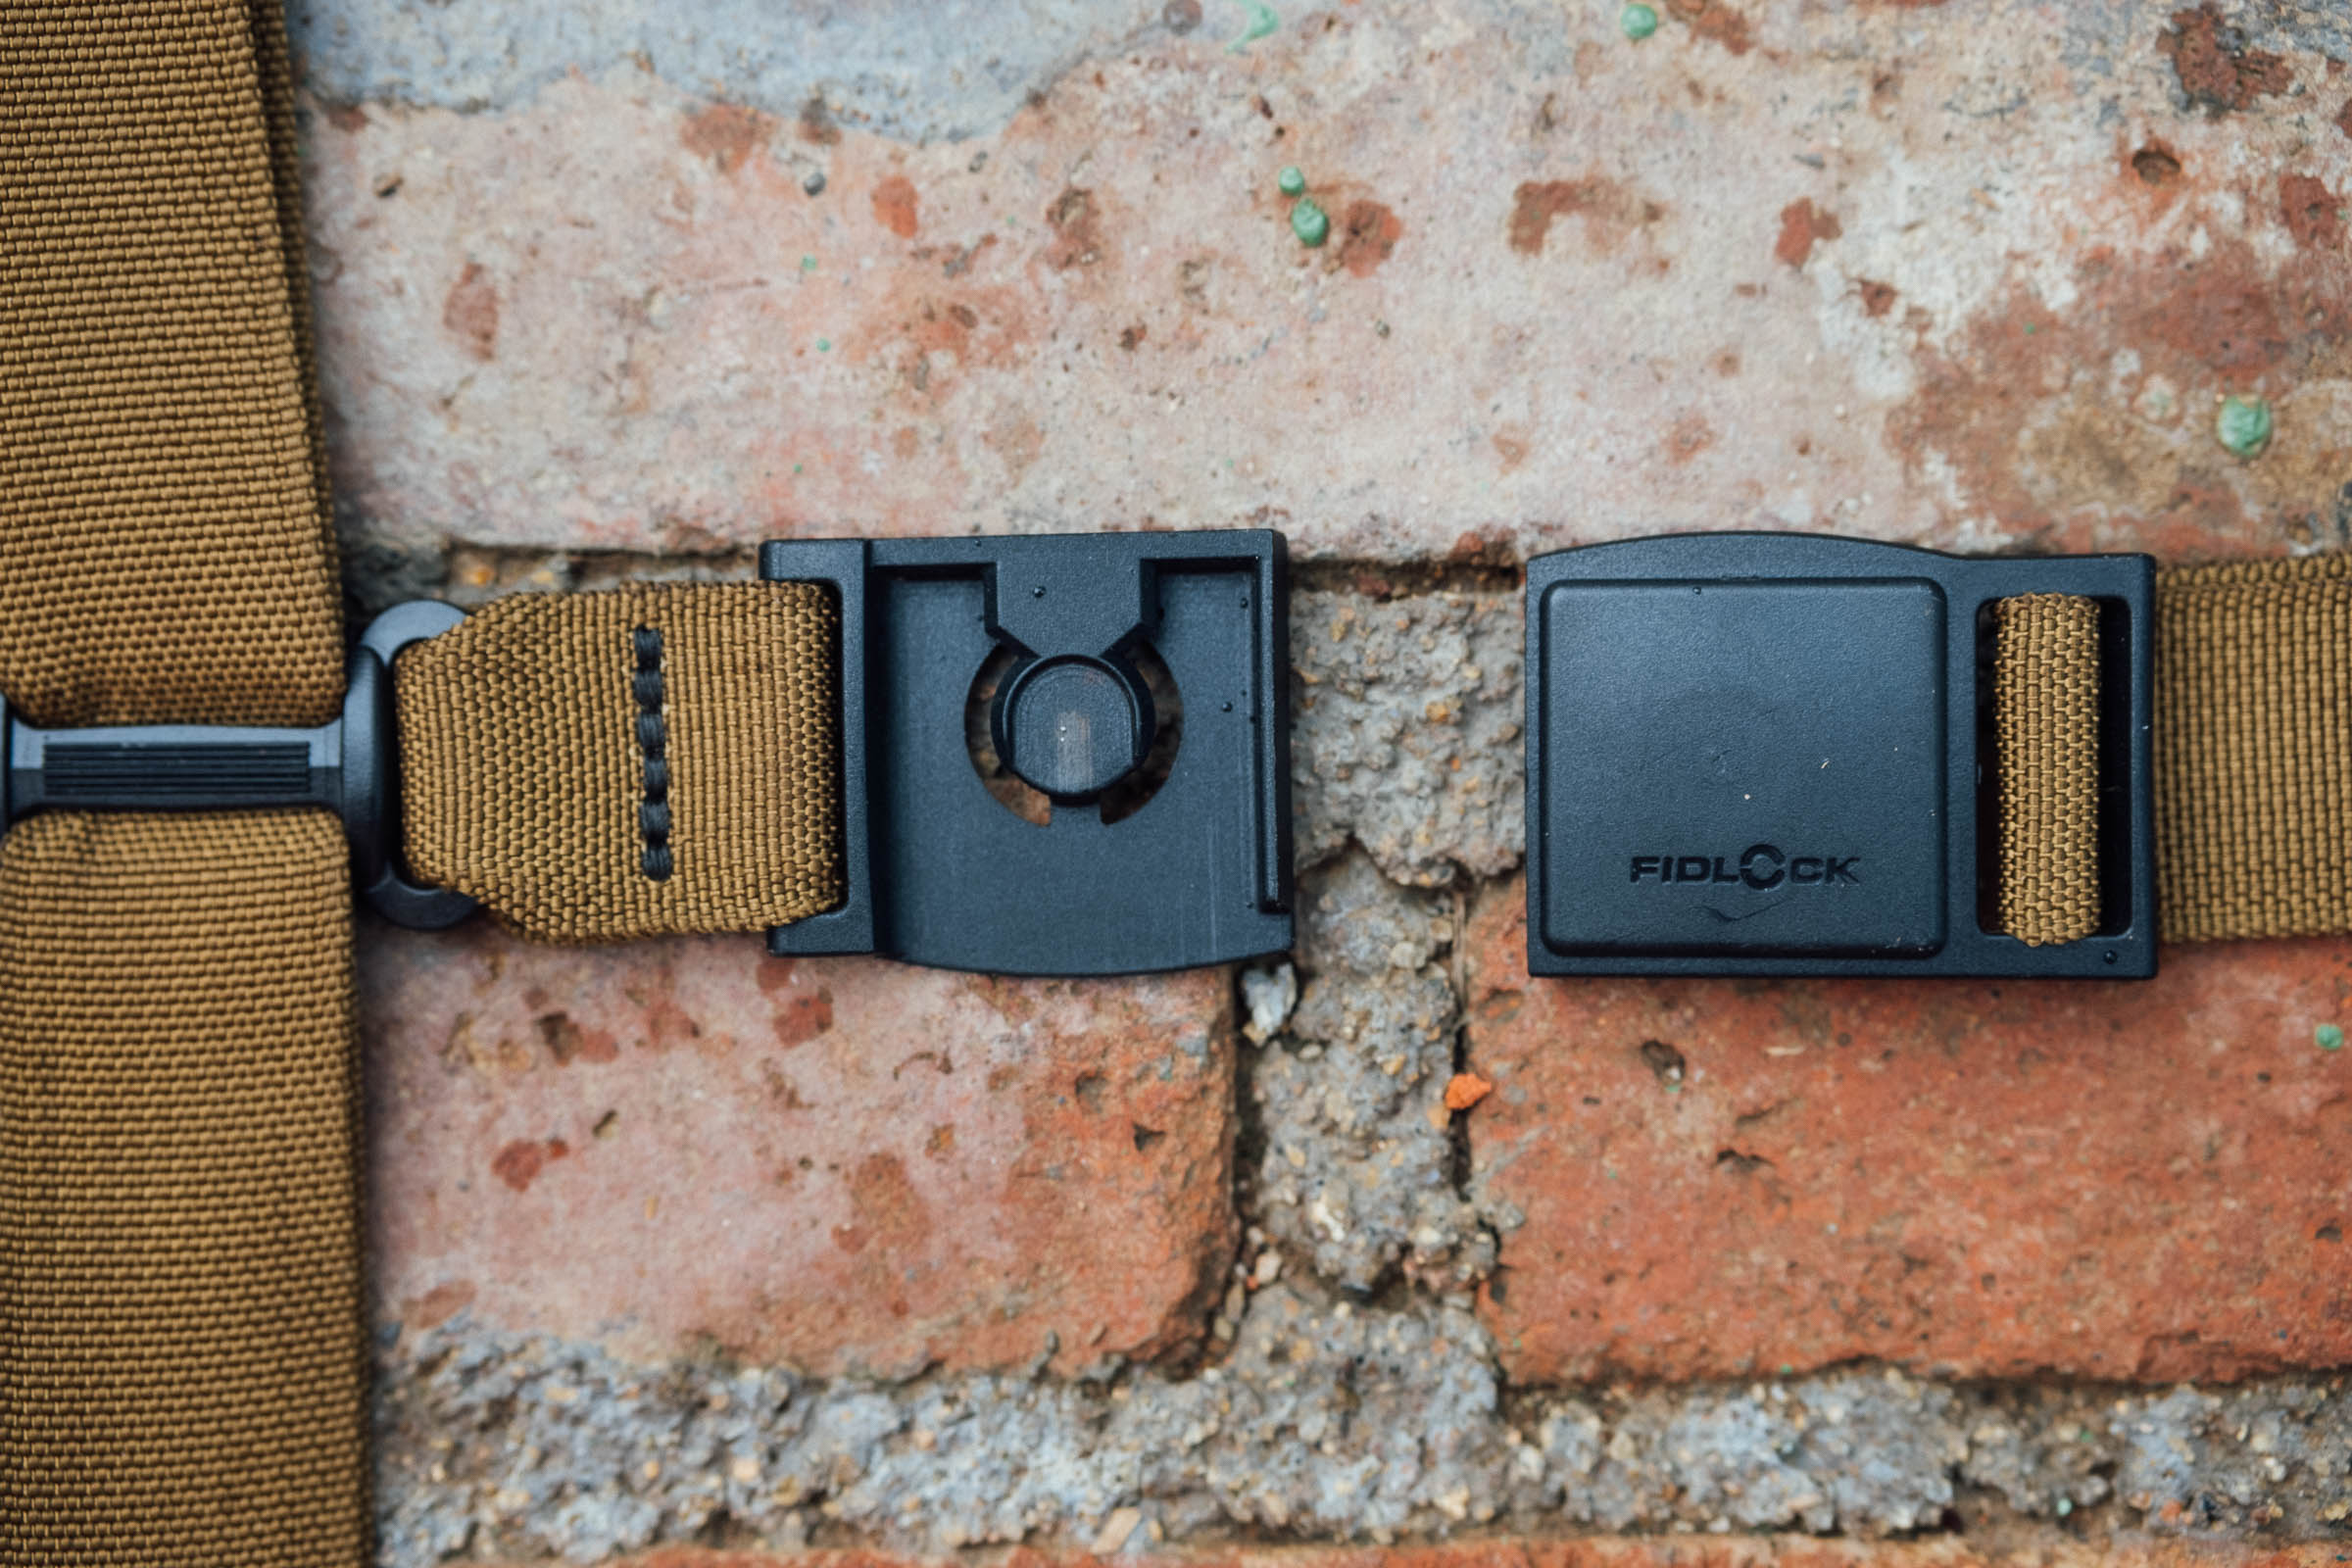
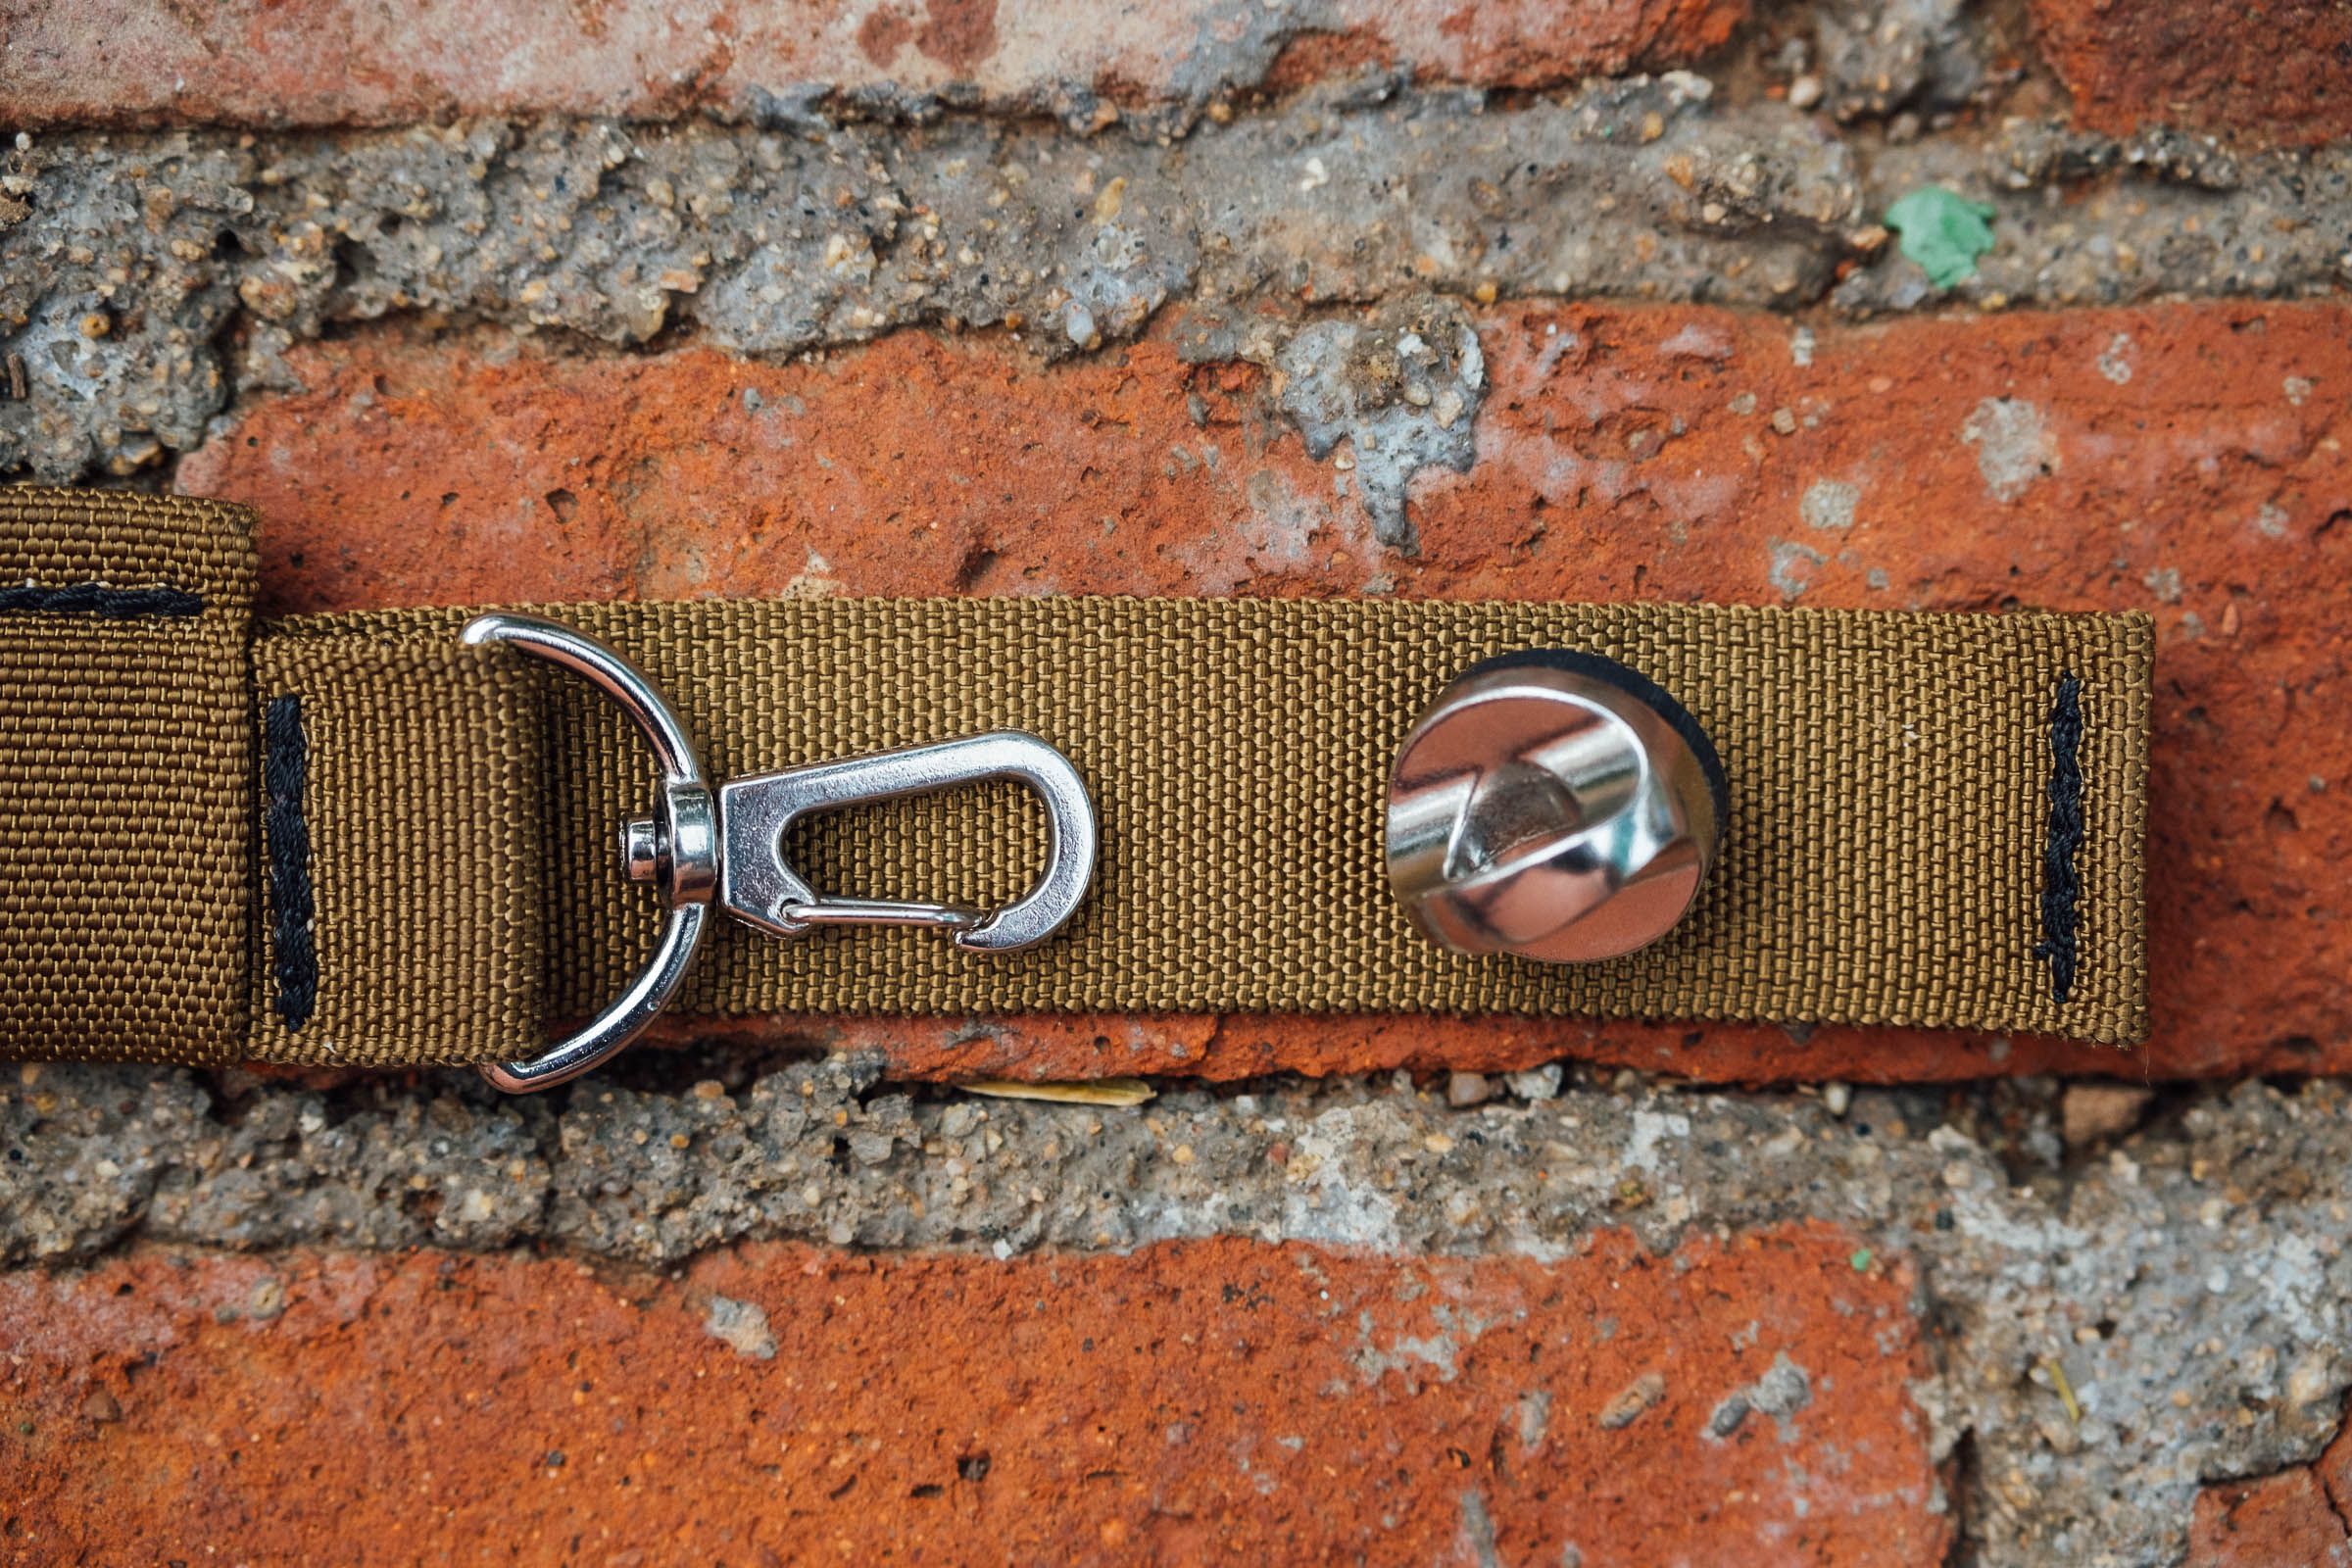
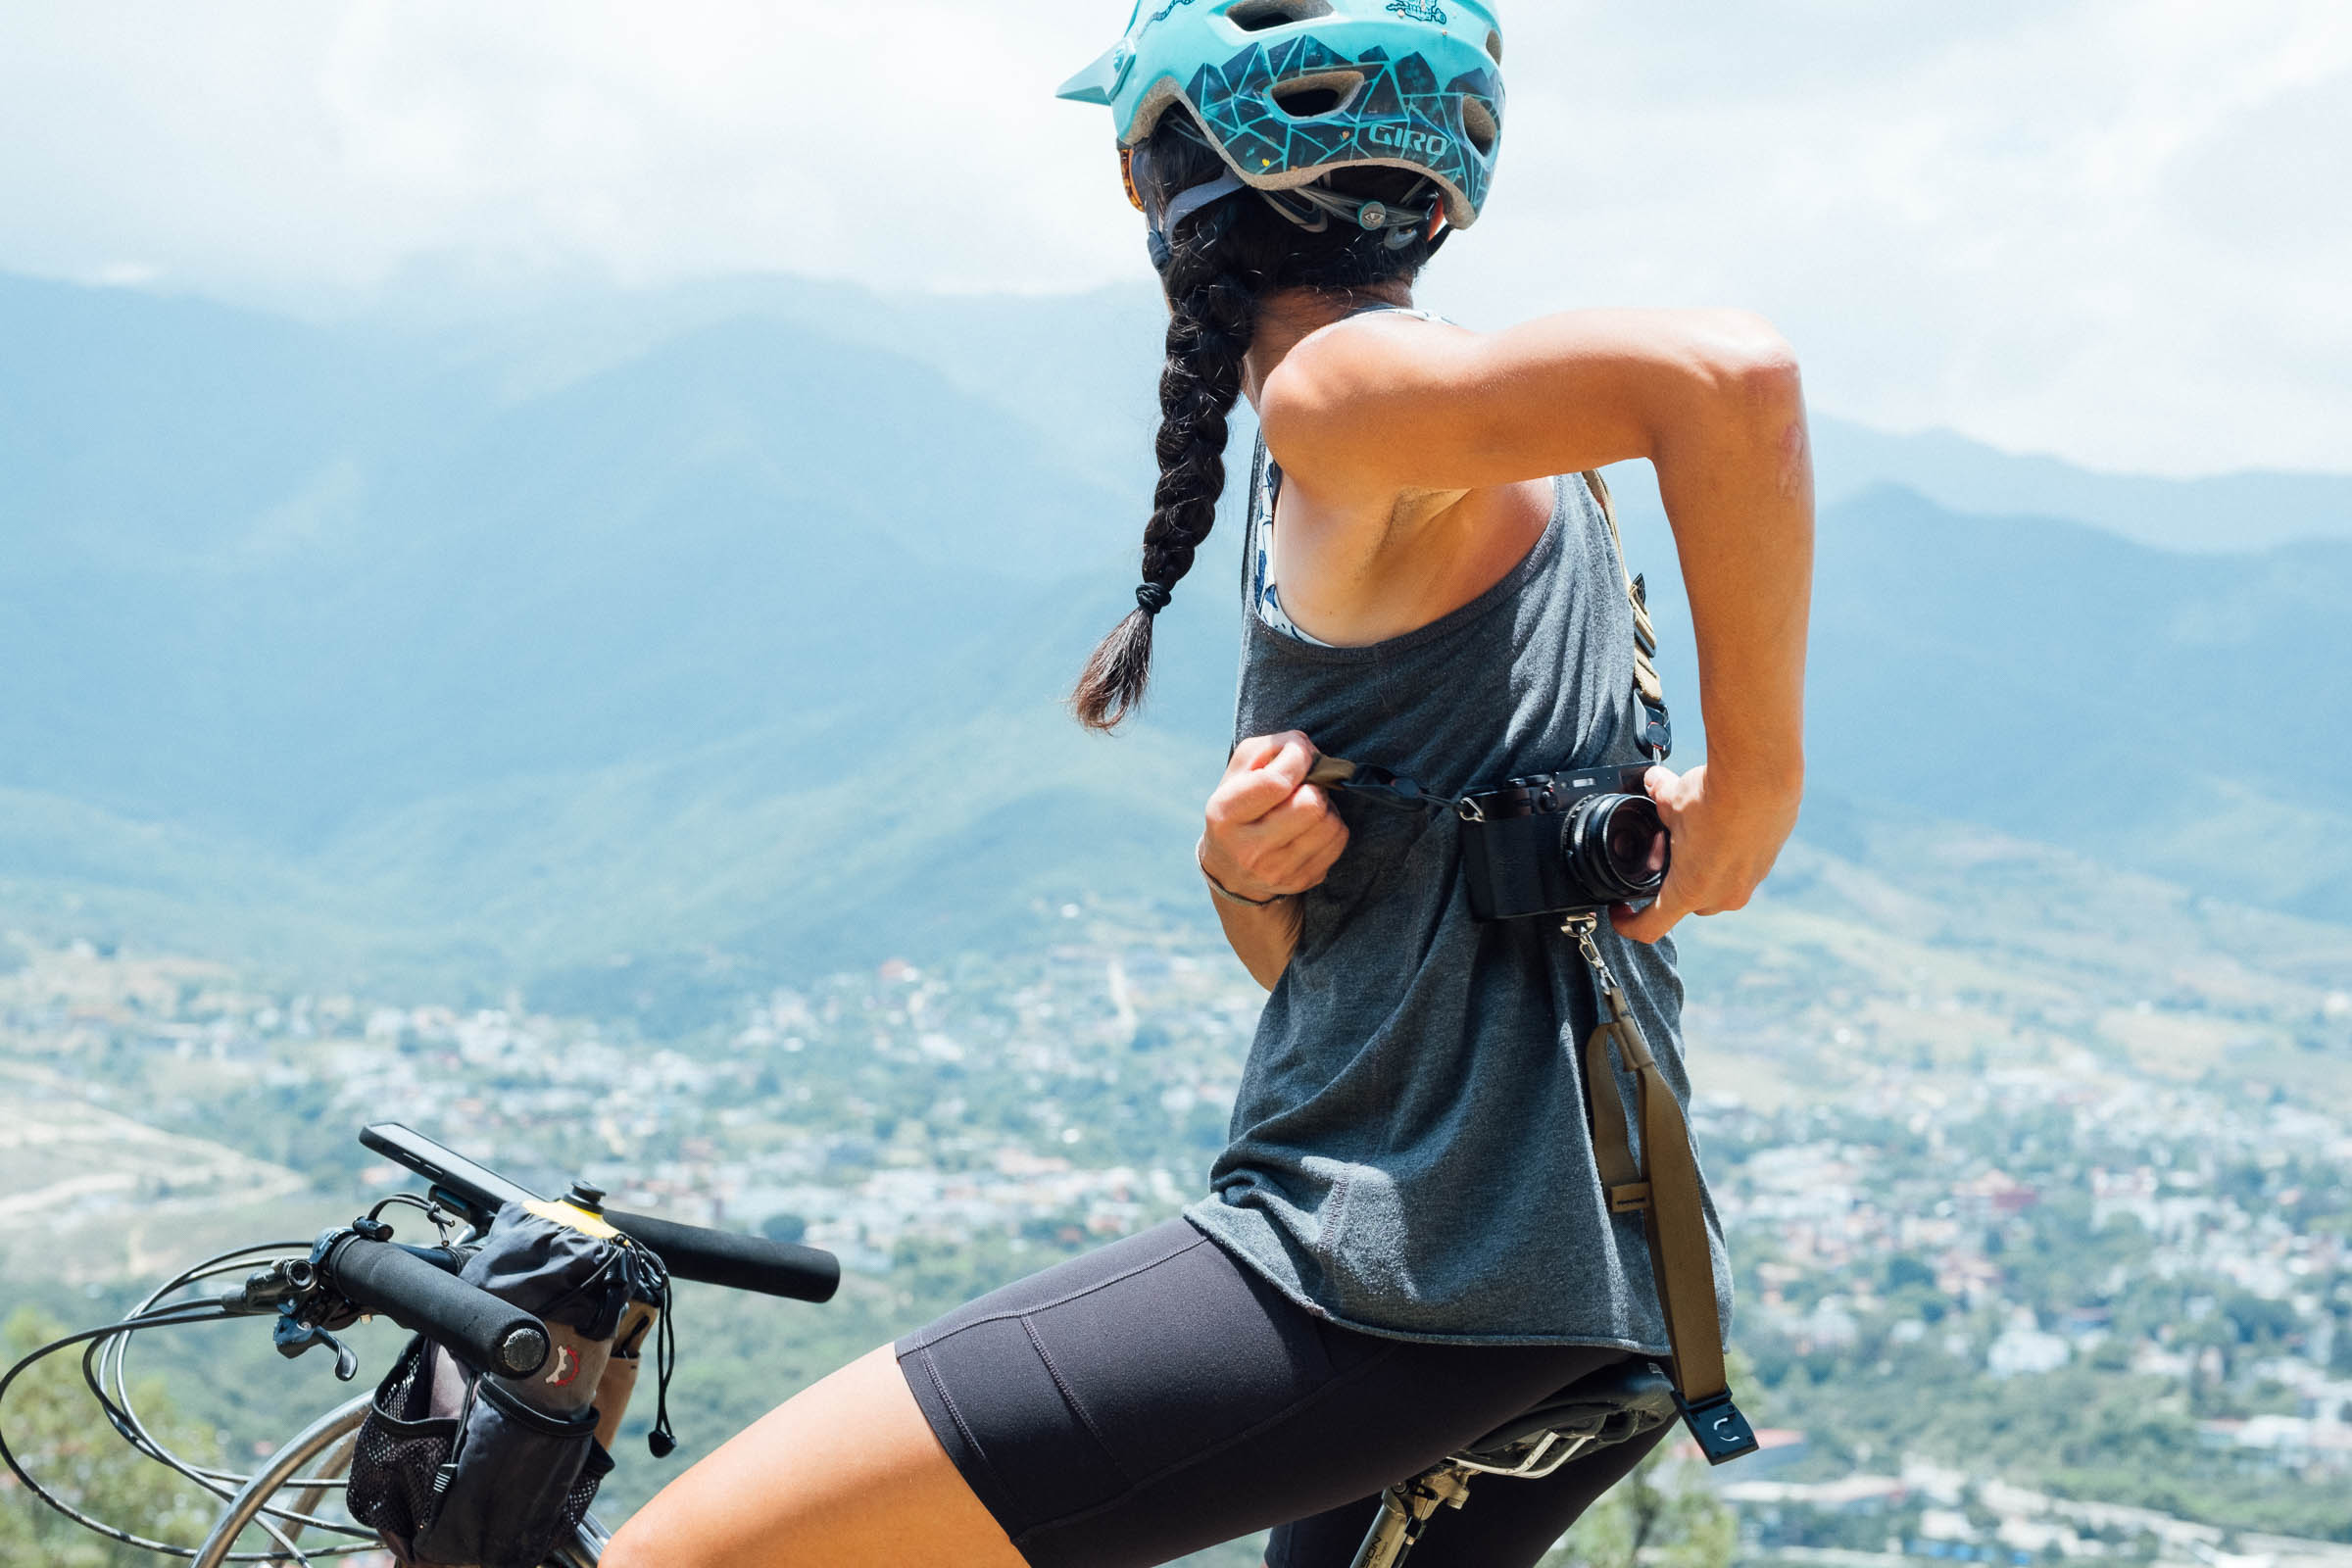
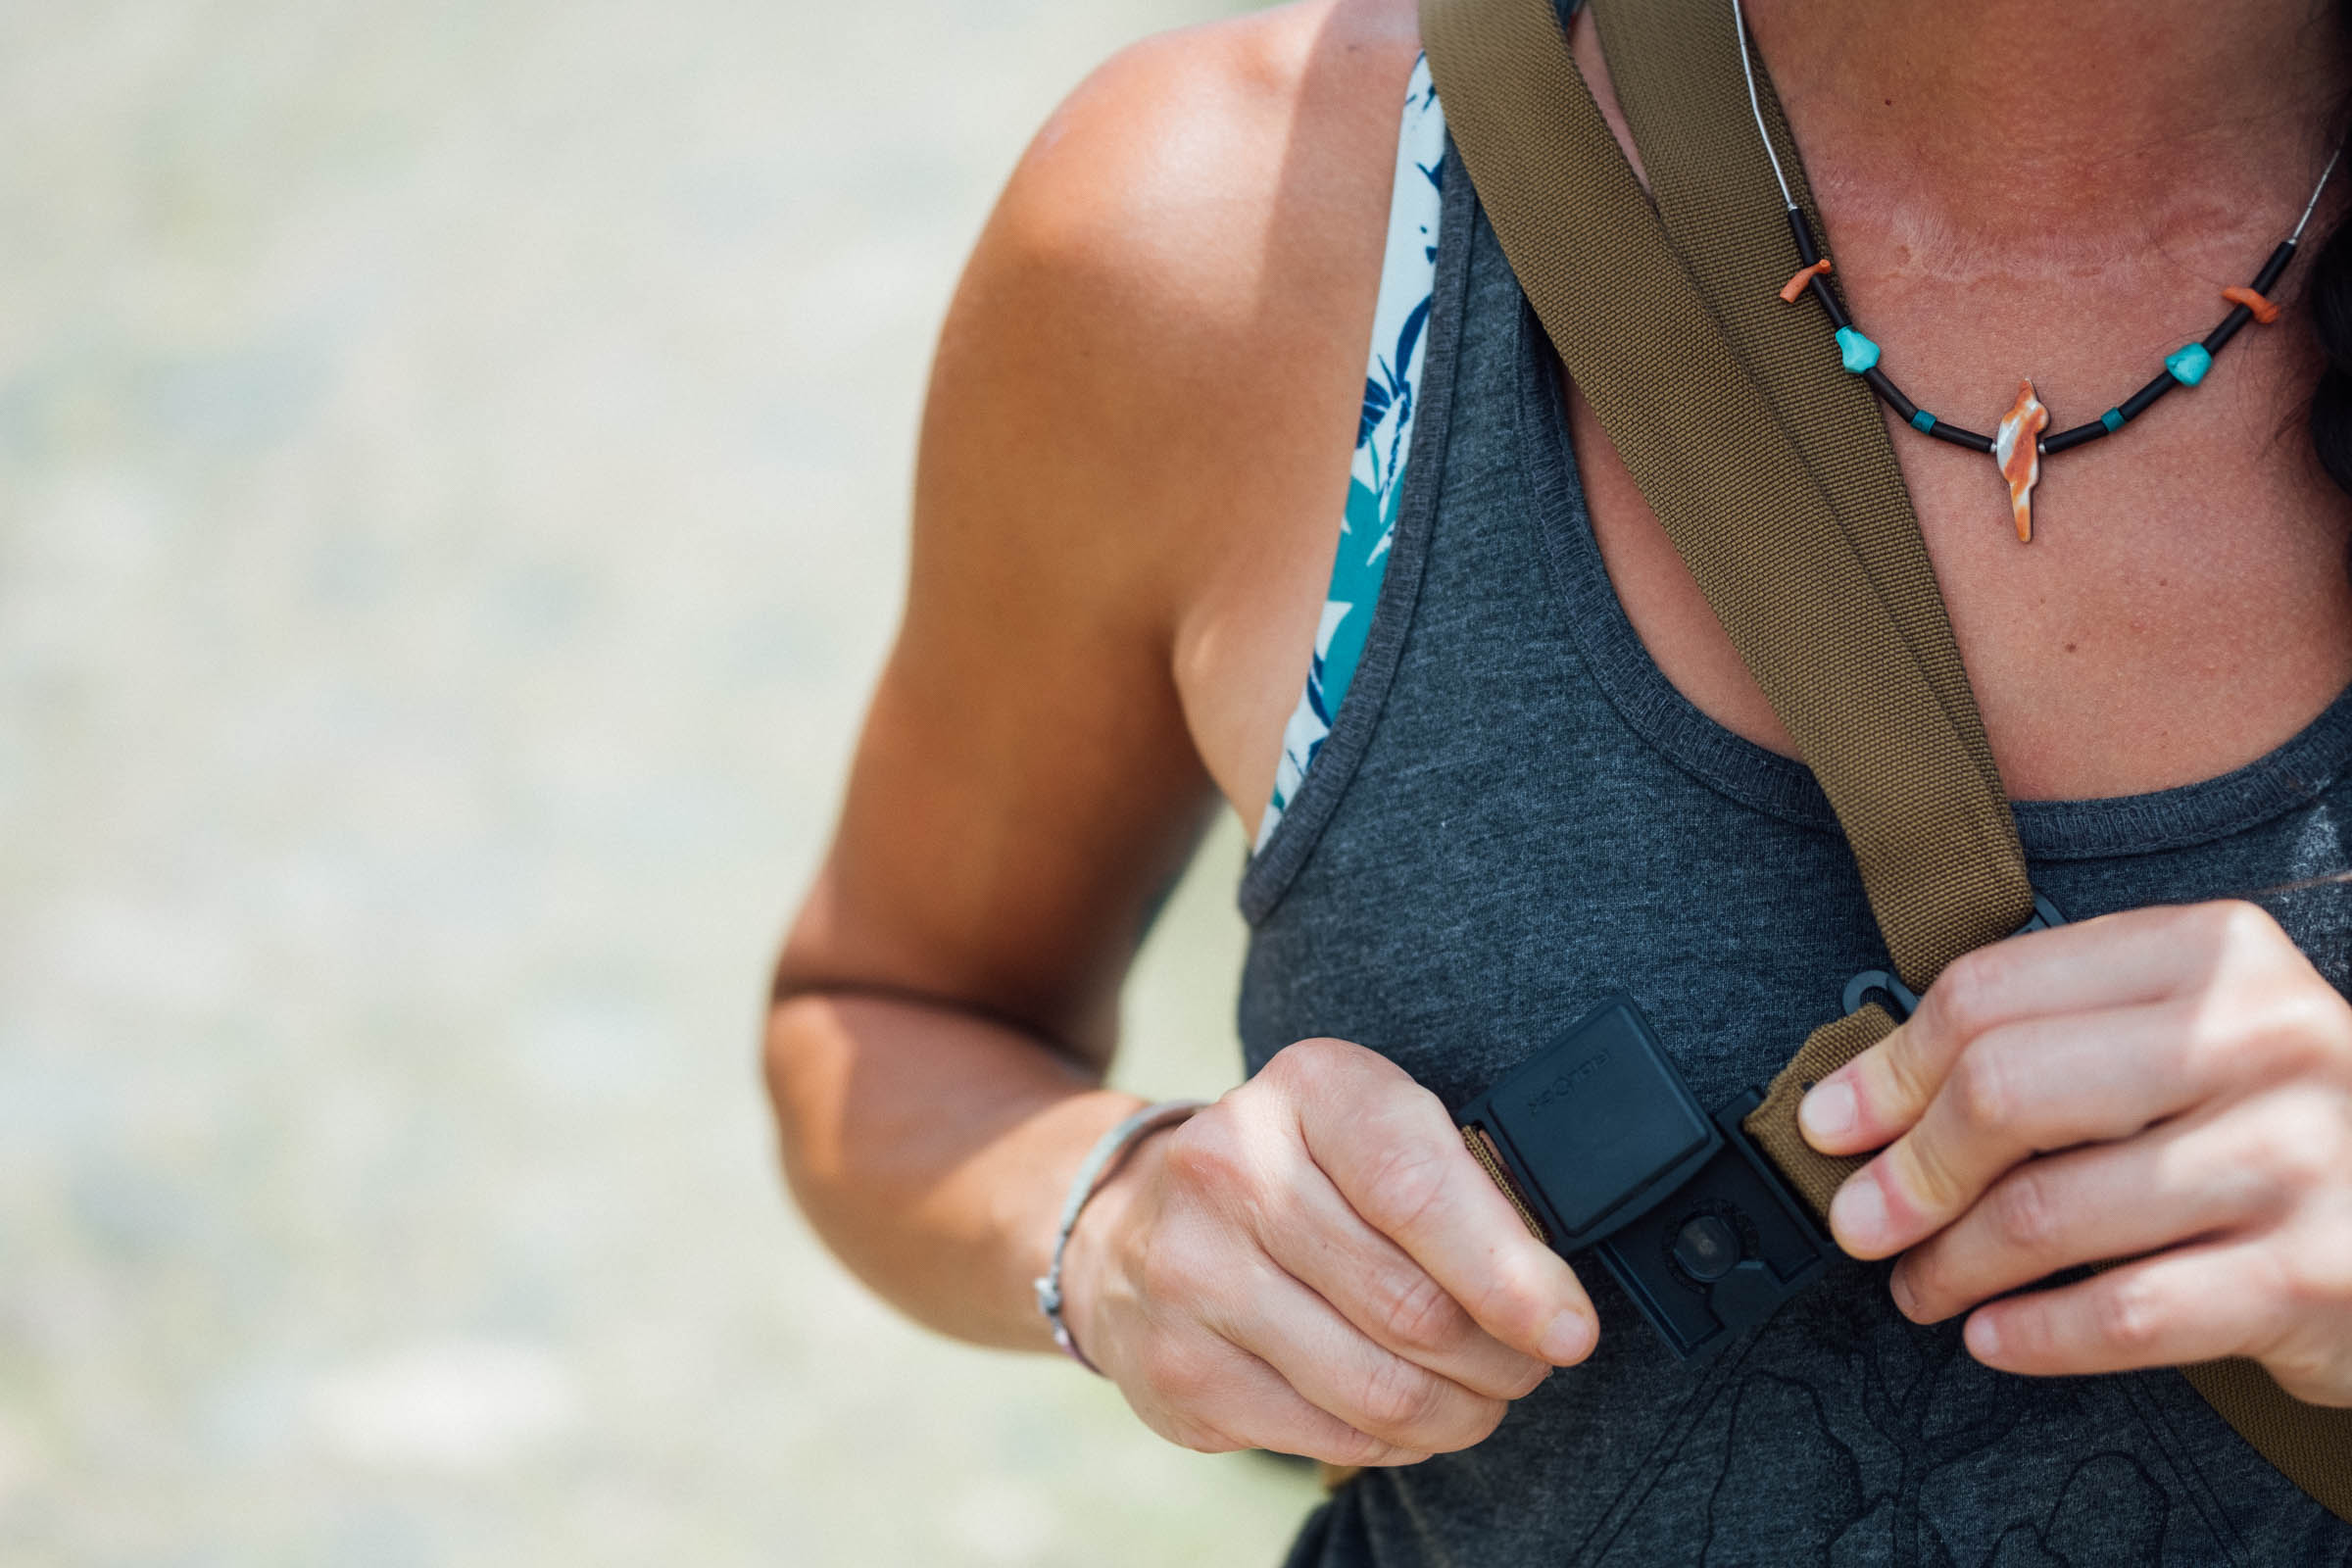
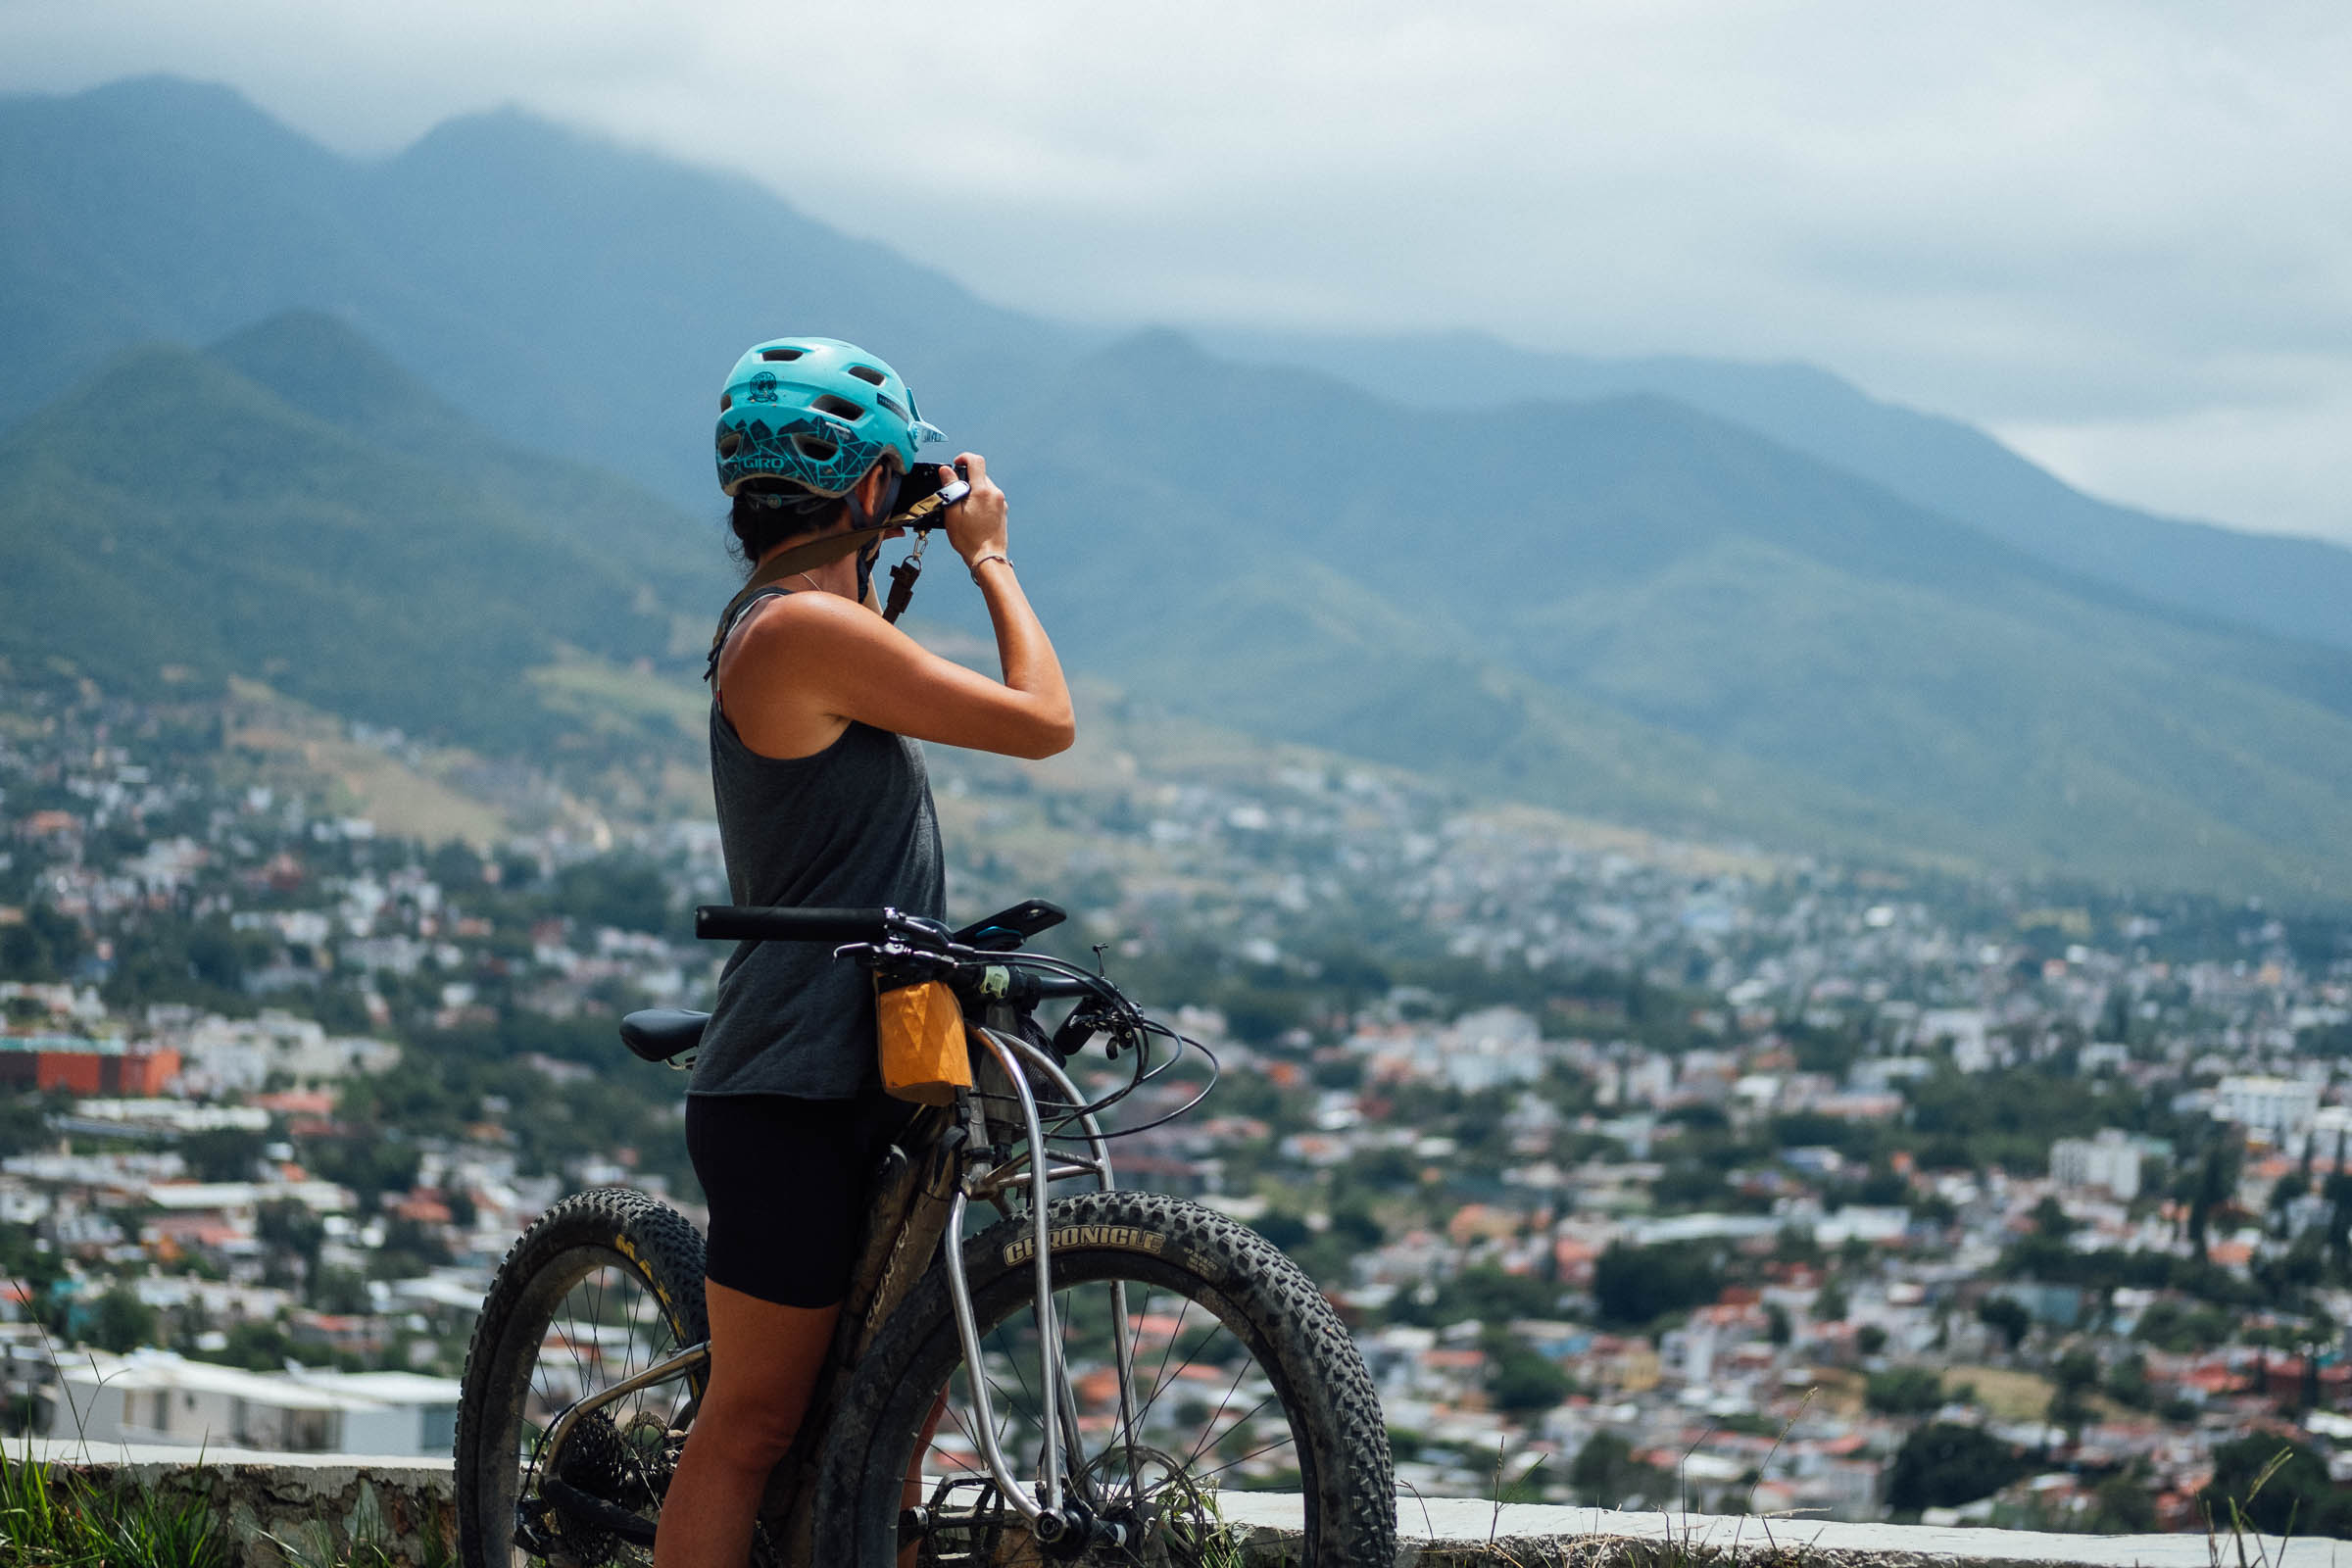
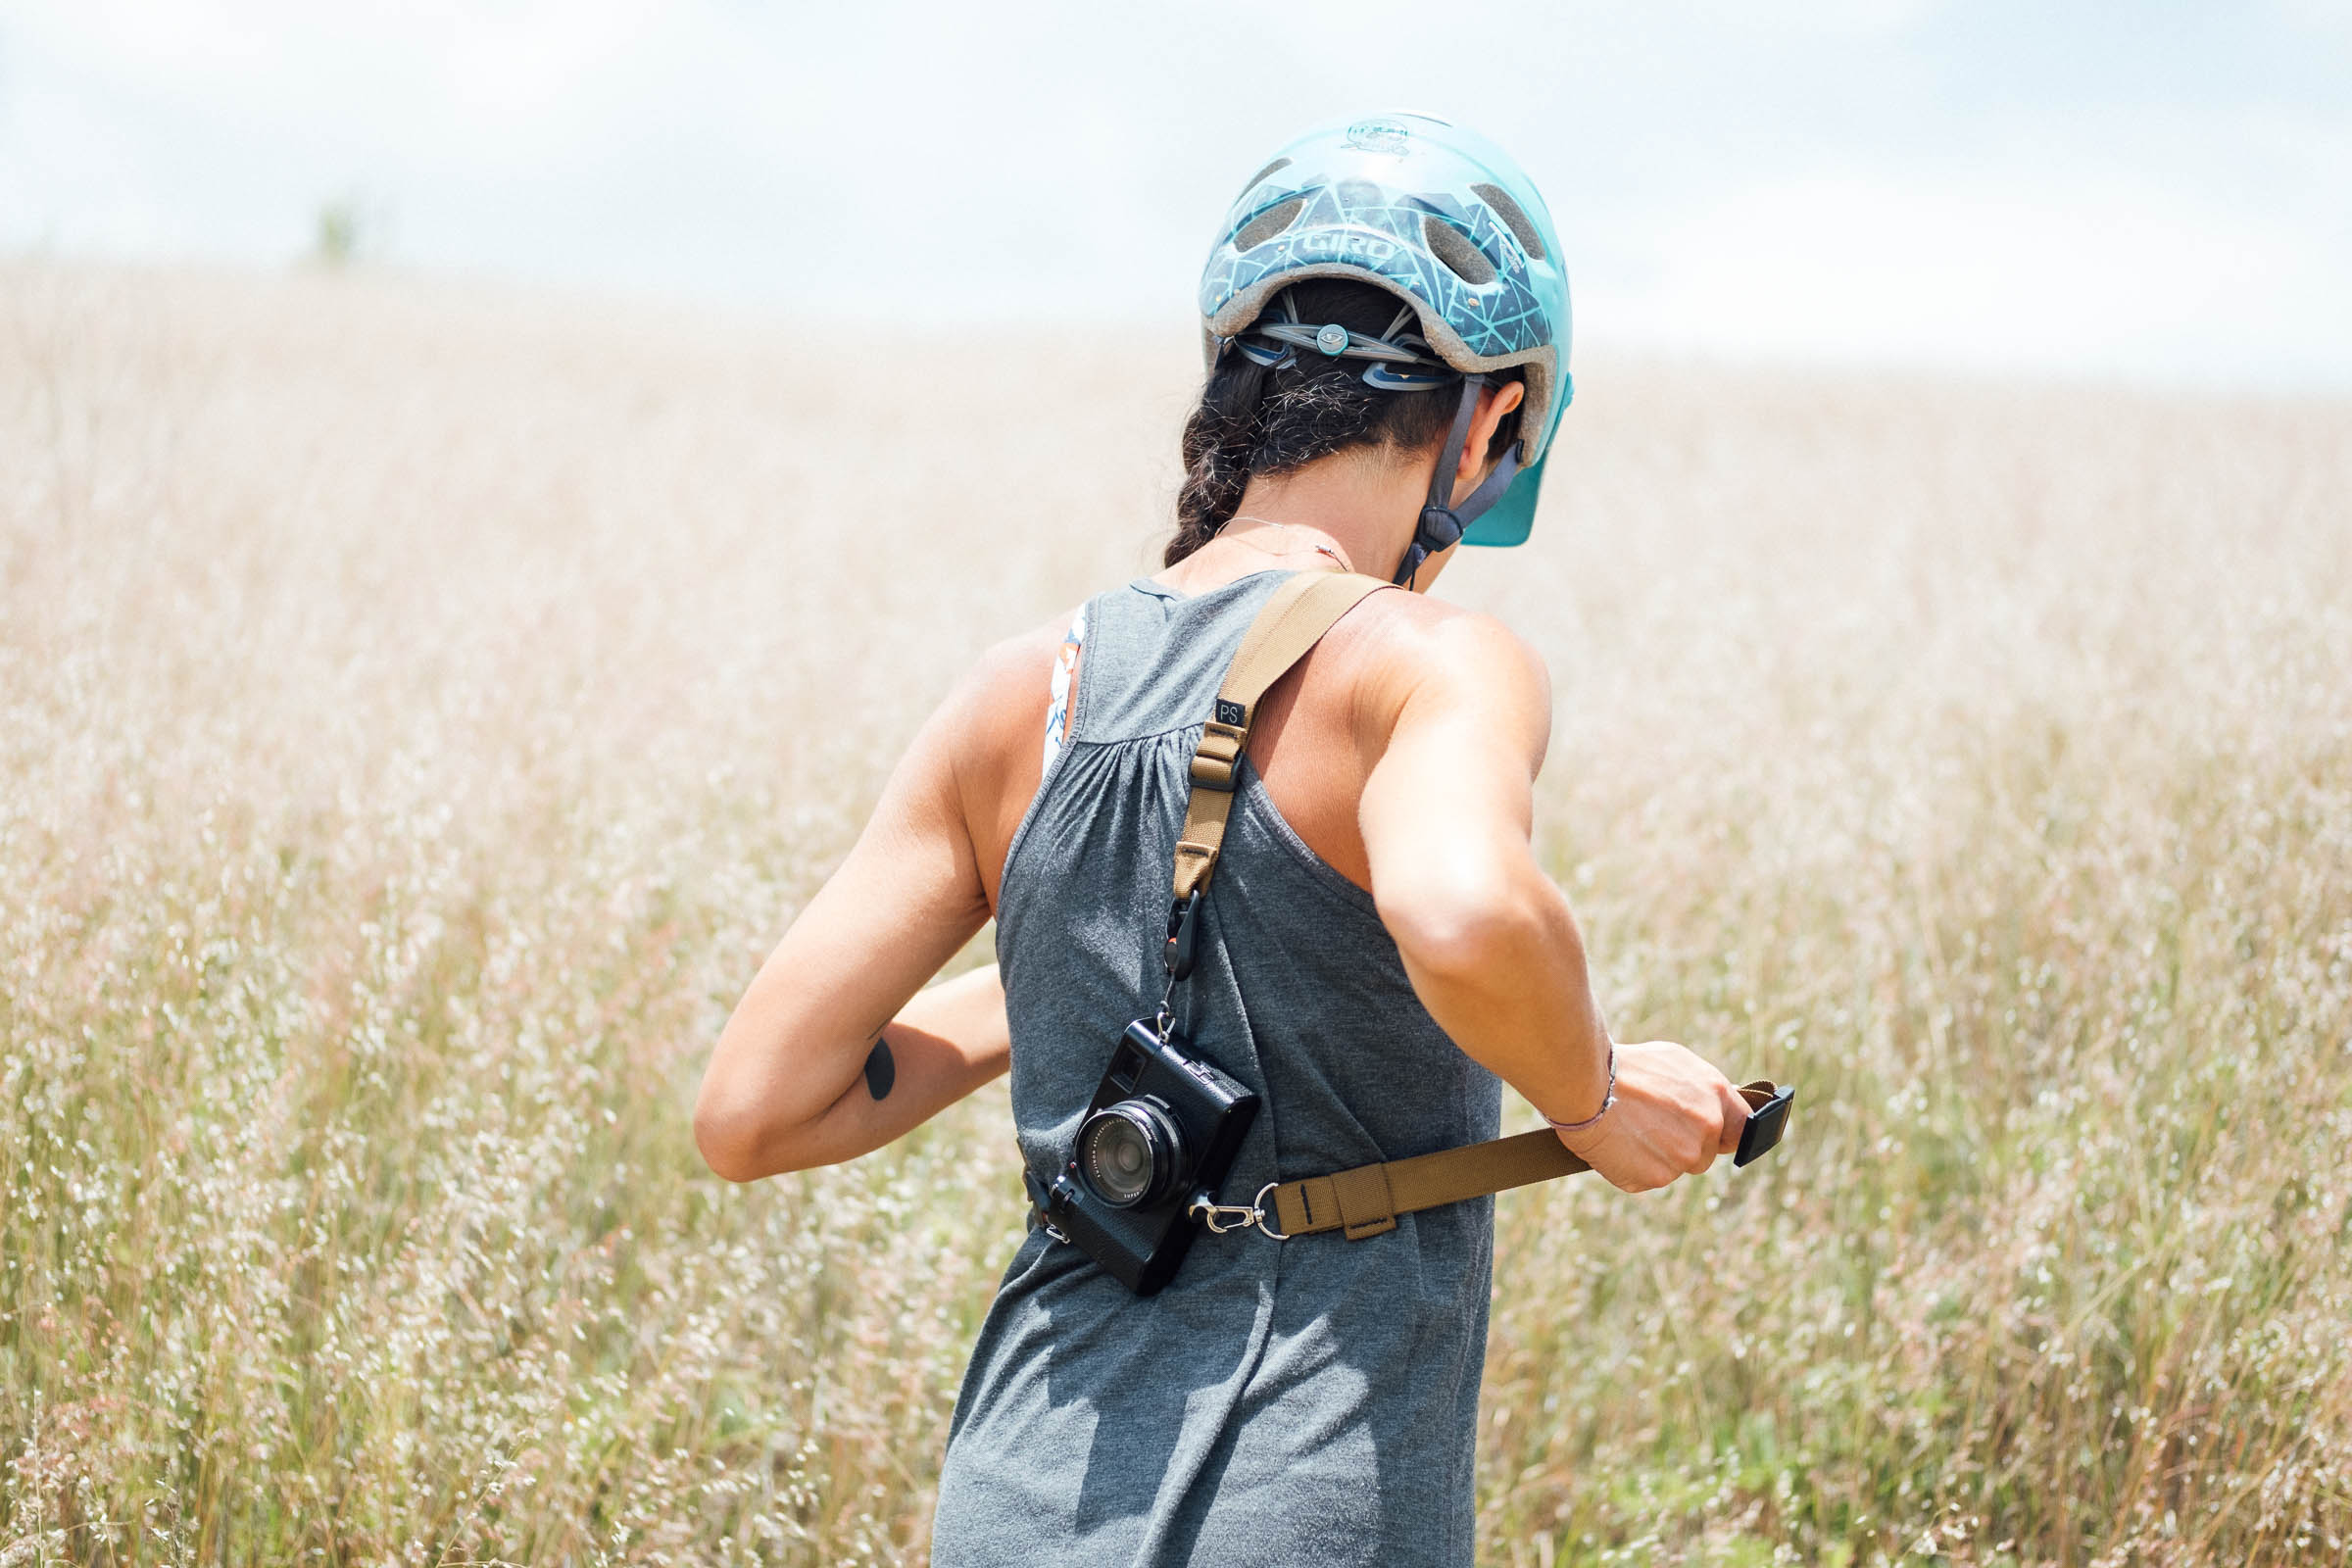
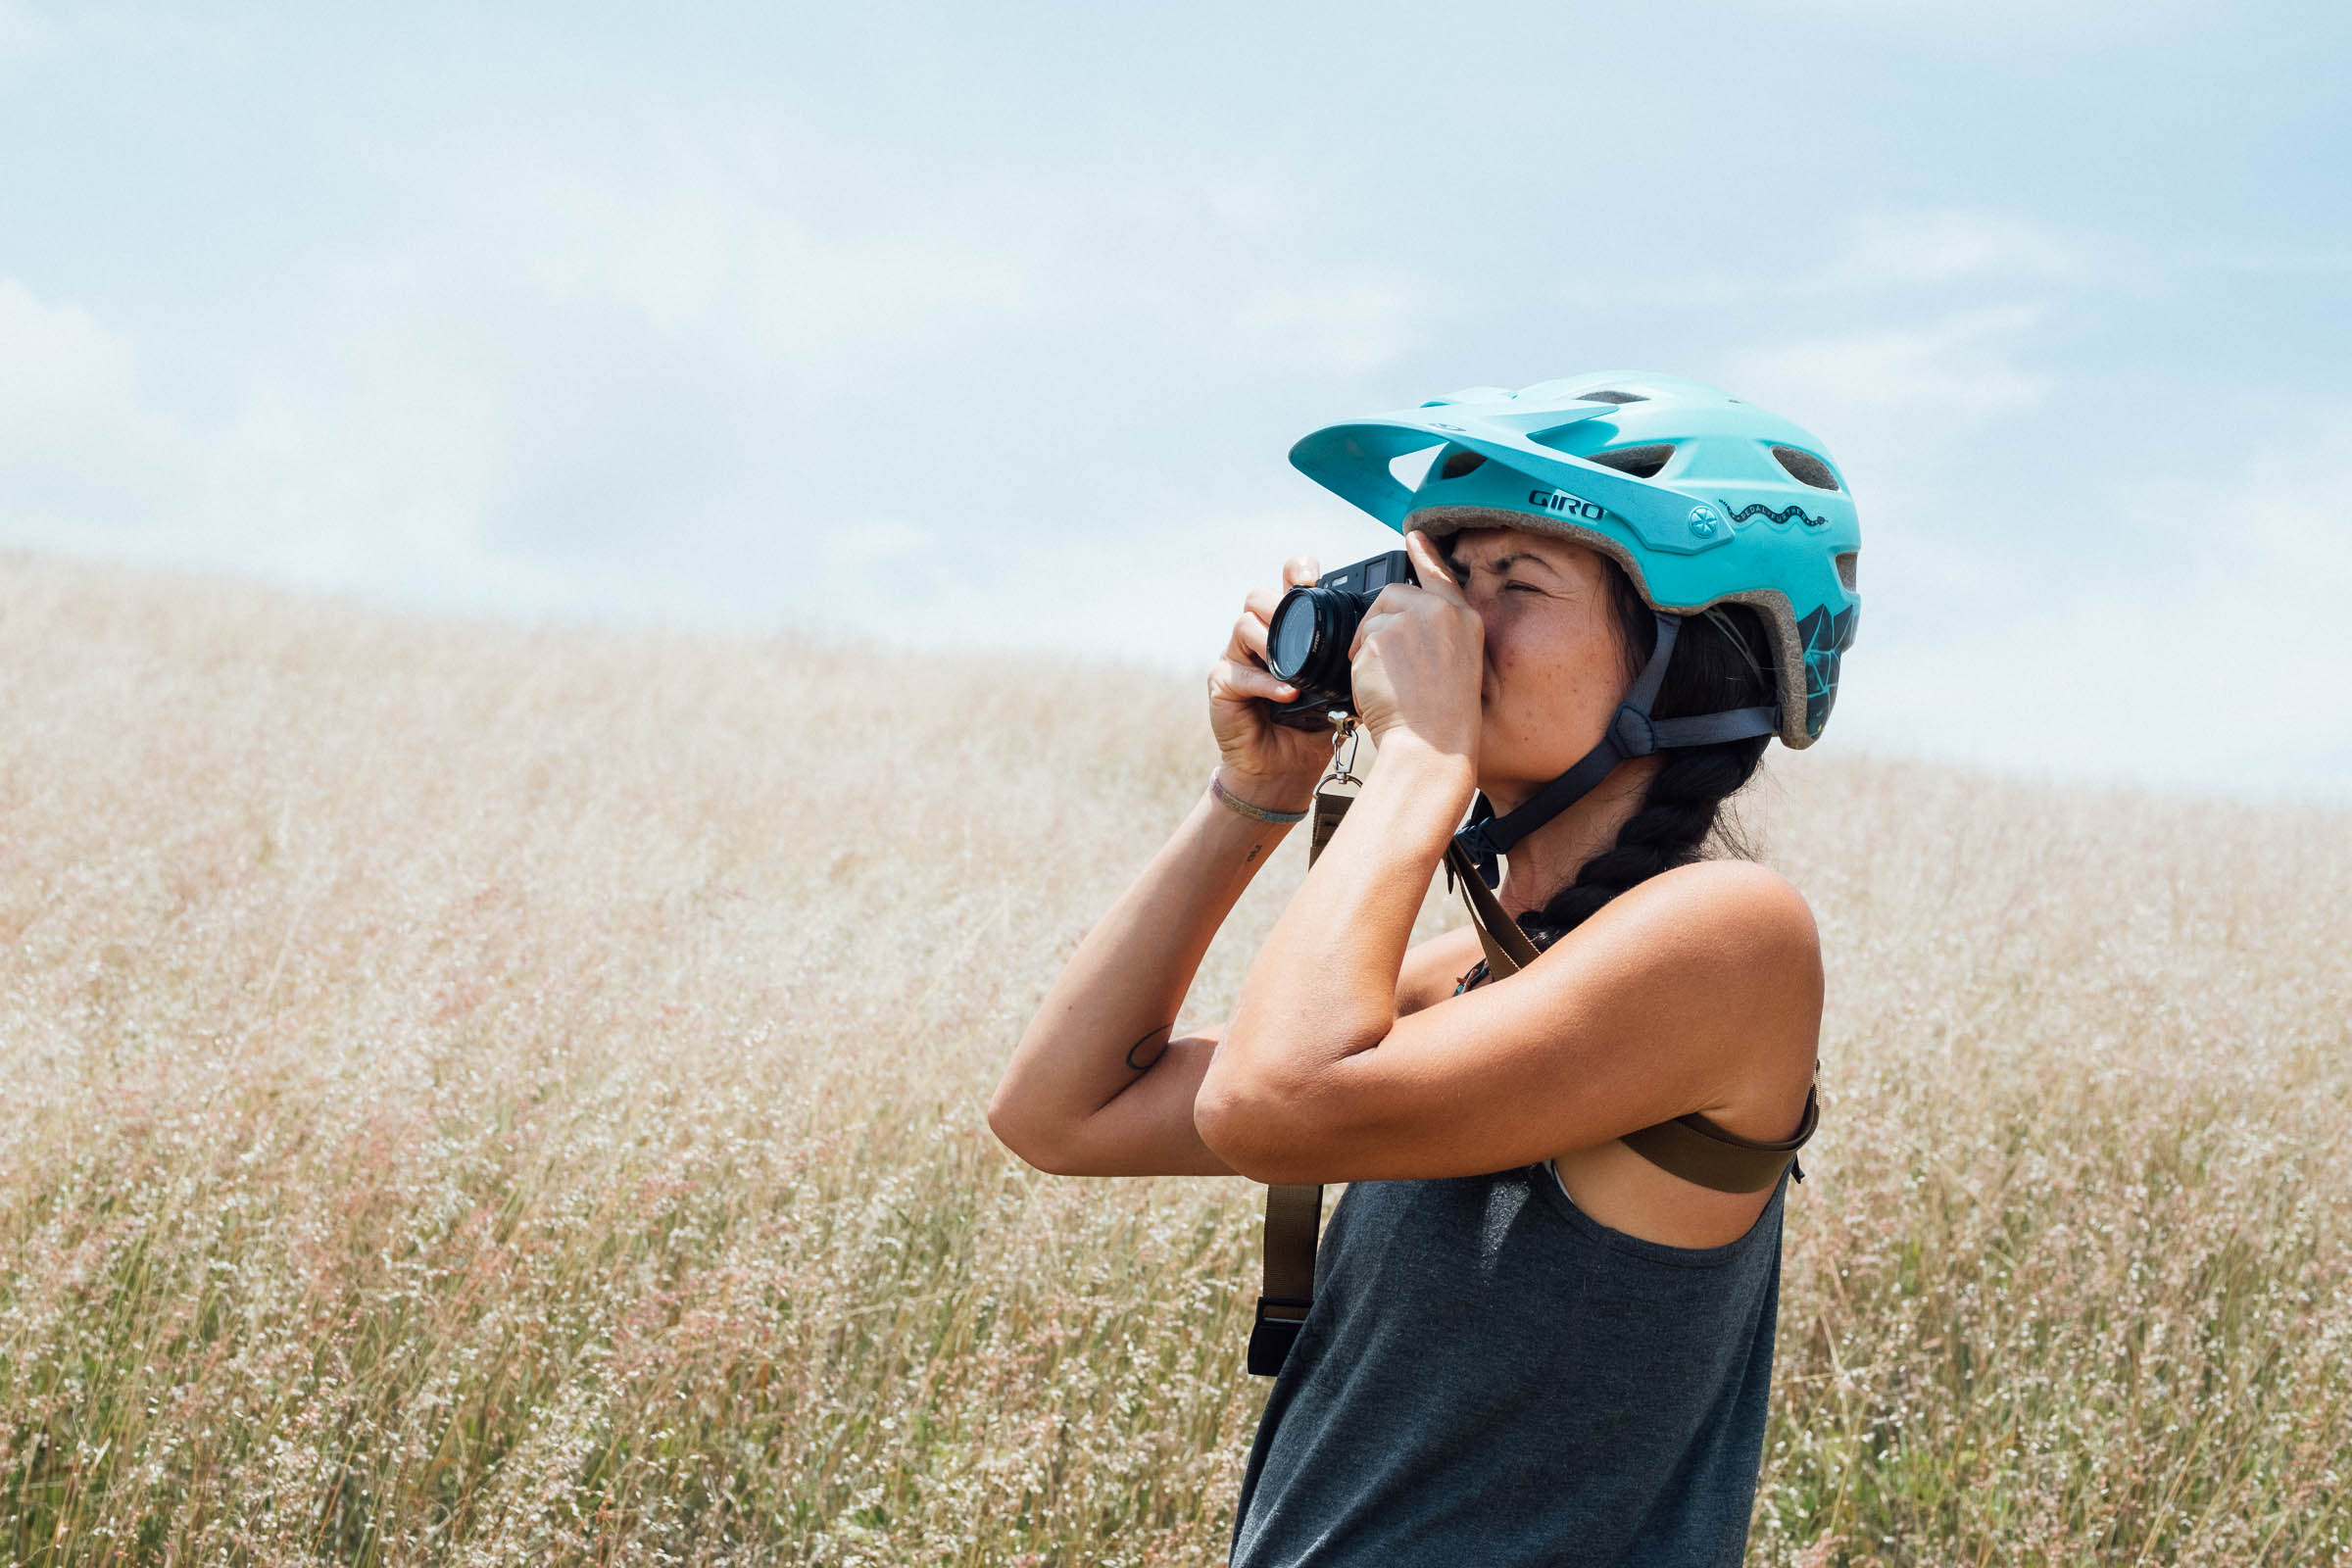
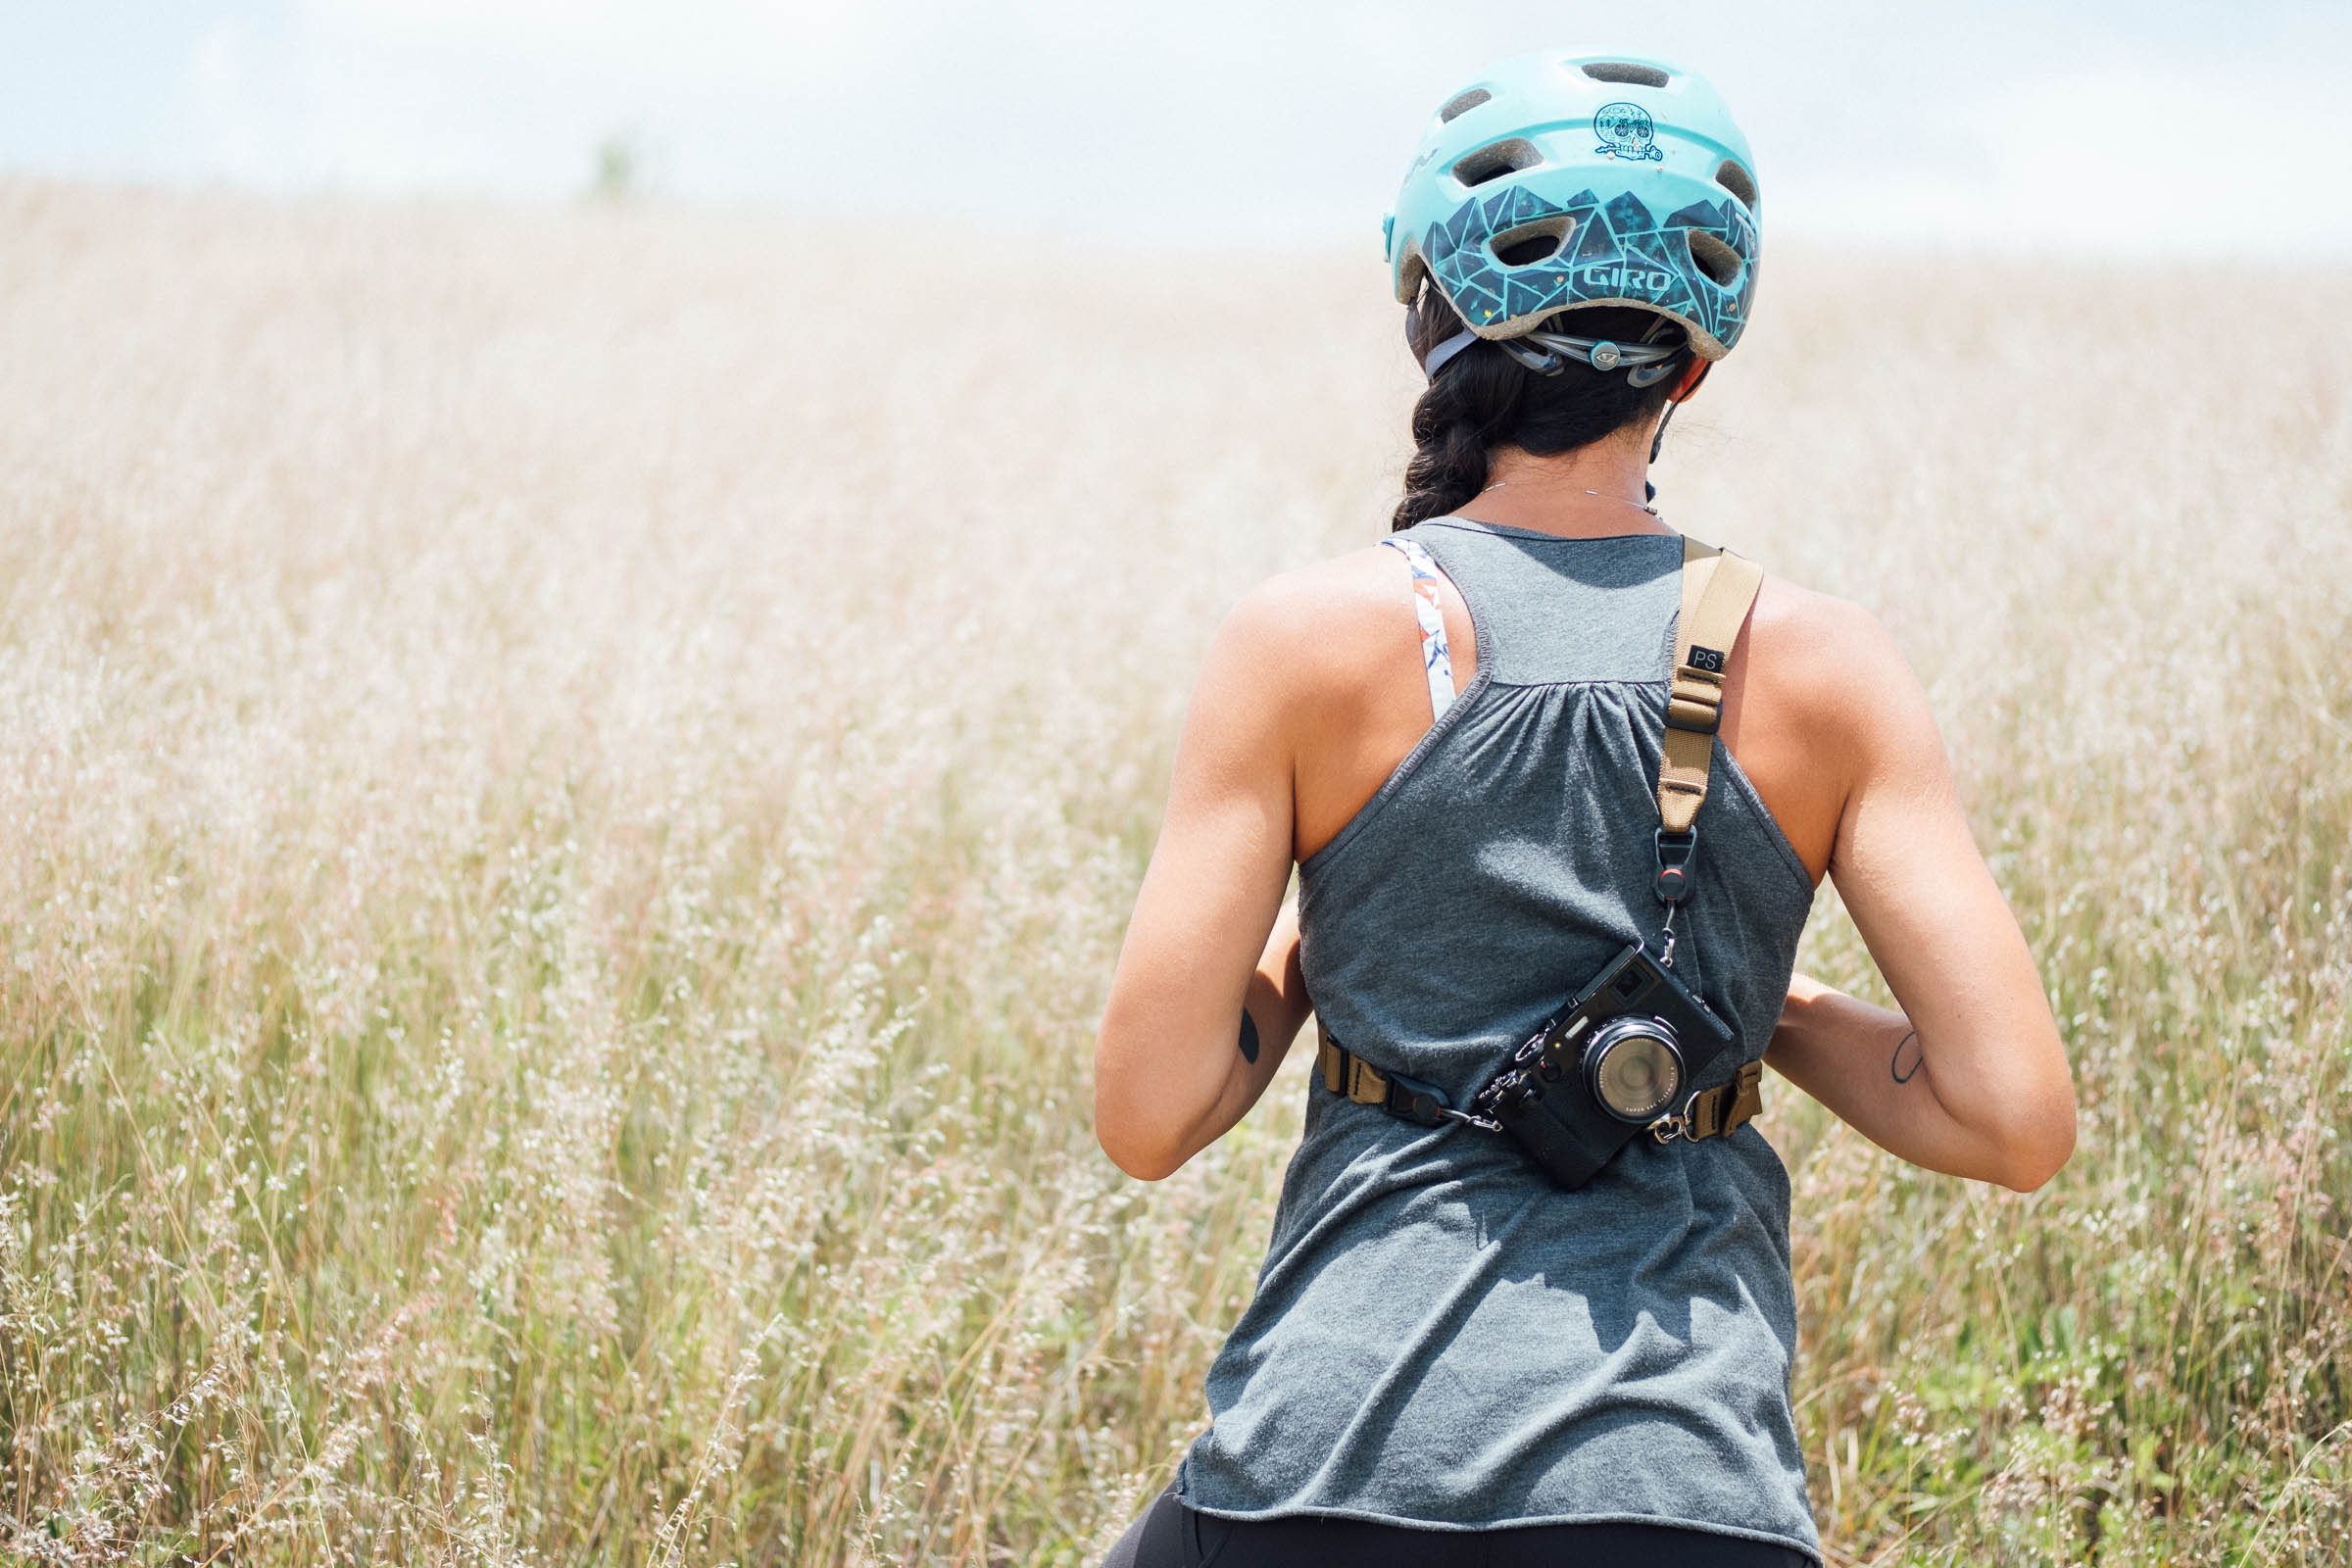
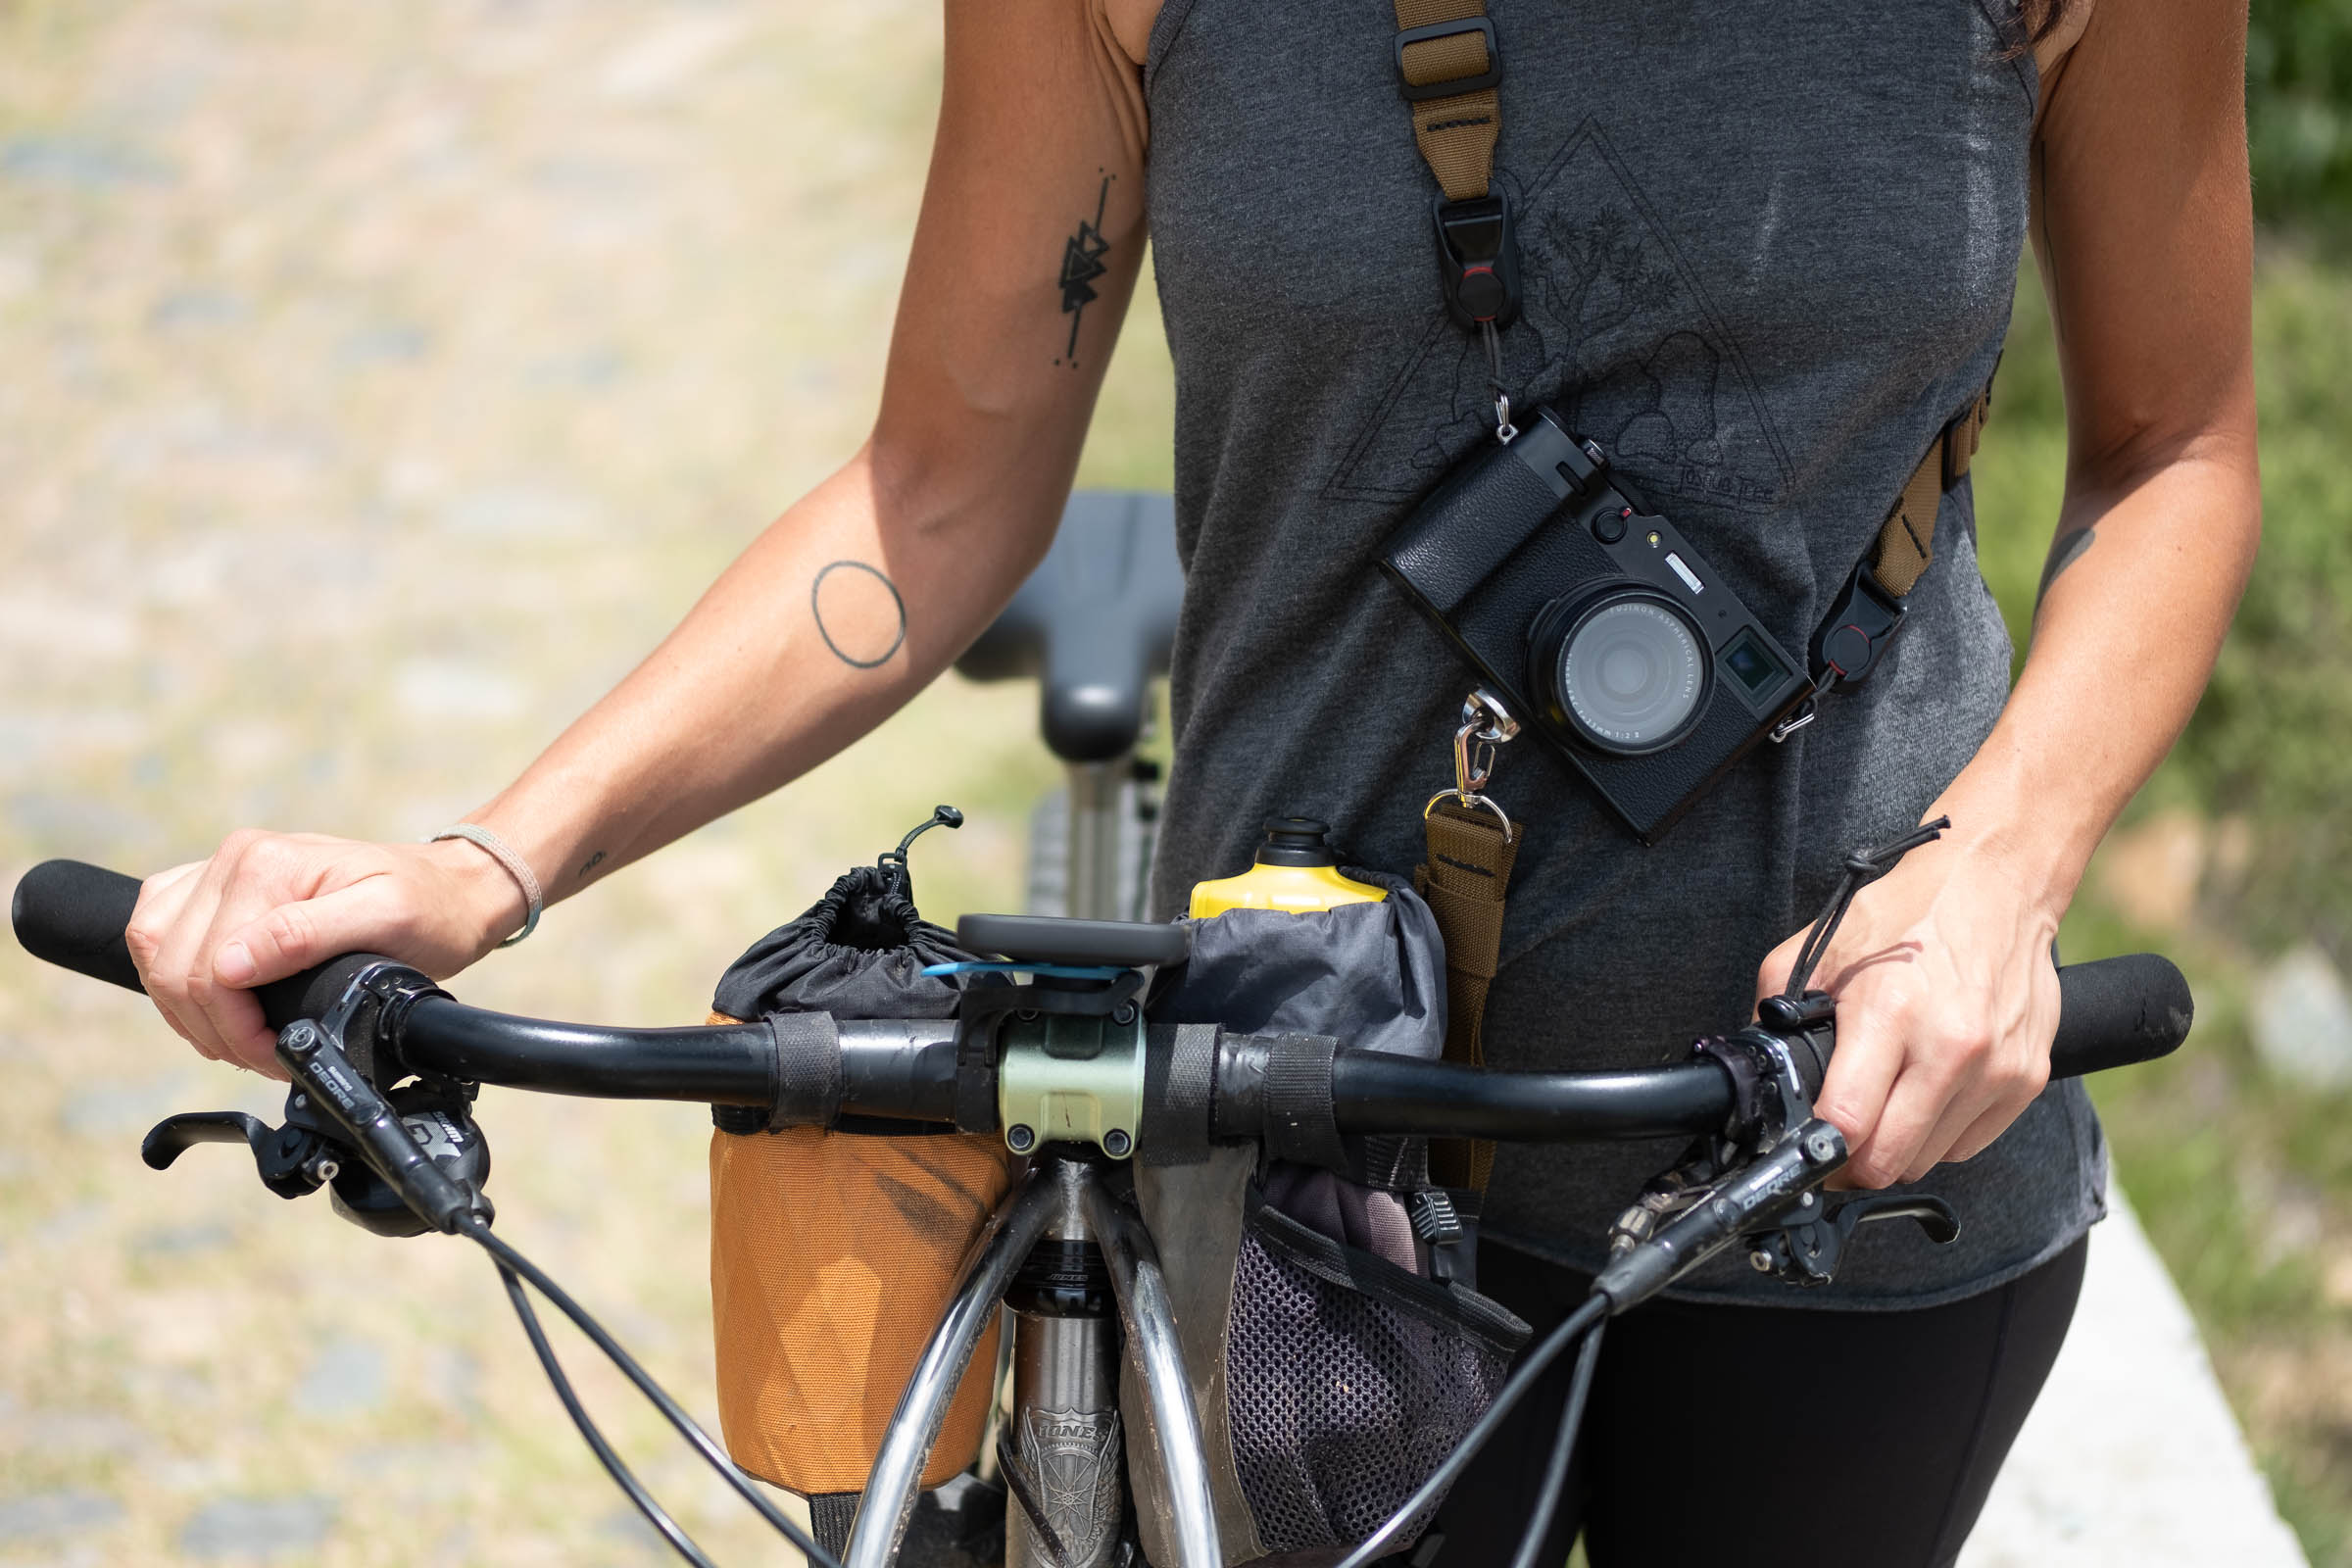
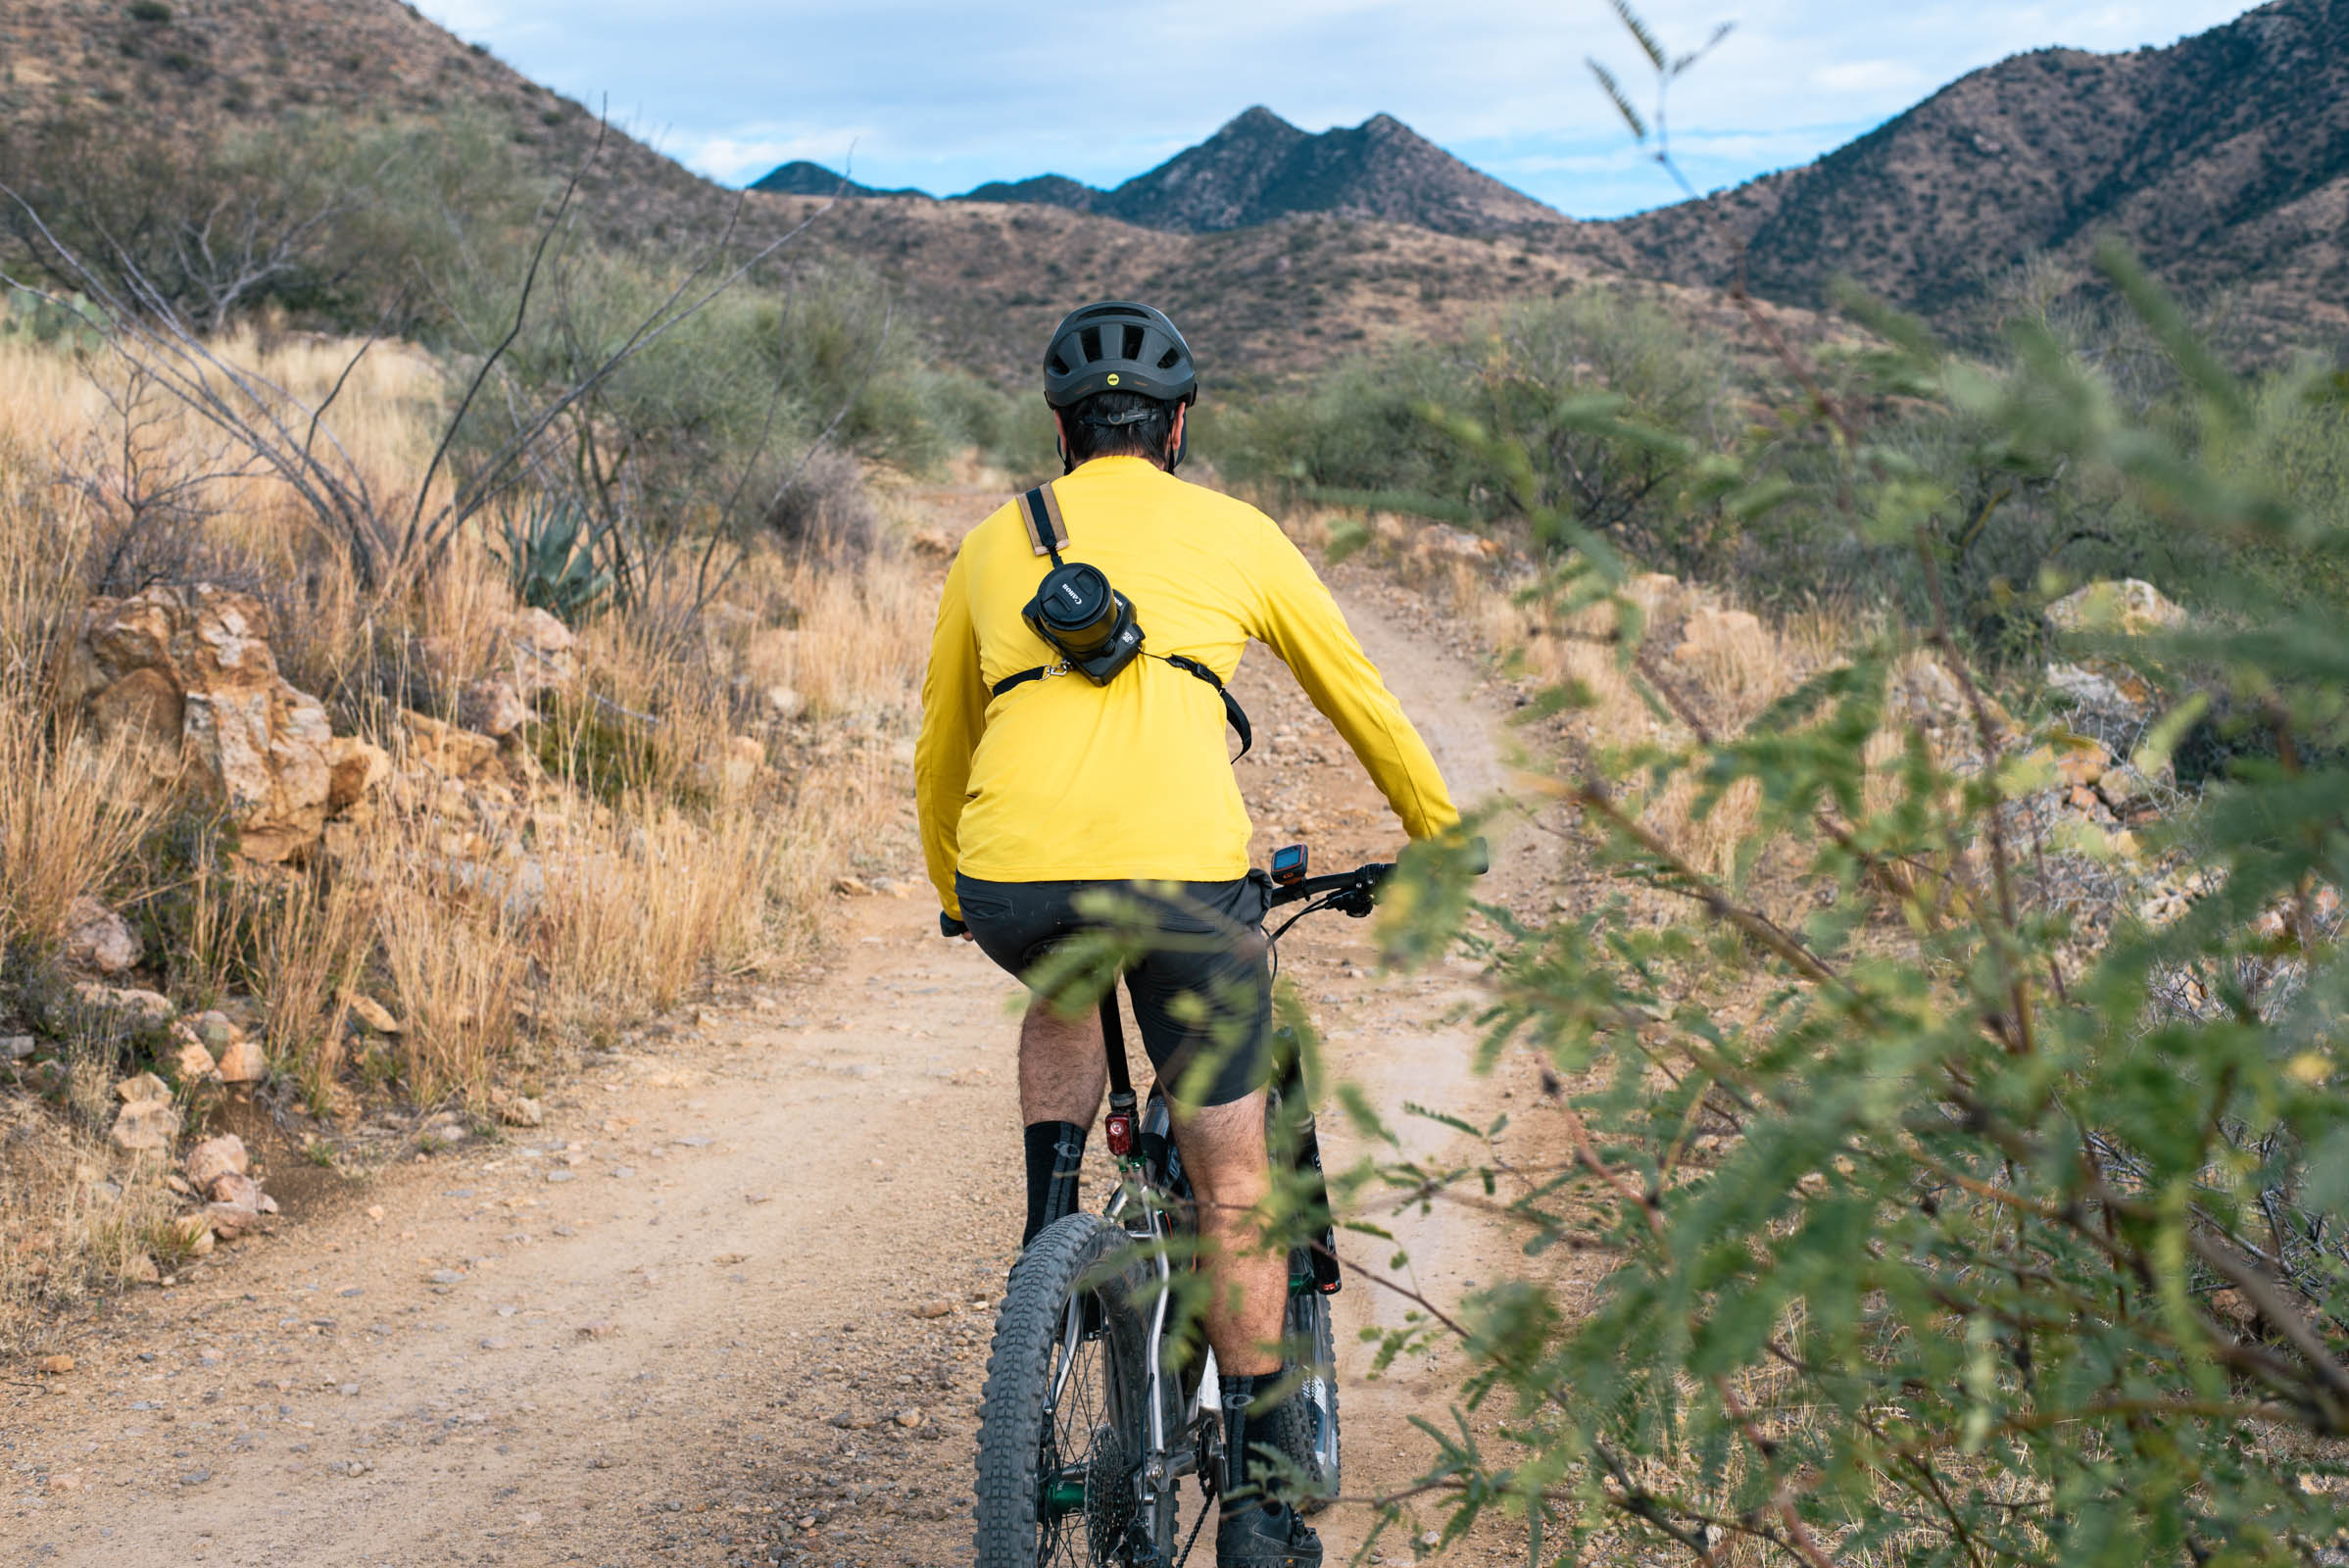
PS Bagworks have also chosen a sensible 1″ webbing width, which feels well balanced for the kind of camera you’re likely to take riding. Similar to Outer Shell, the basic premise of the Rider Strap – compared to standard camera straps – is the addition of a cross-strap. This creates a three-point system that serves to stabilise your camera when it’s on your back, stopping it from bouncing around and sliding under your armpit and clunking on the handlebars. The top end of the cross-strap is unclipped with a clever magnetic Fidlock, which allows you to quickly reach around, grab your camera, and get that shot!
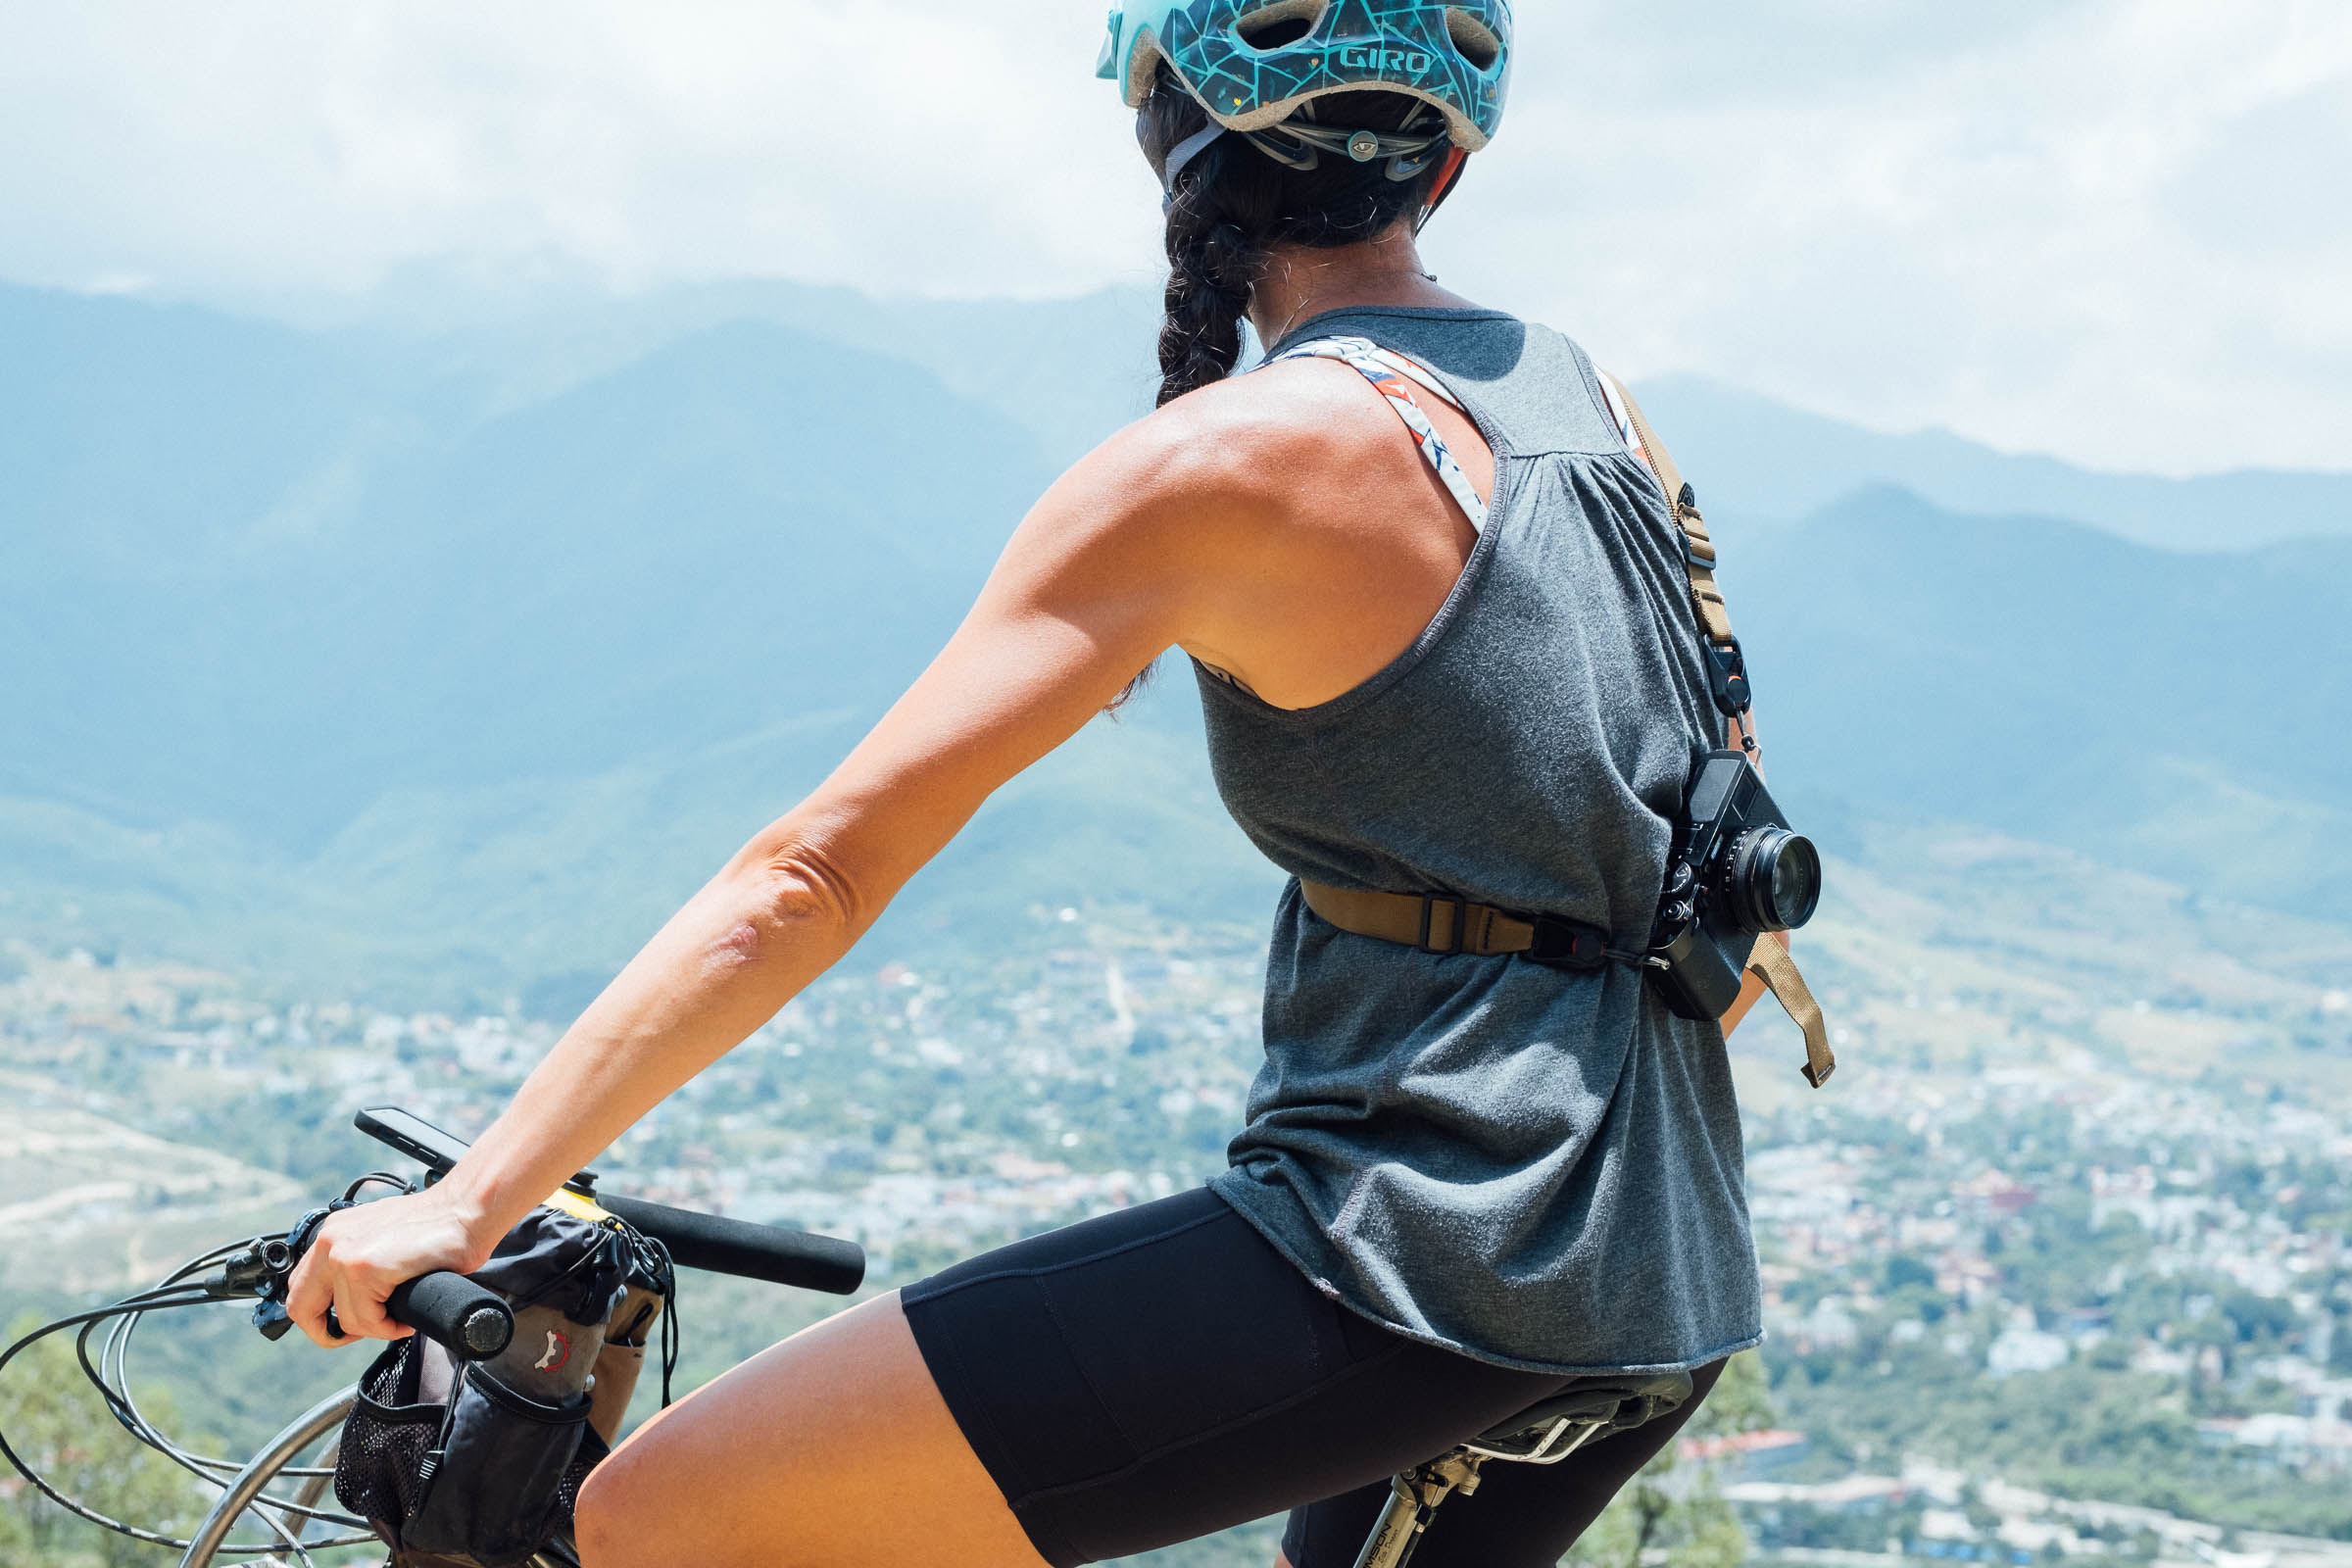
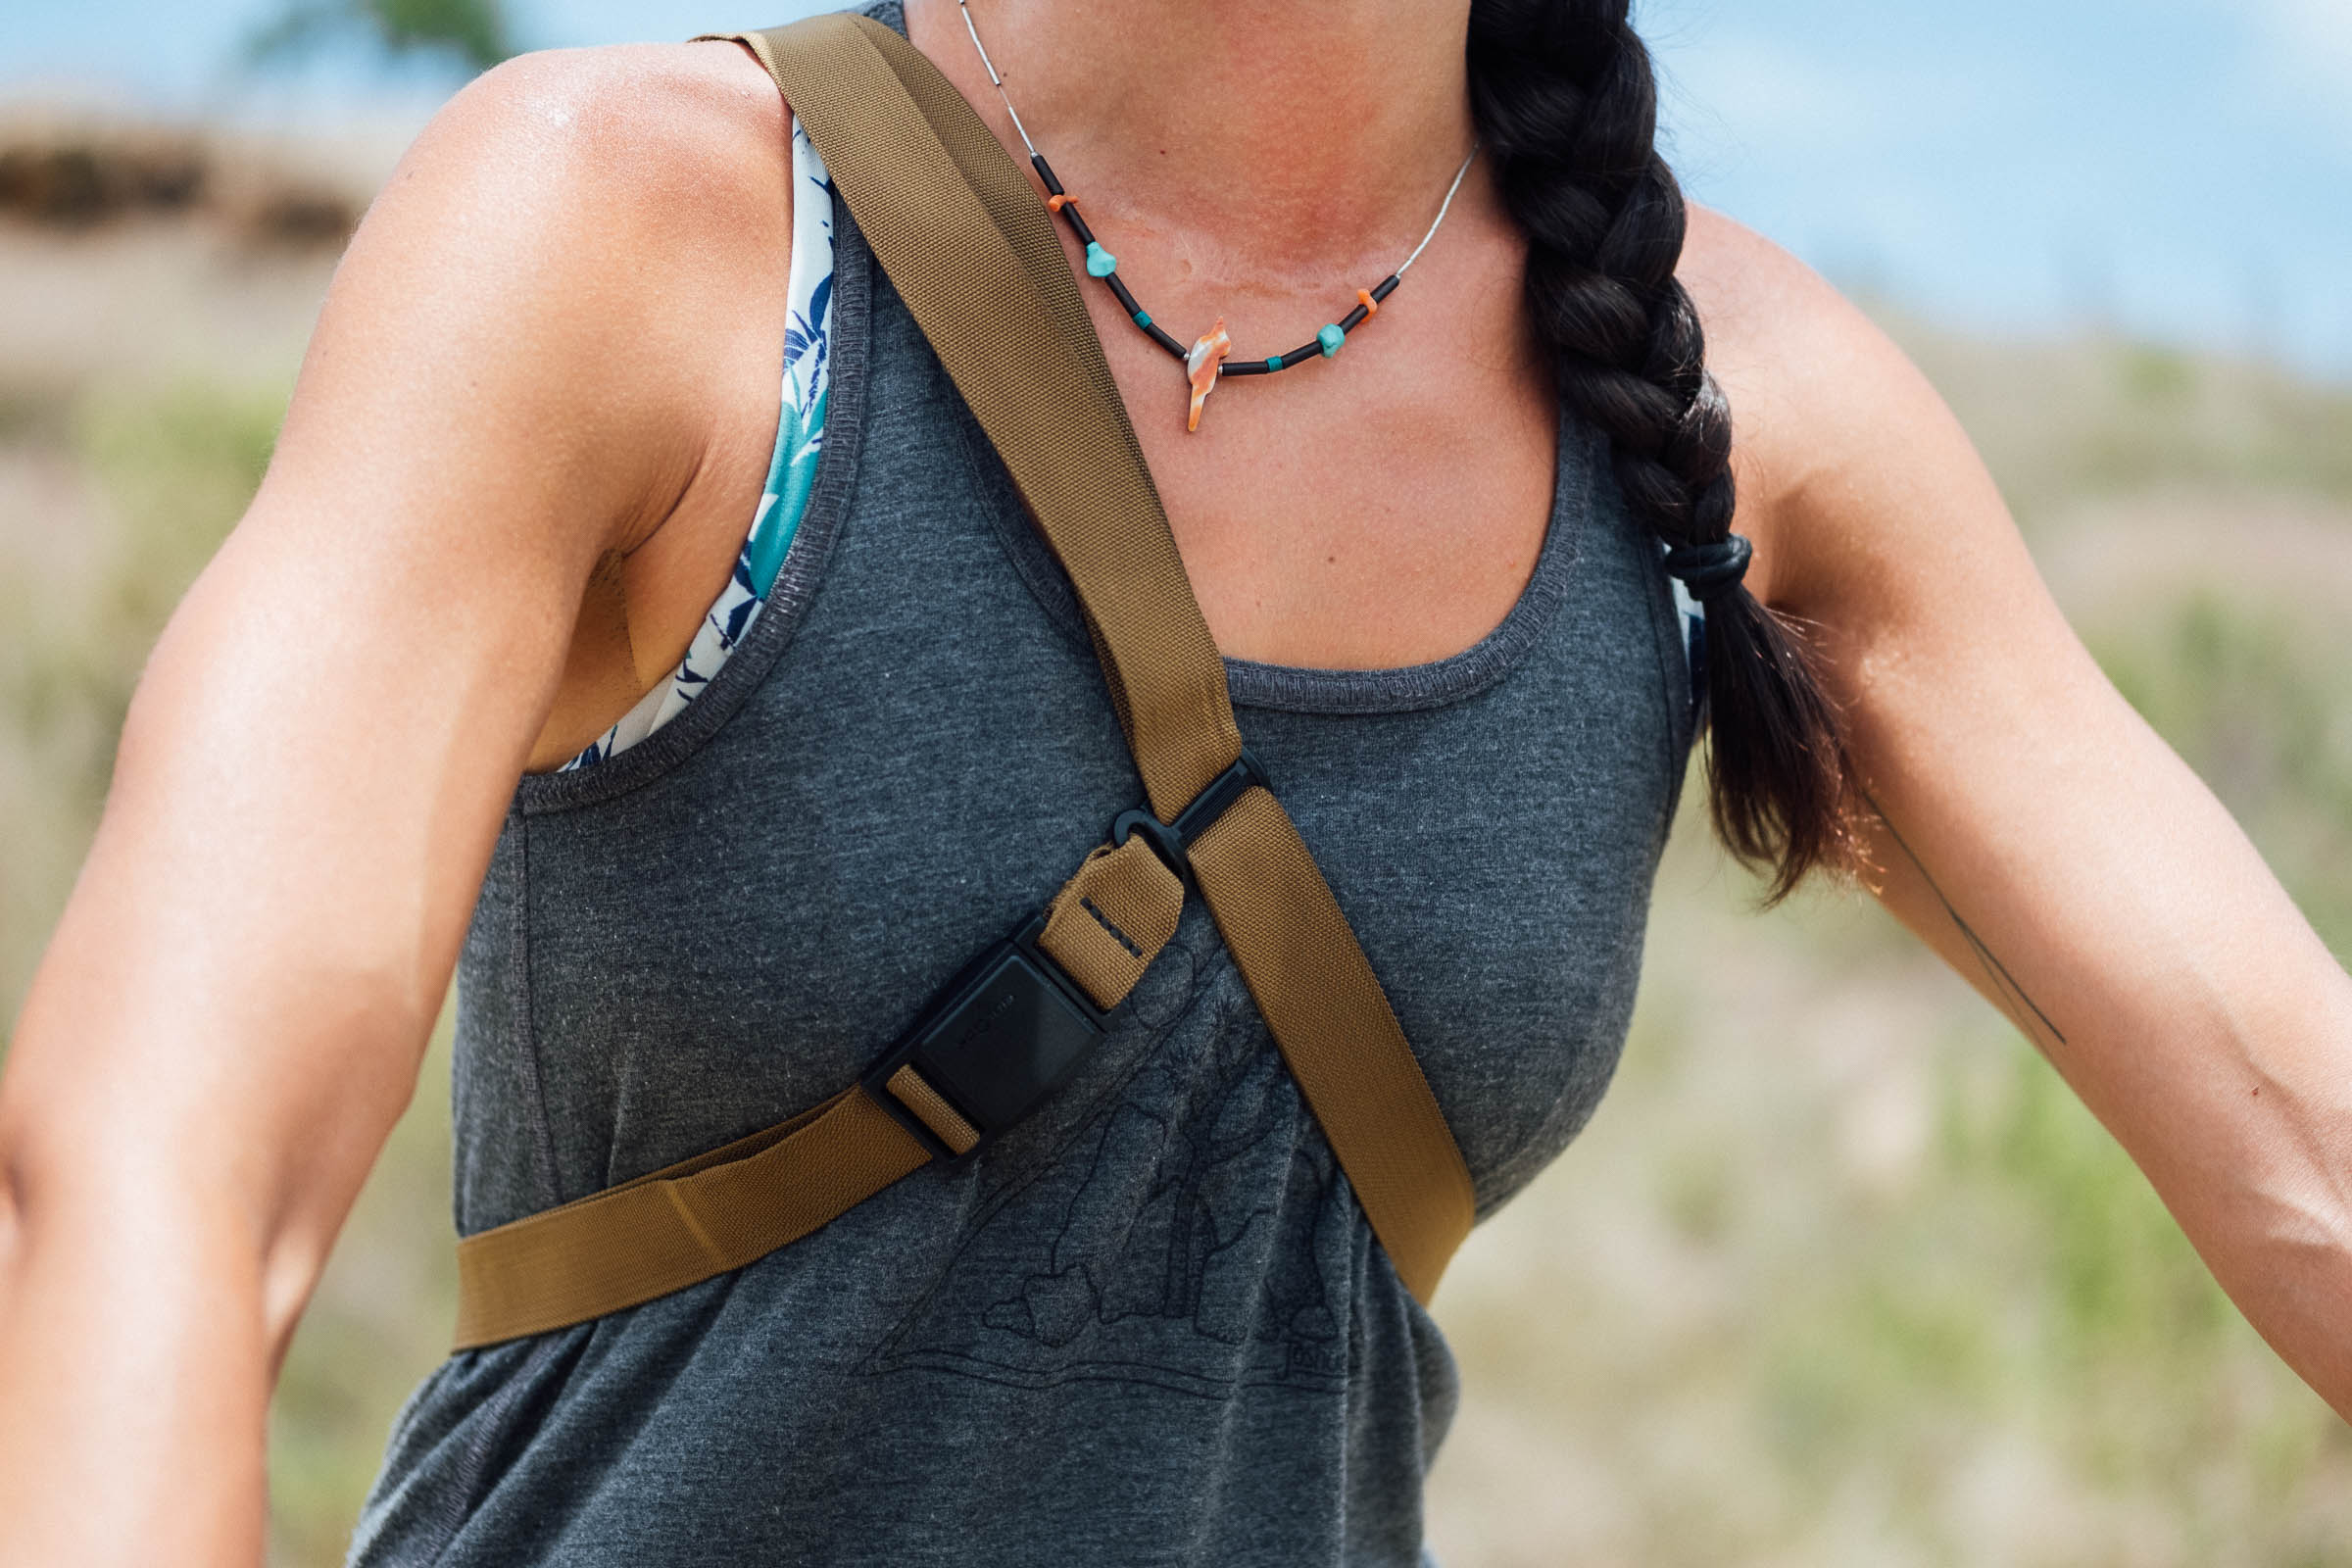
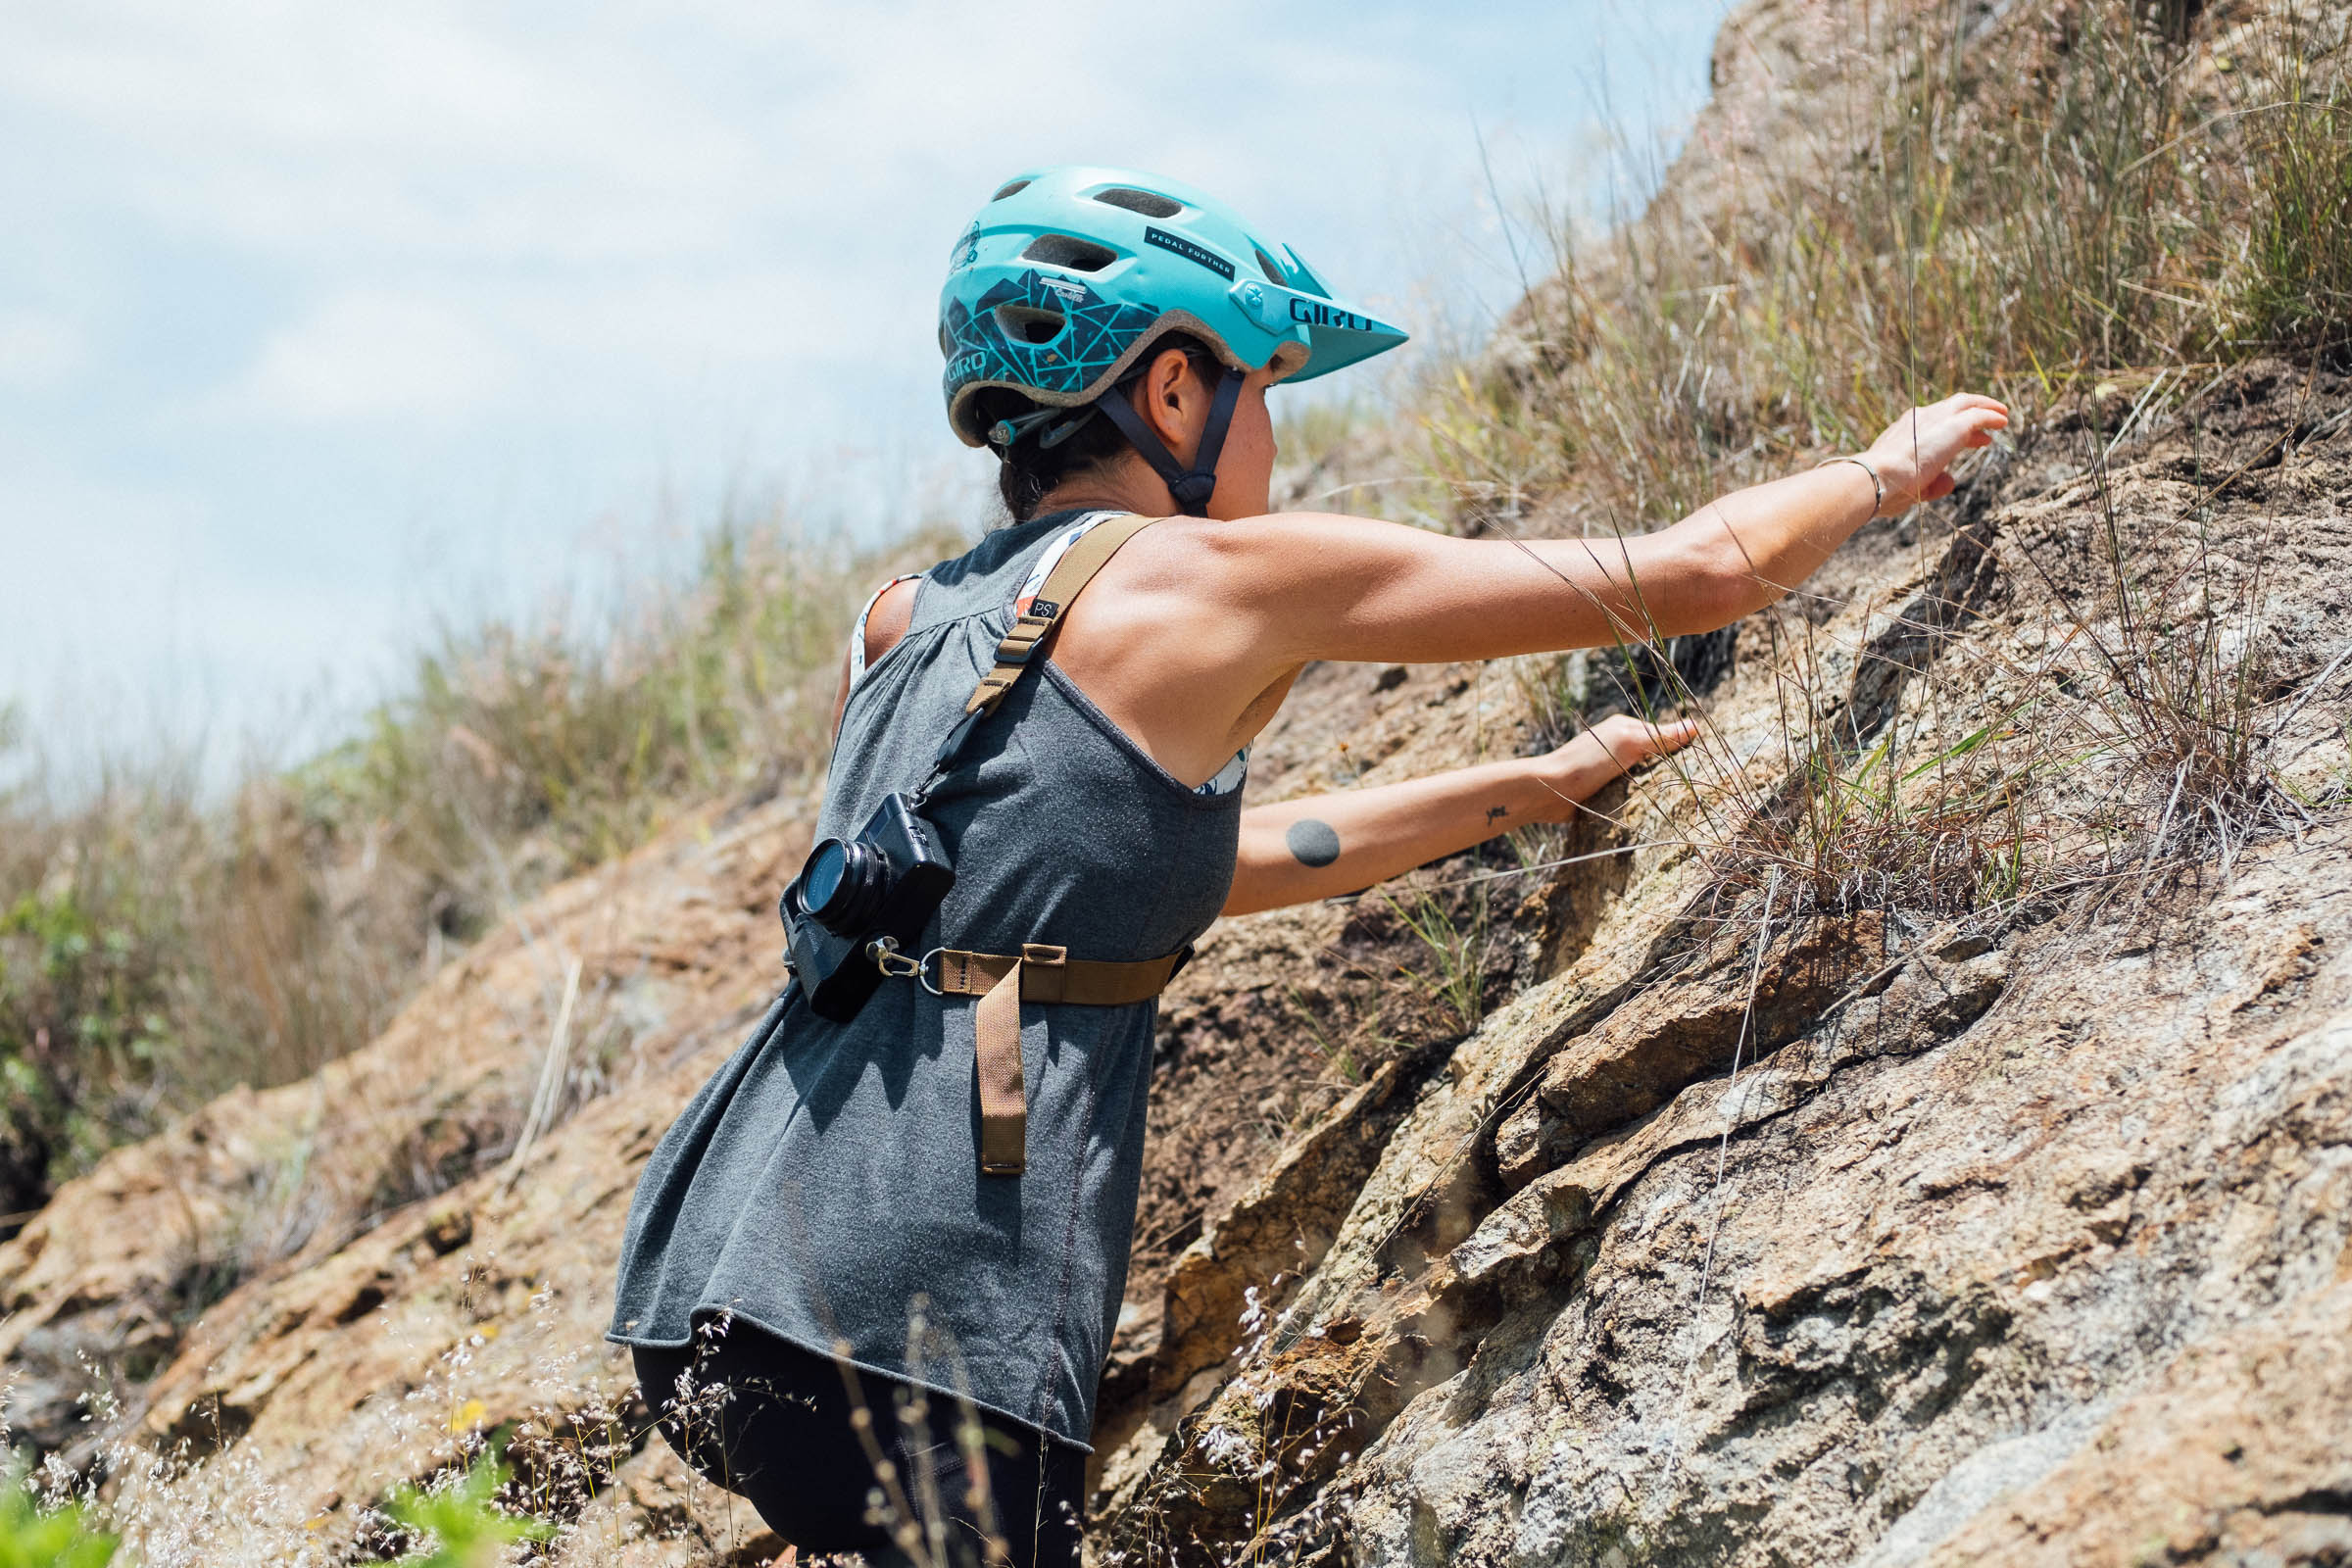
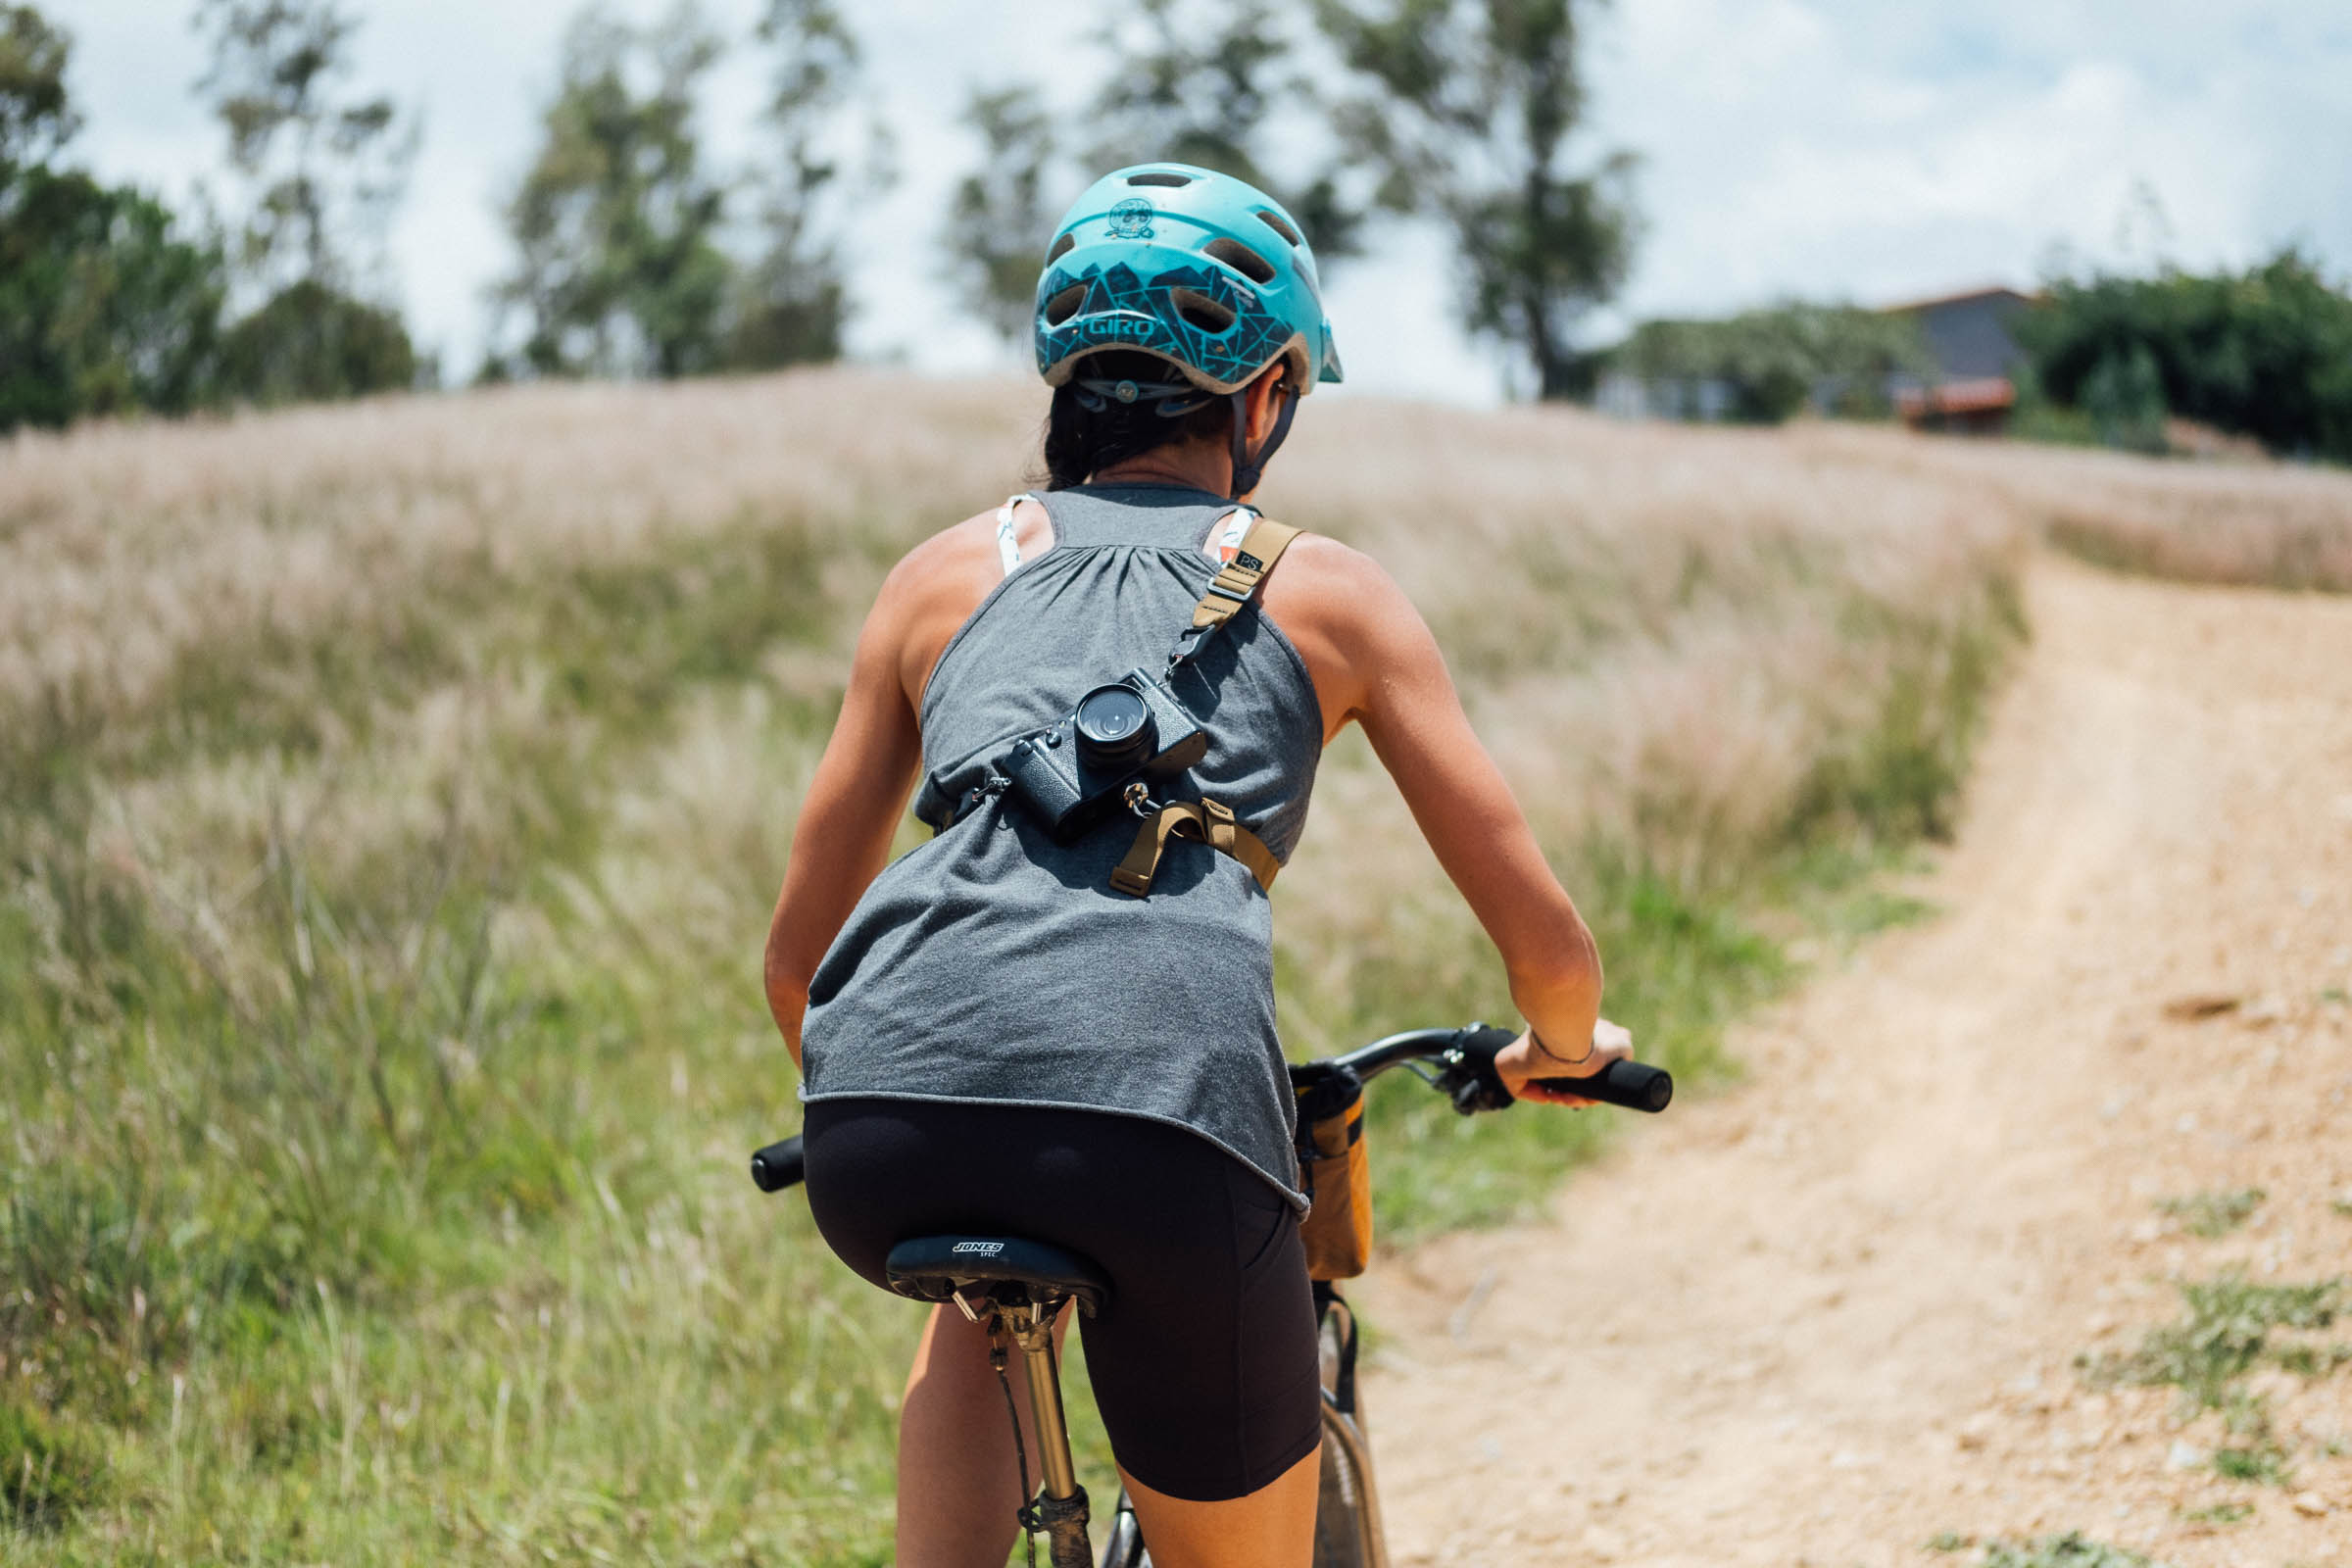
In use, this three-point system promises all the stability you need when carrying a compact or mirrorless camera on a bicycle – or probably a bigger DLSR too, within reason. I’ve ridden trails and dirt roads without any worries, and it works especially well when you’re out of the saddle.
However, do read the box-out below, because my recommendation for keeping your camera directly on your back depends on the terrain and weather, as well as a few other factors. Otherwise, storing in a hip bag, or elsewhere, works better.
Caveats
It’s hard to beat the Rider Strap, or similar, for speedy access to your camera – but there are some downsides, which is why I always have the option to throw my camera in a hip bag too.
- Camera is more prone to dust ingress, so beware – particularly for non-weather-sealed models.
- Similarly, I still default to carrying my camera, which is weather sealed, in a hip bag in light rain or mist. I’ve heard too many stories of damaged cameras due to minimal seals to risk it.
- I find a shoulder strap works best for lighter setups, as it’s still weight that’s sitting on your back, which I tend not to like.
- In warm climates especially, the viewfinder can steam up, depending on the camera. Because I tend to overheat quickly, the Rider Strap works better for me on cool days. Otherwise, riding in a cycling jersey with a bandana in the pockets could help.
- Could well be harmful to you (let alone damaging the camera) in the event of a crash. Even though the camera is very stable when riding trails, the strap is best used for more mellow outings, just in case.
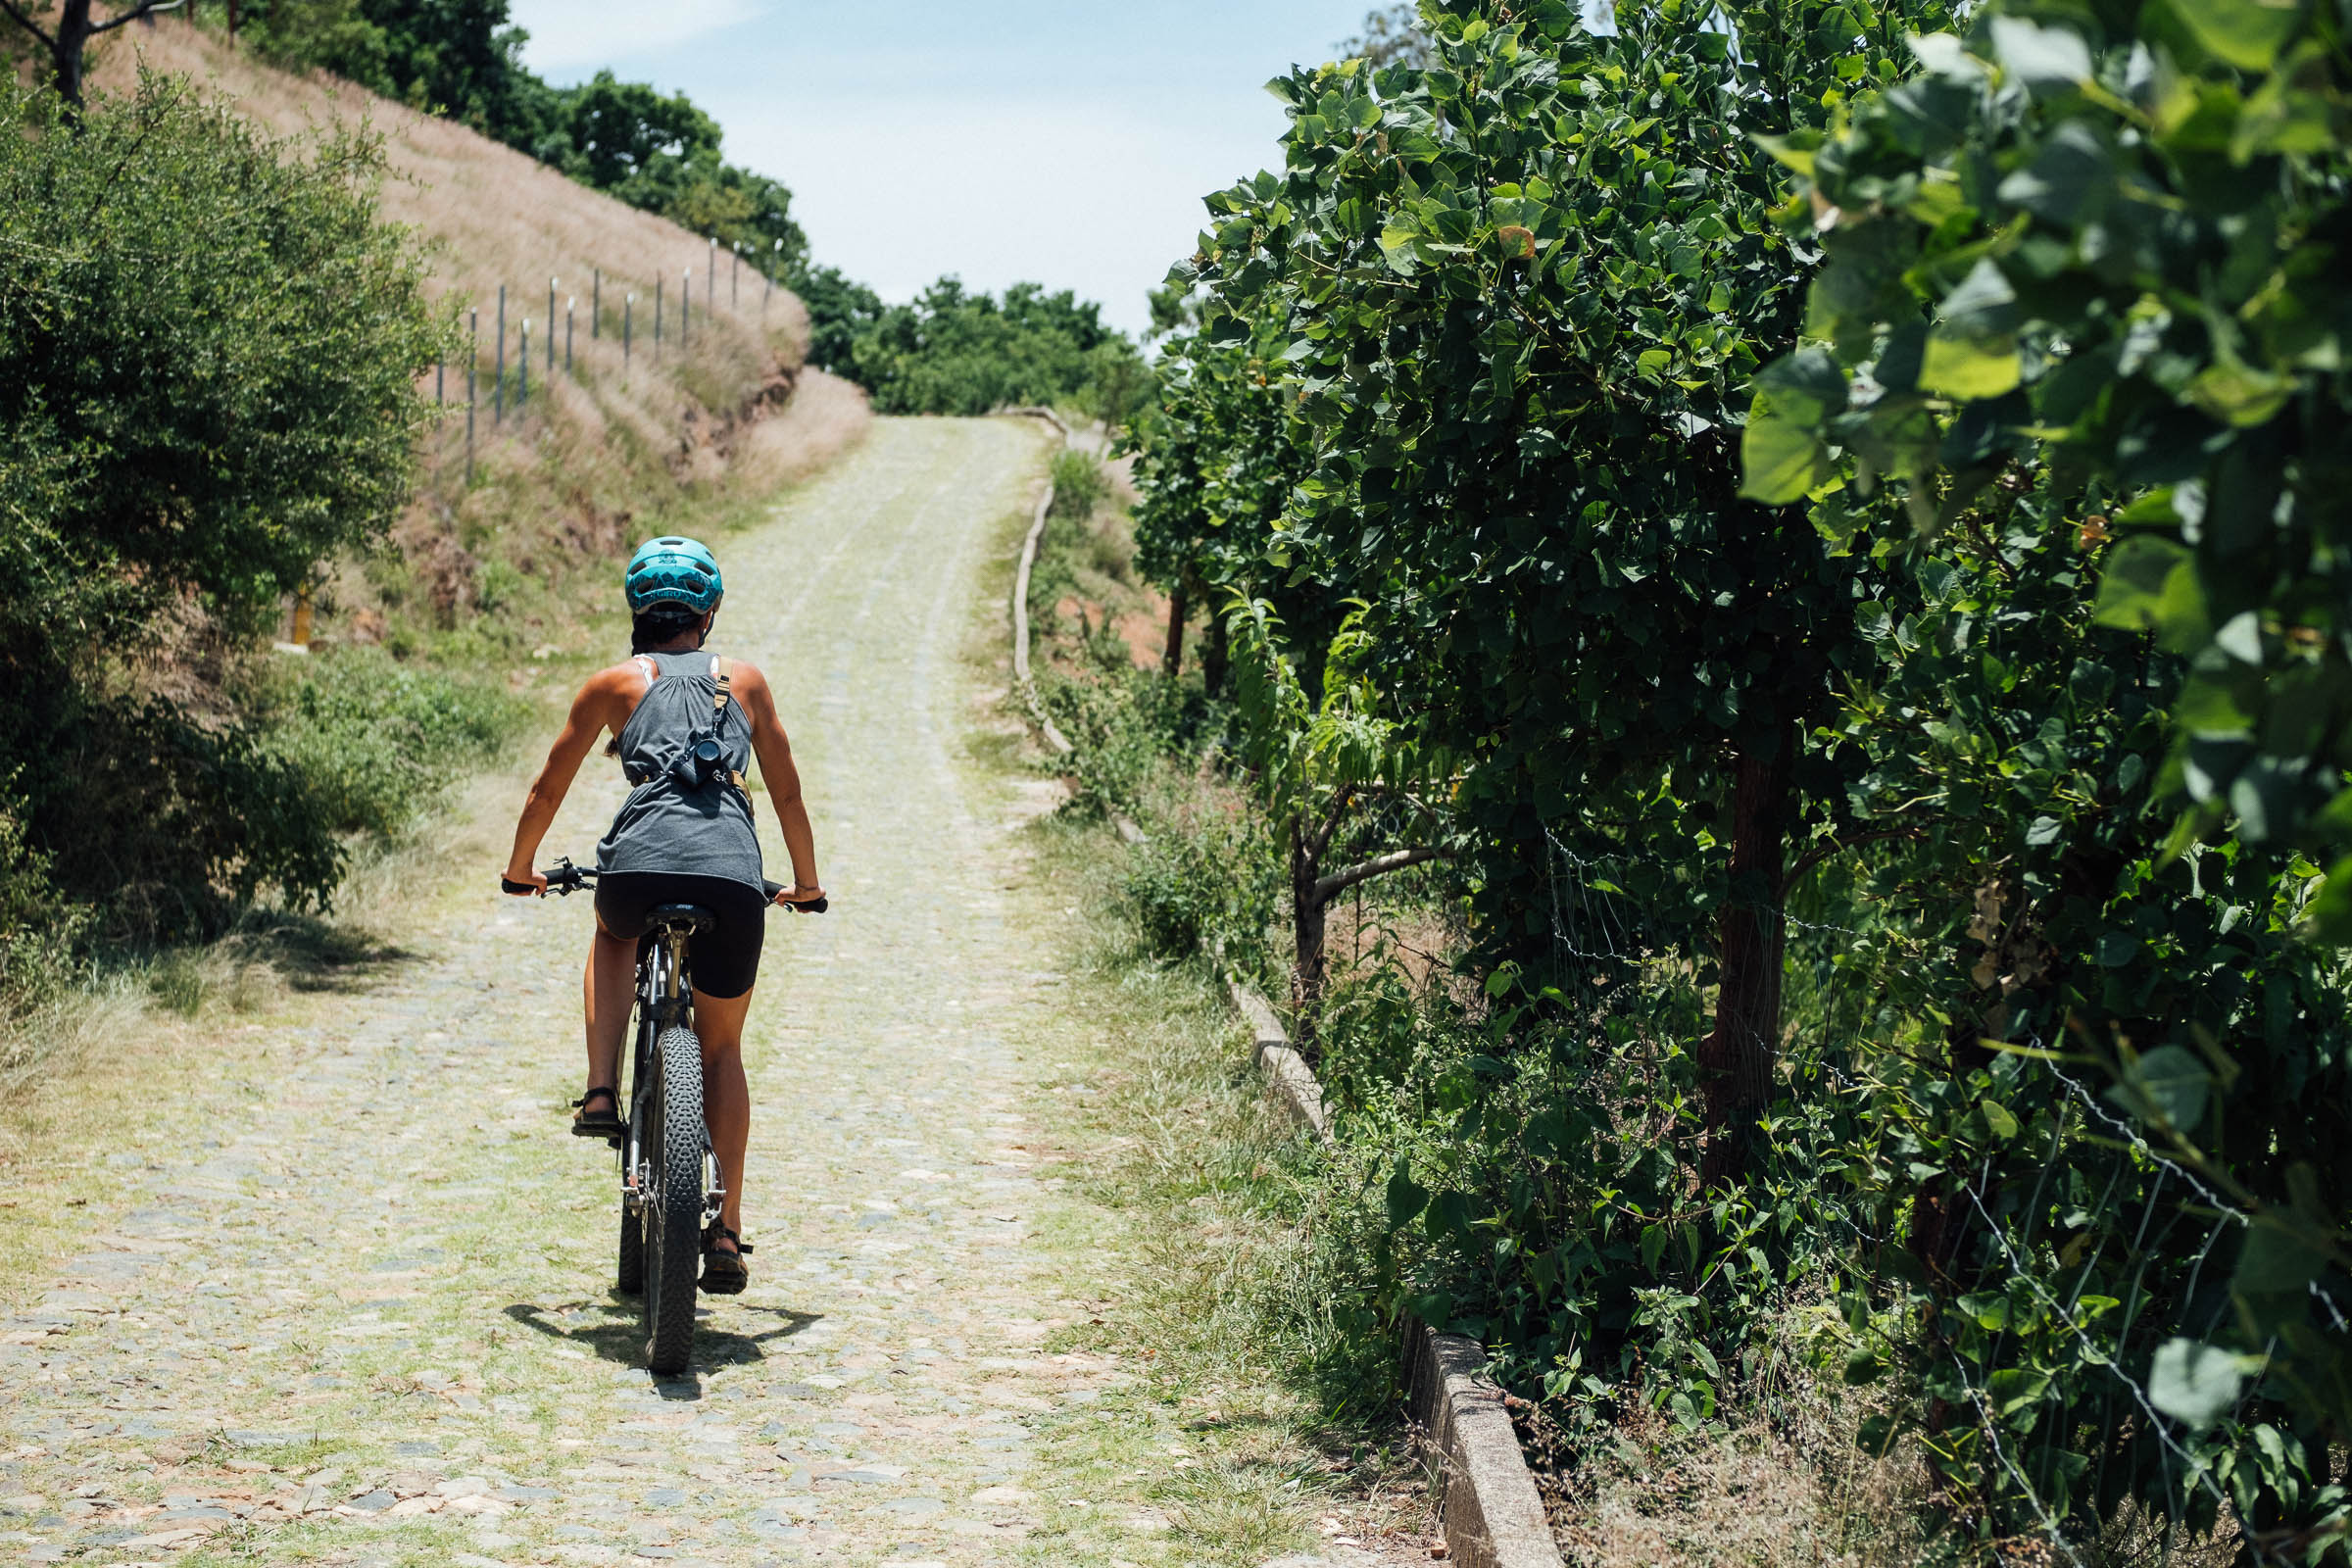
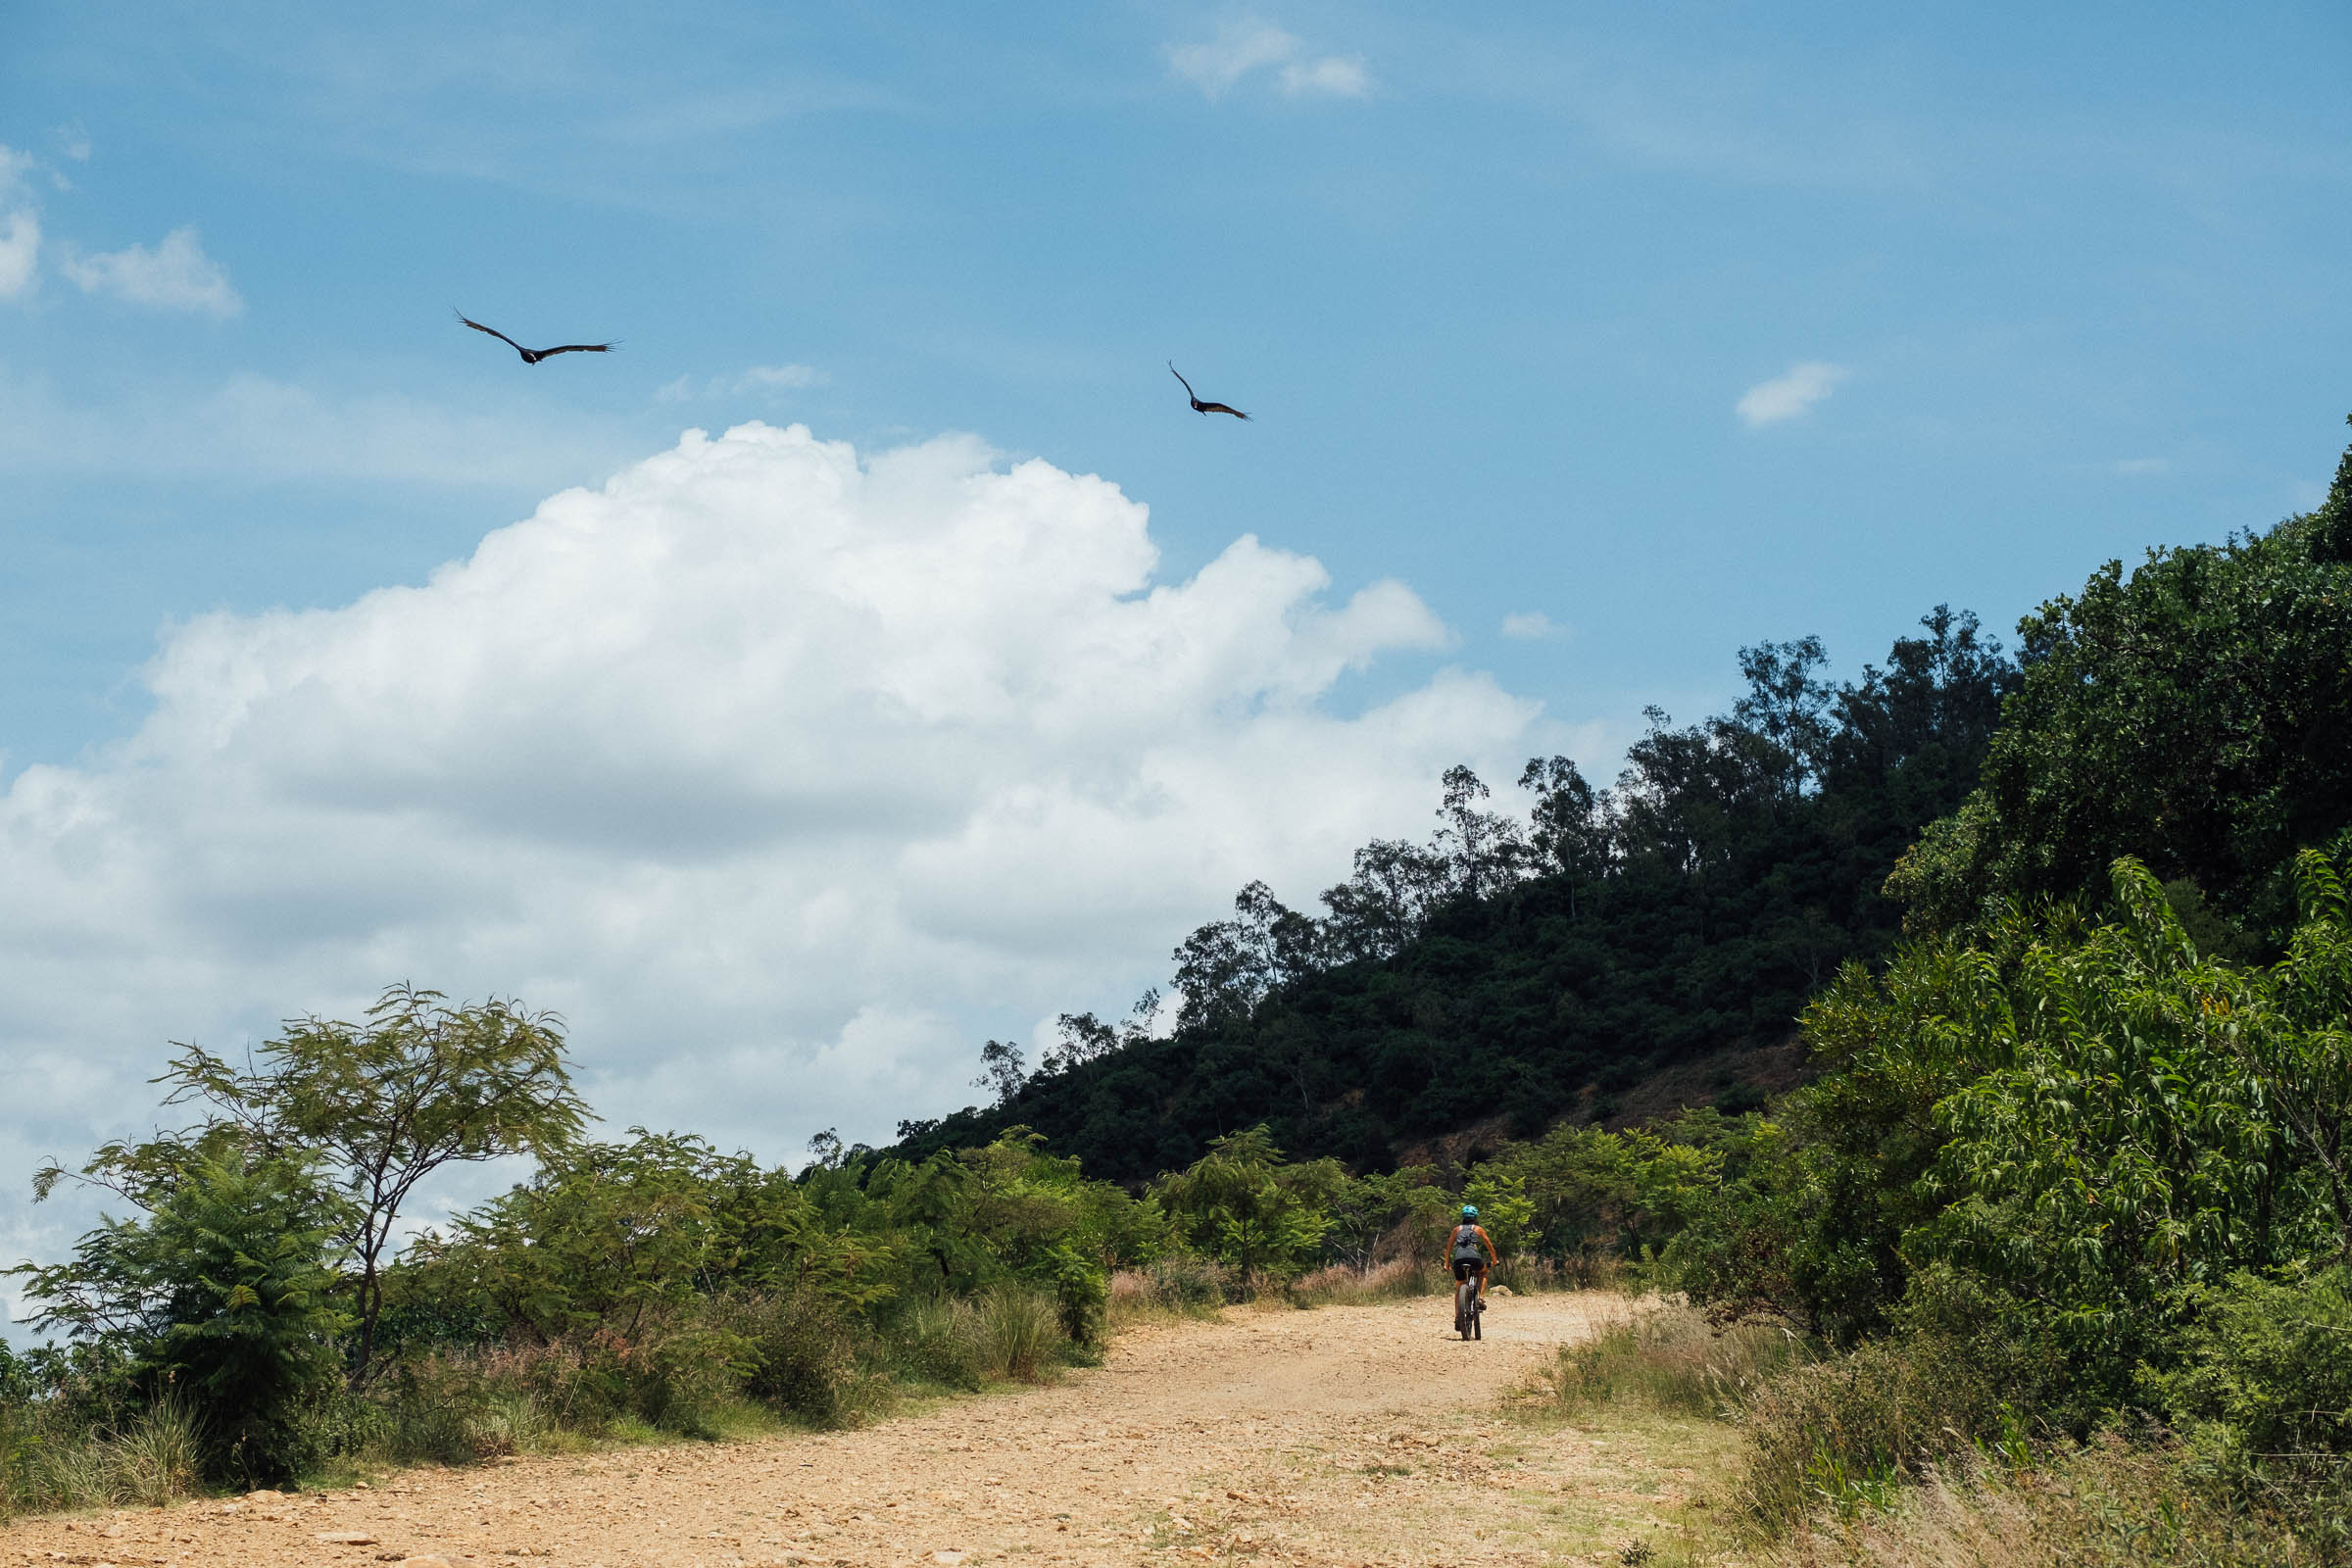
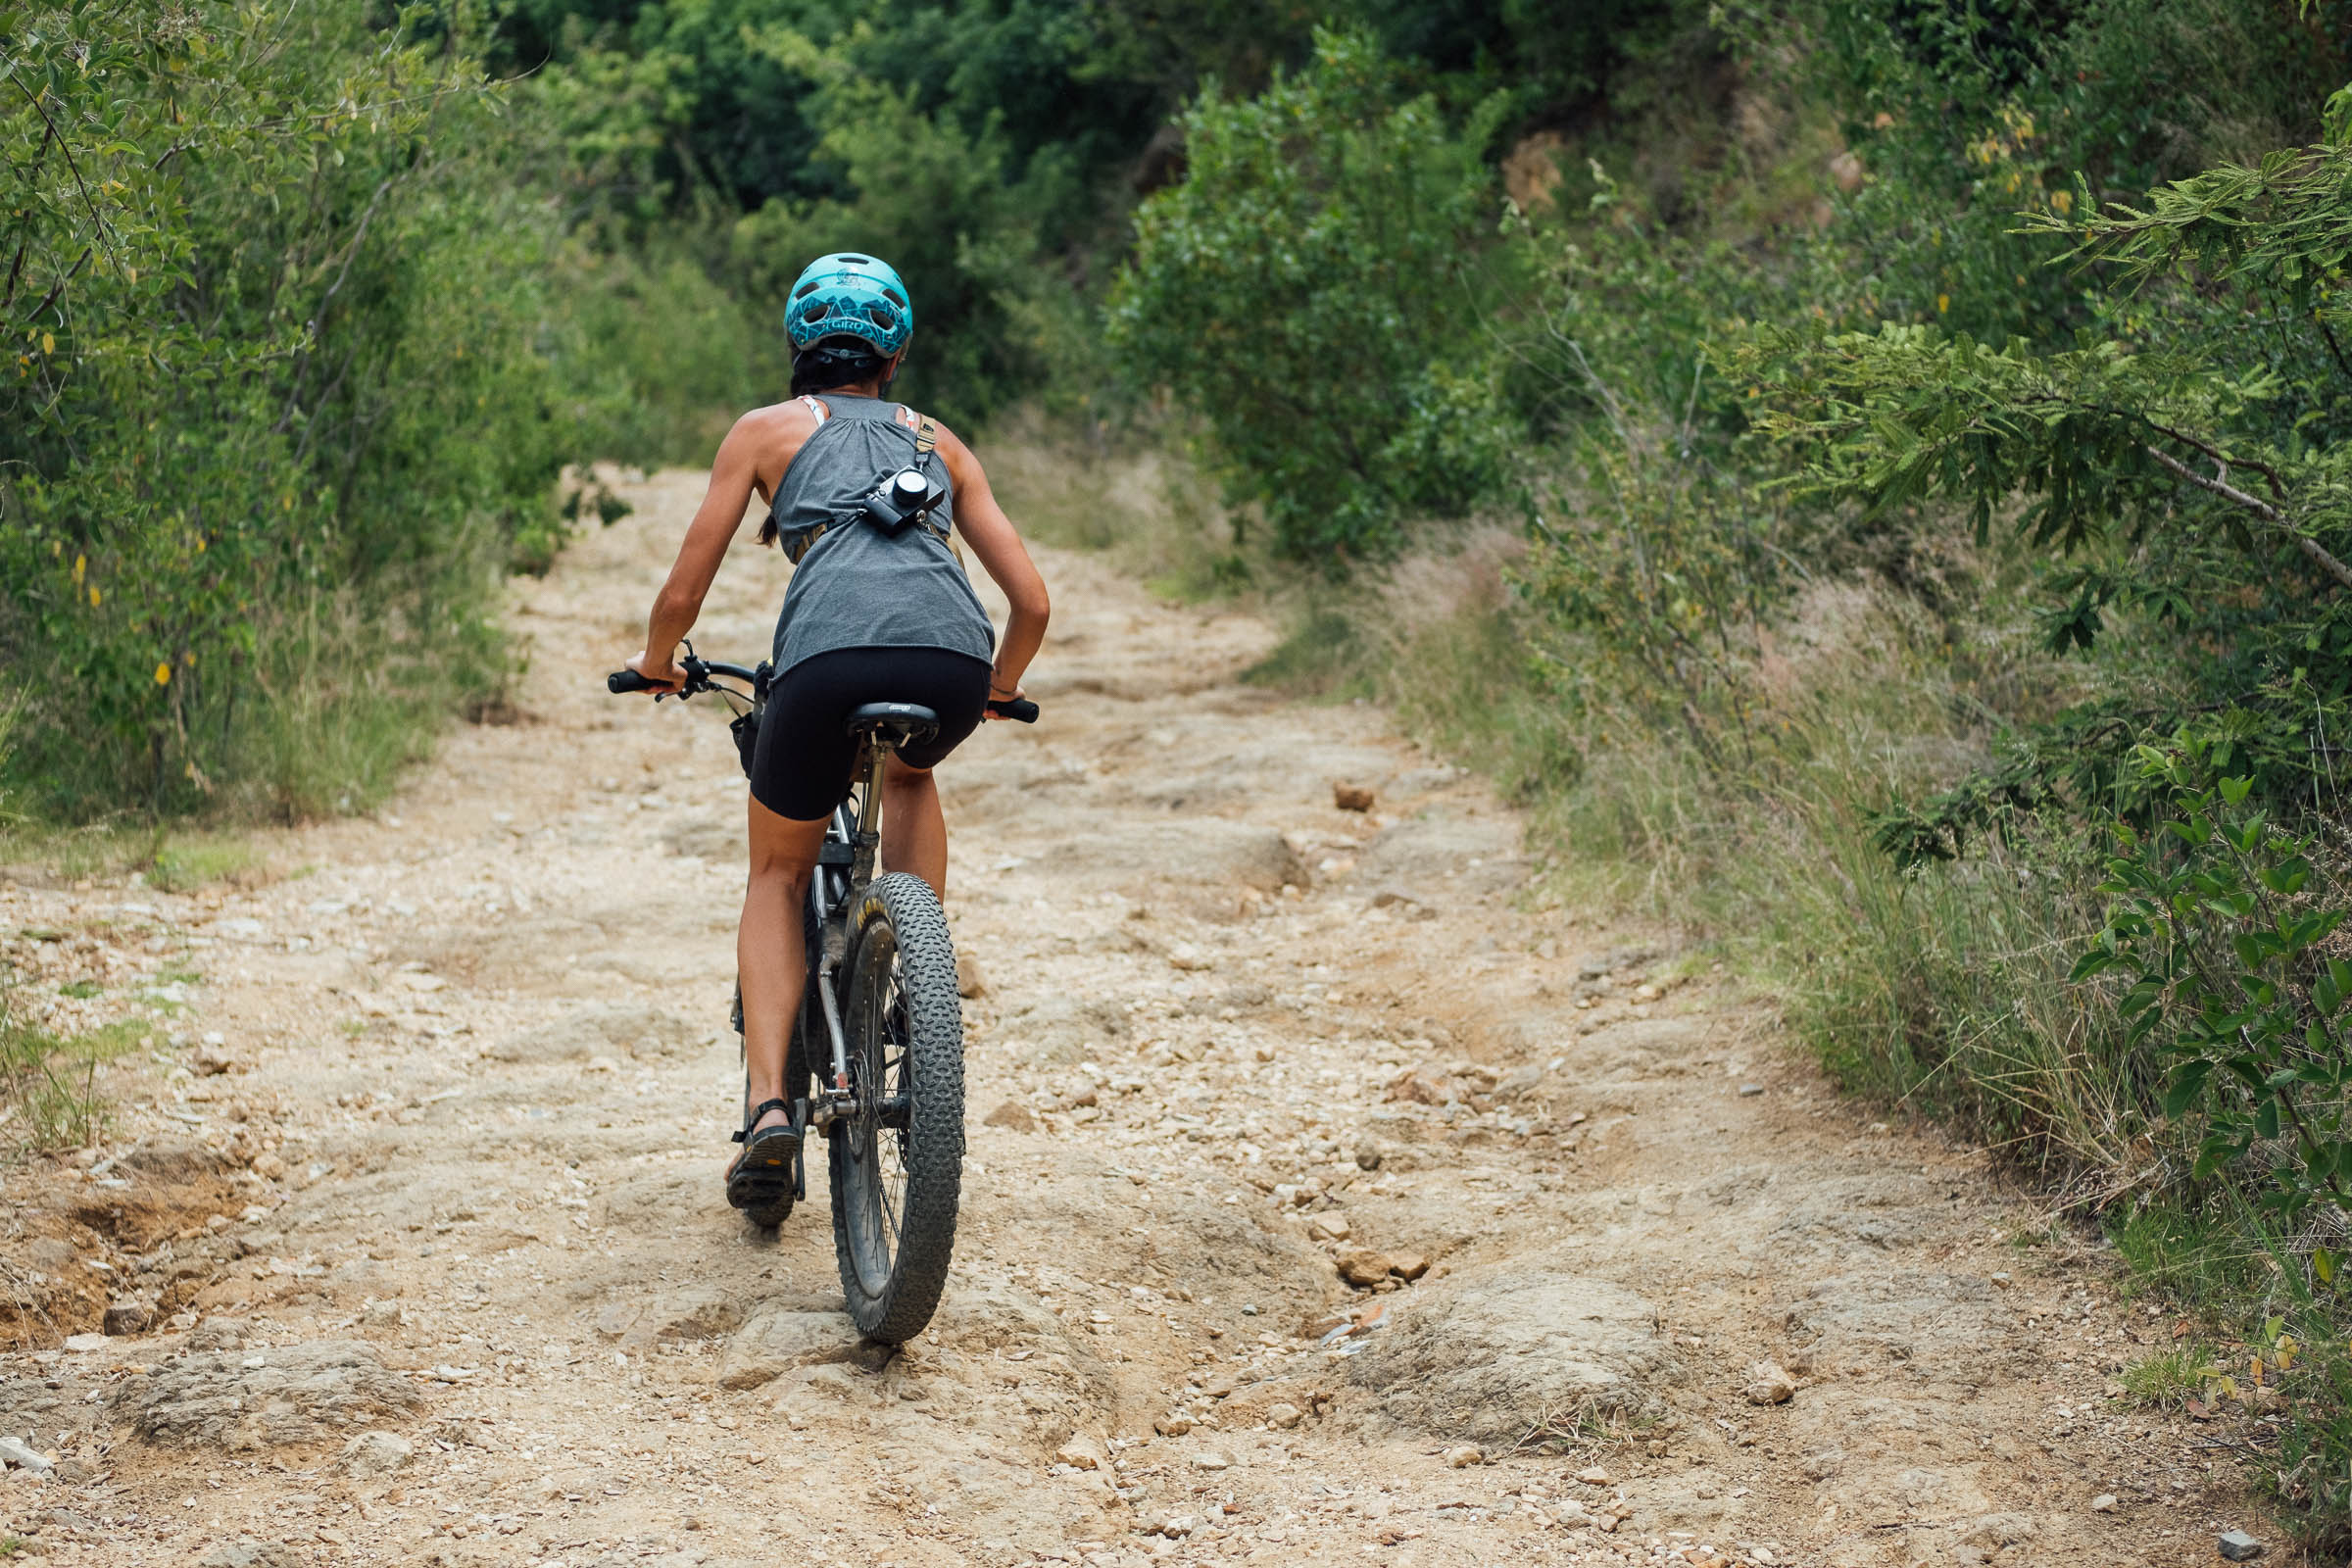
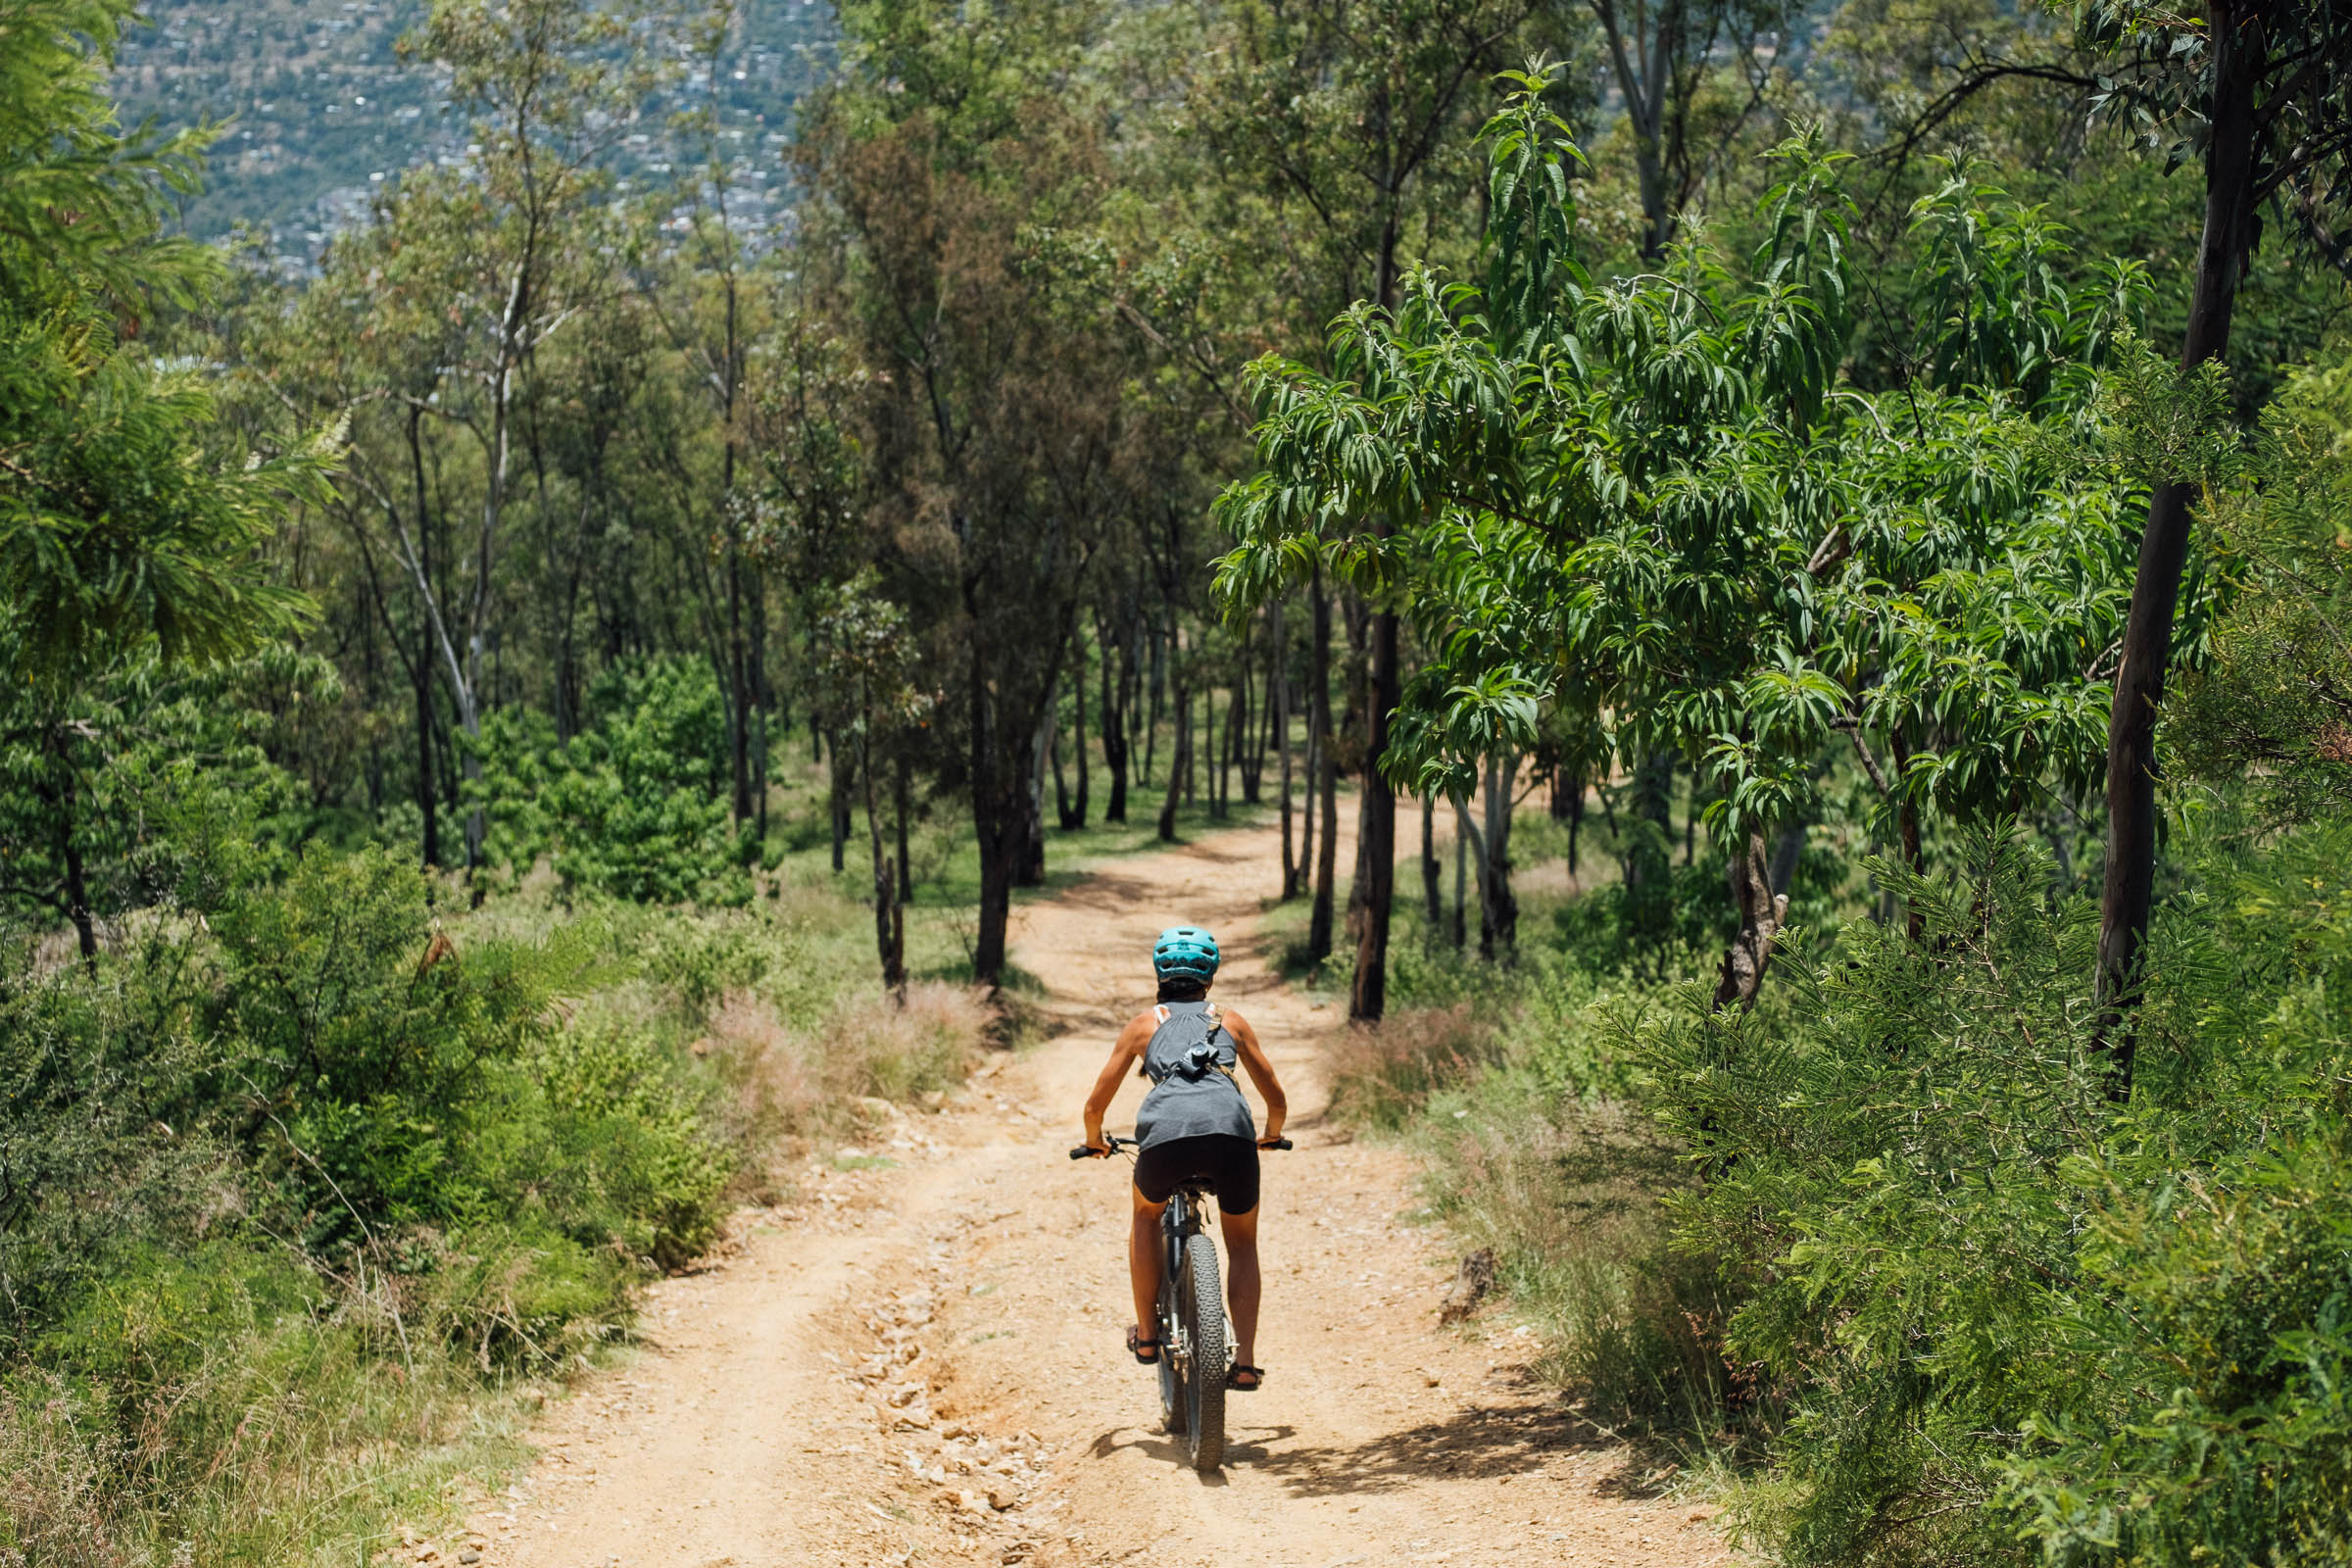
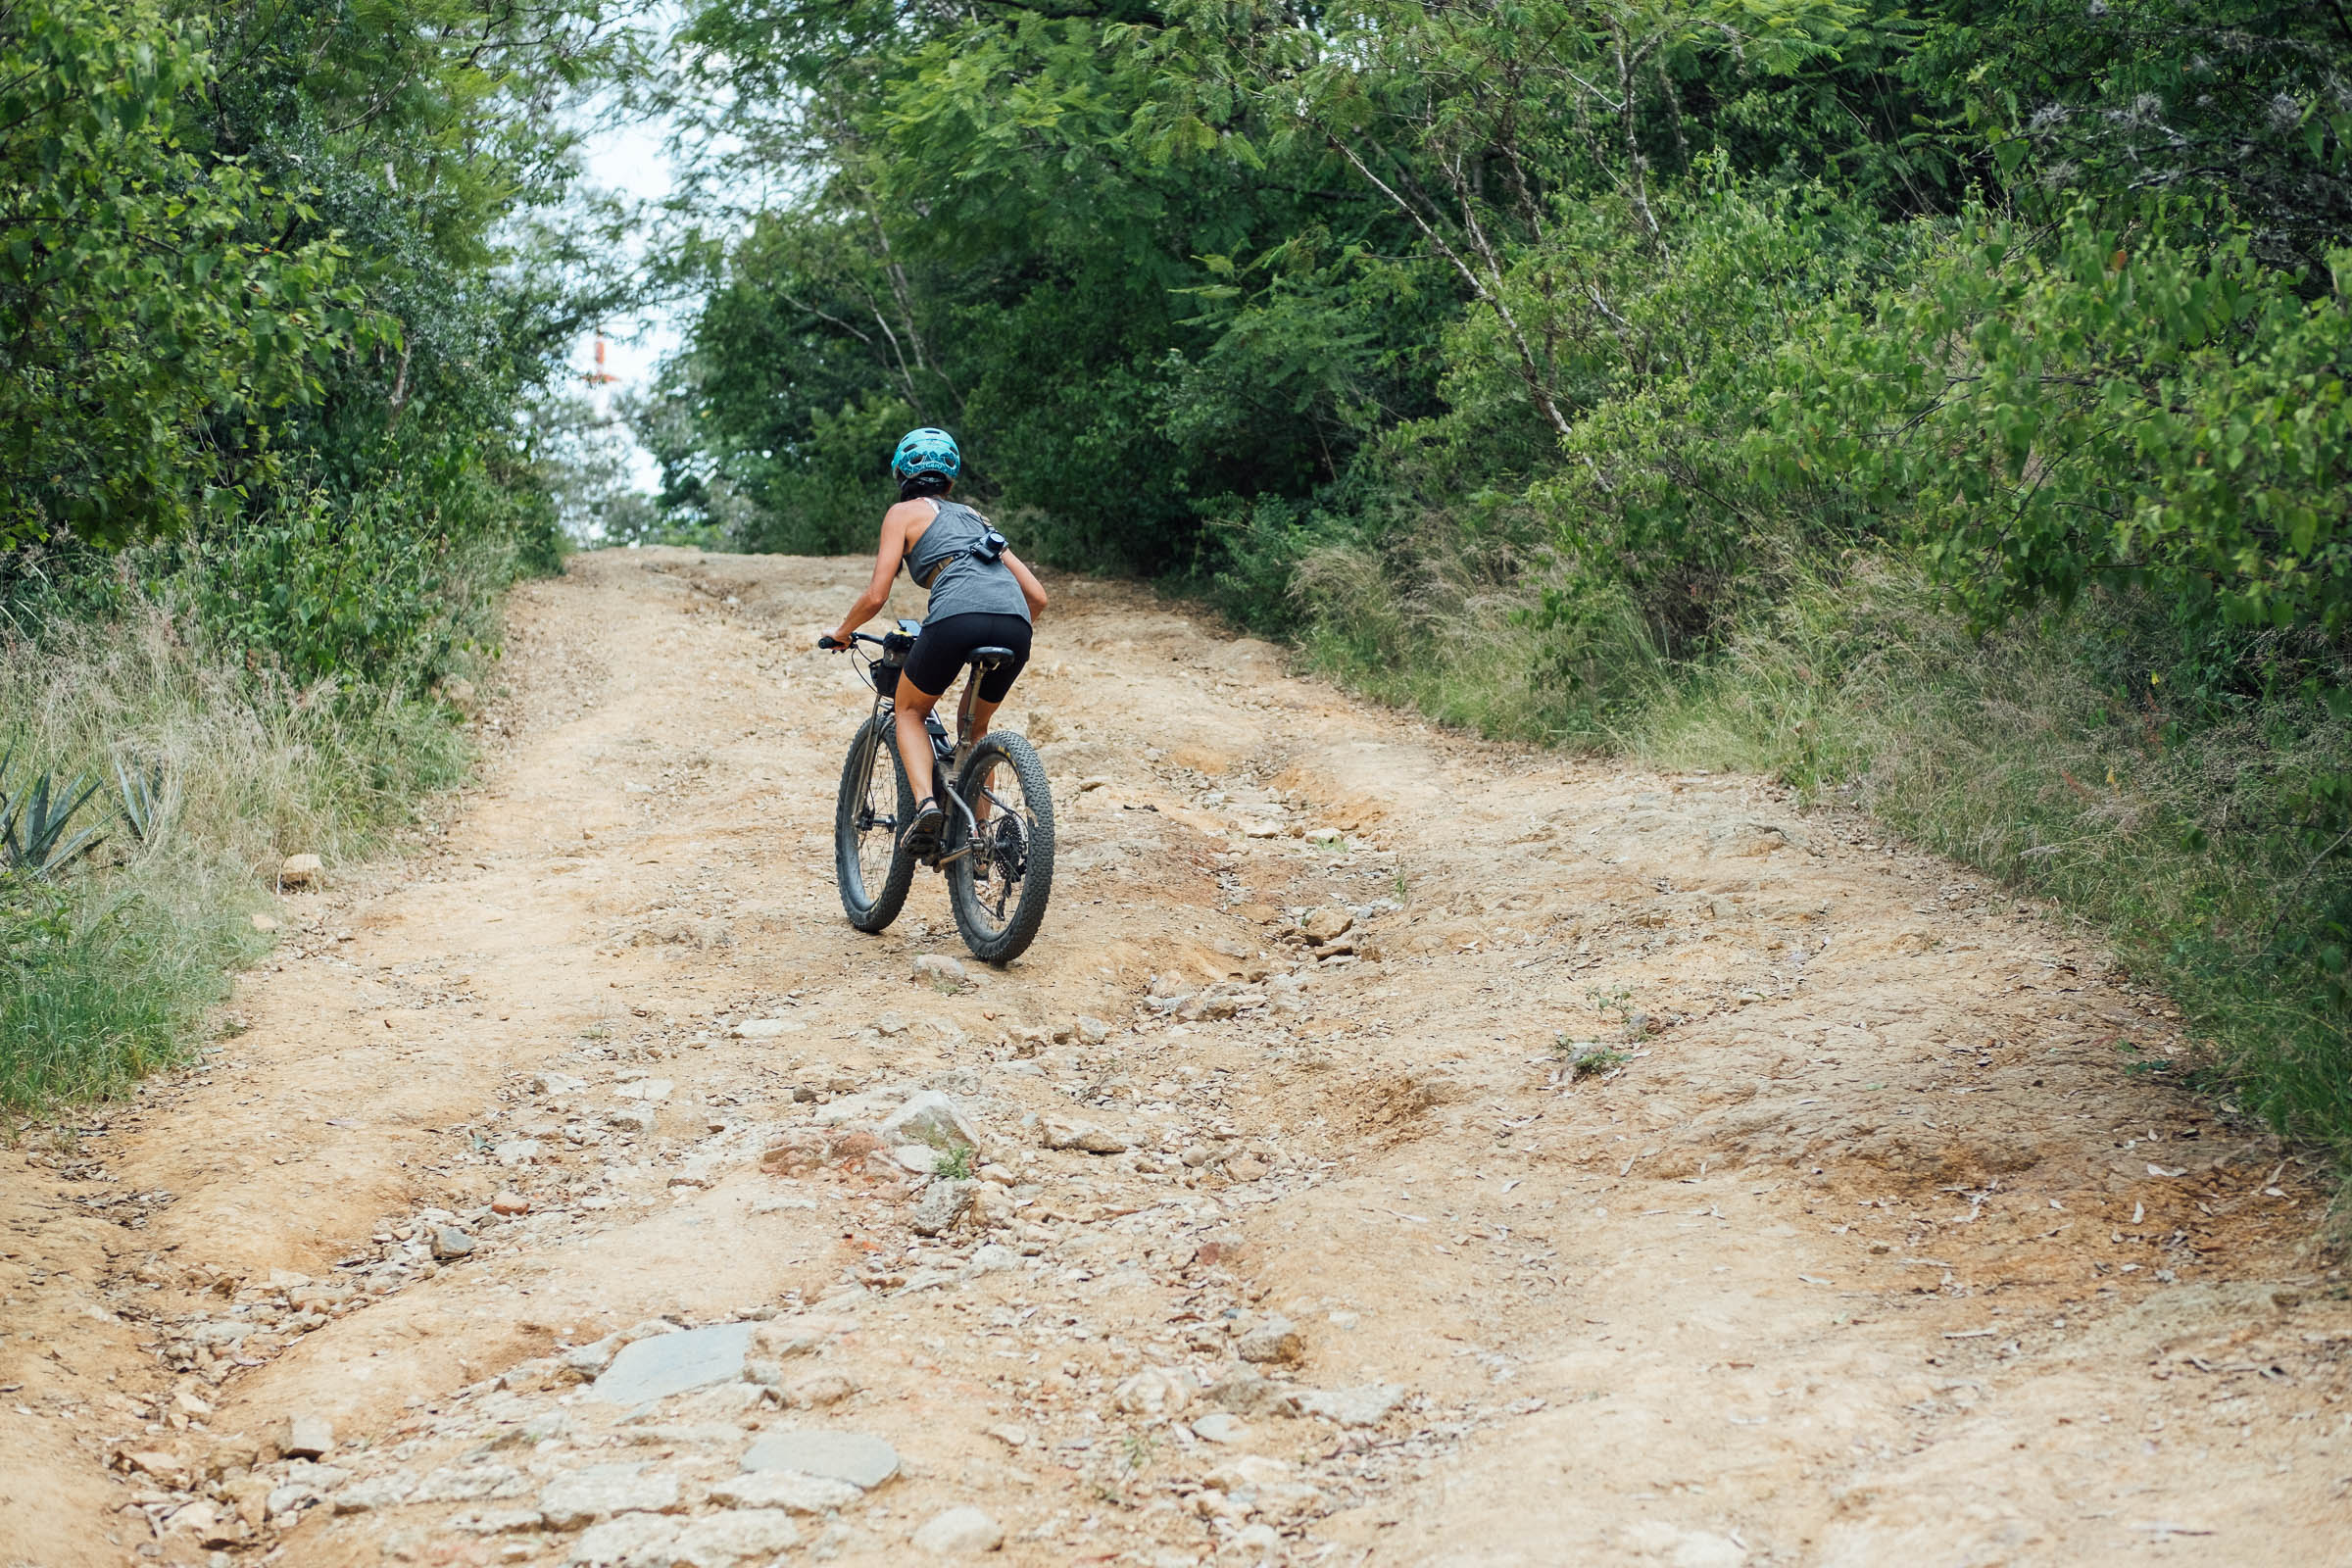
There’s some initial time required to set the strap length so the camera sits in a comfortable spot on your back, with enough space to bring it up to your face. In use, we found the shortest setting worked for Emma (as seen in the majority of these photos), whilst I needed to loosen it off; the strap can be adjusted for lengths between 91cm and 122cm+. Because it’s a little fiddly to change, it’s really something you’ll want to set up and leave, rather than swap between riders. And an observation: the bottom anchor blocks access to the camera port on my Fuji X100V, but not on my Fuji X-T2. It’s not a big deal, it just means I have to unscrew it to change batteries.

I’d also comment that the strap is bulkier than my Peak Design Slide Lite Camera Strap ($50), thanks thanks to the added cross-strap and the bottom anchor, which is relatively heavy. In fact, the cross strap alone accounts for half the Rider Straps’ weight. I mentioned this to Peter Atkins, who runs PS Bagworks, and he had this honest comment: “Yes, that bottom screw anchor is a little heavy. You can find some nicer ones online, but this was the easiest one for us to source in bulk. Especially with the lightweight X100, try connecting the swivel hook to the split ring at the side eyelet where the PD anchor attaches.” Clearly, this is a company run by a cyclist and a photographer, which is reassuring to know.
Luckily, it’s quick and easy to remove. You can either unclip it at the anchor point that screws into the tripod mount of your camera – leaving the anchor in there – or unscrew the whole anchor itself. This gets it out the way and prevents it from dangling into photos or swinging around when I’m using the camera around town.
Already have a favourite camera strap but like the idea of a stabilizing strap for cycling and hiking? PS Bagworks offers the Universal Camera Stabiliser for $29, which attaches with velcro to the one you already own.
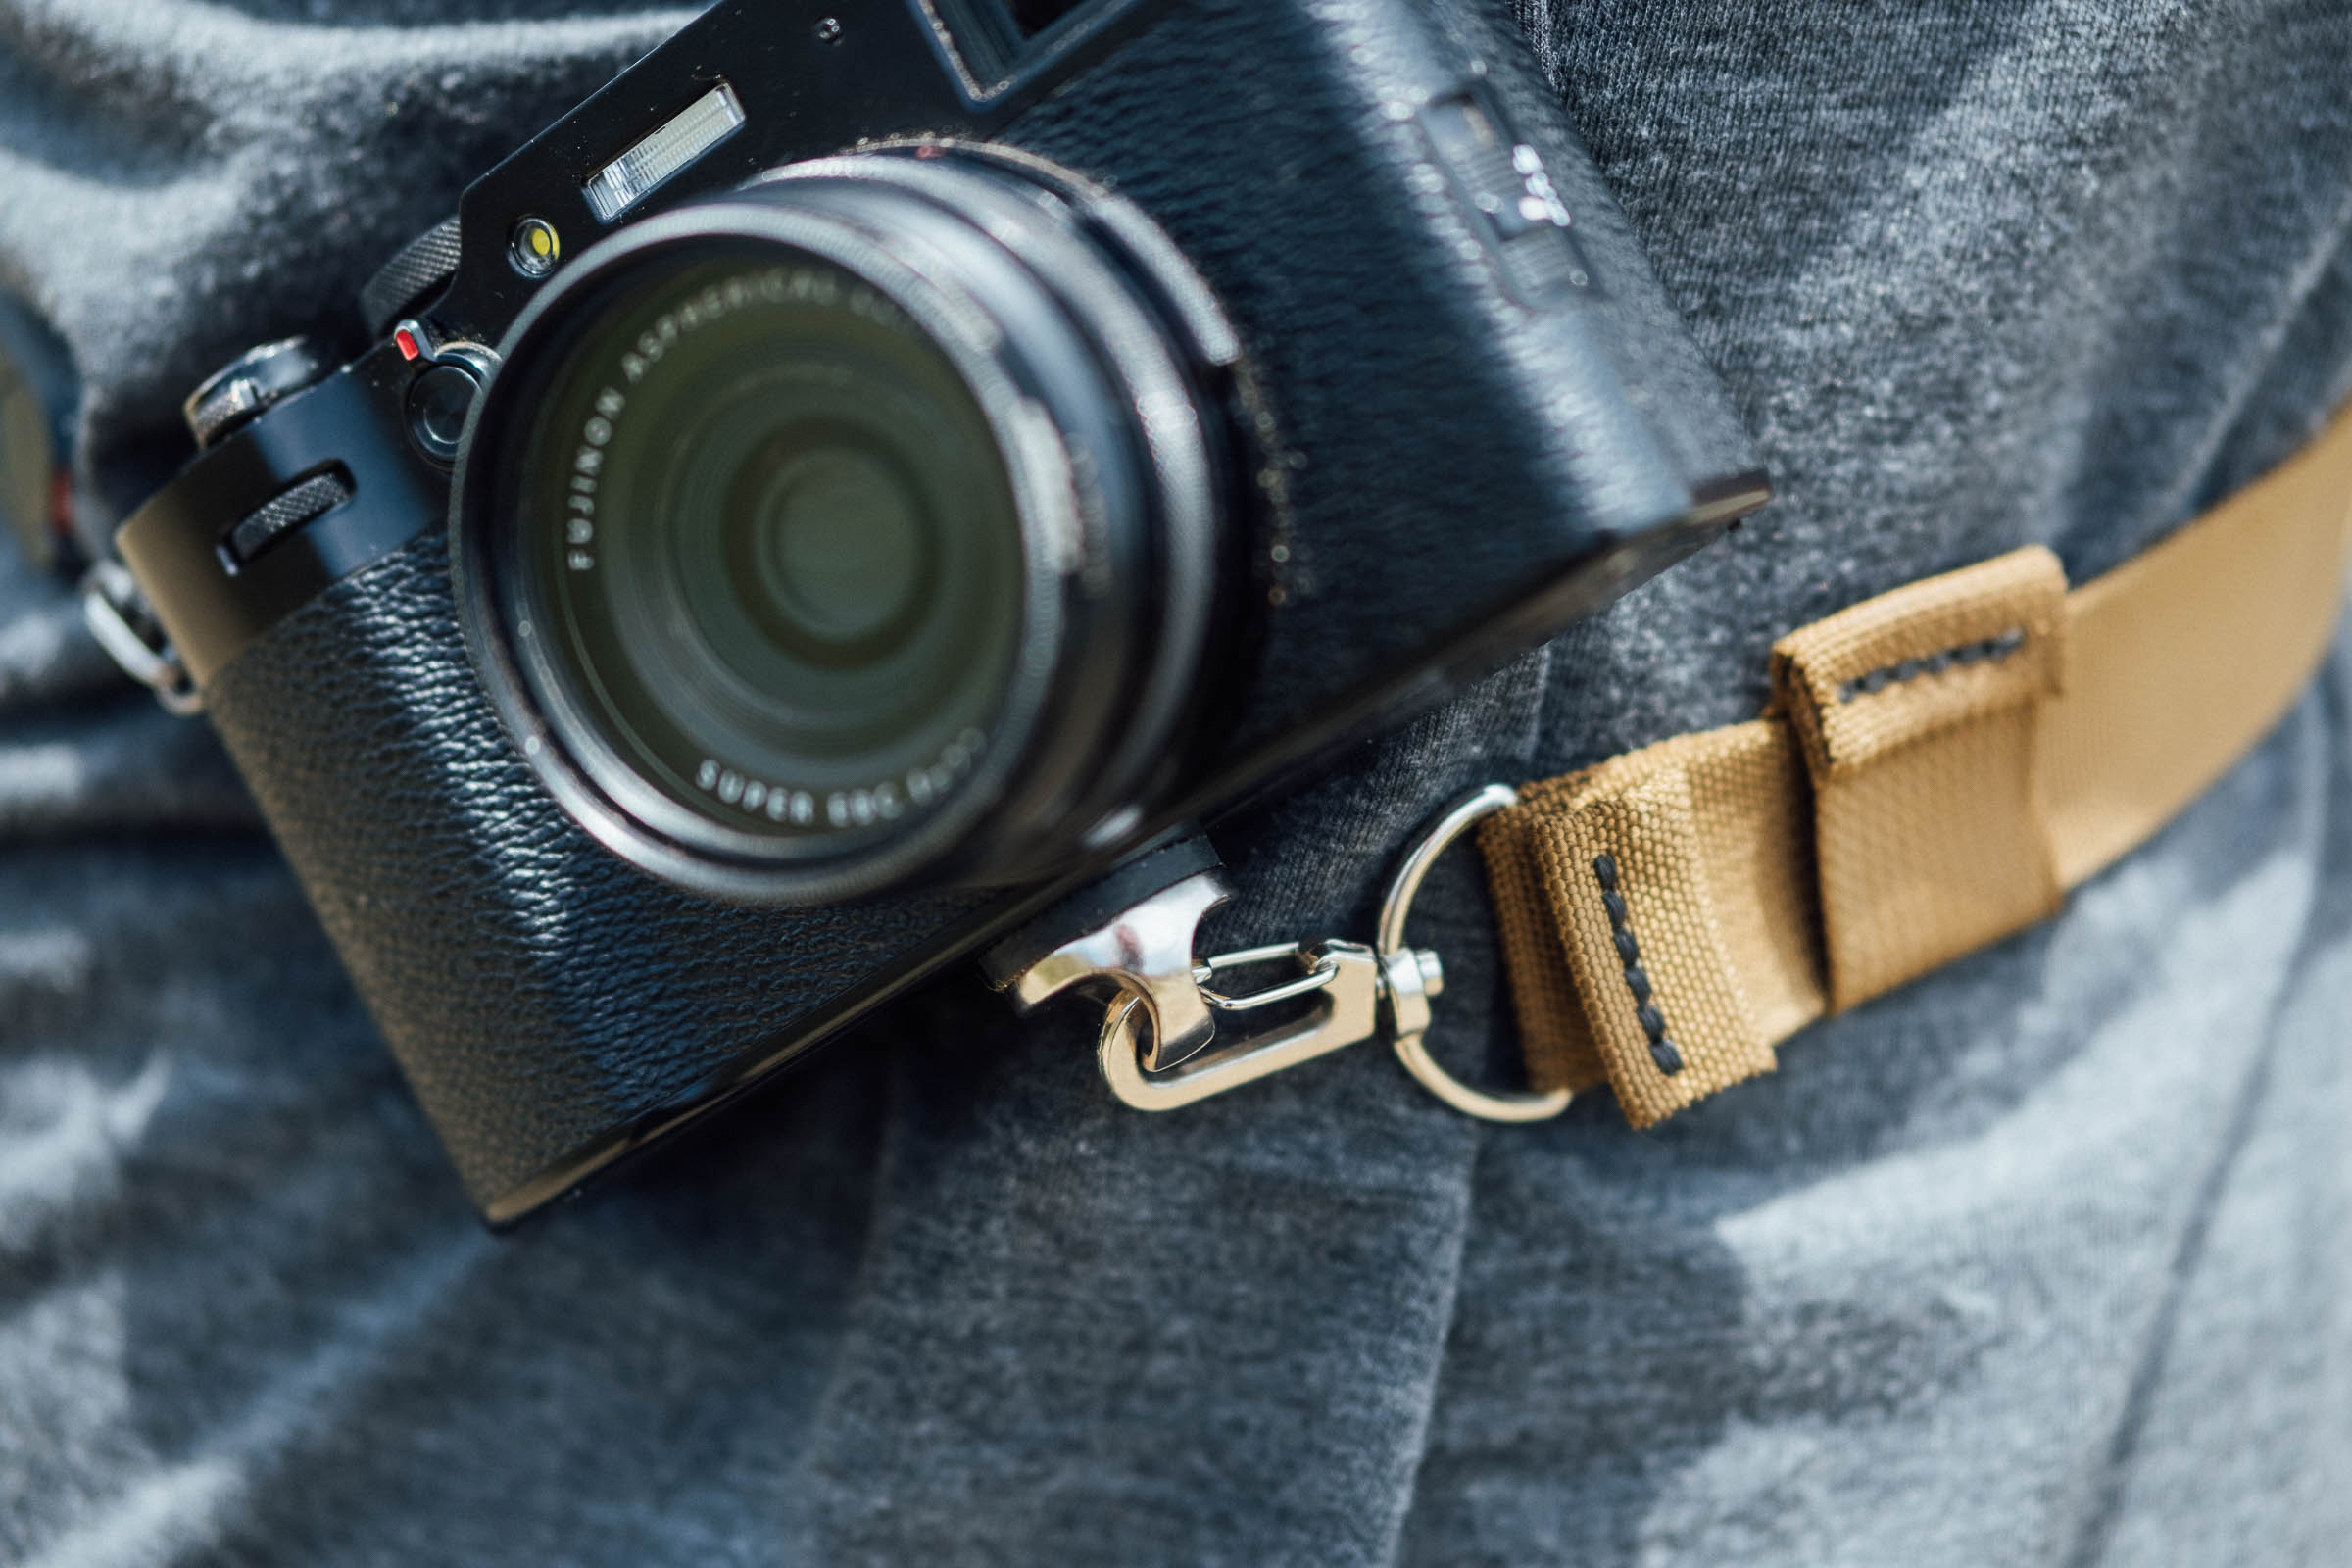

Rope Wrist Strap
As good as the Shoulder Strap is, what really makes it work well for me is its compatibility with PS Bagwork’s Rope Wrist Strap.
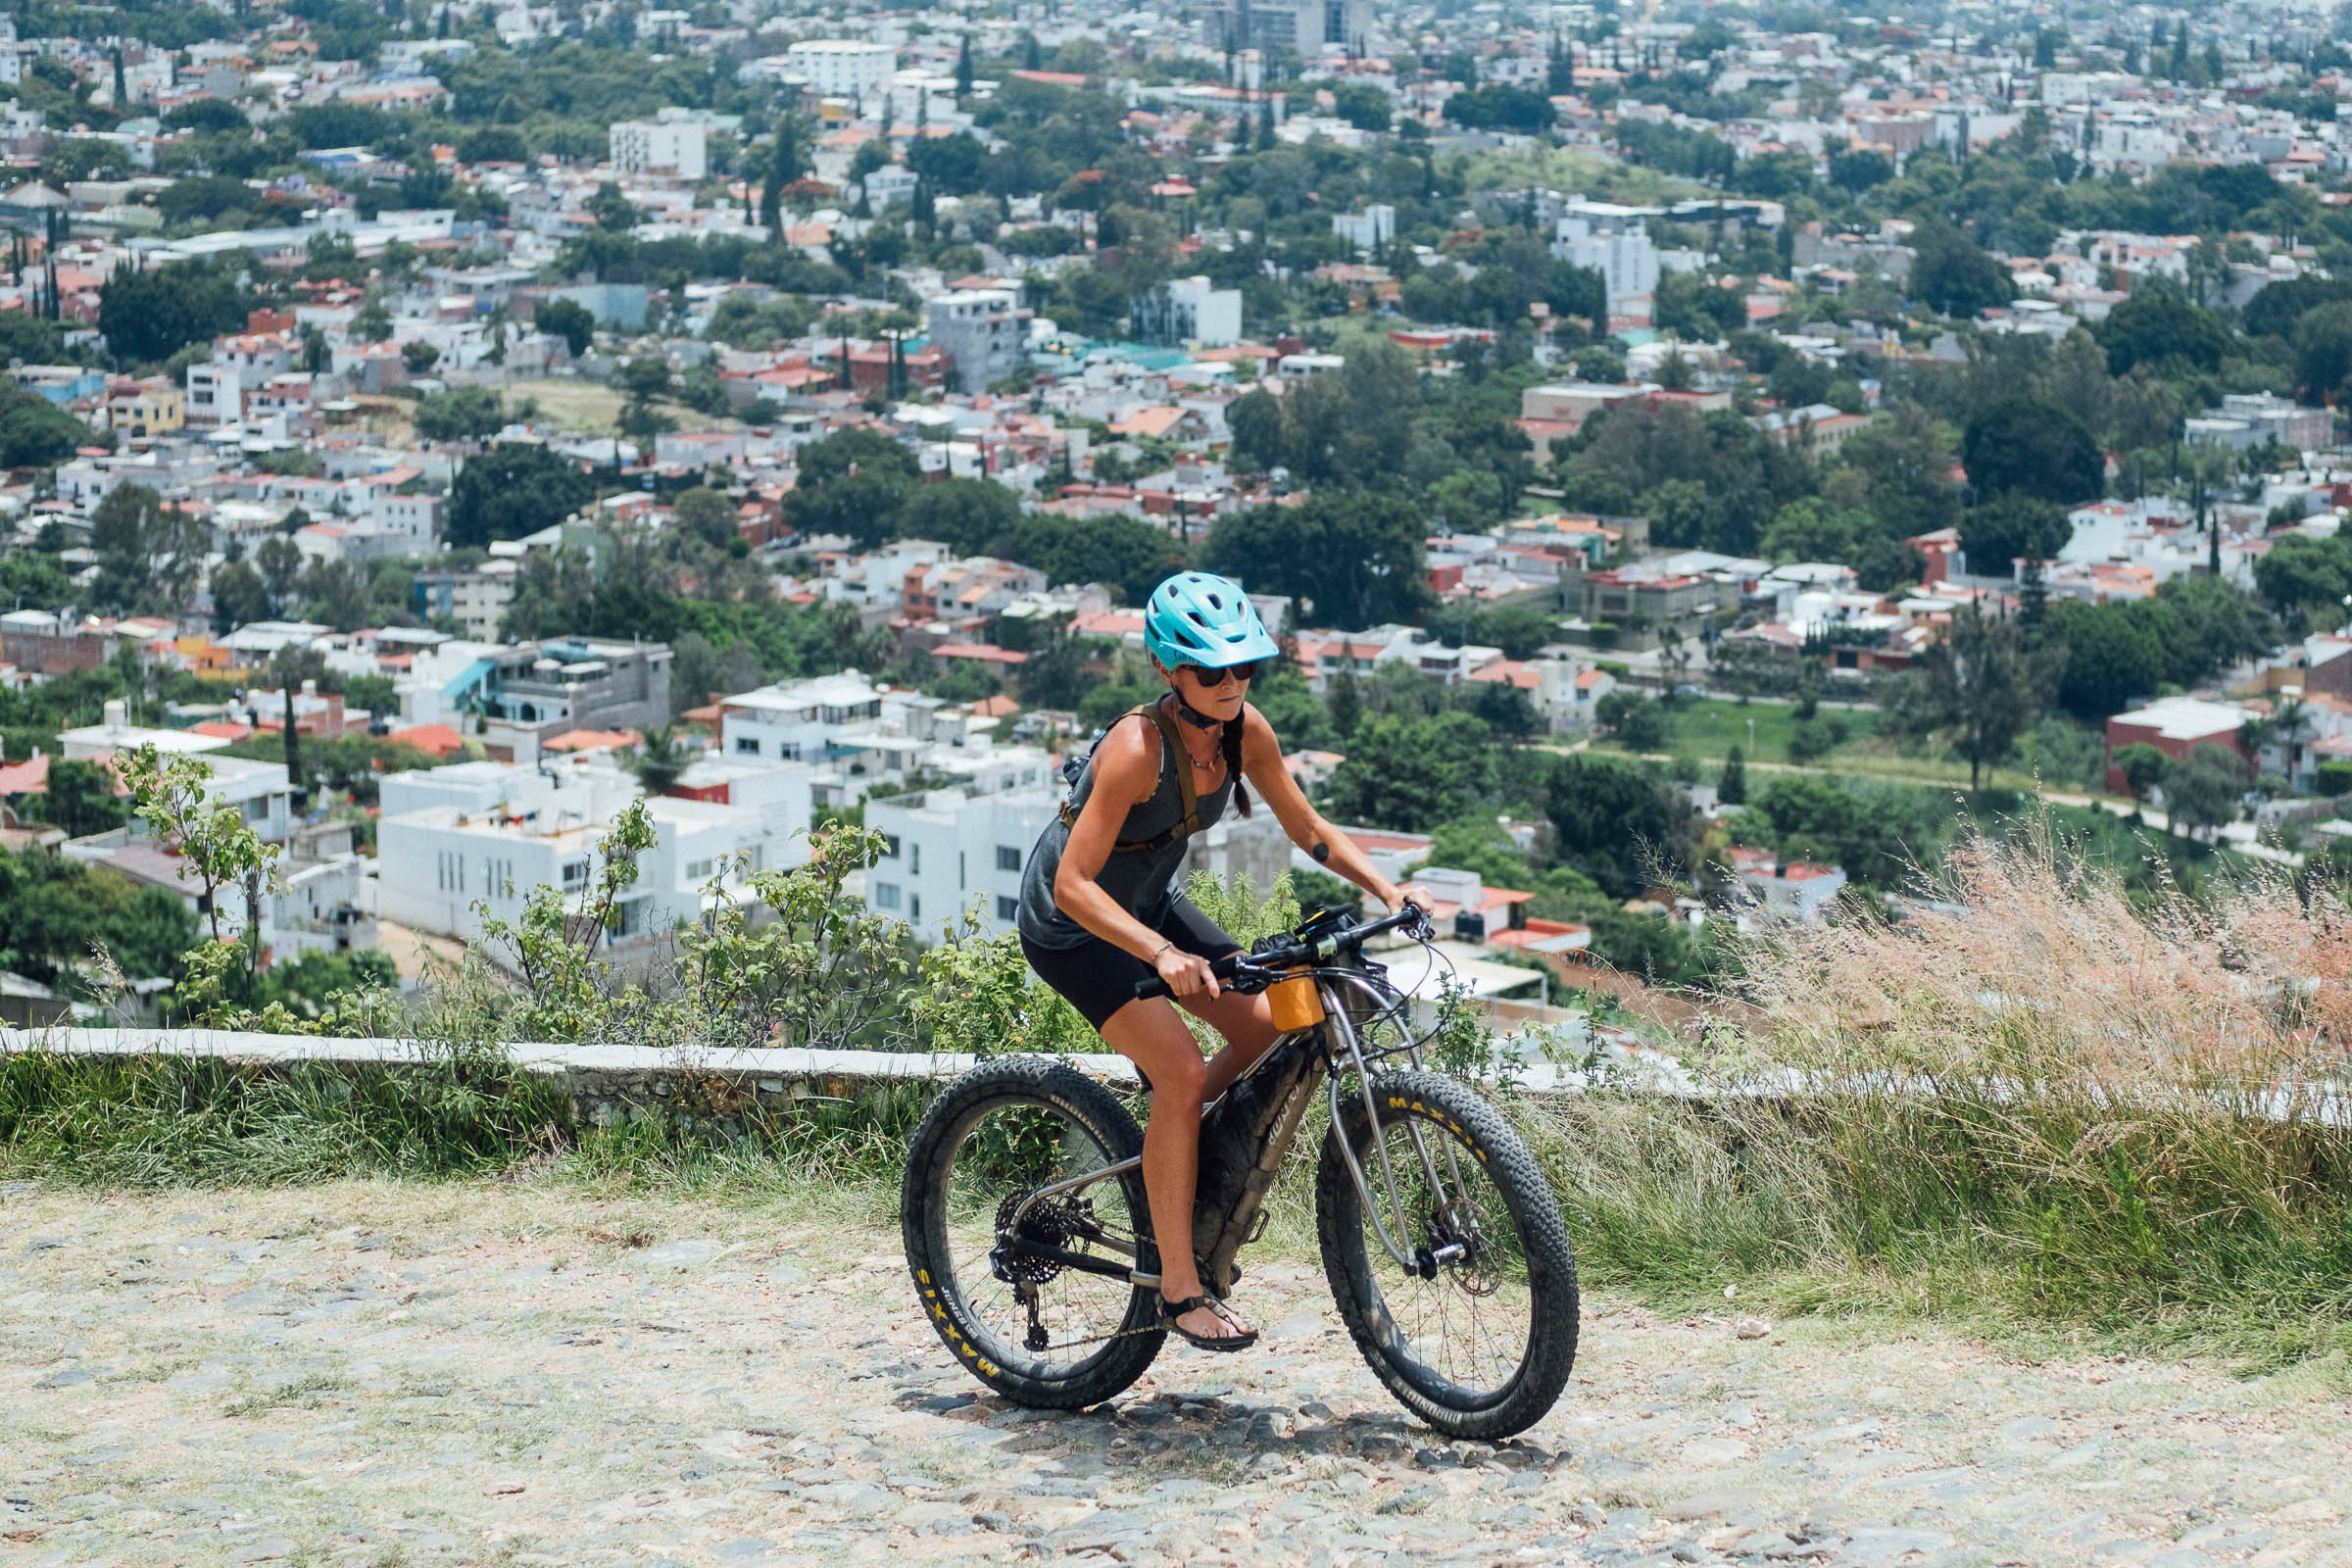
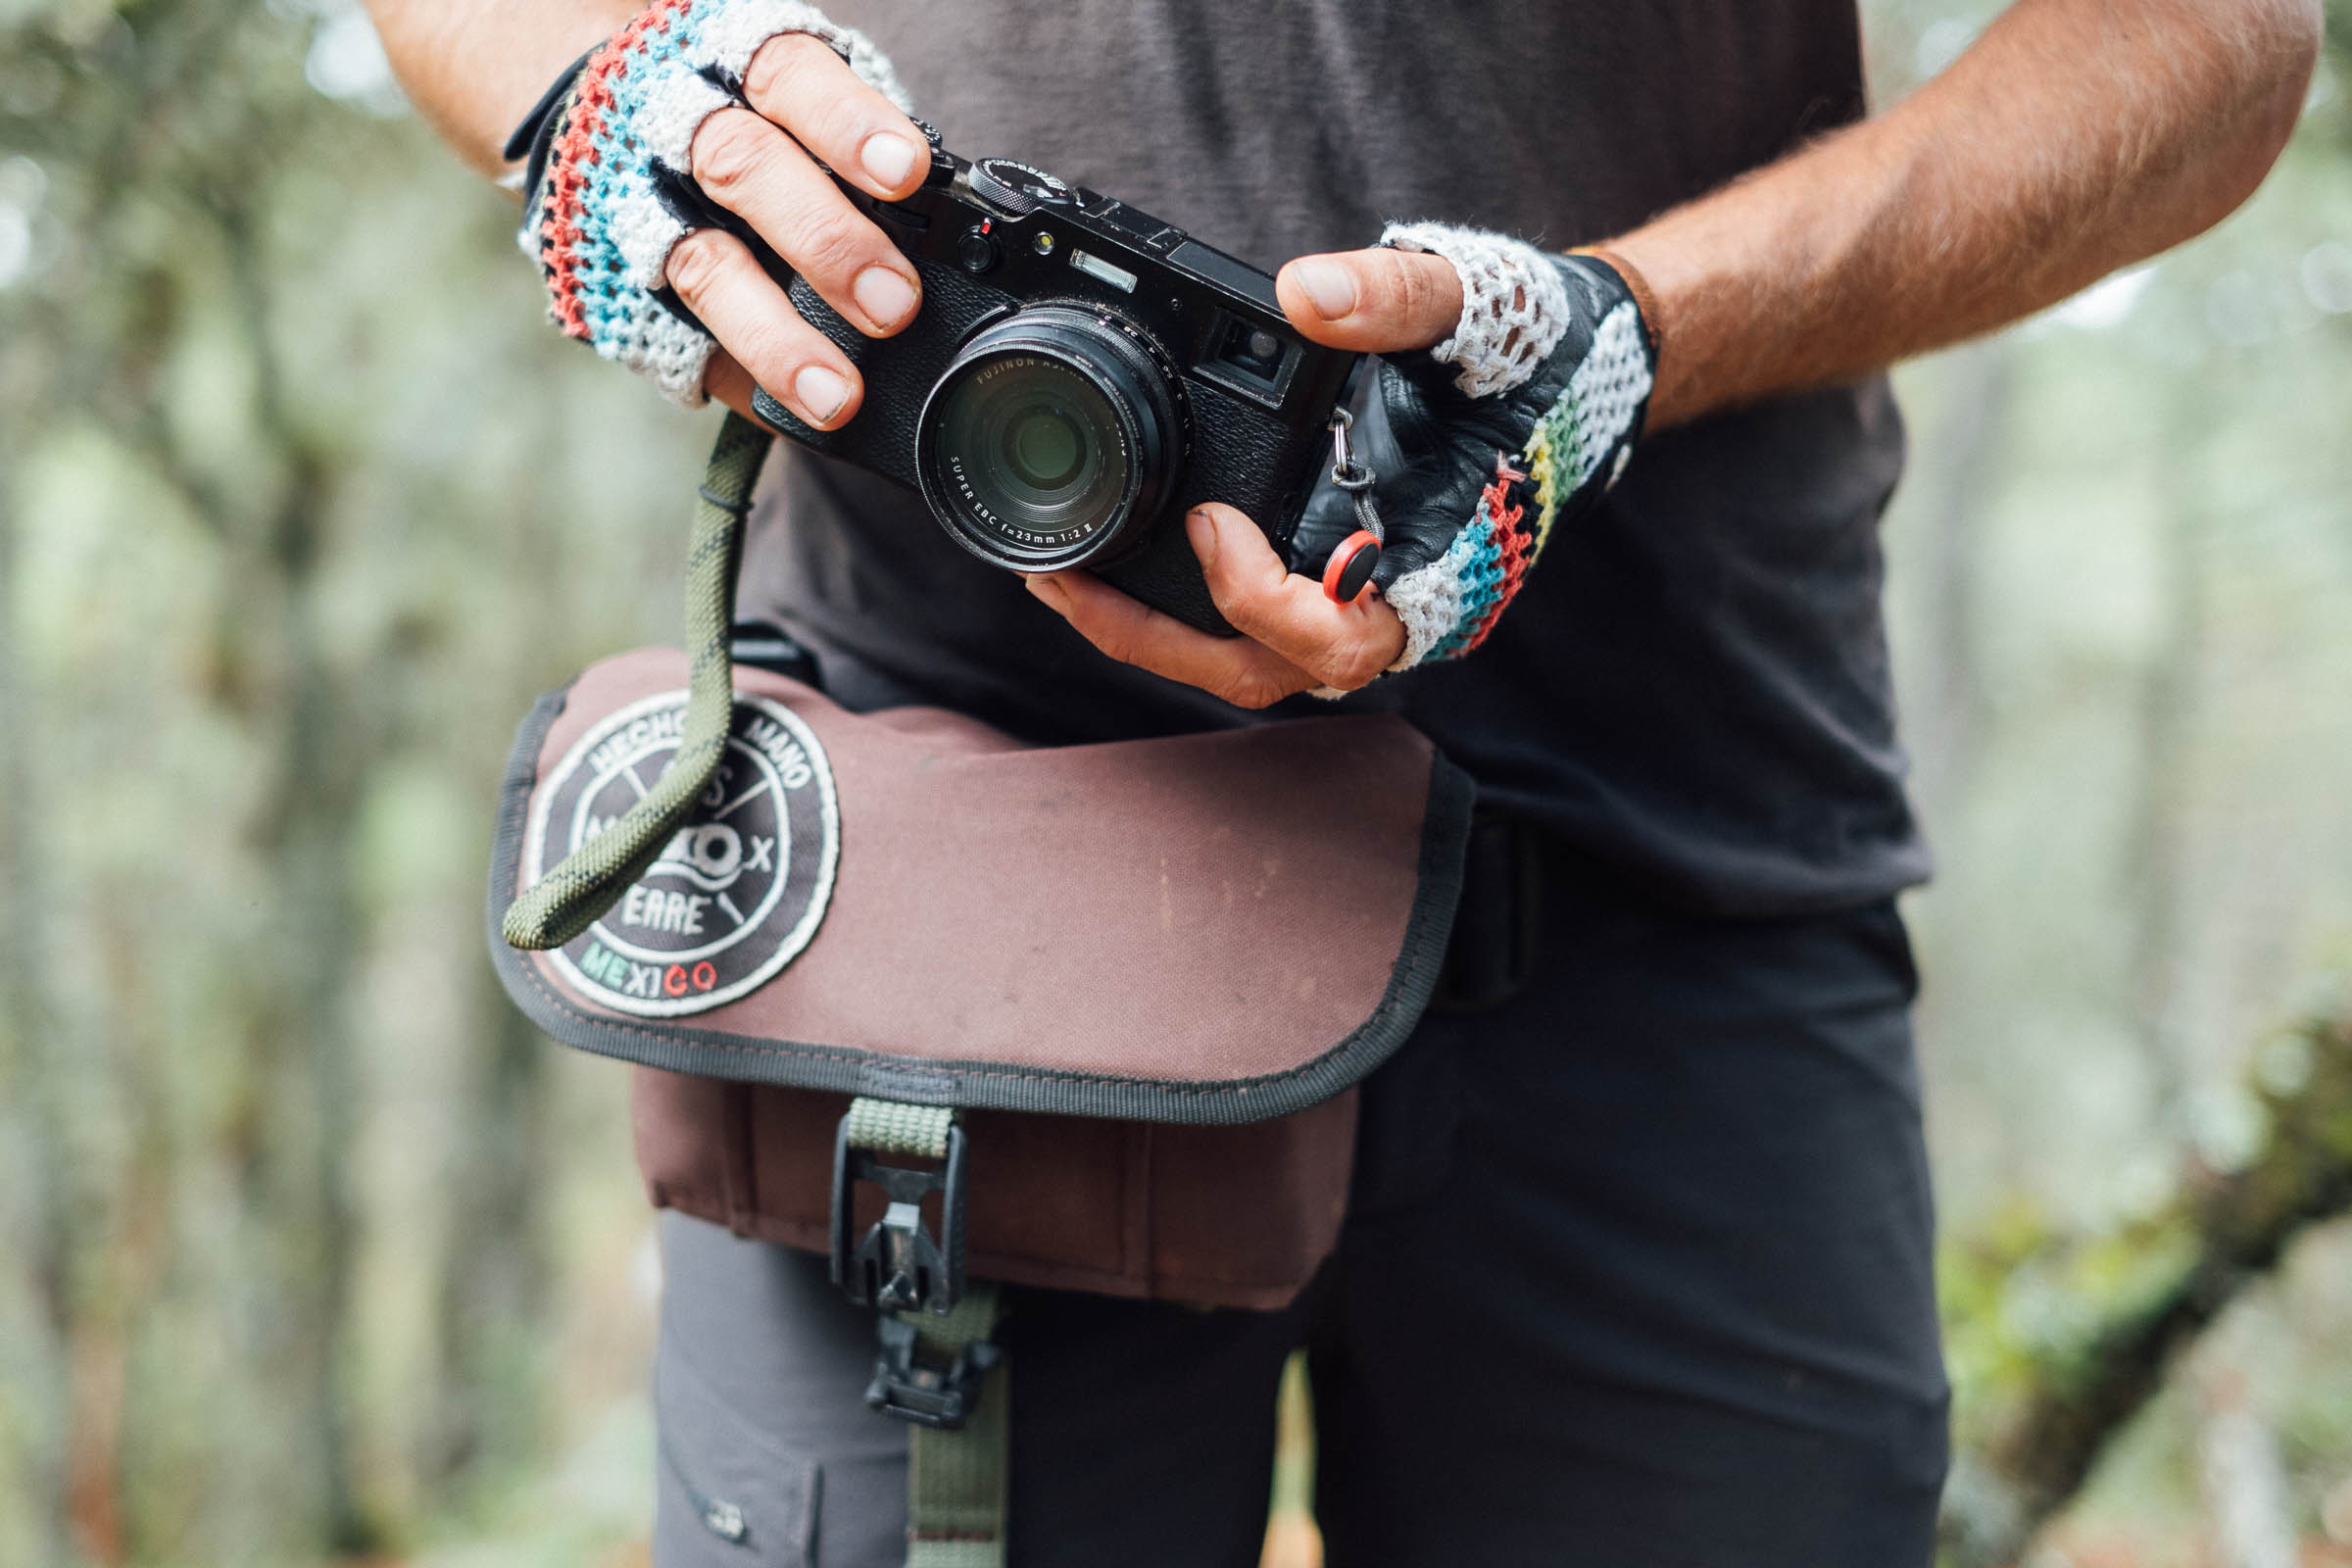
Recently, I’ve been riding with a Riñonera hip bag by Dos Erres, a maker that’s local to me here in Mexico, in conjunction with both of these straps – and it’s this combination that’s covered all my needs. For the most part, I use the wrist strap, as it fits easily into the hip bag that protects my camera from the elements, and it’s all I need for a little extra security when holding it. When I’m expecting to be grabbing more shots and want to be especially quick to access my camera, I snap in the shoulder strap in its place; because there’s an option to spec both with Peak Design Links, the whole process is really speedy.
I’ve only recently rediscovered wrist straps, in lieu of running a shoulder strap all the time – and it turns out they’re great! Light and minimal, they make the whole camera bundle so much easier and quicker to stash away.


Just like the option with the Rider Strap, the $12.50 Rope Wrist Strap is available at different price points, depending on the clip system used. Optek’s Mini QD quick releases incur a nominal $2 upcharge, or it’s a more significant $10 for the Peak Design Anchor Links that I like so much. The strap is also available in three sizes, each with an O-ring to adjust the fit, and a whole host of colours and weaves, from olive and chameleon to teal and tan. It looks great!

- Model Tested: Rider Strap with 4 x Peak Design Anchor Links
- Weight: 110 grams
- Price: $73 (base price is $50)
- Place of Manufacture: Minneapolis, USA
- Manufacturer’s Details: PS Bagworks
- Model Tested: Rope Wrist Strap (L) with 2 x Peak Design Anchor Links
- Weight: 20 grams
- Price: $22.50 (base price is $12.50)
- Place of Manufacture: Minneapolis, USA
- Manufacturer’s Details: PS Bagworks
Wrap Up
Photographers – let alone cyclists – can be a fussy bunch, with a variety of different gear and needs. When both interests converge, just imagine how hard they can be to satisfy!
Aside from being comfortable, elegant, and available in a range of options, PS Bagworks’ system works well for me because it’s so versatile and modular. I can quickly adapt these straps to day rides, tours, and street photography. I can use run the Rider Strap when I’m on my bike and on a photo mission, but also quickly remove the cross-strap if I’m mooching around town. Alternatively, I can clip in a wrist strap instead, when the weather or the trail demands, and into my hip bag the camera goes. The fact that there’s a choice of attachment systems, including Peak Designs’ Anchor Clips, really is the icing on the cake.
Ultimately, I love having my camera with me on almost all my rides, and this combination helps me do that, without feeling like it’s ever getting in the way.
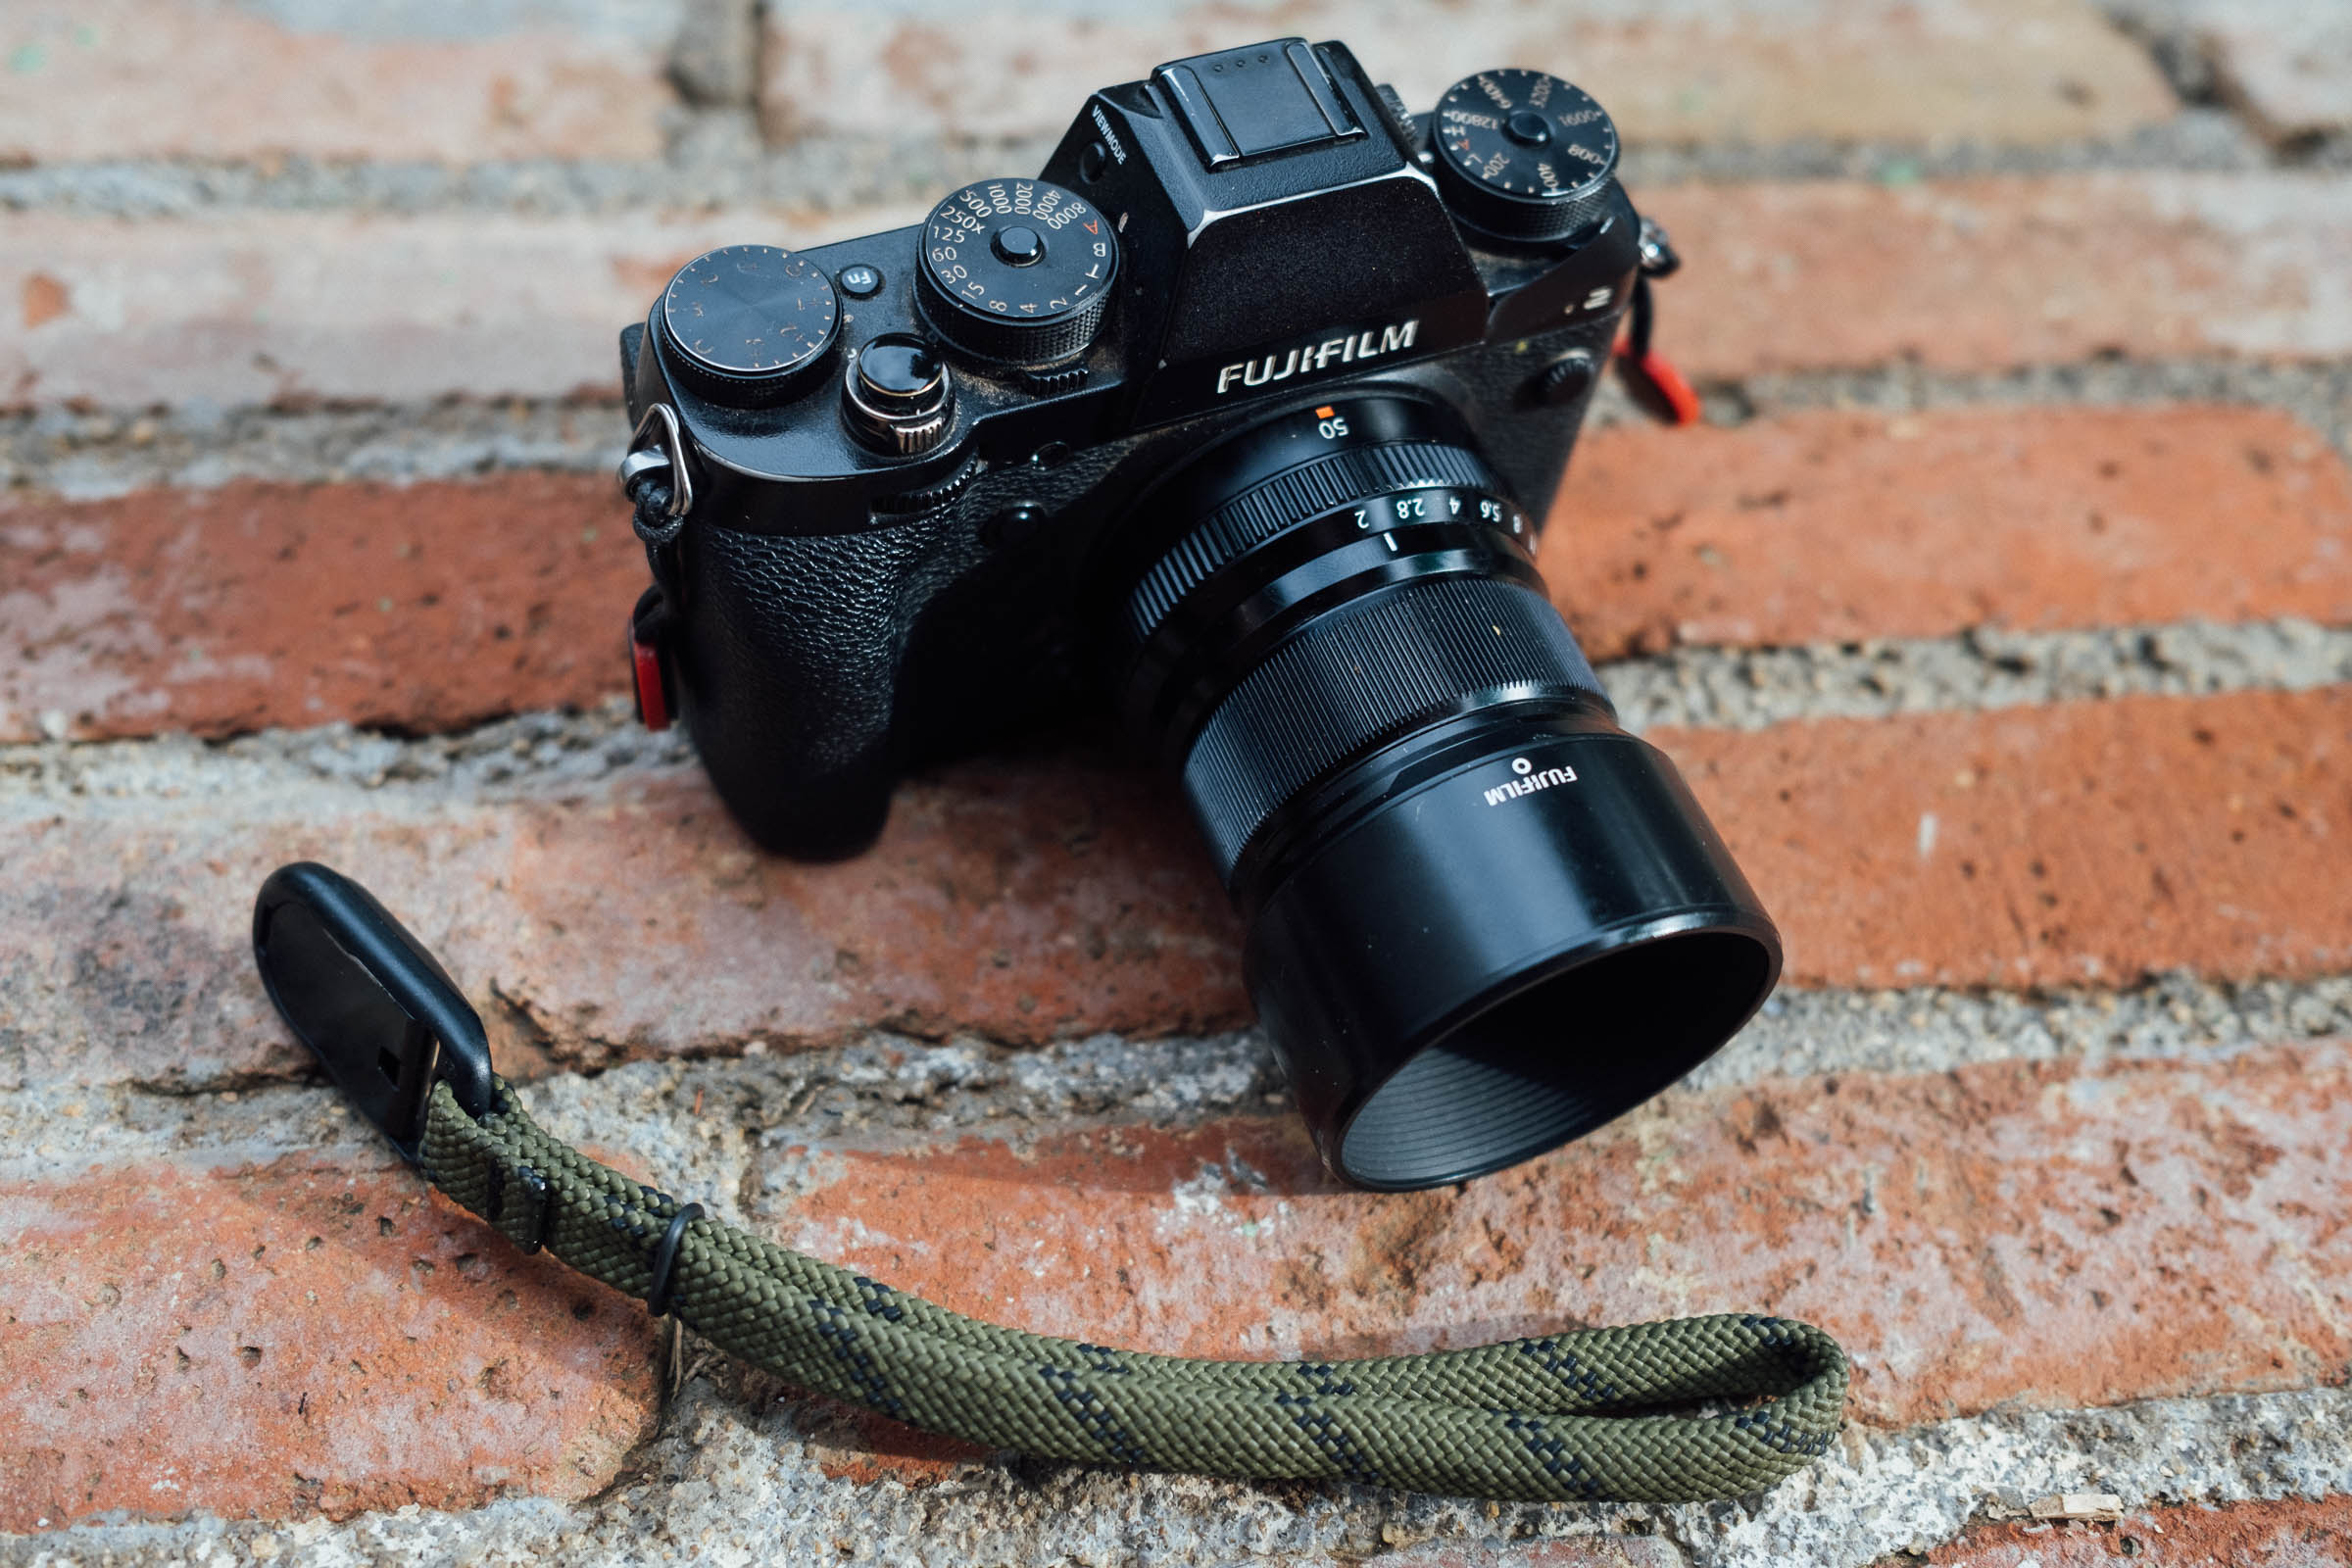
Seeing as this is a post on cameras and gear… the images in this post were taken with a Fuji XT-2 and Fuji 50mm 2.0 lens – see image above.
Dig into these posts for more on bikepacking and photography...

Please keep the conversation civil, constructive, and inclusive, or your comment will be removed.