


Tailfin CargoPack Review


Just announced, the new Tailfin CargoPack (formerly AeroPack Cargo) features expandable cargo pockets, roll-top access to the main body, optional cage mounts, and a few more interesting features. Plus, it’s backward compatible. Neil used one for a couple of months ahead of today’s release for this review…
PUBLISHED Apr 10, 2025
By now, we’ve all heard of Tailfin. Since launching in 2016, the team in the UK has been steadily advancing their full set of bags, creating high-end cargo systems that are sleek, smart, and stable. It’s clear they’ve prioritized innovation and performance from the start. As brands evolve, so do their products, and the new Tailfin CargoPack (formerly AeroPack Cargo) is the first significant bag redesign we’ve seen from them, and the timing makes sense considering that they officially rounded out a full bikepacking kit with their Bar Bag launch late last year.
But let’s rewind. Tailfin launched the AeroPack back in July 2018 through a Kickstarter campaign. It quickly blew past its goal, which isn’t surprising in hindsight; it’s a pretty great product. That success translated directly into the foundation of their core product line. We’ve been trying to stay on top of all the new offerings in the bikepacking world, and between a few other brands and Tailfin, it’s been a busy and exciting time for this small but steadily growing corner of the cycling market.
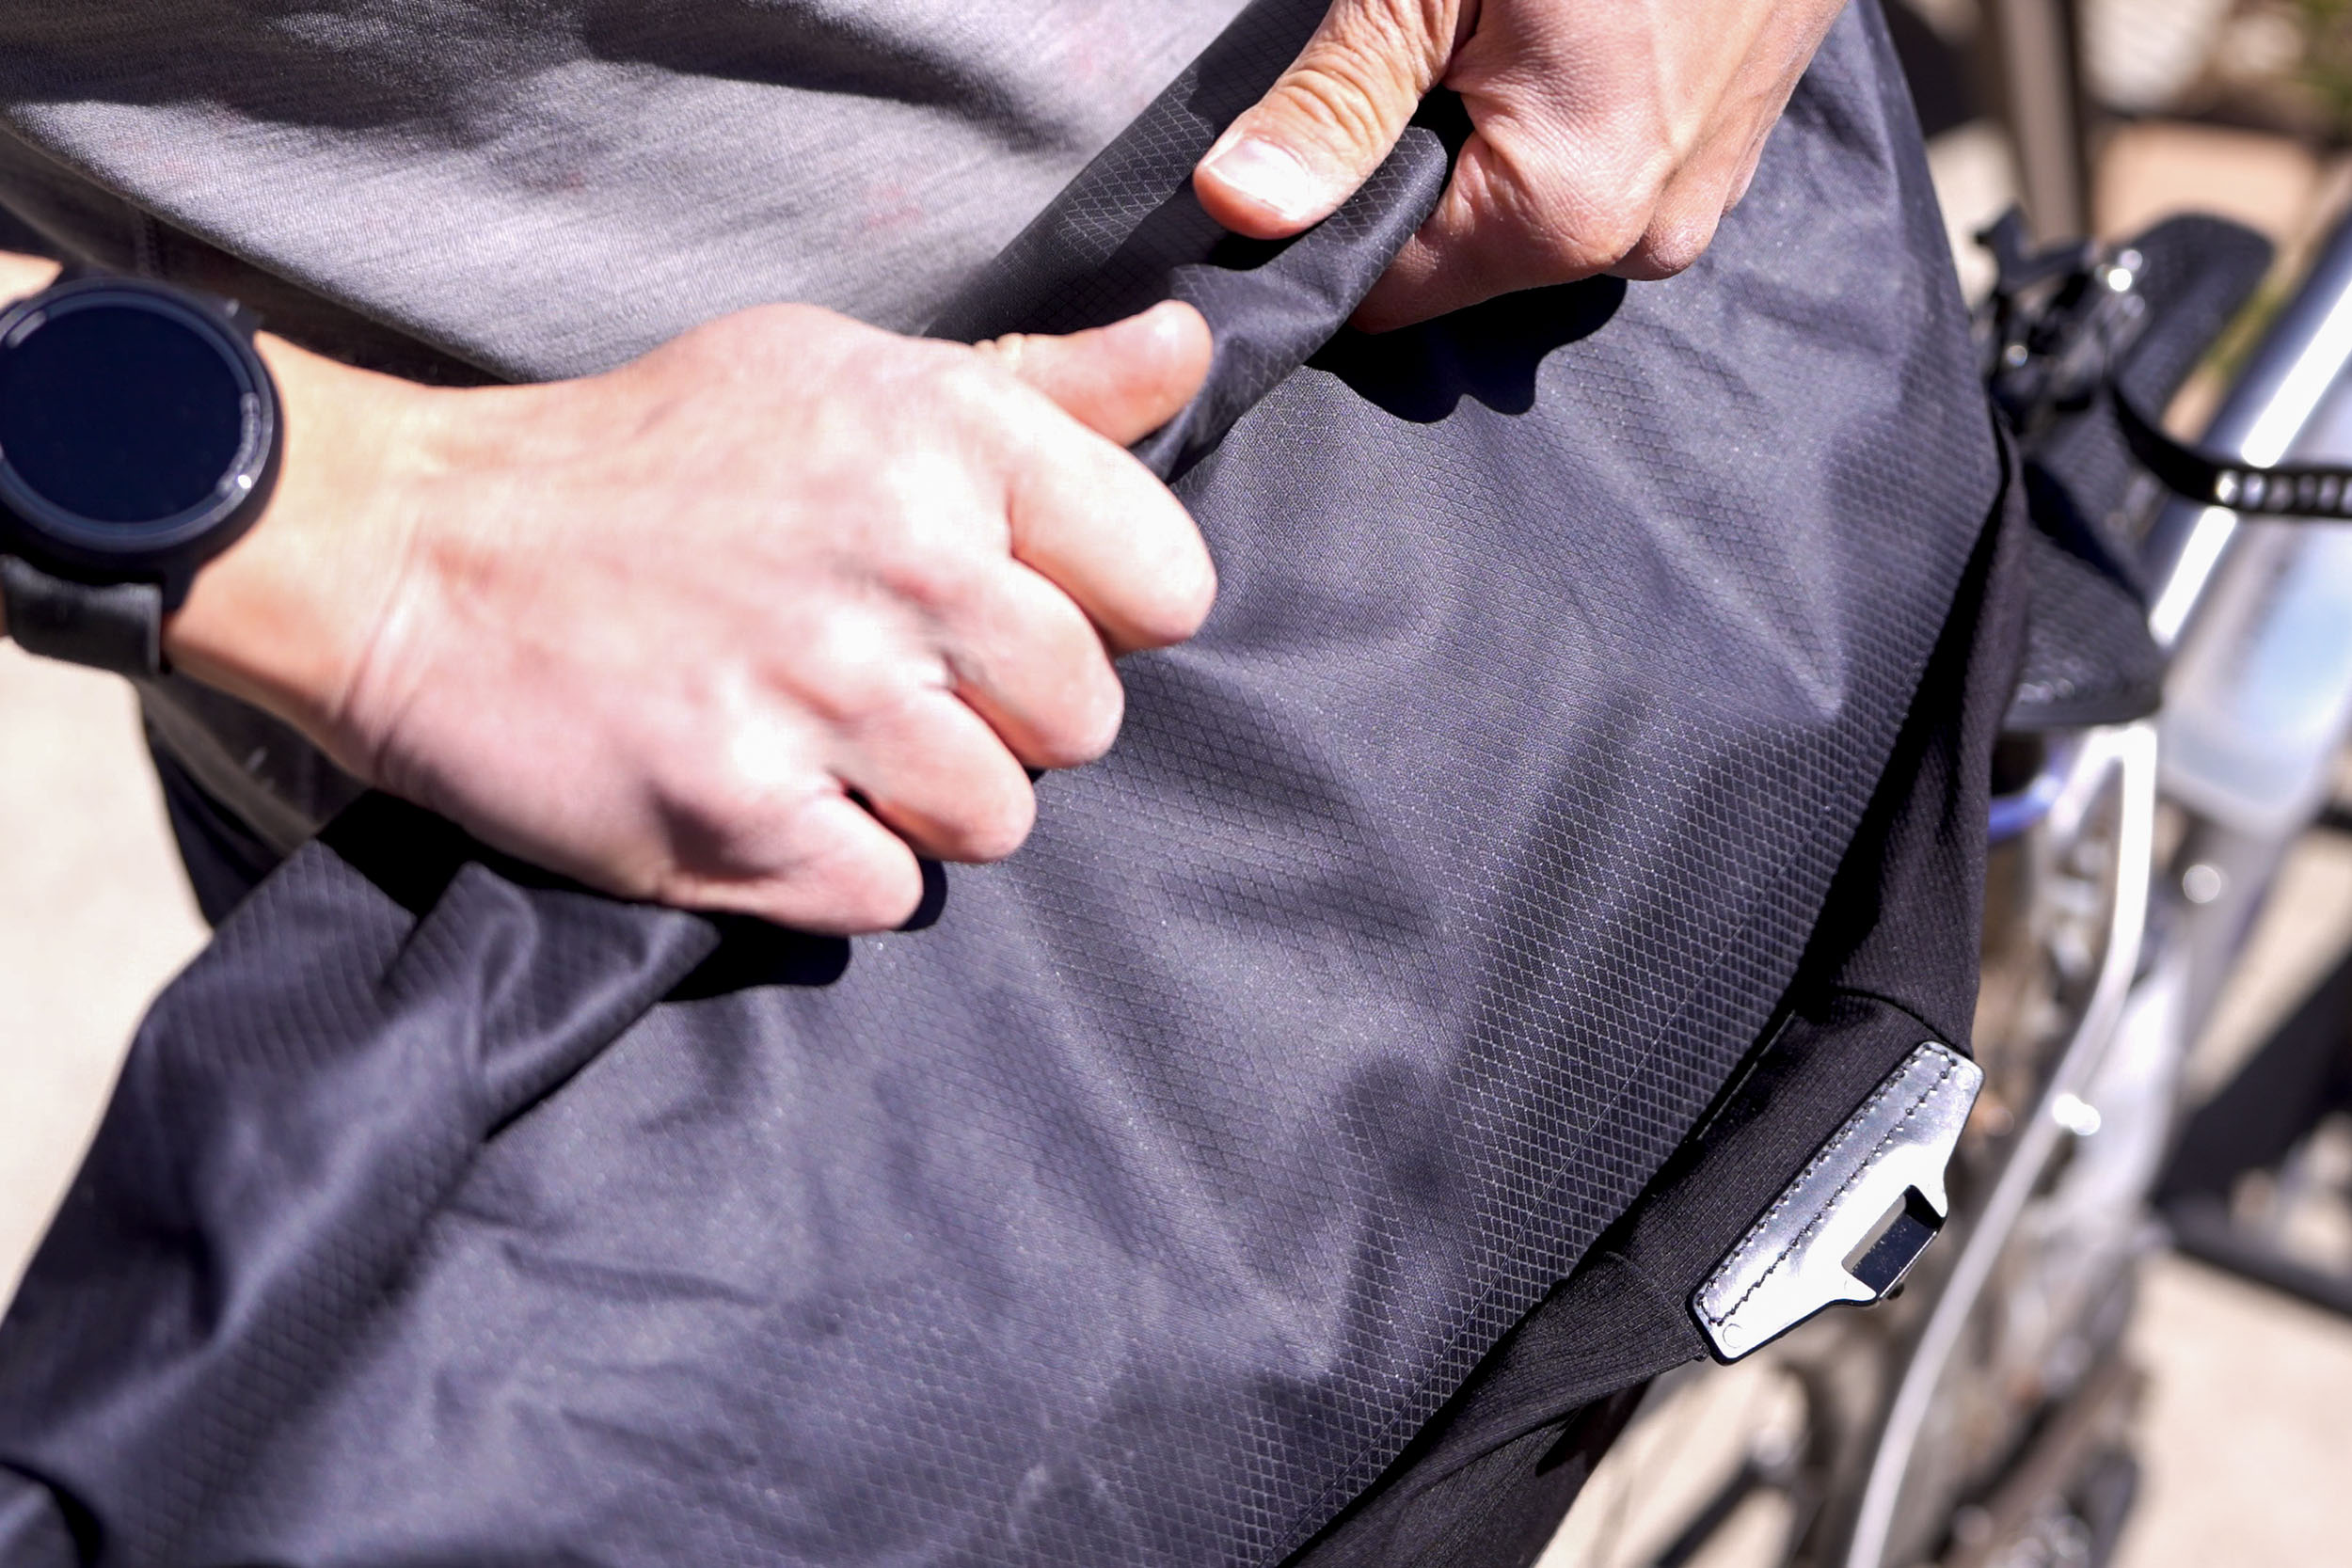
A lot of what you’ll find in our original AeroPack review still applies here. The core concept is the same: its made from the same Hypalon/Ripstop Nylon, and is still as stable as ever. The launch of the CargoPack is not an end to the original; you just have options now.


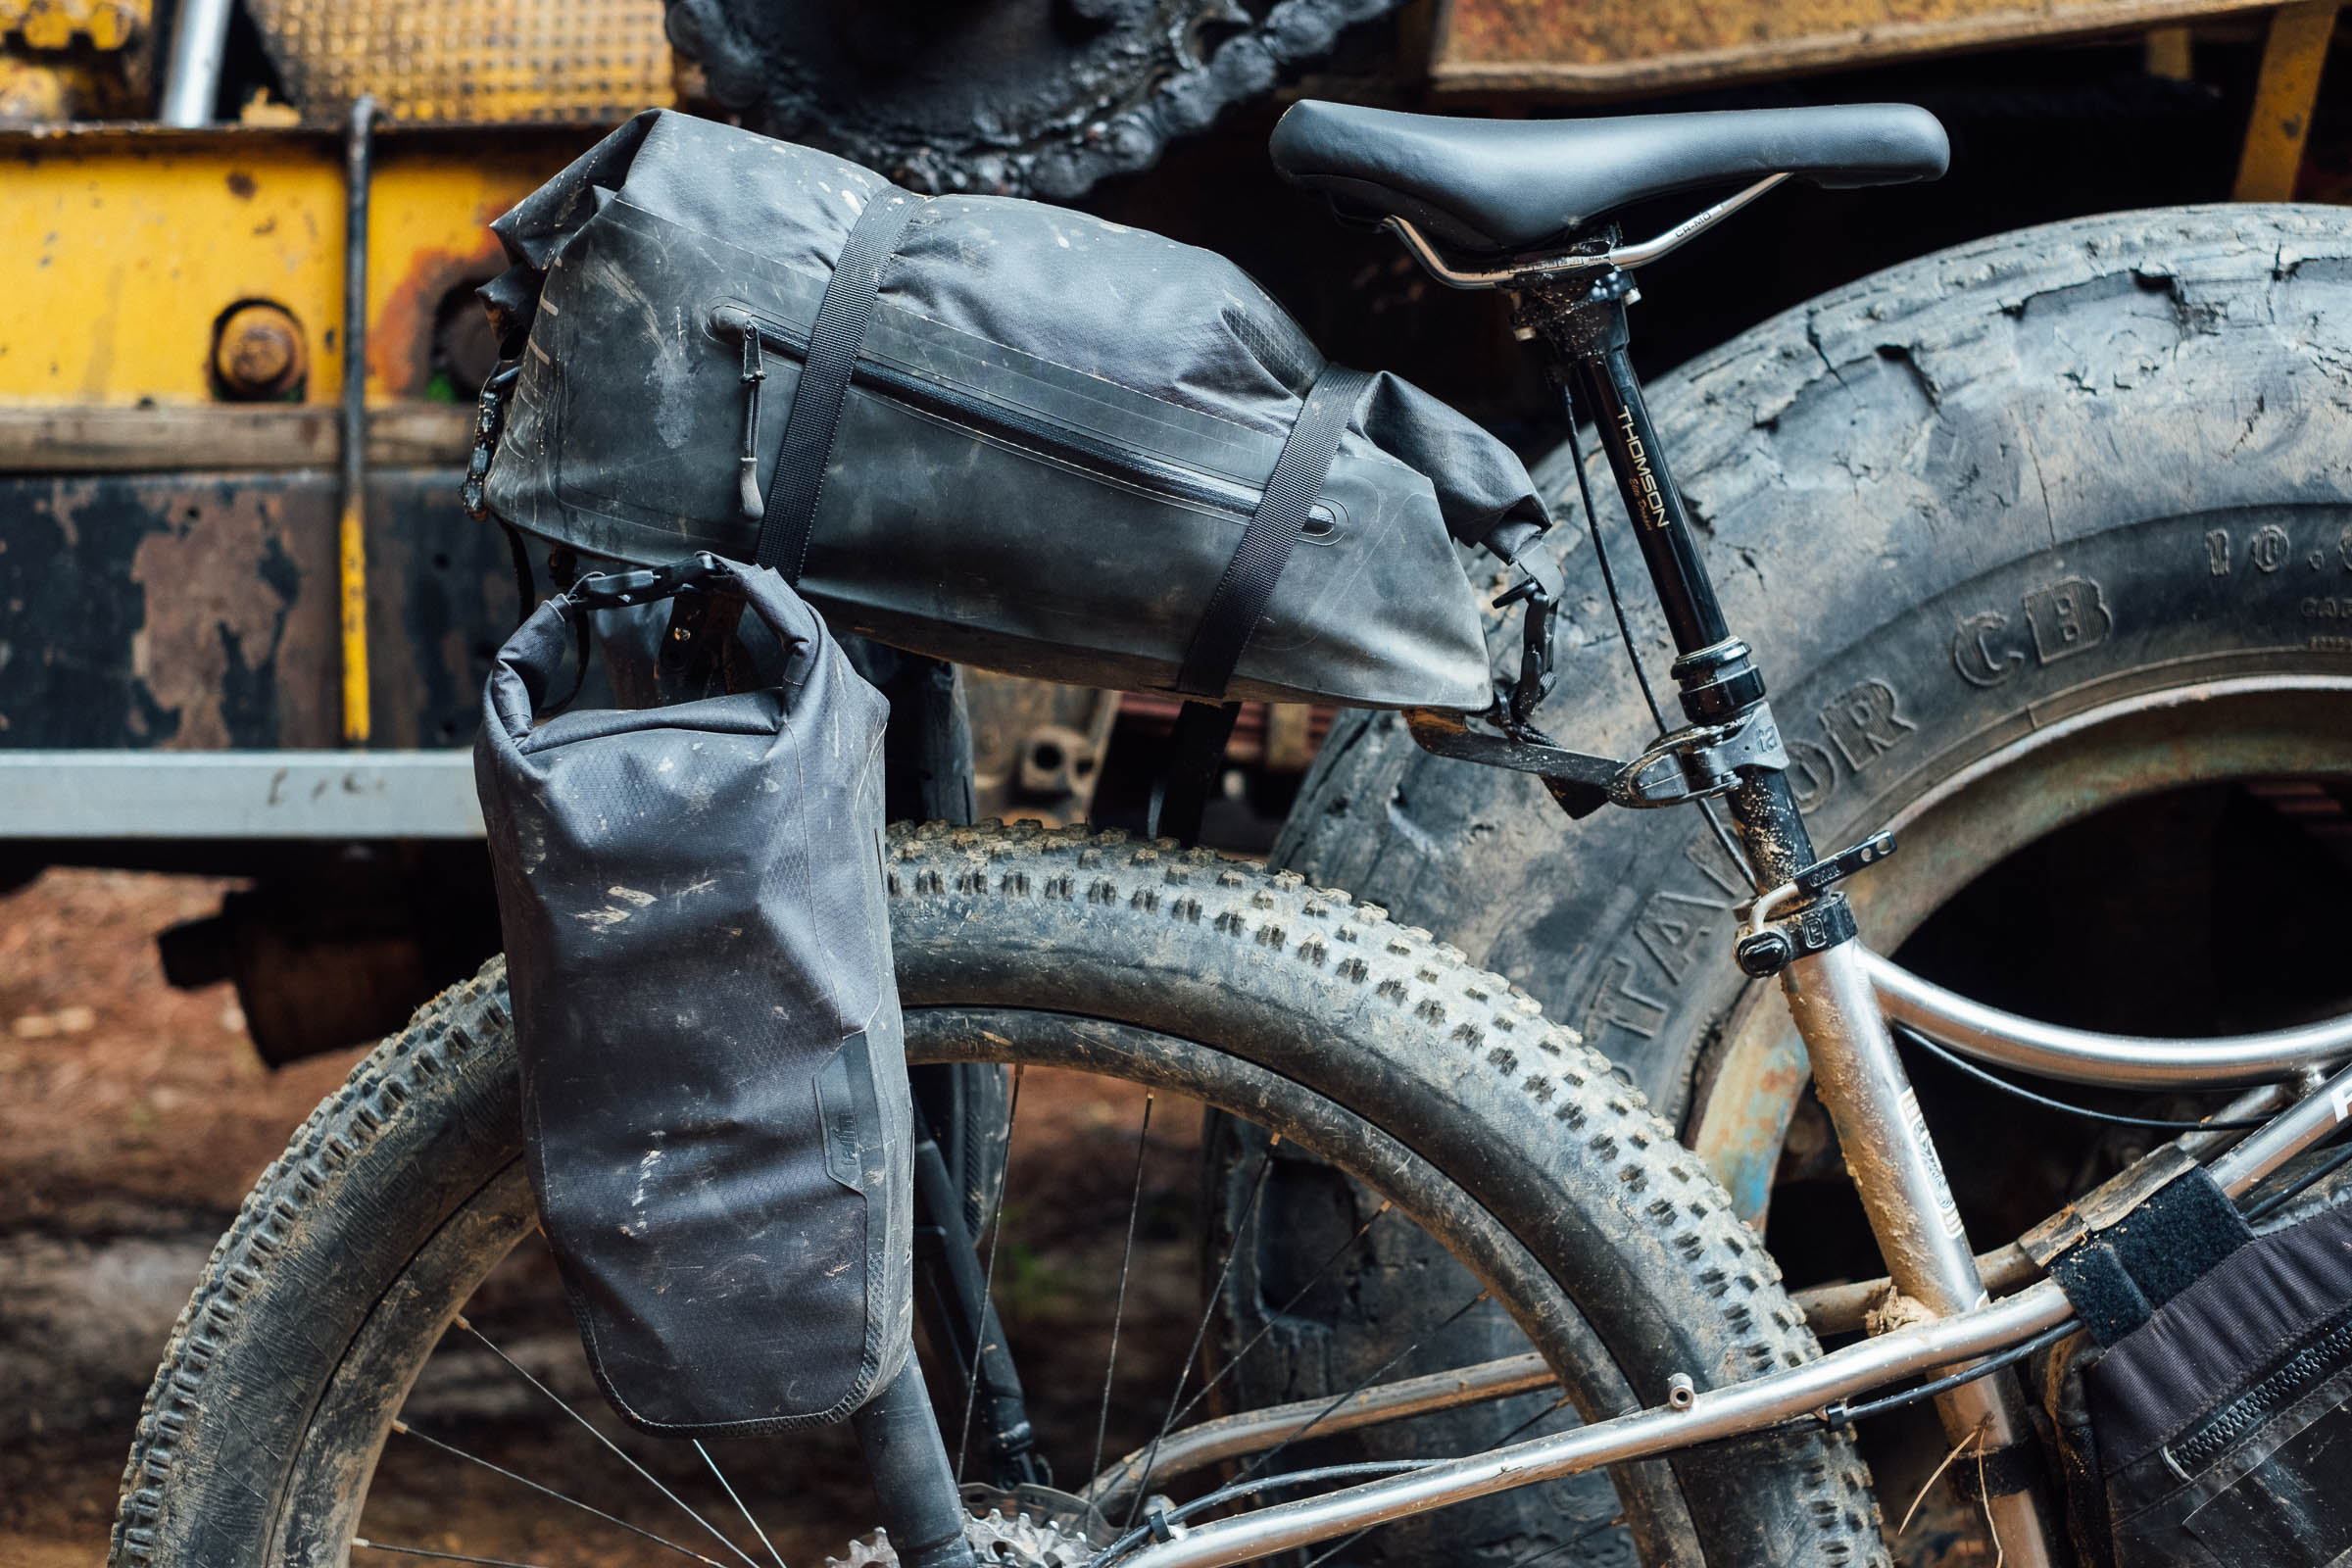
For folks new to this system, in a nutshell, the AeroPack is a unique hybrid design with a soft cargo bag mounted on top of a carbon or alloy arch. It attaches in two spots: at the rear axle using a clever clamp system that gives it near-universal fit thanks to their unique thru-axle, and around the seat tube or seatpost. While there were some quirks—especially with SRAM Transmission—they’ve done a good job ironing out those compatibility issues creating a very stable rack-like system.
What’s the Difference?
So, what’s new with the Tailfin CargoPack? First off, the CargoPack (or AP18 Cargo) isn’t a replacement for the original AeroPack bag. Rather, it’s designed to sit alongside it. Like the original AeroPack, it works with both the integrated AeroPack system and the AP18 rack setup. I’m using it on the integrated version here, but the bag is cross-compatible with either platform using the appropriate hardware.
The goal with the new Cargo version was to offer a more modular storage option, with updated features based on rider feedback. Tailfin leaned on their R&D Division and customer notes to figure out what people loved about the original and what they’d change. The biggest asks? Pockets and easier access. And that’s exactly what this bag delivers.

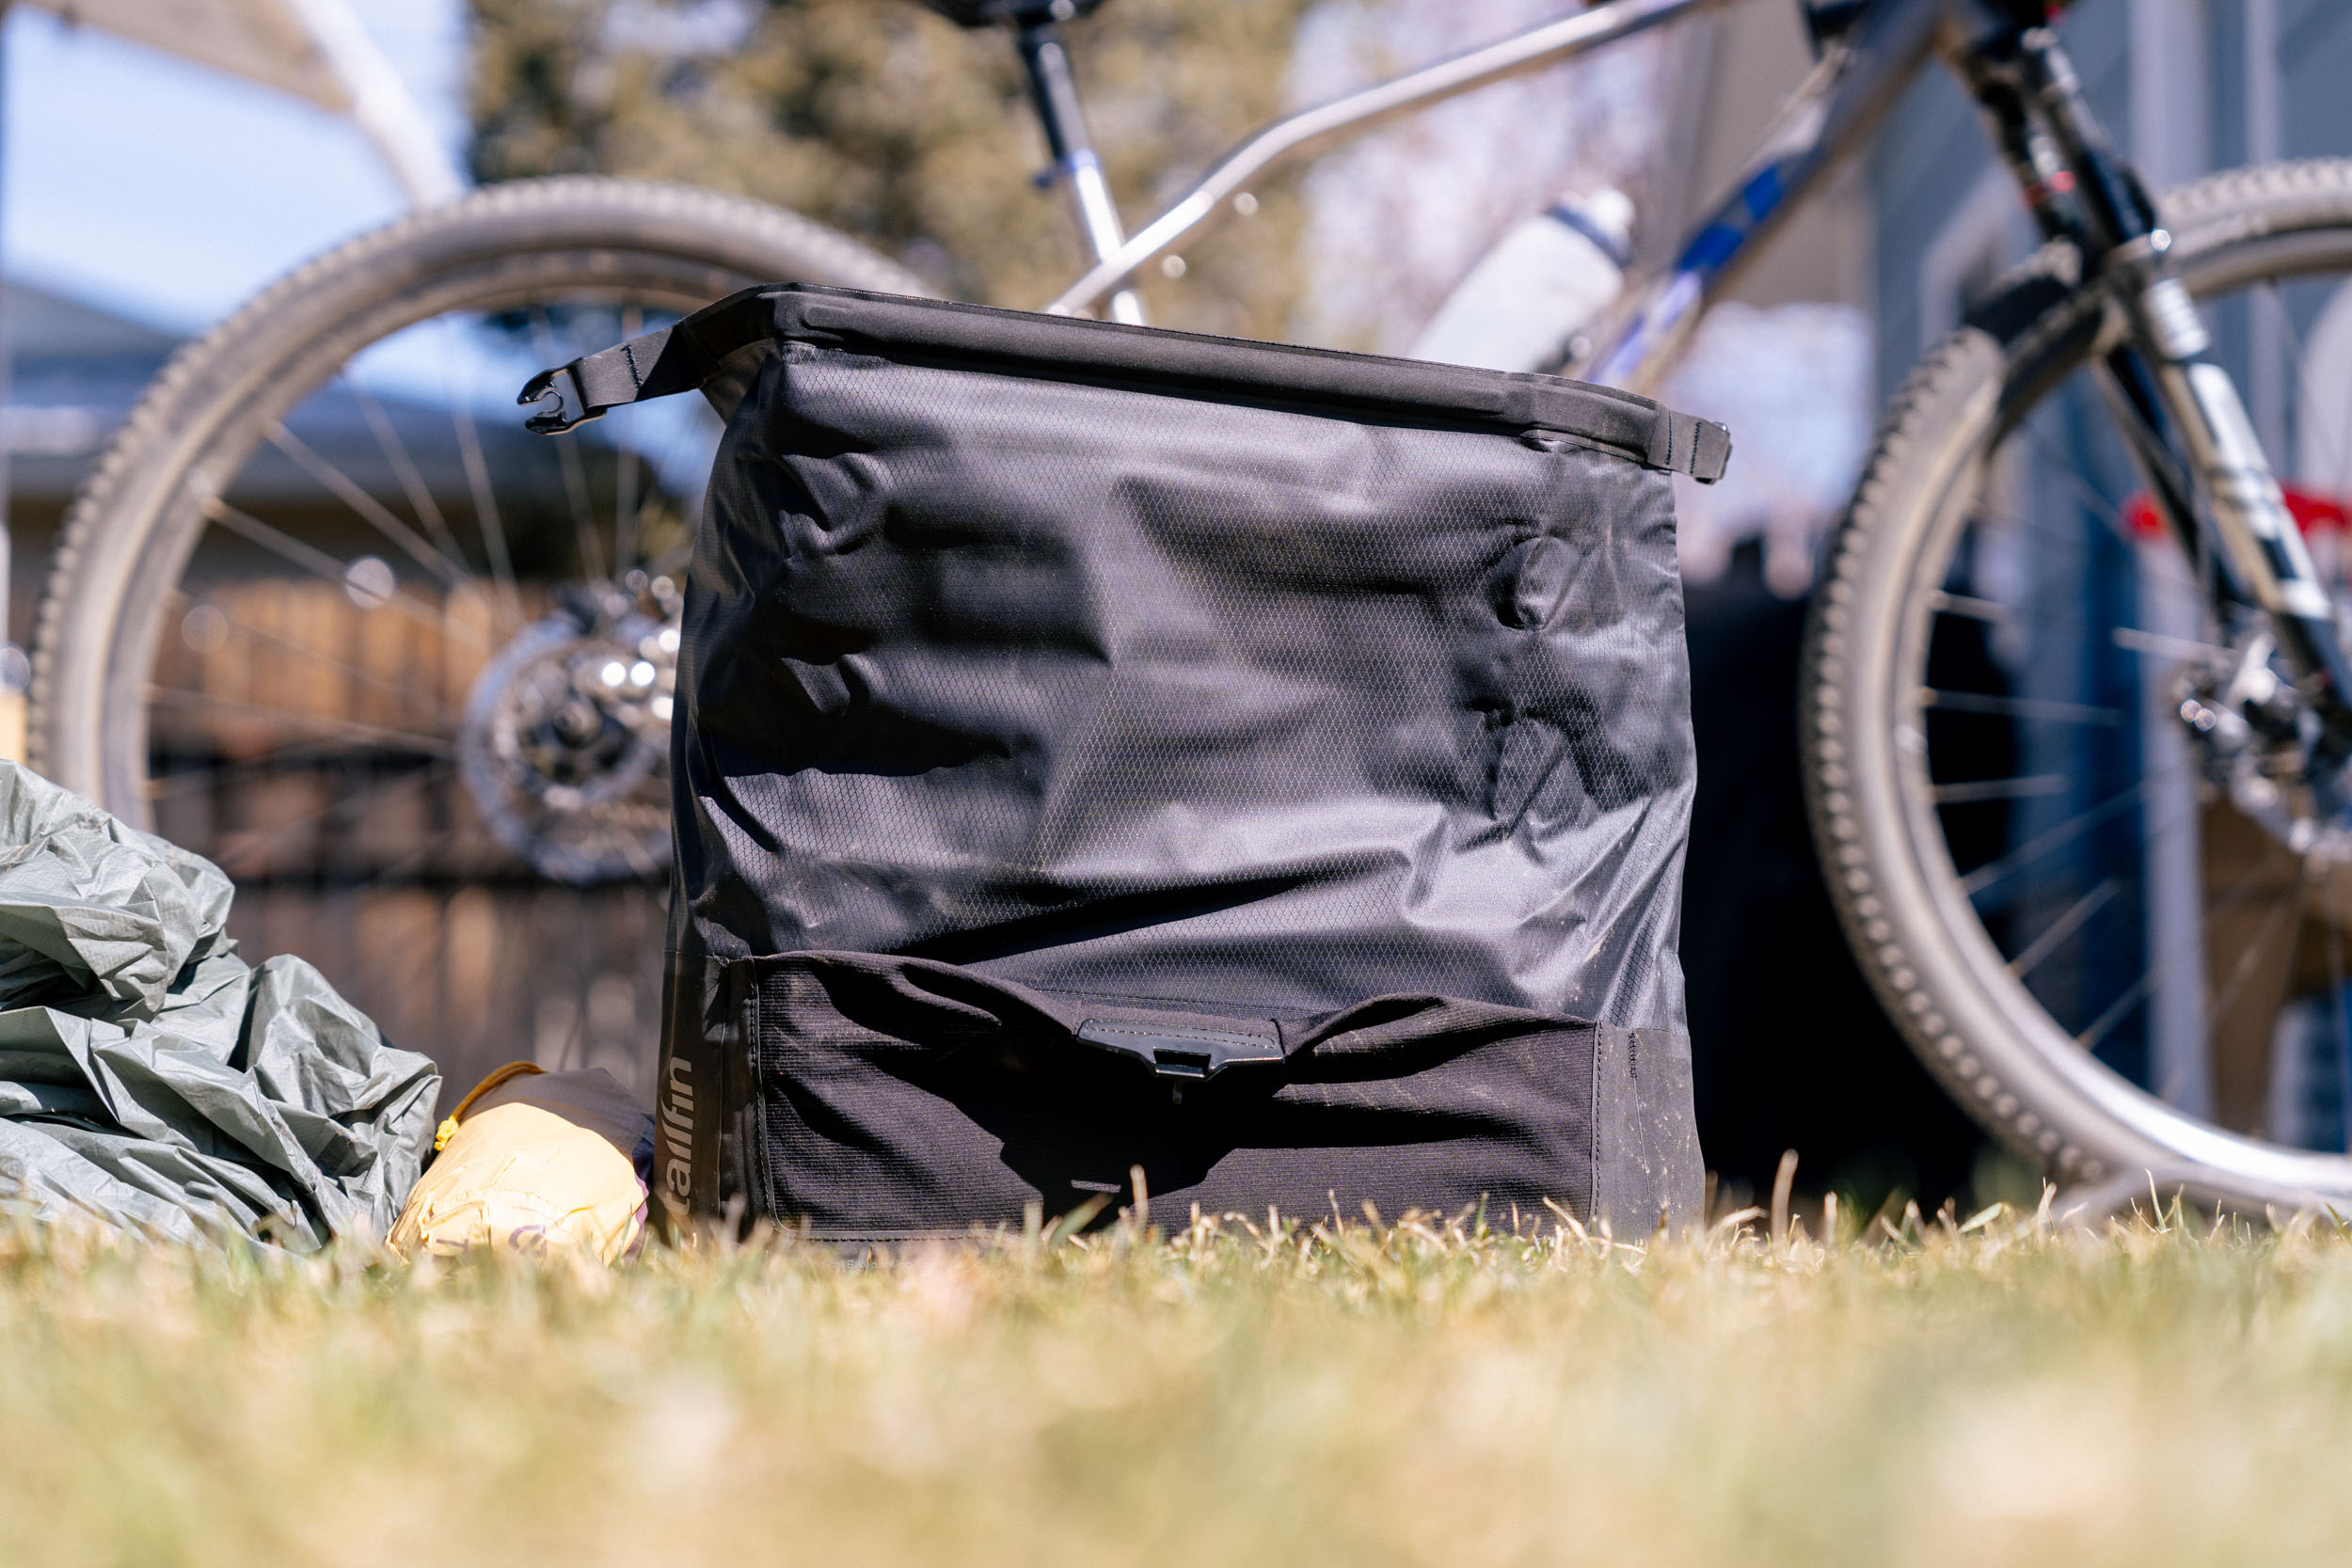
Both the original and the Cargo versions use roll-top closures to keep things sealed and dry. But instead of rolling it down and connecting via buckles on the front and back, the new version rolls toward the center and clips to itself. It’s a small tweak that results in a cleaner, more compact pack. Tailfin also dropped the side zipper, which not only acted as an access point without undoing the whole system but also as a way to purge air. Instead, they added a proper purge valve that’s found on many other bags in the industry. I think I first time I saw this was on a welded Revelate Terrapin dry bag back in the day.

The most significant addition is expandable mesh pockets on both sides of the bag. These first showed up on their new Bar Bag and were an instant hit, so it only made sense to bring them to the back—kind of like cargo pants for the bike. These pockets add around three liters of usable space, which is great for tossing in layers, food, or anything you need to access on the go—like my small tripod for gathering footage for this review. That said, they’re not just for casual riders. Ultra-racers in their R&D team have been stoked about the added flexibility, and I can see why, as it takes less time to pack things.
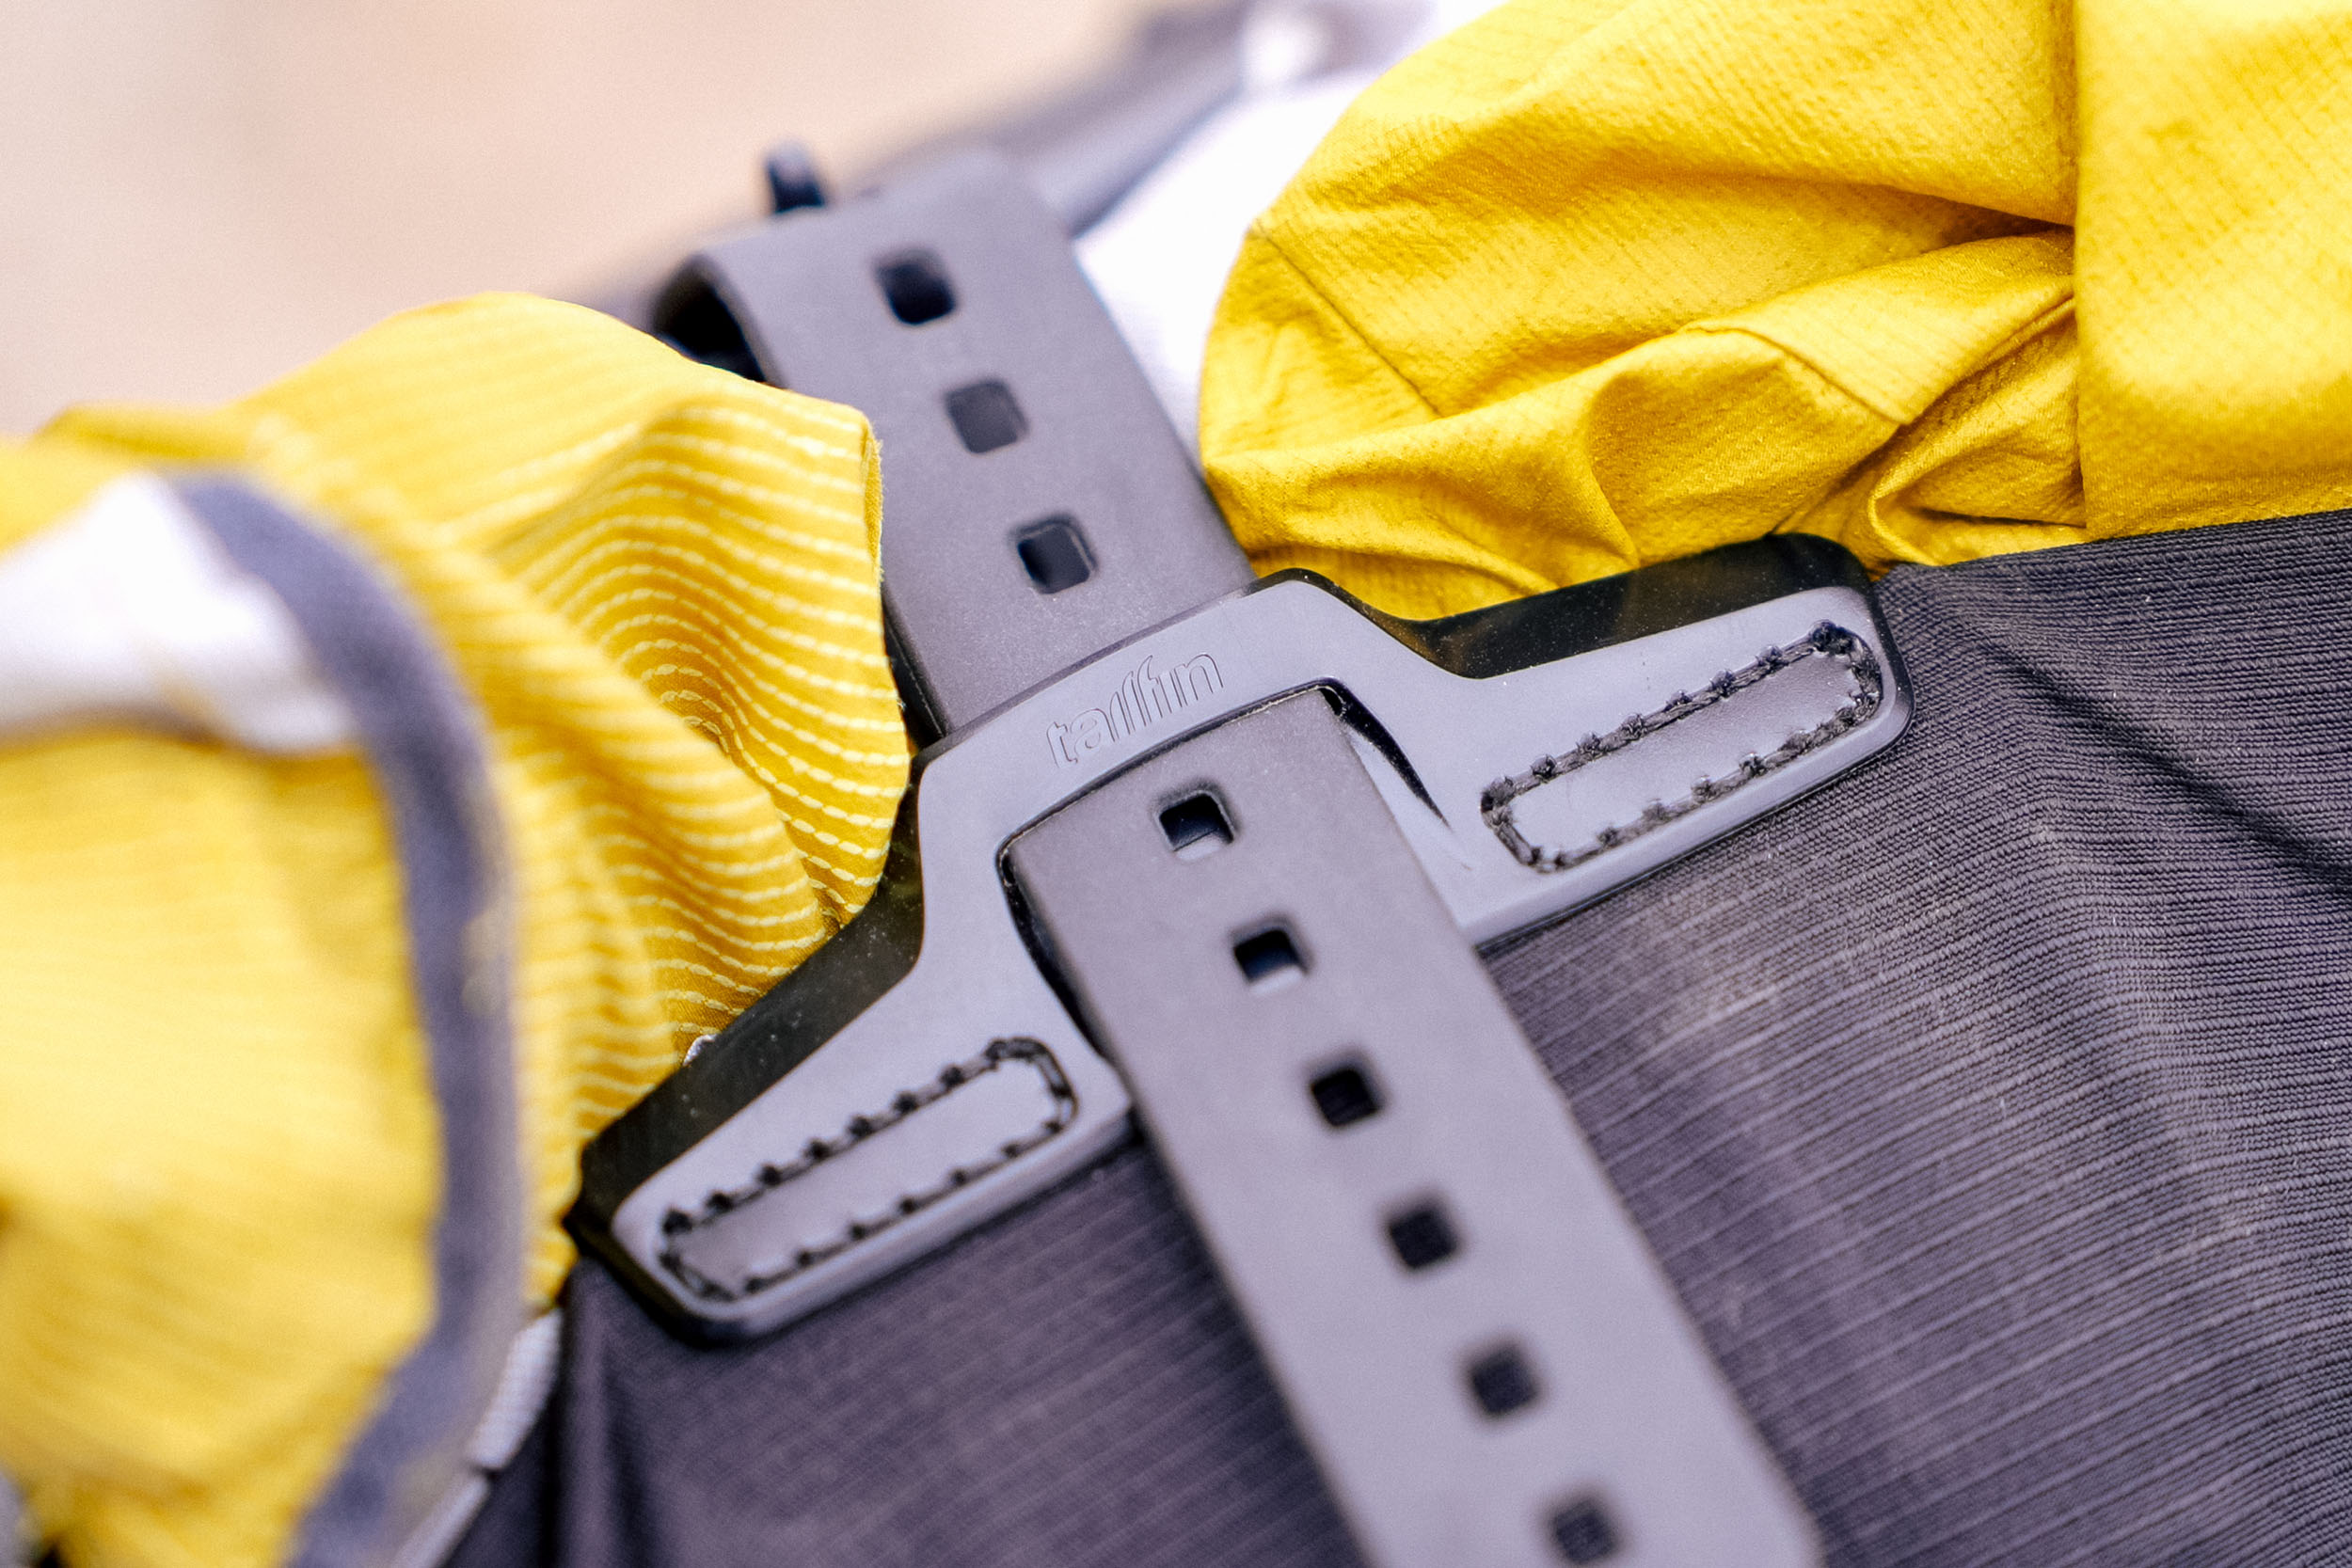
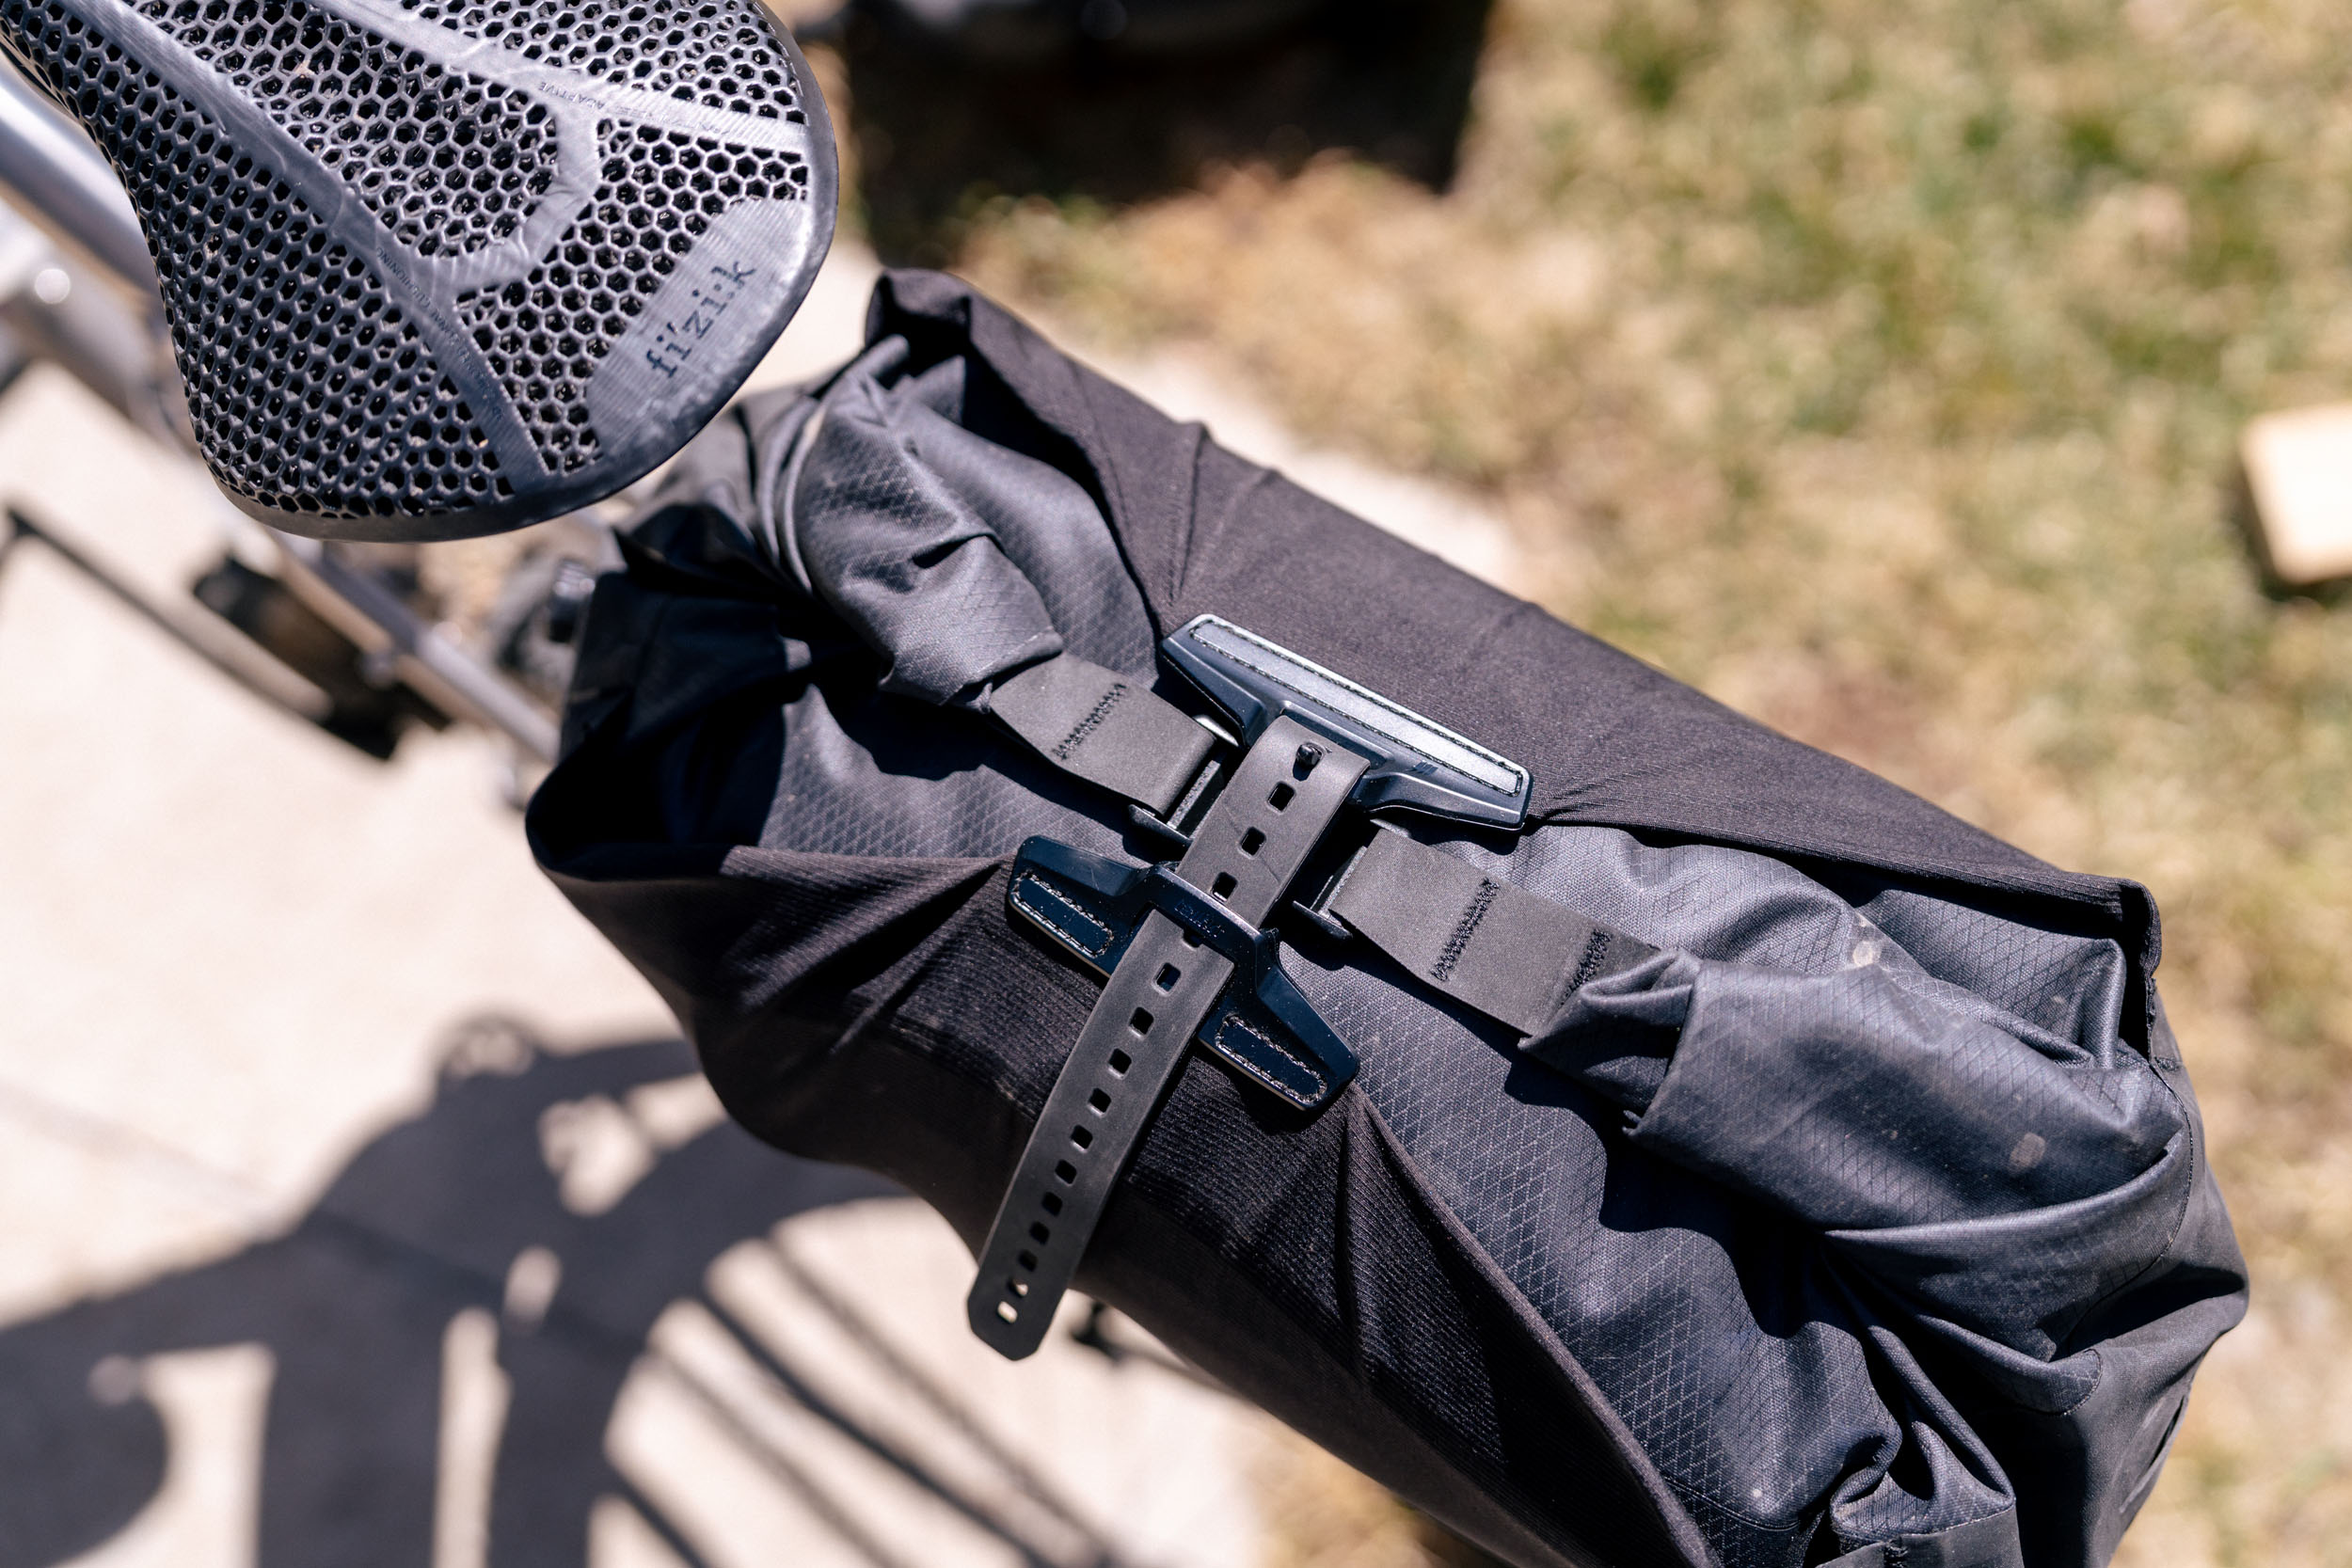
Accessing the original compartment is now a little easier, too. The original used two compression straps, front and back. Now, it’s one long TPU strap that wraps around the middle, securing the main load while also locking down anything stashed in the side pockets. It’s very adjustable, and it’s long. Really long. I’ve found that it’s easier to use and less finicky, especially when tightening down an uneven load.

Rounding out the design, the bag includes three carbon rods that help retain its shape and prevent lateral bulging when the main compartment is fully loaded. The Cargo bag also features a bright contrast interior, which is a nice upgrade over the all-black interior of the original AeroPack. There’s added reflective detailing on the exterior and now a single row of slits on the back for lights.
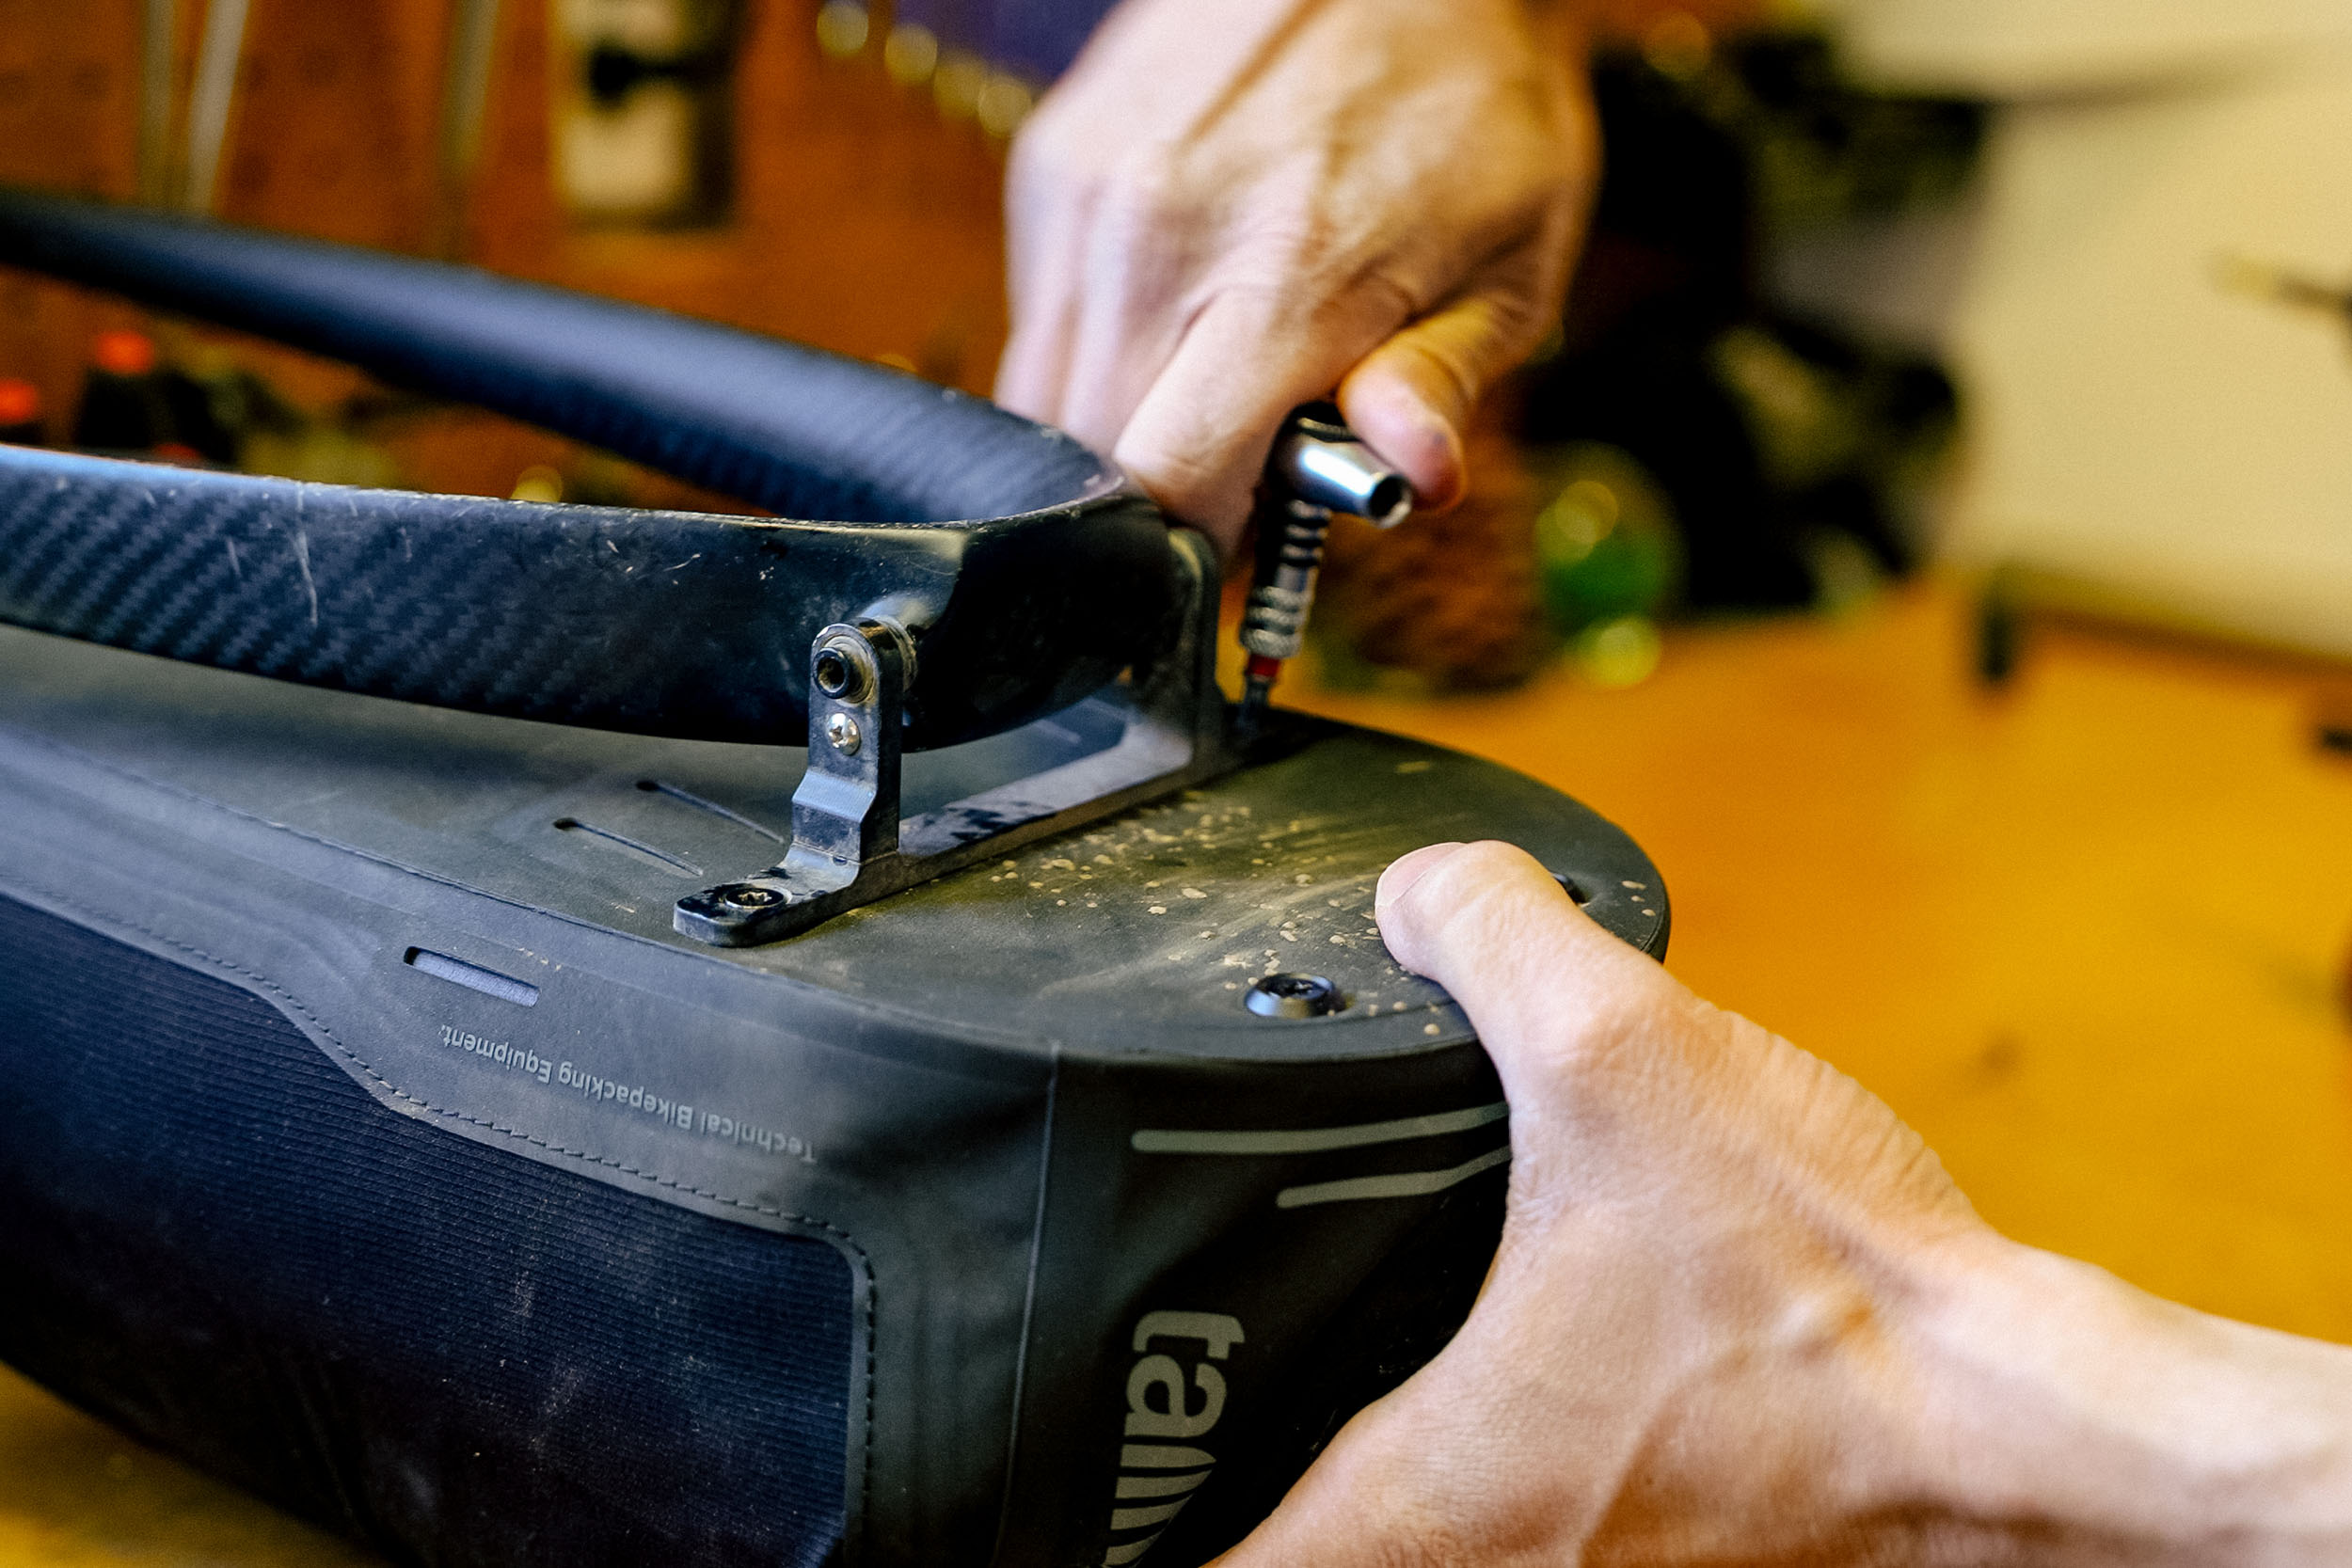
Installation
The install is super simple. If you already have the AP rack or AeroPack, you’ve got two options: buy new hardware from Tailfin, or just reuse the hardware from your original bag. In my case, with the AeroPack, all I had to do was remove the two screws in the back that connect to the arch and the two up front that mount around the seatpost or seat tube. Then just bolt them onto the new Cargo bag. Whole process takes maybe five minutes. Just make sure you’ve got some threadlocker—if it’s not already applied—and you’re good to go.


In Use
This is still more of a first-look than a full review, as I’ve only done a handful of rides and haven’t taken it out on an overnighter yet. Still, my early impressions are positive. I already prefer this setup to the original AeroPack bag—not because it carries more (though Tailfin does say it’s for riders who want to pack more), but because its a tighter system with a bit more flexibility. Literally, these pocket can stretch forever.
One thing I noticed is when you roll the top and compress the closure system by tightening the buckles together, it takes a bit more dexterity and effort compared to the old front-and-rear strap setup. But the trade off is worth it, as it results in a cleaner, more balanced pack. With the previous system, tightening from both ends sometimes made the bag look stretched-out and uneven, like it was compressed but not actually packed correctly. Also, by shifting the roll-top connection to the middle, it pulls some of the weight slightly rearward, which gives a bit more clearance when compressing a dropper post. It’s not a huge amount, but for those running a dropper post, even a few millimeters can make a difference.
One issue I still have—especially on rough terrain, like descending tech on a hardtail with the dropper slammed—is hitting my butt on the bag. It’s tall compaired to other systems out there. And while that’s not the end of the world, if you want to use this bag on some super-steep singletrack, your butt will likely rub the bag quite a bit. I’d love to see a lower-profile version someday that sits tighter to the rear wheel.

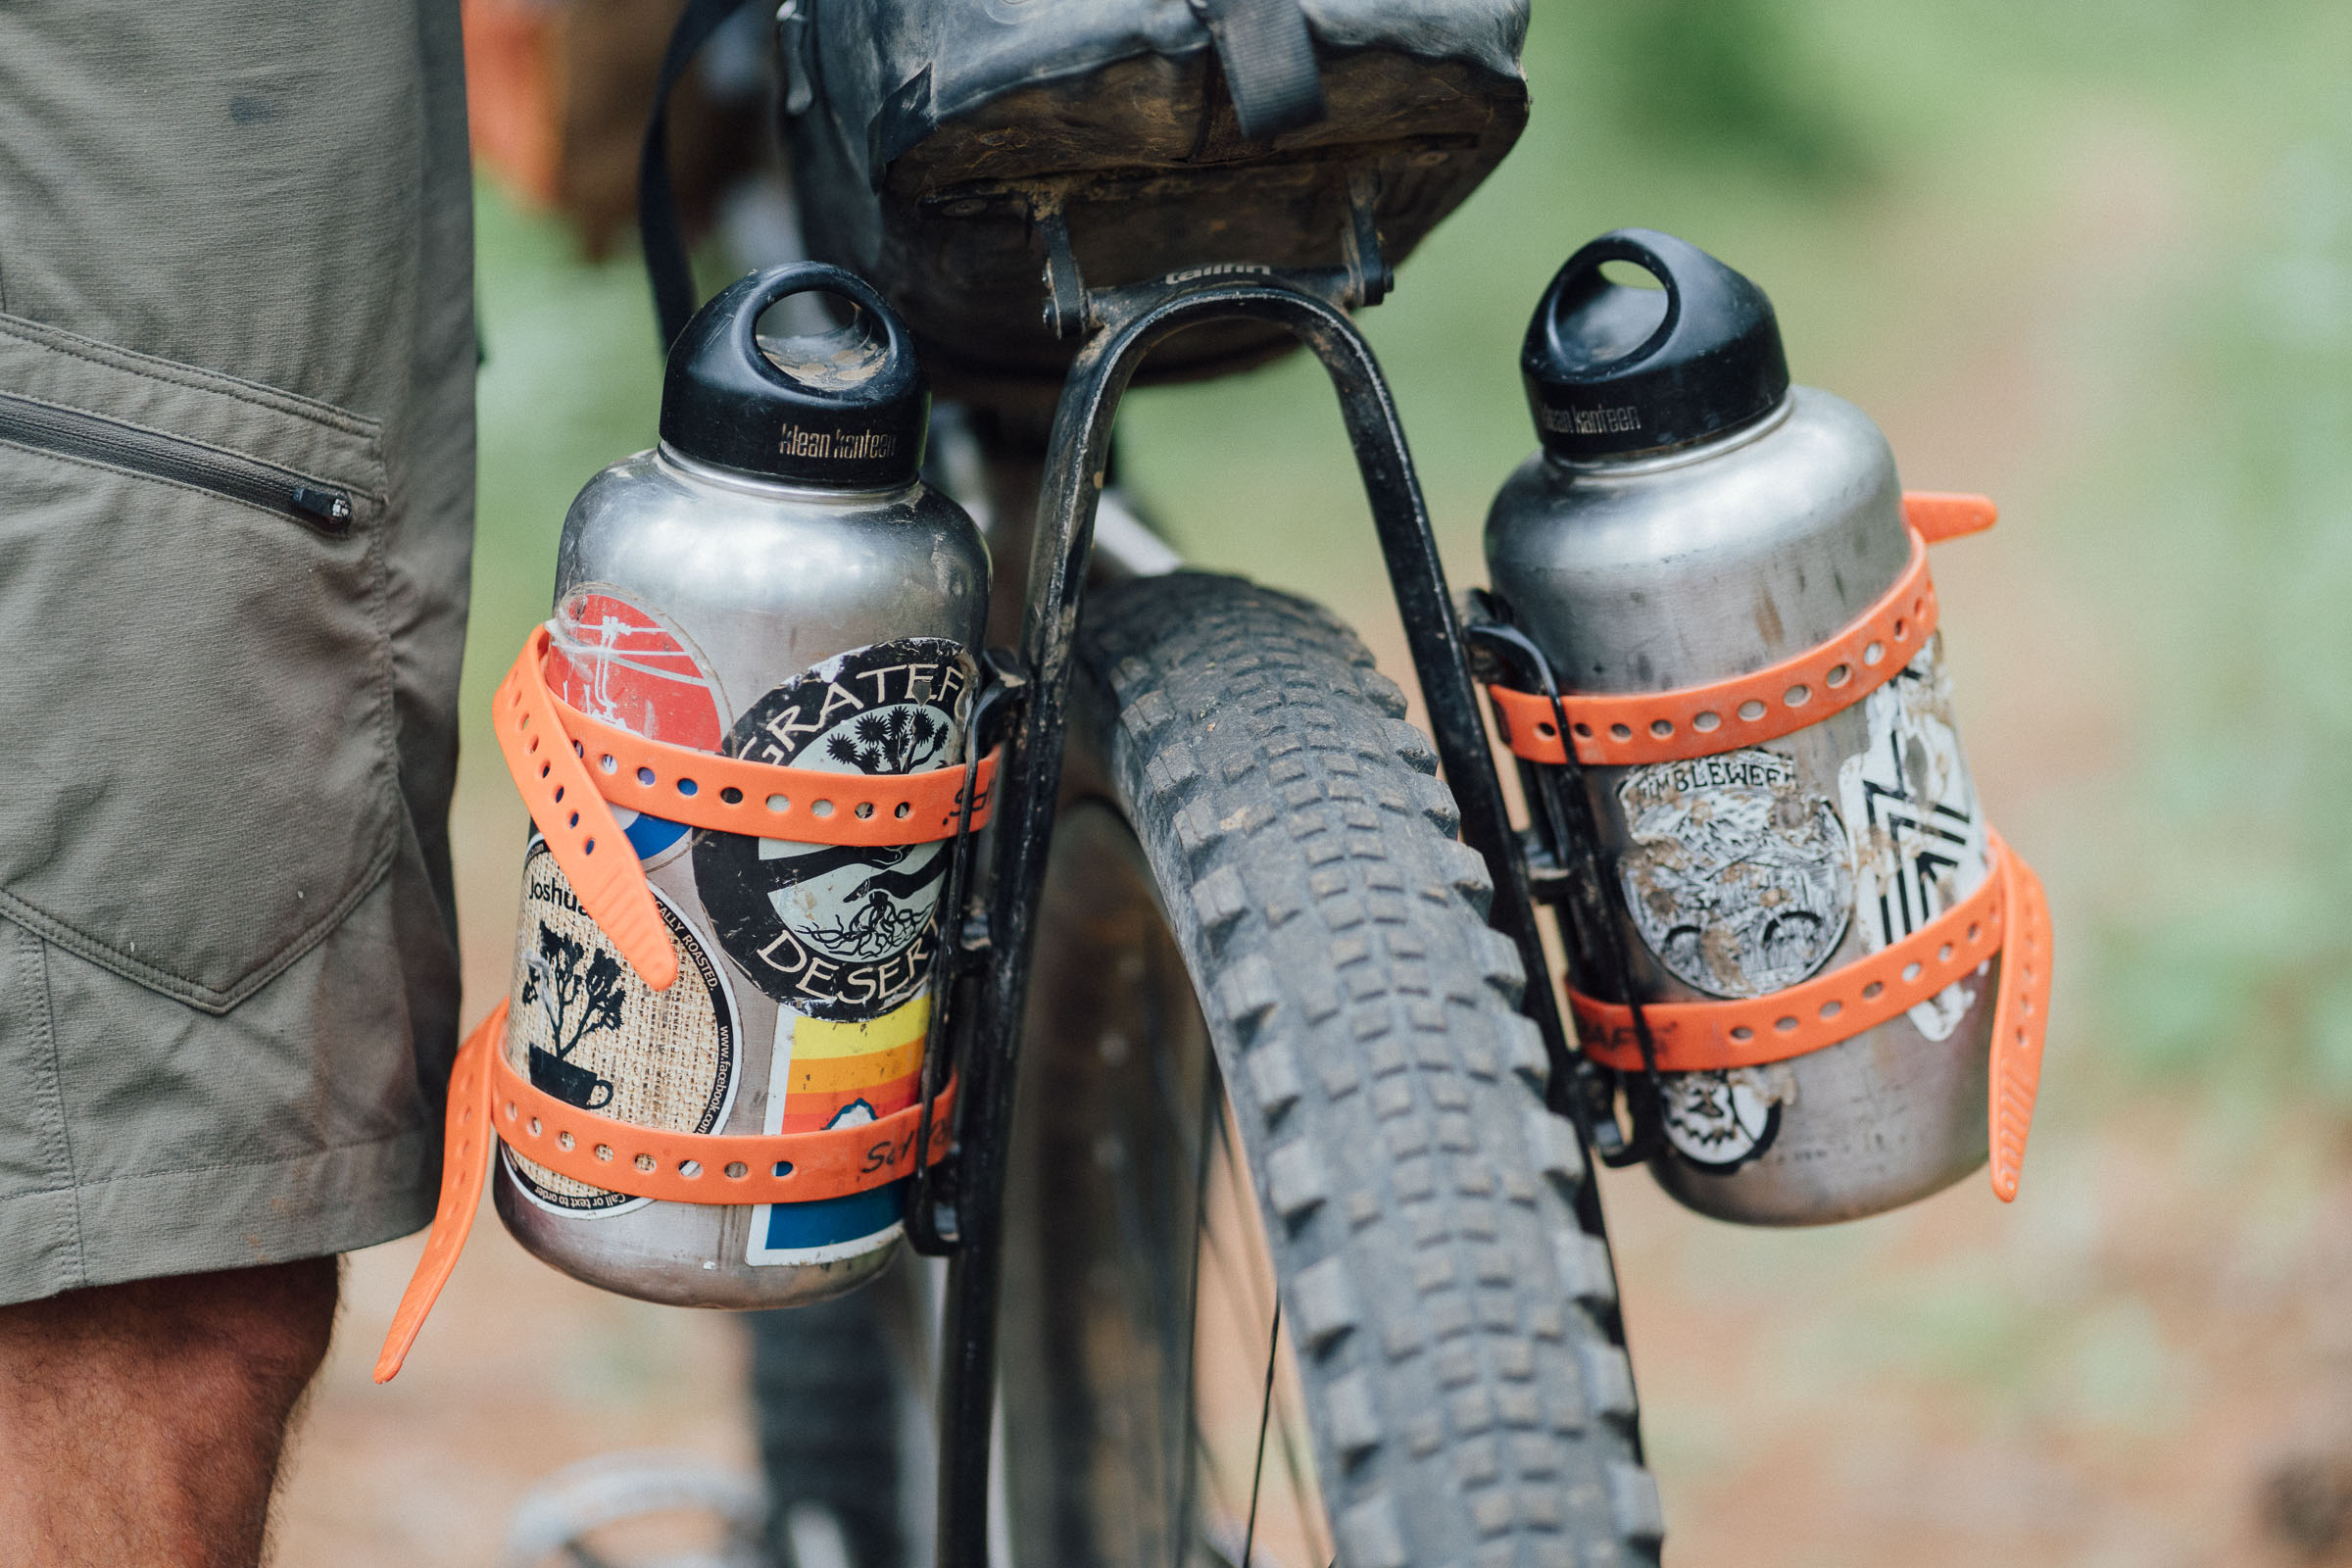
Another small change worth mentioning: on the underside of the rear, there are now two mounting points spaced at 64mm to fit any cargo cage or water bottle cage. So, if you want to carry a bottle or extra gear, it’s doable. There’s also a dedicated light mount up top, and the usual rear-facing light slots are still there, just slightly repositioned.


Some Thoughts from Cass
Words and photos by Cass Gilbert
In 2023, during one of my visits to the UK, I swung by the Tailfin office. It’s located in Bristol, where I used to live and still love to ride, and where all their products are developed. I’d seen various Cargo versions of the AeroPack in circulation, at least on Instagram, and being a big fan of the original bag already, I asked if there was one I could check out.


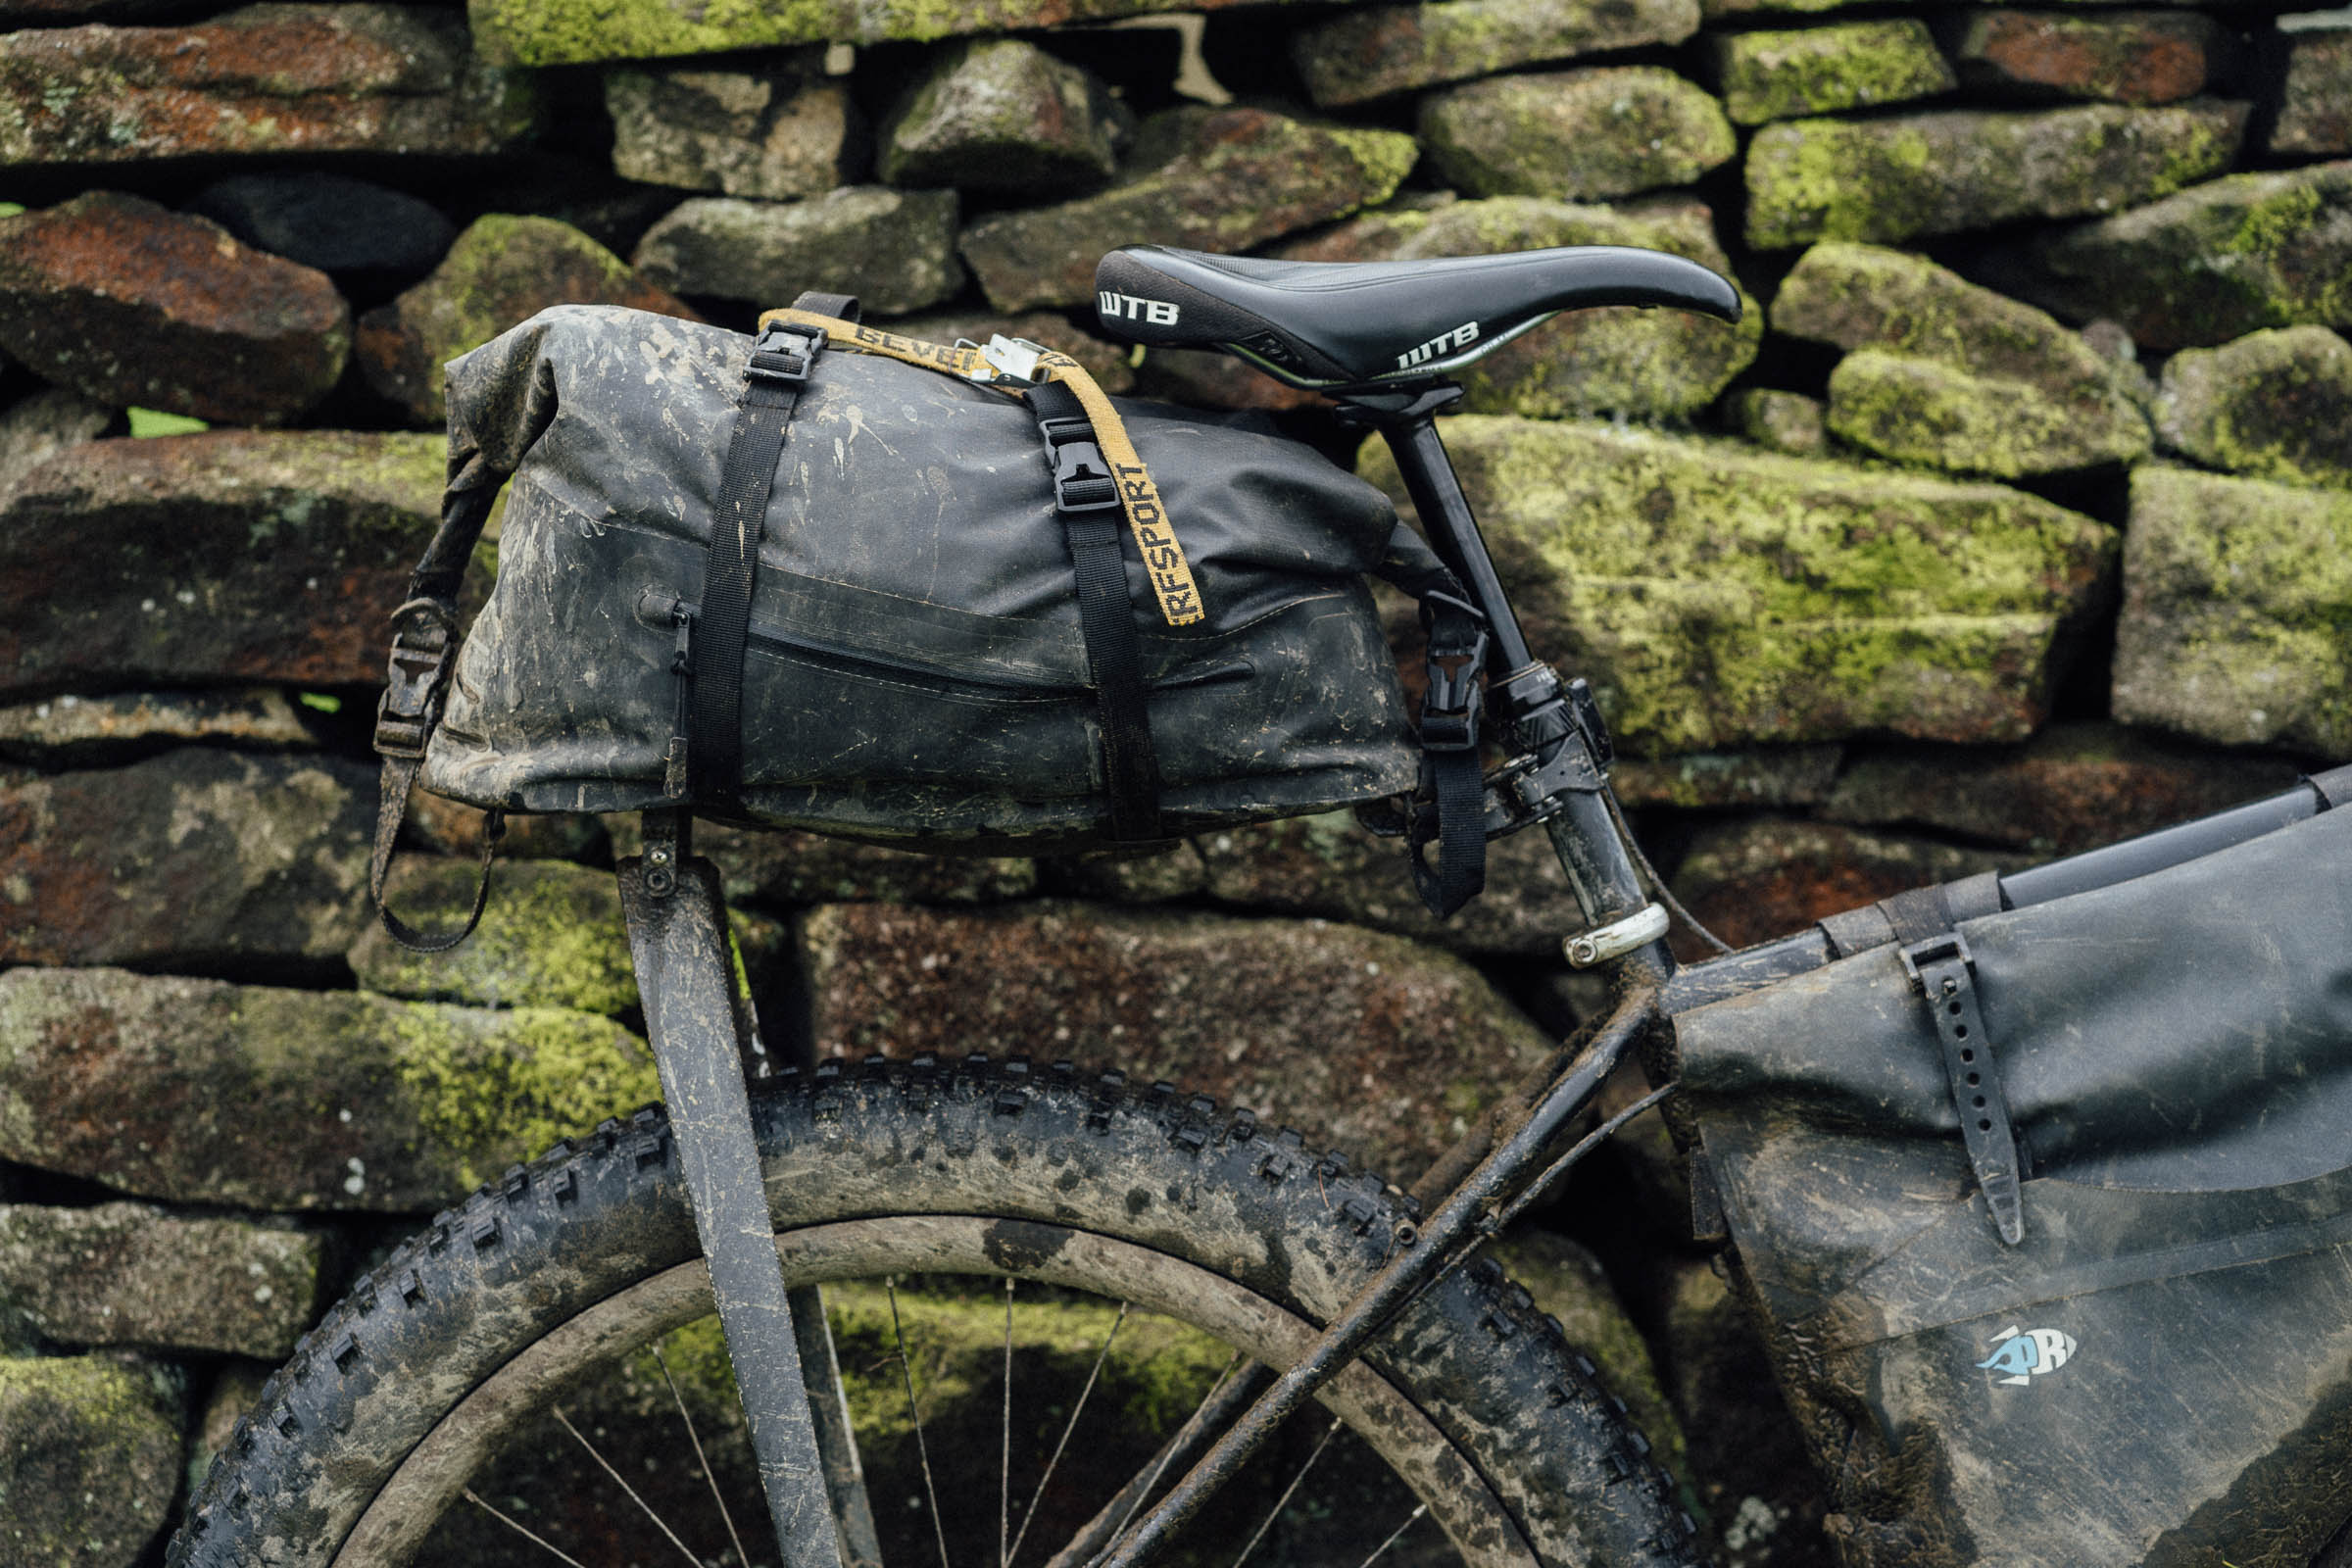
I’ve always been impressed by how much time Tailfin dedicate to developing and testing their products before launching them, and as I write this now, I realise it’s almost two years since I’ve had mine. Although I’ve not used the Cargo version of the AeroPack exclusively in the interim, it’s certainly been enough time to get a real feel for the design, even if the materials themselves are different from the finished version. As you can see, the skin on my prototype Cargo AeroPack uses Dyneema, the buckle was also 3D printed, and there’s no valve for expunging air.
Still, conceptually, it’s largely the same and to me, the addition of these stretchy cargo pouches and the Cargo’s new closure system serve to elevate an already impressive product—one that’s pretty much become the default way I carry gear on the rear of all of my bikes. The pouches are super handy and I tend to use them for stashing items I need regularly, like waterproofs in the rainy season, or a windproof, wooly hat, and gloves in colder climes. I also just load them up with snacks, or my Pact Lite Bathroom Kit. Despite what I’ve jammed in there, I’ve not had any contents jettison out, largely because the pouches themselves are cleverly folded over, preventing even smaller items from launching into the ether. I’ve noticed that if you do overstuff them and you’re running Tailfin’s 16L Mini panniers, the X Clamp lever can catch when you remove them, but that’s a pretty extreme use case.

The closure itself makes the bag considerably quicker and easier to access, compared to the four buckles used by the original system, yet it still feels very secure. I always found the nylon straps on the original design prone to sliding to the side, and generally to be on the fiddly side. In contrast, the single cross strap is now nice and grippy, and less fiddly to use. I can’t comment on the durability or waterproofness of the body of the bag given that mine is a prototype and isn’t seam sealed, but the pouches have certainly proved resilient to being leaned up against walls without catching or tearing, or have they become saggy in any way.


At this point, my one real wish for the AeroPack, and something that I feel is long overdue given all the sizes of framebags and top tube bags they now offer, is the option of a shorter arch for smaller frames. This would really help riders who want to pack their AeroPacks to the full and still benefit from the bag’s inherently dropper-friendly design. It would look a lot neater, too. Other than that, I’d say this bag is really dialed!
- Model Tested: Tailfin CargoPack
- Actual Weight: 573 grams (bag with no hardware)
- Place of Manufacture: Taiwan
- Price: $205 (bag only, see below)
- Manufacturer’s Details: Tailfin
Pros
- Faster to pack and unpack
- Pockets add easy access and extra storage
- New design allows for a tighter pack and more room for a compressed dropper post
- Improved waterproofing
- Cleaner, more refined look compared to the original AeroPack design
Cons
- More options now, which might make it harder to choose
- Still expensive
- Pockets can look a bit messy when packed
- Arch is unchanged and still easy to tap with your butt on steep descents
Wrap Up
All in all, the new Tailfin CargoPack (or AP18 Cargo) is a smart, practical evolution of the original design. It’s not a replacement; it’s an alternative. And for me, it’s the better choice. It’s easier to use, especially with the new single-strap compression system. It doesn’t require as much adjustment, and it packs a load much tighter and cleaner. That said, both versions work well. Both are rock solid on the bike, and both offer a ton of usable space. But if you’re looking for a little extra expandable storage, easier access, and a more waterproof overall design, the new Cargo system is probably the better fit.
I’ll hang onto my original AeroPack bag, but I don’t see myself using it as much. The side pockets alone make the Cargo version way more useful for the kind of riding I do. When it comes to options, here’s what you’ve got:
Just the bag – If you already have an AeroPack or Rack Top Bag with the existing hardware, you can just buy the Cargo bag on its own. That’ll run you $205 USD.
Bag + Rack Top Bag connectors – If you need the hardware, there’s a bundle with the connectors for $260
Full AeroPack upgrade – If you’re going all-in and want the full CargoPack setup, it’s an upgrade cost of $40 over the standard AeroPack, which will vary depending on what rack type you get, aluminum or carbon, pannier or no pannier.
Further Reading
Make sure to dig into these related articles for more info...


Please keep the conversation civil, constructive, and inclusive, or your comment will be removed.