


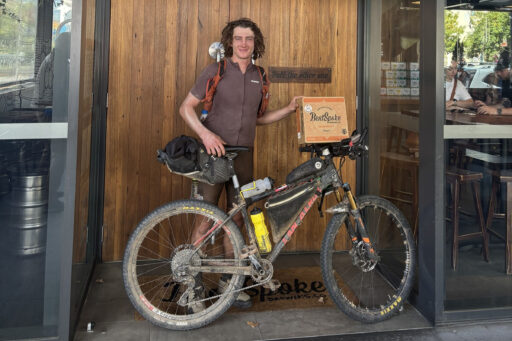
This week’s Reader’s Rig comes from longtime contributor Joachim Rosenlund in Berlin, who talks through the stunning Omnium Cargo V3 he loaded up to haul his young daughter on a bikepacking trip across Norway. Get to know Joachim and his Omnium build here…
Words and photos by Joachim Rosenlund
Hi, I’m Joachim, and today I’m sharing a little about my latest kid-hauling rig. Having children doesn’t mean you need to give up adventure. Just the way you set out inevitably must change. But if you see it as a new and welcoming challenge rather than a problem, you’re on the right path.


This is the third bigger bikepacking trip we have undertaken with our now six-year-old daughter onboard. For the first two trips (on first trip, she was 11 months old; on the second one, she was three), we rode our “regular” bikepacking rigs and just added a child seat (Yepp Mini) to the setup. This time, however, we (she) wanted to bring her own bike, which added a new transport challenge. She rides 5 to 20 kilometers per day depending on terrain, roads (traffic!), and mood.
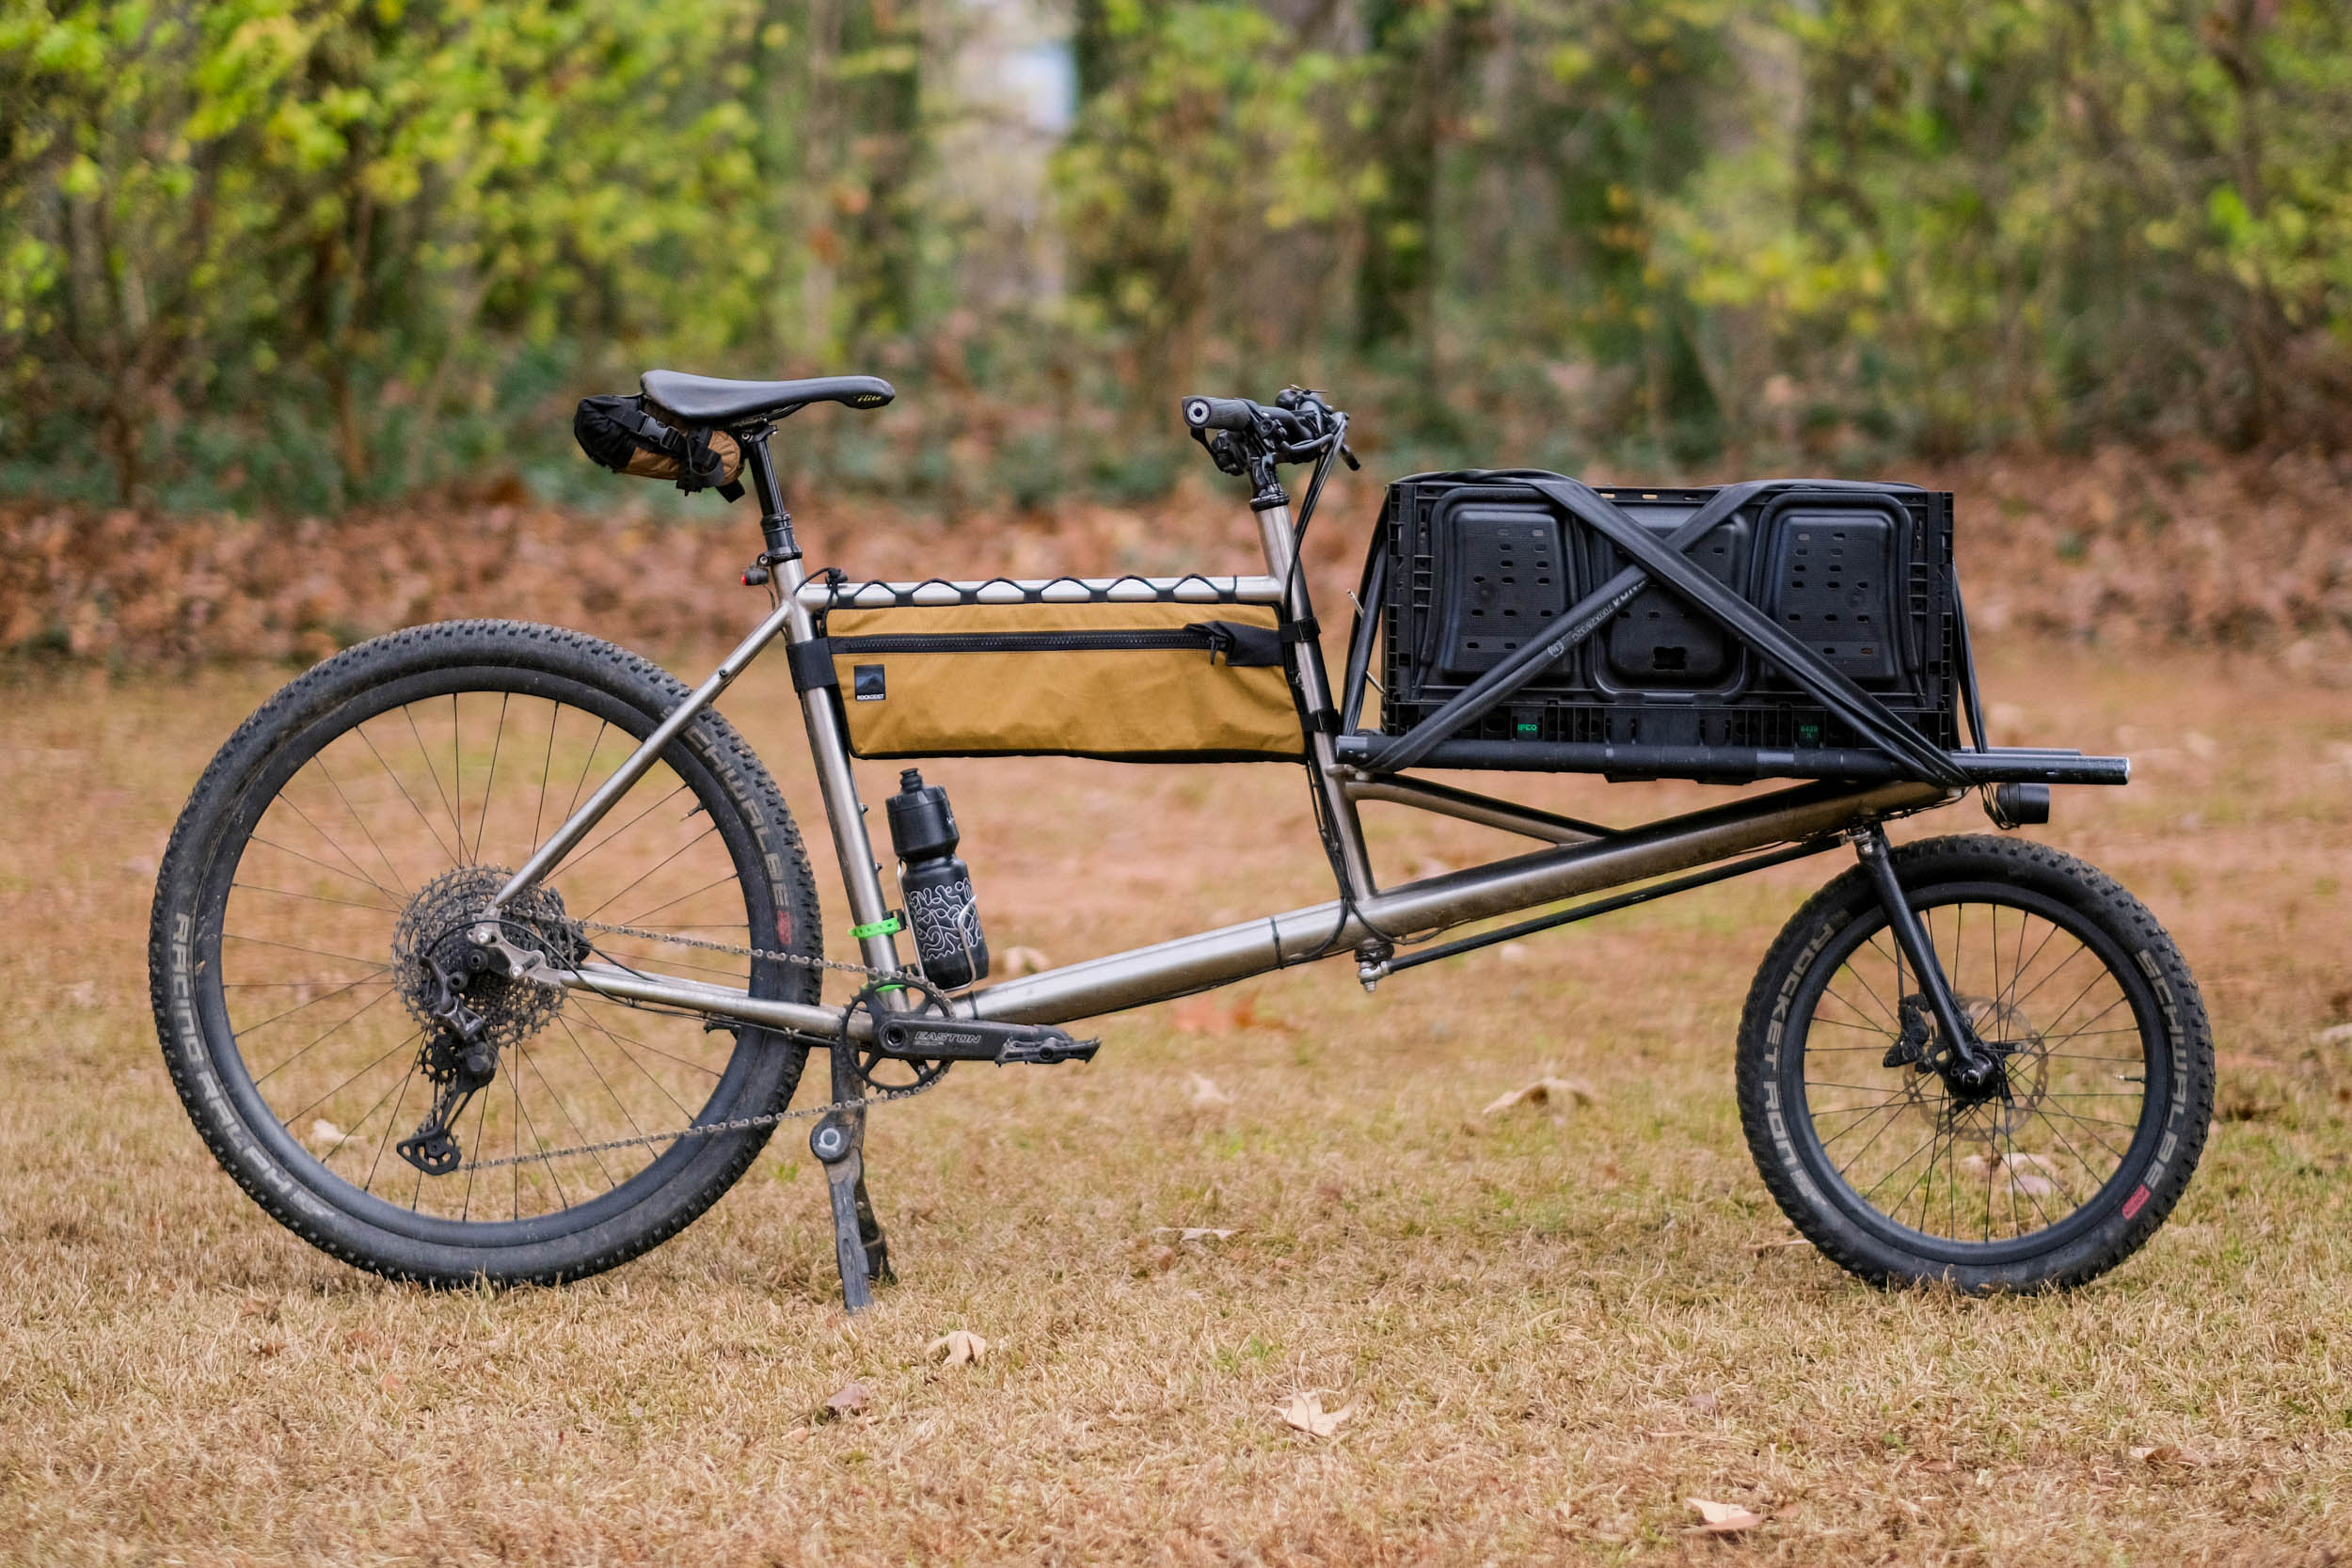
We looked at several bikes, but once we saw and tested the Omnium Cargo, the choice was an easy one, especially with the Omnium Backrest. The Omnium is small and light enough to be a real treat to ride, whether you ride road, gravel, or trails, but sturdy enough to take on big hauls—such as my daughter, her bike, and a huge load of luggage (you just need more stuff when you are traveling with kids). We got the large, which, for me at 190cm (6’3″) tall, was a little bit of a compromise, so my wife can ride it too. Hence, the Thomson setback seat post and the 110mm Velo Orange stem.


The build is not fancy but rather a combination of new stuff and stuff from my parts bin. It is still a very specific build, customized for this trip. Norway is basically one big mountain, meaning there are hardly any flat roads; you are either climbing or descending. And the climbs/descents can be intense. With an average of 10 to 15 percent on most climbs and some as steep as 25 percent, the drivetrain needs to reflect the level of effort. That’s why I went with an absoluteBLACK oval 28-tooth chainring mounted to a SRAM Rival GXP crank and paired with the SRAM GX Eagle 10-52 in the rear. The Oval works wonders once you get used to it, especially on climbs. On the point of the spin where you naturally have the least power, the shape of the rings makes it feel like a 26-tooth, and where you have most of the power, it’s like a 30-tooth. Real magic!
The front wheel is a Spank Spoon mounted to a SON 28 dynamo (expensive, but well worth it!), which I consider a must on any long-distance bike. With the Supernova E3 Pro attached to the extender rack and the E3 tail Light 2, we never have to worry about being seen. In addition, I’m running A Sinewave Revolution USB port from the hub, which keeps the Wahoo Roam and other smaller gadgets top up. It’s a neat little extra, which makes life on the road a lot easier.


For the rack, we used the Omnium webbing for the rear, but we wanted a solid sheet so my daughter could use it as a table during long rides (for snacks, pencils, and so on), so we used an AUGUSTE86 meant for the rear and cut it to shape so it overlaps with the webbing. As it is slightly wider than the extender, I used bar tape to make the extender wider.
- Frame/Fork: Omnium Cargo V3
- Rims: Spank Spoon (front) / WTB i27 (rear)
- Hubs: SON 28 dynamo (front) / WTB (rear)
- Tires: Maxxis HolyRoller 20” × 2.2” (front) / WTB Riddler 29 × 2.4″ (rear)
- Handlebars: SQlab 311 High (740mm)
- Grips: Jones EVA H-Grips
- Crankset: SRAM Rival GXP
- Chainring: Absolute Black Oval 28t
- Pedals: Shimano XT PD-T8000
- Cassette: SRAM Eagle GX 10-52, 12-speed
- Derailleur(s): SRAM Eagle GX
- Brakes: SRAM Code RCS
- Shifter(s): SRAM Eagle GX
- Saddle: WTB Volt
- Seatpost: Thomson Elite Setback
- Stem: Velo Orange Tall Stack (110mm)
- Lights: Supernova E3 Pro 2 (front) / Supernova E3 Tail Light 2 (rear)
- Other accessories: Omnium backrest and webbing, Auguste86 front rack cover
The build is finished up with a set of SRAM Code RCS brakes, with 180mm discs front and rear, a set I had in my parts bin. They give me enough braking power for the steep descents Norway has to offer!
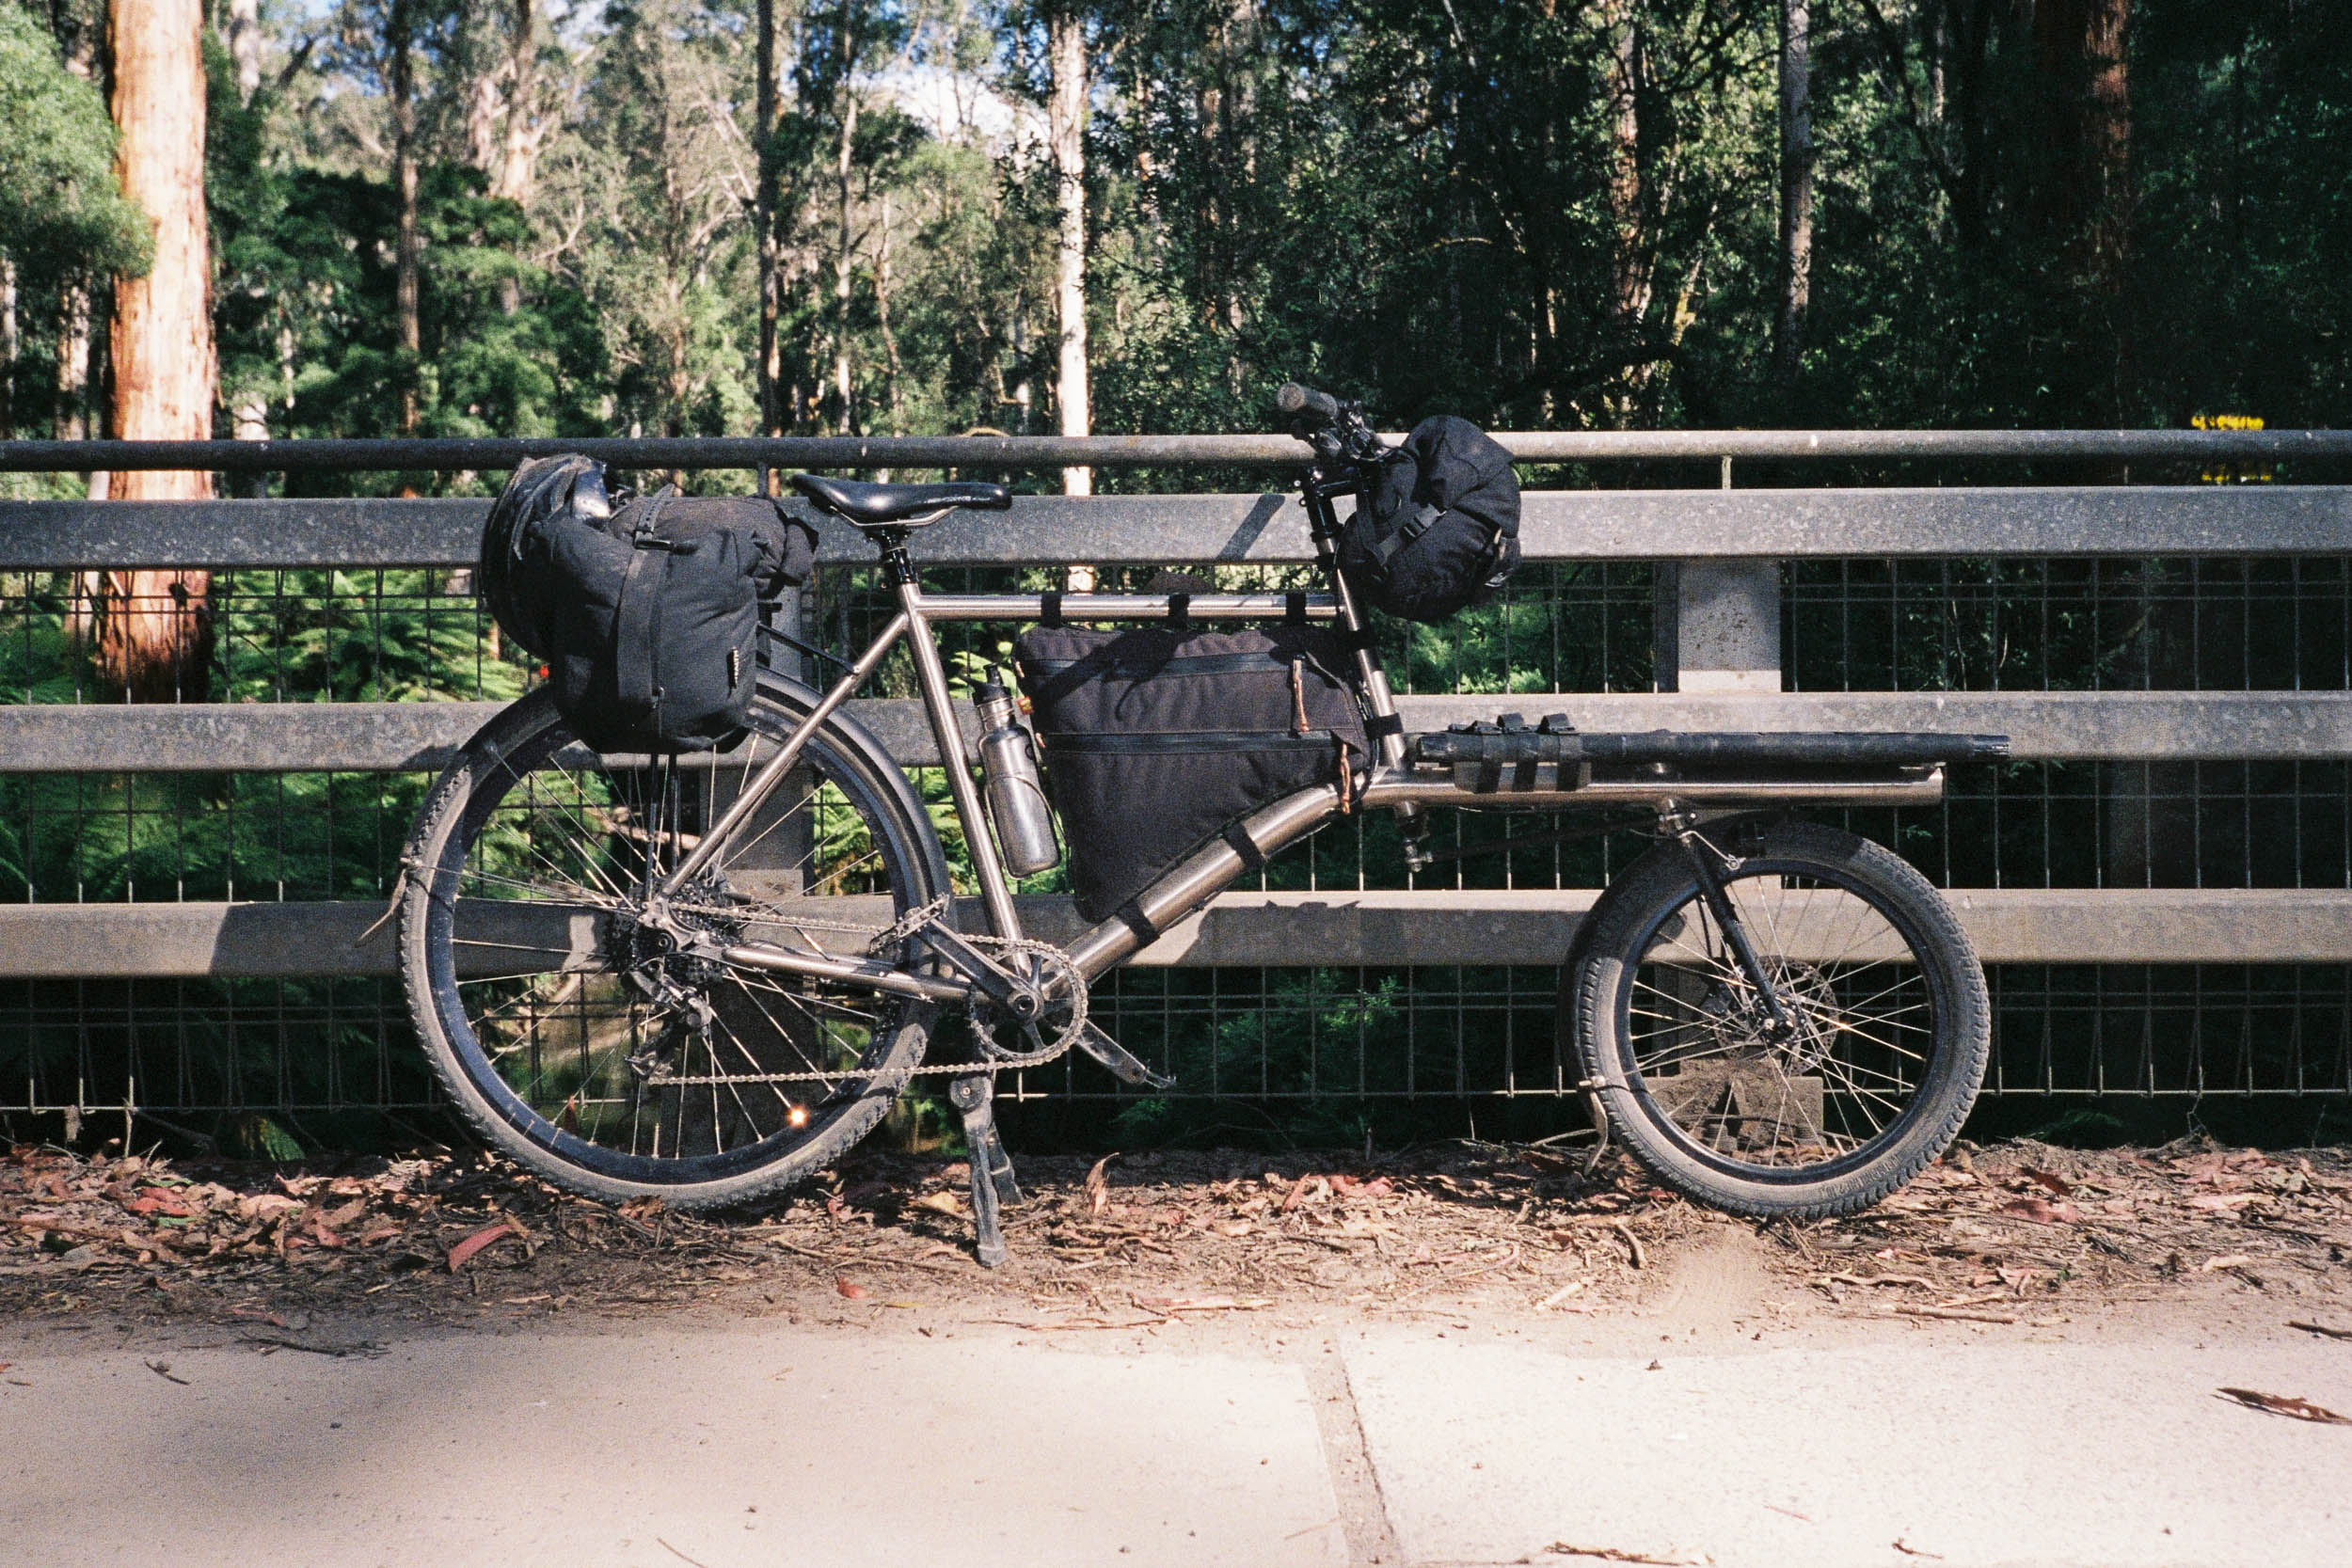
From the handlebar backward, the Omnium is set up like a classic bikepacking rig with fully waterproof Apidura Expedition packs. I must say I particularly like the idea I had with the full frame pack giving us extra space, the axe mounted beneath the pack (a GRÄNSFORS small hatchet we bring on every tour to chop wood for fires and stuff), and the small pack mounted under the rack. It’s a great place to store all the stuff you seldom need, so I store all sorts of spare and repair kits there. Sure, it gets wet and dirty, but as it is waterproof, it all stays on the outside. Plus, it works a little as a fender!


For the rack, we use a BENNO BIKES Utility Front Tray Bag, which takes up to 40L and is a perfect fit behind the backrest. To tackle all the gnarly gravel, I’m running WTB Riddler in 29” x 2.4” (tubeless) mounted to the very sturdy WTB Proterra Light i27 MTB wheel and MAXXIS HolyRoller in 20” x 2.2 in the front. If you have any questions about the rig or anything related to traveling with kids, I’m happy to answer them below!
You can follow along with Joachim on Instagram.
Send Us Your Bikepacking Rig
Use the form below to submit your bikepacking rig. We’ll choose one per week to feature in a Reader’s Rig Dispatch and on Instagram. To enter, email us your best photo of the bike (preferably at a 90° angle), your Instagram username (optional), and a short description of you and your rig. If your bike is selected, we’ll need a total of five photos and a little bit more info.
Readers Rig
Further Reading
Make sure to dig into these related articles for more info...

Please keep the conversation civil, constructive, and inclusive, or your comment will be removed.


