
This week’s Reader’s Rig comes from Serkan in Belgium, who recently wrapped up a 10,000-kilometer tour of North and Central America aboard a custom-built Big Bro from Brother Cycles. Meet Serkan, find a gallery of photos from his ride, and dive into the details of his build here…
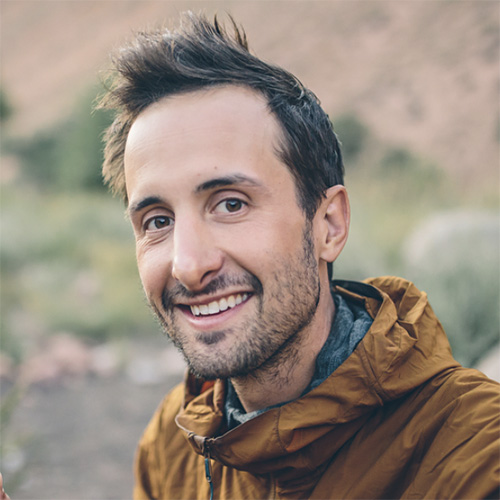
Words and photos by Serkan Yildiz
Hello there! I’m Serkan. I was born in Türkiye and later lived in Belgium for the past 10 years, where I got my second nationality. I’m a materials/operations engineer and, up until last year, I was working on metal 3D printing for the aerospace industry.
Cycling is relatively new to me. I was a semi-professional water polo player in my youth, then grew into hiking, snowboarding, tennis, and scuba diving. When COVID hit, everything was shut down, and to keep active, I bought a cheap endurance bike. After the first ride, I was immediately over the moon; it felt amazing, and I haven’t looked back since. Living in Belgium, I always commuted with bikes, but this was something else—the freedom and thrill a proper bike provides.

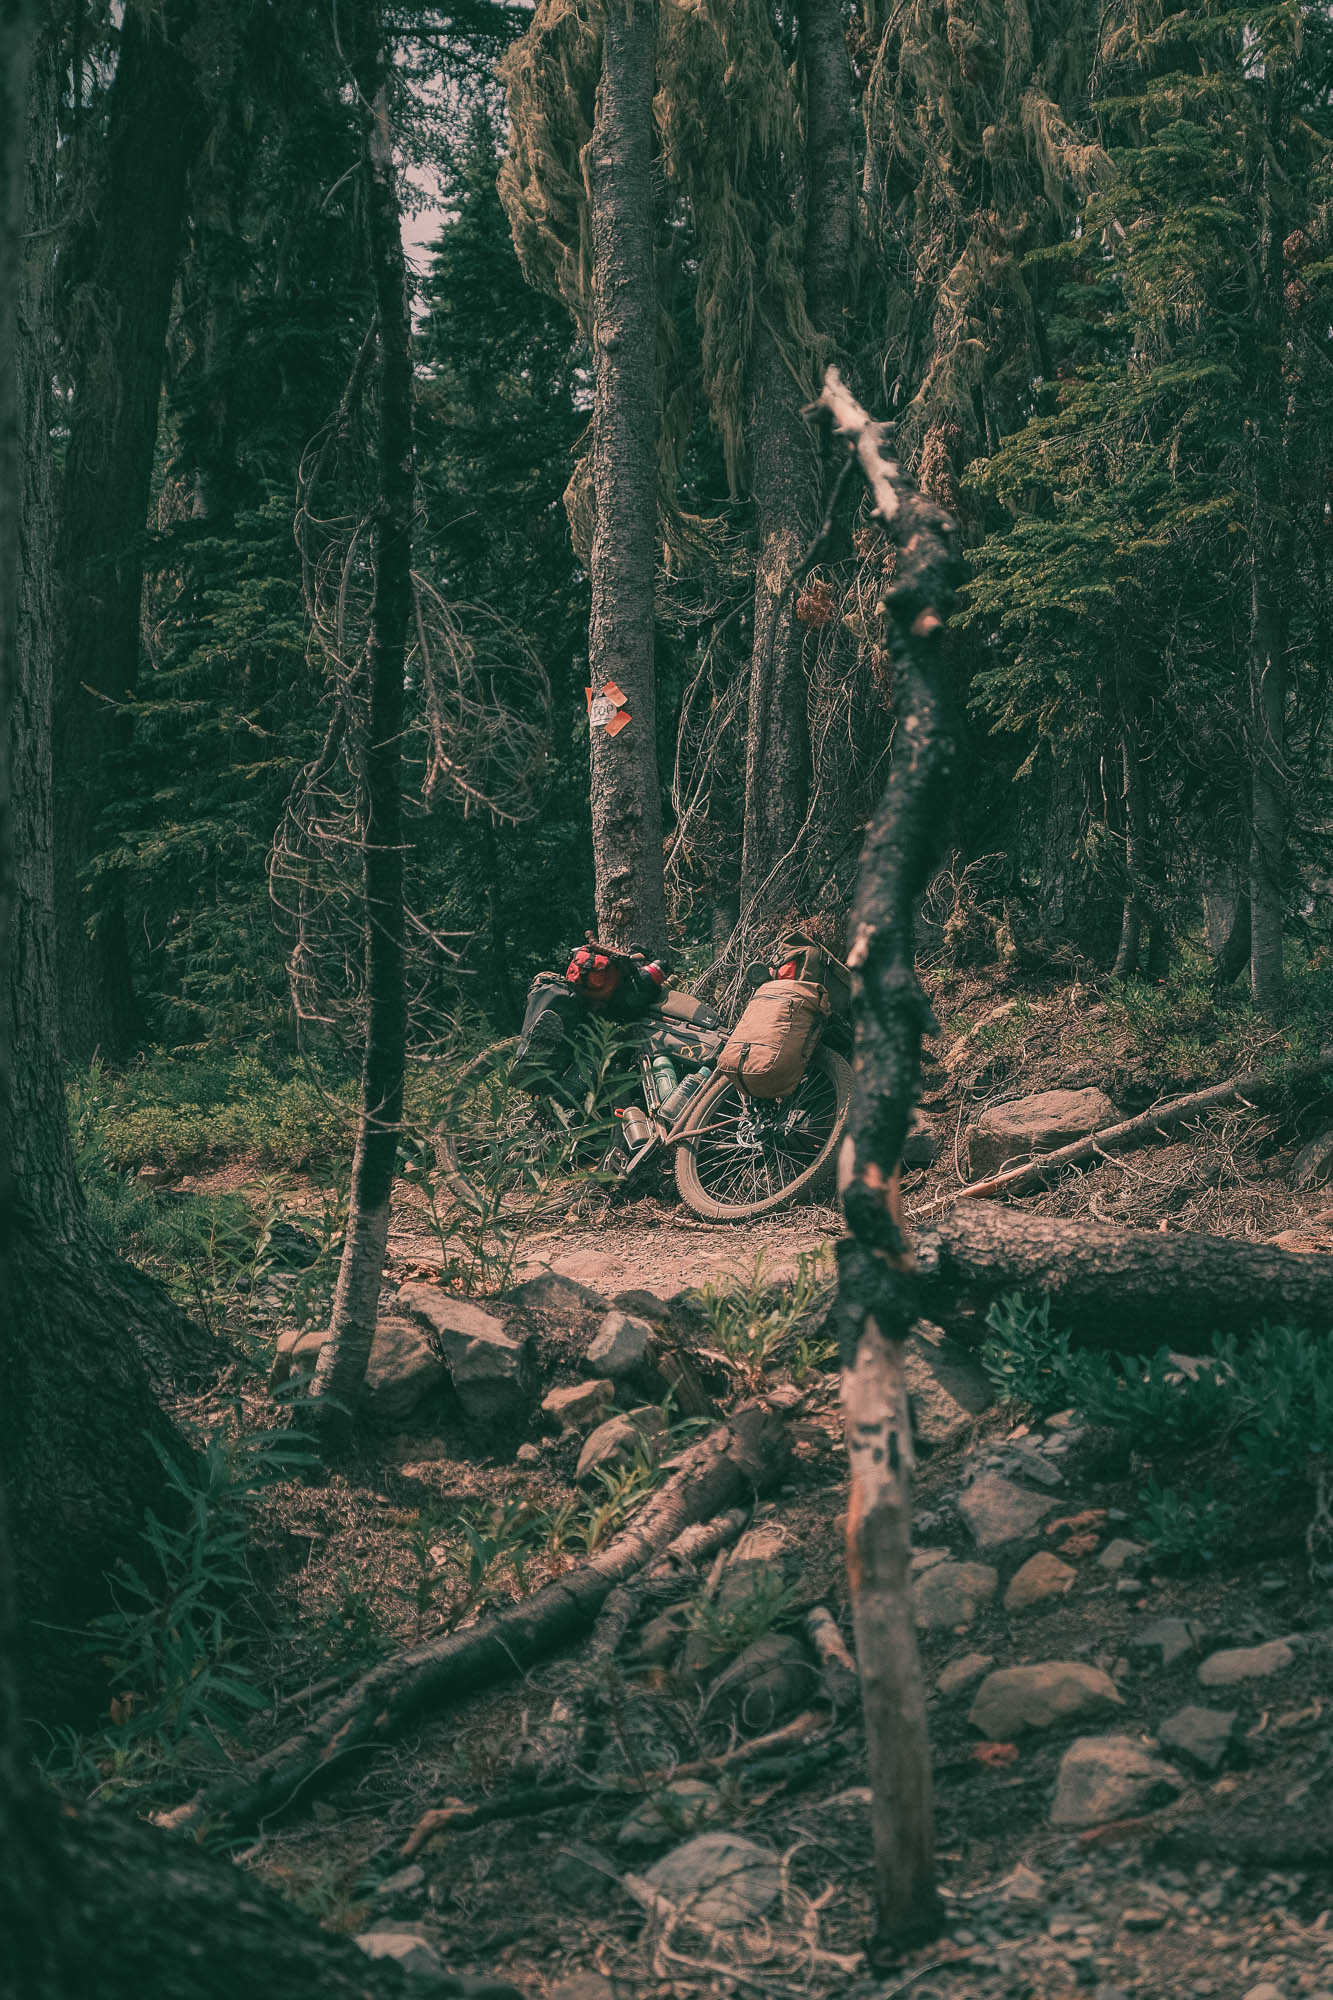
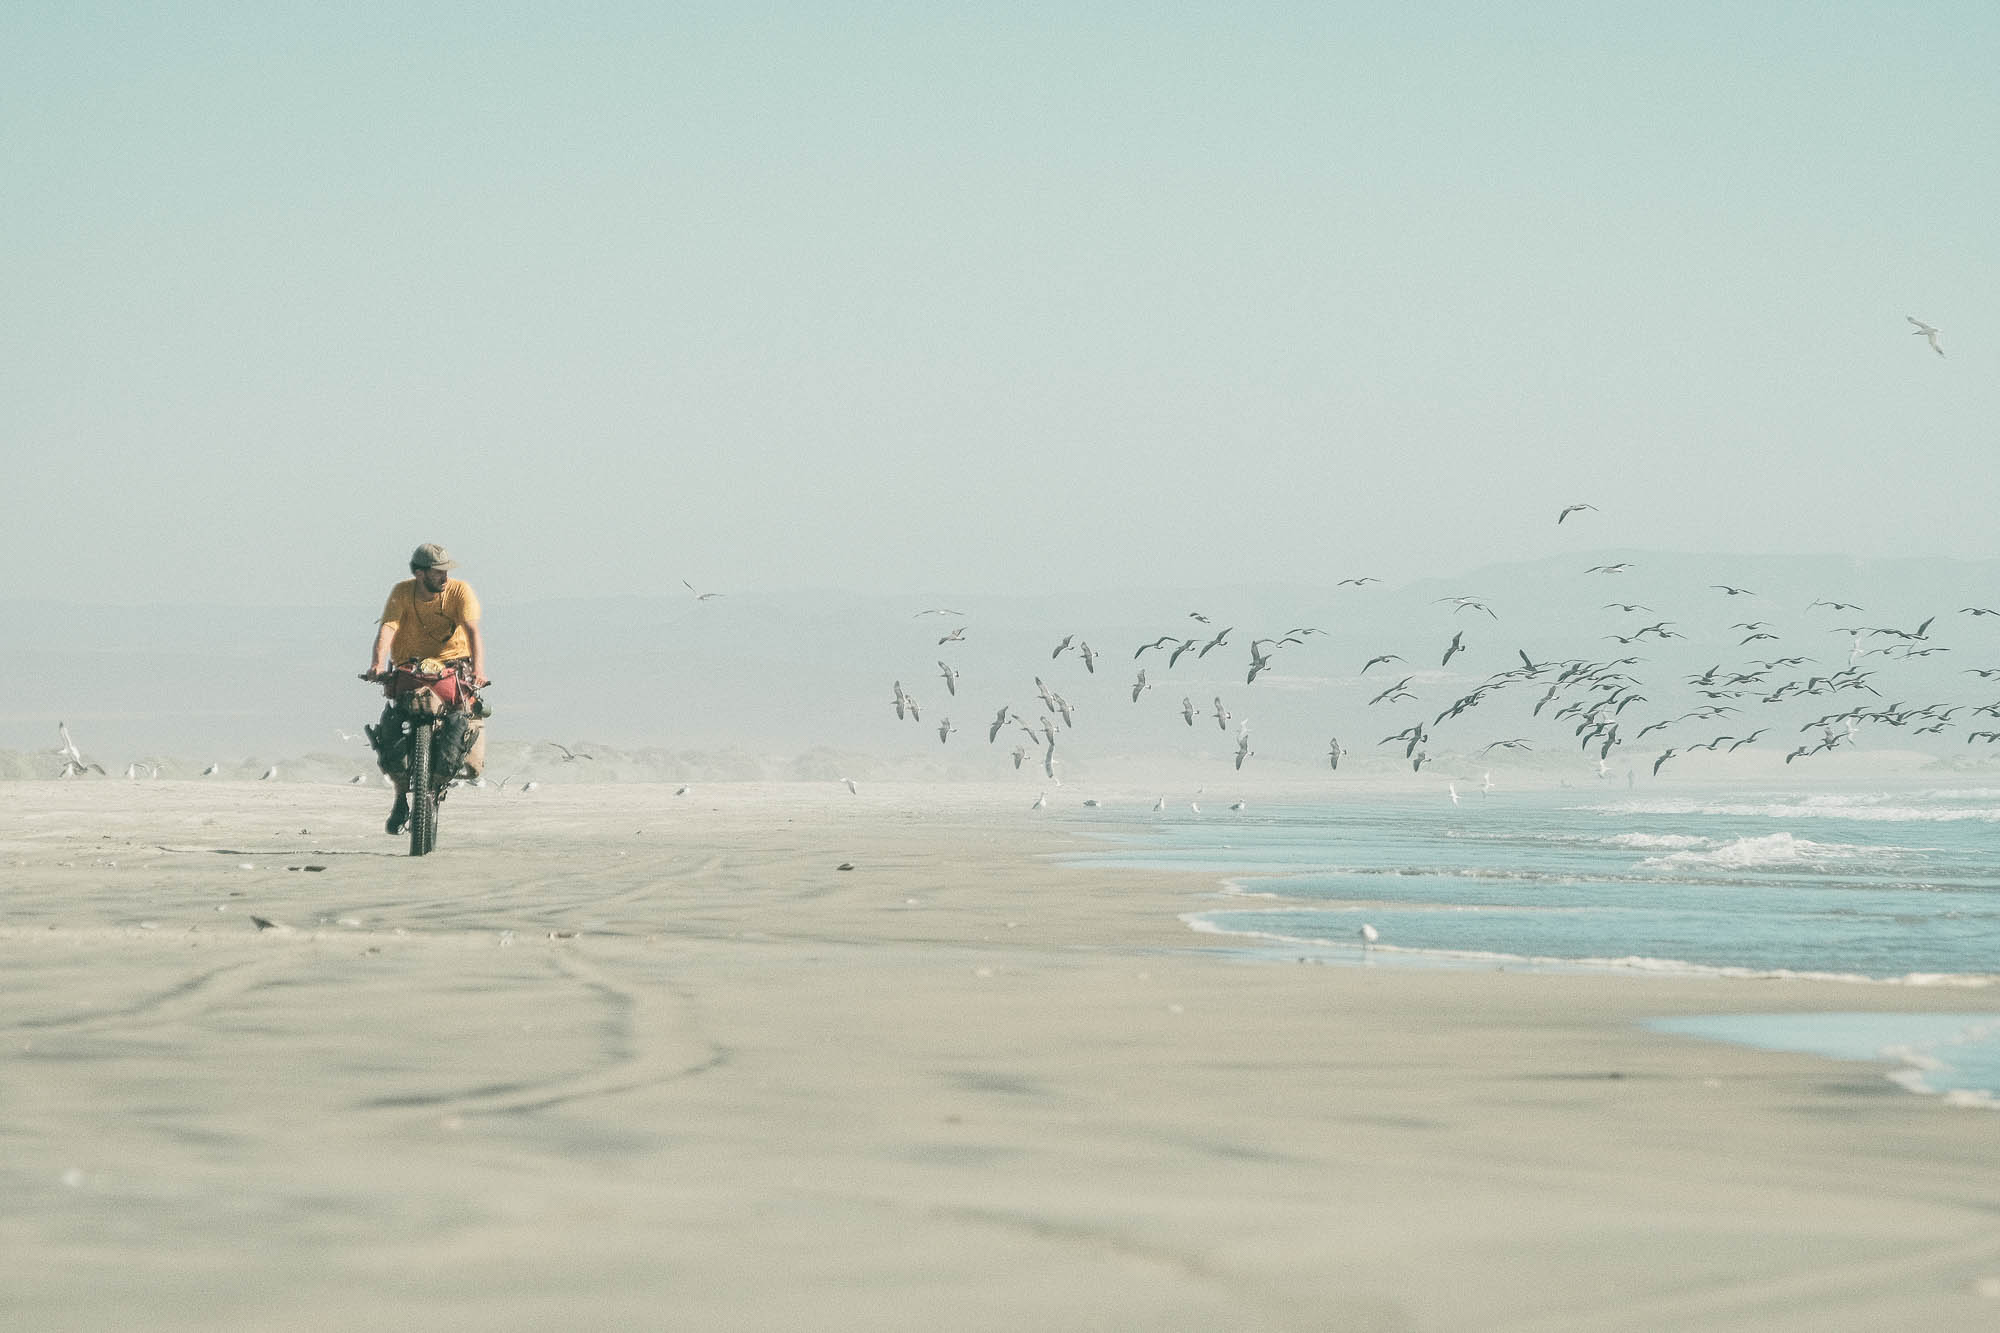
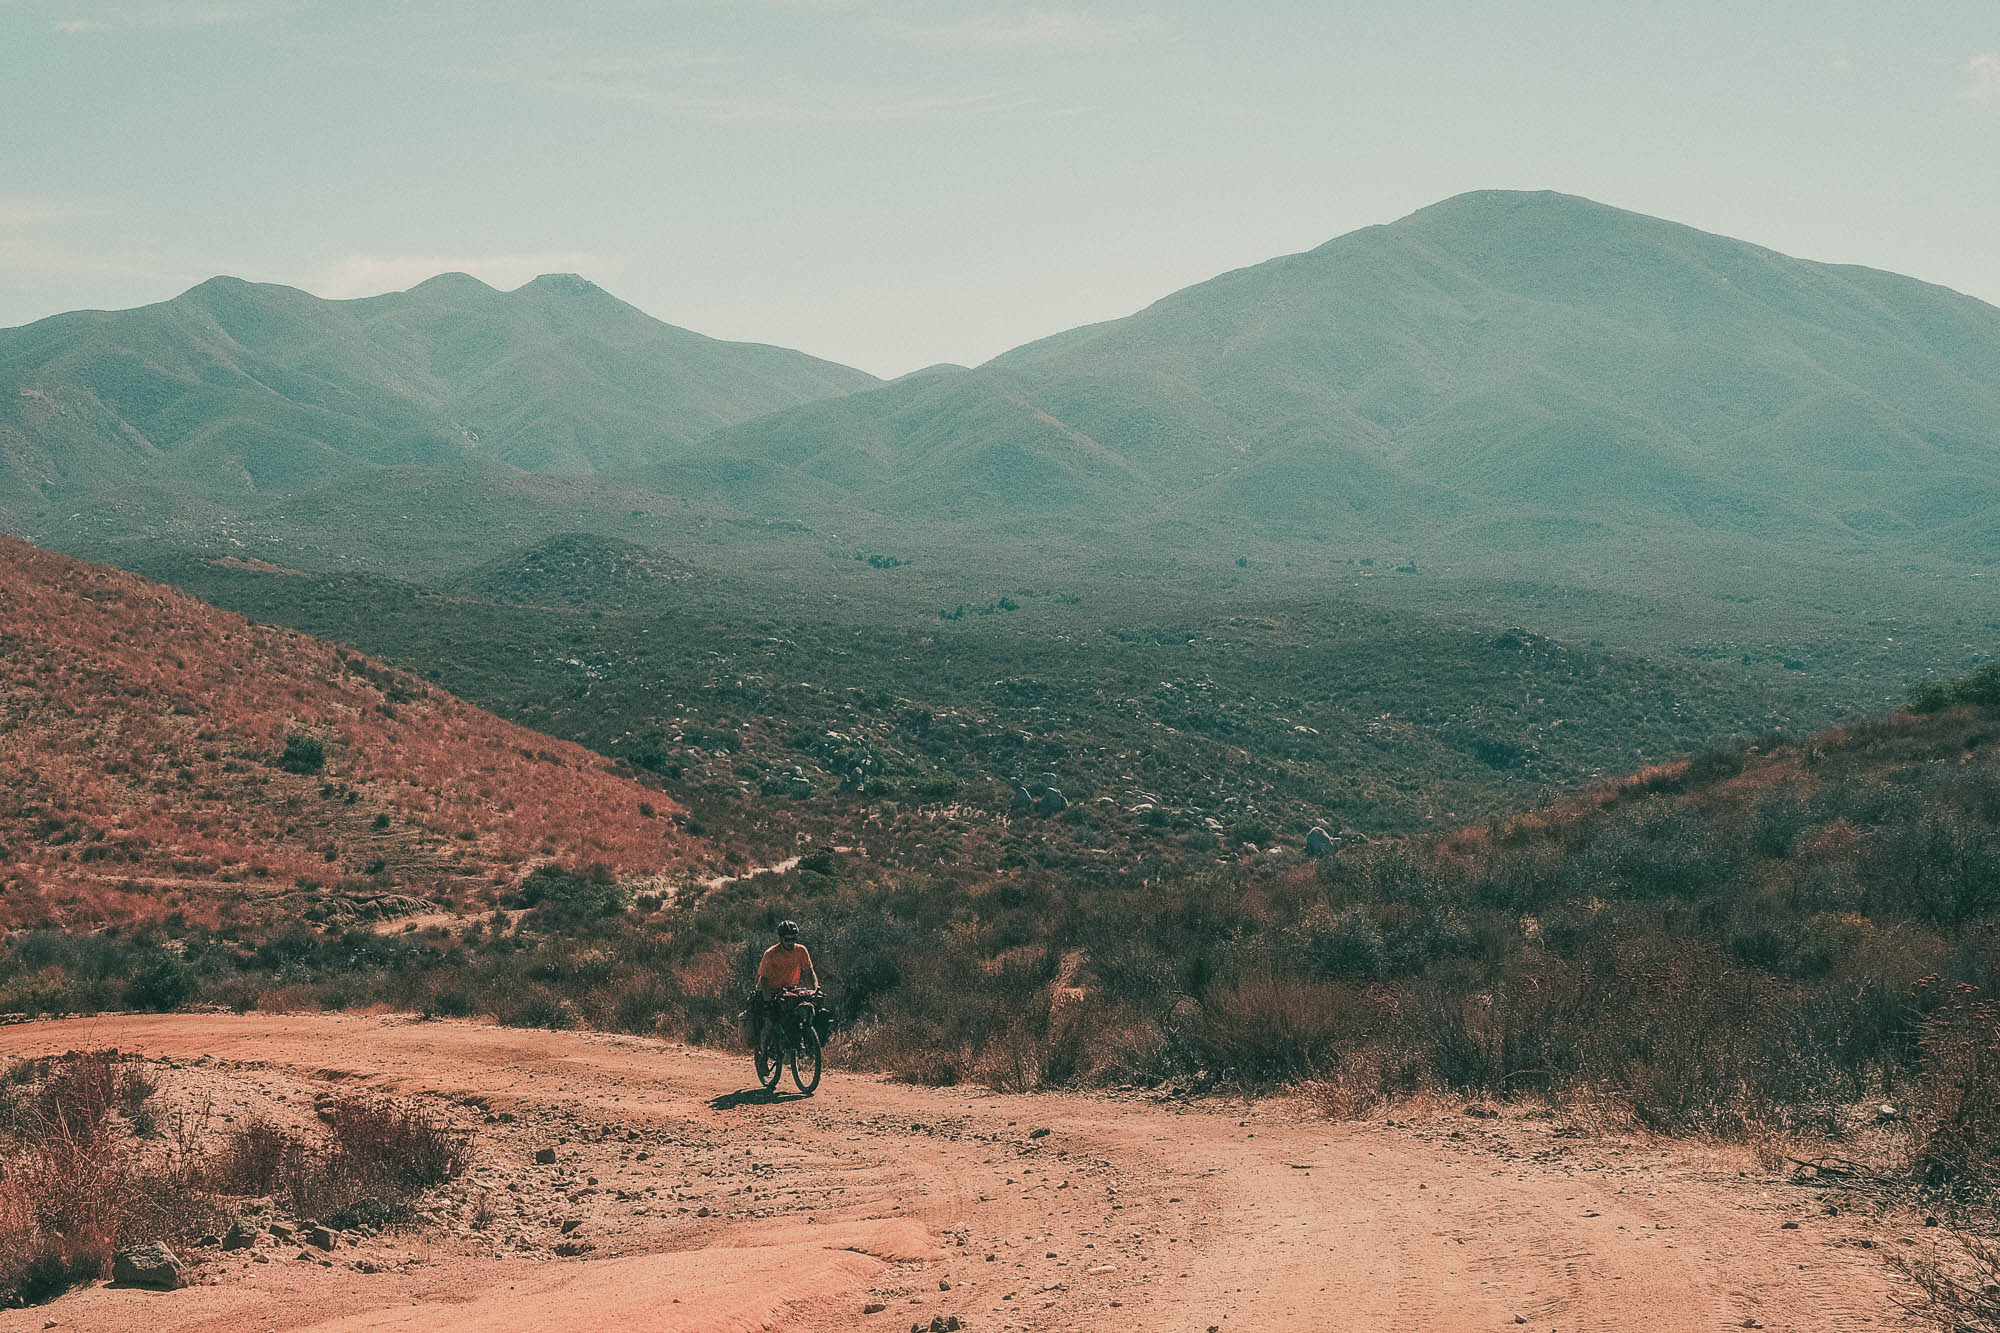
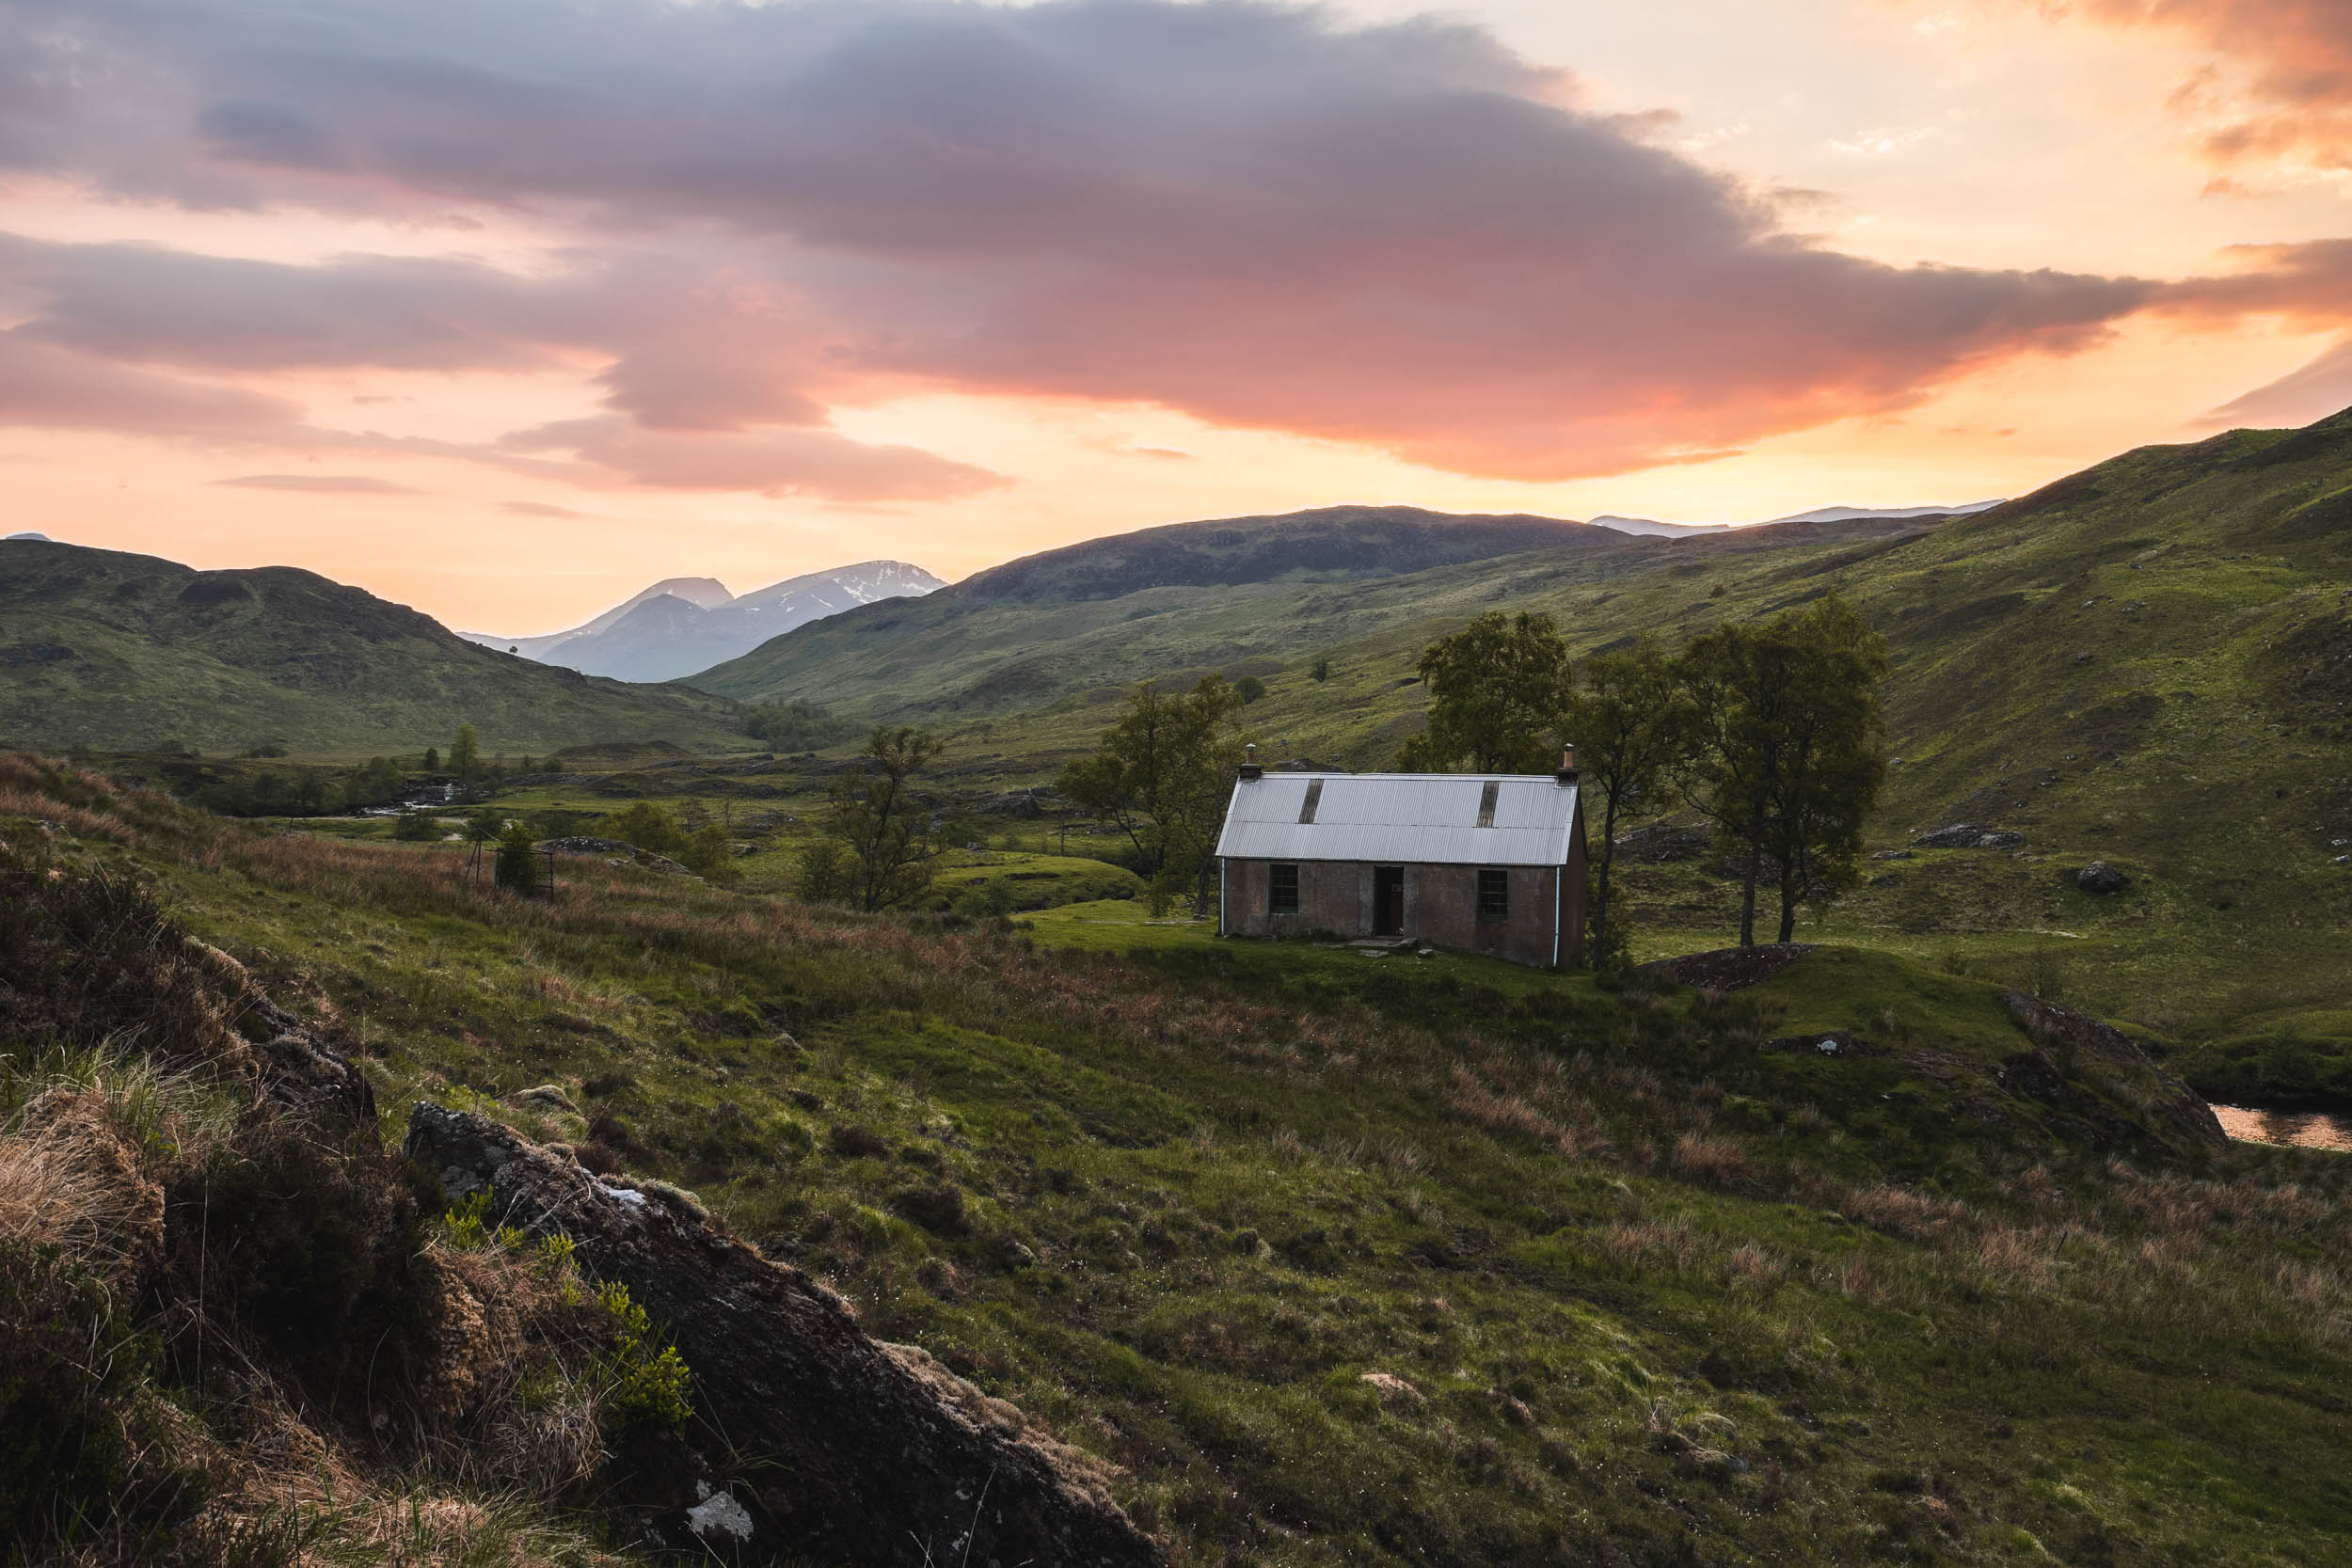
I started commuting daily to work by bike (38 kilometres each way), then overnighters and weekend bikepacking getaways turned into ultra-endurance races. In the end, I found myself quitting my job and selling almost everything I owned to go on a year-long dirt tour through North and Central America. Traveling slowly through a variety of landscapes, getting to know different cultures, and living simply were things I have been fantasizing about for a while. Going somewhere for vacation for a week or two often provides no insight into the life in a place. Because of our jobs, sadly, we don’t always have the time to take it slow and really get to know a place and the people in it. This is my first chance to do it, and hopefully it will also provide me with the much-needed time and headspace to figure out what I’m supposed to do next. But let’s see what happens. I don’t like putting too much pressure on the experiences to mean something; it’ll reveal itself in time. Or maybe not, and that’s okay.
I have a Canyon Grizl that has taken me to awesome places and provided me with lots of fun, but for this tour, it wouldn’t be strong enough for the off-road nature of the routes I intend to ride and the load I’ll be carrying. Doing a long tour (especially dirt touring) already involves a lot of logistics, planning, etc., so I wanted to minimize the portion of my thoughts spent on the chances of mechanical issues or repairs. The same goes for any sensible purchase; you’d want to minimize fail points. I simply wanted a tank, specifically a rigid steel one.
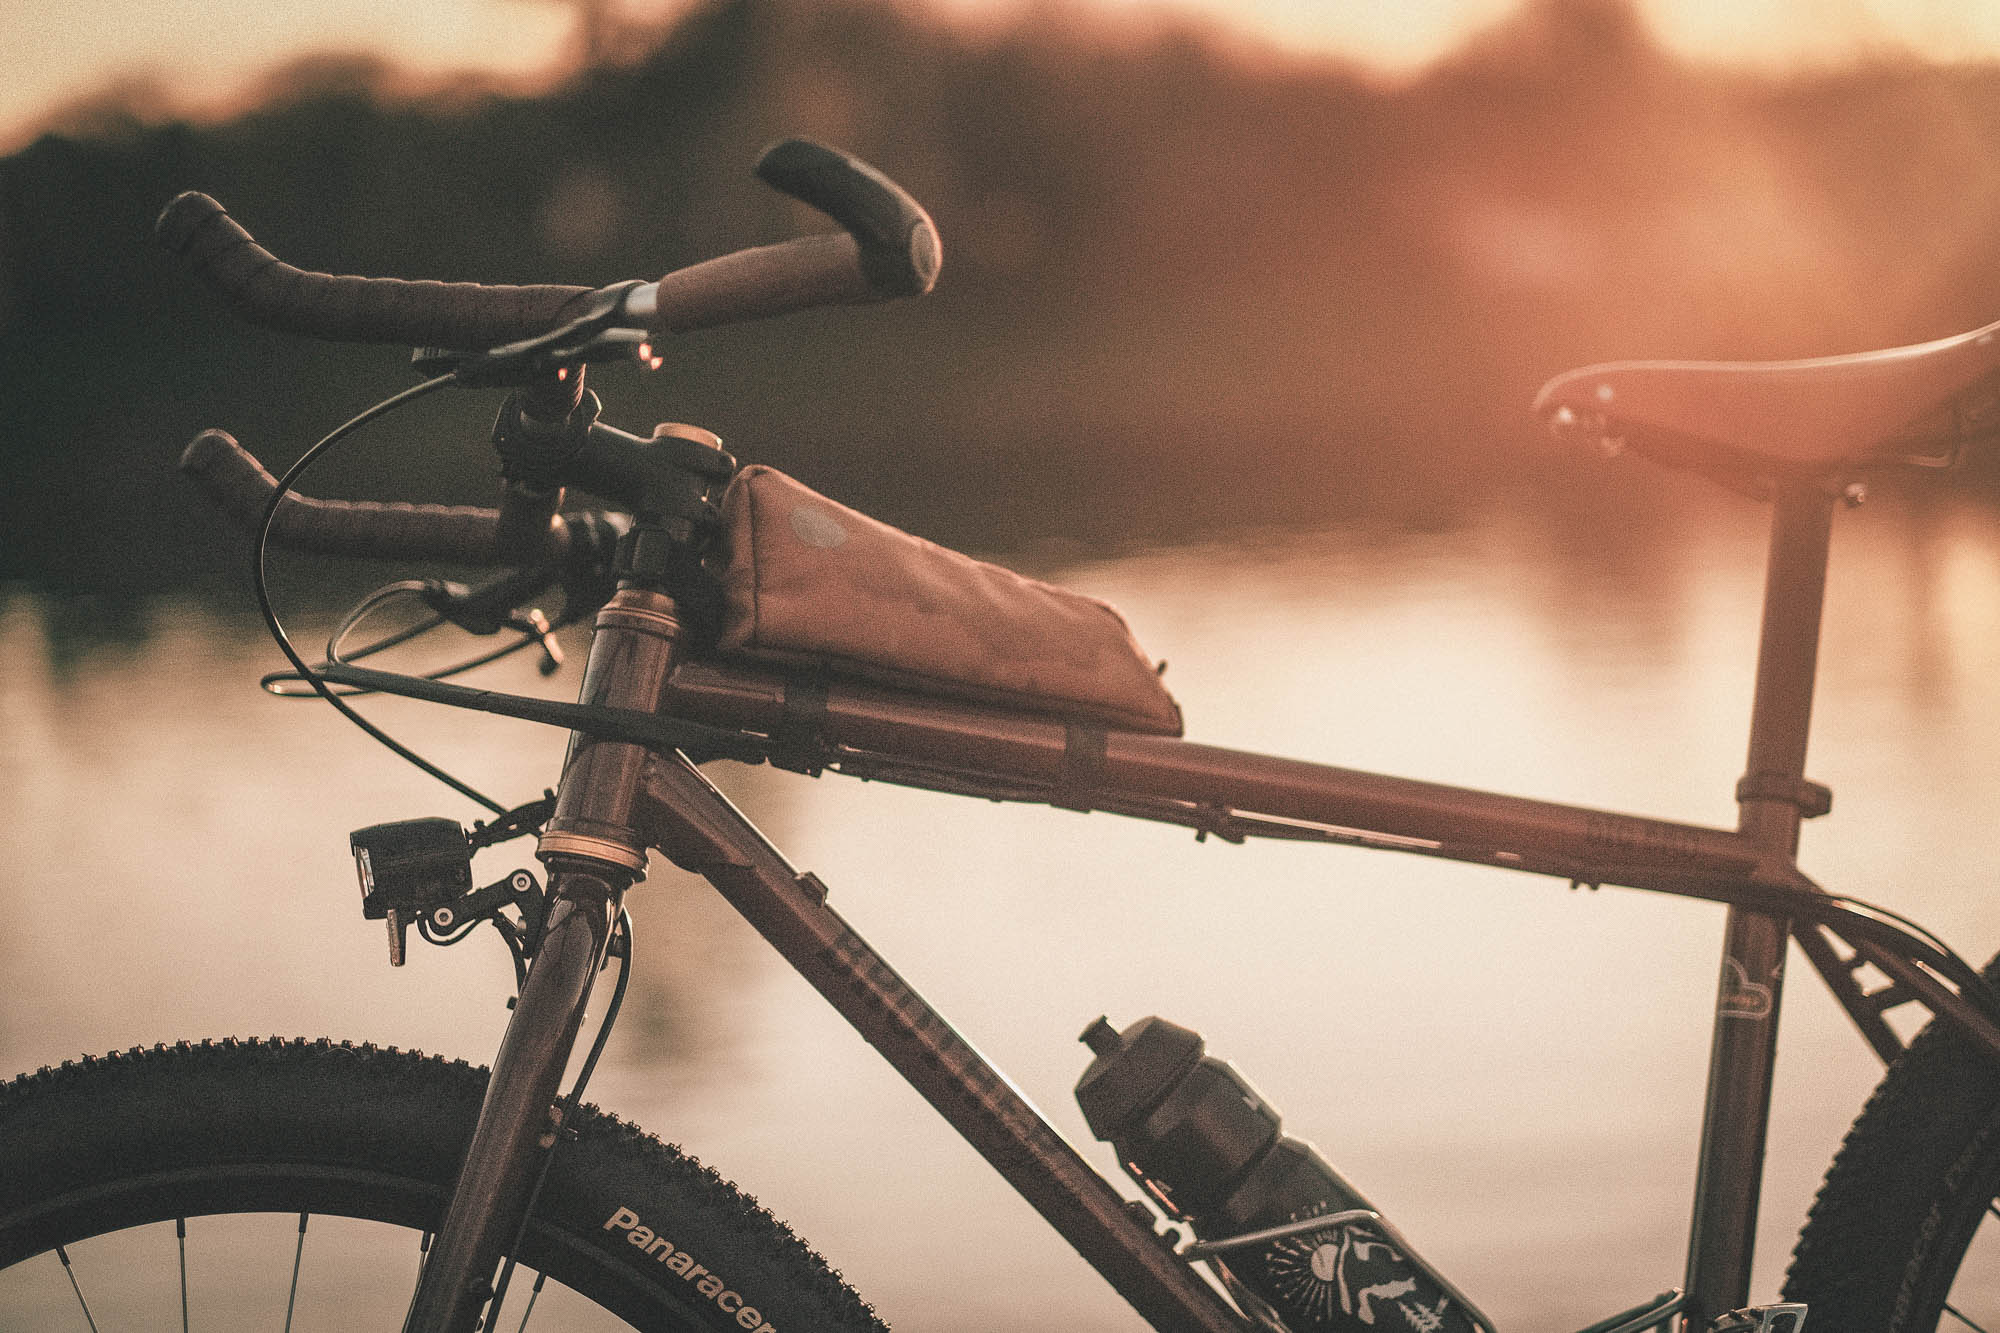
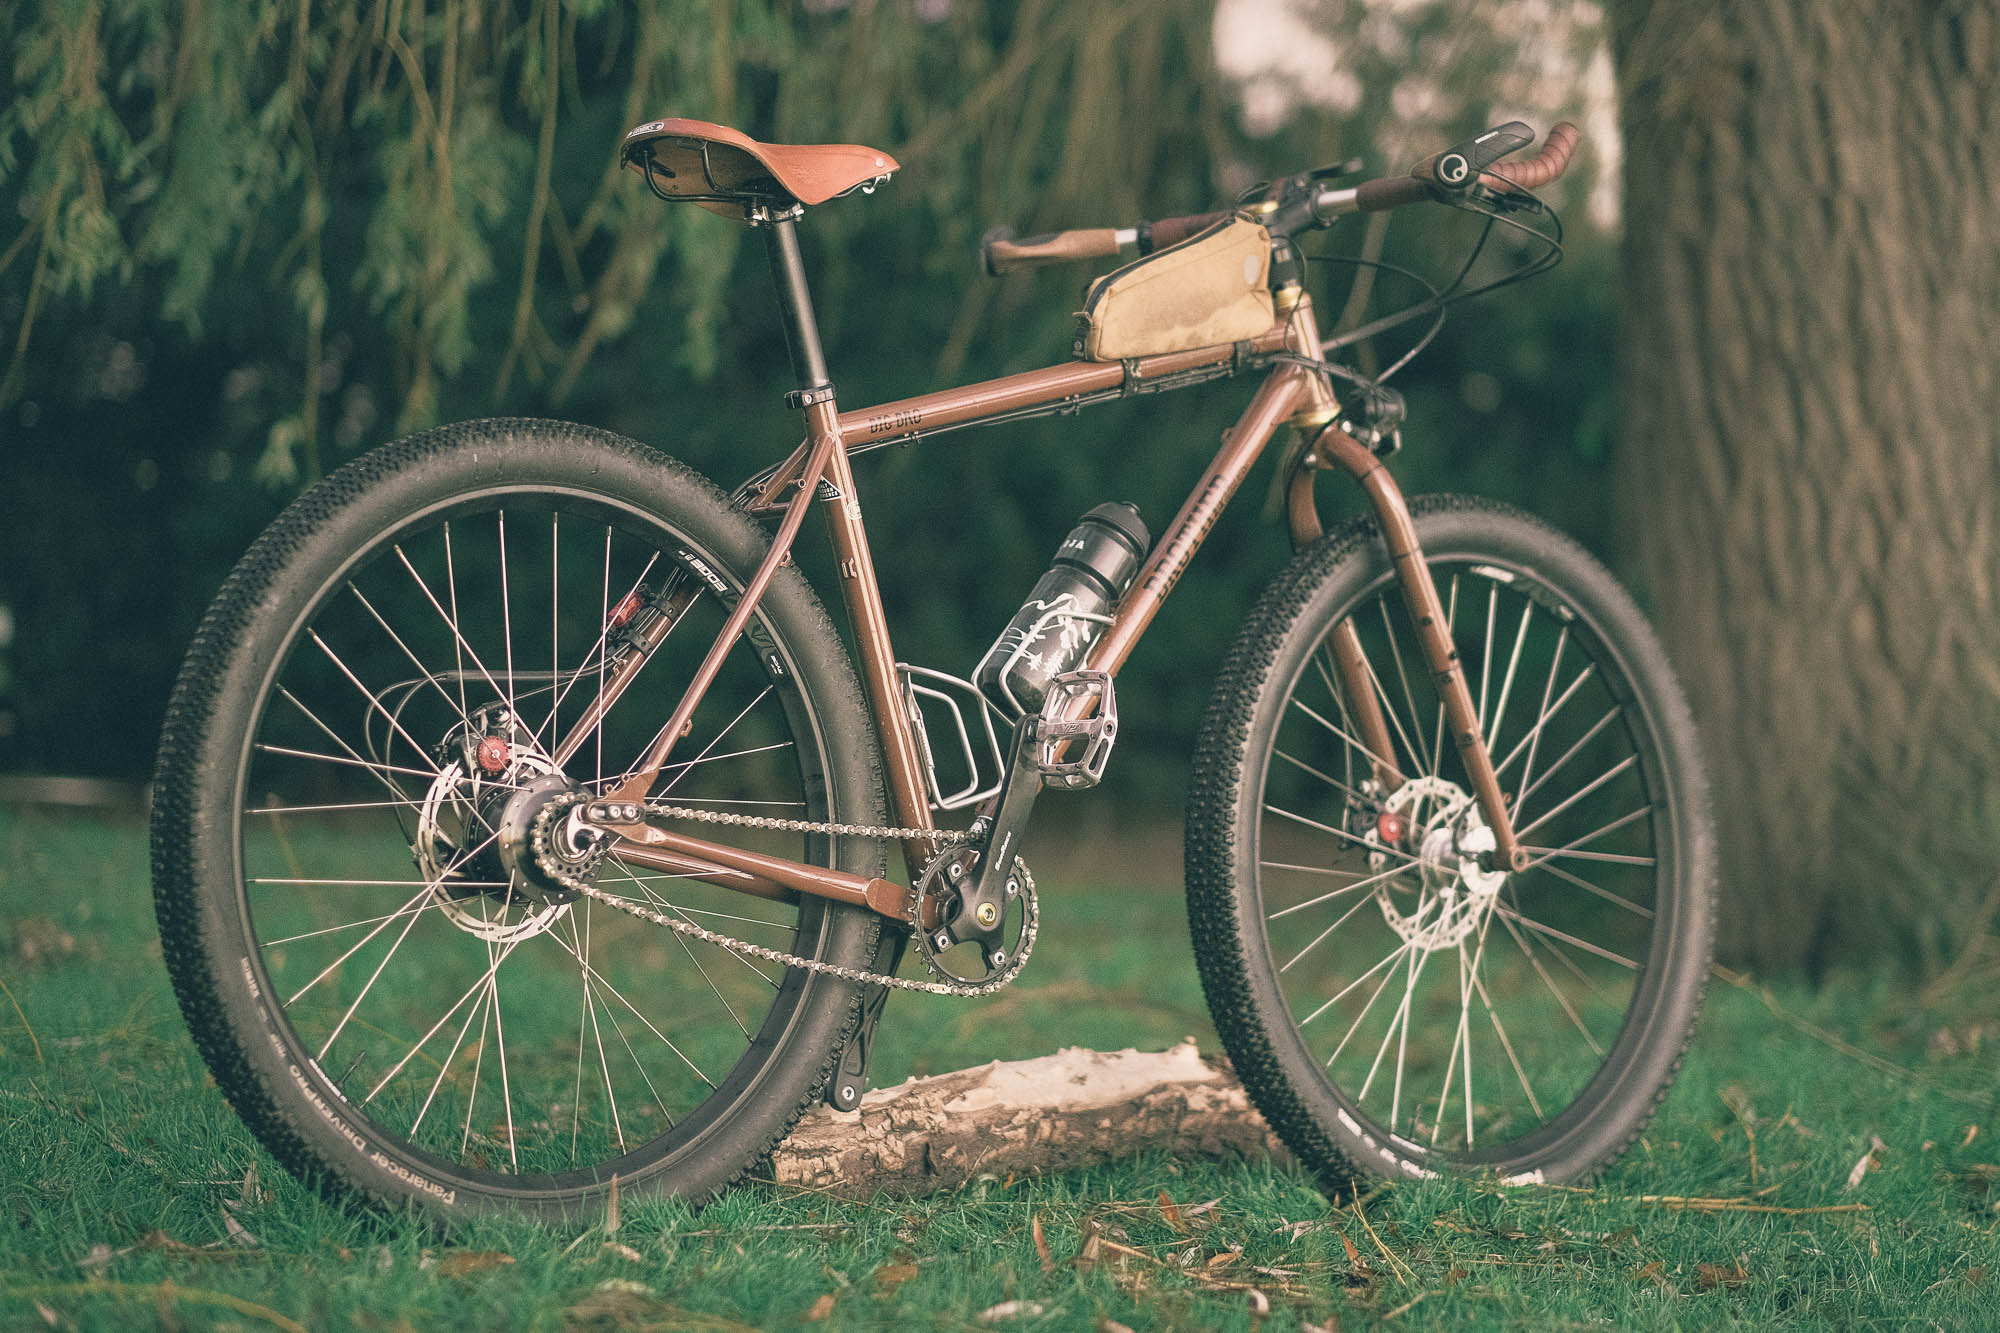
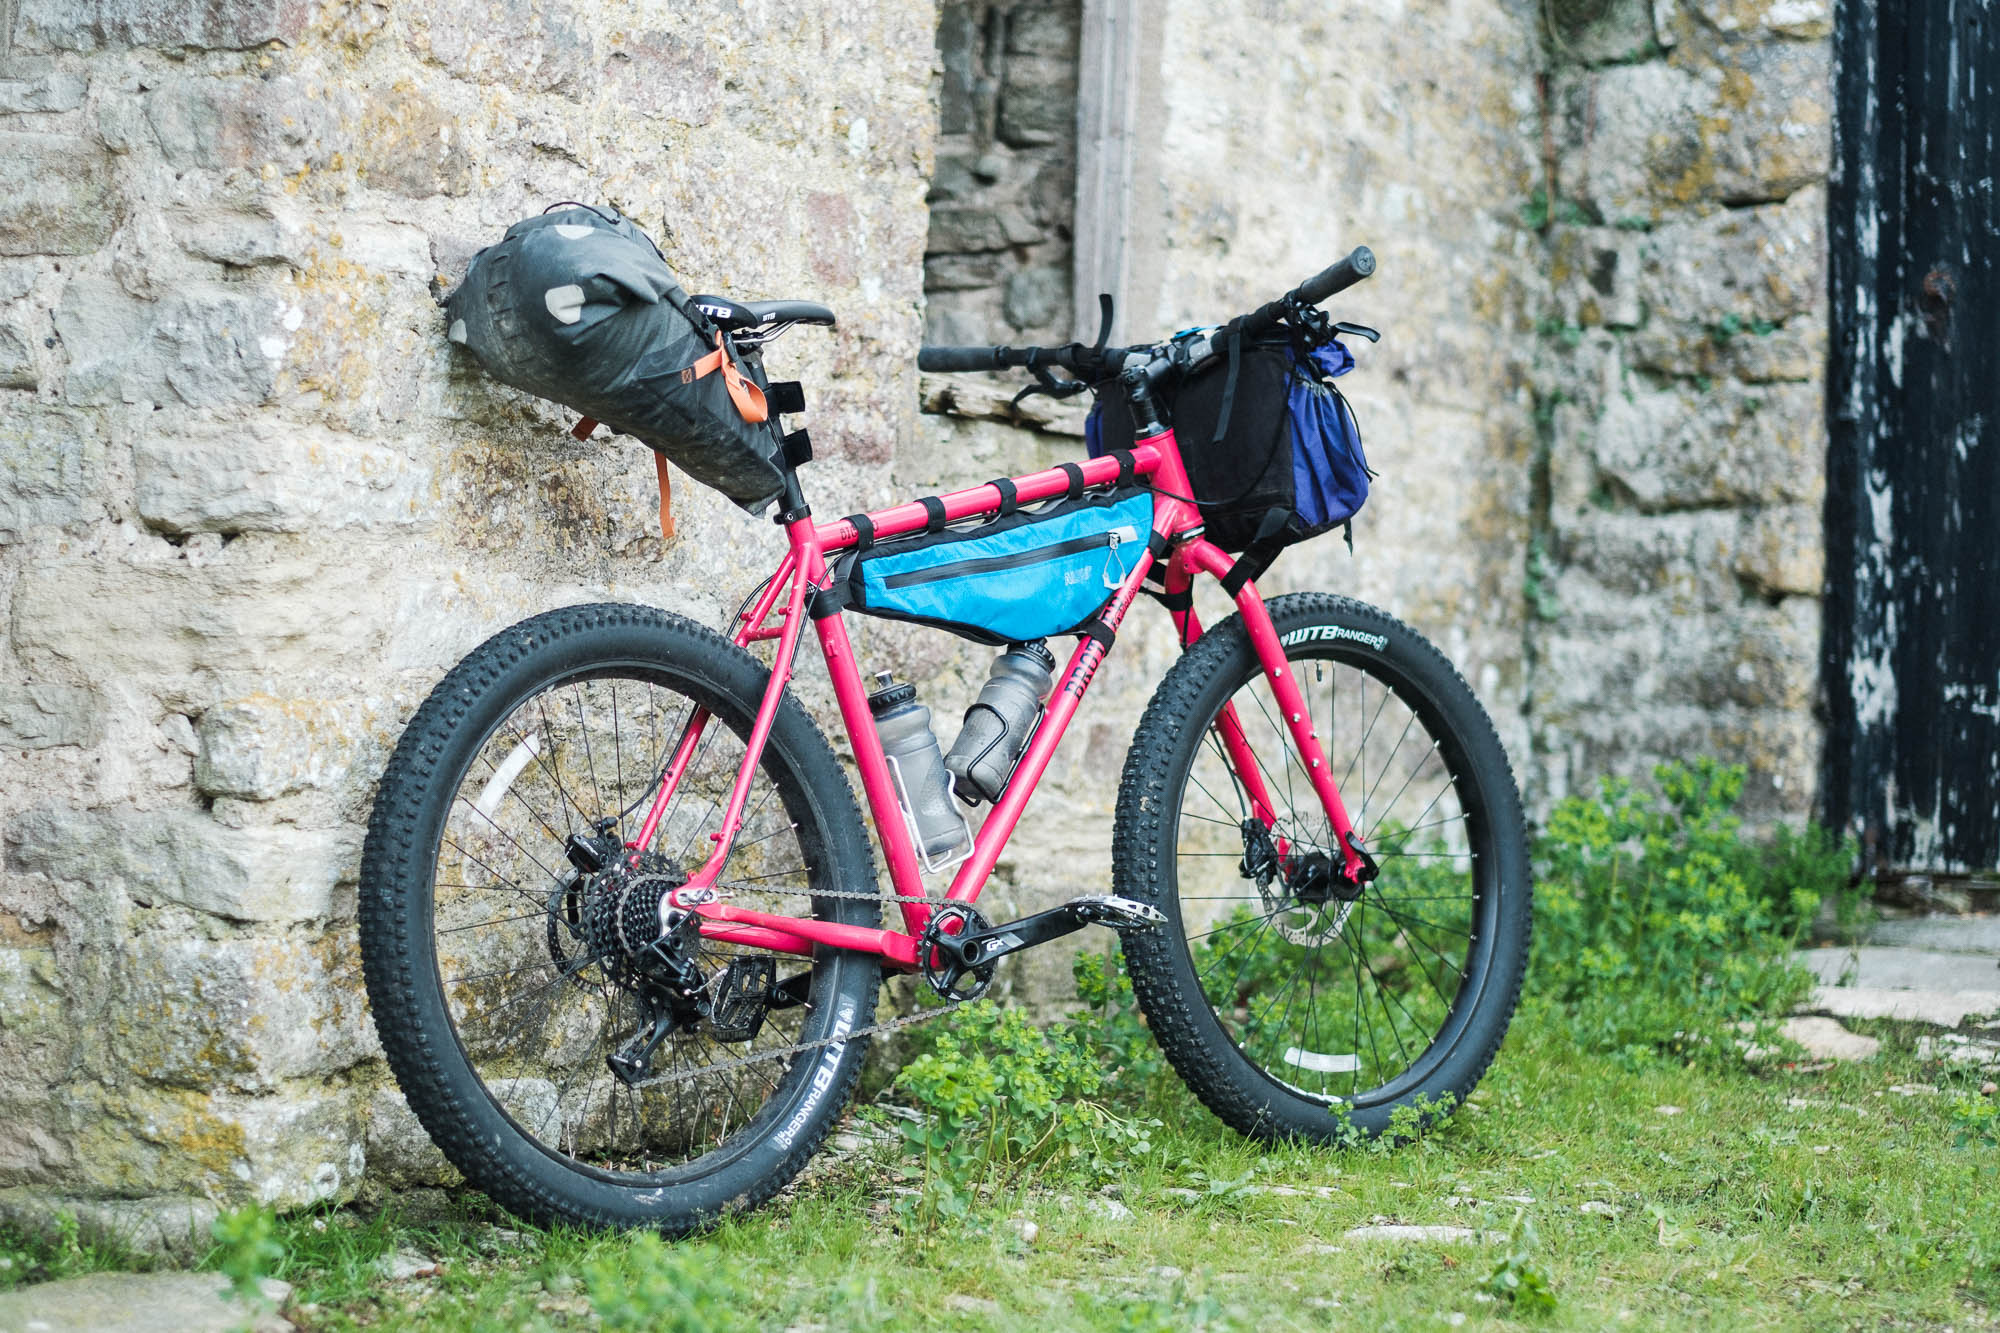
Steel is serviceable almost everywhere; a general welder can fix a broken frame, whereas special equipment is needed for titanium (not to mention the price tag), and aluminium is prone to cracking. Not essential but a necessary aspect is the aesthetics, I love the tubular beams and timeless look of steel bikes, even though, as an engineer, perhaps I should be into more modern hydroformed aero shapes. I spoke with almost every bike builder in Flanders and discovered the wonderful people of Steershop in Bruges, who helped me put together a custom build around the Brother Cycles Big Bro frame, featuring non-exotic parts for durability, serviceability, and ease of finding spare parts in distant corners of the world. I named him “Birader,” Turkish slang for brother.
I wasn’t specifically looking for this brand and model, but it was in the list, and I loved the looks and utilitarian design of it. Loads of mounting points, comfortable seating position, wide clearance, and cool colors. I like rigid forks as they allow more stuff to be hauled and are lighter and less prone to failure than a suspension fork. They require little or no maintenance. The frame is suspension corrected, so it’s possible to use a suspension fork in the future for different adventures or MTB outings. I had already made a comprehensive list (occupational hazard), but Ben at Steershop provided me with great guidance, and the process of choosing components was lots of fun. He even sat down with me for an hour, choosing colors for each part. We went with the prudent and perhaps conventional route, of course with the budget in mind: Rohloff speedhub, SON 28 dynamo, Avid BB7 mechanical brakes, big tires, ergo alt bar, aluminium flat pedals, and so on.

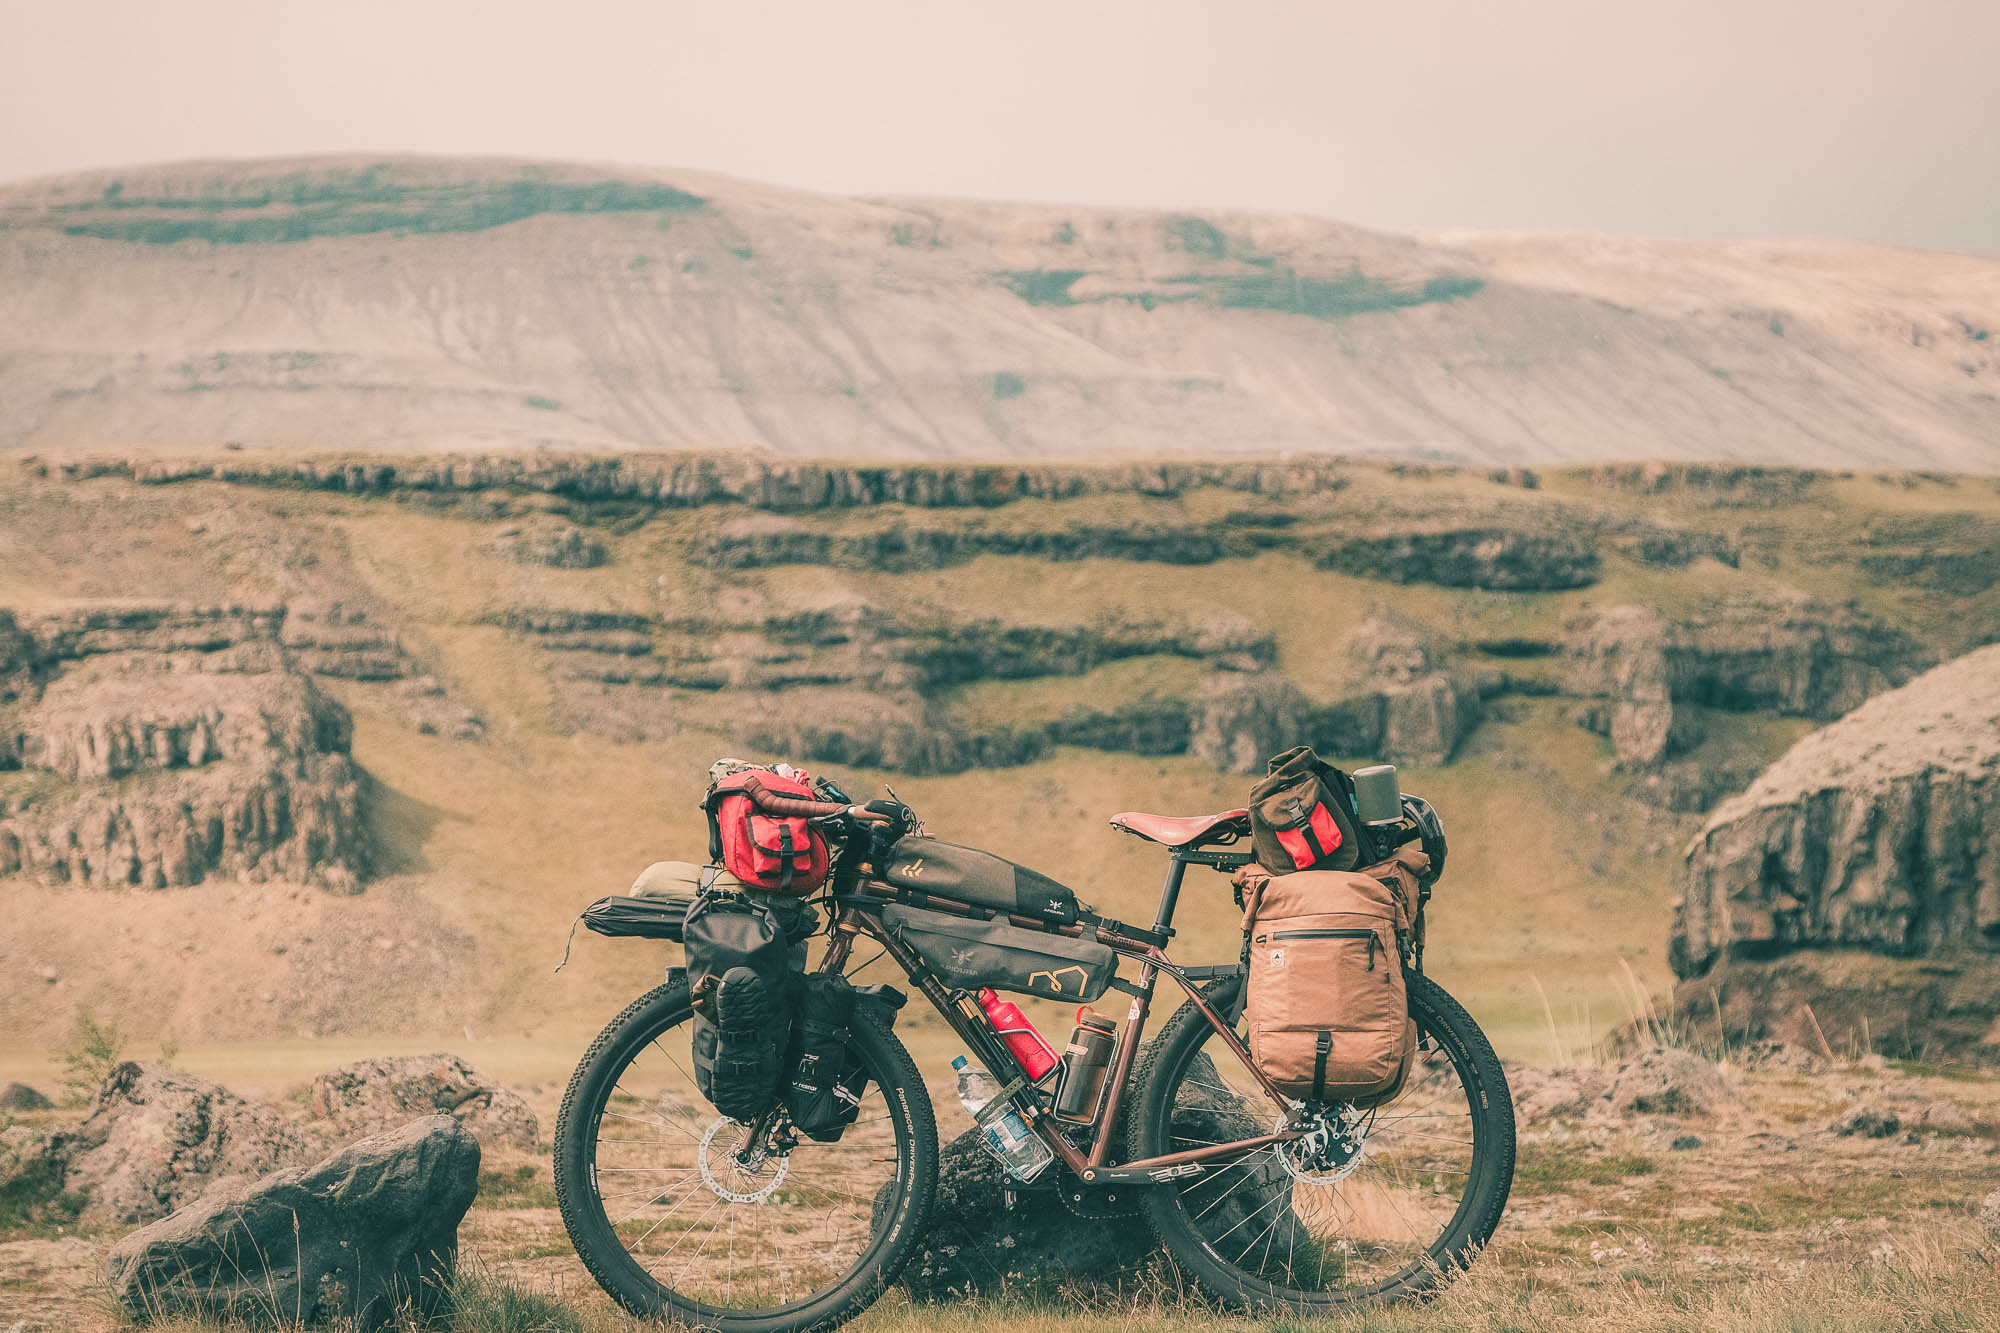
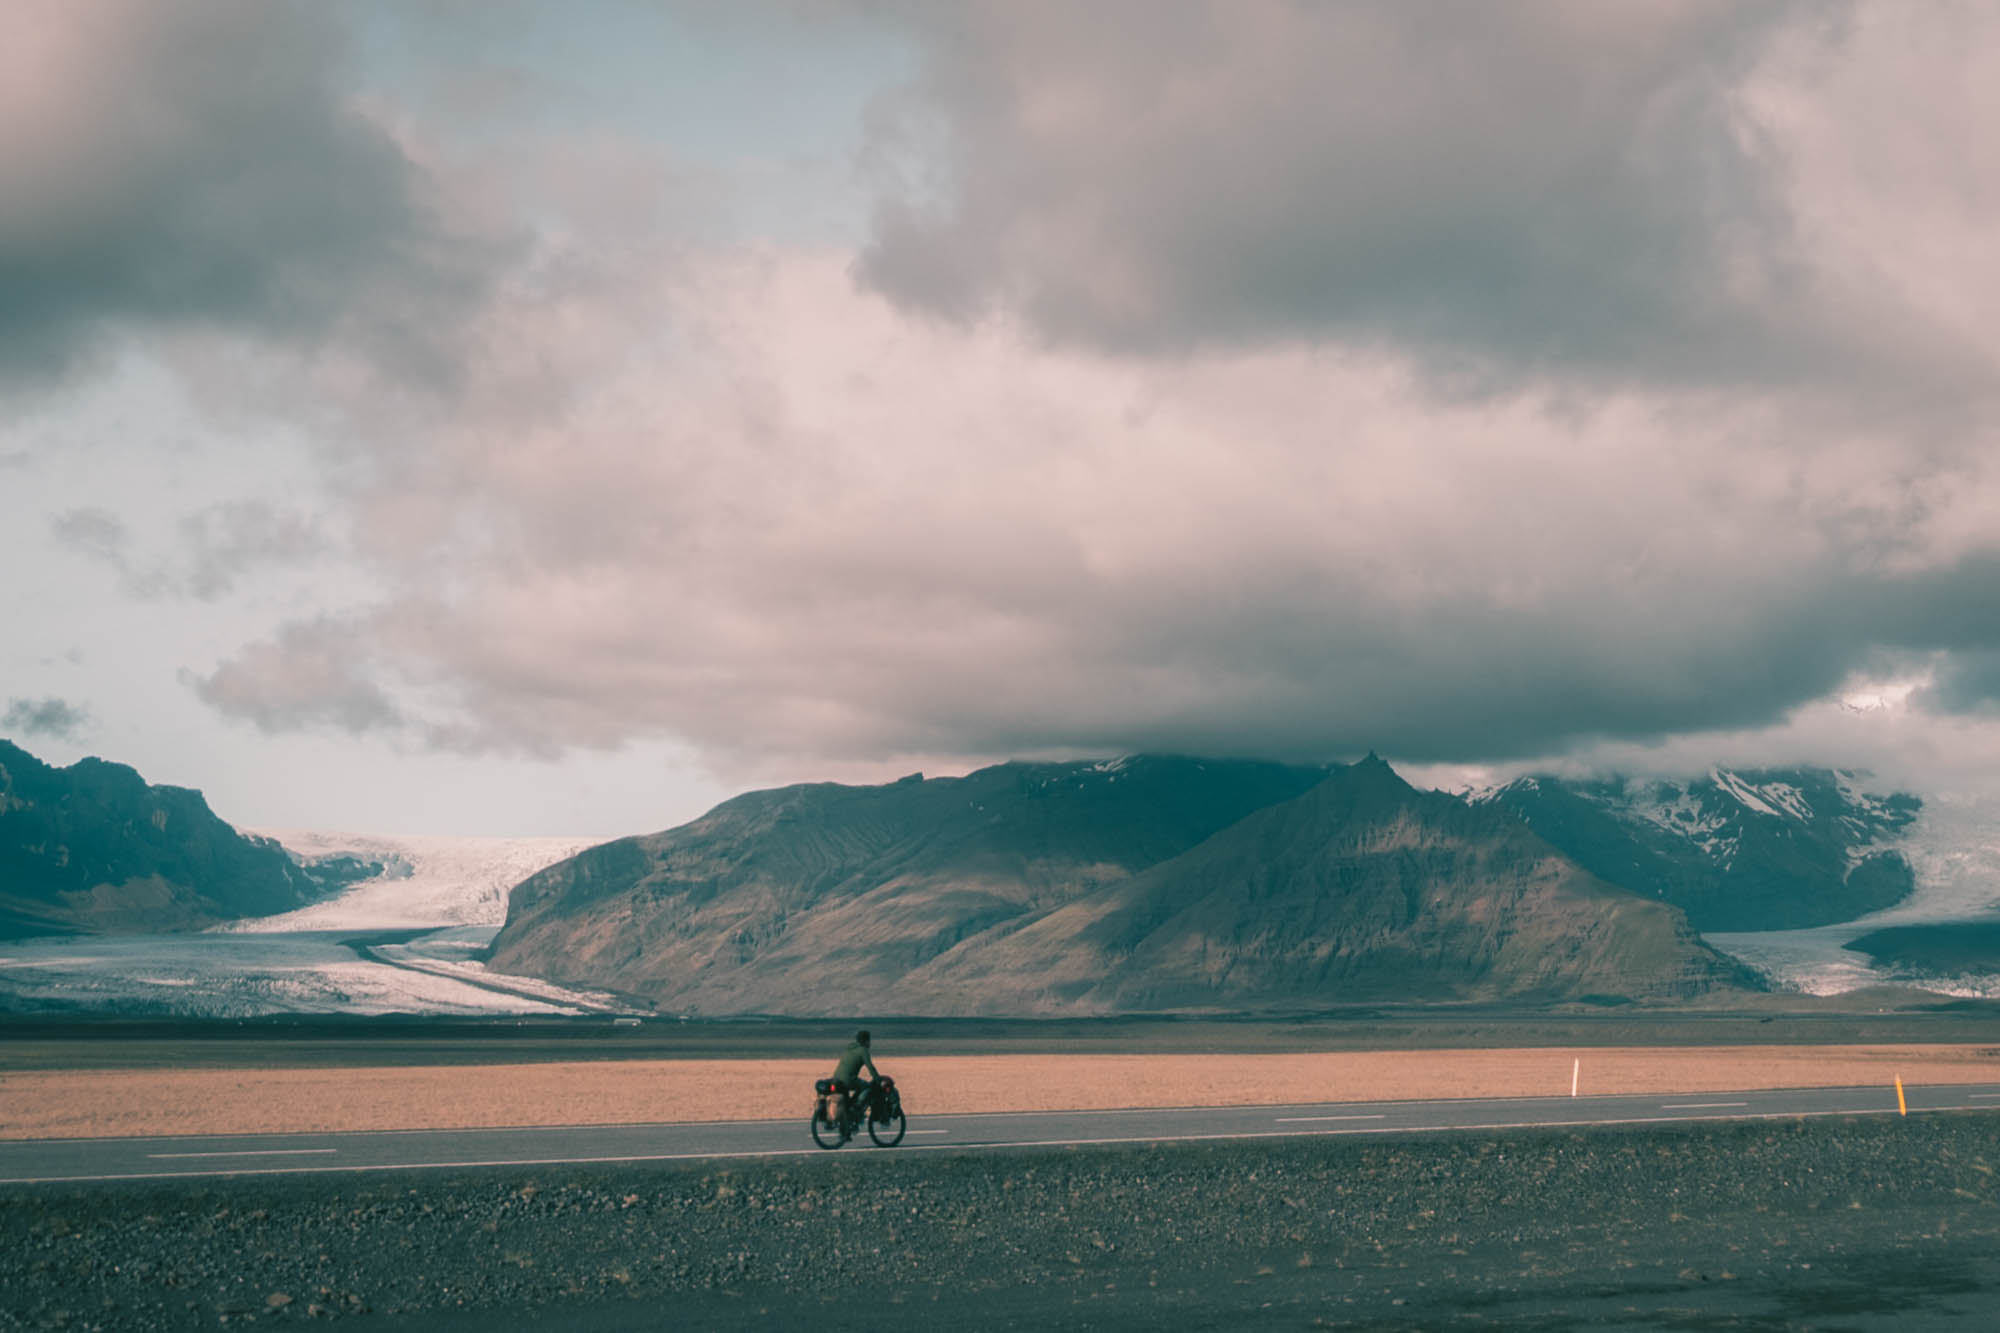
Just recently, I finished my North and Central American tour (plus a month-long stint in Iceland) and had little to no serious mishaps. Just the dynamo hub had its bearings slightly busted halfway. No bike mechanics could open the hub to replace them, and SON says on their website that riding with lots of play wouldn’t damage the hub and would just damage the bearing further. So, I kept riding like that even though it gave me sporadic anxiety in overly remote places, but we made it back, and it held its own.
- Frame/Fork: Brother Cycles Big Bro
- Rims: Ryde Edge 29″
- Hubs: SON 28 dynamo hub (front) / Rohloff Speedhub (rear)
- Tires: Panaracer DriverPro and Maxxis Minion
- Handlebars: Caseys Grand Cru Crazy Bar with Ergon GP3 grips
- Headset: Wolf Tooth Premium
- Crankset: SunRace MX
- Pedals: DMR V12
- Cassette: Rohloff 18T sprocket
- Brakes: Avid BB7 mechanical
- Shifter(s): Rohloff twist shifter
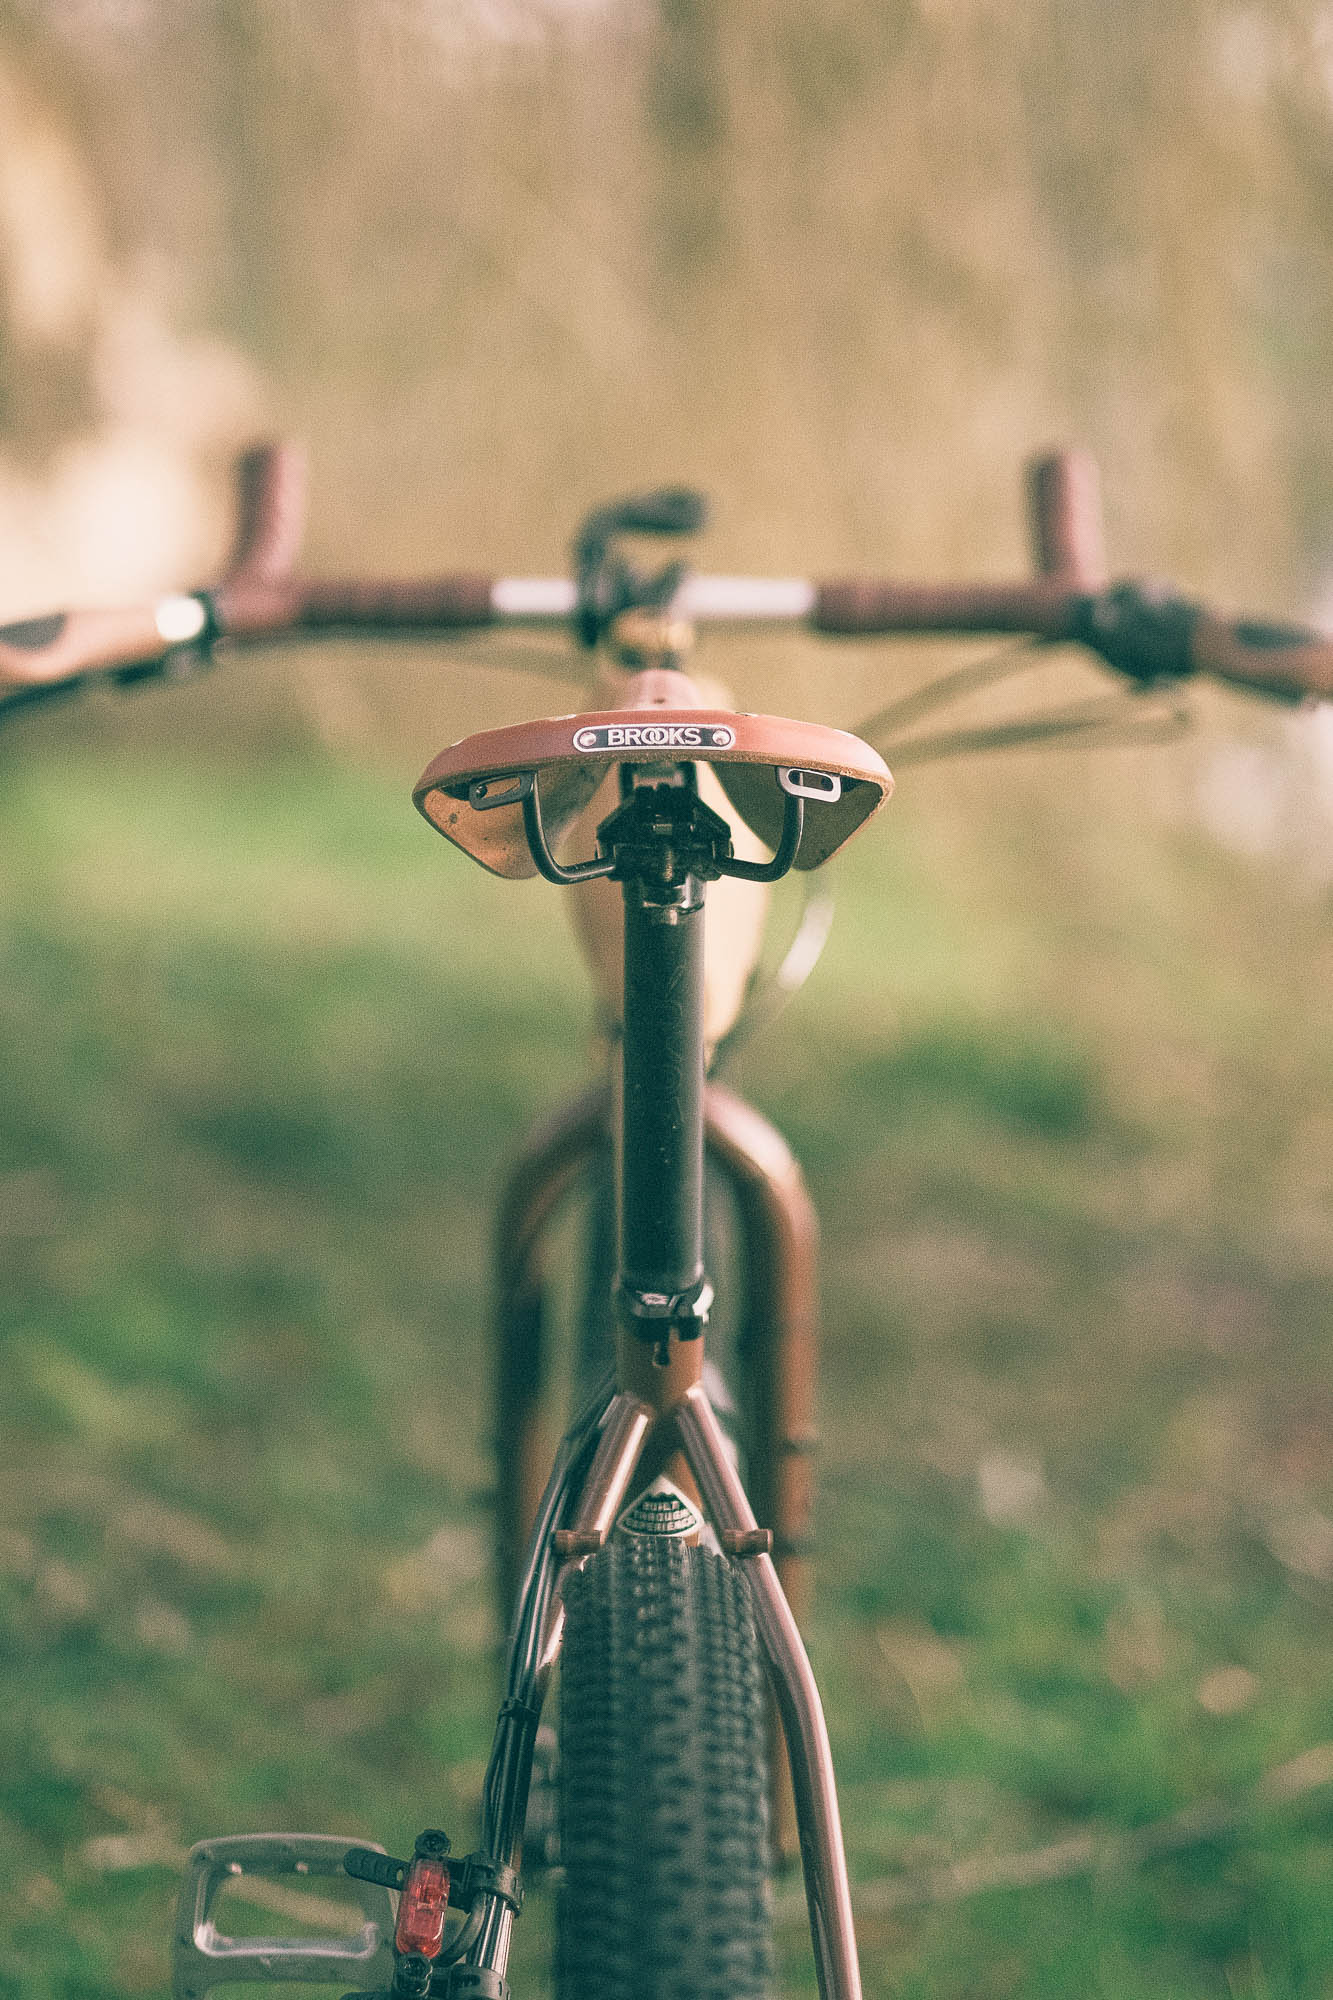
- Saddle: Brooks B17
- Seatpost: Contec SP101
- Stem: No brand, 80 mm, 6 degrees
- Front bags: Swift Zeitgeist and Gemini, North Street trunk bag, Tailfin Mini Panniers 10L
- Frame bags: Apidura Backcountry Long Top Tube Pack and Expedition Frame Pack 4.5L
- Rear bags: North Street Adventure Macro Panniers 21L, Wizard Works Shazam saddle bag
- Racks: Pelago Commuter front rack, Old Man Mountain Divide rear rack
- Lights: Contec Luna 80 E lights, Busch & Muller dynamo charger
- Other accessories: Garmin Edge 530 bike computer, Quadlock phone mount, Big Blue 28W solar panel
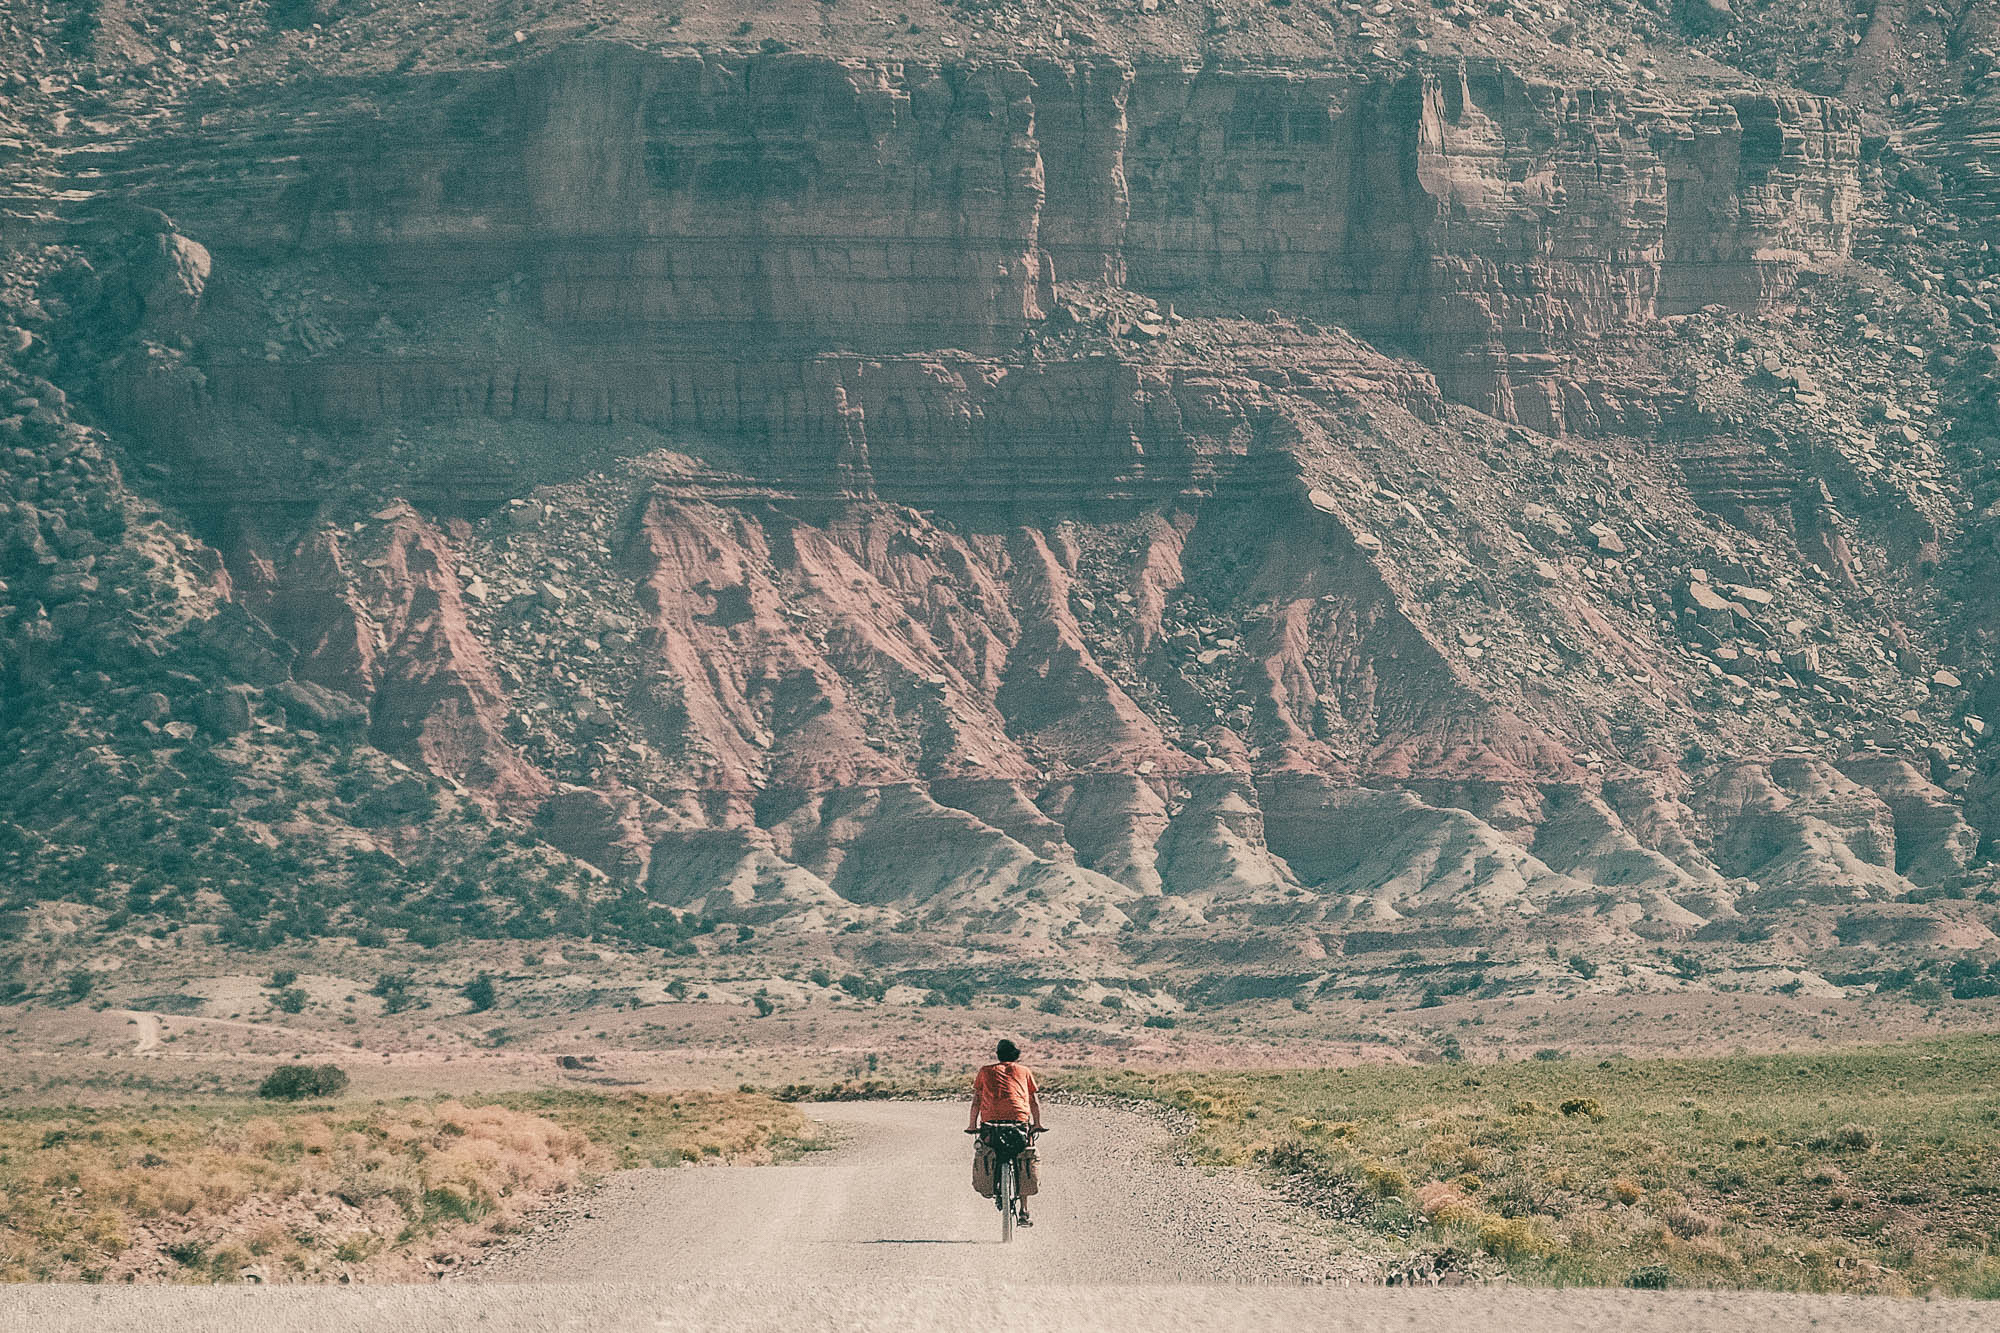
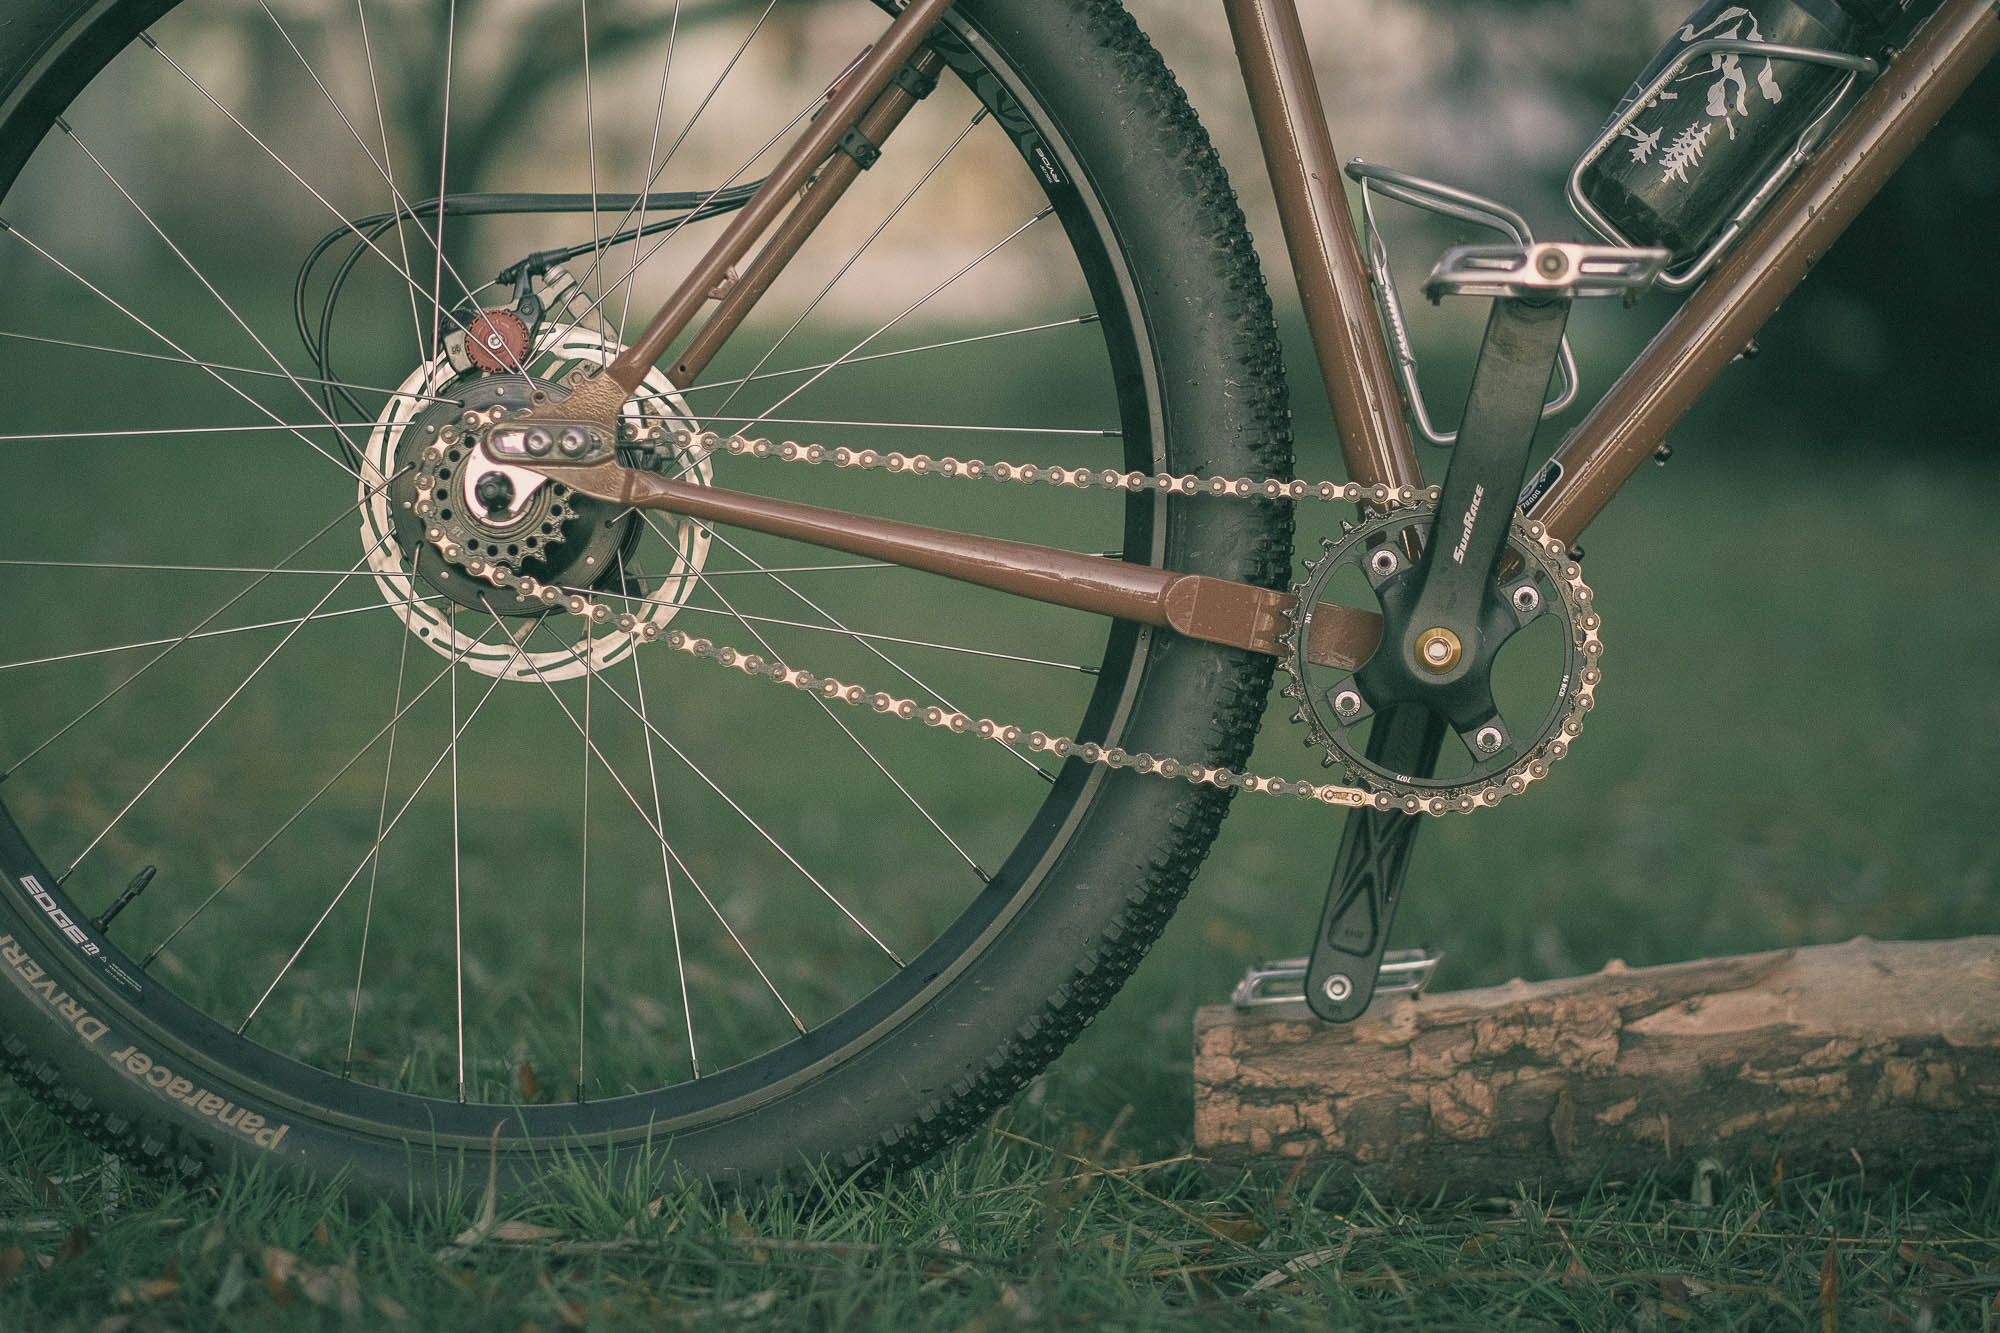
There’s lots to say about the Rohloff hub. It has its ups and downs, but overall, I found it to offer peace of mind. Not having the cassette, thus no need for cleaning it, is a breeze; the chain also lasts longer because it’s always lined up straight. The twist shifter can be quite annoying with wet or dirty hands, yet it saved me plenty of times with the quick and pedal-free shifting, notably in the brutal climbs of Baja Divide or the steep gradients ramping up right after a river crossing in the Icelandic Highlands. With one sweep of the hand, one can switch 8-10 gears at once, and that’s not to be taken lightly. In the beginning, I opted for 18/36 for rear sprocket and chainring without knowing so much, and after the US part, I switched to a 30T chainring, which helped a lot with the climbs in Mexico.
As for the tires, I started out with XC-style Panaracer Driver Pro 2.6″ tires for comfort and less rolling resistance. It was positive overall and very puncture resistant. Just before crossing into Mexico, I switched to Maxxis Minions, 3″ and 2.6″ for the front and rear, respectively, chosen specifically for Baja Divide and all that sand it entails. It was a good choice for Baja, yet it certainly slowed me down later on in Mainland Mexico and Central America. The front tire attracted a lot of attention from the locals and other cyclists, it looks more like a dirt bike with the generous tread profile.

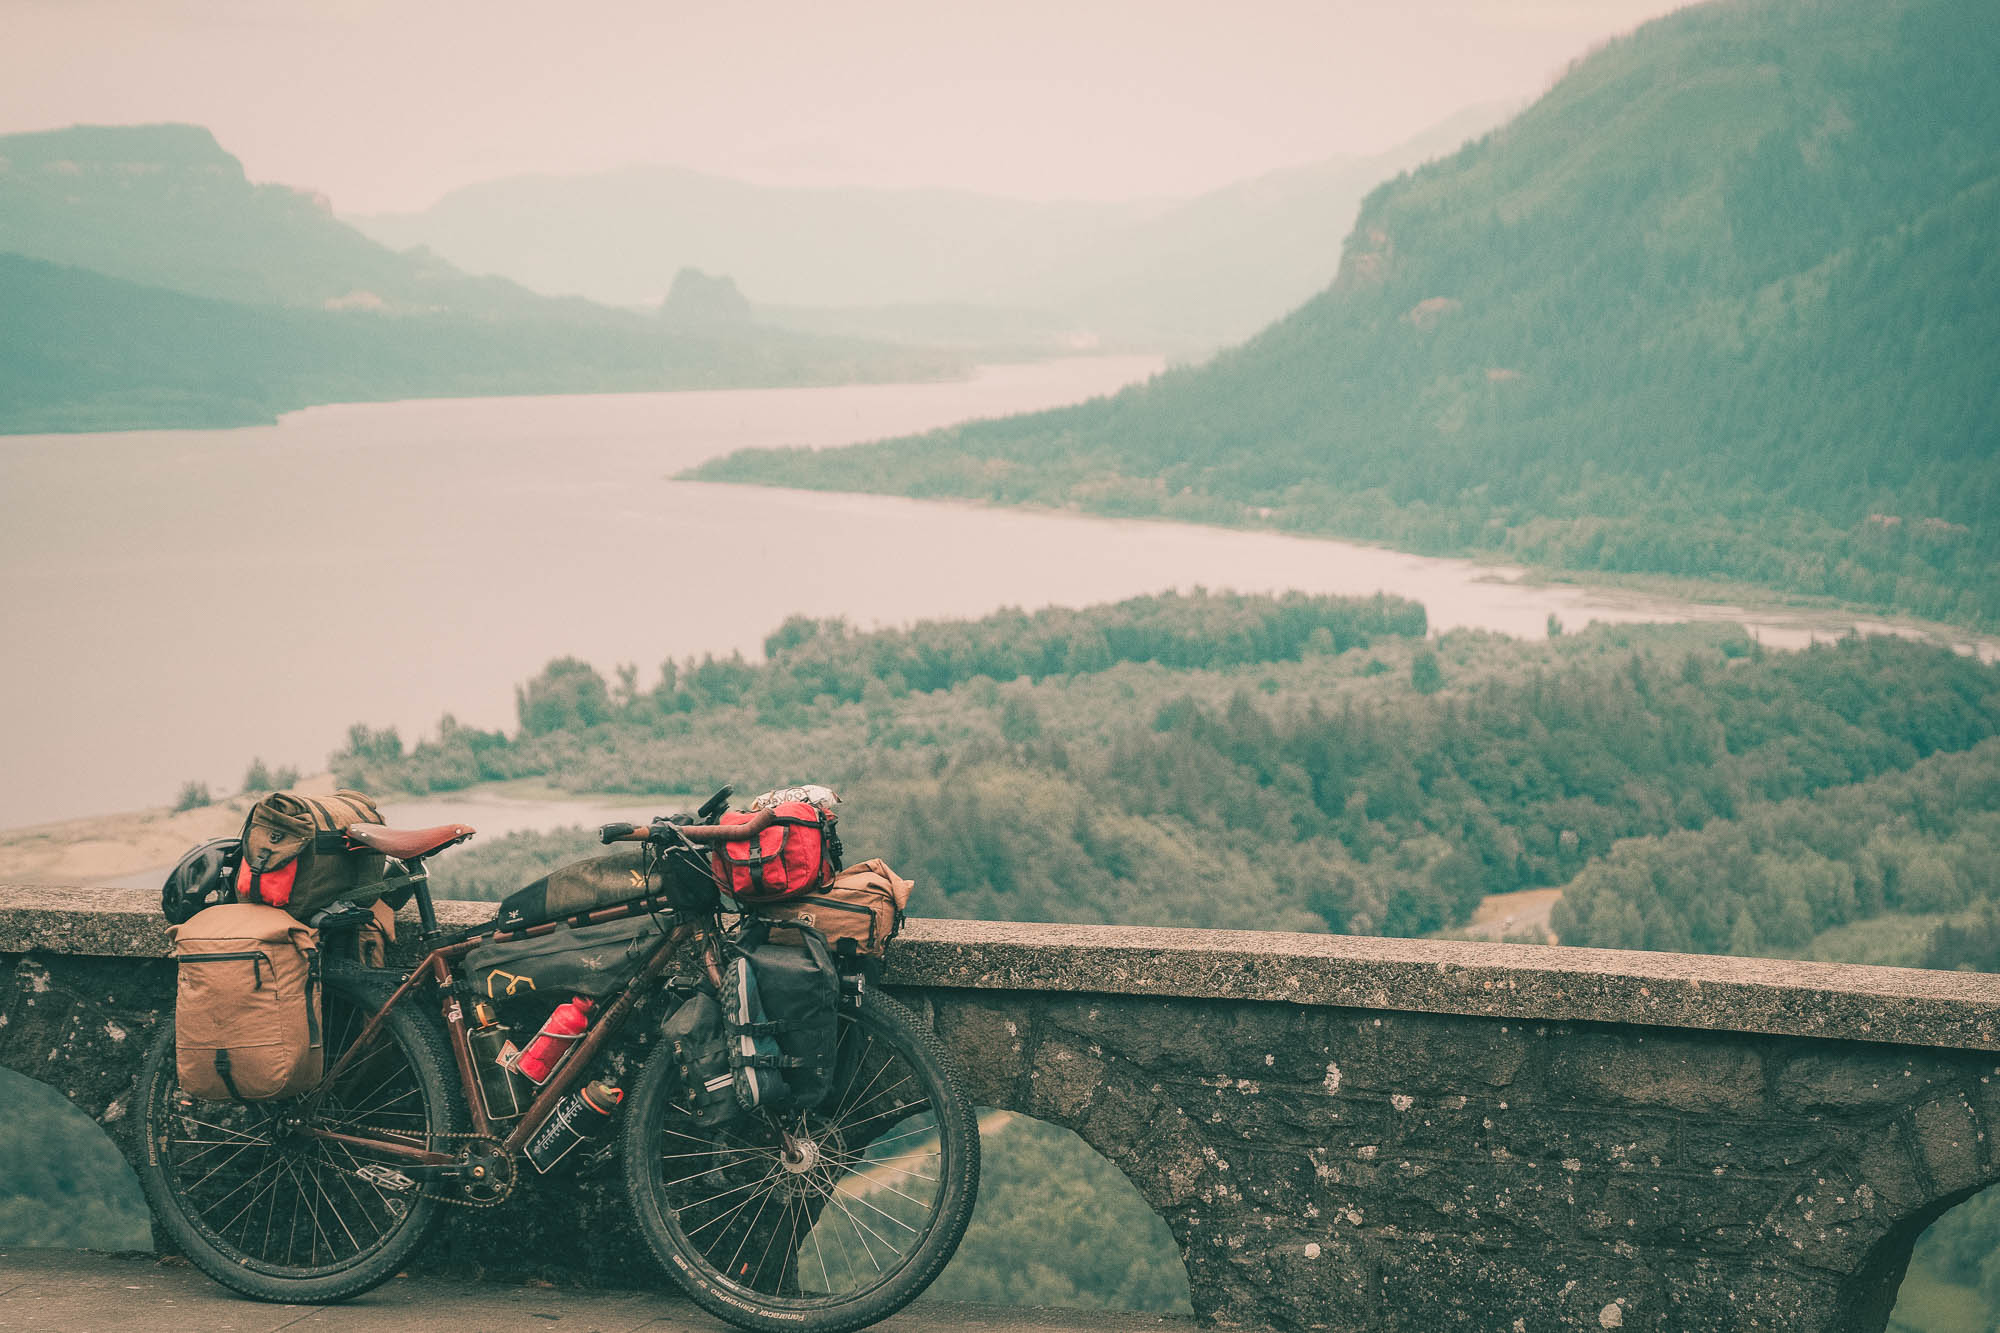
I went for front and rear racks for the practicality they provide, and I tried to go more modular with smaller bags. The panniers are from North Street, equipped with velcro securing instead of hooks, hence less rattling and chance of breaking. A Wizard Works Shazam for the saddle bag, a very utilitarian and good-looking option for keeping some electronics, a drone, an ebook, and a journal. Swift Industries Zeitgeist for the handlebar bag carrying the camera, electronics, clothes, and occasional snacks. It was pretty secure and waterproof, but I didn’t really enjoy taking my camera in and out of it with the four action steps required.
The Tailfin mini panniers in the front house my tent and kitchen, nothing much to say about them as they’re great in every aspect (maybe besides the price tag). The good thing about the rigid fork in this frame is that it has the rack mount separate from the triple cage mount, so it allows for extra storage. I first had a couple of dry bags strapped to the front fork but switched to Swift Industries Gemini fork packs in Utah. They have an HDPE sheet lined in the fabric, so they keep their shape even when not full. One carried food, and the other one had my camp chair and tent poles in it.

Under the handlebar bag, I had the North Street trunk bag carrying bike repair tools, spares, and a medikit. Against my initial idea, we added front and rear lights powered by the dynamo hub, which proved to be quite handy during a few inevitable night rides. I still use my trusty Garmin Edge 530 (that I purchased years ago for only 100€ from a Flemish guy who decided to retire from cycling altogether) for navigation; it’s nothing fancy and just keeps working, battery life is still pretty good, takes about 30 minutes to an hour to charge from the dynamo, and it’s so simple to send routes from Ride With GPS directly from the app. Just pin the routes you saved in your library, and you’ll find them in the courses folder on your Garmin. Following the popular trend, I chose a Quadlock mount for the phone, but didn’t quite like it. Once it’s mounted, it’s secure, but it takes so many trials to get the angle right to latch it on. Maybe I’m too dumb.
The handlebar also deserves some recognition. I can’t say enough about how much easier it made the ride. It allows multiple hand positions and the ability to settle the arms on the horns to give the hands a break, and also to go aero on descents and headwinds. The 45-degree sweep is a bit much for my taste, but the adverse effects were rectified when paired with Ergon GP3 grips.

The only article I’d change for sure is the handlebar bag, which I often found to be rather frustrating with the cumbersome procedure (three buckles and one elastic fastener to undo) to open and close to get my camera in and out. It’s great for what it is, but certainly not for shooting on the go. I missed many shots due to either the time required to access the camera or my laziness in going through the process. Gotta find another solution for that. Another one would be the saddle bag, as practical, high-quality, and good-looking as it was, it wasn’t all that secure with the daisy chain attachment to the saddle in the rough bits. It was swaying a lot, and the daisy chain got damaged and almost ripped by the end. I’d go for a roll-top or drybag-style rack bag instead next time around.
One strange but pleasant outcome of the journey was that I haven’t changed my brake pads for the entire 10,000-kilometer ride, and I still have more than 1mm of pad left in the rear and even more in the front. I wonder what kind of material it’s made of, as I surely wasn’t sending it all the time.
I very recently completed my tour in Costa Rica and returned to Europe. Even though I was born and raised there, I’ve never ridden in Türkiye, so I’m planning to ride there from Belgium. But this time, I’ll take my gravel bike with me for a light and fast touring, kinda my own version of the Transcontinental Race.
Afterwards, my dream is to spend more time in Türkiye to work on a project that explores and establishes bikepacking routes, covering various road conditions, landscapes, and durations, and documents them properly for fellow bike travelers to easily find. It’s an amazing place for bike traveling, and many people have already done it, but the information is scattered all over the place and thus often requires extensive research. It might even lead to supported tours or bikepacking races at some point. Hopefully, I’ll come back here to share more about that in the near future.
You can keep up with Serkan on Instagram.
Send Us Your Bikepacking Rig
Use the form below to submit your bikepacking rig. We’ll choose one per week to feature in a Reader’s Rig Dispatch and on Instagram. To enter, email us your best photo of the bike (preferably at a 90° angle), your Instagram username (optional), and a short description of you and your rig. If your bike is selected, we’ll need a total of five photos and a little bit more info.
Readers Rig
Further Reading
Make sure to dig into these related articles for more info...


Please keep the conversation civil, constructive, and inclusive, or your comment will be removed.