


Small Bike, Big Adventures: A Bikepacking Guide for Shorter Riders


If you’re a shorter rider who struggles to find a place to fit all of your gear on your frame, this guide’s for you. Find our guide to packing small bikes for big adventures here, complete with tips for storage, suggestions for smaller gear, and more…
PUBLISHED Feb 24, 2022
By Devin Cowens (@dev_rox) + Jess Daddio (@jessdaddio)
In the words of Joe Cruz, if you have ever eyed your “clumsy giant” of a friend with envy as they “pull out weeks’ worth of food from their voluminous frame bags,” while you cobble together whatever paltry calories you crammed into the recesses of your too-stuffed frame bag, then this packing guide is for you. We are arbitrarily defining “you” as someone who is 5’5” or under in height, although, if you are like our 5’8” friend Joe—that is, the average American man—perhaps you will glean some helpful tidbits here, too. From maximizing space on the bike to investing in ultralight gear, we—Devin and Jess—are here to break down how and what we pack for big adventures on small bikes.
Real talk: the bike industry was not created by smaller-statured folks. Sure, the industry has come a long way in recognizing the need to create more frames with geometry that’s better optimized for shorter adults, but there’s still no shortage (pun intended) of challenges faced by those of us who are slight in size but big on pedal-powered adventure. From space-constrained frames to limited tire clearance, figuring out how to pack for a bikepacking trip on a small rig can be a huge pain in the ass.
We know, because we are short.
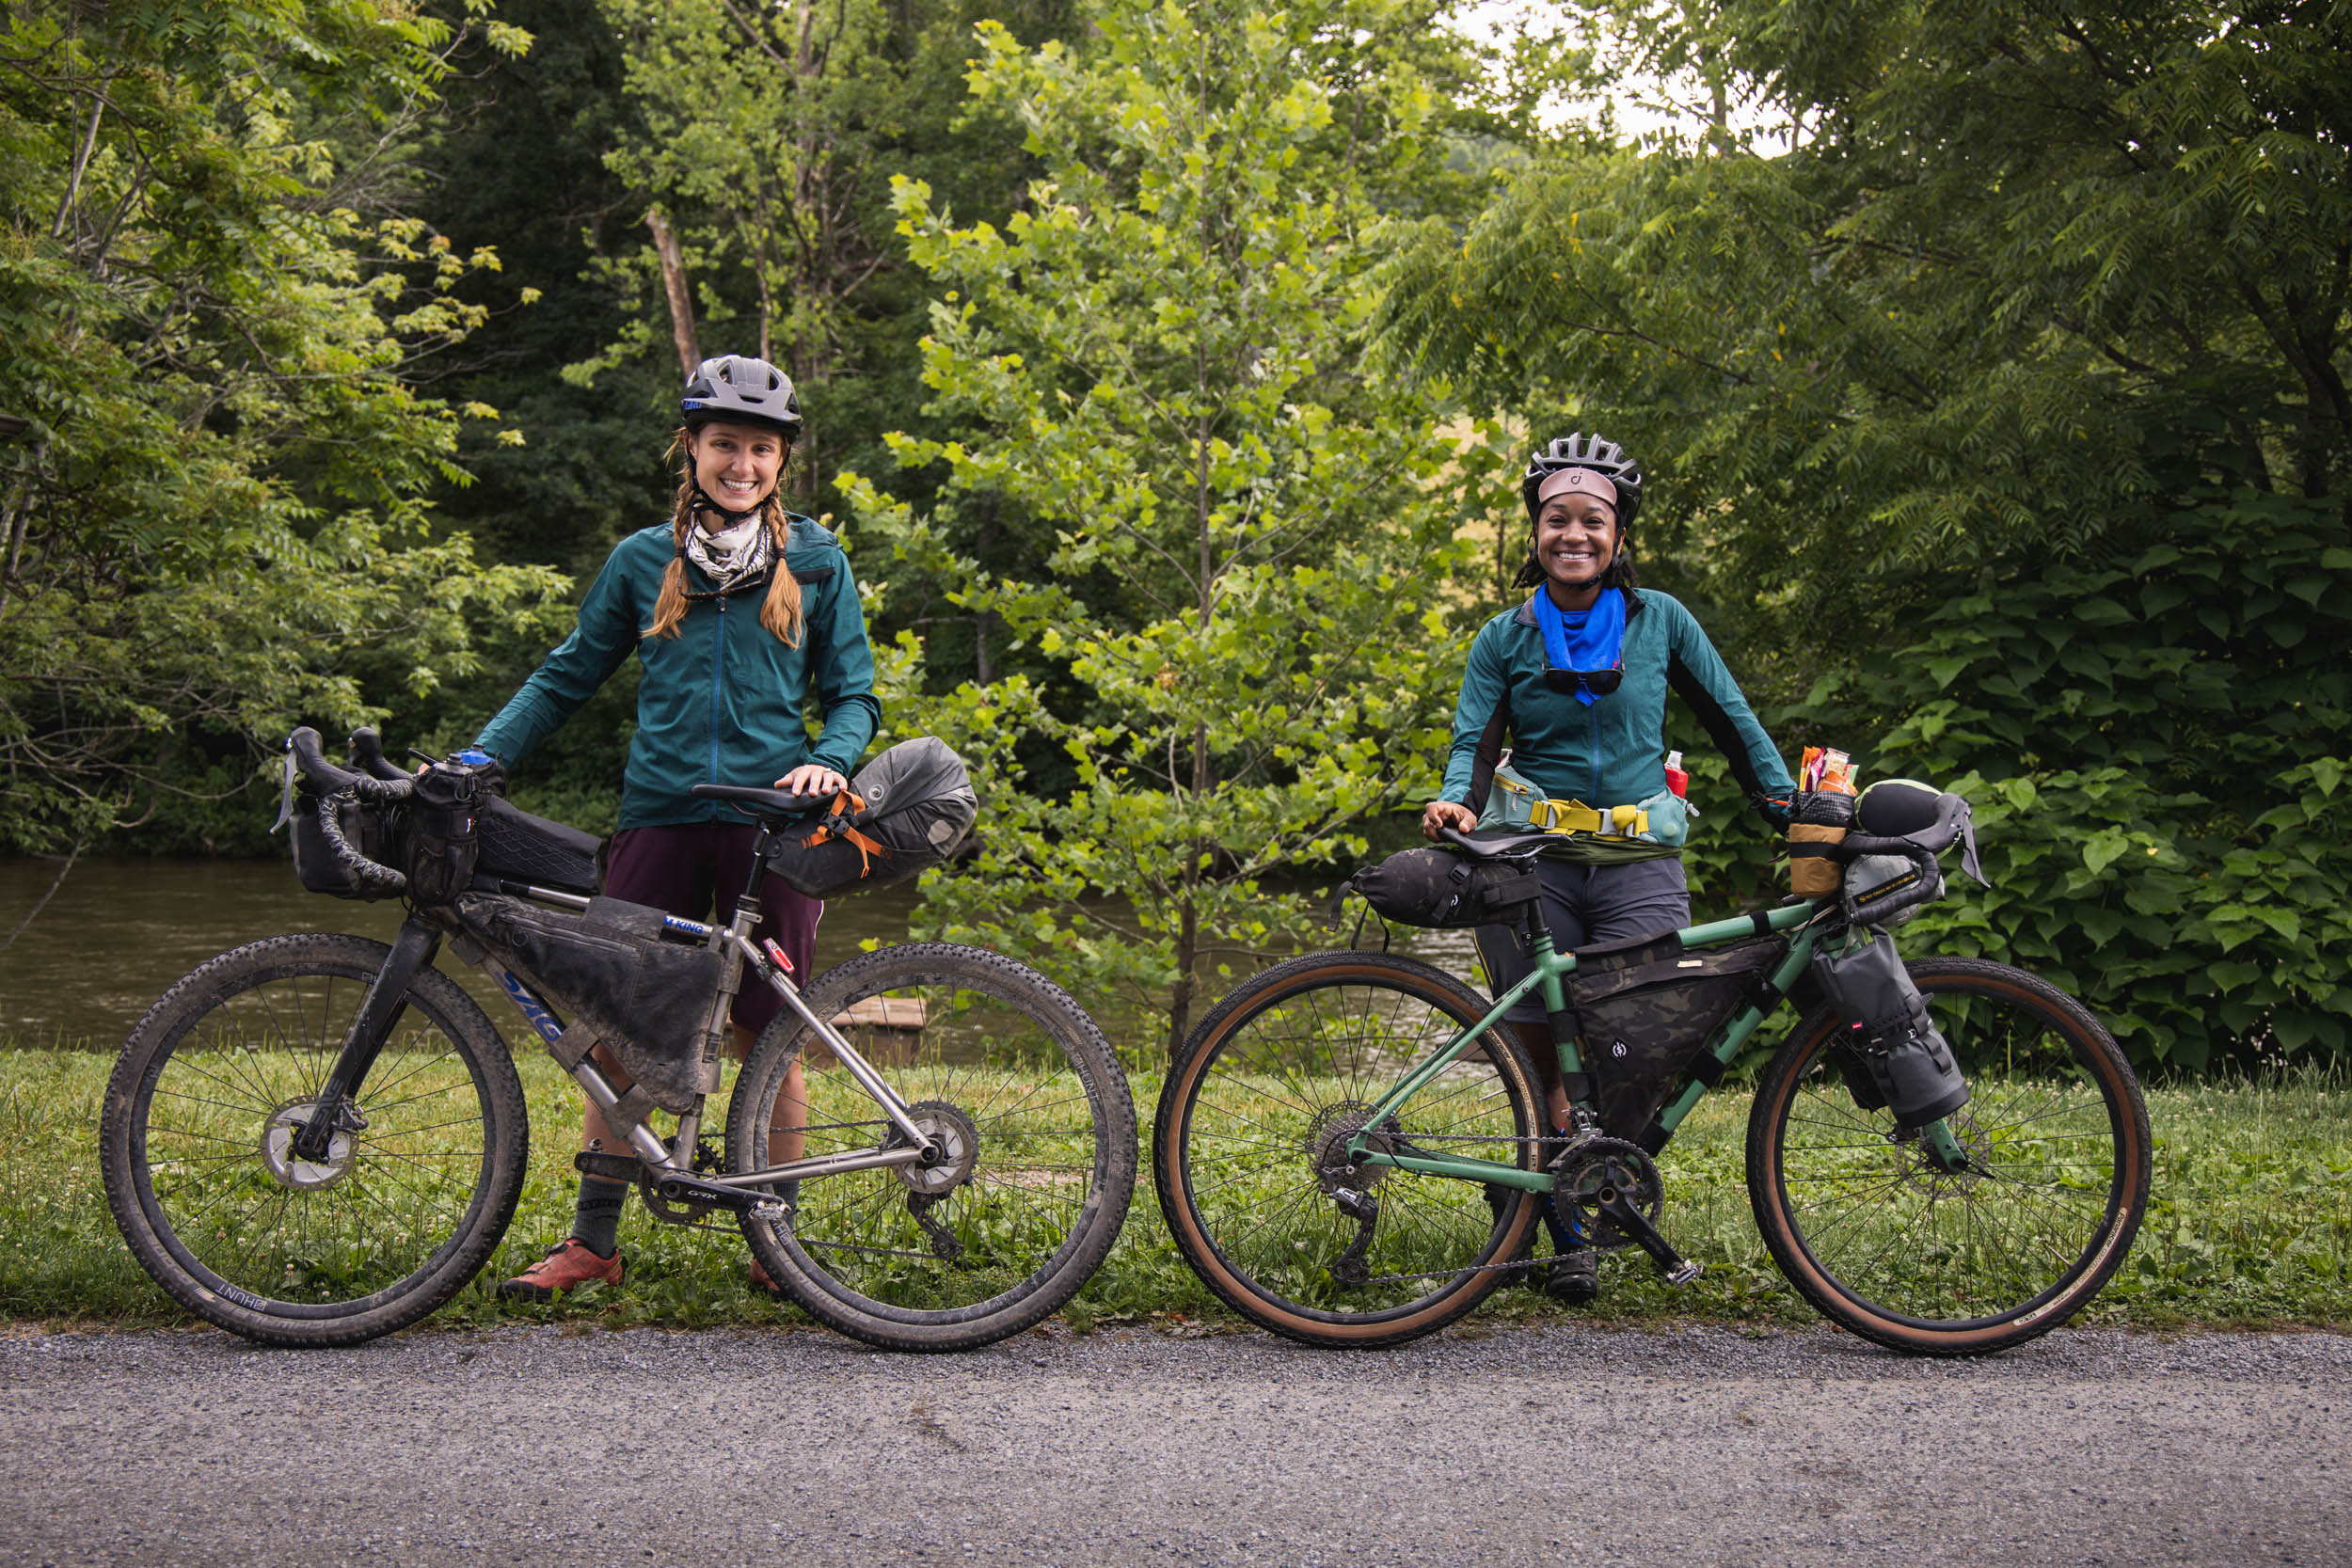
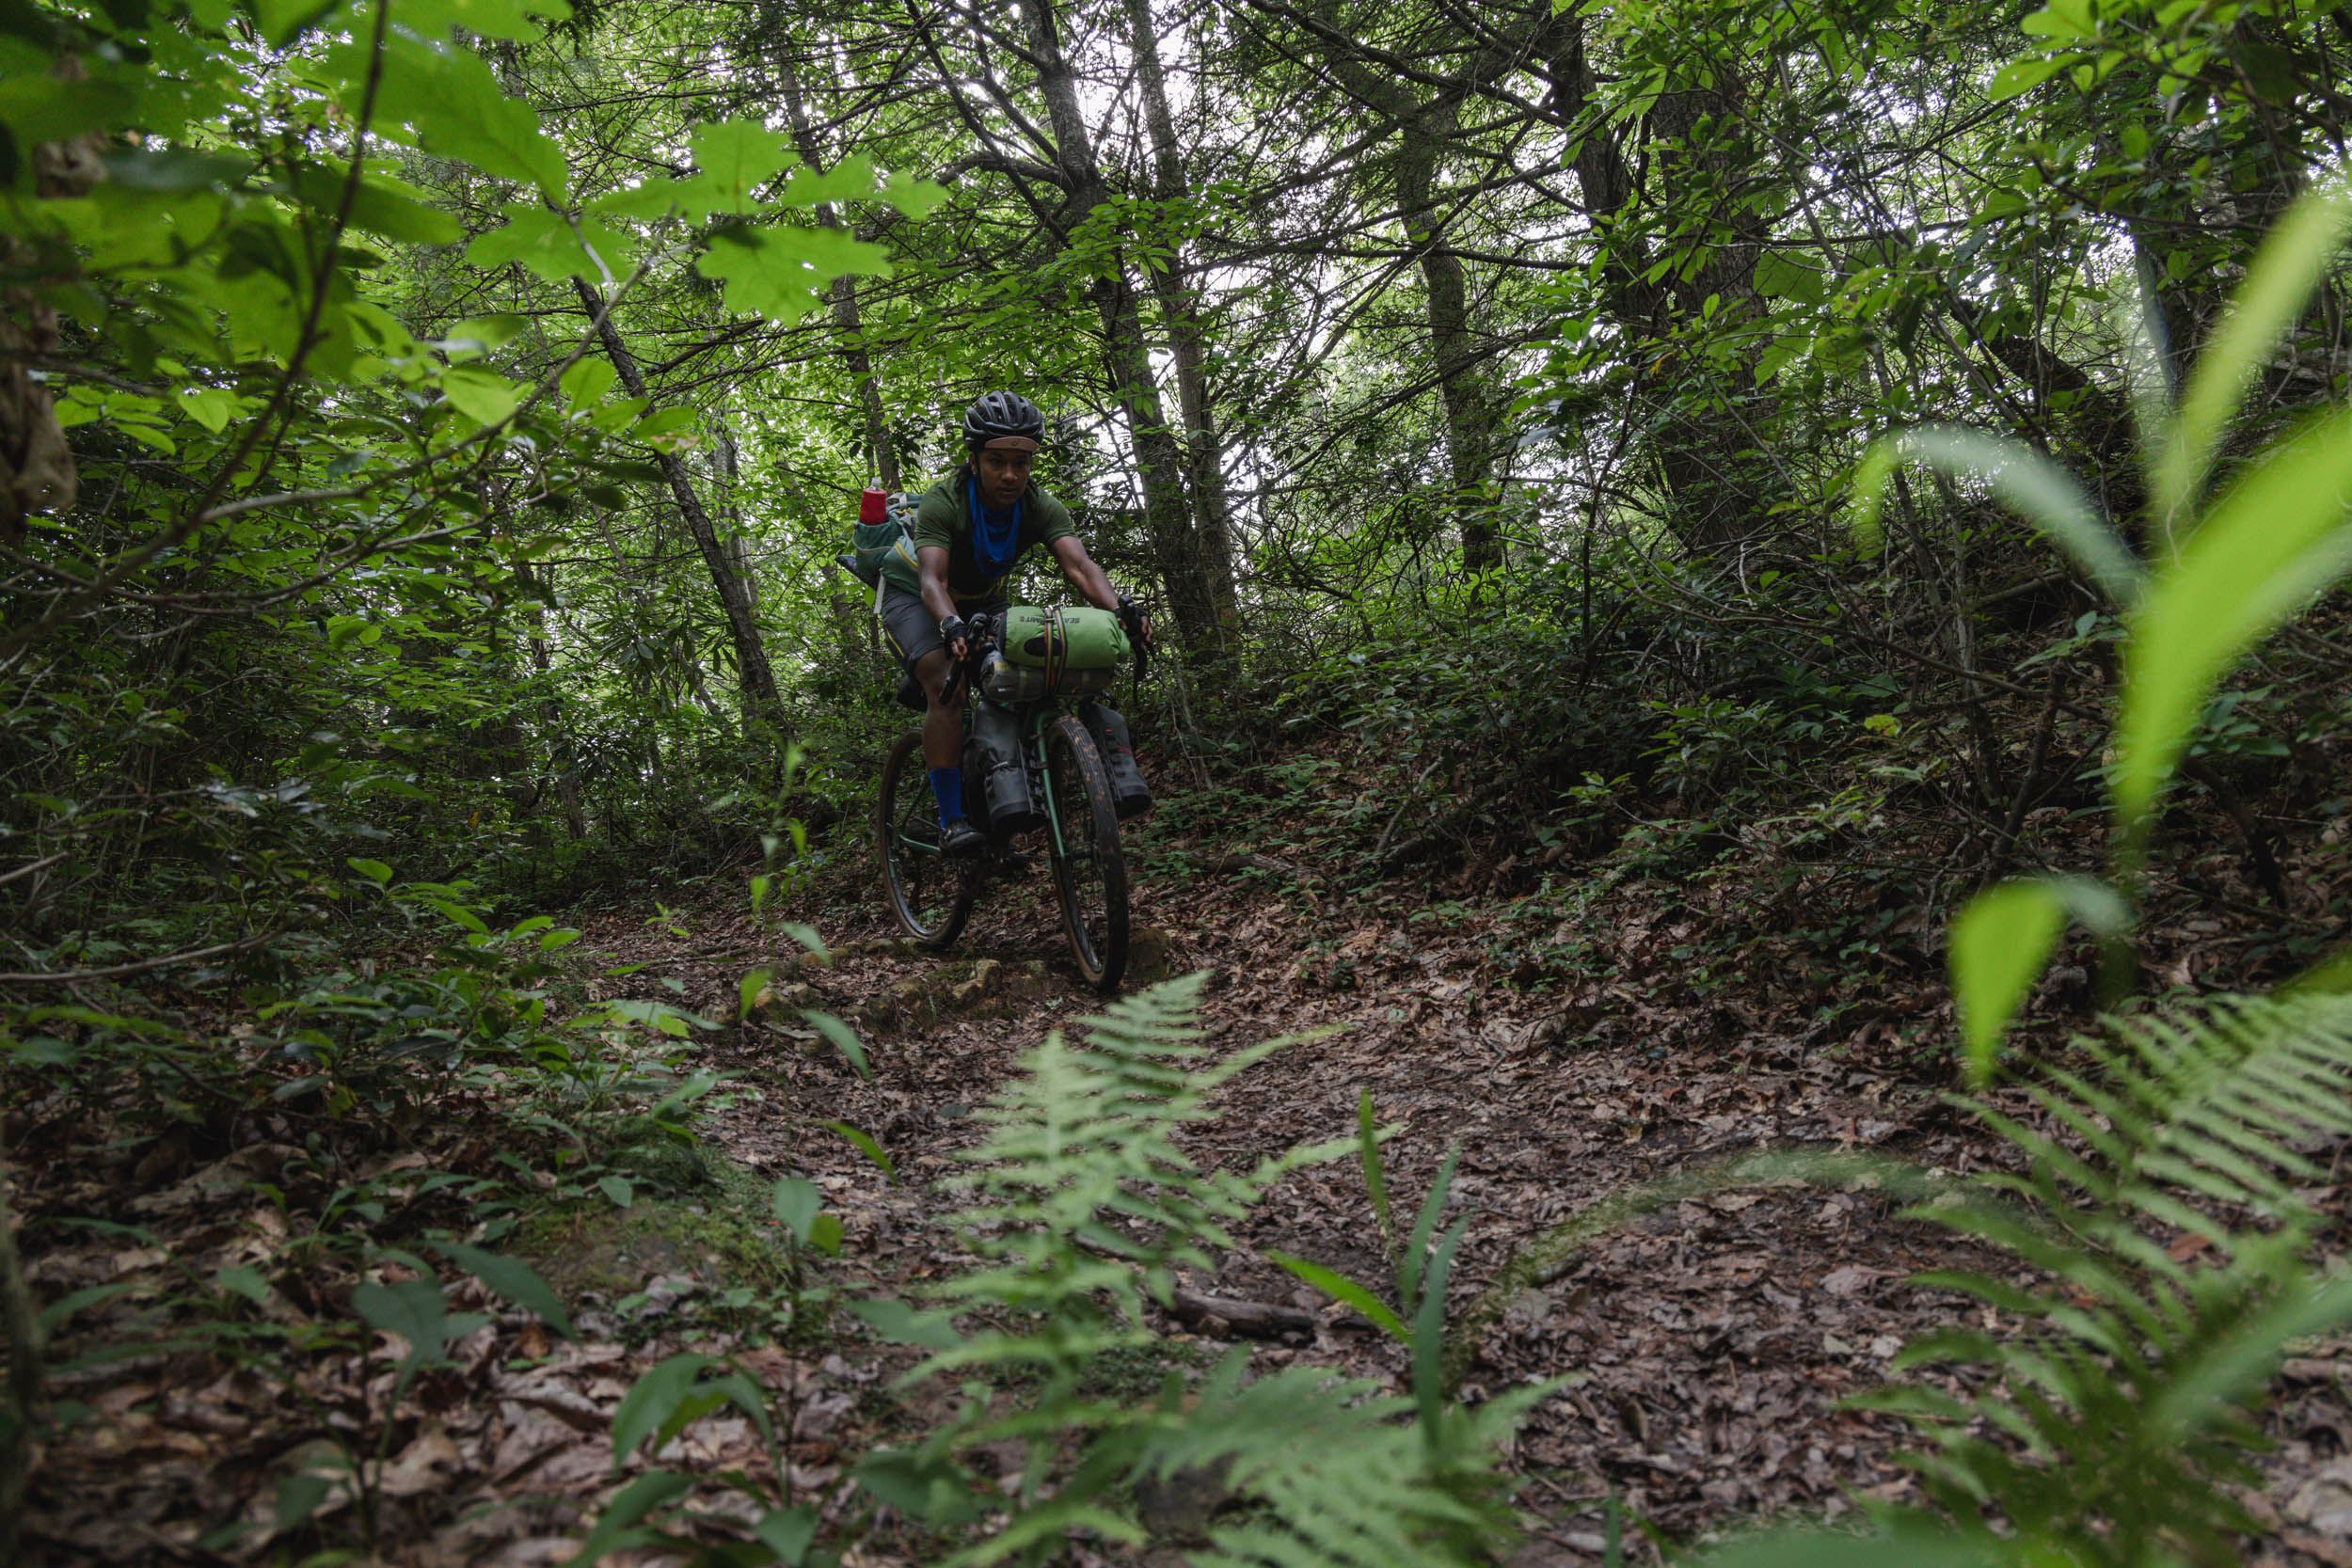
Though she be but little, she is fierce—and can pack a helluva bike.
Meet Devin + Jess

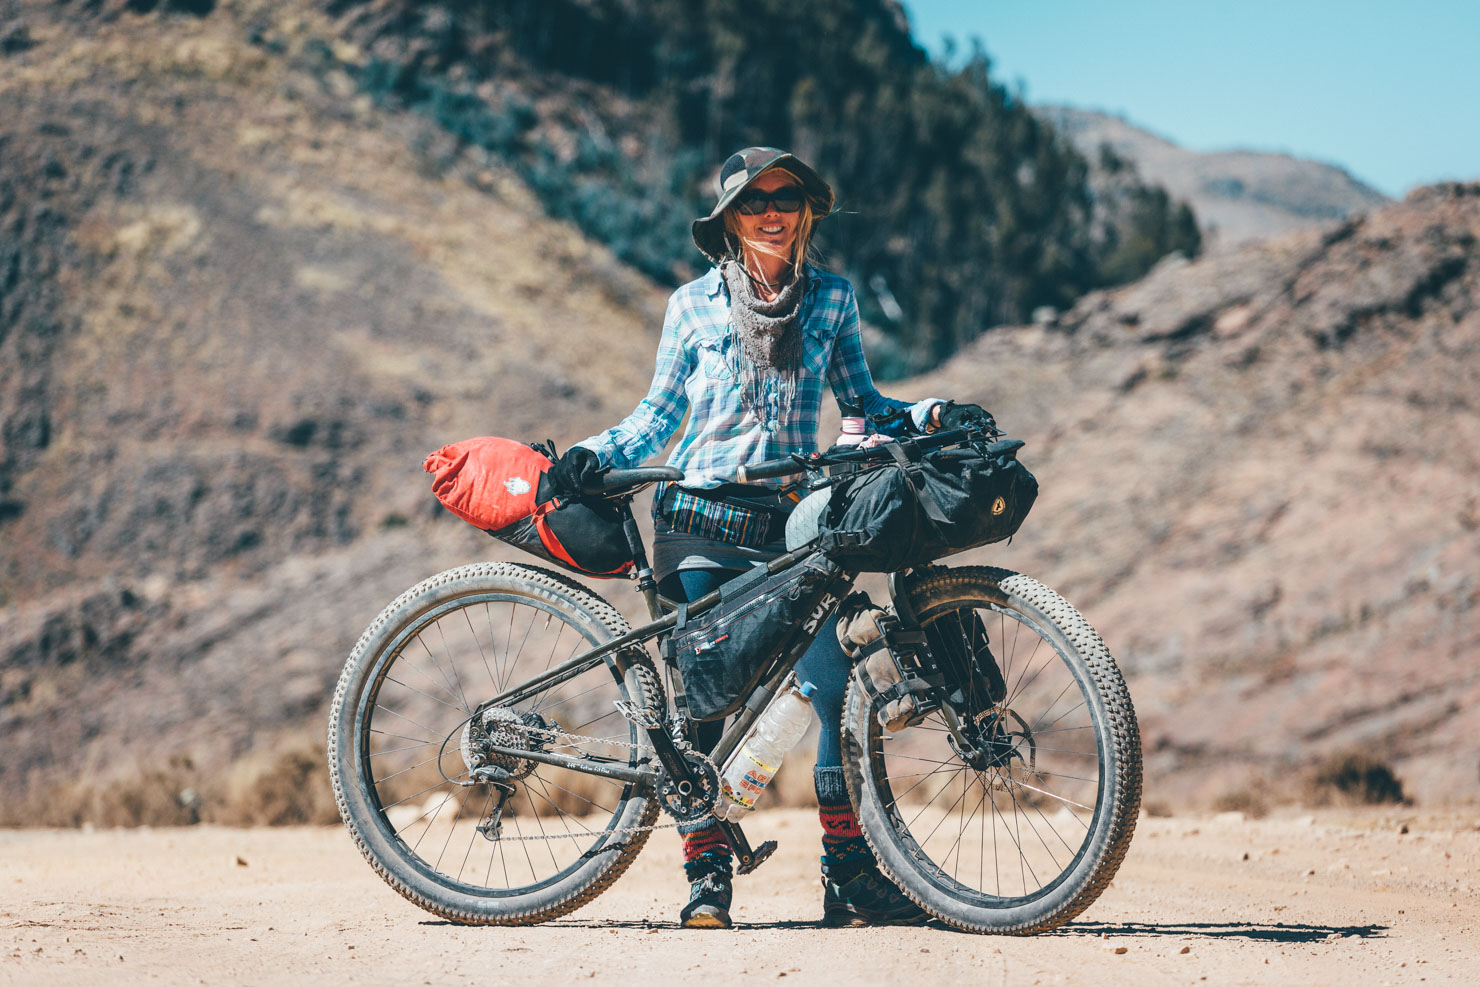
Devin (she/her) is a 5’ ½” connector, relationship builder, community organizer, and advocate for BIPOC folks in cycling. She began bike camping in 2018, launched an Atlanta chapter of Radical Adventure Riders (RAR) in 2019, and is currently a rider for Diamondback Bikes. A seasoned traveler, Dev is at her best when she is exploring cities by bike, scoring triple words in Scrabble, and nerding out over logistics. She can most often be found brewing strong coffee outside on the ancestral lands of the Muscogee Creek Nation, today known as Atlanta, Georgia.
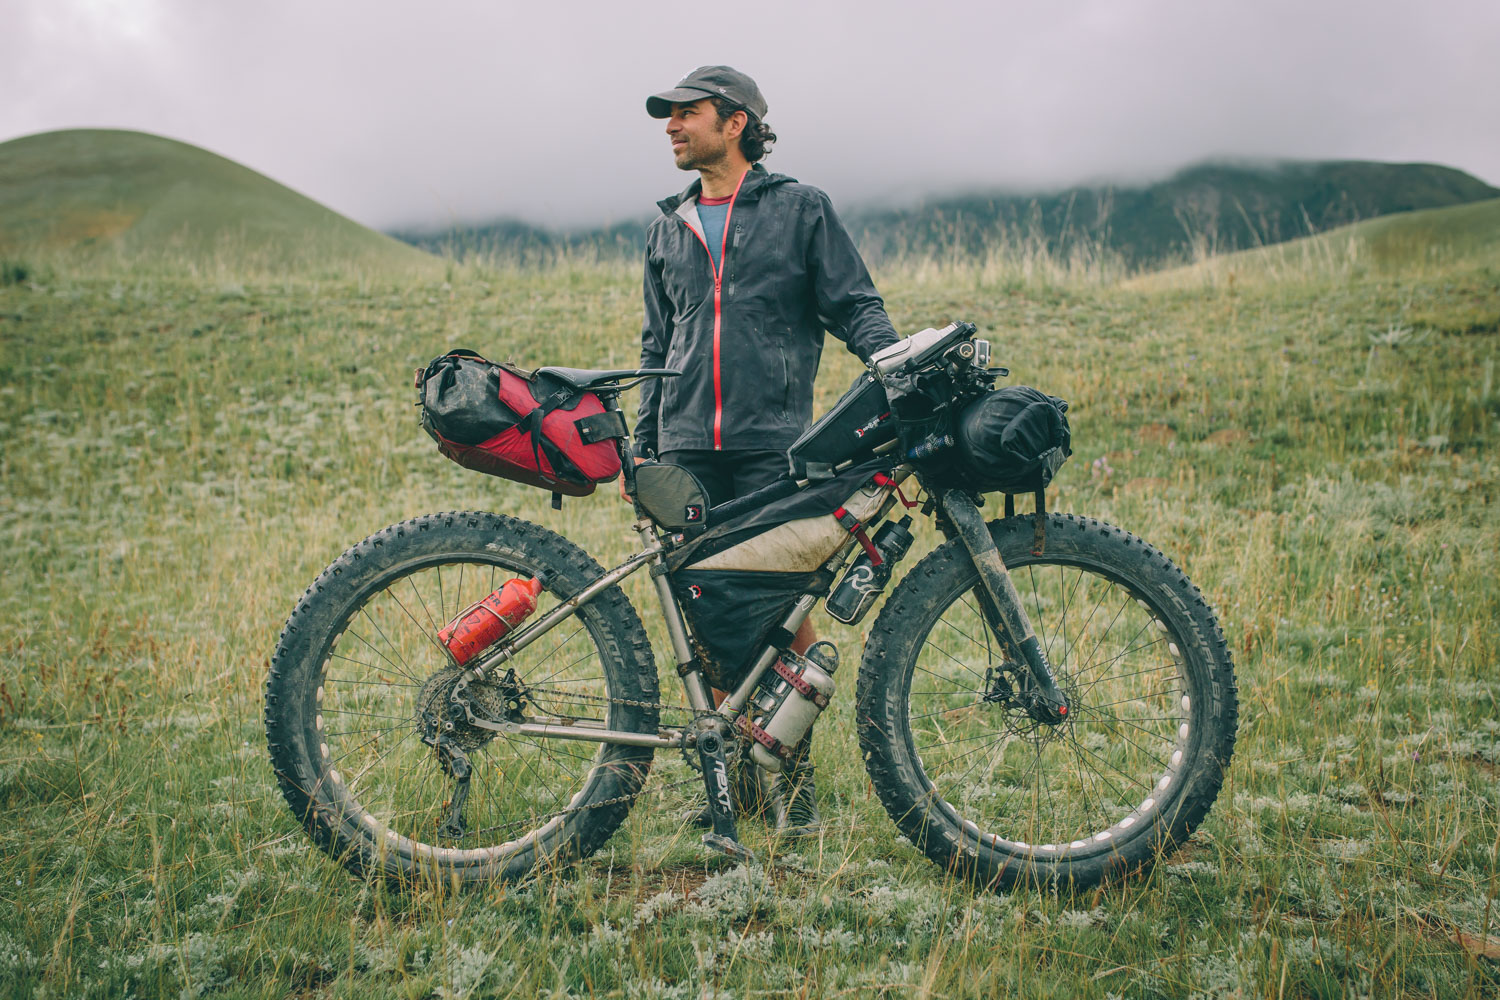
Jess (she/her) is a 5’4” full-time freelance multimedia journalist. Her first bikepacking trip was a 50-mile overnighter. Her second bikepacking trip was the Great Divide Mountain Bike Route. When she’s not eating Pop Tarts in the dirt in some part of rural America, she resides on the ancestral lands of the Manahoac and Monacan, today known as Harrisonburg, Virginia.
The Problems
We won’t spend a ton of time outlining these—chances are, if you’re here, you know very intimately how hard it is to fit all of your shit on a bike for more than two days’ worth of riding—but say you’re one of those “clumsy giants” and you are doing some self-education in an effort to better empathize with your smaller-mounted bikepacking buddies, here are a few things that make packing small bikes undoubtedly more annoying.
Small Frame Size
This one is pretty obvious, but it’s the foundation by which all of our other packing woes arise. Smaller frames mean smaller frame bags, which in turn means we have a very limited amount of real estate in an area that, for the vertically endowed bikepacker, is akin to a walk-in pantry. If you’ve never tried to put just two standard water bottles in the triangle of a 48cm bike frame, you just cannot fathom the frustration we feel.
Limited Tire Clearance
No matter what wheel size you run, small frames and shorter saddle heights equate to limited tire clearance, which affects how much we can pack in our seat bags (and which seat bags we can use unless we choose to go with racks and panniers—more on that later).
Minimal Water Carrying Capacity
Jess’ partner is 6’0”. When he needs to carry extra water, he can put a three-liter reservoir in his behemoth of a frame bag. He can even use a half-frame bag (which has about the same volume as Jess’ full-size frame bag; she’s not bitter) and still fit two water bottle cages in the triangle. But Jess can do neither. If she’s lucky (i.e. if there is ample surface water readily available on the route), Jess can put two water bottles on her fork and call it good. But if she’s not lucky (i.e. she is riding through the desert and has to carry a minimum of five liters at all times), she has to choose between carrying water on her back or enduring the irritating sensation of knees brushing against the water bottles in her stem bags.
Stowing a bottle under the downtube is generally not an option because any bump in the road will cause the water bottle to buzz the front wheel, especially when a suspension fork is involved. Rear seatstays can be hit or miss depending on the size and geometry of your bike, as well as the location of your bottle mounts. With a little custom modification to the chainstays on his Surly Pugsley, Joe has easily been able to carry two additional water bottles on the rear triangle, which is especially useful for multi-week expeditions. But the smaller you go in frame size, the greater your chances are of clipping your heel on the bottle. When it comes to carrying more than a couple of liters of water, shorter bikepackers have their work cut out for them.
The Solutions
This section will (hopefully) evolve as more cottage brands create crafty solutions to our height plights. For now, here are our tips and tricks for maximizing packing space on the bike.
Be Intentional With Your Bike Selection
When 29ers first came out, you’d be hard-pressed to find a company making one in extra-small or even small sizes. Fortunately, those days are mostly over, and if you’re under 5’5” in height, there are many brands making thoughtfully designed 29ers for those of us who ride frames in the 44 to 50cm realm. The explosion of 650B wheels and 650B bikes has also been a blessing for shorter riders. For many of us, the smaller wheel size feels more natural when it comes to handling and geometry (toe overlap, anyone?). Smaller-diameter wheels also increase the clearance between our tires and seat packs and handlebar bags, a precious commodity that can be a game changer when touring on rougher terrain.
That being said, not all bikes are created equal, especially when it comes to bikepacking. If you’re in the market for a bike (whether or not you’re shorter than 5’5”), you should be very intentional about the bike on which you spend your hard-earned money. Some things to consider:
What is the terrain you will (mostly) be riding?
If full suspension isn’t necessary, don’t get a full-squish bike. Rear shocks take up precious triangle real estate, and custom frame bags can be pricey. Hardtails and rigid mountain bikes are going to be your most versatile, bikepacking-friendly options.
What types of tours do you plan to ride?
Month-long expeditions in cold climates? A 10-day tour from town to town? Overnighters from your backdoor? Think about the maximum amount of food and gear you might need to carry, then work backward from there.
Are there ample eyelets on the frame and/or fork?
If you’re short, you want boss mounts and lots of ‘em. You can use boss mounts for Anything Cages, water bottles, pumps, small parts bags, a jar of Jiffy…you get the picture.
What is your end goal with bikepacking?
Are you trying to go fast and light? If so, investing in a lighter carbon or titanium frame makes sense. But if you’re just starting out, you can save literally thousands of dollars by buying an aluminum or steel bike, then use that saved cash to later upgrade components or invest in lighter camping equipment (more on both below). Bikes and gear are expensive. And consumerism is killing our planet. Buy a bike that’s going to last you awhile, regardless of your end goal.
Maximize Real Estate On Your Fork And Handlebars
Utility forks are a great way to increase storage. If your fork doesn’t have boss mounts, consider upgrading it to one that does. Prices for rigid forks vary widely, and something like the steel Surly ECR Fork can run you about $130 where the all-carbon ENVE Adventure Fork comes in at a heady $625. Don’t have the money to upgrade yet? We love a good hack. Use hose clamps or electrical tape to attach bottle cages to your forks and Voile straps to fasten tent poles to handlebars.
Speaking of handlebars, while we respect the traditional drop bar, it can be limiting with regards to the type and volume of bag you can use. Flared drop bars are a great alternative if you’re a diehard drop-bar lover. Devin is currently experimenting with a flared drop bar, the Ritchey VentureMax, which offers about 24° of flare. The flare factor improves comfort and stability when you’re riding that chunky chunk-chunk, but it also opens up a little more wiggle room between your shifter and your handlebar bag.
Jess, however, ditched the Woodchipper on her Salsa Fargo and replaced it with a flat bar, which provides more horizontal packing space and doesn’t interfere with her shifting. Flat bars like the Curve Remlaw are an innovative take on this issue, providing the comfort and utility of a flat bar but with a unique reach and alt-bar sweep that mirrors that of a drop handlebar.
Embrace Racks And Panniers
There’s a reason racks and panniers have withstood the test of time. The combo can basically work on any bike. It’s affordable. And, you can fit a lot of shit in panniers. Maybe too much shit. If you’re short, having the option to carry too much gear may sound like a dream come true, but racks and panniers have their tradeoff, namely weight. Traditional panniers can be heavy and cumbersome, particularly if you want to ride rougher roads or routes with stout elevation gain. But for those of us with tire clearance issues, a rack and bag pairing can virtually eliminate the possibility of hearing the dreaded buzzing of seat bag on tire.
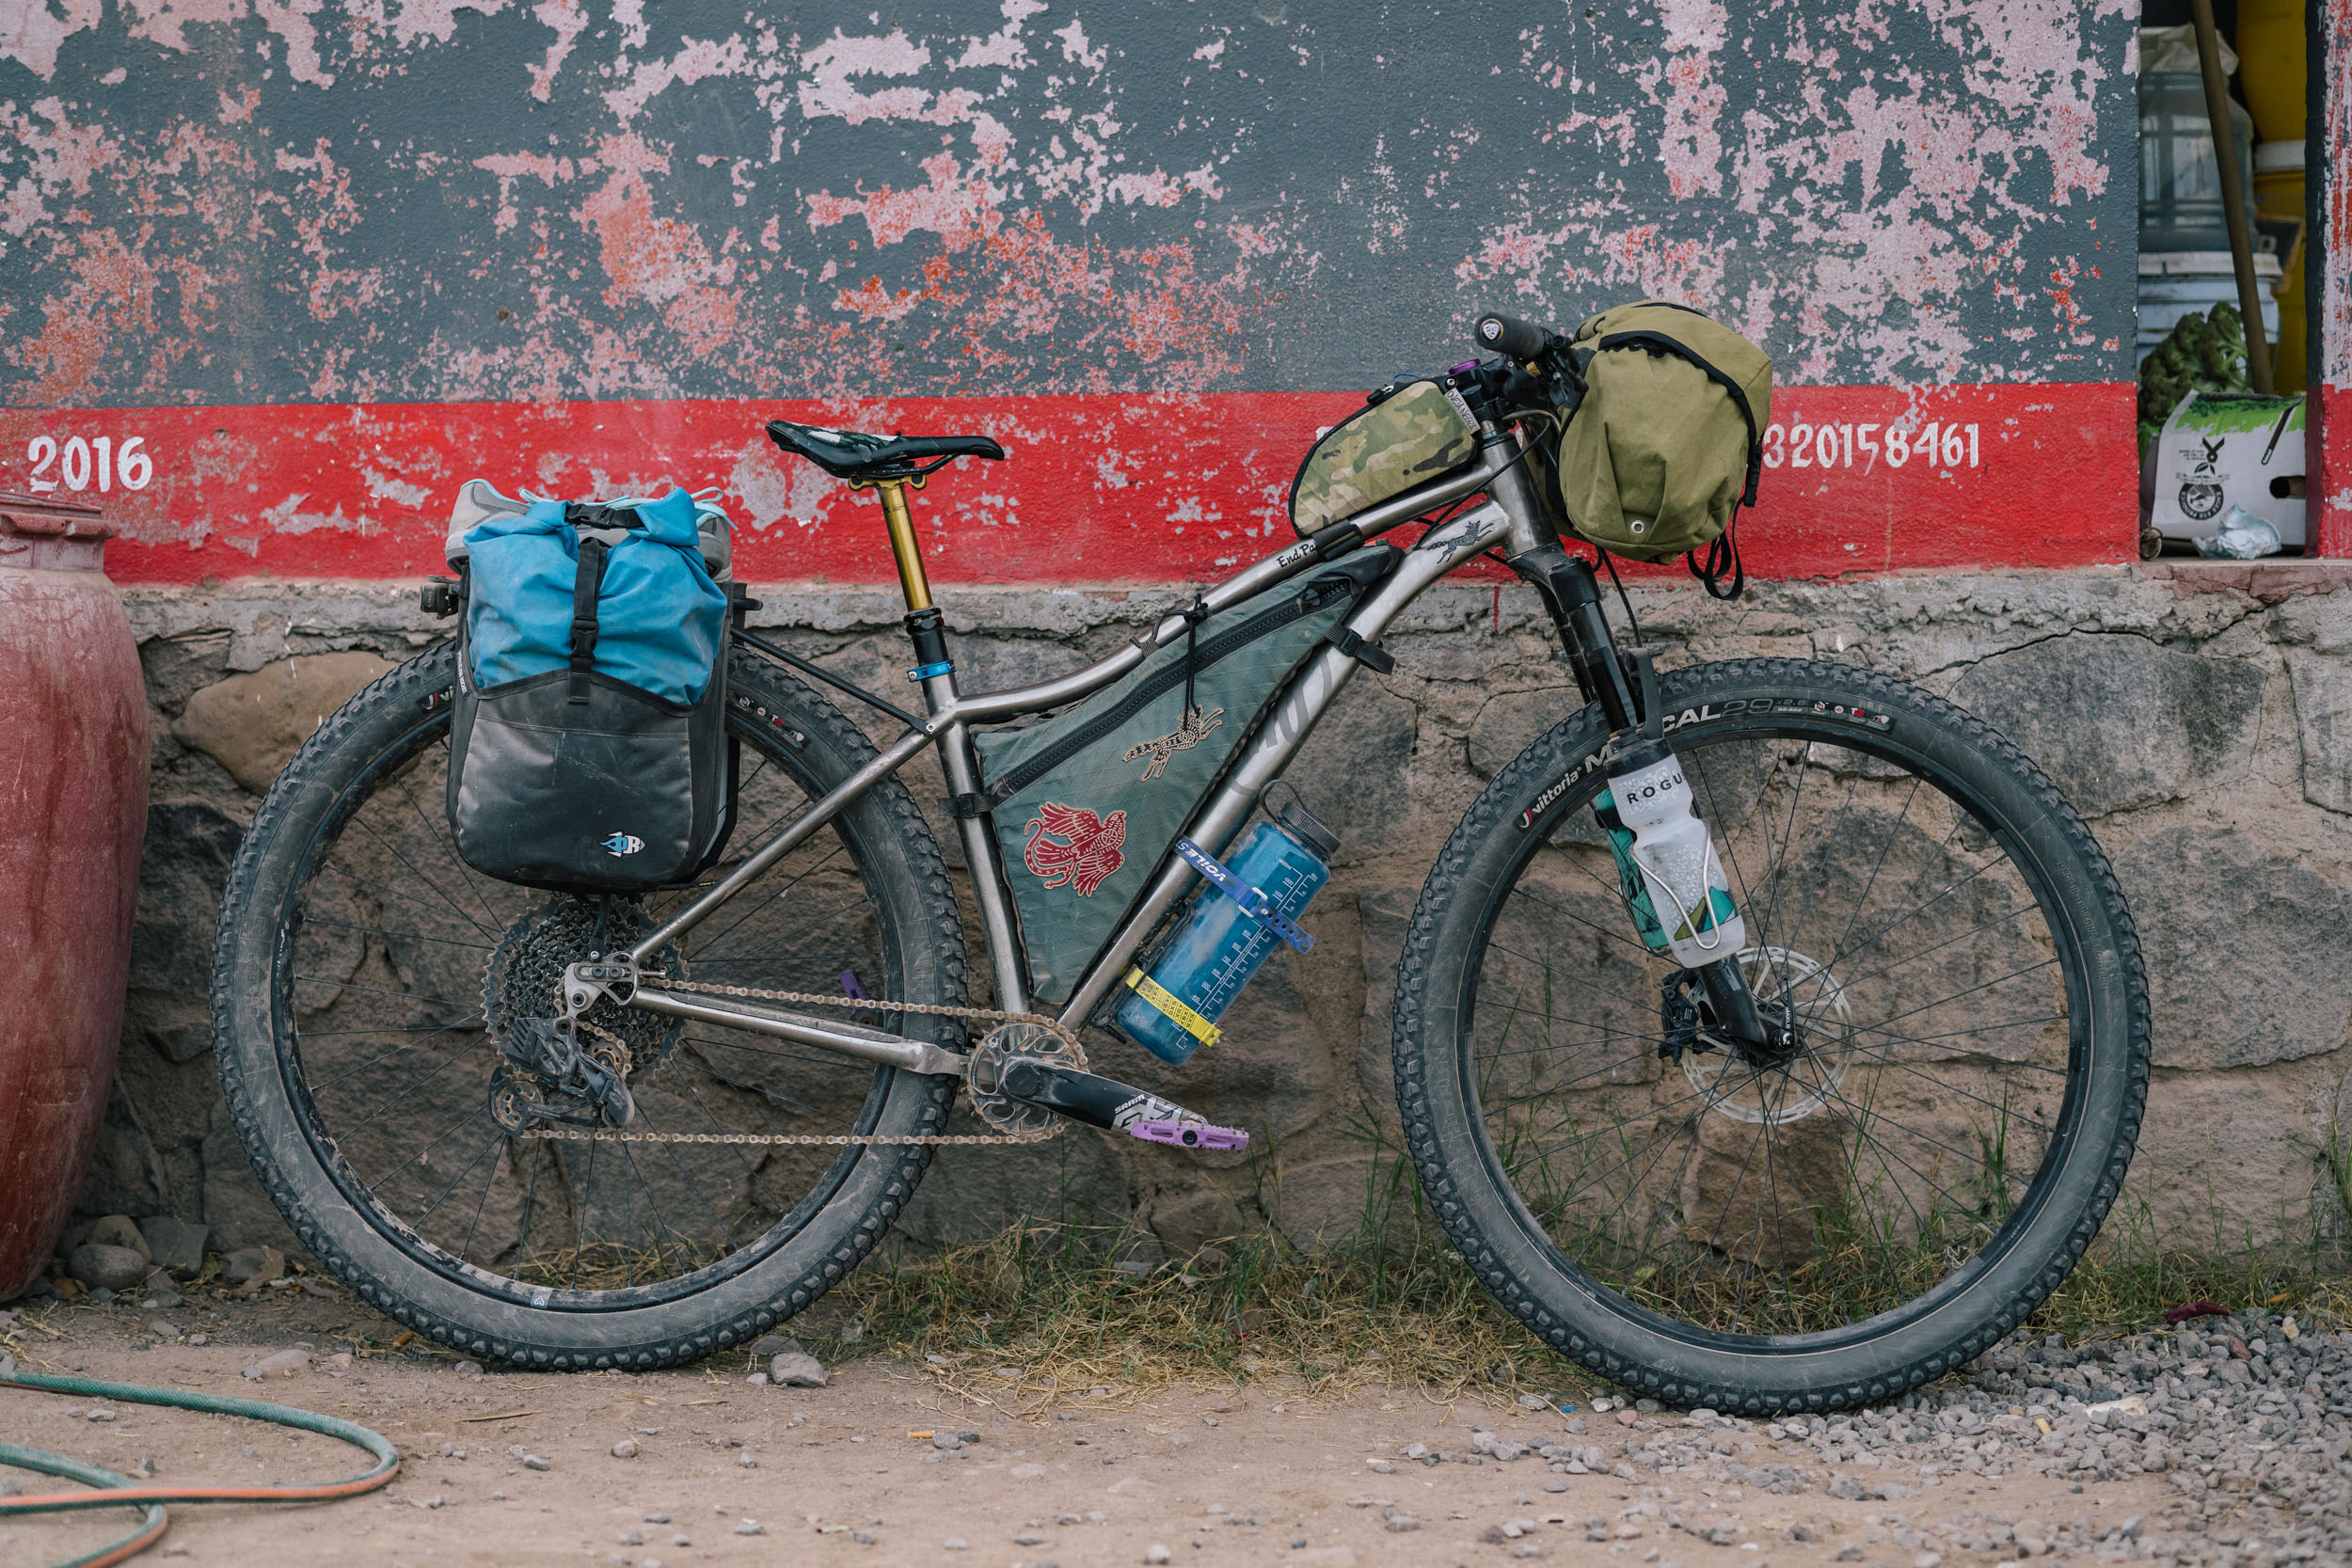
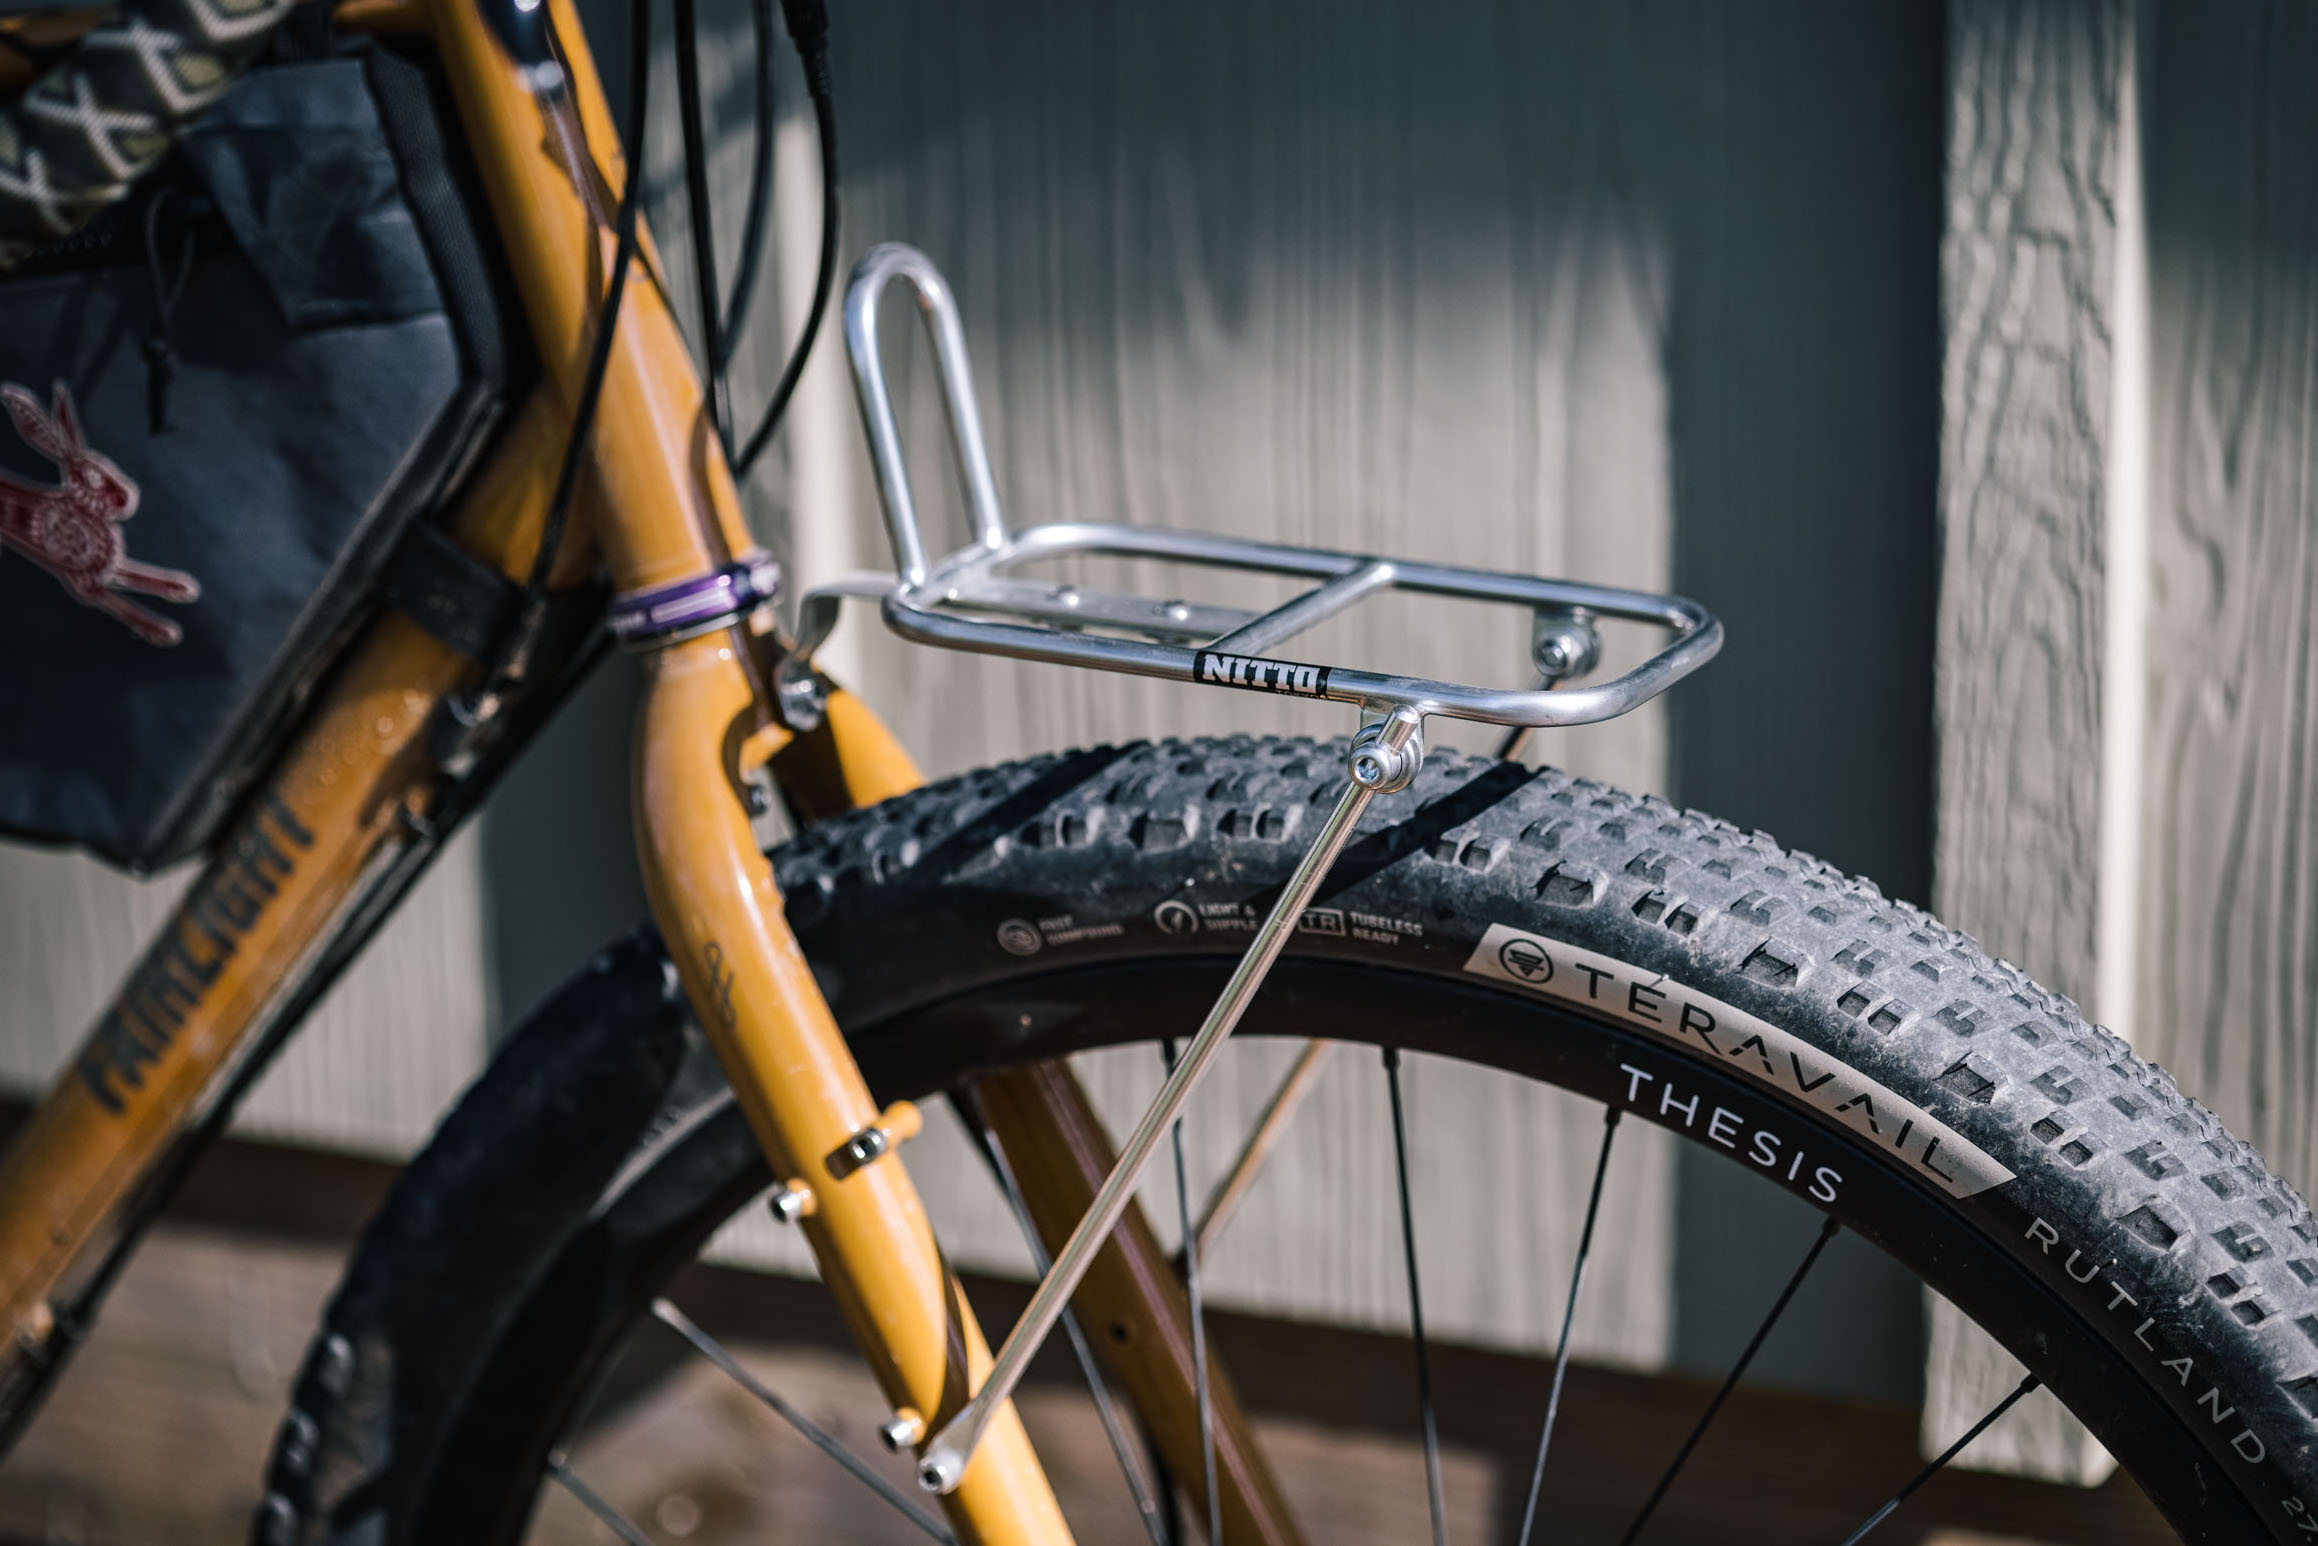
There are some really cool lightweight options for racks and panniers that both of us have embraced. Dev rocks a Nitto Mark’s Rack M1 by Rivendell Bicycle Works (find it and more front racks here) on her handlebar with either a Piccolo Short Flap or Goldback Medium (both fine creations courtesy of Bags by Bird). After one too many tire kisses on her Revelate Designs Terrapin seat pack harness (RIP), Jess is now experimenting with a Tumbleweed T Rack (see the full review of that here) and a Rockgeist Ultra PE Dry Bag, cinched down with a pair of Voile straps and a RockGeist Armadillo Protector. When she needs extra storage, she can attach a wide variety of cargo cages and bolt-on bags to the rack struts. It is clever and simple and even with the modest added weight gain of having a metal rack, it has more than worth its salt in its packing prowess. Plus, it’s perfect for running with a dropper post.
As for panniers, there’s no shortage of small panniers to choose from, all of which can be paired with Tumbleweed’s Mini Pannier Rack (similar to the T Rack but with mounting specific to panniers). Bless you, bag makers.

Invest In (Or Rent) Ultralight, Three-Season Gear
This is a sticky topic. On the one hand, ultralight gear can make such a tremendous difference in how much you can fit on your small-frame rig. It packs down small, weighs virtually nothing, and frees up space for more food and water. But it’s also hella expensive. These days, you can buy a pretty basic two-person tent for $150, but to get one that’s super light and packable, you can easily spend anywhere between $400 and $1,000.
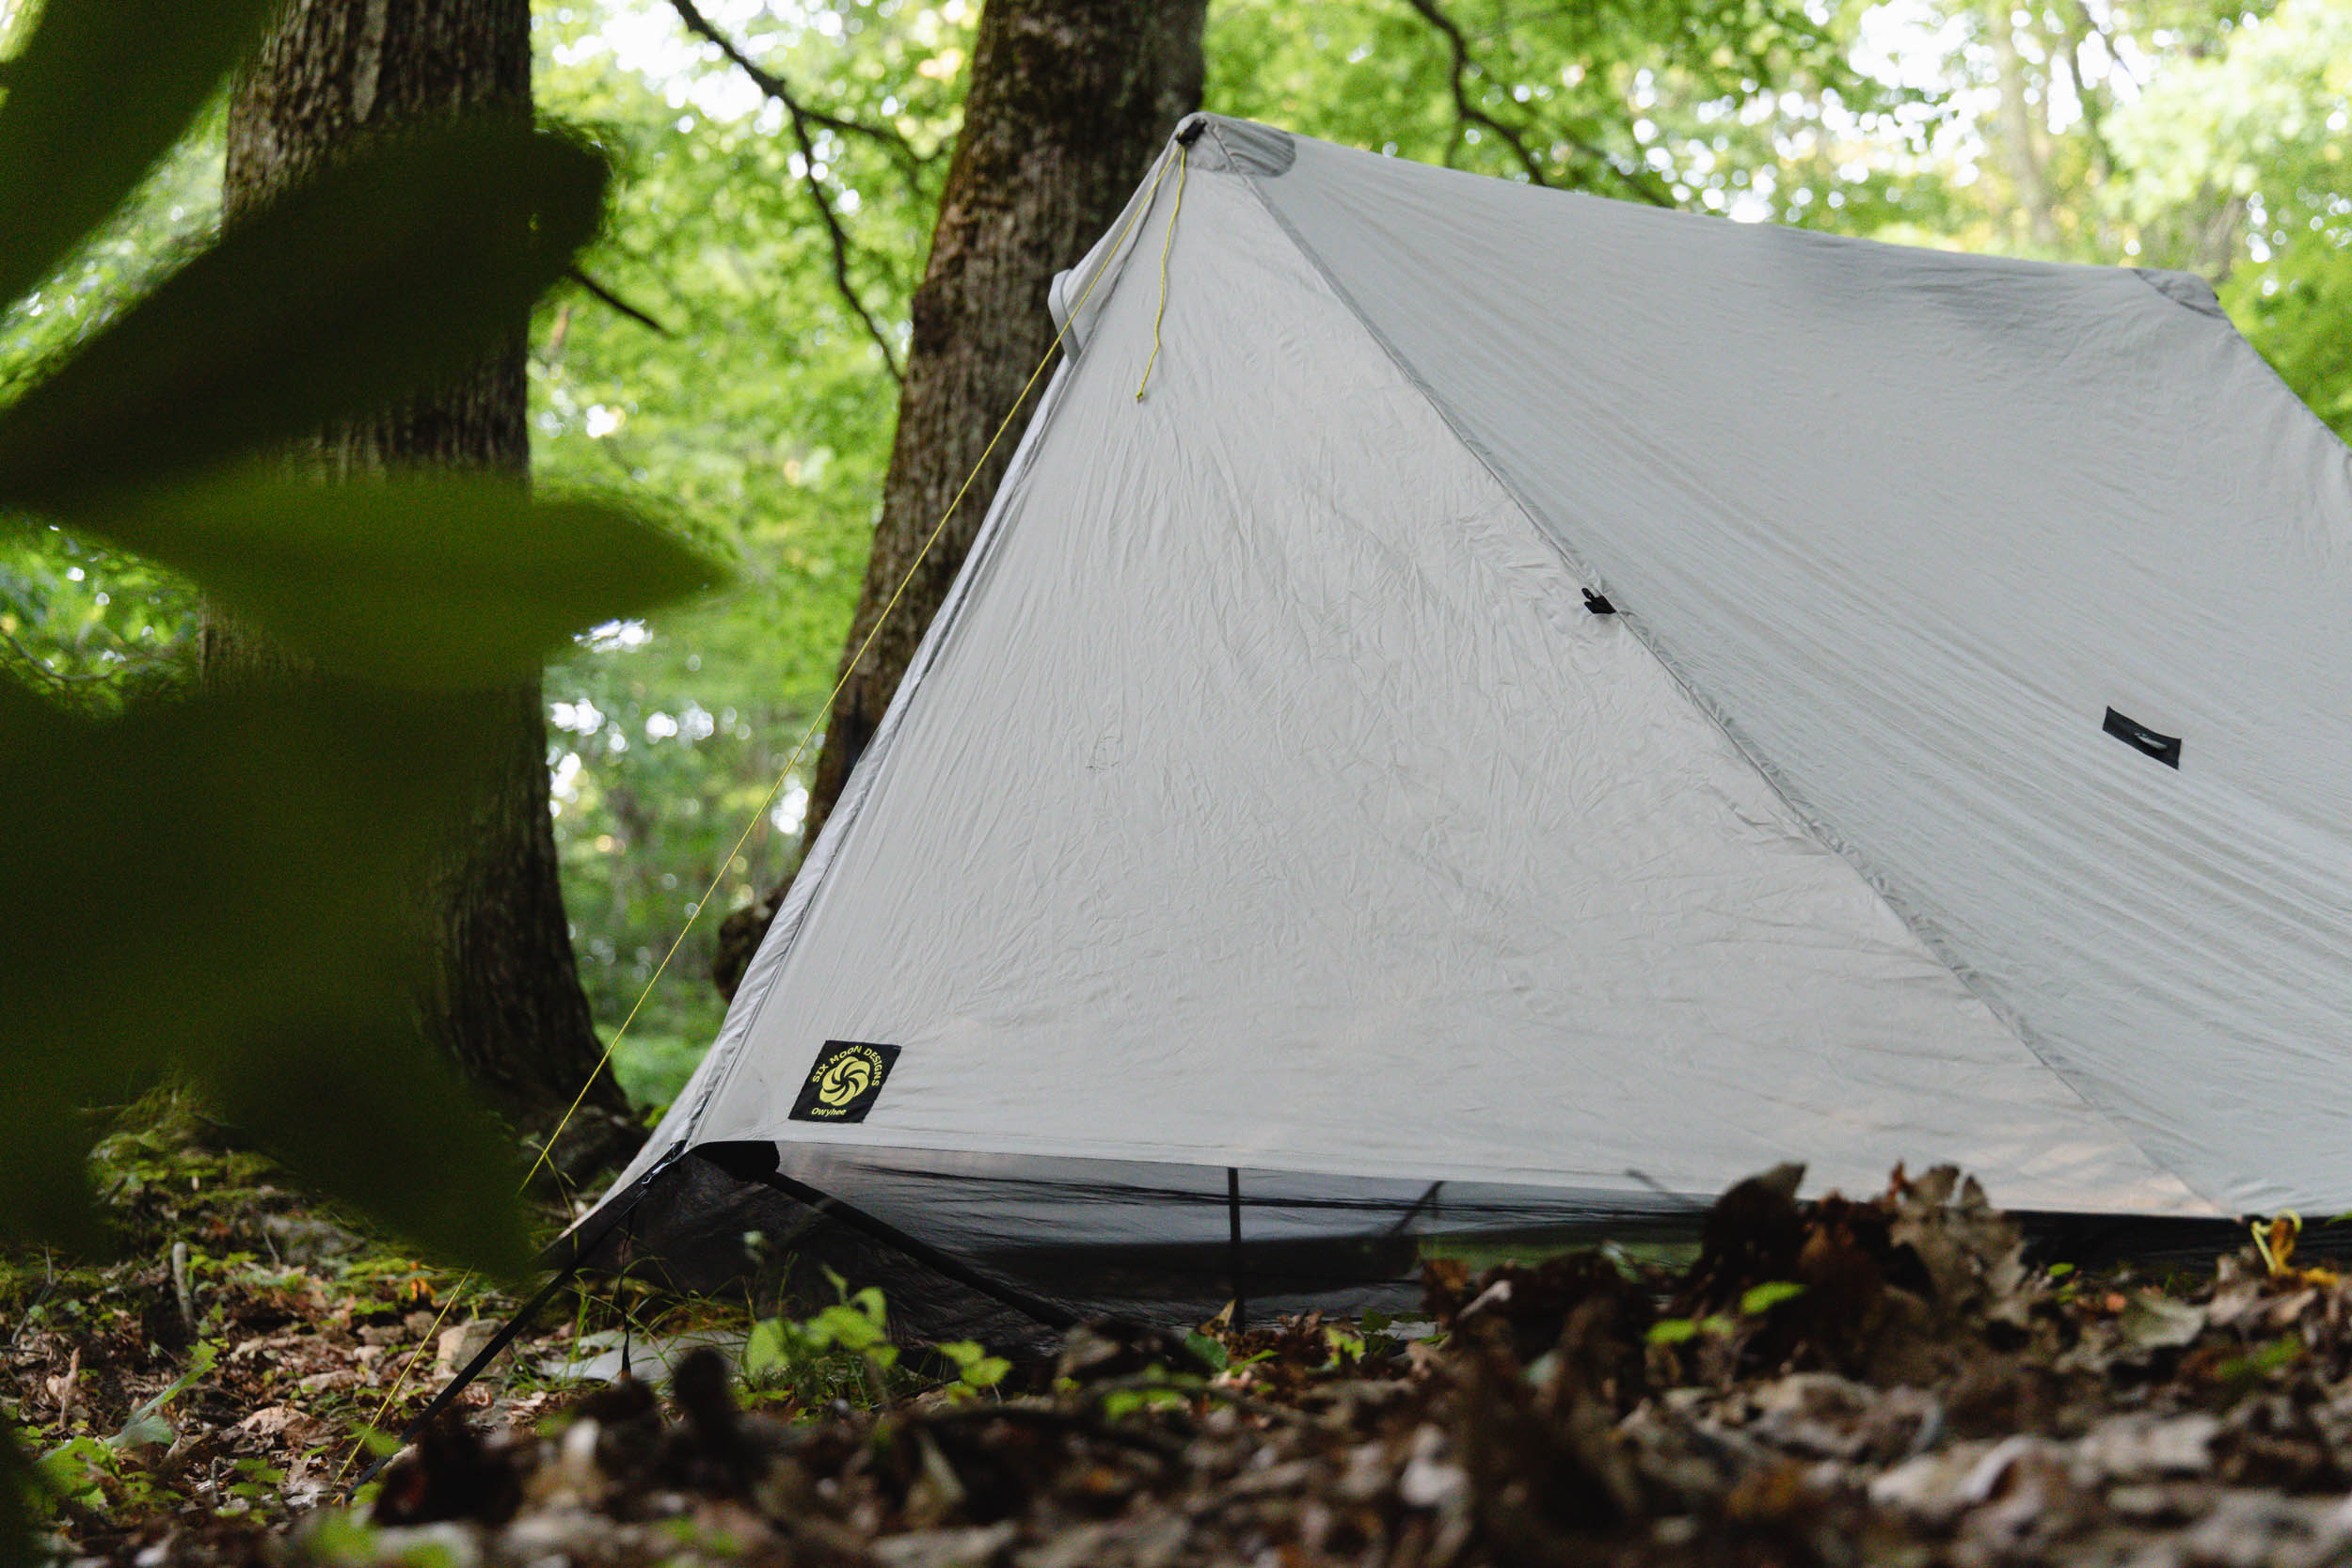
If you’re going to drop some cash, get the most bang for your buck. Consider replacing the big three—your tent, sleeping bag, and sleeping pad—one at a time, as these will be the three areas where you can save the most weight and space. We recommend investing in three-season gear first, unless you’re really keen on cold-weather bikepacking (which, respect). As far as brands that make lightweight, affordable gear, check out Klymit and REI for sleeping bags and pads and Six Moon Designs for shelters. You can check out Joe’s review of the Six Moon Designs Lunar Solo here (which runs about $250) and be sure to stay tuned for Jess’ review of the Owyhee Tarp ($295).
If you’re hesitant to spend big bucks on something you’ve never used before, we feel you. Fortunately, an increasing number of companies are offering gear rentals, both for bikepacking bags and ultralight camping gear. If you want to rent tents or sleeping gear, check out Mountain Shop or Moosejaw, which offer a whole suite of brands and products to rent on a daily or even weekly basis. If it’s bikepacking bags you’d like to try before you buy, our friends at RockGeist, Swift Industries, and Alaska Bike Adventures (just to name a few) offer full bikepacking setups to rent. All you need is the bike.
And for our Atlanta-based readers looking to try out some gear, Dev is one of the organizers behind the Radical Adventure Riders ATL chapter. The RAR ATL folks run a really cool gear library, which is basically a whole shed of new and gently used bikepacking gear for folks to borrow. The gear library is located right off the Beltway and should be launching later this winter, so check it out (and if you’d ever like to donate your new or gently used bikepacking gear, the RAR ATL crew is always grateful for donations. Email RARATLgearlibrary@gmail.com for more info).
Pare Down To Only Versatile, Multi-Functional Essentials
For better or for worse, smaller-statured bikepackers have to assess each item they pack more scrupulously. But no matter how large a frame you ride, whenever you live off of your bike, there are going to be tradeoffs. Ask yourself, what are you willing to live without? A spare pair of underwear? A book? Do you need a stove if you know you’ll be able to resupply daily? Do you need a tent if you’re relying on shelters or hopping between Airbnbs? Can your puffy jacket double as a pillow (or, if you’re Lael Wilcox, can a down pants-and-jacket combo double as your sleeping bag)? Packing lists change and evolve with every bikepacking trip, but it’s important to always have versatile, multi-functional essentials (see Dev + Jess’ go-to gear below).

Convert Your 700C Wheels To 650B
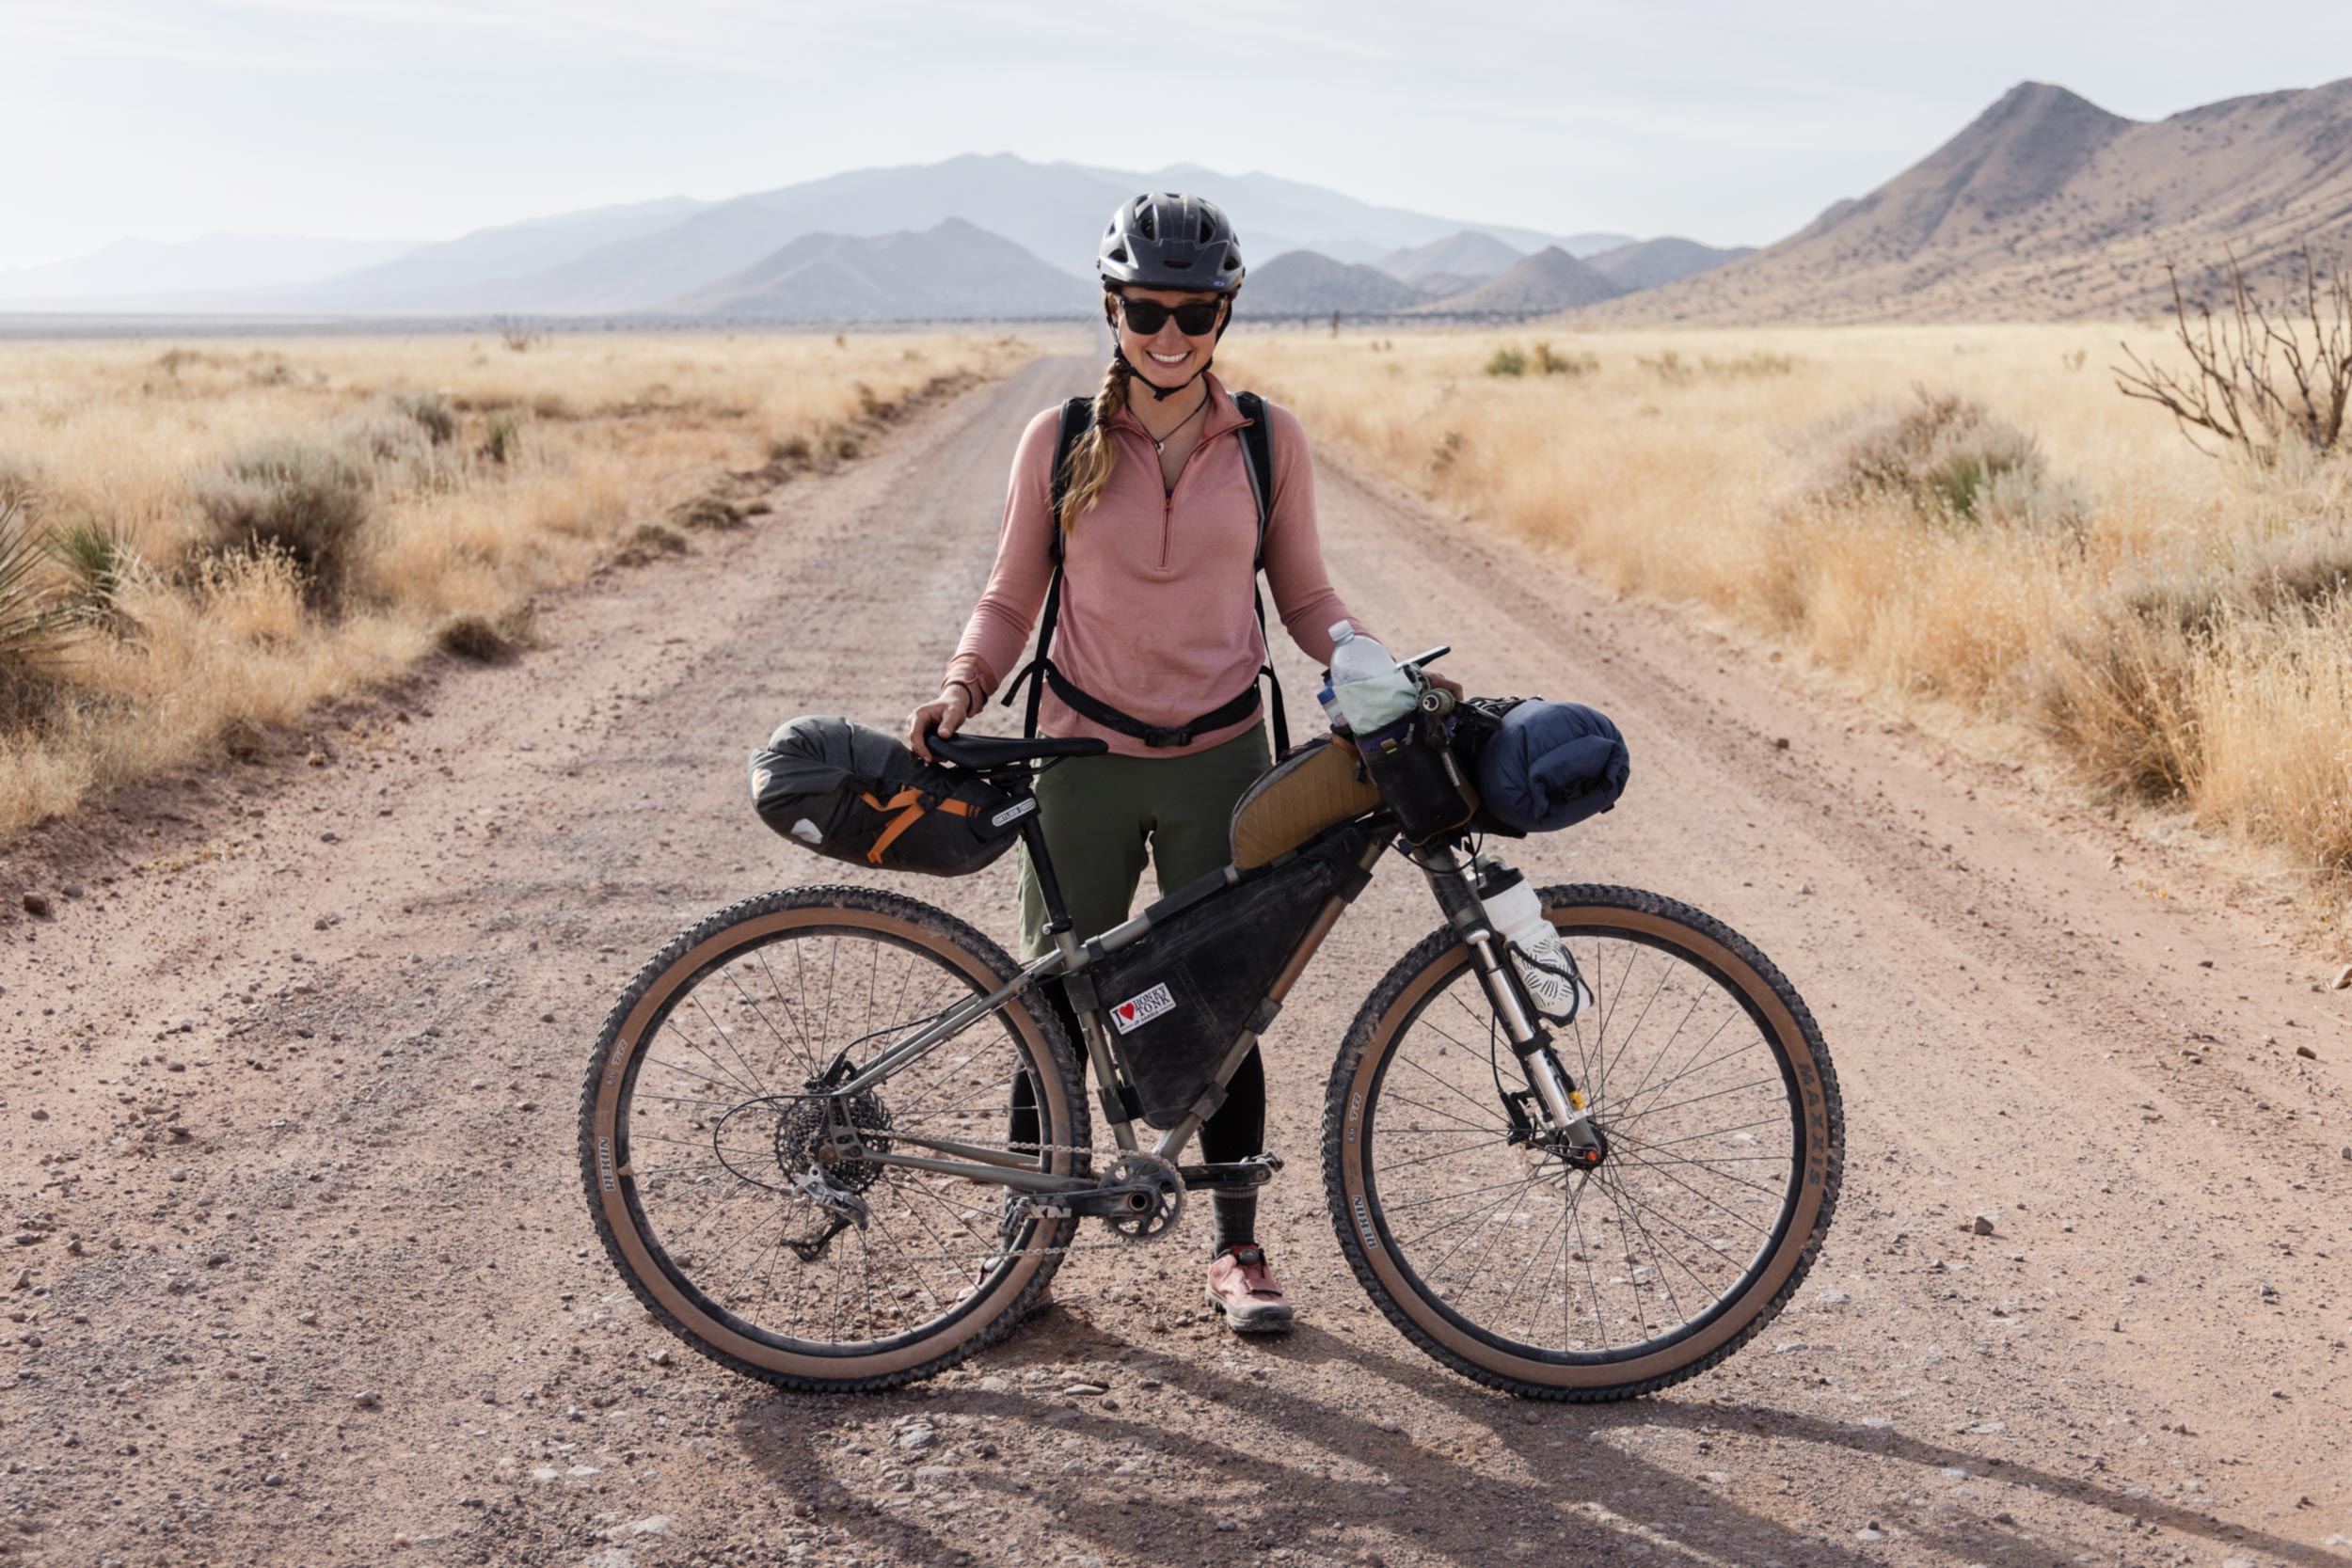
There are few noises more vexing than the sound of your seat bag burping your tire on a descent. Every vrrmmph feels like throwing money down the toilet. If you know this struggle and you’re riding 700C wheels, consider swapping them for a set of 650B wheels. That little bit of extra wiggle room between your tires and your bags may literally be the difference between carefree descending (glorious) and timid brake-a-thon (annoying, also hand crampy). We have a whole guide on how to convert your 700C setup to 650B (as well as the tradeoffs and benefits of doing so). After riding her Sage Storm King for 1,000 miles on a 700C wheelset, Jess switched to a pair of Hunt 650B Adventure Carbon Disc Wheels and hasn’t looked back.
Wear A Backpack (or Lumbar Pack)
It is with bitter resignation that we offer this as a solution. Sometimes, no matter how light you pack, or how small your gear packs down, there’s simply not enough space on the bike for what you need to bring. Enter the backpack. Or, more fittingly for us, the lumbar pack. Dev and Jess both use Mountainsmith lumbar packs—Jess uses the Tour and Dev rocks the Tour Small. Because Jess often has a camera in her pack, she uses the Mountainsmith Strapettes to keep the weight distributed evenly over her shoulders and hips.
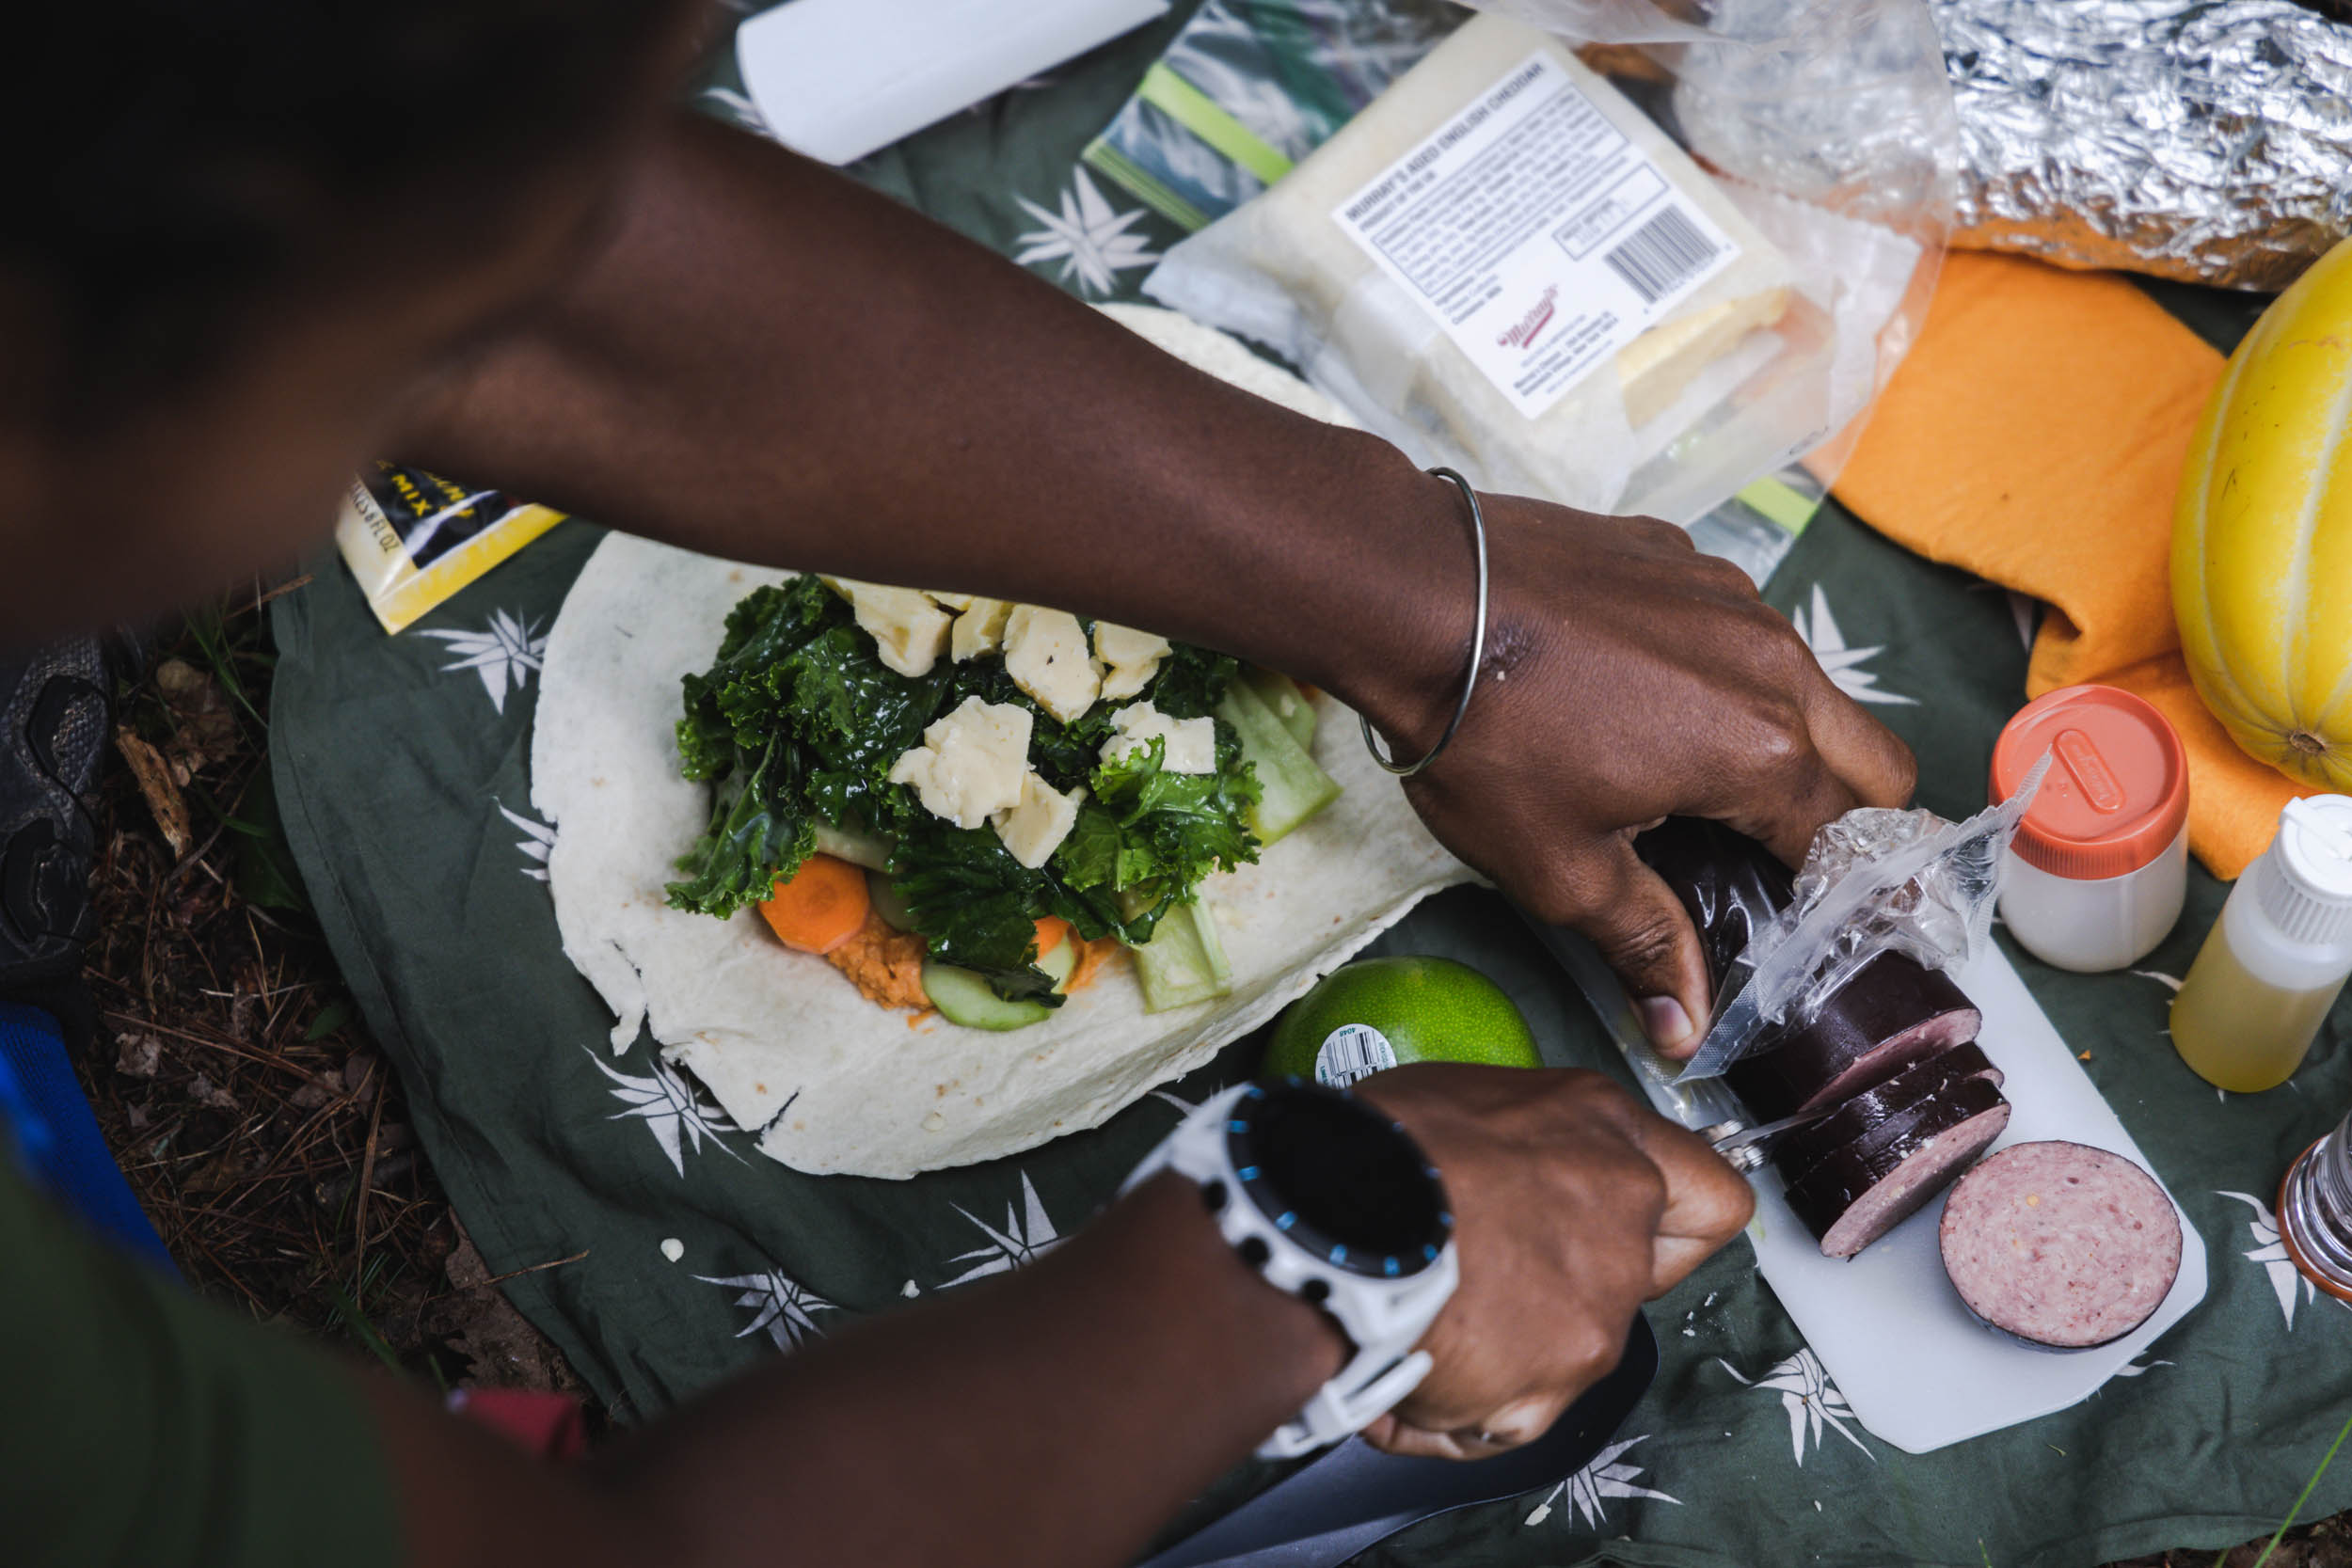
We admit, carrying a pack is less than ideal, but it does provide extra room for layers, water, and snacks. Devin has even been known to carry a melon in her lumbar pack and damn if fresh fruit doesn’t taste amazing when you’re on a tour.
The Gear
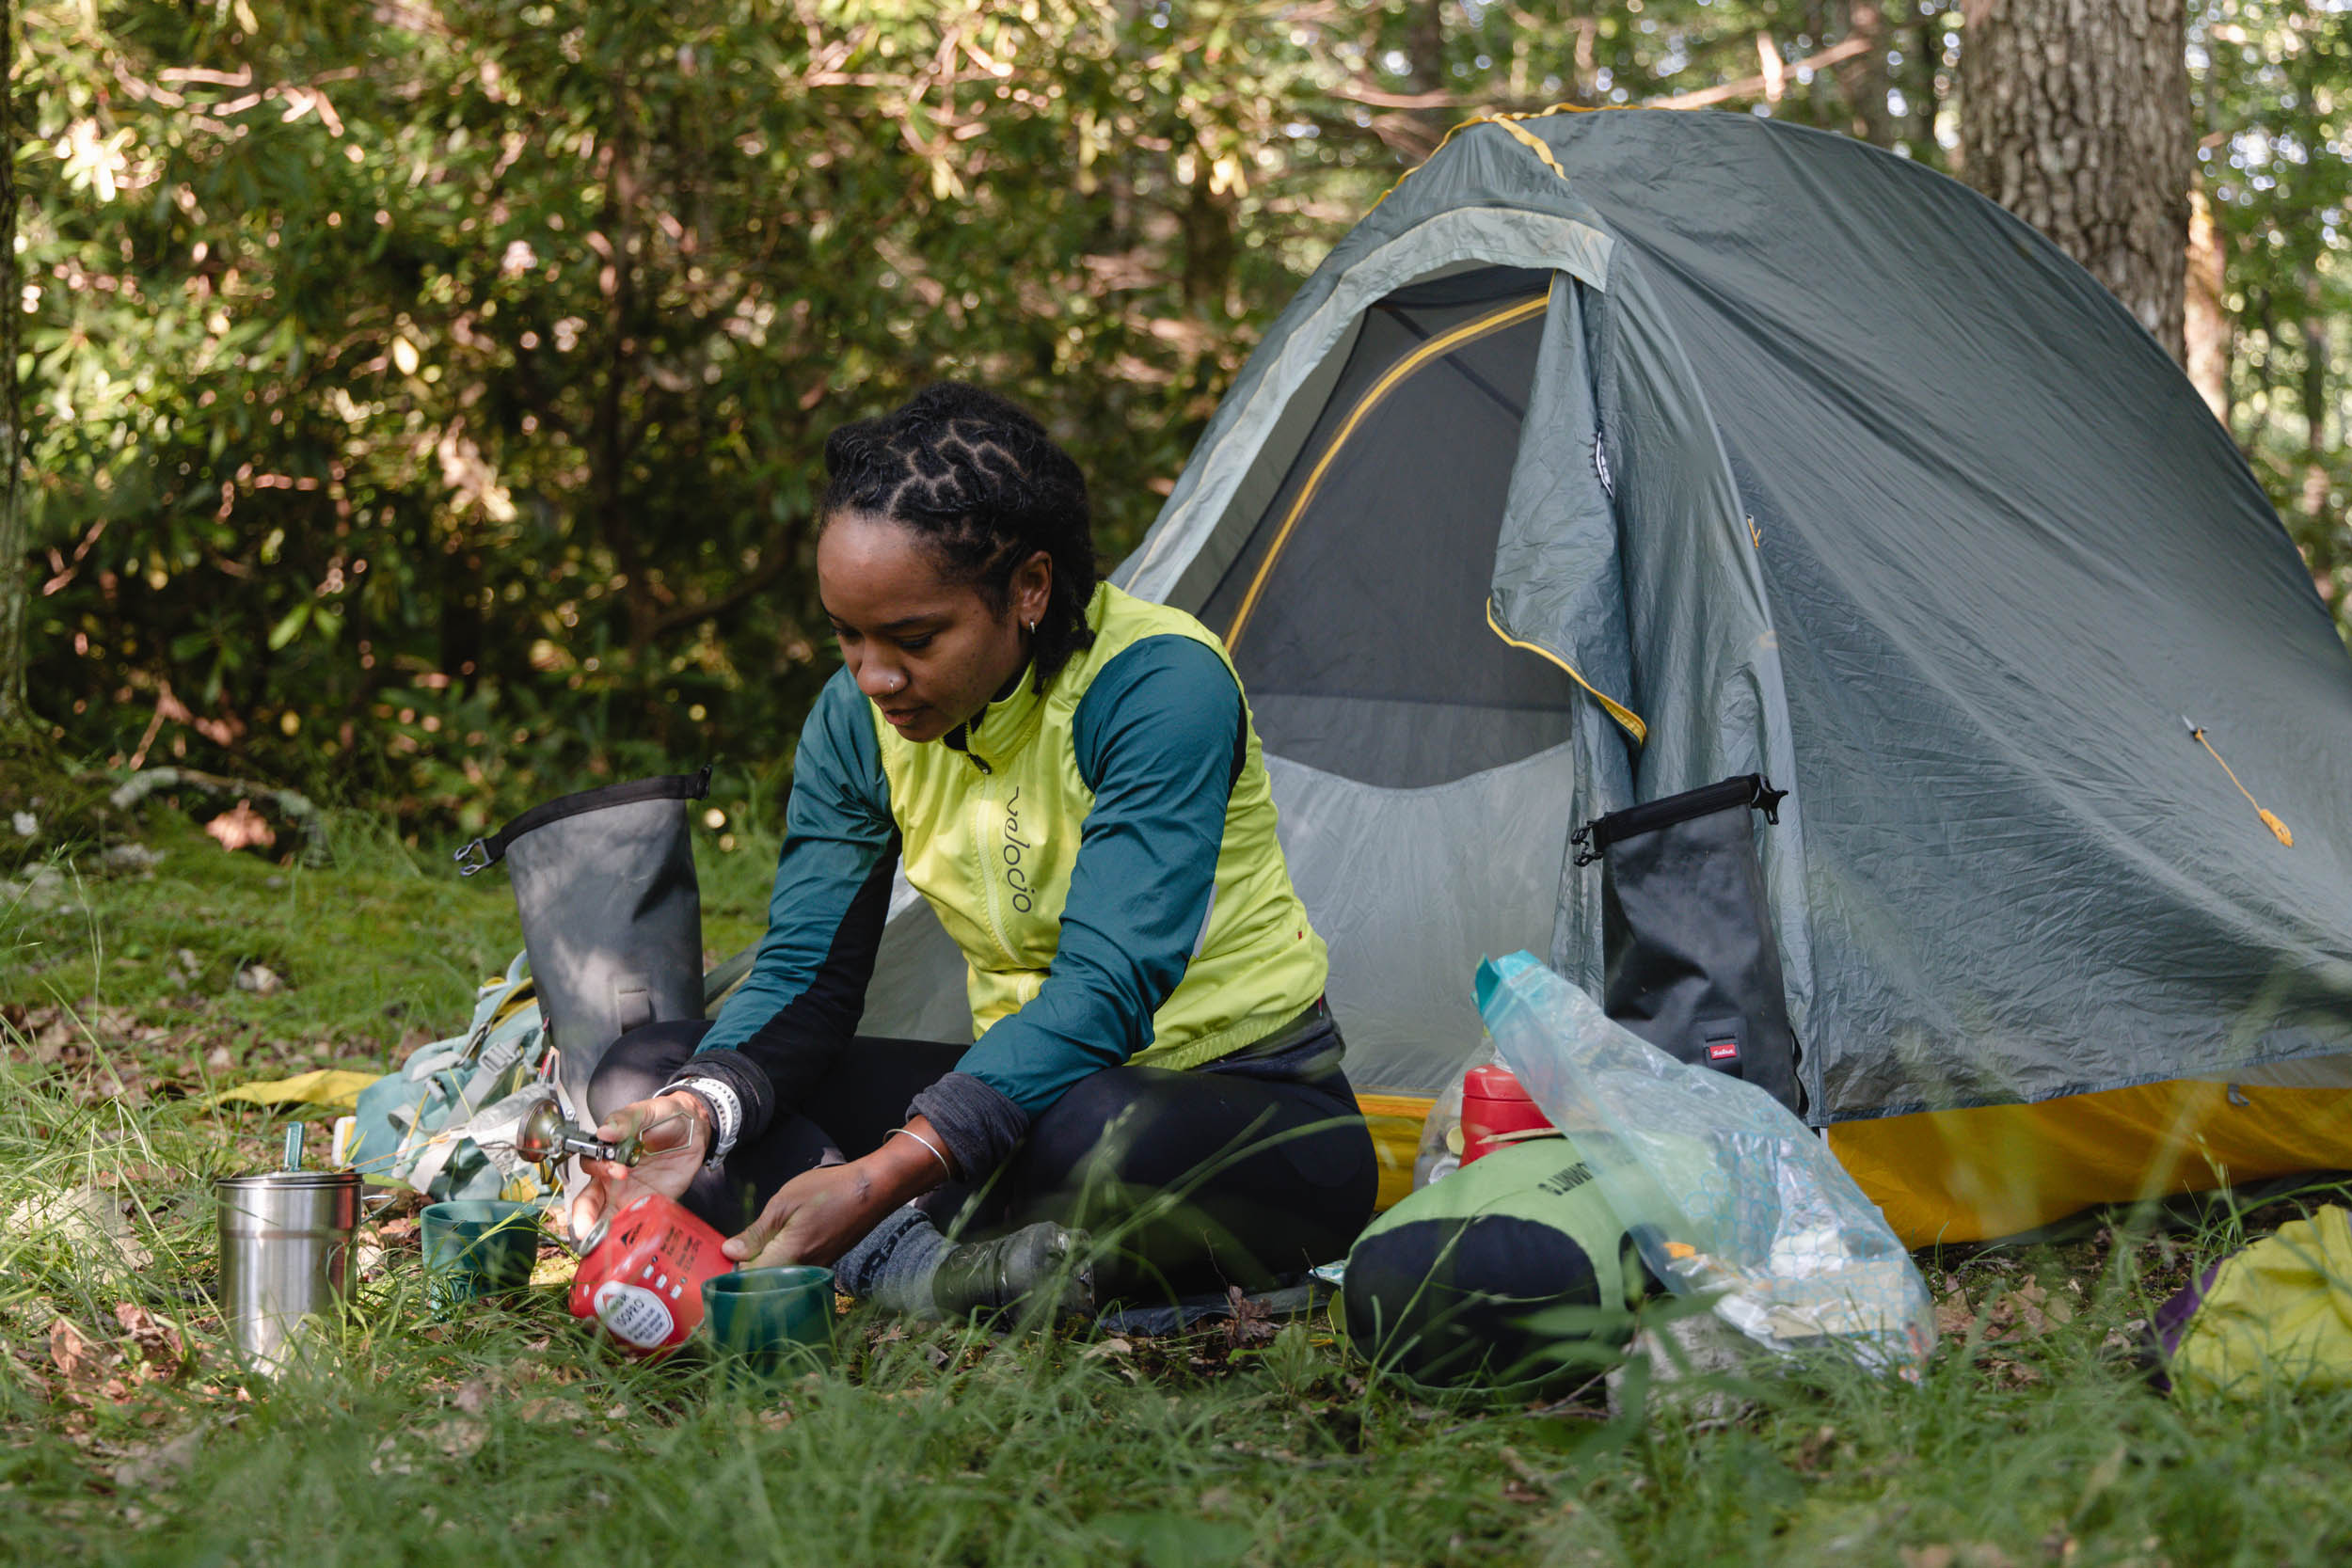
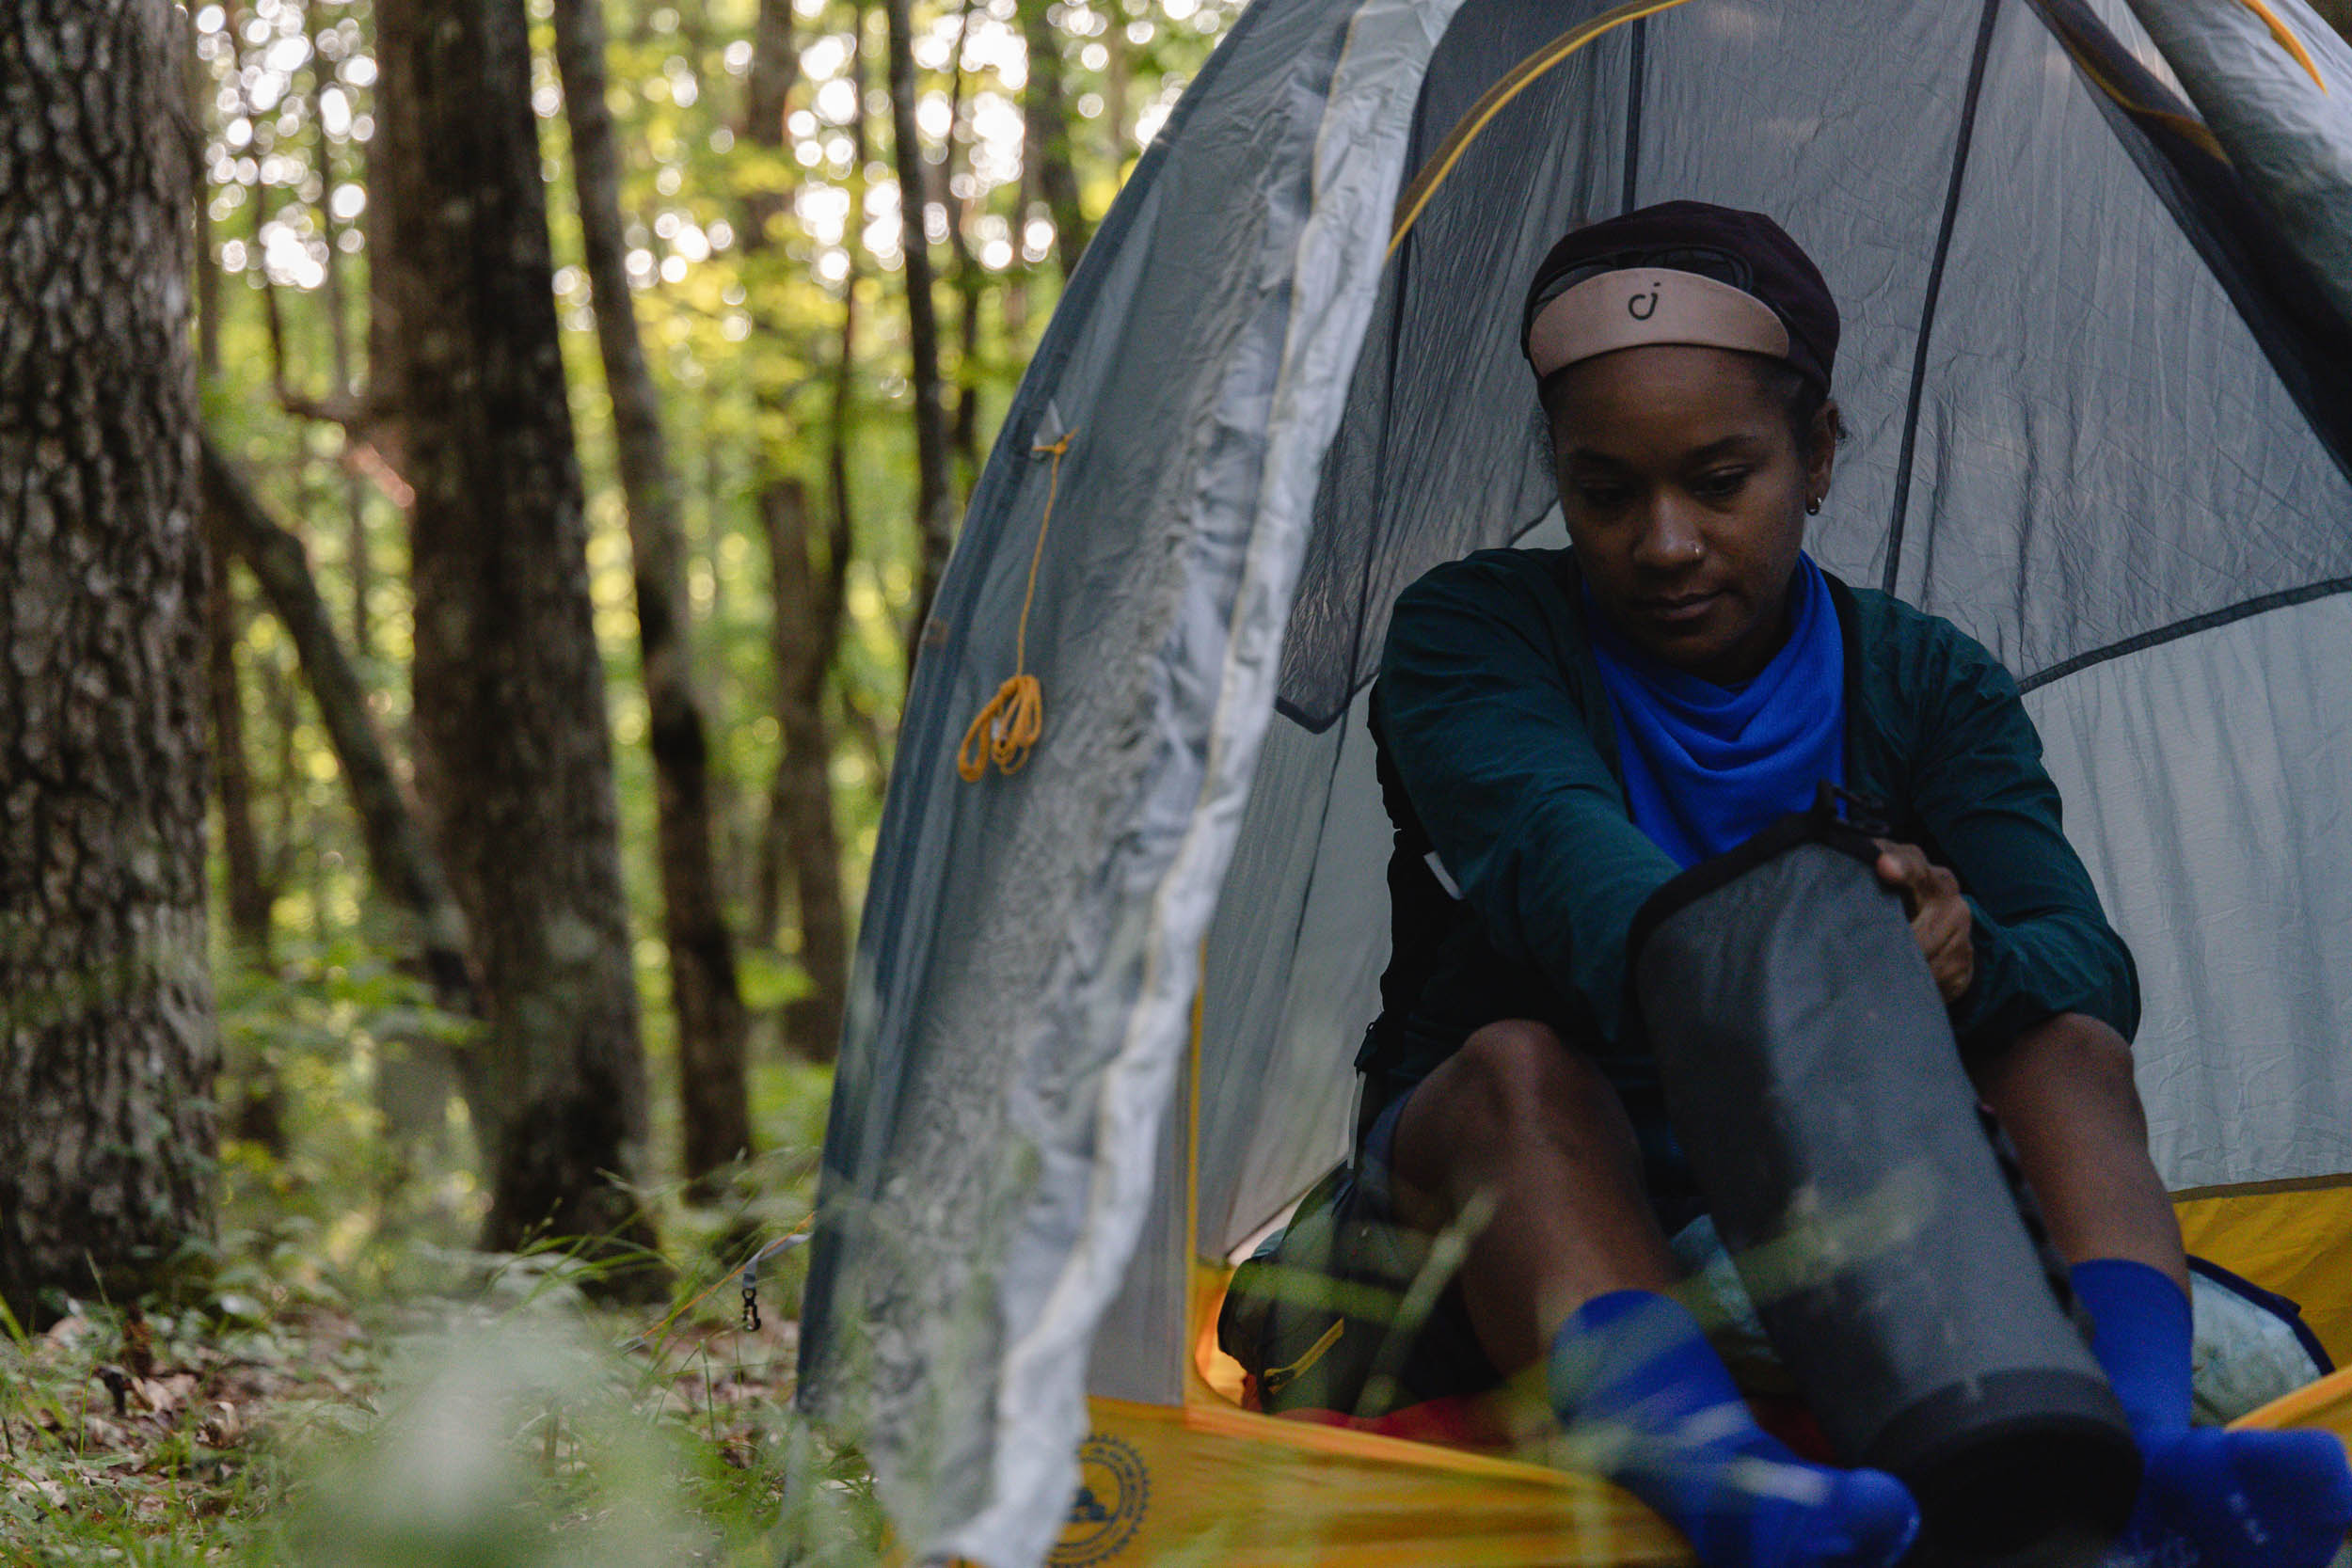
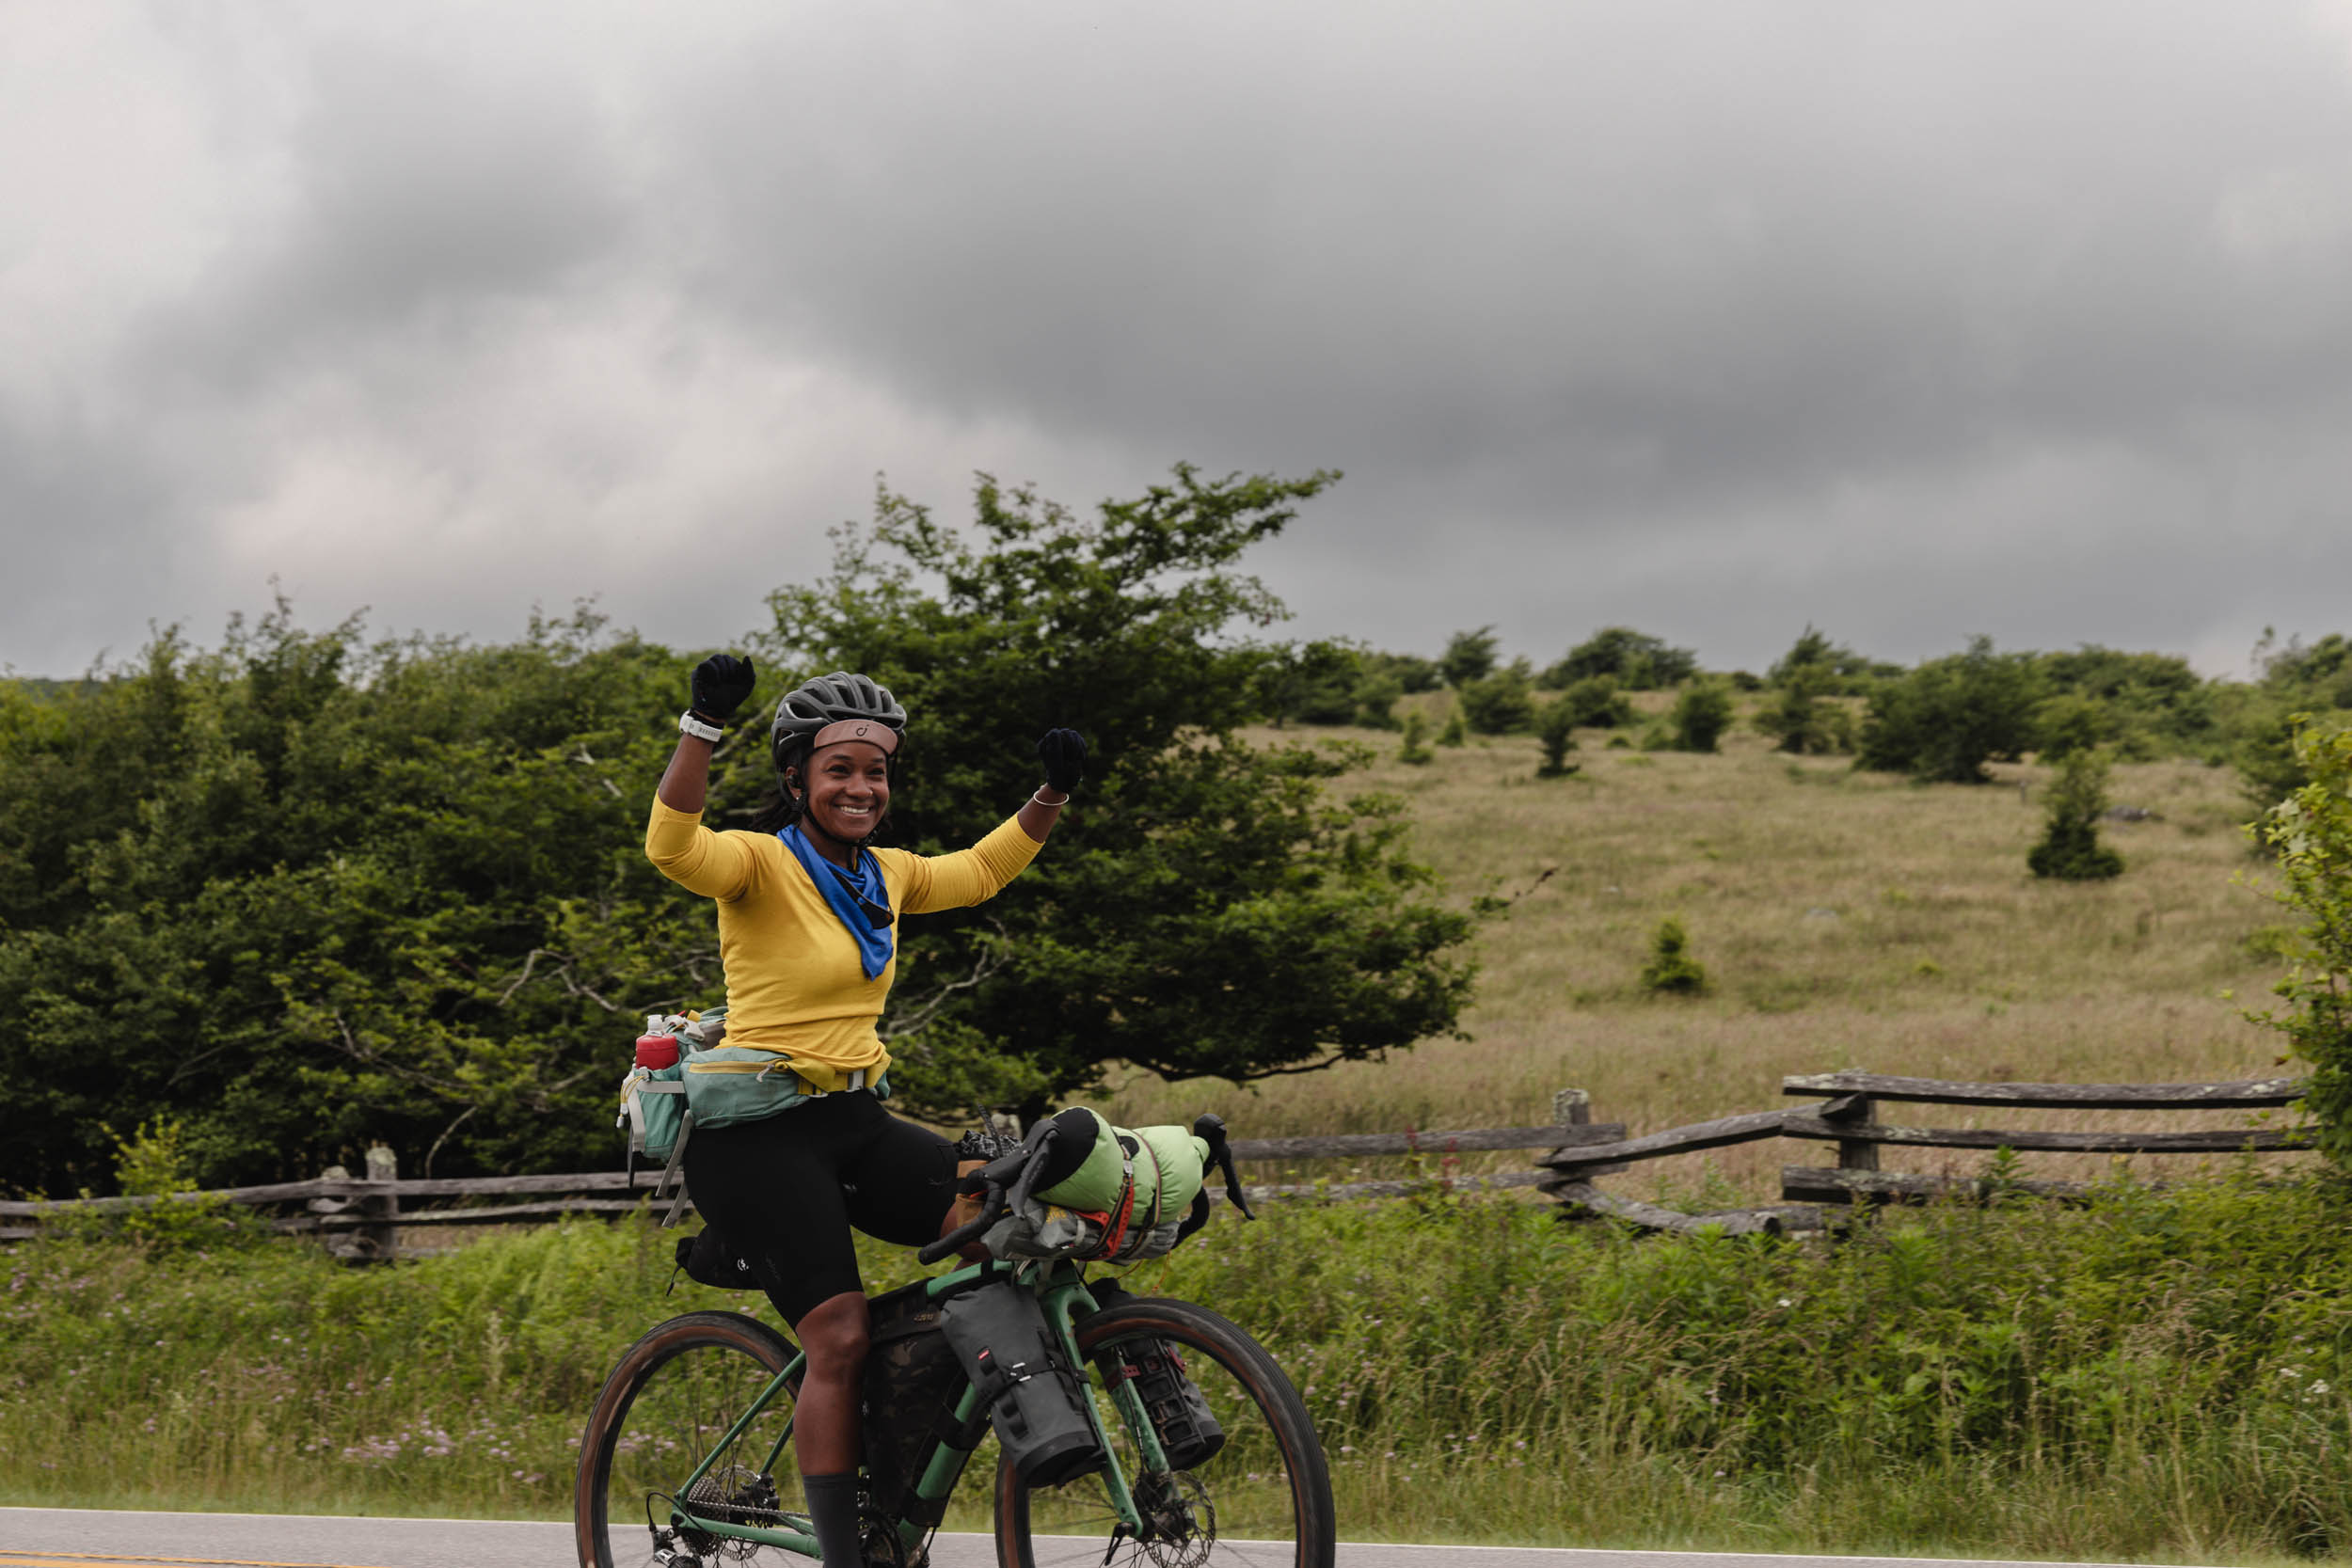
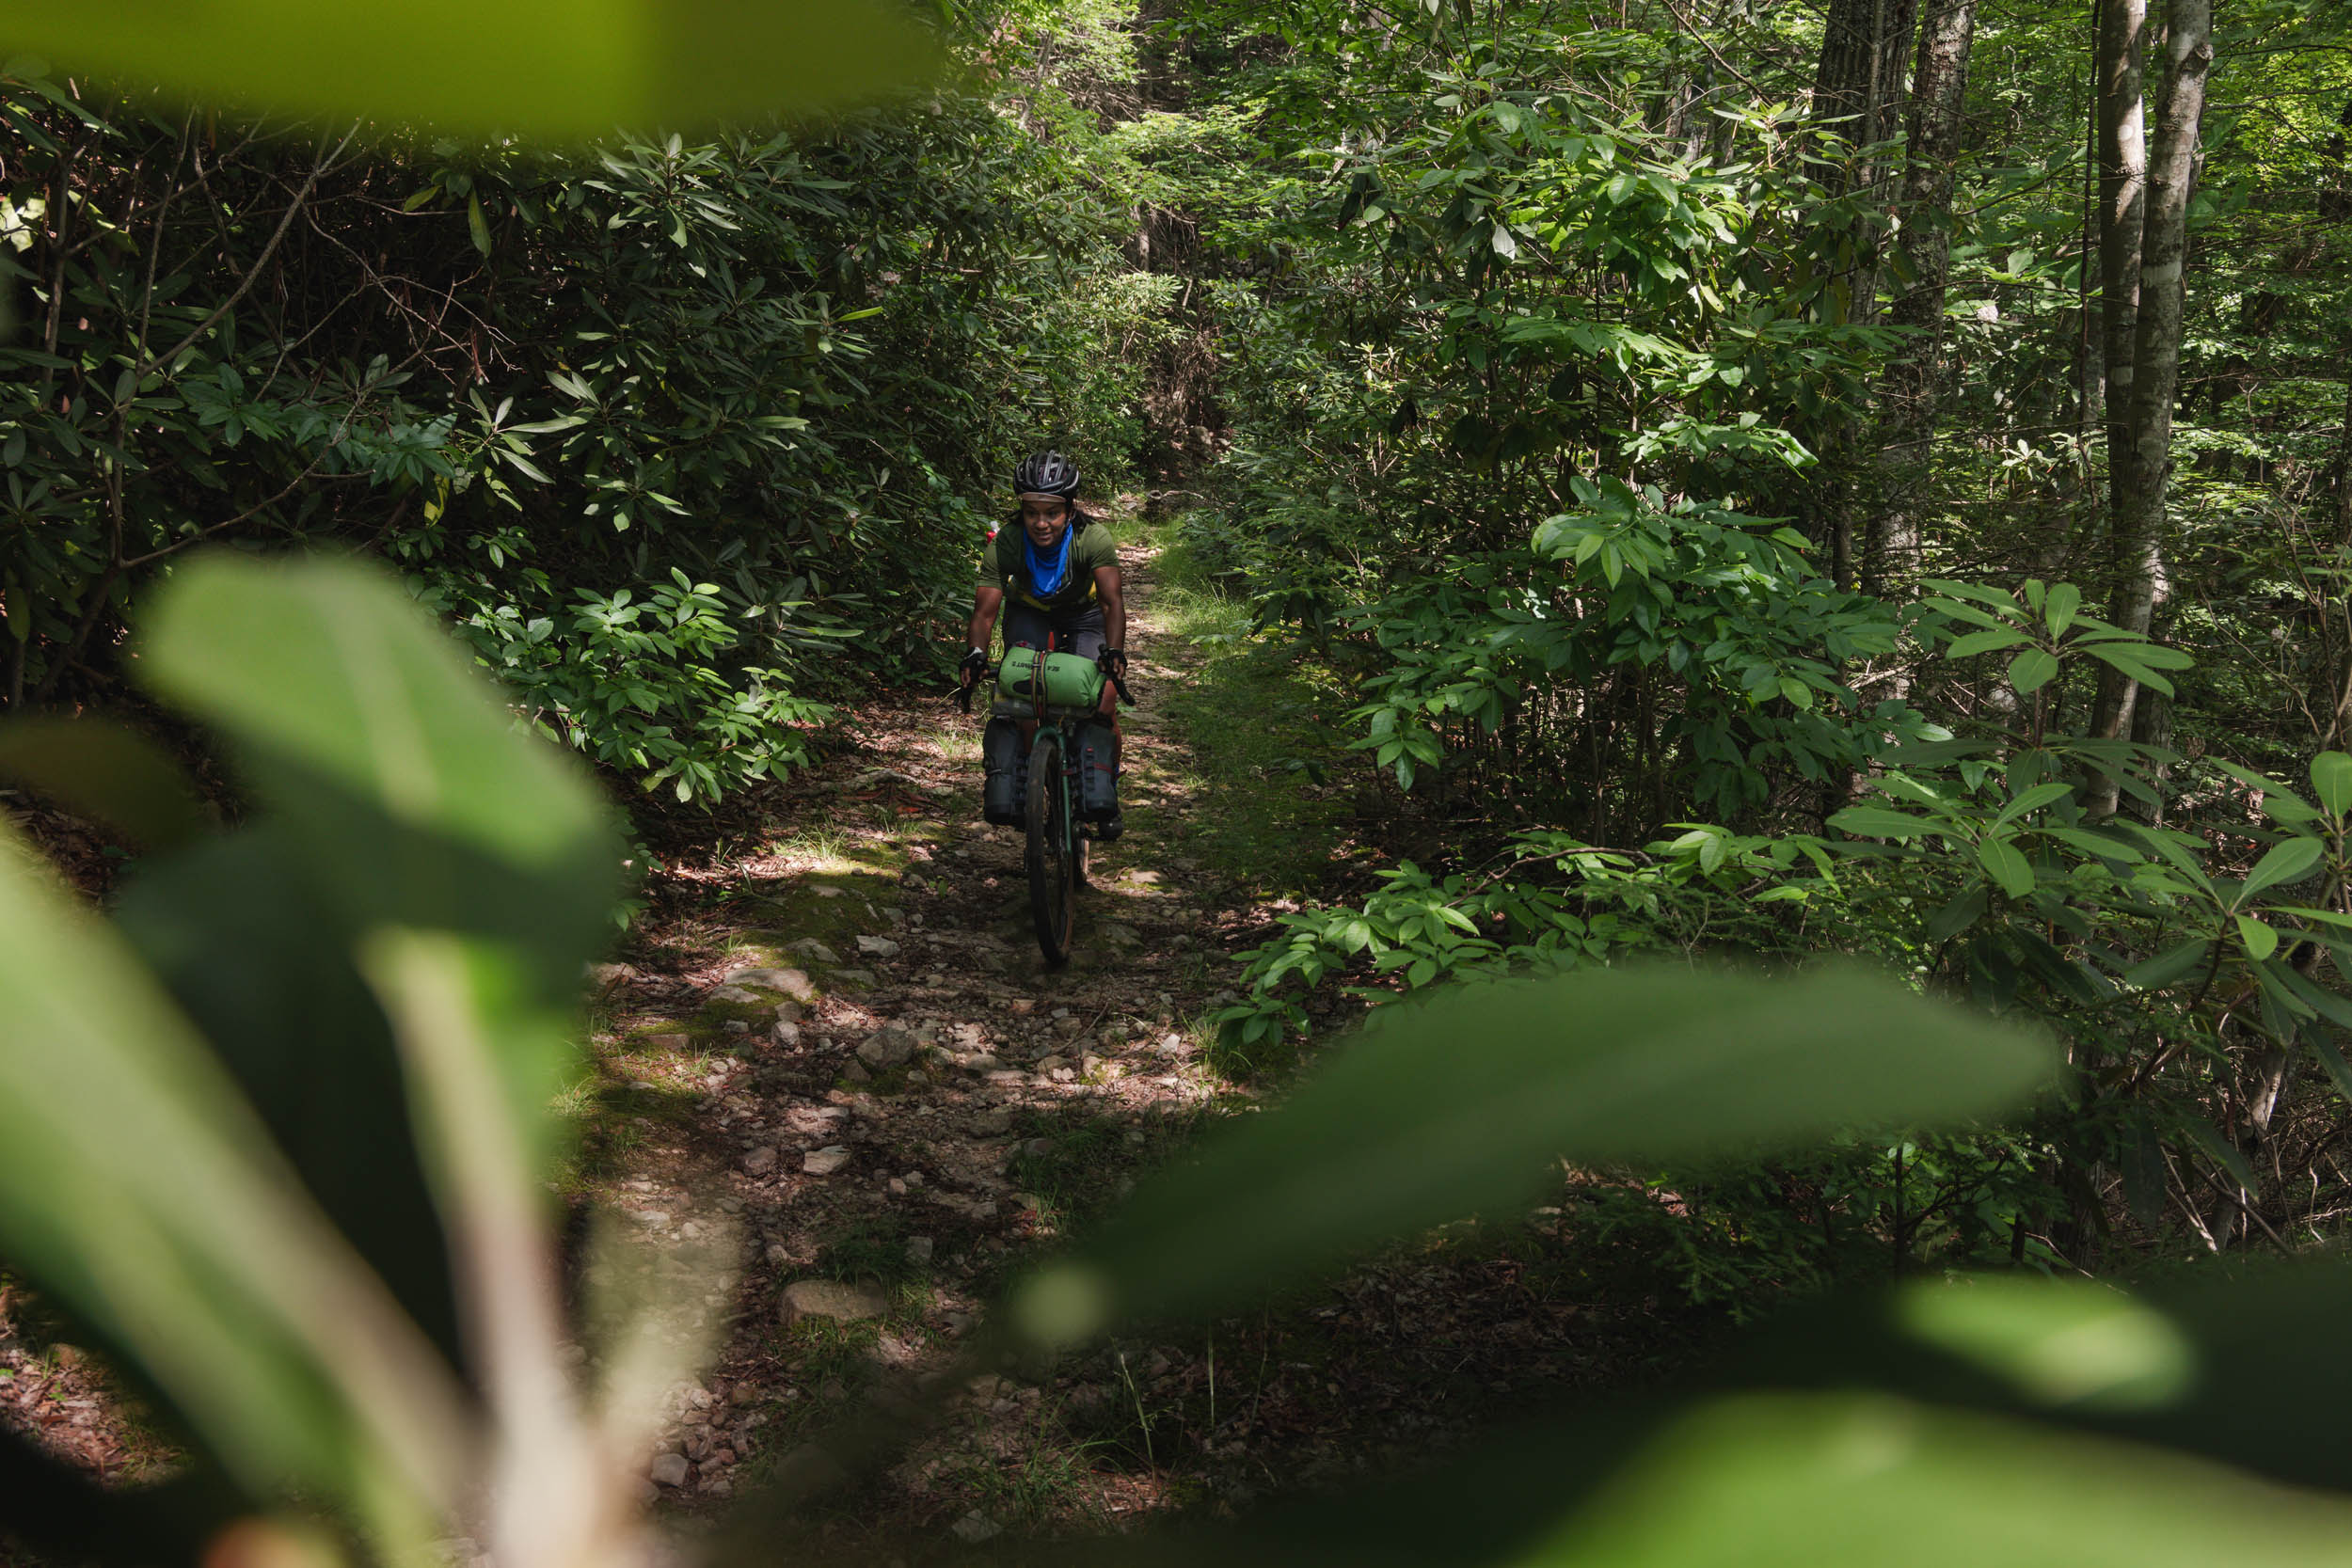
Last summer, after getting vaccinated, we headed to the mountains of southwest Virginia for a weekend of bikepacking in the high country. Here’s some of our current bikepacking bags, three-season camping gear, and other lightweight and/or multifunctional gear we used on this tour and other bikepacking trips (and why we love it, in our own words).
DEV’S SETUP
HANDLEBAR
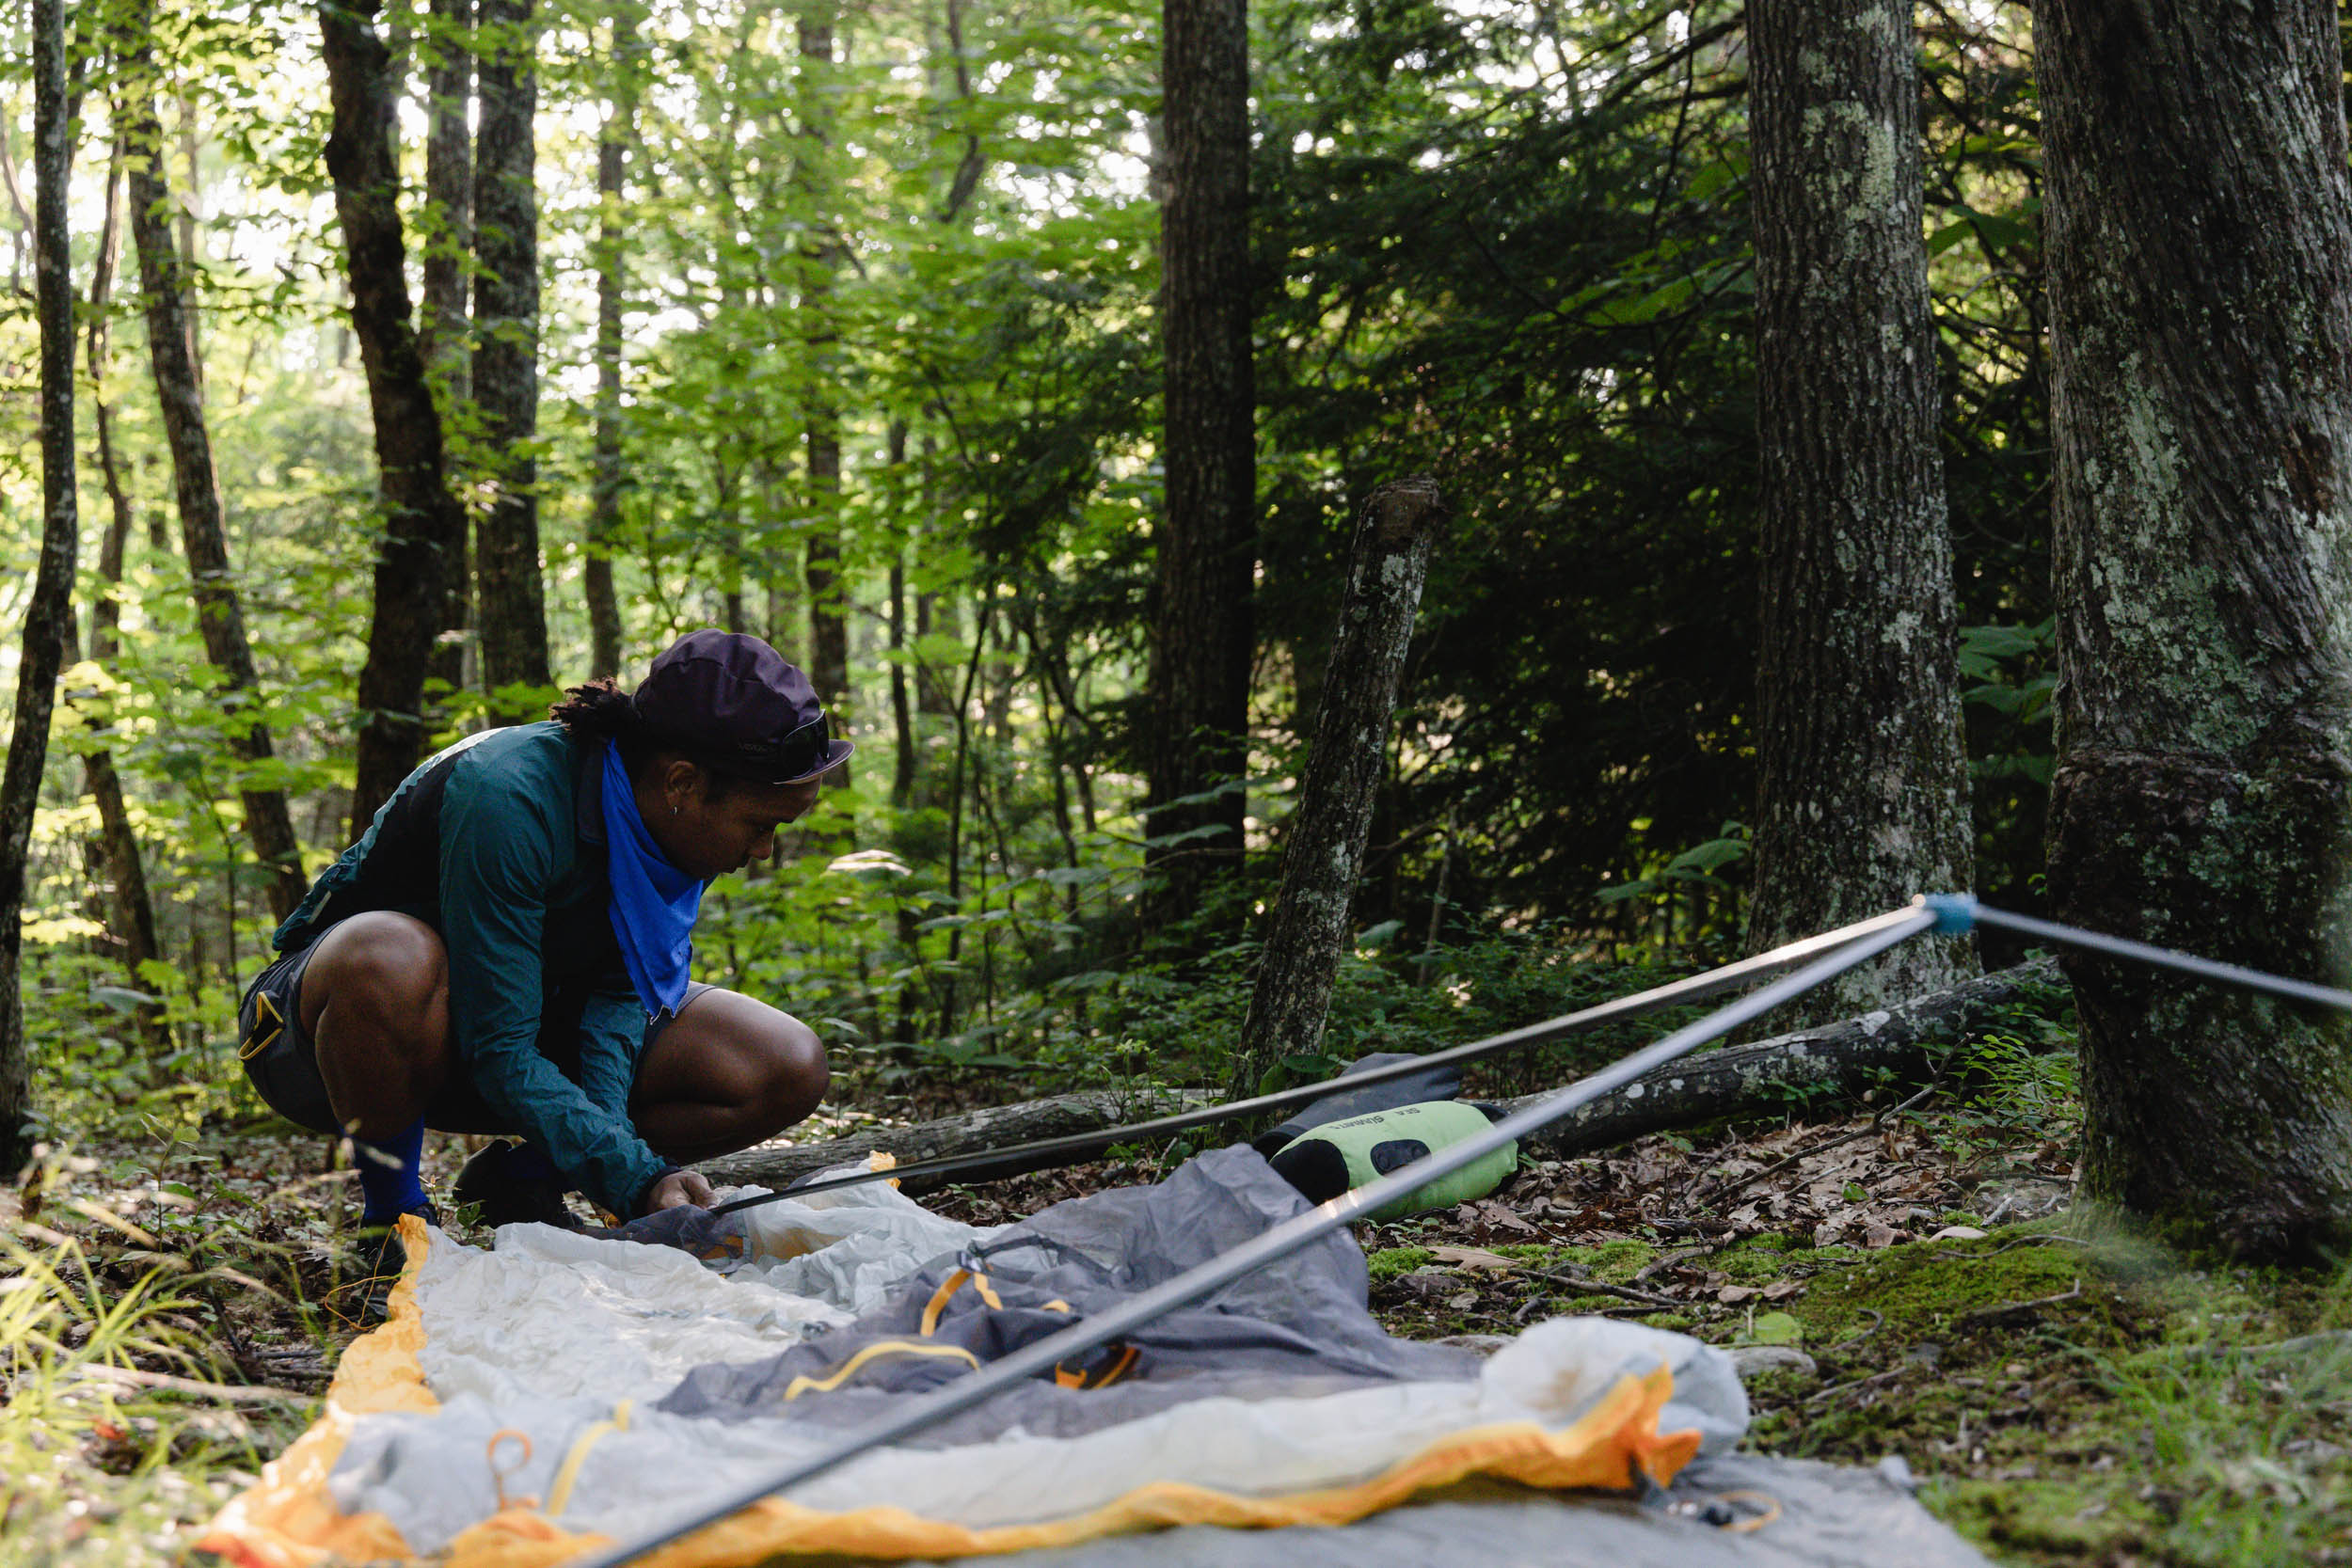
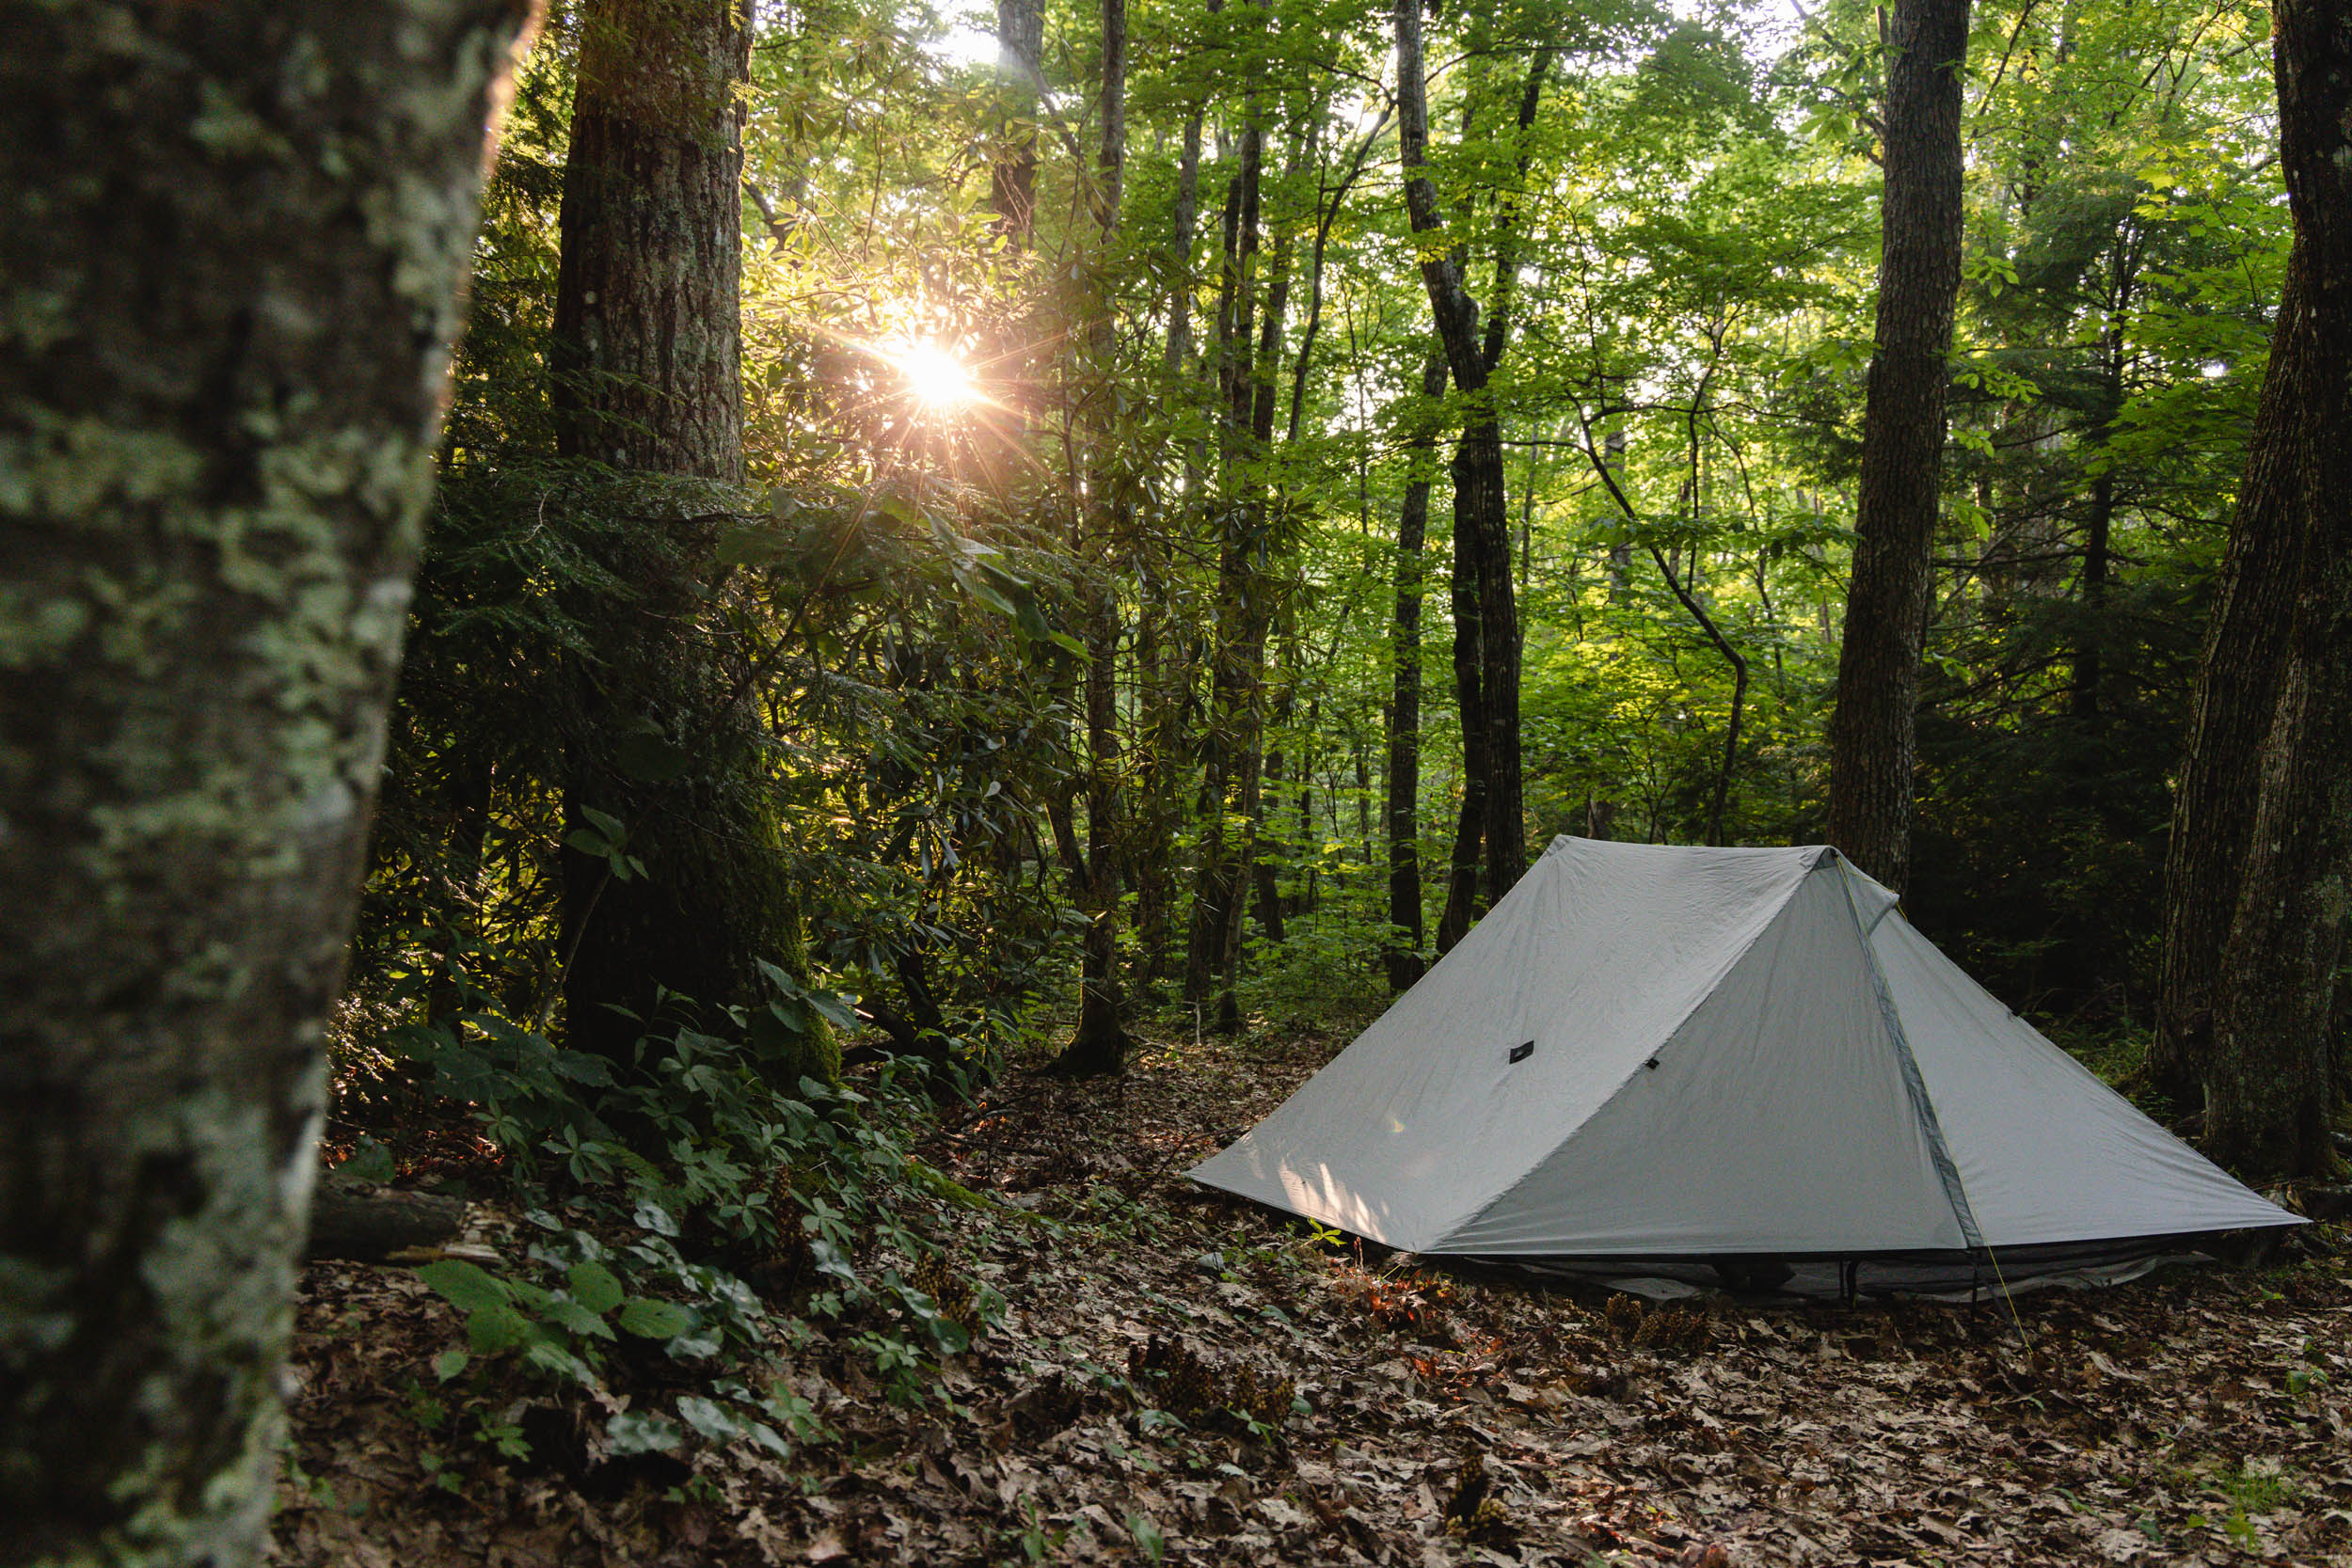
Tent
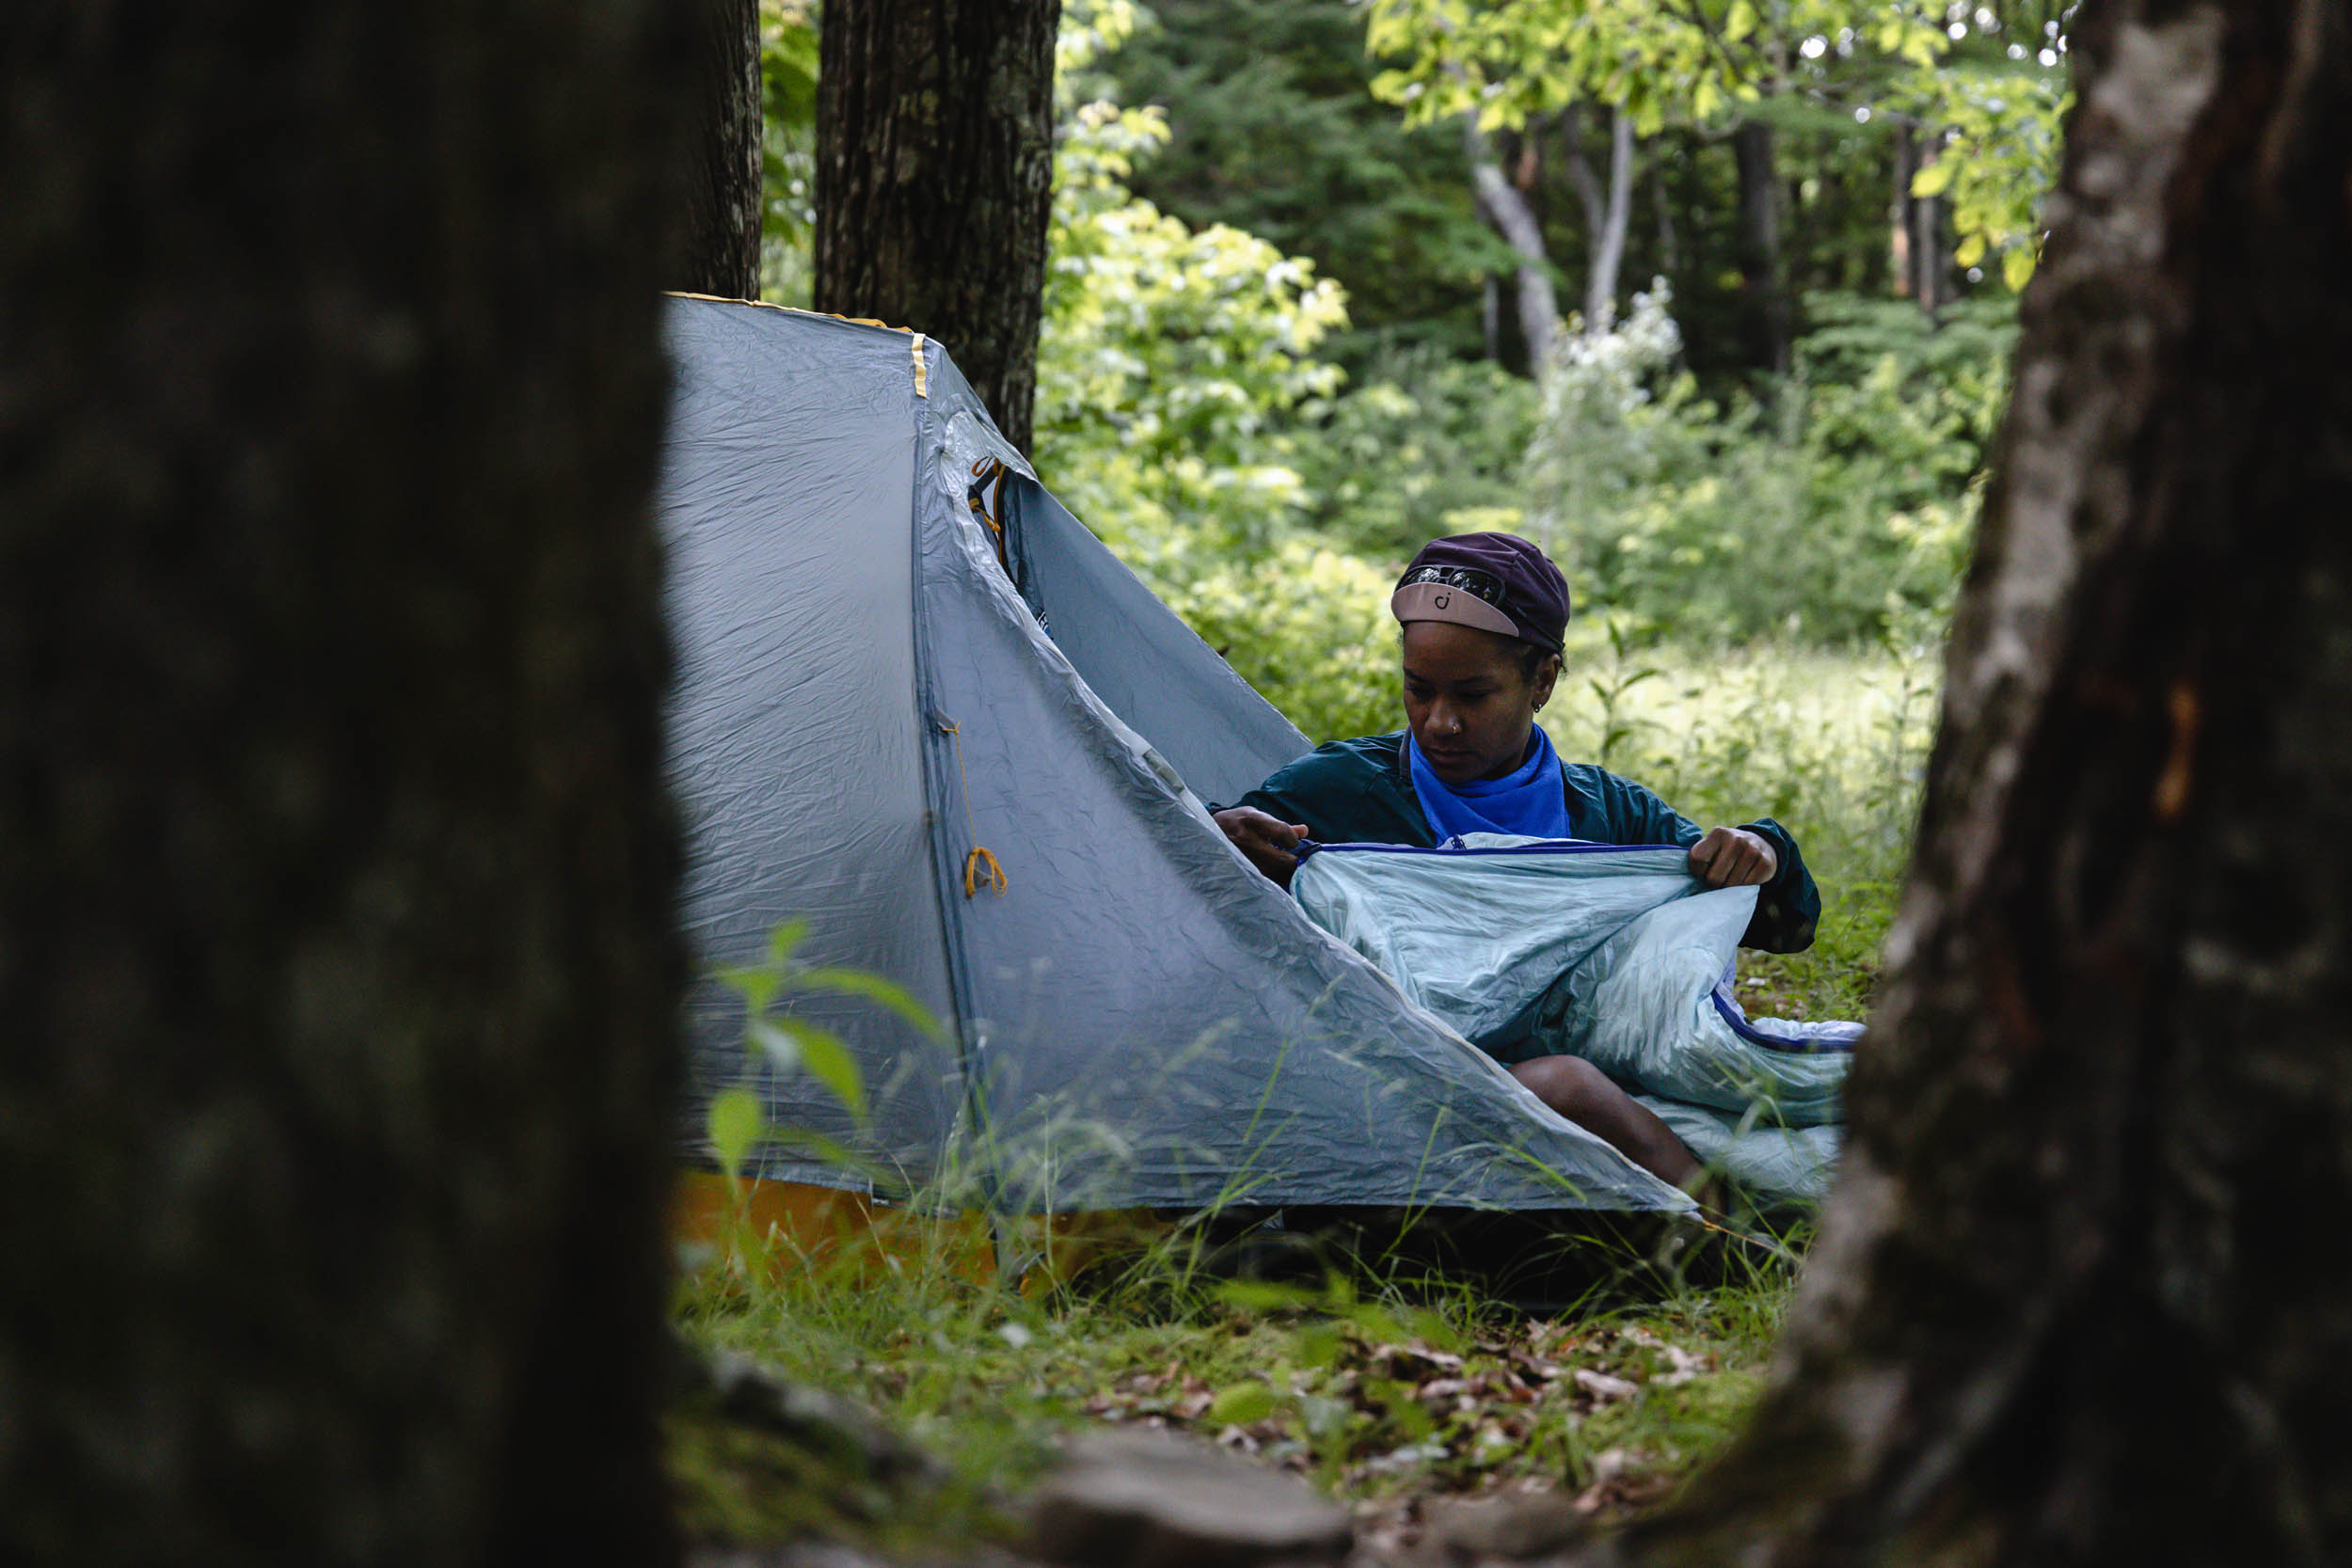
Big Agnes Fly Creek HV UL1 Bikepack – I f*cking love this tent so much. It is easy to set up (takes me only a few minutes) and it packs down back into its bag so easily. Two things to mention: the zipper to get in and out of the tent sometimes gets stuck. It’s not enough to annoy me but something I noticed. I am just extra careful with it as a result. Secondly, the price point. Y’all. This tent is expensive. But it’s extremely well made and durable. I love that it fits between my handlebars and it’s my perfect size. It kind of feels like a high-class bivvy (FYI: a bivvy? I could never). Super minimal and lightweight but I don’t feel like I’m actually sleeping WITH the elements. I will have this tent for years. I can definitely say it’s worth the investment.
Sleeping Bag
Big Agnes Women’s Torchlight UL 30 (Petite) – This is the most lightweight sleeping bag I have ever owned. It’s down, so it’s hella soft but also warm. It expands too—I don’t use it every time, but it’s a great feature to fit different body types and comes in handy if you want a snuggle buddy. It’s also been nice if I toss and turn at night and want a little room unexpectedly. I will also mention the zipper here. It can get caught if you’re moving too fast which, again, is something I’m just extra careful with. I live in Georgia so don’t normally camp in freezing temps, but I slept with this on a night when it got just below freezing. I had my puffy on and some sweatpants and socks and slept like a dream. It also packs down really well. I put this in my Sea to Summit stuff sack but once actually managed to shove it into my Salsa Anything Cage bag and mount it to my fork. It was tight as hell but it fit. Unfortunately, this is also an item that is pretty pricey, but it’s something I hope to keep forever. Unless I decide to grow taller.
FRAME
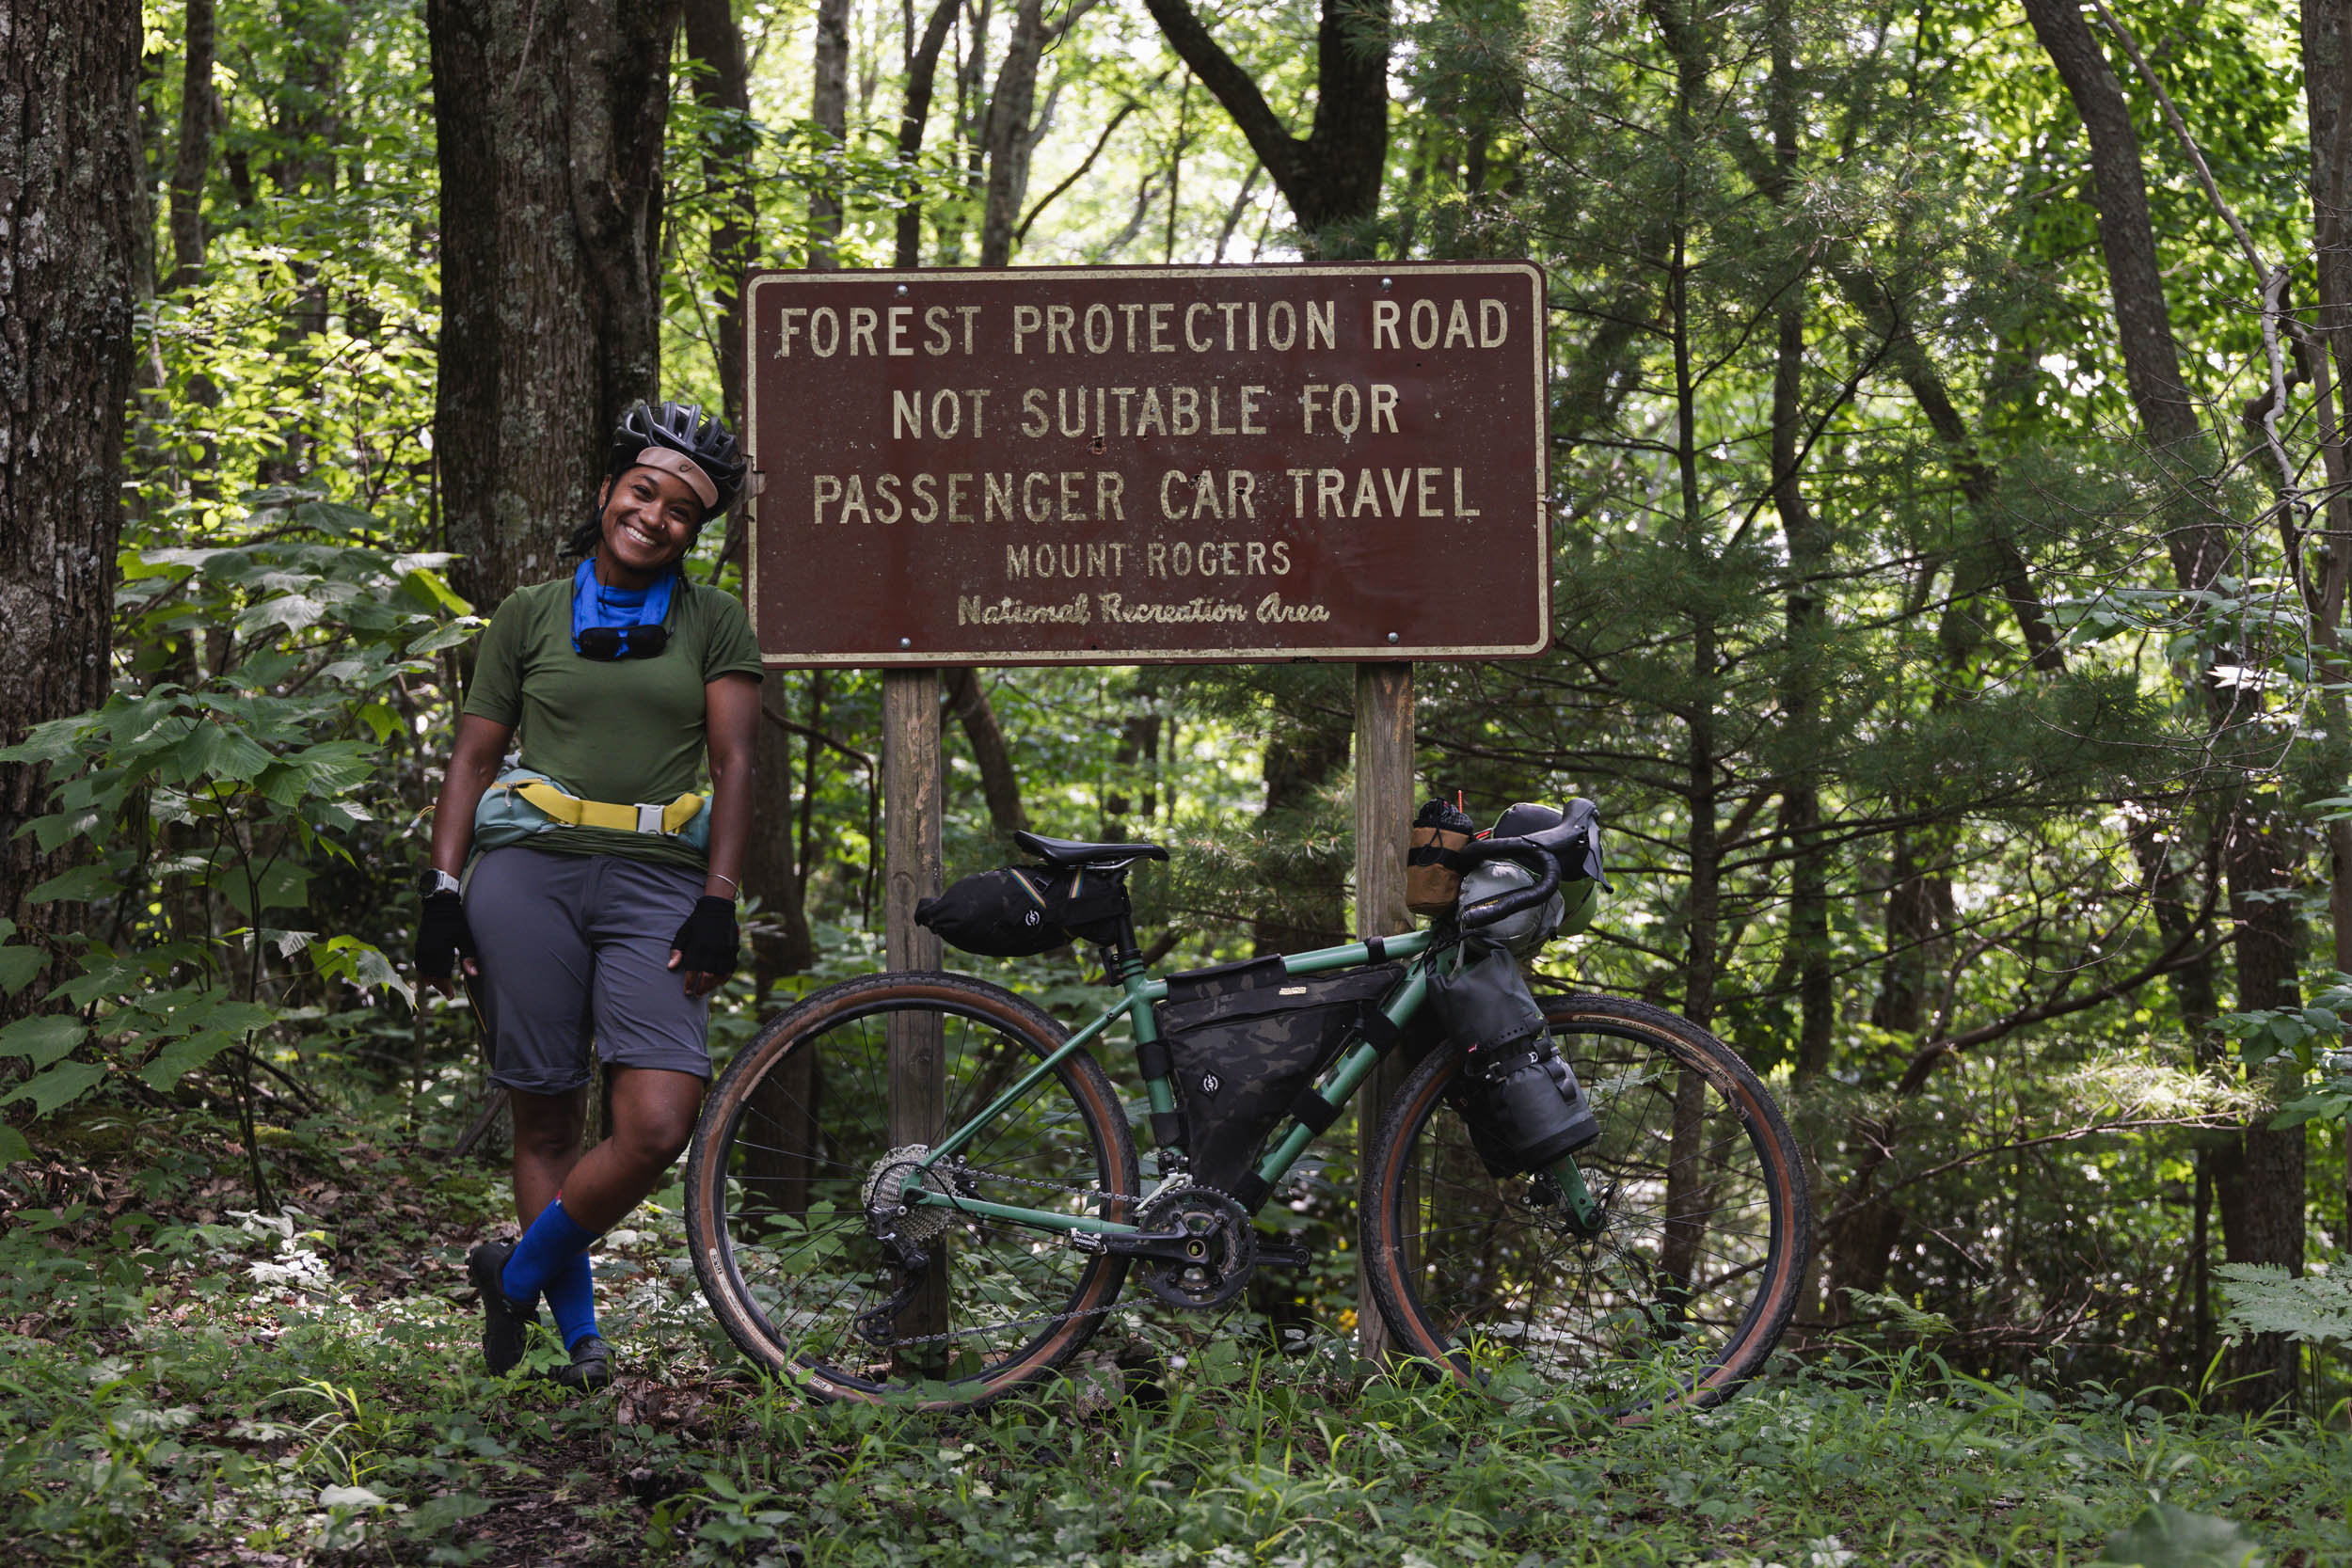
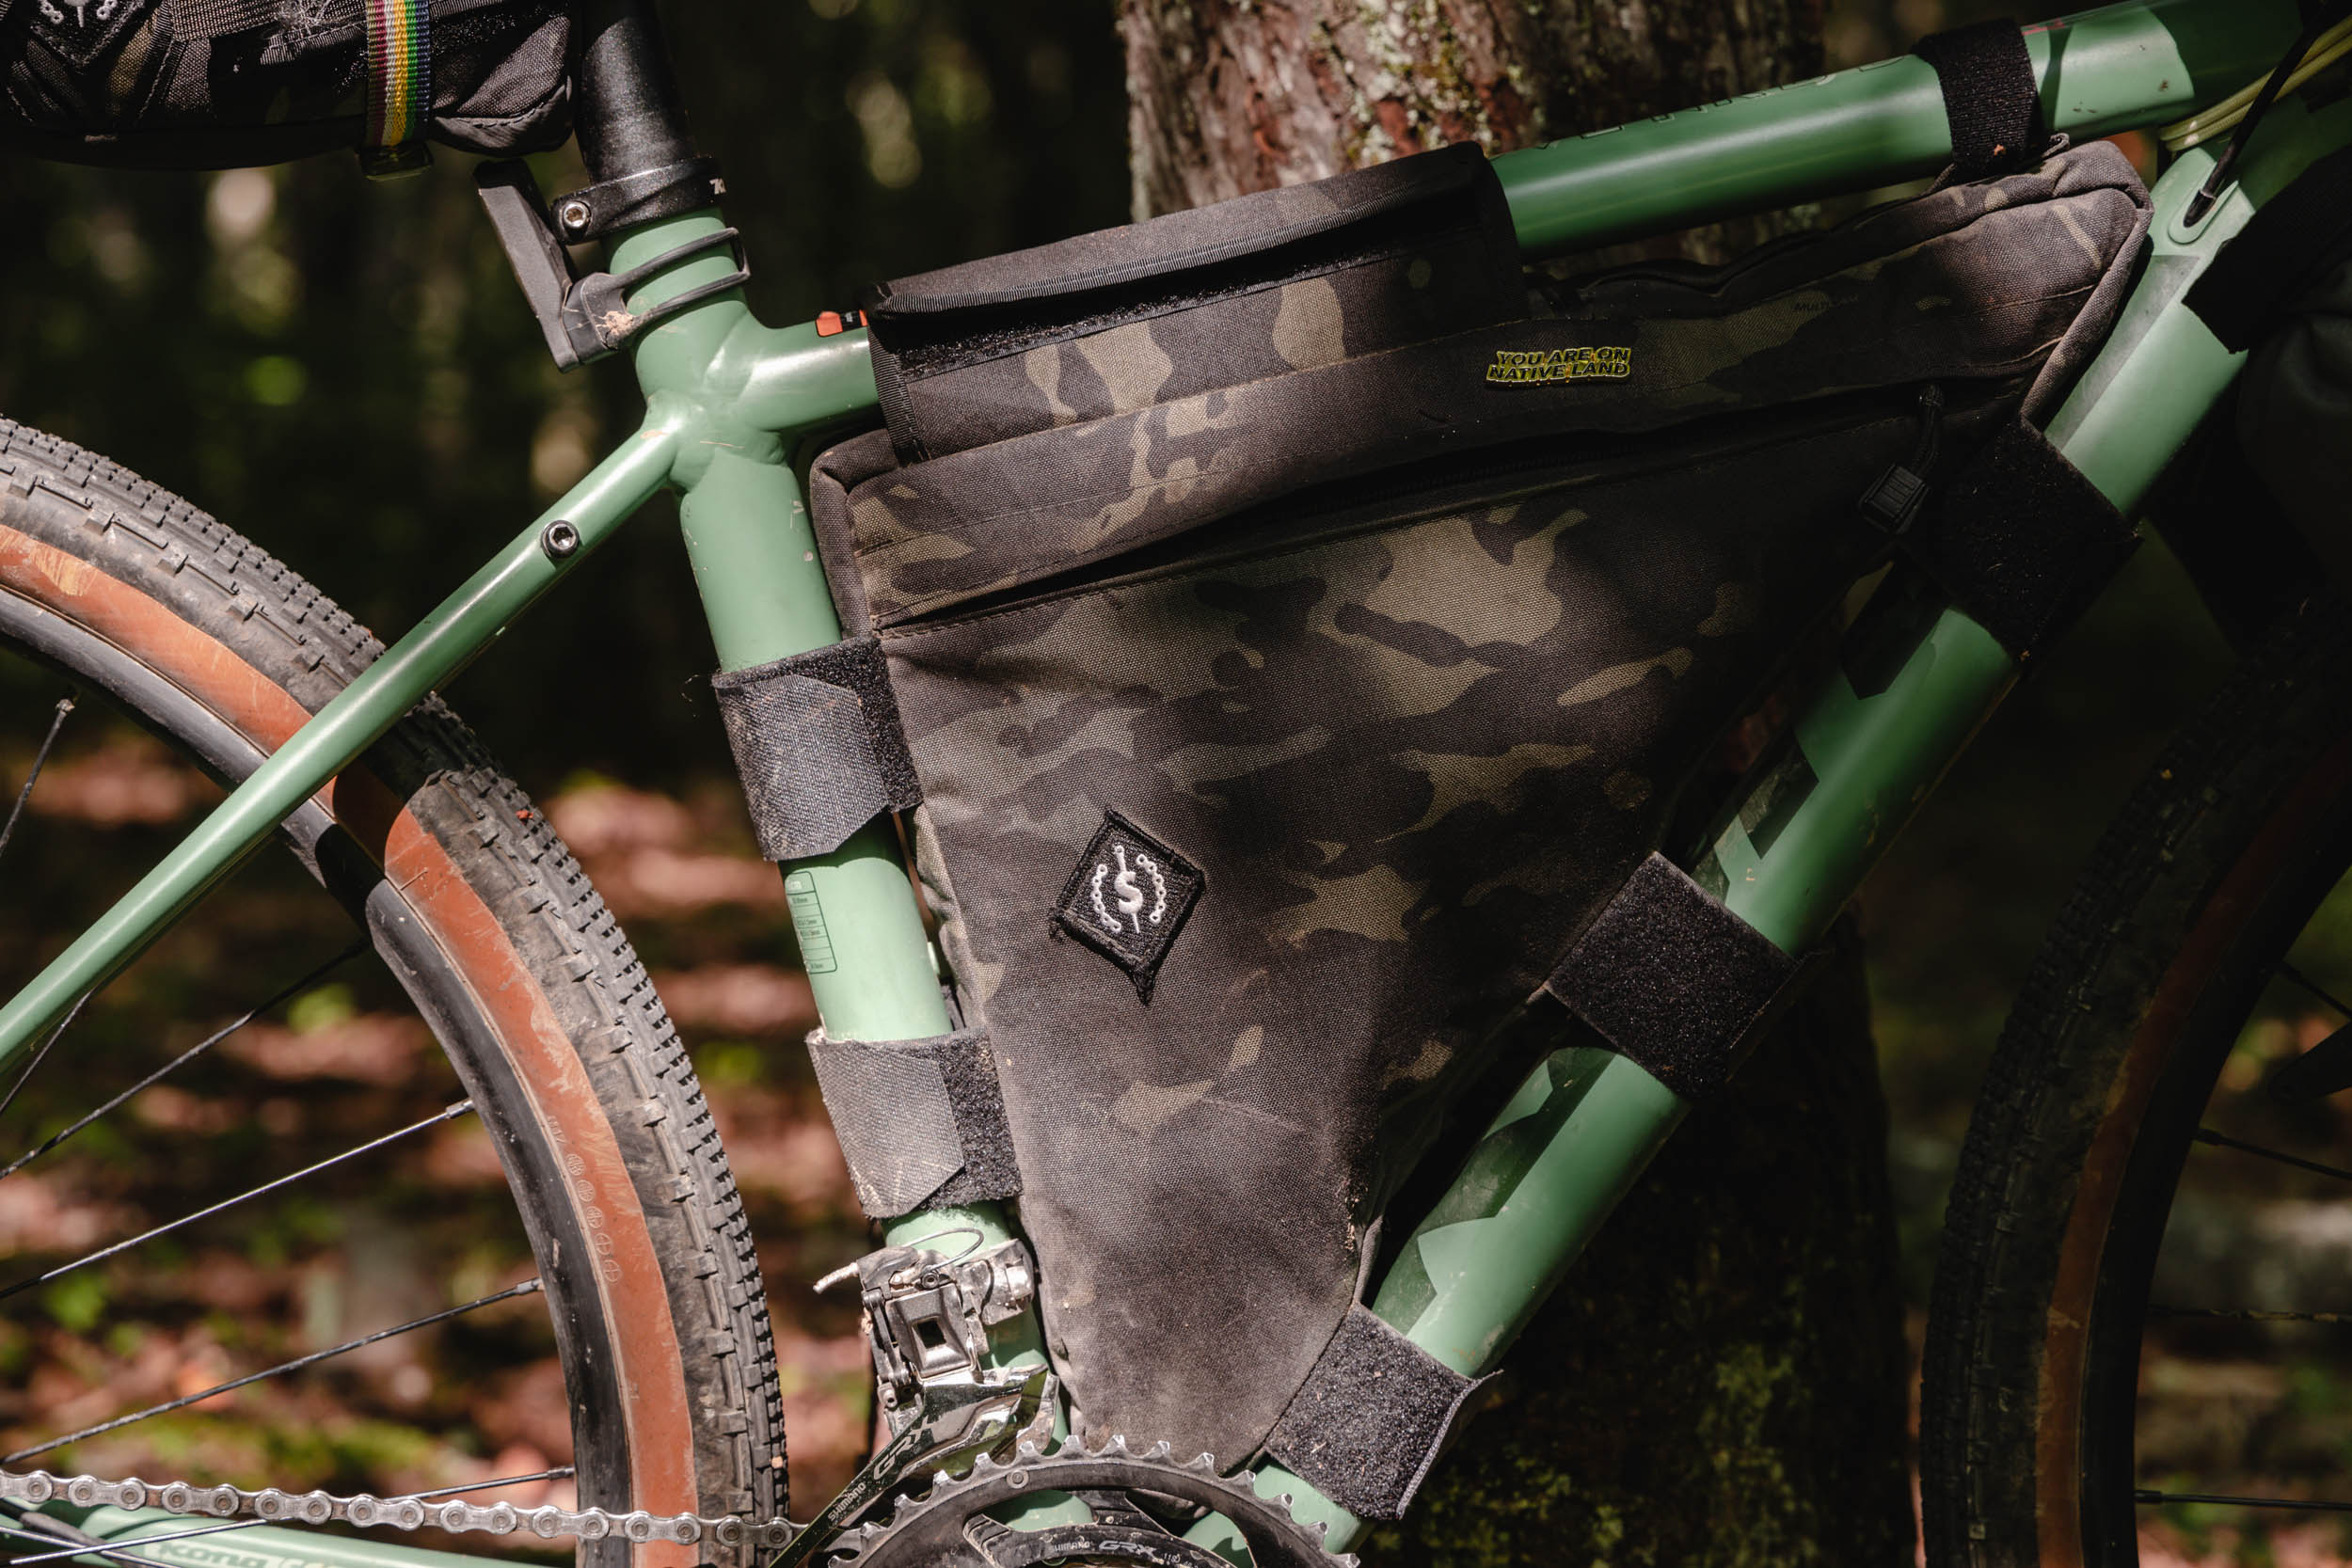
Frame Bag
Custom bag from EZ of The Spindle – I saved up for a year and a half to get custom bags because it was really important to me to have something that fit well as my bike is so tiny and nothing seemed to fit. I realize the barrier to getting custom bags and recognize the privilege to have one of these. There are tons of universal-fit frame bags out there that work really well too.
SEAT
Seat Bag
Custom bag from EZ of The Spindle – I’m not sure the literage, but it’s tiny because I’m tiny (LOL). I keep clothes in here and my “oh shit socks,” aka those warm fuzzy socks you keep in the back of your pocket in case some shit goes down and you need a warm-sock-pick-me-up. Shout out to Daniel Jesse at REI for teaching me this during my first-ever bike camping 101 class.
COCKPIT/FORK/BACKPACK/ACCESSORIES
Accessory Bag
Swift Industries Sidekick Stem Pouch – I like that this is small and handy but wish there was one more strap on it because sometimes when the snacks are overflowing (ALWAYS?) the bag kind of tilts forward.
Cargo Cages
Salsa Anything Cages + Anything Bags – I really like this set up because it adds more real estate to my bike where I don’t have it on the frame and seat. I keep toiletries and additional layers in these bags.
Pack
Mountainsmith Tour Small – Jess uses it for her camera, but I use it for more food, tools, and luxury items! I typically keep my kitchen kit in here – GSI Outdoors Crossover Kitchen Kit – the best $40 I have ever spent!! This takes my cooking game to the next level. I put some bike tools and my water bottle in the side pocket and attach my Kula Cloth to the outside.

CLOTHES
My entire wardrobe for this trip was Velocio (full disclosure, I am a Velocio ambassador). Their TRAIL line is incredible and essentially my go-to for any of my bike camping trips. I mix and match everything but here are some of my favorites:
Trail Merino Long Sleeve: Lightweight merino makes this great for riding on cooler days and something I end up wearing around the campfire. If I haven’t ridden in it during the day, I usually end up sleeping in it, too.
Delta Long Sleeve: Probably one of my most underrated items. Perfect for all-day riding on a sunny day. It is super lightweight, moisture wicking, loose fitting, and highly breathable.
Micromodal Trail Tee: A great moisture wicking, technical tee that has a loose fit, which I love for wearing on and off the bike. It dries super fast, too.
Wind Vest – Packs down small but also provides added core warmth at the campsite and is high-vis while riding. A perfect, versatile addition to any kit.
Trail Short – The most lightweight shorts I’ve ever owned and perfect for bike camping when I’m in the saddle most of the day (I wear Velocio’s Ultralight Bibs underneath). Also has a nice tucked away mesh pocket that I’ll keep my phone or wallet in for quick access.
Ultra Light Jacket – Packs down so tiny I forget I’m carrying it. It’s the perfect lightweight layer for me when I get chilly riding in tree-covered areas or on cloudy days.
JESS’ SETUP
HANDLEBAR
HANDLEBAR BAG
RockGeist BarJam Harness + Ultra PE Dry Bag with Voile Straps: With a slim profile, large volume, waterproof build, this dream duo is super solid even when descending on chunky roads. Anything I need inside my tent (sleeping bag, pad, camp layers, those “oh shit socks”) goes in here. If I’m bikepacking with my dropbar Sage Storm King, I’ll use the BarJam with a smaller handlebar bag like Ortlieb’s Accessory Pack.
SLEEPING BAG
Therm-a-Rest Vesper 32F Quilt: Holy jaw drop this thing is expensive. But if you’re an adult who likes to be swaddled—but not too tightly—this featherlight down quilt is downright dreamy. It packs down to the size of a small melon (not unlike the one Dev might carry in her lumbar pack) and is warm enough to meet most of my bikepacking needs.
SLEEPING PAD
Therm-a-Rest Women’s NeoAir XLite Sleeping Pad: Who knows how many holes I have put in this thing. I have abused it to no end, patched it, stuffed it, cowboy camped with it, and it still (mostly) holds air. But if you’re a tosser-turner and you have a tent buddy, warn them about the crinkle factor (or pack an extra set of ear plugs).
PILLOW
Therm-a-Rest Air Head Lite Pillow: Multifunctional? Assuredly not. This thing is 100% a luxury item and I will always bring this on every bikepacking trip. Sometimes you just gotta treat yourself. Pro tip: pick a color that hides your dirty hair grease.

FRAME
Frame Bag
Surly / Revelate Designs Mountain Frame Bag: This is literally the only frame bag I have ever used. I got it back in 2017 because it was the only non-custom bag I could find at the time that fit my Salsa Fargo. It also fits my Sage Storm King. It’s simple and ugly and solidly not waterproof, and when I rubbed a hole in it while touring last summer (the result of an overstuffed frame bag plus crank arm friction), I considered replacing it. Instead, I stuck some BIKEPACKING.com patches on there and another patch that reads “I <3 Honky Tonk” and so now I think I’ll keep using it.
Primus Firestick Titanium Stove + 1.0L Trek Pot: My dream kitchen. Without the fuel, this little duo weighs less than a pound! It’s also really compact in design, which allows me to put this in the bottom of my frame bag. Depending on the tour and what I’m planning to eat, I often use the 0.6-L version of the Trek Pot and either cook things in rounds (who says you can’t have a multicourse meal on tour) or cook infrequently and use it mostly for coffee.

SEAT
Seat Pack
Ortlieb Seat-Pack: Until I have fully vetted my Tumbleweed T Rack setup, I will recommend this fully waterproof seat pack. I stuff my tent, stakes, groundsheet, and rain jacket in here. Sometimes I’ll throw a little pot in here (the kitchen kind). I have only buzzed it on my rear tire a couple of times. I have the 11L version but never fully stuff it because the more it’s stuffed, the more likely I am to buzz that wretched tire.
Tent
Six Moon Designs Owyhee Tarp: Throughout 2021, I tested this thing over the course of roughly 1,000 miles of bikepacking (stay tuned for the full review). As a lightweight and affordable alternative to a two-person tent, this thing really takes the cake. It’s basically a tarp with bug netting that tucks underneath the bathtub floor. It packs down so small I often take this for myself in lieu of my one-person Zpacks Hexamid. It feels like a palace when you have it all to yourself. But slugs can and do get in. Don’t say I didn’t warn you.
COCKPIT/FORK/BACKPACK/ACCESSORIES
Stem Bags
Oveja Negra Chuckbucket: If your knees are going to rub against stem bags, it helps if they’re cute stem bags. It’s just science.
Top Tube Bag
Oveja Negra Snack Pack: I have been known to fit a pint of Ben & Jerry’s in this small-but-mighty top tube bag, which is about all you need to know.

CLOTHES
Machines For Freedom Essential Cycling Short: Hands down my favorite chamois. I first used these shorts on a 250-mile three-day, two-night tour on the RockStar route in Virginia, fully expecting that I would probably have some saddle sores by the end of the trip. Not the case. With a comfy yoga-pant-inspired waistband, seamless leg openings, and a chamois designed for wider sit bones, this short is my go-to for day rides and long-distance tours alike.
Velocio TRAIL Ultralight Hooded Jacket: Like Dev’s, but with a hood, this little jacket packs a mean warmth-to-weight ratio. I bring it on every ride and tour, no matter the season, because it has literally saved my ass more than once. It’s also made of 50% recycled materials, which I really appreciate.
Rapha Explore Hooded Gore-Tex Pullover: The one time I tried to ride 250 miles without bringing any bikepacking gear, this was the one “oh shit” layer I brought. And boy am I glad I had it. For the first six hours of the race, it was raining with temperatures hovering right around 50°F. The conditions were tolerable, thanks in no small part to this rain jacket. Even when I bikepacked the New Mexico Off-Road Runner last November, when rain was hardly a concern, I brought this jacket as a warmer alternative to a wind jacket. It’s versatile and durable (not to mention highly waterproof) and damn if I don’t look like I know what I’m doing when I’m wearing it.
Oiselle Flyout Wool Half Zip: Oiselle is technically a running brand, and initially, I got this long-sleeve top to use as a cool-weather running layer, but after wearing it every day during my 10-day tour of the New Mexico Off-Road Runner, I now pack it on every bikepacking trip. The poly-wool blend coupled with the half zip design is the ultimate in versatility: batten down the hatches and zip up when you’re setting out from camp in the cool morning, then open it up when you (inevitably) start to sweat an hour later. The fabric has that magical ability to cool you when you’re hot and warm you when you’re cold. Sure, there’s a watch opening that I don’t really find useful, but the thumb holes were great during the heat of the day when I didn’t want to wear gloves but appreciated some sun protection on the backs of my hands.
Ombraz Classics: These polarized sunglasses are becoming the universal standard for bikepackers, and with good reason. With no sidearms, there is nothing to break when they inevitably get packed away and nothing that can put uncomfortable pressure behind your ears. Dev and I both rocked these during our tour.
Velocio Leg Warmers: I loathe the layer-up-layer-down rigmarole of bikepacking. I sometimes wish I could just start panting like a dog to regulate my temperature instead of having to get off of my bike, layer down, repack my bags with those layers, maybe get a little cold again in the process, then start riding. The best solution I have found is to use leg warmers, which are easy to take off when I start sweating 30 minutes after setting off from camp. They also pack down extremely small when I’m not wearing them. Though warm enough to keep the chill at bay when I’m riding, these particular leg warmers are also thin enough that I sometimes opt to wear them in lieu of sunscreen (because, dust). Although they don’t claim to have UV protection built into the fabric, I did this a lot while riding through New Mexico’s exposed desert.
Editor’s Note: This article was written in the summer of 2021. As of Jan 1, 2022, Devin is a member of the Diamondback athlete team. Stay tuned to see her Diamondback Haanjo setup.
Do you enjoy our in-depth reviews, route guides, and stories? We’re a small, independent publication dedicated to keeping our content free for everyone, but we need your support. To keep articles like this one coming (and not behind a firewall), please consider becoming a member of our Bikepacking Collective. By joining, you’ll receive The Bikepacking Journal in the mail twice a year, industry discounts, and many other great benefits. Learn more here.
Related Content
Make sure to dig into these related articles for more info...

Please keep the conversation civil, constructive, and inclusive, or your comment will be removed.