


Planning for Your First Bikepacking Ultra


Thinking about taking on your first ultra-endurance bikepacking event? This guide by Colt Fetters will walk you through how he approached ultra racing, including training, dialing in the kit, nutrition, strategy, and more. Read the full primer here…
PUBLISHED Apr 30, 2019
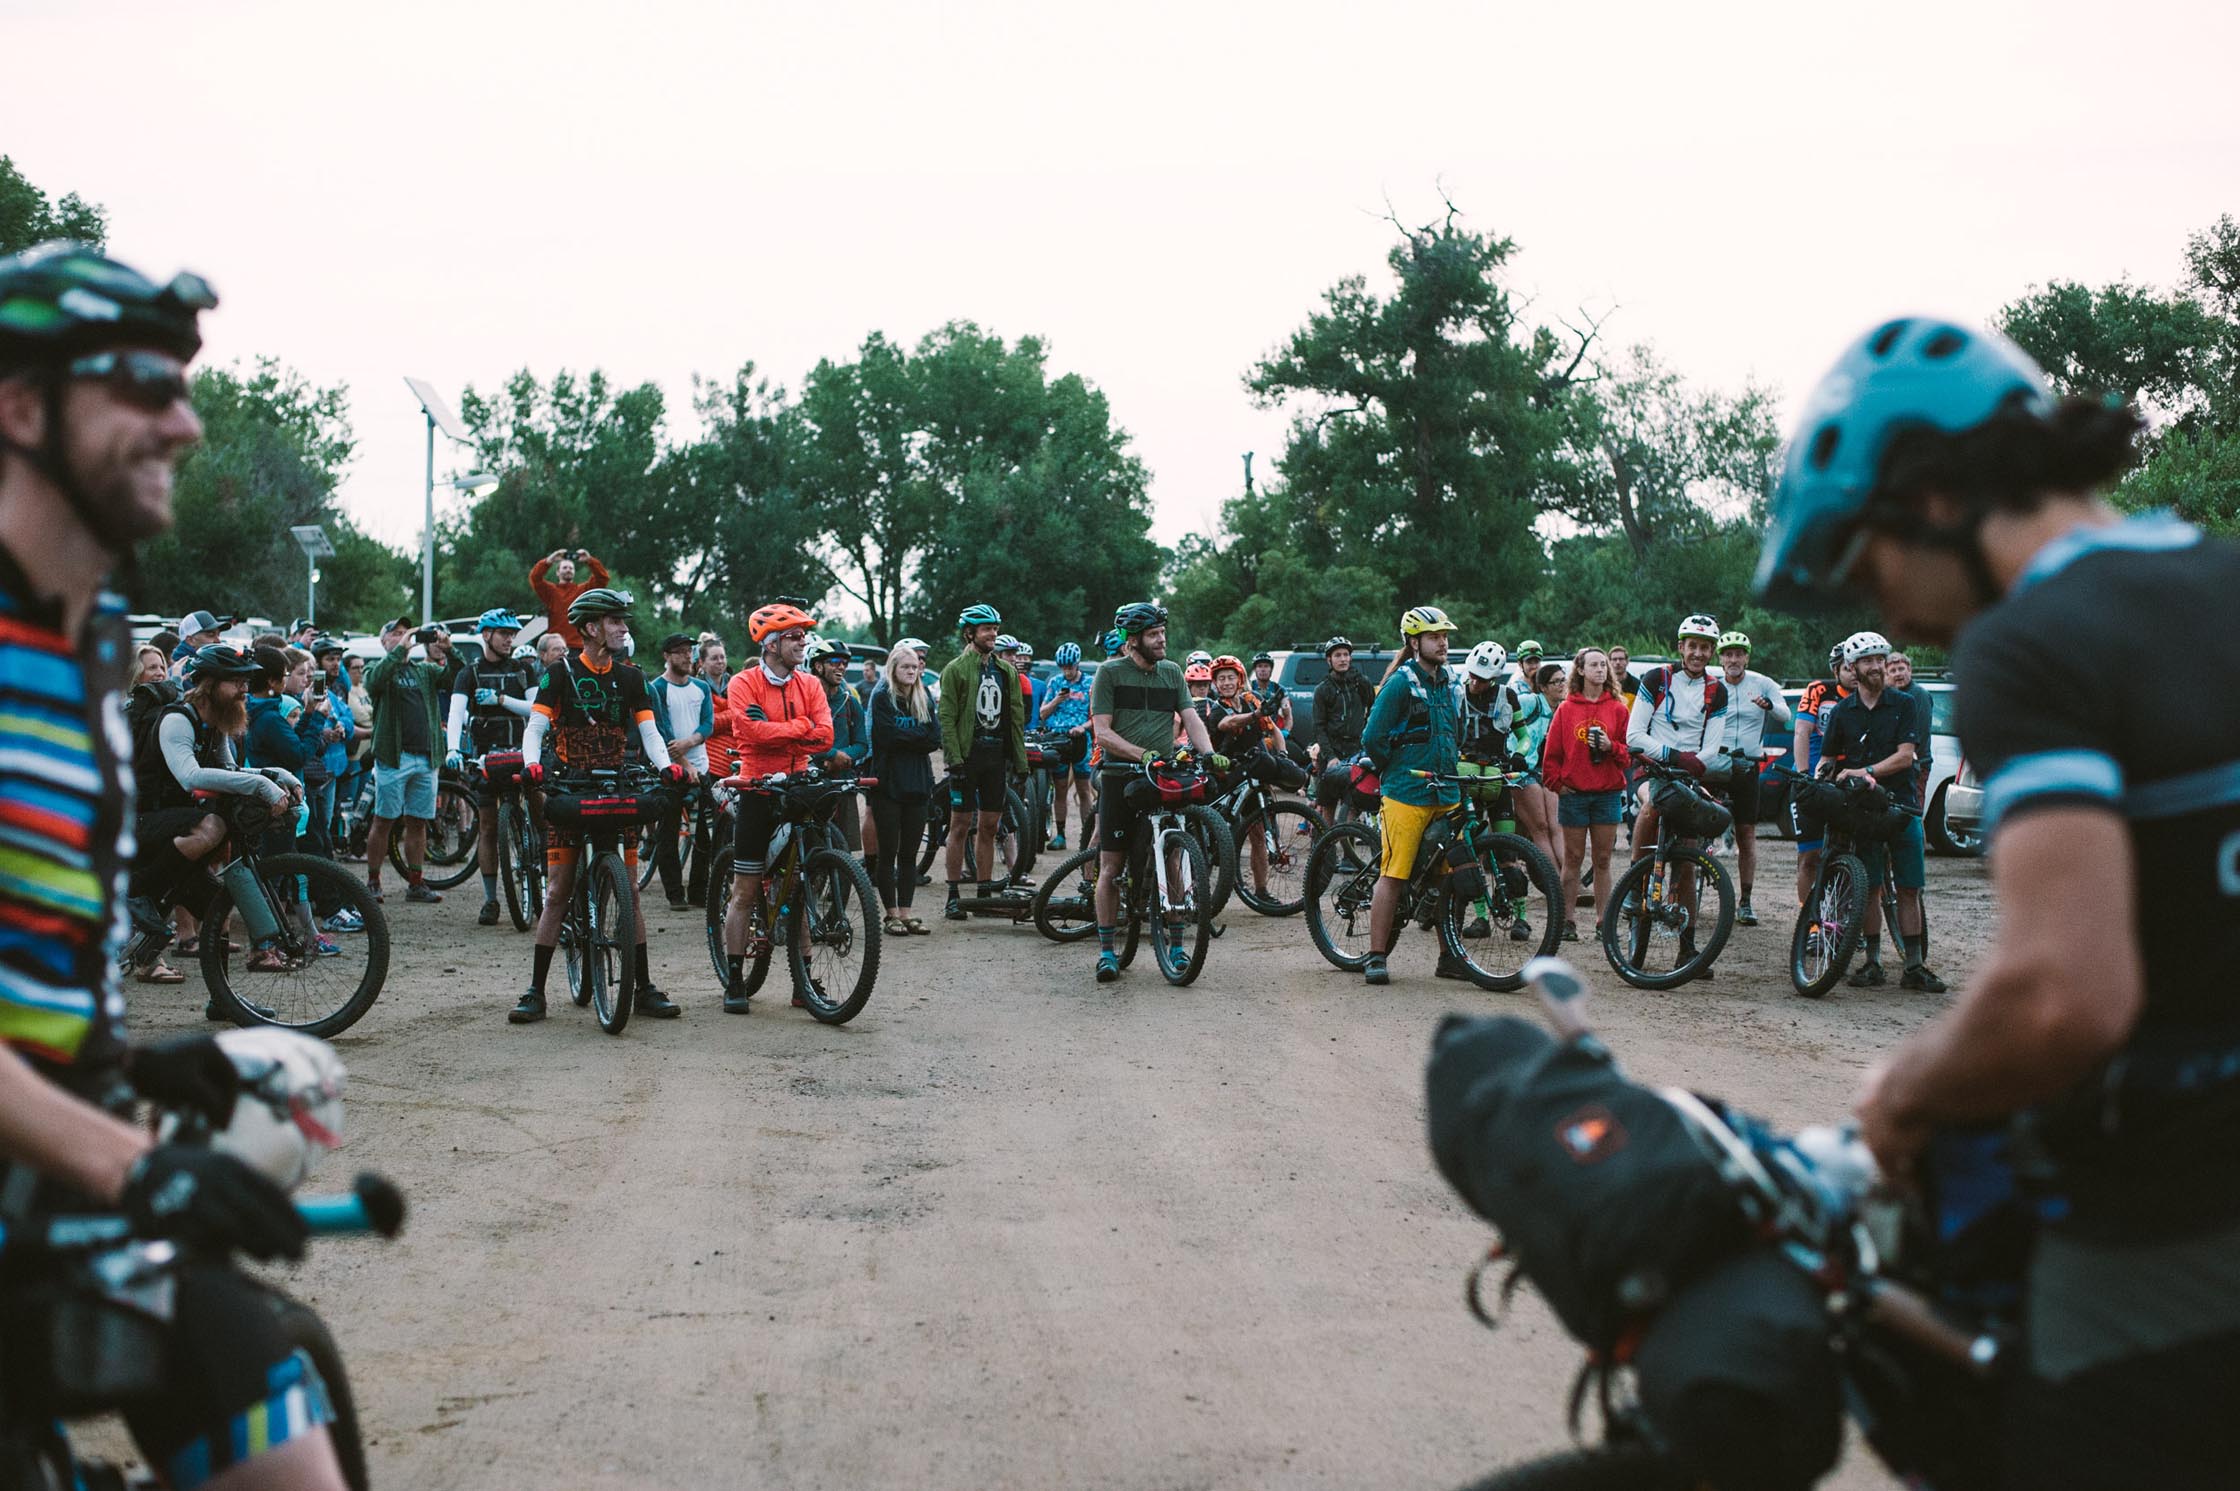
So, you’d like to attempt an ultra-endurance bikepacking event? You know, events like the Tour Divide, where folks race to the finish line for days or weeks on end. The clock doesn’t stop at night, riders are completely self-supported, and they pedal furiously toward a destination that might be hundreds or even thousands of miles away.
Sound appealing? If so, welcome! Bicycle racing is a needlessly intimidating world, and the same could be said about bikepacking. Sure, it requires some skill and forethought, but with adequate preparation, competing in a bikepacking ultra is far more attainable than people make it out to be.
Generally speaking, there are three types of ultra racers. First, are the super intense, spandex clad, no sleep types, who will ultimately win or DNF trying. Secondly, there’s the speed tourers who travel with a couple more luxury items (read: sleeping bag and an extra chamois) but still aim to complete the route as fast as possible while getting a bit of sleep each night. And lastly, folks with one goal: just to finish the route, and maybe even enjoy themselves while doing so.
This is a guide for riders in the second and third categories, who ideally have some bikepacking experience but have never raced an ultra before. Through this guide we will cover the basics, including training, dialing in your kit, nutrition, and strategy. There are plenty of useful resources online, some of which go more in depth on any one subject than we will here. The aim of this guide is to be a starting point, providing a basic understanding about what it takes to race an ultra.
Start Training
First, understand that everyone’s physiology is different and no two people start with the same base fitness. As such, this guide will not supply you with a specific training plan, but will instead give you the resources to create your own or find a coach who fits your needs.
Periodized Training
Periodization models can get awfully complicated, so we’re going to stick to some simple concepts. For our purposes, we’ll discuss periodized training plans broken up into three broad periods: the base, build, and peak. The base period is typically around 12-14 weeks, during which the rider will focus less on anaerobic activity and more on long and slow distance riding (LSD). Once a strong base has been built, the rider will spend approximately 8-10 weeks in a build period. Focusing on building race-specific fitness that is usually more anaerobic in nature. Finally comes the peak period, when the rider incorporates rest while still showing the body race-like intensity on a less frequent basis.
“It’s not about how far you go. It’s more about how you go far.”
That’s what Josh Kato had to say, referencing his 2015 Tour Divide win. Josh only did only about a dozen rides over 100 miles before his victory that year. Of course, doing big days on the bike is the best way to train physically and mentally for an ultra, but most regular workin’ folk don’t have much time for 100-mile rides several times a week. With intentional training, multiple long rides every week aren’t absolutely necessary for success. Adaptations to long rides include various forms of interval training. Completing a number of longer threshold intervals between 8-30 minutes in length can be a great tool for building endurance. Most successful training plans are specific to the racer and include a wide variety of exercises. If you’re feeling overwhelmed with this, you’re not alone.
Get professional help
Some folks will go as far as to get a coach. There are even some pre-packaged training plans out there that cost about $100 and are specific to events like the Arizona Trail Race and the Colorado Trail Race. These are the Blue Apron and Hello Fresh training options of the coaching world, perfect for people with busy lives, extra income, and overly ambitious goals. Initially, you may be hesitant to spend $100 of your hard earned money on coaching, but I assure you it’s worth it. Plus, your entire perspective will change once you get out on a course anyway – you’d probably be willing to spend $100 on a good cheeseburger when you’re getting rained on in the woods in the dark.
Intentional training goes a long way. I used LW Coaching’s eight-week Colorado Trail Race plan. Lynda at LW Coaching offers plans for most of the popular ultras in the country. Assuming you’ve already been through a solid build period (10 hrs LSD, weekly), LW picks up from there. The training plan is extremely detailed, and each week she includes a briefing message complete with tips and an introduction of what your week of training entails. Each day has its own specific prompts.
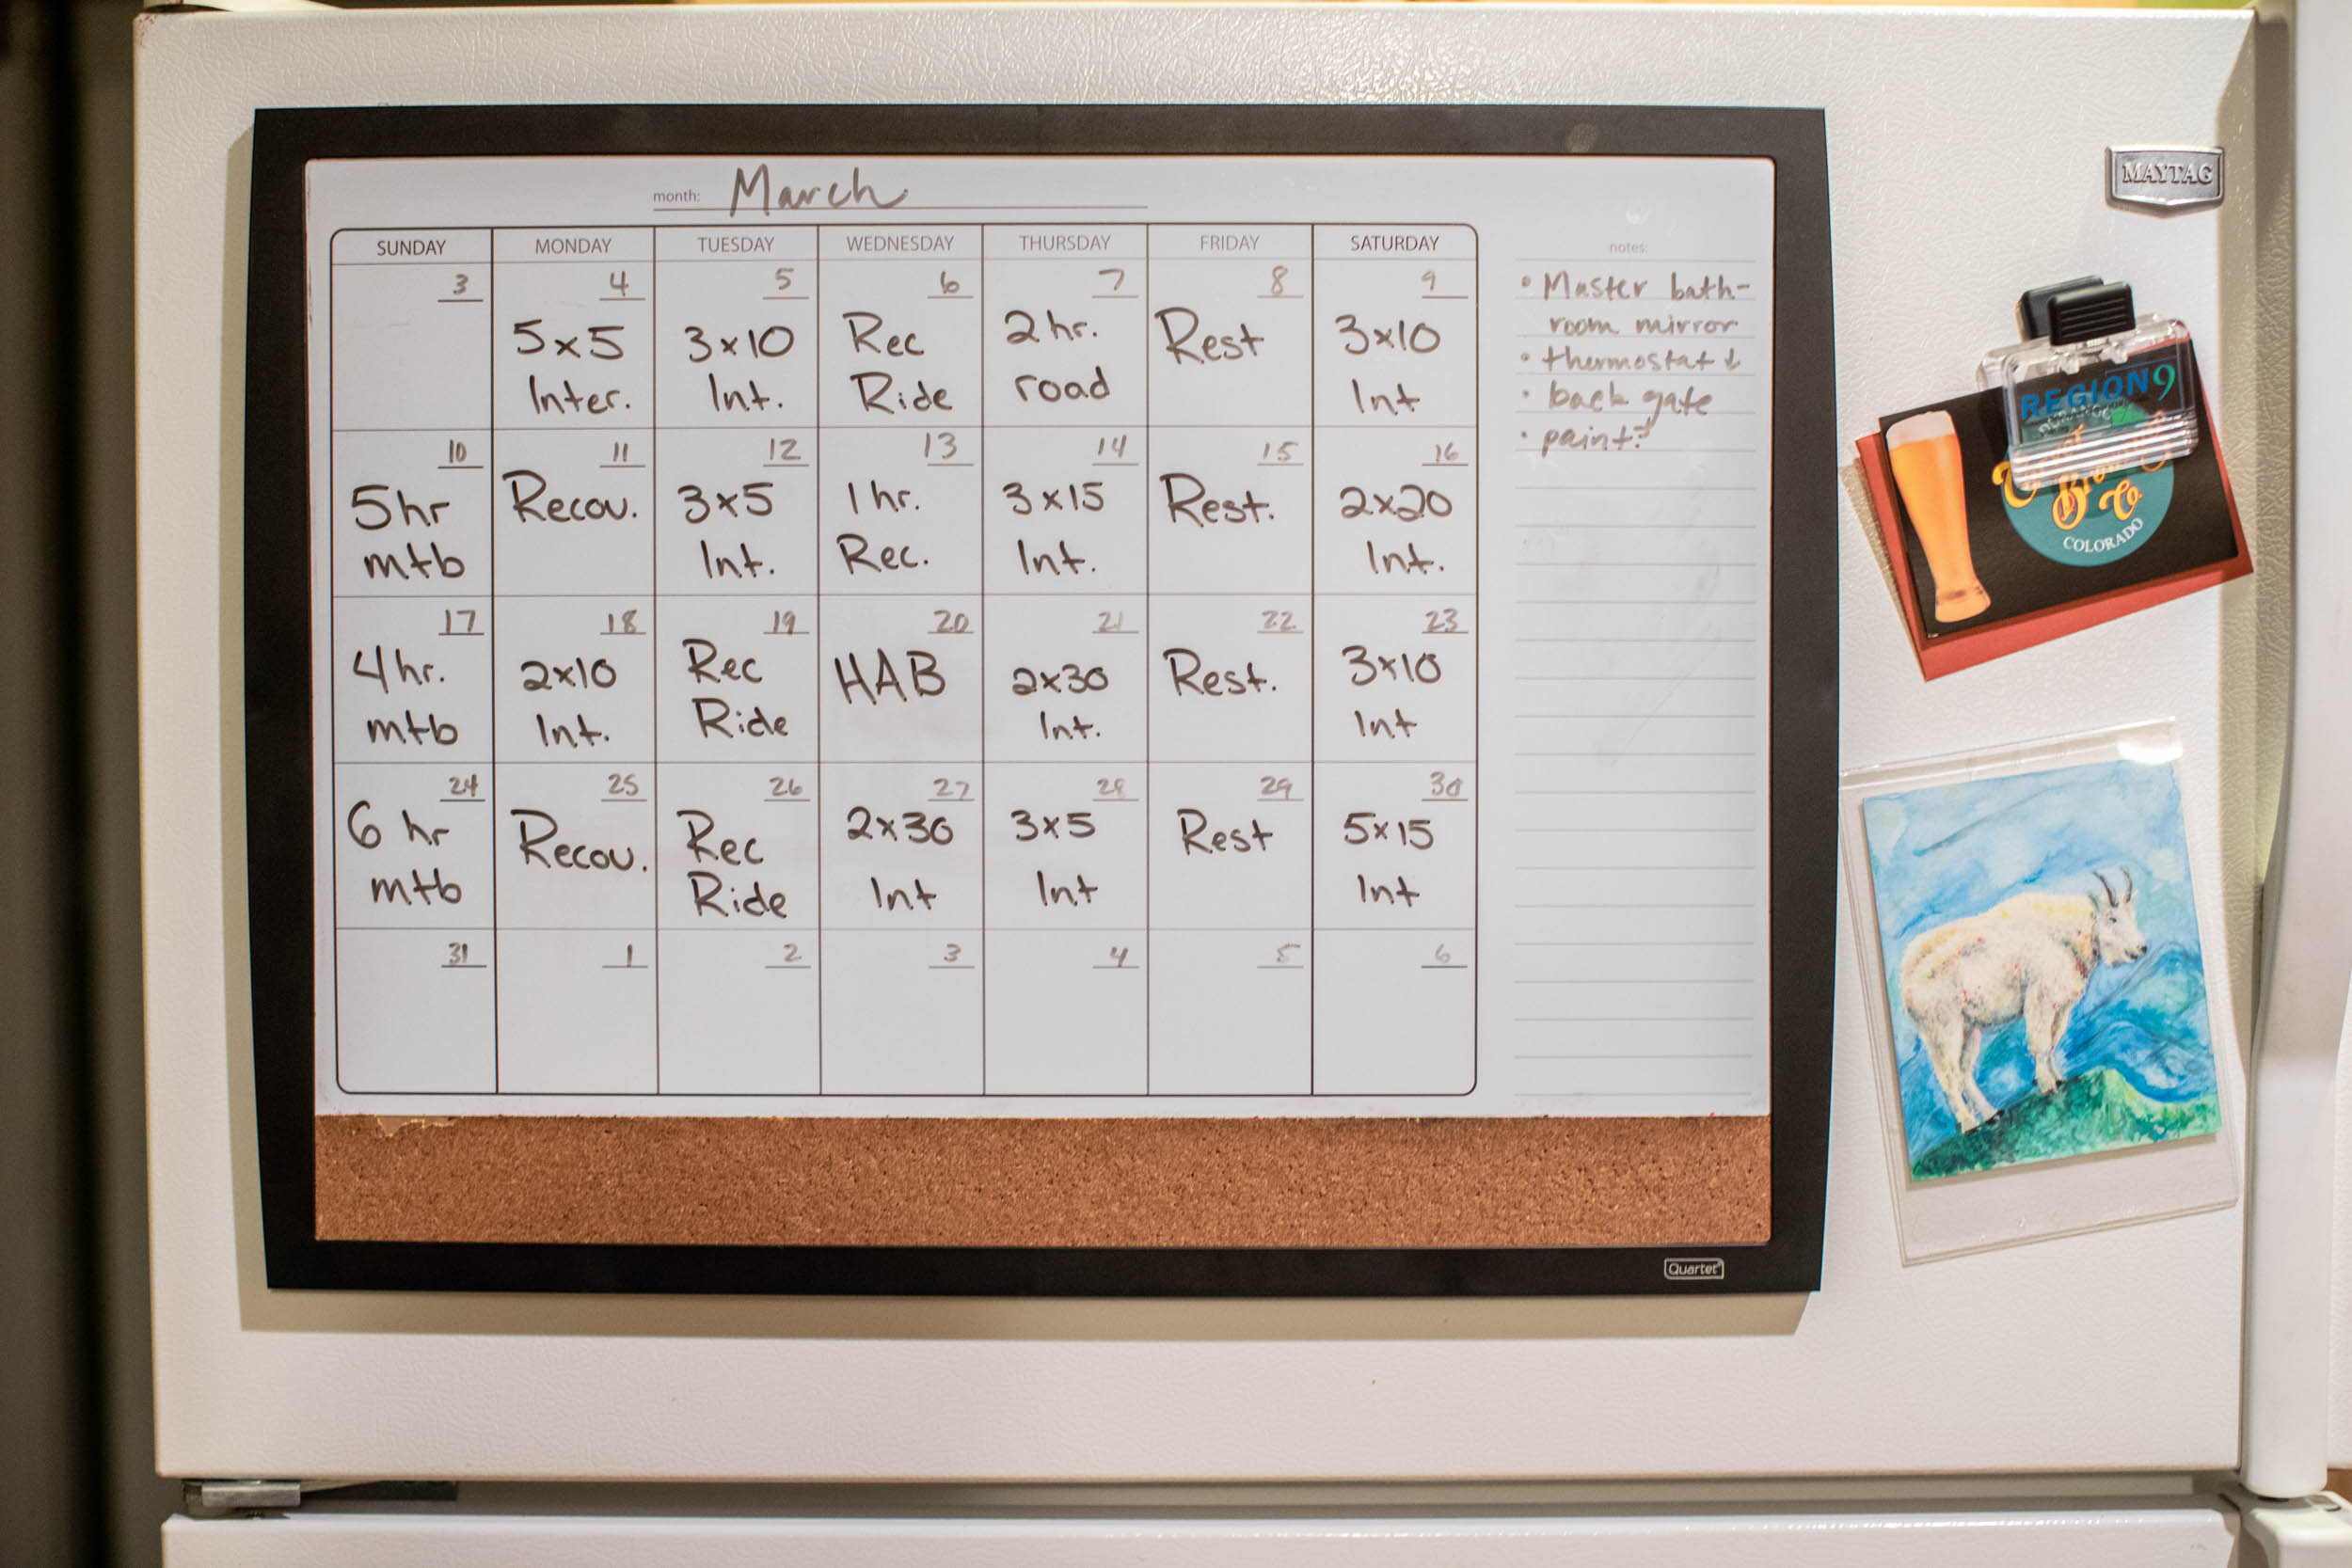
LW Coaching loaded the training plan into the Training Peaks application (I used the free version), which enabled me to keep track of my training. Each morning I received an email detailing my training for the next two days. The app also allowed me to upload the data from my workout to analyze it against the actual planned workout. There’s a lot more functionality, too, though I didn’t use everything.
An example of a workout description is as follows:
Hill sprints. Ride for 60 minutes in HR zone 1 or Power L1. Then do 6 x 30 second sprints up 5-8% hill, in and out of saddle with 3-4 minute recoveries in HR zone 1 or Power L1. Strive to reach Power L6 on each sprint. 90+ rpm. If you don’t have a power meter, review this intensity chart to dial in your pacing by perceived exertion. The interval duration is too short to use heart rate as a pacing tool. Finish ride spinning in heart rate zones 1-2 or power L1.
LW coaching also offers more personal and specific coaching should you want to spend the extra money for a more customized experience. There are also plenty of other great cycling coaches out there, of course. My experience is with LW Coaching, which is why I detail her work in this guide. When searching for coaches, make sure you find one that understands the sport of ultra racing and its specifics.
Whether you’re training with a coach or not, having either a heart rate monitor or power monitor is very useful. To be honest, I’m not really the training type, so the cheap and easy method appealed. I picked up a $50 Bluetooth-enabled heart rate monitor and linked it to Strava on my phone. I mounted my phone to my handlebars so I could easily keep an eye on the data. There ares hundreds of choices out there for HR data and bicycle computers, but I found this combination the most user friendly.
Strengthen and Be Flexible
Strength training is an important aspect of training. Riding your bike will make your legs strong, but strength training and stretching will keep you healthy. One of the more important and ignored areas is the core. A strong core will enable you to stay comfortable on your bike longer, most notably keeping back pain at bay. A good base period plan will incorporate strength training 2-3 times weekly. Focusing on abs, back, shoulders, chest, and arms. Stretching and yoga are a great way to keep overuse injuries at bay.
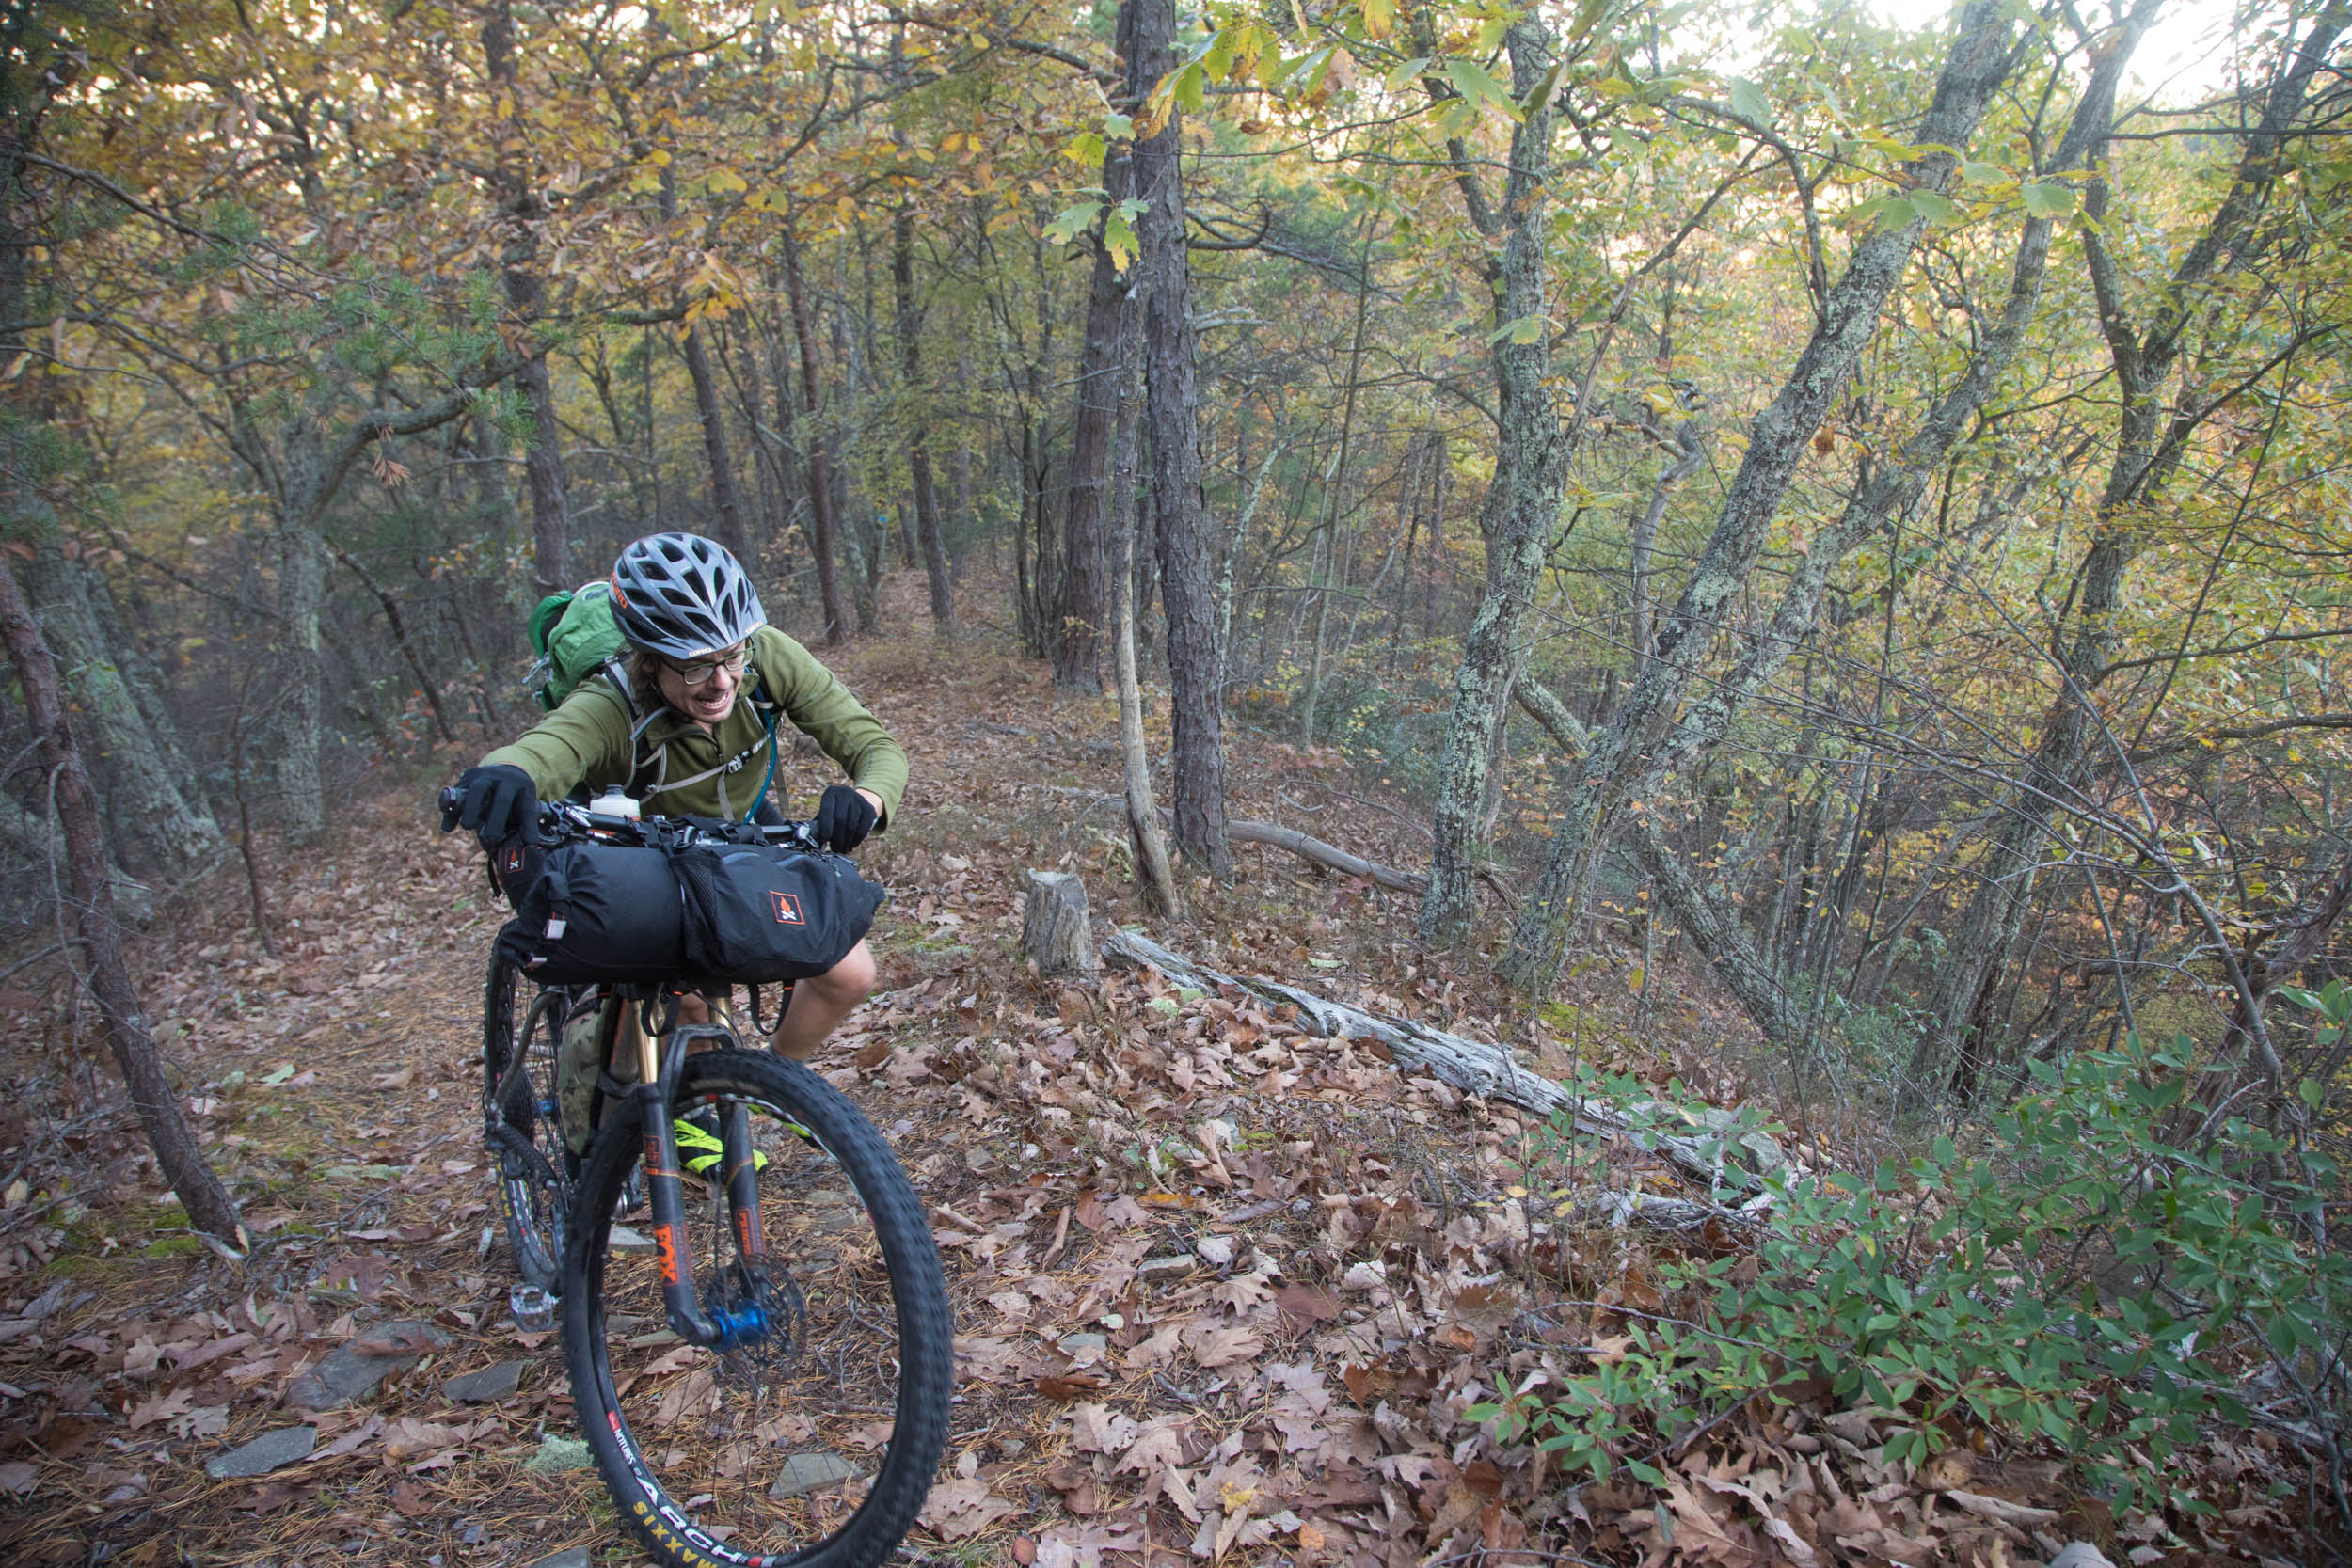
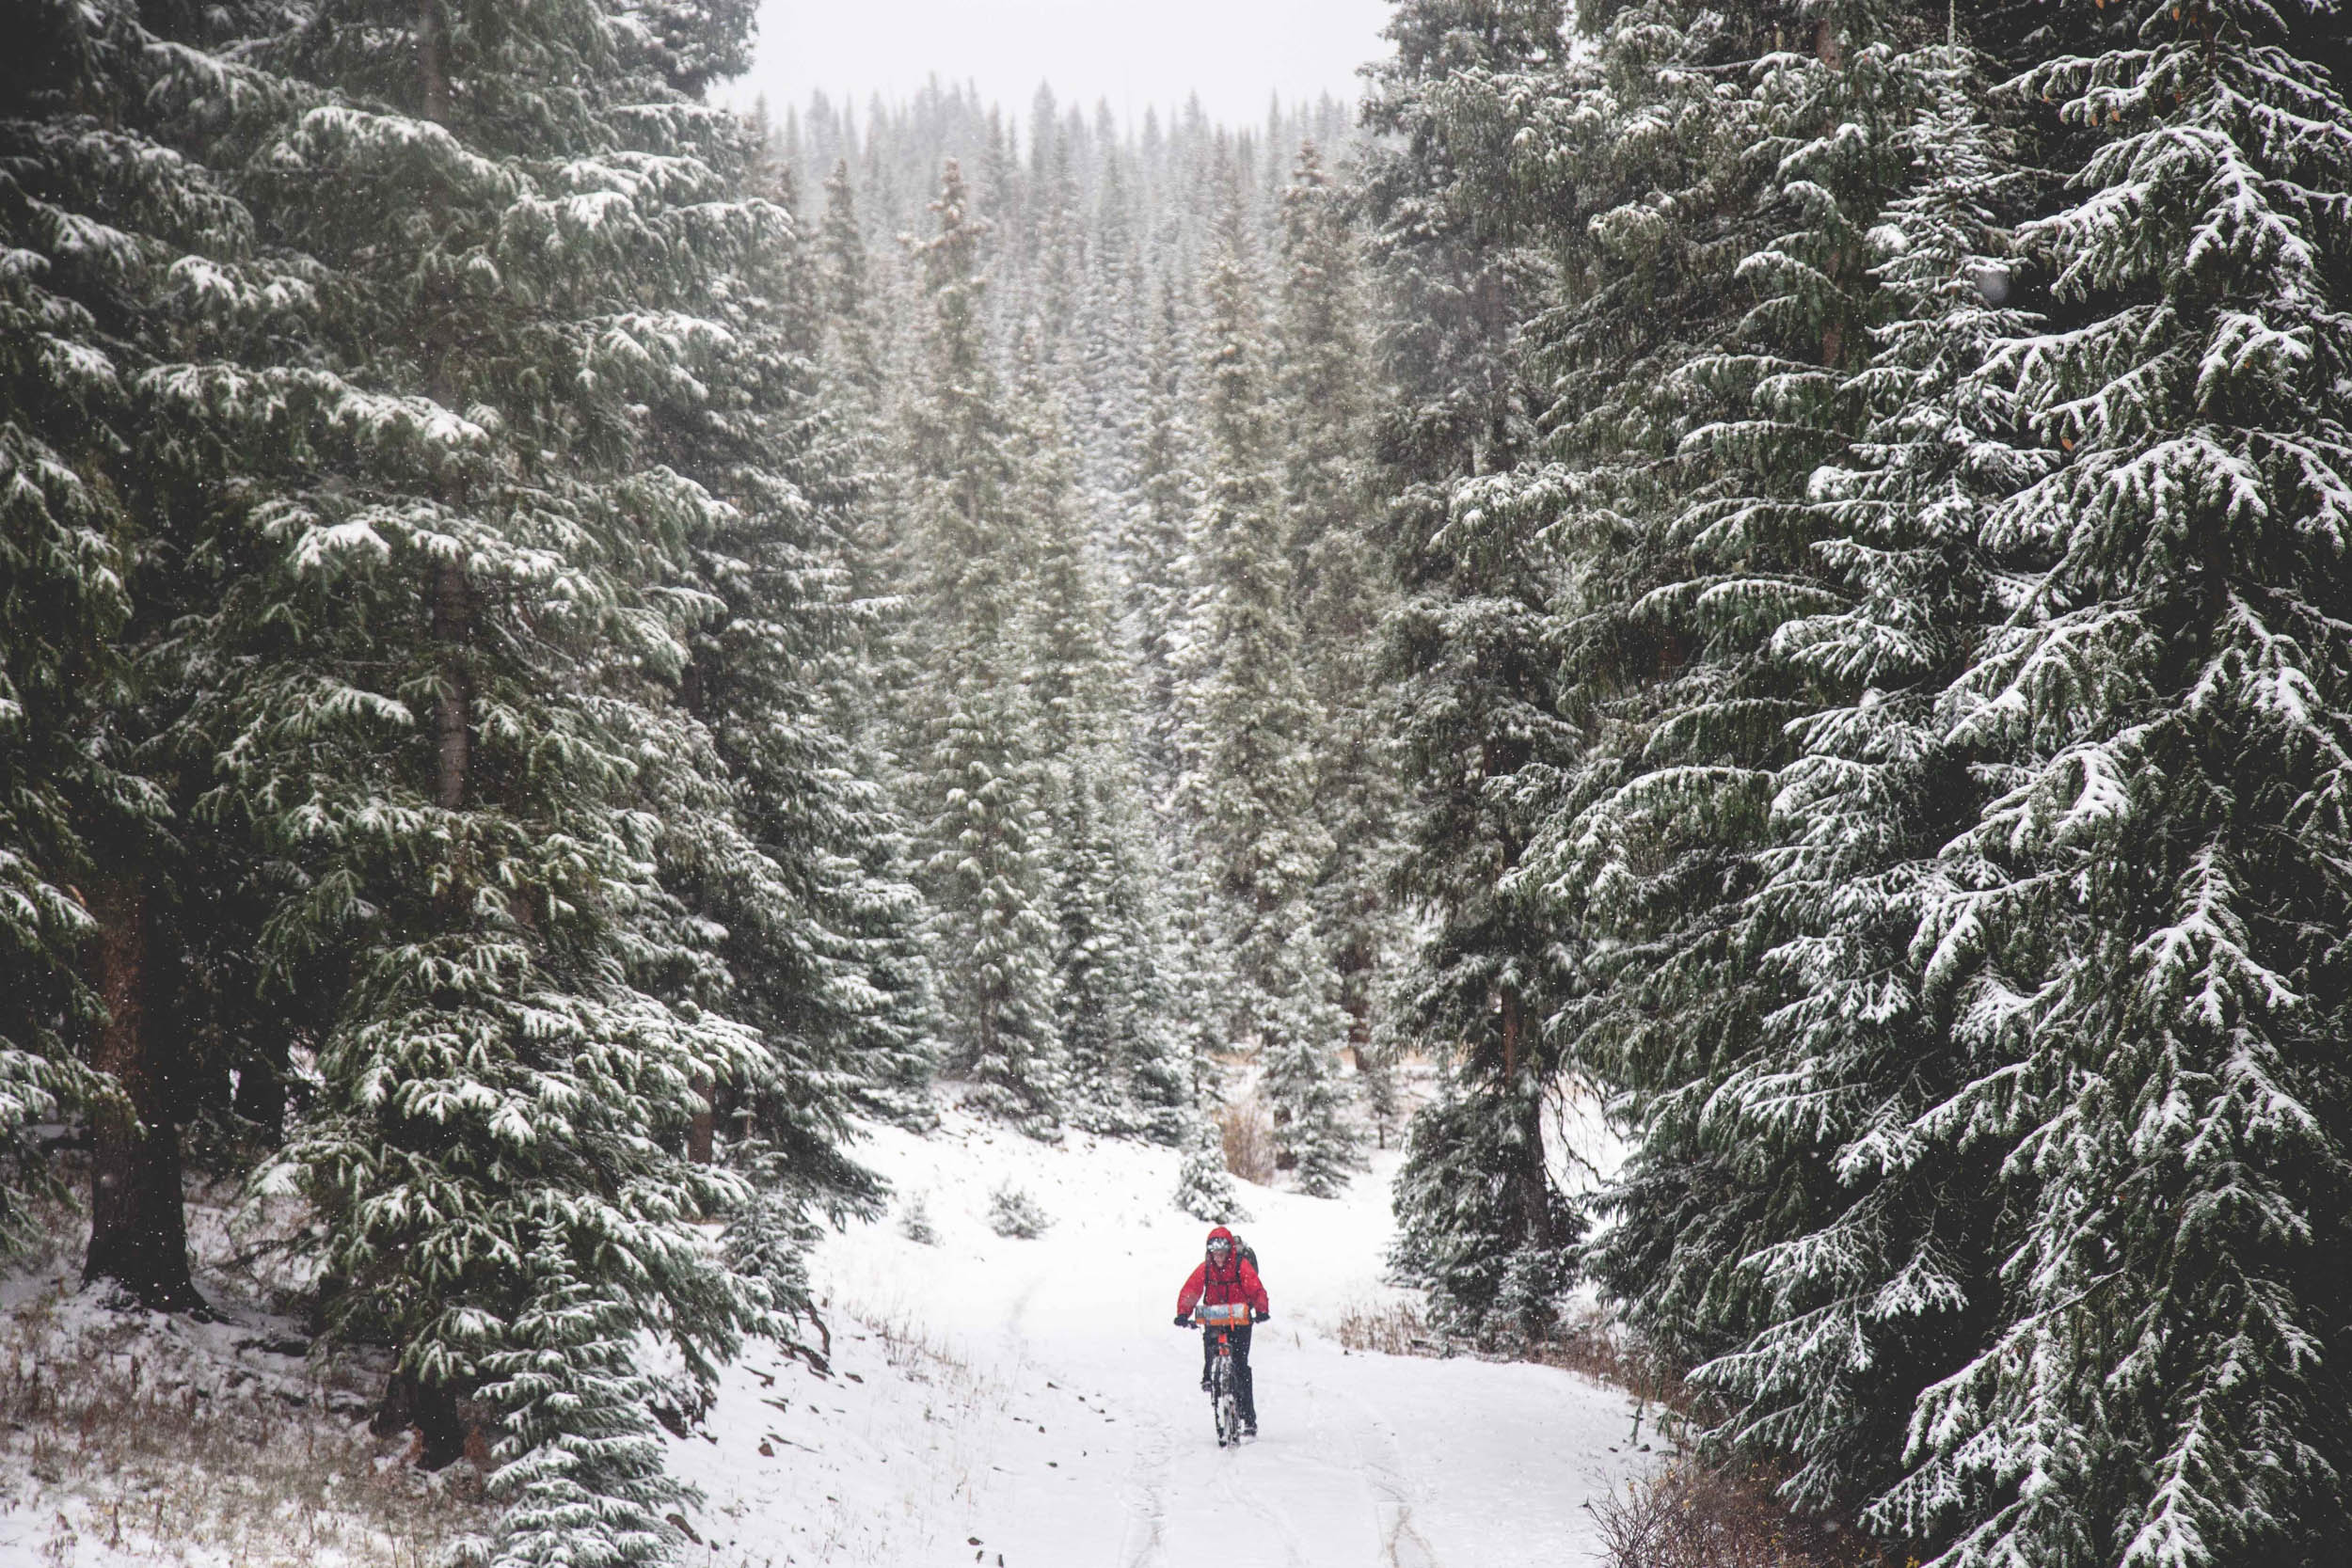
Train Mentally
Endurance is good, but persistence is better. Even if you’re in the best cycling shape of your life, if you’re lacking the mental strength, there’s no hope of finishing. There have been plenty of XC pros that try their hand at ultra events, while in undoubtedly exceptional shape, many times even they don’t have what it takes to finish. So, train in bikepacking conditions. Get out in the rain, ride at night, ride when you’re tired and stressed, because that’s exactly how it’ll be during your event.
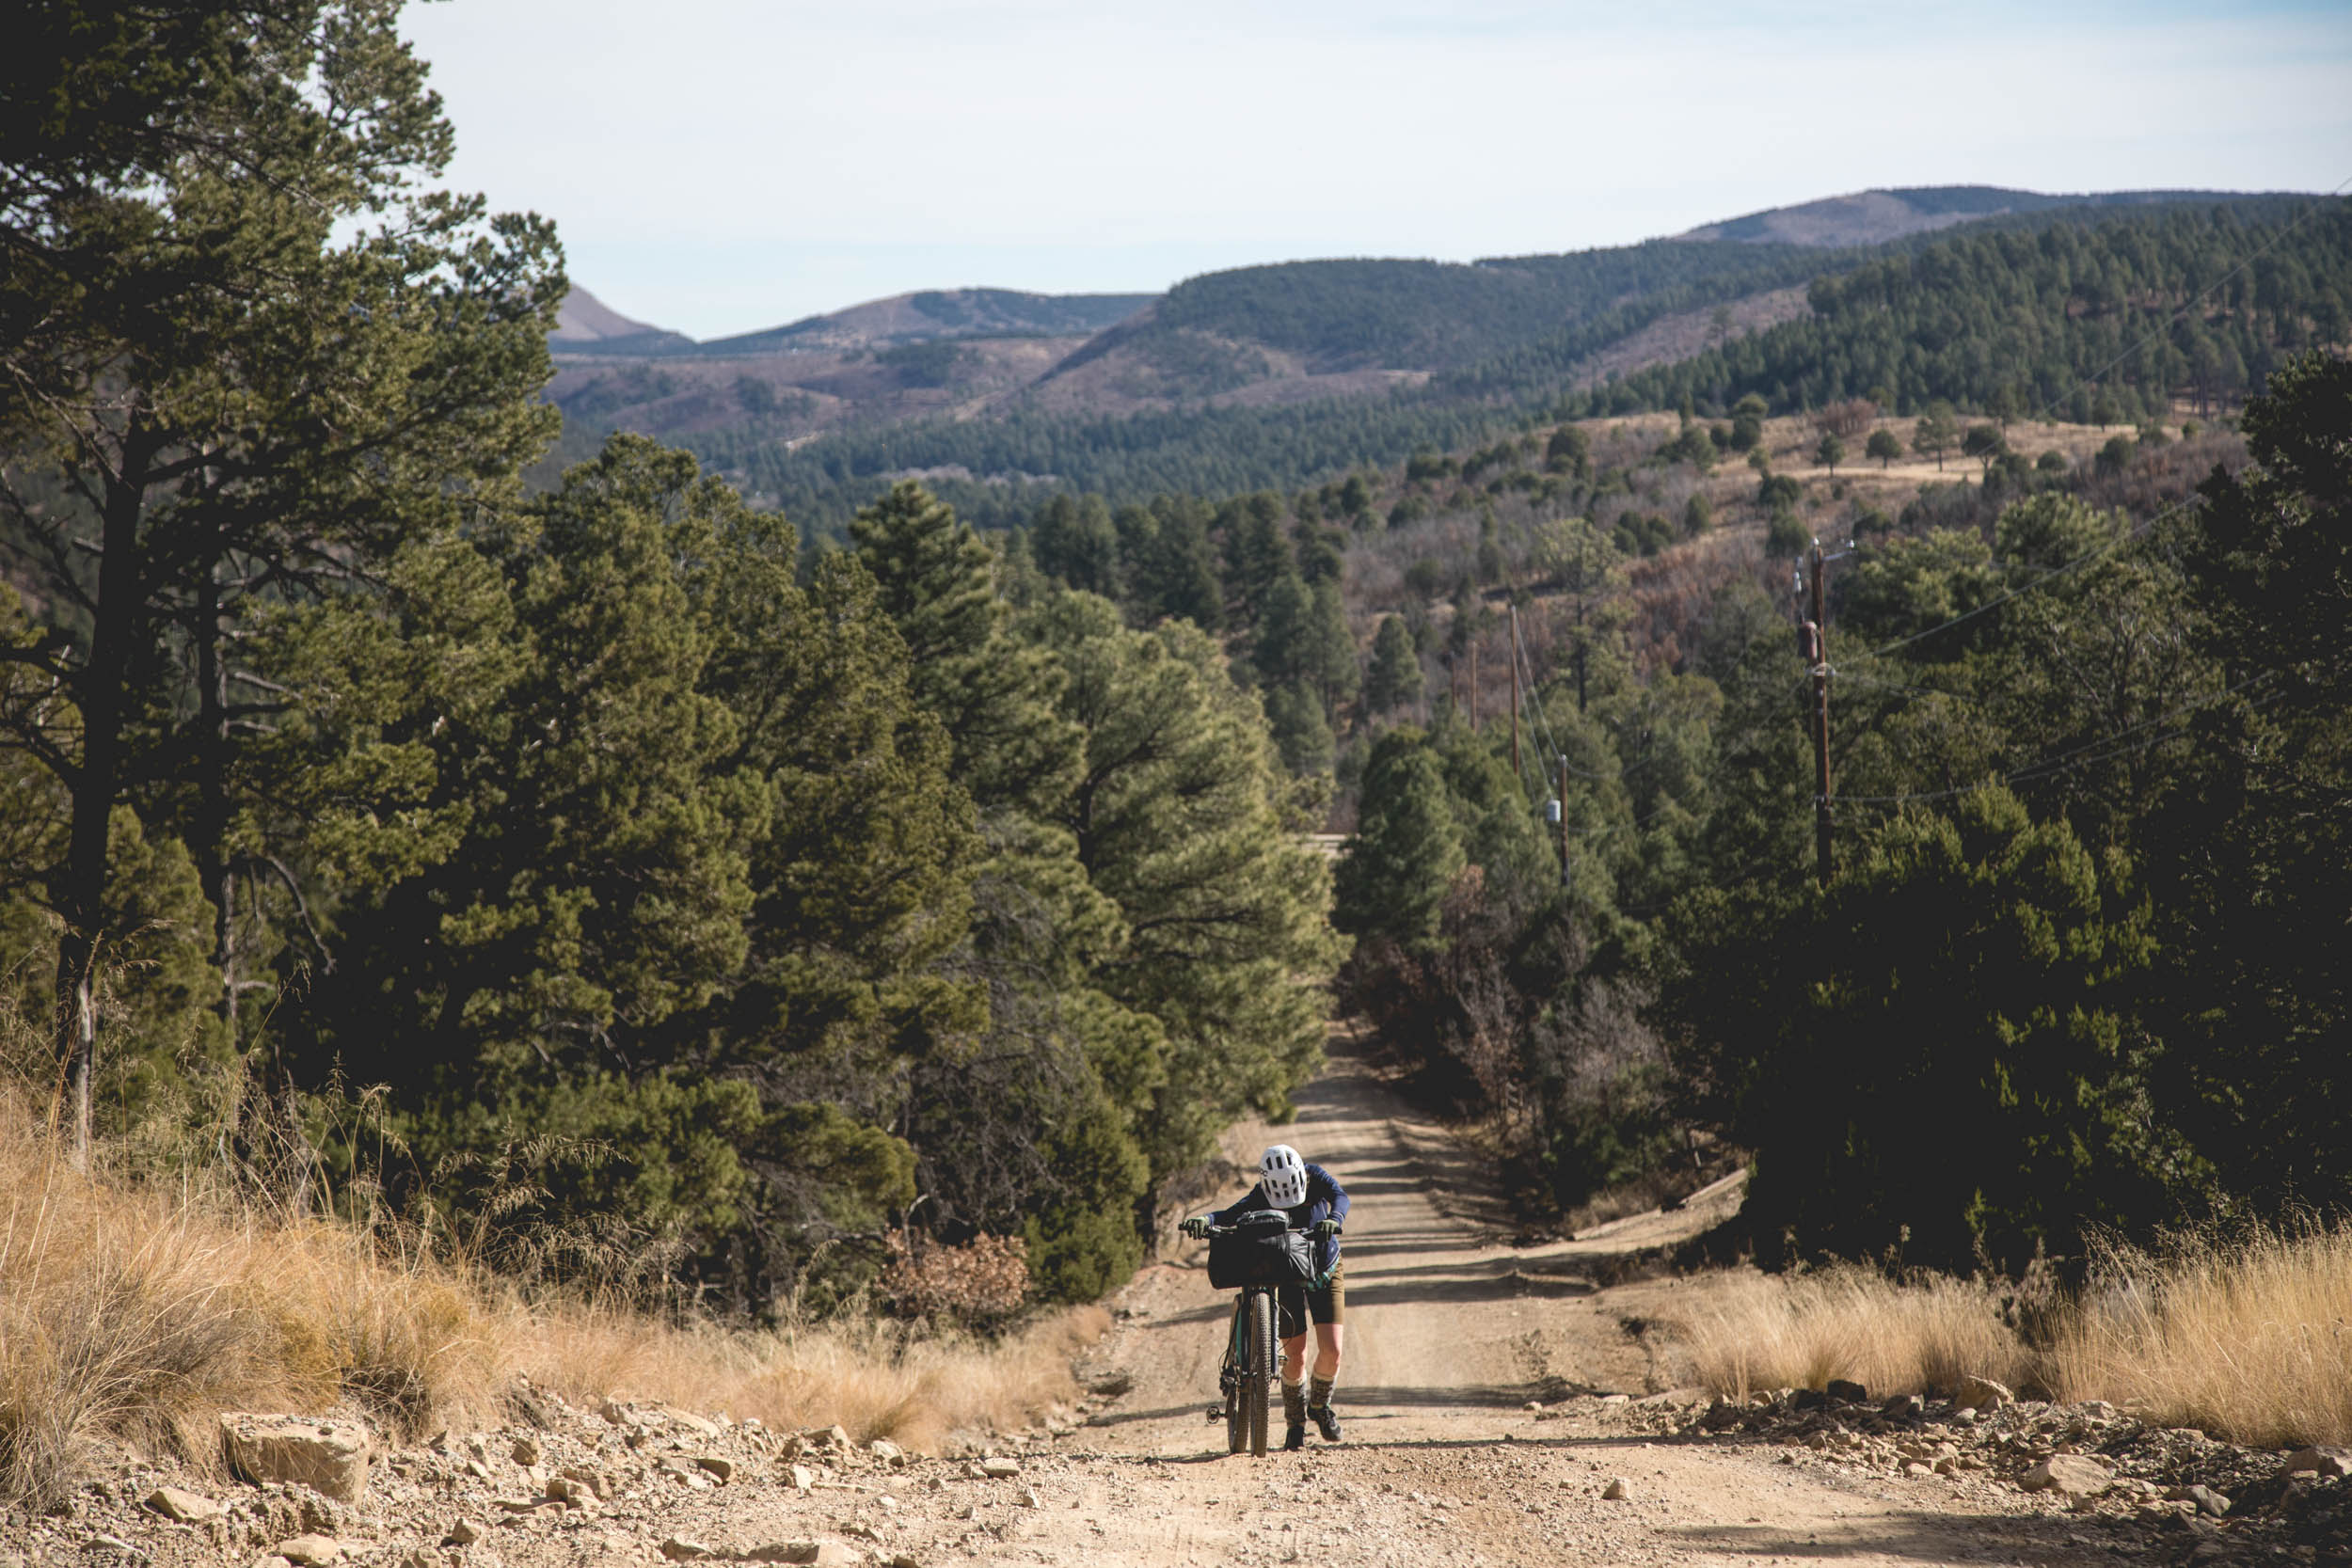
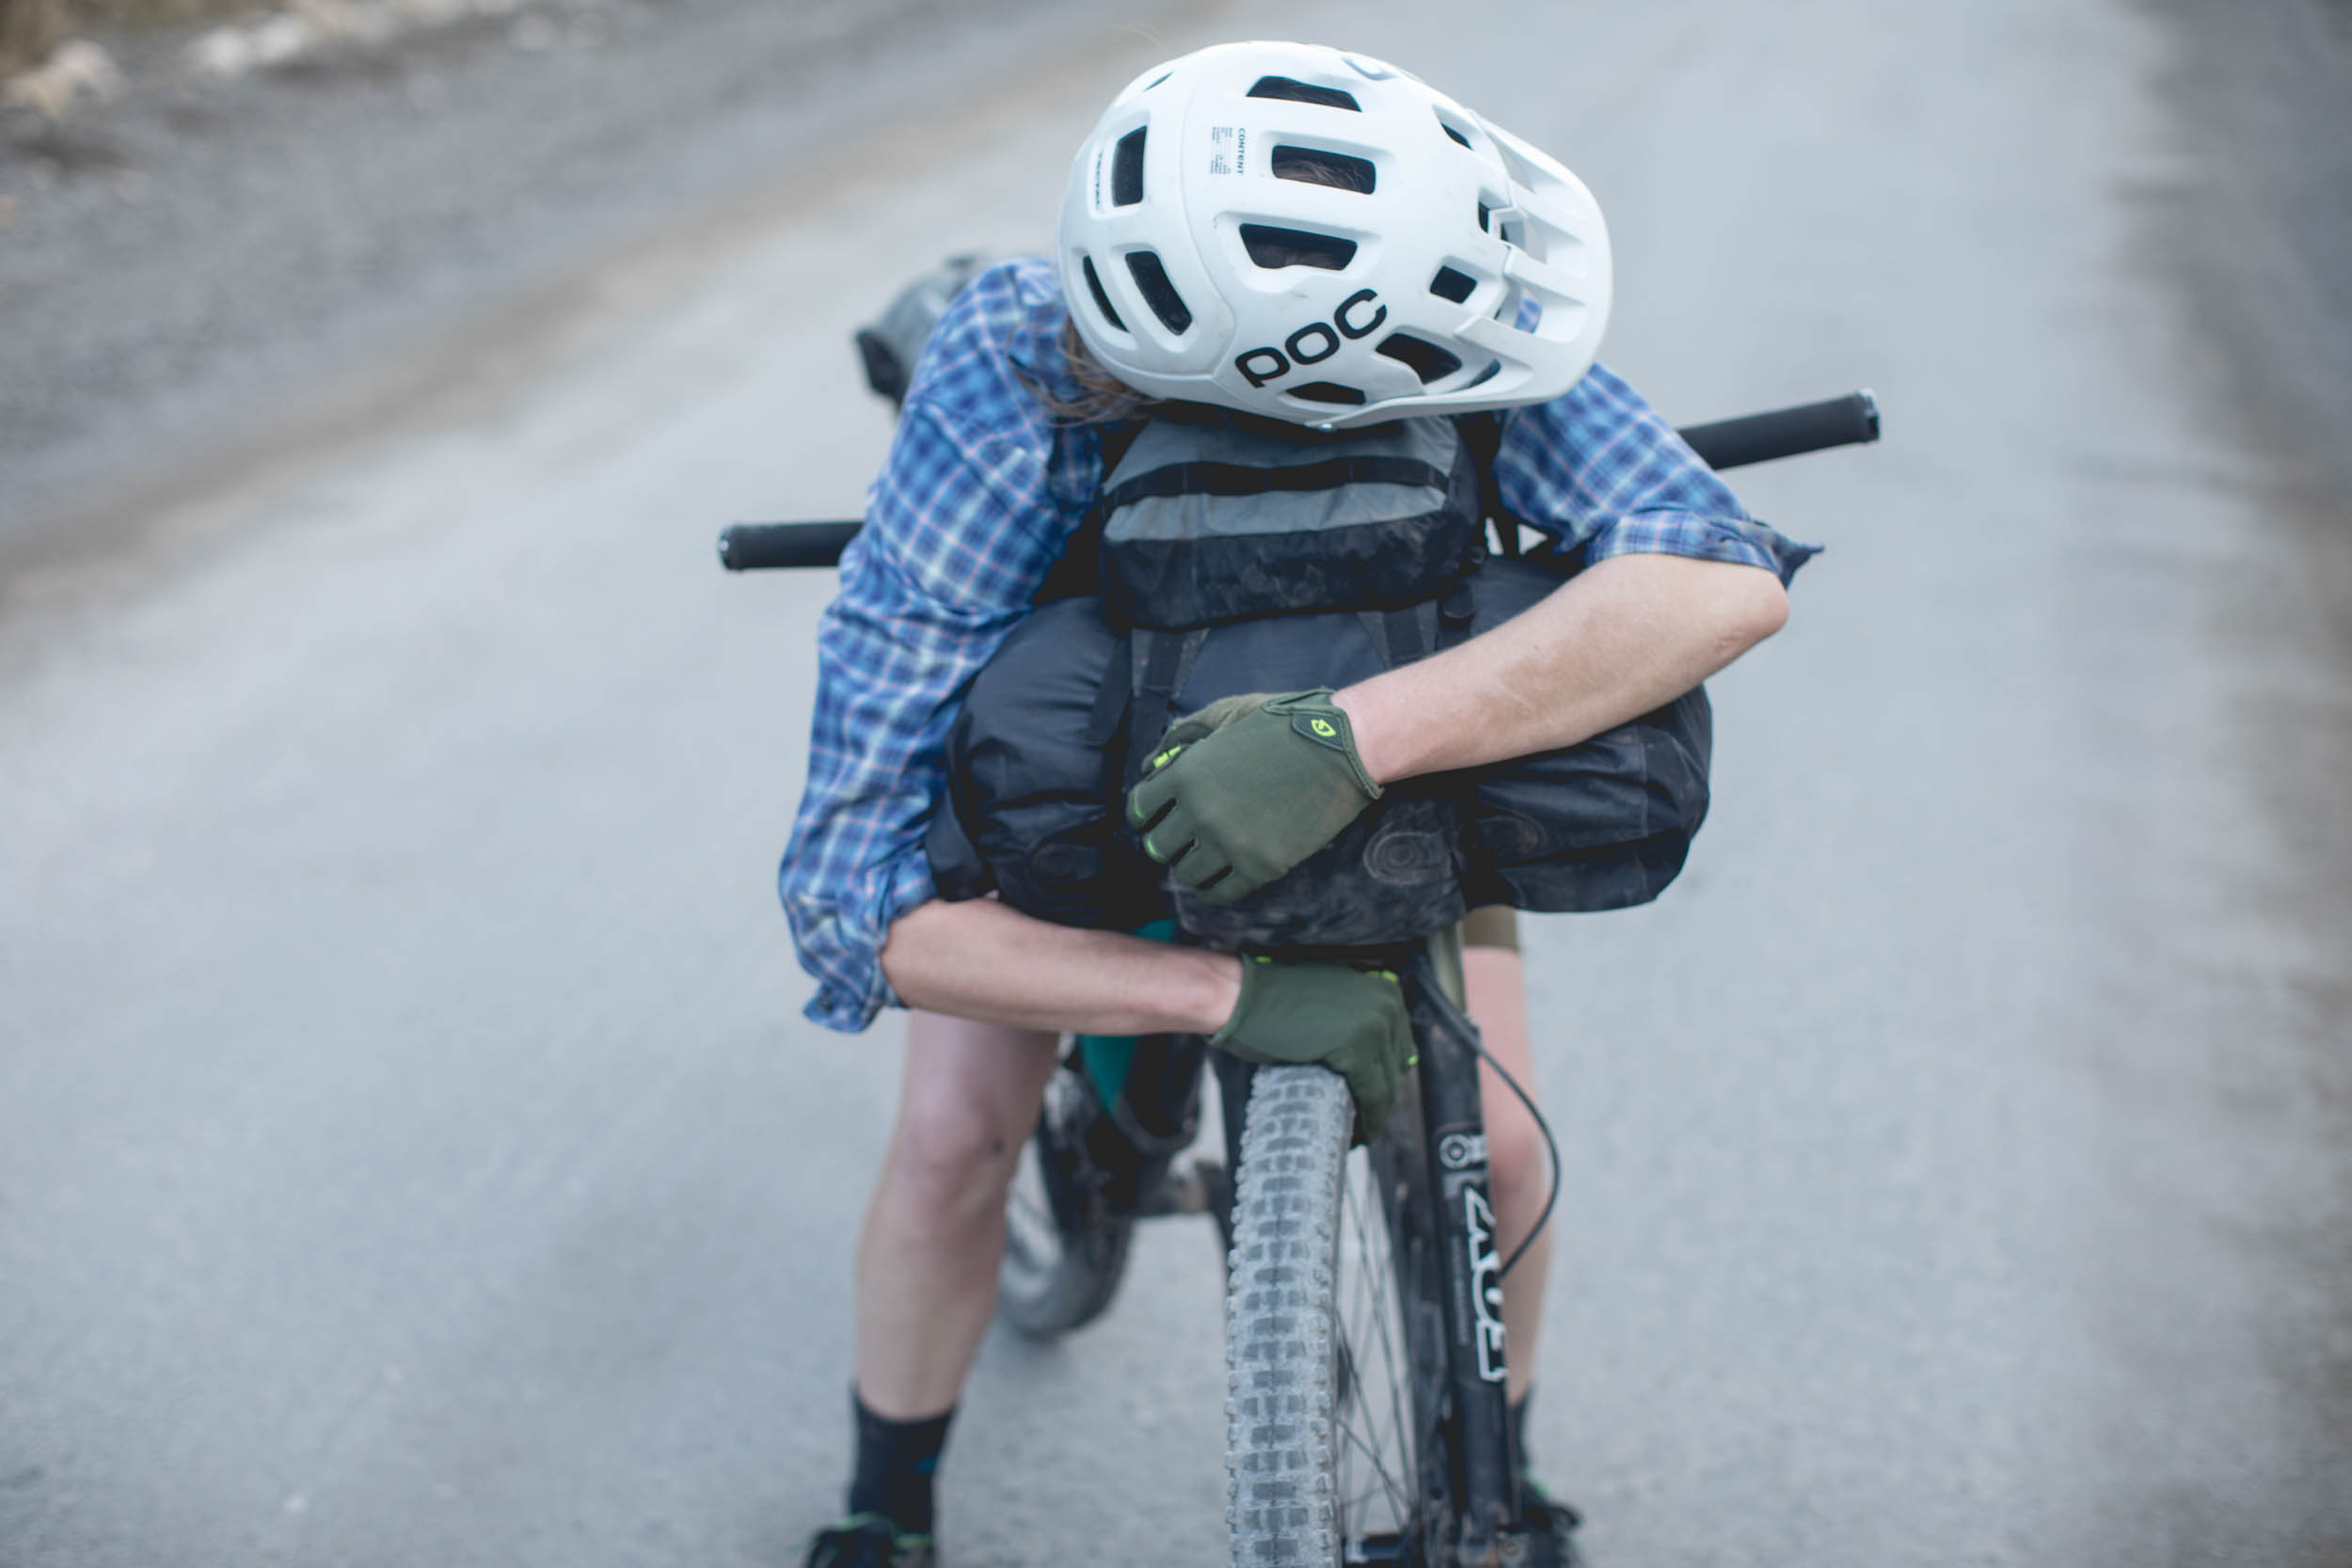
Prepare to Hike-a-Bike
You’ll likely hike your bike more during an ultra than you normally would while touring on the same route. Hiking is a nice change of pace and can sometimes be more efficient than pedaling, such as steep climbs and technical sections where you’d likely be forced to dismount at some point anyhow. Training to dismount/mount on either side will render you more efficient when doing so during your event, preventing bobbles and dummy falls. A good training plan will have you pushing your loaded rig once a week or so. Rather than making long strides while pushing, take short, controlled steps. Much like schlepping large loads while mountaineering, this strategy results in less muscle fatigue.
Plan Your Kit
Get familiar with your kit – Shakedown rides are key. Try out all of your equipment exactly how you intend to use and pack it. For a very experienced bikepacker, maybe a single shakedown would suffice. For most, several shakedowns help to iron out any wrinkles that develop in your packing, gear selection, etc. Shakedowns should happen on terrain that is similar to the race course and should include at least one overnight. Packing your bike for a day ride can be useful, but until you’ve dialed all of your systems and repacked your rig, you are never going to become as efficient as you’d like.
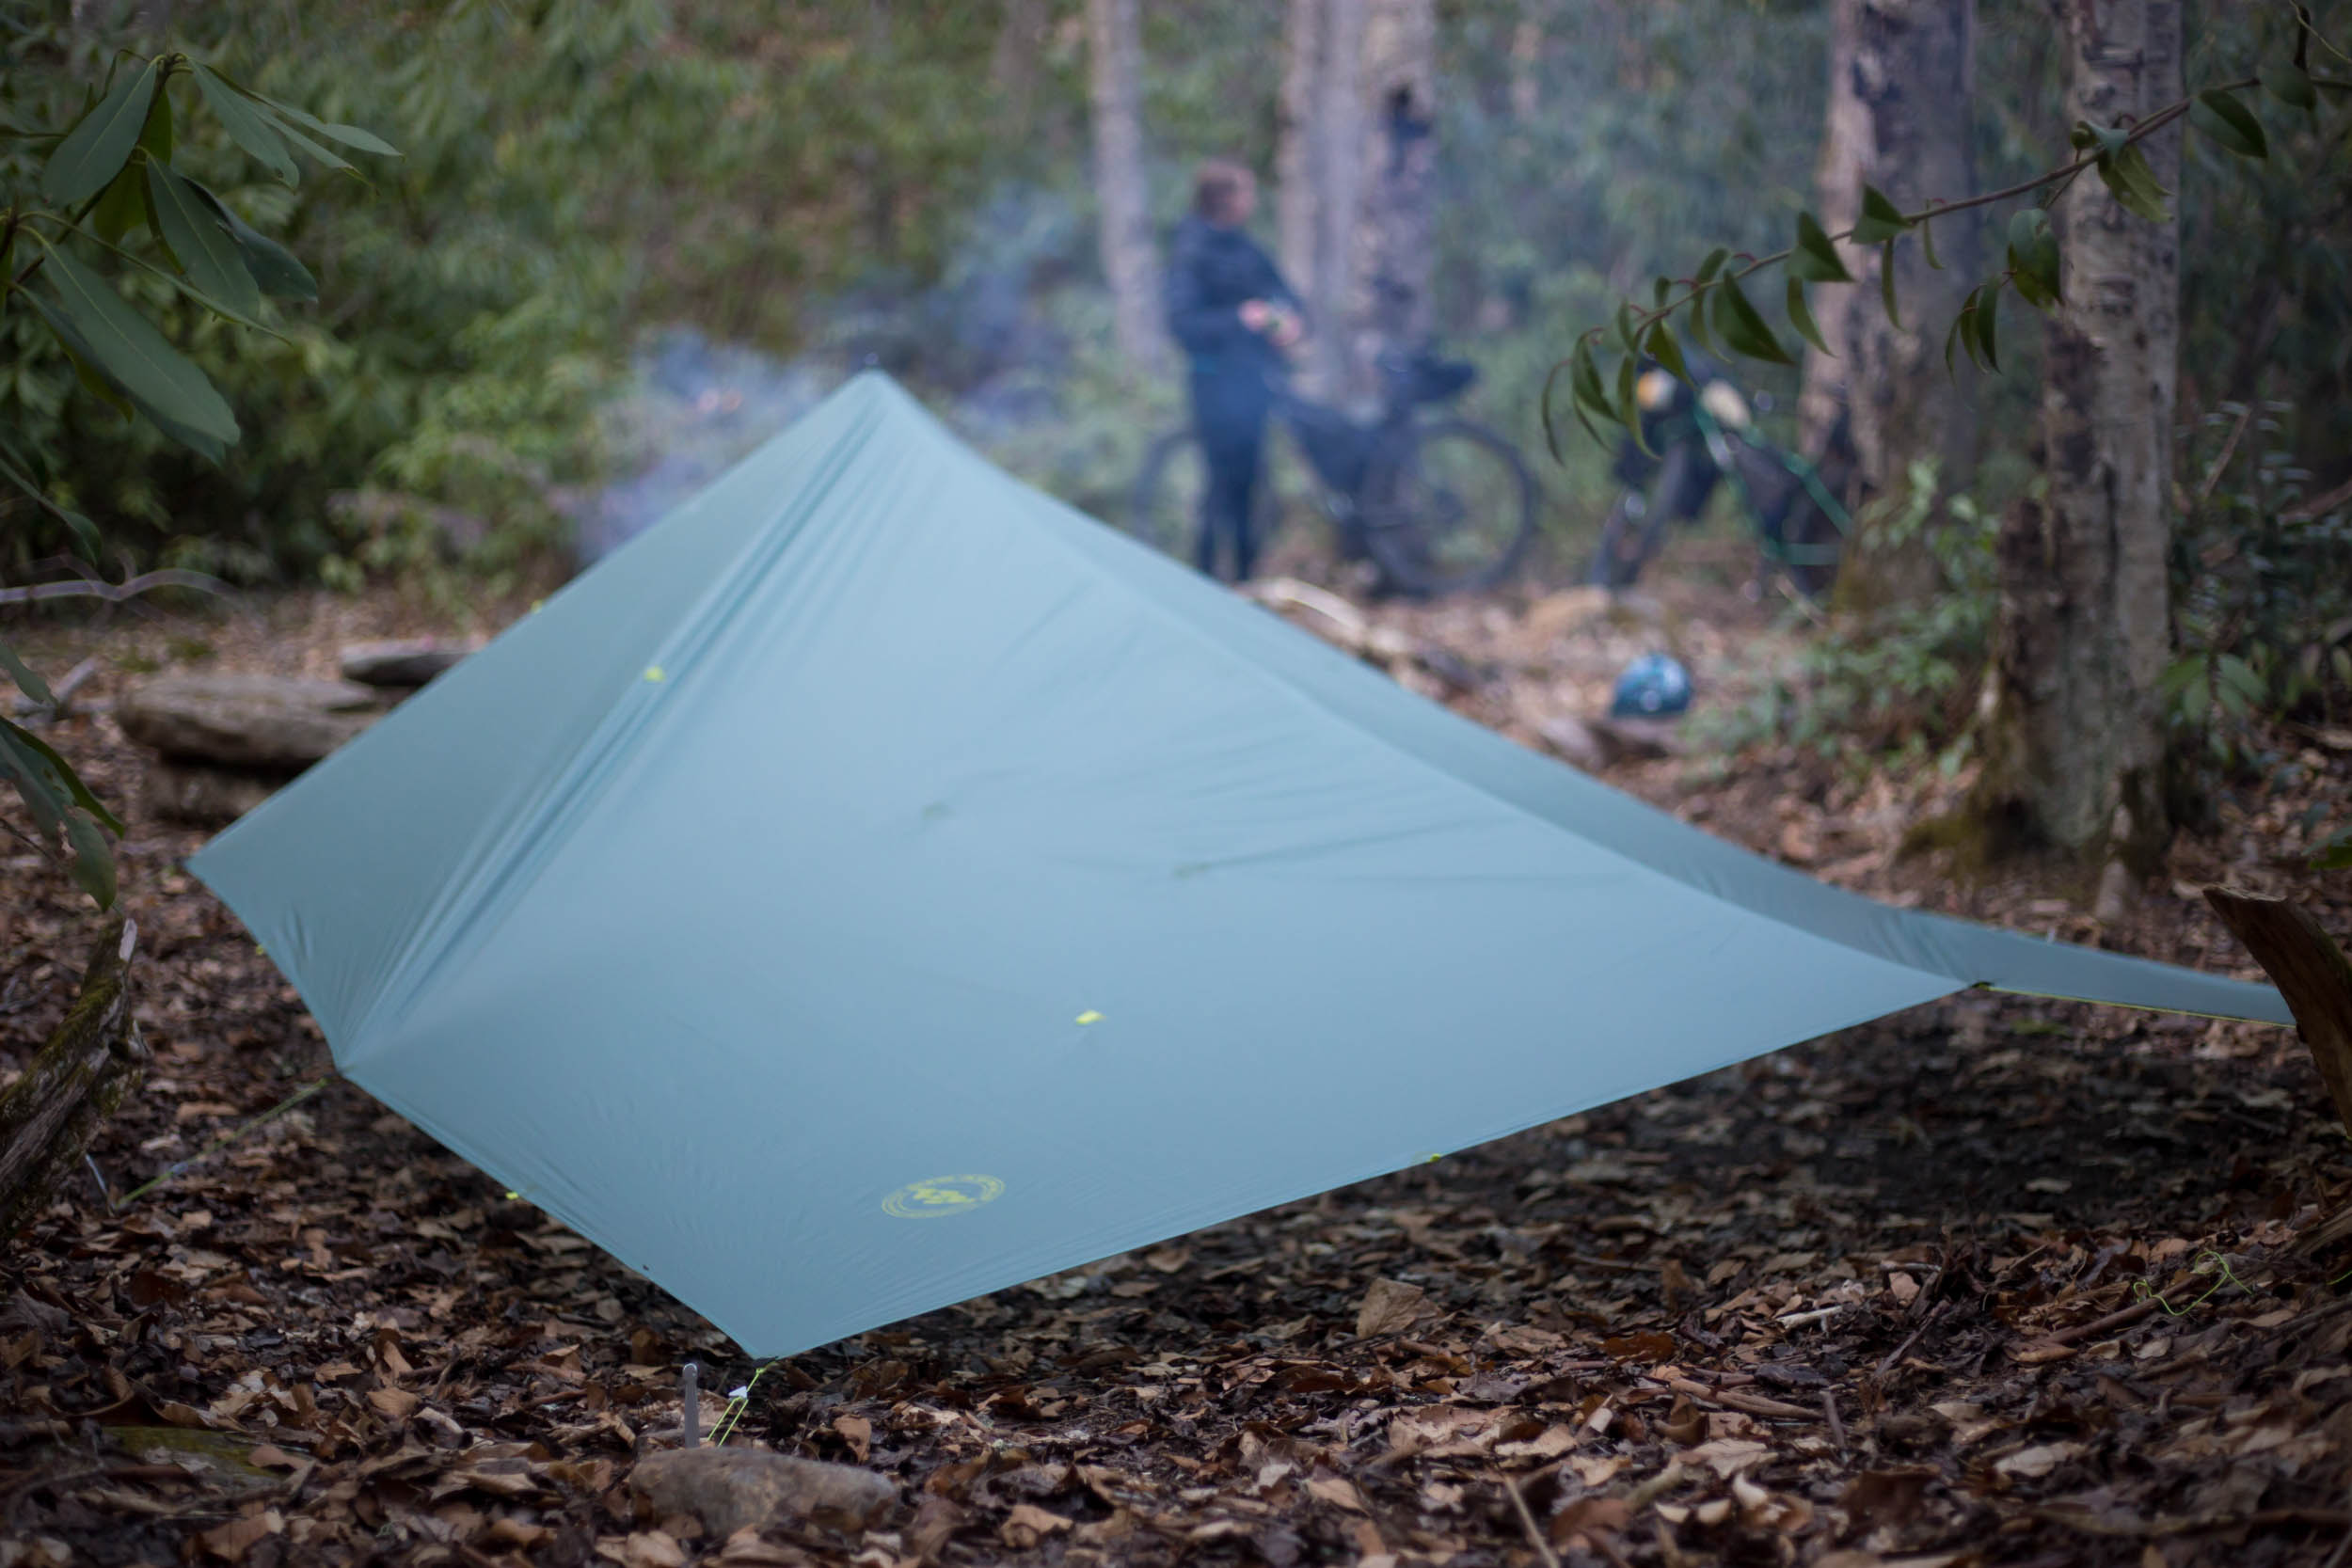
Decide what to ditch – But before you do, decide upon your strategy. Do you plan to sleep four hours a night or do you plan to shiver for an hour on the ground instead? Your strategy will inform you on what to bring or ditch. Internet forums are full of information on many of the more popular ultra routes. Some, like the Trans North Georgia, are warm enough that a sleeping bag isn’t entirely necessary. Most of the faster folks tend to use an emergency bivy and sleep under pavilions, closed storefronts, or my favorite, trailhead outhouses.The other side of that extreme are the credit card tourers. These are the folks racking up hotel points and getting hot showers most nights. Although most routes don’t accommodate this every night, many routes do have some hotels or hostels on route.
Don’t disregard a safety margin. Just like with anything else, the further you push, the more likely you are to find the line. Every year the front of the pack continues to pack lighter, push longer, and go faster. Thus, their safety margin is getting smaller. Some courses are more serious than others. The Colorado Trail, for instance, has some very remote sections at high elevation that are prone to heavy storms. Make sure you have the gear you would need to stay warm and alive if you were to get caught in the worst of circumstances overnight (i.e. a broken bone at 13,000’ in and rain/snow).
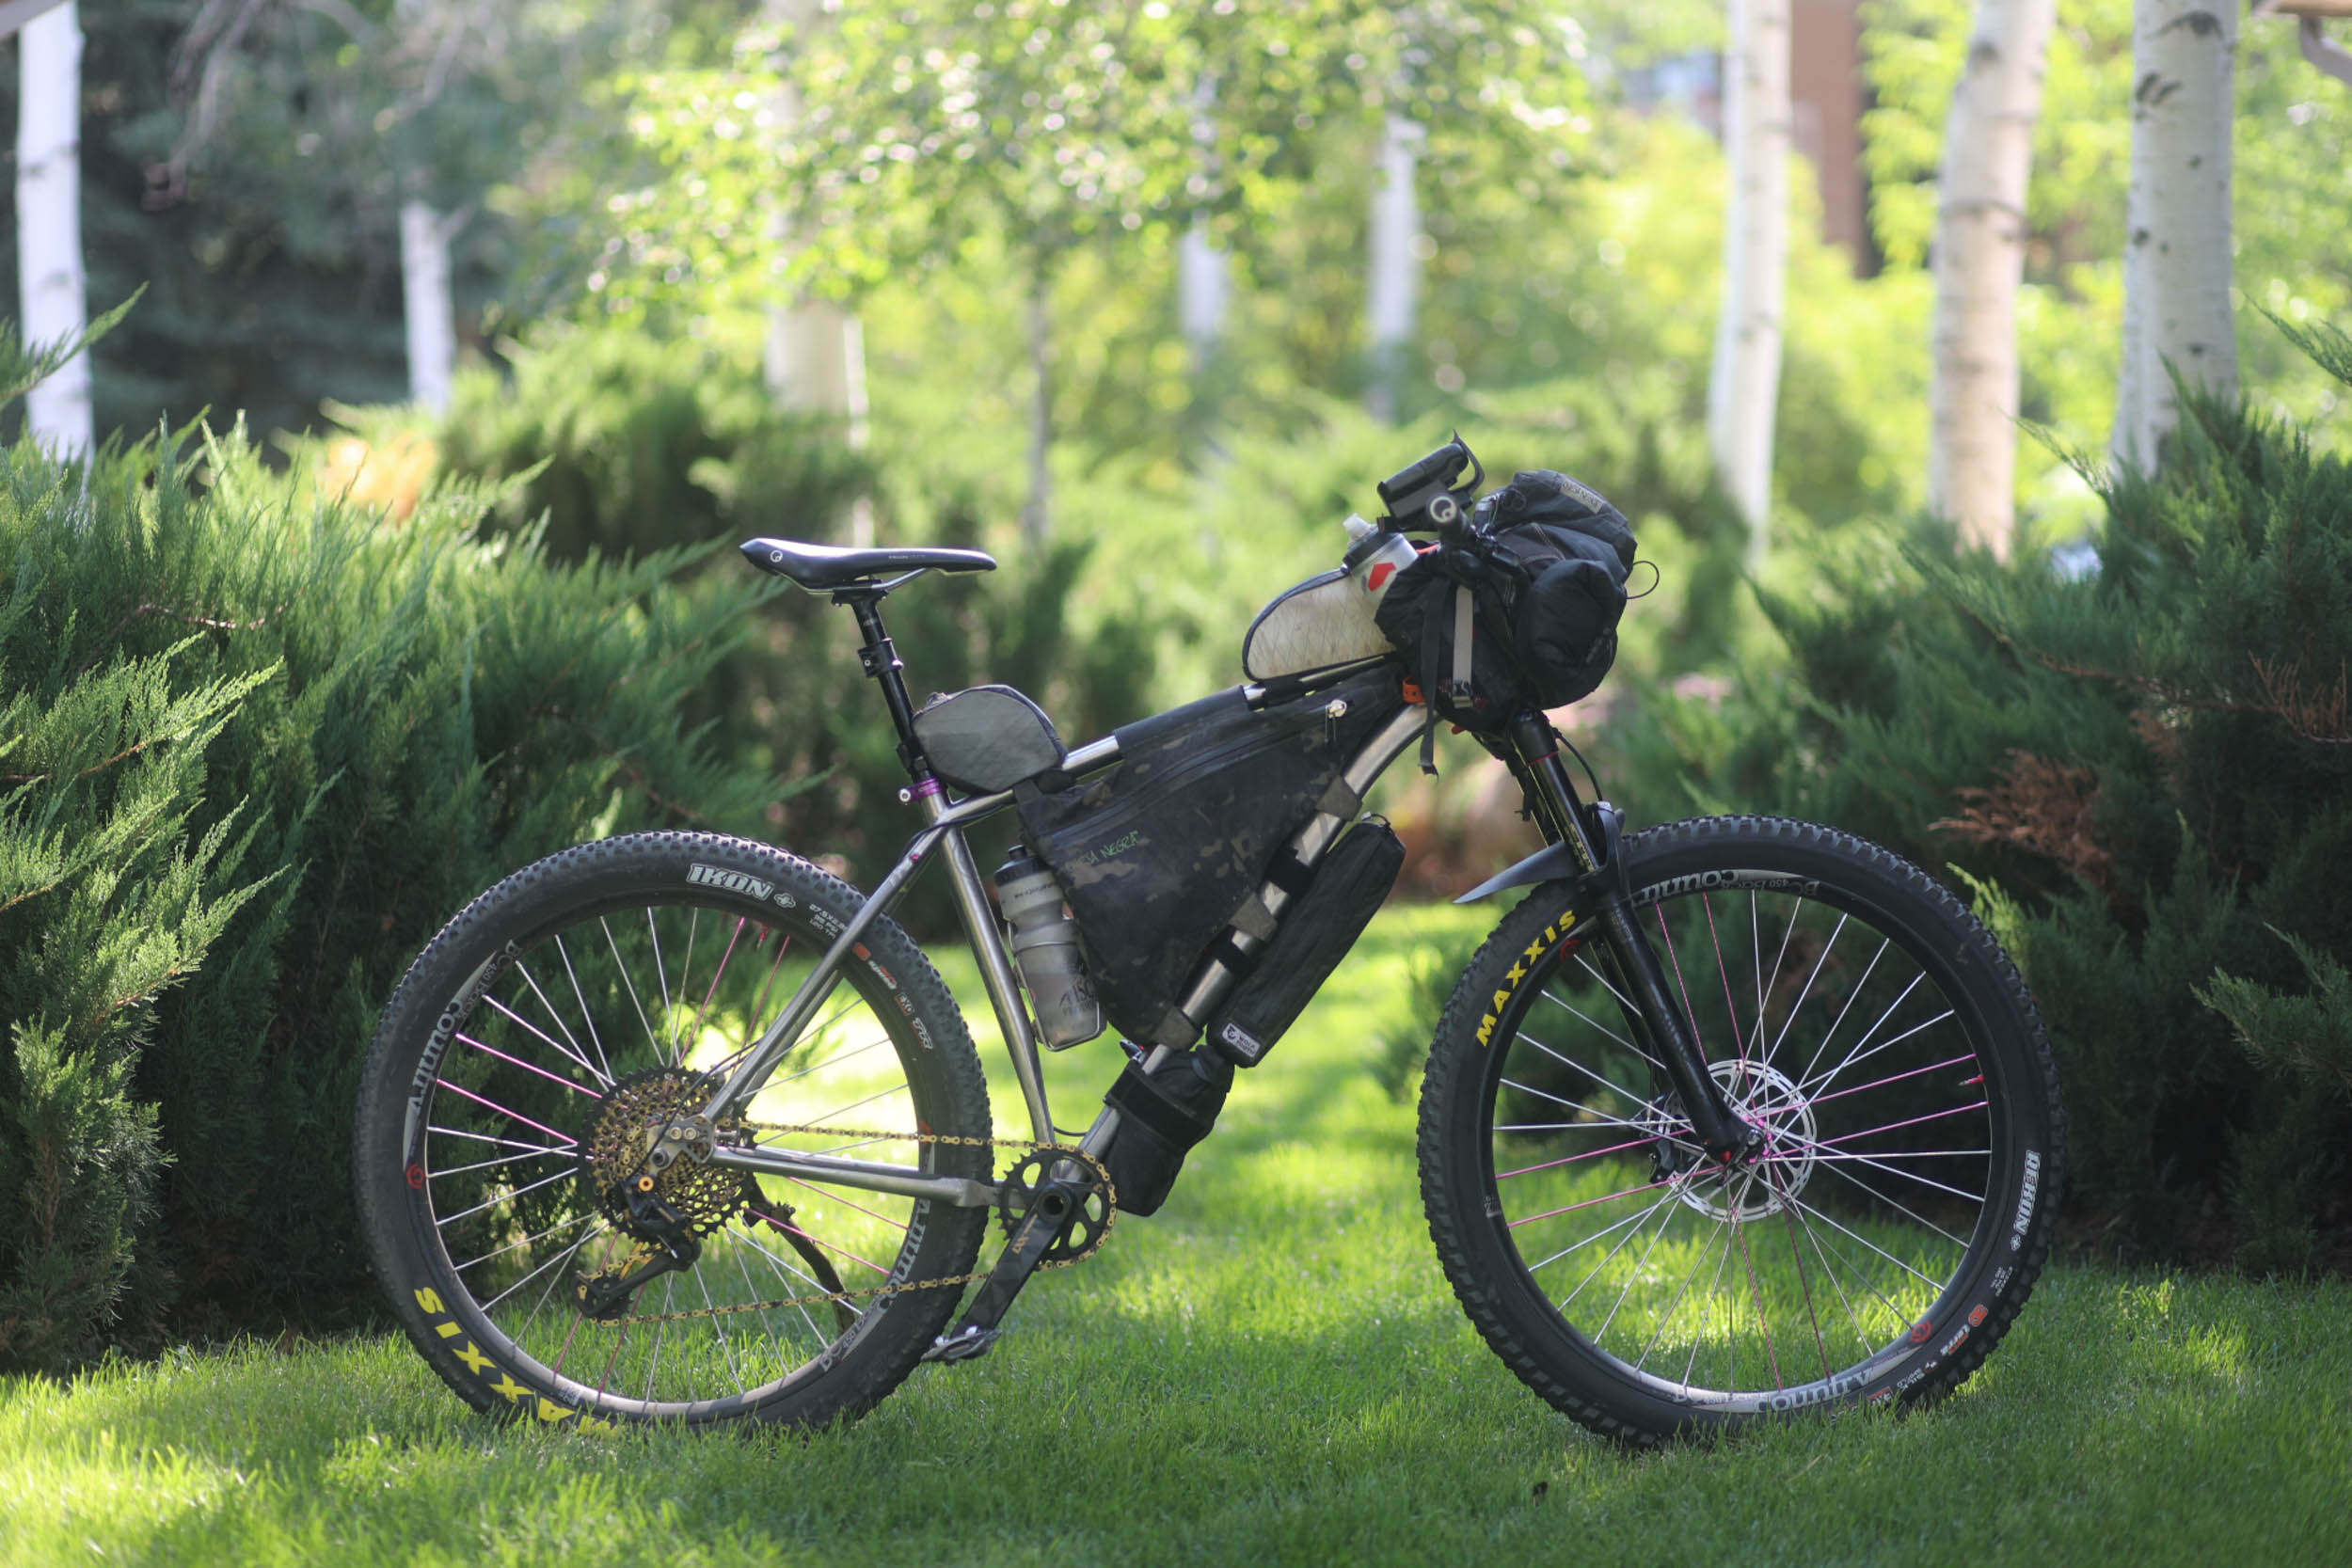
Your Bike
Like most things in this guide, picking the right bike depends on the terrain you’re racing and how fast you plan to go. And you should keep the balance of speed, comfort, and safety in mind. Many of us will be forced to ride the bike that’s already sitting in the garage because it’s all we have, and that’s okay. At this year’s Colorado Trail Race (2018), just about every category of mountain bike you can imagine finished in the top 10. That includes a single-speed hardtail, a rigid fat bike, an XC full-suspension, high-sprung trail bikes, and everything in between. My point is, don’t make excuses, ride what you have available to you! When making this choice, I personally choose comfort over speed, because in the end they are one in the same. That’s why my rig for the Colorado Trail Race was the Why Cycles S7. It sports mid-fat 27.5” wheels/tires, 130mm of suspension, and a supple Ti frame.
Bike Fit
You’ll be performing tens of thousands of revolutions around your cranks. If your bike fit is even just a little off, you’ll find out before long. Maybe bike fit has never been an issue for you, but after several 12+ hour days of riding, problems are likely to manifest. Bike fits can be very expensive ($300+) but are worth the money for many. At the very least, spend some time acquiring basic knowledge and making some adjustments yourself. This may require a couple of simple household tools and an extra hand. See here for some basic information.
Cockpit
A comfortable hand position is absolutely key for ultra racing. Spend any amount of time clicking around ultra racing forums and you’ll find plenty of complaints of numb fingers, dysfunctional digits, and exercises to repair these ailments. It’s not uncommon for this to continue months after a race, even longer in some cases. Most folks find that feeling eventually returns with no repercussions of long term damage.
Experiment with different handlebar and grip combinations. There are many options that could keep your hands more comfortable during the ride and prevent tingly fingers afterward. Some of those options include comfortable/ergonomic grips or handlebars that offer multiple hand positions like Jones bars, tri bars, or bar ends.
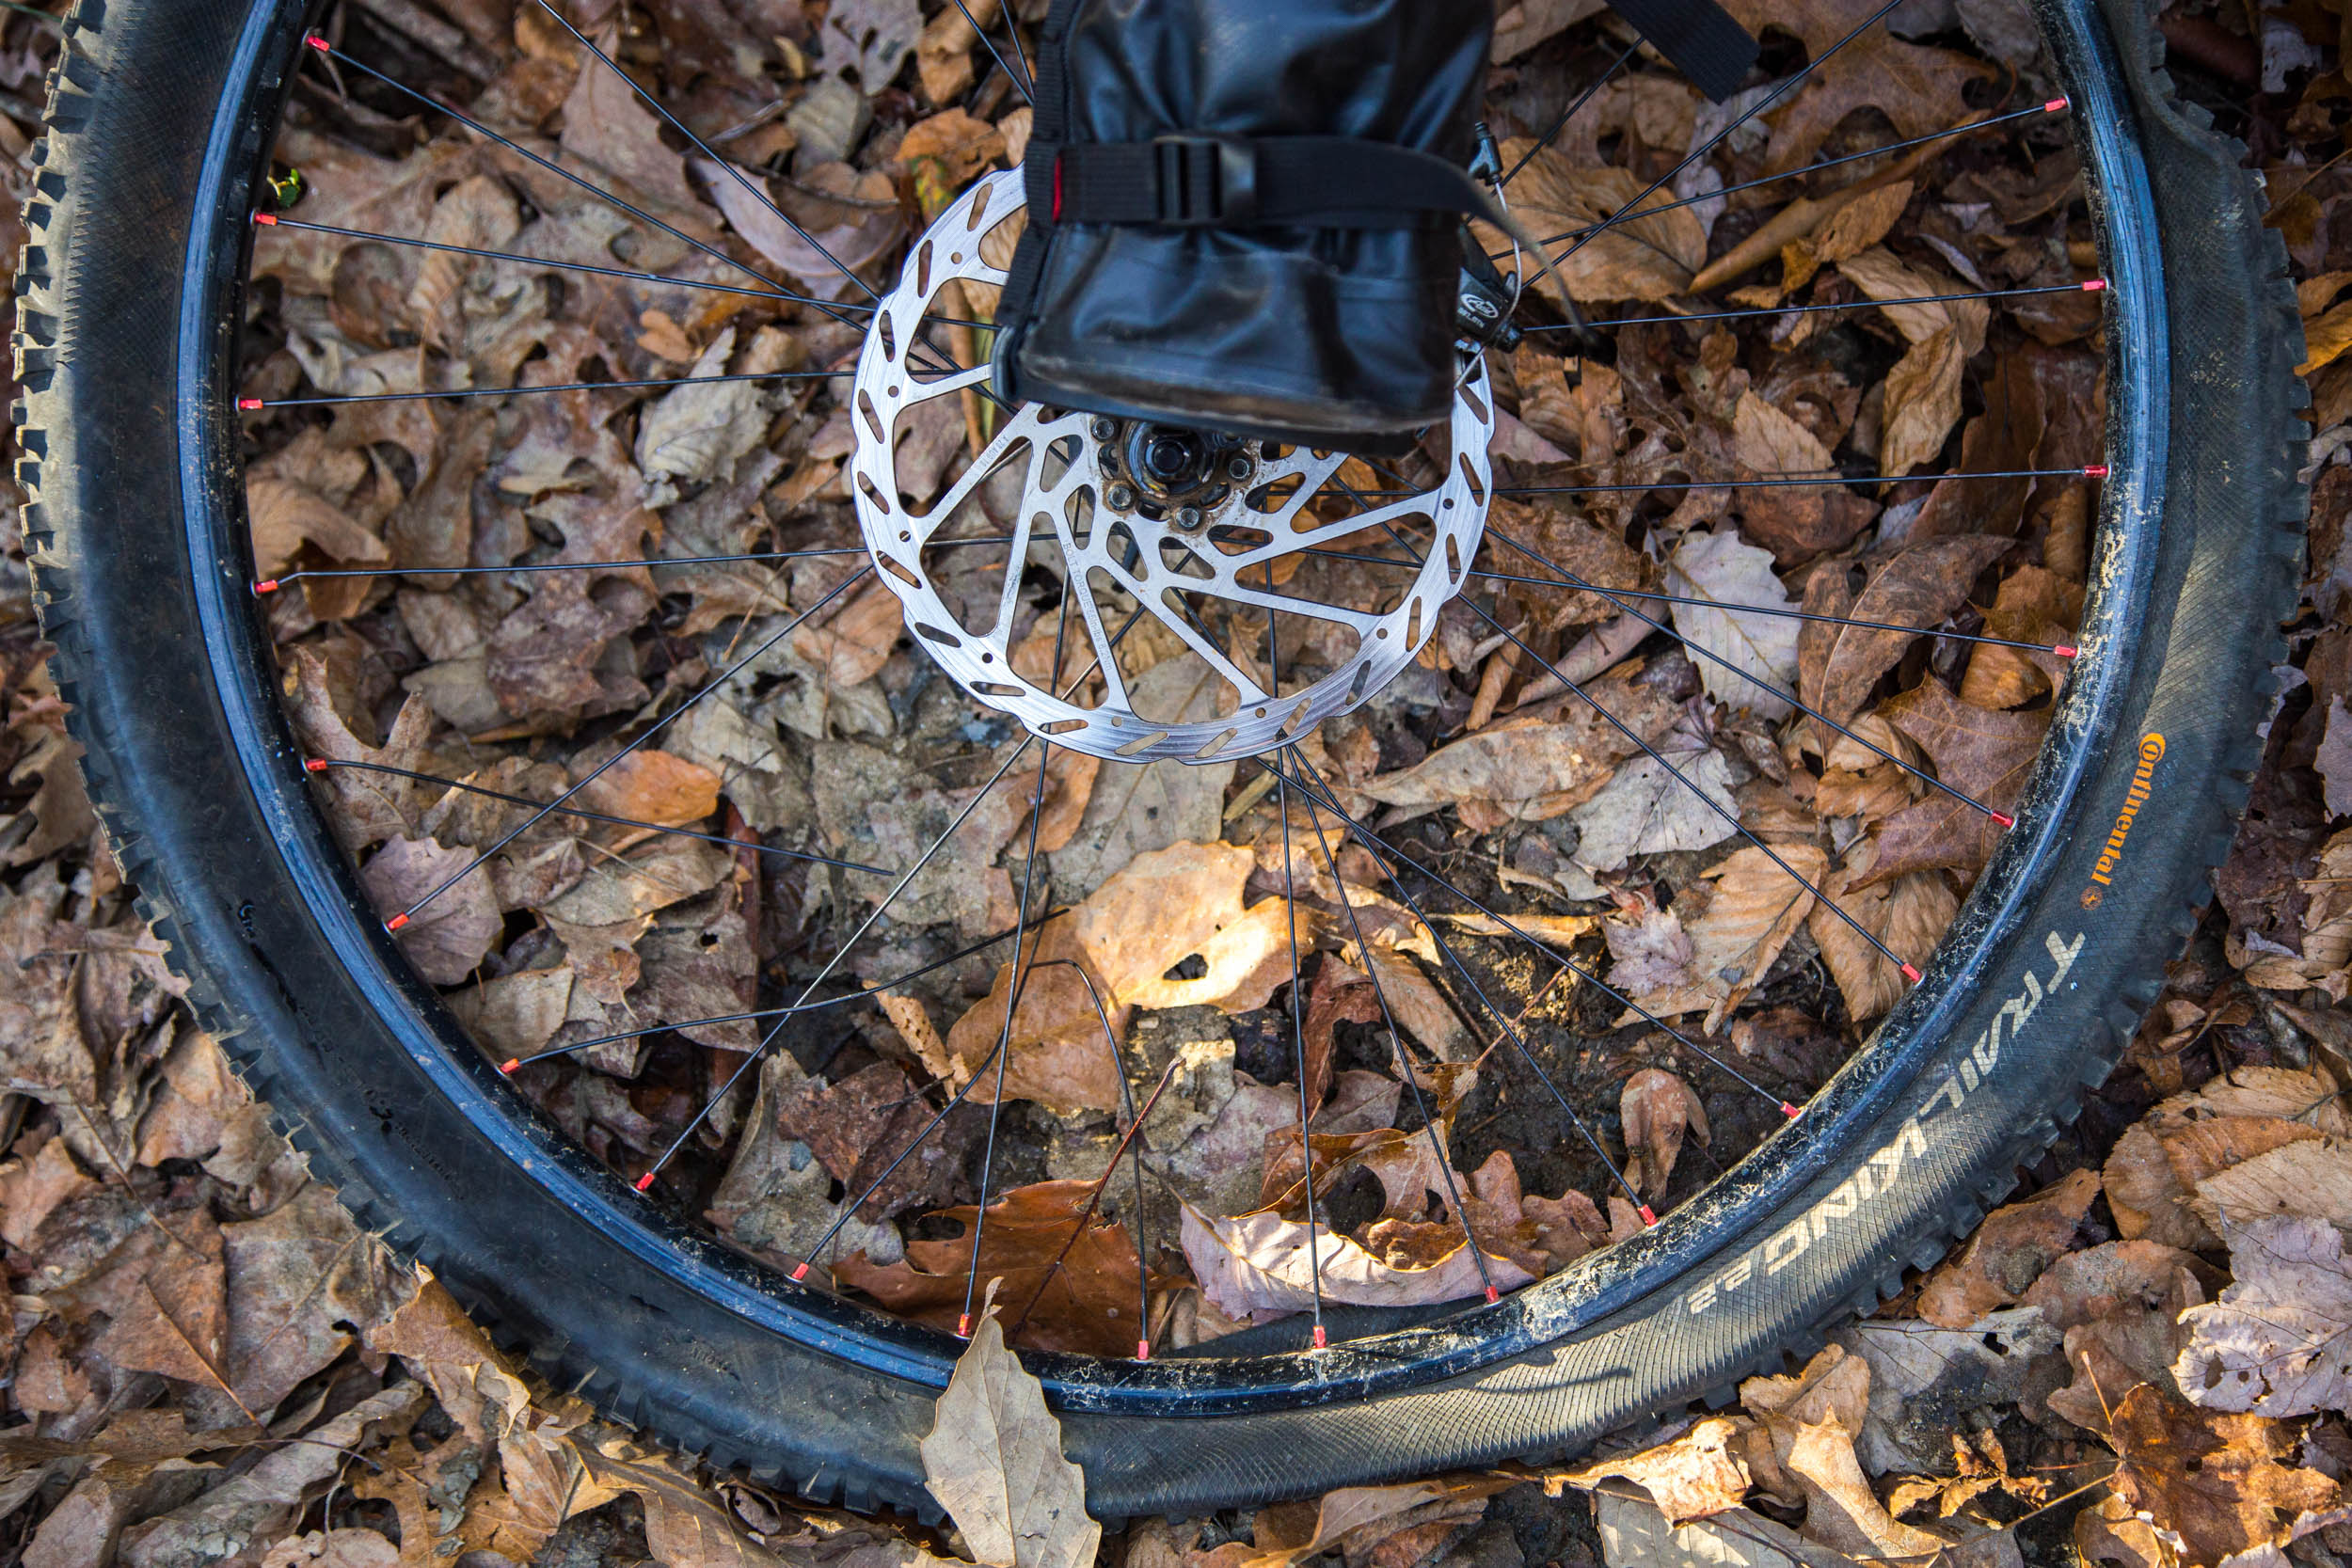
Tires
Never have there been so many tire choices. Just as with the rest of your kit, your decision will be a direct result of your strategy and the terrain on the course. Choose voluminous rubber and you’ll be comfortable but have additional rolling resistance. Opt for skinny, fast-rolling tires and you’ll roll quickly but may get beat up by technical terrain along the way. No matter what you choose, make sure the tires are new, the sidewalls are strong, and you’re carrying a healthy tire repair kit. Most racers opt for a tubeless setup. Just make sure they’ve been setup correctly and you have at least one solid ride on them.
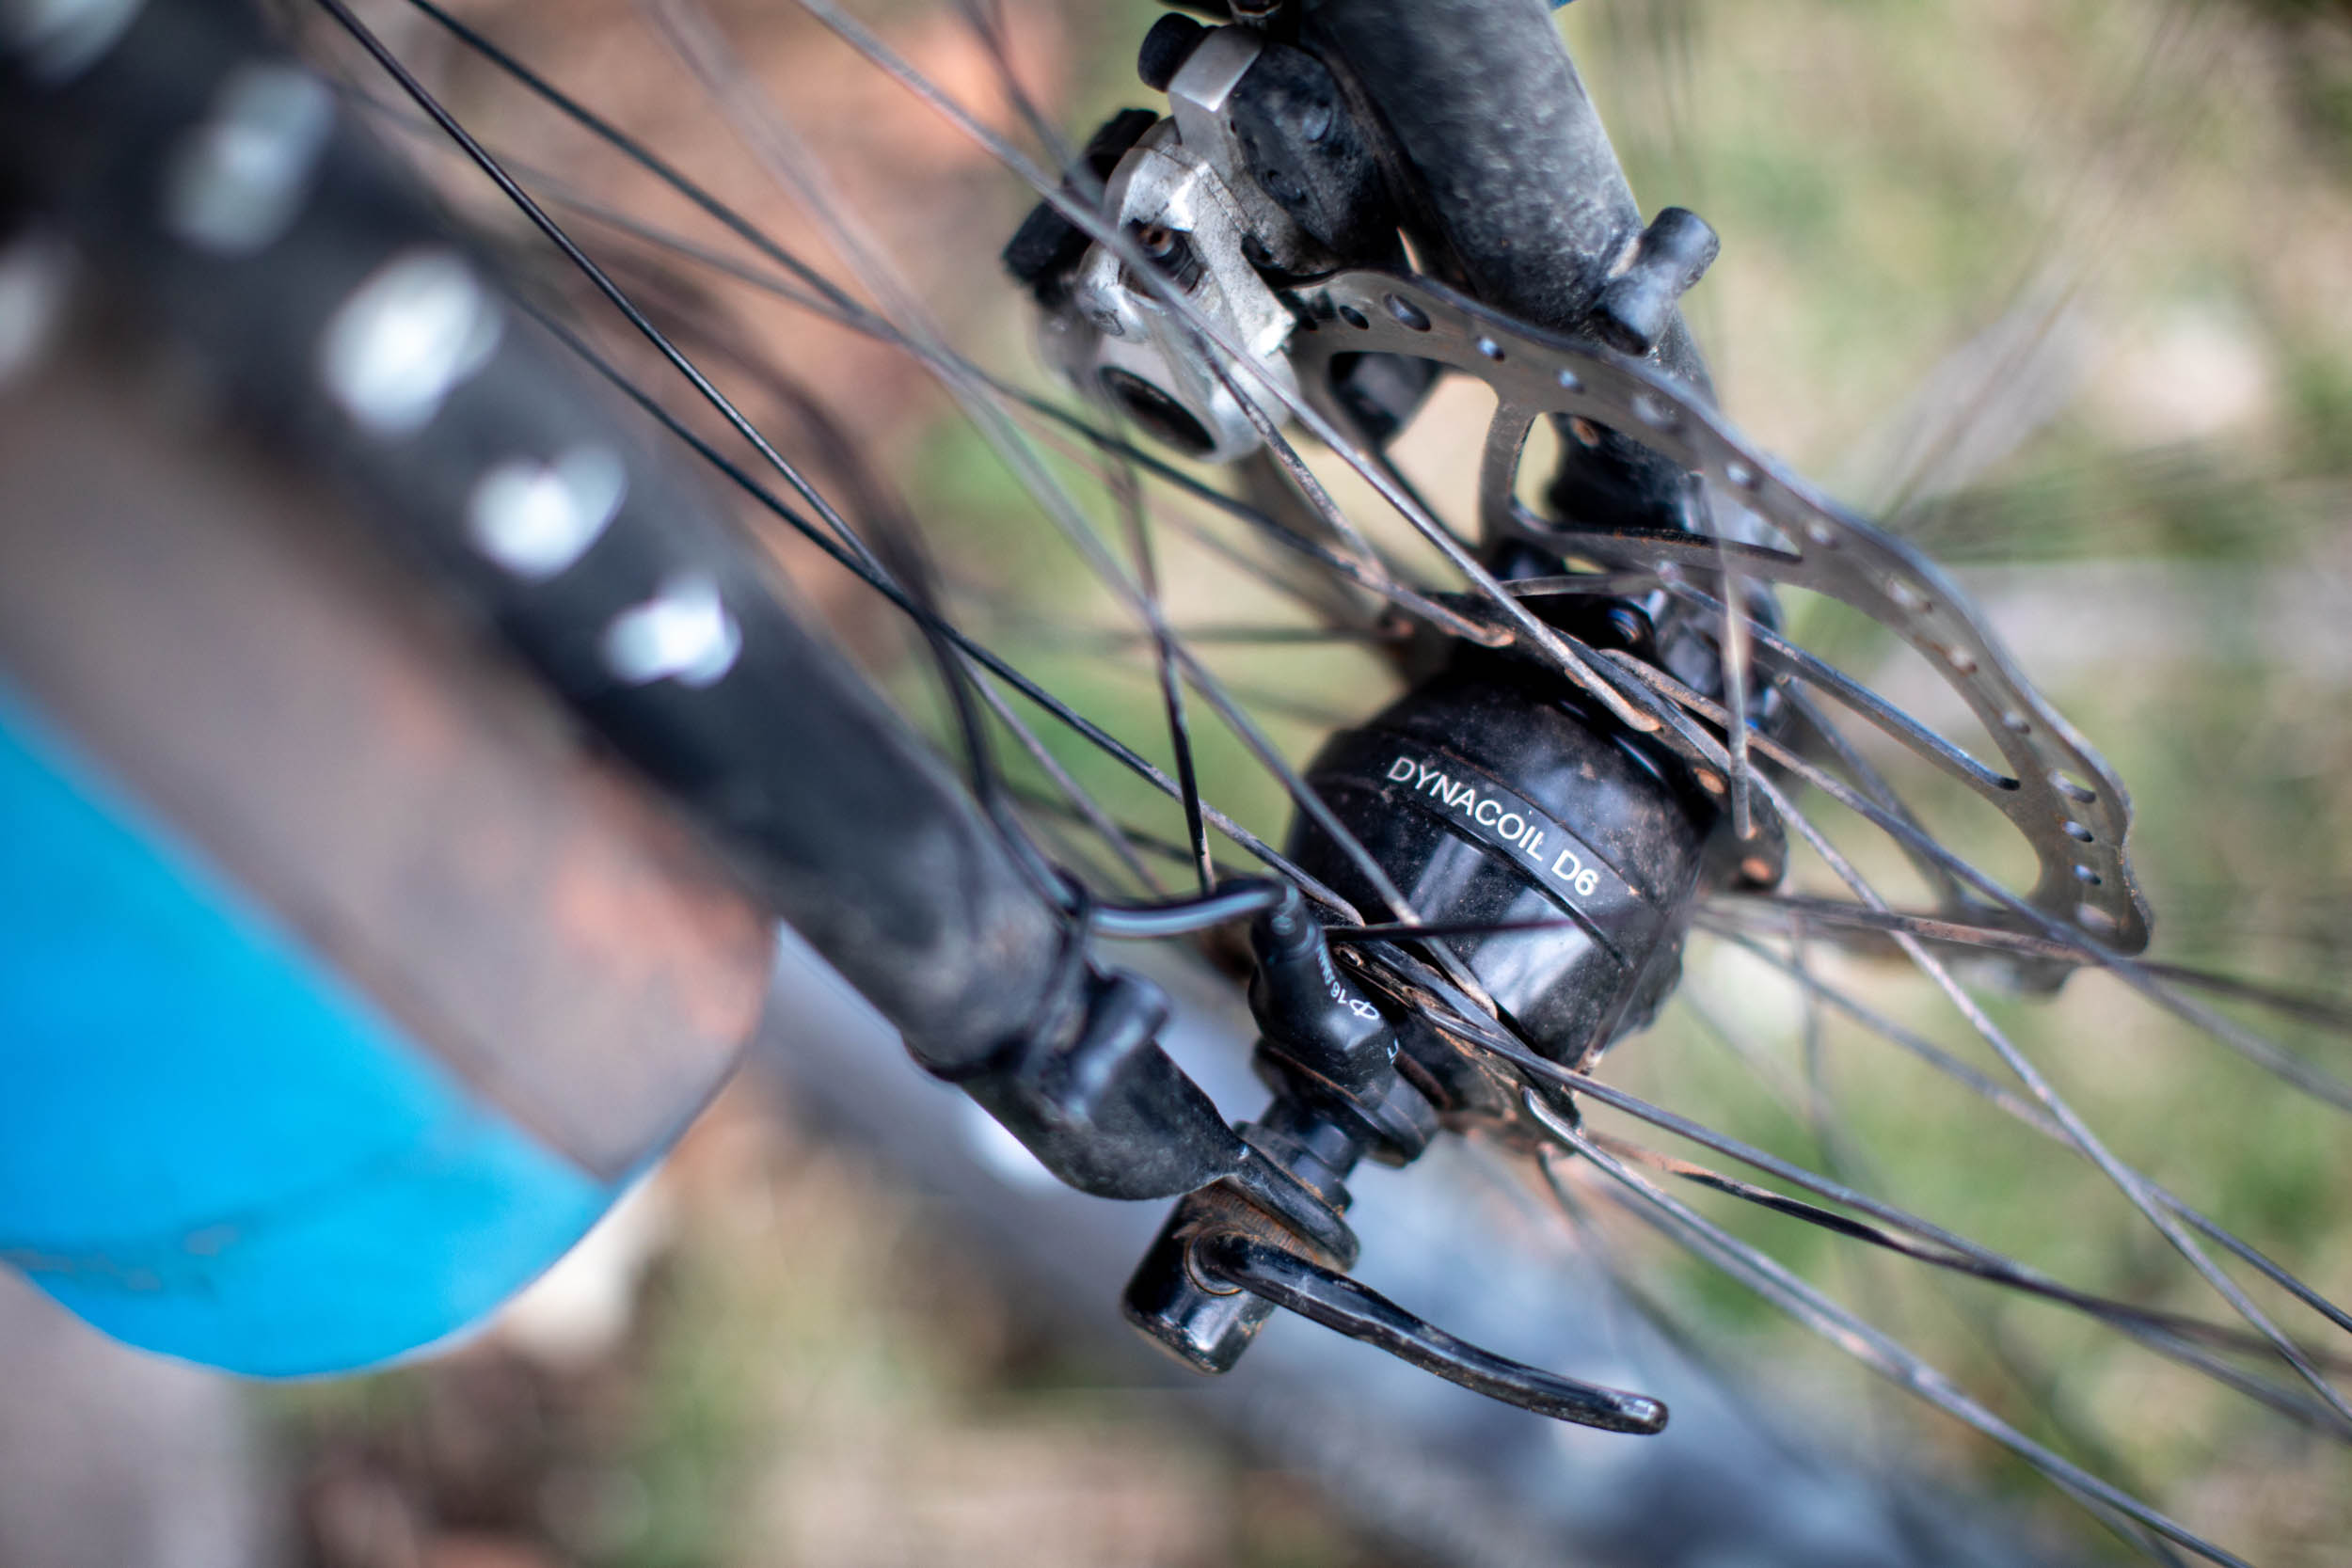
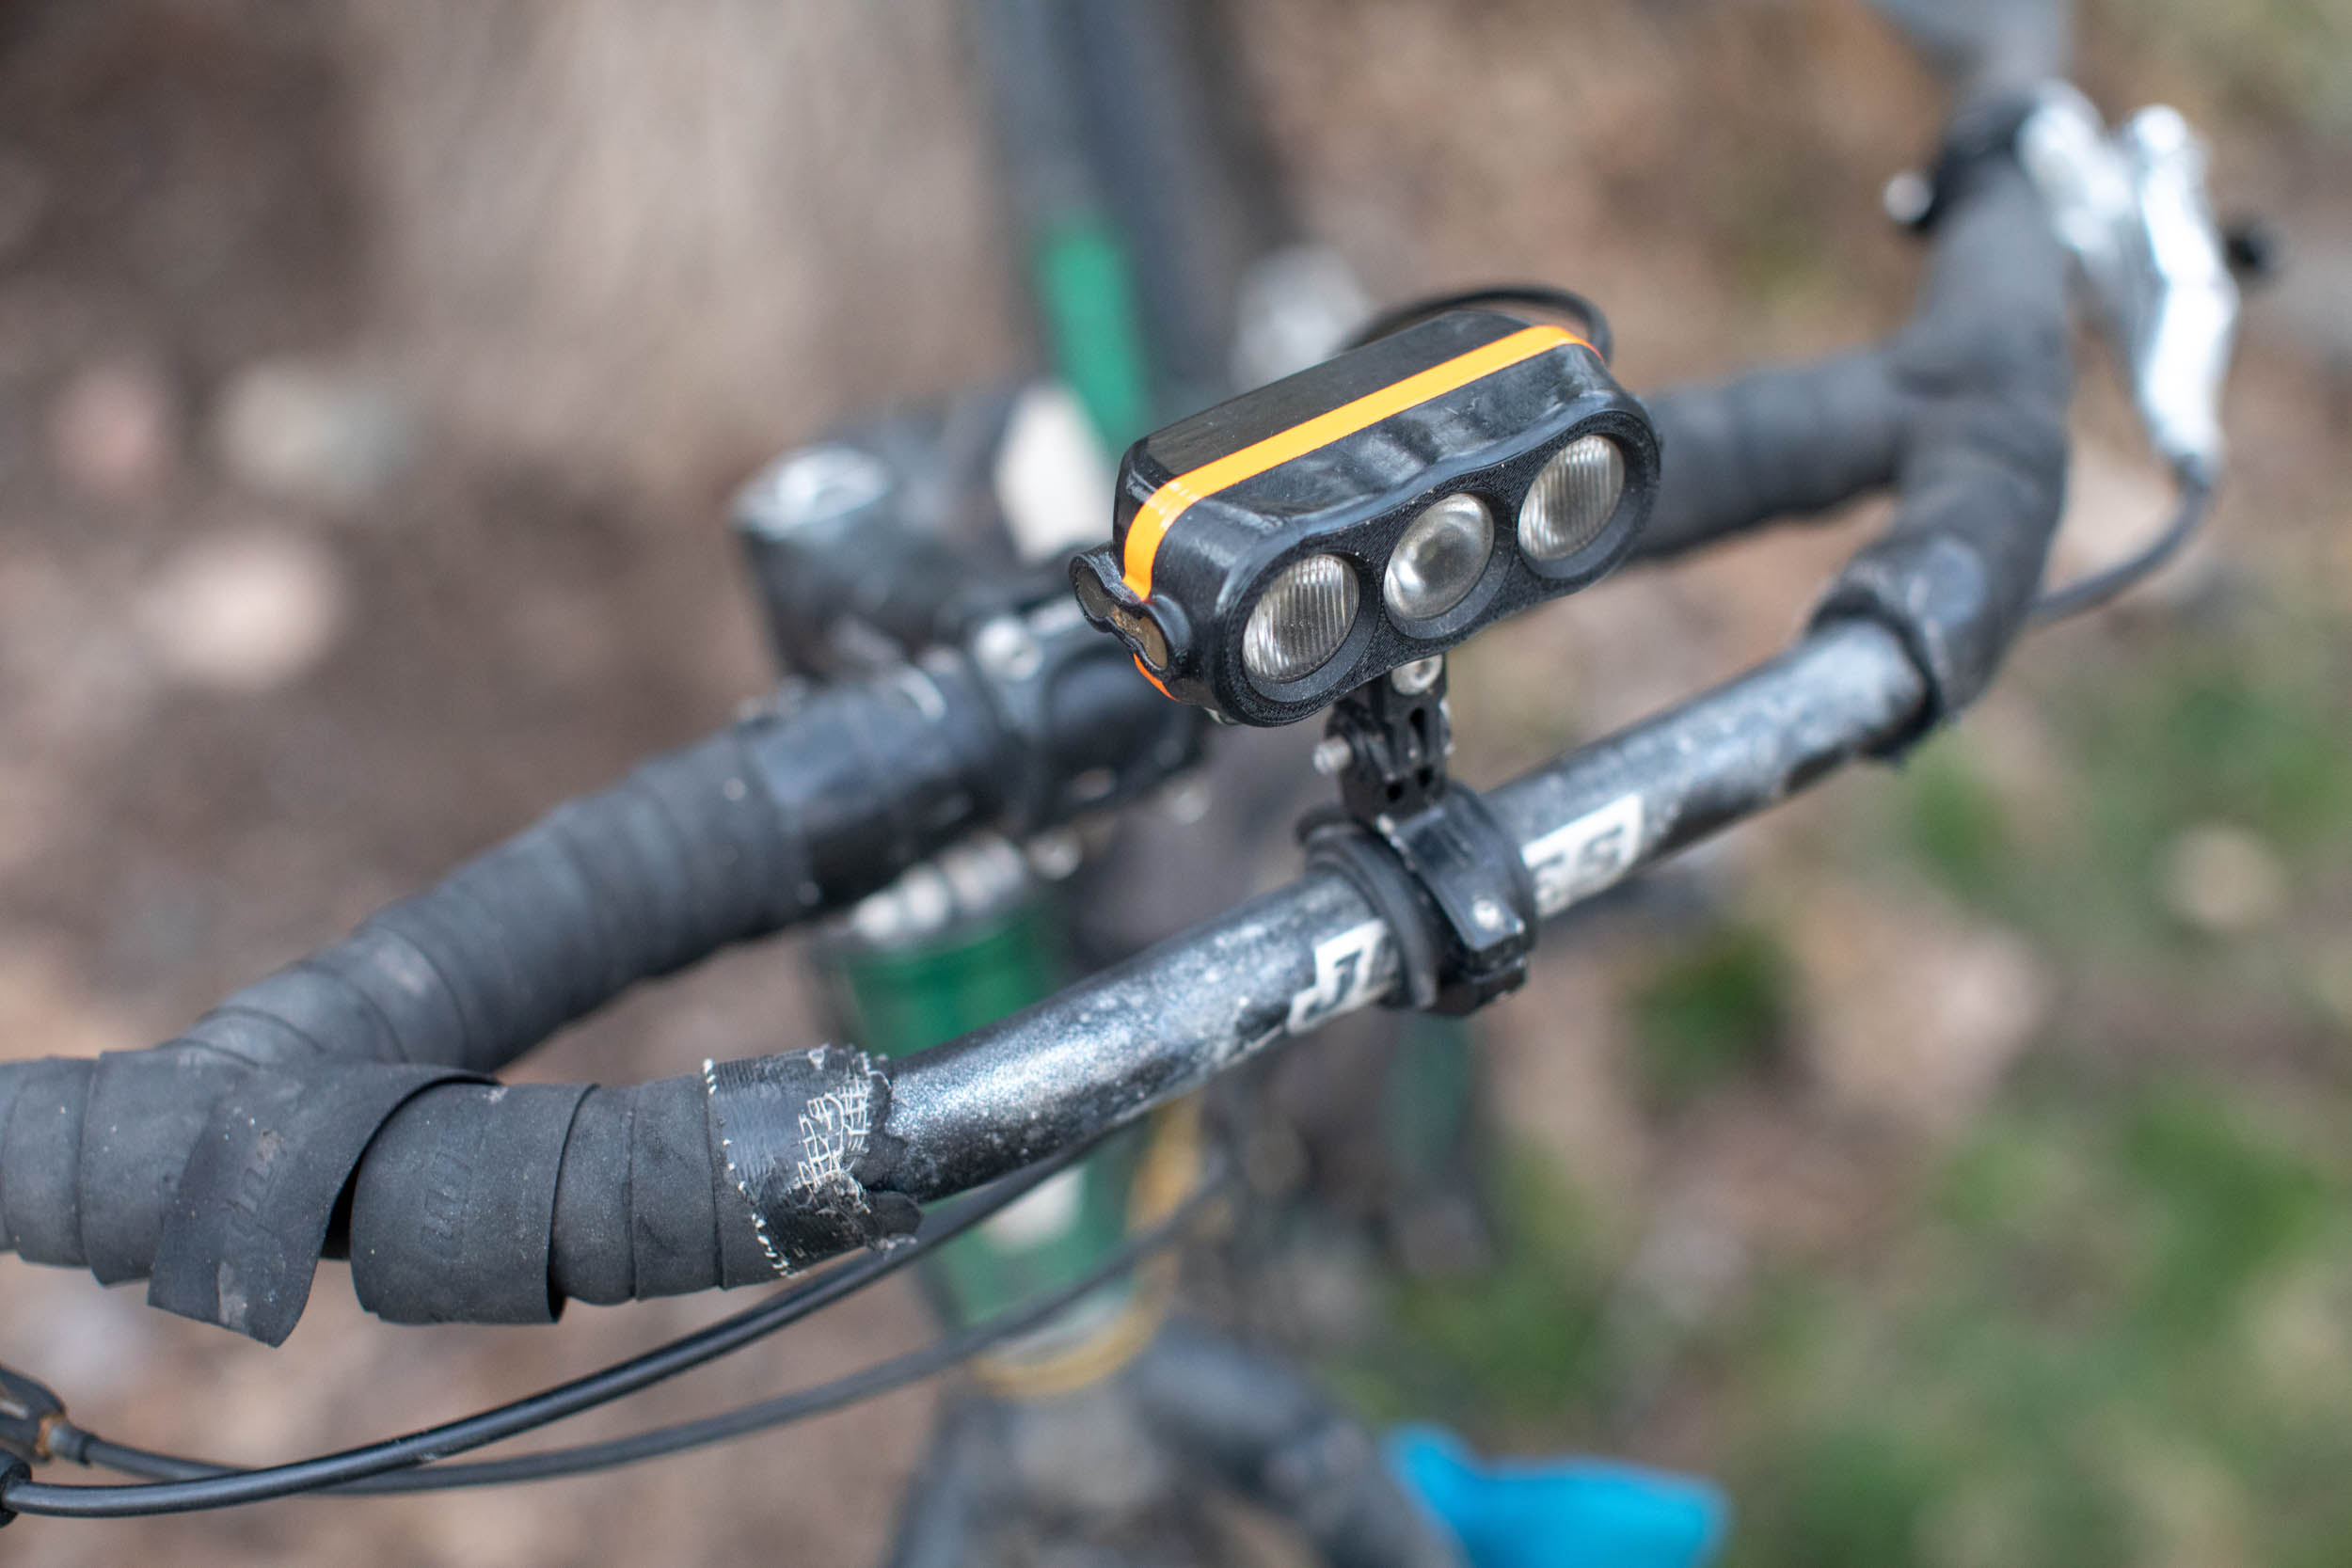
Lights
Depending upon your race plan, you could be doing plenty of riding at night. A dual system of a handlebar mounted light and helmet mounted light works well. While power generating dynamo hubs are sexy, they’re also expensive. I carry an external battery to charge things like my handlebar light and phone (music & backup navigation). And I attempt to minimize the amount of things I’ll need to charge. Whenever possible, I try to use electronics that use disposable batteries (as much as it pains me for environmental reasons), like my BD Storm headlamp and Garmin eTrex 30.
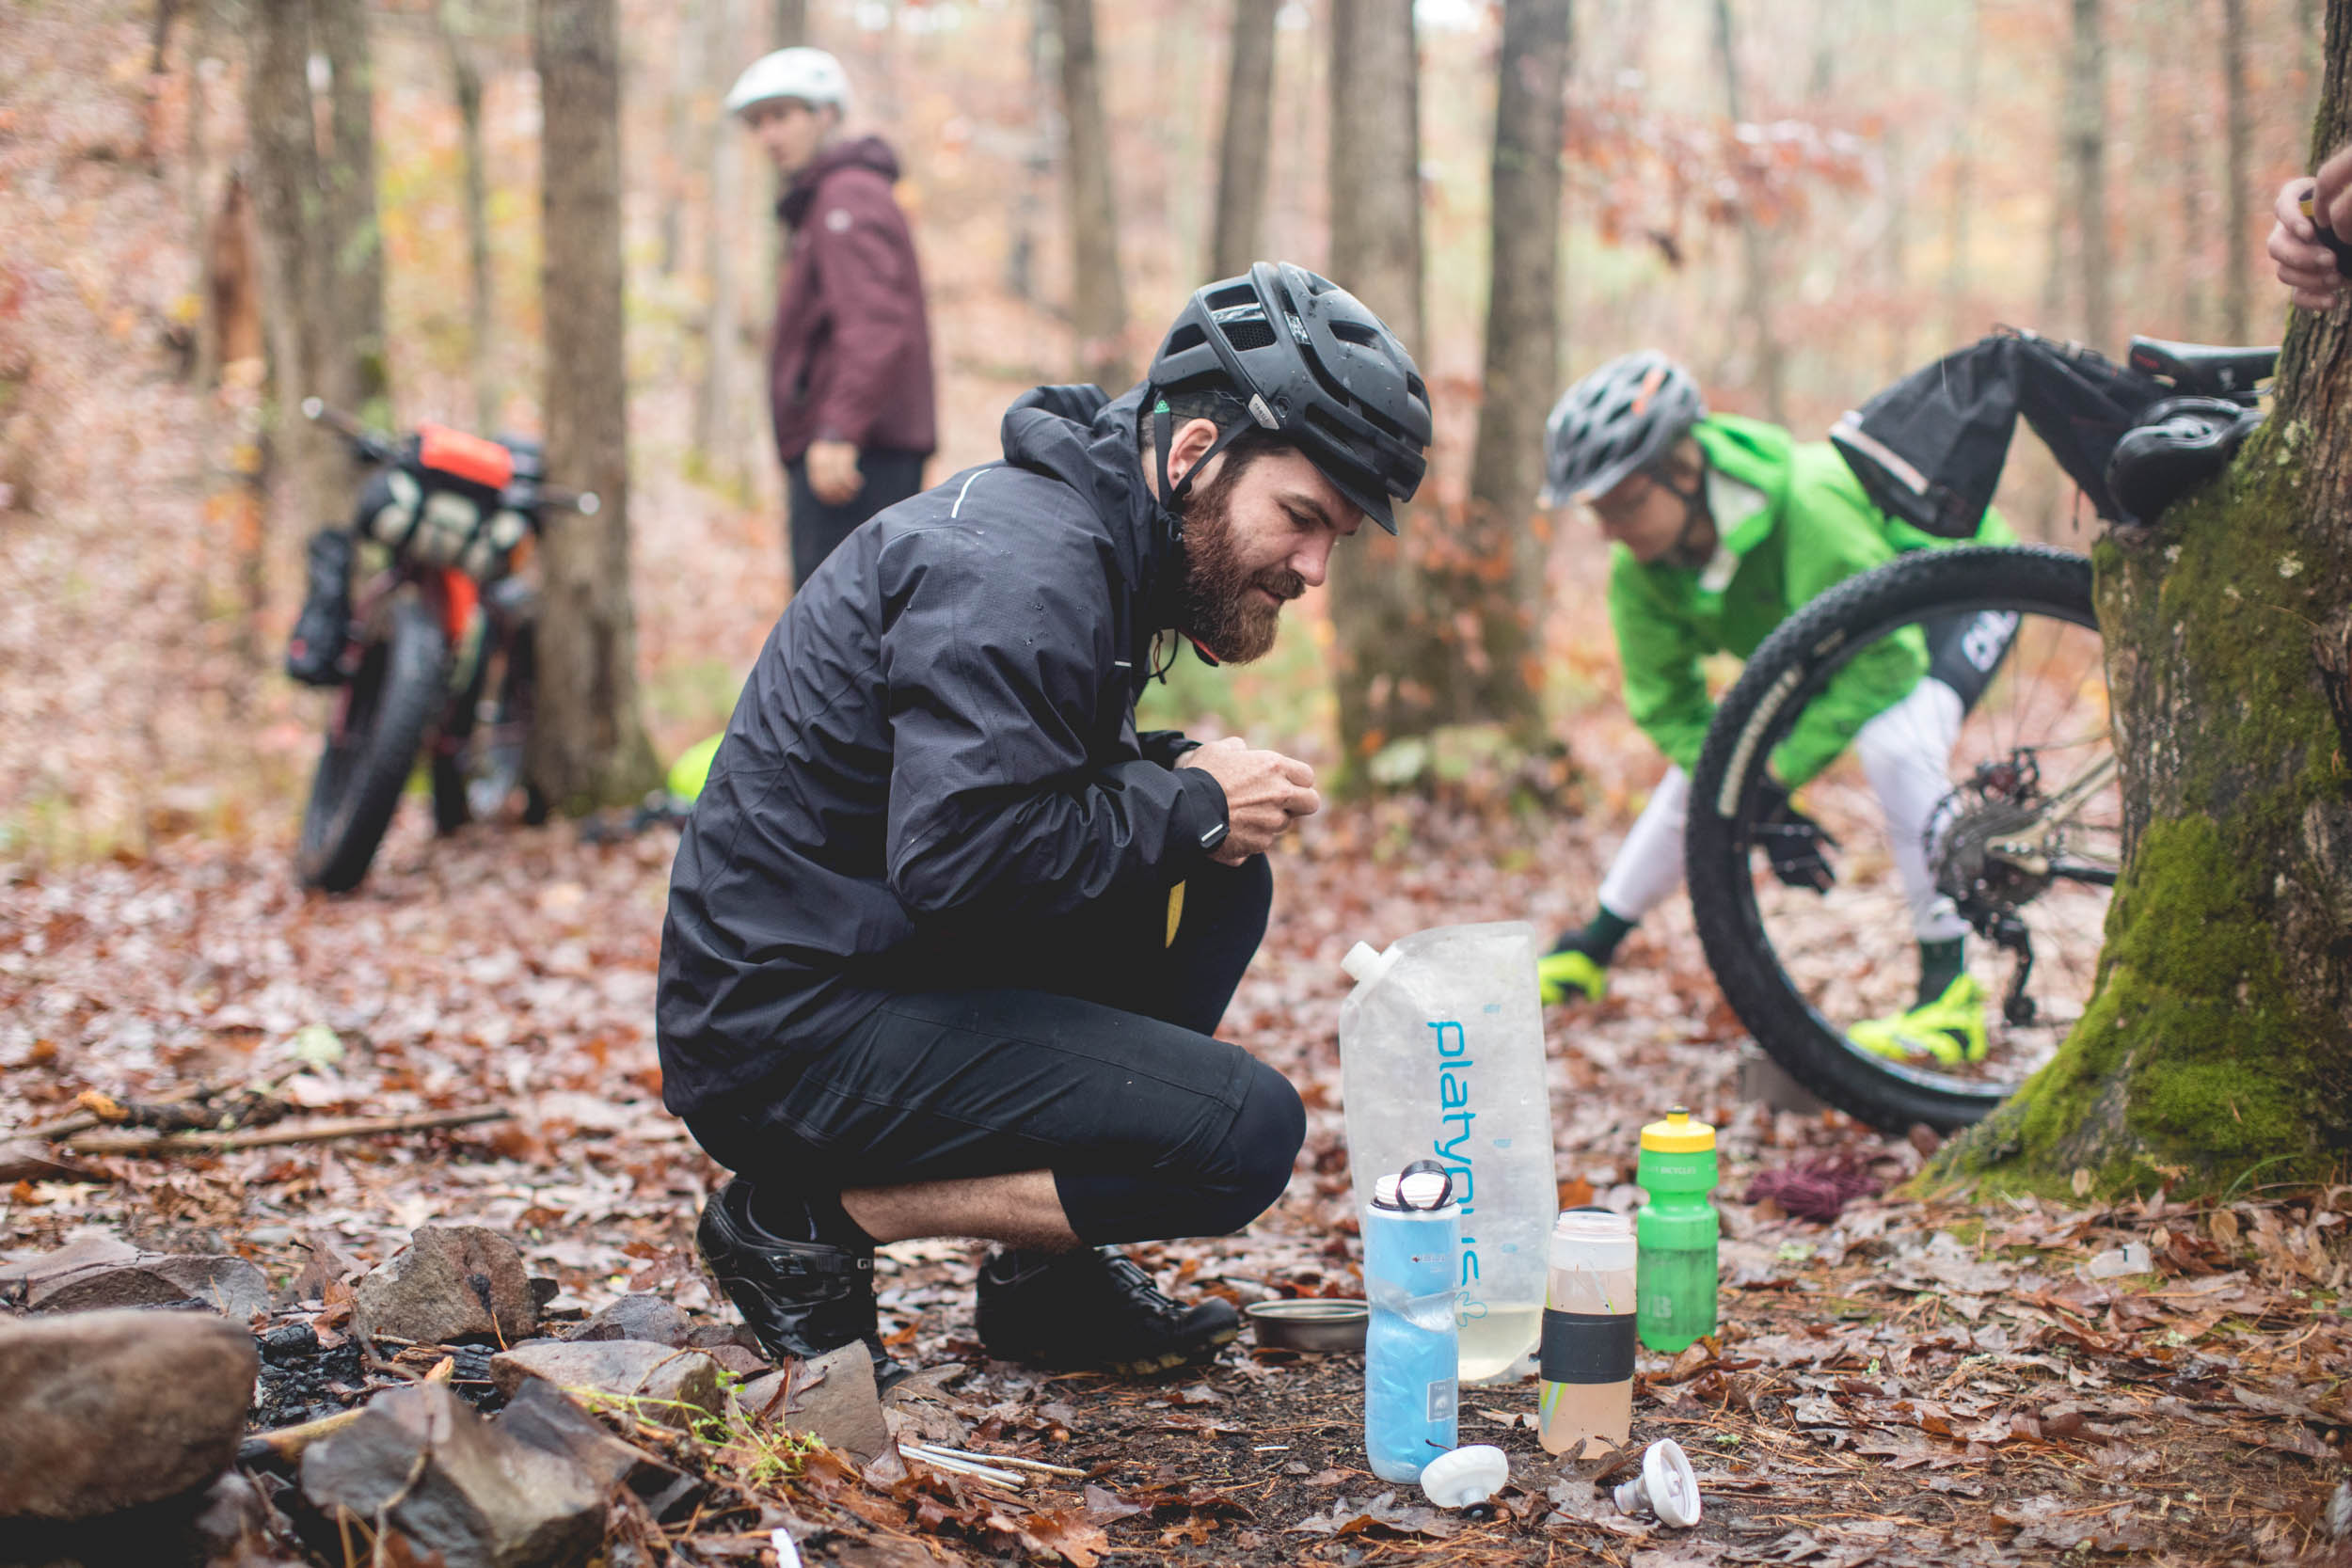
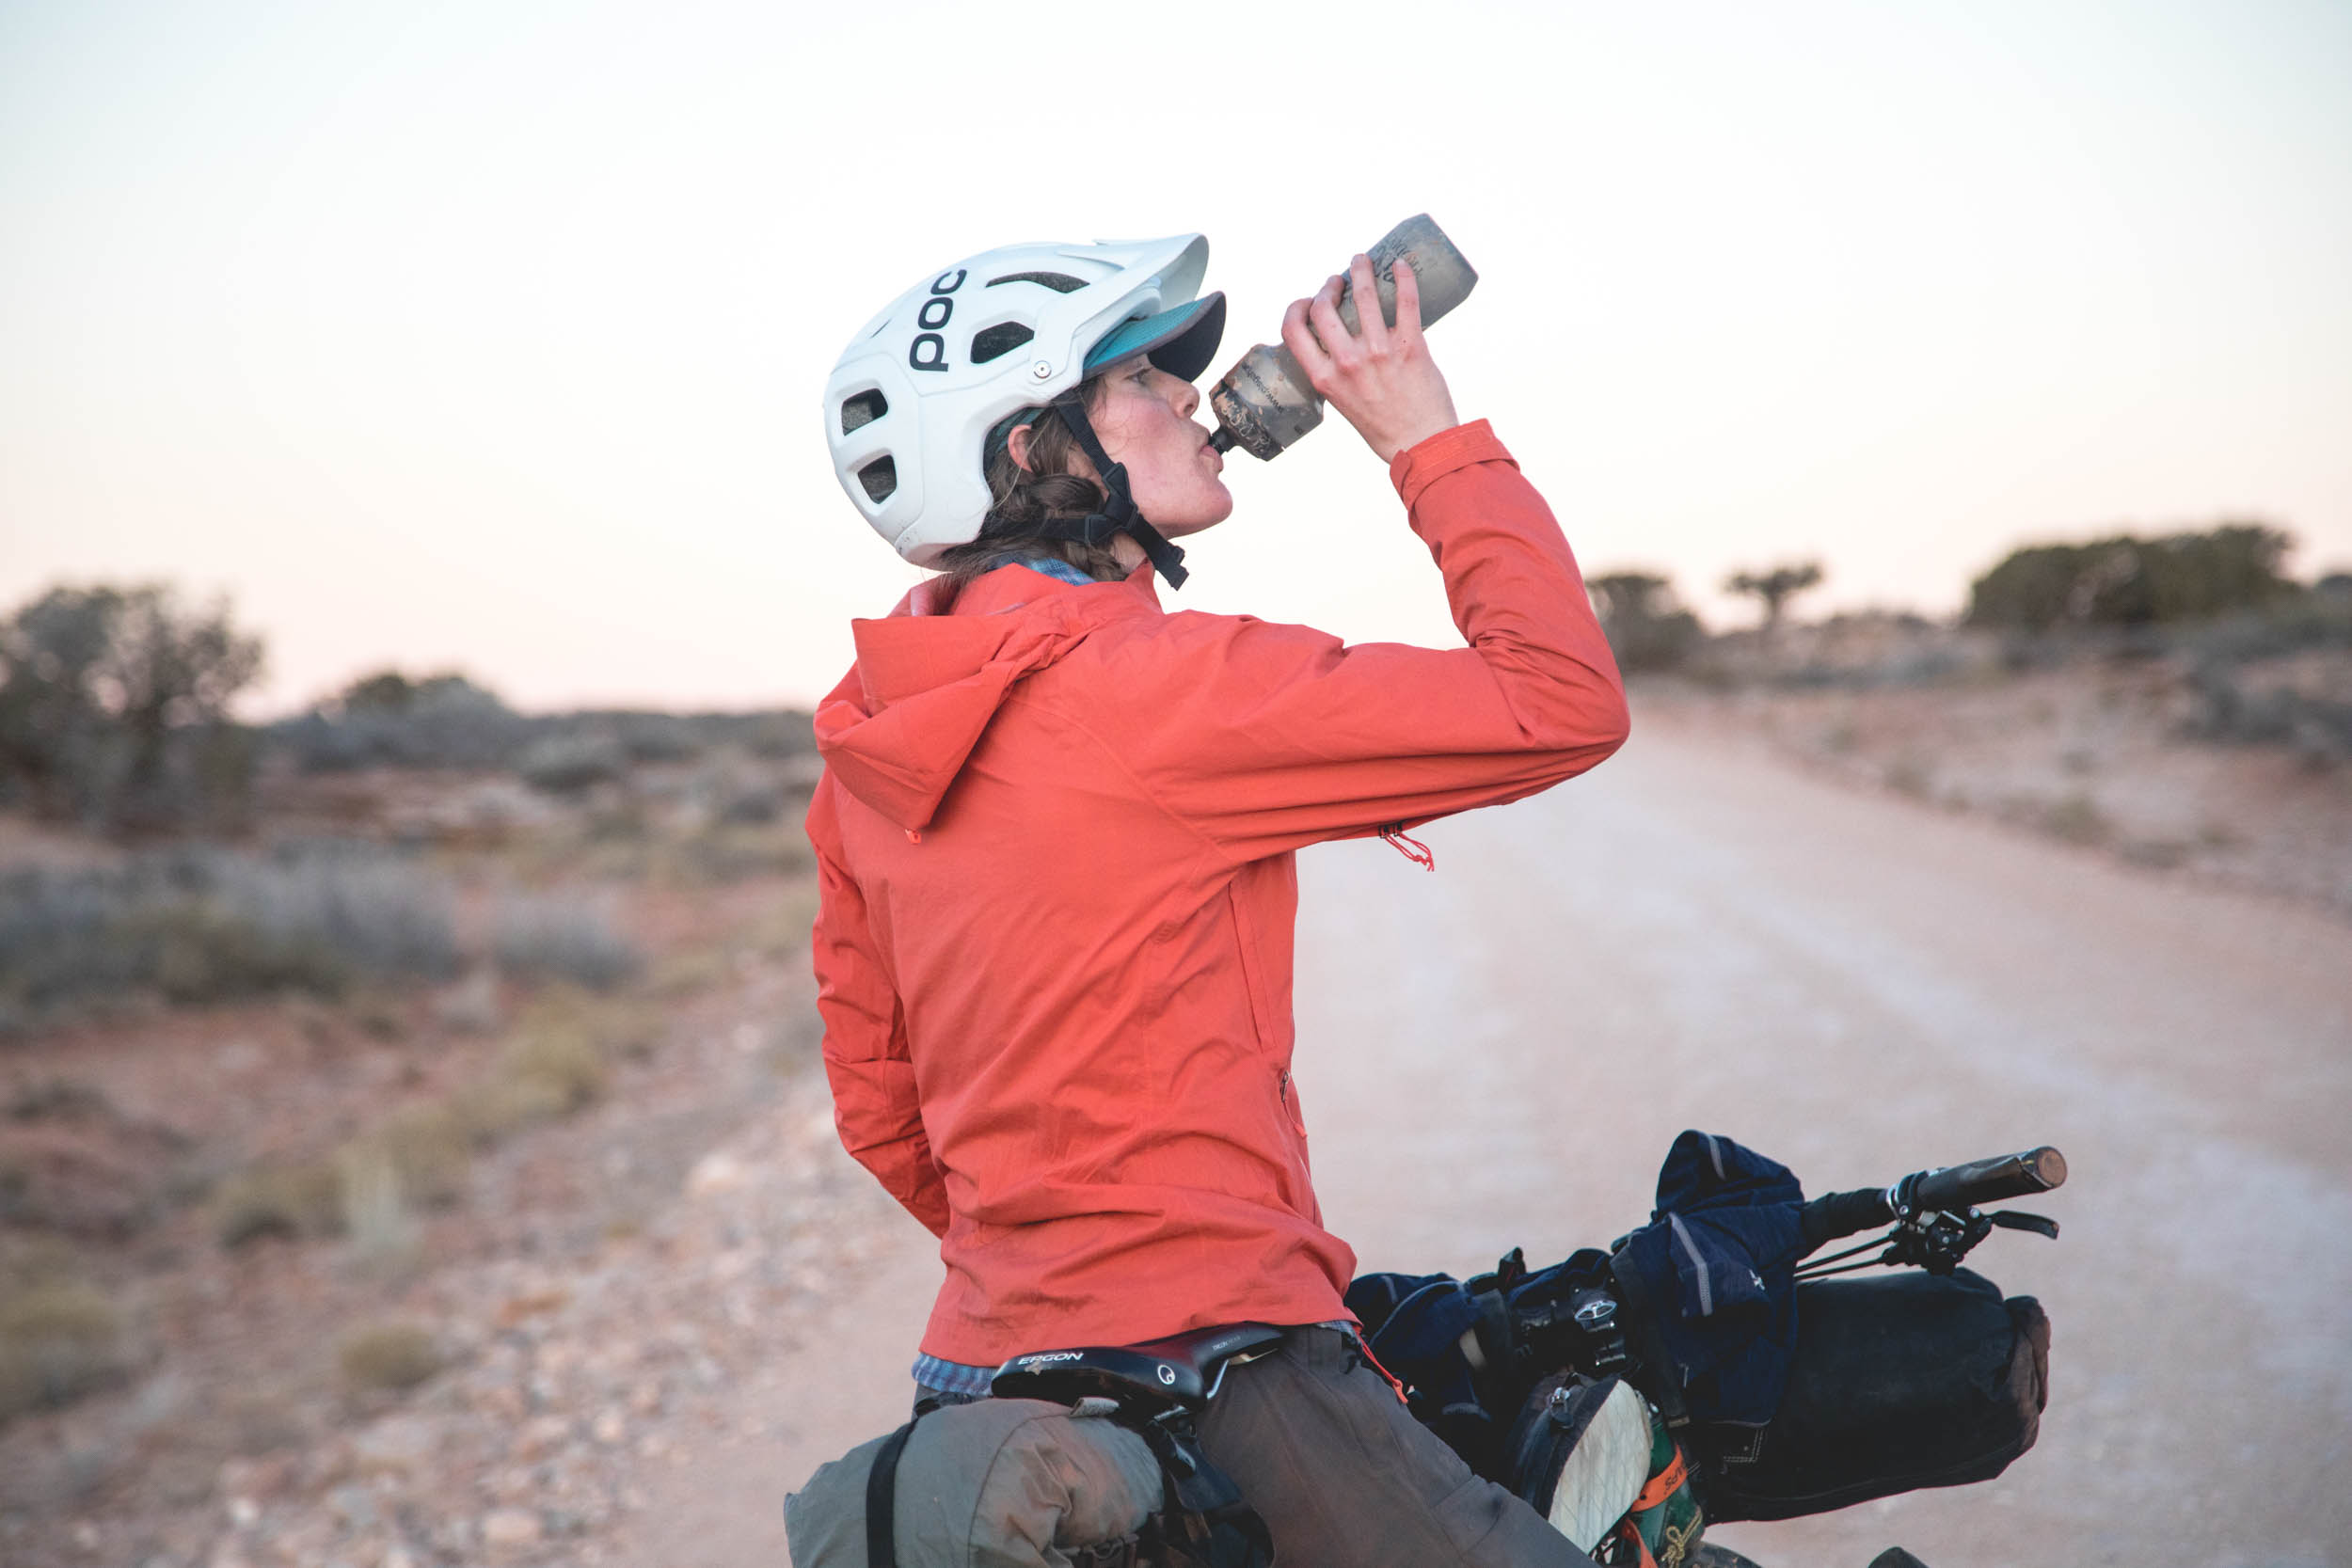
Hydration
There is a wide gamut of filtration systems on the market, many of which have been reviewed on this site. For ultras, look for systems that are fast, hands off, and drinkable at the source. Chemical mixes like Aquamira have a pre-mix time of about five minutes, which allows time for futzing with your bike, eating, or whatever else. For those who like to move light and fast, it’s advantageous to be able to drink a bottle or two at each water source, which is possible with filters and UV, effectively minimizing the amount of water you need to carry. The grid below indicates the strengths and weaknesses of these general strategies of water purification.

Pros and Cons
- Filters: Filters offer an unlimited quantity of immediately drinkable water (compared to chemicals). however, they are also slow and can get clogged, making them even slower.
- Chemicals: the benefit to chemical purification tabs is that they require no hands-on time. However, there is a wait time, and you’re limited by the number of tablets you bring.
- UV filtration: The Steripen is faster than filters and most chemicals, but you are also limited by battery life.
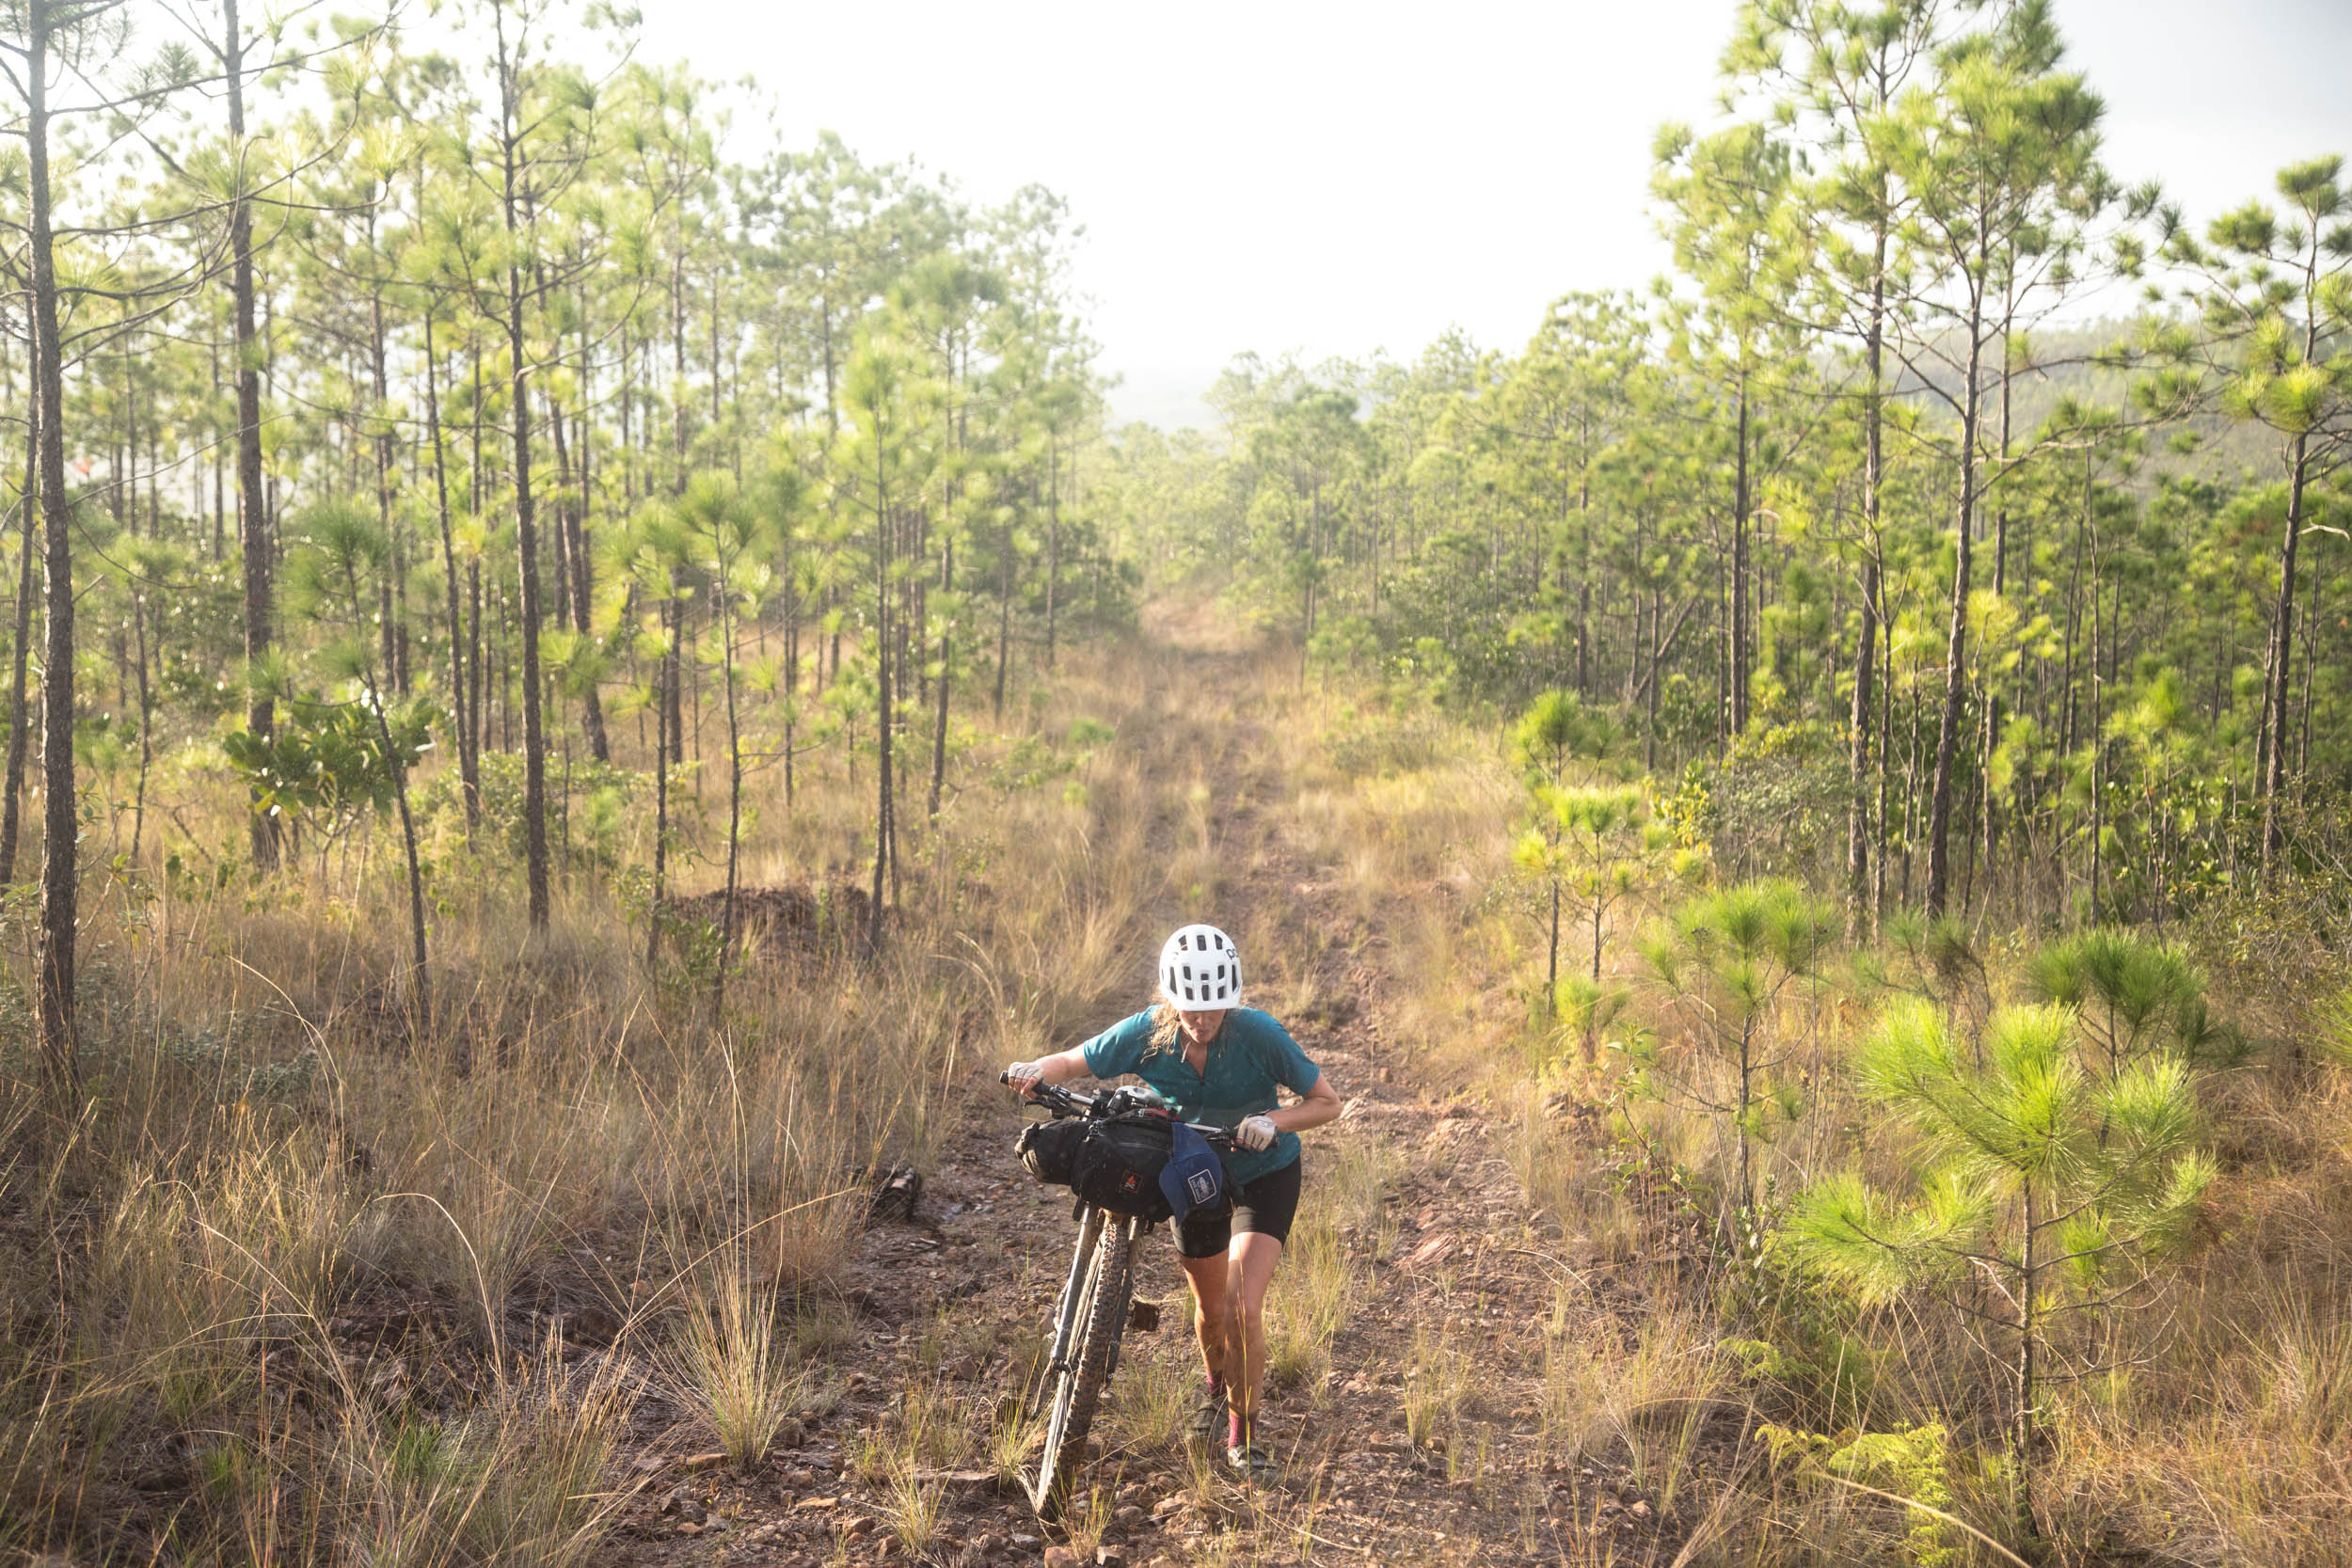
Care for Your Contact Points
Many ultra race routes have a decent amount of hike-a-bike. For instance, on the Colorado Trail, the number one reason people drop out is because a poor choice of footwear and underestimating the time and intensity of pushing on technical terrain. Choose footwear that hikes as well as it bikes. A little talcum powder can go a long way to drying your feet out at night. On courses like the Trans North Georgia, racers are constantly finishing with trench foot, or in many cases not finishing at all because of it.
A good chamois and plenty of chamois cream is a must for taking care of your cheeks. I’ve seen more than a couple people swear against chamois cream until they’re a couple hundred miles into an ultra. When a chamois is being worn for multiple days, salt crystals develop and tend to chafe cheeks fast. Some opt to carry an additional chamois, others rinse-wash theirs along the way.
Pro-Tip: Fill up on water before rinsing out your funk into the stream instead of afterwards. There are also a few racers out there who skip the chamois for racing/touring.

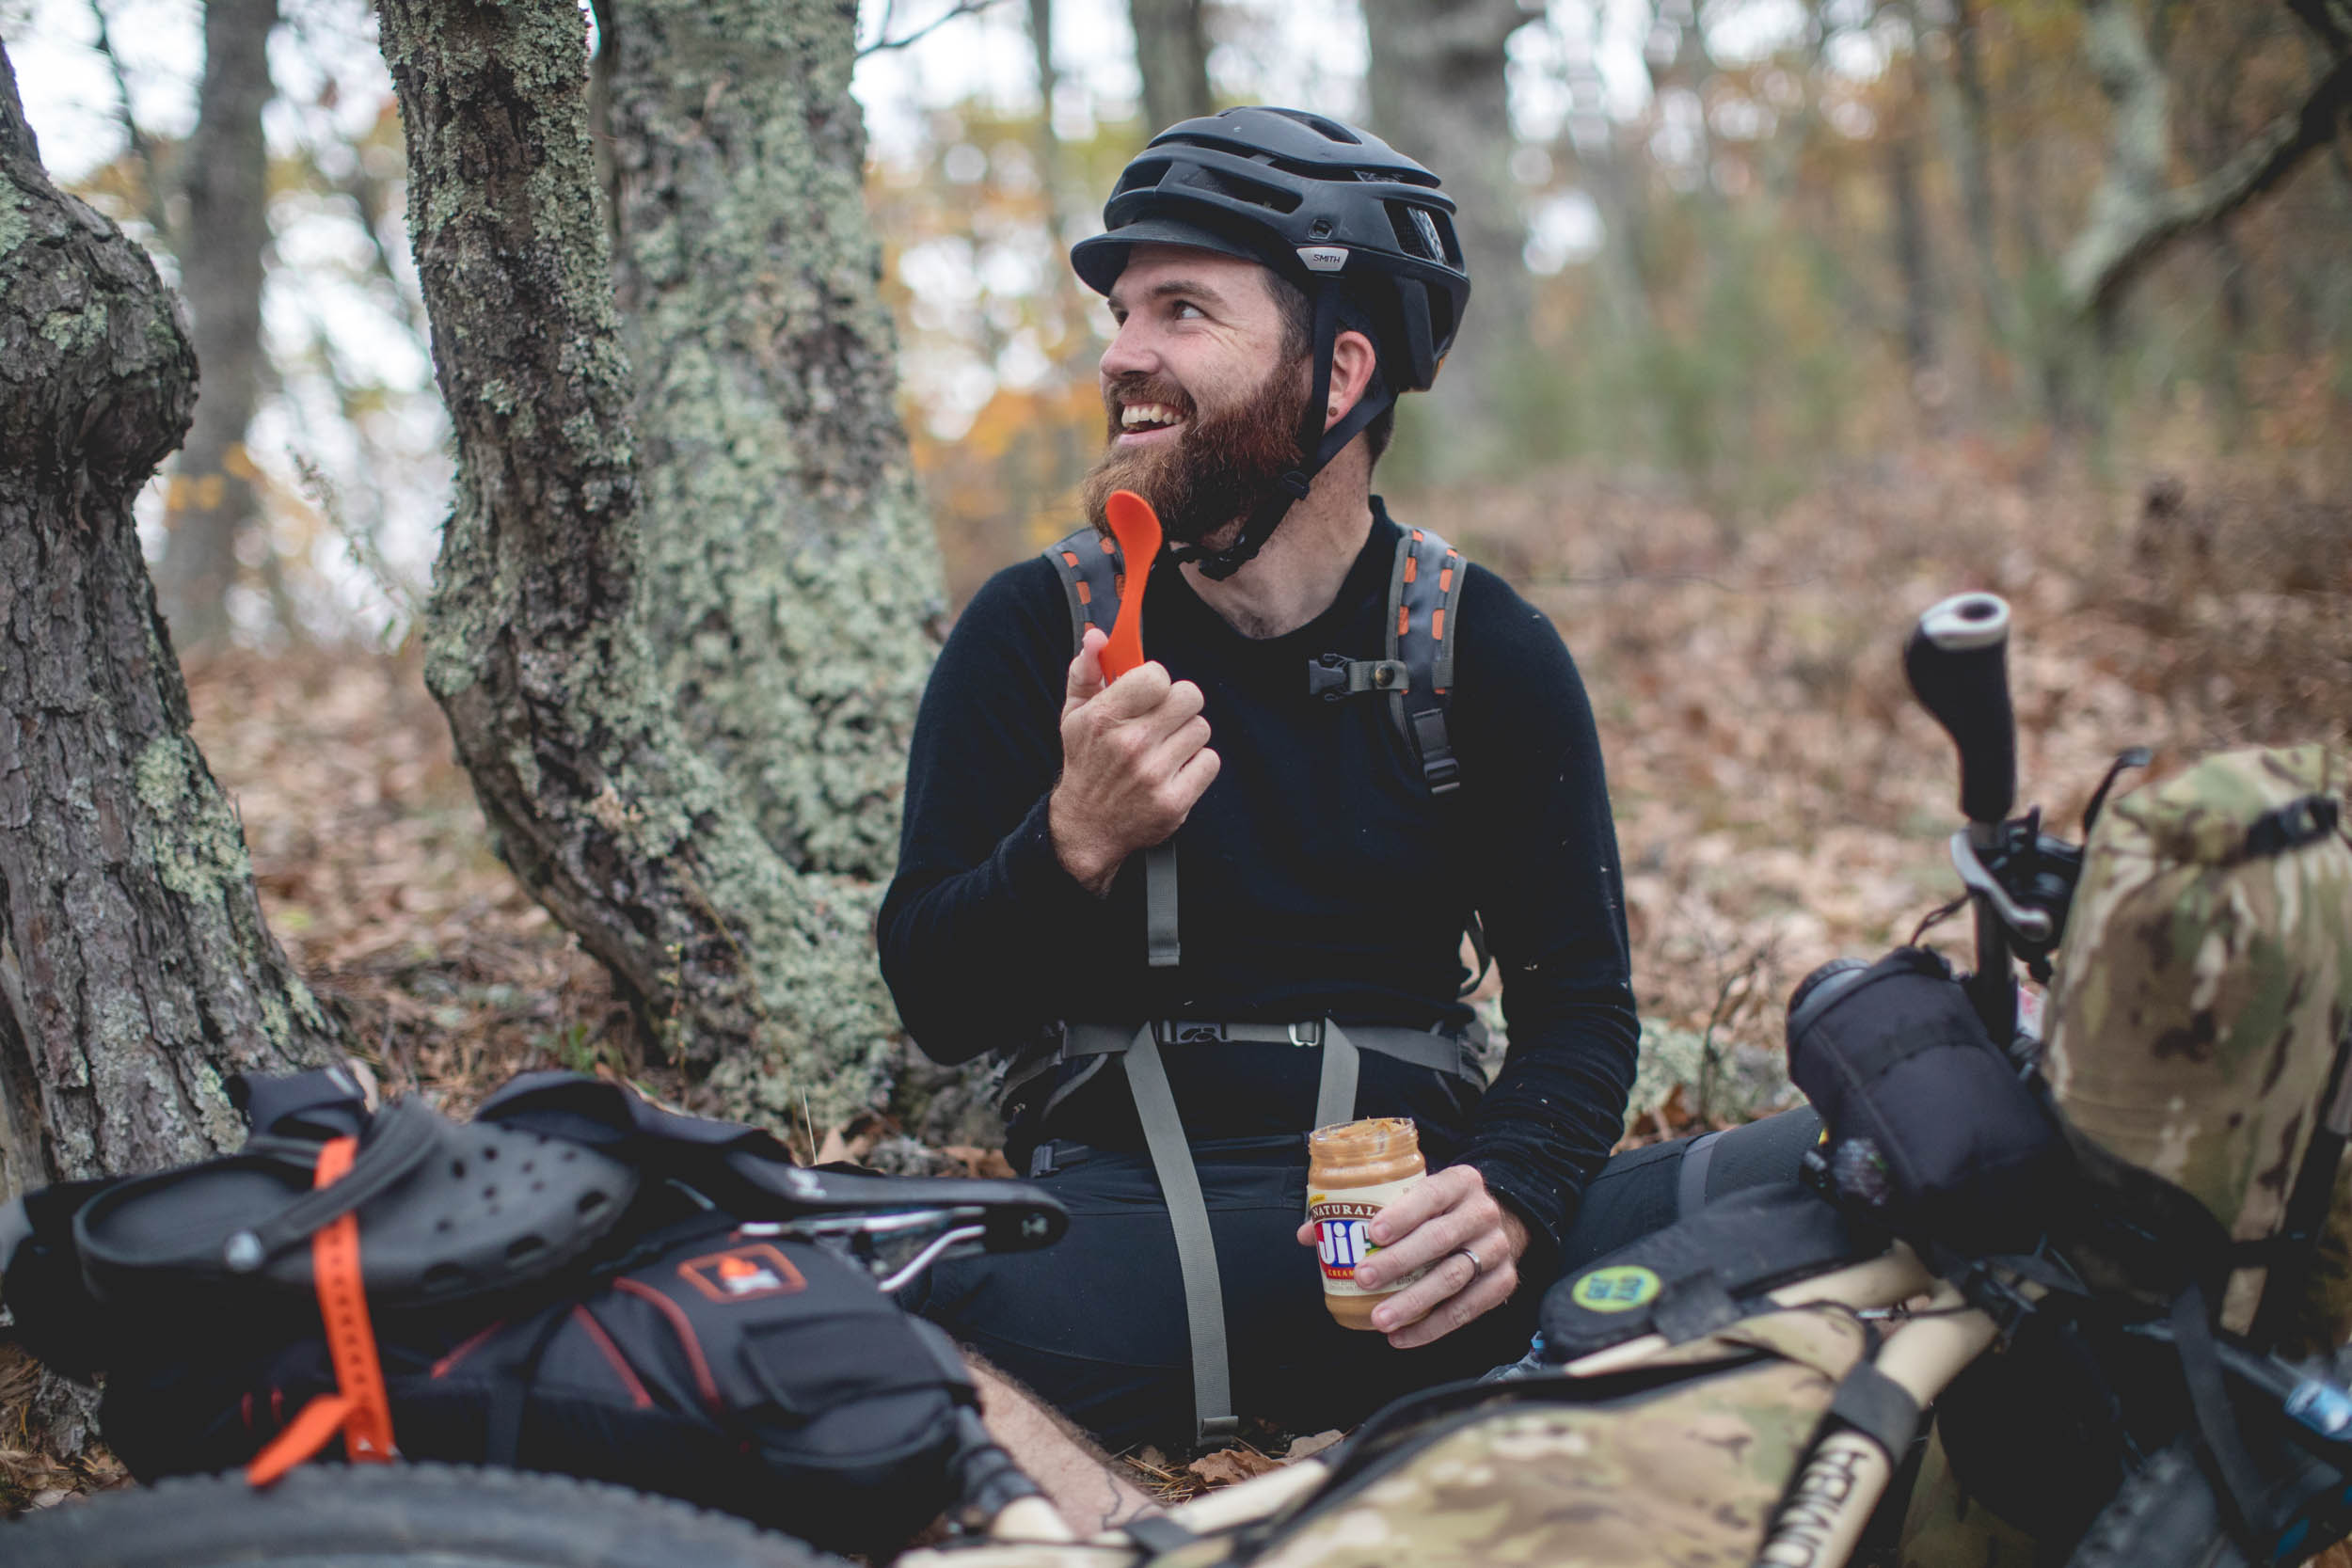
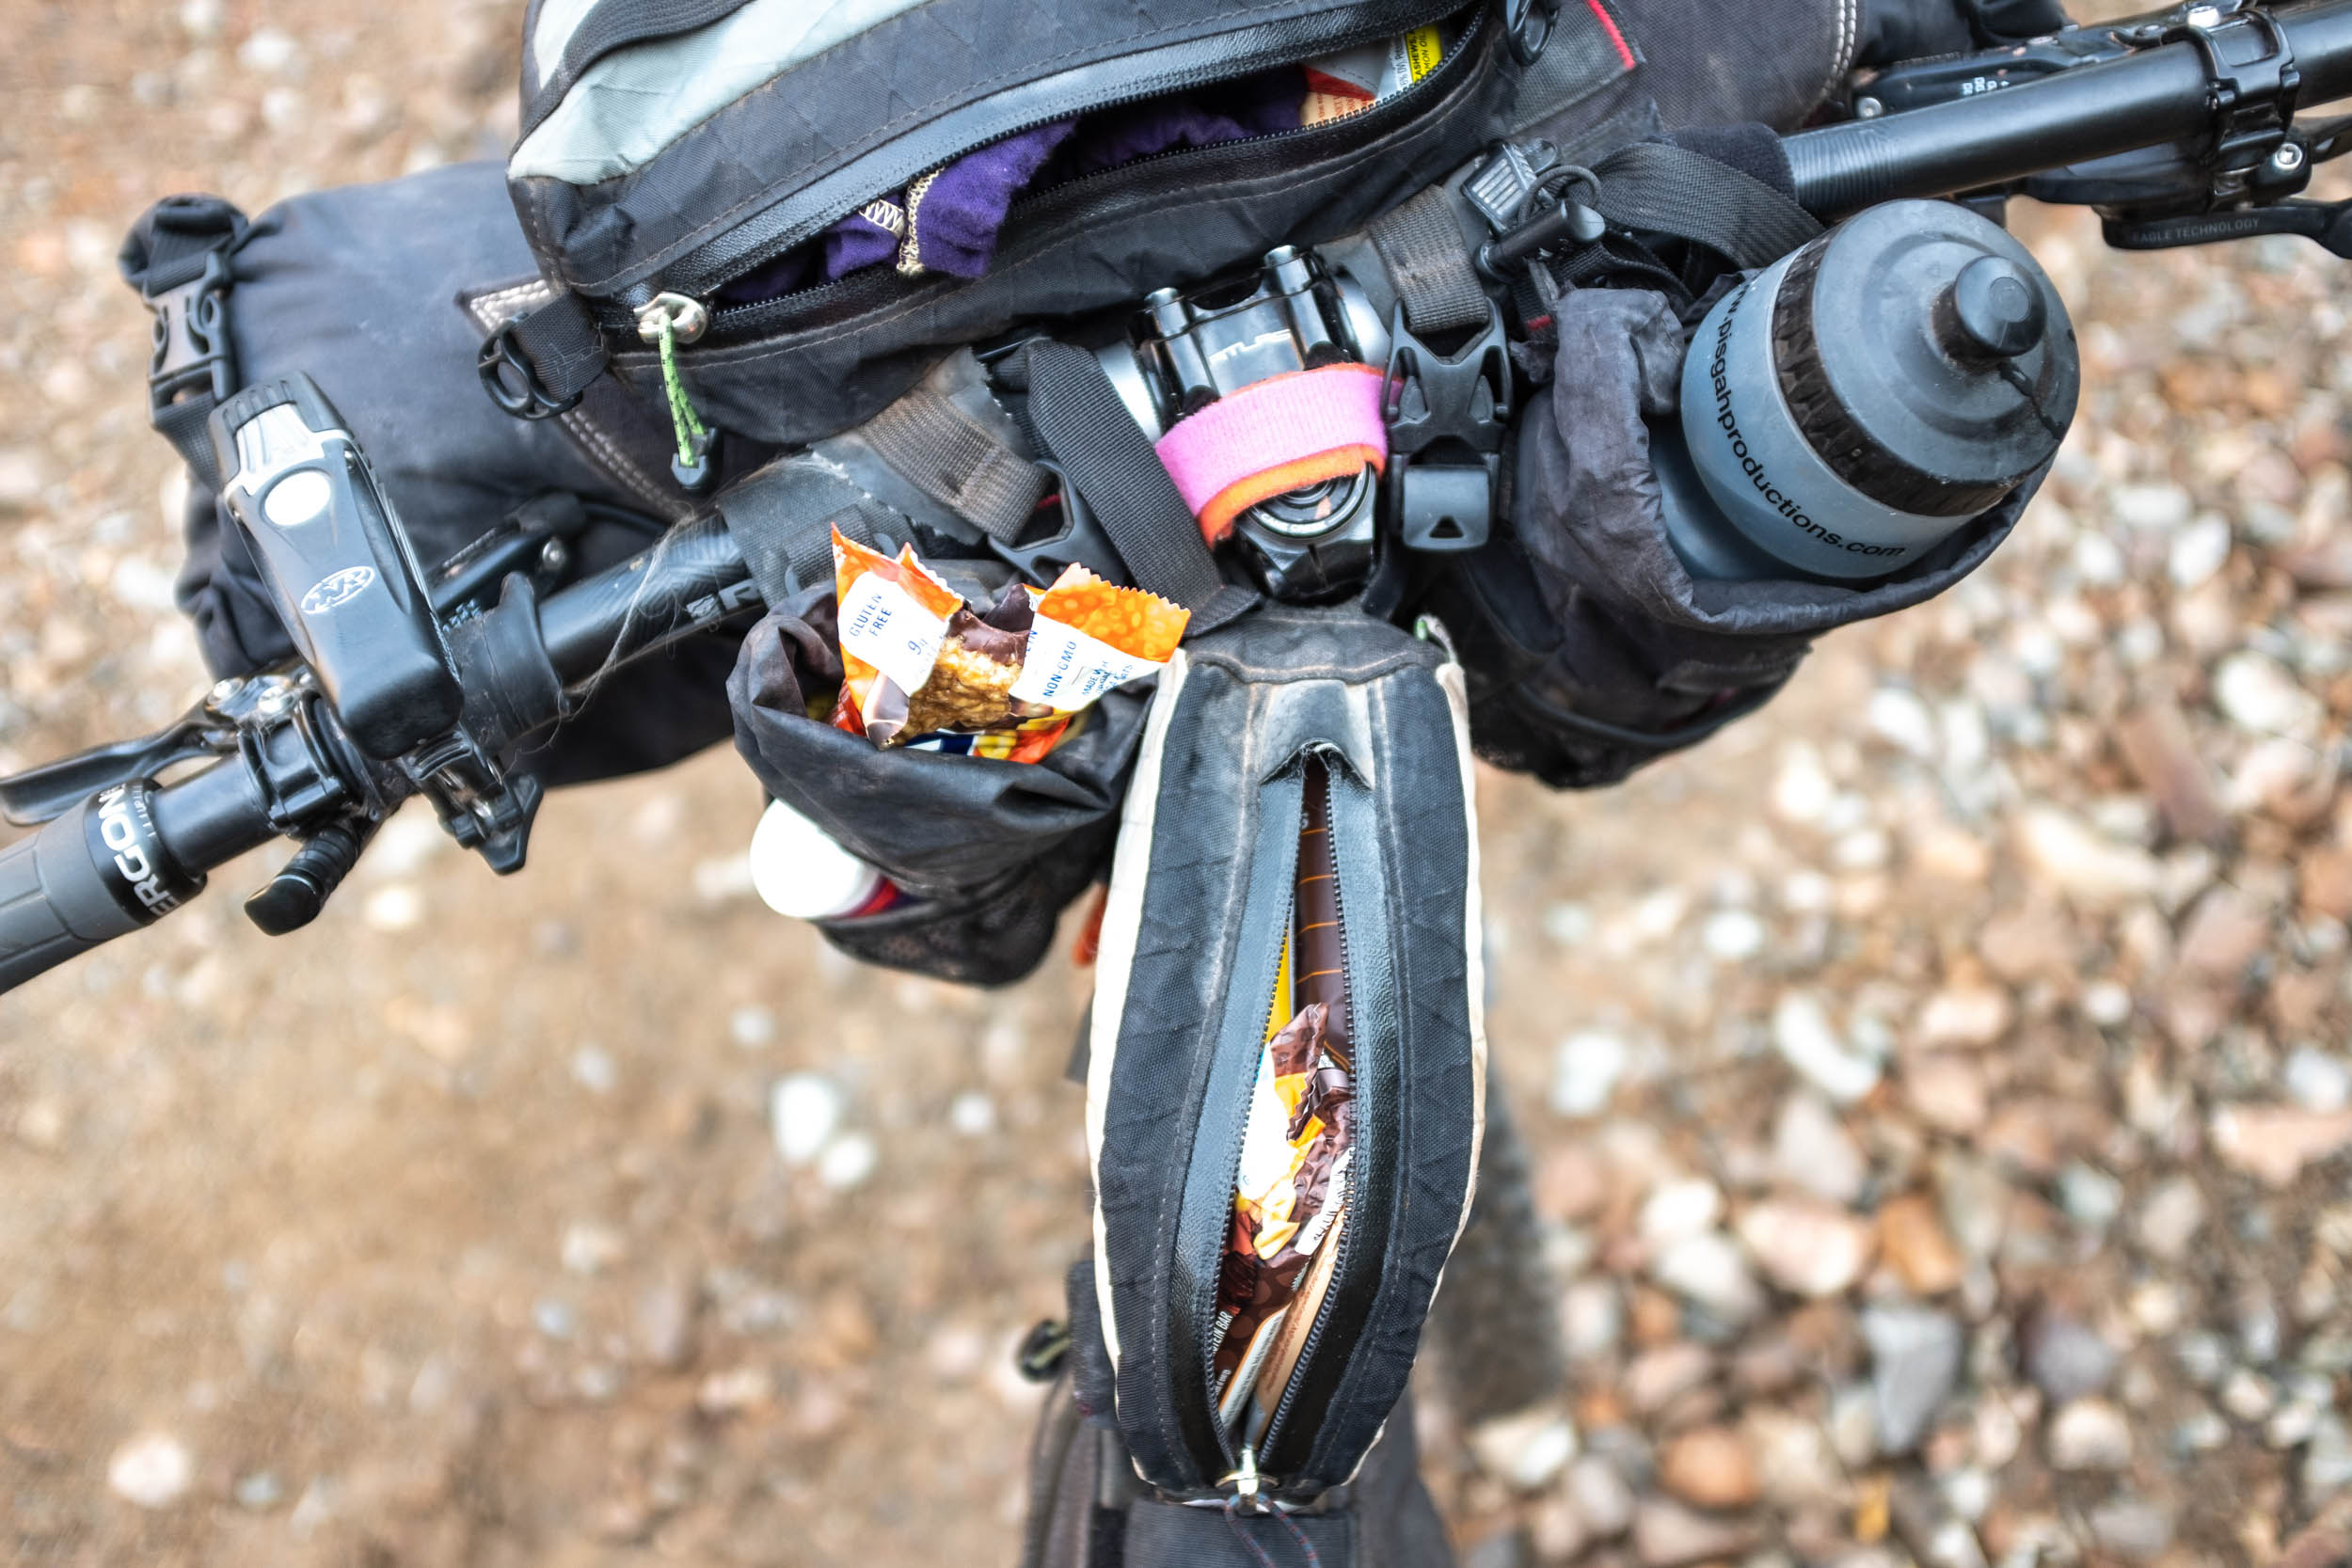
Plan Your Nutrition
Nutrition is a key variable in the success of your race. It’s important to have a nutrition system, test it, and stick to it. Nutrition strategies are wide ranging, from one extreme to the next. Some people stick to an almost 100% powdered/liquid nutrition that’s tailored to their physiology. Others pack only a couple of bars, stopping at gas stations to eat everything in sight, fueling for the next stretch between resupplies. But, more commonly, racers tend to ditch the “nutritional option” like Clif bars and gels, instead substituting things they actually enjoy eating. When you get tired, hot, or your stomach gets irritated, it can be difficult to stick to your calorie/hour plan. So, having craveable items on board will help you get through those moments.
Some of my favorite junk foods on the bike:
- Crunched up Doritos – You can fit an entire large bag (1100 calories) into a sandwich bag.
- Hot Pockets/frozen burritos – Place one in your jersey pocket and let it thaw out. I know it sounds disgusting, but don’t knock it until you try it.
- Paydays – This candy bar doesn’t melt in the heat and has gobs of protein.
- Mini doughnuts – Delicious and often found at convenience stores.
Just like with a training plan, there are personal coaches available for hire. If your budget doesn’t support this, you’ll at least need a plan. To develop a plan, it’s best to first get an estimate on how many calories you’re actually burning. Some heart rate monitors/applications estimate this for you. Power meters are also helpful; kJ is roughly equivalent to the amount of calories burned. It’s helpful to gain an understanding of how many calories your body typically burns per hour at a certain heart rate/power output – ideally the output you’ll be expending at your race pace.
Depending upon body type and a host of other factors, the average person burns 2,000 calories during a restful day. Depending upon the intensity and duration of time on the bike each day, it’s likely you’ll burn somewhere in the neighborhood of 7,000+ calories. It will be nearly impossible to eat 9,000+ calories, you’ll be depending upon fat stores. Personally, at 150 pounds, I can stomach just about 250 calories an hour. If I’m on the bike for 16 hours, that’s just 4000 calories. Eating pre/post sleep will help you get some of those additional calories. Ideally for me, around 1,500 calories for both meals. If I’m burning 9,000 calories a day, I’m still at a deficit of around 2,000 calories. Again, all of this is extremely specific to the individual, but I know from experience I can get away with those missing calories for the better part of a week.
To summarize: Get an idea of how many calories you burn an hour, figure out how much food you can stomach, test your calorie consumption on long rides, analyze the results, and make modifications if needed.
Know Your Pace
Are you attempting to beat the fastest known time (FKT) on a route, or are you out there to enjoy a grand depart with friends with no worry of time? Most bikepacking races are recorded with Trackleaders.com. The site stores all the data from each racer, including all of their time stamps. Utilizing this data is a great way to define a goal. If you’d like to finish top 20, use Trackleaders to see past year’s data on how fast riders finished. You can even research how long individual segments took them so you can set a manageable pace for yourself.
Having two plans for your race gives you options when you’re out in the field. Consider setting an audacious goal and a reasonable goal. Start by shooting for the moon and let your body inform you if I need to fall back to your more reasonable objective. It’s easy to find reasons to convince yourself to back down. Be familiar with what your body can handle and what will have long-term negative impacts. Be sure you’re familiar with Type II fun, the kind that is only fun when looking back.
Remember that not sleeping doesn’t necessarily translate to being fast. Yes, the front of the pack is not sleeping much. For instance, folks are now winning the Trans North Georgia by not sleeping at all. Kurt Refsneider went without sleep for 56 hours for this year’s win, but even he admits that probably wasn’t the fastest way down the course. There’s a balance between sleeping more than you need and absolutely wrecking yourself and your race without enough rest. First-timers usually find they can sleep less than they originally thought. A good strategy is to test the amount of sleep you need in order to be productive. Use that information to decide how many moving hours you should aim for. Some of the faster riders will choose a 16- or 18-hour moving time strategy, accounting for four or six hours of sleep time, respectively. Notice how this leaves some spare hours for transition and resupply time.
Set Goals
Have an optimistic goal, but more importantly make your primary goal to finish, especially when it’s your first time on the course. There are countless factors that can keep you from your optimistic “fast” goal, whether they be weather, mechanicals, or something completely random. A classic occurrence is for racers to “scratch” once they realize they’re not going to make their predetermined goal. Think of how much time and money you invested to even start the race. The most important part is finishing the course. This way, you’ve experienced the whole course, understand what kind of effort it takes, and can come back the next year better informed.
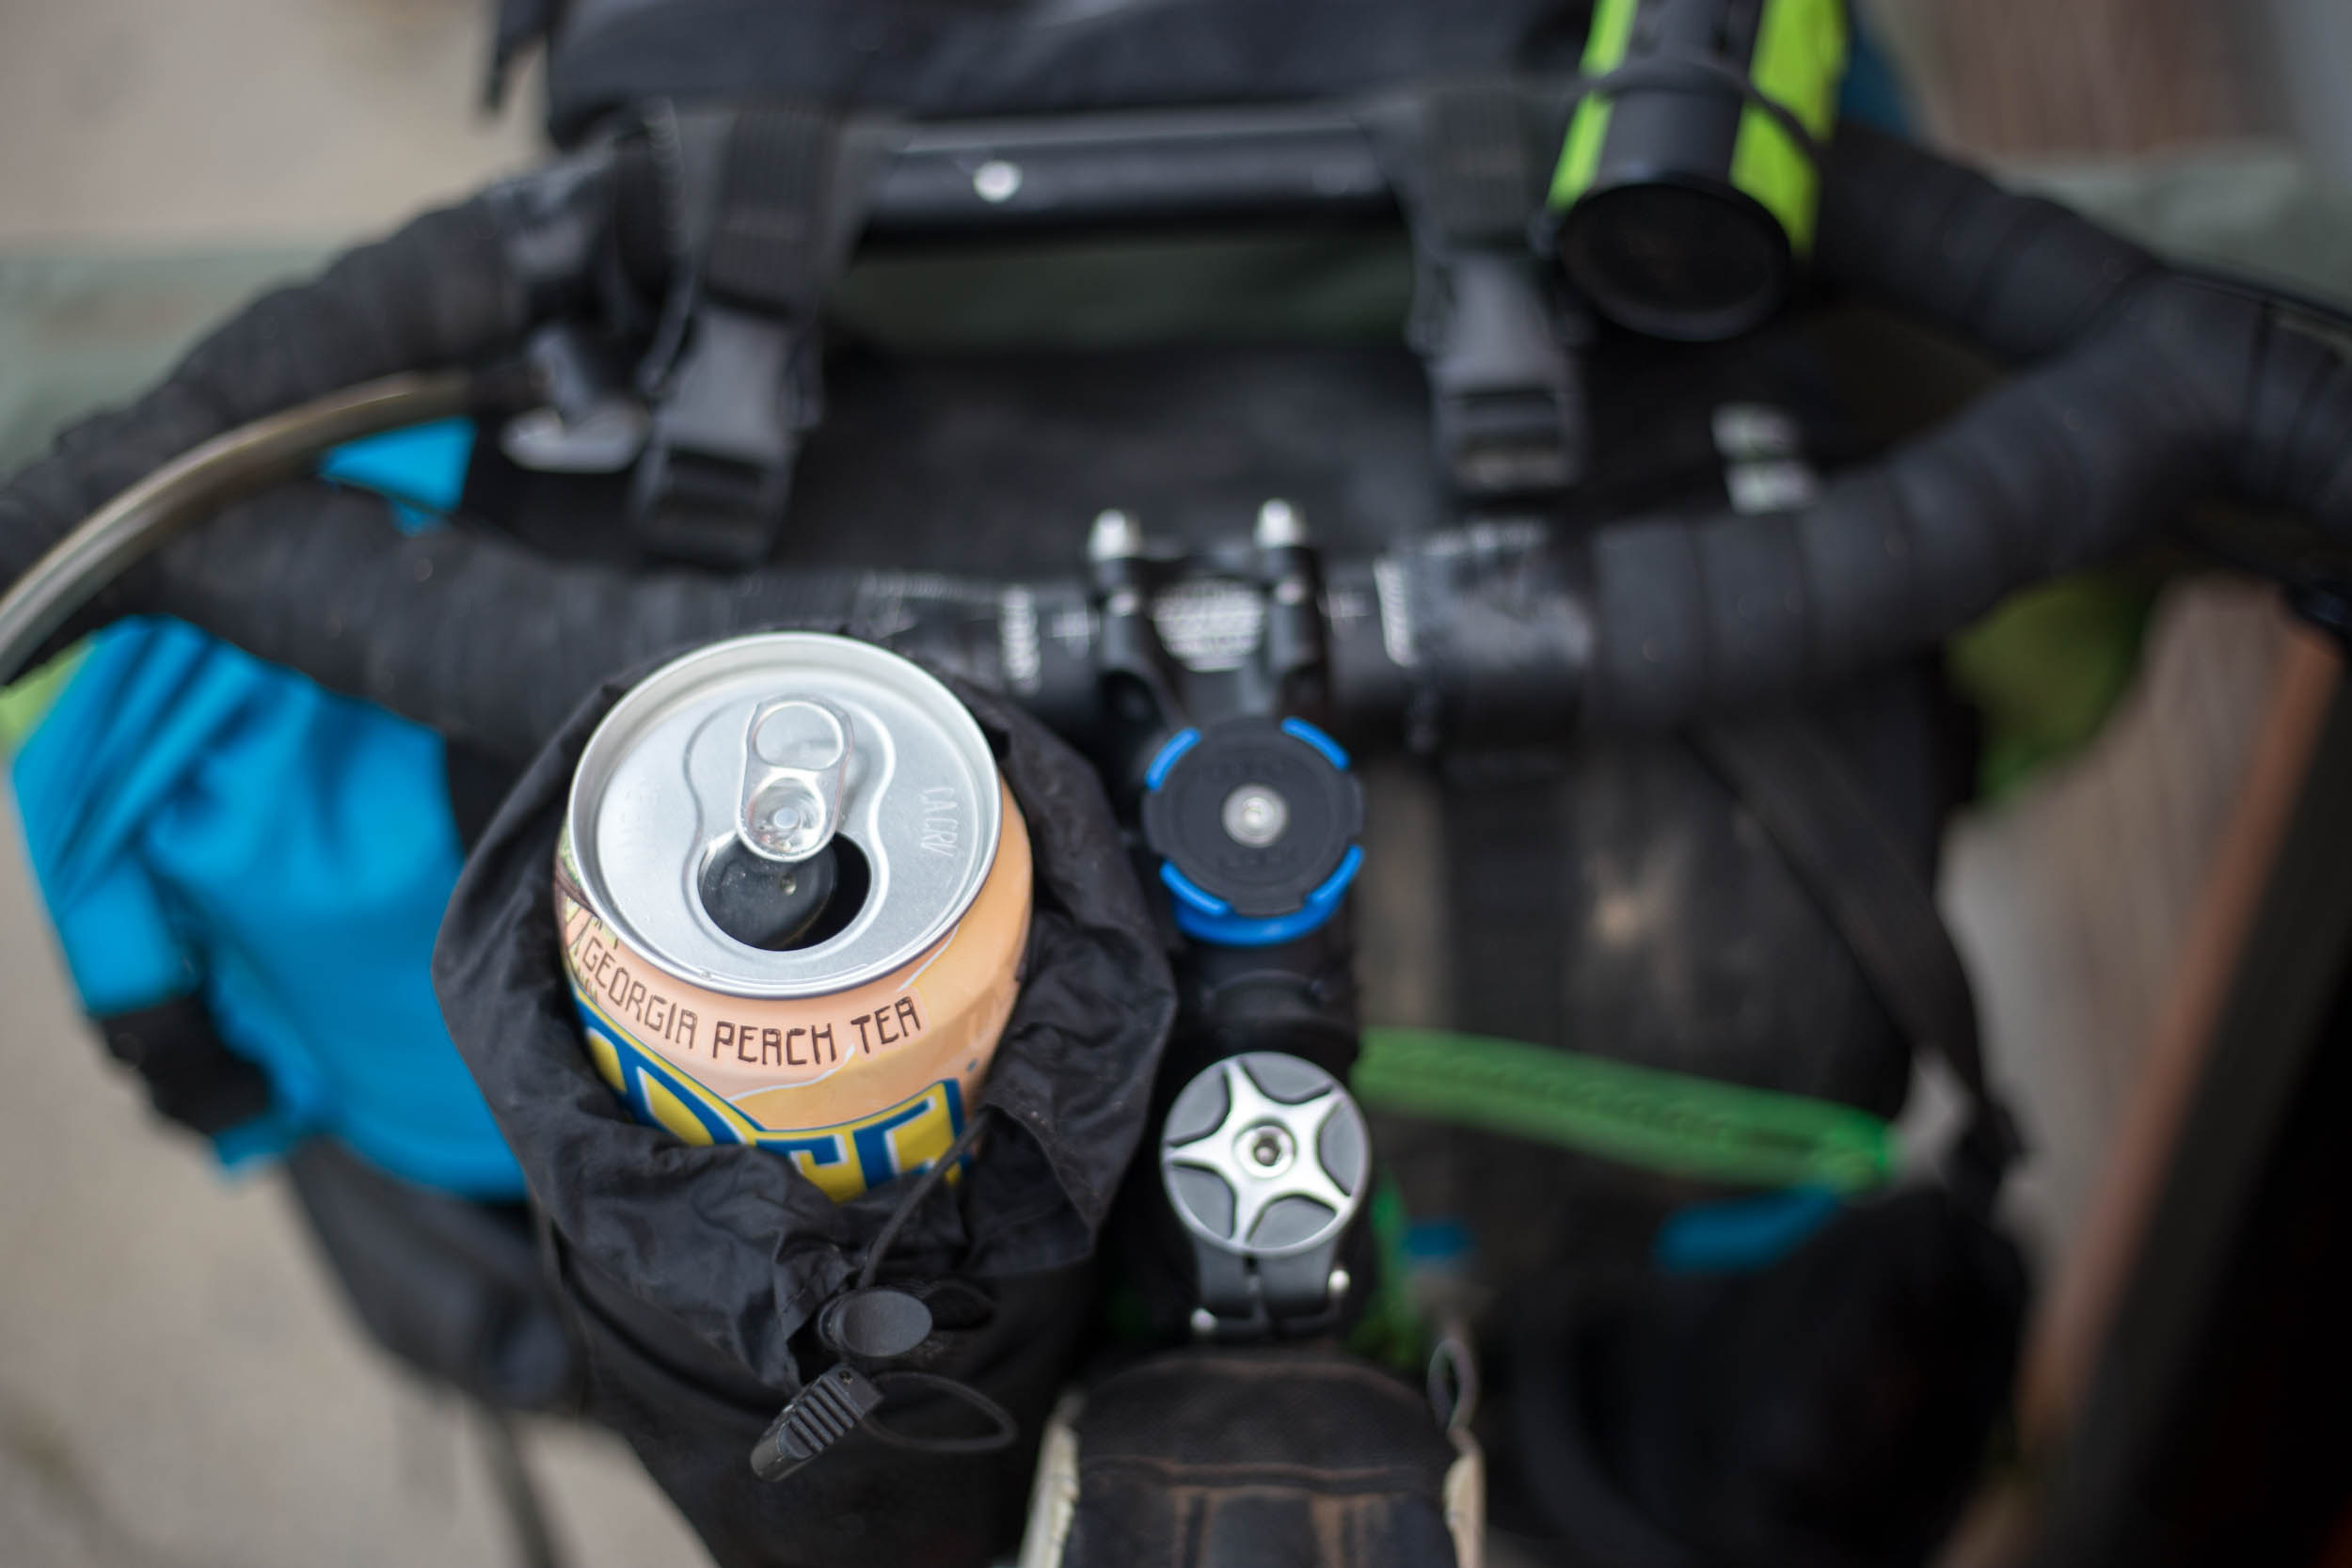
Find Carrots
Create carrots within the course that you’re excited to see or experience. Whether that be the highest elevation of the course, a famed milepost of the route, or even a burger joint along the course. This will help you keep moving! While many racers shovel loads of caffeine pills into their stomach or chew nicotine gum to keep themselves awake, I find audio programs to be a fantastic stimulant, whether it’s an upbeat playlist or a good podcast. My secret weapon is the motivational speeches playlist on Spotify. You’re welcome.

Ride Forward
The key to above average finishing times is not about how fast you ride, it’s really about relentless forward progression. It’s about minimizing time off the bike, particularly between bivvies. Be comfortable eating on the bike, learn how to recover while riding, how to stretch on the move. When you must stop, make the most of it. If you’re stopping to filter water, for instance, make sure to eat, adjust equipment, apply chamois cream, and lube and clean your drivetrain. The same goes for hiking: learn to be fluid in your transitions from dismounts to hiking. Not only does it save time, but it’s more energy efficient.
I’ll end this guide on my soapbox: Typically, the glory goes to those out front of the pack. Those who win the race and set records. If you’re reading this, there’s a good chance that’s not going to be you. But I believe glory and admiration are unfairly placed. They should go to the men and women at the back of the pack who are also pouring their hearts and souls into the race. The folks who have spent the entire year packing and repacking their kits, training, and may never get a chance to get away from their lives for another experience like this again. They’re the folks who spend days, sometimes weeks, longer than the winners out on the course, extending the unavoidable suffering that comes along with ultra racing. Don’t let not being at the front of the pack prevent you from enjoying all the amazing and challenging experiences that await you during your first ultra.
Additional/Related Resources:
Here are a few other resources, on our site and elsewhere, related to training and preparation for an ultra-endurance bikepacking race.
We’ll make sure to update this guide in the future, so if you have any personal insight, make sure to leave a comment below…
Please keep the conversation civil, constructive, and inclusive, or your comment will be removed.