


Bikepacker’s Guide to Bike Frame Protection


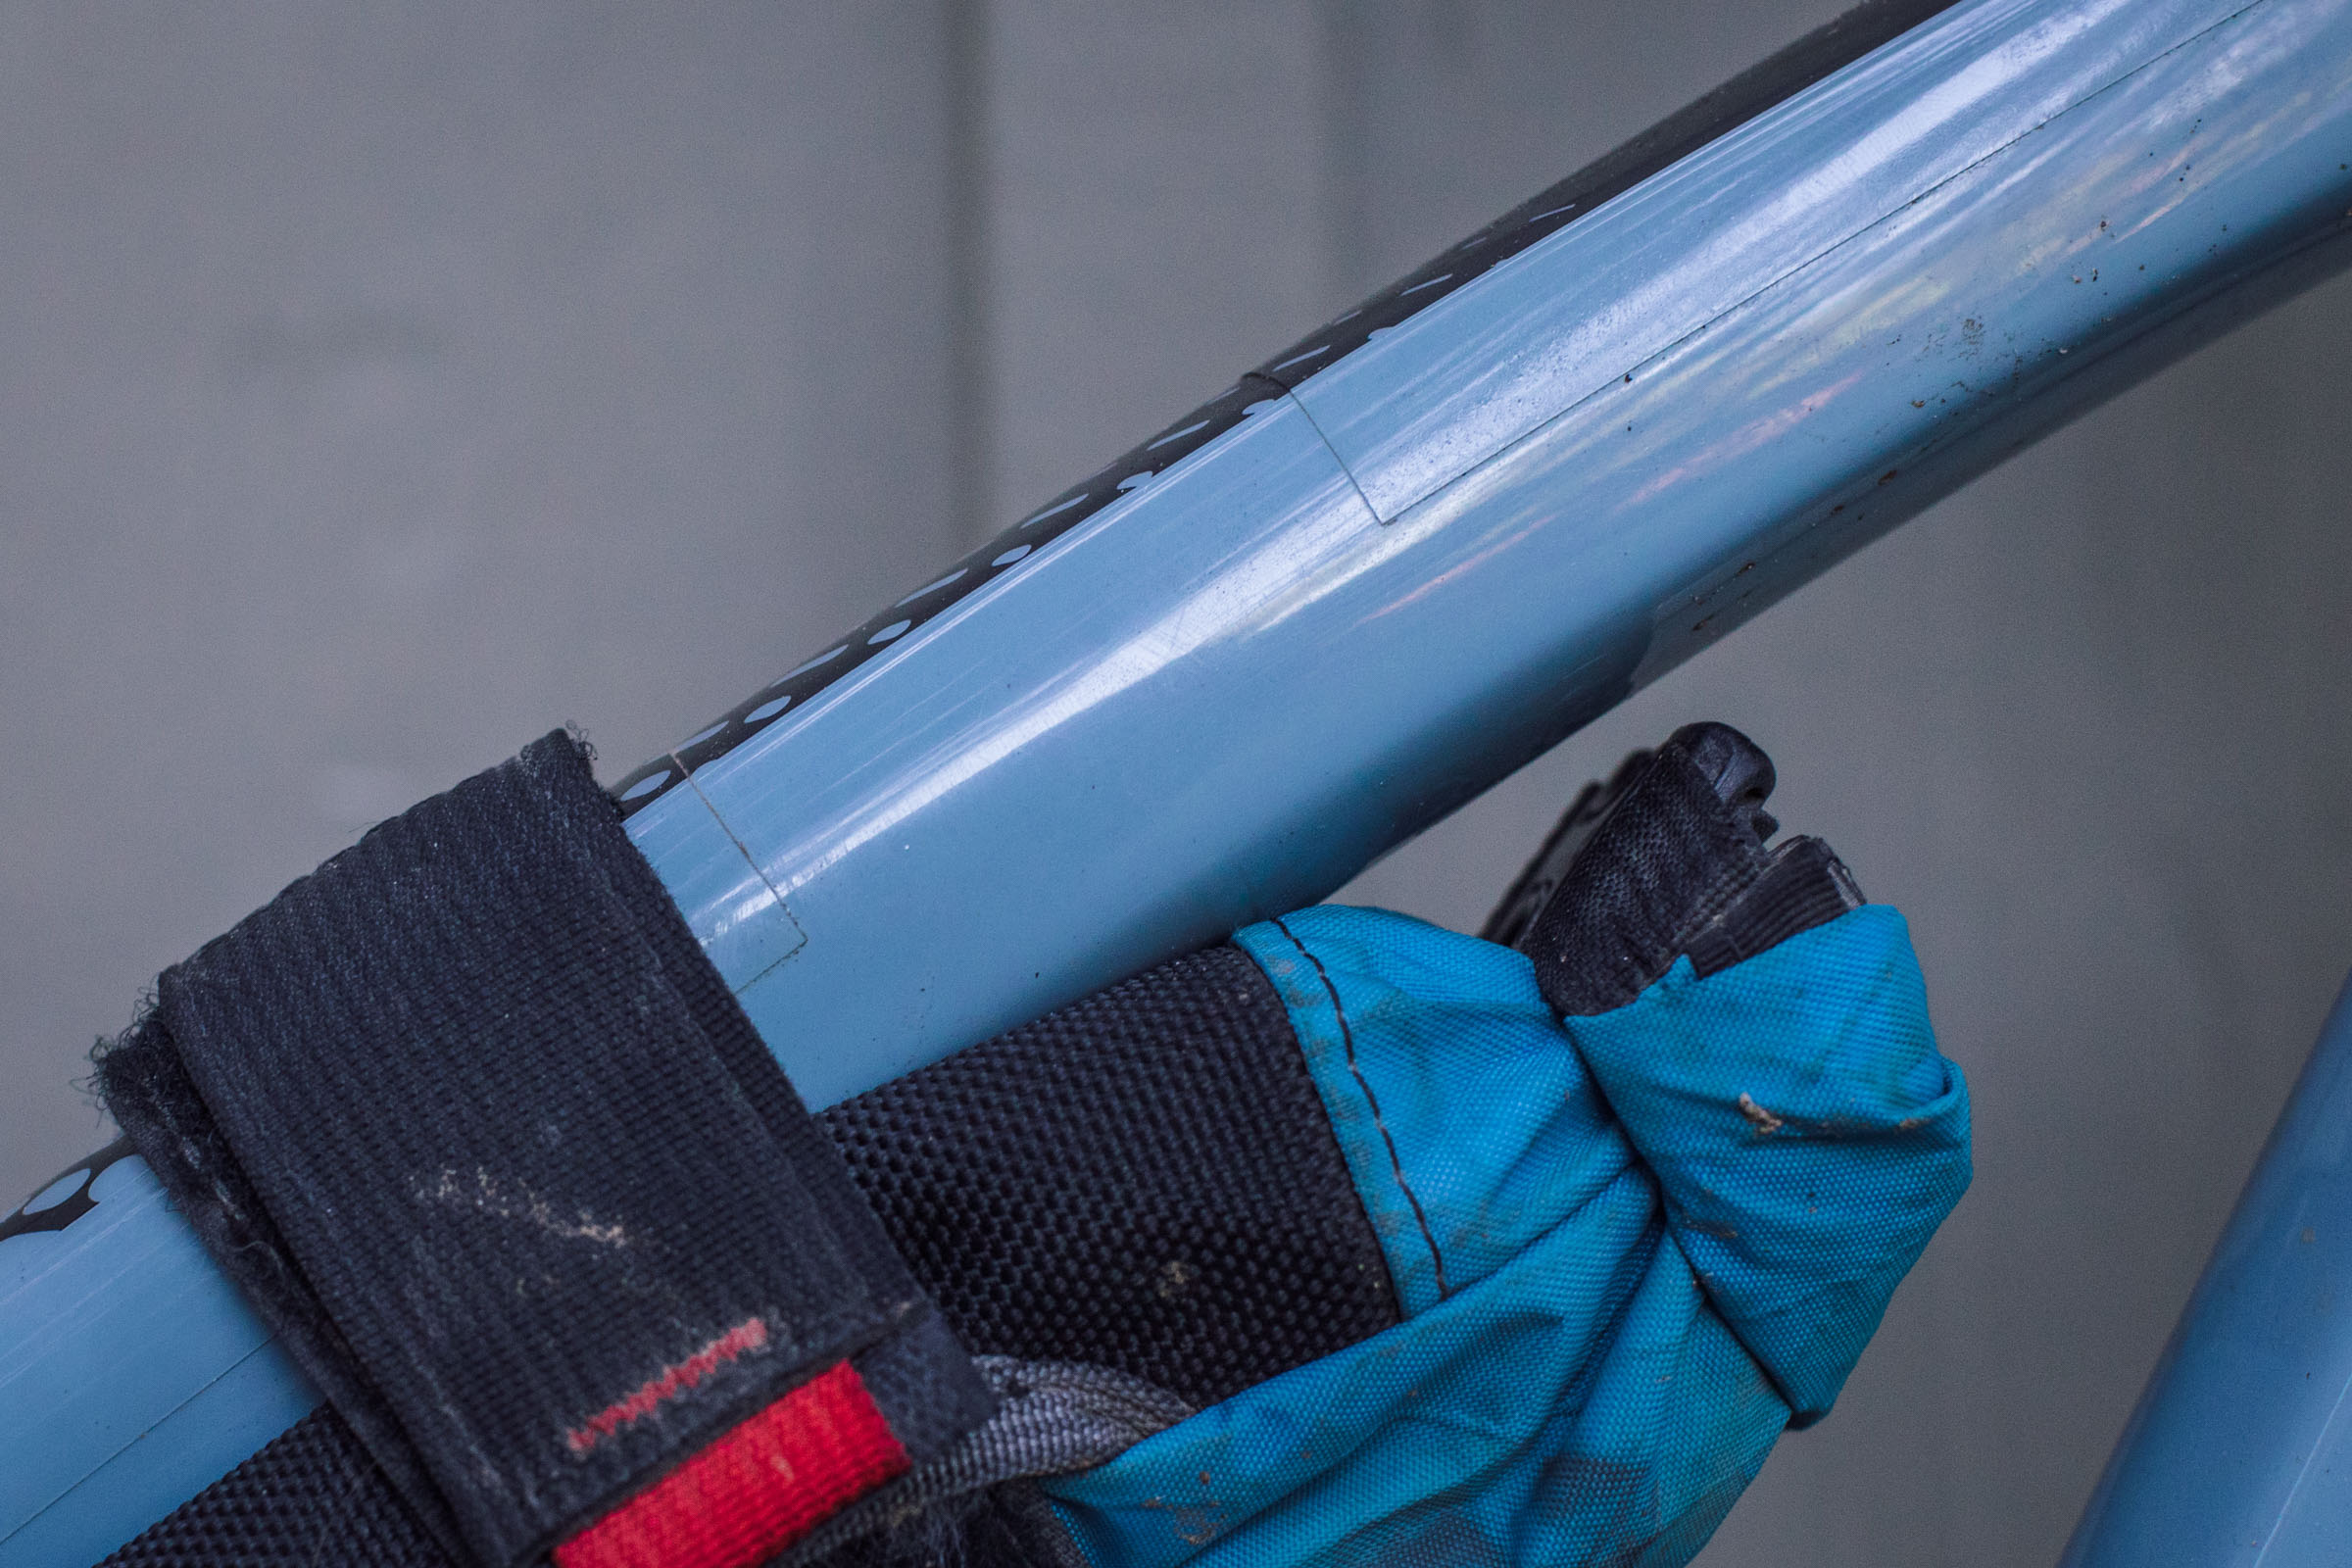
One downside to using bikepacking bags is that they can rub against and eventually damage your bike. It’s easy to ignore this fact and simply take off with bags strapped directly to your frame, bars, and seatpost, but if you want your bike to last, it’s best to take precautions. There are some simple steps you can take to protect carbon, aluminum, and paint finishes. Find a detailed video here, plus several tips we’ve compiled over the years…
PUBLISHED Jul 8, 2020
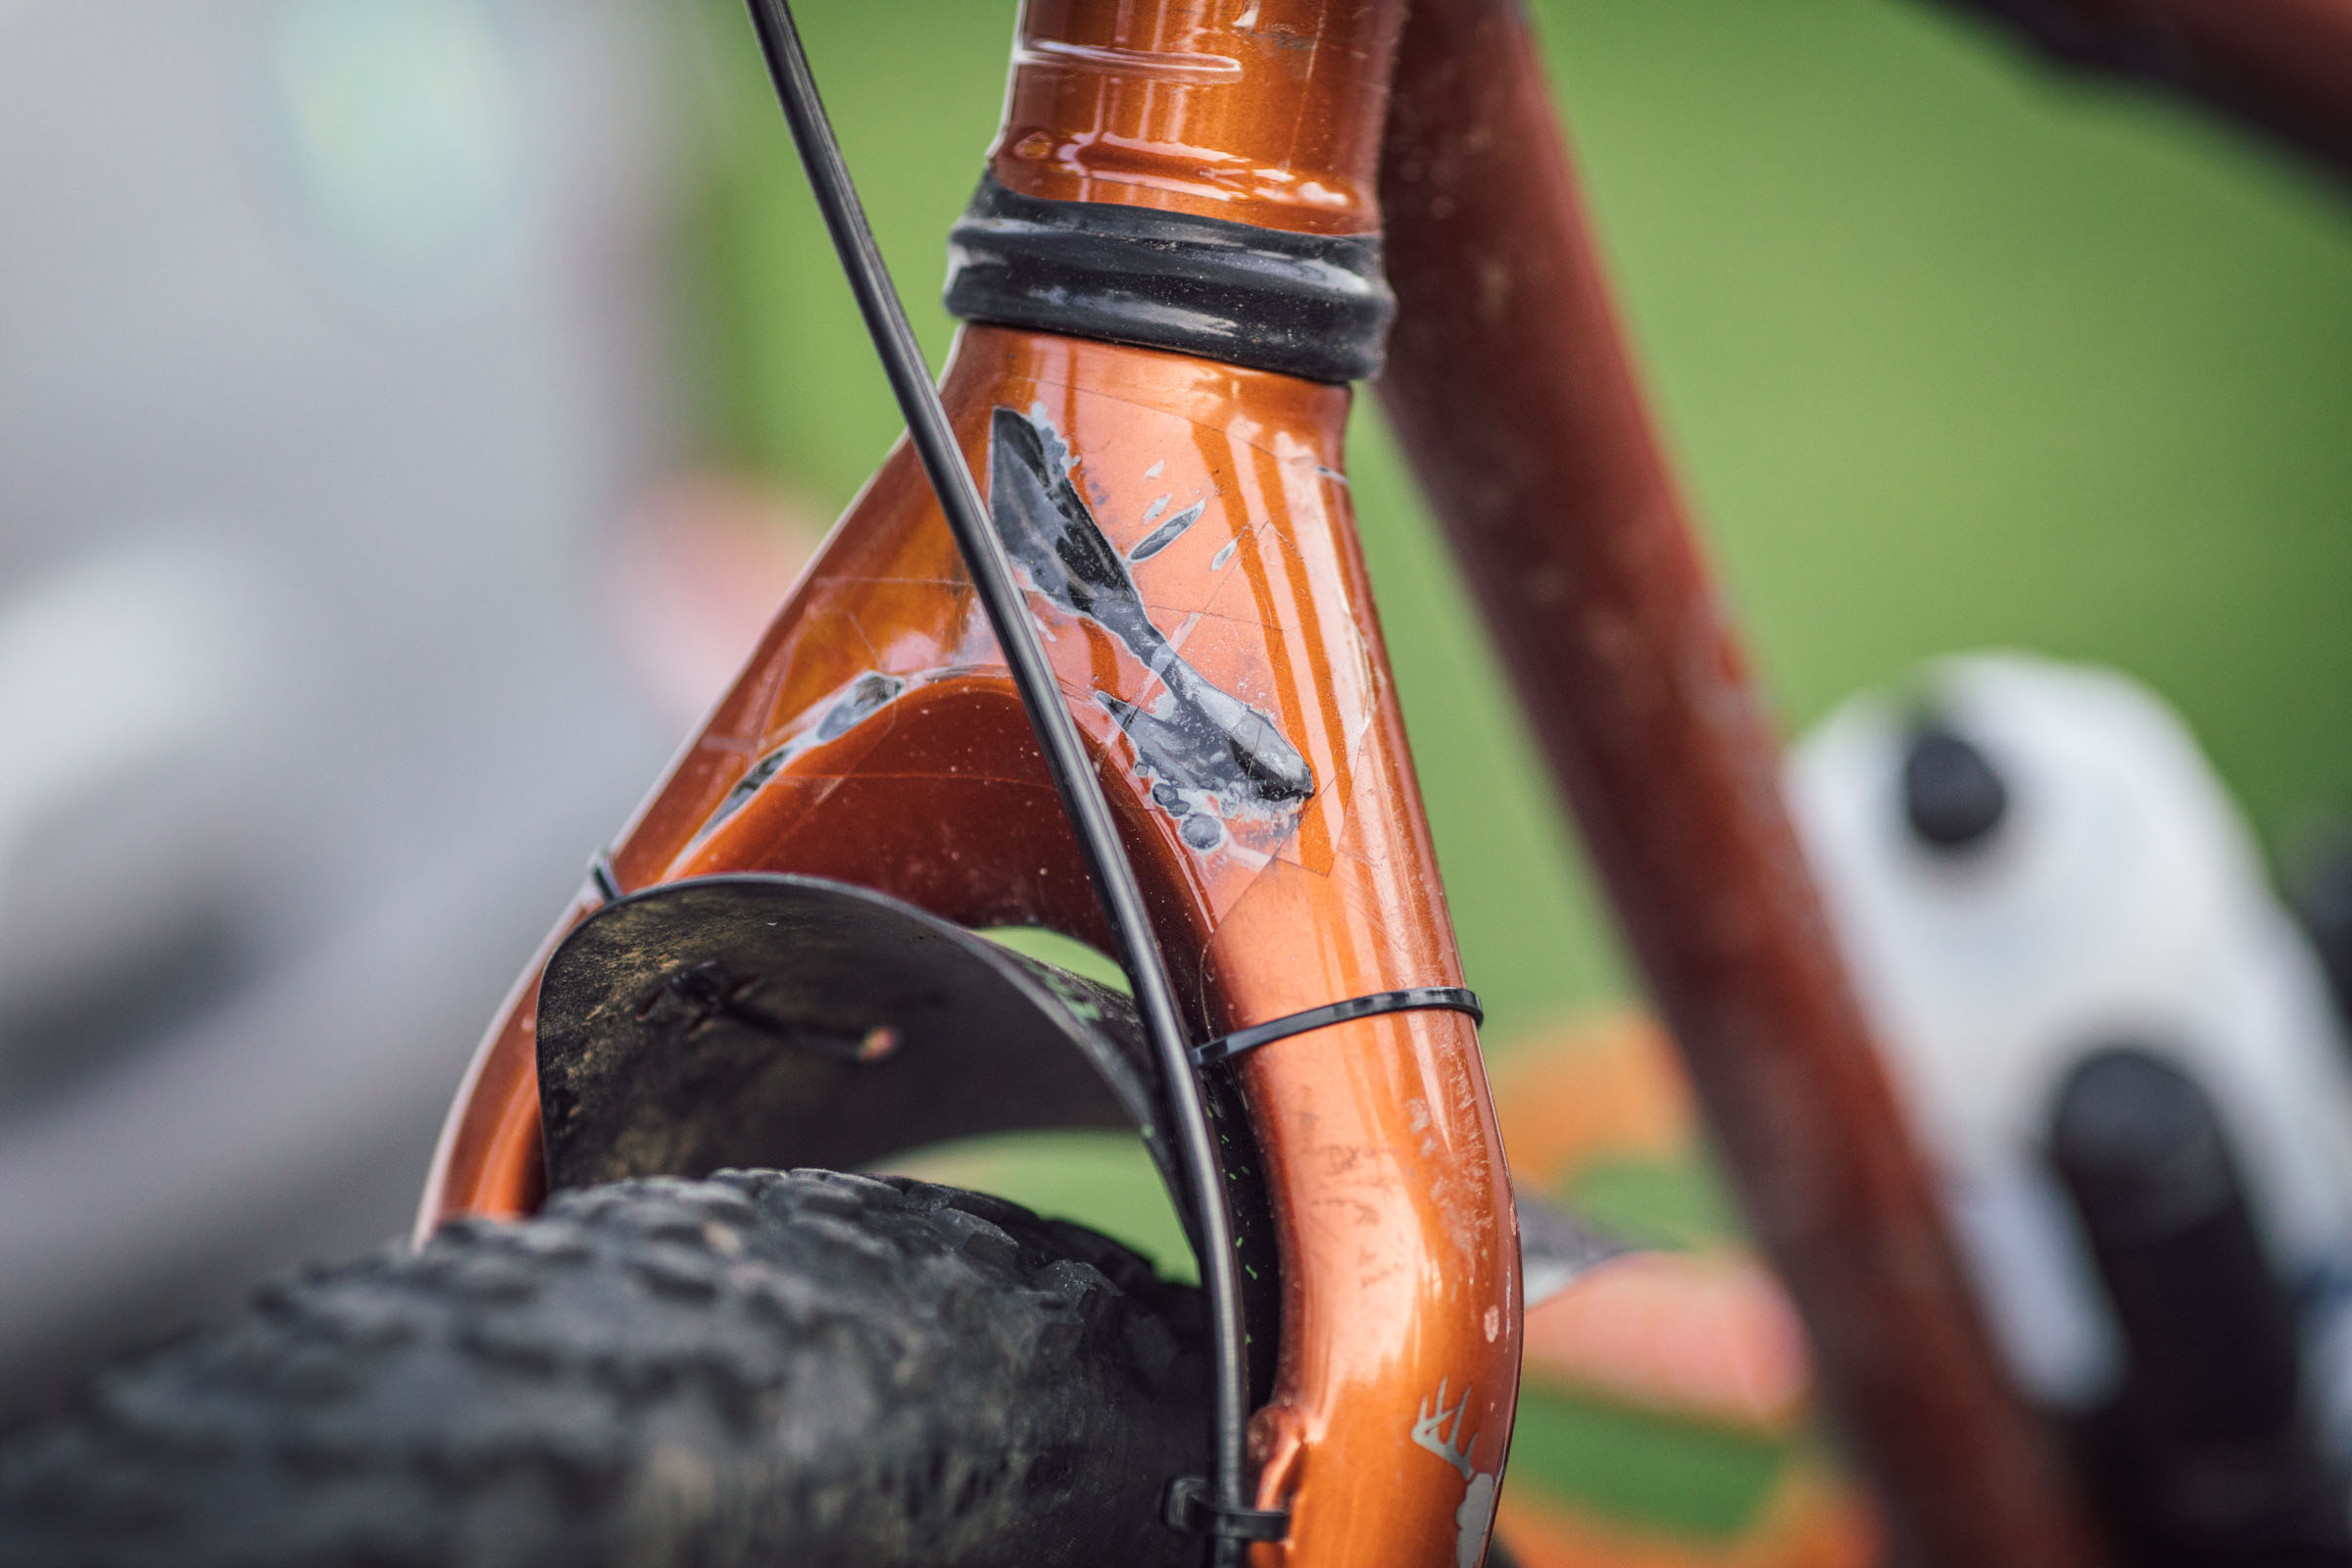
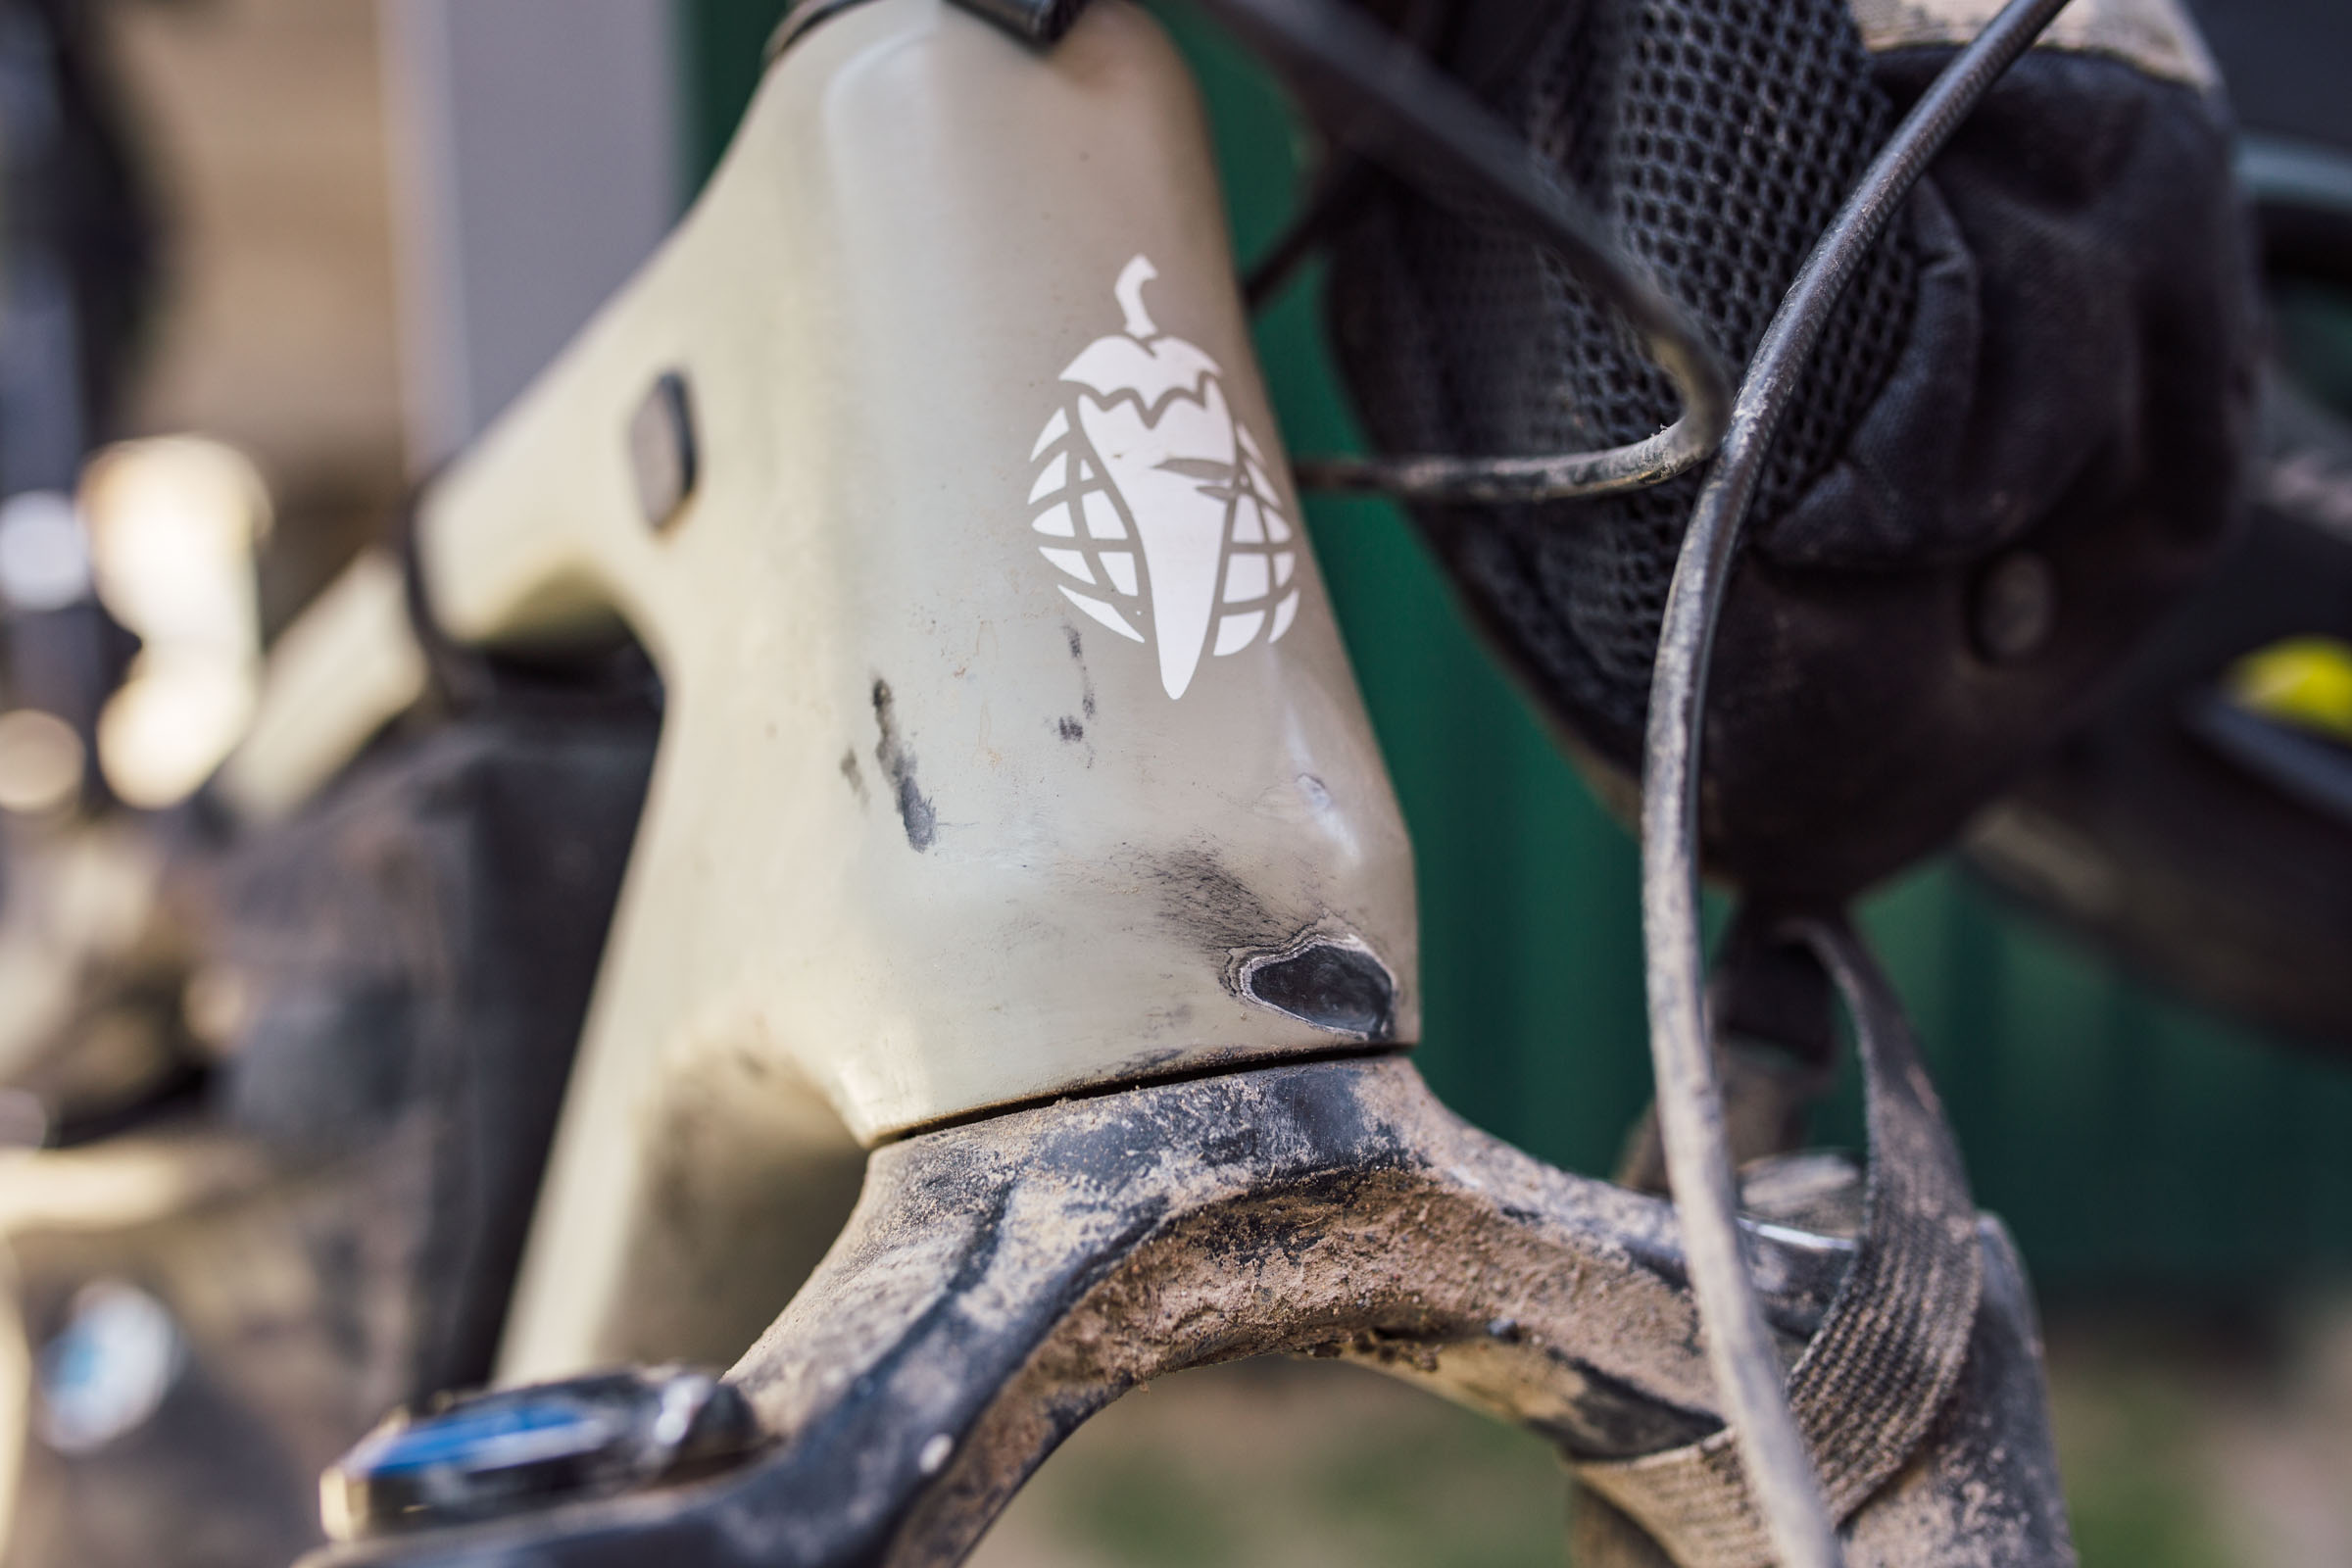
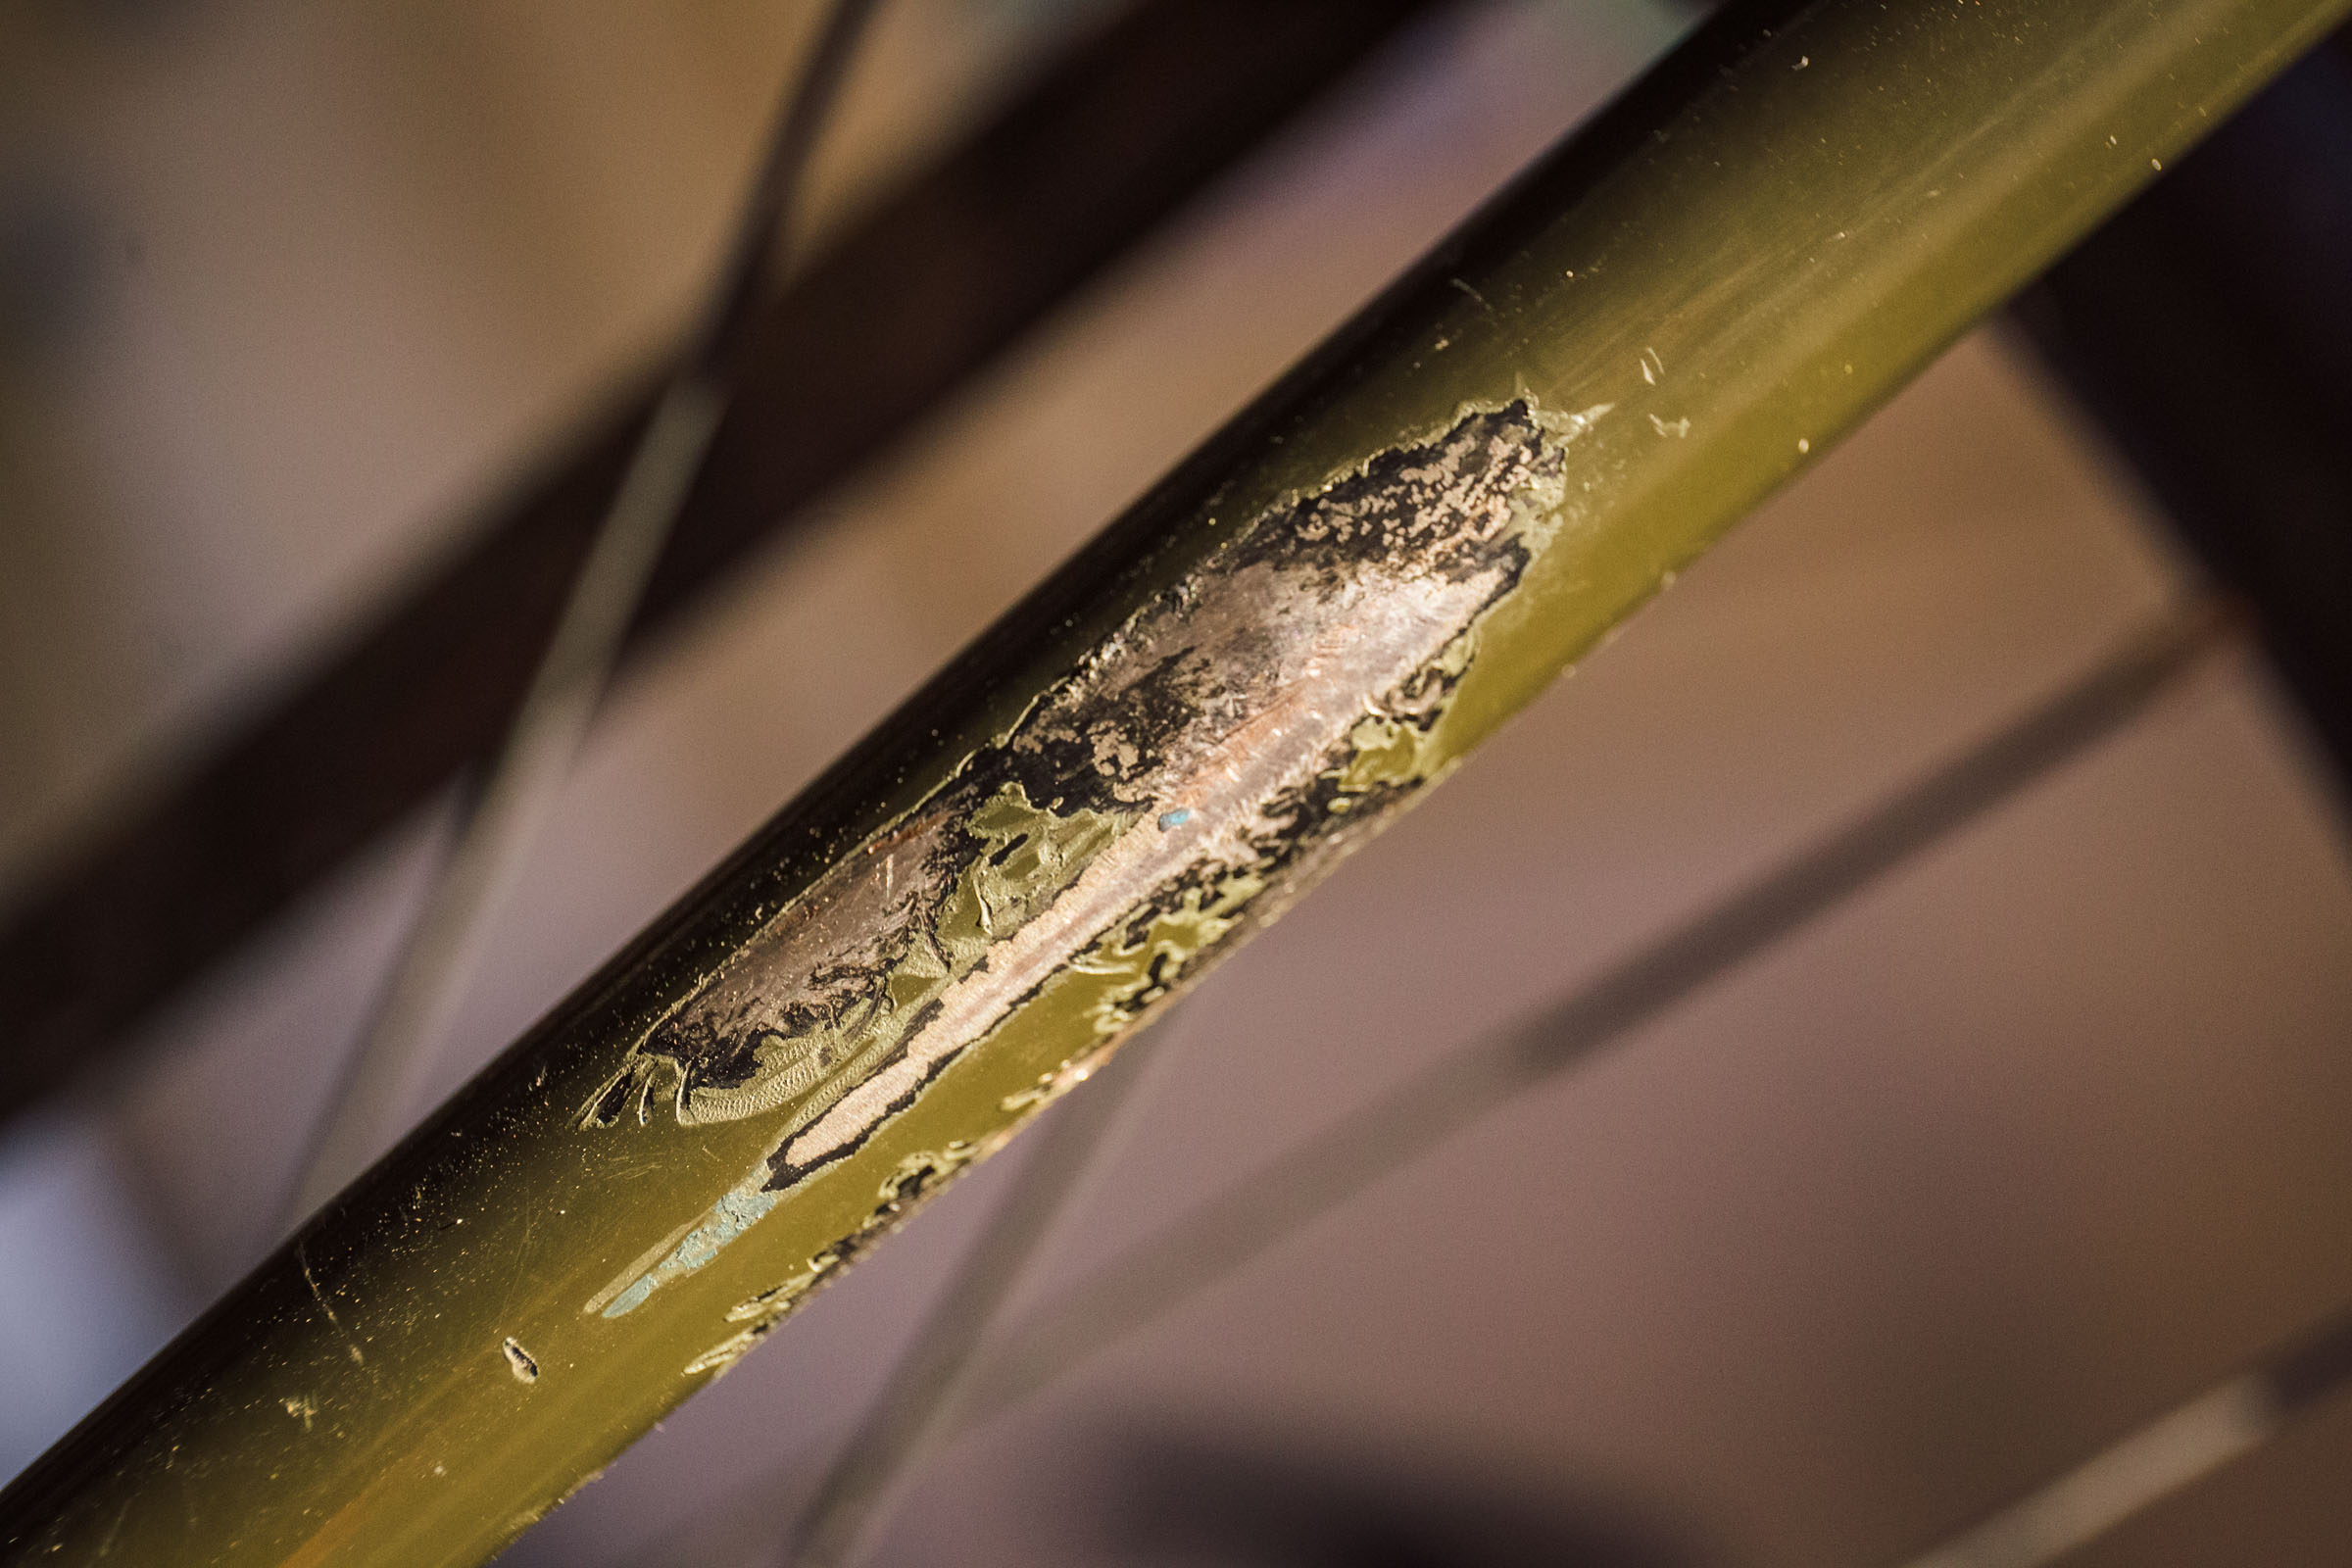
It’s pretty amazing how much damage a bike can accrue during a bikepacking trip, even if that’s just a short overnight outing. Bag straps and bags themselves have abrasive qualities that can wear away paint and finishes, and even saw through carbon frames and components. In one extreme case, we witnessed a 3mm deep gouge worn into a carbon head tube over the course of a four-day trip.
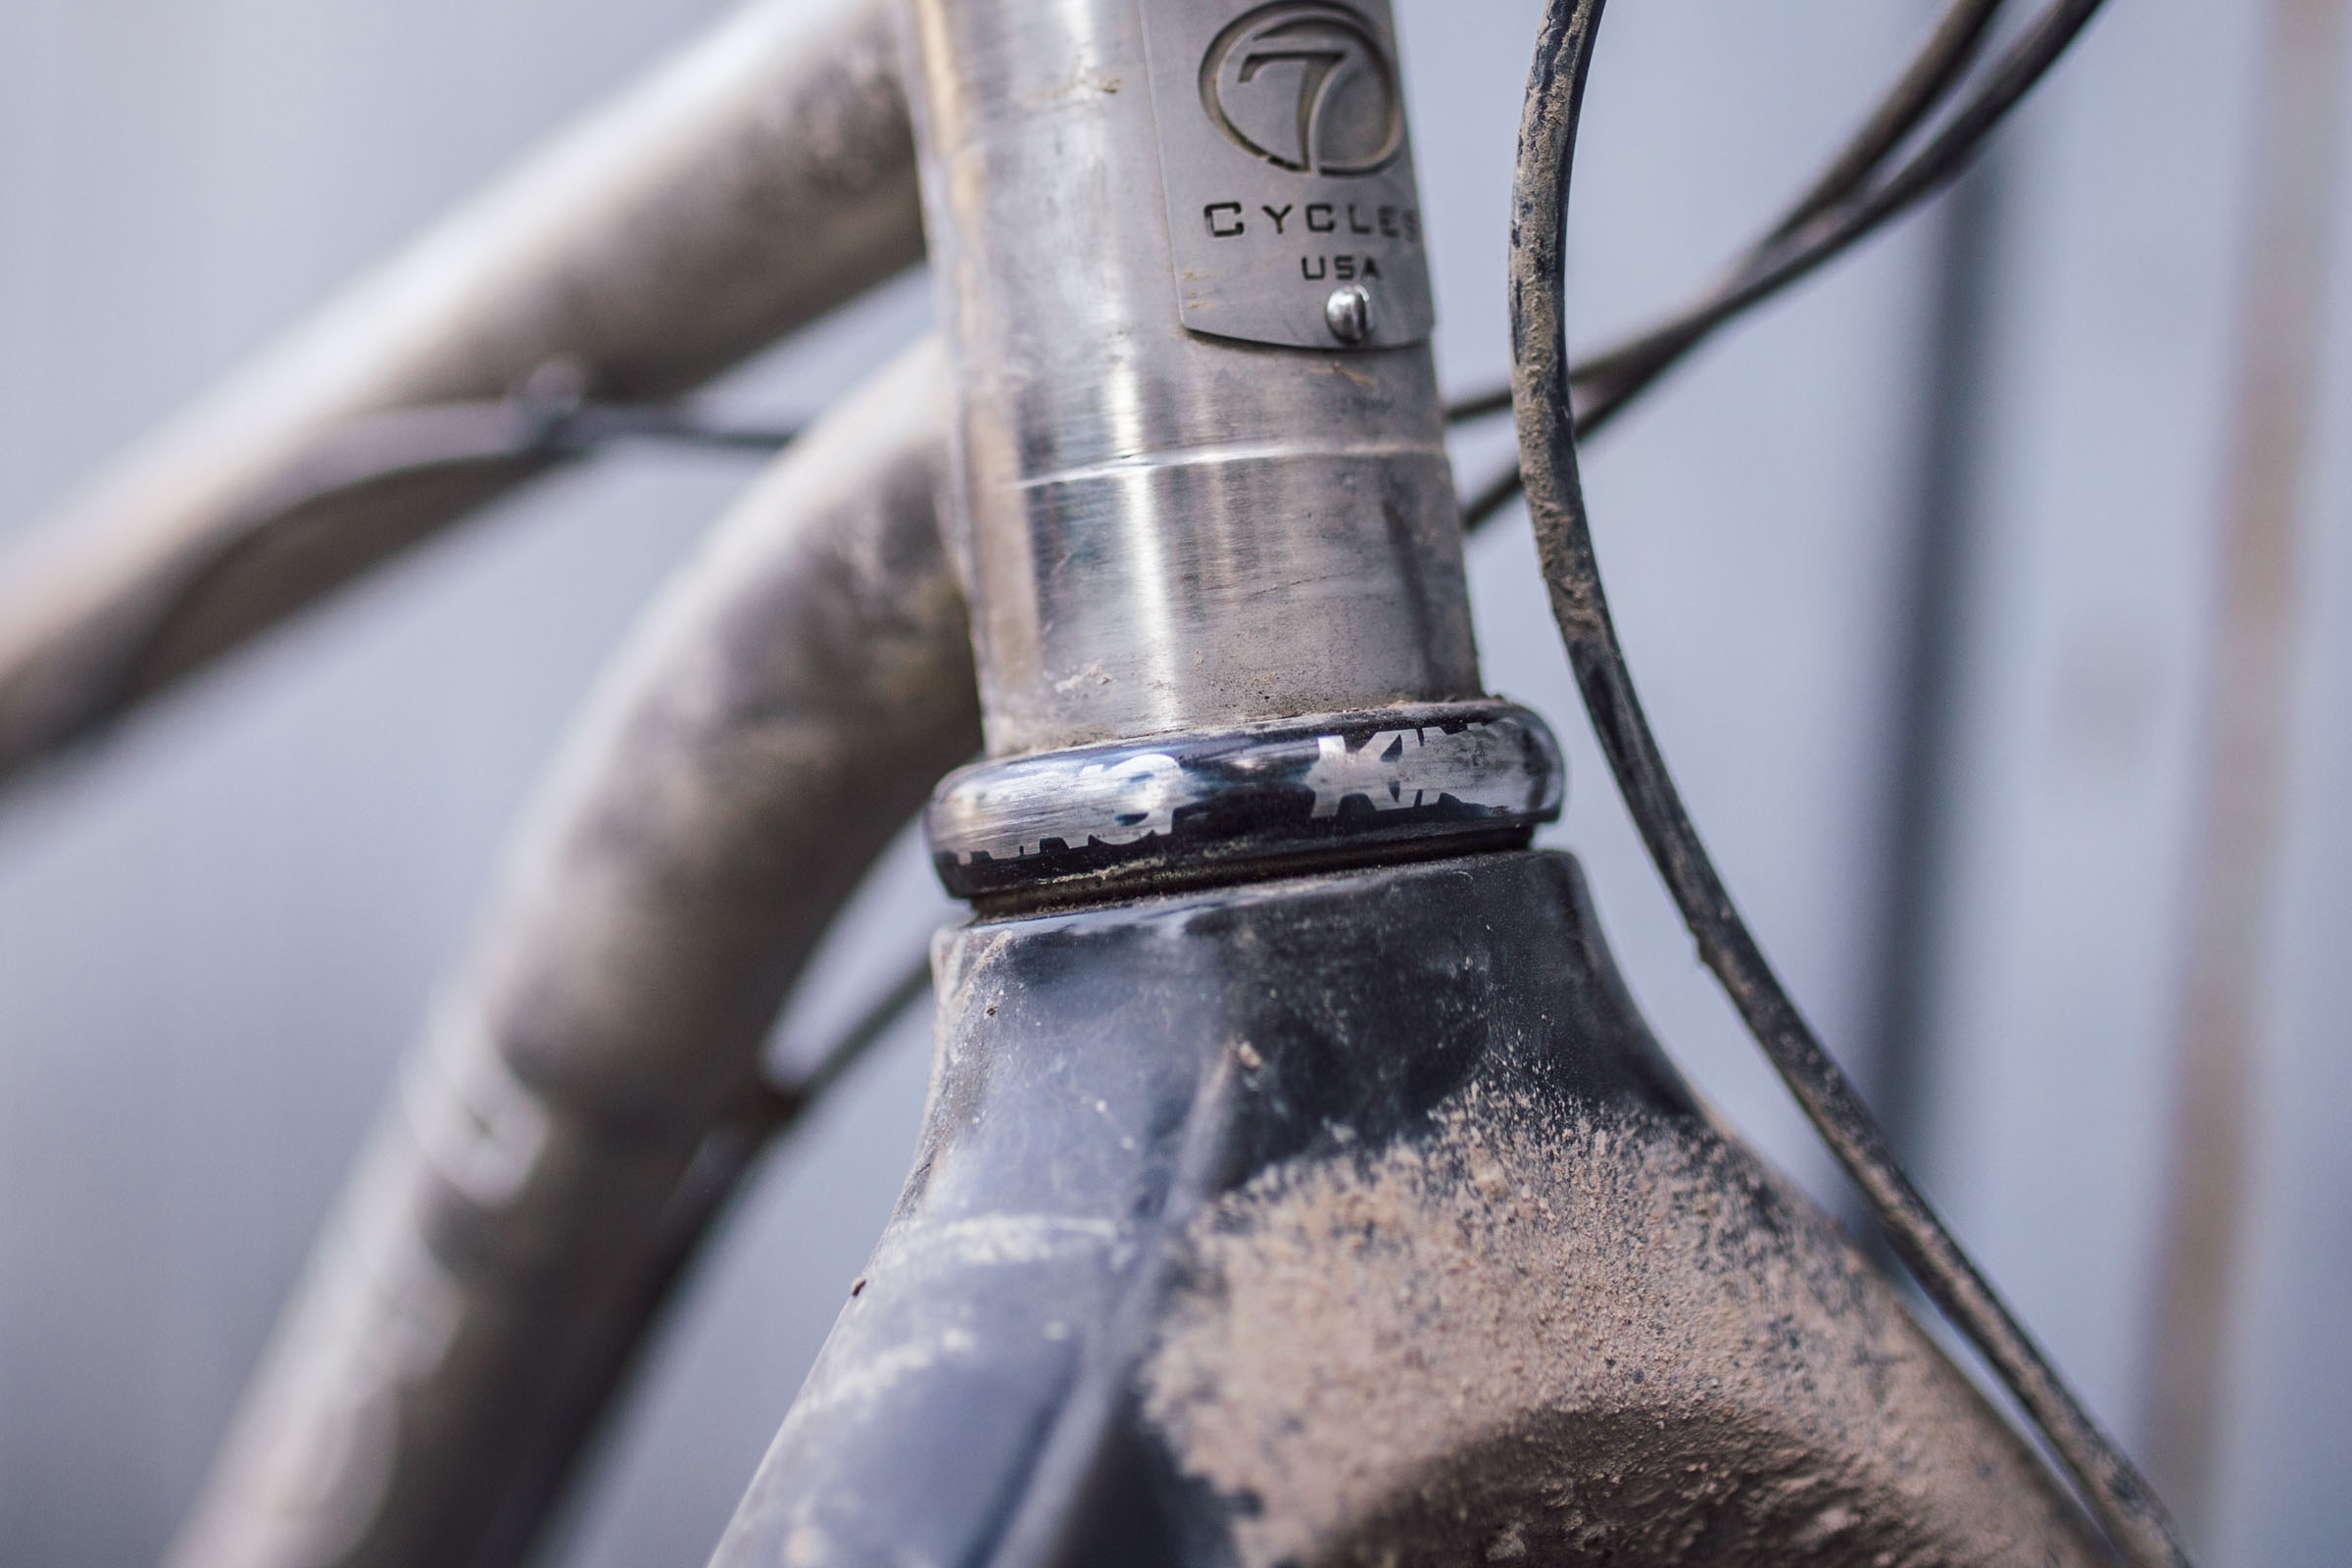
But carbon isn’t the only frame material that’s subject to abrasion. We’ve also seen significant destruction occur on steel tubing, alloy handlebars, aluminum headset cups, and seatposts, among other components. There is also wear that happens over time when cables rub against the frame, not to mention damage that can take place when a bike is being transported by public transportation, van, or on a bus roof rack. Fortunately, there are some precautions you can take to prevent such wear and tear. In the video below, Neil takes a close look at several tape options that are currently on the market, and tests each one thoroughly. Watch it below and then scroll down for more information, as well as some useful tips and tricks we’ve learned over the years.
Frame Protection Tapes
Here are a few links to the products we used in the video. Note that a couple of the bike-specific frame protection tapes can be bought from your local bike shop, and we recommend supporting them. However, if you are planning to buy online, you can use the affiliate links below and we get a very small kick back to help support our channel.
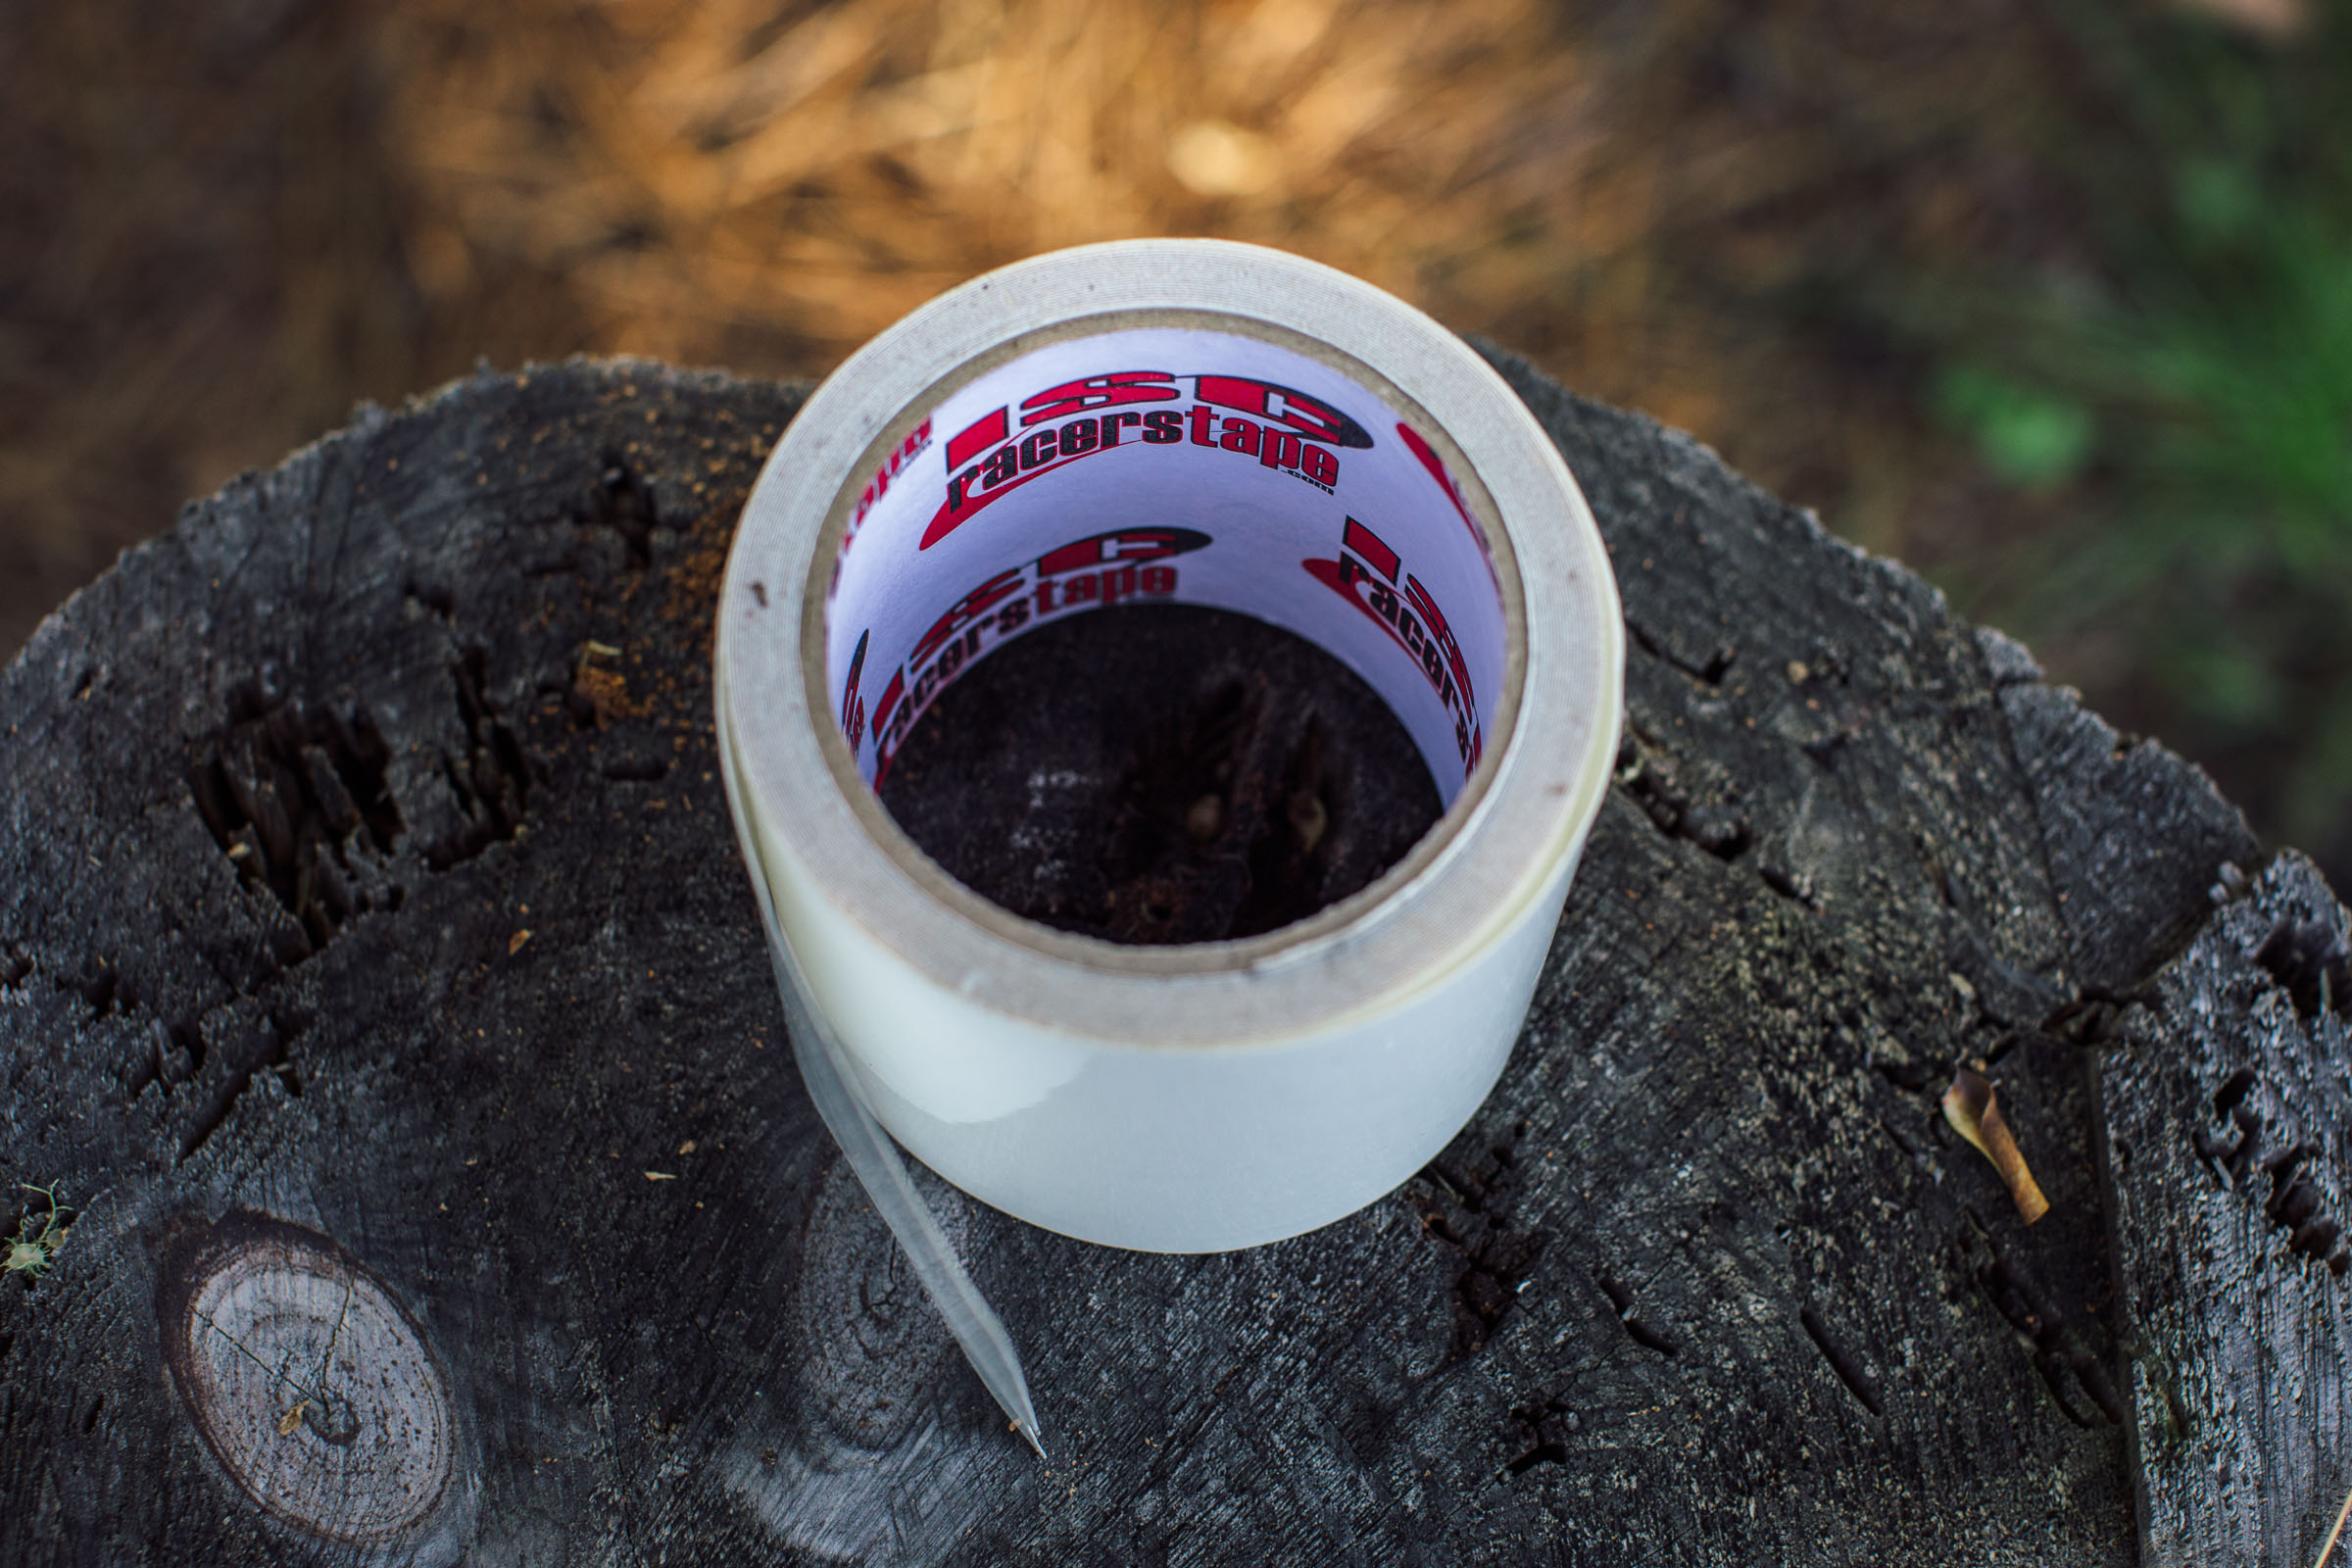
ISC Racer’s Tape (Helicopter Tape)
Lizard Skins Protective Frame Kit
Shelter Off-road Tape
Ride Wrap Frame Protection Tape
Frame Gaurd
ESI Silicone Tape

Tips for Protecting Your Bike Frame
Collectively, we’ve amassed many bike damage horror stories over the years. Everything from deep carbon gouges to dented steel frames. Here’s a list of tips we’ve put together through trial and error.
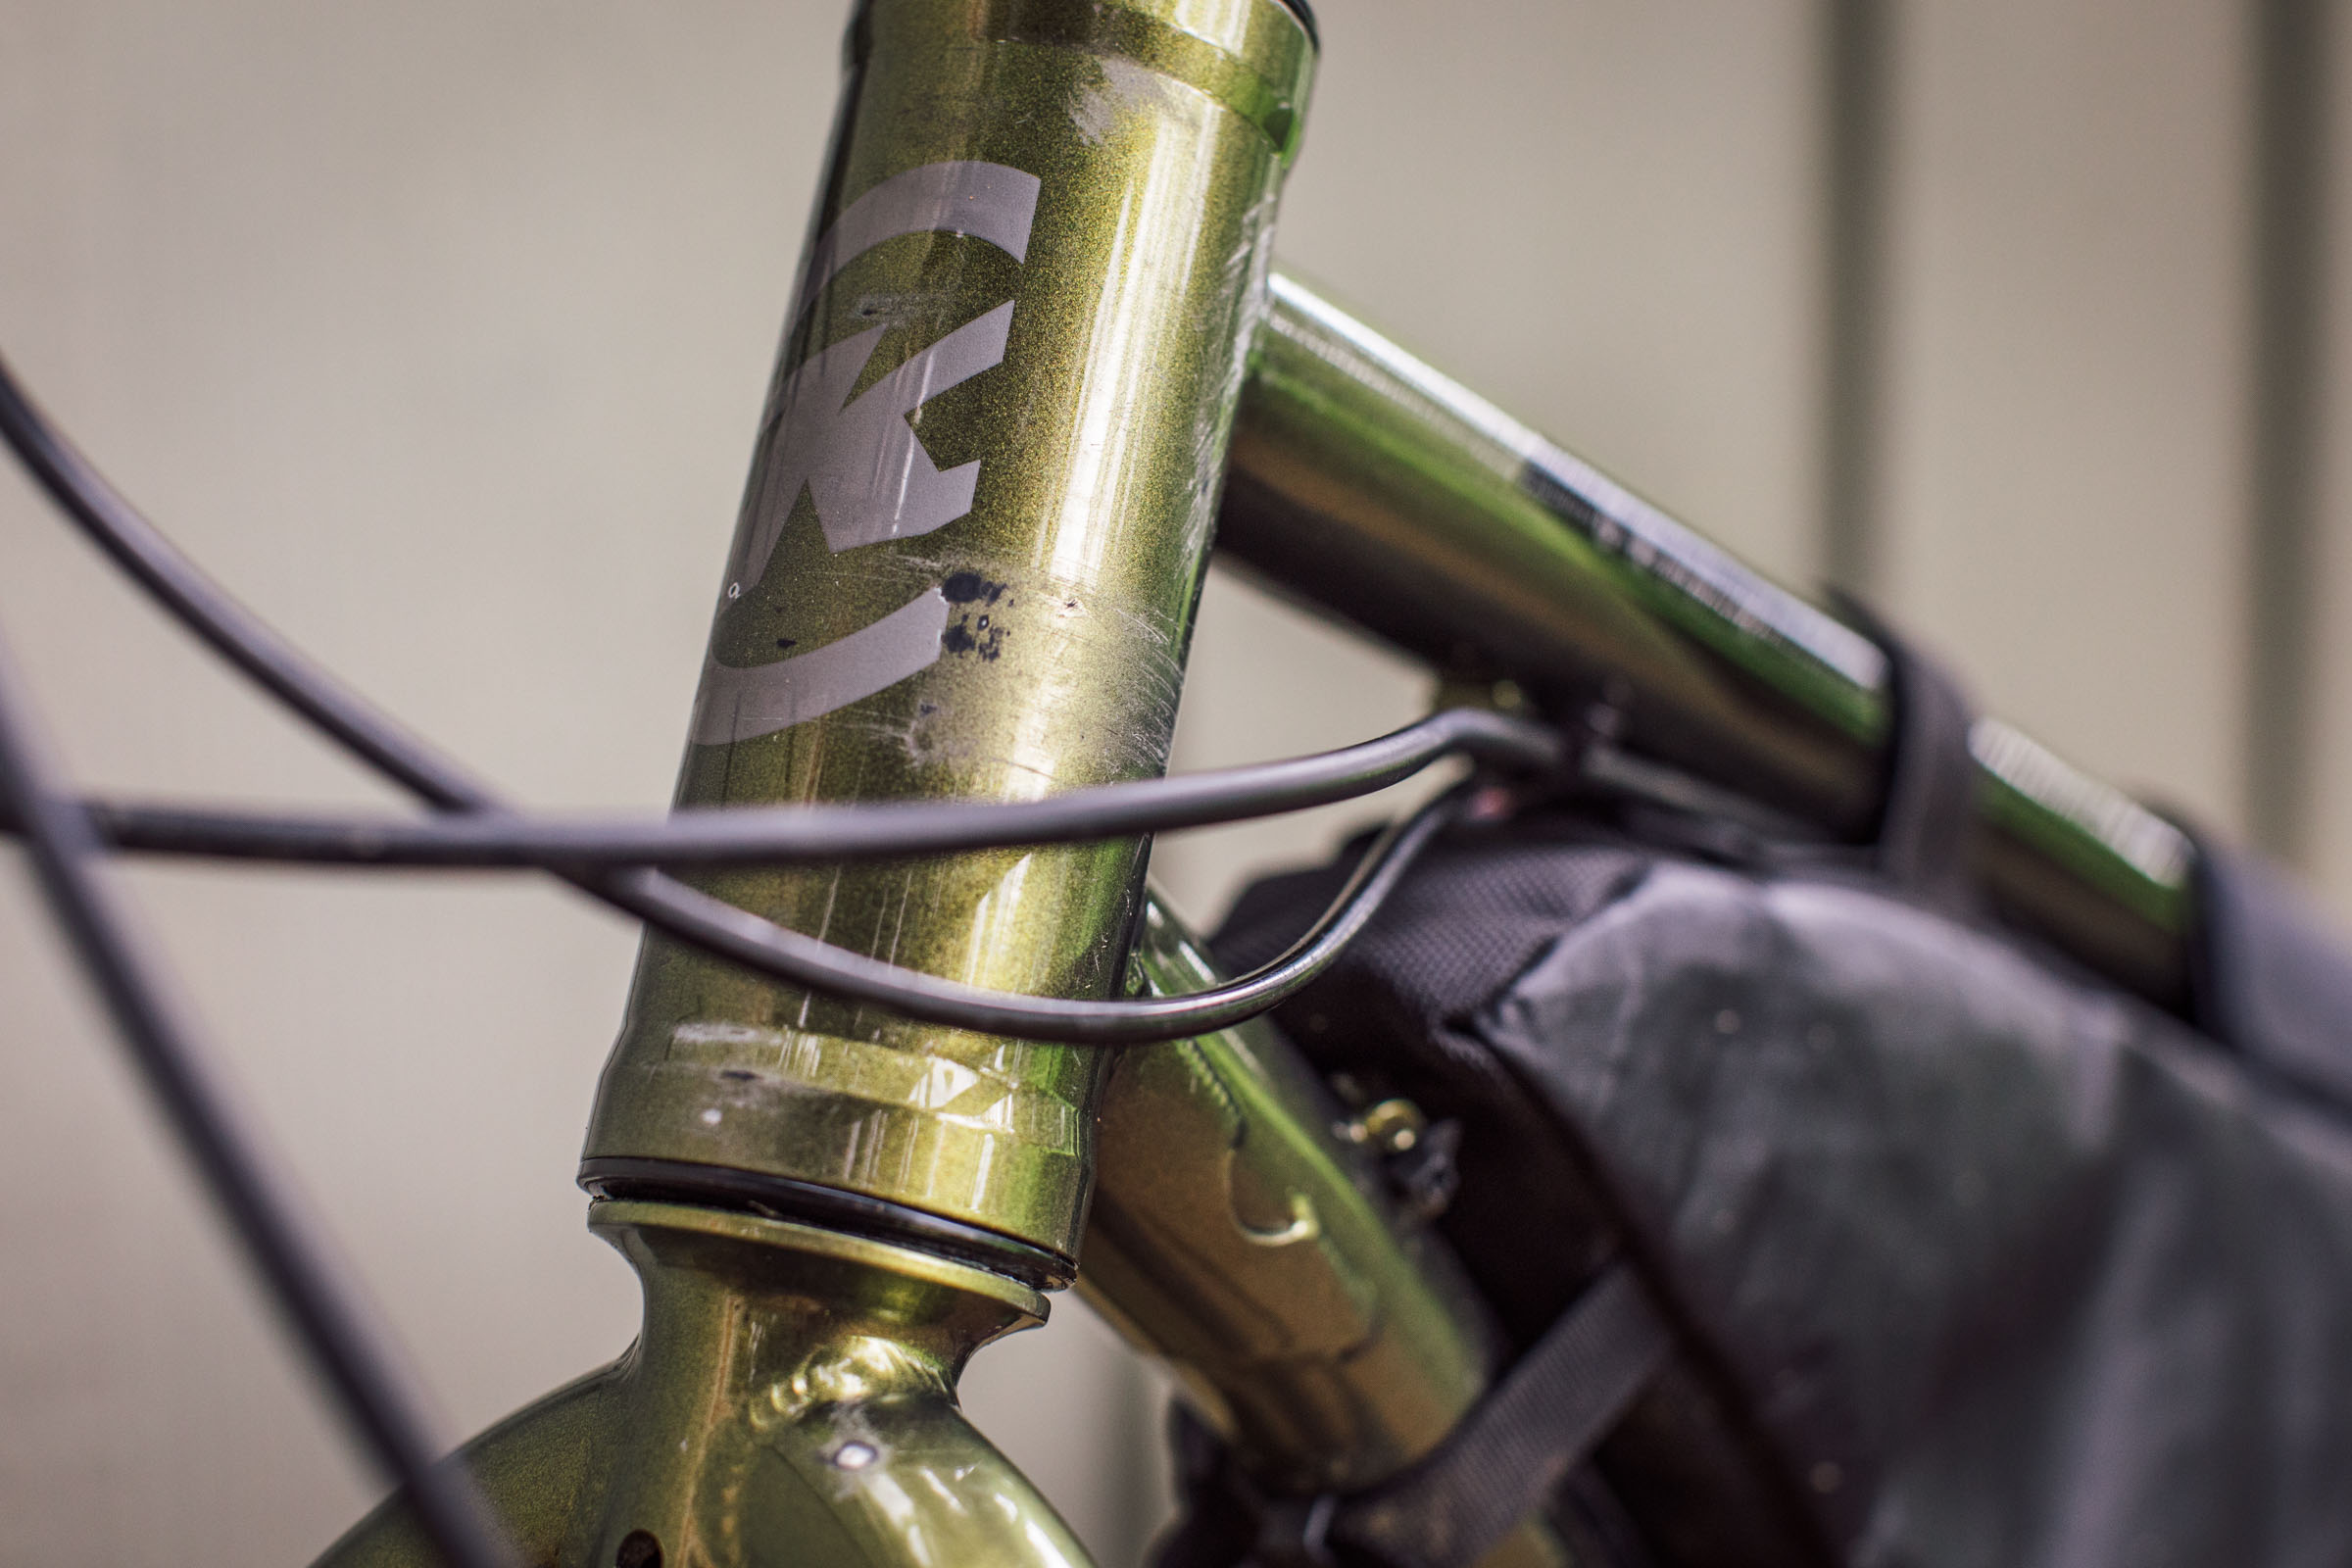
Don’t just protect the parts of the frame where bag straps make contact. Mounting bags often changes the path of brake or shifter housing so that it makes frame contact in unusual places, especially around the head tube. Tape those spots, too.
Save tape and achieve a cleaner look by cutting pieces to closely match the bag straps.
Experiment with how tightly you need to cinch bag straps on the frame and go with the loosest settings that still achieve a secure attachment. We’ve found, for instance, that with a top tube bag, a fairly light cinch on the top tube and a tight cinch under the stem is the best combo. This is because the above-the-top-tube routing of the shifter and brake housing means they move and articulate a bit when turning the bars, which can cause the gas tank bag to flop from side to side if it’s cinched tightly. A bonus of figuring out tension is that looser straps yield less wear, making taping less critical.
Installing Racer Tape (helicopter tape) is a whole lot easier if you use a mist bottle to wet the frame or component surface prior to application. Use your fingers to easily massage out the air bubbles.
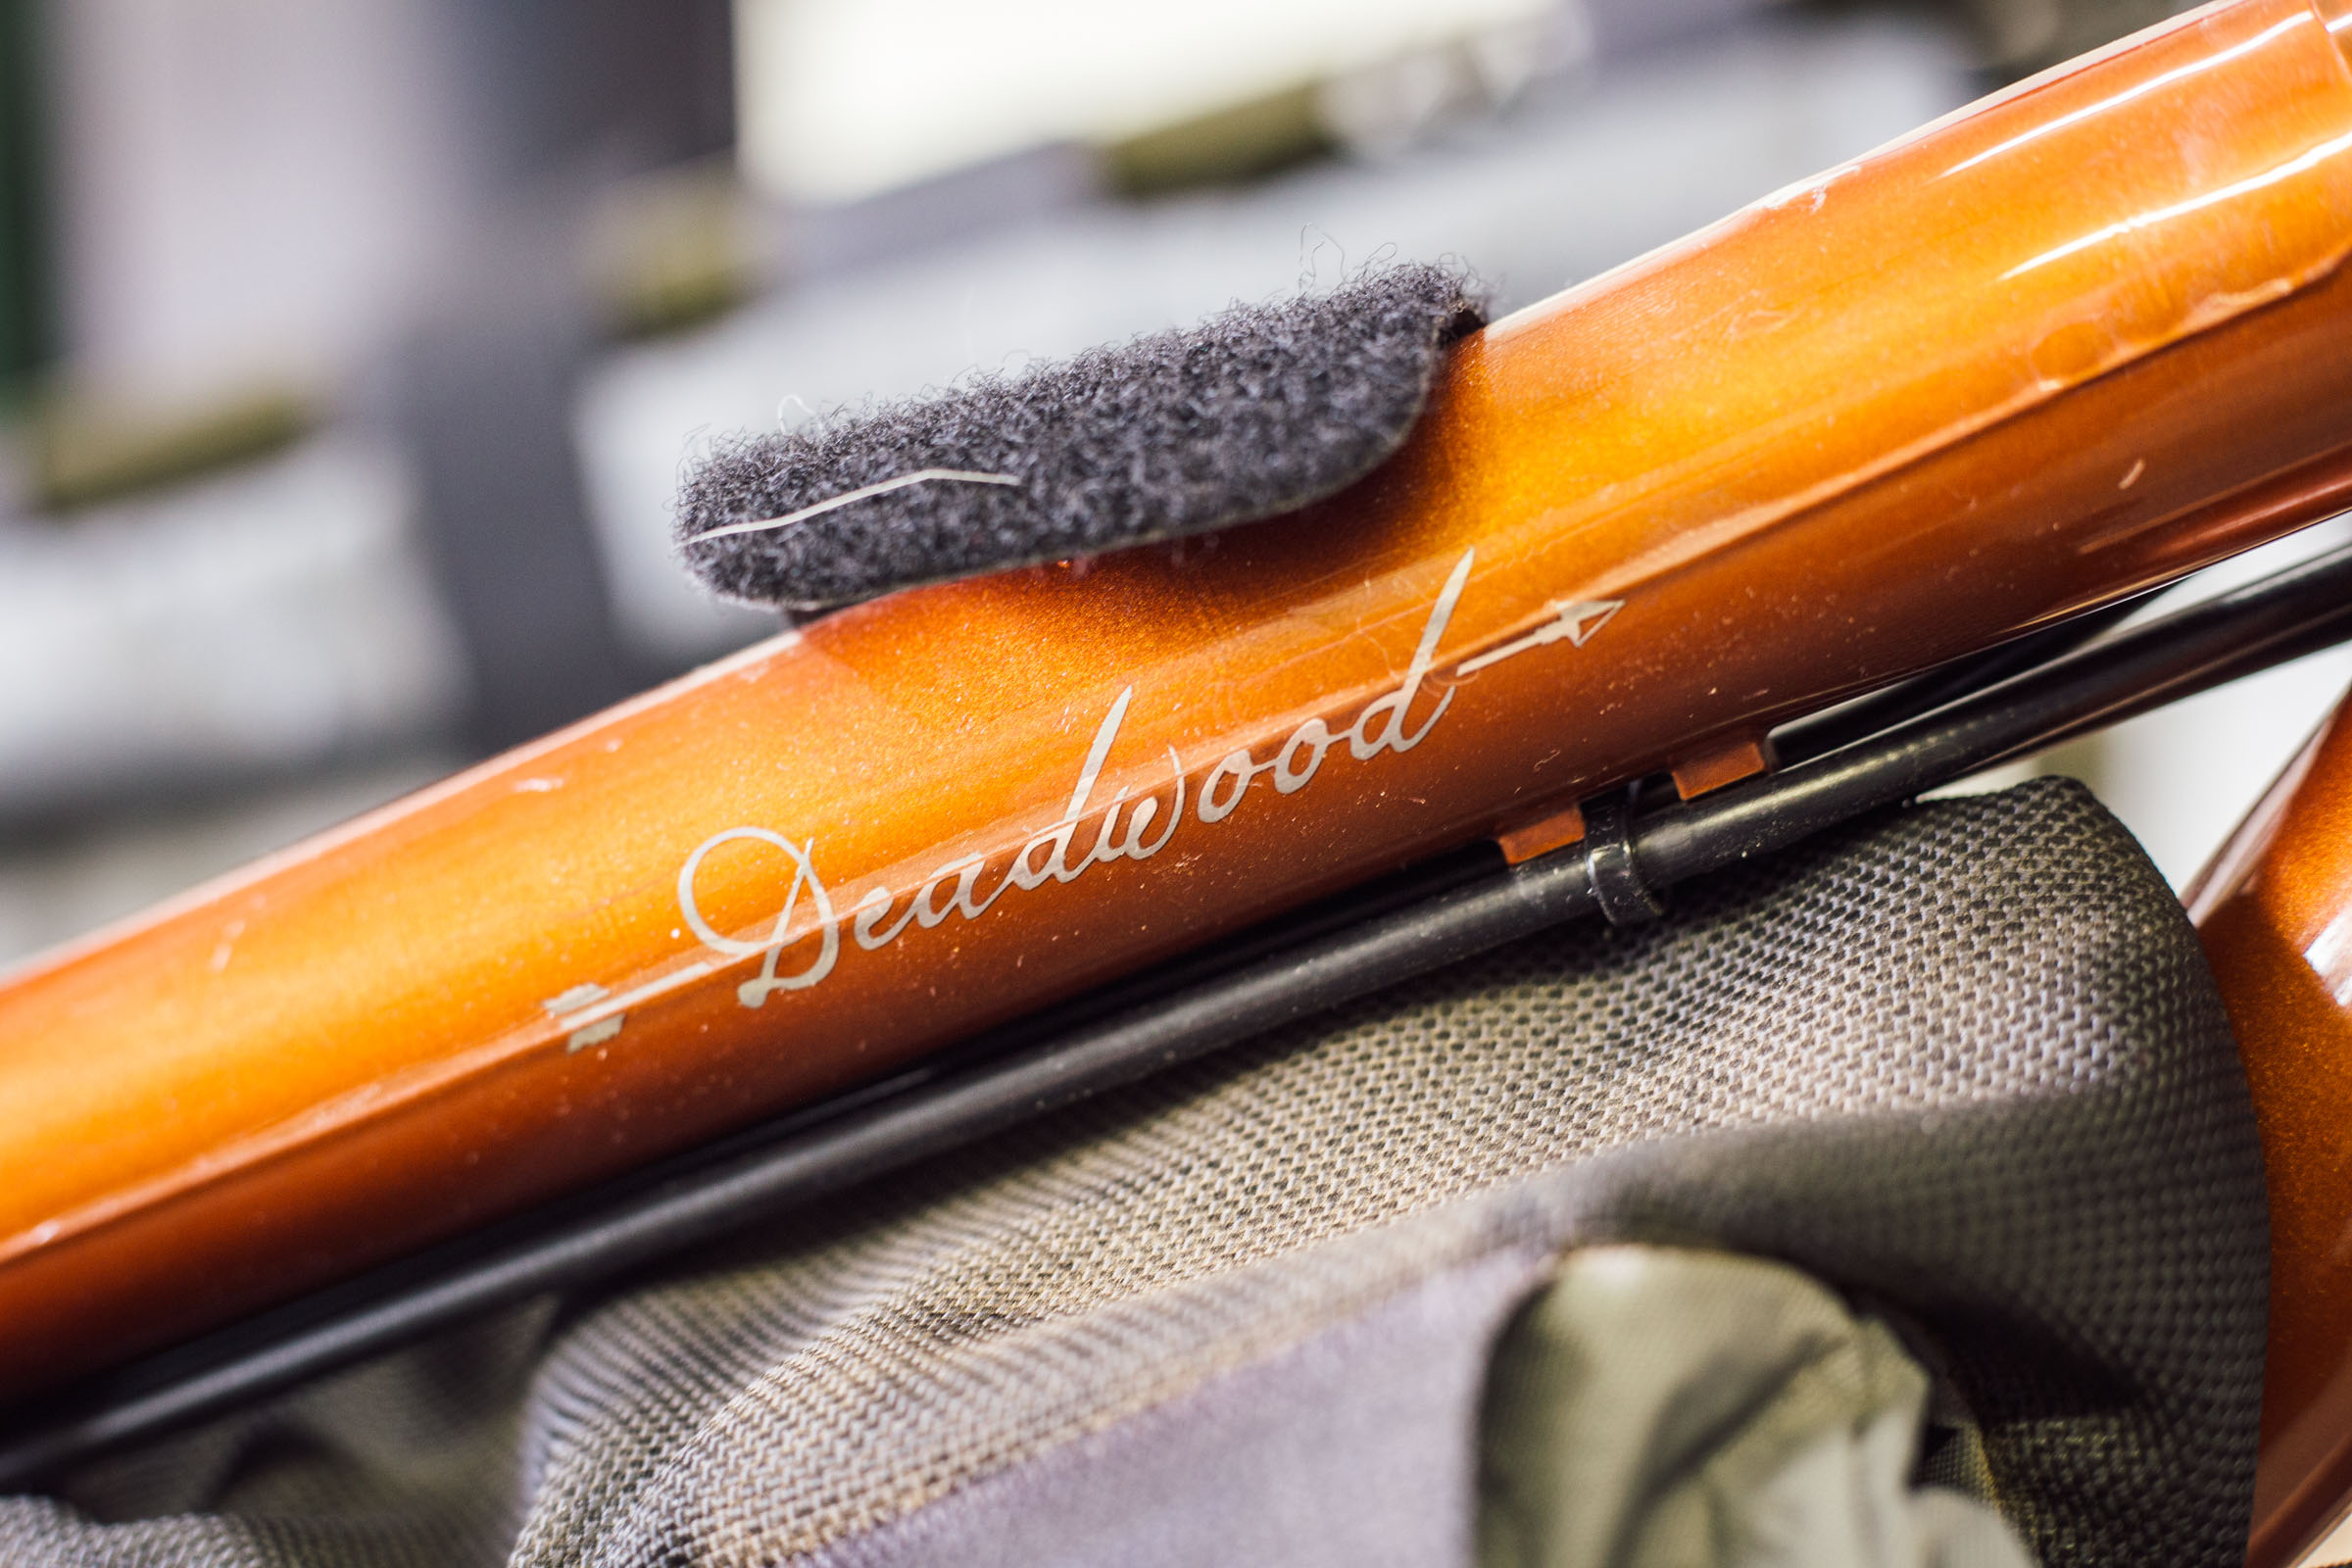
Put tape around your seatpost and handlebars where bag straps connect. These are a little less prone to serious damage as bag makers take this into consideration. However, protecting these areas will prevent long-term damage.
Consider taping the outside of your chain and seat stays, and fork blades if you’re going on a long trip. These are the most exterior surfaces on your bike and are the places where bikes can take a ding or get scratched during a bus ride, or if you happen to strap your bike to a van roof rack. Note that the thicker Shelter Tape works well for this as it provides a little padding.
Brake and shifter cable housing can also be abraded and worn by bags and straps over time. We’ve even put a bit of Gorilla Tape around particular cable areas that experience wear and rubbing.
Look for frame bags that have padding around the spine of the bag. This helps prevent the damage to the frame triangle from sharp or hard items.
Use Voilé Straps instead of Velcro. Some bags have daisy chain or mole webbing for removable straps. We’ve found that replacing velcro straps with rubber Voiles is a little friendlier on frames. One such example is using a 9″ Voile Nano Strap as the headtube strap for the Revelate Sweet Roll or Harness.
Have any other useful tips for protecting your frame from the rigors of bikepacking? Leave us a comment below…
Please keep the conversation civil, constructive, and inclusive, or your comment will be removed.