


A Guide to International Bikepacking Trips


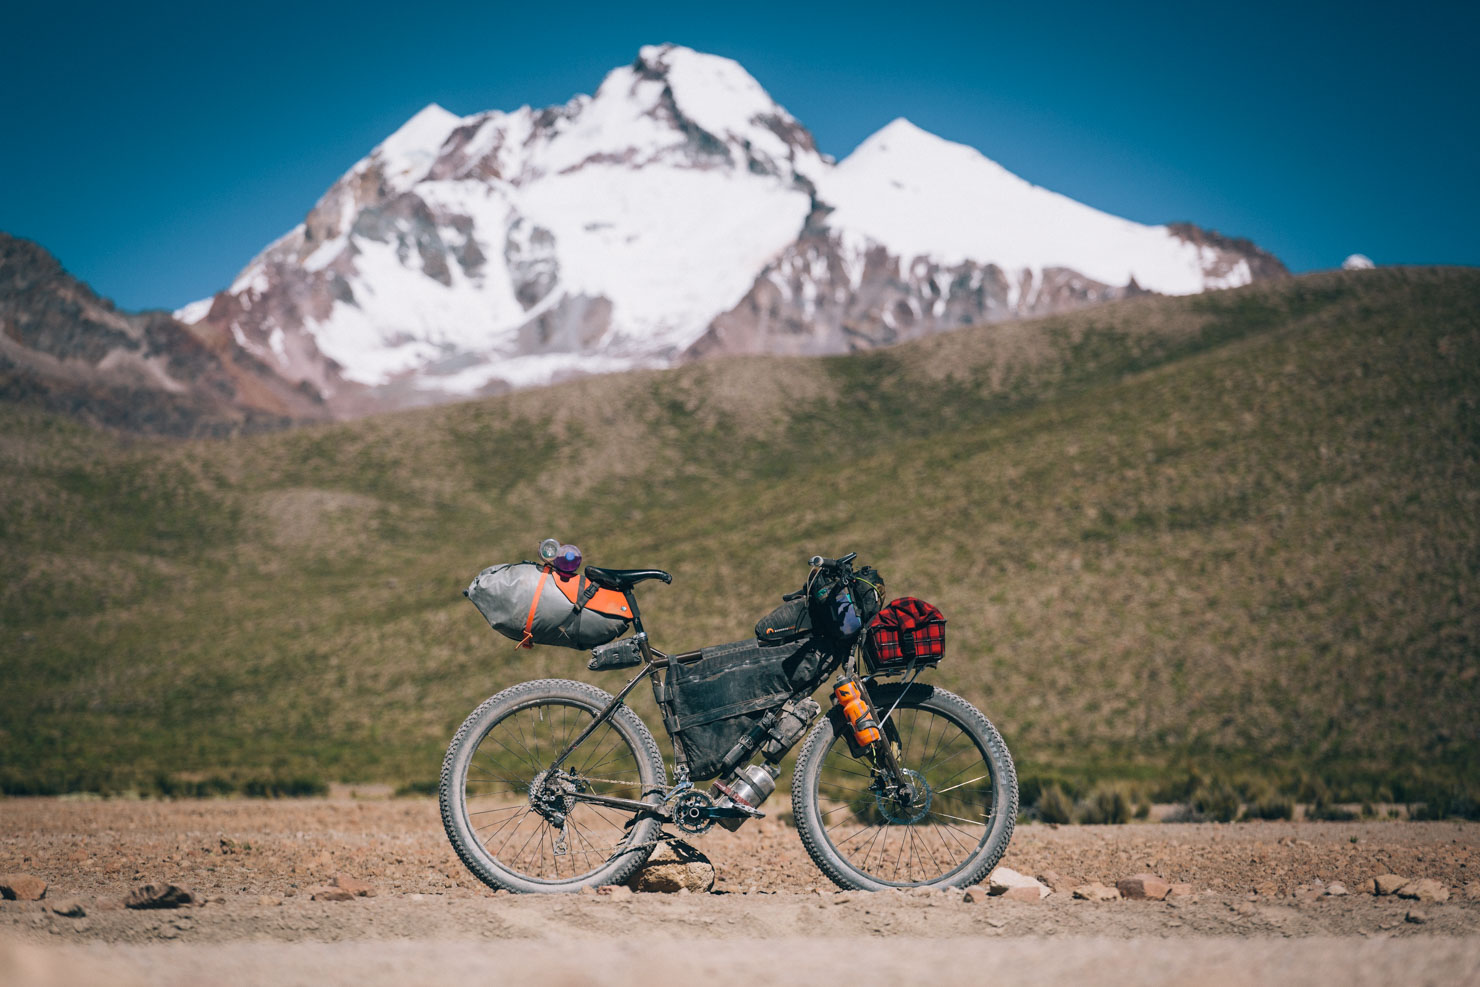
Planning a big, overseas bikepacking trip can seem like a daunting task. After spending a month riding dirt roads through the Peruvian Andes, Cass returns with advice for putting together a similar journey.
PUBLISHED Jun 26, 2017
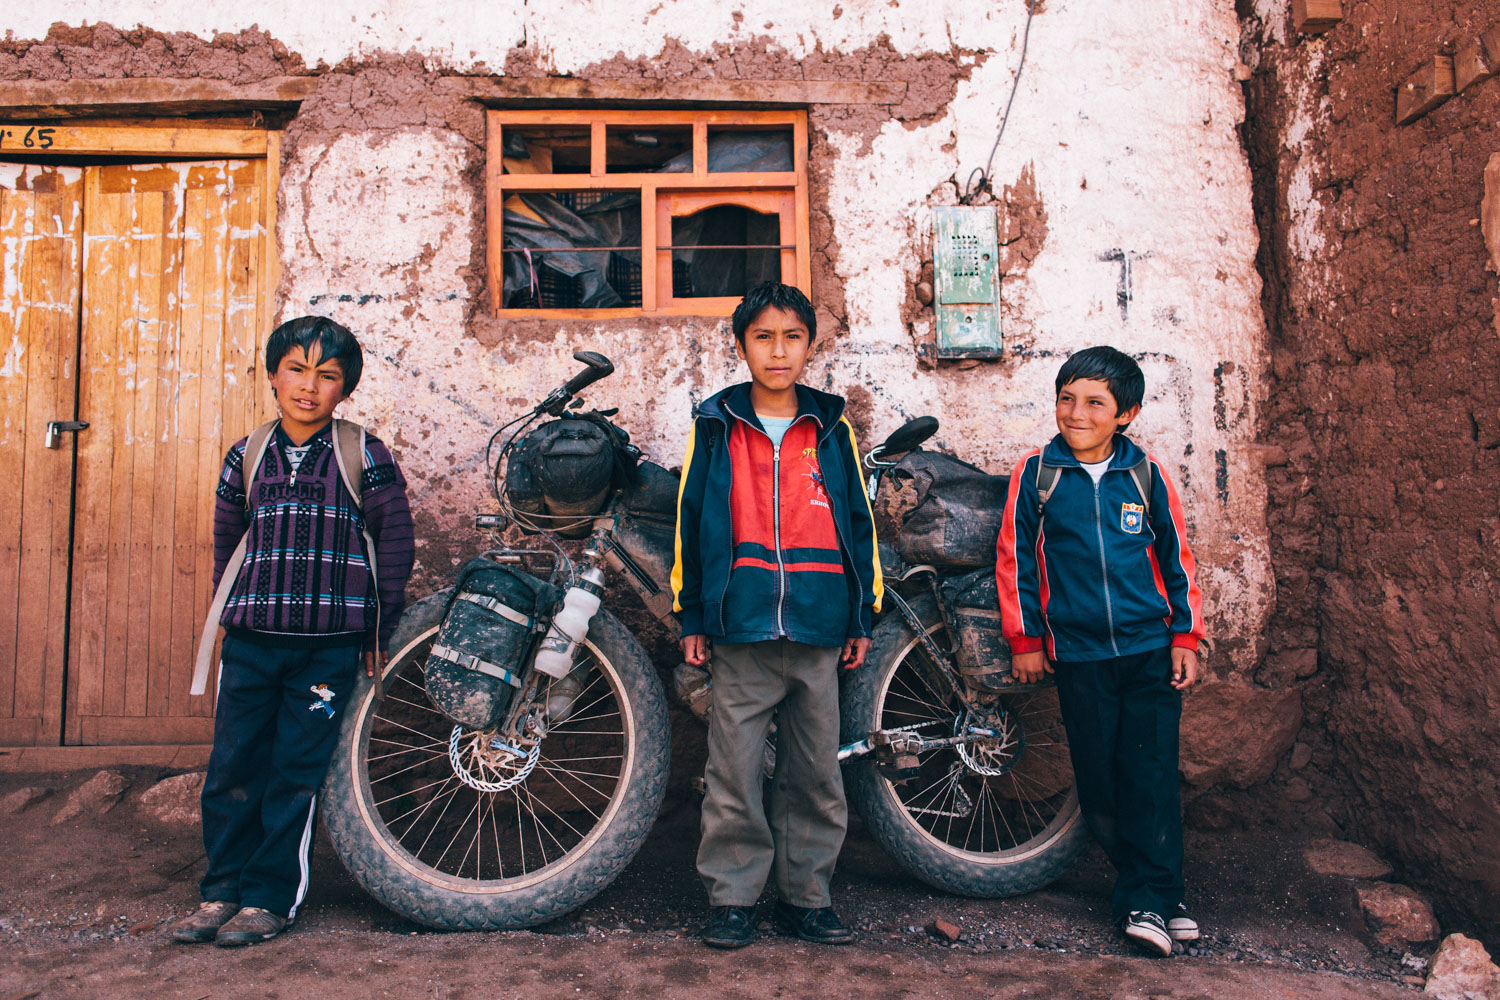
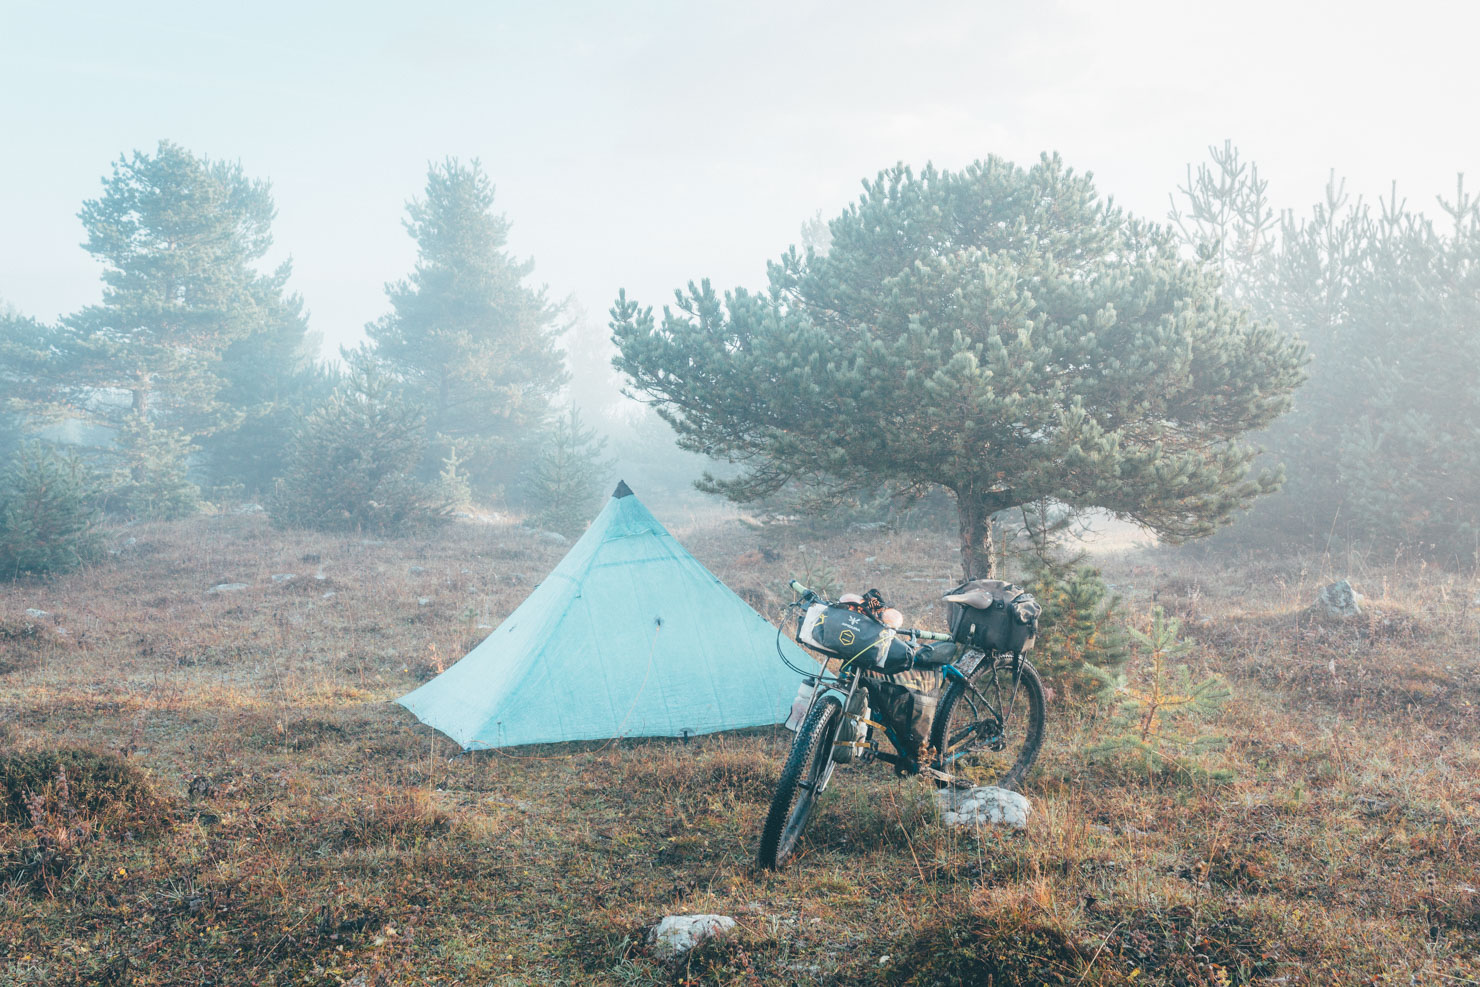
Although there’s a real sense of satisfaction to exploring our own backyards, bikepacking overseas is an experience in itself, on both a physical and cultural level. It has the power to both expand minds and solidify an appreciation for our planet. It’s a means to challenge ourselves in ways we’ve perhaps never done before. And just as importantly, overseas travel is a chance to connect with those from different backgrounds, prove that people are inherently good… and that contrary to what mass media may tell us, the world isn’t fraught with danger at every turn.
There are, of course, many ways to prepare for a trip to locales distant and unknown. Having recently spent a month bikepacking around the backroads of the Peruvian Andes, here’s a list of thoughts to bear in mind if you’re thinking of doing something of a similar style and length… from considerations to take into account when booking your flight, the mechanics of planning a route and the ensuing day to day navigation, to staying healthy and keeping in touch with family and friends while you’re away.
Planning Your Route
Seeking inspiration and scoping out options
So, you’ve negotiated a month off… now you need to figure out where to ride. The Andes, the Himalaya, Central Asia, Mongolia, Morocco, the Trans Uganda, the Ethiopian Highlands… there are so many places rife with dirt road potential. Perhaps there’s a land you’ve always wanted to visit since childhood, or you’ve watched a documentary that sowed the seed of an idea. I often use blogs, guidebooks, Instagram feeds, or anything else that catches my interest. Then I’ll peruse Google Earth and scout through Wikiloc, Ride With GPS, and our ever-growing Routes Map for specific ride ideas.
Where I once relied on paper maps and a highlighter, these days I tend to plan my rides with RWGPS, as it’s quick and intuitive to use and easy to share – I flip between standards maps and satellite imagery to check if roads are paved or dirt, and scout for possible singletrack options. RWGPS is also a good way to glean a rough profile of your intended ride, along with its distance and altitude. Thankfully, if you’re planning to explore Peru (and Bolivia, Chile and Argentina, for that matter), look no further than the excellent Andes by Bike website, which documents a number of classic dirt road touring routes in the area, with downloadable gpx tracks, along with photos and up to date comments.
If headed for the high mountains – like the Andes or the Himalaya – factor acclimatisation and altitude changes into your route planning too. Be especially conservative if coming from sea level and/or flying into a destination that’s higher than 3000m, allowing yourself the necessary rest days before heading out. Consider lower elevation bail out options in case they’re required.
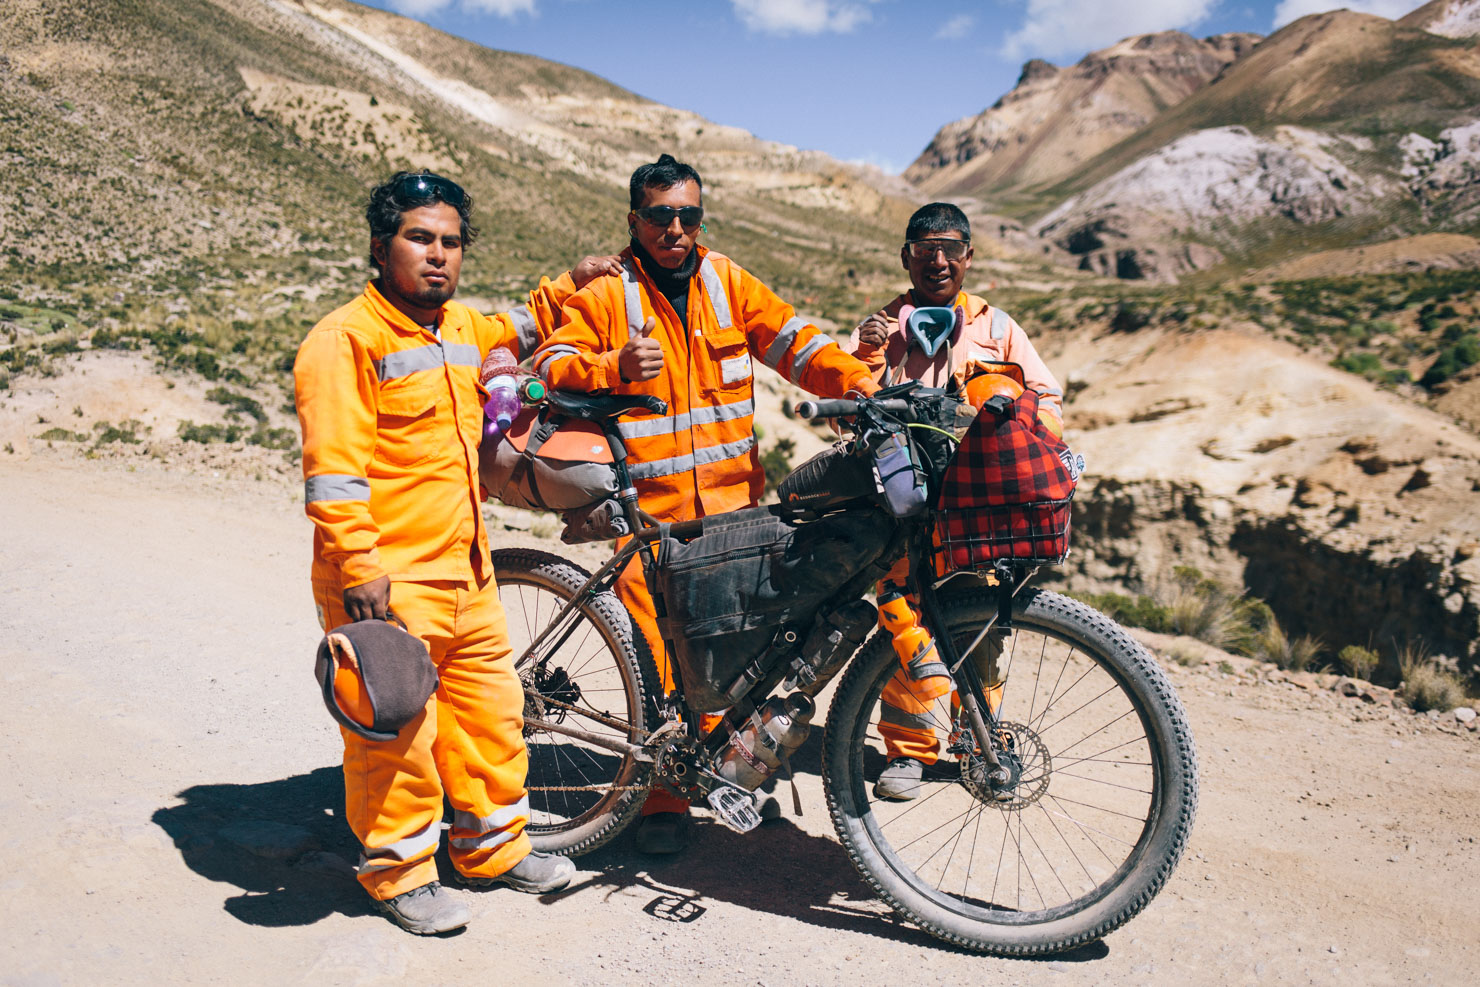
To keep your setup light and backcountry-friendly, factor in resupply points too, so you’re not hampered with a week’s worth of food. And don’t forget, it’s always useful to double check with locals/road crews for up to date info when you’re actually in the area, just in case there are any bridges washed away by the monsoon season, as can often happen in developing parts of the world.
I’ll also cast an eye over regional weather patterns both past and present; as it’s more enjoyable to travel with the seasons rather than against them. For example this spring in Peru, an unusually heavy rainy season dictated my decision to change plans and start further south of the country, where conditions were clear and welcoming, and head north as the weather improved. The same goes with prevailing winds – Patagonia being a prime example – which can change a wonderful ride into a needless mental toil.
All this said, sometimes the best route insight comes once you get somewhere. So if information online is scarce, plan a couple days once you arrive to get acquainted and drum up some local beta – bike shops and clubs are a great place to start. On a similar note, sign up for Warmshowers, the cyclist’s hospitality equivalent of Couchsurfing. Aside from offering a place to stay and wash your clothes, hosts are often great resources for where best to ride or have good contacts locally, particularly in places that are more off the beaten track. If you travel regularly, it’s worth making a yearly donation to help maintain this network.
Tips and Resources
- Check out our Complete Guide to Route Planning for more ideas and details on creating your own route.
- Visit blogs, Instagram feeds, and the Bikepacking Routes map on this site for inspiration.
- Look into regional weather patterns.
- Use Google Earth to scope out potential backcountry riding.
- Use Ride With GPS to draw up a route and check the profile.
- If headed to southern South America, look no further than Andes by Bike.
- Be sure to factor in aspect like altitude and regional prevailing winds.
- If online info is scarce, get in touch with local bike shops and clubs when you arrive.
Rest days
Time off the bike
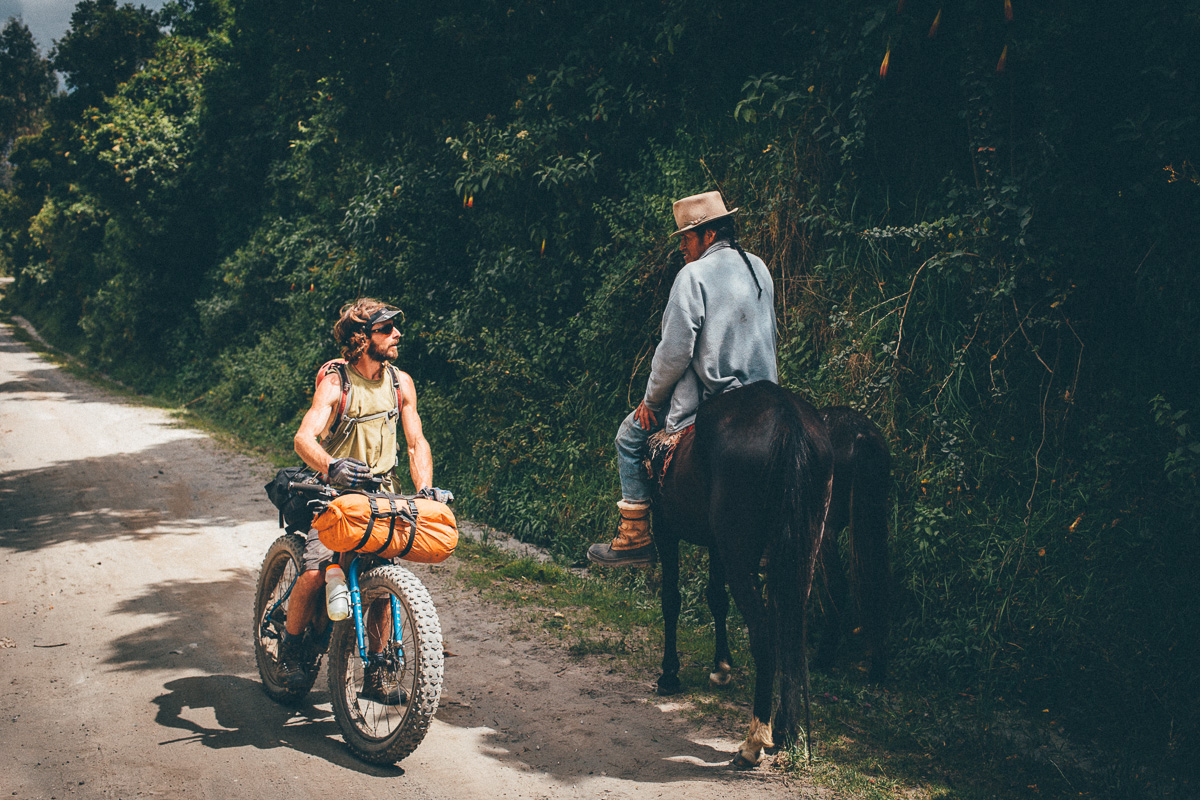
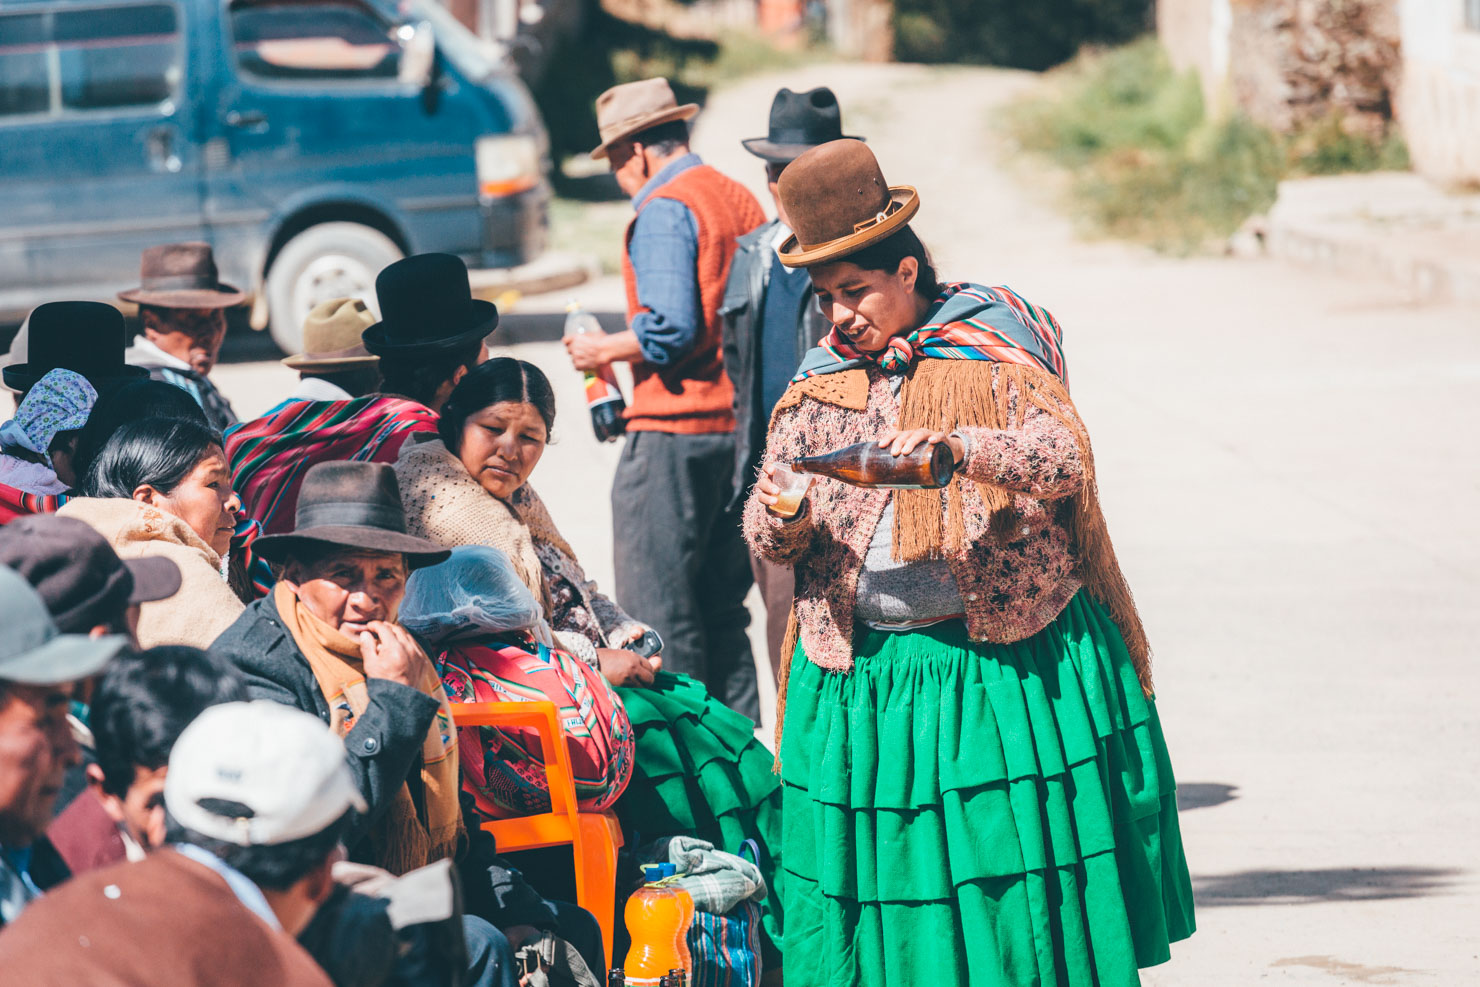
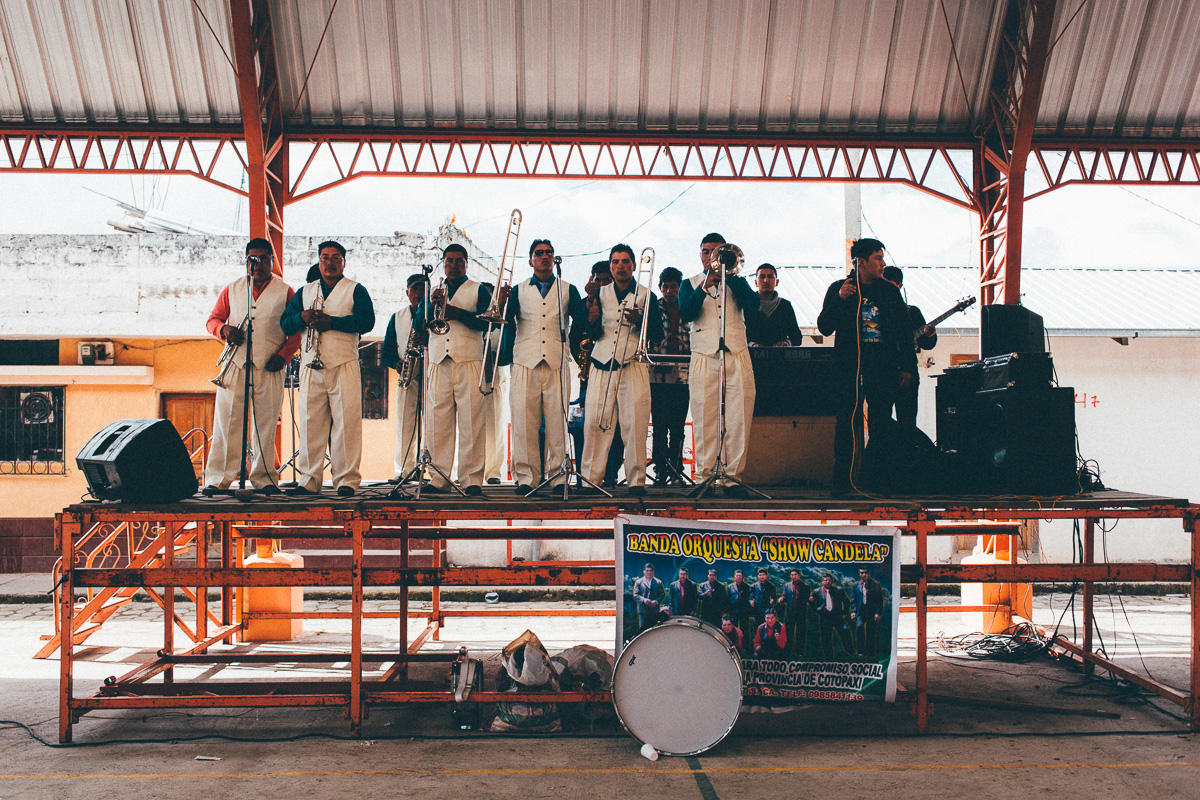
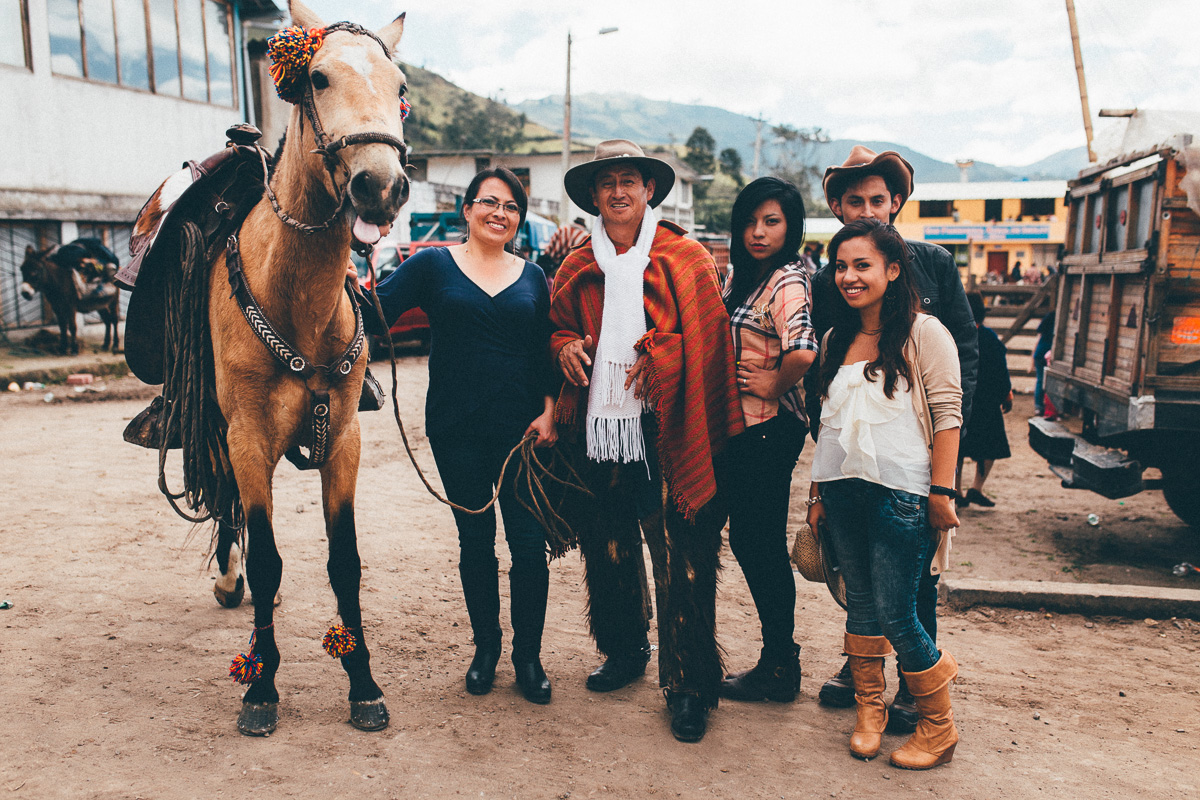
If you only have three or four weeks and you’re travelling halfway across the world, it’s tempting to jam pack an itinerary with riding. But be sure to allow rest days. These will help you stay healthy, serve as a buffer in case you get ill, the route is more challenging than you expect, or you come across a festival in a town and just want to hang out. As a rule of thumb, the more remote a destination you choose, the more likely it is to be invited into someone’s home, always a golden opportunity to connect with the very people in whose country you’re riding. Latin Americans, for instance, love to engage. Although you can’t stop for everyone who waves you down, sometimes impromptu, roadside conversations, and accompanying beers, are too good to pass up. So allow yourself the time to do so. In terms of ratios, I’ll generally aim around 5 days riding, followed by a day or half a day off, timed with resupply points.If you’re headed for the likes of the Andes or Himalayas, be especially considerate of high altitudes. Allow yourself a few days to acclimatise before heading off on your ride. Planning routes around cities, sights, or natural parks you want to visit is also good way of knowing ahead of time where you’ll likely want to stop for a day or two to take it all in.
There are, however, some rides that don’t lend themselves well to full rest days, particularly if you intend to camp every night. In such situations, allow yourself a few half’days, be they lazy starts to the day, or early ends.

Tips and Resources
- Rest days are good for the body, especially in places where you may be dealing with the challenges of different foods and lower levels of hygene.
- Allow time to stop and chat… what’s the rush?
- Allow time to acclimatise if headed to the high altitude regions; it’s safer and you’ll stay healthier.
- If your trip doesn’t lend itself to full rest days allow yourself some lazy starts to the day, or camp early enjoy some downtime.
Navigation
Day to day route finding
In areas where maps are in short supply, it’s well worth becoming comfortable with a GPS, particularly if you don’t have a timescale that allows you to meander serendipitously. This is especially relevant to backcountry bikepacking-style trips – compared to more traditional road tours – as trails and dirt roads are likely to be more challenging to follow.
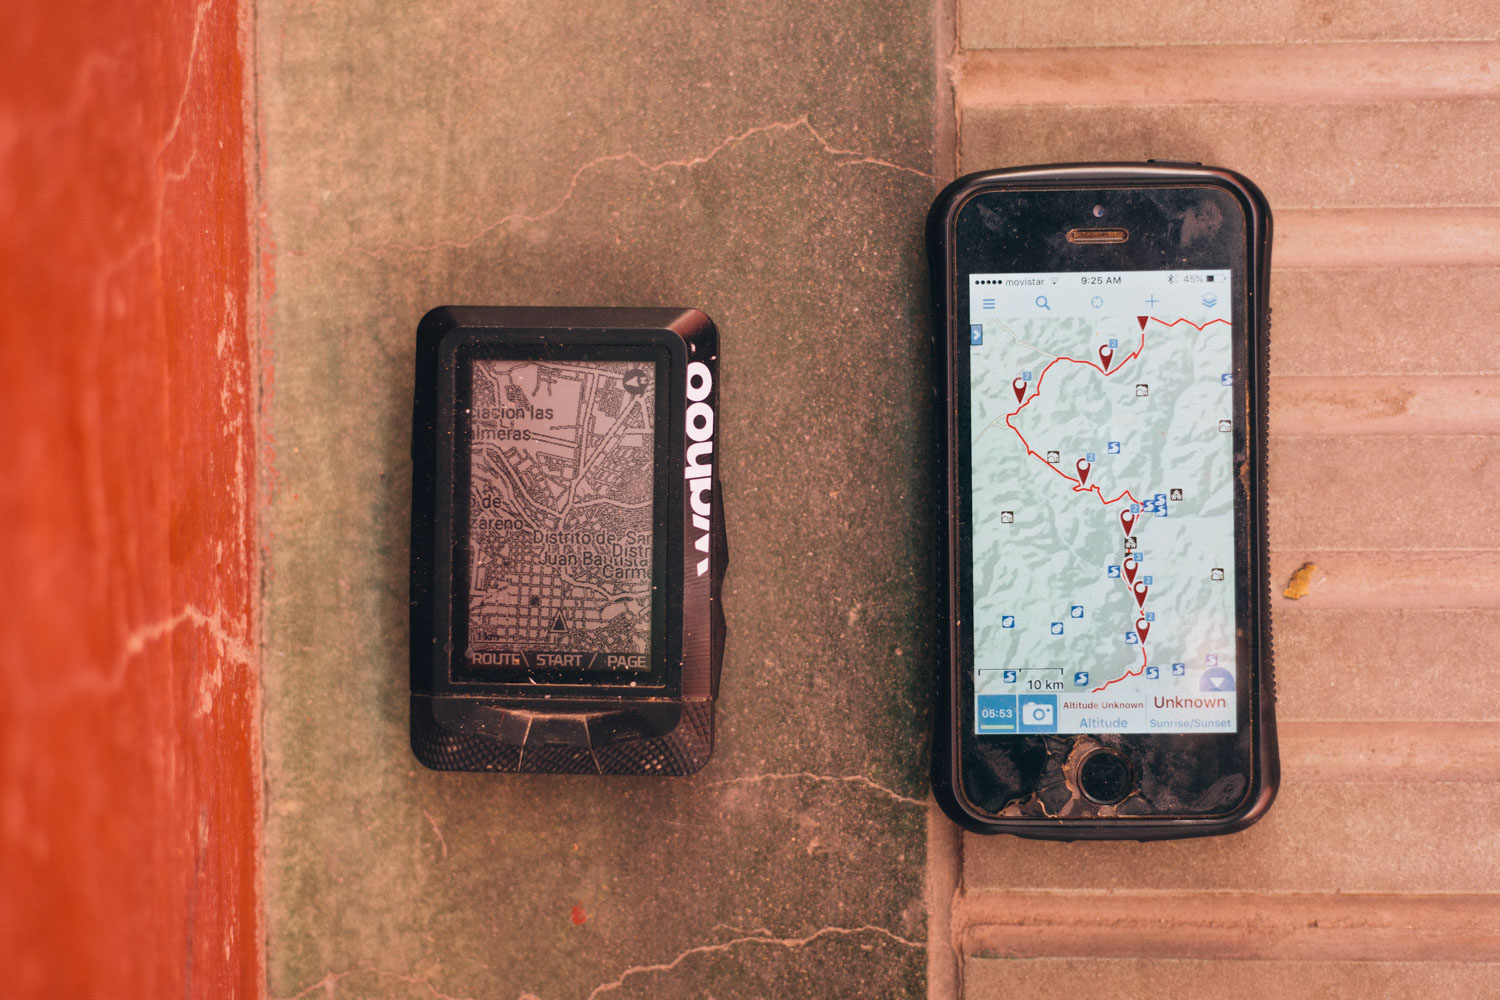
On this trip, I loaded my gpx tracks in a Wahoo Elemnt to navigate day to day – it syncs seamlessly with Ride With GPS. And I backed up a set of files to Gaia GPS and Maps.me on my phone, both of which are handy for situating where you are, making changes on the fly, and marking waypoints/points of interest. This combination worked really well, helping preserve battery life on my cell phone and giving me the confidence of a waterproof, easy to read unit on the handlebars. I pre-download all the base maps I thought I’d need, and named the routes numerically to help with file management in the middle of nowhere.
In fact, nowadays I always travel with my iPhone. Gaia GPS has a useful feature that allows tiles to be downloaded around the particular track you’re following – which means you can keep high-quality topo mapping stored without requiring excessively large file sizes. Maps.me allows a set low res country maps to be downloaded in its entirety, providing a very useful broader overview, which is handy should you stray off route and change plans. It also has a particularly nice offline routing function. You can now also pre-download Google in sectors, useful for cities you’re planning to visit, though Maps.me is generally enough. For more details on using your smartphone to navigate and recommended apps, see our in-depth guide.
Note that if you are relying on a smartphone to navigate, make sure it’s well protected from the elements, whether it’s a specialist waterproof case from the likes of Lifeproof and Sea to Summit, or a humble ziplock bag. And make sure you have a reliable means to charge it, whether it’s a dynamo hub (I like the Son 28/Sinewave Revolution combo), a solar panel, such as the affordable Anker PowerPort, or even just a 5-10,000 mAh cache battery, depending on how often you’ll be hitting places to charge up devices. I turn my iPhone off and keep it in my sleeping bag at night, to help preserve the battery life.
And as mentioned before, it’s always worth checking in with locals as you go, in case a bridge is down or a new road has been built.

Tips and Resources
- Prepare yourself a gpx file of your intended route; it will help make the most of your time.
- Consider a GPS and/or smartphone combination to navigate.
- If you’re relying on a smartphone, make sure it’s protected from the elements and you have a means to charge it.
- Check in with locals in case conditions or infrastructure has changed.
Prepping your bike
Keeping it (relatively) simple
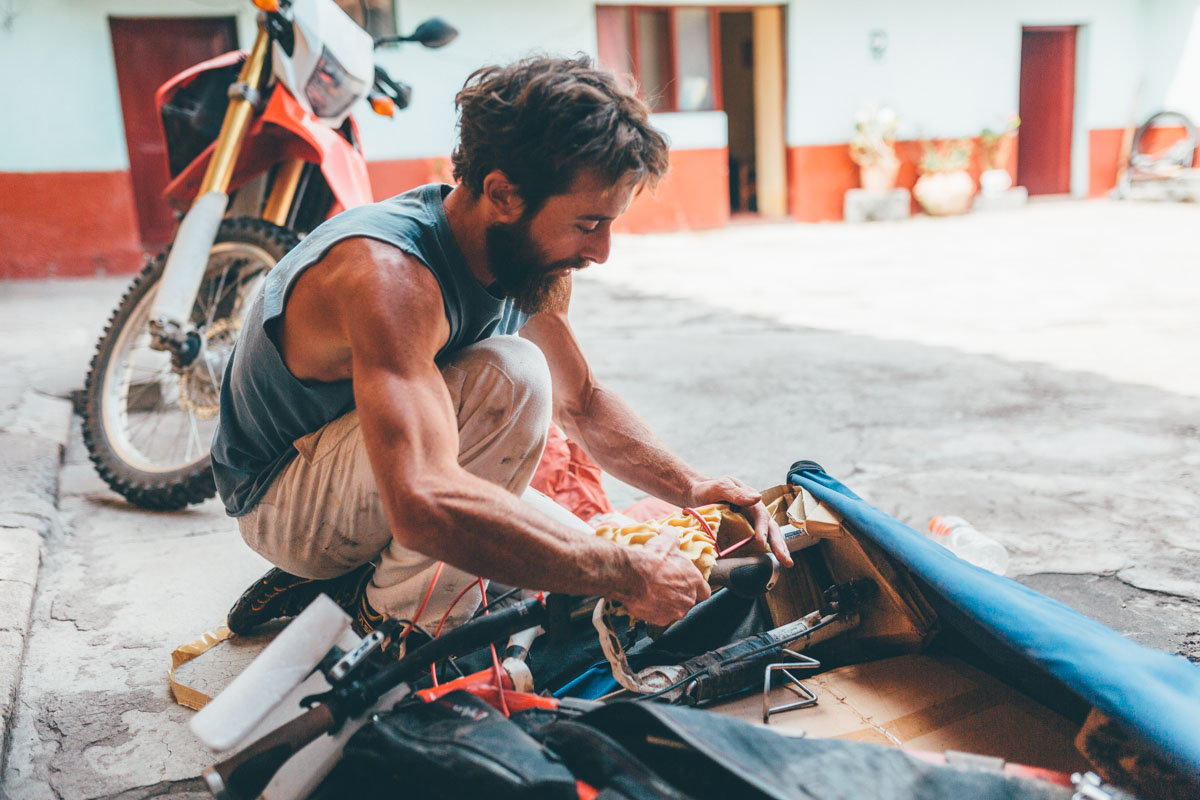
Generally speaking, the bike you have is the best bike to take, especially for a trip of a few weeks. Book it into your local bike shop to service if you’re not comfortable doing so yourself. As for bikes, I personally prefer those with steel frames. This is not so much for their inherent repairability (realistically, a crack is unlikely over the course of a month’s hard riding), but more for their general stoutness and resilience to knocks. On an overseas trip, it’s likely you’ll be taking a combination of long haul flights and buses to your start and end points, which can be a mixed bag in many developing overseas countries. As much as I try and keep an eye on how my bike is packed, who knows what the road surfaces are like and what bundles of local produce might be thrown on top of it in the middle of the night. Steel is good for peace of mind.
As for tires, I like to go tubeless for comfort, grip, and reducing the chances of delaying my trip with a slew of punctures, particularly for a ride like the Baja Divide. Given that I was riding 27.5+ in Peru, all but impossible to source outside of Lima, I arrived with new tires and set them up in a guesthouse I’d booked, using a Lezyne Micro Floor Pump HV, my favourite travel pump. Tip: leaving your tires with fully inflated inner tubes overnight. Then, only break the bead on one side when you remove the inner tube. An extra pair of hands can really help with the reinflation process. If the tire won’t mount, a local mechanic will likely have a compressor. See our Guide to Traveling Tubeless for more details.
I always carry two tubes. Given the remoteness of the Peruvian Andes, I carried Plus-sized widths, rather than the thinner and lighter standard tubes I normally take as backups for US-based trips. Taping them under your seat pack, or to the frame itself, keeps them from taking up valuable storage space. Likewise, I make sure I run a tire with tough sidewalls – WTB’s Ranger Plus Tough is a good option – to minimise the chance of nicks and cuts, the potential downfall of tubeless tires. Longevity is more important than weight saving. Generally speaking, I prefer to forgo both hydraulic brakes and suspension (particularly as I always ride Plus-style bikes), to keep my life easy and worry free. Again, my concerns are more during transportation than the riding itself. Otherwise, make sure the stanchions on your fork are suitably protected (wrapping them in pipe lagging works well) and you know how to maintain your brakes if you need to. Although spares can often be sourced in capital cities, where the best selection of bikes is always to be found, such searches inevitably eat into valuable holiday time. So be sure to carry any small specialist parts particular to your bike. Likewise, relying on having gear couriered to many overseas countries can be fraught with issues, with goods often stalled by the need to pay import taxes and the like.
Aside from the usual bikepacking spares and tools – see see here for our thoughts on the subject – an extra derailleur hanger is always a good idea. Be sure to carry the right length spokes too, as I’ve often found sourcing good quality spokes can be a real challenge in many countries. To be on the safe fit a new bottom bracket, as you never know when they might fail. If not, carry spare cups; you can always find a pipe wrench to remove and install them. Lastly, it’s worth getting used to riding in flat pedals both for easy off-the-bike explorations and to save carrying extra footware; see this overview for our recommendations.
Logan’s take
While Cass is right, steel is ideal — especially when considering the possibility of tossing your bike on busses and roof racks— I’ve found myself on carbon bikes for my last two big trips. I don’t think there is anything wrong with using a carbon bicycle on trips in the 3-6 week timeframe if you take the proper precautions. I recommend using a product called Shelter by Cantitoe Road. It is a crystal clear padded gel tape you can put about anywhere to protect your frame. I often put it on the head tube where the handlebar pack rubs against it (and actually can rub holes in carbon over time). I also put it everywhere a strap comes in contact with the frame. In addition, you may want to apply Shelter wherever your bike might be prone to dings and scratches (seat stays, underside of downtime, etc.). That said, I use Shelter on steel bikes too!
Tips and Resources
- Simple bikes are recommended, more for the uncertainties of travel than the riding itself.
- Even if headed for non-desert destinations, consider going tubeless as it will save time and make your bike more comfortable – see our Guide for details.
- Fit new tires for the trip; think tough sidewalls rather than saving weight.
- Fit a new bottom bracket or carry a spare; they’re light and easy to install.
- Don’t rely on courrier services except in real emergencies; in developing, overseas countries, they often take longer than you expect.
- If you’re running a suspension fork and hydraulic brakes, make sure you protect the stachions during transportation and know how to mainain your brakes if you need to.
Gear
Fine tuning your usual packlist
If you’re investing all this time to travel across the world, be sure you’ve completed a few shake-down tours before you leave. I’ve built up a gear list that works me, which I fine tune depending on regional needs. I’ll check for low temperatures, expected rainfall, water carrying requirements (see below), and the distance between resupplies. When the trip’s over, I try and update my gear list with anything that I thought would have been useful, or mark items that I never used, so I know for next time.
In the case of Peru, I prepared myself for lows down to -5c, and the usual gamut of mountain conditions: sunshine, hail, rain and occasionally snow. I also made sure all my gear was completely watertight, using the likes of Sea to Summit’s excellent waterproof drybags and making sure I always had a dry set of clothes (and warm socks!) at the end of the day. I also prefer to bring gear that’s tried and test… stuff I know works. If you’re travelling a long way from home, it’s best to be familiar with what you’re using and know you can rely on it. See our Guide to Mountain Weather Preparation for more ideas.

Tips and Resources
- Go on a shakedown tour, even if it’s just a night or two. Nothing beats the experience of using your gear in the field.
- Adjust a tried and test gear list, accounting for local weather and expected temperatures.
- If headed for the mountains… be ready for the vagaries of high mountain weather, whatever the weather forecast! See our Guide to Mountain Weather Preparation.
Water
Consider your options for H20
Pay close attention to potential water sources and how much you need to carry on day to day rides. For filtration/sterilization, look at how you’ll be sourcing water. In many countries, for example, drinking water often from spigots and faucets. In these situations, it’s was far easier and quicker to use a rechargeable Steripen than a Sawyer squeeze bag or MSR Trailshot – though if you’re relying on one, bring some chlorine or iodine tabs as a backup in case it fails or runs out. If you know water will be plentiful most of the time — but maybe not all the time — carry 2-3 bottles on your bike for easy access, and bring along an additional 1-2L water bladder for when extra water is needed. A dry campsite, for instance. Bladders fold up easily or lay flat in your framebag.
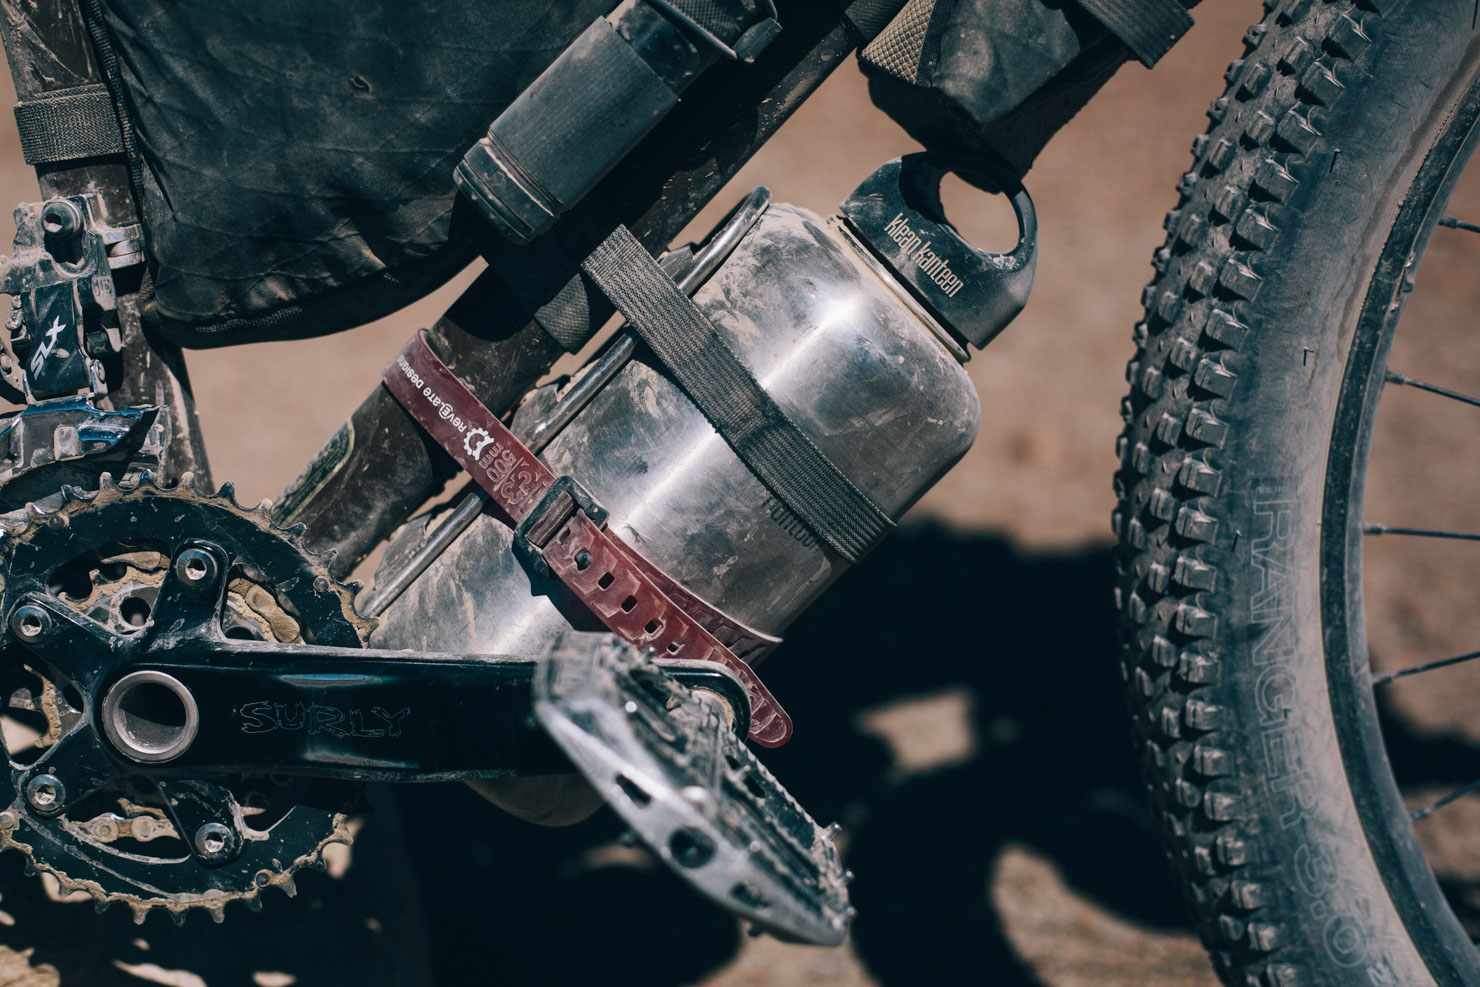
In some countries, boiled water is often available – in Peru they call it ‘agua de vida’. A stainless steel 64oz Nalgene container stowed under the towntube can be really useful in such times, to let it cool off. But if it’s a ride in which I’m expecting a large amount of challenging hike-a-bikes, I’ll try not to have any water bottles attached under the downtube, so it’s easier to carry the bike.
Be especially aware of water sanitation when you arrive in a new country, as it’s likely your stomach will be particularly sensitive – see Wellness, below, for more details.
Tips and Resources
- If you expect to encounter spigots regularly, or clear water sources, a Steripen is quick and easy way to be sure water sources are as safe as they look.
- Often, it’s a case of carrying 2-3 bottles on your bike with a foldable bladder for times where water is more scarce, particularly if campsites are dry.
- Stainless steel Klean Kanteens are ideal for boiled water.
- If expecting regular hike-a-bikes sometimes it’s best to avoid carrying a water bottle under the downtube.
- Avoid buying bottled water as the plastic is rarely recycled.
Bureaucracy
Cash and paperwork
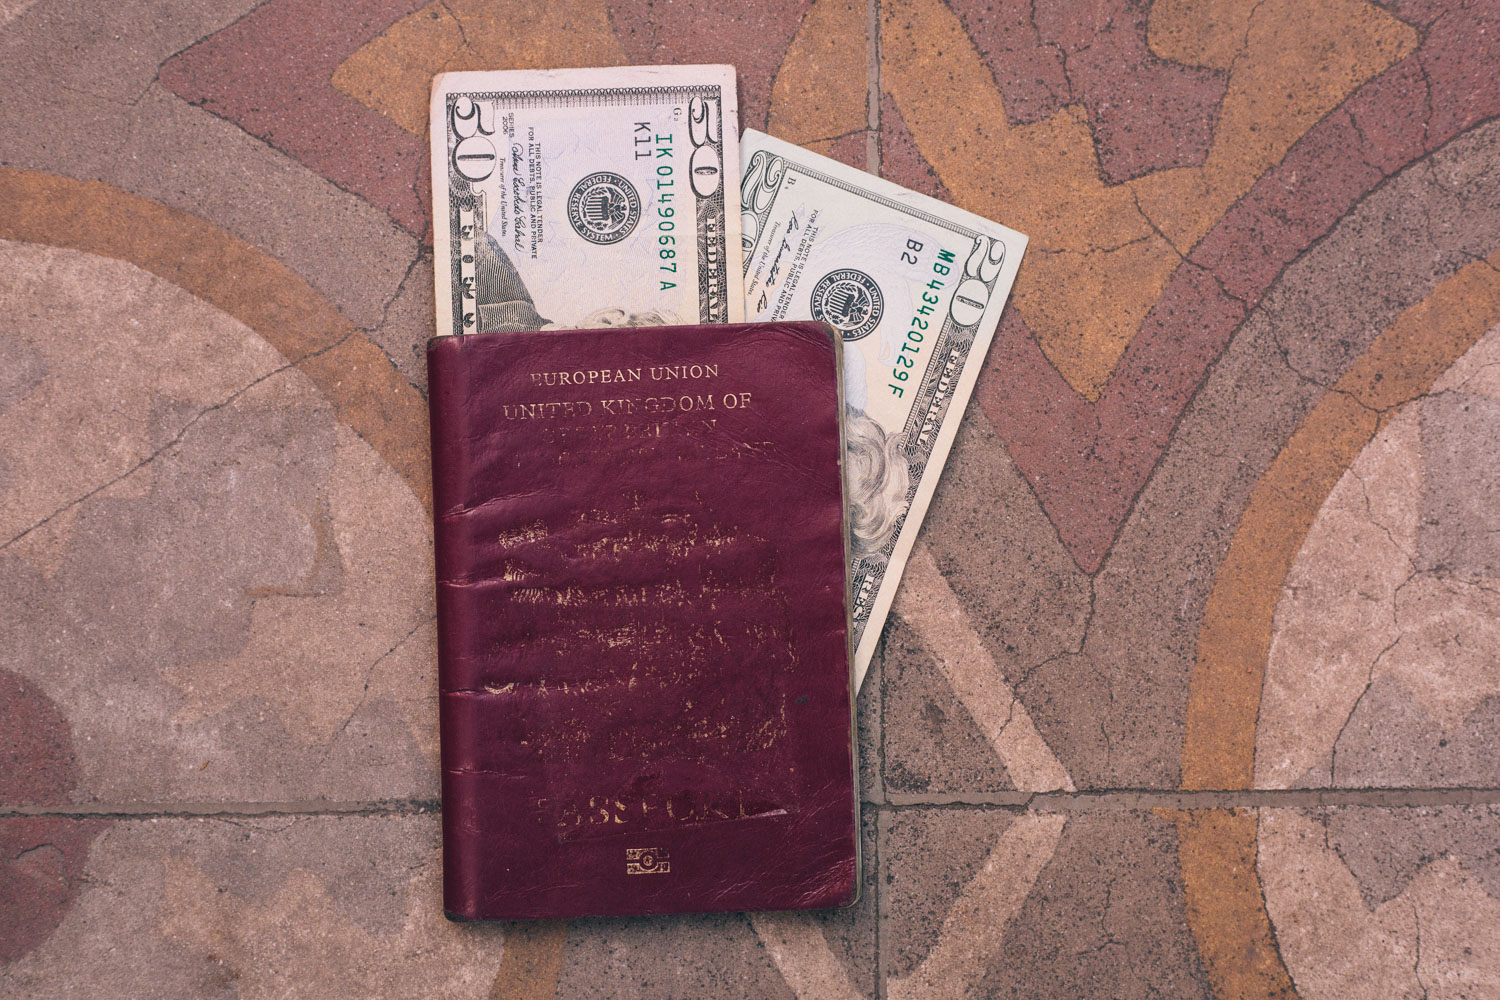
The first thing to do is make sure you’re familiar with visa requirements; these can change on a whim, so make sure your information is up to date. Check your passport is in order – it’s amazing how easy it is to forget this! Are there enough blank pages? Is it at least 6 months away from the expiration date? It’s a good idea to have an address of a hotel in the arrival city handy, even if you’re not planning to stay there, in case you need this for immigration. Lonely Planet’s Thorntree forum is a good to catch up on current travel information for countries all around the world.
I tend to carry around US$200 cash with me and rely on local ATMs. In many countries outside of the US, money changers and banks prefer well-kept notes – so no rips, smudges or markings. I’ll also photocopy and photograph my passport and entry stamp (make sure you don’t forget the latter); the photo is uploaded to Dropbox while the paper copy serves as a useful backup. I’ll try a few ATMS and see which ones don’t charge a fee for using them. It’s a good idea to do this when you’re still in range of wifi, so can iron out any kinks if necessary with your bank. And make sure your bank knows you’re going abroad too. ATM’s invariably always spit out big notes, so it’s best to go to the teller and change these for more village-friendly tender. Zip locks bags are handy for keeping important documents safe and dry.
Consider travel insurance and check to see if your bike is covered by your homeowner’s insurance, if you have one.
Logan’s take
Make sure to double check visa limits and required immunization too, particularly for African destinations. I made the mistake of forgetting my yellow fever vaccination record when I went to Uganda. Luckily they failed to check at airport customs. Otherwise, I may have gotten turned away! In addition, customs agents might assign you the minimum visa automatically. In Uganda we had the option of purchasing a multi-entry visa, which wasn’t much more costly and allowed us to take a jaunt into Rwanda. But, we had to ask. Also, make sure to check other odd restrictions. For example, Rwanda doesn’t allow plastic bags into their country!
Tips and Resources
- Check passport validity/visa requirements.
- Use ATMs but carry emergency $US in high demoninations and good quality notes.
- Upload a copy of your passport/entry stamp to the cloud in case of loss.
- Tell your bank where you are heading and check with which ATMs don’t charge a usage fee (in addition to the normal transaction fee).
- Carry small demonination cash for backcountry travel.
- Consider travel insurance and check your homeowners insurance.
Keeping in touch
Data plans, tablets, and local internet cafes
Roaming charges in South America are generally extremely high. Because I work as I travel, I’ll often buy a local SIM card and some pre-paid credit where possible. This works with mixed success, depending on the area and country. I’ll ask locals what the best carrier is for the area I’m visiting. In some places, buying a SIM card as a foreigner isn’t an issue. In others, you’ll either need to visit a head office or borrow a local identity number; generally, this isn’t an issue if you explain you’ll be gone in a few weeks. Be sure that your phone is unlocked before leaving your country and keep your original SIM card somewhere safe for your return.
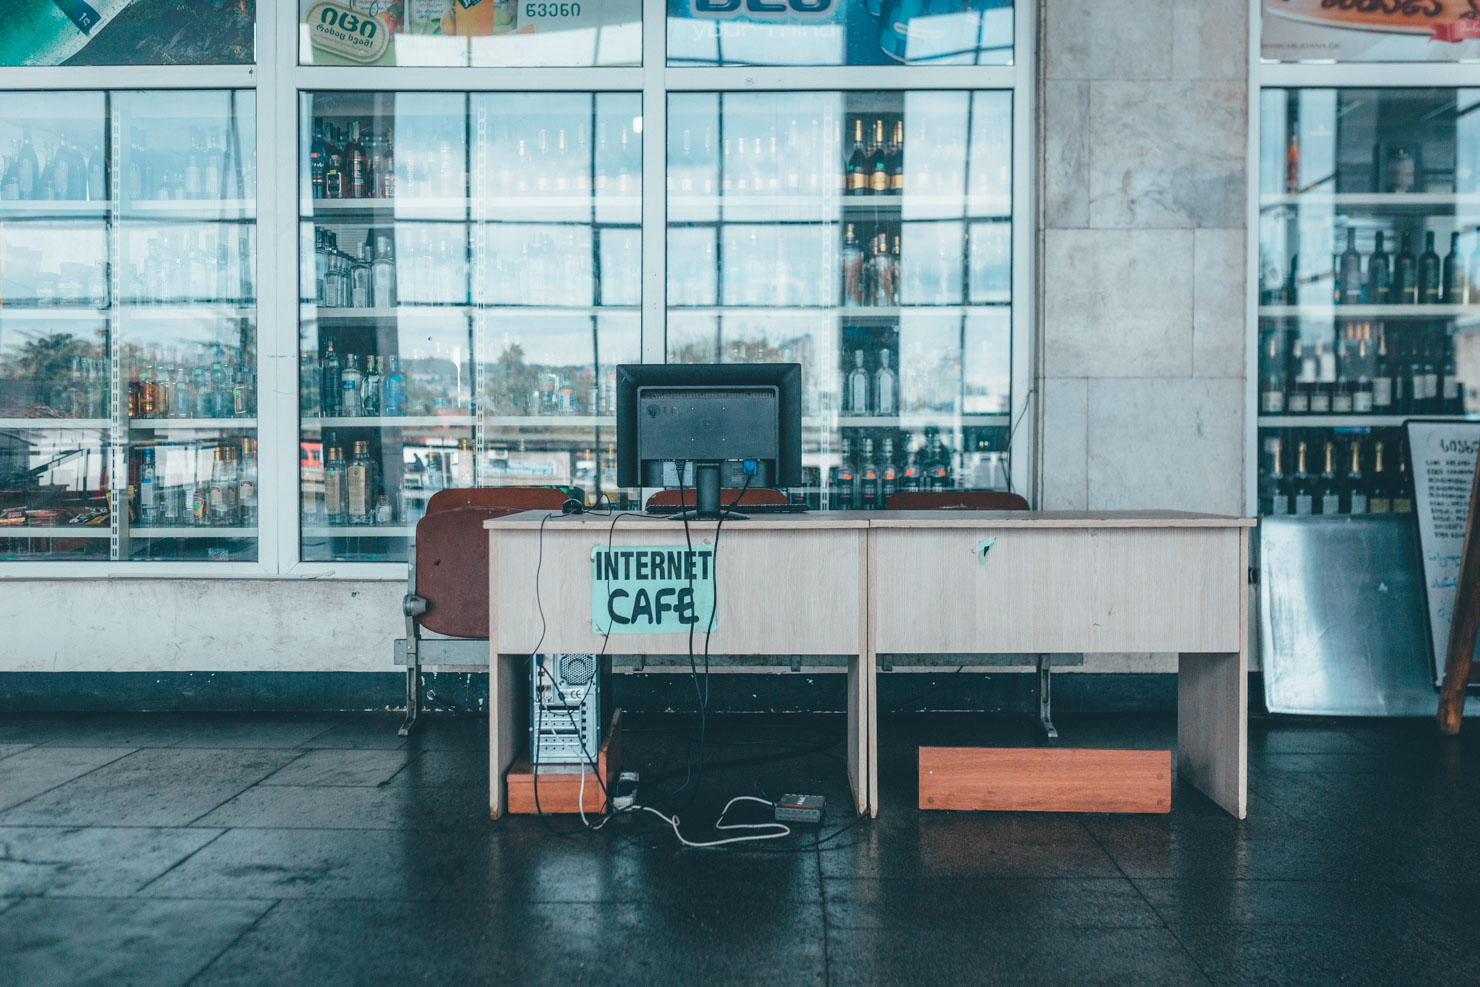
Otherwise, cheap internet cafes are prevalent. Just bear in mind they’re generally jam-packed with teenagers playing noisy video games! Keyboards have a tendency to feature weird symbols and worn letters are standard. If you’re relying on local internet cafes, it’s worth setting up two email accounts, in case one locks you out, as is often the case when signing in abroad.
If you intend to use the internet regularly, a small, cheap, and light tablet may be a good option, as wifi is increasingly prevalent in hostels and town squares across Latin America – it’s also more secure if you’re logging into banking accounts and the like. Load up a Skype account with some cash, in case you need to make any important calls, and consider setting up an app like What’s App, which is often free as part of a pre-paid data plan.
If you’re travelling alone, you might consider investing in a Spot tracker too. I don’t carry one but I try and check in with my family every few days if I can. If you’re especially concerned, you can always send a friend your gpx files of where you’re headed, in case of any accident.
Tips and Resources
- Look into a local pre-paid plan to help stay in touch.
- Consider carrying a tablet for more secure access to wifi.
- Set up a Skype account in case you need to make urgent calls.
- Consider a Spot tracker and/or sharing your route with family and friends if traveling alone.
Smartphones and Apps
Useful additions to your phone
Love them or hate them, cell phones are incredibly useful tools. While you may want to leave yours at home, having one when you travel is extremely useful. Aside from digital mapping – they’re great for finding your way in and out of a city – I load mine up with podcasts, music, a weather app, the hospitality network Warmshowers’ app, and a translation program. Storing a stash of family photos and places that show where you live can be a great icebreaker when you meet or stay with people. Check sunset and sunrise times where you’re headed. The dry season in the Peruvian Andes is in the winter, for instance, which meant it was dark early and I spent a lot of time wrapped up in my tent. A good book, whether in paper or pixels, can be welcome!
For the most part, smartphones are so prevalent these days that they don’t command undue attention. I travel with an iPhone 5s; it’s a few generations old with plenty of dings and scratches, so doesn’t look especially flash and fancy.
Tips and Resources
- Load up useful apps before leaving home, eg podcasts, a translation program, weather, the Warmshowers app.
- Family photos can be a great icebreaker.
Arriving and Departing
Choosing flight times and stowing gear
Google.com/flights is a great search engine for booking your flight, as it lists prices around the dates you’re looking at and suggests cheaper airports if there’s anything close by. Be sure to check (and double check) your airline’s bike policy before you book your flight; then, save a copy to your phone in case there’s confusion at the airport, as there often is. I prefer flights that arrive early in the morning, for two reasons. The first is so I don’t have to deal with a new city at night. And the second is that it sometimes means I can to skip a night in a city altogether. On this trip I arrived in the early afternoon in Lima, Peru, took a taxi to the long distance bus station, and then hopped on a night bus (booked online) to my start point in Arequipa, and rested up/recouped there.
If you pack your bike in a bag rather than a box (my favourite is Ground Effect’s super compact, foldaway Tardis) which comfortably fits 27.5+ and will just handle fat bikes and 29+), it’s far easier to take standard taxis. This leaves me with a duffel bag and bike bag to deal with. If you’re planning a loop, just find a guesthouse that has storage. If not, consider sending it onwards, which is easy and secure to do throughout South America using an omnipresent service known as ‘encomienda’, that use buses to carry cargo. Offices will generally keep your gear for 3-4 weeks.
If I need to spend a night in a capital city first, find a guesthouse that stores gear and prep your bike before heading out, to make sure everything has arrived safe and sound. This has the benefit that you can leave any spares you don’t want to be carrying but would like access to in an emergency. This is particularly useful if you want to bring a spare tire, particularly if it’s a size that’s hard to find. You can then prebook a night’s accommodation for the date of your departure.
If you can’t store your bike box and need to scrap it, capital cities increasingly have specialist stores from the likes Specialized and Trek, which can be your best port of call for finding a replacement that will fit 29+ and fat bikes. Those designed to fit a full suspension bike, in an XL size, may well fit a fat bike with the tires removed (this potential headache is one reason why I prefer 27.5+ for shorter trips). Failing this, a see-through, heavyweight plastic bag that a mattress comes in and a tonne of pipe lagging procured from a hardware store can work too! Some people even prefer to transport their bikes this way to remind baggage handlers of its content – though you’ll need to check out the airline’s policy.
Starting your trip by staying at a Warmshower’s host, where available, can be a great way to easy into a trip with like-minded folk, gen up on local information, and possibly leave a few items in storage.
Tips and Resources
- Use googleflights.com to help find the cheapest flight.
- Check – and doublecheck – airline bike policy.
- Aim to arrive early to avoid negotiating a city by night.
- Find a guesthouse that will store your gear; bikebags rather than boxes make logistics easier both during local transportation and for preparing for your return flight.
- If heading to South America, investigate ‘encomienda’ service to forward bags/emergency spares to your destination. Ride light!
Food
Eating local and bringing speciality food from home
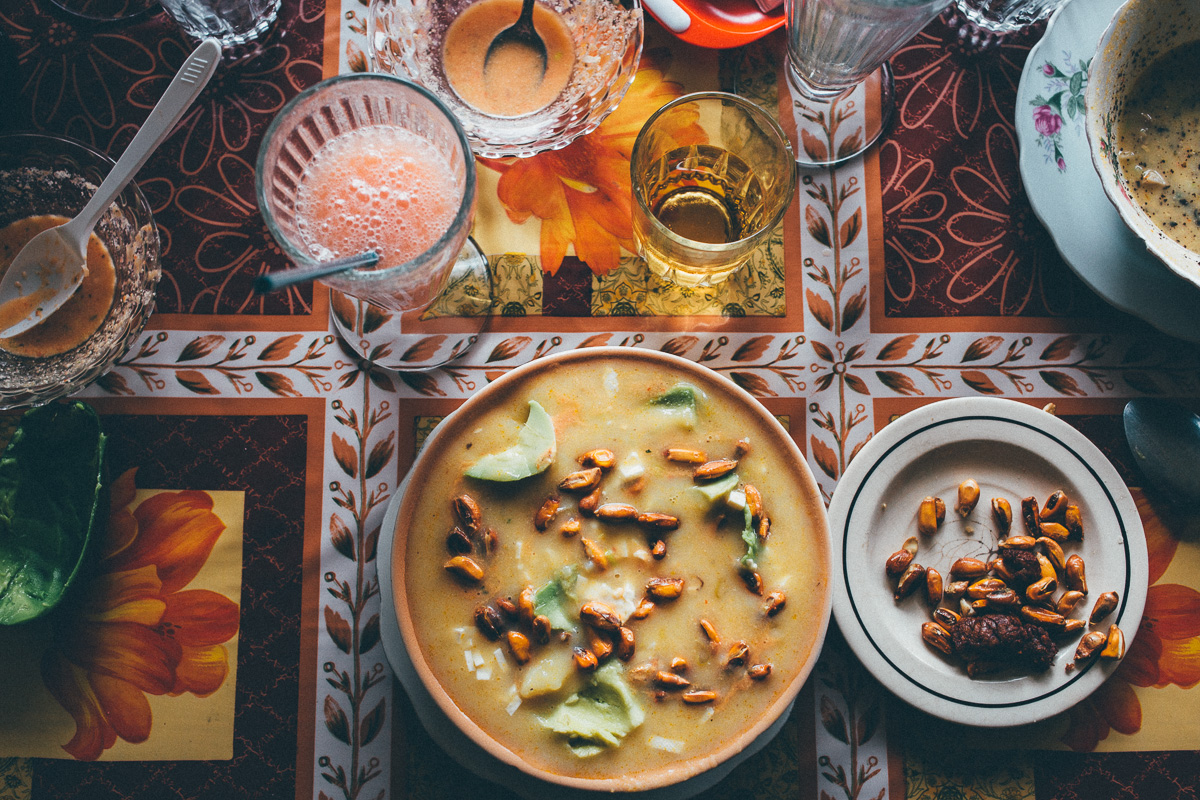

I always eat cheaply and locally, rather than defaulting to fancier or more tourist orientated western food. After all, embracing the local cuisine is part of the delights of travelling! In much of South America, set lunches and dinners are extremely affordable – just a few dollars will buy you an incredibly filling meal – while camping food can be bought in local markets.
However, it’s well worth bringing a couple of extra luxuries from home and drip feeding yourself them over the course of the trip. It obviously depends on what you like and you’re particular diet, but on this trip, I brought out the following: powdered coconut milk for mixing with oatmeal, a jar of almond butter, a selection of Lara bars, Thai Kitchen instant noodles, miso soup packets, and a couple of tubes of Nuun electrolytes.
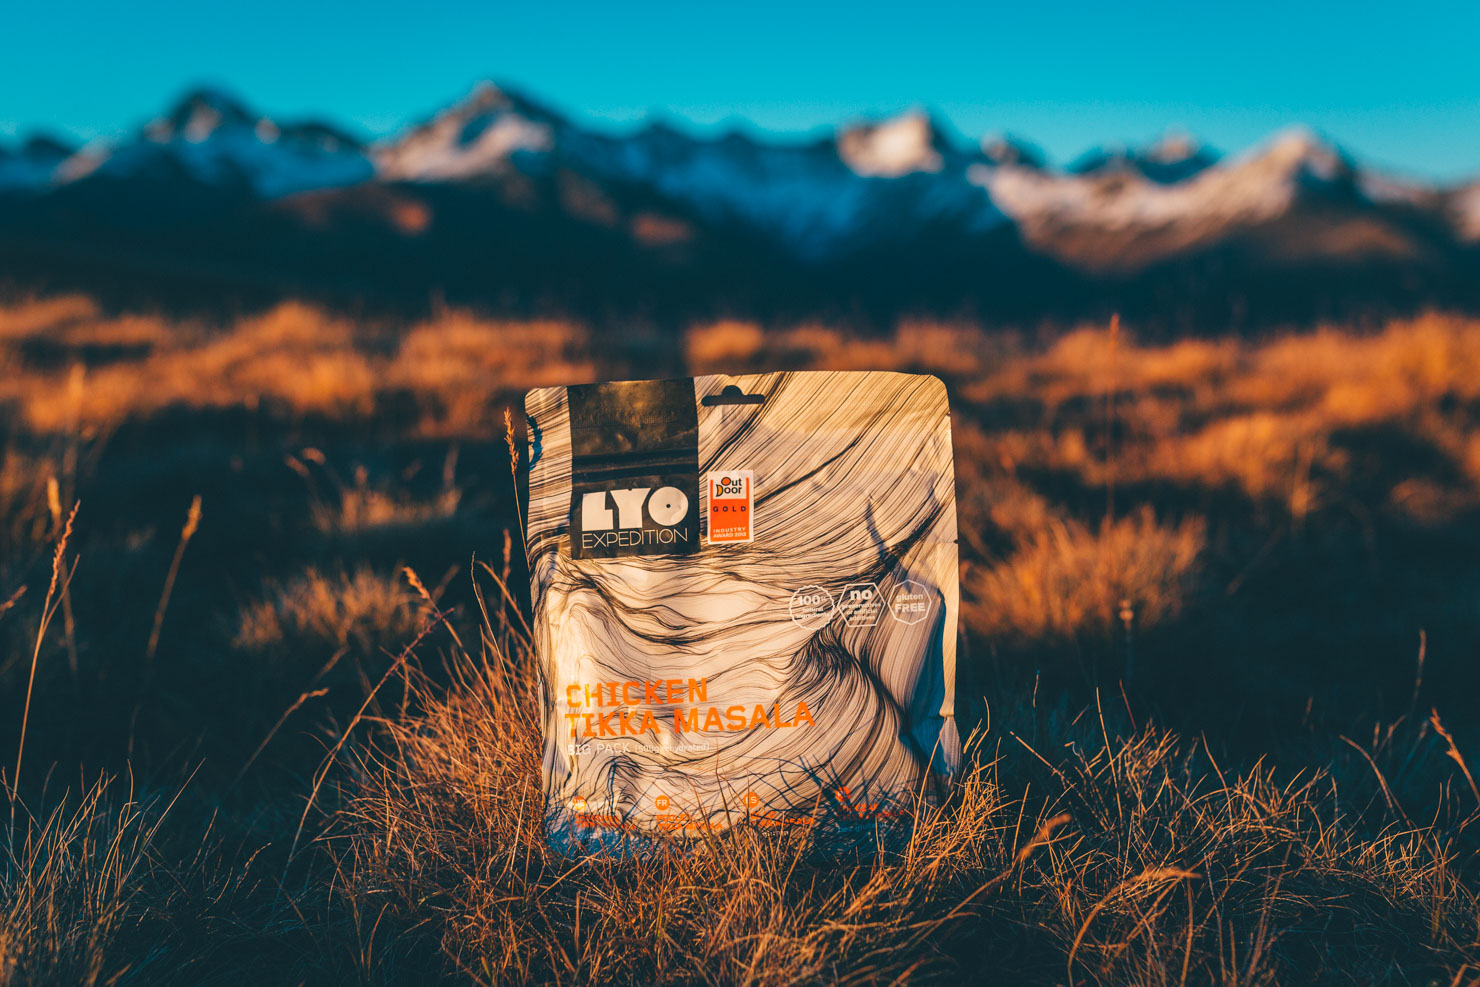
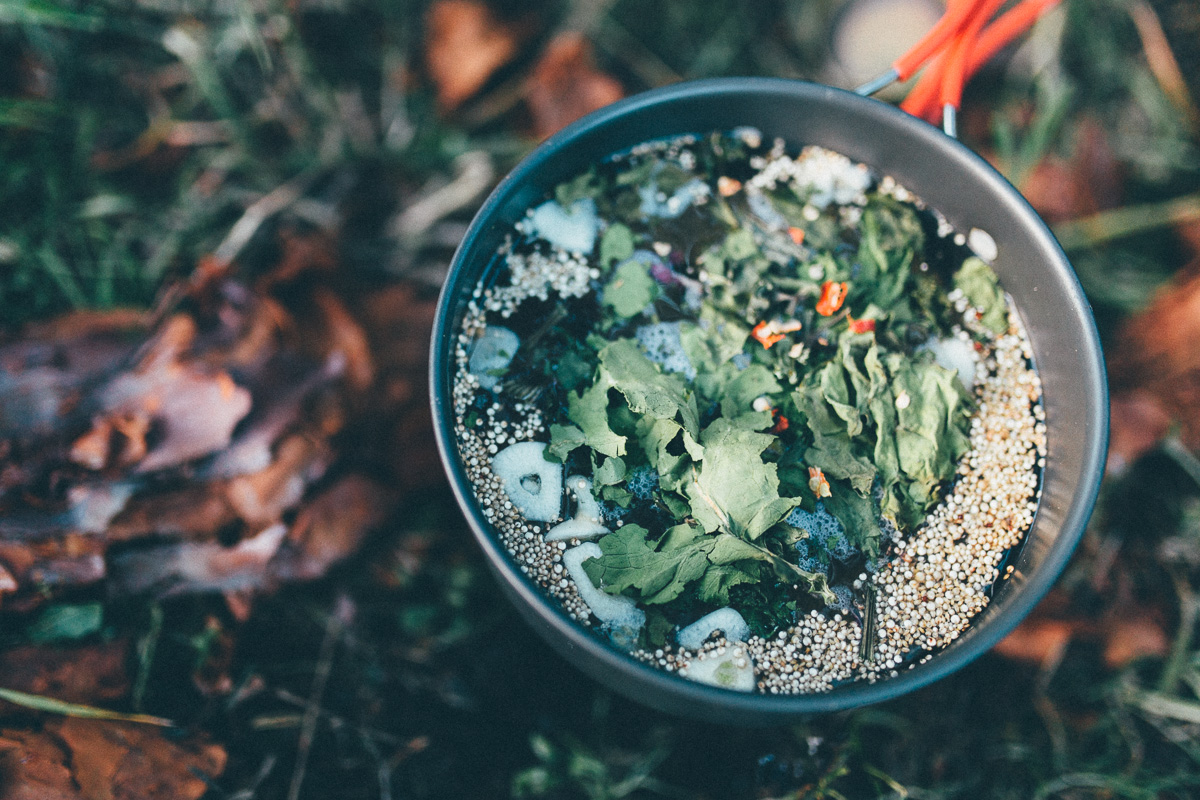
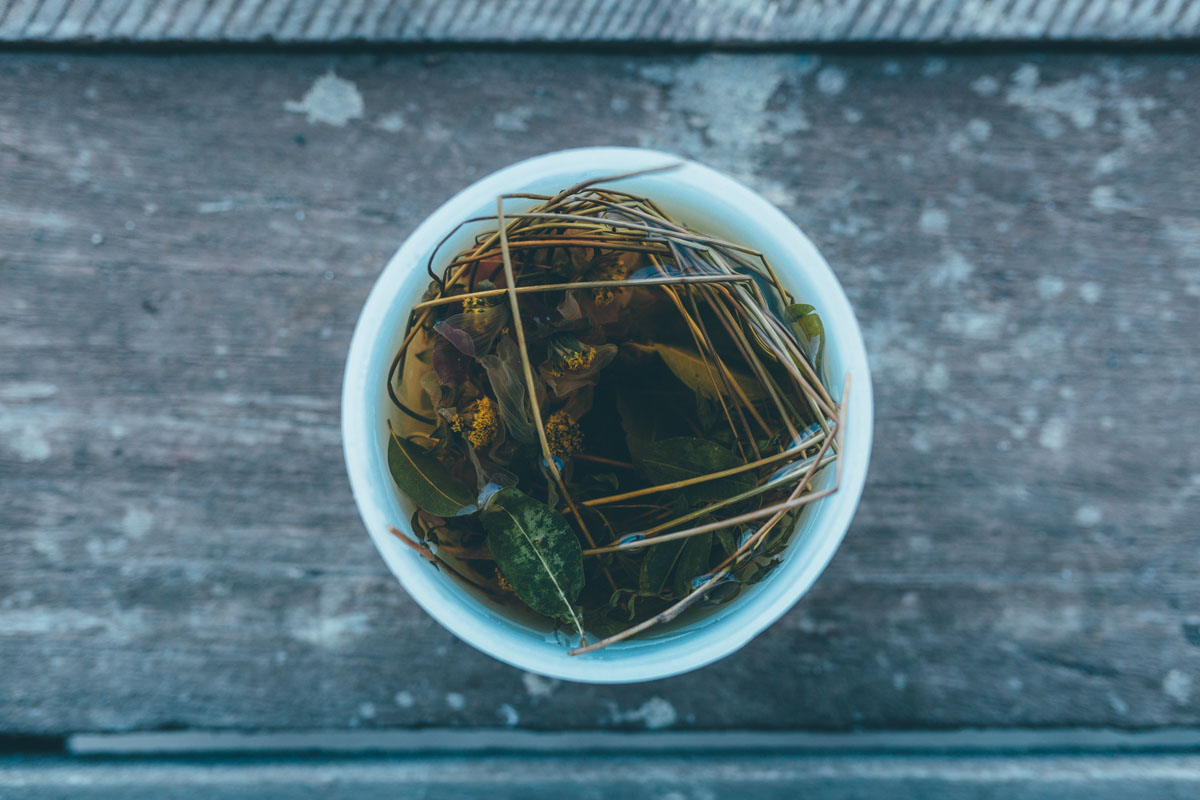
Generally, I’ll also bring either bring homemade or a store bought dehydrated vegetables (the Natural Grocer’s chain does a good selection) to add to camp soups. A couple of heavy duty zip lock bags can be good too, for mixing porridge oats, nuts, raisins, and the like. Although ramen noodles are always readily available locally, I’ll buy some higher quality, more nutritious alternatives from home to start me off. Light and easy, they’re perfect to save for emergency meals. Otherwise, consider bringing a couple of high quality, specialist camping meals for emergencies – my favourites are those from GoodTo-Go and Lyo. They make a nice change too. A few packs of miso soup is another good option; great for rehydration after a long ride. Coffee drinkers will likely want to bring a stash of black gold as despite much of South America exporting fine quality coffee beans, most of the locals drink instant. In Peru, I tend to boil up coca leaves if I want a warm drink in the morning.
It’s also worth packing a couple of reusable plastic containers. I used one for local honey (which I love) and the other for leftover cooked food. Restaurant food is cheap and plentiful in South America, so I’ll either pack out what I don’t eat order an extra plate to go, and enjoy it at lunch or dinner. Buying eggs and boiling them up to snack on over the next day or two can be a good option too.
Tips and Resources
- Eat local to save cash .and to renrichen your travel experience.
- Bring a few key products from home, eg Electrolytes, nut butter, emergency meals.
- Pack a sealable container for leftovers/an extra cooked meal.
Wellness
Mixing and matching to stay healthy on the road
Unless your stomach is particularly resilient, be sure to drink purified water when you first arrive, at least until you build up some tolerance. It’s all to easy to pick up a travel bug that will knock a few days off your trip, especially where the diet and temperatures are different to what you’re used to. I also prefer to use a filter rather than buying bottled water to reduce trash, much of which won’t be recycled. And I carry some rehydration sachets with electrolytes, as they can really help if your stomach is suffering…
Remember that food is medicine! My tactic is to make sure I eat a well-balanced diet whenever I have the opportunity, only resorting to junk food and processed sugars when there’s no alternative. Peru’s towns are abundant with fruit and vegetables. The mountains offer more slim pickings, so I’ll make sure I load my body with goodness whenever the opportunity arises.
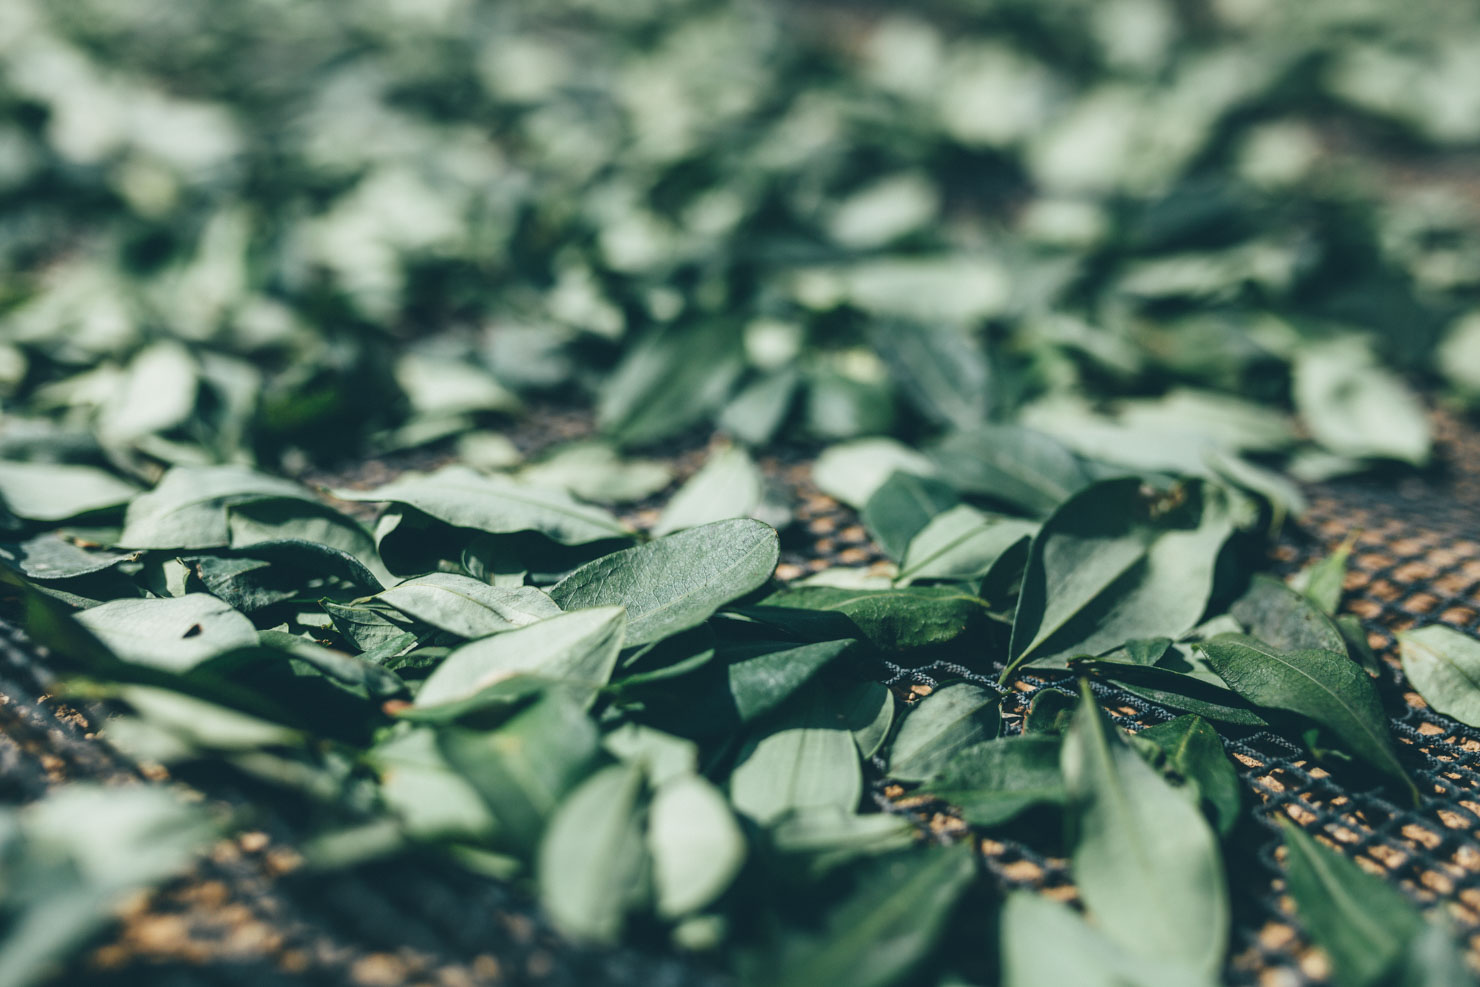
You’ll probably want to bring a few tried and tested medicines from home; paracetamol, perhaps a general antibiotic. With an open mind, it’s amazing how effective local remedies can be in complementing these too. In the mountains, for instance, people are often more in tune with regional herbs. For high altitude trips to South America, my go-to sources of wellness are as follows; coca leaves (good for altitude and energy), muna (good for digestion), and garlic/ginger, which I source at the local market before heading out on the road.
Of course, I’ll substitute these with stronger medicines if required. But on the whole, I don’t carry more than the basics, as South America (and much of the developing world) is well endowed with cheap pharmaceuticals that can be bought over the counter, almost everywhere.
If you prefer to carry a thorough First Aid Kit, check out out Gin’s recommendations here.
Tips and Resources
- Bring a few medicines from home but be aware that most are available locally.
- Be open to natural, local medecines too!
- Check out our suggested First Aid Kit here.
And after all that… it’s just a case getting out and enjoying the ride!
Remember that as useful as it is to have a journey pre-planned, especially if headed into the backcountry on a relatively limited time schedule, there’s no doubt that part of the joy of independent travel is adapting and figuring out situations as you go. So keep an open mind and enjoy the ride!
Please keep the conversation civil, constructive, and inclusive, or your comment will be removed.