


A Beginner’s Guide to Spoon Making


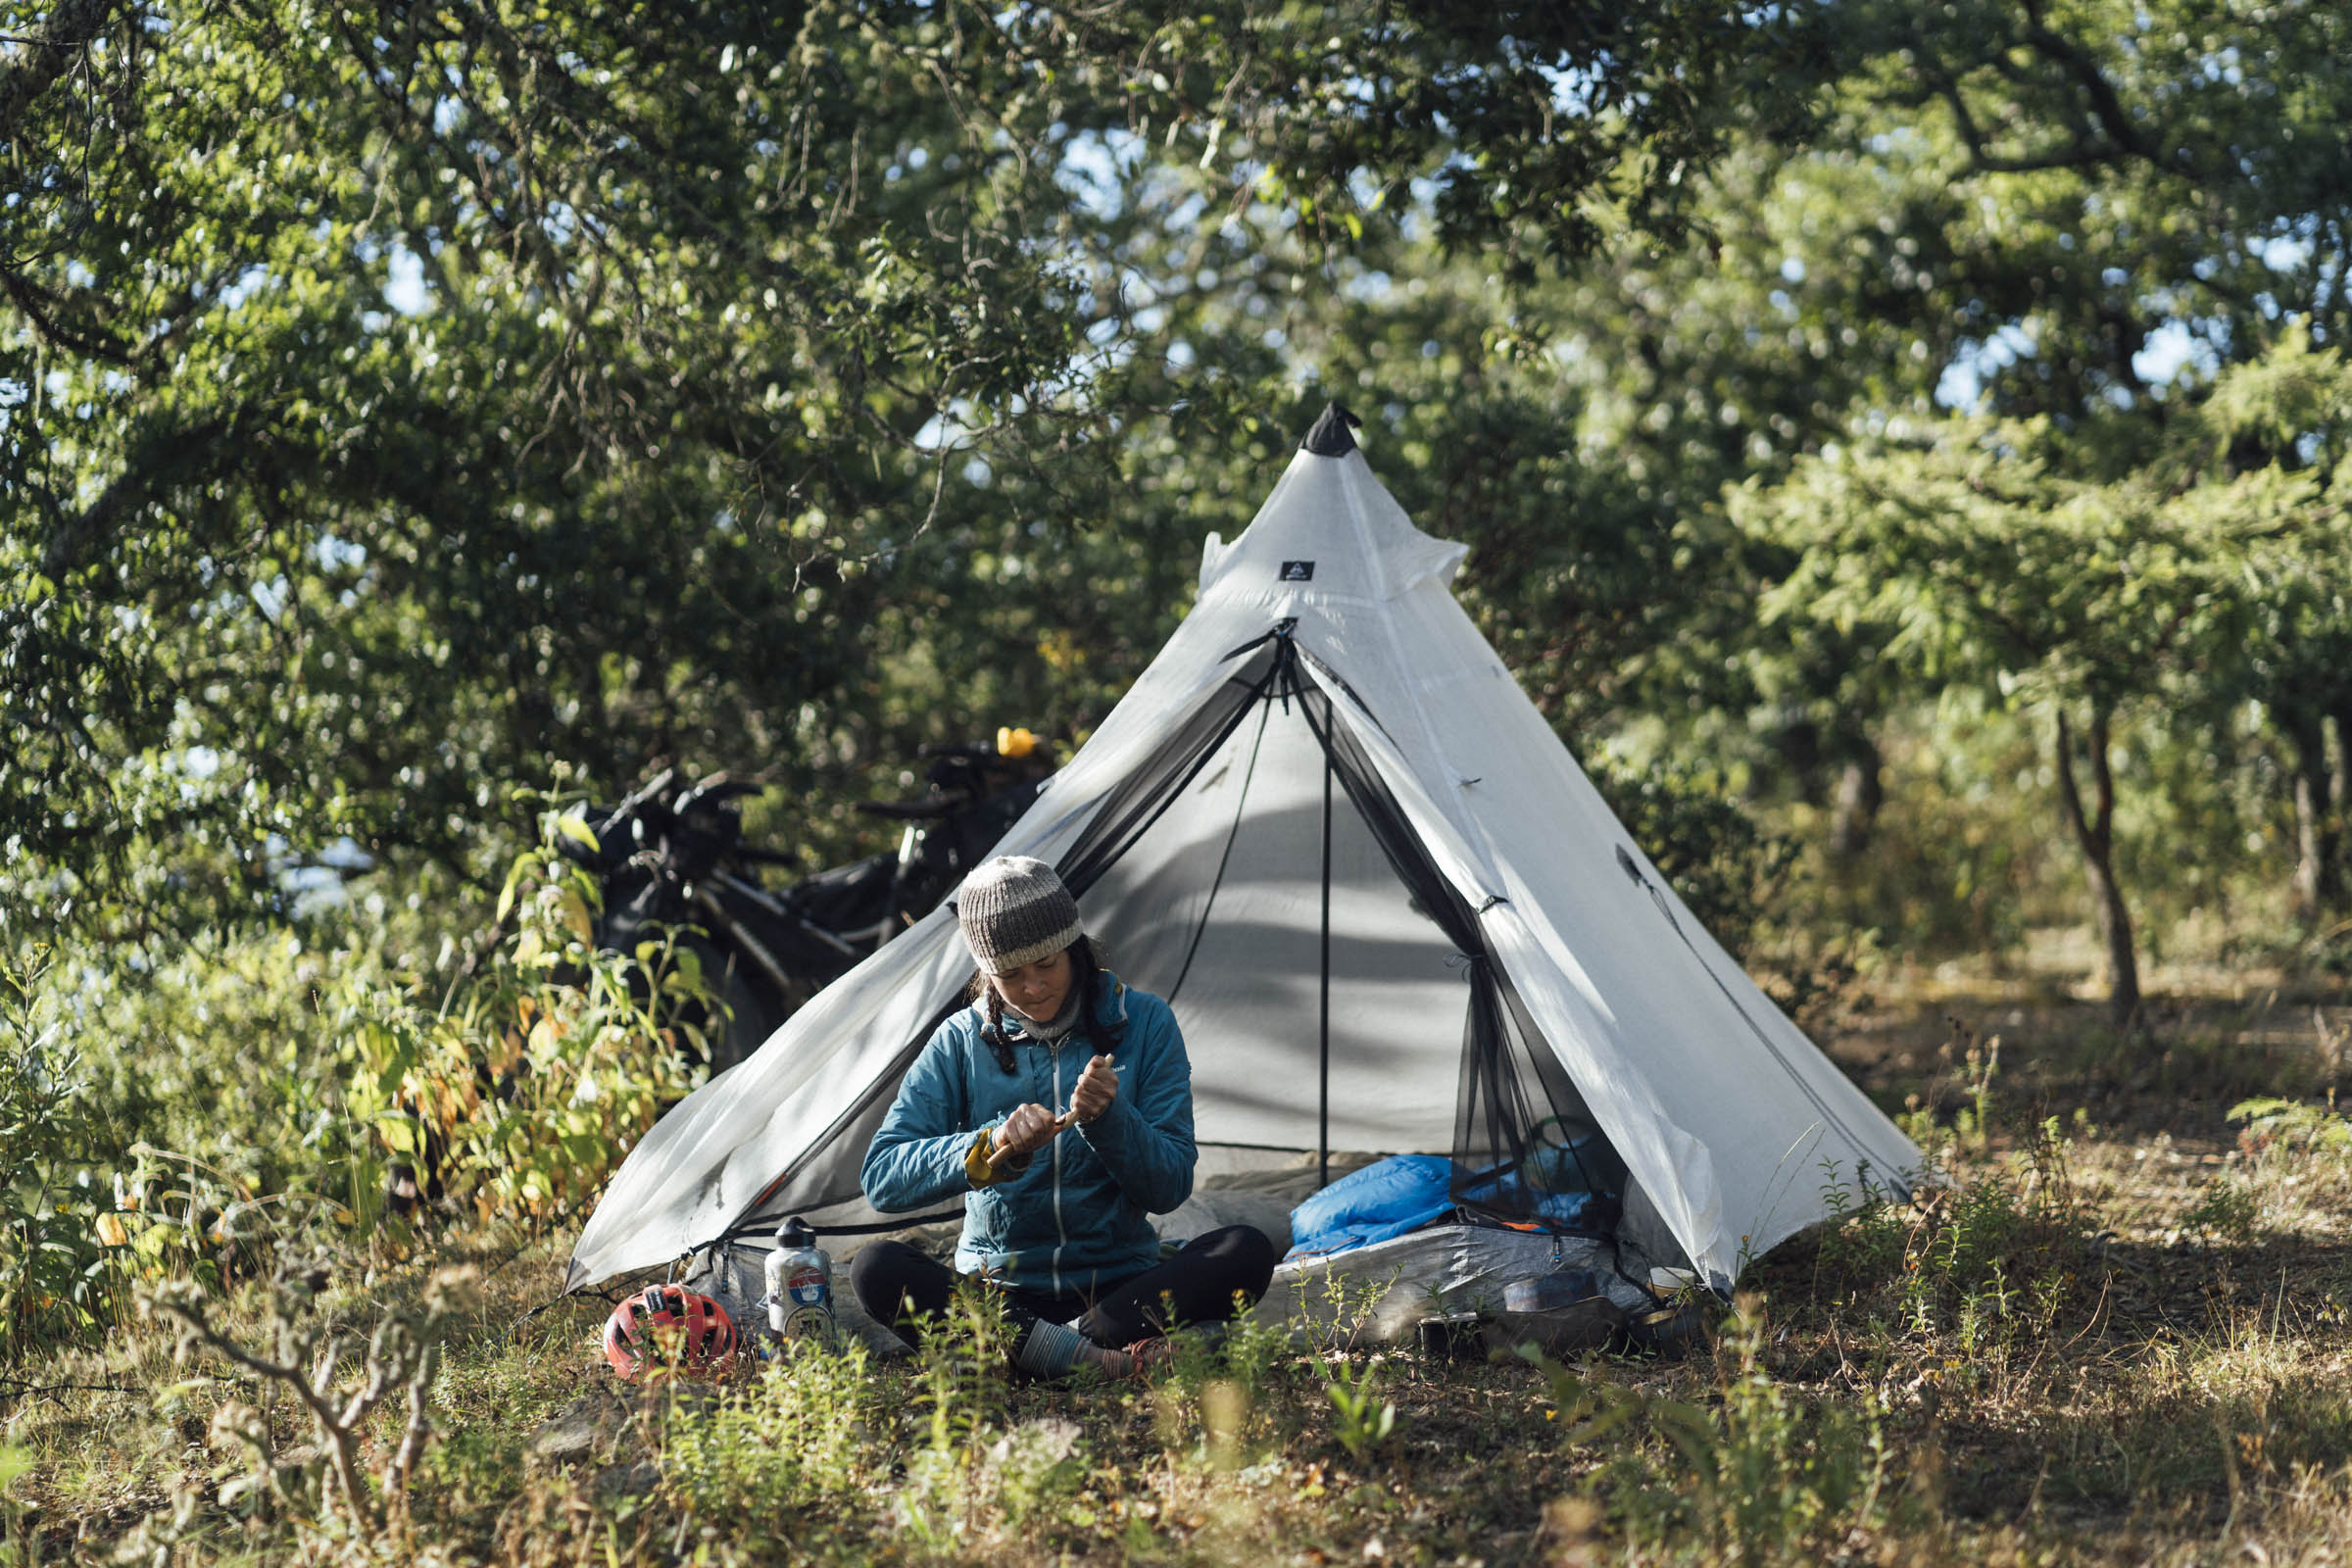
If you’re looking to imbue your bikepacking trips with some practical creativity, how about carving a wooden spoon on your next overnight campout? Newbie whittler Cass made his first eating implement last year and shares his tips and thoughts on the process, as well as inspiration and advice from expert spoon-making bikepackers…
PUBLISHED Dec 1, 2020
Like many good intentions, I’d been mulling over the idea of carving myself a wooden spoon for a few years – inspired by such expert spoon-making bikepackers as Michael Dammer, who runs an Outdoor Education centre in Ecuador, and Mehedi van Hattum, a furniture maker from New Mexico, who part-funded his journey across the Americas by selling the beautiful wooden spoons he made en route.
Finally, the opportunity to make my own actually arose and I have to say that I was immediately smitten with the whole process: from choosing and sourcing the wood, to creating the actual spoon, to using it to eat my meals!

I now consider myself very much an amateur enthusiast with a number of spoons to my name but much to learn. The process has also installed newfound respect for the simple joys of enjoying my dinner with a self-made implement, as well as a deeper appreciation for all those who make things with their hands. Eating aside, this applies to other items that you can make for your bikpacking adventures, be it as involving as a framebag, following Logan’s DIY post, or a stembag, with Neza as your guide. The added appeal to spoon-making, however, is that it can be experienced on your actual trip, with very few tools, which makes it especially fun and approachable. It can also be something you can enjoy on a longer bikepacking trip, providing creative downtime to riding, as well as being a way of learning about the environment around you and becoming more observant too.
With my limited experience in mind, this is very much a guide geared to anyone who has never carved before and like me, wants to give it a go. But we’ve added in examples and advice from spoon makers who are more adept than I am, so you can see where cultivating your whittling skills can take you…
Titanium Spork vs. Wood!?
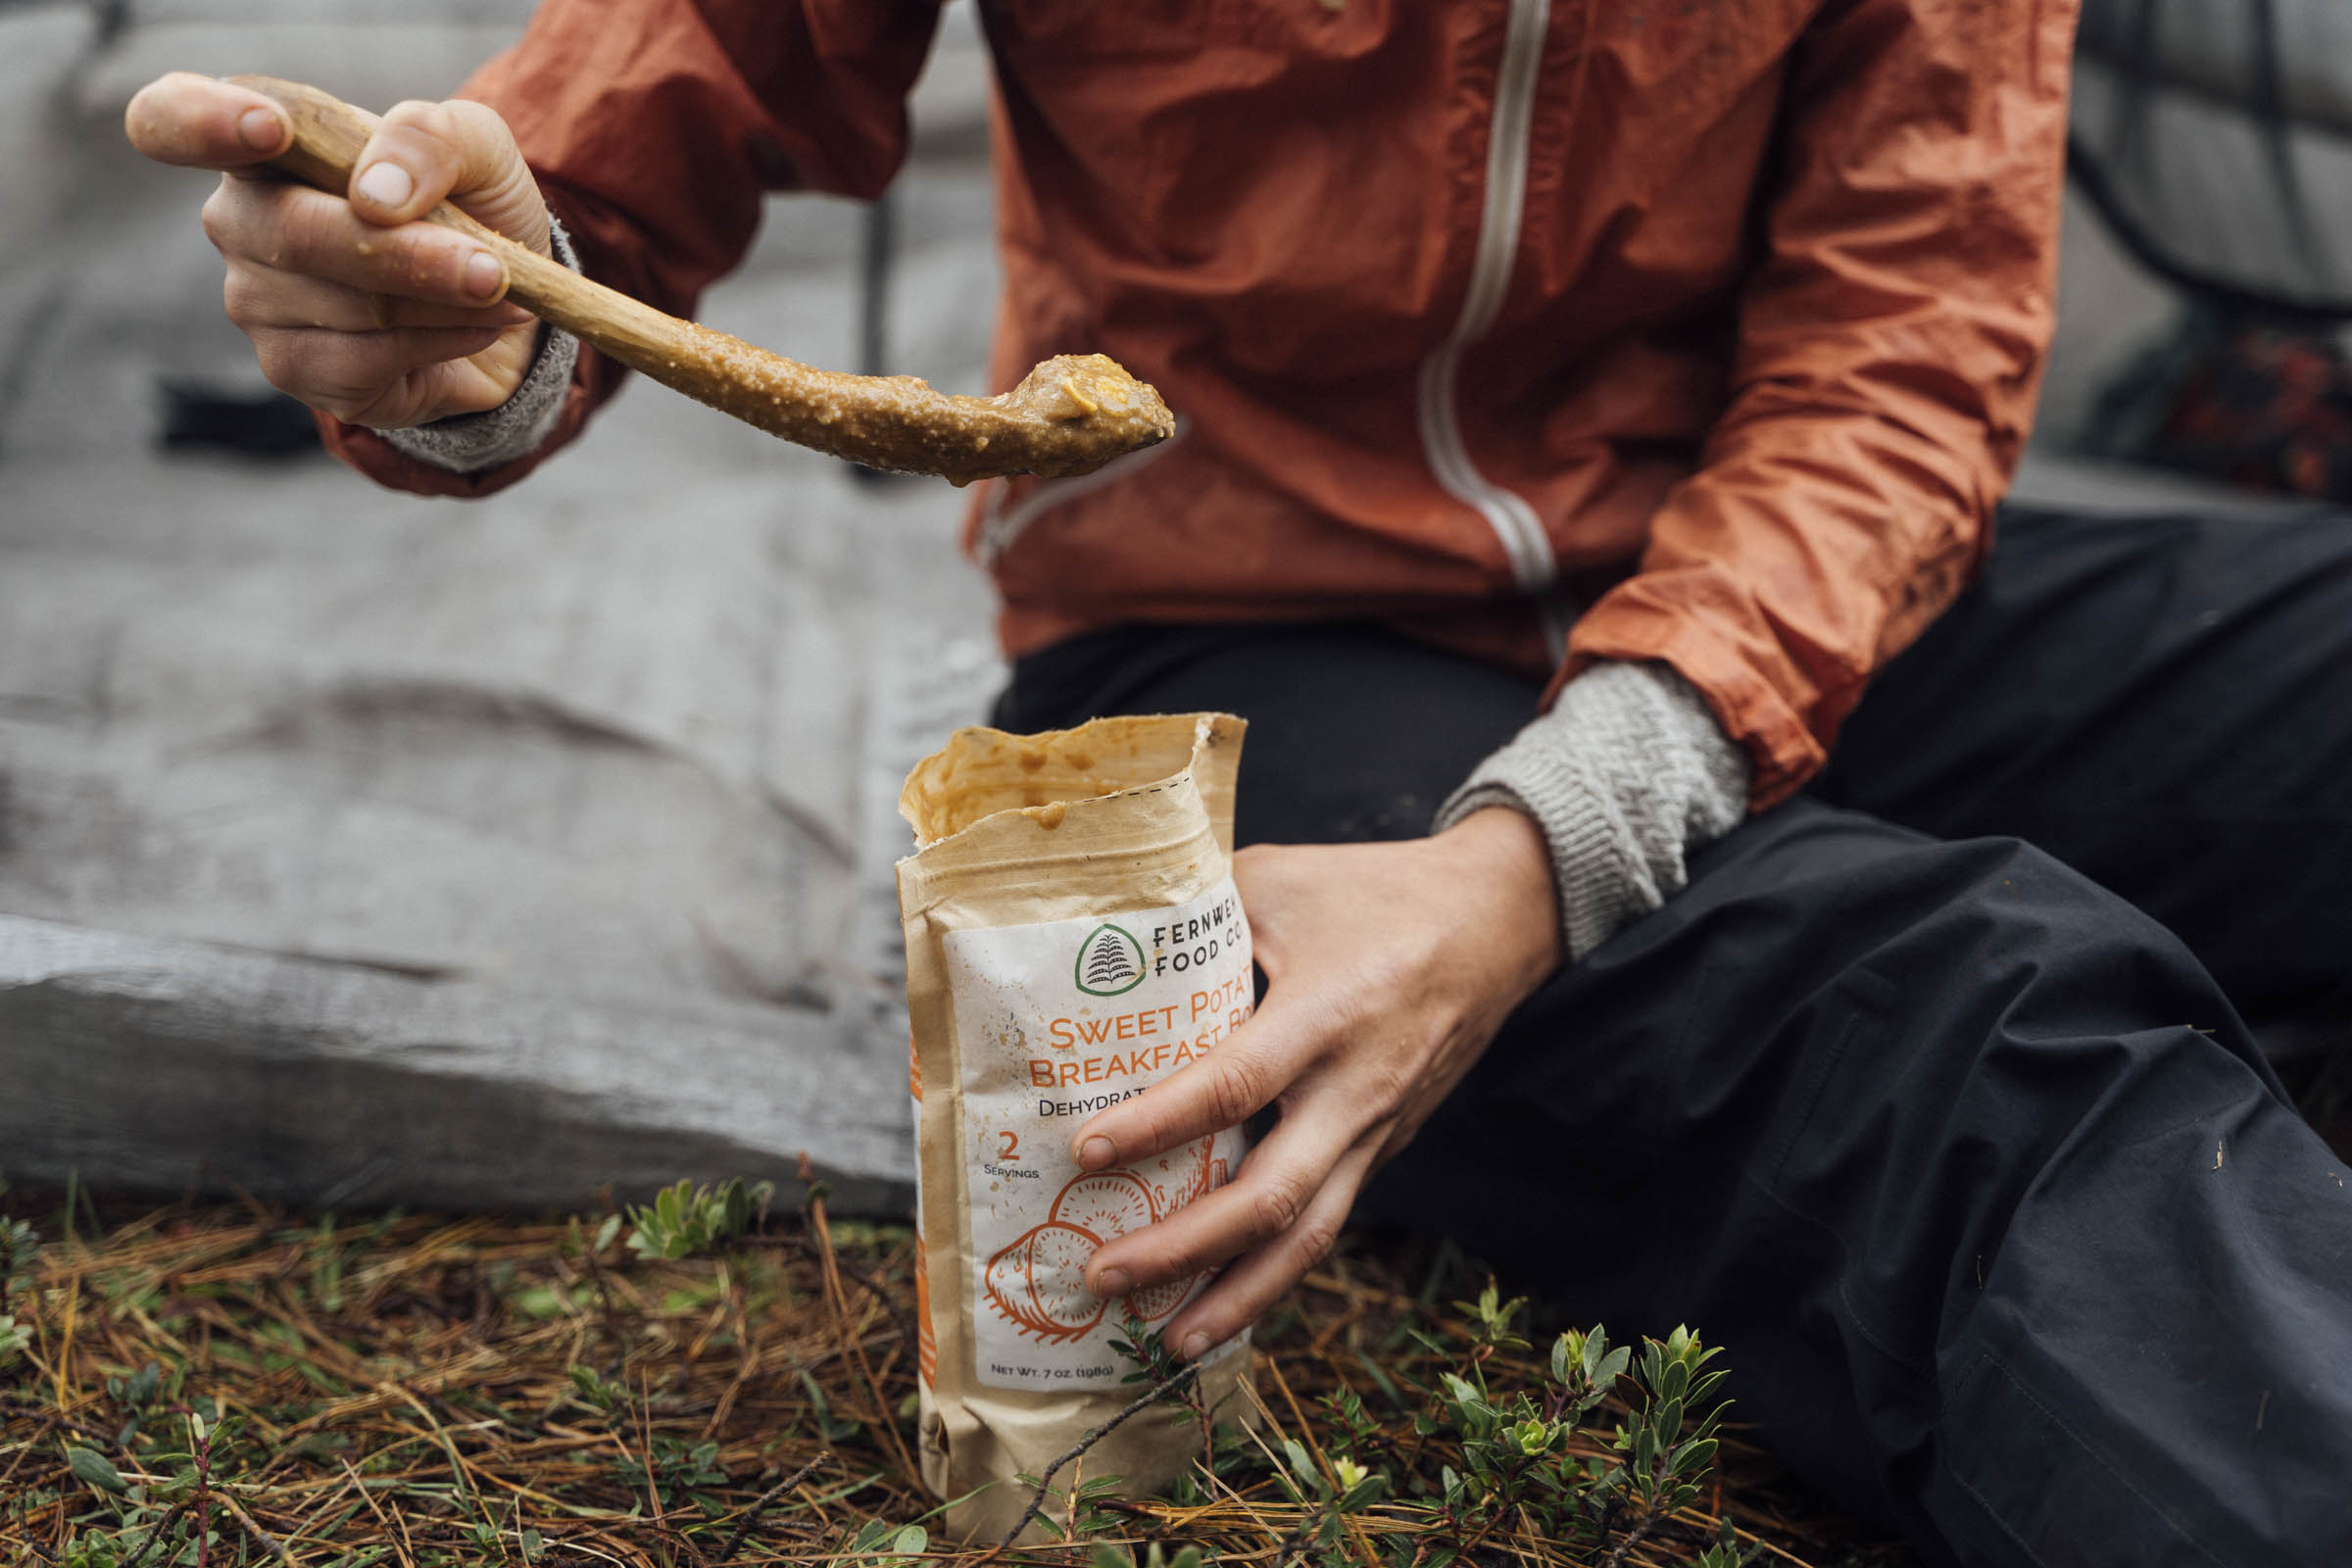
Is a wooden spoon as practical as the perennial bikepacker’s favourite, the Ti spork? Probably not! This said, it’s best to view such a comparison through a different lens. Beyond the spoon itself, it’s strangely satisfying to make something as simple, timeless, and basic as an eating implement with your own hands. And like anything you make for yourself, it can hold so much more meaning than a store-bought item. In fact, your spoon story is likely to be as important as the spoon itself. Where you sourced the wood, the challenges you faced in making it, and the ride during which it was carved are indelibly part of its very identity…

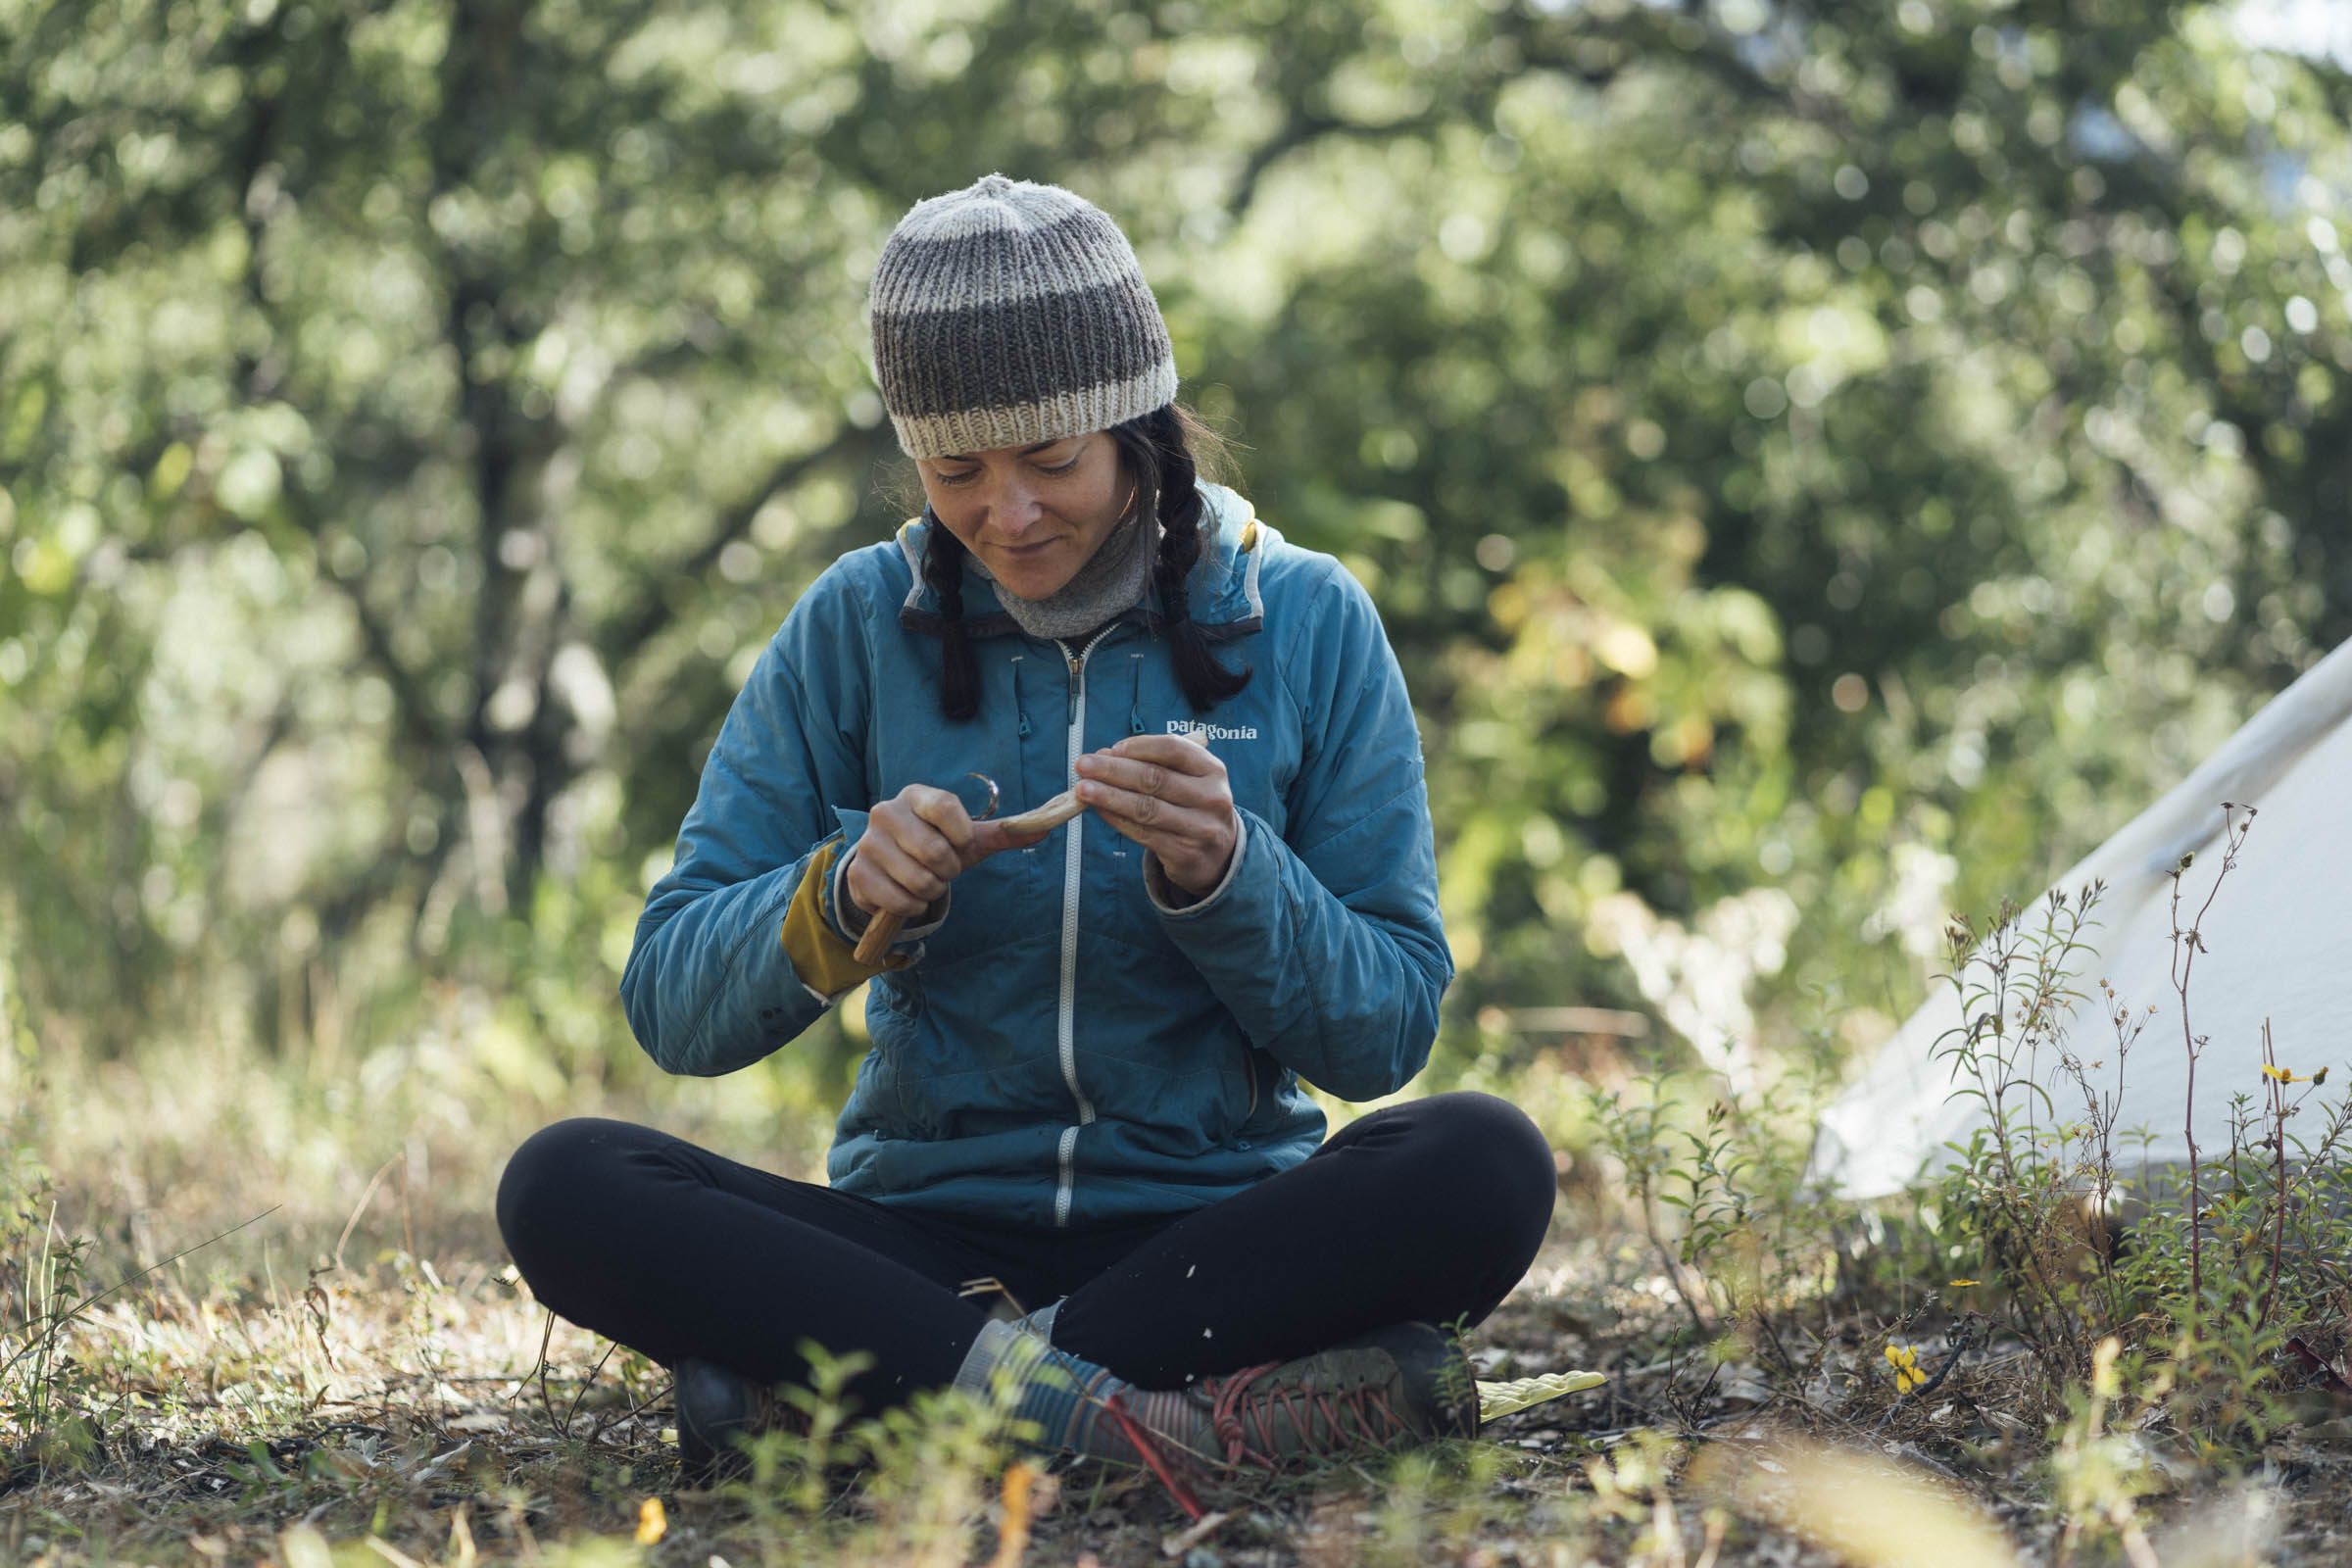
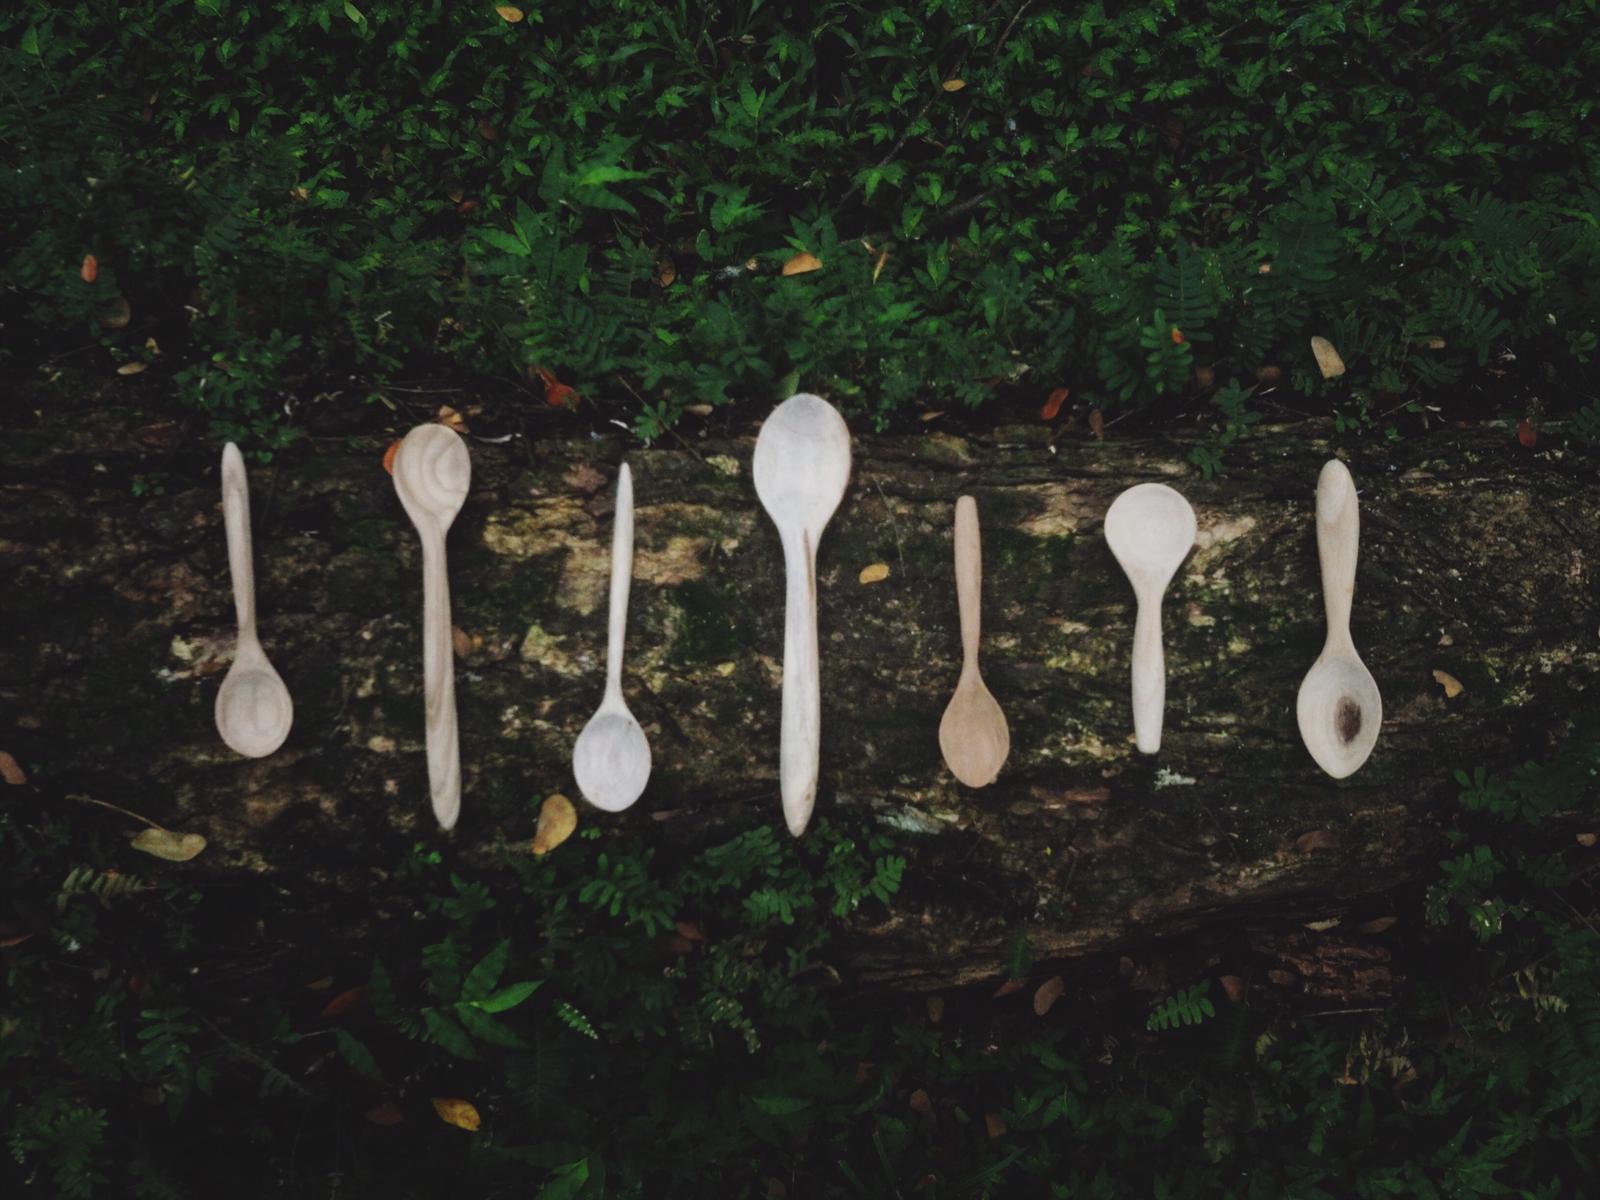
I also find the carving process meditative, immersive and relaxing. I can spend hours whittling away, barely noticing the blisters on my fingers, each push of the blade resulting in a small but discernable impact on the shape of the wood, as it morphs from one entity into the next. It’s a method for practising being as much a doing. There’s also the fact that your spoon will likely be a talking point. Just the other day, a woman in a roadside eatery saw me eating with mine, then dived into her kitchen to bring out her favourite wooden ladle to show me. Whether its your intention or not, a part of your character will probably reveal itself in your spoon. Just look at the incredible collection made by Michael Dammer’s students at the end of this post; each example looks as individual as a person and I’d love to see photos of those who created them.
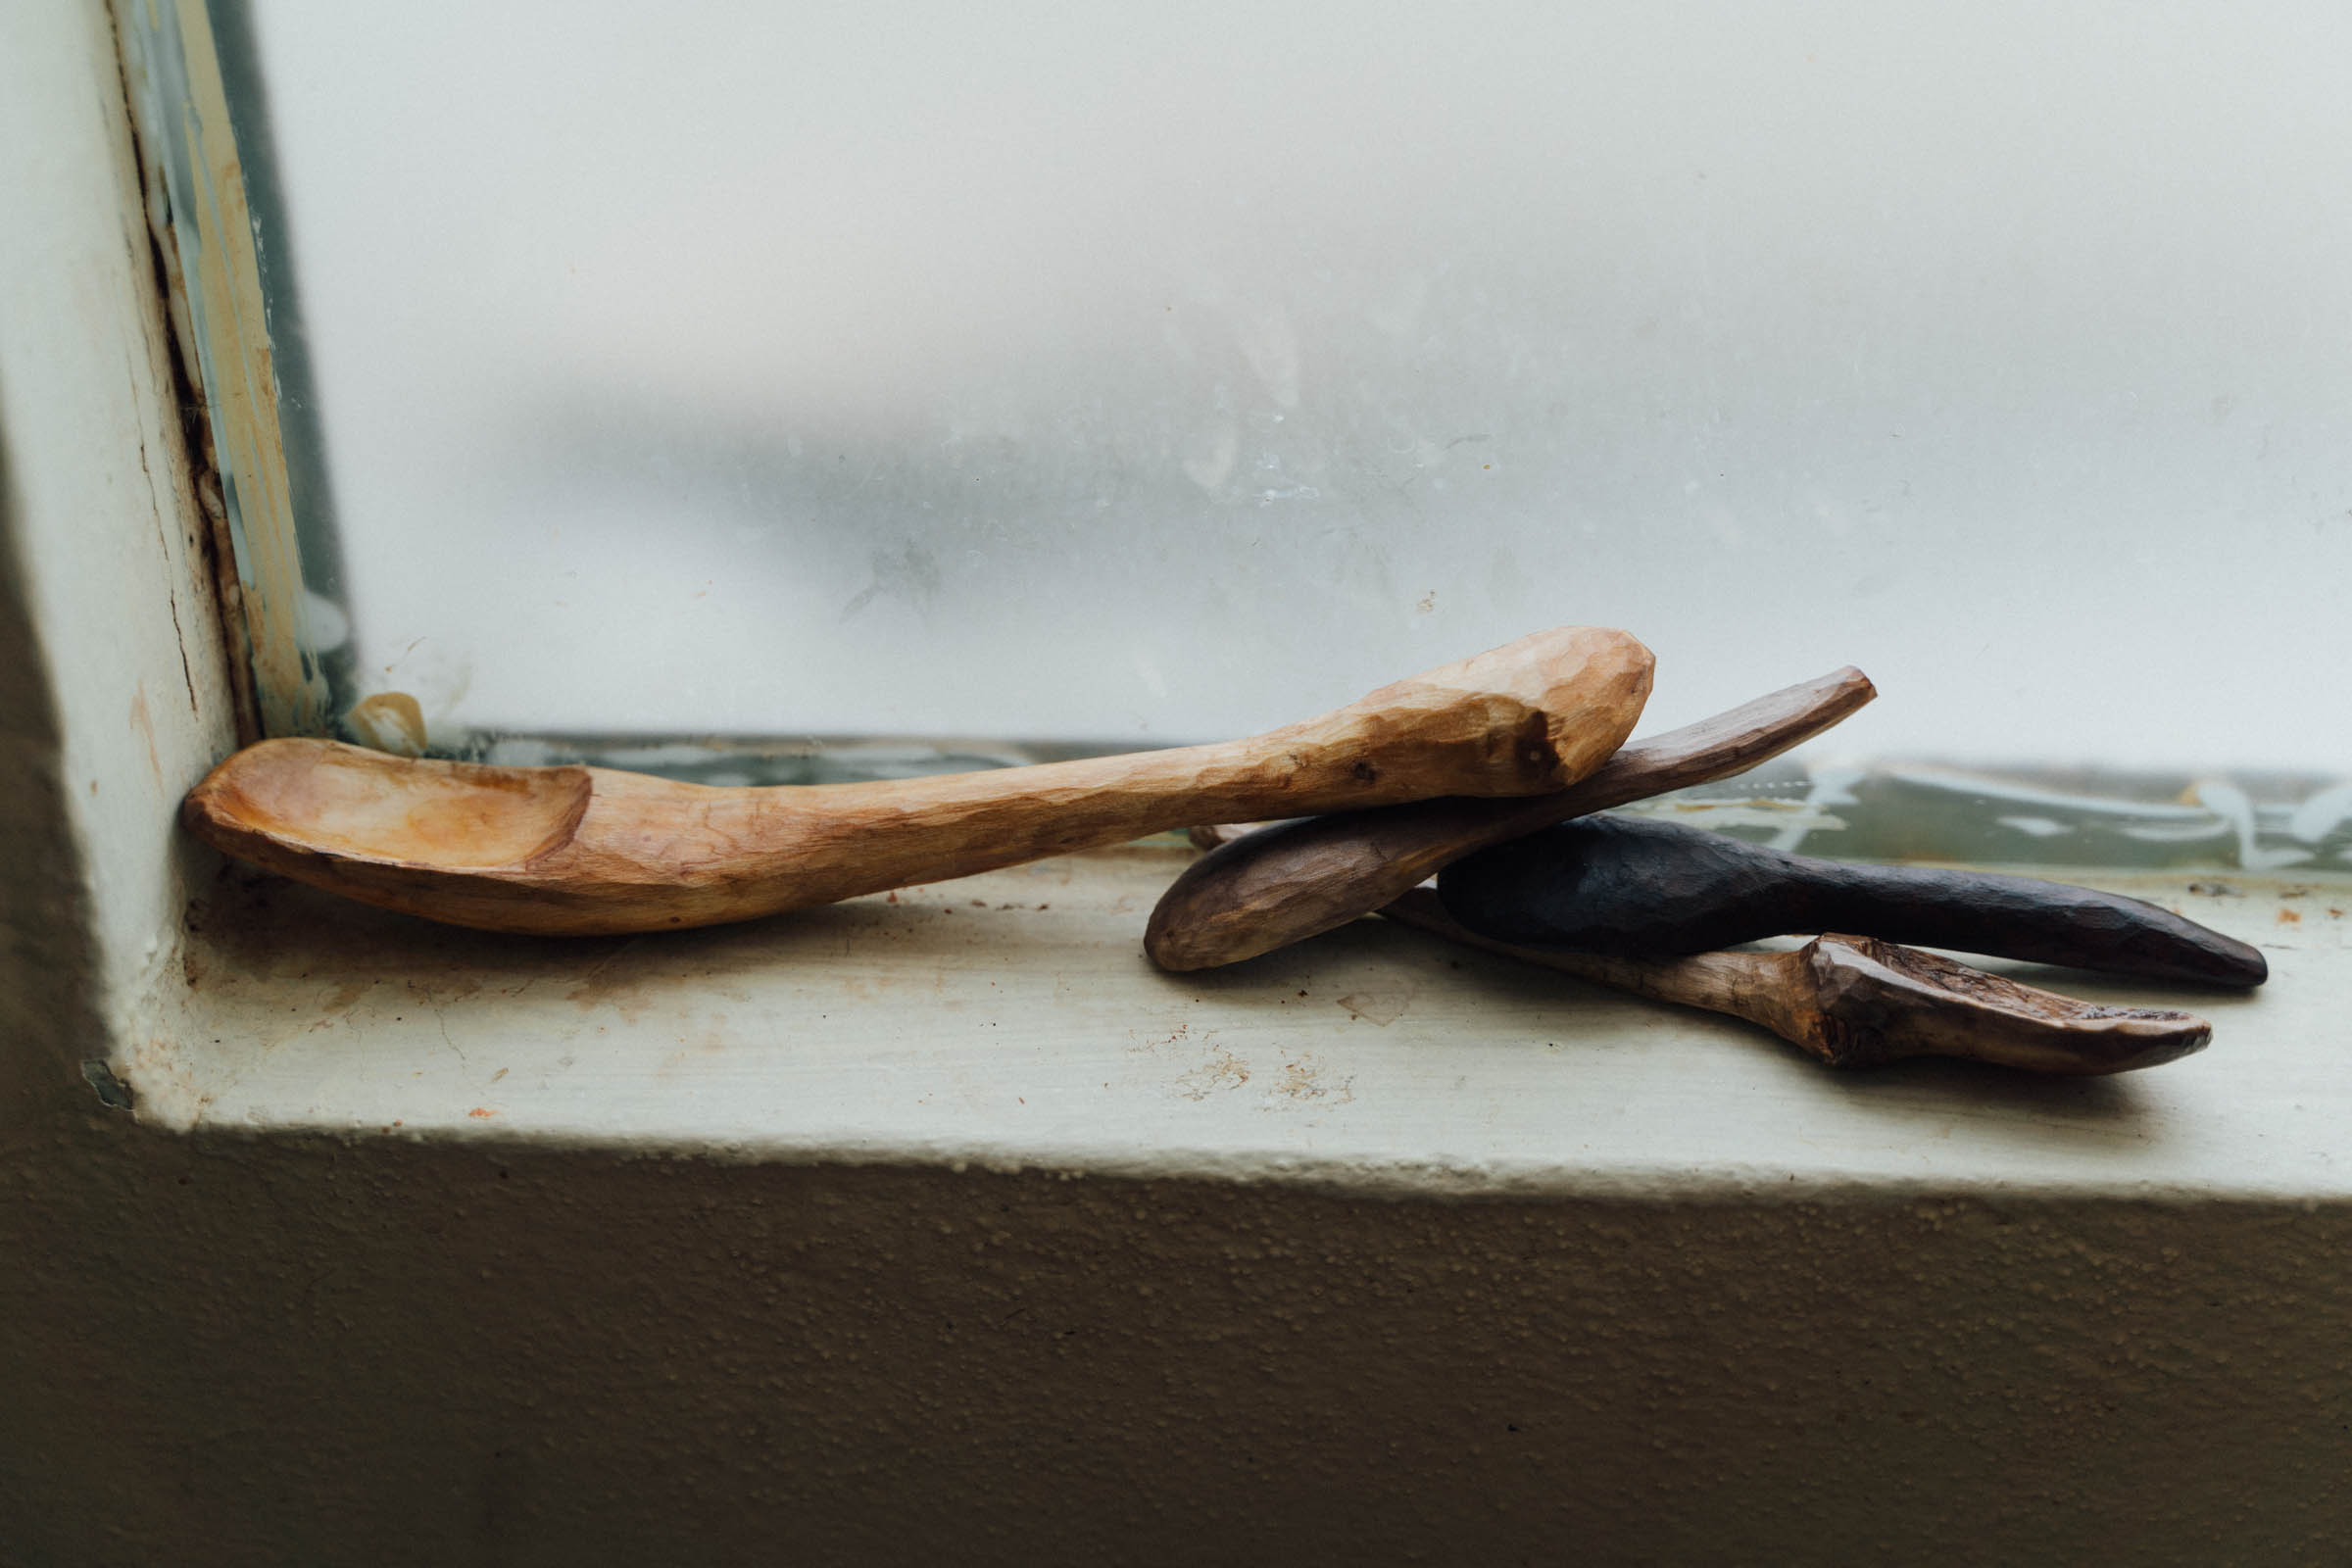
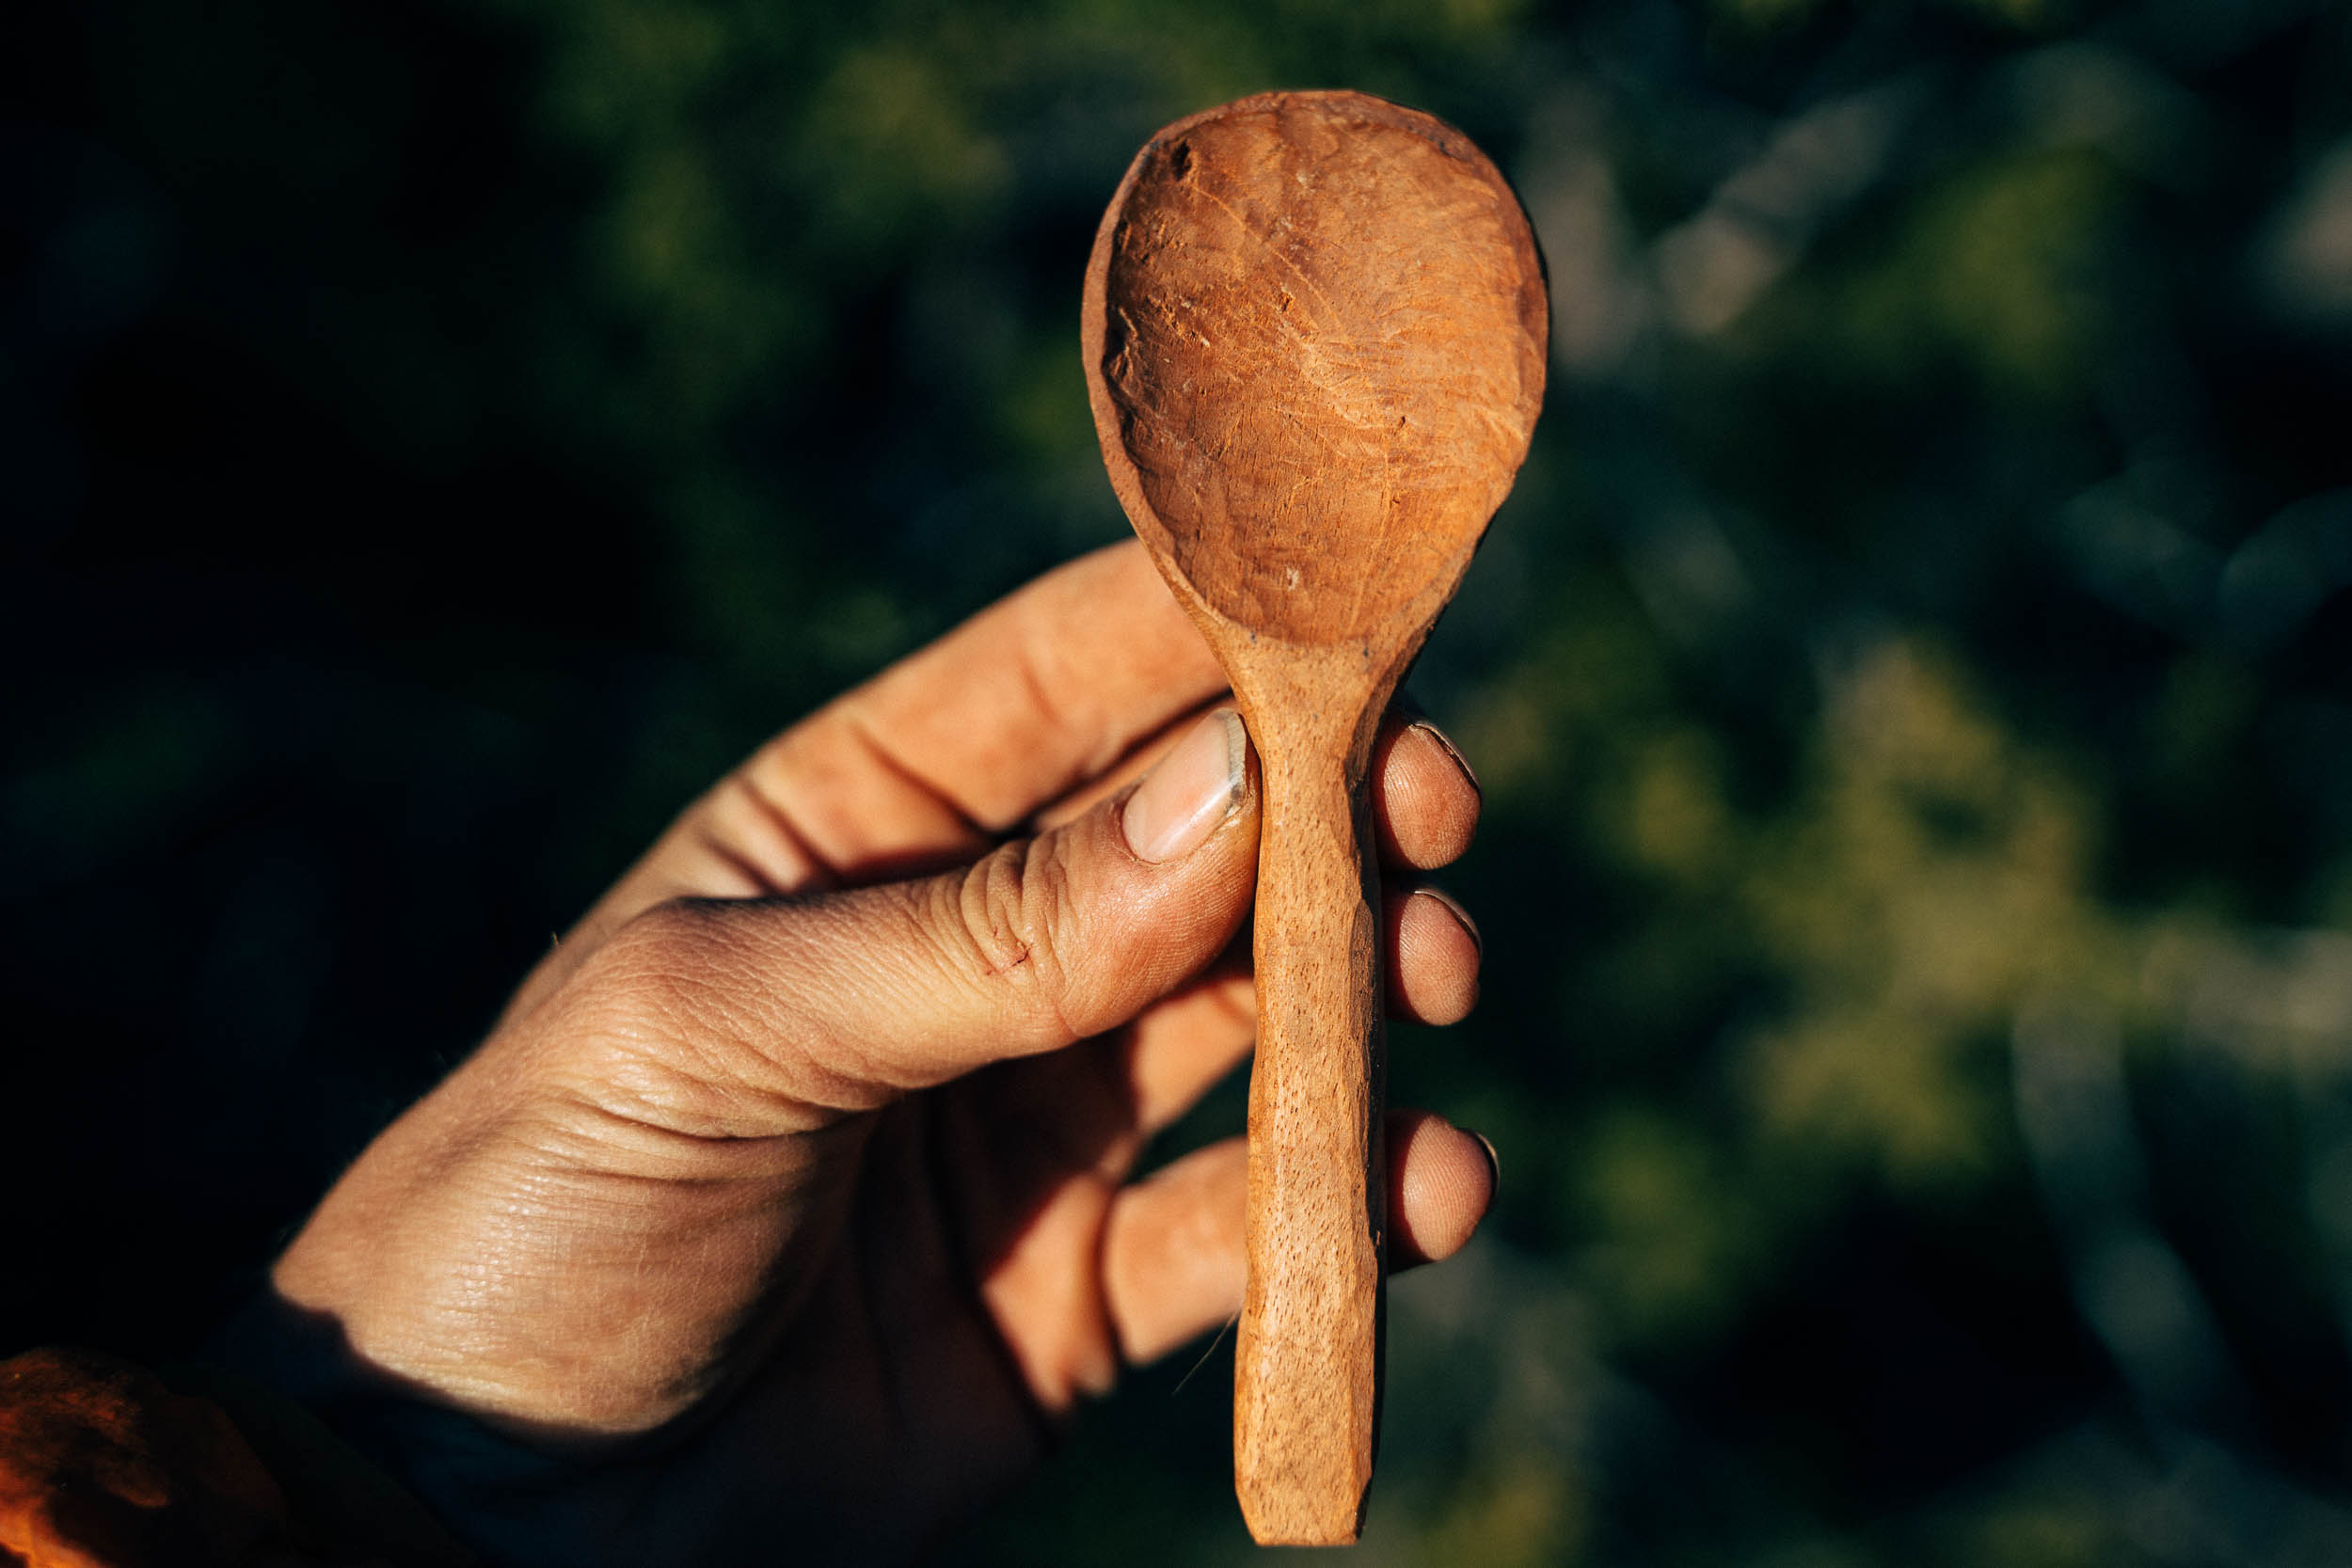
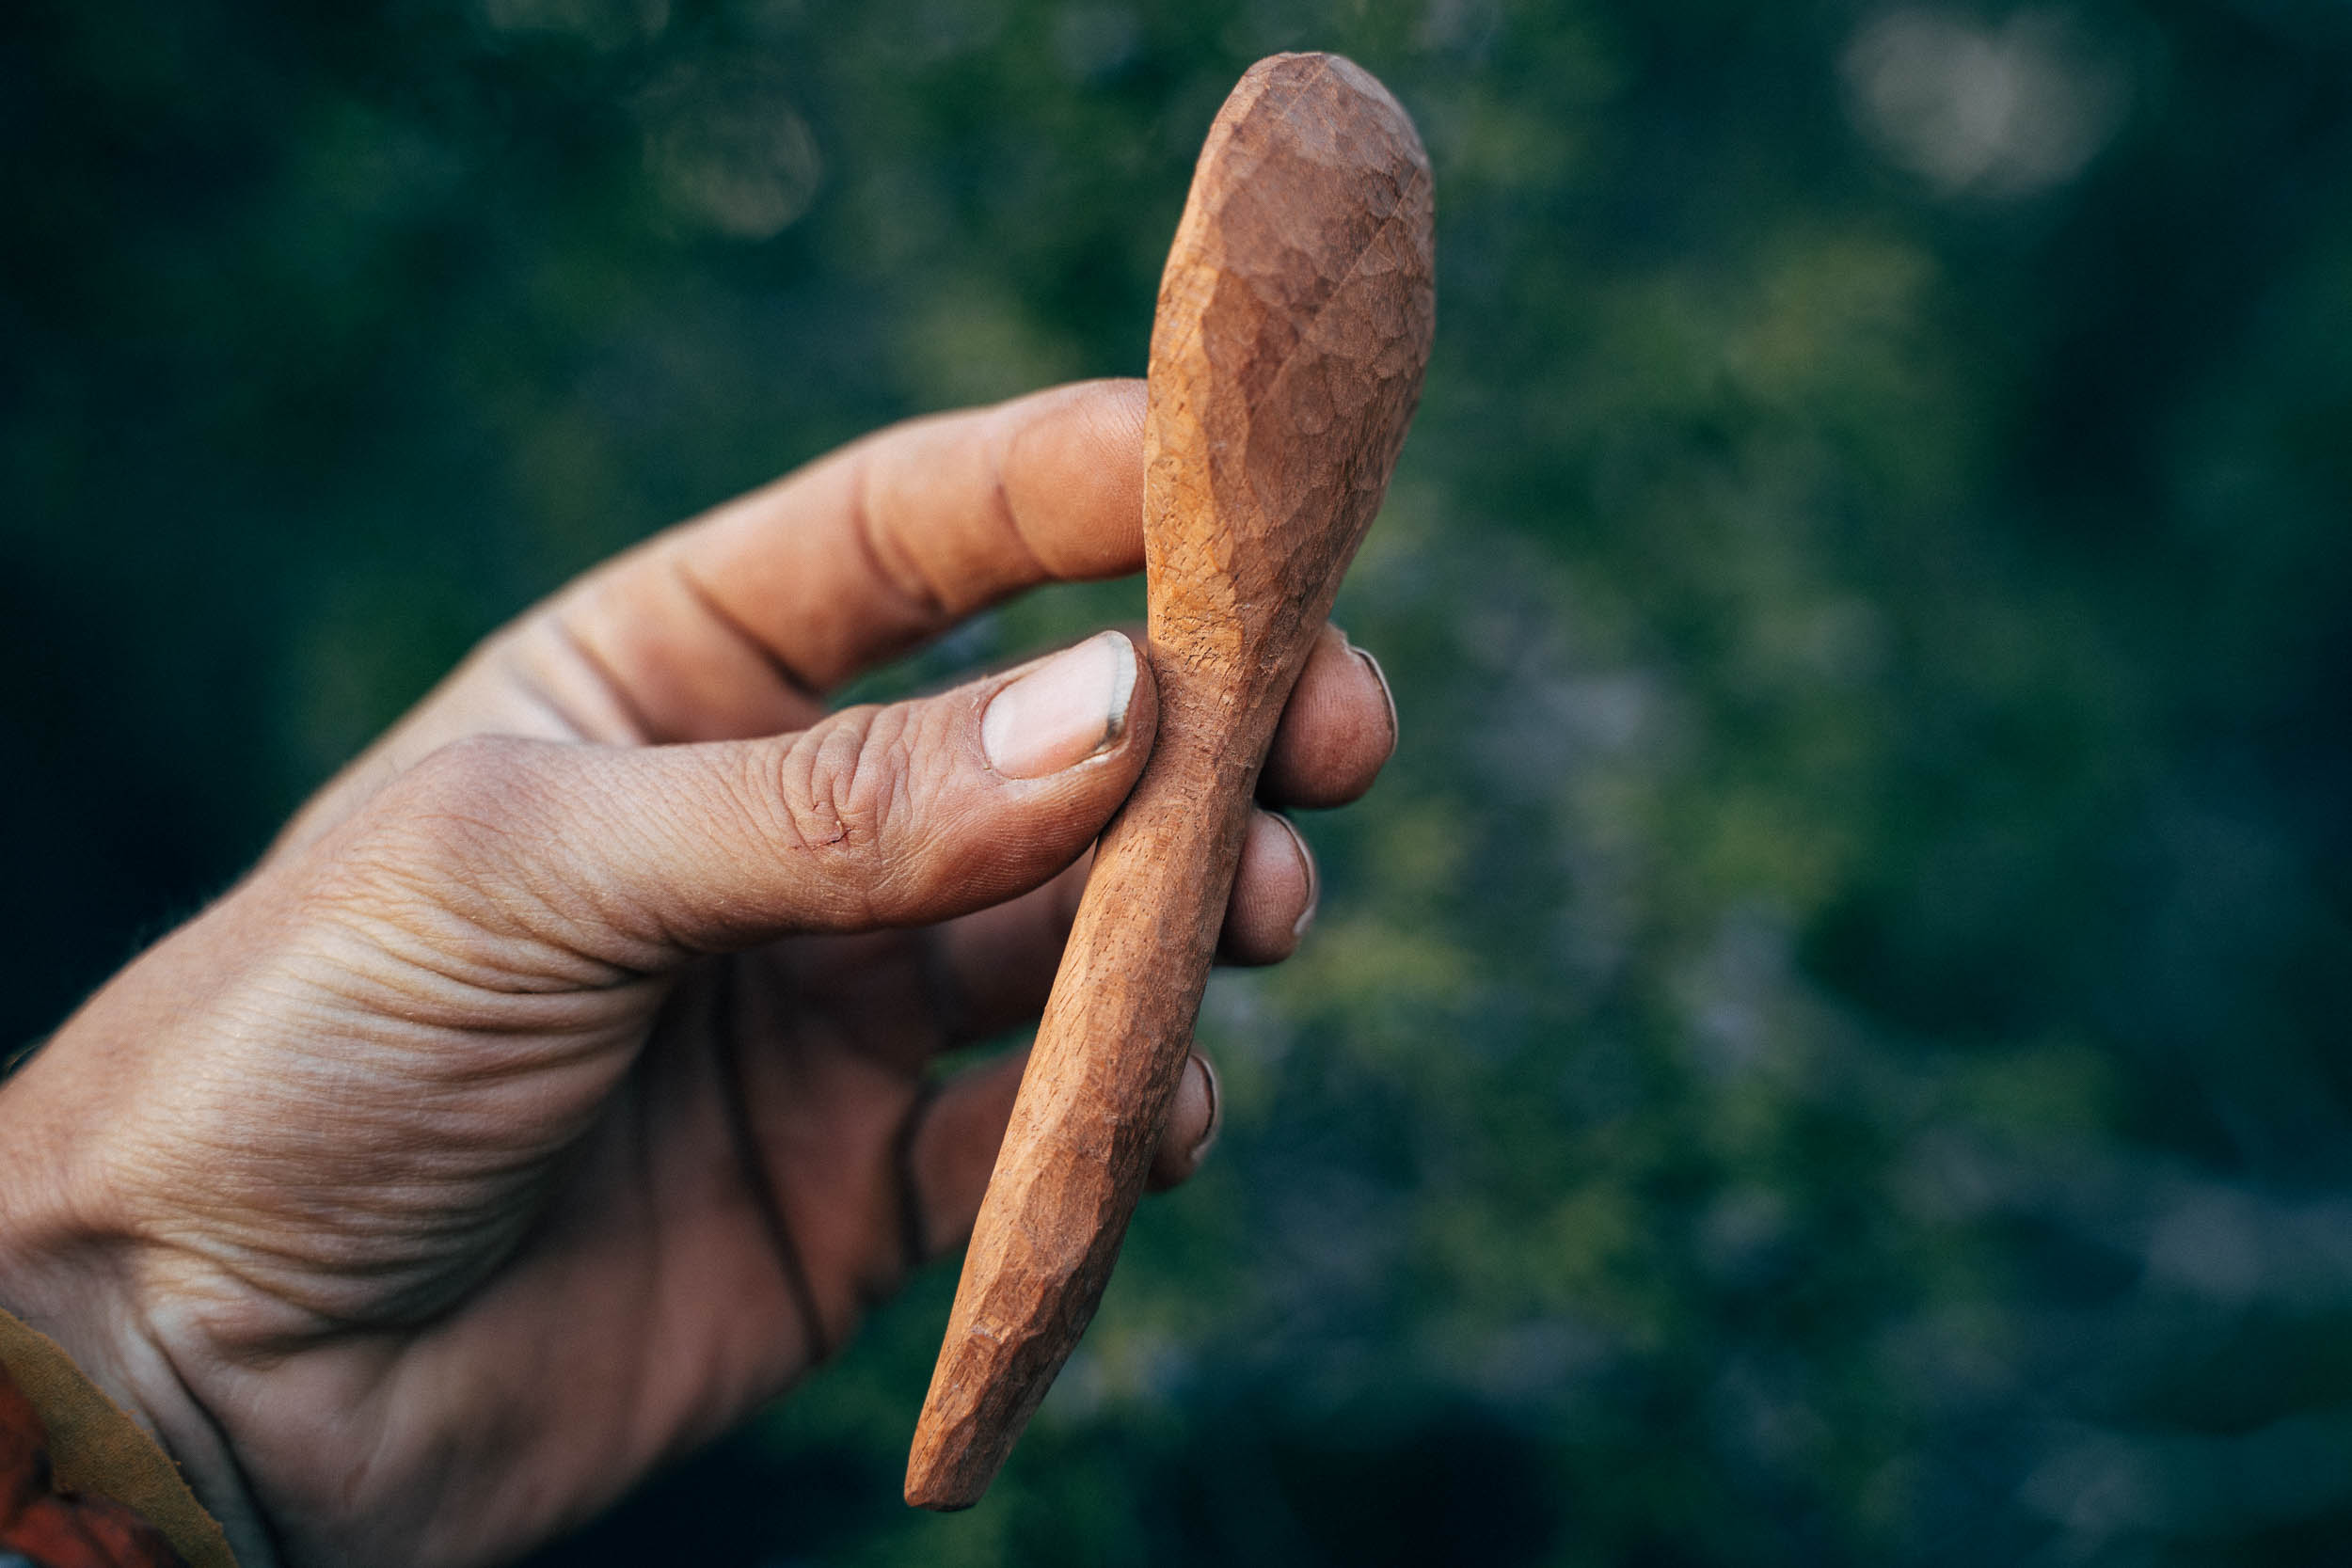
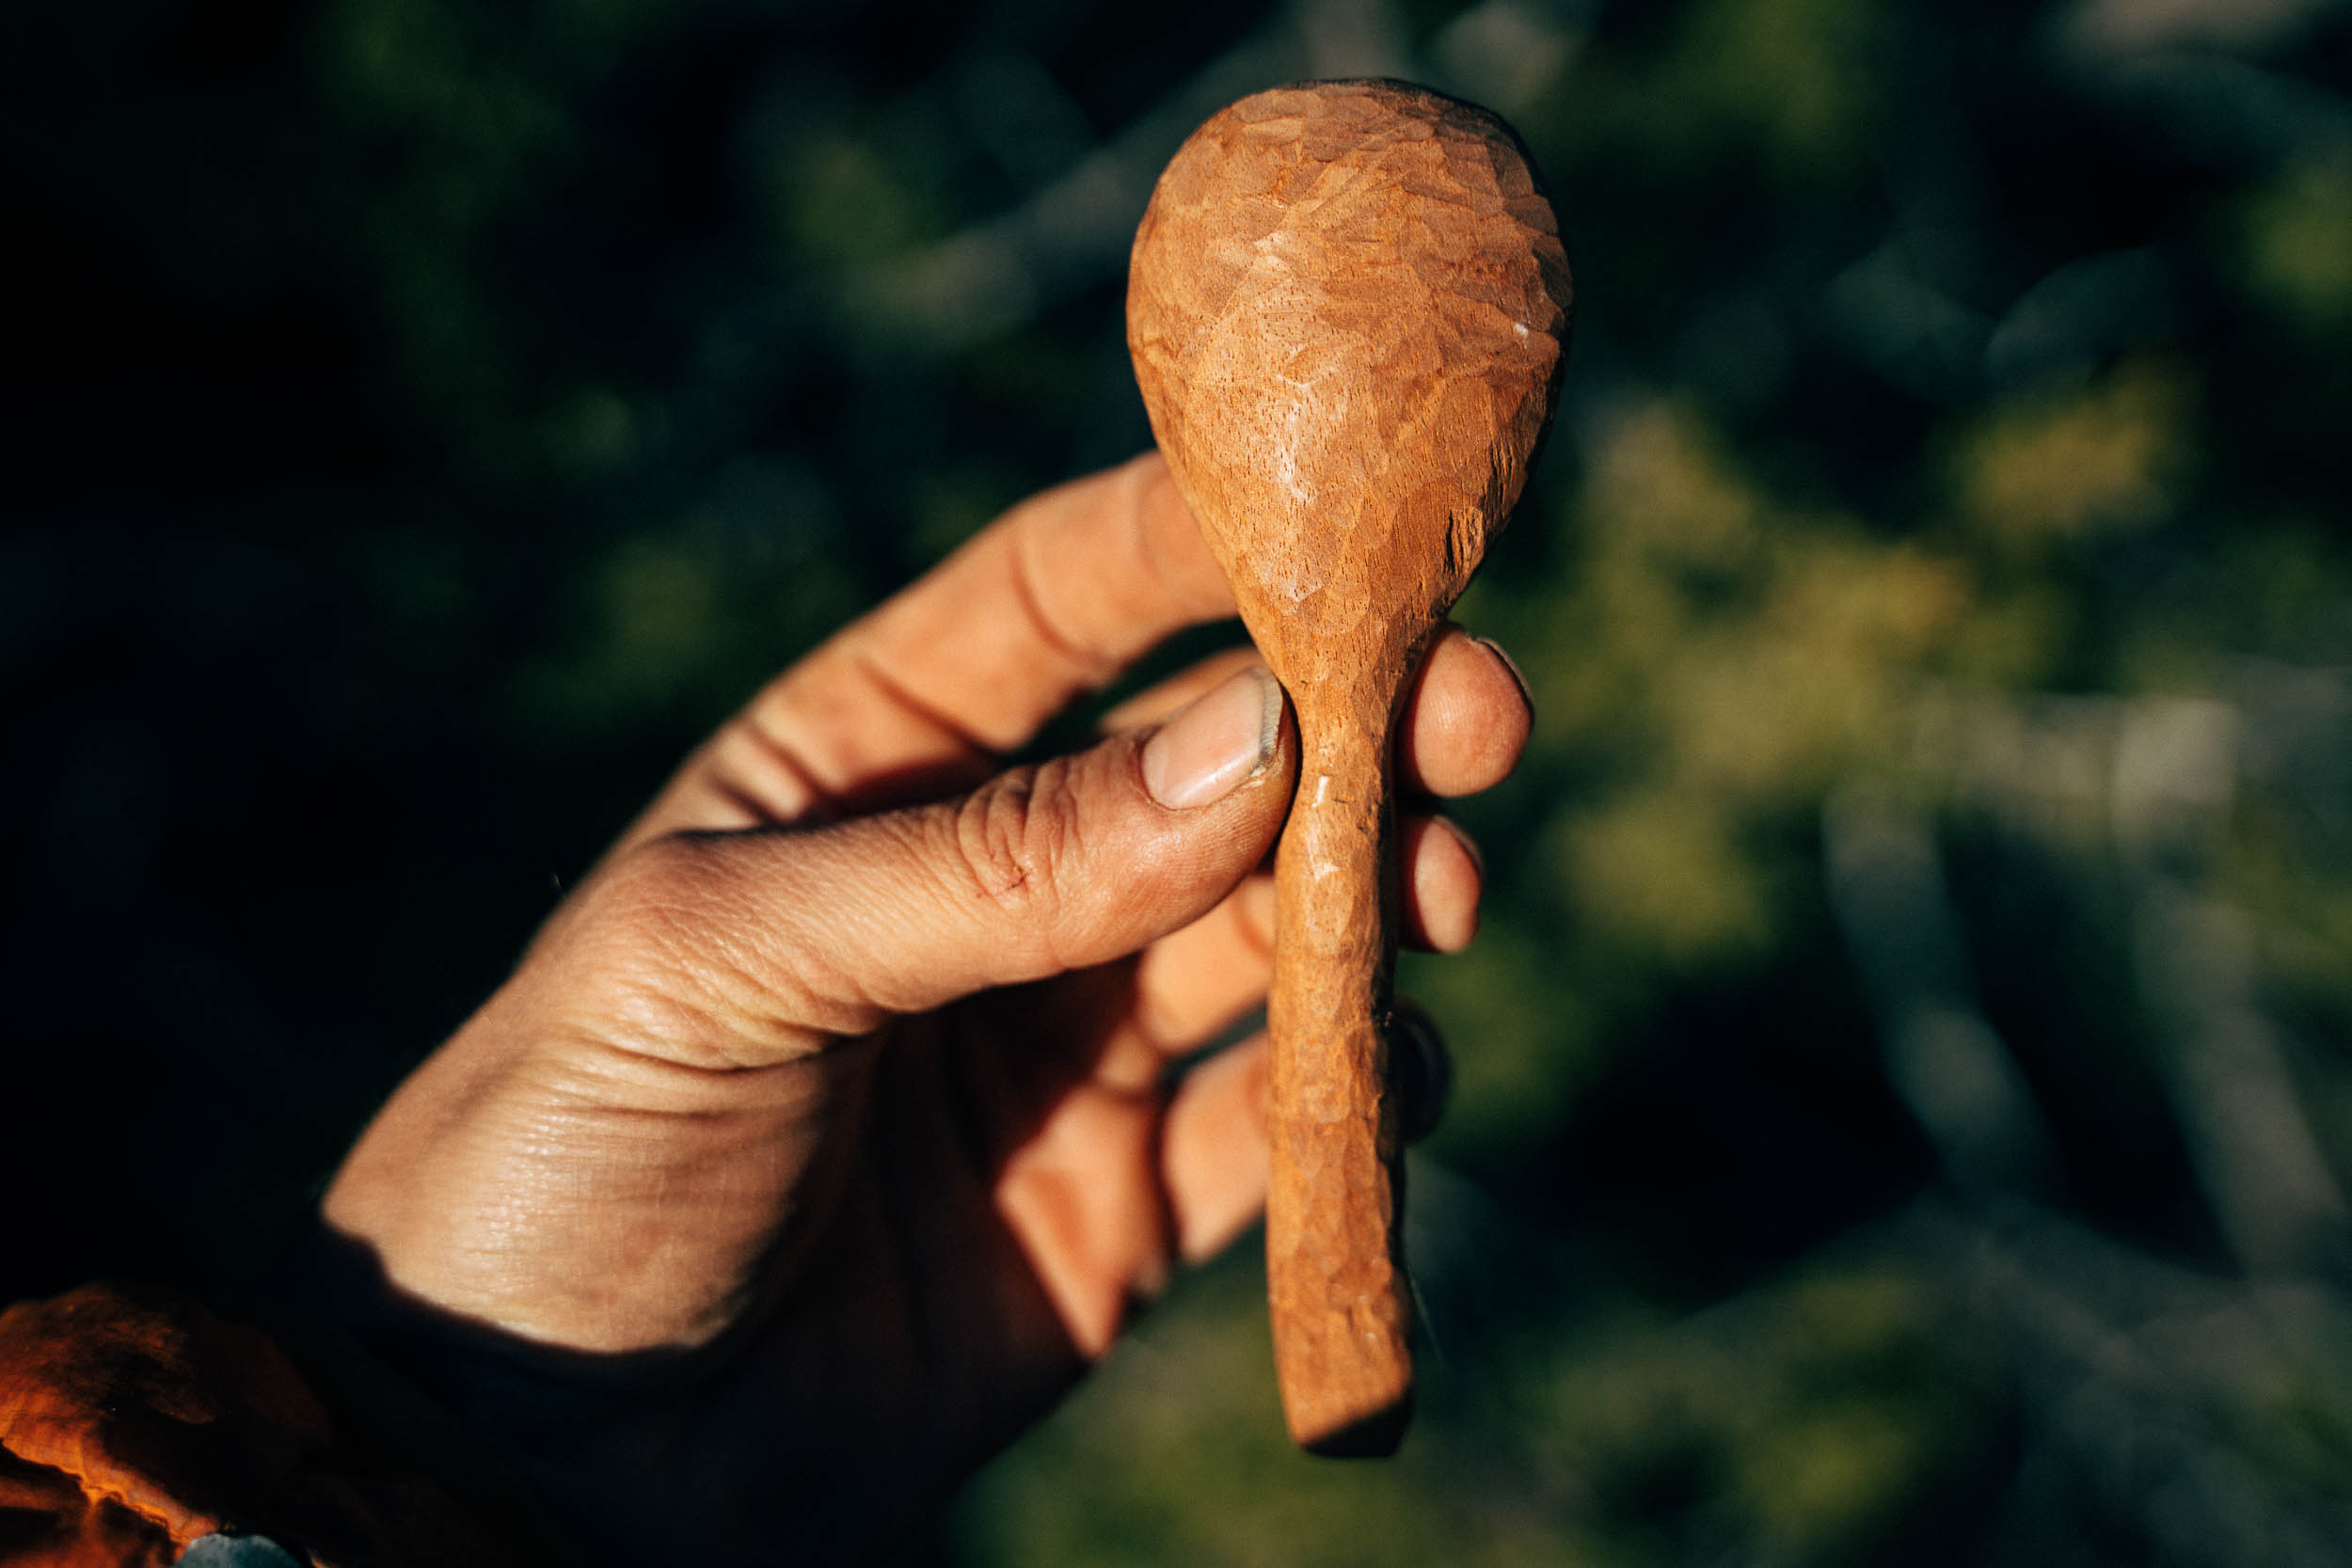
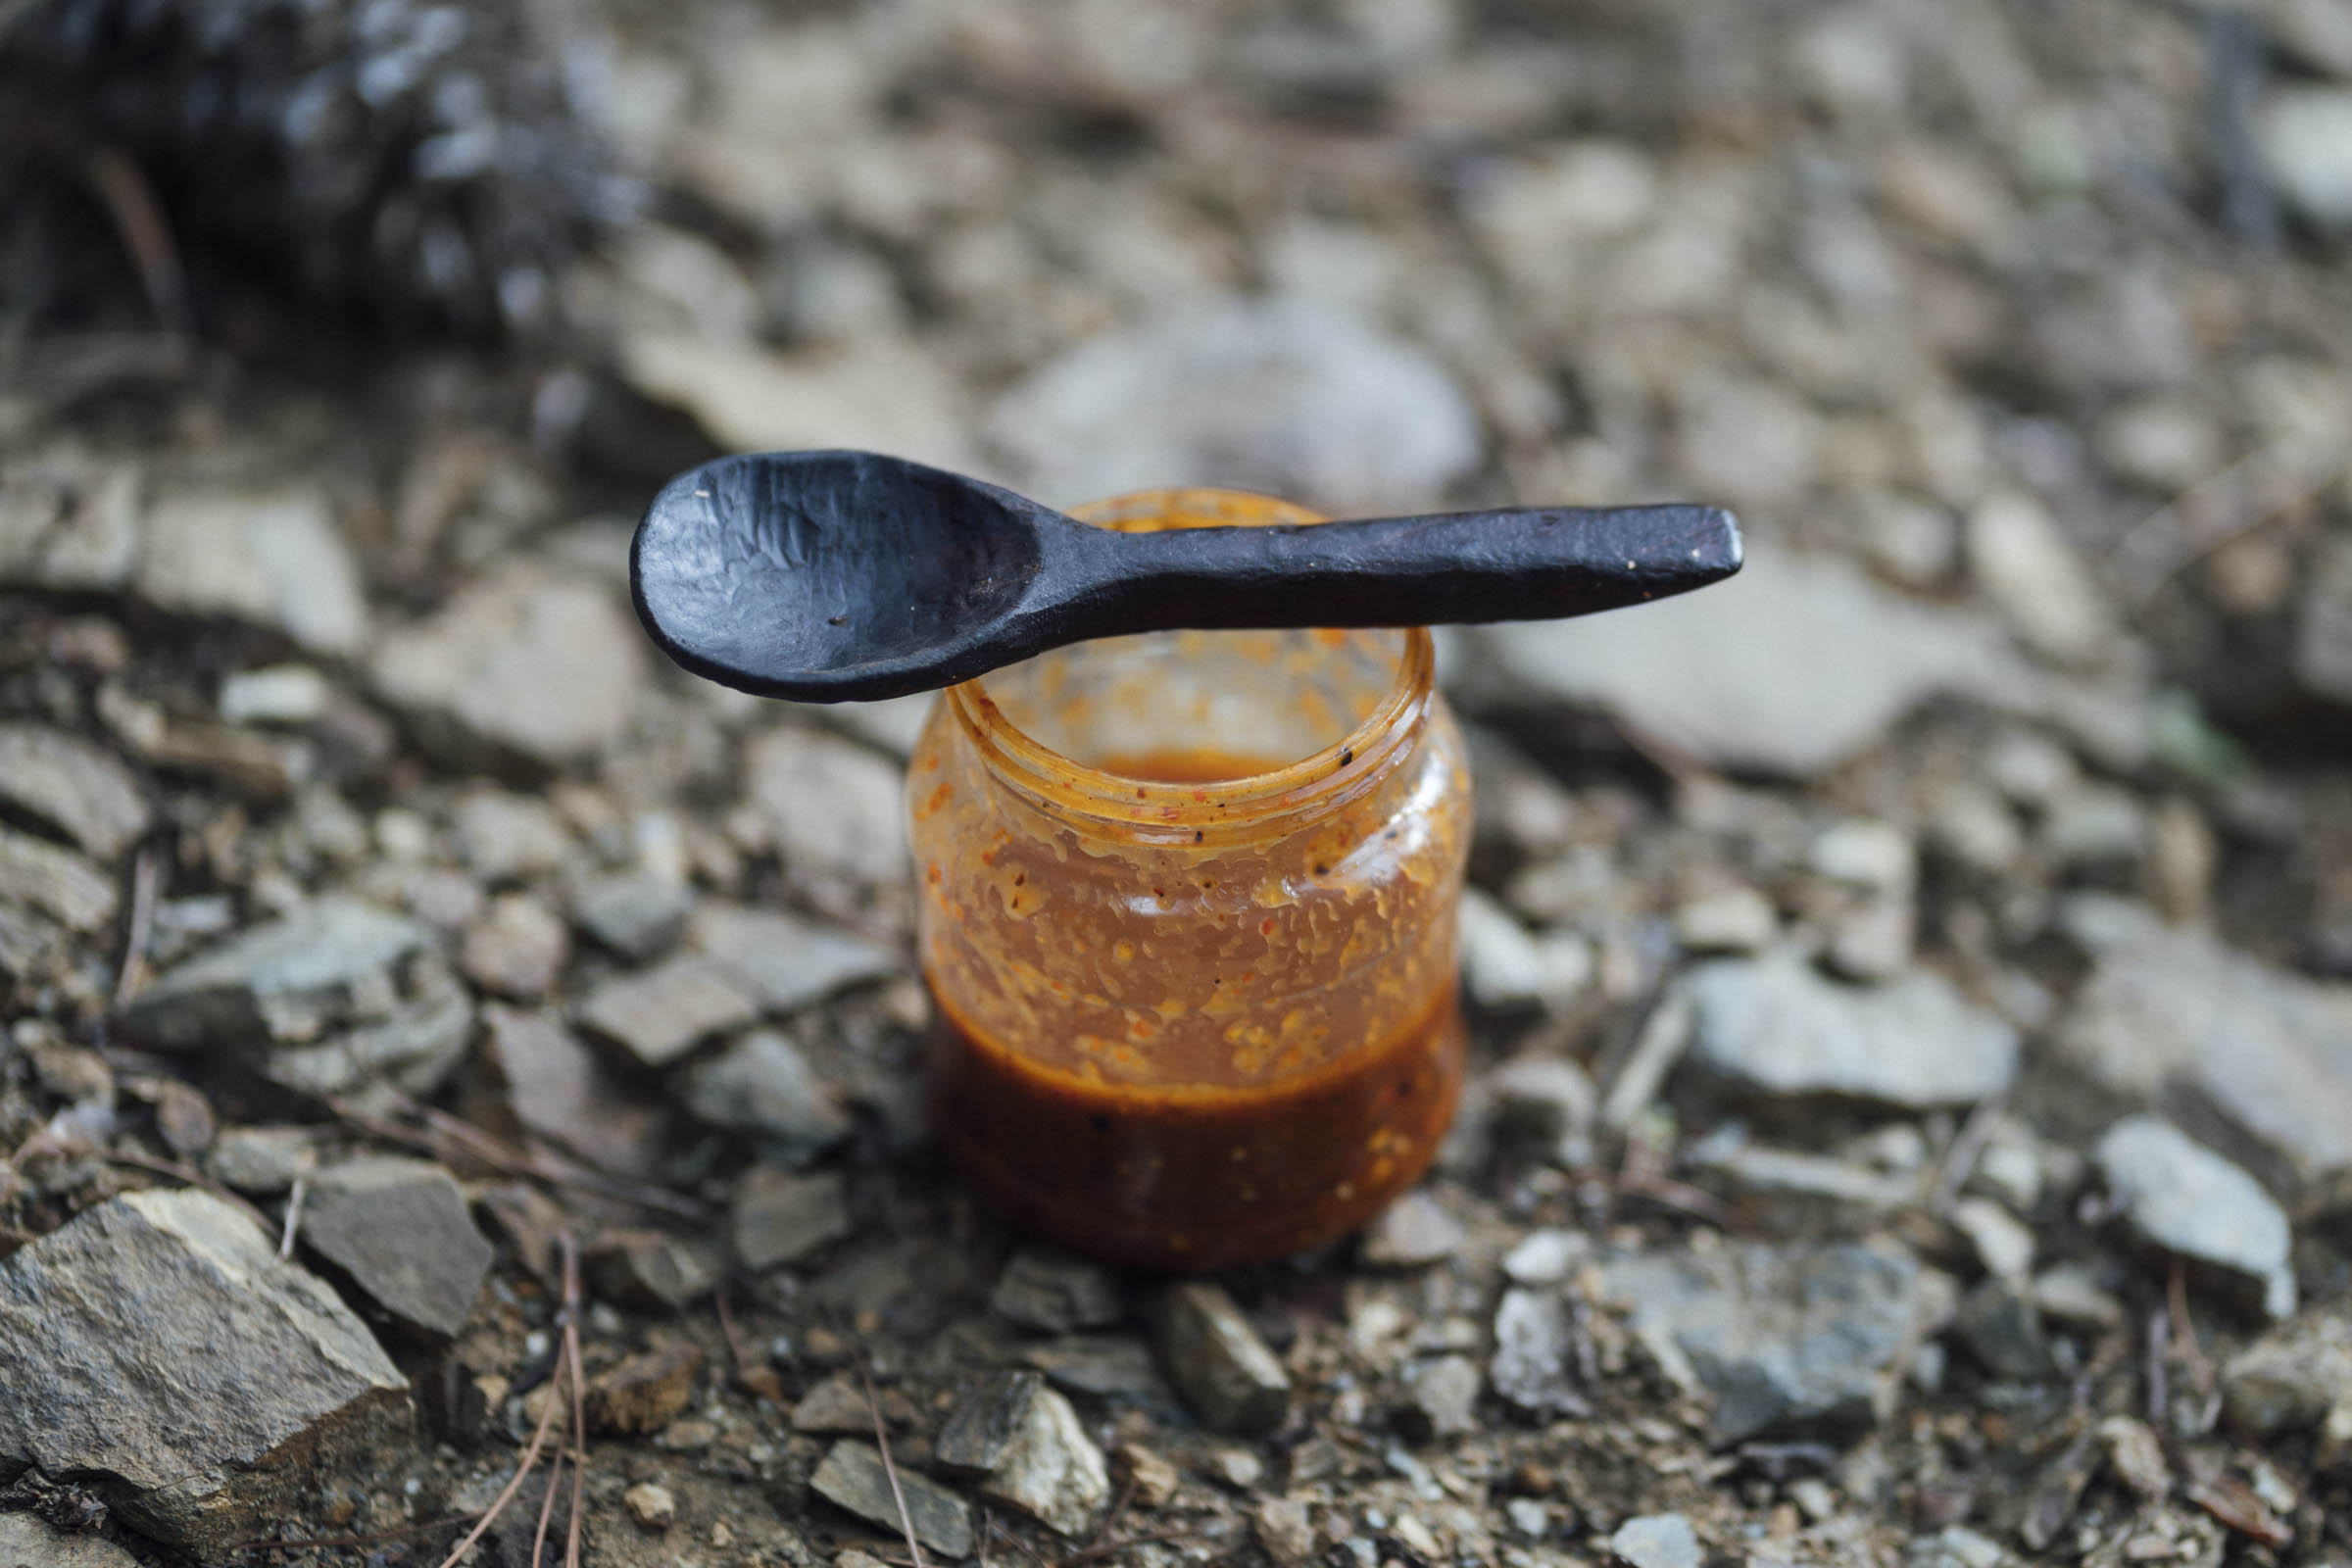
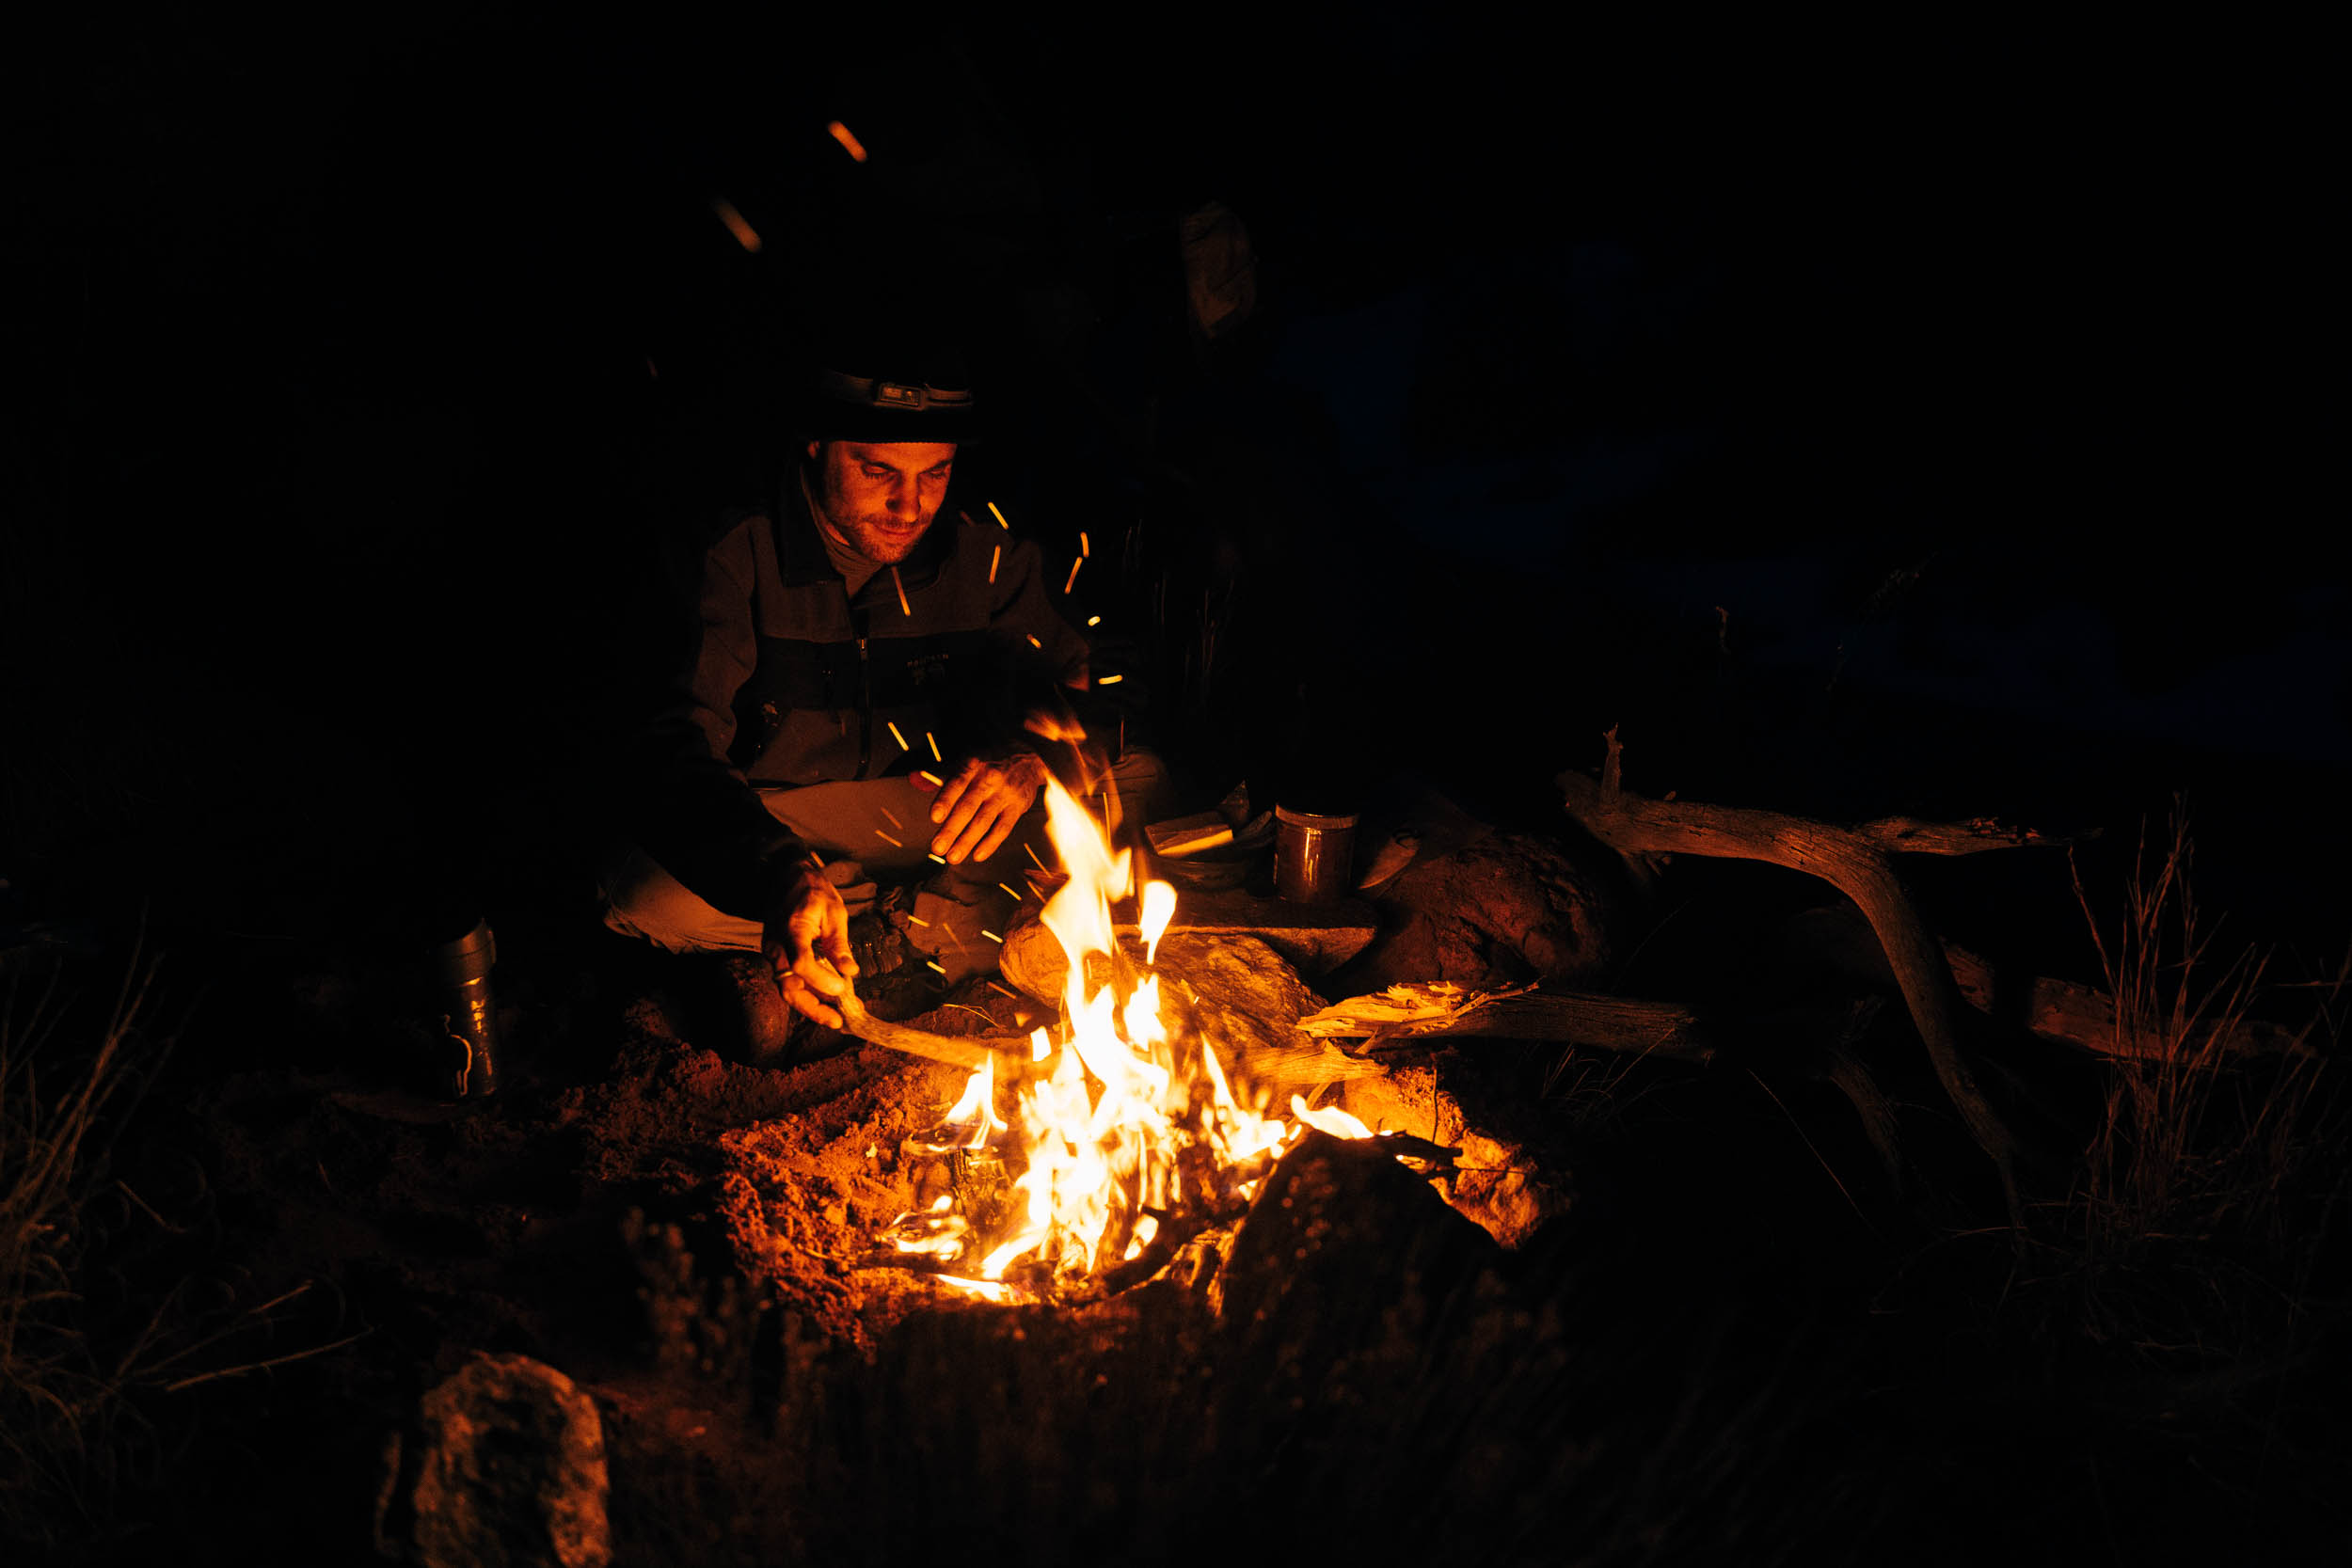
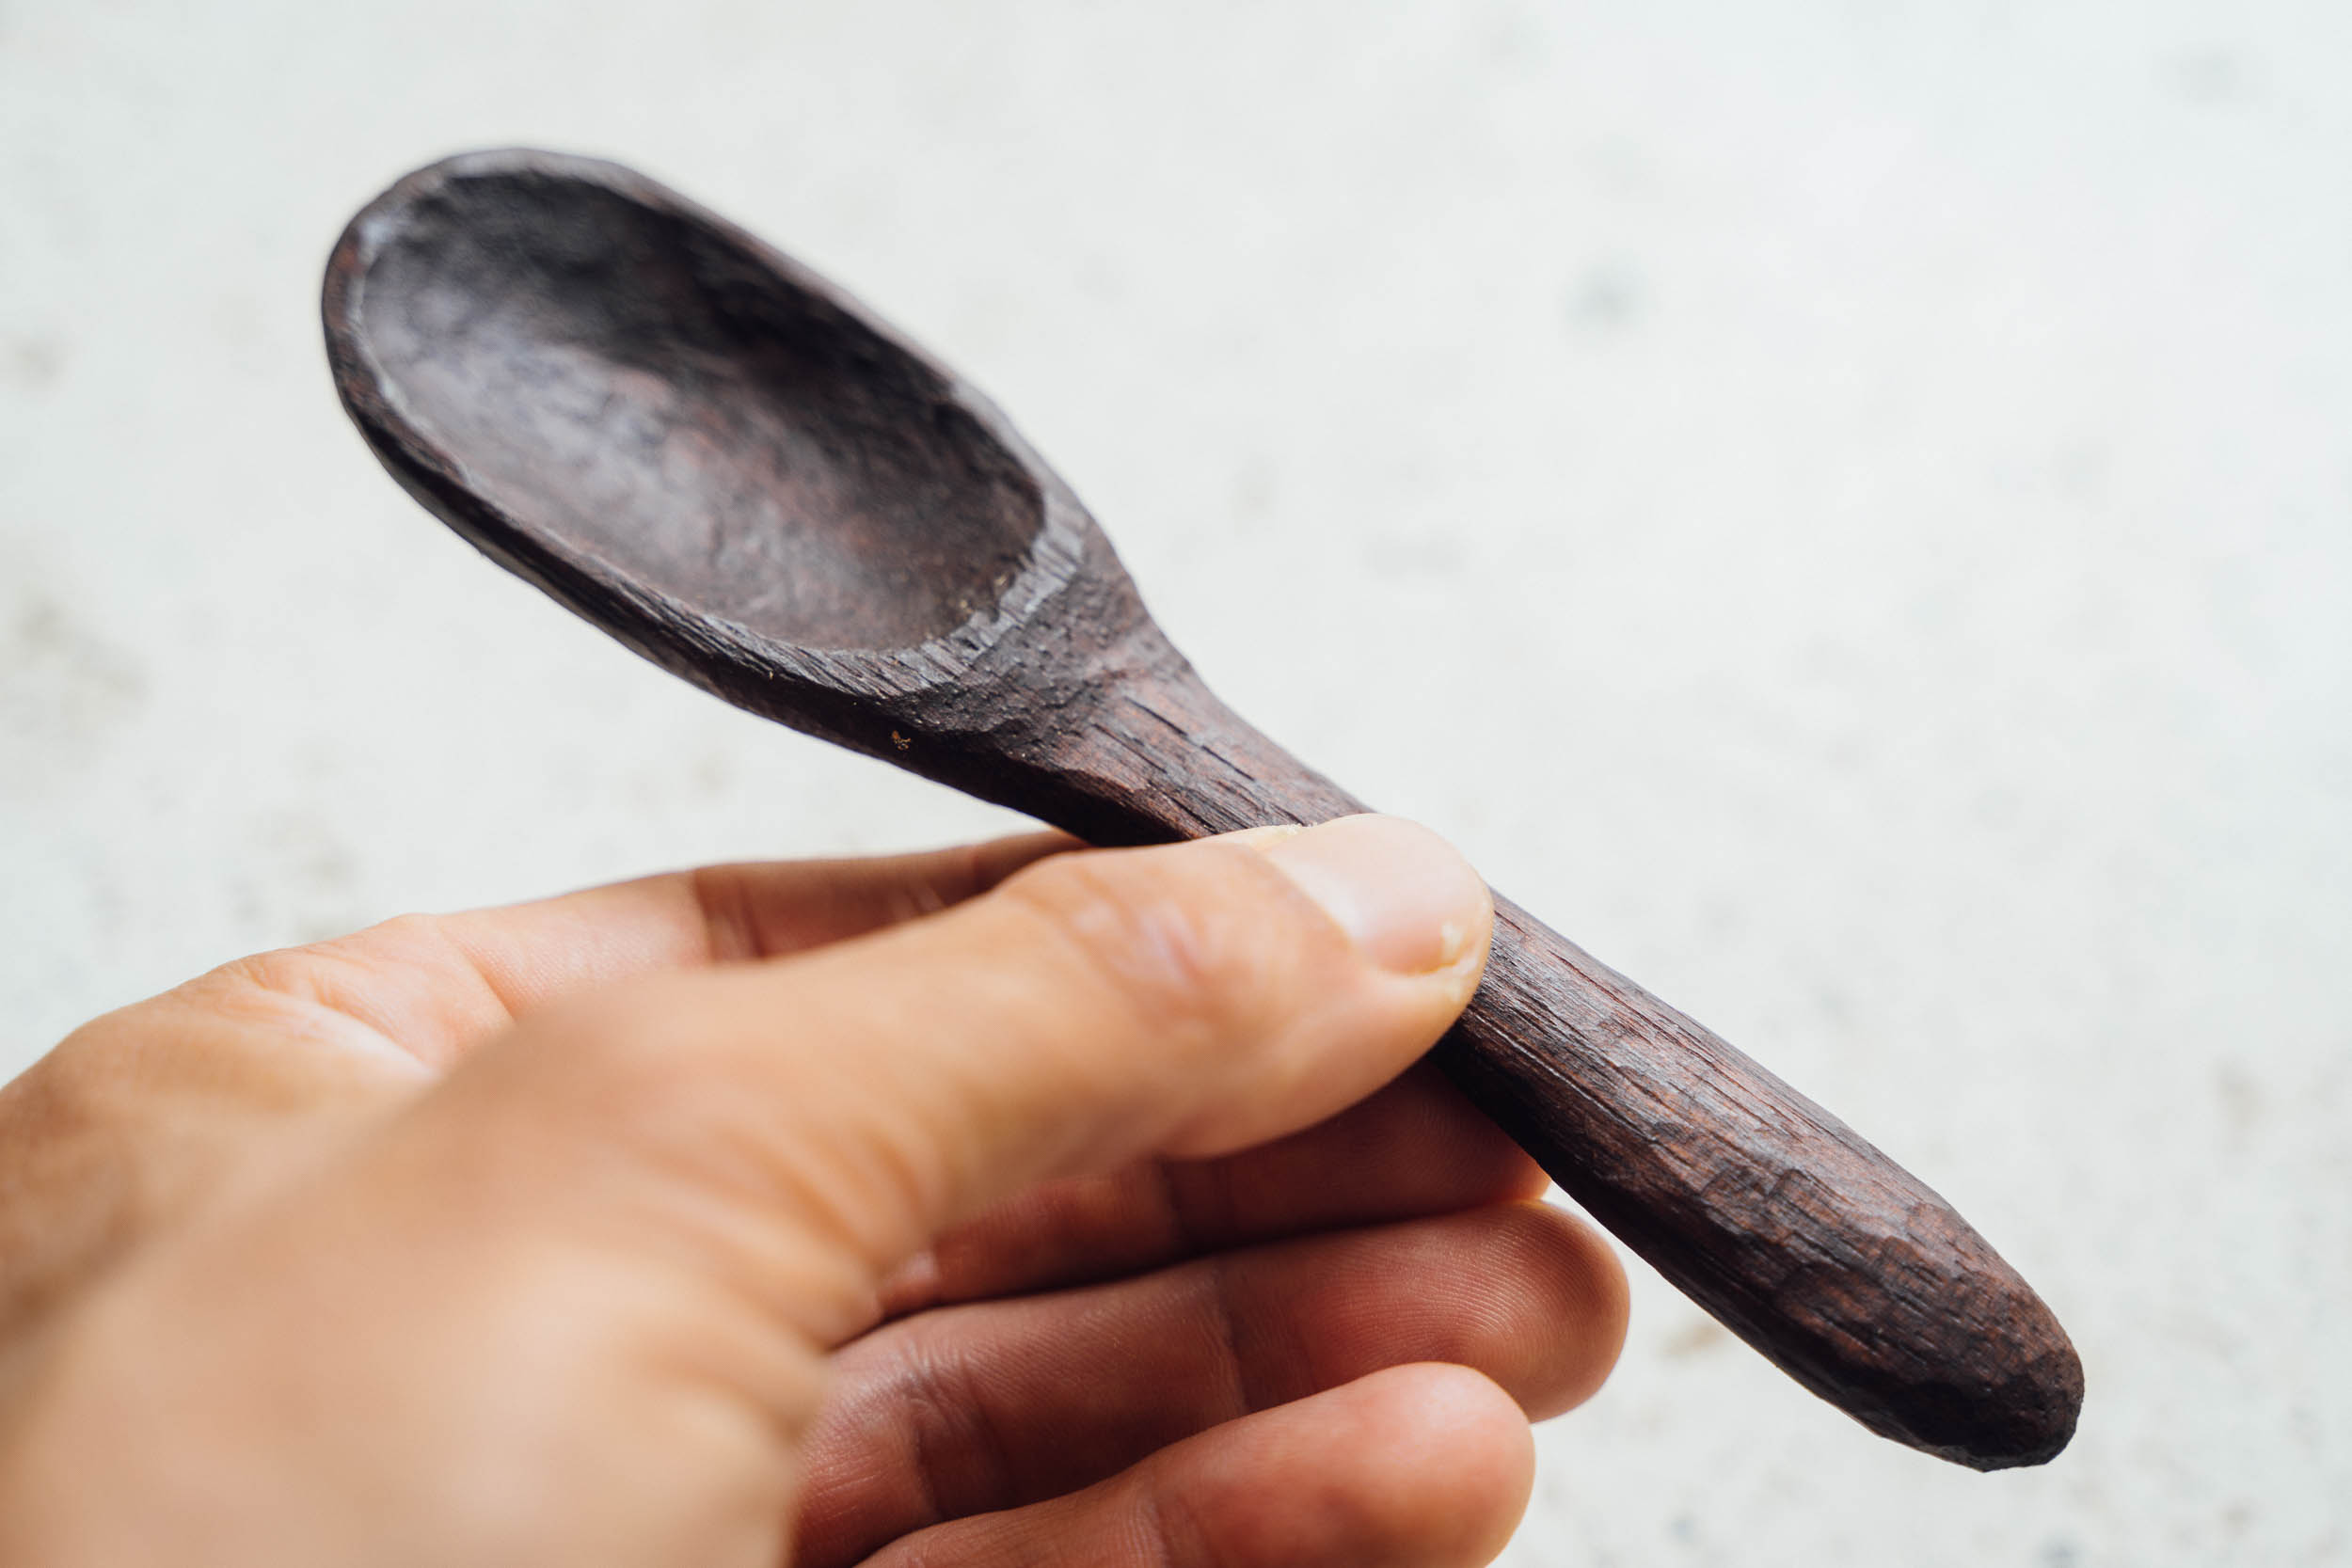
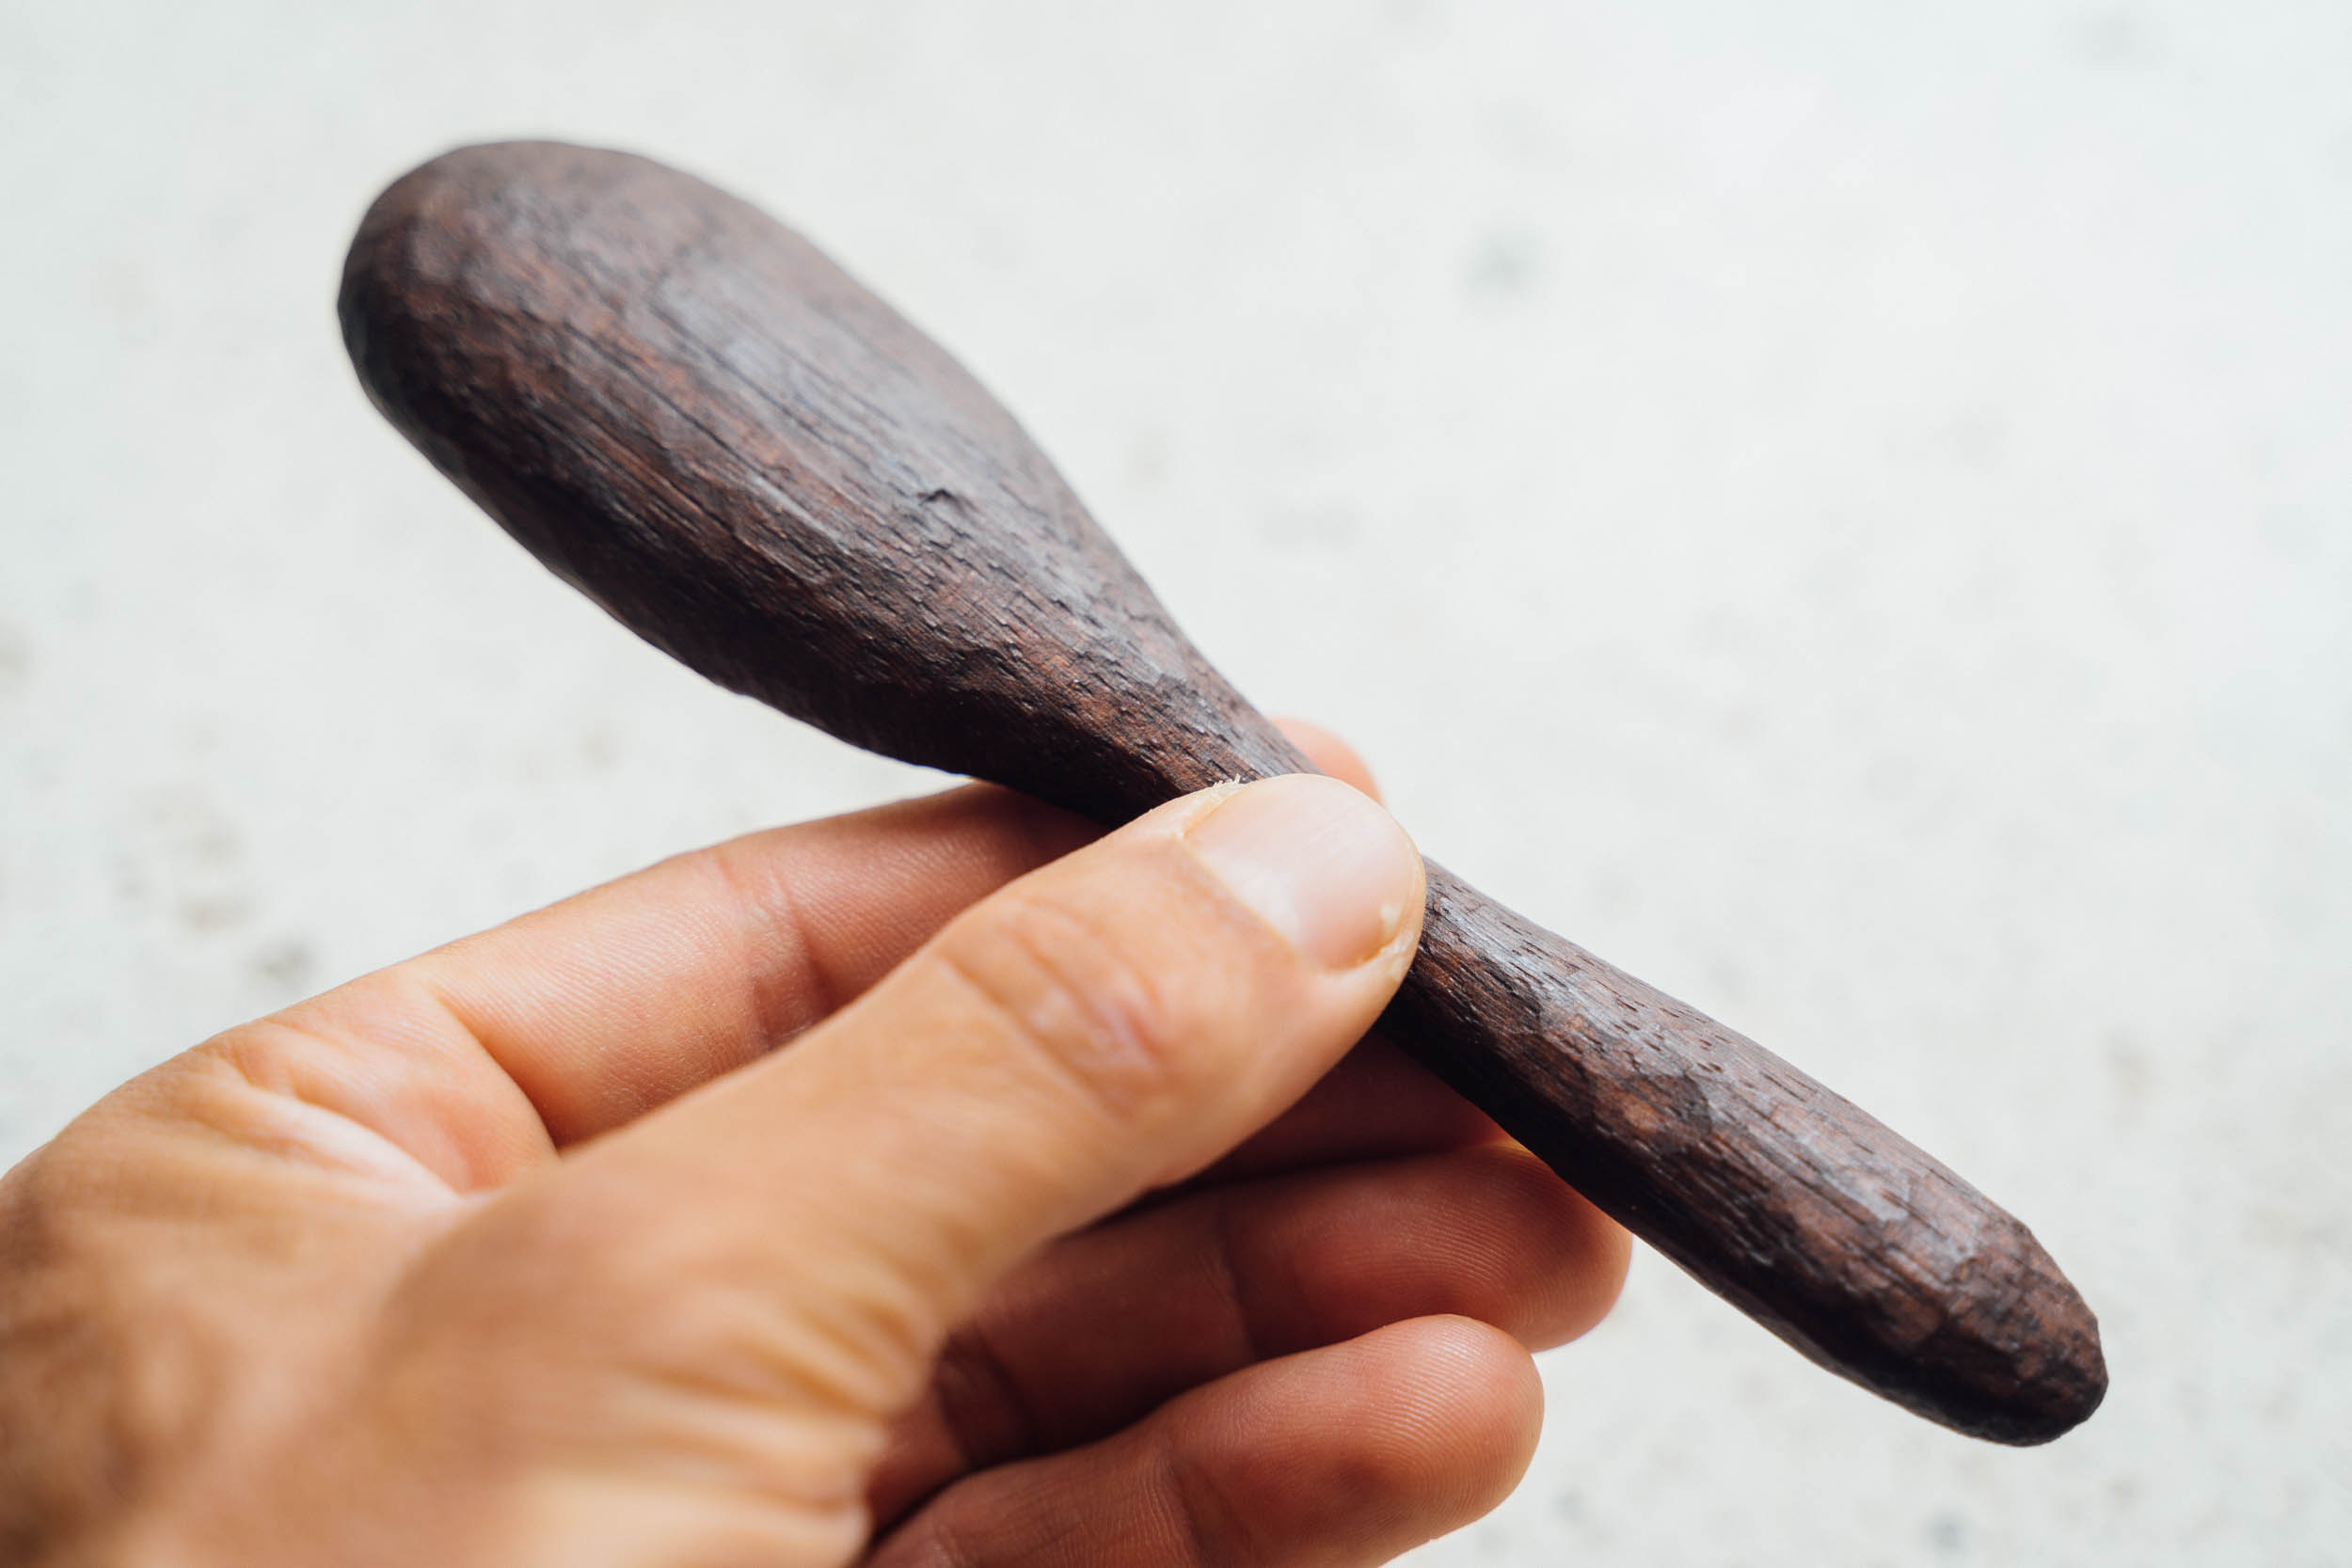
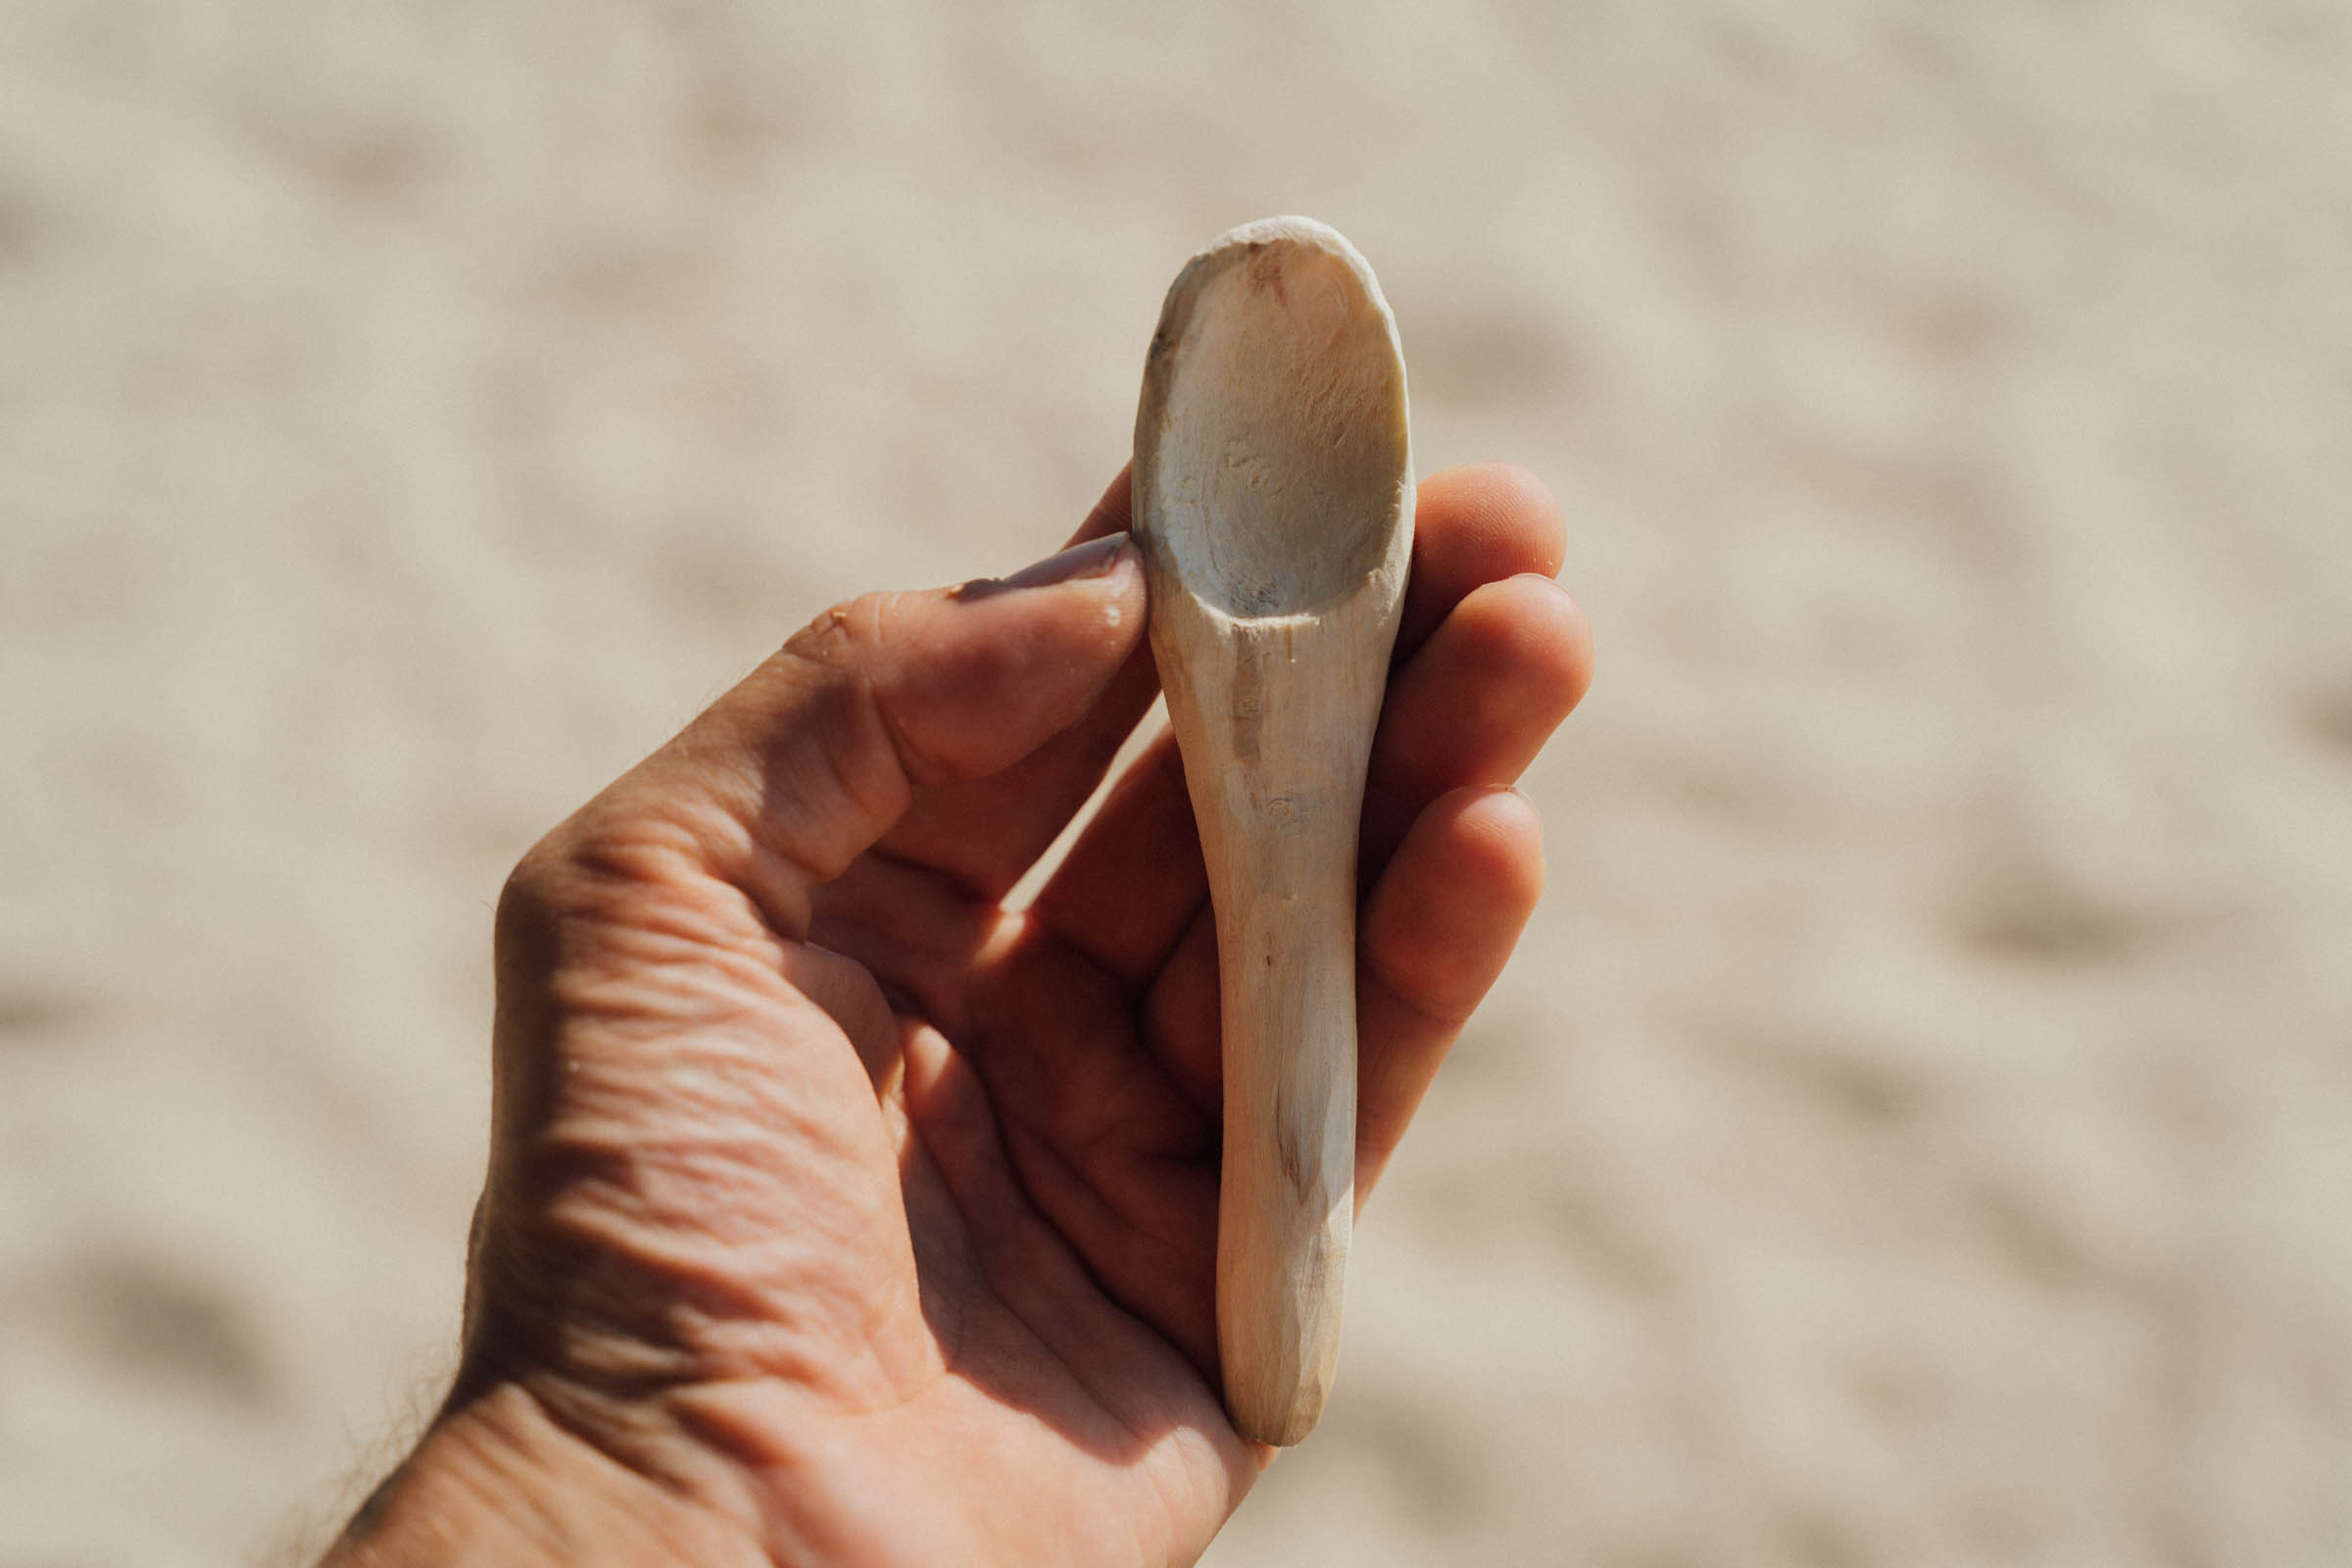
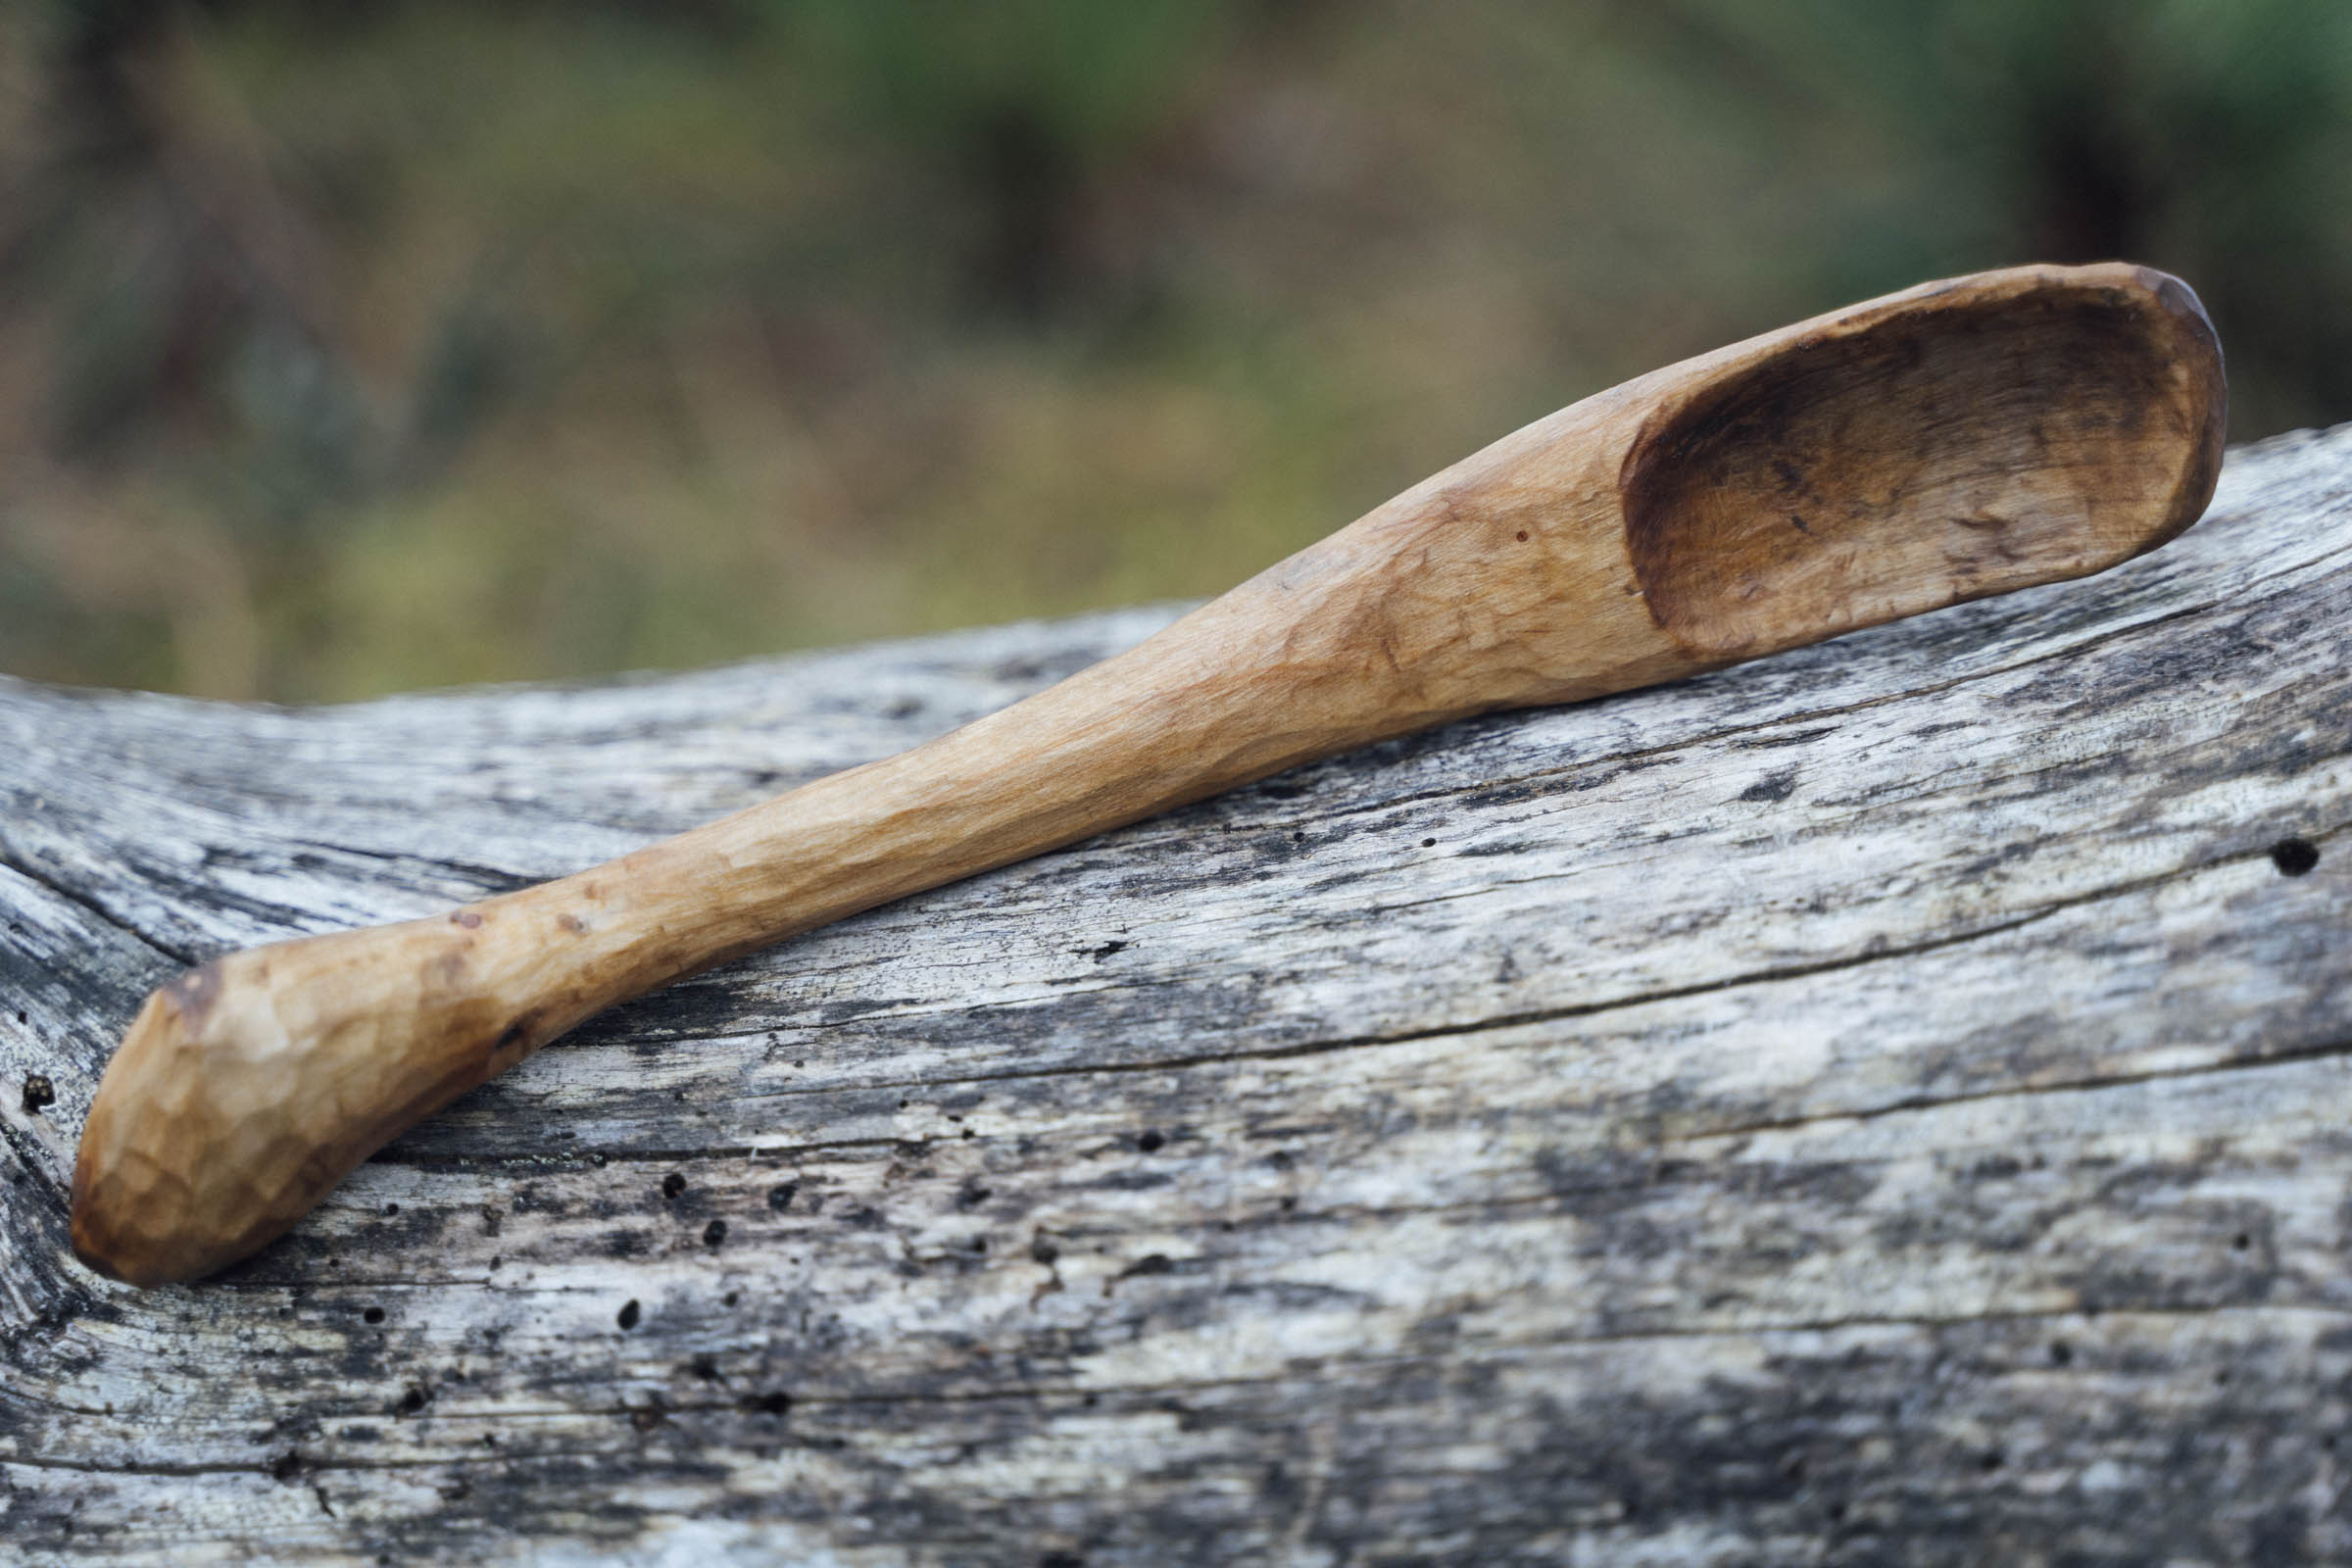
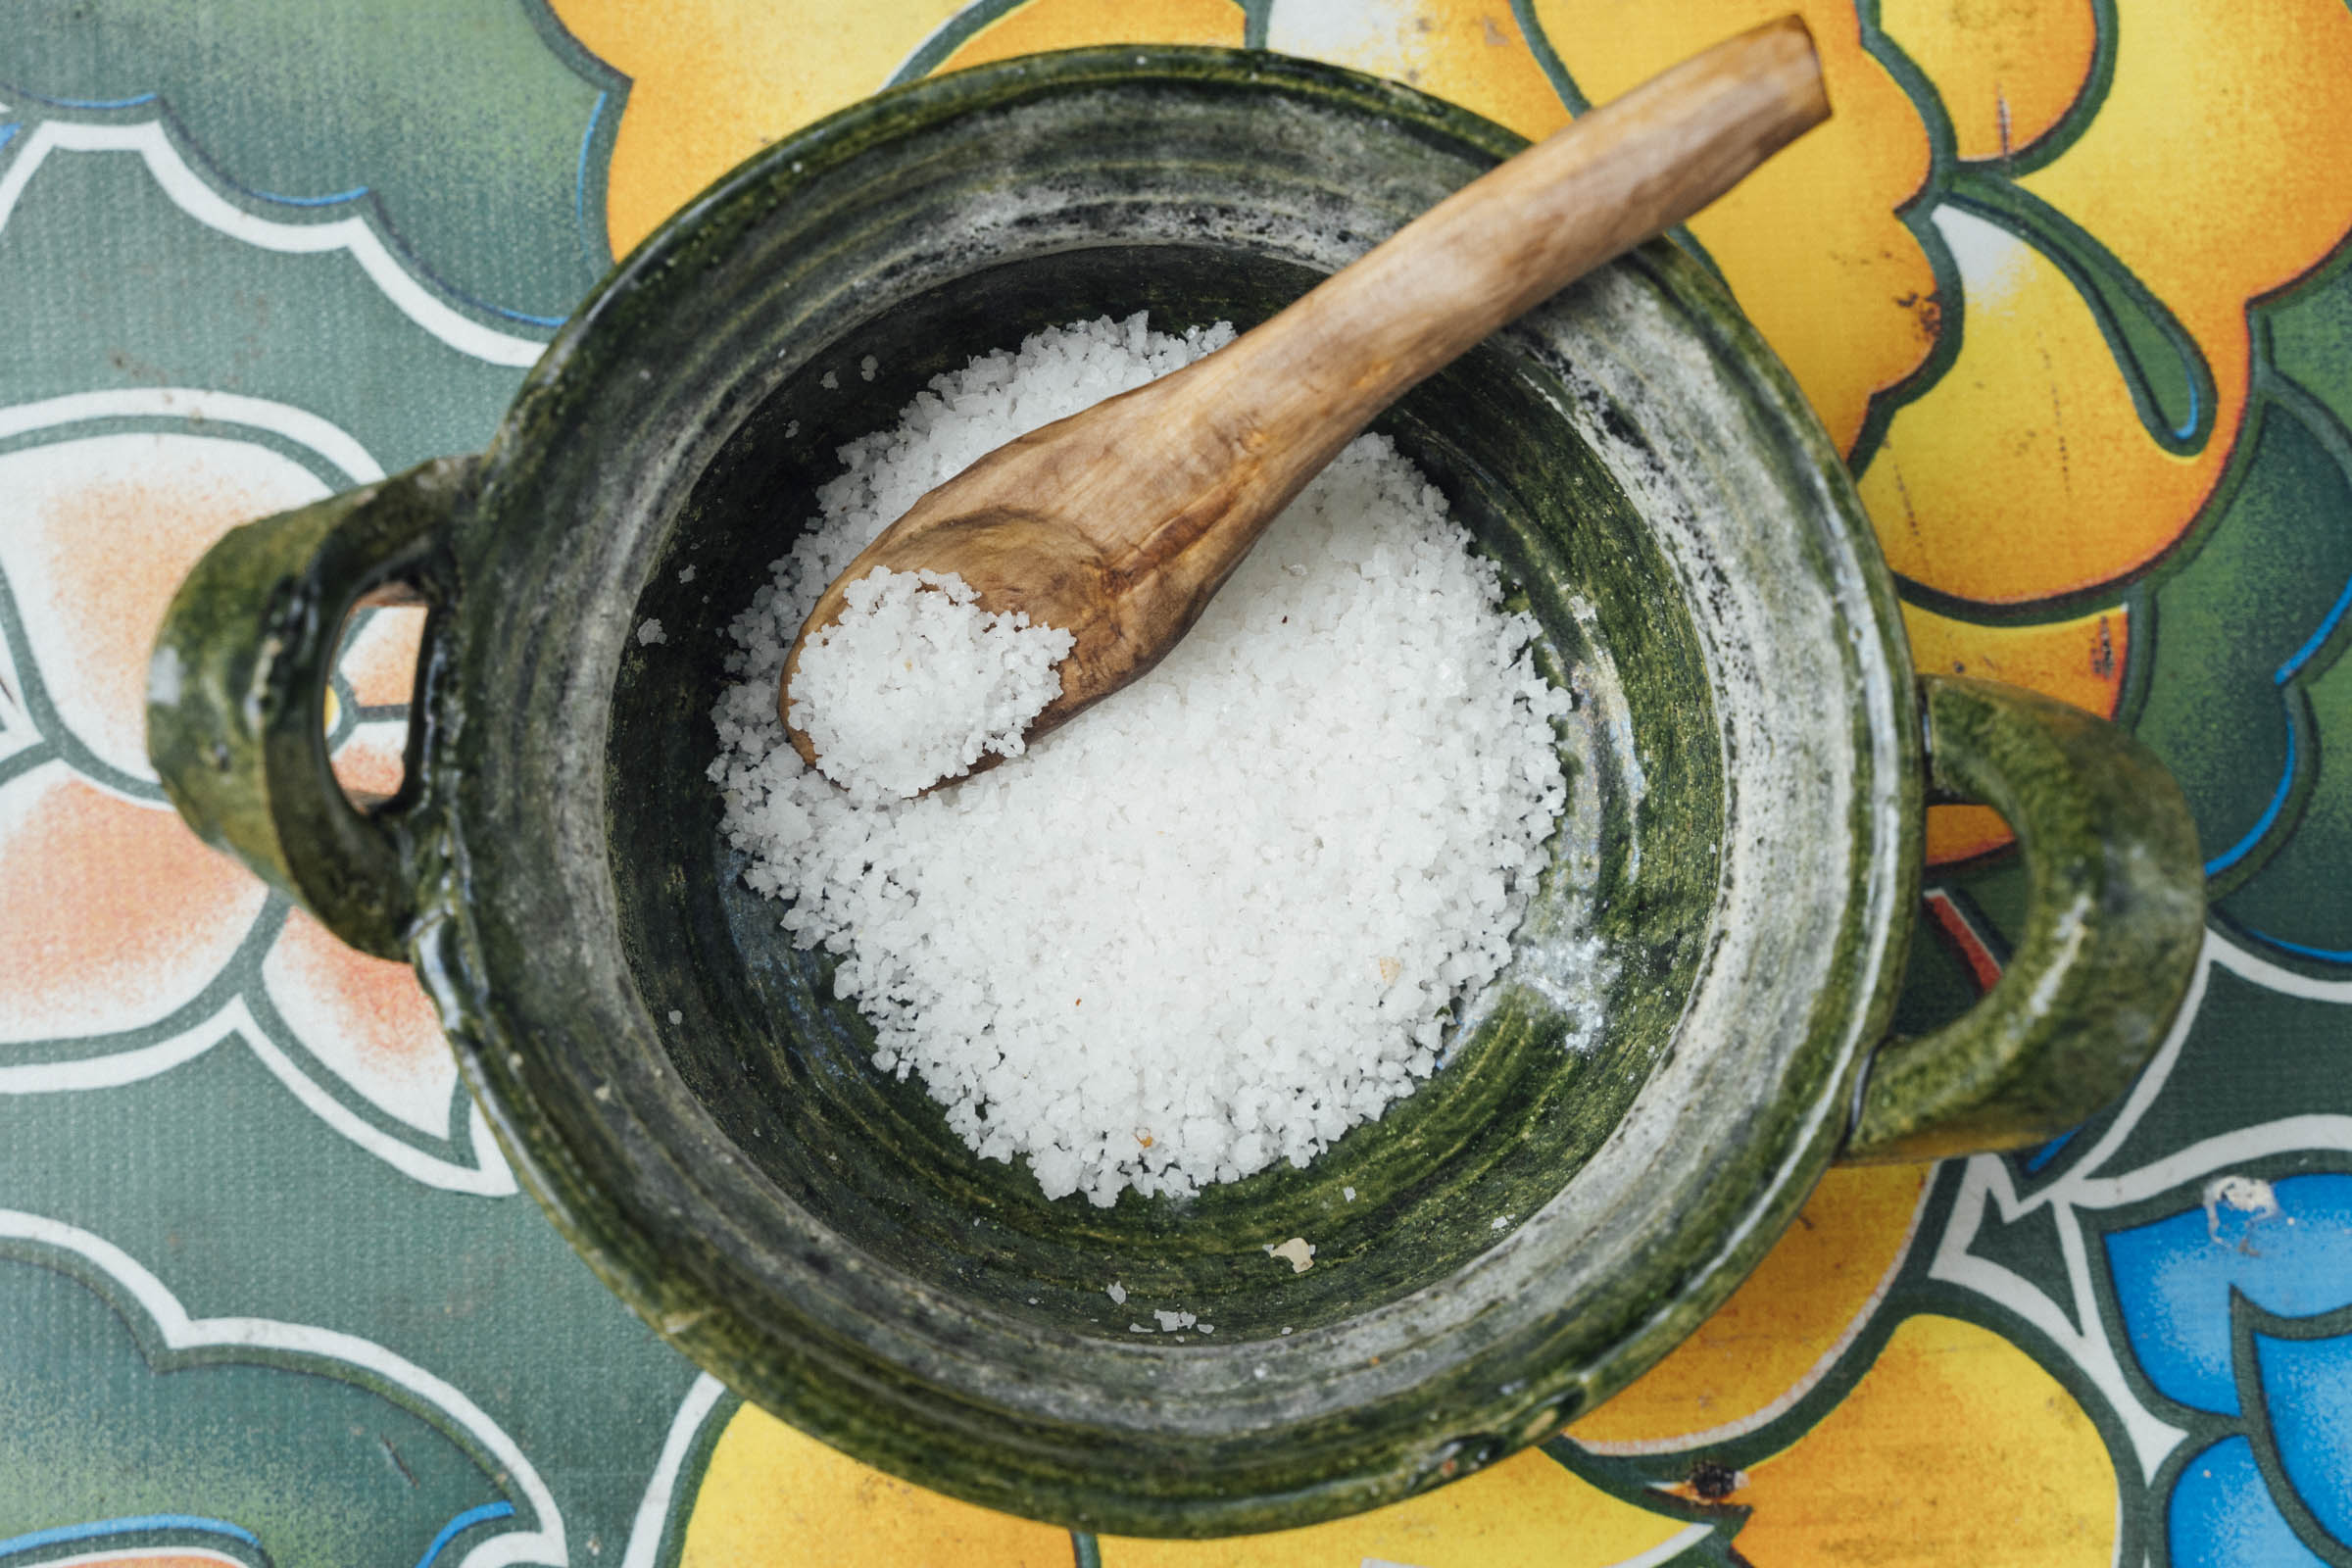
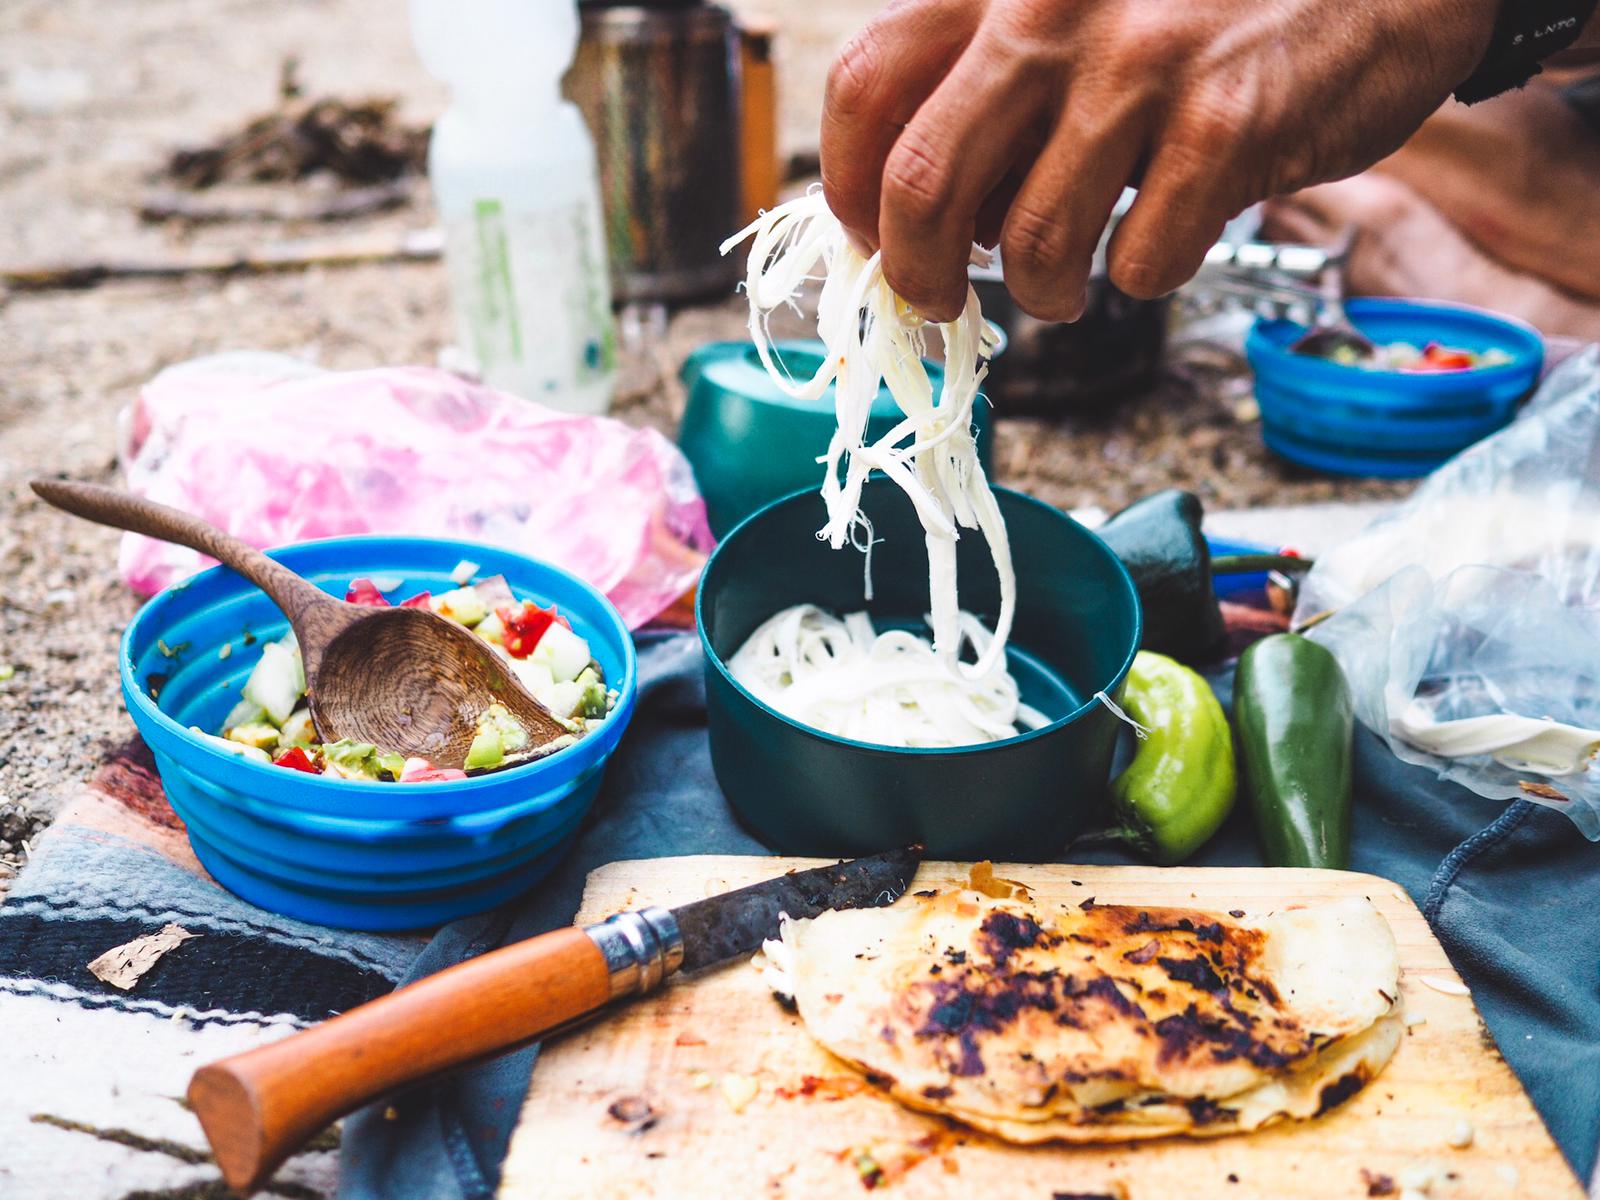
I made my very first spoon (traced around a Snowpeak spork, ironically enough) on a memorable winter bikepacking trip in New Mexico, during two nights sat around the fire. I now carry it almost everywhere. It has even replaced its metal (and sometimes more practical) doppelganger. Pictured below is how it looked just after I finished it… and how it looks now, a year on, dolloping salsa into my tortillas.
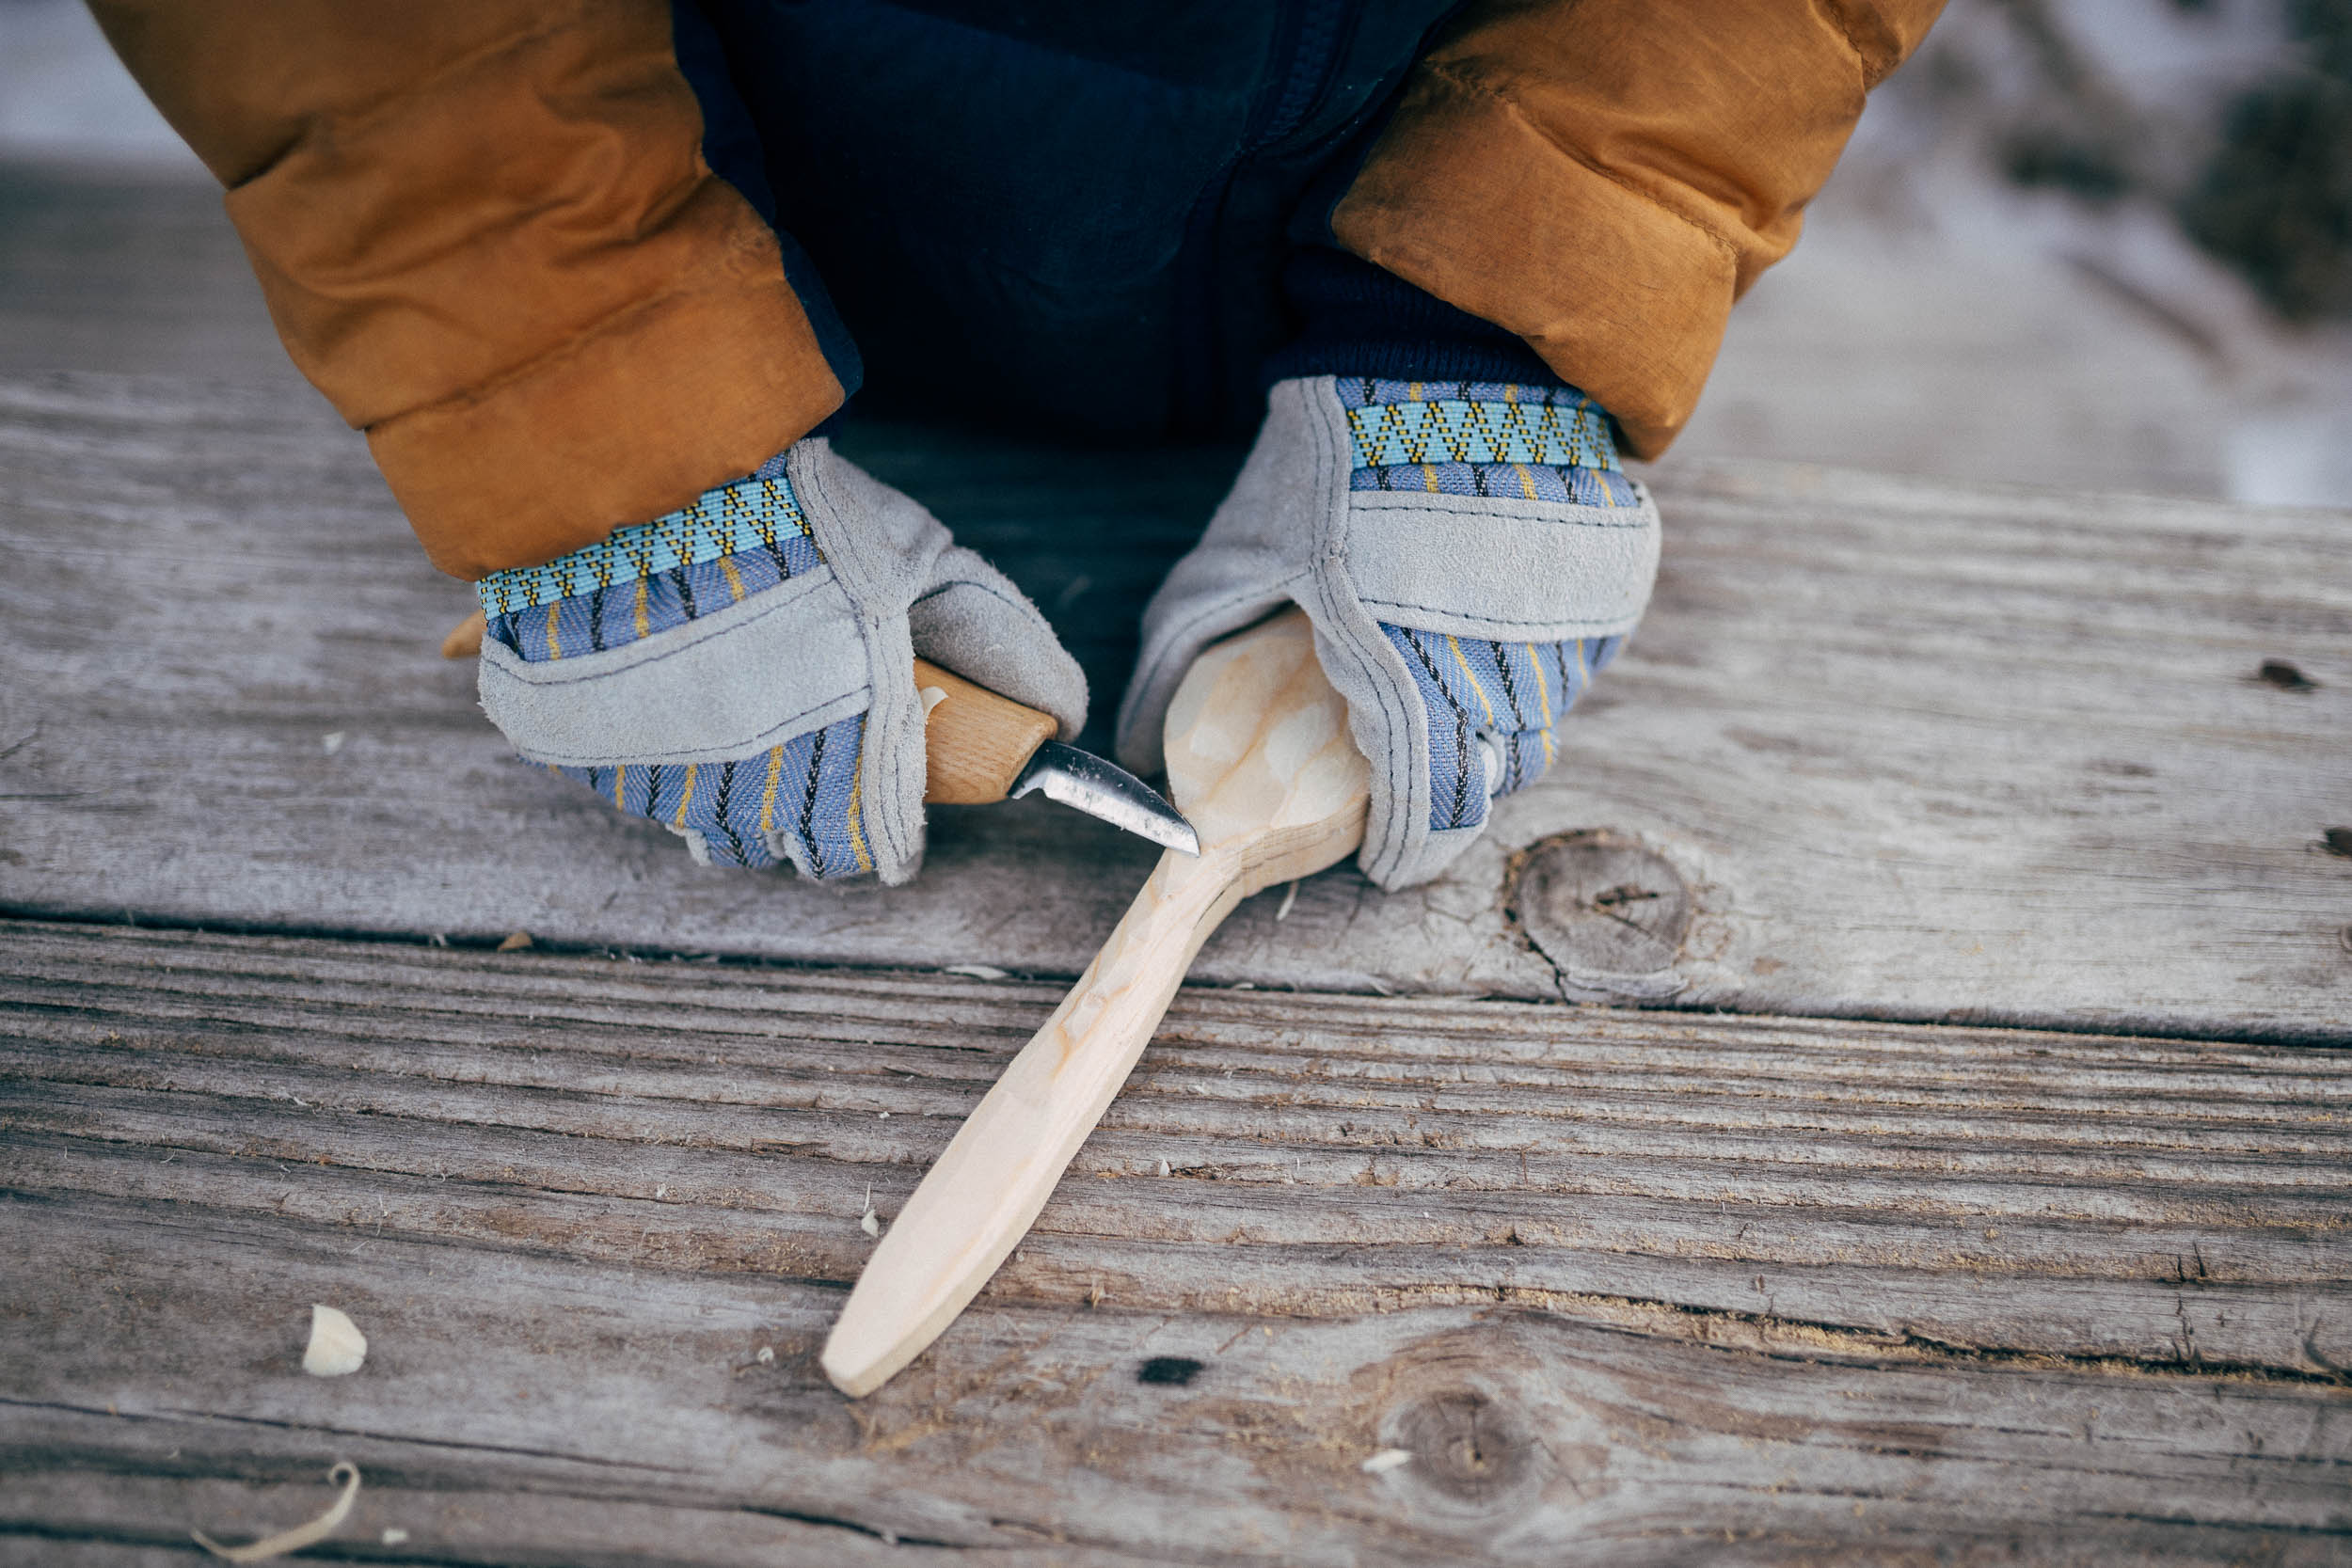
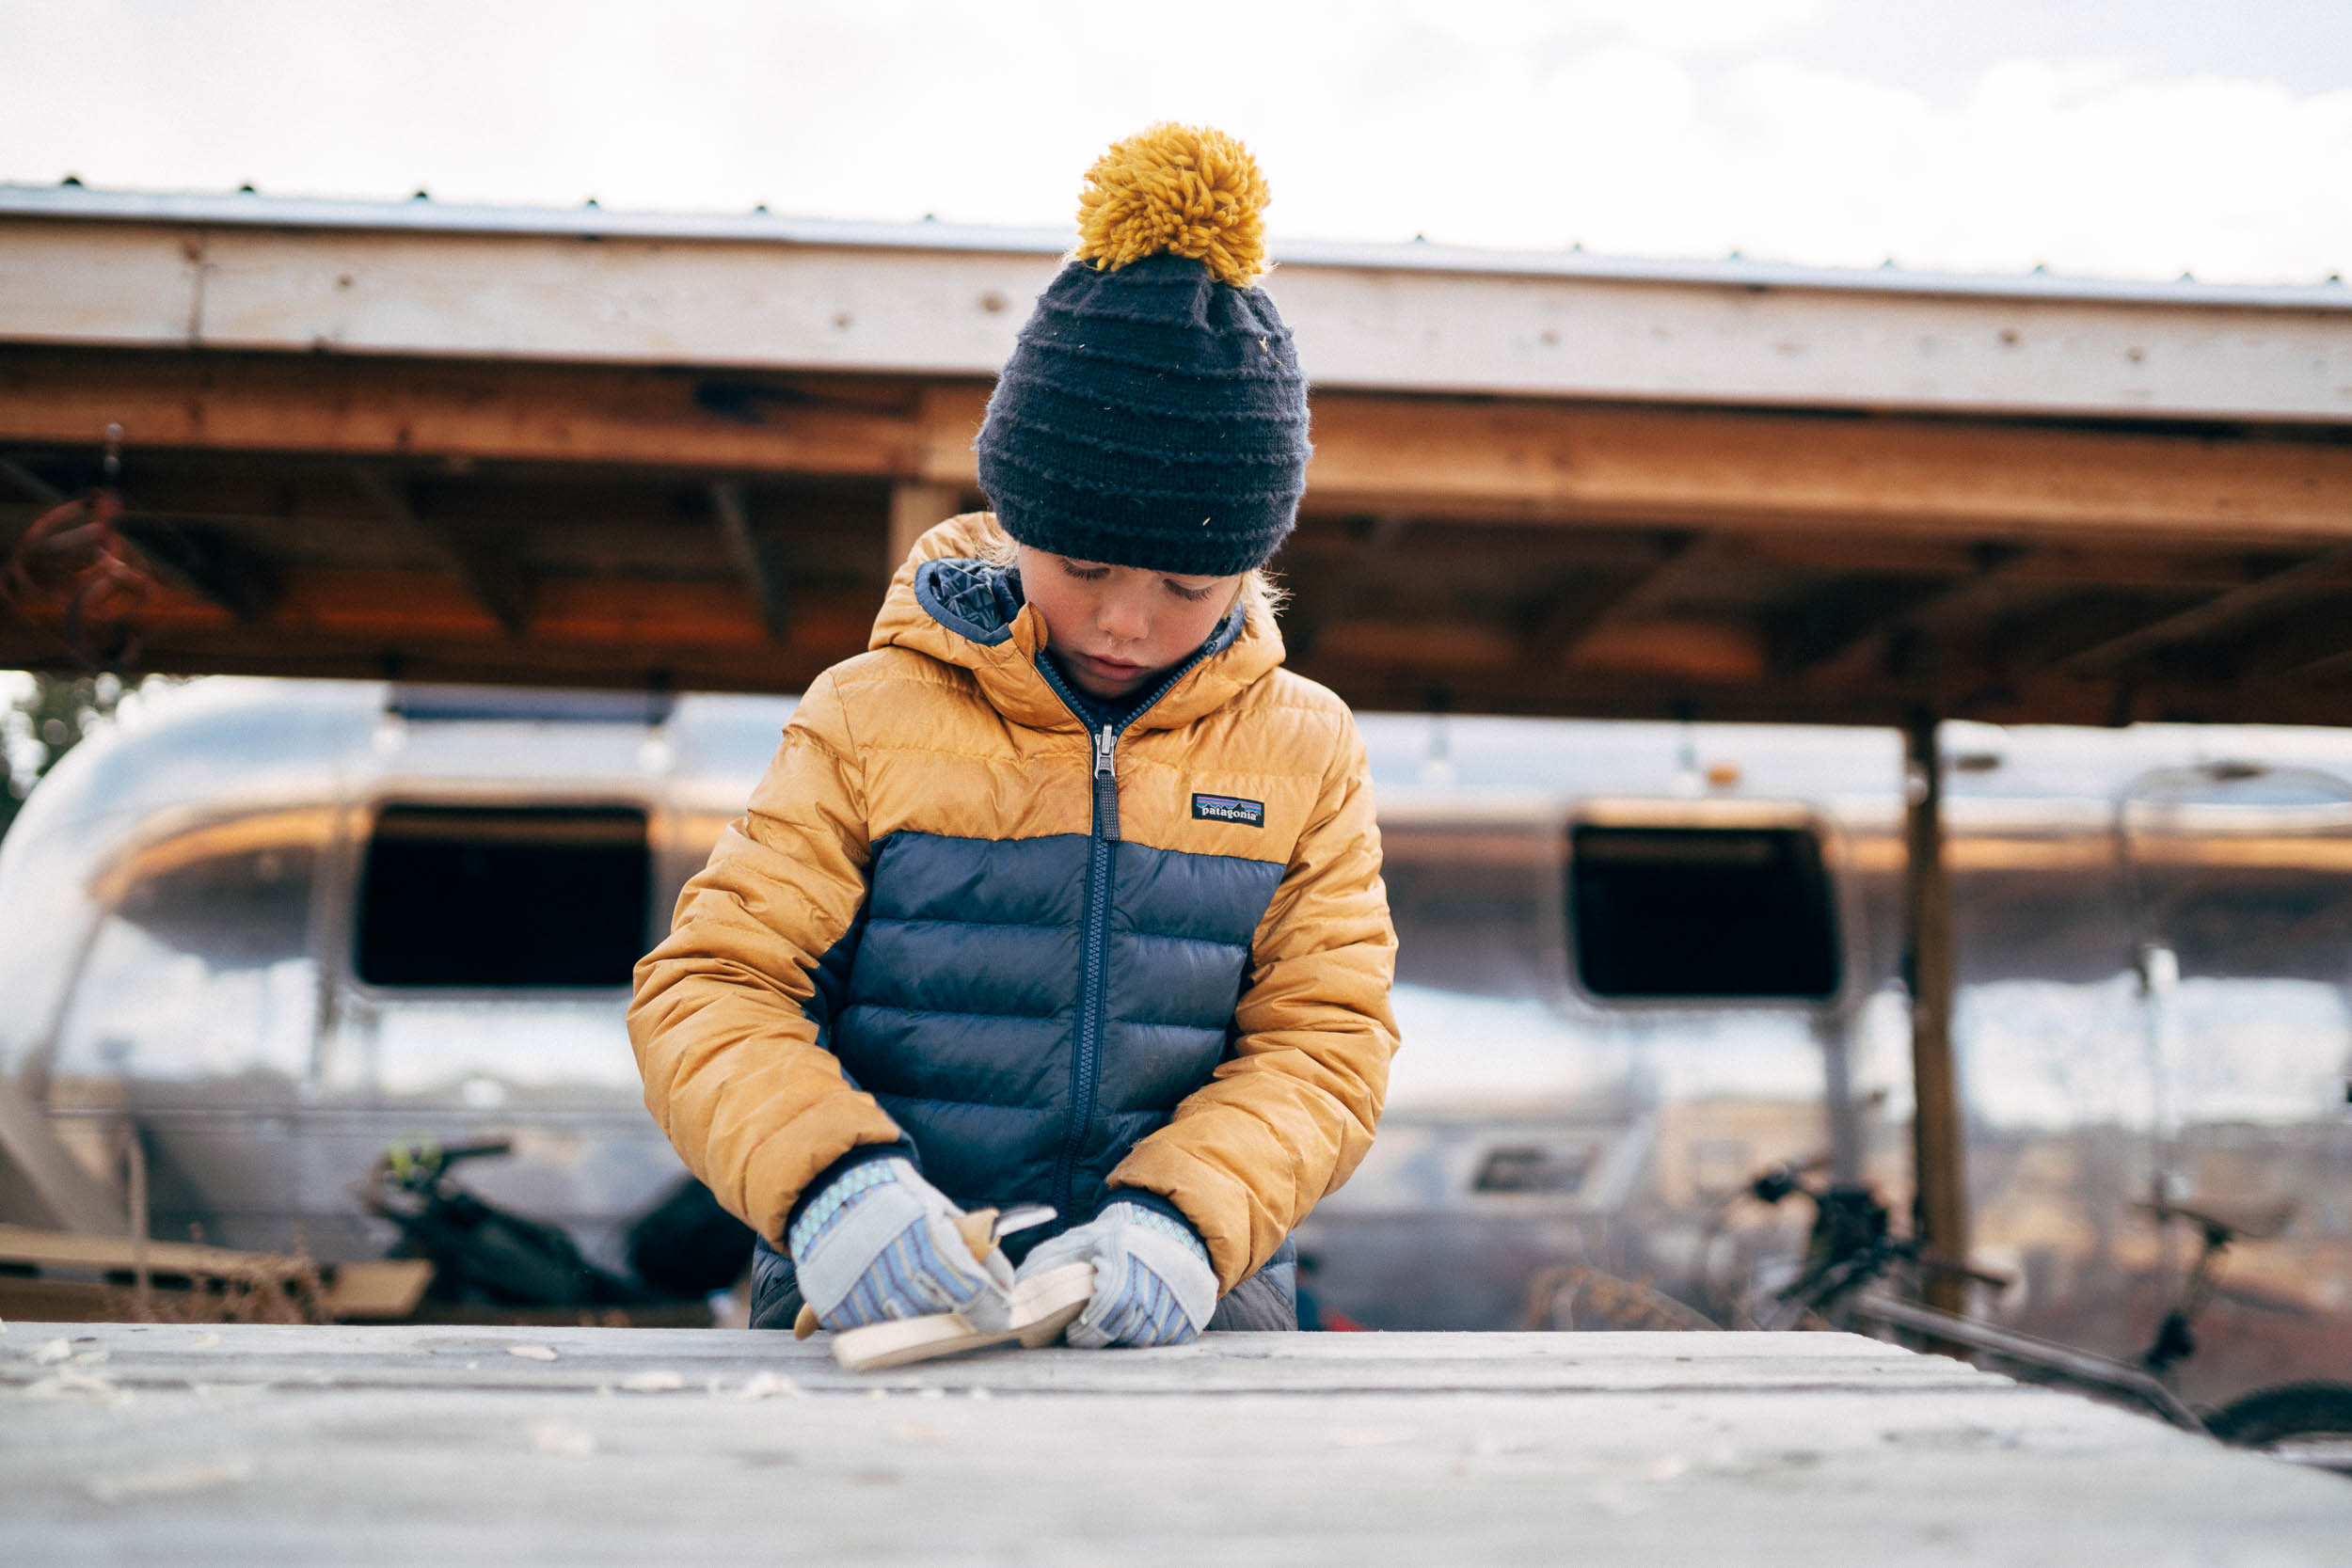
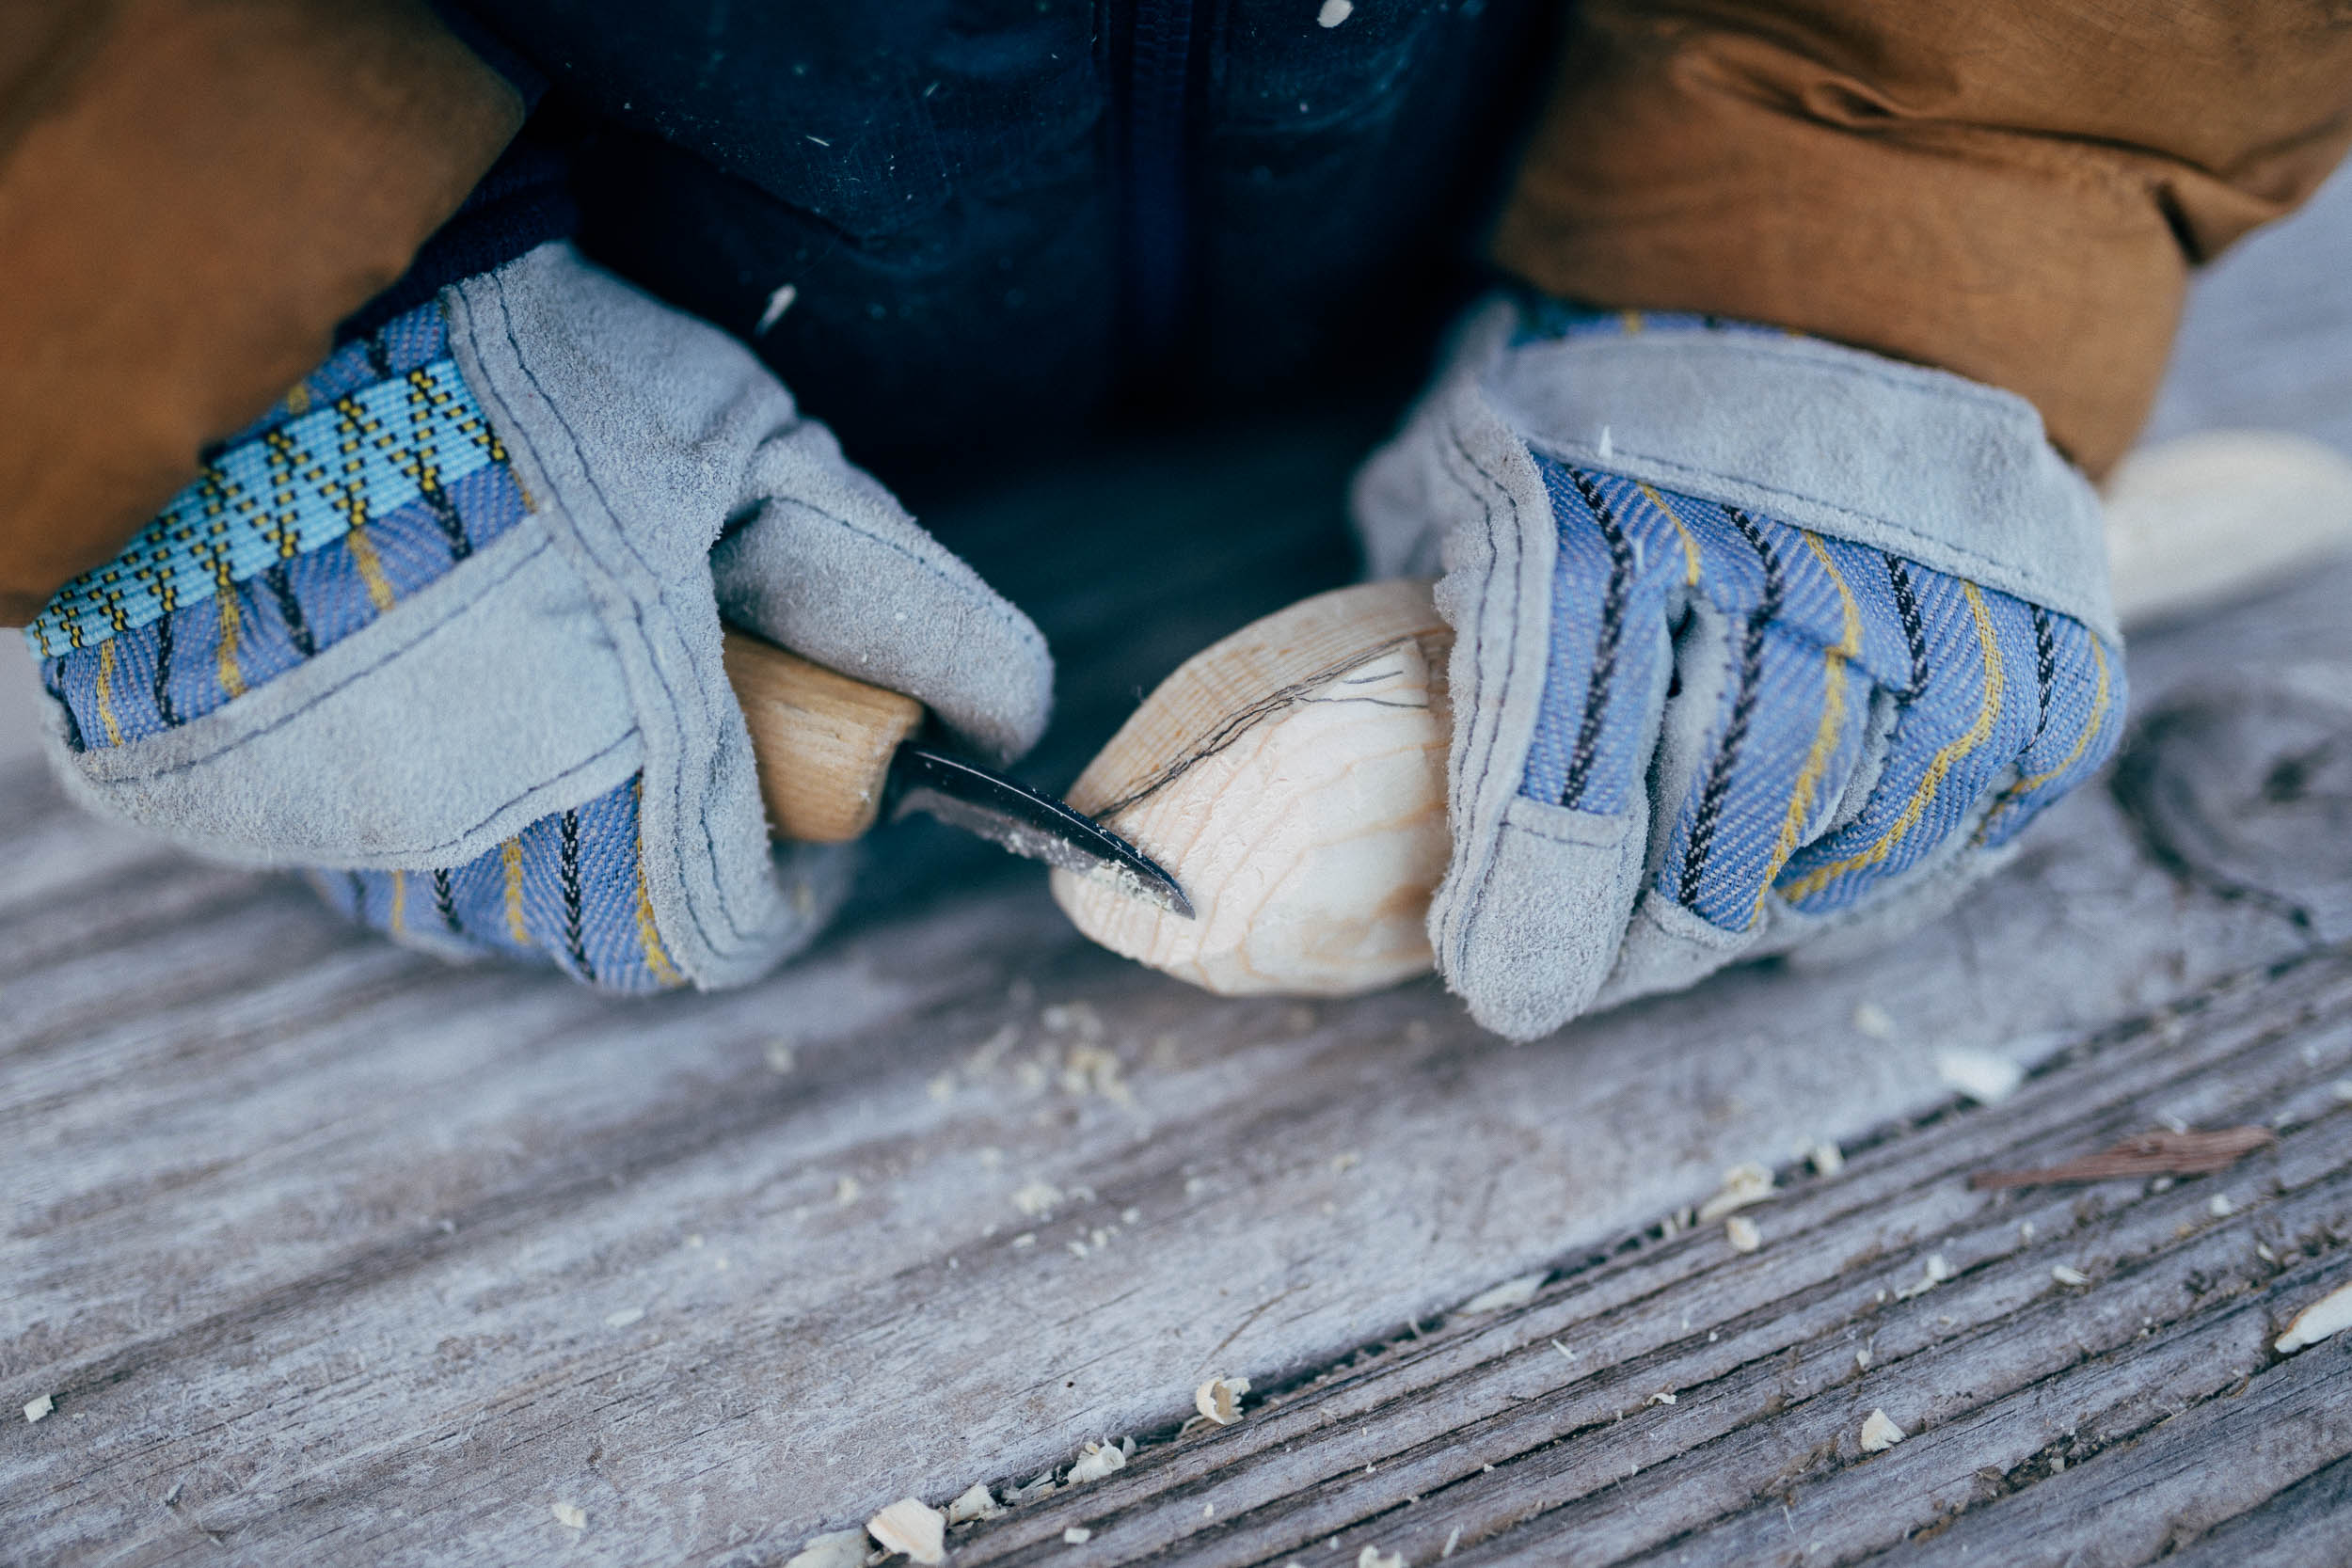
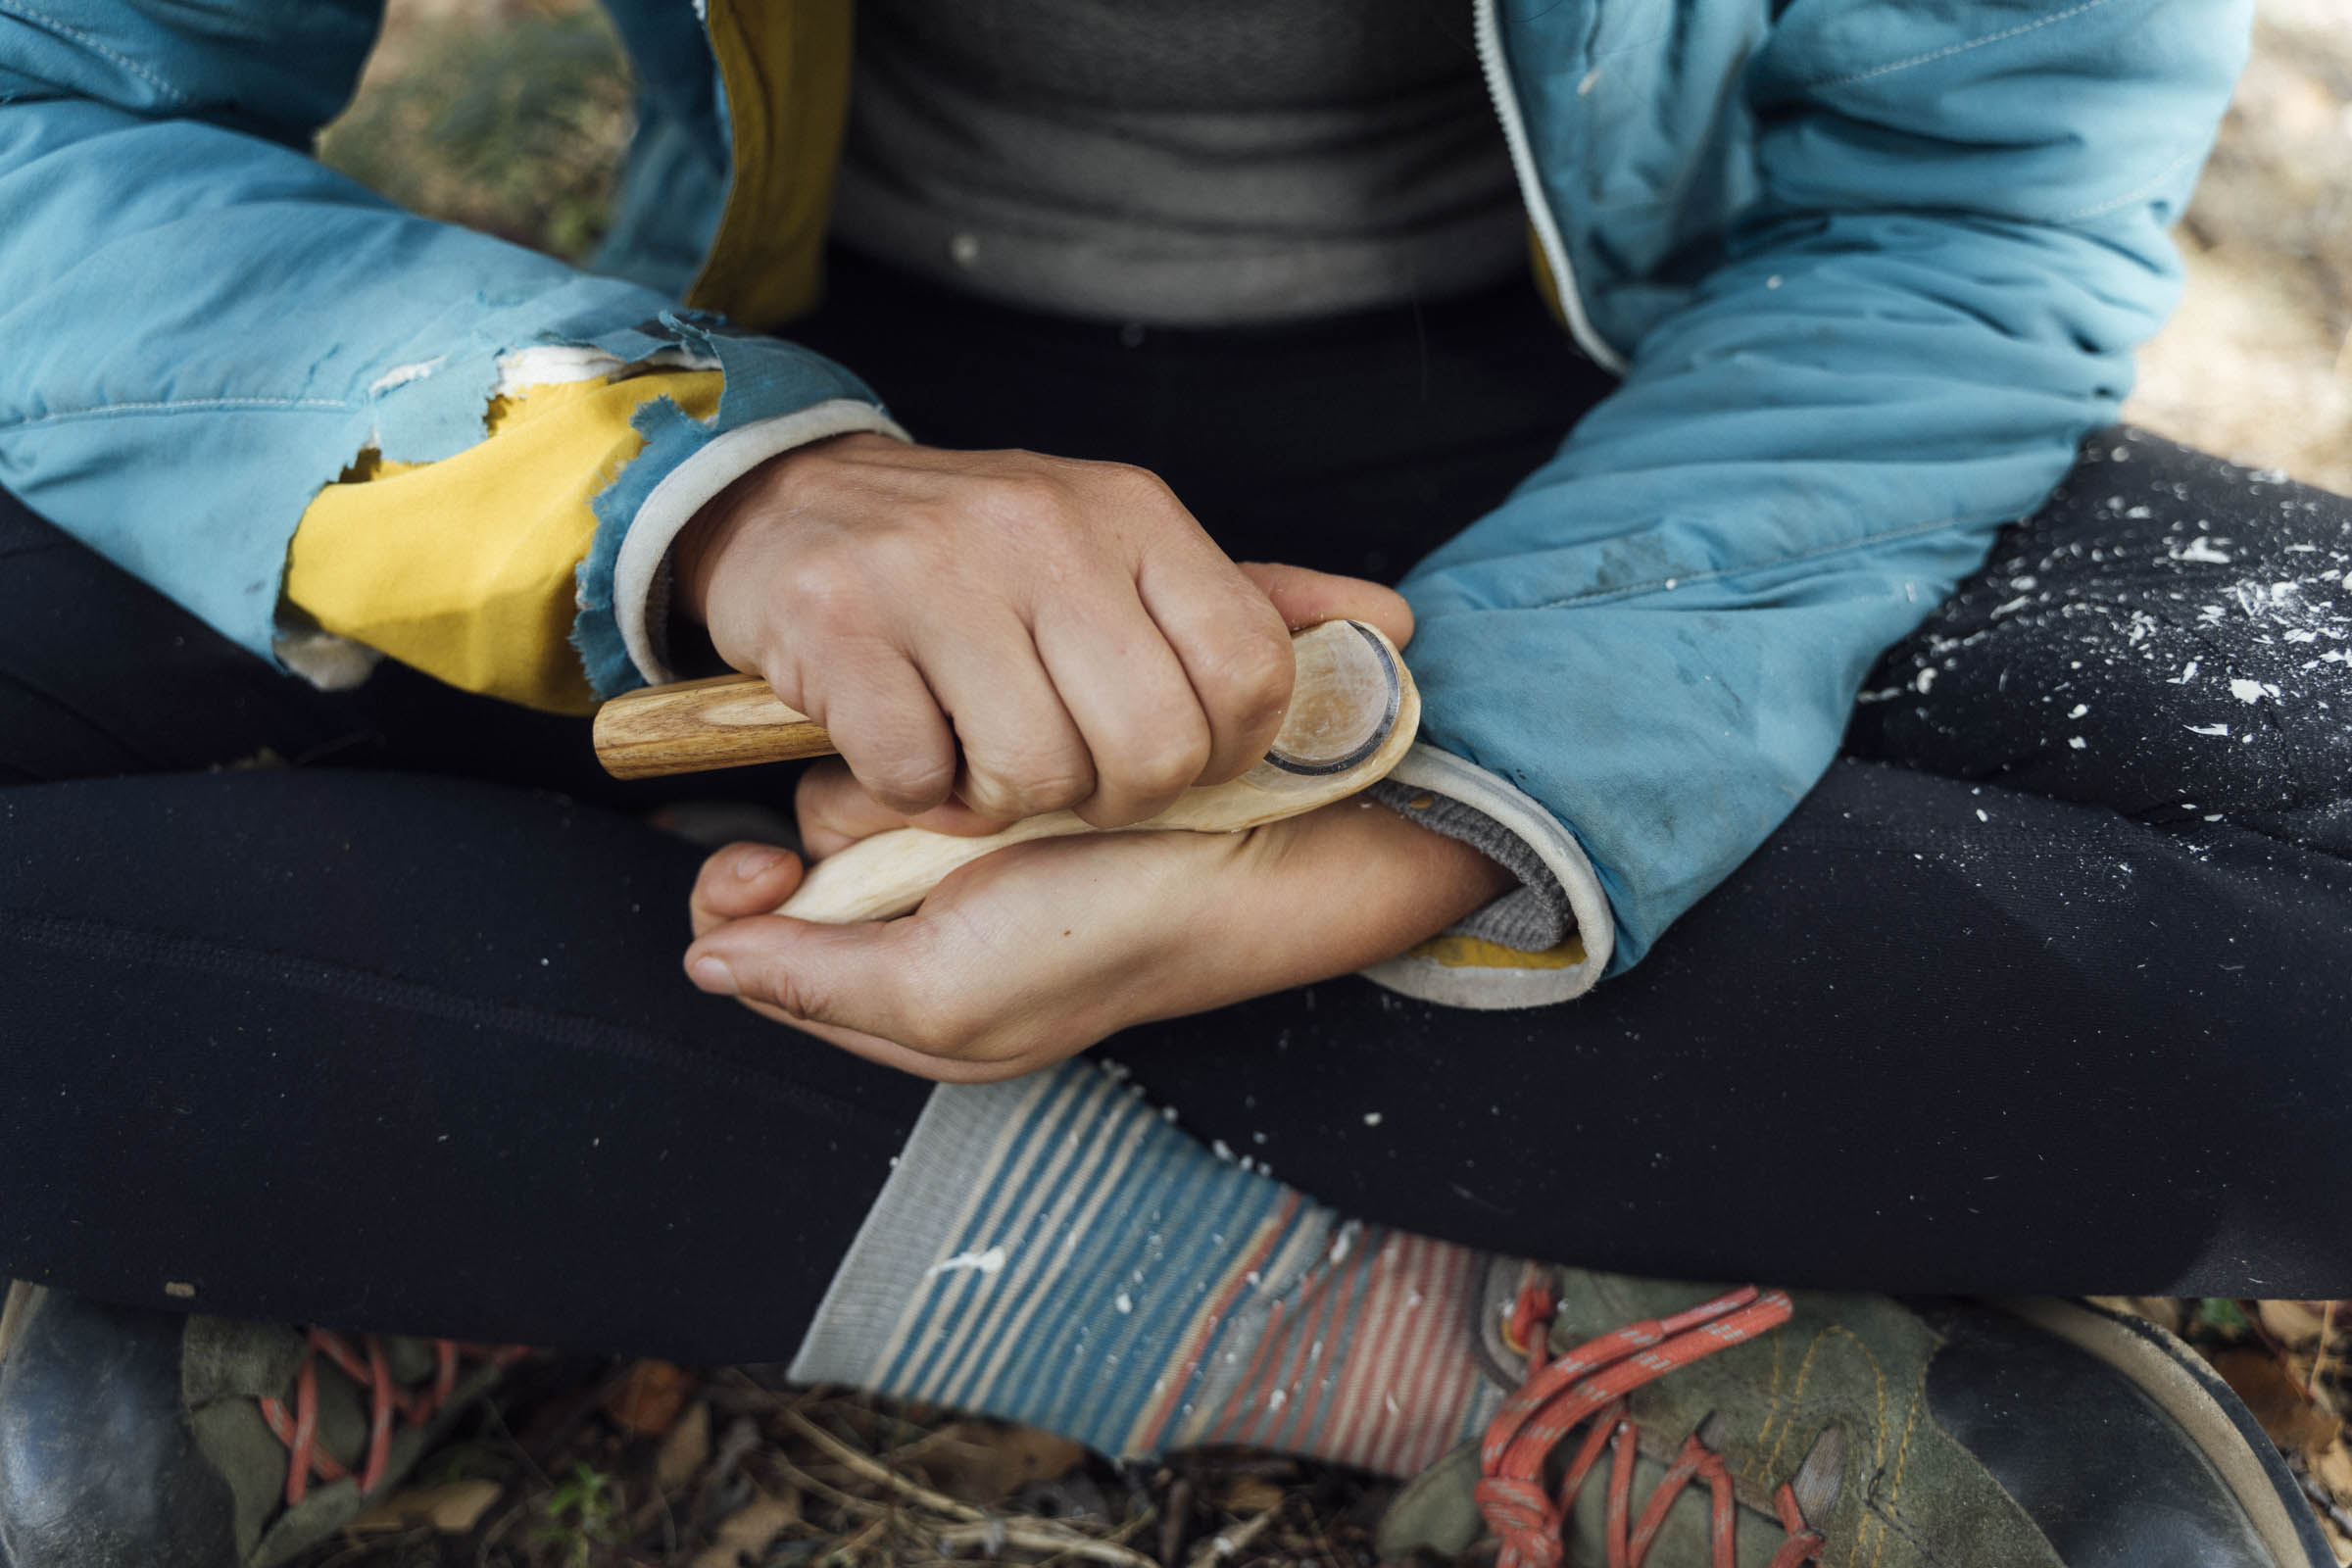
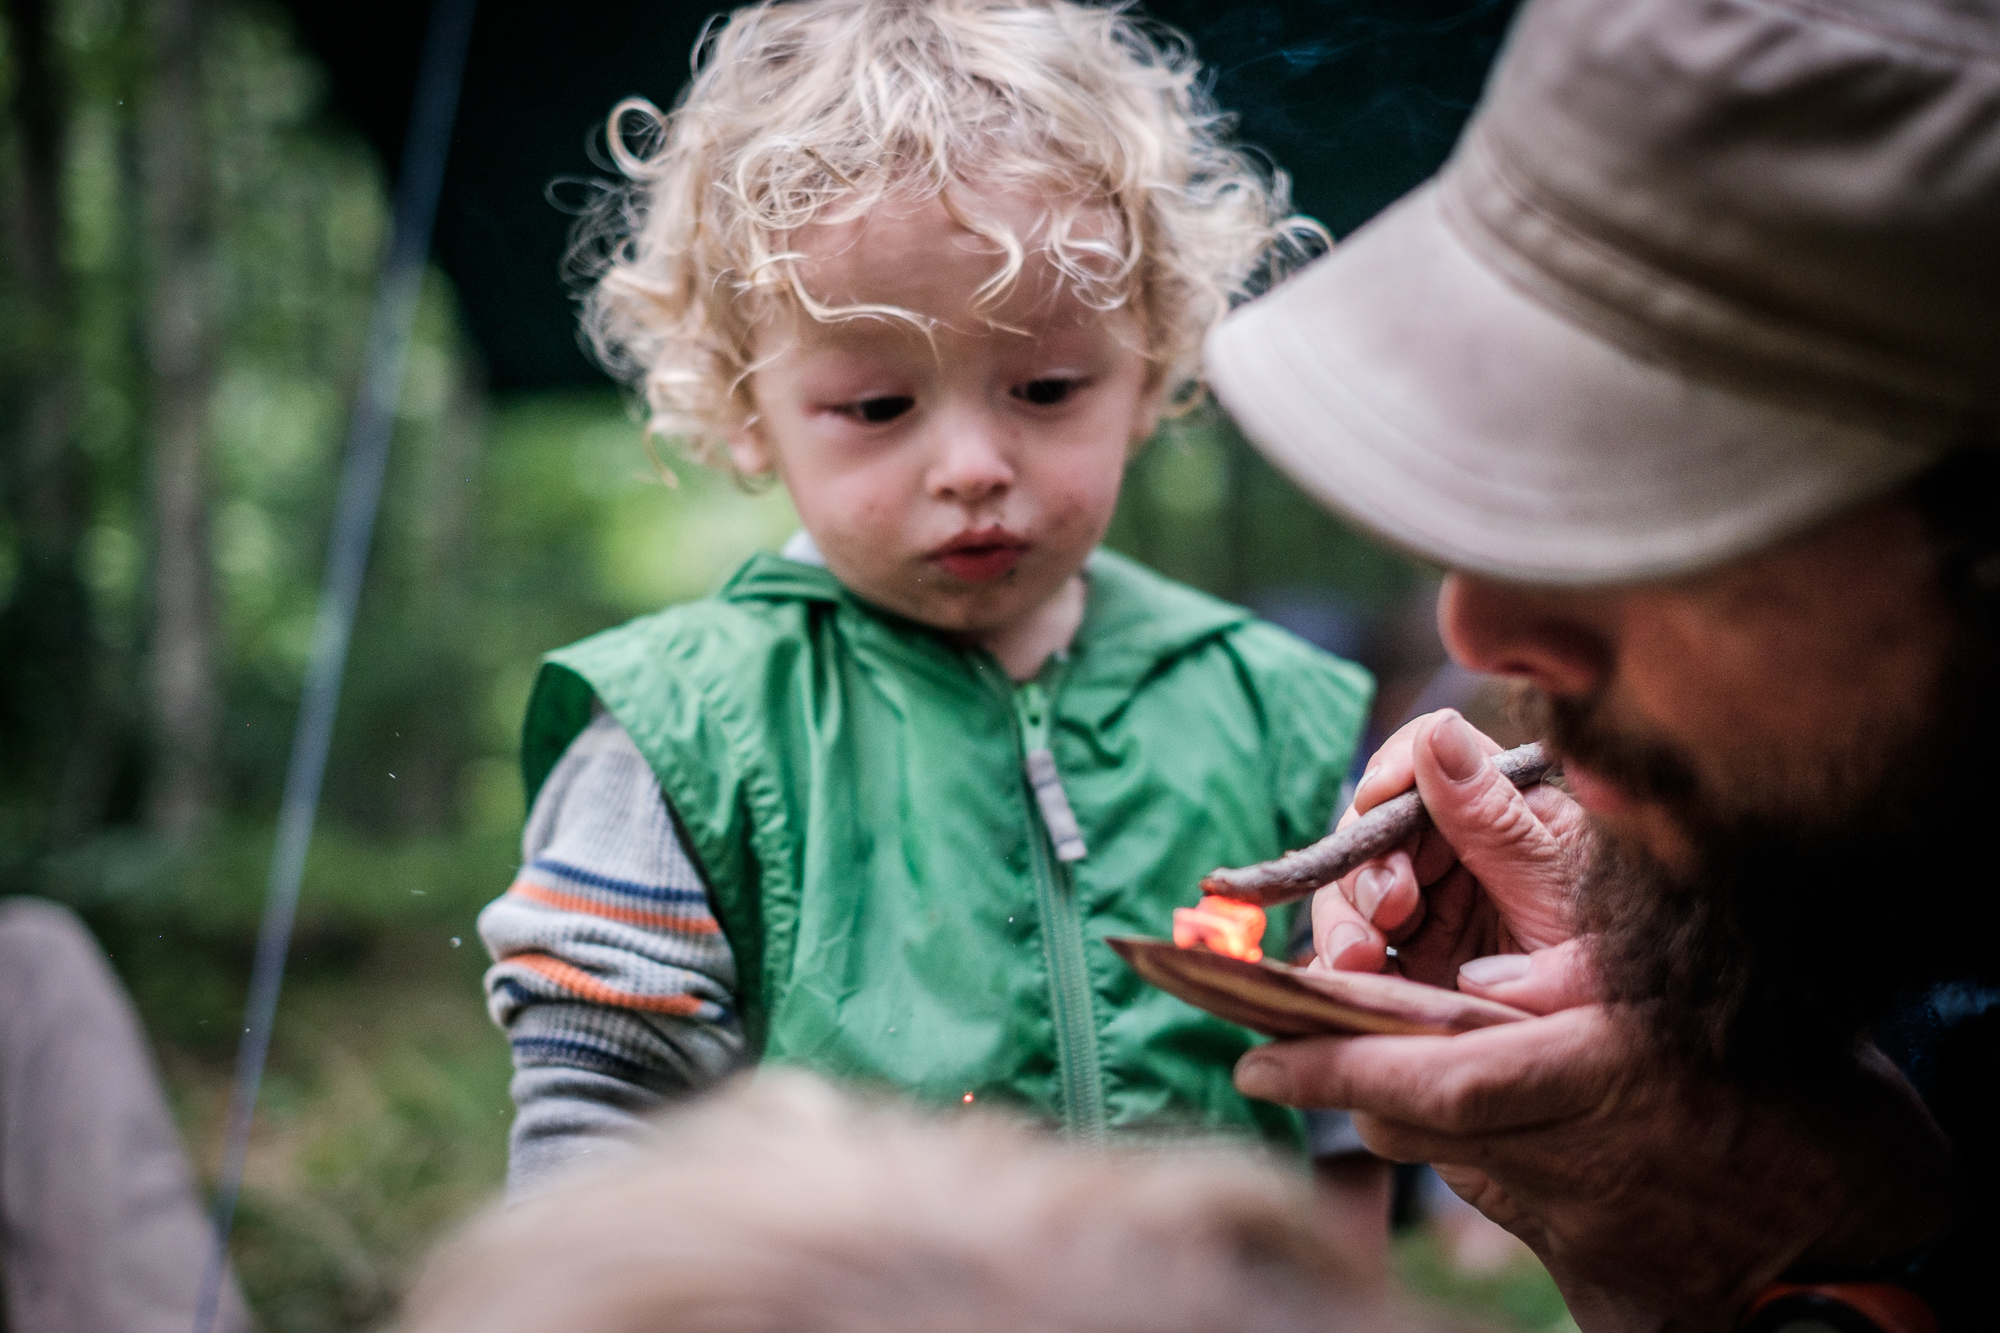
Indeed, with long and cold evenings ahead, whittling a spoon around a campfire is especially enticing. Or, try it at home in preparation for the next trip. Spoon carving can be a great activity to share with your kids, too. I bought my son some work gloves, Mehedi supplied a nice piece of soft pine, and now Sage has his first steps into making his own spoon. What’s more, hand-carved spoons also make deeply personal gifts, for those thinking of the festive season ahead.
Carving a Wooden Spoon: The Process
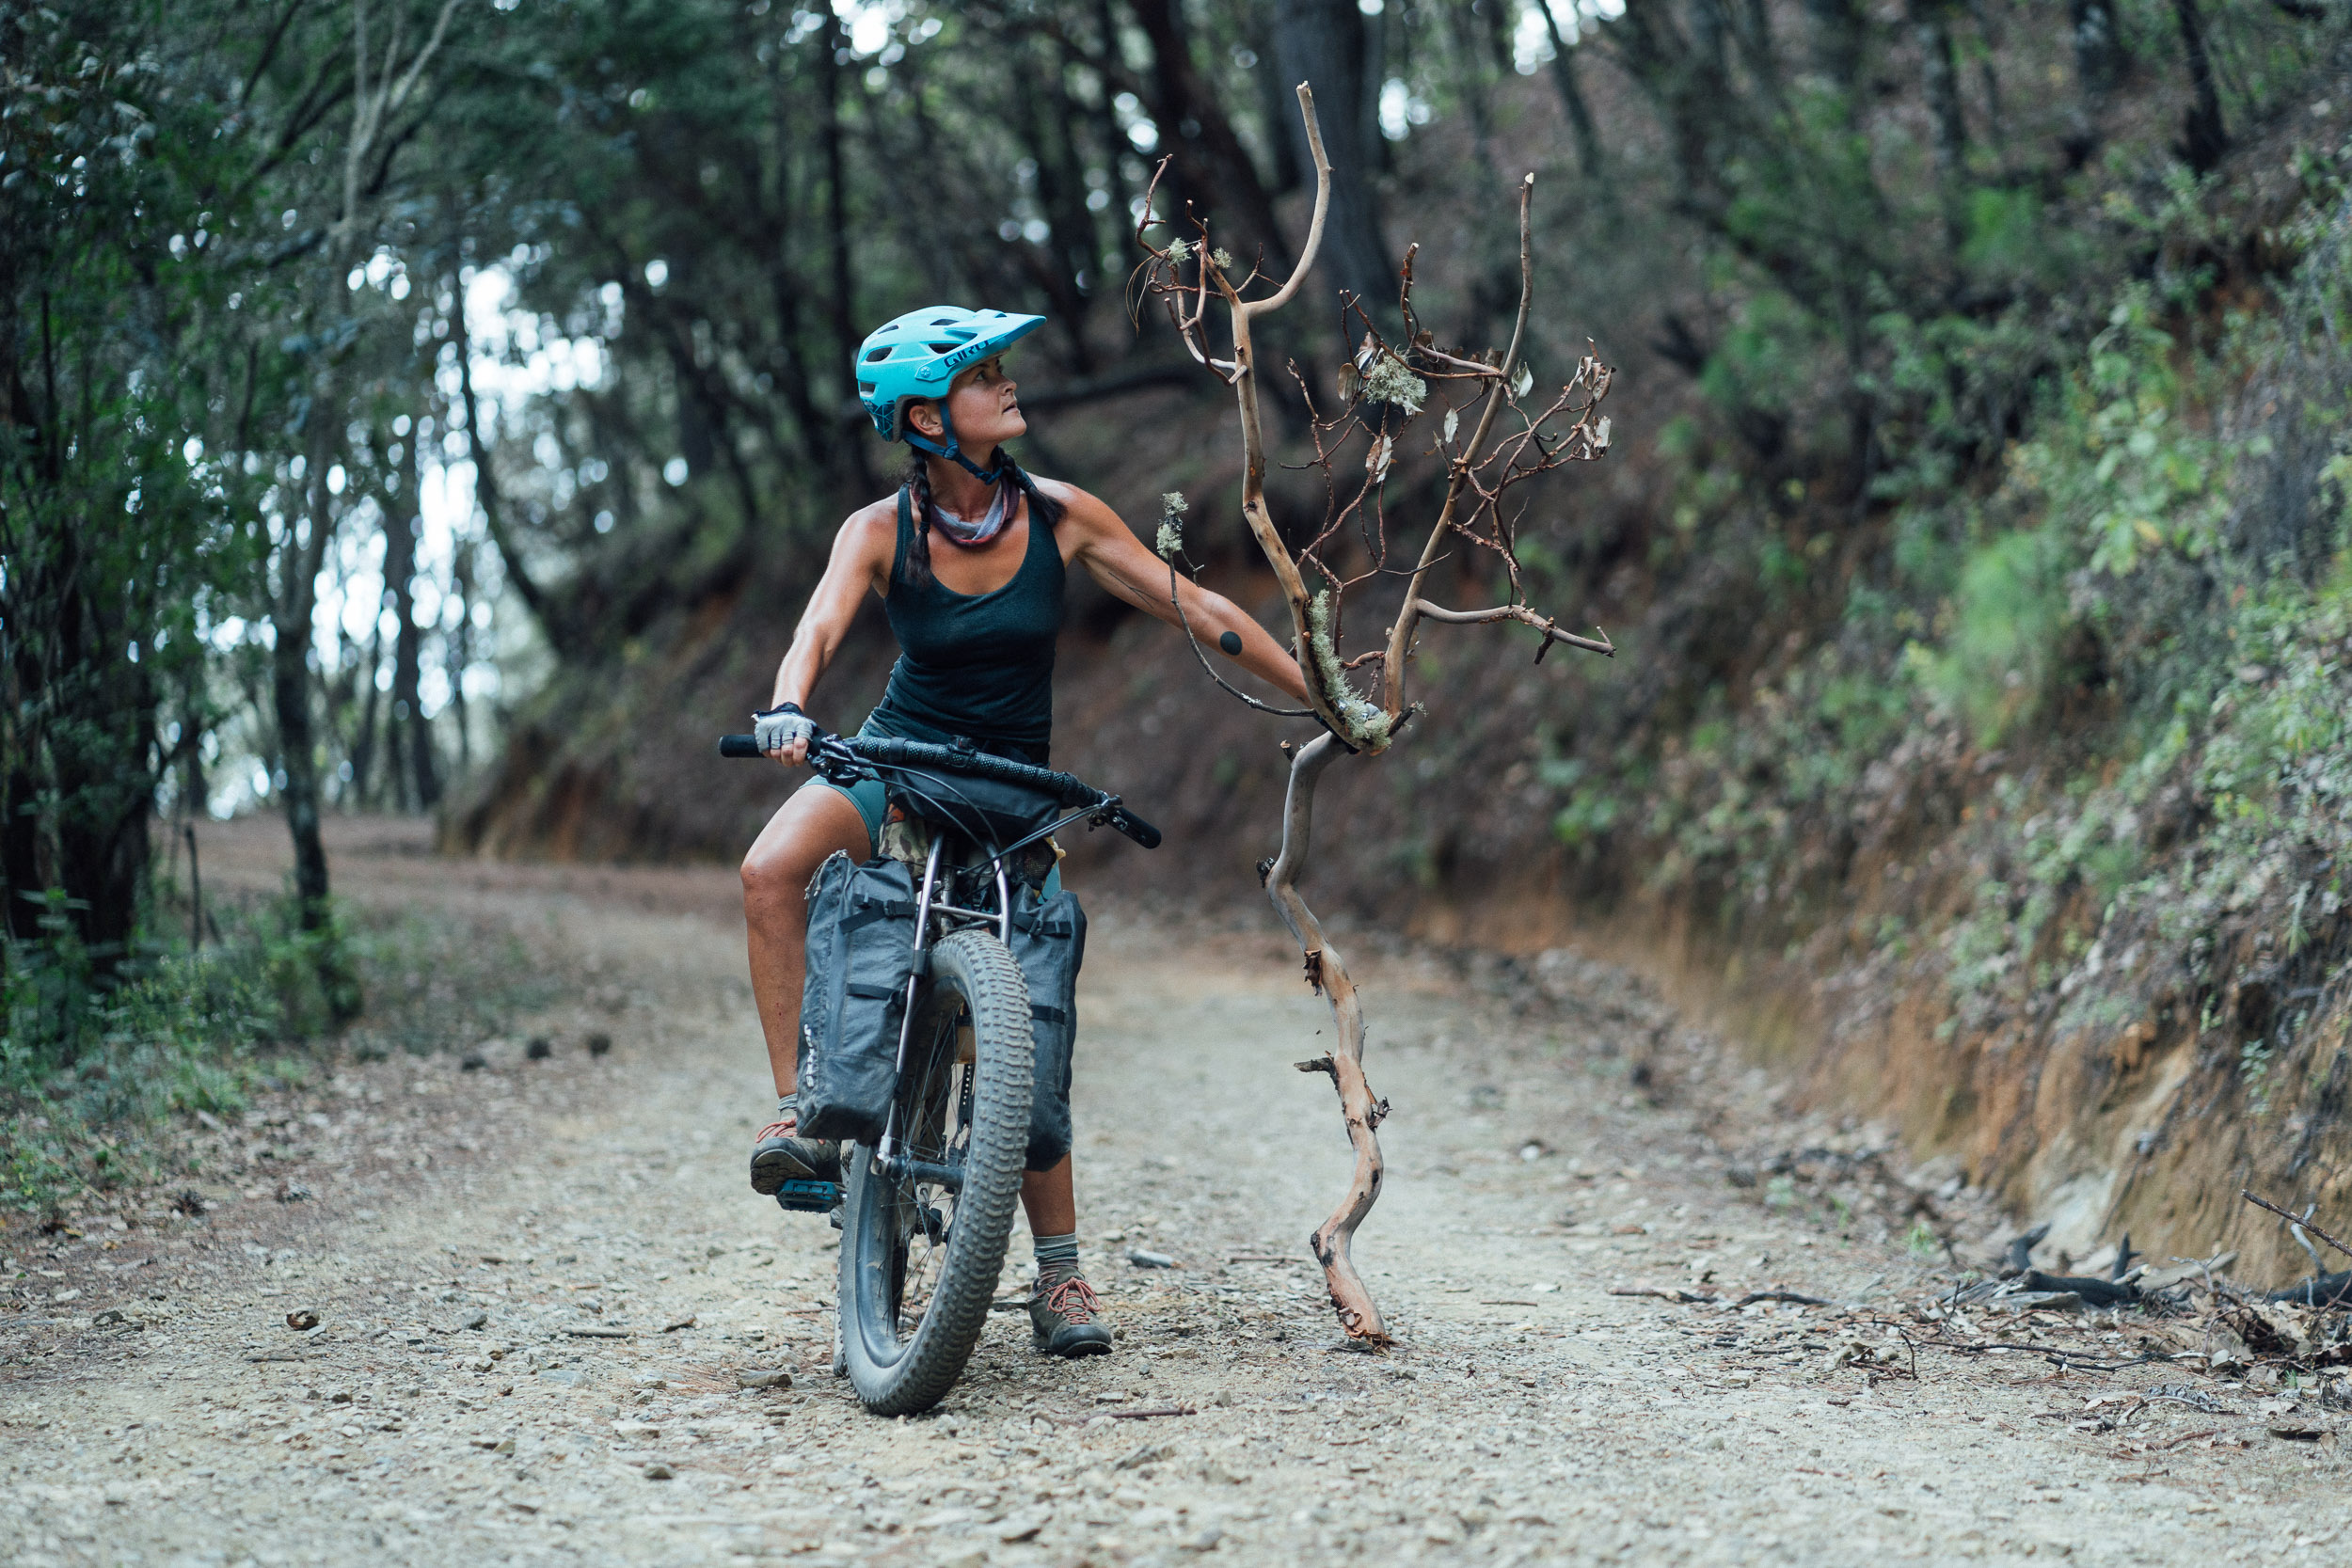
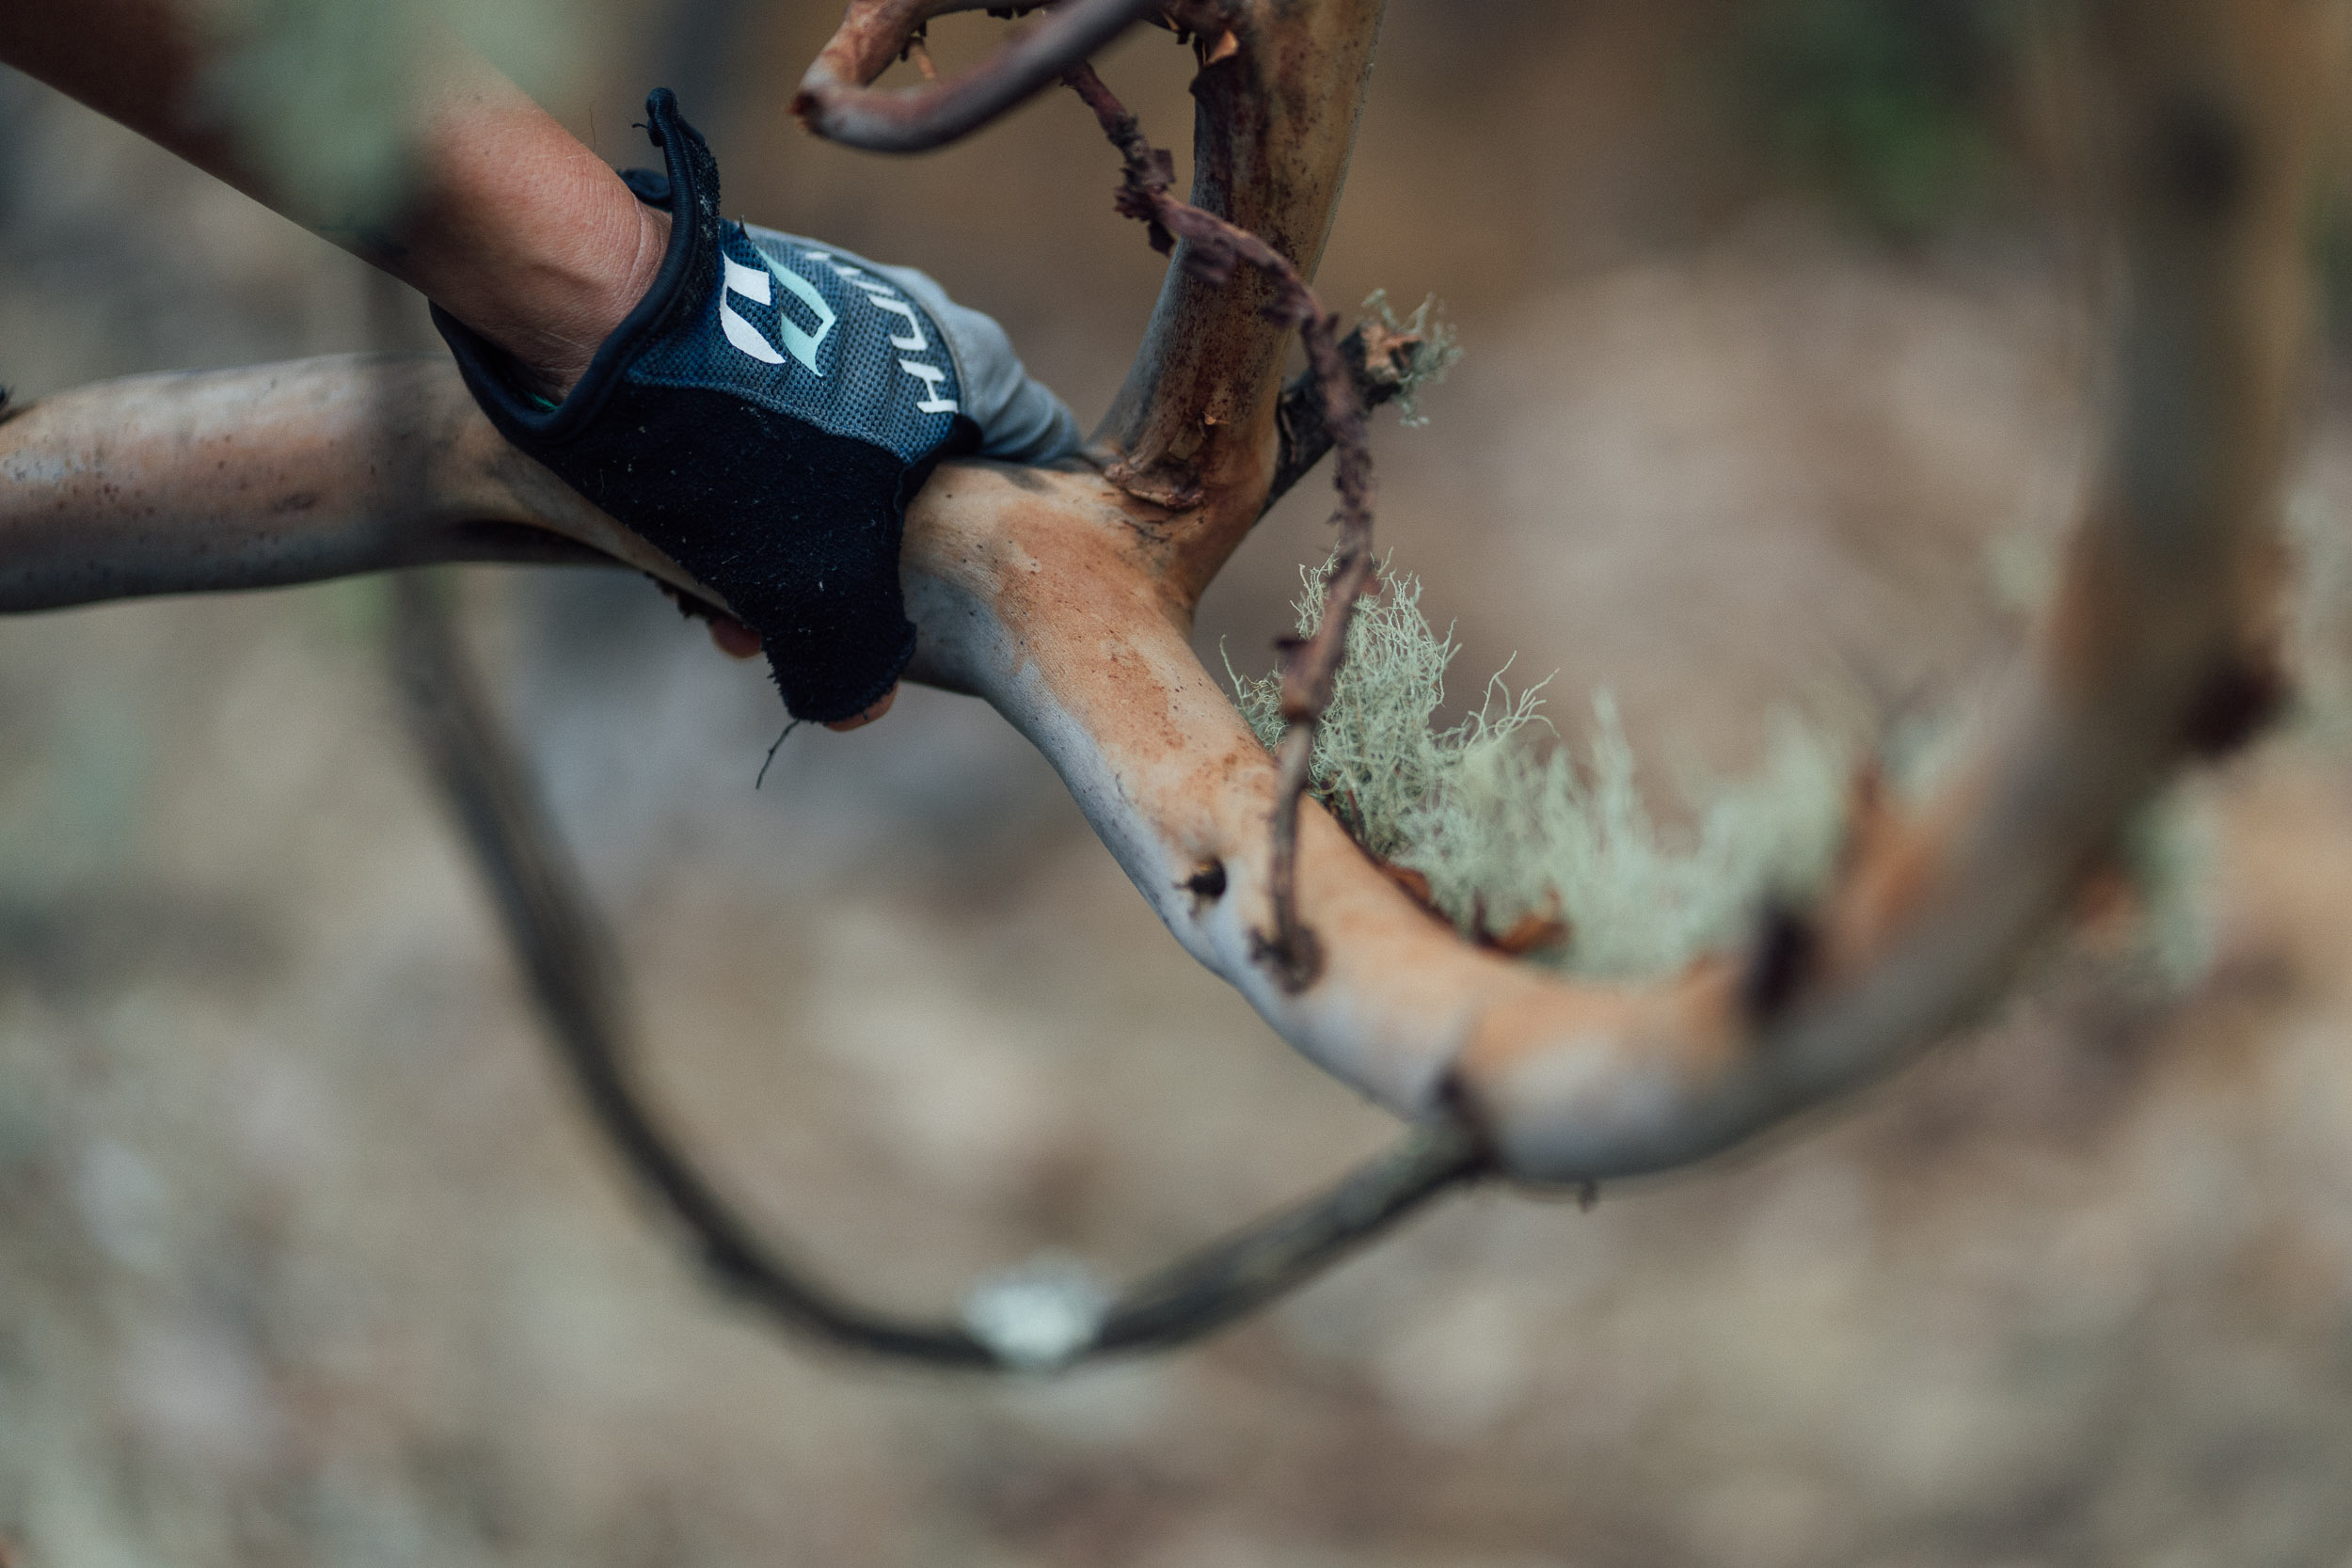
To begin, you’ll need to find a suitable piece of wood! As a beginner, it’s best to source a piece from aa seasoned woodpile, or ask a local carpenter if you can buy a few offcuts, which can be a fun experience in itself. In Mexico, for instance, there are carpinterías in every town; chatting with them is a way of finding out about the different trees that can be found locally. Alternatively, keep your eyes peeled for a freshly fallen branch as you’re riding; carrying a small hand saw can be useful to cut out a couple of appropriate pieces that are a sufficient size, have a clean grain, and largely free of knots. Older branches are unlikely to be suitable, as they’re often cracked inside, or are likely to crack when you start working on them. To season a fresh piece of wood for later use, place it in a spot that avoids direct sunlight and where there isn’t a fluctuation in temperature. A shady, warmish area with good ventilation is ideal. You can cap the ends with candlewax, which will help it retain moisture and dry out slowly.
If you do end up with a recently cut piece of wood – greenwood – don’t let it dry out while you carve as it will likely crack. Soak it in water between sessions and keep it wrapped up in a plastic bag to retain moisture. Note that a pre-dried piece of hardwood will be harder to carve, but a lot less likely to crack too – both whilst you’re working on your spoon and when it’s completed.
As a rule of thumb, hardwoods and fruitwoods that are good for cutlery – like maple, oak, apple, and cherry. As mentioned, they can be tough work carve but the ensuing spoon will likely last for many years. Softwood such as pine, cypress or cedar are great for beginners but tend to endure less. Better still, is there anything interesting that’s local to you?


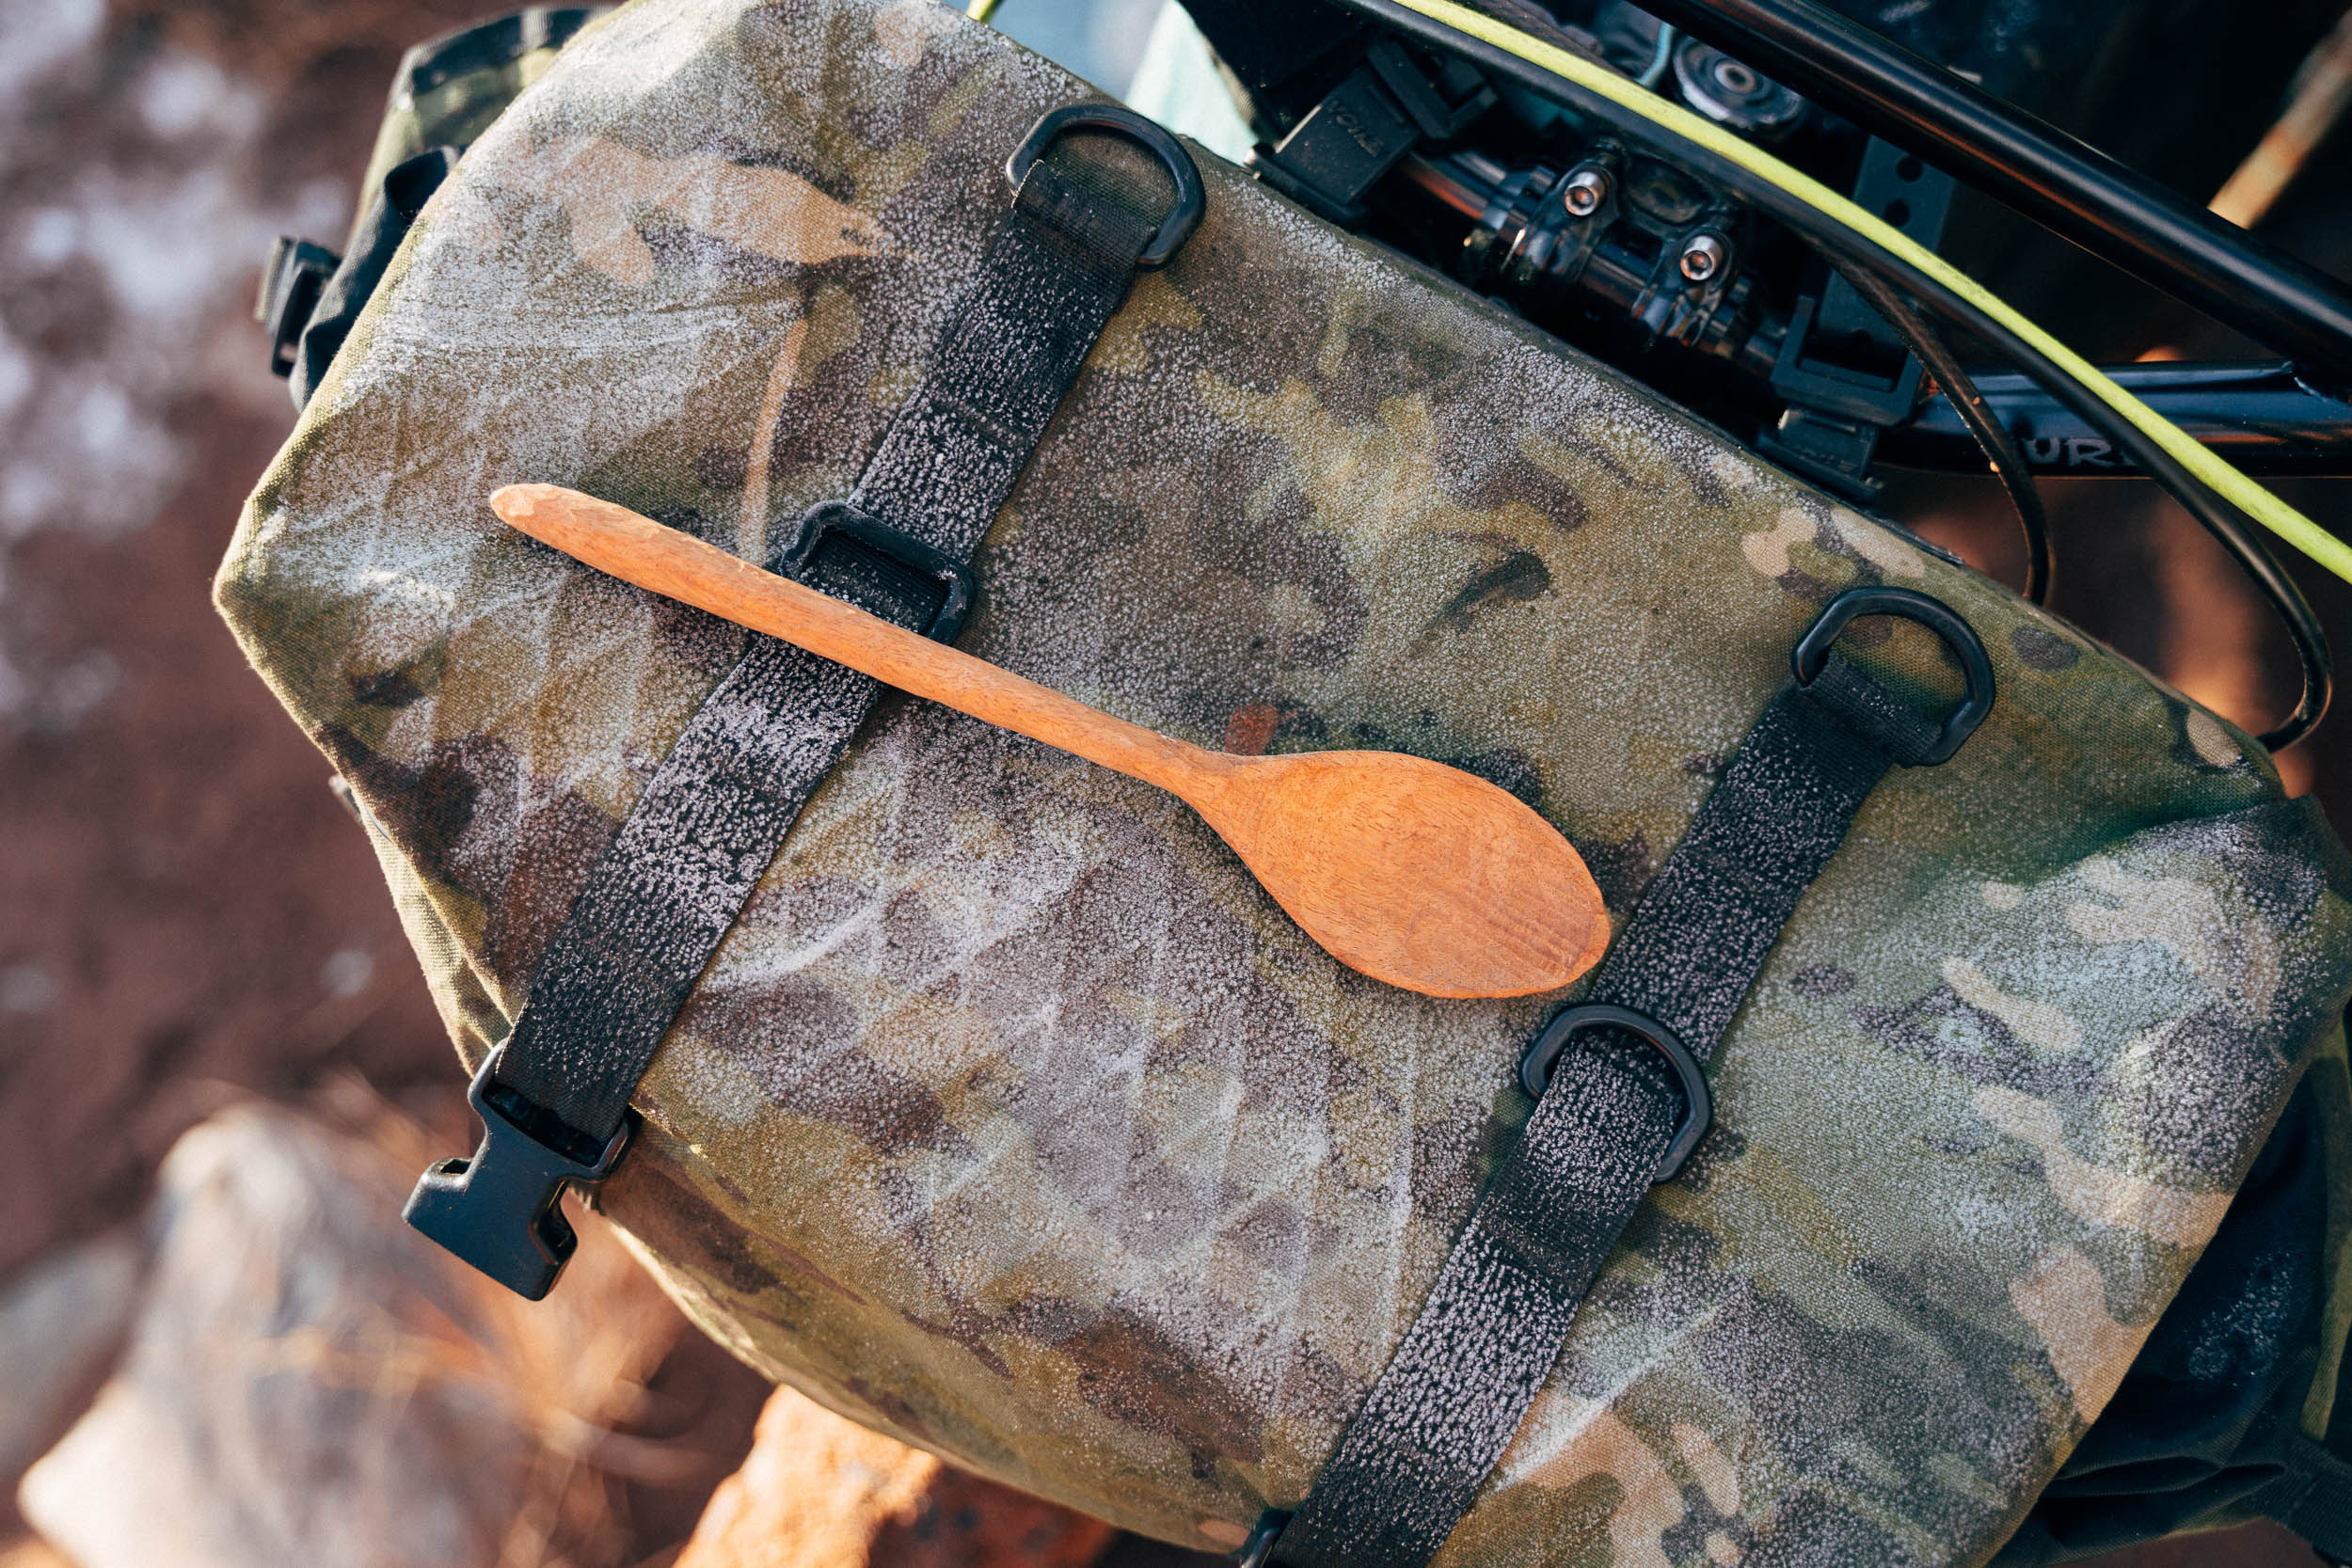
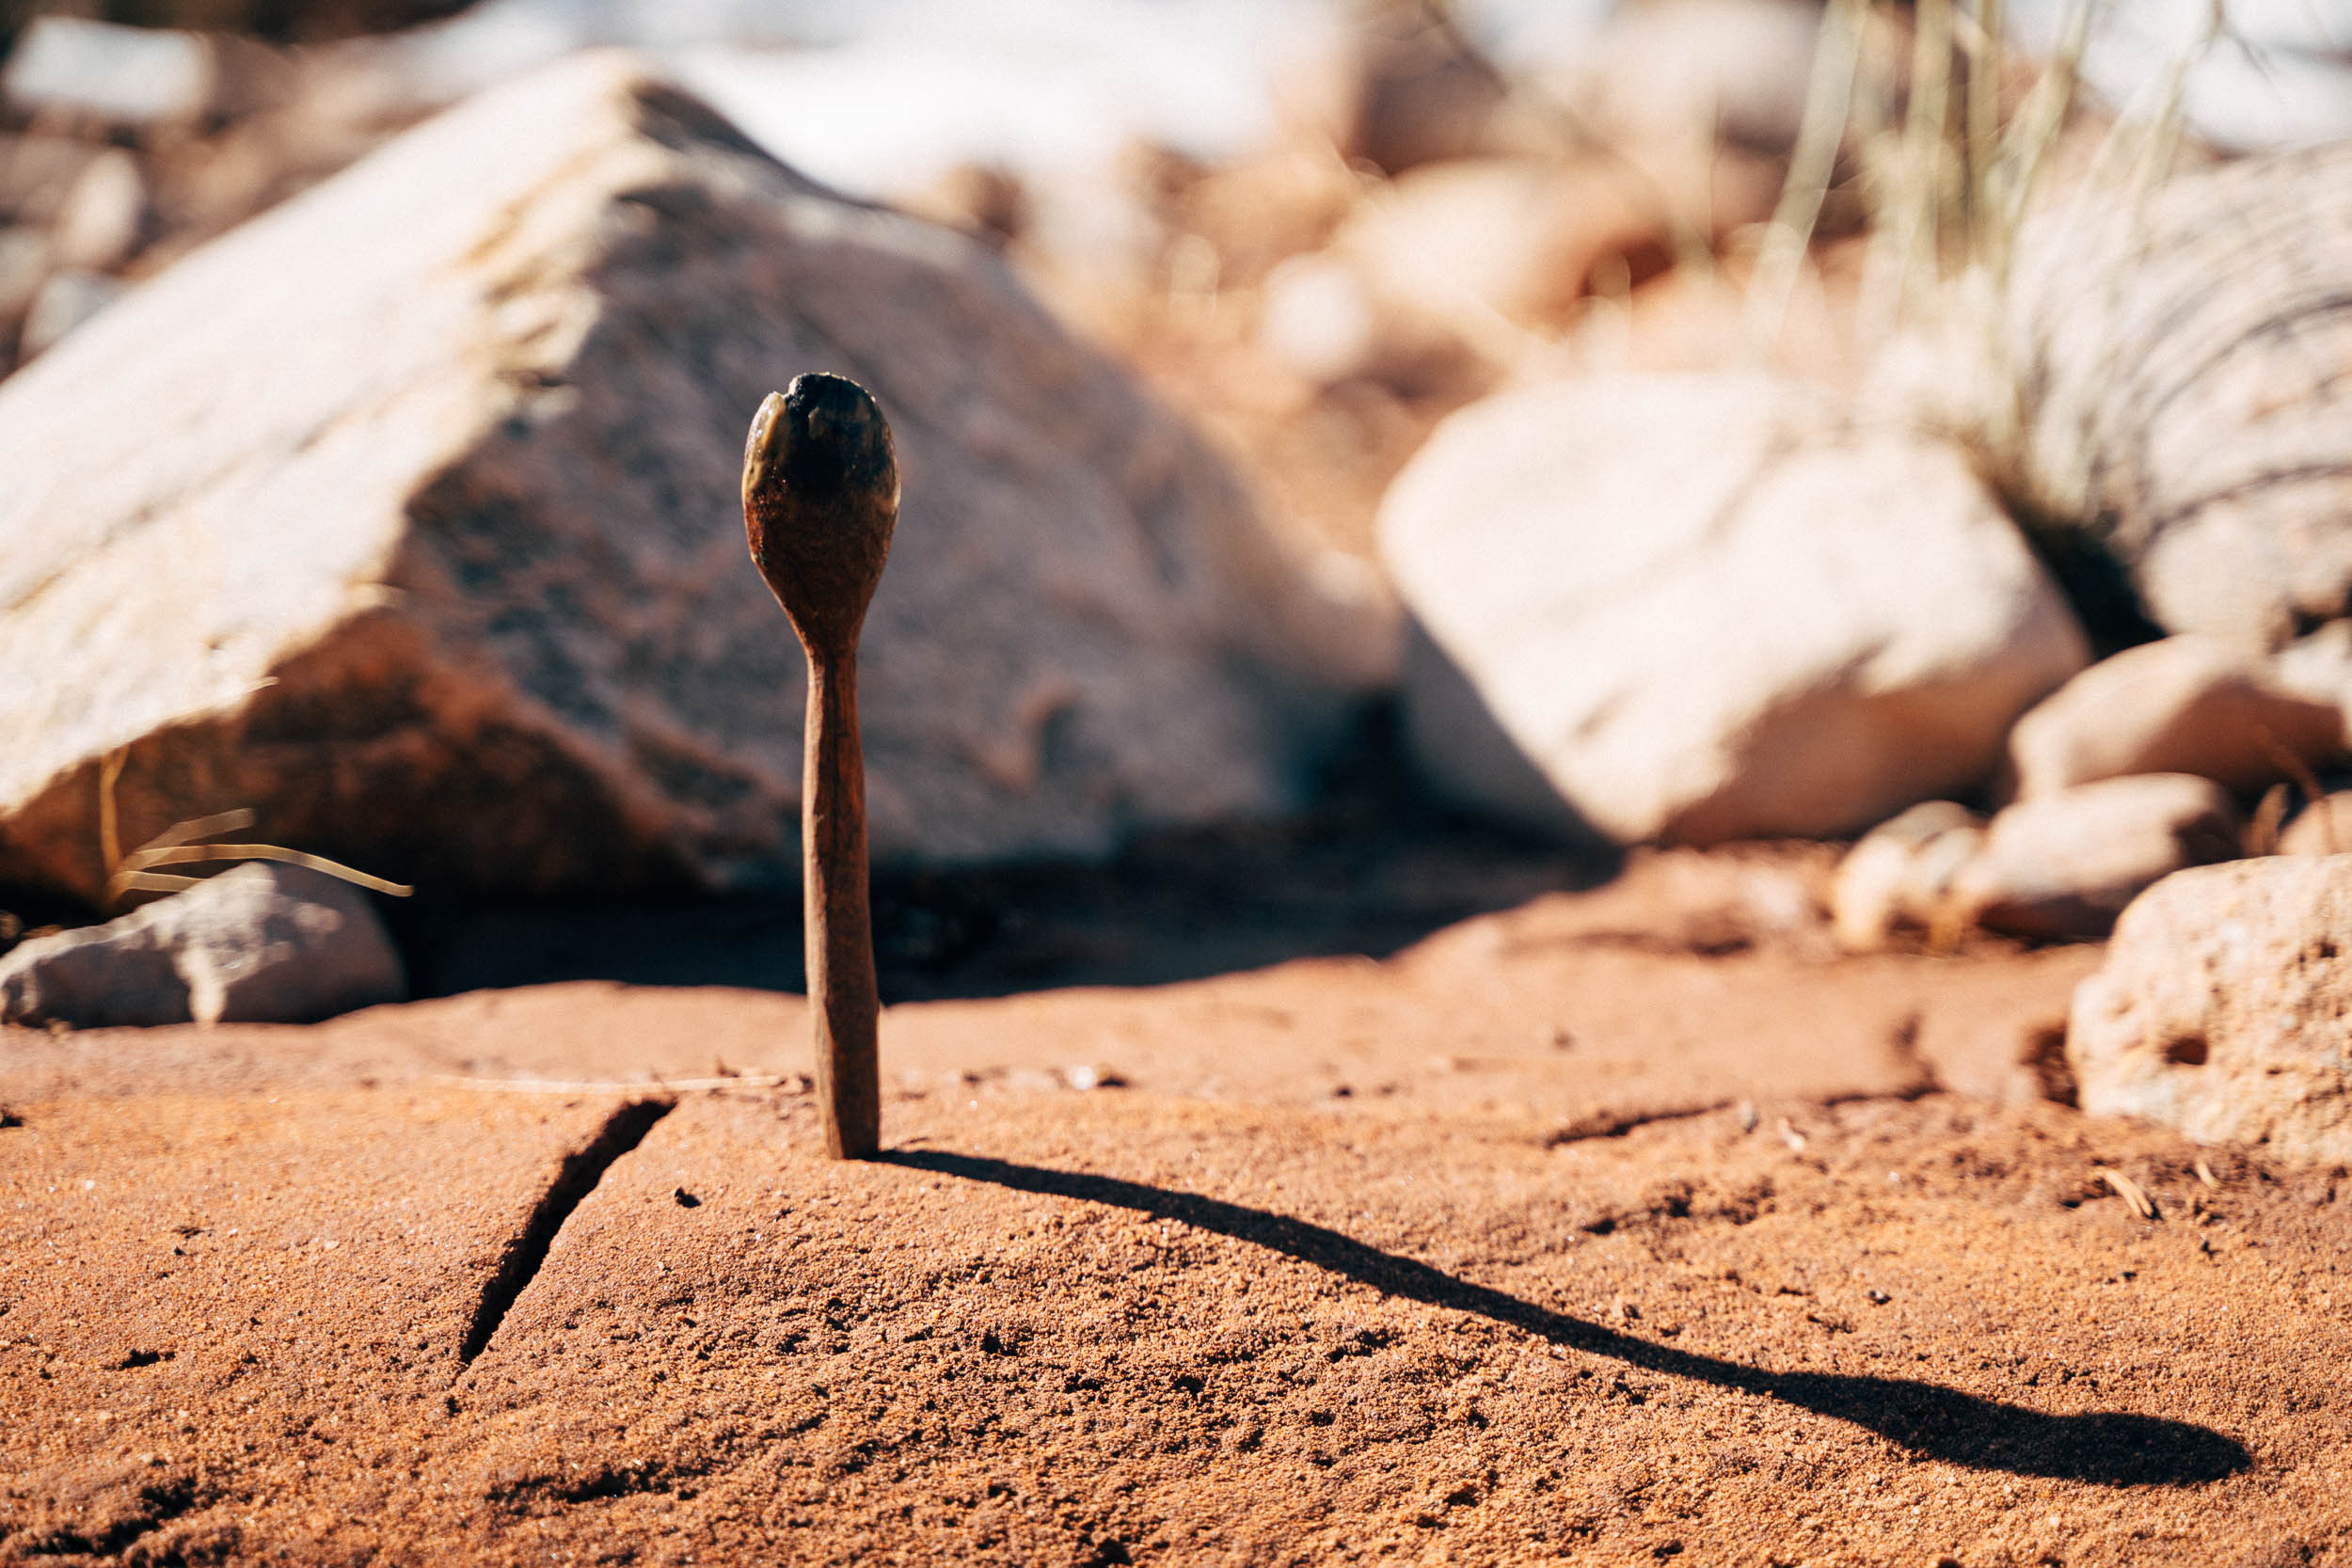

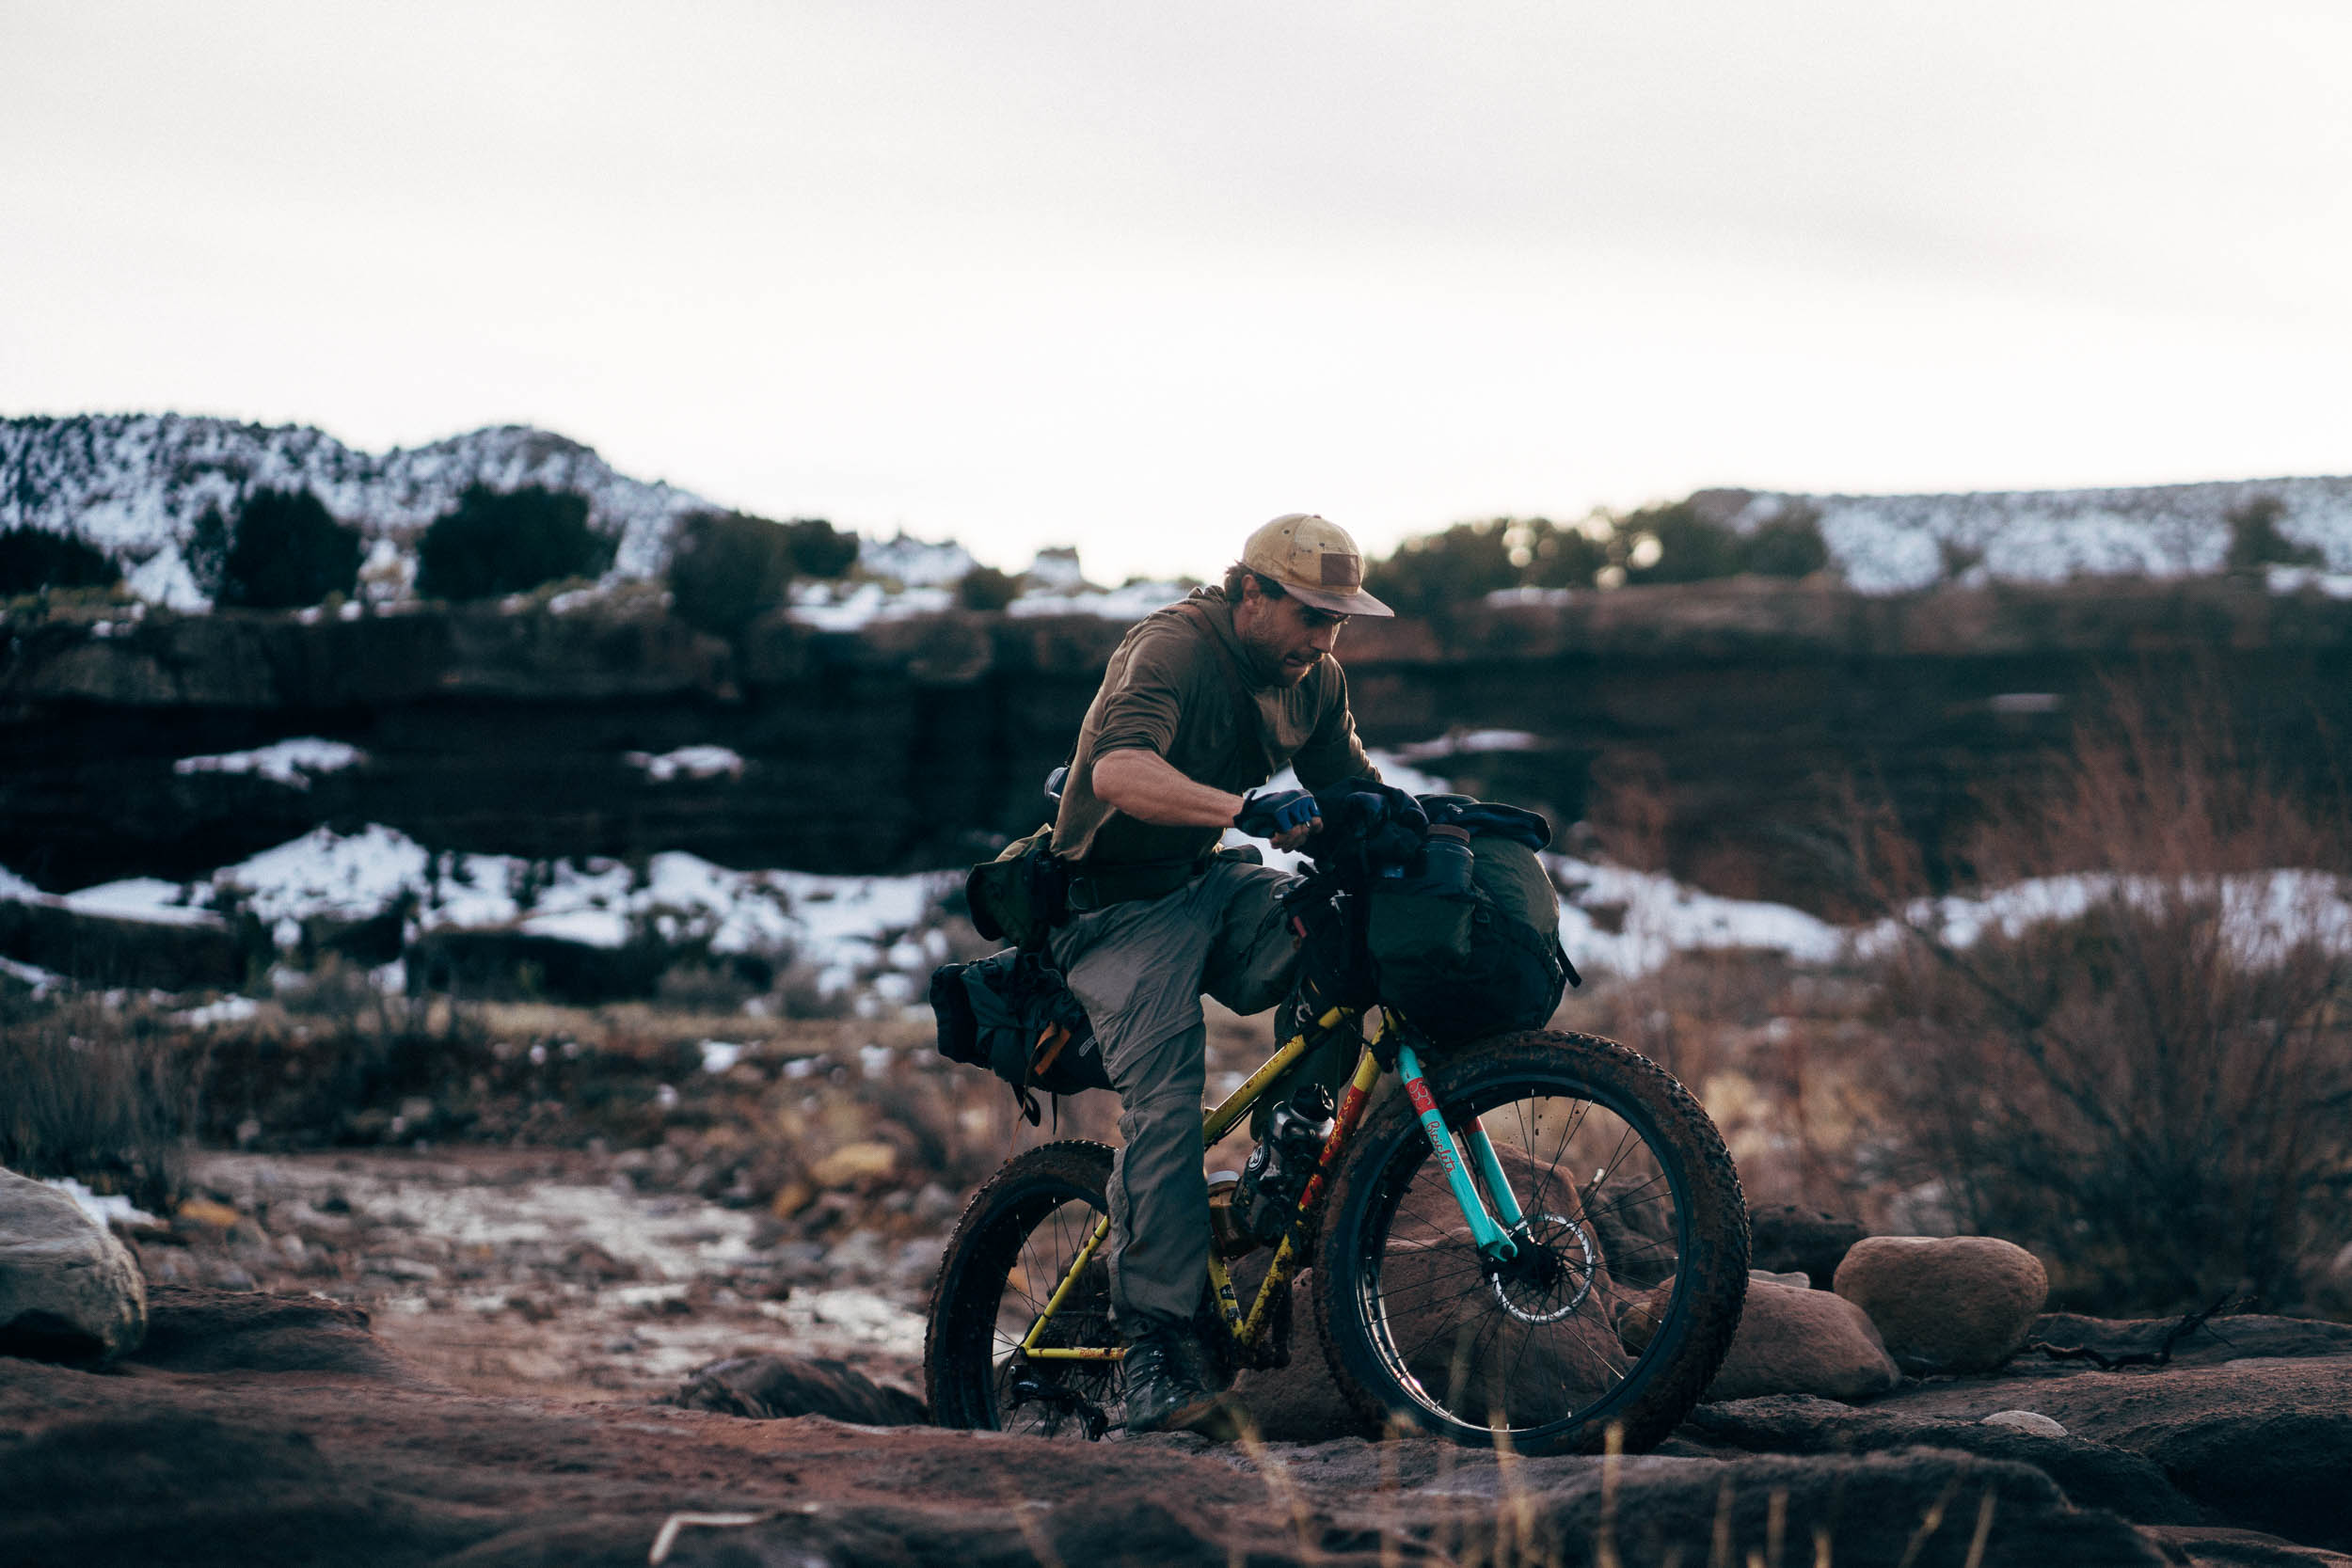
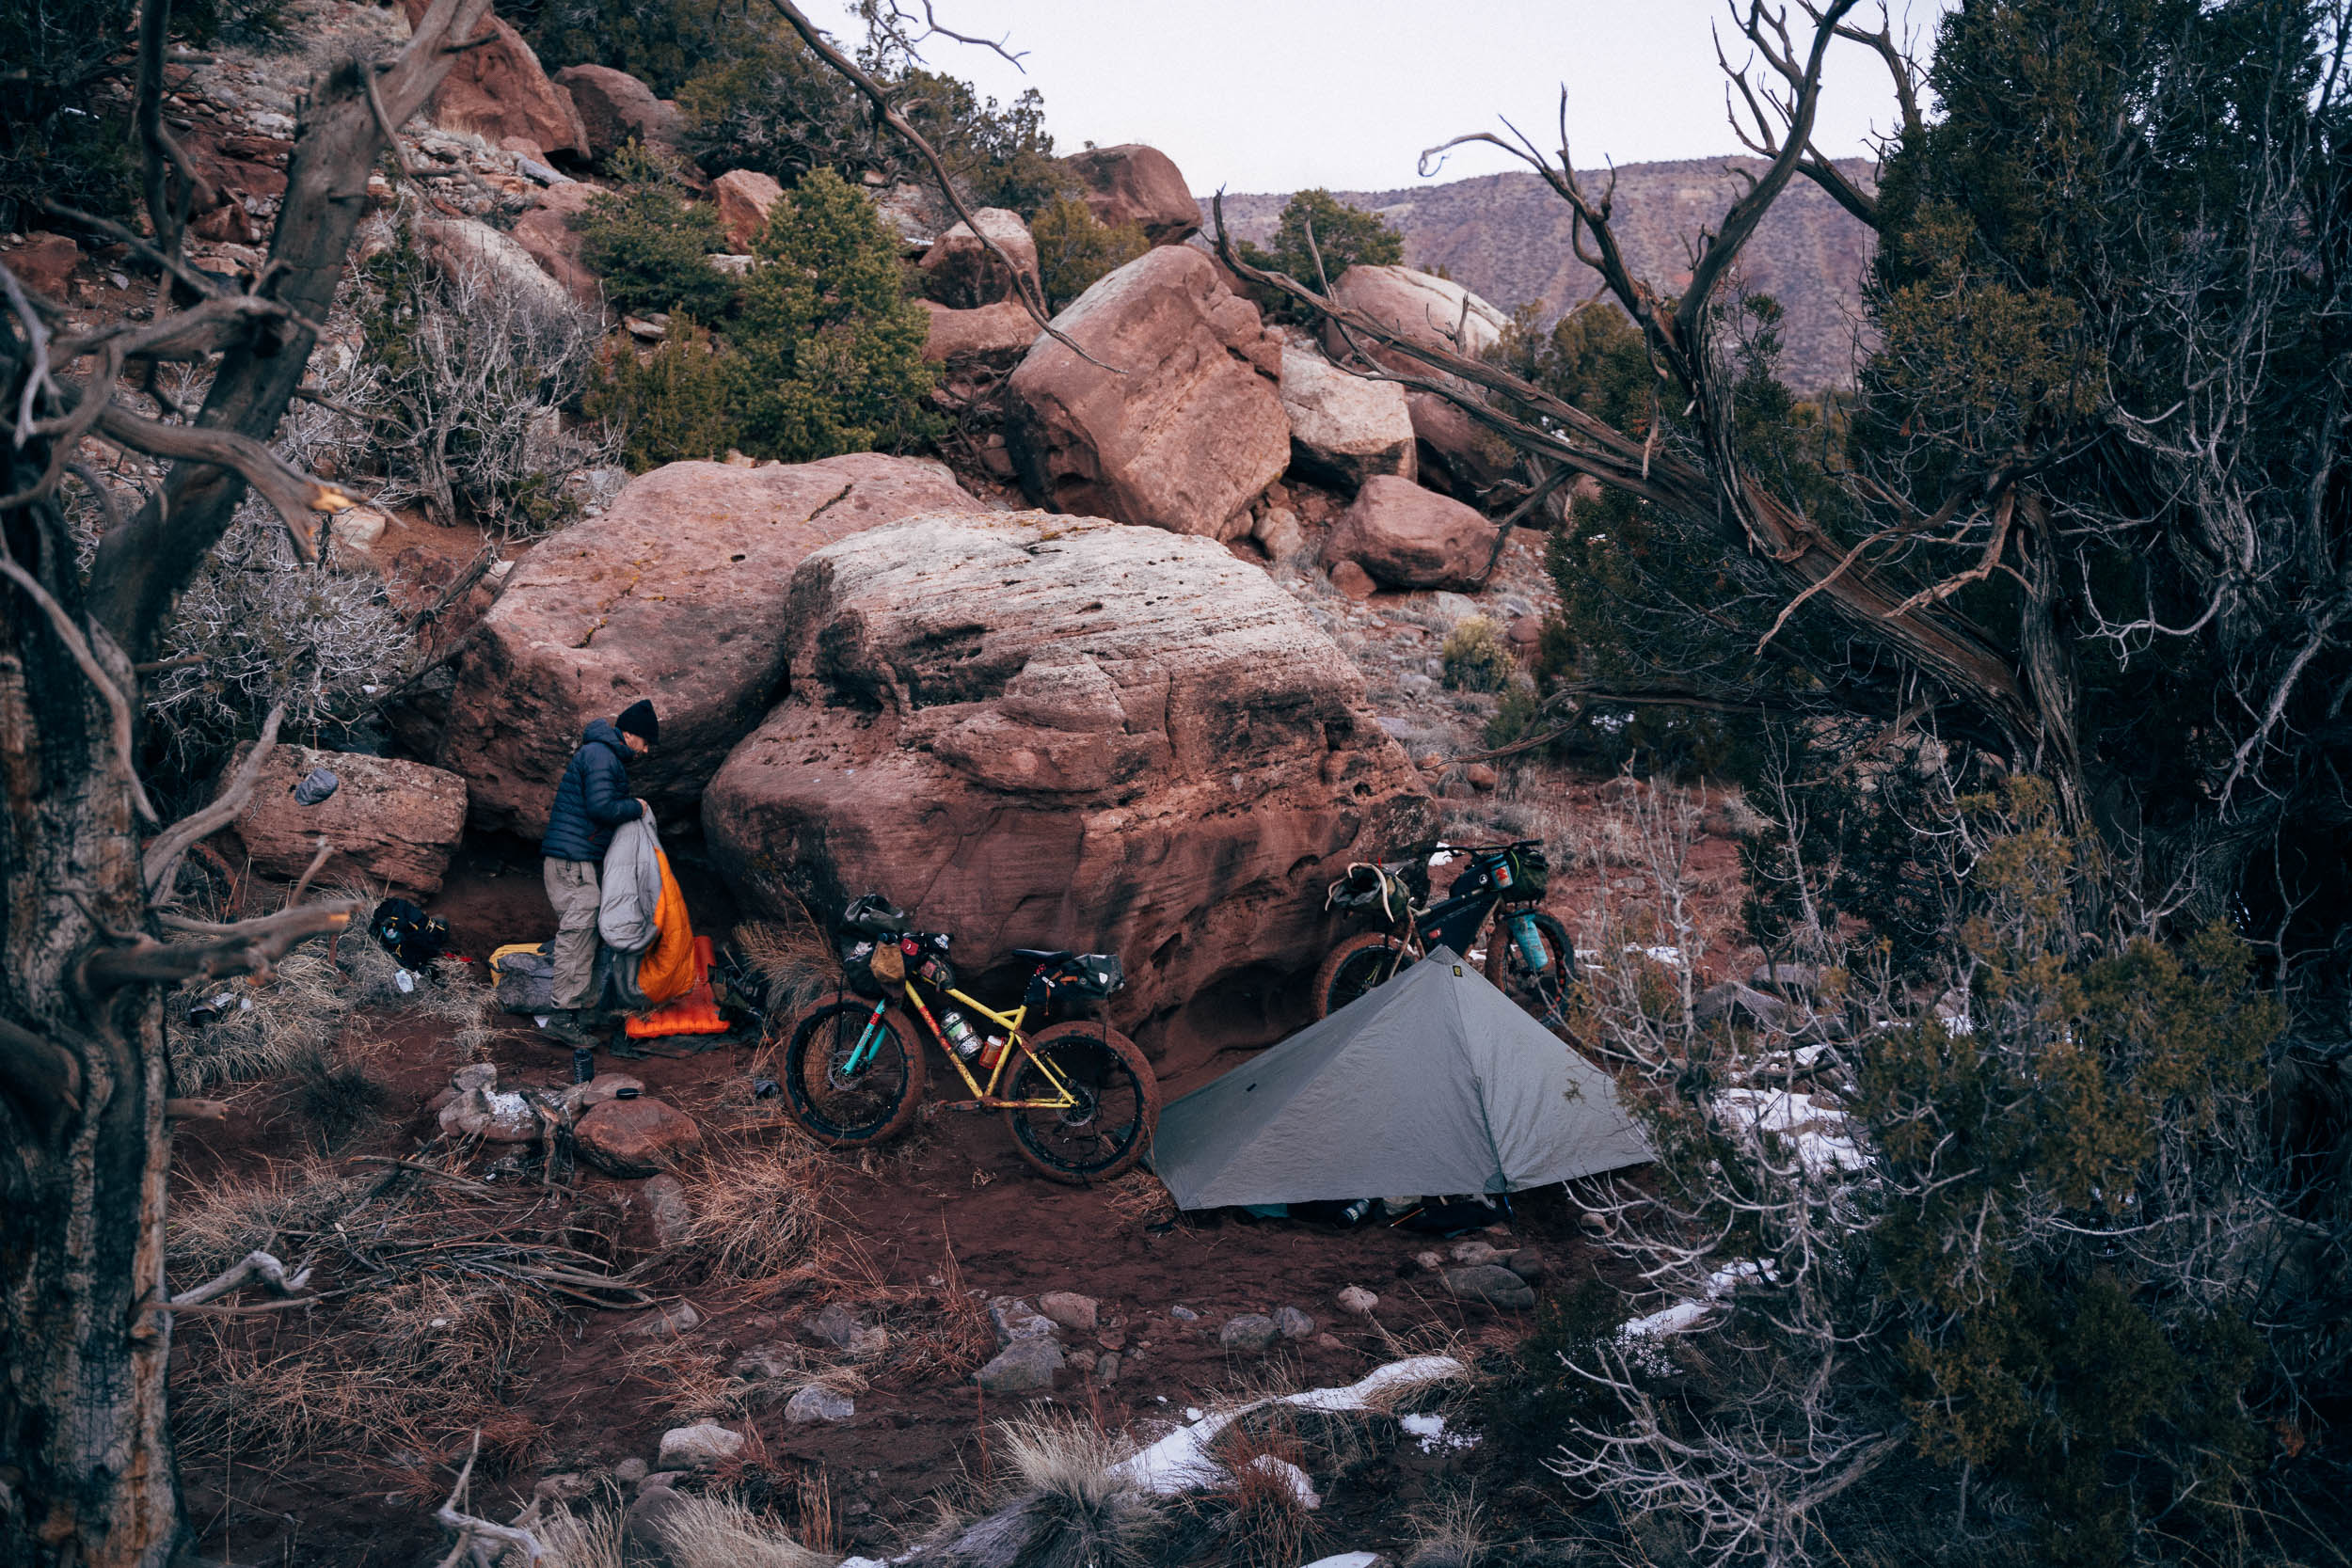
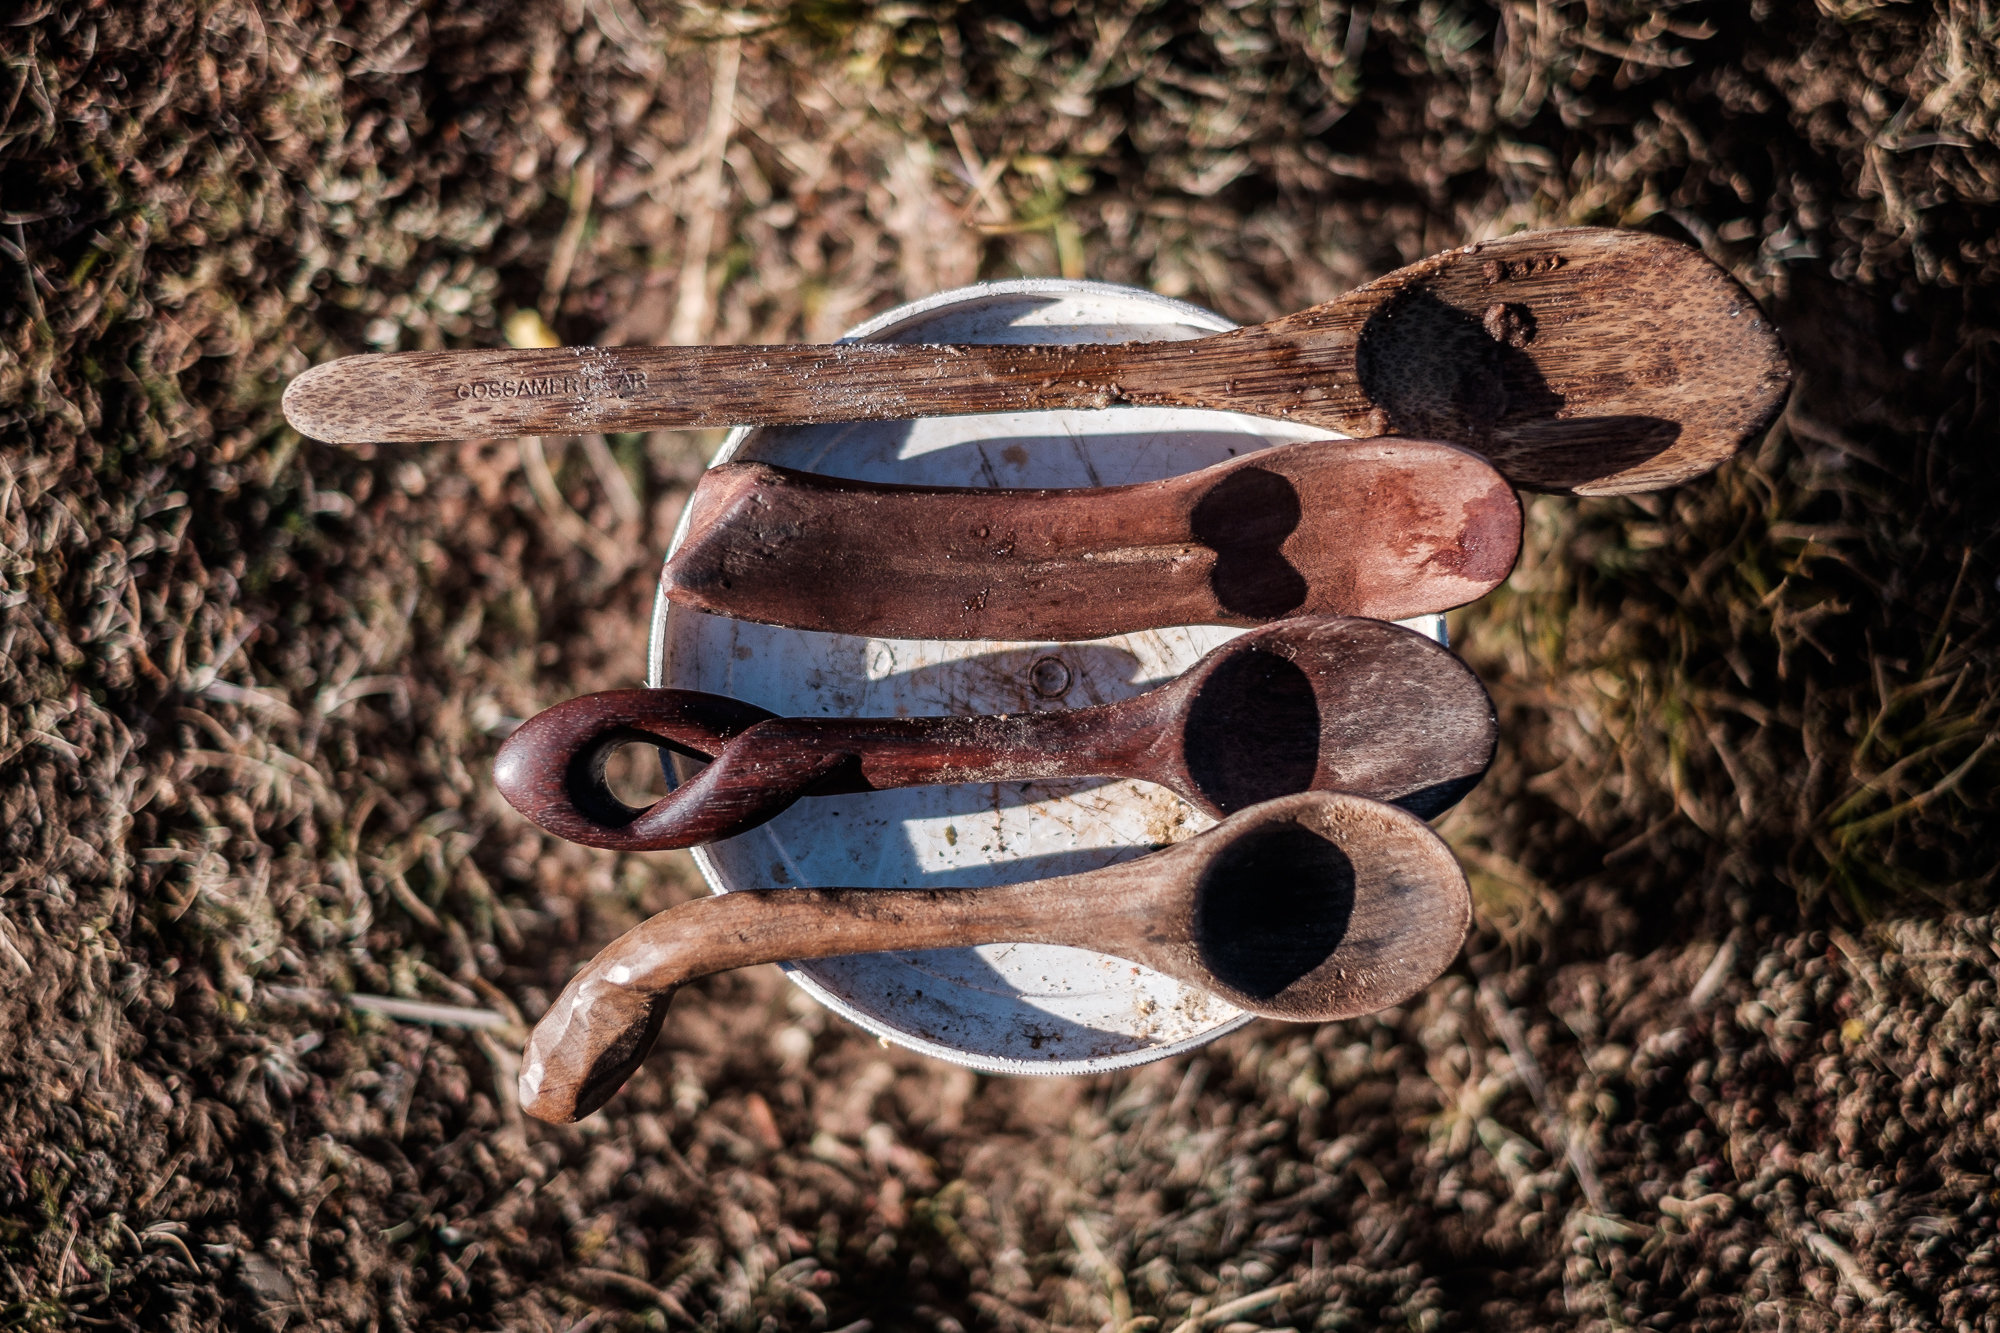
In New Mexico, I carved three spoons with mahogany offcuts from Mehedi’s workshop on a succession of weekend campouts, like our winter fatbiking arroyo adventure – see images above. The wood was hard to carve, but it looks great and it feels like it will last forever.
When I was researching routes in Ecuador, Michael Dammer also gave me a lovely hardwood offcut – a wood Ecuadorians call ‘chunche’ – which I dutifully carried around, not feeling confident enough to do it justice. It ended up using it for the fourth spoon earlier this year, and I was happy with the result… until I lost it! Hopefully it was found by someone and is leading an interesting life somewhere.

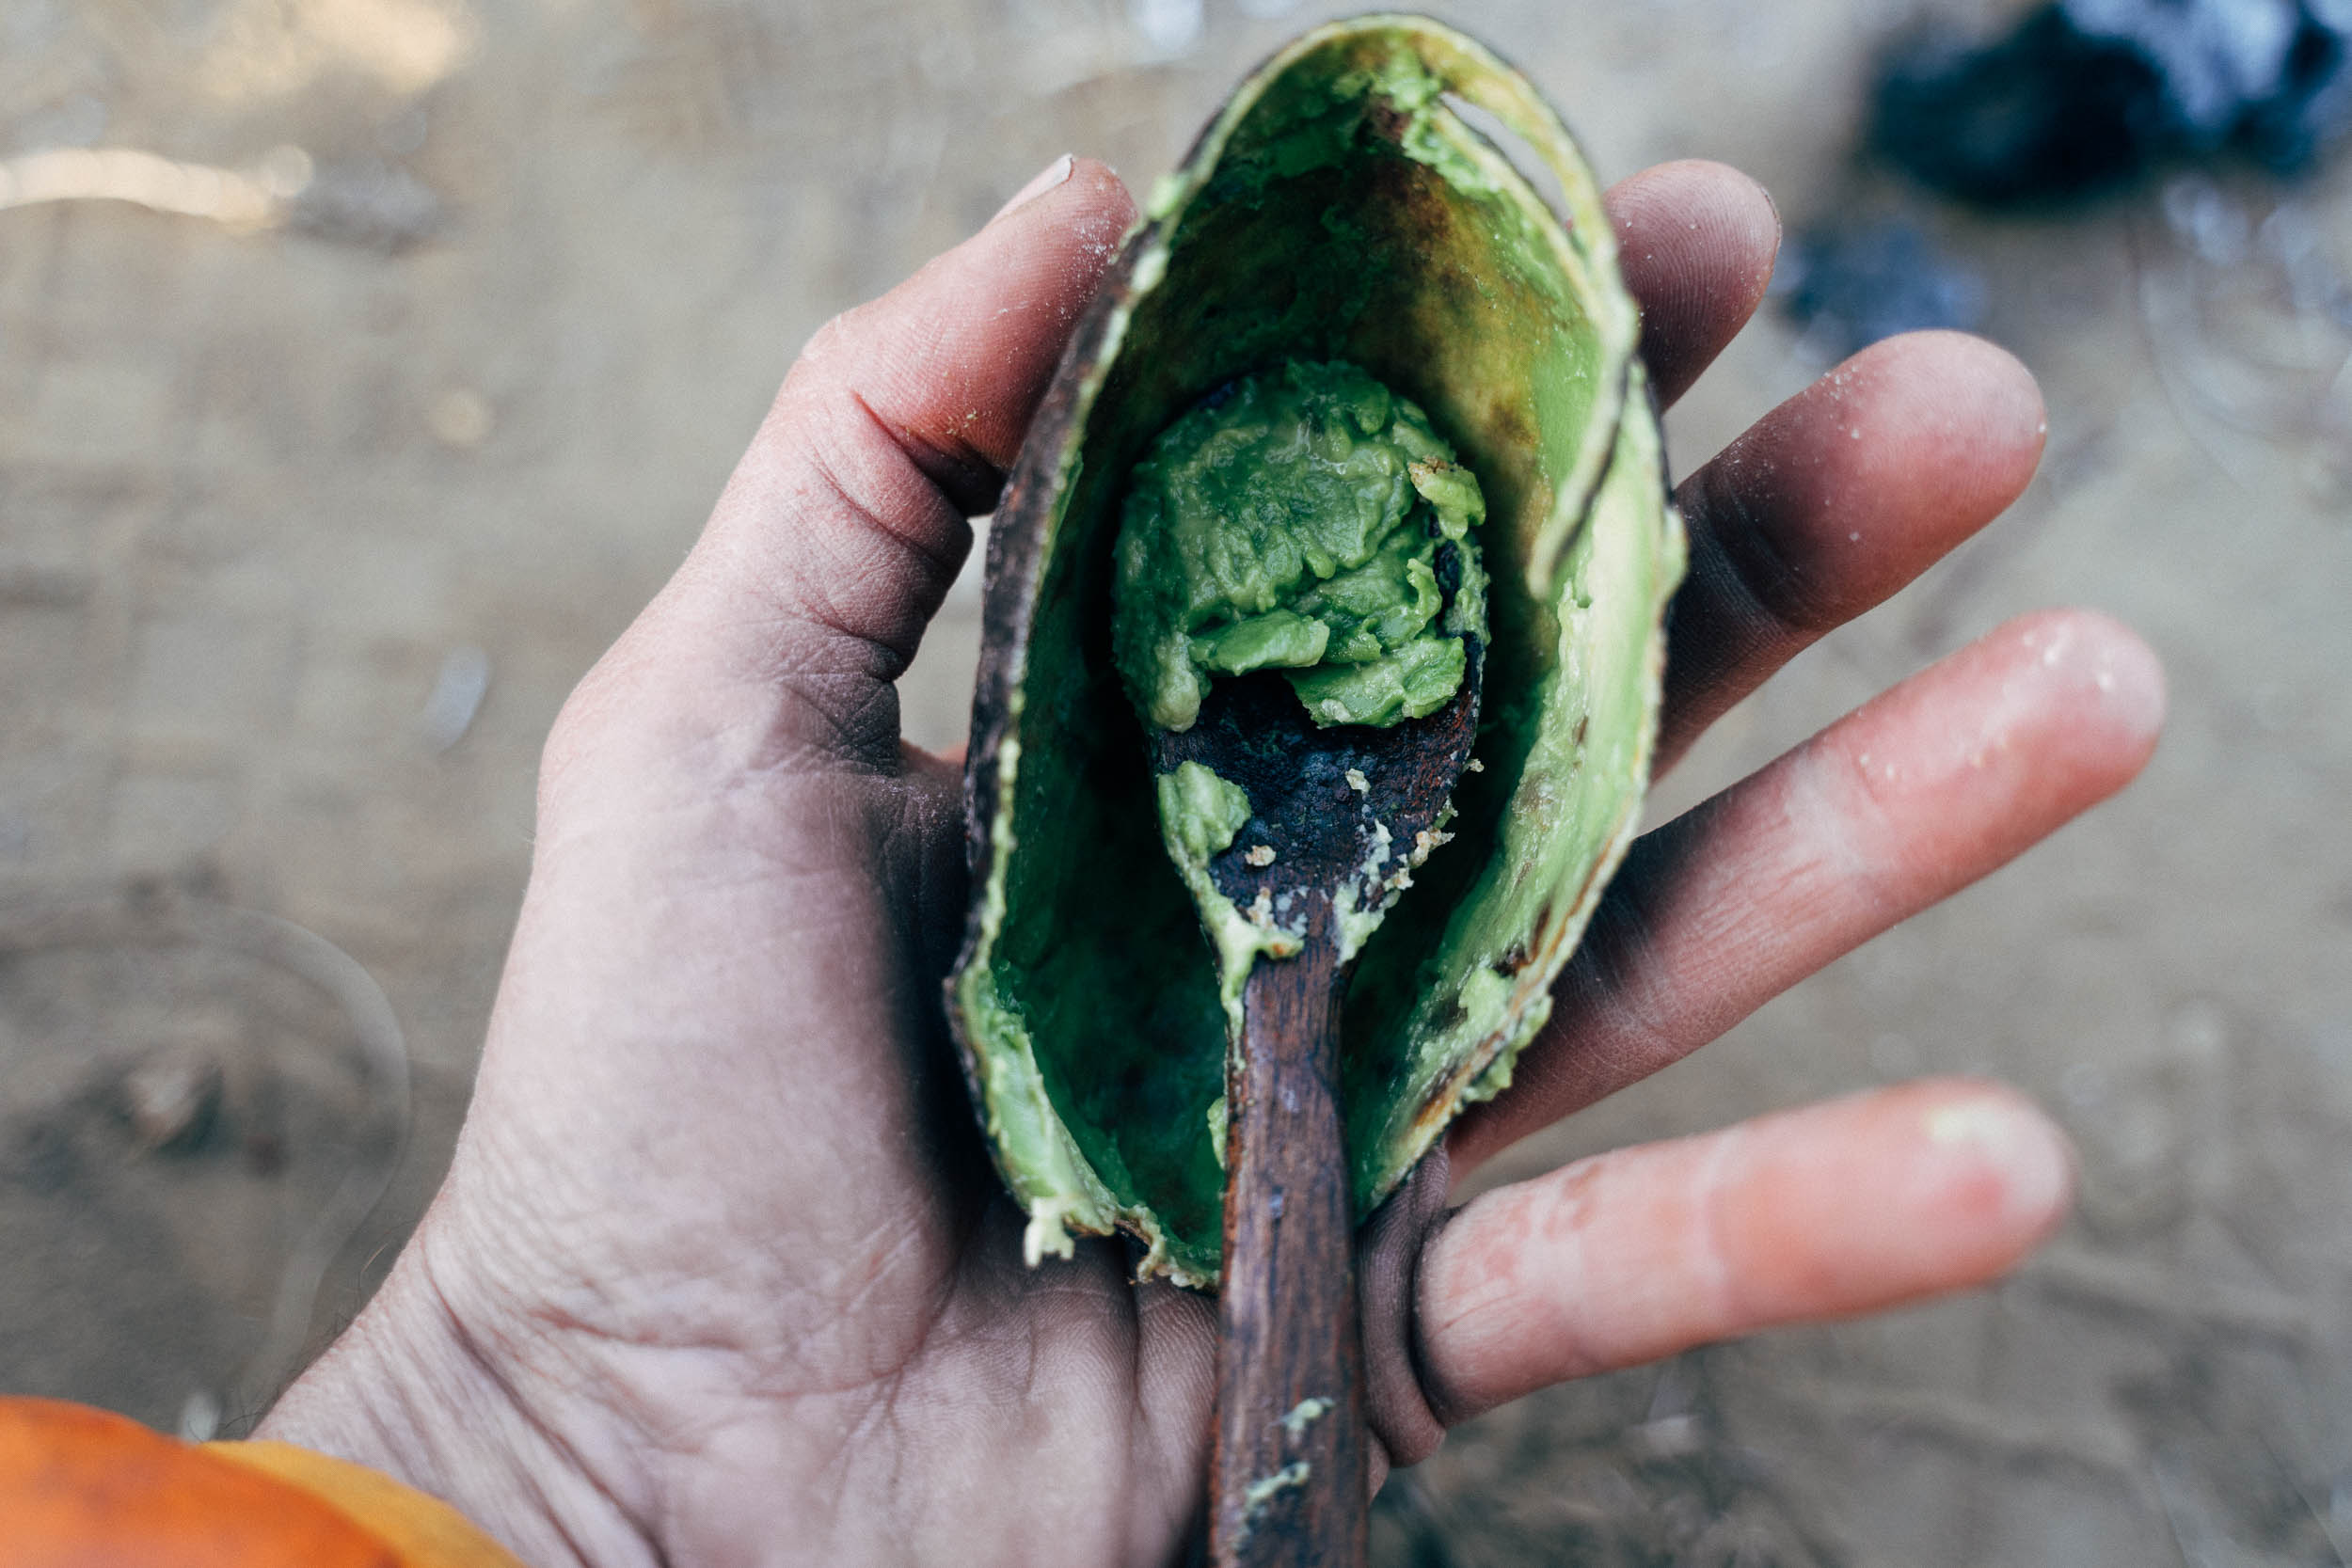
Here in Oaxaca, the distinctive and redish madrona is an excellent option and you can often find smaller, freshly cut limbs by the roadside when the tree fellers have been through the area. Mehedi suggests just trying different woods that are available to you: “I always just experiment. Fruitwood is hard but very nice, as is avocado or olive. Orchards are a good place to look.” If you’re trying to figure out if a piece of wood is dry enough to work, Michael Dammer has this advice: “A good way to tell is to get it in contact with your lips. If it sticks and feels cold, it’s usually not dry enough. If it doesn’t stick and it feels warmish, it’s usually a good sign that’s it’s a suitably dry wood.” Also, see the links in the Resources box out for ideas of other woods that may be accessible to you.
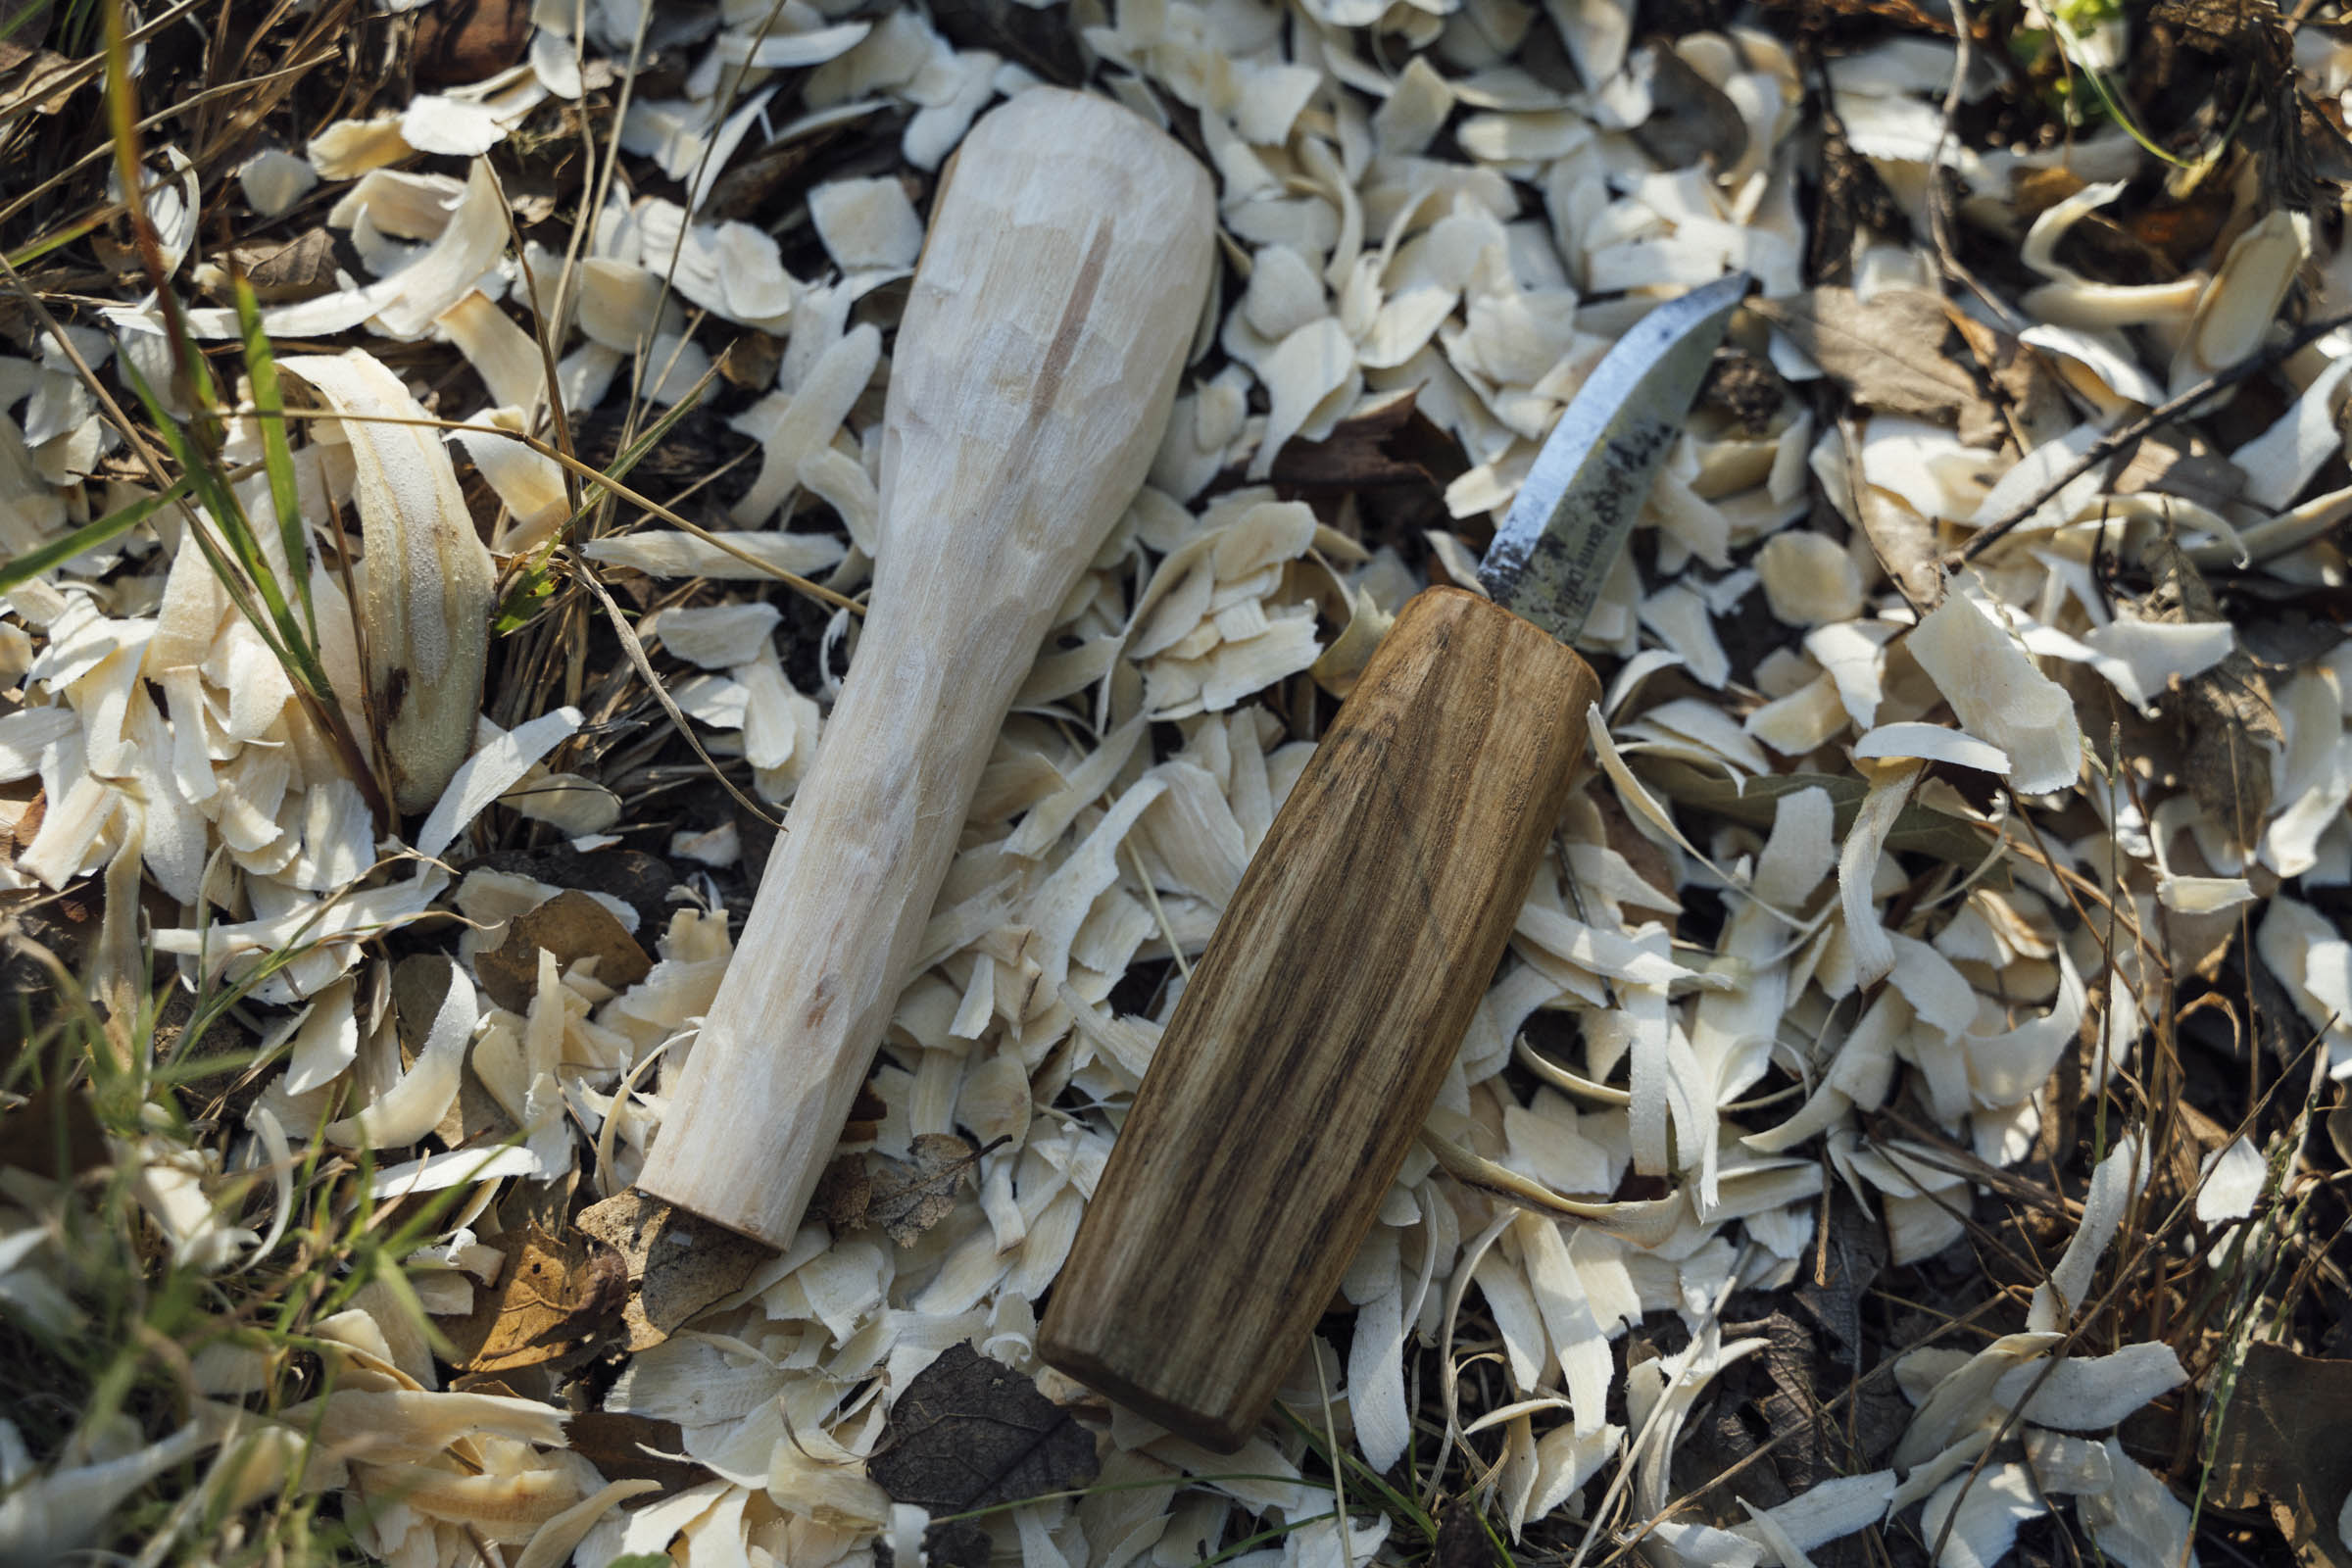
To save time, you can either cut your chunk of wood to a rough shape with a bandsaw, if you have access to one and know how to use it safely. A spoon ‘blank’ will make the actual carving process more efficient and will help keep the sharpness of your blade, as you won’t have to work your way through all the excess material first. Or you can use a hatchet, splitting the length of larger pieces of wood in two down the middle. Again, from Mehedi: “A small sharp field hatchet or machete is great. They were easy to find in ferreterías – hardware stores – throughout our travels in Central America. You can actually cut most of your material away, making the carving process much quicker.”
Or, be a purist and just start carving from the lump of wood you have…
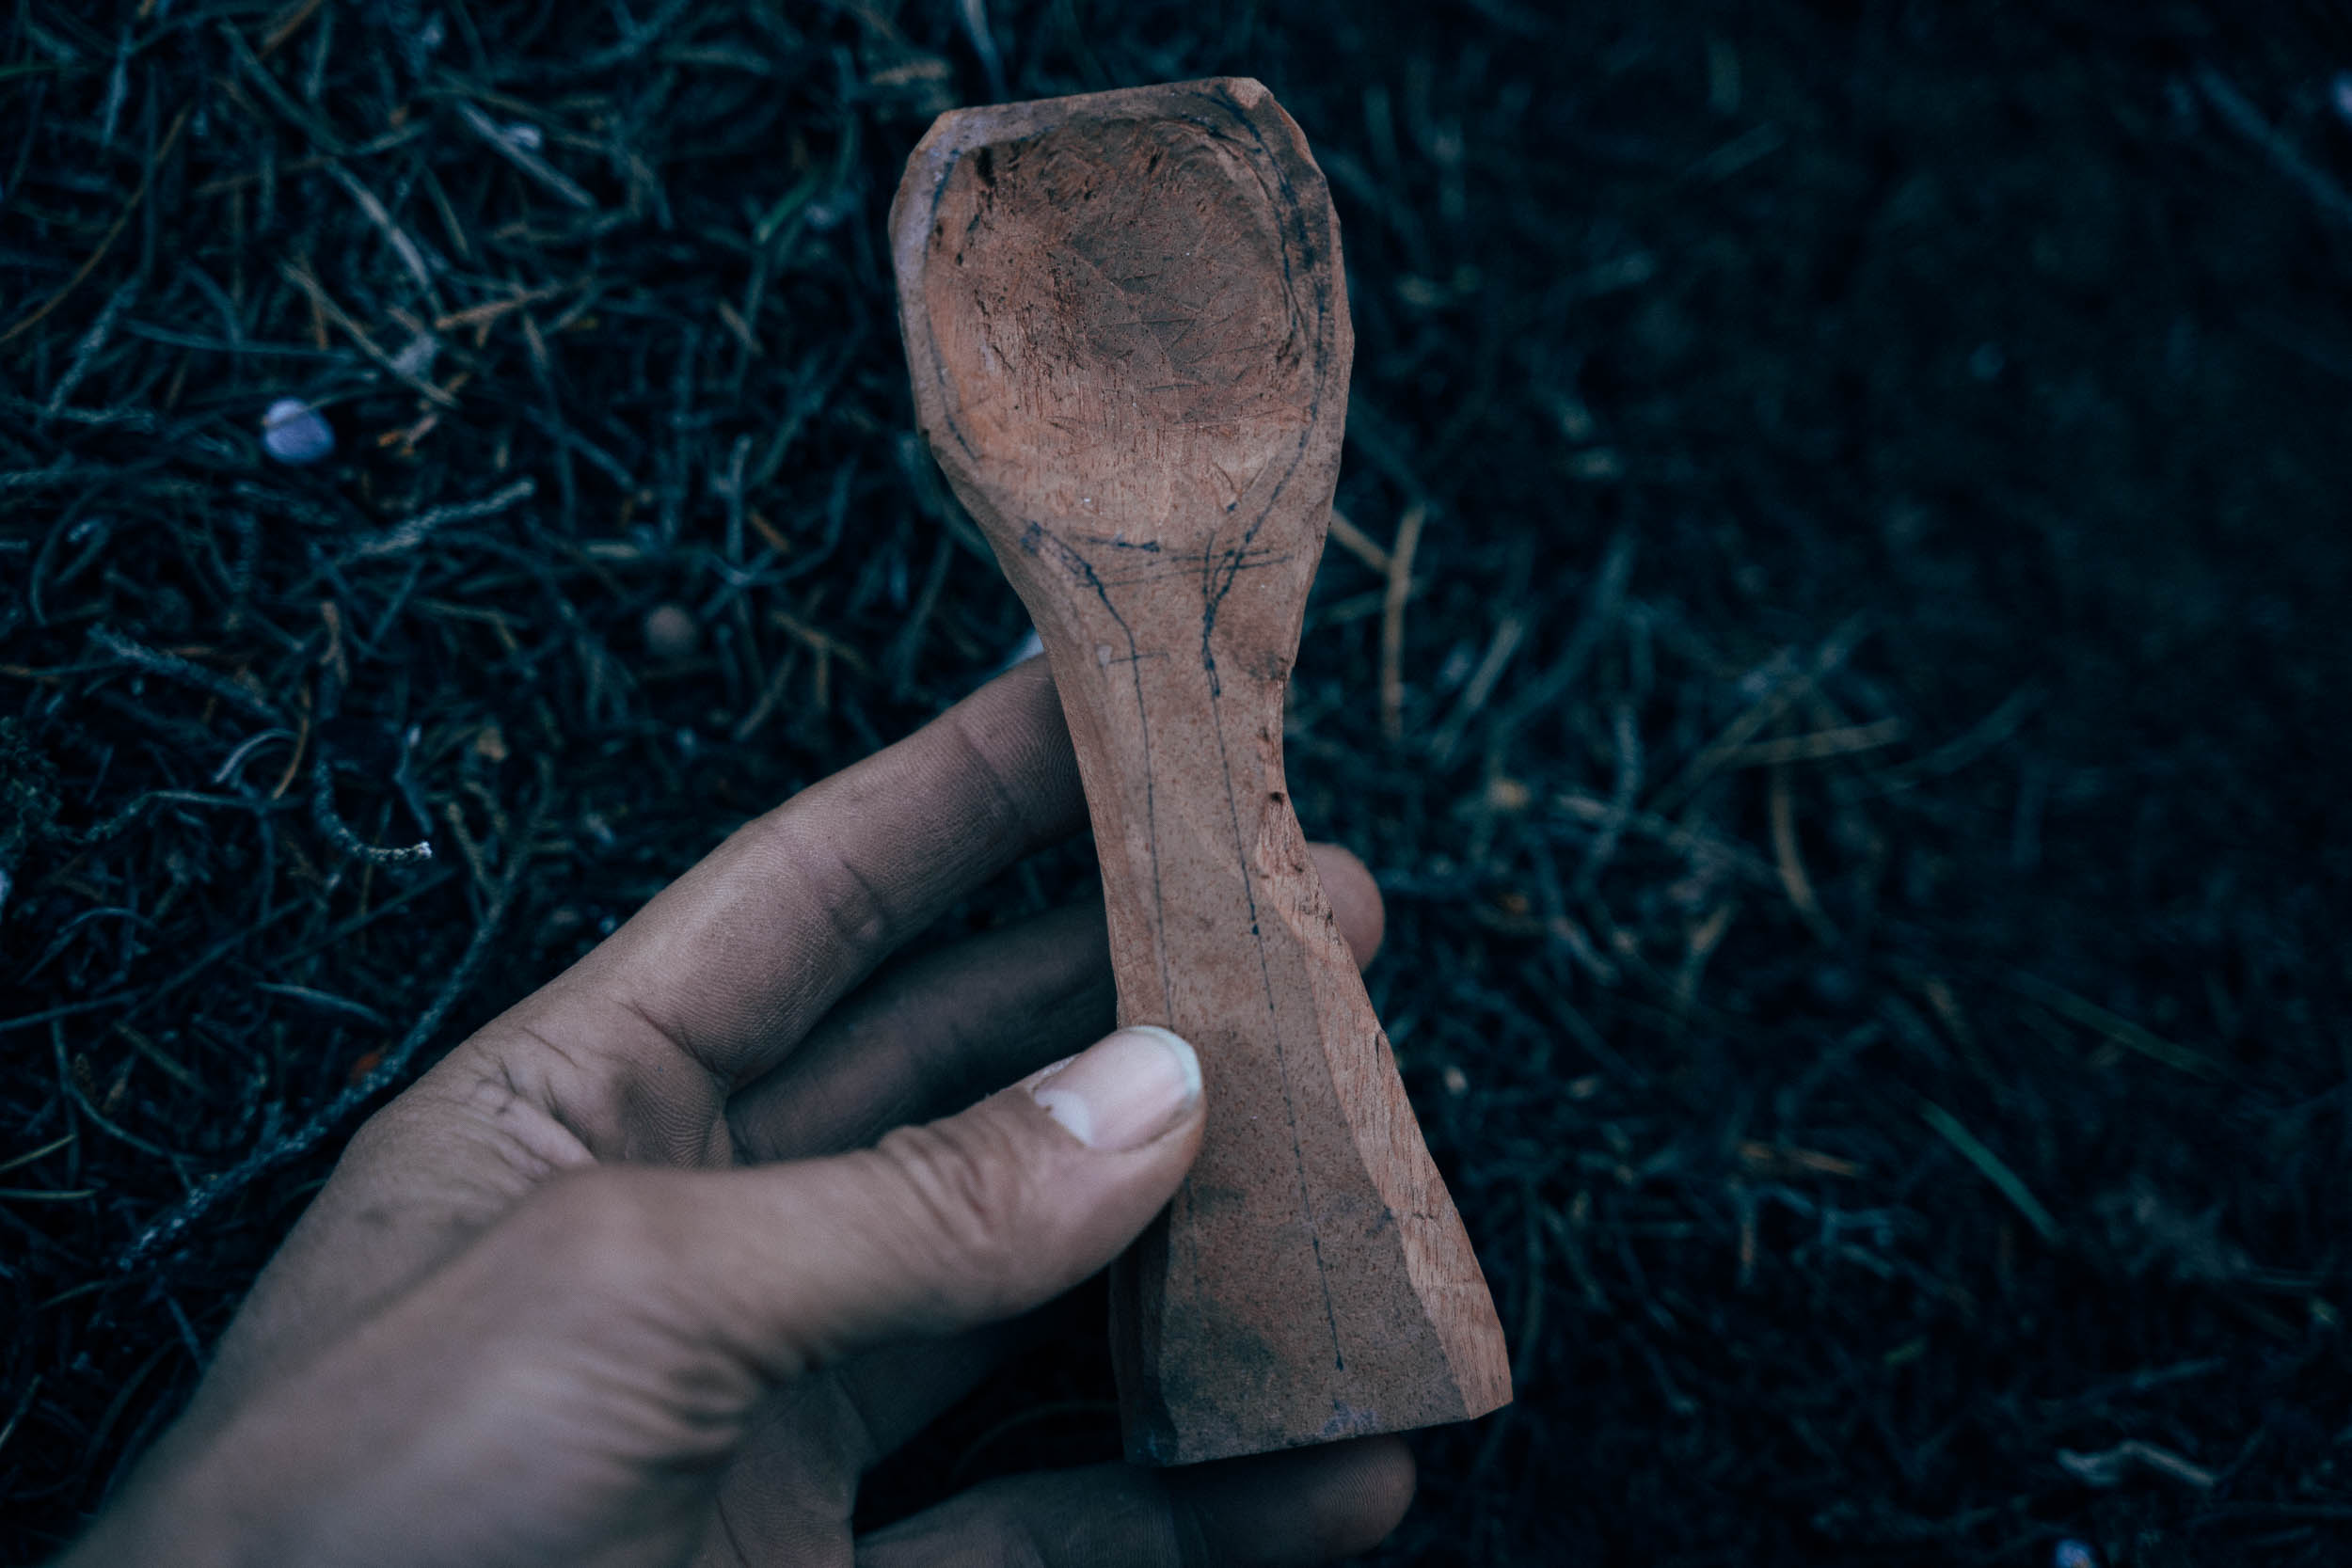
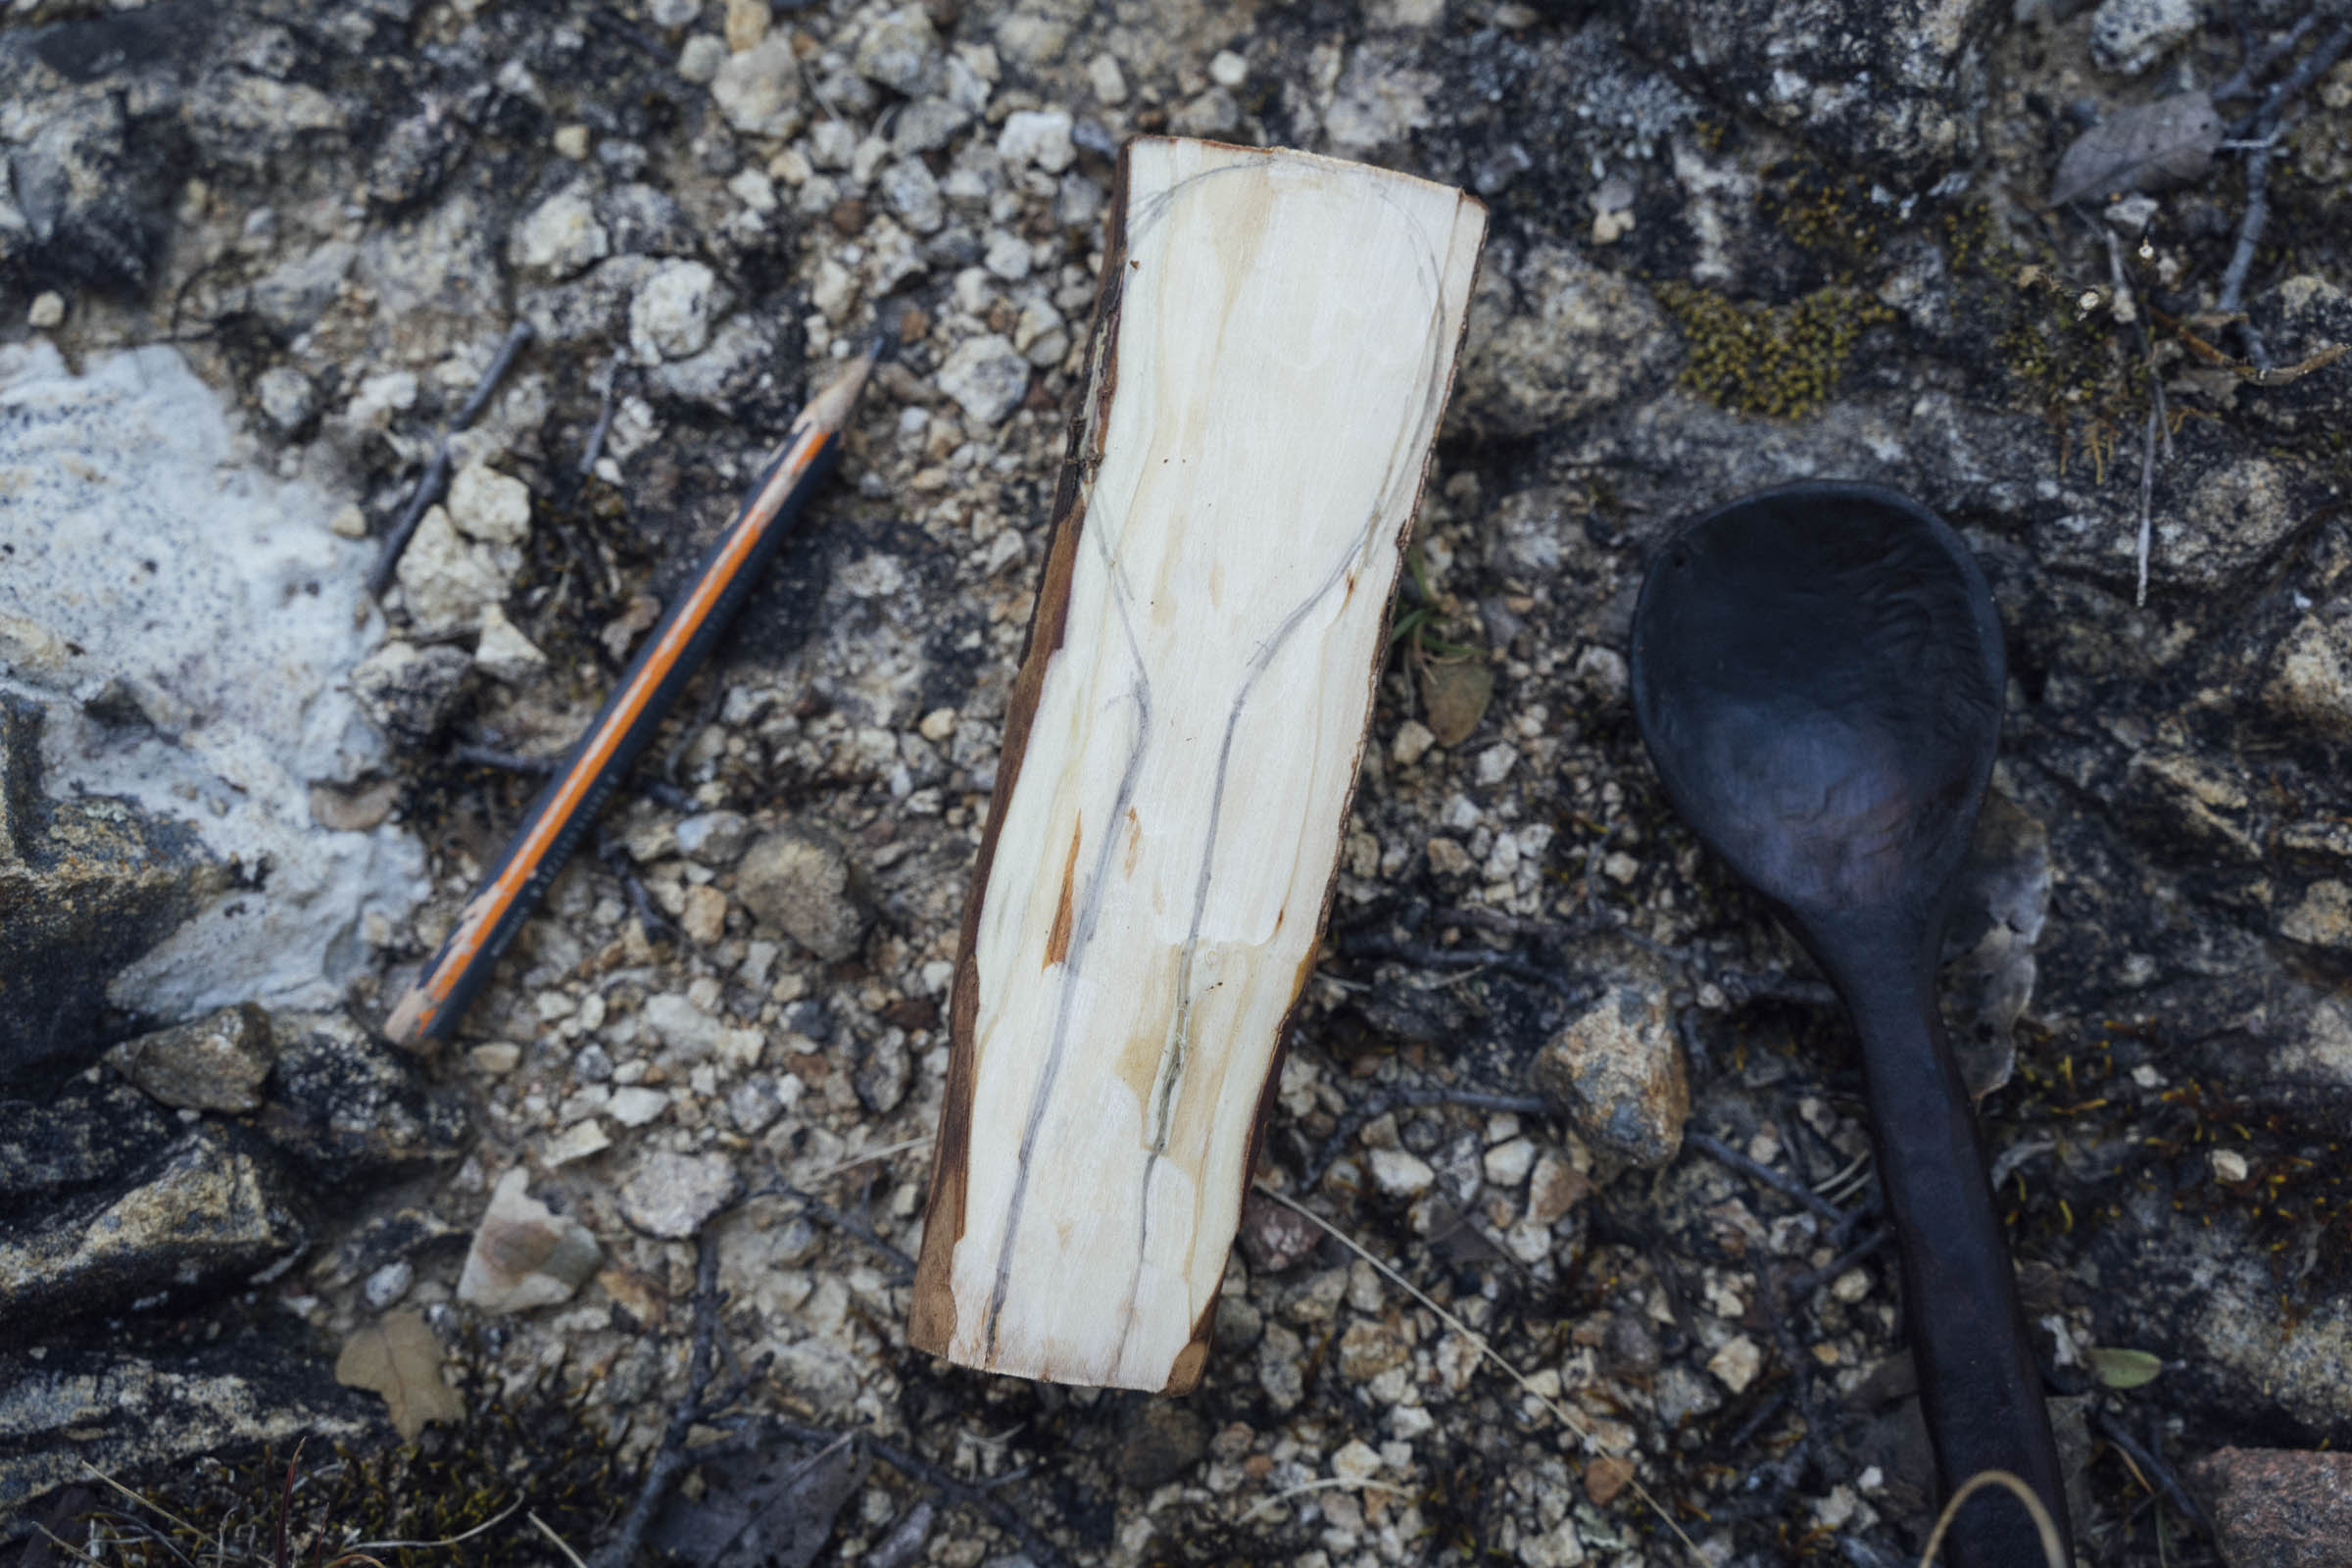
I’d like to think there is no ‘wrong spoon’ as such. Even ungainly spoons have their own beauty. I made one especially awkward-looking example, full of knots and scars, but the person I gifted it insists they really like it! Still, it can be very helpful to sketch out the intended shape with a pencil on the piece of wood in question, whether it’s a pre-shaped blank, or it’s a piece of greenwood that you split, or you’ve whittled off the bark and flattened one side. Look at the piece of wood and give it a chance to talk to you! Otherwise, your intended use may well dictate its shape. A long spoon with a sharper edge is ideal for scooping out a peanut butter jar, for example. A deeper bowl is excellent for soups, whilst a shallower design may be more suitable to day to day use. A small spoon, on the other hand, offers better proportions for a child. In some cases, the piece of wood itself may well dictate the shape of the spoon – see the curved ‘bone spoon’ box out below, with its defined arc.
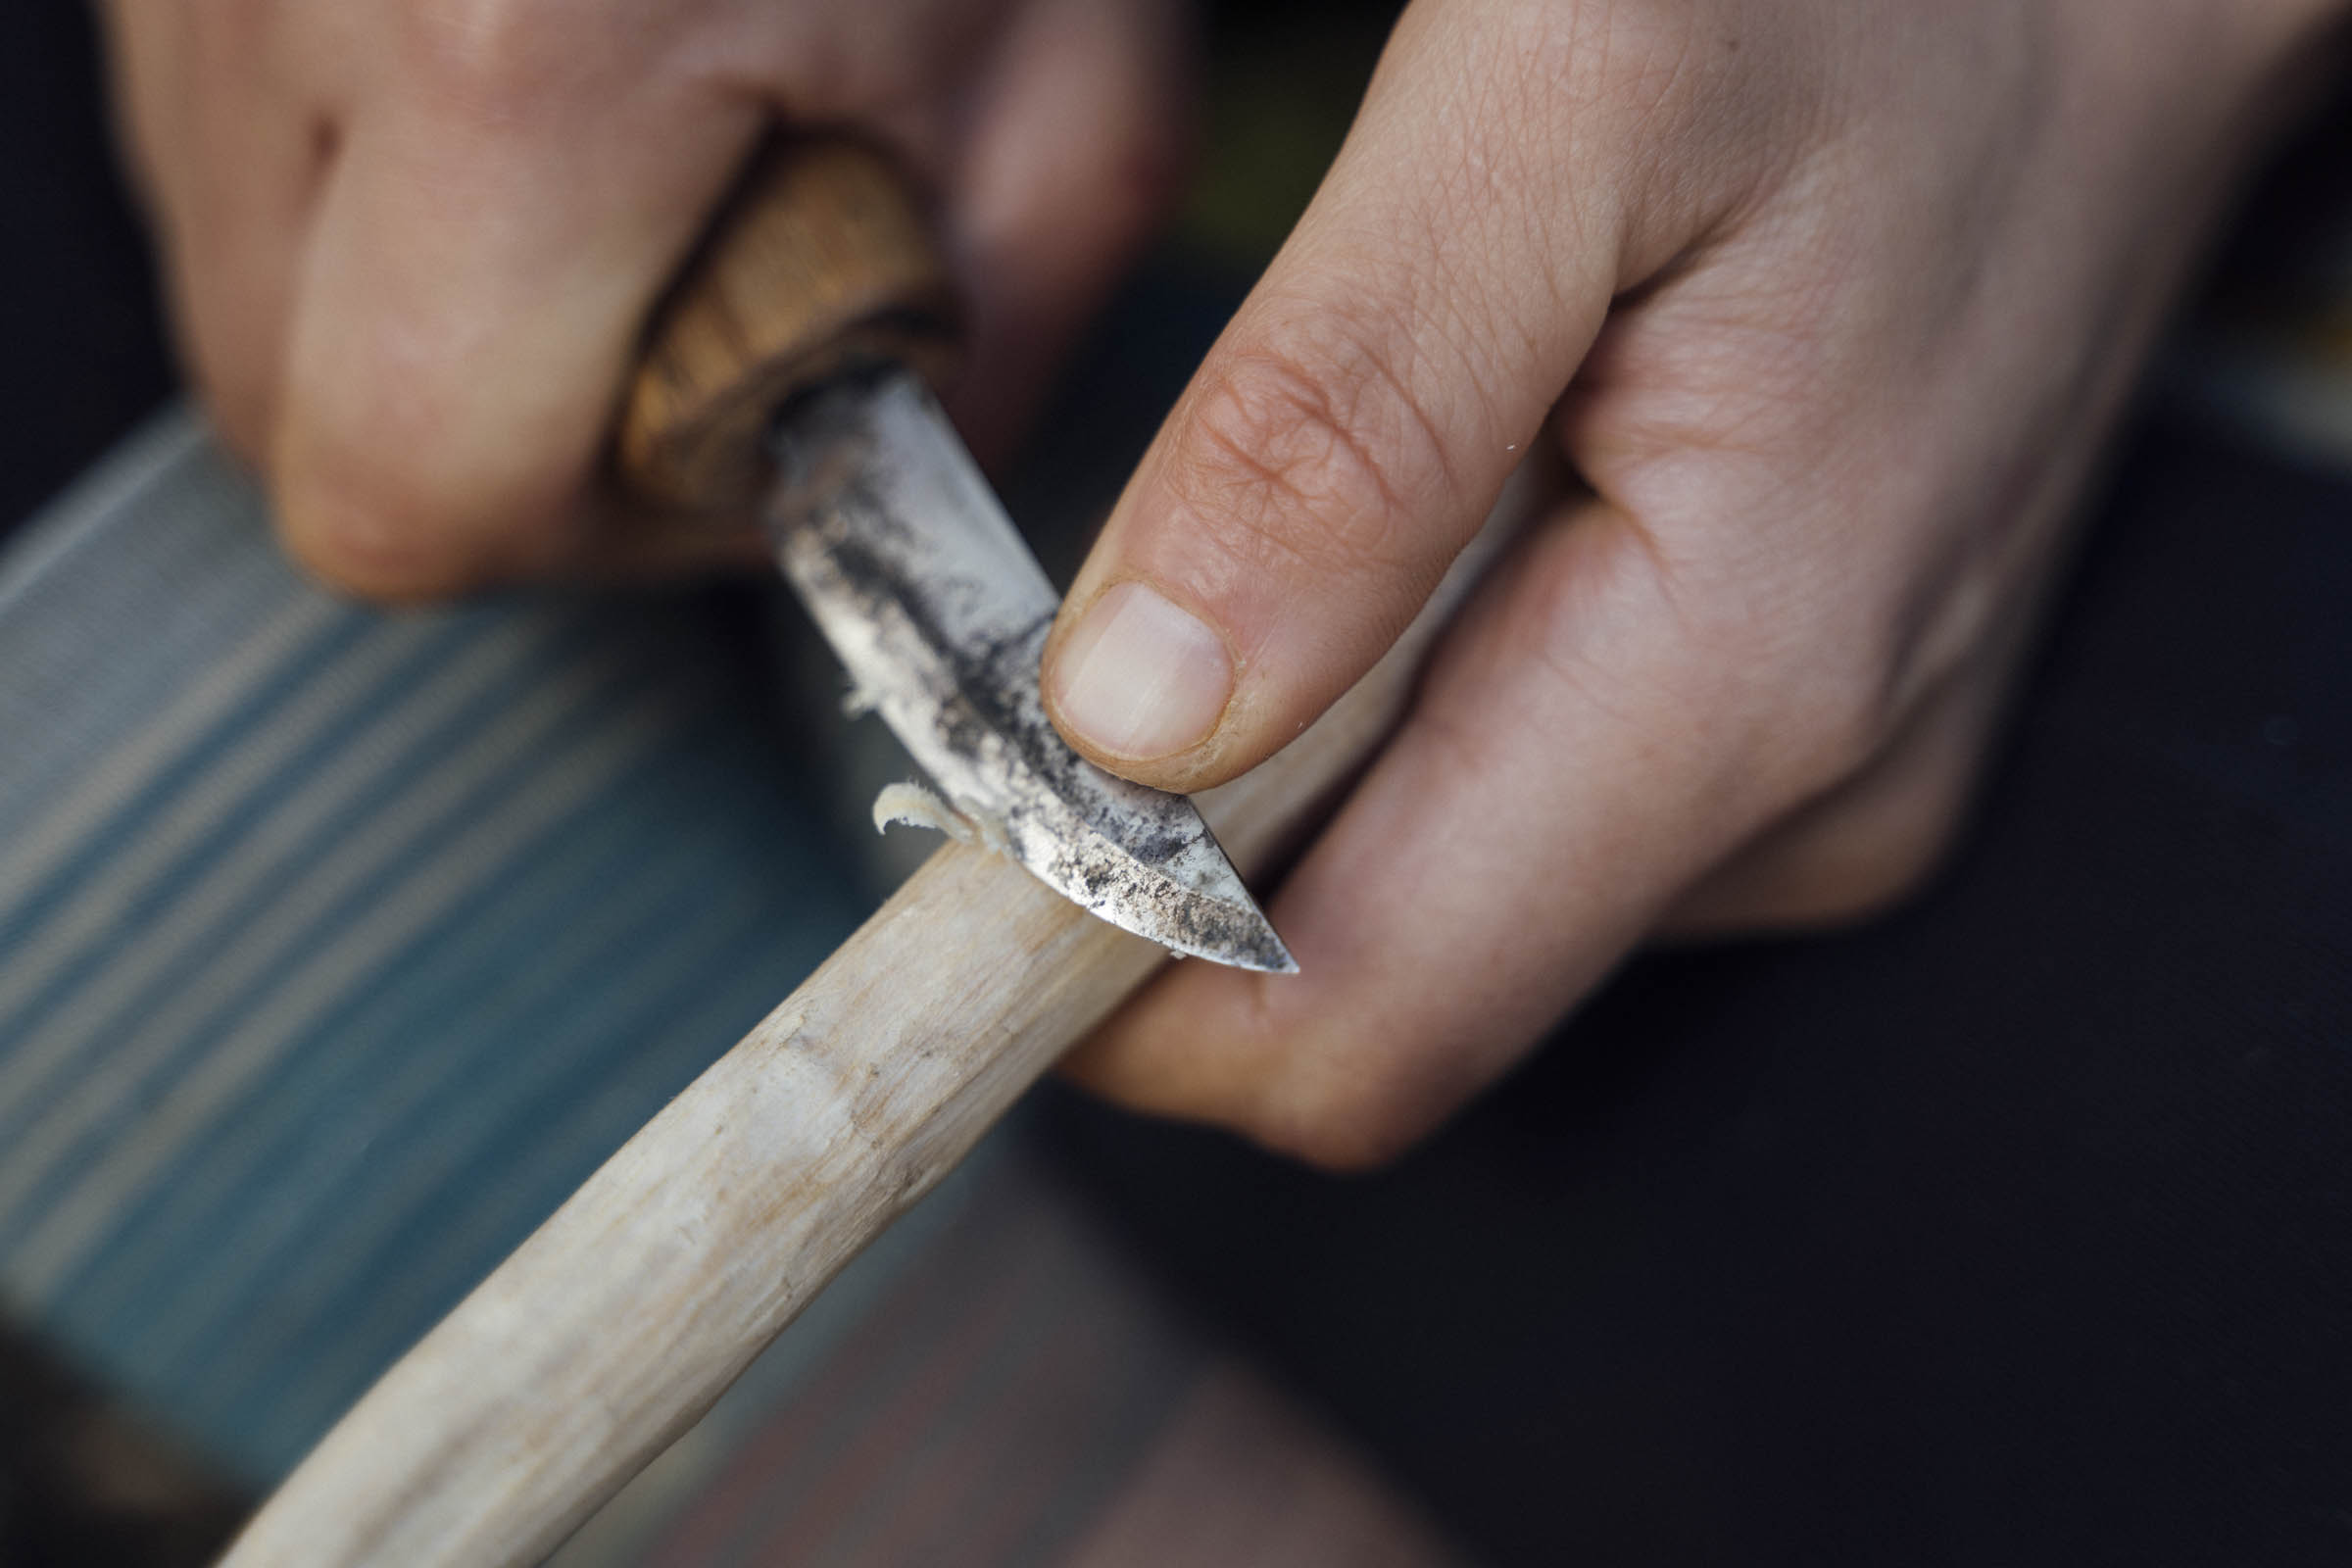
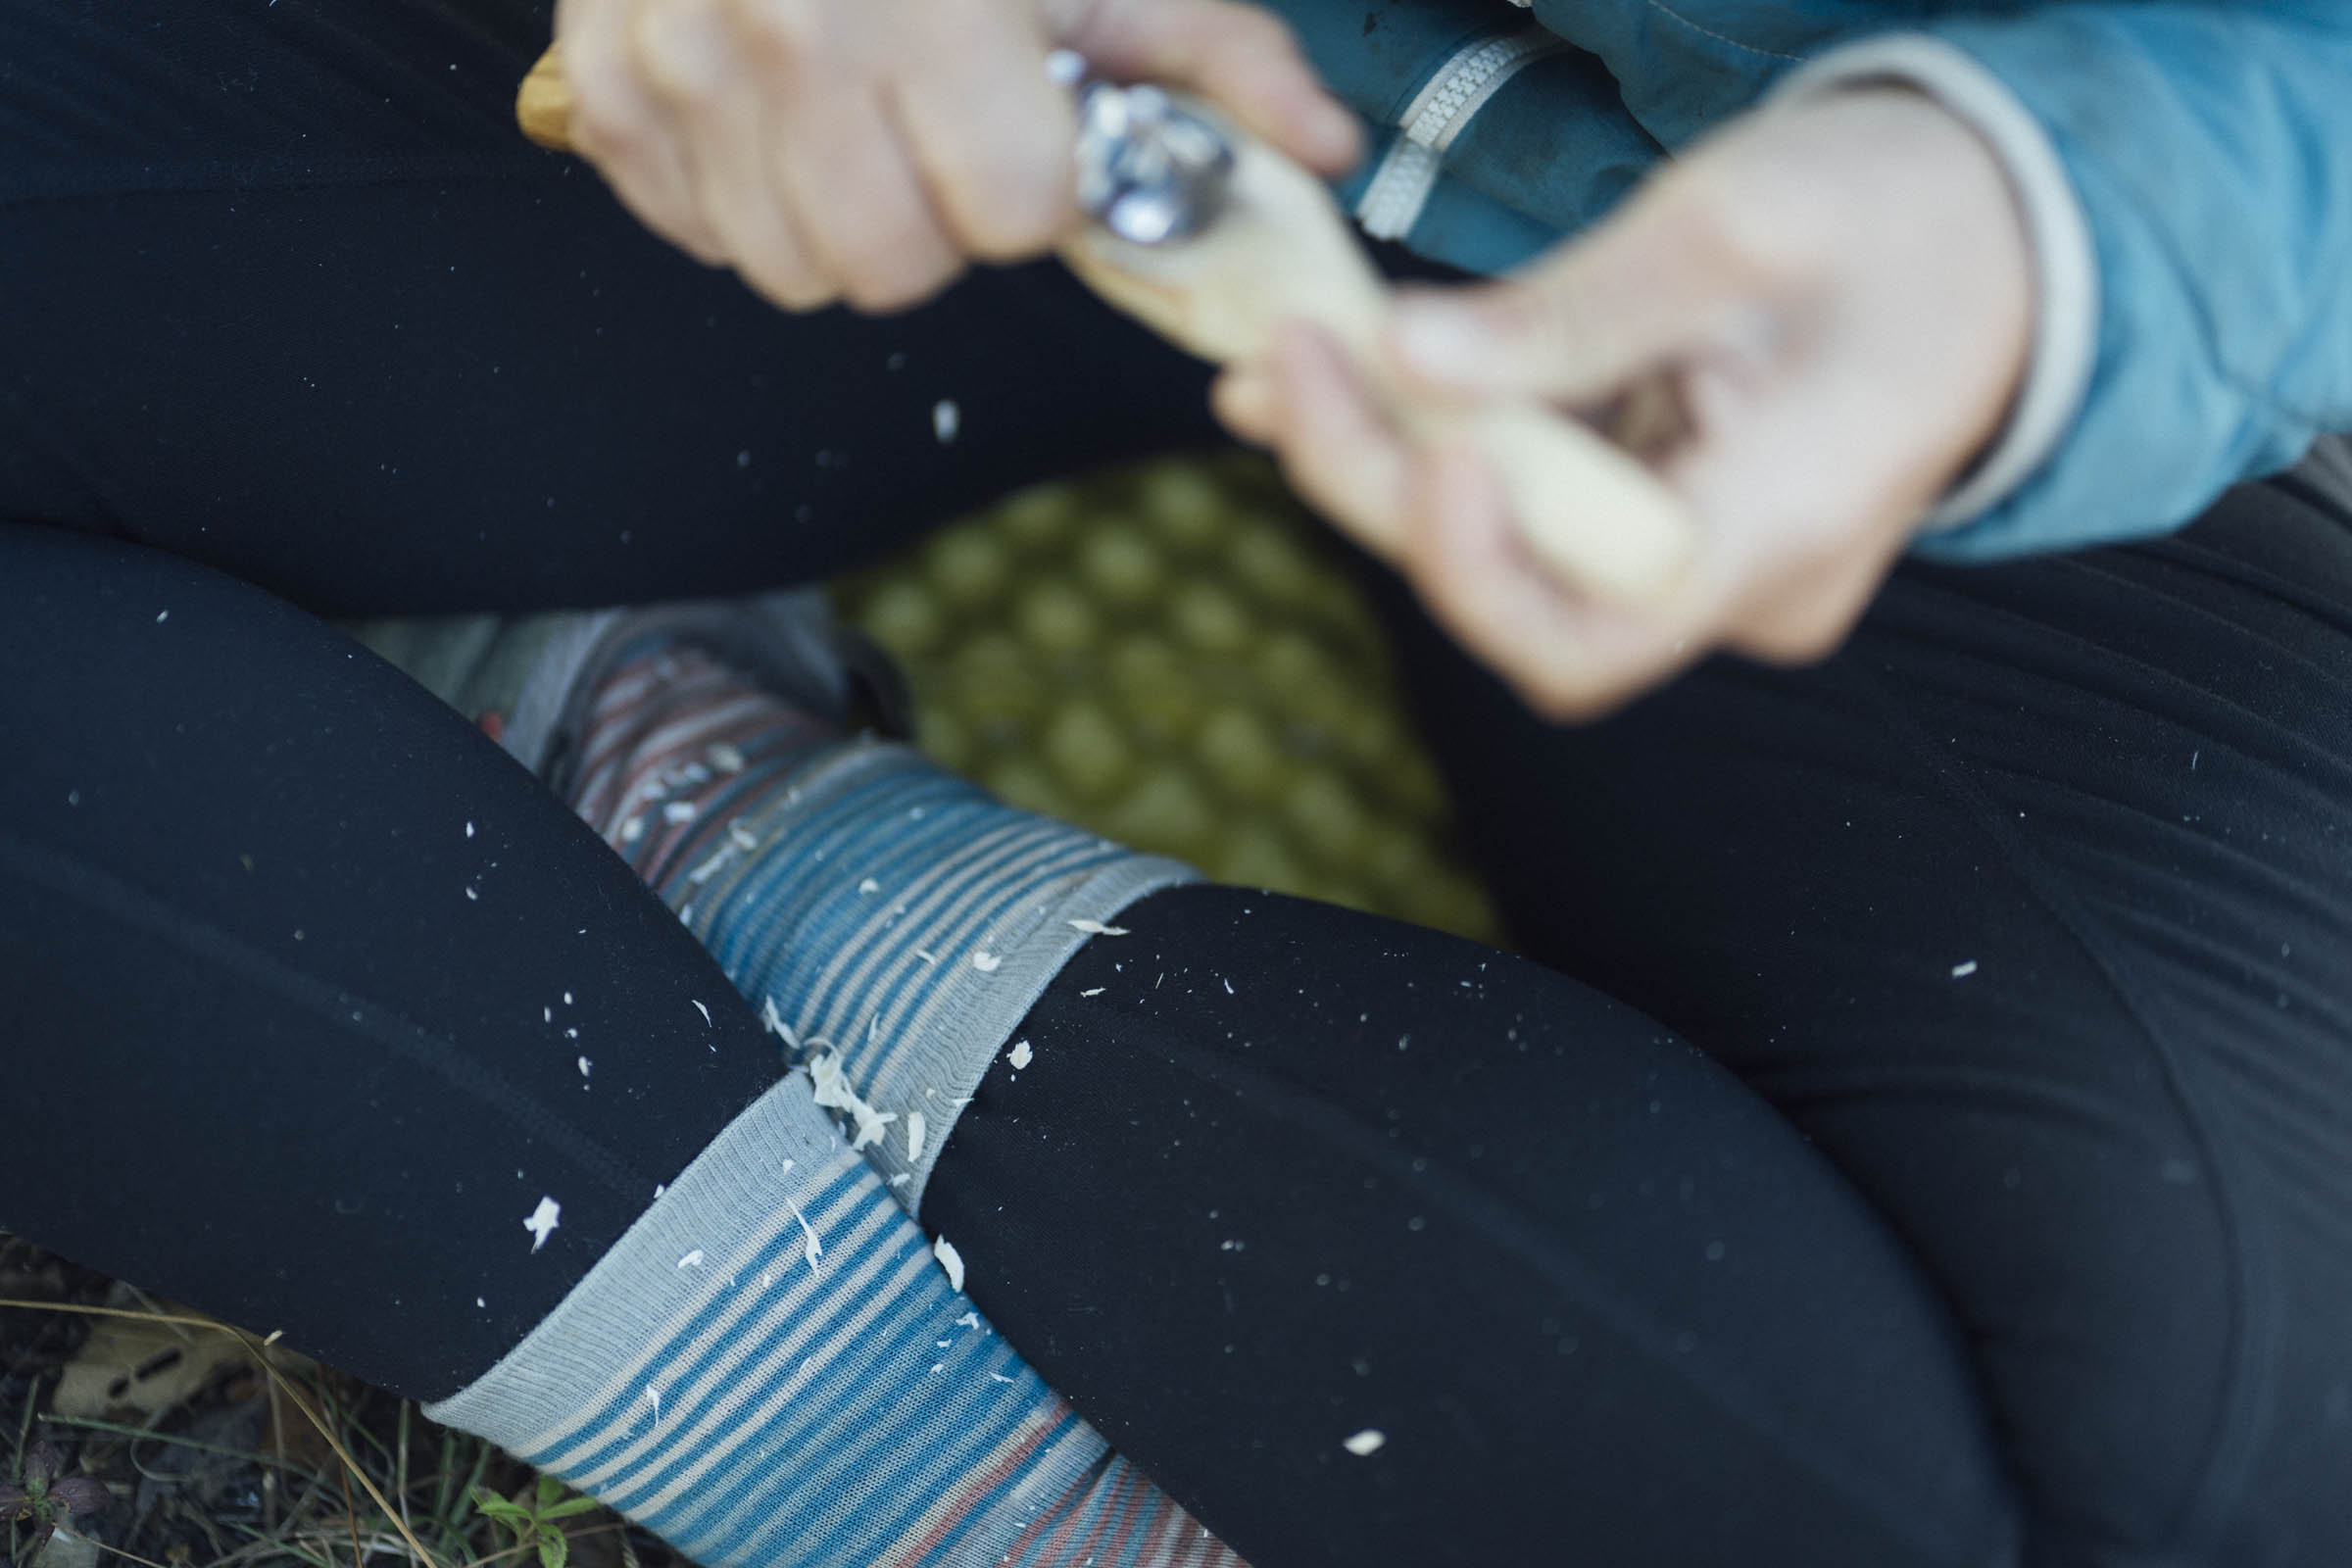
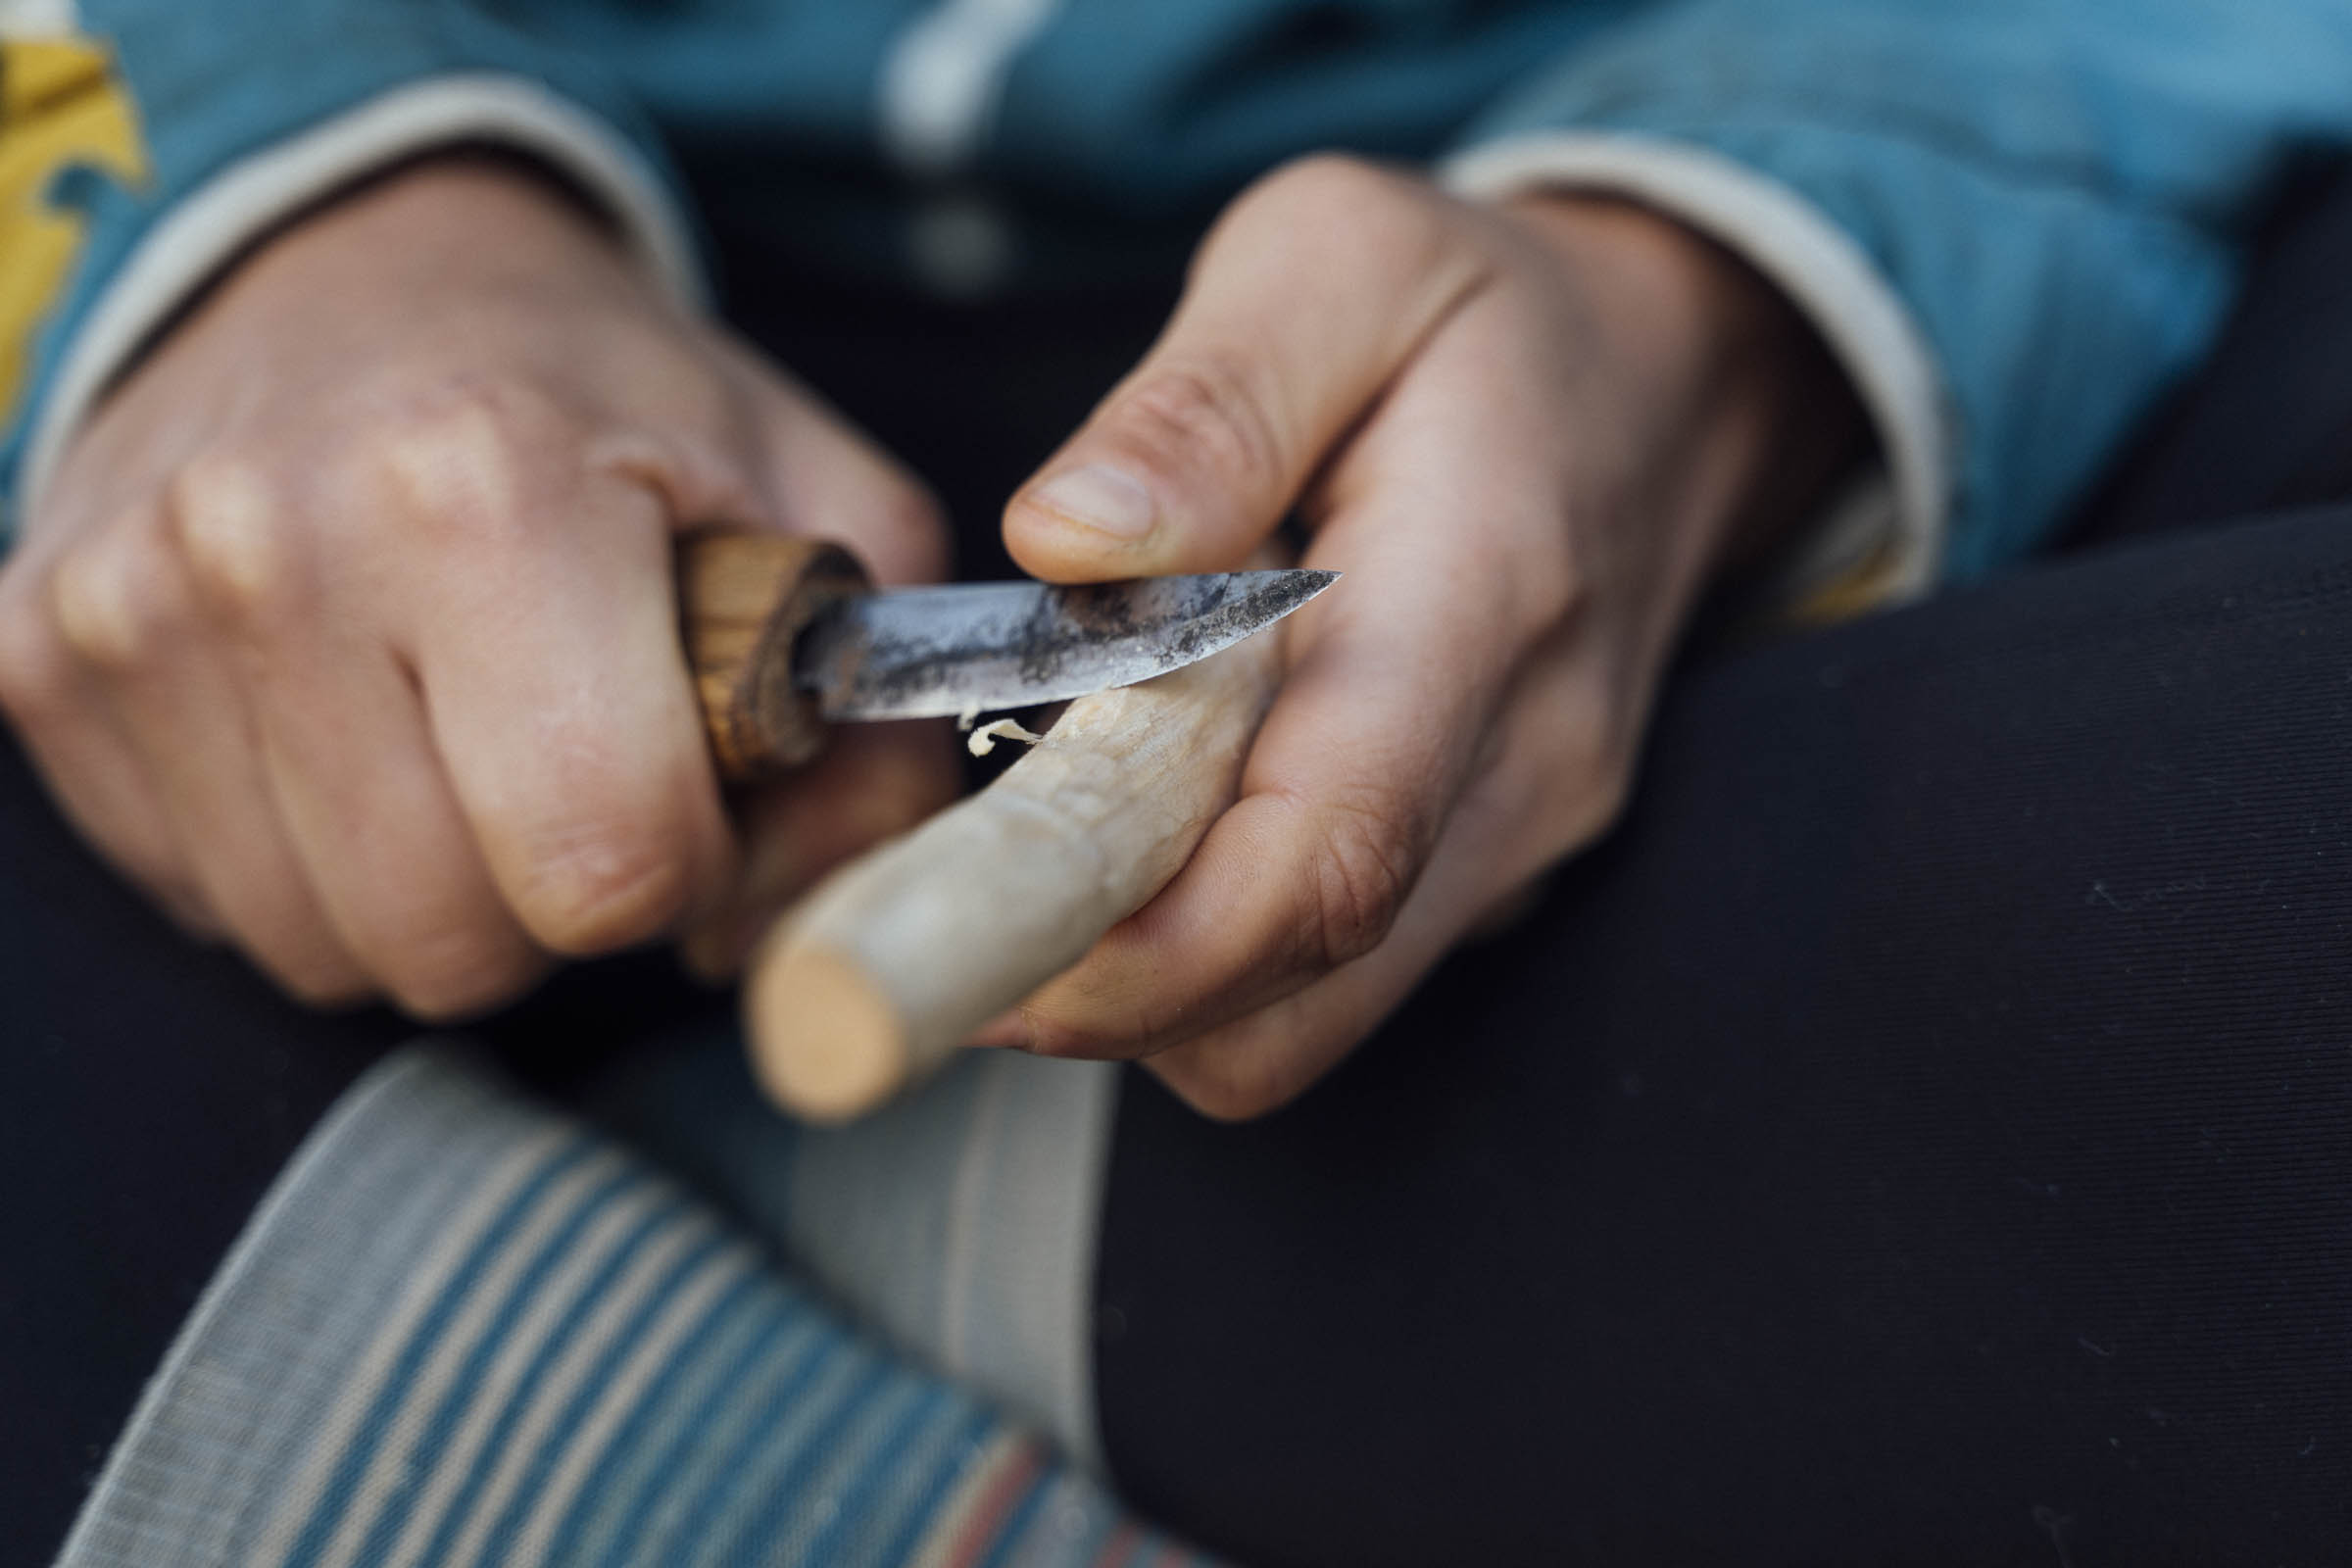
Then, start carving. Use sweeping motions away from your body. Try to be aware of the fibres in the wood, so your cuts leave behind a clean surface rather than pulling away little chunks and splinters, and look at the grain to see which direction is best. Avoid cutting towards yourself by changing angles and the direction you hold your chunk of wood. If you have to, go very slowly and take great care, using just your thumb to push and control the blade, so the edge is less likely to glance away from the wood. You could even use a sturdy piece of leather to protect your legs or body, which can also double as your spoon/tool roll.
In fact, once you’re closer to the intended shape, I find pressing the blade gently with my thumb helps keep the carving controlled and precise. Knots can be tricky to work around, but they add a lot of character too. You can find some very useful Youtube tutorials on how to hold your knife and carving techniques in the Resources section below, like this one.


Safety
If you’re new to carving, wear work gloves to safeguard your fingers and reduce the chance of blisters too, which I tend to get on my thumbs. Some gloves are especially resistant to cuts, like these ones. At home, thick pants are also recommended to protect the knife from glancing into your thigh. But in the absence of such apparel when bikepacking, just be especially mindful, because the last thing you want to do is cut your femoral artery out in the backcountry… If you have a tool wrap (see Basic Kit below) you can also use it to protect yourself, and you can wedge the wood into the ground or against a tree stump when carving to provide extra stability. If you’re heading out on a trip, make sure your knife is sharp, as a dull knife is a dangerous knife. As always, don’t forget to pack your first aid kit when you go bikepacking and as a newbie, be especially careful when you’re miles from anywhere. Check out the Resources section below, for videos on safe carving techniques.
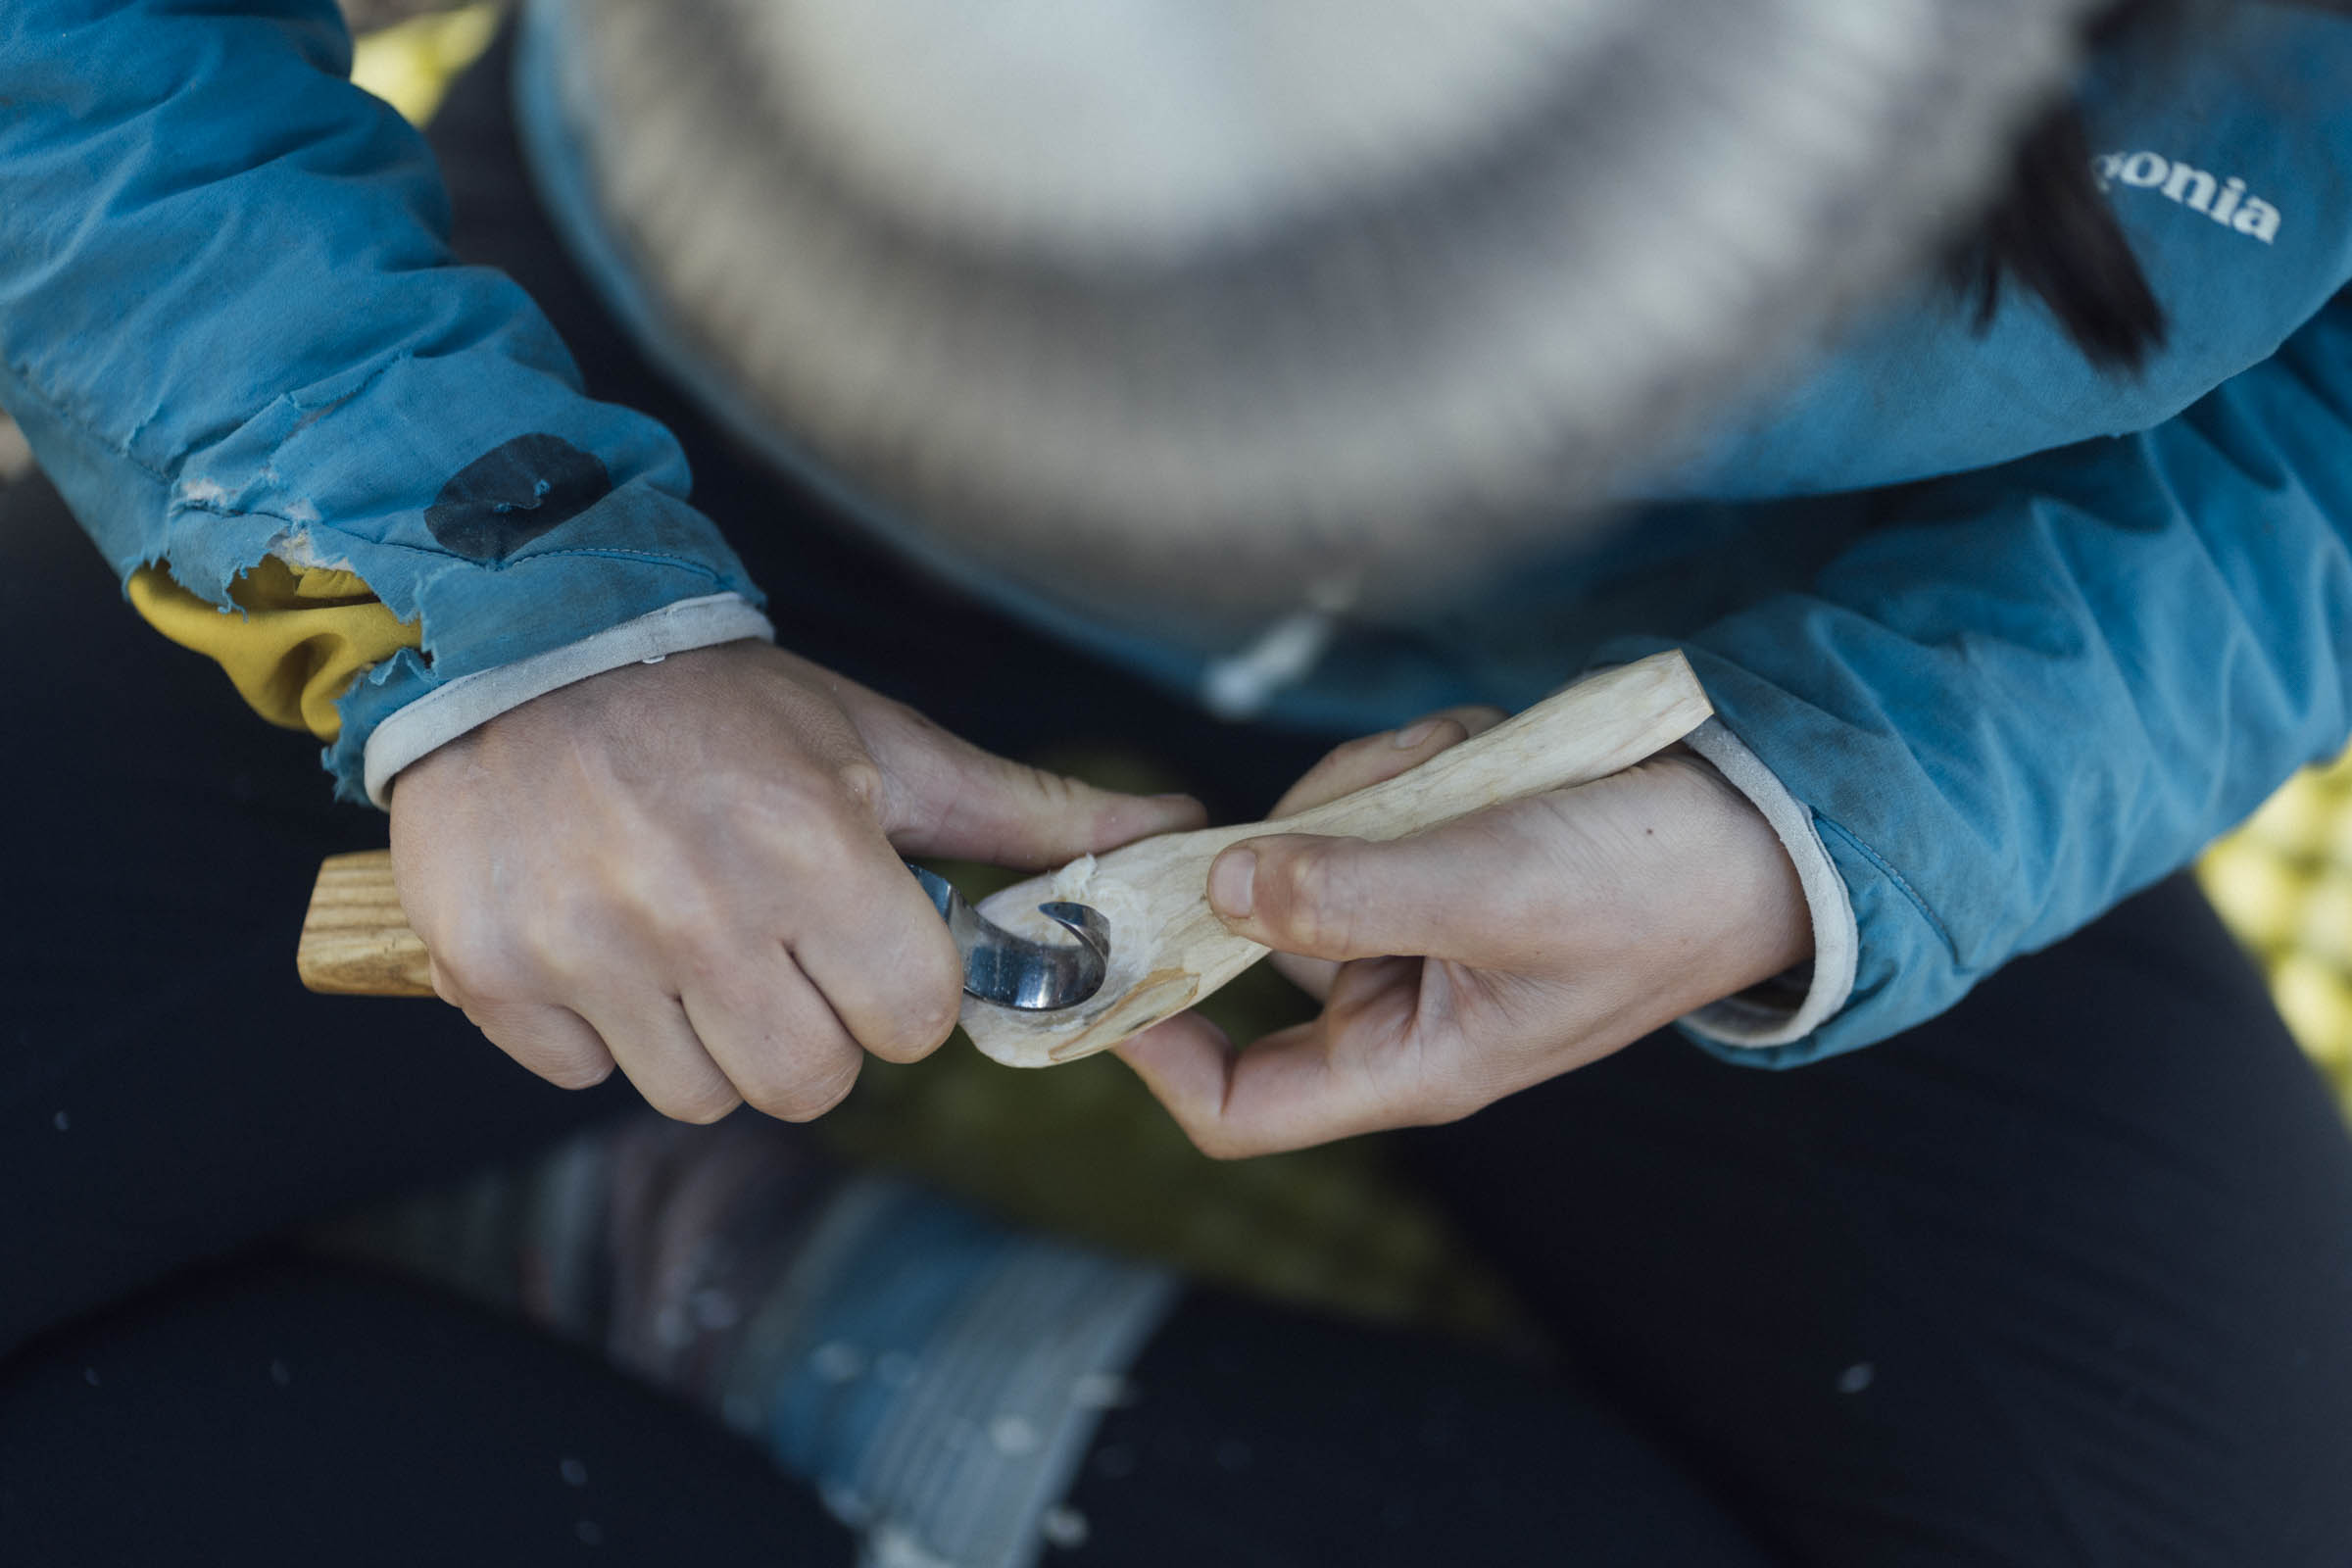
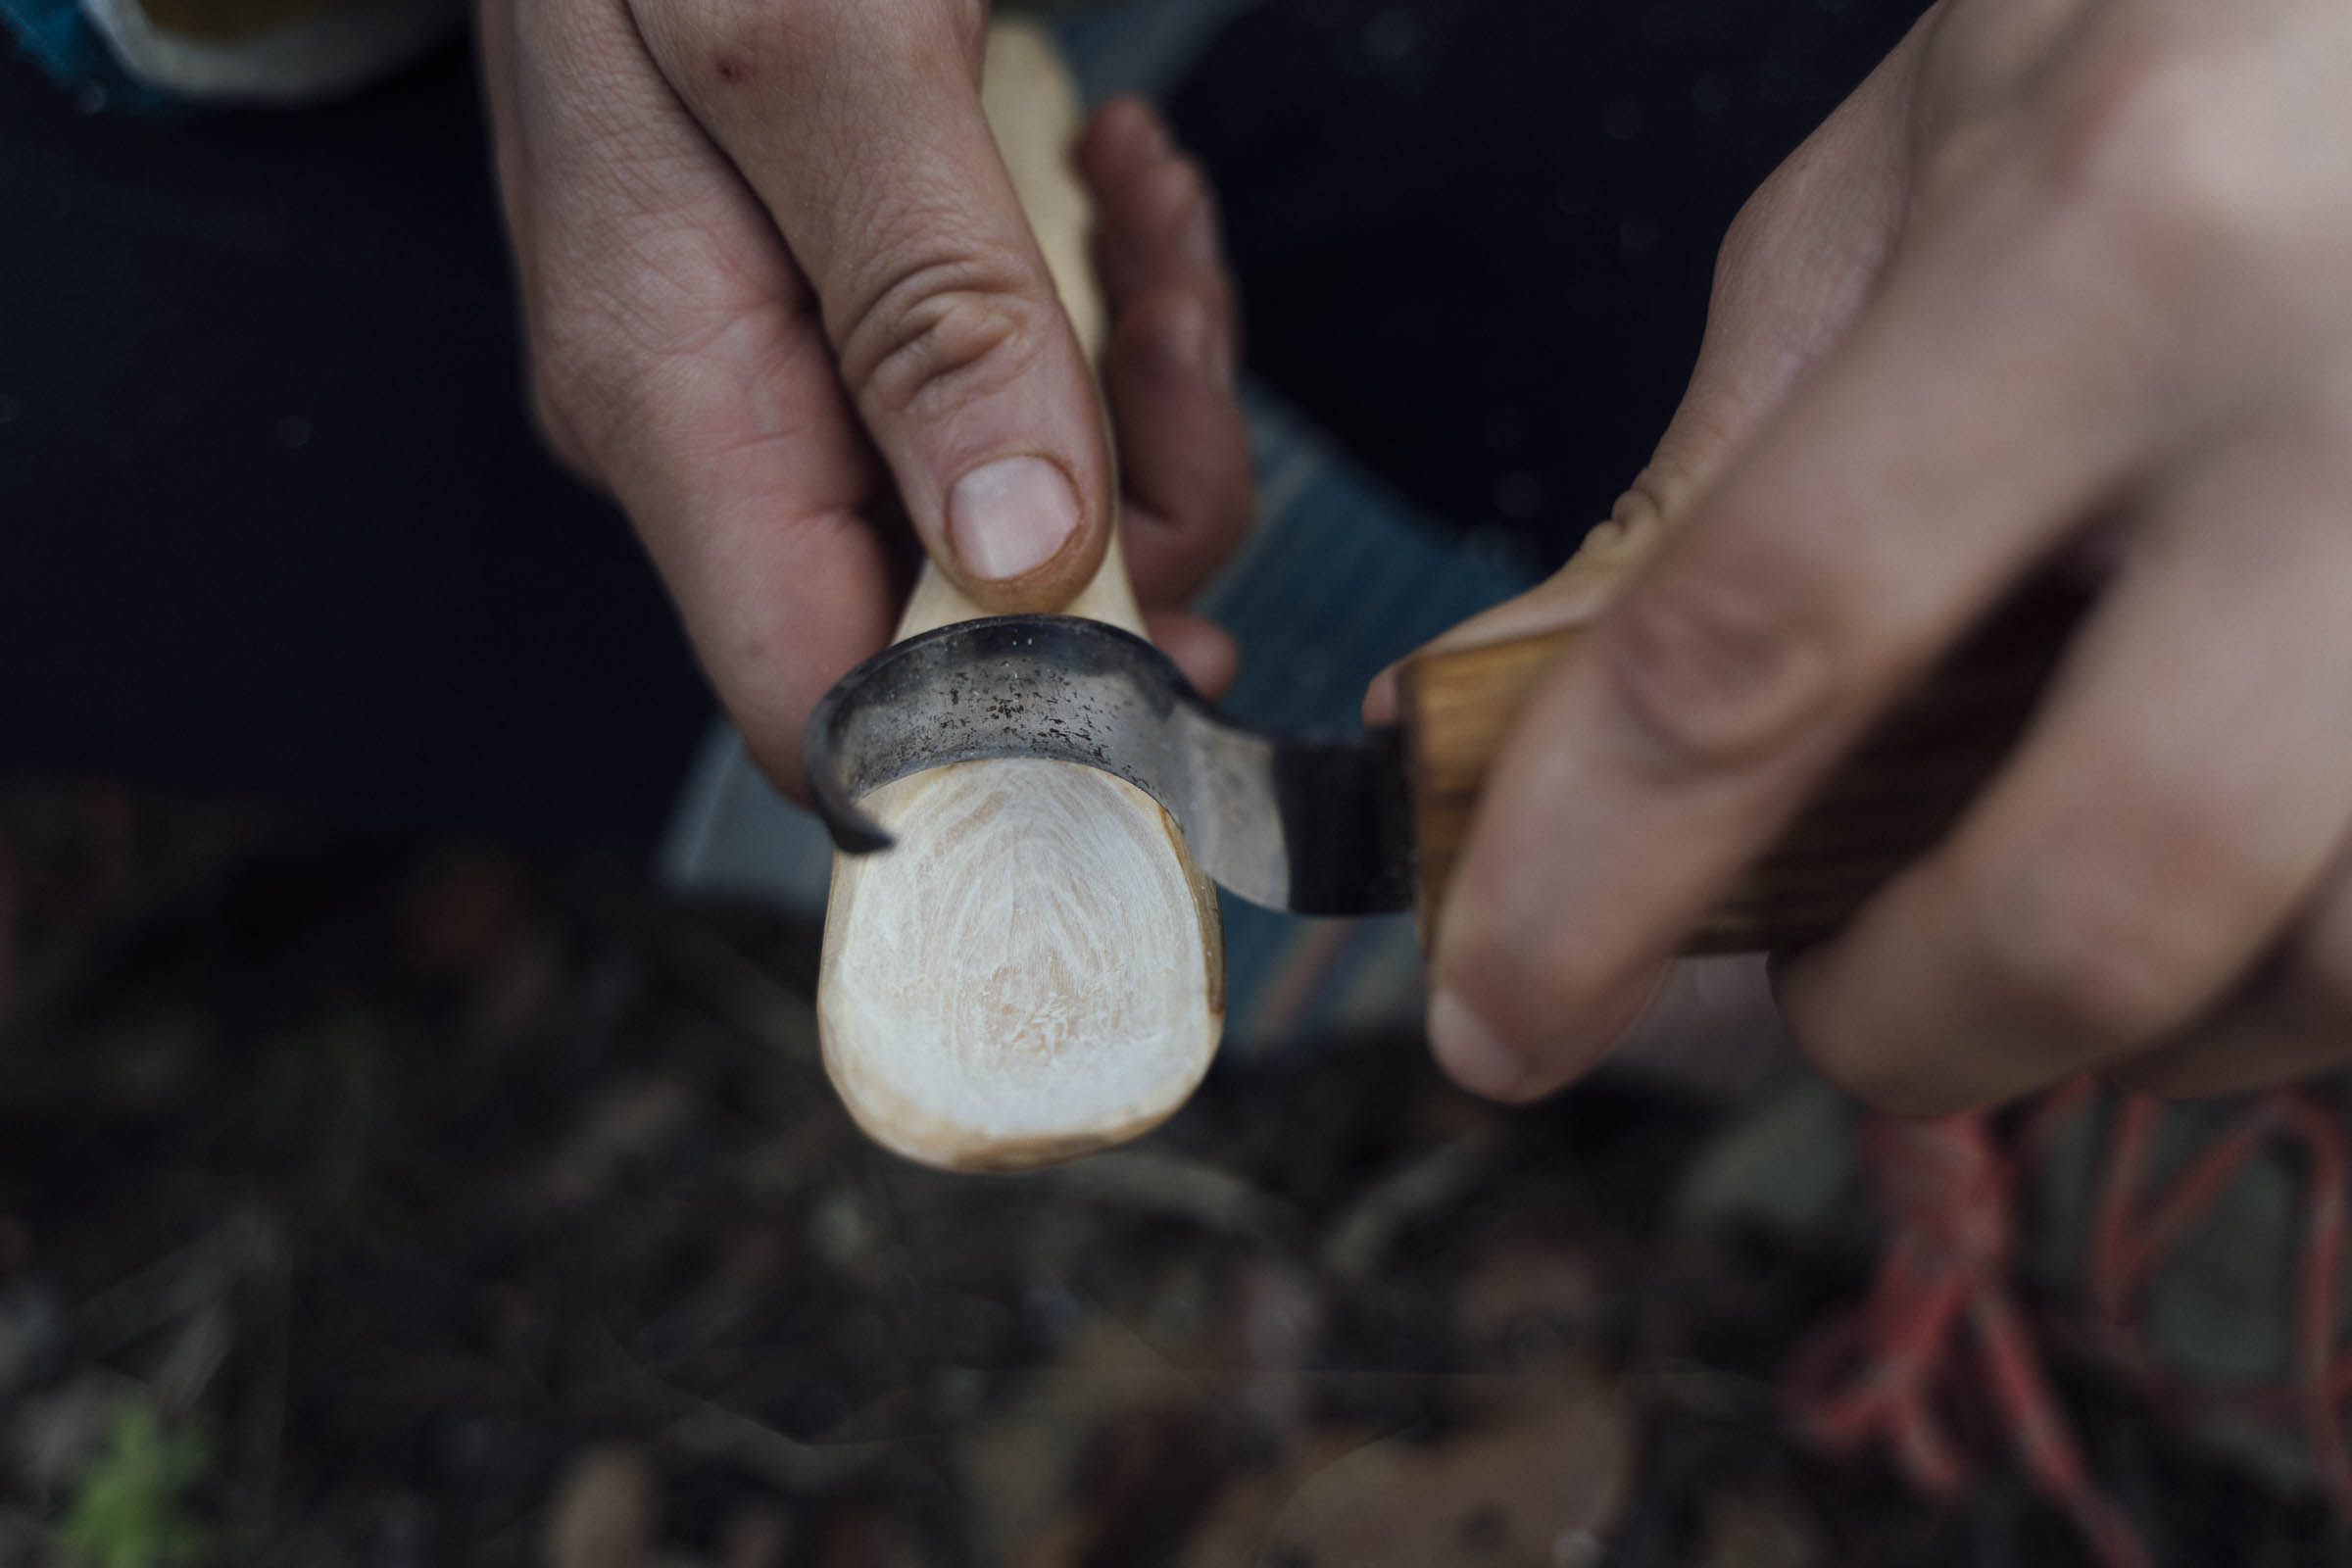
Once you have the general shape of the spoon carved, the curved knife – aka the scooper – comes into play. It’s the tool you’ll need to hollow out the bowl of the spoon, though some makers prefer using hot embers to do this, as Michael Dammer recommends below – I’ve yet to try this method, though. If you’re using a knife, aim to create a clean edge around the bowl and employ a scooping, twisting action to carve out spirals of shavings, without ‘tearing’ the fibres of the wood.
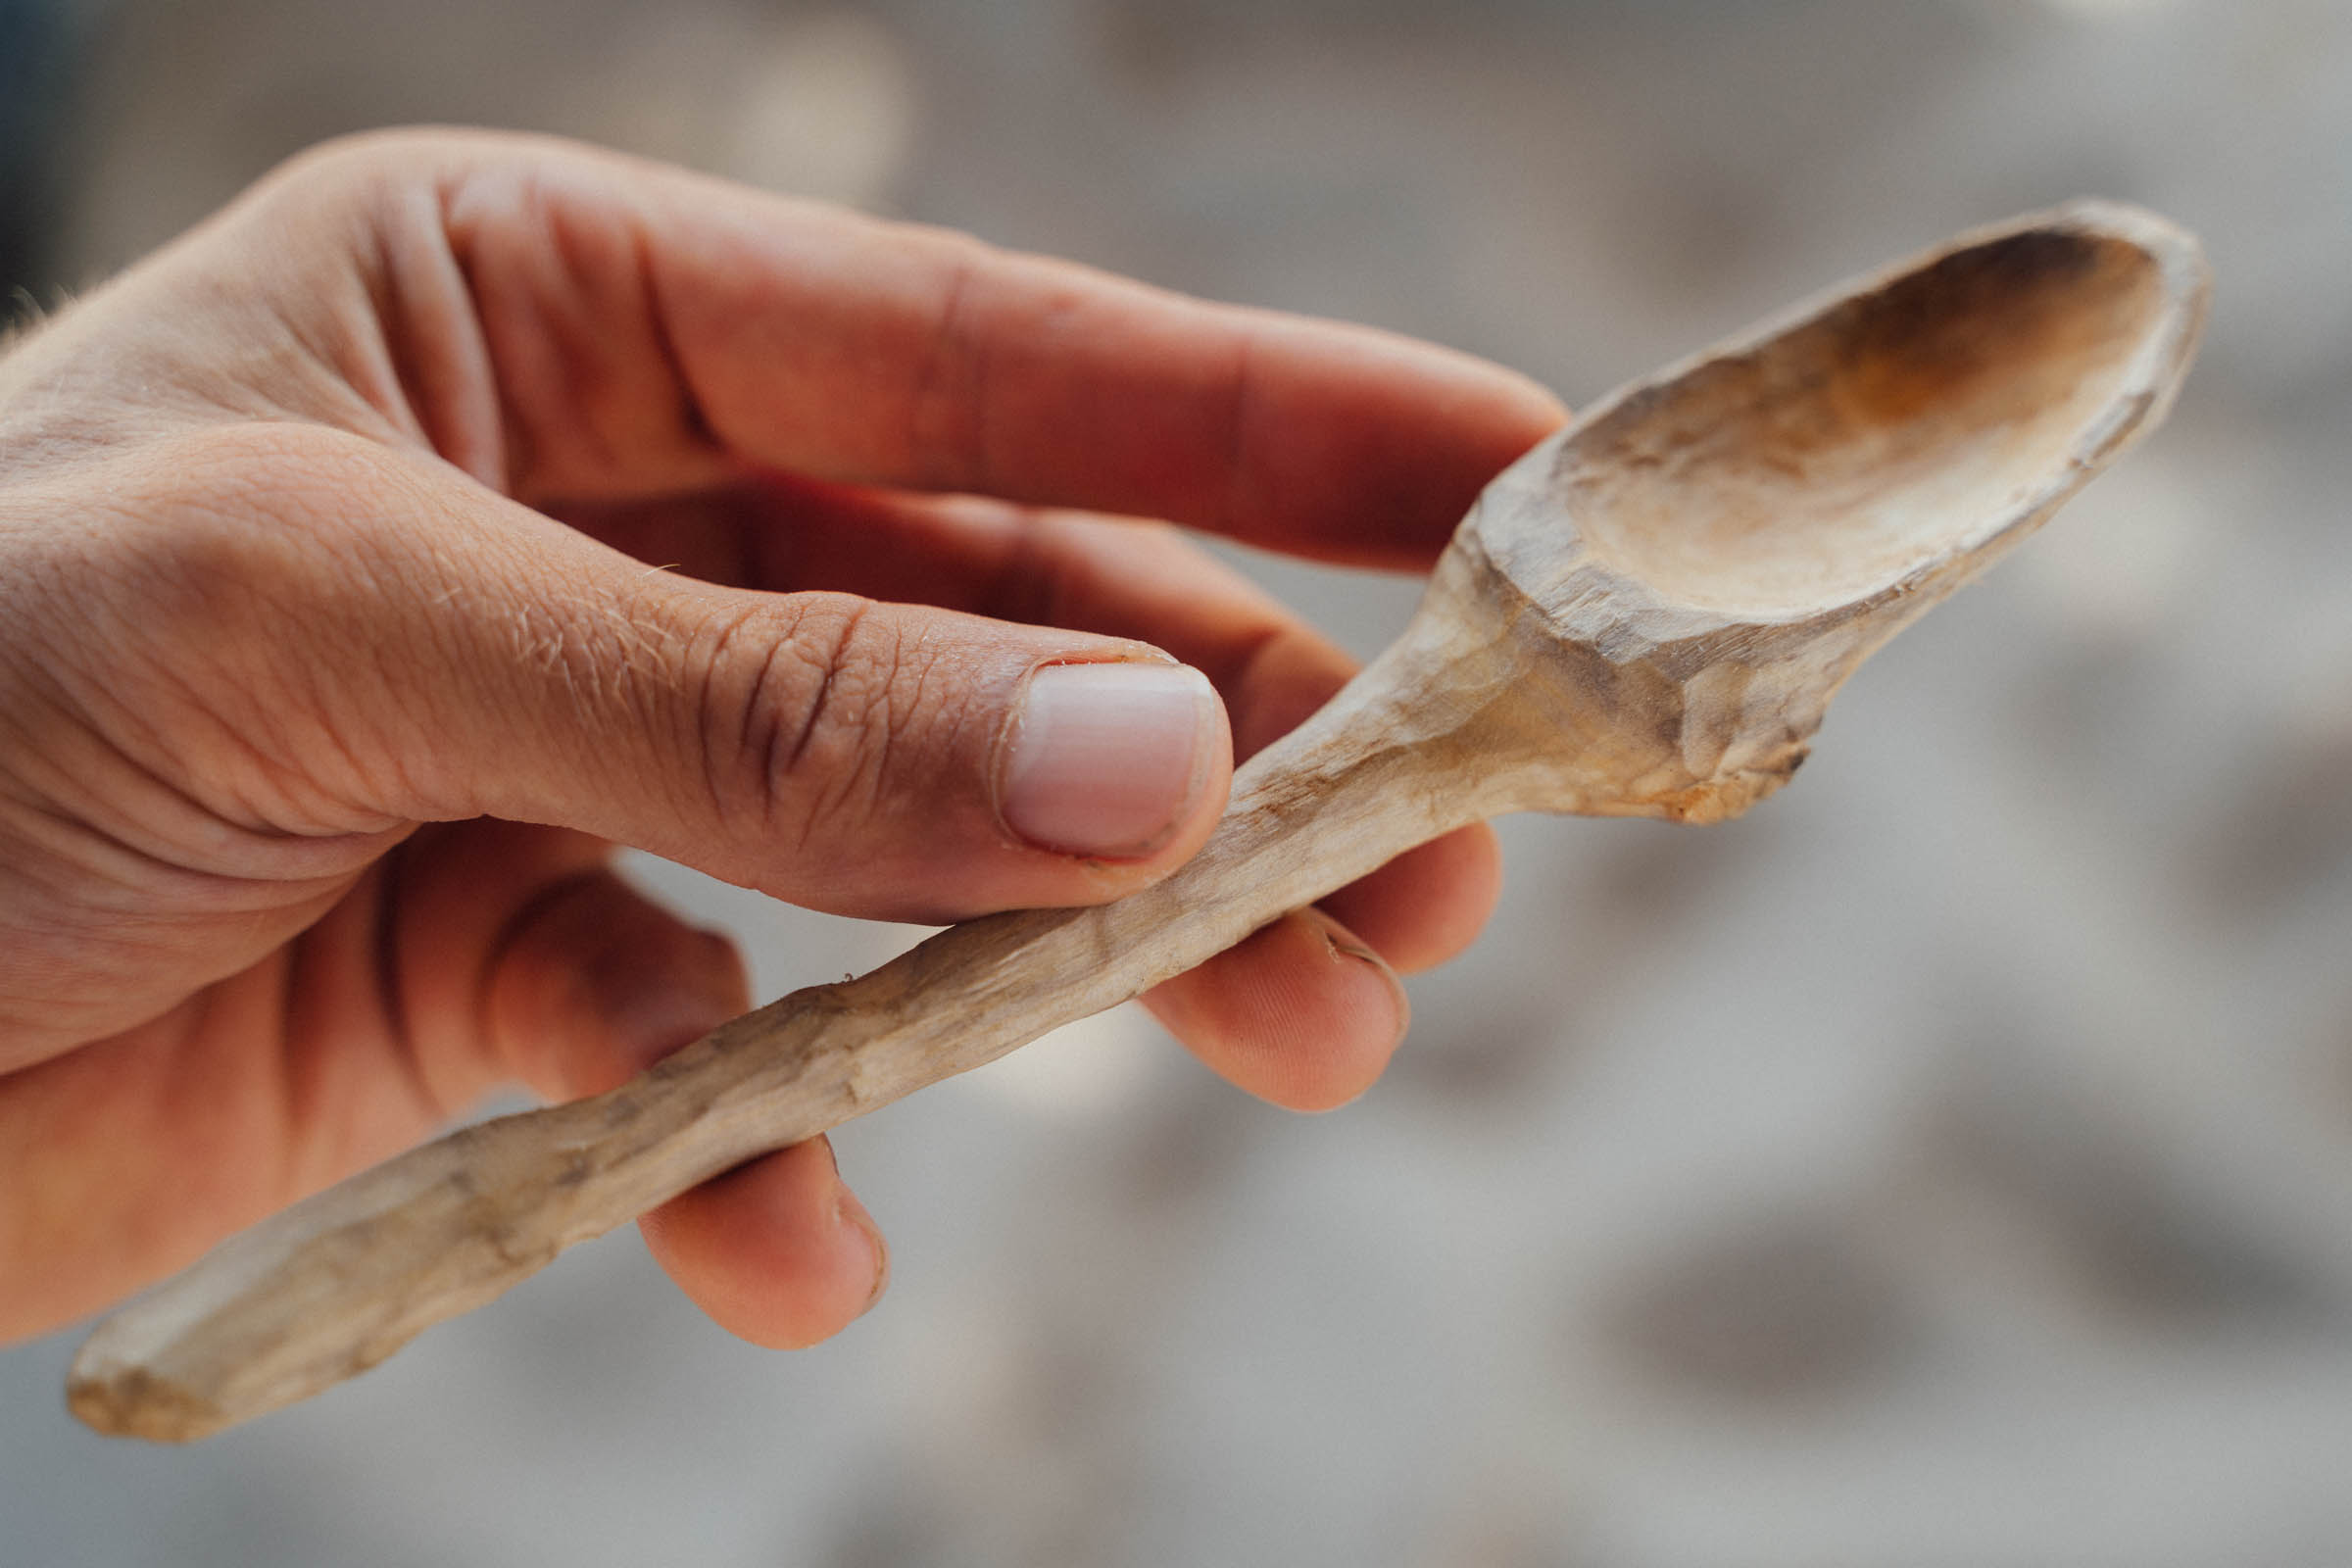
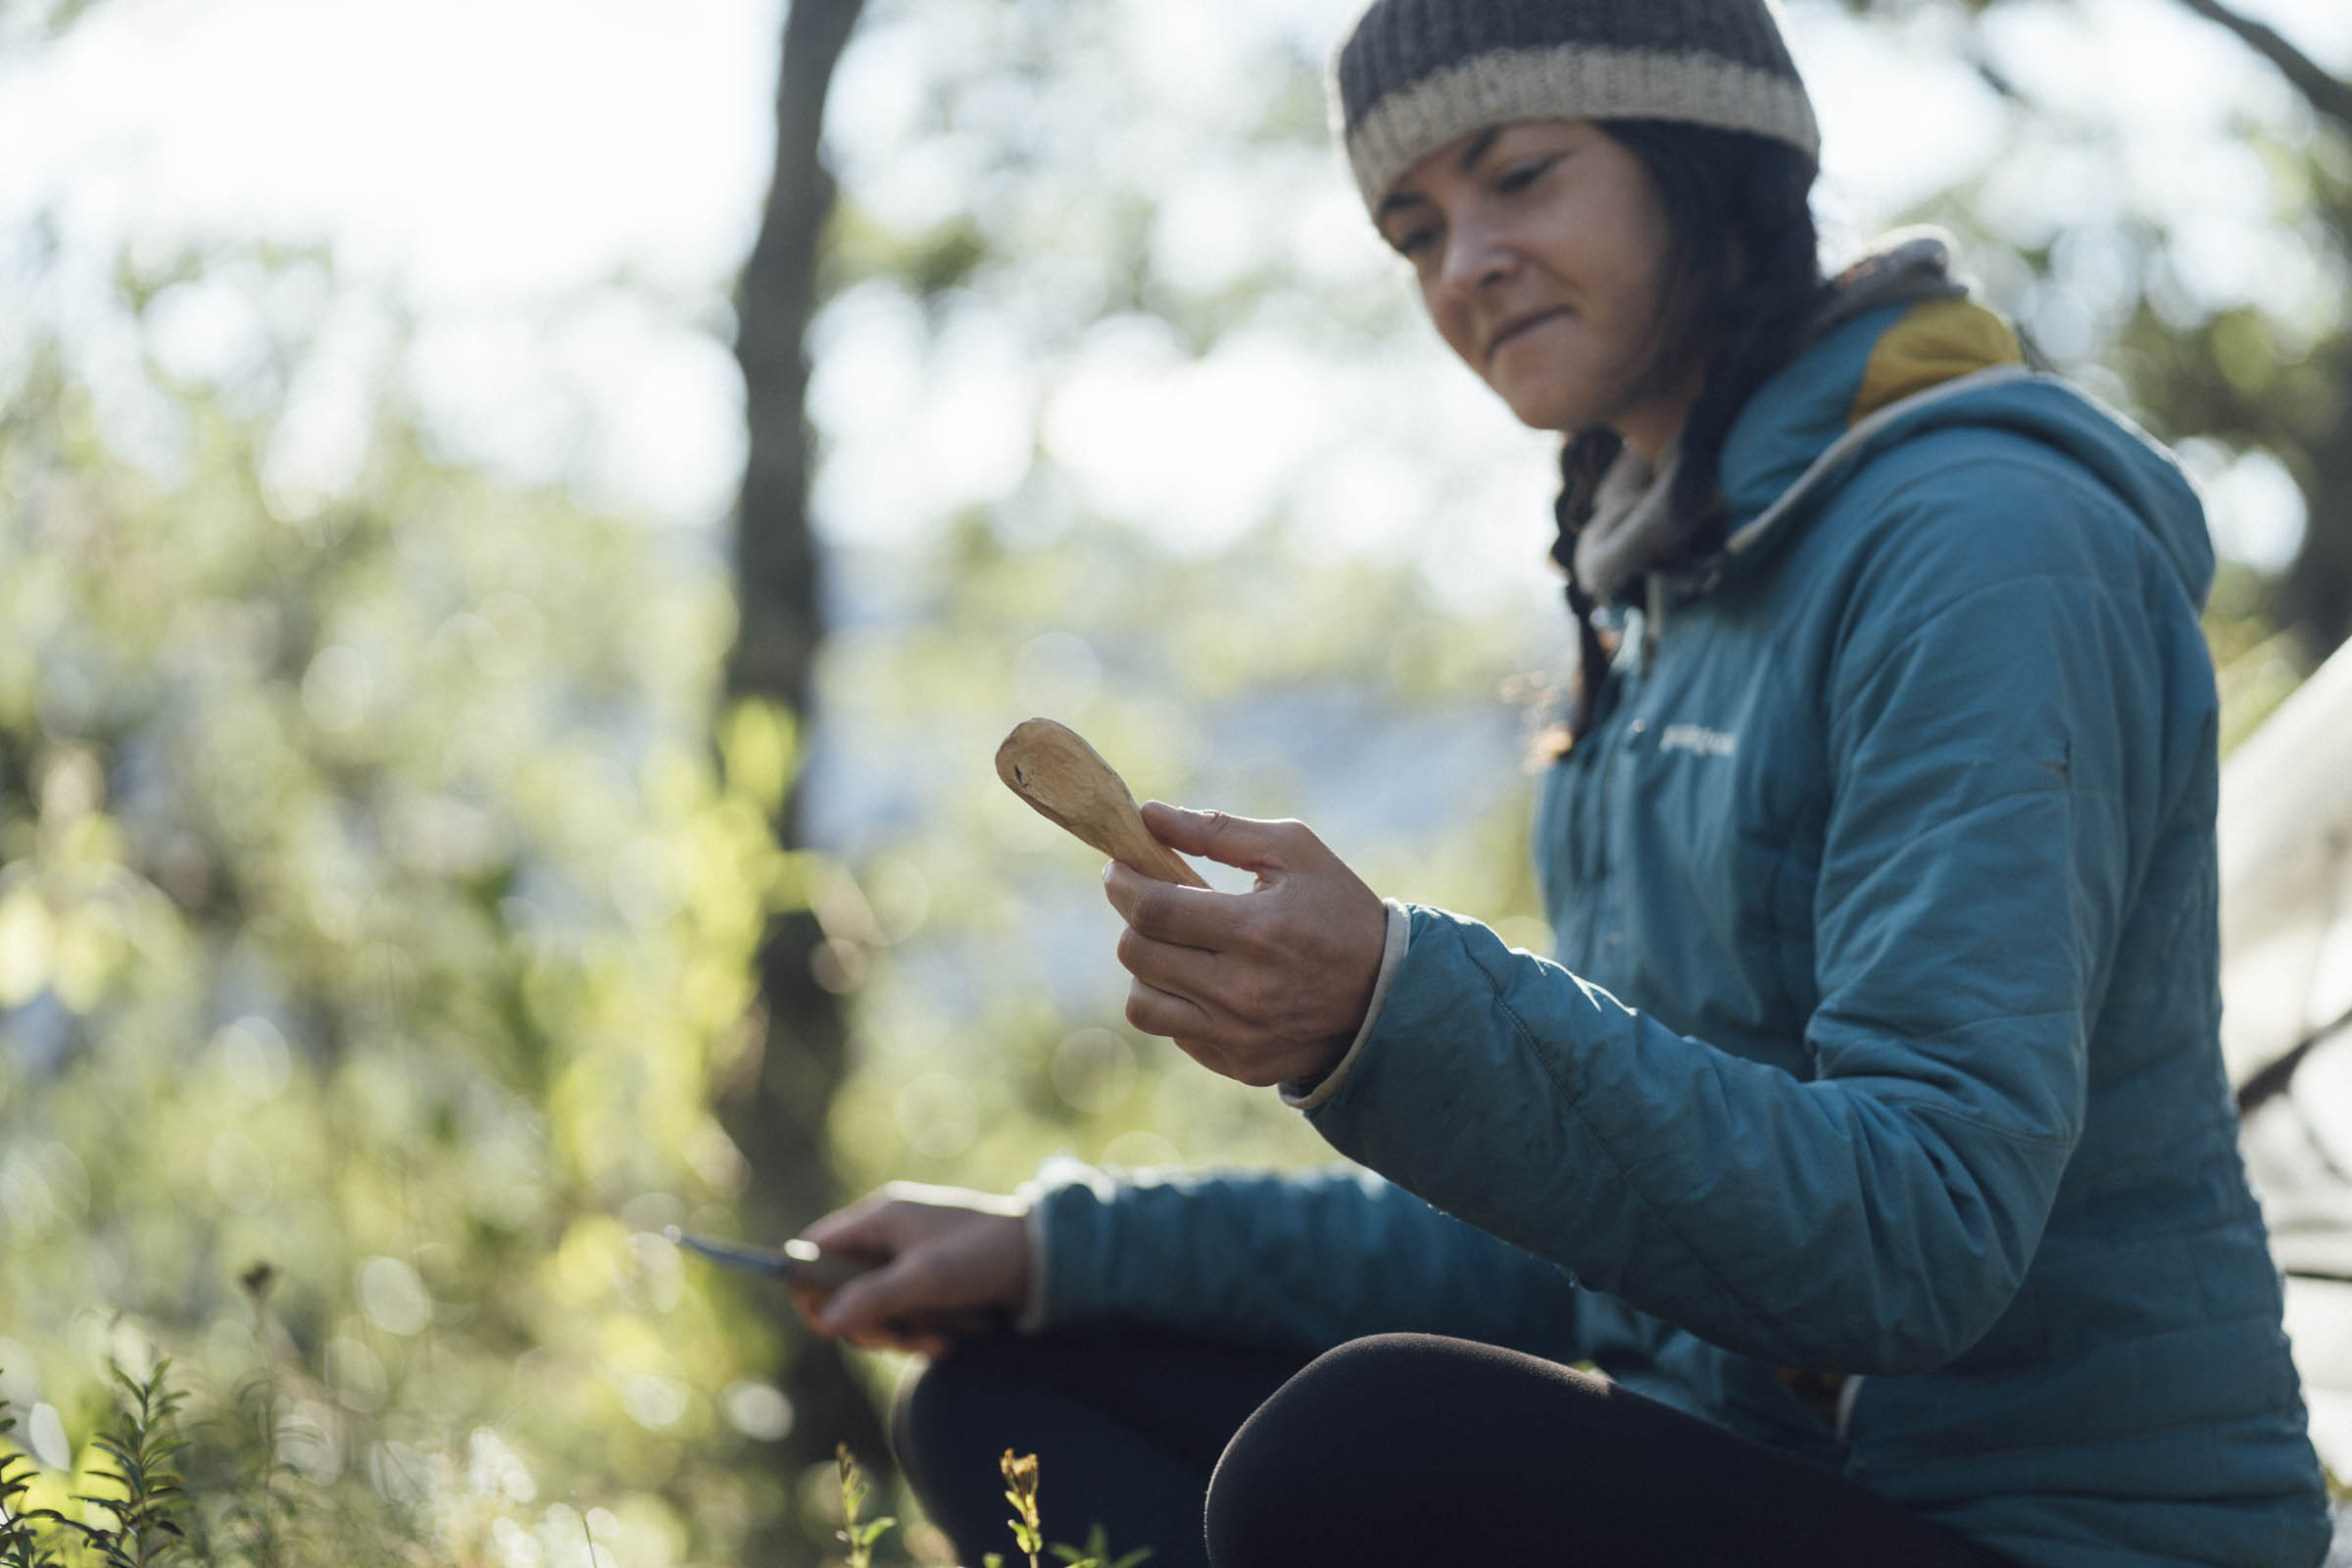
Think about how the shape of the bowl will fit in your mouth; its length, width, and depth. The same goes with the underside of the spoon and how thick it is. I like to test as I go, trying to find a balance with a shape that’s pleasant to eat from, yet capacious enough to shovel in my food after a long day in the saddle!


As you whittle the handle, be mindful of how thin the wood becomes, as it’s the weakest part of the spoon. The strength of the wood that you’re using, and the intended use, may play their part here. The same goes with the bowl of the spoon. Don’t get too carried away and risk making it too weak and prone to cracking. A fairly robust handle and bowl can be useful if you intend to travel with your spoon.
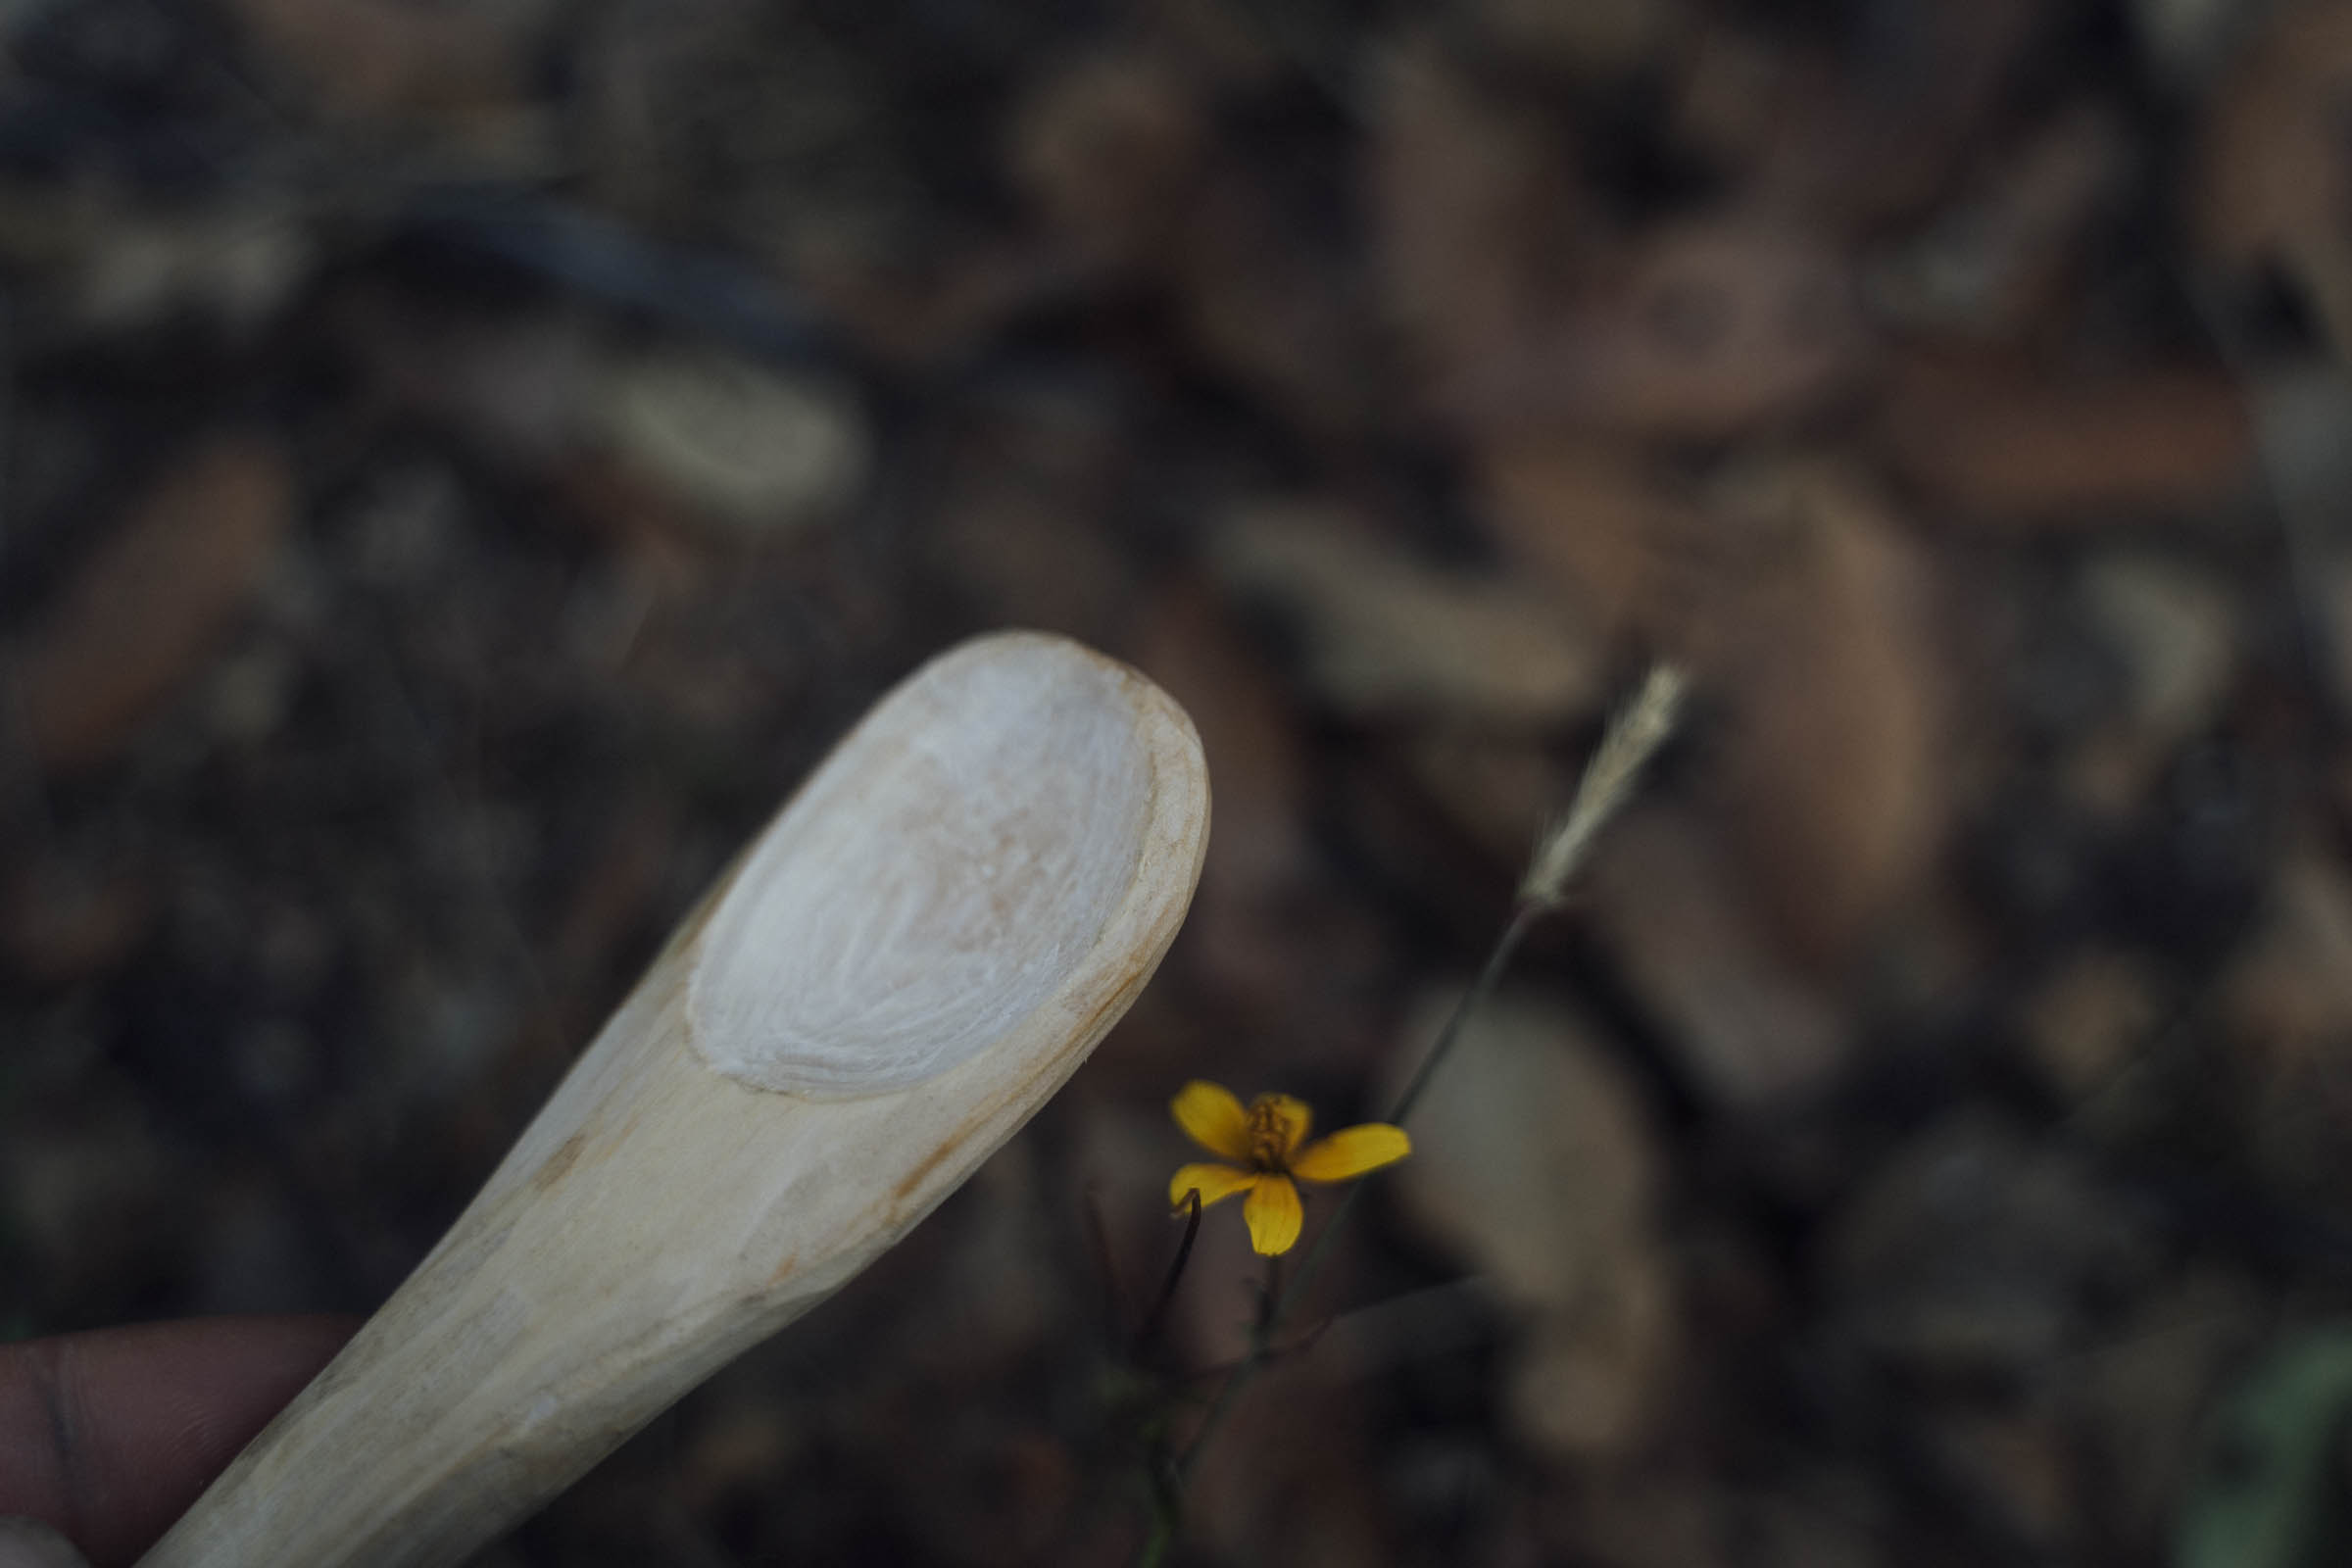
Once your spoon is finished (and making that final call can be hard!), allow yourself to bask in the accomplishment of having created something earthy, beautiful and practical with your own hands. You can either leave it with its raw, chipped finish – almost primitive-looking – as I like to do, or sand it smooth and give it a more refined feel. Bear in mind that once you start sanding, you won’t be able to carve it any more, as the sand particles will dull the knife. Don’t be too worried about small imperfections; most will soften up after a few weeks of use.
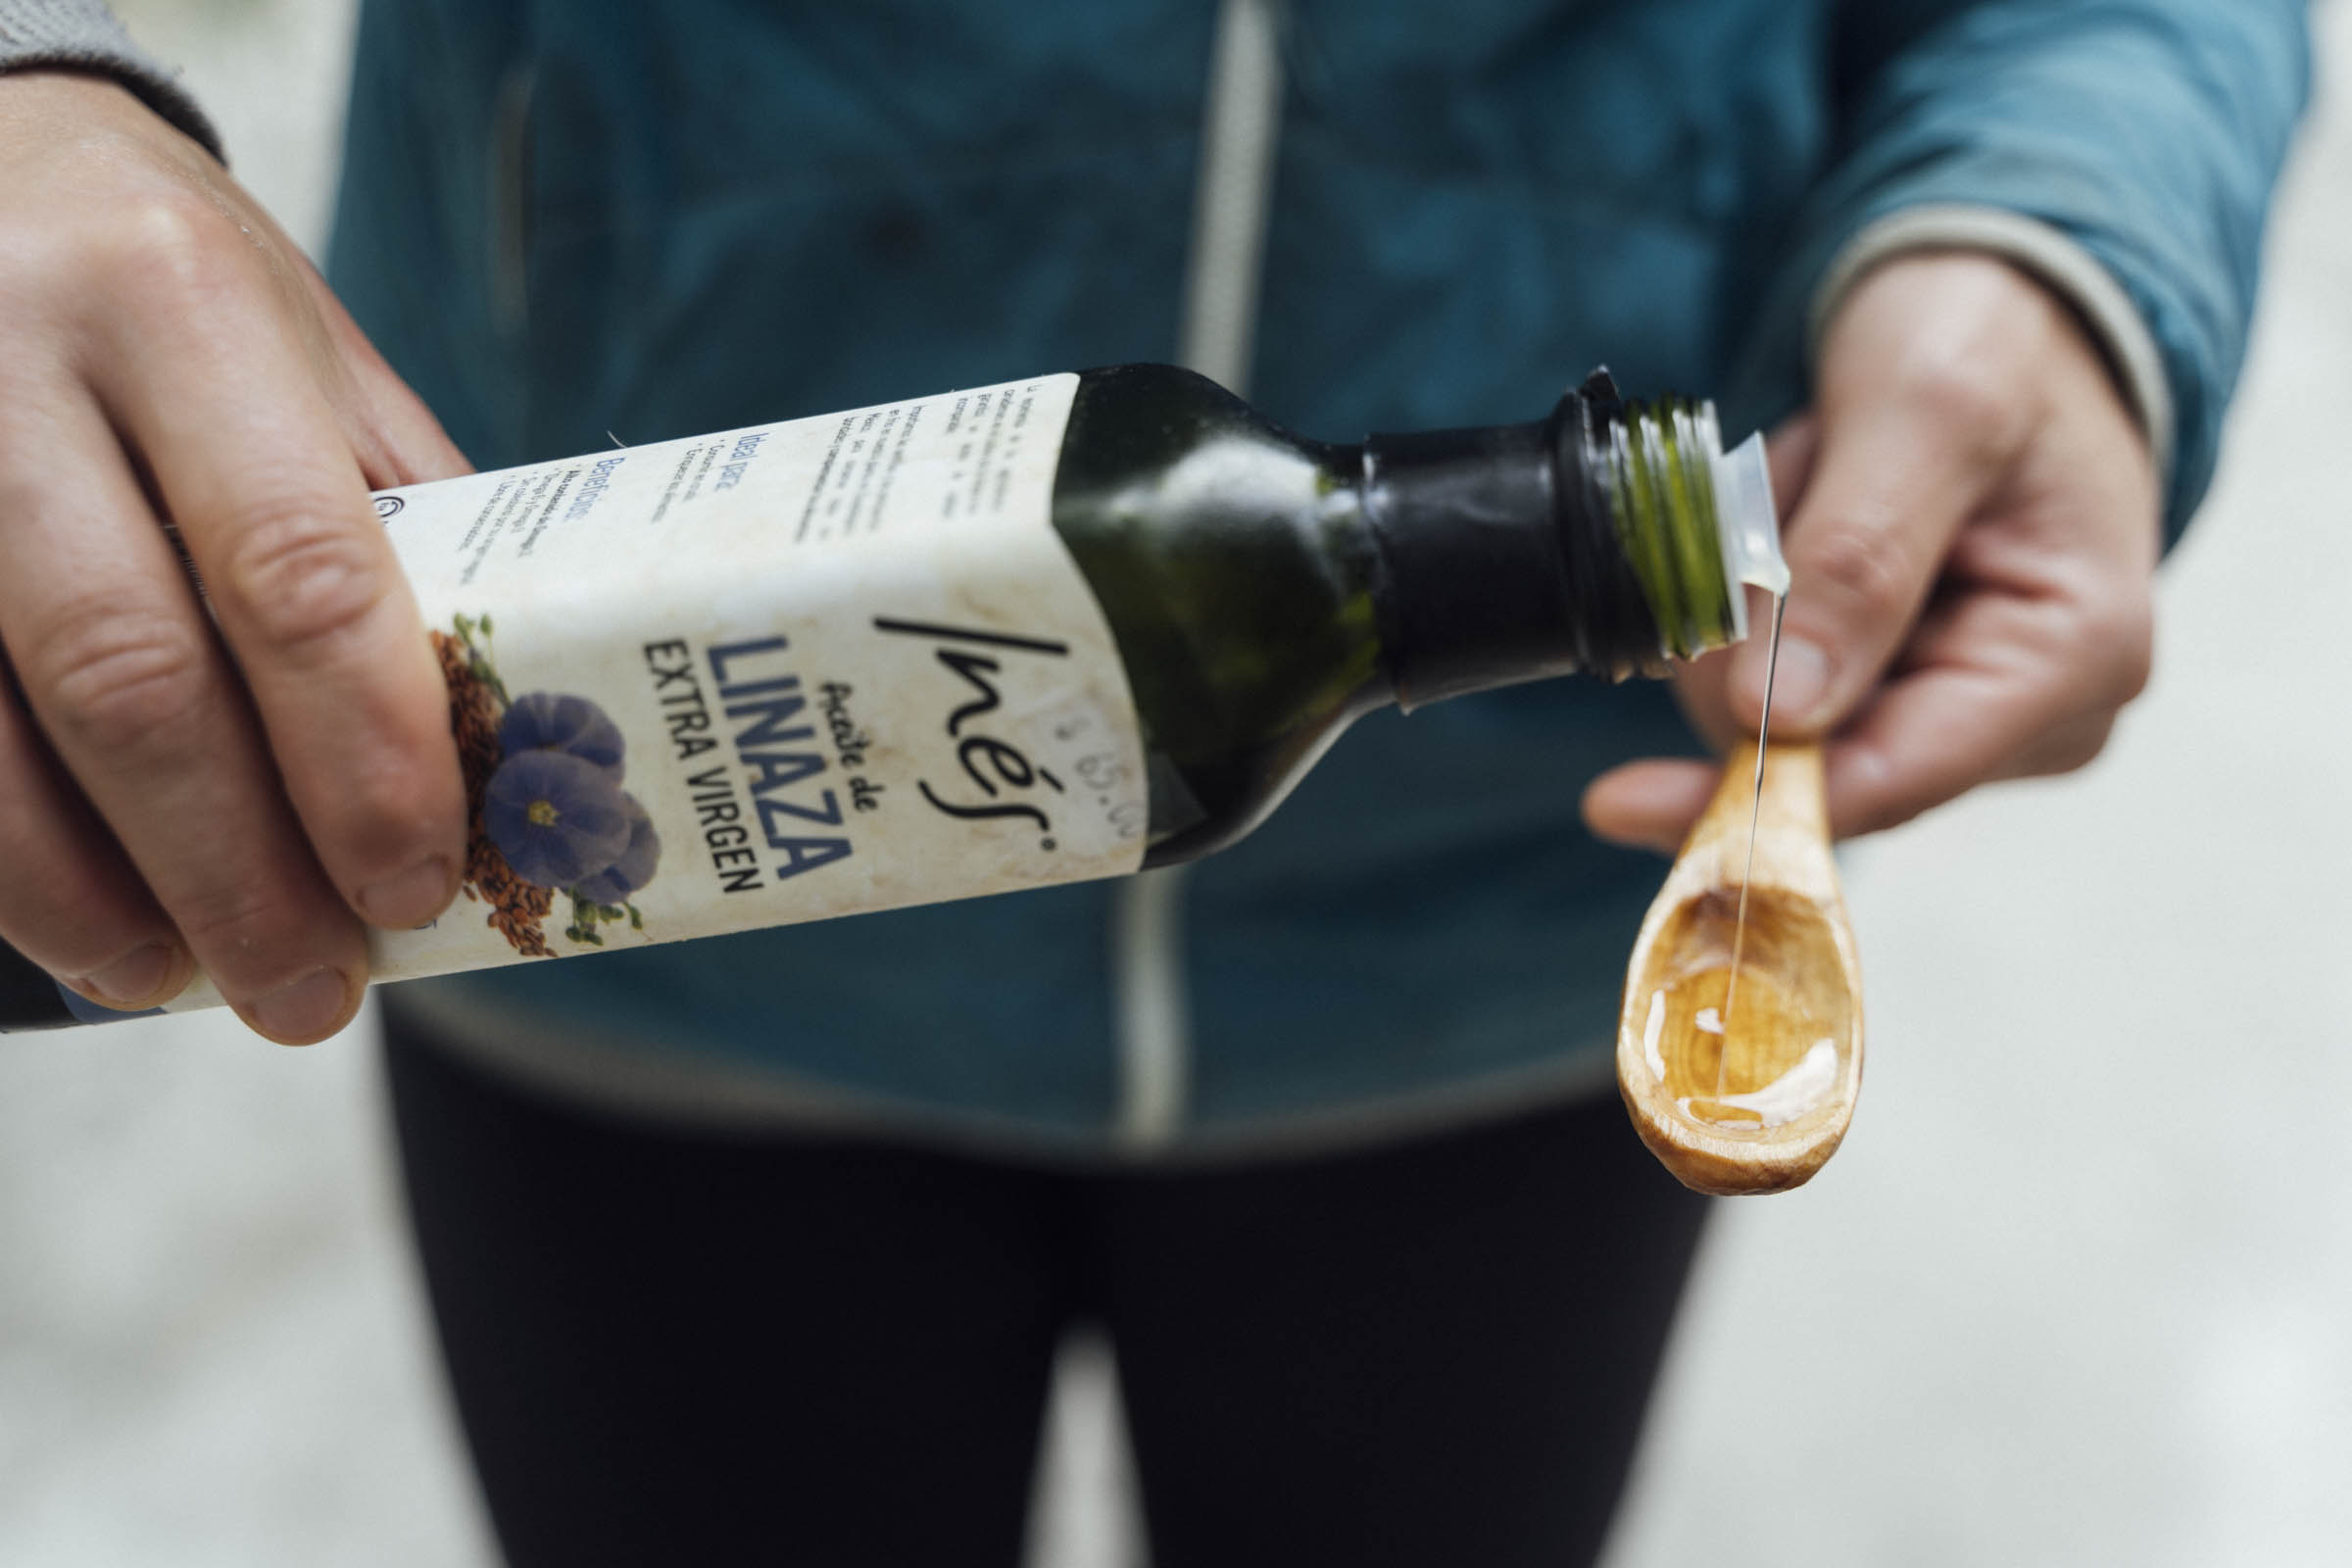
When it’s finished, treat the spoon with a food-safe oil, as this will seal the wood and protect it. Raw, food-grade linseed oil, from a grocery store, works well. Lacquer it on generously and if you have enough, leave it soaking in an oil bath. Otherwise, wrap it in a plastic bag to keep it from drying out too quickly. It’s especially important to be patient here with freshly cut wood and allow it to dry slowly over time, as it can be heartbreaking if your precious spoon cracks or splits at the last hurdle! Leave it wrapped up in a cool, shady spot that won’t be subject to quick temperature changes.


Keep oiling your new spoon regularly. Later, oil it whenever the opportunity arises, or when you remember. This will help your spoon last a long and useful life. Spoon maintenance is all part of the process and I’ve come to greatly enjoy oiling my small collection of spoons. I love to see the subtle detailing in the grain of the wood change over time.
If the spoon is thick enough, you can drill a hole through the end and thread in some nice paracord, or a piece of leather, as the finishing touch.
The Bone Spoon
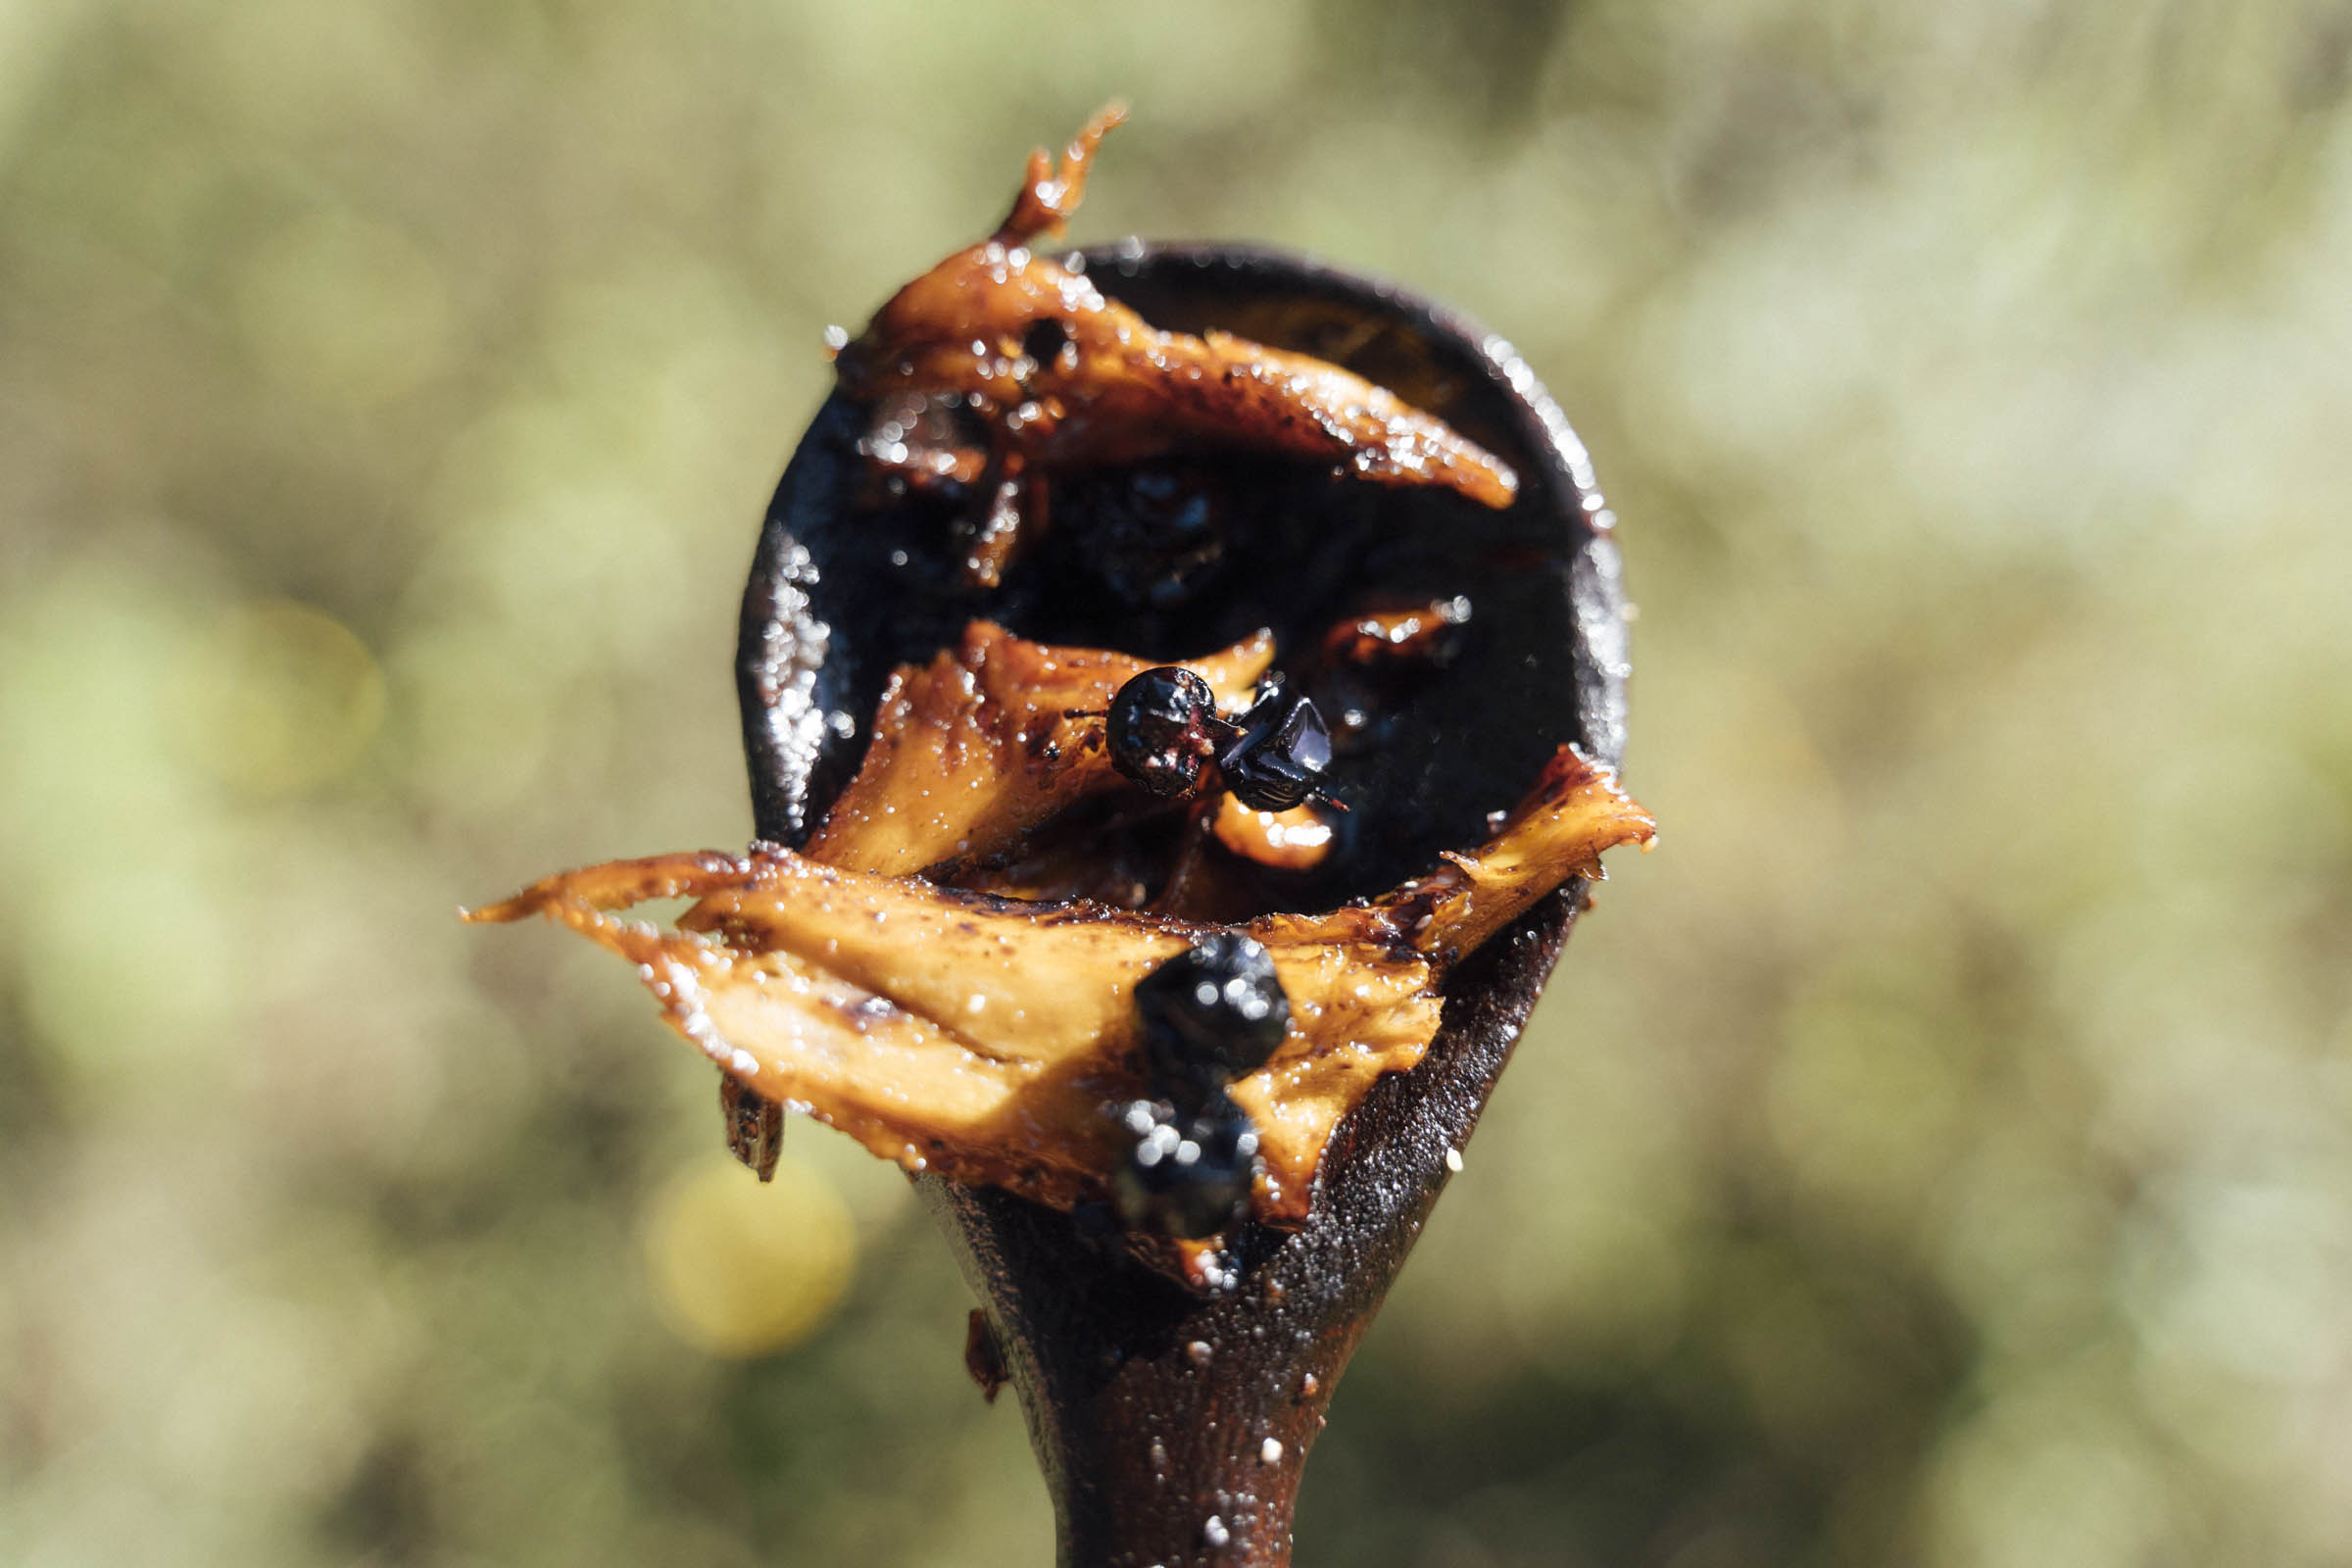
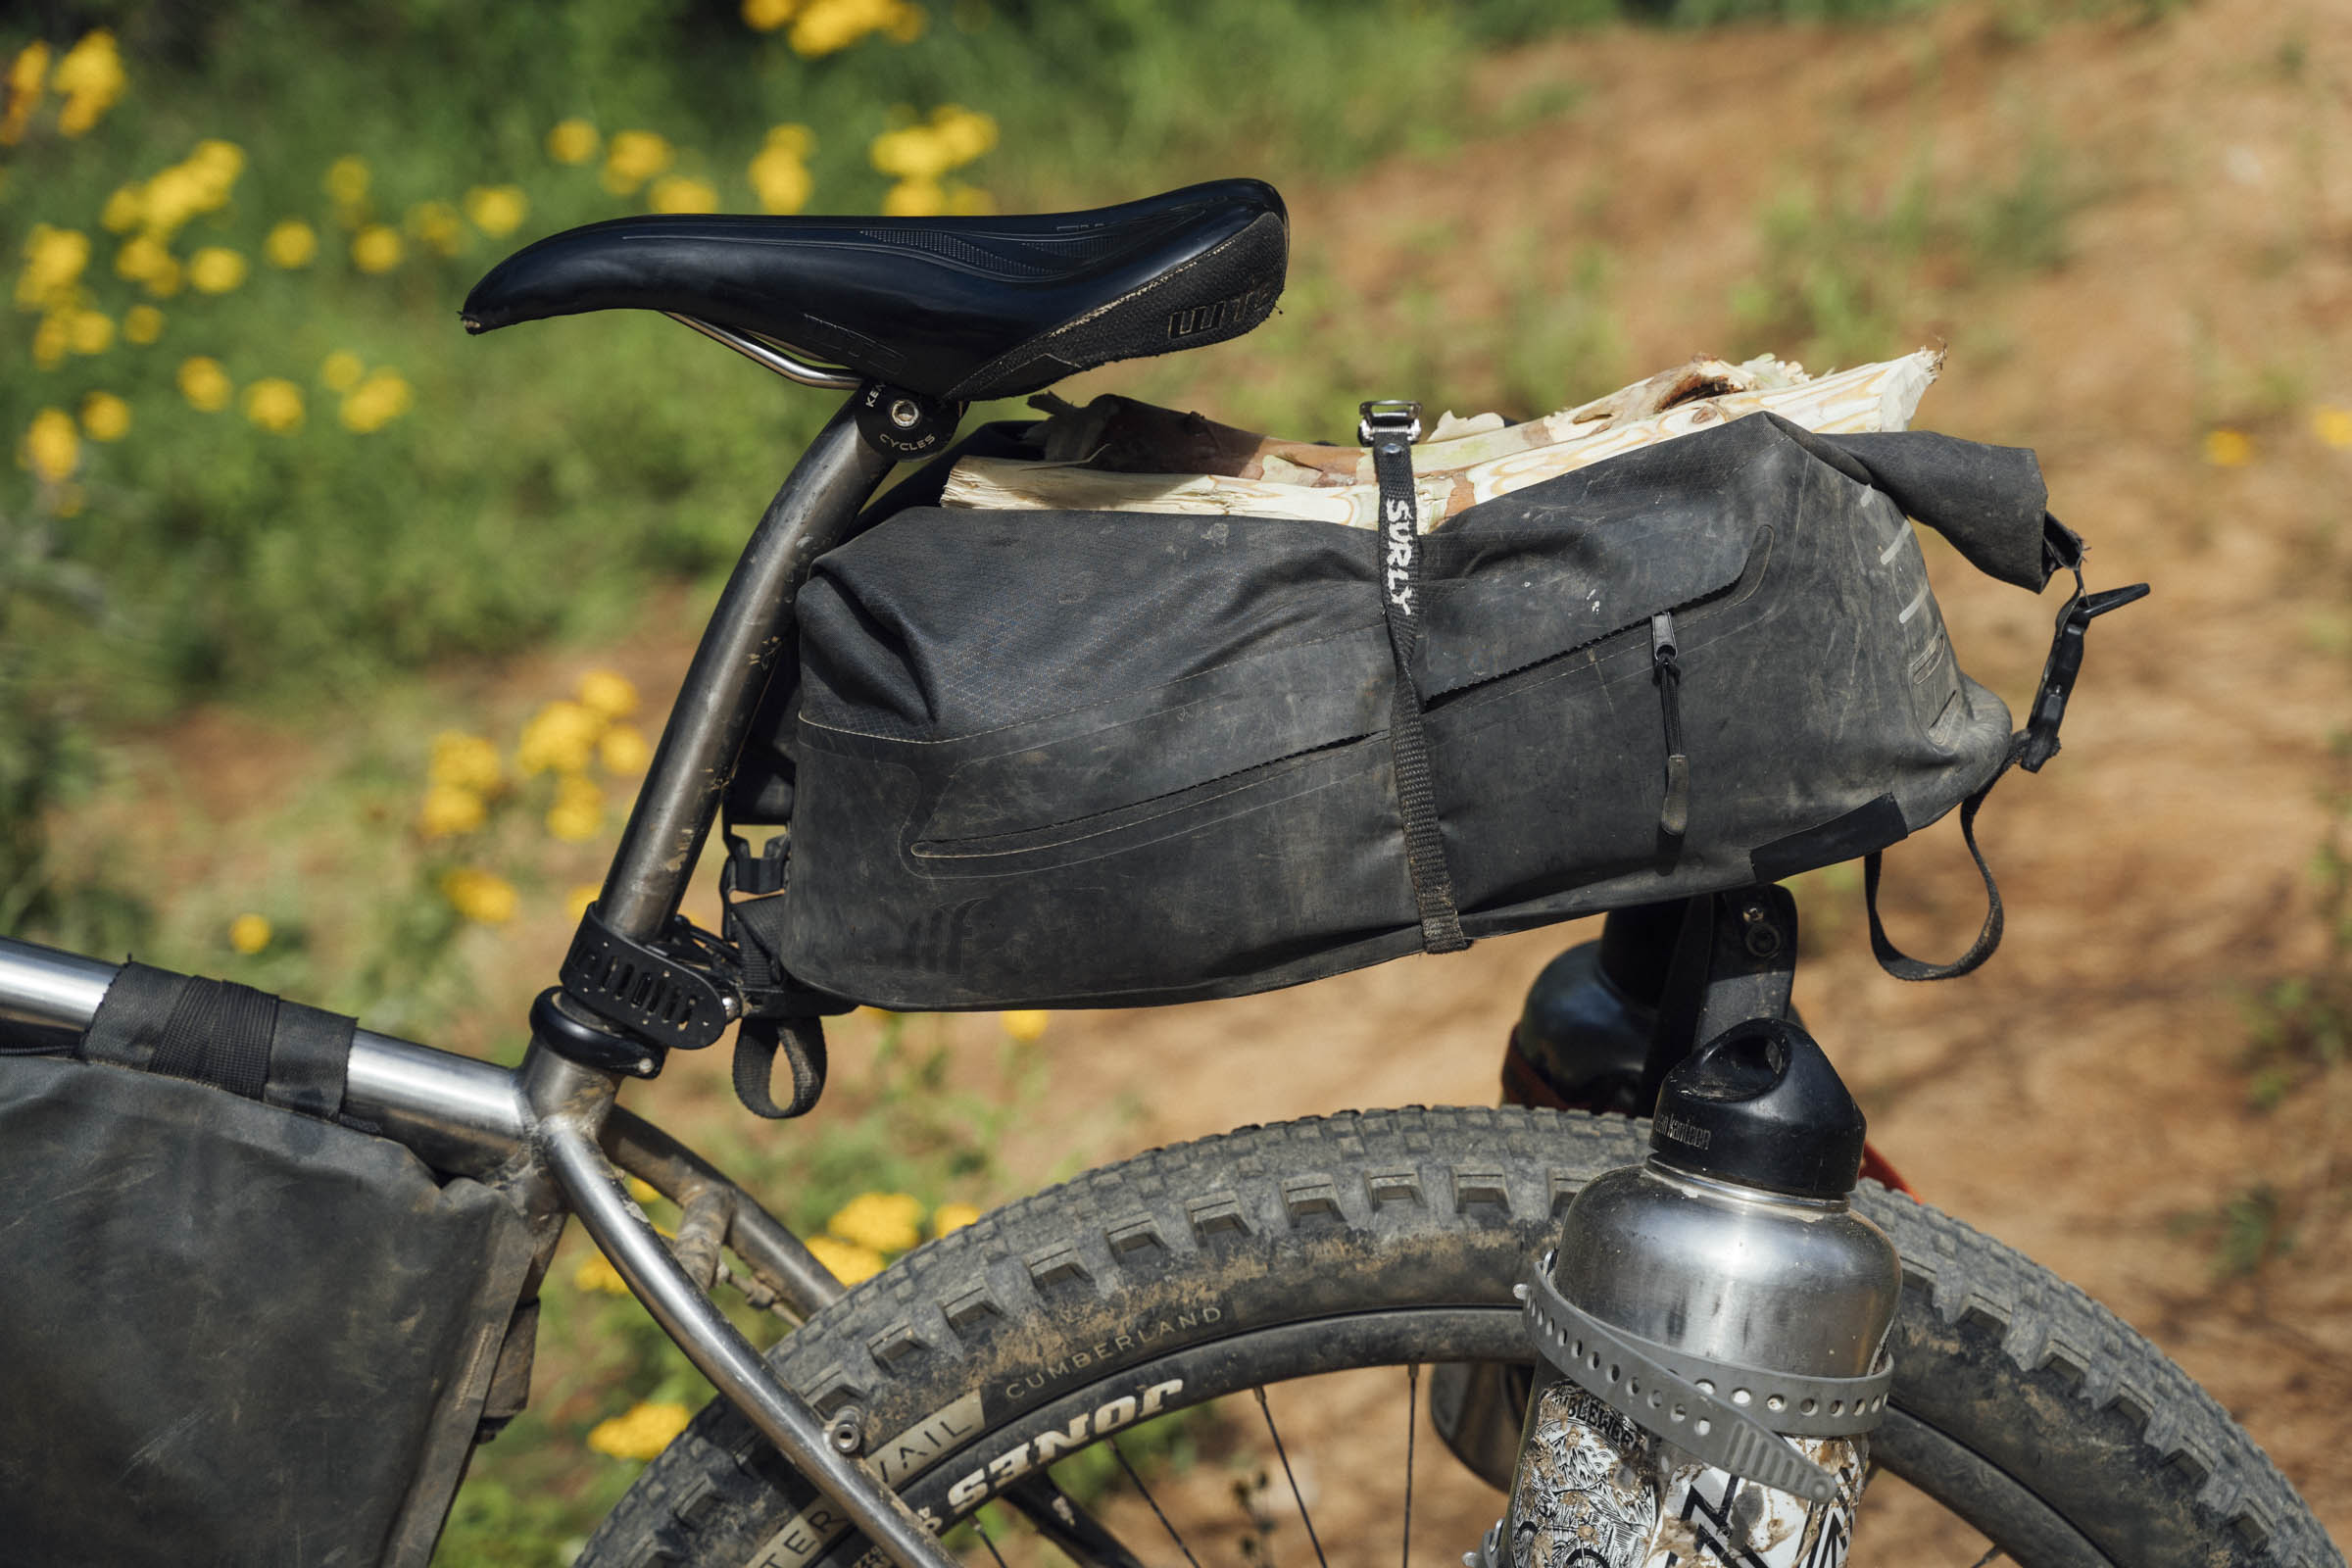
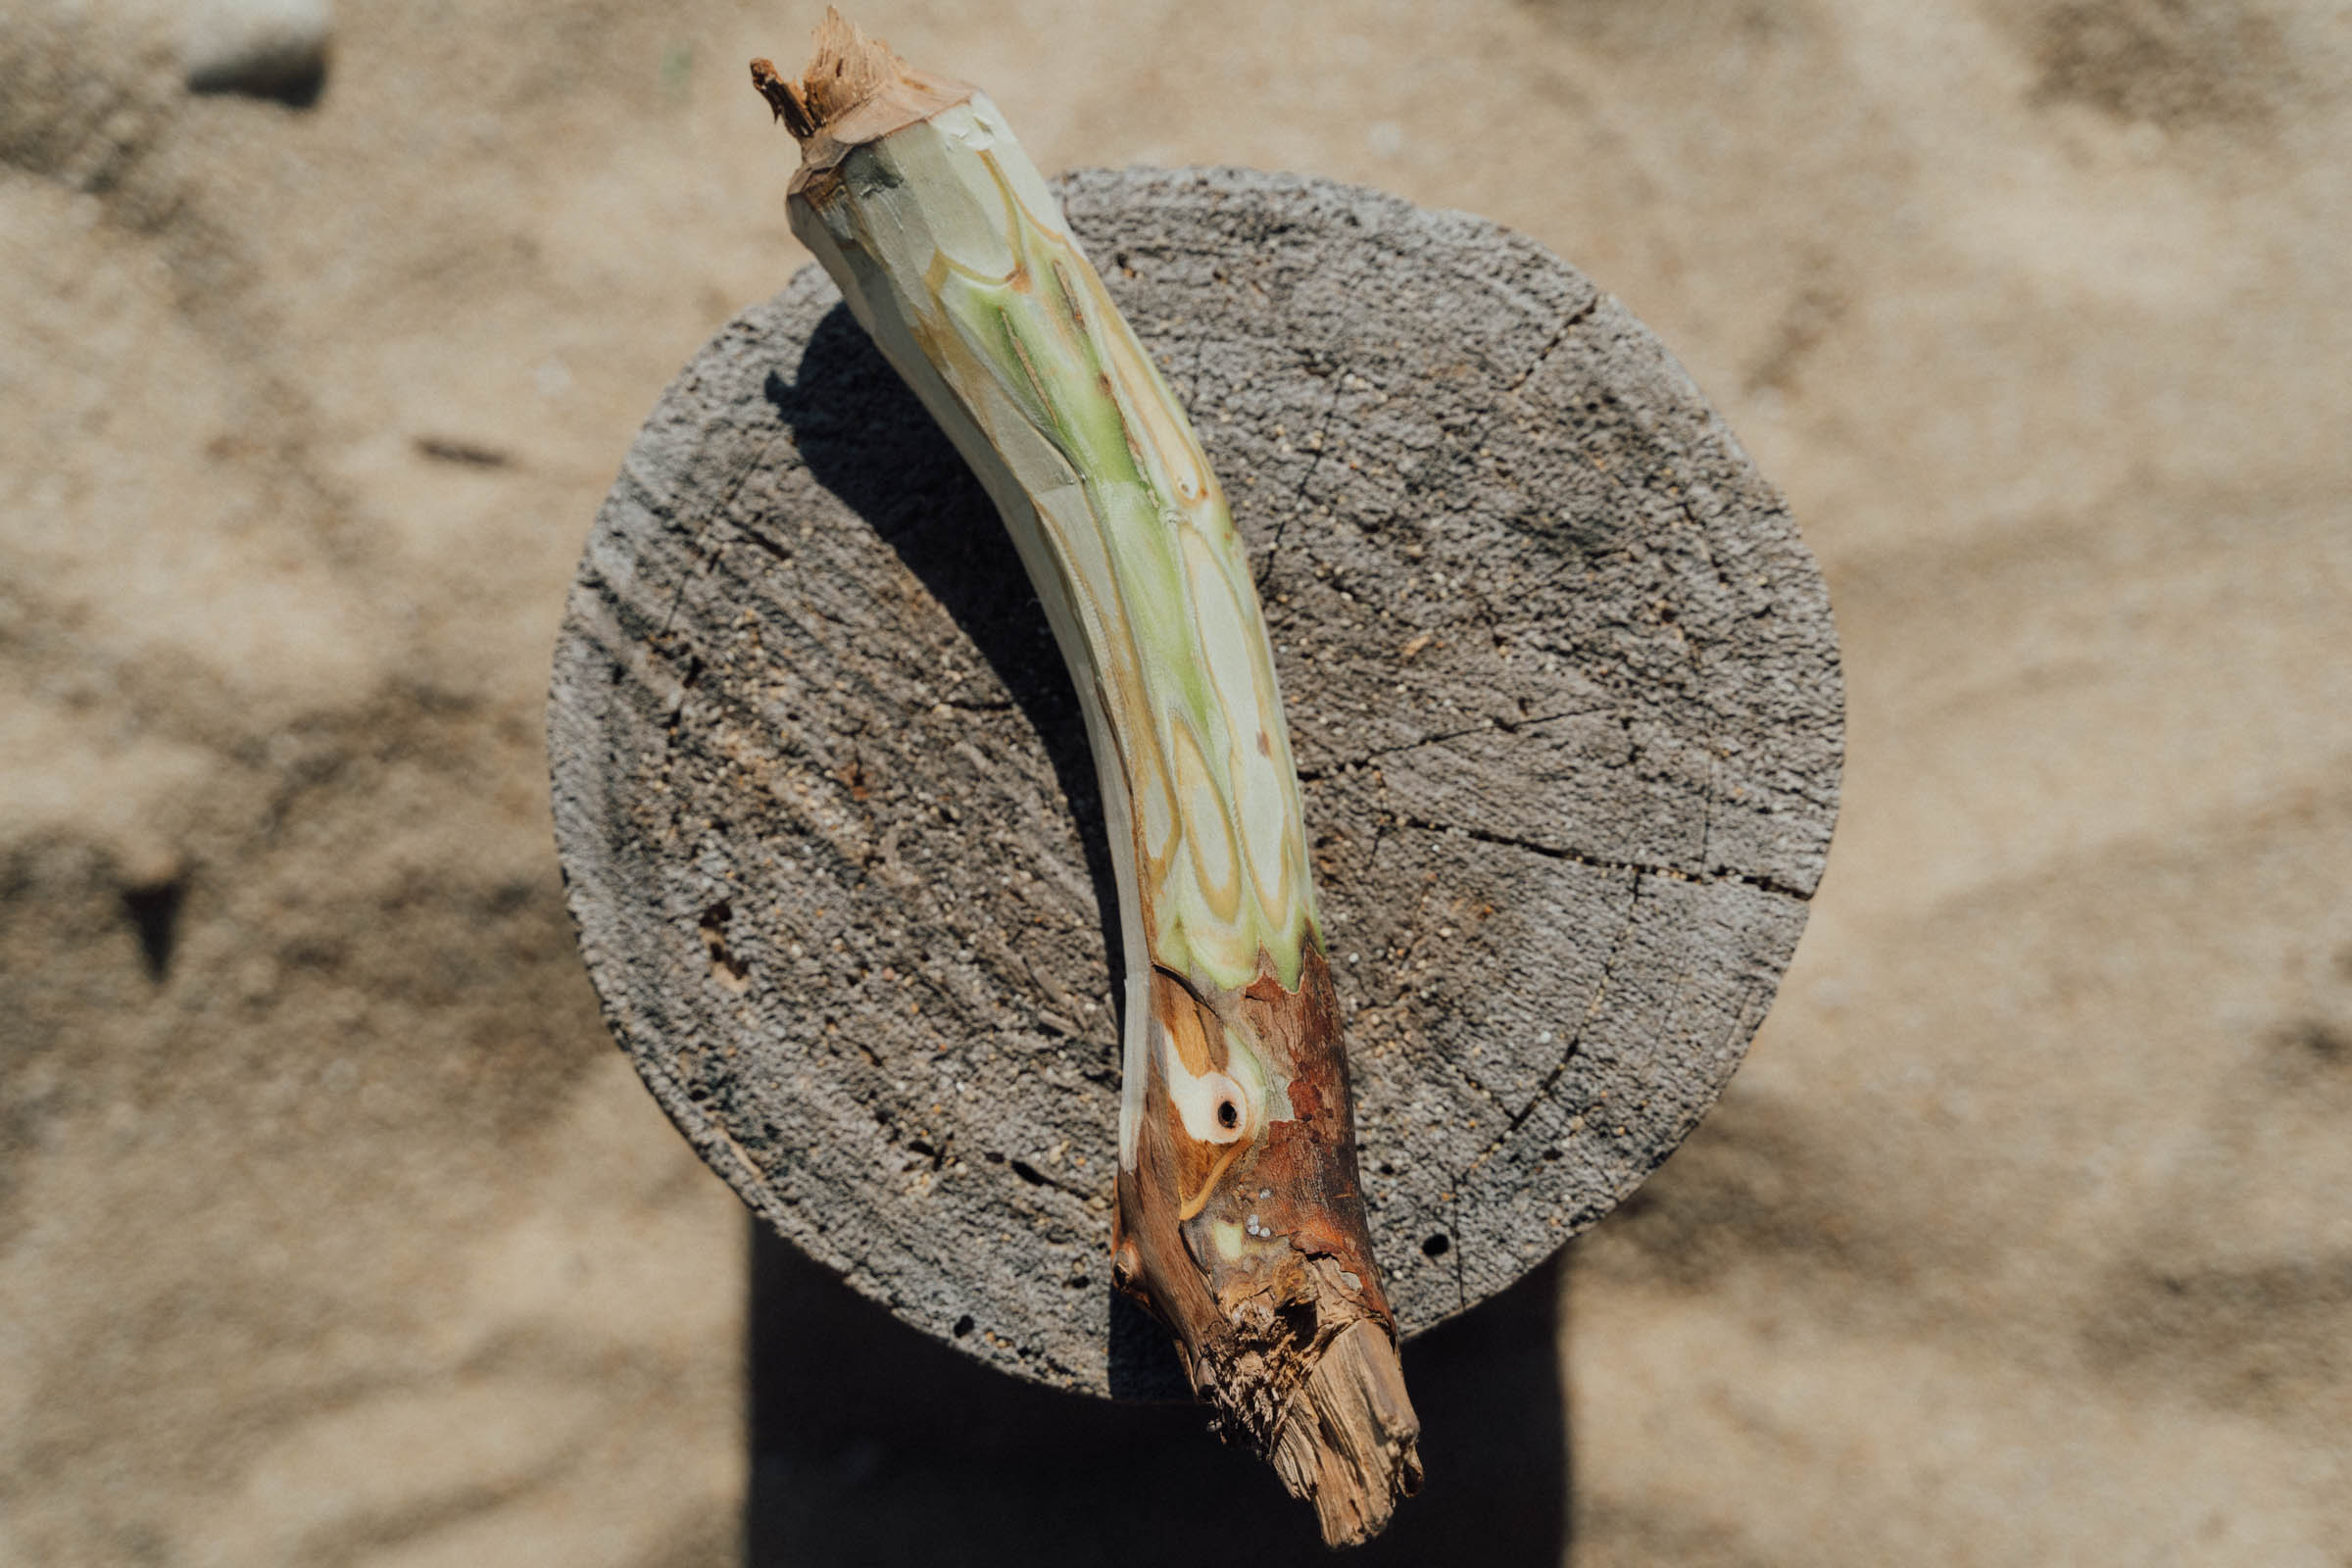
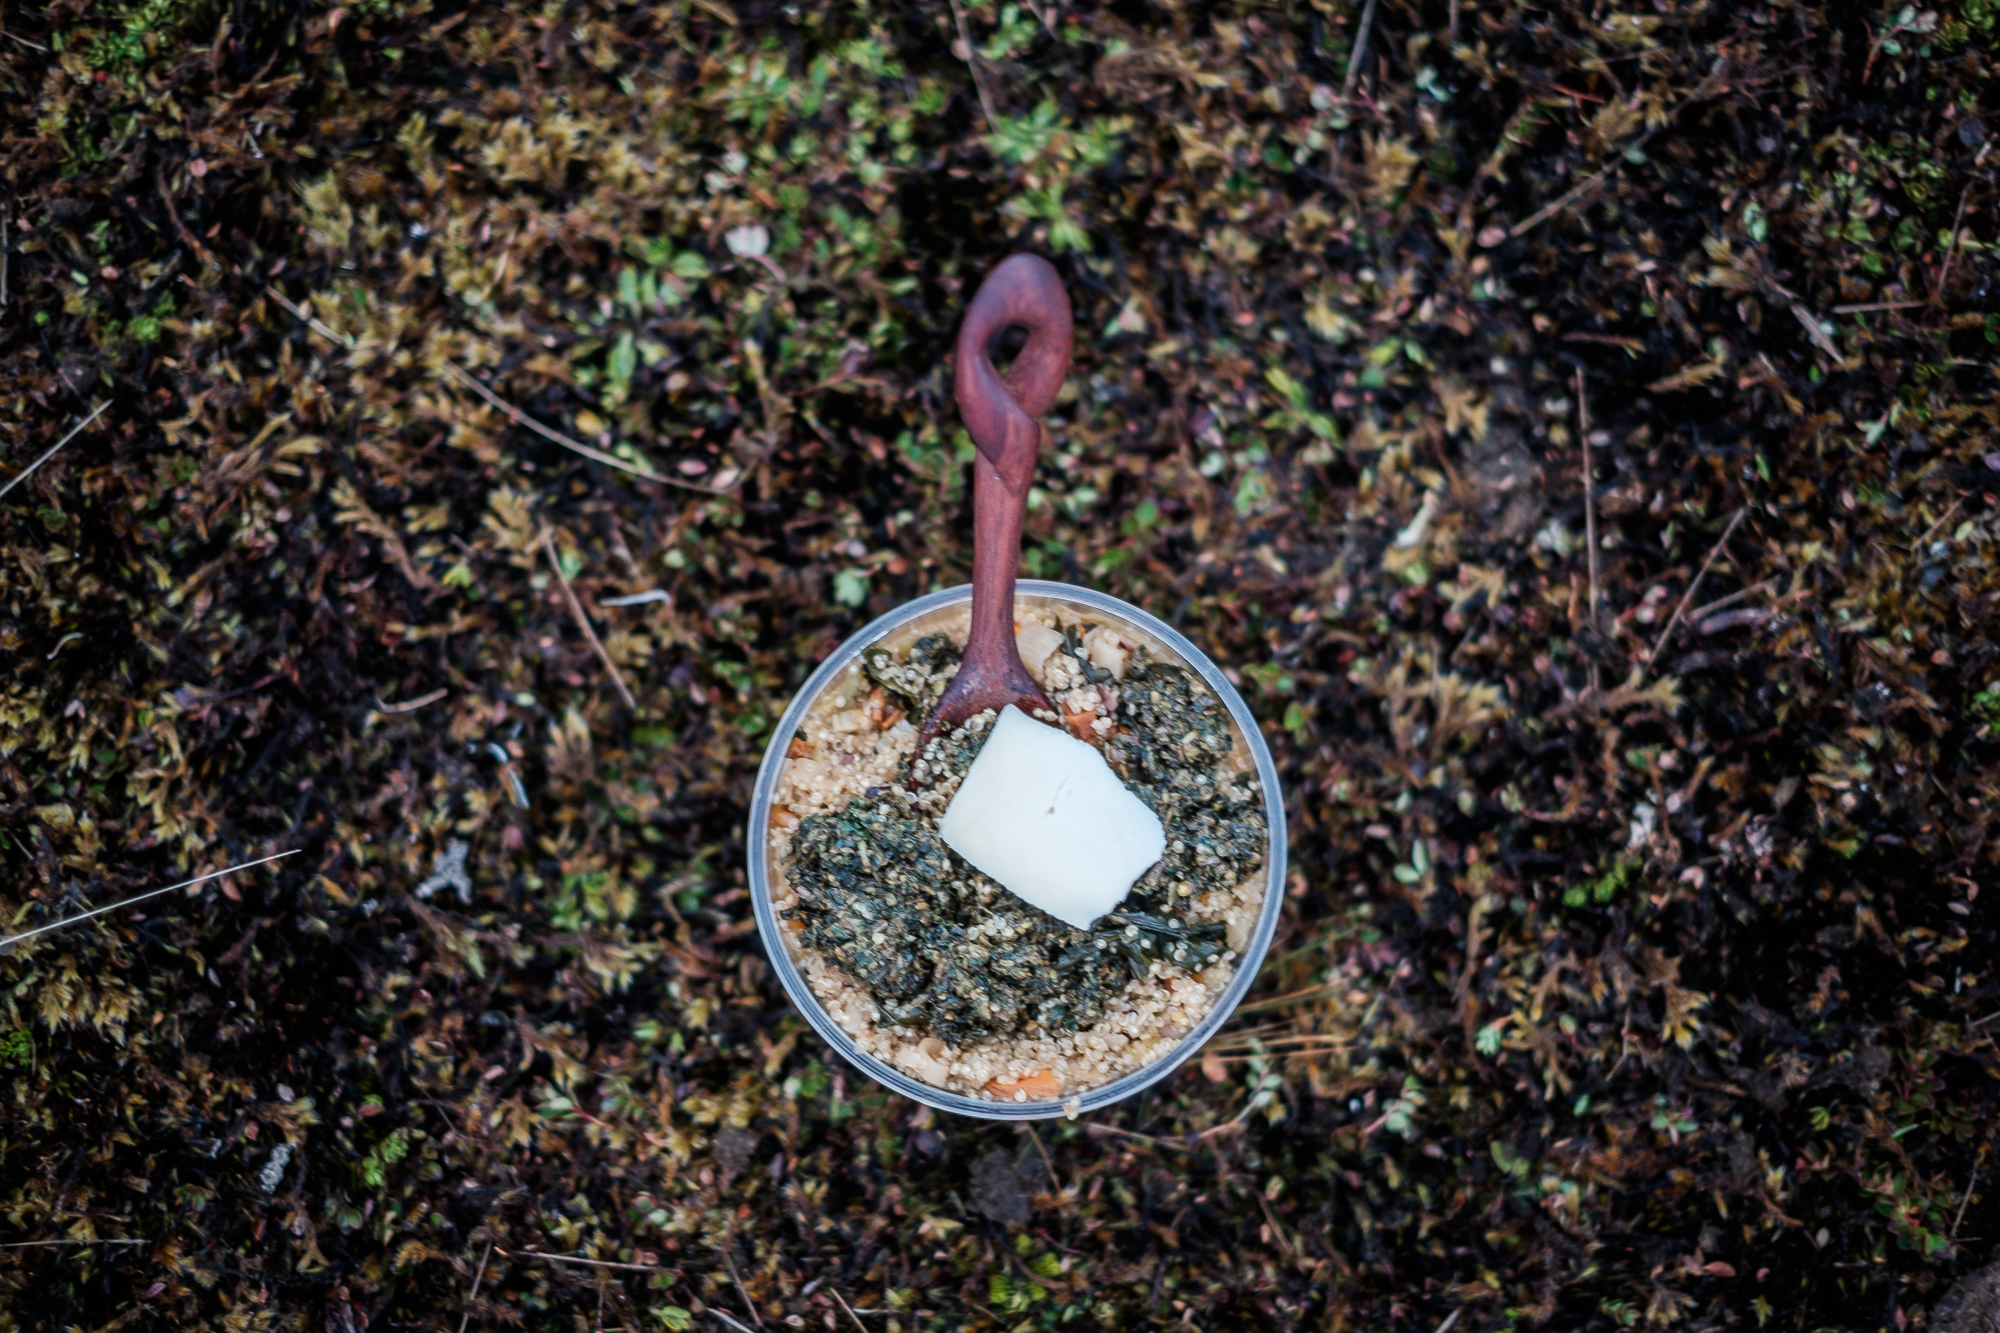
Not the most practical of sized spoons to bikepack with, I nevertheless love my ‘bone spoon’. It came from a large branch of recently cut madrona discarded by the roadside, in the cloud forests around San José del Pacífico, Mexico. I removed a piece with my whittling knife, strapped it to my bike, and hauled it with me on an especially tough bikepacking trip to the coast, whittling it on the beach where we ended up on our last night. The bend in the wood and a significant knot at one end meant it turned out looking a lot like a human bone, which felt almost poetic, because it was finished the day before Mexico’s beautiful Día de los Muertos ceremony. I’m not sure it will be especially practical for bikepacking… but it will be great for stirring big pots of soup!
Here’s the piece straight after I’d cut it off a discarded branch, how it looked before I started carving, and the finished product with linseed oil:
The Spoon Exchange, by Pepper Cook
I started carving spoons because of an amazing article I read a few years ago in Outside Magazine about this dude who hikes/lives on the Appalachian Trail and carves spoons with his email attached by a note for people on the trail to find and email him their story and their stoke on finding the spoon!
Folks who want to participate in the Spoon Outside exchange can follow @spoonoutside to find out the dates for the next exchange. One of my favorite new friends is a nine-year-old boy in India who carved his first spoon using a kitchen knife and a square of sandpaper. He mailed his spoon with a handwritten note and his three top Pokémon cards. If that doesn’t warm some cold dead hearts out there, I don’t know what will! I truly believe every single person who tries can carve their first spoon on their first try, and we have A LOT of newcomers to the craft each exchange.
I love running the spoon exchange because not many folks receive super special snail mail anymore, and also everyone who follows the spoon exchange also loves bikepacking, so anyone who participates automatically gets a new friend to visit in a far-off place.


But it’s also really cool because participants typically include a letter with their spoon explaining about their choice of wood and the area where they live, a little about their life, and often some stickers or patches or little treasures!
As a core spoon maker’s packlist, I’d recommend a straight, fixed-blade knife for the handle, a scoop knife for the bowl, a few squares of different grade sandpaper, and some wax/mineral oil for sealing the knife at the end so food particles don’t get in there and rot.
Phoenix Creations is a great Instagram account for inspiration.
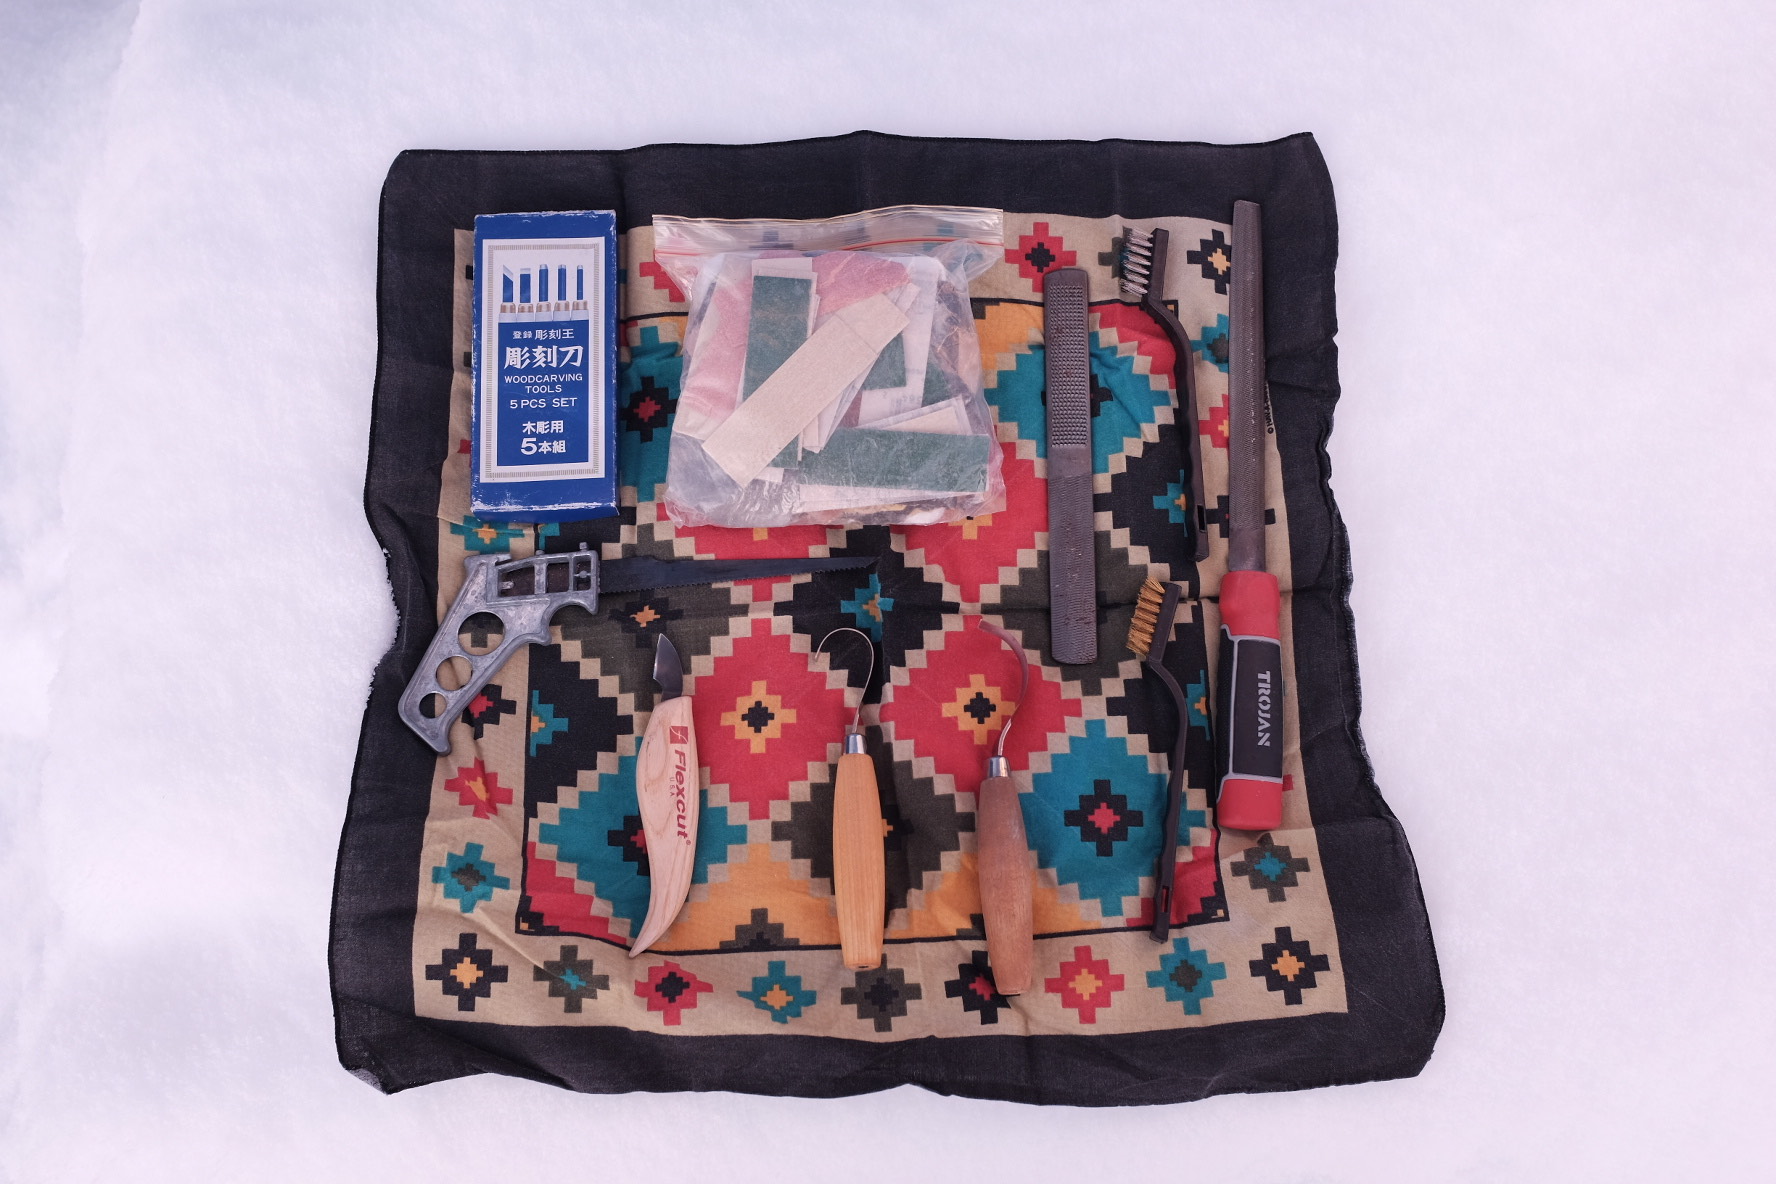
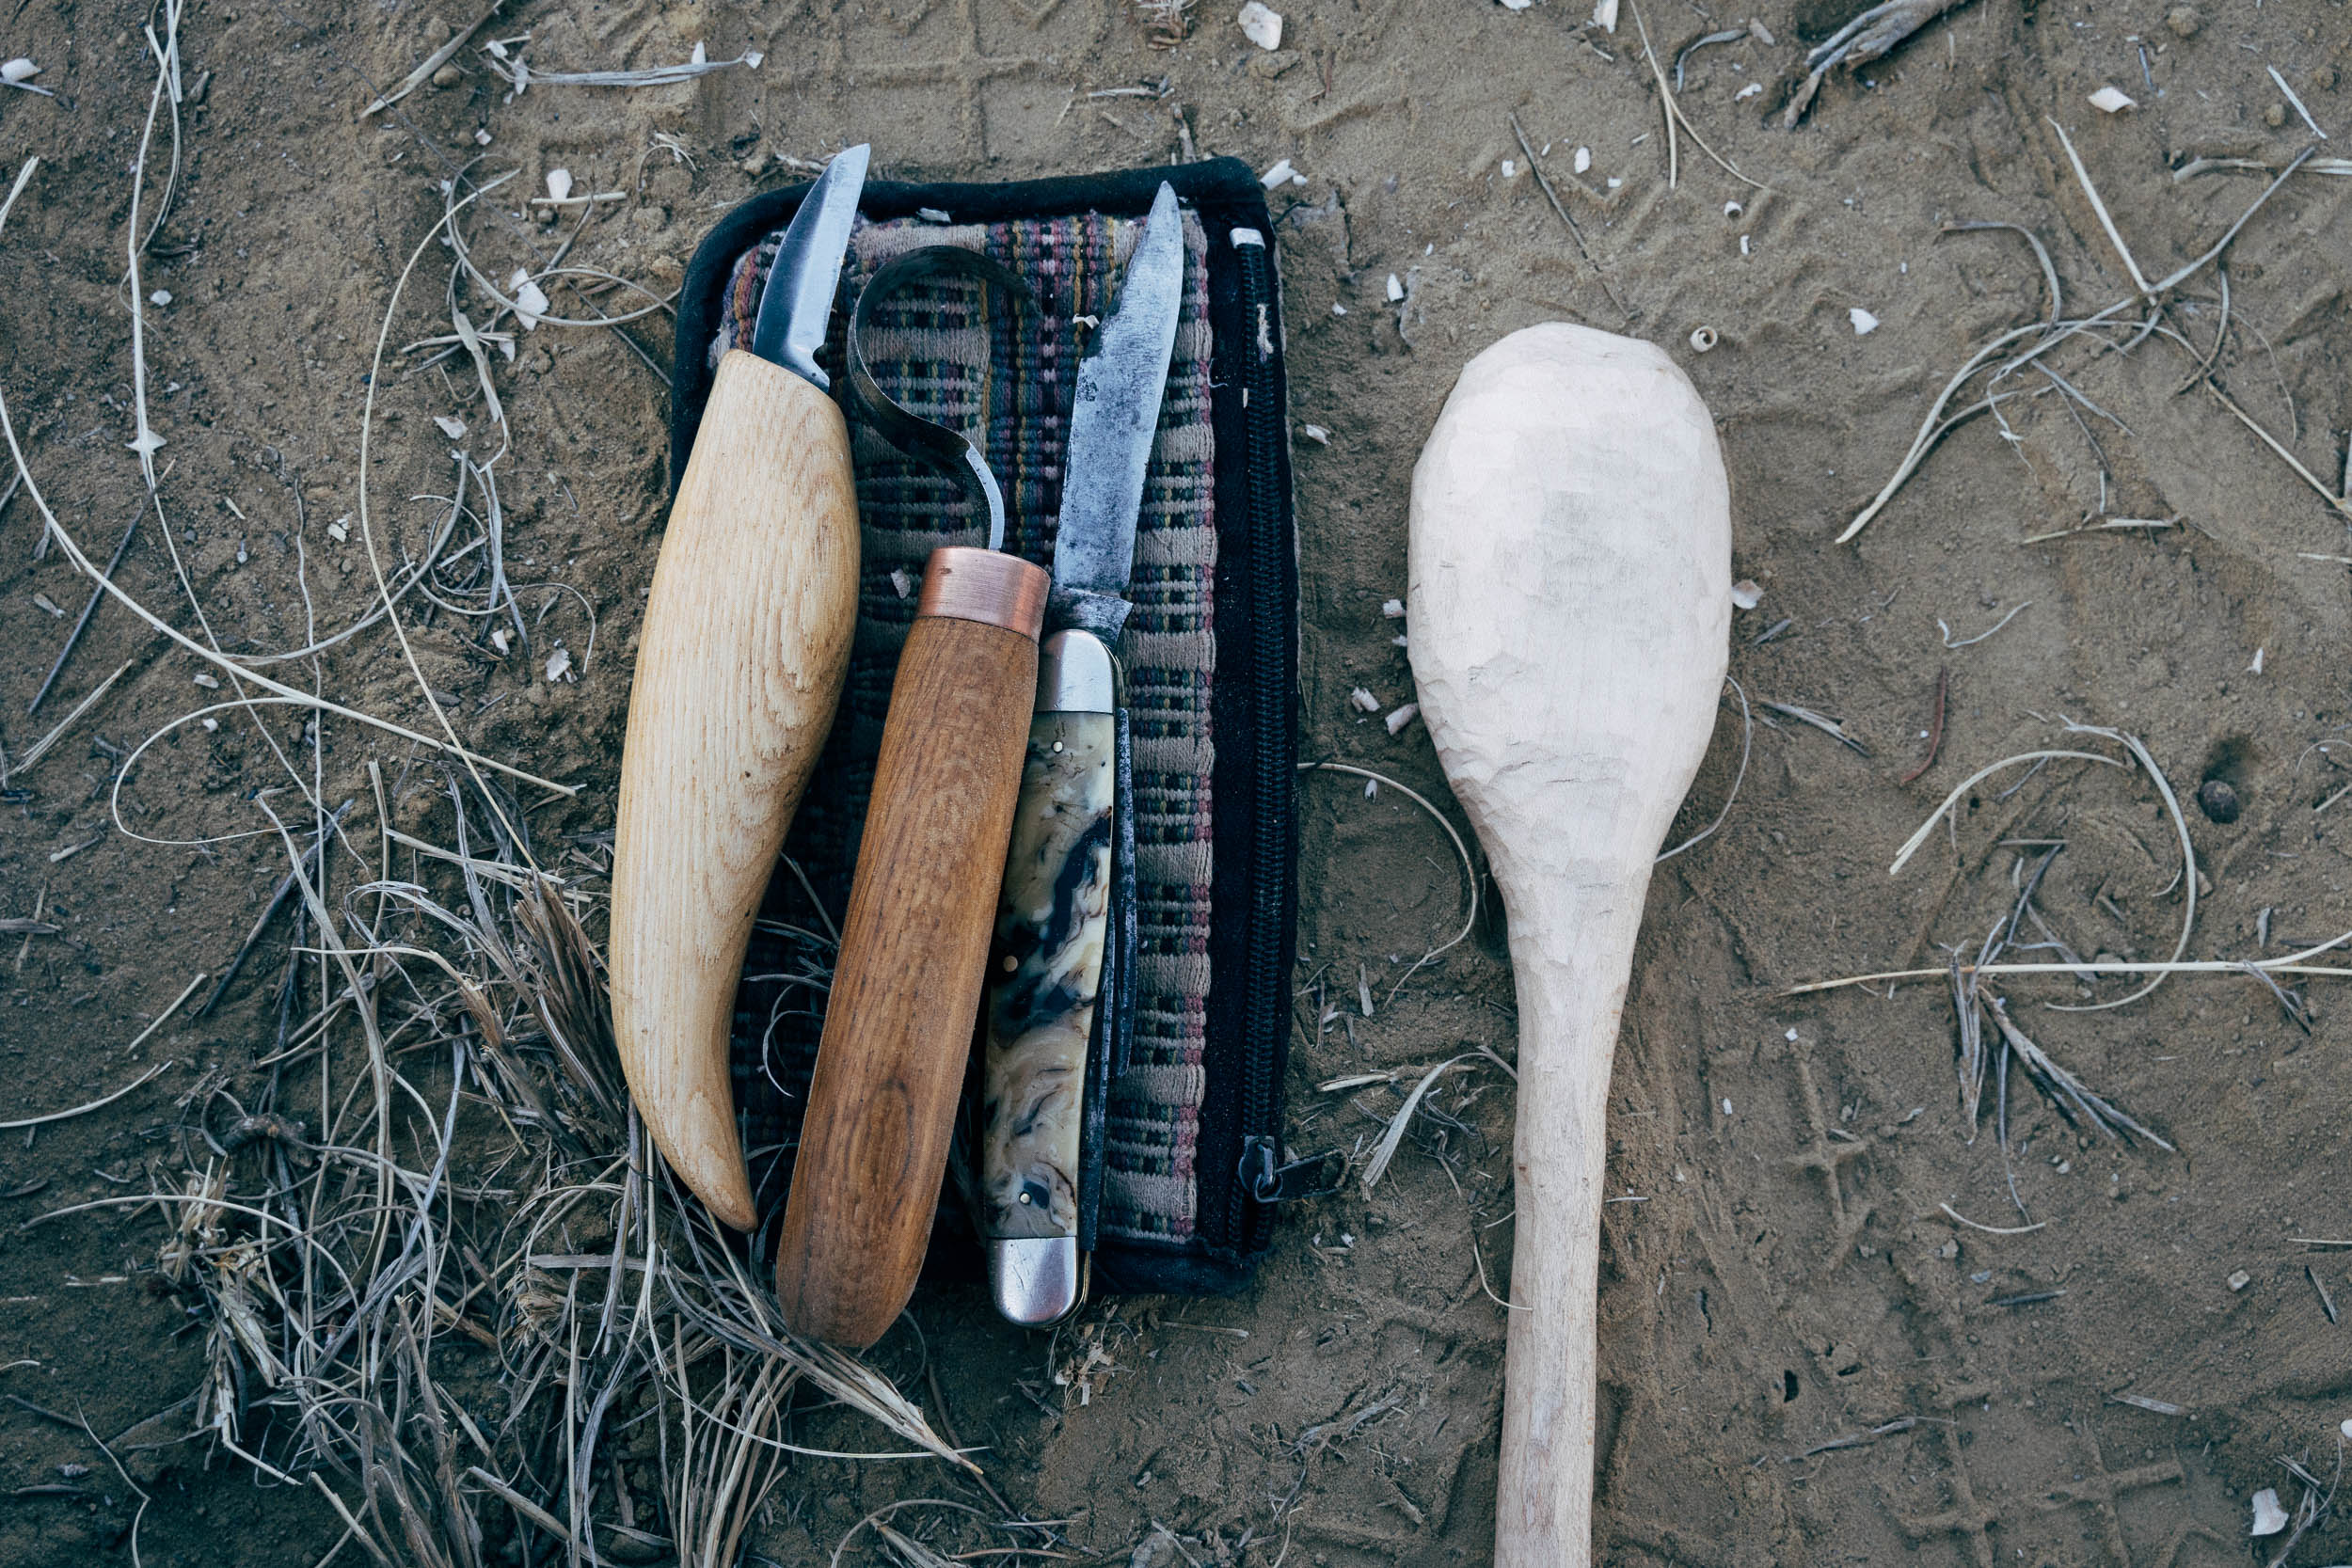
Spoon Making: A Basic Kit
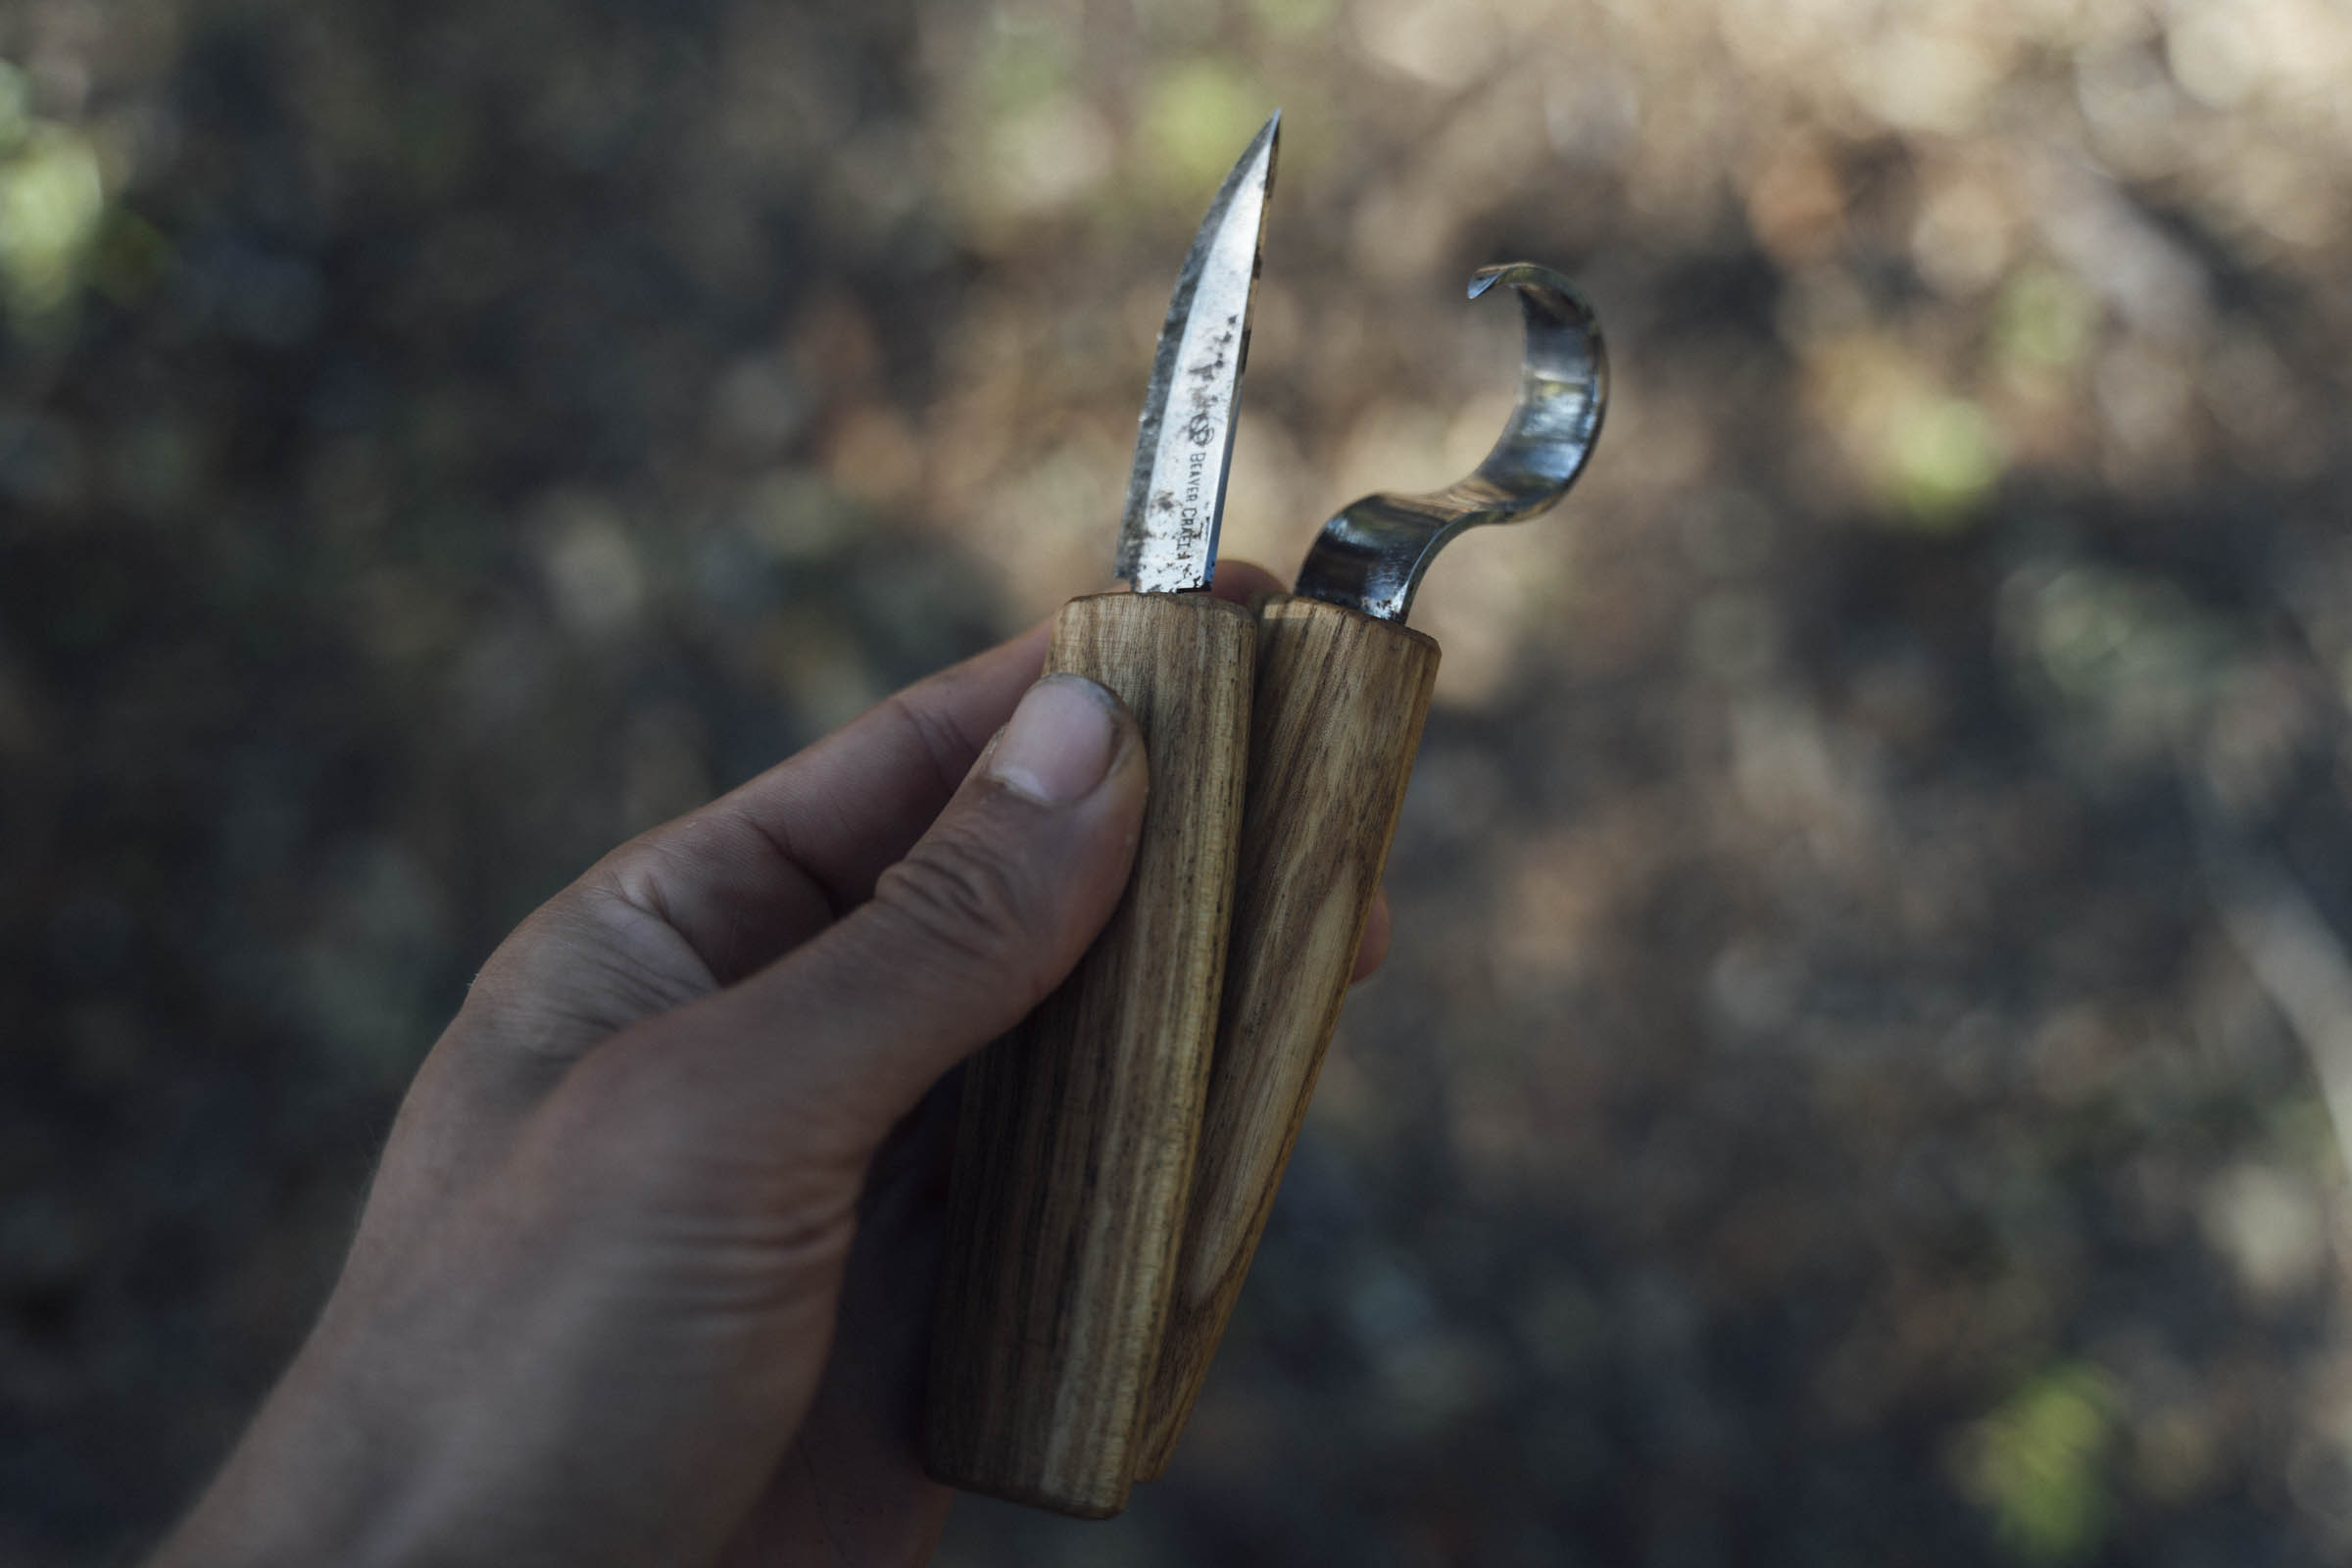
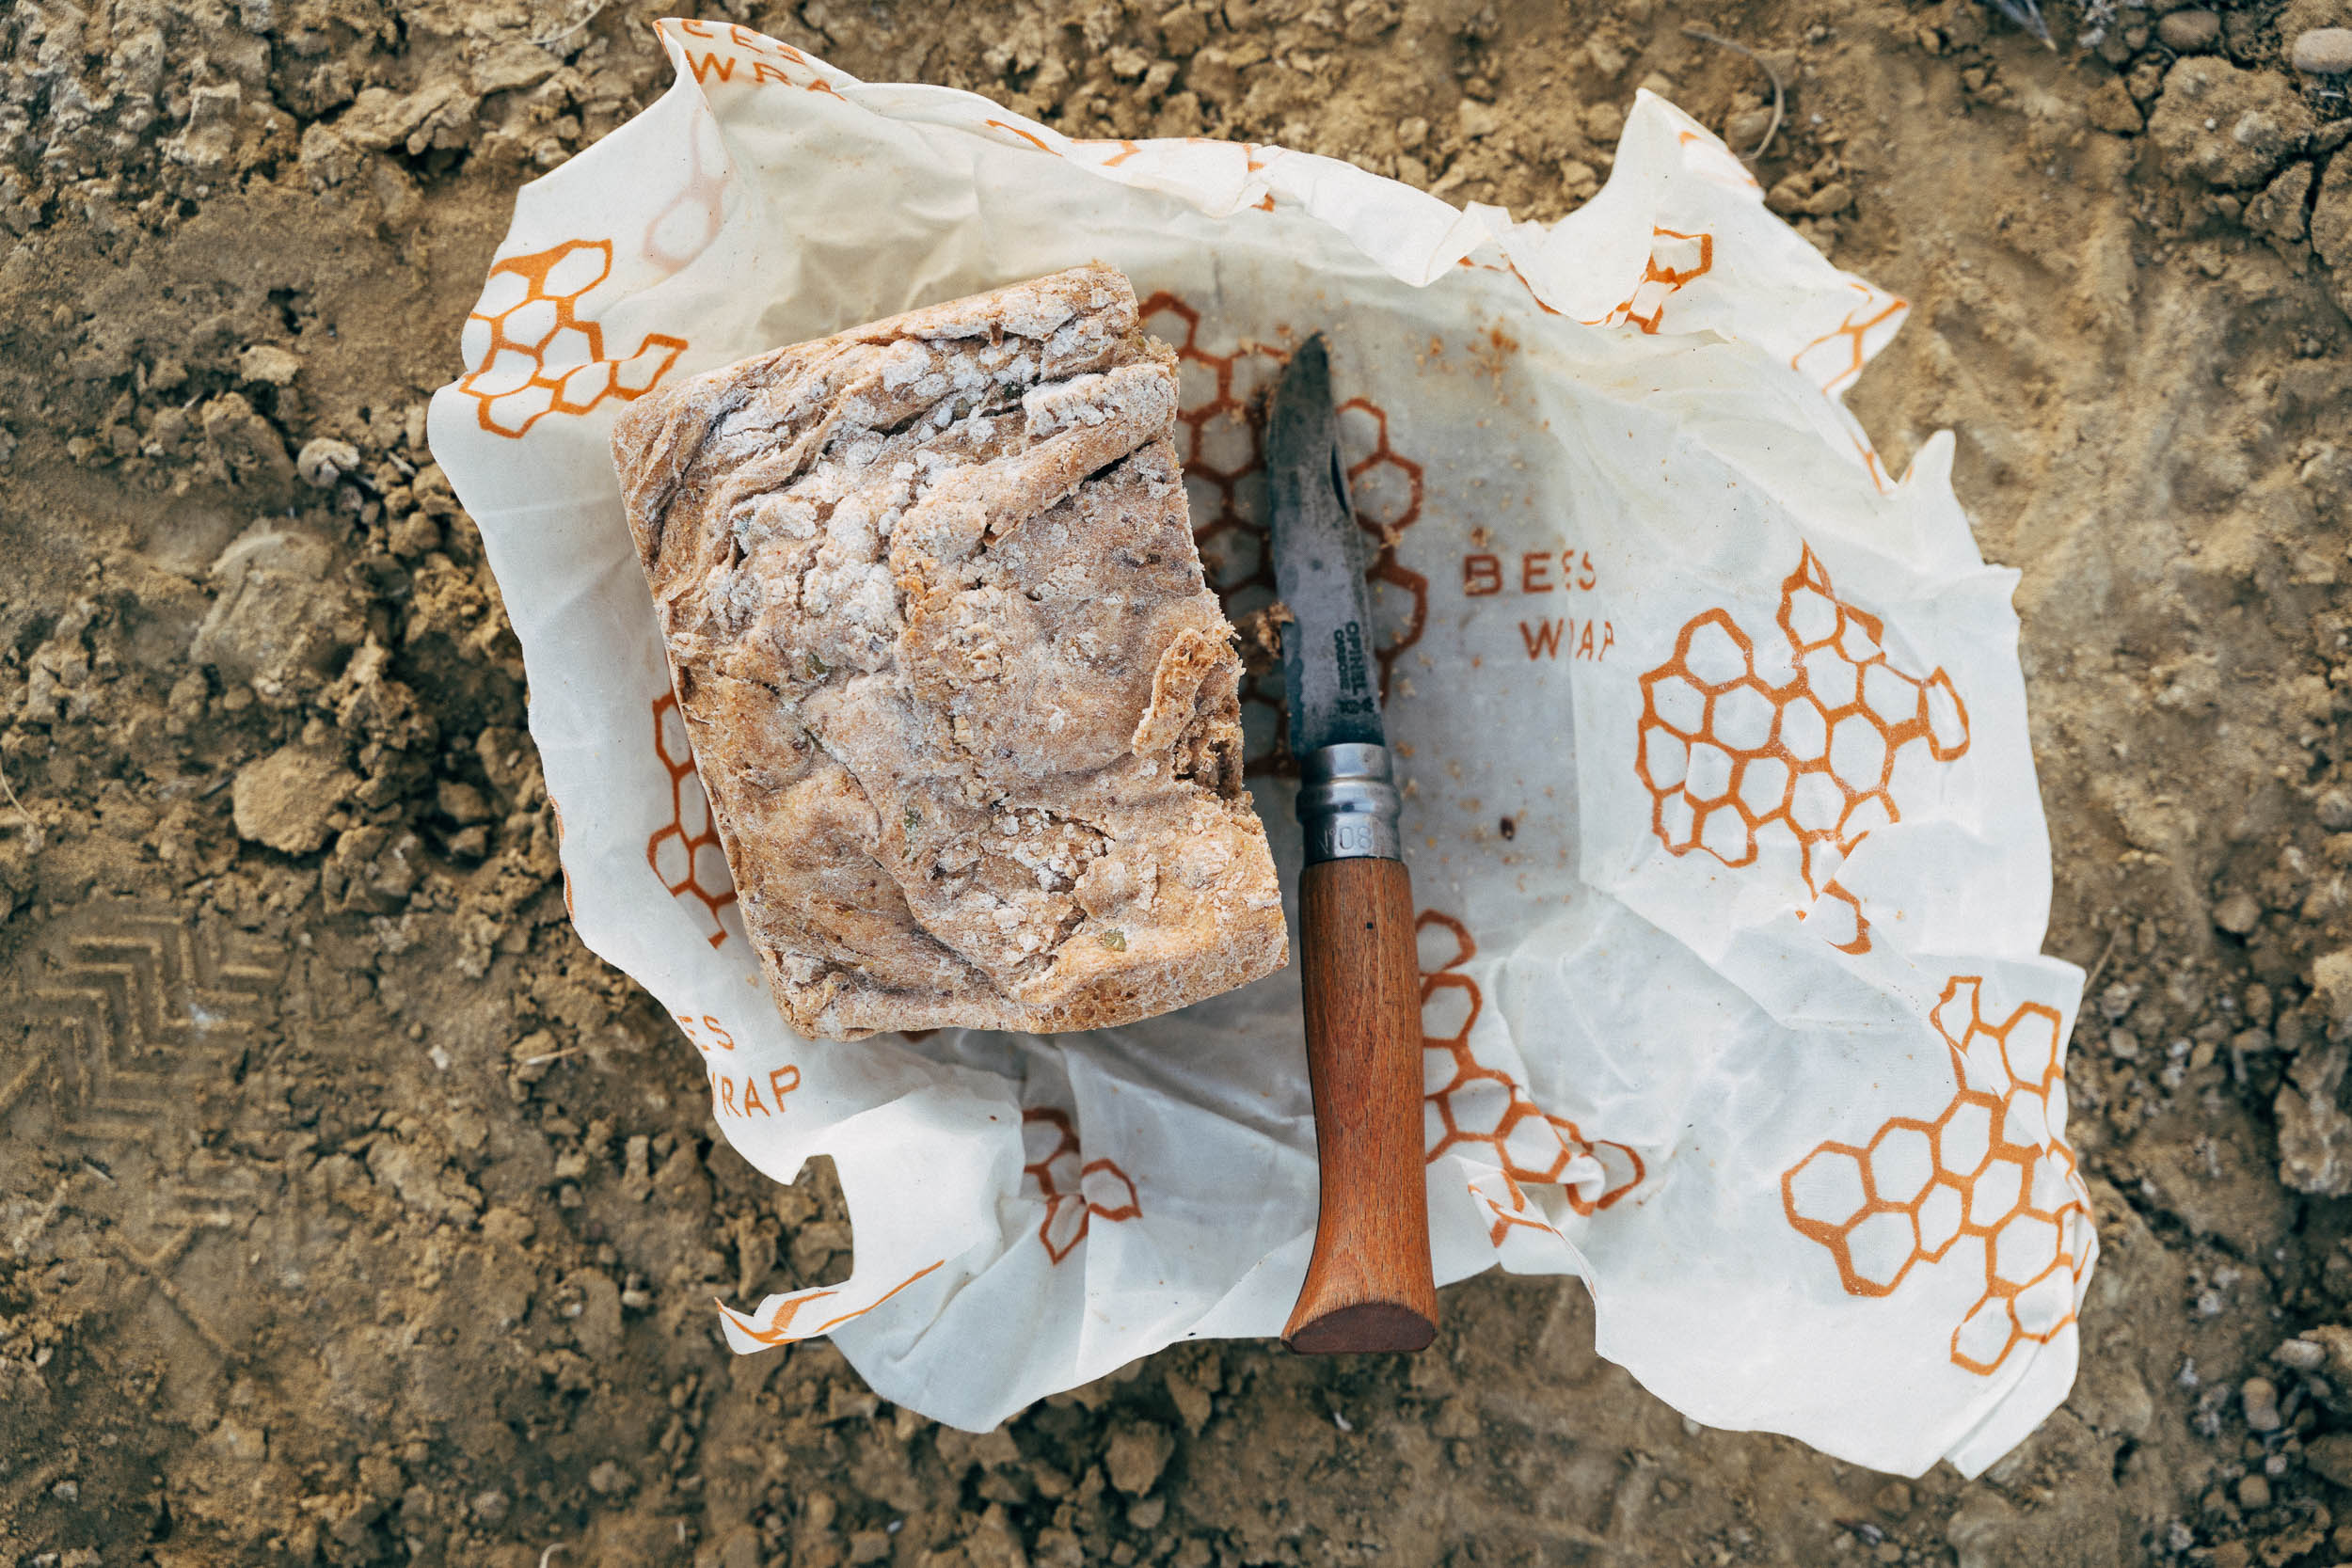
You don’t need much to carve a spoon. Michael Dammer loves his locakble Opinel and uses embers from a fire to make the bowl. It can be as simple as that. Although they’re more expensive, Mehedi likes to use knives with carbon steel blades as they tend to hold their edge much longer, though the whittling knife uses on bikepacking trips was found by the roadside on a ride! I carry a tough bag – made by Duluth’s Frost River – in which I stow a whittling knife, a curved knife for carving the bowl, a pencil, and when I remember them, work gloves. It’s small enough to carry around me on multi-day trips. As mentioned above, a sturdy tool wrap can be useful too, as you can use it to protect your body when carving. When I find a suitable piece of wood, I lash it to my seatpack or fork bag.
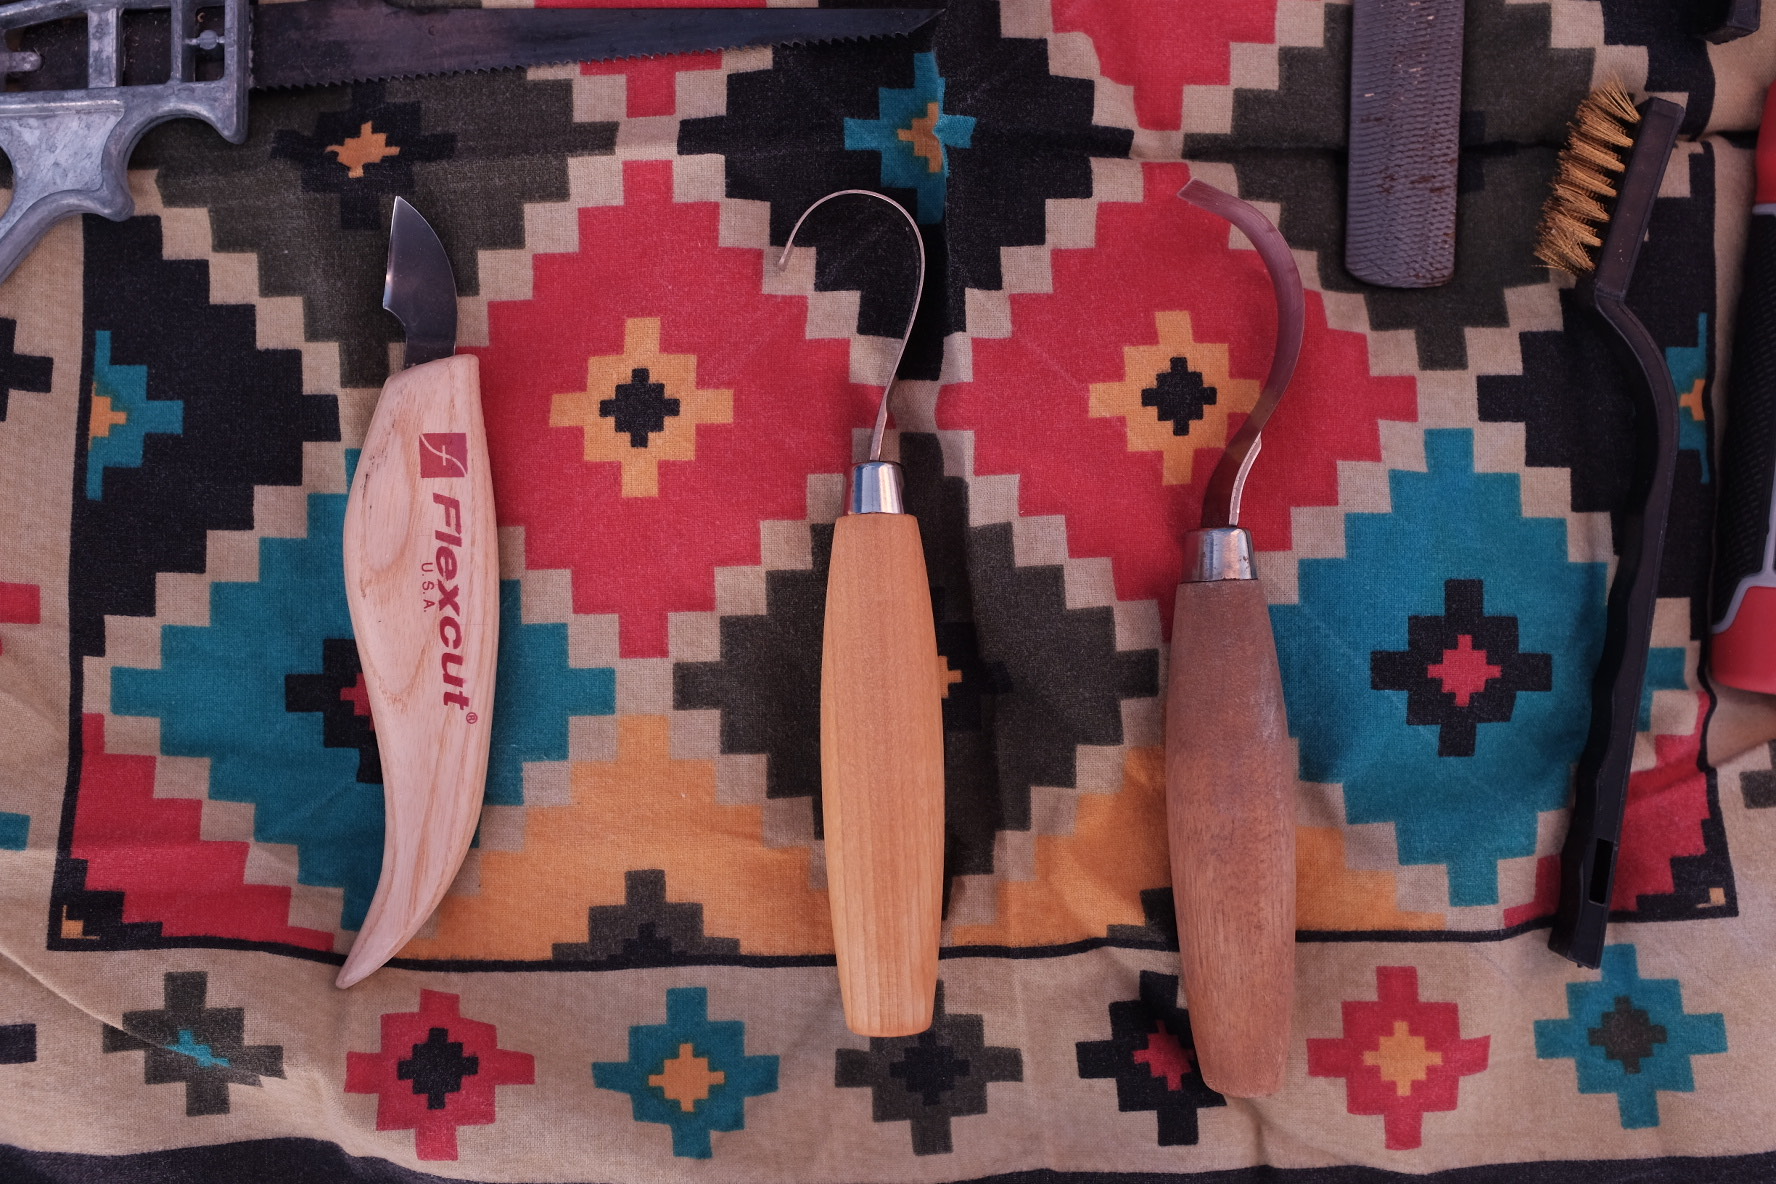
You can either use a fixed blade or lockable knife you might already have, or invest in a whittling knife that has a large handle and a smaller blade for maximum control, which is the kind I like. These can be bought in a specialist woodwork store – Flexcut is a brand that’s easy to find and Morakniv makes decent ones too. Now that I enjoy it so much, I’ll likely buy a second wider curved knife to help make broader shaped bowls.
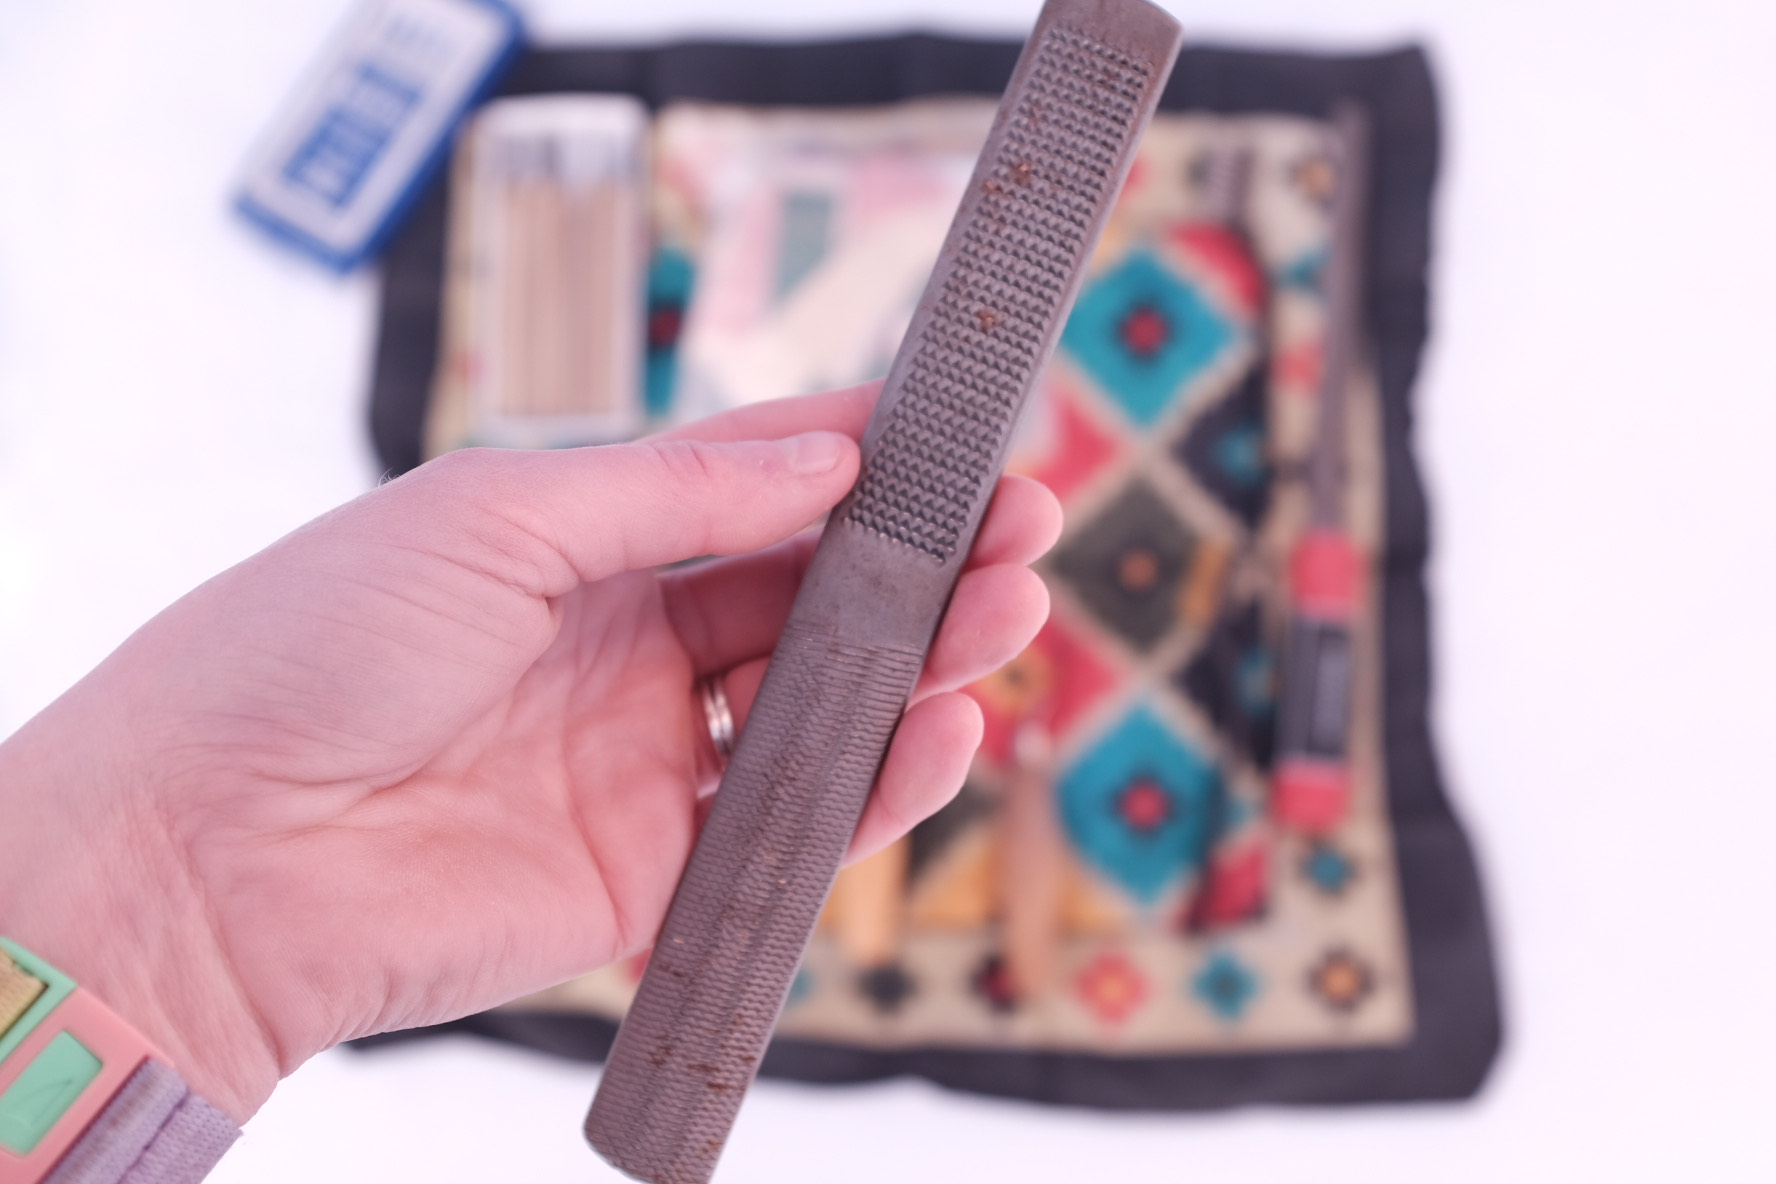
You can also add in a few grades of sandpaper, a little saw, and a vial of linseed oil or similar. Once I source a piece of wood, I wrap it in a tough reusable plastic bag, to help it from drying out too quickly. On longer trips, you may want to add a knife sharpening stone too, as a sharp knife is a safer knife.

Outdoor Educator Michael Dammer and the Spoon Philosophy he teaches
I always start my spoon lesson at Finca Palugo with this reading from an amazing book called A Handmade Life by Bill Coperthwaite. It really expresses why I believe carving a spoon or making your own bikepacking bags, knife, or backpack is so important.
“Hands. Our understanding would be enlarged immensely if we were all to become artisans in some manner, fairly competent at a certain craft. How else can we raise in esteem and value those who do hand work to the level of those who sell, study, photograph – those who enjoy a crafter’s fine work but fail to respect the person who makes beautiful things by hand? The world over, people love fine baskets but grant low status to the basket maker. Panama hats are much sought after, but the hatmaker is among the worst paid. Fine shoes are admired, but not the shoemaker.”
We perpetuate these injustices by the way we live. We can become more sensitive and can increase respect for all walks of life by personally experiencing as many of these walks as we can. If all of us learned to work with our hands, all of us would have more respect for others who work with their hands.
Carving and spoon-making in particular bring together art and necessity, I call it Utilitarian Art, and I believe it’s one of the most powerful forms of expression for who we are. There is something really special about blending the labor of head and hands. It’s definitely an aid for meditation. I also read this quote to my students:
“From the Sufi tradition, I came to see that the artisan was meant to transform himself through his work. While striving to transmute the materials’ physical limitations, the artisan was striving to transform his own soul.”
-Narer Ardelan
As far as tips, and bikepacking related stuff, you only need a knife and maybe some sandpaper, which makes it a very ‘lightweight’ activity while bikepacking. Soft steel knives such as Opinels are my choice for carving because they sharpen easily and the blade locks. Stainless steel is very difficult to sharpen on the road. I personally like to look for driftwood on rivers or beaches. It does take a few tries to get the hang of finding good pieces but it’s totally worth it. Also, going through your pile of firewood, you can come across some interesting findings too.
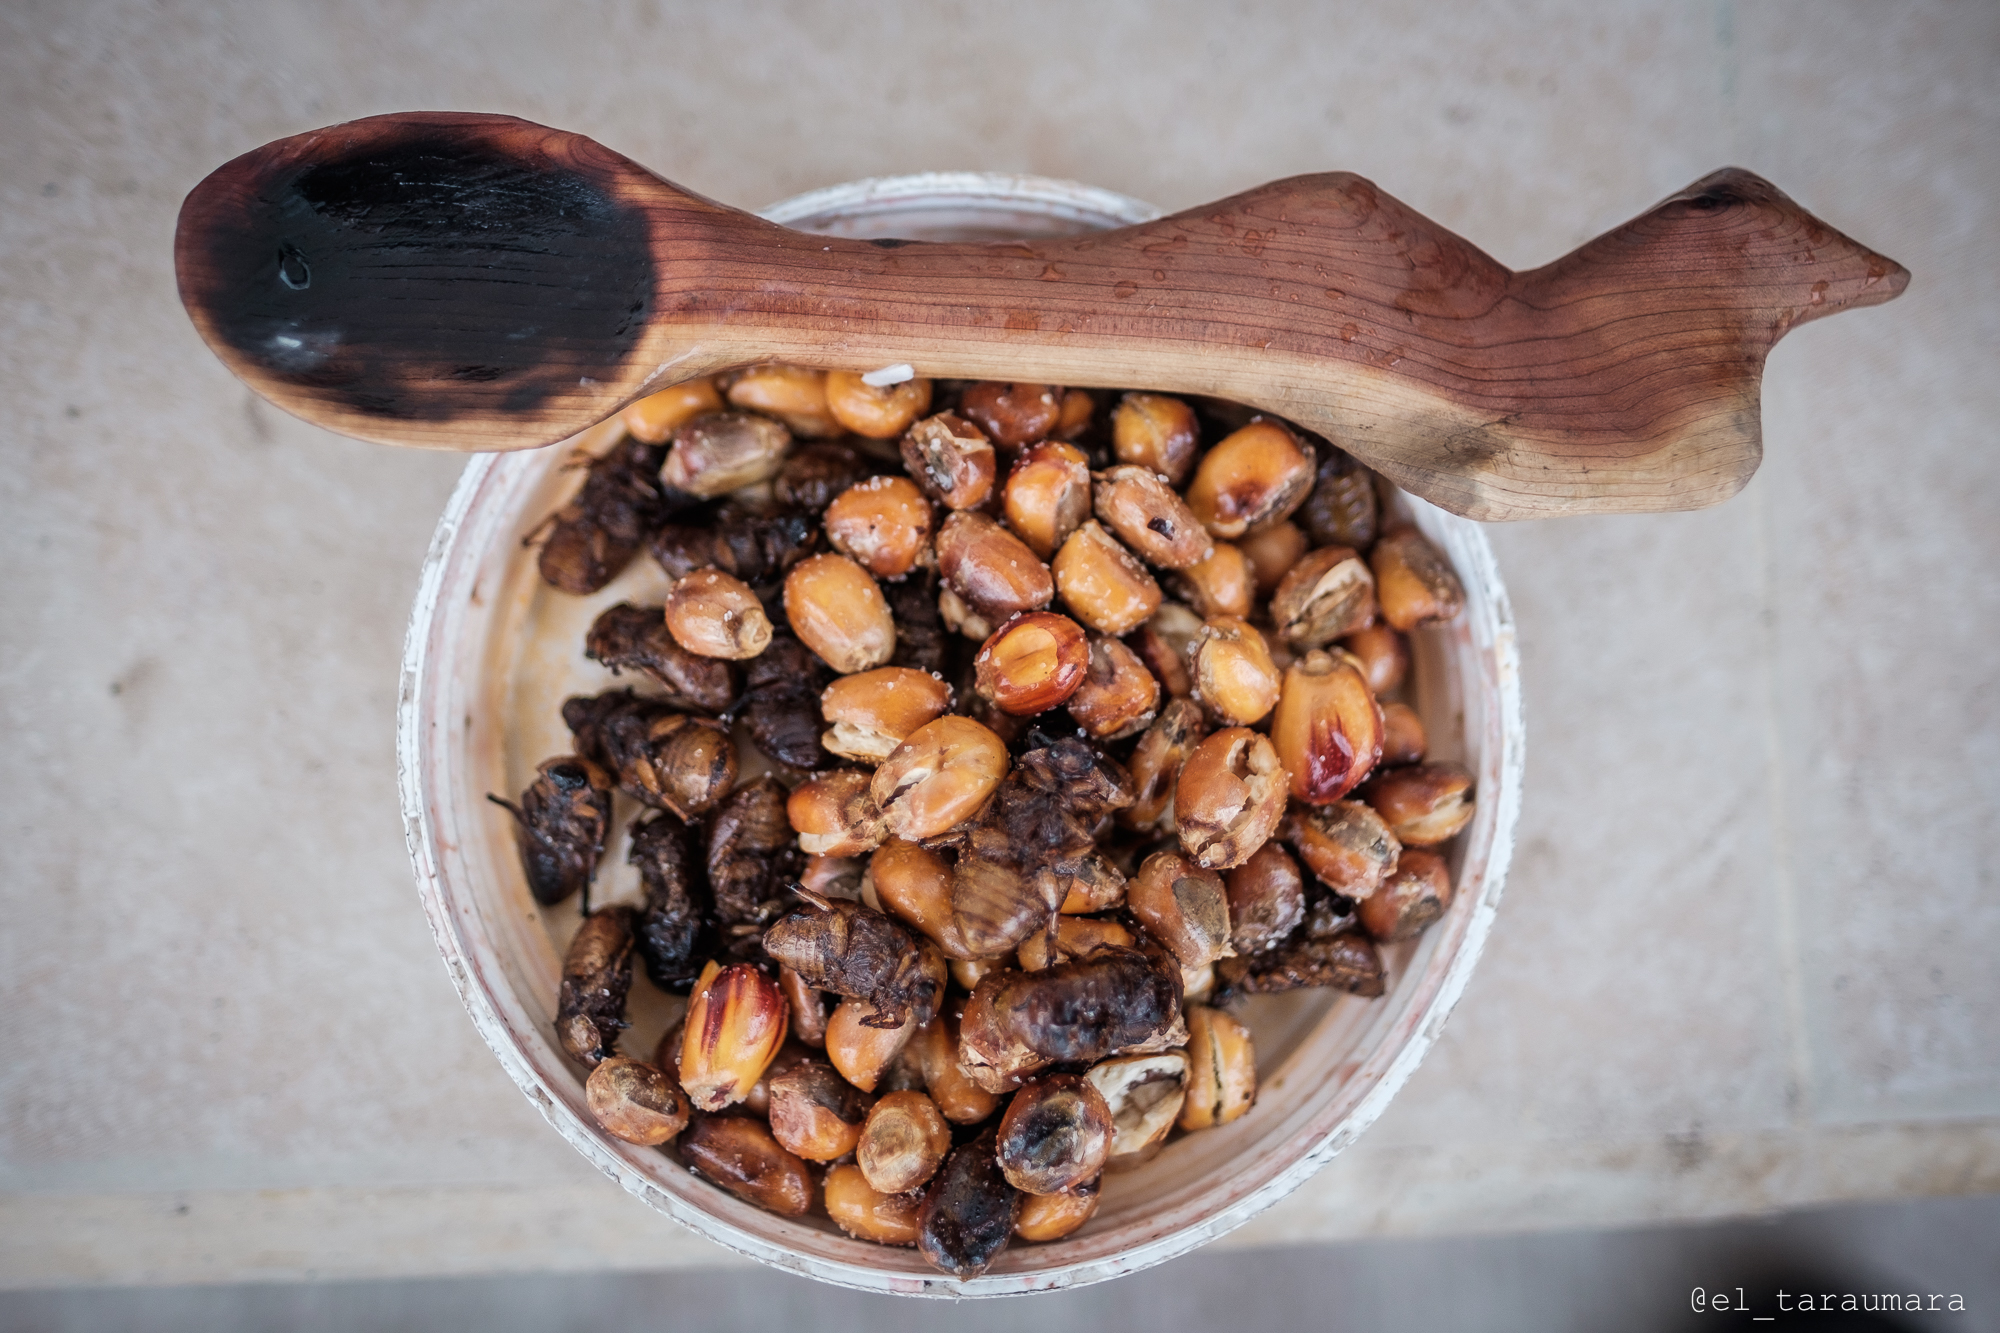
Soak your spoon in any cooking oil for a few hours when finished to curate the wood. Avoid washing with soap. The wood will benefit from natural oils and grease from food. Wipe it with a clean cloth and put it away after use. Ember-burned spoons seem to last longer than carved ones, as the burning seals the wood. Crooked knives are a great tool for spoon making too. For sharpening carving spoons, fine grit wet/dry sandpaper is probably the best. The abrasives I use are 400 grit, 600 grit, and 1,000 grit. Or whatever you can find.
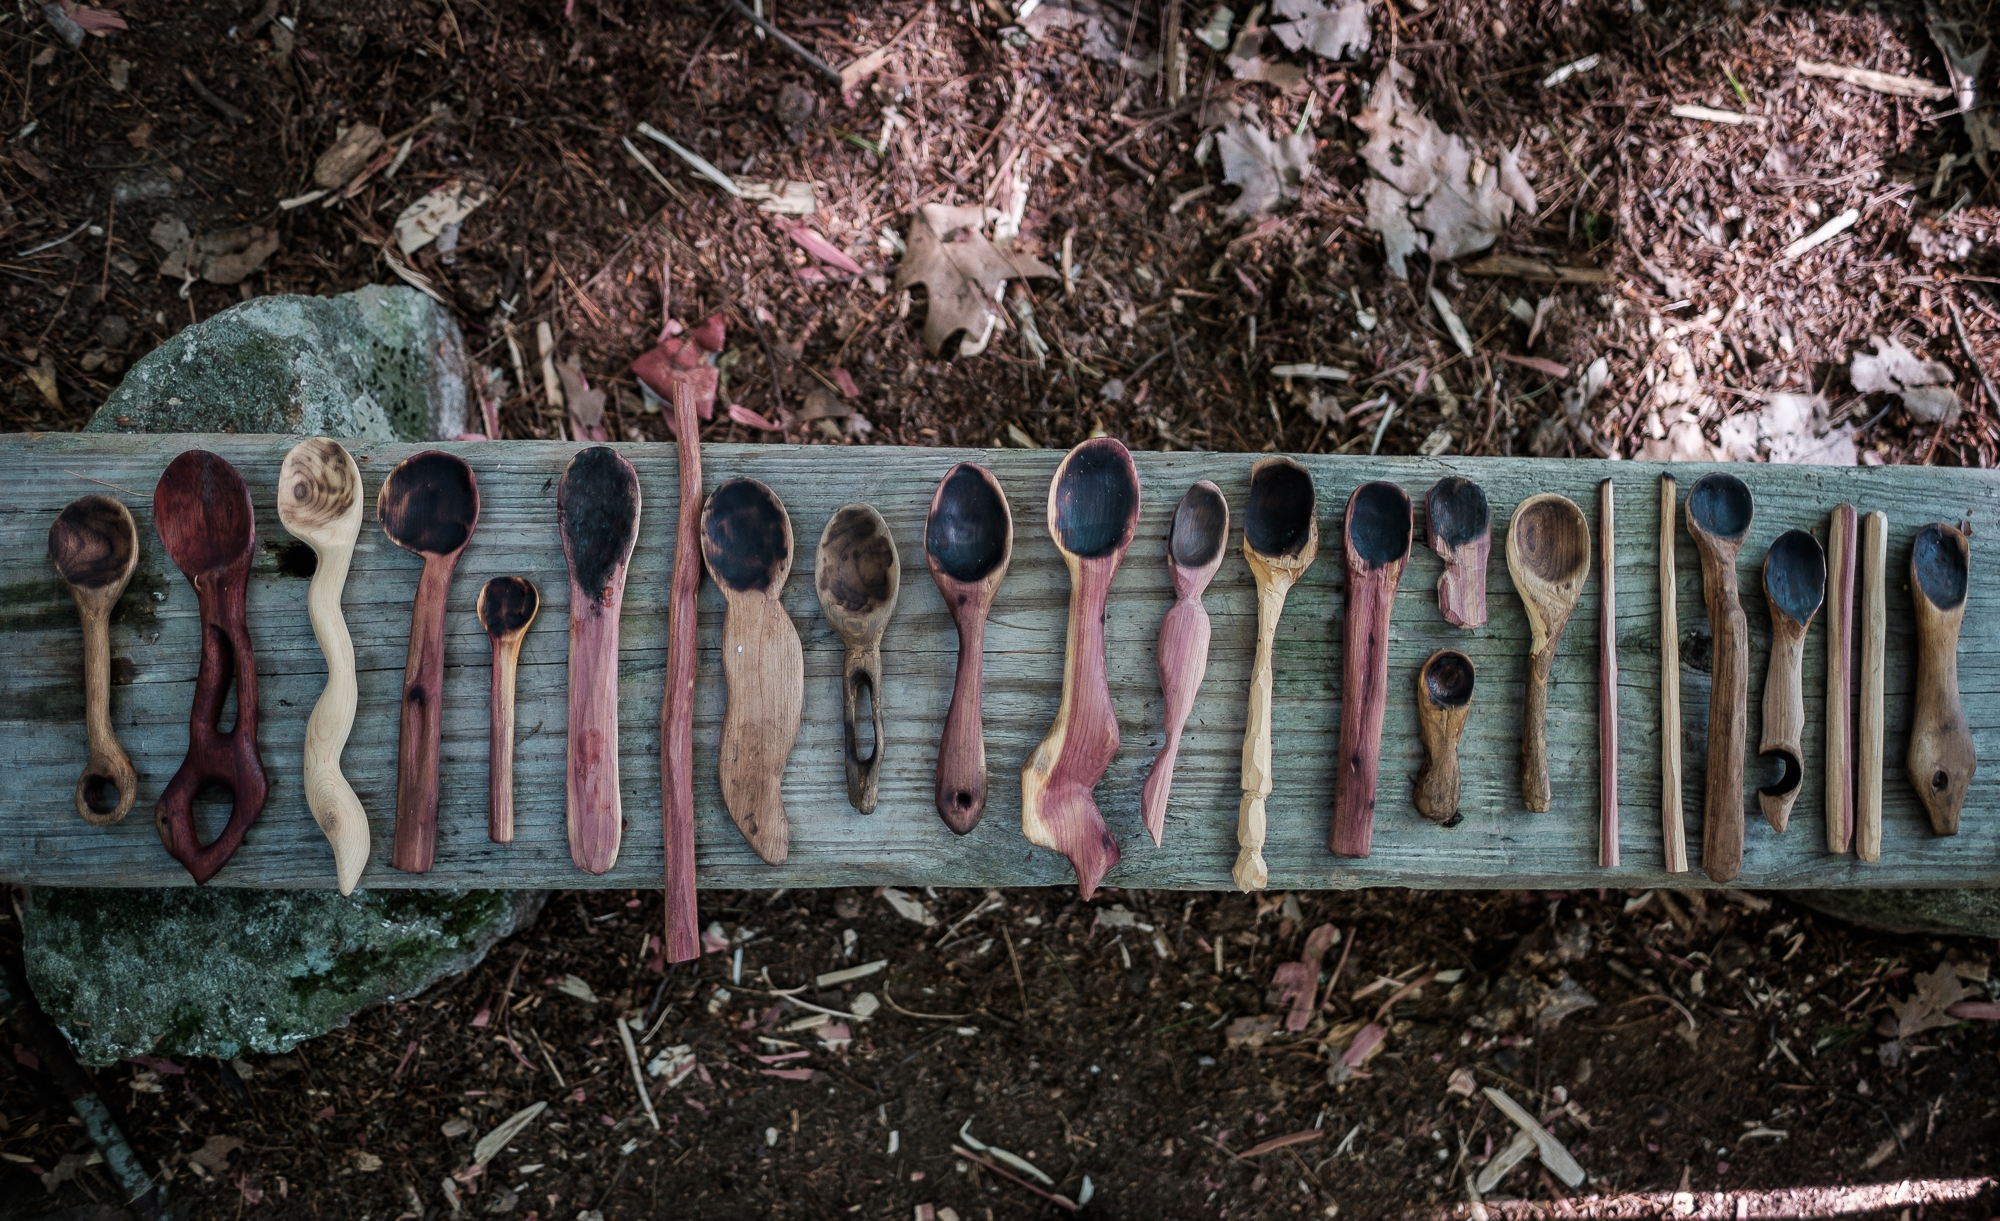
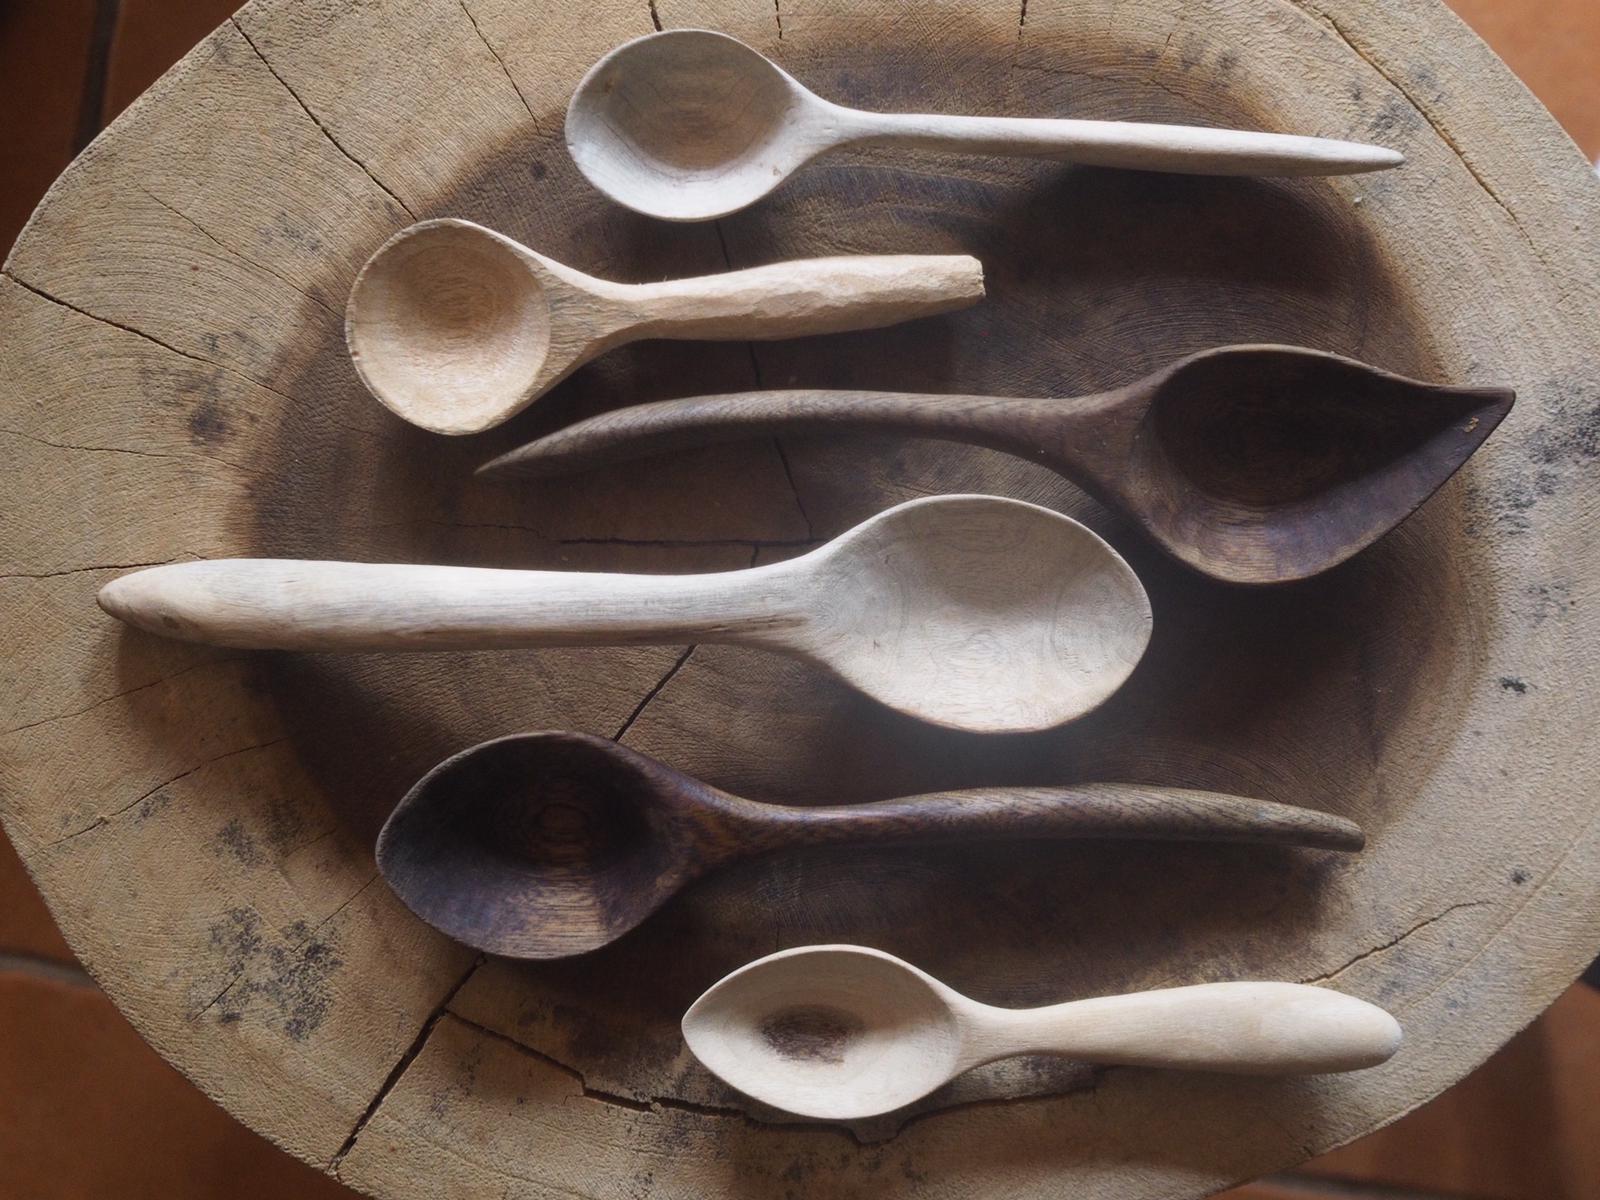
The images below show a collection of beautiful spoons made at Finca Palugo.

Spatula, anyone?
A day-to-day spoon is an especially handy item to make, and it’s the perfect way to begin your journey down the whittling wormhole. But it can be a lot of fun making spatulas, butter knives, ladles, and even diminutive salt spoons. The one below was made from the same branch as the Bone Spoon. The spatula/peanut butter extractor is also from a similar piece of madrona; it was carved by Emma Bucke from a piece of wood that had a split down the middle. Such implements are a great way of reaching those last little flecks of precious nut butter (and avoiding getting them on your knuckles from the edge of the jar, a personal bugbear). They are also quick to make and a good way of making use of a piece of wood that’s too shallow for a spoon.

Resources
- Master spoon maker Peter Galbert. Watch and admire.
- Morakniv’s Youtube channel is recommended, such as this series with Jogge Sundqvist. It covers aspects such as holding a knife for a particular cutting action and stopping the blade from coming in contact with your body.
- The Youtube channel, Spoon Carving with Tom, looks like a great trove of information and includes tips on sharpening spoons too.
- This Youtube video with Dorset-based Adam Hawker is one in a series of recommended films by Zed Outdoors on spoon makers and their carving processes.
- Lots of knowhow to be found in this book of Swedish Carving Techniques (there’s a kindle version too!)
- Spoon carving can be a great activity to share with your kids; read this article for advice.
- Woodland Ways guide to carving a spoon.
- Check out this post – 5 Best Trees for Spoon Carving – for insights into picking a good piece of wood to get you started.
- Some thoughts on which oils are best to treat your spoon, at Earlywood.
- Professional spoon maker Emmet van Driesche from Massachusetts sells pre-cut blanks. He also offers spoon carving lessons, runs a Youtube channel, and publishes the quarterly Spoonersaurus Magazine!
- Keep at it for a few years… and maybe you can make spoons like Klipnocky Woods.
- Bikepacking-spoonmaker Mehedi’s woodworking account, which features beautiful spoons and much more. See other examples of his work below.
Any other tips for beginner/enthusiast spoon makers? Links to share? Let us know in the comments below so we can grow this resource and inspire other spoon makers.
Please keep the conversation civil, constructive, and inclusive, or your comment will be removed.