


It Takes a Village: Building a Rohloff ATB at Big Forest Frameworks


Ever wondered what goes into crafting a bike frame by hand? At the beginner-friendly framebuilding course at Big Forest Frameworks in Berlin, Josh Meissner built a custom 29+ ATB from scratch and documented the process from start to finish. Find his detailed report and photos from the workshop here…
PUBLISHED Feb 6, 2024
Additional photos by Robert Piontek
Humans are toolmakers at heart; you could say it’s in our DNA. But modern work often feels empty and draining. Refinding satisfaction in his daily efforts was partly why Robert Piontek pivoted from a desk job to bicycle framebuilding. An American with a PhD in astrophysics, he’d been working as a climate science researcher in Hamburg, Germany, when he decided to make a change. There was a purpose, but serving as a cog in the academic machine ultimately wasn’t for him.
Robert grew up in Detroit helping his father restore vintage cars, so building bicycles came naturally. Within a year of setting up his own shop, he was taking customer orders and officially launched Big Forest Frameworks in Potsdam, just outside Berlin, in 2012. A year later, he opened his workshop to share the experience of framebuilding with others.
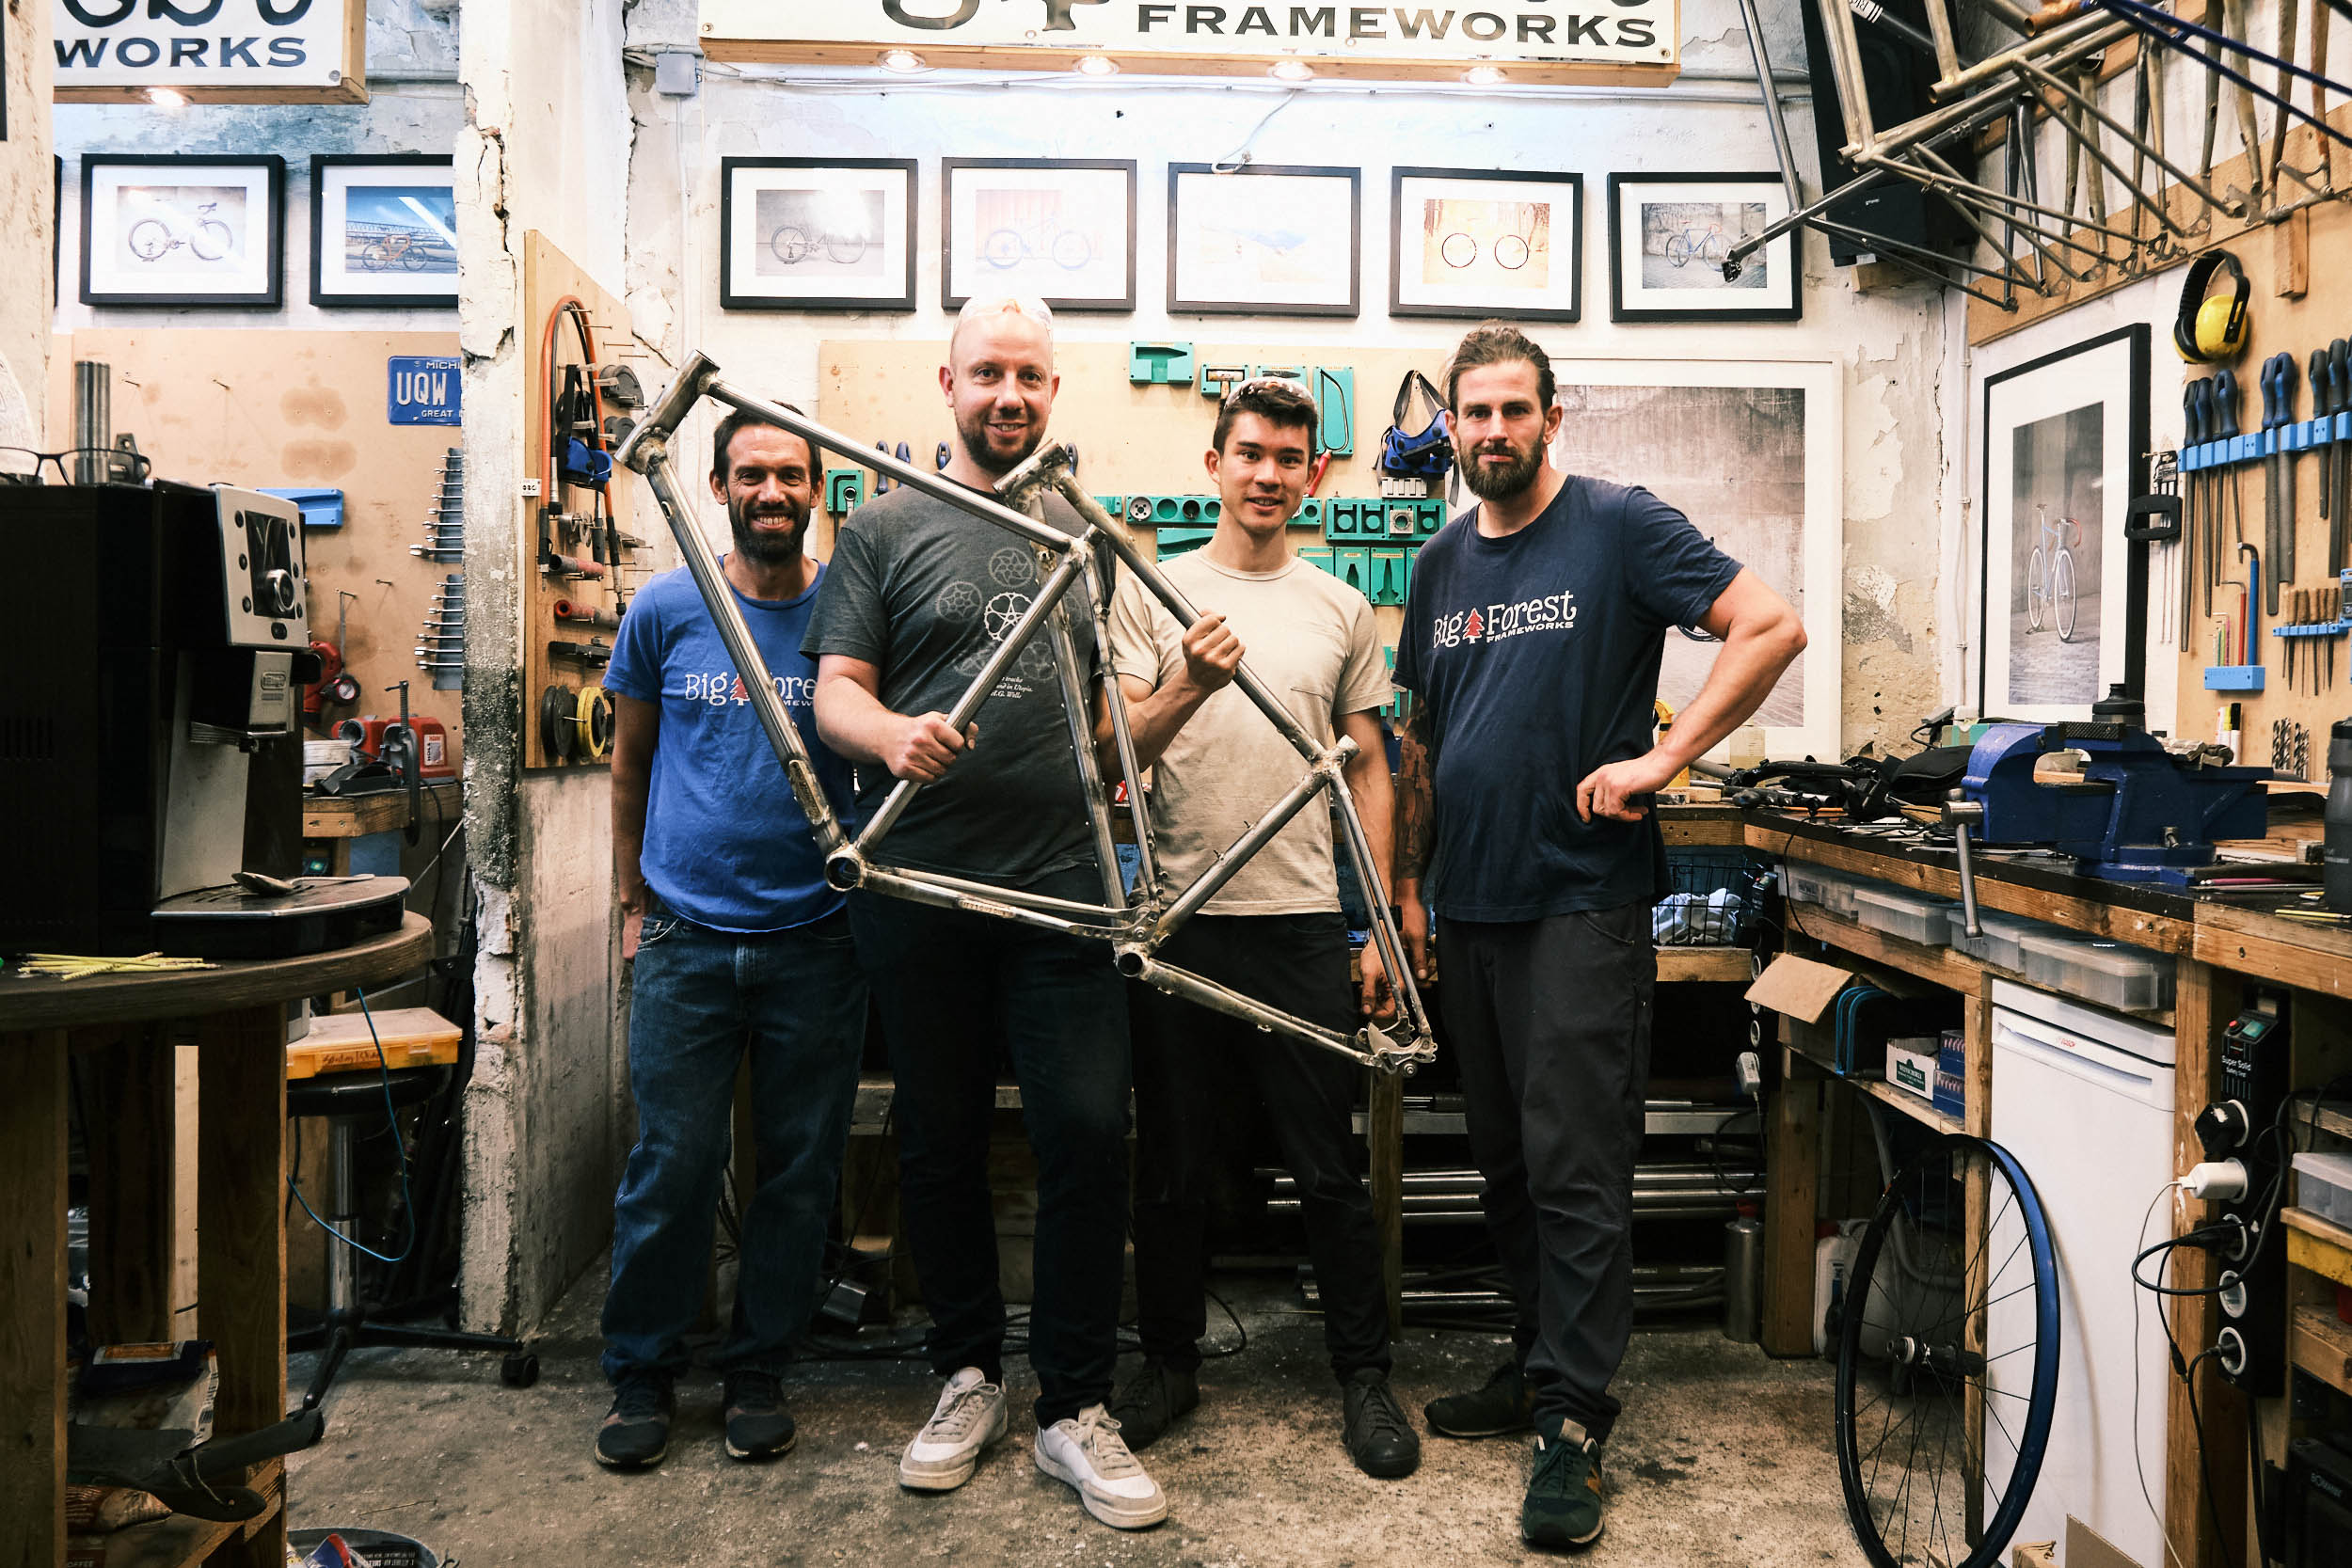
More than a decade on, Big Forest Frameworks’ framebuilding course attracts customers from around the world. In the fully equipped workshop and supported by Robert and his co-worker Konrad, participants craft a bike frame of their own design—no special skills required. It takes around five days to go from loose parts to a complete frame and costs what you’d pay for a custom-built frame (€2,250 plus materials for the five-day package), except here, you learn how to do it yourself.

Building my 29+ ATB frame in the Big Forest workshop last year was a dream come true. Full disclosure: Robert comped the course and the materials but had no editorial input on this piece. Building a frame from scratch was intensely gratifying, and I learned a lot beyond bikes and fabrication. I can wholeheartedly recommend the experience. My project was fairly complex, yet I succeeded like the other 400+ people who’ve taken the course. Robert practically has the process down to a science.
Design Thinking
Before you start cutting and brazing, you need to know what it is you want to build. Robert sends every course participant a questionnaire so he can work out a buildable design. He provides input on geometry, tubing, dropouts, and all other details. If you want to go deeper, you can. Even if you base your concept on a bike you’re familiar with—which is recommended—you’ll quickly realize there are still many variables to consider. You might collect notes and references in advance and should probably give yourself ample time to prepare.
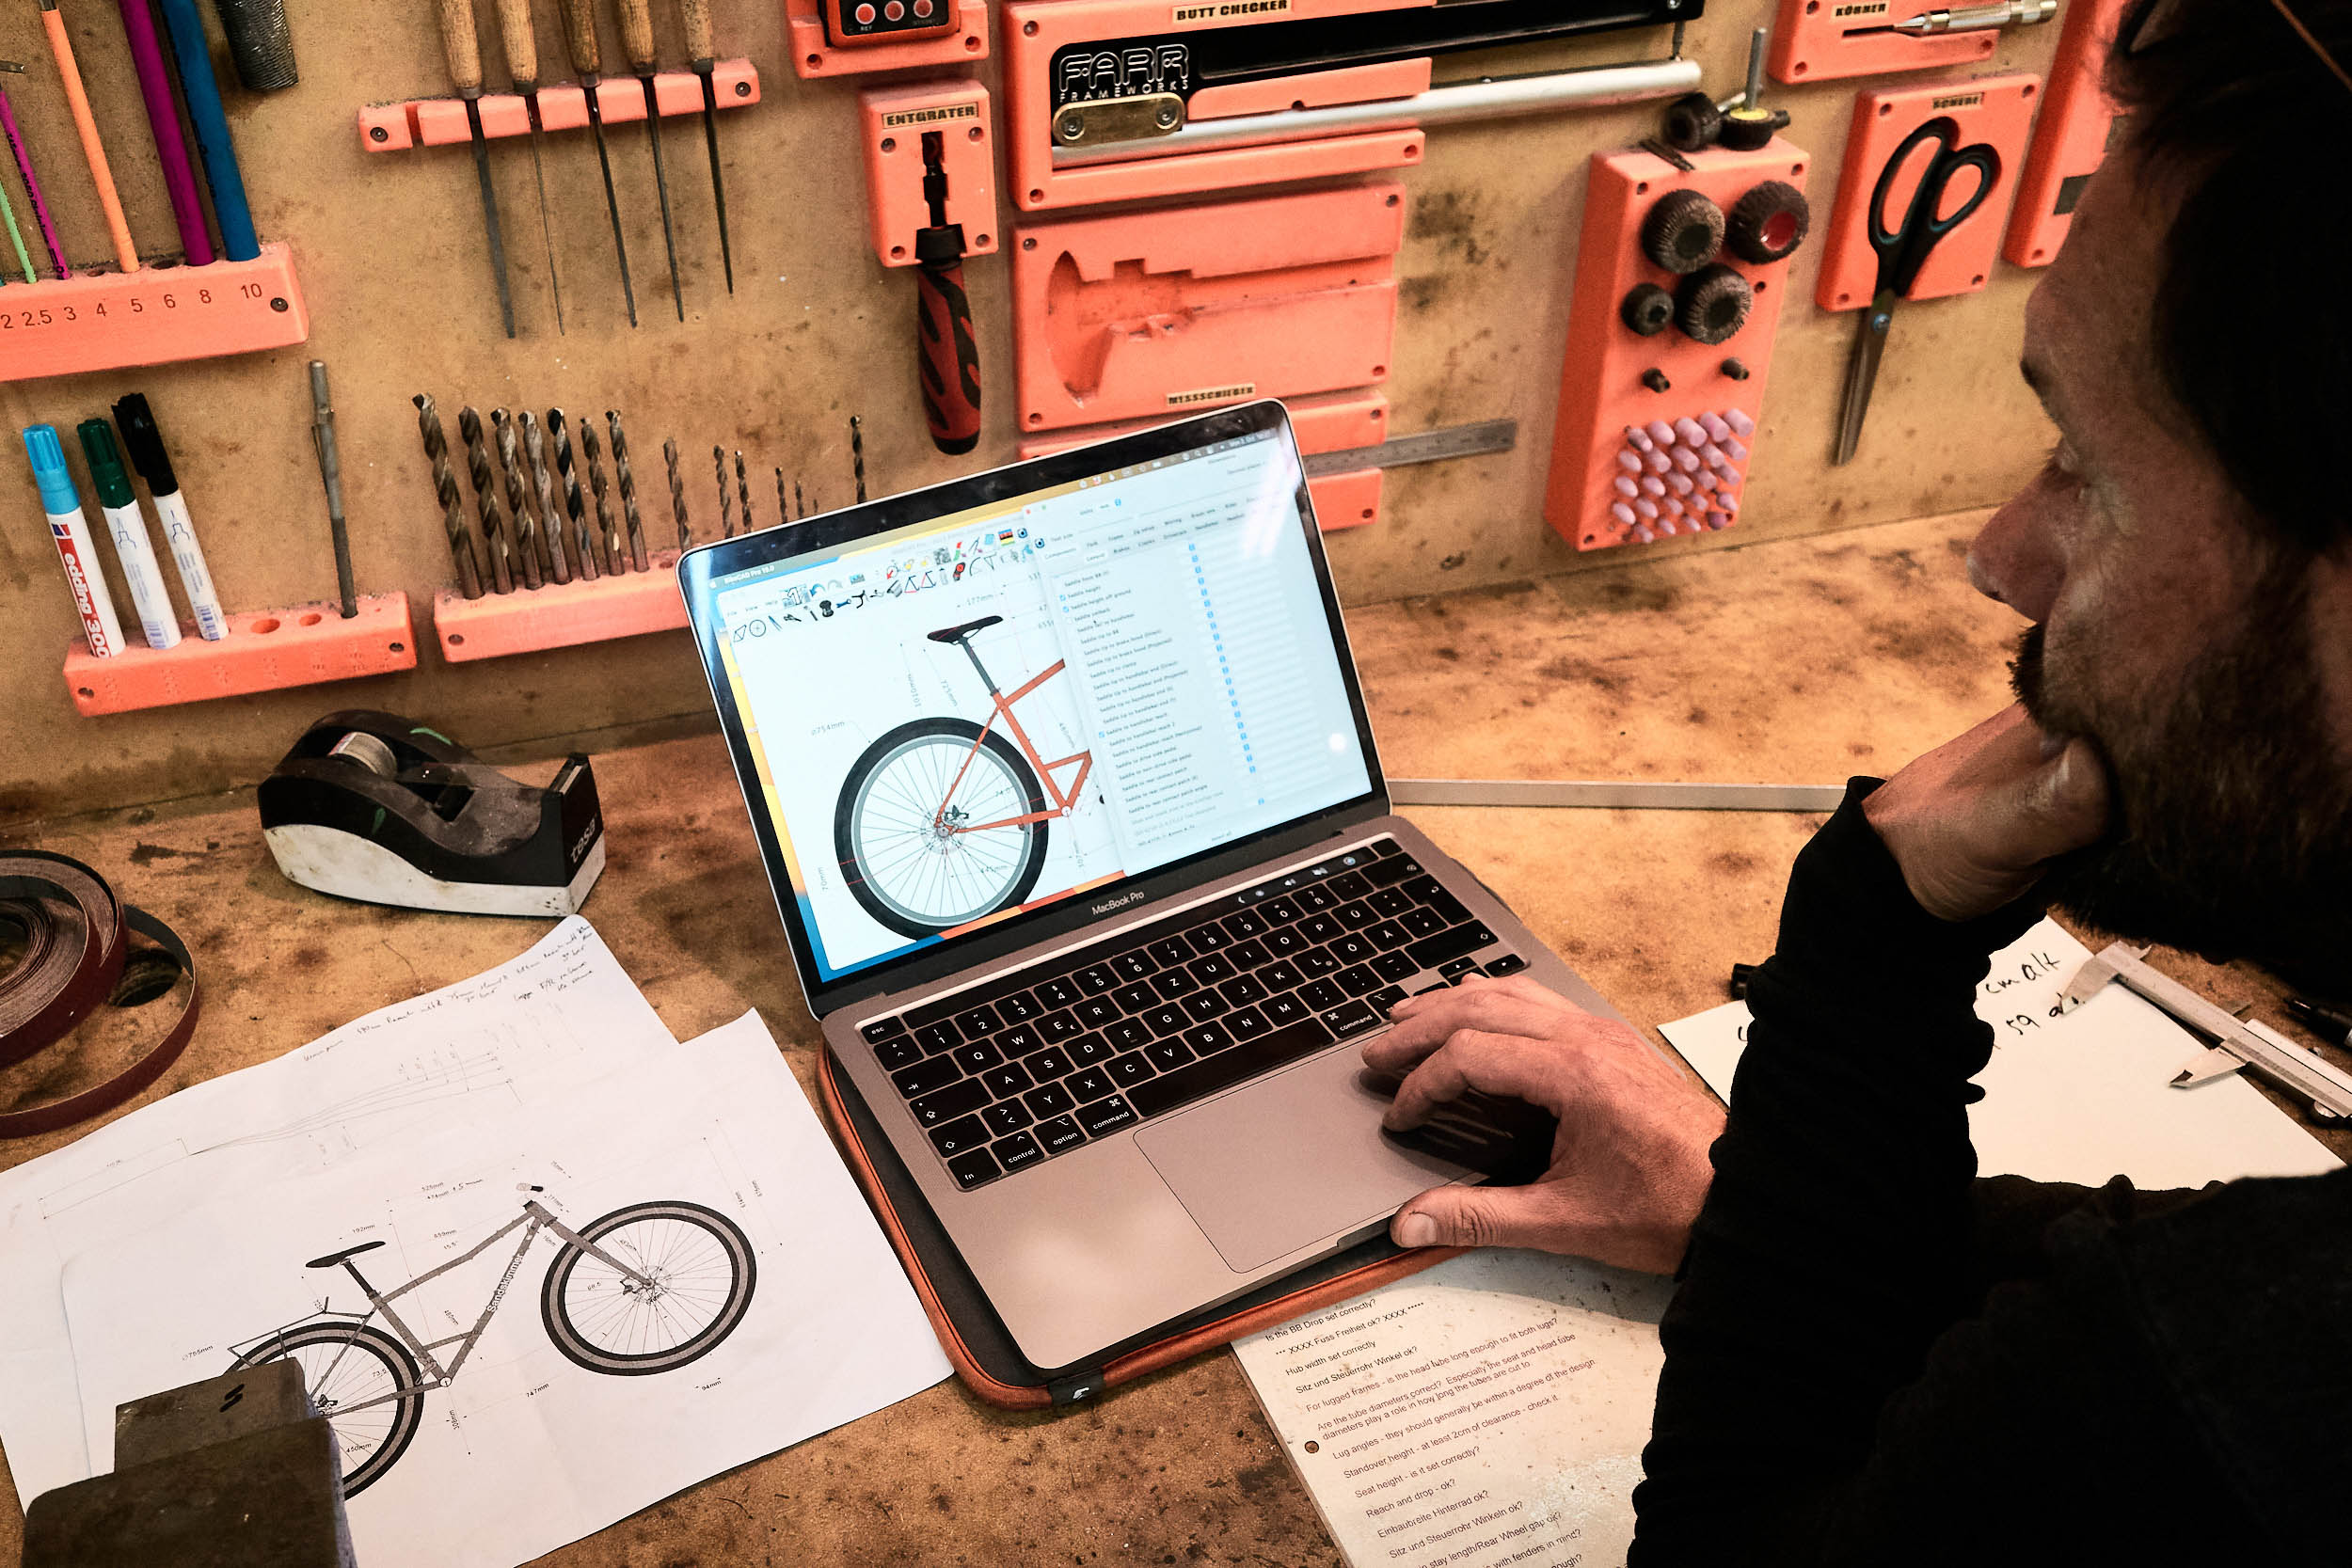
I wanted to design a flat-bar ATB with no prior experience or intuition with this type of bike. I wanted it to do everything. I had less than a month to figure it out. And as a recovering engineer, I couldn’t resist the temptation of diving straight into the theory and numbers before clarifying my design intent. I bit off much more than I could chew and wouldn’t recommend this way to a first-time builder.
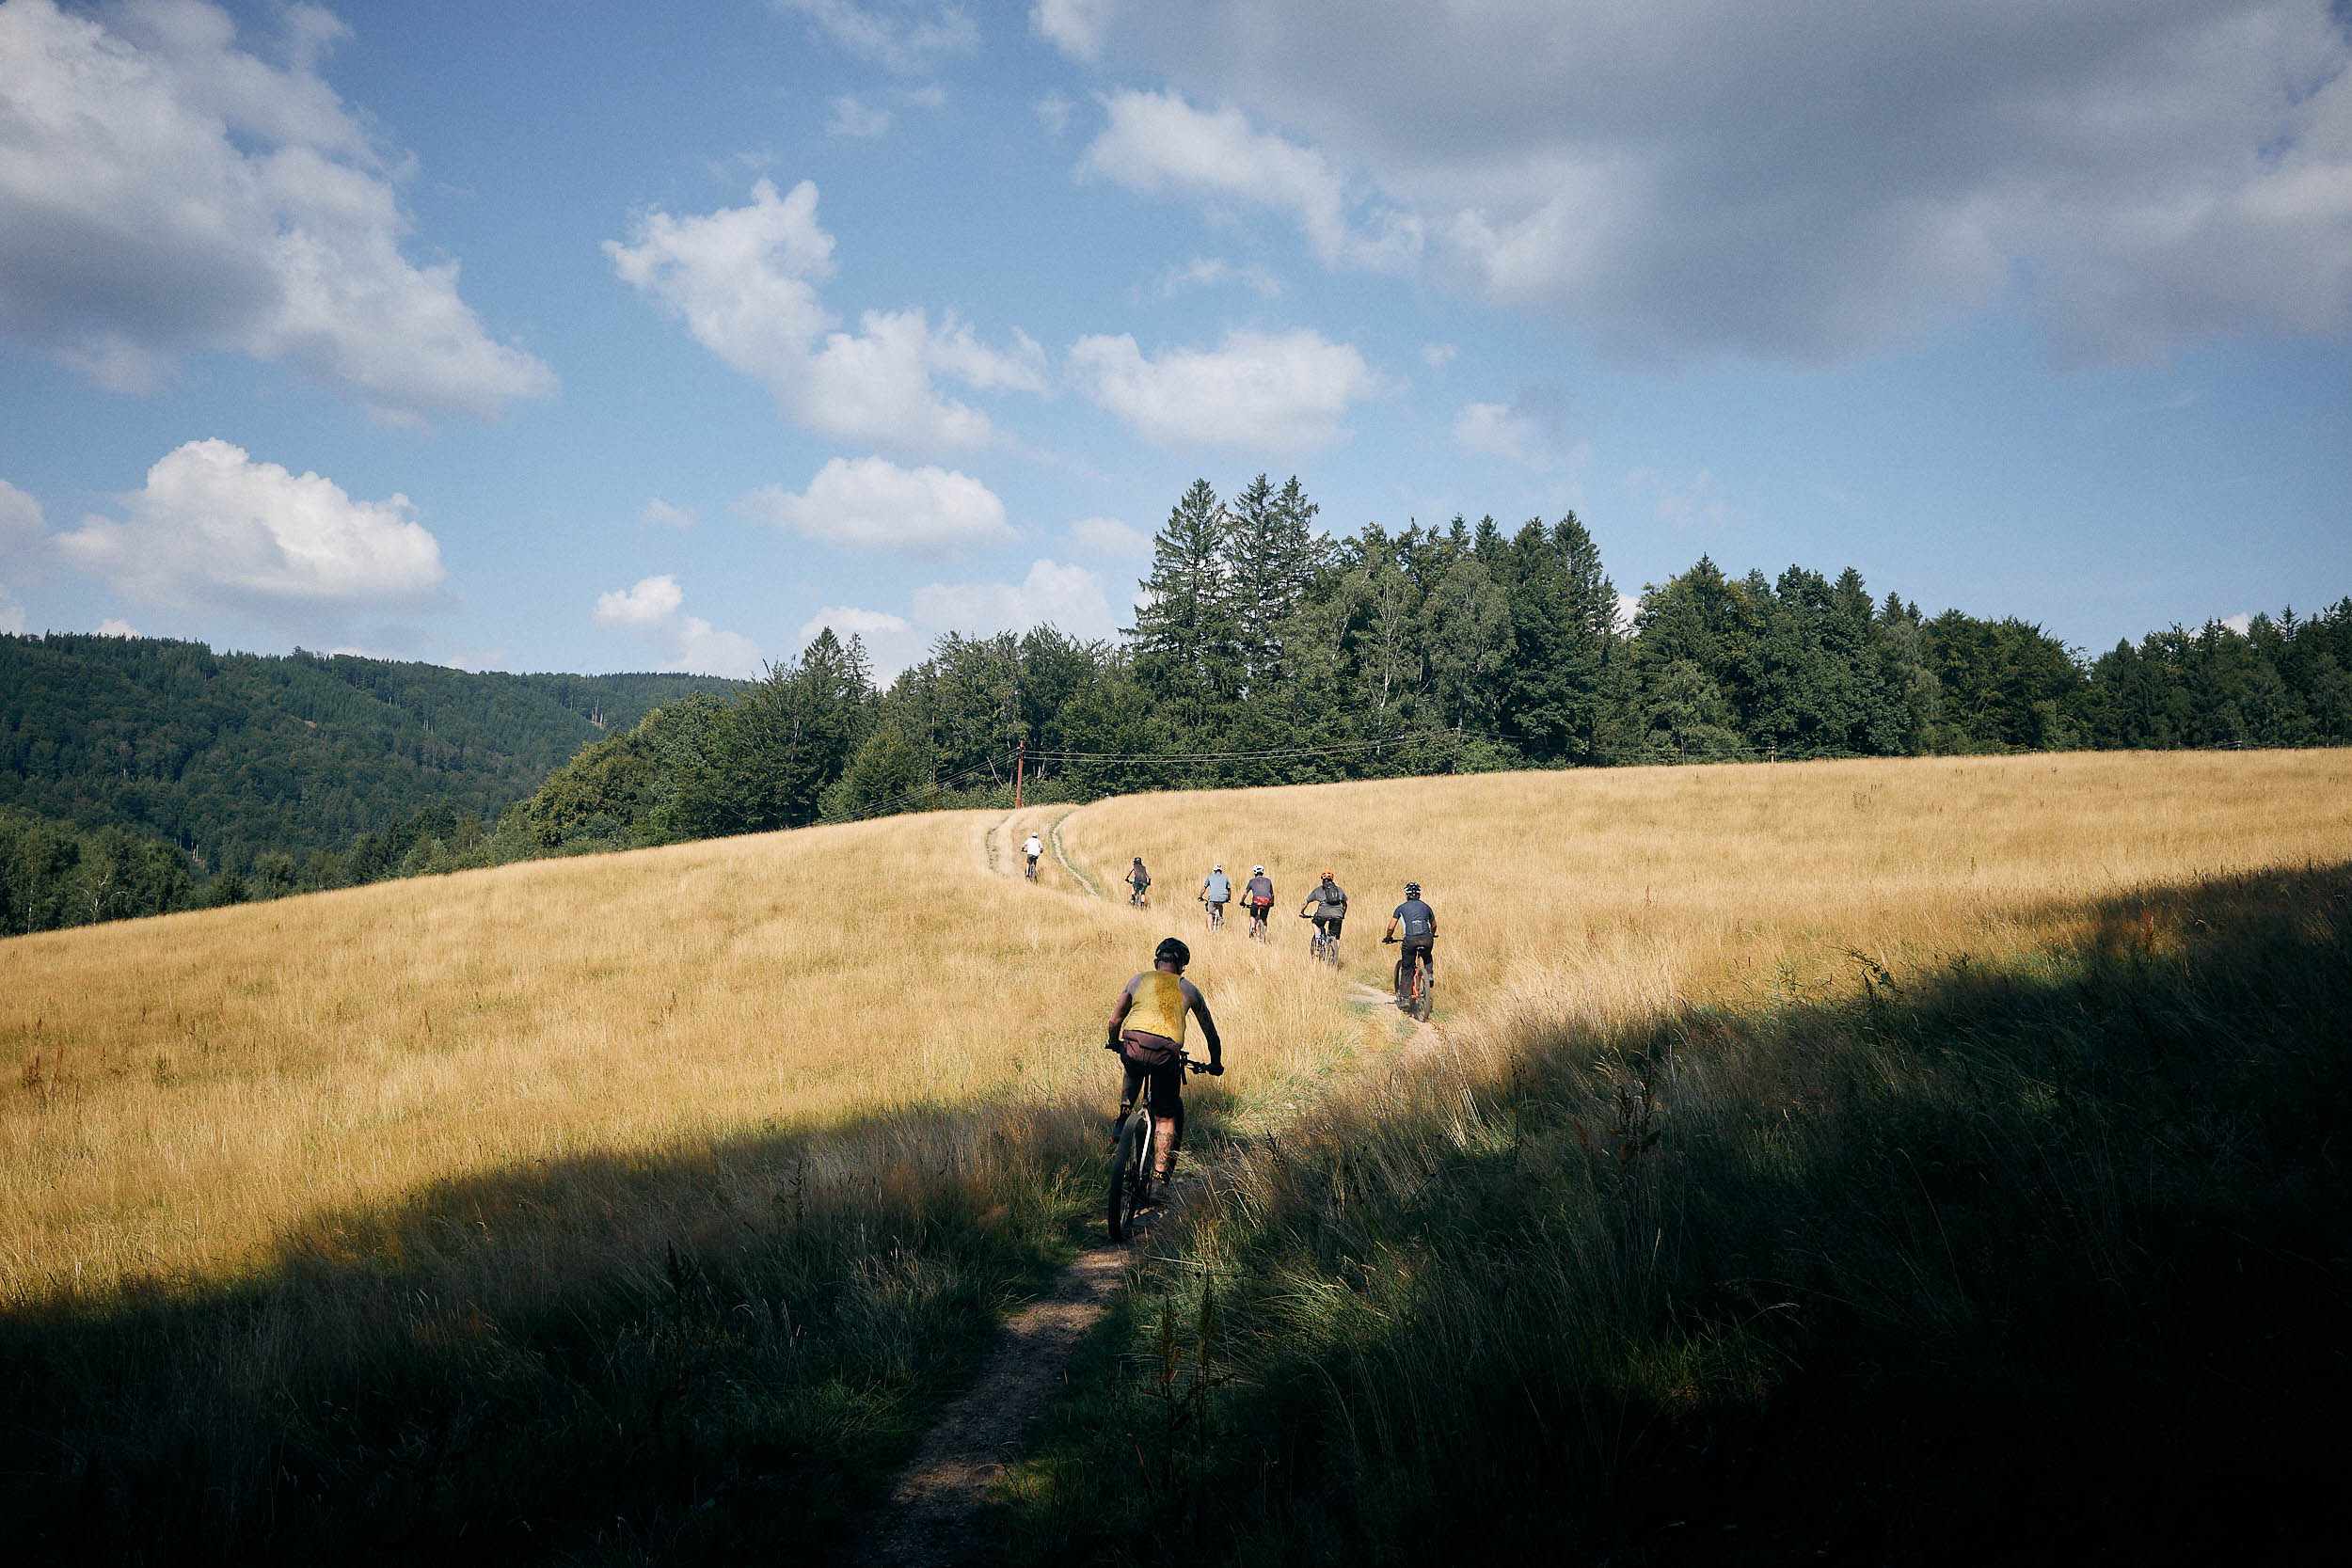
A designer friend advised me to develop a simple concept and not expect it to do everything. Okay. So I looked at versatile hardtails known to make good dirt-road tourers, such as the Surly Krampus, Brother Cycles Big Bro, Nordest Sardinha, and Singular Swift. I spent a lot of time reading blogs, forums, geometry charts, and messing around in BikeCAD. Fortunately, I also got to borrow my buddy Daniel’s Surly Krampus. I greatly enjoyed it on flow trails and gravel roads in the Czech Republic. My concept crystallized around this experience.
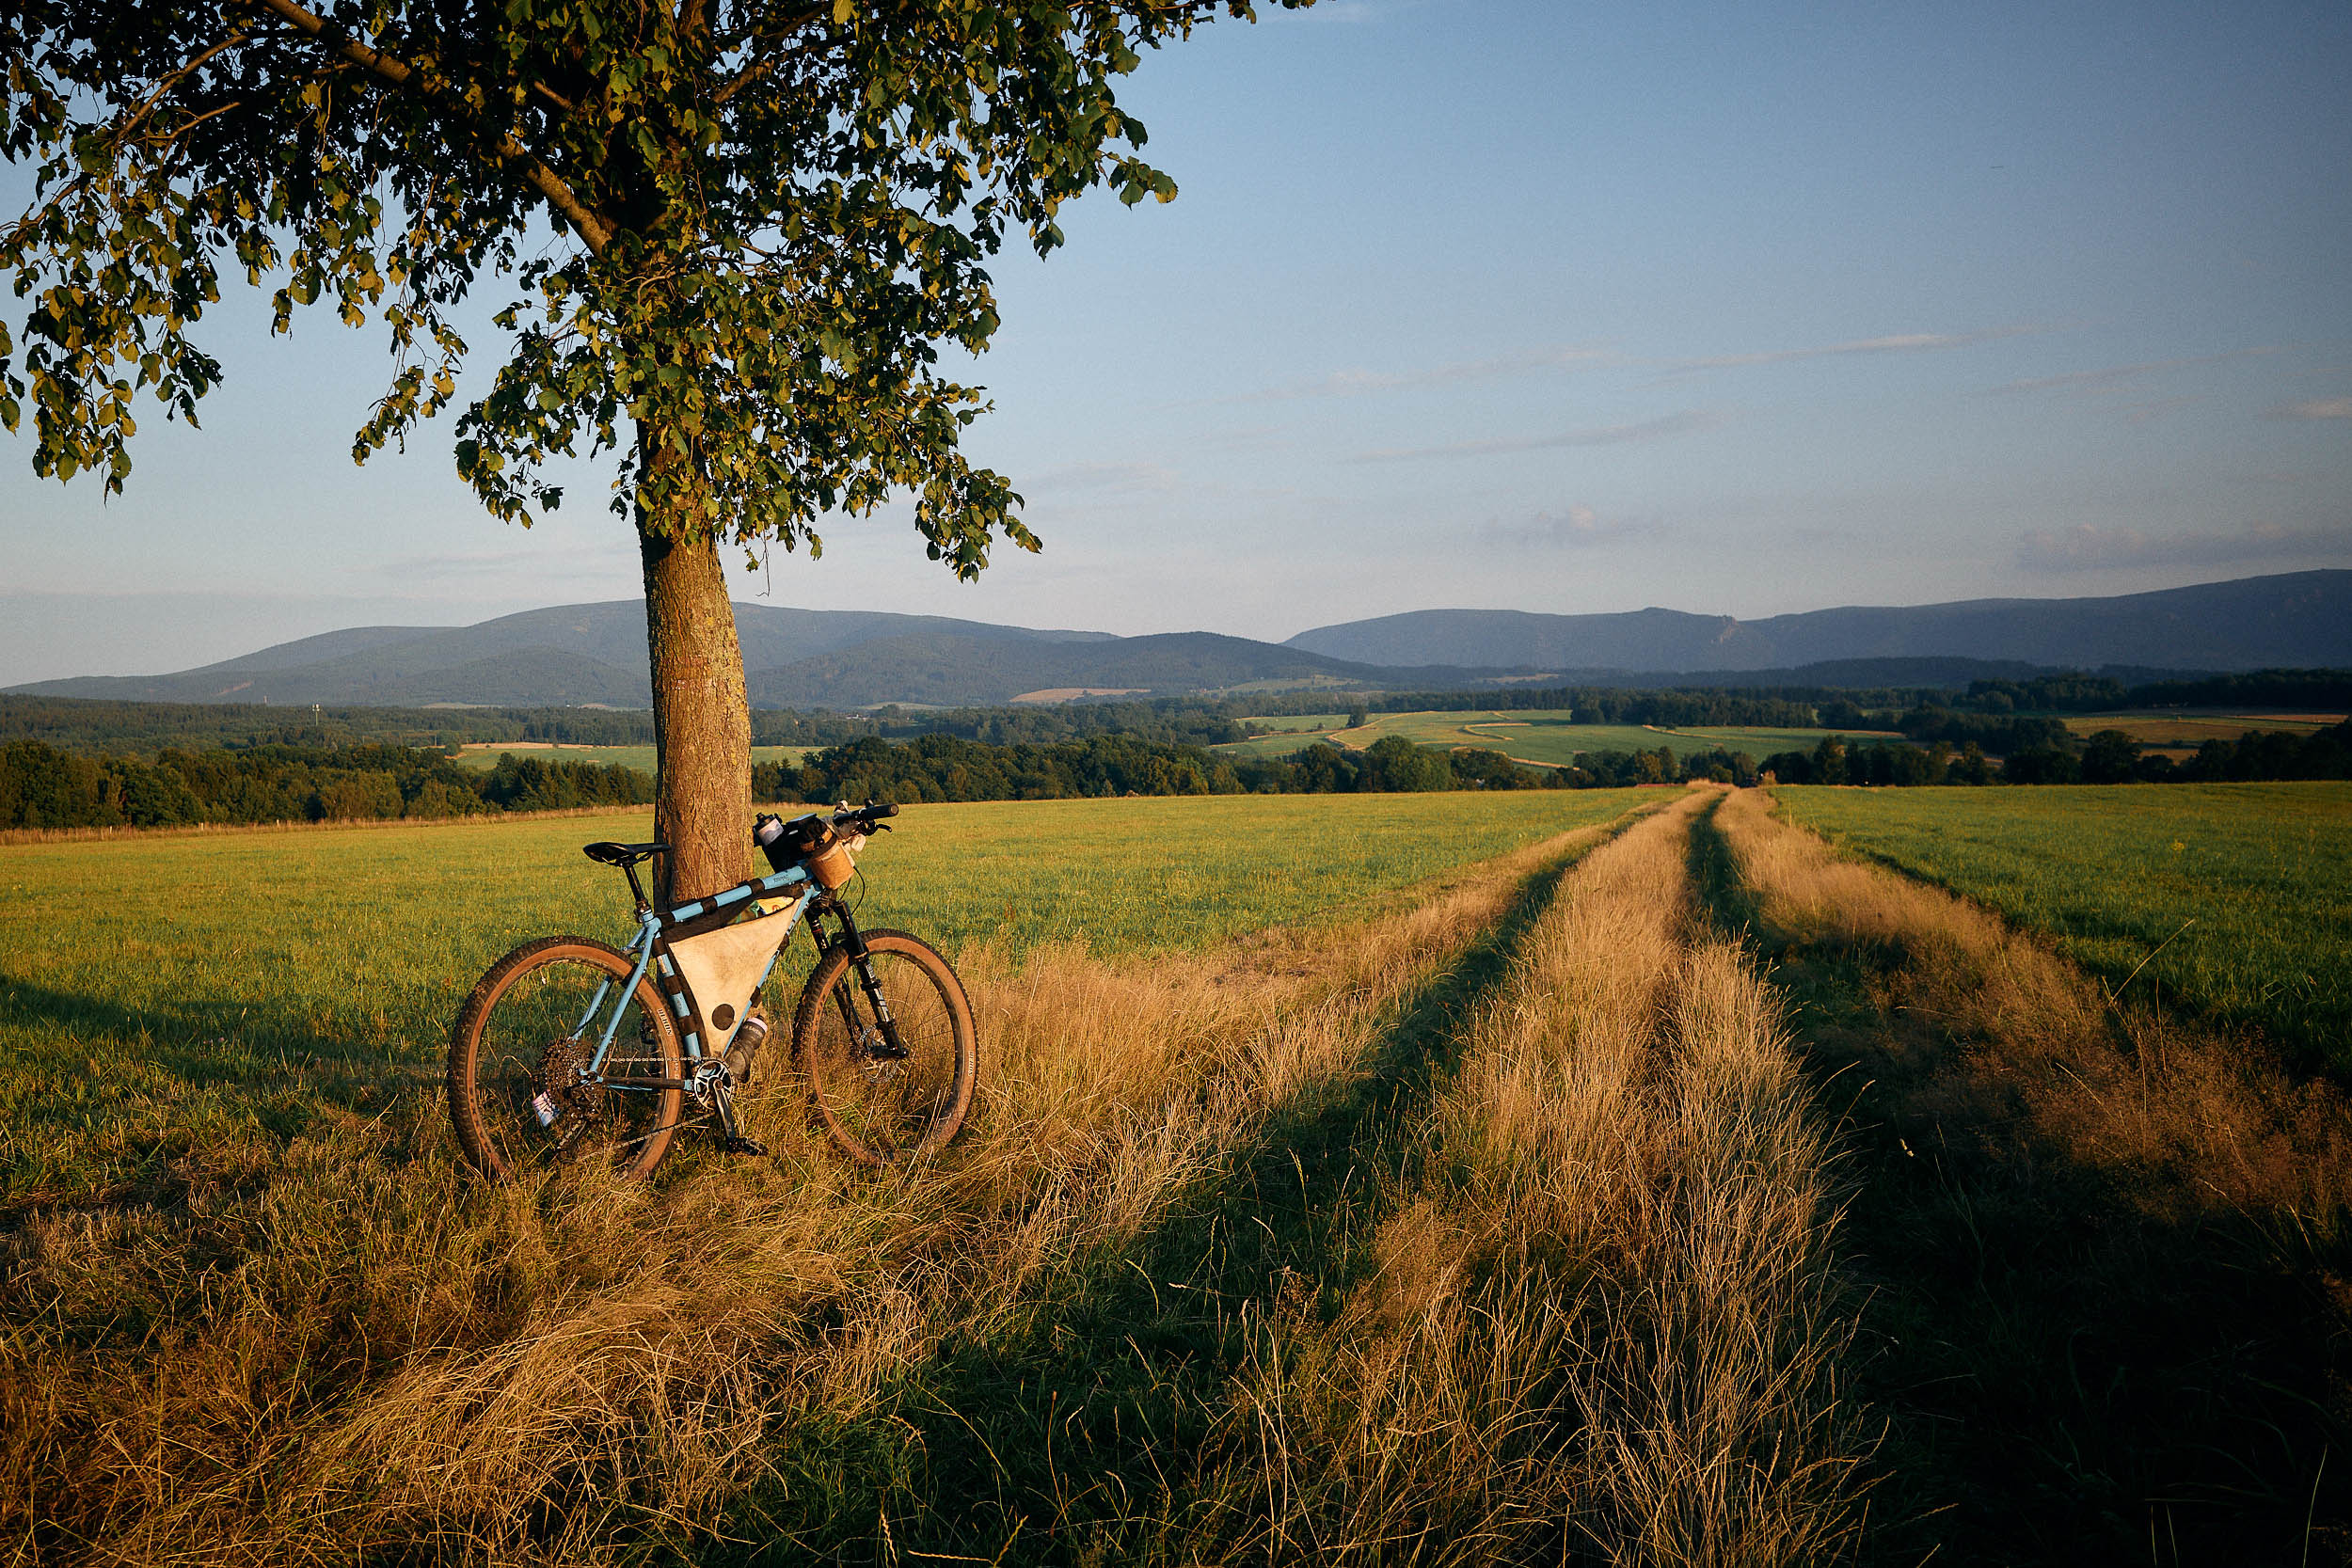
I’ll spare you the details for now, but in the end, I came full circle and landed on what is effectively a Surly Krampus, tweaked for my body and preferences. I wanted to run a Rohloff drivetrain, 29 x 2.6” tires, a dropper post, and slightly swept-back flat handlebars. Maybe a suspension fork in the future. I didn’t even consider the aesthetics yet. I dubbed it the Sandskimmer for the notorious sand pits in surrounding Brandenburg.
When I asked Robert how much work the average course participant invests in the design, he said, “You’re probably the upper bound.” To be honest, I would have liked more of Robert’s input in the design phase, but I’ve since realized my expectations for the course were misplaced and perhaps unique to me. Big Forest is not a masterclass in bicycle design. The emphasis is on the building.
Measure thrice, cut once
Early on a Monday morning, I take the train across Berlin, wondering what awaits me in Potsdam. There, I meet my co-builder, Marijn, a jovial Dutch guy who lives in Cologne. He was in the market for a high-end road bike but came across Big Forest and decided to take matters into his own hands. He’s staying in a nearby hotel for the week. We shoot the shit with Robert and Konrad for a bit and then get started.
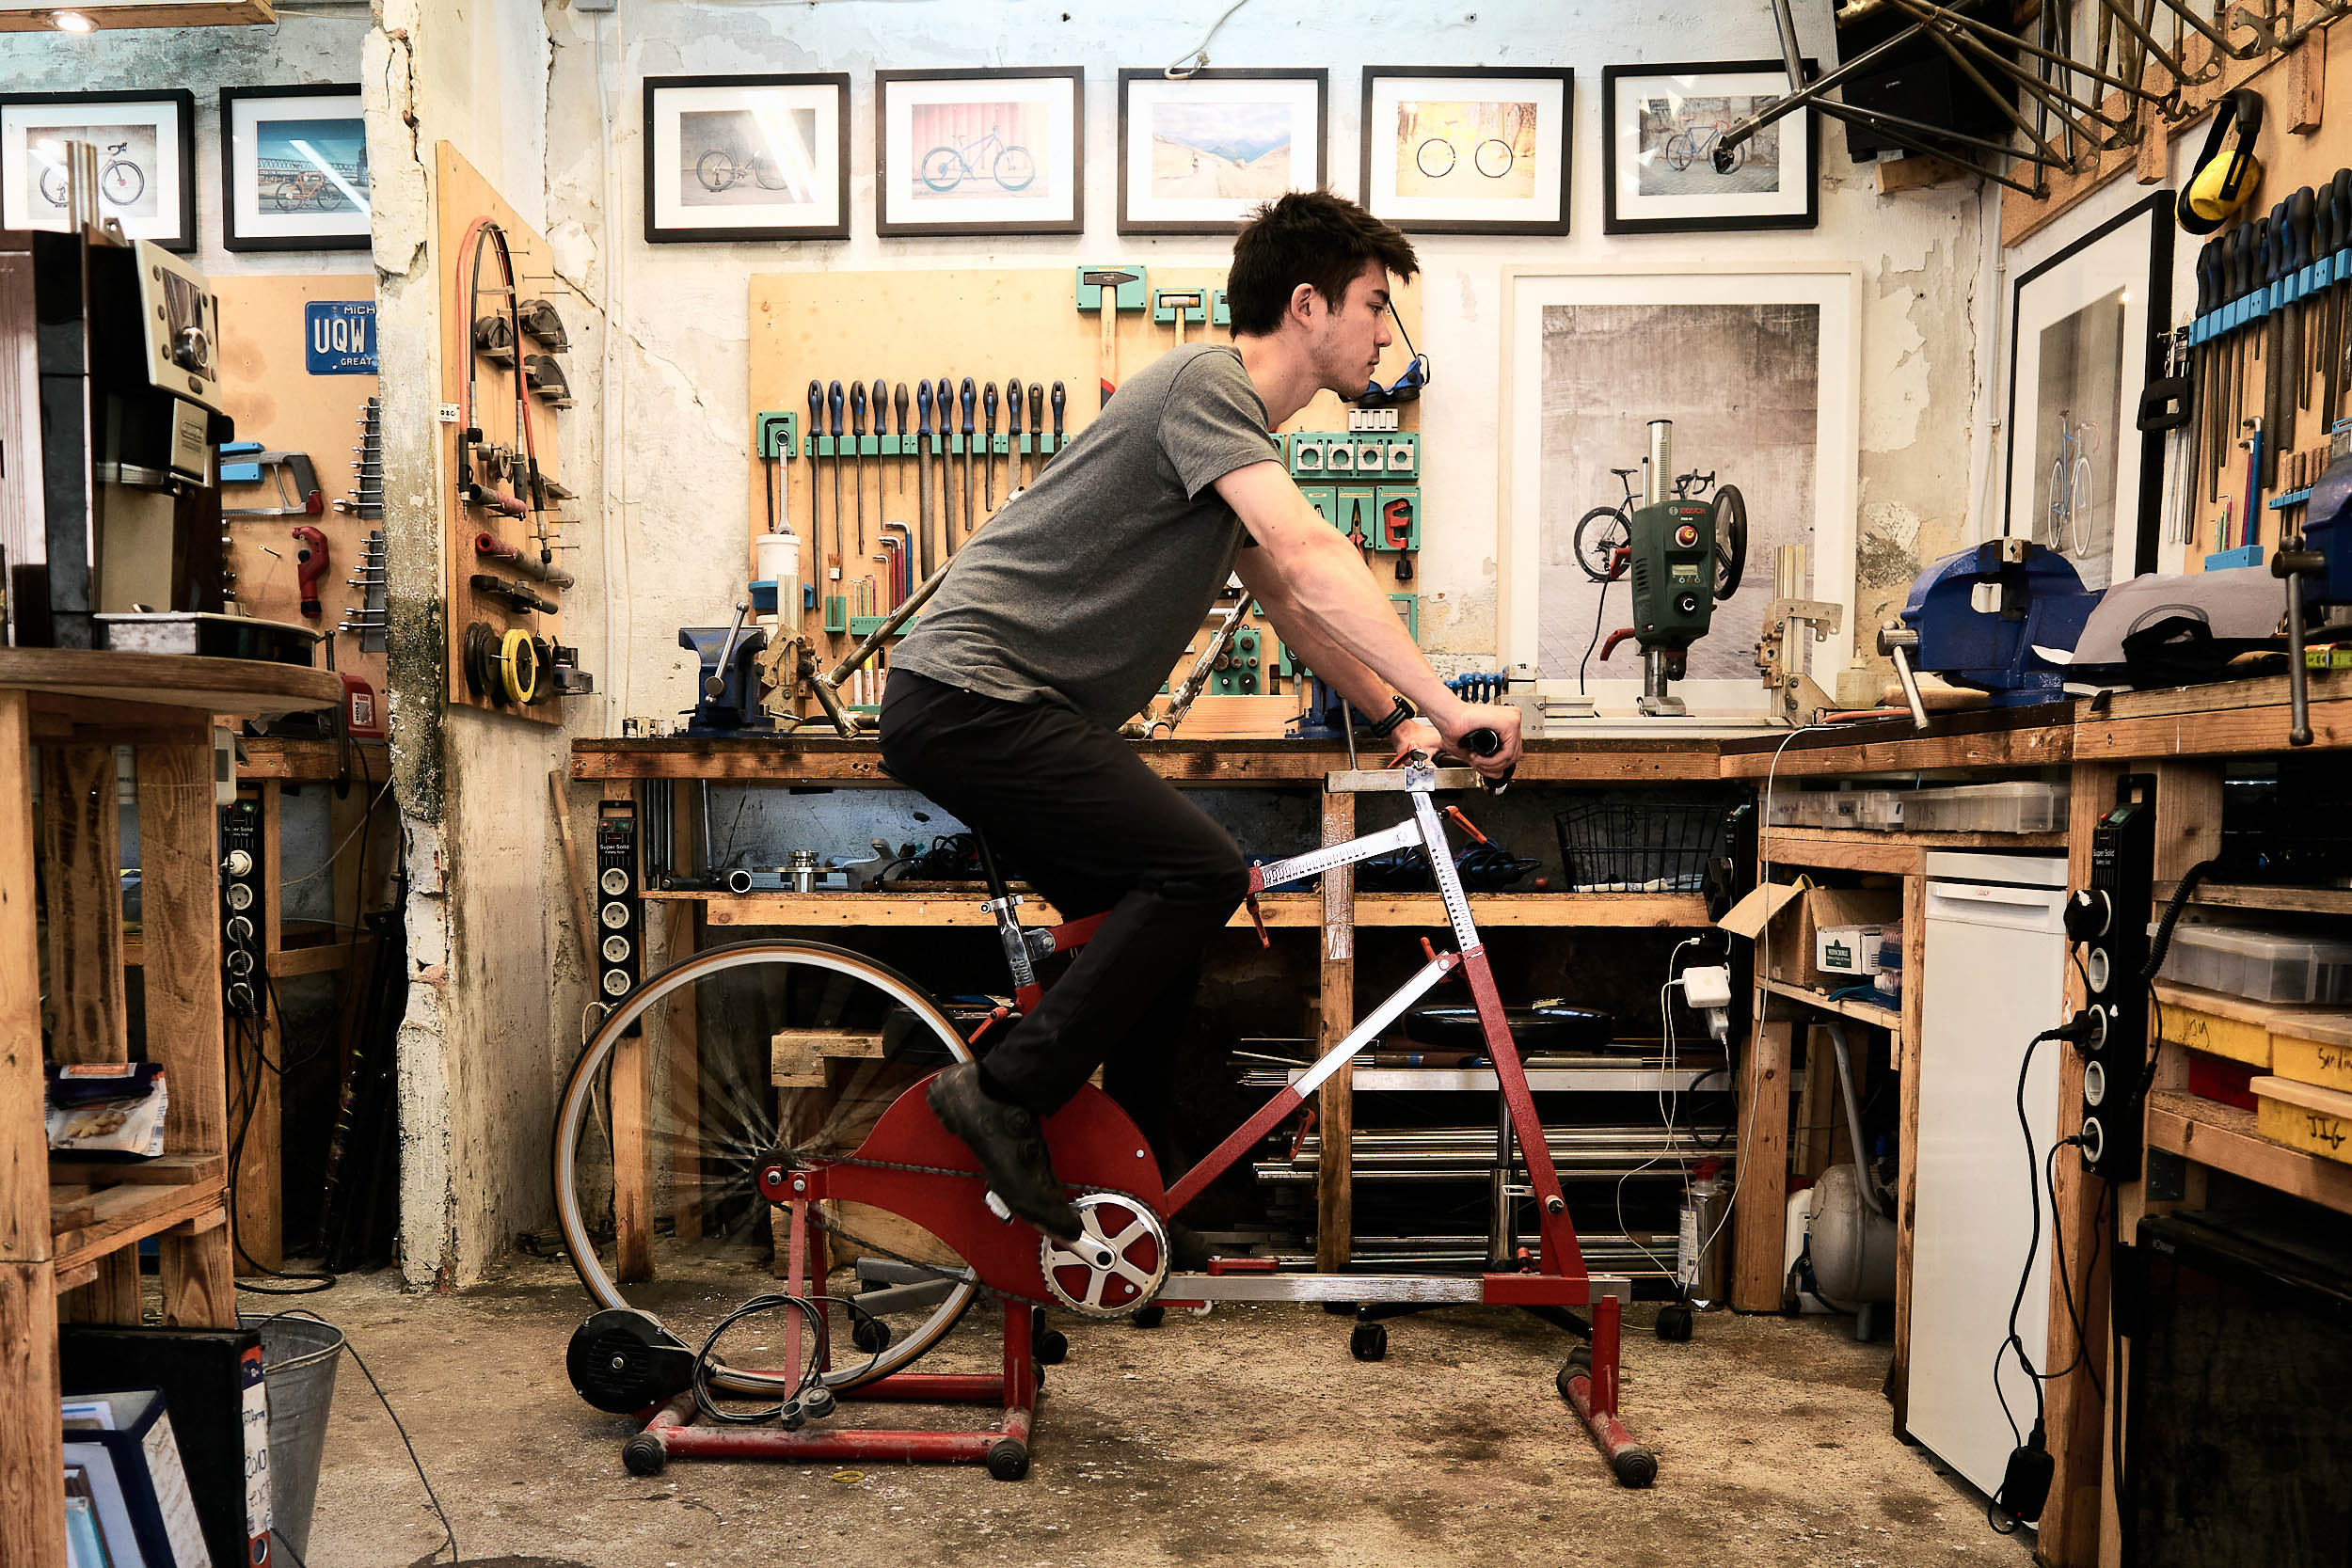
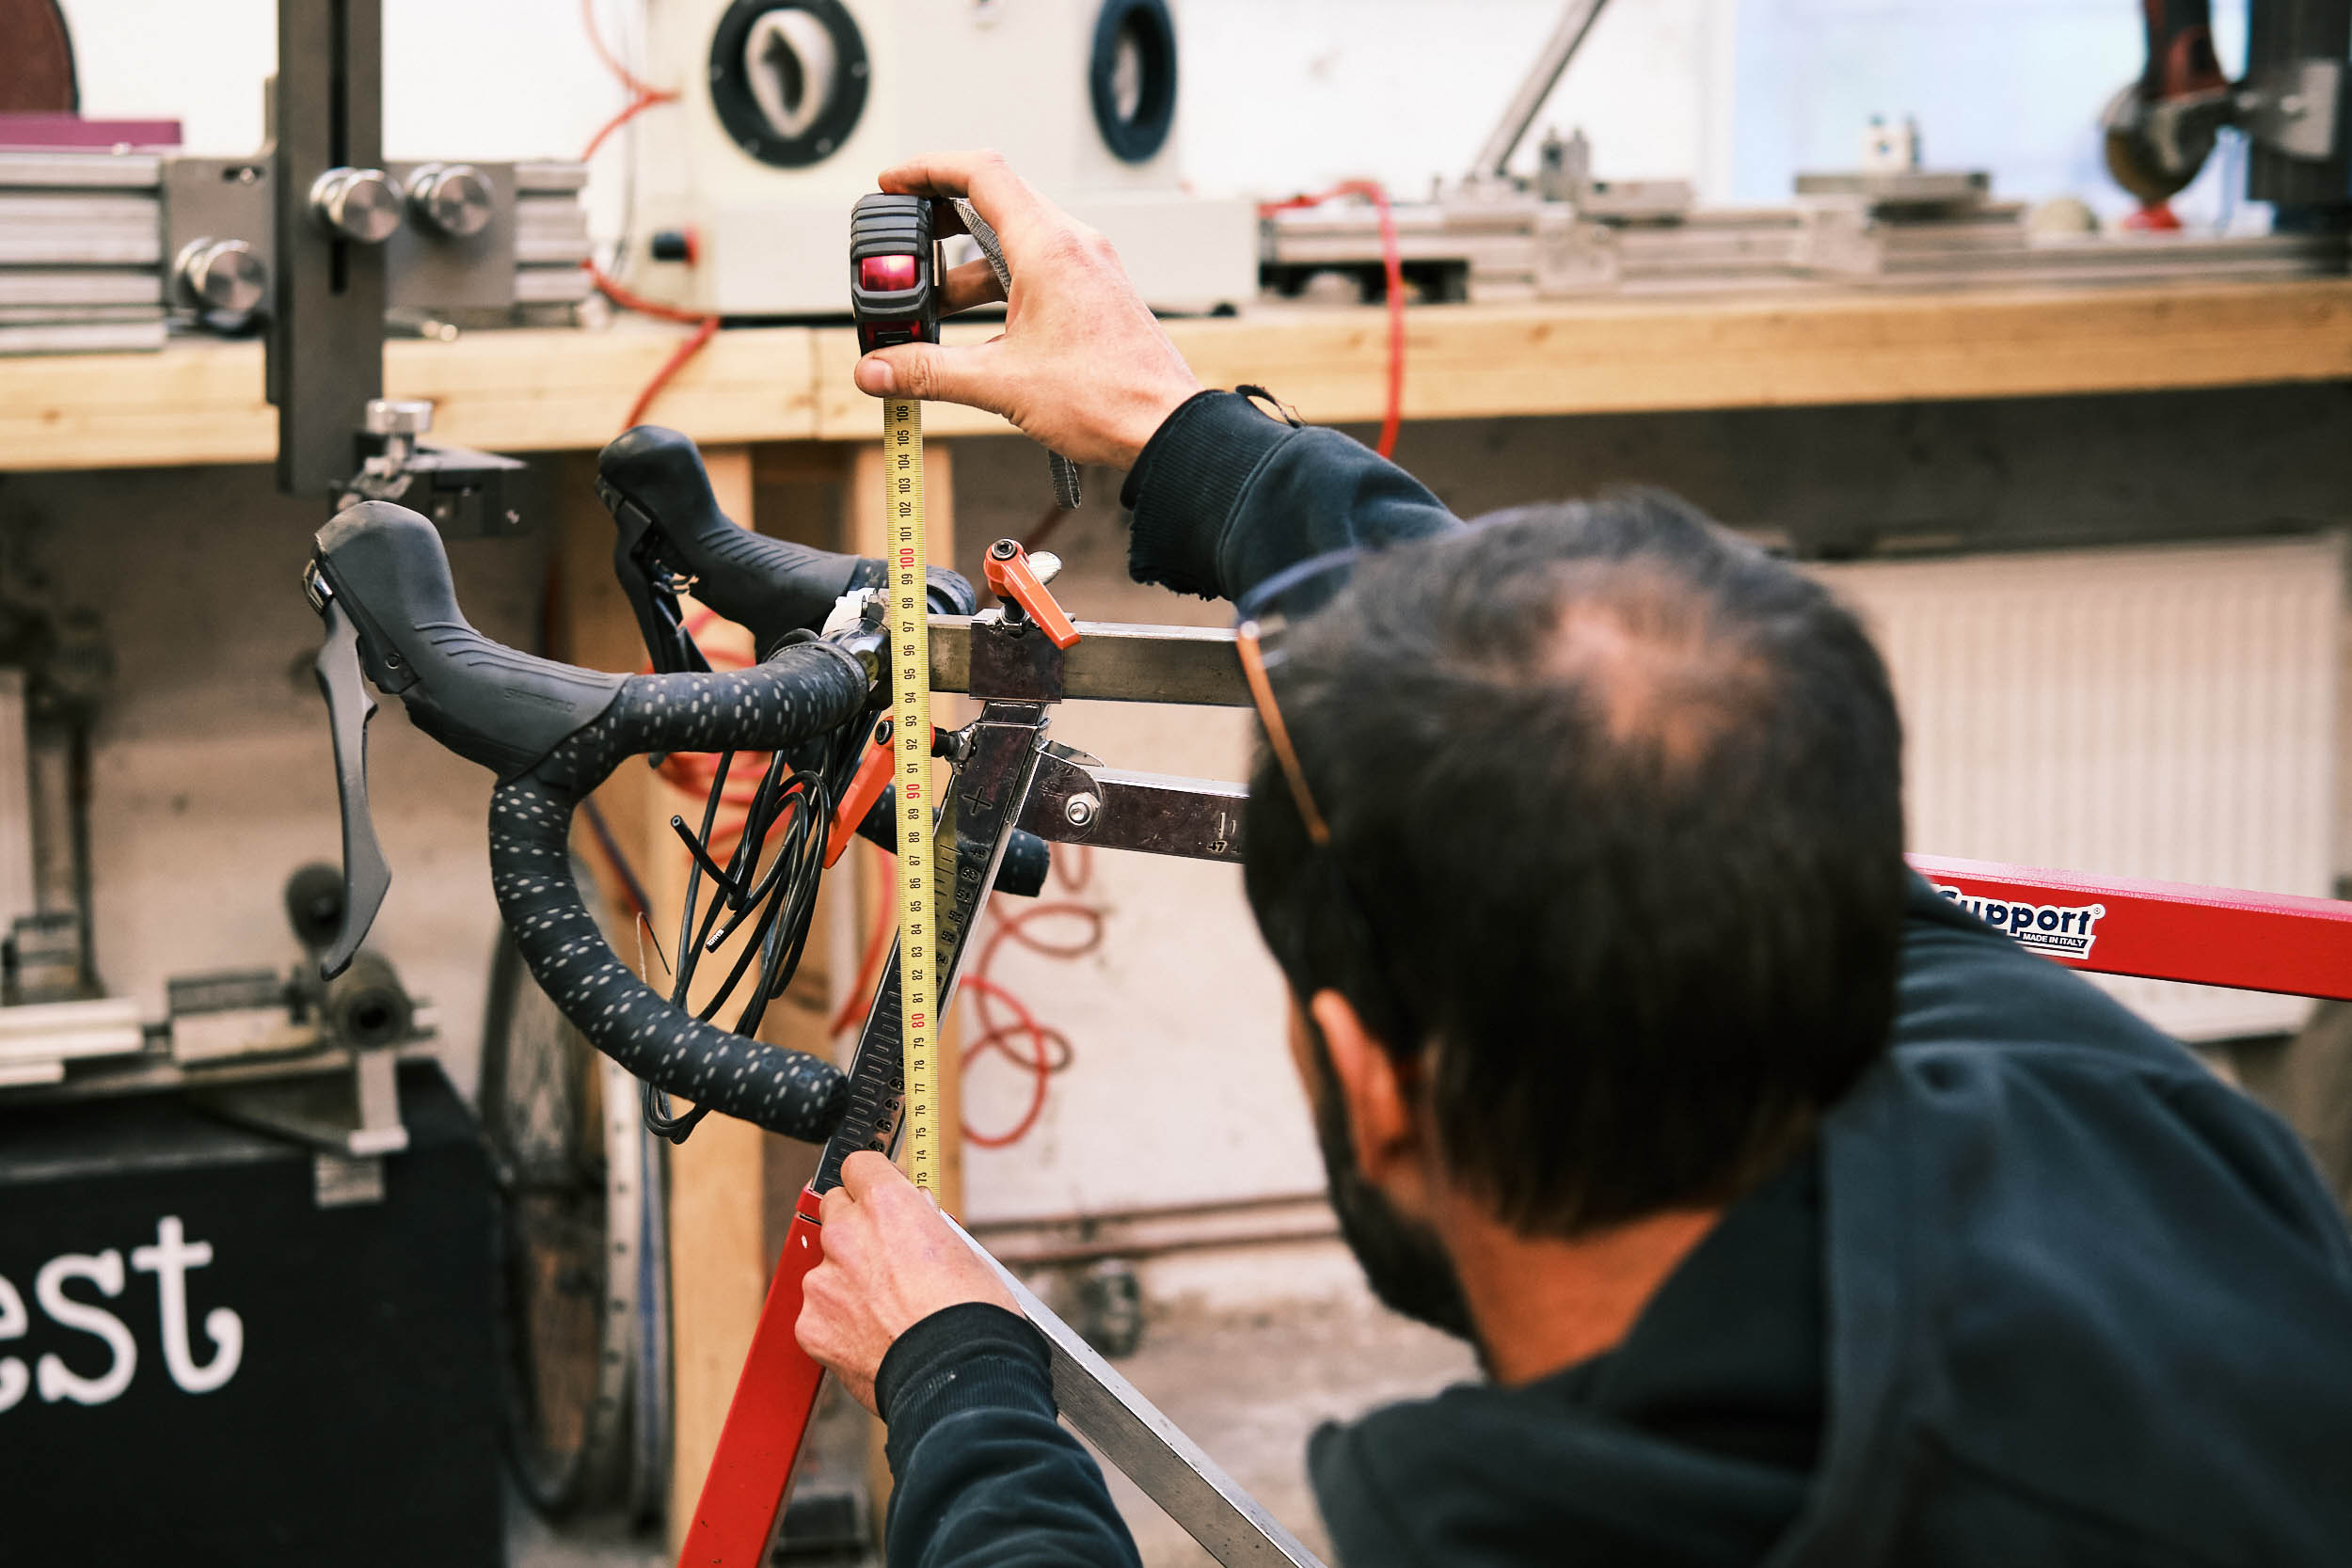
The first order of business is a short fit check to ensure that the saddle position, bar reach, and standover of the design are indeed correct. I request some last-minute adjustments, and then Robert prints the drawings that will be our blueprints for the week.
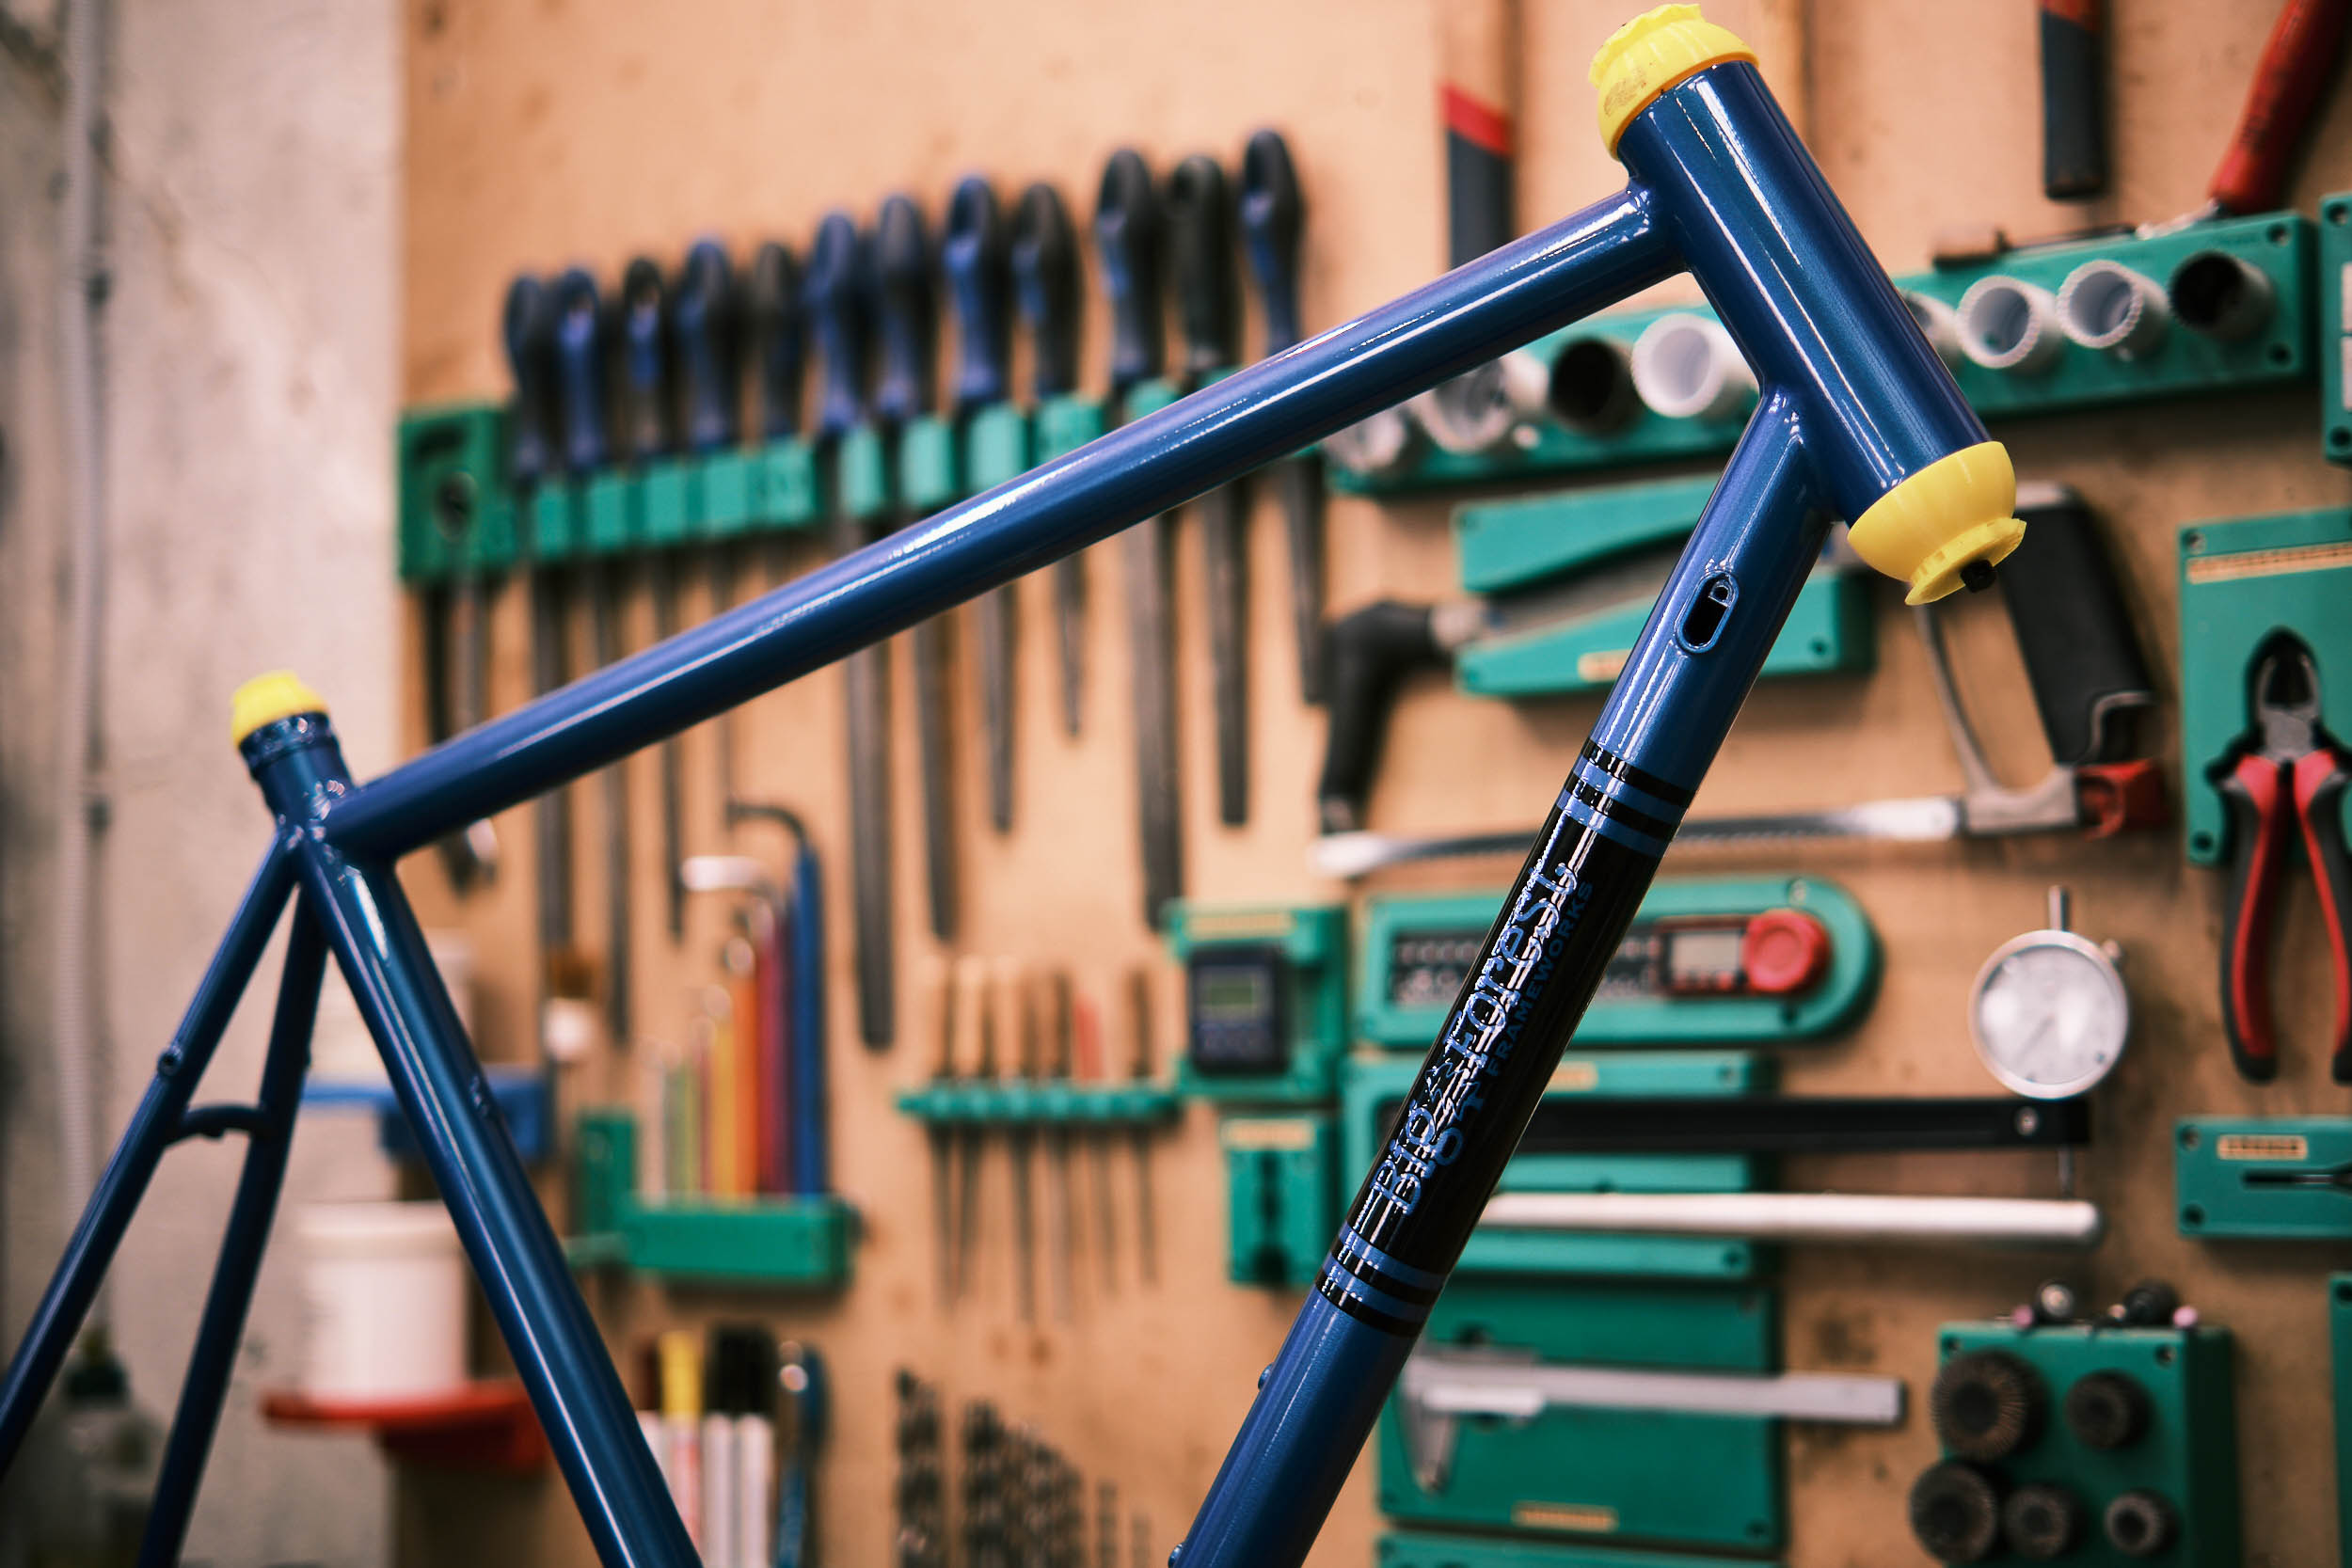
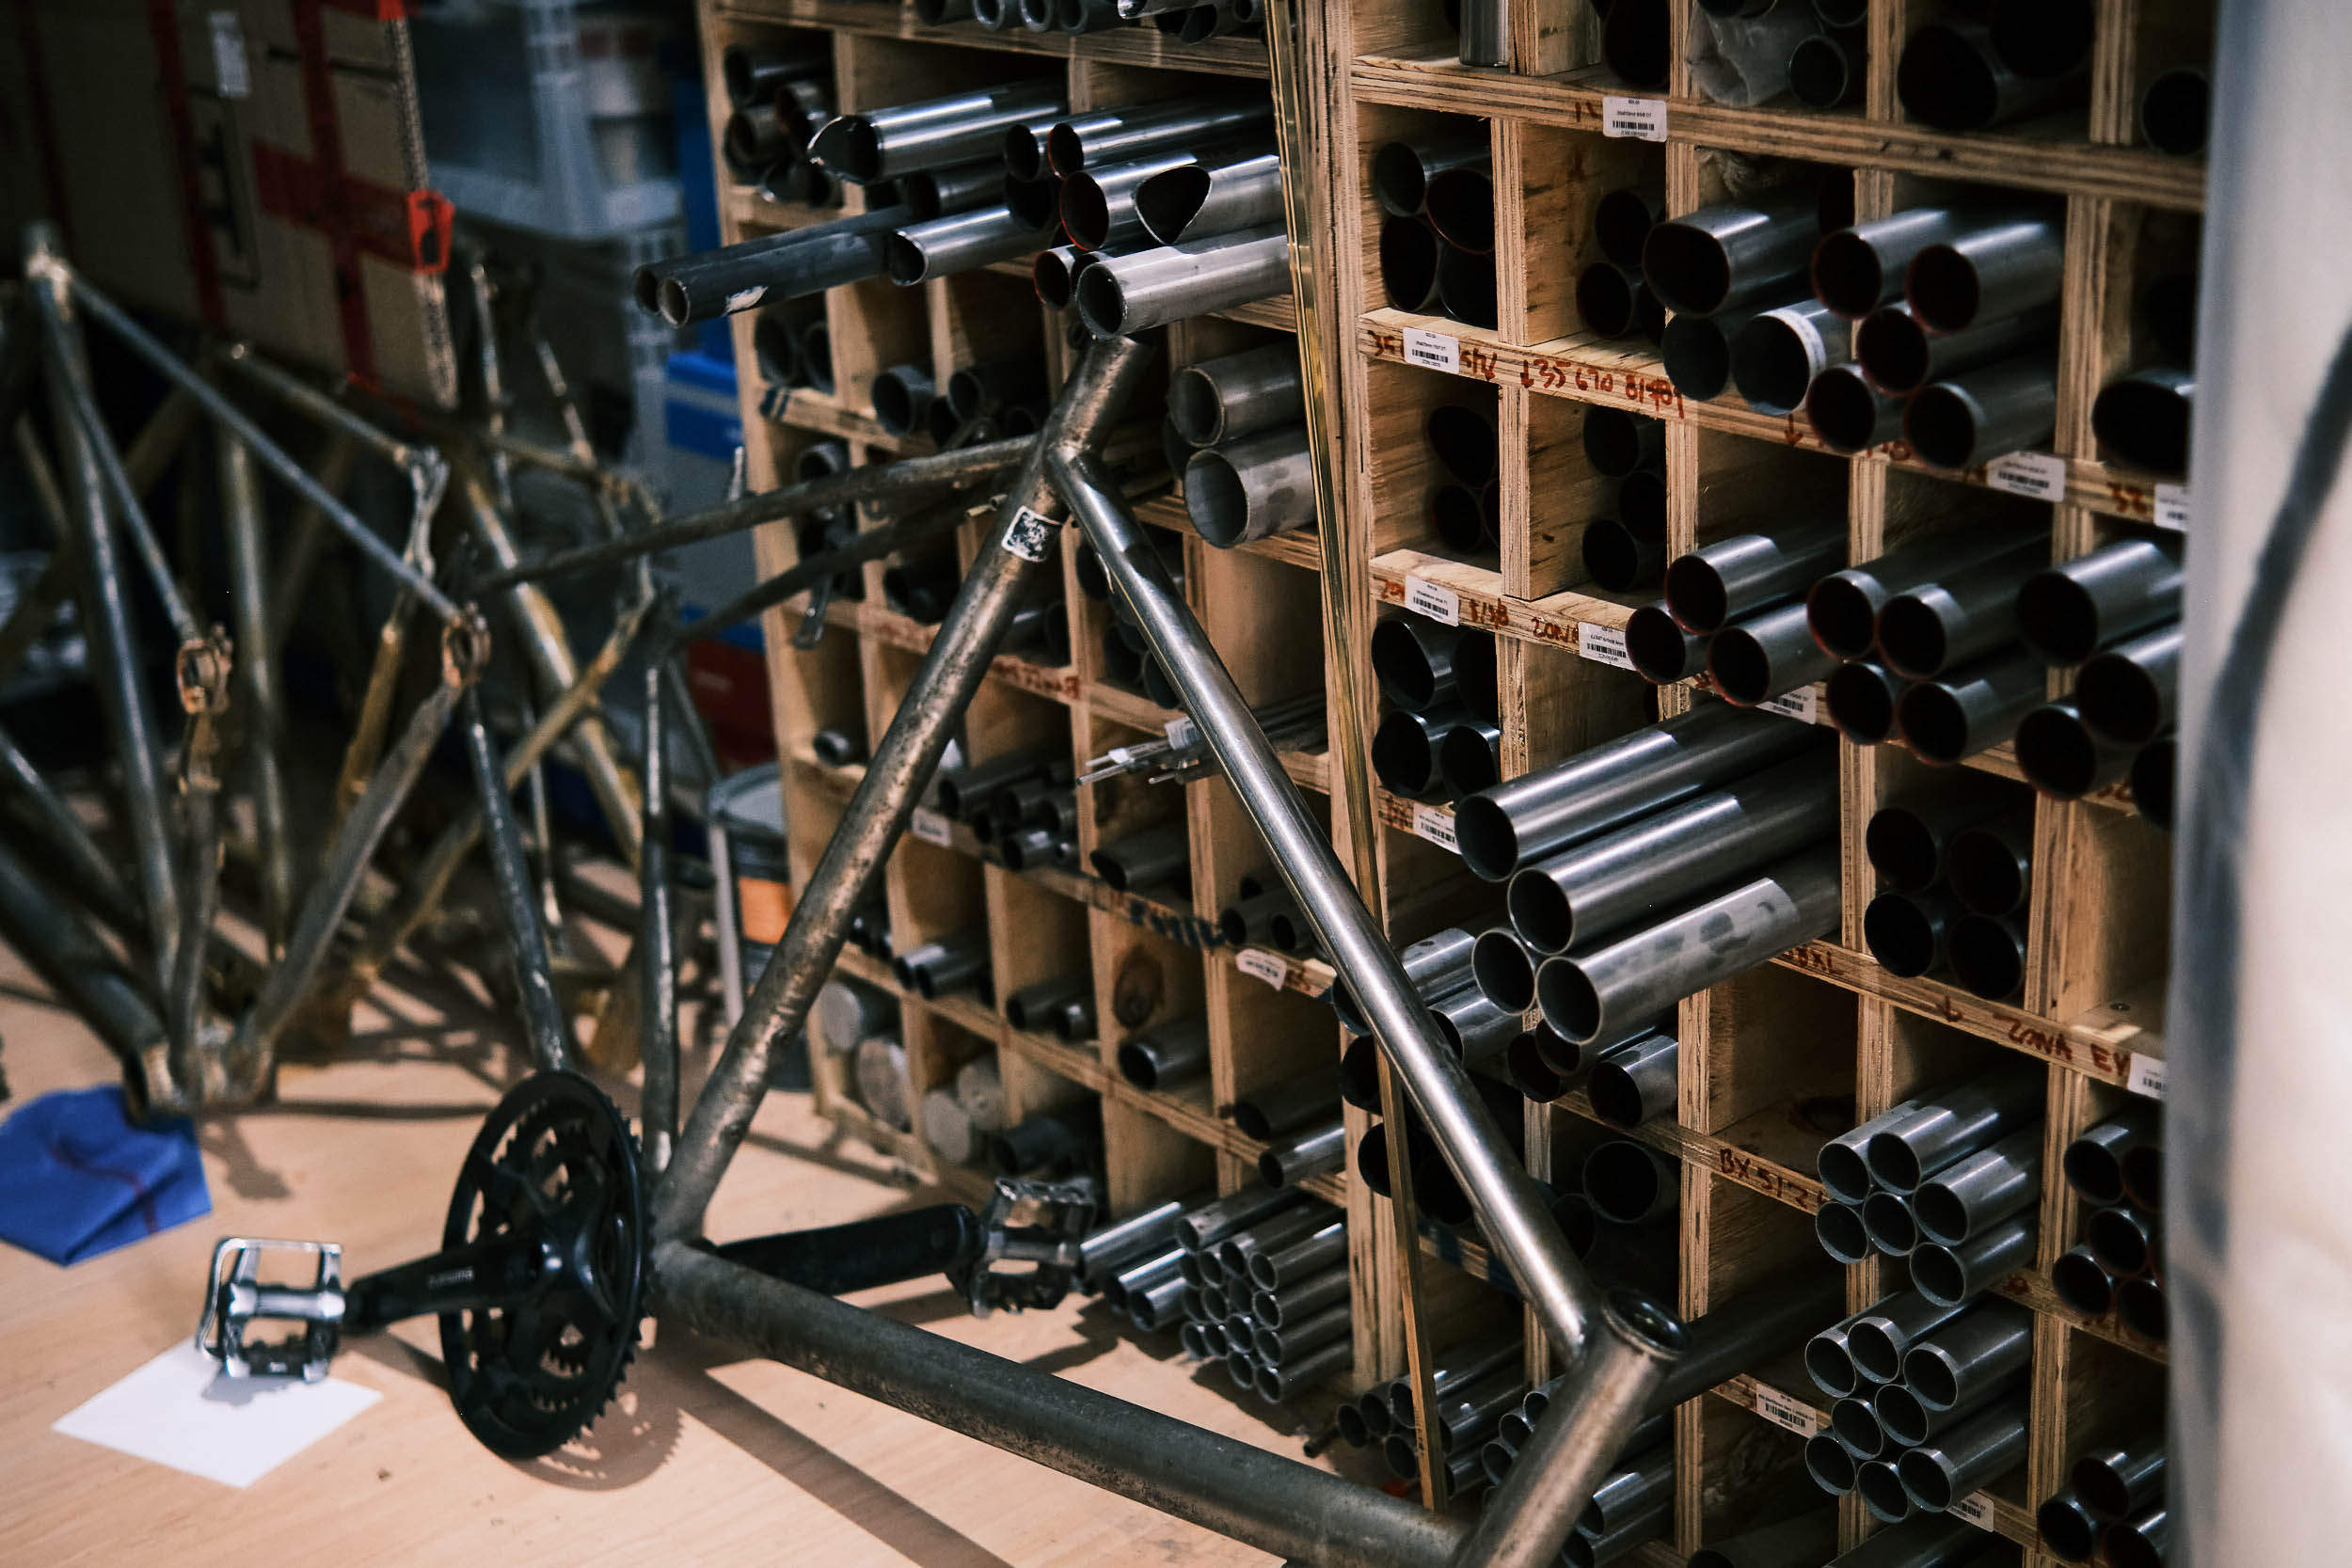
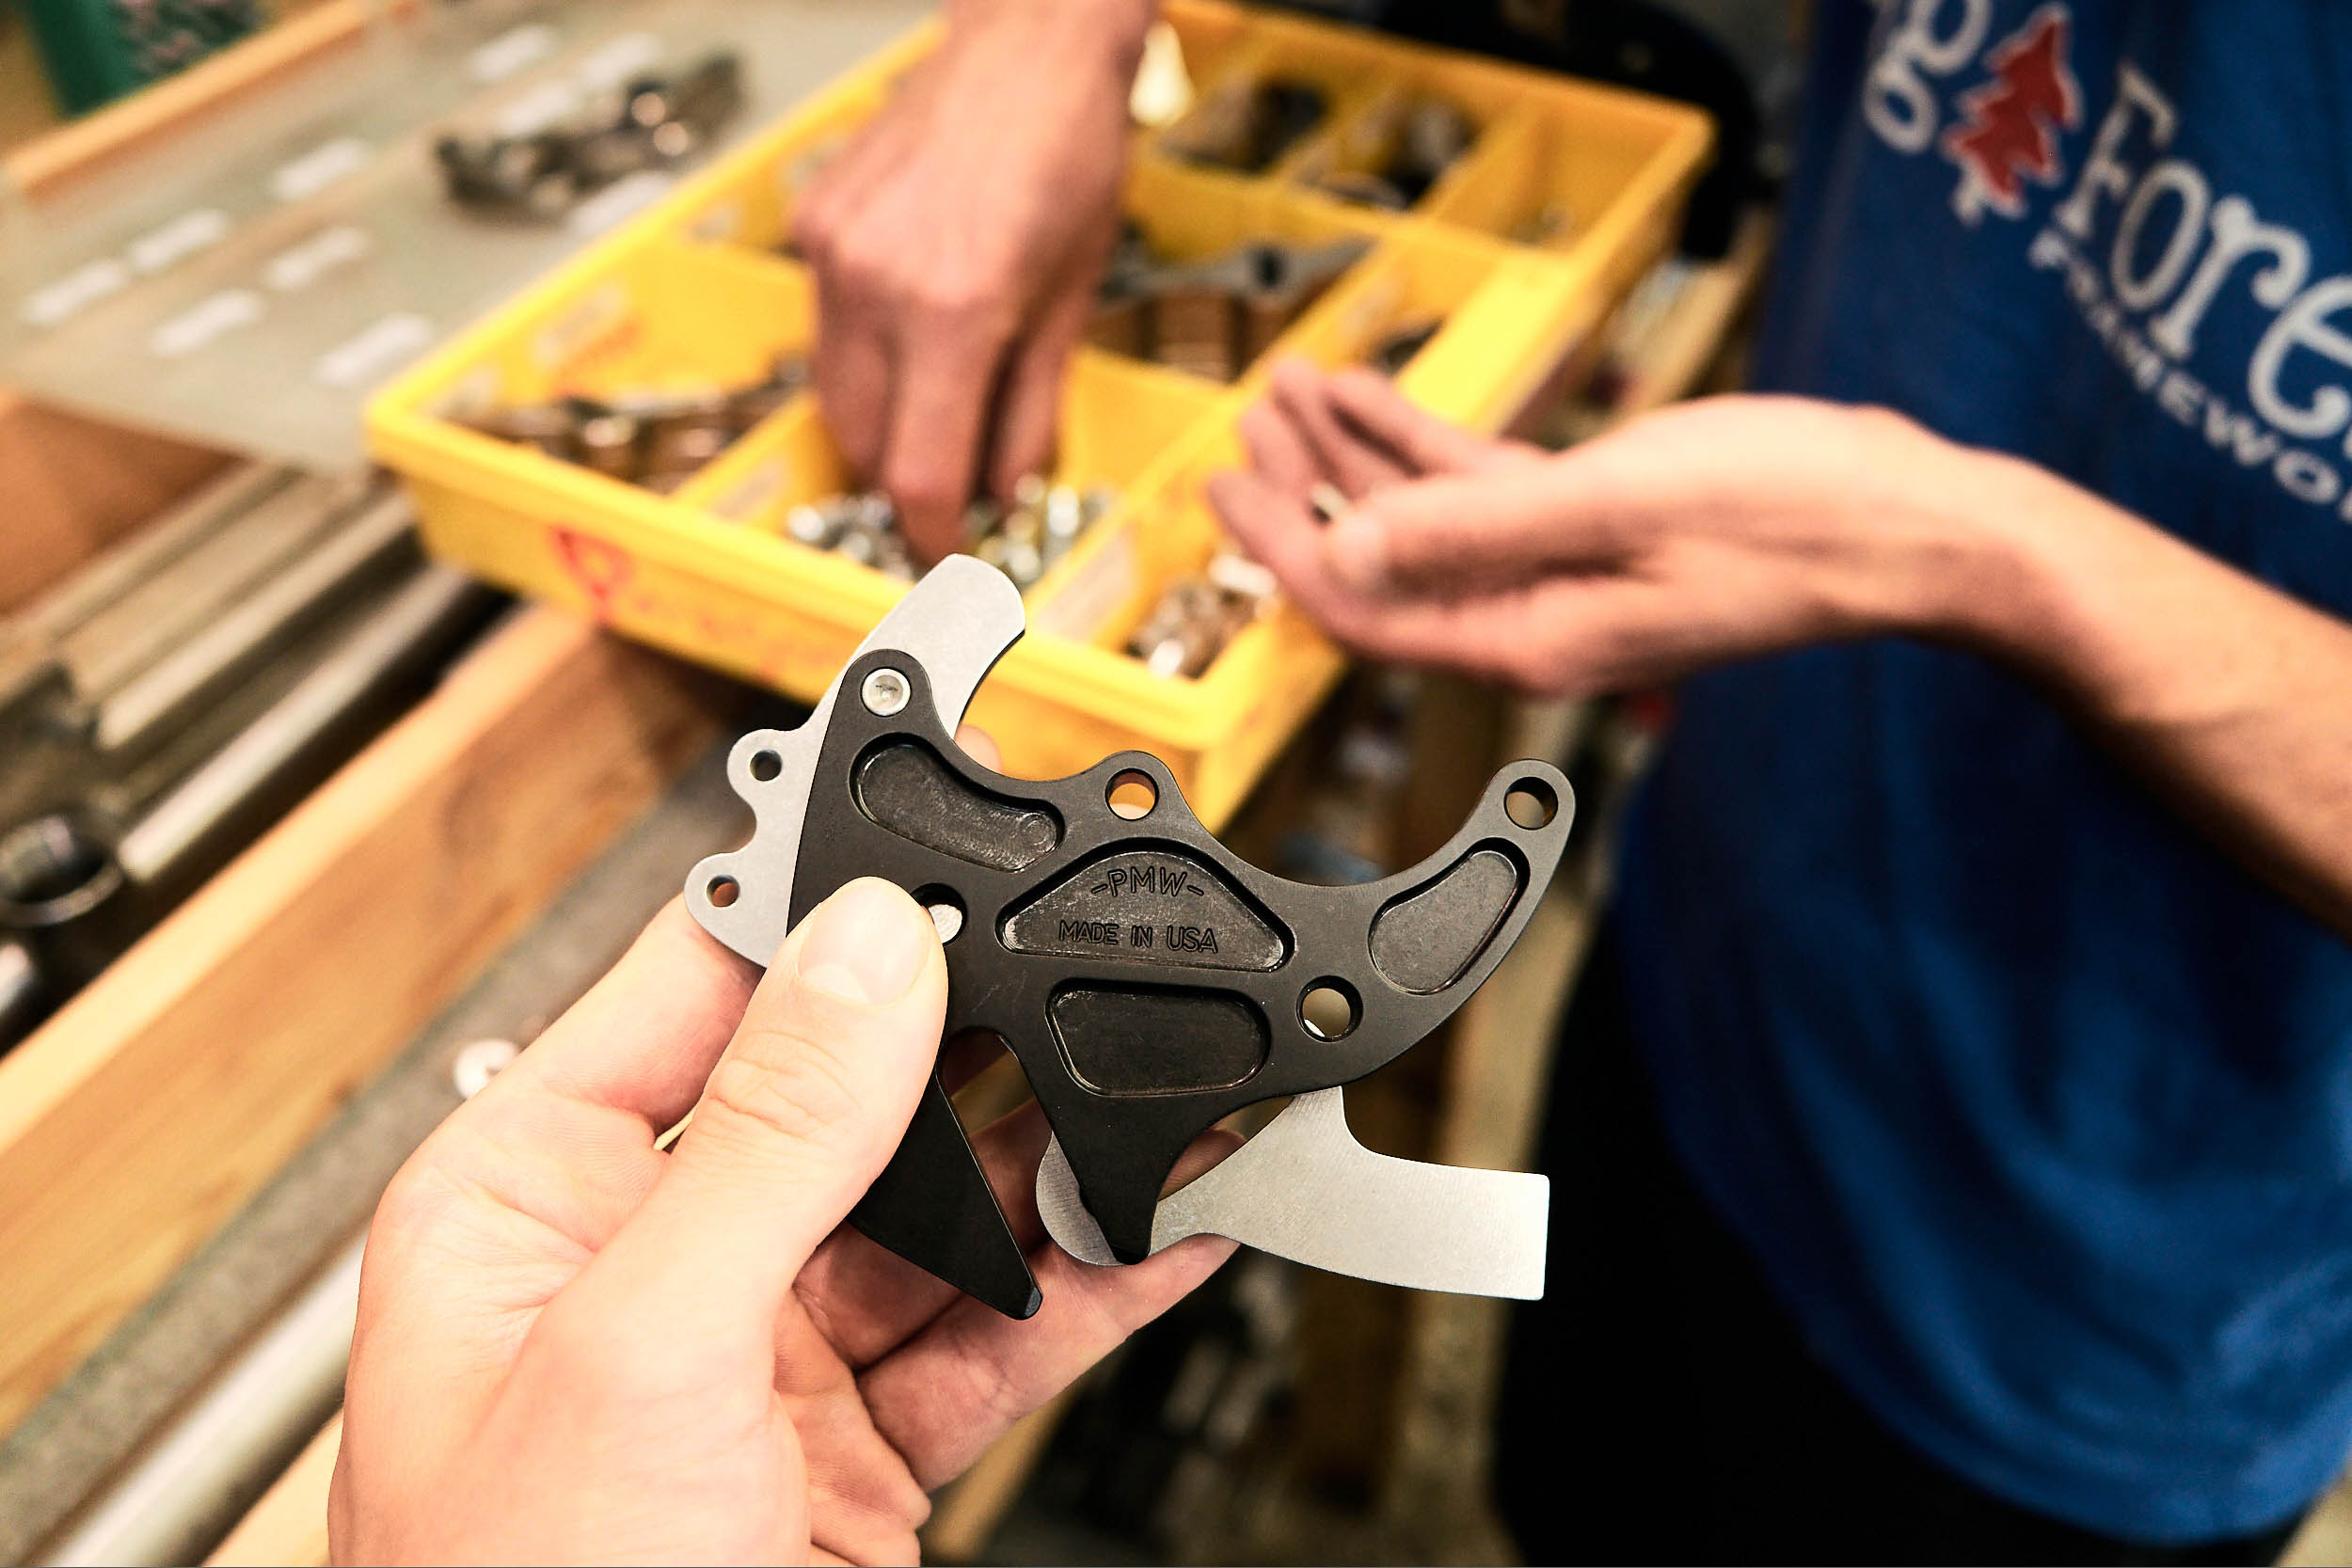
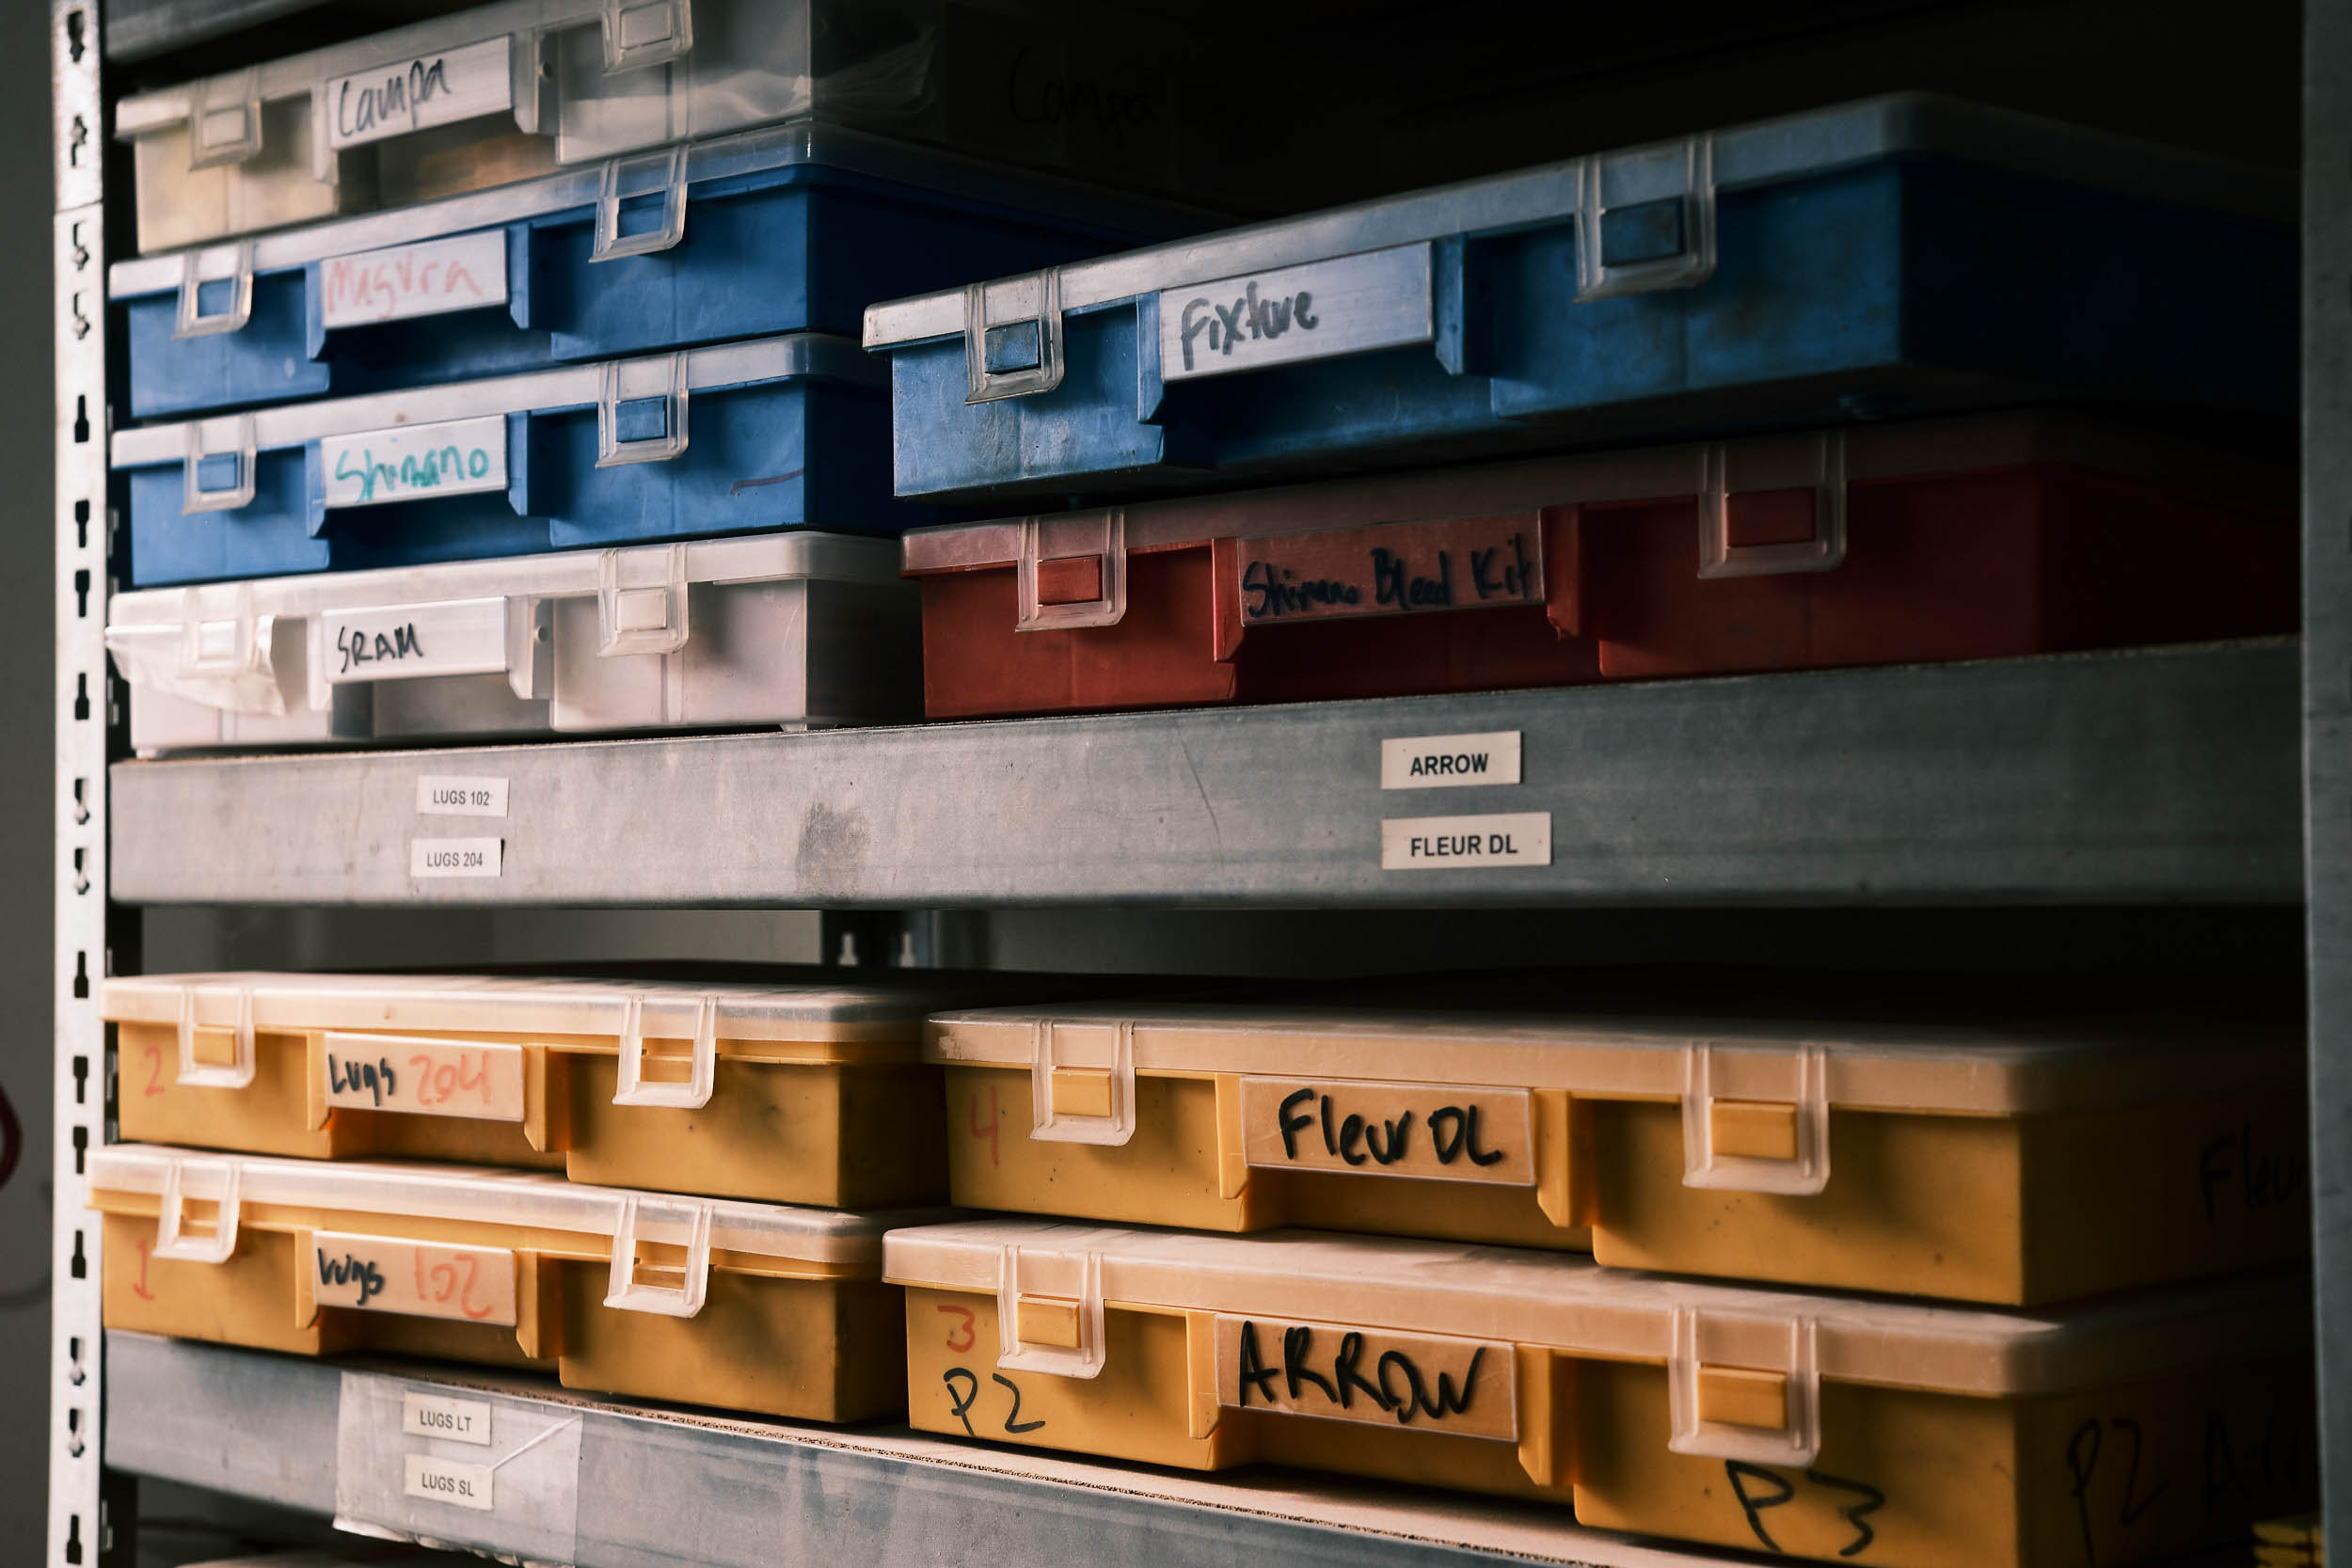
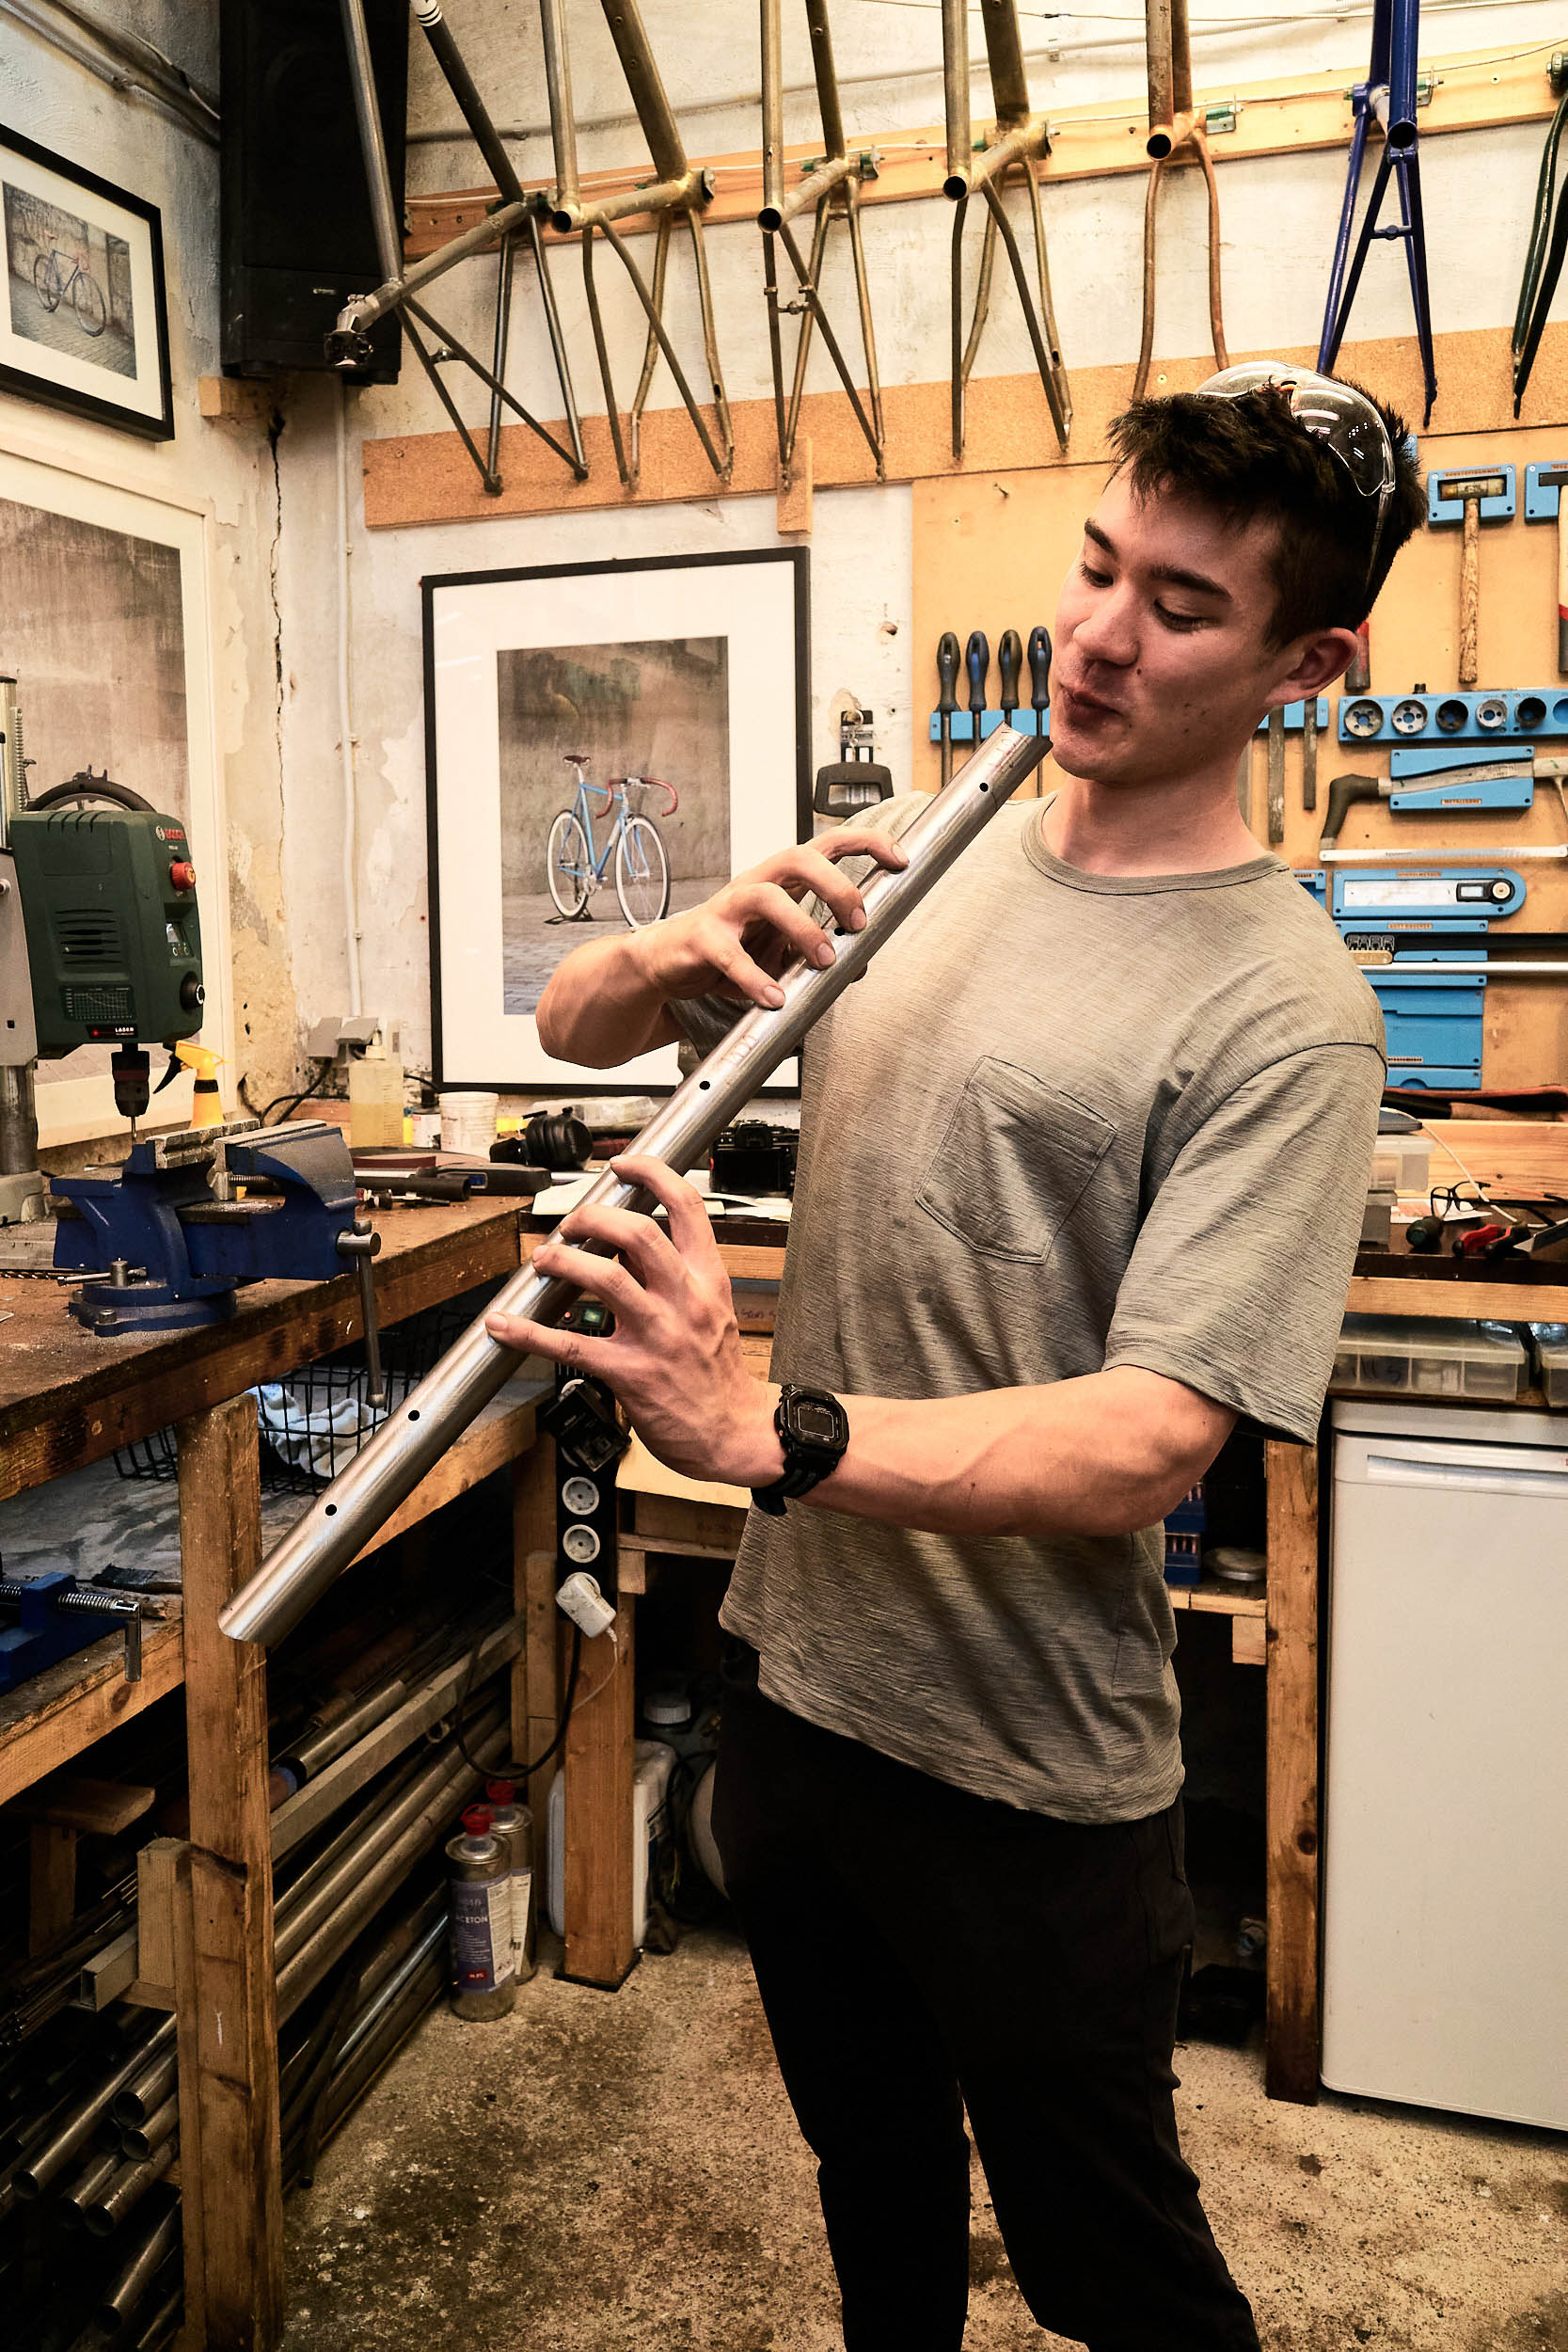
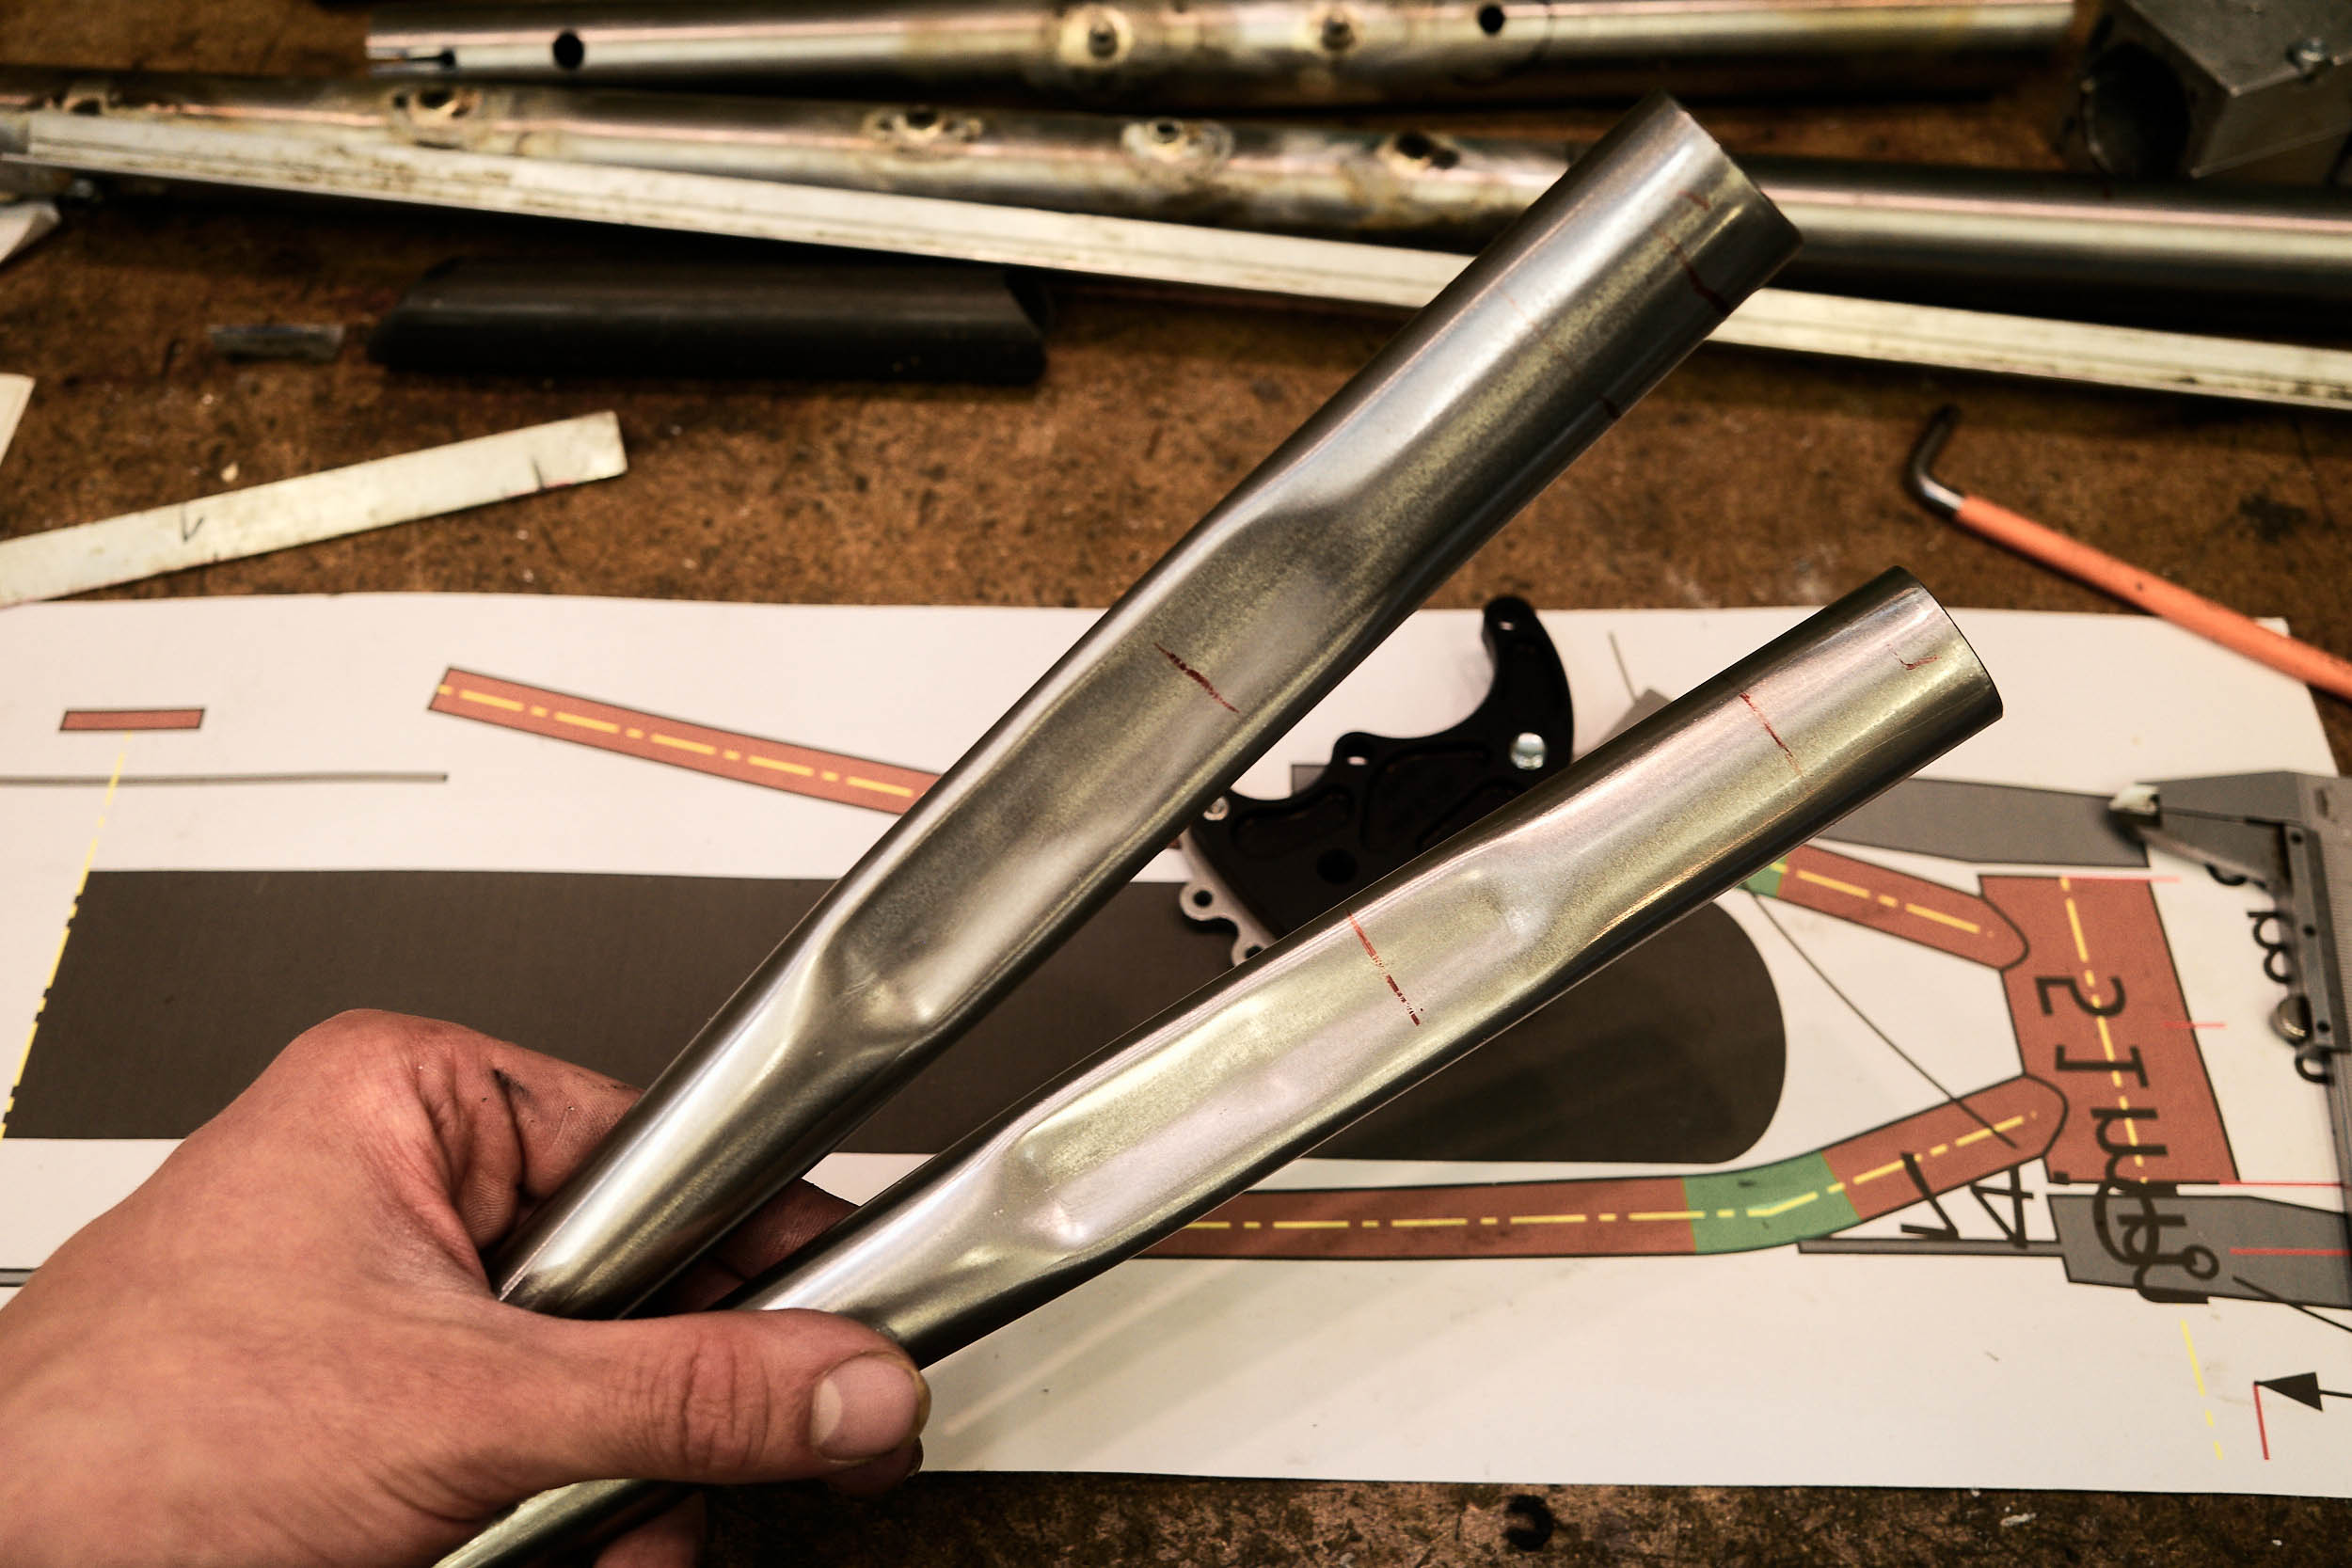
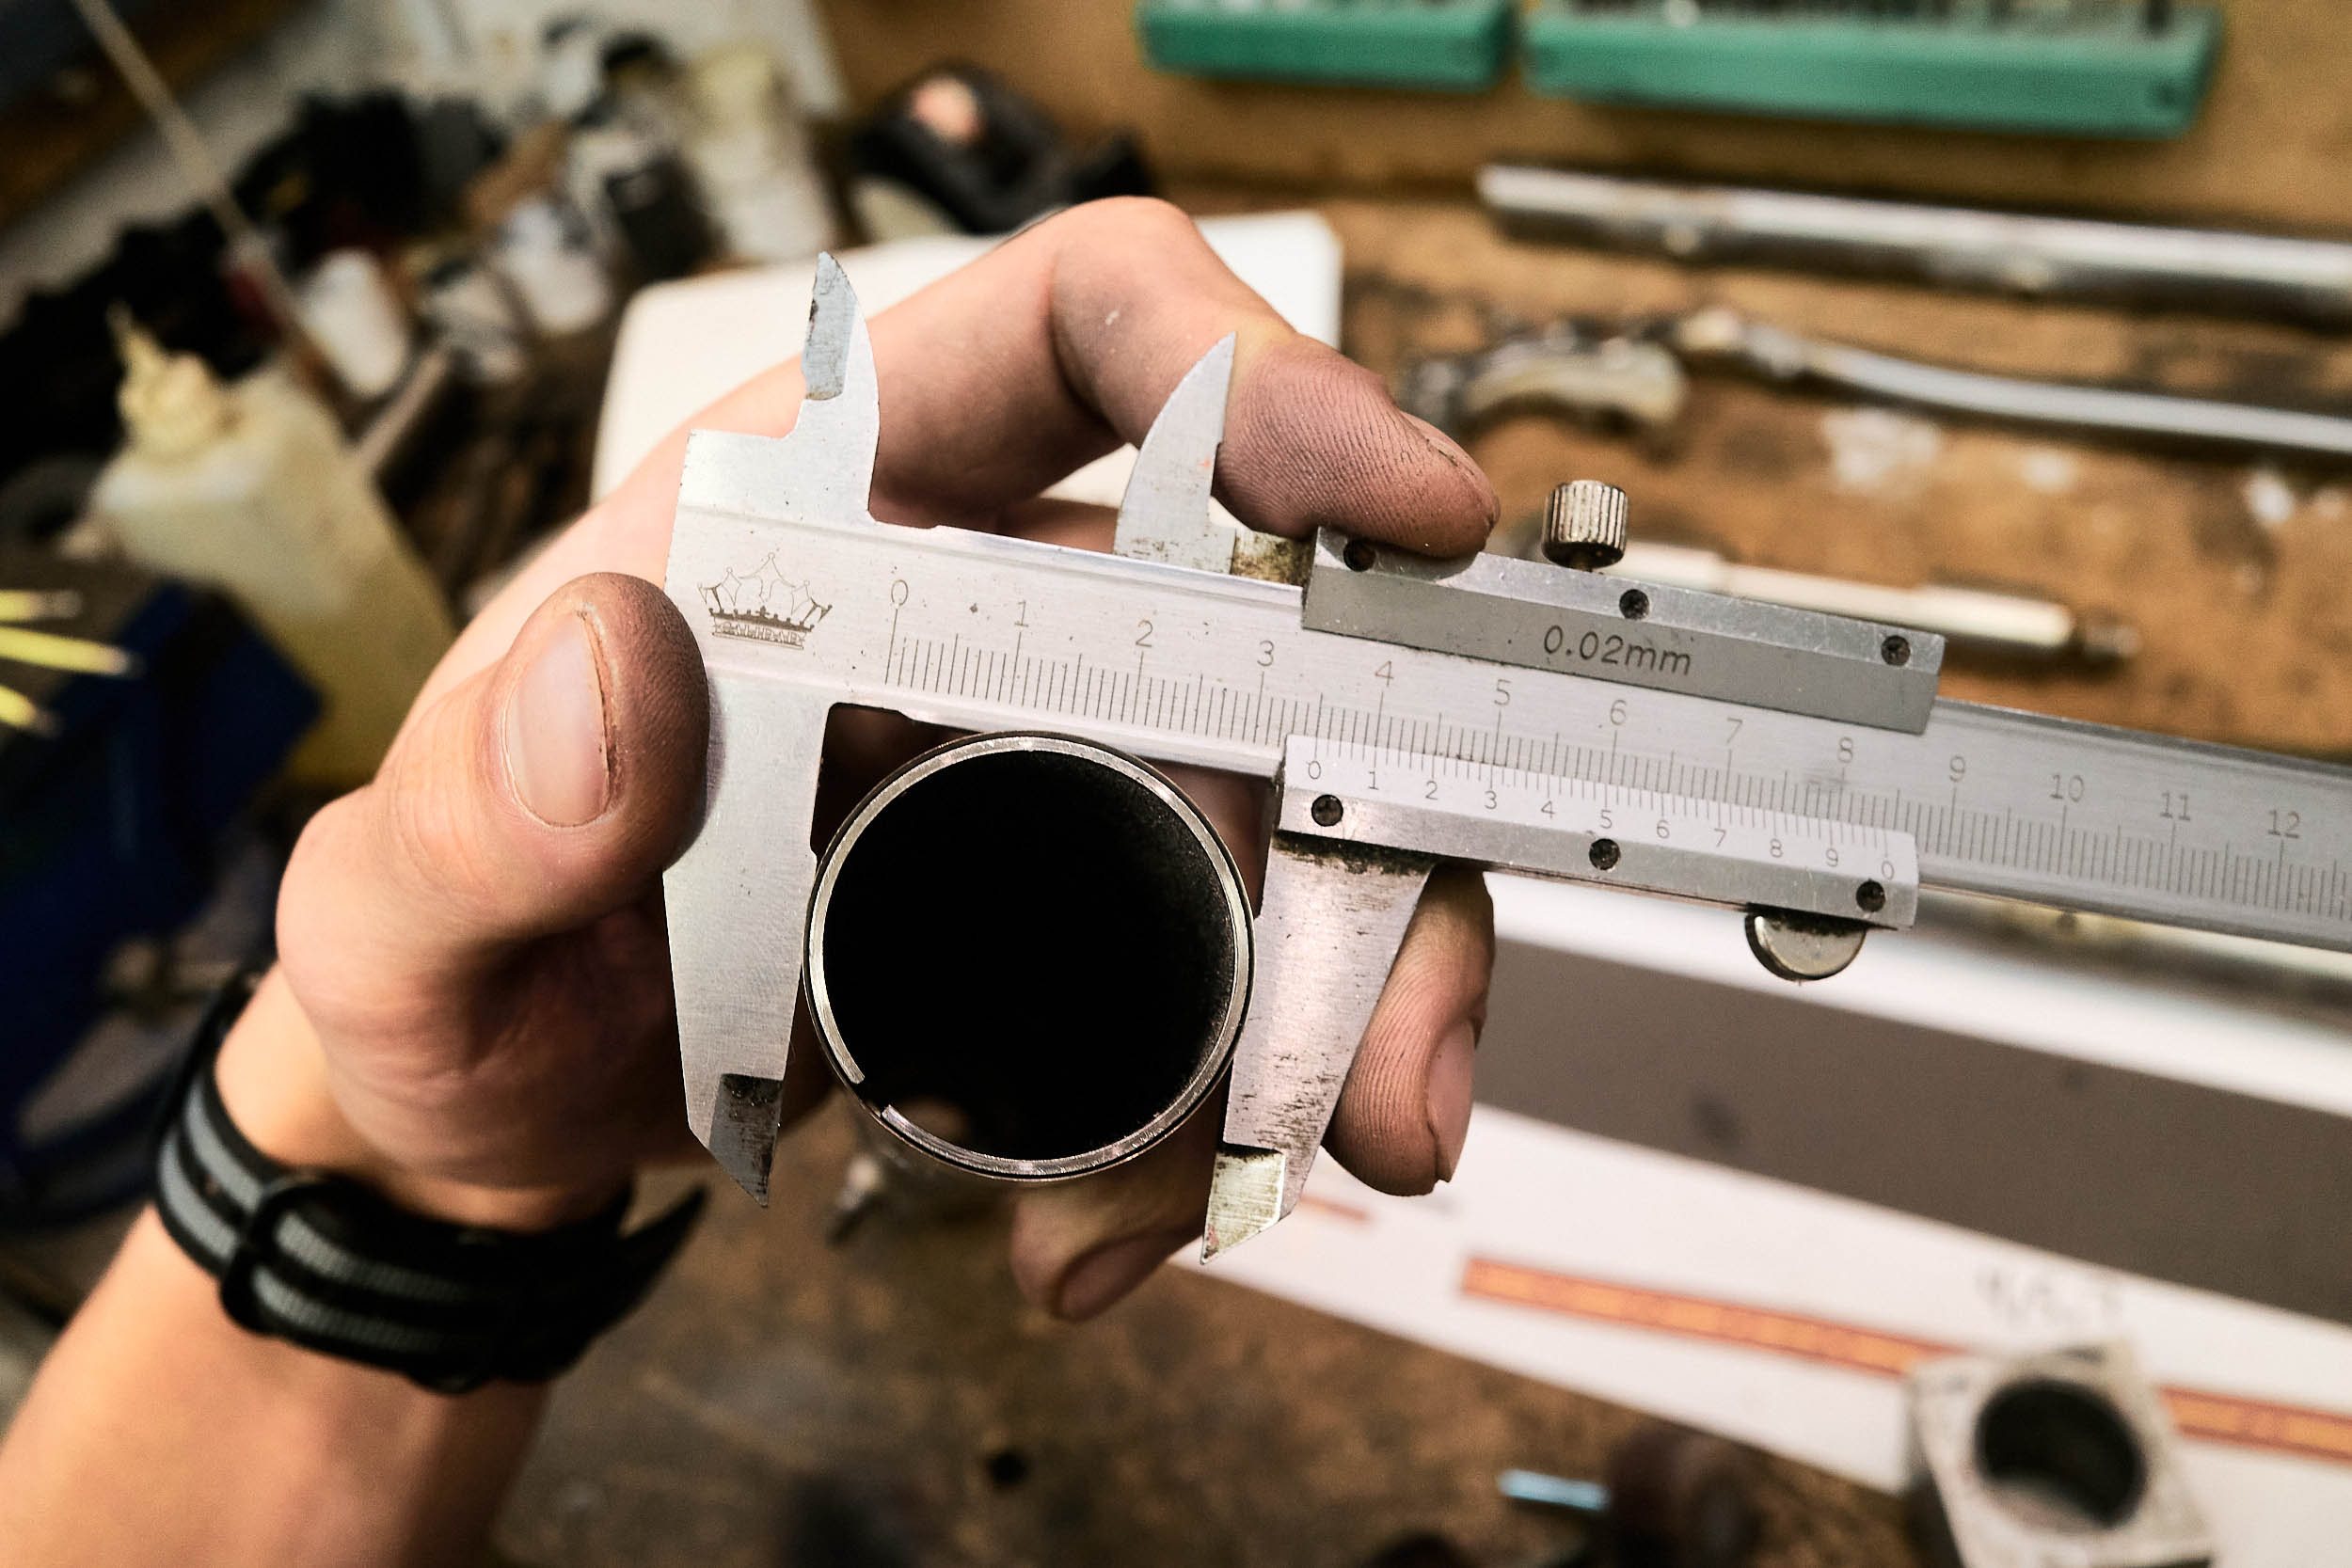
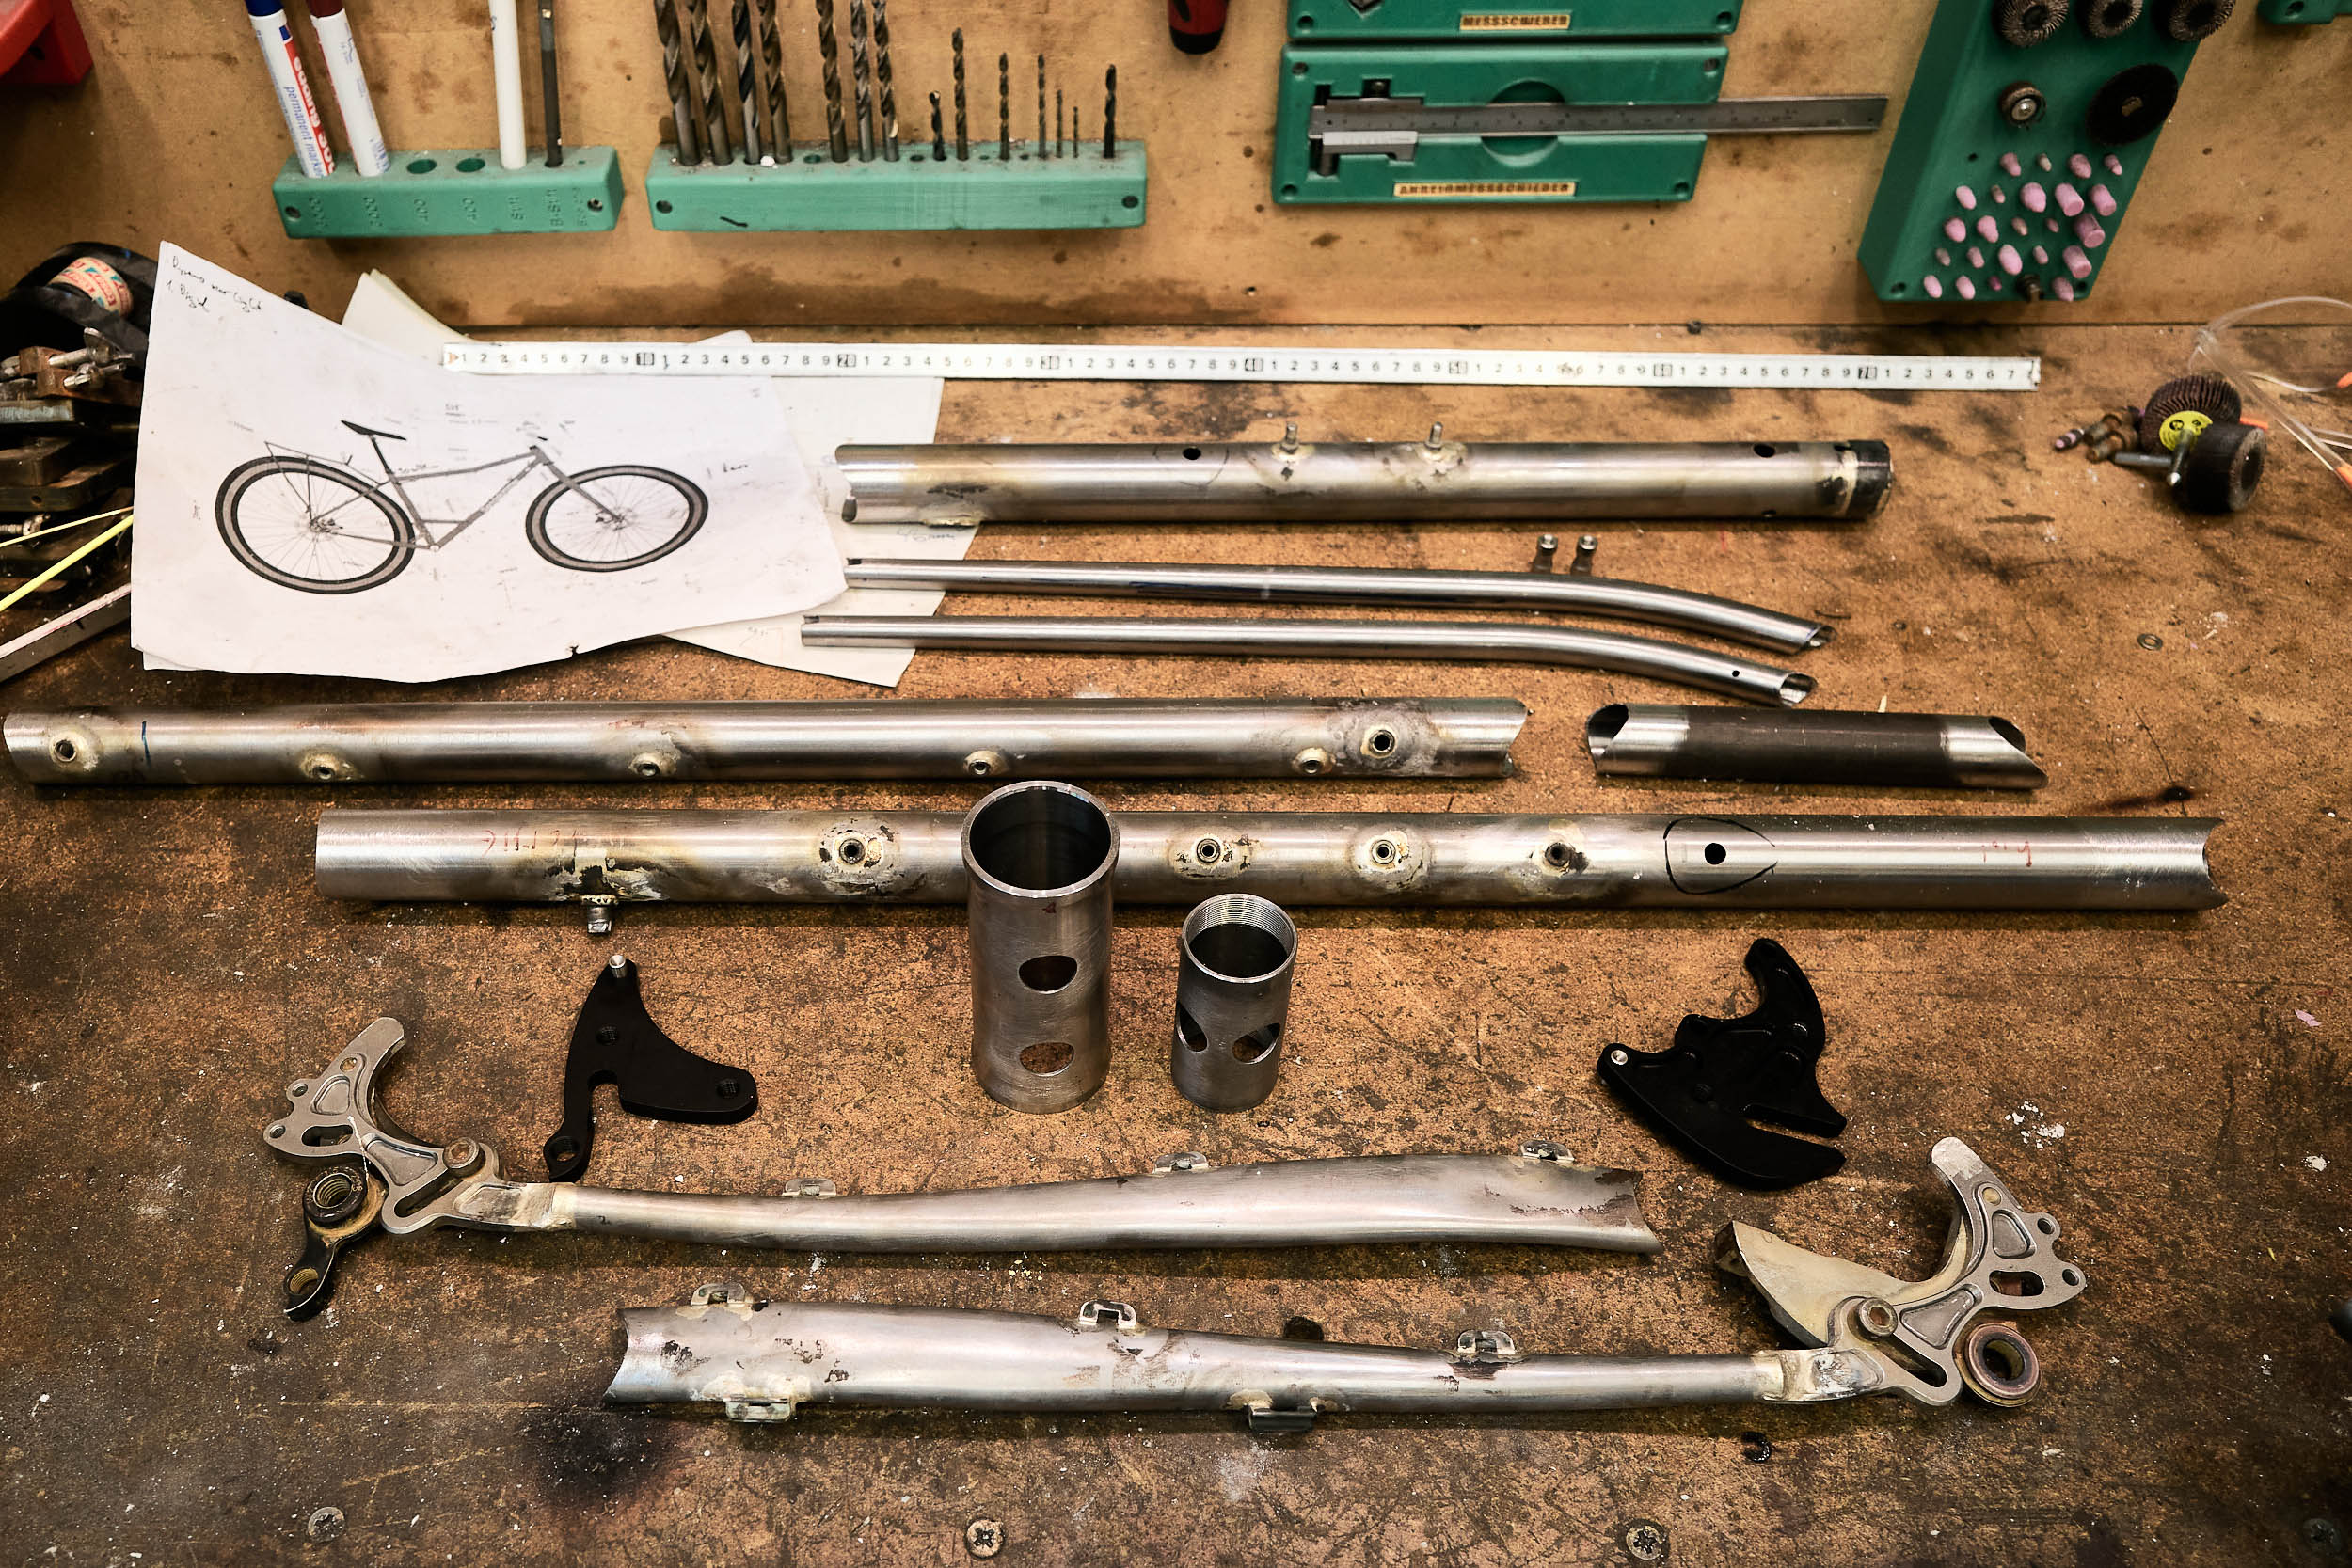
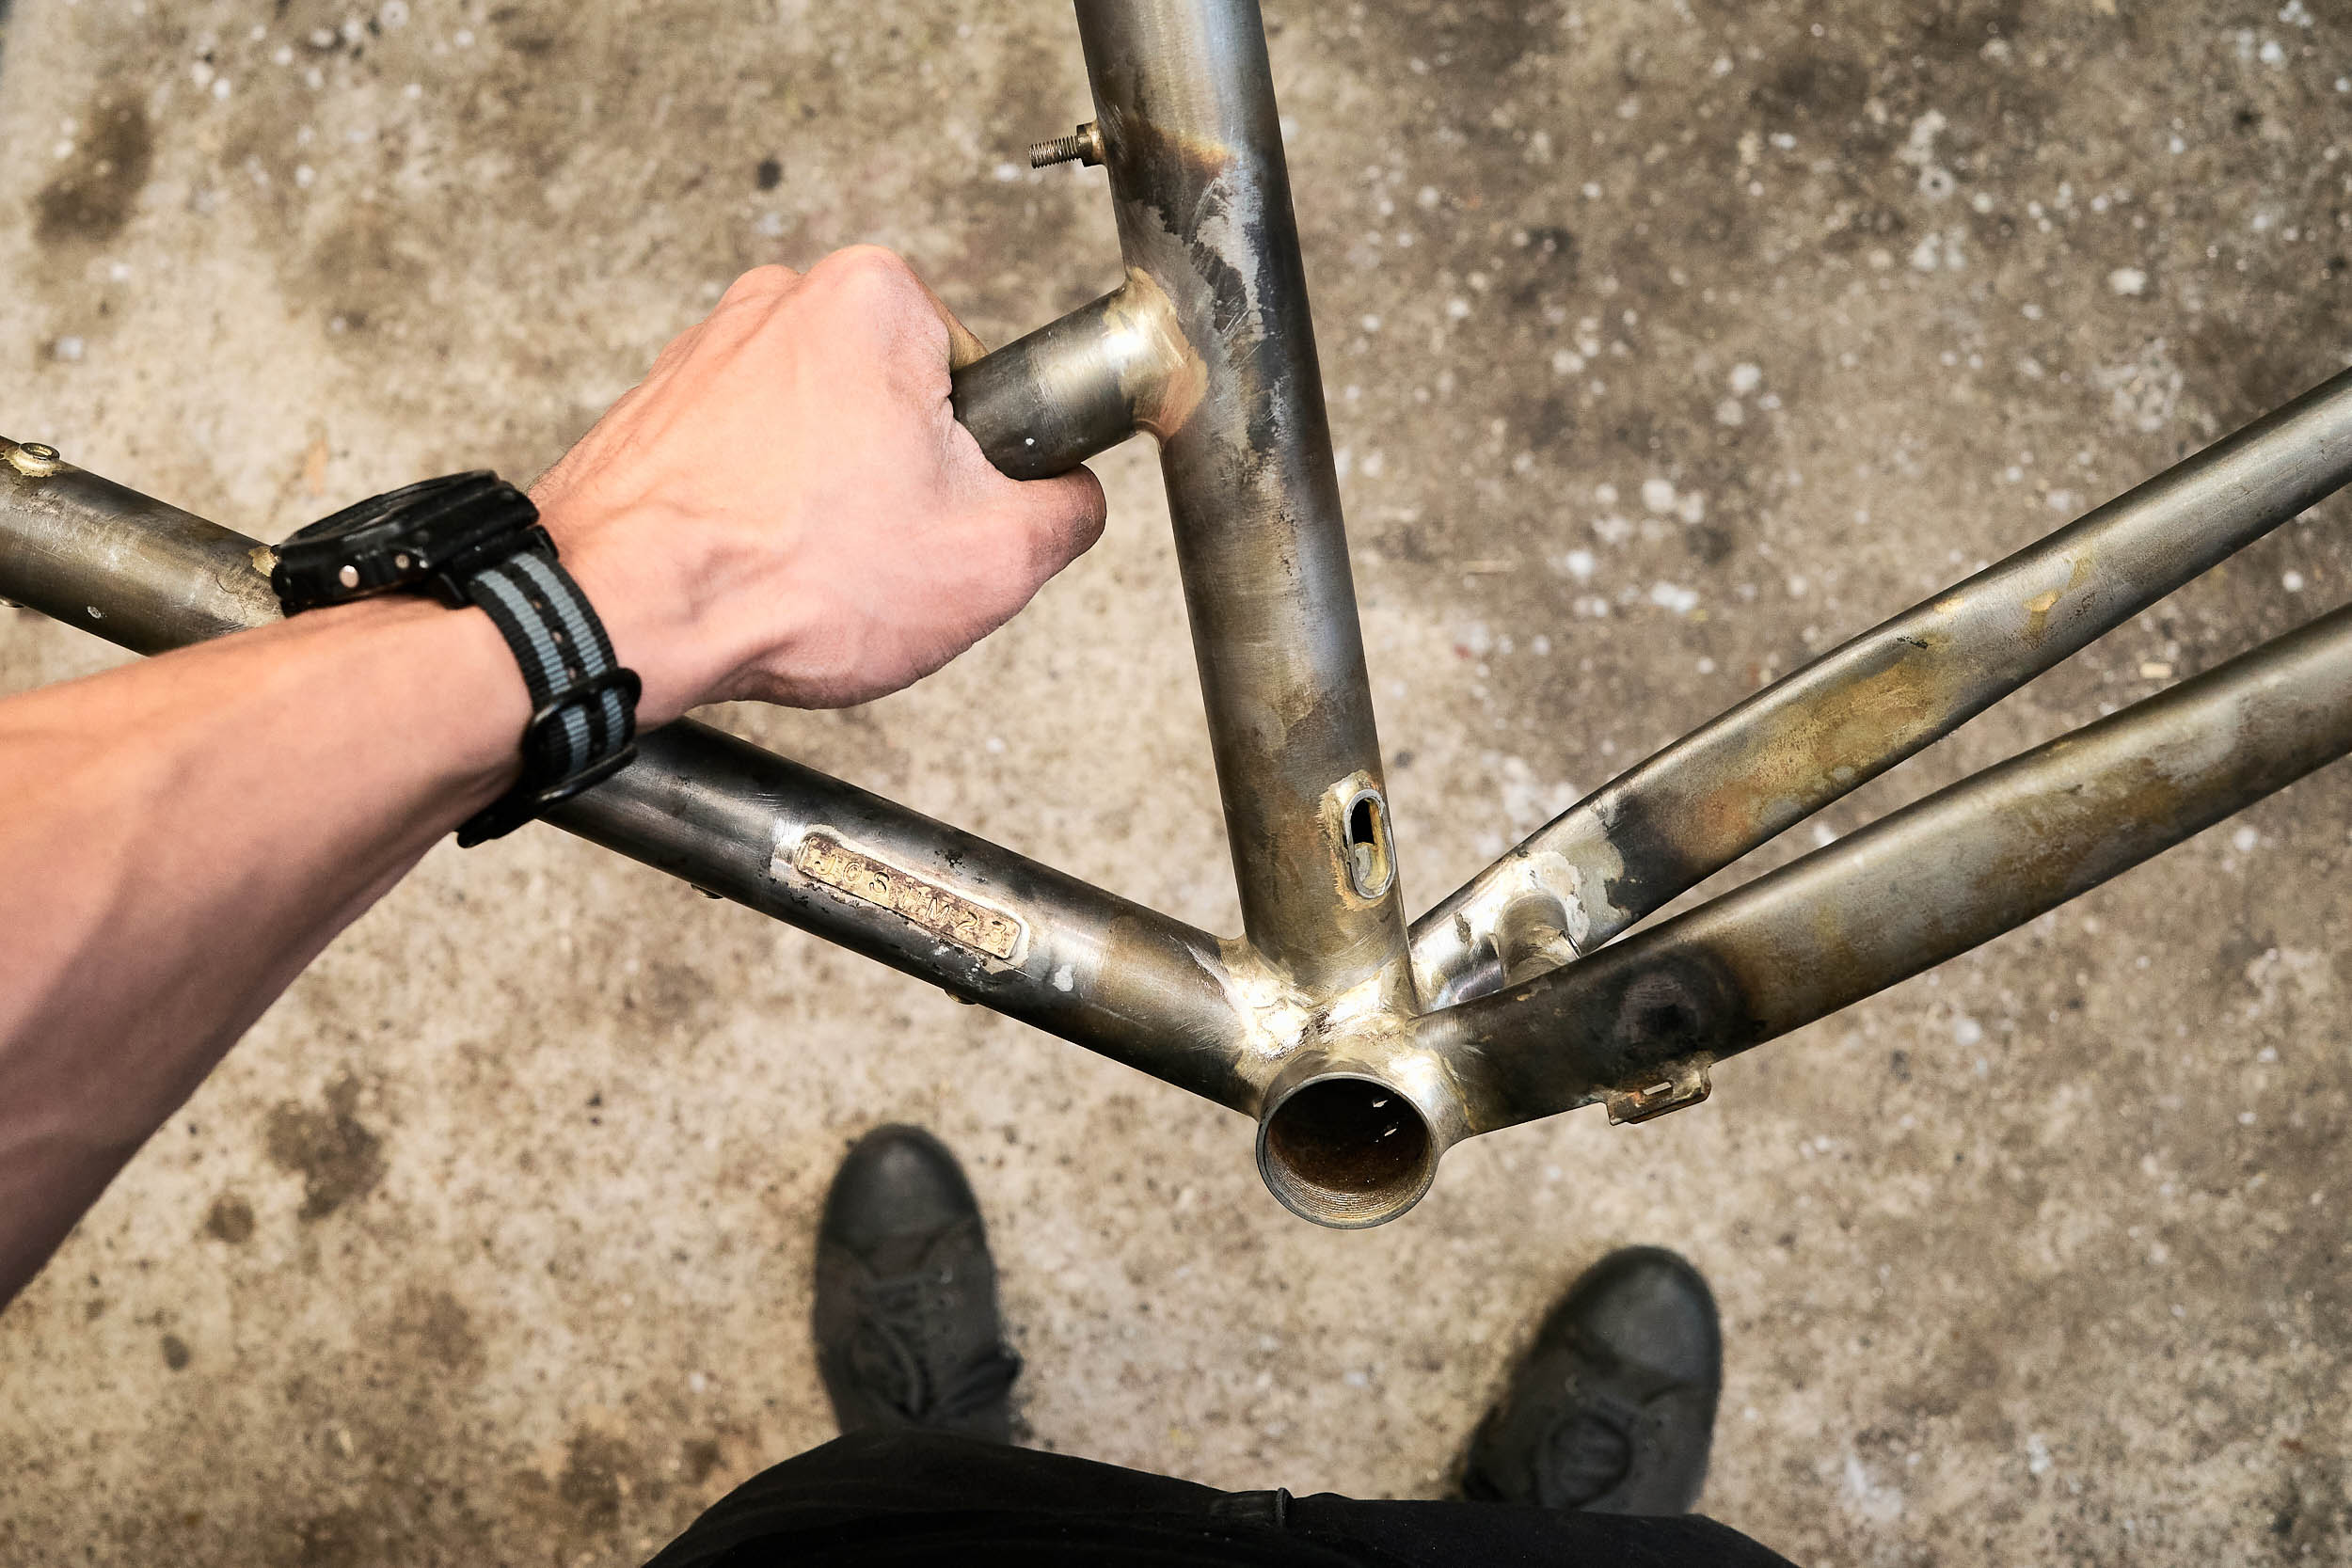
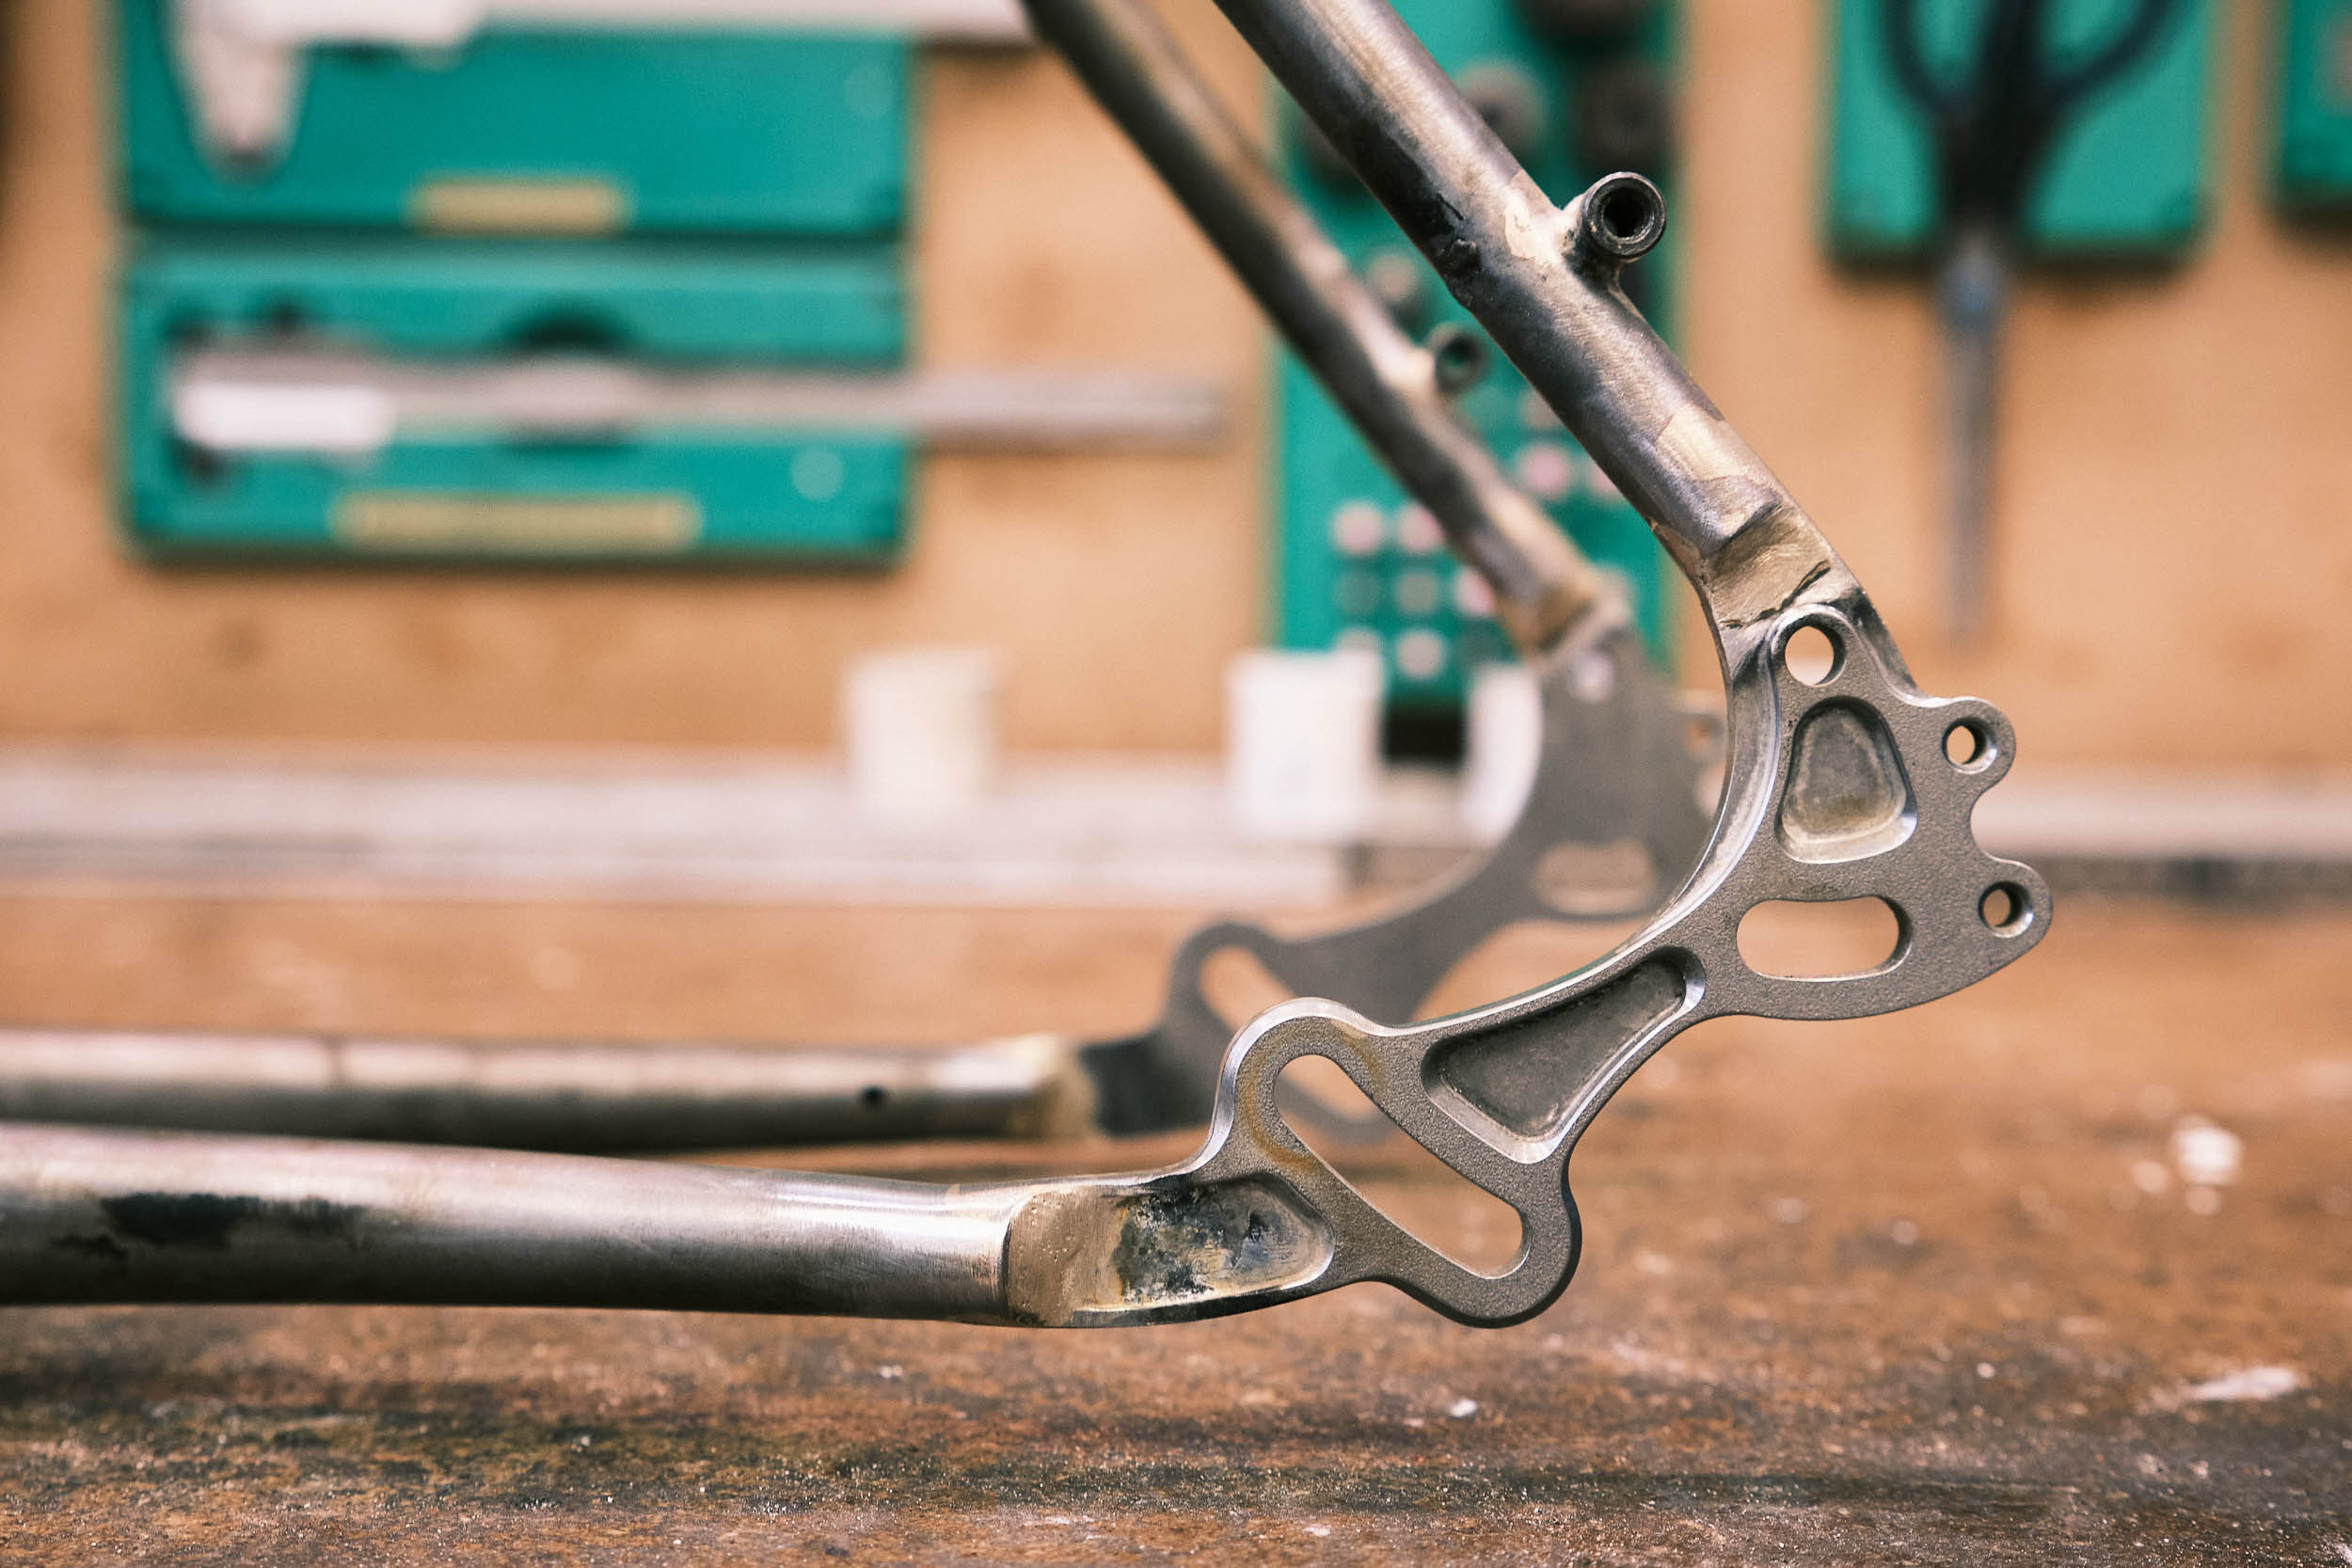
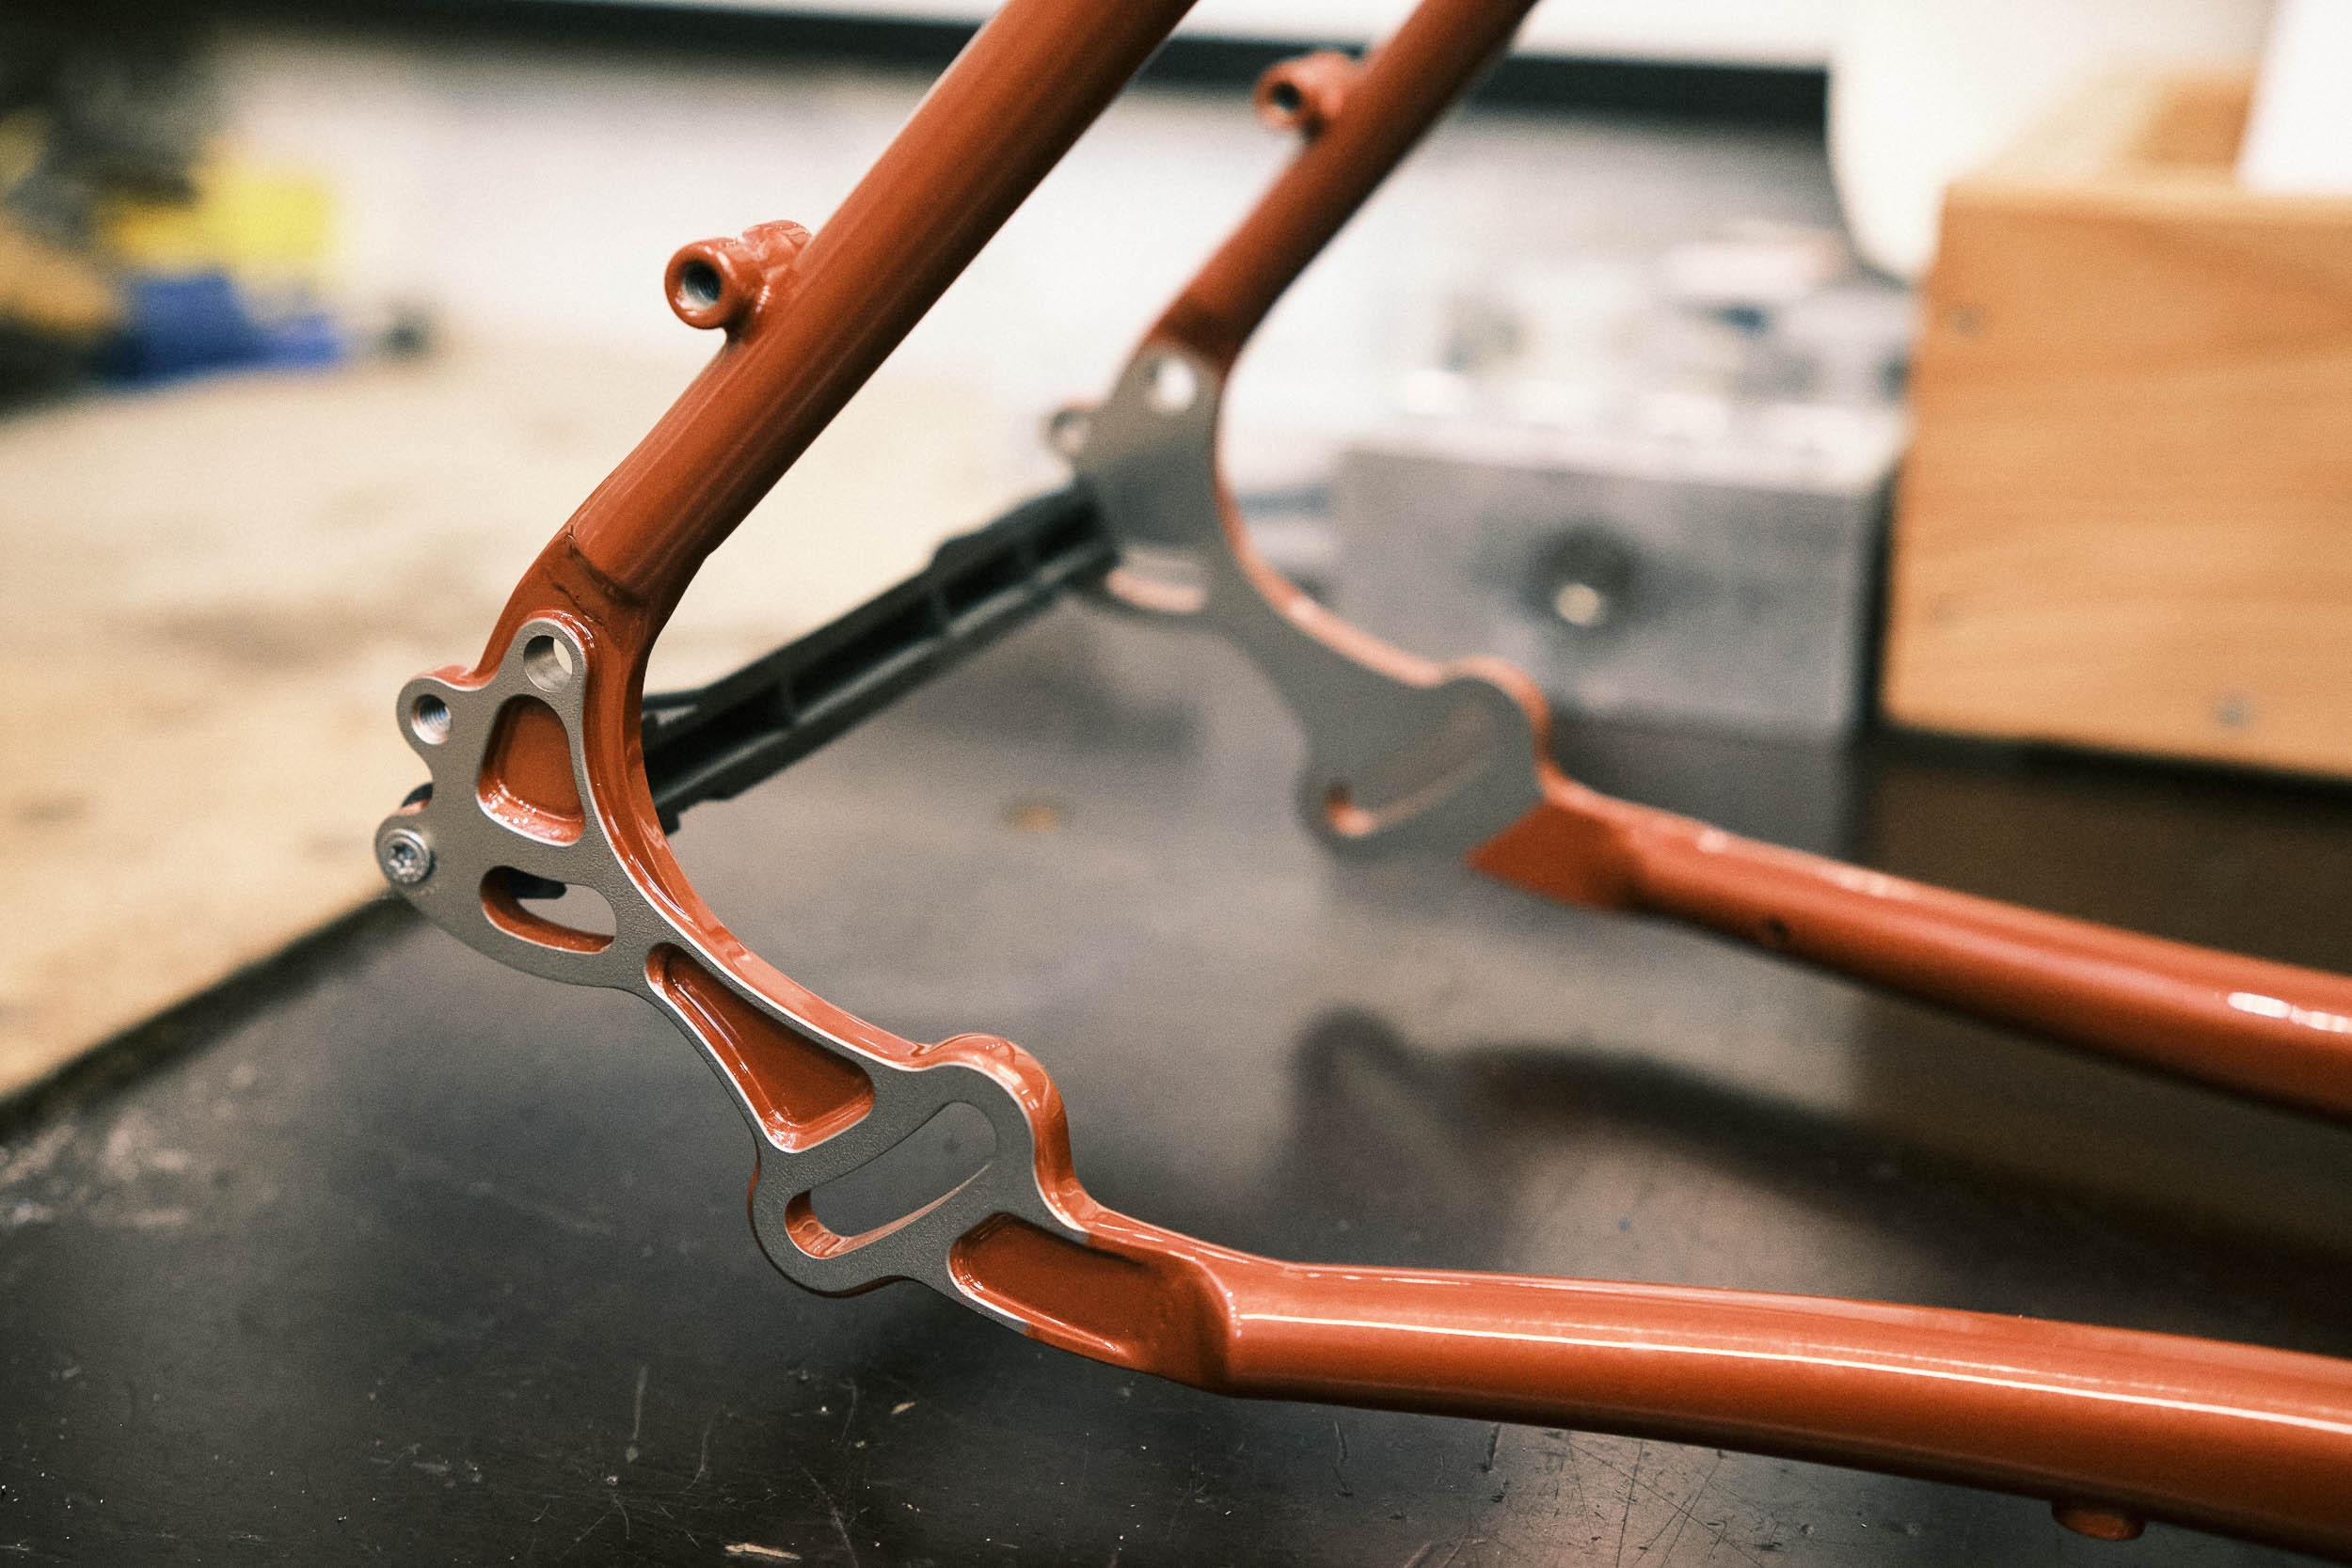
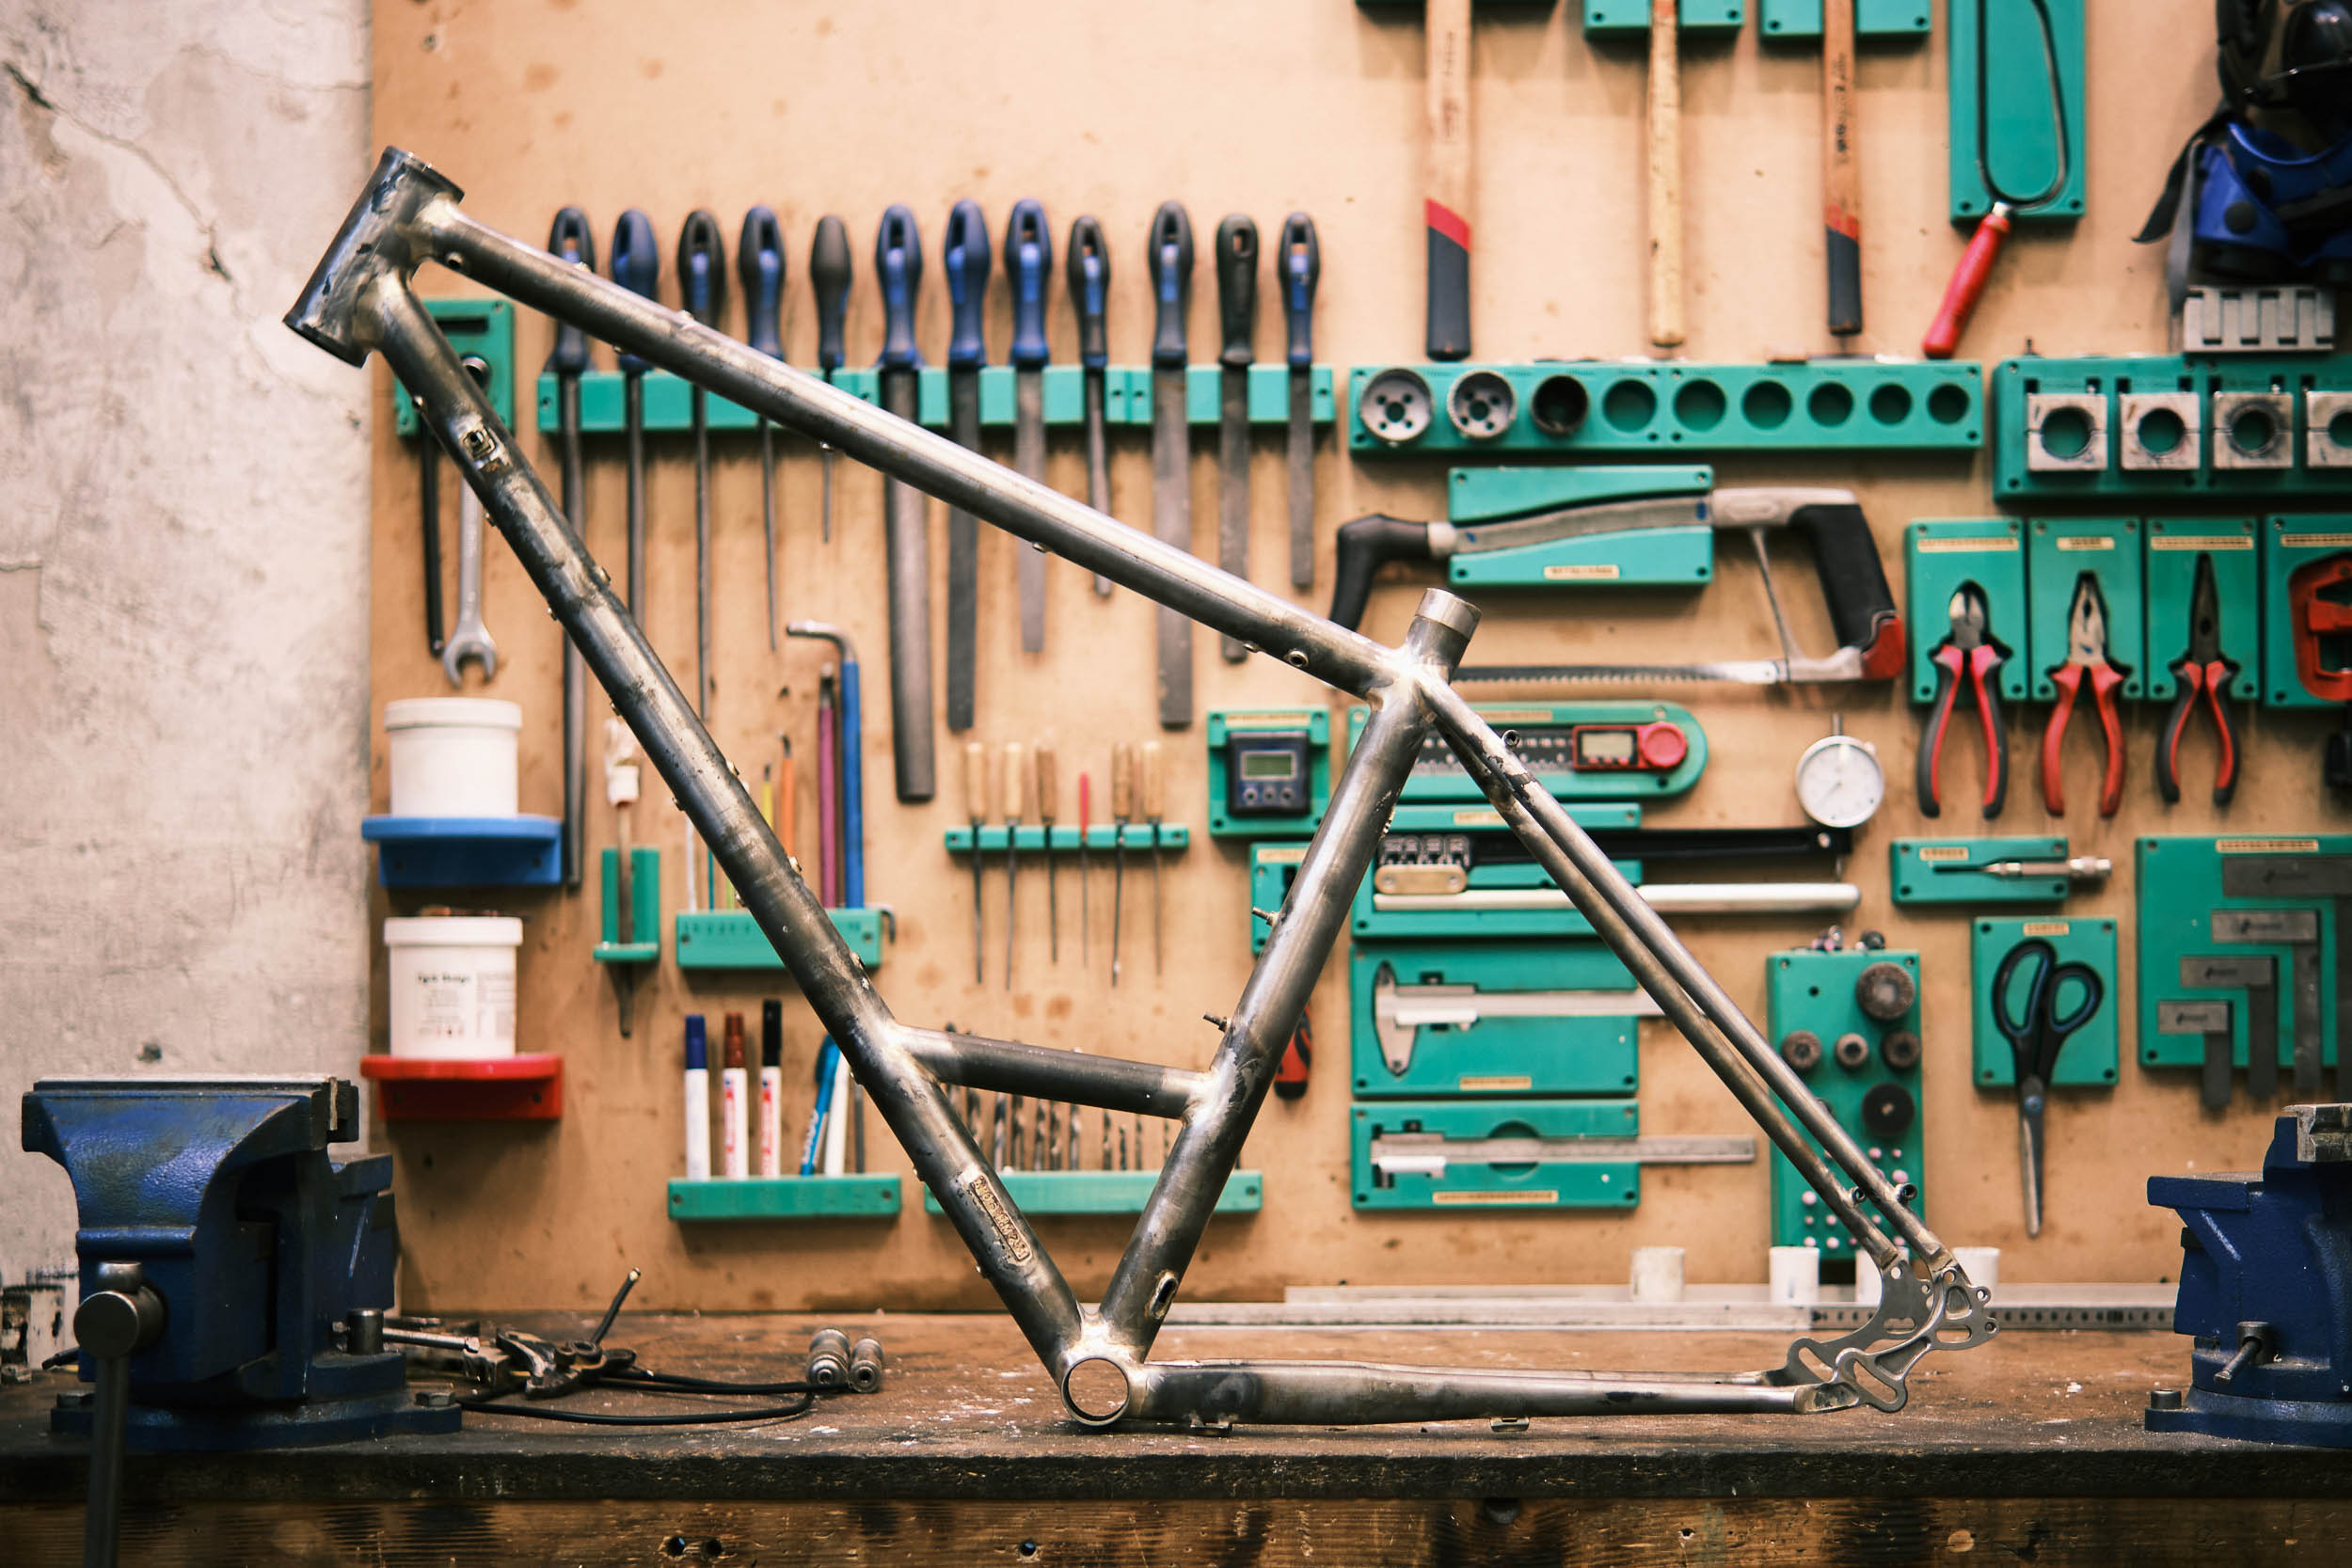
Robert has a deep inventory of materials for a wide range of customer builds. Marijn is building a stainless steel all-road bike, so Robert hands him Columbus XCr tubes and UDH dropouts. For me, he’s got a lightweight Reynolds 853 DBZ downtube, which is reinforced and particularly suitable for the high stress in ATB and 29er frames. I select a slender 35mm diameter to match my weight, and Robert picks out the remaining Columbus tubes for a balanced construction. He also gives me Rohloff-specific Paragon Machineworks rocking dropouts, a 44mm headtube, and two handfuls of braze-ons. It’s hard to imagine that this box of loose hardware will become a functional bike frame by the end of the week.
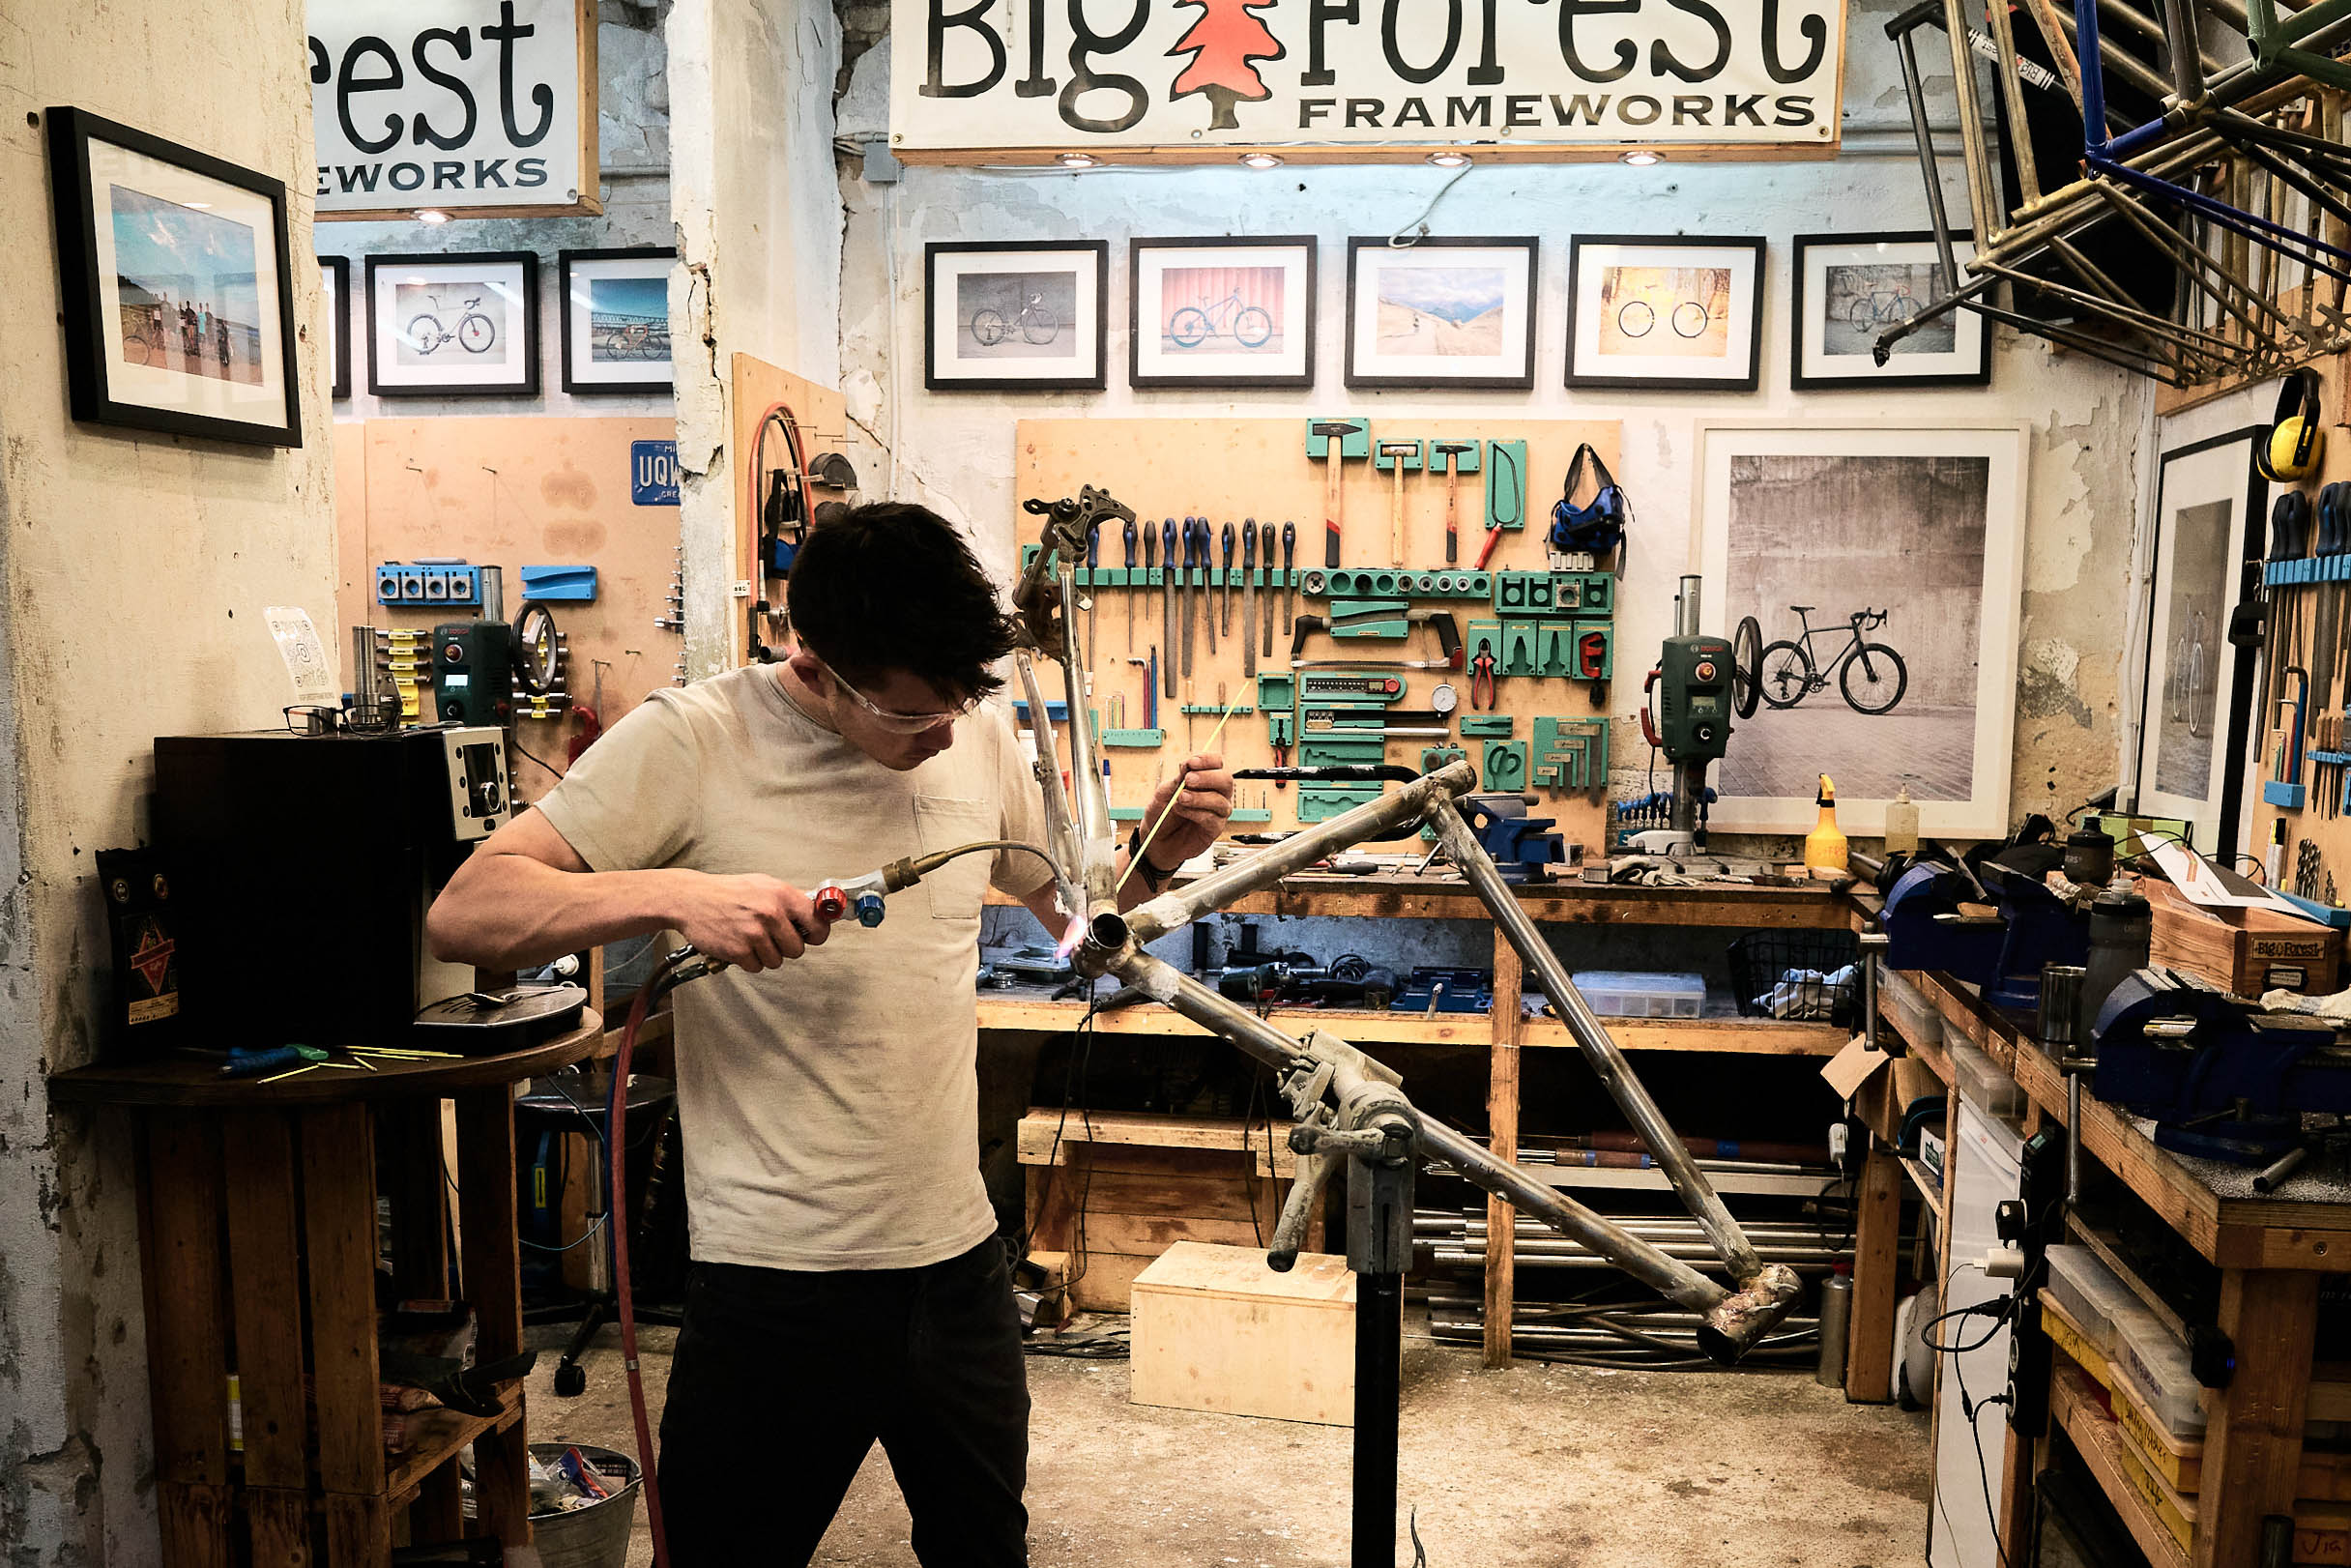
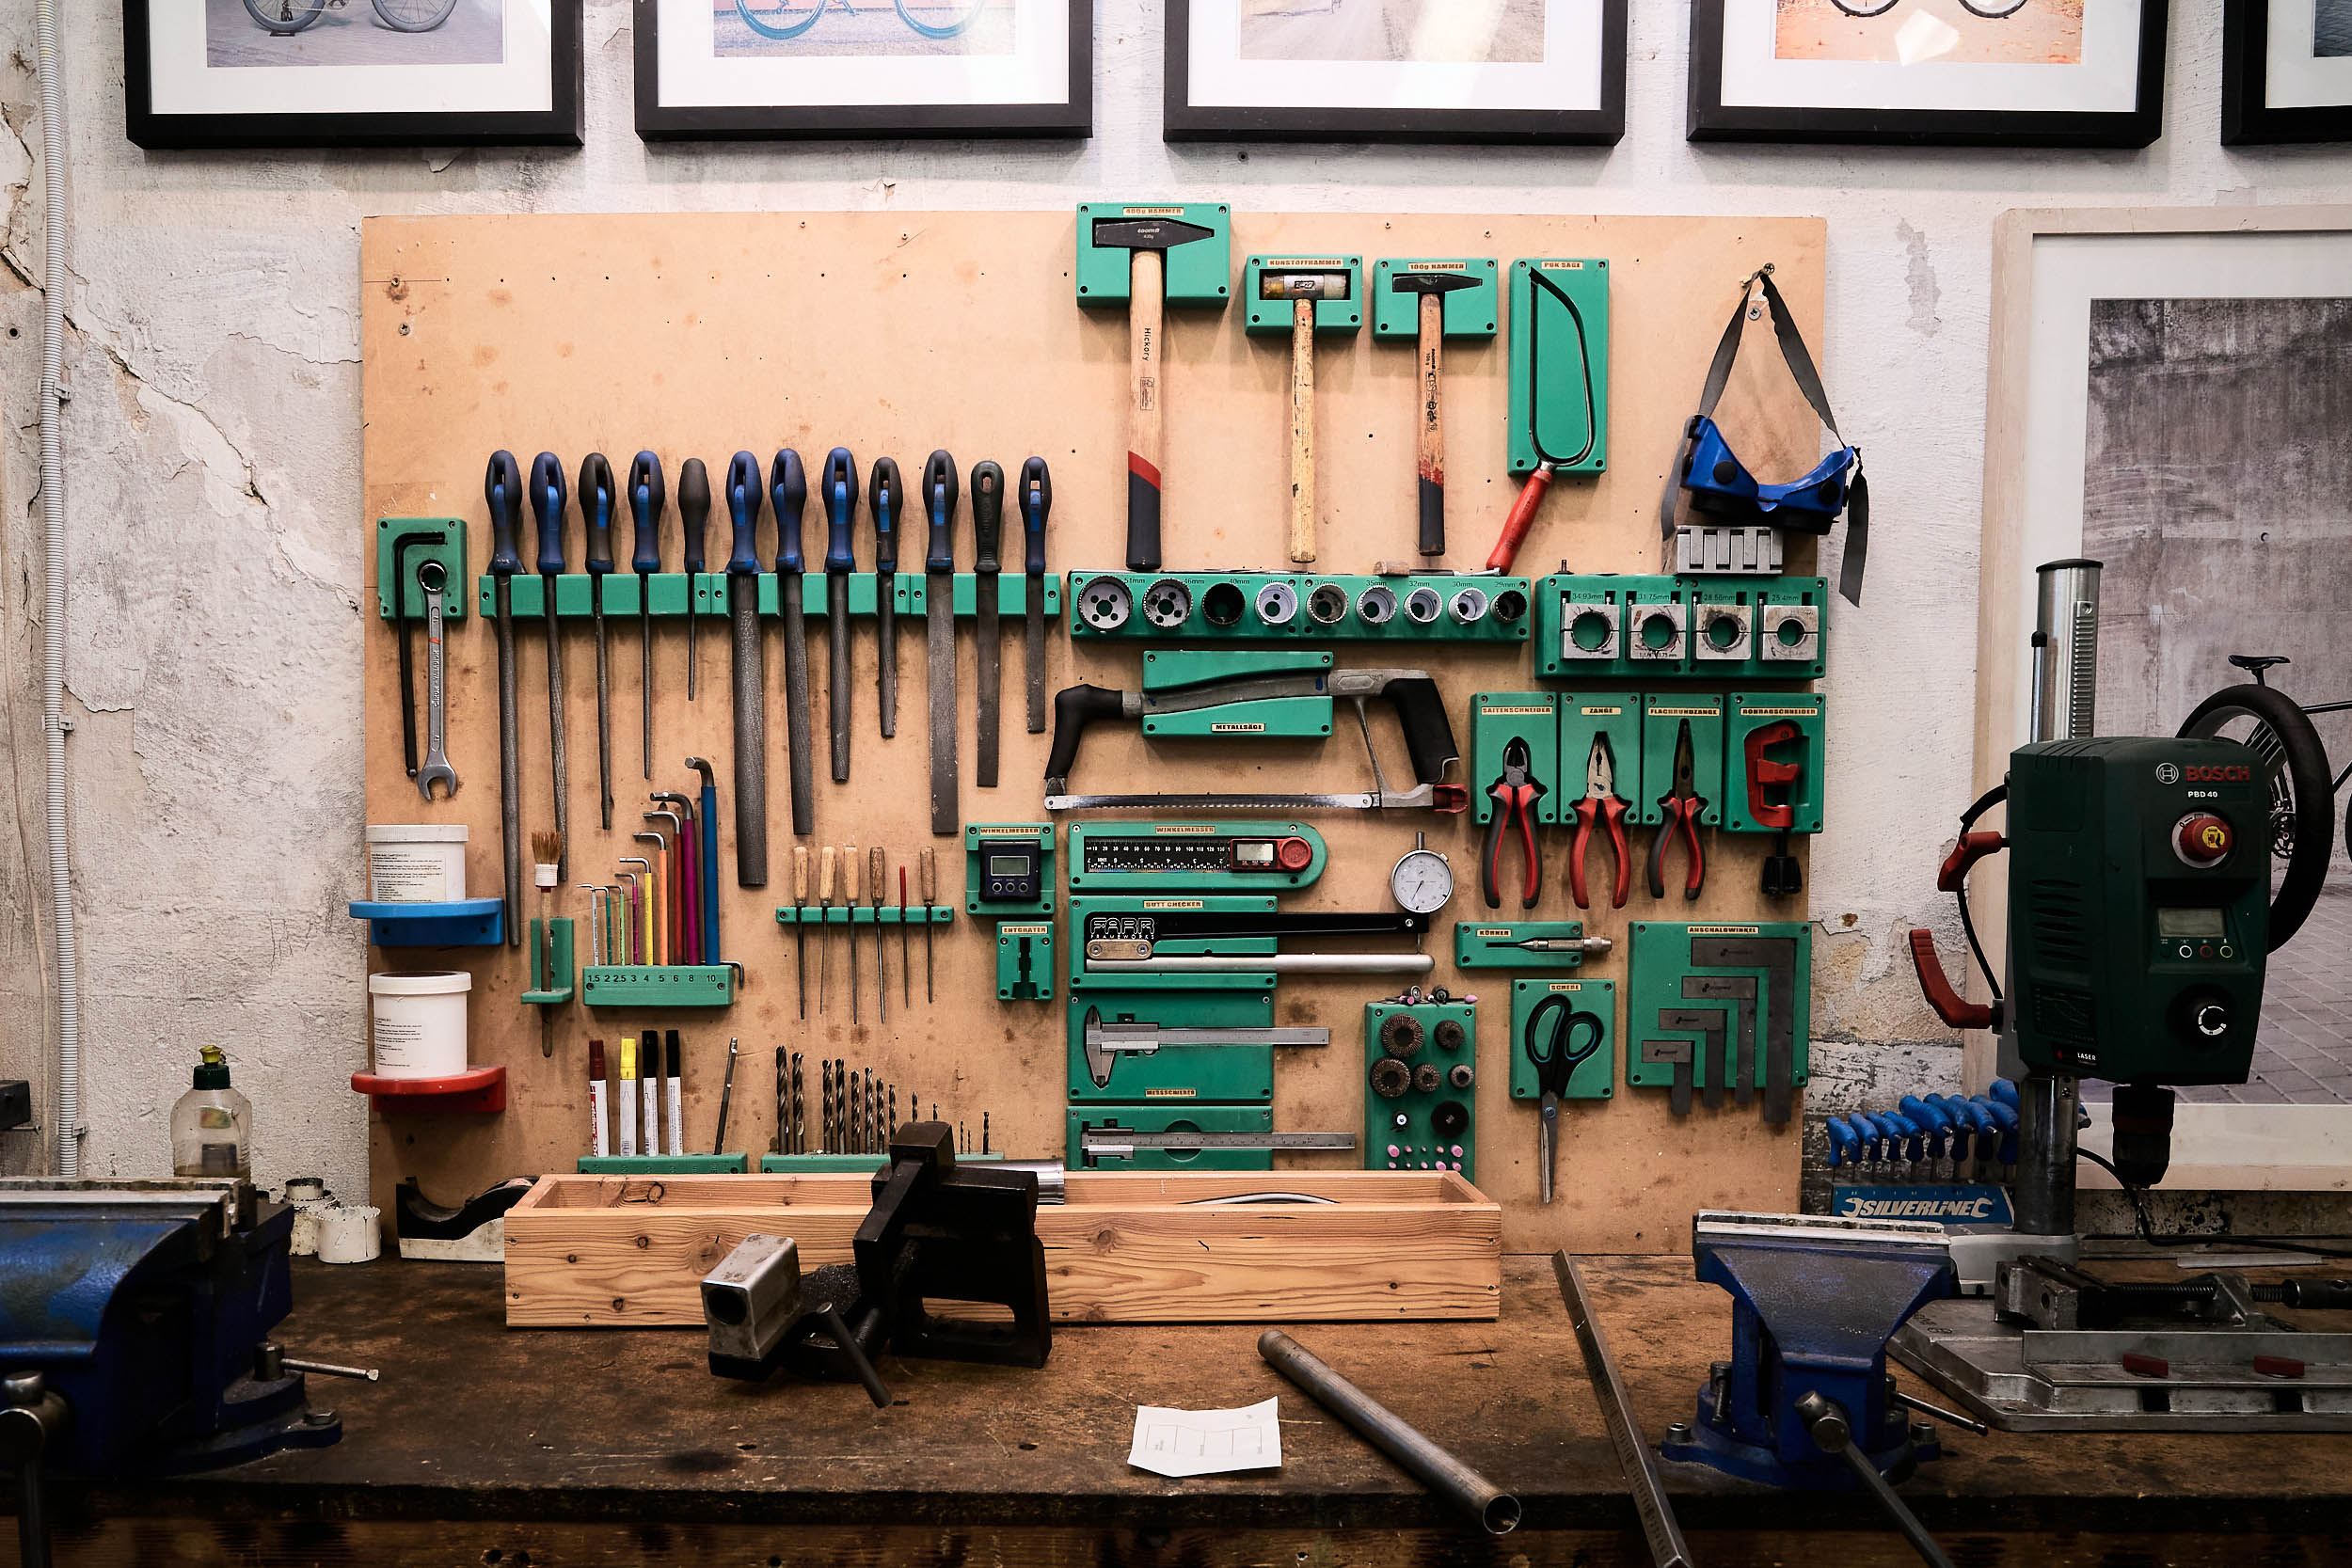
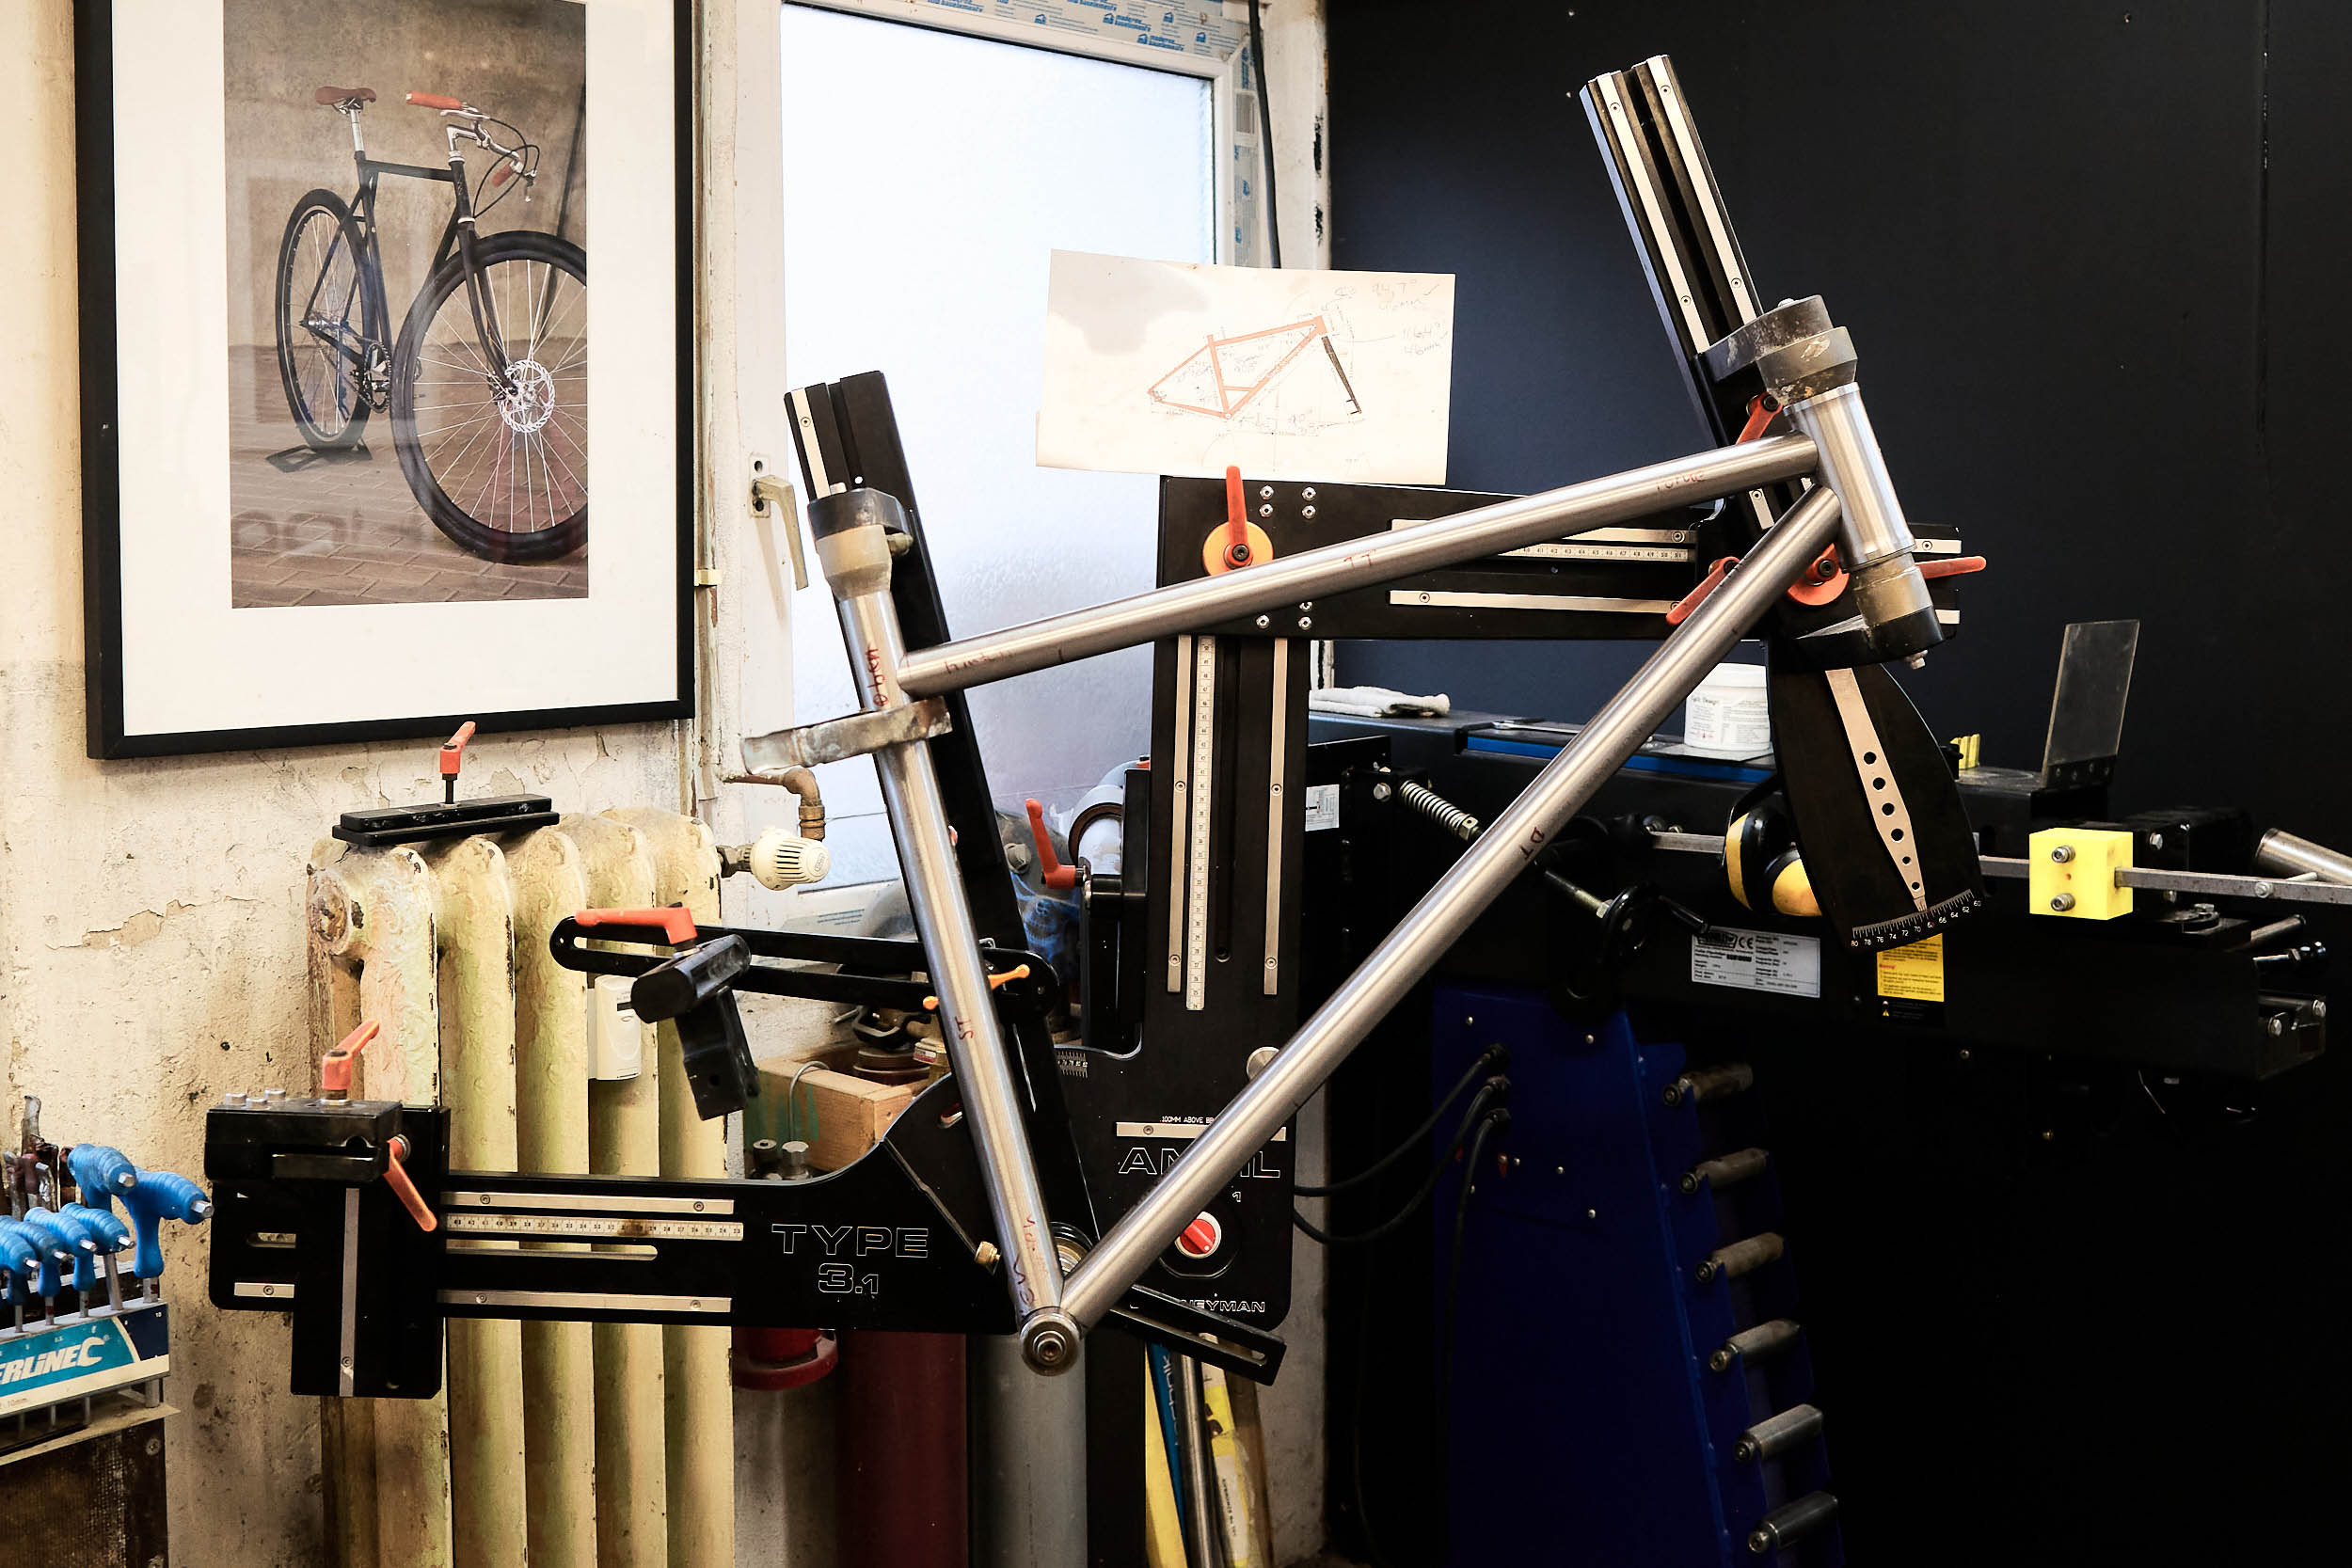
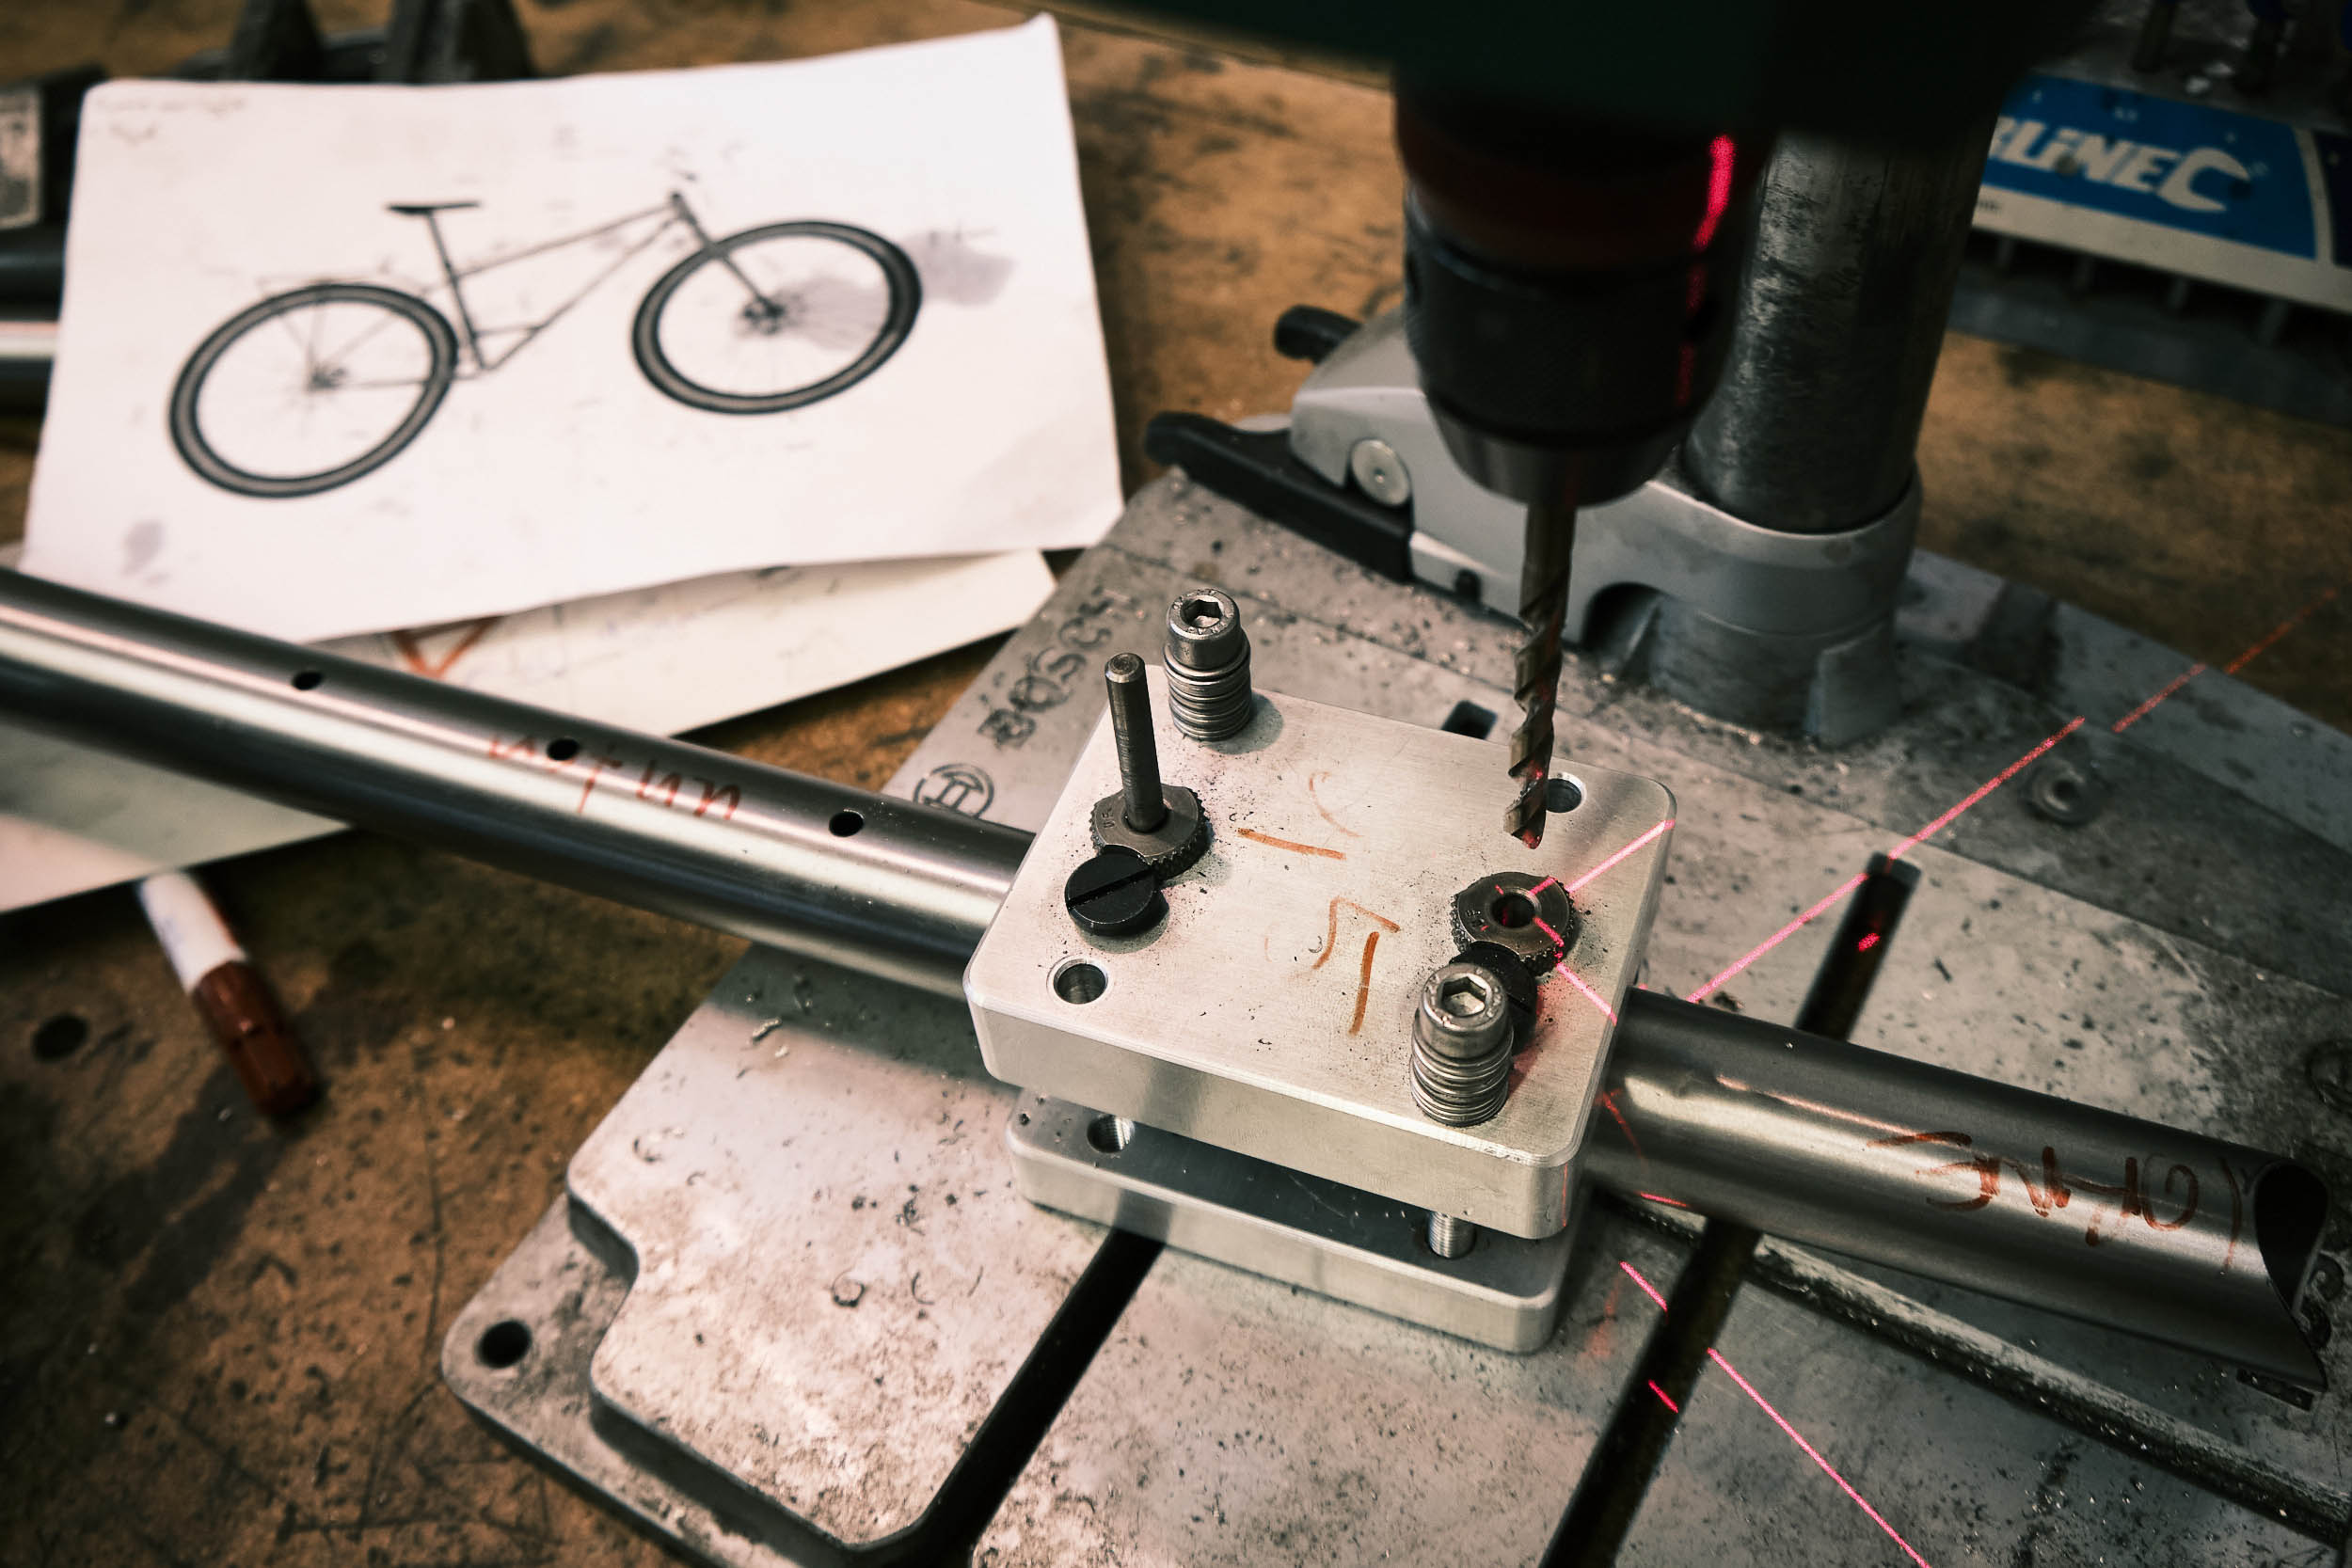
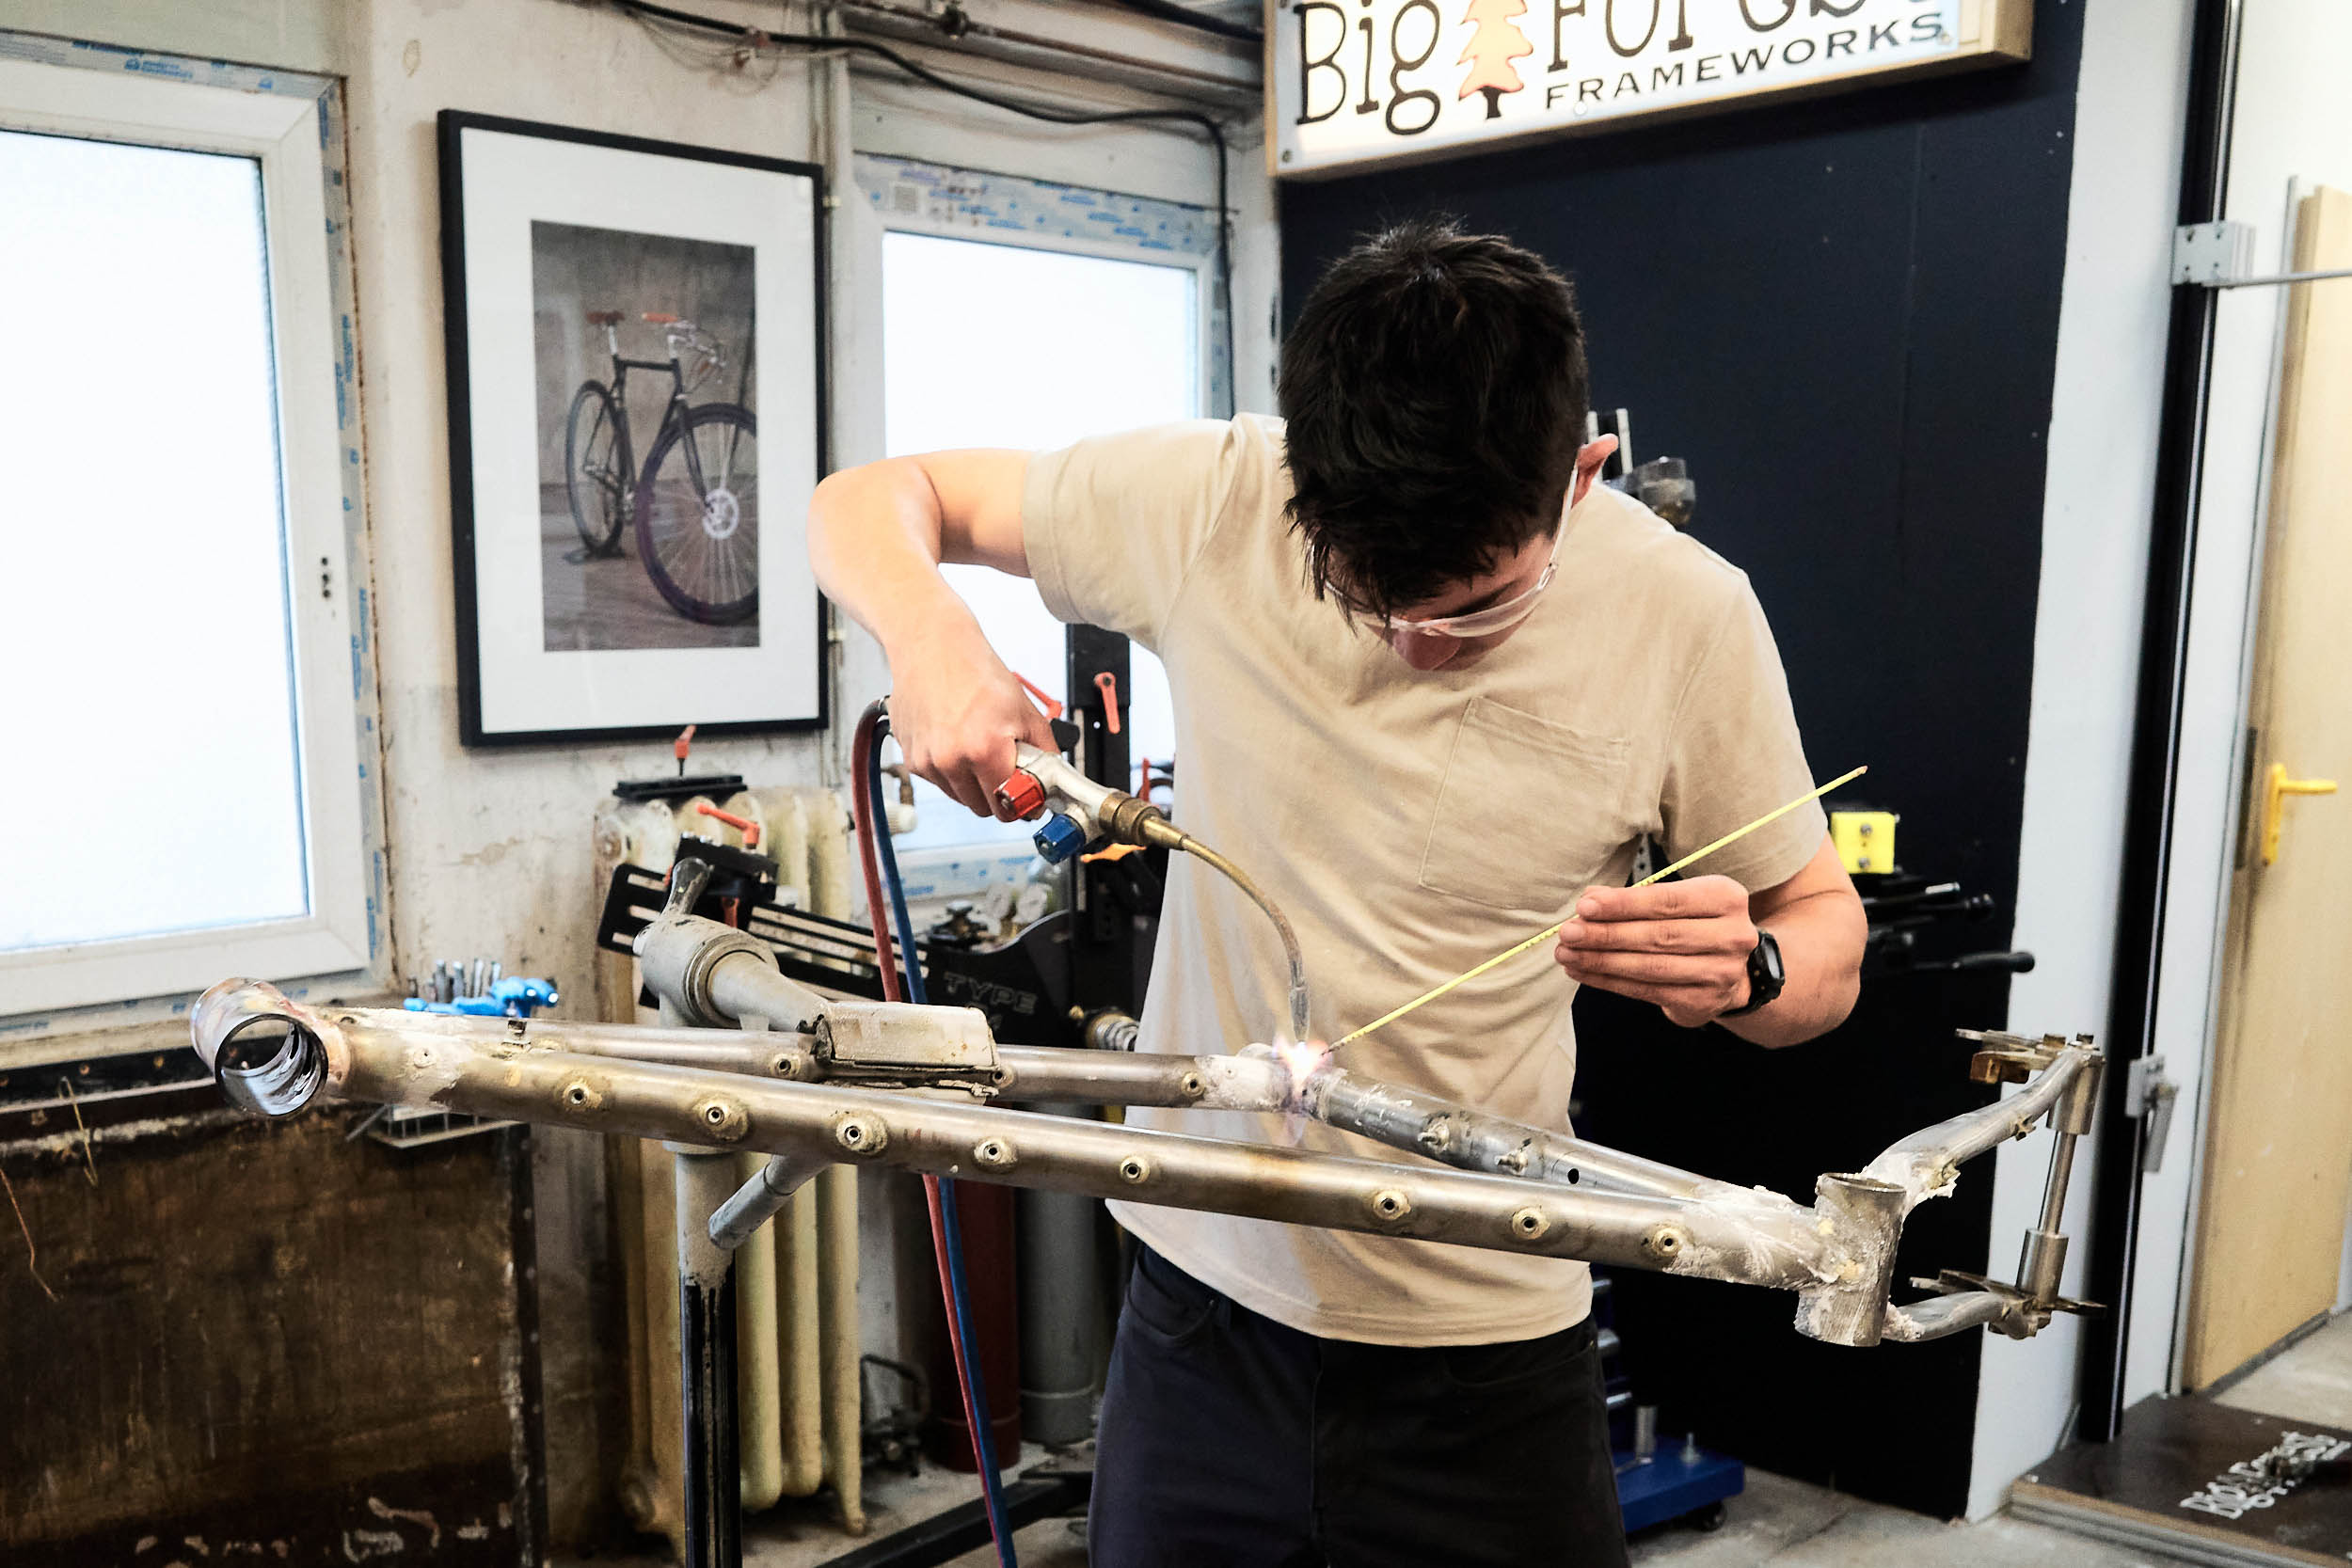
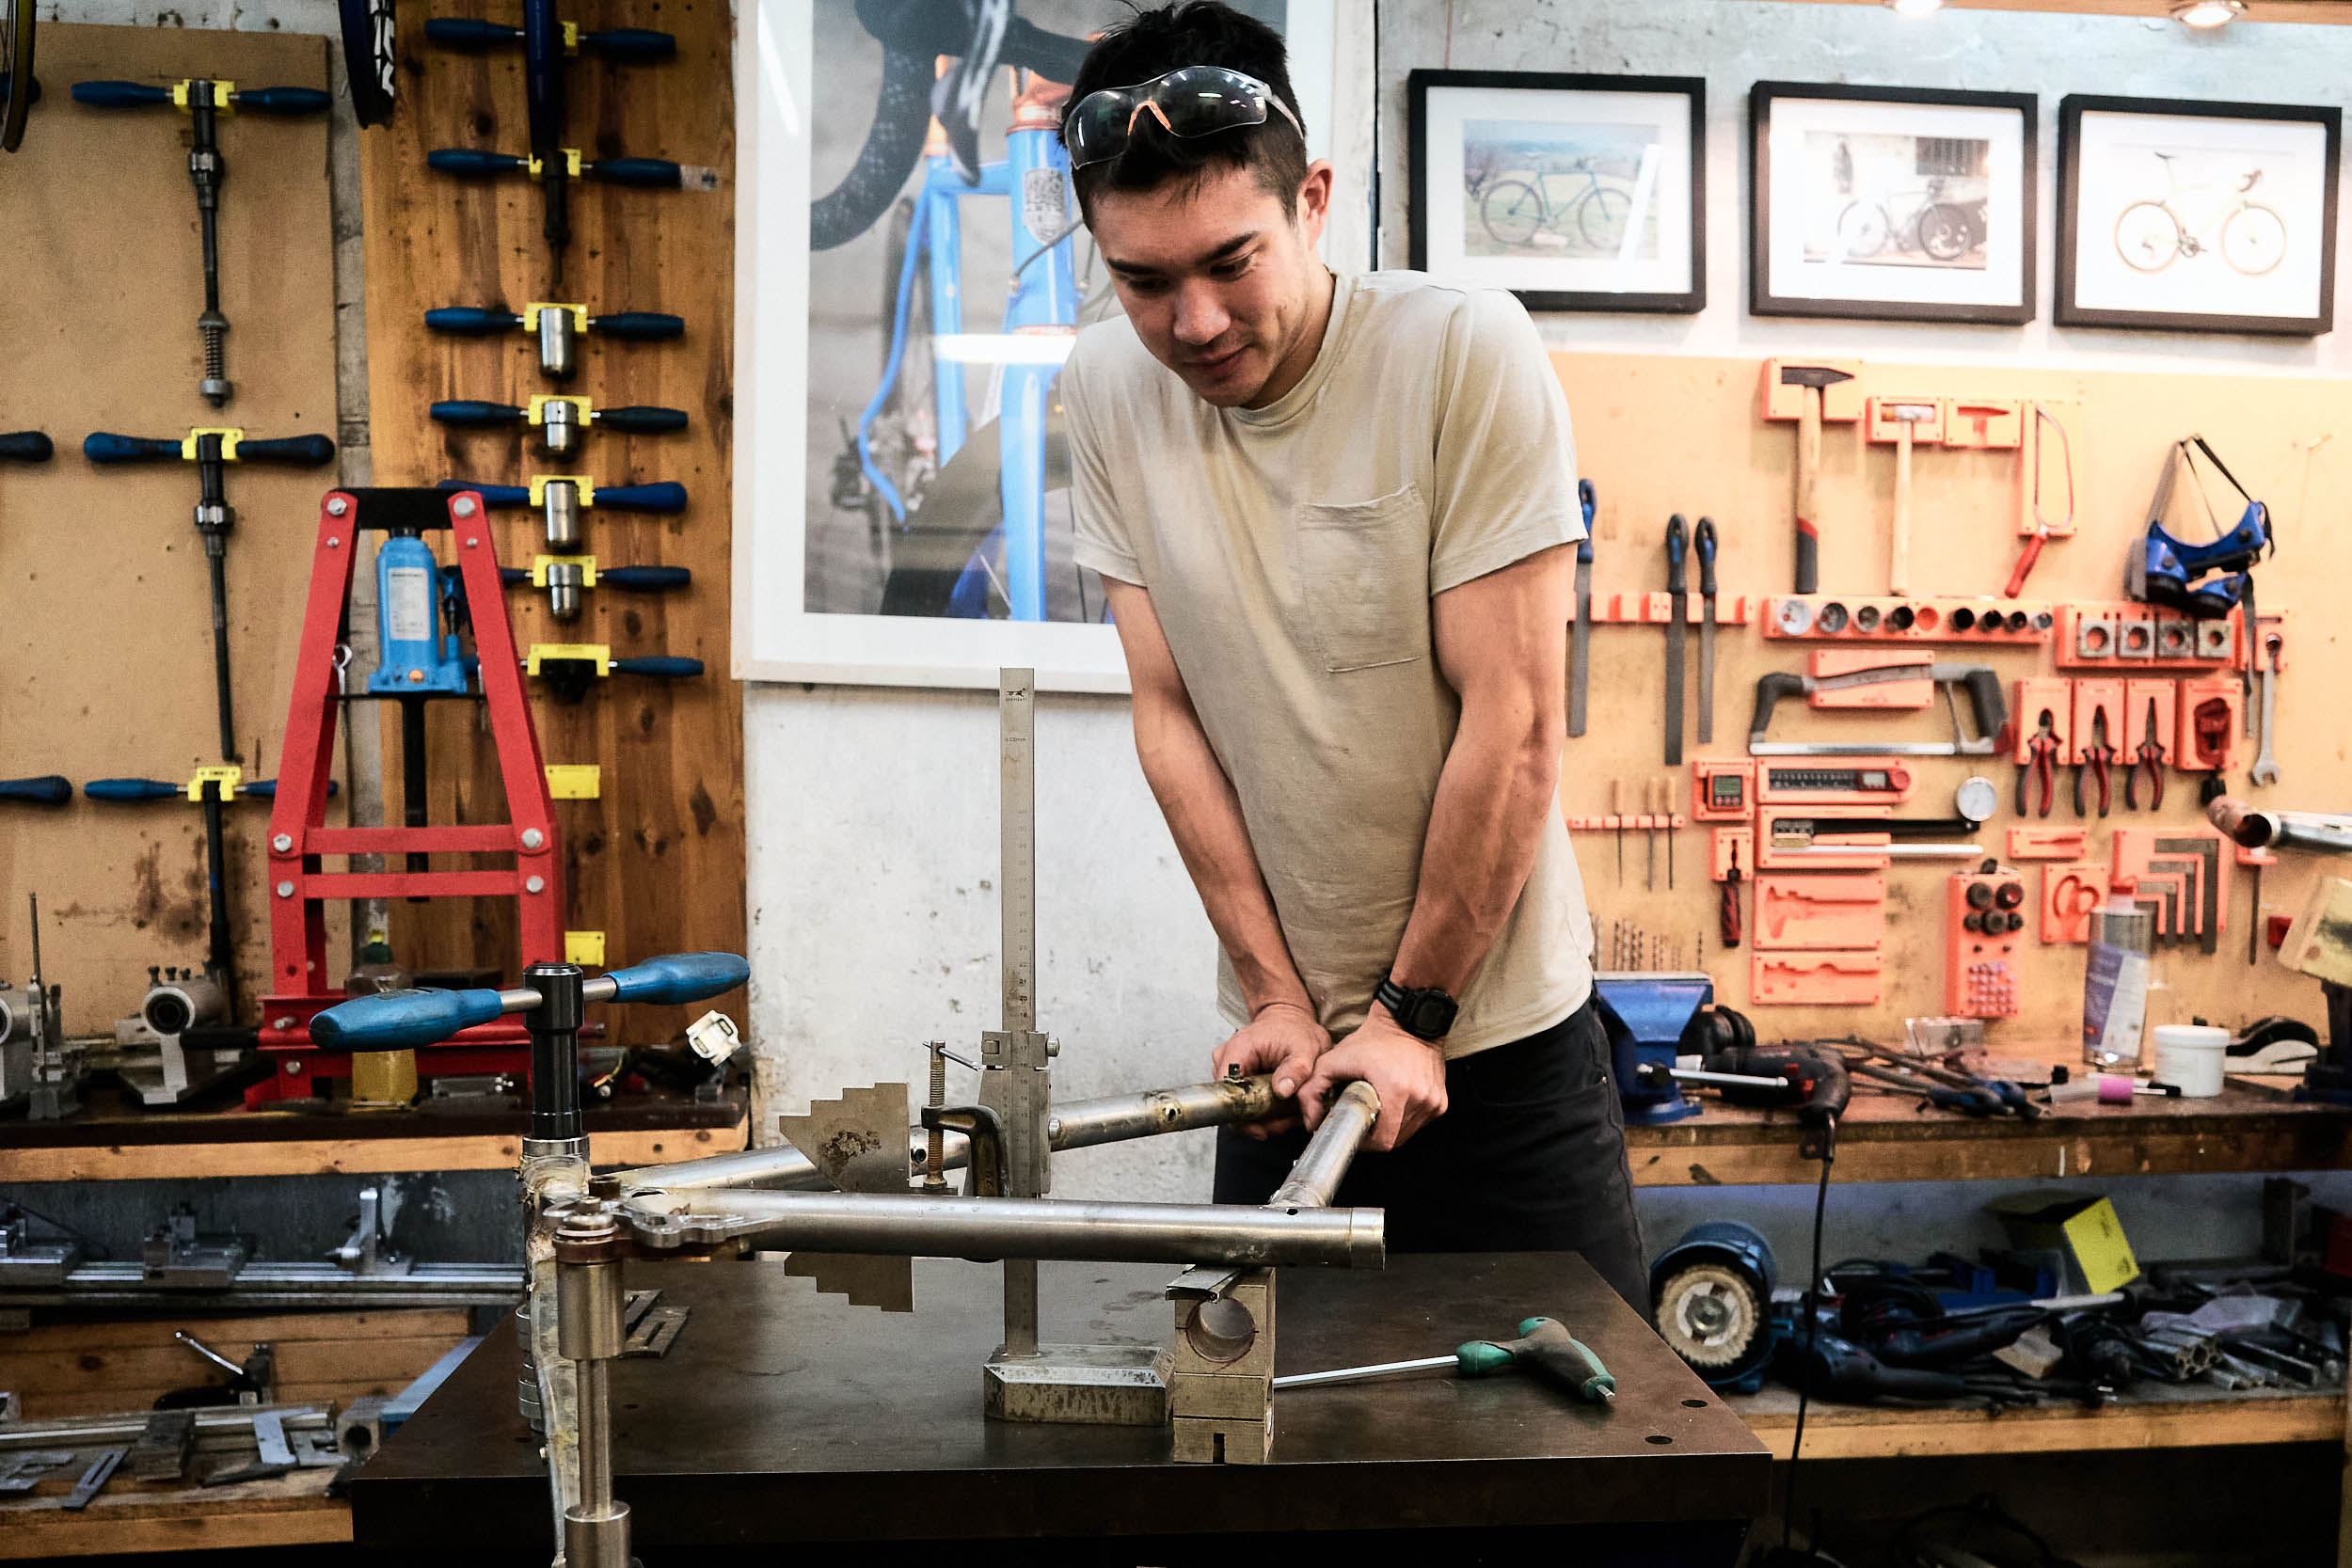
The Big Forest workshop is set up so three people can build their frames in parallel. Everyone has their own workbench with a shadow board full of tools, a vice, and a drill press. There are three frame fixtures and dual torch setups for fillet brazing with silver and brass. It’s impressive and complete. After a safety briefing, we get to work.
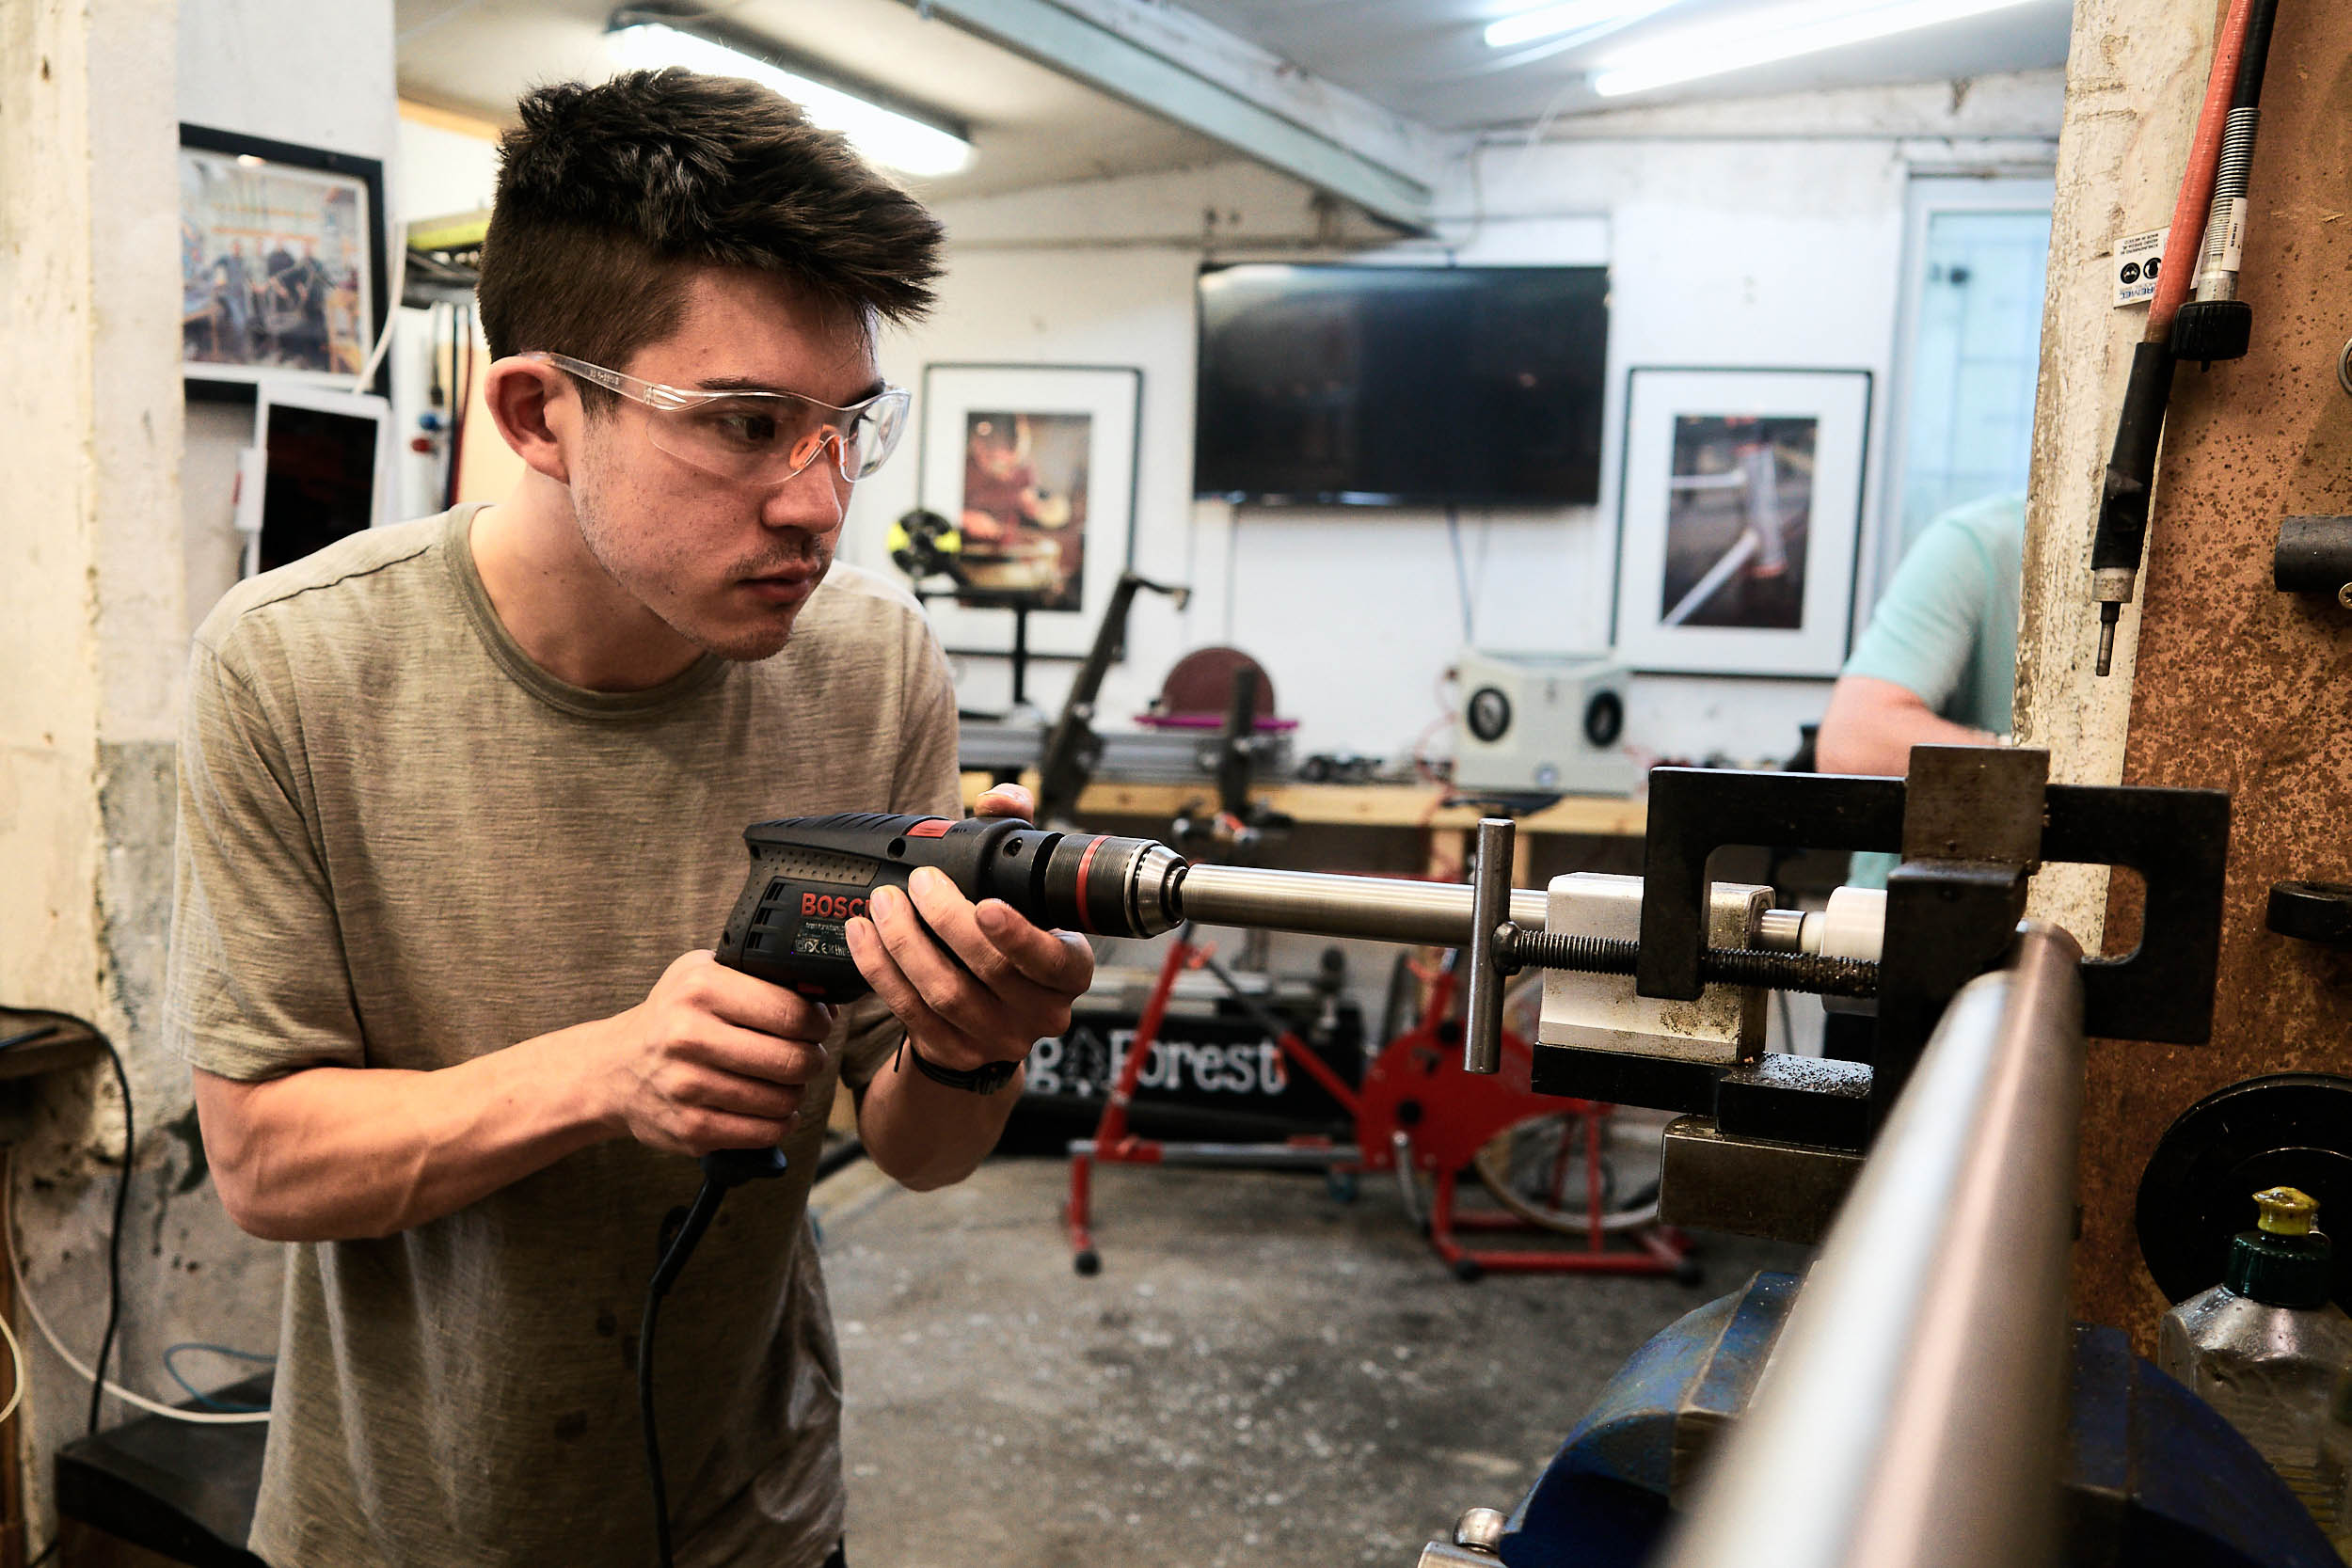
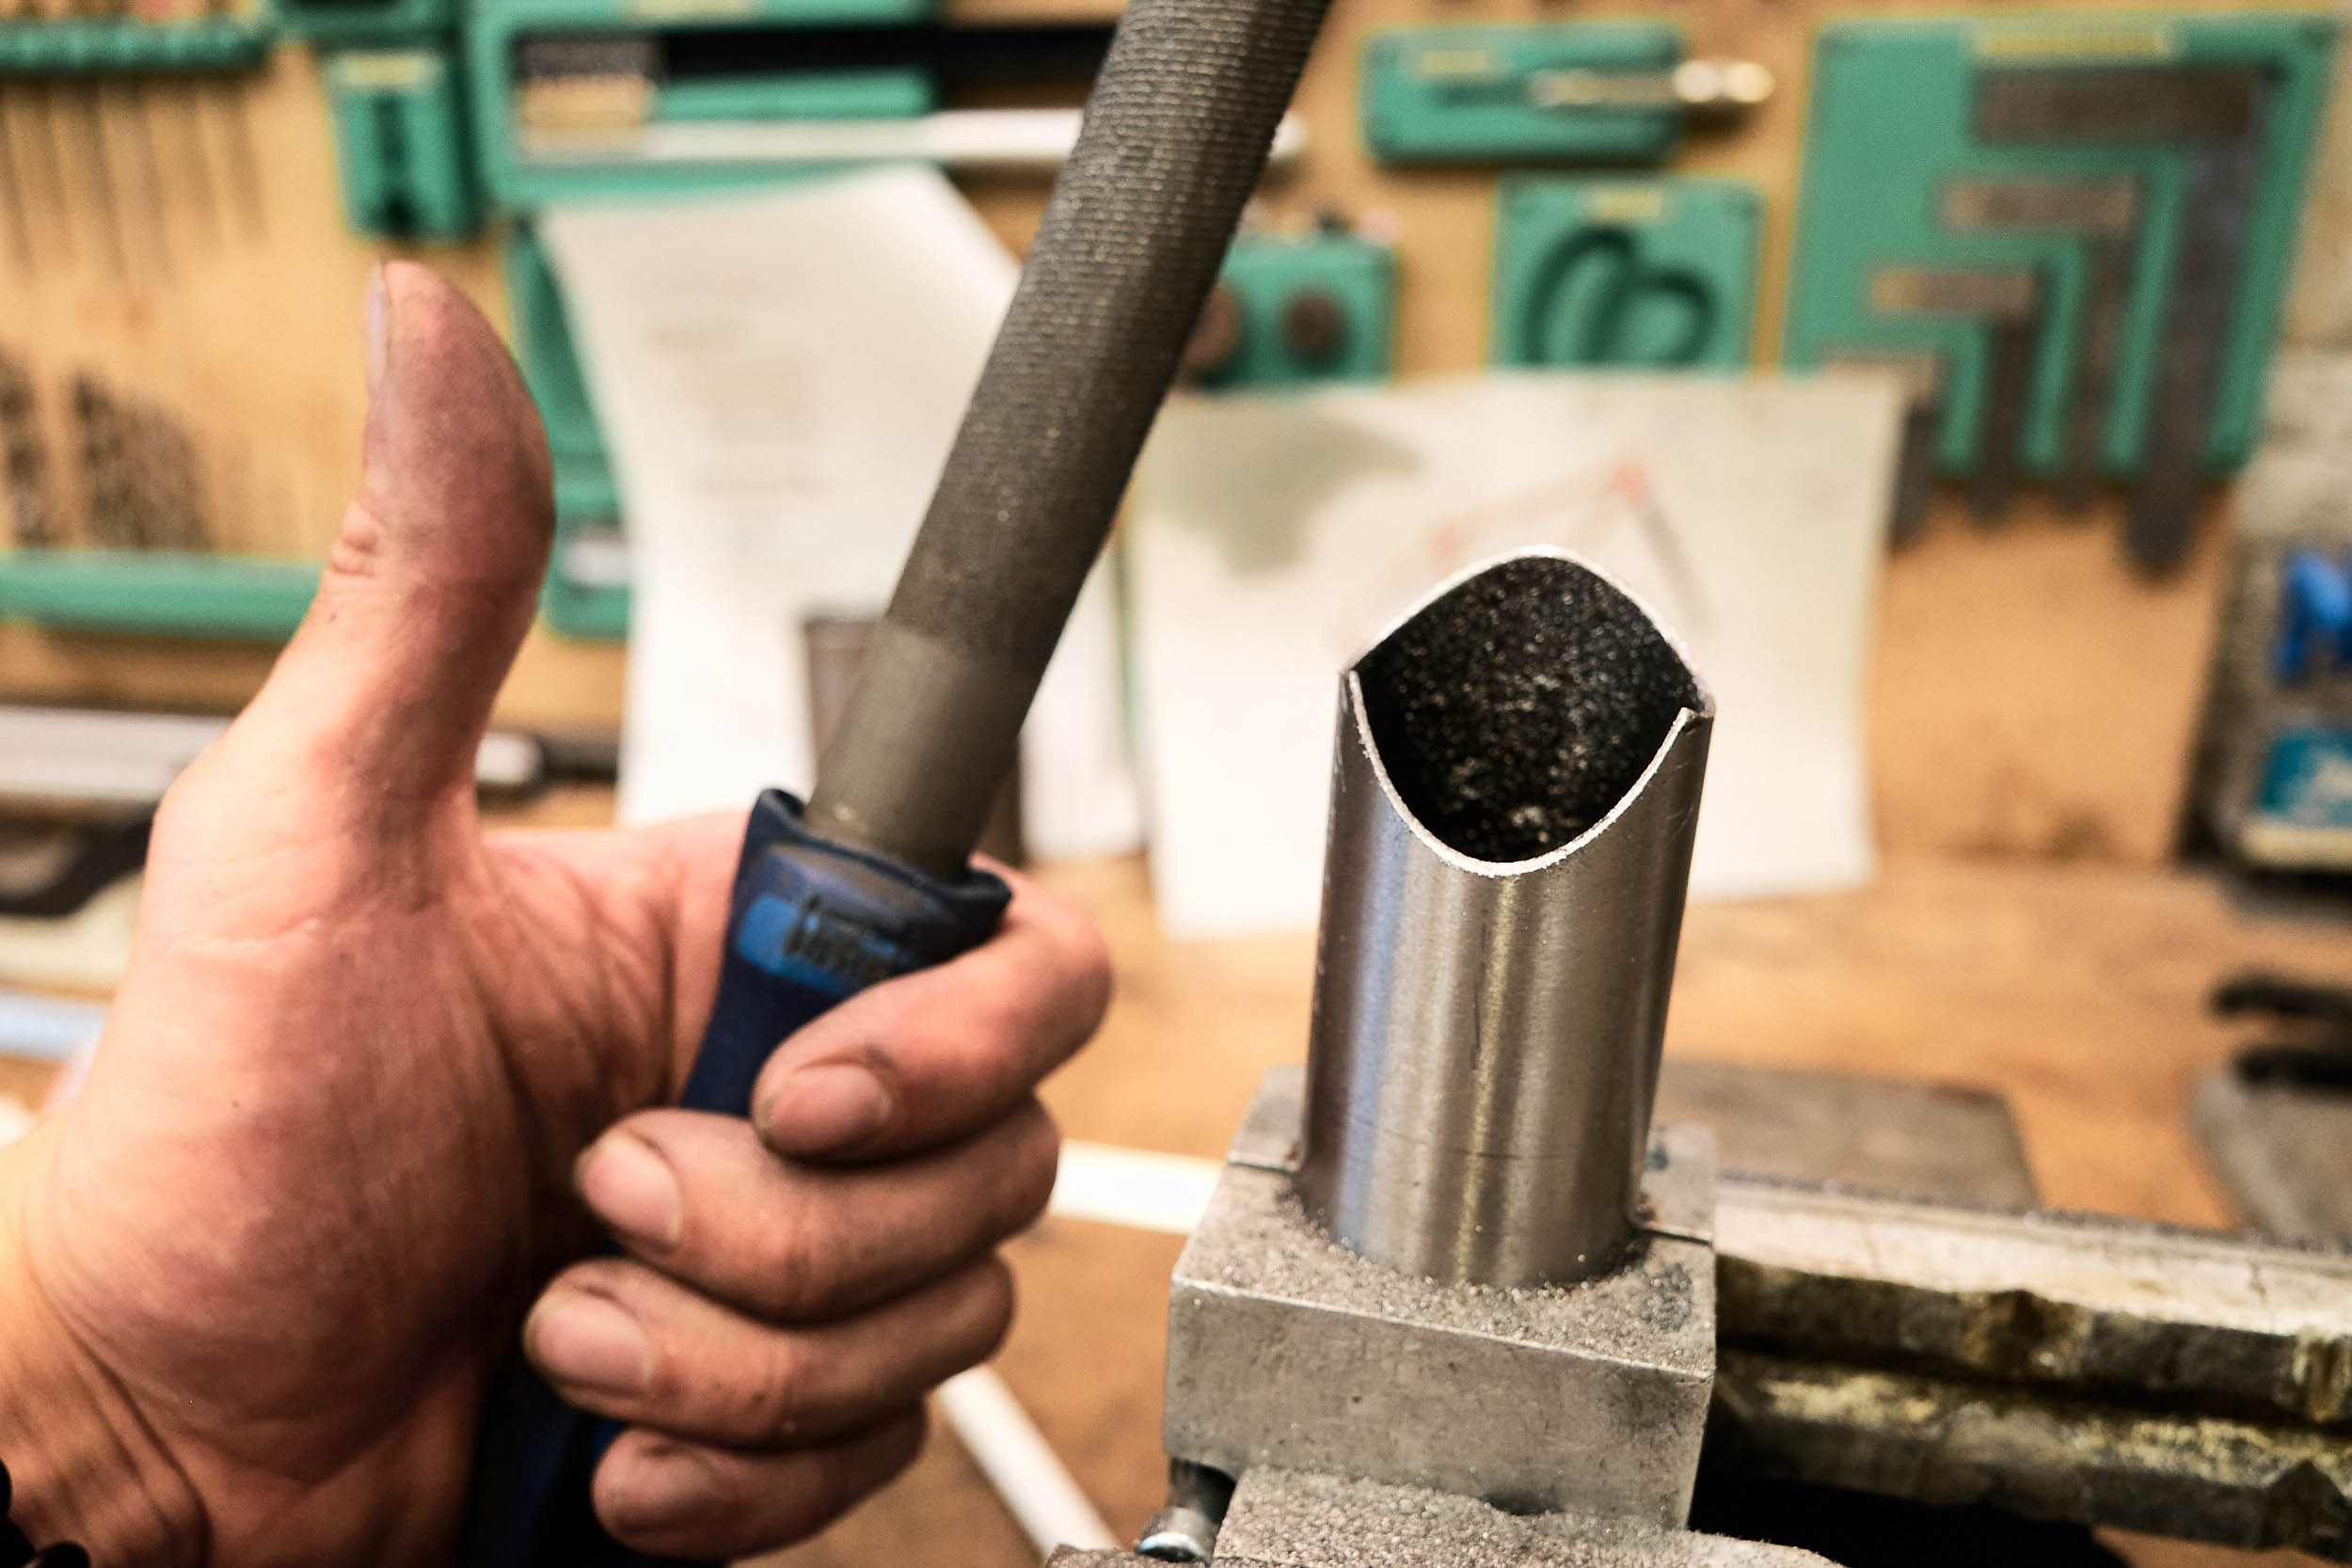
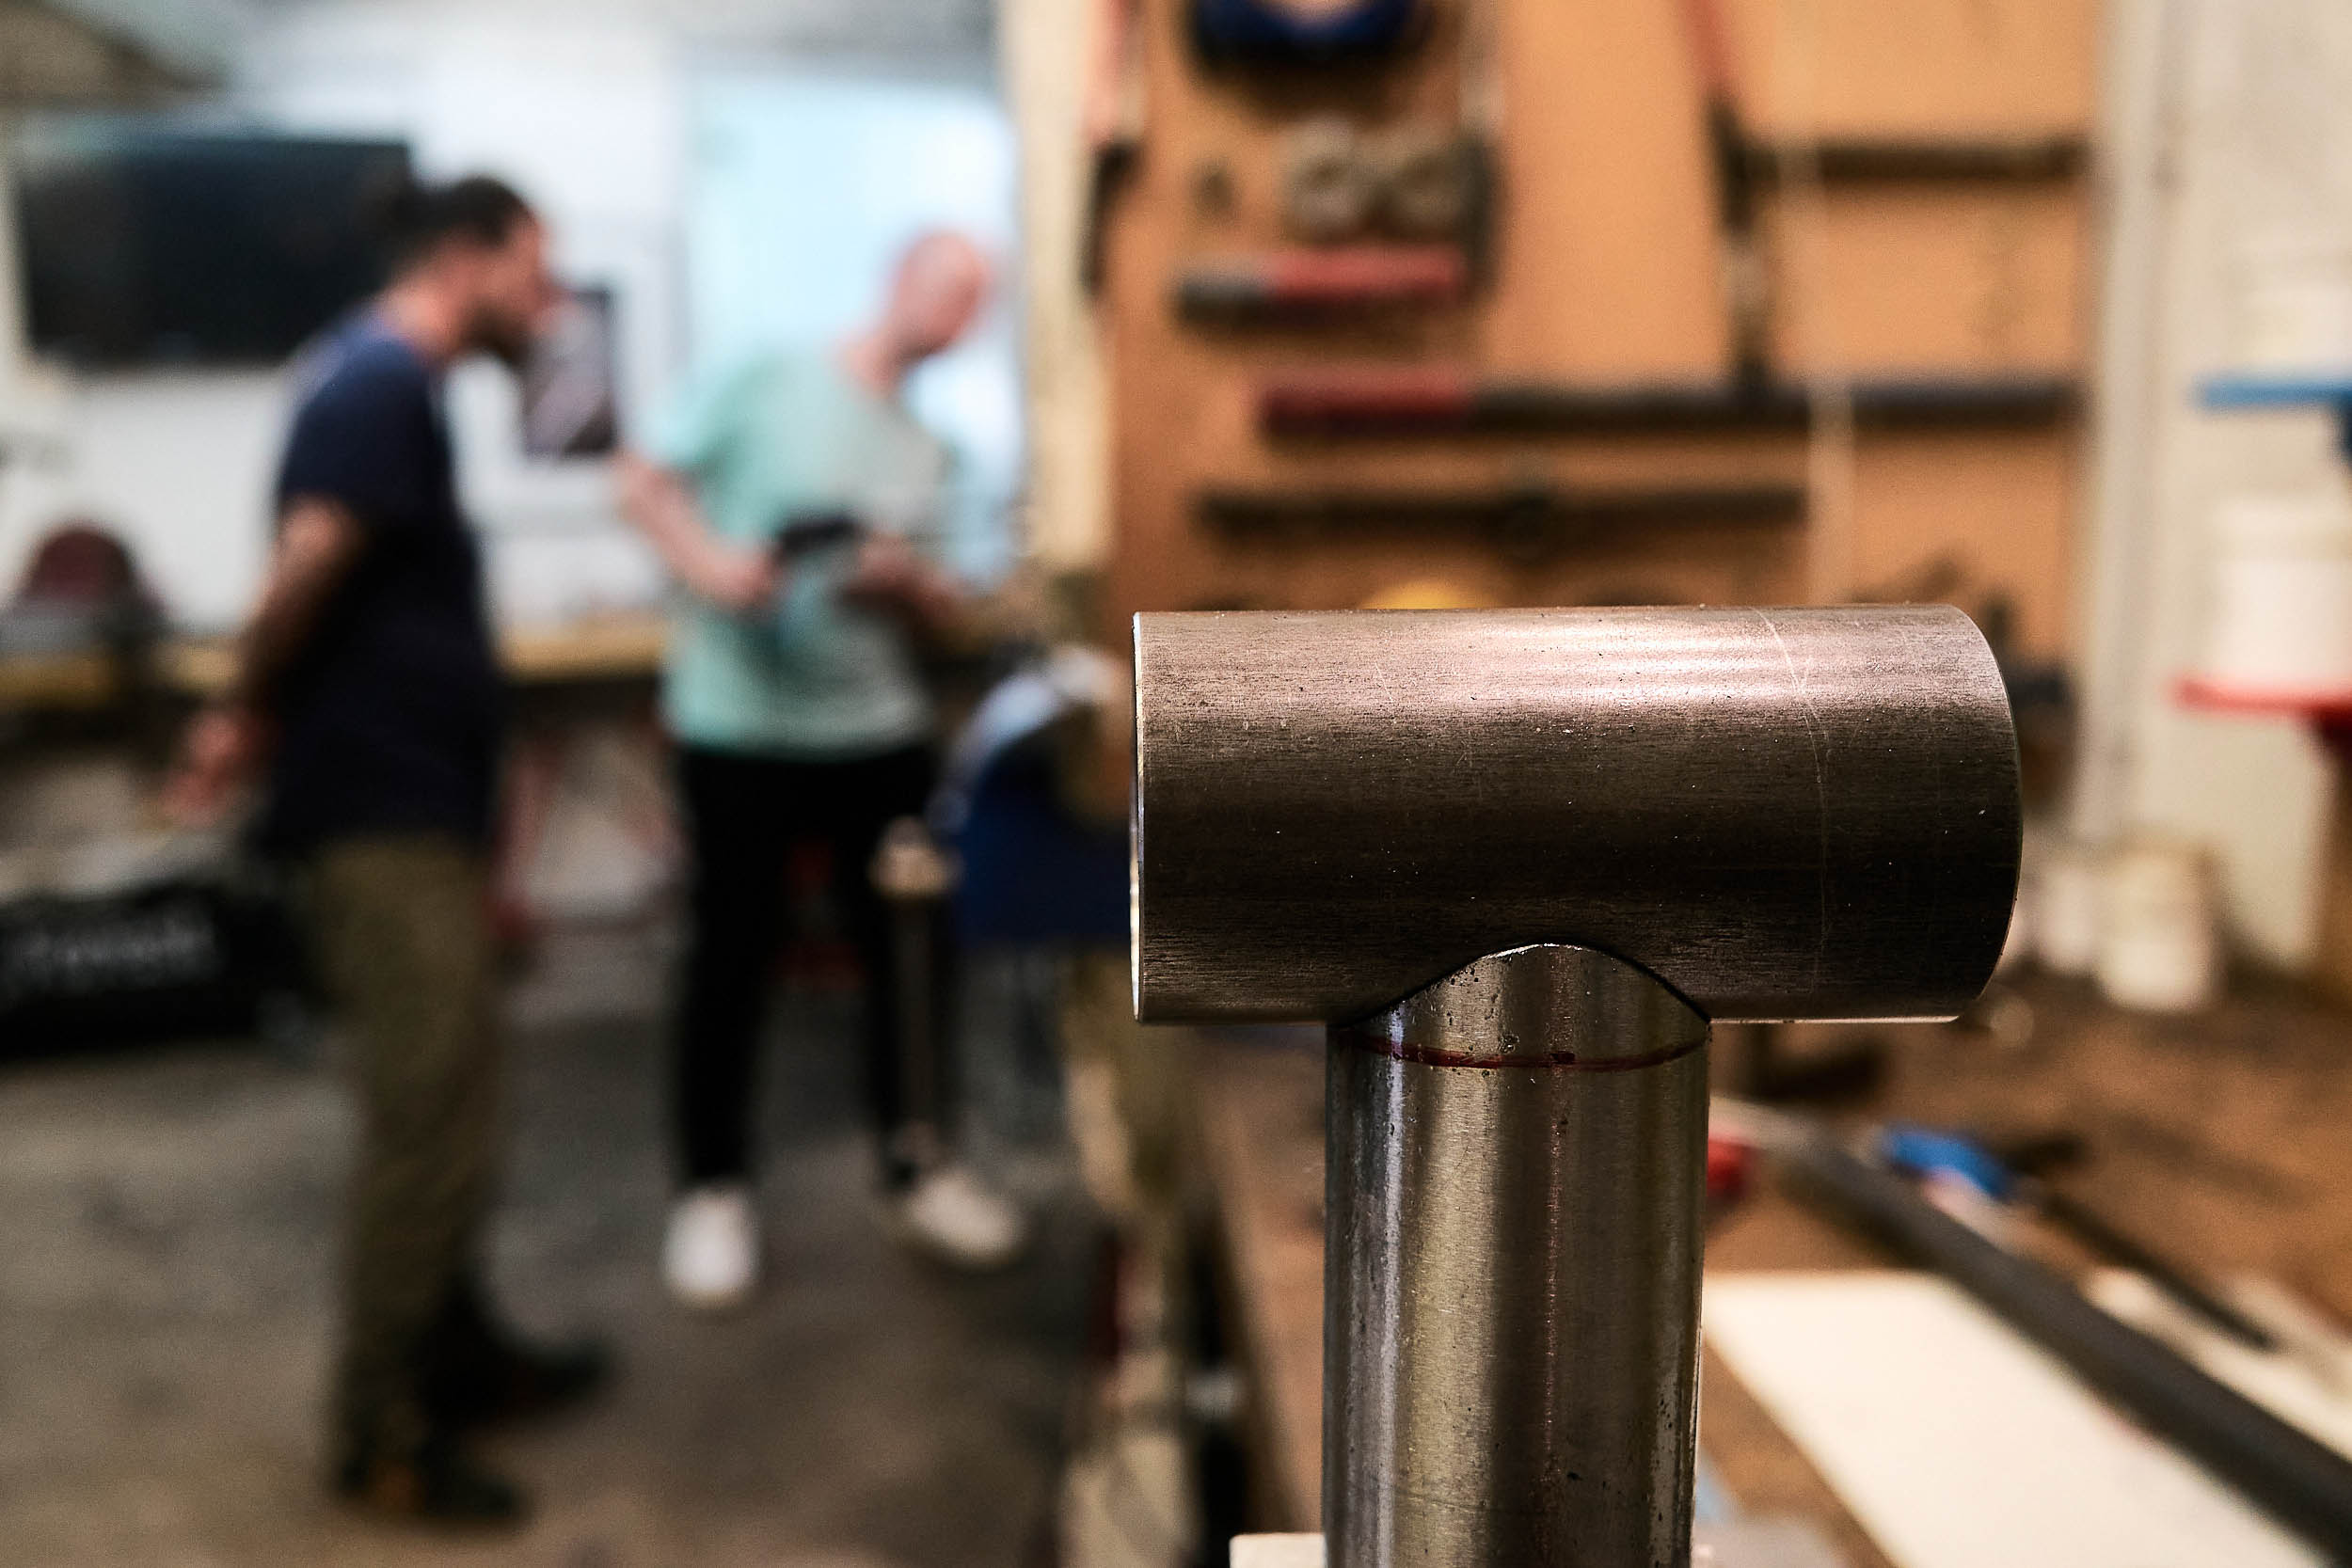
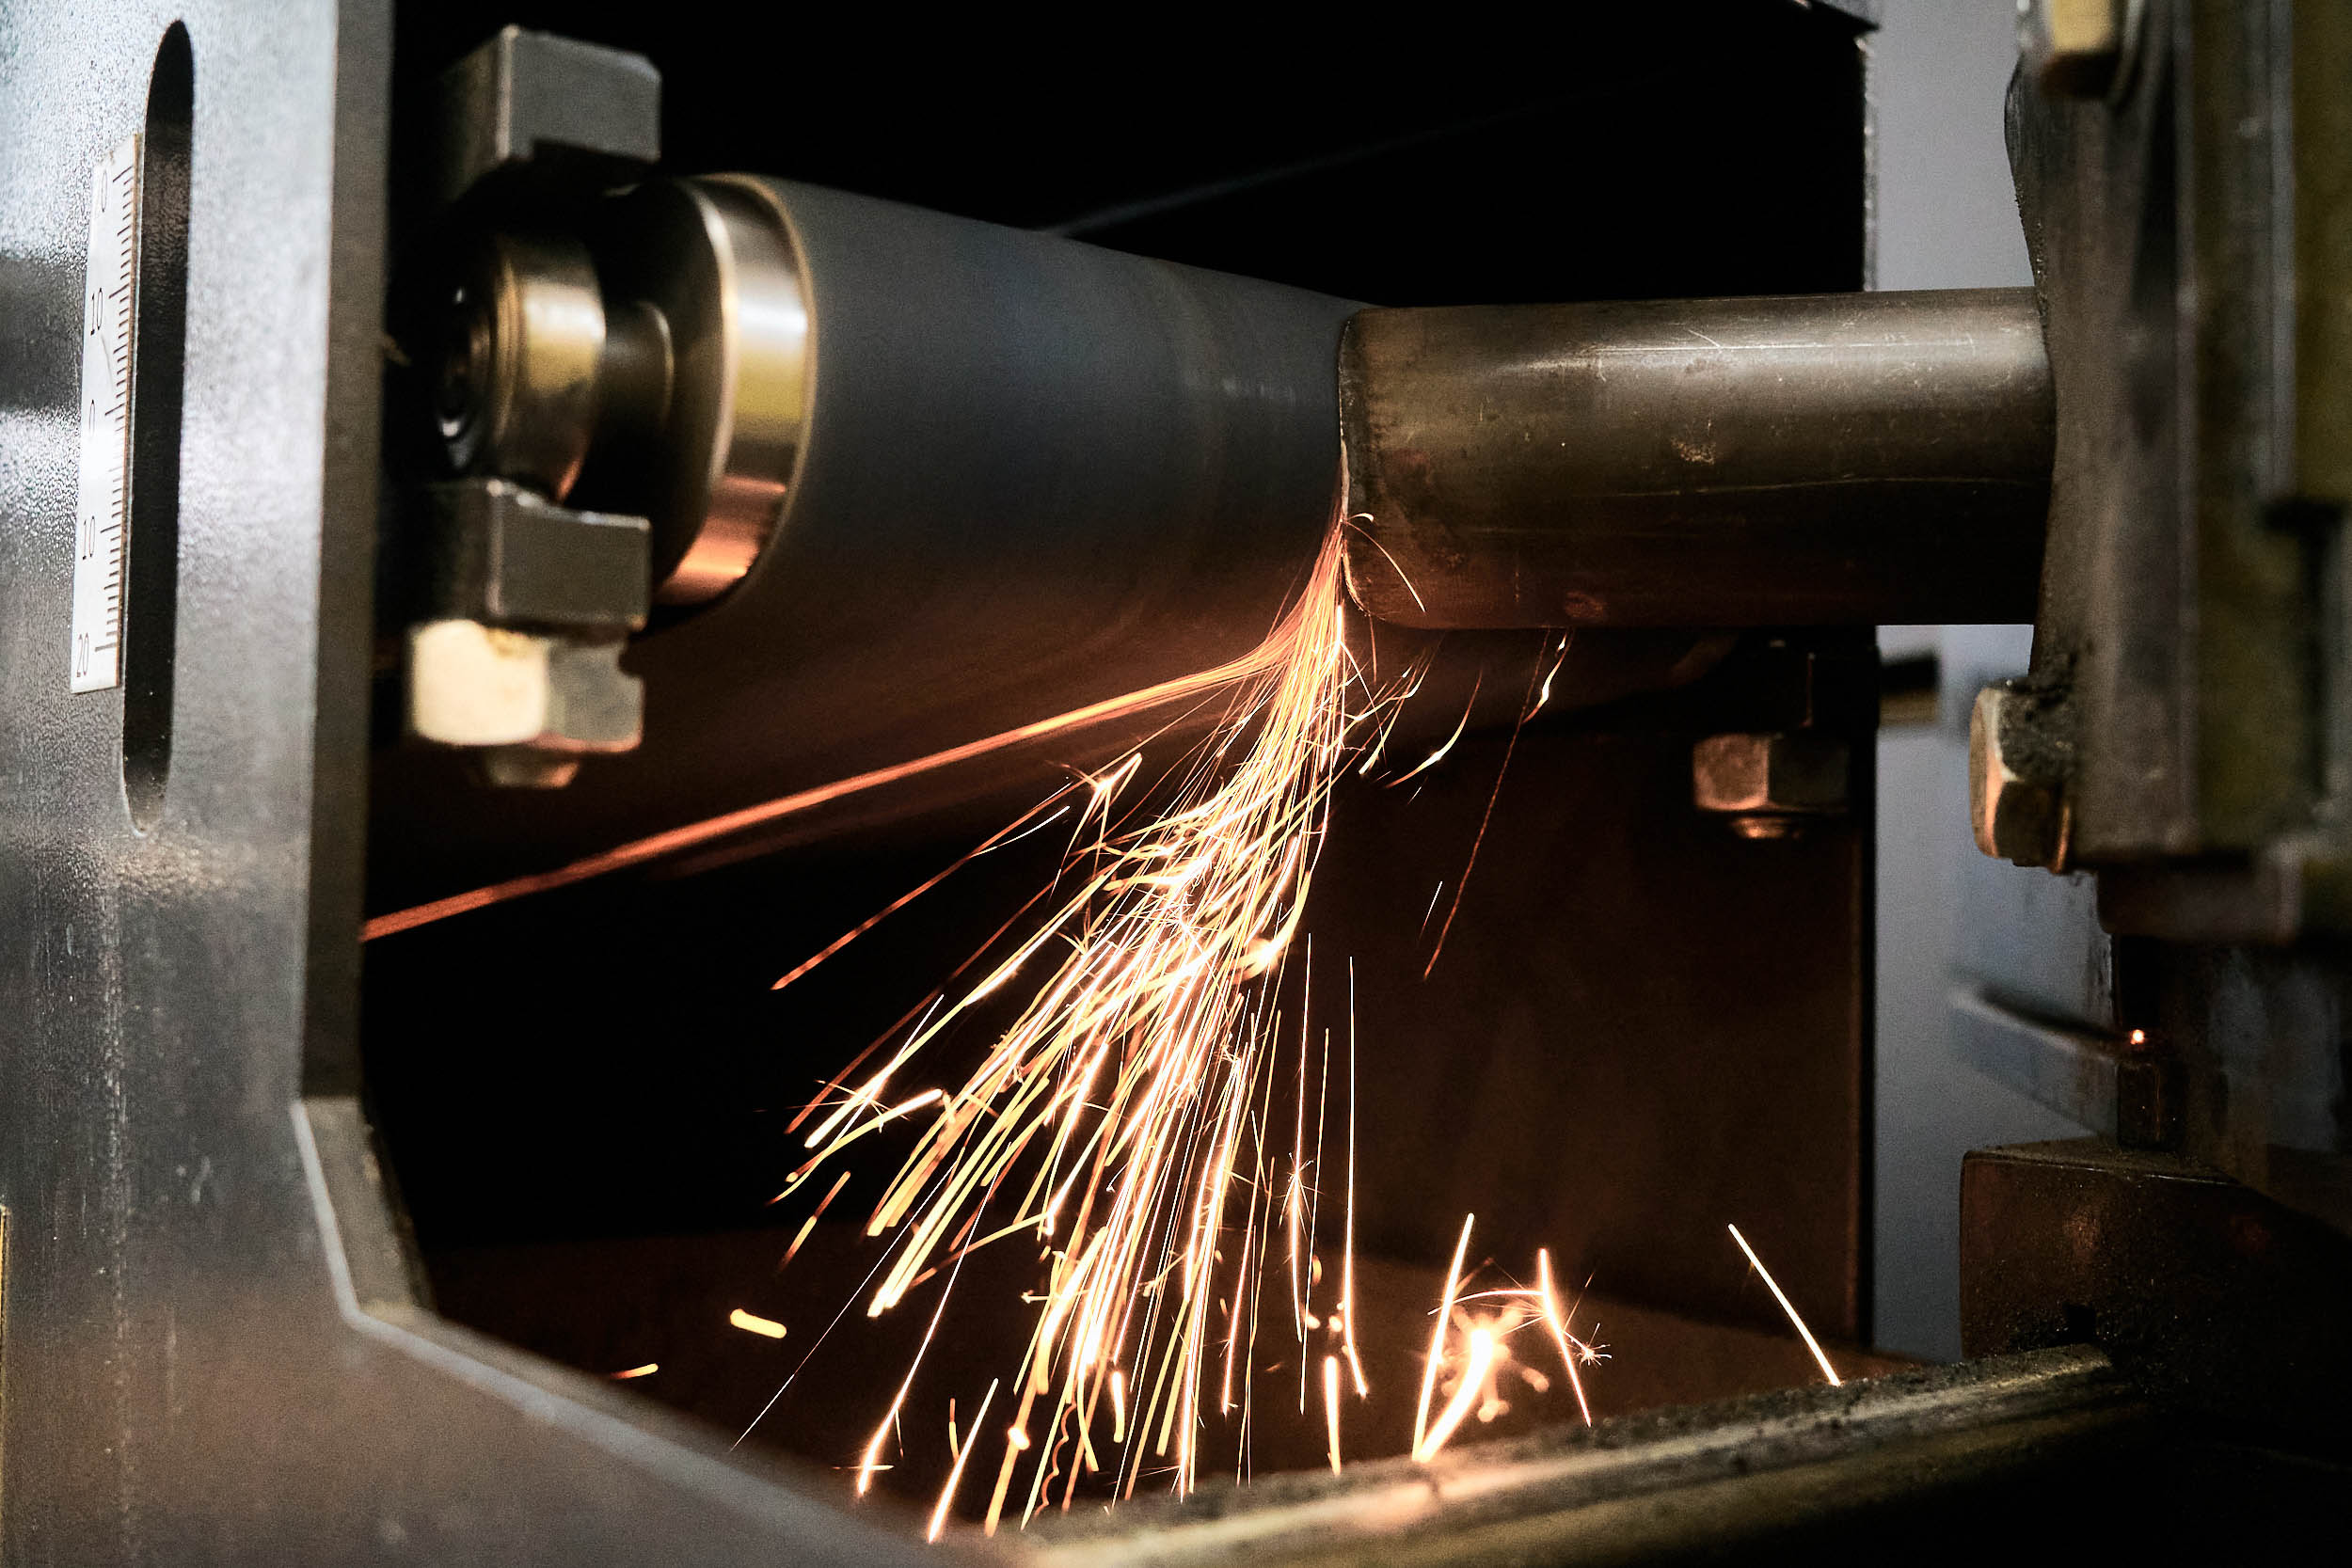
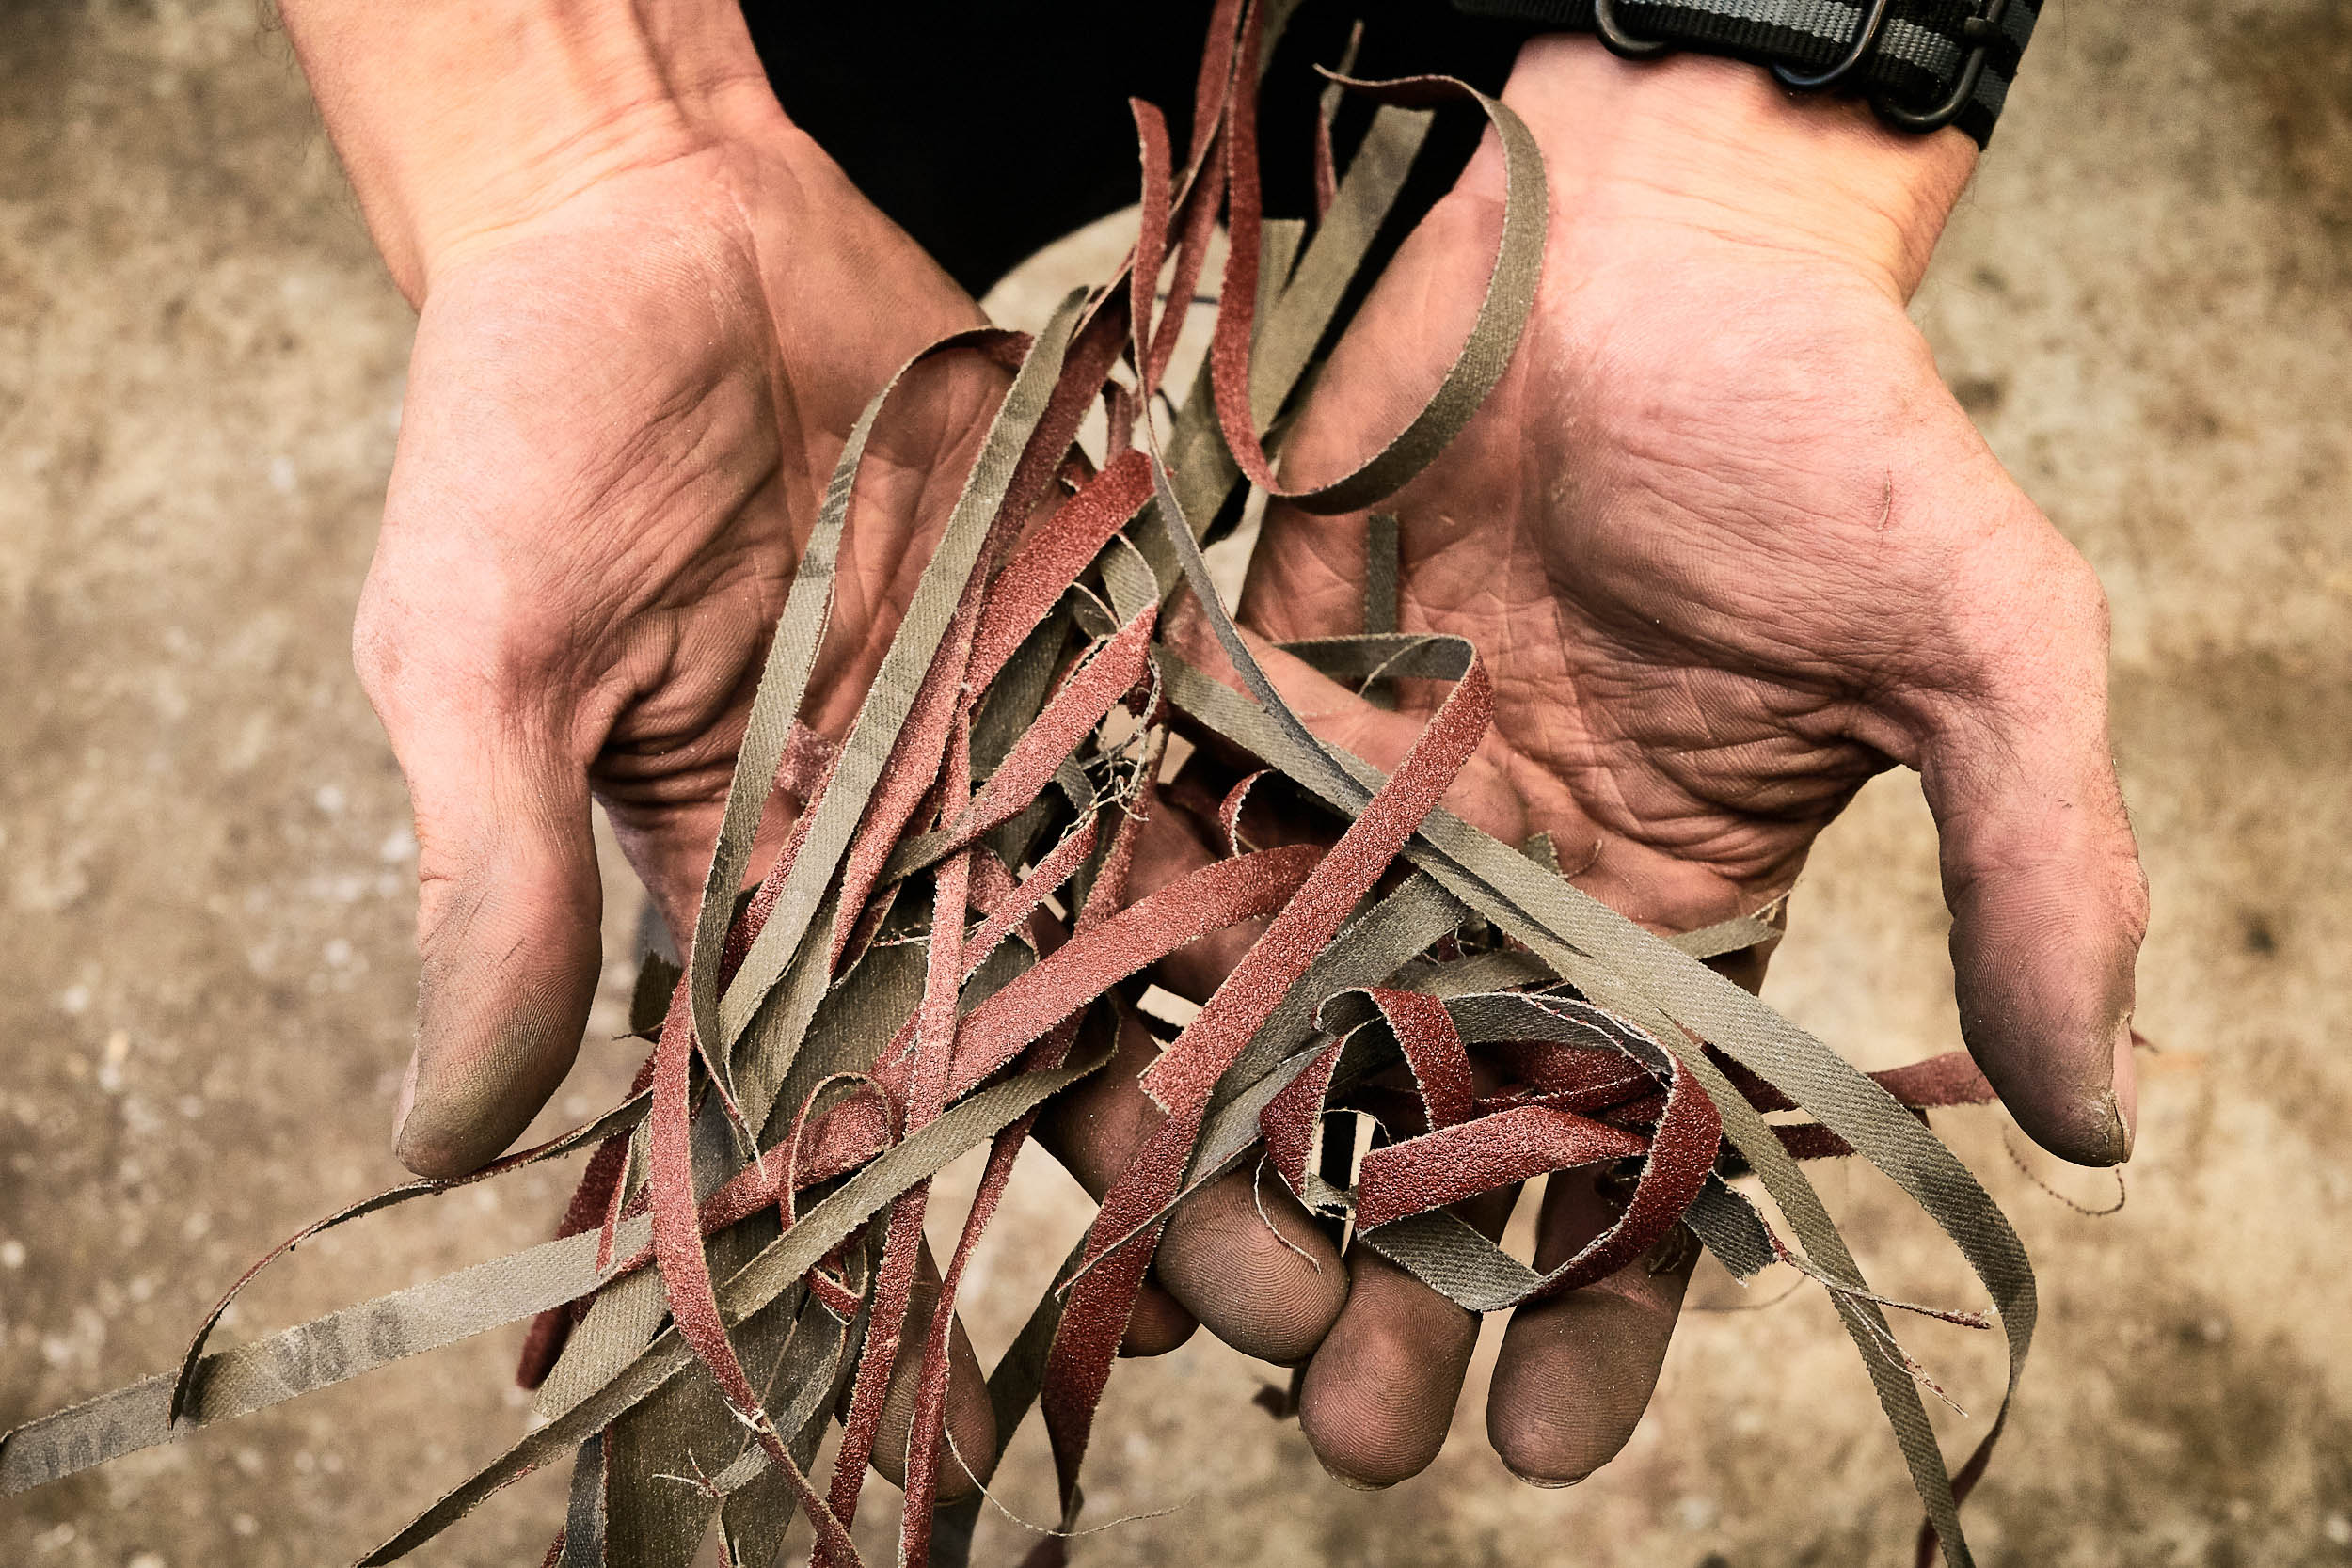
The stock tubes need to be cut and mitered according to our drawings. Mitering means carving the ends with a hole saw so they nestle seamlessly against each other. We first practice on scrap tubing. You won’t find any bulky mills in Robert’s shop. Instead, we use a tube notcher with a hand drill. Easy and quick. With the rough cut done, we grab the files; they will become our best friends. With a few pointers from Robert, I get the scrap bottom bracket to sit flush in the mitered seat tube. Then it’s on to the real tubes.

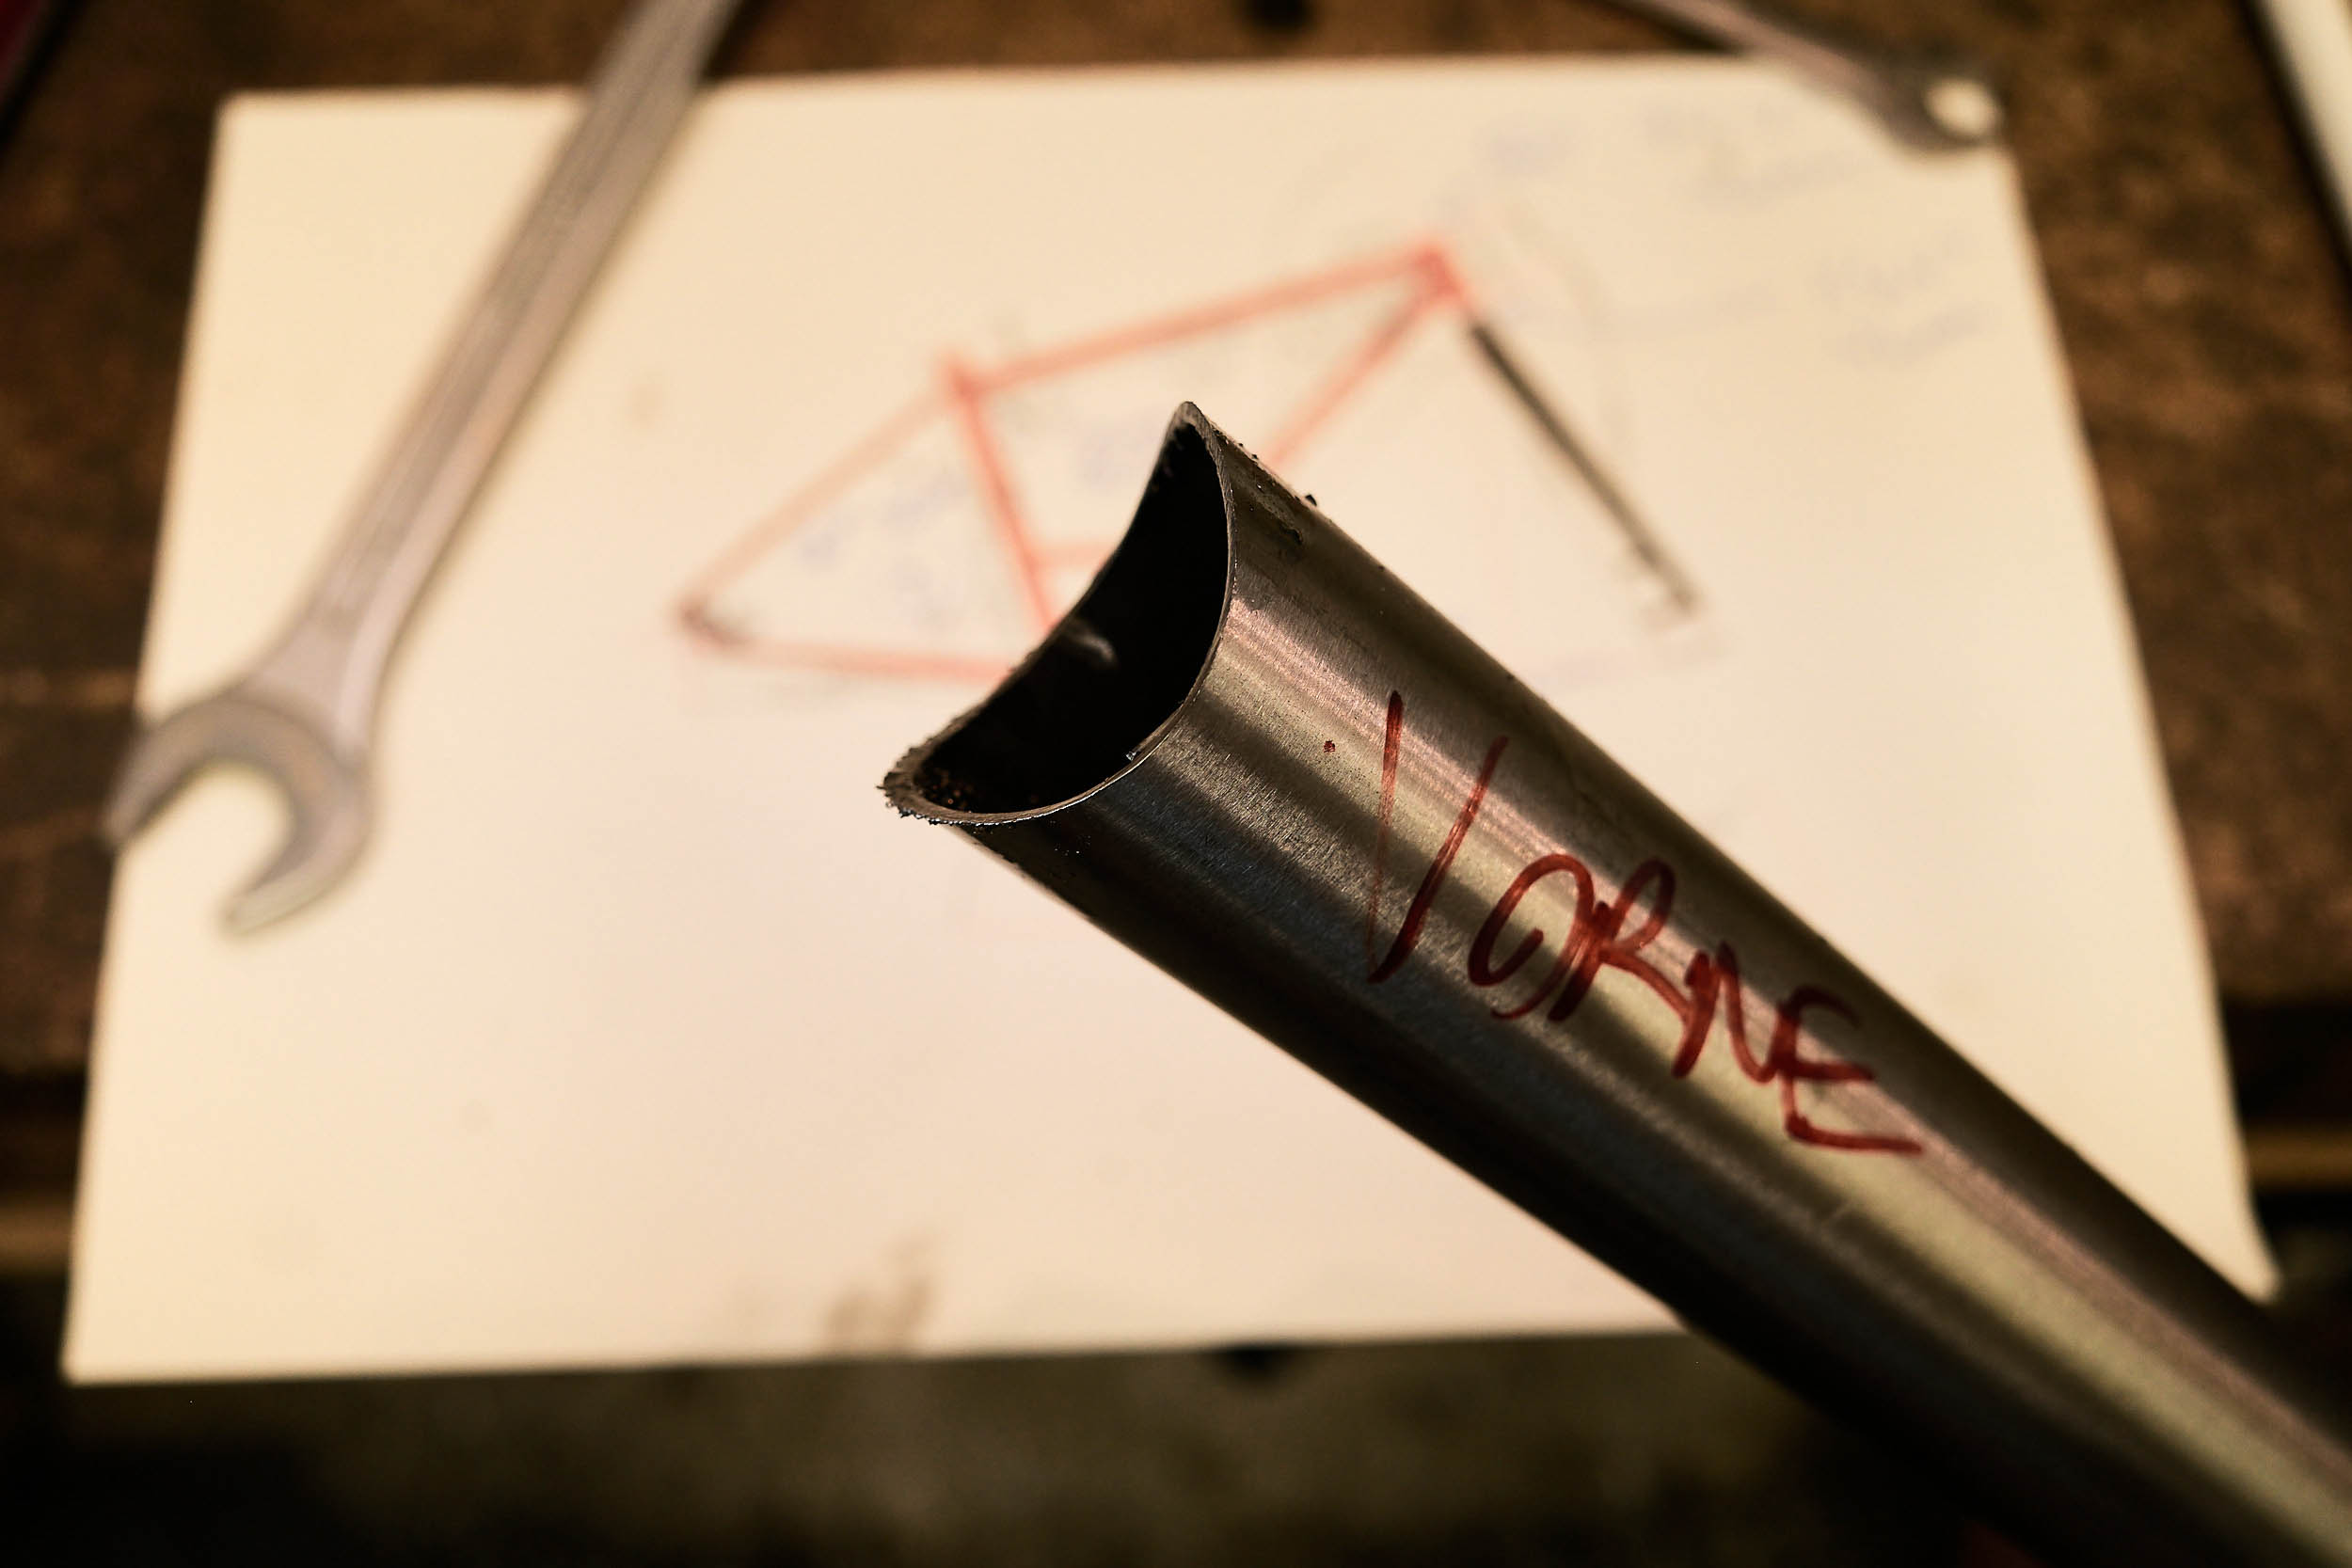
I mess up straight out of the gate and make the right cut on the wrong tube. It’s easy to get confused, so I mark all my tubes with a felt-tip pen and proceed more cautiously. I hear, “Josh, you can’t cut yet,” a few more times. Robert and Konrad anticipate my errors before they occur. Before long, it becomes more intuitive. Extensive filing ensues.
By late afternoon, all the mitering is done, and we start placing the tubes into the frame fixture to reveal the points that need more filing. I send the loose tubes clanging to the ground, denting my fancy Reynolds downtube in the process. It keeps happening, to my utter mortification. I expect frames to be solid, but it’s not there yet. By the end of the first day, Marijn and I have succeeded in assembling a bike-shaped contour, and we celebrate with a Feierabend beer. I cycle home and take a dip in Krumme Lanke, a local lake, to wash off the sweat and grease of the day.
Build, eat, sleep, repeat
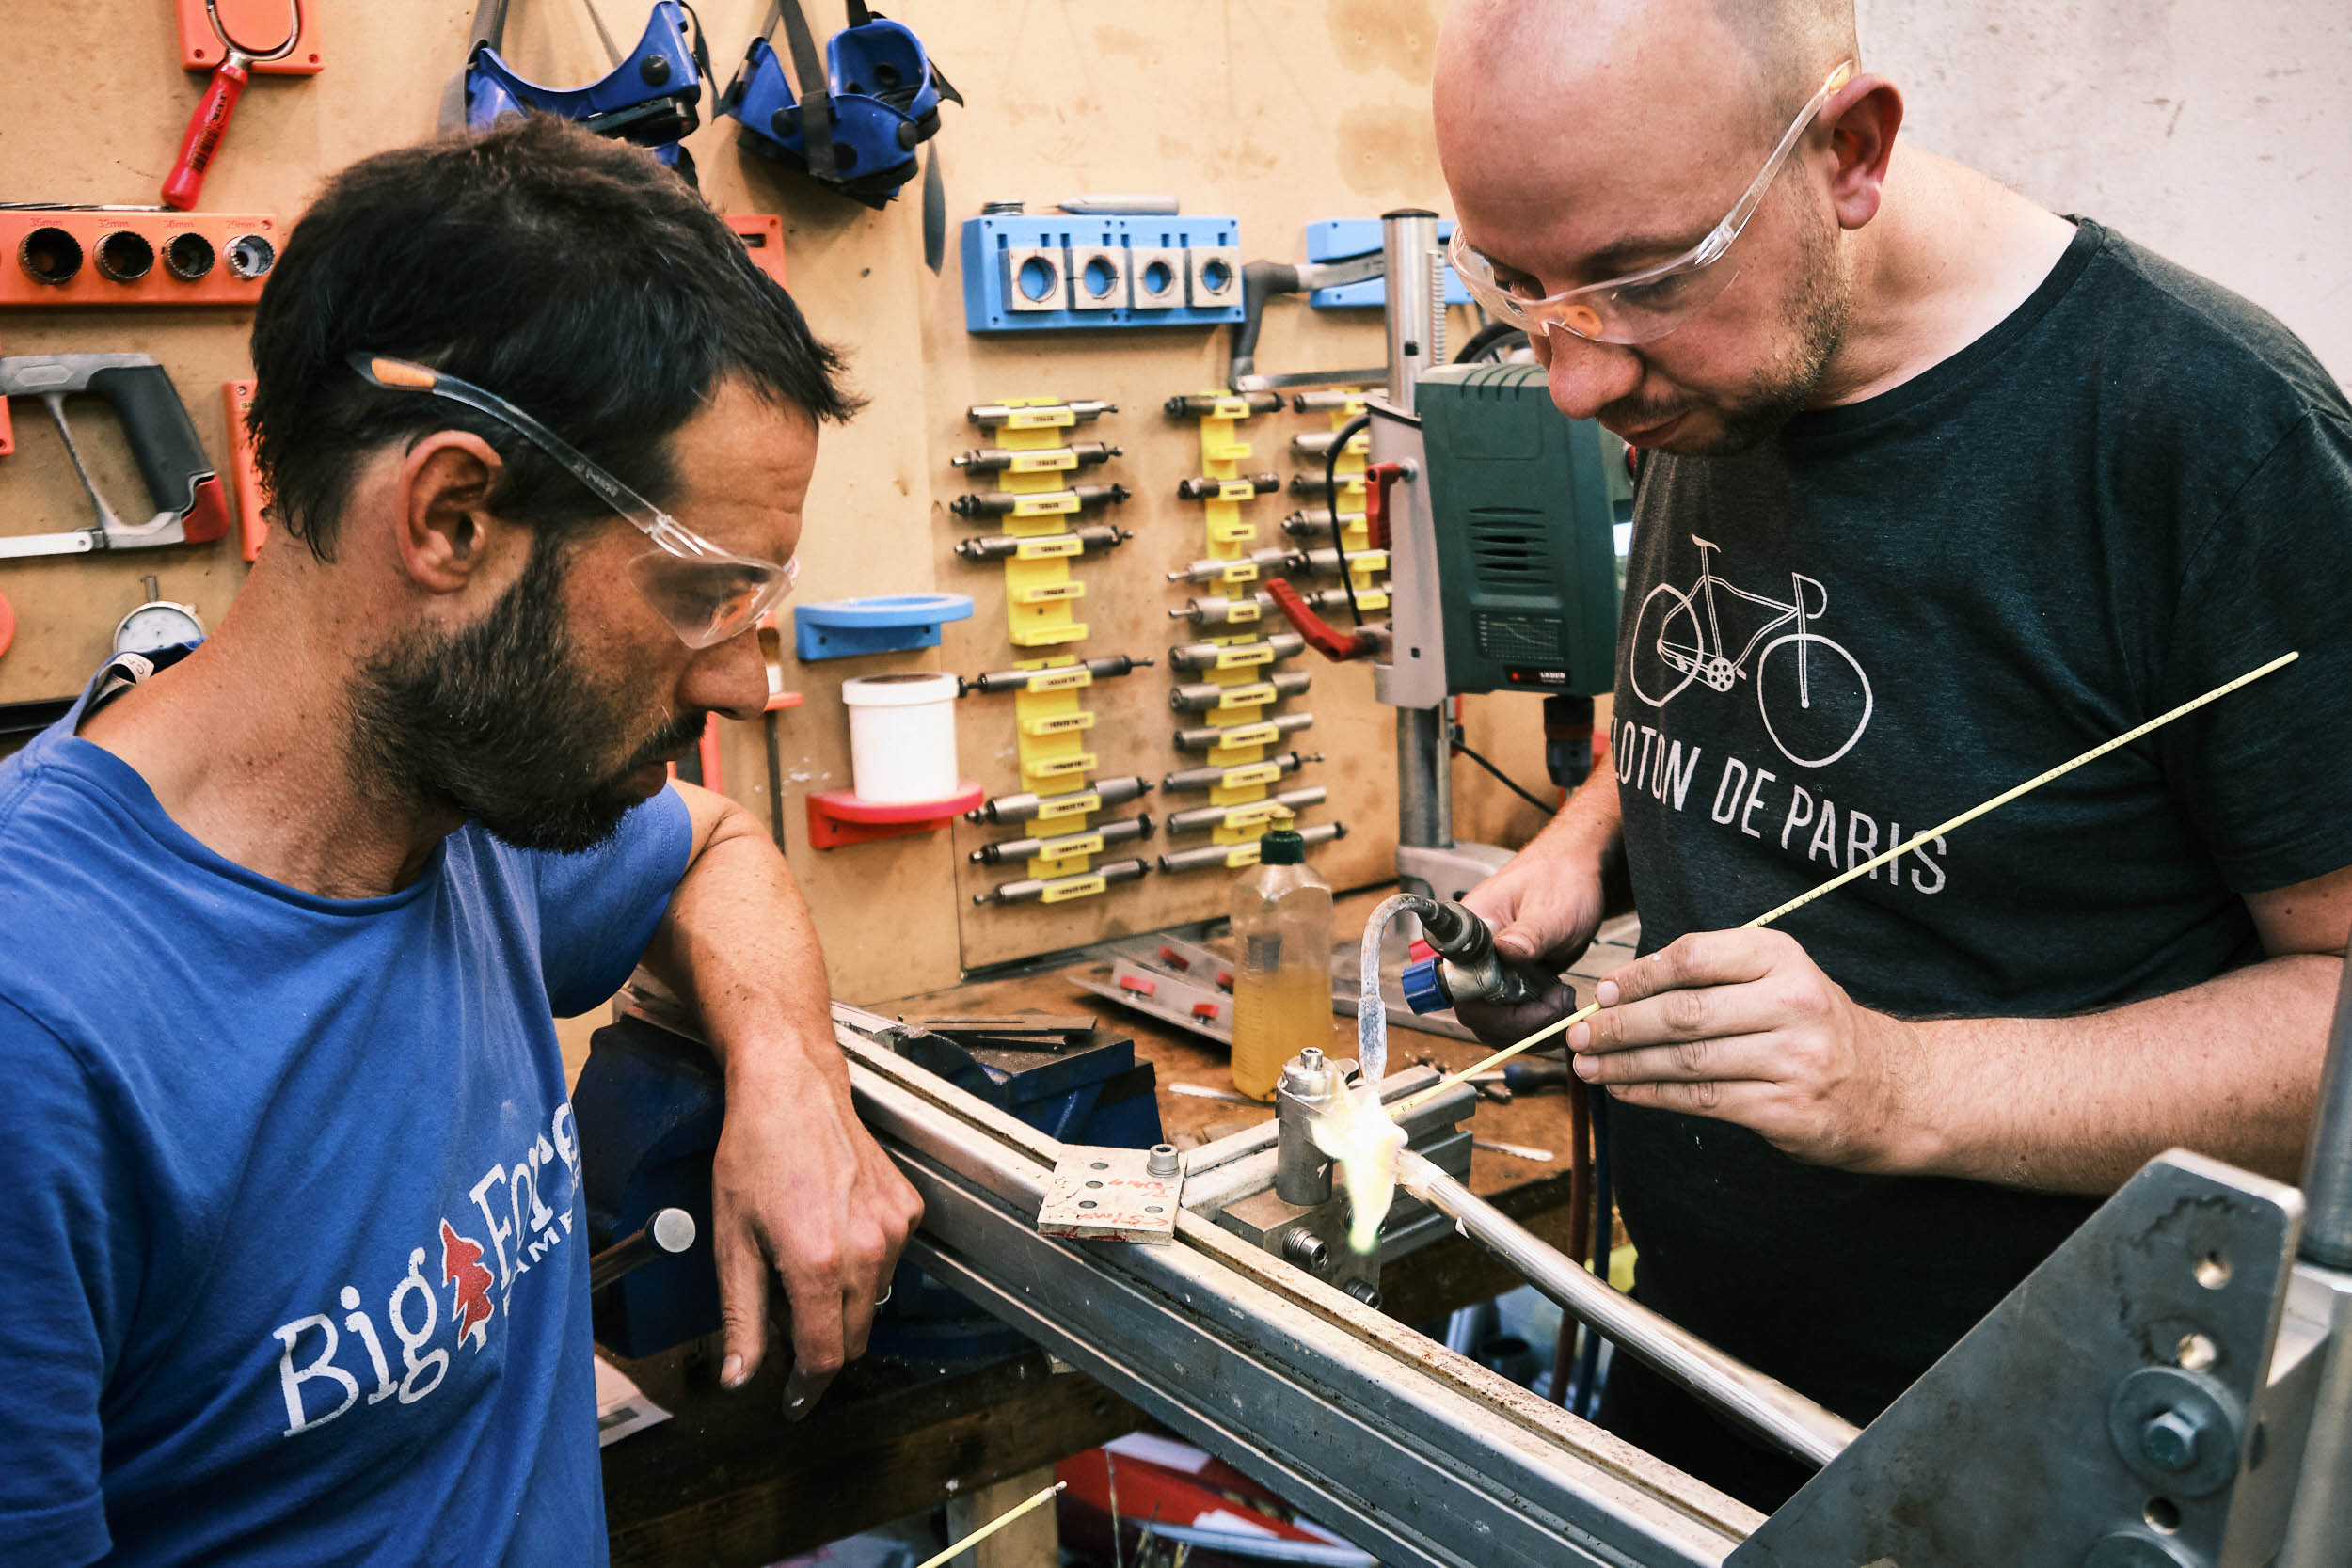
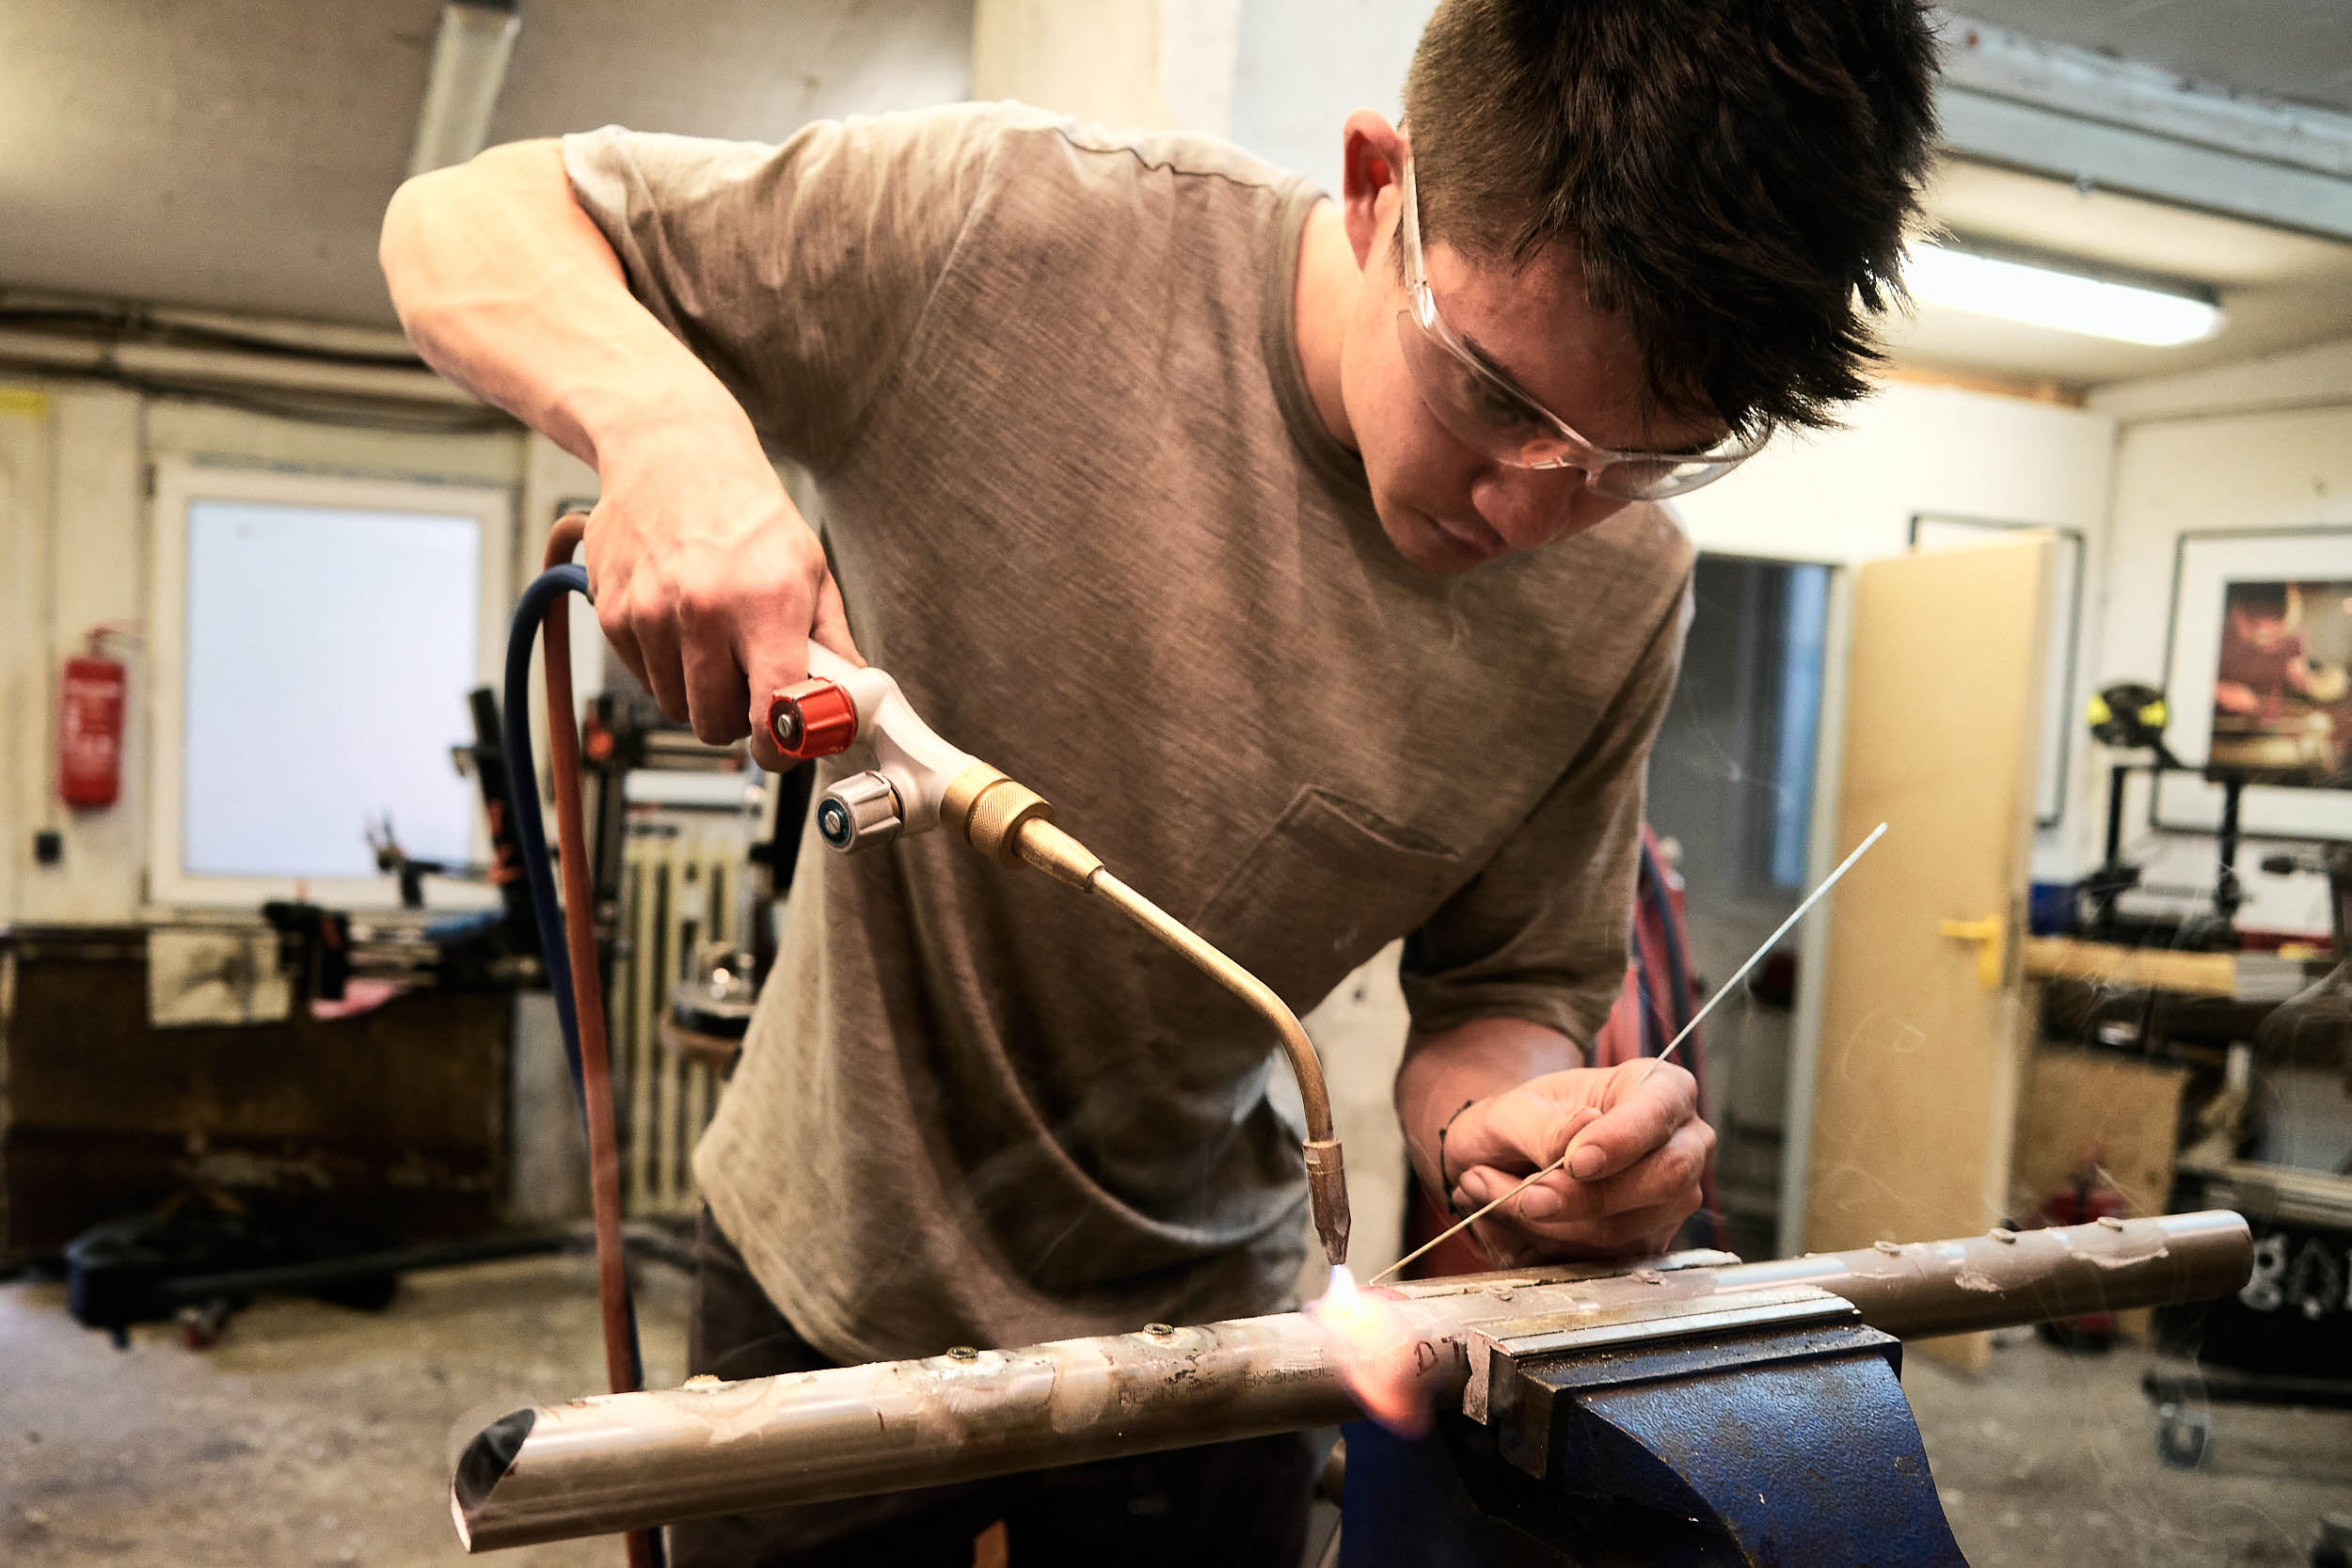
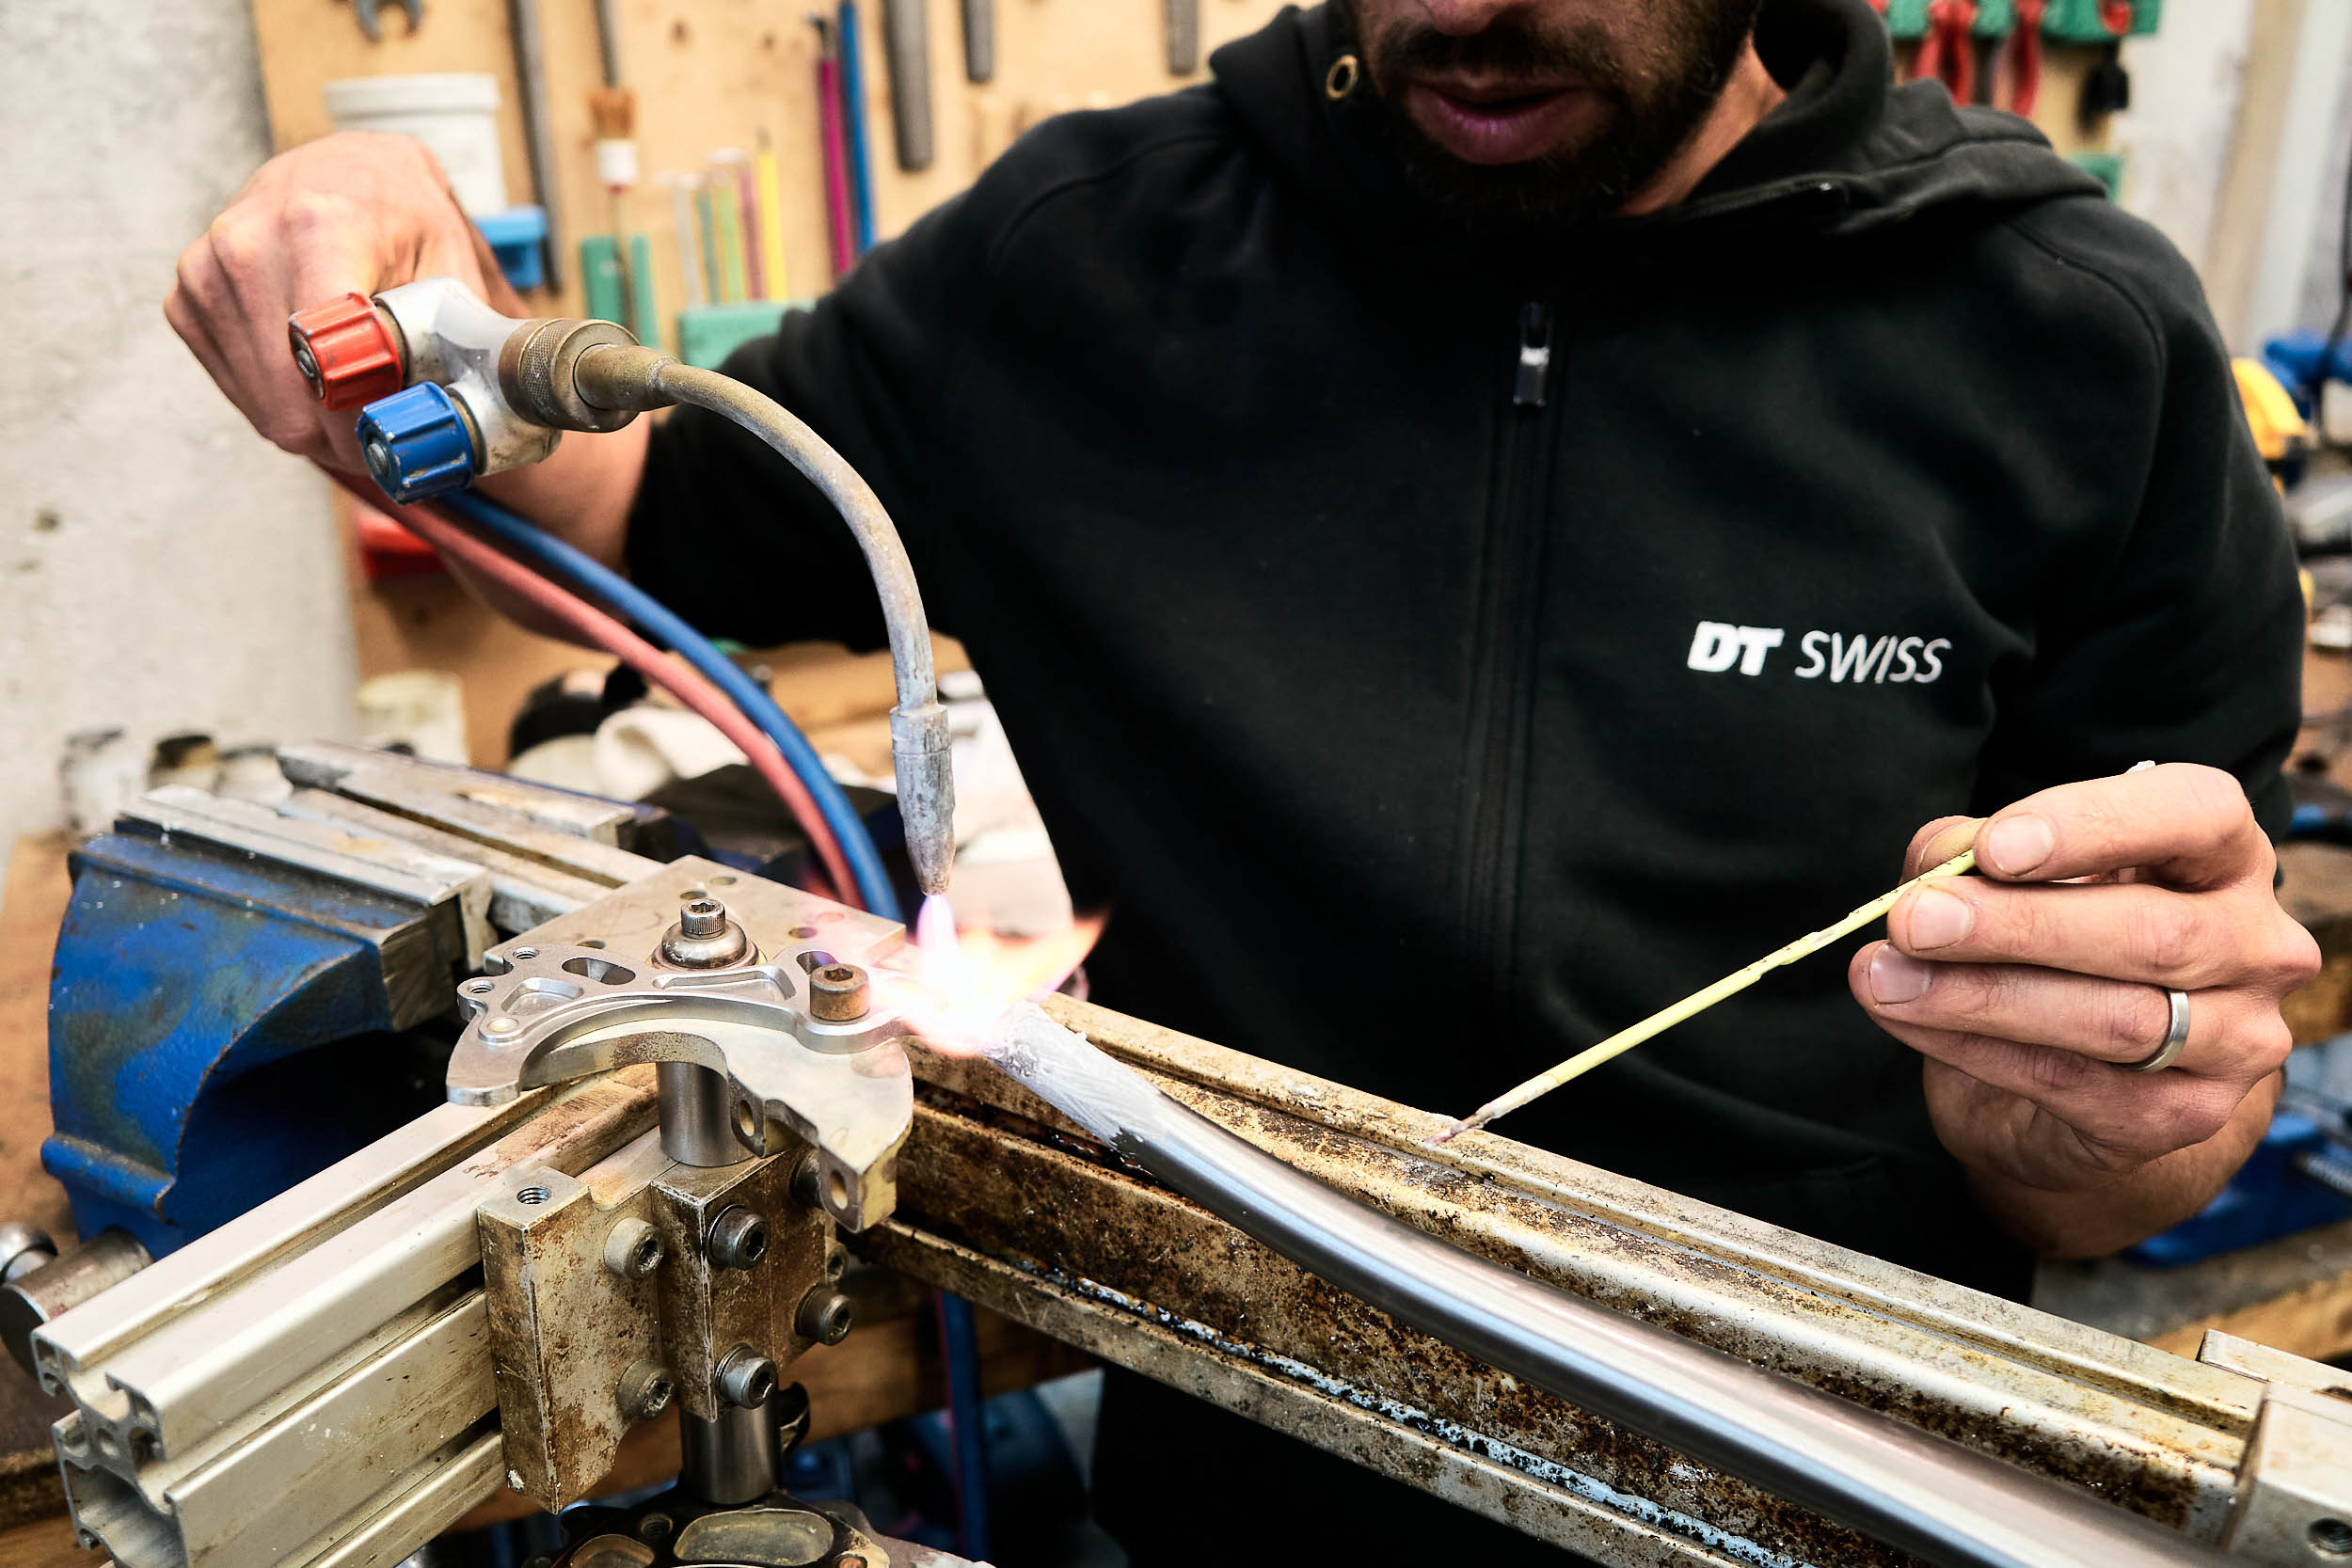
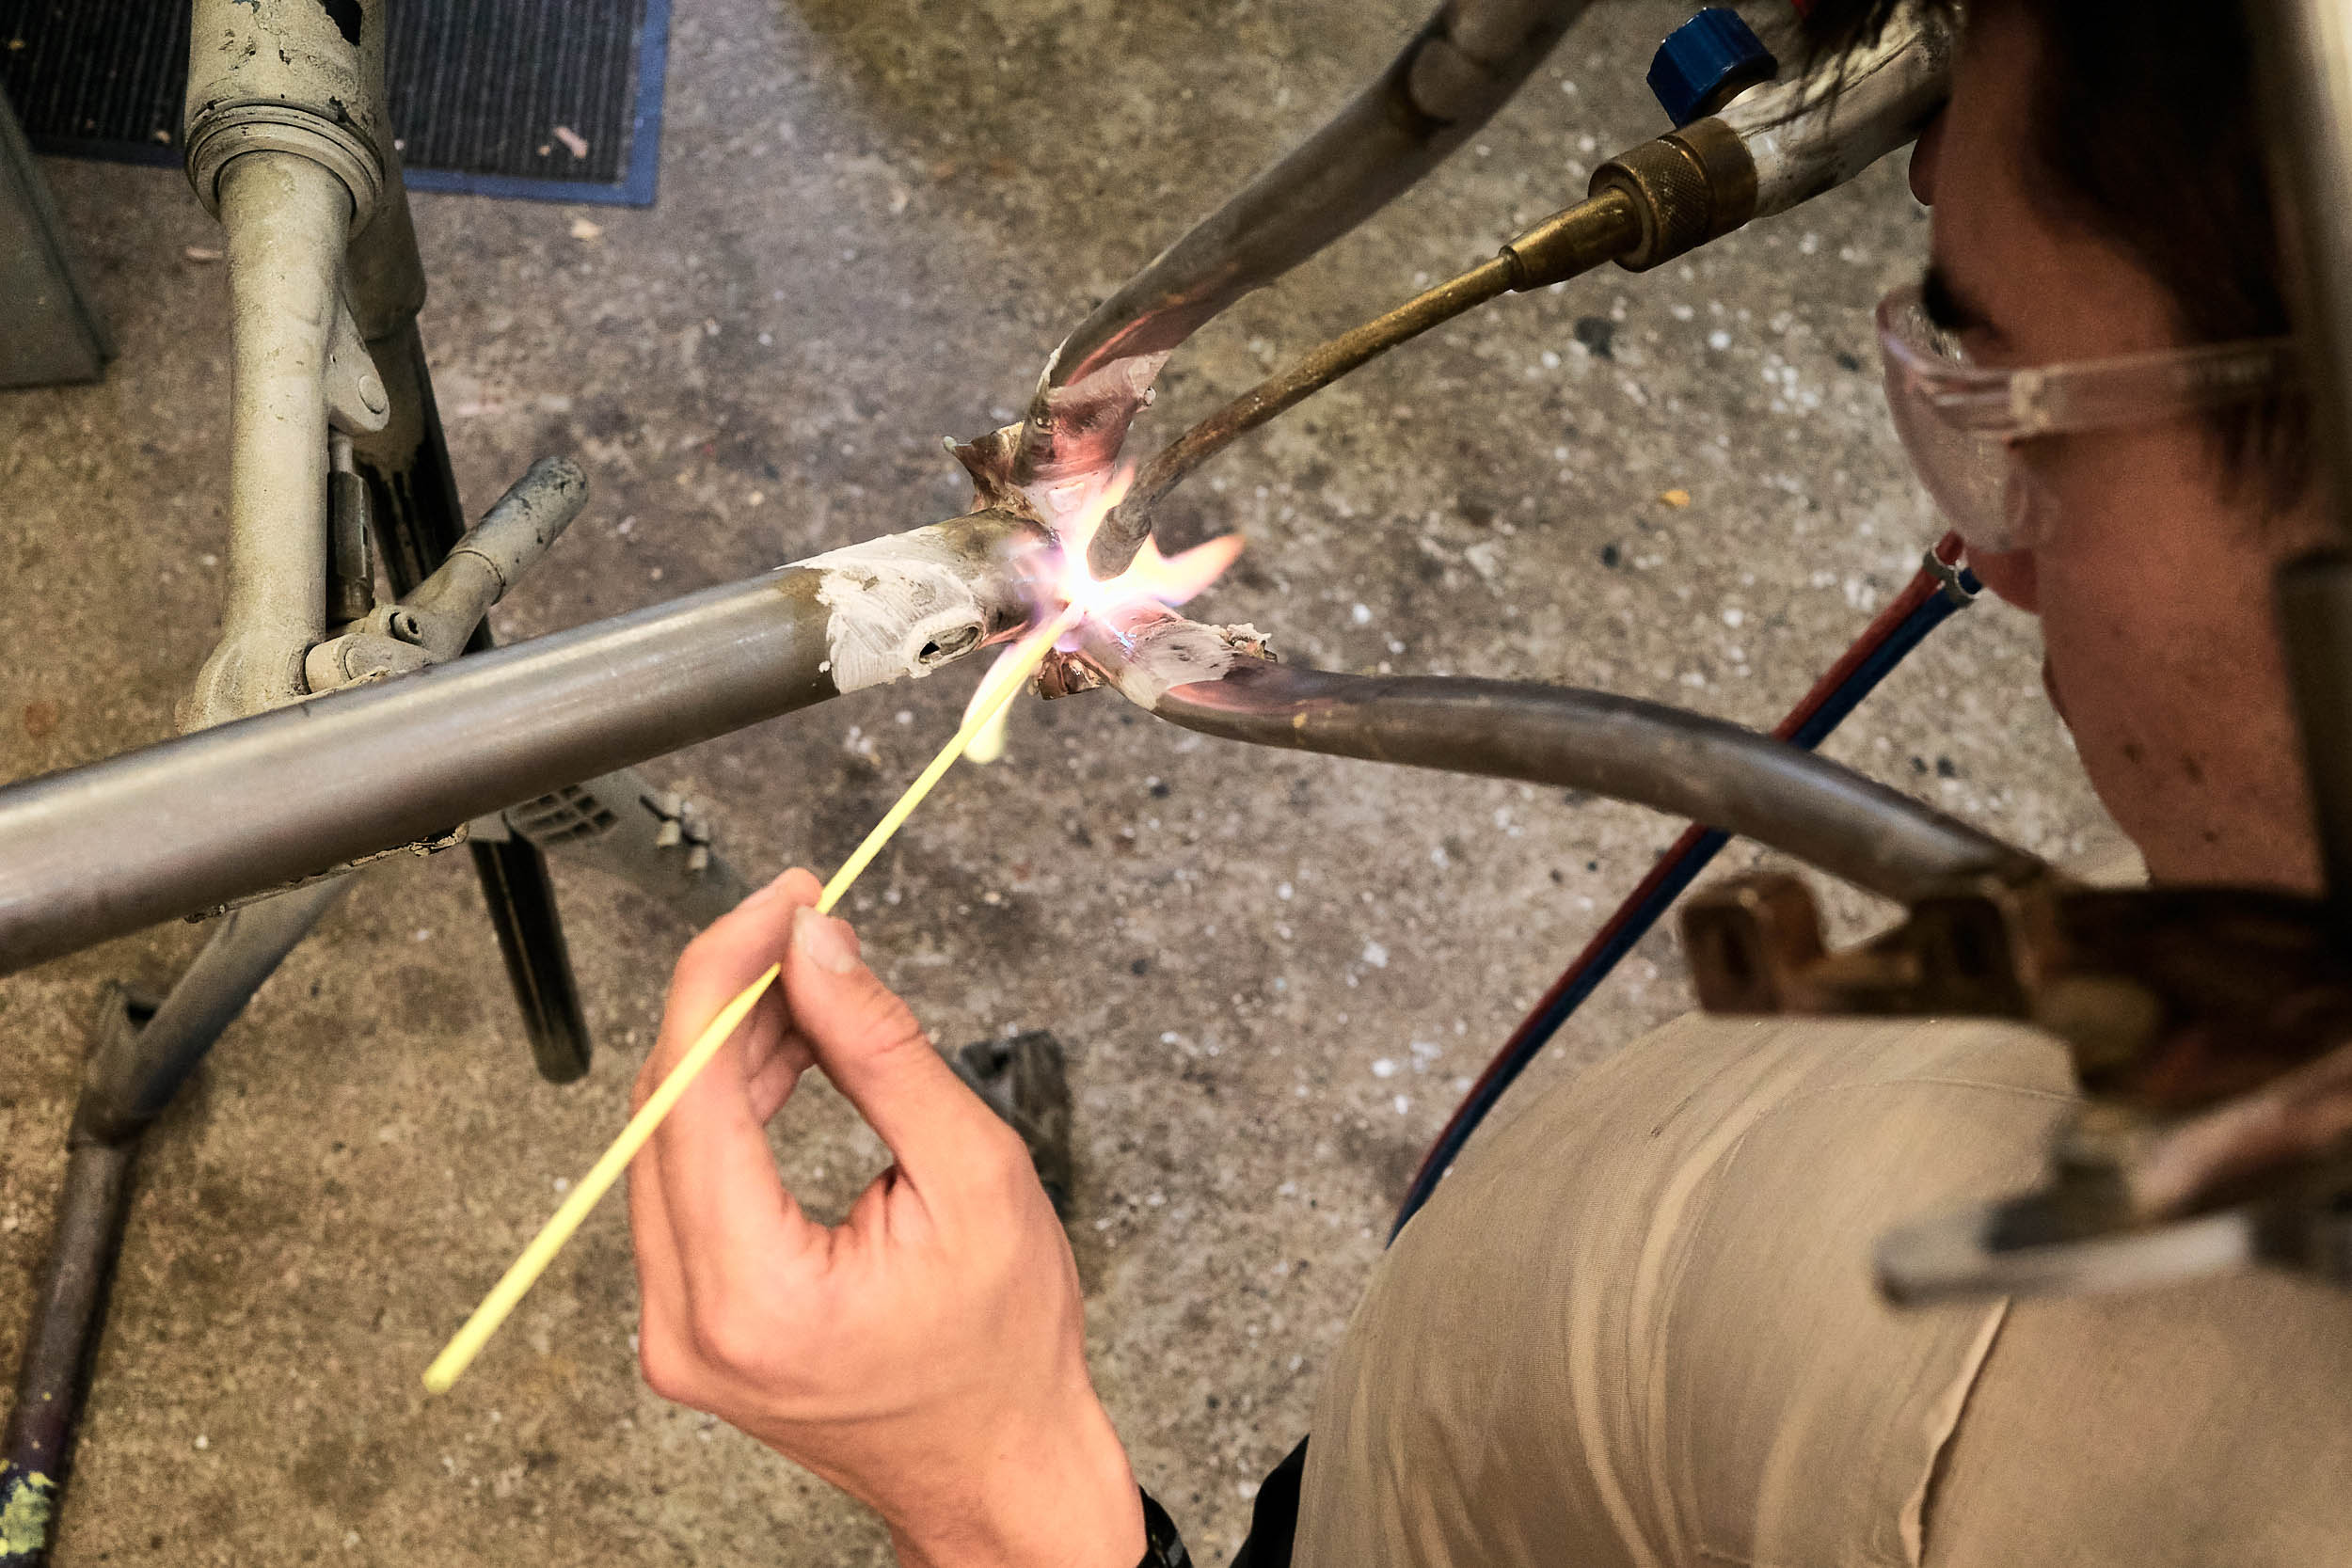
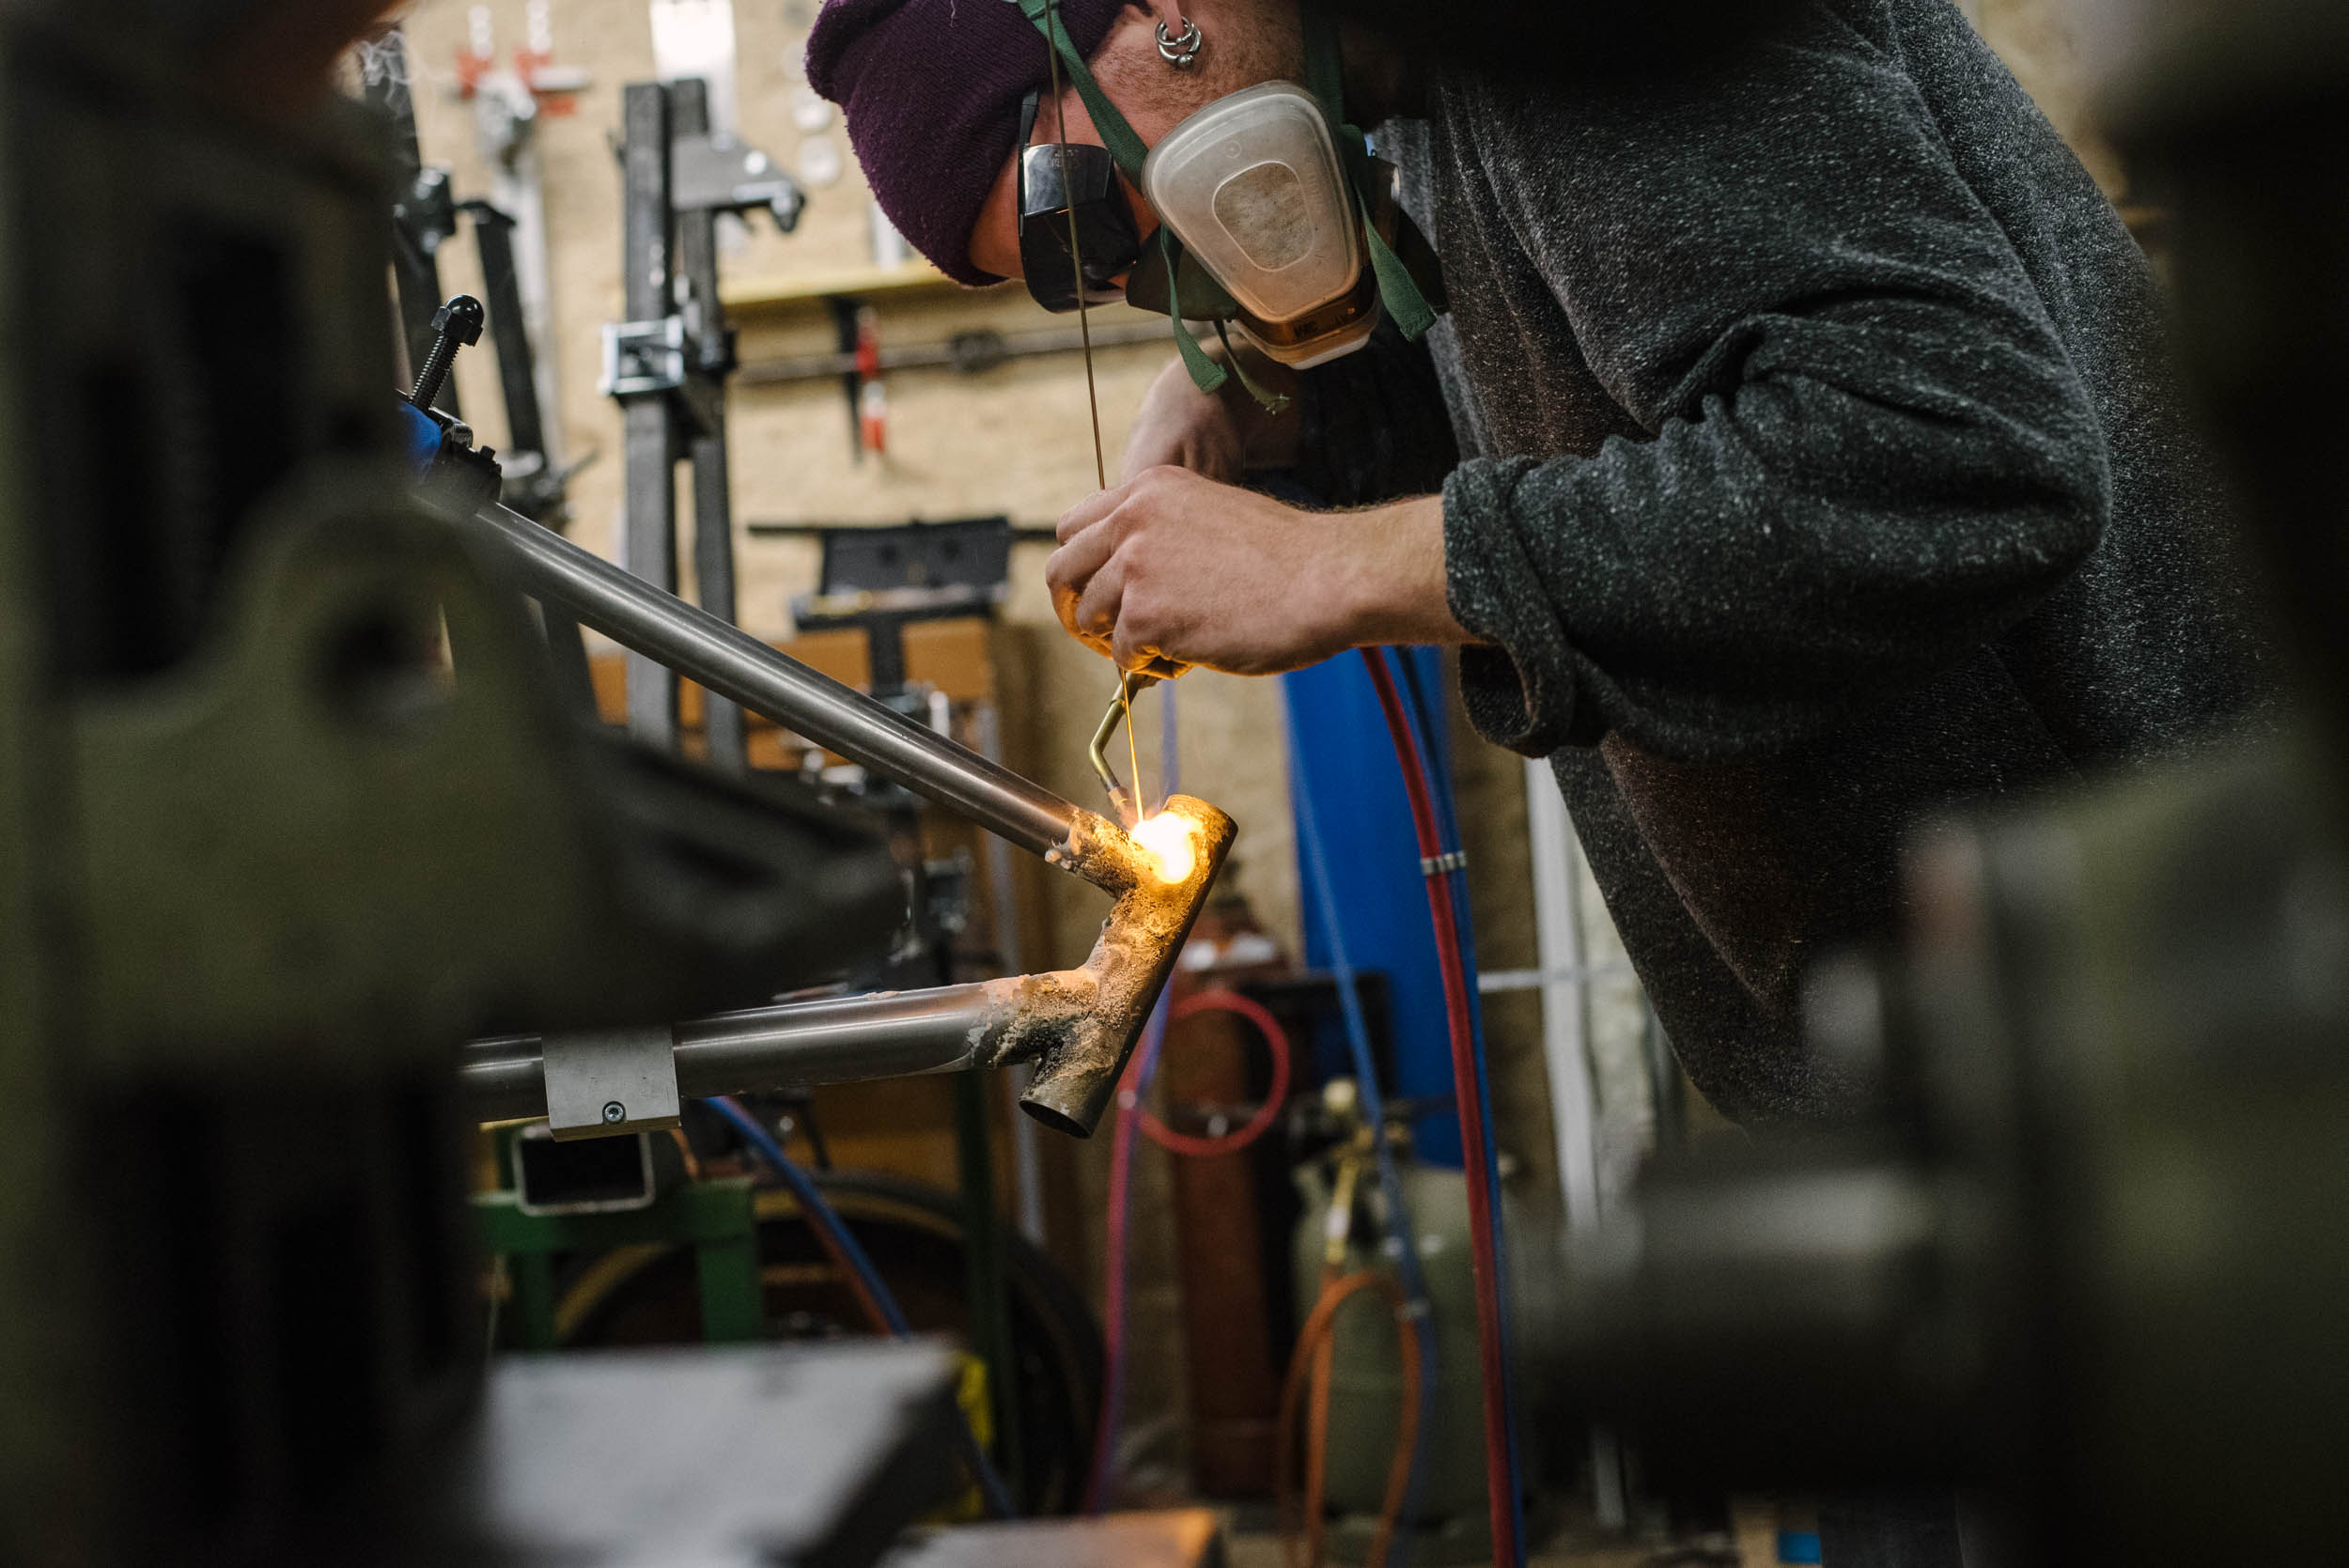
On Tuesday, we learn to fillet braze. This traditional method of joining bicycle tubes uses the heat of a gas torch and a metal with a low melting point, such as silver or brass, to flow into the seam. Brazing doesn’t have the geometric constraints of lugs and is easy to pick up, unlike TIG welding.
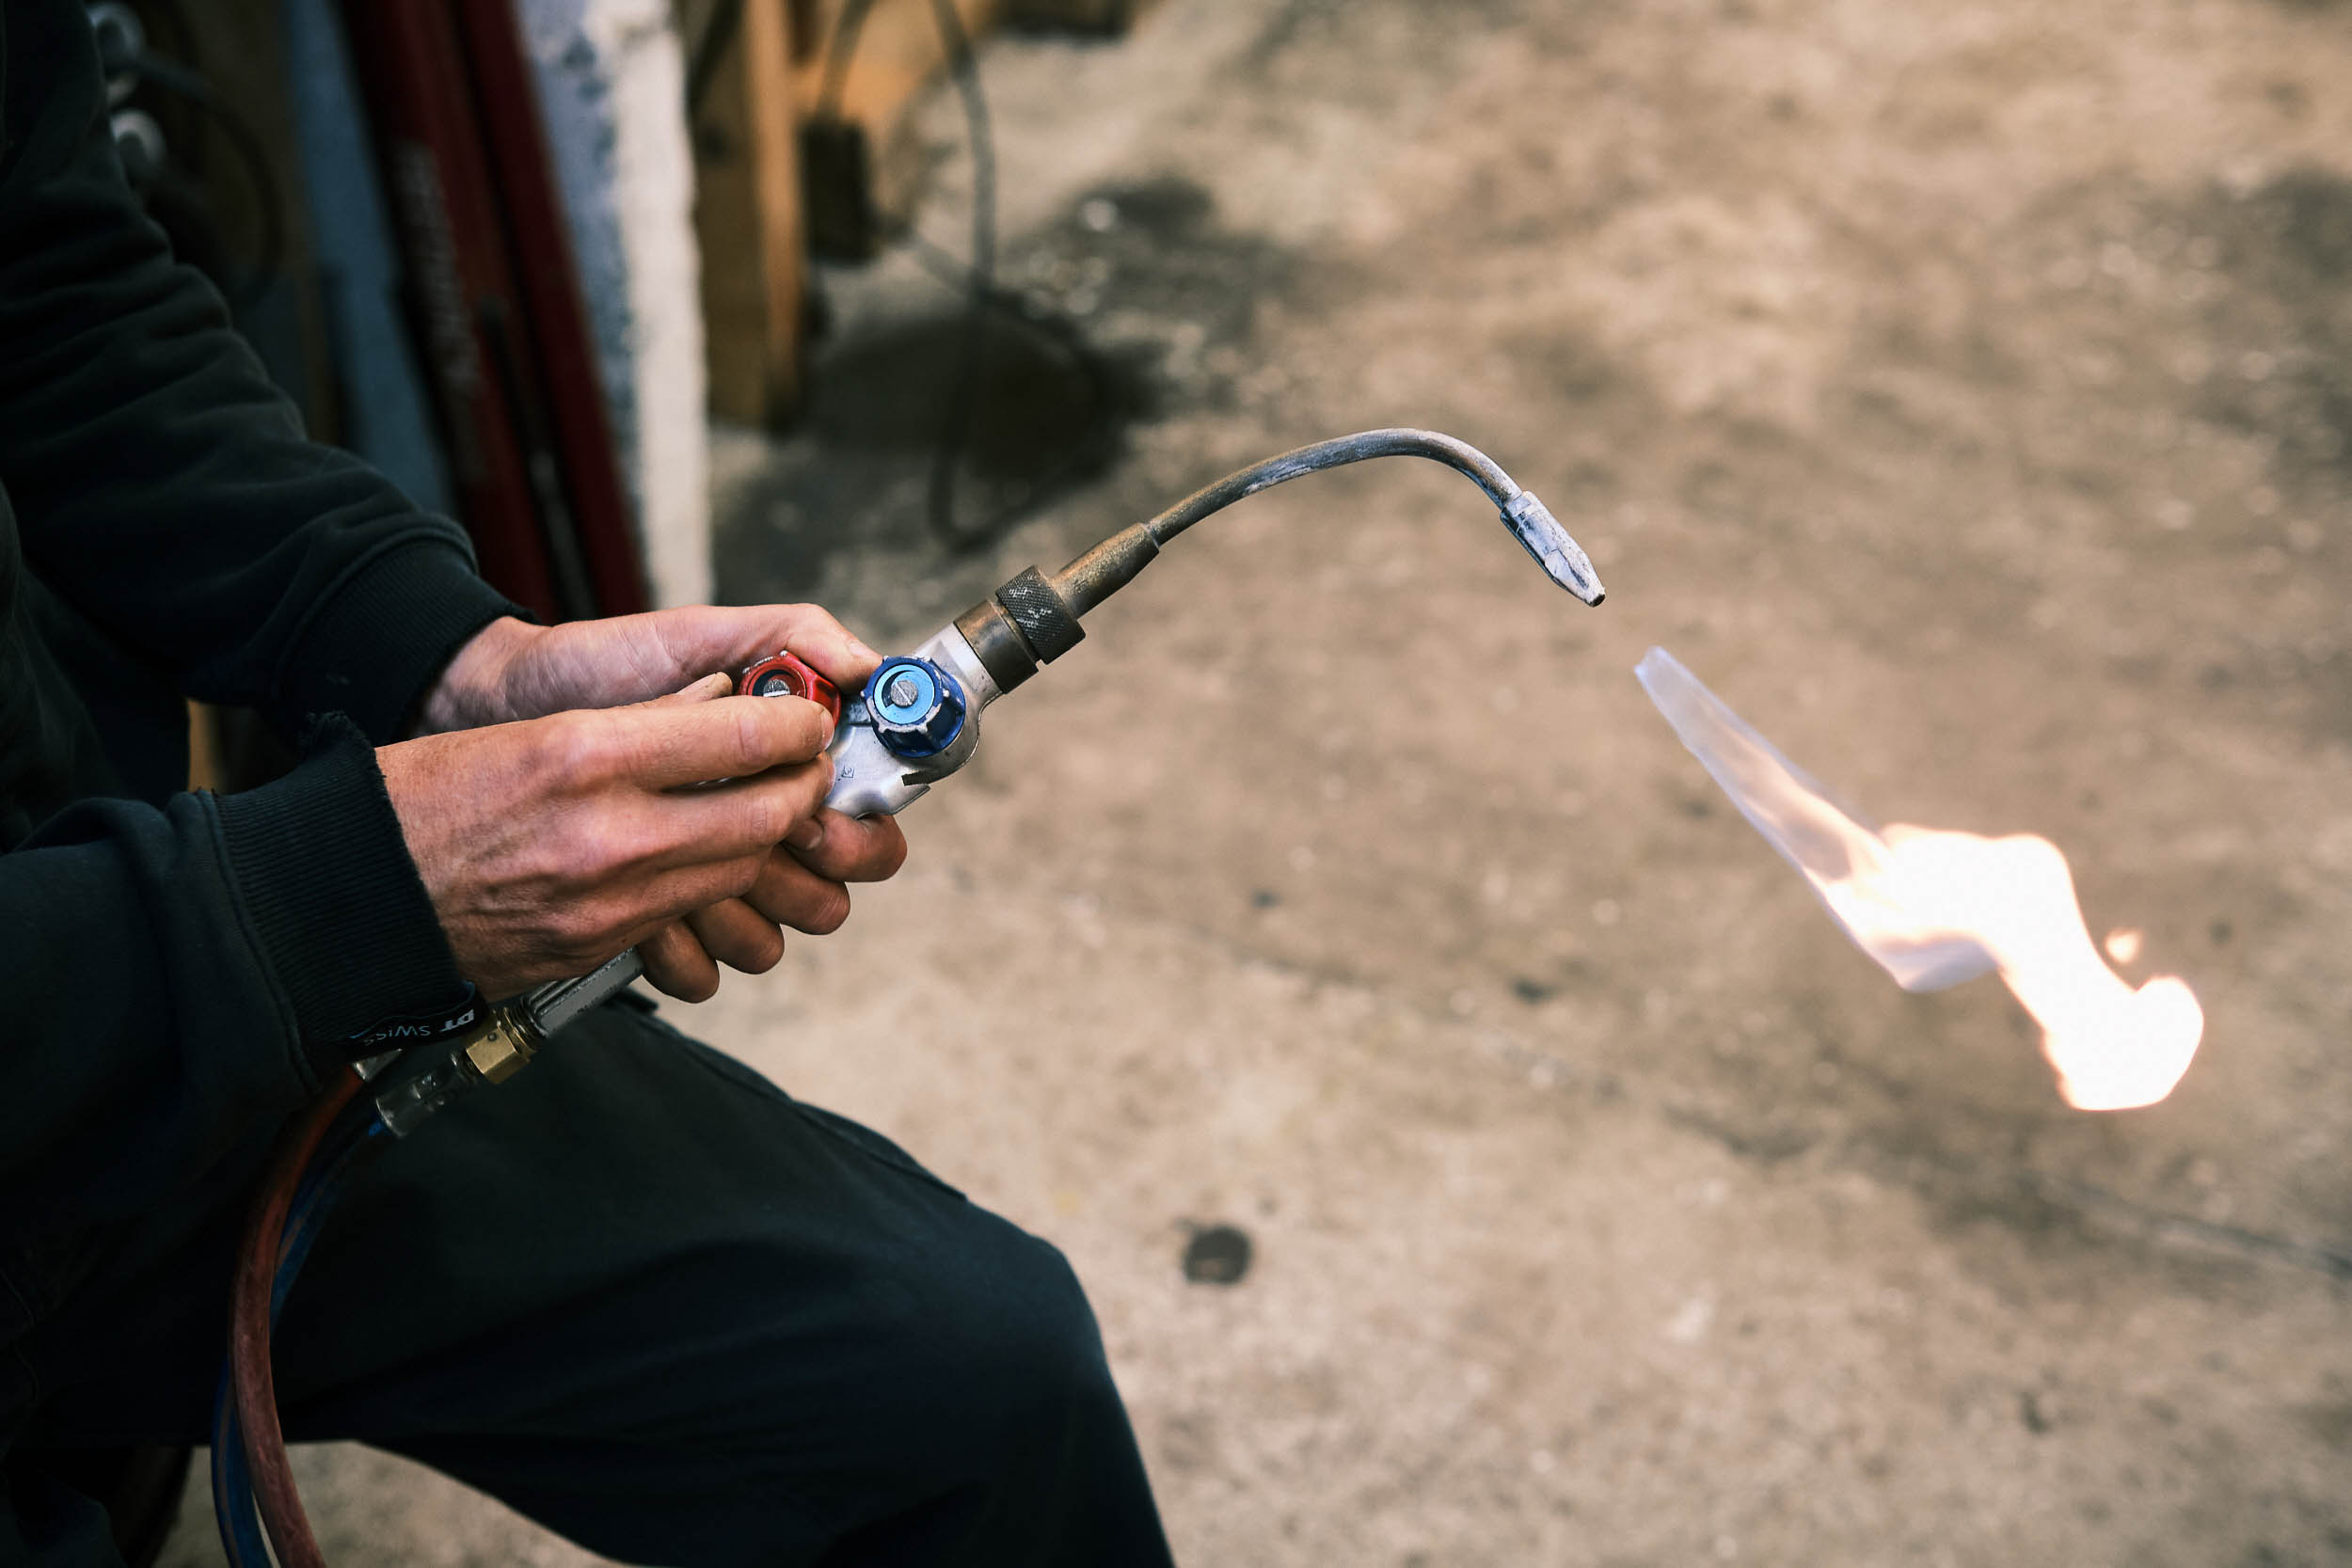
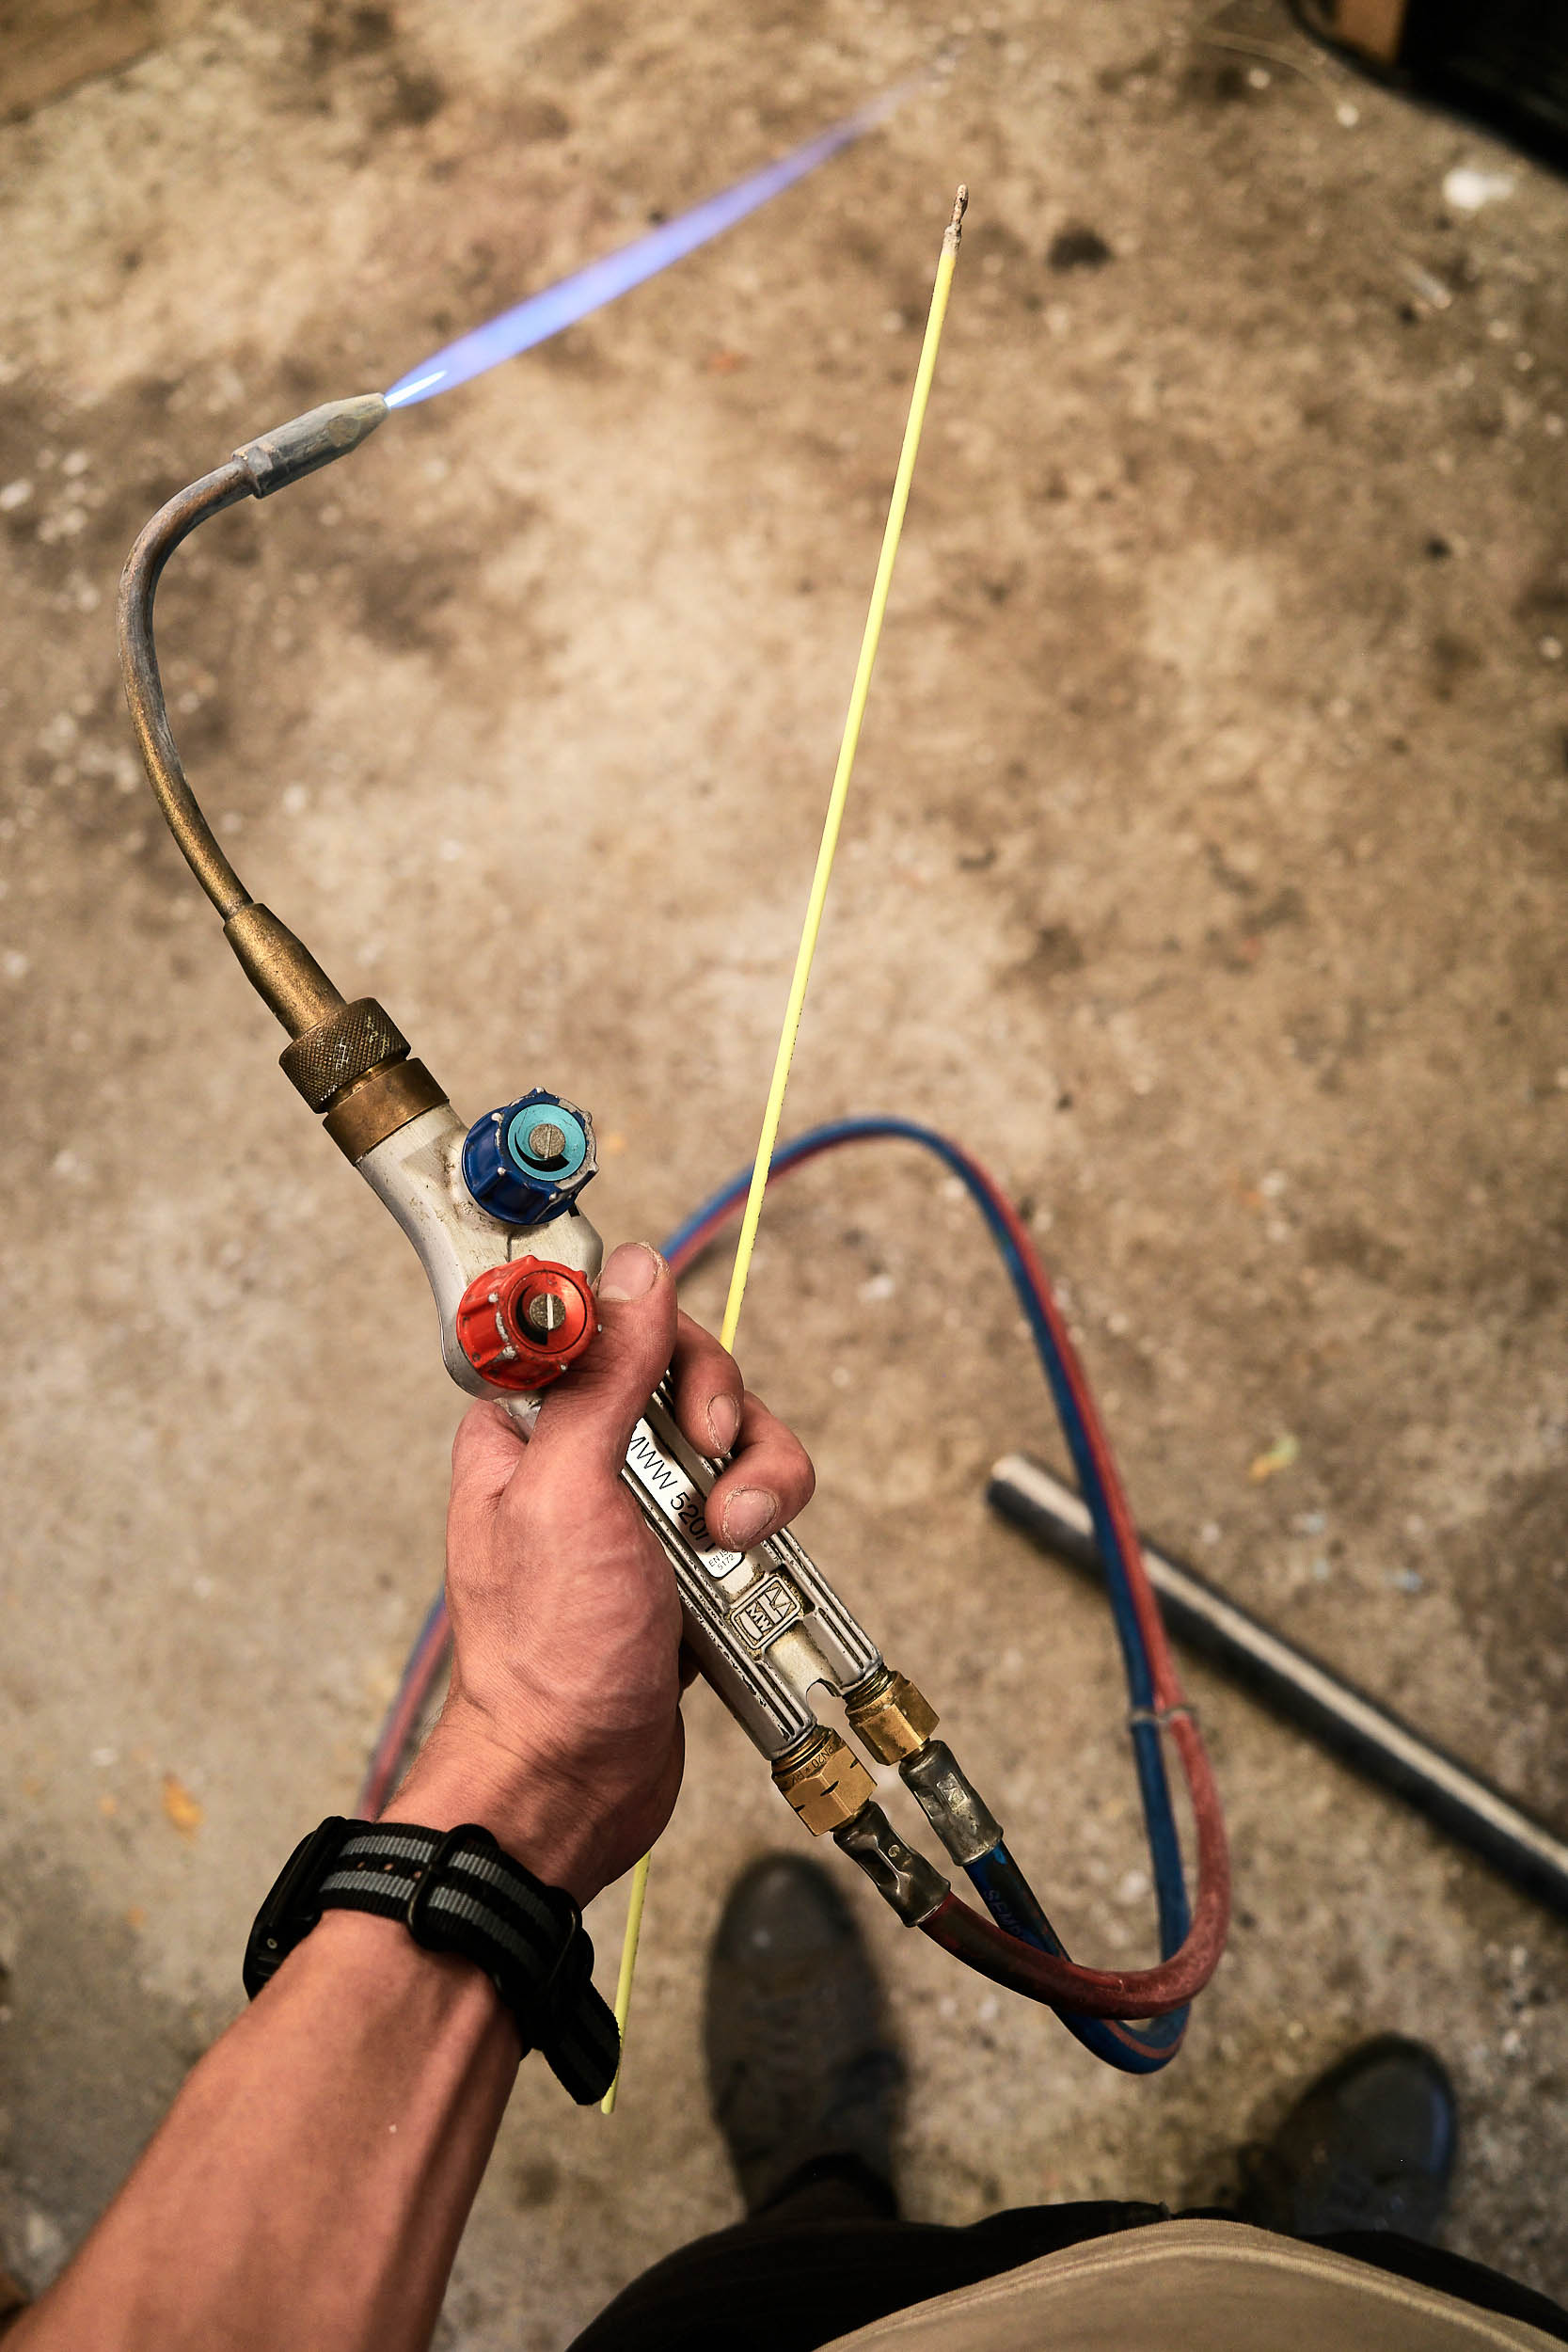
We practice on the scrap bottom bracket and seat tube we mitered yesterday. Robert instructs us how to operate the oxy-propane torch and shows how it’s done. Then it’s our turn. With Robert verbally guiding my movements, I manage a rough but serviceable job. Then, he hands me a cheater bar and tells me to go to town. With a foot against the workbench and great effort, I finally manage to snap the tube off about an inch from the joint, but my first joint held.
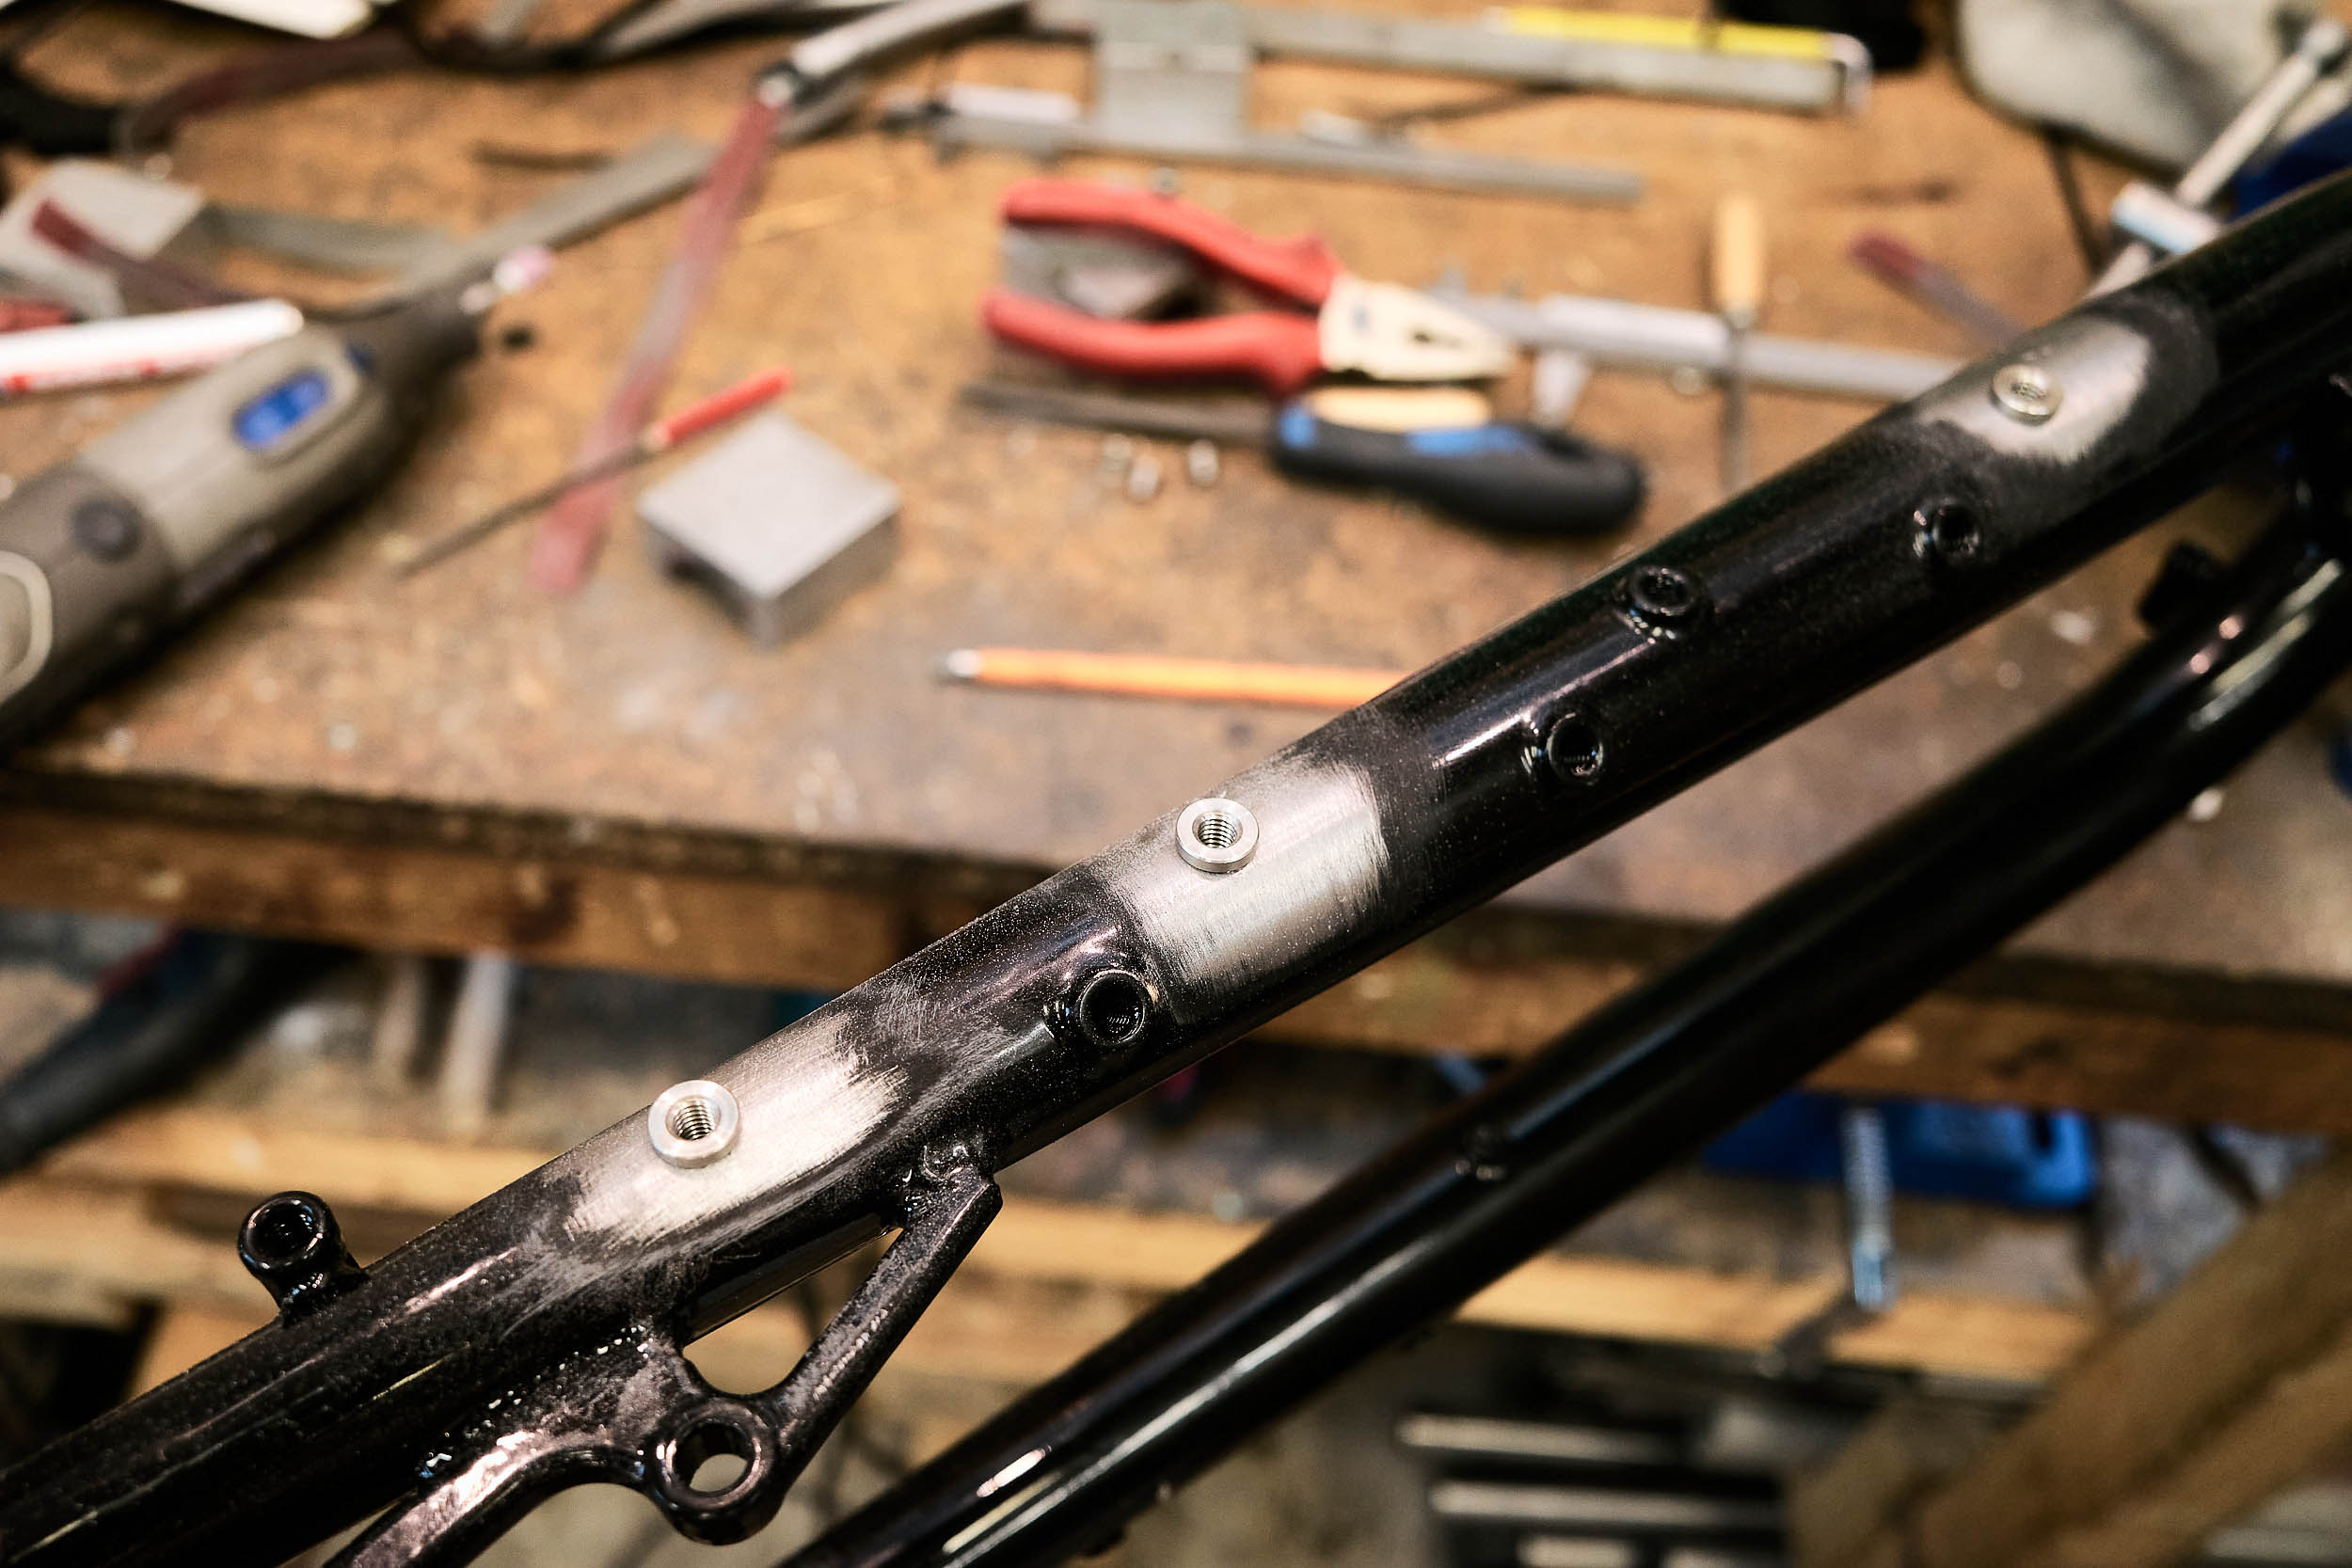
Marijn’s trajectory and mine diverge today. Our designs are polar opposites in many ways. His all-road bike is stripped down to the bare minimum, even foregoing all cable routing in favor of wireless electronic shifting. It won’t even have paint. Meanwhile, my ATB is a maximally utilitarian off-roader with a record-setting number of threaded bosses plus dropper post routing, a Rohloff hub, and a special extra tube.
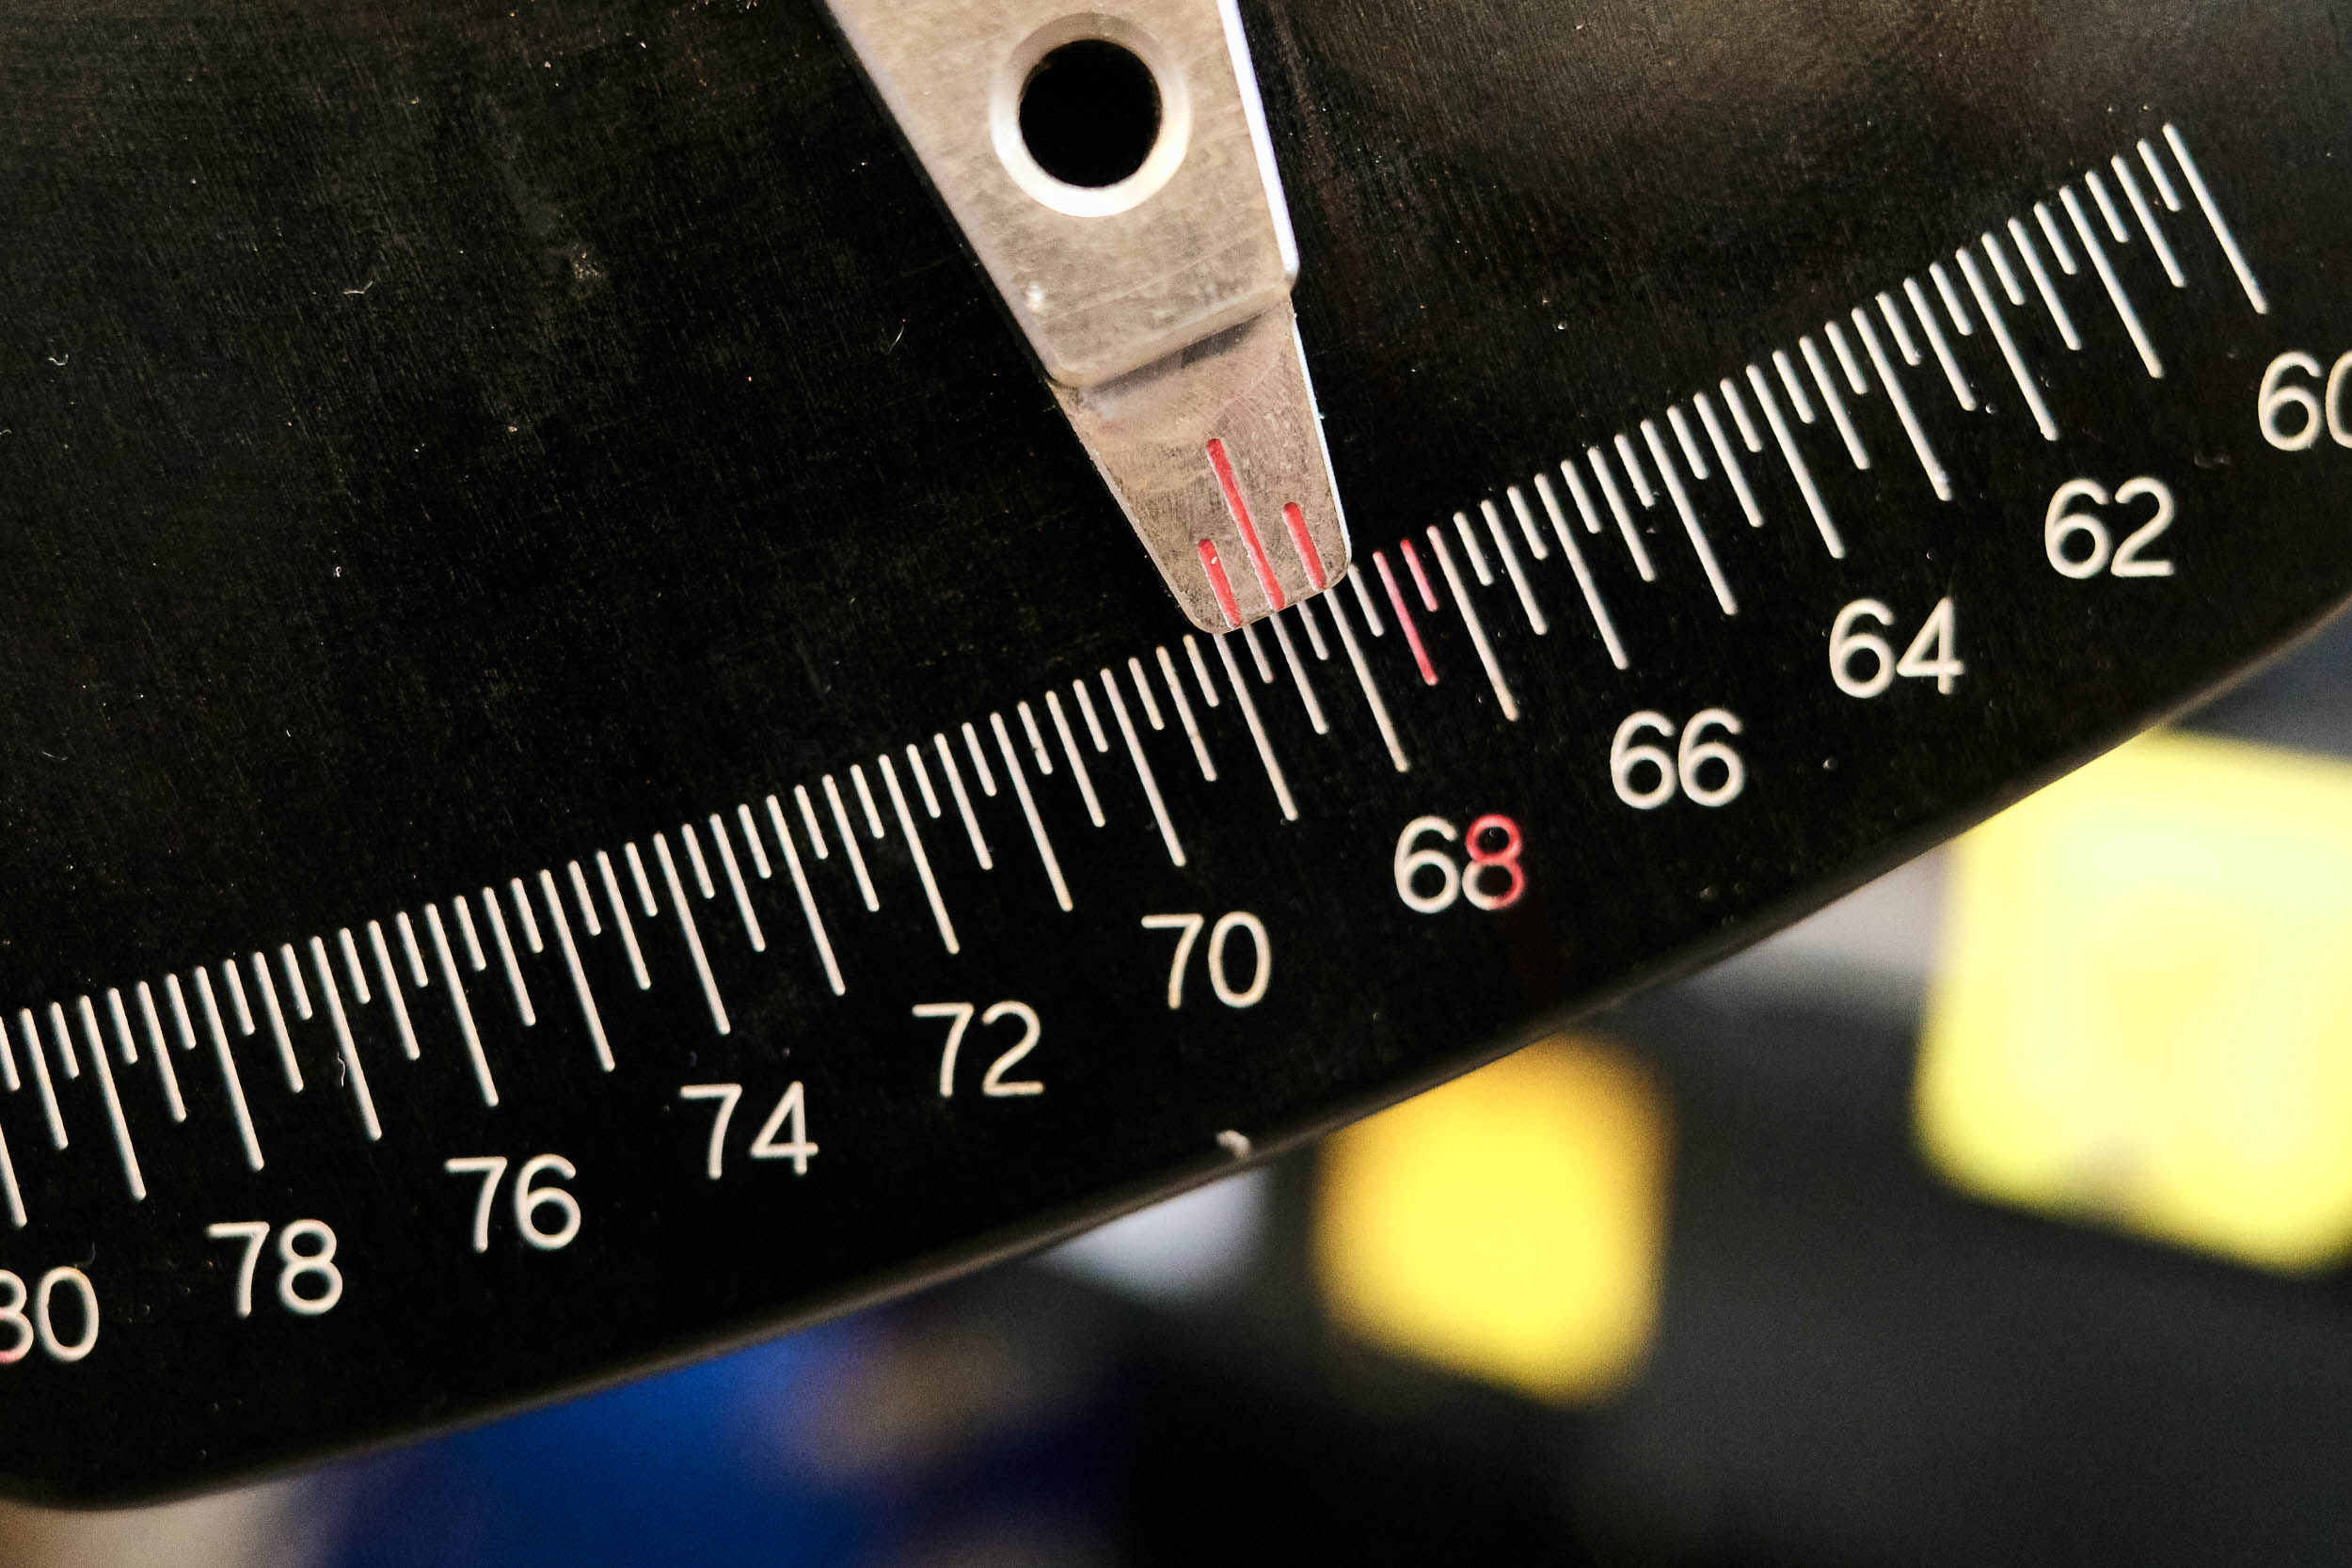
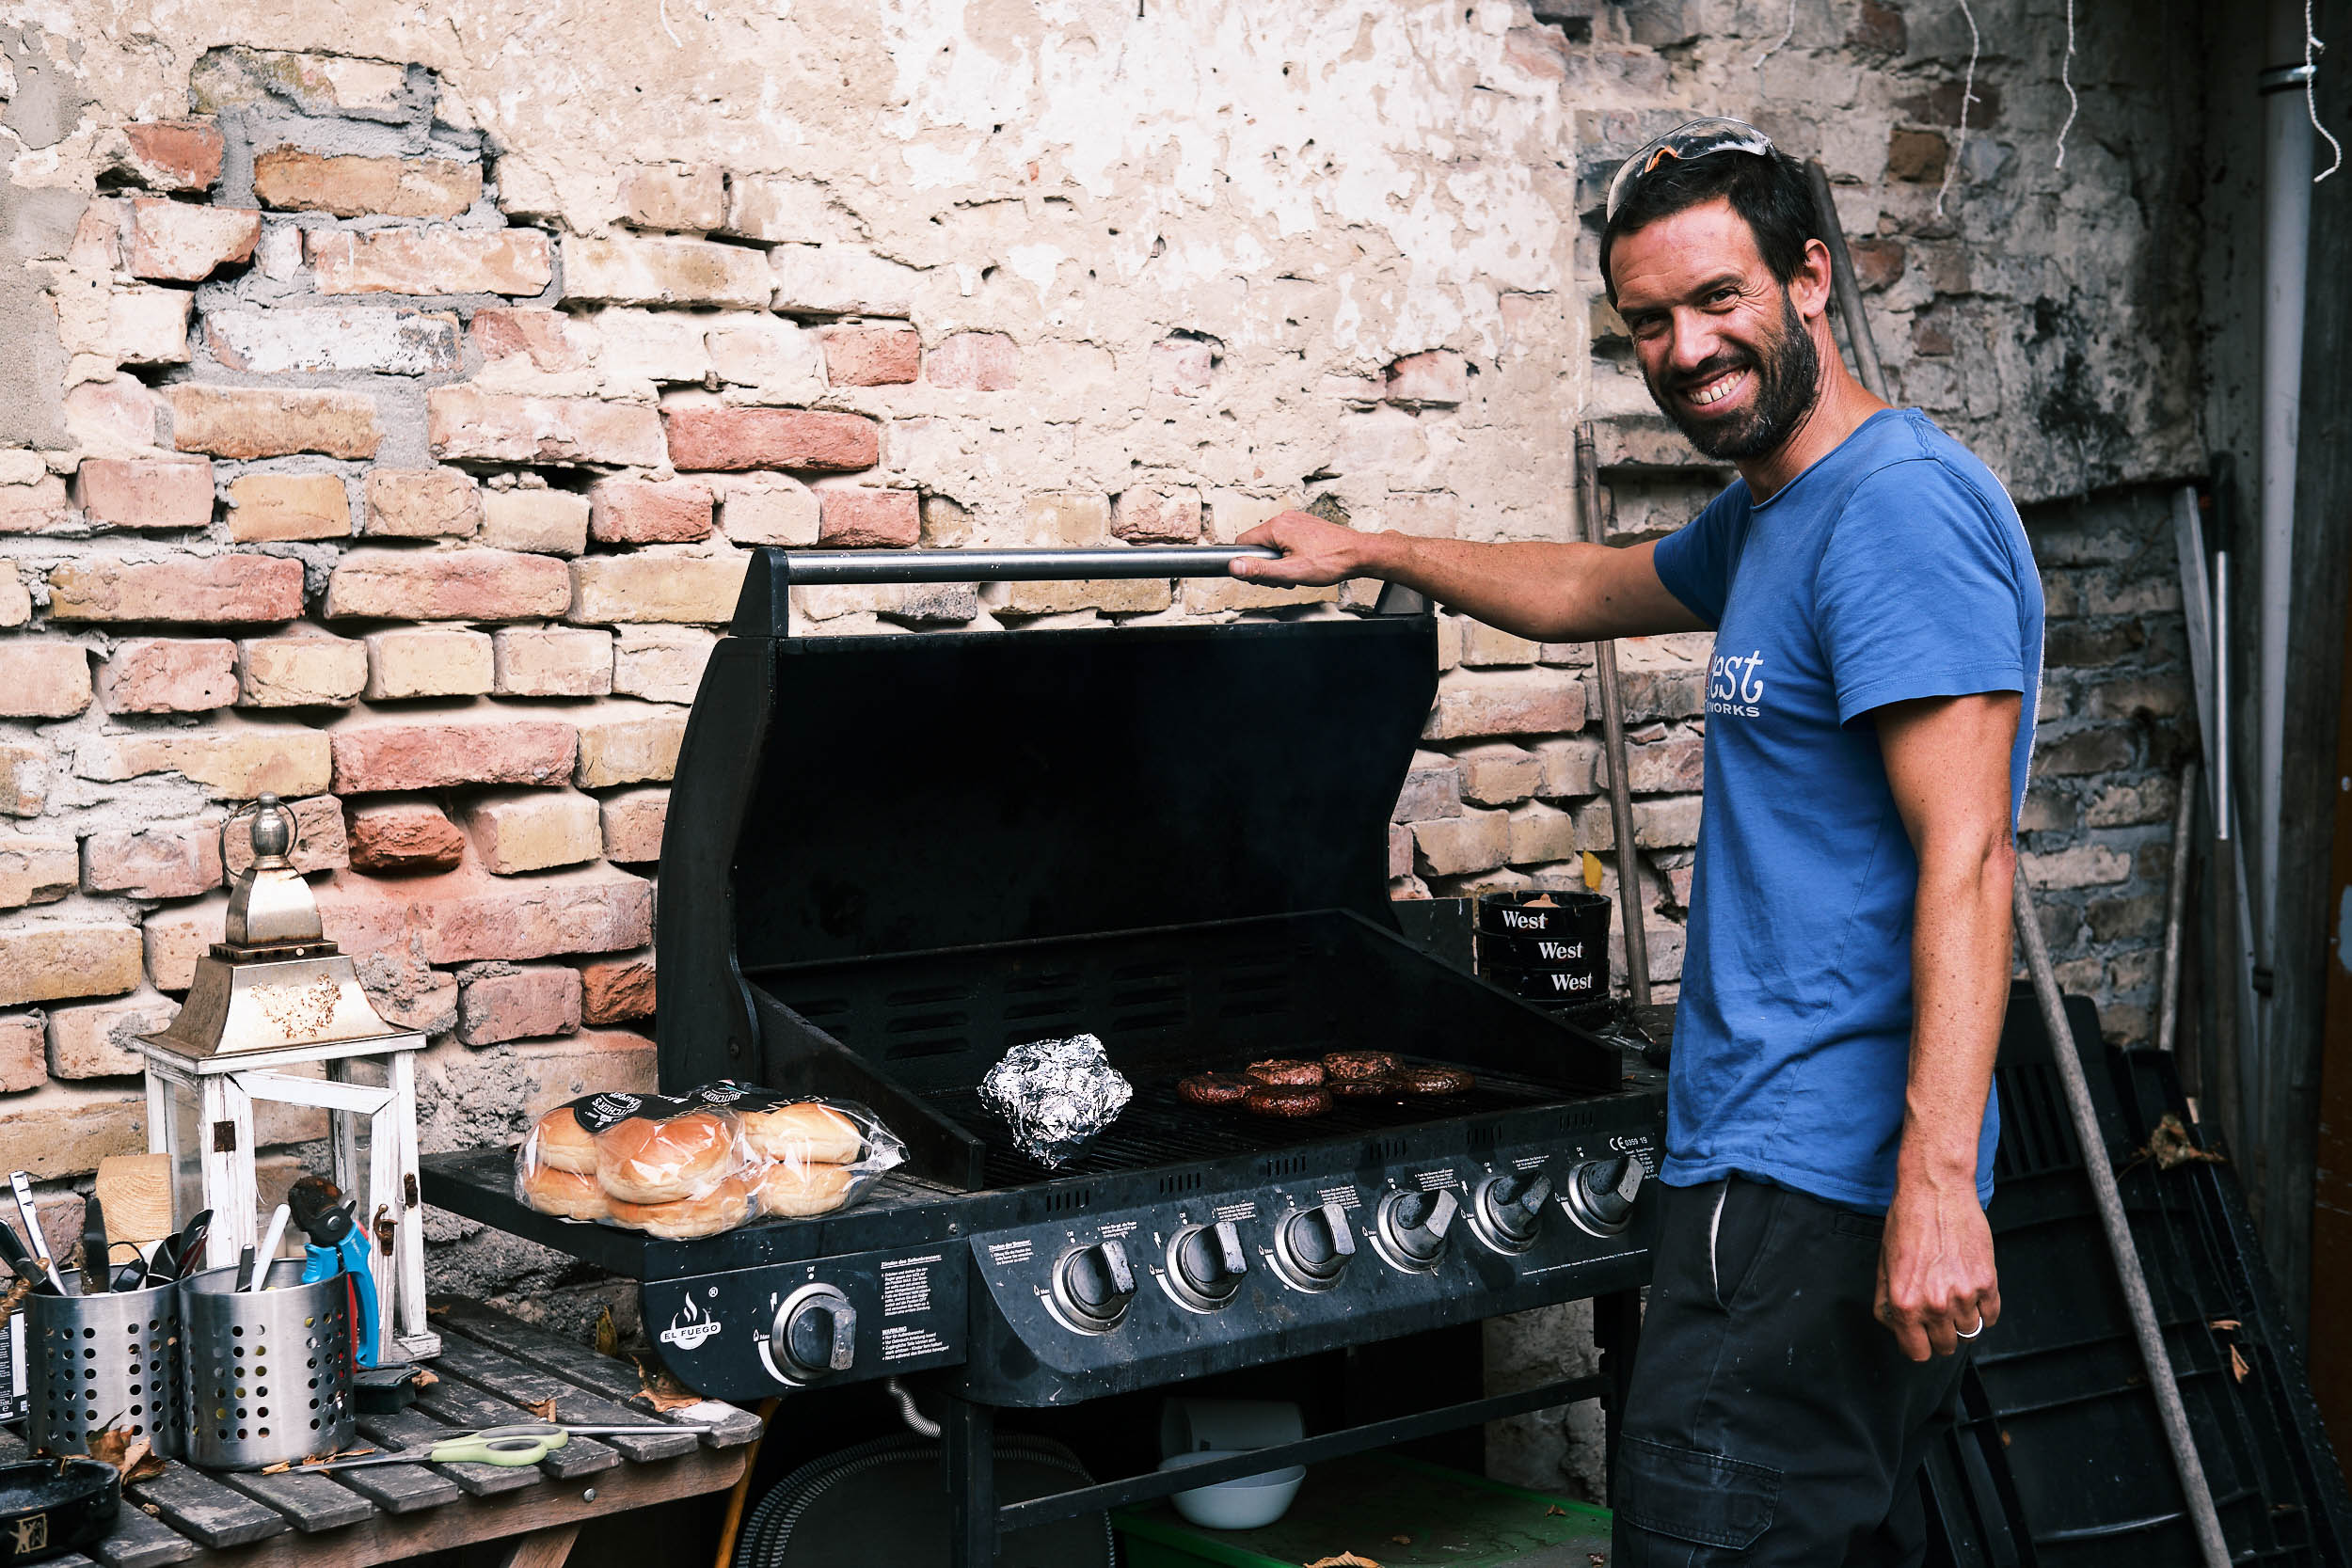
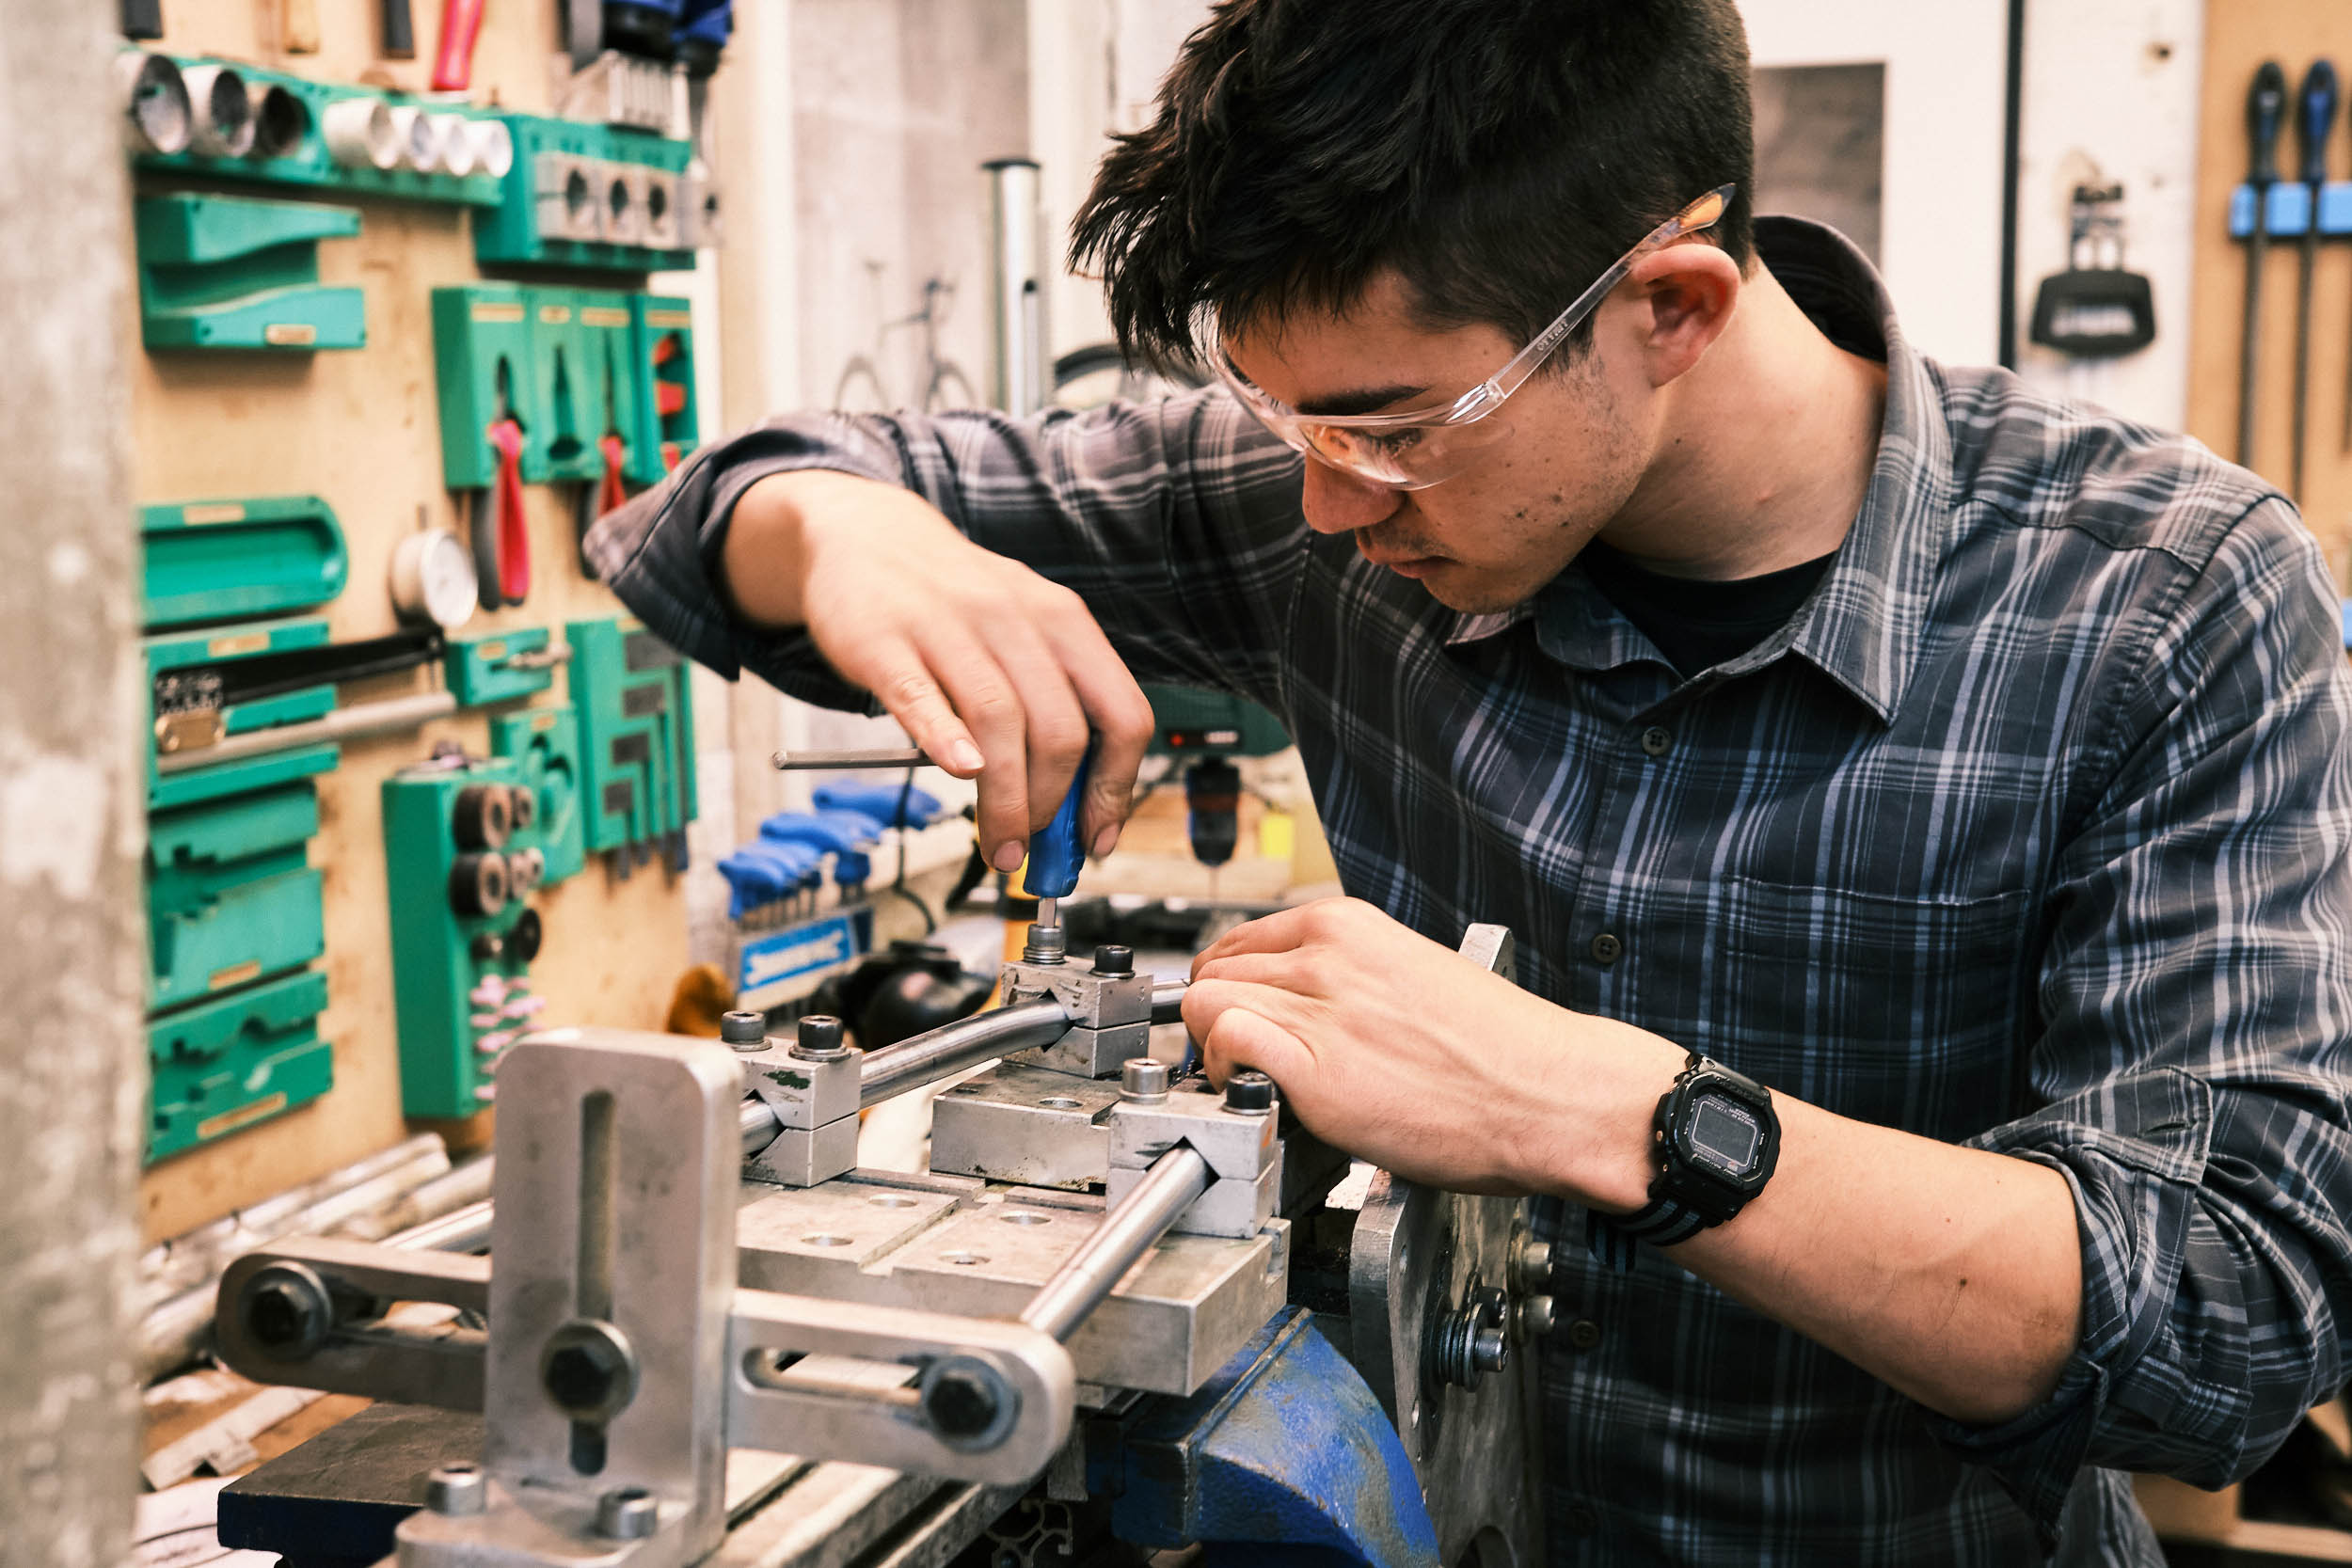
Figuring out where to make a cut or hole on a tube isn’t as easy as it sounds. I’m learning to make creative use of the tools at my disposal: tube blocks, a straight edge, a digital protractor, and an angle gauge. Brazing in the ports is fun and good practice to learn the properties of molten silver. By the end, my downtube looks like a Reynolds 853 flute. It’s October 3rd, German Reunification Day, a national holiday. Robert treats us to hamburgers made on the grill.
For bikepacking with a full-frame bag, I wanted a portage handle like the one I saw on Neza’s Hoop Snake. I grab a tube from Robert’s scrap bin and test a few different lengths and angles before settling on a configuration that feels good in hand. Make it yours!
Framebuilding, even in this simplified environment, is hard work. Comfortable shoes are a must. Fine motor tasks are interspersed with bouts of hard physical effort. You’ve got to keep your wits about you. It’s constant learning. The exhaustion by the end of the day is complete and uniquely satisfying. There’s tactile feedback and visible progress, while potential sources of frustration are smoothed over by the instructors. Is this what good work can feel like?
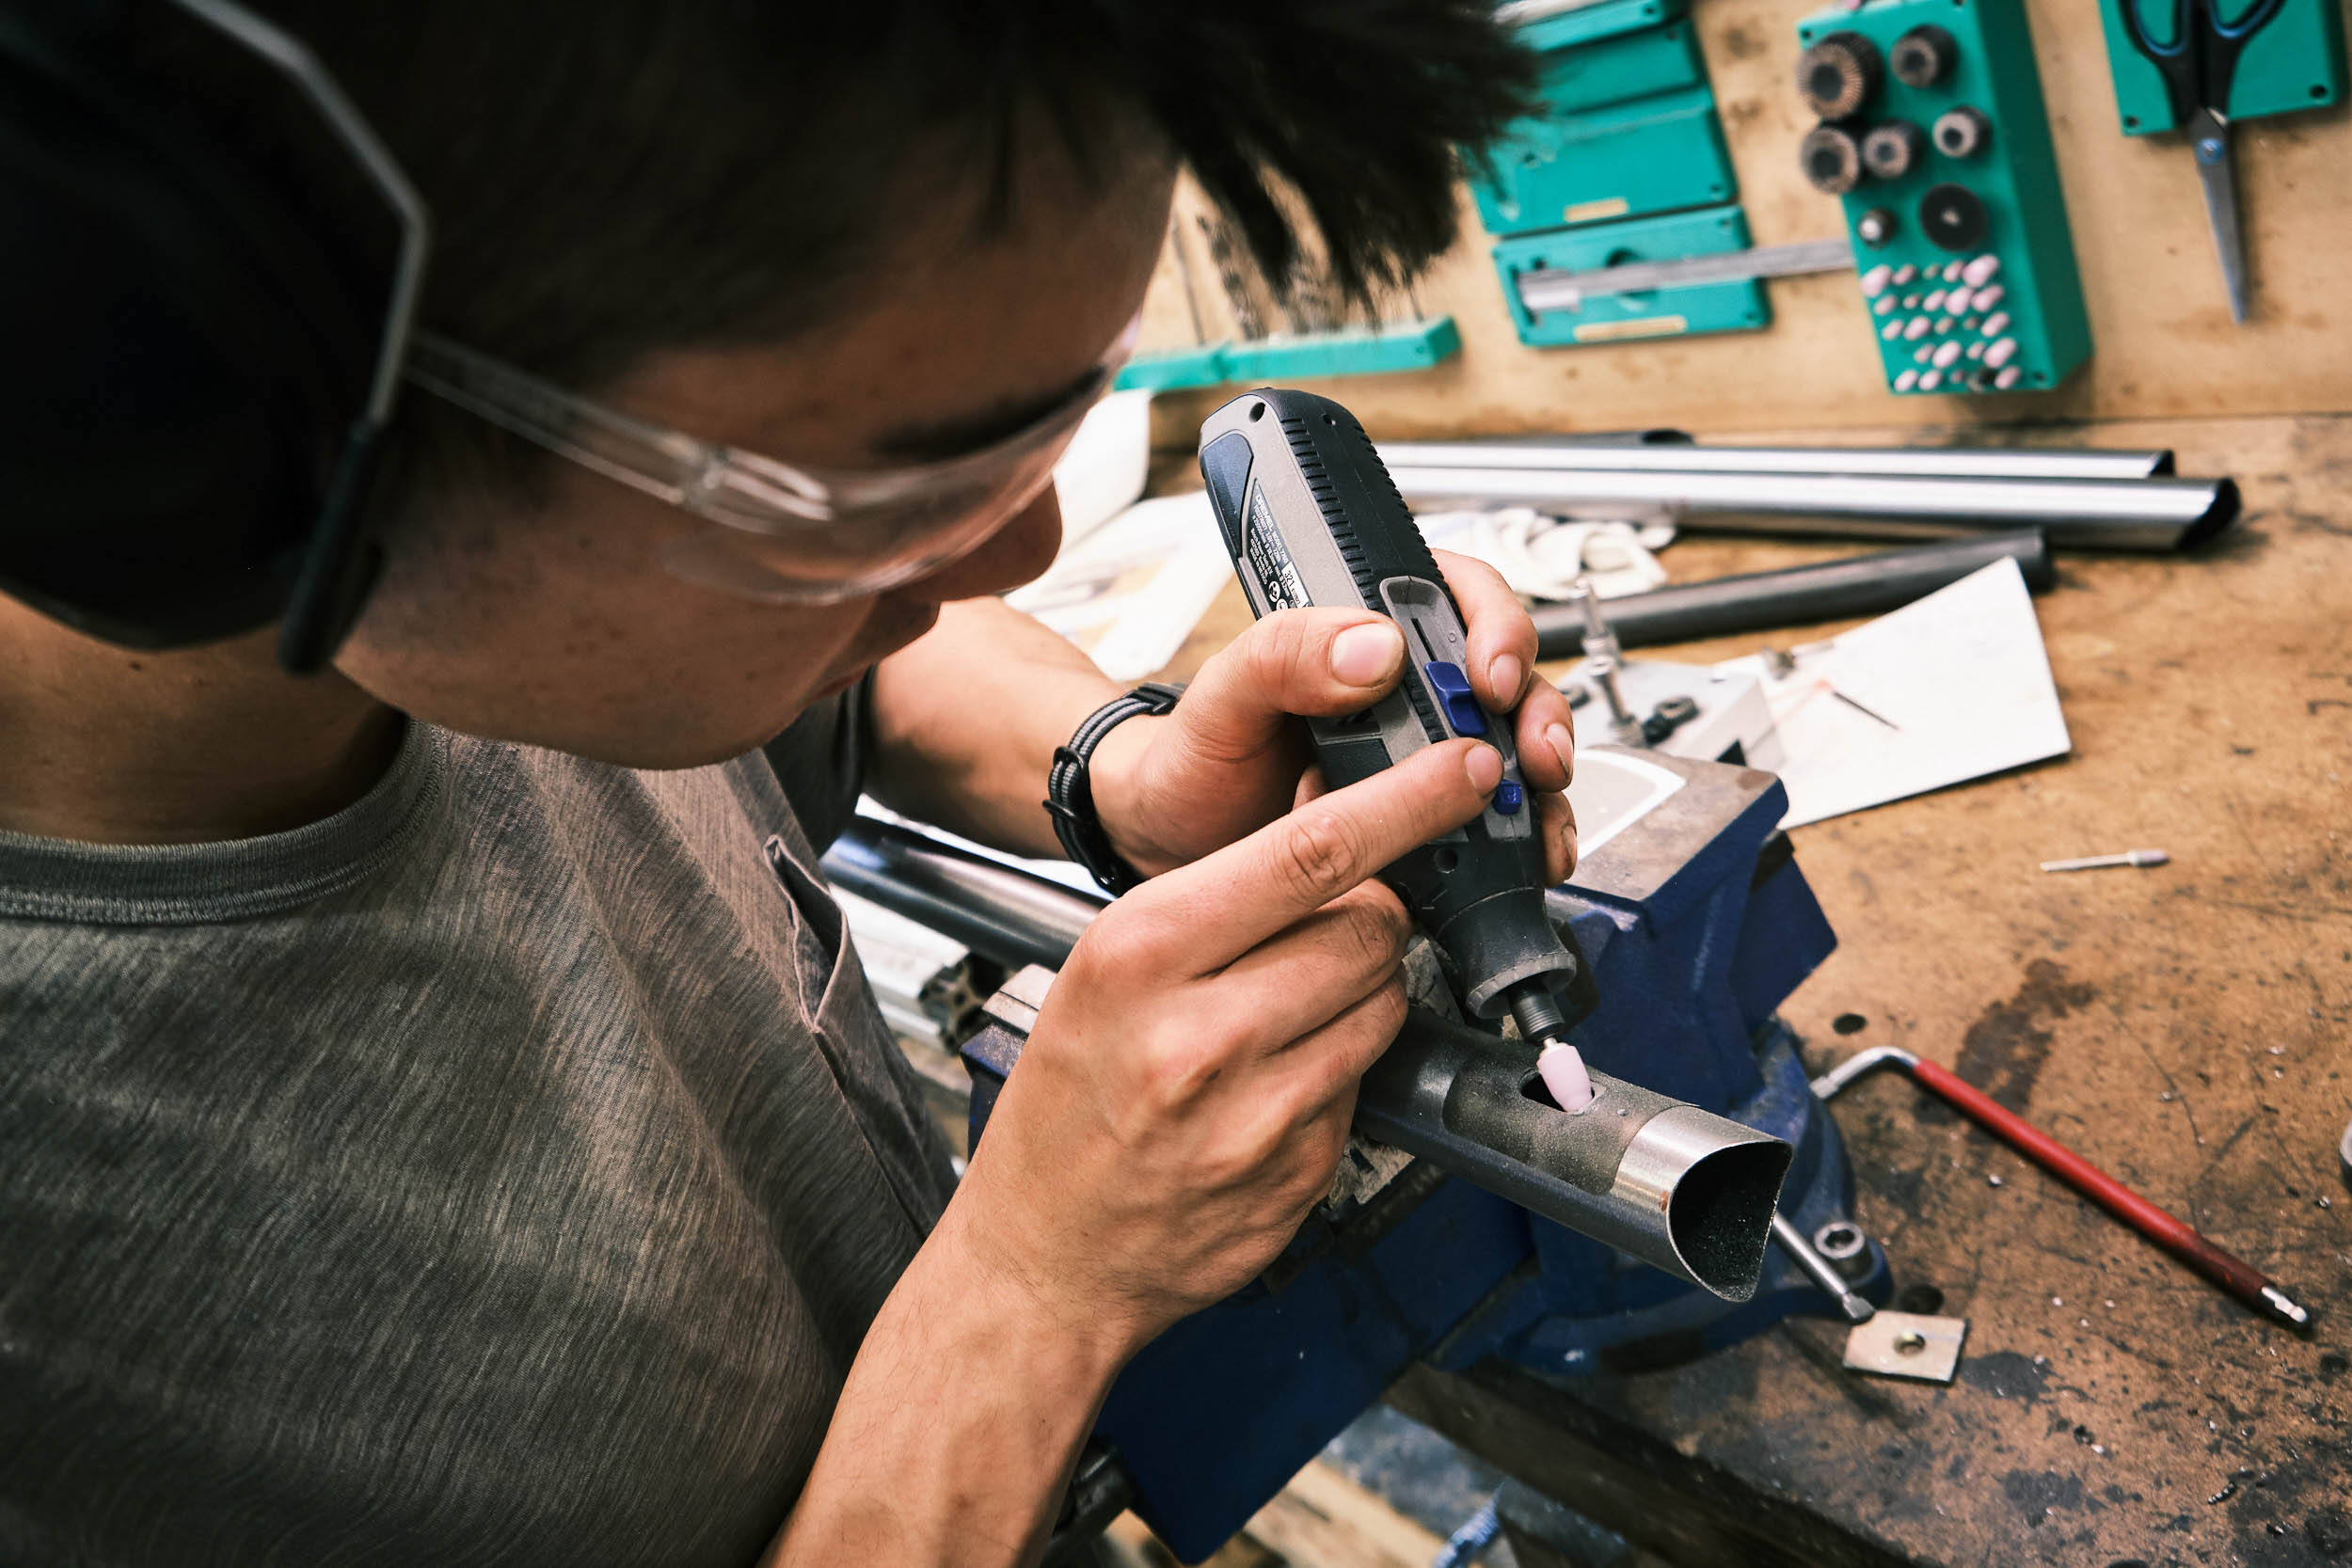
Wednesday continues the braze-on bonanza. In a spur-of-the-moment decision, I braze M5 bolts head-first onto the seat tube to allow for a bottle cage or bolt-on framebag while running a dropper post. I drill out the threads where the dynamo wire will pass through. I fill up the dents in my downtube with silver and sand them flat. Steel is real.
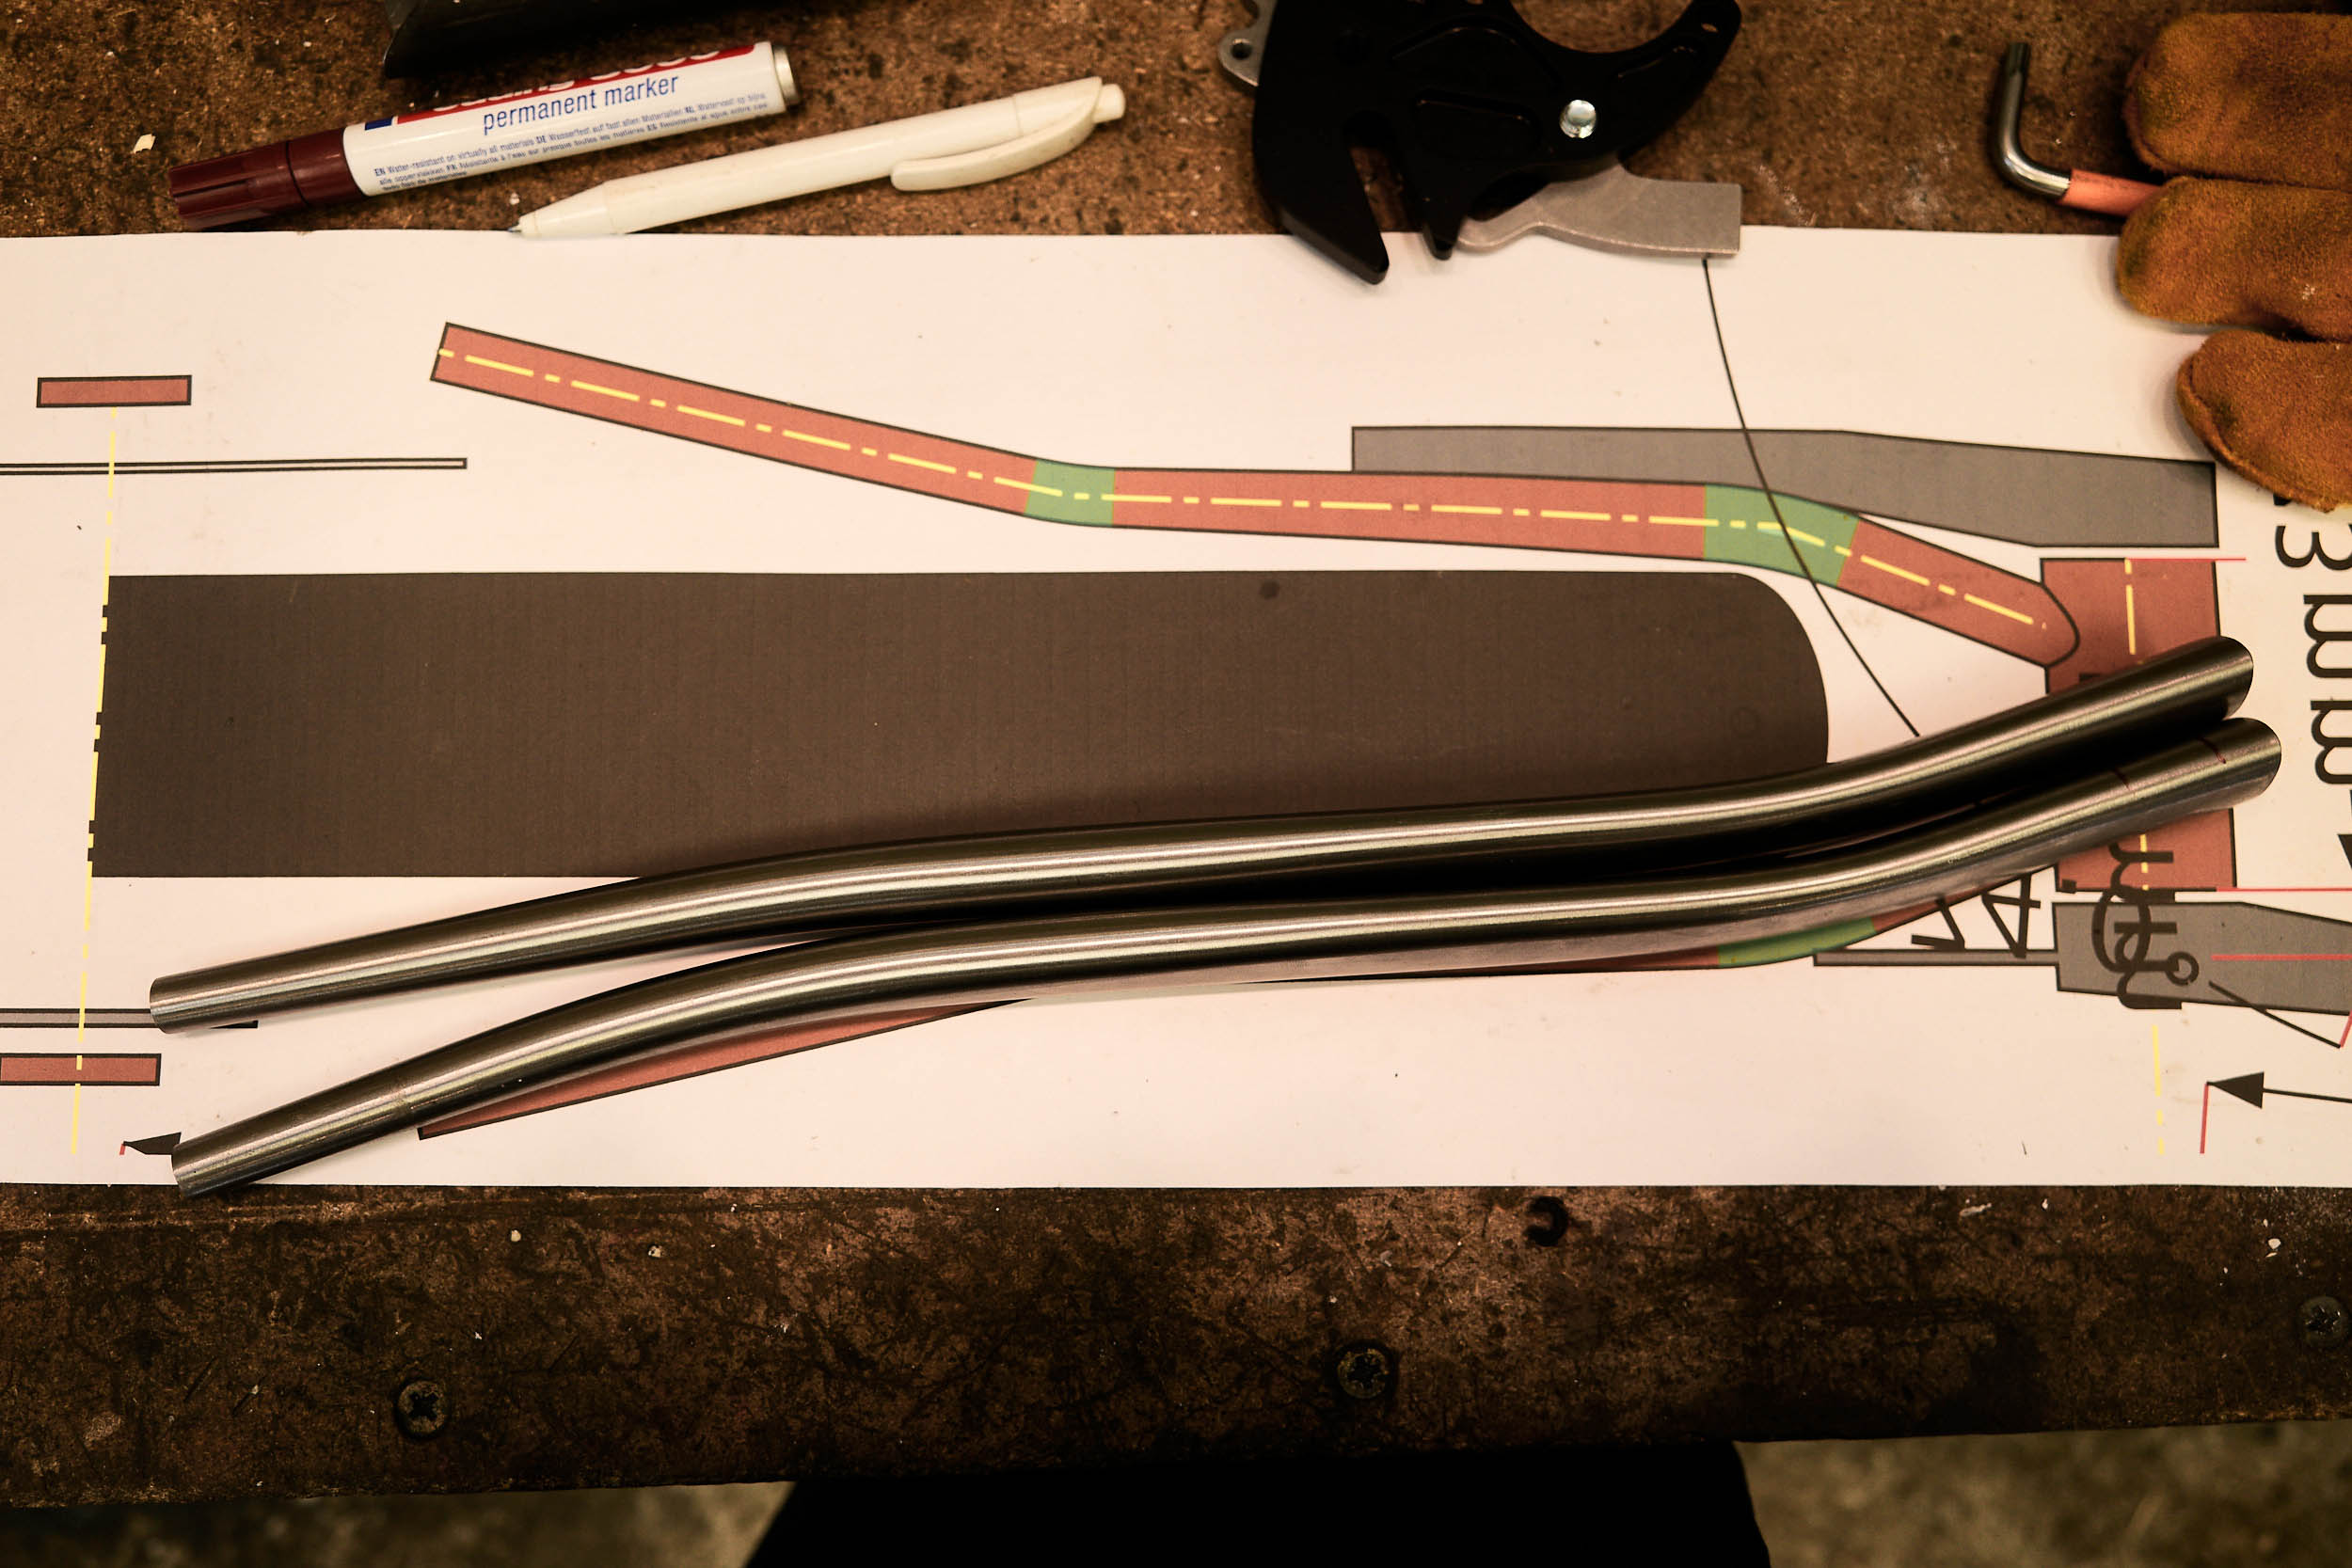
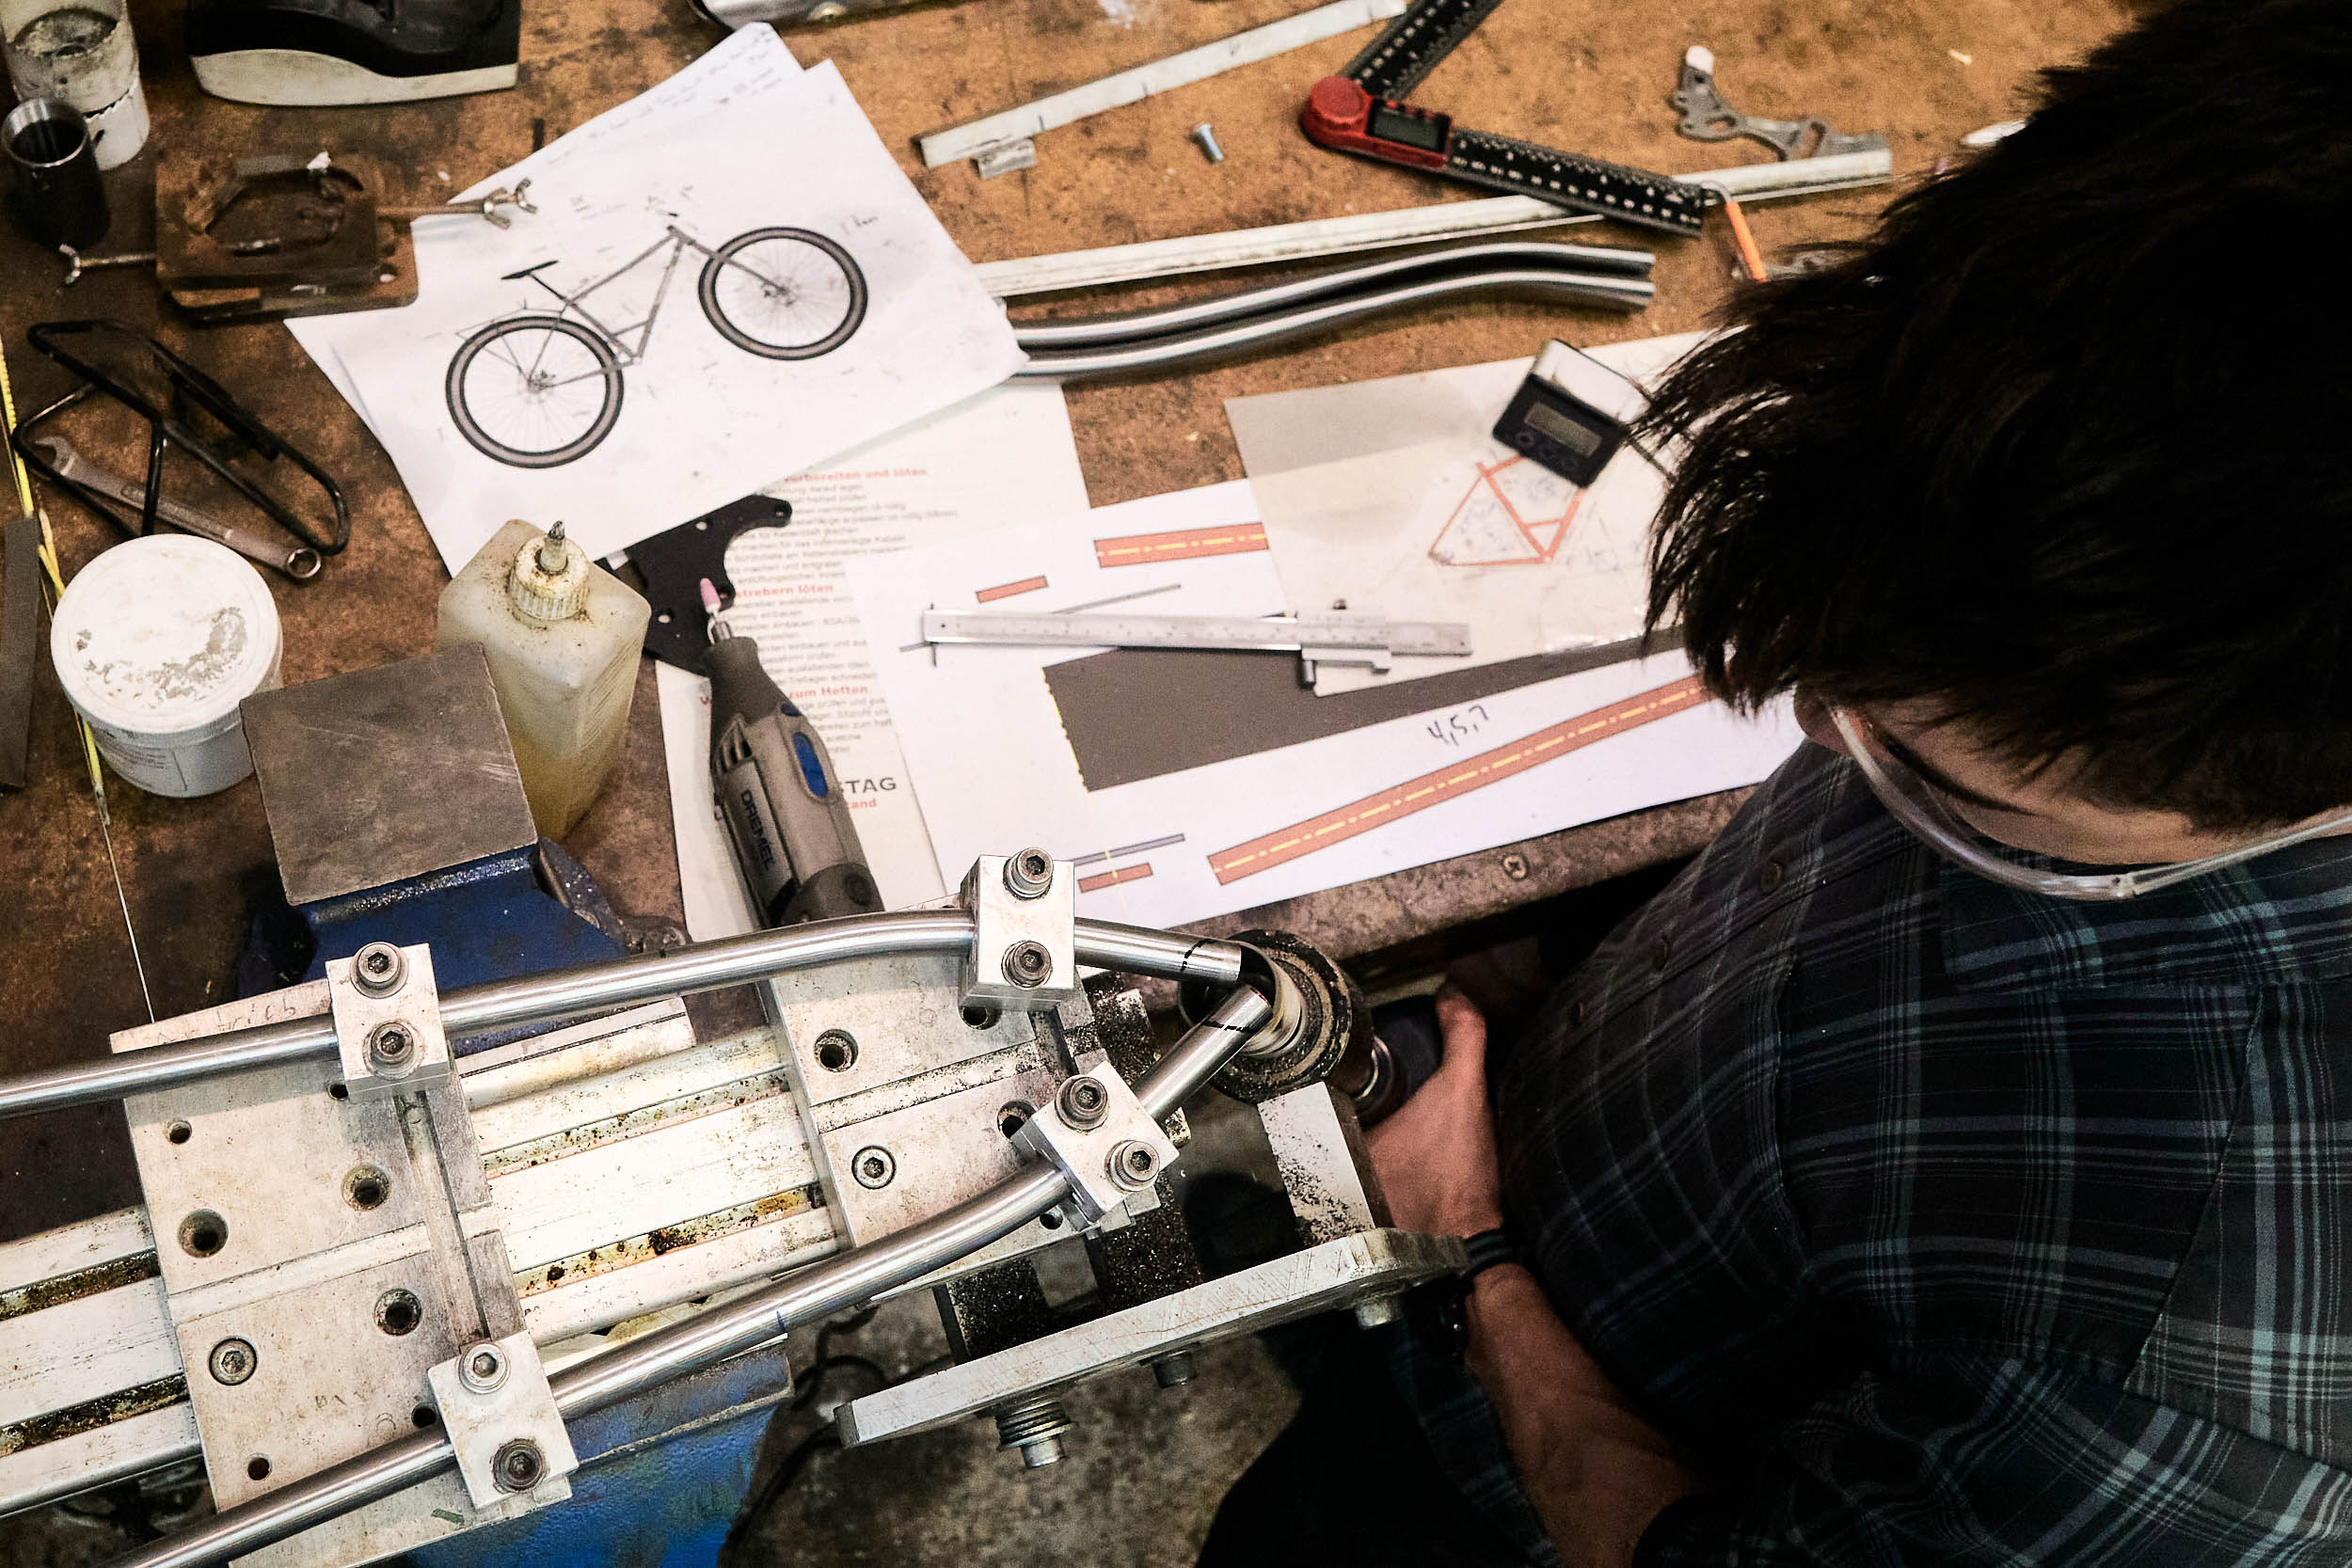
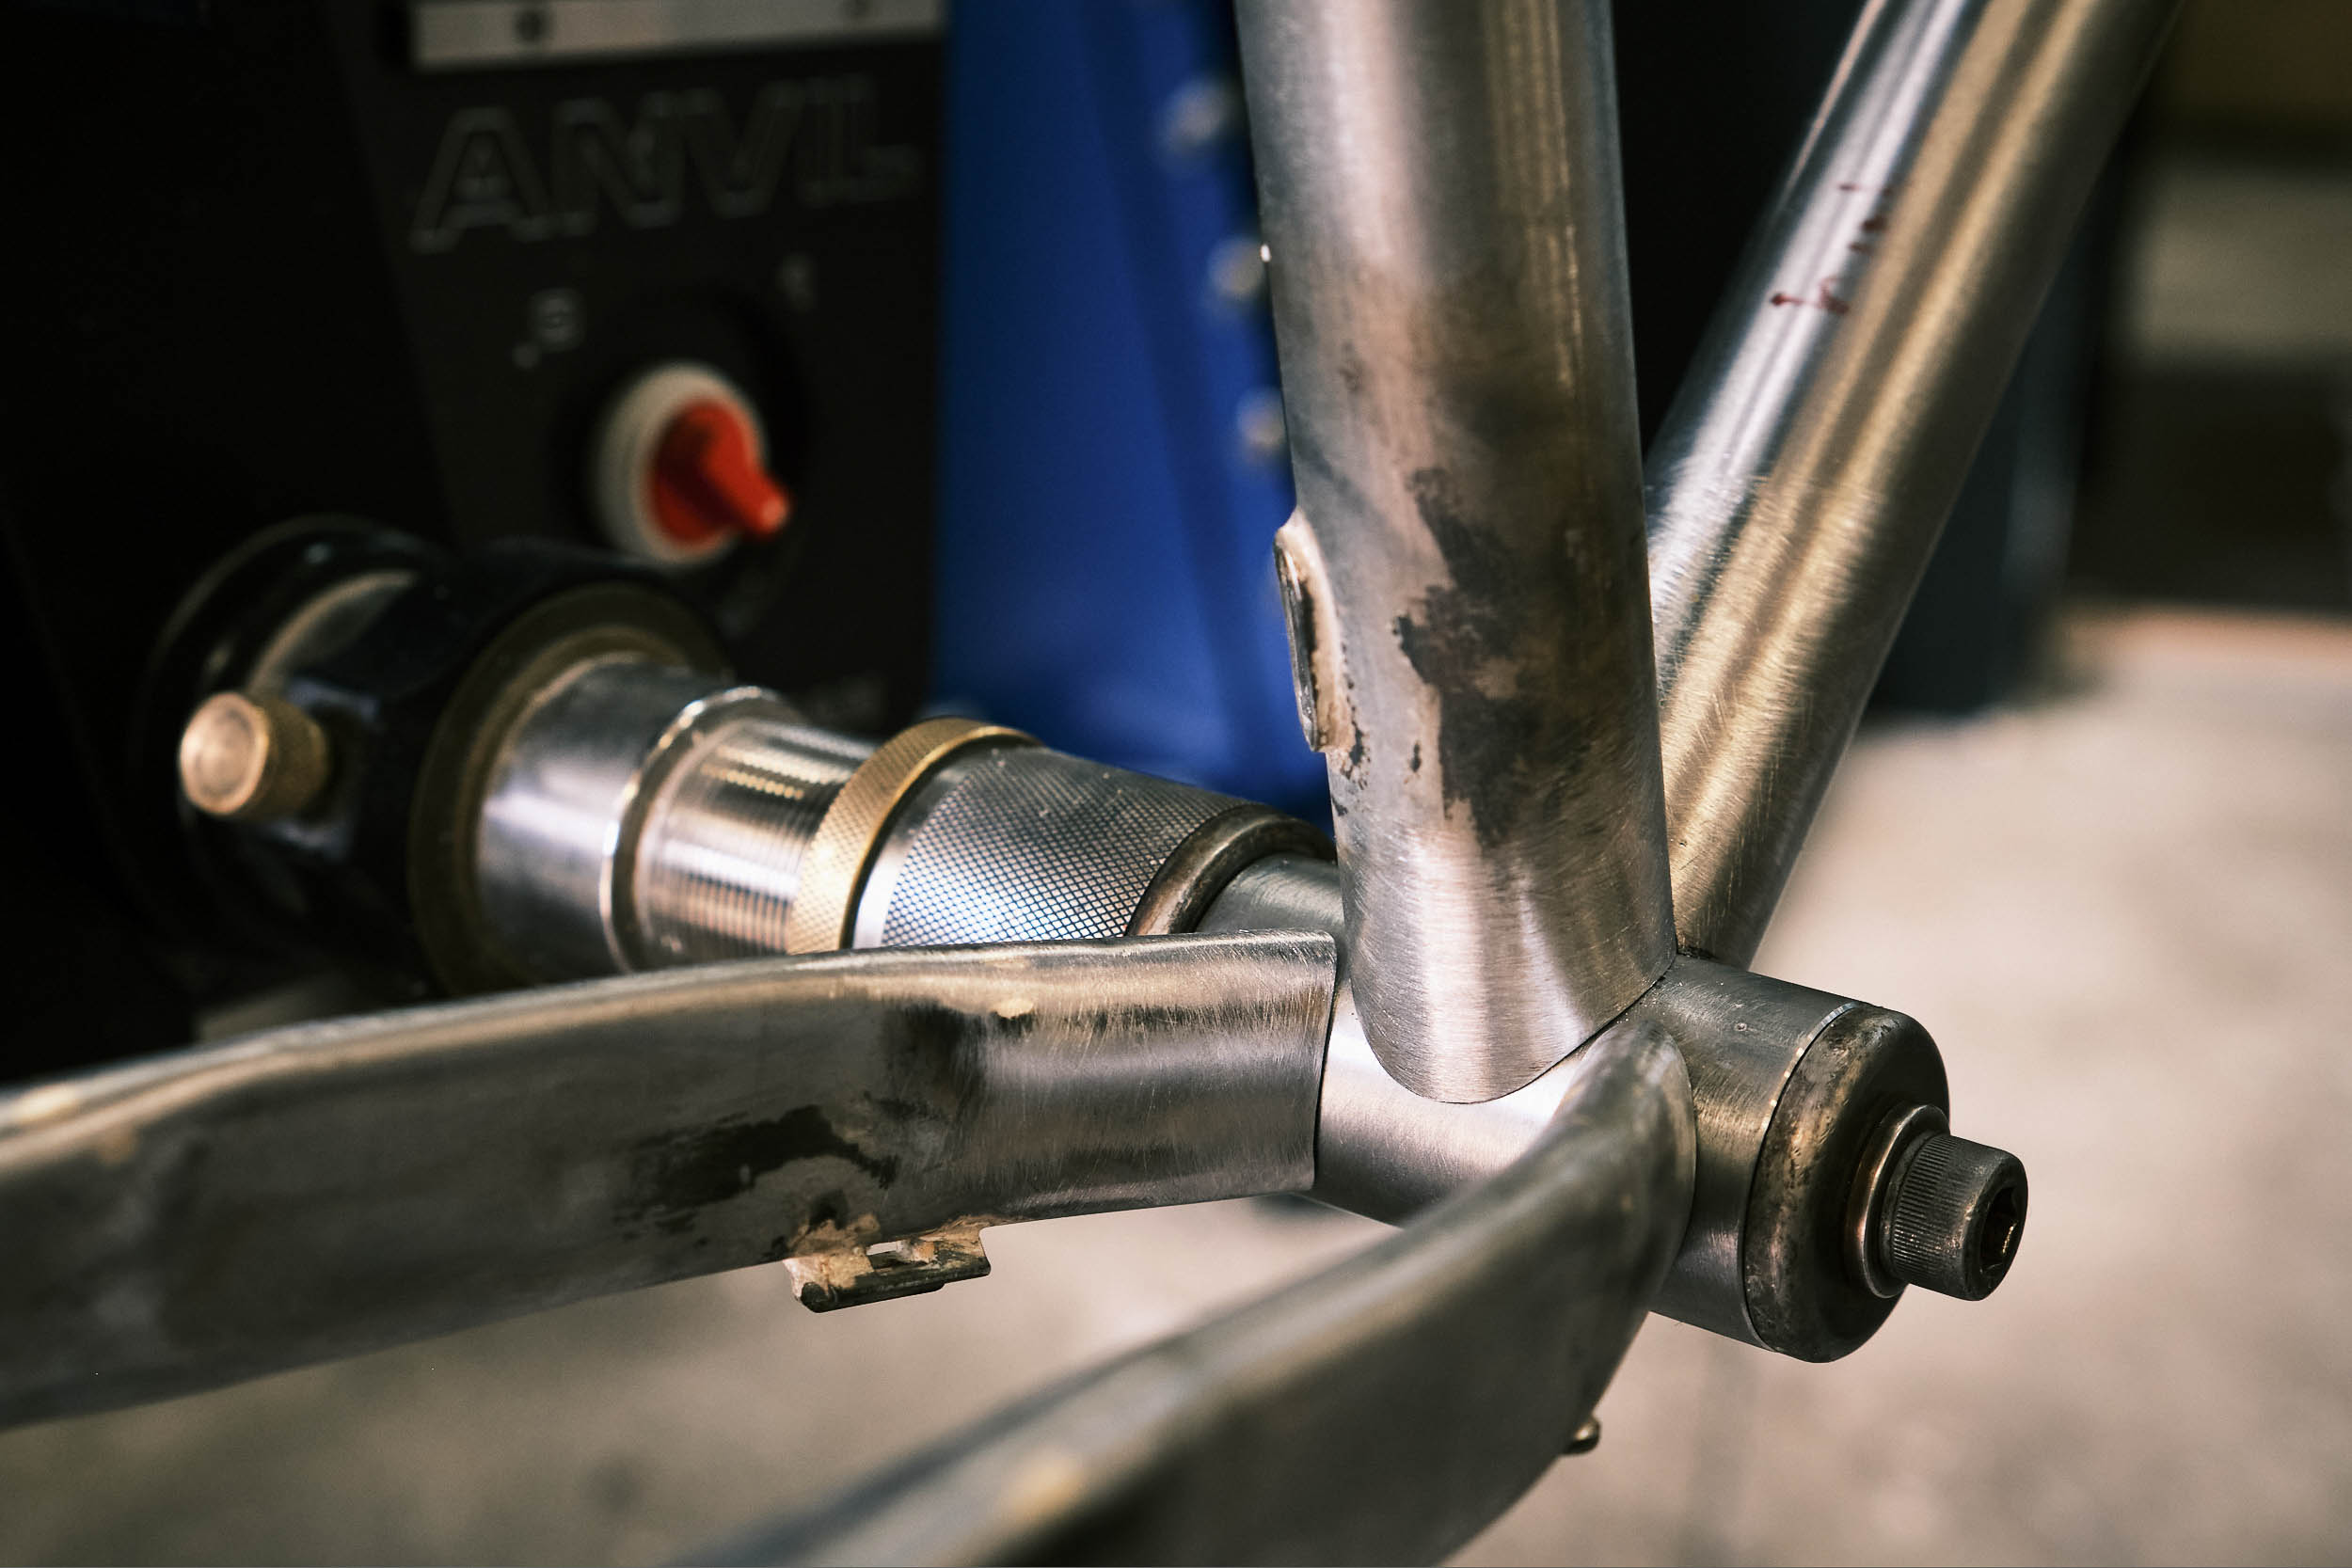
After lunch together, I turn my attention to the rear of my frame. The chainstays require more aggressive shaping to clear plus tires. Robert has a simple bending jig. I slot the chainstay in and jump on it a few times, checking the contour against the 1:1 drawing. It’s a very analog process. Then, the chainstays need to be dimpled for extra tire and chainring clearance. I ask if I can do an extra-long and aggressive dimple. Sure, why not?
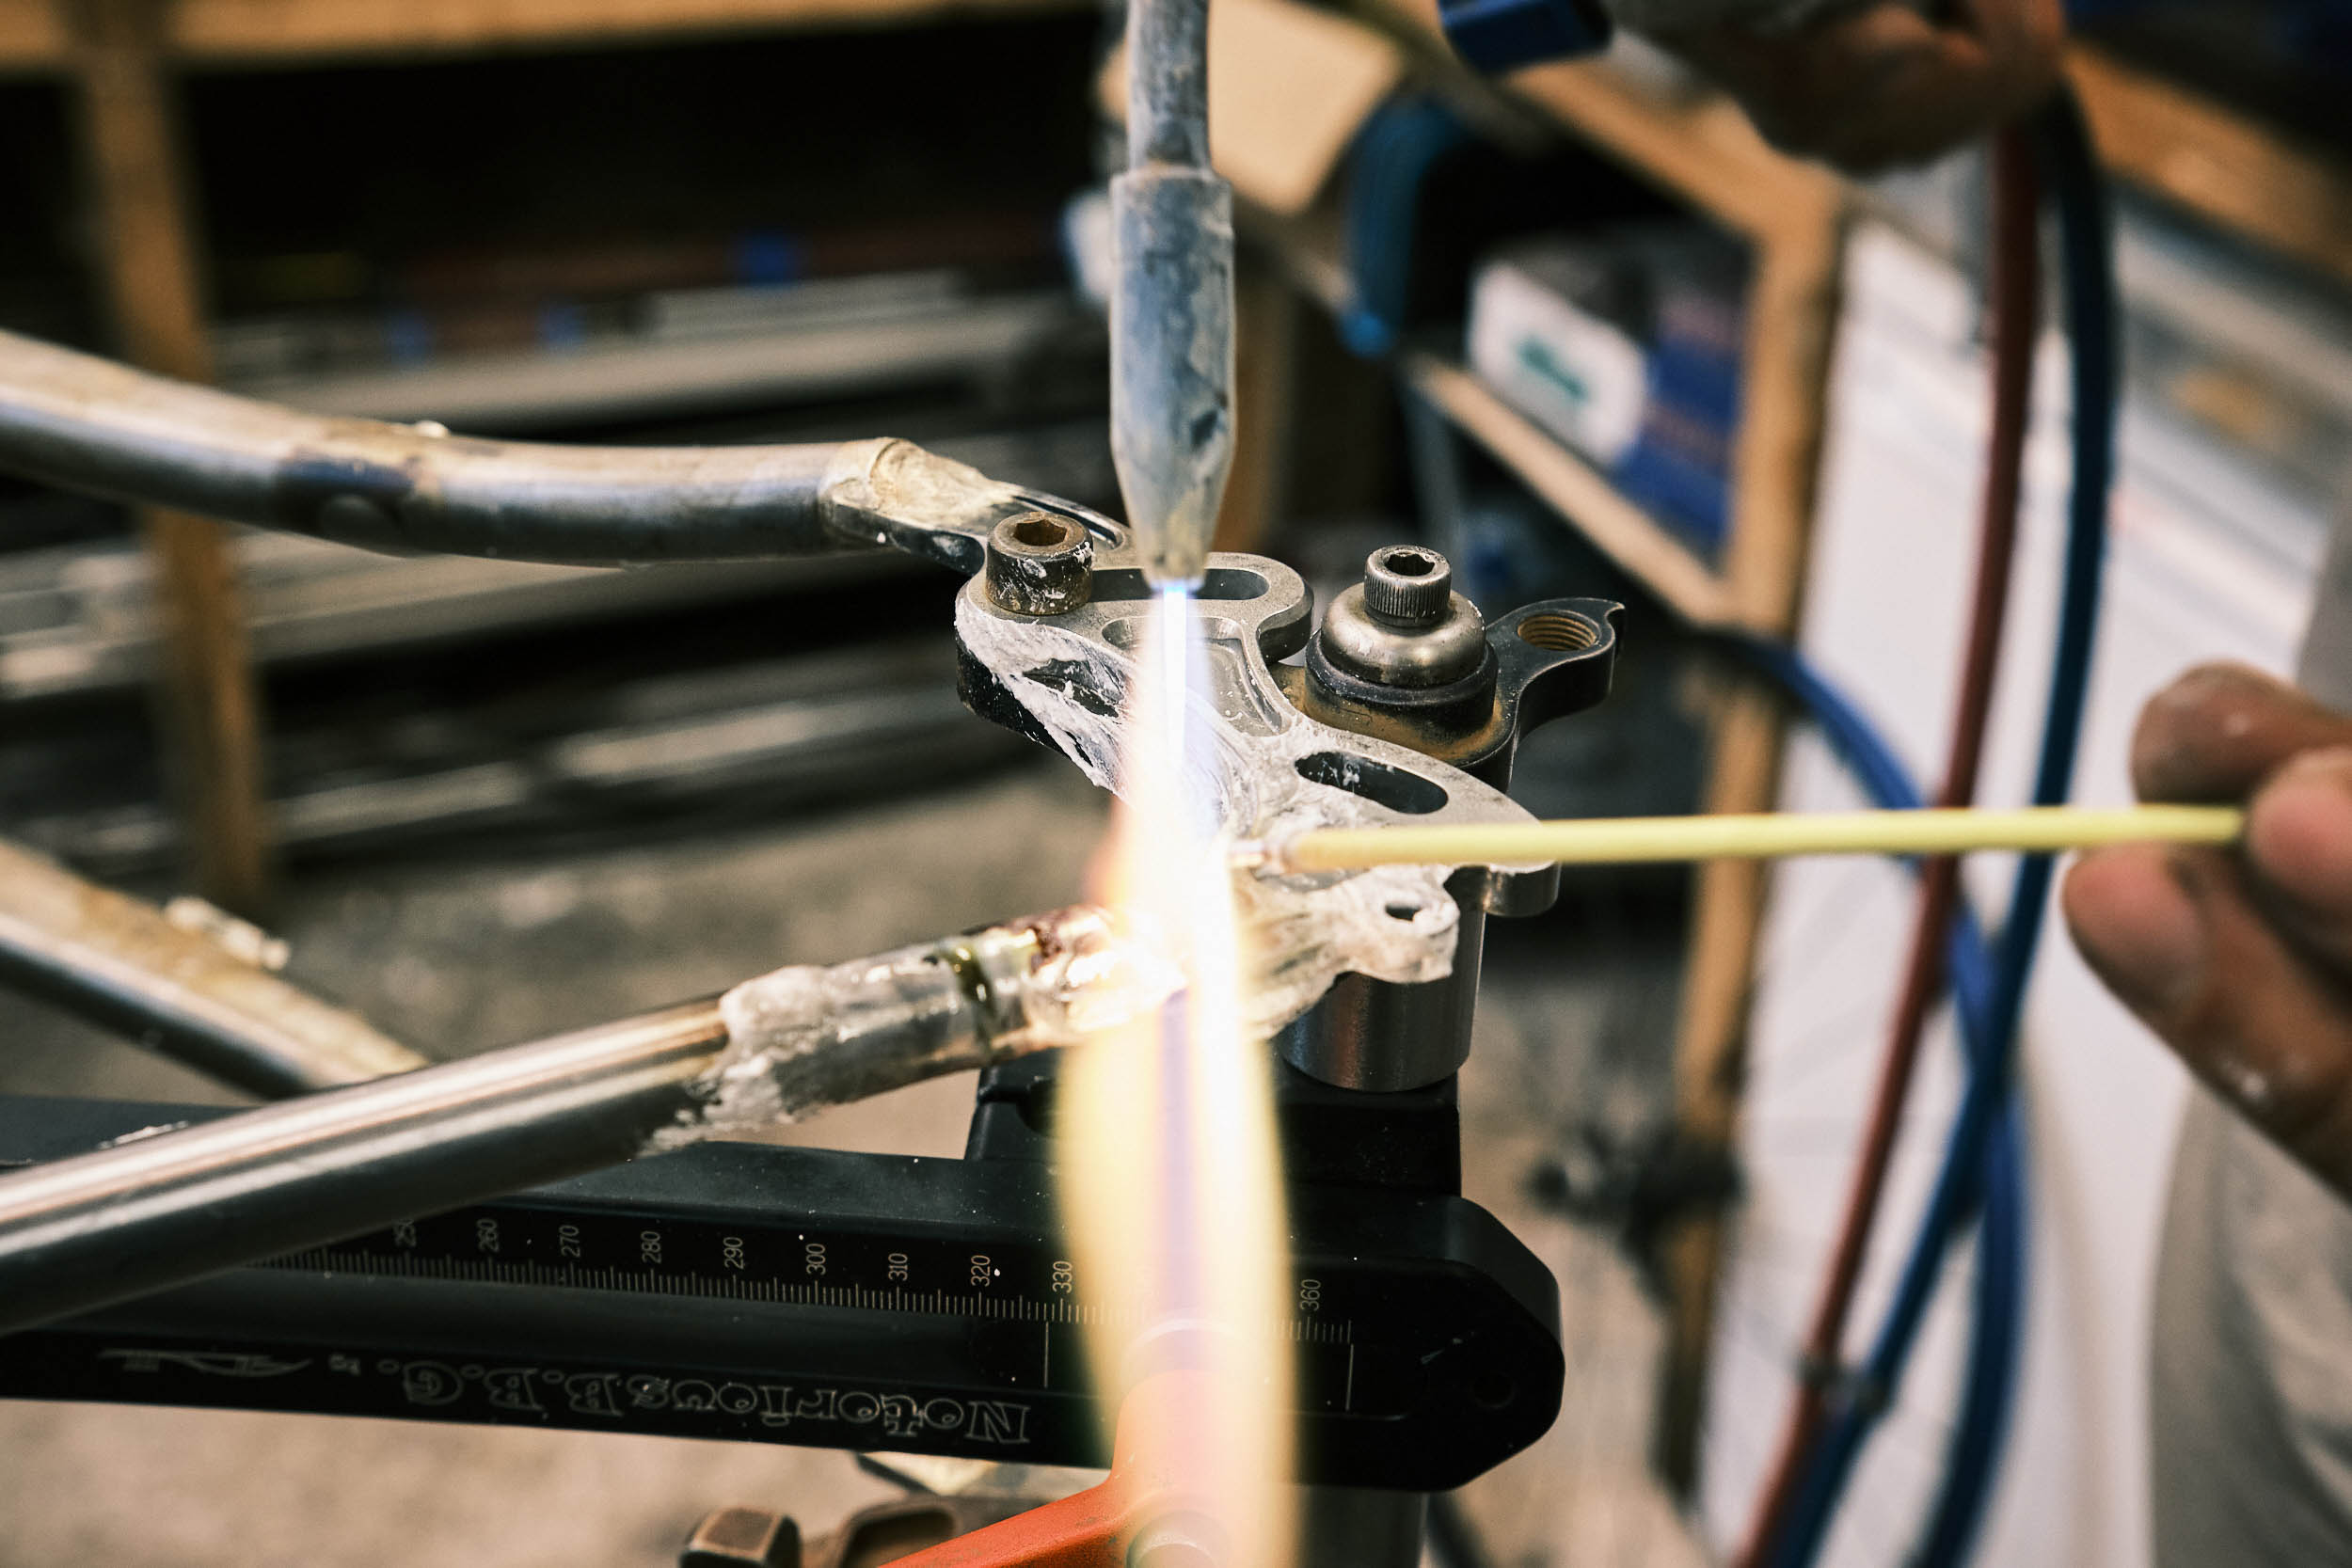
The chainstays need to be prepared for mating to the bottom bracket shell and dropouts. We use another jig, this one built by Robert’s dad. It requires precise setup; the bolts must be tightened in a certain order. I miter the front and slot the rear with an angle grinder. Robert demonstrates how to braze the dropouts, and I do the rest with him hovering beside me. Without all this guidance, I’d be producing expensive scrap. The seatstays undergo a similar procedure.


On the fourth morning, I still have a bunch of small problems to solve. I fashion a seattube collar from a piece of scrap tubing. I realized the dynamo cable port makes no sense where I put it. To fix it, I braze in a plug, file it down, and place a new port elsewhere—rework is part of the game. The complexities of my project are taking extra time, and final assembly still seems far away. As Marijn starts brazing his main triangle, I feel like I’m on a reality TV show. Will Josh finish his frame in time?

I spend the afternoon drilling vent and drainage holes in the tubes. Then, I clean and sand every tube inside and out in preparation for brazing. This is crucial for strong joints, and it would be easy to forget a prep step. I braze cable guides onto the chainstays according to my best guess of my future cabling situation. On my way home, I realize I’ll need to redo them.
Brazing it all together
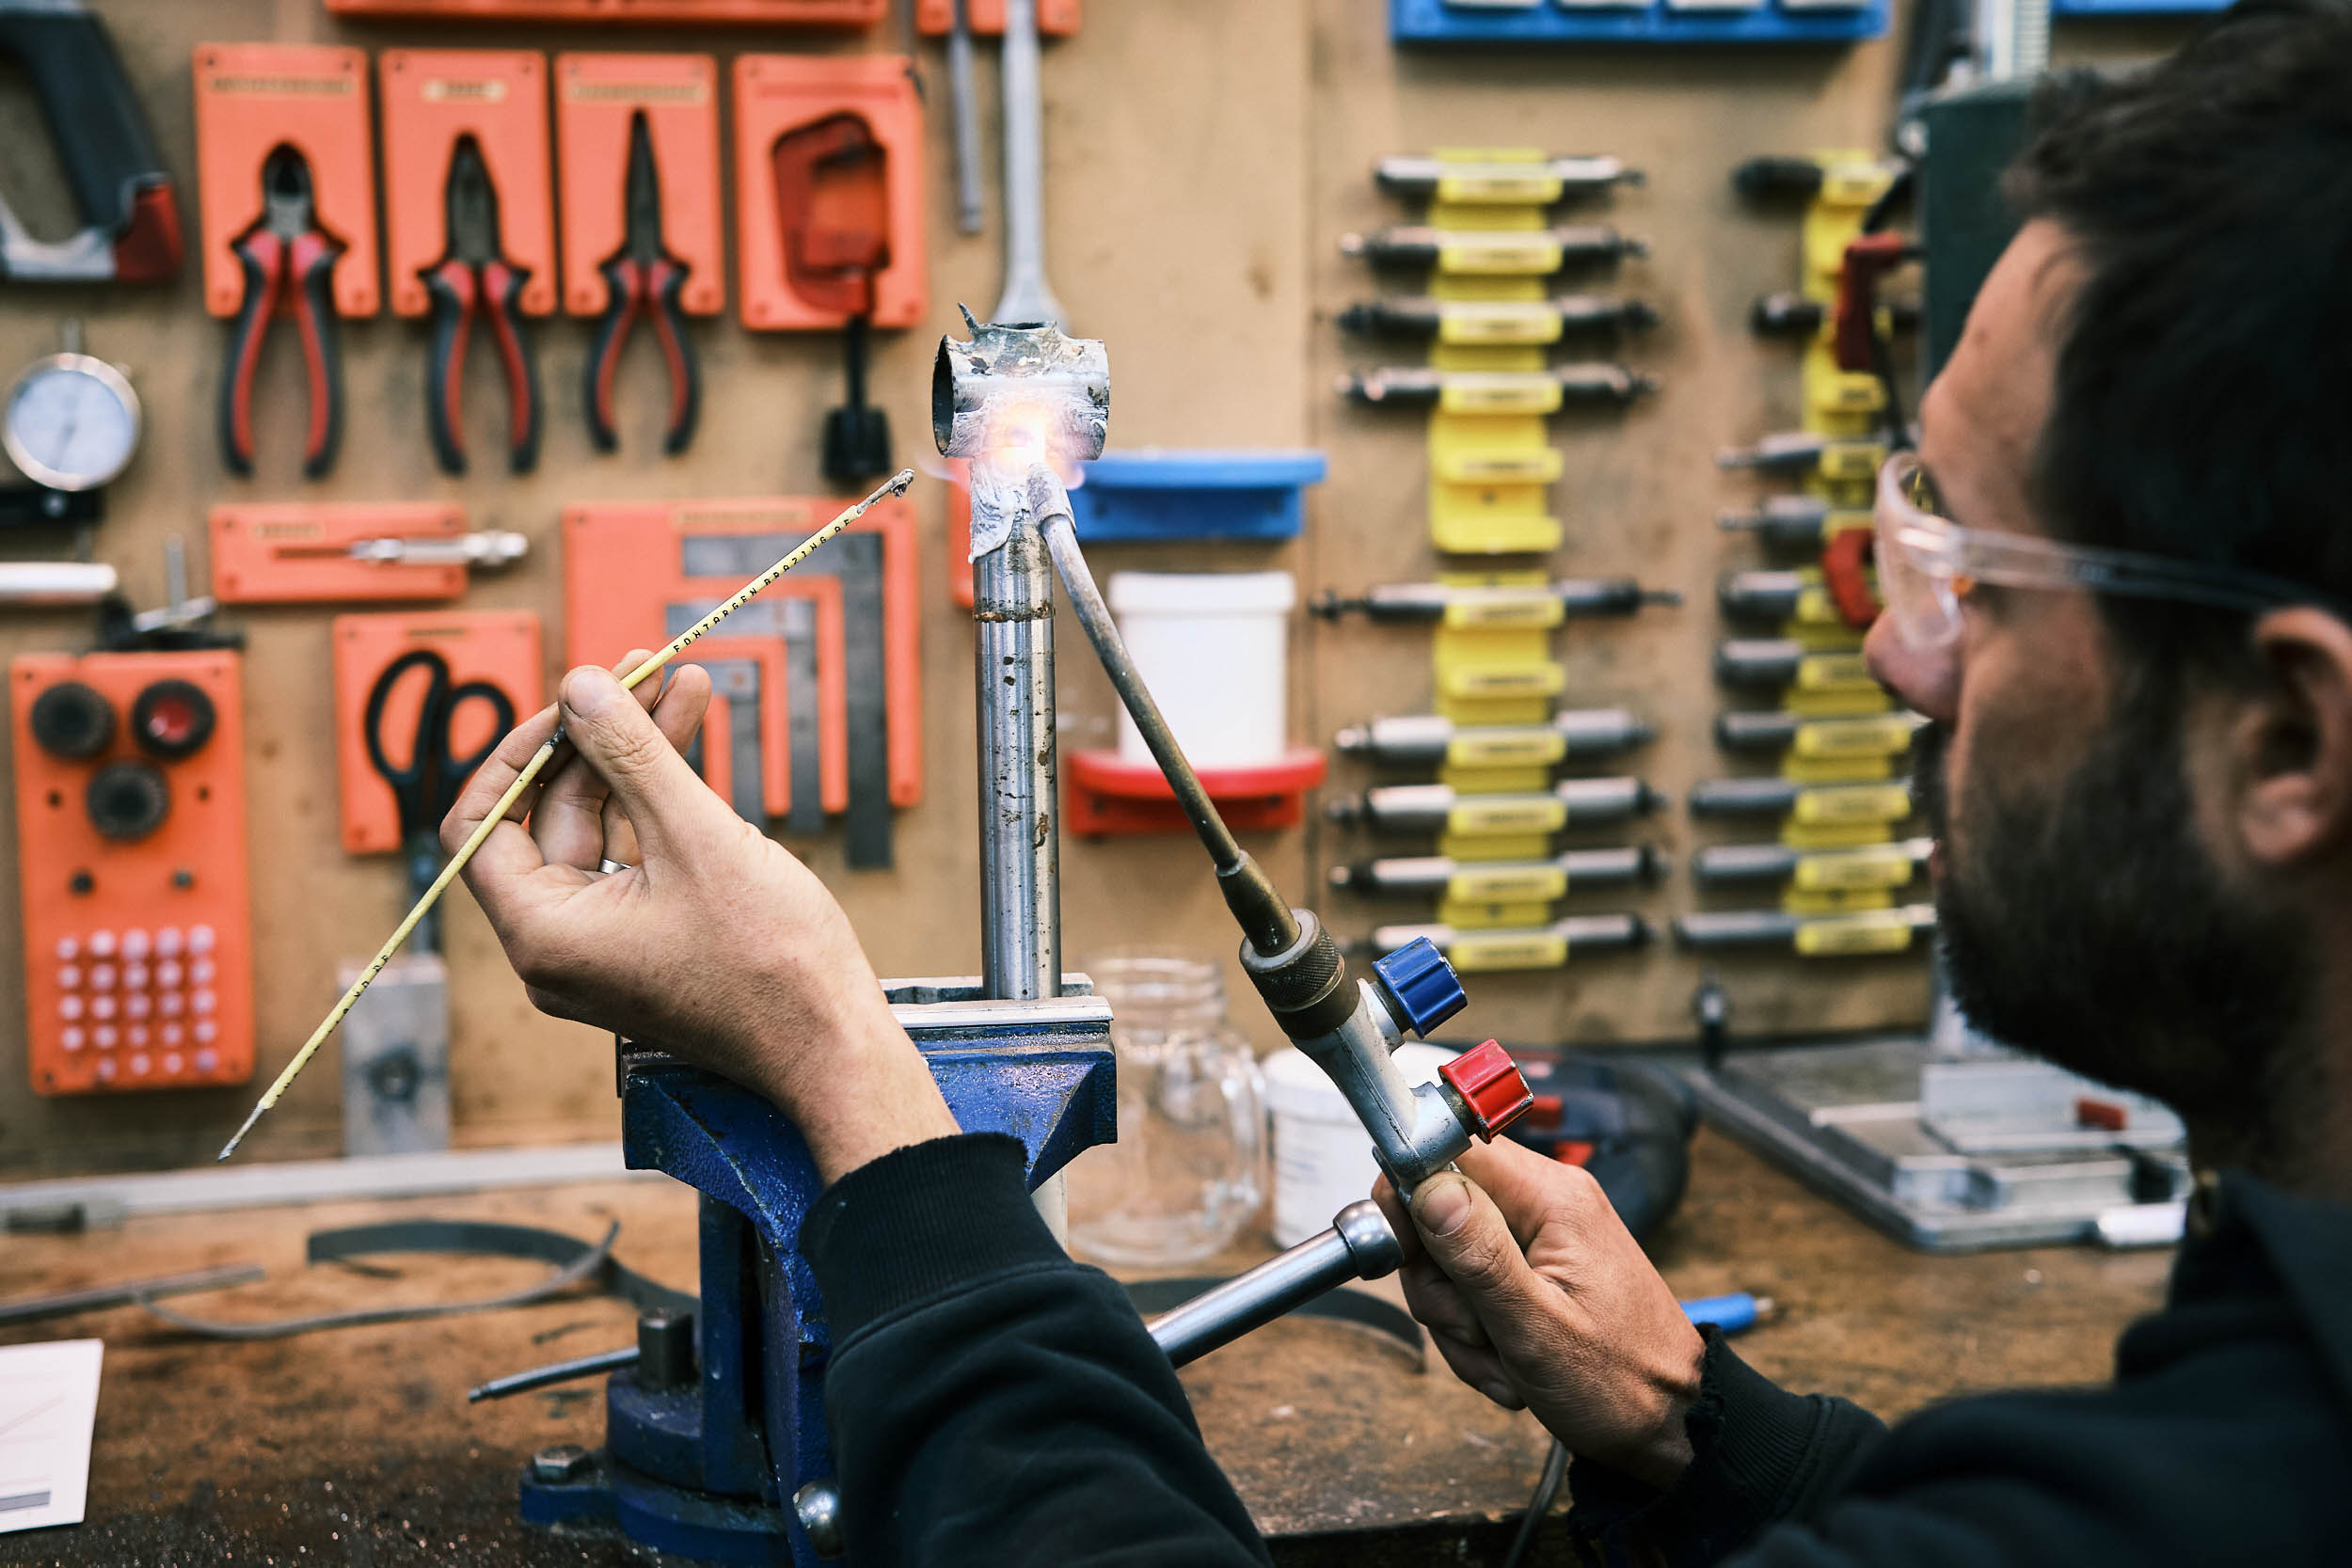
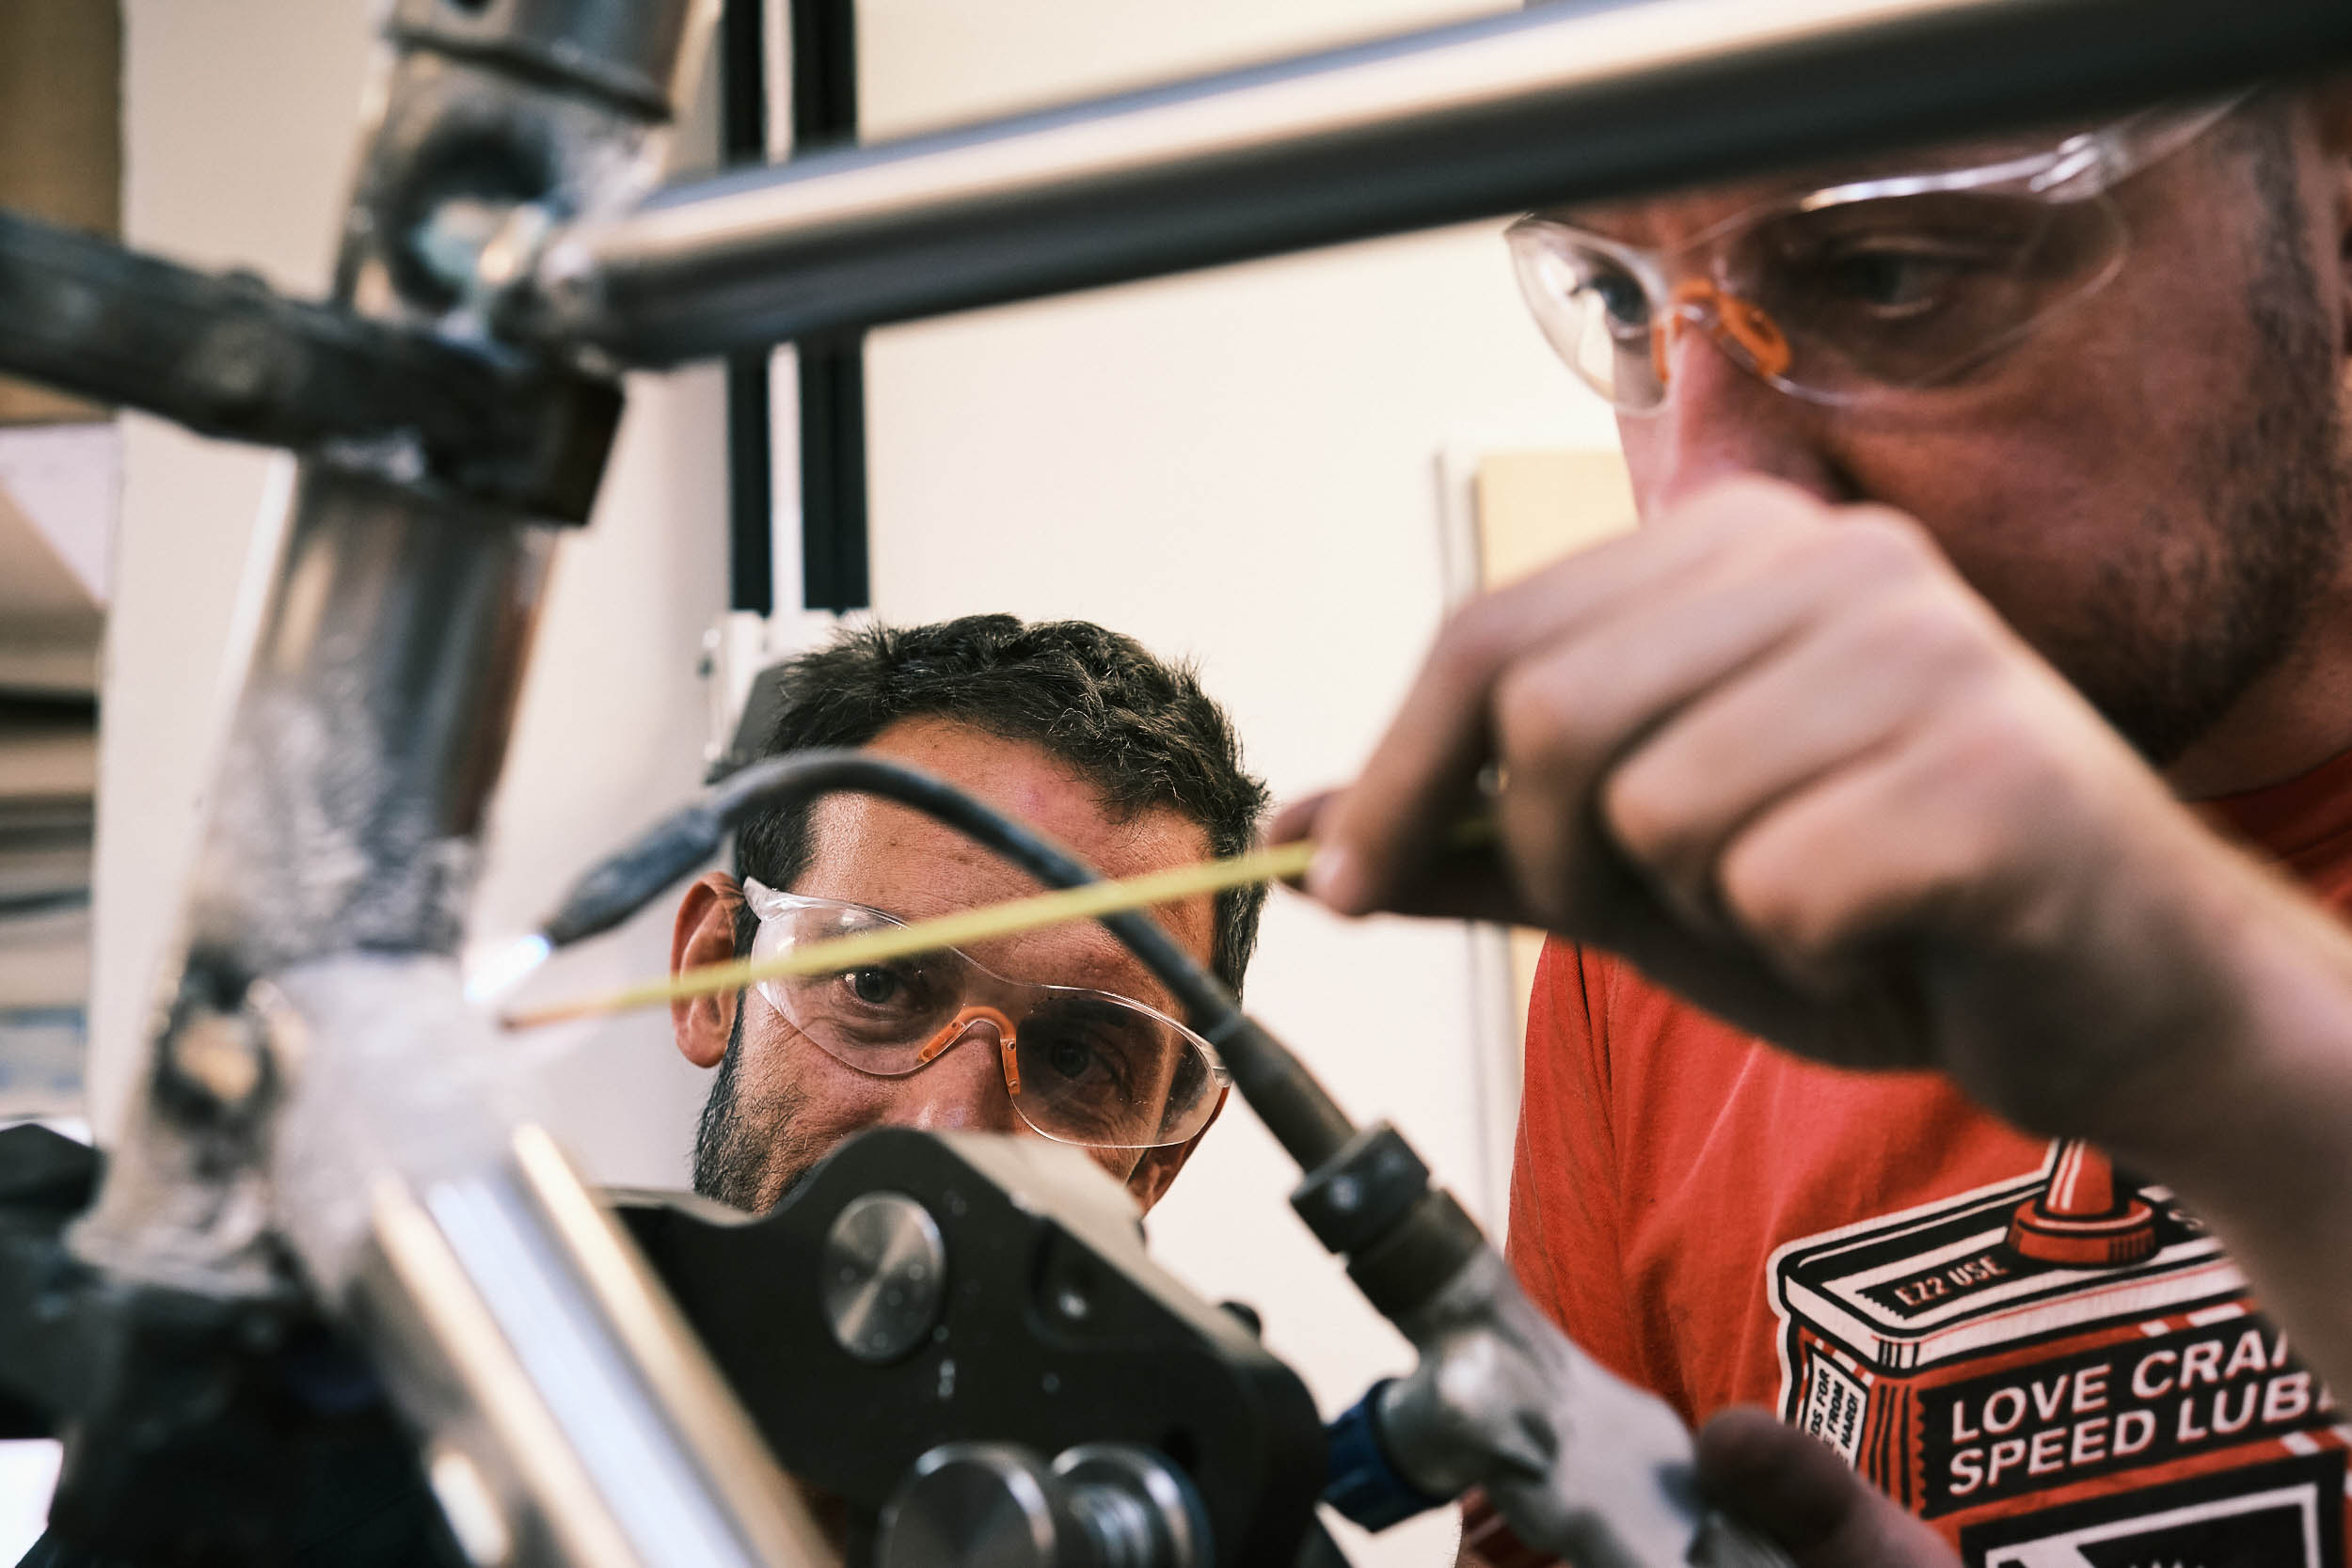
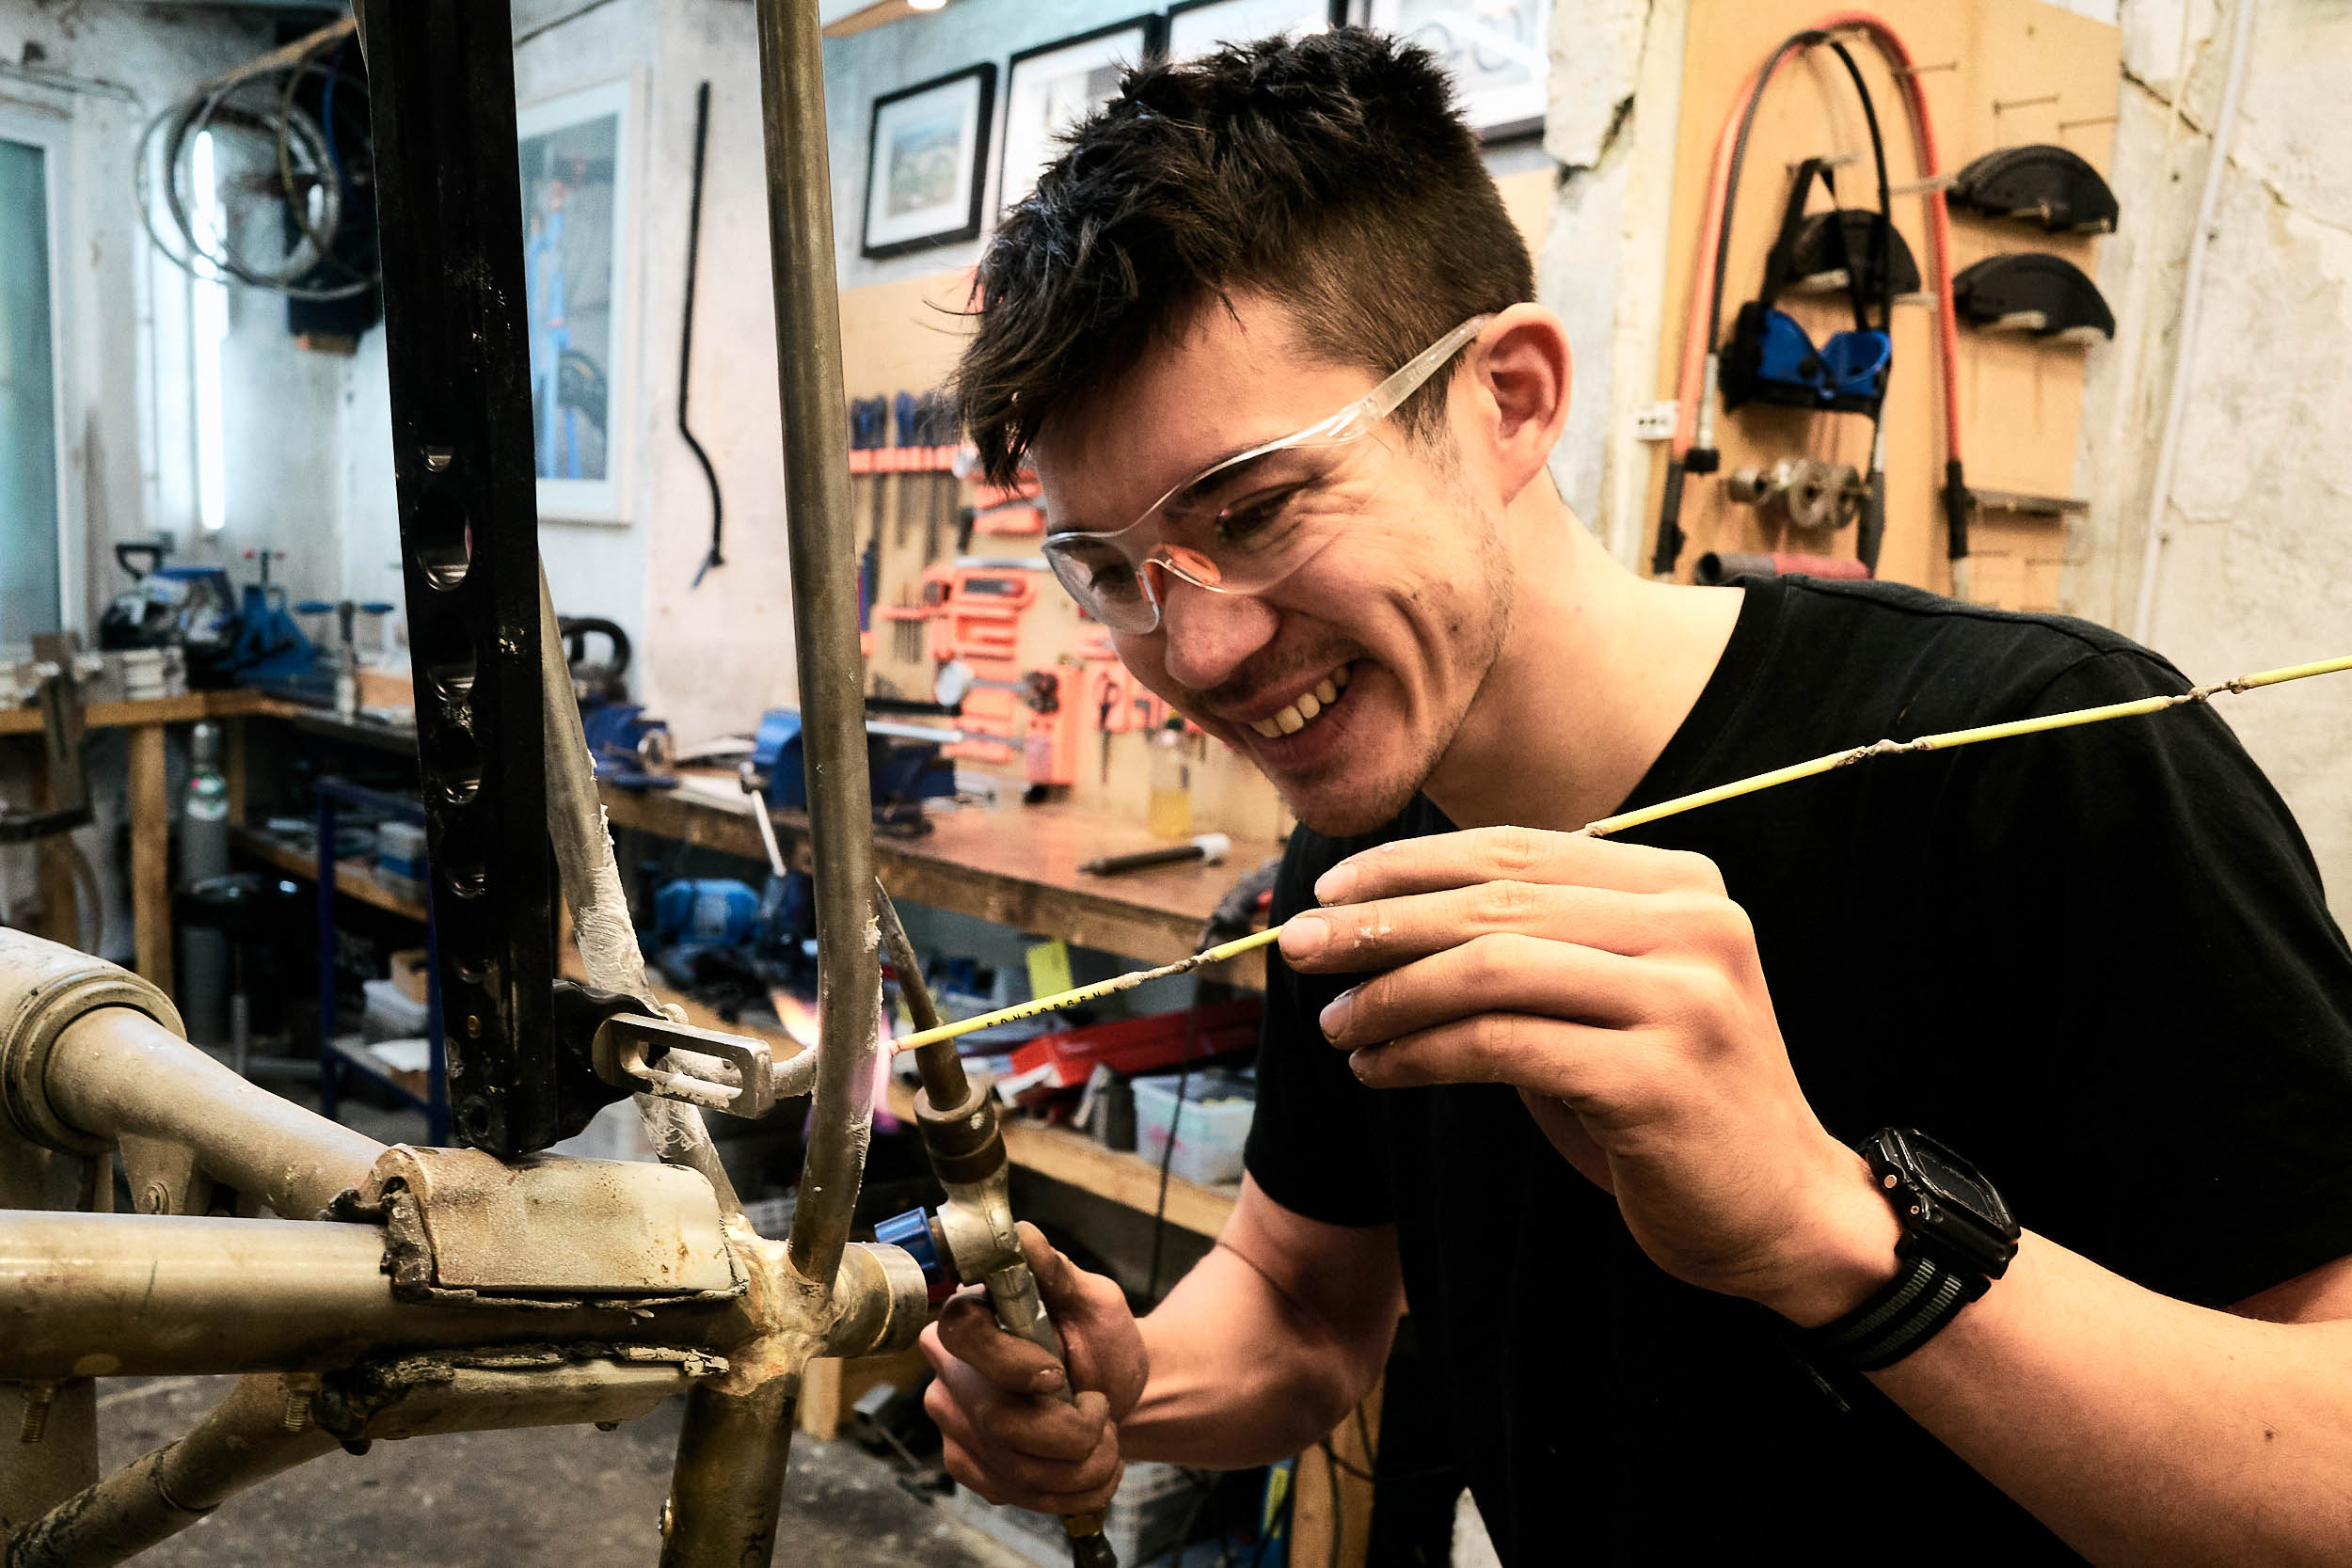
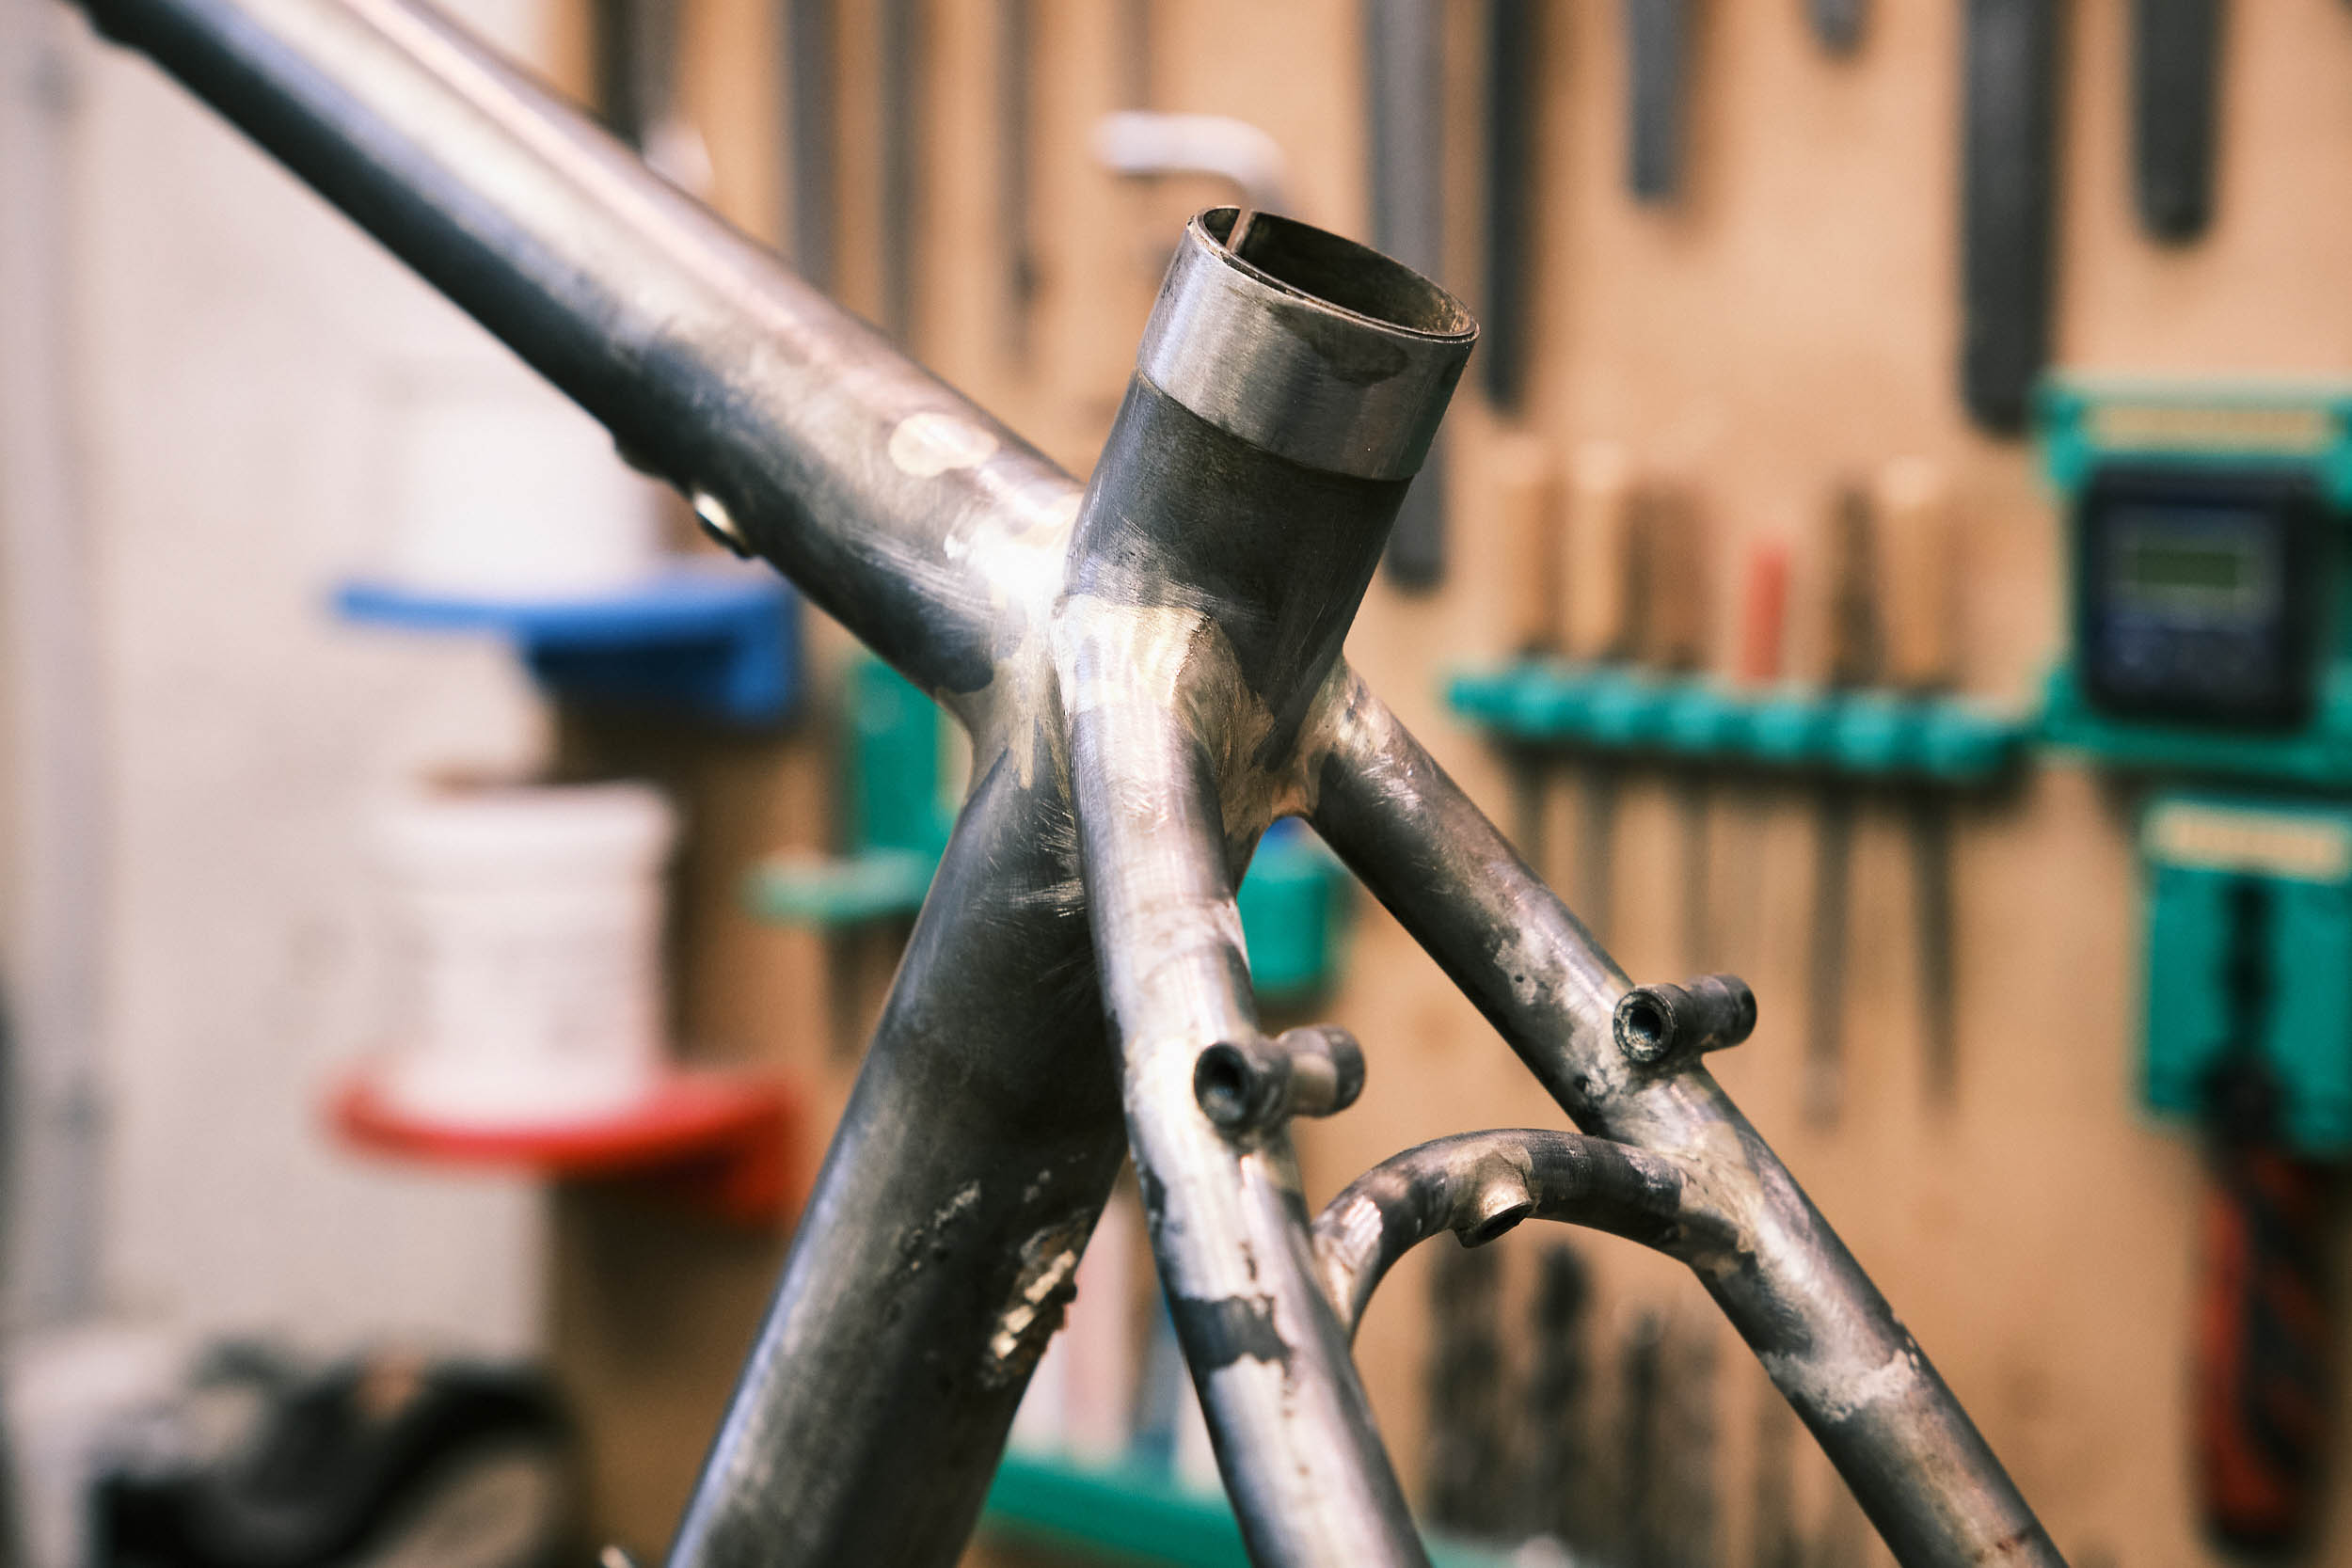
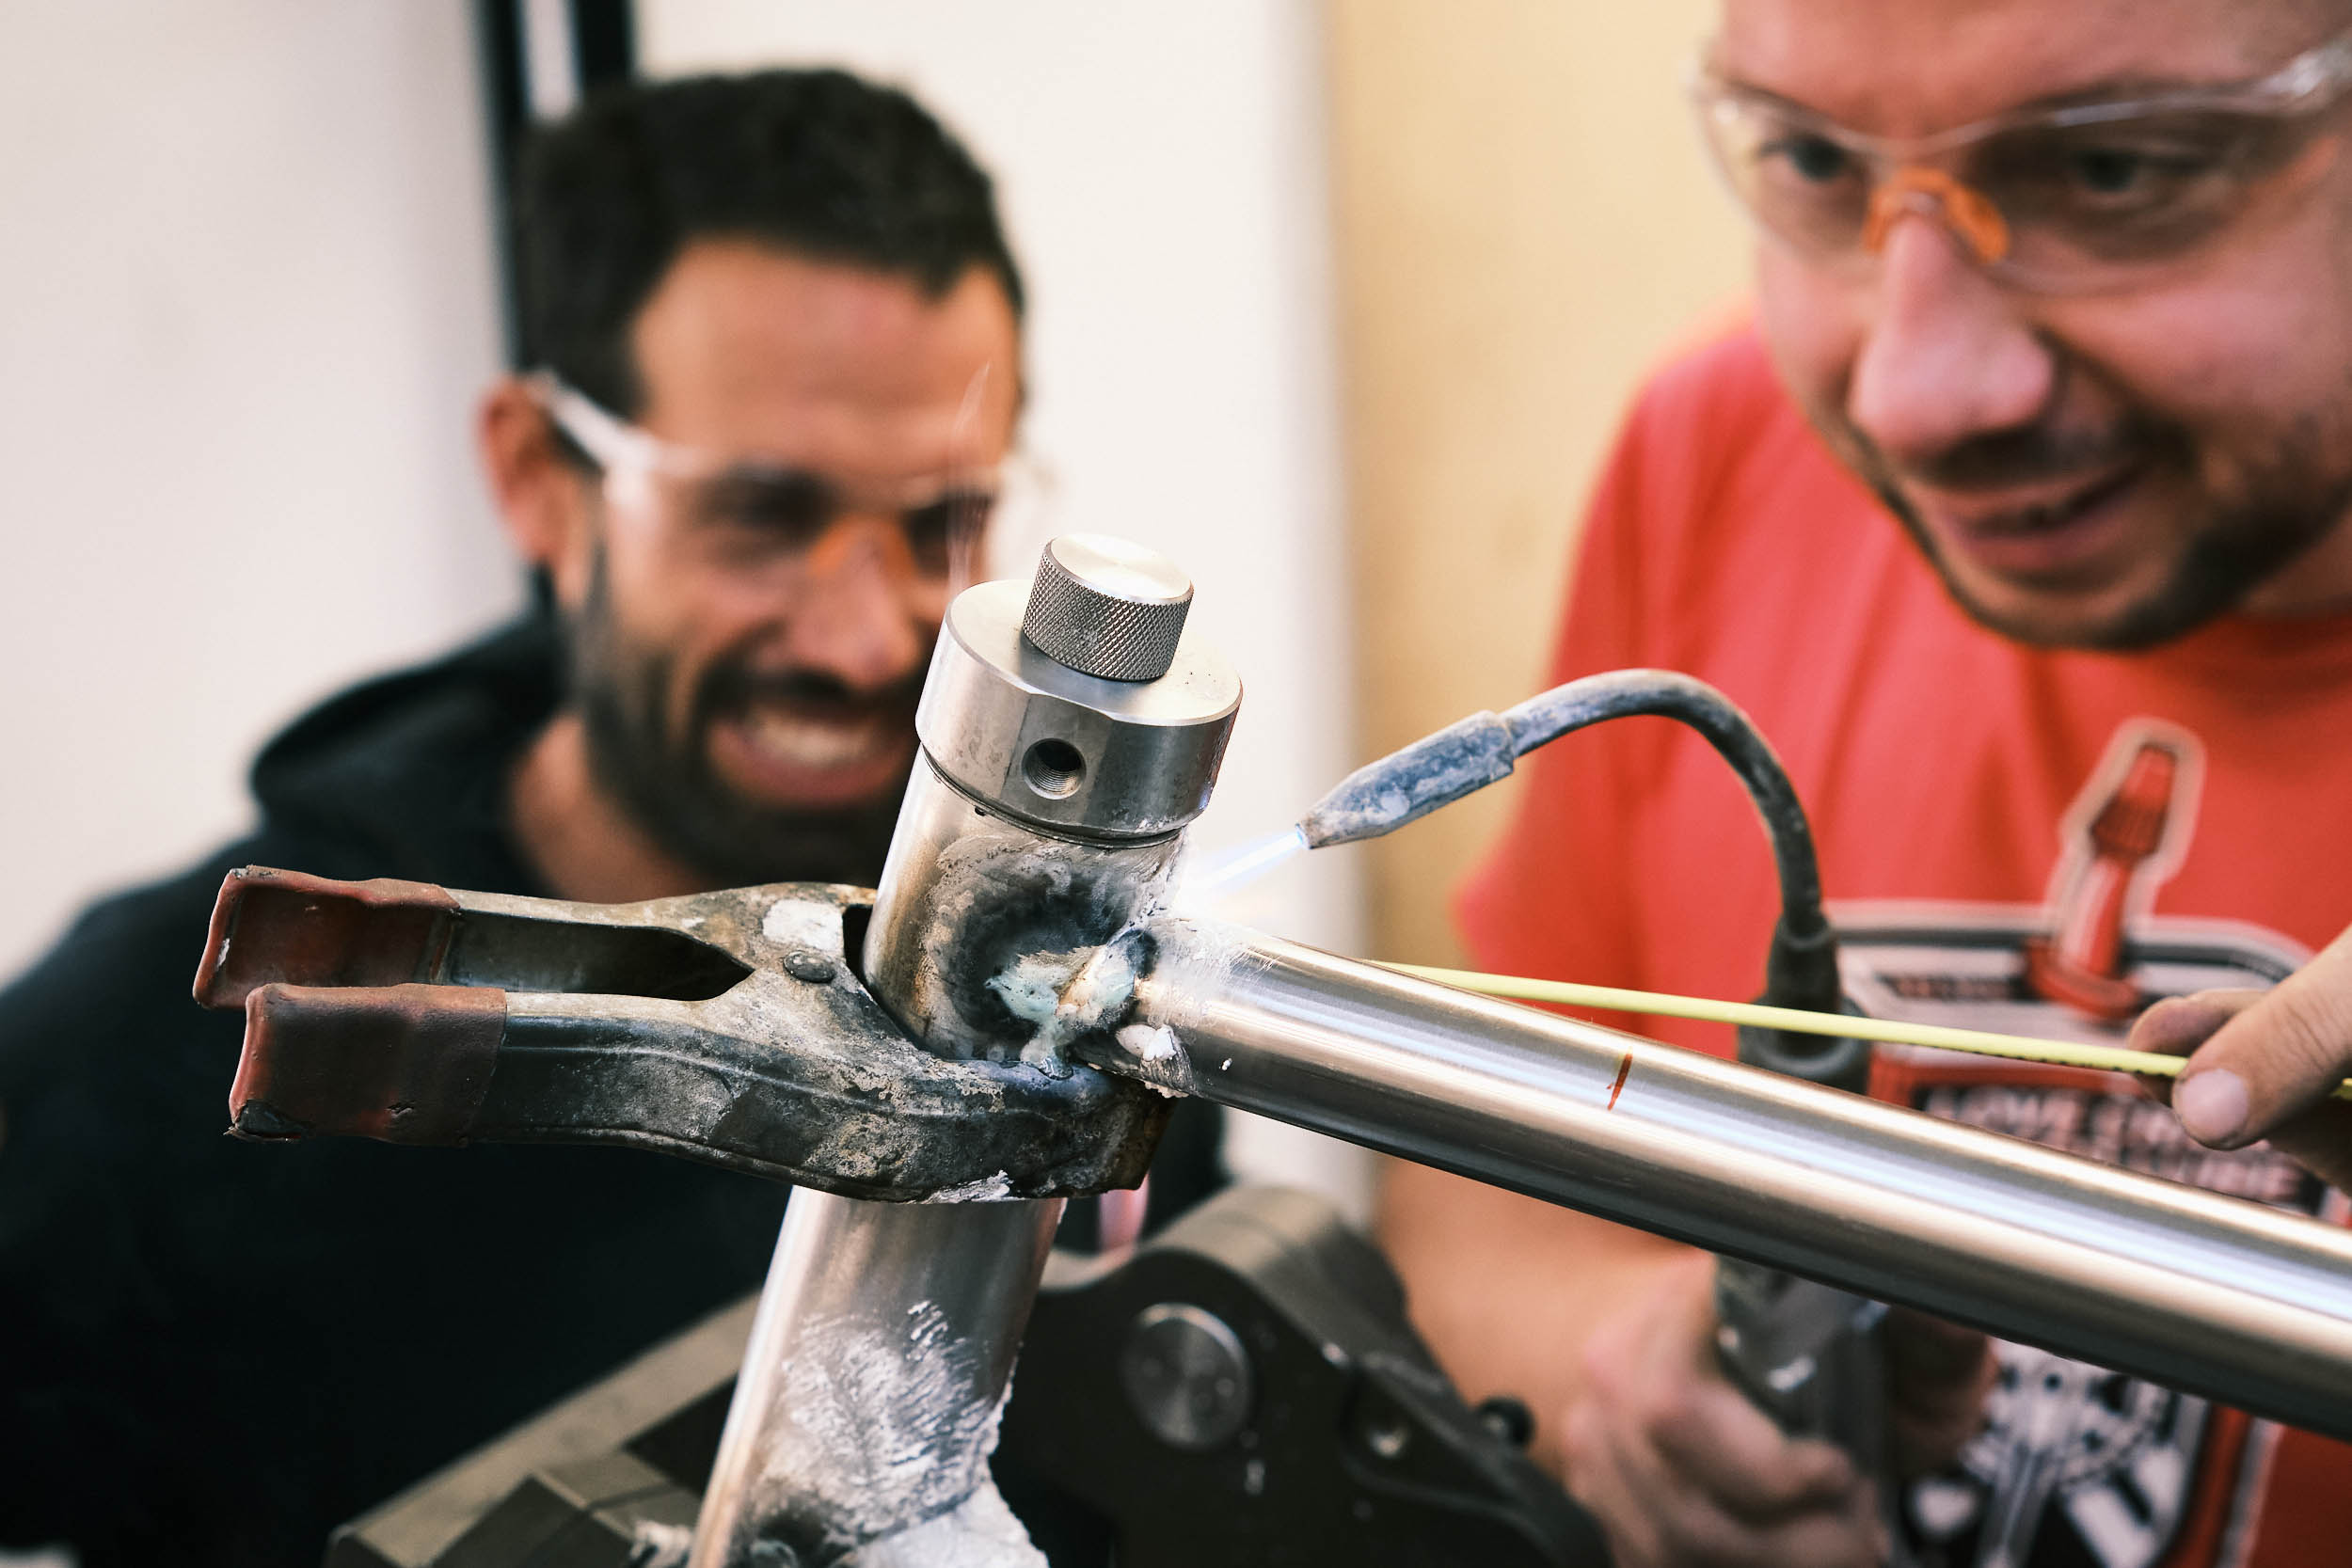
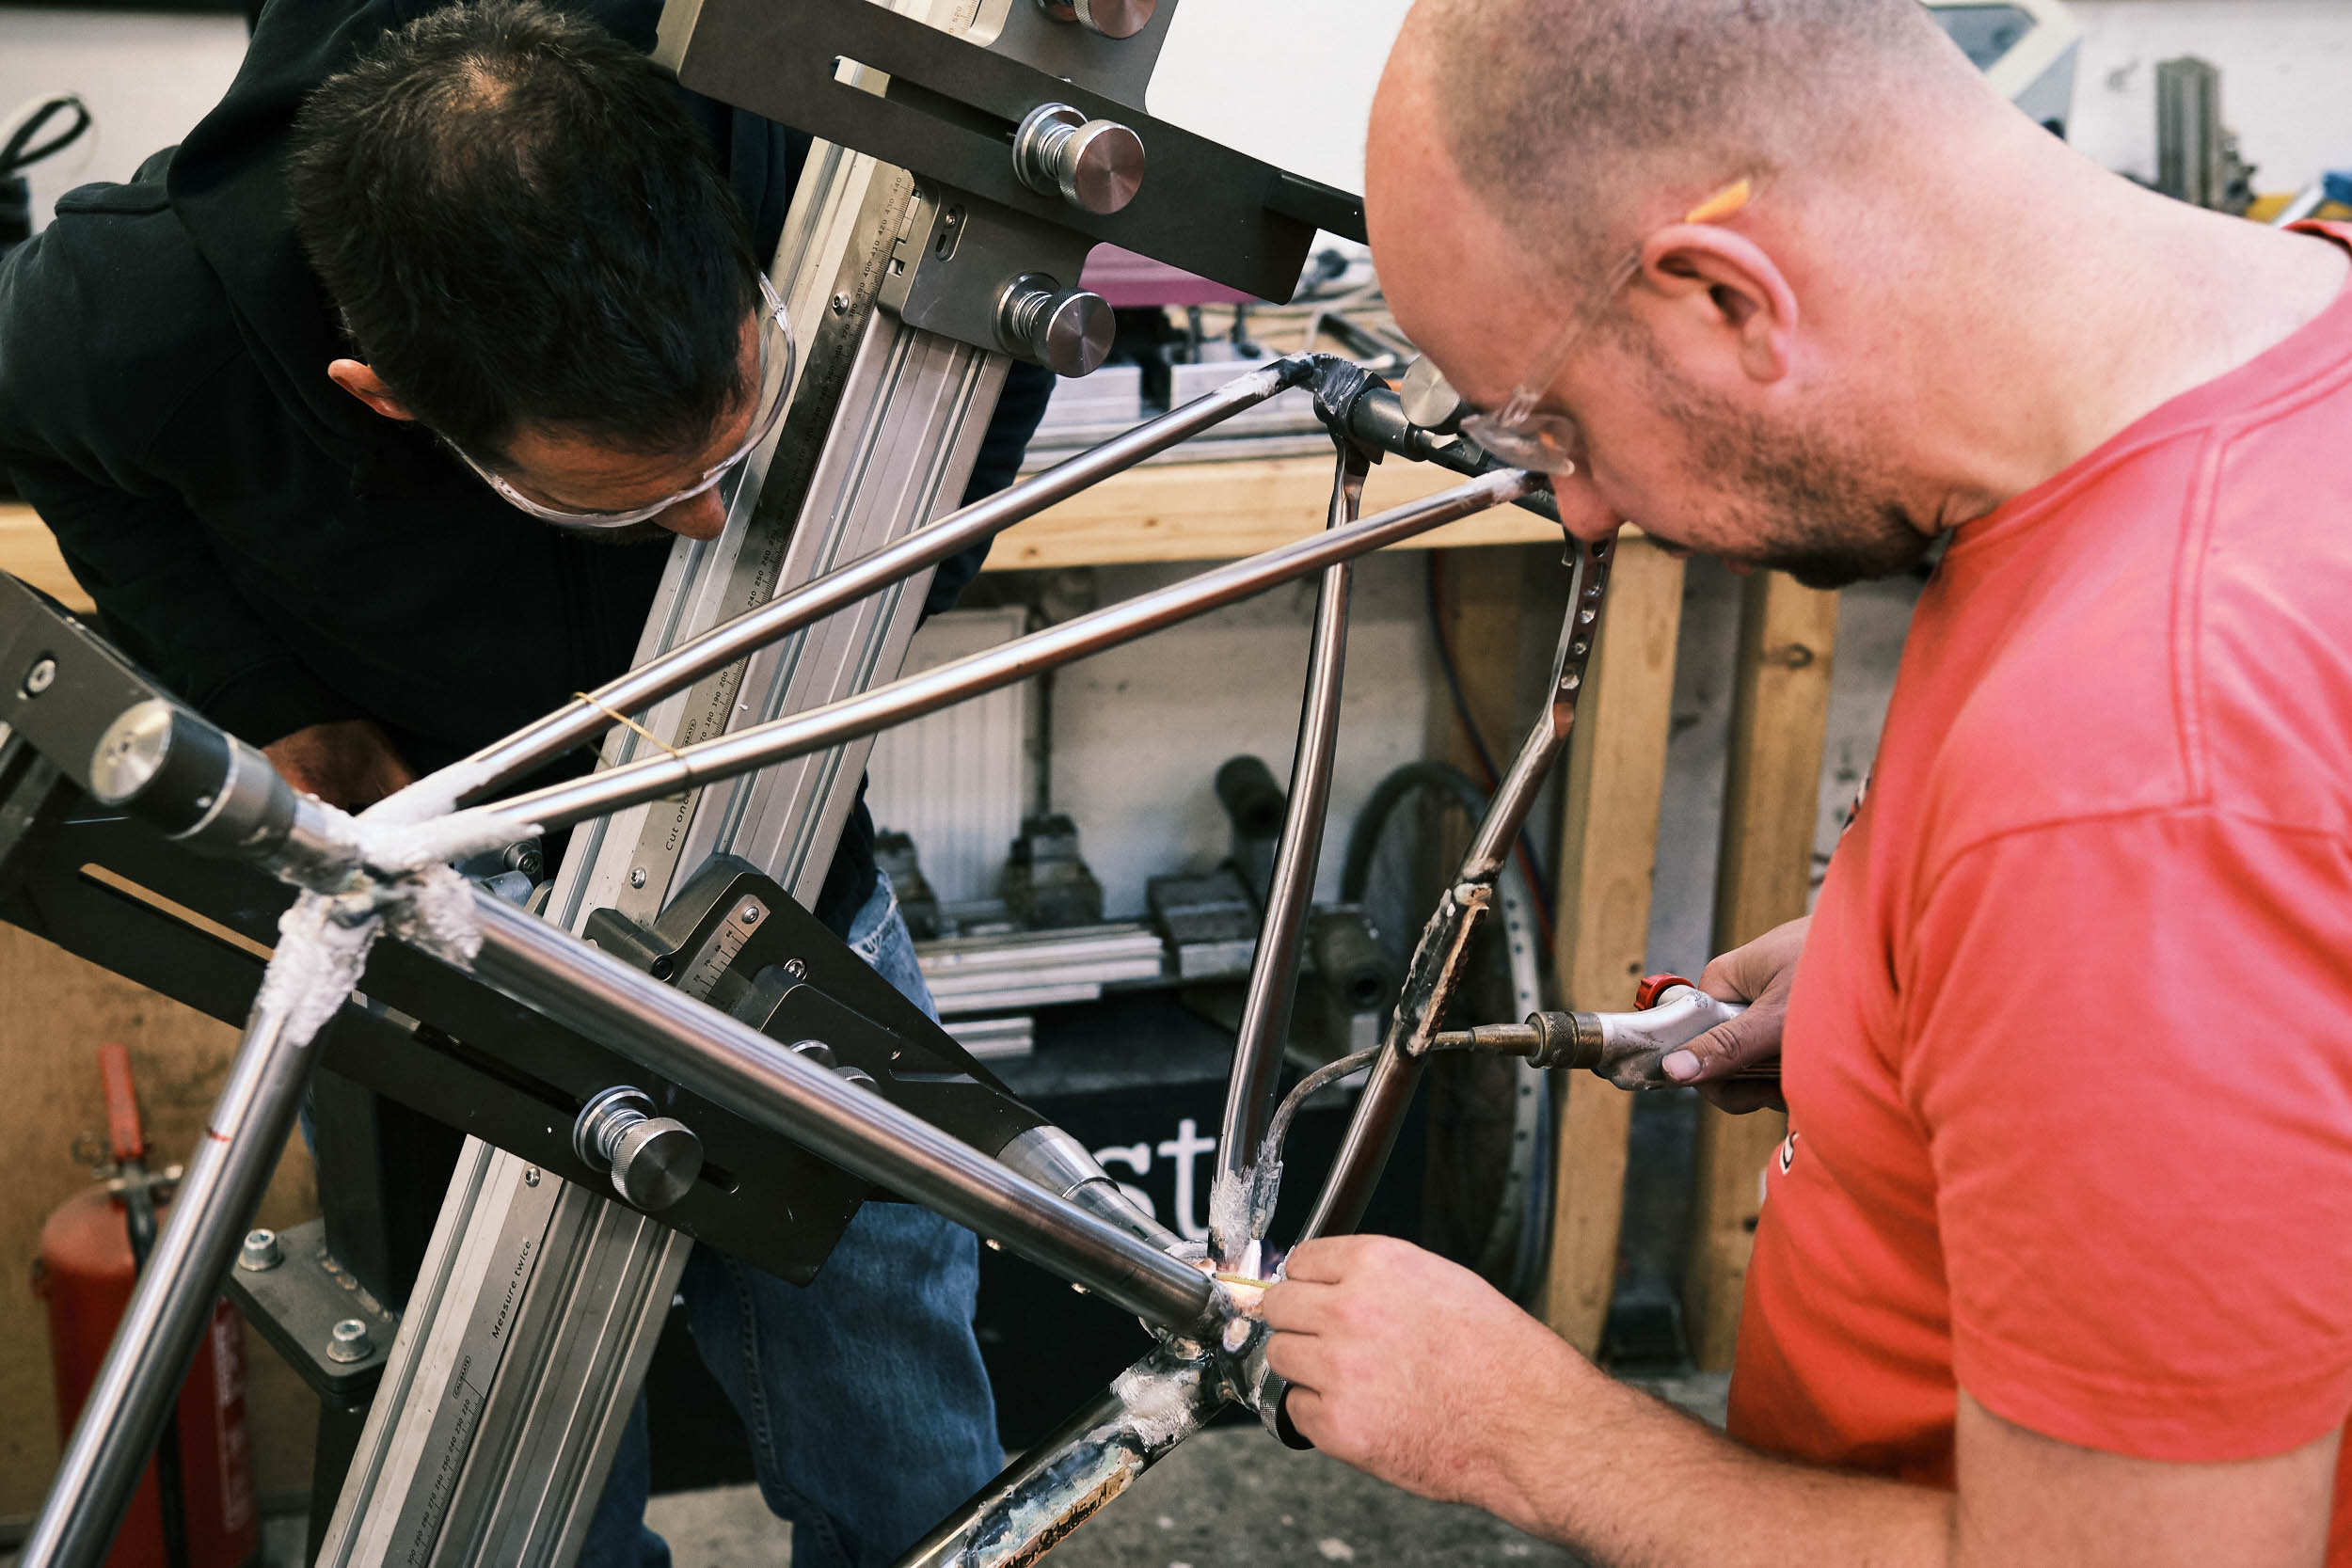
By Friday, all the prep work is done, and it’s time for the main event. I lather the tubes in flux and tack them together with a dab of silver. Then, with a broad, hot flame, I bring the first joint up to temperature, looking for that telltale dull glow. I push in a generous dab of silver to the hotspot, then let the silver run around assisted by heat and gravity. Robert gives me calm directions: “Closer. Angle headtube. Less heat. More silver. Good.“ He rotates the frame in the stand, and I repeat the process until I’ve drawn a thin bead of silver once around all joints.
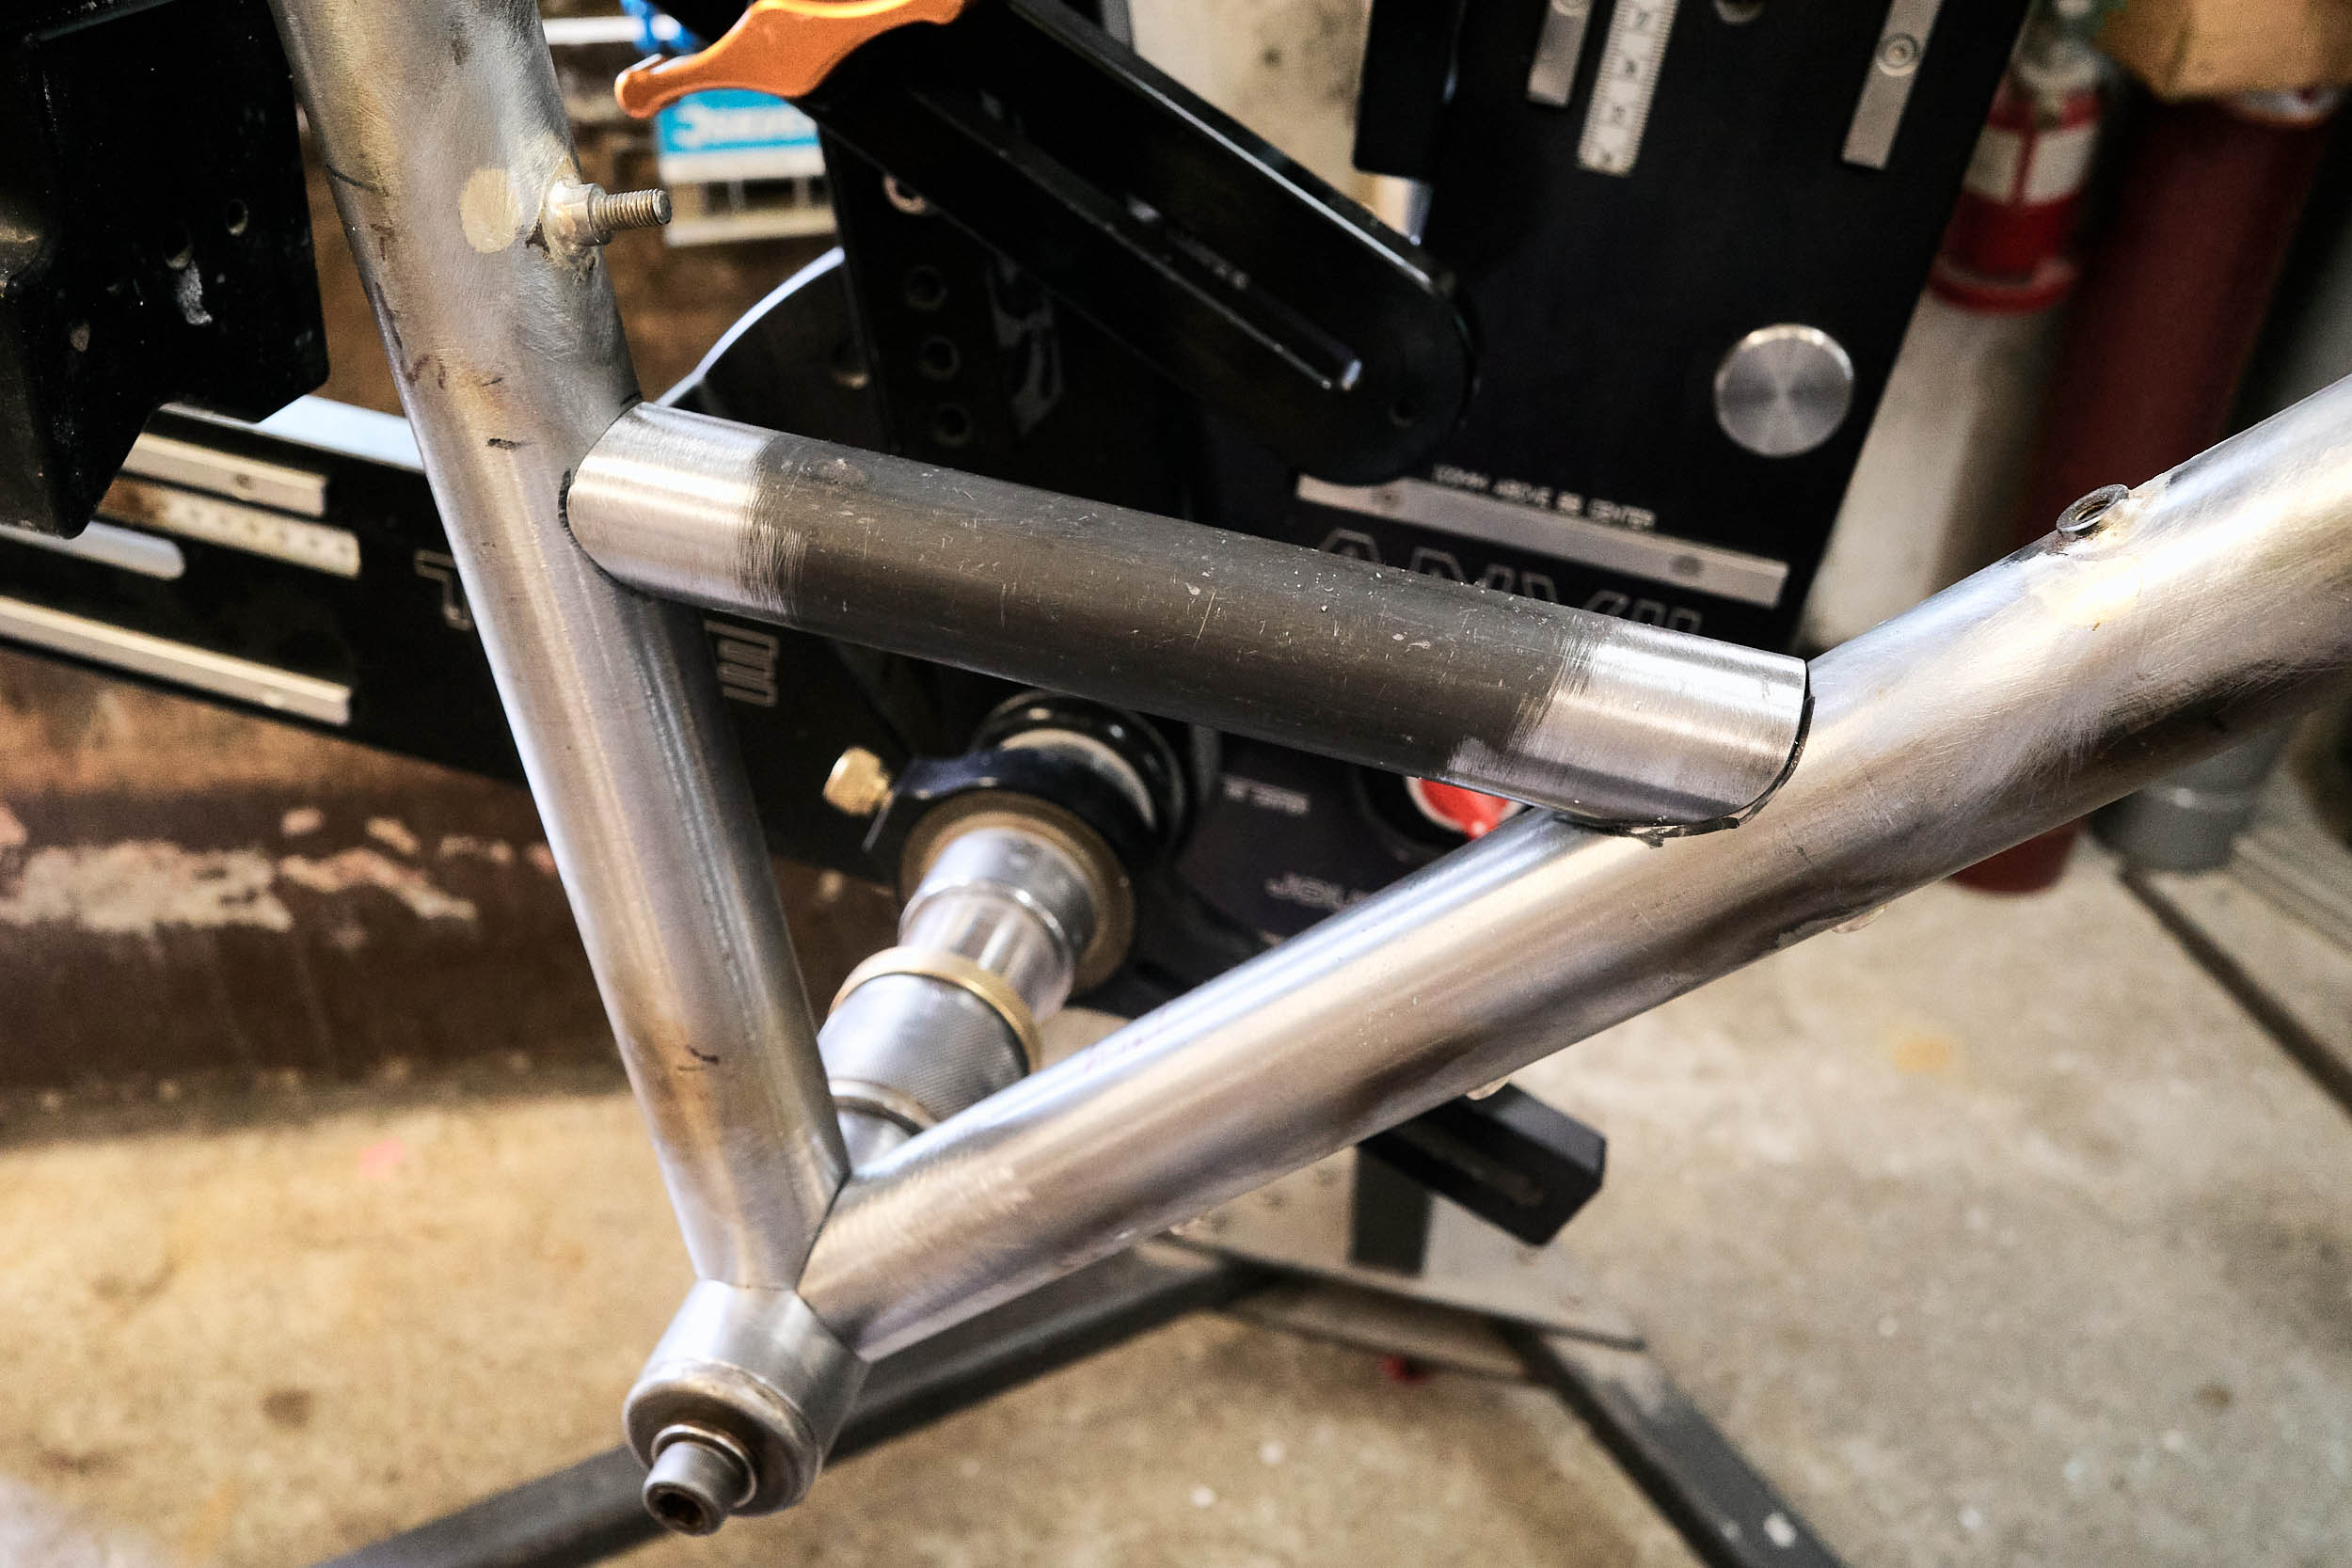
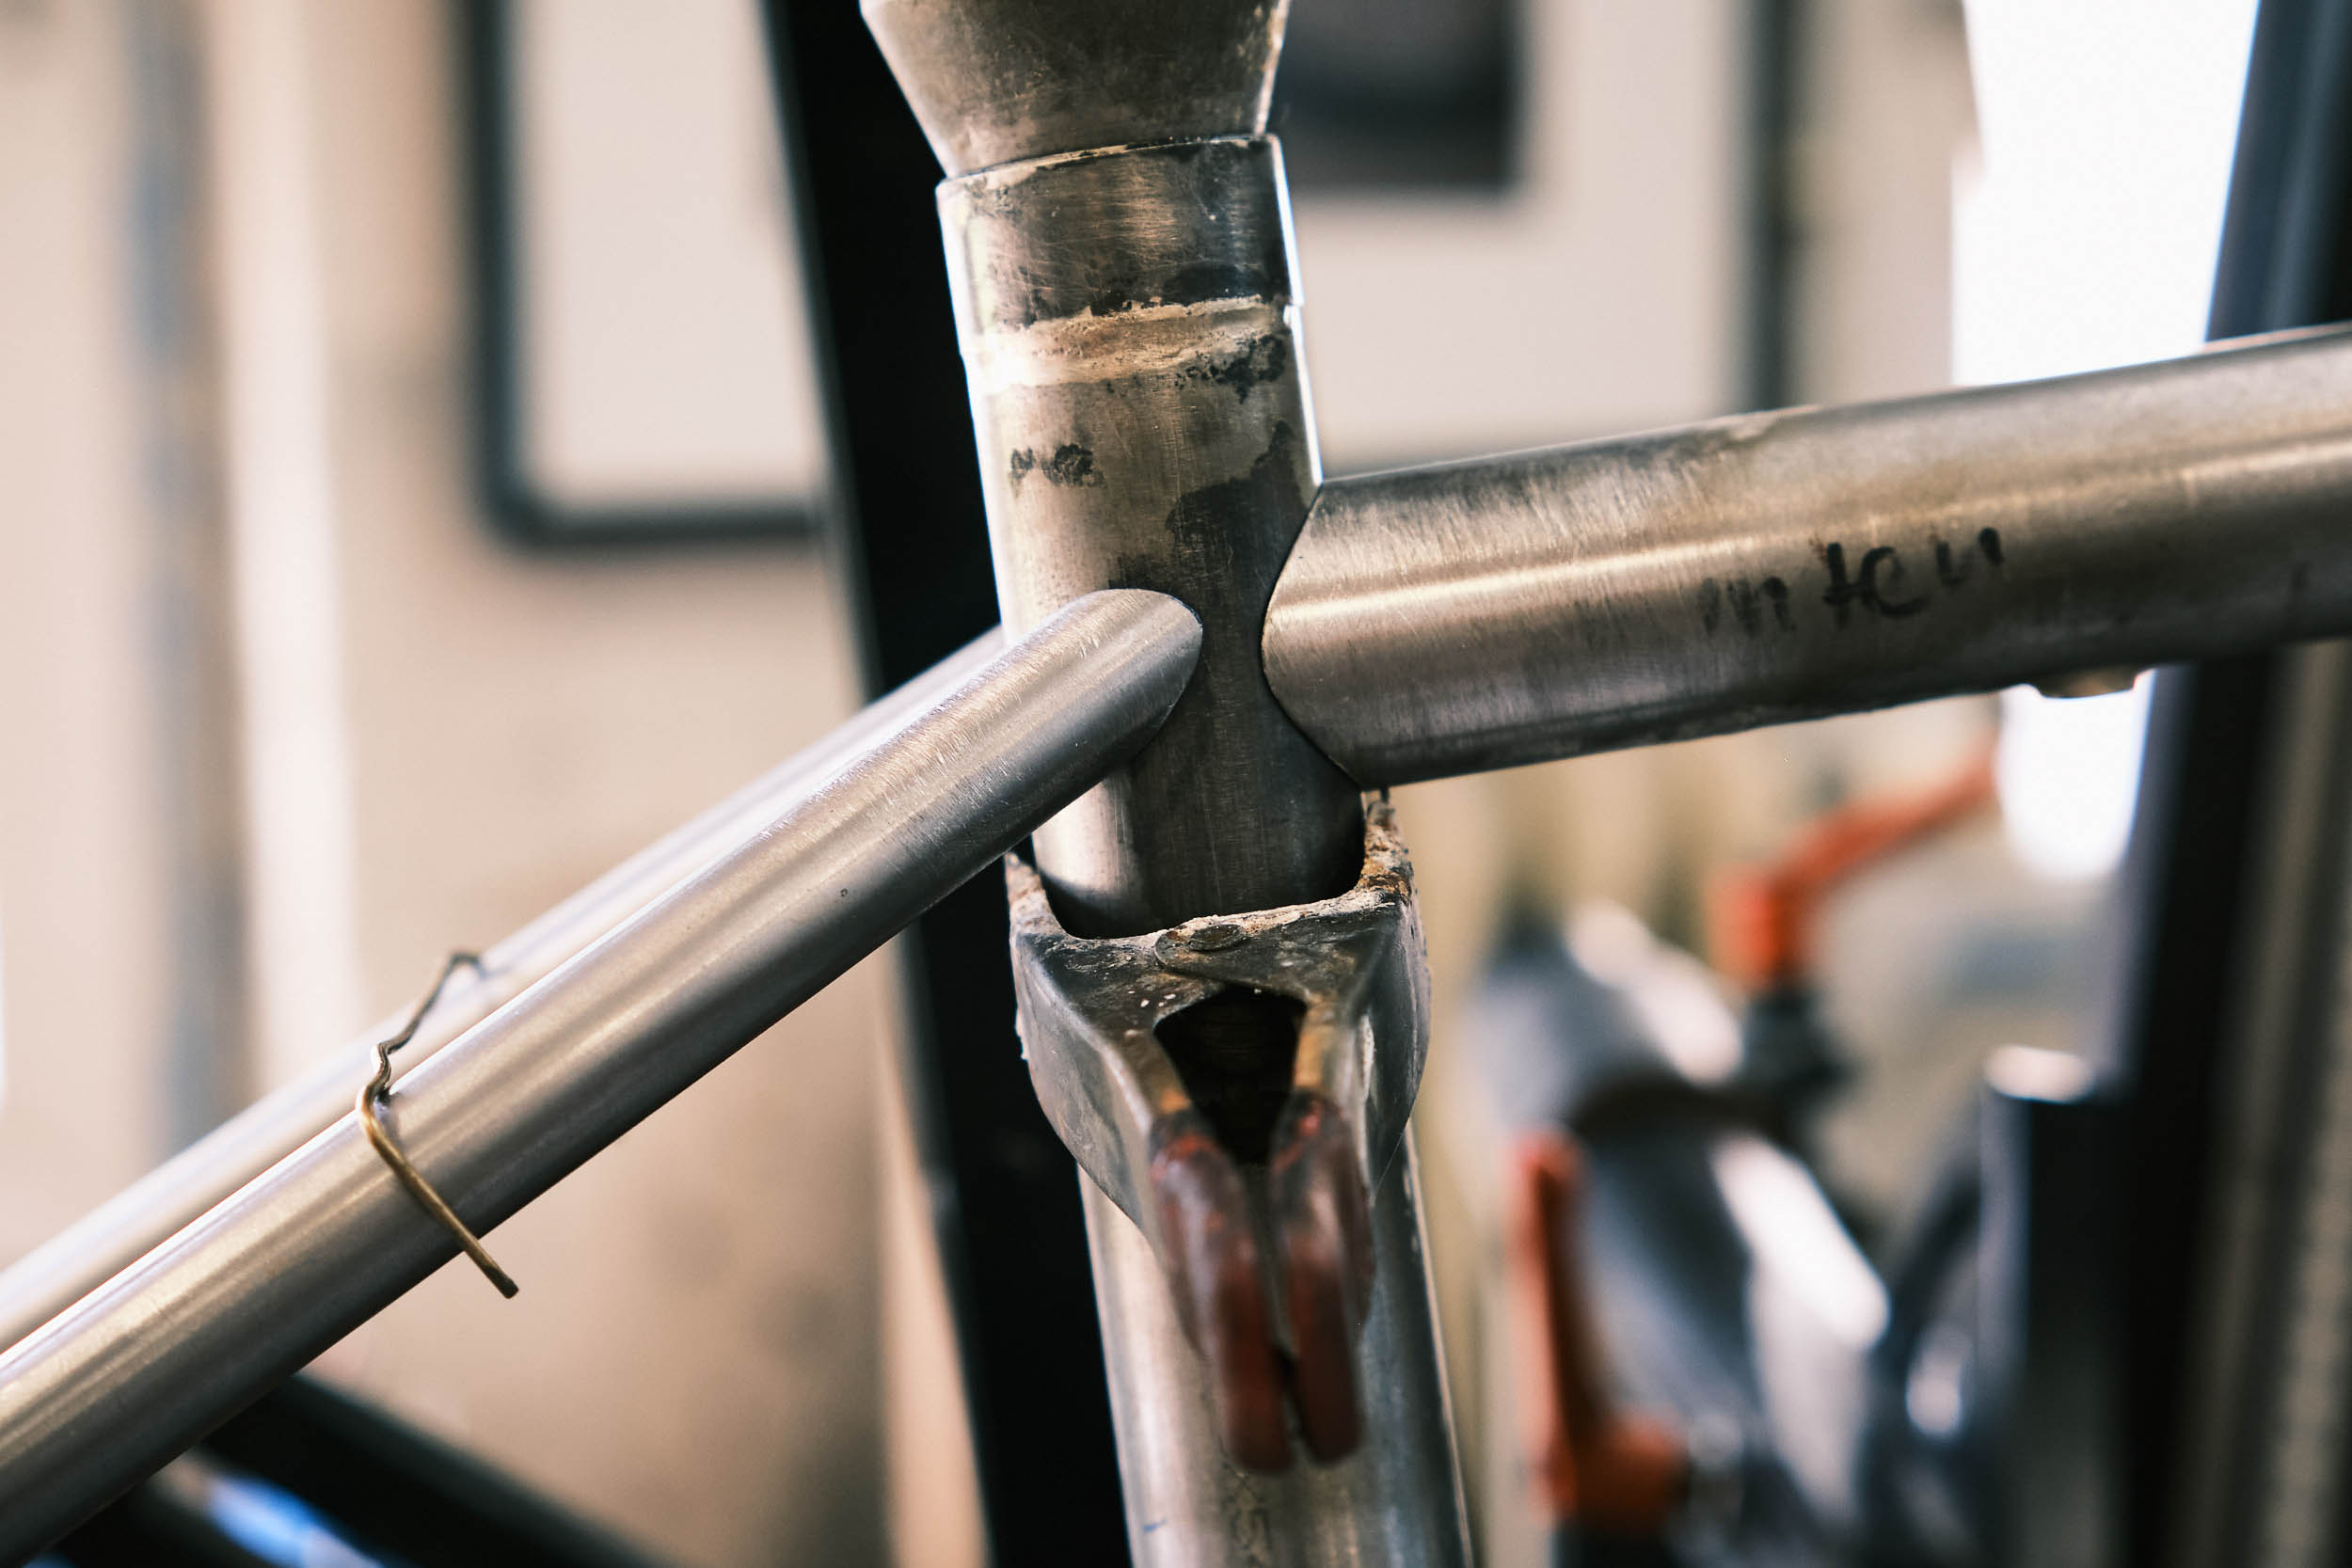
Now I need to build up the fillets, even pools of silver that straddle the tubes. The fillet strengthens the joint, but overheating the tube weakens the steel. It’s a delicate balance. Flame on, wait for the glow, dab of silver, off. On, dab, off. On, dab, off. Robert calls out when my flame wanders. My hands find a rhythm, and I continue laying down fillets until I’m happy with their size. Robert grunts in approval.
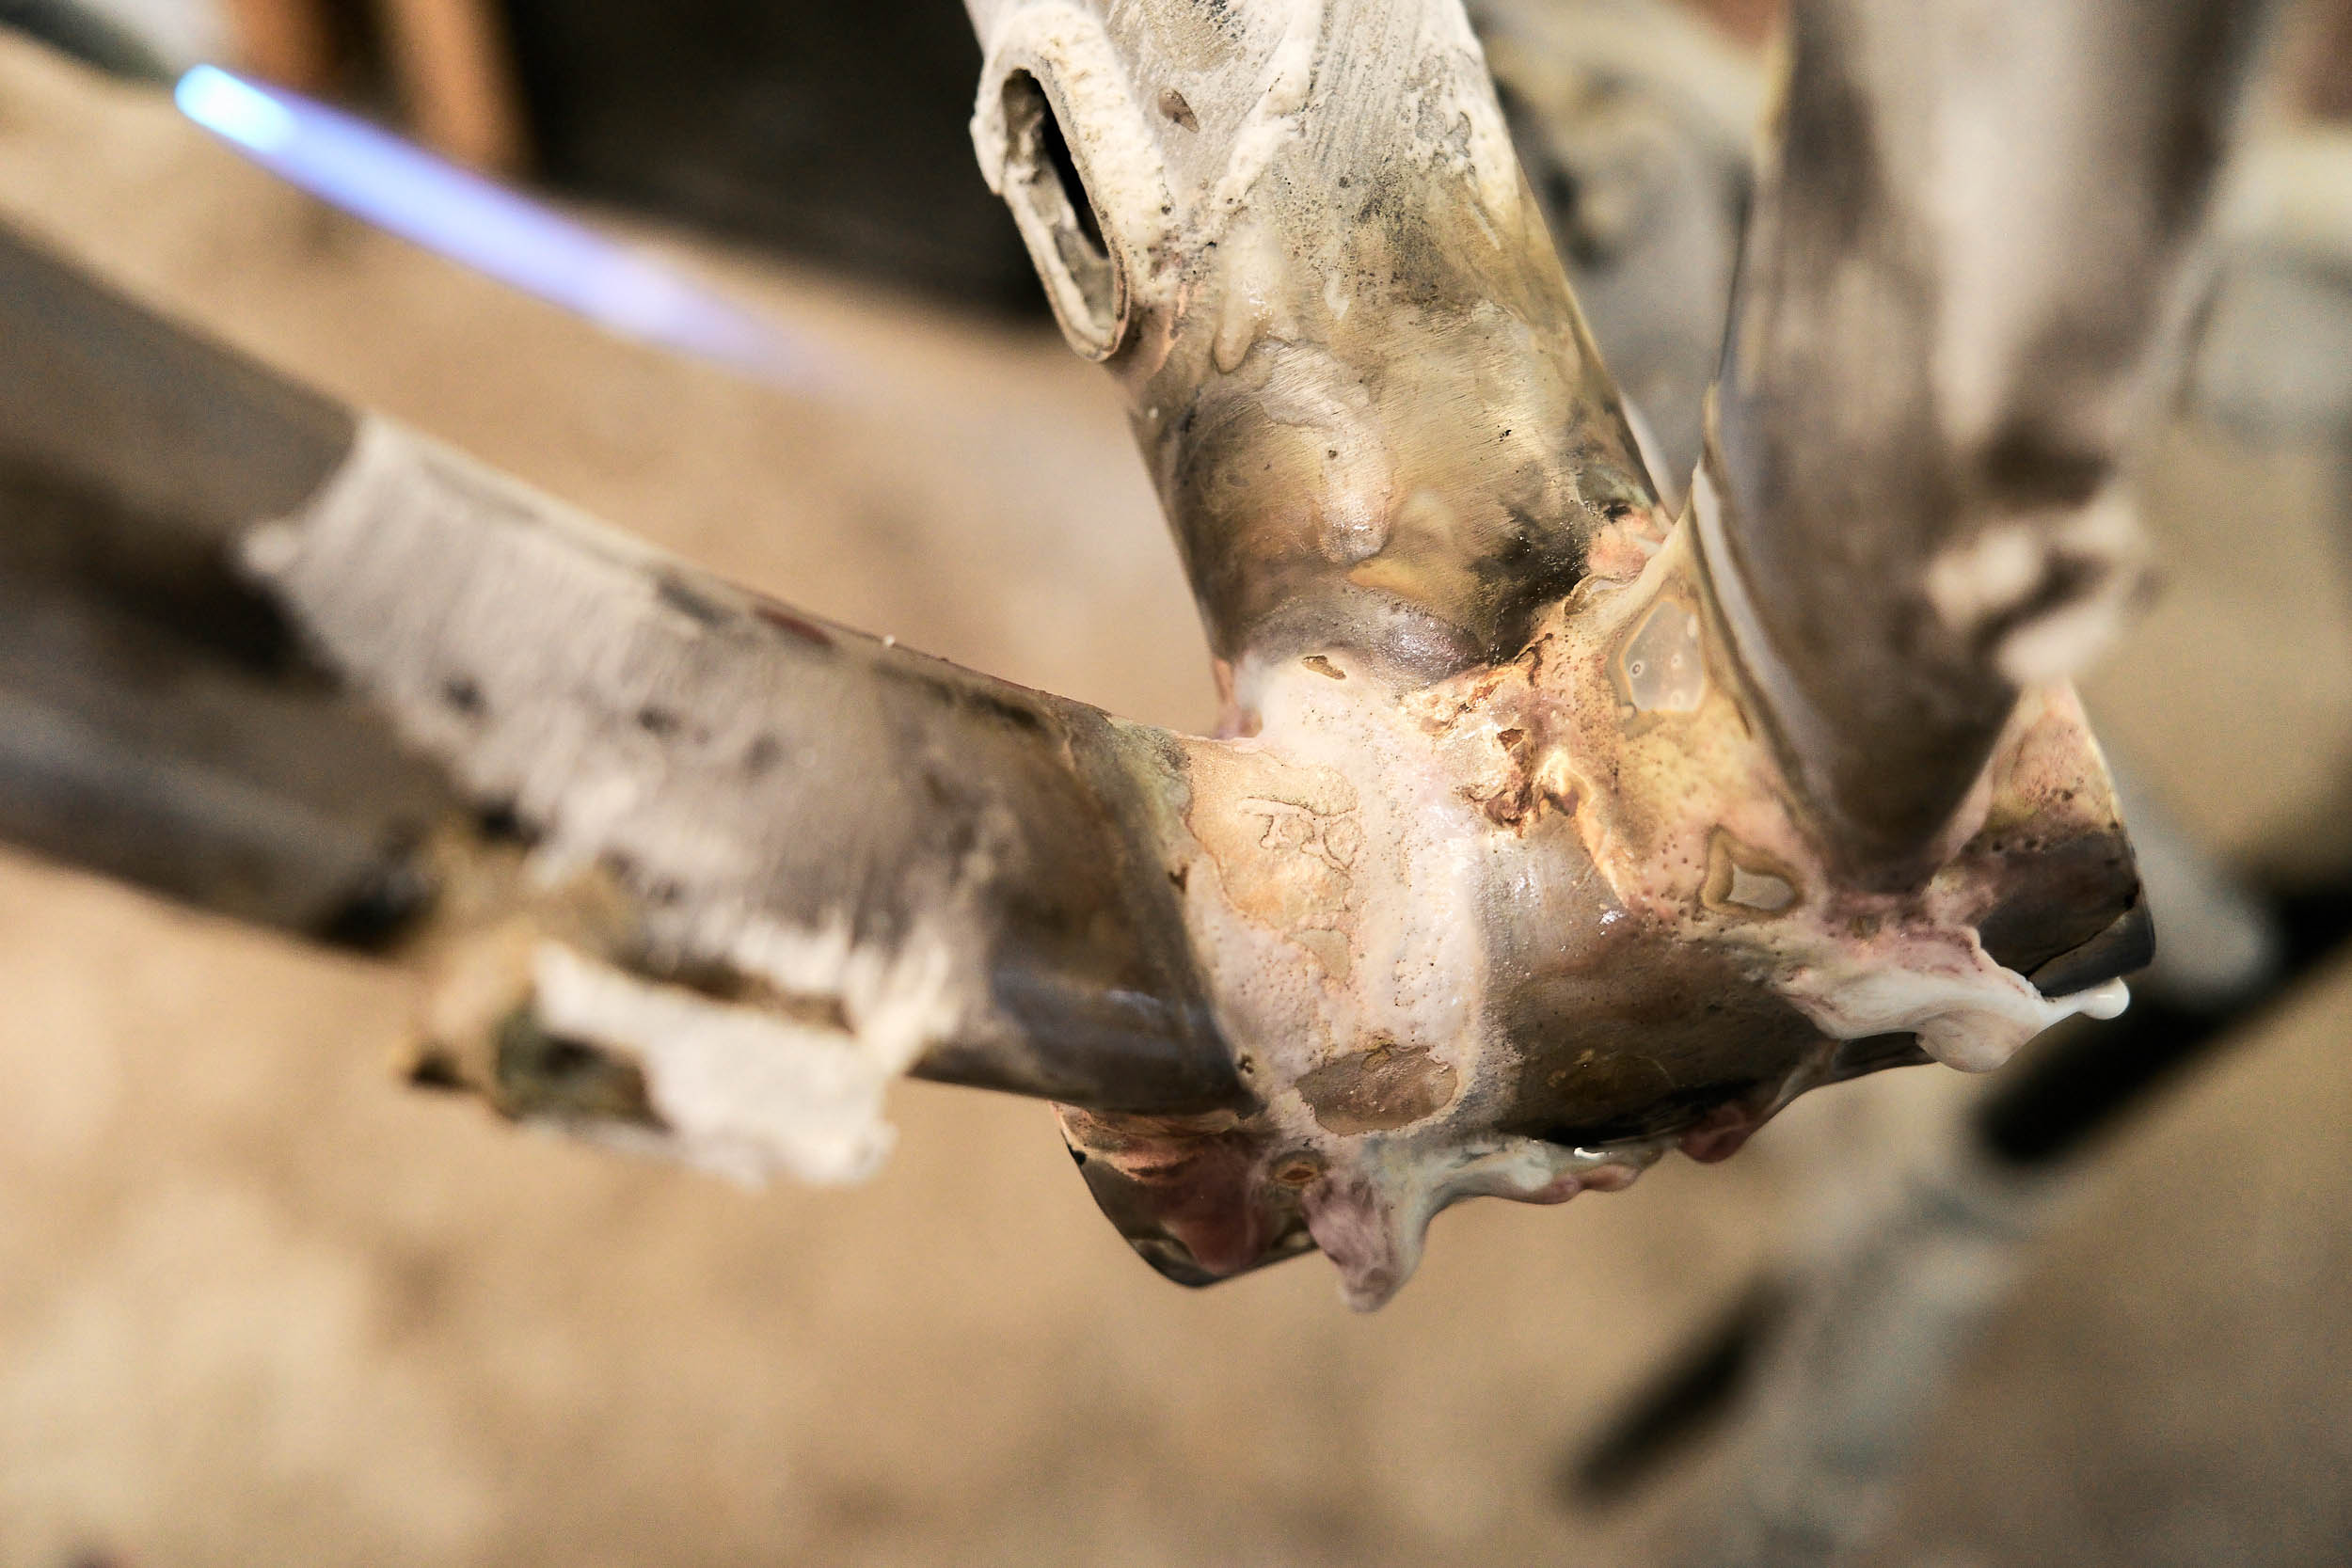
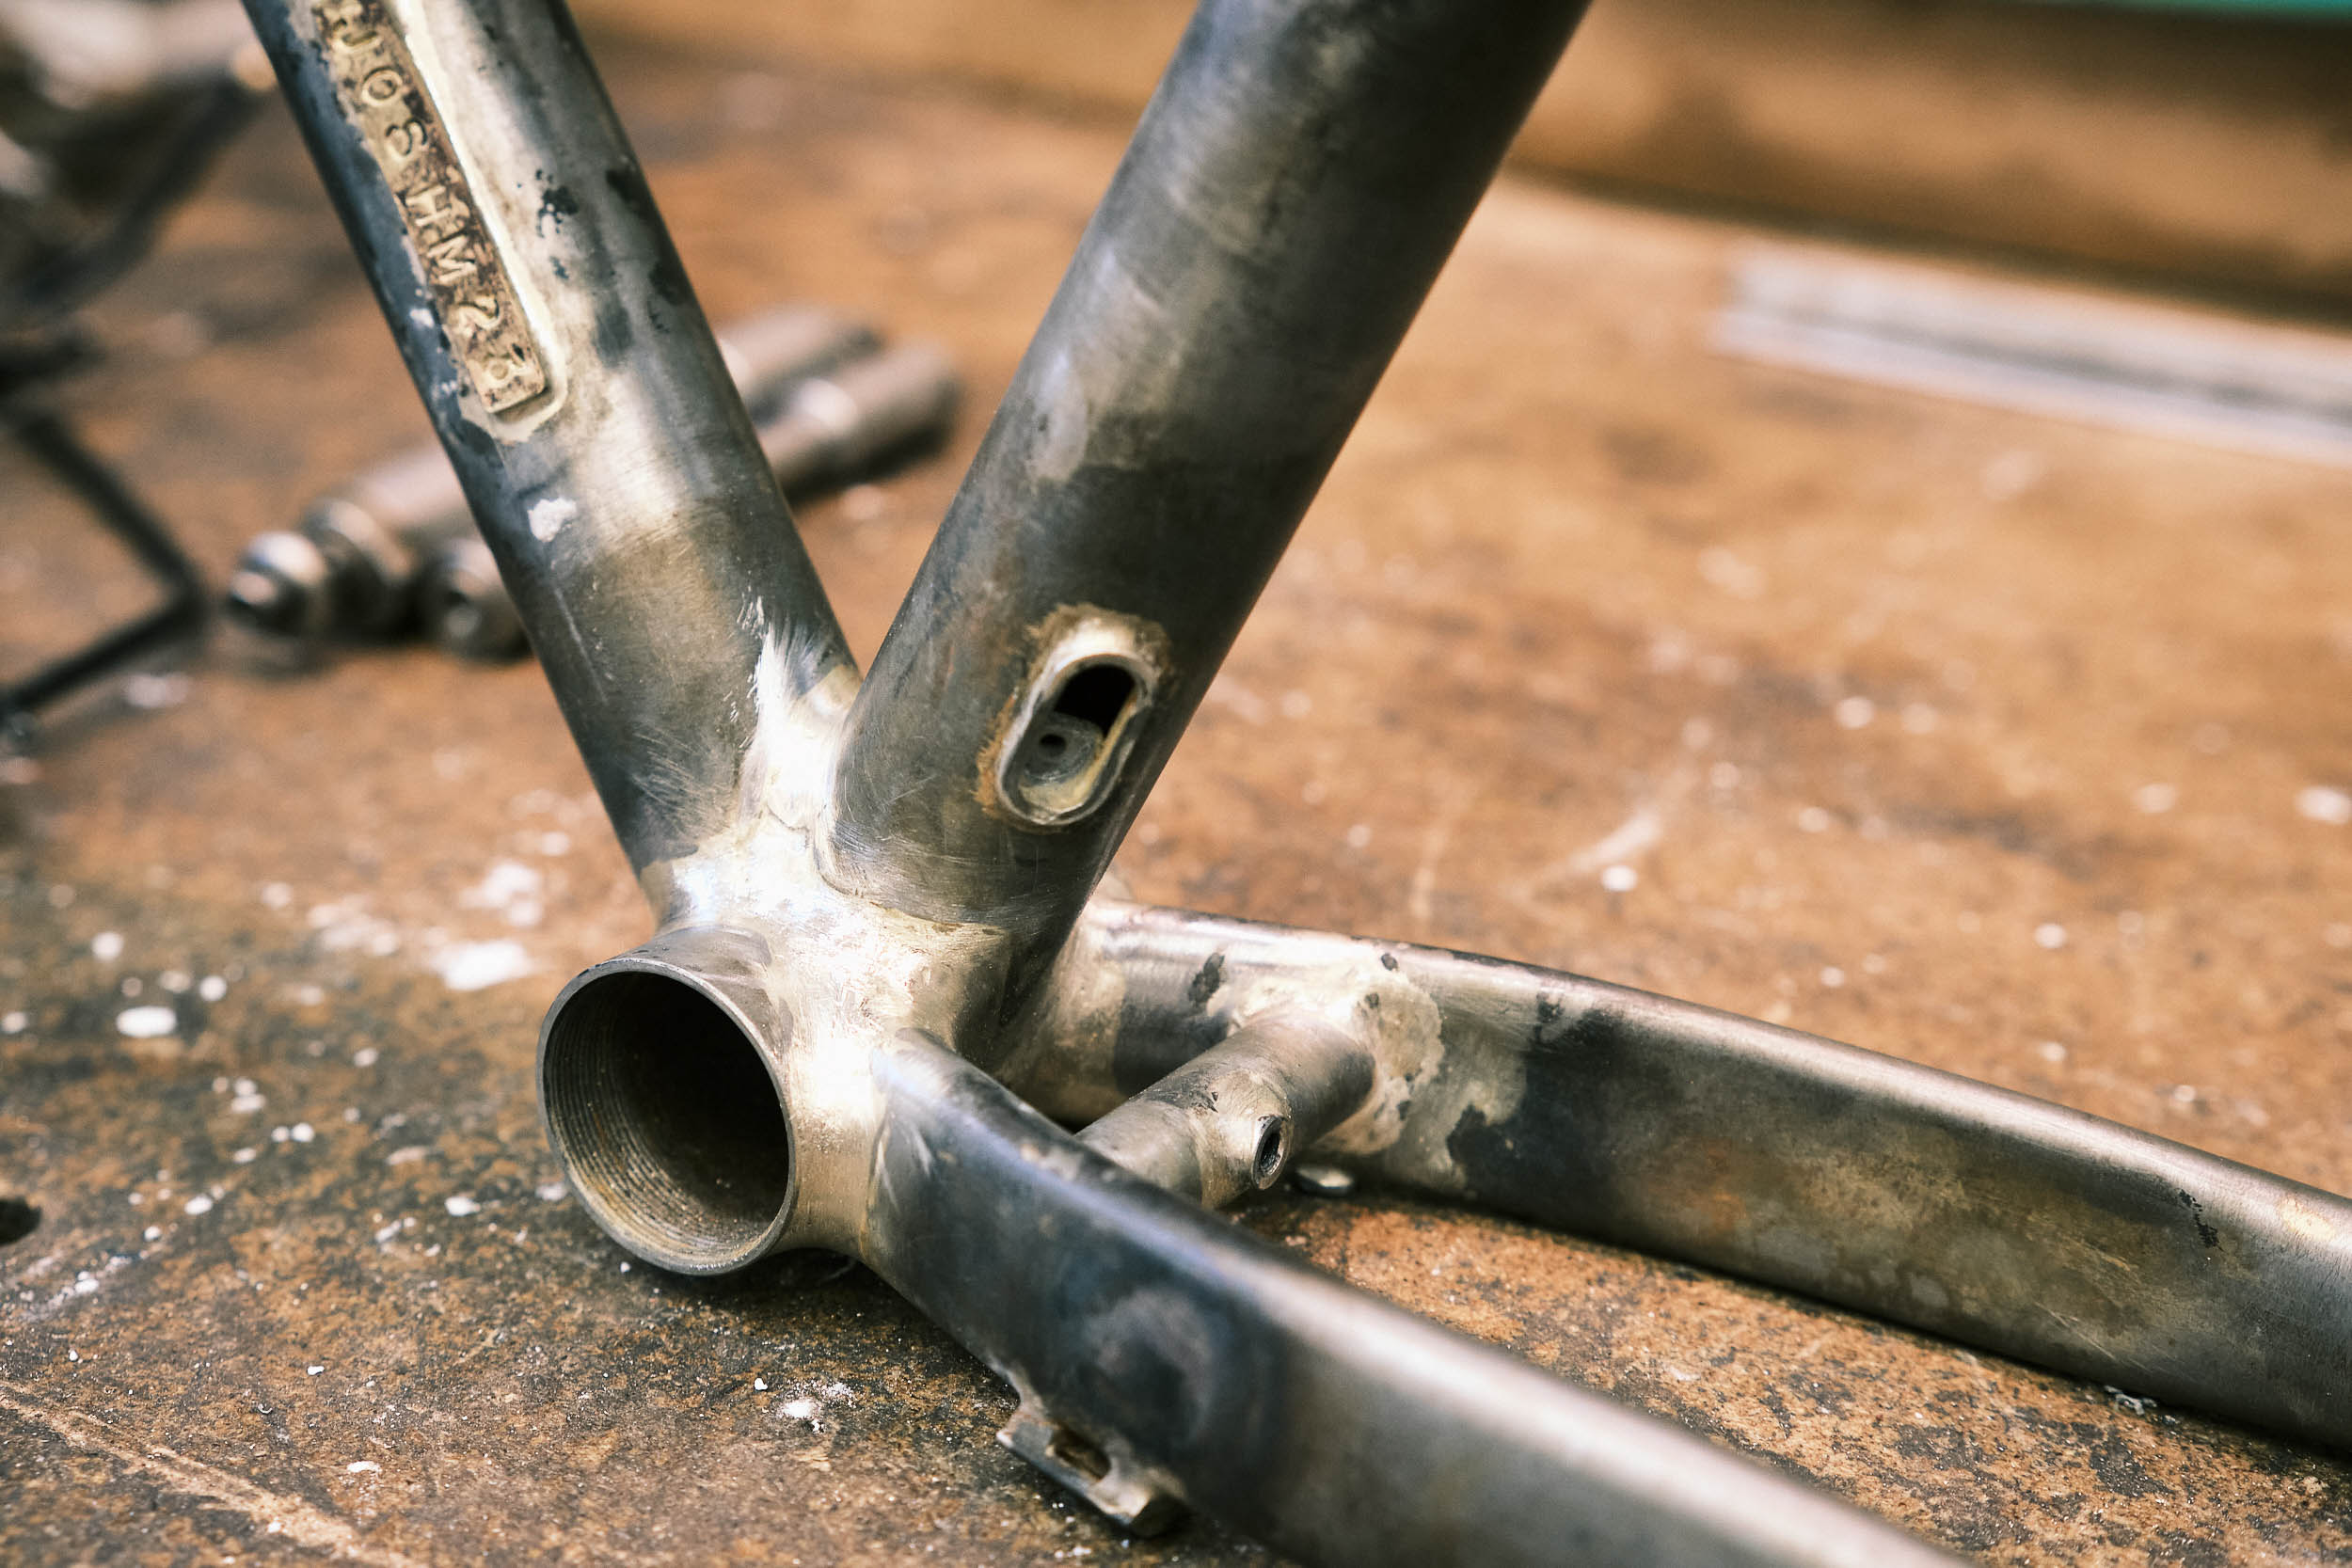
We steadily work our way around the frame. The bottom bracket area is particularly challenging. It’s difficult to see what’s going on among the colliding tubes and the grotesque mess of flux and oxidized steel. But Robert seems to have X-ray vision. It’s brazing with the training wheels on: challenging but not overwhelming and quite rewarding, too.
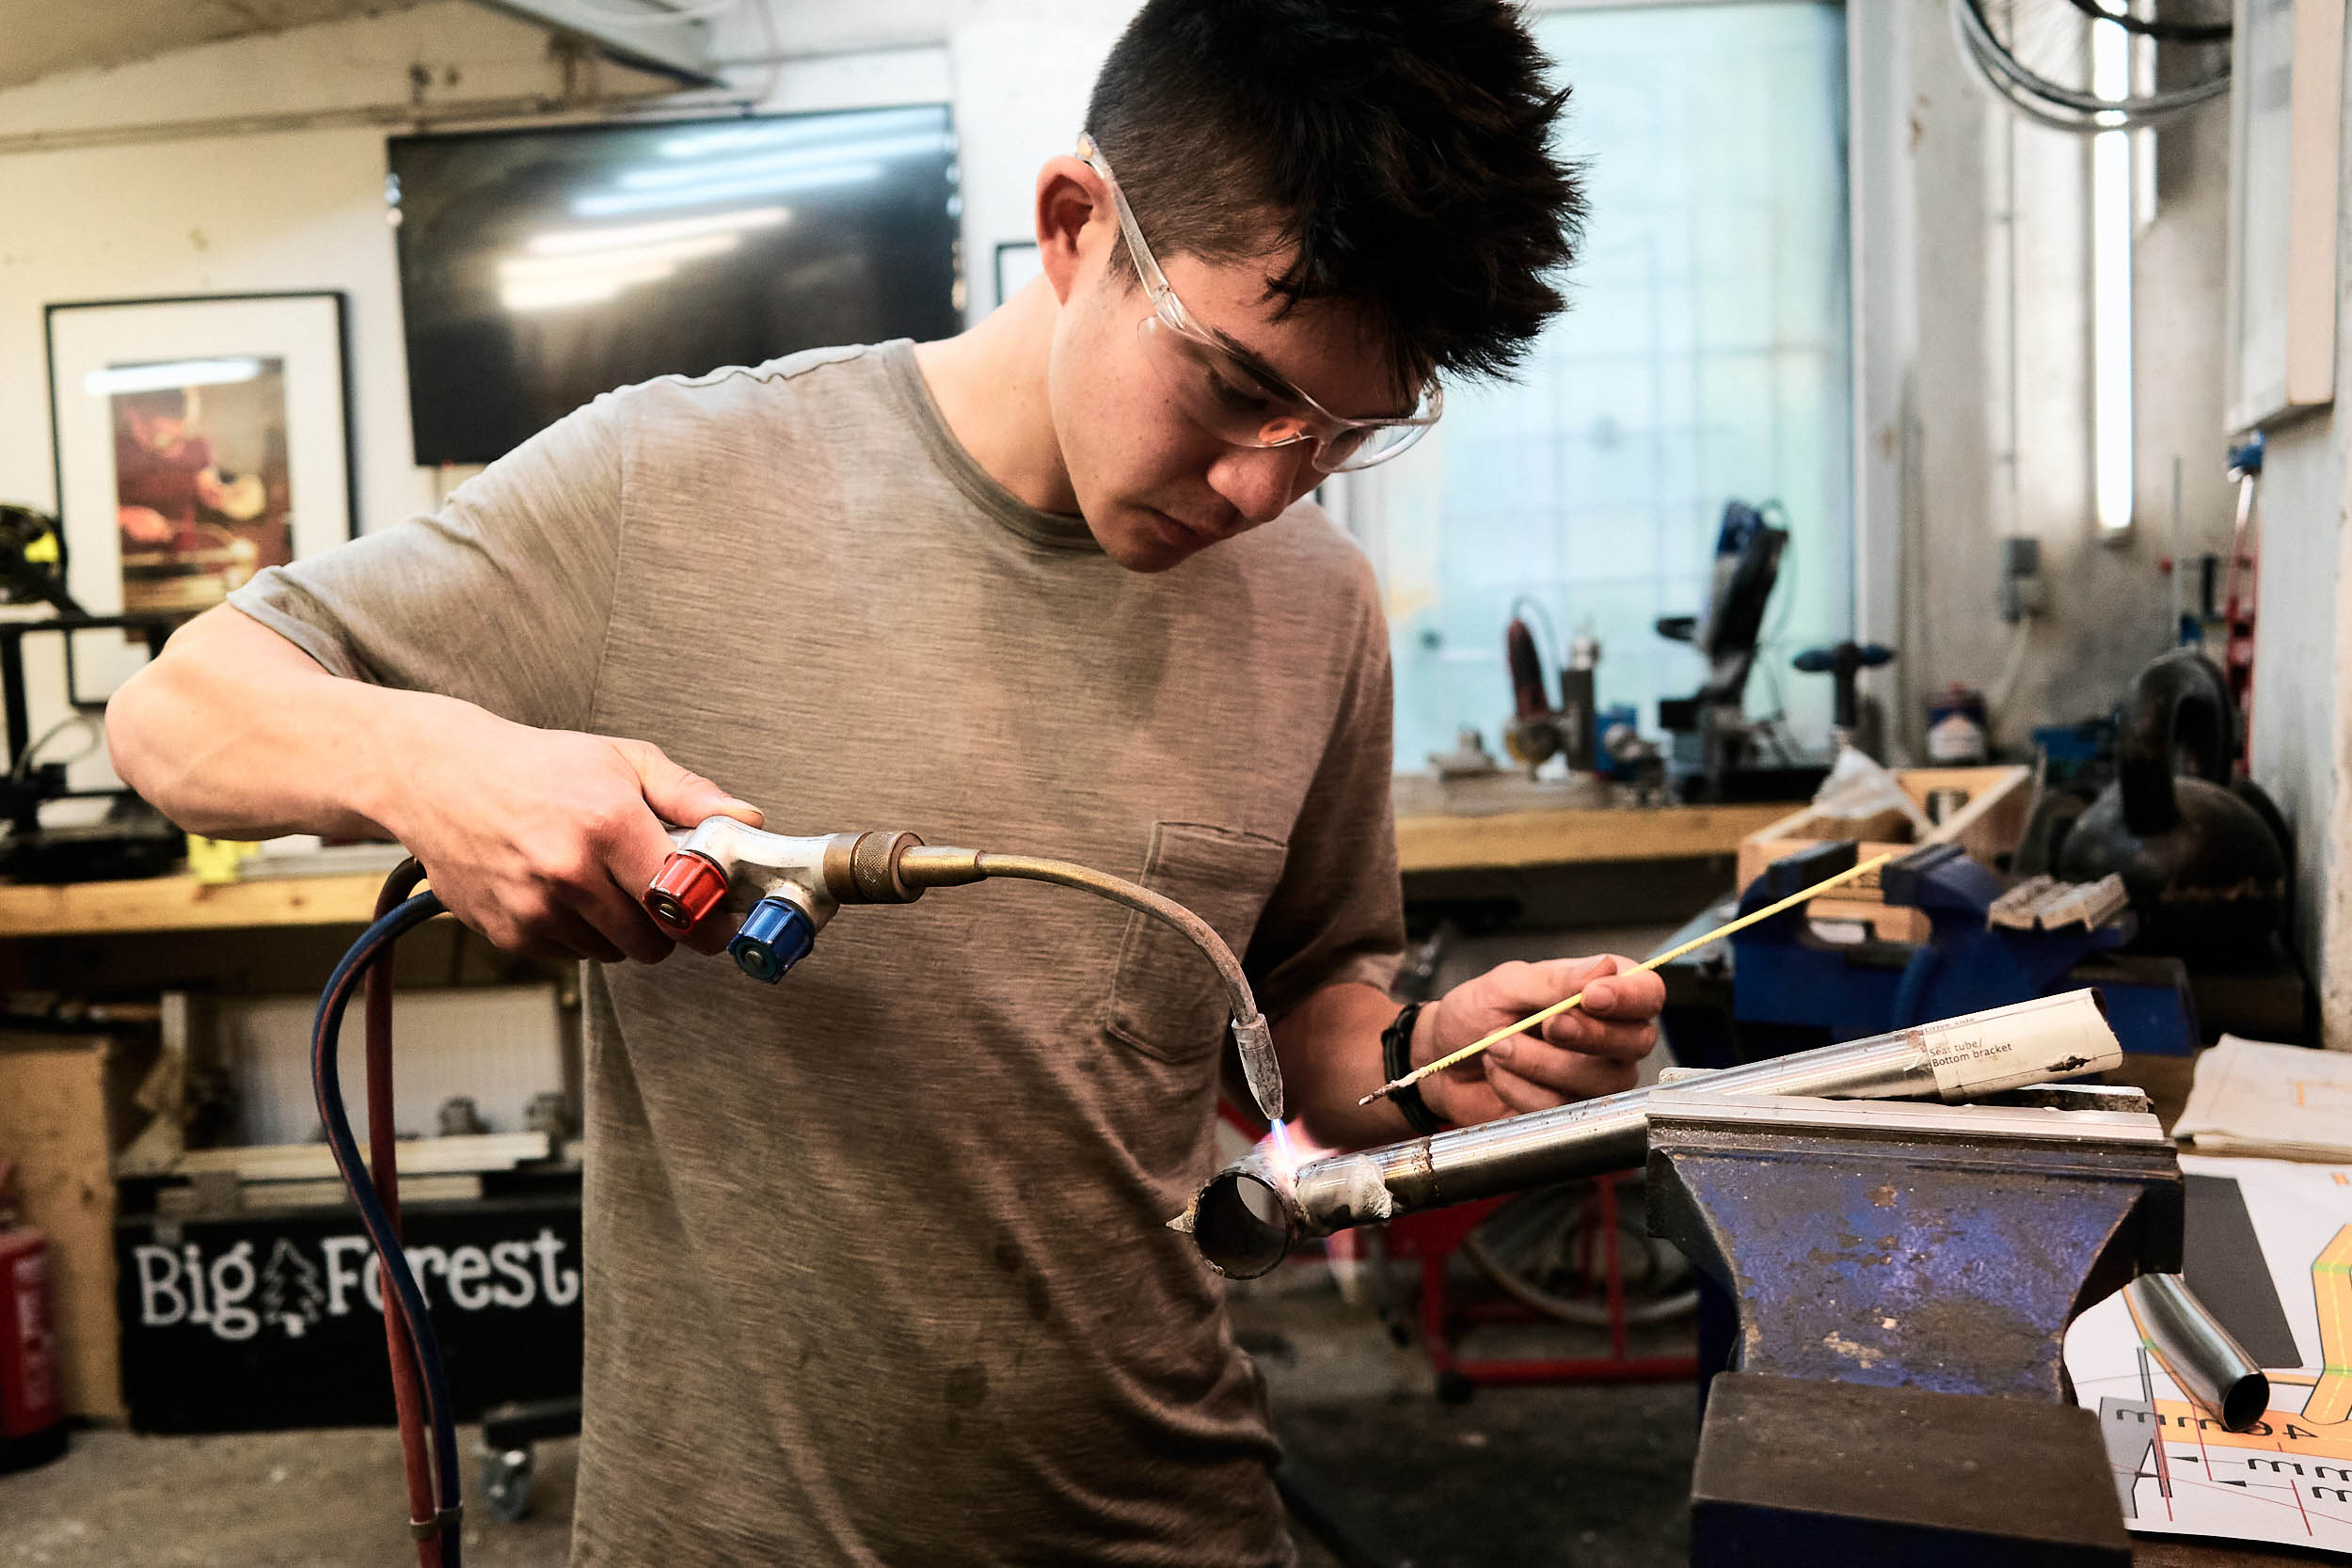
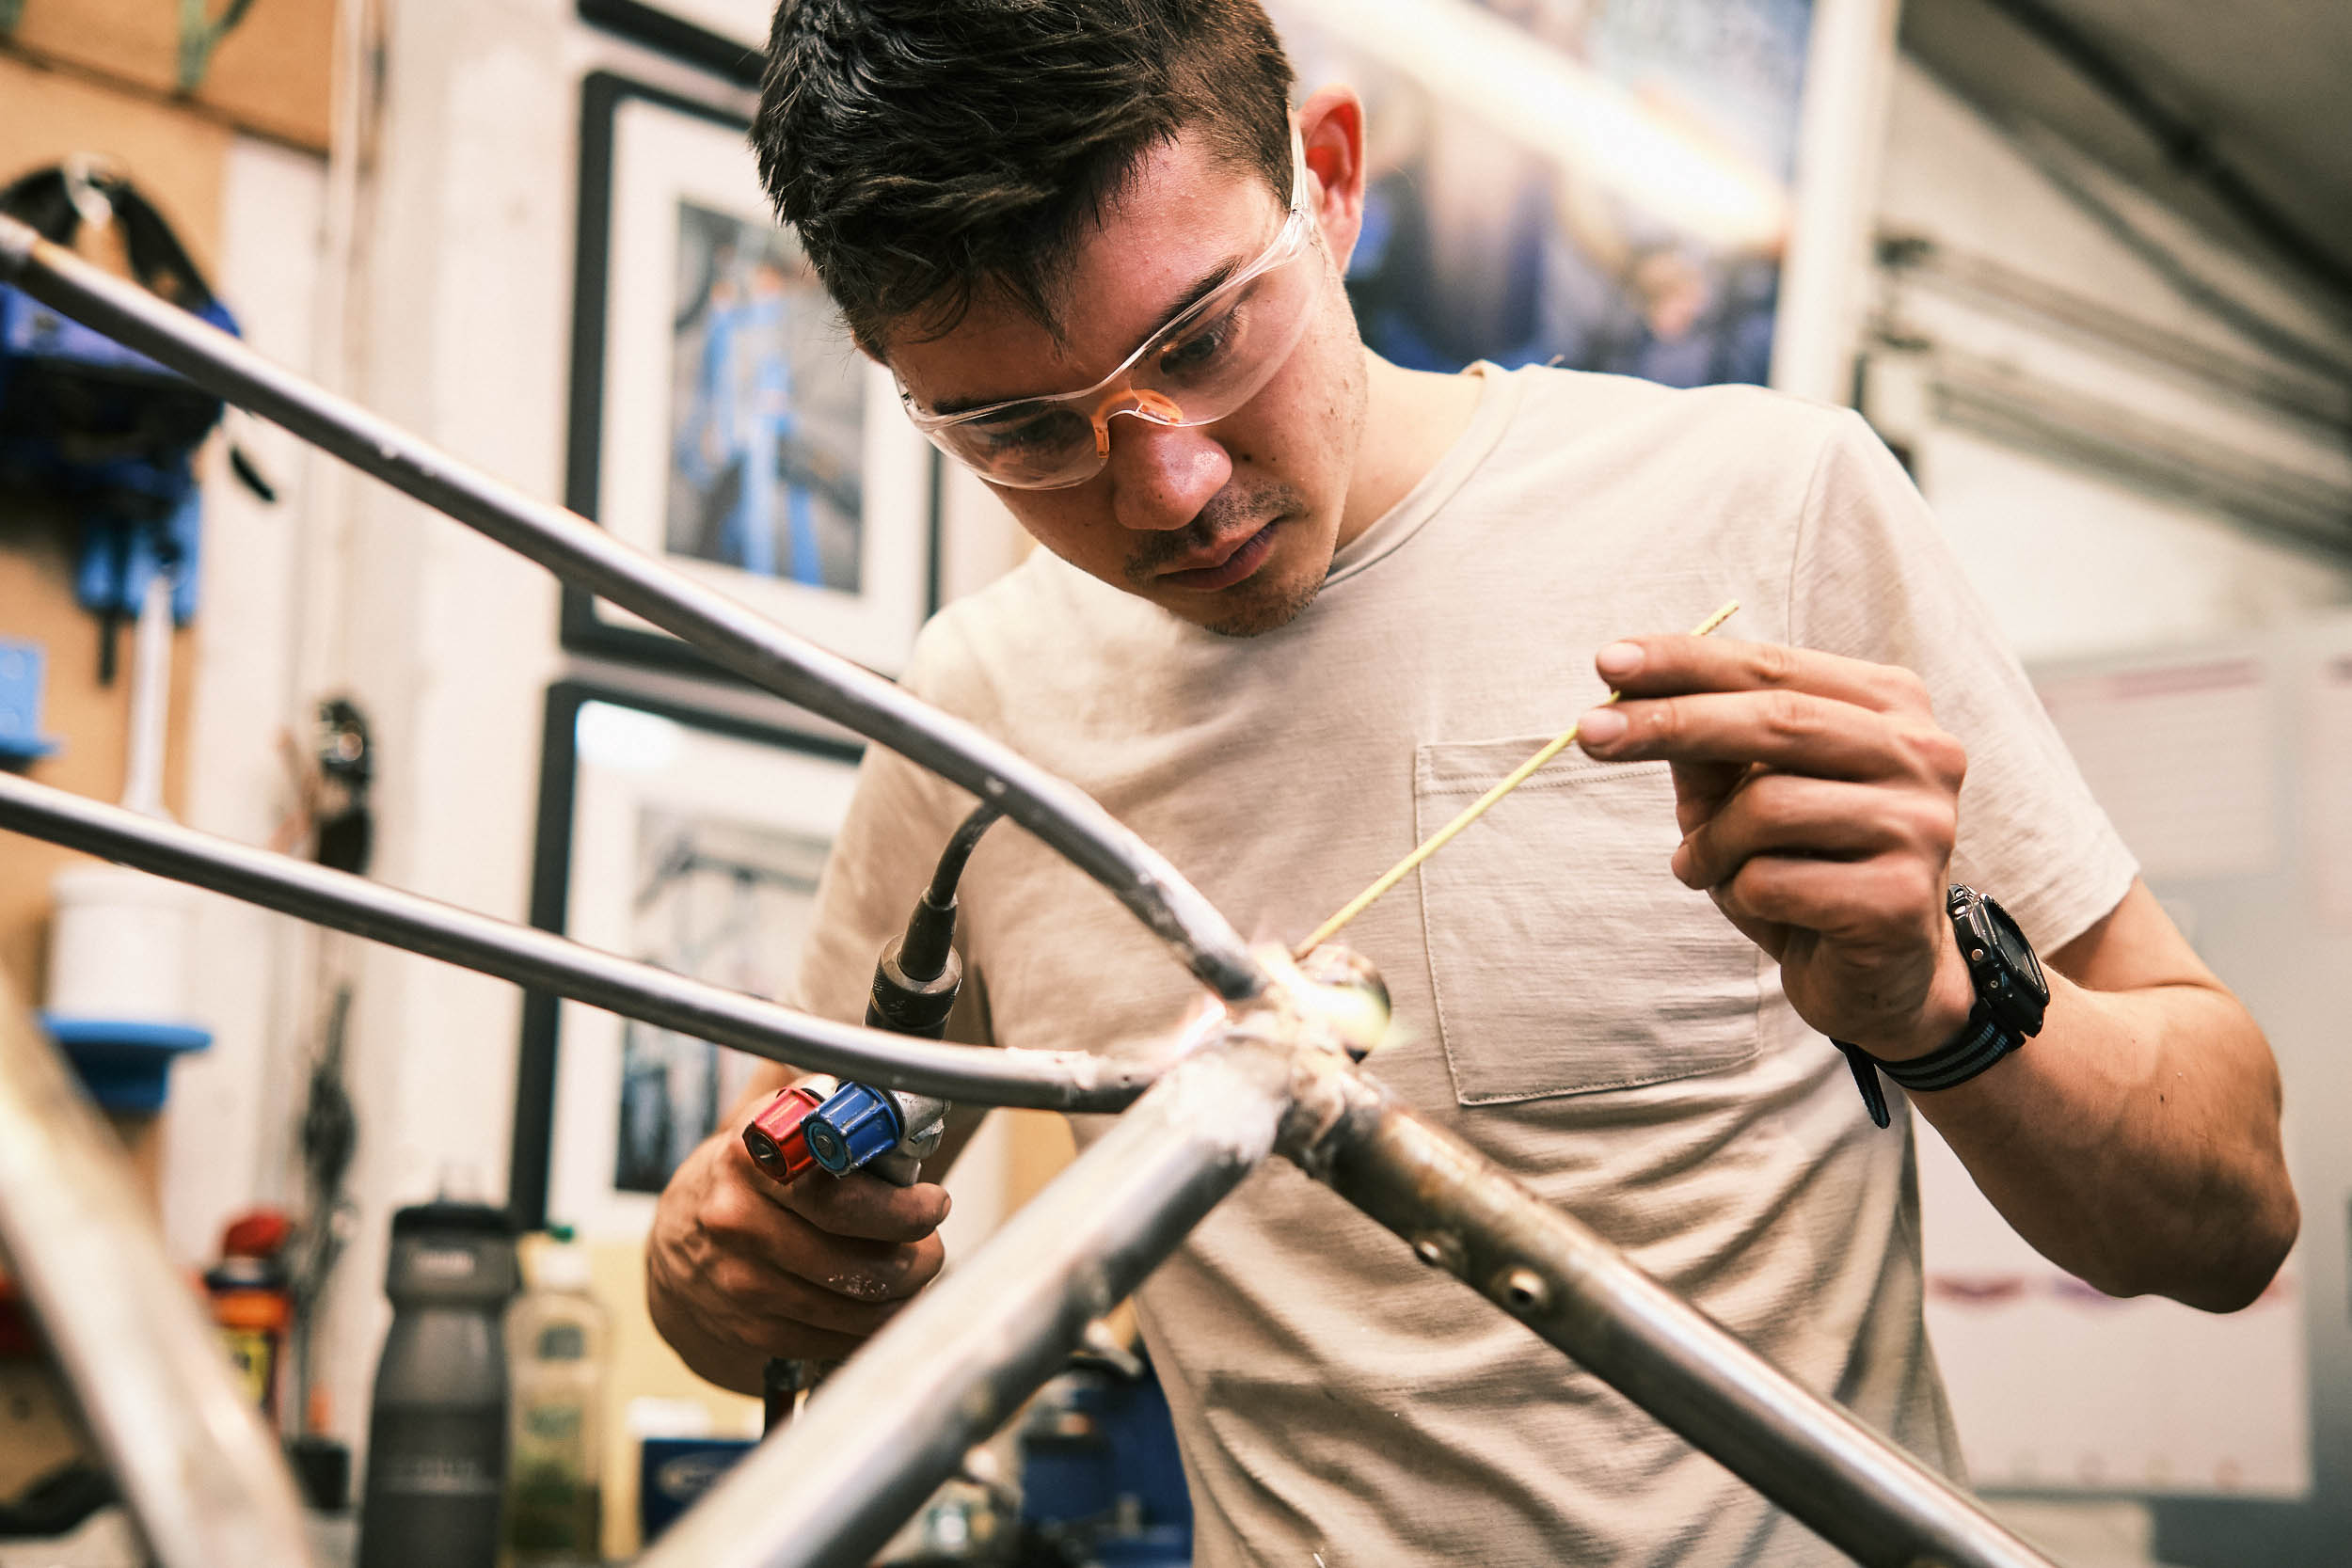
While the main triangle cools, I turn my attention to my fork. I’m modifying an off-the-shelf Nordest Sardinha fork with extra mounts and internal dynamo wiring. The procedure is familiar to me by now: measure and drill holes, lather it up with flux, and braze in the M5 bosses. The tapered fork legs are a bit tricky to work on, but my trusty straight edge and tube blocks do the trick.
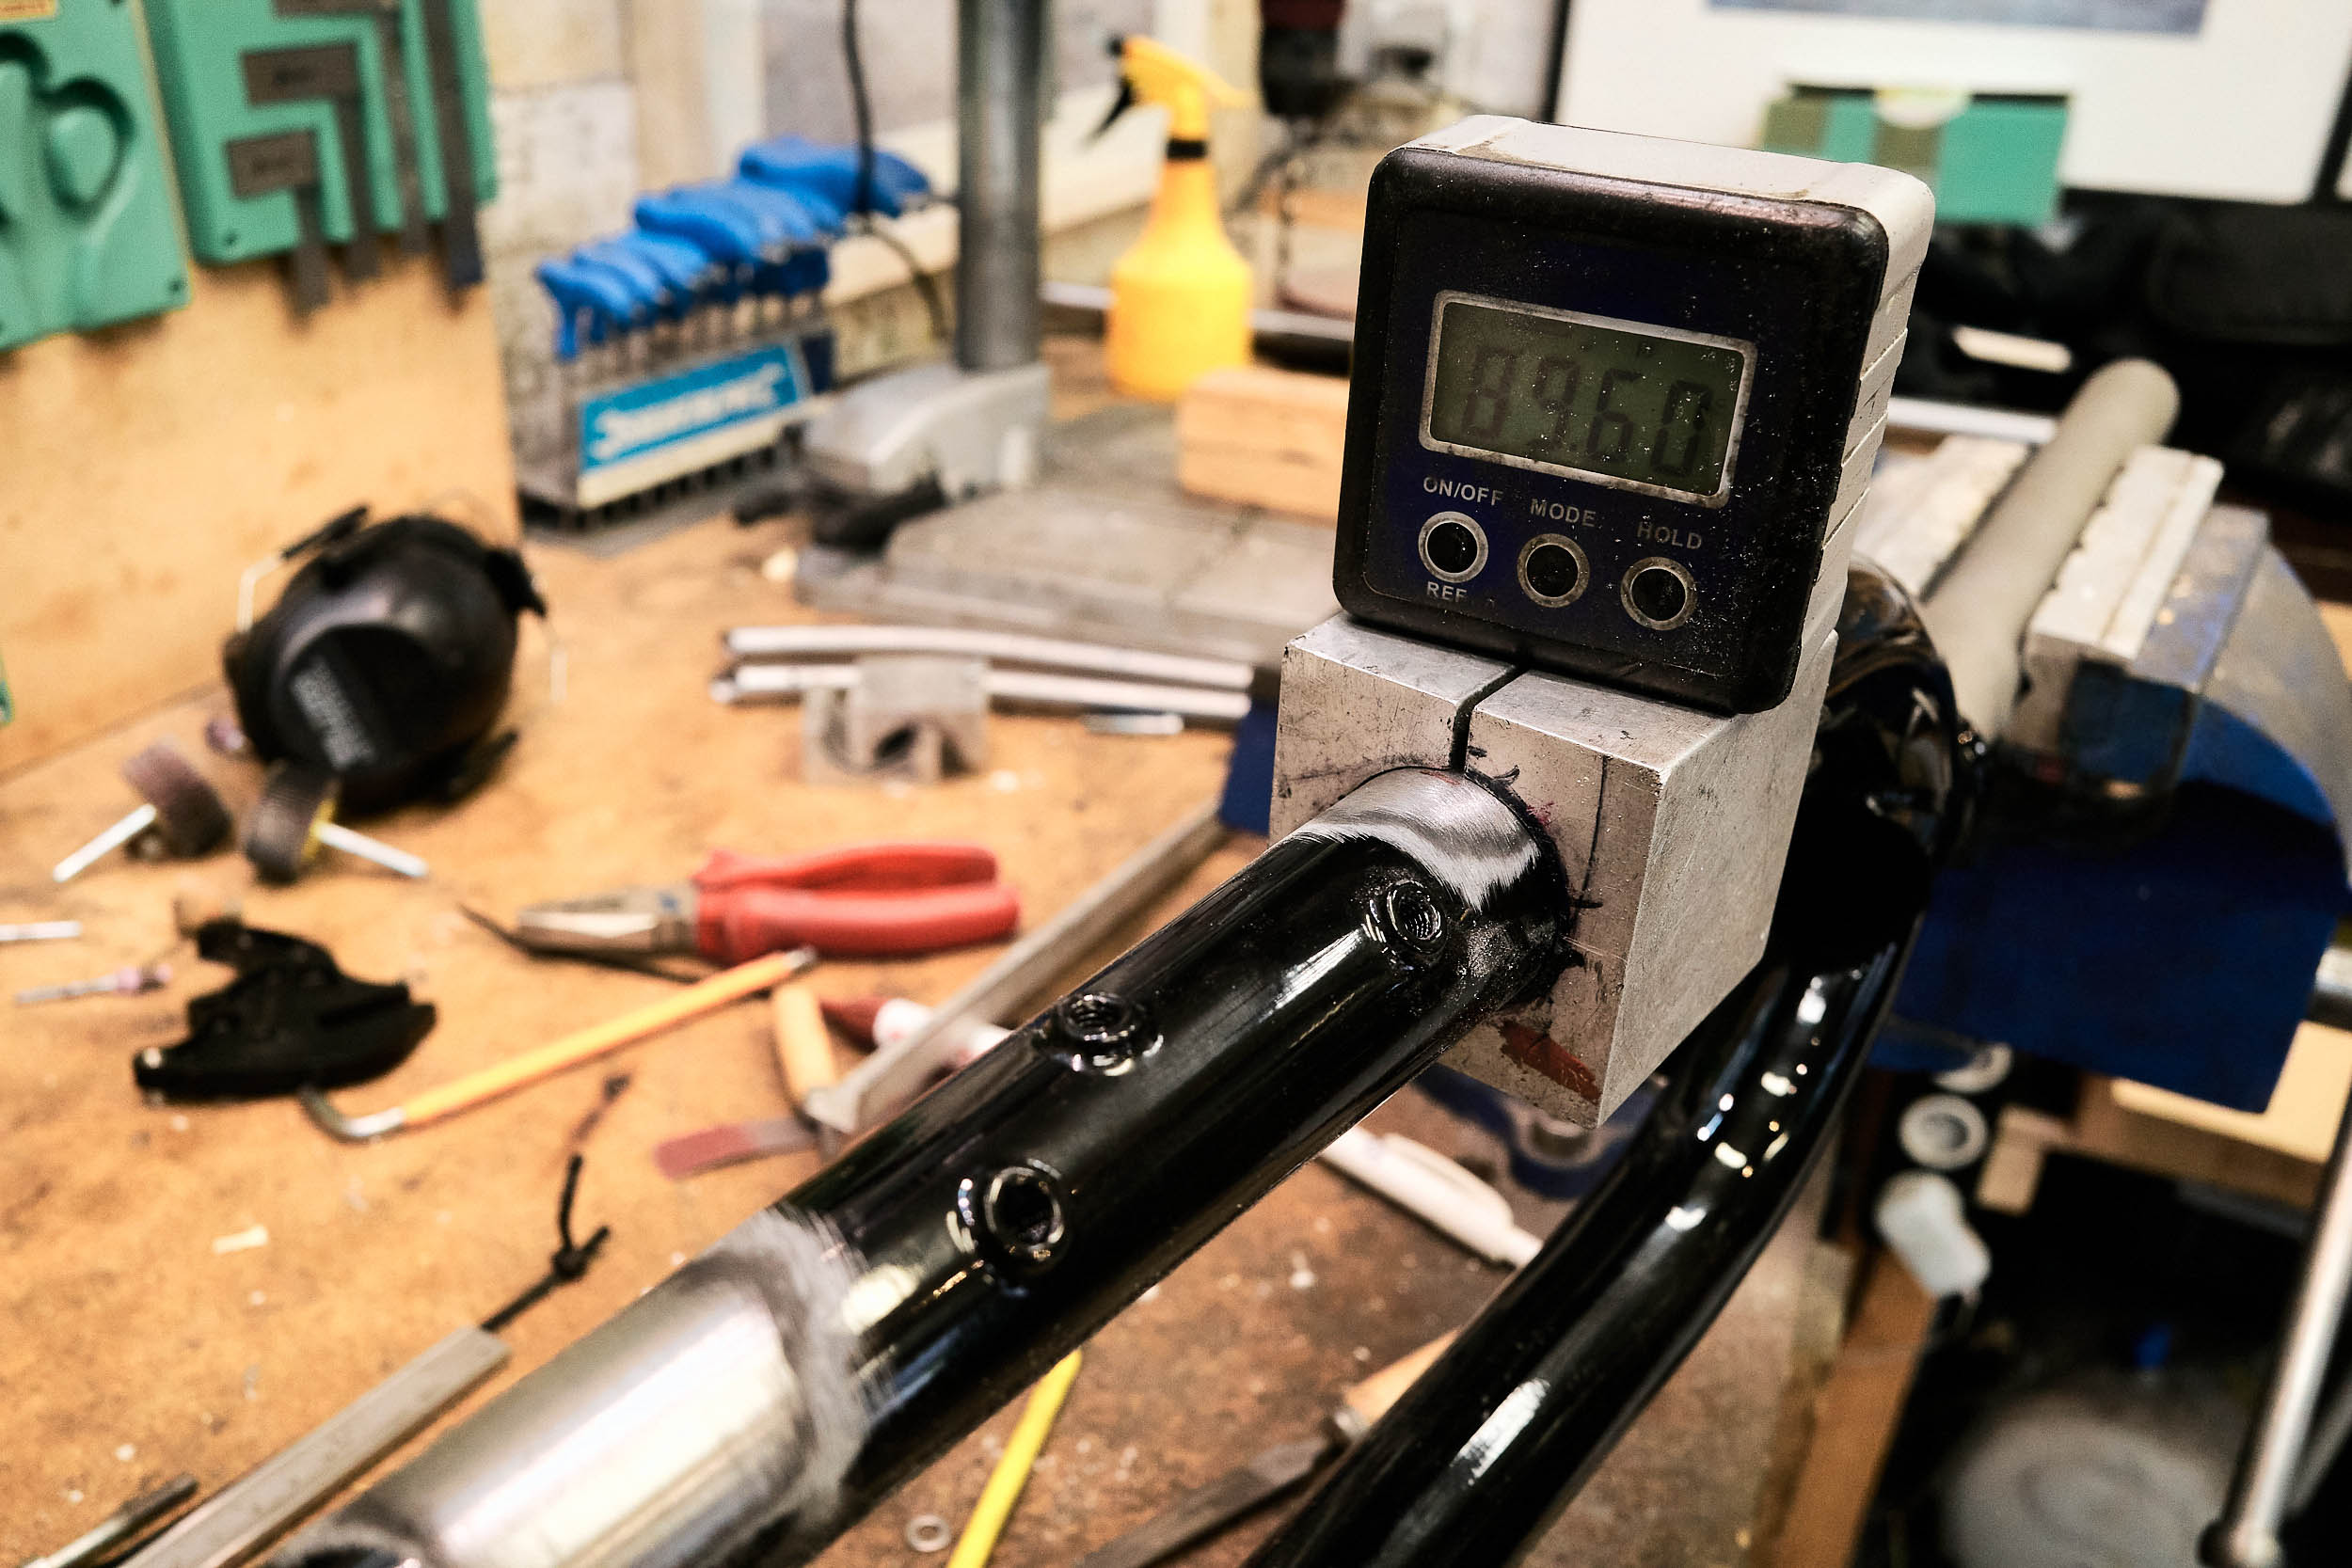
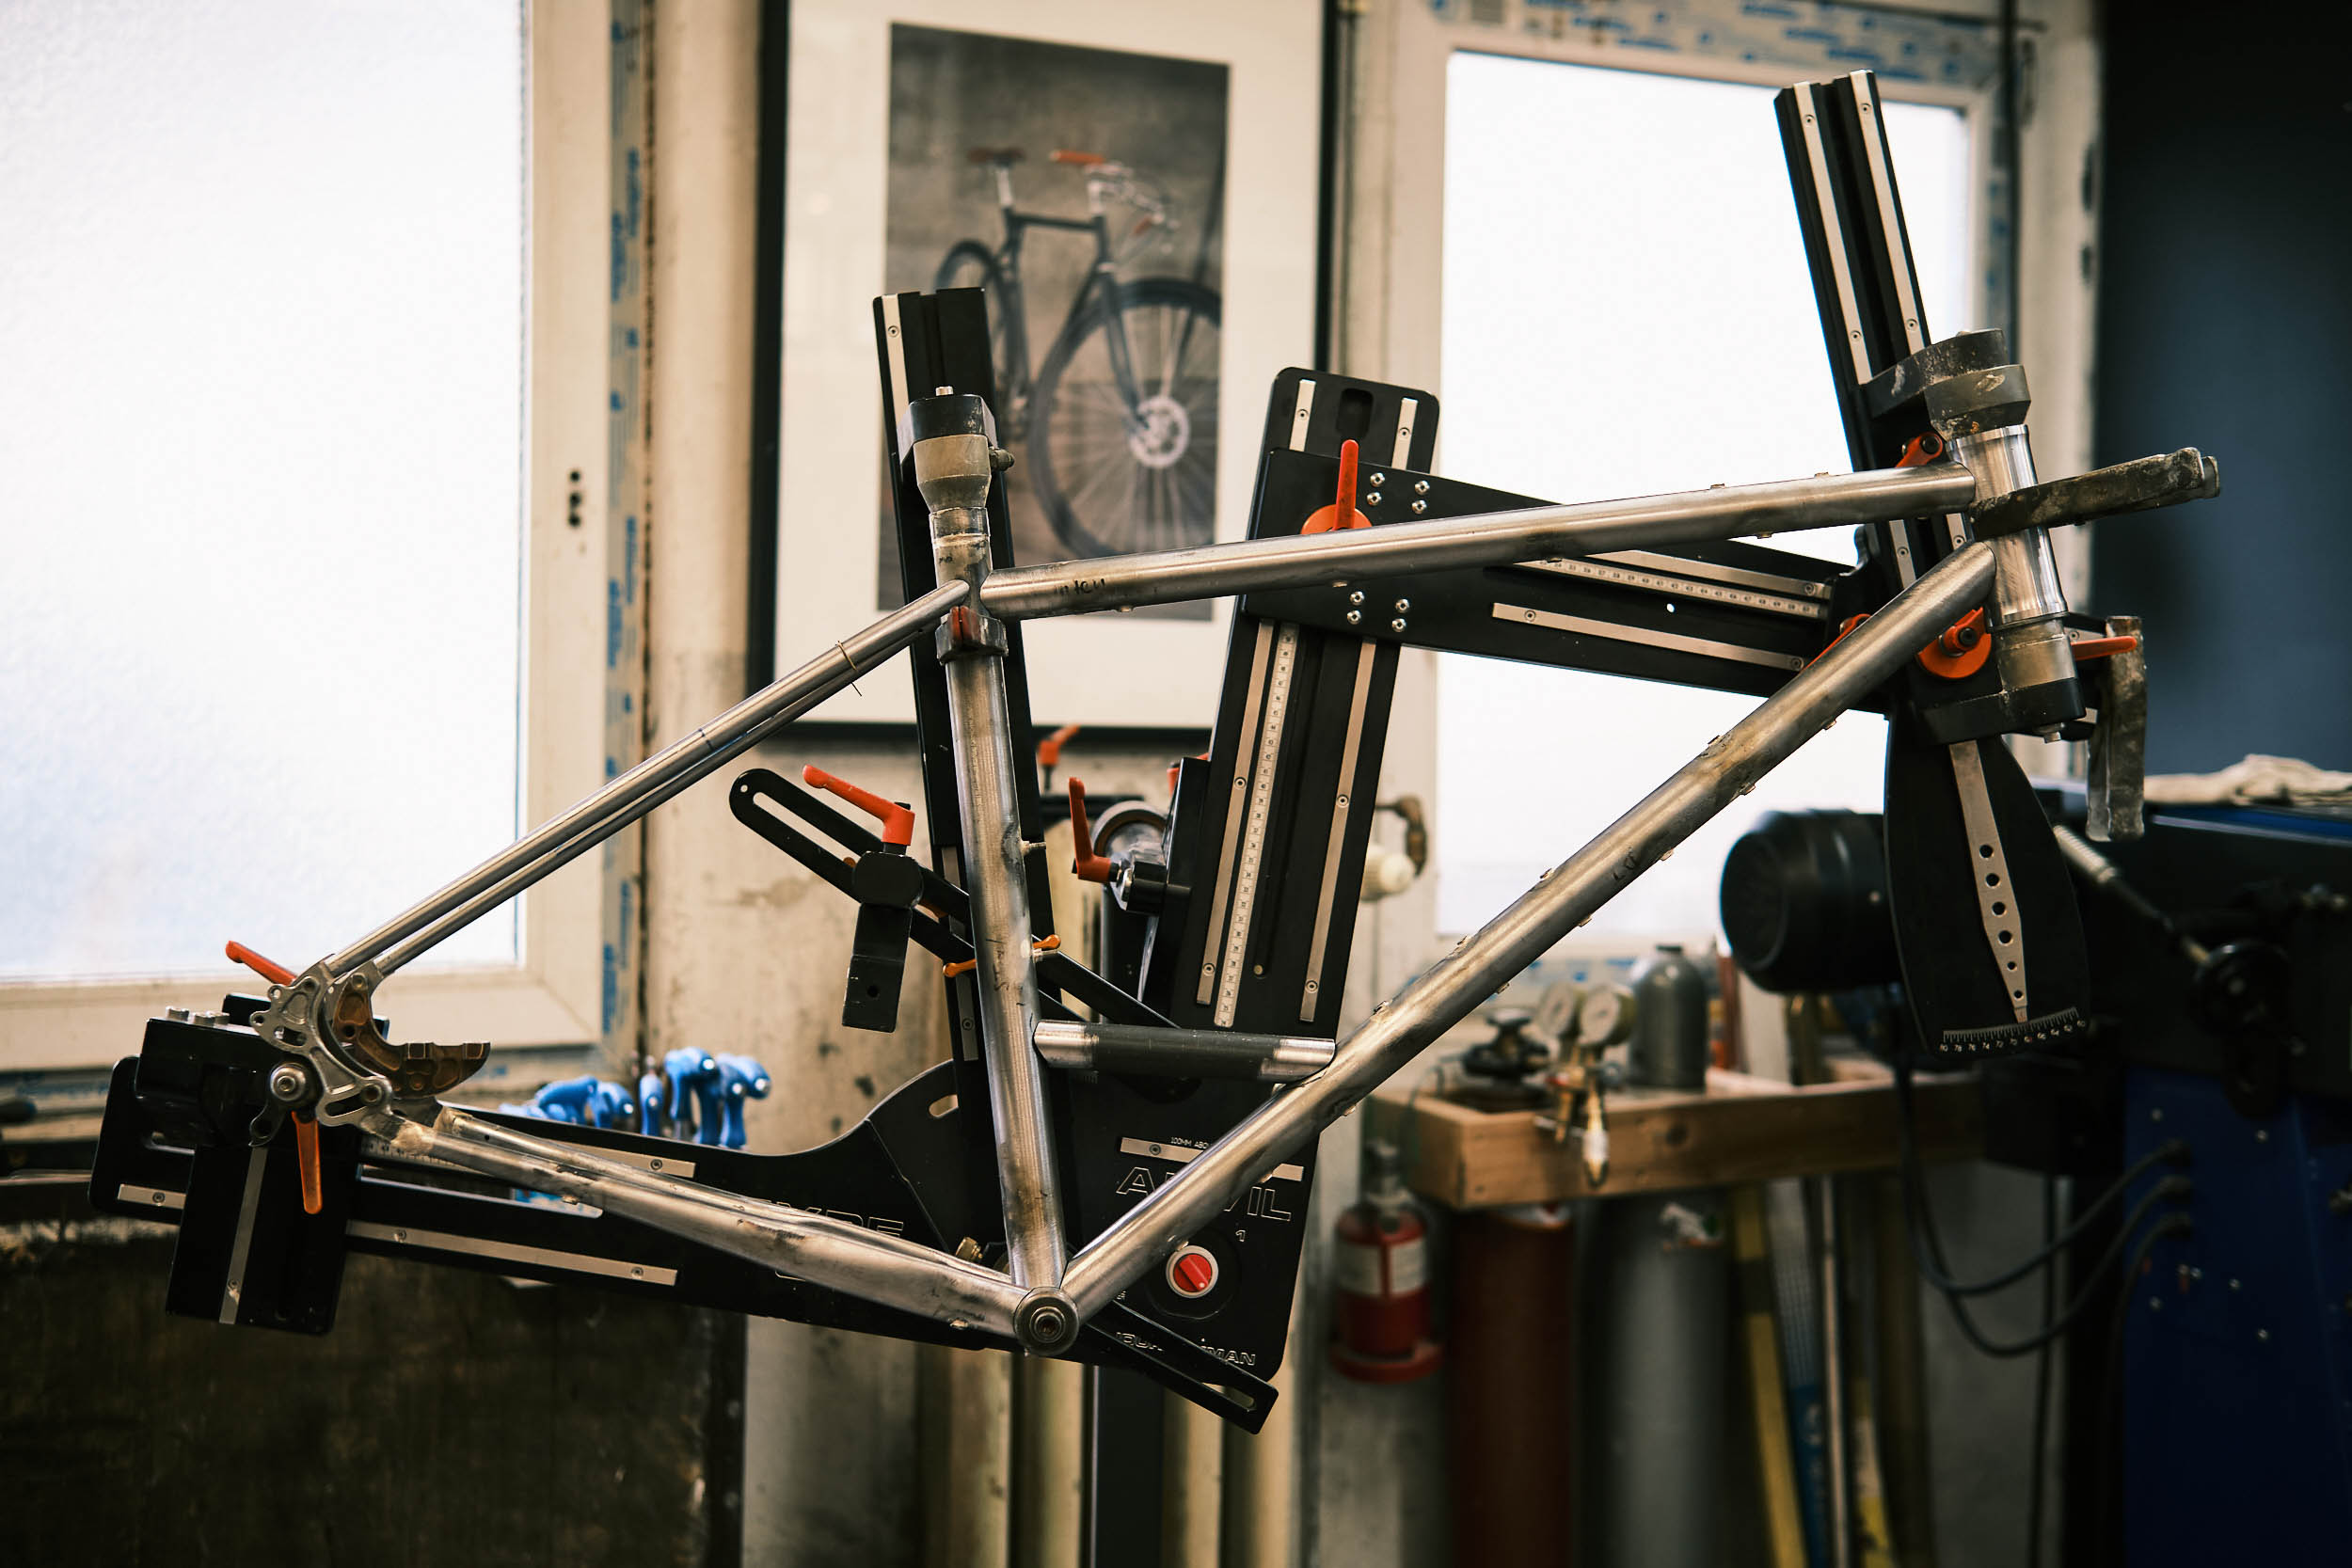
Steel tubes warp after being put through a heating cycle, so the frame needs to be aligned, or it won’t track straight. With the frame clamped by the bottom bracket shell, I lean on the headtube until the seattube and headtube are in-plane. Then, we check the dropout spacing and centering. It’s also out by a few millimeters. I set the rear end to 145mm spacing, like Surly does on some of their bikes, so I can run a standard 135mm quick-release Rohloff as well as a 148mm Boost hub. I finish by brazing the chainstays to the seattube.


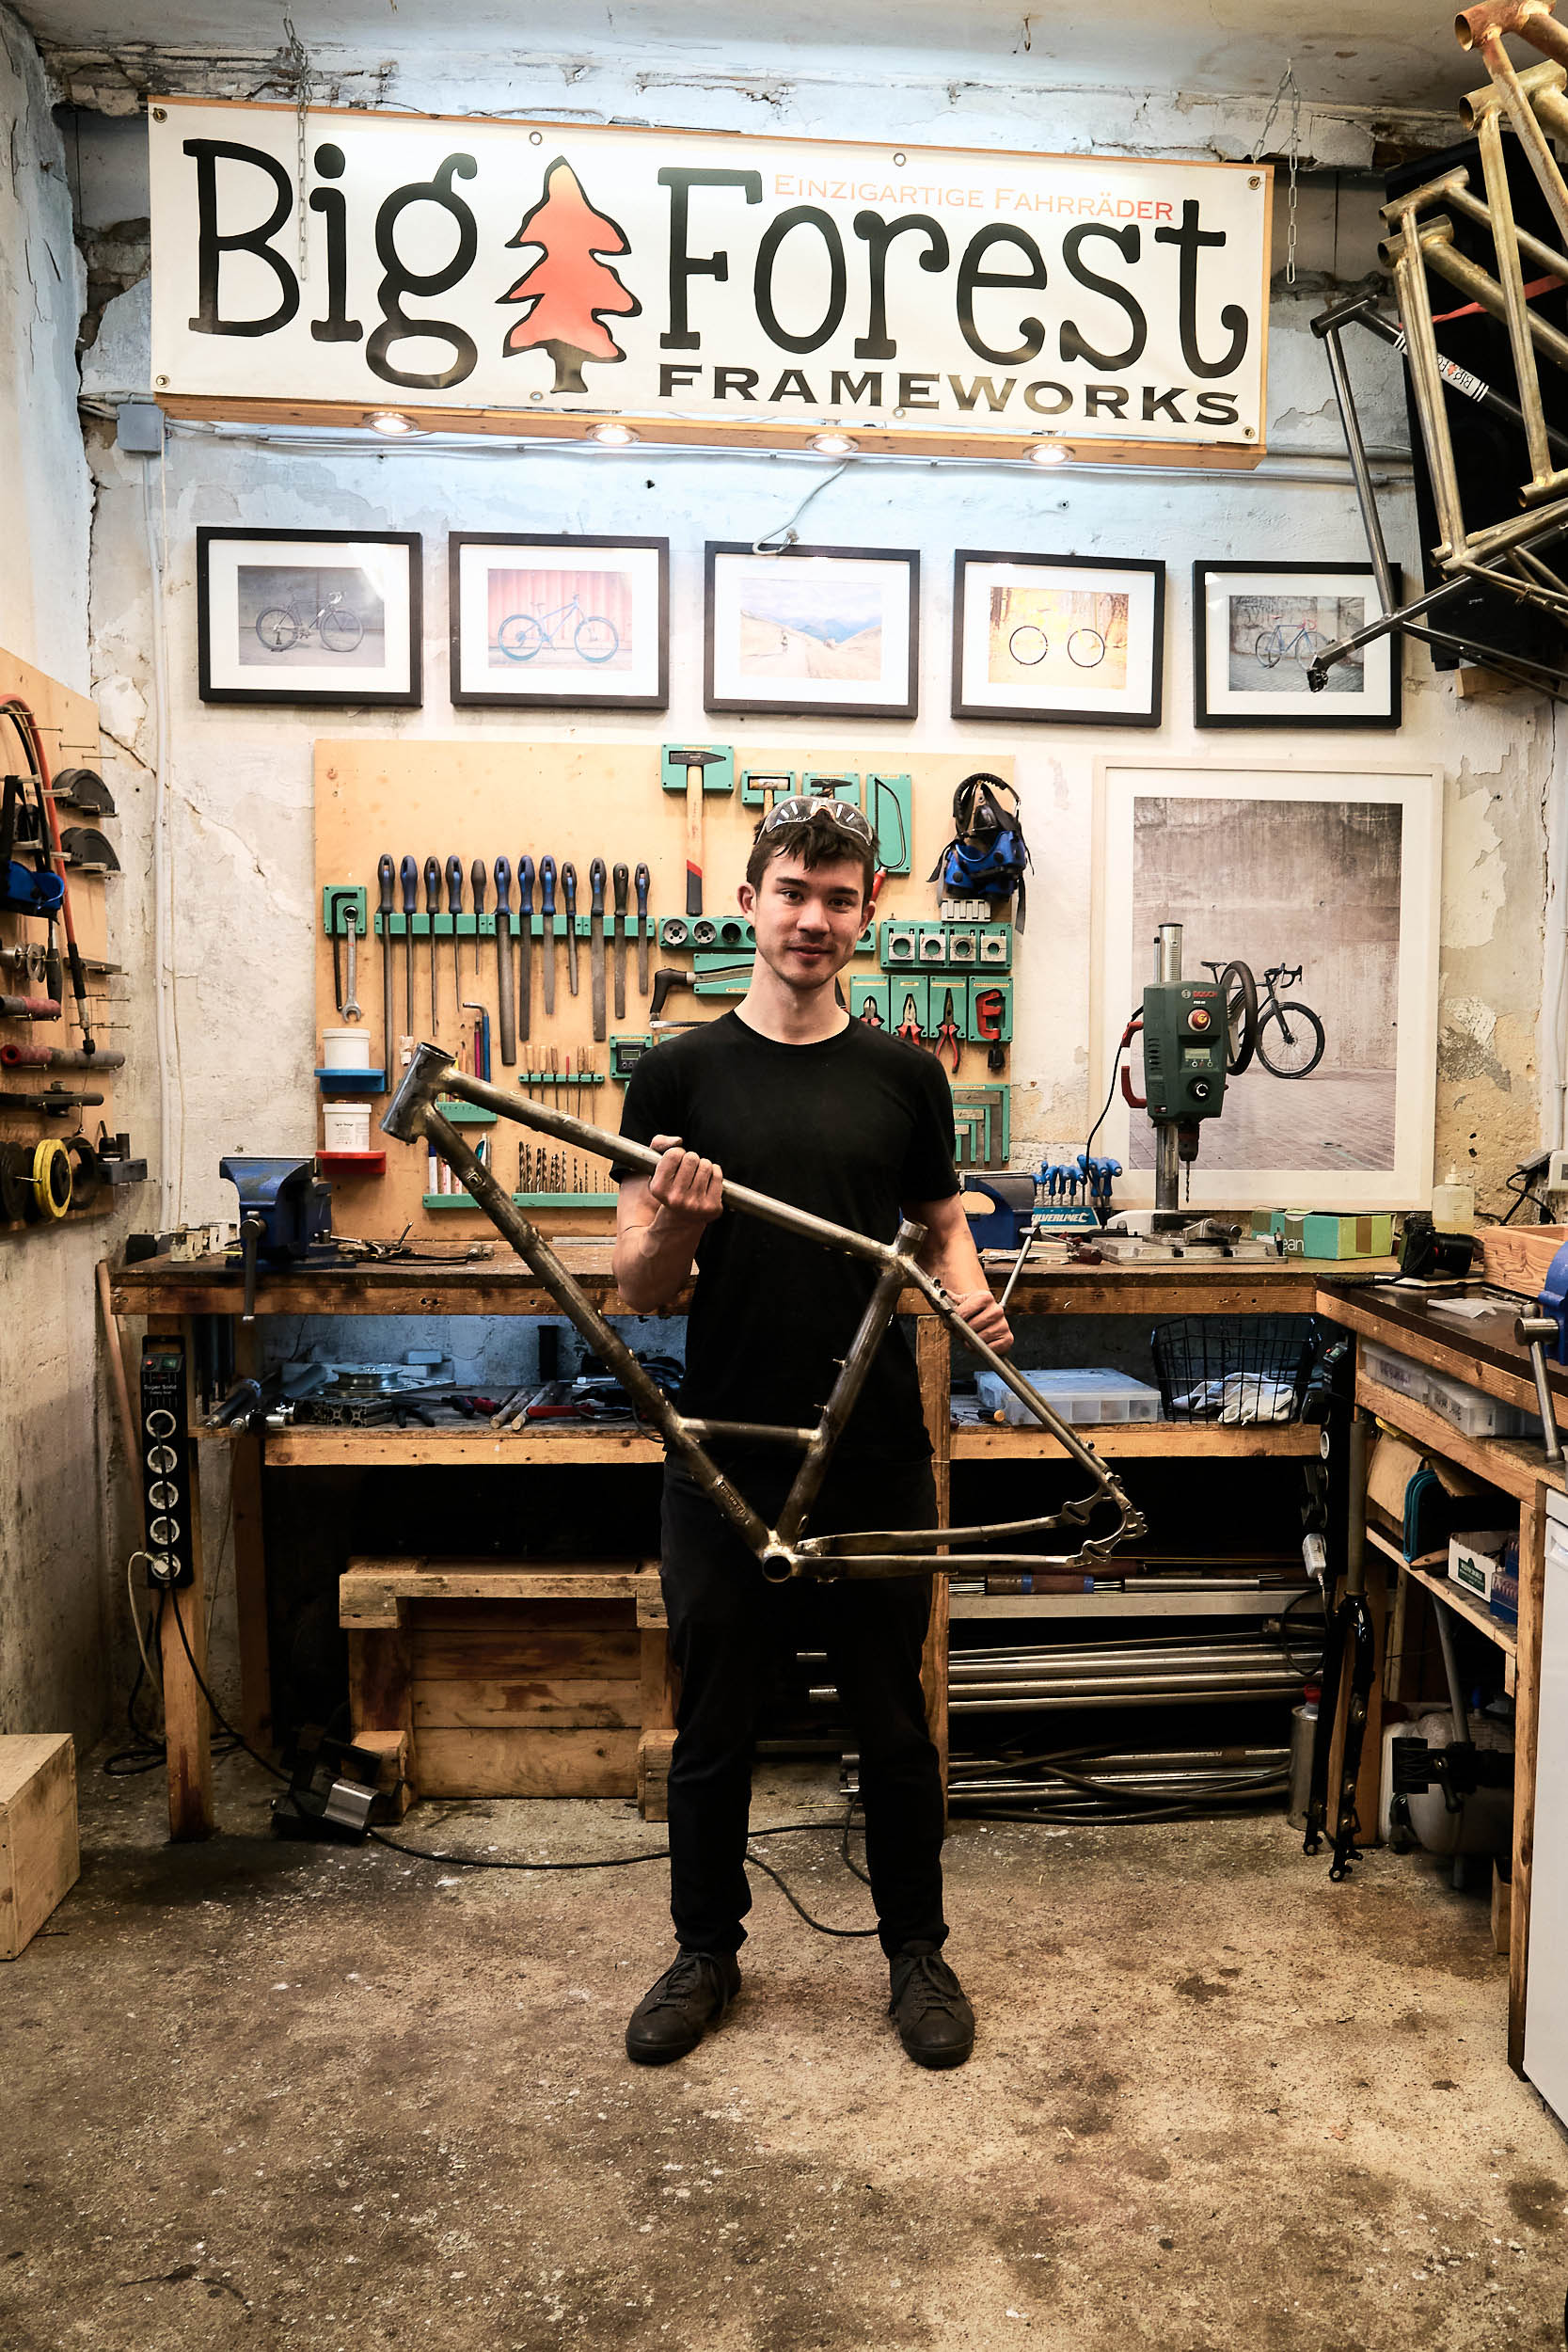
I’ve turned my tumbling tubes into a solid frame. I’m elated and relieved.
Finishing touches
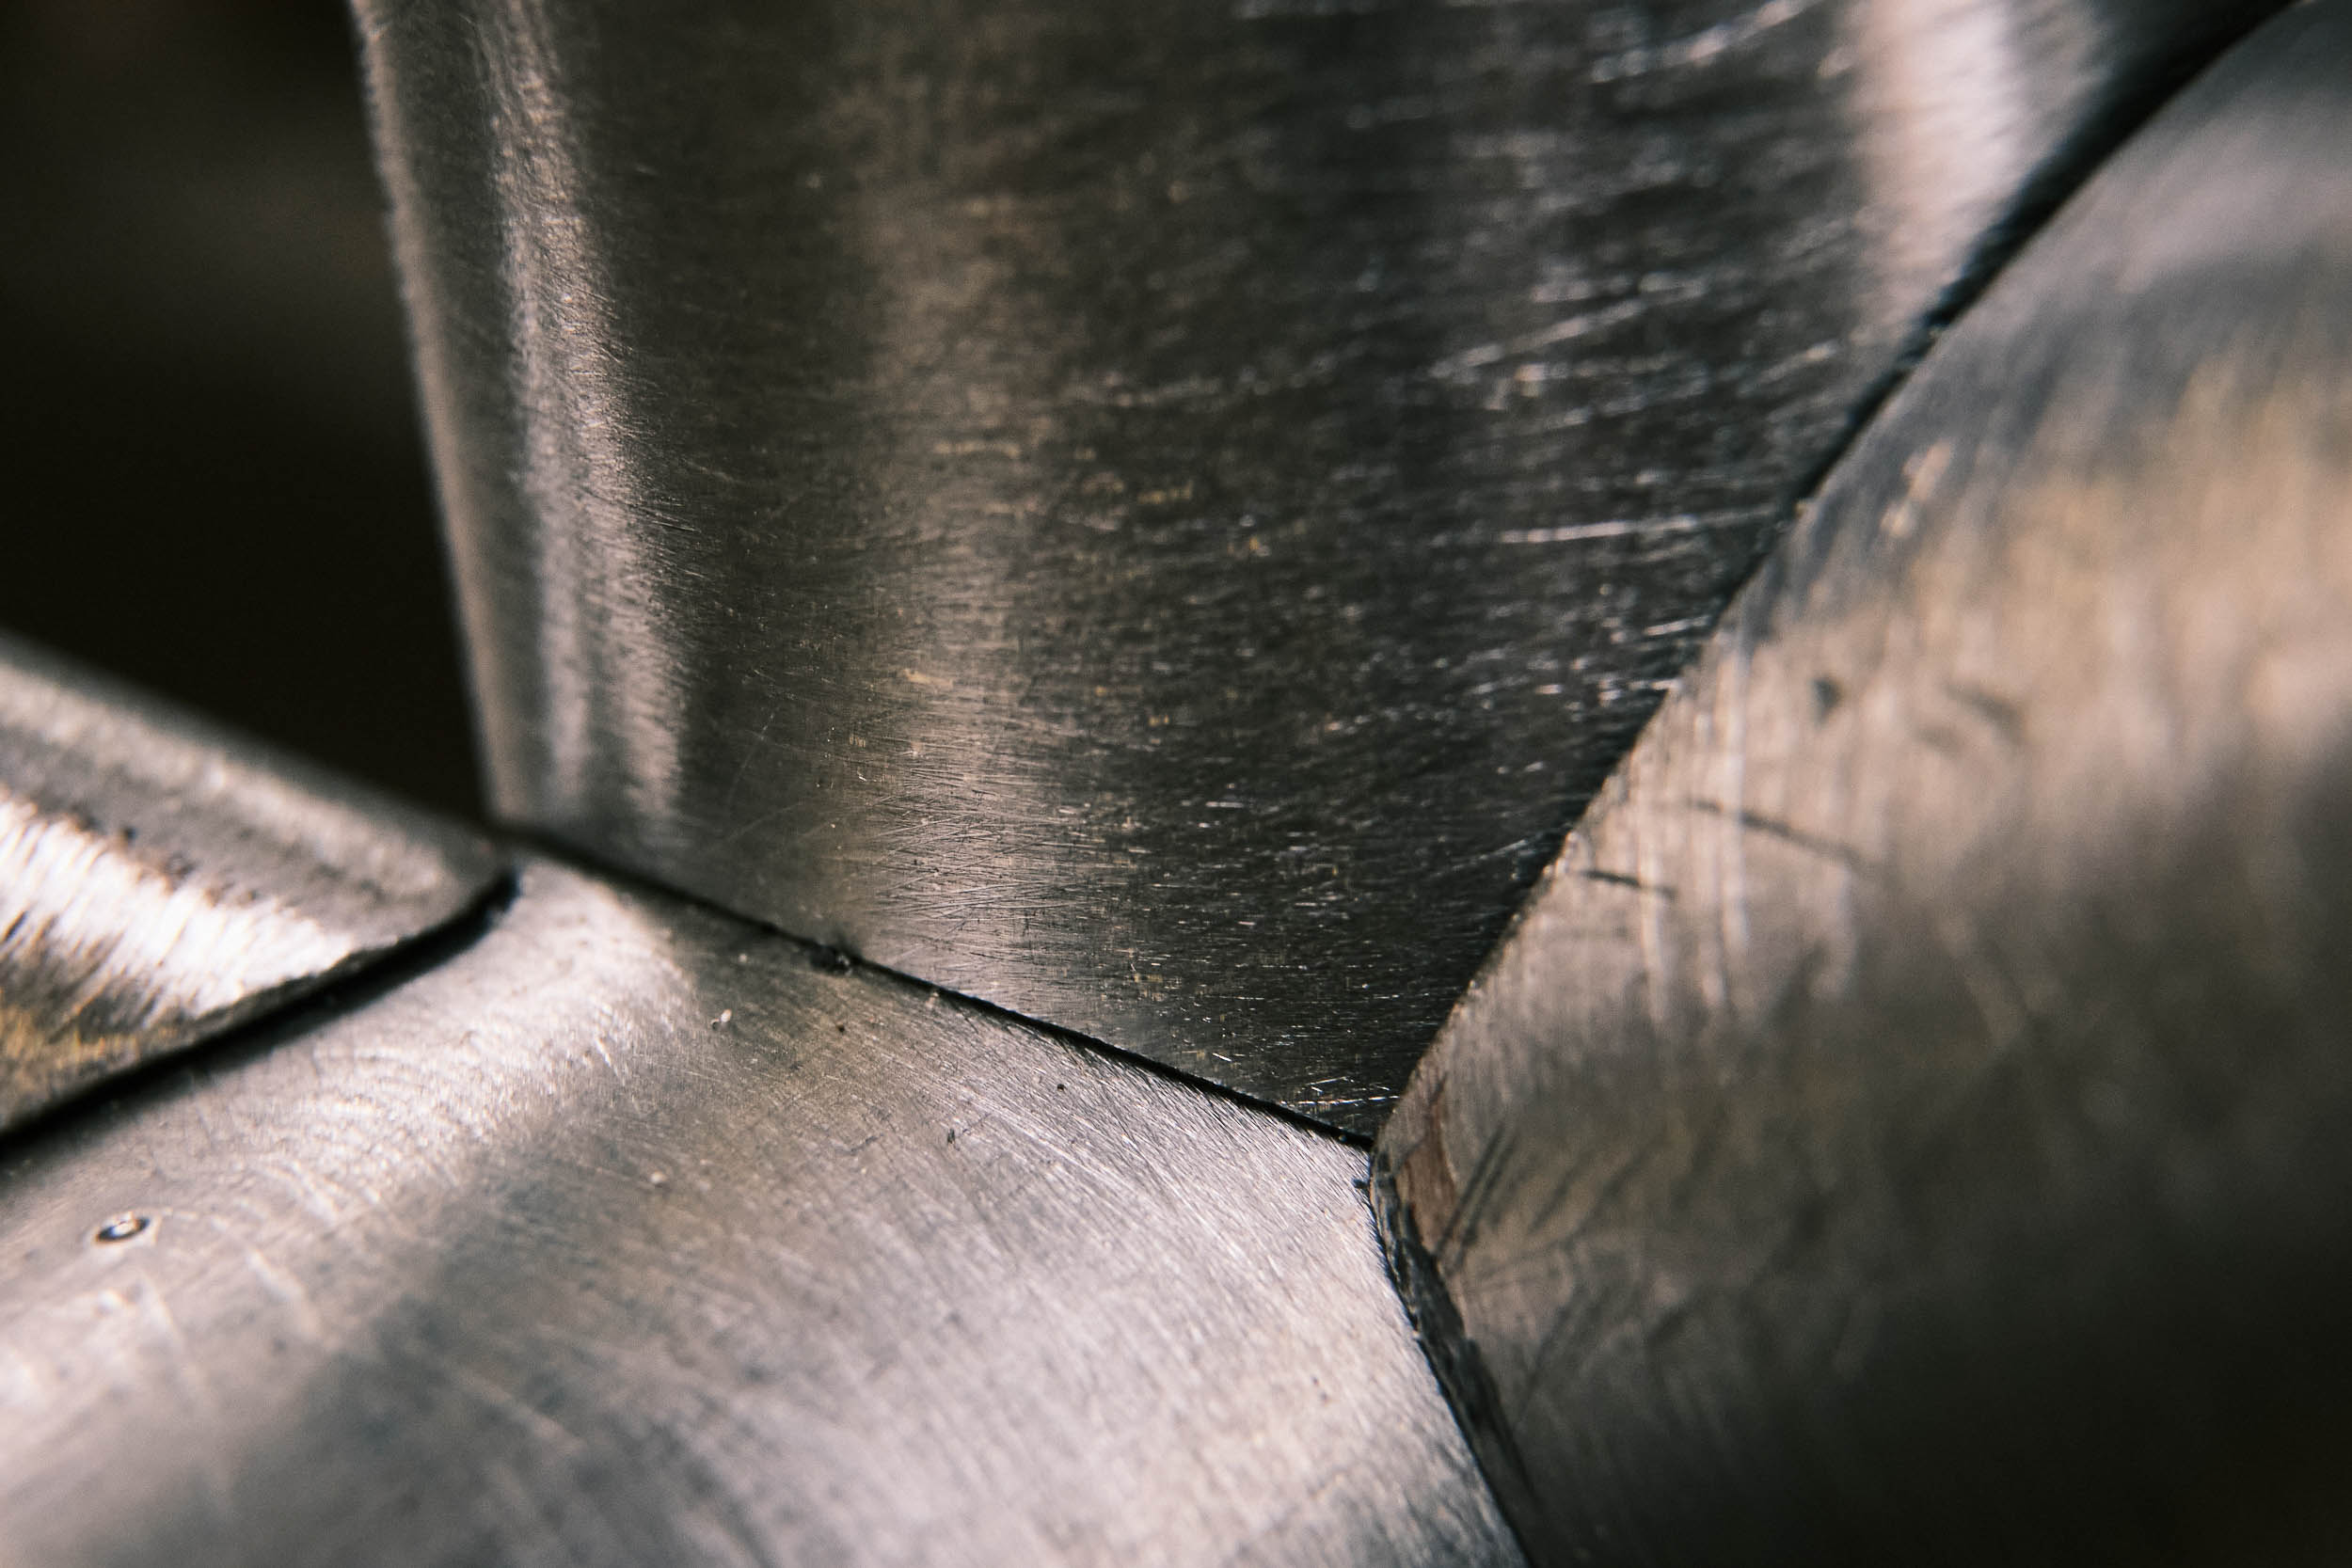
Due to all those braze-ons and extra tubes, my project went into overtime. I was back in the shop the next Monday to add chainstay and seatstay bridges, rack mounts, the carry handle, and a shiny brass nameplate. It all culminated with a filing marathon to get those smooth fillet-brazed transitions. This was hard work, and I was glad we’d used relatively soft silver instead of harder brass.
I spent another six hours filing all the joints with various files and sandpaper strips. It was getting late when I called it good, so I had just a few minutes with the finished frame in its raw glory. Robert praised me. “Your first frame looks a lot better than my first,” he said. Thanks, Robert. I think I know why that is!
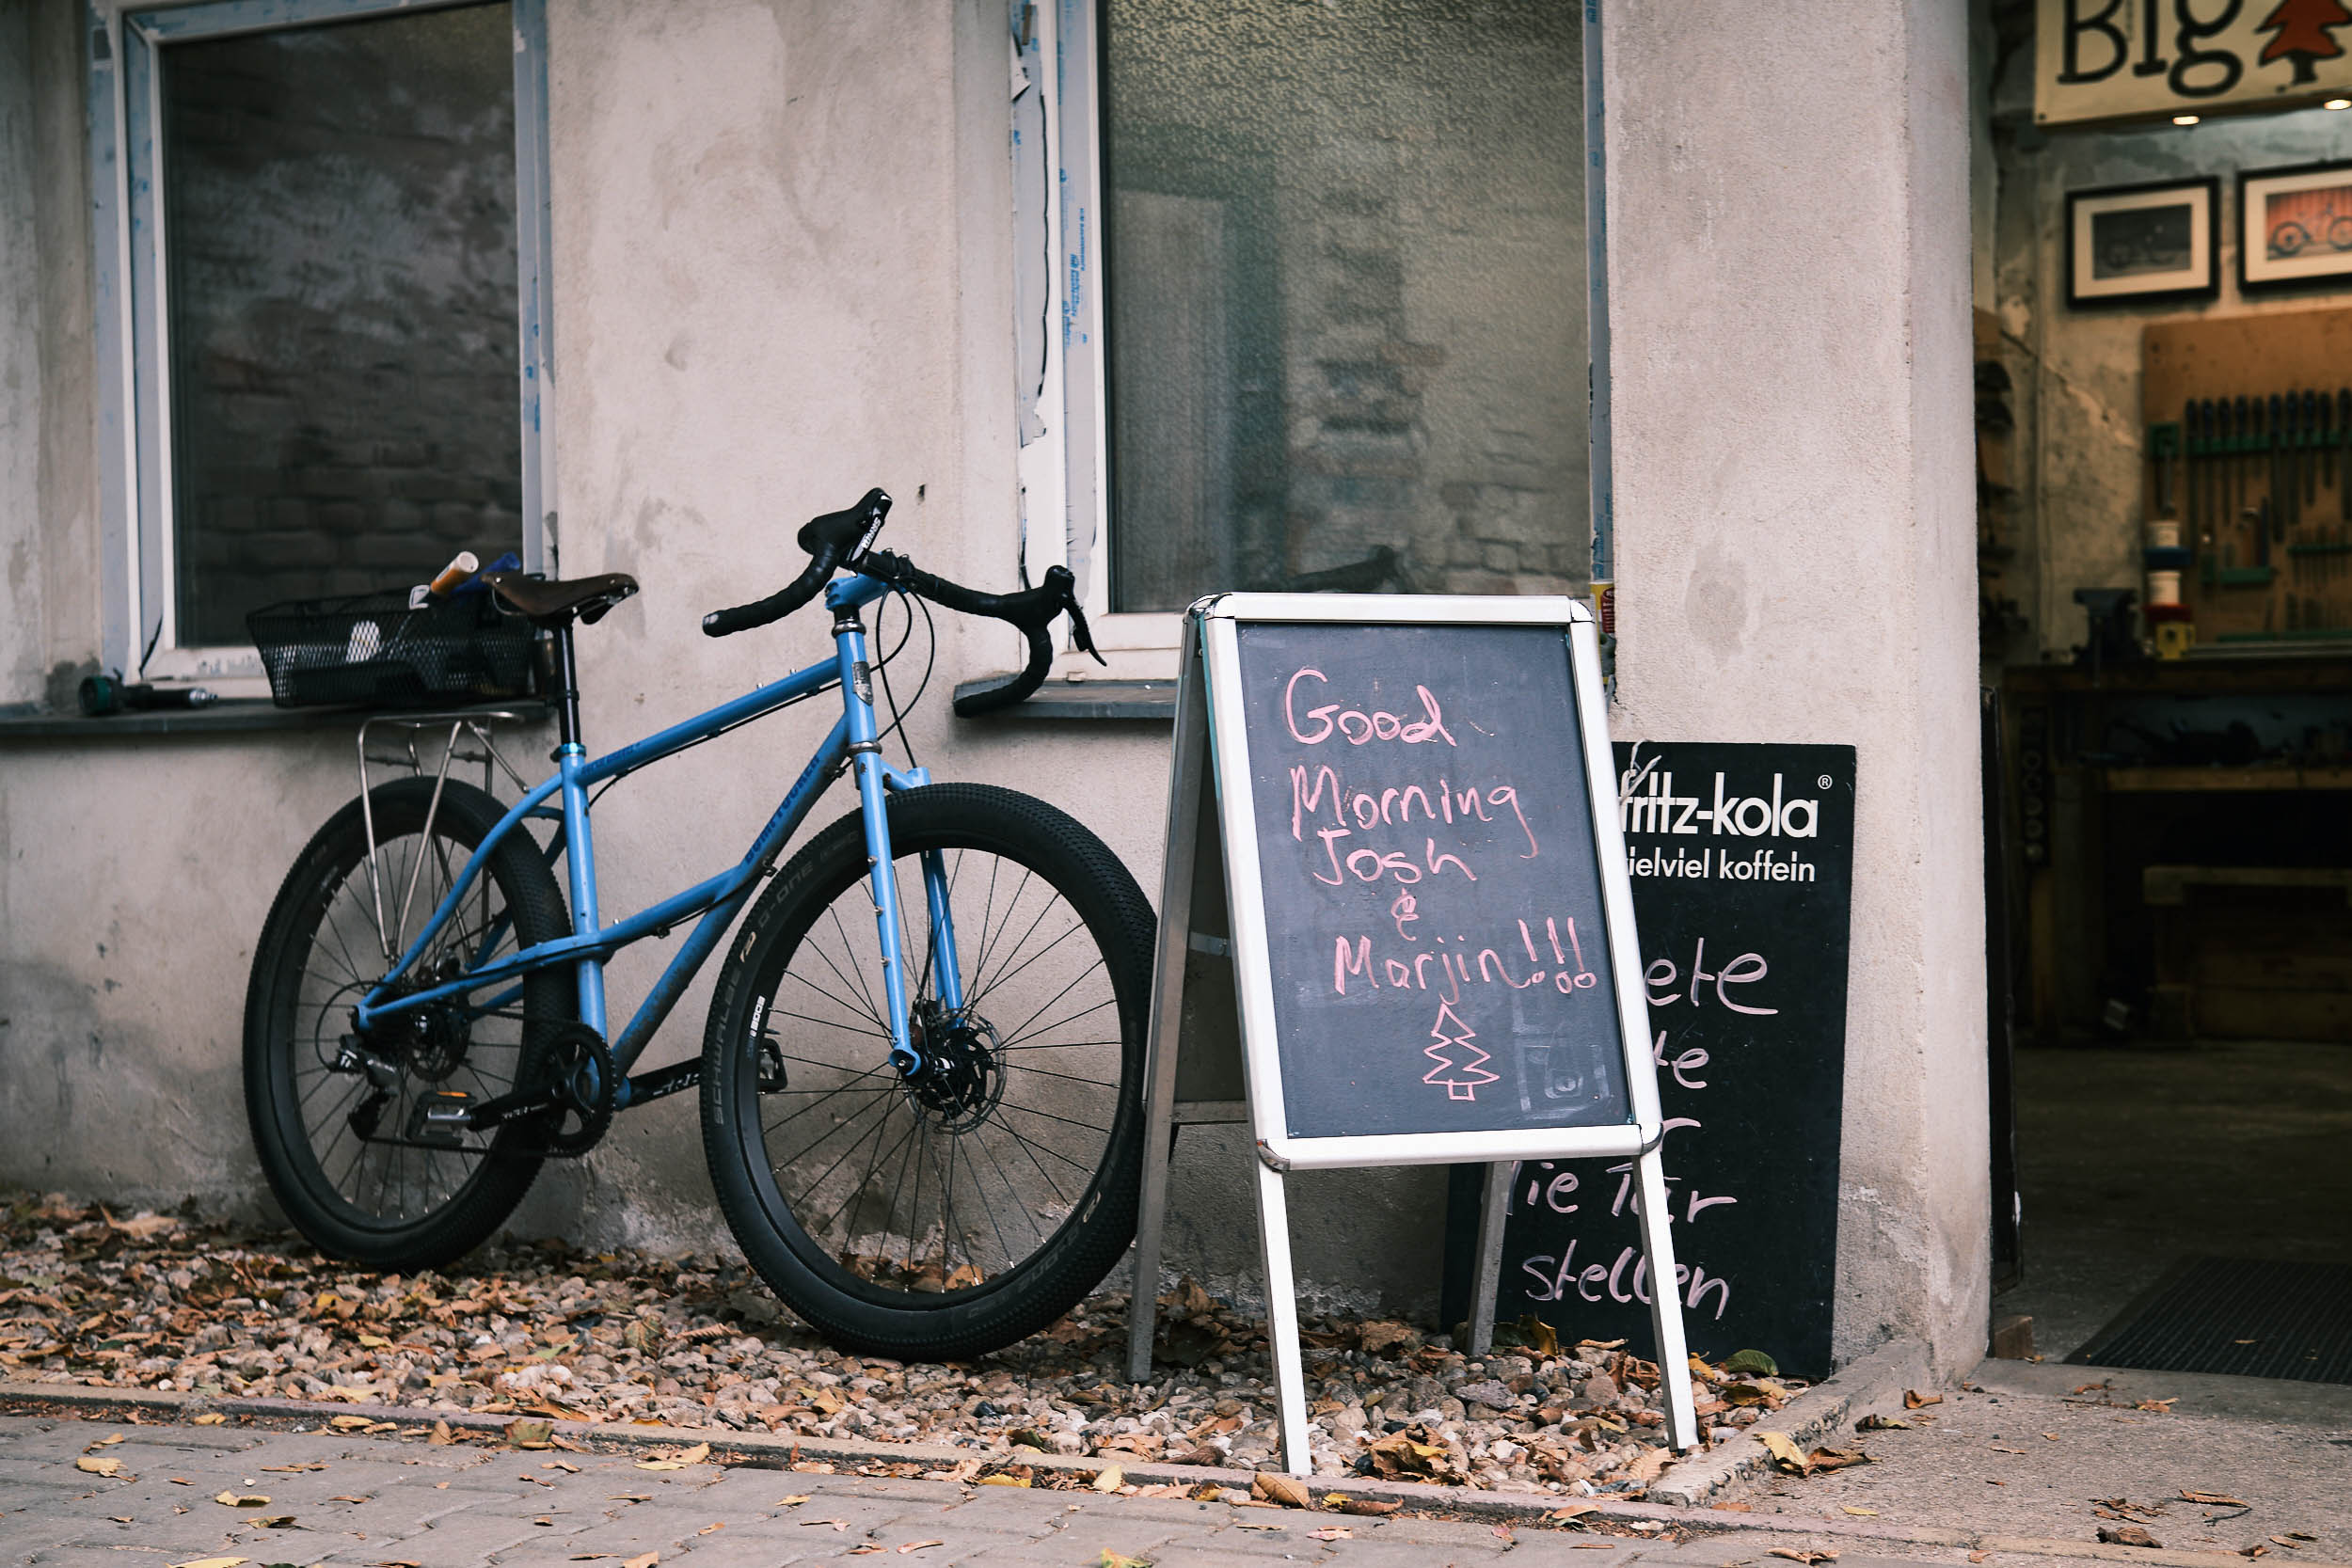
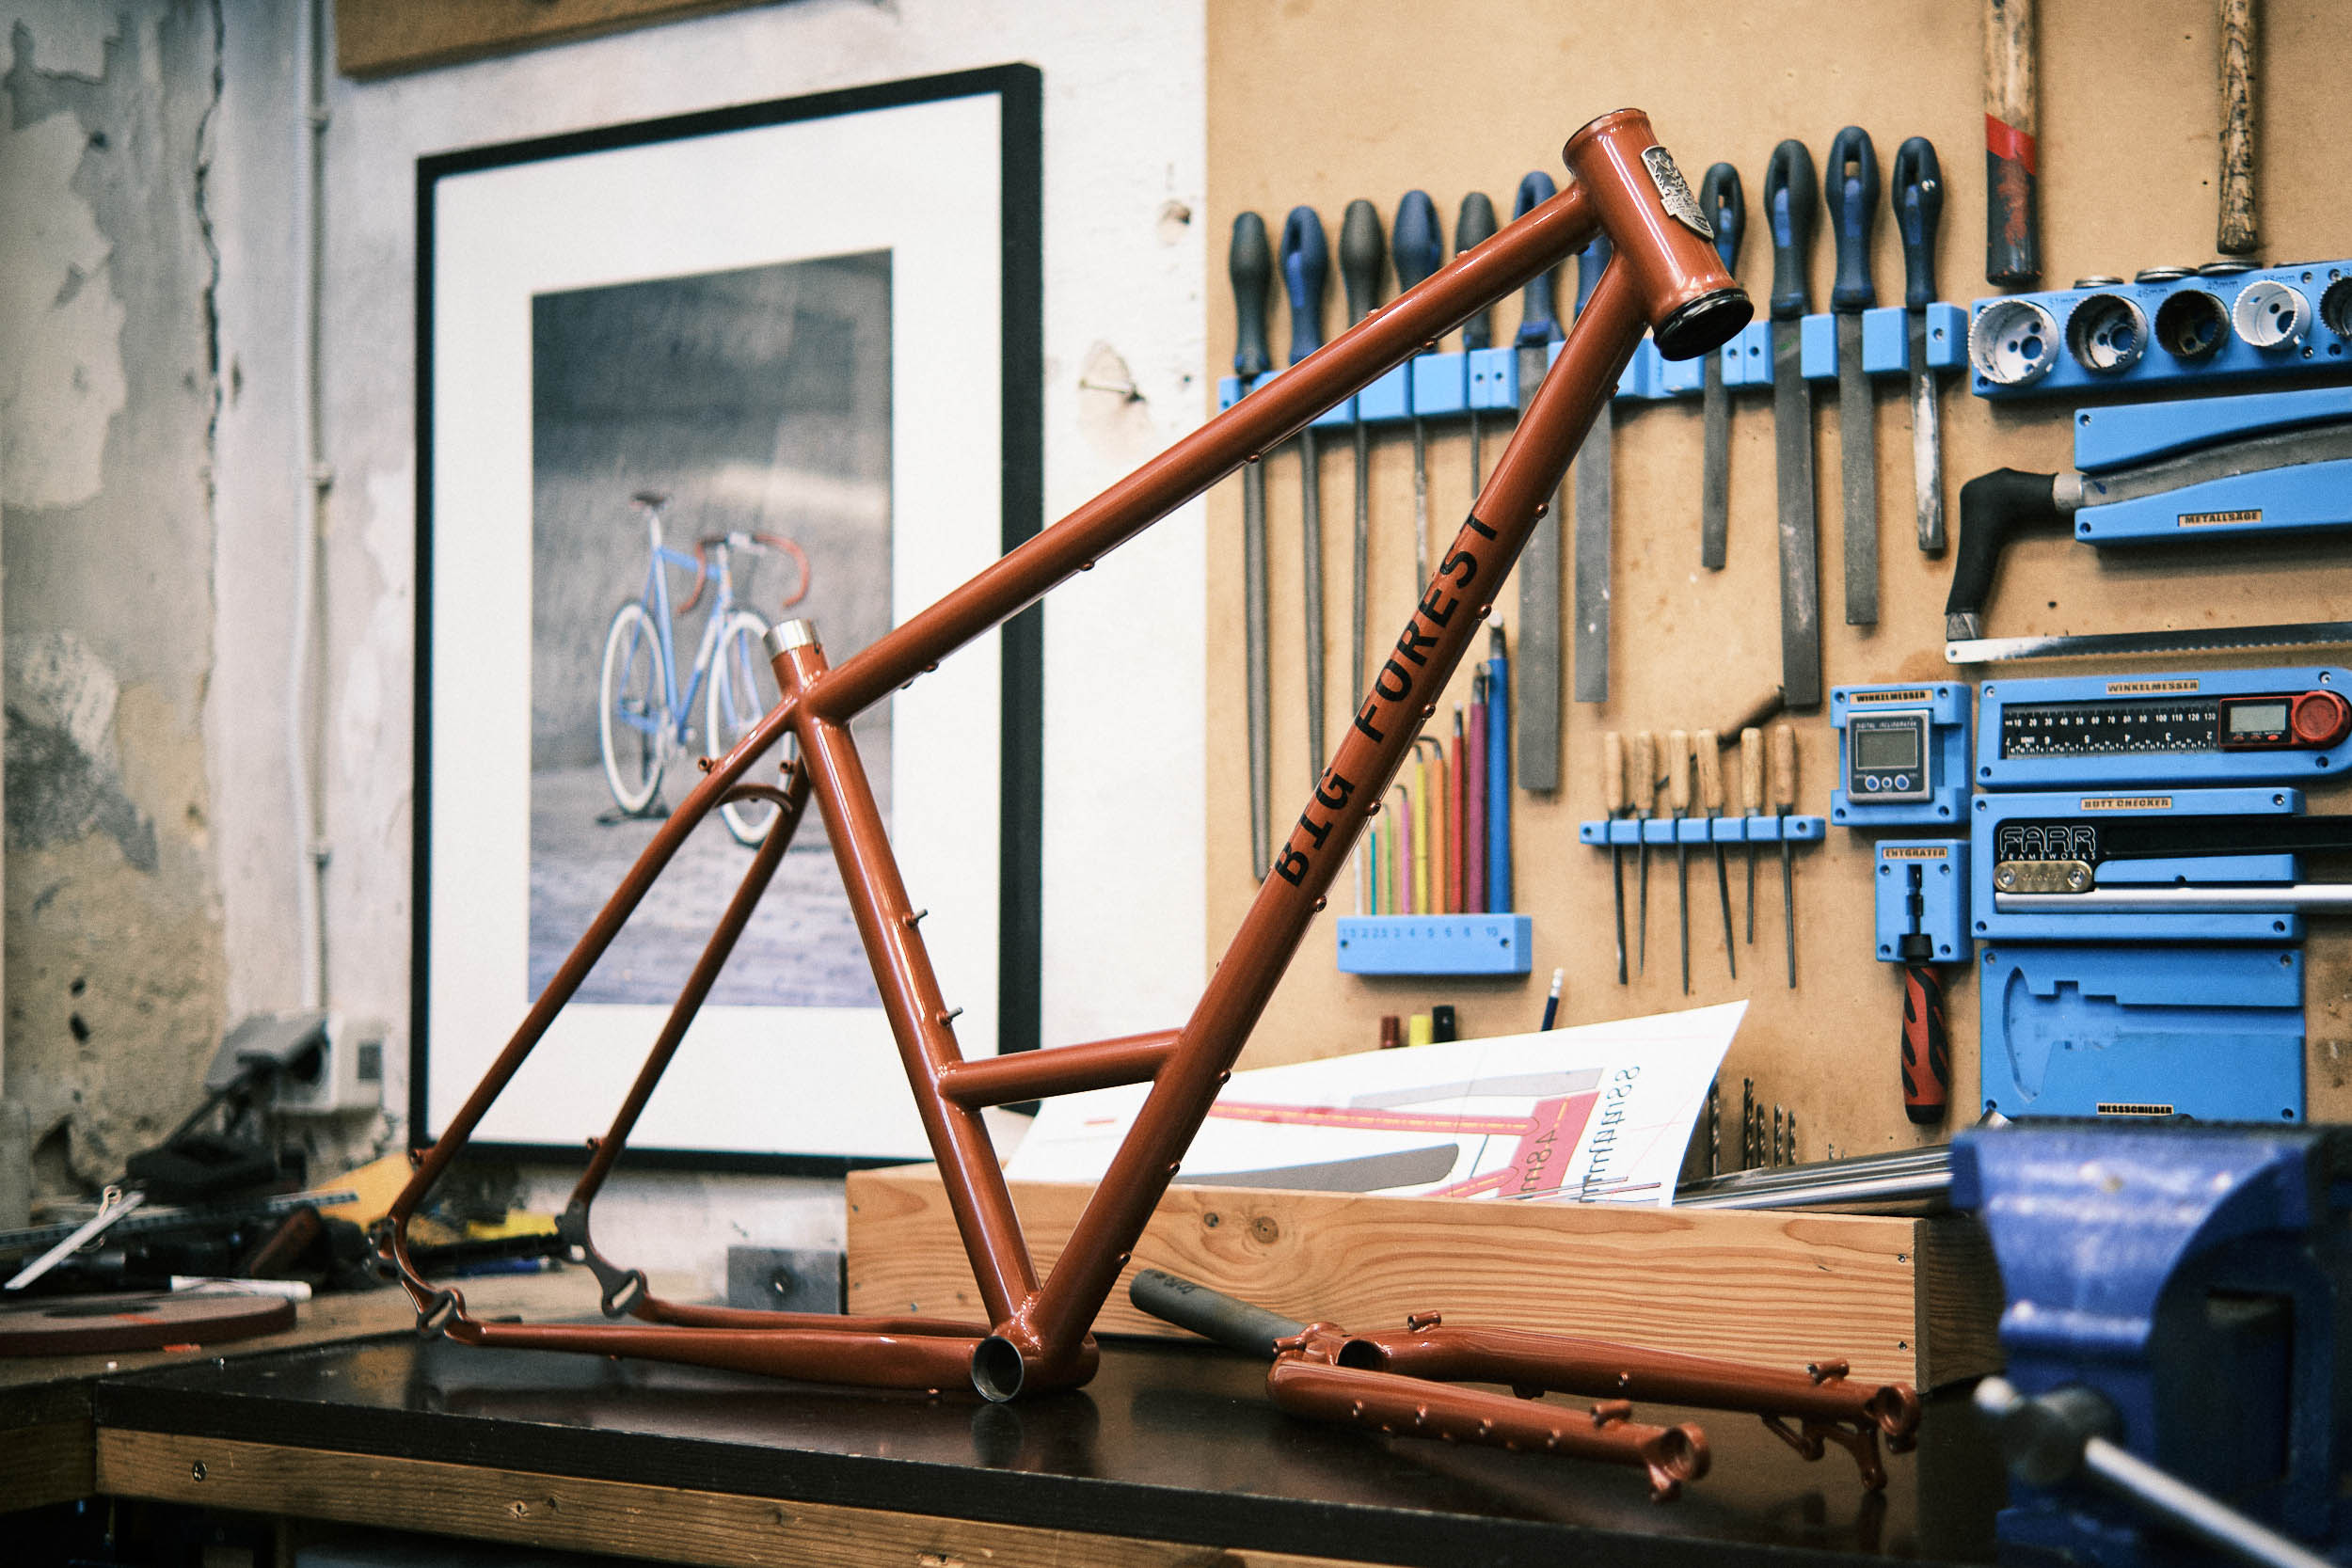
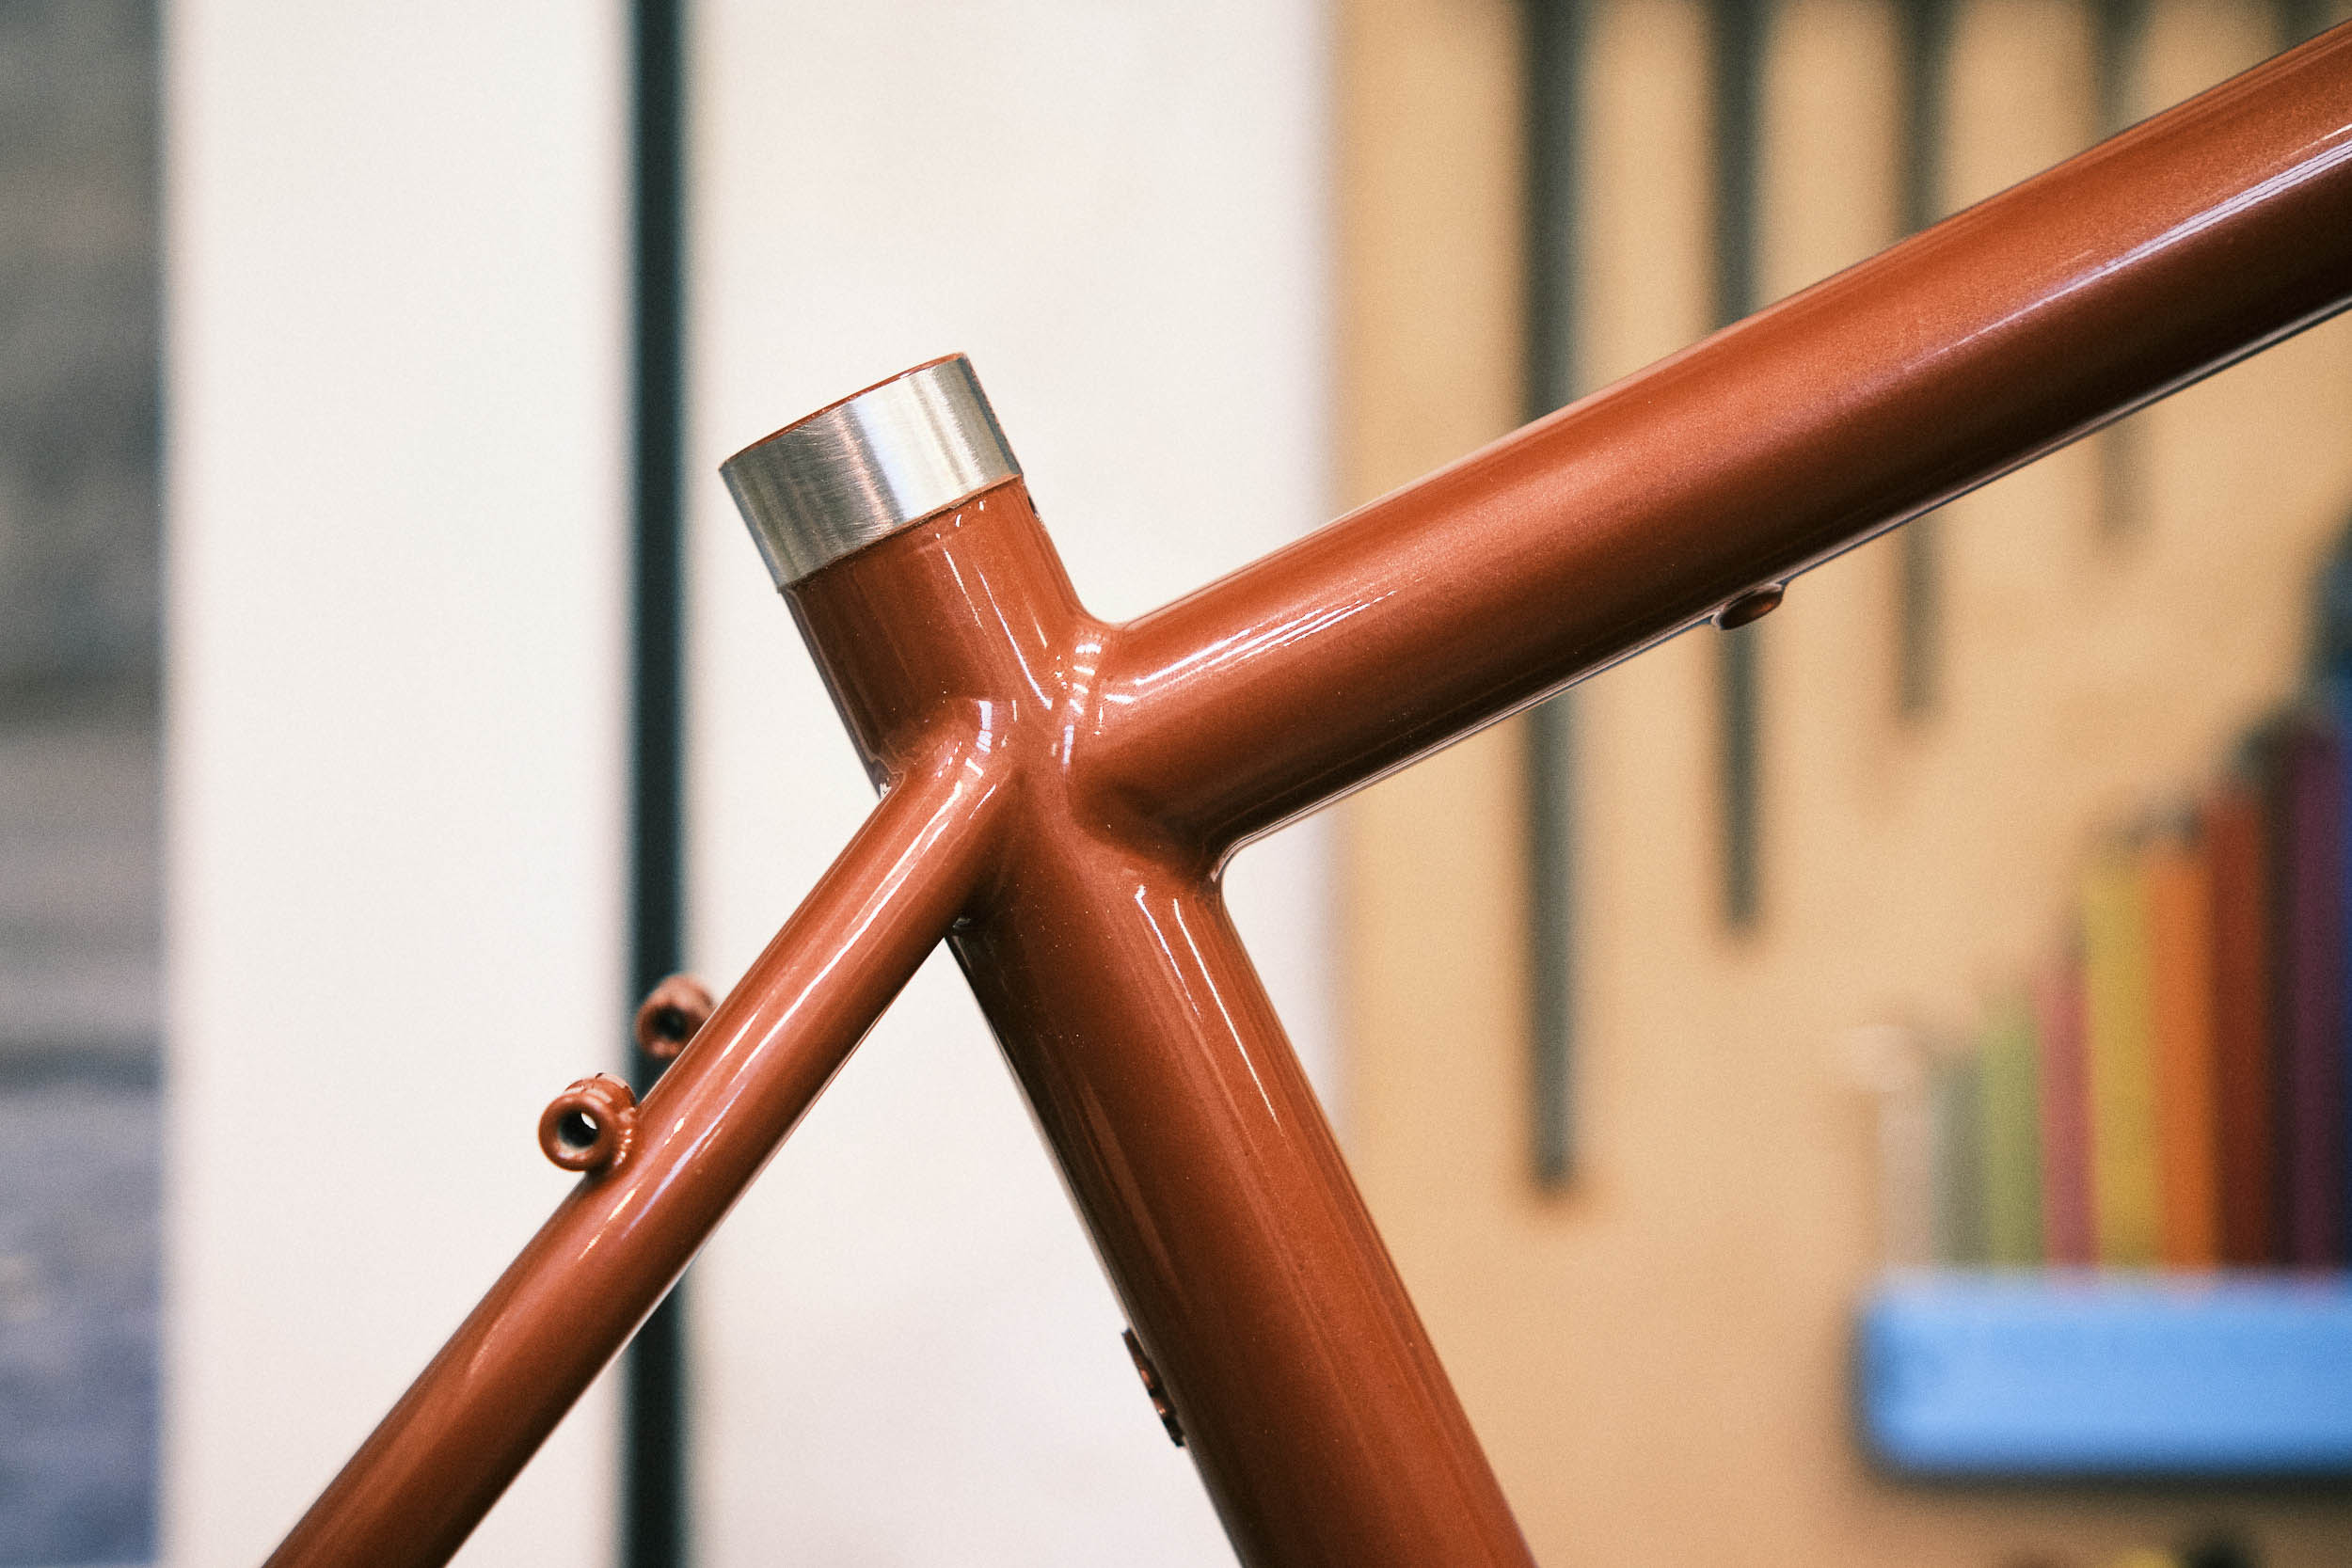
Bare carbon steel needs to be covered to keep it from corroding, and powder coats stand up best to hard use. Settling on a color scheme was tricky. There’s not just the frame color to consider but also the components and accessories. Inspired by pine bark against light winter skies, I chose pearl copper (RAL 8029) for the frame, warm grey for the frame bag, and a mix of black and silver components. Sparkly up close, it blends into the environment at a distance, or that’s the idea, anyway. I had the frame coated by Bike-Colors in Frankfurt, a small powder-coating outfit specializing in bicycles.
Waiting for the frame to return from the powder coater was an agonizing mix of excitement and anxiety. Did I get everything right? All doubts evaporated when I laid my eyes on the gleaming copper. The folks at Bike-Colors did a stellar job. The wordmark I designed looks proportional, and the metal Big Forest Frameworks headtube badge supplied by Robert is the icing on the cake. Over the Christmas holidays, I hung a mix of high-end and solid commodity parts on the bike and took it for its first spin—the best present ever.
Takeaways
While taking a framebuilding course won’t make you a framebuilder, it will teach you the contours of the relevant skills. You get to experience the fun parts without dealing with the frustrations. Robert has built a reliable system that ensures success even for beginners. All it takes is a minimum aptitude for using hand tools and a willingness to learn. I felt very well-supported, though I could see it getting a bit crowded with three people building in the shop. Be warned, though, that framebuilding can be addicting. I already have my next frame designed in my mind.
Of course, the cost of the course begs the question of whether it’s worth it. I’ll say that our price perception is skewed by mass production and artificially short product lifecycles. A good bike that costs a few months’ wages is a good investment if it sees regular use over two or three decades. Of course, a mass-produced bike will perform just as well in the real world at a lower cost. If even that is out of reach, there’s little a used ‘90s mountain bike can’t do. And if you’re looking for the full-blown, extended conversation to design the bicycle of your dreams, you might want to get in touch with a custom builder instead.
If cost is no issue, building at Big Forest Frameworks or elsewhere is a unique opportunity to literally make your bike yours. My choices, sweat, and life energy went into creating it, and that feels damn good. The bike manifests tastes I didn’t know I had. It’s a good conversation starter. This bike is my most cherished possession by far, and I can’t wait to see the patina and stories it will come to wear.
That’s not to say it’s perfect—how could it be? The joints could be smoother, there’s a dent in the downtube that I failed to patch, and a few other quirks I can’t explain. I’m sure I’ll notice a thing or two I’d like to change. But it’s all mine. The bike is my rolling talisman against chronic perfectionism. Overall, there’s a deeper level of connection and appreciation that you can’t just buy.
Additionally, there’s value in the process. I feel empowered to work with steel. I enjoyed using my hands and seeing the concept through from wishful thought to materialized object. I gained even more respect for framebuilders and craftspeople in general. Having relied on my talented creative friends, freely shared knowledge, and Big Forest expertise, I can’t see the finished bike as anything but the confluence of minds. It truly takes a village. Thank you!
More generally, I learned what great work might feel like—an unrealistic ideal, perhaps, but instructive nonetheless. And it hast me dreaming: What if we all had the spaces and resources to build the tools central to our lives instead of outsourcing everything? What would that world be like?
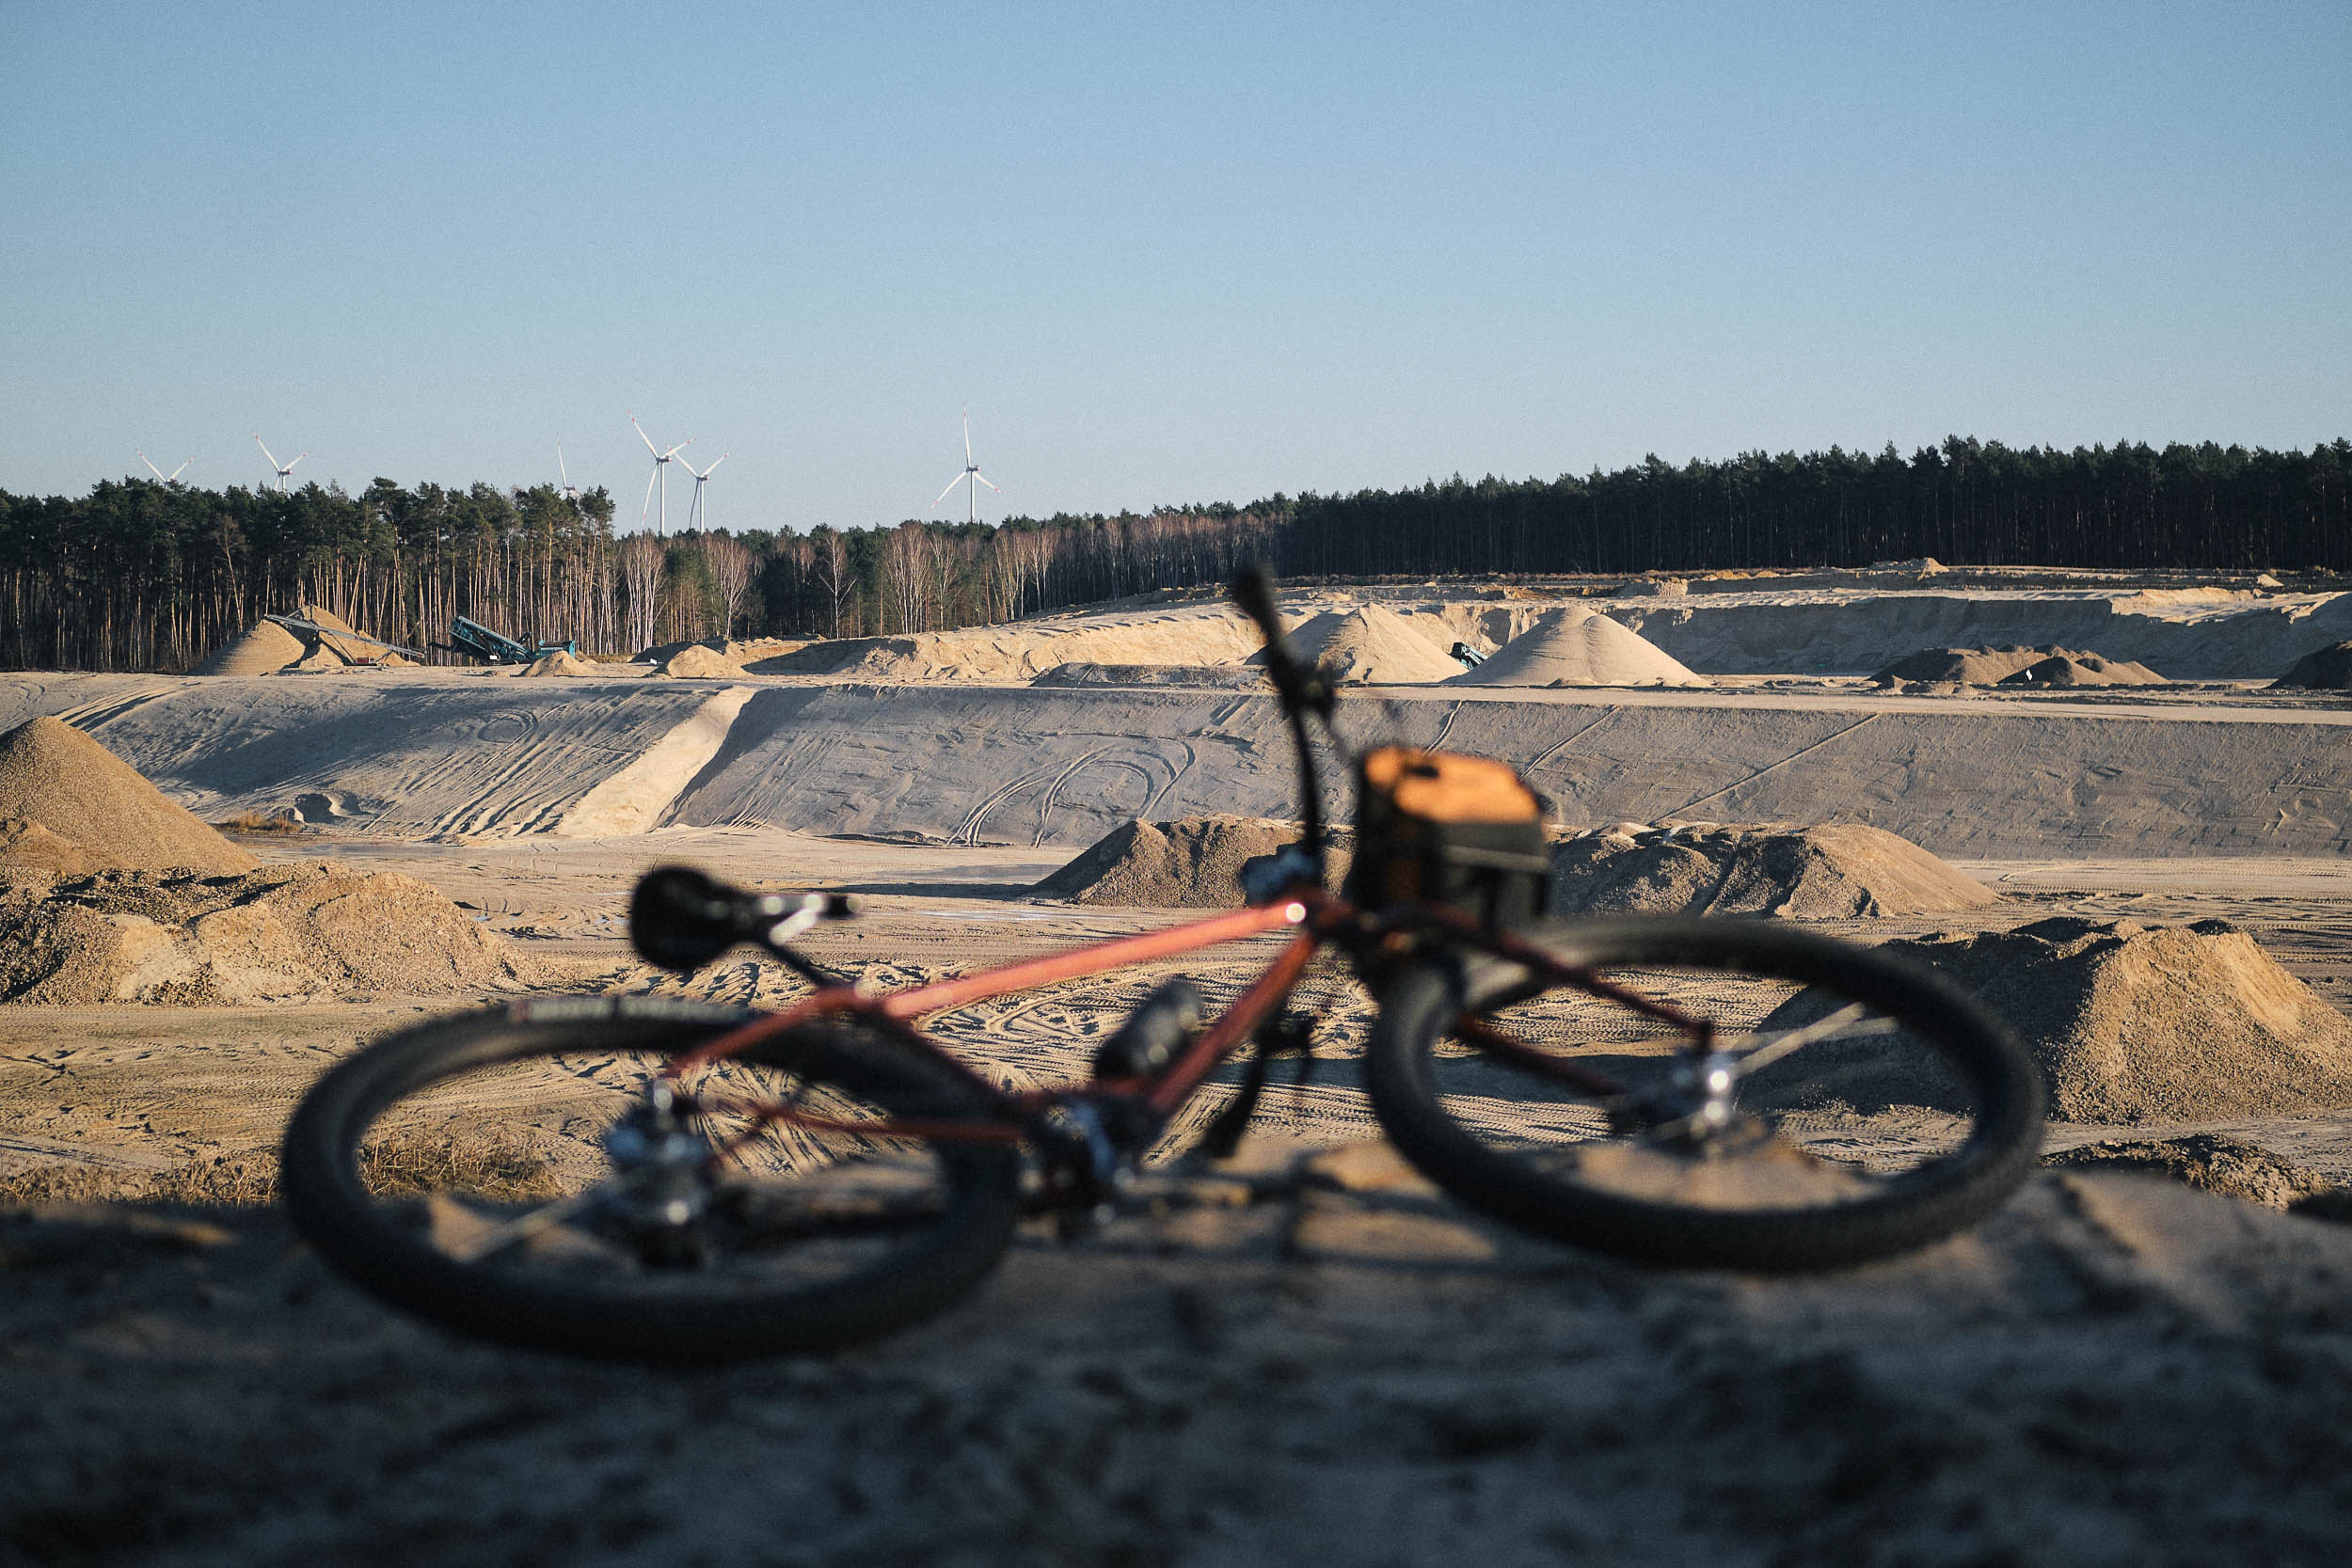
I’m slowly getting to know the Sandskimmer. I’ve taken it on some mellow trails, cruised through the wintery pine forests, and ridden up and down the small local hills. It fits my body well, and I find myself swerving onto paths I didn’t before. Massive tires and an indestructible drivetrain open up exciting new horizons. Soon.
You can learn more about Robert and Big Forest at BigForestFrameworks.com. Stay tuned for part two in which Josh delves into the nuts and bolts of his completed ATB build.
Further Reading
Make sure to dig into these related articles for more info...

Please keep the conversation civil, constructive, and inclusive, or your comment will be removed.