


Shooting from the Saddle Vol. 01: Tips


Bikepacking not only allows people to access interesting and beautiful places, it also offers a slow and contemplative means of exploration that’s conducive to photography. We asked six skilled photographers to share their bikepacking photography tips back in 2015.
PUBLISHED Apr 8, 2015
For the initial installment of Shooting From the Saddle we asked six fantastic photographers to impart their uncanny photographic wisdom via several bike photography tips. Continue reading to find a wealth of insight into how these artisans of light are producing incredible bikepacking photos. Also, check out Vol. 02 to explore the gear used by the same six photographers.
Do you have any tips to share with aspiring photographers looking to get out on their bikes and make quality images?
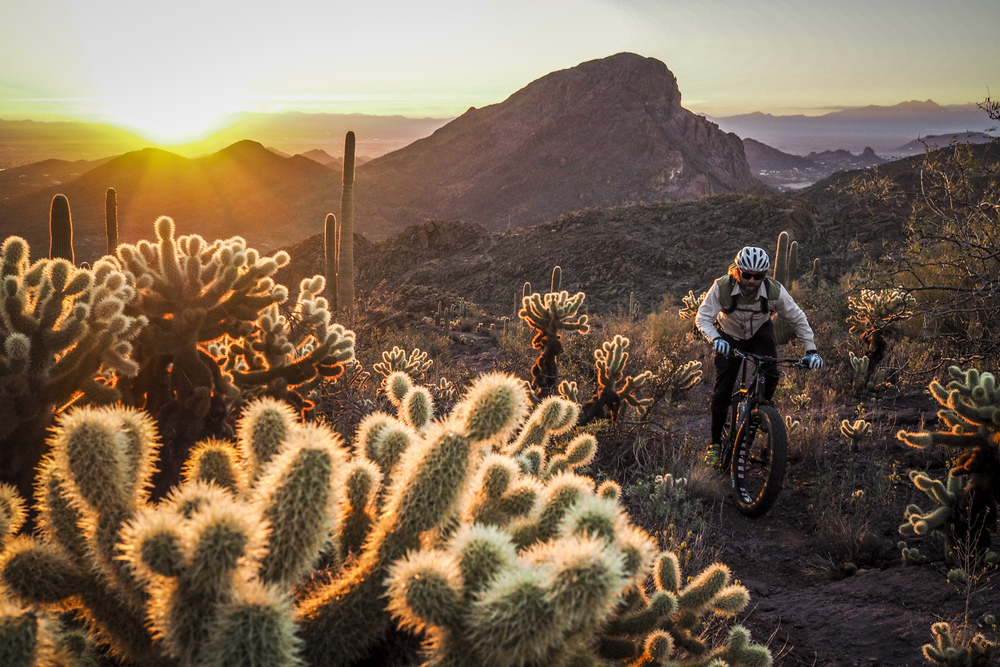
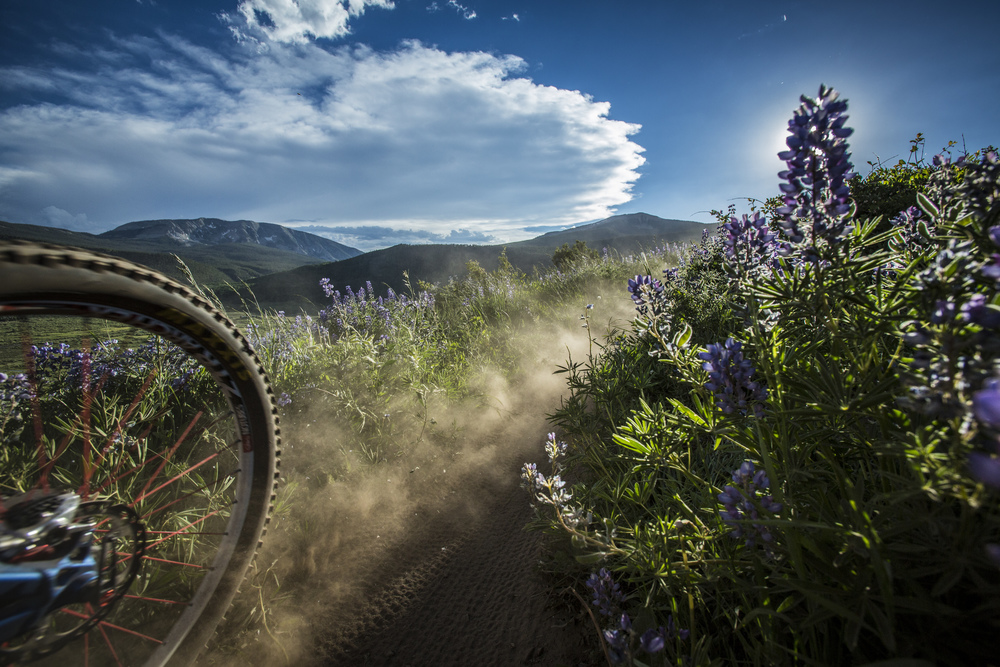
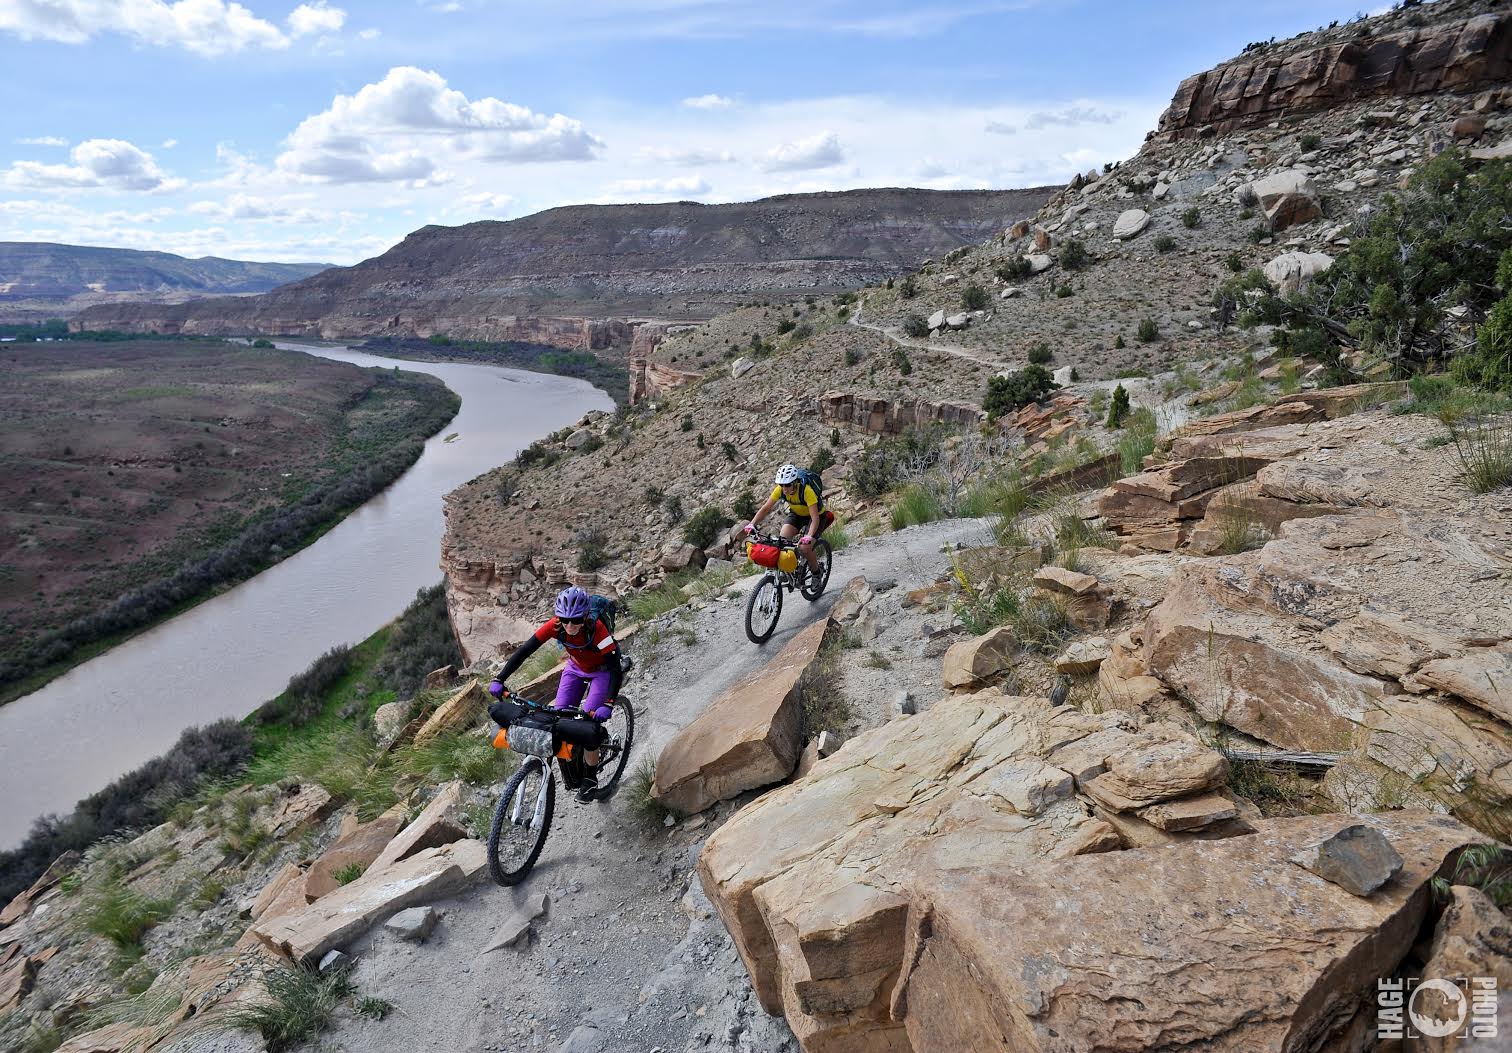
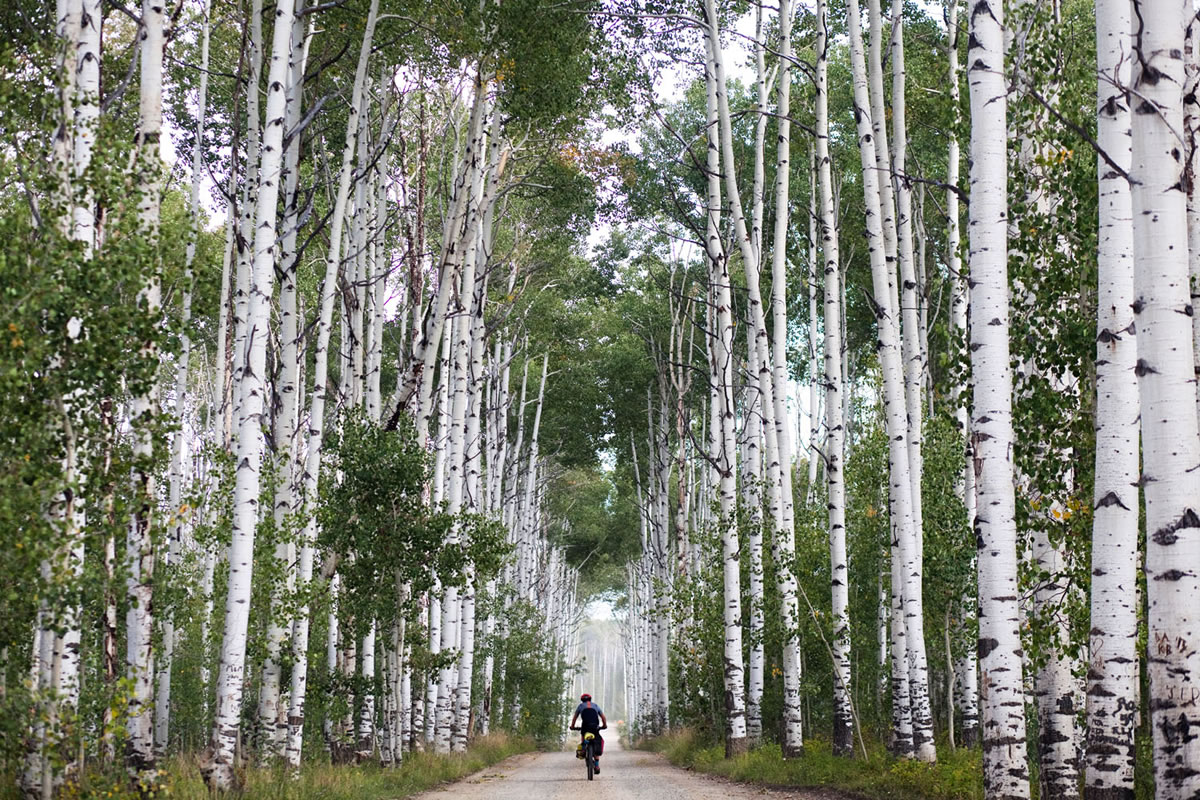
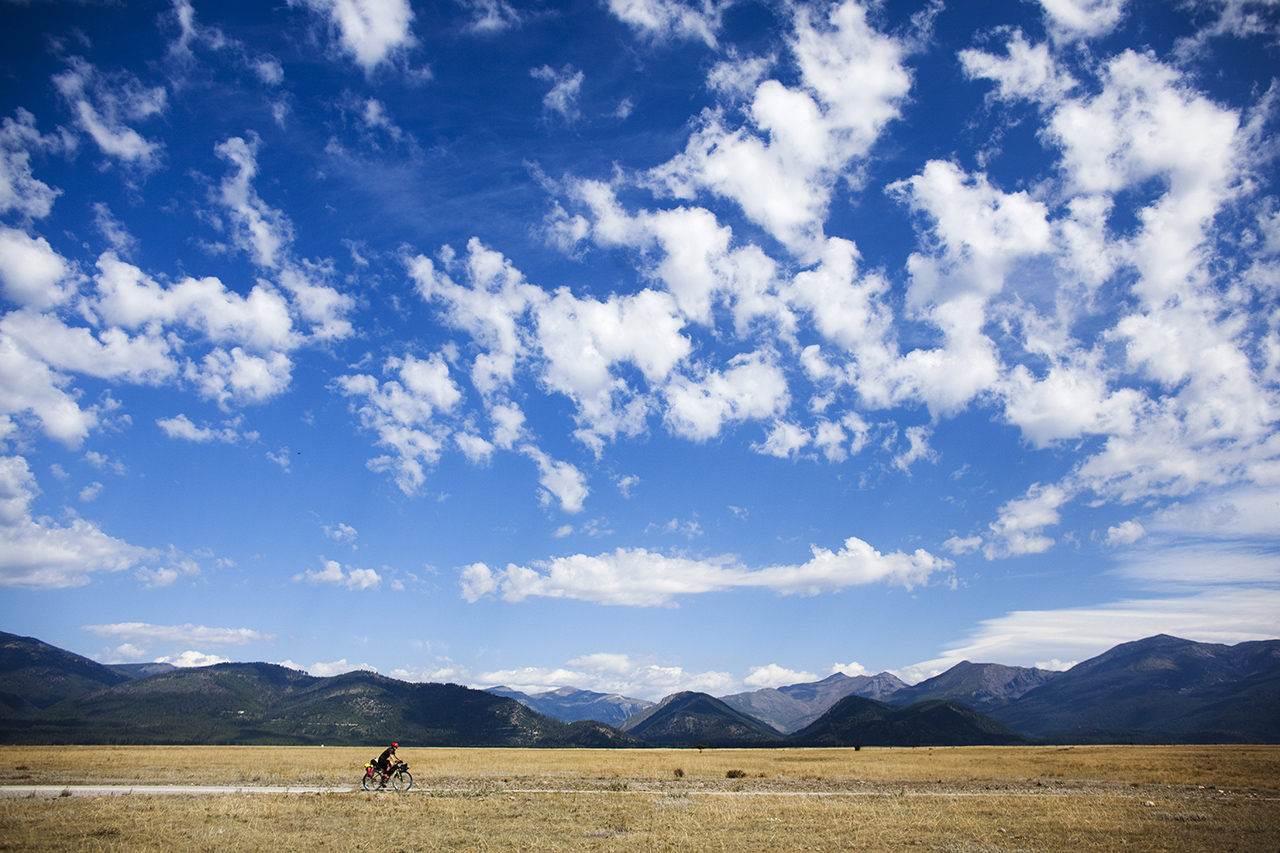
It was a random act of chance when I bumped into Devon Balet while bikepacking a remote chunk of the AZT. Soon thereafter I keyed in the URL from a wrinkled card he had handed me on the trail and was immediately blown away by a variety of stunning photos. Devon is an adventure lifestyle photographer who specializes in creating outdoor sports and recreational imagery. Here are a few examples, but make sure and check out his site for additional amazing images.
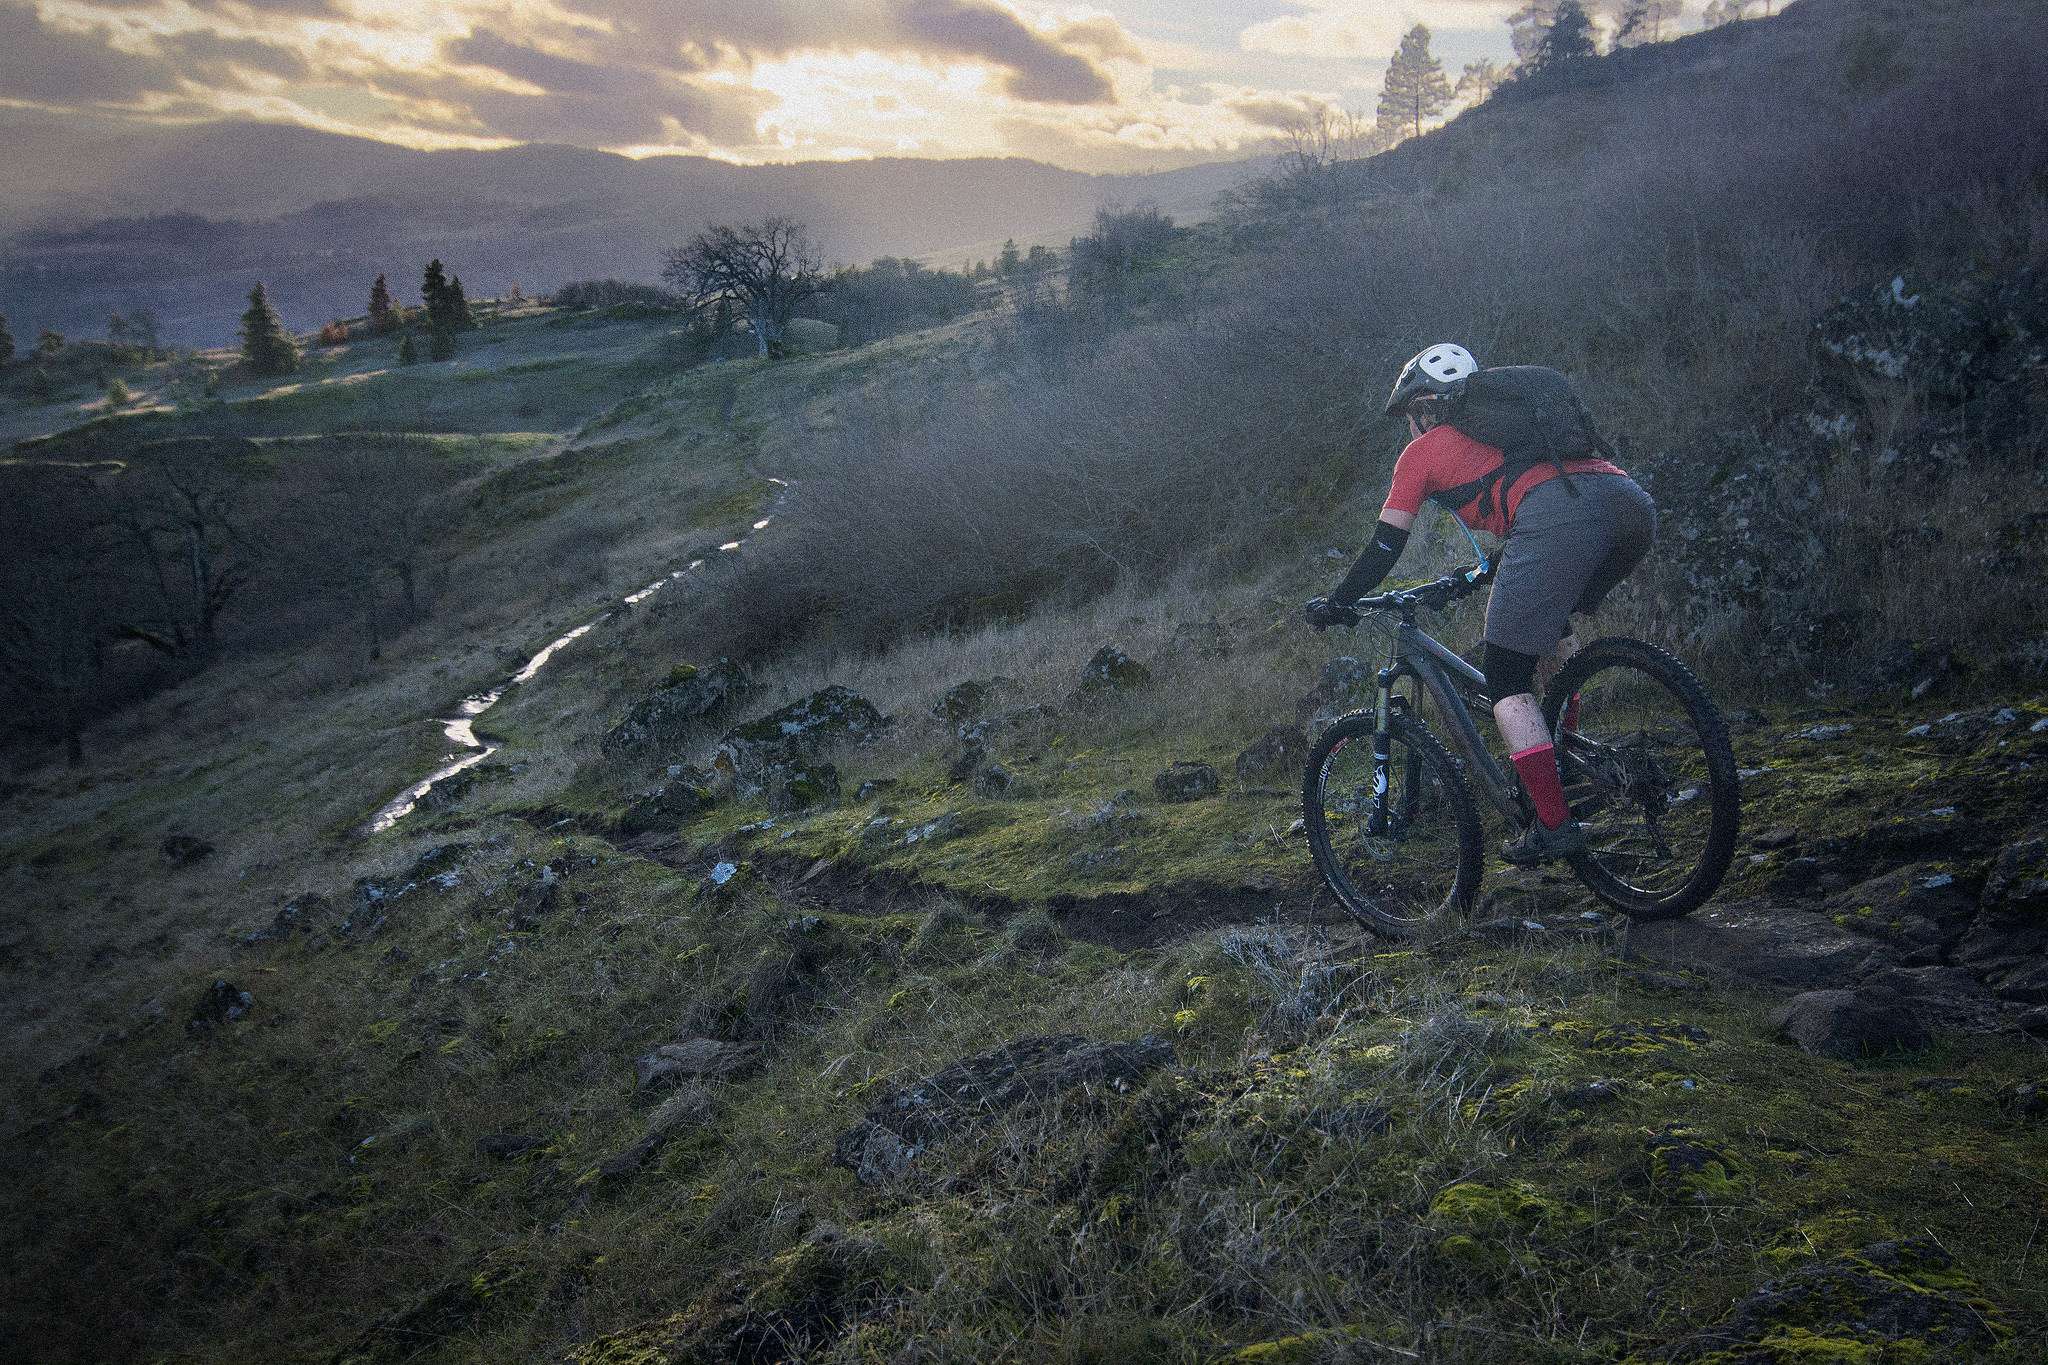
TIP #1 When framing your shot, look at the edge of the image.
This seems like a fairly simple idea, and it is. In the action of capturing a photograph, you limit the viewer to what they see by how you frame your shot. With this in mind it is just as important to look at the edge of the image as it is to look at your subject within the image. Whenever I am setting up an action photo, especially when it has a great landscape, I tend to look at the edge of the frame more then anything else. Once you know where you want to place the subject in the frame, it is important to create a good crop of the image. Taking notice as to what is on the edge of your frame and making slight adjustments can improve your photos immensely. So the next time you are lining up a shot, take an extra second to look around the of the entire frame.

TIP #2 Subject separation is key.
Again, a simple idea but this can be extremely difficult at times. Having good subject separation from the rest of the background can make or break a great photo. Displaying good separation can be achieved by a variety of techniques; use of Depth of Field, use of existing light, use of contrast and many more. I am a big fan of narrow depth of field, which is a great way to separate your subject from the background. Use of color is another favorite of mine. Having the subject with bright colors when riding across a rocky trail makes the rider really pop. Where you place your subject in the frame is key for this. If your rider is up against a wall of dark trees it can be easy to get lost. However if you find that small pocket of light and capture the rider right as the hit the light, then the rider seems to be glowing out of the background.
TIP #3 Avoid bulls eye photos, remember the rule of thirds.
This tip is very similar to my first one. All to often we tend to focus our eye and attention to the subject and we loose sight of good framing. When the human eye goes into auto mode, we tend to place the subject in the dead middle of the frame with no regard to what is around the subject. It could be that half of the picture is blue sky and half ground which is not as appealing if you placed the horizon on the top third. Using the rule of thirds is a sure fire way to get a nice crop and subject placement. The rule of thirds is the simple concept of breaking the frame into three vertical parts and three vertical horizontal parts. This basic technique is probably one of the most important parts of good photography.

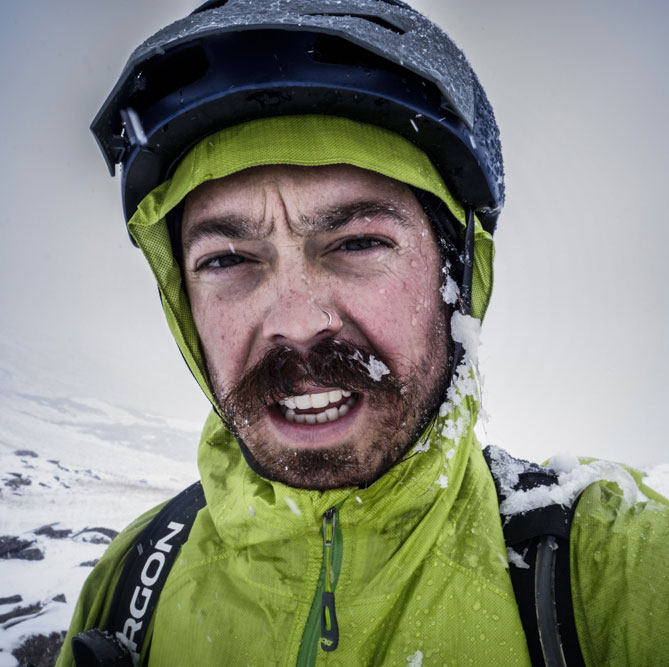
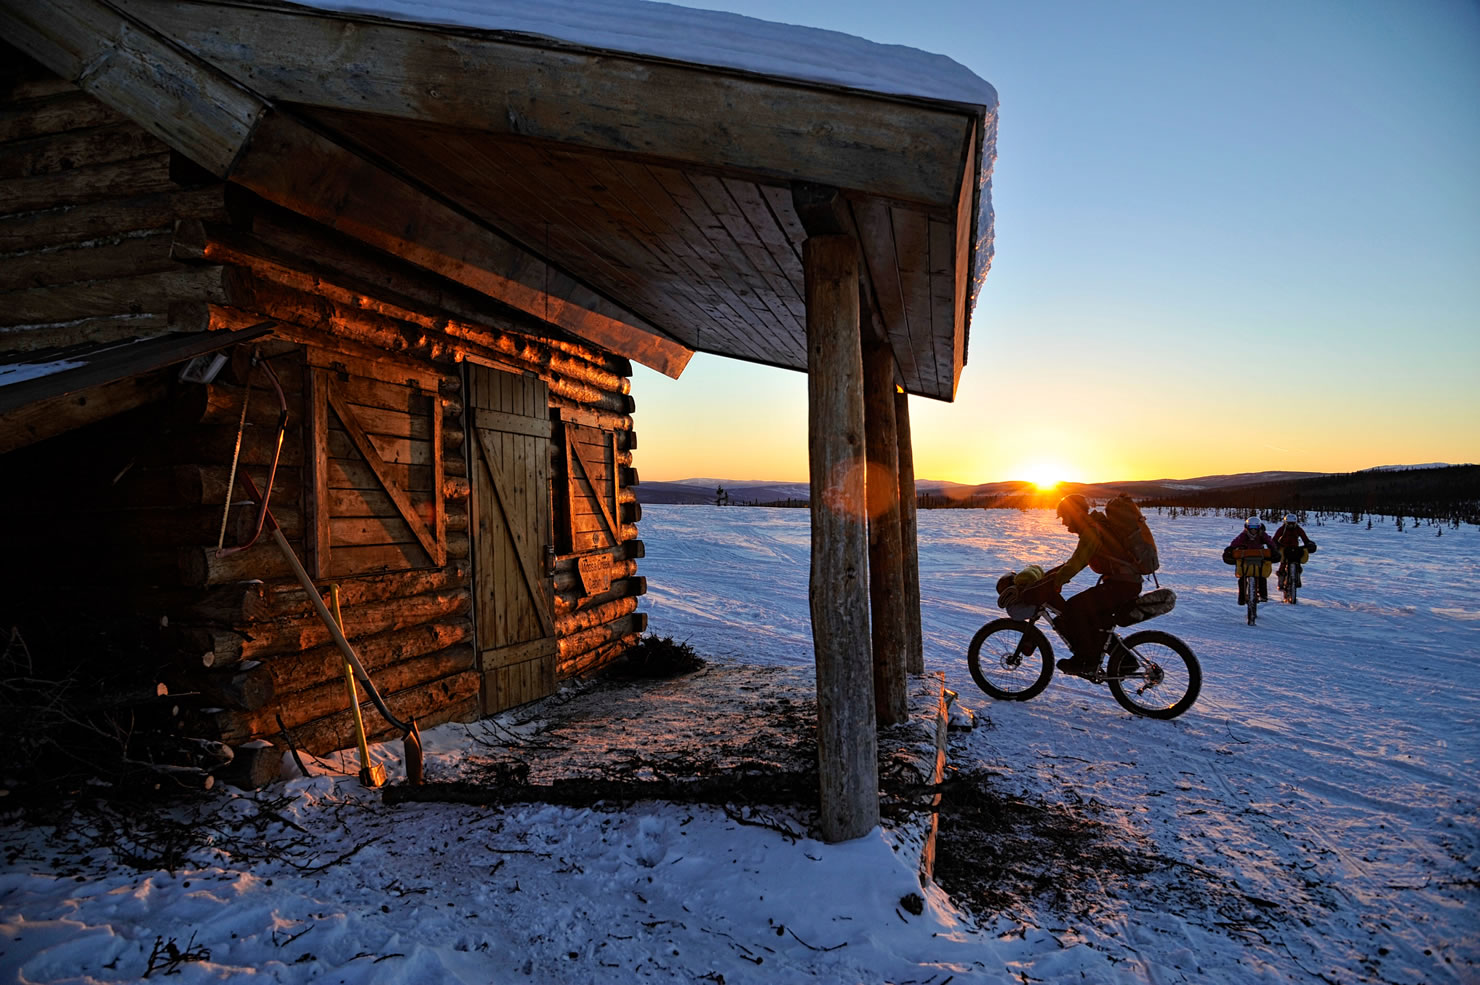
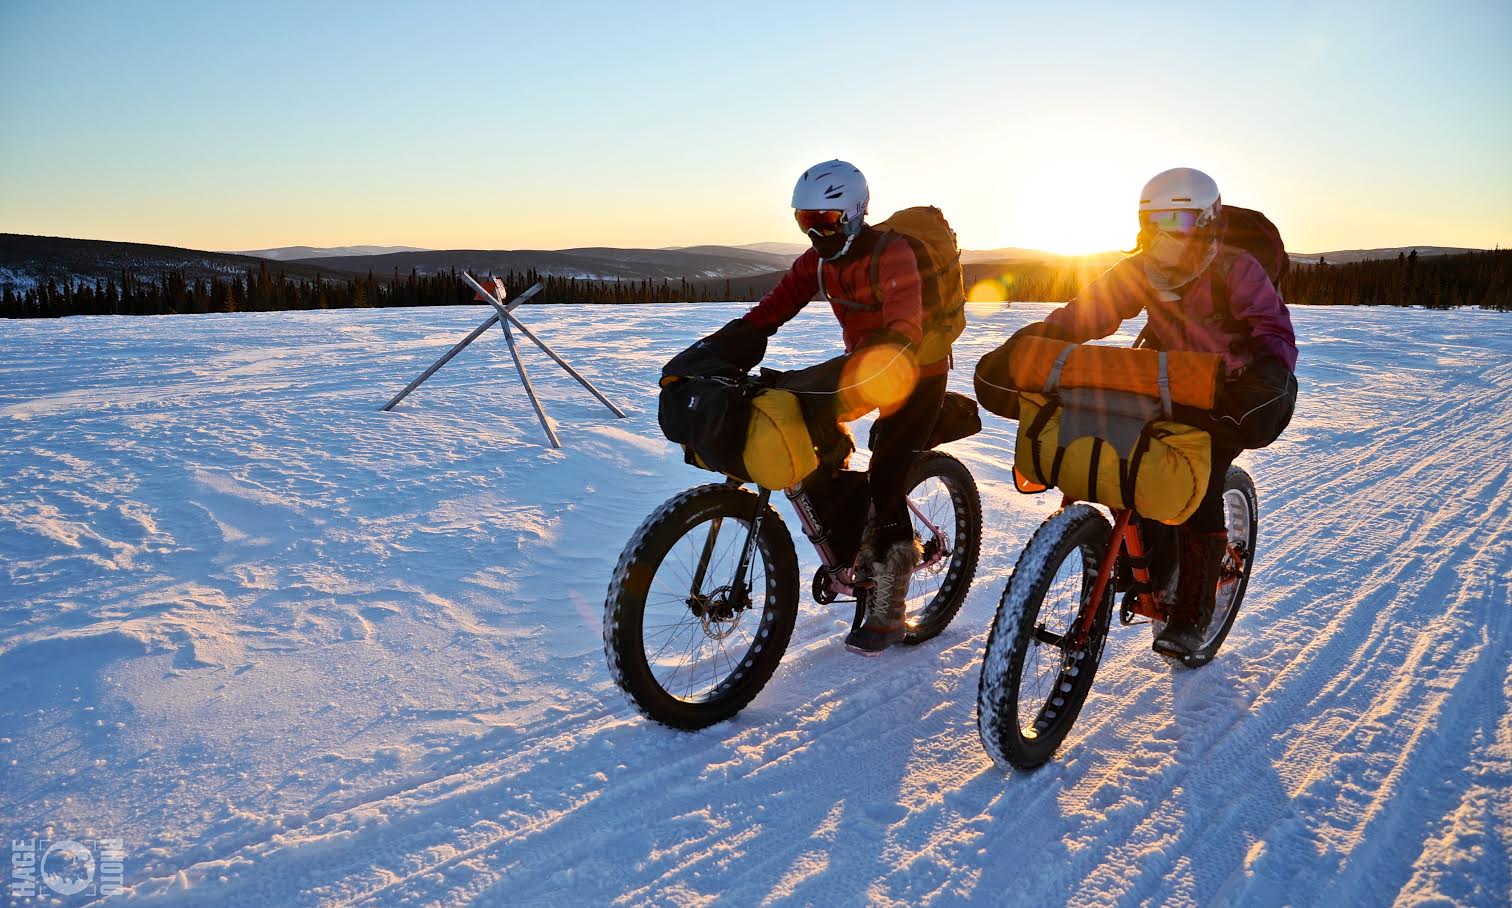
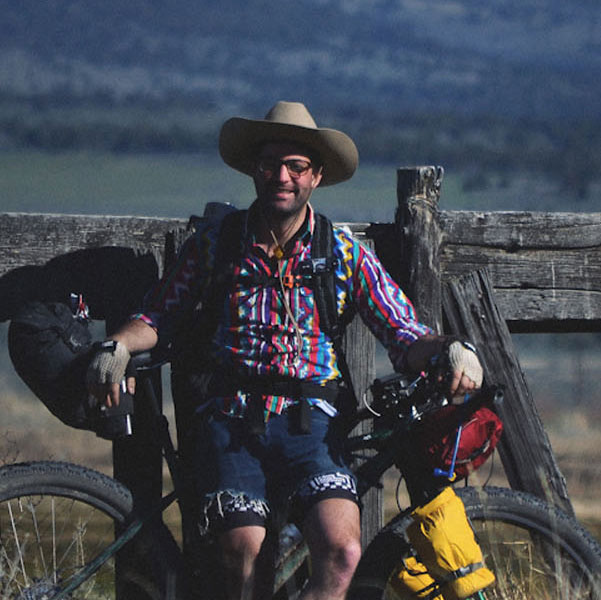
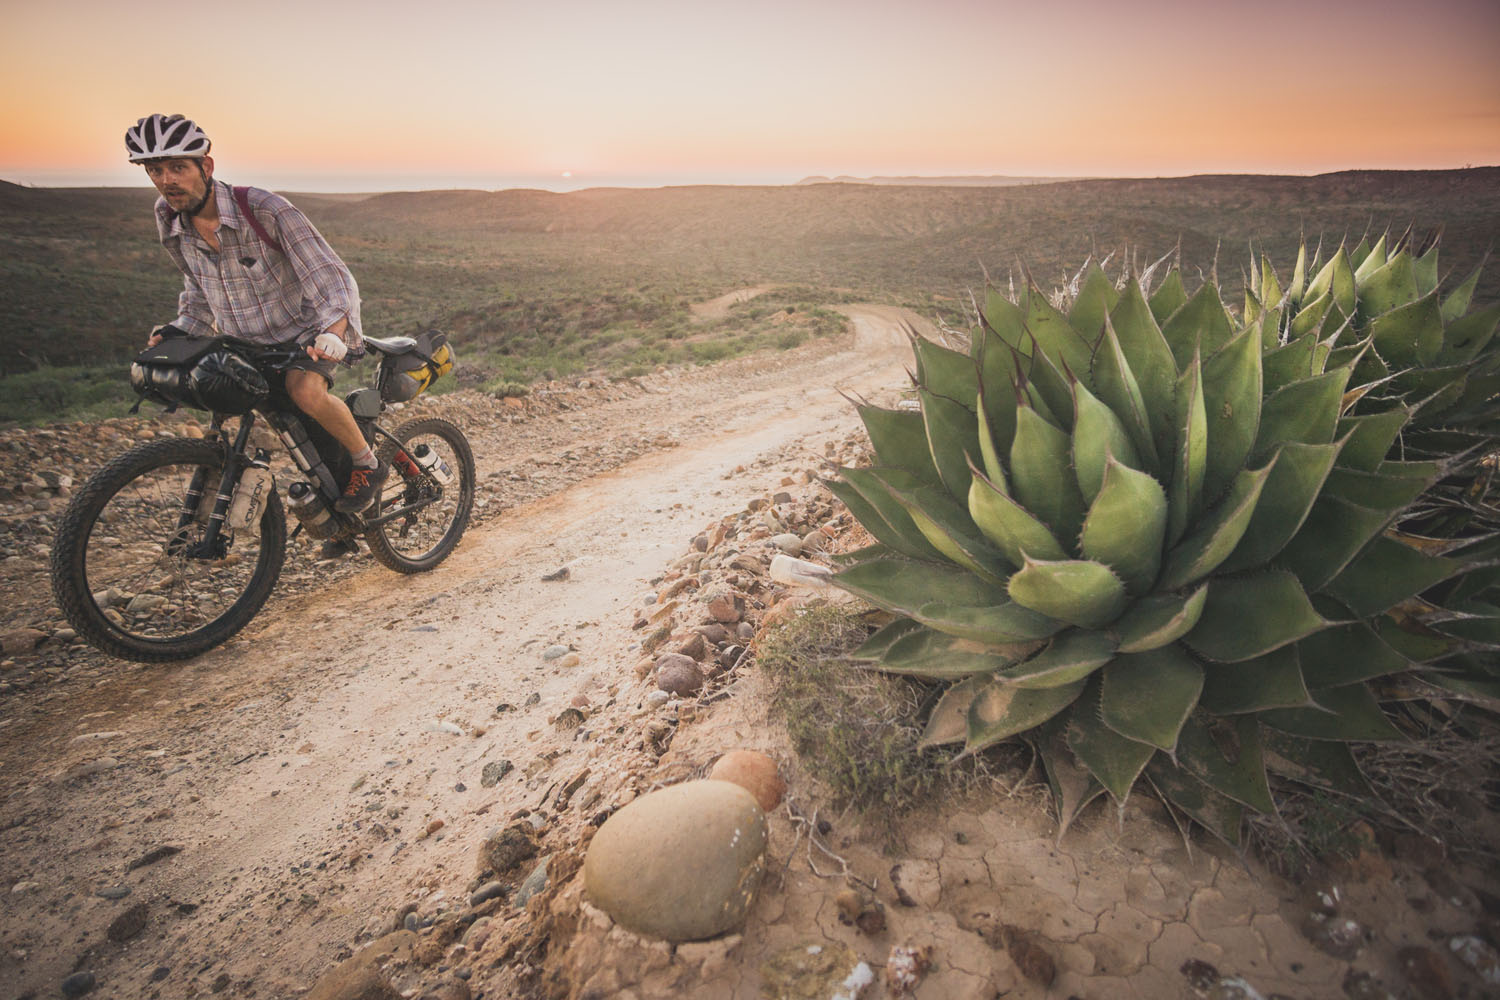
Cass began his photographic bike journey by charting his ride south from Prudoe Bay, Alaska, through the American backcountry and along quiet backroads and dirt trails. Since then, Cass has ridden and documented amazing off-road cycling trips through his website and on the pages of magazines such as Bicycle Times, Sidetracked, and Bunyan Velo. Throughout his epic two-wheeled saga, Cass has developed an incredibly impressive photographic sensibility. NOTE: title photo by Cass Gilbert.
TIP #4 Shoot on the move.
To both help maintain a flow of the ride and keep a natural feel to the images I try and capture, I aim to grab photos as I go, rather than pausing to set them up. But if I do get the chance to prep a shot (scouting ahead during a snack break, for instance), I’ll ask riders to cycle at their normal pace, rather than slowing down. Cycling too slow can look unnatural; riders appear heavy in the saddle, losing the dynamic element of the shot. For the same reason, I’ll often take a series of photos as the rider enters and exits the frame, checking later to see which one looks the most dynamic – in terms of body and pedal position.


TIP #5 Think in sets.
If I’m planning to document a ride in some way, I often think of photos in sets, rather than individual images. I’m always on the lookout for variety – a couple of action shots, a few wide angles, some details, a few portraits, a mix of photos shot from the side, the front and behind. To help provide this variety, I scramble around a lot. I’ll look for walls to climb to lend a different perspective, or foreground objects to create different textures and shapes. When your final images are put together – for a blog post, for instance – they’ll tell the whole story, in a more personal way.
TIP #6 Edit and cull.
Lastly, edit your photos ruthlessly! Less is often more. Cull the repeats. Just pick the ones you really, really like, or those that document an important aspect of the journey. Your story will be all the stronger for it.
A life-long Alaskan, Matt Hage has worked as a professional photographer for over a decade. His background includes a degree in photojournalism from the University of Alaska Fairbanks, three years as a newspaper photographer and a stint on the photo staff of a national magazine. He works with his wife Agnes as an Alaska-based production team. They started working together about five years ago. Got engaged on the summit of Denali. Spend part of the year based in an Airstream cruising the Southwest and a couple months working overseas. Check out what they’ve been up to at www.hagelife.com.
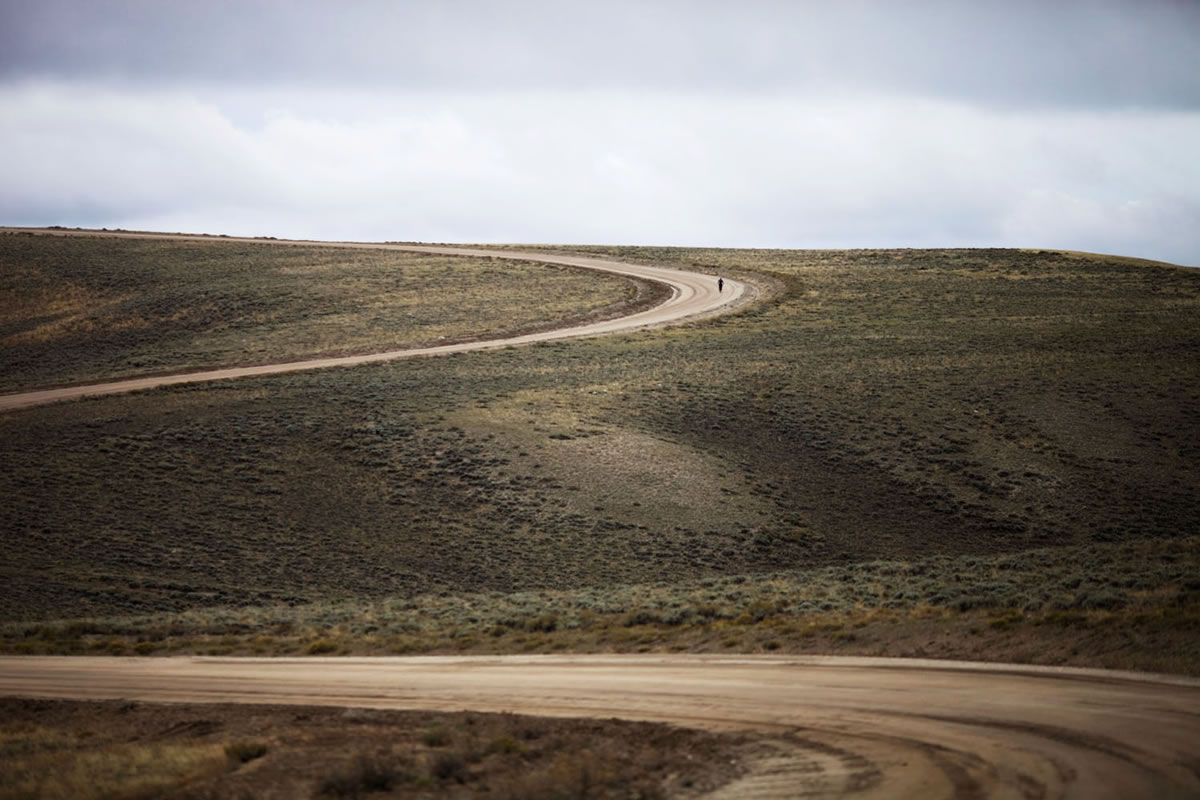
TIP #7 Get a different perspective.
Most of us experience the world somewhere between five and six feet off the ground; eye level. Or as bike enthusiasts, from the saddle looking over the handle bars. A sure way to make pictures more interesting is to change that view point. Get off the bike and crouch down for an upward angle. Or look for something to climb up on to get above the scene.

TIP #8 Watch the light.
Get the sun off your back. A lot of the time when your pictures are looking flat or one dimensional, it’s because of your lighting. The way you are using the sun. Try positioning yourself so the sun lights your subjects from the side or from behind. Check your LCD histogram to keep your exposure in check as you can’t always trust your metering when backlighting a subject. Works for both people and landscapes.
TIP #9 Take your time.
If you see a good picture, stop and take the time to make it great. You might be concerned that your friends are getting impatient waiting for you or riding for the camera. Most of the time they’re just as excited by what you capture as you are and will begin to see that this is time well spent. Especially when they’re looking for their next profile picture.
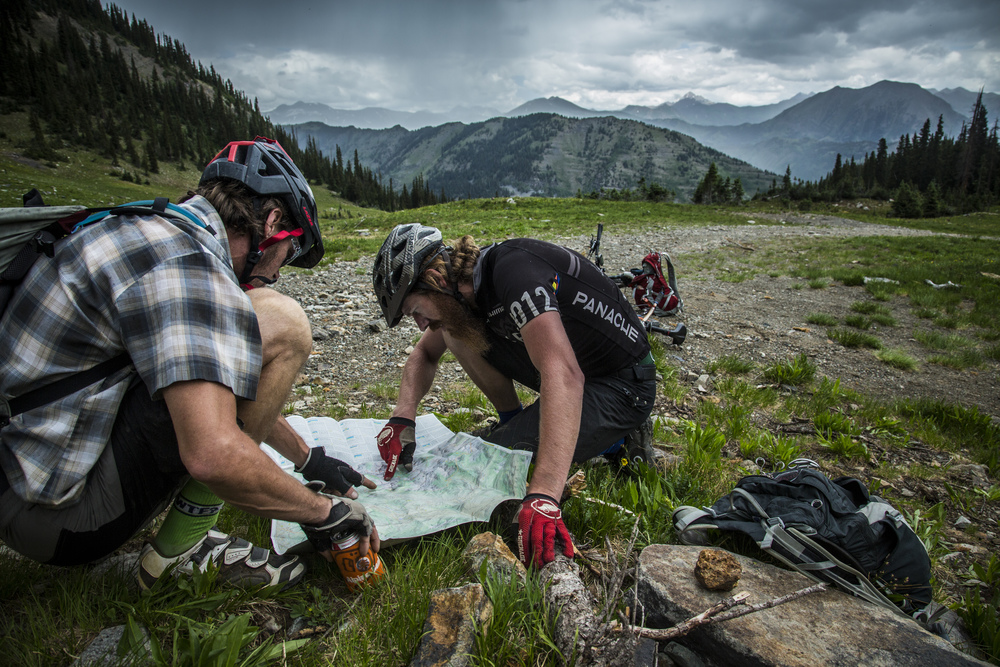
Gabriel Amadeus is exploring the world one serendipitous misadventure at a time. Born in a canoe in Michigan’s Upper Peninsula; learned what good beer was in Duluth, Minnesota; and fell in love with the grandeur of Oregon ten years ago. He’s been a mountain biking and rock climbing dirtbag since the 1990’s, but has recently been spotted sporting lycra and crafting cocktail bitters so we’re a little worried about him. Passionate about sharing exquisite food, fine libations, and secret places. A contributor for Velodirt, The Seattle Times, The Bend Bulletin, The Missouri Review, Bunyan Velo, Portland Mercury, BikePortland.org, and the Chicago Reader. Follow Gabe’s work at Limberlost.com.
TIP #10 Take photos.
Best advice I have is take photos. Lots of photos. That camera isn’t doing any good in your backpack, pannier, desk drawer. Have it accessible and stop and take photos constantly. This unfortunately involves lots of racing ahead, stopping, shooting, and then hurrying to catch back up. I really like the Peak Designs Capture Camera Clip on my backpack strap for super quick-access. Porcelain Rocket makes a nice padded handlebar camera bag too.

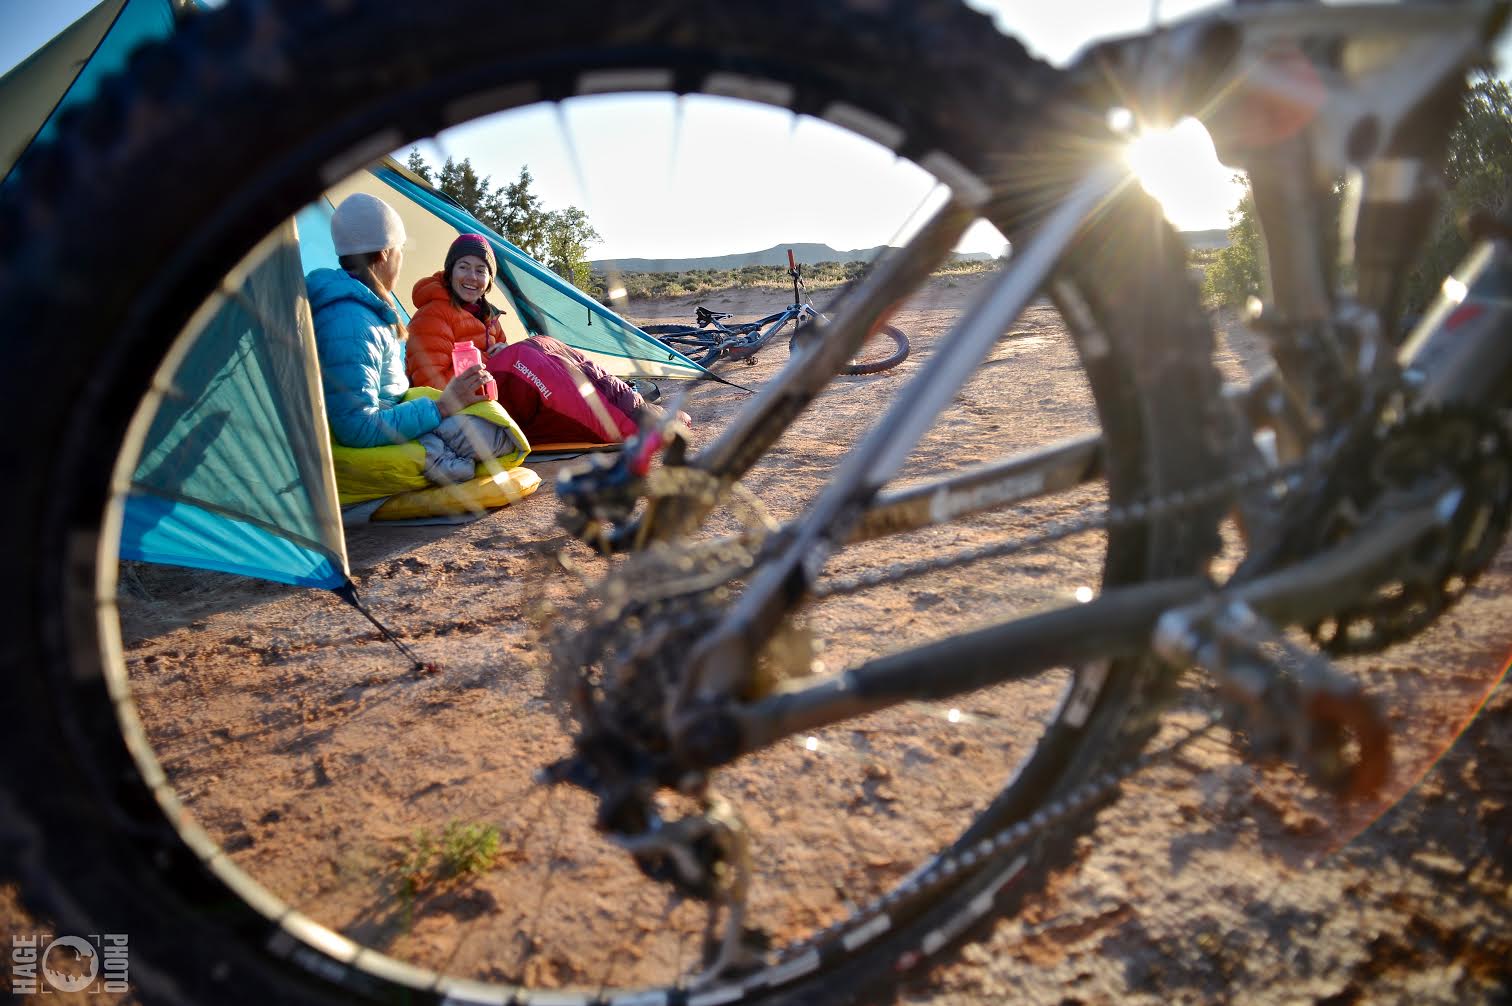
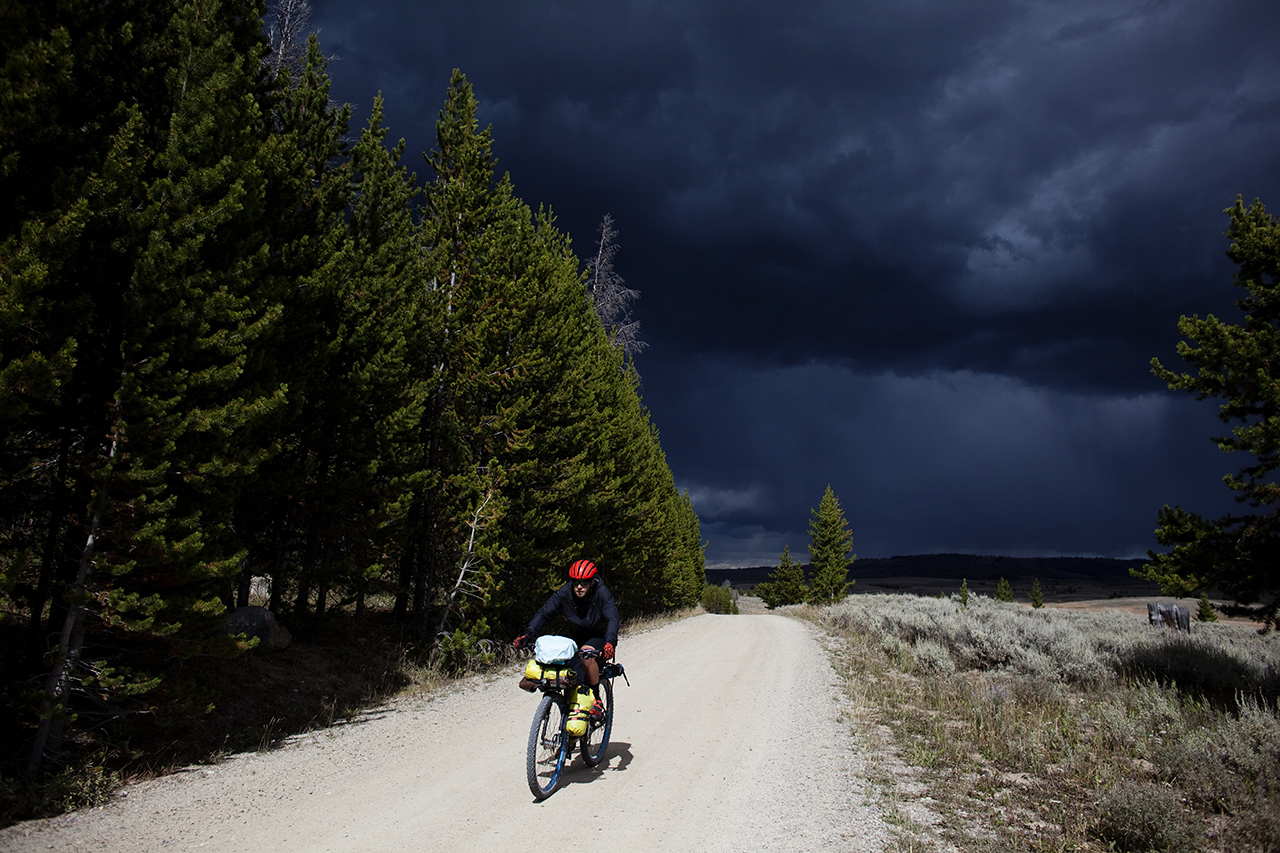
TIP #11 Move around.
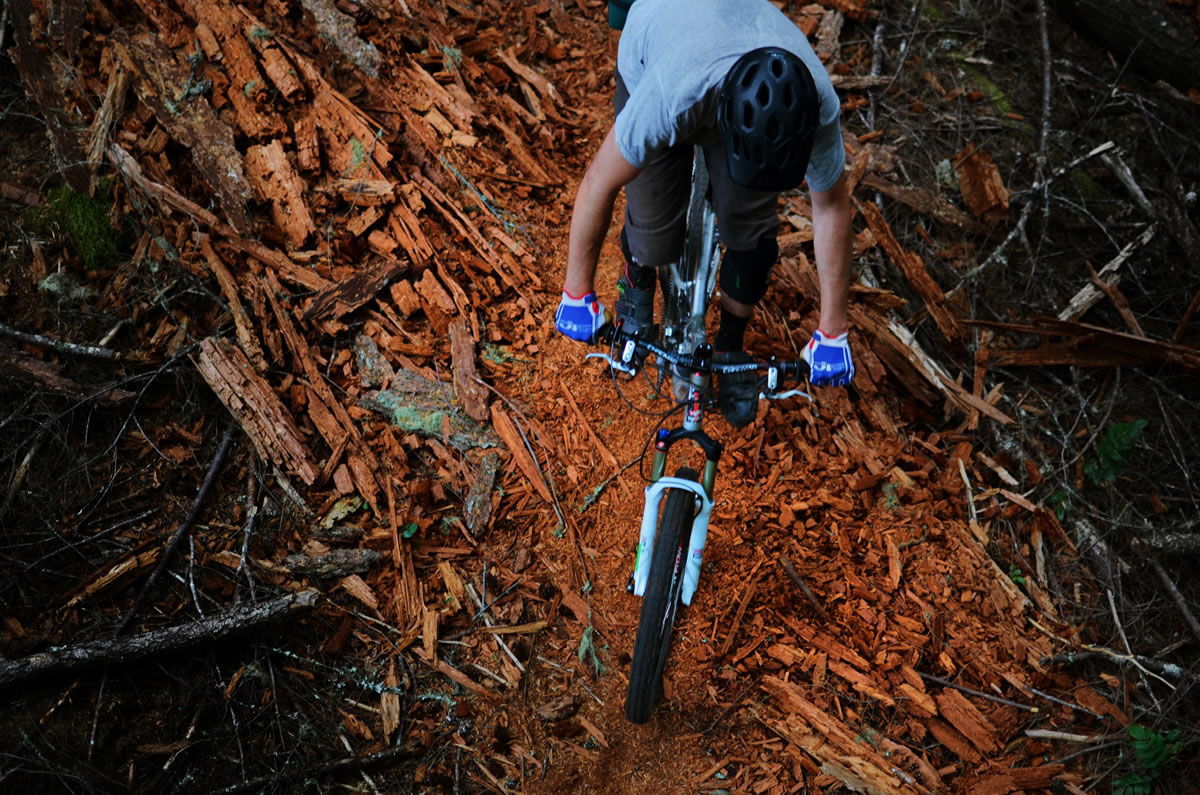
I’m not a professional photographer by any means, but what I’m lacking in technical knowledge I make up by running around a bunch. I squat, lay down, climb trees, and jump in creeks to try and get a unique crop. Being able to identify the aspects of what makes a scene interesting is crucial. Find an angle that includes the neat clouds, an out of focus branch in the foreground, a rider, or some natural elements that frame your subject. Sometimes it works out. (the Oakridge shot from above I literally scrambled 20′ up a downed tree to get)
TIP #12 Photos are just light.
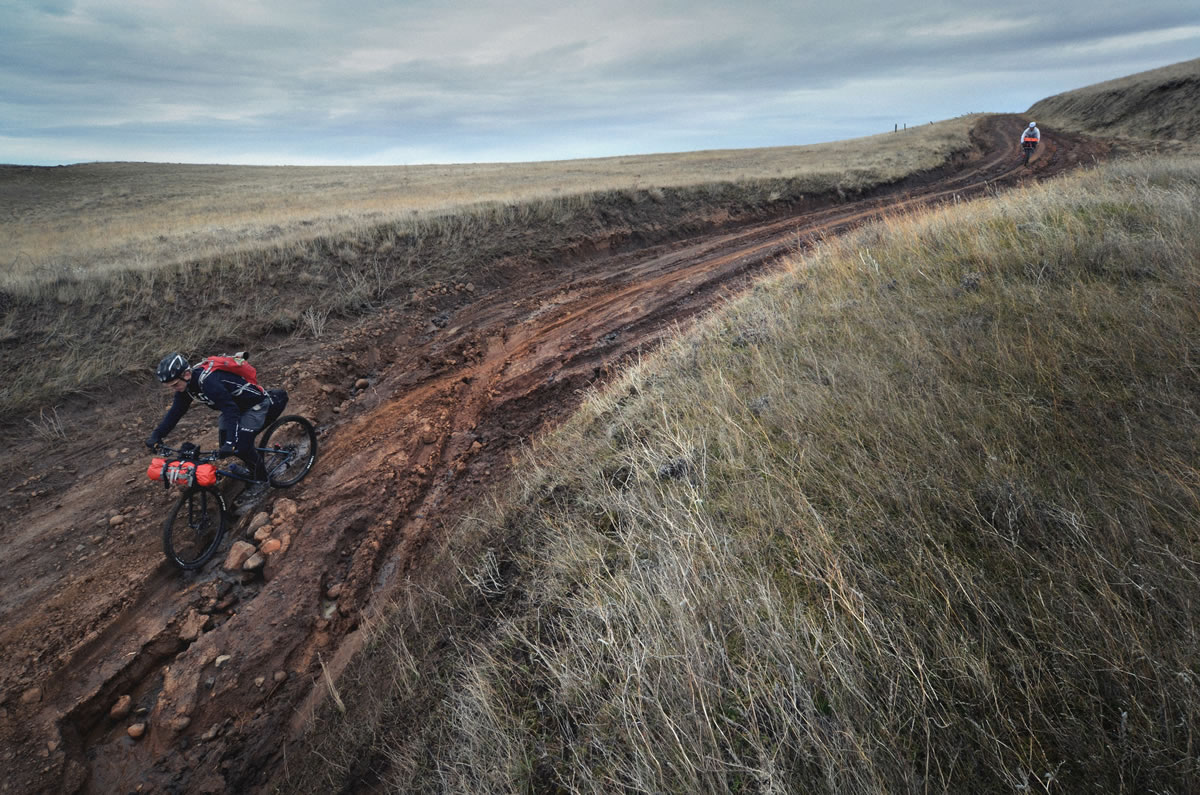
Light bouncing and soaking. Pay attention to what’s going on with it. Are the shadows crazy? Is your subject backlit? Is there some strange fog or weather system? The mountain bike shot of Syncline the weather was wet and dreary all day long making for some pretty flat lit photos. Then right before the sun went down it popped out and lit up the trees and grass on the hillside before disappearing again. Didn’t have time to grab more than that one underexposed shot before the moment had passed, but it works!
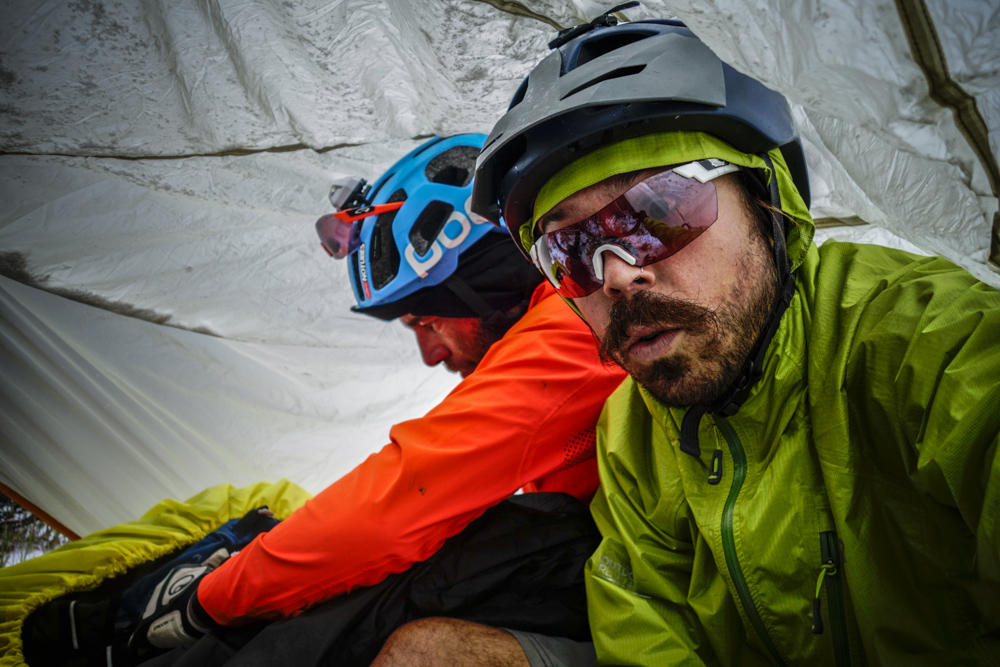
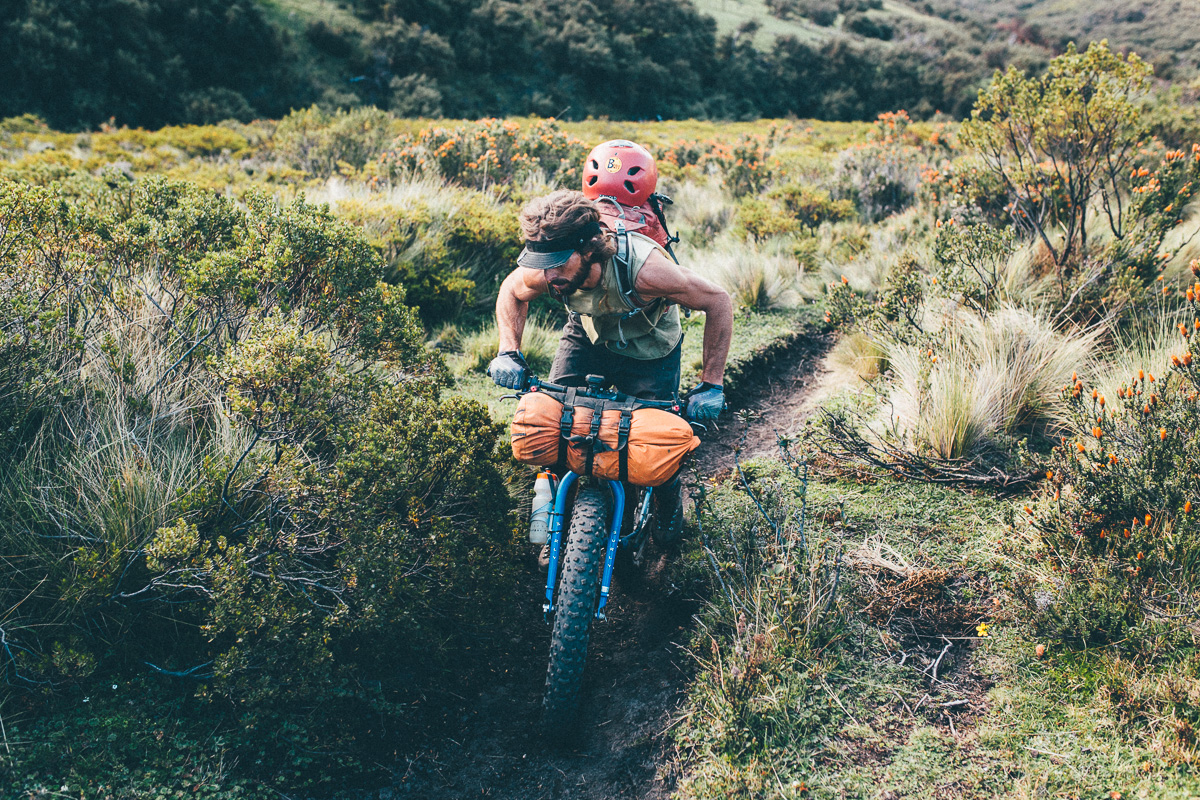
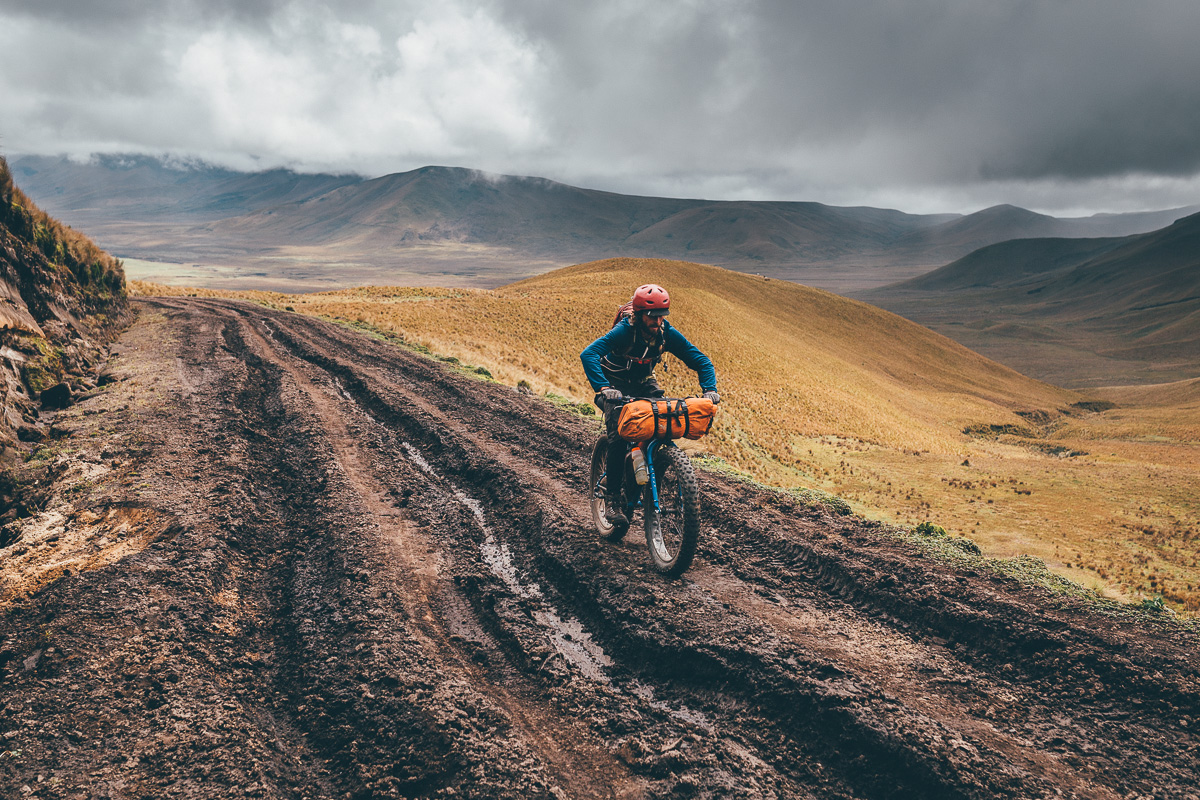
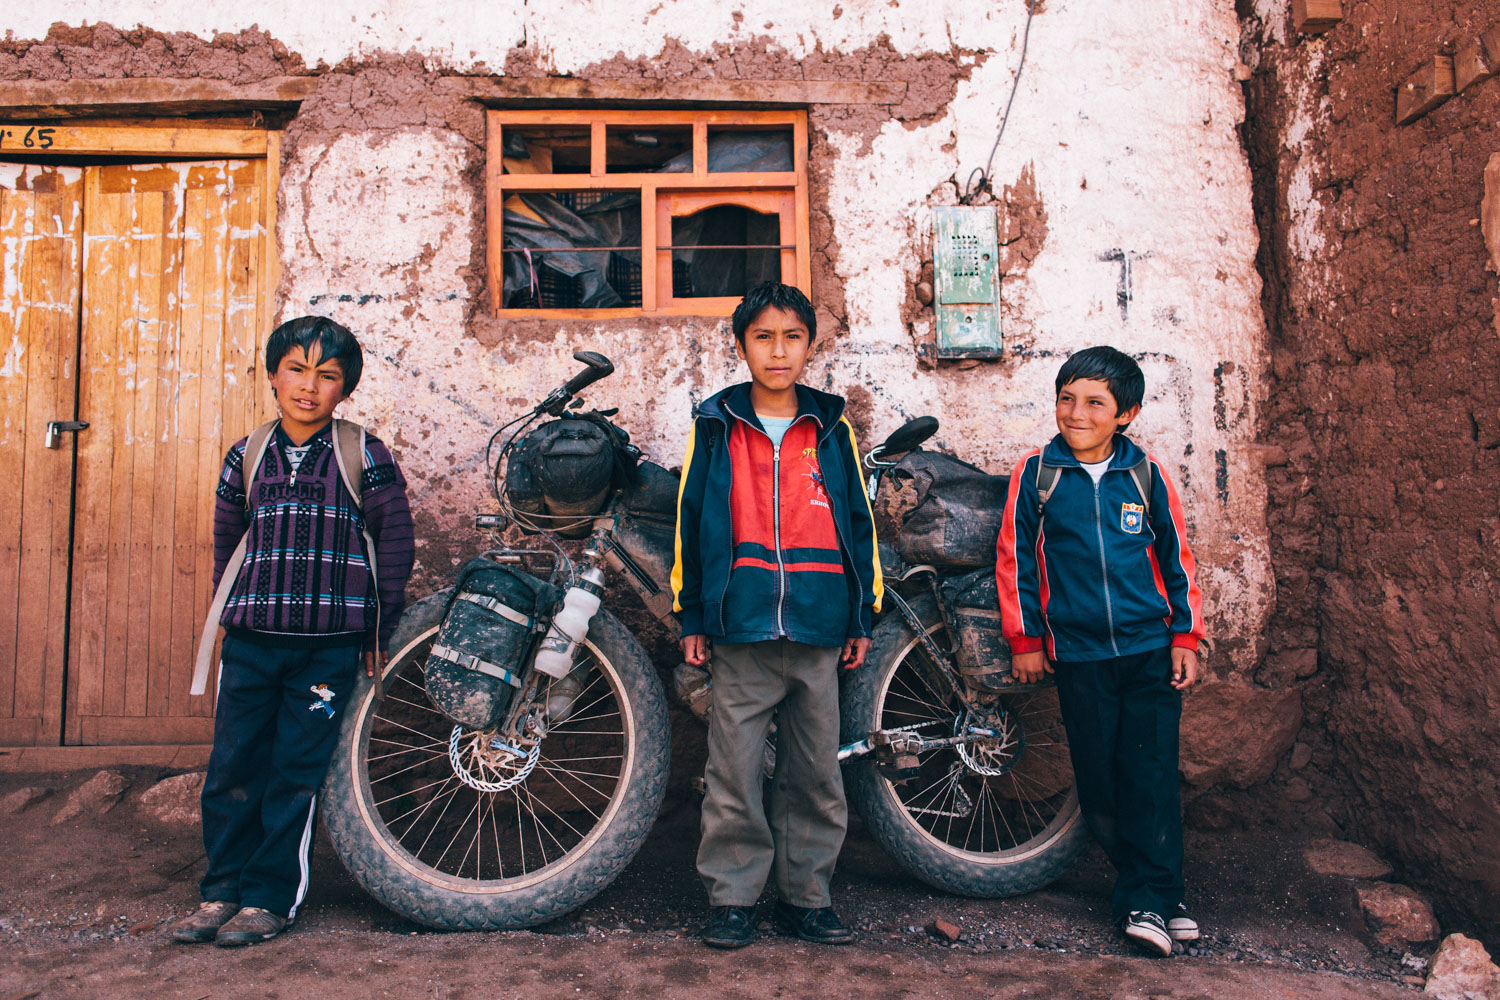
A View From Two Wheels is a collaborative effort between photographers Matt McLoone and Brett Ziegler. The love of cycling and the sense of adventure lead Matt and Brett into the the realm of off-road touring. With backgrounds in photography and photojournalism, bikepacking generated a creative outlet that allowed for personal growth and self discovery.
TIP #13 Keep it accessible.
Brett: I think the most important thing in regards to shooting while bike packing is accessibility. The harder it is to get to your camera the less likely or motivated you are going to be to take it out when you are suffering up a climb, at the end of a long day or when you are scrambling to get everything composed before your riding partners come up the trail. I have used a small backpack dedicated to just carrying my camera set up and a handle bar mounted bag system. Like anything else, there are pros and cons to each system, and that is your own personal choice in the end. I have come to prefer the handlebar mounted bag as it is much easier to access and in the end, I would rather ride without a backpack. For the Divide we used Swift Industries Paloma Handlebar Bag. The bag itself is awesome. The construction is solid and adaptable. It easily provided enough space for a came, two lenses, and misc accessories. With a little DIY action it was easy to construct a foam structure to hold the lenses and camera securely from bumping around inside the bag. One concern to keep in mind though is the mounting systems, especially on a long rugged tour. The Kilckfix adaptors we used did not stand up to the roughness of the Divide. We broke multiple of the Aluminum Brackets, however the stainless steel version has been holding up well though. If possible make sure to secure your gear, even if it seems like overkill, to make sure it isn’t bouncing all around and potentially causing harm to the equipment.
Matt: Always bring your camera and have it easily accessible. It’s already hard enough bikepacking and the last thing you want to do when you are suffering on a climb is to stop and dig through your bags in order to get the camera ready. A nice handlebar bag, with easy open flaps is the way to go.
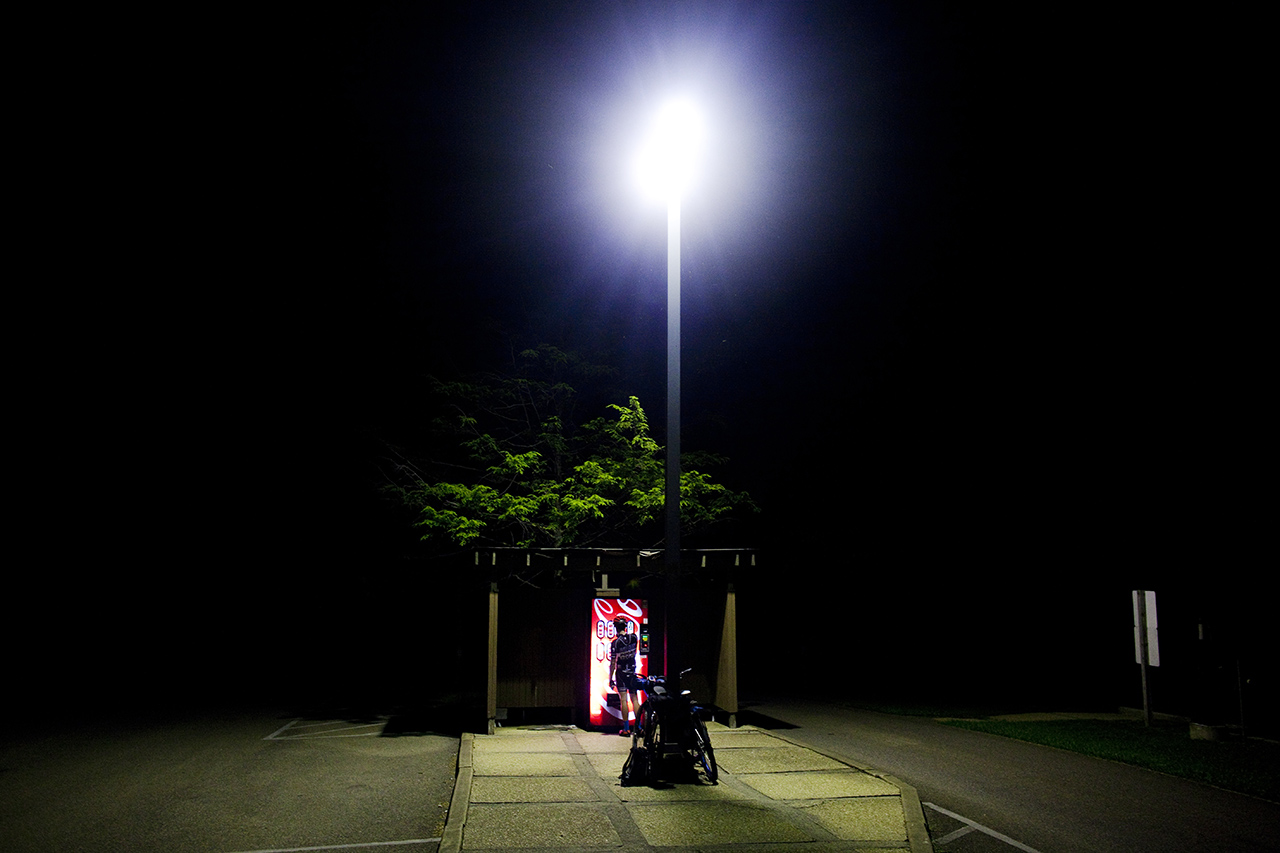
TIP #14 Bring a small tripod.
Brett: Another suggestion would be a small lightweight tripod. Night scenes are incredible and can create some stunning images. Trying to get the frame just right using sticks, stones or whatever else you might find to prop the lens up with while you wait for the long exposure to end can become a frustrating process.
Tip #15 Take care of your equipment.
Matt: Be aware that all the bouncing and vibrations will start to wear your camera. Set your camera bag so there is as little movement as possible. My favorite go to prime lens, a 35mm, should have been recalibrated before our GDMBR trip. Since I did not, my photos were quite soft and I ended up using it only 5% of the time. Make sure you take care of your equipment and don’t be afraid to send them in to get serviced every so often.
TIP #16 Know your gear.
Shooting with one camera and one lens may have its limitations, but going out riding with too many lenses can be frustrating, as your choices become much harder. Should I use the 28? 35? 50? 90? or damn I wish I brought my XYZ lens. If you must carry two lenses, choose something wide and something tight. 24/28/35 or 85/90/135.
Please keep the conversation civil, constructive, and inclusive, or your comment will be removed.