


An Introduction to Sufur Cycles: Forged Through Trial and Triumph


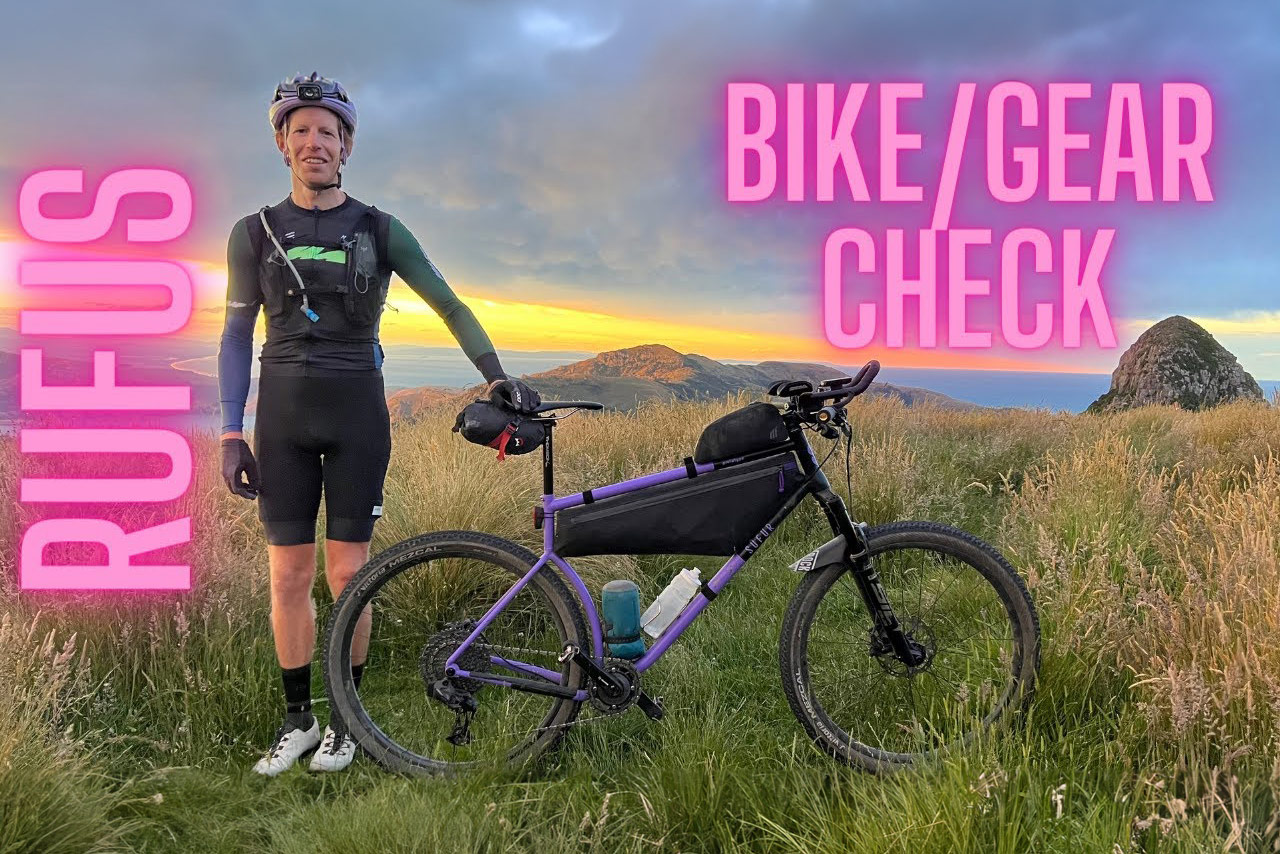
After making bikes for himself for a decade, Rufus Wenlock of New Zealand has officially announced the launch of his custom framebuilding business, Süfur Cycles. Learn more about Rufus, his designs, and the Tour Divide-ready bike he just made for Joe Nation here…
PUBLISHED May 28, 2025
Photos by Anton McGeachen and Rufus Wenlock
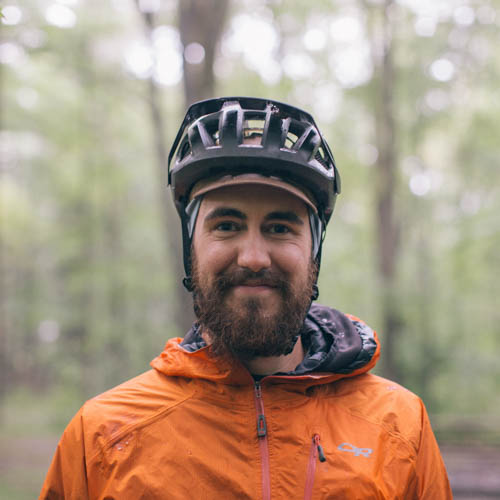
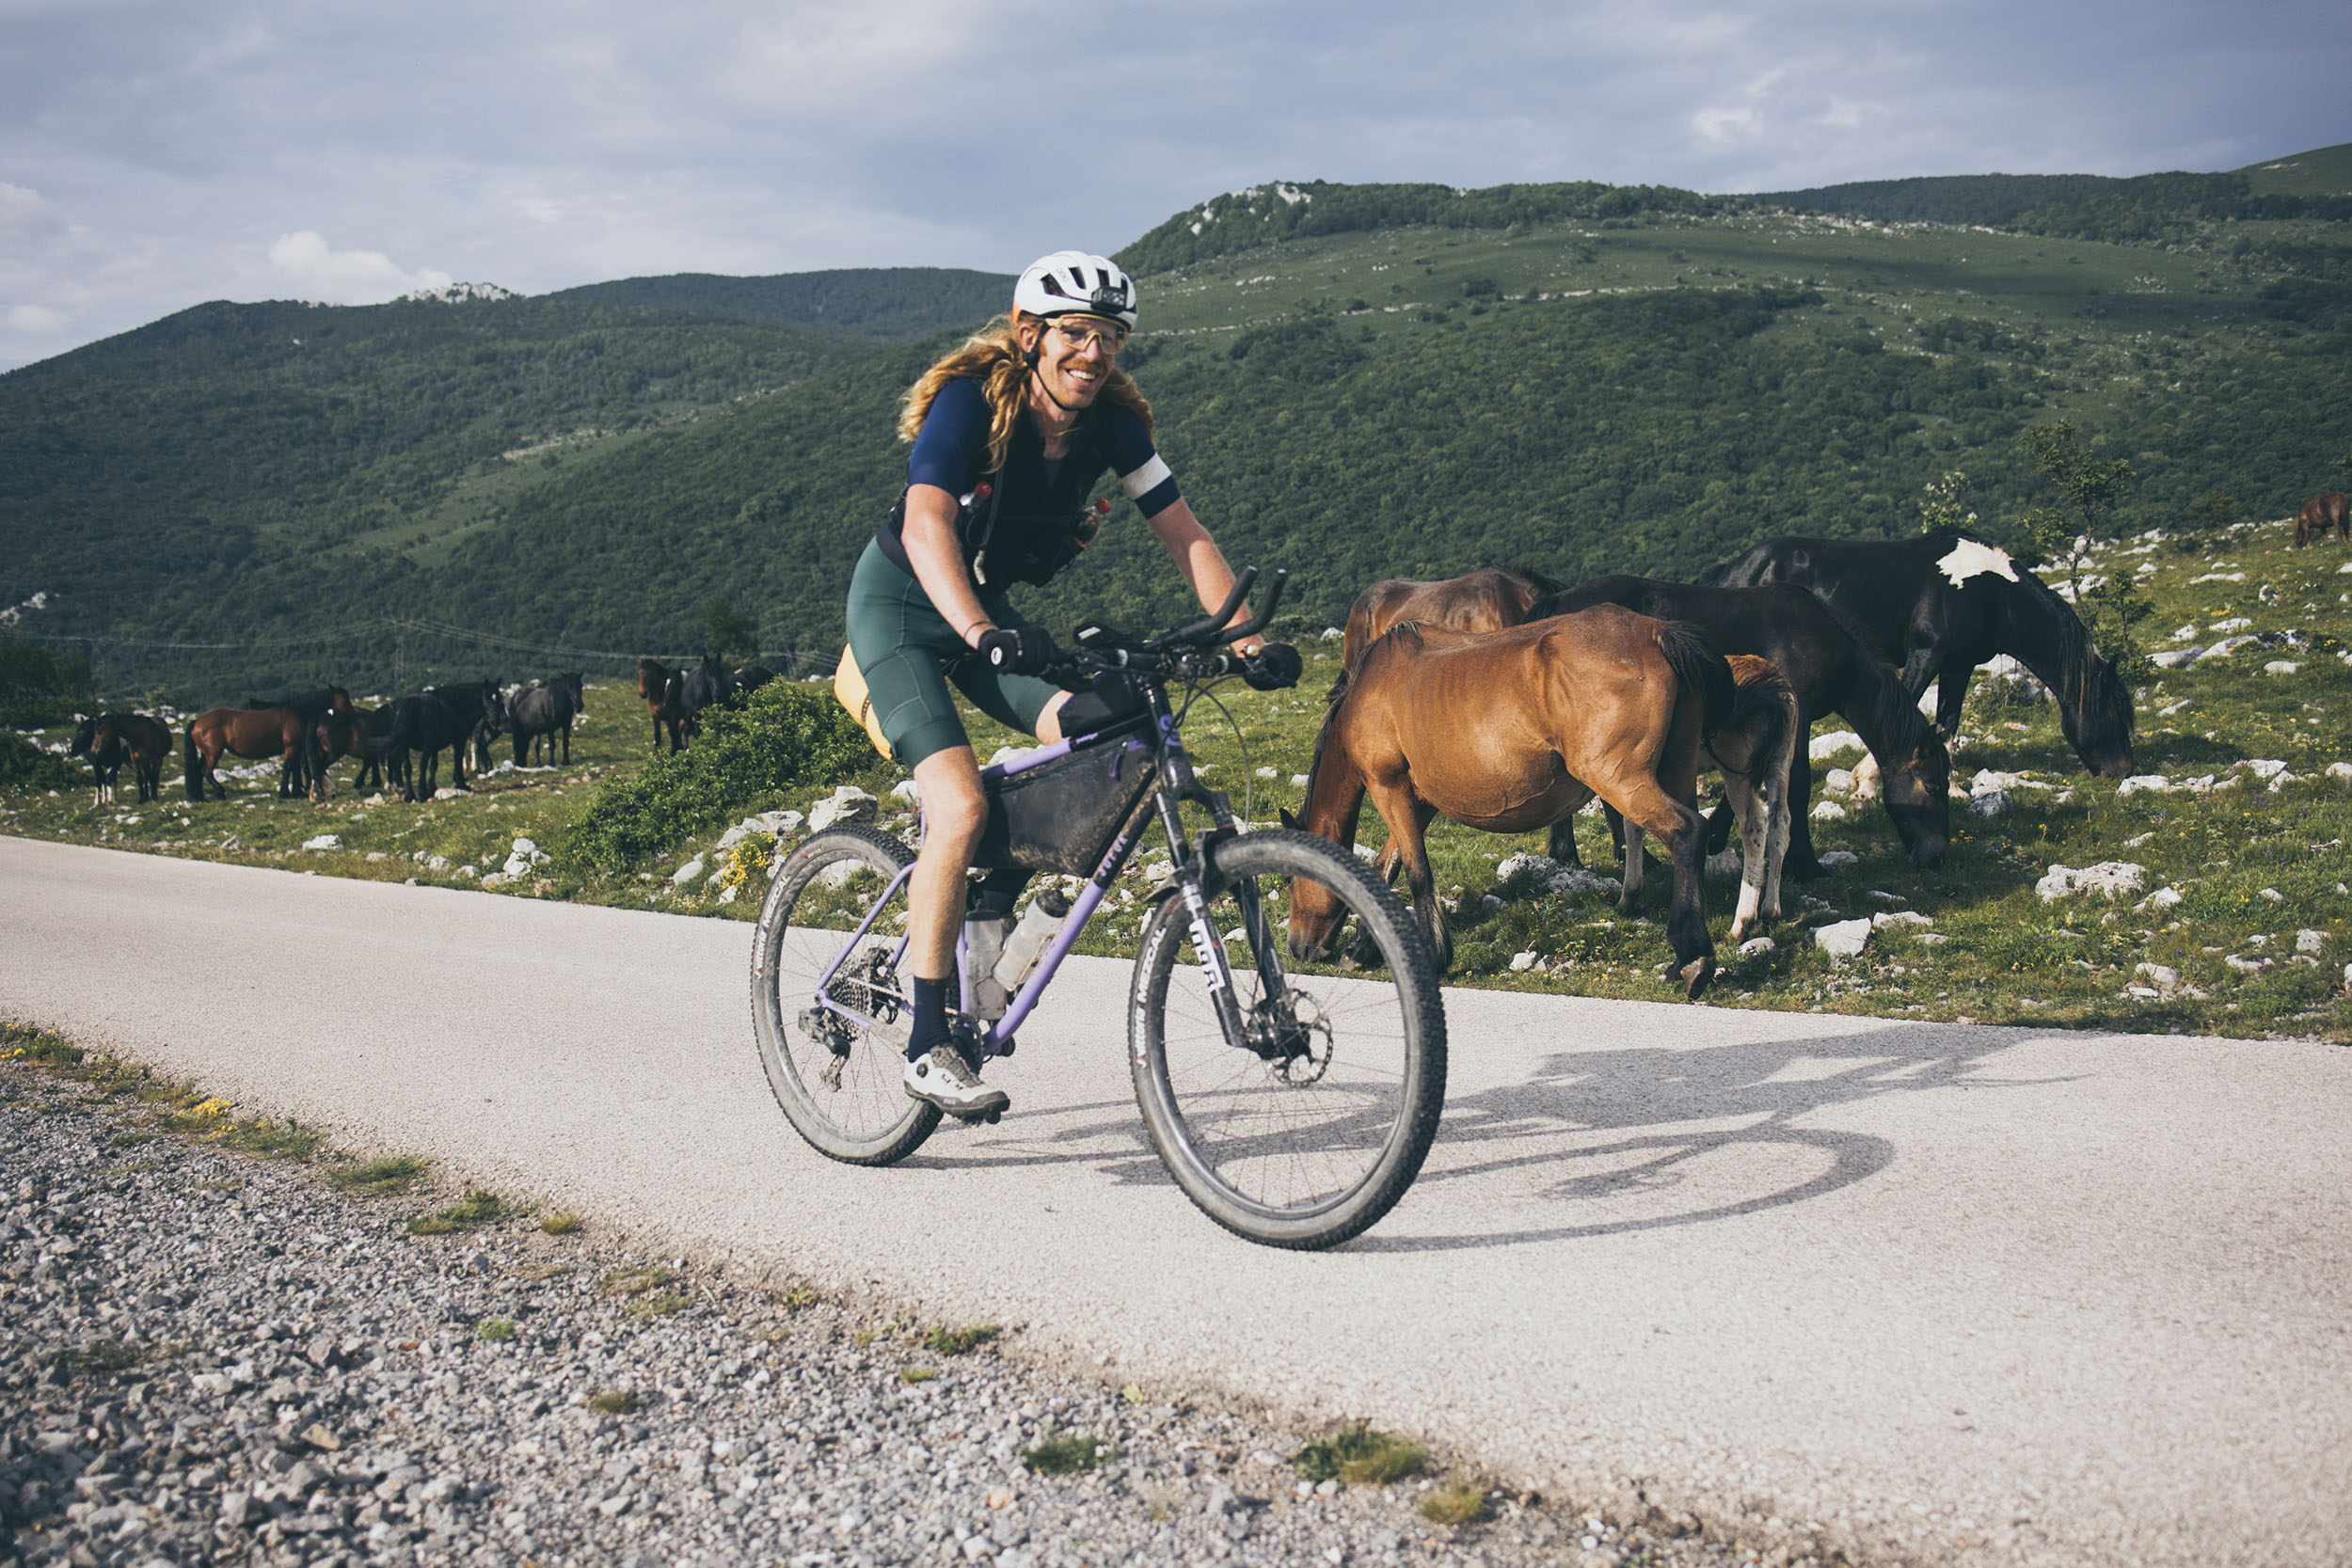
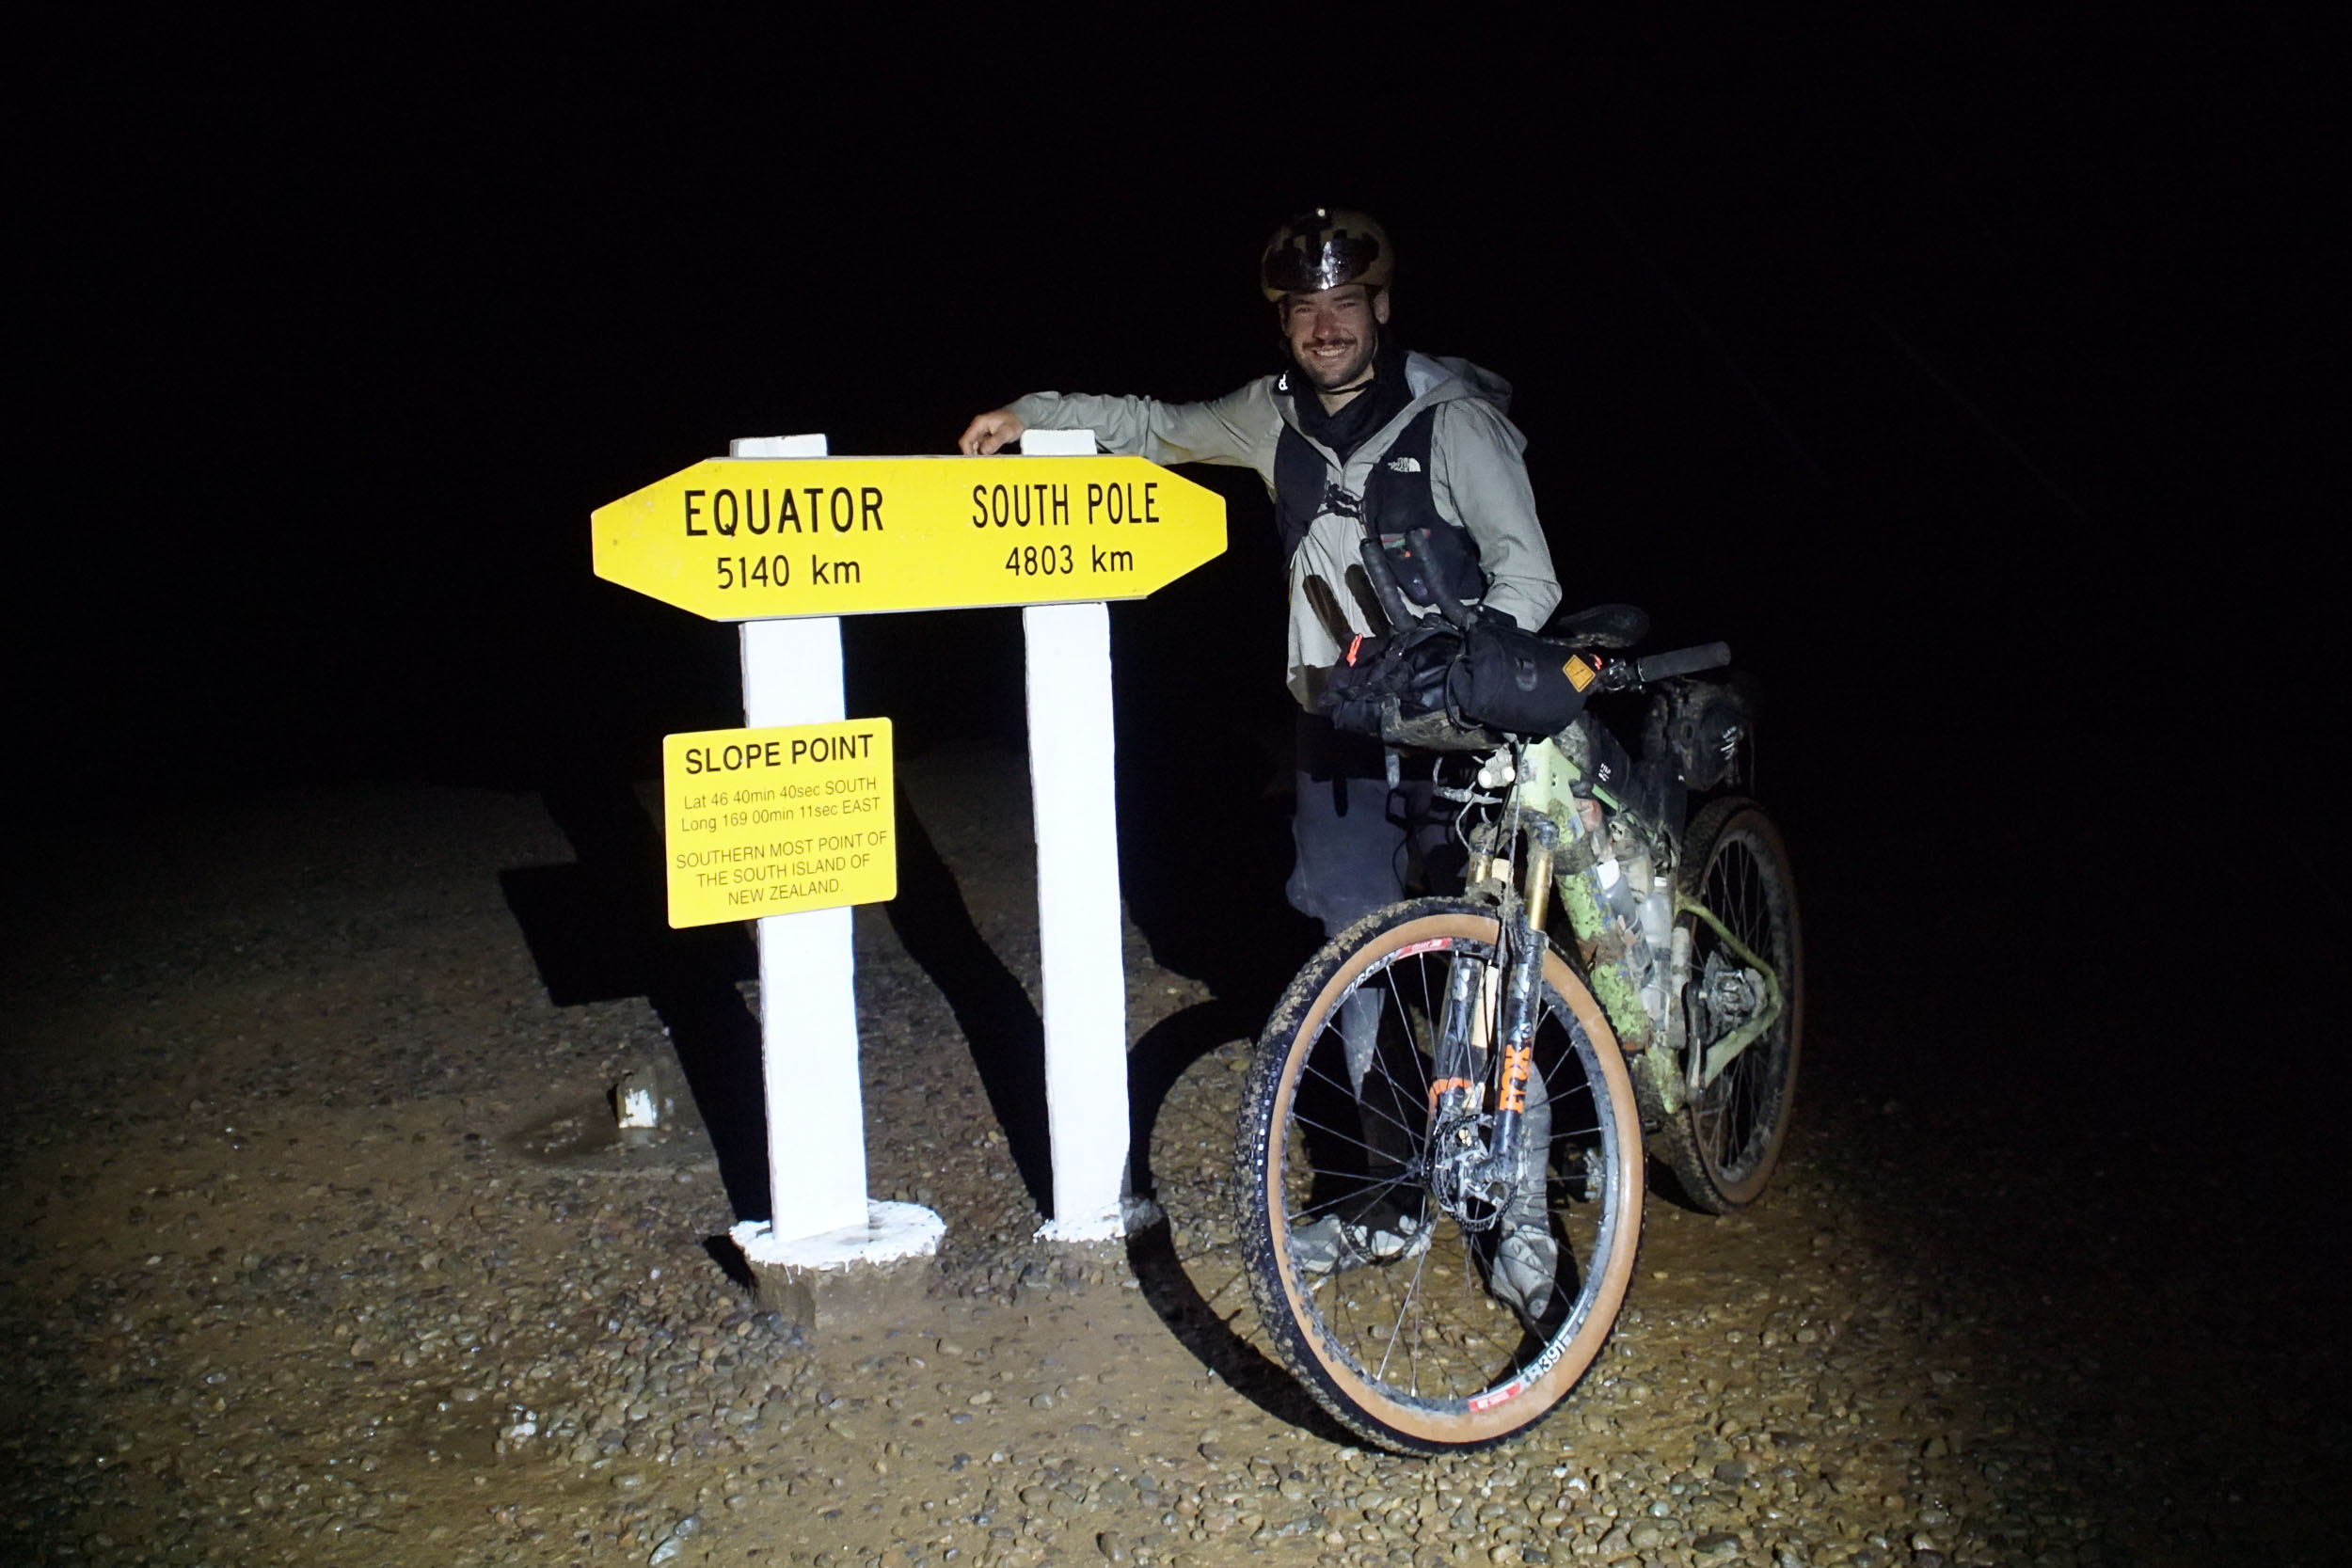
Over the weekend, Rufus Wenlock of Christchurch, New Zealand, formally launched his framebuilding business, Süfur Cycles. We’ve shared Rufus’ ultra-endurance stories a few times here on the site, including a second-place finish at the 2024 Tour Te Waipounamu, third at the 2024 Silk Road Mountain Race, and second-place finish at the 2023 Trans Balkan Race. His handmade bikes were often the topic of conversation online, sporting unique angles, interesting curves, and flashy paint jobs. The first iteration of his current bike was made in 2023, which was built off of some other bikes he made previously, including his first bike, which he built back in 2015.
As a fan of his frames, I’ve loosely kept in touch with Rufus over the years, and knew he had been building out a proper shop of his own to expand his framebuilding and tinkering capacity. Süfur is Rufus’ new handmade bicycle brand, and to help get it off the ground, he worked with his longtime friend Joe Nation (2024 SRMR winner/Tour Te Waipounamu record holder) to design and build a bike for his 2025 Tour Divide ride. In celebration of Rufus’ new project, we asked him a few questions to learn more about his relationship with bikes, the story behind his unique designs, and where he plans to take Süfur Cycles. Dig into it all below.


To begin, tell us about yourself and how bikes fit into your life.
Rufus: I was introduced to bikes at around 14 through a school activity program. We had recently moved to the city, and I was having a tough time fitting in with the townies. Jumping on my brother’s beat-up rigid bike with cantilever brakes and slick tires, I would escape to the surrounding hills every day after school; it was an escape to the countryside where I felt comfortable. Eventually, I started running into other kids doing the same thing (this is where I met Joe Nation), and joining the cycling community became my haven. That has stuck with me for life.
How did you learn to build bikes?
Rufus: I had always been fascinated with making things and the process of development. As a kid, I’d love to make and test model planes with wacky designs and find out what worked, and so when I became obsessed with biking, it was a perfect opportunity to blend these two interests. During high school, I would spend my days sketching bike ideas, but it was years before I’d have the tools or know-how to actually put those ideas into action. I was in my mid-20s working at a bike shop when one of the other guys who was doing a bit of frame building said he was selling up, and I jumped at the opportunity and got everything! This was the lathe, mill, frame jig, and a whole bunch of tooling. I enrolled at a night course in welding and then dove head first into my first build. It was a mess but still stands today. This coincided with starting my own bike shop, so I could only do frame building in my spare time. The next few years were all about practice and research. I got really good at welding and started to develop my own style of bikes.


You’ve made some bikes for yourself, but what inspired you to expand to make bikes for others?
Rufus: Making bikes for myself was relatively easy as I only had myself to answer to. You can often start going down a rabbit hole of ideas with nothing to ground you, whereas the opportunity to work with someone else brings a fresh perspective. It really speeds up the development process as you can start bouncing ideas off each other. There’s also the fact that making a bike for someone of a different size brings forth lots of extra challenges. Ultimately, it gives me a broader view on frame building and design.
Is there anything specific that influences your designs? And tell us about that curved seat tube!
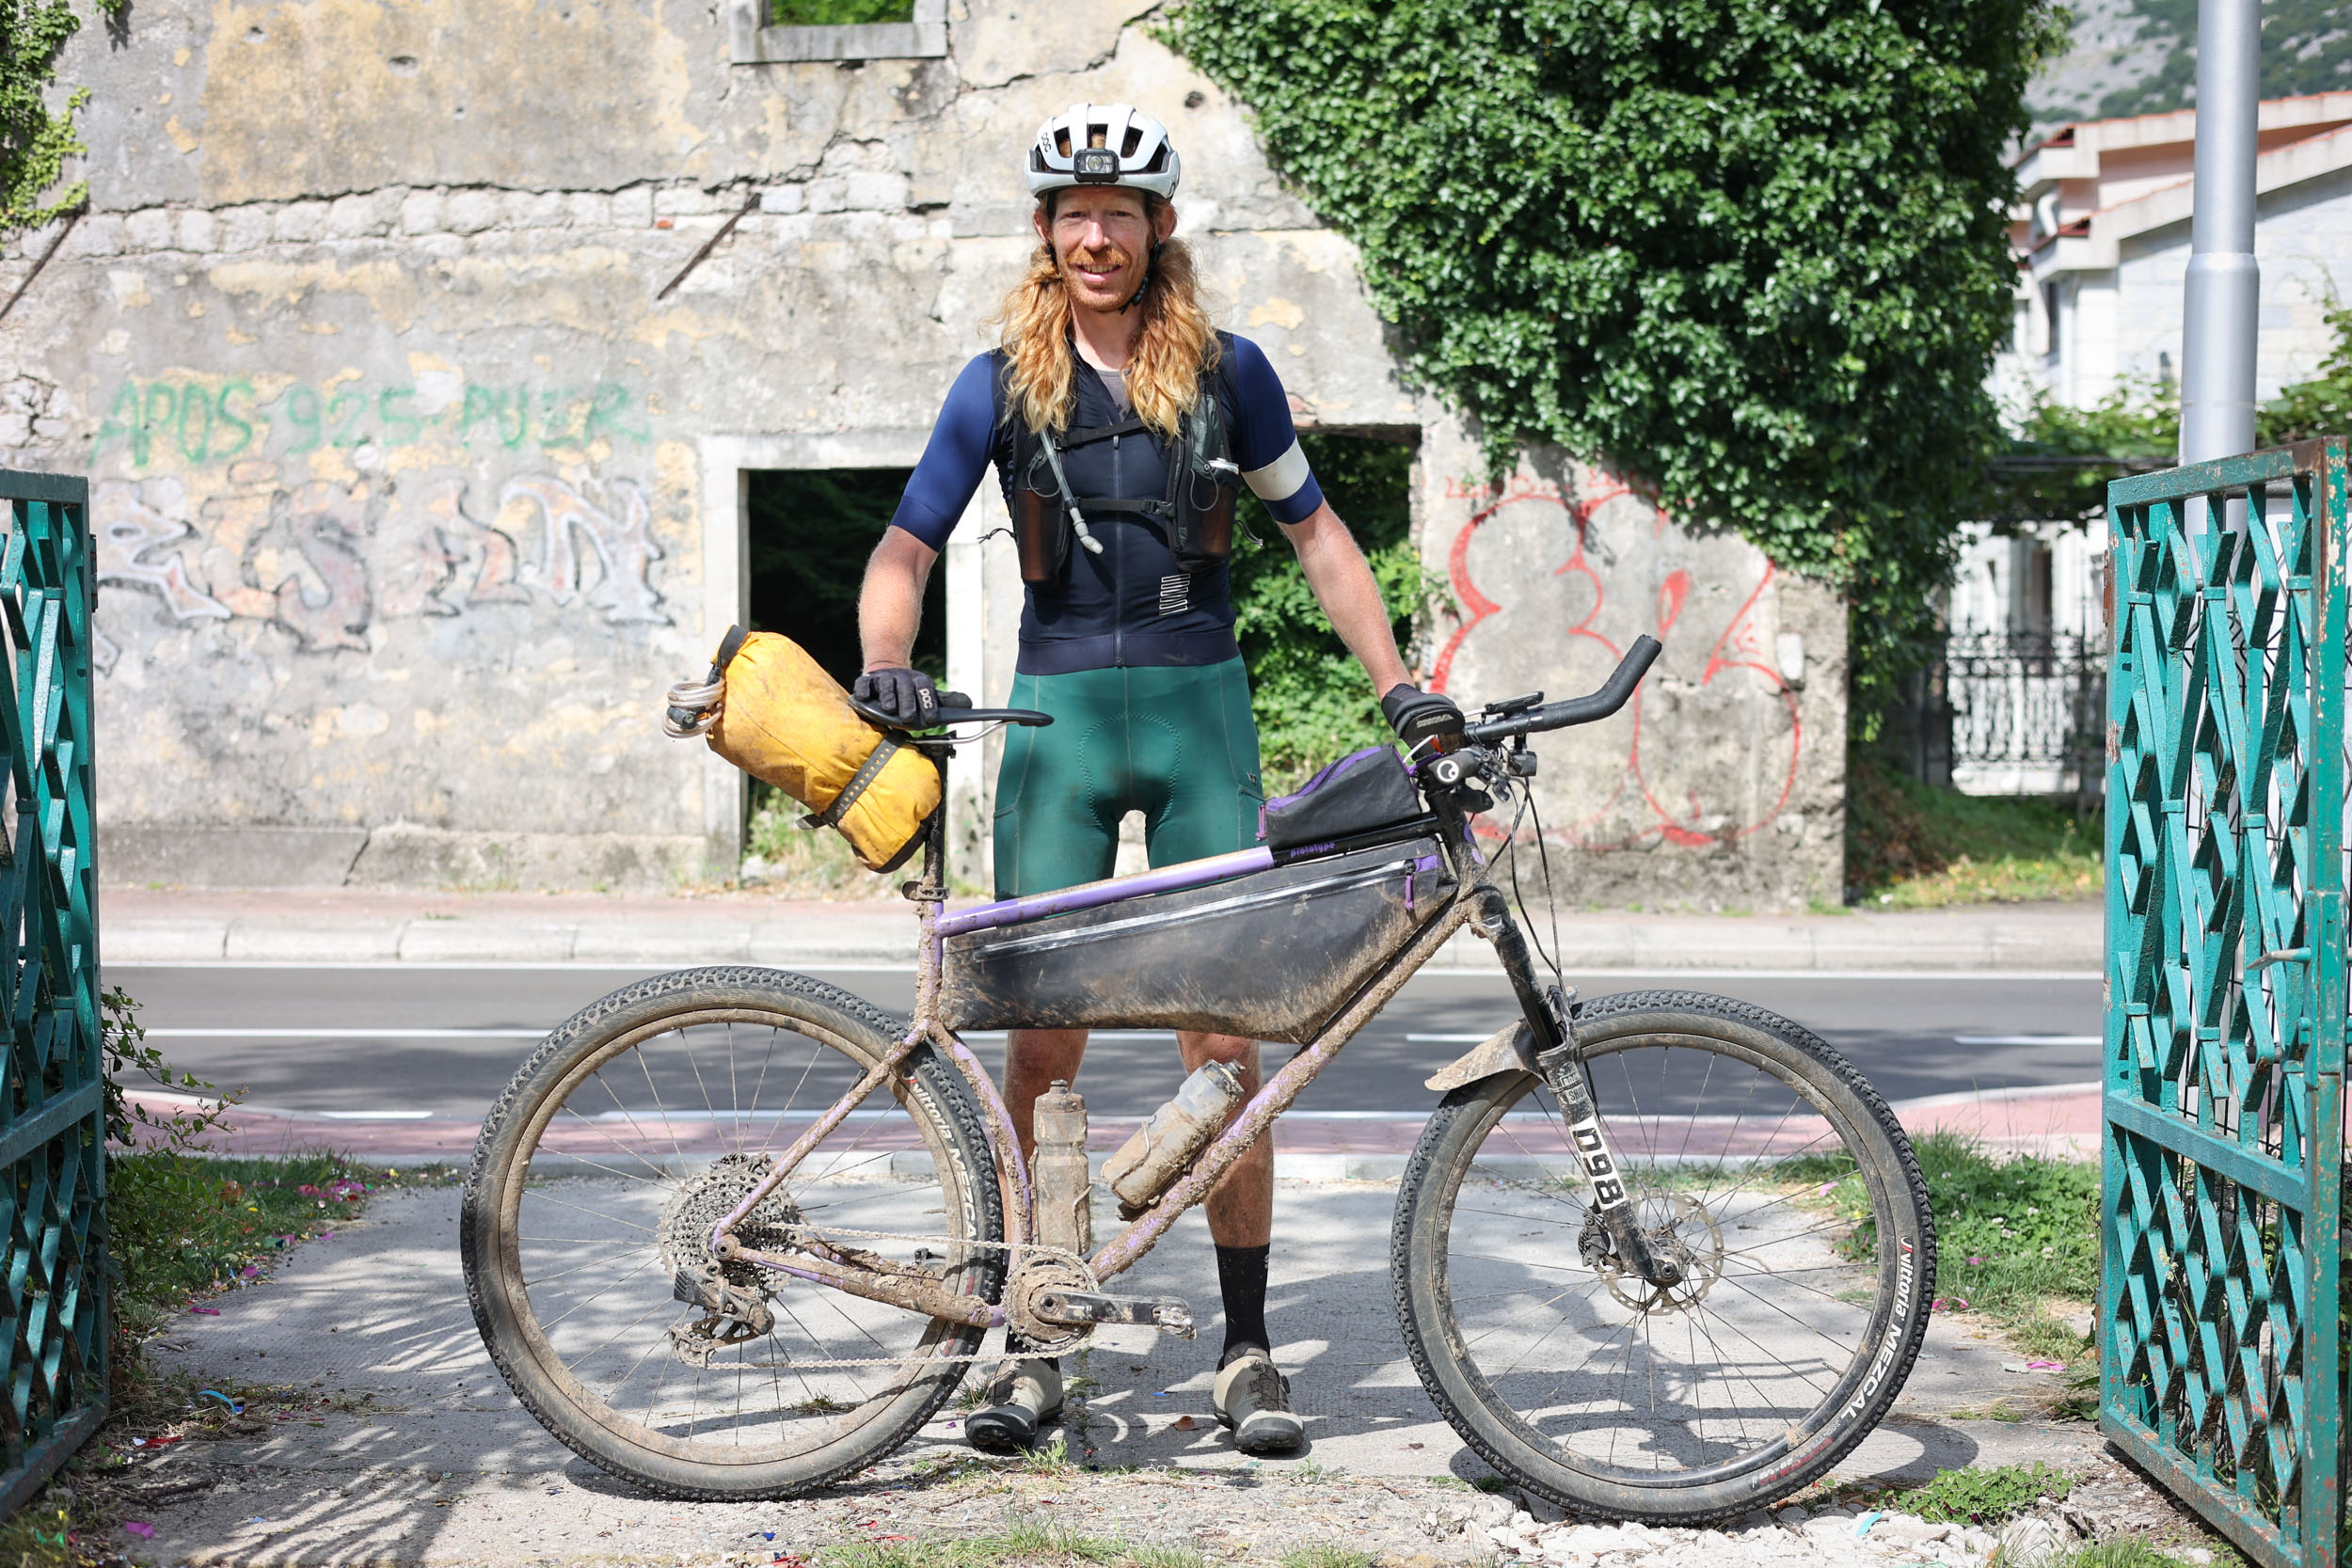
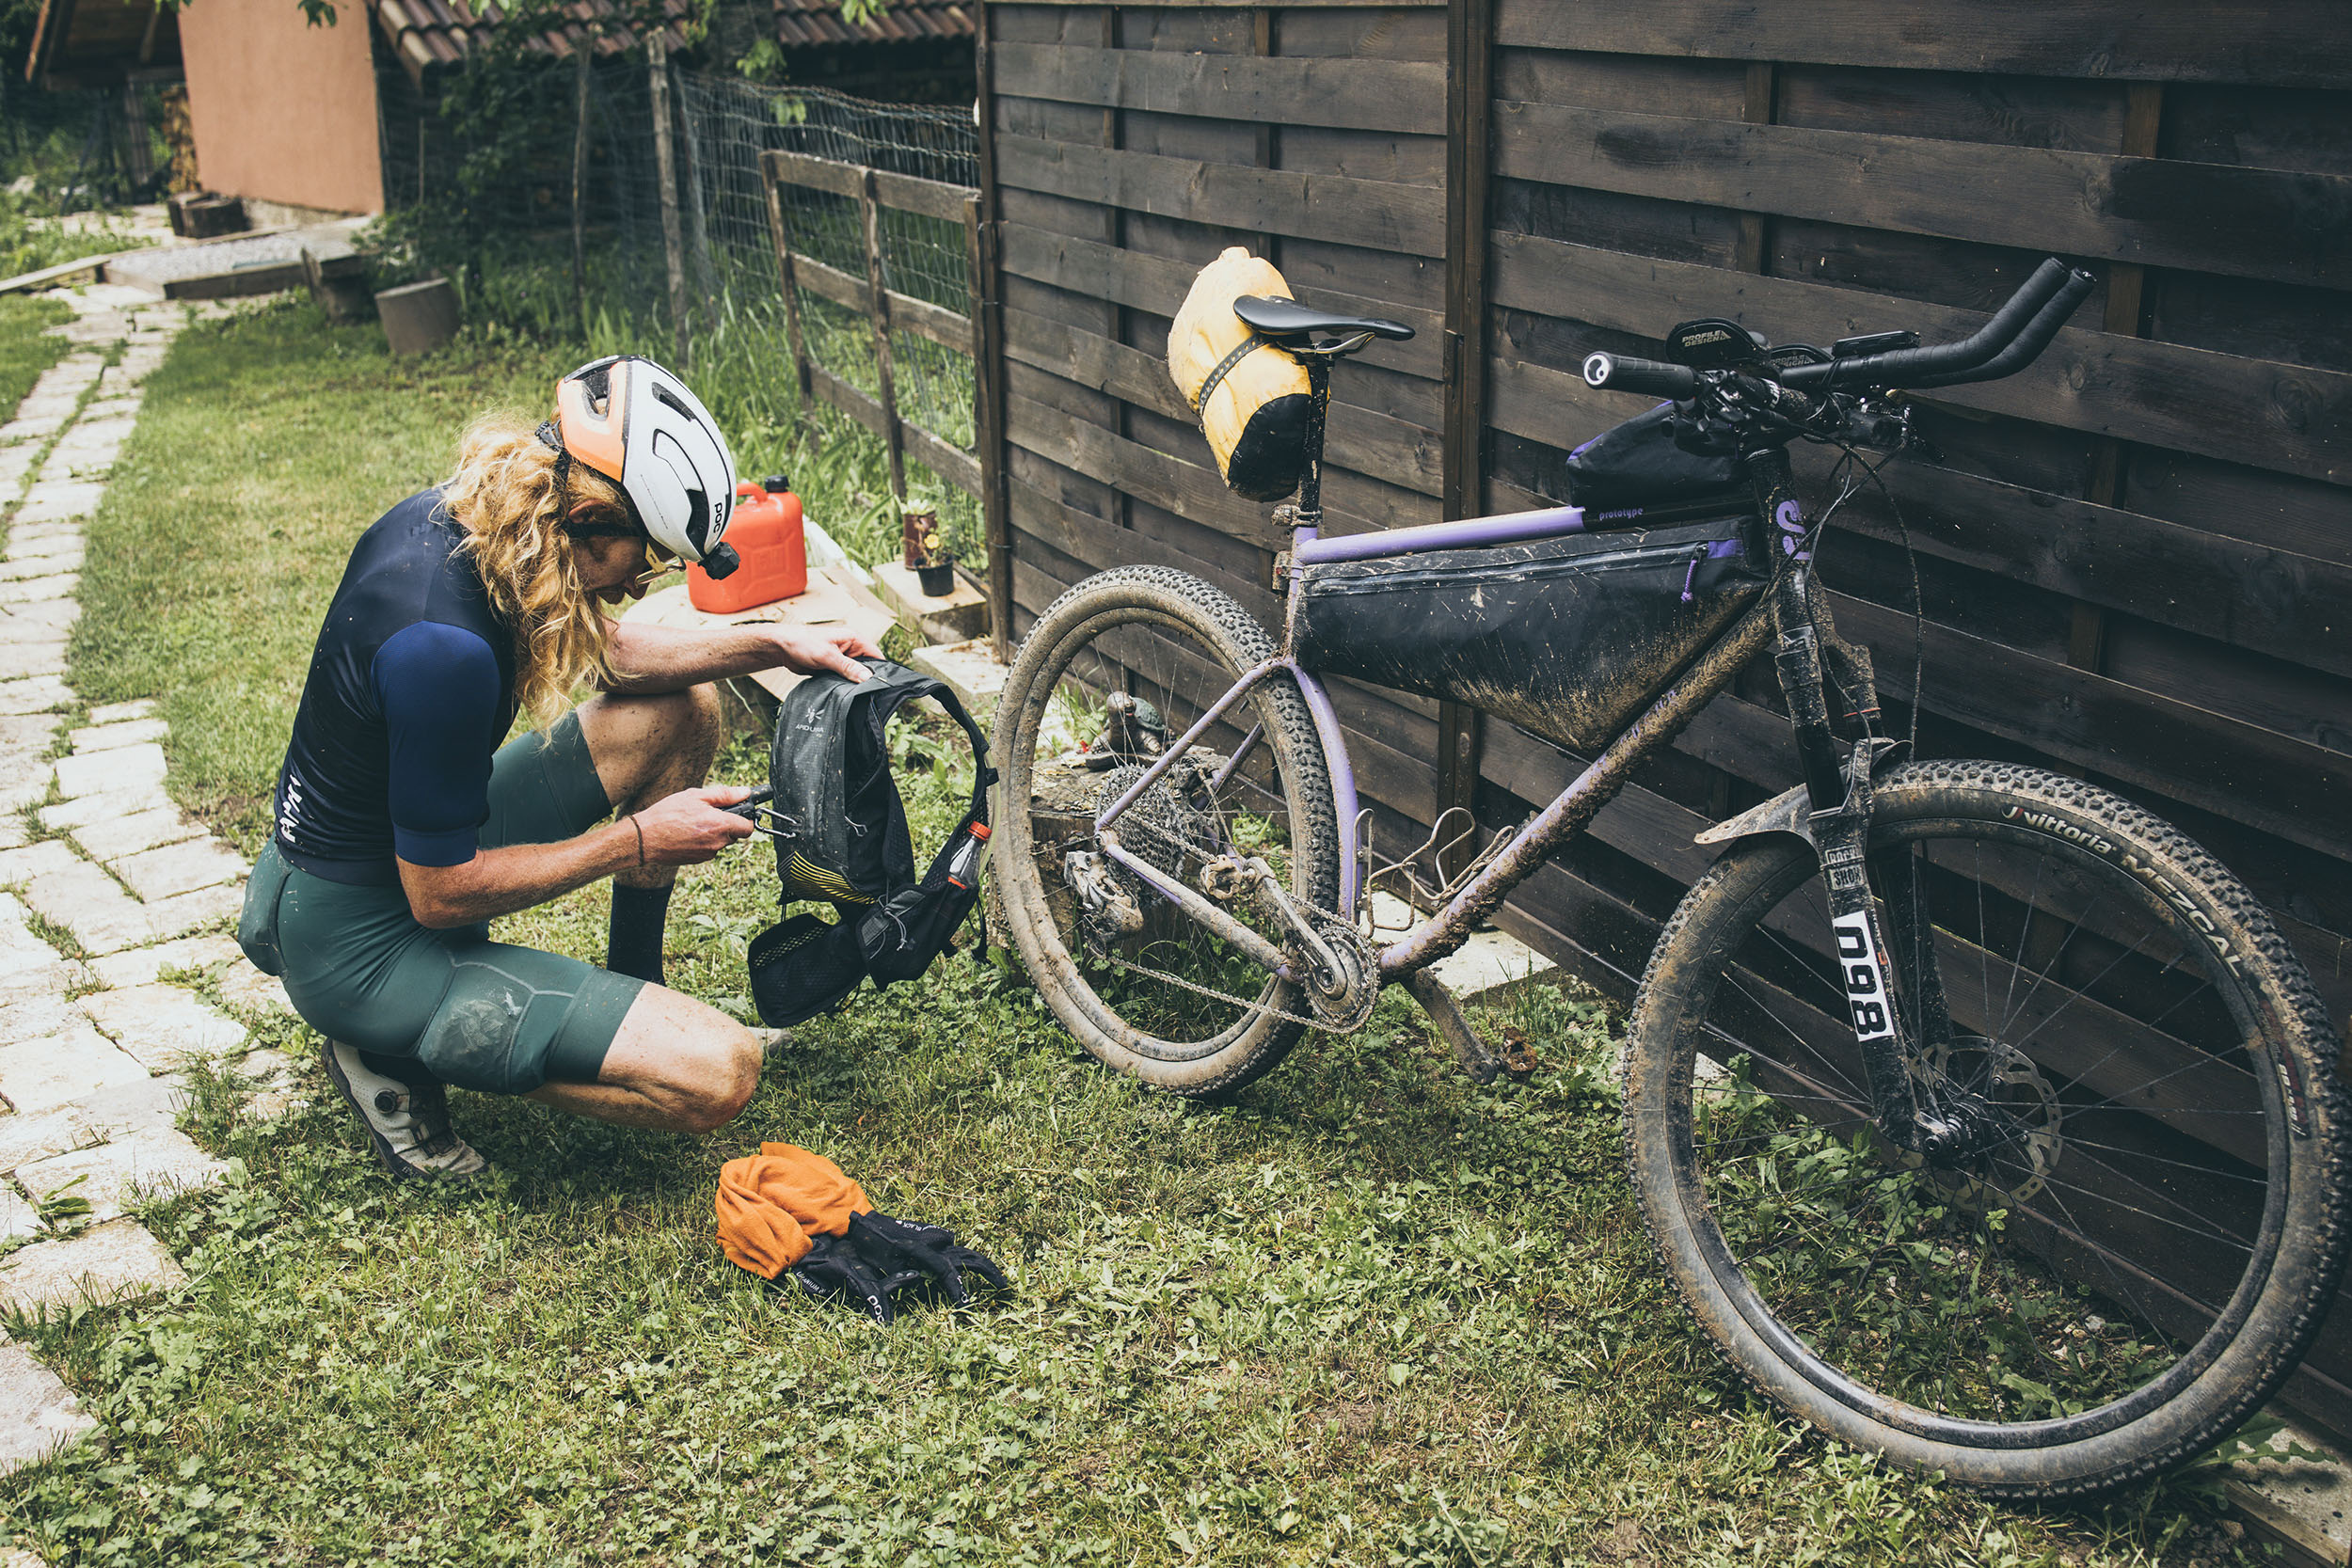
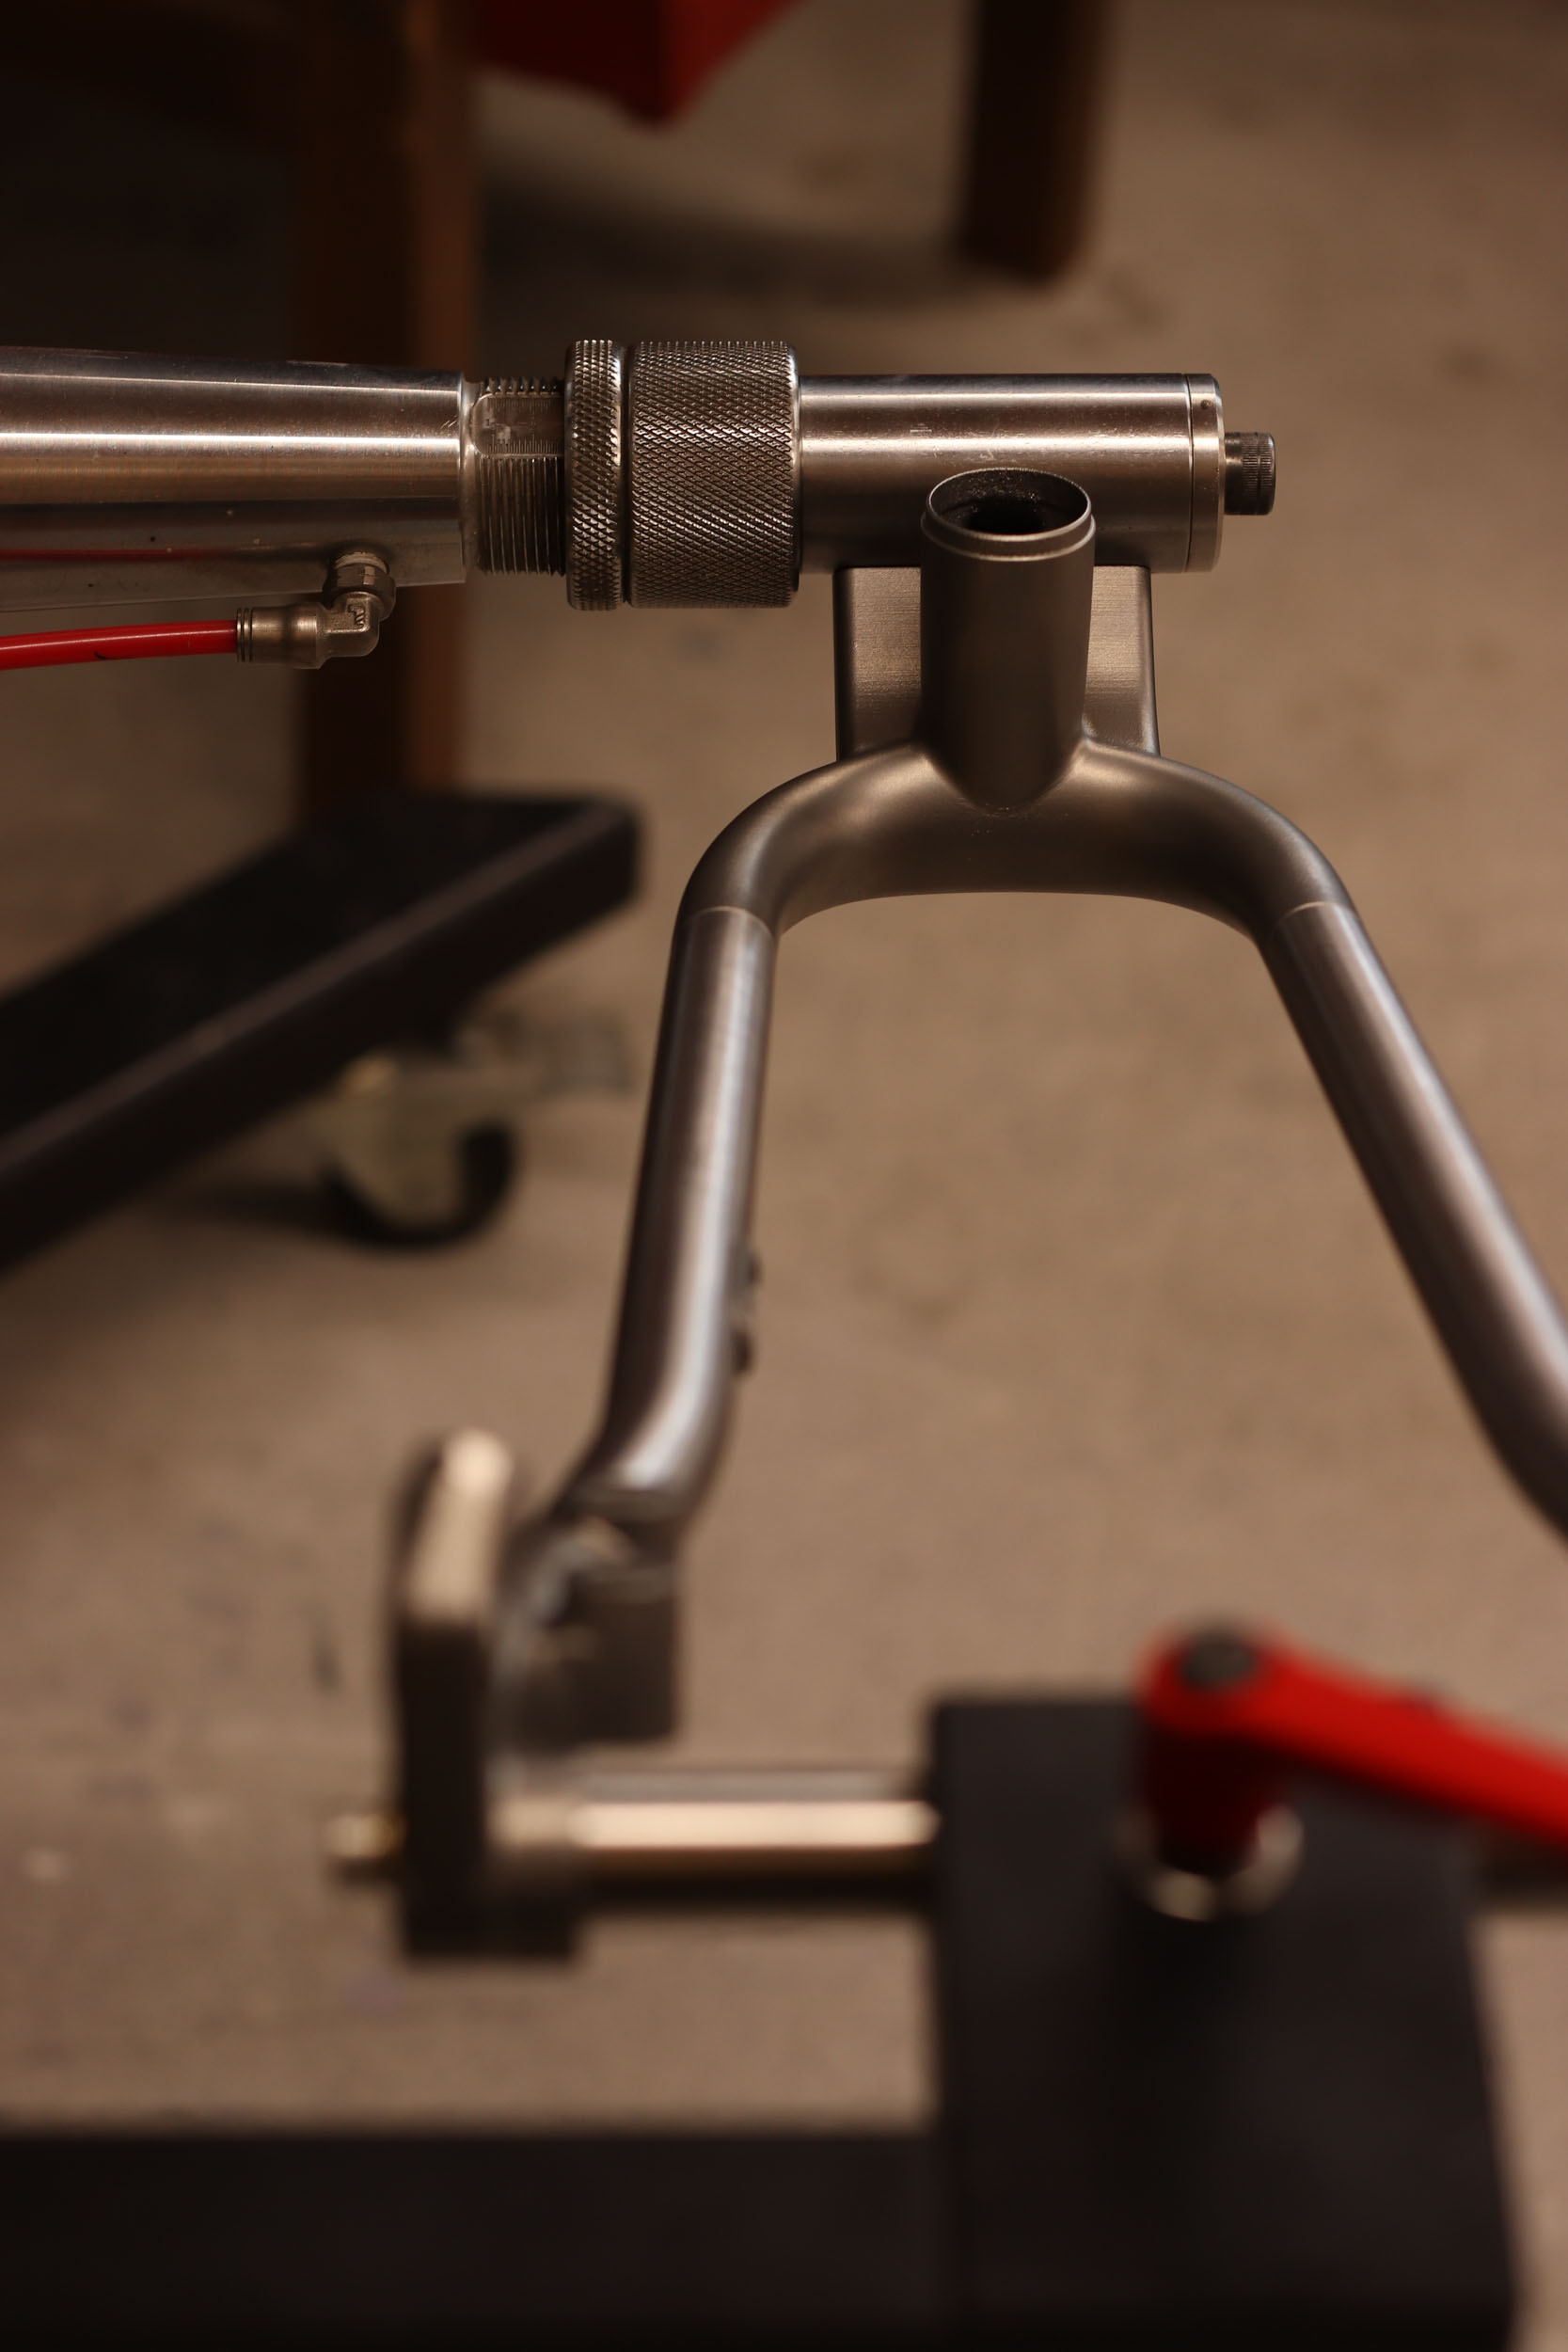
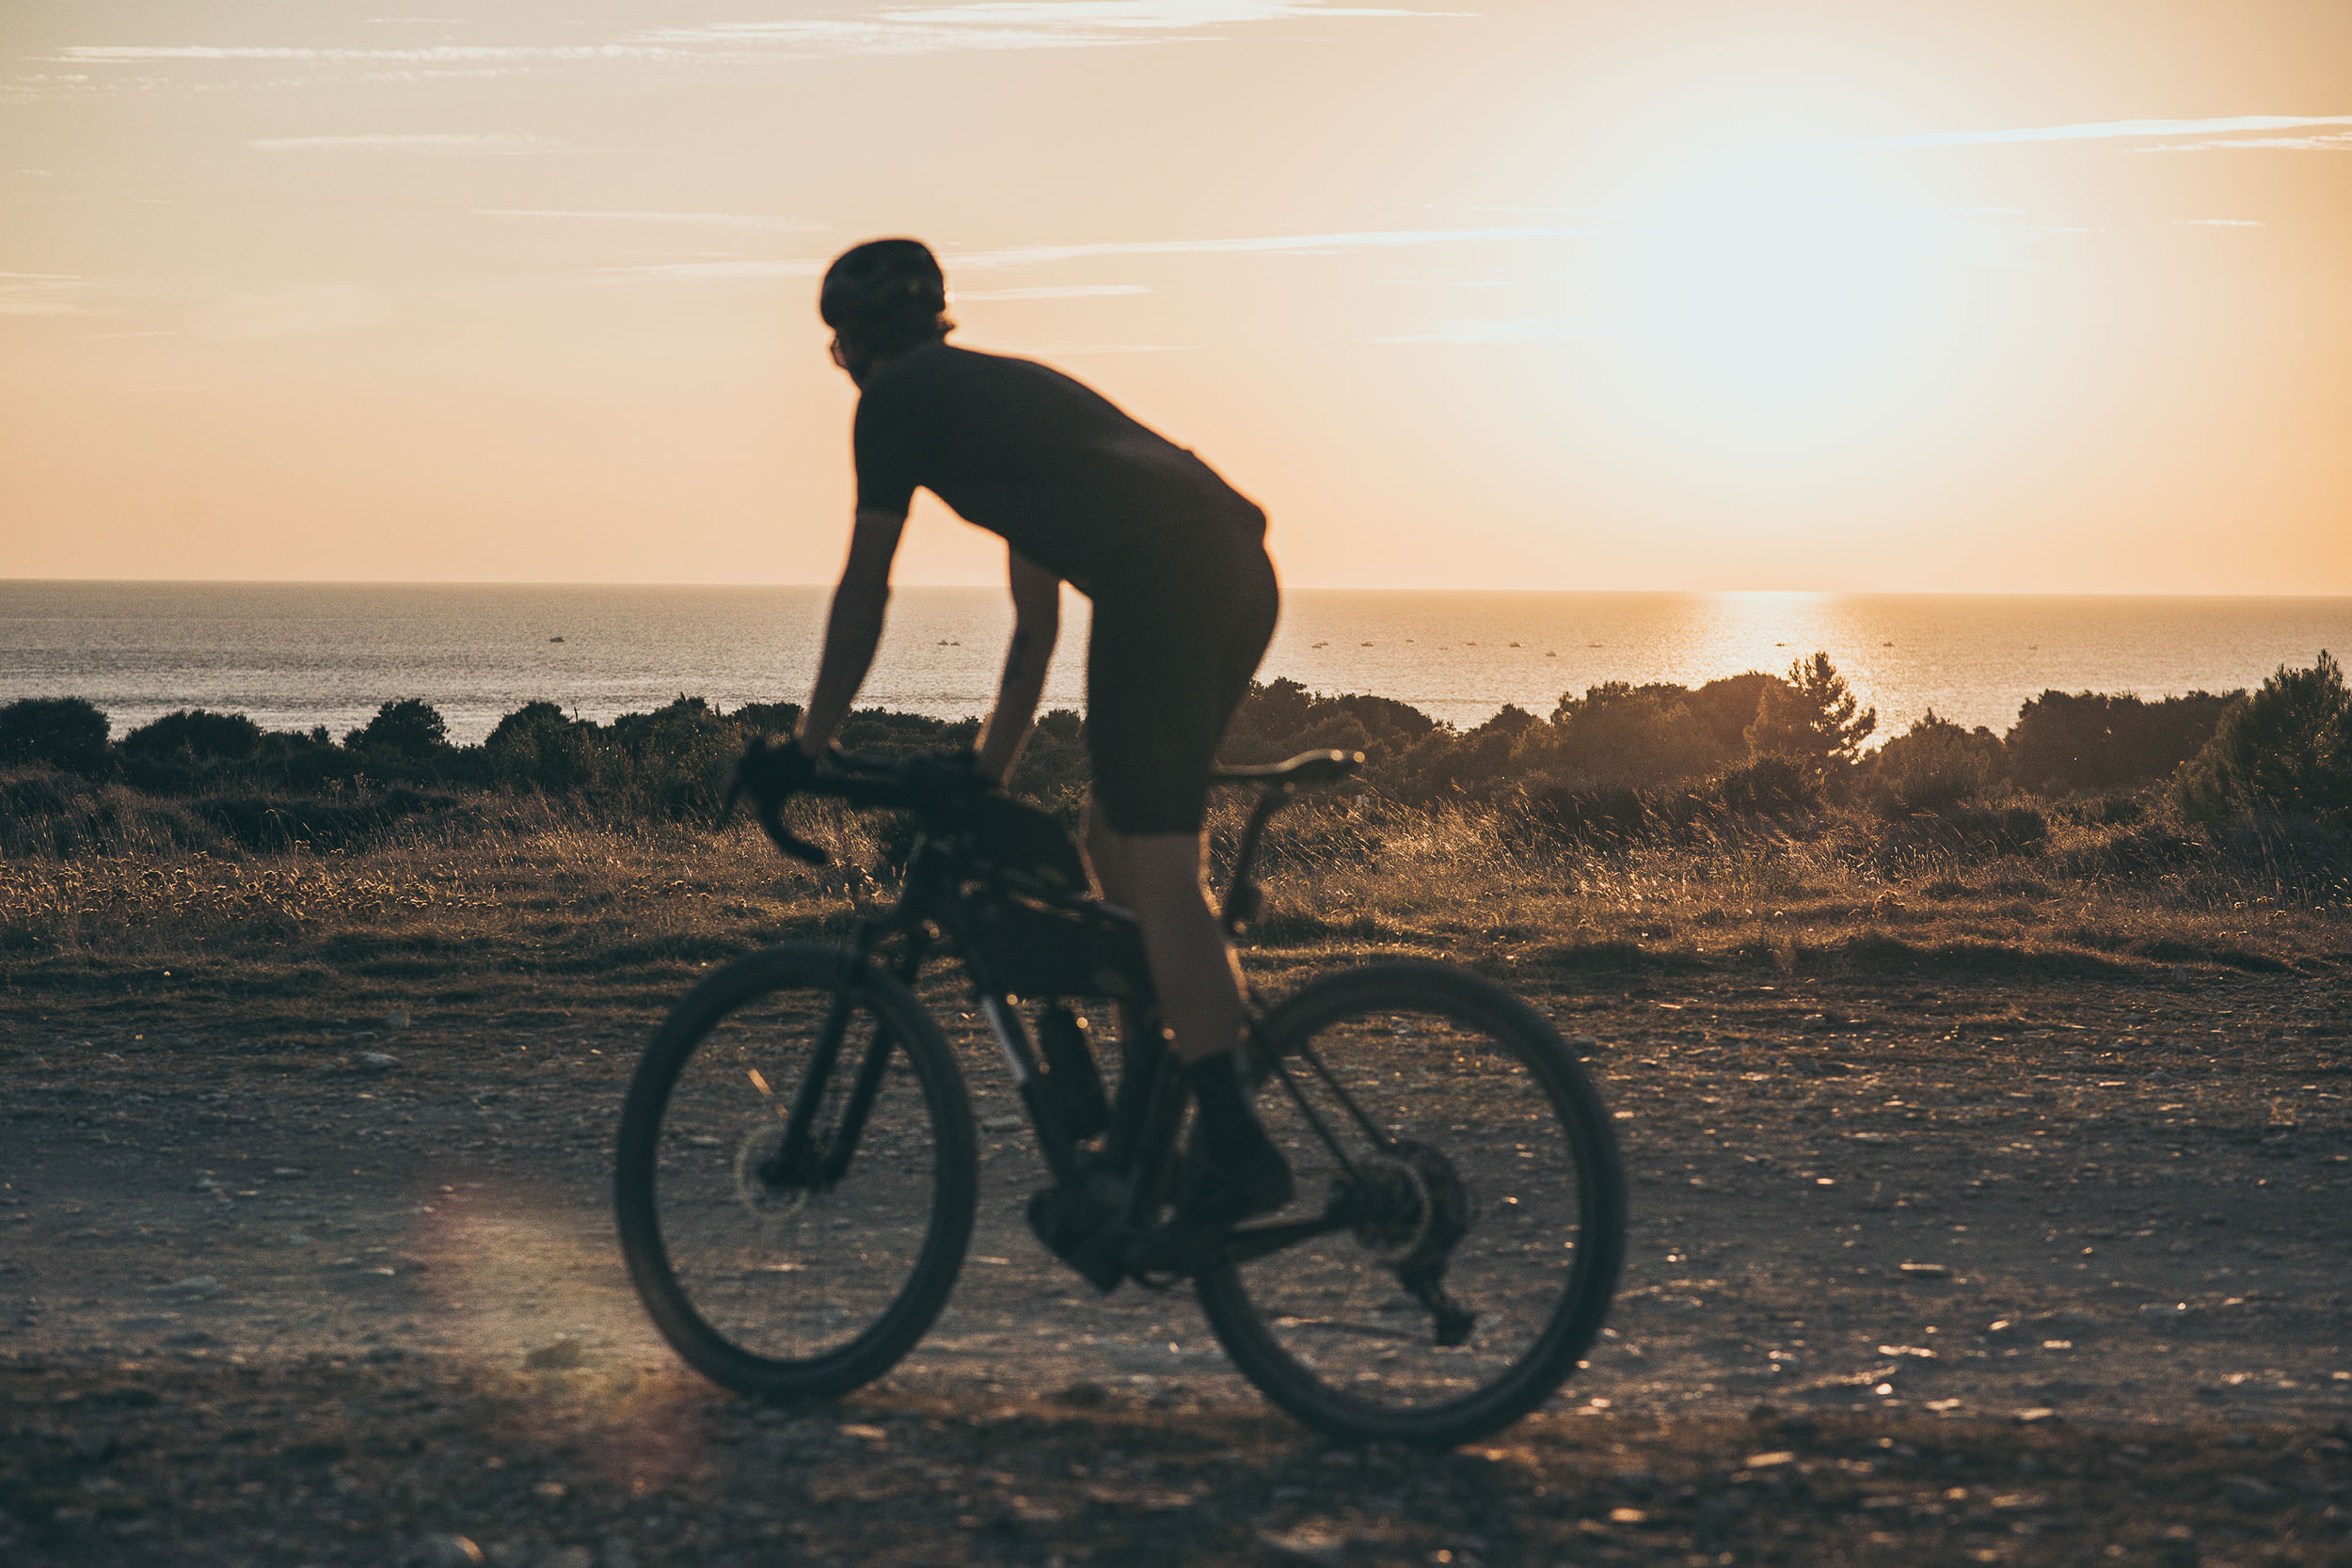
Rufus: Over the years, my bikes have been directly influenced by my interests in biking at the time. Right now, I’m head over heels into bikepacking, and after my first few events, I was getting frustrated at having to store my gear all over the bike in various bags and straps. I had also noticed that most bikepacking designs were just repurposed cross-country hardtails. This set in motion the idea to make a bikepacking-specific frame. I wanted super stable geometry to suit the 90 percent of most events that are is just blasting in a straight line. Another big one was frame space. I wanted to maximise the front triangle so I could have a frame bag big enough to do away with some of the auxiliary bags. This is how I ended up with the offset and curved seat tube; knowing where I wanted the saddle, handlebars, and pedals in relation to each other meant I just needed to connect them with the most efficiently spaced frame.


What materials do you use and why?
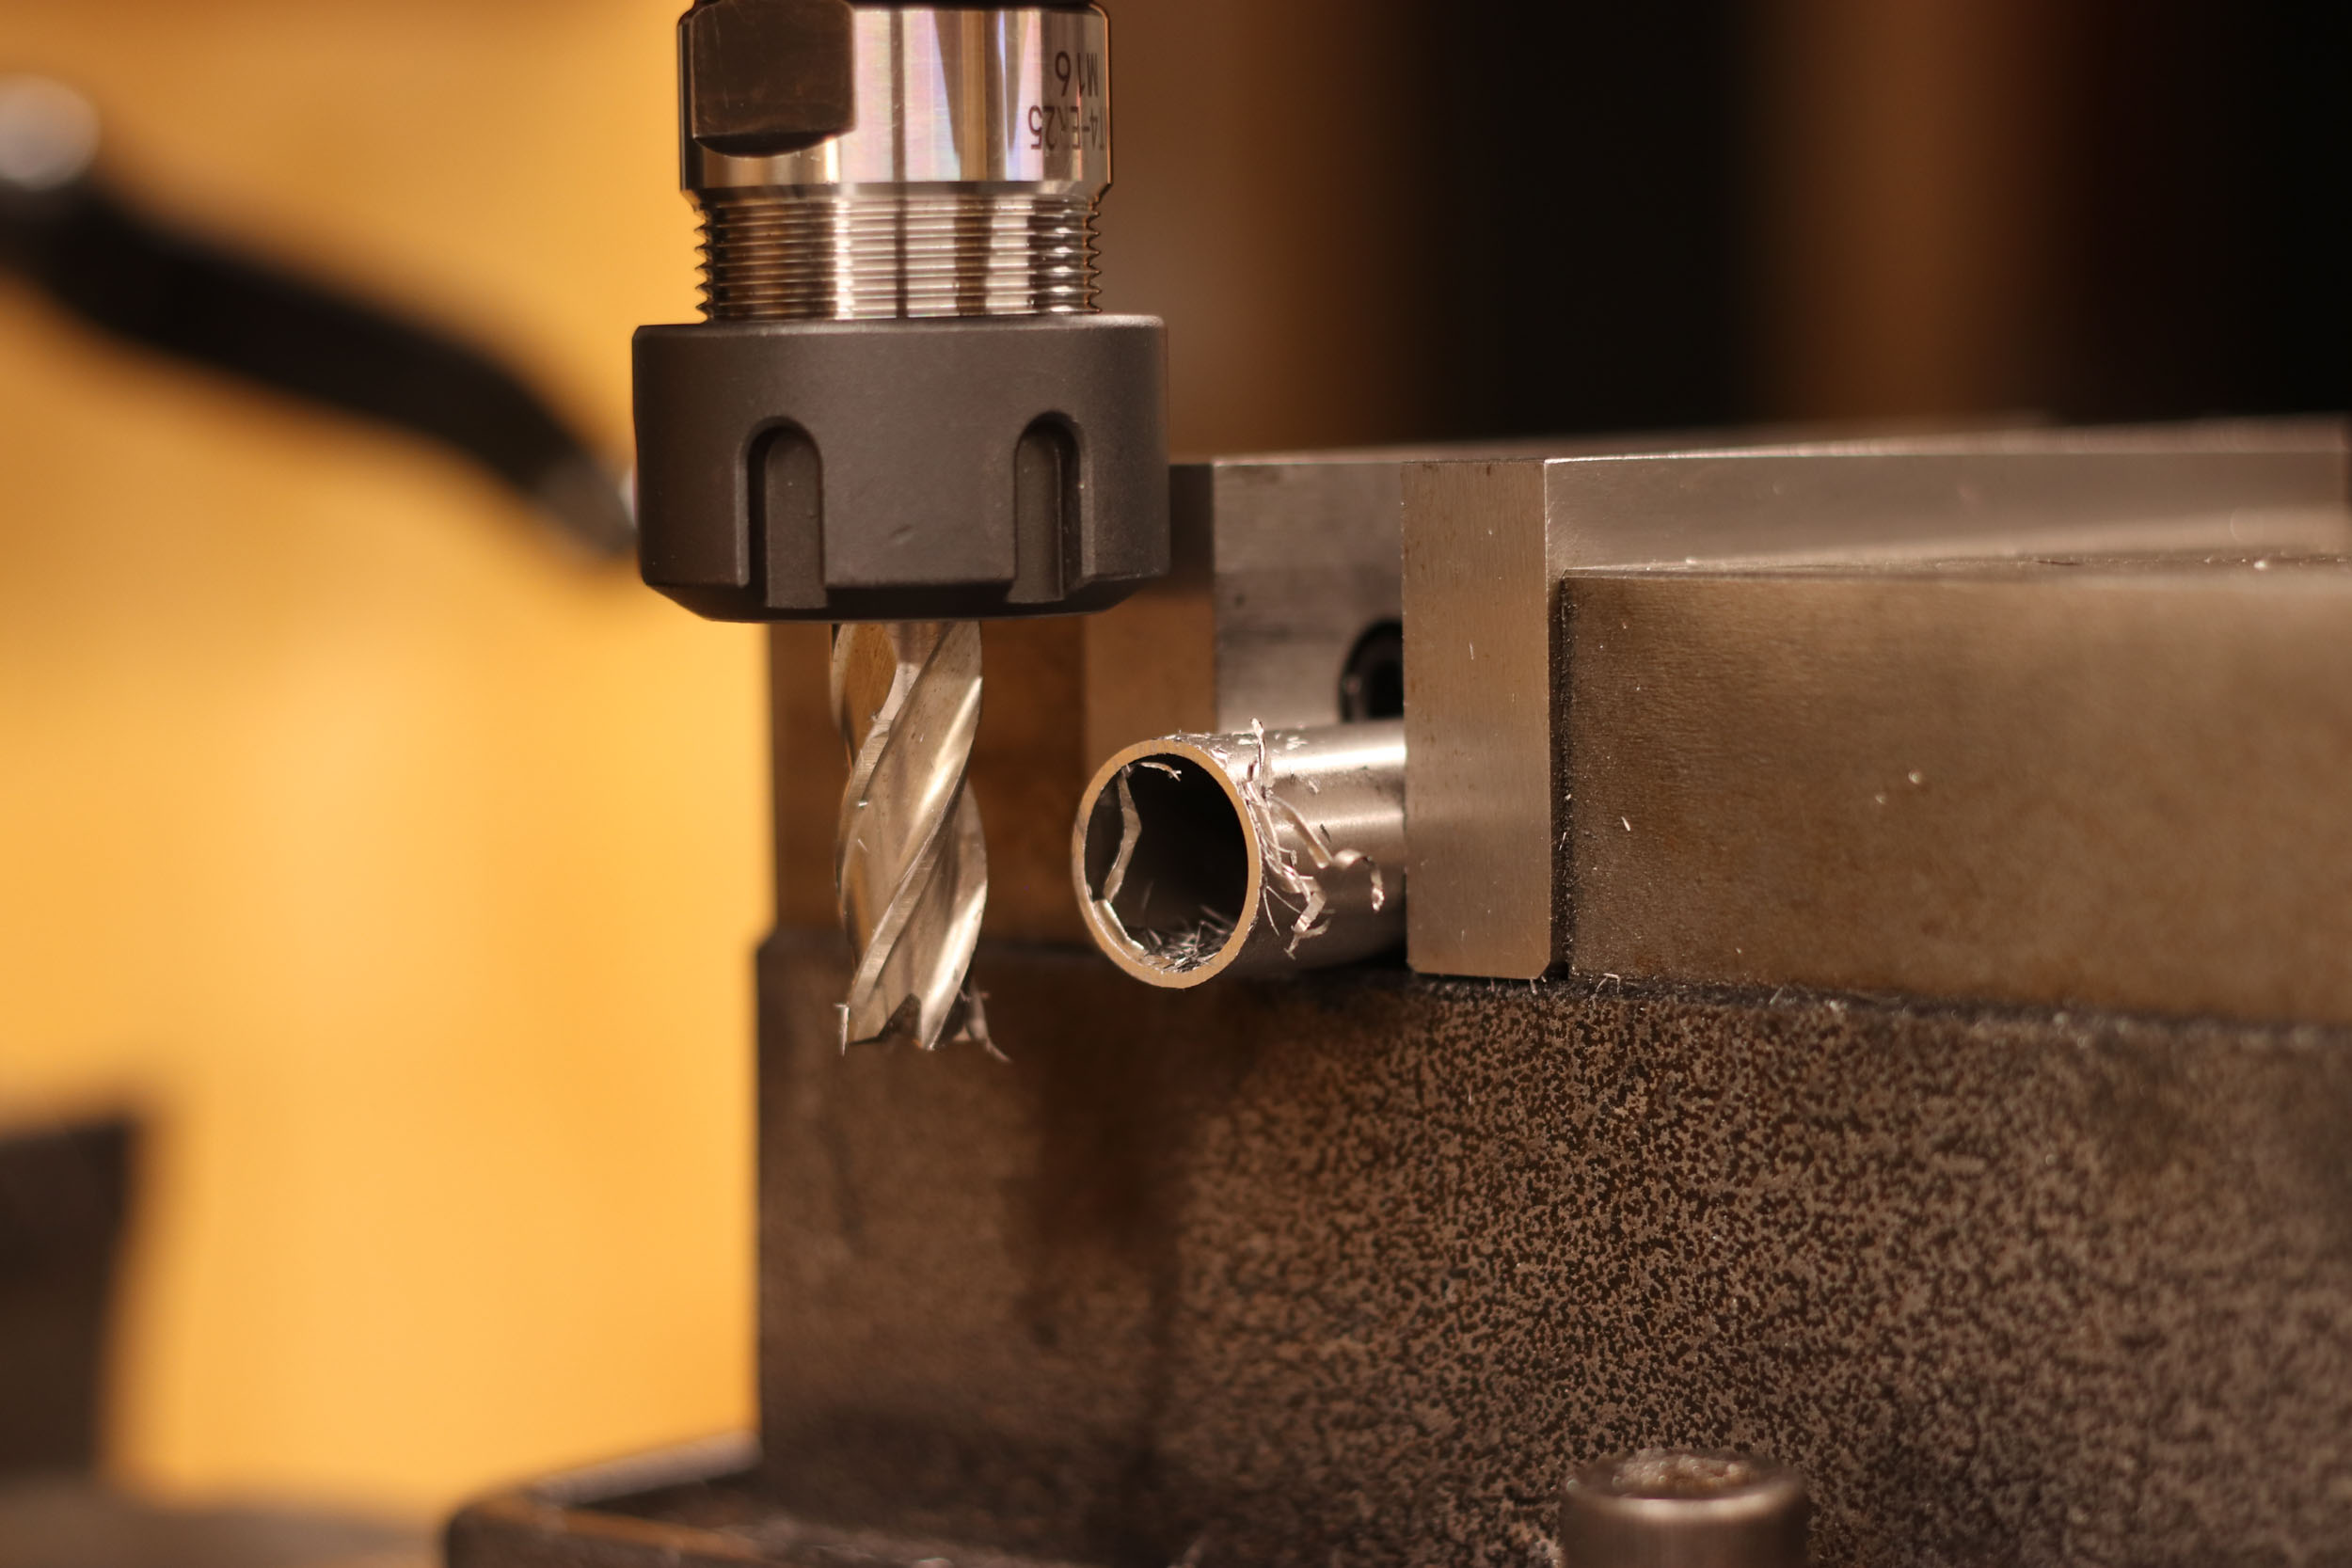
Rufus: I have settled on steel for my frames. It’s a material I love to work with for its ease of fabrication yet still being super robust and offering a buttery ride. With the addition of 3D printing also it really opens up the possibilities in design that just weren’t feasible before.
How do you use 3D printing? Is it difficult to implement?
Rufus: My first prototype was an exercise in figuring out where 3D printing is best utilised and where it just makes things more complicated, so I used it as much as possible in that design for most of the junctions. I learnt a lot from that. I found where it was a typical tube-to-tube junction with nothing complicated (such as down tube to head tube) that it was much faster, easier, and lighter to stick with traditional methods. Where 3D printing really shone was in those complicated zones such as my offset seat tube/chainstay yoke. This is a component that could still be fabricated in traditional methods, but it would be highly time consuming and far heavier. Another perk is that you can manipulate the strength and compliance in areas much better and adapt to modern standards very quickly. My first implementation wasn’t too hard with basic CAD skills, but those designs were very simple. Since then, the learning curve has been huge! With a lot of time dedicated to learning more CAD skills, I’ve been able to improve and optimise the 3D printing, which in turn makes it a more valuable tool.
What types of bikes can you make for customers? Do you focus on anything specific?
Rufus: My focus right now will be the bikepacking frame, which I’ve been developing and racing for a few years now. Once I have that locked in, I have a list of other frame ideas that have been turning over in my head for a while now and very excited to develop in the coming future.


Tell us about Joe Nation’s new Tour Divide bike.
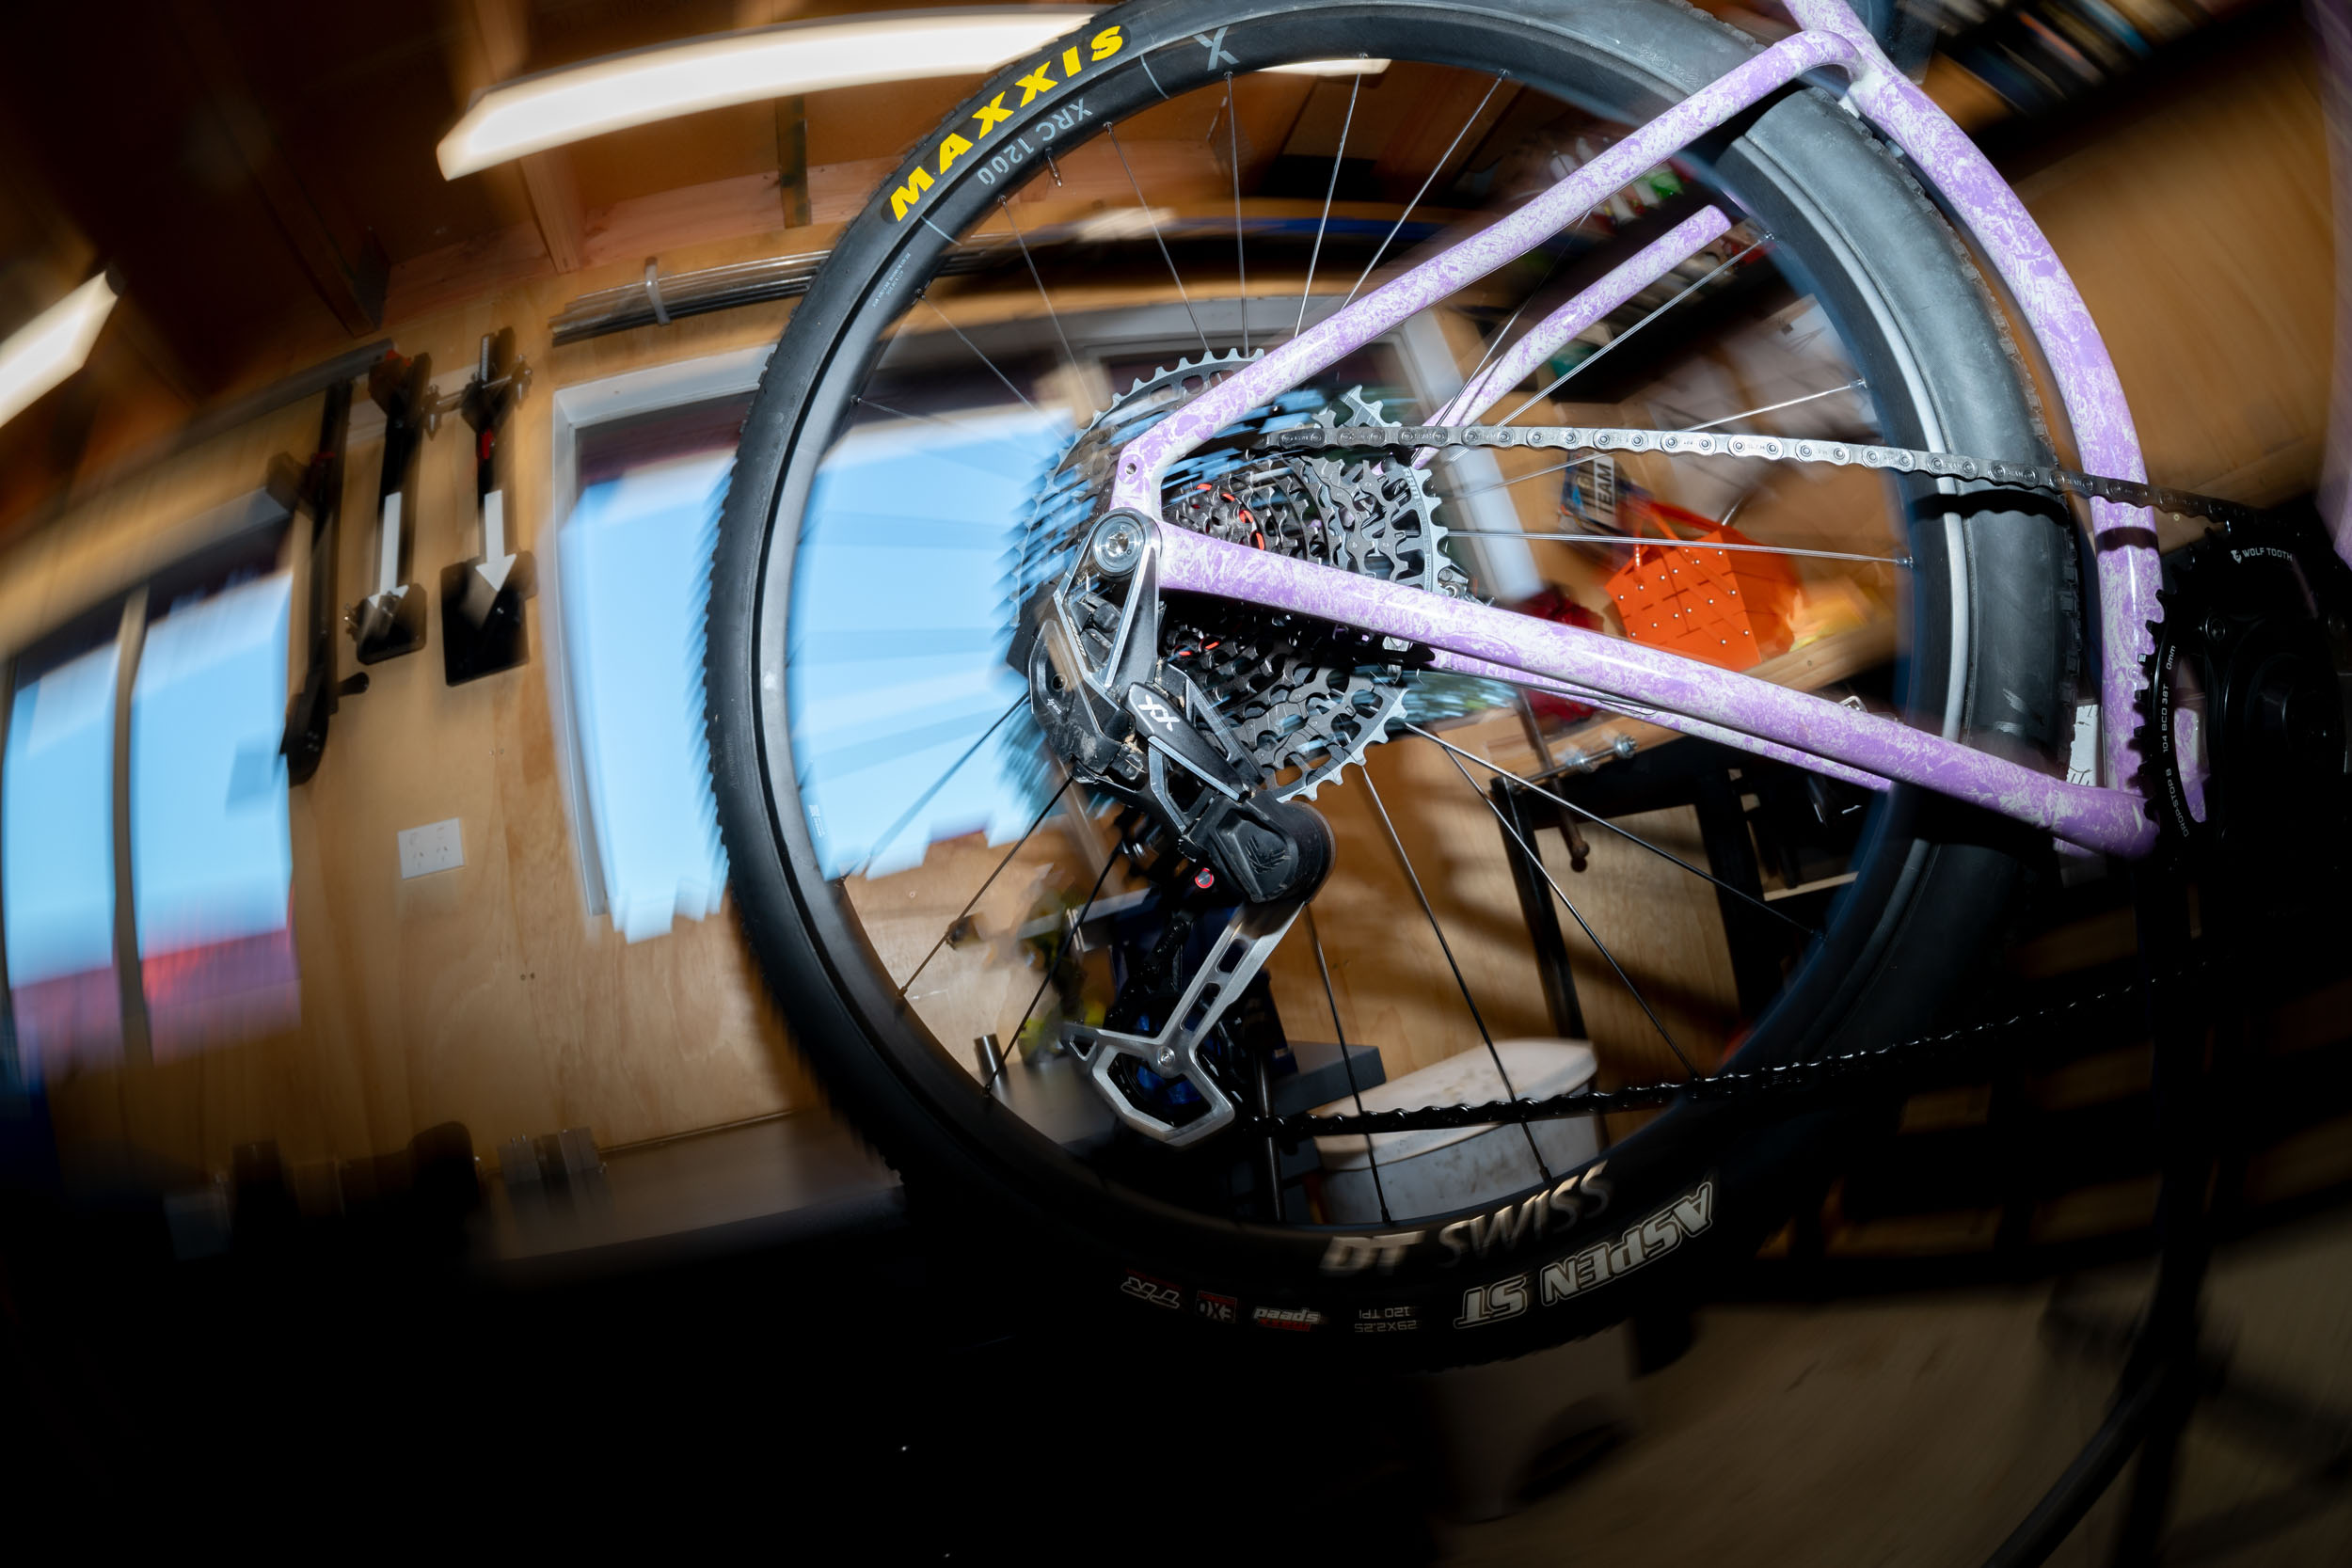
Rufus: We pulled heavily on Joe’s previous experience on the Tour Divide course. Something that still put fear into his eyes was the peanut butter mud sections, so we knew mud clearance would be a big focus. We designed the frame with not just a lot of clearance but specifically clearance at the seat stays—a little less than at the chainstays—so that any mud build-up is focused higher up on the chainstays, where it won’t affect the drivetrain and is was easier to clear out. We made sure to avoid having a brace at the chainstays or any type of “bridge” where mud can collect.
Another aspect was aerodynamics. Even though you’re not typically traveling at speeds worthy of this, it still adds up on a course this long and especially a course notorious for head winds. To improve this, we used a 100mm bottom bracket drop along with a rigid fork, which in turn lowered the handlebars and saddle and made for a much lower and more compact profile. It’s worth mentioning this is an extreme drop that I would never use for most people, but with Joe’s technical background and the fact that 97 percent of the course is a smooth, straight line, we thought he could pull it off. Knowing his fit dimensions meant we could use the shortest stem available and really push that front triangle out. This, along with the offset seatpost and long chainstays, made for as much frame bag space as possible, matched with a Tailfin Aeropack Cargo, and you’ve got a sleek slipstream!
The brief for this was to make a bike specific to Joe for specifically racing the Tour Divide, so although we have used my frame design as the base, a lot of the geometry was pushed to the extreme to suit Joe and his experience.


What’s the plan for your range? Totally custom only? Standard geo frames?
Rufus: I’m not looking to do full custom but rather offer models from which we could customise a few key numbers for the perfect fit, most likely reach and stack. I’ve been trialling full custom this year with some individuals, and although the fabrication side of it isn’t astronomically longer, the design phase is. At this stage, I’d rather see many people on Süfurs than spend all my time on the computer, but who knows, maybe I could revisit the full-custom idea once I’m established!
If someone wants to buy a frame from you, what should they do?
Rufus: I’m still not 100 percent there with being able to offer frames just yet, but I’m not far off! If people would like to get in touch and register their interest, the best method would be to shoot me an email on info@sufur.co.nz.
Joe Nation’s Sufur Cycles Bike Build
Joe Nation popped by Rufus’ shop during the design and build process of his new Tour Divide bike, and he put together an overview video of how it all went down. Watch the 30-minute video below for a look at Rufus’ process, his shop, and how Joe’s bike was made.
Rufus just launched his website at Sufur.co.nz. You can also follow along on Instagram here.
Further Reading
Make sure to dig into these related articles for more info...

Please keep the conversation civil, constructive, and inclusive, or your comment will be removed.