Introducing Medusa Cycles and the Medusa Deka Prototype
Building on the lessons and experience he accumulated while pedaling from the UK to India in 2018, Pete Skelton returned home and began scheming and saving to launch his own frame building venture. Earlier this year, Medusa Cycles was born, and we caught up with Pete to learn more and check out his his debut model, the Deka. Dive in here…
PUBLISHED Oct 13, 2023
Based in England’s Greater Manchester area, Pete Skelton is a sign painter, mechanic, and passionate cyclist who took a slow ride between the UK and India from 2018 to 2019. Through stripping away the noise of everyday life and settling into the simpler rhythm of riding and camping on that journey, Pete’s calling revealed itself. Once back home in the UK, he quickly began saving, learning, and making plans to be able to design and build his own bikes.
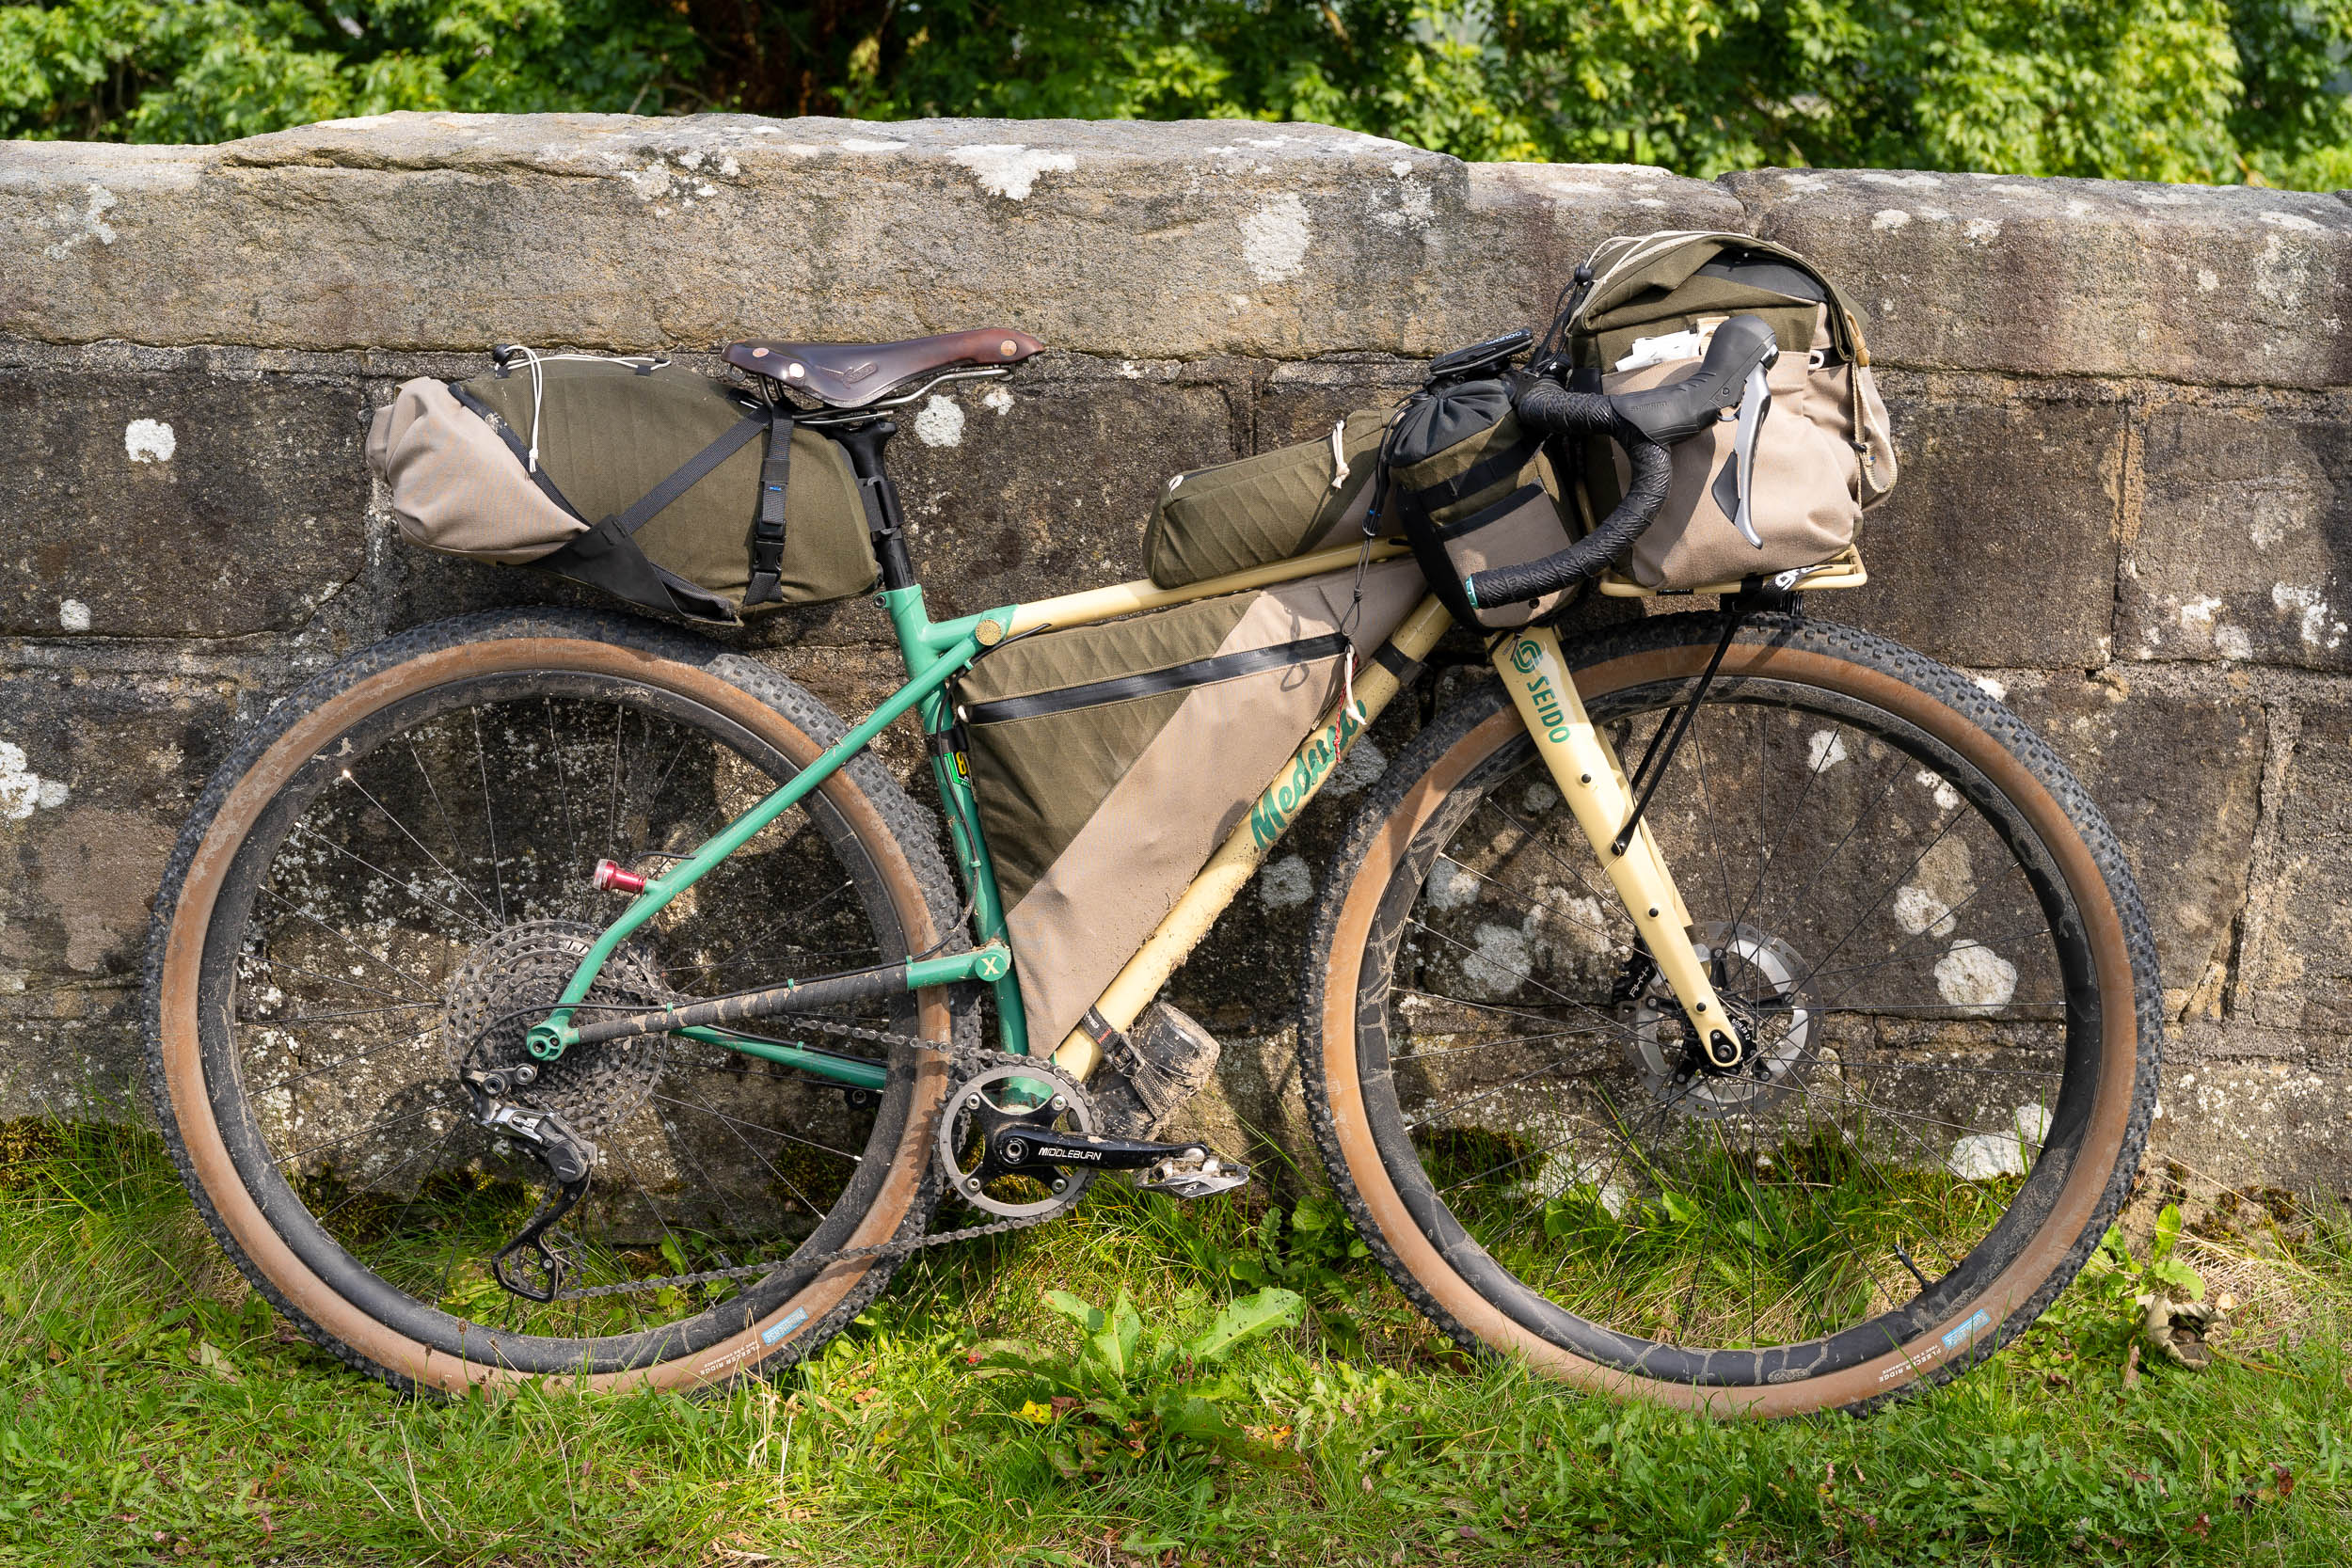
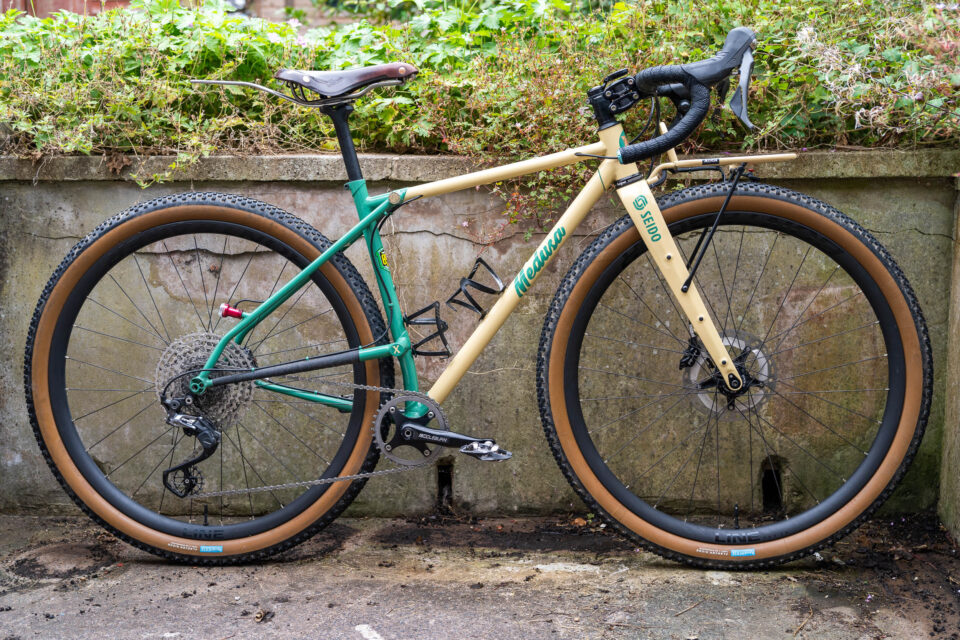
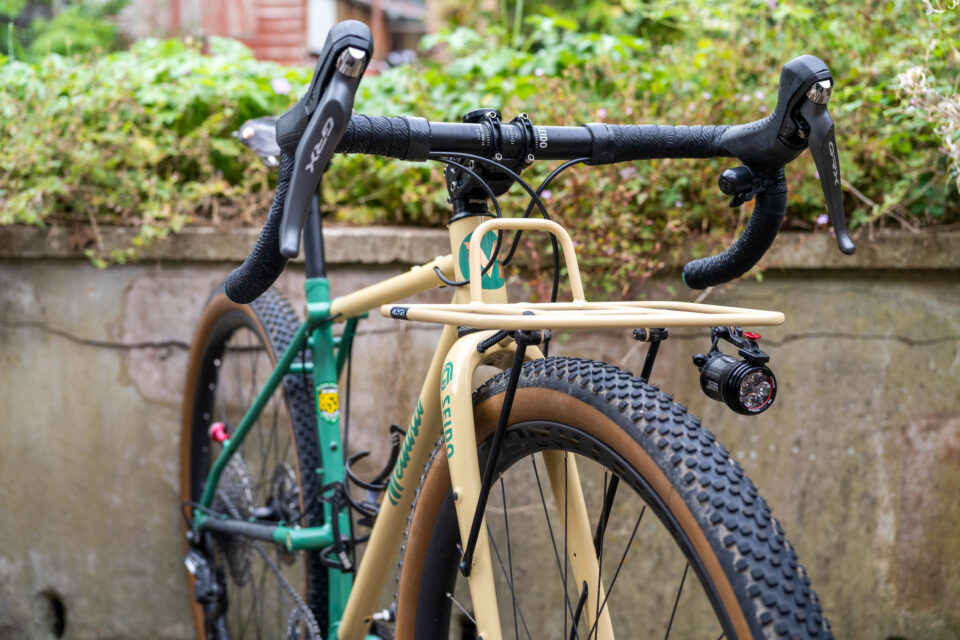
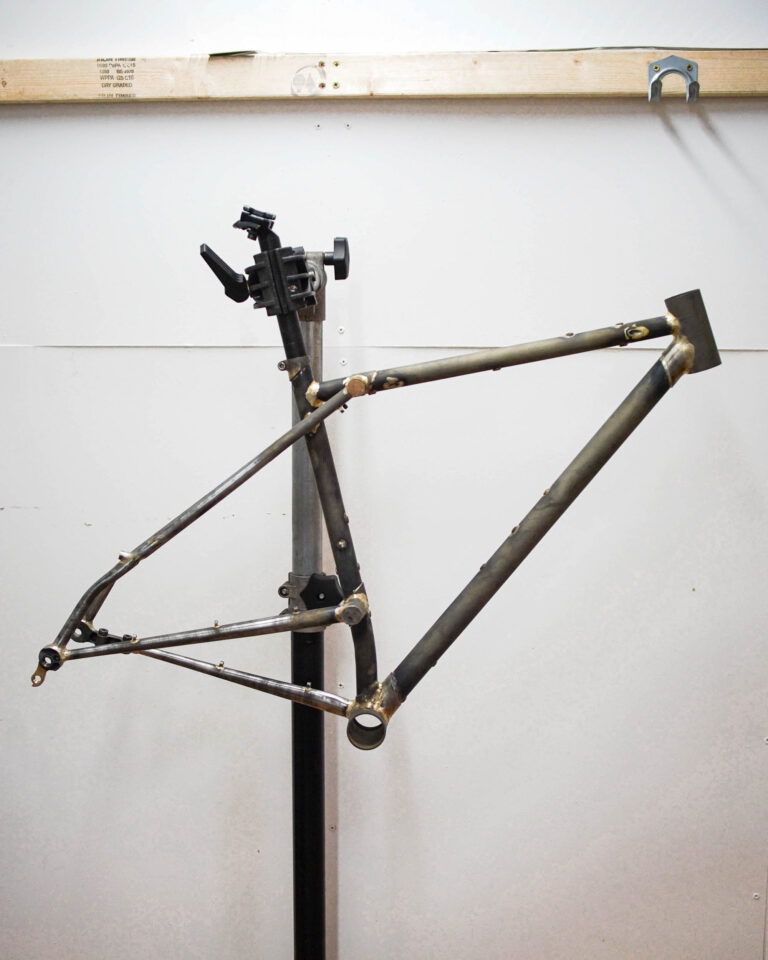
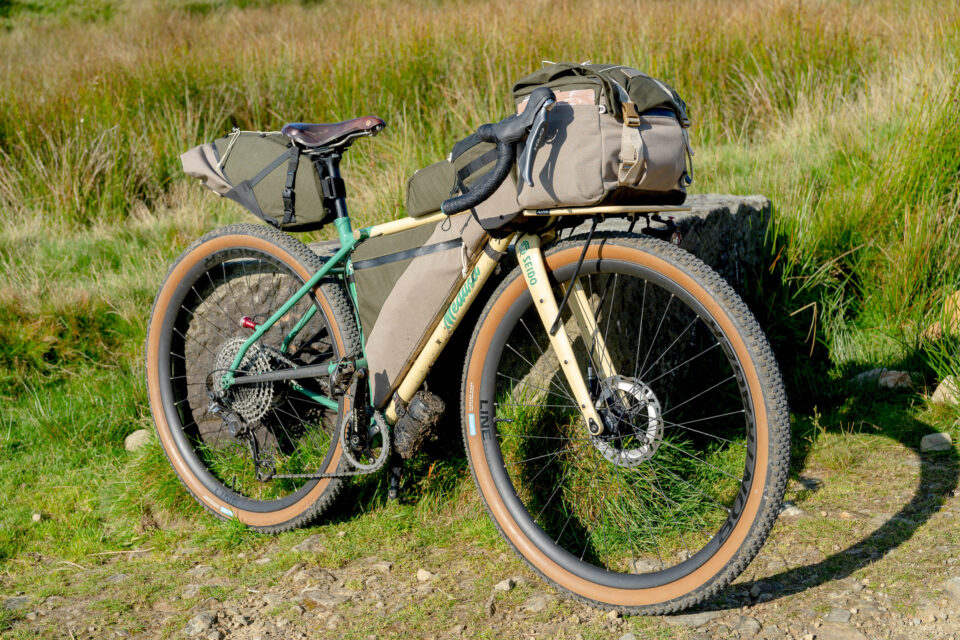
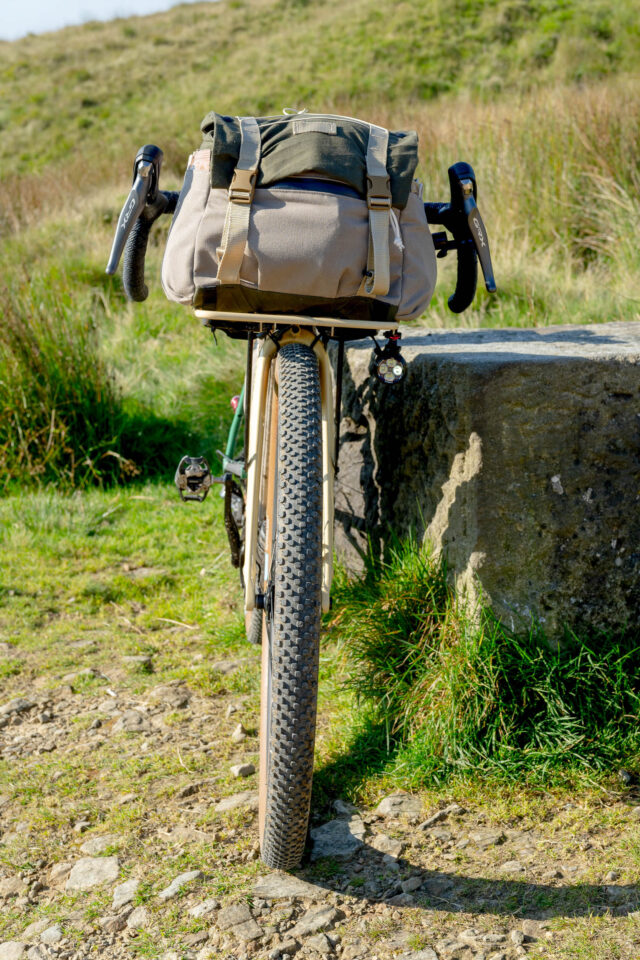
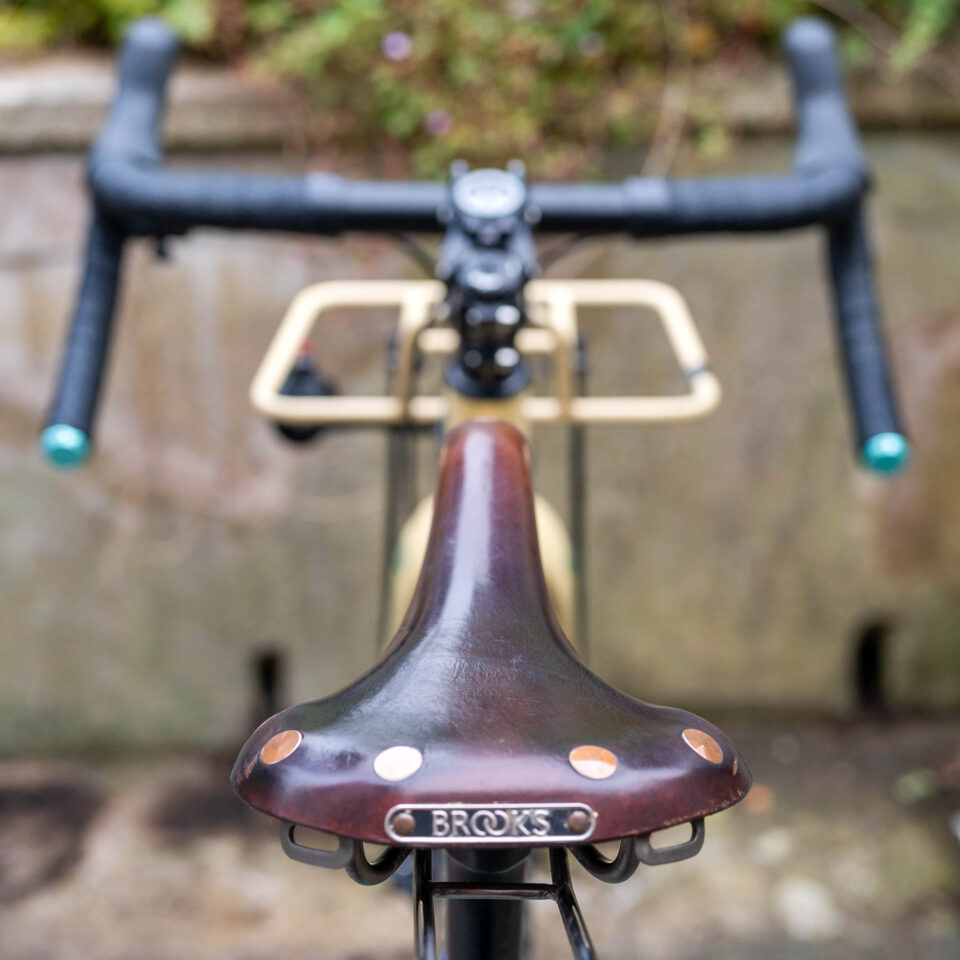
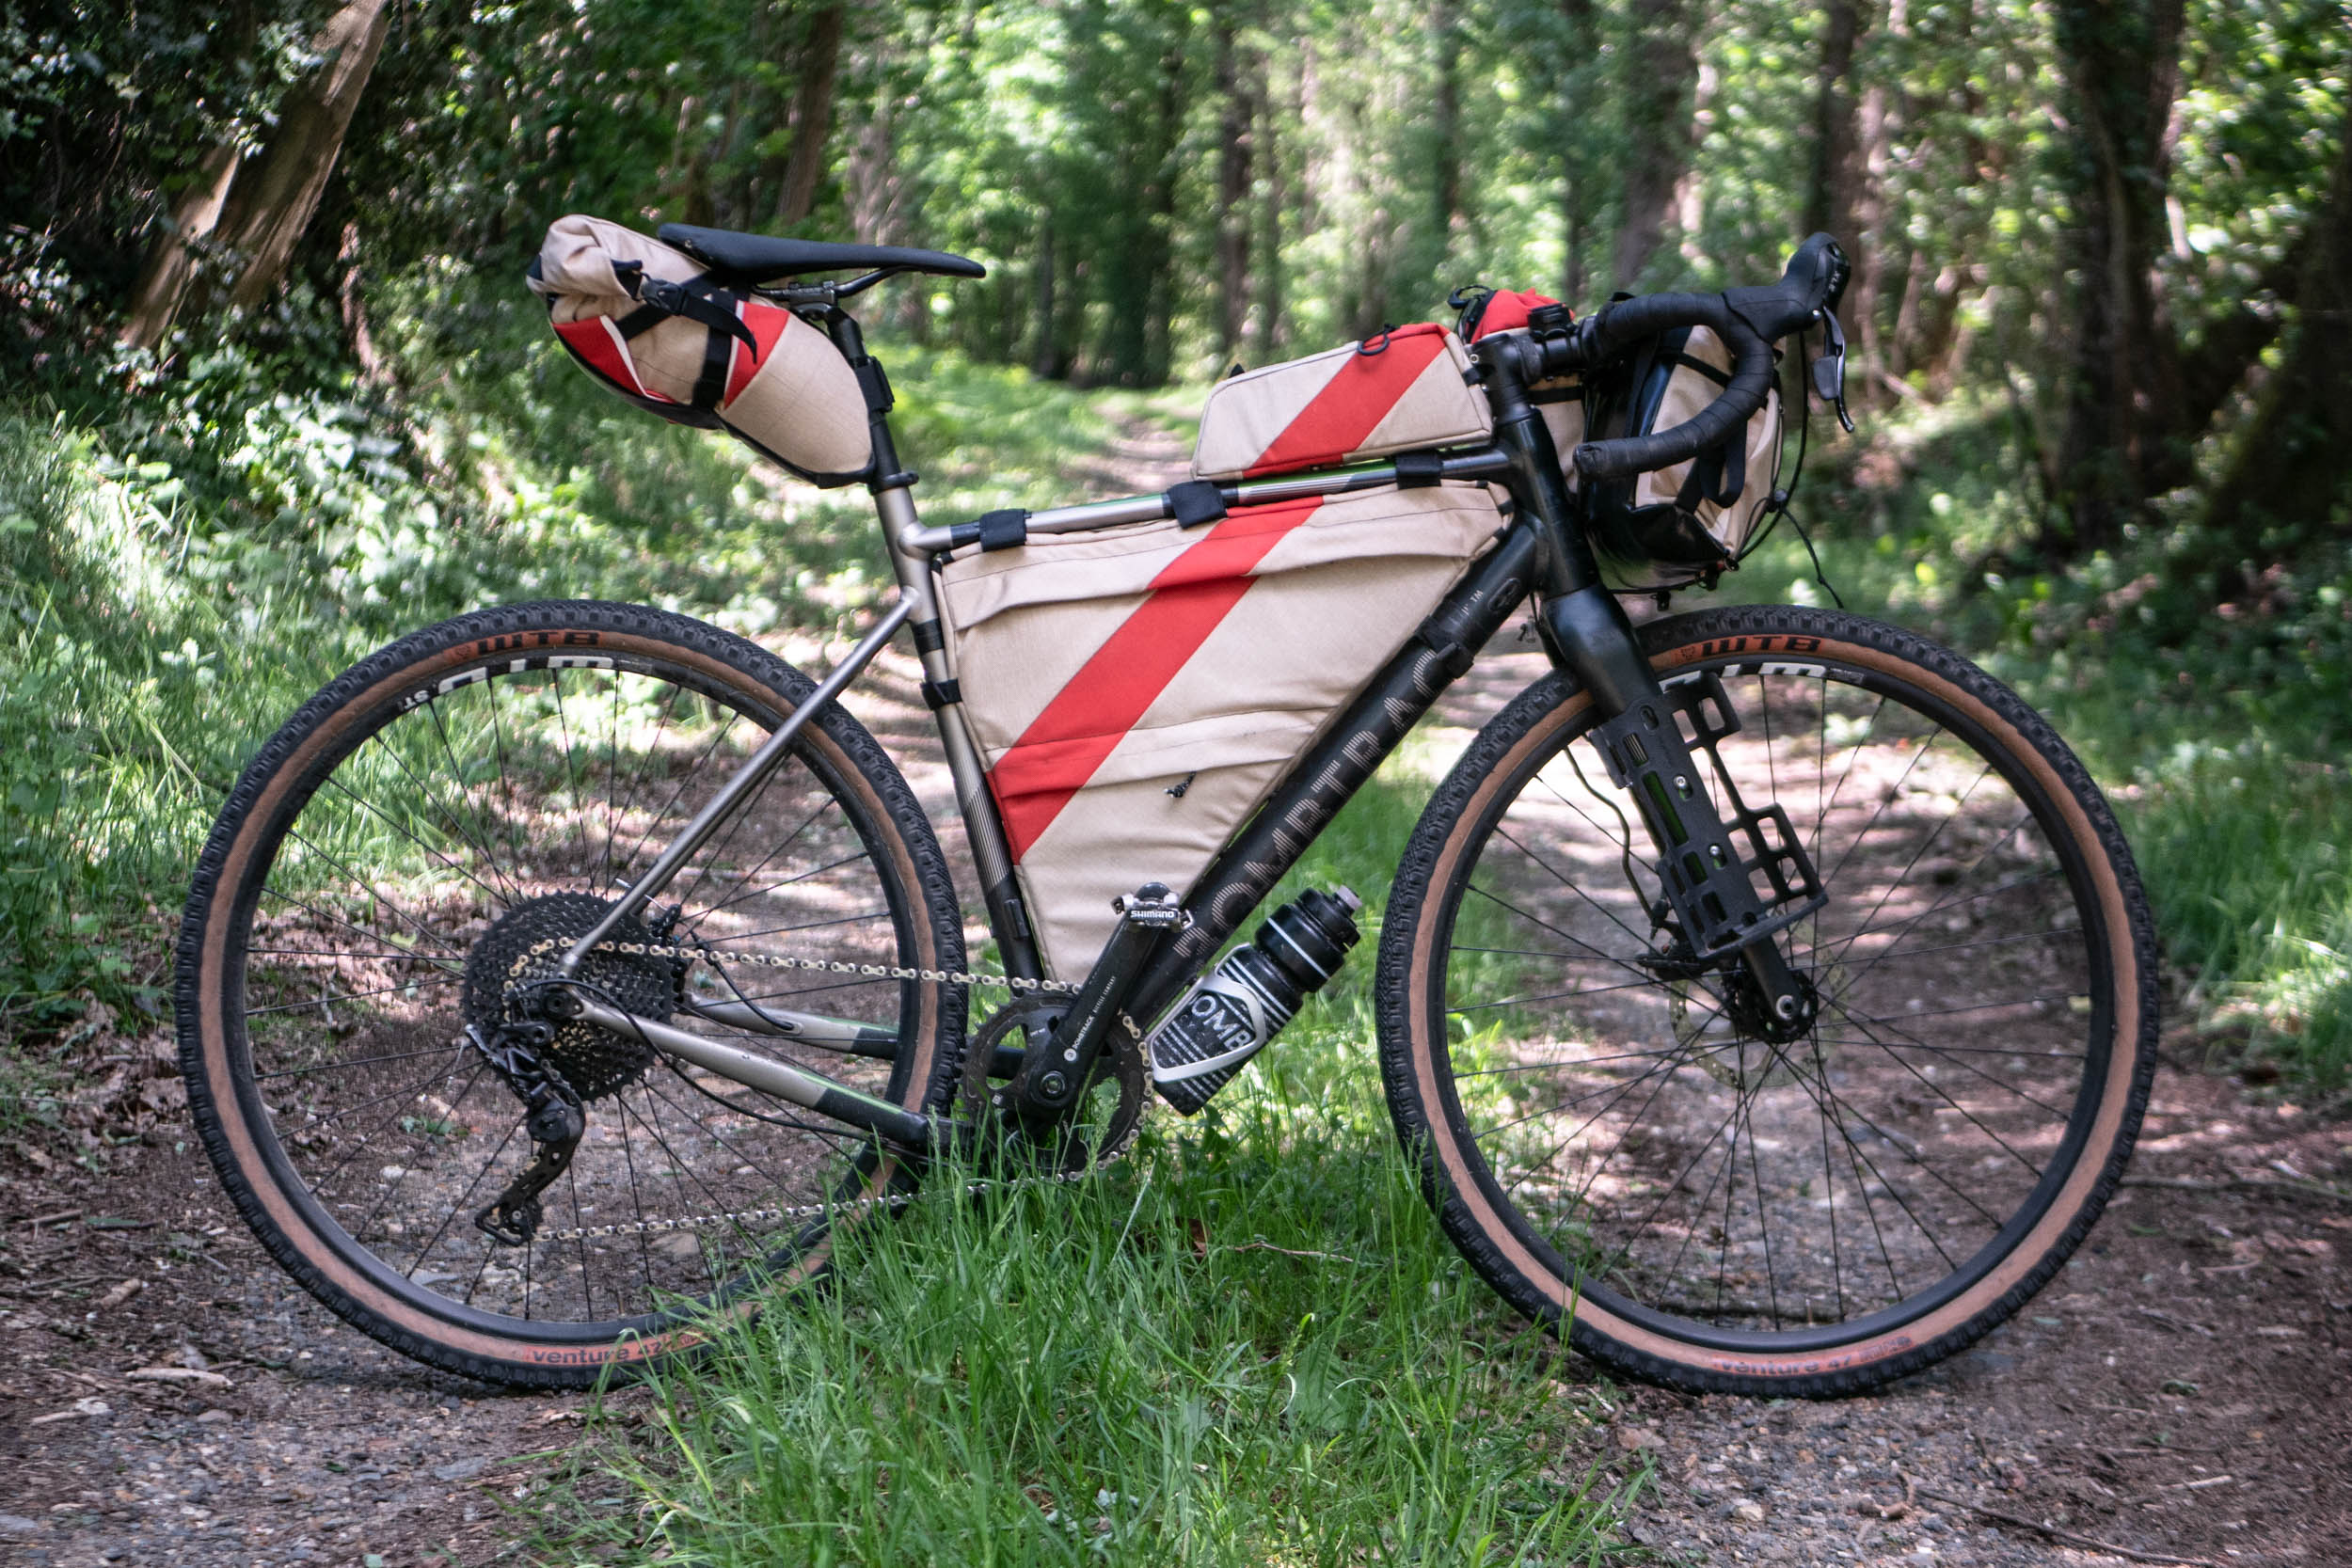
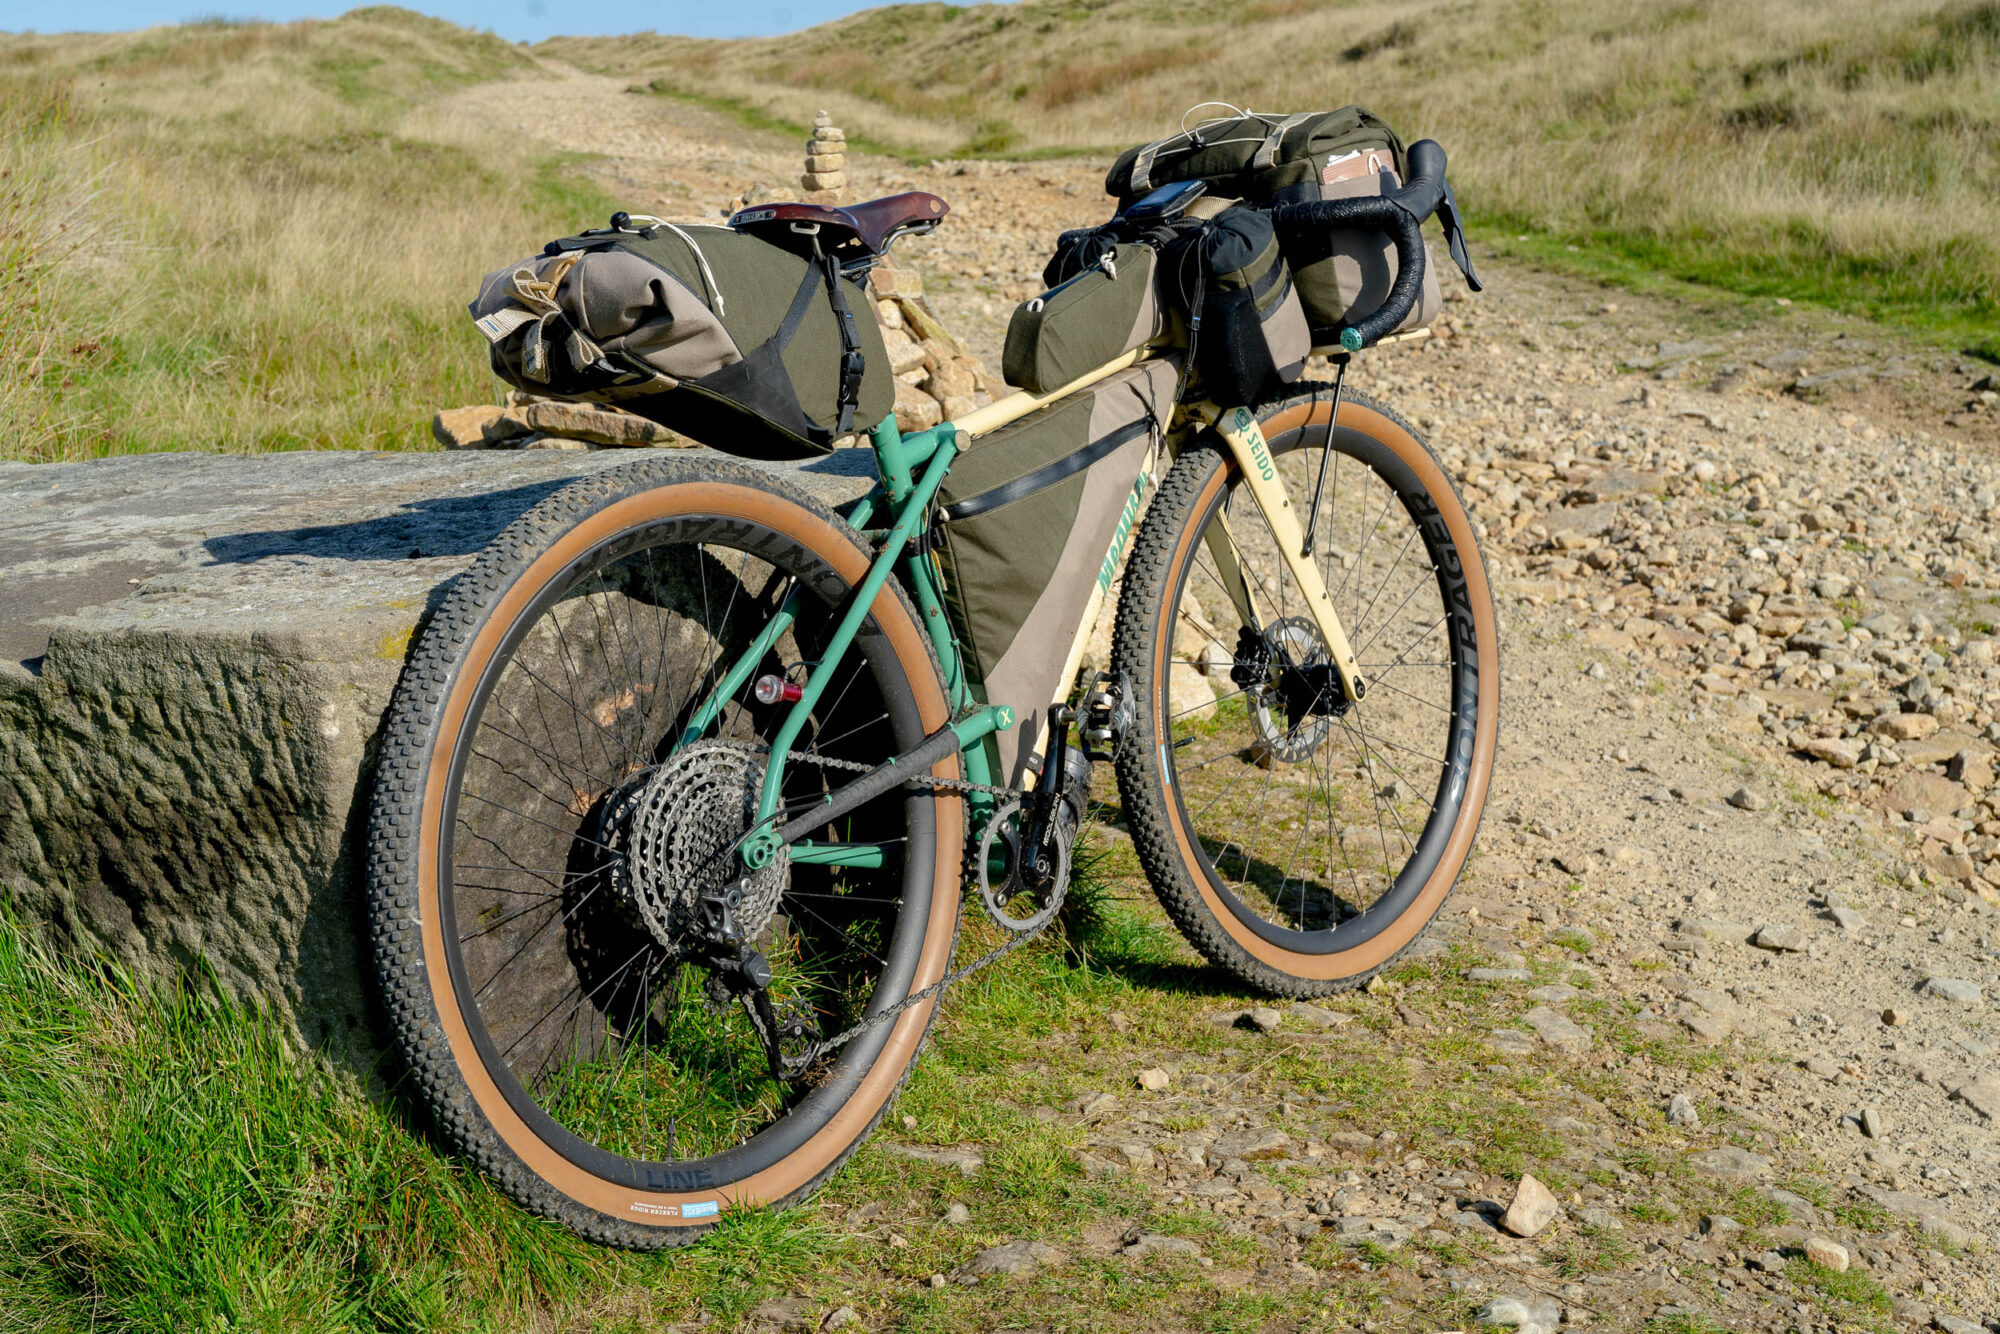
Fast forward to spring of this year, and Pete finally unveiled the brand he’s been quietly working on, Medusa Cycles. His first model is the Deka, which is designed to quickly and comfortably carry riders over rough stuff and features several clever design touches, including an elevated chainstay, triple triangles, and dynamo lighting provisions. The beautiful prototype shared here boasts eye-catching paint with color-matched bags, and it has me eagerly anticipating future builds and models from his upstart one-person shop. Find my interview with Pete, a gallery of photos, and a detailed build kit below.
To begin, tell us about yourself and your cycling background.
My dad has been a keen road cyclist all his life. A bike built around a lugged road frame, that he built for himself in 1981, lived in the garage at our home in Blackburn, Lancashire. The frame was a source of wonder my entire childhood, and I would often try to fathom how someone could fabricate such a thing with one’s own hands. As I grew older, I also physically grew to be able ride the bike, and after having refurbished it myself, it even served as my commuter. As the years and different bikes ticked by, my dad’s old steel road frame aided my understanding of the power of steel, and regardless of its “gas pipe” tubing, the 20mm tyres and tight six-speed freewheel block, the “Helton,” as it is known, still remains to be one of the comfiest and most enjoyable bikes I’ve ridden.
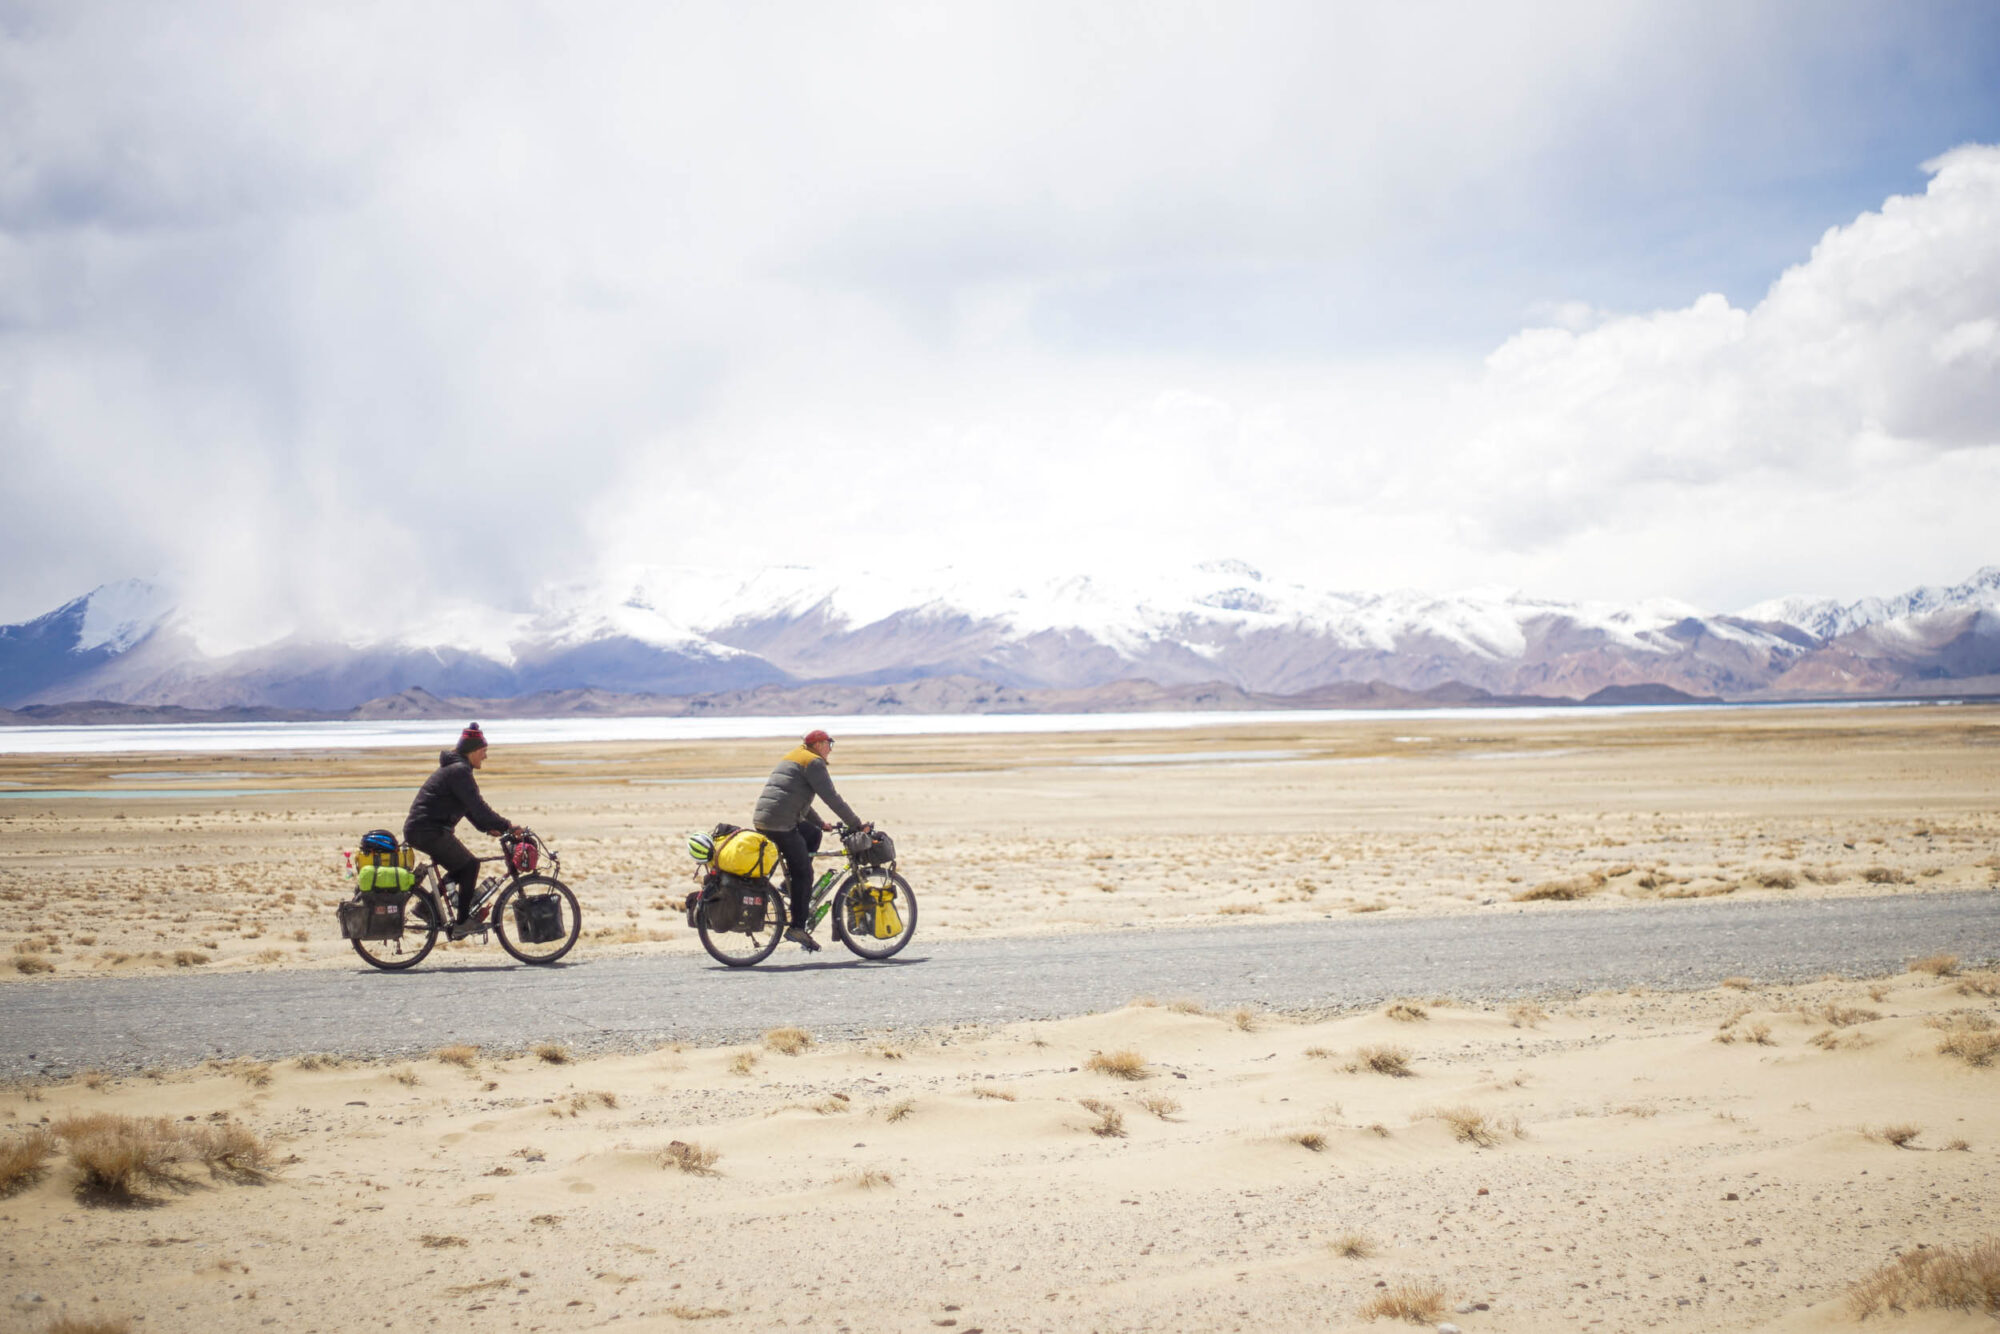
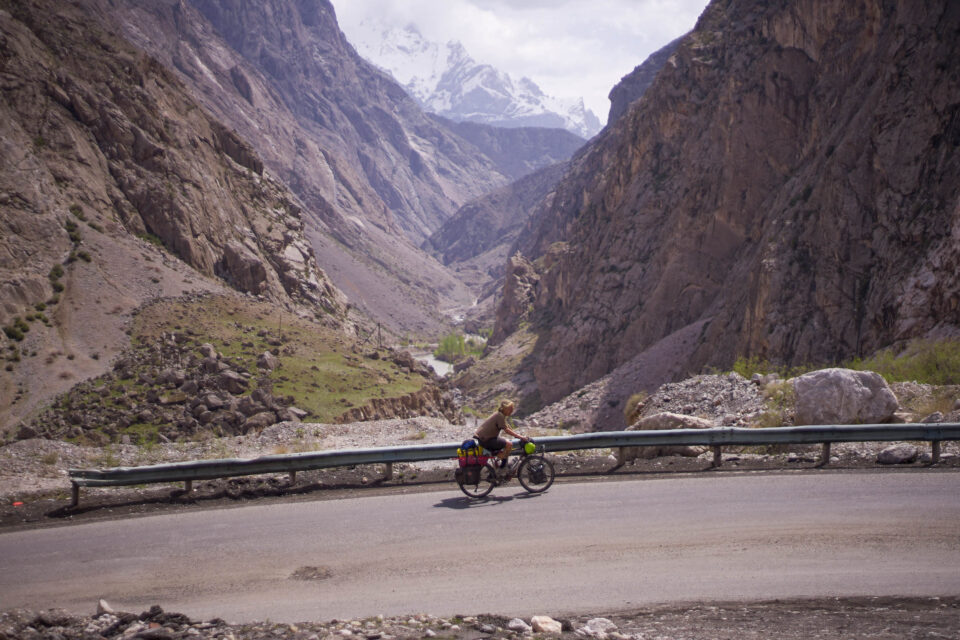
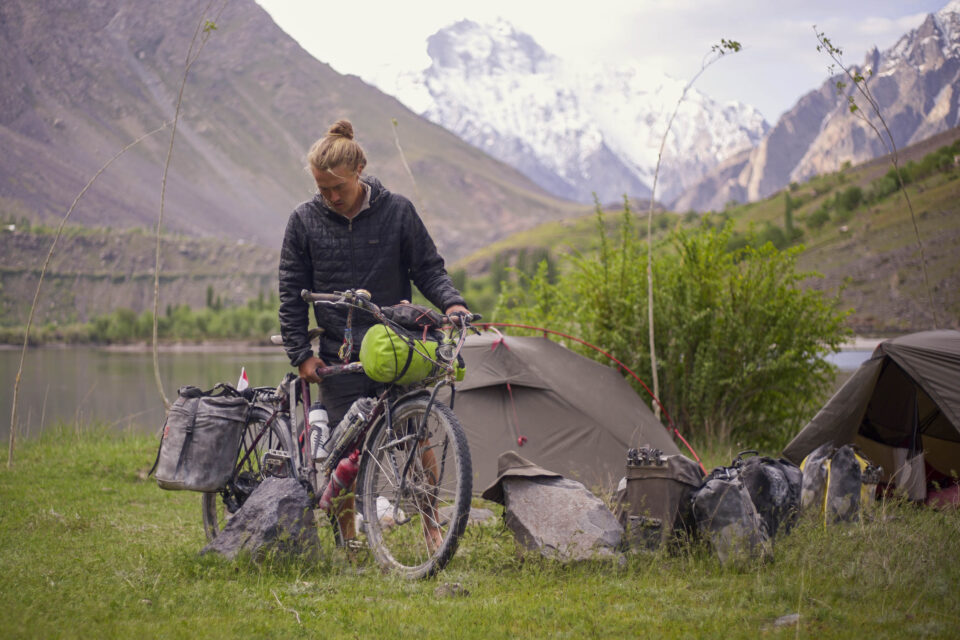
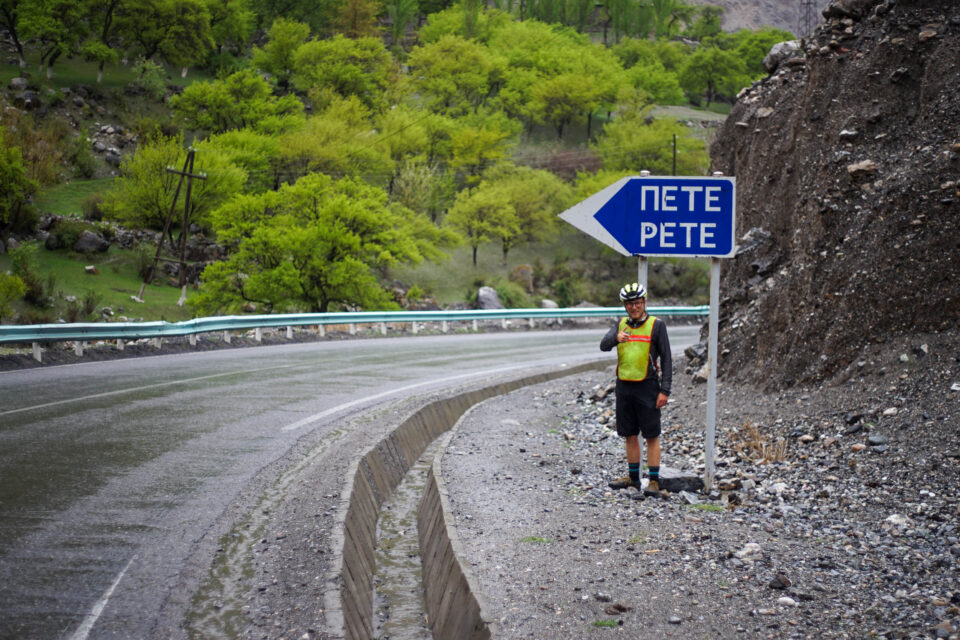
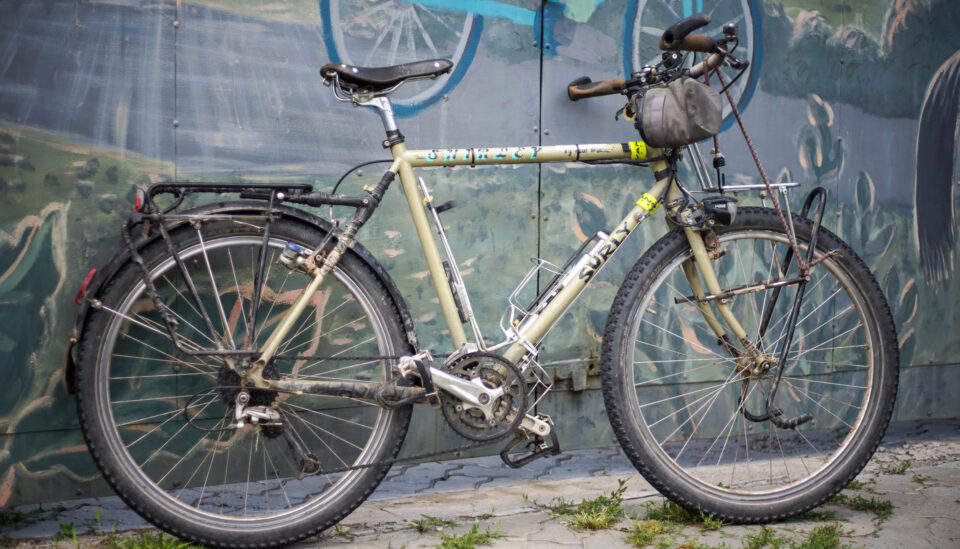
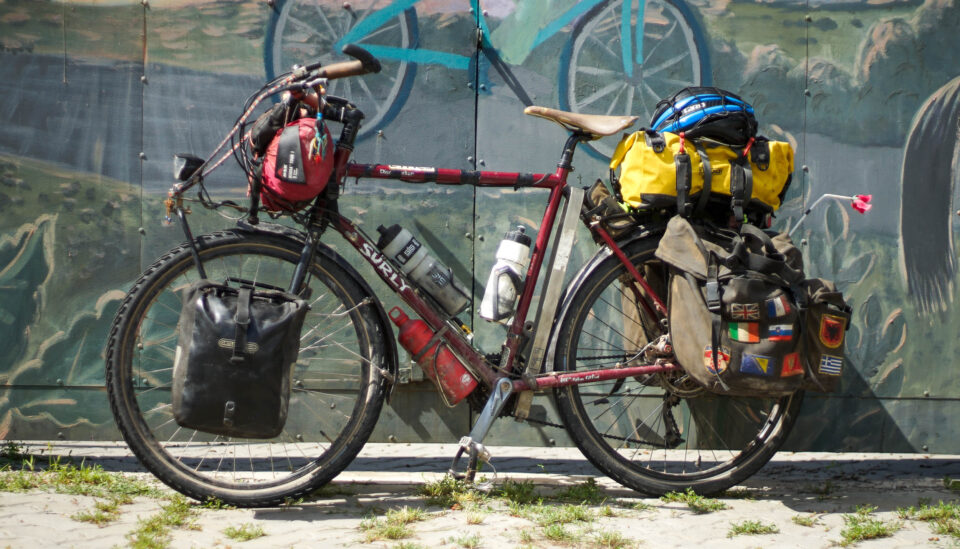
Fast forward to 2018, when a close mate Jordan and I set out on an overland bike trip from the UK to India (@slowlyrollingeast) about a pair of fully loaded Surly bikes. It was on this trip that I decided the bicycle is undoubtedly the best and most noble invention to be produced by humankind, and I had no other calling in life than to make my own bikes. And so, when I returned home, I began the slow and all-consuming process of ploughing my own furrow through the field of the bike world.
Who or what inspires your work today?
These days, I live in Salford, Greater Manchester. I have spent every spare penny I’ve earned from working two jobs to build myself a small framebuilding workshop. Every leftover minute I can muster is used to develop my designs and hone my skills as a framebuilder. My aim is to create work that performs well, is practical, and has a unique but tasteful style. In a world where there are so many bikes that look the same, to try to do something different with the medium I have is very important. I take great inspiration from the wild designs of Konstantin Drust of Drust Cycles. His work made me realise that framebuilding can be art, and there is little reason to constrain oneself within traditional parameters when building frames. I also love the works of Flo Haeussler of Fern Bicycles, who to me, shows some of the finest examples of refinement in all-road/rando bike design. Plus his colour schemes in collaboration with the work of Gramm Tourpacking are next level!
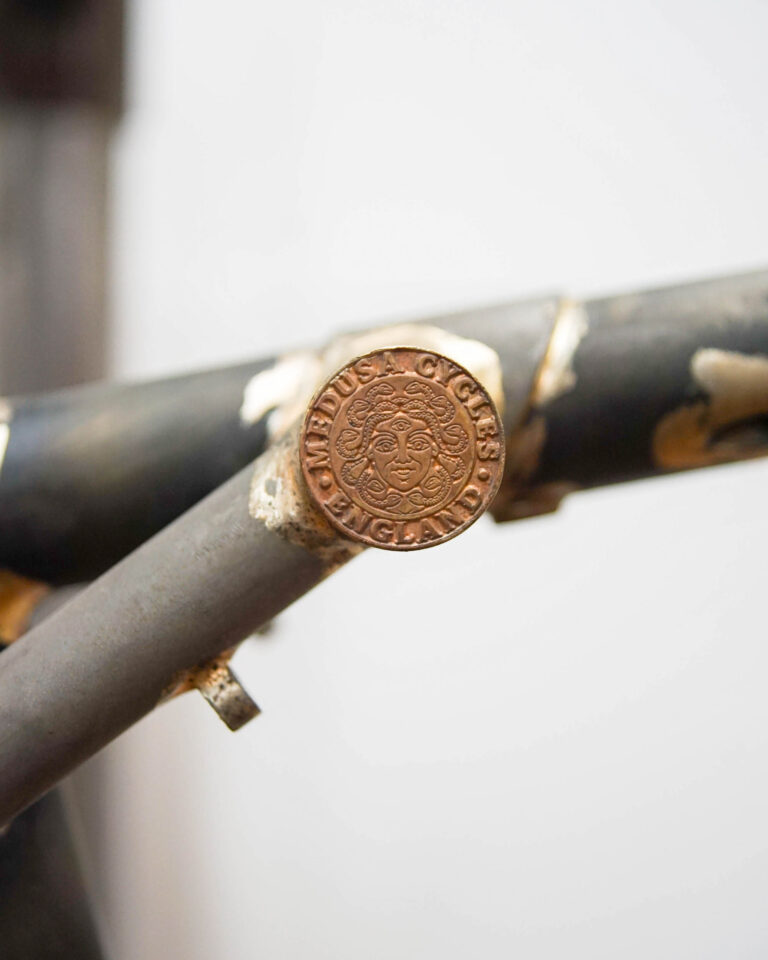
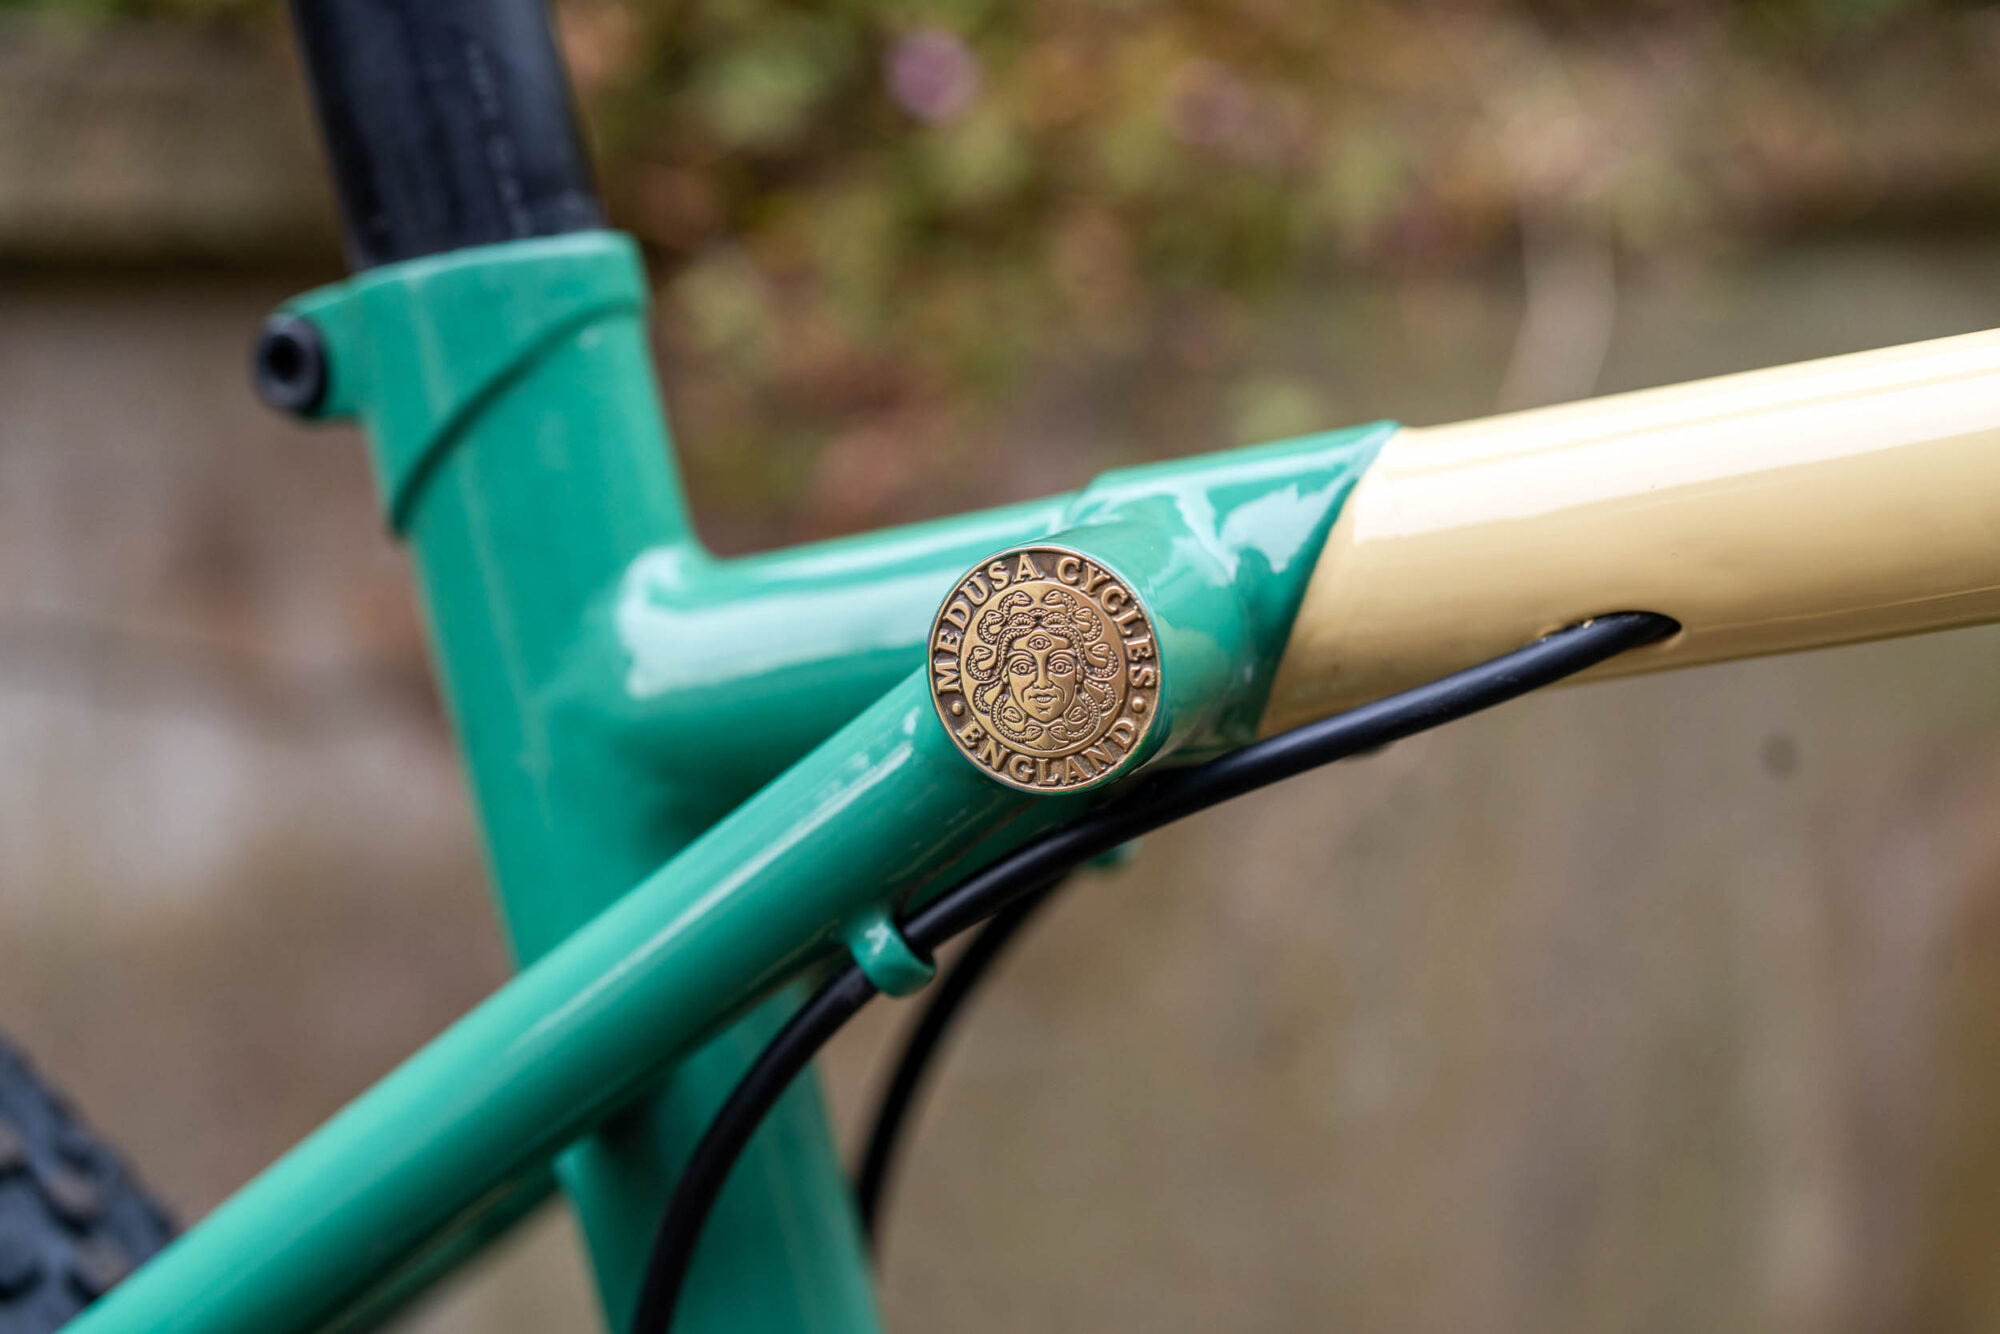
I also like to look back into the past for inspiration. The raised chainstay design I have developed, harks back to some of the earlier days of mountain biking, and my use of brazed-on coins/badges/medals are an idea that I pinched from 1980s Gios fork crowns. The “triple triangle” design too was something that I discussed with Manchester’s own legendary framebuilder Neil Orrell. He was well known for his track frames, which incorporated this design feature. I was lucky enough to spend a year working at his old shop. The shop is now called Butterfield Bicycles, and it was here that I laid the foundations of my skills as a framebuilder.
What’s the story behind the “Medusa Cycles” name?
I’ve always been a fan of the unconventional, and I think my prototype reflects that. The raised chainstay, triple triangle, and big 29er wheels might be something that people either love and see some beauty in or hate, wince, and recoil at. For those who are familiar with the tale of Medusa, this is one of the many reasons why I chose her name as the name for my brand. In addition, if you want to get political, it is worth pointing out that just after the French revolution, the image of Medusa was used to symbolise French Liberty. I believe that the bicycle can promote freedom and liberation – this is something I have felt on countless occasions when out riding bikes. Besides all this, Medusa’s image is also used as a symbol for good luck, something that can be rather useful in the bikepacking world. But there’s one thing I’m sure we can all agree on: Medusa was an outright badass!
Give us some background on the Deka X1 Prototype and its intended use.
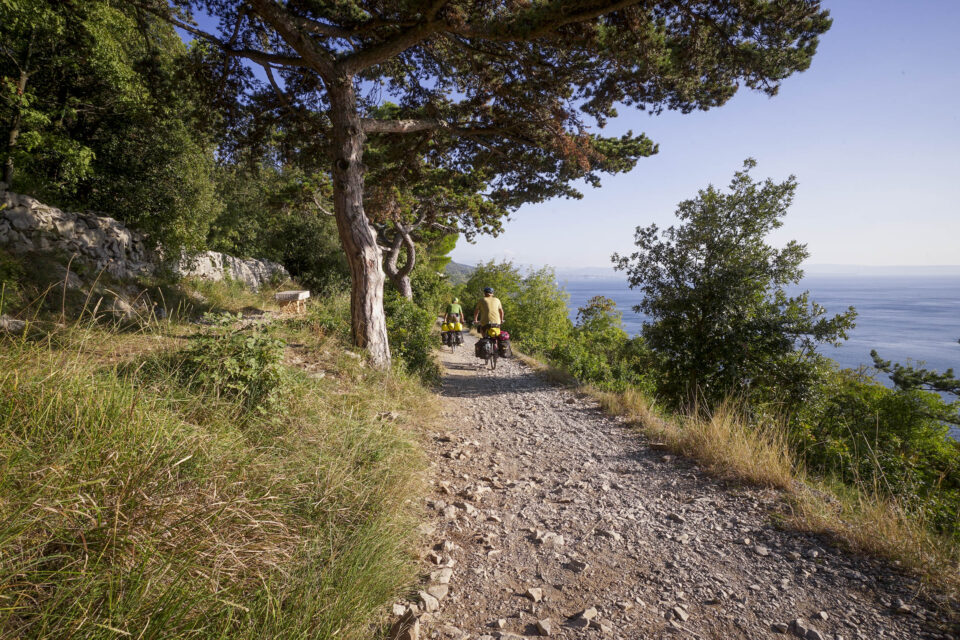
The gravel bike market today is generating some really cool designs. However, I can’t help but think that for the type of “gravel” riding I do here in the North West of England, some of these designs are lacking in areas such as tyre size and utilitarian nature. Everyone wants a bike that can do it all, and for me, that’s a bike which can soak up the rocky bridleways that we call “gravel” up here in Lancashire but will still happily cruse along the tarmac at a satisfying pace. I wanted to create something that leans more towards the cross-country MTB end of the spectrum in terms of off-road capability. The Medusa Deka prototype I have created is designed to address these requirements and remedy some of the obstacles I encountered while out bikepacking and exploring the bridleways and by-ways of the world. I also wanted to incorporate features that I liked from other bikes I’ve ridden.
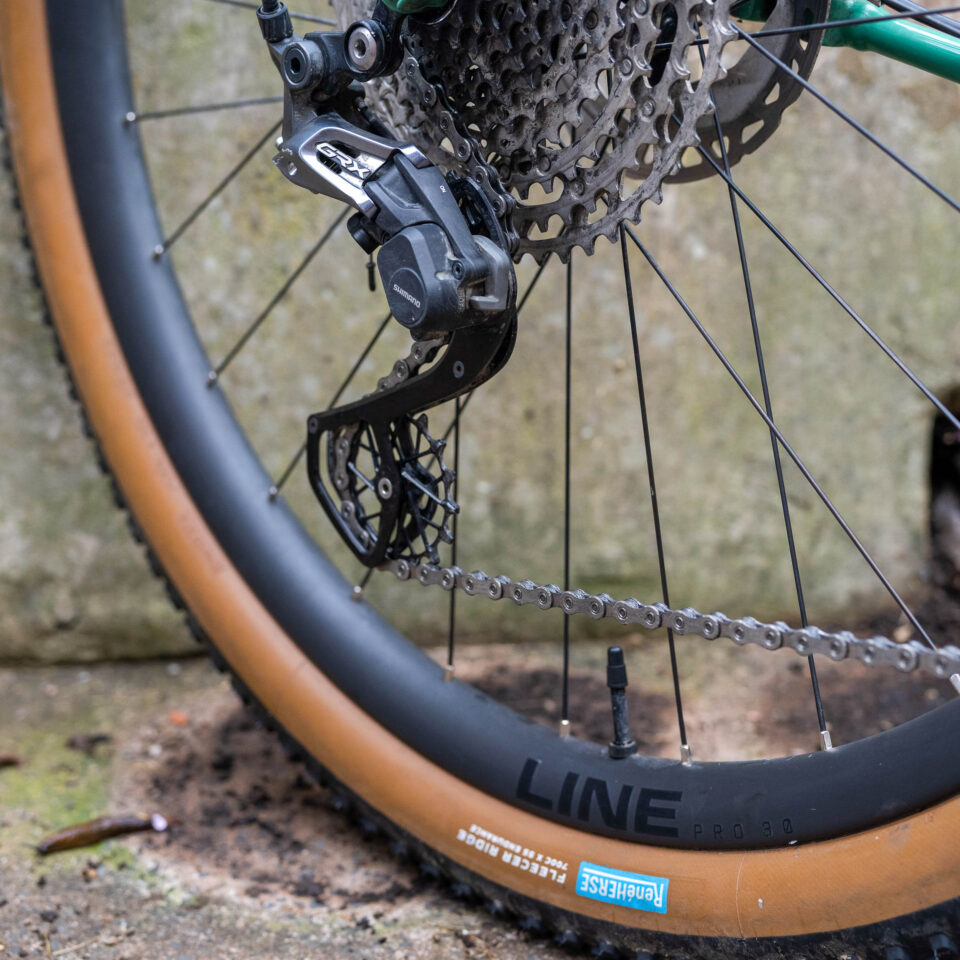
A previous gravel frame I built for myself was fitted with 29 x 2.1″ tyres, and these tyres felt unstoppable while chugging away off-road. The 29ers still felt nice and quick on the tarmac, so, to me, this wheel size was like a no-brainer. For this current bike, I opted for a set of 29 x 2.2″ Rene Herse Fleecer Ridge tyres, which are truly superb. Another lesson learned from a previous frame was one of chainstay length. I found that on steep and greasy climbs, the previous bike had a tendency to wheel spin, a frustrating occurrence when you’ve spent 5+ hours in the saddle, all the while being cooked alive by the rays of the Dolomiti sun (tough going for someone who grew up just outside a city that was once ranked the third wettest in the UK!).
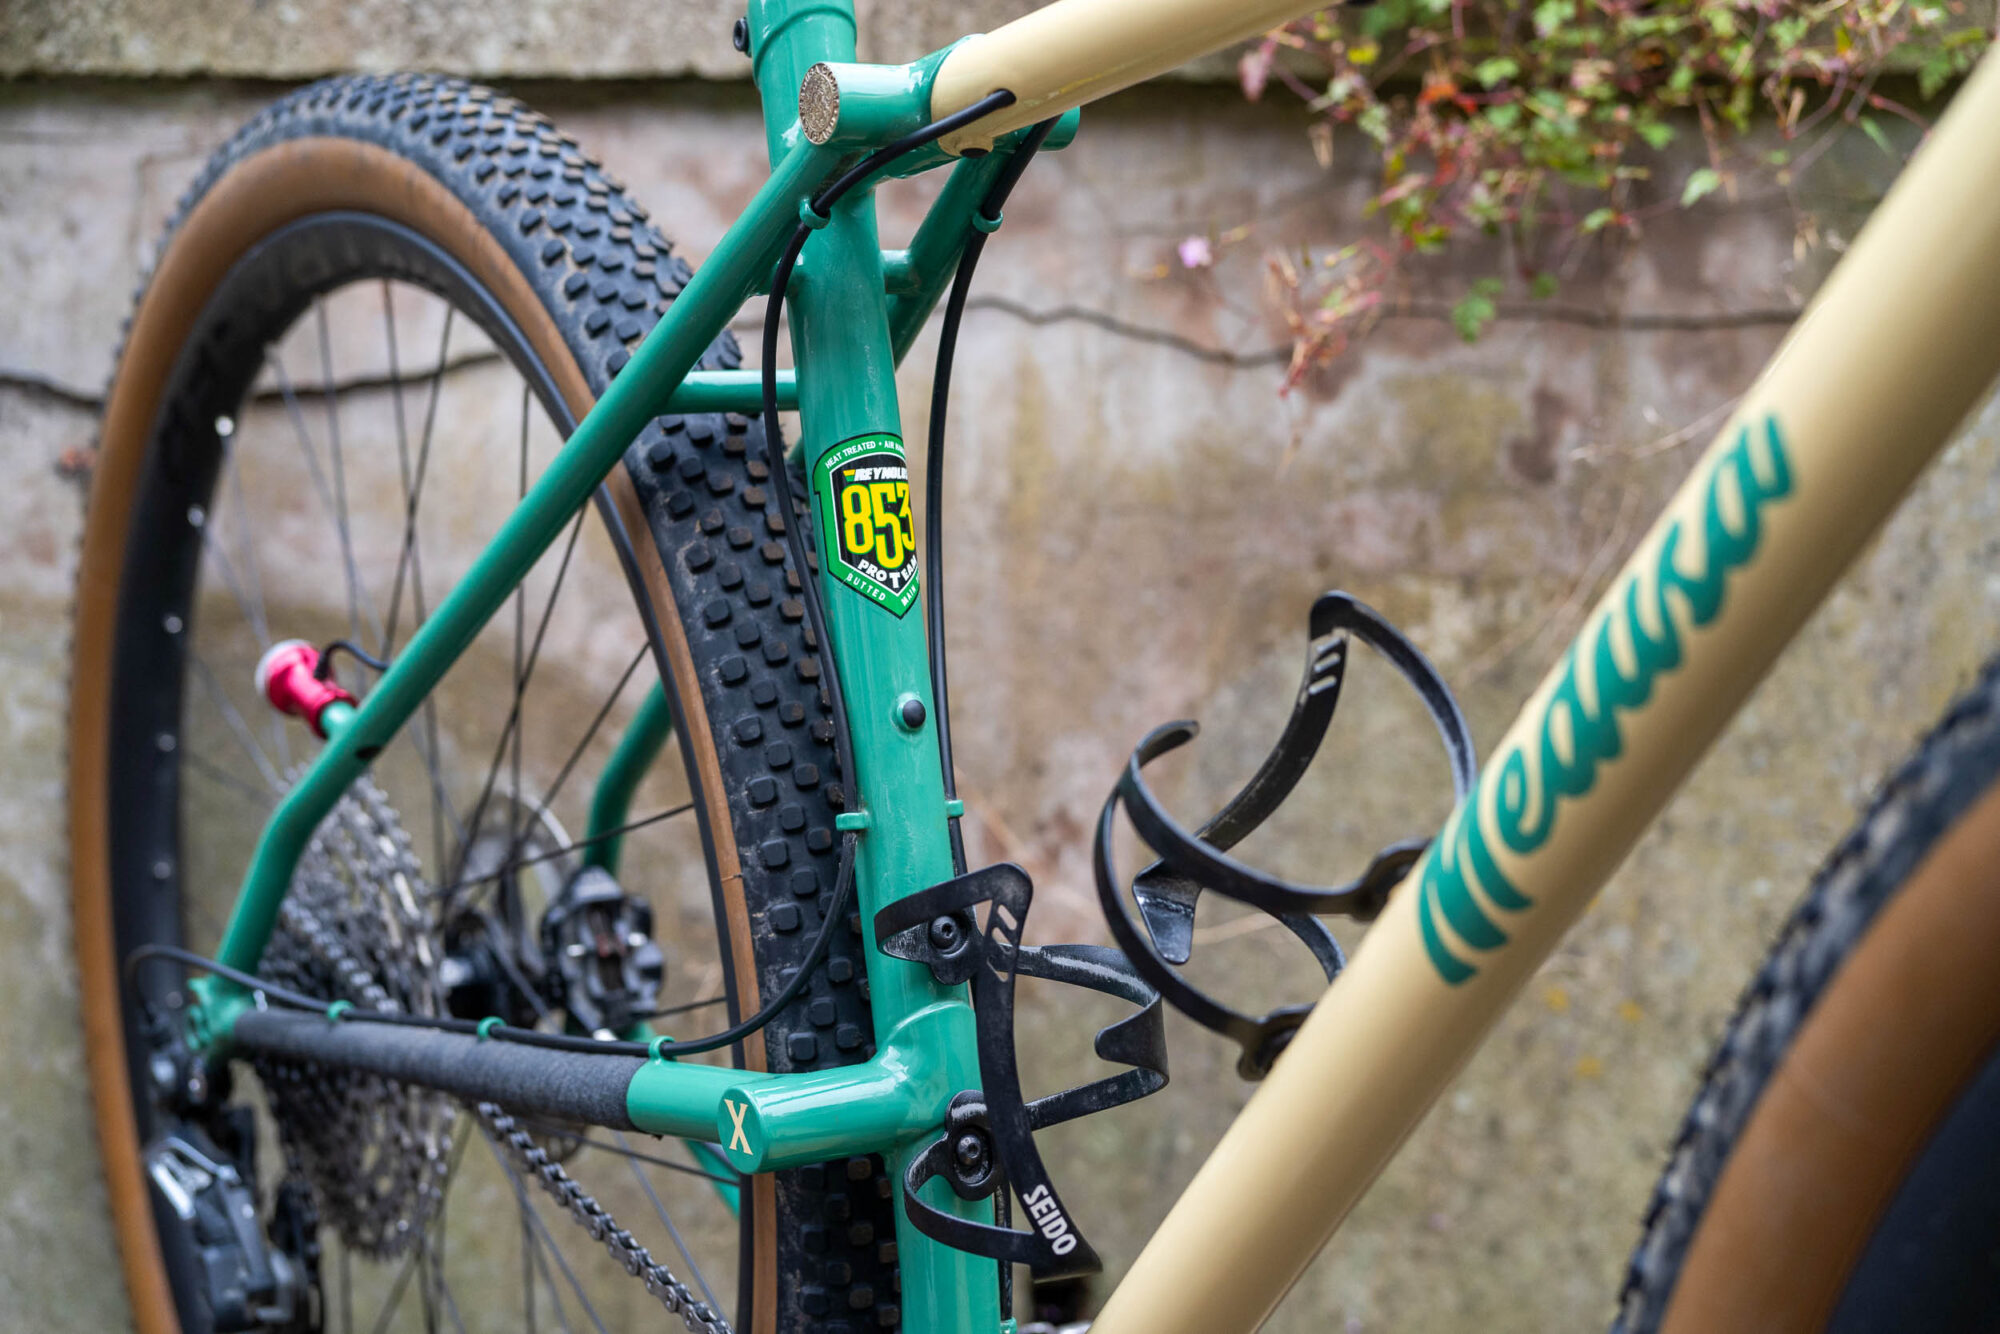
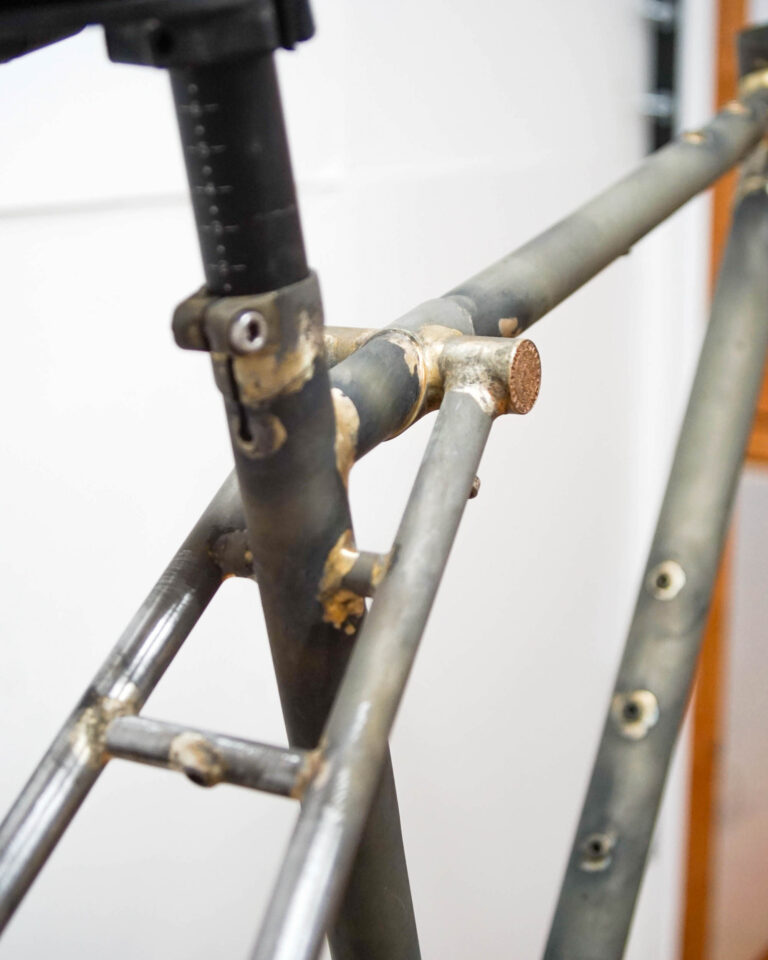
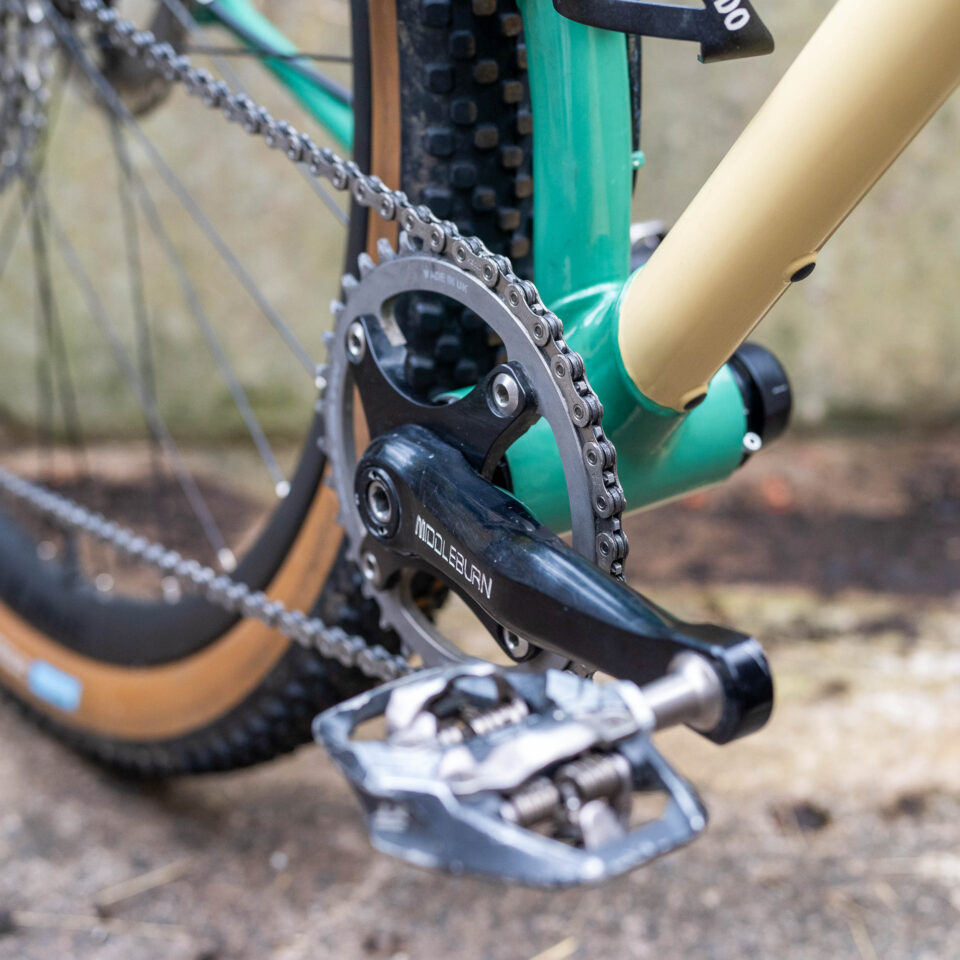
I resolved to look for a way to fit these bigger wheels into the frame while still maintaining a chainstay length as short as reasonable to avoid these slippery characteristics. In my quest for a solution, I decided to hike up the drive side chainstay and make use of a curved seat tube, forgoing the need for a yoke. This moderately “retro” look has been tempered by the use of a T47 bottom bracket shell, keeping things stiff and open to component compatibility. I’ve also used some bi-laminate construction methods at the base of the downtube and seatube to further improve stiffness. I can safely say that because of these shorter stays, the frame climbs like an absolute mountain goat!
What’s the benefit of the triple triangle design?
The idea with the triple triangle frame was to create a frame as stiff as possible within reason. I wanted a bike that would maintain good responsiveness, even when loaded up with camping gear, and for this same reason, I chose to work with Reynolds 853. This is the stiffest tubeset manufactured by the brand. I figured that because I was opting to use some wider, more supple rubber, I would have more scope to build a frame with a bit more stiffness. The joining of the seatstays to the top-tube has been achieved by means of bi-lamination to improve strength. But I also think it looks pretty cool and is a salute to the lugged frames that first caught my attention when I was a youngster.
Medusa Deka X1 Prototype Build Kit
- Frame: Medusa Deka X1 Prototype
- Fork: SEIDO Components MGV
- Rims: Bontrager Line Pro 30
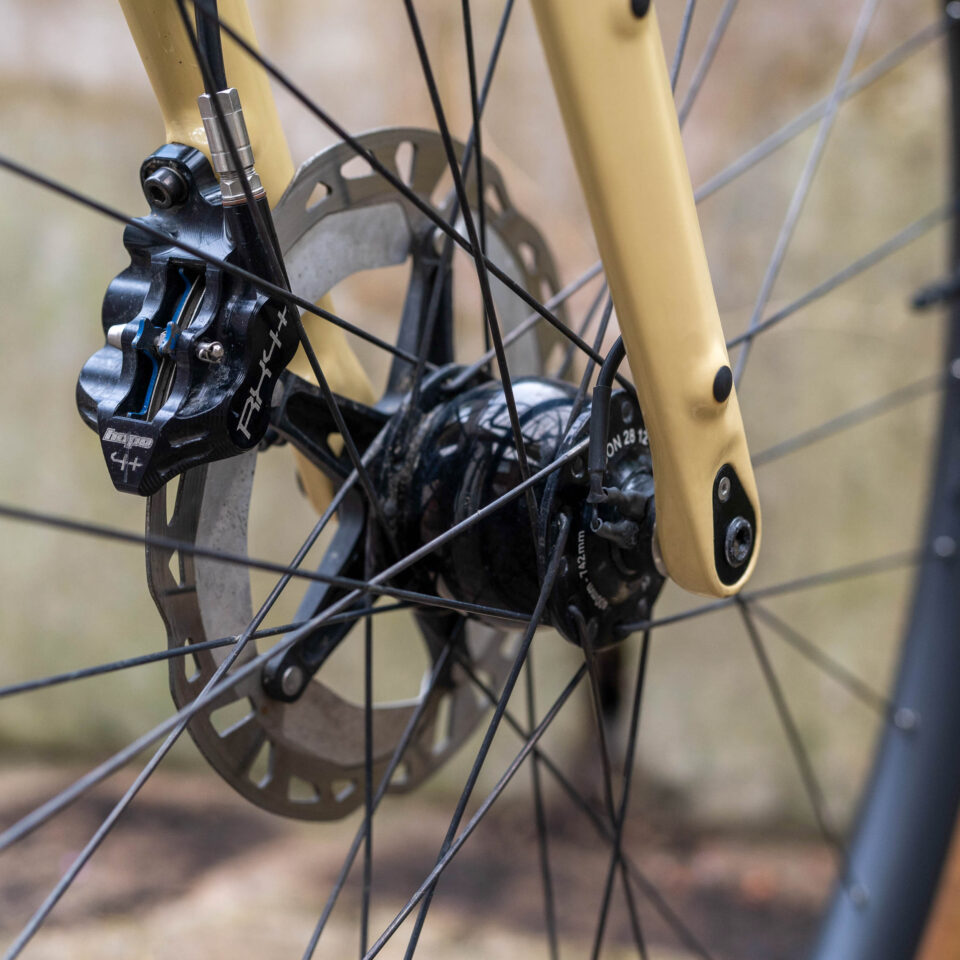
- Hubs: SON 28 (front) / SEIDO Components Acceleron (rear)
- Tires: Rene Herse Fleecer Ridge 29 x 2.2″
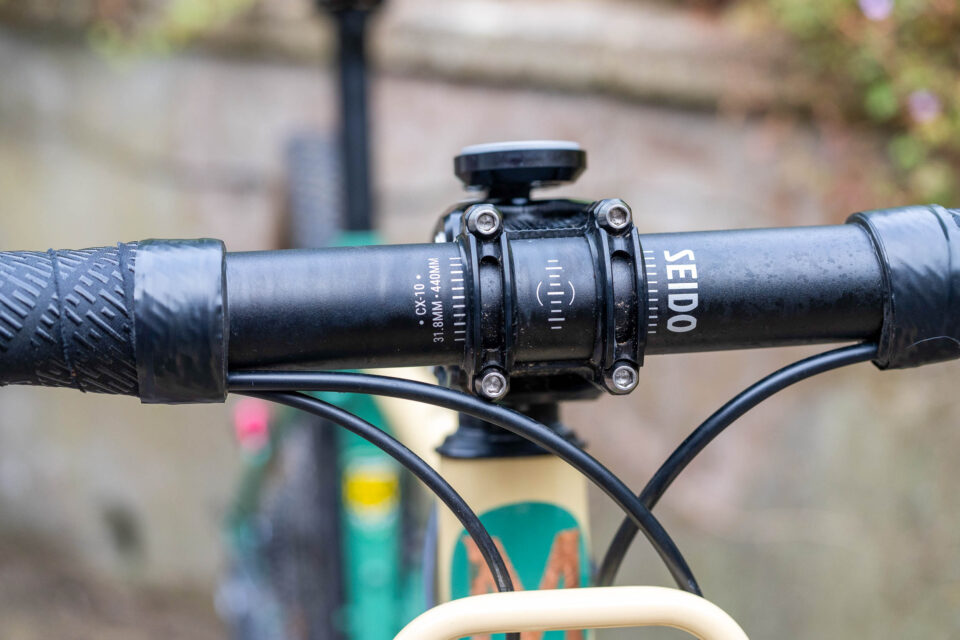
- Handlebars: SEIDO Components CX-10 440mm
- Headset: Hope Tech
- Crankset: Middleburn RS7-X
- Pedals: Shimano Deore XT PD M8020
- Bottom bracket: Praxis T47
- Cassette: Shimano M5100 11-speed 11-51T
- Derailleur(s): Shimano GRX 810 with Garbaruk Cage and Pulleys
- Brakes: Hope RX4+
- Shifter(s): Shimano GRX 810
- Saddle: Brooks Swift Titanium
- Seatpost: Level 3 carbon
- Stem: Vecnum Freequence
- Bags: Cours S’il Pleut
- Front rack: Allygn Grill Rack
- Rear luggage mount: Alpkit Exo Rail
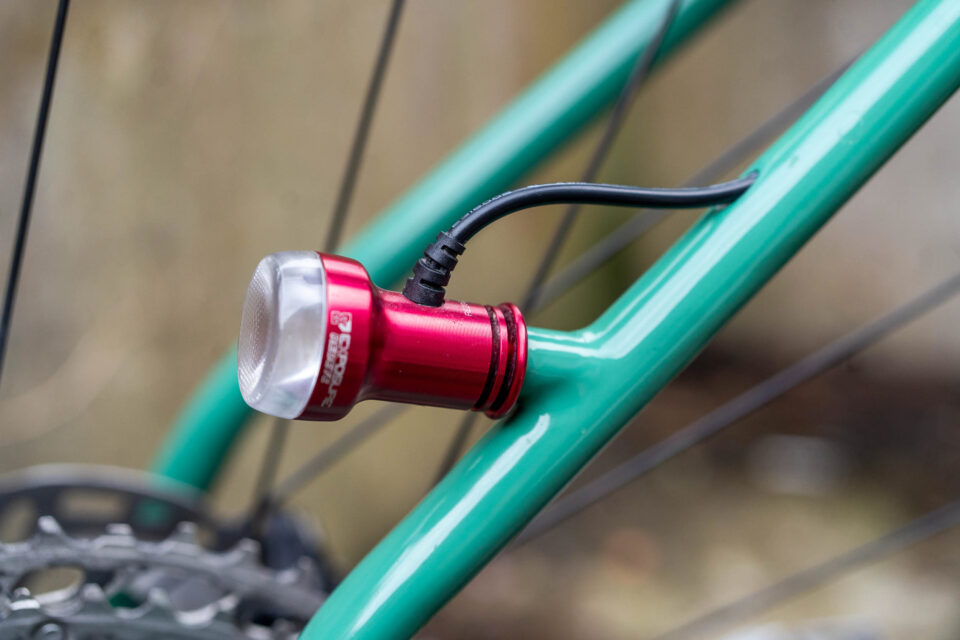
- Lighting: Exposure Revo (front) / Exposure Red Eye (rear)
Walk us through the components you selected for this build.
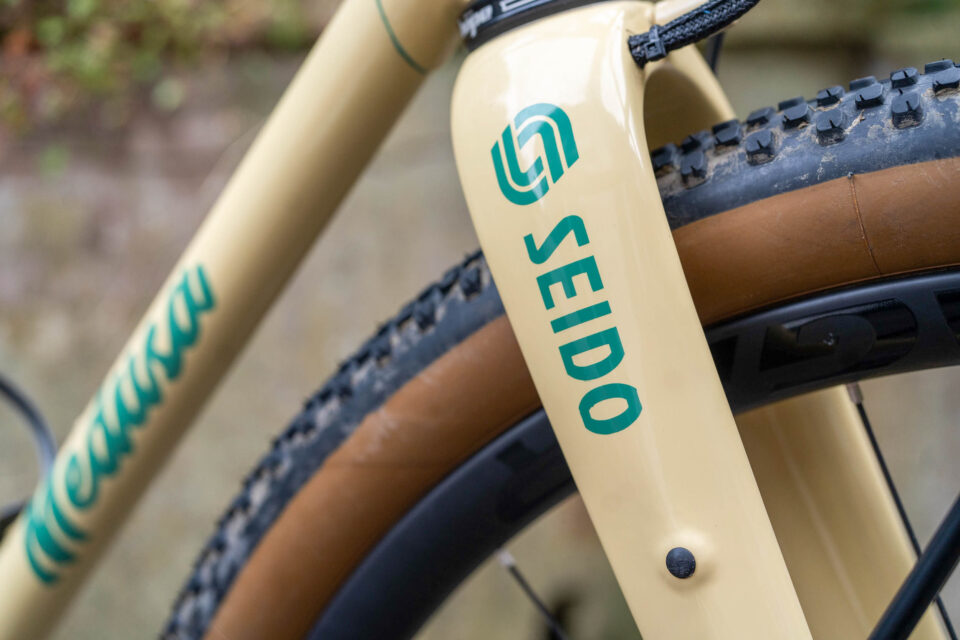
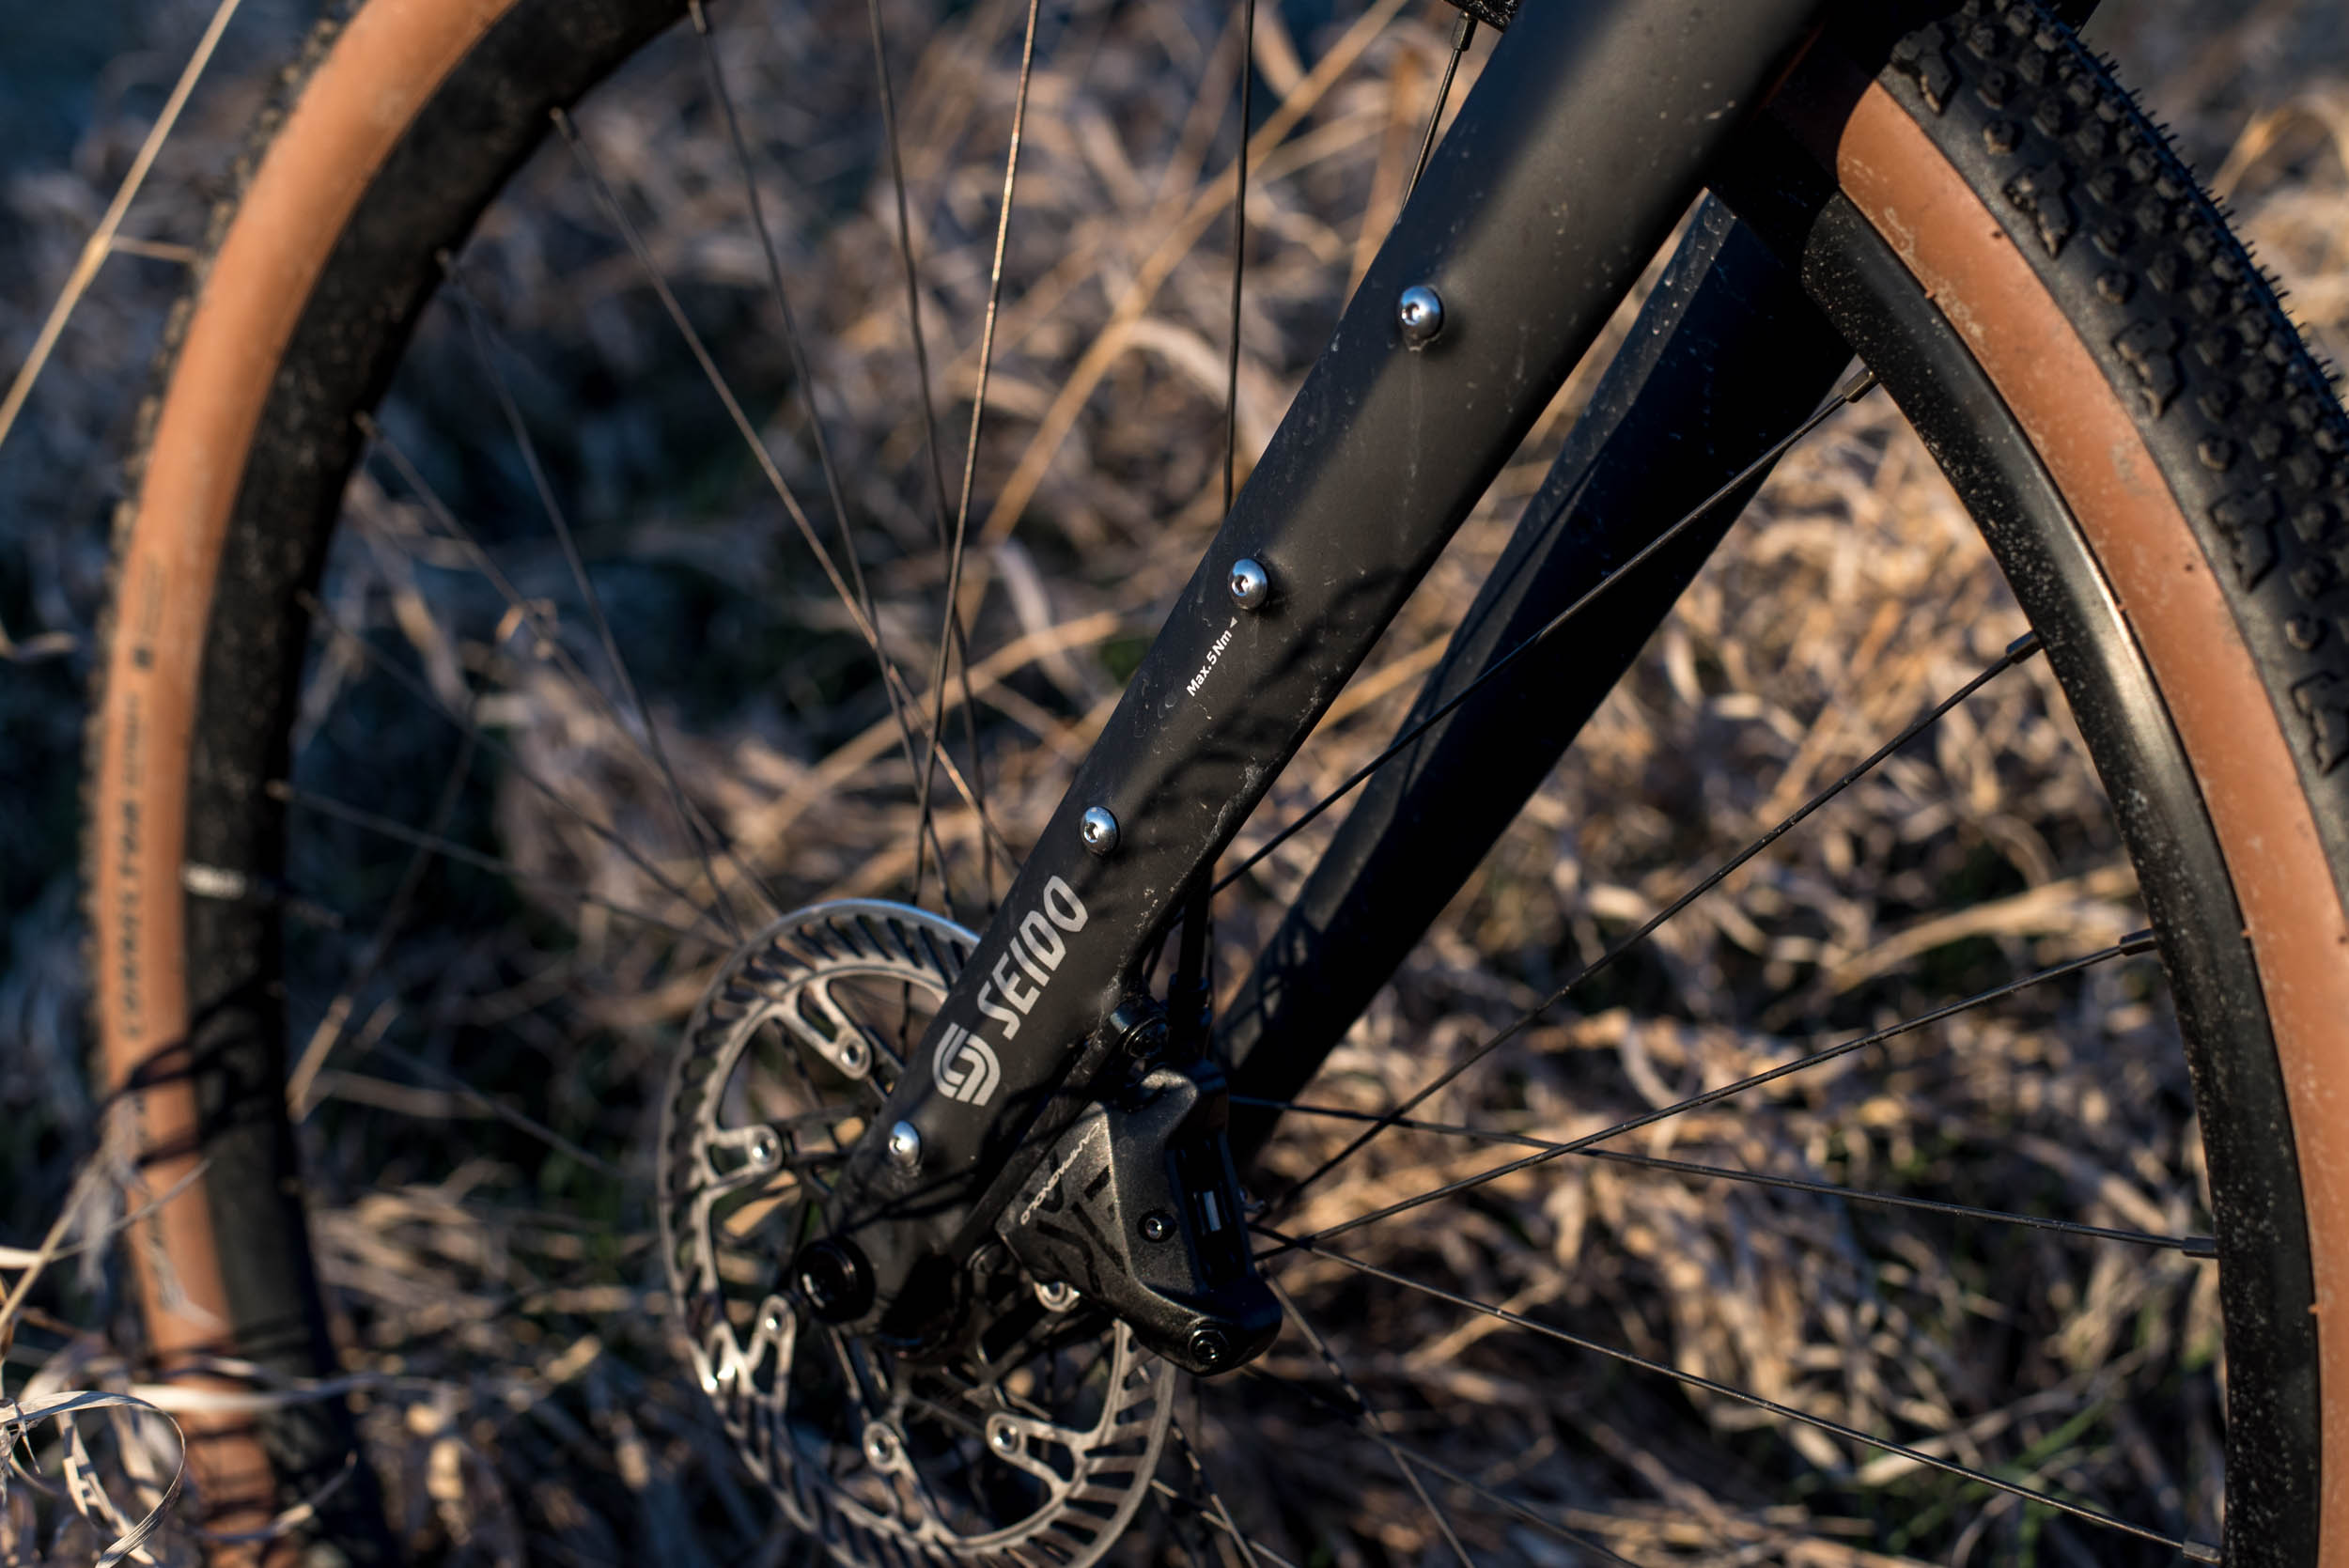
The frameset’s geometry as a whole is designed around the use of a SEIDO Components MGV fork. This fork has a modest axle-to-crown measurement, while maintaining ample clearance for 29 x 2.25″ mountain bike tyres. It is also equipped to carry a maximum load of 20 kilograms, rather a lot for a carbon fork. I have the choice to load up via the triple cage bosses on either side of the fork blades, or fit my lowrider rack for carrying bulkier loads. At a weight of around 530 grams, the MGV is significantly lighter than a steel fork with similar load bearing capacity, yet it is still very tough. I have certainly put this fork through its paces – the Medusa Deka X1 is the second frame this MGV has been fitted to. The fork offers neat internal routing options for both brake hose and dynamo cabling. Considering the features it provides, the MGV is also very competitively priced.
The cockpit of Medusa Deka X1 consists of a 440mm SEIDO Components CX-10 handlebar with a nice shallow drop and a little kick of flair, comfortable both on and off road, plus, I’ve fitted a Vecnum Freequence suspension stem for a bit of extra suppleness. I purchased the stem from the awesome guys at Projekt Ride up in Edinburgh, Scotland. They are the only retailer to stock the stem in the UK. With the 30mm travel, I find that the Freequence takes the sting out the wrists when riding full days off road. I also like that it weighs only 150 grams, a fraction of the weight of a suspension fork, and it can be fitted to most bikes without altering the overall geometry.
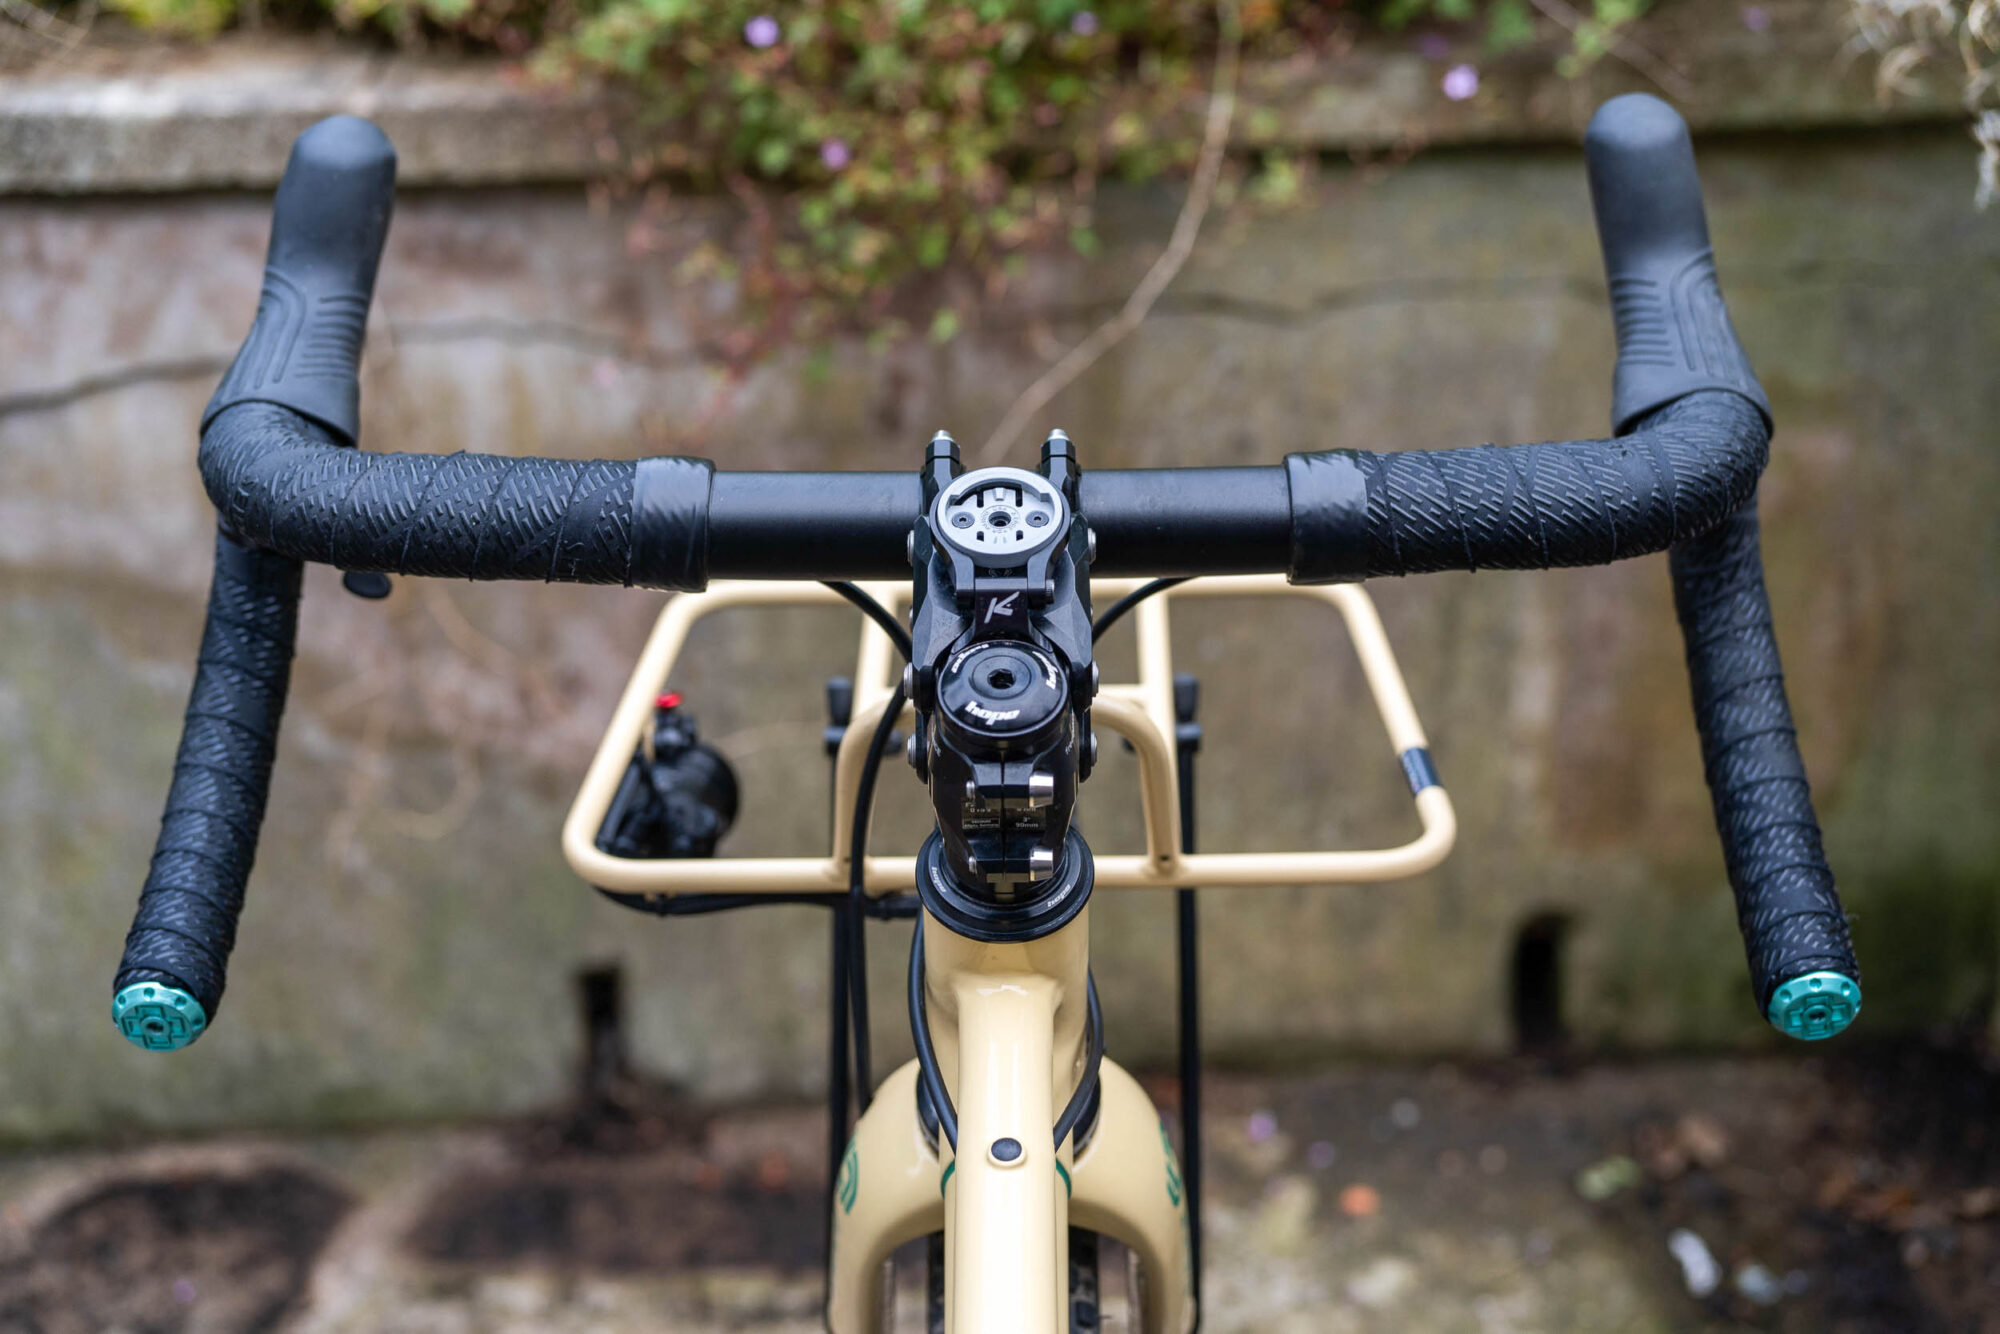
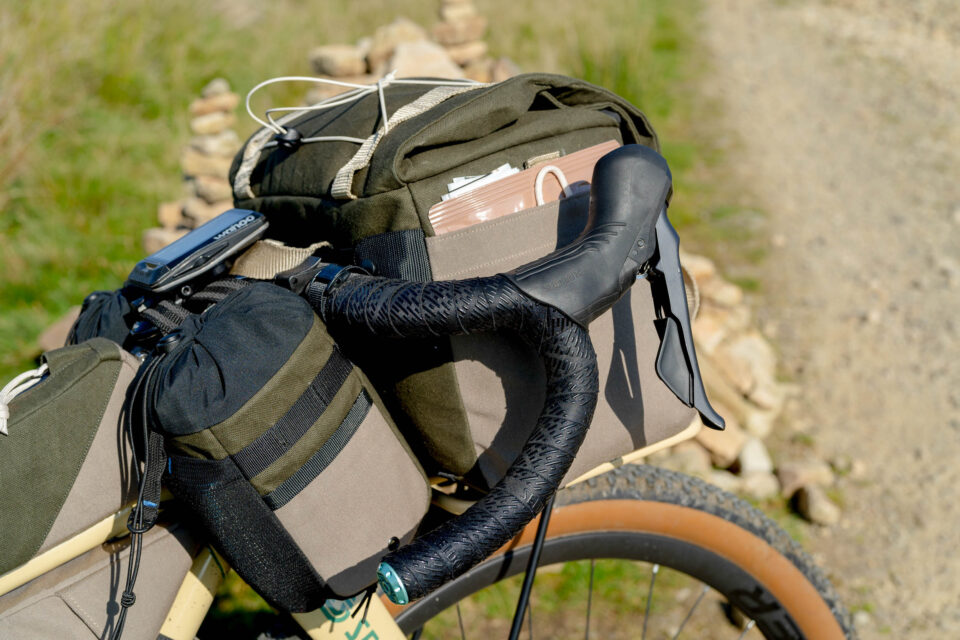
The stem and bars are tied in with some nice, tactile 3.8mm thick SEIDO TAB Bartape. With the grippy hoods of the Shimano GRX RX810 brifters, this set up inspires confidence when maneuvering the rougher trails. These shift a 1 x 11 GRX 810 drivetrain, converted with a Garbaruk cage and pulley wheel set for use with an 11-51T cassette and a 36T ring up front.
The brake hoses and shifter cables are routed semi-internally, along stainless guide tubes, making servicing as easy as possible. I have spent enough years working as a bike mechanic to know that non-guided internal cable routing in a steel frame is no fun! Furthermore, I have also brazed in guide tubes for the internal routing of dynamo cables, making everything look neat while at the same time keeping the wires safe.
And what about the beautifully coordinated bags, paint, and rack?
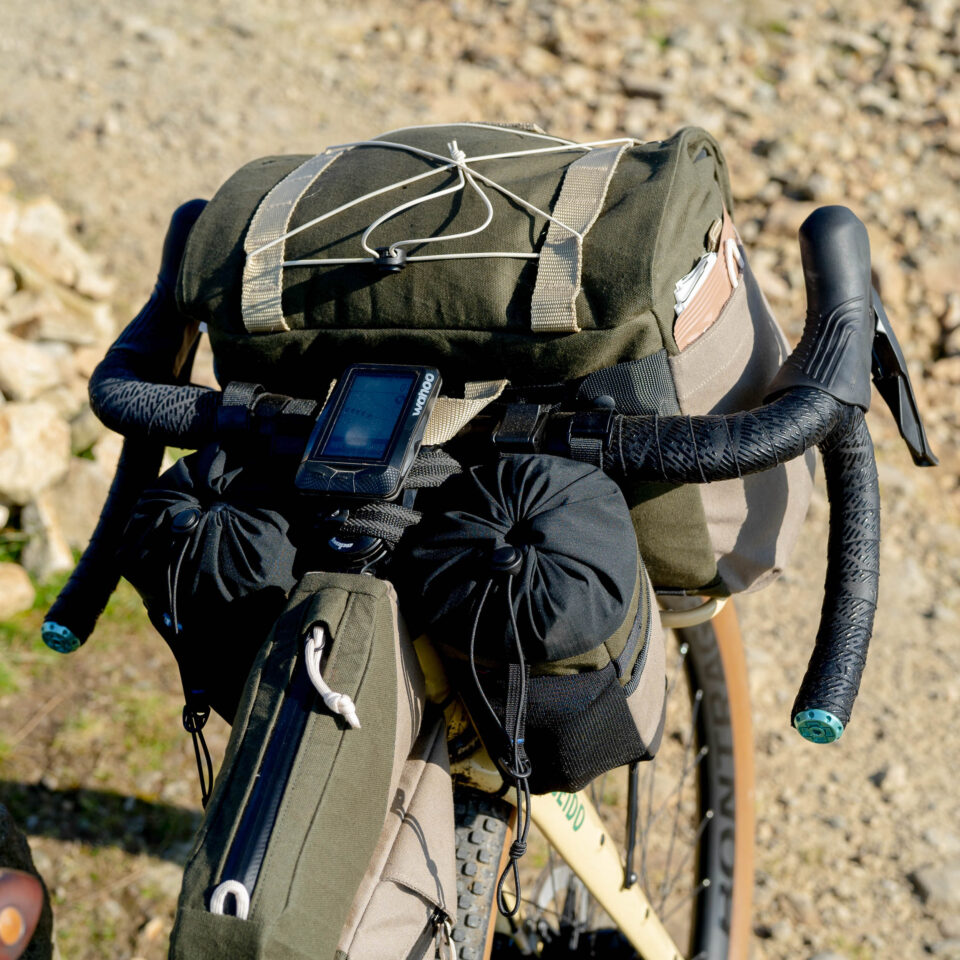
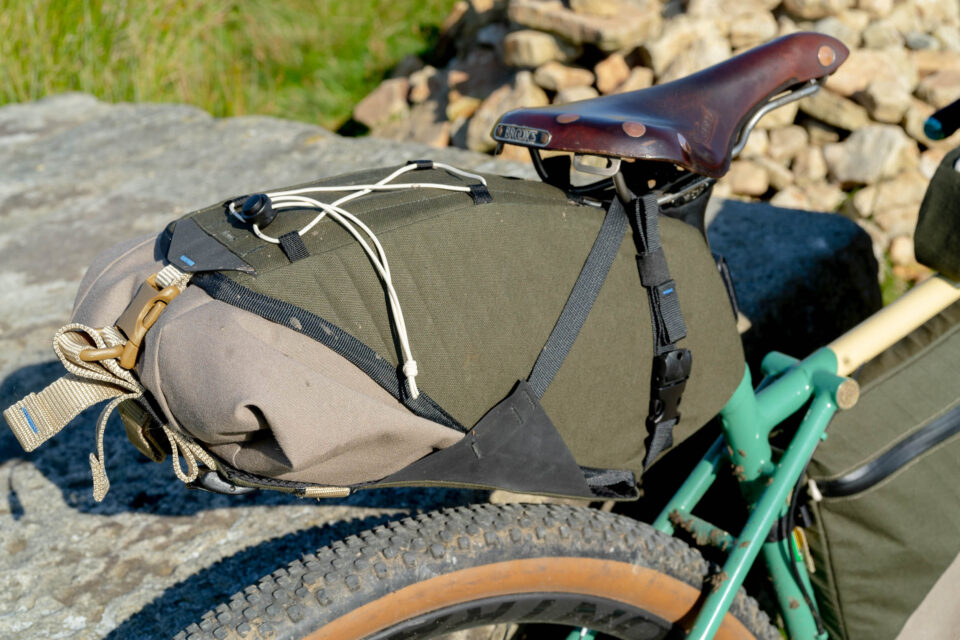
The Medusa Deka X1 frame has very much been designed with bikepacking as its primary purpose. The front triangle alone has been fitted with 13 mounting points for cages and bags, not to mention the eight bosses found on the SEIDO fork. The Deka X1 is currently fitted out with a custom bagset, skillfully hand fabricate in France by my close friend, Gaëlle Bojko, of the brand, Cours S’il Pleut. This consists of a framebag, handlebar bag, seatpost/saddle mounted harness with drybag, stem bags, and top tube bag, not to mention the matching bumbag that I use on a daily basis. The colour scheme was chosen to create a disruptive pattern against a natural backdrop – this is something intended to minimise attention when stealth camping out on bikepacking trips!
Cours S’il Pleut is a fresh take on outdoor gear and focuses on utilitarianism while standing out as a brand that steers away from overly technical looking products. But this being said, the spirit of Gaëlle’s work was born from firsthand experience of being out in the wilds for prolonged periods. Herself an accomplished adventurer, Gaëlle knows better than most of what rigors outdoor gear can be subjected to, and this is very much reflected in her work. I’m confident that I have a bagset for life here!
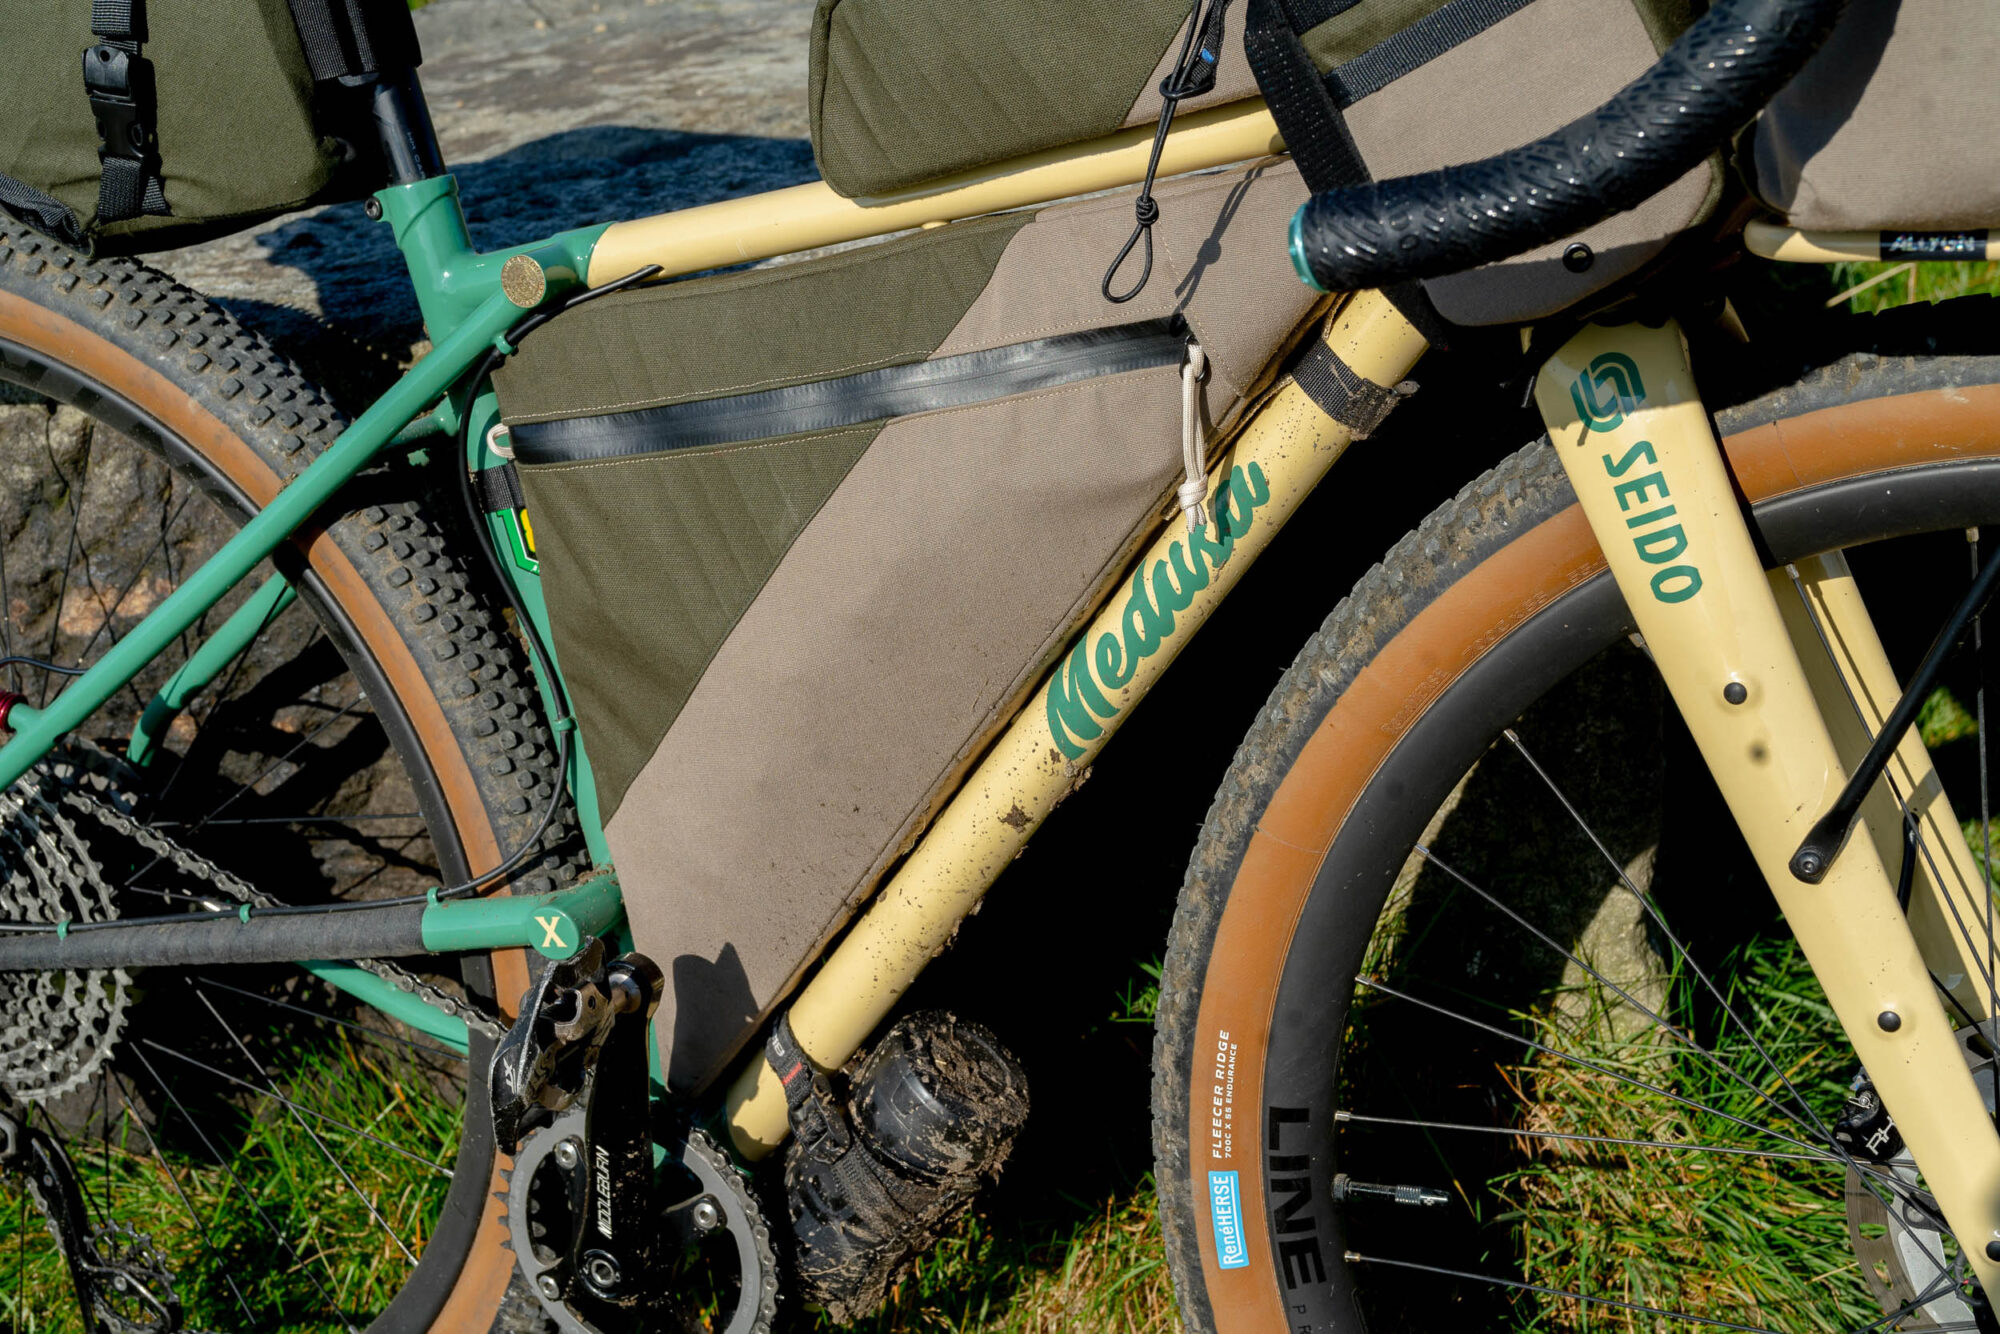
The aforementioned finely crafted handlebar bag sits securely upon a swish looking Allgyn Grill rack, kindly supplied by Flo Haeussler, founder of Allgyn Components and Fern Bicycles. It makes use of a light bracket and zip tie guides to keep things nice and neat when using my dynamo front light set up. The Grill racks are available in a vast palette of colours, I chose “Sand Worm,” which equates to RAL colour 1001, beige. Conveniently, I was very easily able to find a matching RAL 1001 paint in which to use to paint the frame.
So you did the paint yourself? Tell us more!
I did. In my early twenties, while wandering around the world of work, skills, and careers, I found myself drawn to the work of traditional signwriters in my local area. The “perfectly imperfect” nature and very human aesthetic of this dying craft really caught my interest. I set about self-teaching myself some brush lettering skills but soon realised that I needed some guidance here. I begun working as an apprentice with a traditional coach painting and signwriting company, and before I knew it, I was travelling around the UK, working on re-painting heritage vehicles. During this time, I developed skills that have stayed with me, and the important lessons I learned in surface prep and brush control have been invaluable ever since.
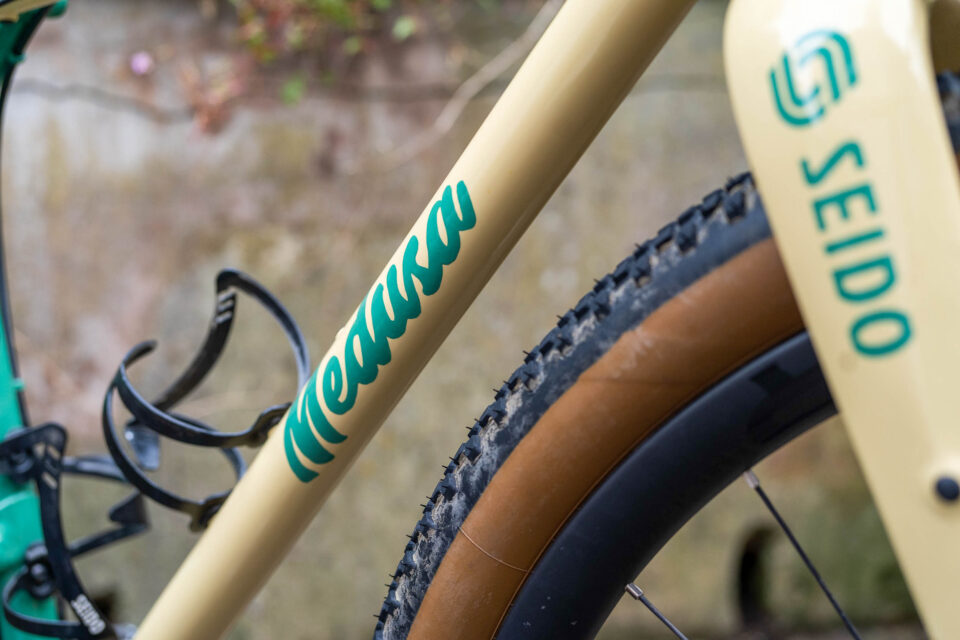
In the years that passed, I would still pick up the brush on occasion, painting décor for festivals and signwriting as a hobby. I also spent some time working in the paint shop at Ribble Cycles, where I first decided to experiment with signwriting onto bike frames. From these experiences, I decided that I was able to efficiently achieve a good quality paint job in my tiny workshop using nothing but a paint brush and pot of paint. The way the traditional coach enamel paint flows out gives a glass-like finish, and there is obviously no risk of the “orange peel” effect, that can be seen all too often on mass produced spraypainted frames. Combined with the hand painted, or “signwritten” downtube lettering, I consider this completely hand-done approach to painting to be a bit of a trademark of mine, offering that personalised special touch. It provides one tough finish, too!
In advance of his website launch, you can follow along with the current work Pete has in progress over on his Instagram account @medusa.cycles.
Further Reading
Make sure to dig into these related articles for more info...
Please keep the conversation civil, constructive, and inclusive, or your comment will be removed.


