


AeroPress XL Review


The new AeroPress XL can quickly and easily brew two cups of delicious coffee anywhere, but is it worth its added size and weight, especially with the ultra-portable AeroPress Go as a cheaper alternative? Lucas has been brewing with one for the past month to find out. Read his review here…
PUBLISHED Aug 10, 2023
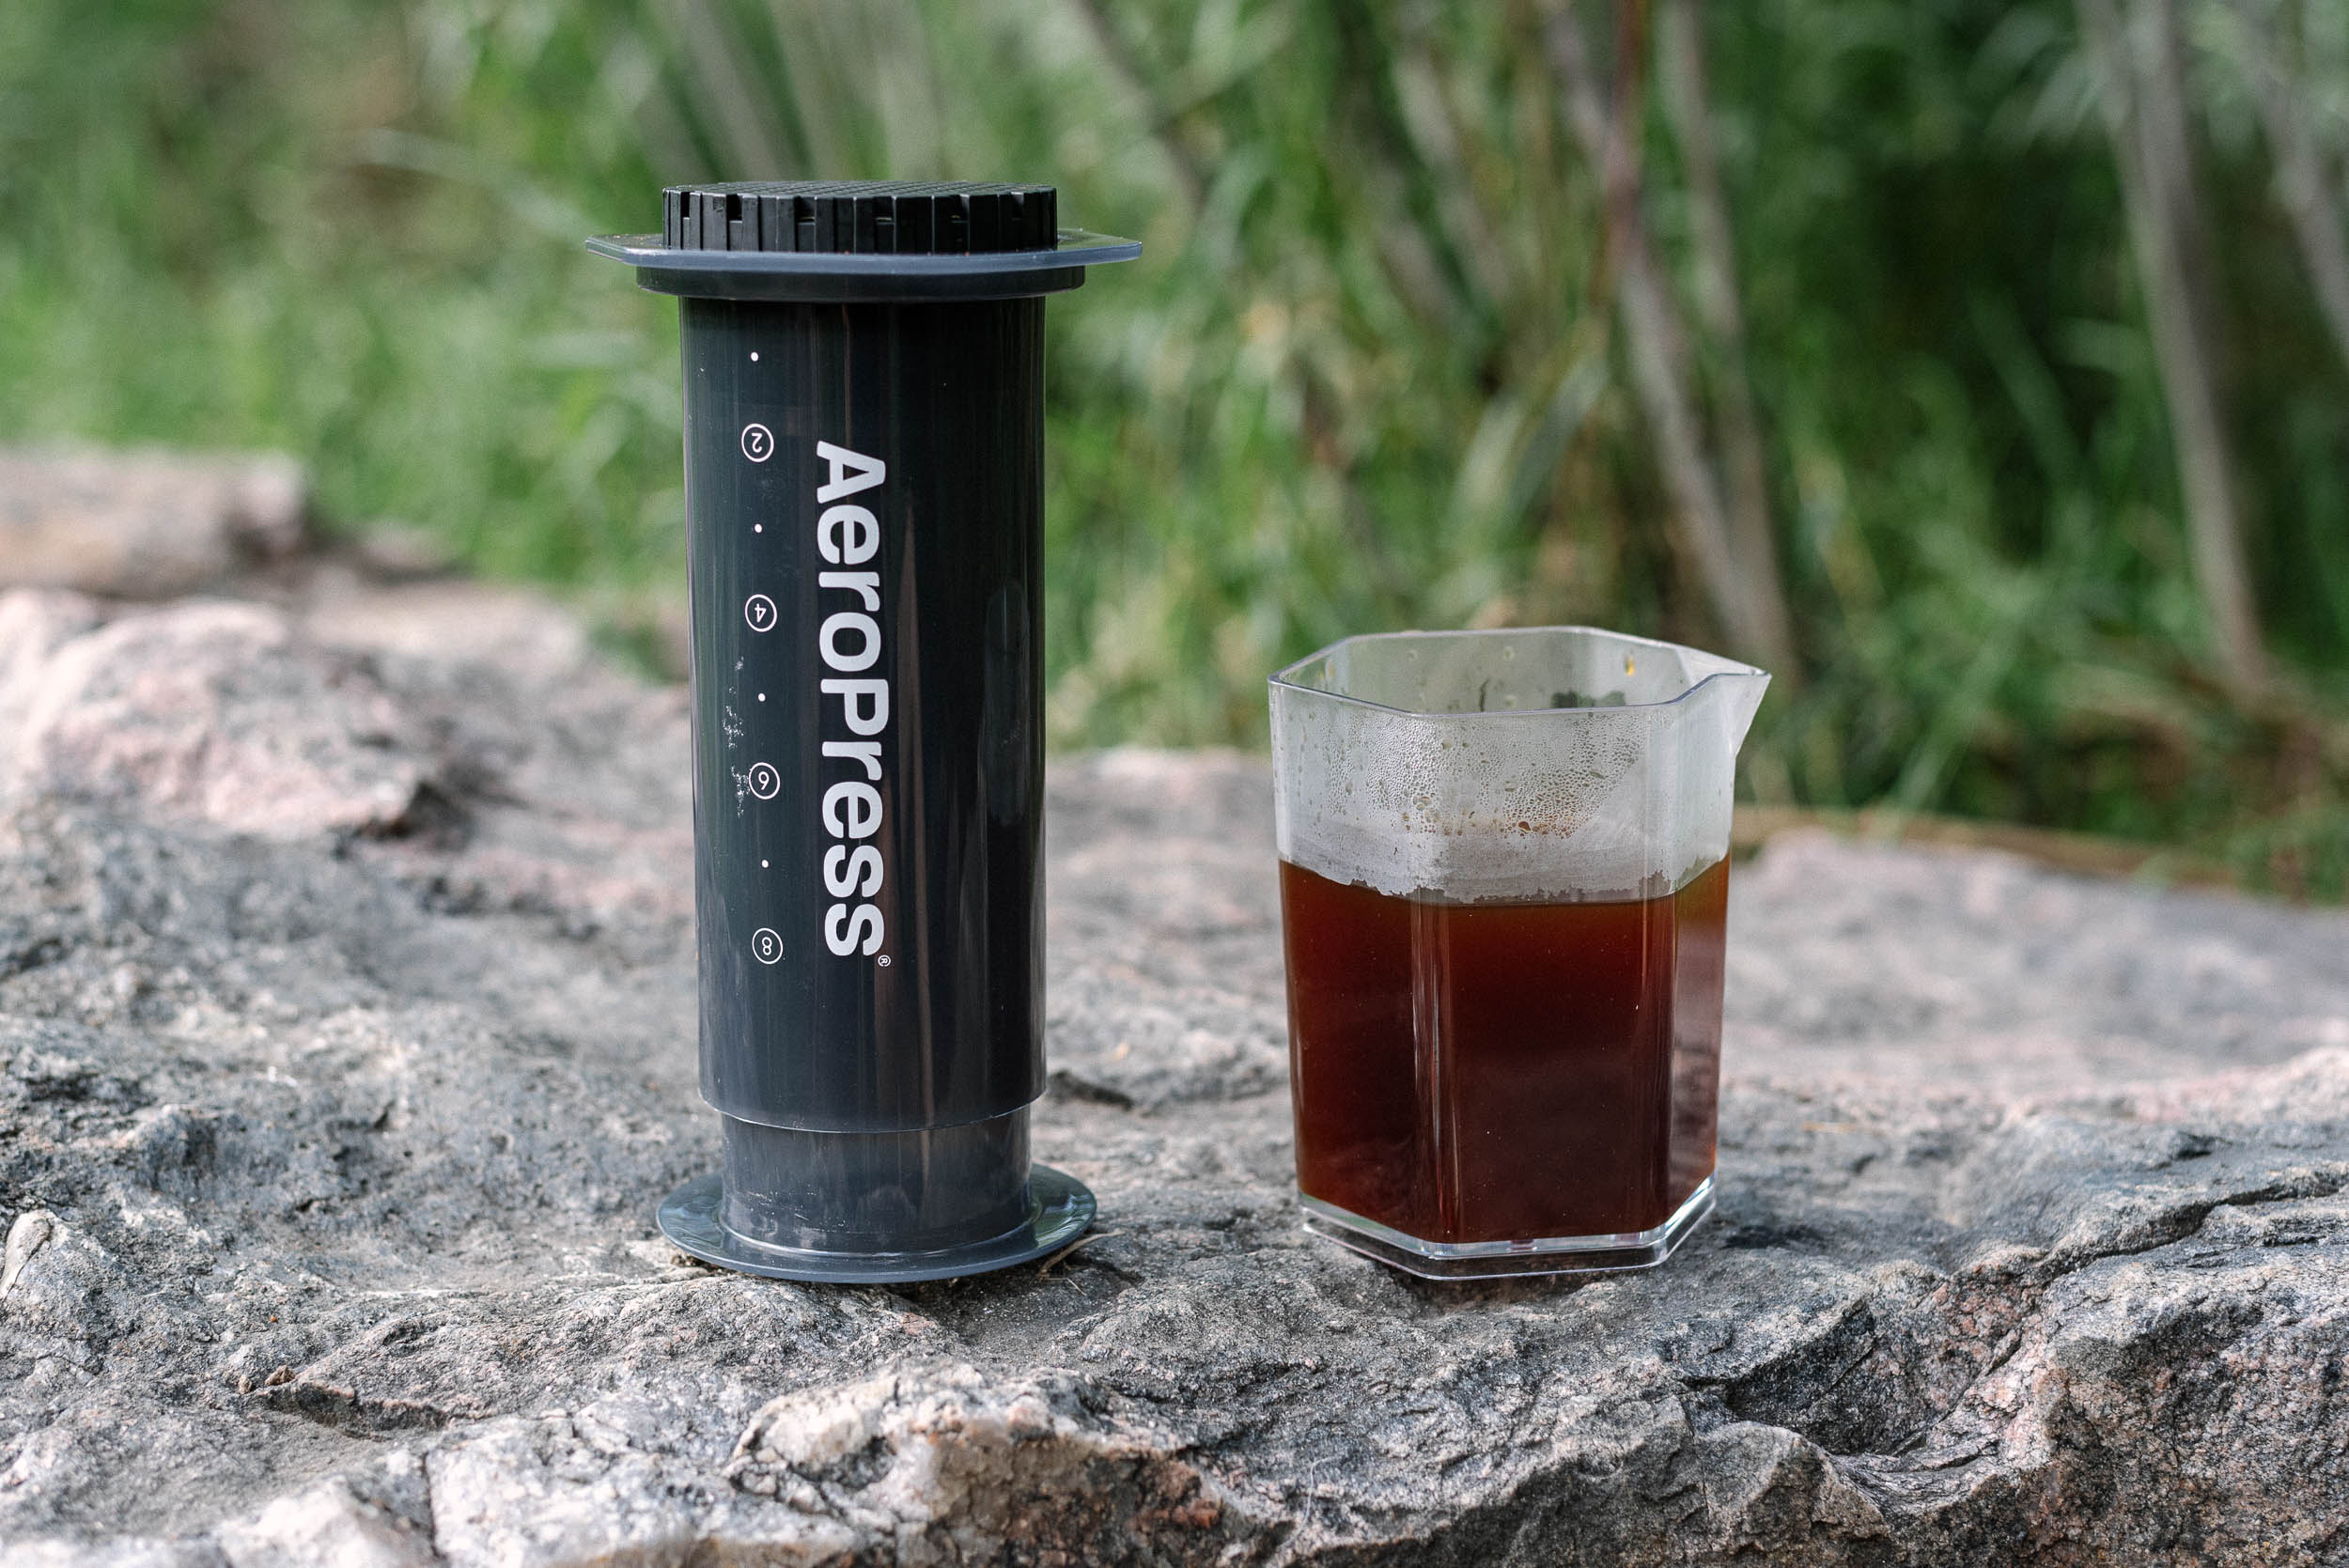
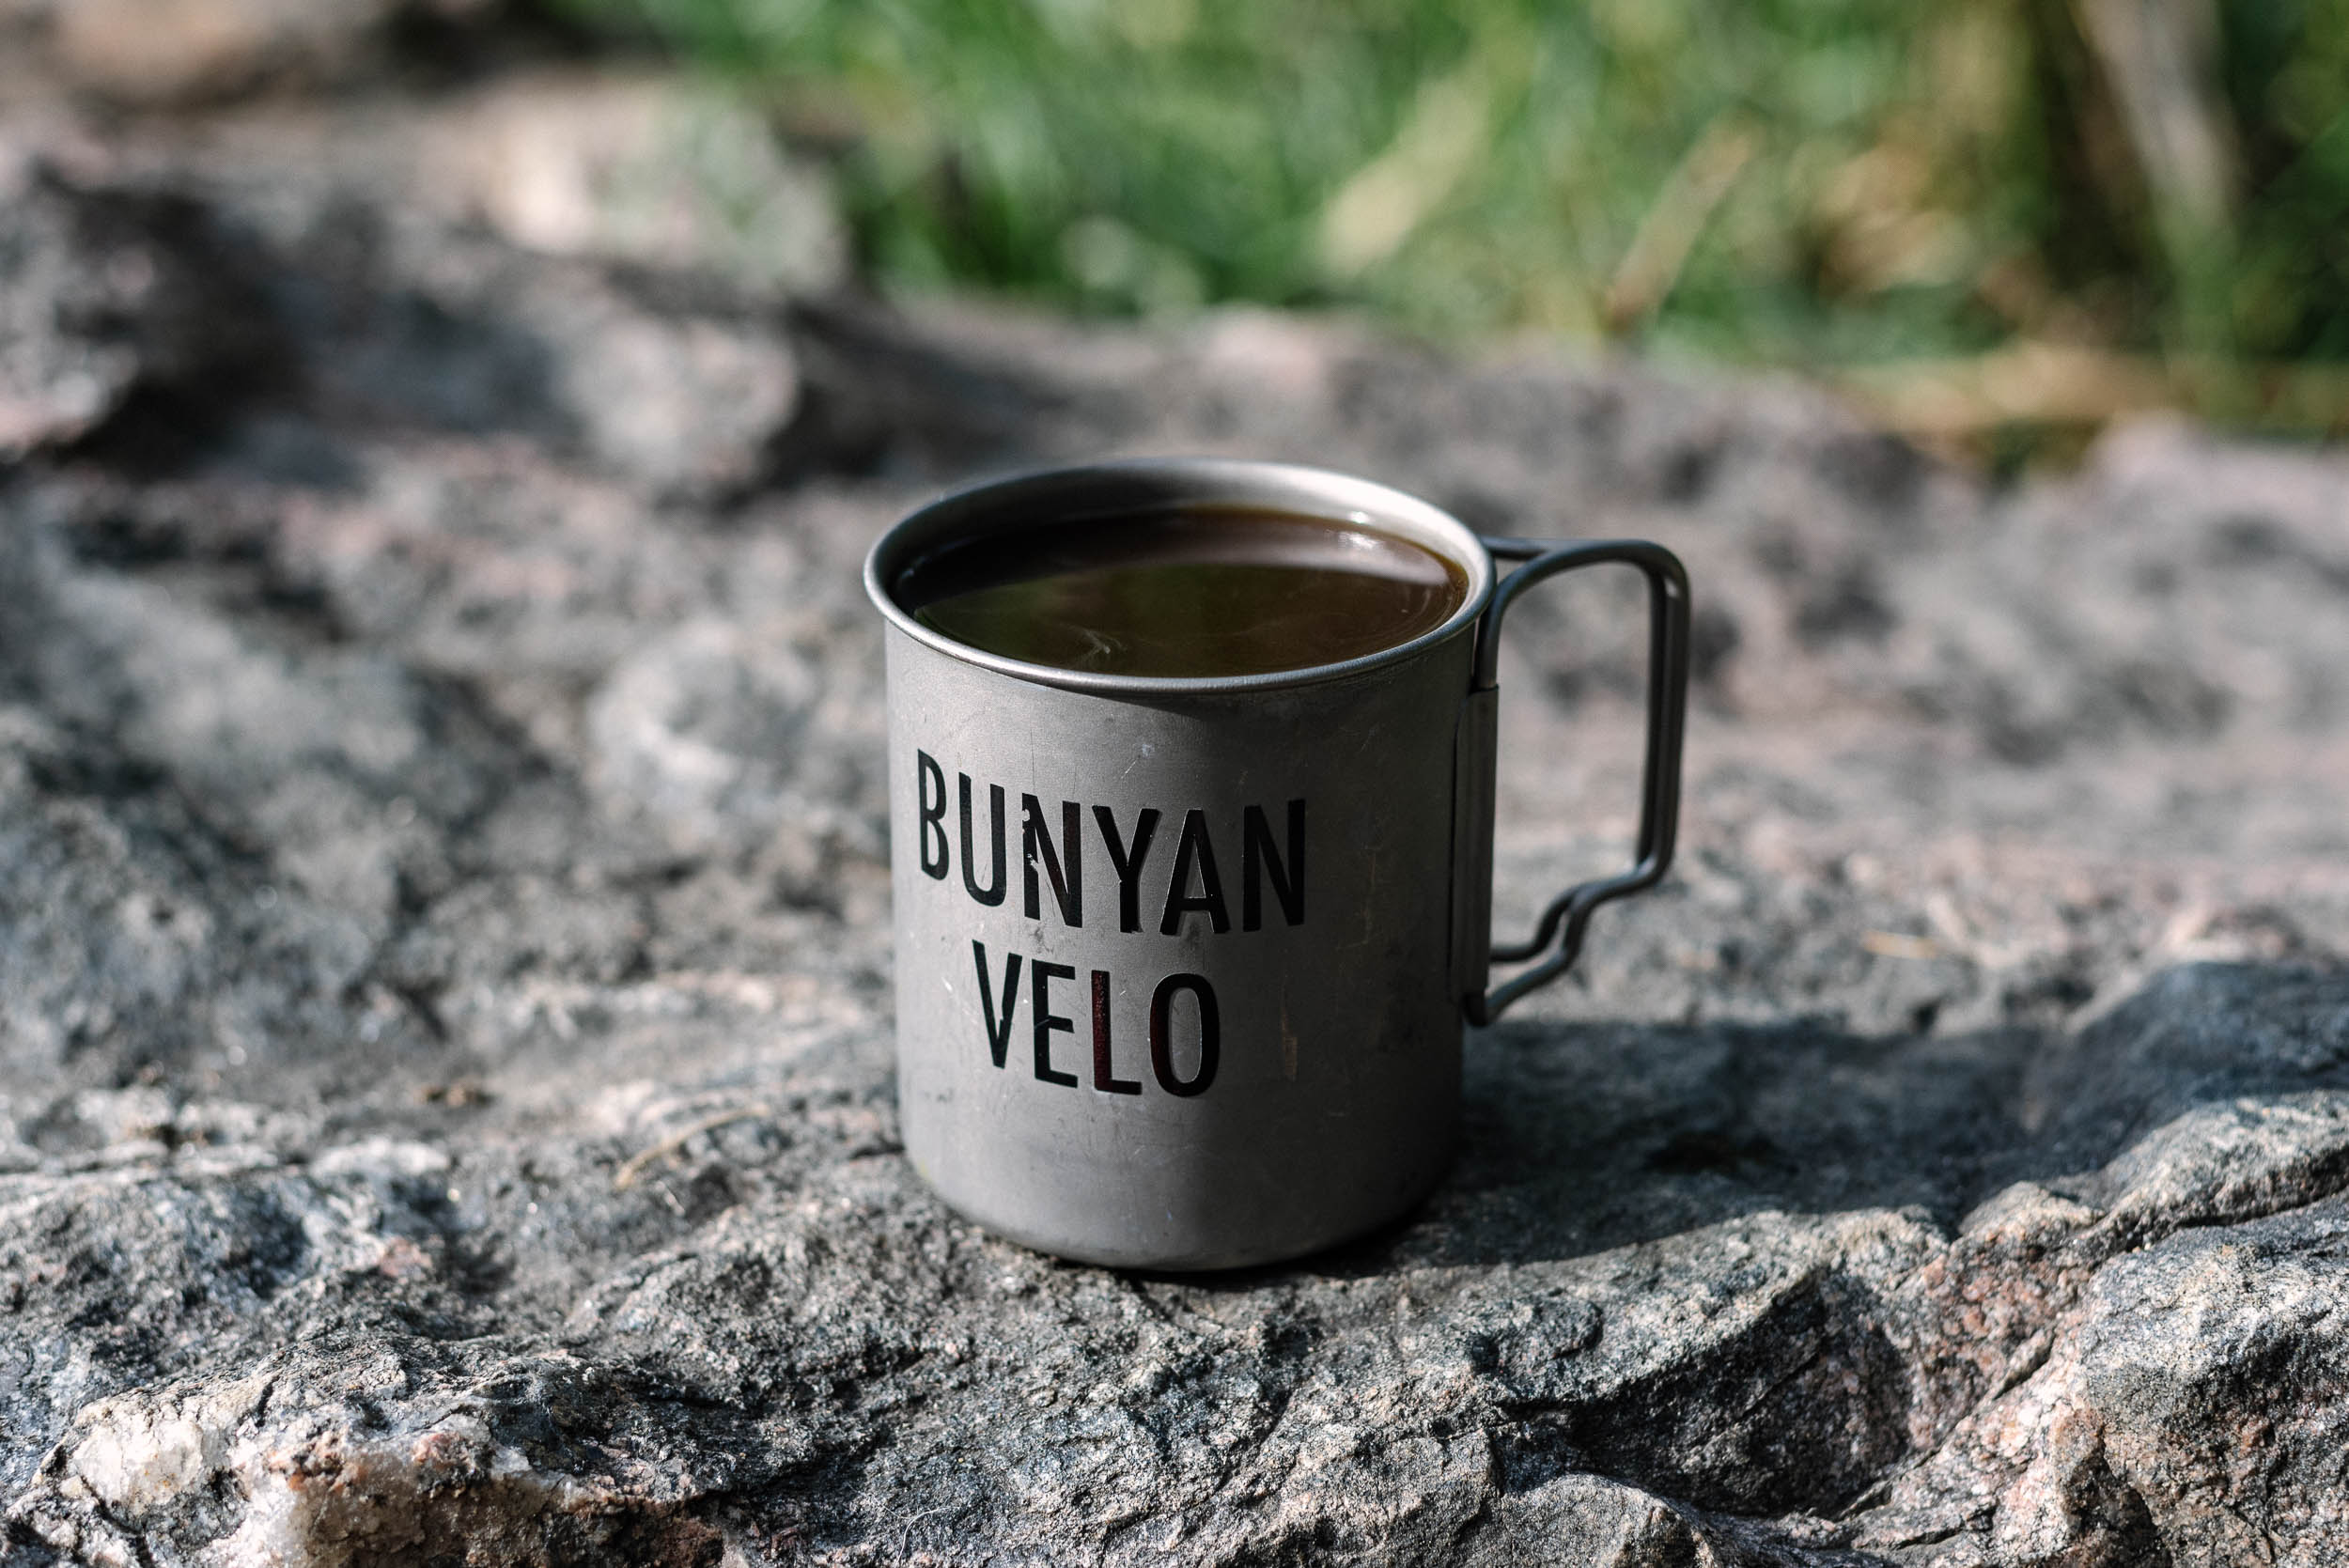
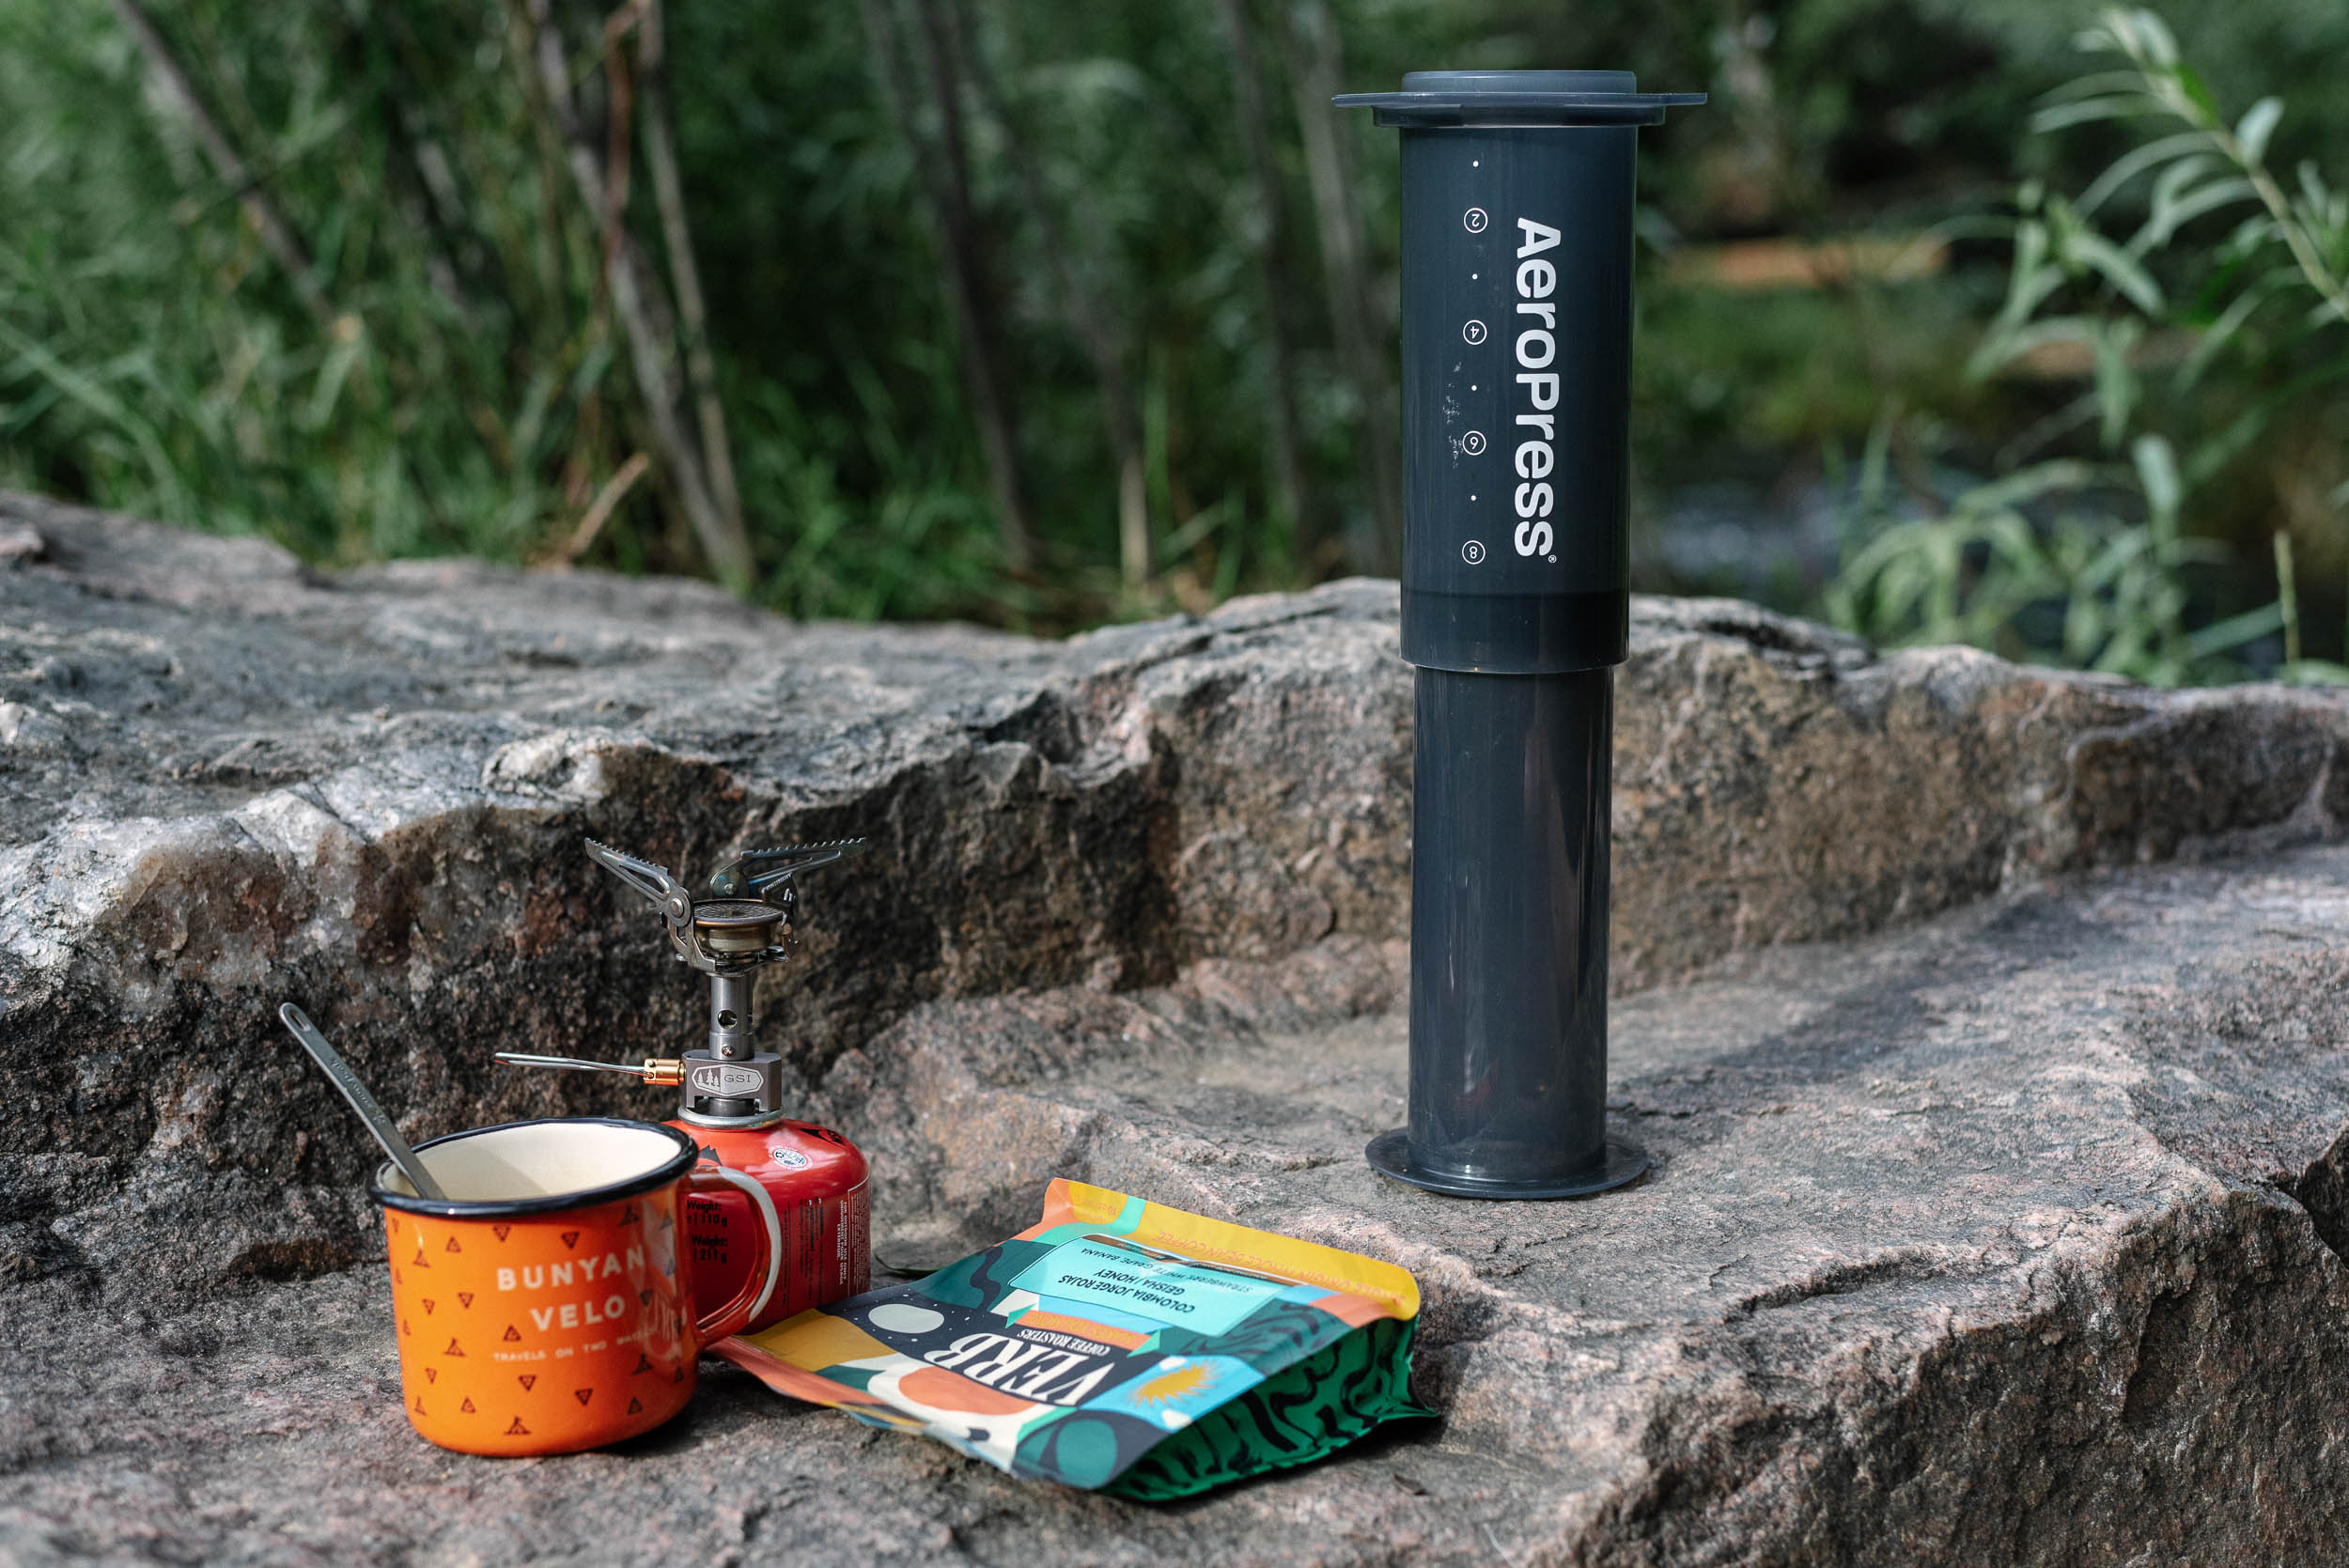
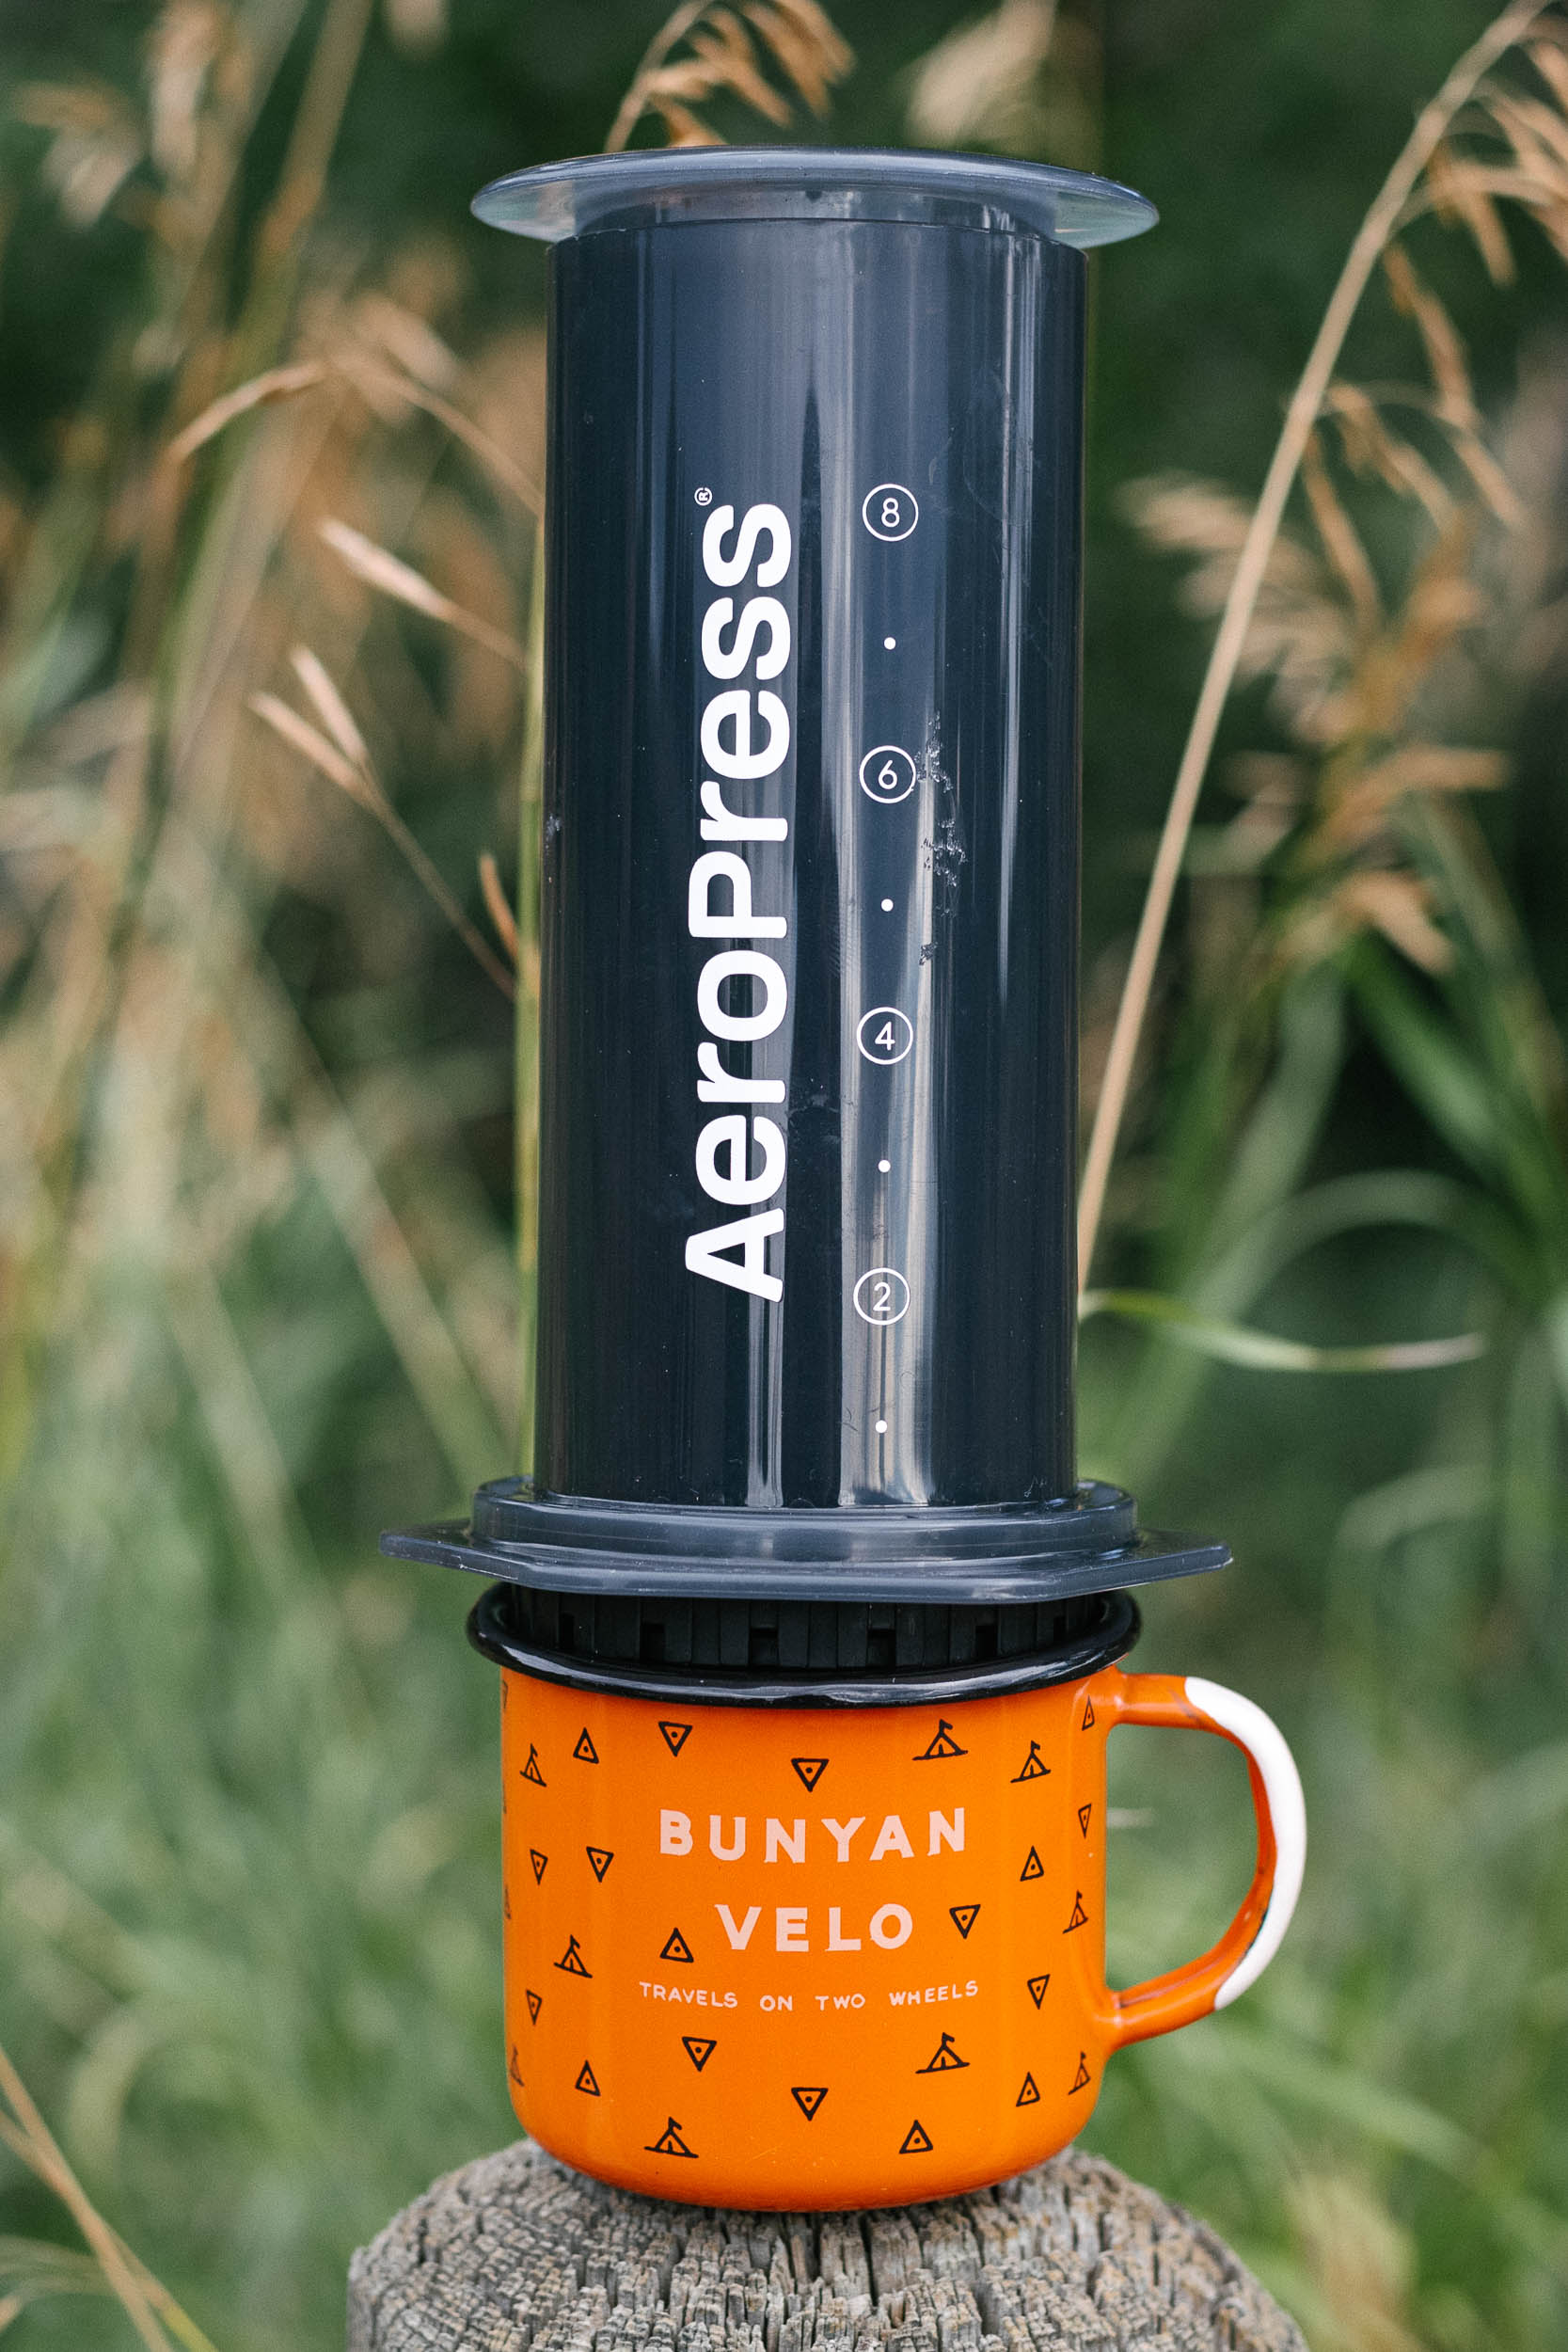
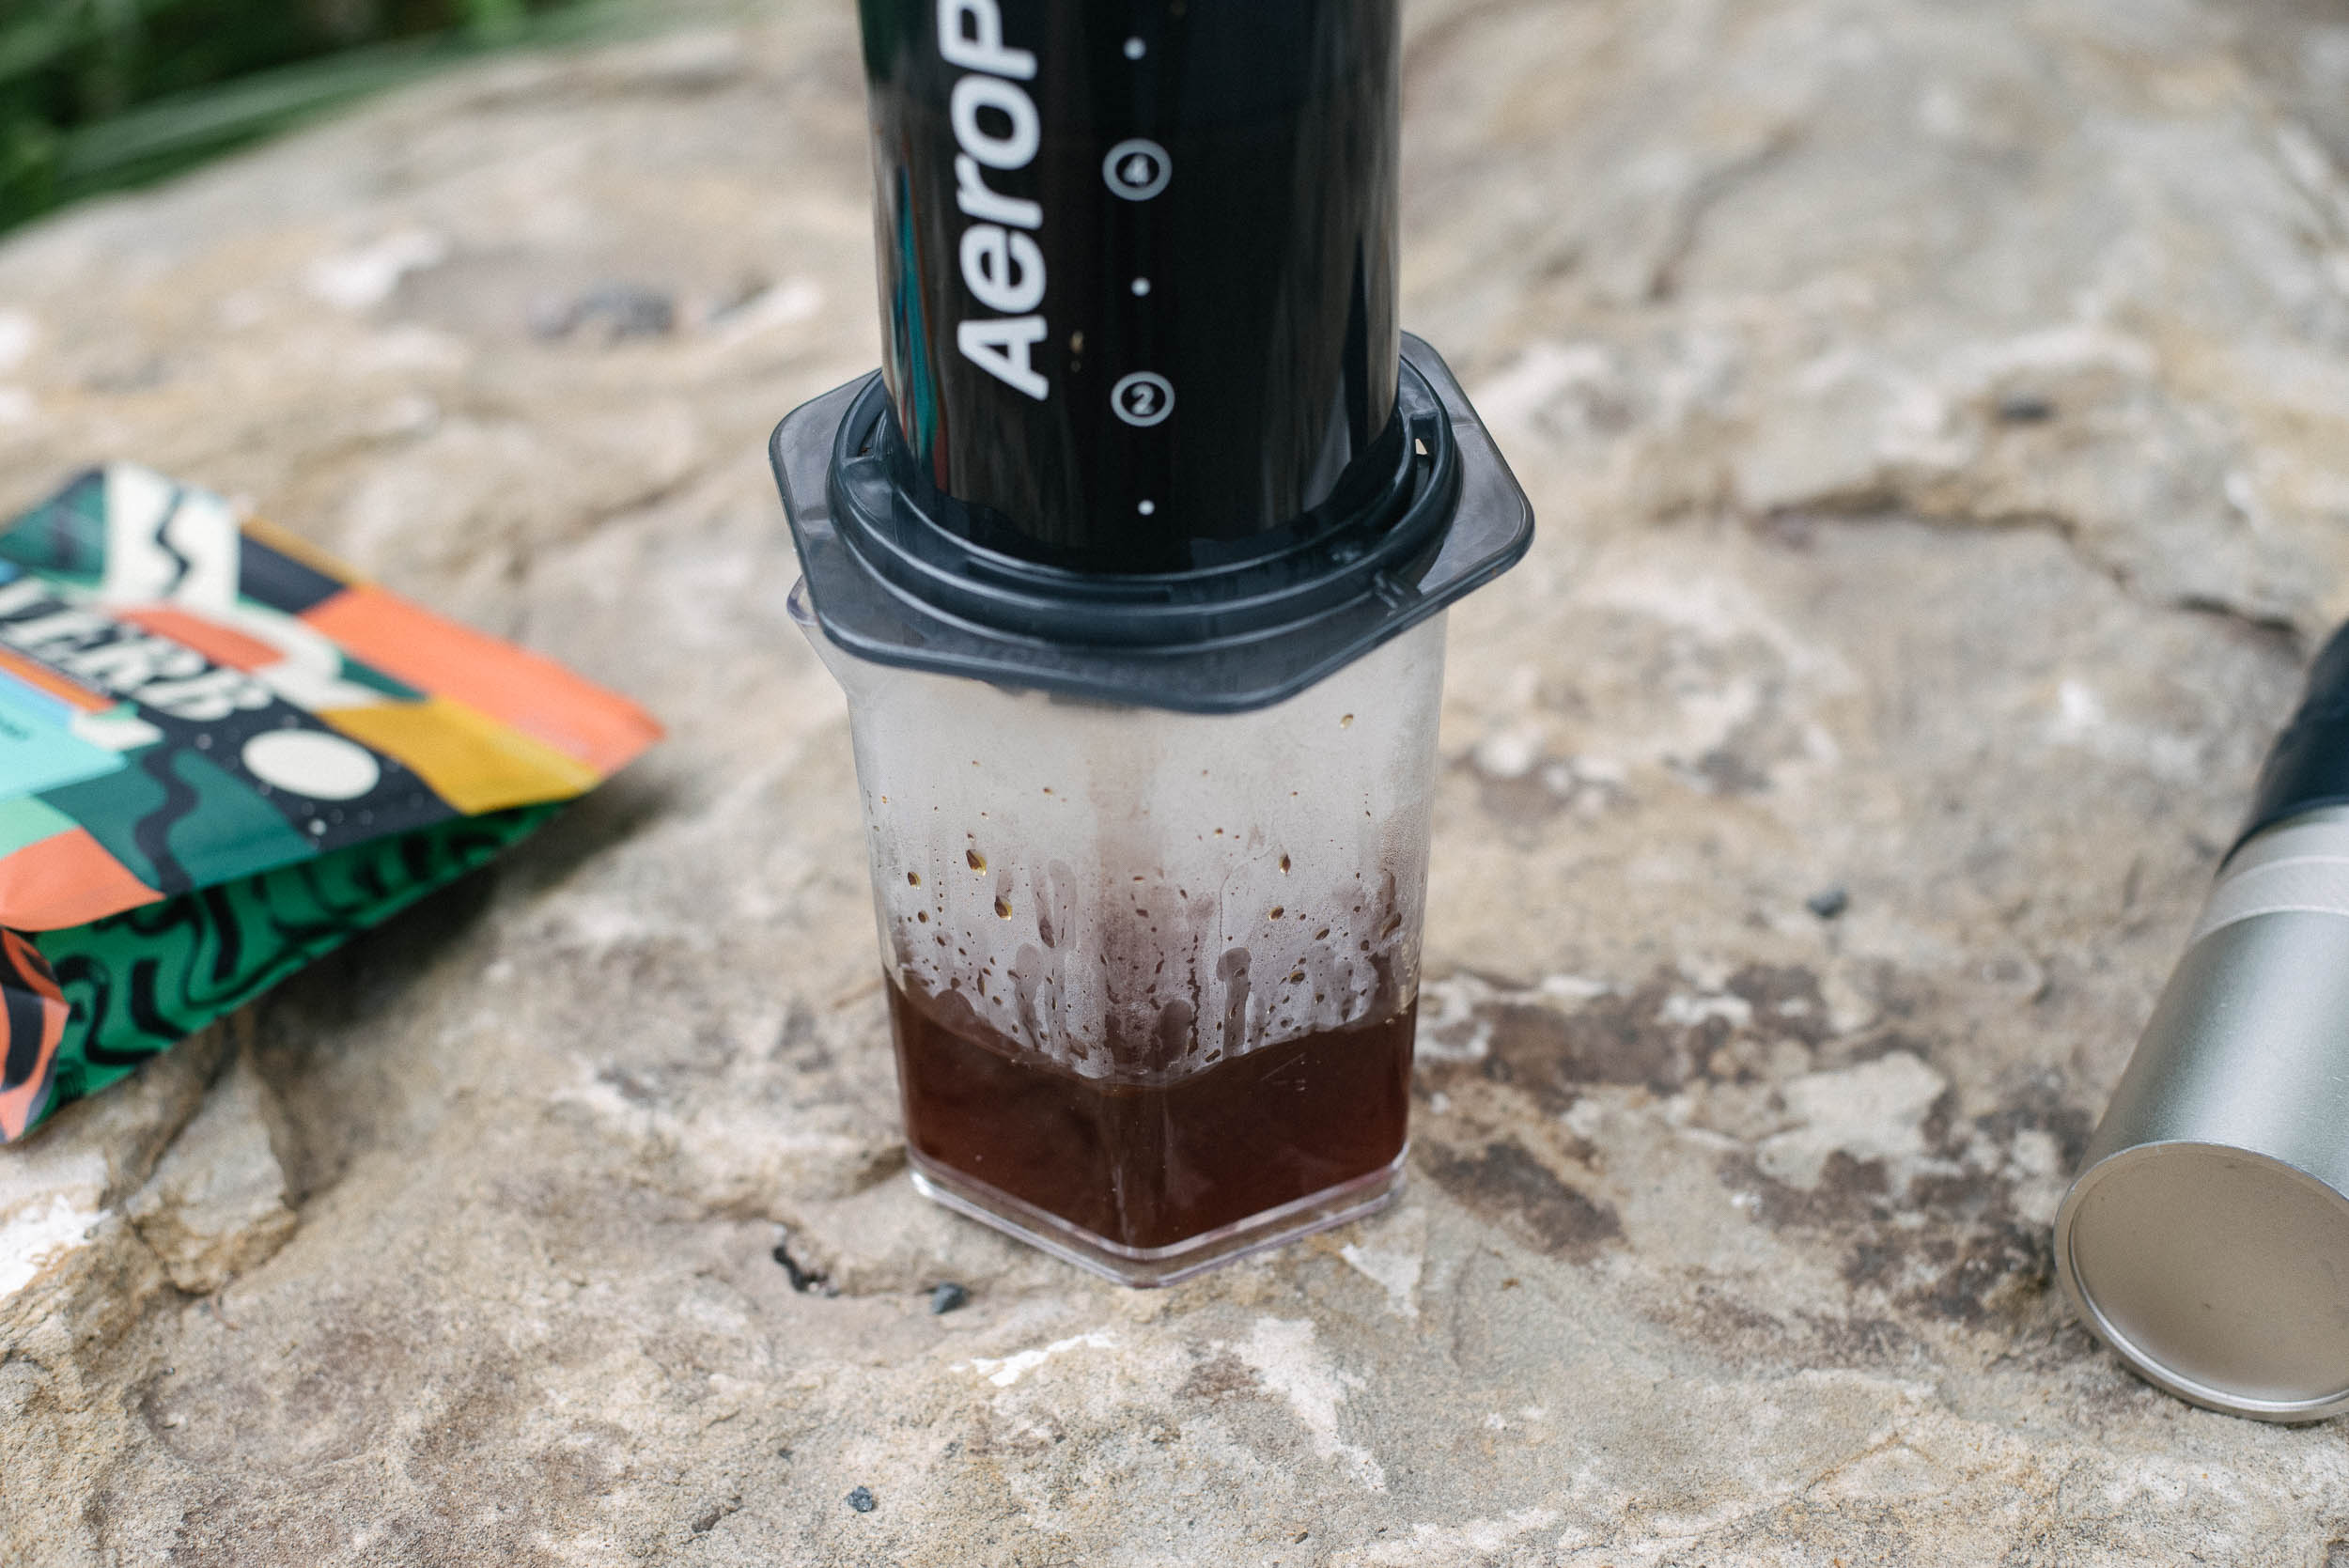
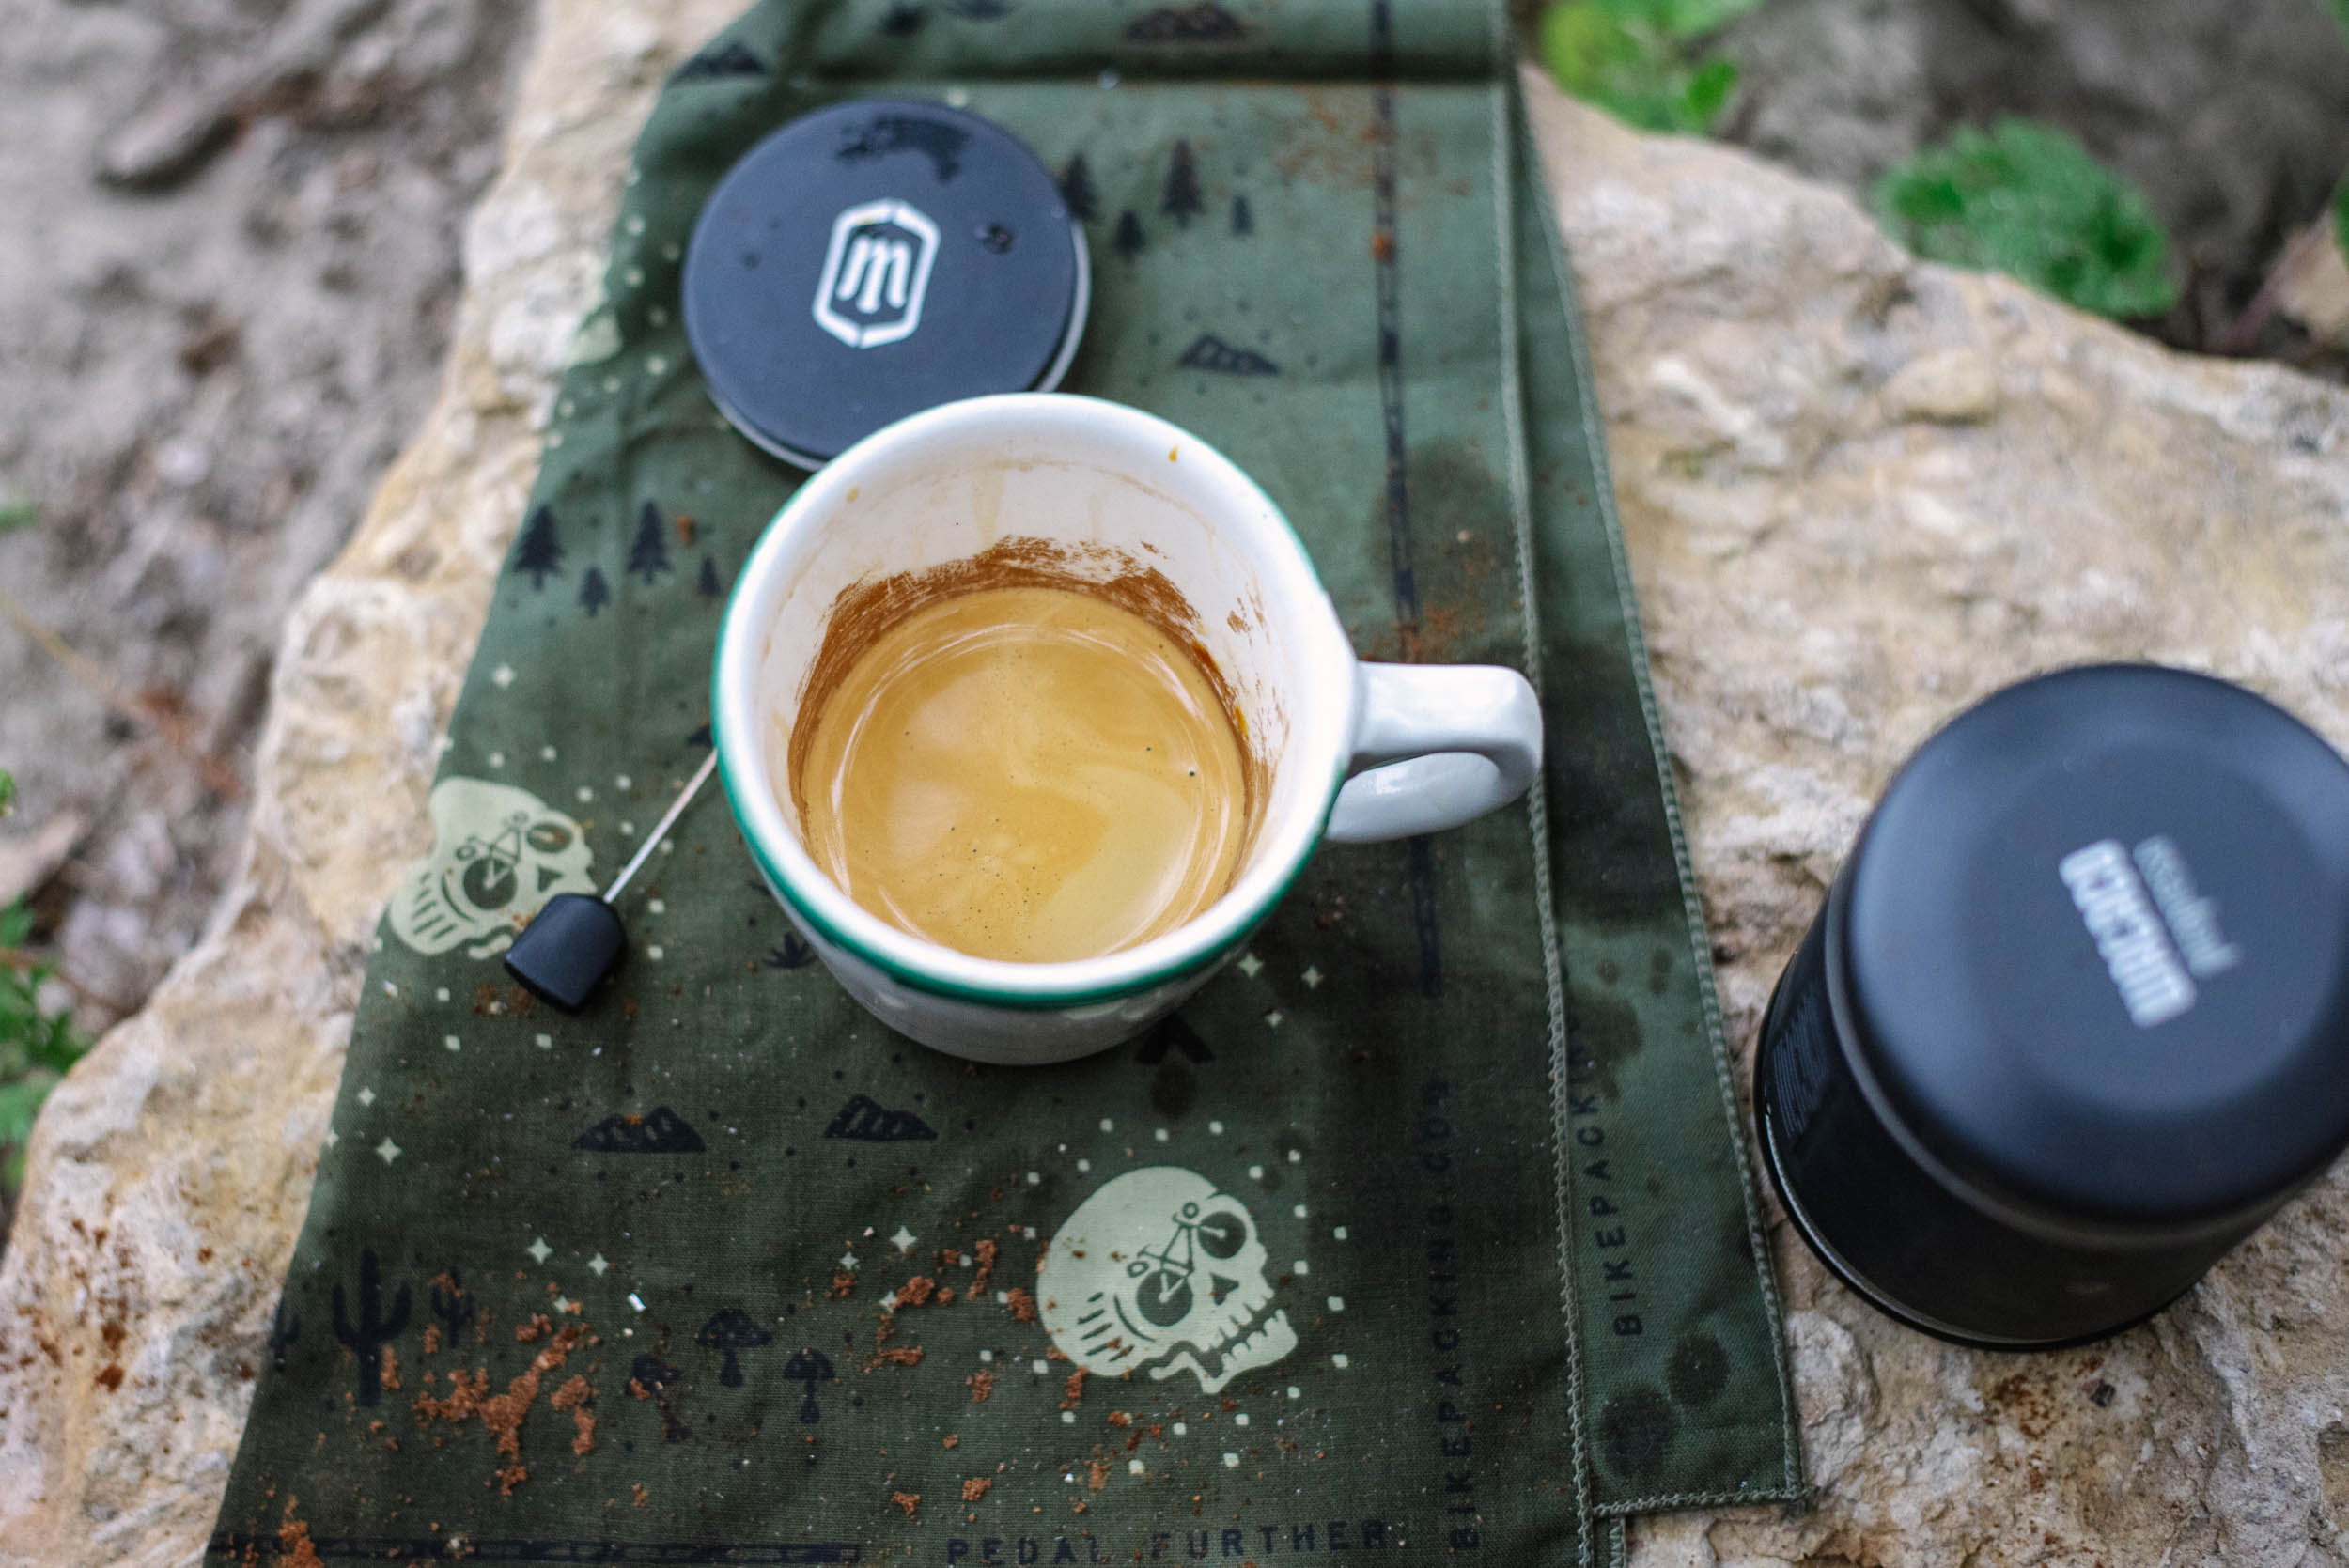
Brewing my first cup with the new AeroPress XL at a little riverside campsite near beautiful Crested Butte, Colorado, last month, my head was spinning before I even took a sip. I could hardly believe the sight: my trusty titanium camp mug—which I’ve somehow managed to hang on to for more than 10 years and have sipped untold coffees from—was full to the brim with fresh AeroPress coffee. The double cup was a longtime dream come true.
I picked up the $70 AeroPress XL almost as soon as it was released at the end of June, eager to give it a shot. It seemed poised to solve what I see as the problem with the otherwise-perfect AeroPress Original: it doesn’t make quite enough coffee to leave me feeling fully satisfied, often leading to the need for a second cup. Thankfully, as I’ve written about here on the site before, making coffee in the AeroPress is quick, clean-up is simple, and it yields a consistently impressive cup.
AeroPress users—including me—have been asking for a larger version of the lauded brewer throughout the nearly two decades since it was introduced by founder Alan Adler in 2005. I gather that he was always hesitant to do too much, and 2019’s super-compact AeroPress Go (find my review linked at the bottom of this post) was the only spin-off brewer released during his time at the helm. Now under new ownership, the AeroPress XL is one of several recently released brewers and accessories, and there’s reportedly a premium version made of stainless steel, glass, and aluminum on the way too.
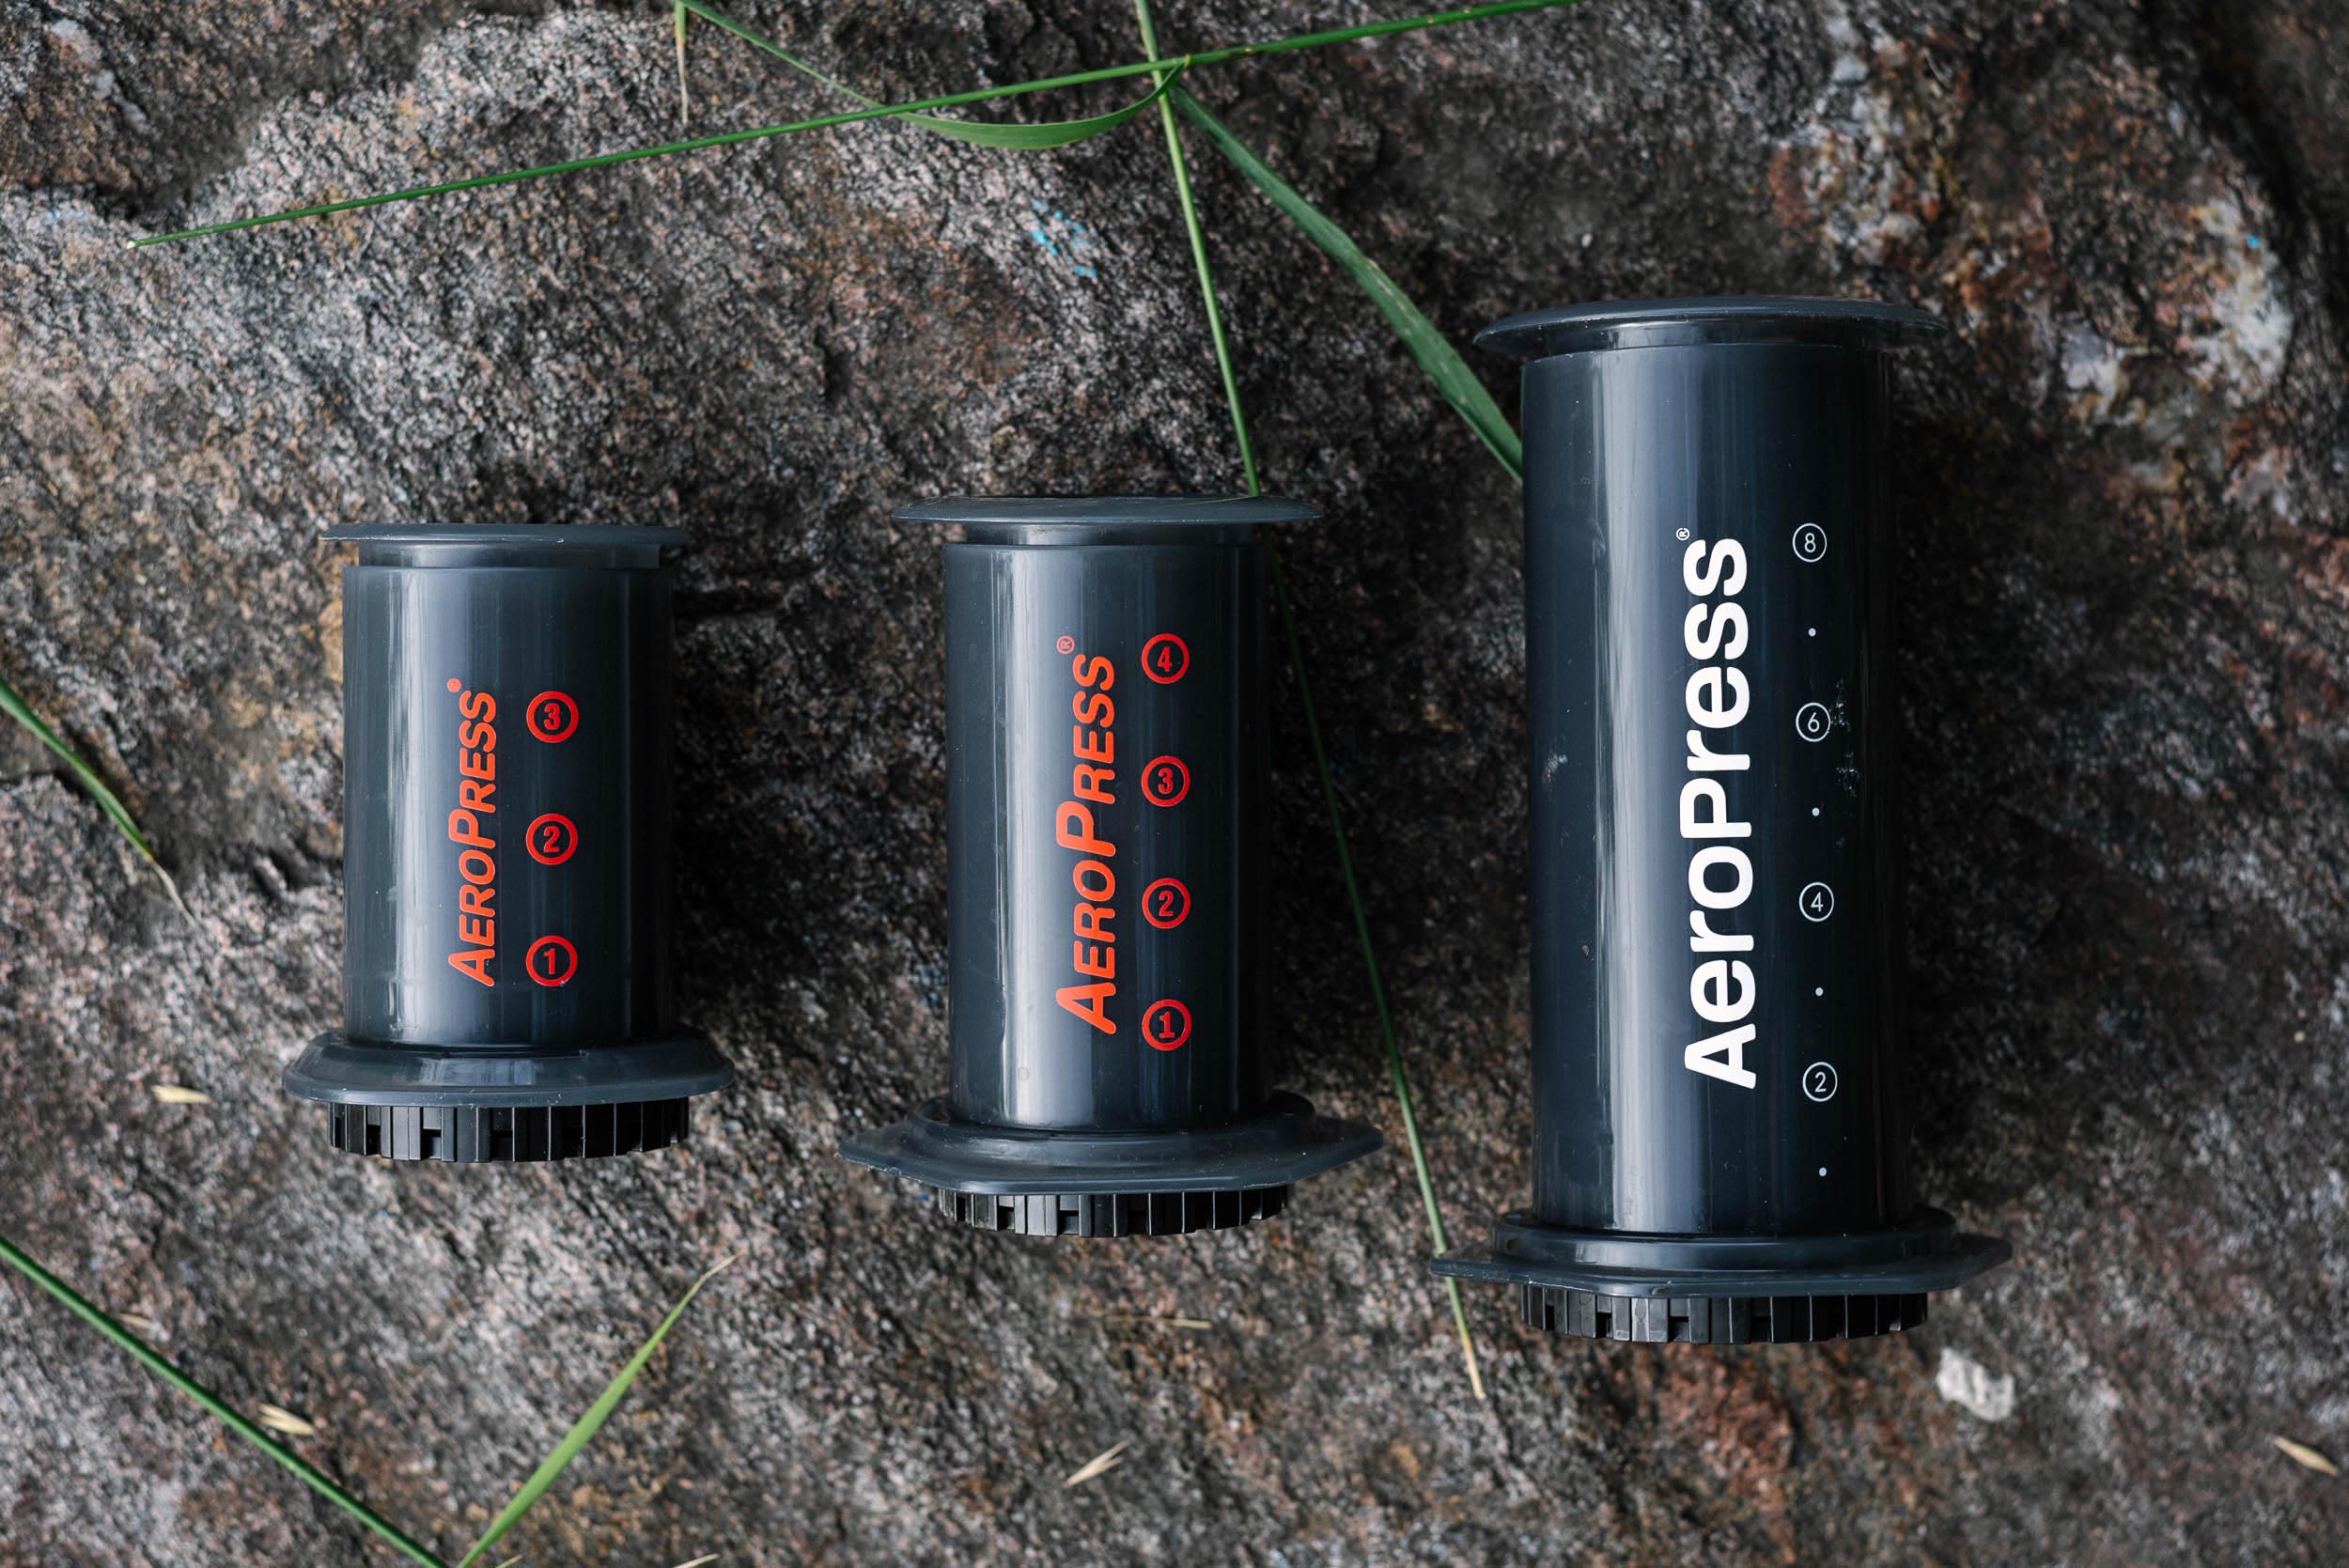
We got our wish with the jumbo AeroPress XL, and a dozen or so full cups later, I can confirm that it’s entirely capable of brewing a generous serving of great coffee. However, it’s not without its faults, and it seems to have solved one problem only to create a handful of others. More on that below.
Unboxing
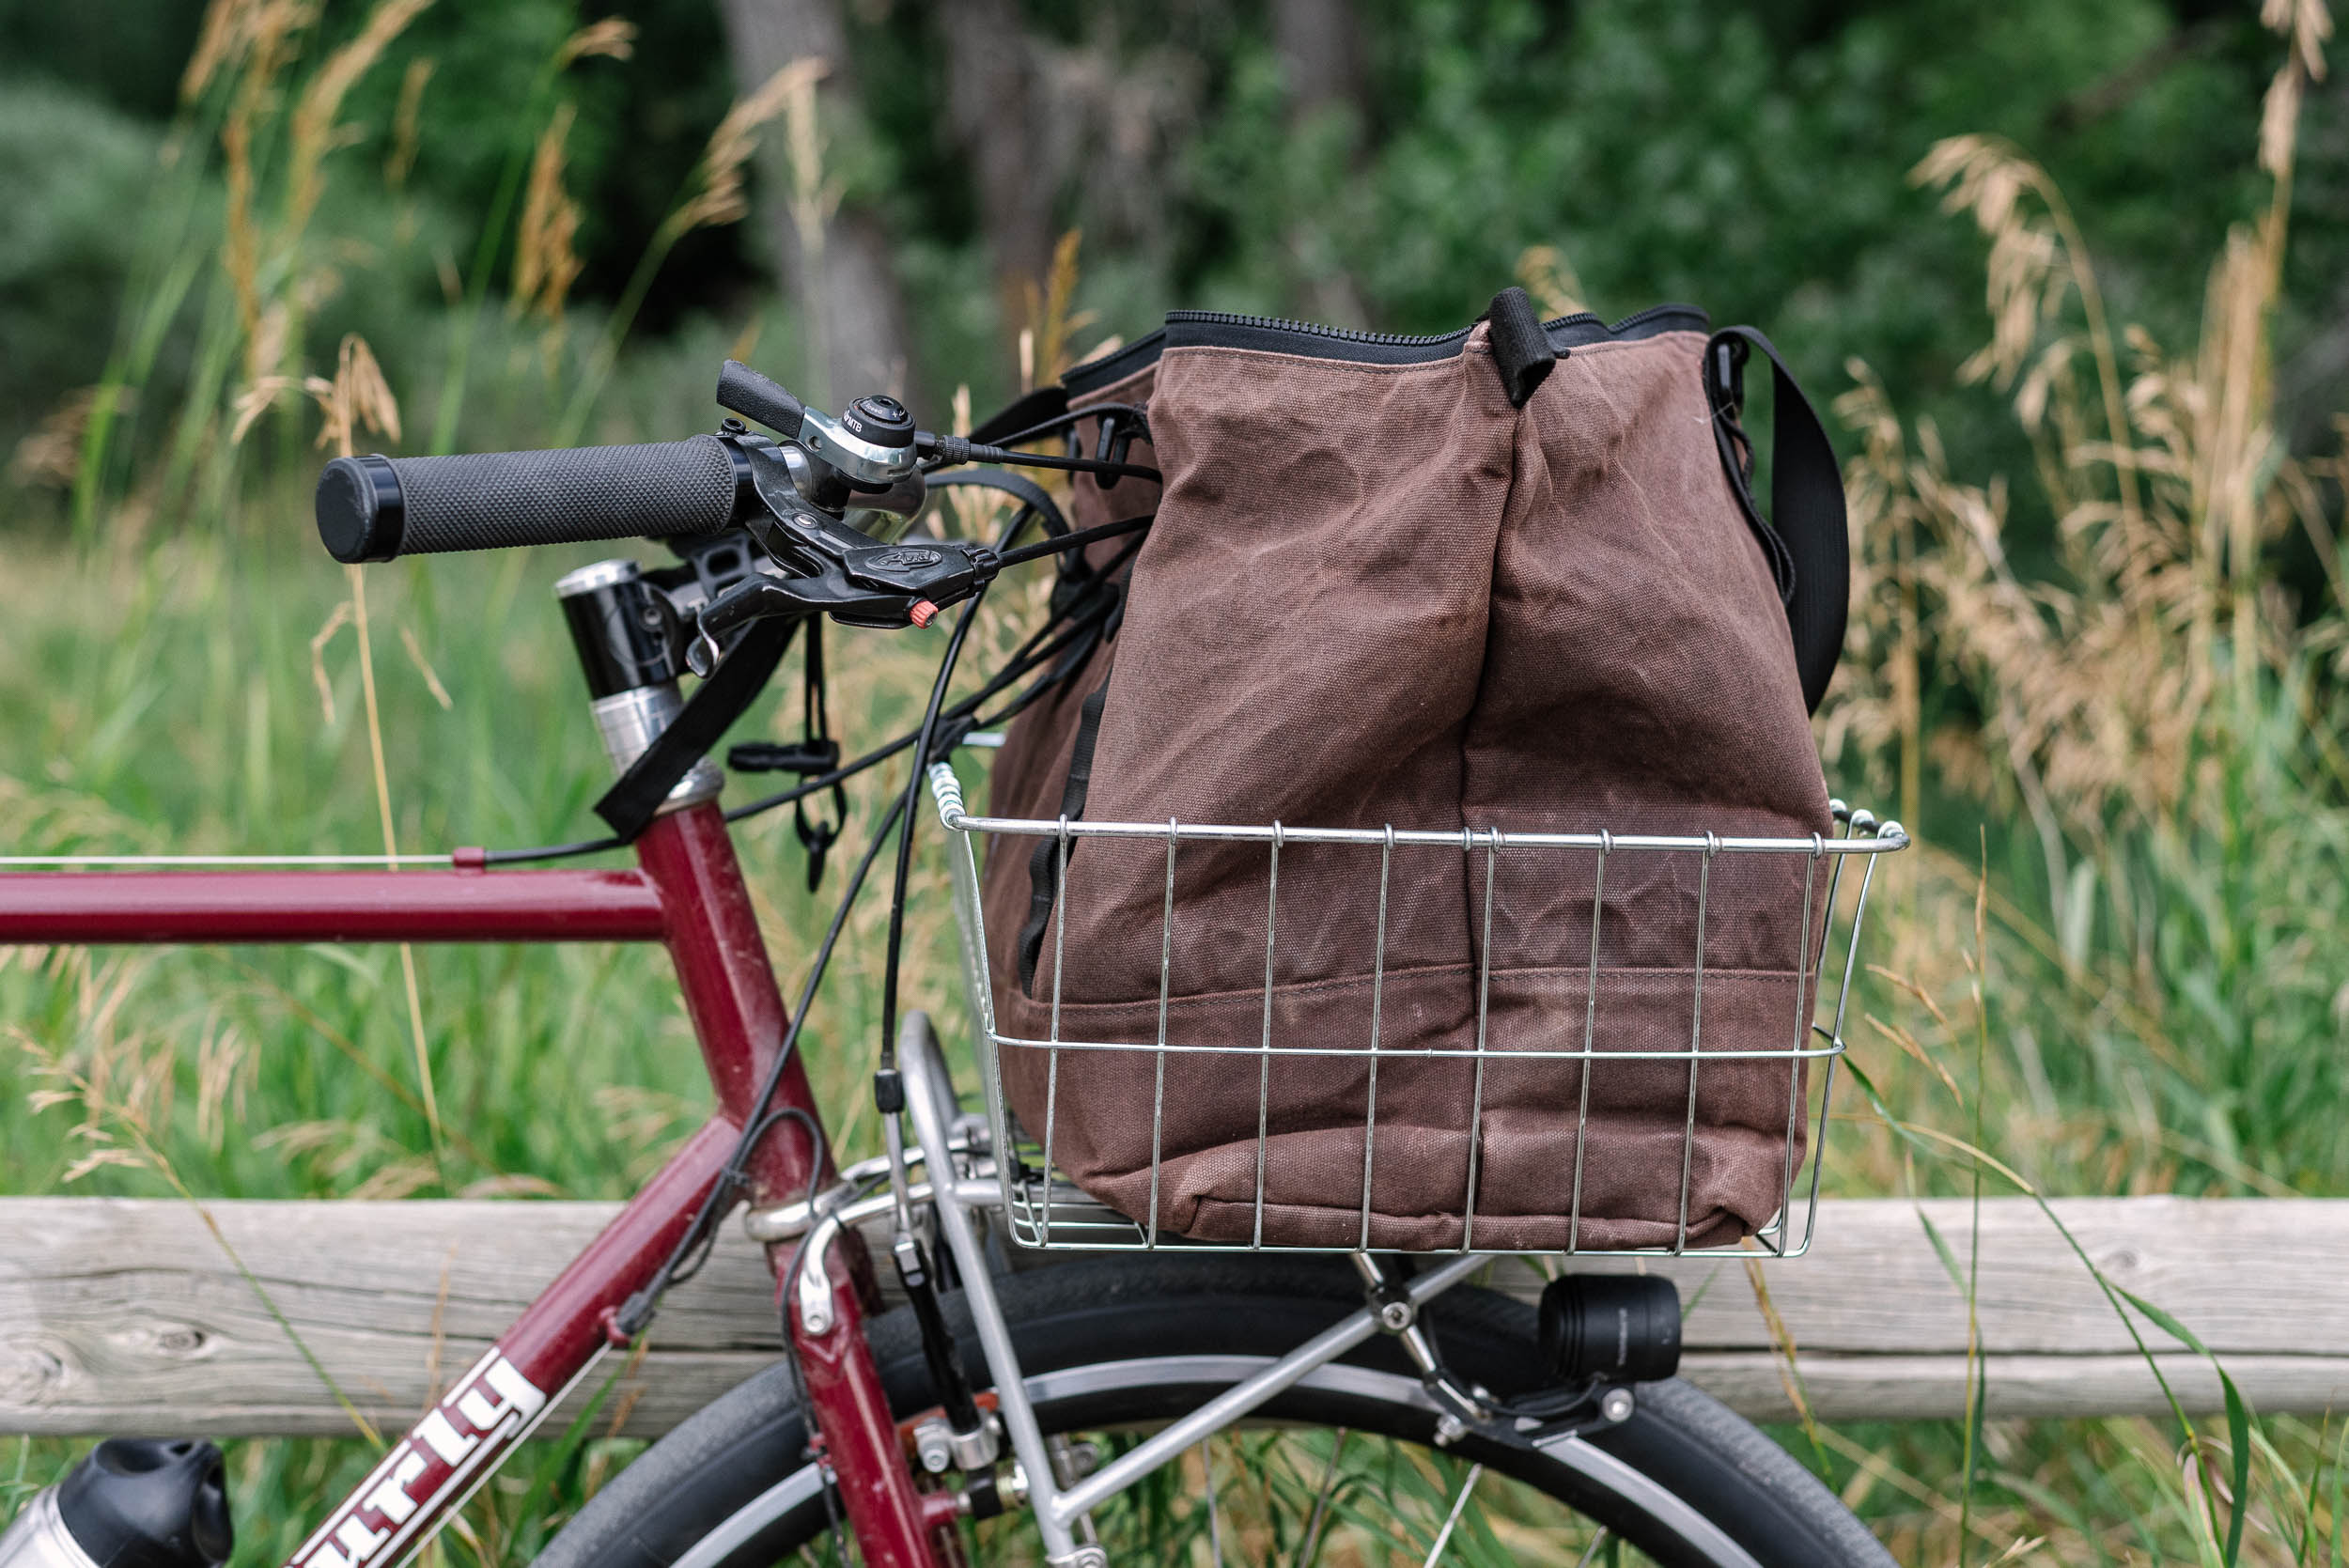
Pulling my AeroPress XL out of the box, I was initially taken aback by its gargantuan proportions. It looked almost comically large next to the standard AeroPress sitting on my counter. In fact, from the moment I opened the box, I realized that I’d either underestimated or willfully ignored the implications of its true size in my excitement to pick one up. Frankly, I could tell straight away that it’s too large to be a practical choice for solo morning coffee while bikepacking, but it nonetheless intrigued me; the prospect of an overflowing cup of coffee from my favorite brewer remained tempting for coffee outside meetups, splitting with a partner, or simply savoring at home as part of a balanced breakfast.
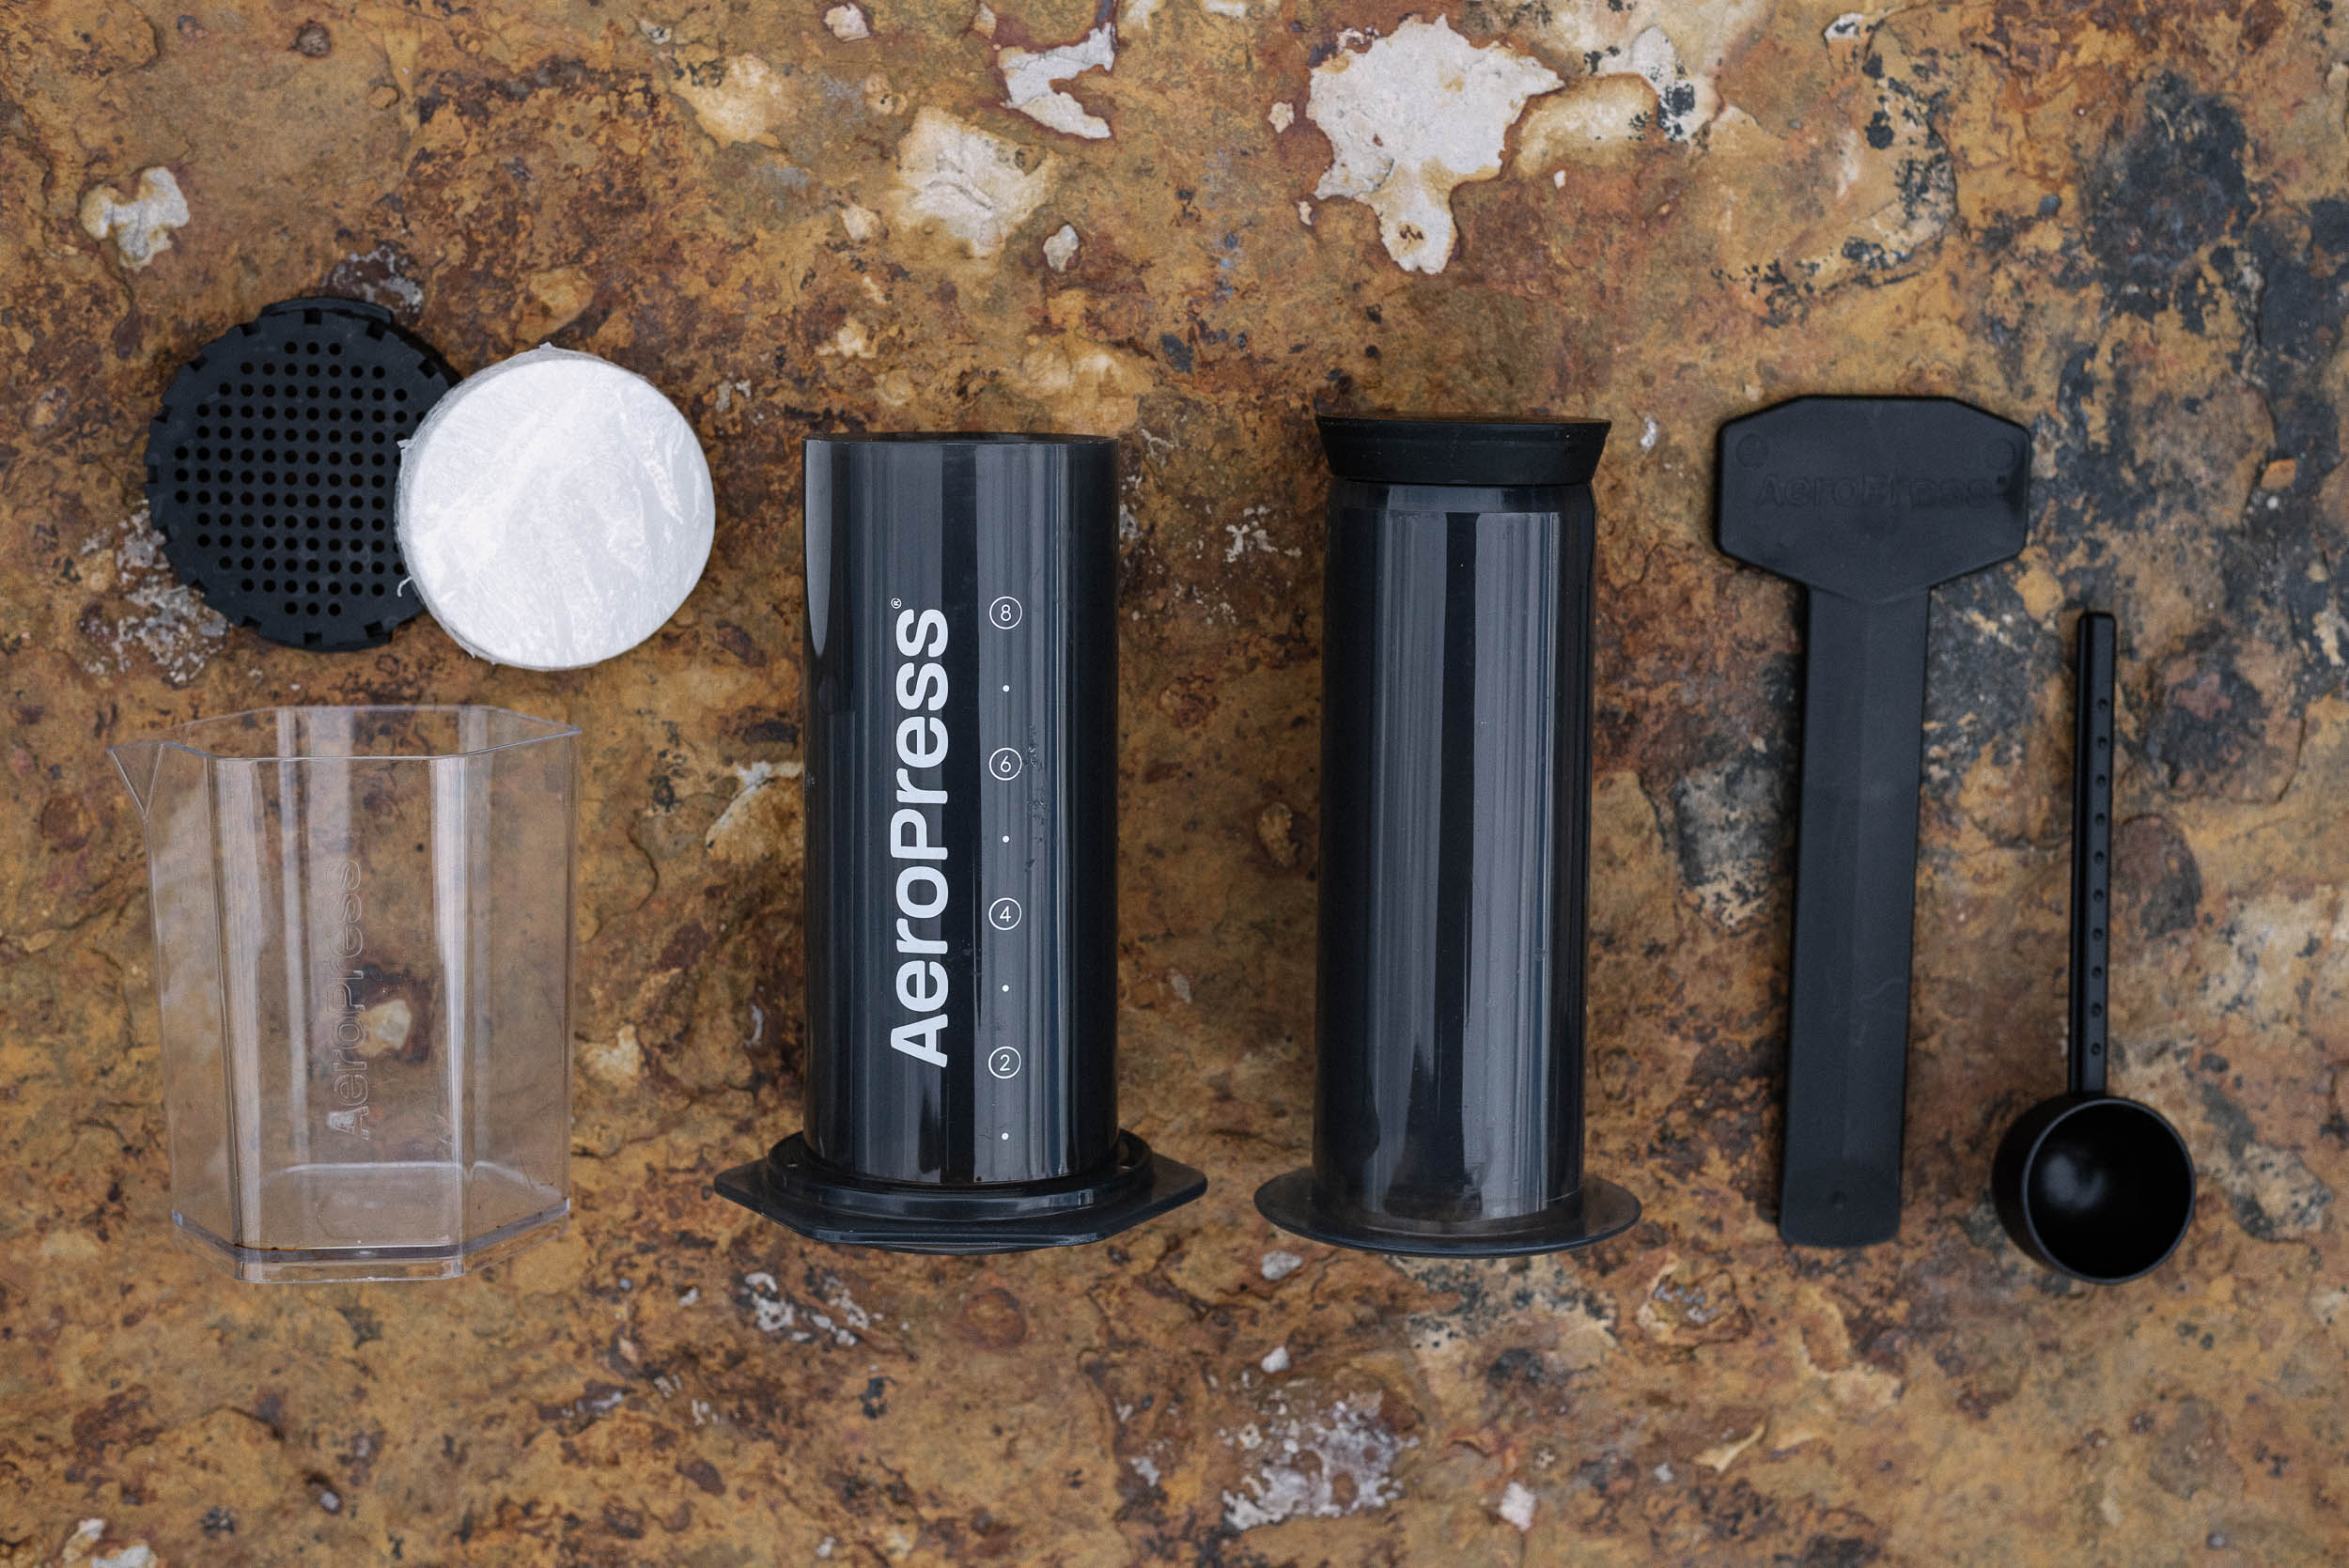
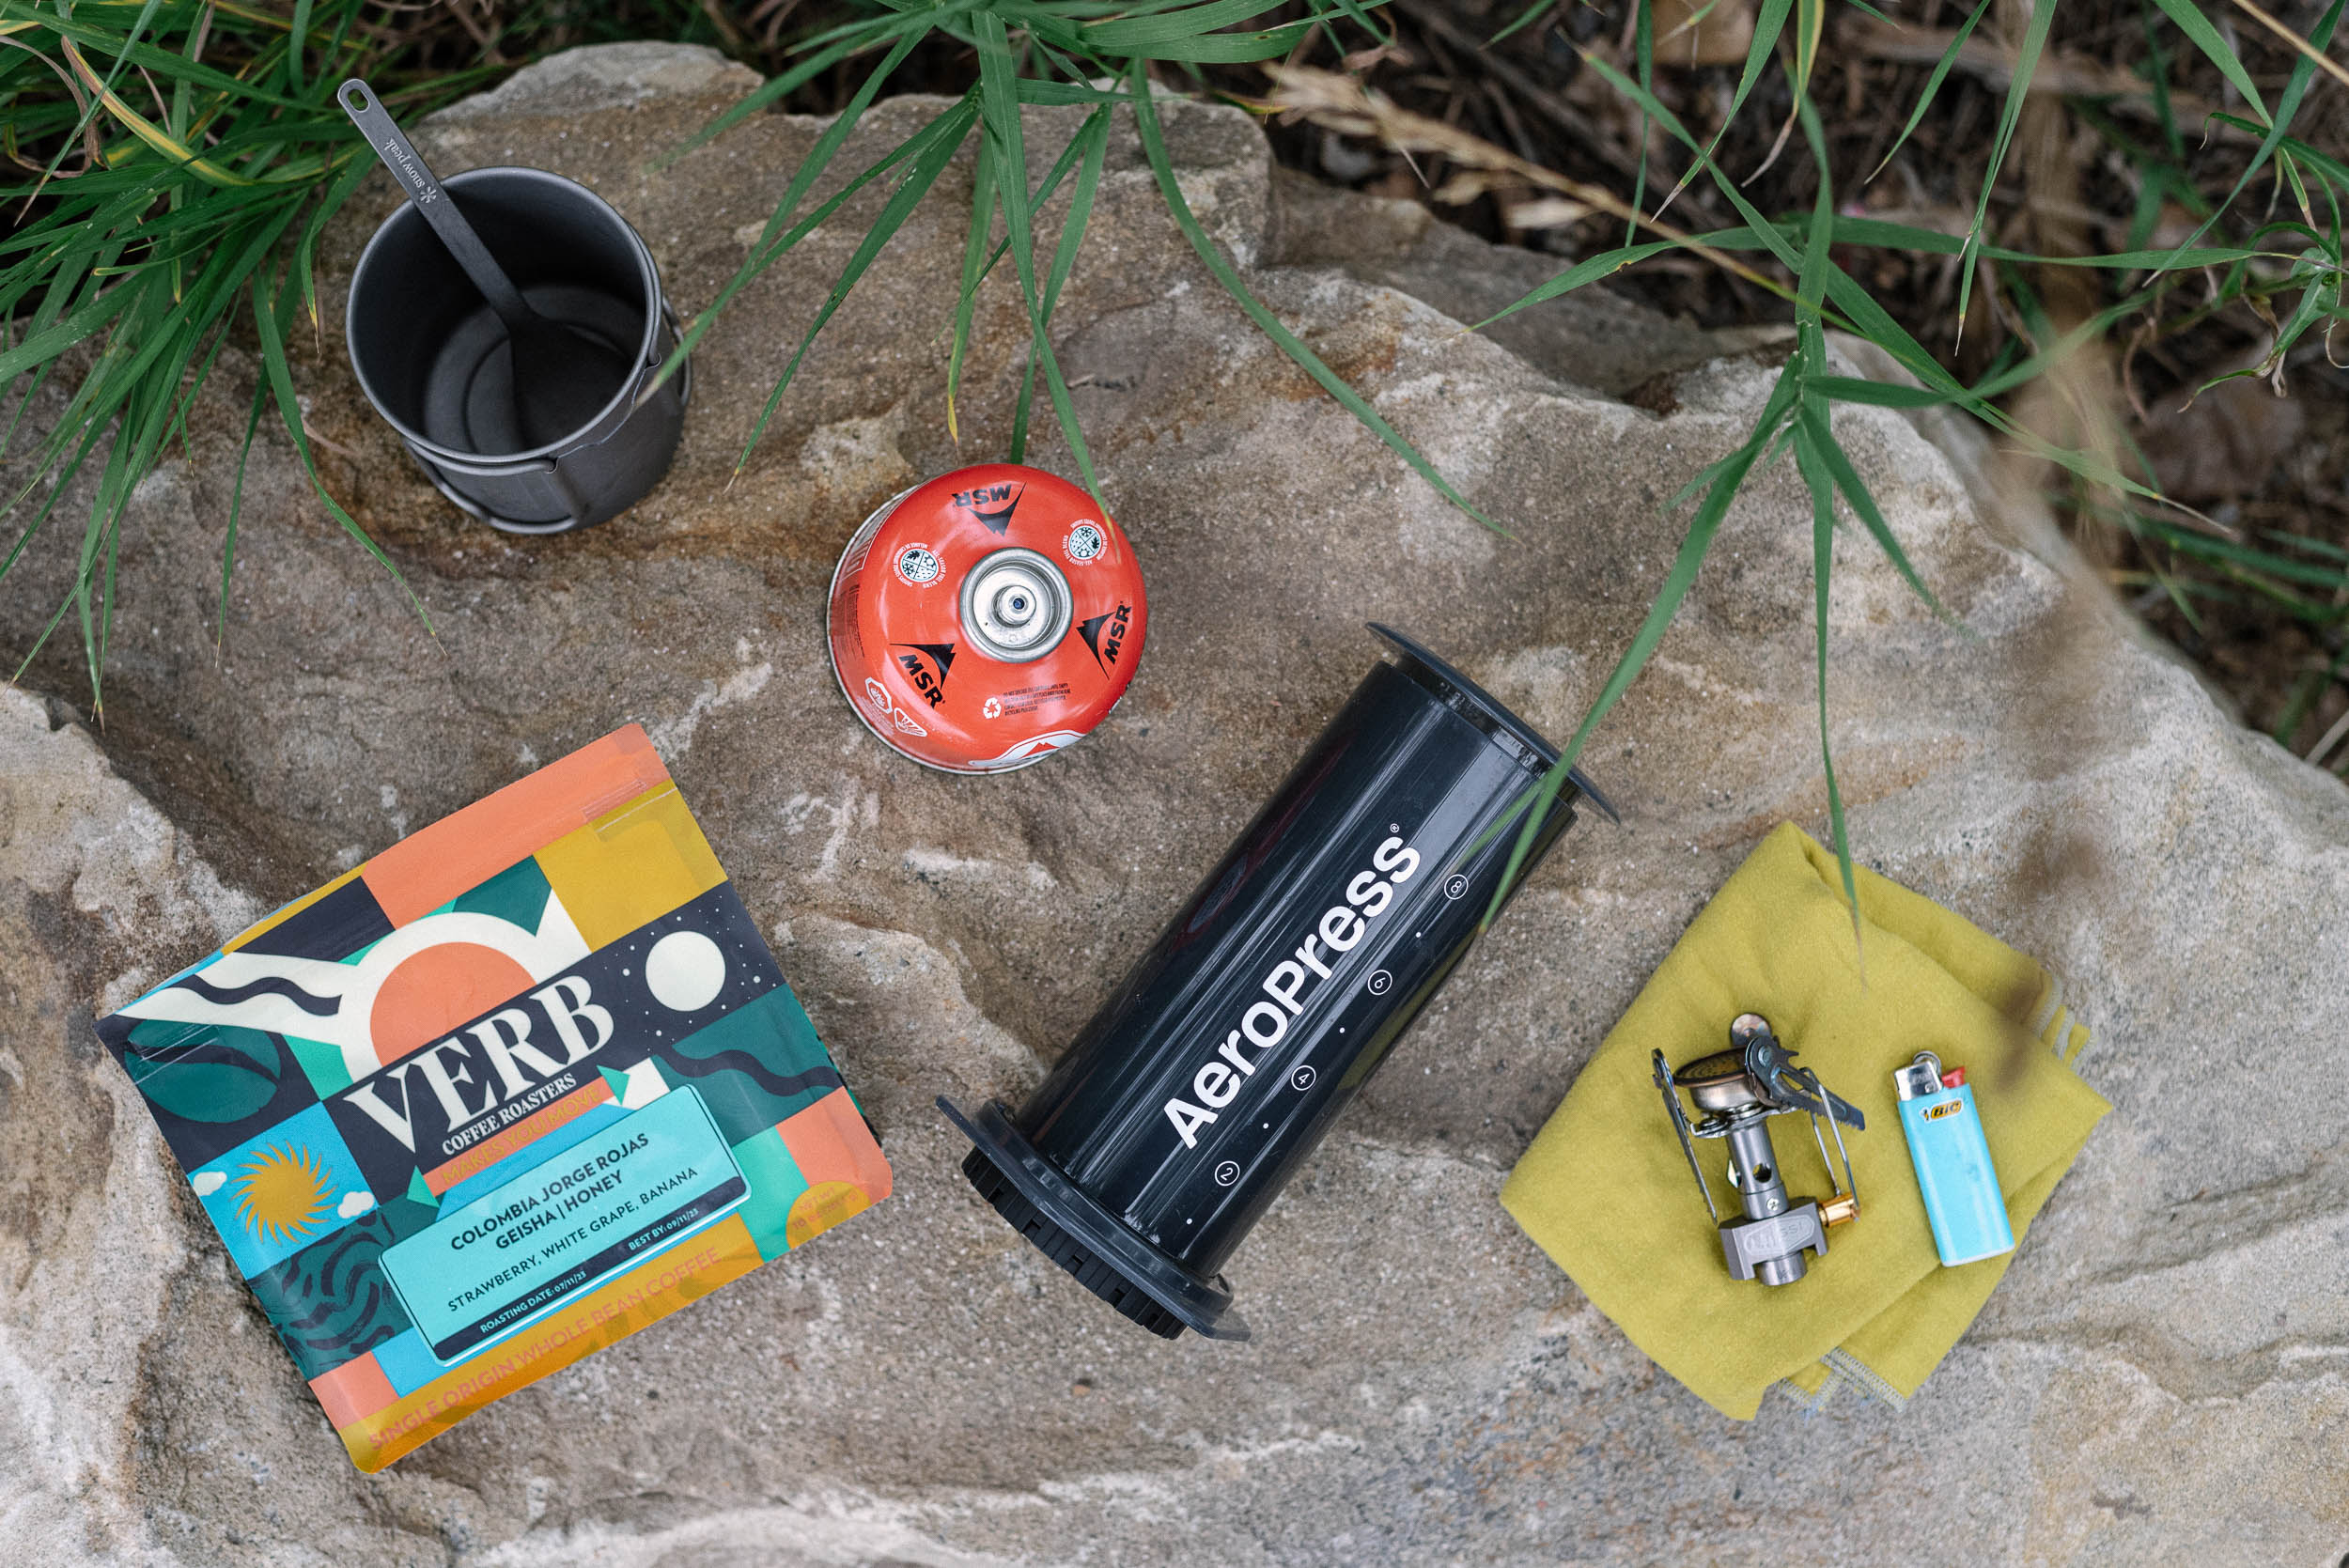
What’s Included
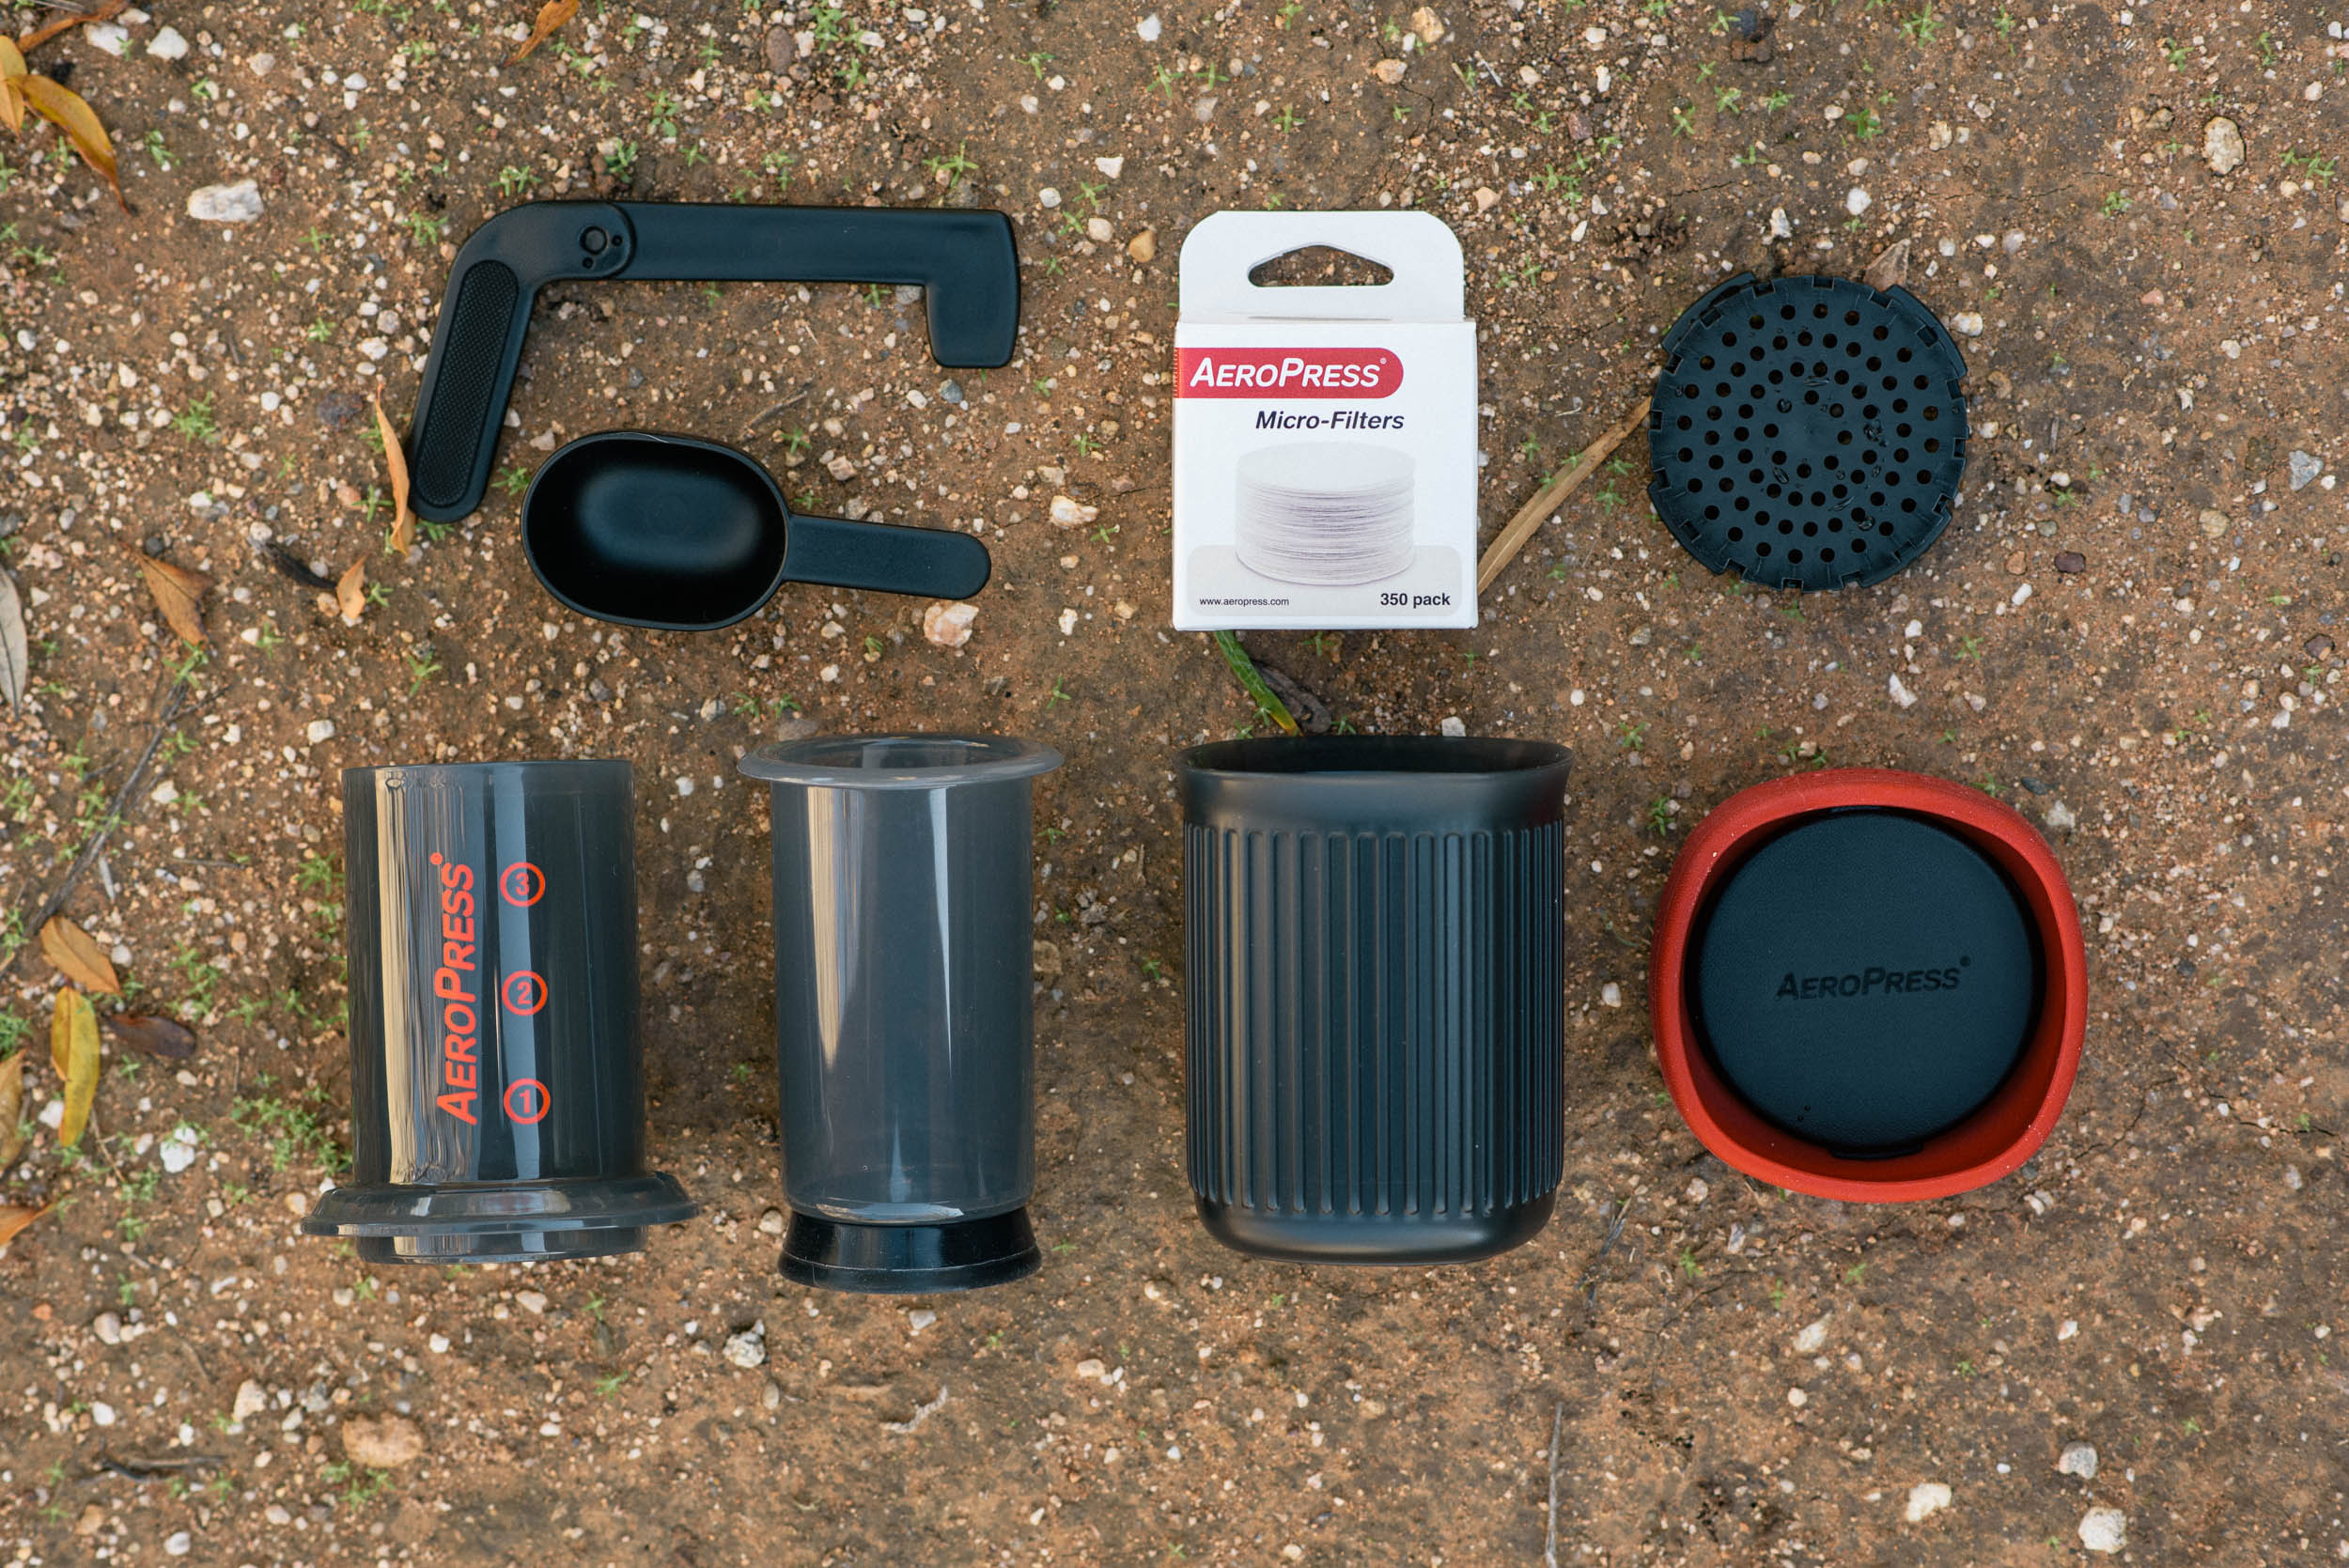
- Brewer (plunger + chamber)
- 20oz Tritan carafe
- Filter cap
- 100 paper filters
- Stirrer
- Scoop
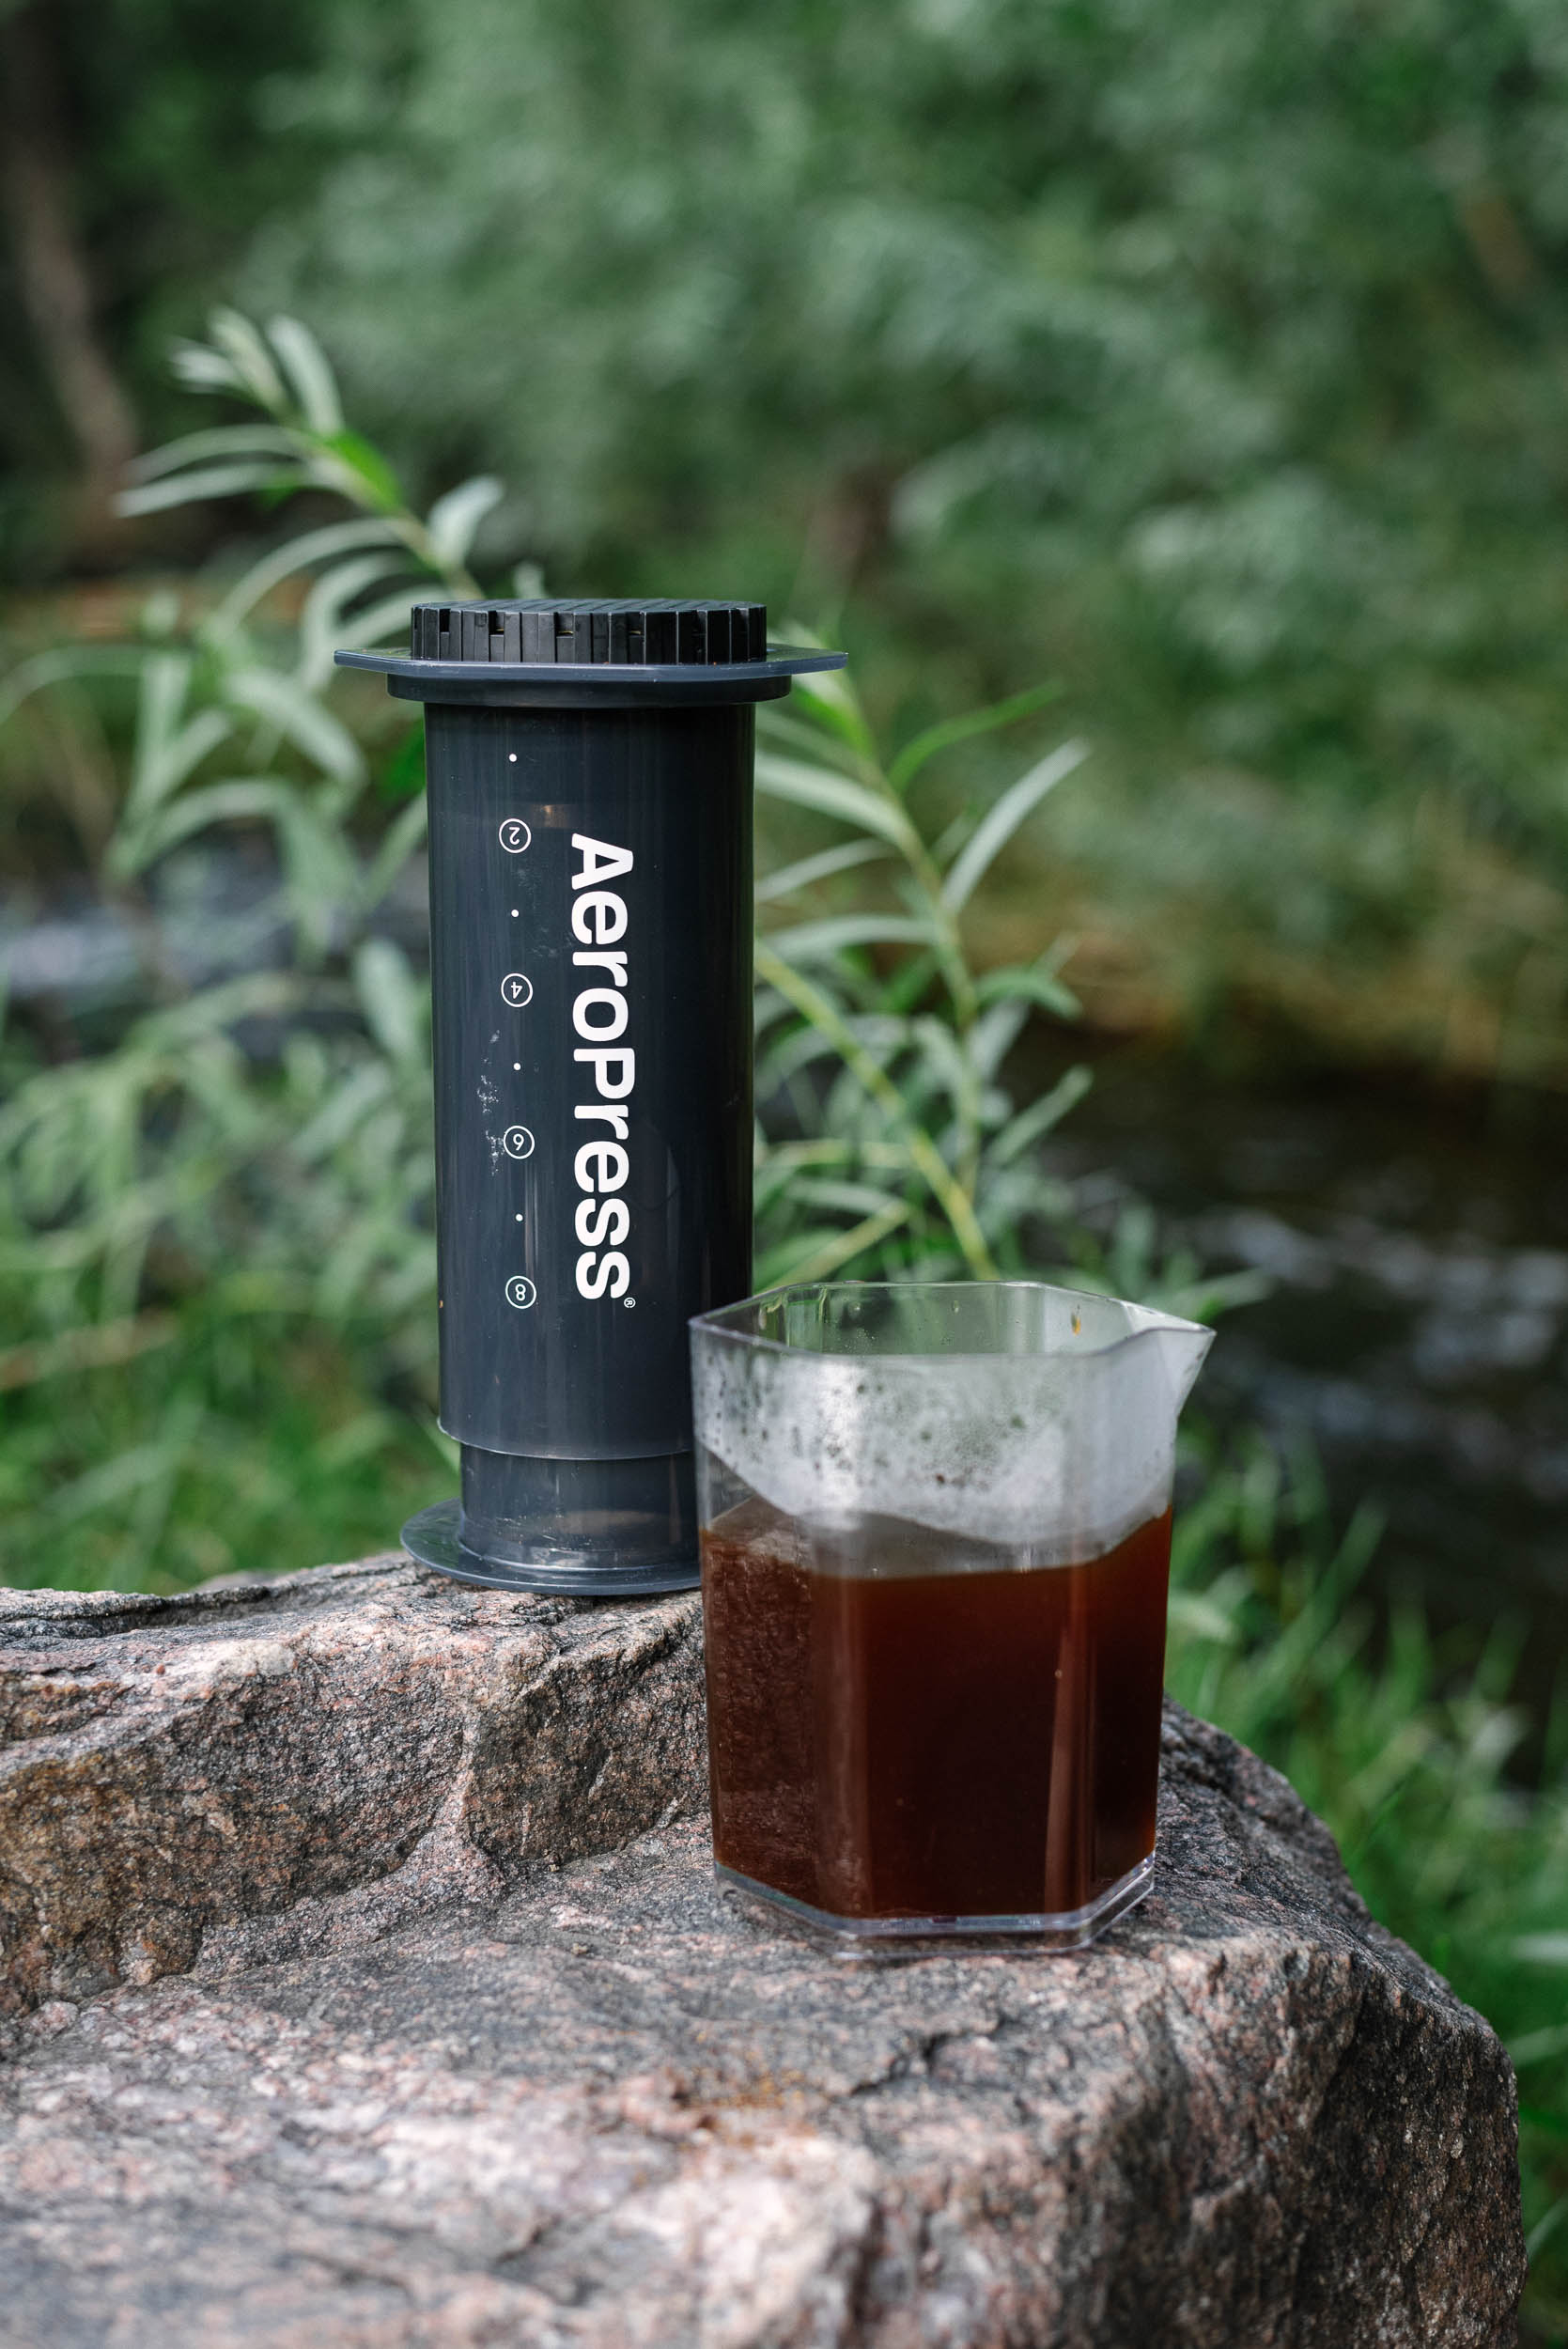
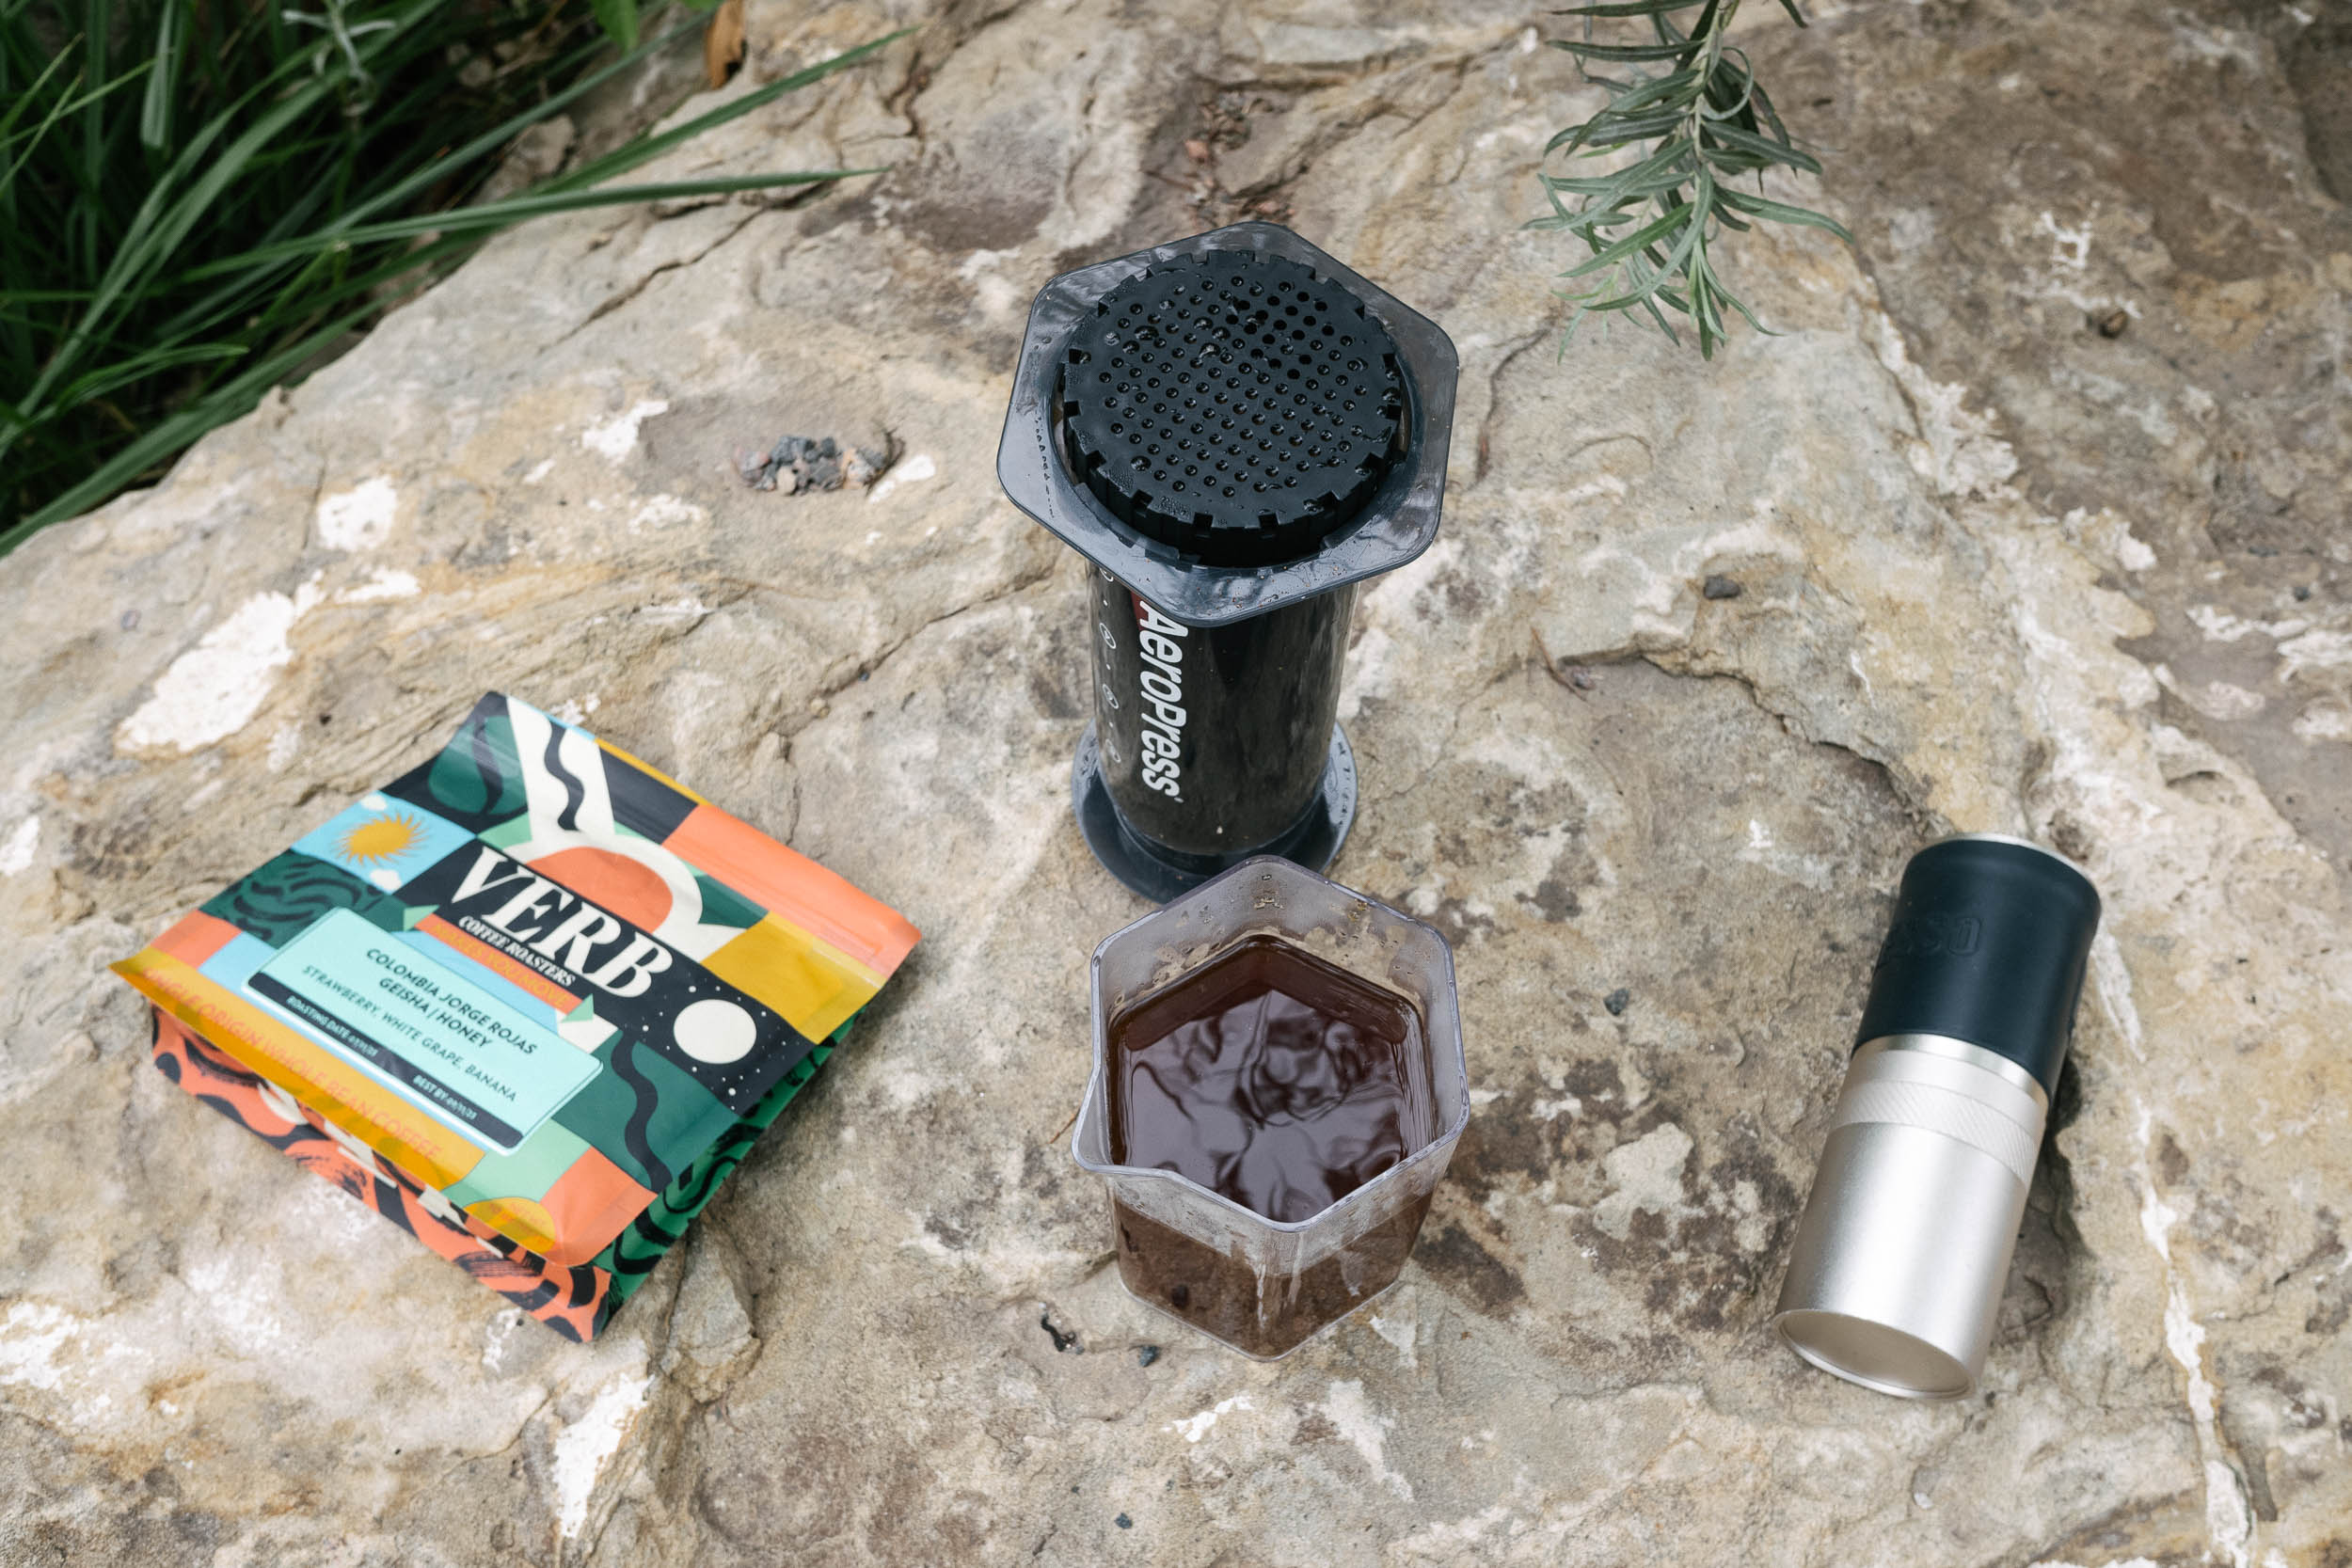
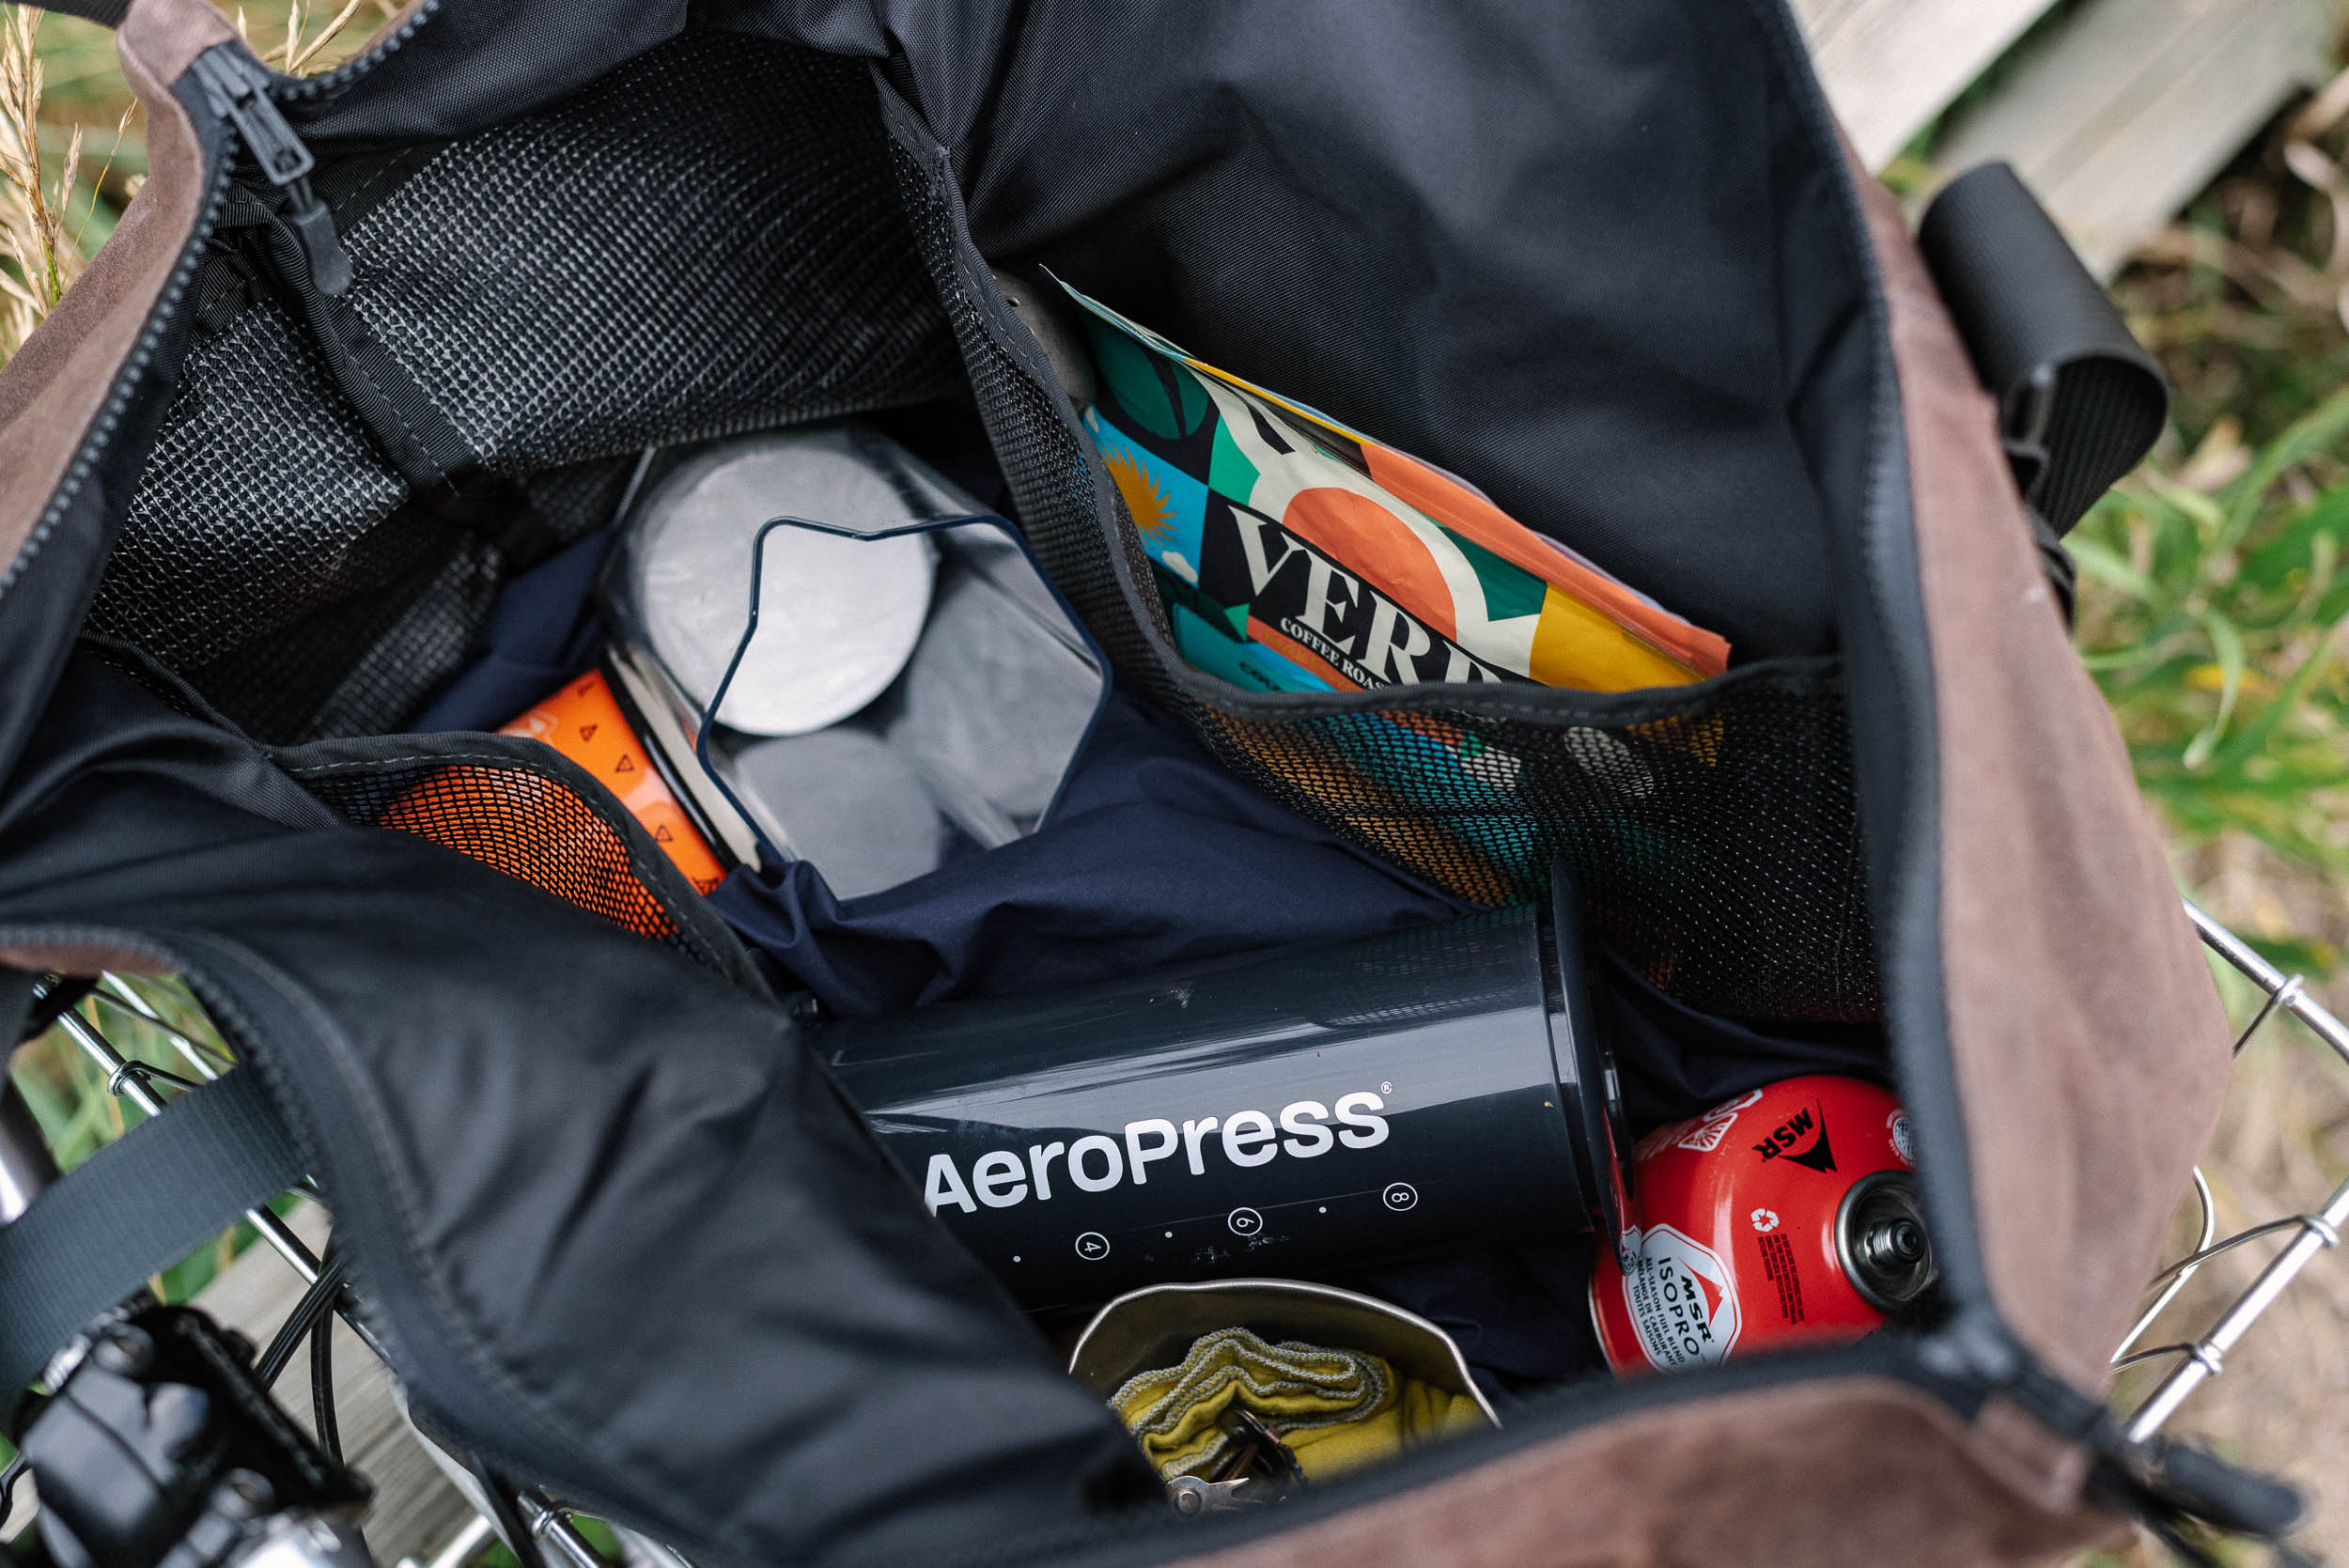
For a fairly hefty $70, the AeroPress XL brewer itself comes accompanied by a lightweight Tritan carafe with a 20-ounce/590-milliliter capacity, a filter cap, 100 paper filters, a scoop, and a stirrer. I’ve owned every version of the AeroPress to date and have never once used the included stirrer or scoop, but they’re sized to fit and are certainly up to the task if you’re so inclined. I was a little surprised that it didn’t come with a funnel, which is sold as an add-on these days, but the larger diameter opening makes spilling grounds a little less likely. There’s also no filter holder or bag, both of which are handy and previously accompanied the AeroPress Original.
AeroPress XL In Use
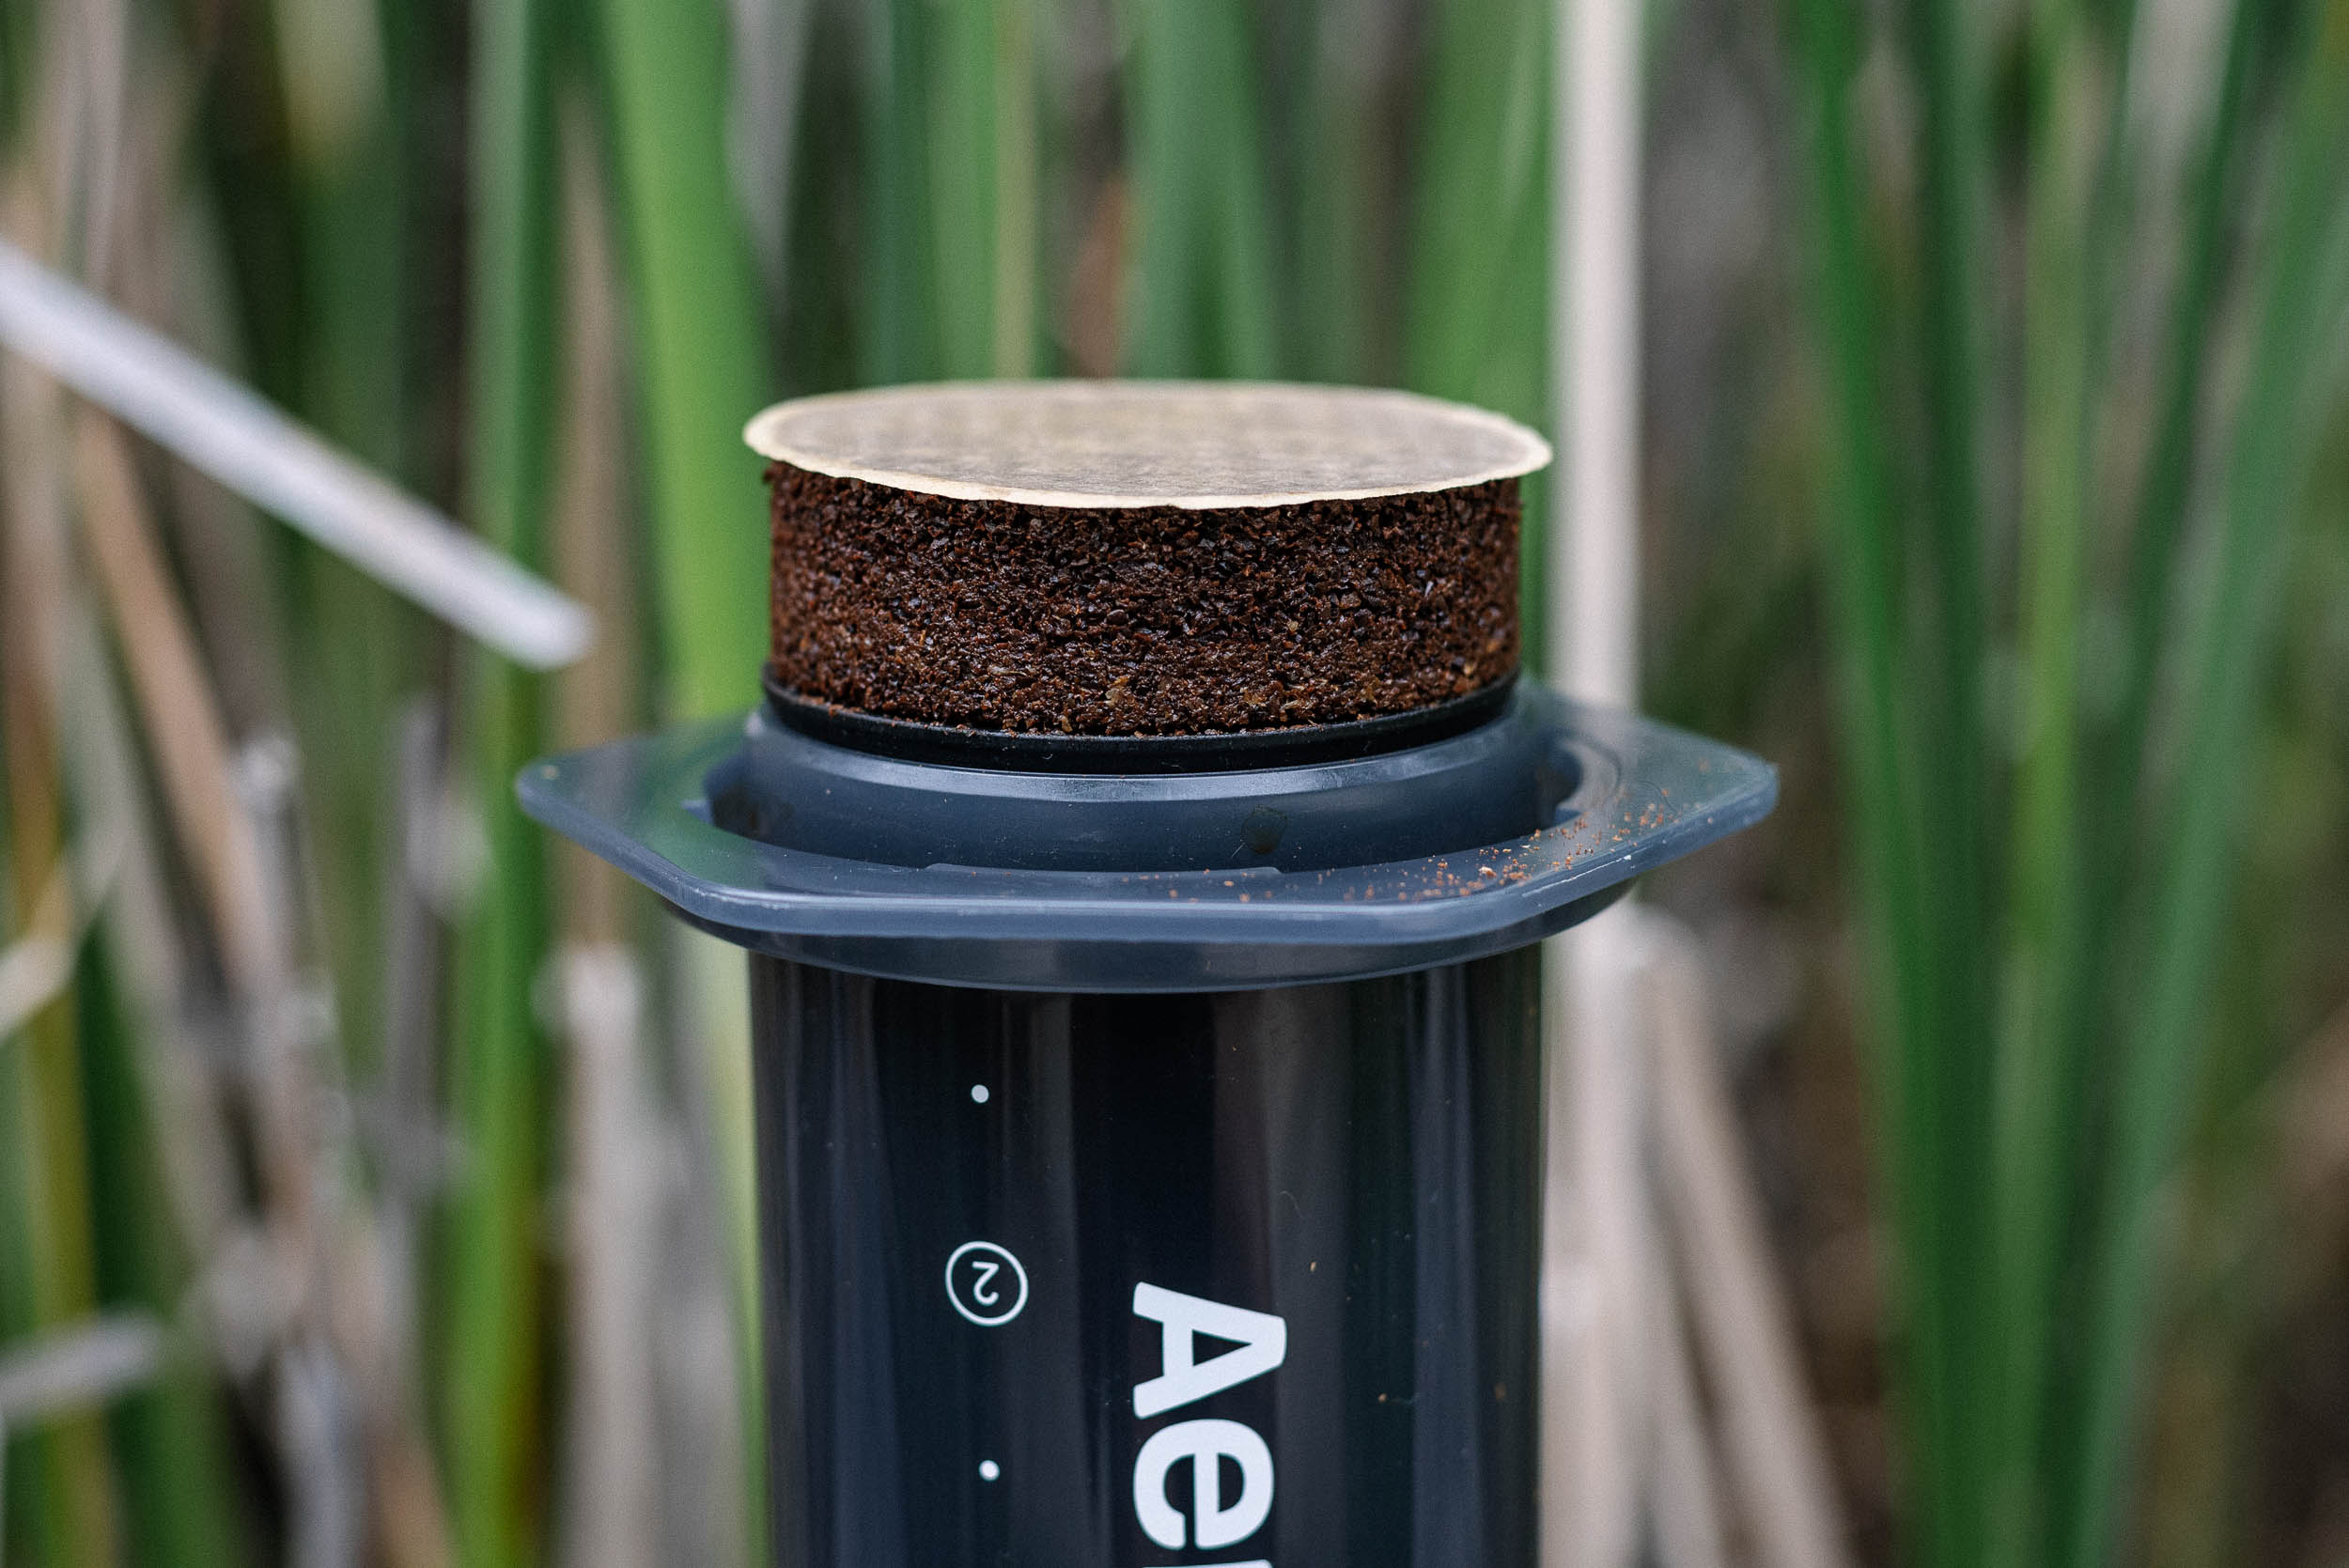
Back at that riverside campsite near Crested Butte, I was all set up to make my first coffee in the AeroPress XL. Beans ground, kettle just off the boil, all that was left to do was add water, stir gently, and wait two minutes before pressing. Looking at my AeroPress XL standing tall in the inverted position (my preferred method of brewing, in which the AeroPress is used upside down with the plunger backed nearly all the way out at the bottom), the whole thing felt a little perilous. I’m a clumsy person, and even as a seasoned AeroPress user, pouring around 16 ounces (450 milliliters) of boiling water into the top-heavy AeroPress XL felt like a high-stakes maneuver.
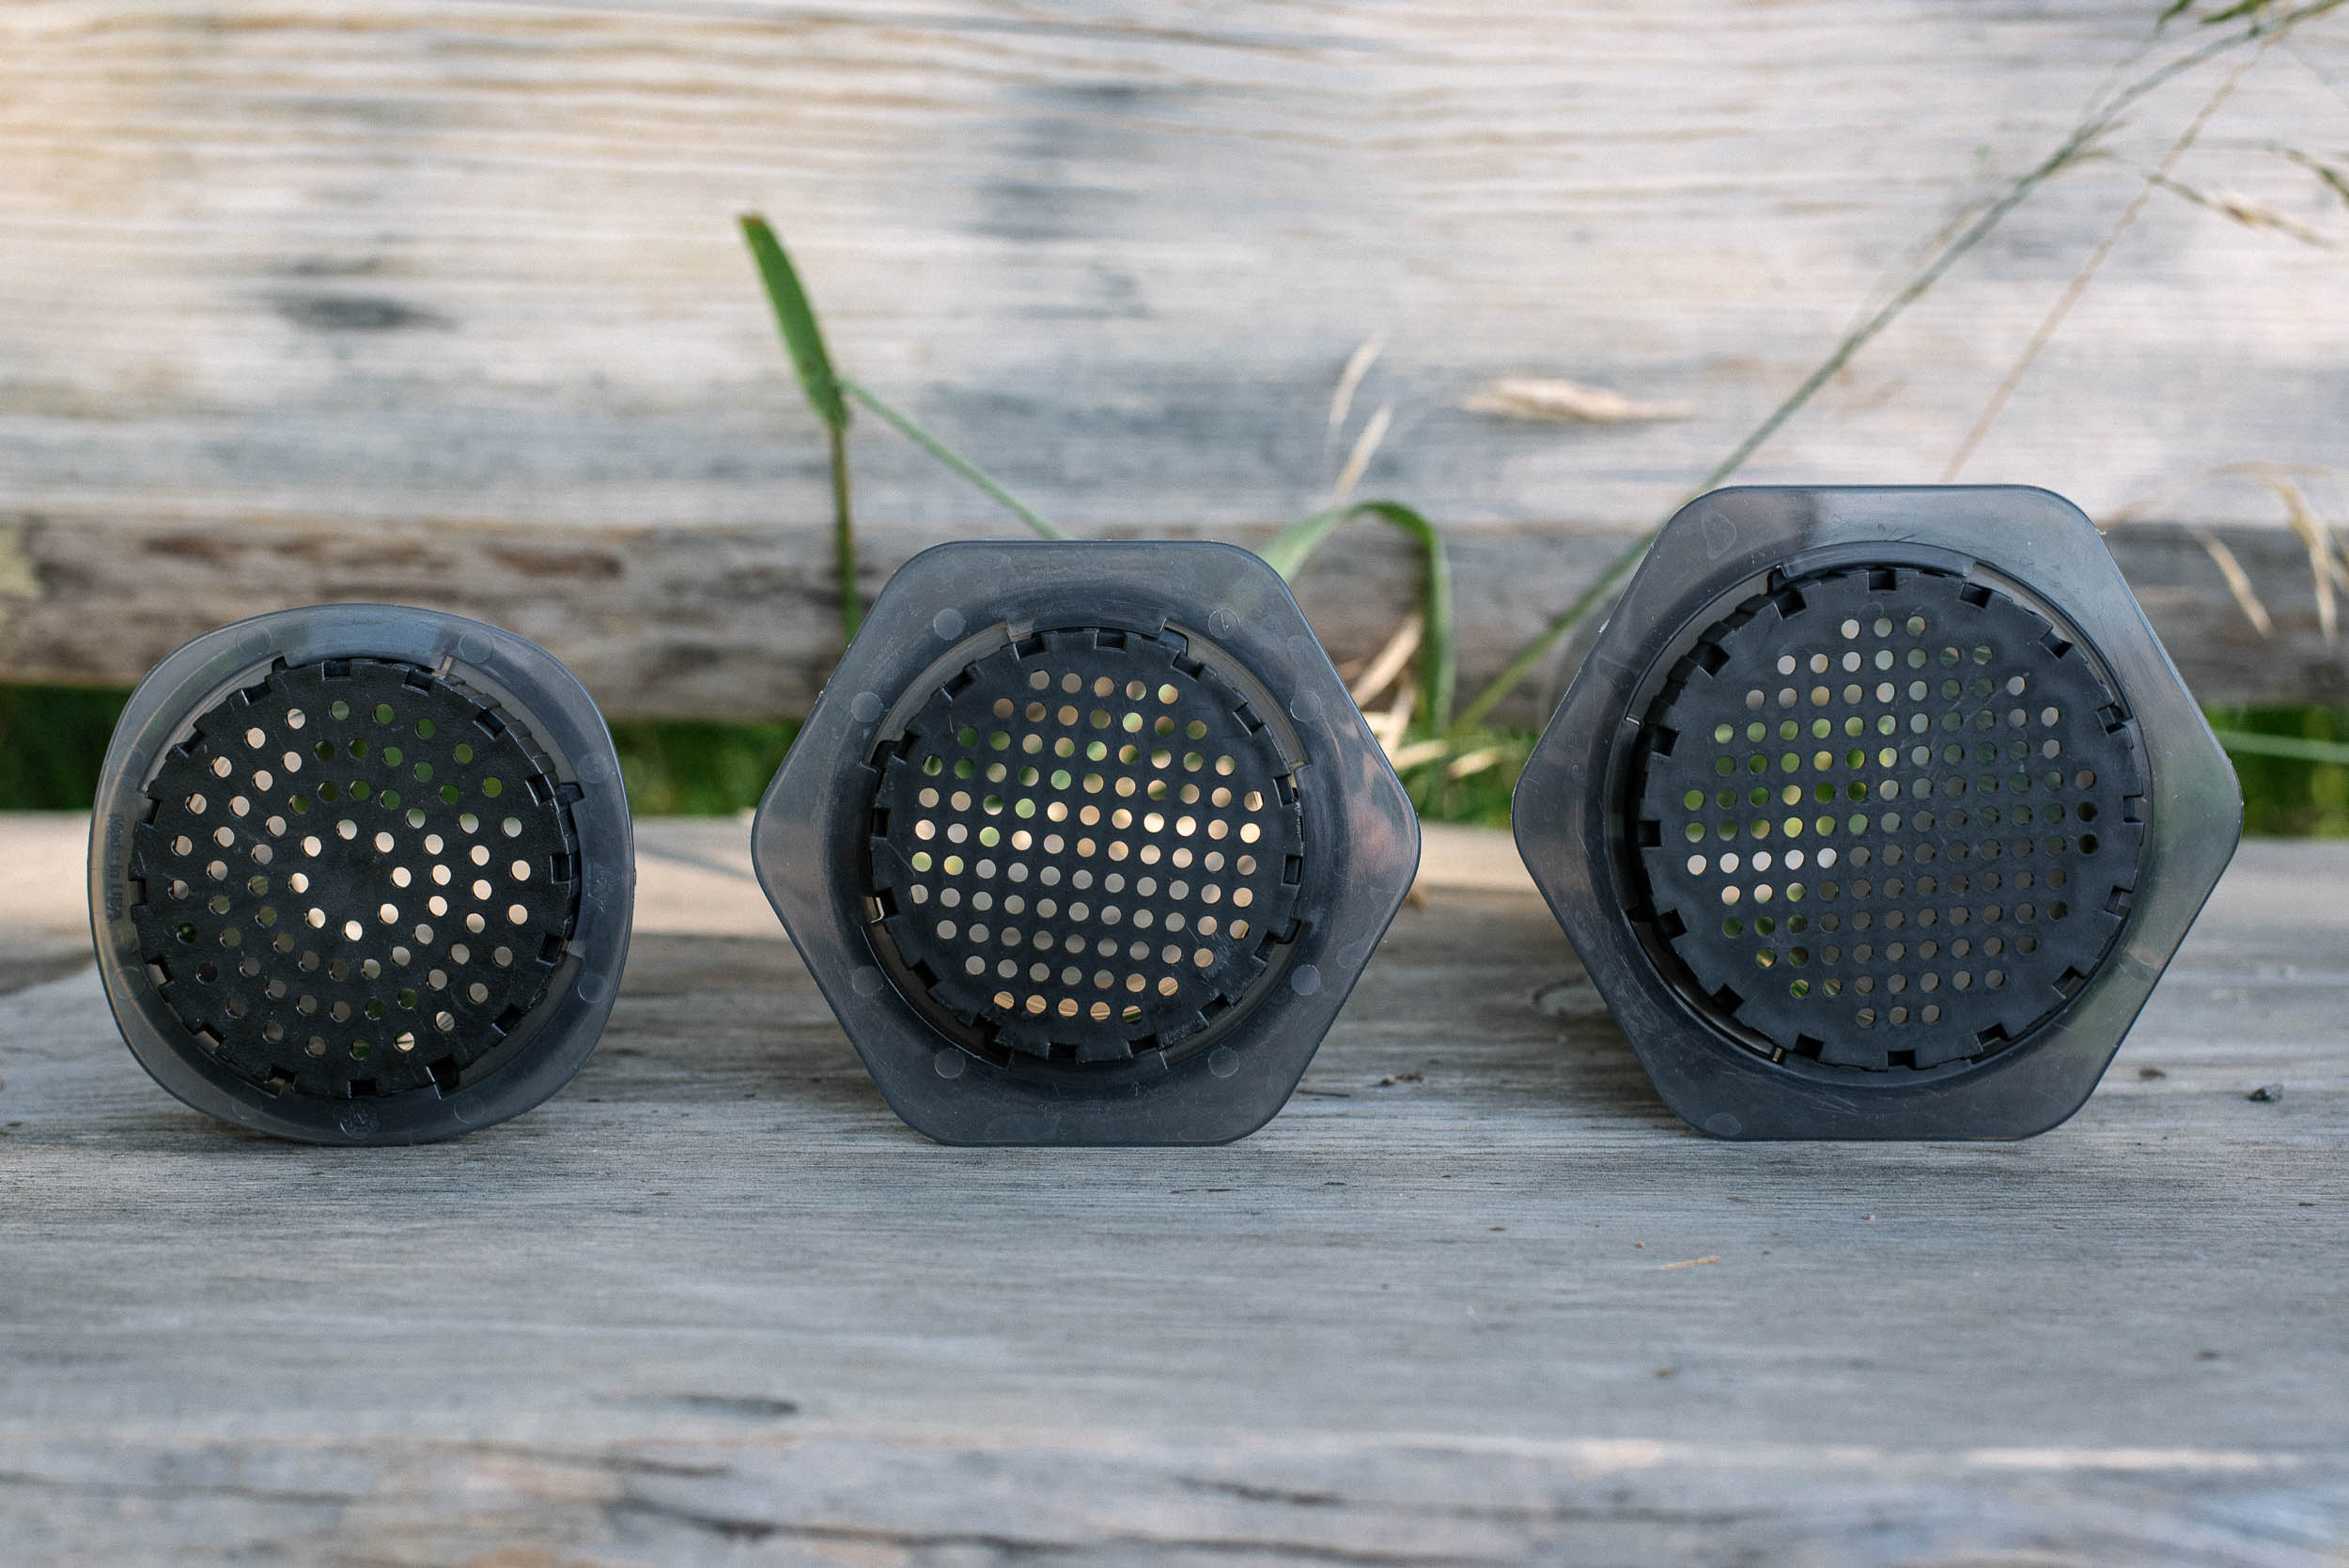
I managed not to knock it over on that first brew (having an AeroPress disaster with coffee and grounds spilling everywhereis something of a rite of passage, and every user’s time will come), but some of the AeroPress XL’s quirks revealed themselves straight away. First, there’s the redesigned filter cap, which is just large enough that it might not fit into your mug of choice. It fits snugly into my titanium camp mug but not the two other camp mugs in my rotation or my favorite larger mug at home. This requires using the included carafe, which is handy and light but bulky. You also won’t be able to use existing paper filters from your AeroPress Original or Go, as those have a slightly smaller standard. This isn’t a dealbreaker, but the introduction of a new filter size is a little annoying—necessary as it may be from a design perspective. At the time of publishing, I’ve yet to see a metal filter for the XL, though one is surely coming.
Additionally, empty or full, the AeroPress XL’s plunger is noticeably more difficult to push down. It tends to get a little easier over time, but—perhaps because of the increased surface area—it takes some work to get enough leverage on the XL. Even at 6’3” tall, when I’m brewing with it at waist level, I find myself having to shift my position and be very intentional about pressing down on it with adequate force. Especially if your grind size is too fine, you may find it challenging to use at first.
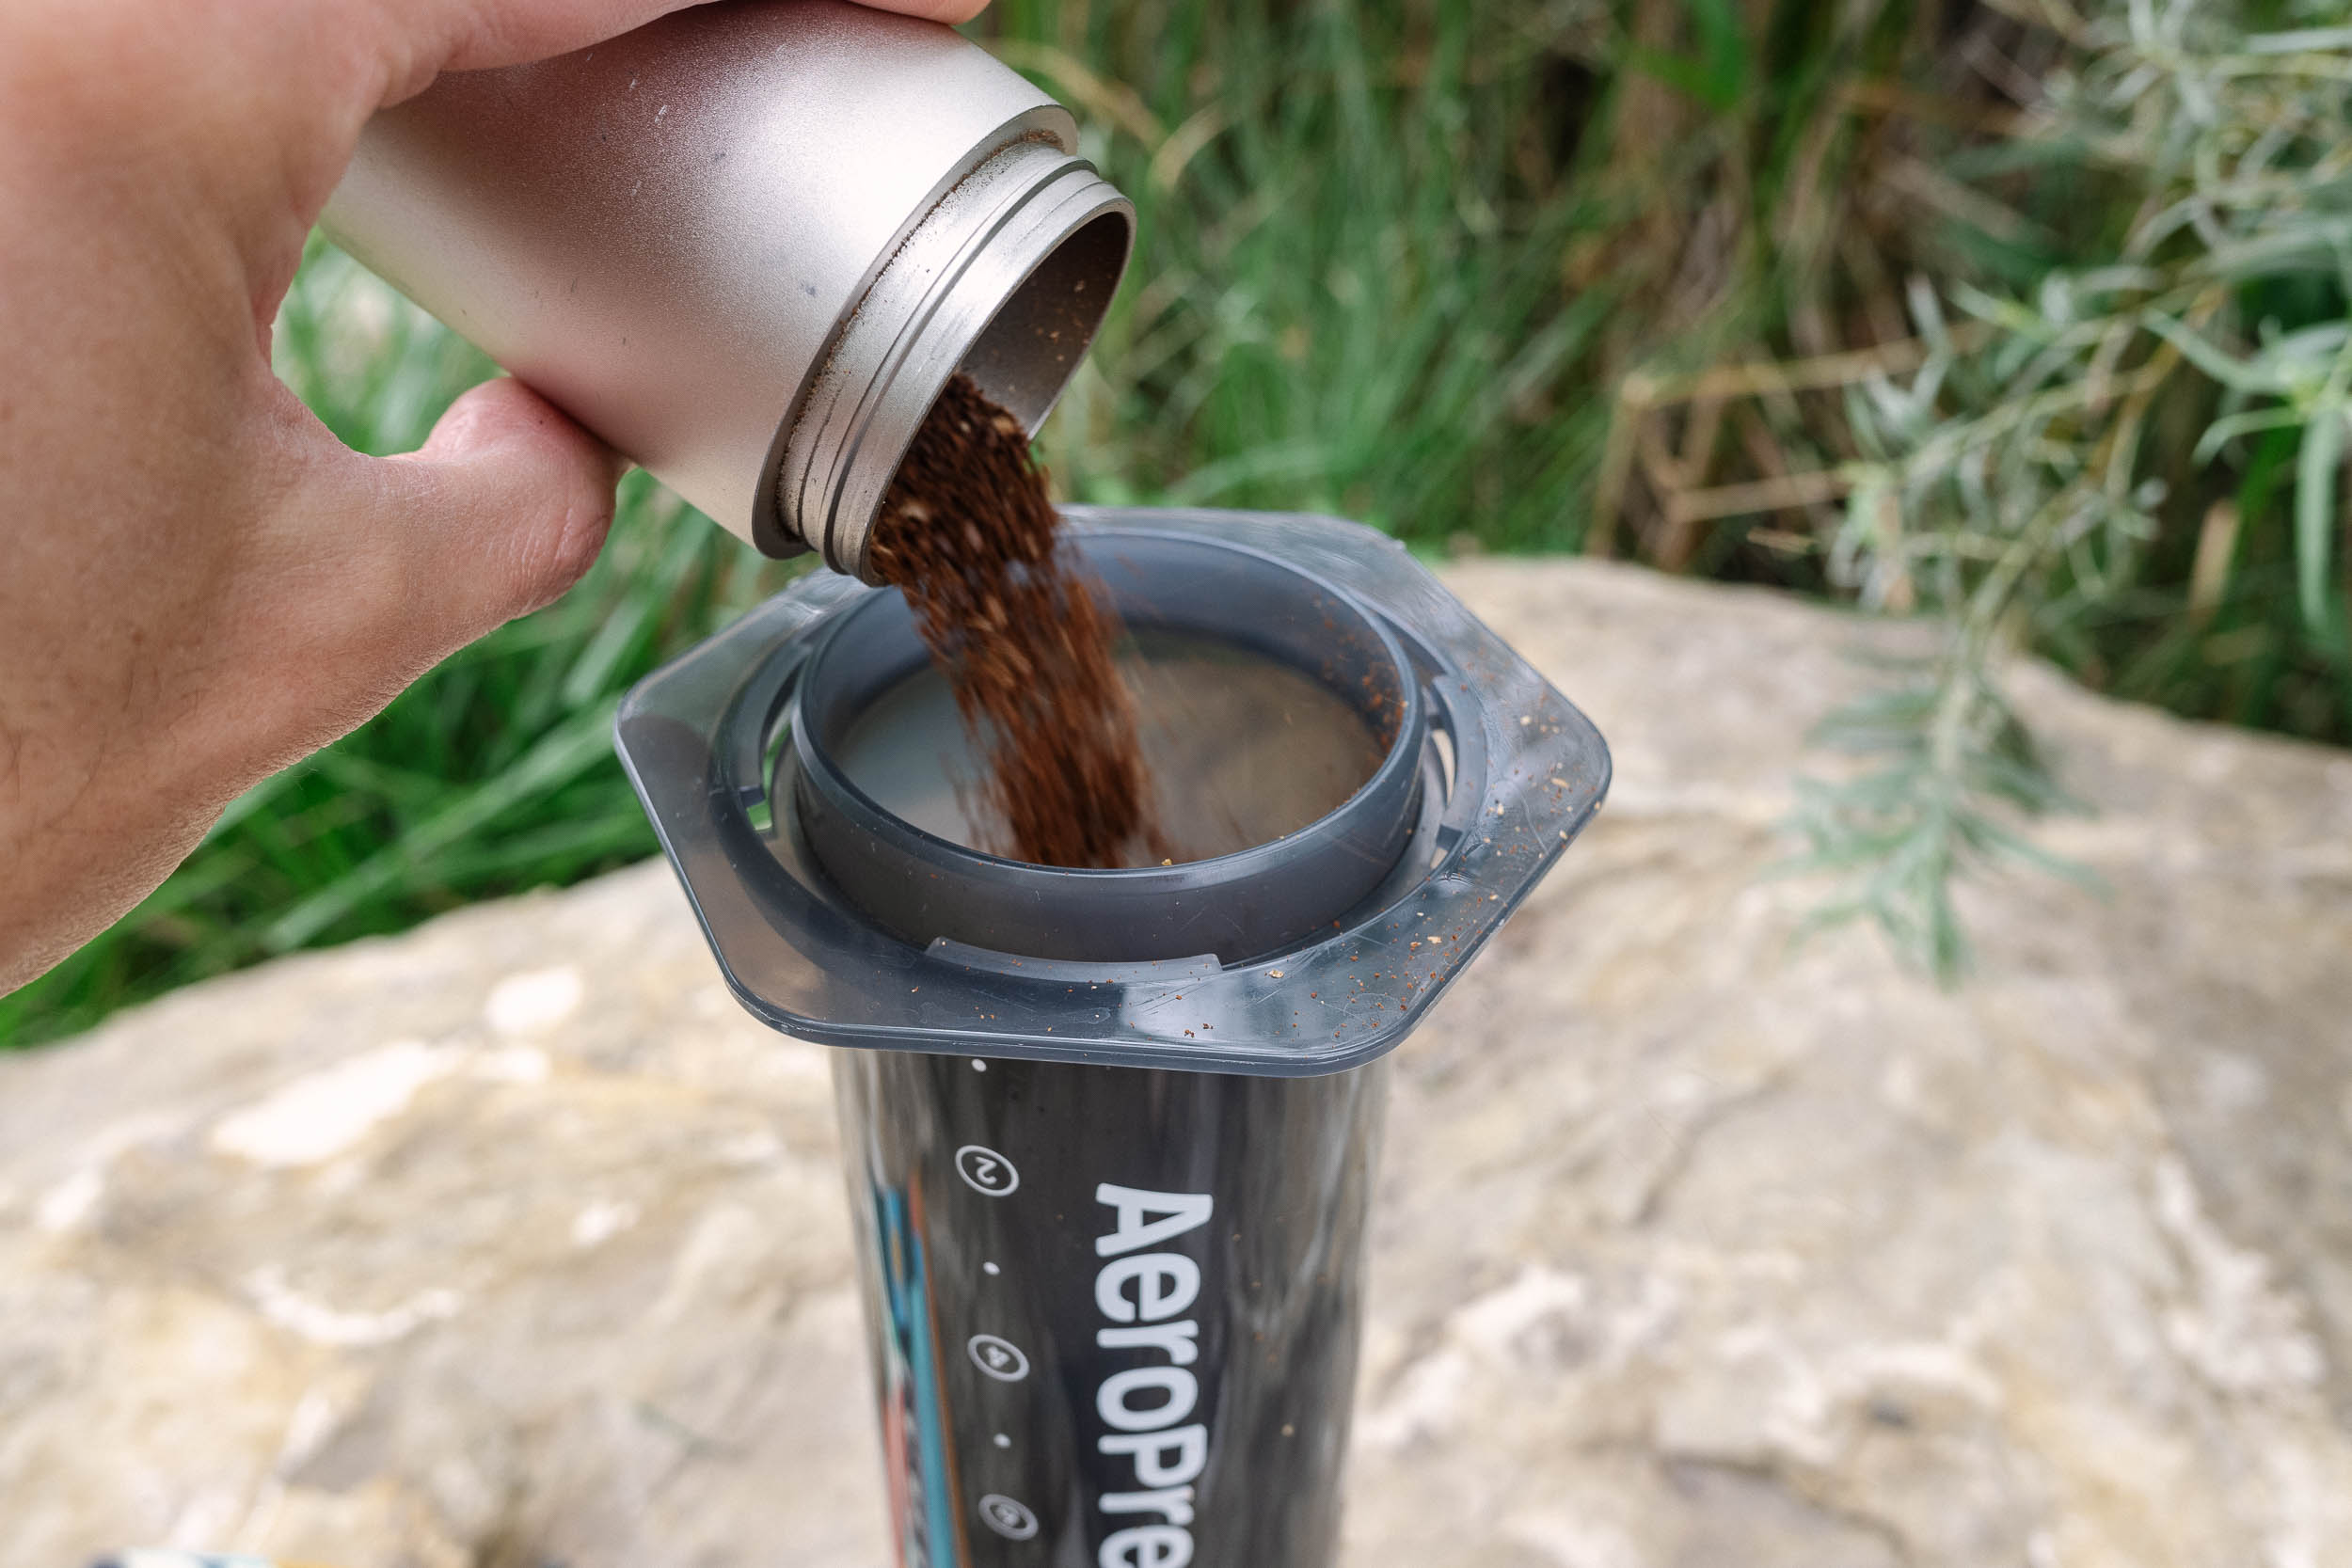
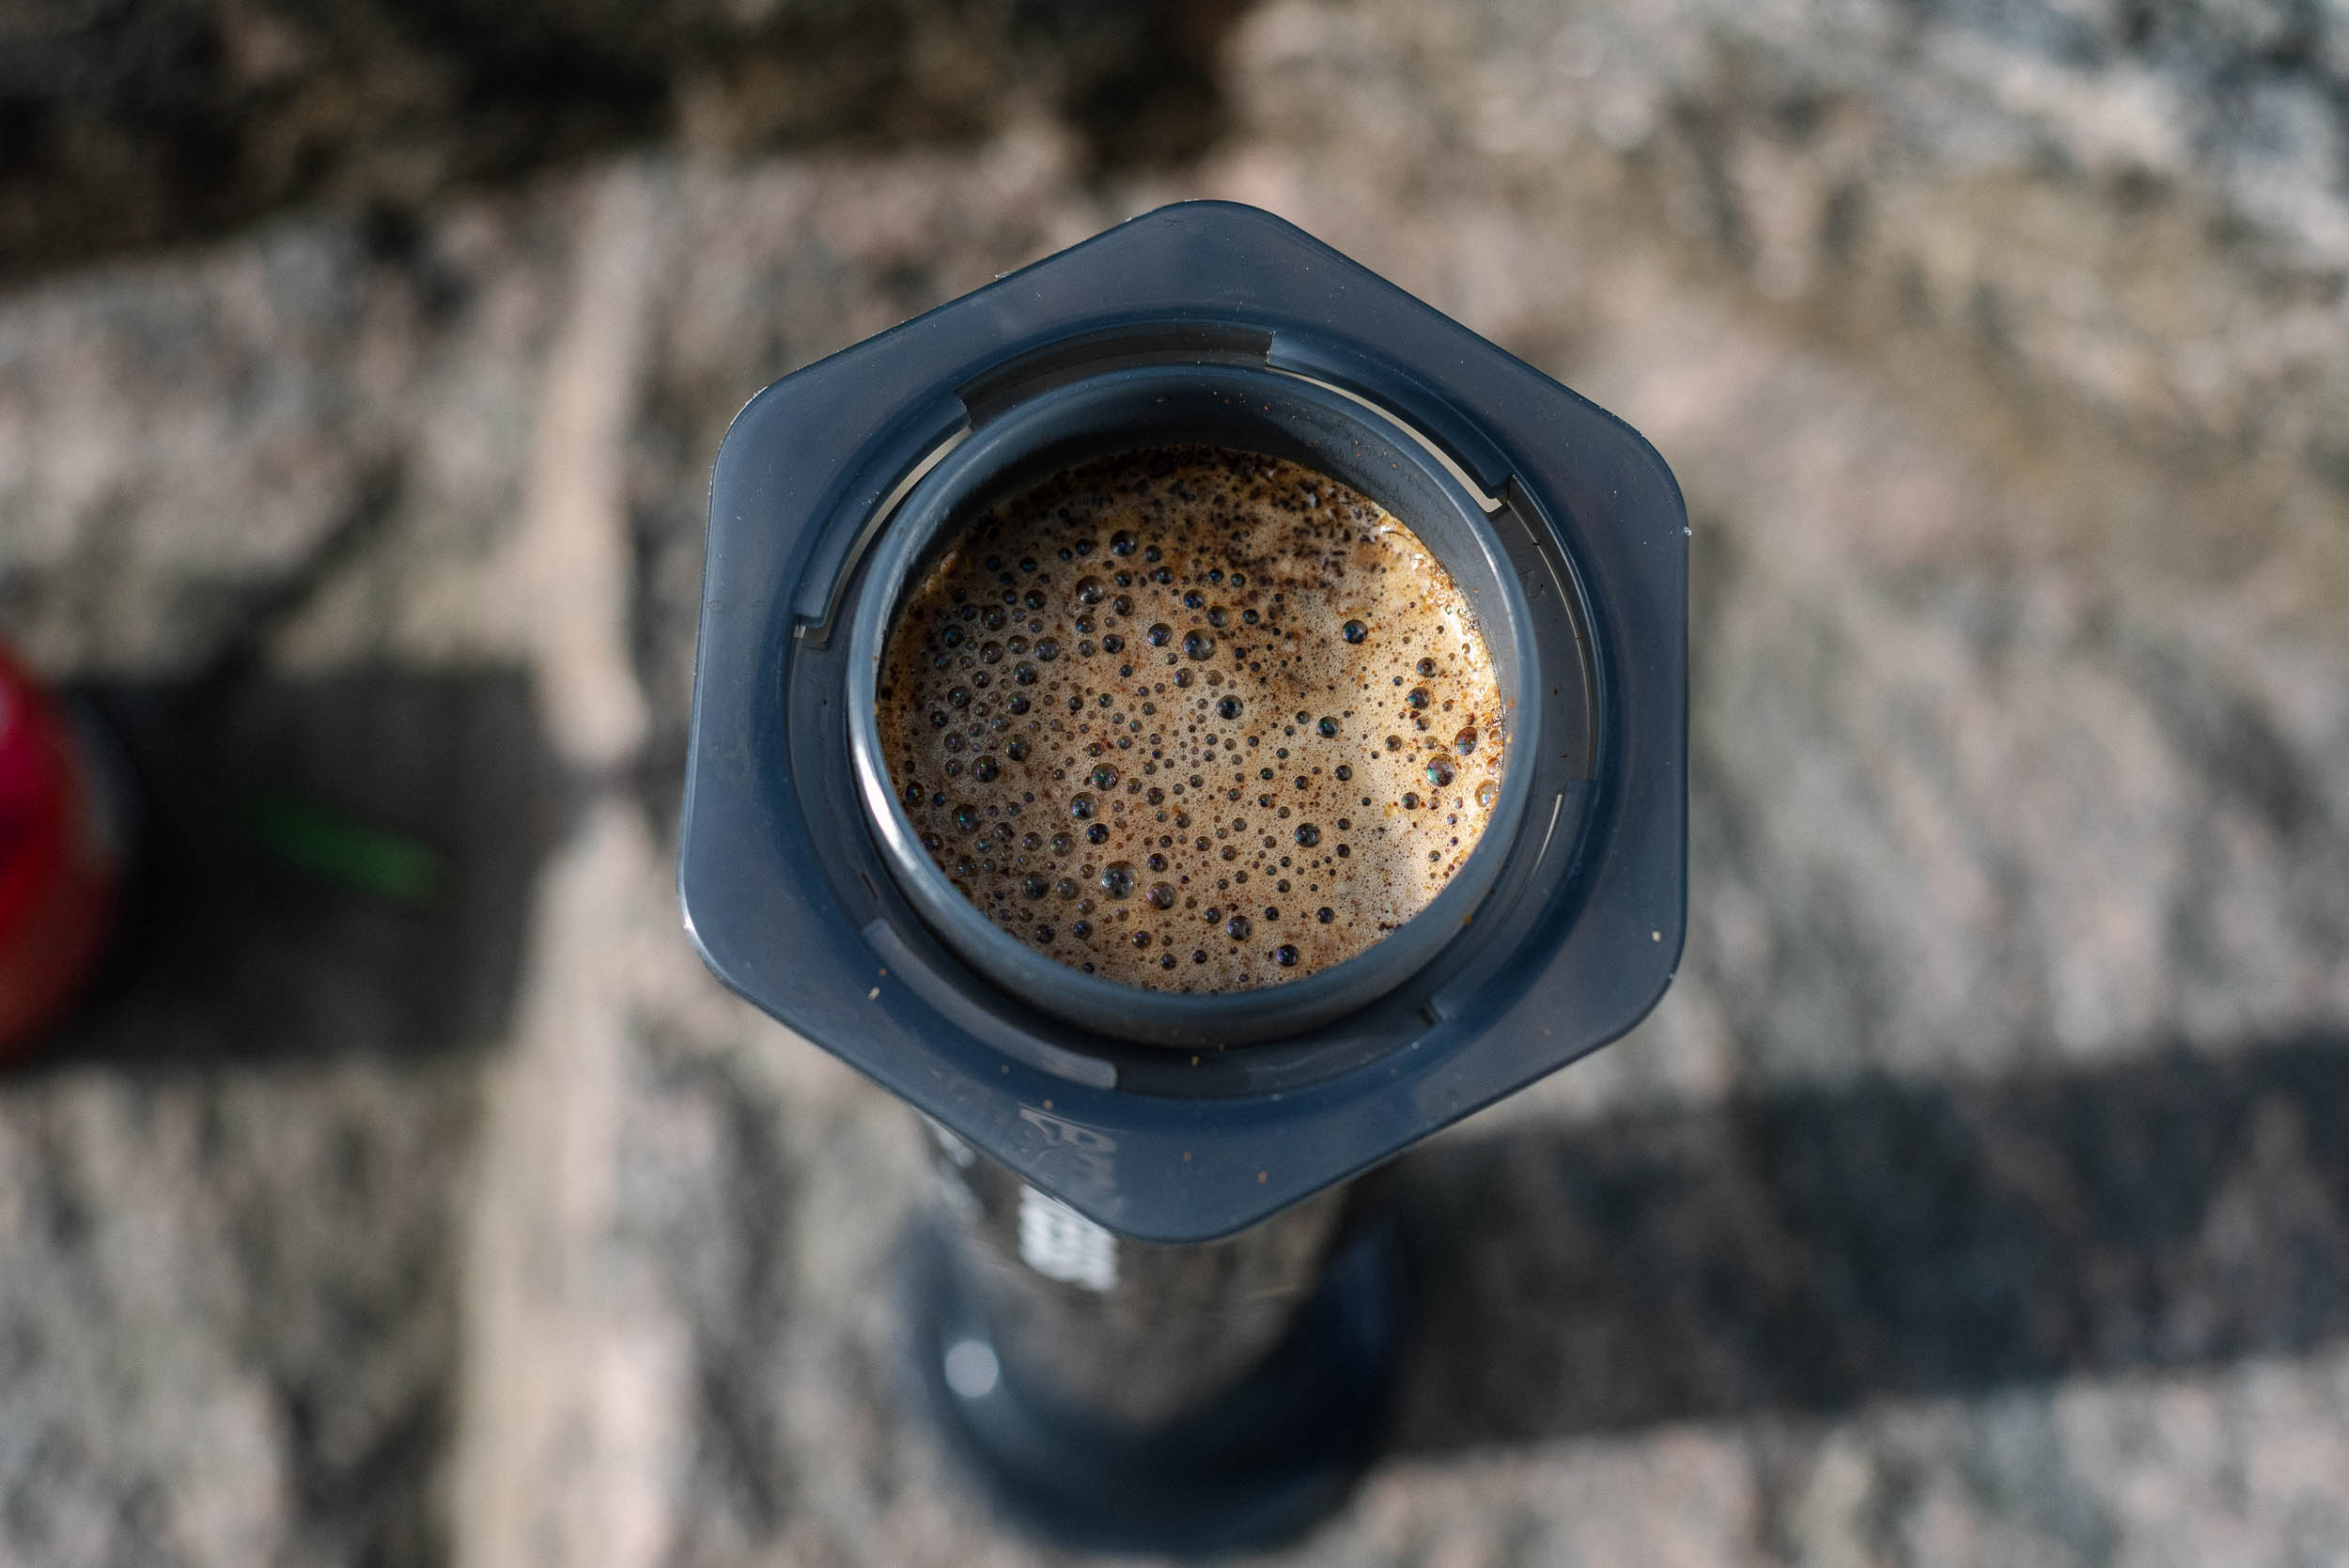
If it sounds like I’m being overly critical or nitpicky about the AeroPress XL, let’s not forget that its end product is a bountiful cup of delightful coffee with minimal time and effort. Nothing seems to be lost in scaling up the amount of beans and water used from my AeroPress Original recipe, which uses a 15:1 ratio of water and coffee. For the AeroPress XL, I grind 30 grams of coffee (medium), pour 450 grams of 185°F (85°C) water over top, stir gently early on to get everything mixed, and press after two minutes.
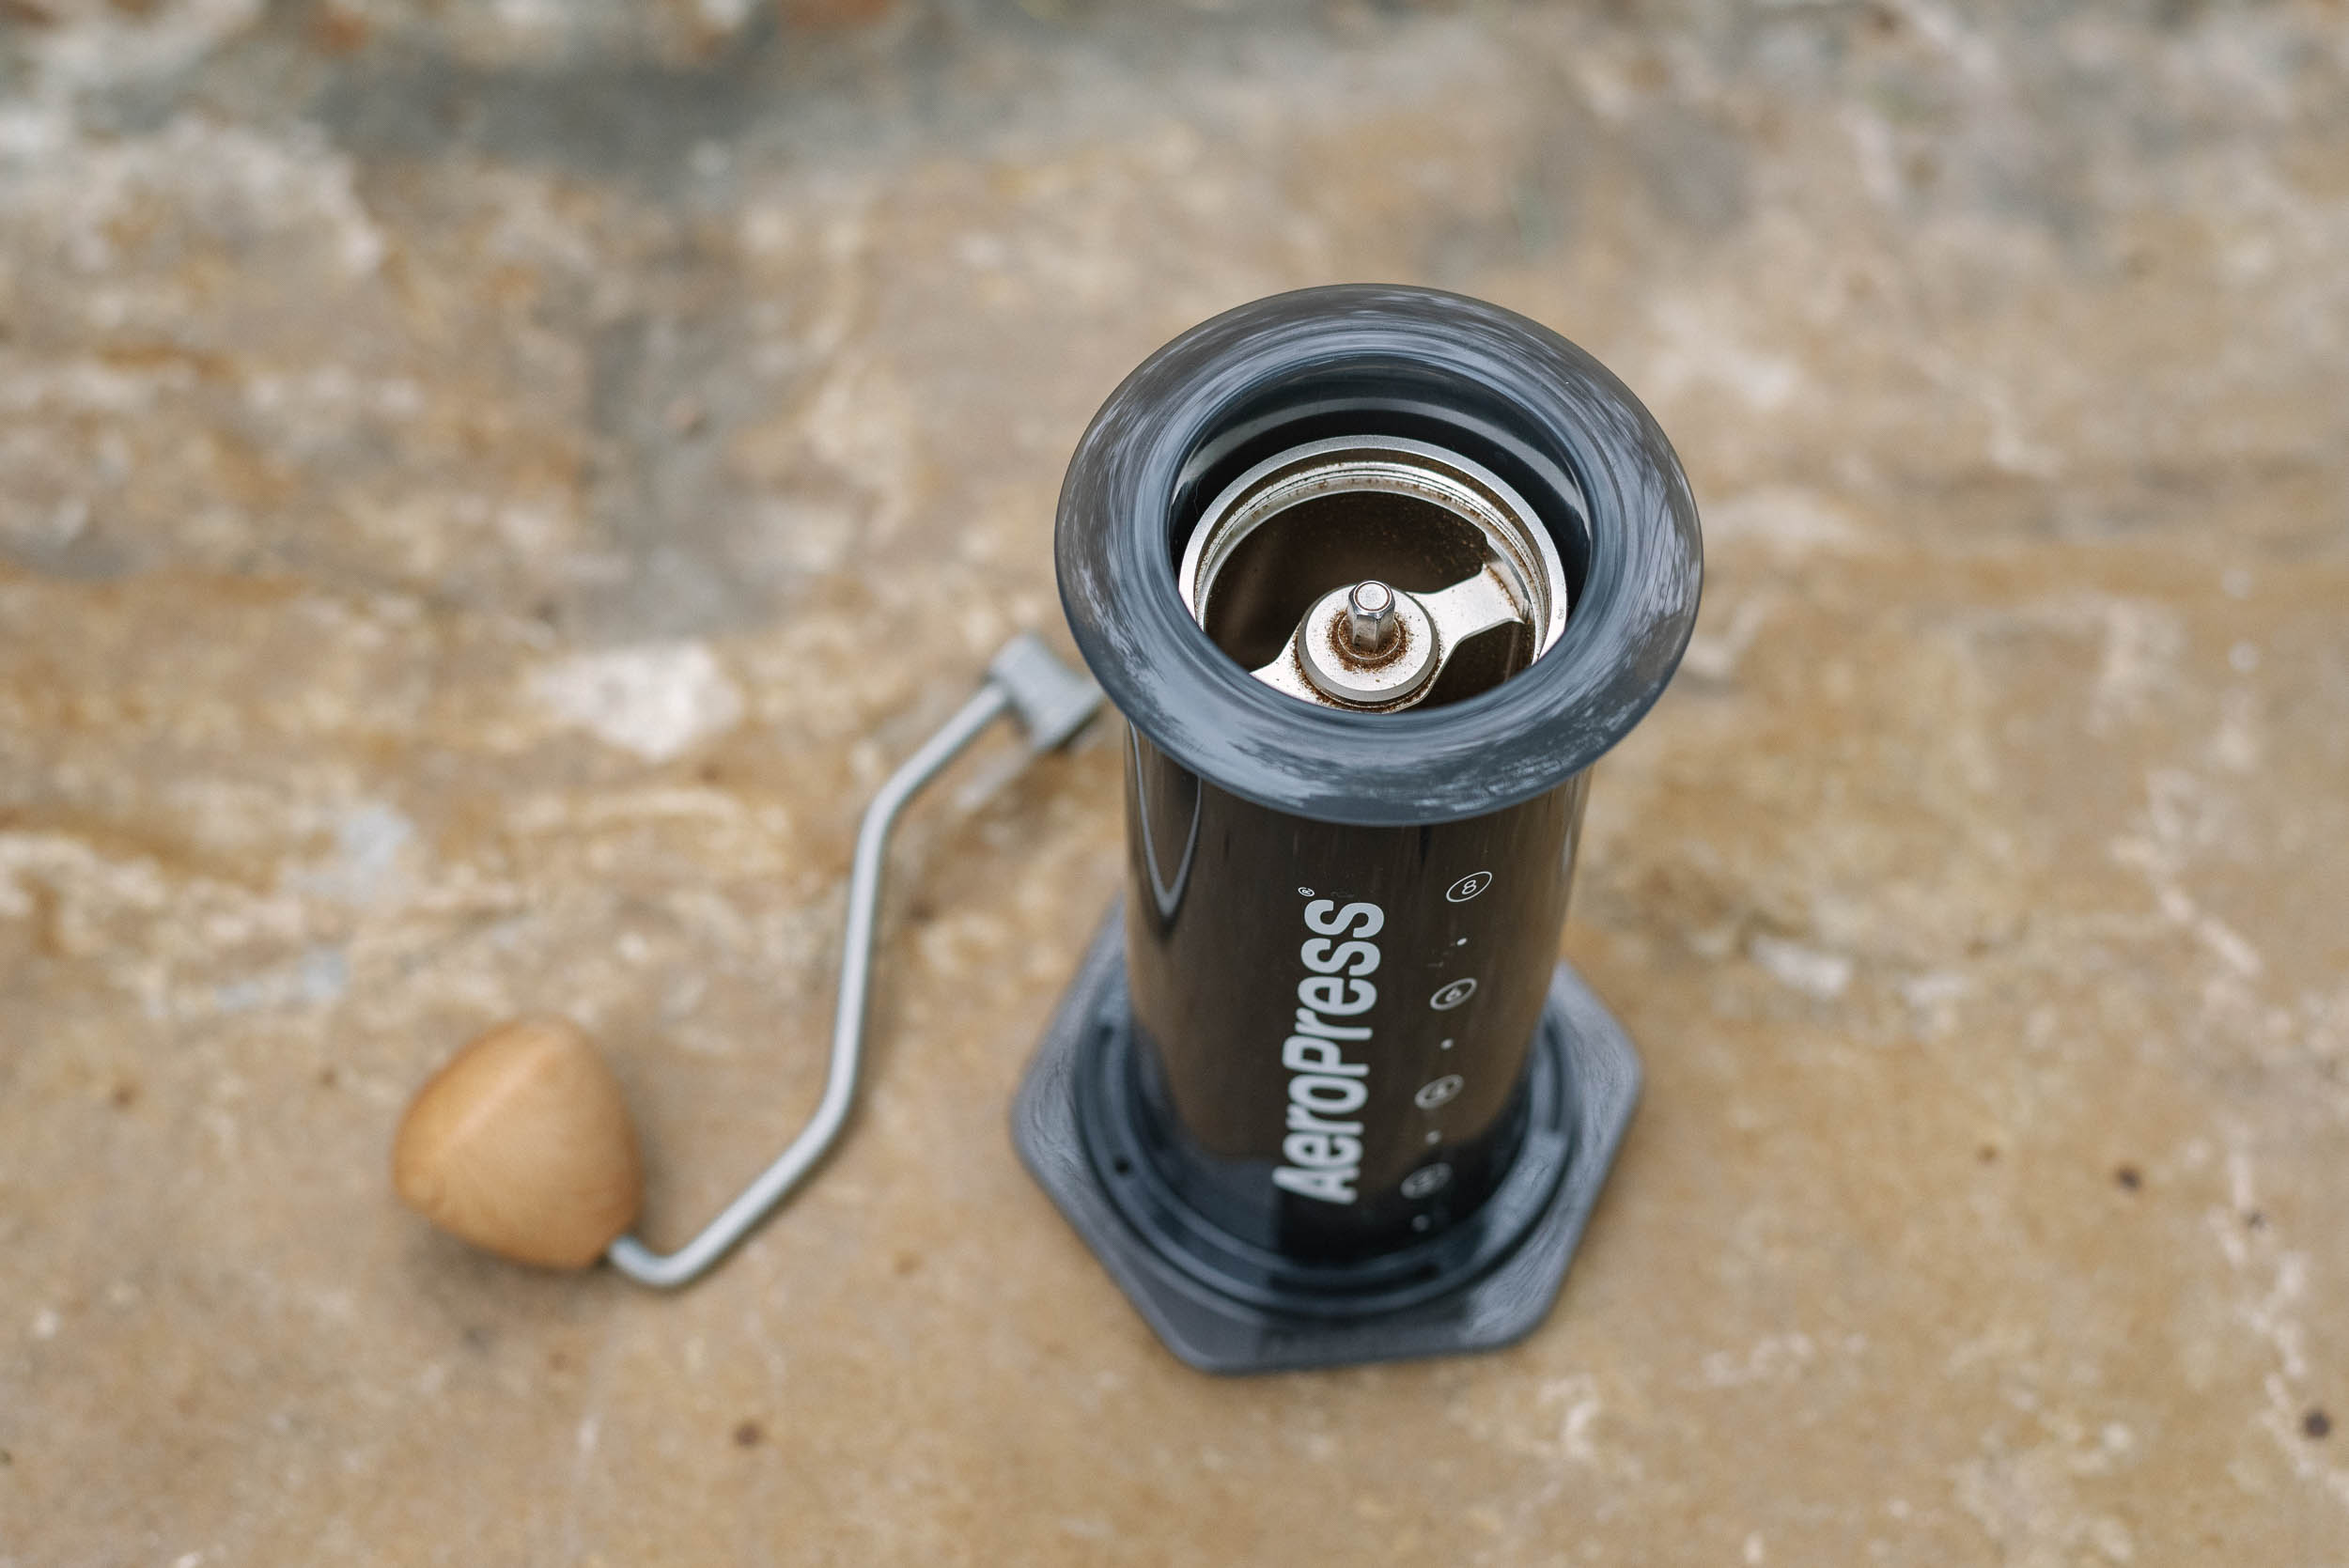
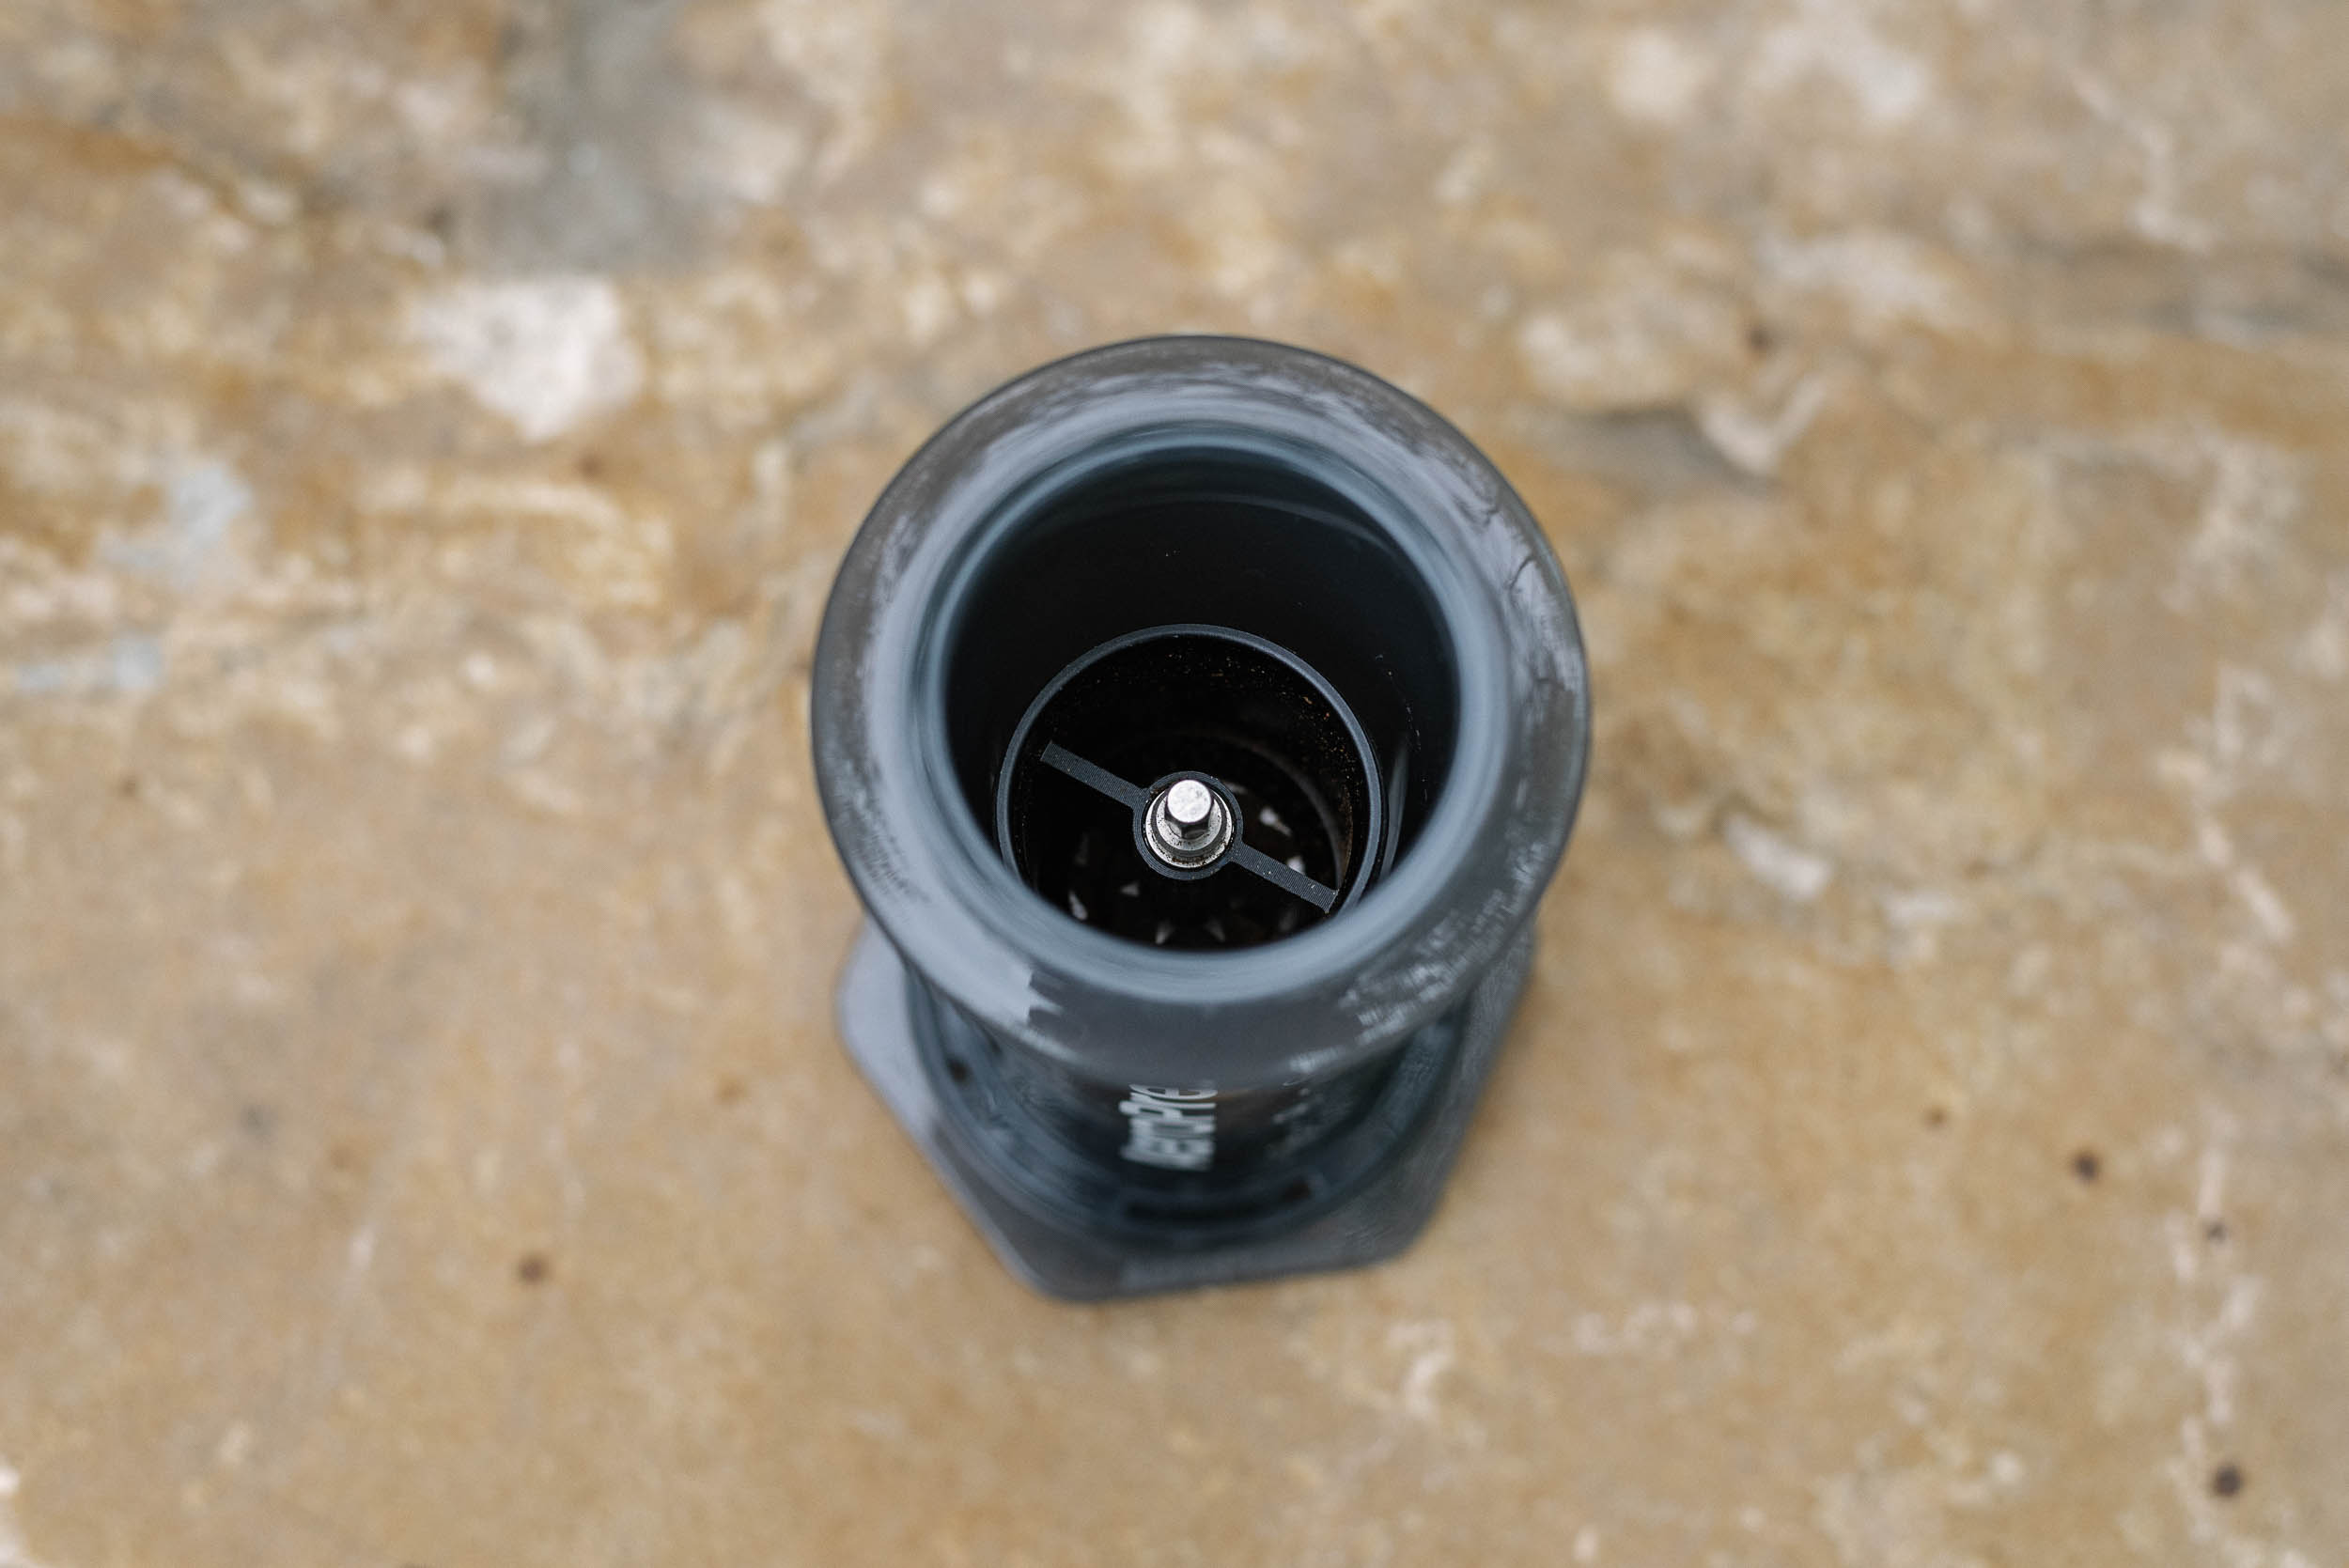
Impractical as the AeroPress XL’s size may be for solo bike travel, especially when considering the need for the carafe, I appreciate that my coffee grinders nest easily inside. Even my sizable home hand grinder, the 1Zpresso JX, fits comfortably, which is not the case with any other version of the AeroPress. My usual travel grinder, the Wacaco Exagrind (my review of the tiny Wacaco Picopresso espresso maker is also linked below) fits inside with plenty of room to spare for some beans or other small items. Unfortunately, the travel-friendly Wacaco Exagrind can’t hold a full 30-gram dose of coffee at once, so I have to grind 20 grams and then another 10 to fit into the AeroPress XL, making the process a little less streamlined.
Once your coffee is brewed, popping out the massive puck is as satisfying as you might imagine, and rinsing up is as easy as ever. As with the AeroPress Original, all it takes is a quick rise to get it clean (PSA: Don’t forget to occasionally remove and wash the plunger’s rubber end cap!). After a quick wipe, you can nest everything together and pack it away. It feels nearly indestructible too, making it travel far better than other popular brewers such as the porcelain Hario V60 or glass Chemex.
Which AeroPress is for Me?
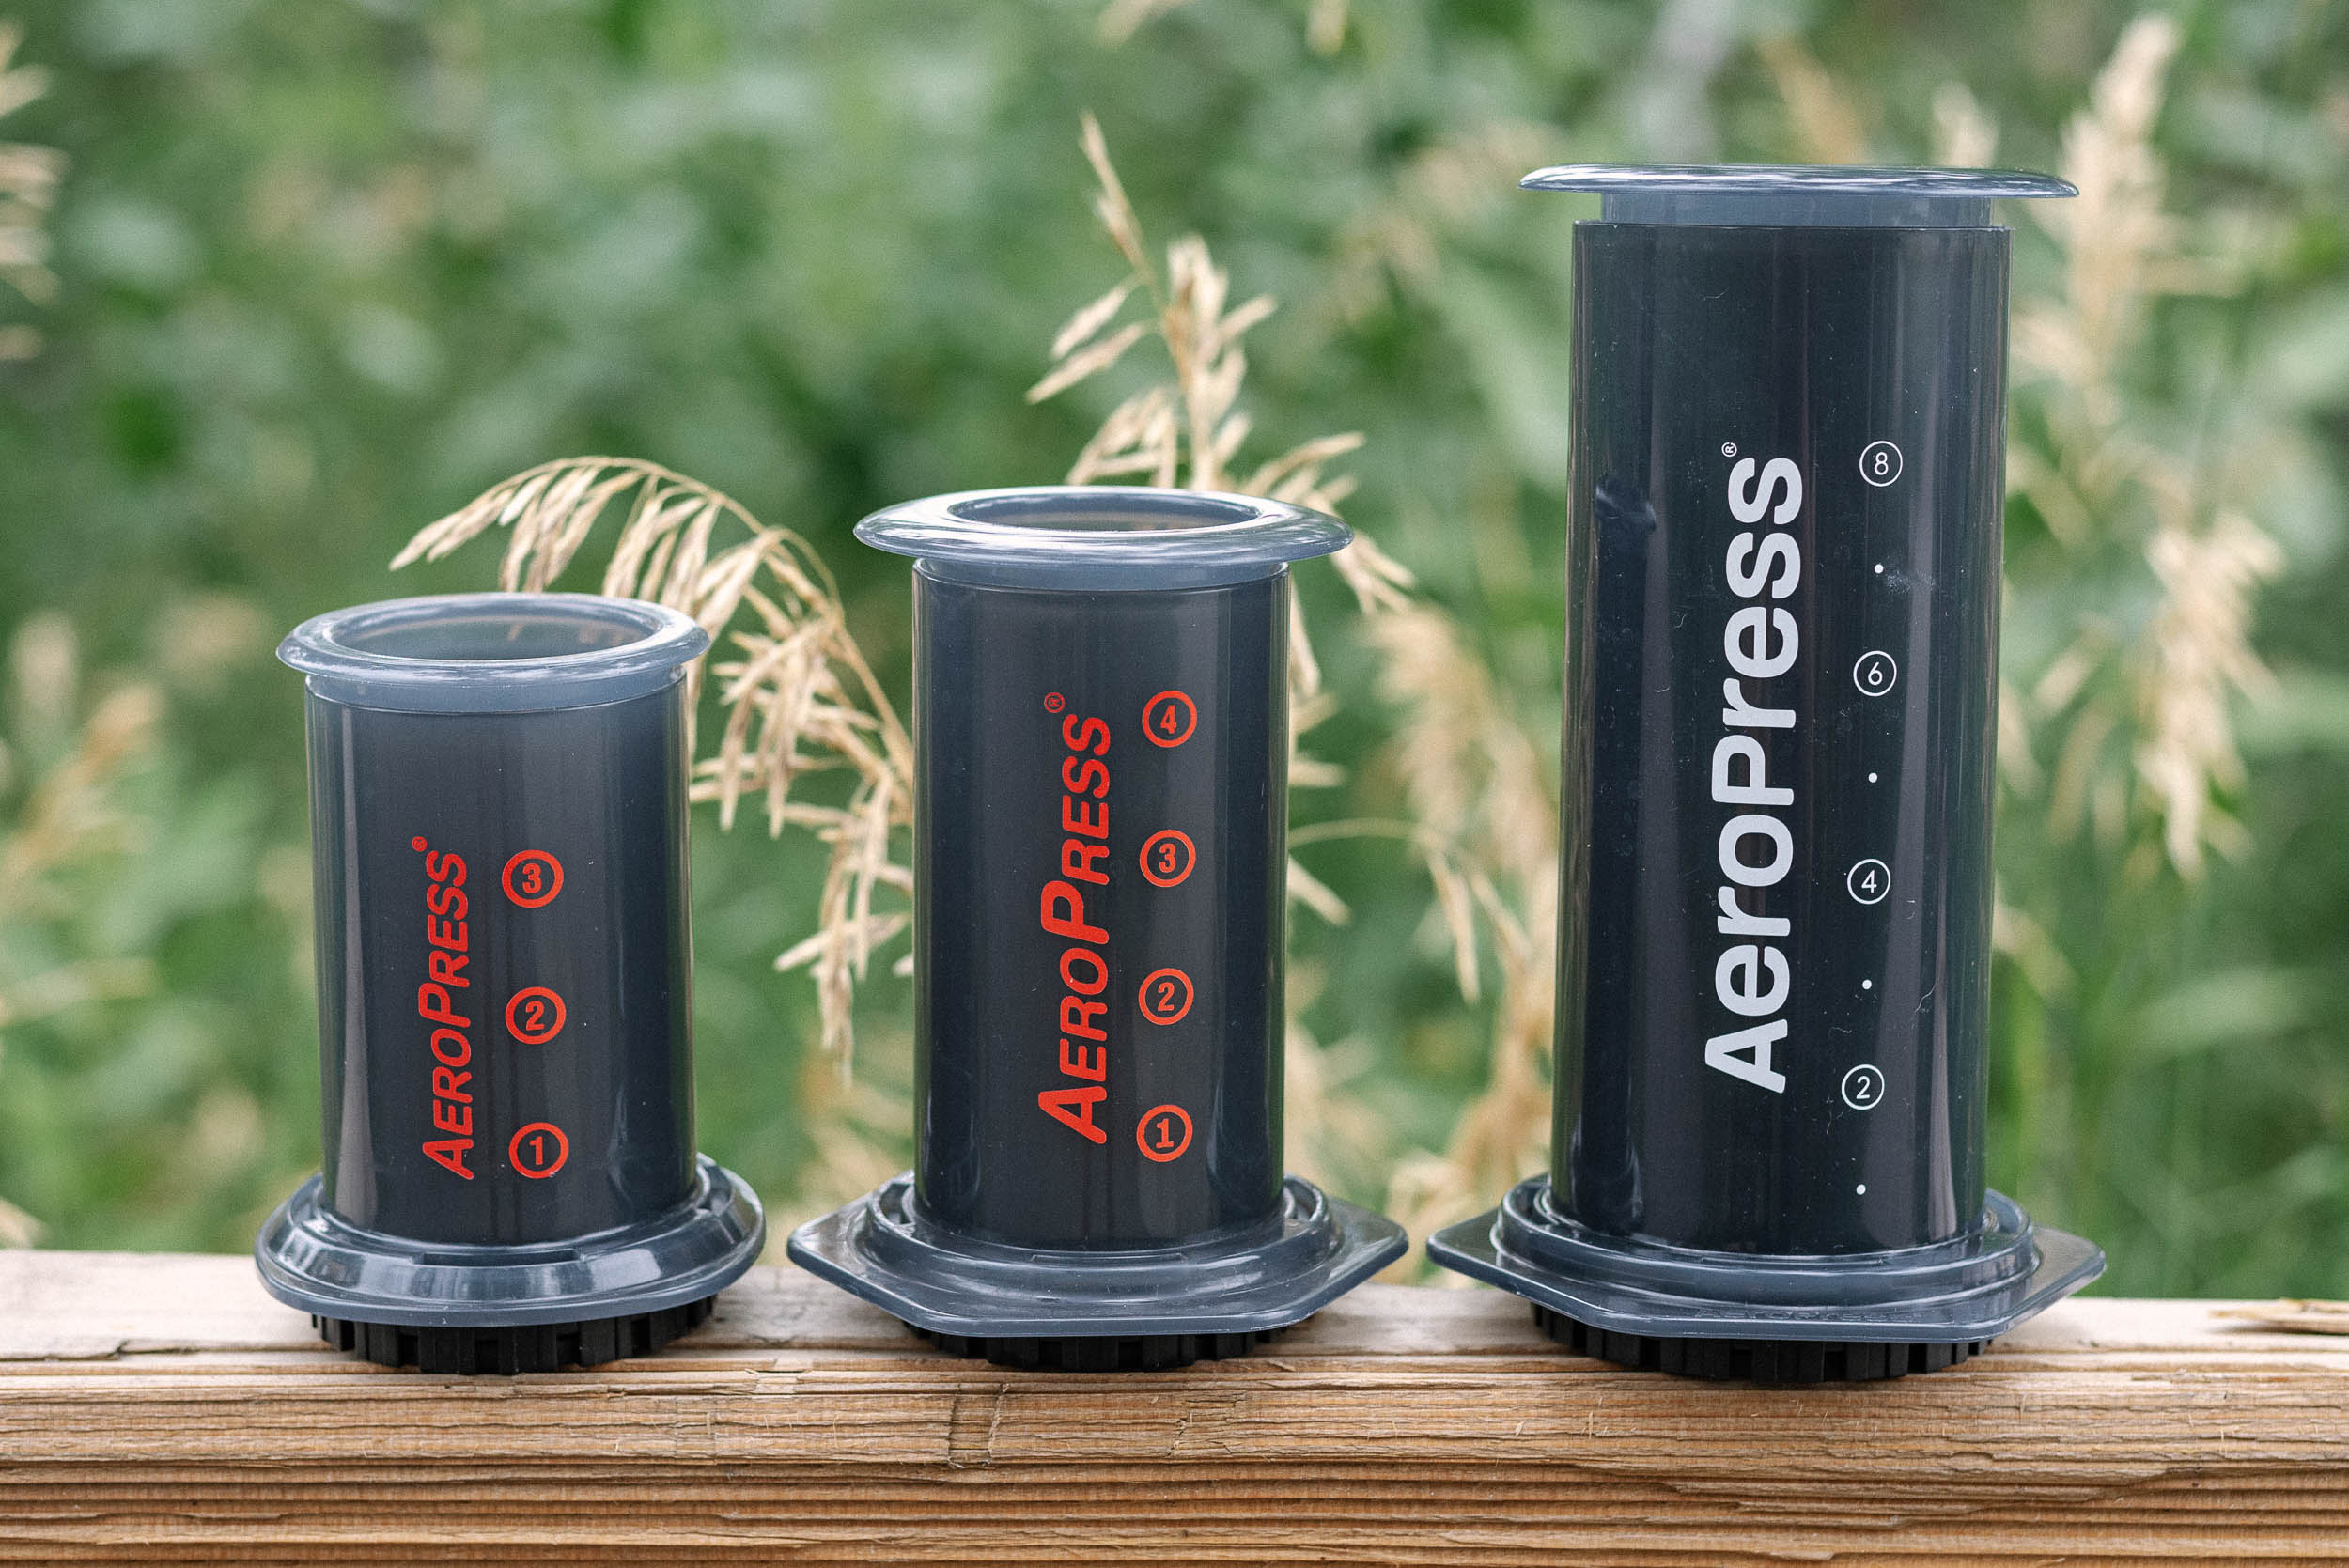
The introduction of the AeroPress XL simplifies the process of figuring out who each version is for, and having now brewed thousands of cups among the three brewers, I think I can make pretty clear recommendations.
From the top, it’s worth mentioning that no AeroPress provides the most compact way to make coffee on the go. There are smaller and more packable devices, and if size and weight are essential considerations and you need coffee to get started in the morning while bikepacking and camping, instant coffee is probably the way to go. There are some shockingly good options these days.
For folks who enjoy the ritual of brewing coffee and are committed to the AeroPress, here’s my advice. If you’ll be using the AeroPress primarily while bikepacking and making coffee only for yourself, get the Go. If you see yourself using an AeroPress mostly at home and sometimes while riding and generally only want to make a single cup, get the Original. And, if you’ll be brewing at home and need more than a small cup to get you going or typically make coffee for yourself and a partner while bikepacking, can’t be bothered to boil water twice to make two coffees, and have the space in your bags, consider the XL. With the right mugs, you can ditch the carafe and just press half of the coffee into each. I’d also recommend the AeroPress XL if you’re a regular at coffee outside meetups and want to be the hero for anyone who forgot something and can’t make their own coffee, as I tend to do.
My overall pick for the best and most versatile model is still the $40 AeroPress Original, and it’s the one I’d keep if I could only have one. I like the Go for solo bikepacking, but the slightly increased capacity of the Original is worth it for me. Rounding out this section, I should note that there’s always the option to make a highly concentrated brew in the AeroPress (as it was originally designed) that you can dilute with water to stretch into an Americano-style coffee, but I prefer to brew a full-strength cup. Conceivably, you could use the little AeroPress Go to brew a super strong coffee that could be distributed into multiple mugs and then mixed with water for more volume if it’s to your taste, saving a great deal of space.
- Material: BPA-free plastic
- Dimensions: 4” x 10” (10cm x 25.4cm)
- Brewing capacity: 20 ounces (590 milliliters)
- Place of Manufacture: USA
- Price: $69.95 USD at REI
- Manufacturer’s Details: AeroPress.com
Pros
- Still makes the same great AeroPress coffee
- Double cup saves time and effort
- Durable, travel-friendly build quality
- Easy to clean
Cons
- Bulky dimensions make it tricky to pack
- Pricey compared to other models
- Too wide to fit on top of many mugs
- Introduces new filter standard
Wrap Up
I can’t remember the last time I was as excited about a new coffee gadget as I was about the AeroPress XL, at least until I’d taken it outside and brewed with it. Viewed through a bikepacking lens, my enthusiasm for it was somewhat tempered in light of its trade-offs, but there’s no denying the beauty of seeing my camp mug nearly running over with quality coffee.
Being large enough to lose its “compact” label and a little unwieldy to use on uneven surfaces, the AeroPress XL isn’t an ideal brewer for travel by bike, especially because it’s a tad too wide to fit securely atop many mugs. Perhaps what we really needed was a version that makes a cup and a half to satisfy that craving for just a little more coffee while still maintaining the same versatile, cross-compatible filter dimensions.
At $70, the XL is also more of an investment than the $40 Original and Go models, which are an easy recommendation at their price. For bikepacking and camping, their pros of packability and ease of use will likely outweigh their small-cup con. For home use, where using the carafe isn’t a hindrance and your cupboard is the only place you need to worry about packing it, the AeroPress XL is among the best brewers out there if a single cup won’t do. I’ll continue using mine to prolong my morning coffee experience from the comfort of my kitchen or when meeting up with friends to brew coffee outside, but it probably won’t come along on future bikepacking trips.
Further Reading
Make sure to dig into these related articles for more info...
Please keep the conversation civil, constructive, and inclusive, or your comment will be removed.