


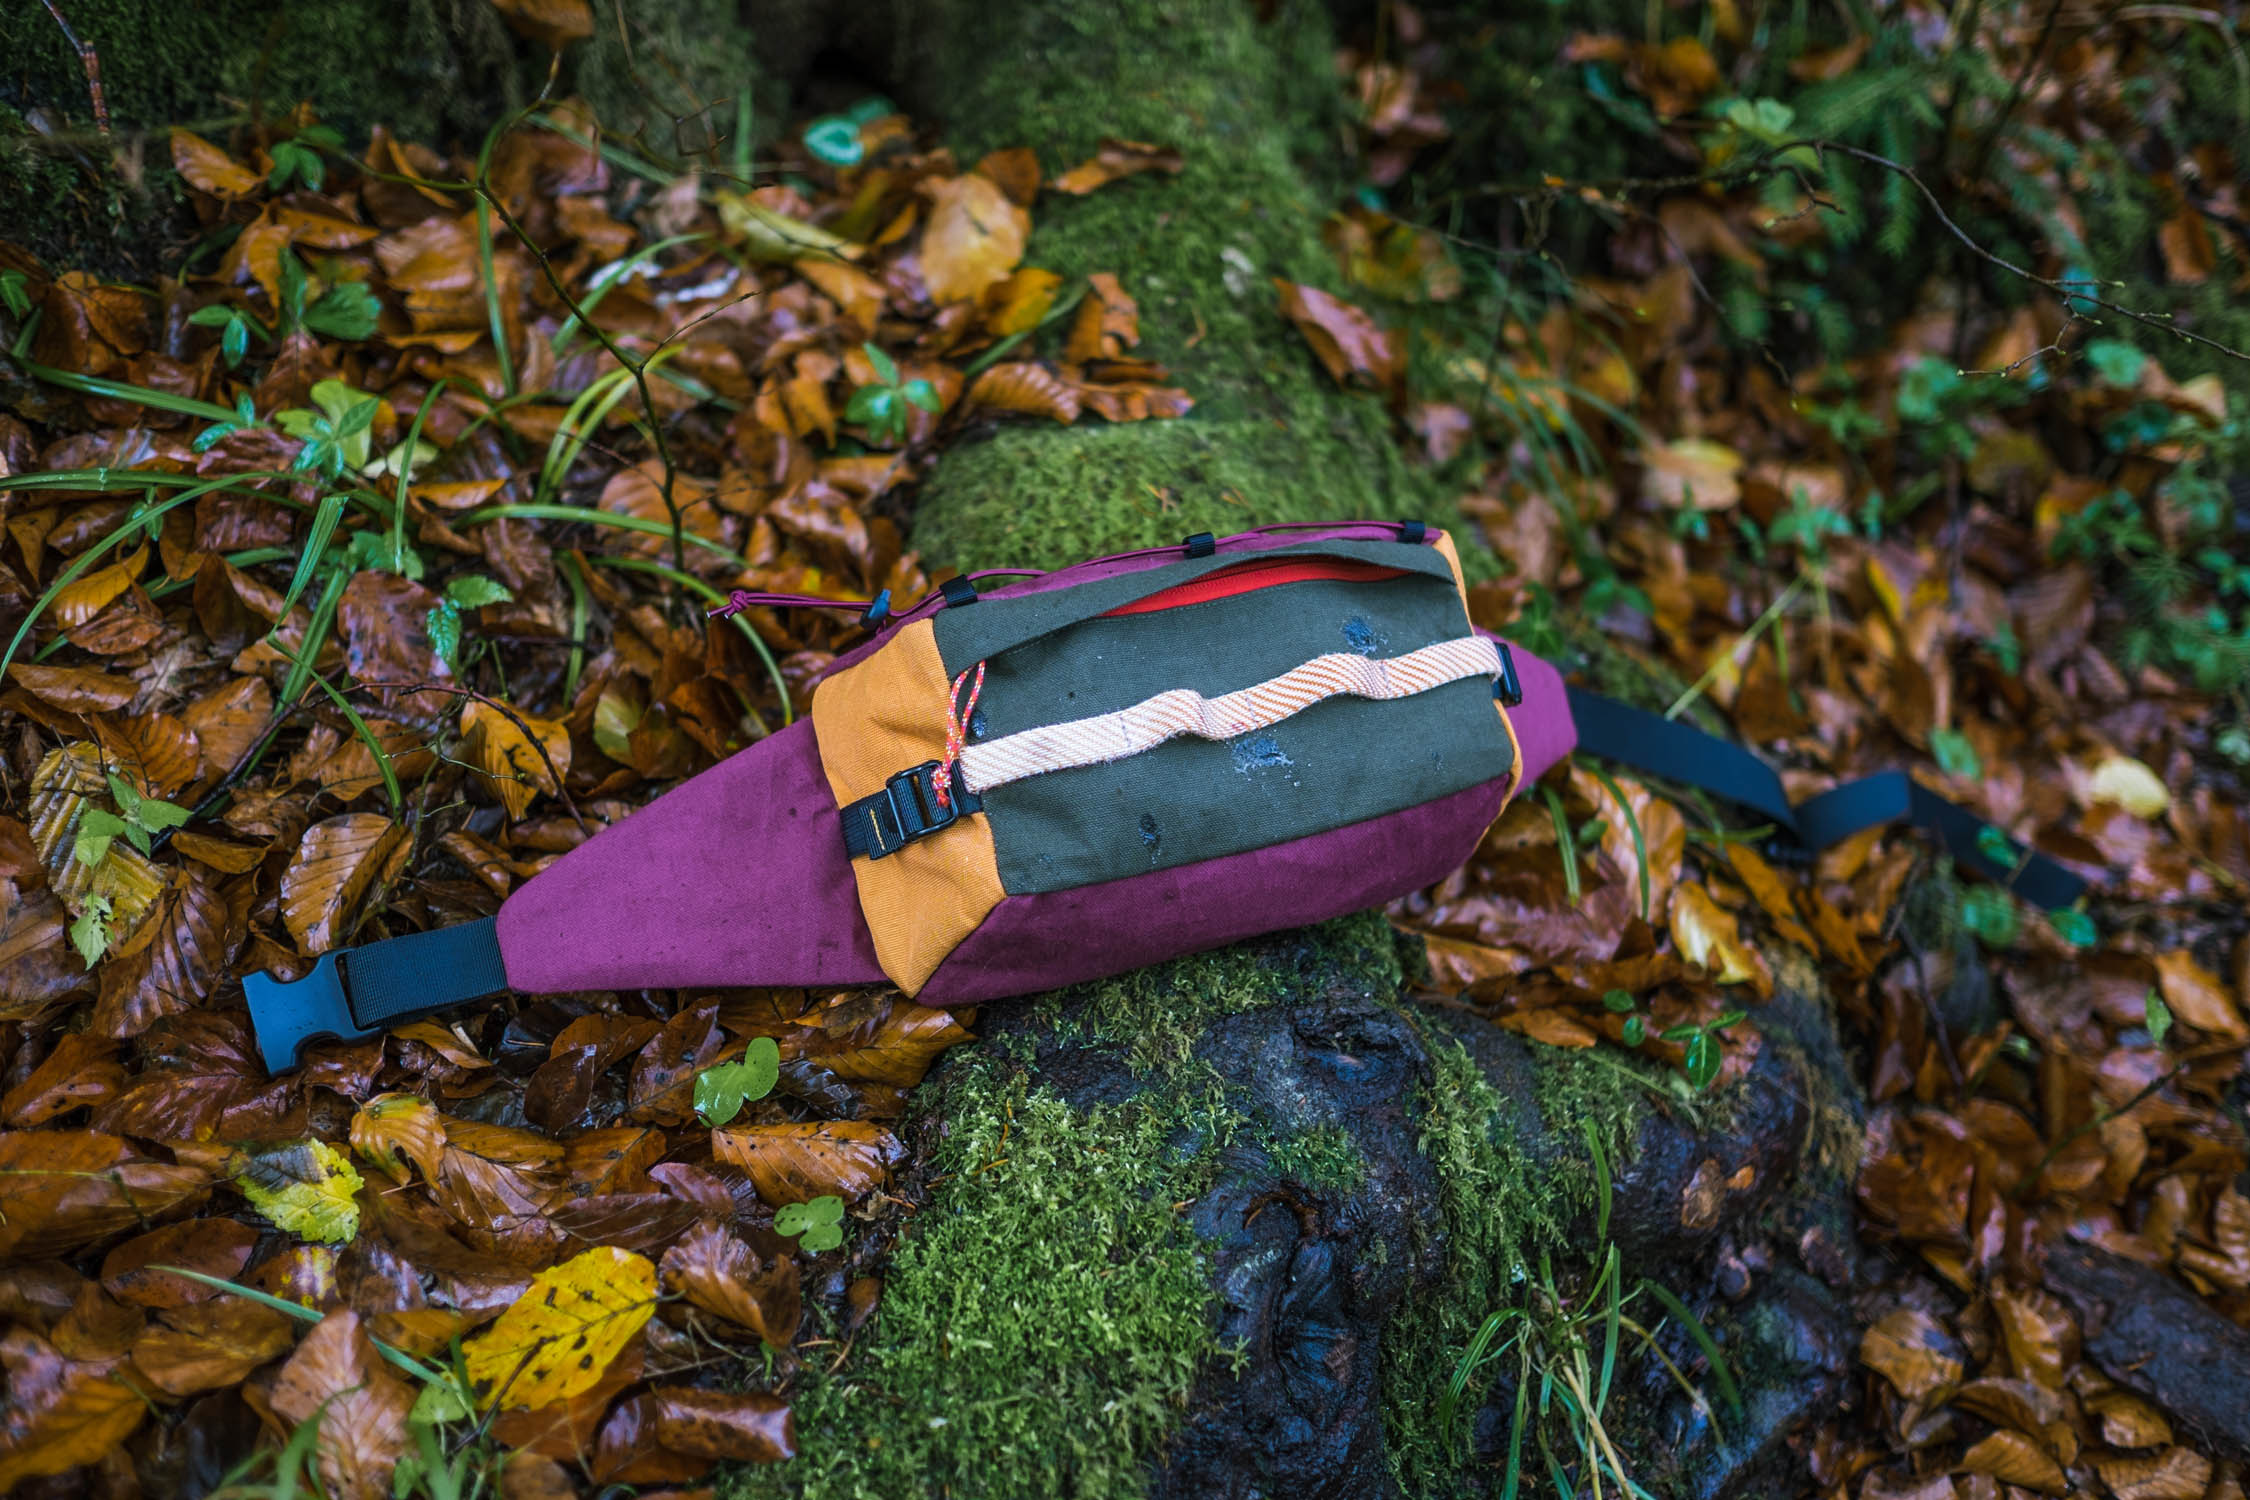
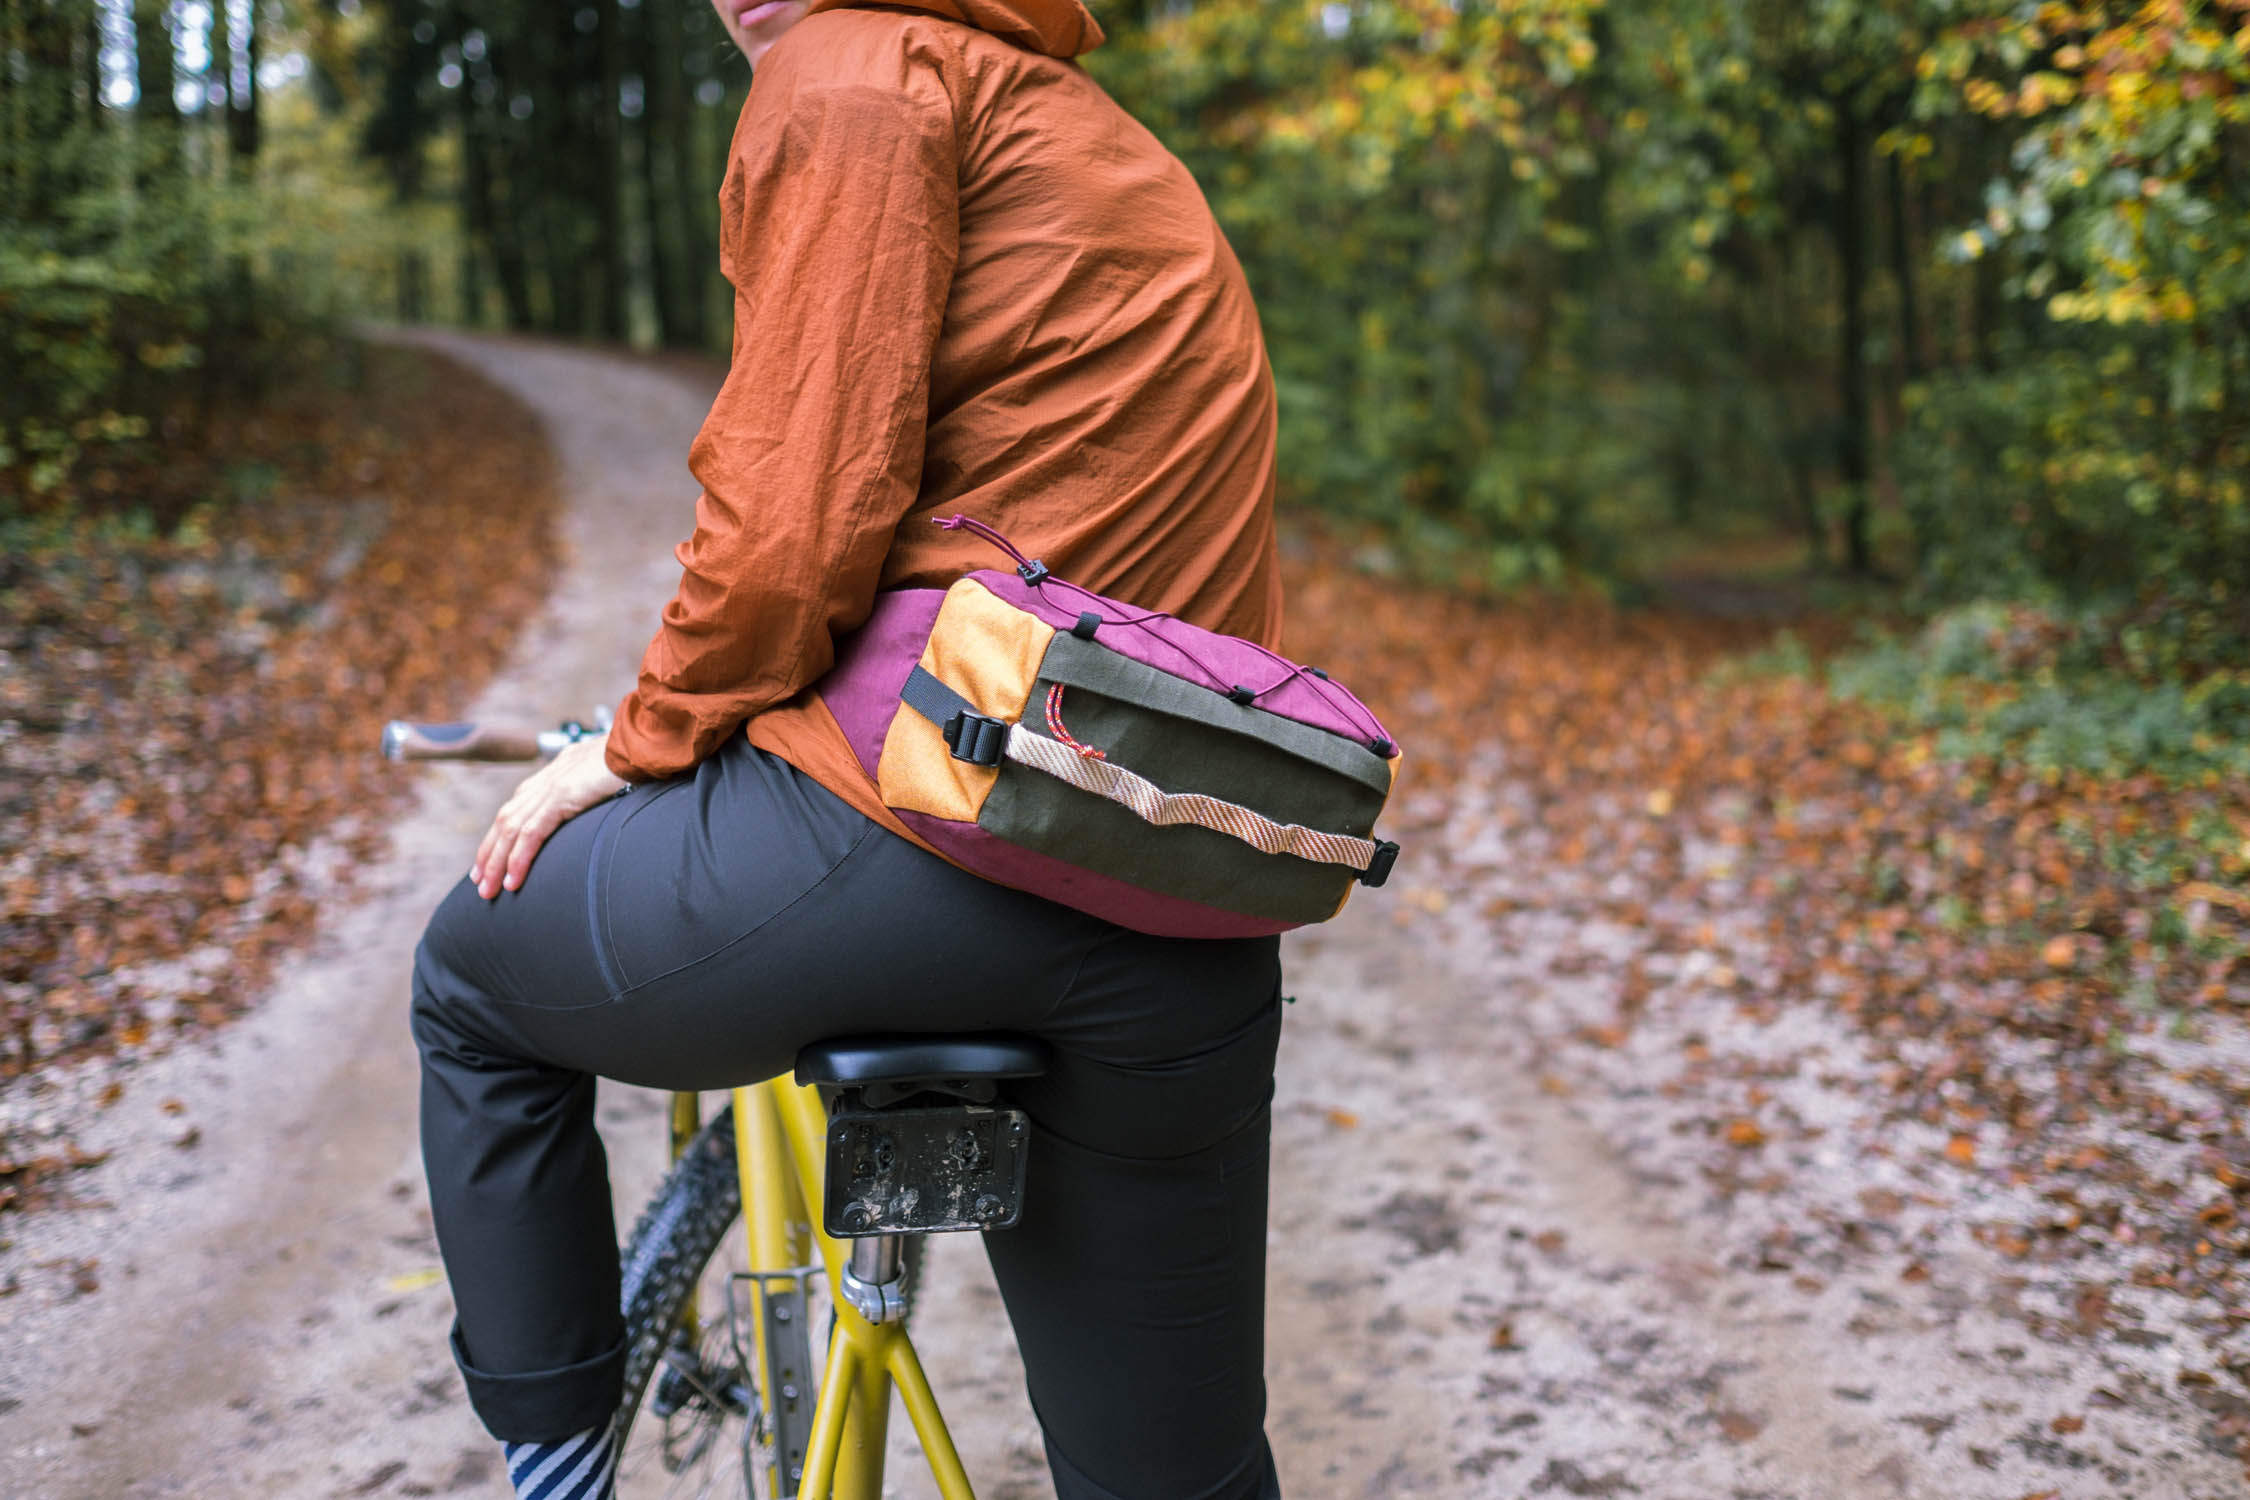
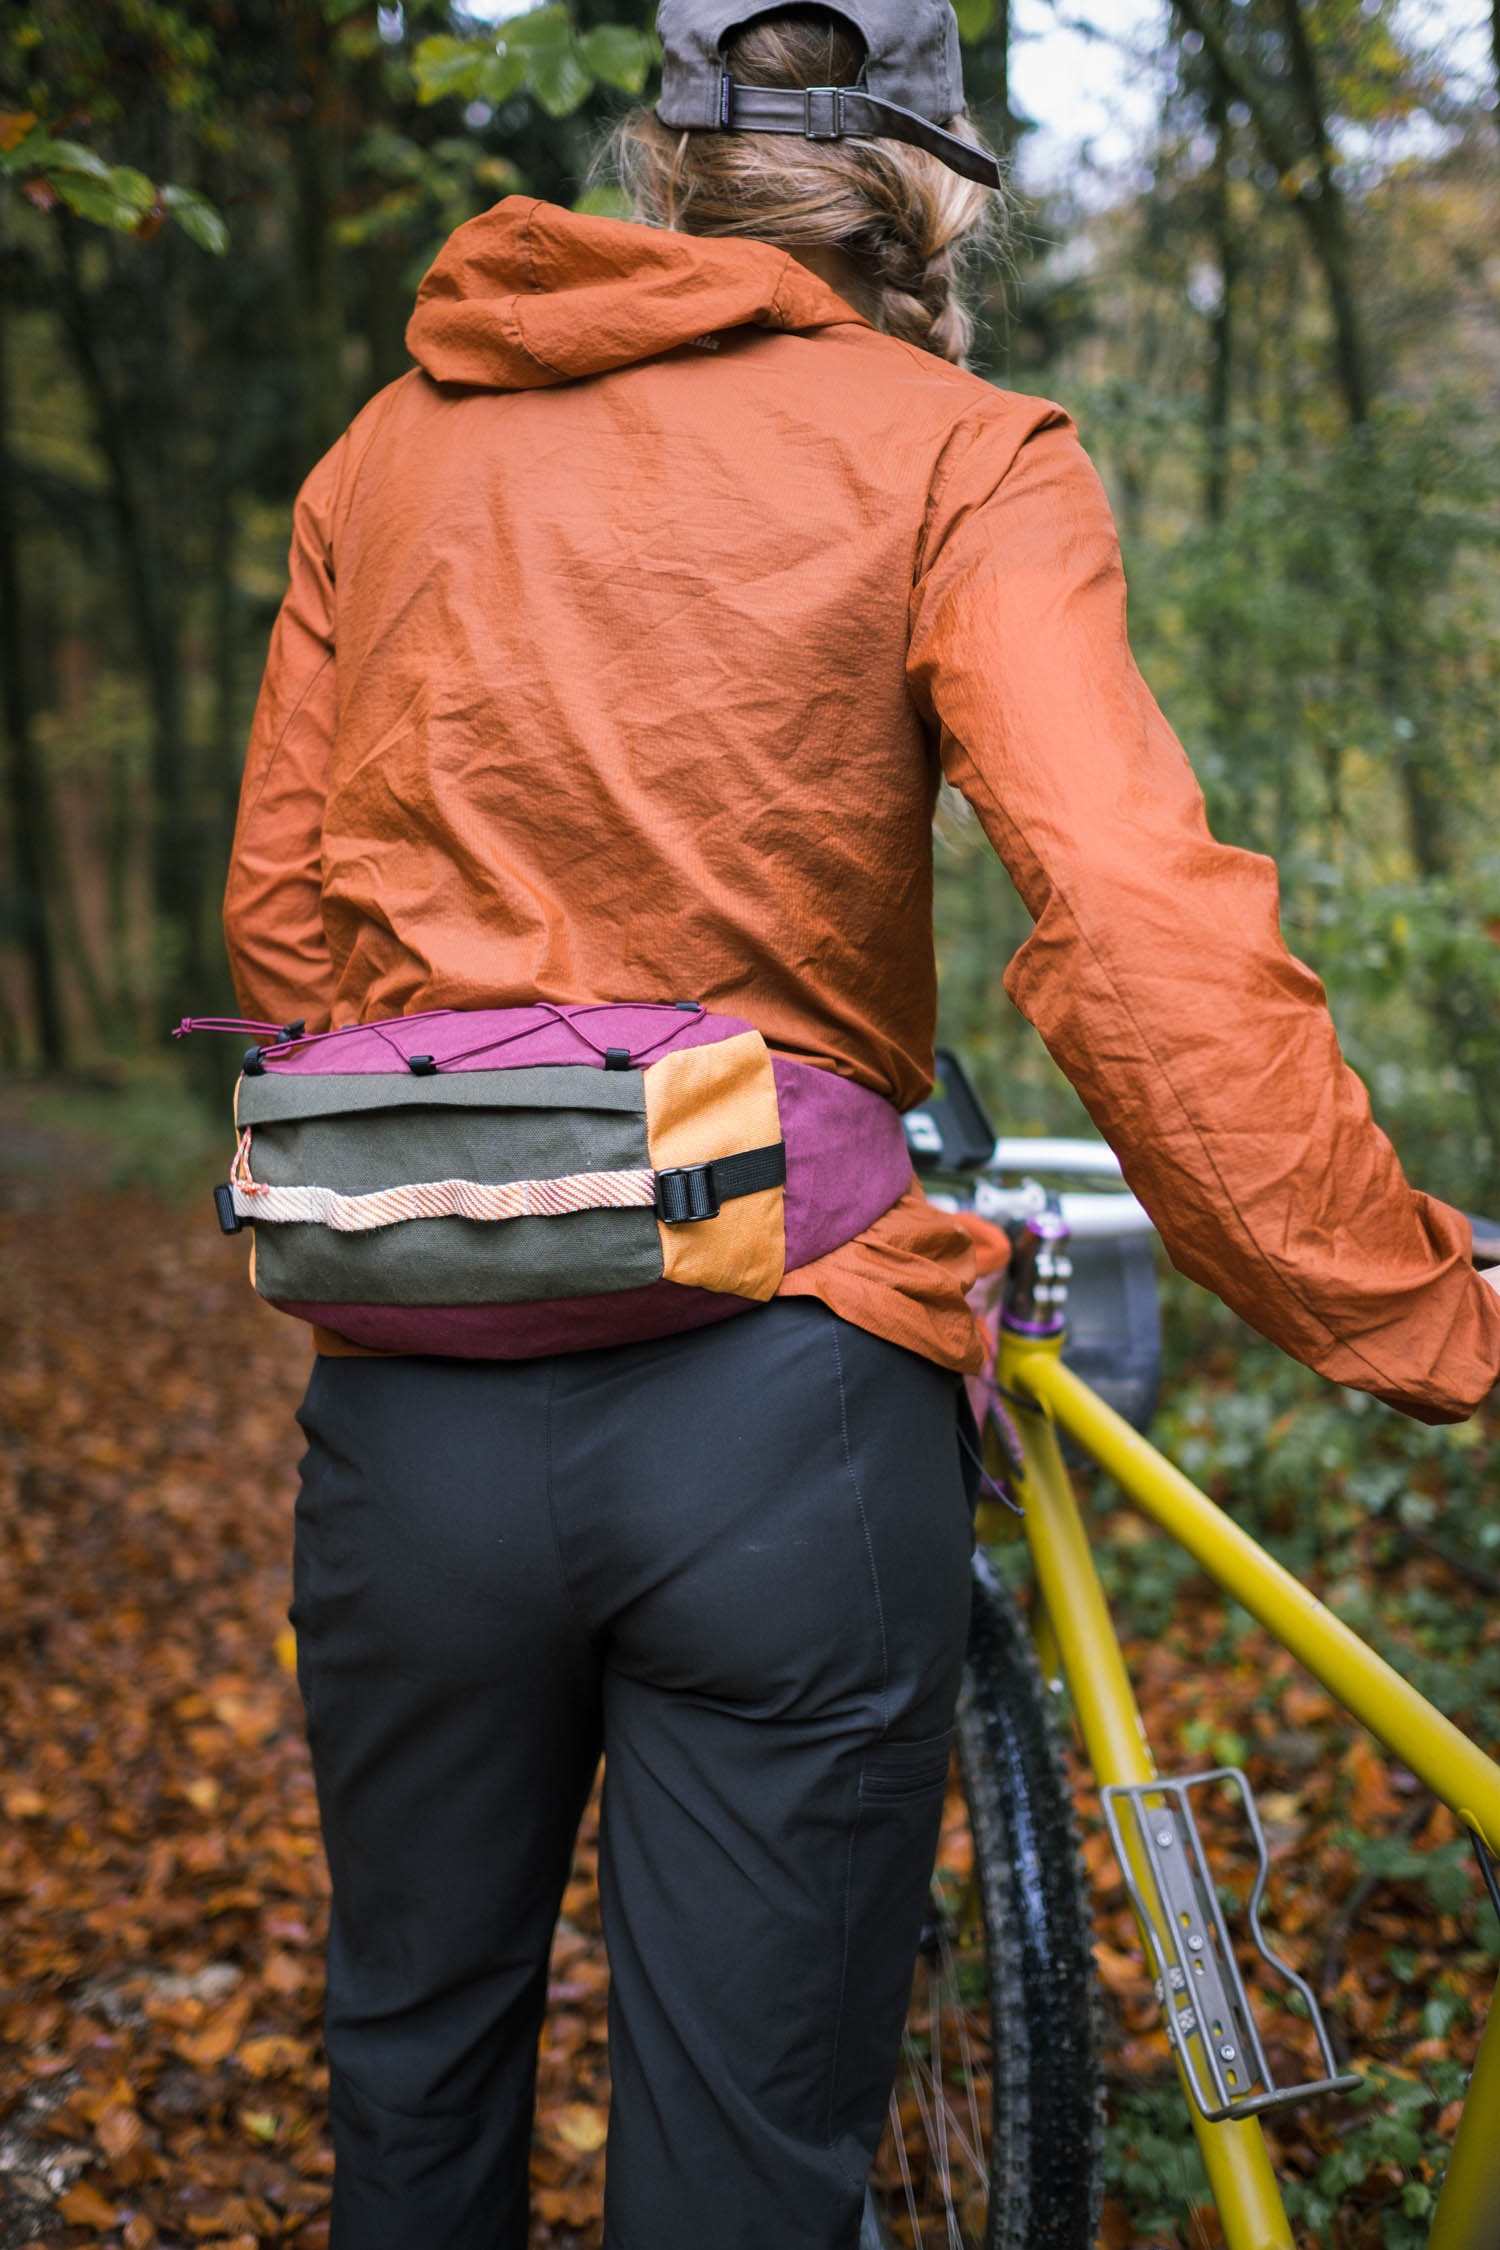
Make Your Own Fanny Pack!
With winter ahead of us, now’s the perfect time to start preparing for DIY projects. In this Make Your Own Bikepacking Gear (MYOBG) tutorial, Neža returns with a step-by-step guide to making your own fanny pack…
Fanny packs, hip bags, waist bags, whatever you them to call them, are an indispensable bikepacking accessory. Most of us use them for carrying valuables (passport, wallet, phone, camera, extra batteries, head lamp) and some snacks. There are many different shapes and sizes on the market, but making one for yourself is always fun (and often more affordable) thing to do. And they’re very easy to make, especially if you have some leftover fabrics, since they don’t require a lot of material).


What you’ll need
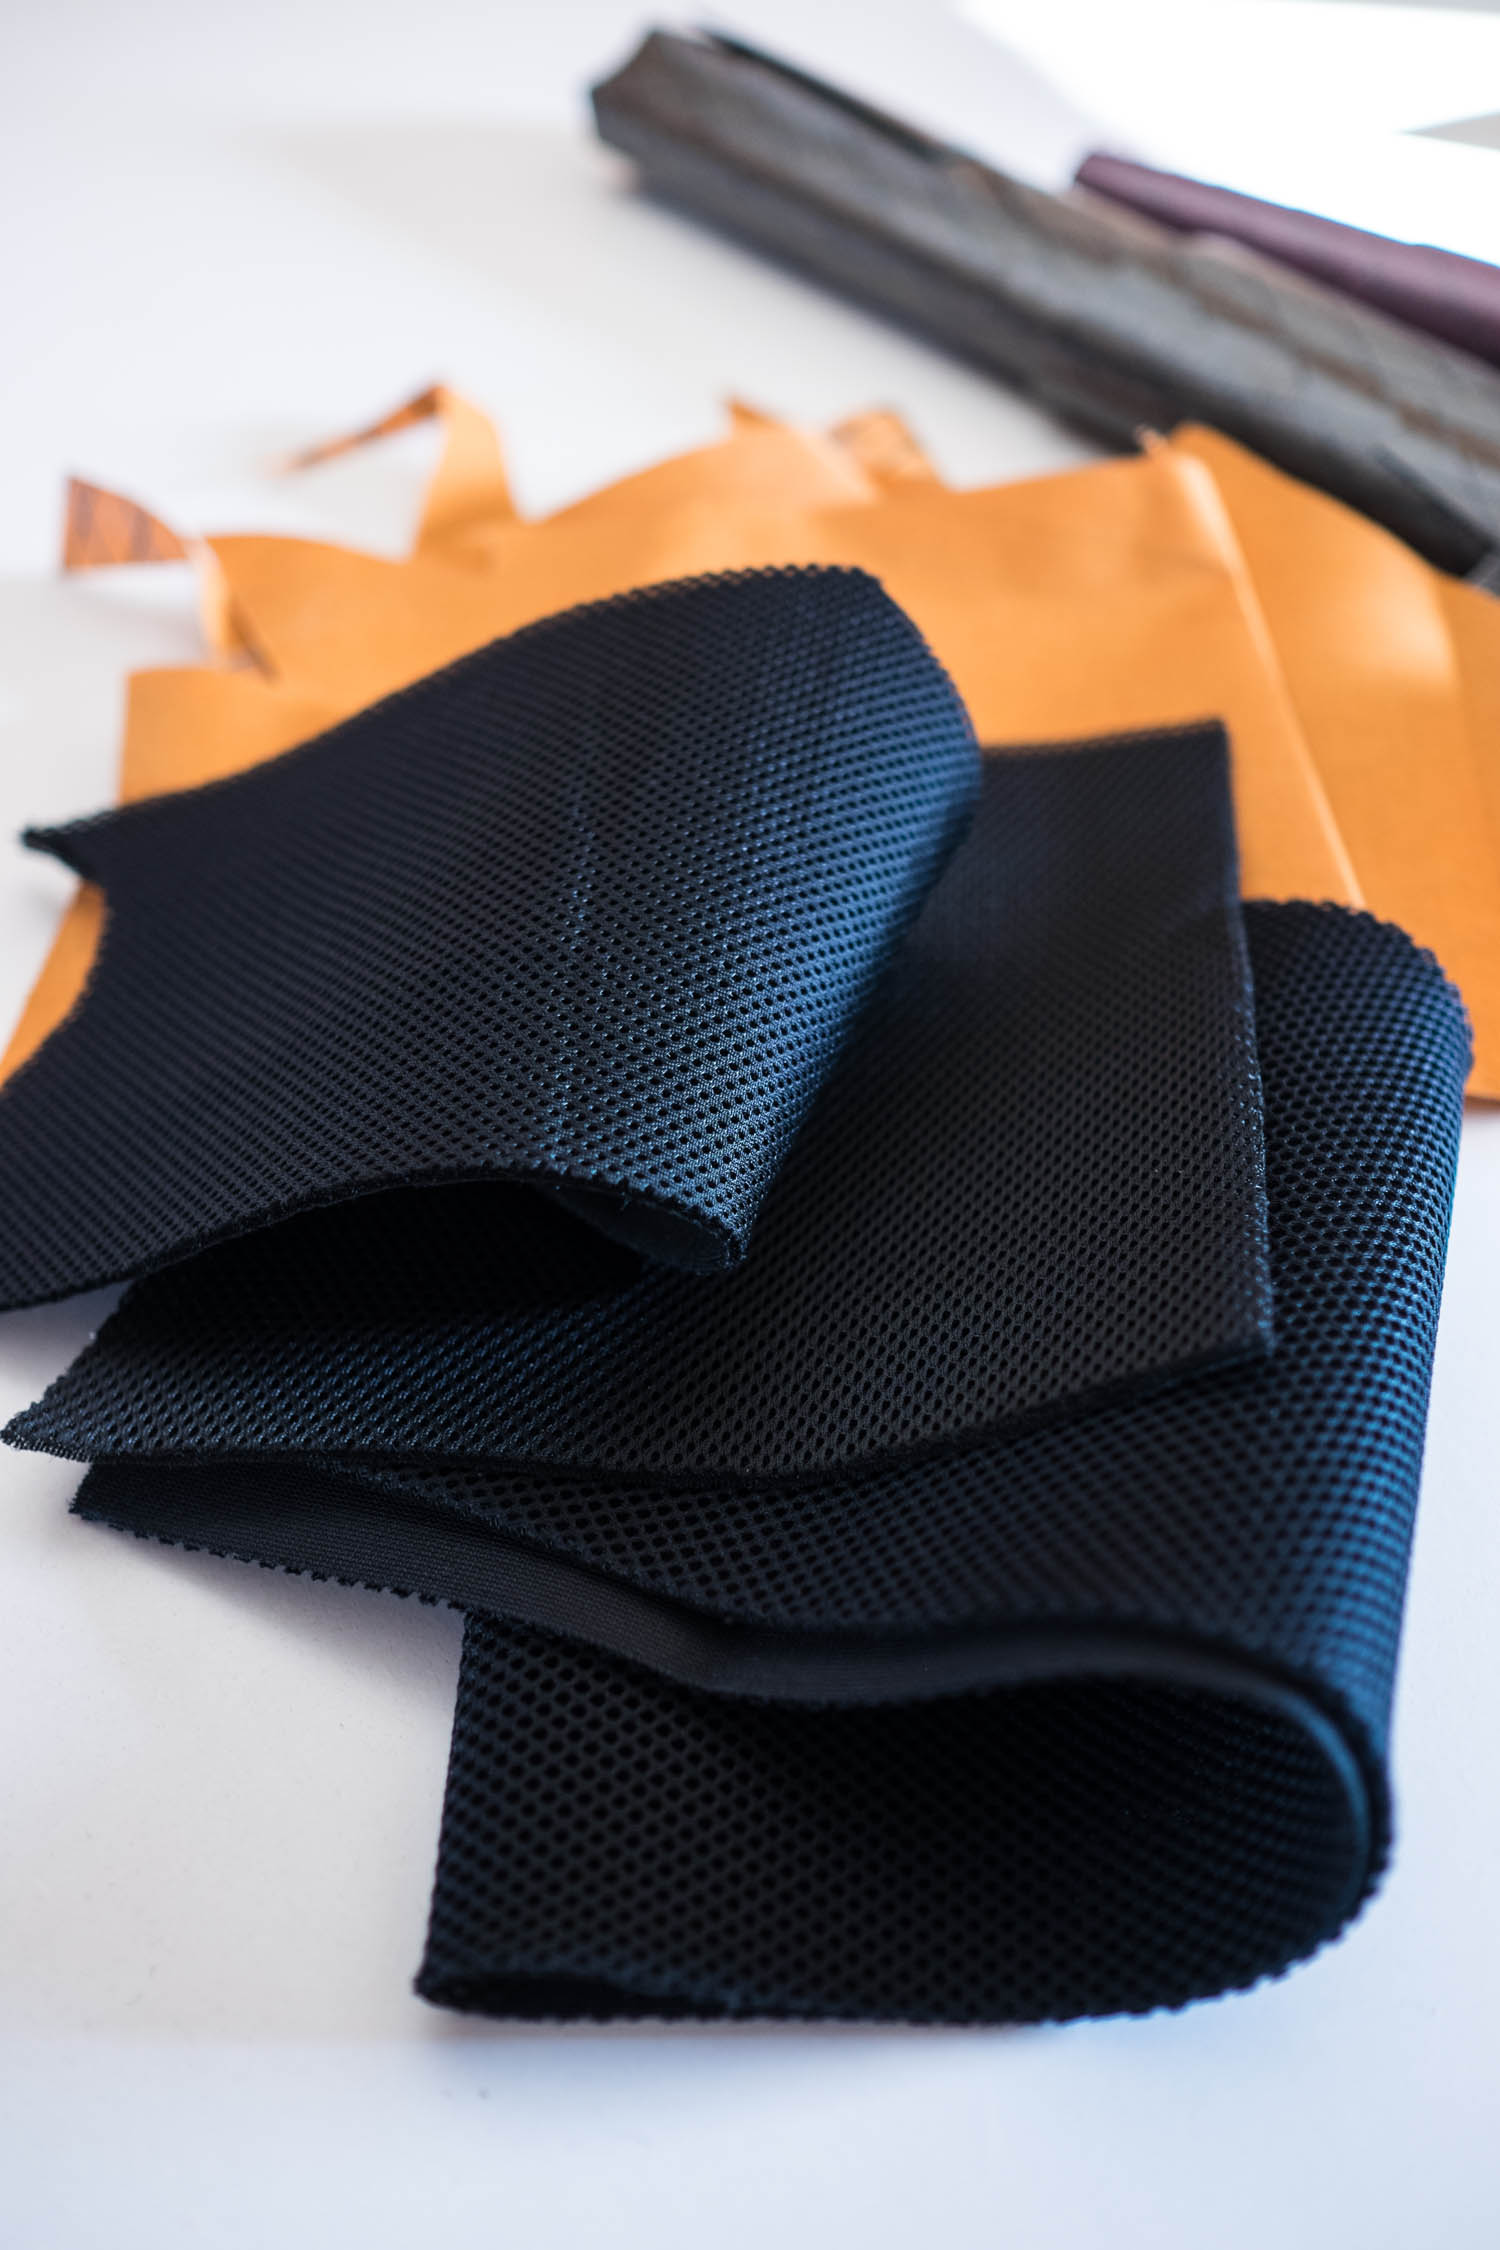
- 0.6 m (23.6″) of stiff, durable fabric (I used leftover X-Pac I had from different projects)
- 0.2 m (7.9″) of foamy mesh fabric for padding (you can also just use the same fabric as used for the body of the bag)
- Zipper, 27 cm long (10.6″), 5C size (I recommend coil zipper since it’s easier to work with)
- 0.75 m (29.5″) webbing (30 mm wide) / Note: measure your hip circumference to decide on the length
- 0.50 m (19.7″) webbing (20 mm wide)
- 0.24 m (9.4″) webbing (10 mm wide)
- 0.30 m (11.8″) fun color webbing (I used an old climbing sling)
- 2.5 m (98.4″) of edge binding webbing (grosgrain)
- 0.9 m (35.4″) elastic
- 2 x ladder buckle in size 20mm
- 1 x cord stopper
- 1 x side release buckle (3 cm wide (1.2″))
Step 1
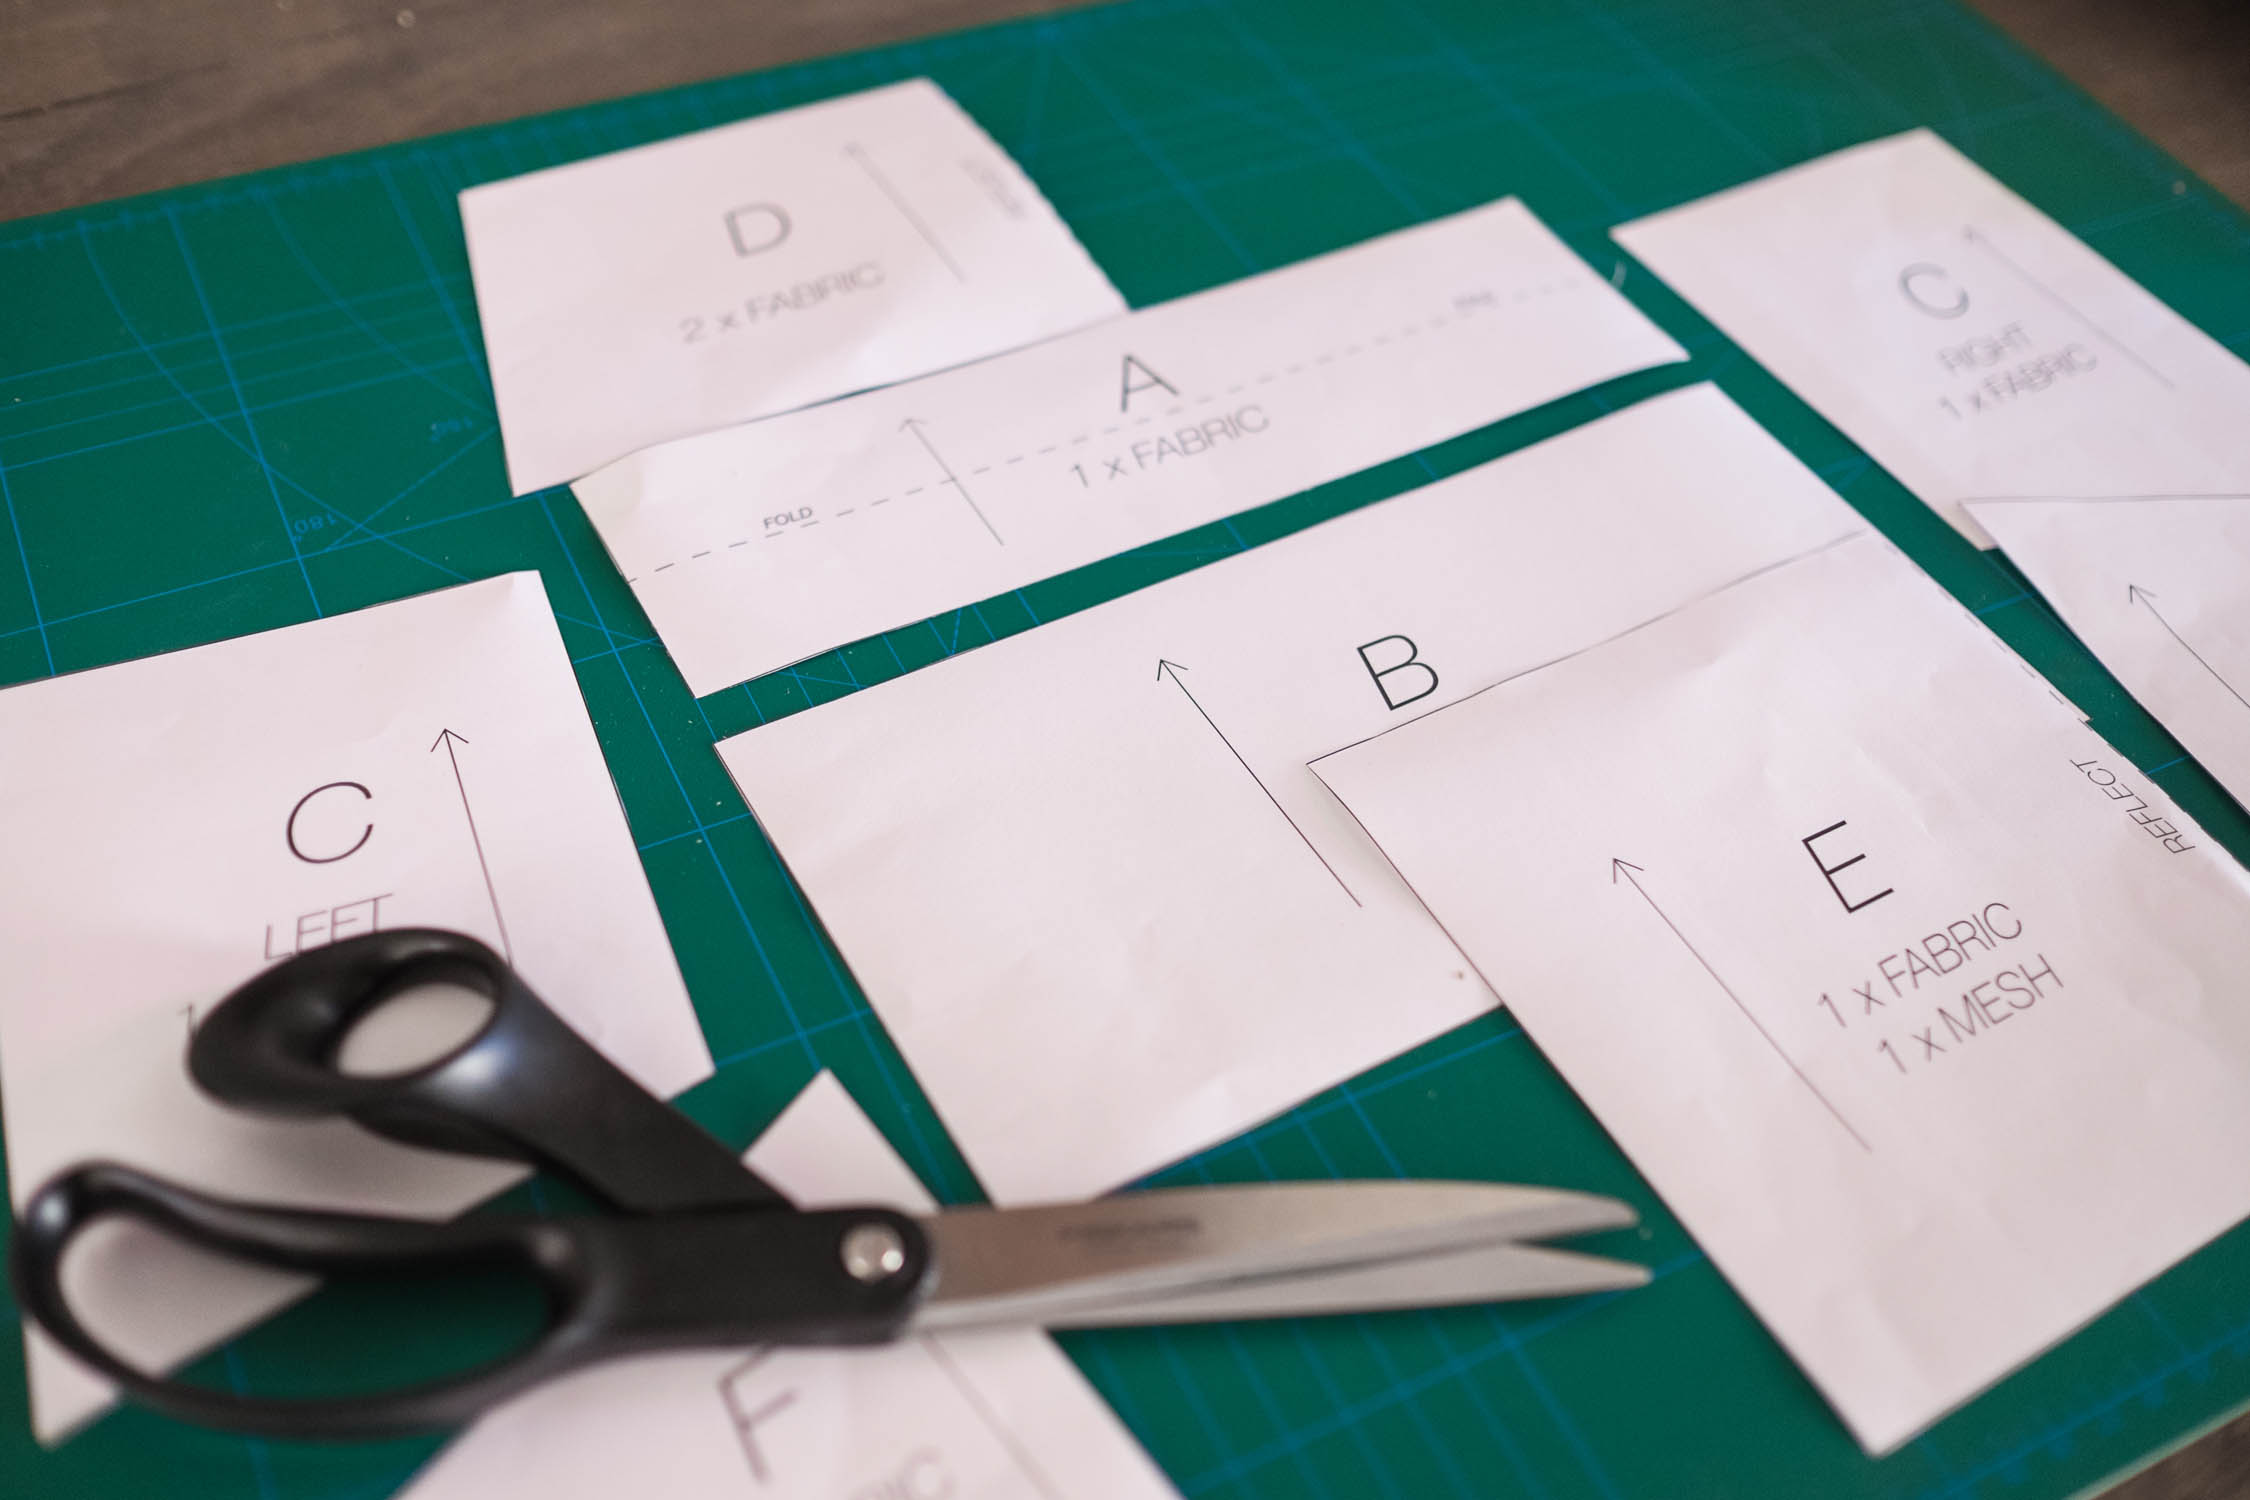
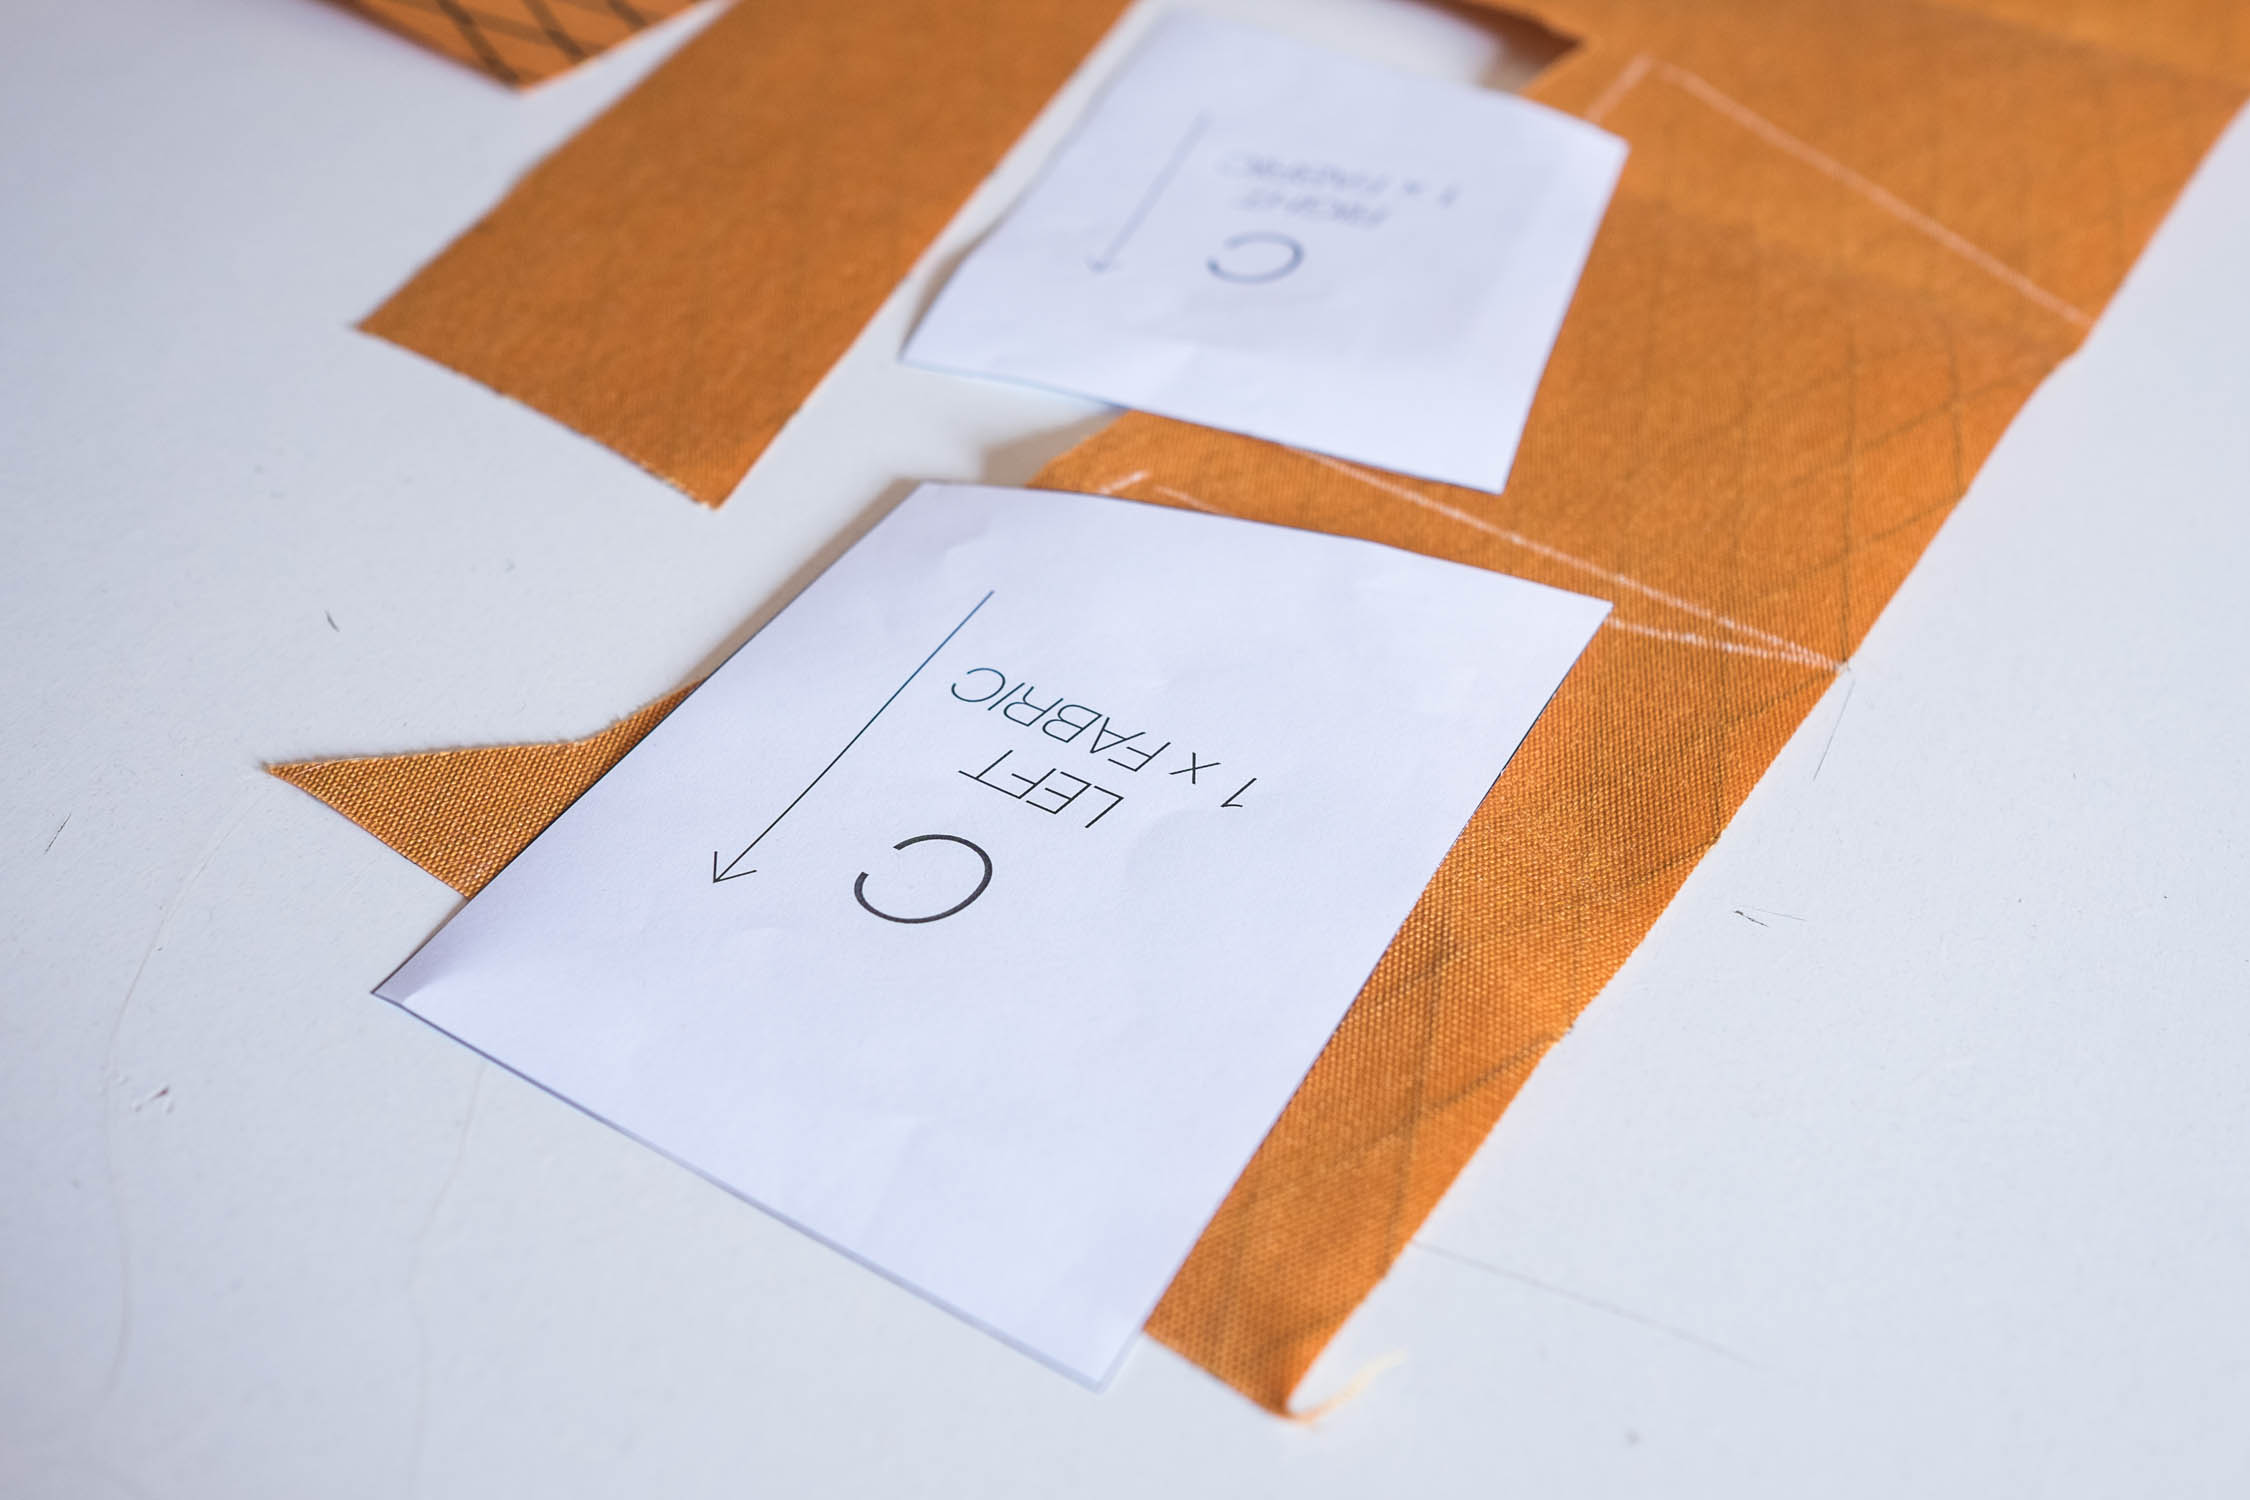
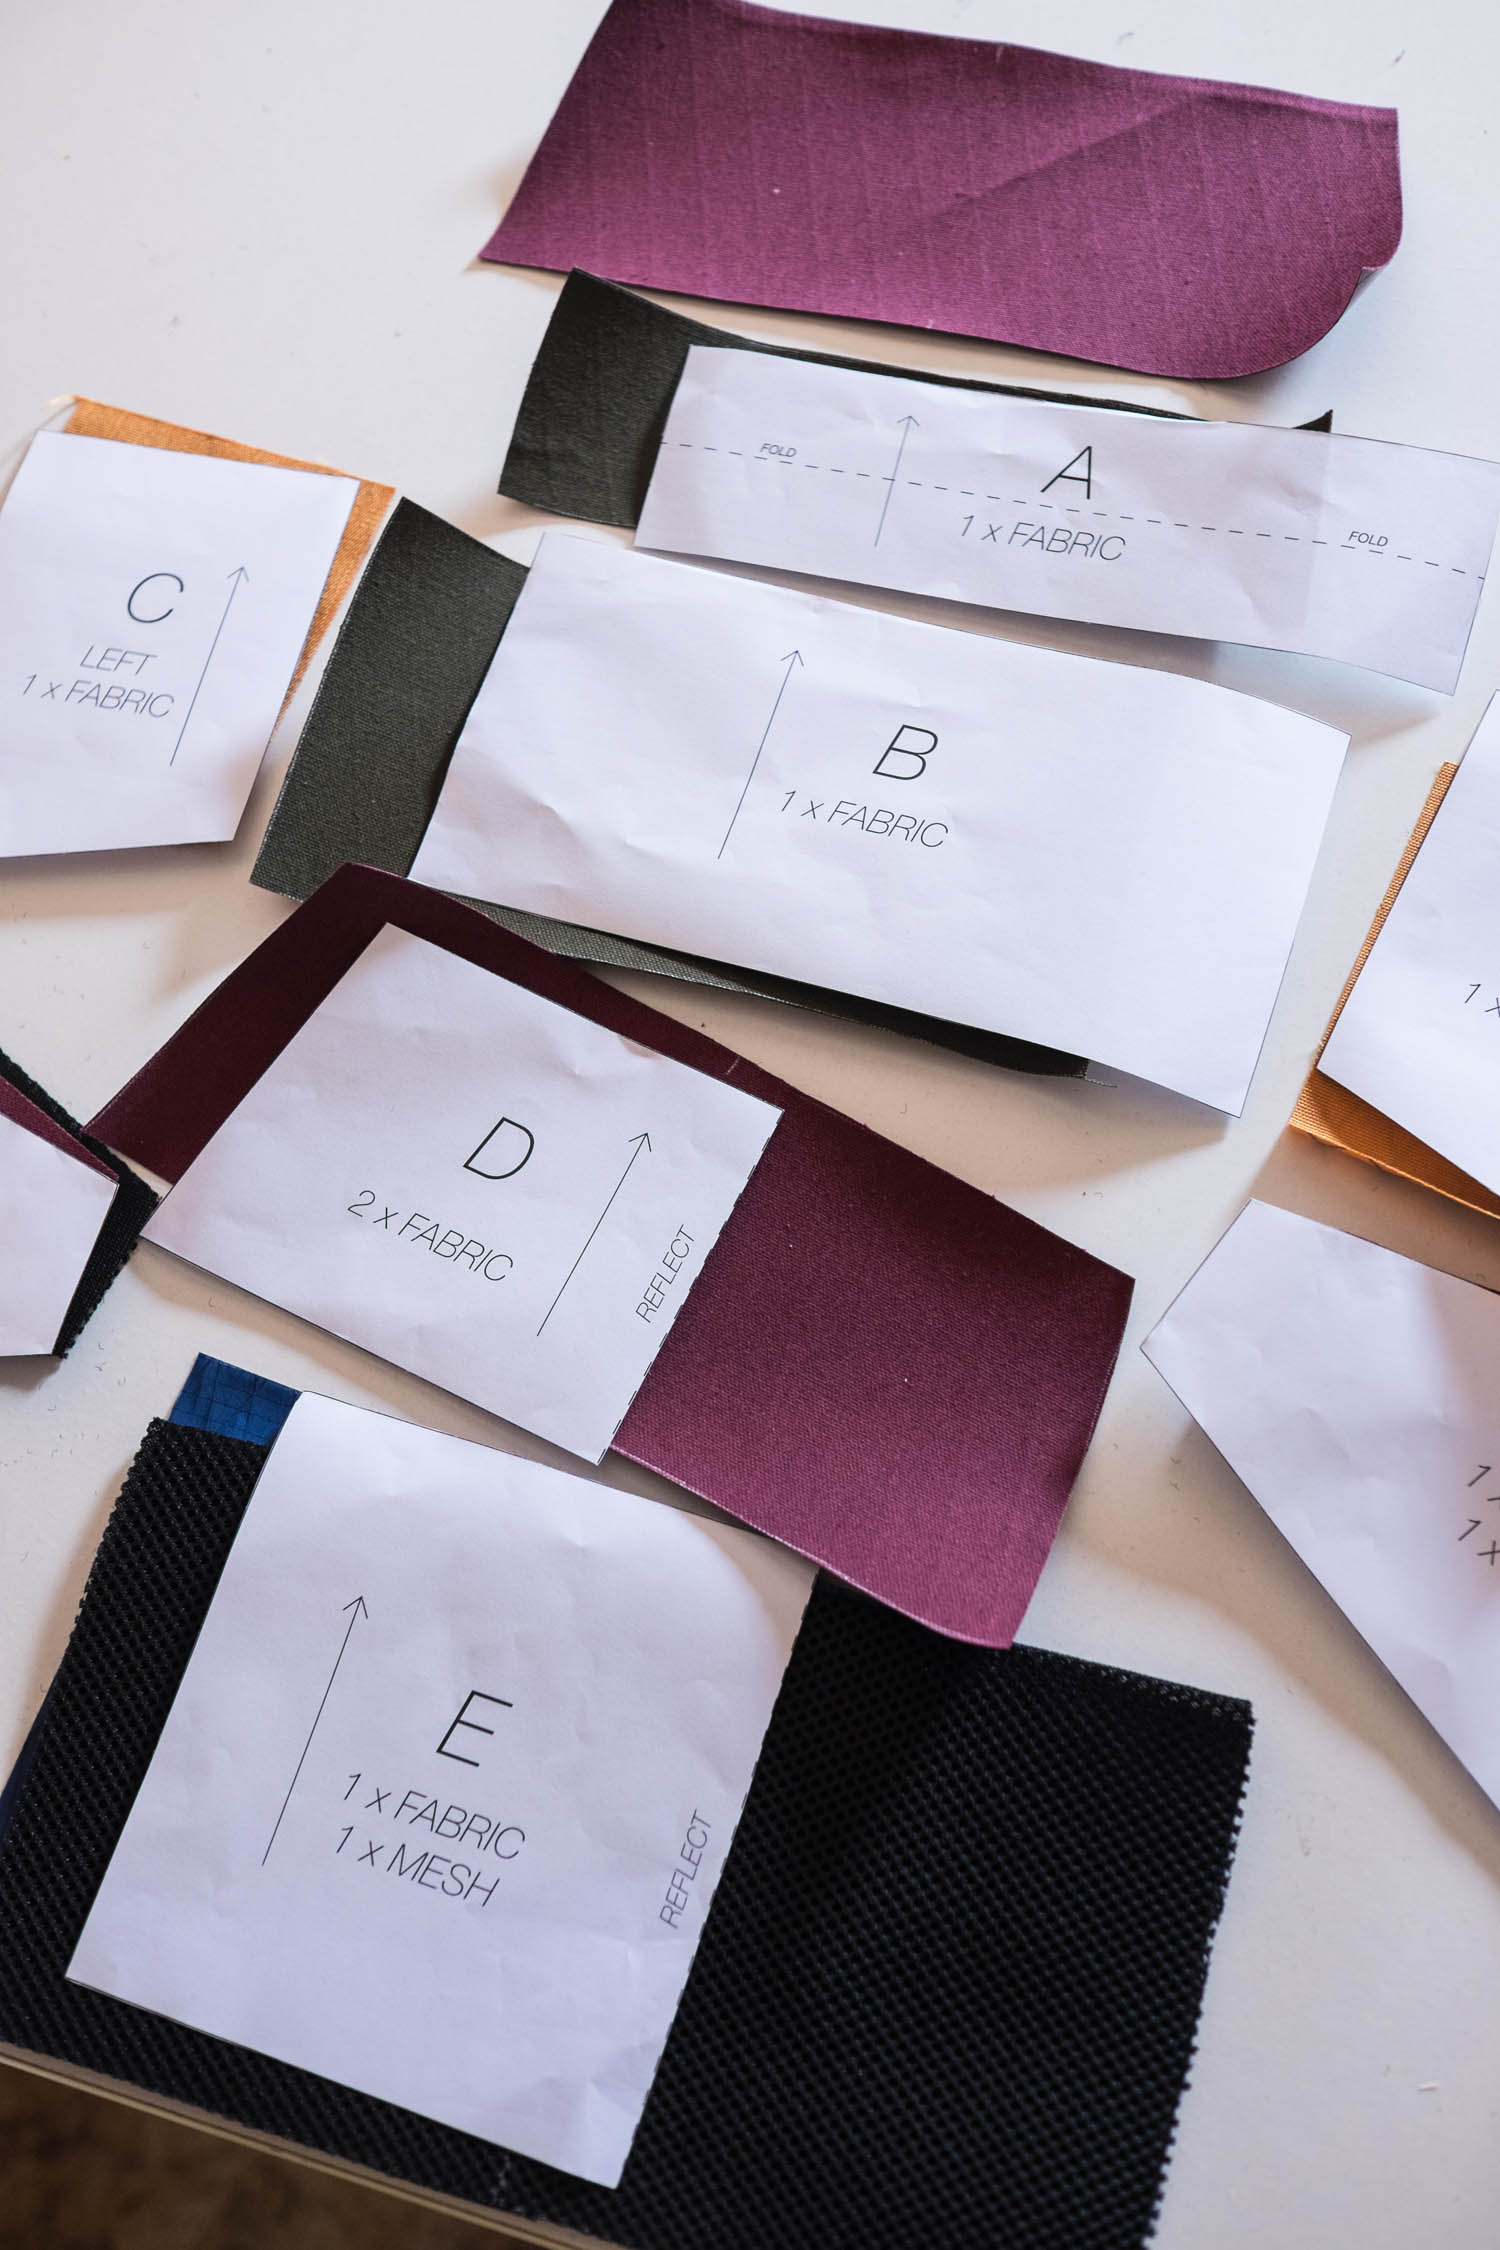
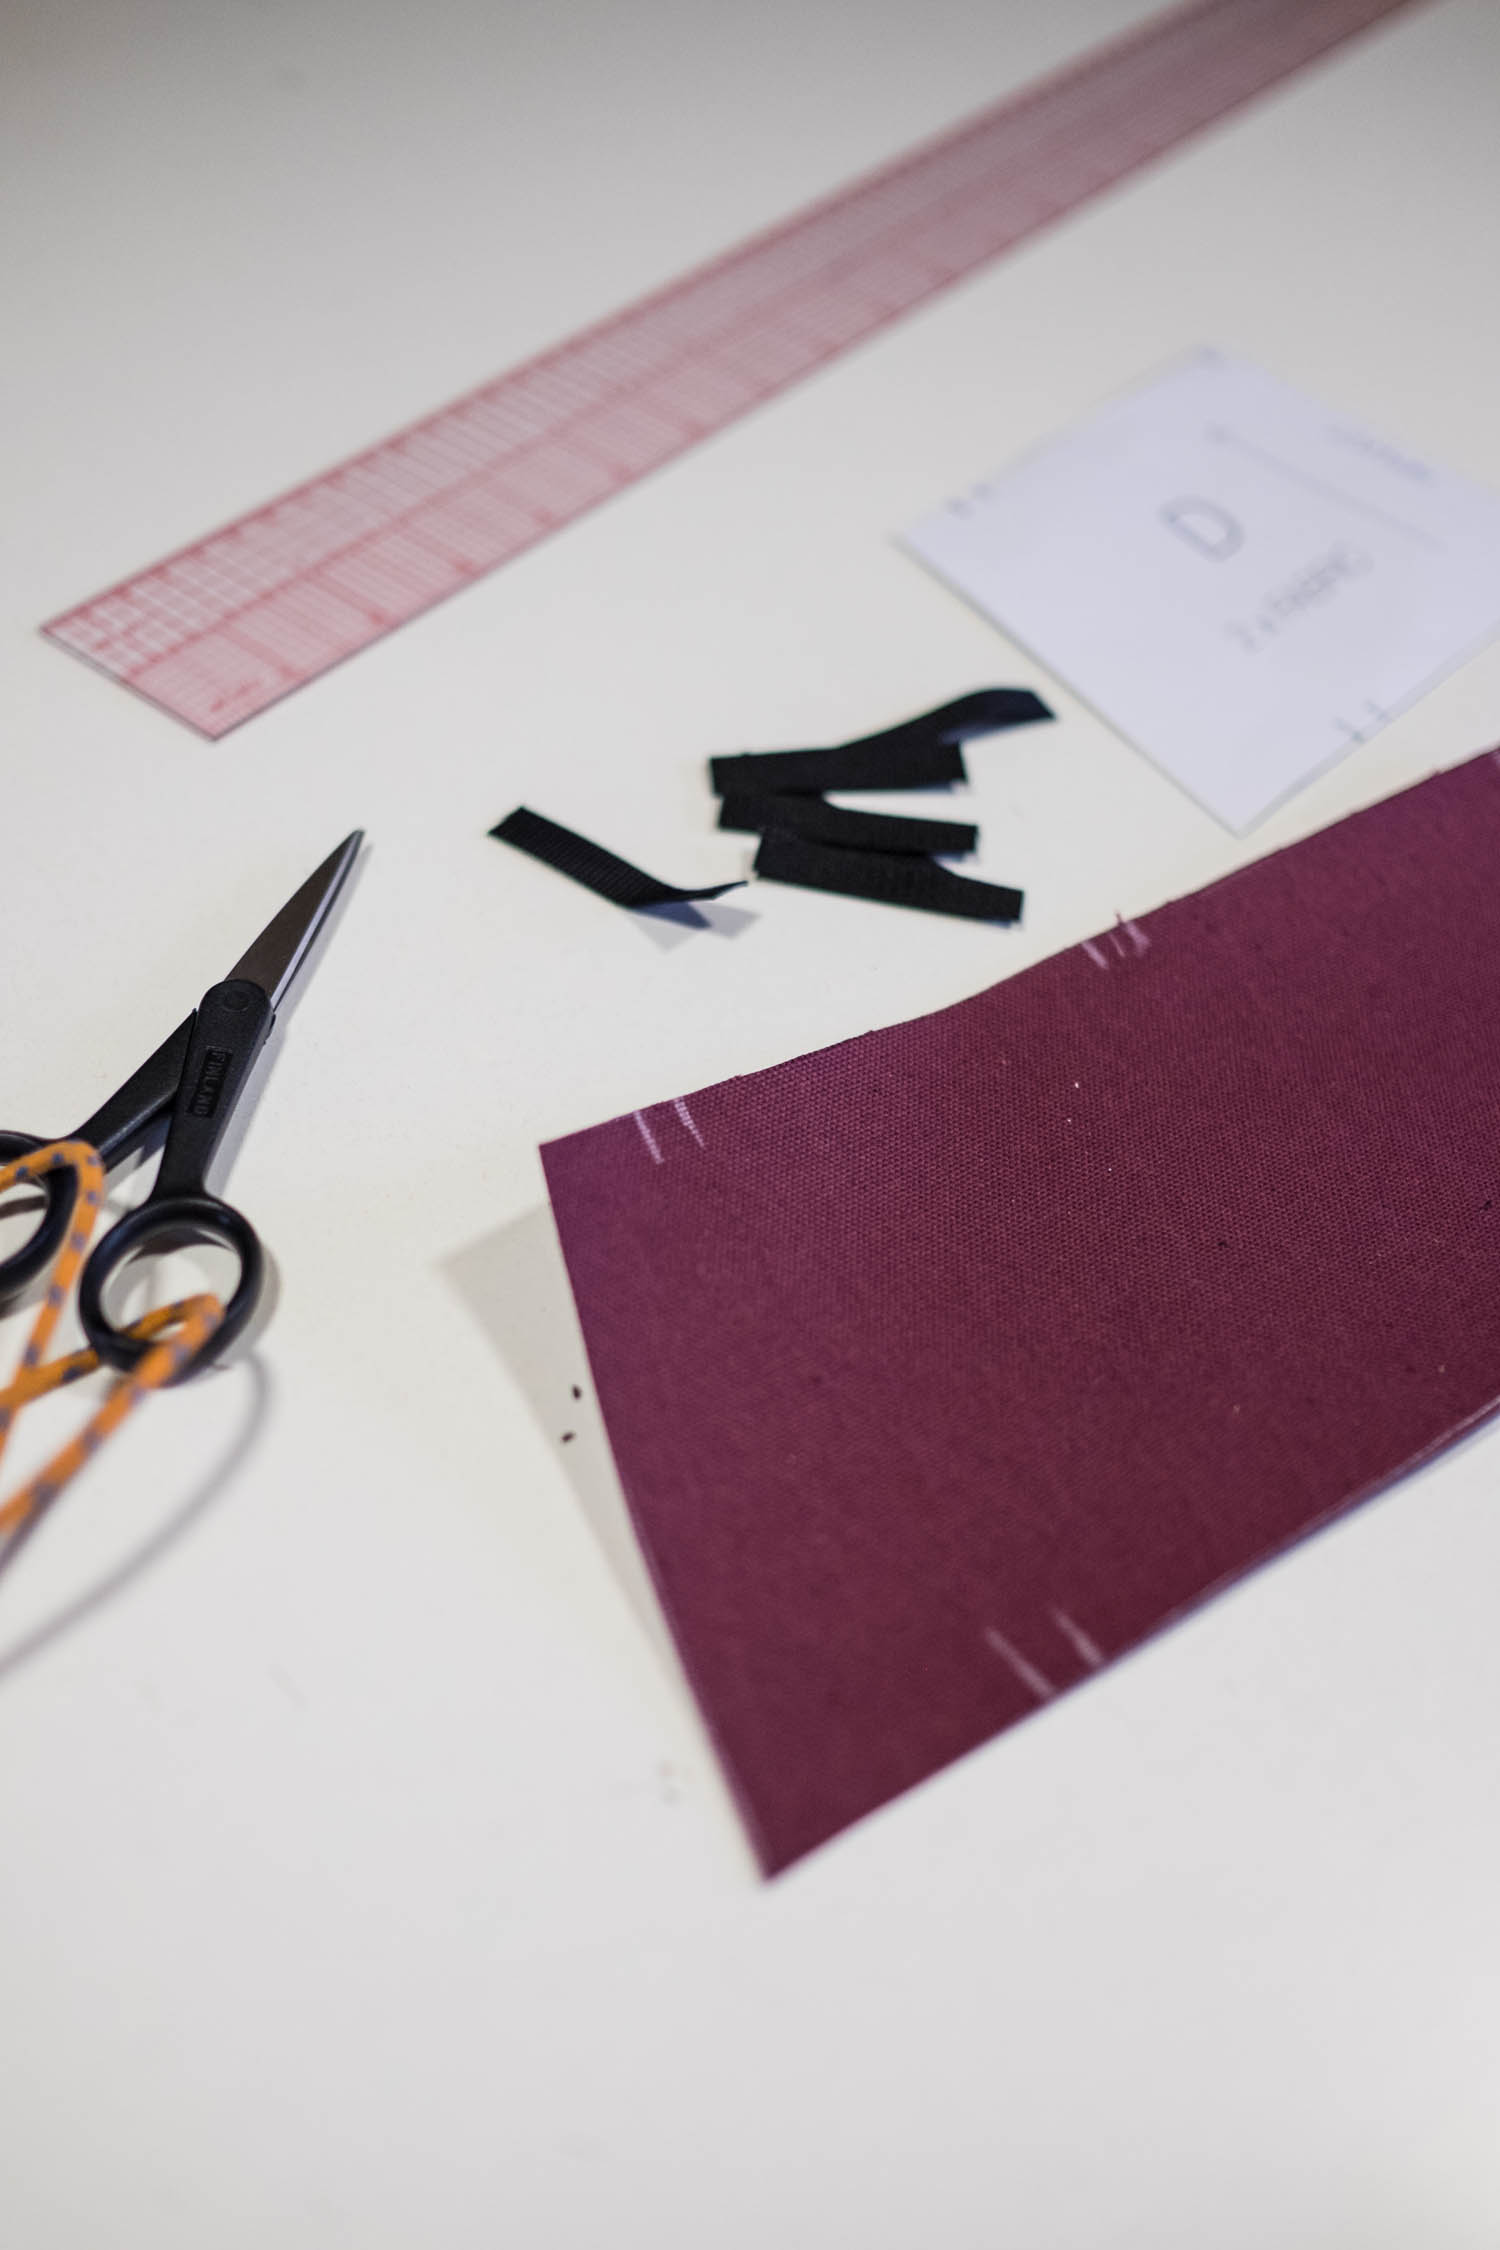
Print out the PDF pattern and cut it out from paper.
Notes:
- Patterns marked with dashed line need to be reflected over the dashed line.
- All the patterns already include 1cm seam allowance (meaning you have to stitch 1 cm from the edge)
- The arrows on the pattern show the direction of how the pattern should be placed on the fabric before cutting it out
Draw the patterns on the face of the fabric (the side that’ll be on the outside of the bag) and cut them out.
Now you should have:
- 1x A panel from fabric
- 1x B panel from fabric
- 2x C panel, left and right
- 2x D panel, reflected over the dashed line
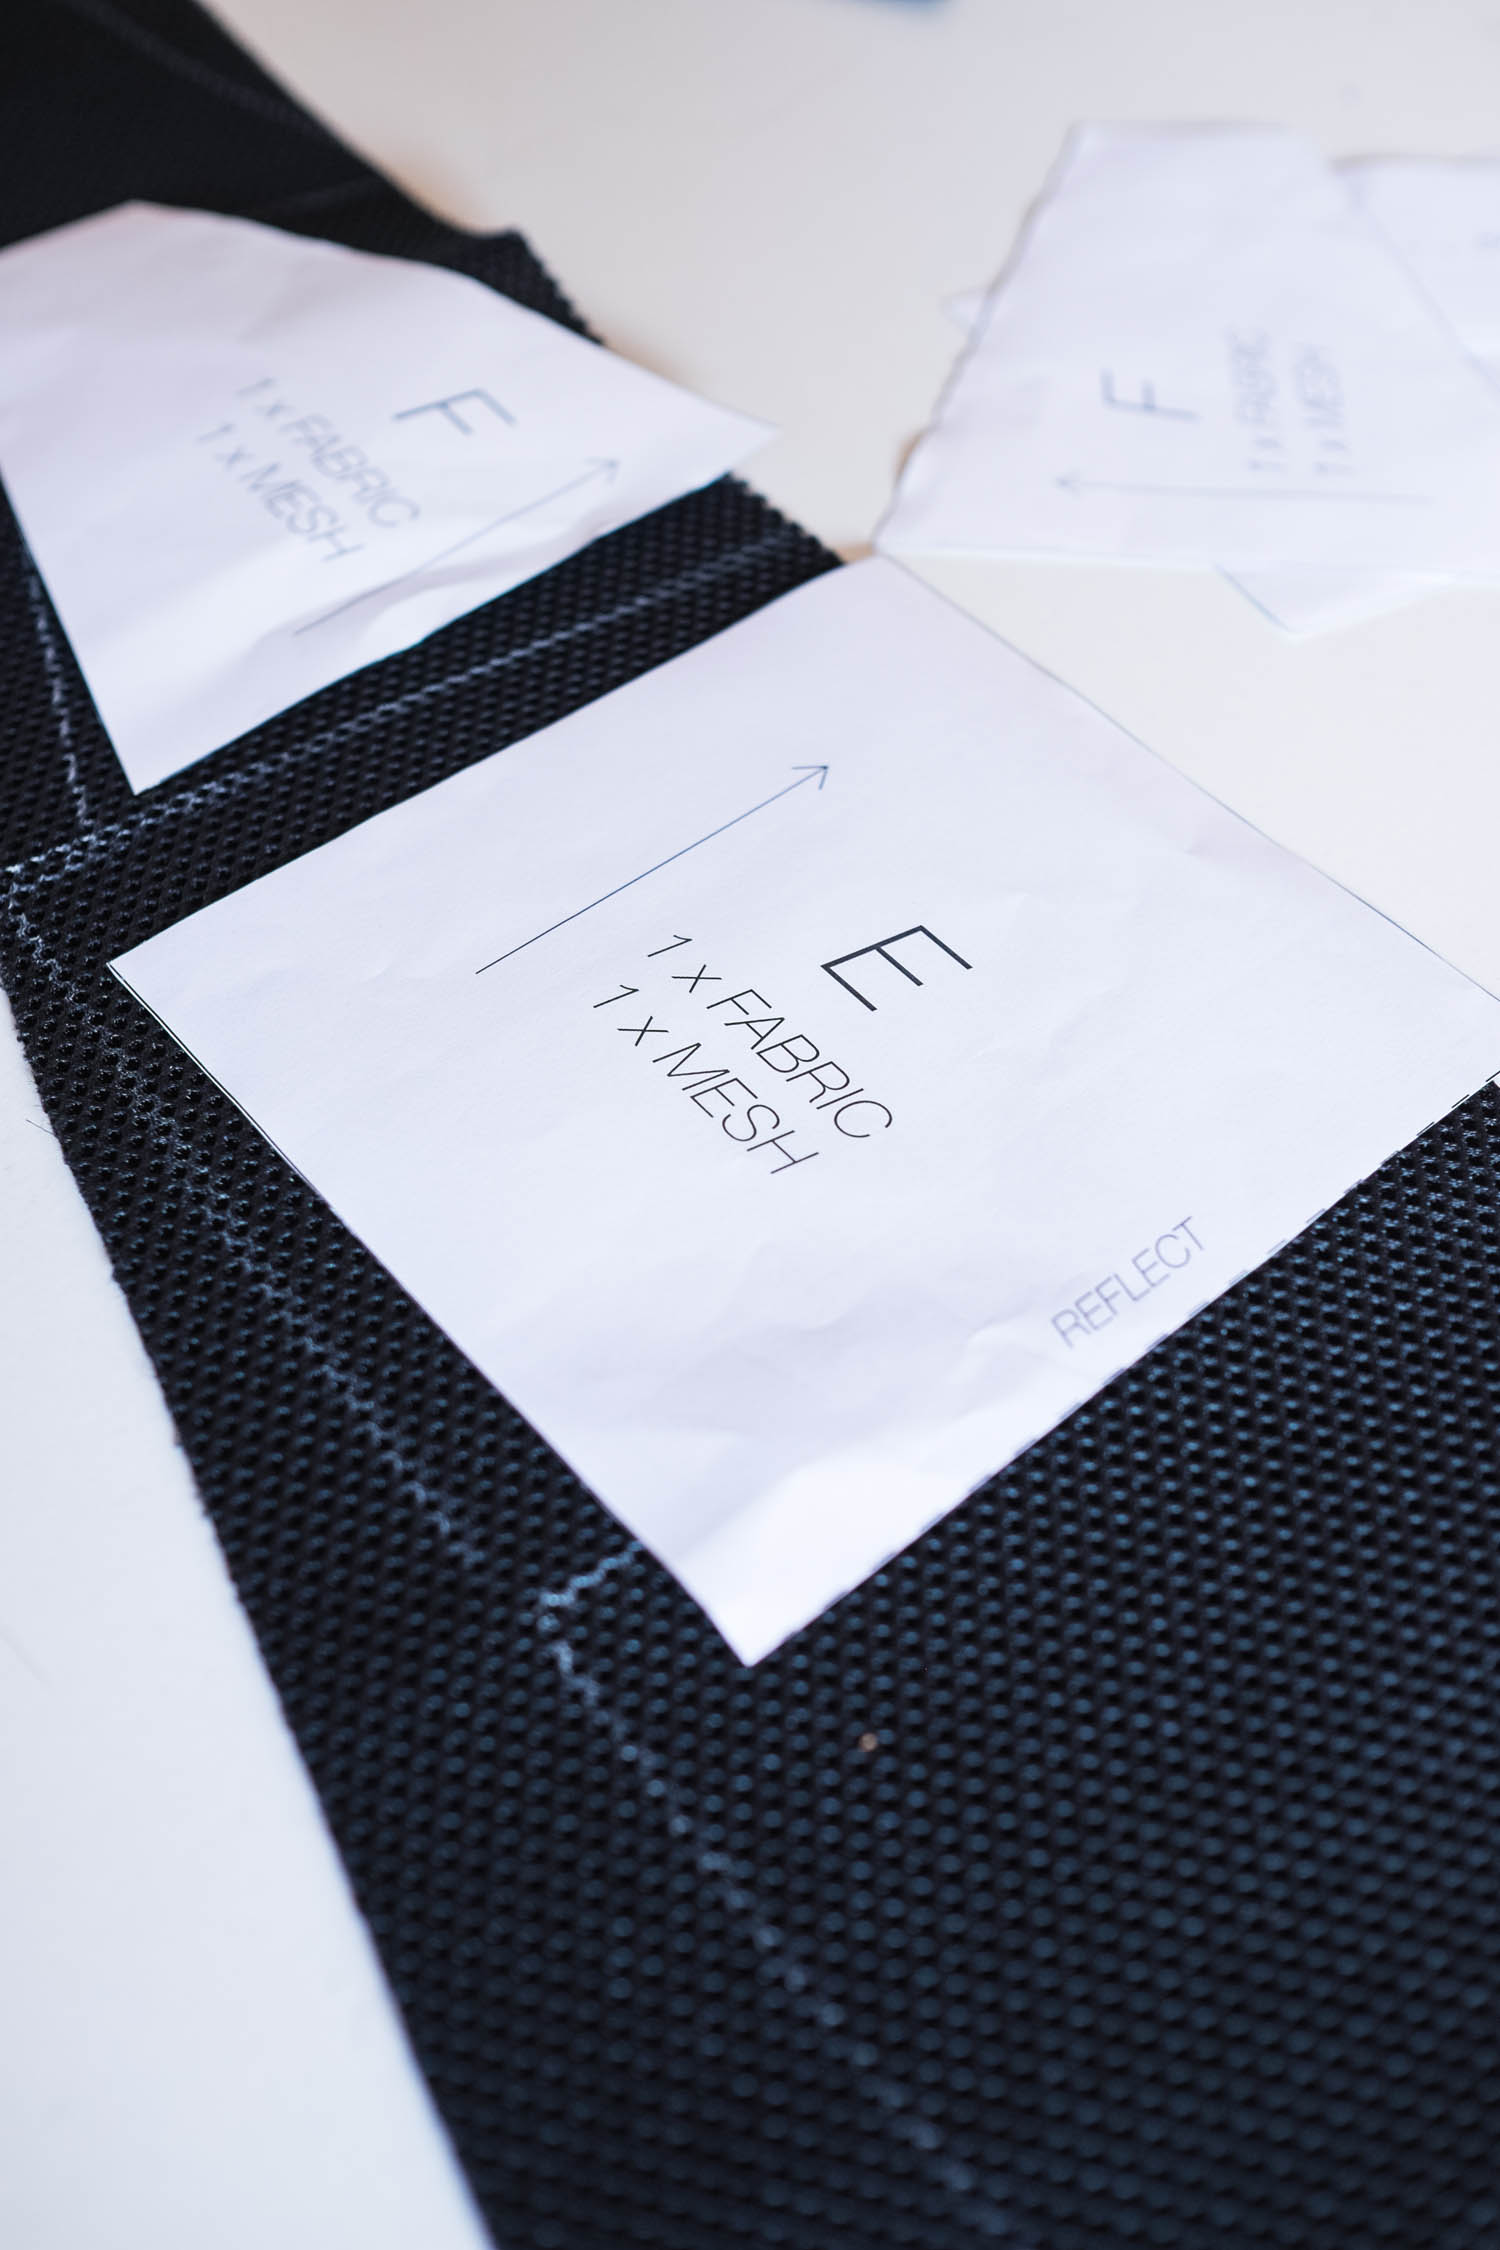
- 1x E panel, reflected over the dashed line, from fabric
- 1x E panel, reflected over the dashed line, from foamy mash
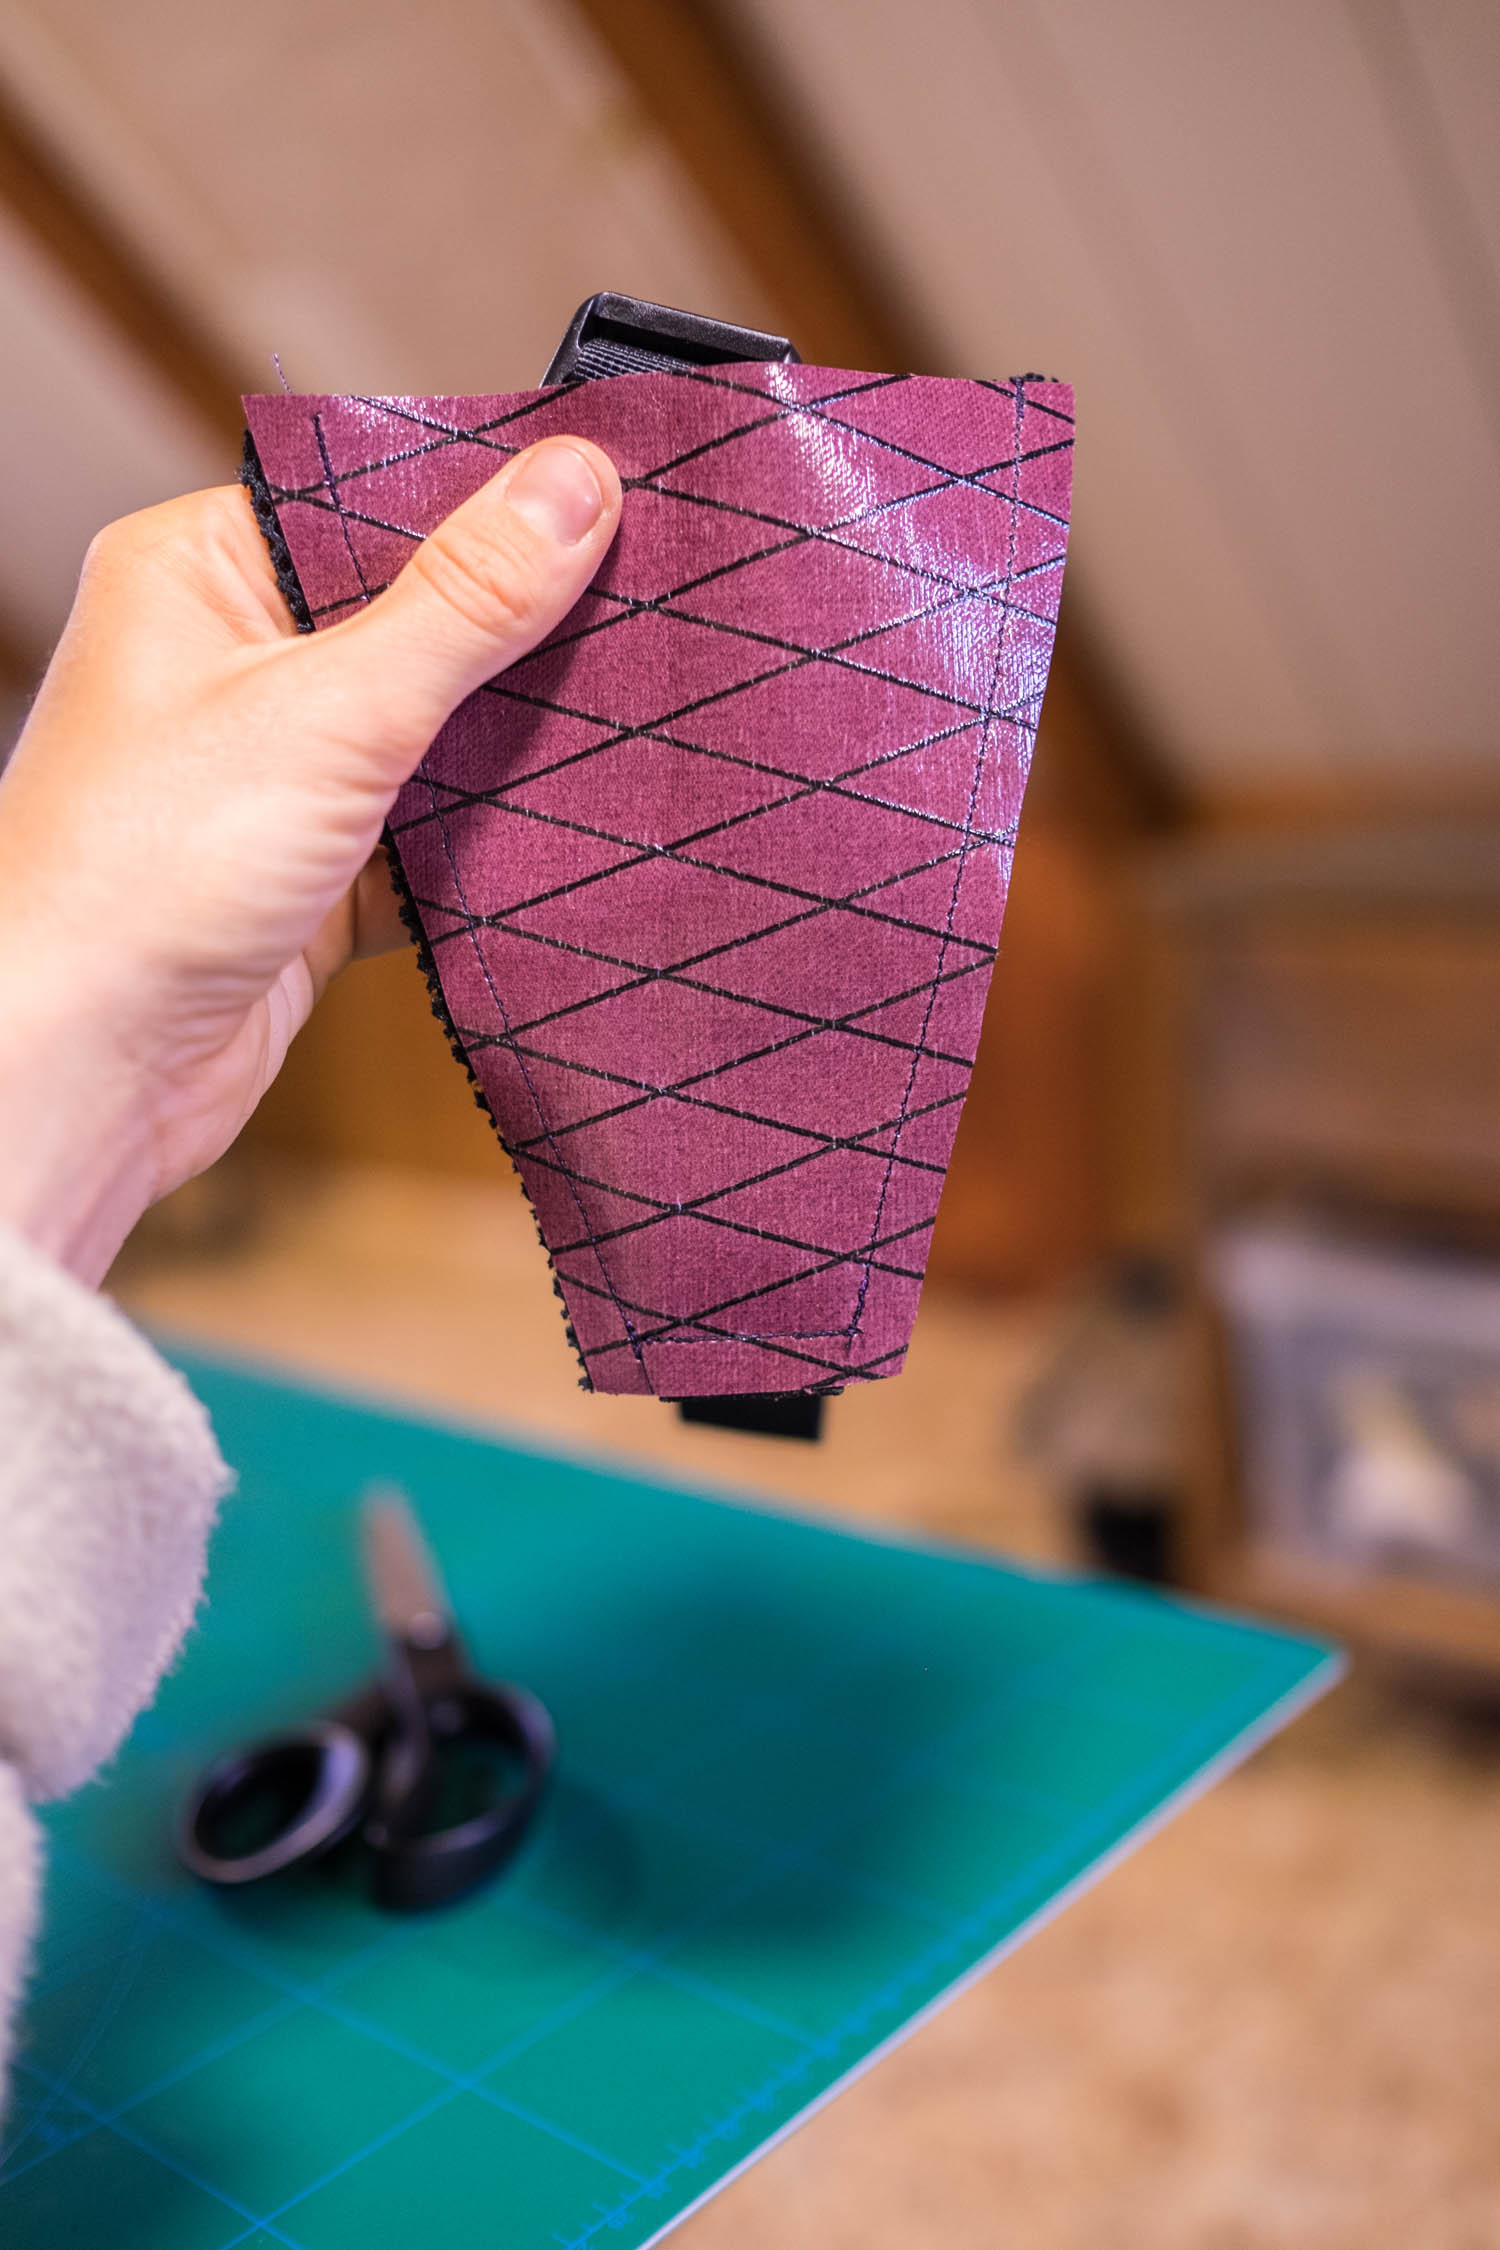
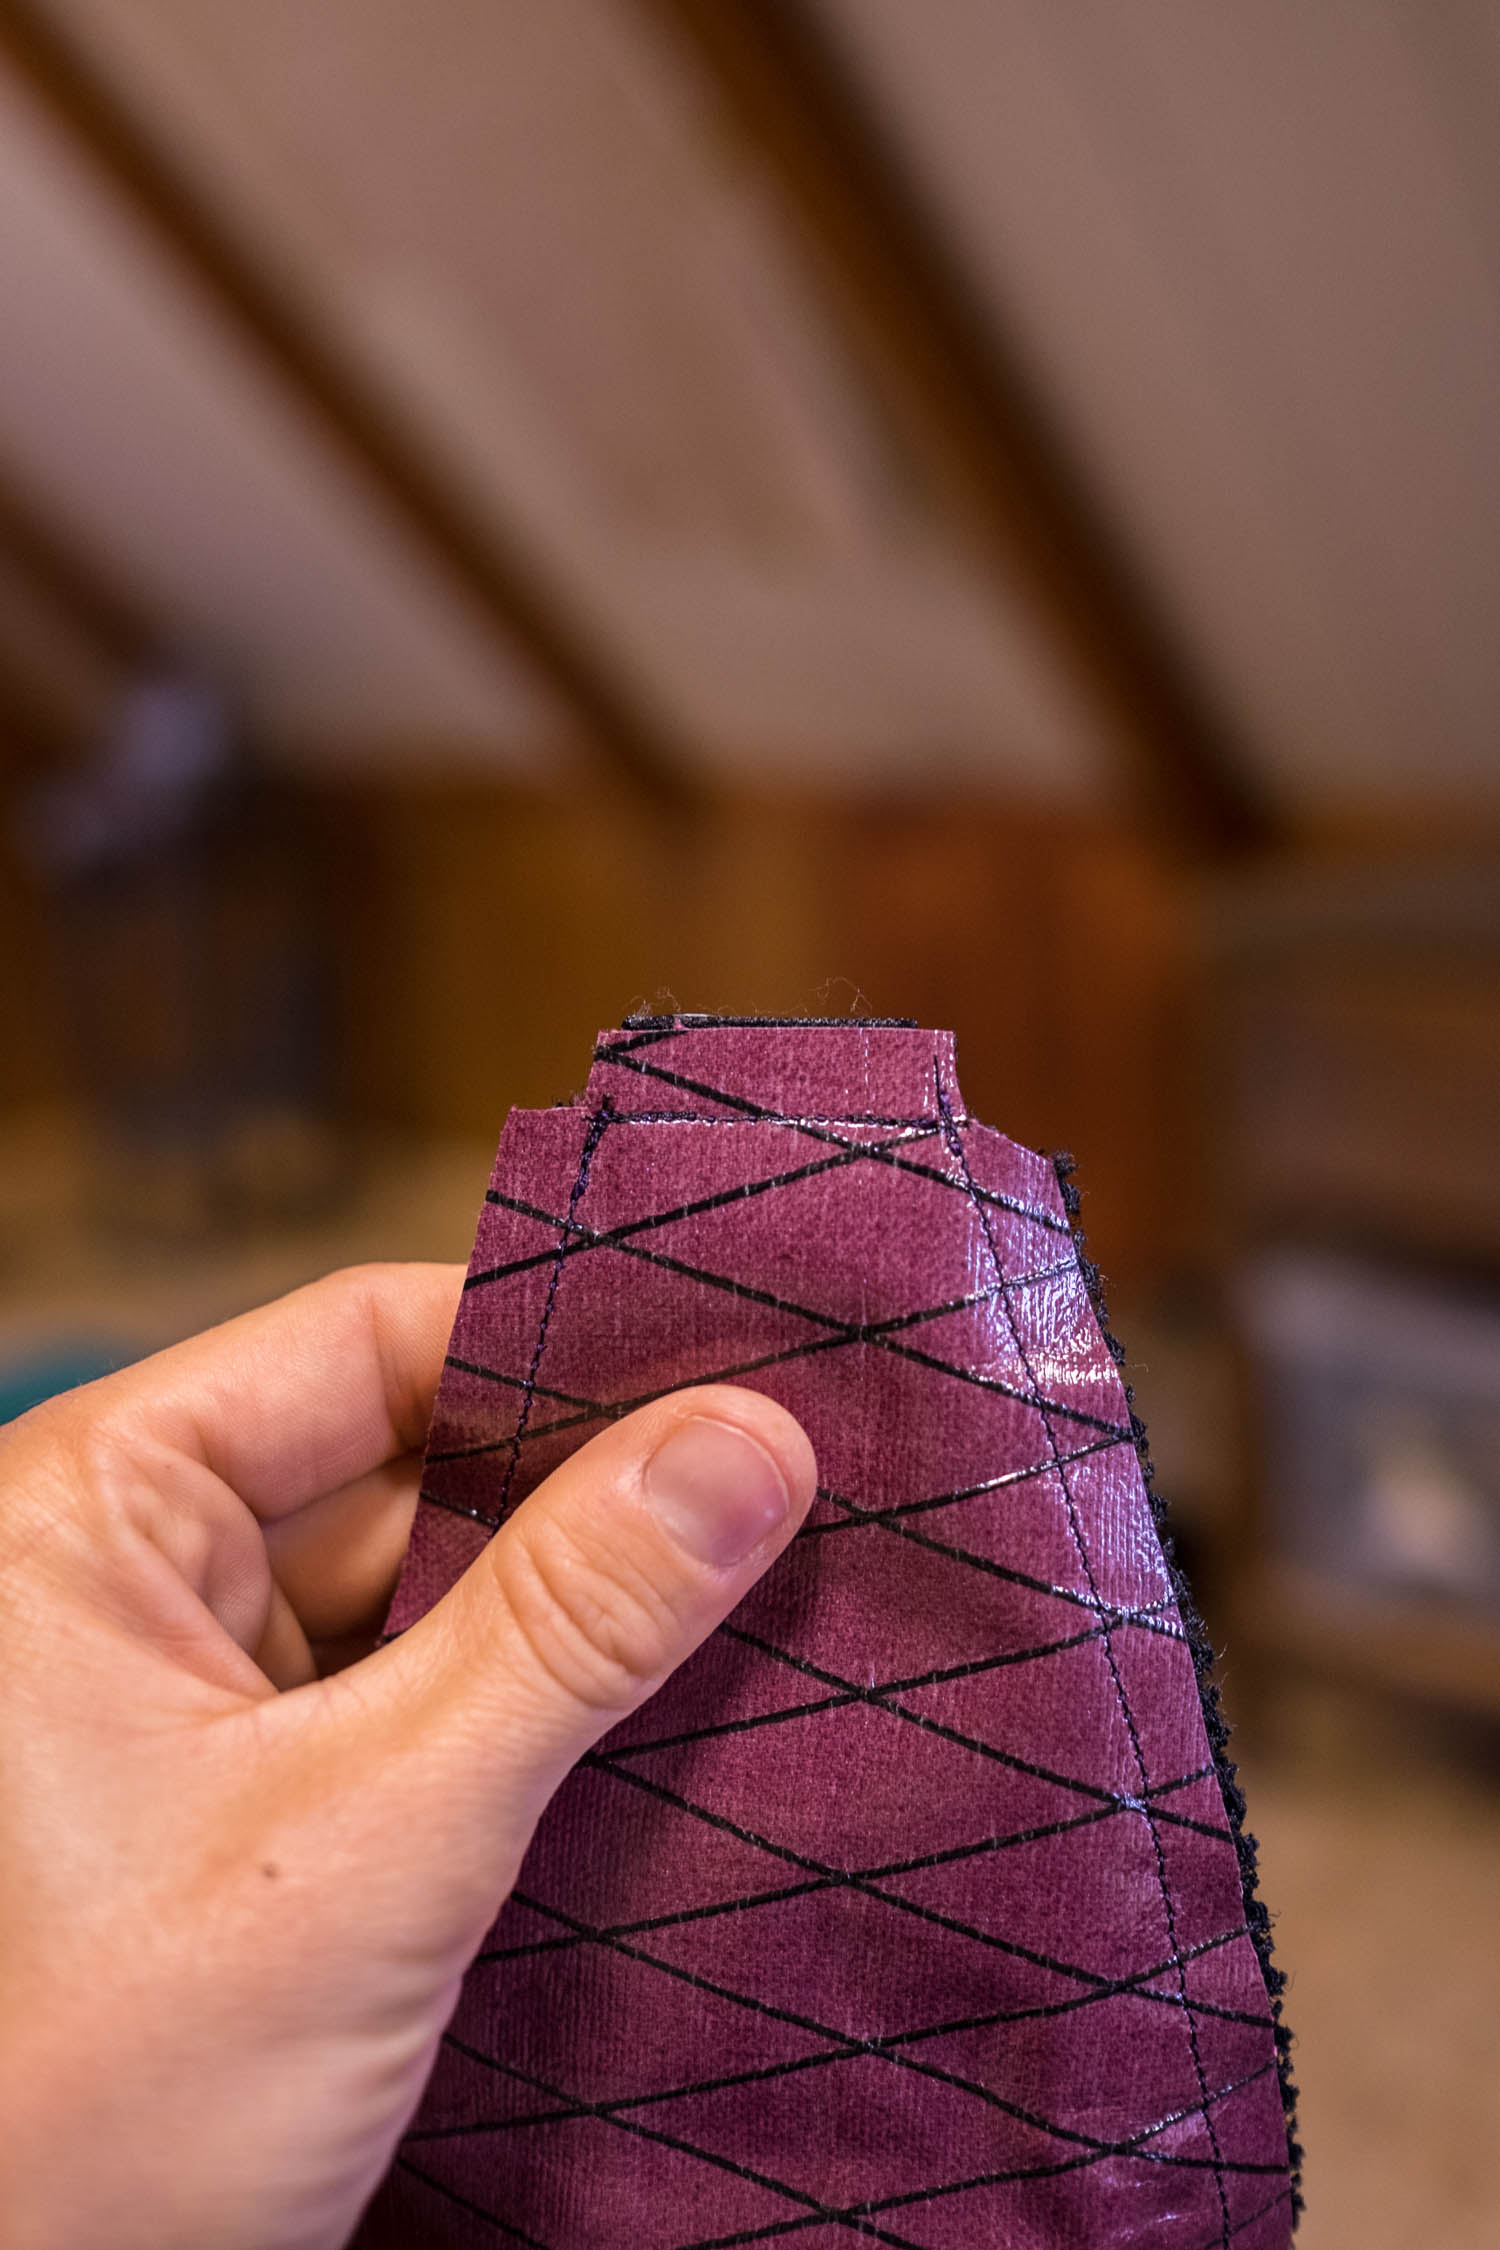
- 2x F panel from fabric
- 2x F panel from foamy mash
Step 2
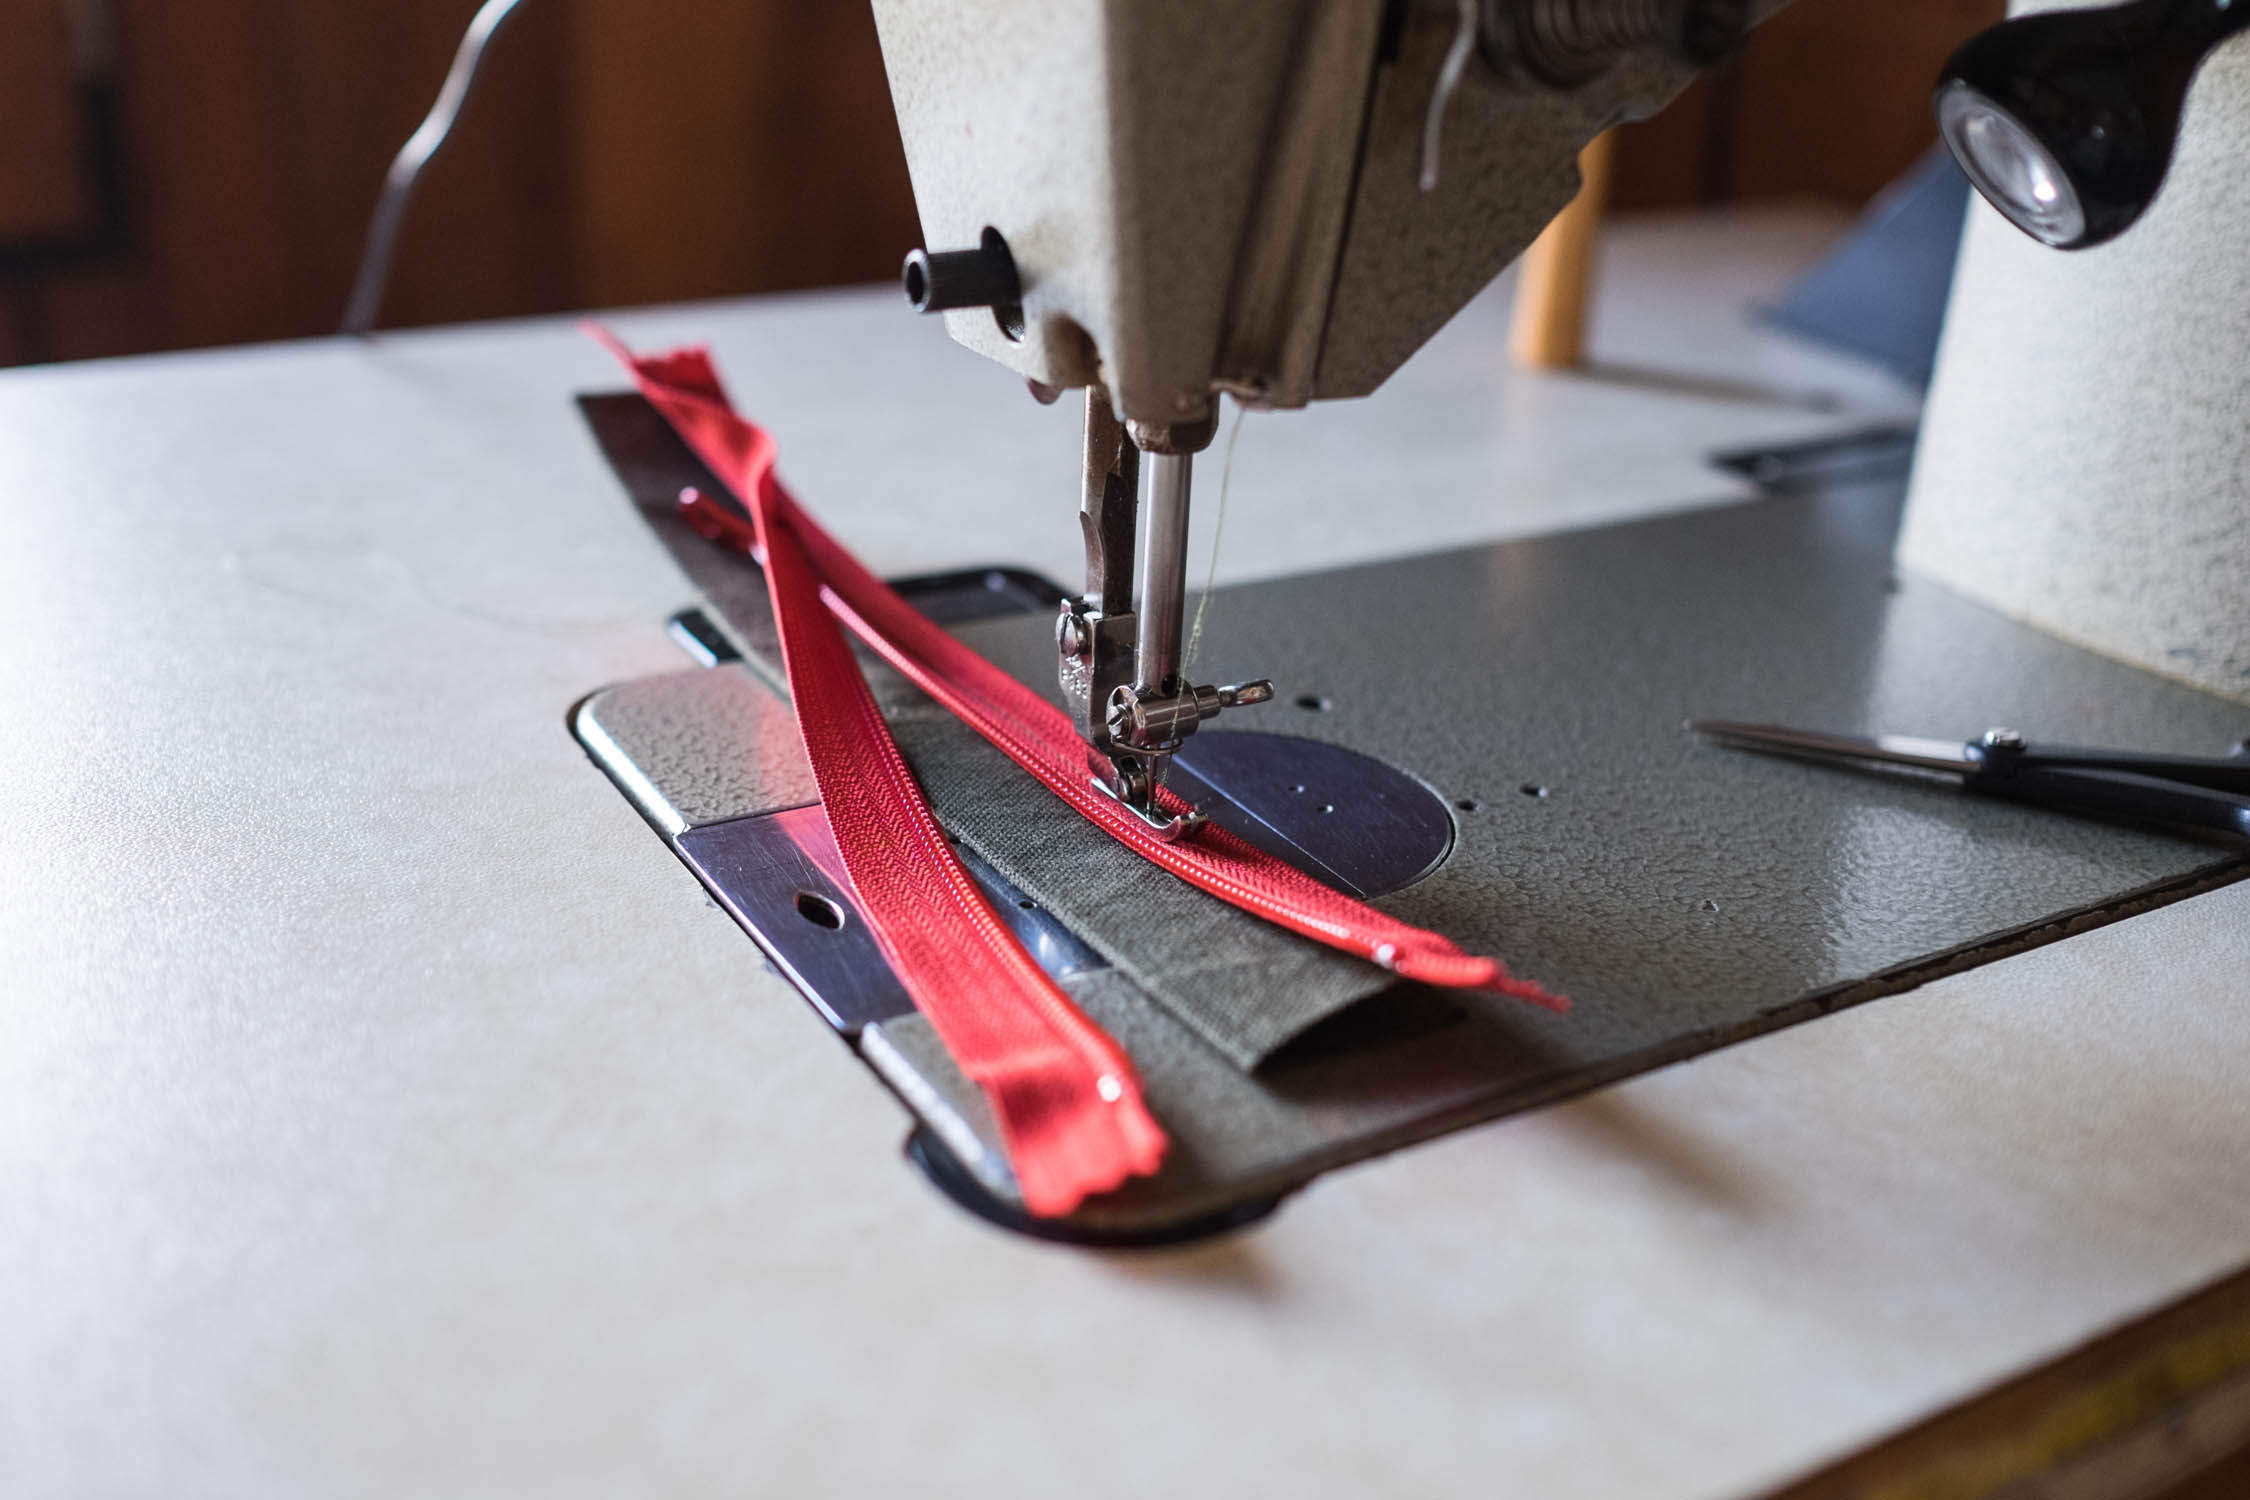
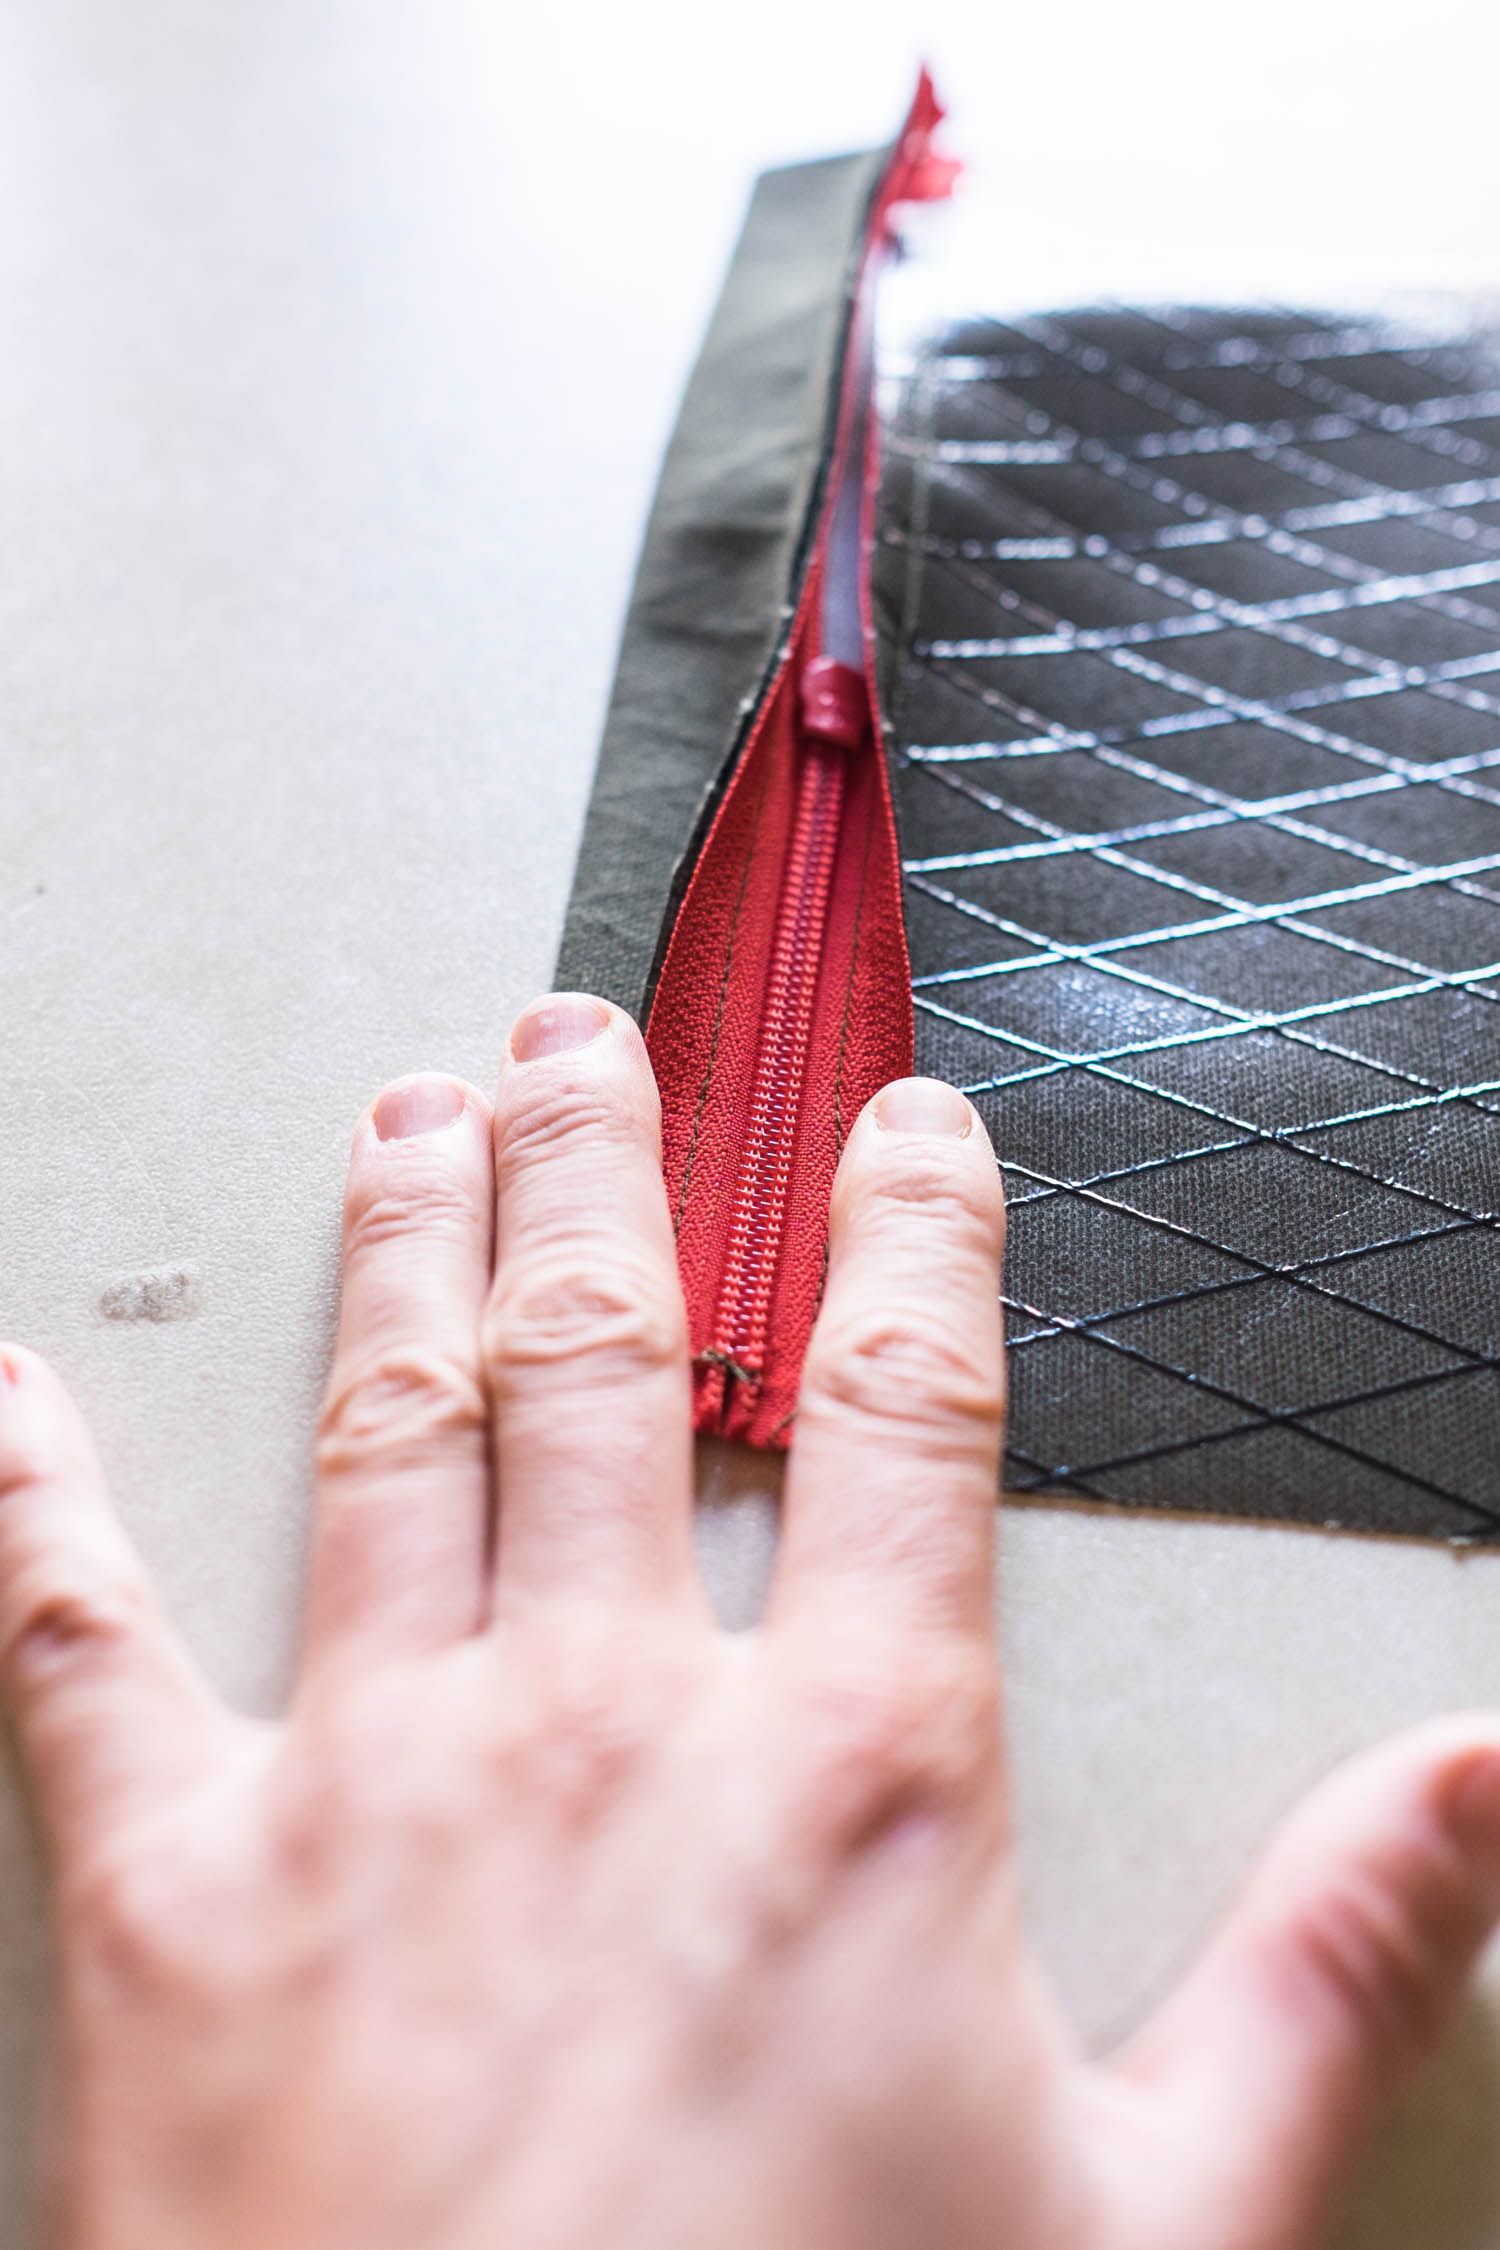
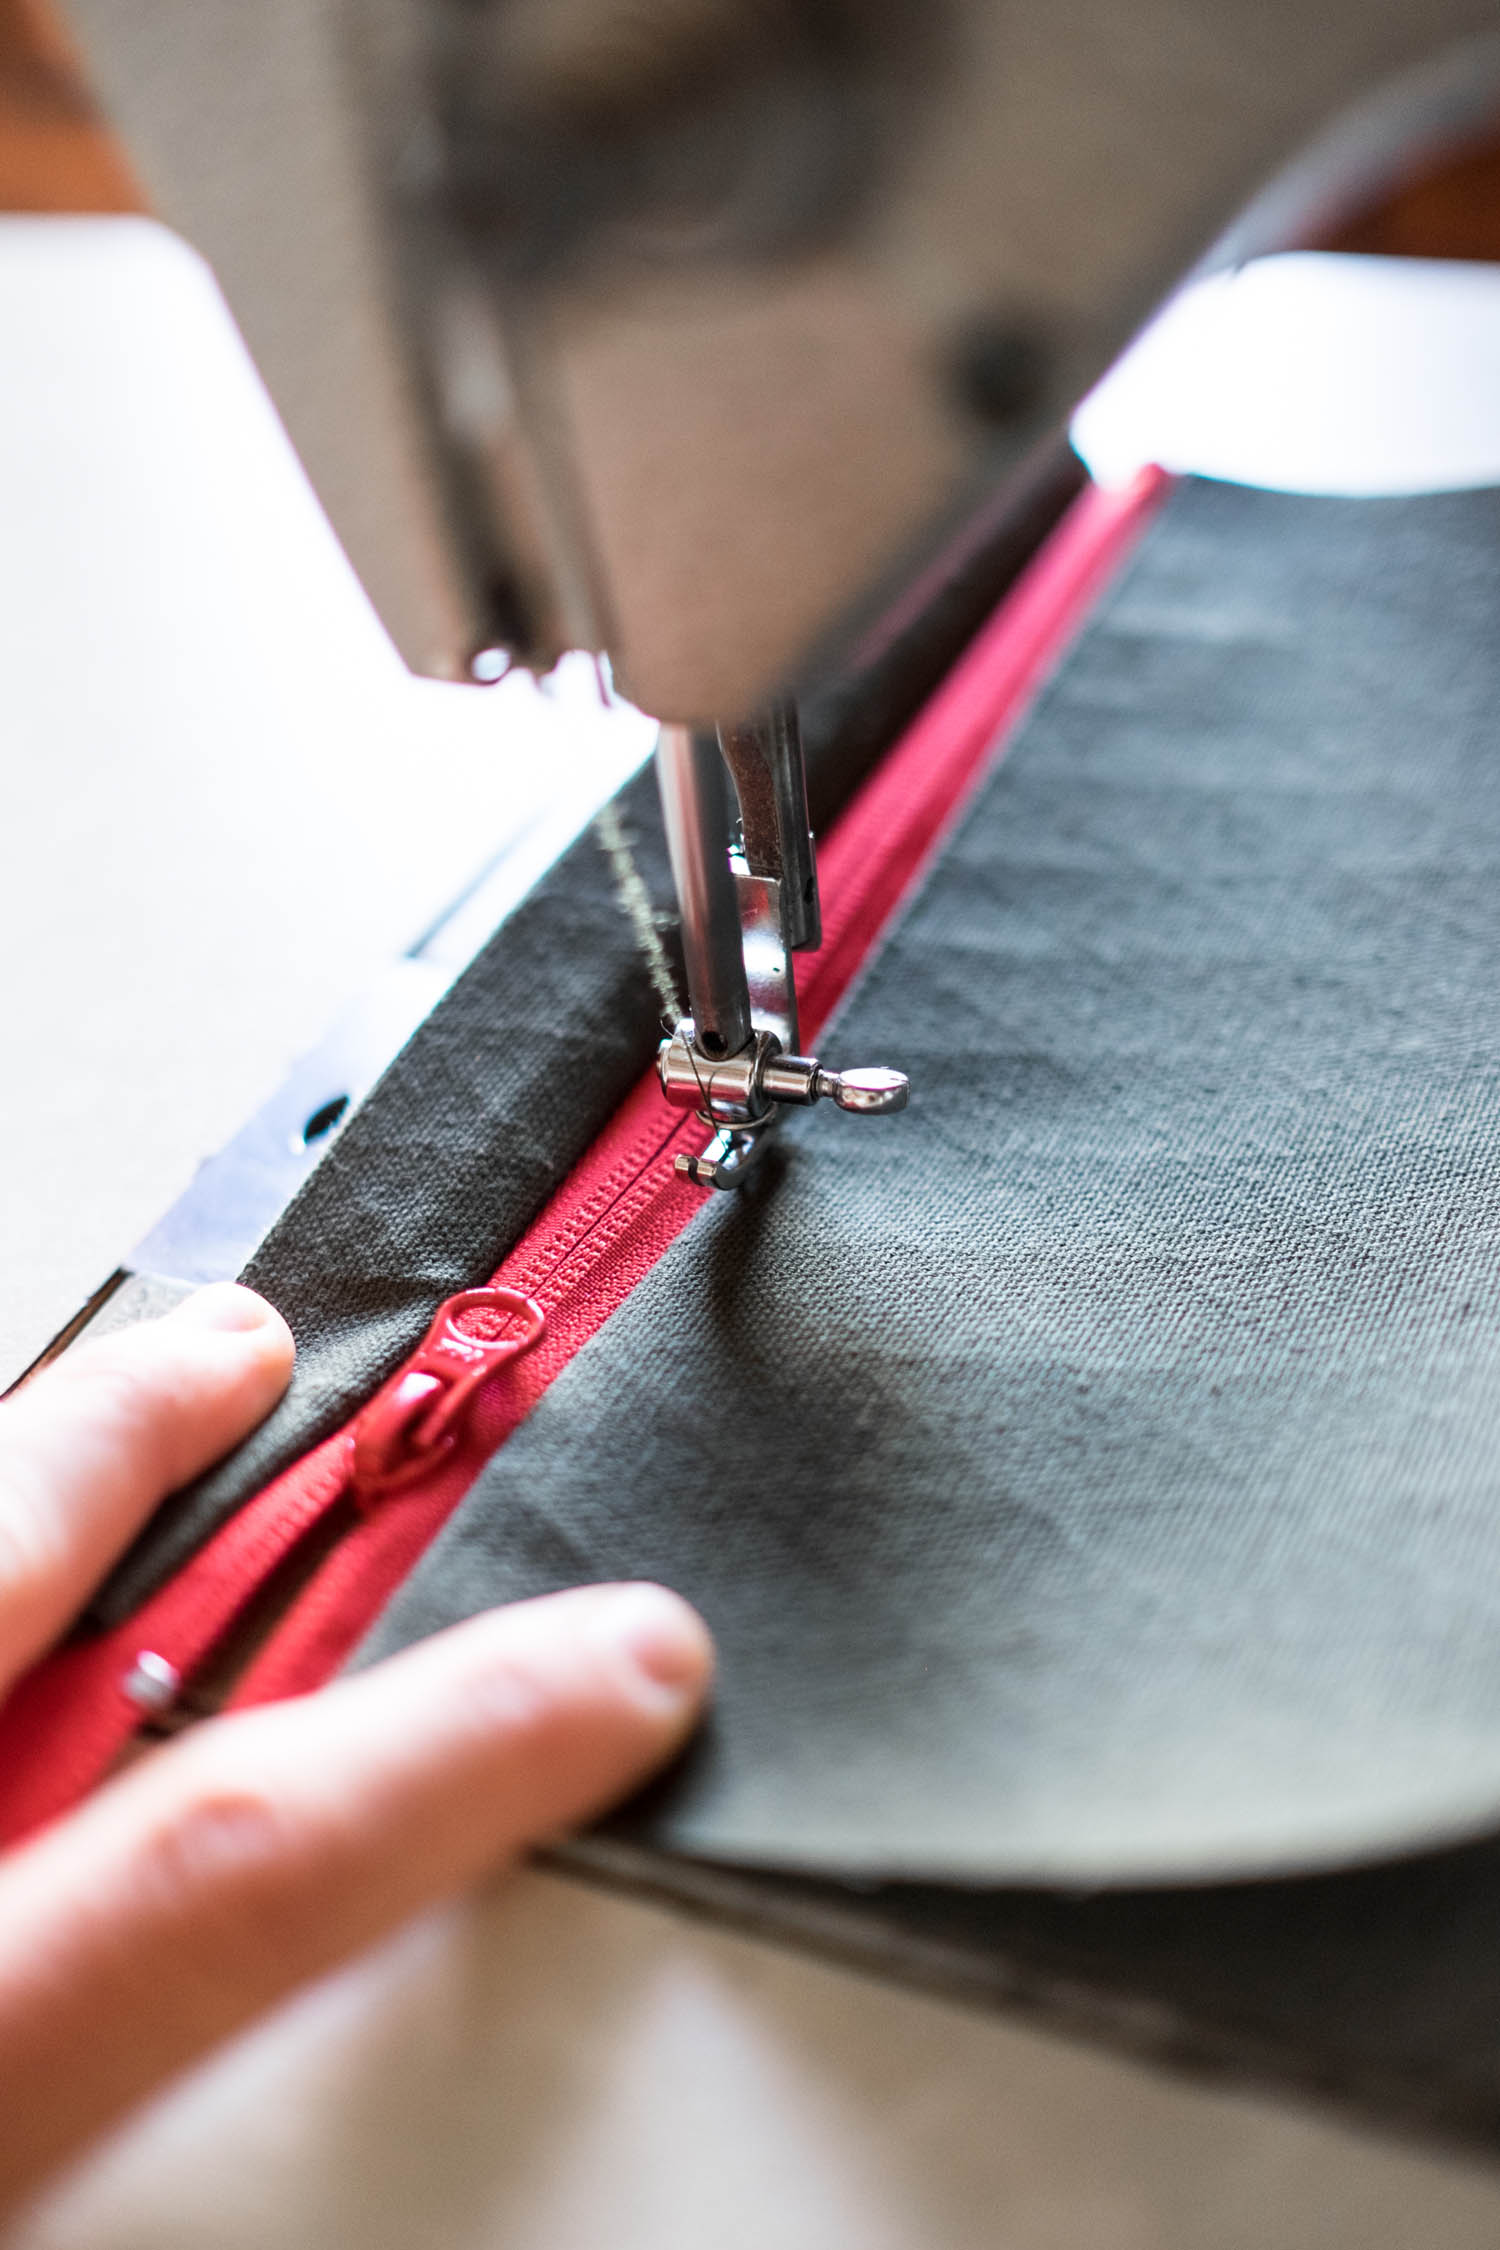
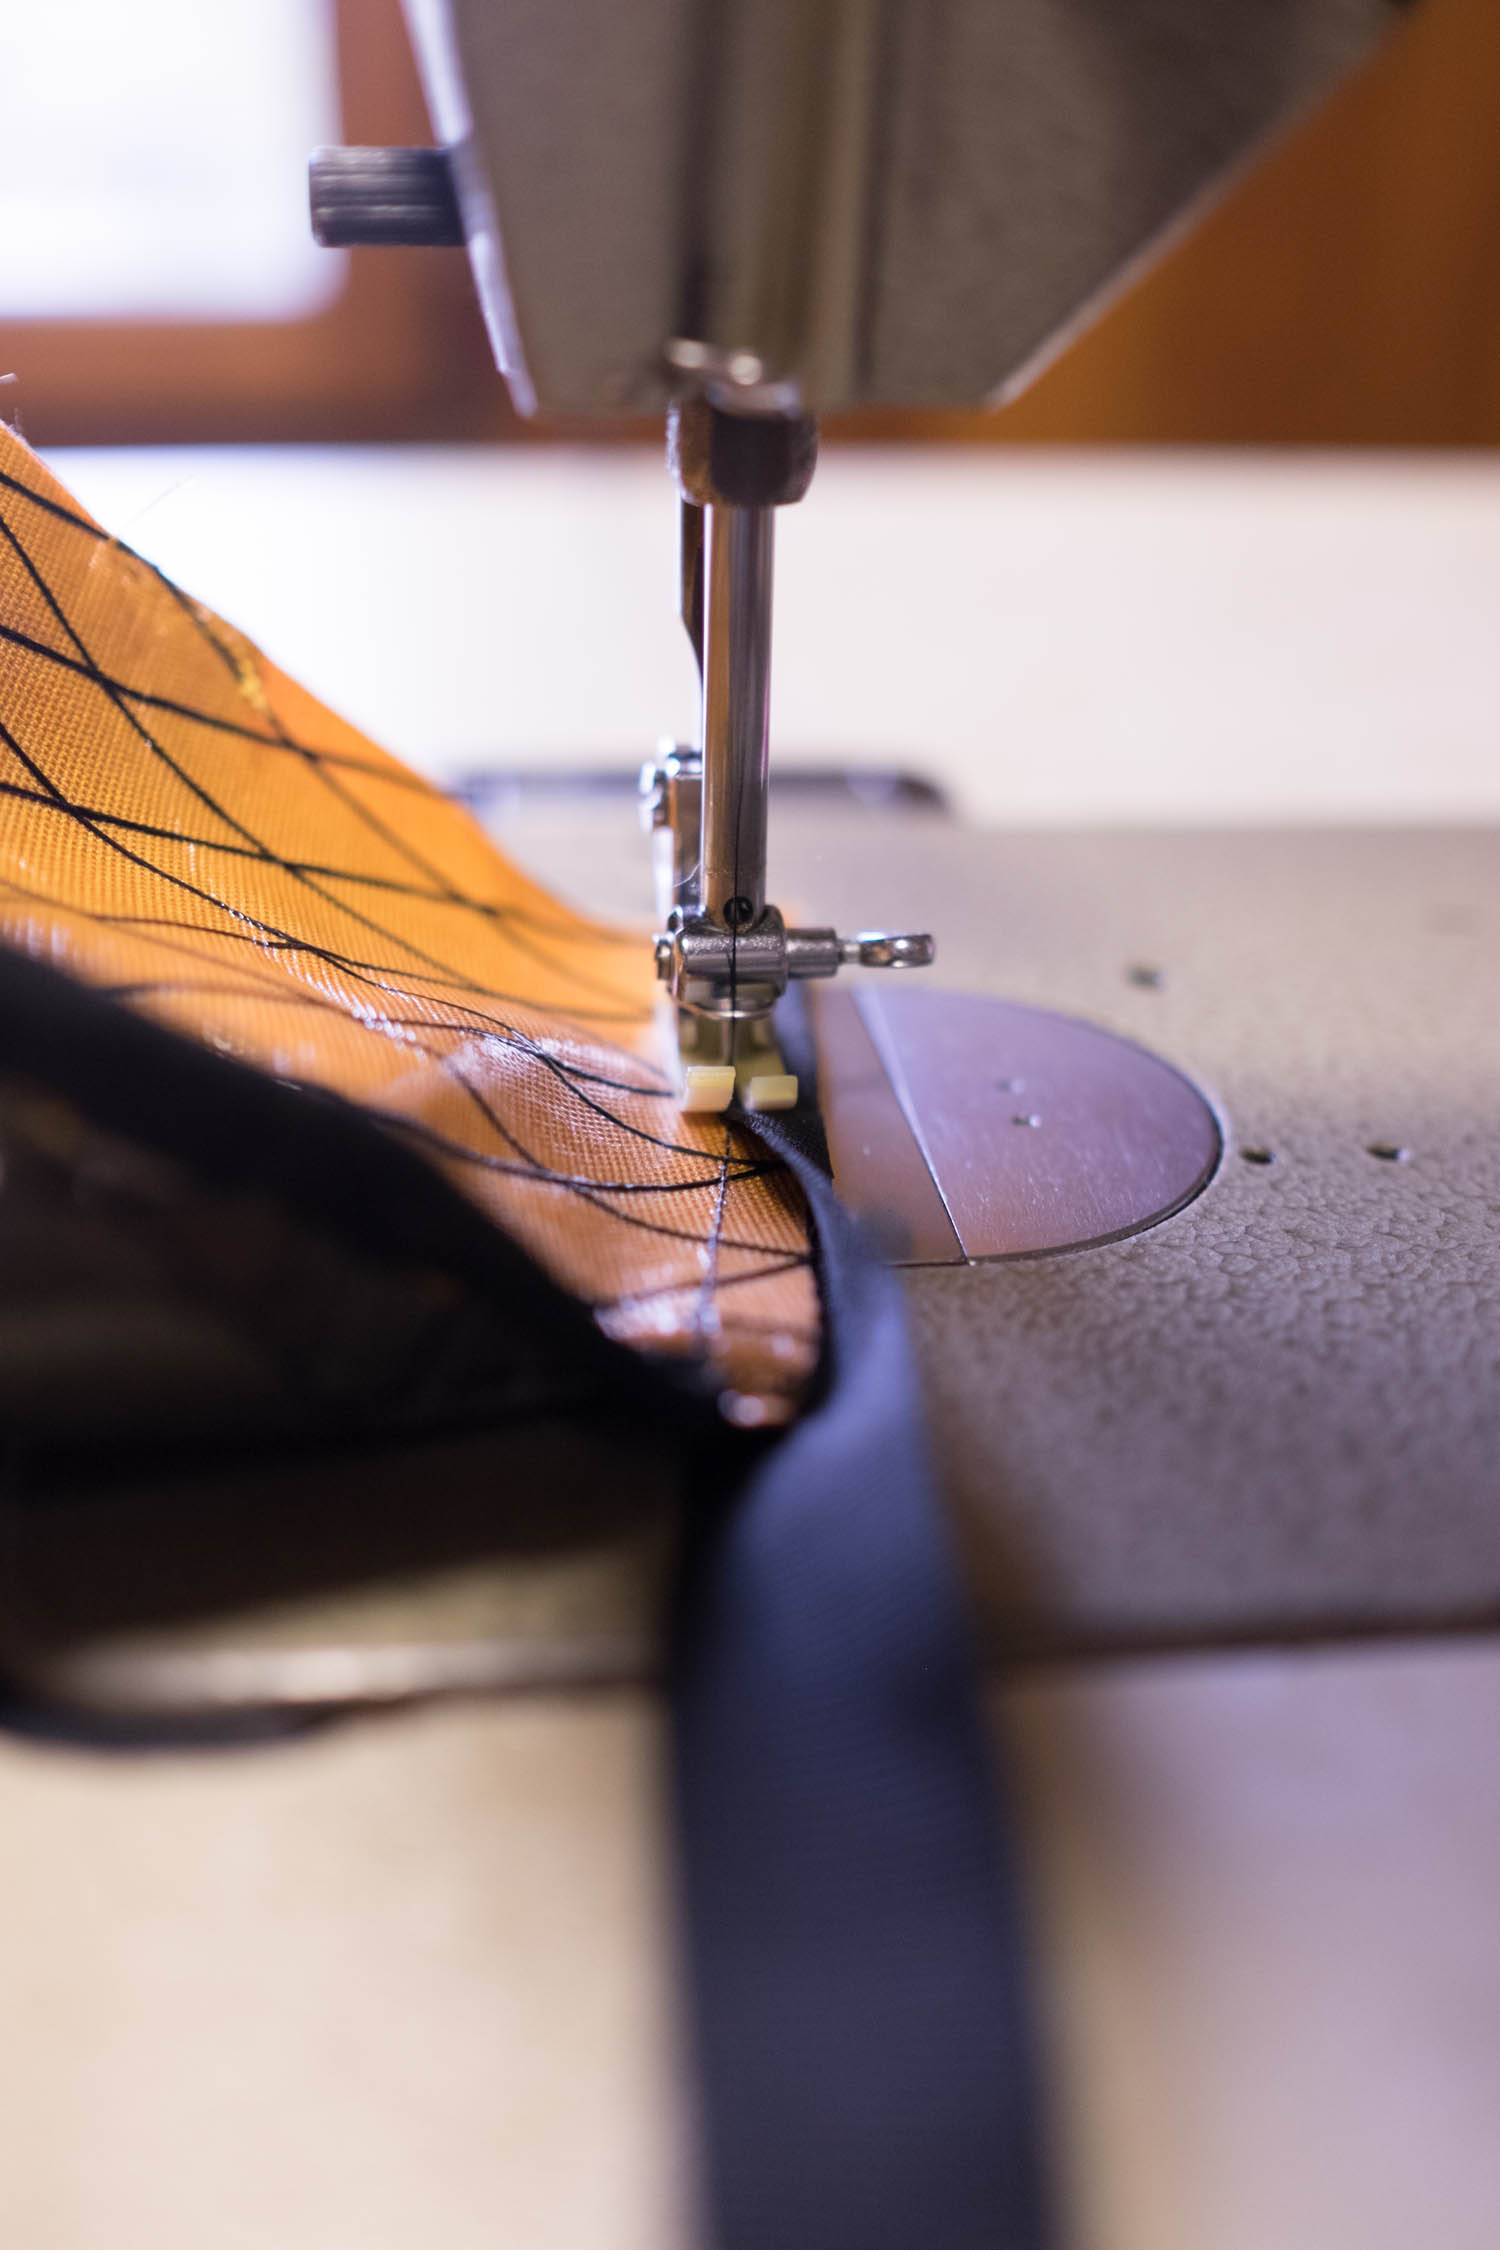
Start with the hardest part, sewing together the two zipper parts. Most machines have special foot for attaching the zipper, which allows you to come as close as possible to the zipper teeth/spiral. The zipper part consist of part A and part B.
First, fold part A as marked on the dashed line. This will be the zipper cover. The cover protects the zipper from rain and mud spraying off your wheels. Continue with sewing on part B, and once it’s sewn on, top stitch it. This prevents stiff fabric from bulking up.

Step 3 (optional)
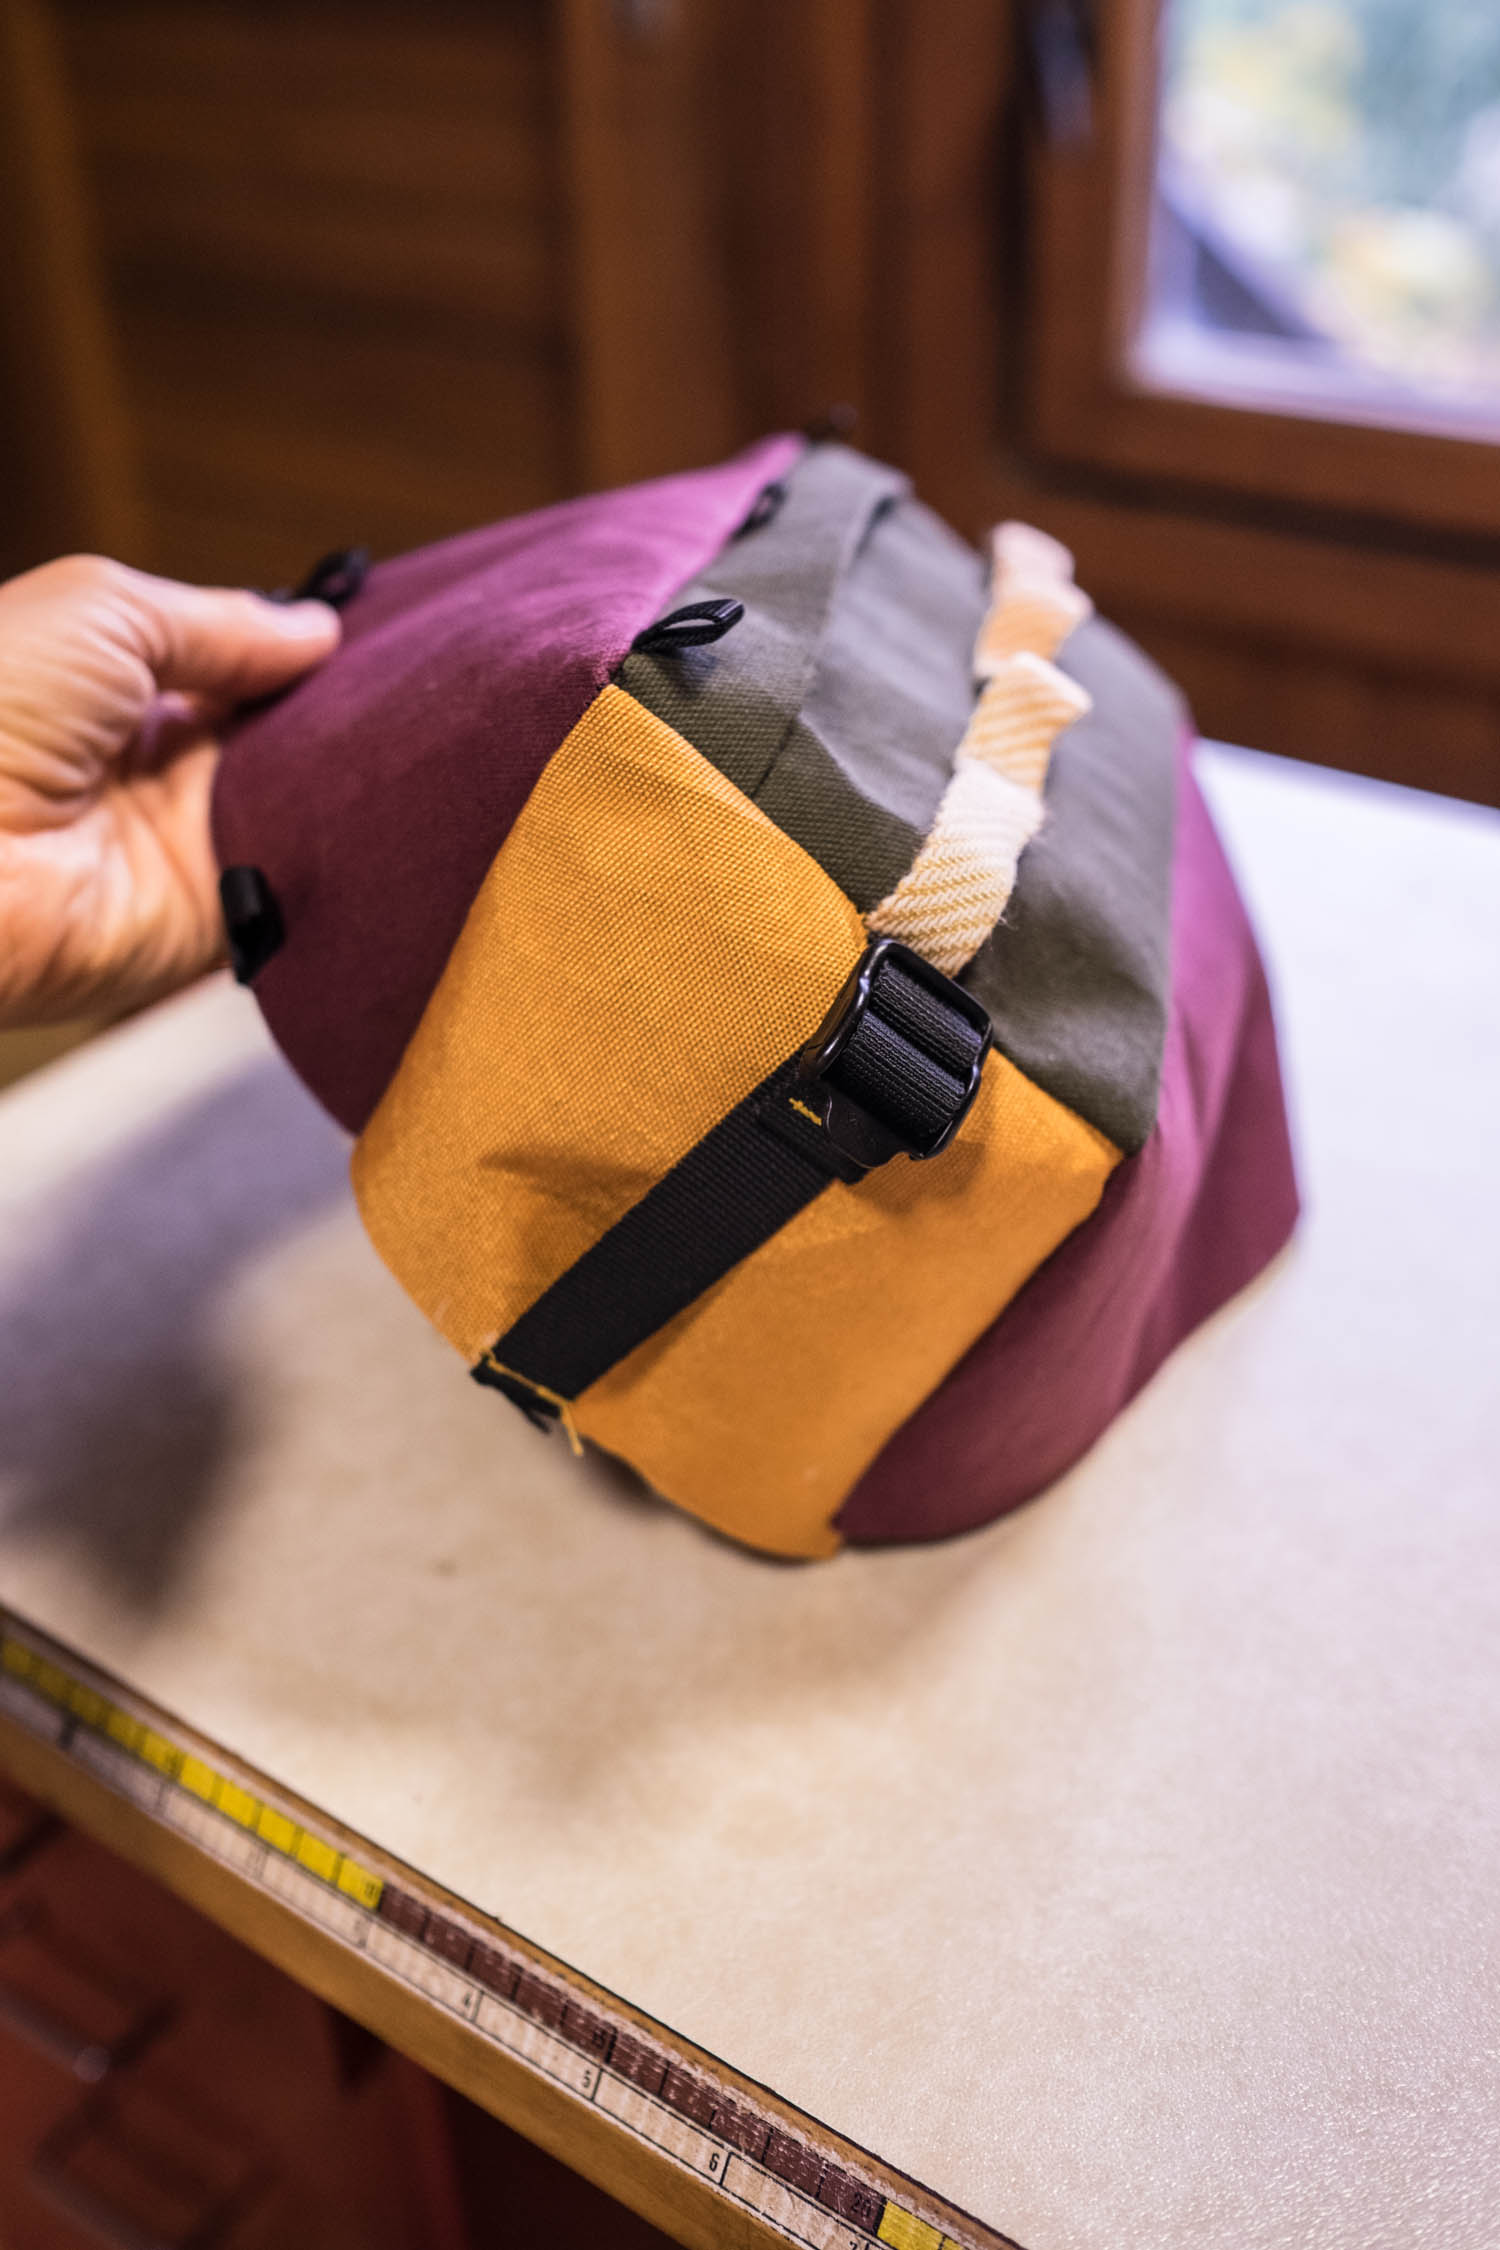
Attaching the front daisy chain. Use the marks on the pattern and leave an extra centimeter of strap at each hook so it’ll be easier to attach stuff.
Step 4
Prepare the side adjustment straps (they can decrease the volume of the bag if you’re not carrying much) with ladder buckle.
Cut 2 x 6 cm and 2 x 18 cm (0.8 x 2.4″ and 0.8 x 7.1″) from 20mm webbing. Burn the webbing edges to prevent fraying. Fold the end of the longer strap twice and finish it off with stitches. Attache them onto both C panels as marked on the pattern. The fixed part of the adjustment strap should be on the shorter side of the C panel.
Step 5
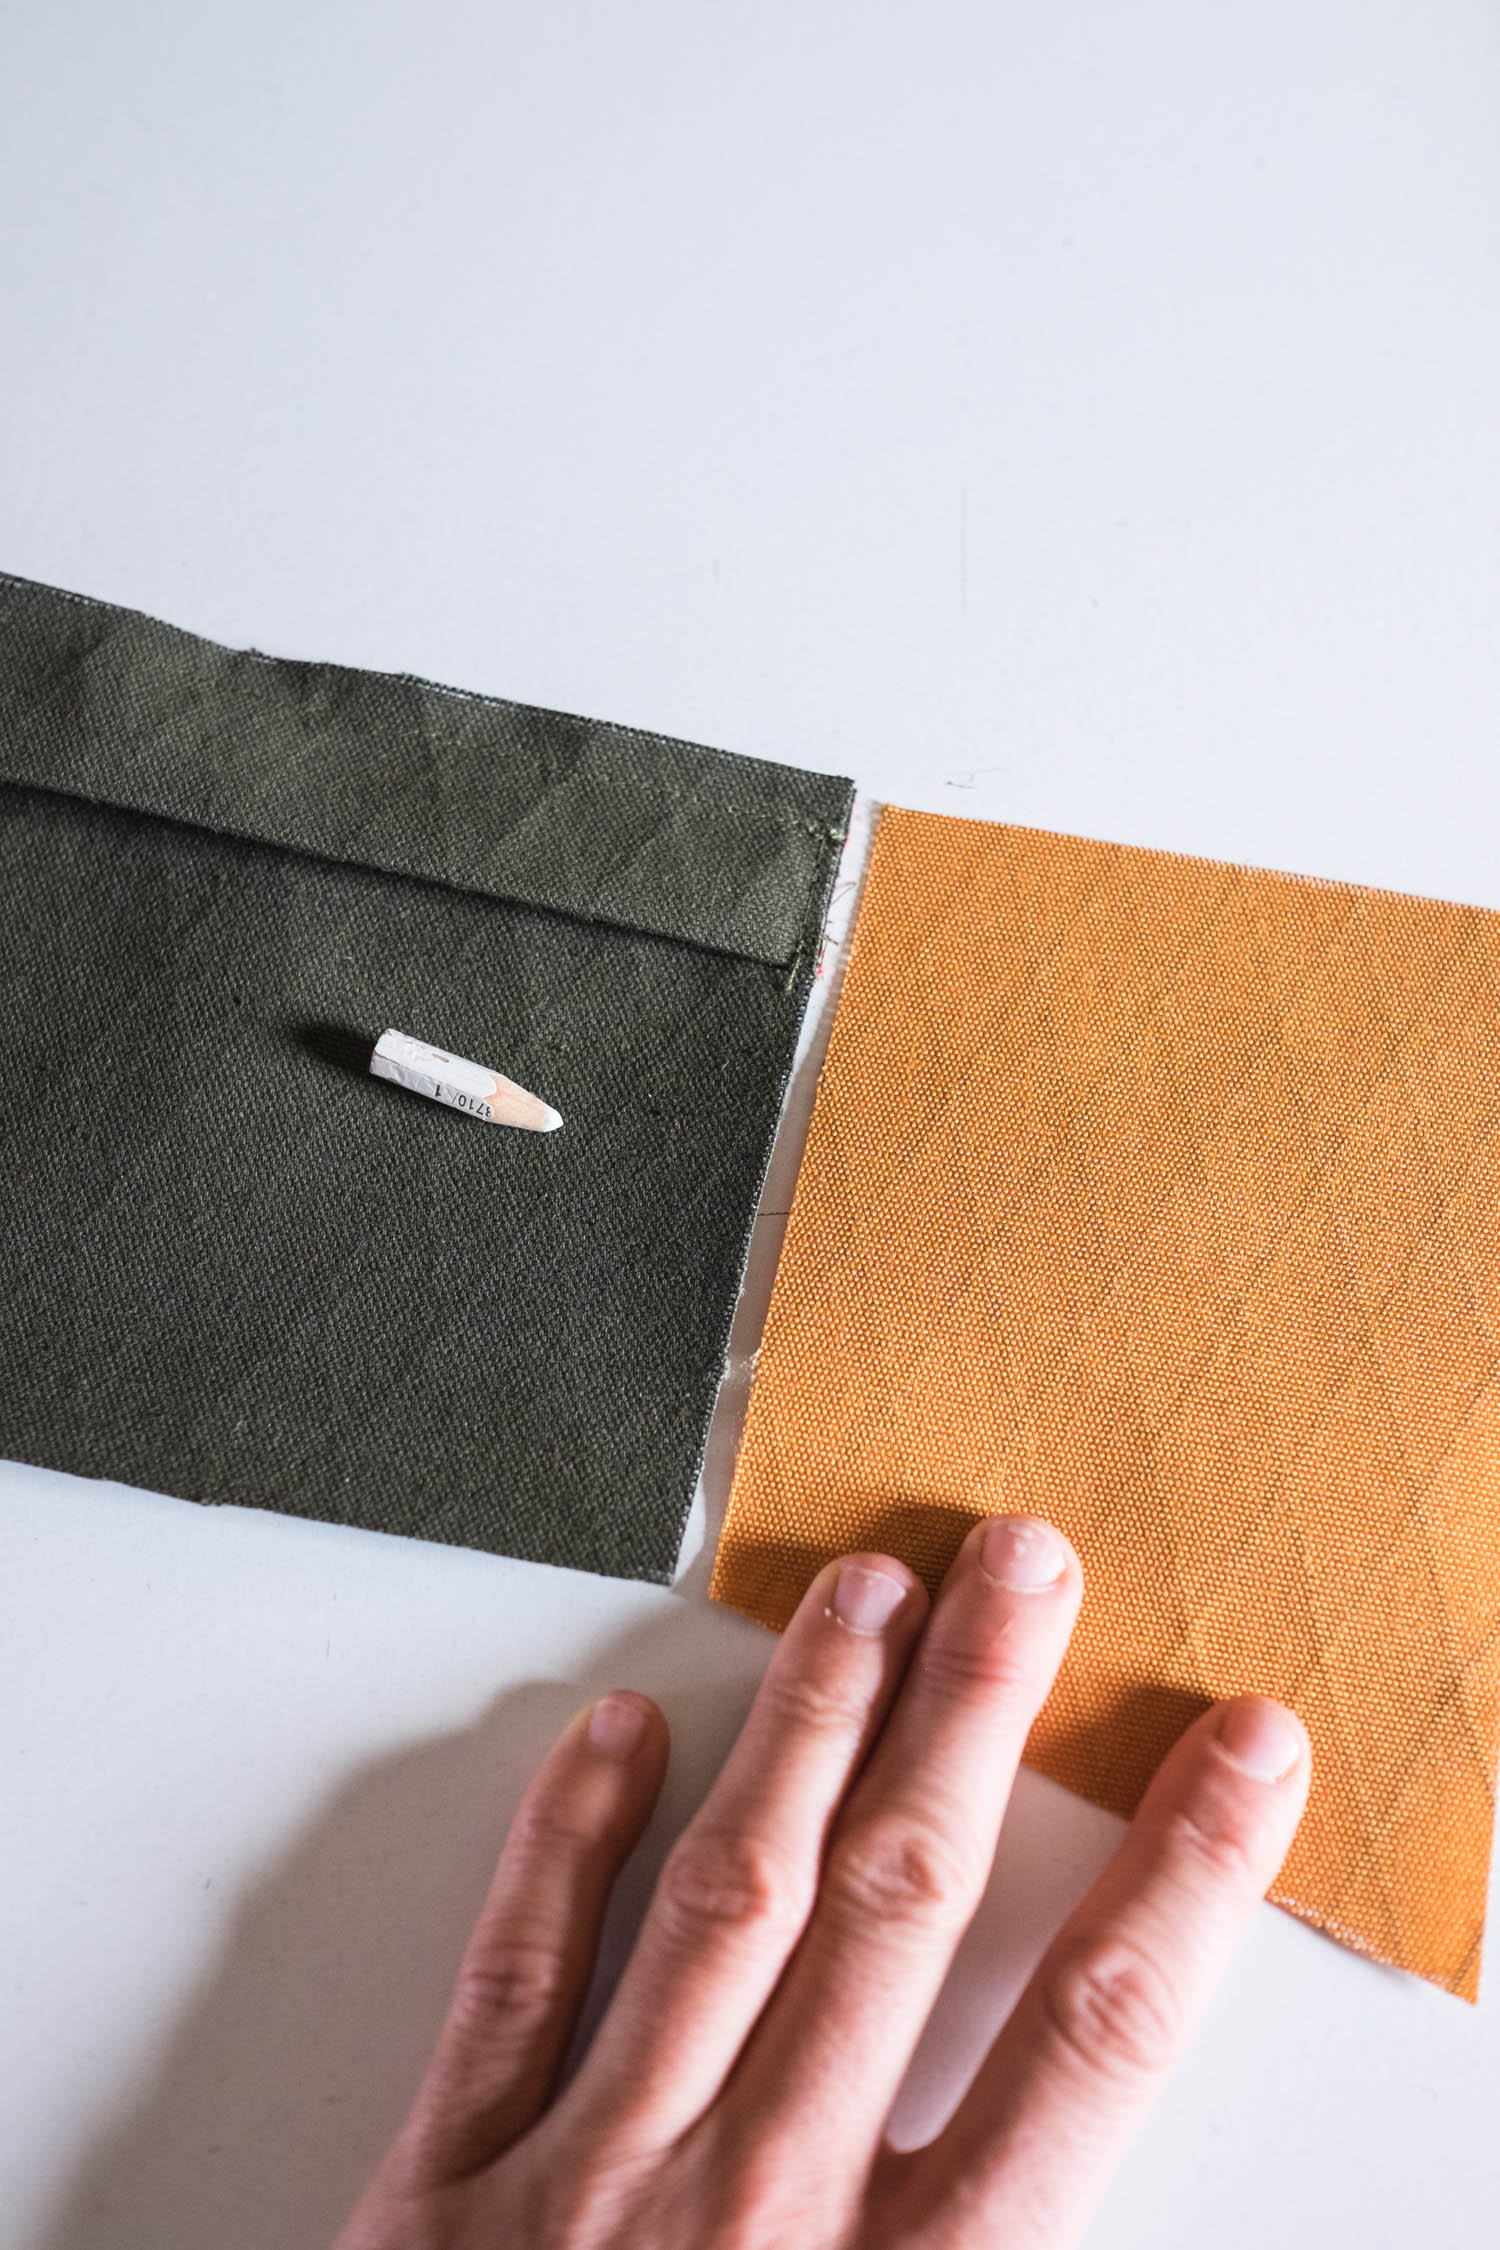
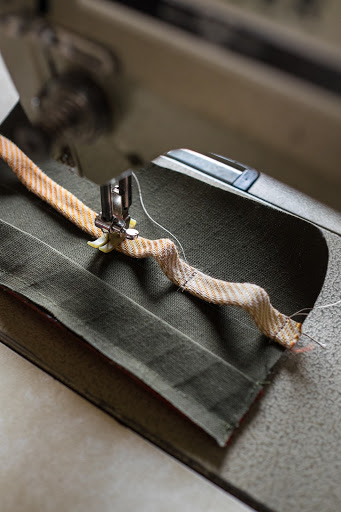
Now, attach the C panels on the A+B front part by the short side. The adjustment straps and front daisy chain should match. Make sure to leave 1 cm on the top and bottom before finishing the stitch. That way it’ll be easier to connect the top and bottom D panels. Optionally, close the edges with binding webbing (this prevents fabric from fraying).

Step 6
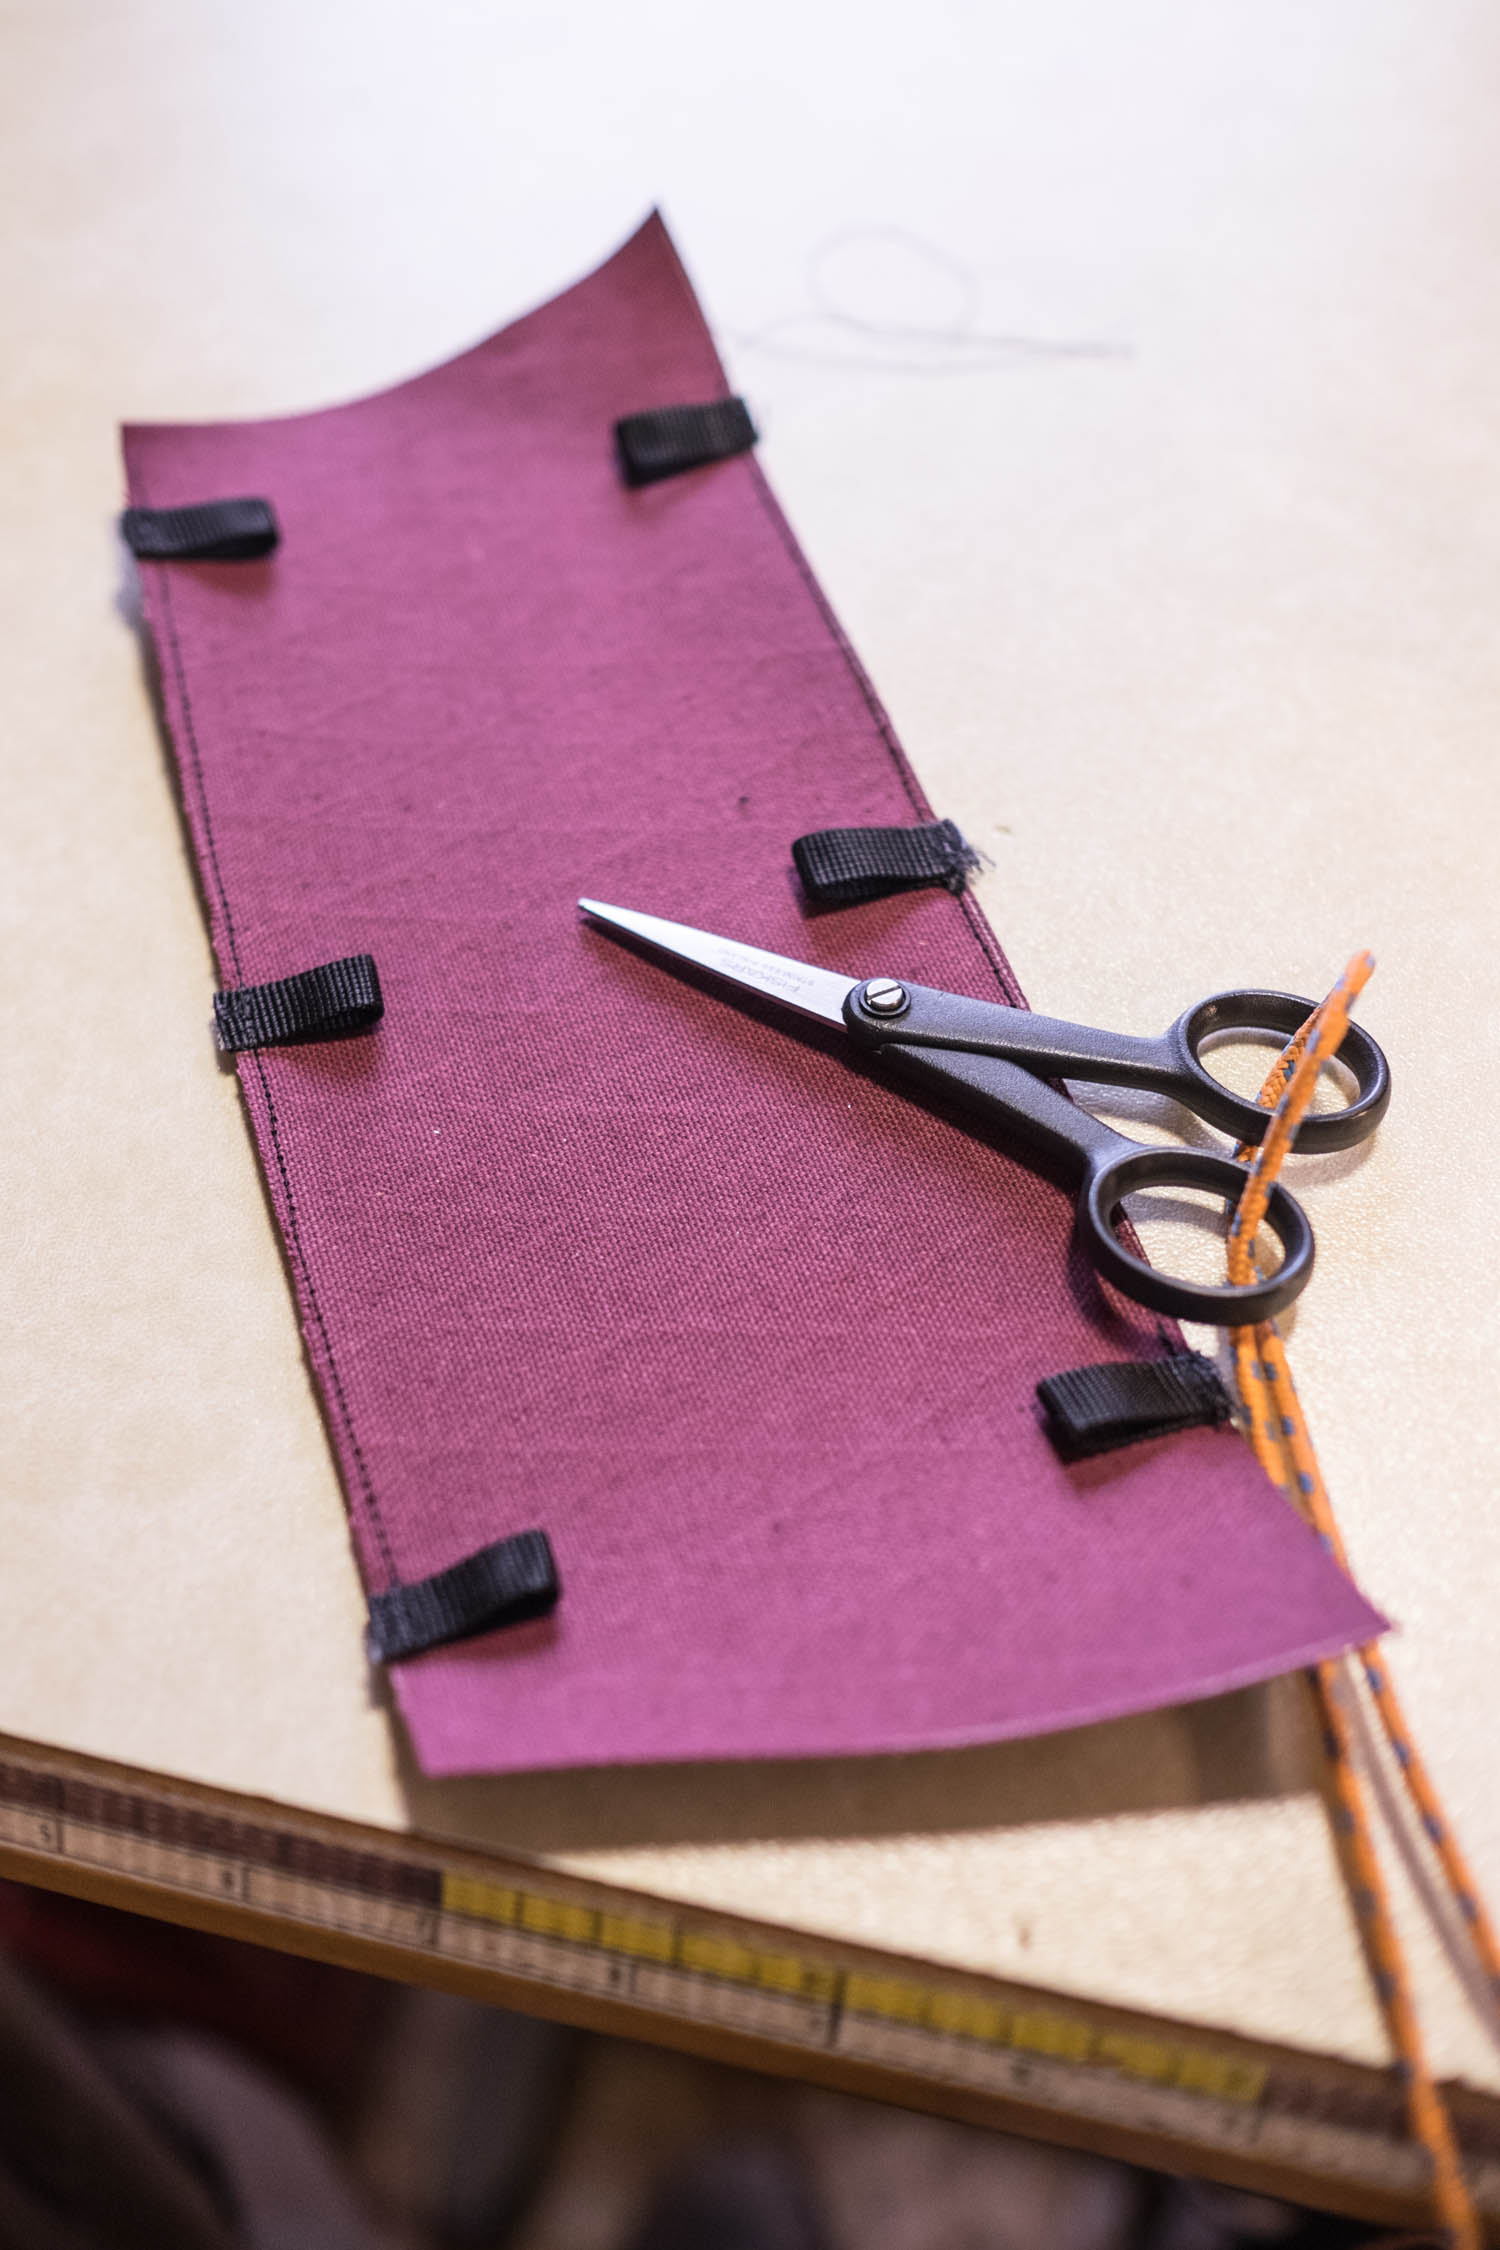
Cut out 6 x 4 cm (2.4 x 1.6″) straps from 10 mm webbing and sew them onto one of the D panels where marked on the panel. These will serve as a guide for bungee cord on the top of the bag.
Step 7
Attach both D panels as shown on the photo. Make sure you leave 1 cm on both sides before finishing the stitch. Optionally, bind the edges with webbing.

Step 8
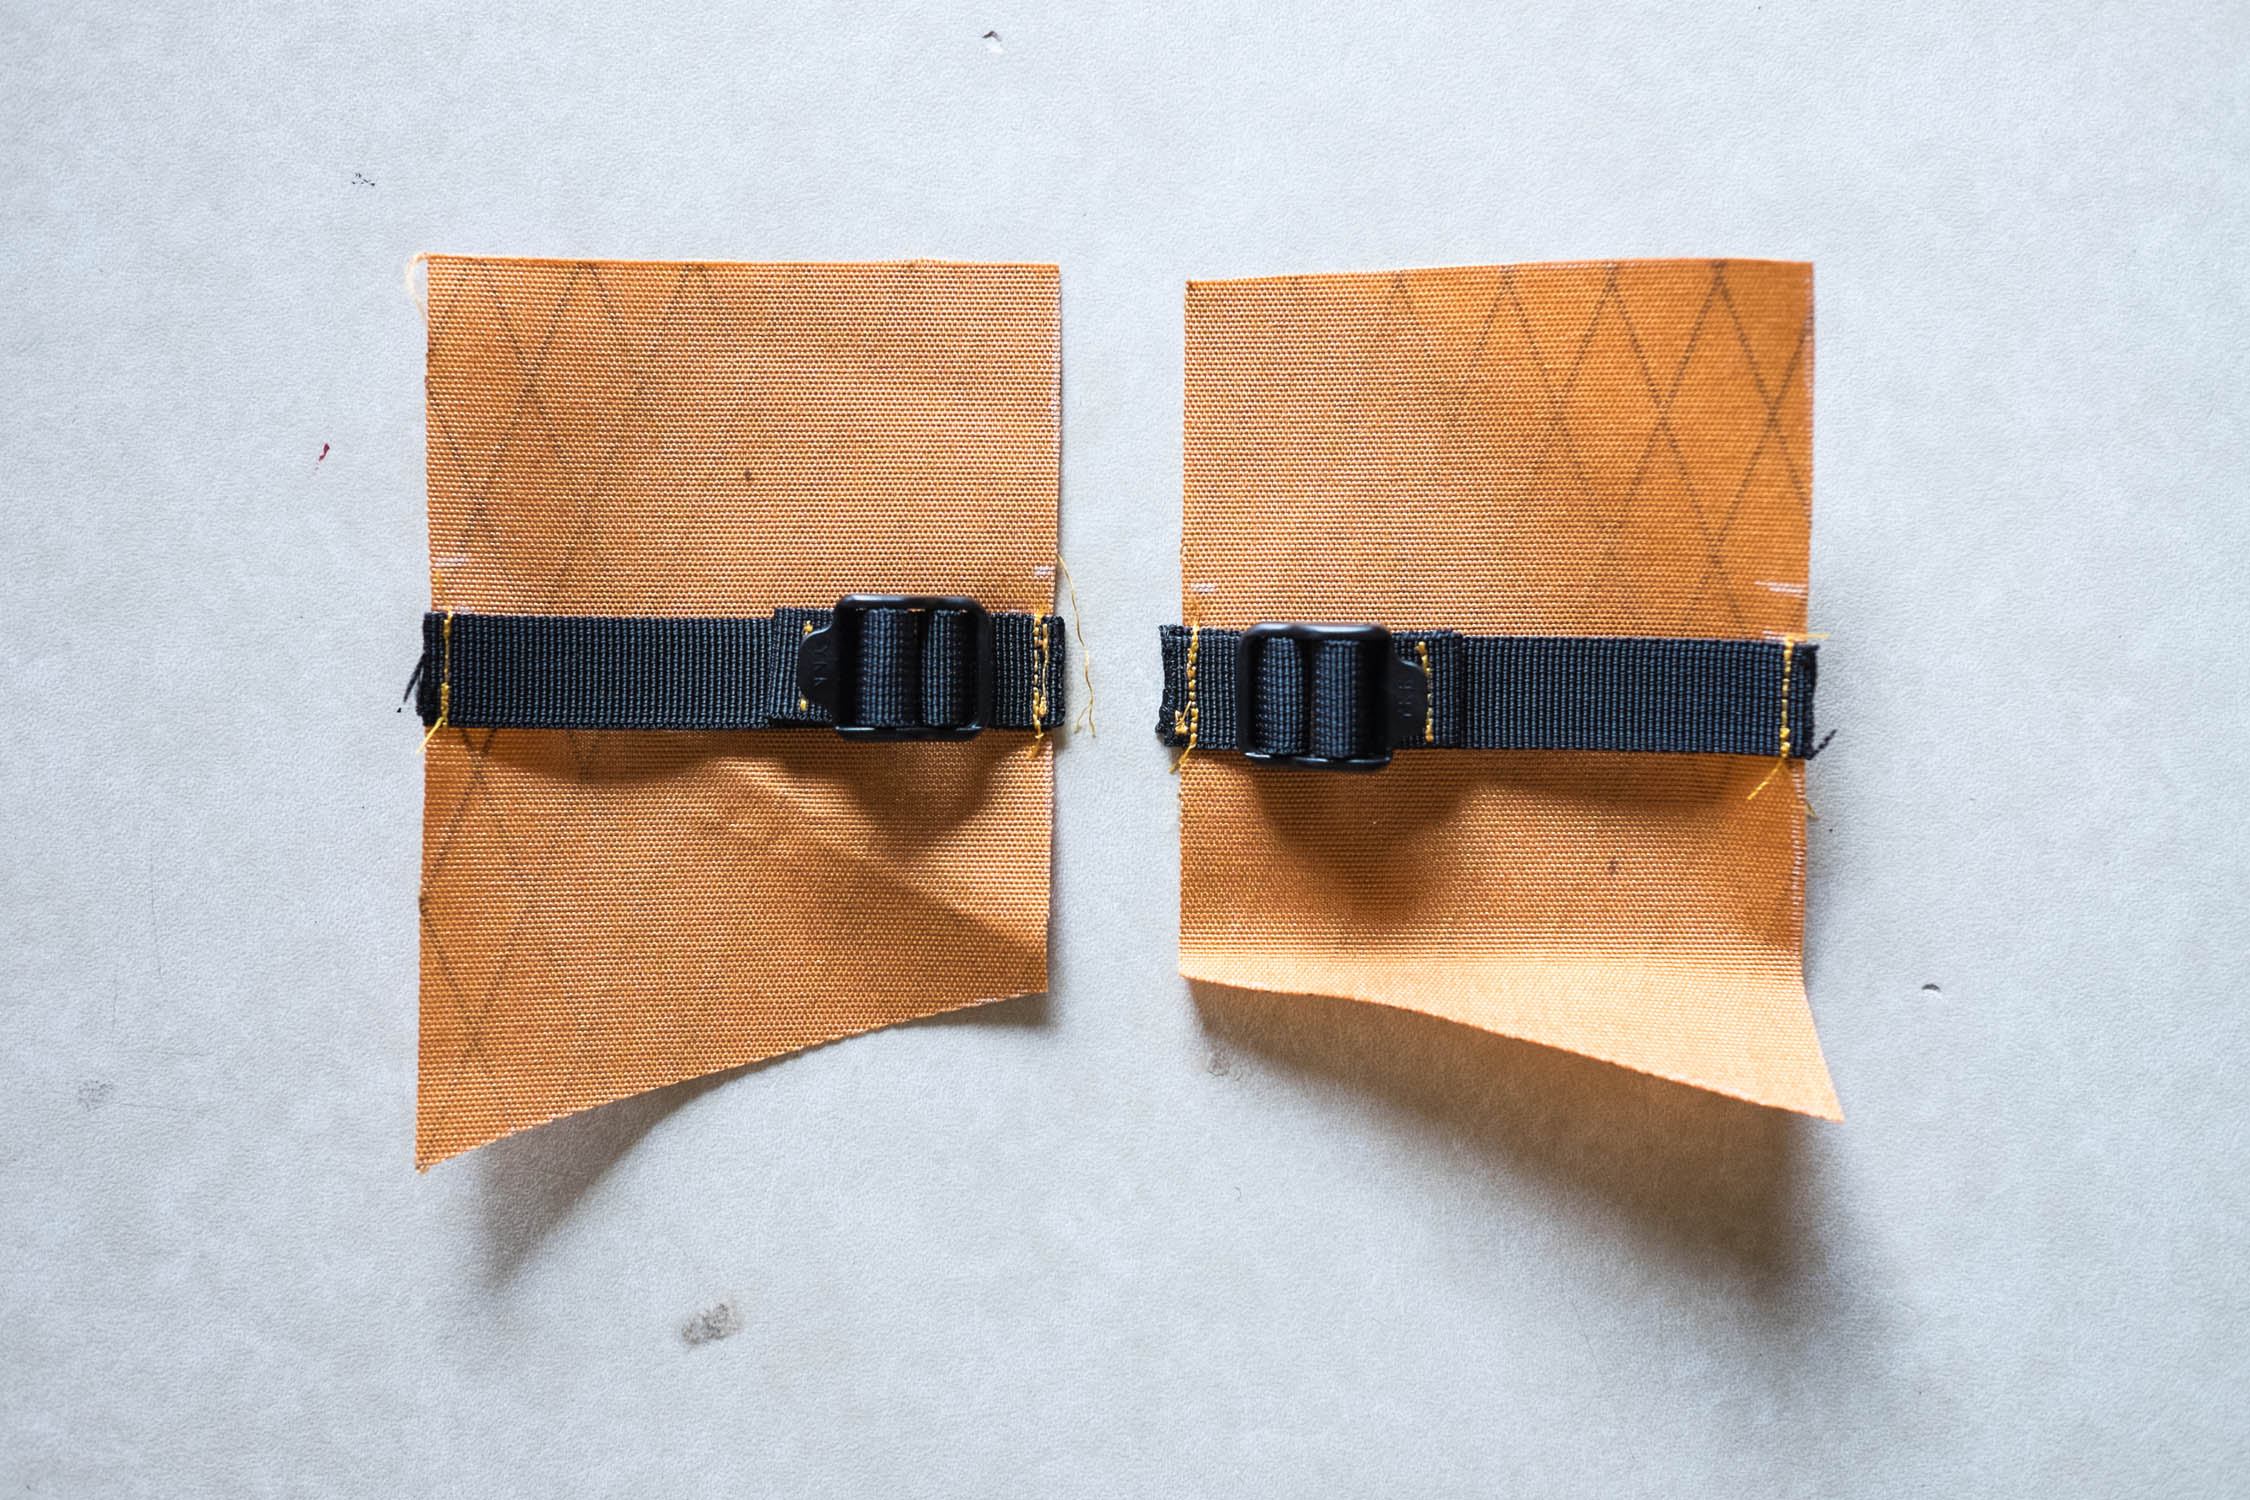
Prepare the hip belt by cutting out 1 x 15 cm (0.4 x 5.9″) and 1 x 60cm (0.4 x 23.6″) from 3 cm webbing. Slide it though the 30 mm side release buckle. Fold the end of the longer strap twice and finish it off with stitches.
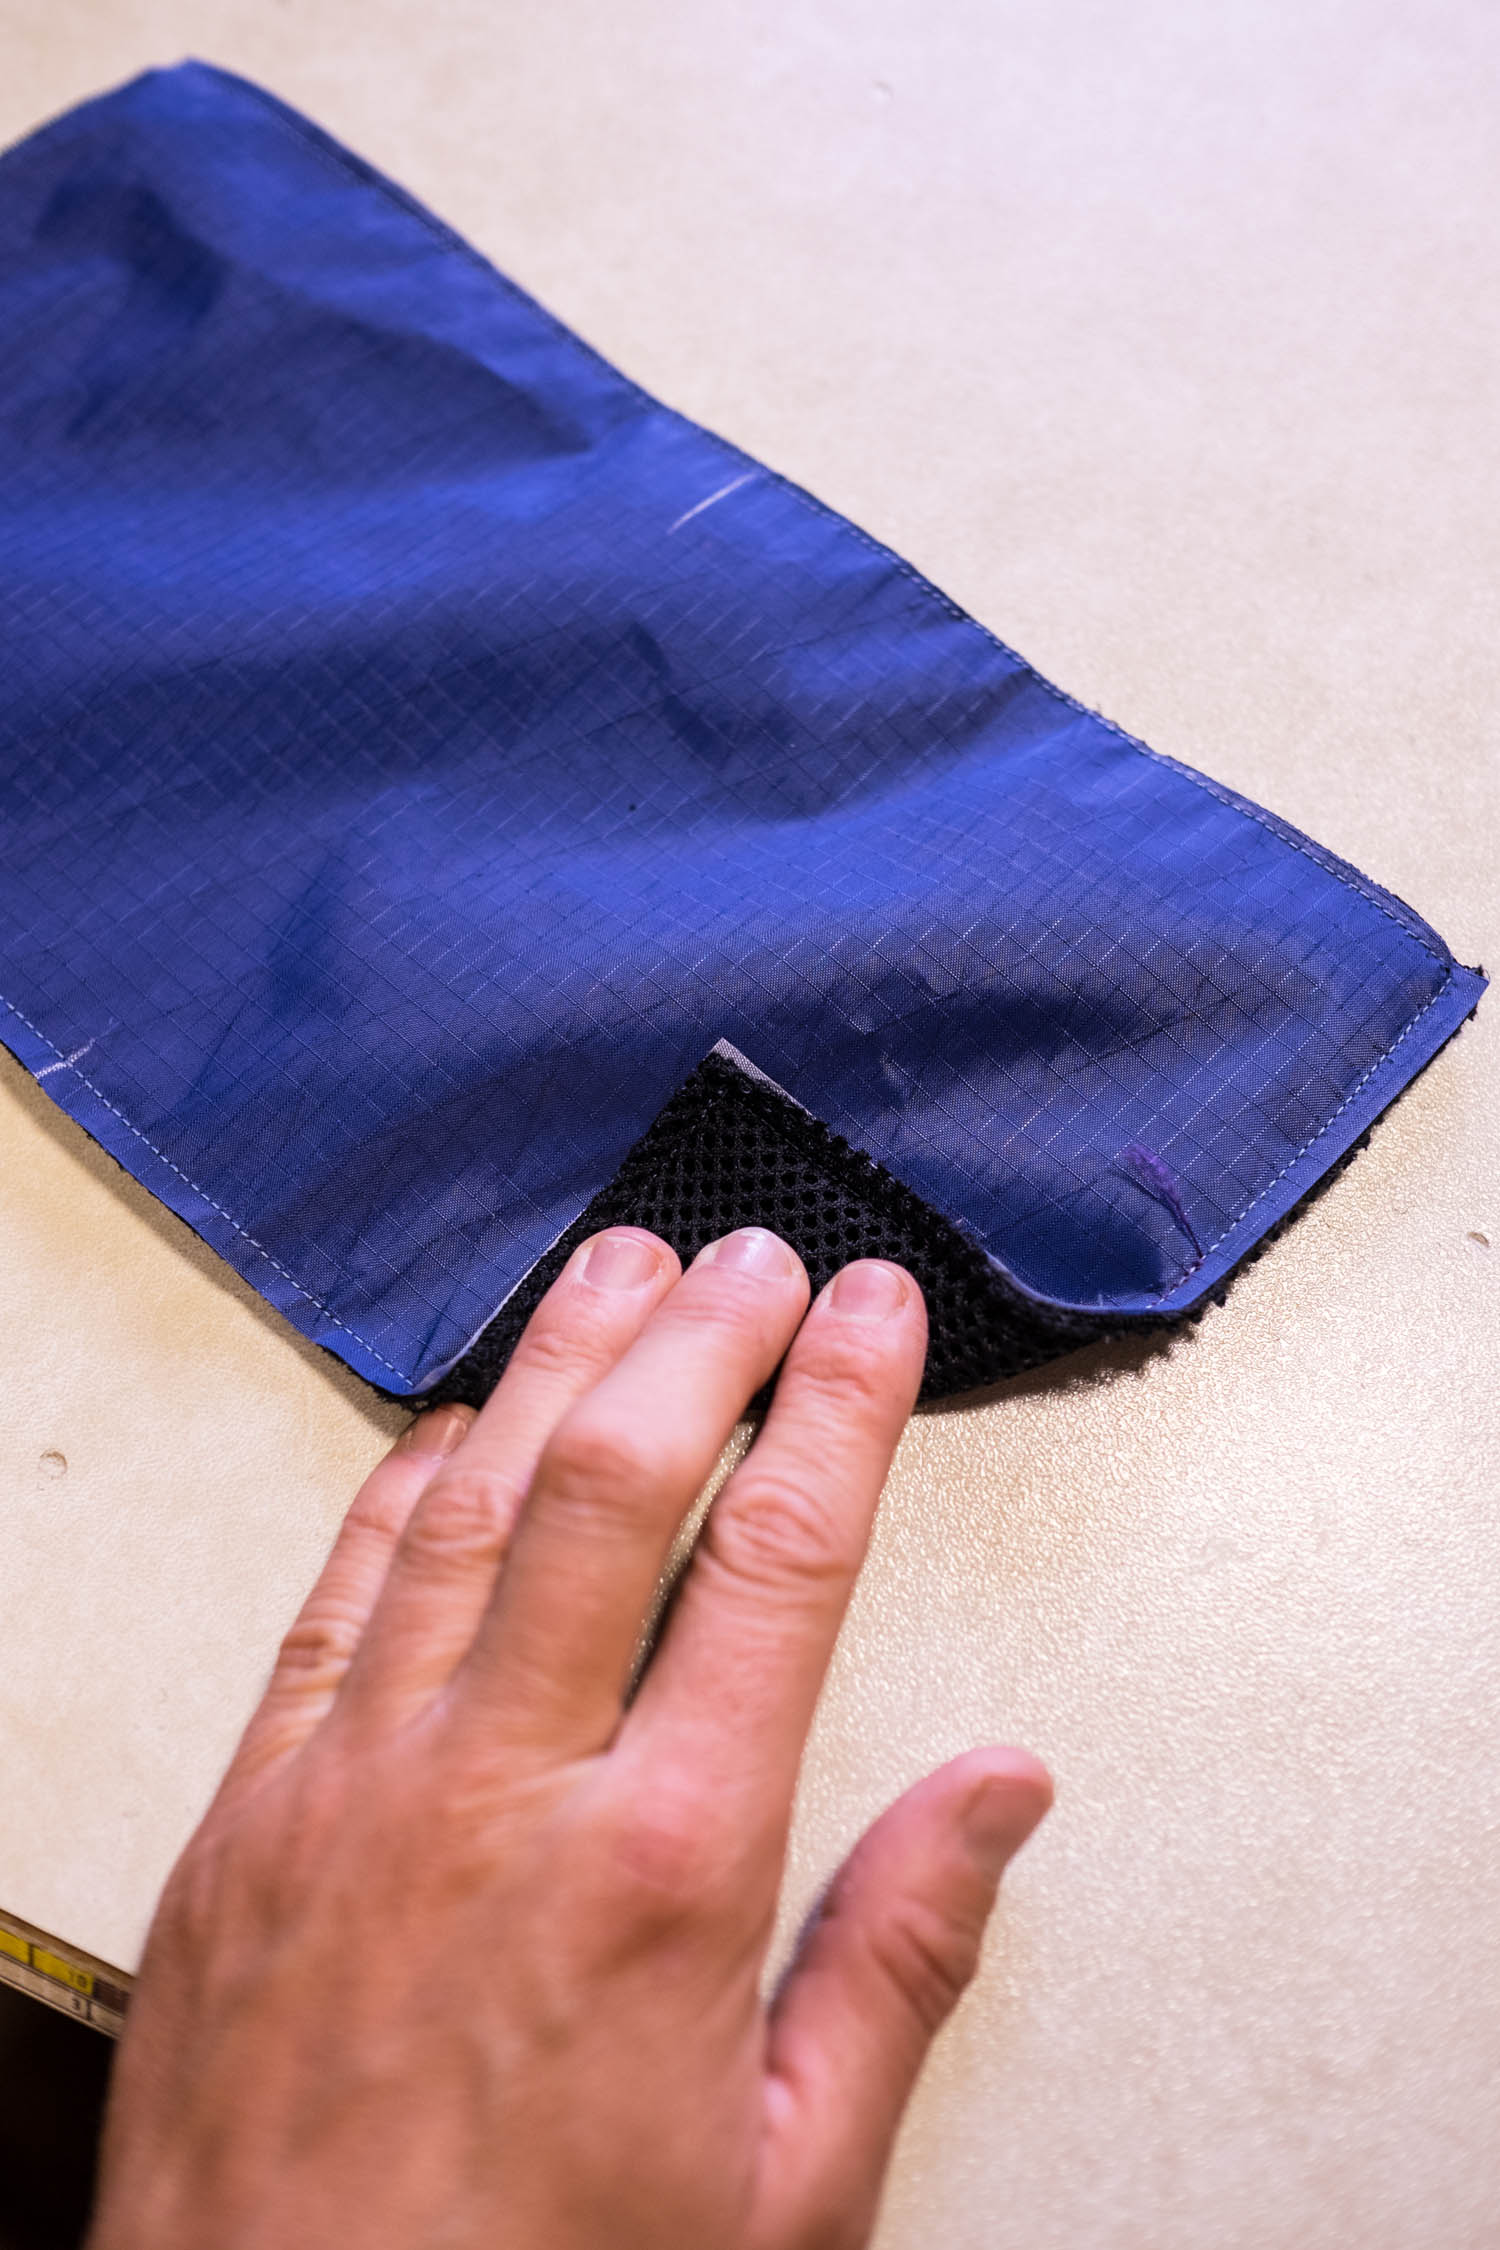
Take one of each F panel (one fabric and one mesh) and face them towards each other. In between, introduce the webbing with the buckle and sew all around, skipping the longer edge. Cut out corners (as shown in the photo) and turn the piece inside out. Repeat with the second pair of the F panels, introducing the other side of the webbing in between before sewing it together. Now you have a left and a right part of the hip belt.


Step 9
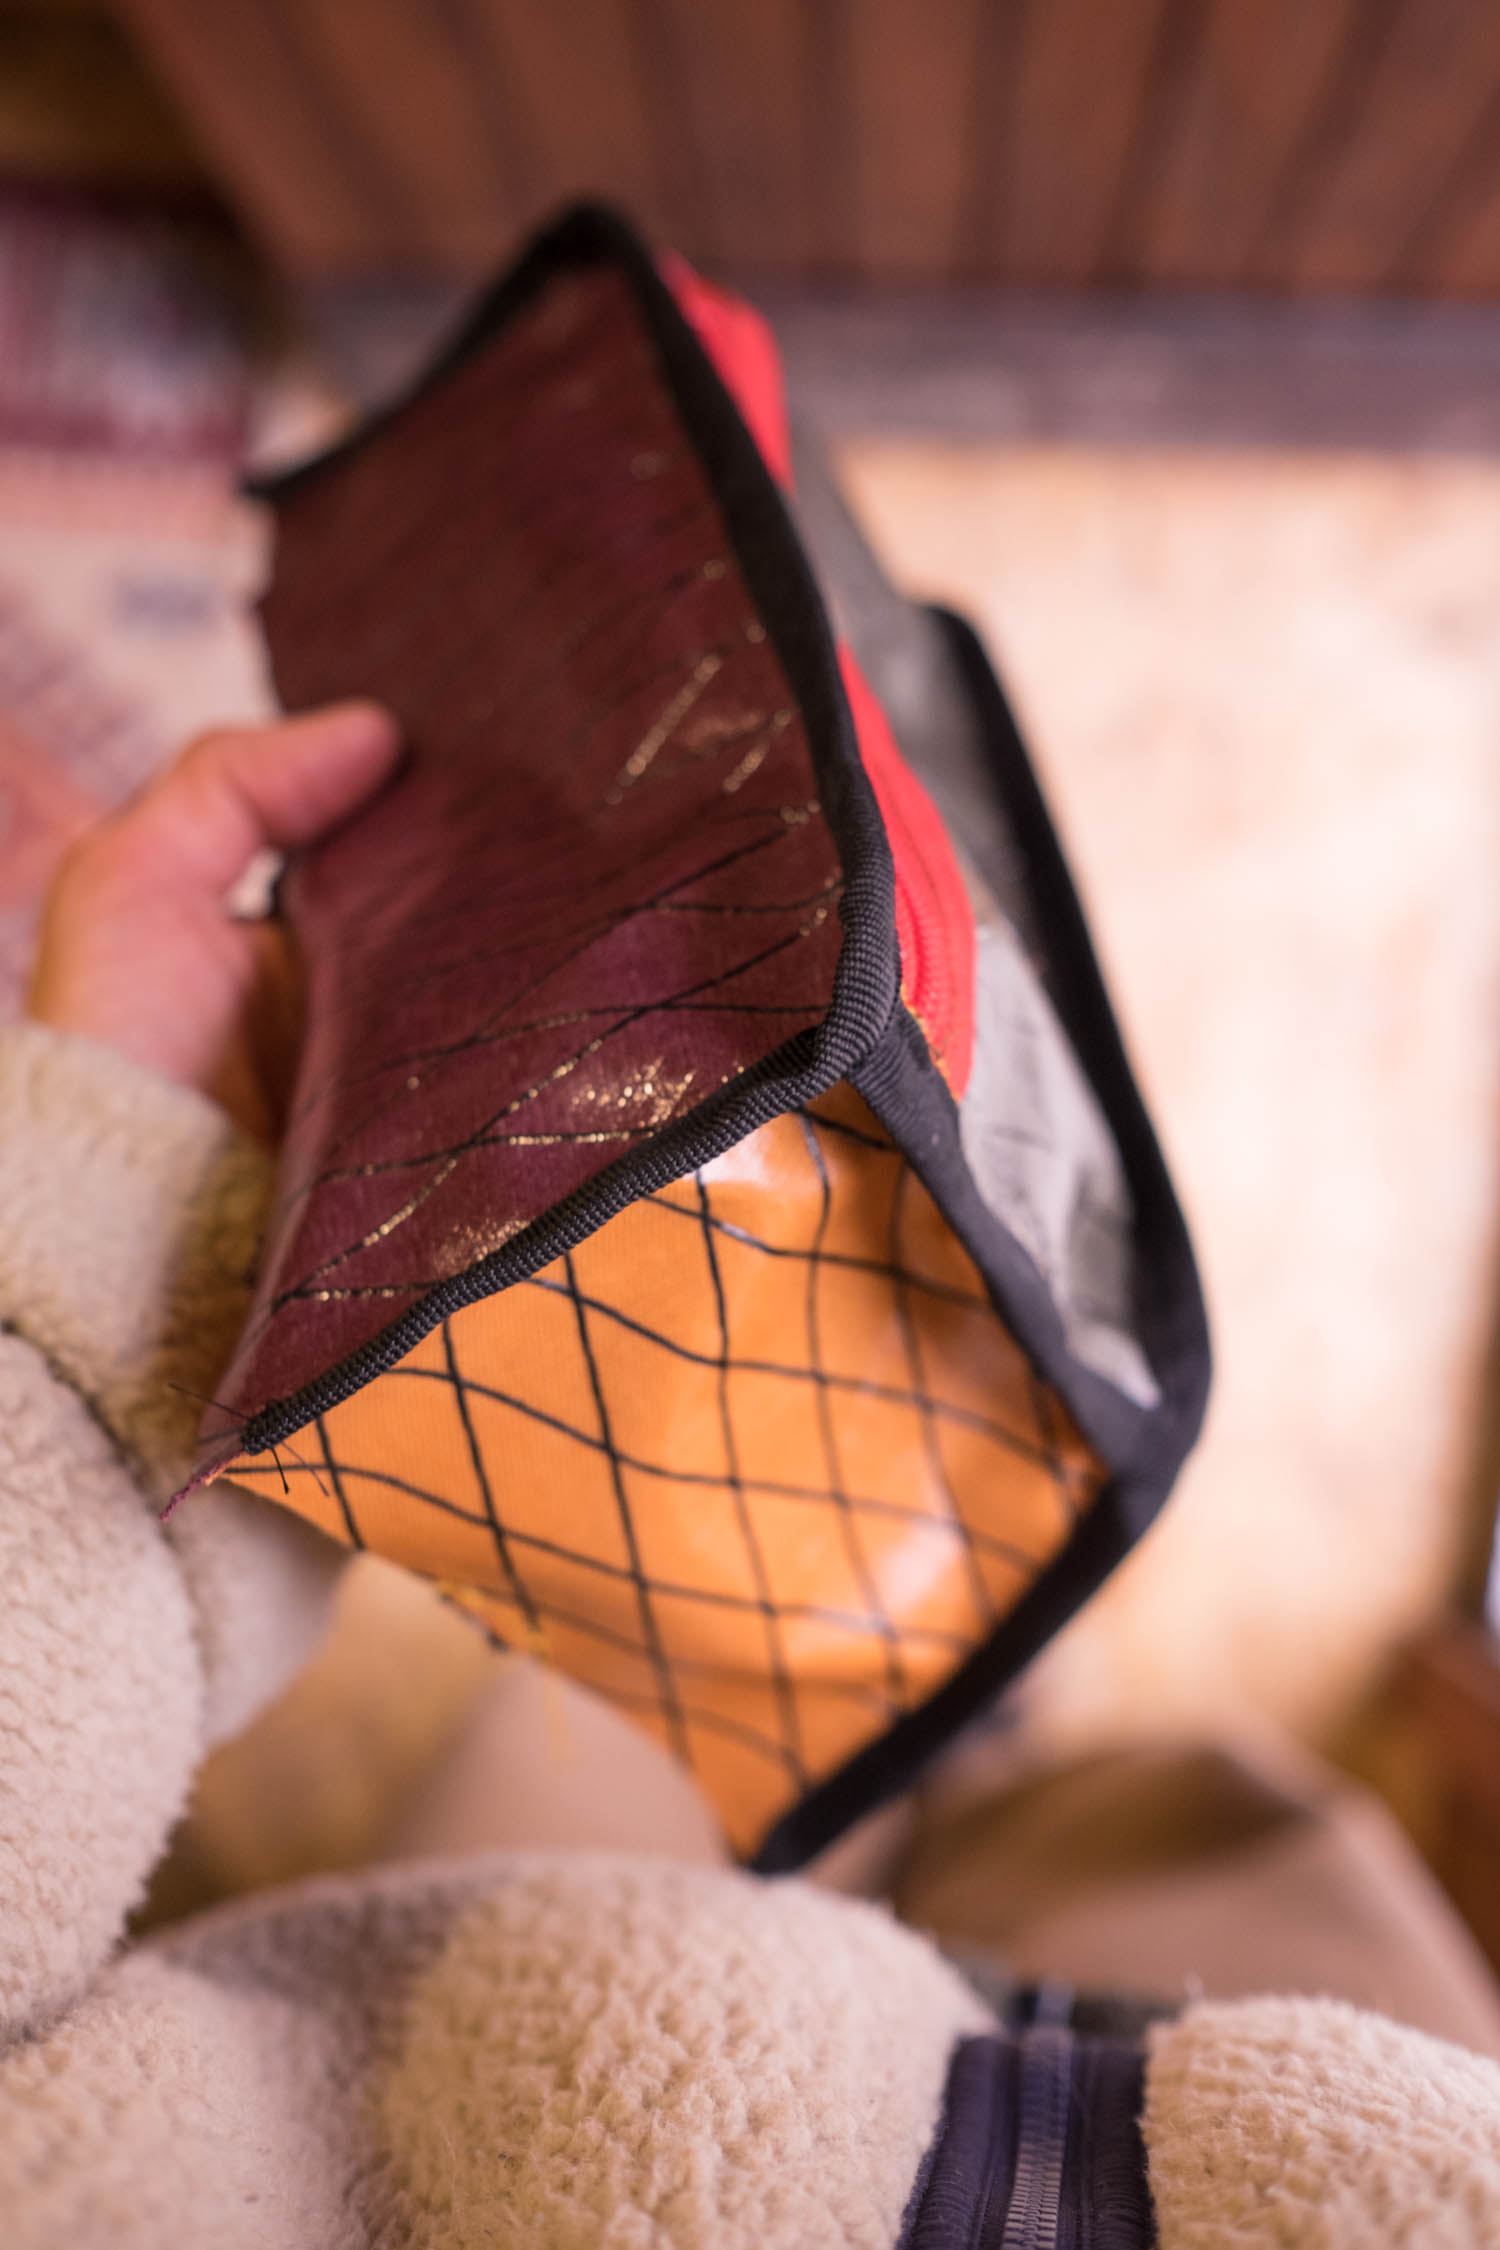
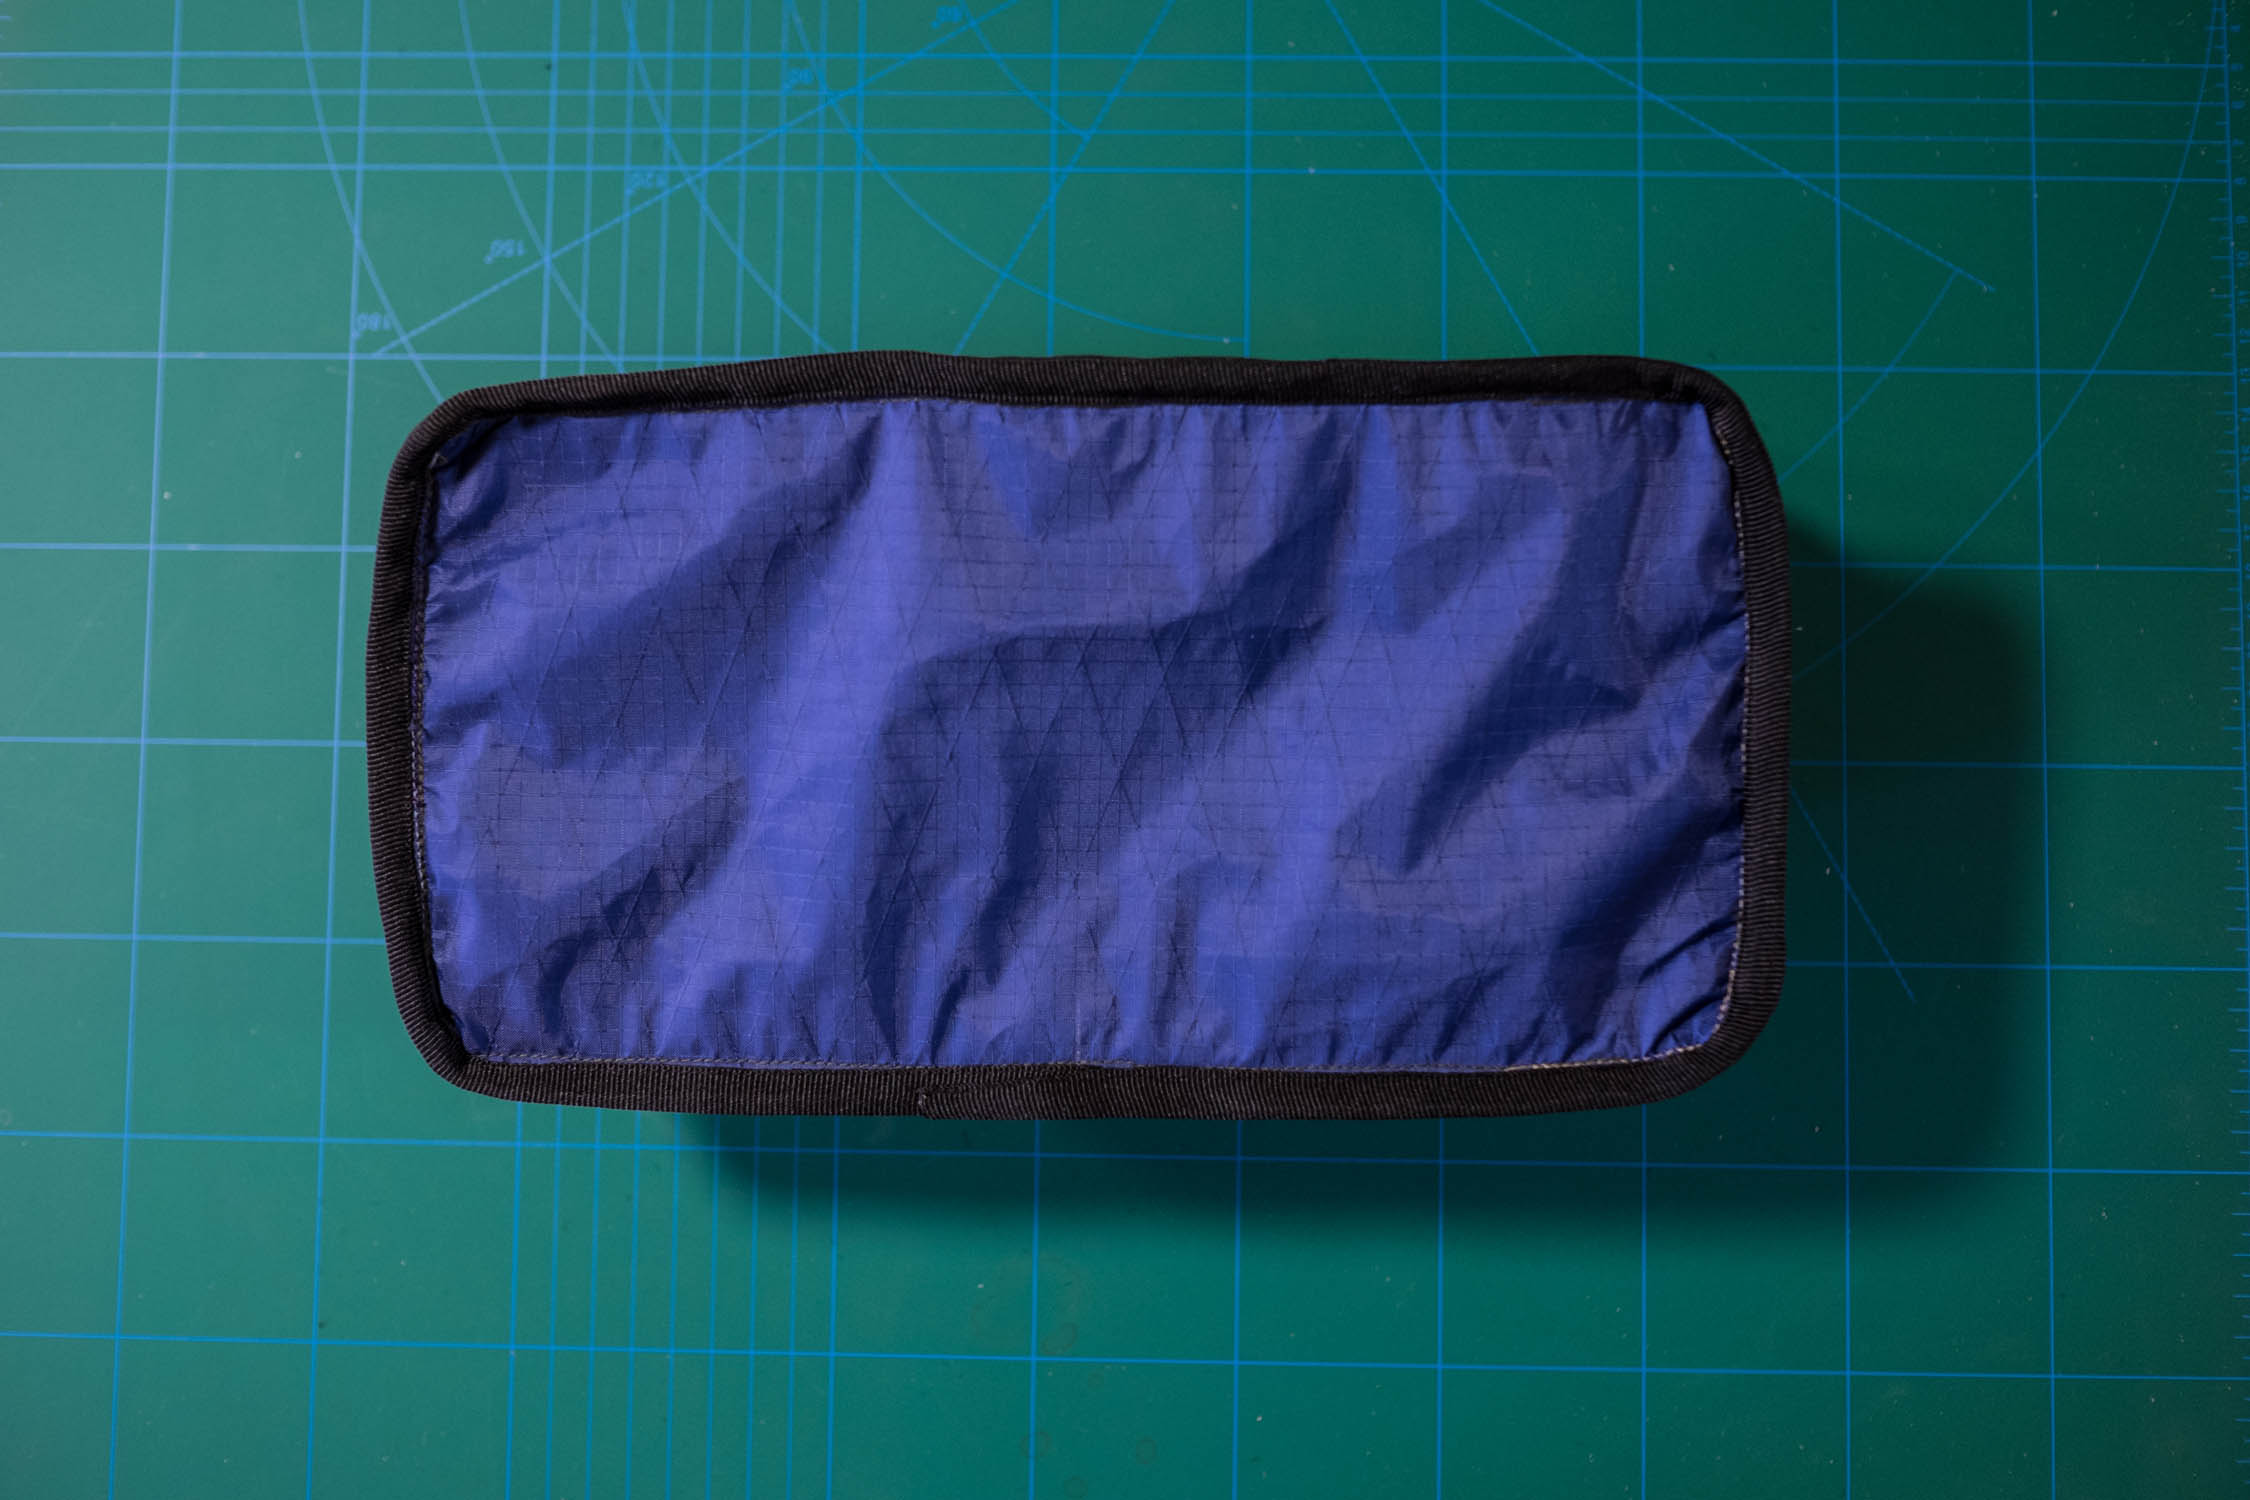
Sew together the mesh and the fabric E panels.
Step 10
Attach the hip belt on the mesh side of the E panels where it’s marked on the pattern.

Step 11
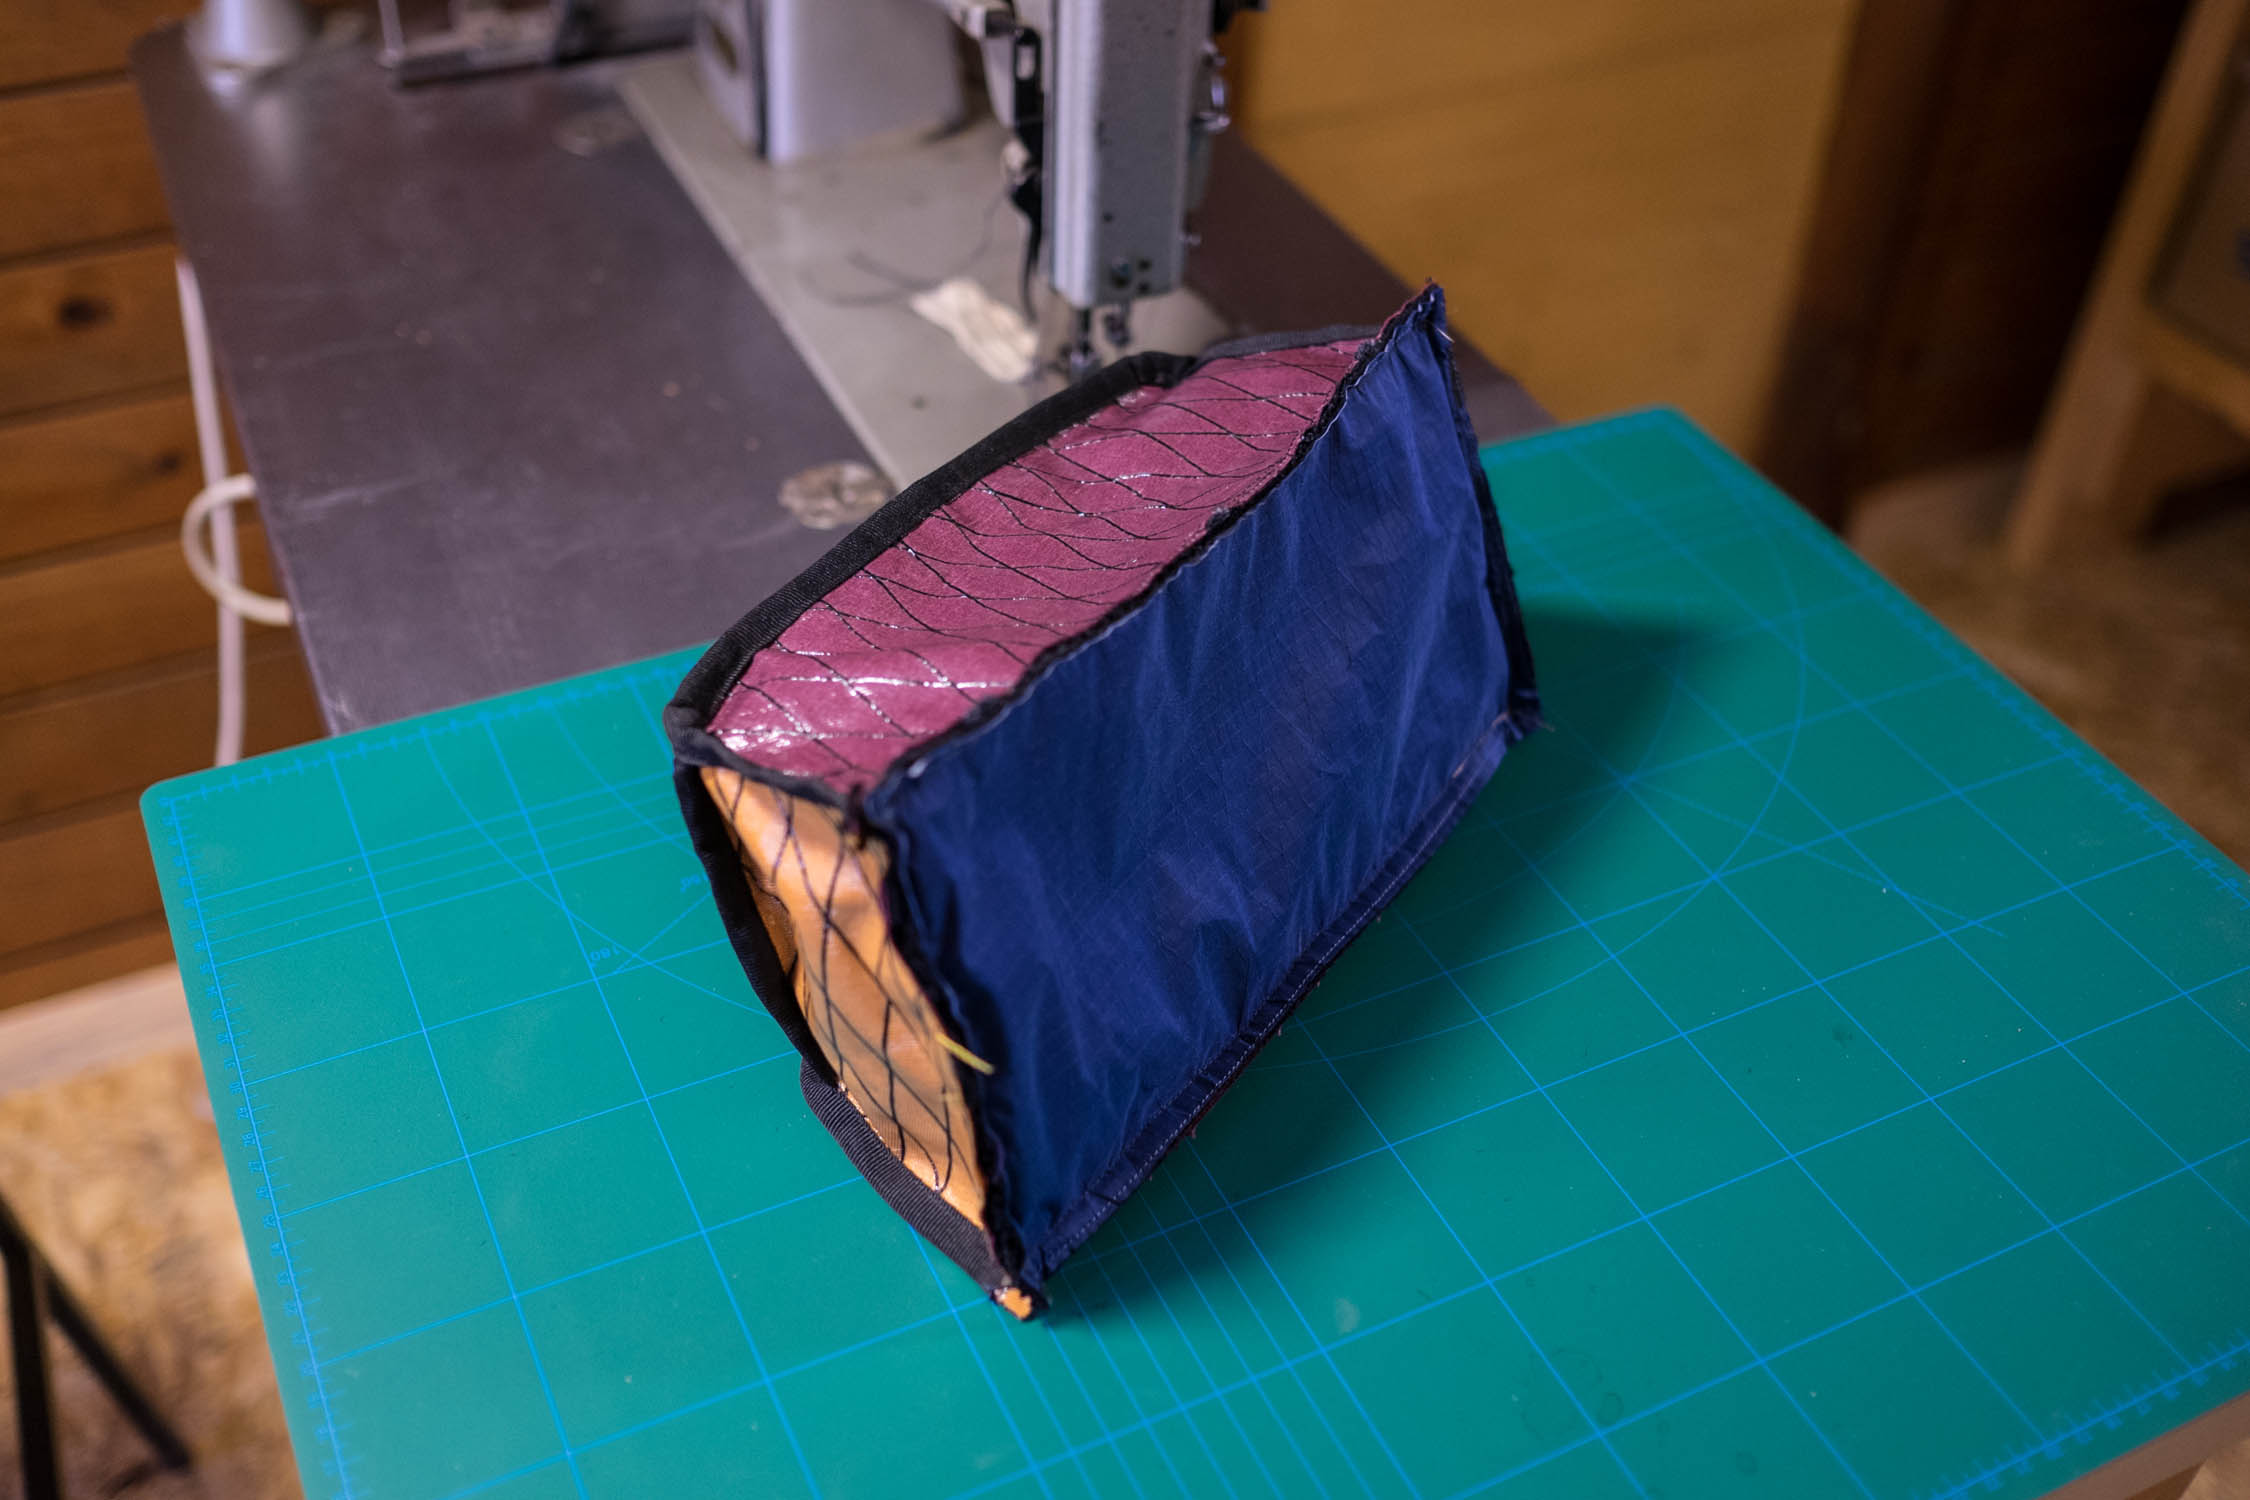
Now attach the E panel onto the rest of the bag (Note: sew with the bag turned inside out). Leave the zipper open, because that’s where you will turn the bag inside out. The final touch is to bind all 4 edges with the webbing.
Step 12
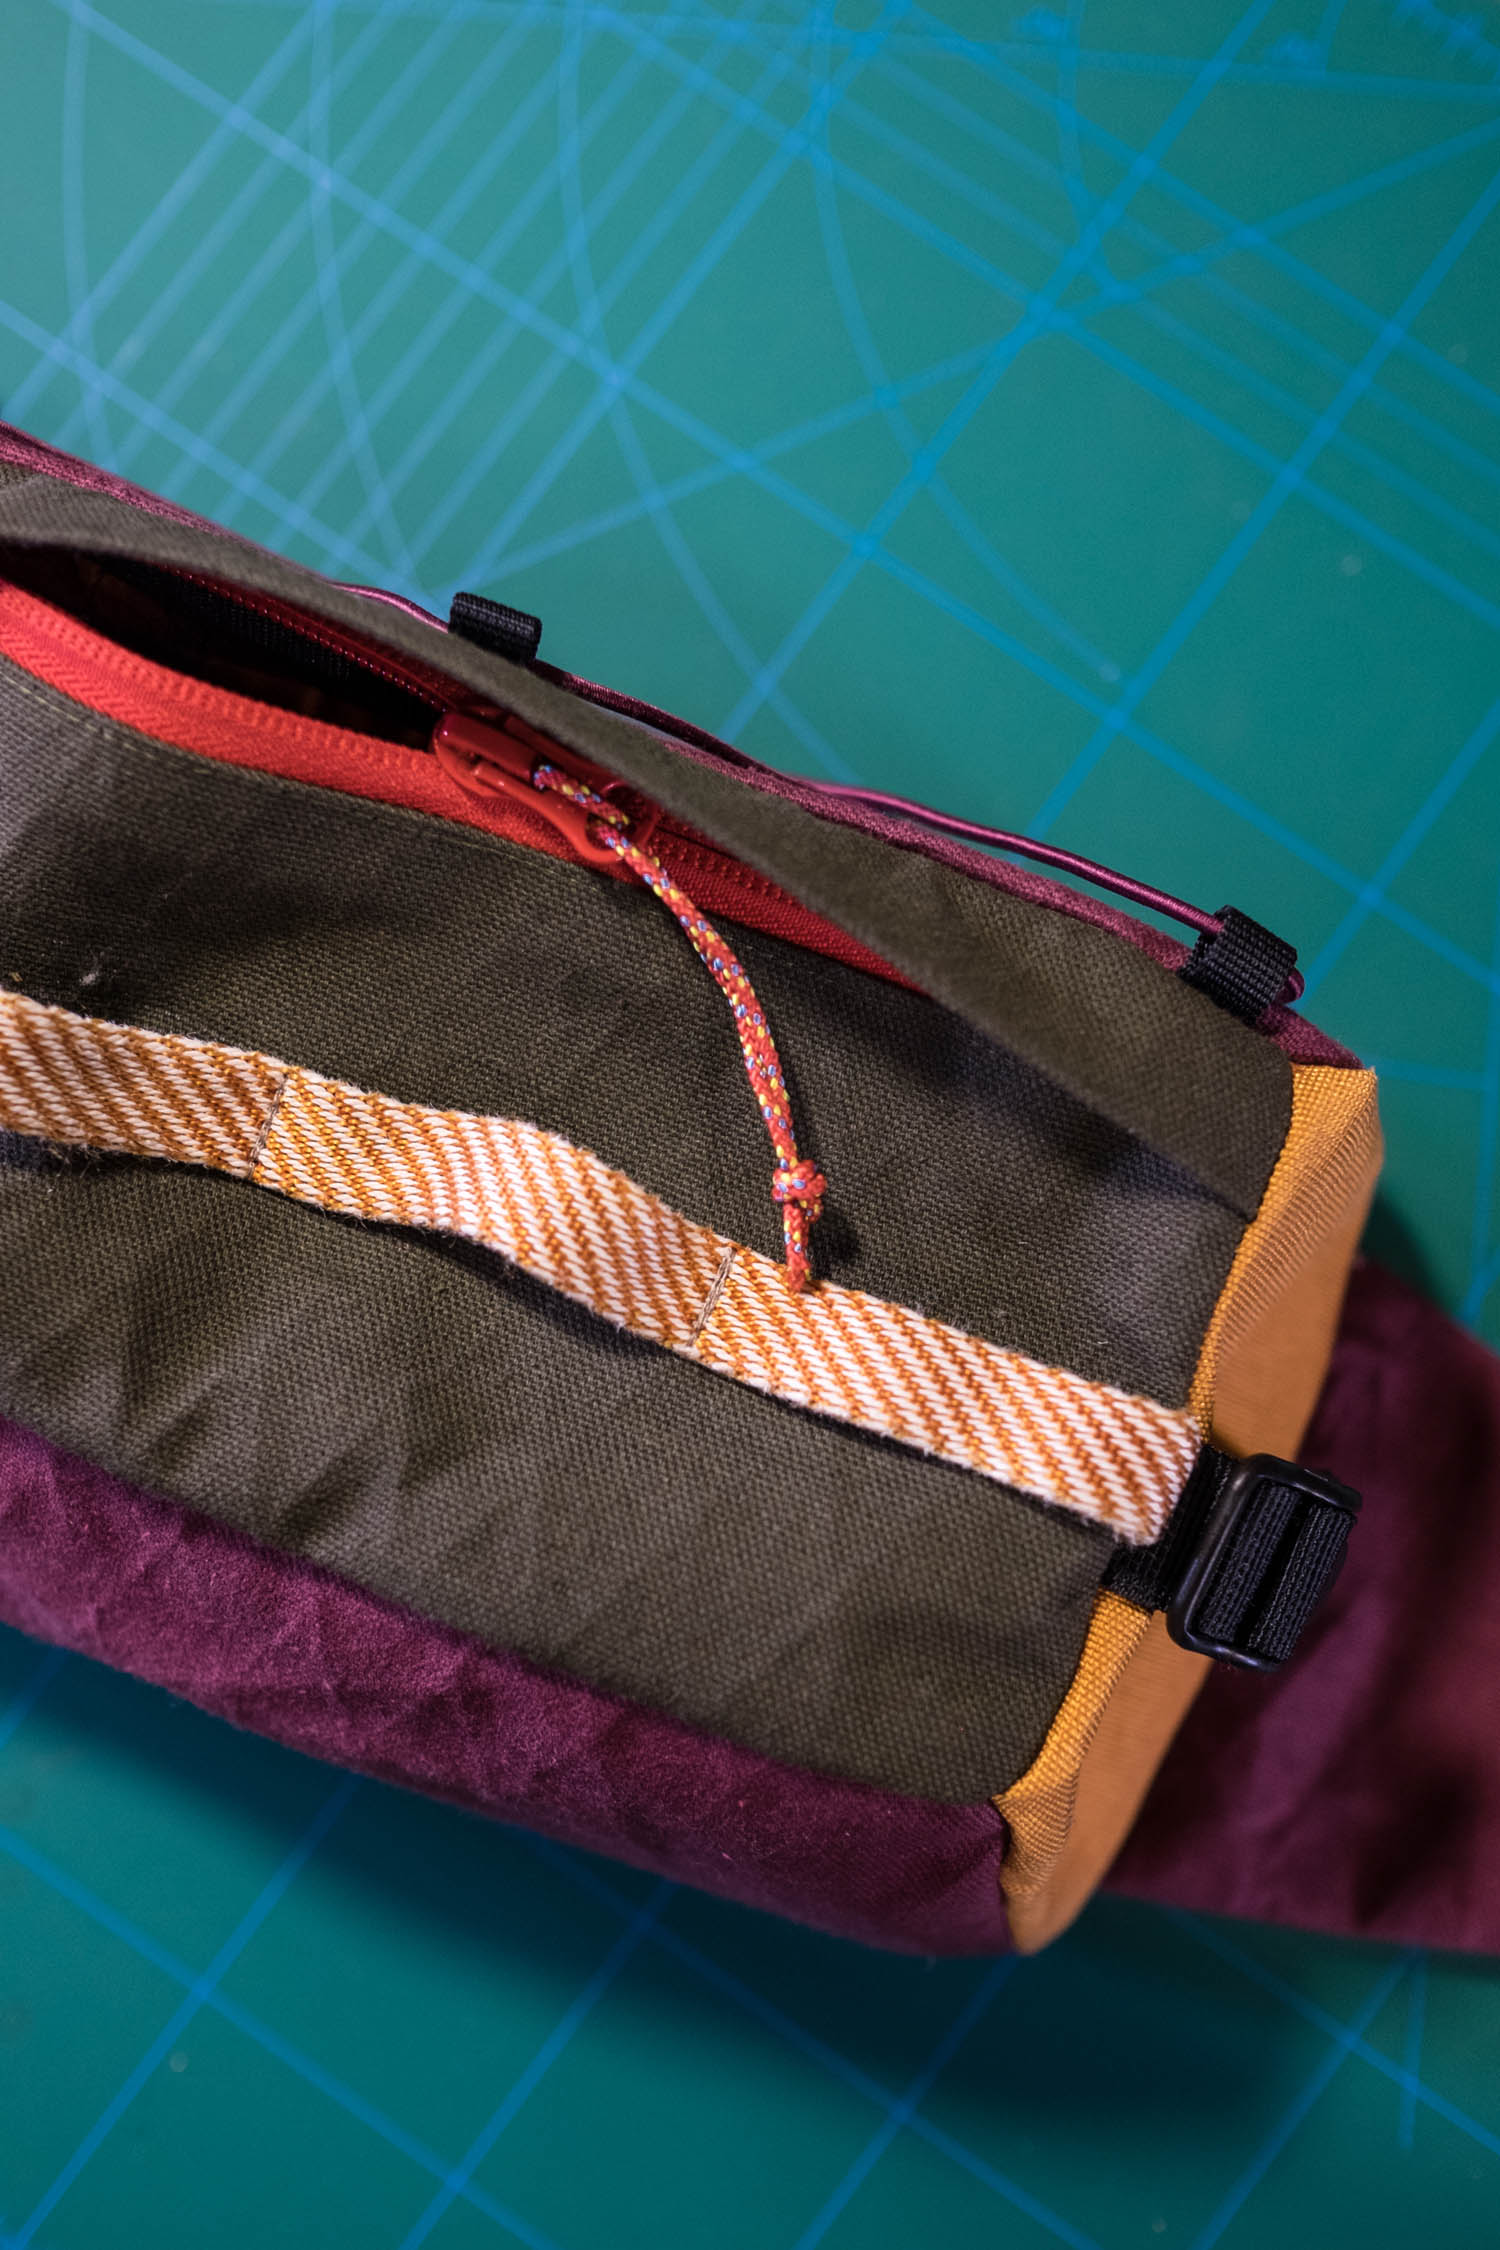
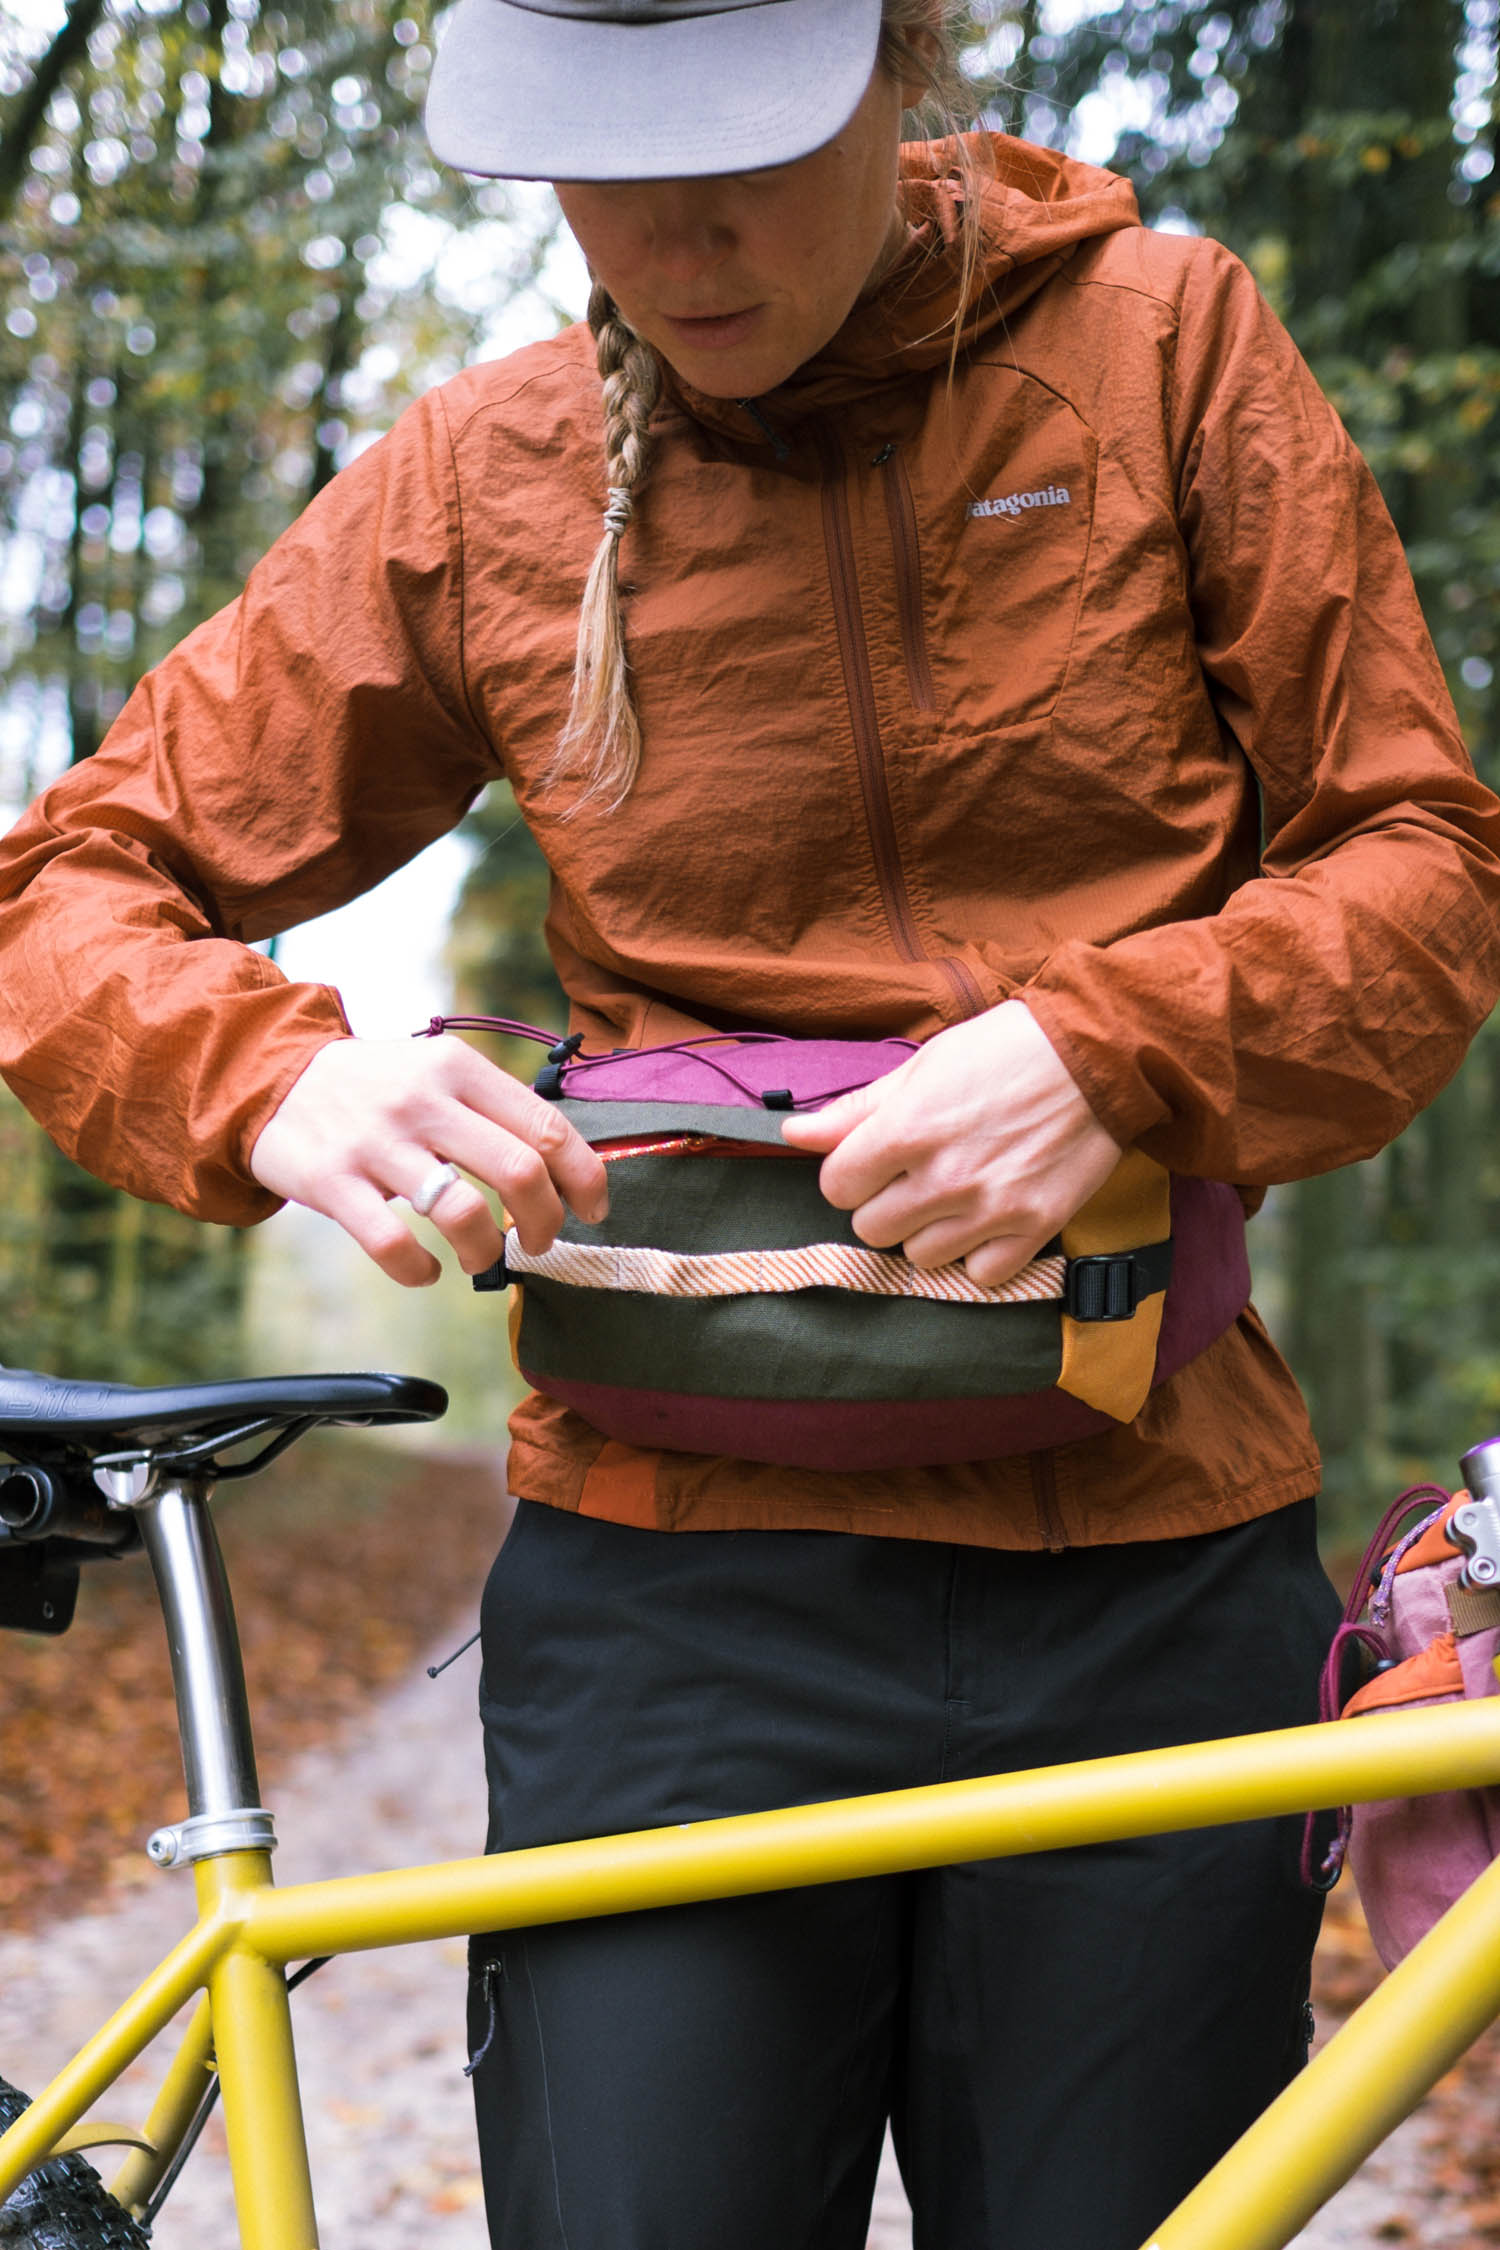
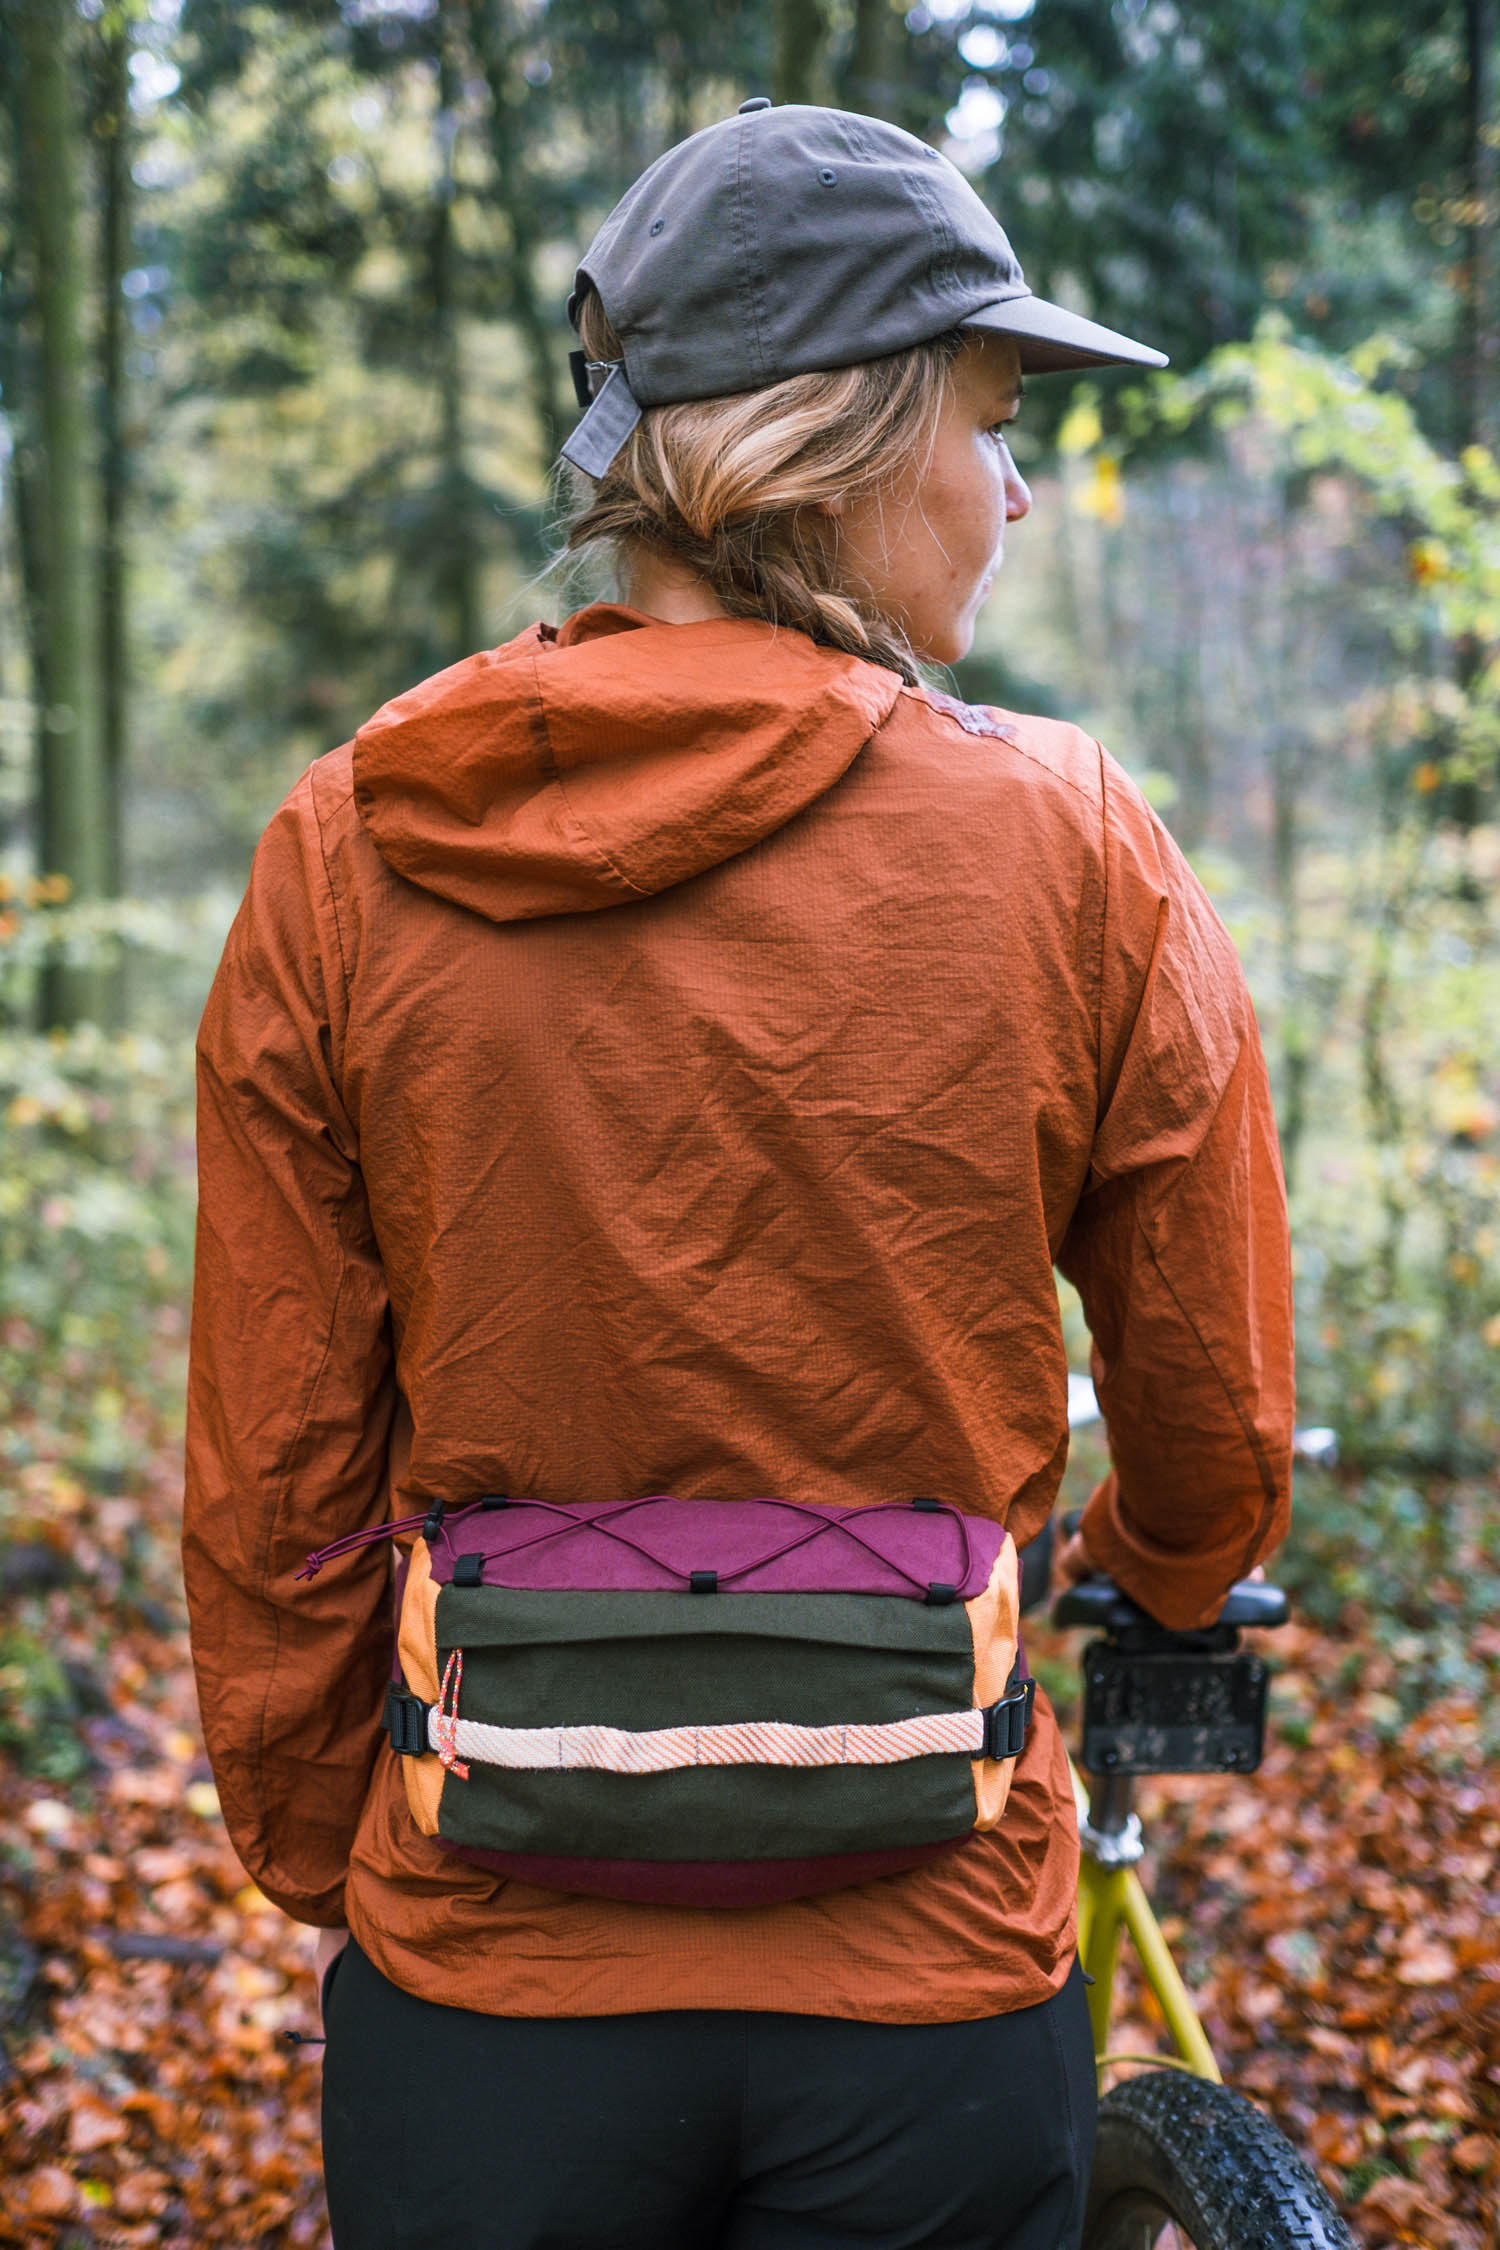
Turn the bag inside out. Introduce elastic through the loops and lock it with the cord stop. Optionally, attach also the zipper puller.

Now you are all set and ready to go!
Be sure to check out Neza’s first DIY/MYOBG tutorial on how to make a stem bag from recycled materials. And make sure to explore our Hip Packs for Bikepacking Gear Index and the #MYOBG archive for other tutorials.
Please keep the conversation civil, constructive, and inclusive, or your comment will be removed.
We're independent
and member-supported.
Join the Bikepacking Collective to make our work possible:


