


Sinewave Beacon 2 Review: All-in-one Elegance in Lighting and Charging


Having used the original all-in-one USB-charging dynamo light over a number of years, Cass wires up its successor, the Sinewave Beacon 2, for a long-term review on the steep and bumpy roads of Mexico. Read on for his thoughts after almost a year of using it on multi-day bikepacking adventures and day-to-day transportation…
PUBLISHED Mar 6, 2023
With additional action photos by Logan Watts
It’s becoming ever harder to justify investing in a dynamo-powered light and charger given how affordable large-capacity power banks have become and how capable USB-charged illumination can be. And yet, there’s nothing quite like the feeling of self-sufficiency from generating your own light source, and, in the case of the Sinewave Beacon, energy too. Having a means to illuminate your way and charge electronics permanently affixed to your bike – with no lights to fit or plugs to seek out – continues to be very alluring, especially for long distance bikepackers, racers, and those who use their bikes for transportation.
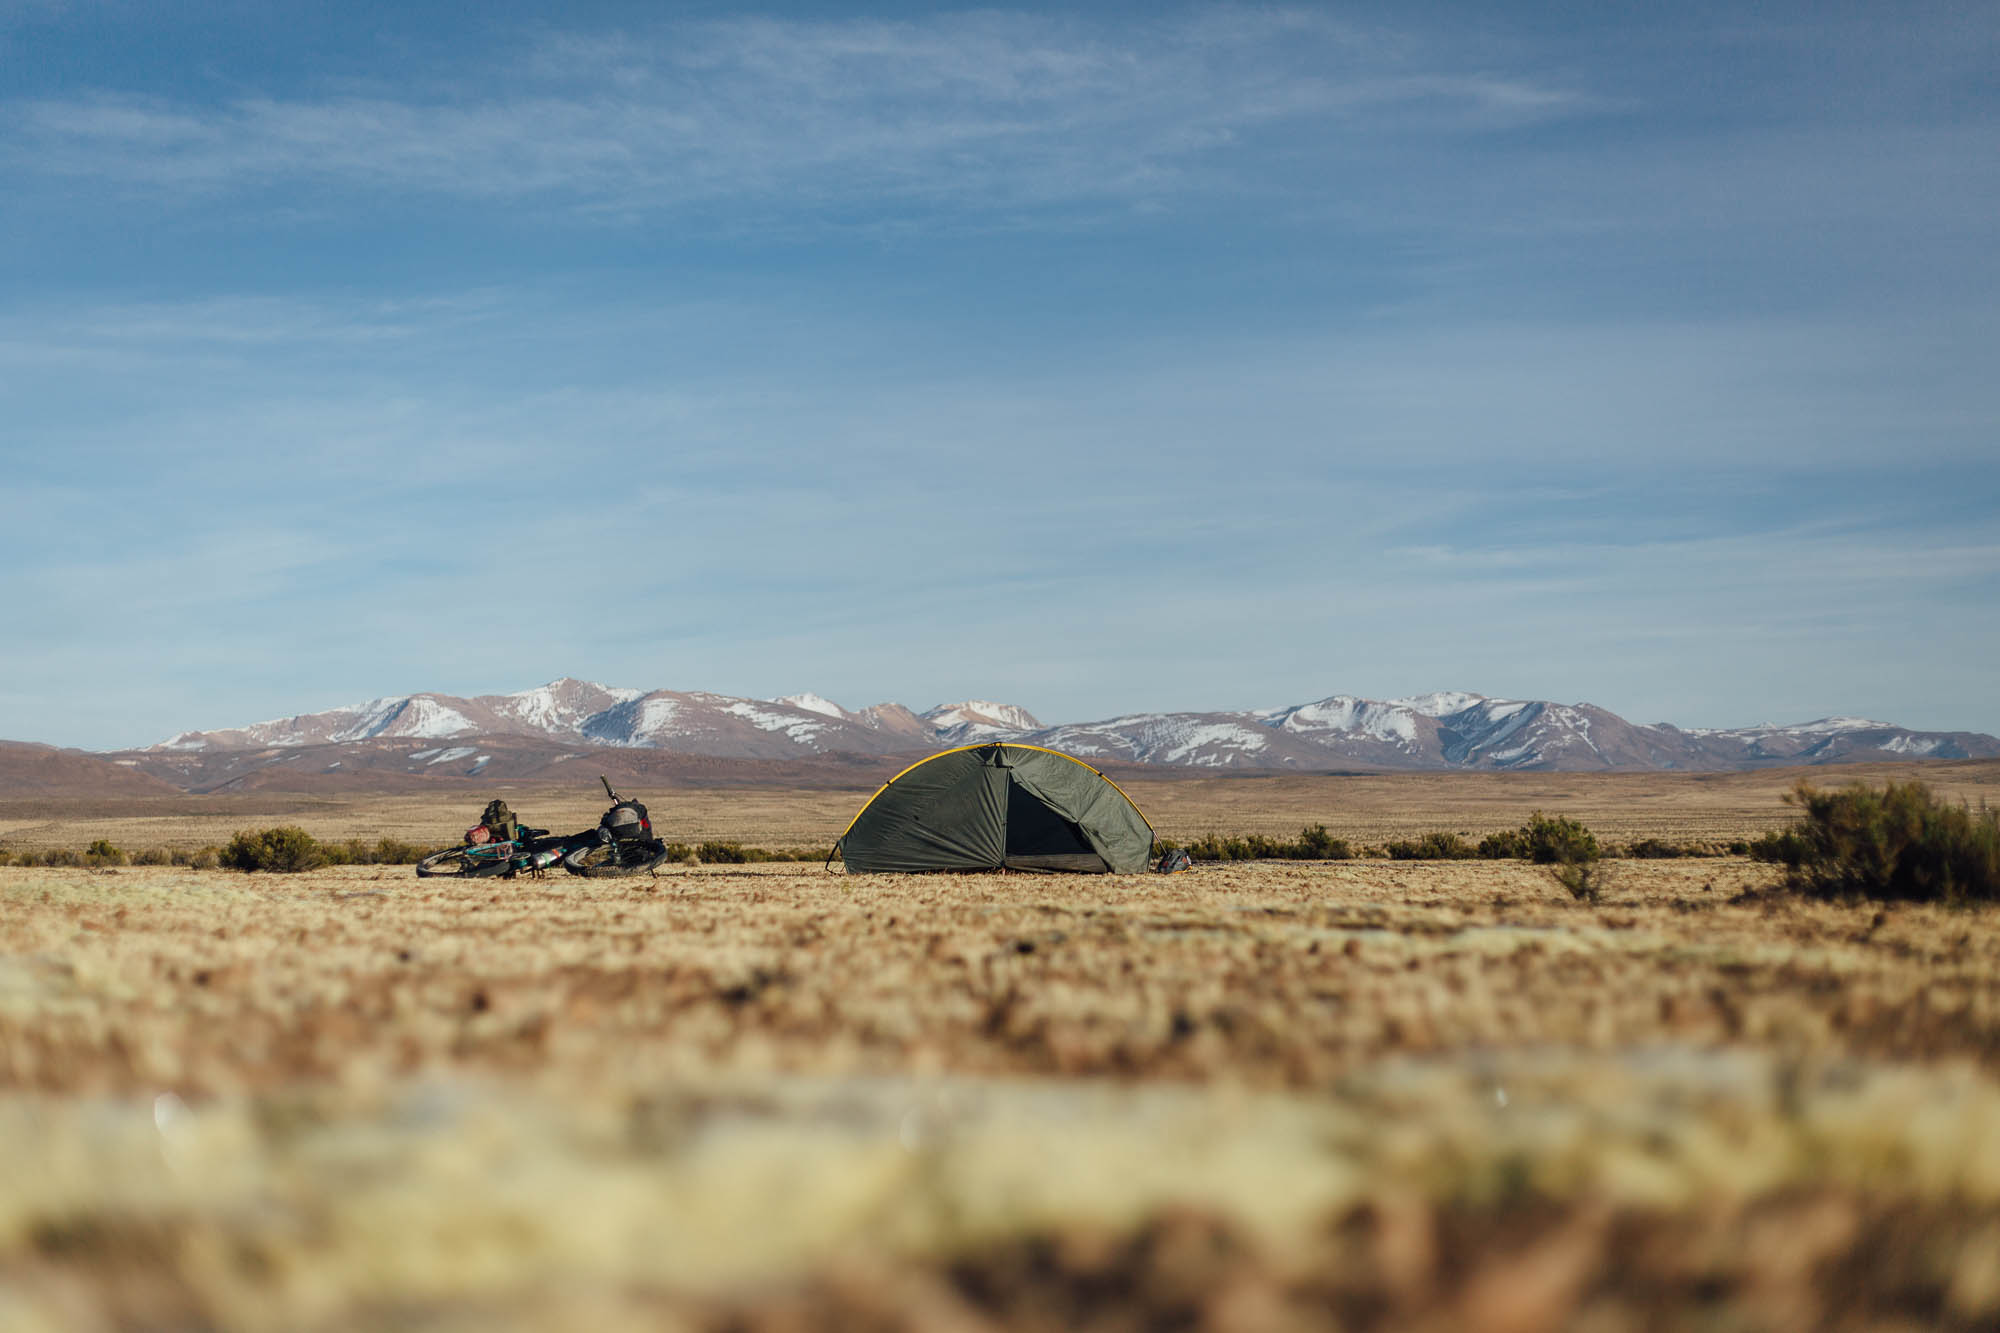
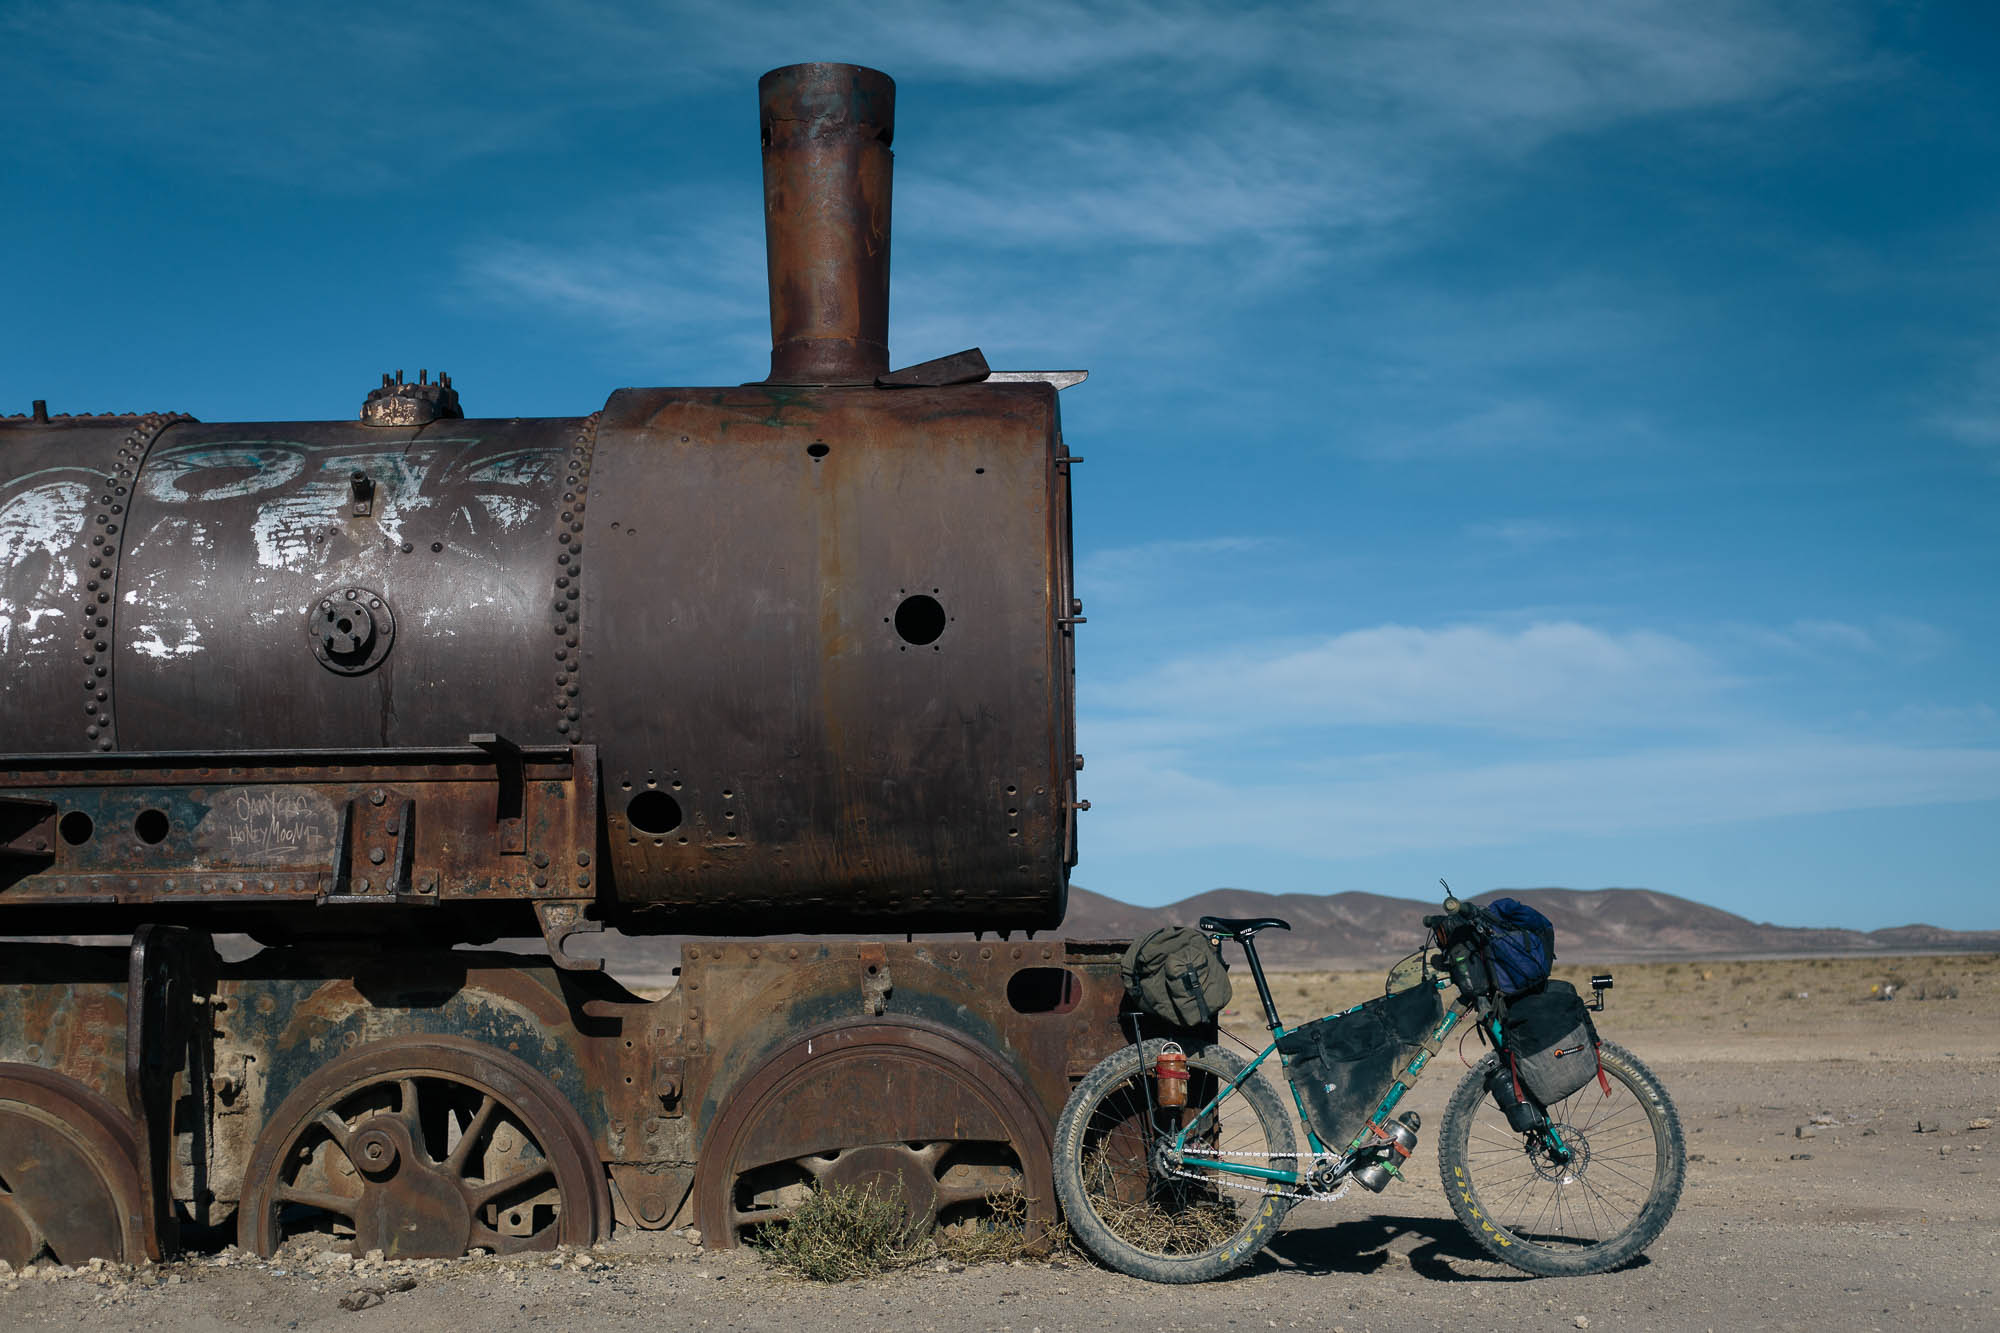
I’ve run the original Beacon V1 for a number of years, taking it on several big trips without any issues whatsoever – including a crossing of Bolivia’s salty Salar De Uyuni and some burly mountain riding in the Andes. The Beacon has lit my way when I was hustling for campsites at dusk, and it’s helped keep my Wahoo and iPhone topped up despite infrequent or unreliable charging points. Outwardly identical, the Beacon 2 is similarly rugged, albeit with some valuable improvements and refinements on the inside.


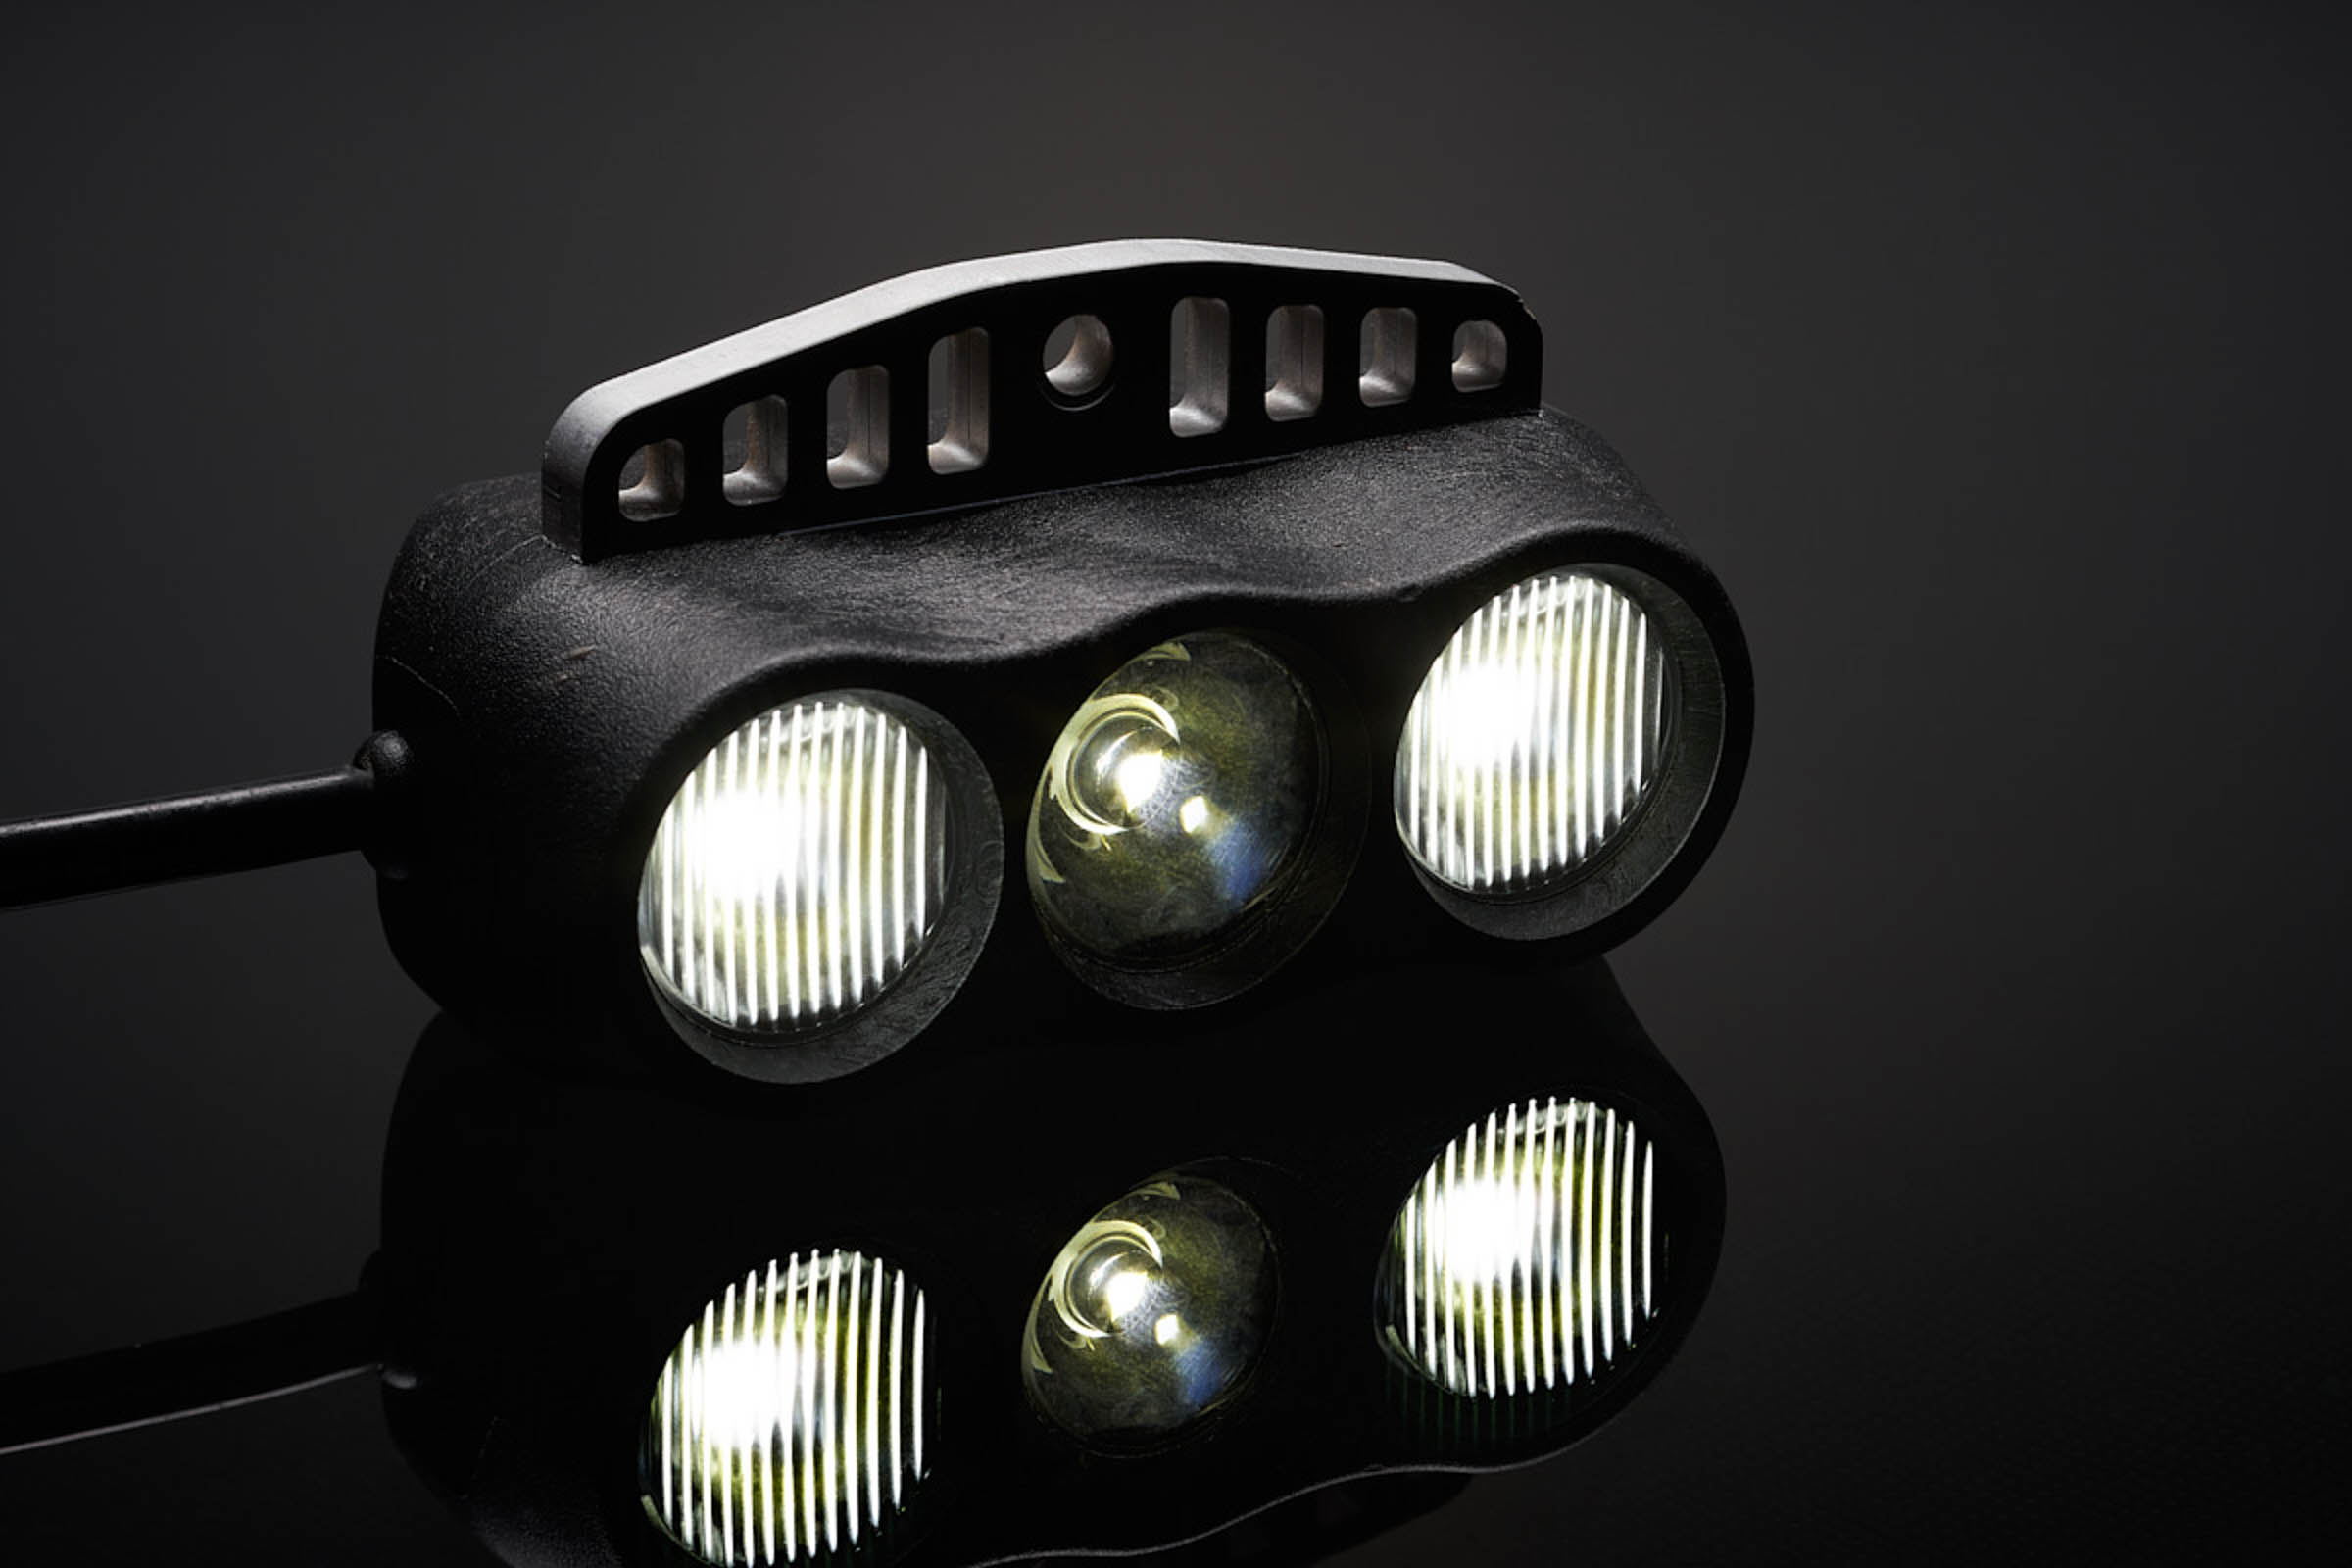
Like the original Beacon, the Beacon 2 is made in the USA and is similarly beautiful to hold and behold. There’s a USB-A output for charging devices and a DC input – more on that later. Its inner workings are encased in a polished aluminum shell that’s very much designed for a hard life. The Beacon features multiple seals, electronics are potted in epoxy, and connectors are gold-plated. I’ve used mine in a number of heavy downpours without any issues, and it continues to ward off the worst of the all-invading dry season dust.
The Beacon’s 10mm mounting tab is compatible with hardware from B&M, Supernova, and Schmidt, or you can run a GoPro adaptor and make use of a number of third-party options. Mine is discreet black but there’s a multitude of eye-catching colors available too – you can even mix and match the back, middle, and front for some extra zing. The finish is also really tough. I took a big spill on a trail ride and whilst the Beacon 2 was knocked hard, and it’s barely scuffed.
There are three modes to choose from, all engaged by a small metal switch: Full Brightness (750 lumens), Low Brightness (150 lumens), and No Light At All, in which output is dedicated to charging only. The charging circuit is a little different from the Beacon 1; whilst peak power is largely the same, Sinewave say there’s improved charging at low speeds.
Like the original Beacon, there’s a stand light. If you stop at a traffic light and you’re in Low or Full Brightness mode, an inbuilt supercapacitor ensures a safety light stays on. Although this light isn’t especially powerful, it does last for five minutes, and unlike the original Beacon, it’s simply a case of flipping the switch over to No Beam if you want to turn it off completely, which is handy for stealth camping.
In terms of how many lumens you can expect on Full Brightness, the Beacon outputs 100 Lumens at 5mph (8kph), 375 lumens at 8mph (13kph), 600 lumens at 10mph (16kph), and 750 lumens at 13mph (21kph), though there’s some variance depending on tyre size – larger diameters, like my gargantuan 29 x 3.25s, requiring a bit more speed.
Aside from the USB-A used for charging devices, the DC input is ideal for those times when you need lots of illumination but you’re not pedalling fast enough to generate the full 750 lumens – riding techy singletrack on a winter’s night, for instance. Not only can you plug in a power bank with the supplied DC-USB cable, but any available dynamo power replaces battery power until reaching a speed where it’s all provided by the dynamo and the battery is no longer used. How long the battery will last this way depends on its size, of course, which is explained here. By way of example, a 10,000mAh battery will provide 10 hours of full brightness illumination, and the runtime on the Beacon’s low setting is about four times longer, extending it to around 40 hours. Neither factor in the incoming dynamo power, however, which will greatly extend this. When you’re using the DC input, there’s even a flashing mode, and should your dynamo hub fail – which has happened to me in the past – you can still use the Beacon to light your way.
Lighting and Beam Pattern
In terms of the way the Beacon works, there are three LEDs that come on, one at a time, as you speed up. At low speed, one LED turns on and brightens as the power from the dynamo increases. When that LED maxes out, the next one starts to turn on, until that maxes out, and then the last one starts to turn on. This behavior is mostly transparent to the rider, as it’s a very smooth process.
As for the beam, it’s symmetrical, round, and wide. This combination lends itself best to off-road riding, where the 750 lumens it pumps out do a great job at illuminating the road or trail ahead, with a cool white hue that’s easy on the eyes. It’s not, however, technically legal for on-road use in all countries, Germany being the most noticeable exception. In Kyle Ponce’s excellent review of the 700-1000 lumen Supernova M99 DY PRO, he points out that its powerful, non-symmetrical beam pattern is also StVZO-compliant, which means you’re less likely to blind road users – especially cyclists on a narrow bike path. In terms of my use cases, beam pattern or legality hasn’t been an issue, as I’ve tended to use it when I’m caught out scoping out a campsite past dusk, or riding into nightfall to make it to the next town – times that I’d previously have pressed my 200 lumen, USB-powered Petzl headlamp into service. In comparison, using a dedicated bike light transforms these occurences into more of a pleasure than a concern, and helps me feel so much safer too – running the Beacon on my handlebars means I can easily nudge it downwards if I find myself riding amongst other cyclists. Plus, switching over to the ‘Low Beam’ mode limits brightness to only 125 lumens, well within range of many battery-powered commuter lights – which usually have a round beam pattern too. Still, if you’re commuting daily on unlit bike paths, beam pattern is certainly something that’s worth taking into consideration, whether you live in Germany or not.
(Pretty Much) Flicker-Free
It’s the almost complete lack of flicker, even at slow speeds, that really differentiates the new Beacon from its predecessor, and other more powerful dynamo lights too. Whilst the original would stop flickering at around 8mph/13kph, V2 effectively halves this, and stops flickering at 3-4mph/5-6.5kph. In the real world, this basically means it doesn’t flicker at any realistic riding speed – the light turns solid even if you’re walking the bike relatively quickly. In use, I completely forgot I was running a dynamo light. I could even tackle my local steep, cobbled climb, without any issues.
I asked Sinewave’s David Dean to explain: “You rarely pedal at a steady 3mph – if climbing something that steep, with each pedal stroke you tend to push ahead at some faster speed, then drop back to almost zero before the next stroke, so rather than flickering, the light brightens and dims with speed, but never really flickers. So, while “flicker free” might not technically be the case, I think it’s fair to say something like ‘no observable flicker at any riding speed,’ but that doesn’t quite roll off the tongue!”
This decrease in flicker does, however, means there’s less brightness than the original version of the Beacon at comparative speeds below 10mph/16kph. In version 1, maximum possible lumens came at the cost of low-speed flickering, whatever the speed. Version 2 no longer uses a 100% of the total available power to the LEDs at lower speeds – which is when the dynamo frequency is lower and flickering is typically more visible. Overall brightness is still the same so it’s a trade-off that I’ll happily take, as having a high output dynamo with no discernable flicker at low speeds is a real treat.
Charging With the Sinewave Beacon 2
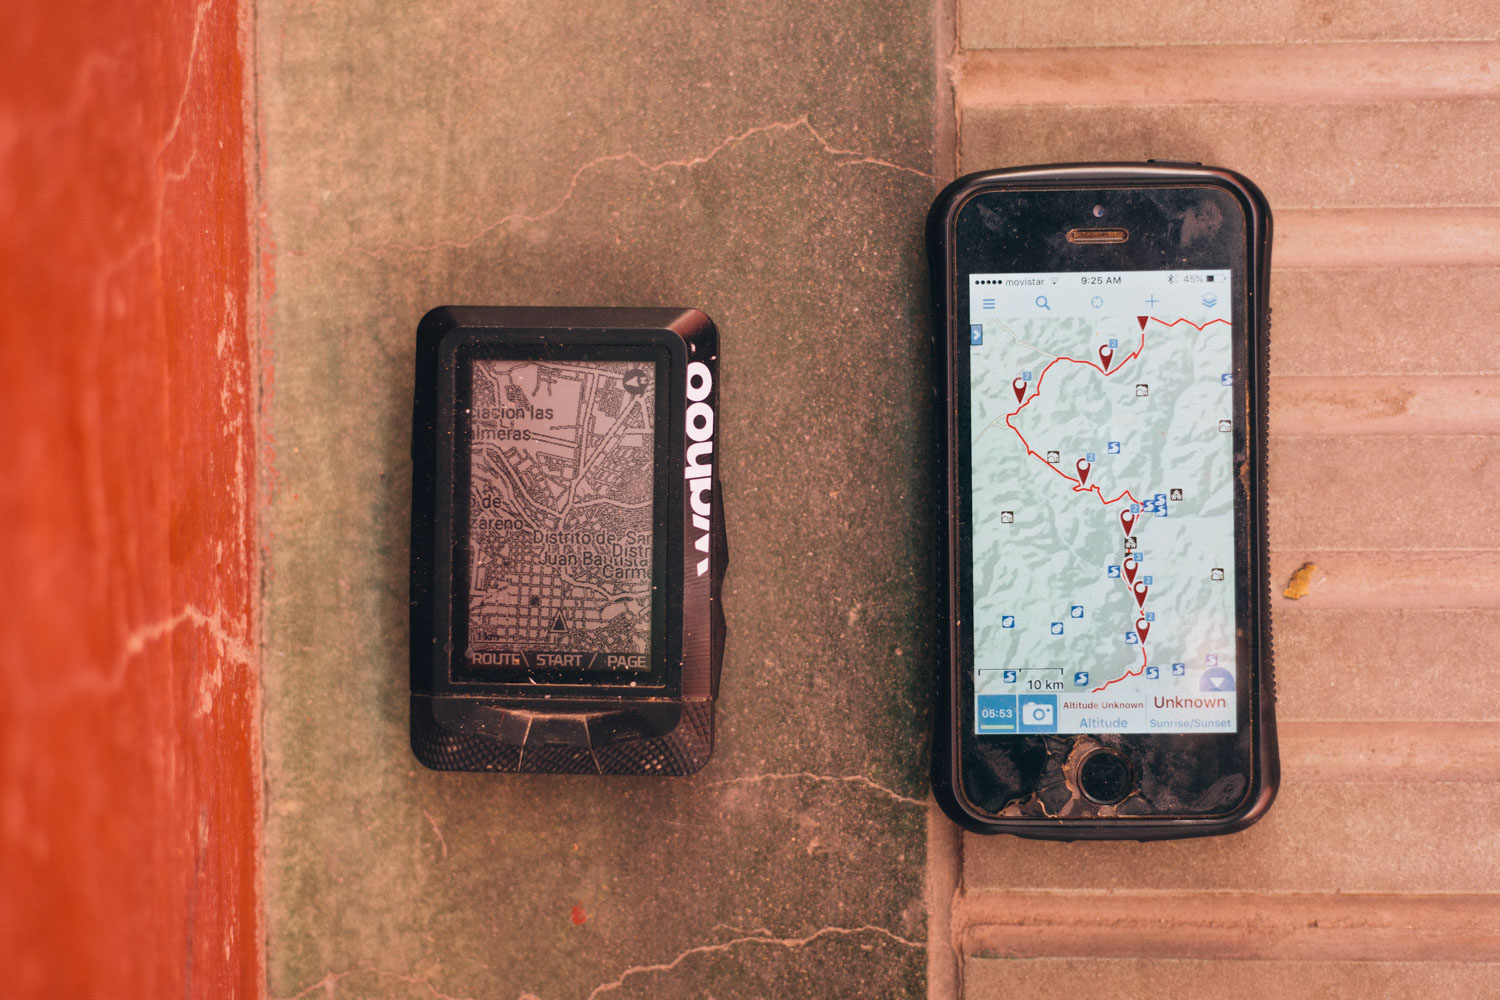
I may not ride much at night on tour, but I do run a plethora of electronic devices during the day! I use an iPhone with the Mapout app, my GPS is always recording or following a track and needs charging daily, I take a tonne of photos on my camera, and I like to bring along a small speaker and listen to tunes!
Is it best to charge a device directly into the Beacon, or charge a power bank during the day, and discharge it into a device at night? I asked David Dean what he suggests: “The issue with charging at low speed is that the USB output current decreases with lower speed, so the question is how the device behaves when that happpens. Ideally, the device just reduces its current draw and continues charging with whatever current is available. The annoying thing that some devices do is, once the current hits some threshold, stop charging and then resume charging a moment later, and that loop repeats. So there’s nothing fundamental about smartphones, or GPS units, or power banks, to force them to behave one way or the other. Some phones do a great job with charging from lower current, and some power banks do not. The recommendation to use a power bank comes from the empirical observation that most power banks do a good job of charging from lower current, and also if they do occasionally stop charging at low speed, they don’t beep or vibrate or turn on their screen when that happens, so they don’t annoy you or waste precious power. On the other hand some smartphones, GPS units, etc, do not charge well at low speeds, and when they hit that threshold they usually do one of those buzz/vibrate/screen-on behaviors that are both annoying and wasteful. So it usually comes down to experimentation with your particular device – if you slow down and your phone or GPS keeps charging, then it’s fine to just charge it directly from the Beacon. If it stops charging or fluctuates between charging and not, or keeps beeping at you, then for that particular device I would recommend charging a power bank instead.”
Taking this recommendation to heart, I tended to plug my 10,000mha Anker power bank into the Beacon, and use it to charge other devices when I needed to, including my camera. But I did notice that when my Hammerhead Karoo 2 was plugged in directly – which is notoriously slow to charge even from a wall plug and more power-hungry than the Wahoo – in powersave mode its charge mostly stayed constant as I rode around. When using its map or following a route – which normally has a noticeable effect on battery life – it dwindled far slower than it would otherwise.
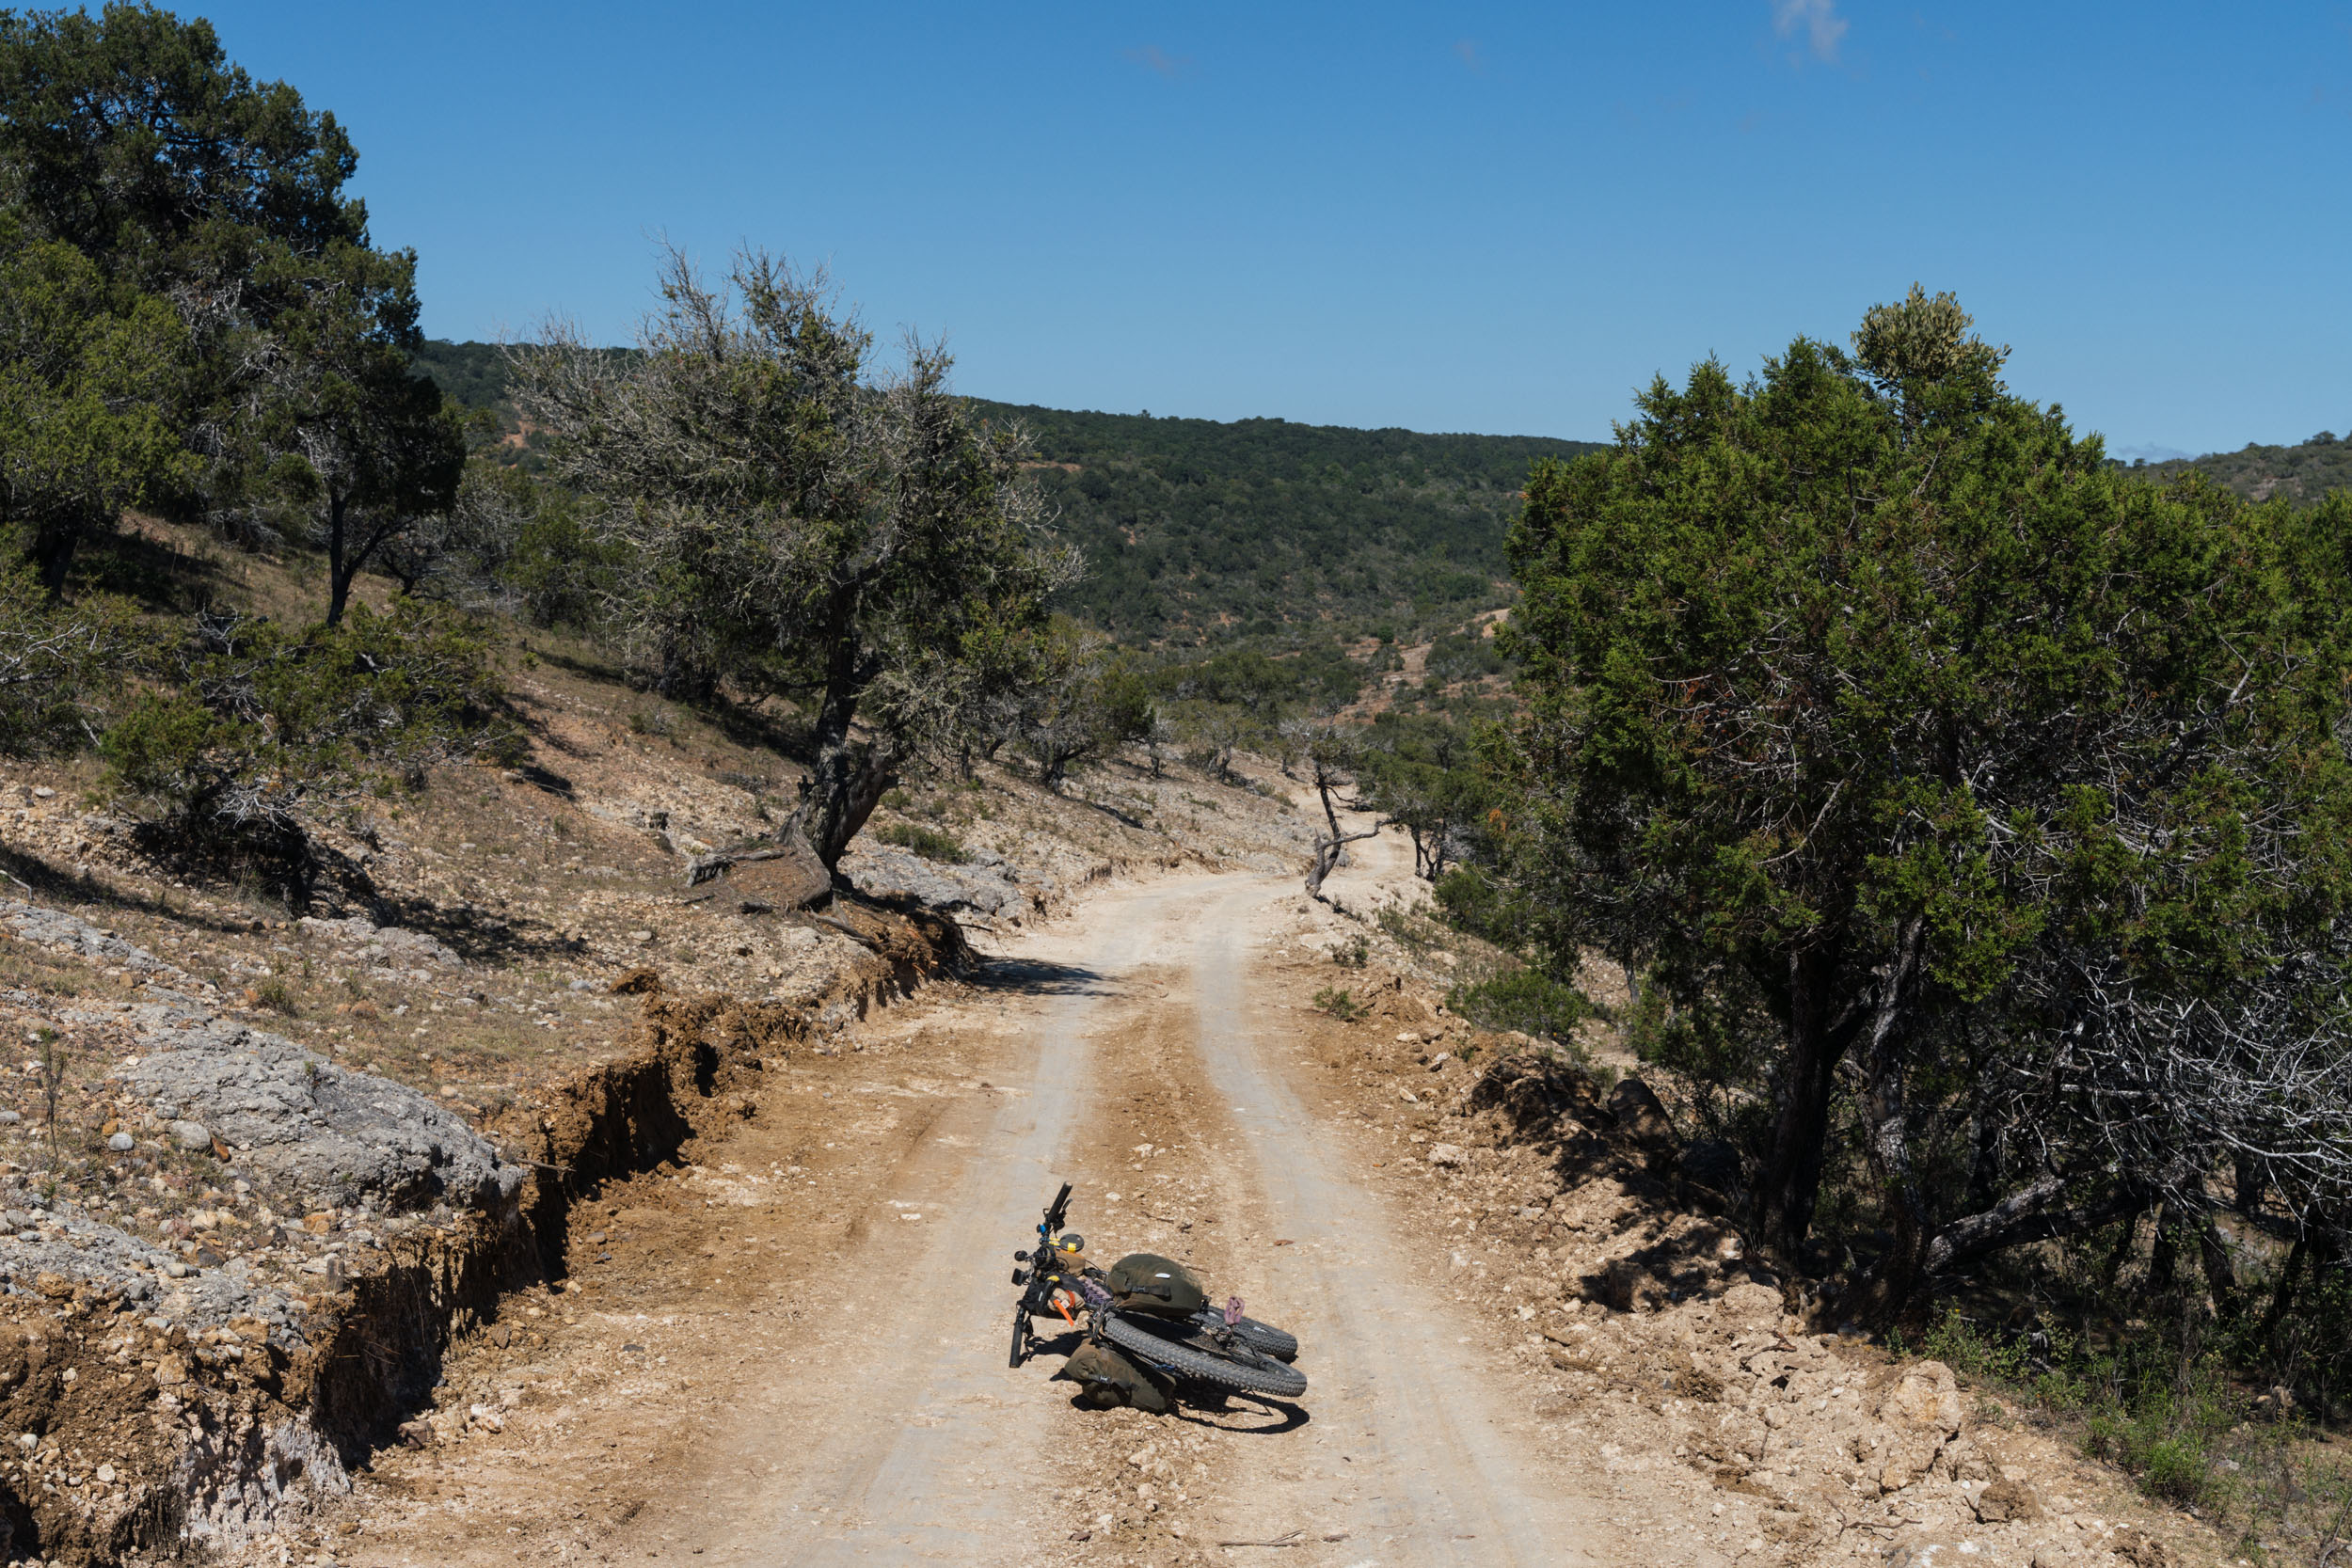
As an experiment, I decided to limit myself to a fully charged 10,000mAh cache battery and the Beacon on a multi-day tour – researching and documenting the hilly Vuelta de Santiago Apoala route – that would normally see me charging up devices as I go from available outlets. The good news? The trip went as planned and all my precious electronics kept running! Additionally, not only did I keep everything topped up, but there was a certain satisfaction from being more self-reliant, and in these days of rising energy costs, not being a burden on local businesses. Outside of this experiment, I’d normally charge up my power bank from a wall outlet as and when the situation presented itself – staying in the odd hotel, for instance – and rely on the Beacon the rest of the time.
There were too many variables in my riding to know exactly how long it took to charge my Anker. I’m also not the kind of bikepacker who spends the longest of hours in the saddle daily, and I like to stop to chat or take photos fairly regularly. Charge trickles in during the day but it is a slow process, at least on the dirt roads and across the kind of crumpled terrain that I ride in Mexico. I also had to be careful that on long, rough stuff descents, the cable didn’t accidentally dislodge from the USB-C port of my battery, wasting all those valuable, energy-creating kilometers.
![]()

Power banks/cache batteries
Speaking of batteries, choosing an appropriate power bank can be confusing too. What capacity is best? Is there a disadvantage to carrying a larger power bank or are smaller ones best?
David Dean weighed in once more: “All USB devices work at 5V, and the Beacon’s charging current is about 500mA due to the limitations of the dynamo. So any power bank you use, regardless of capacity, is going to be charged at 5V / 500mA, or 2.5W. What trips up some people with a larger capacity is that it does take longer to fully charge the battery, but that’s only because of the larger capacity – all of the energy that you send to the battery during the course of the day will be stored, but if it’s 50% of a 5000mAh battery it will only be 10% of a 25,000mAh battery. And since most power banks use 4 LEDs to indicate charge level, you might ride all day, and put 2500mAh into that large battery, but the LED indicator does not go up to the next level, and you think that it’s not being charged. But those 2500mAh that you generated ARE in there! The one thing I have noticed about some larger capacities is that they sometimes have a higher minimum charging current, like my example about smartphones and GPS units in the answer above. So a 25,000mAh battery might only charge when riding above a certain speed, while the 10,000mAh battery continues charging. Both batteries still draw the same amount of power when they are charging, it’s just that the larger battery might have some minimum in order to keep charging. This is not a blanket statement about all larger capacities, it’s really just pieced together from customer emails where an unspecified larger capacity battery did not charge, and a smaller capacity did. I assume there are many larger-capacity batteries out there that charge just fine at low speeds. My recommended power bank capacity is 10,000 – 12,000mAh. I think this is a good balance of size, weight, and electrical capacity, and seems to be small enough to avoid the above issue. No problem to use a smaller one if that’s what works for you, but I don’t see too much advantage in using a larger battery in most cases.”
Most power banks will either charge or send stored power to a device, rather than offering output as they’re charging. However, more specialist ‘pass-through’ batteries are also available, and can iron out the issues experienced when directly charging a smart phone or GPS from a dynamo, as described above. However, note that they’re typically more expensive, suffer from decreased charge cycles, and finding ones that work well can be somewhat hit and miss, especially as power banks are constantly being discontinued and replaced. As a result, I’ve tended to go with a more generic model and accept the storage loss of charging a battery from the dynamo during the day, then charging a device from it at night. If anyone has any recommendations for currently available pass-through models – like this one from Voltaic – please let me know, as I’d like to try one out, as it would be nice to reduce charging logistics in the evening.
Pass-Through Power Banks
Further to the responce this post has generated with recommendations for currently available, pass-through cache batteries or brands, here are some options:
- Voltaic Systems (6400mAh/12800mAh)
- Xiaomi Mi Ultra Compact (10,000mAh)
- Cinq5 Smart Power Pack II
- Zendure (brand)
- LedLenser Flex 3 and 7
How about cable length? “USB cable length or quality makes a small, but measurable difference. My advice would be to use just the length that is needed but not to stress over it too much. If your phone is in your handlebar bag, don’t use a 6′ cable. But I wouldn’t worry about it to the point of putting your device somewhere inconvenient just to use a shorter cable.” Certainly, I’ve found that mounting the dynammo on the handlebars helps in this regard – it keeps cable length short, easy to access, and out of the way from dust and muck.
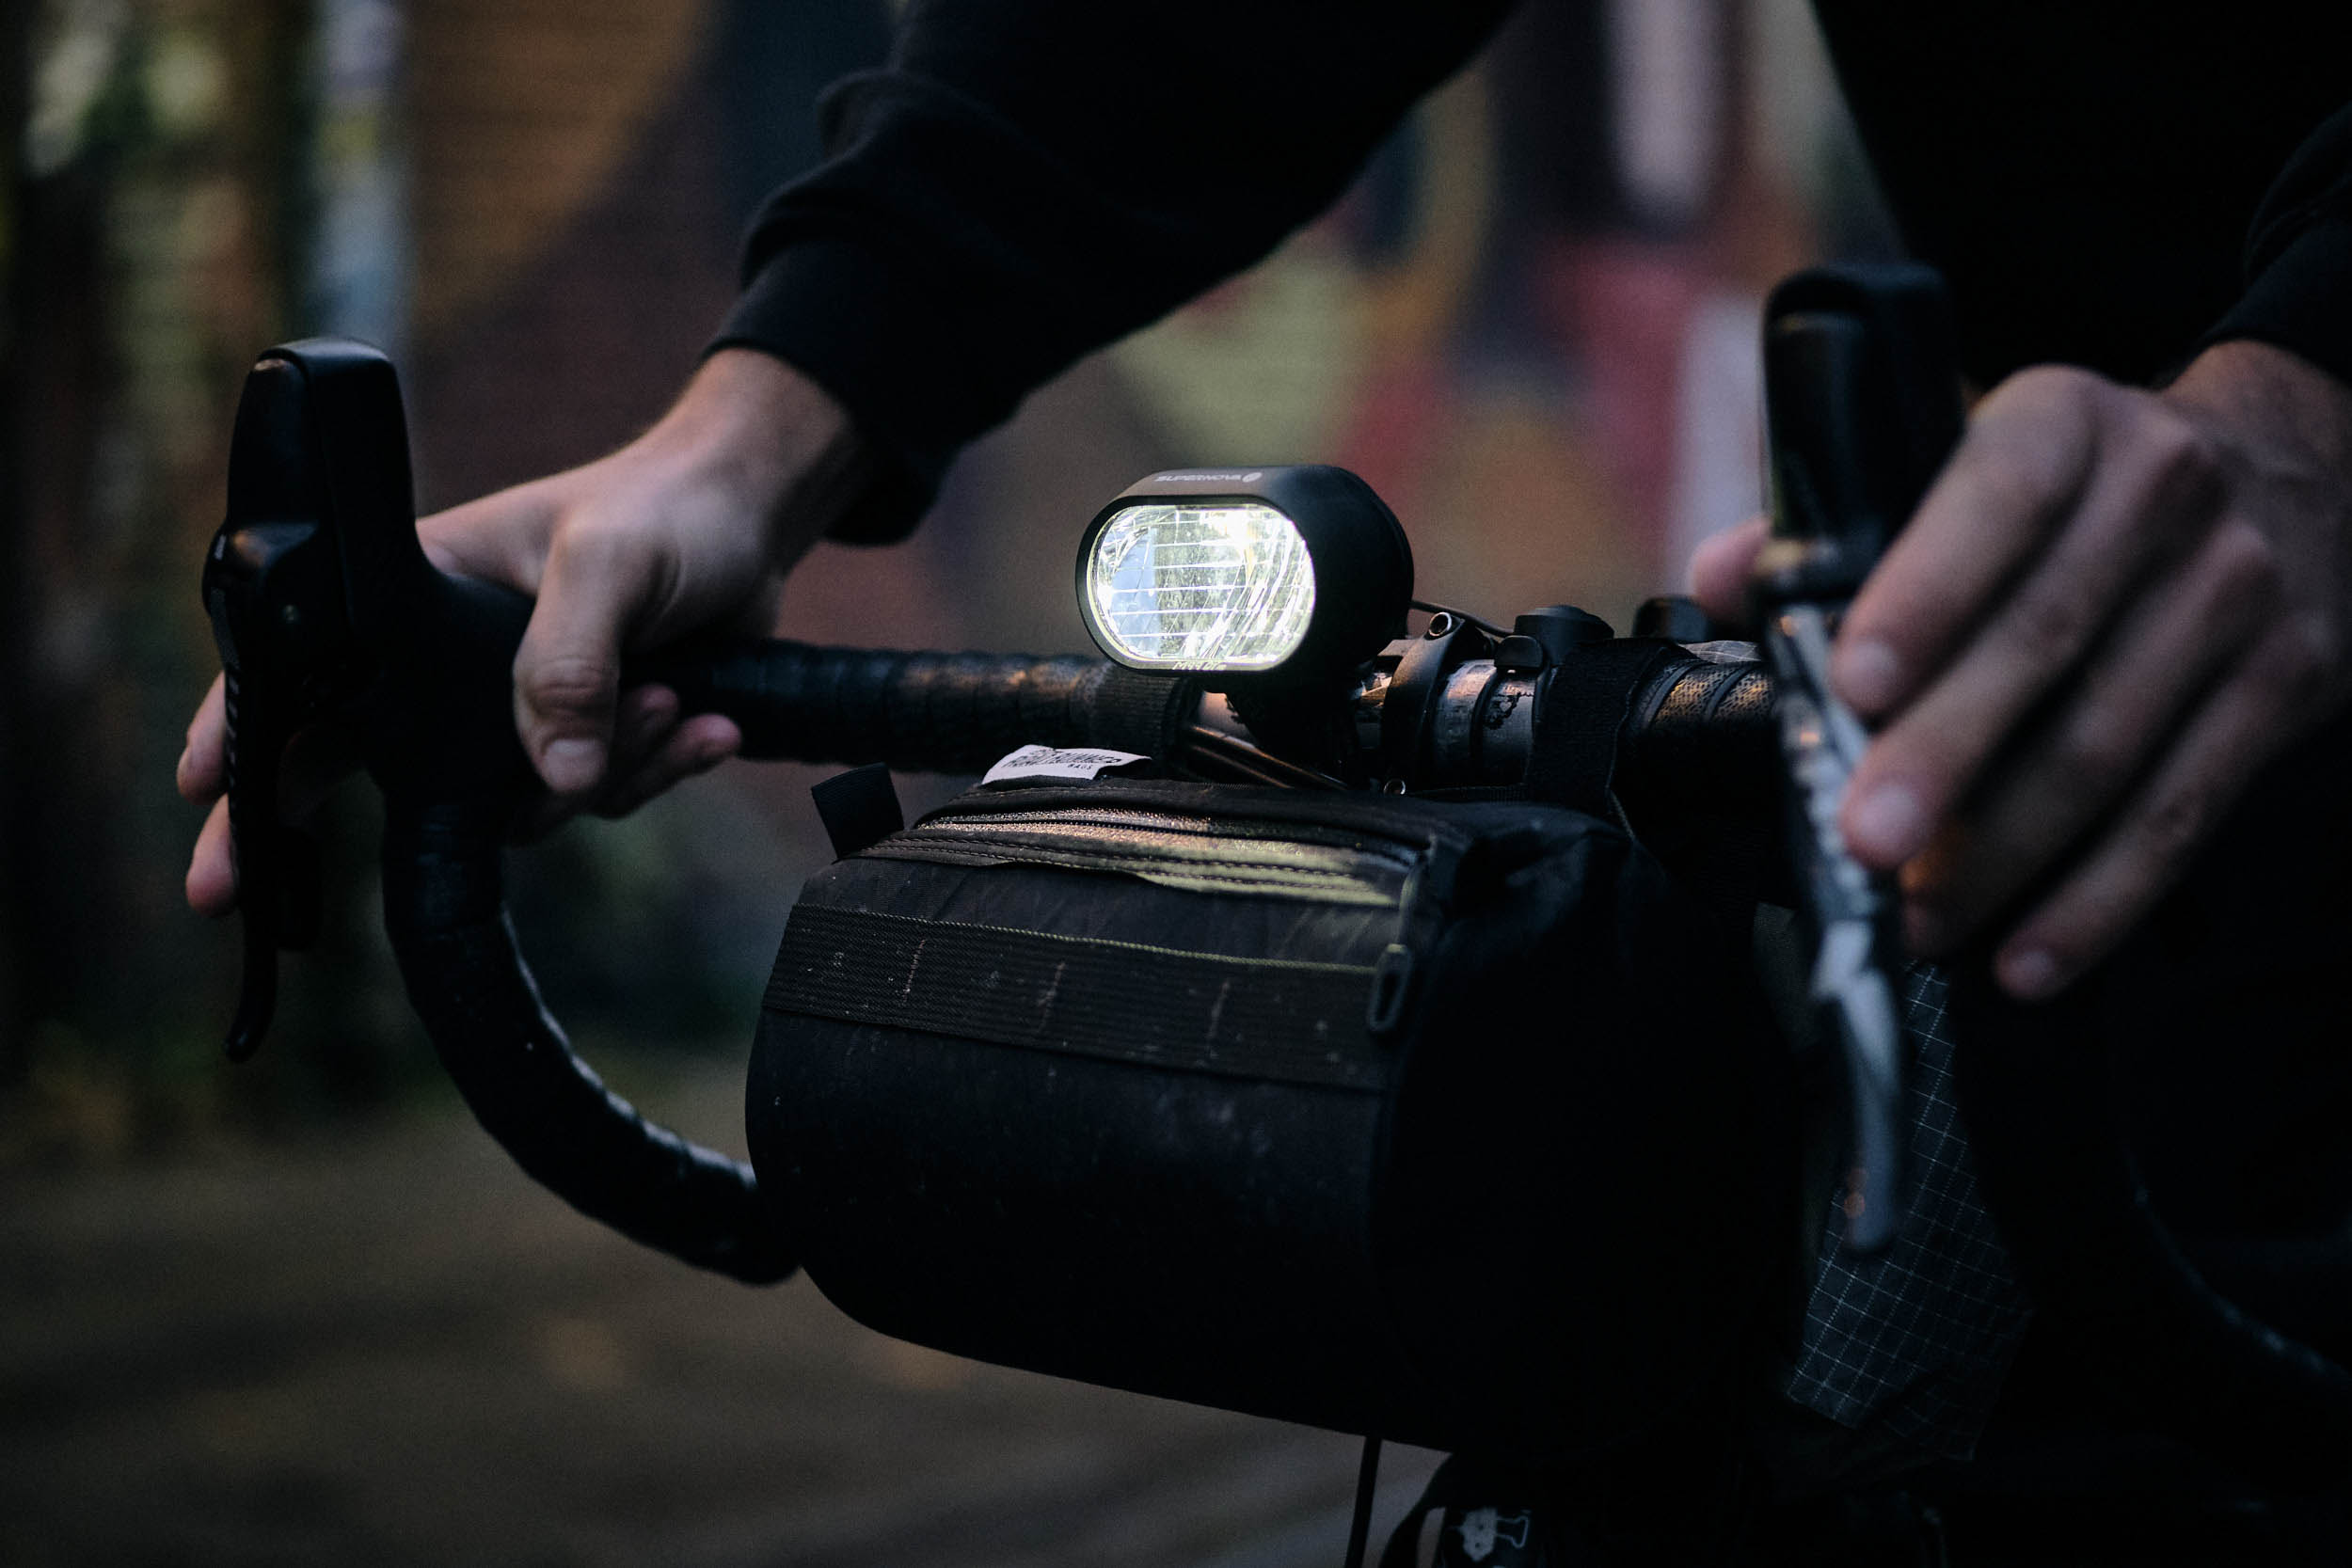
Mounting the Sinewave Beacon 2
As mentioned, the Sinewave has a 10mm mounting tab and can be fitted to your fork blade or crown, to a rack, or on the handlebars with the likes of mounts from B&M, Supernova, and Schmidt. I’m now a fan of Dr J0n’s Mission Control Deck, using an additional GoPro adaptor, as it places the beam out of the way of the wheel, cables, bags, and cockpit paraphernalia. The switch is easy to get to and the whole unit is quick to install or remove – when putting my bike in a bus, or even when flipping the bike upside down to work on it. I can run my GPS right next to the Beacon to charge it, or route a cable into a top tube bag or stem bag with my power bank. With the GoPro adaptor, you can also take advantage of all kinds of third-party, out-front mounts designed for handlebars.
Setup
If you’re new to the world of dynamo lights, there’s some initial setup required, dependent on the dynamo hub you’re running. For an SP or Shimano hub, you’ll need to follow these steps. The “hot” and “ground” wire only applies to the Shimano hubs; SP hubs do not ground through the axle.
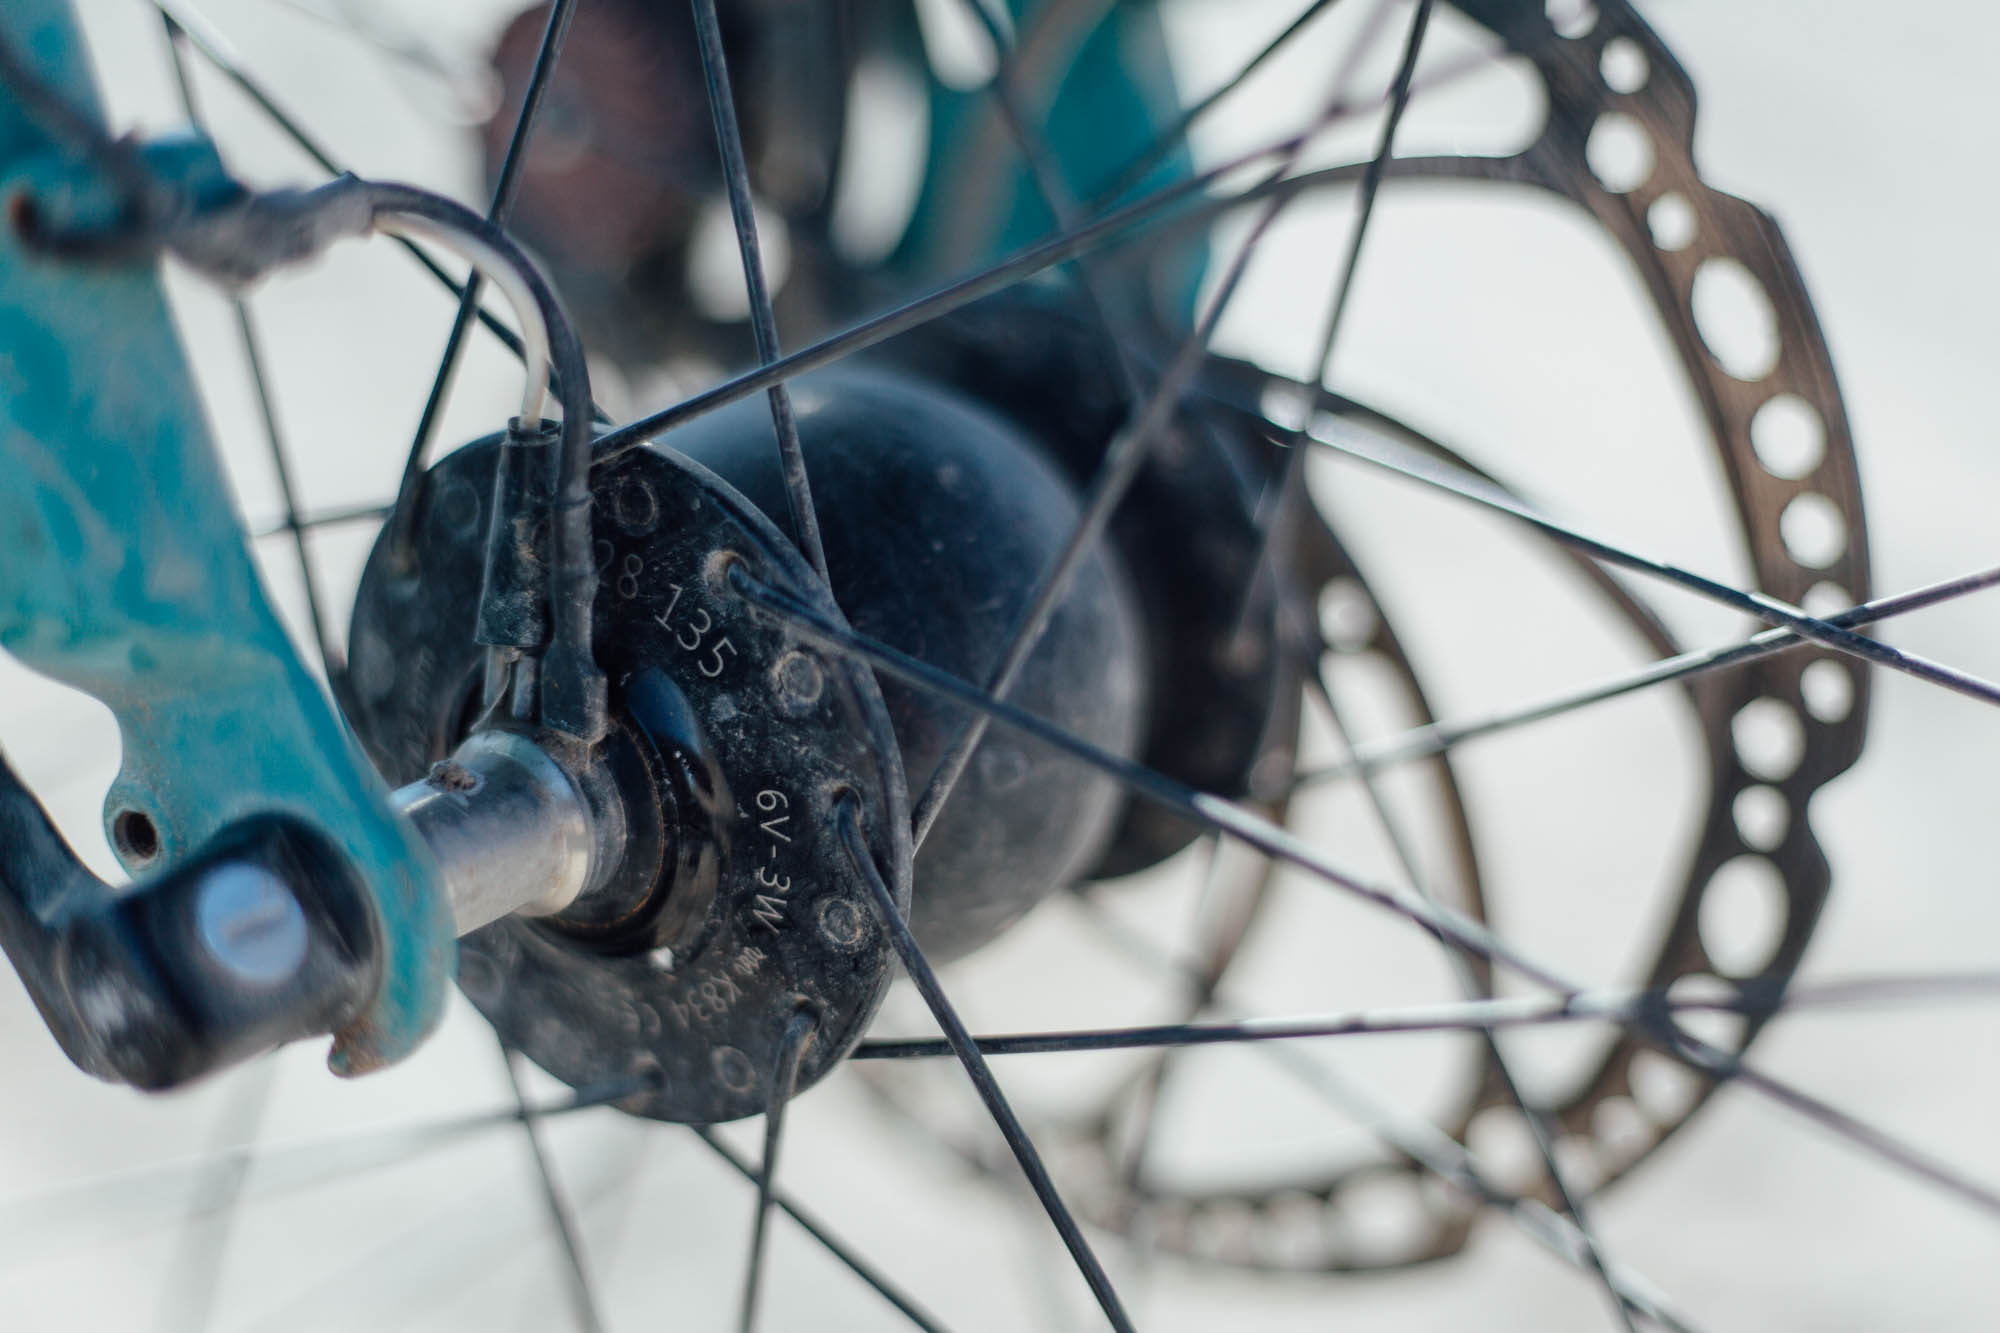
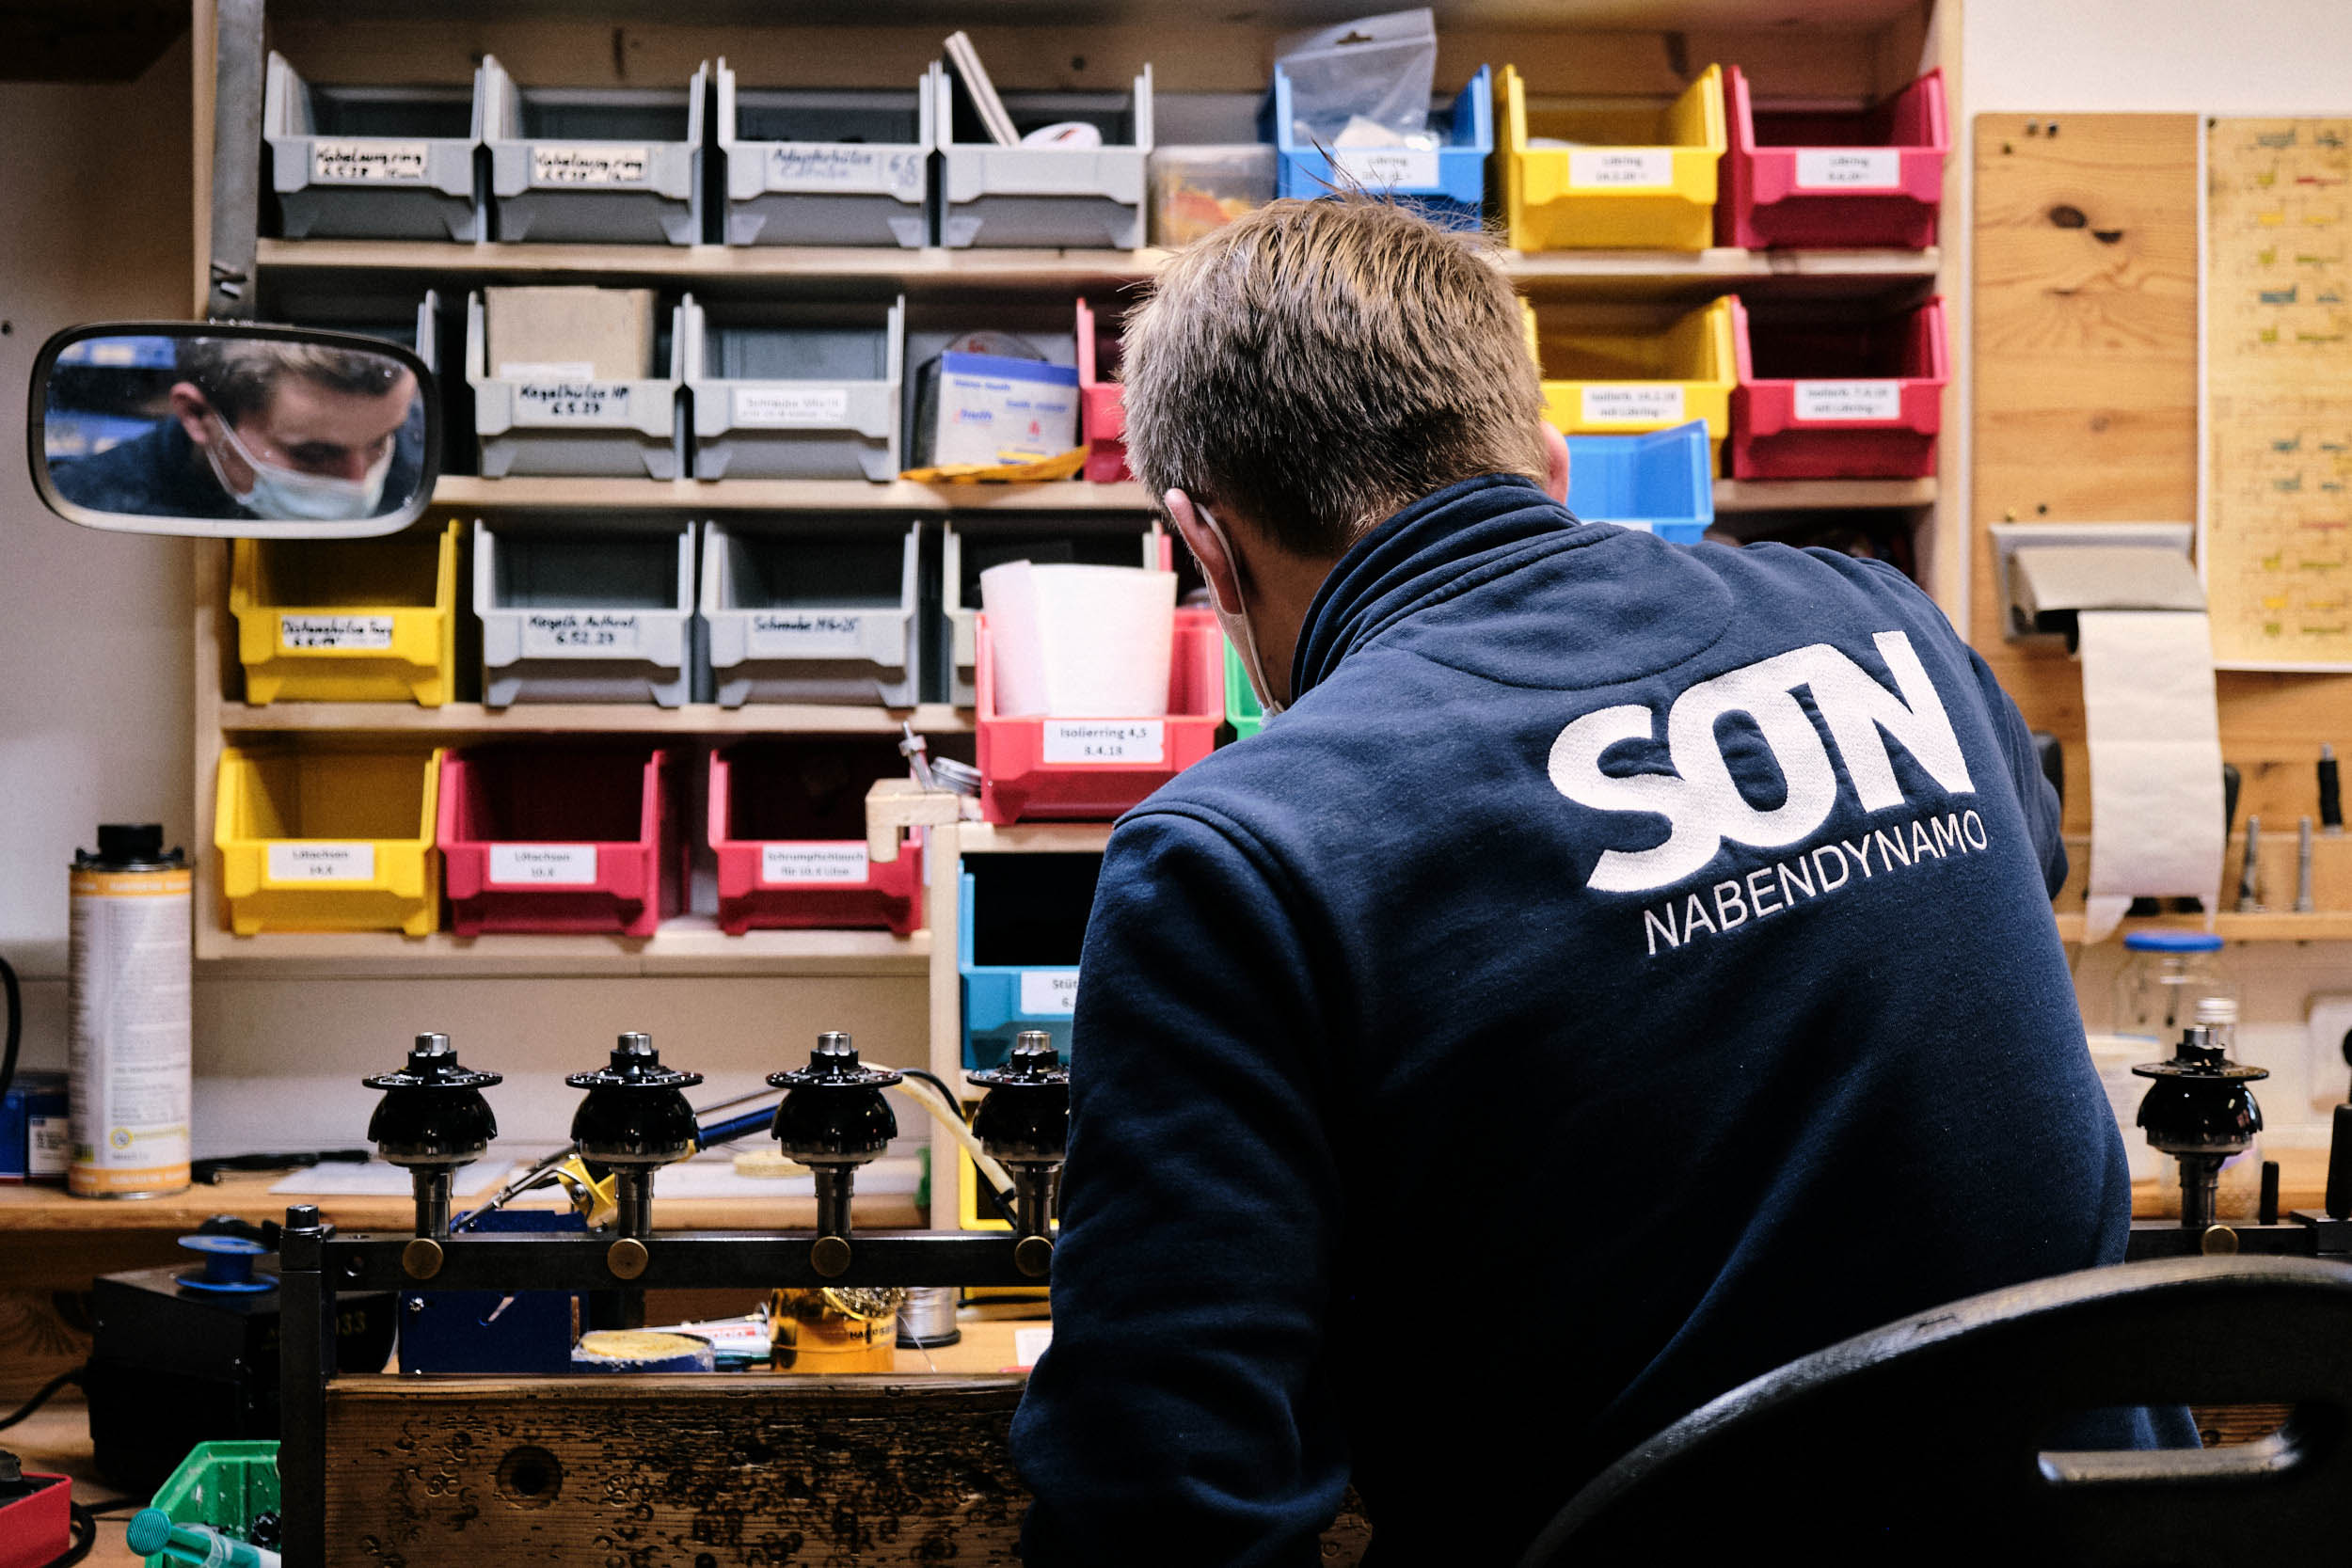
For SON hubs – which I’ve always run – this is what you’ll need to do. Note that the first steps involve separating out the two wires of the coaxial, and the Beacon comes with that already done. You’ll then attach the Schmidt spade connectors. David Dean’s advice: “Peter White (the SON distributor in the US) prefers to only crimp, but that works best if you have the official and expensive SON crimper tool. I personally like to use solder and needlenose pliers.”
The SP/Shimano is pretty straightforward if you can handle a wire stripper. The SON, with the crimping and or soldering, is a bit more involved, but any dynamo-knowledgeable bike shop should be able to help out.
$50 Deposit
Availability is another issue, at least for the next few months. Currently, Beacon 2 units are shipping out to existing Beacon backorders (even those placed for Beacon 1), so spring/summer is the estimated time that these backorders will be cleared and Sinewave will be shipping new orders. Still, at least it’s just a small deposit ($50) that secures your order, so you won’t be too out of pocket in the interim.
Pros
- Fantastic build quality – durable enough for the longest and toughest of bike tours
- Compact, clutter-free, all-in-one system that’s very easy and intuitive to use, and move from bike to bike
- Flicker-free lighting, at any riding speed
- Sufficiently bright for both dirt road touring, with a low power setting that’s ideal for being seen in a city
- DC input and provided DC-USB cable means a power bank can be plugged in for a constant 750 lumens on techy trails, which is great for winter night rides
- DC input is a useful failsafe too – if your hub fails, the Beacon will still light your way
- Charges your power bank via USB, especially handy when resupply points are few and far between
- Elegant design with lots of fun colour options!
Cons
- Symetrical beam is less suited to commuting on unlit bike paths
- Expensive – at least when compared to a USB-charged bike light
- Charging is relatively slow, and very much dependent on terrain and riding style
- Experimention is required to figure out what devices charge directly, and when it’s best to use a power bank (or pass-through battery)
- Stand light isn’t especially strong, though it’s in line with other dynamo systems
- Model Tested: Sinewave Beacon 2
- Actual Weight: 115g
- Place of Manufacture: USA
- Price: $350
- Manufacturer’s Details: Sinewave Cycles
Wrap Up
The Sinewave Beacon 2 appeals to me mostly because it’s an easy-to-use, all-in-one unit, that can quickly be installed or removed, swapped from bike to bike, and is basically flicker-free. It’s compact in size, extremely well made, durable, reliable, and oh so elegant. There are dynamo lights that are more powerful than 750 lumens – like the Klite Ultra V2 and the Supernova M99 DT Pro – but if you’re a non-competitive bikepacker, I’m not sure you need stadium-style illumination, as nice as it might be to have on occasions.
Like other premium dynamo lights on the market, it’s going to be hard to justify the Beacon’s initial outlay if you’re considering costs alone, especially if you don’t already own dynamo wheel (I still wince at the price of the Son 28 150TA). After all, you could buy a 20,000 mAh power bank to keep all your devices charged for days and days on the road, and a 750 lumen USB-charged light, for just a fraction of the price.
But if you can overcome that financial hurdle, rest assured that this latest version of the Beacon works fantastically well, and will be of particular value to the 365-days-a-year rider. For those who use their bike for both transport and adventures, having a dynamo light that’s permanently available to you is such a boon, and being able to keep devices charged up as you ride can be refreshingly freeing.
In terms of bikepacking, some will no doubt gain more value from the Beacon than others, depending on riding style, the hours you put in on the saddle, how often you have access to charging points, and how much you actually pedal past sundown. But even if you’re like me and don’t consider yourself a nocturnal rider, there’s still real value in being visible to other road users on days that have proved longer than expected, when you’re making a dash for a city at nightfall, or for riding around a city in the evening. Whilst I’ll always carry a headlamp on a bikepacking trip and a small wall plug for charging up a power bank when the opportunity arises, I’m no longer scouring restaurants and cafes for coutlets during the day and I feel far safer when I’m using the Beacon at night. Ultimately, I’m happy to have some reassuring redundancy in my setup when it comes to lighting and charging, especially as I use it both at home and when I’m away.
Related Content
Make sure to dig into these related articles for more info...
Please keep the conversation civil, constructive, and inclusive, or your comment will be removed.