


Make Your Own Seat Harness from an Upcycled Tire


In our latest Make Your Own Bikepacking Gear (MYOBG) tutorial, Rémi Quinquin shares a simple guide to repurposing a worn-out tire to create a clever upcycled seat harness. Find his step-by-step guide to making a unique and functional seat harness that can reduce waste and save money here…
PUBLISHED Mar 27, 2023
Words and photos by Rémi Quinquin (@remiquinquin)
Despite having tried several commercially available saddle bags, I couldn’t quite find what I was looking for. A few were fine but never ideal. I wanted to find a simple harness, nothing more than a soft but solid piece that holds a drybag. Looking for a material that was solid, readily available, and easy to work with, my mind turned to the stack of old tires I’ve been keeping around “just in case.” This seemed to be the perfect occasion to put them to use.
After a handful of prototypes and tests over a period of around two years, I finally arrived at the completed version that I’m sharing with you here today. It’s worked well for me, and I hope it can help other bikepackers too. You can find the full tutorial, materials list, and a template to follow below.
What You’ll Need

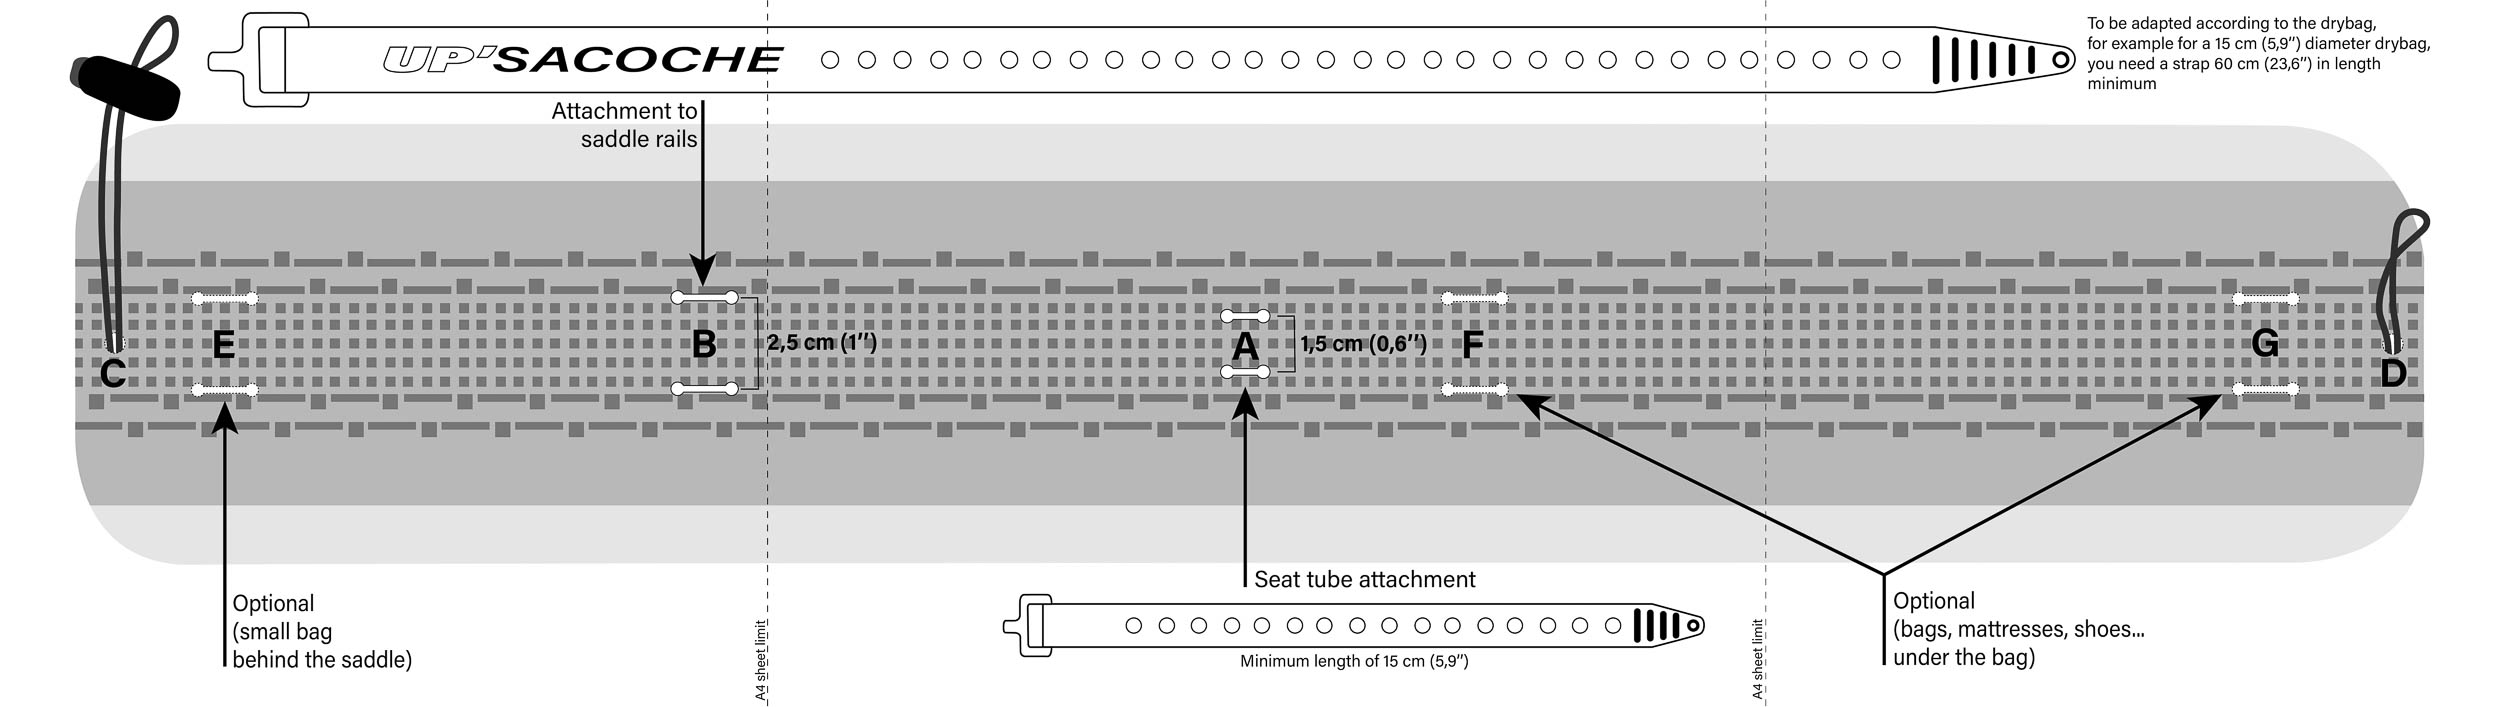
- The PDF reference diagram provided here and displayed below.
- An old tire that’s around 50mm (2.0″) wide. A little larger is okay. You can make three harnesses from a 29er tire.
- A dry bag. The pattern is designed to work with a drybag up to 50cm (20″) long.
- Two straps. The strap at the seat tube is 15 cm (5.9″) minimum, which will work for most seat tubes. The strap that attaches to the rails depends on the diameter of the loaded drybag. To find the minimum strap length, you can apply the formula strap length = drybag diameter x 4.
- Two pieces of cord and a cord lock.
- Two eyelets (optional).
- Something to make holes and something that cuts.
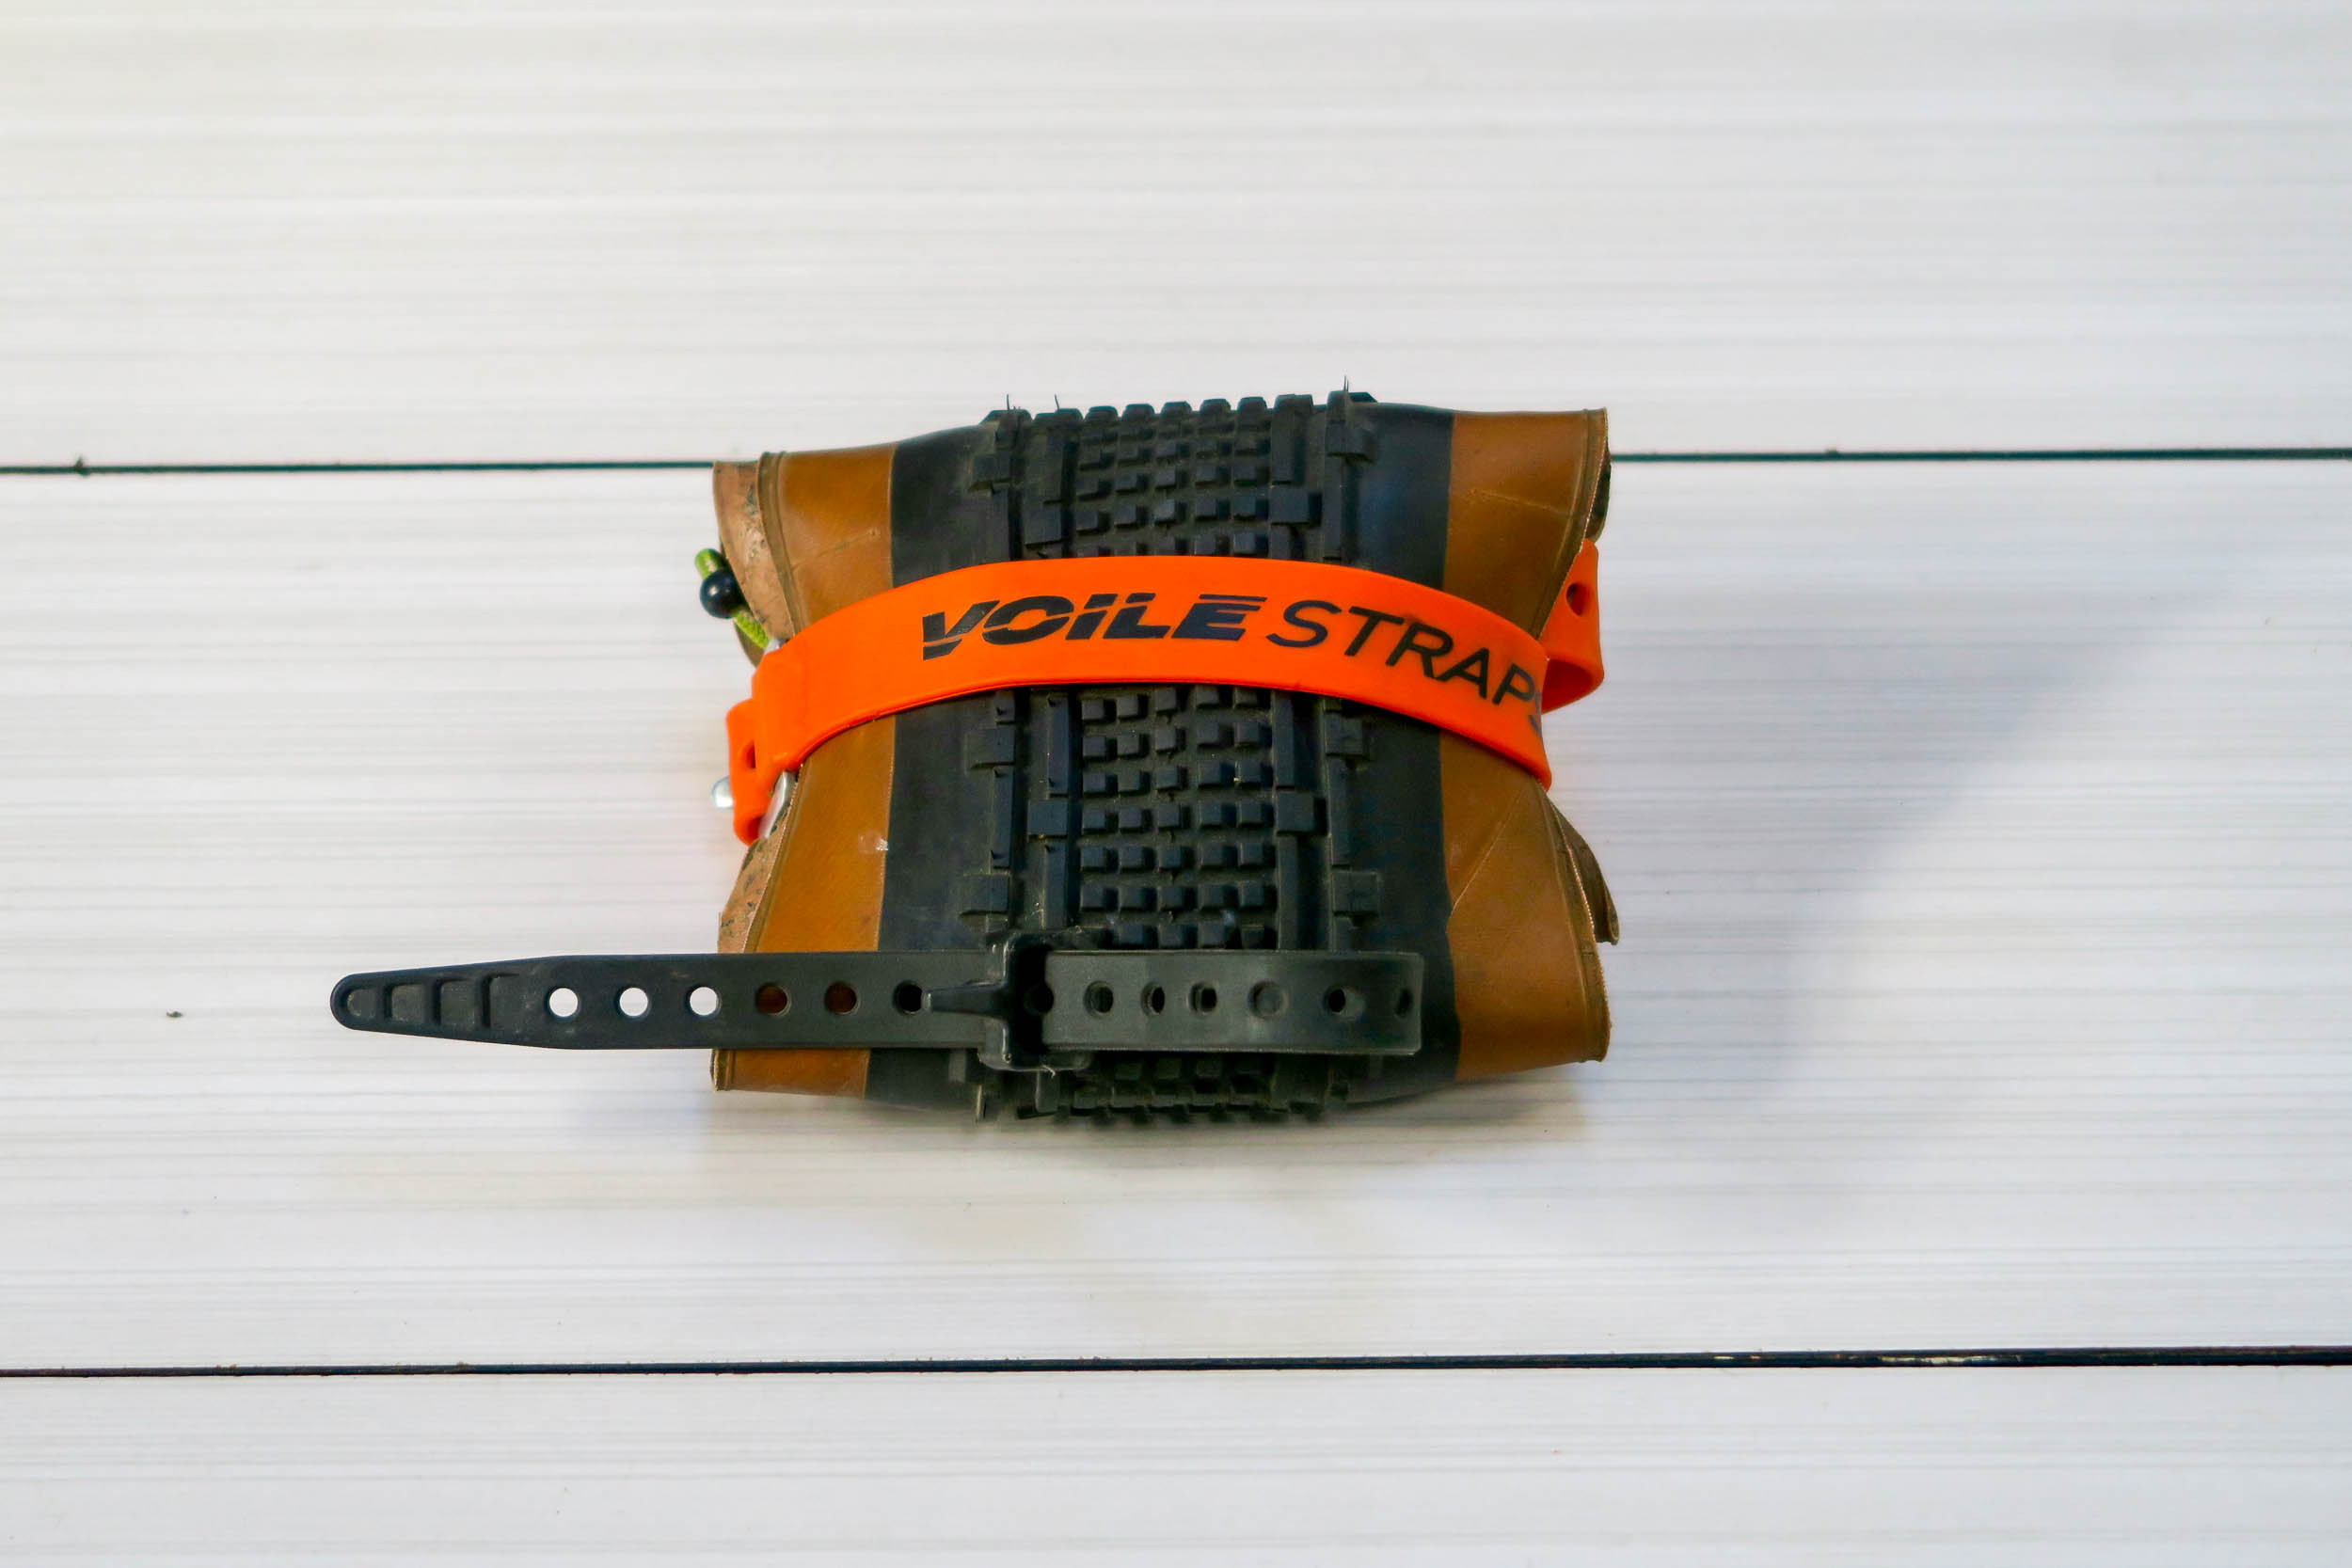
Step 1: Cut the tire
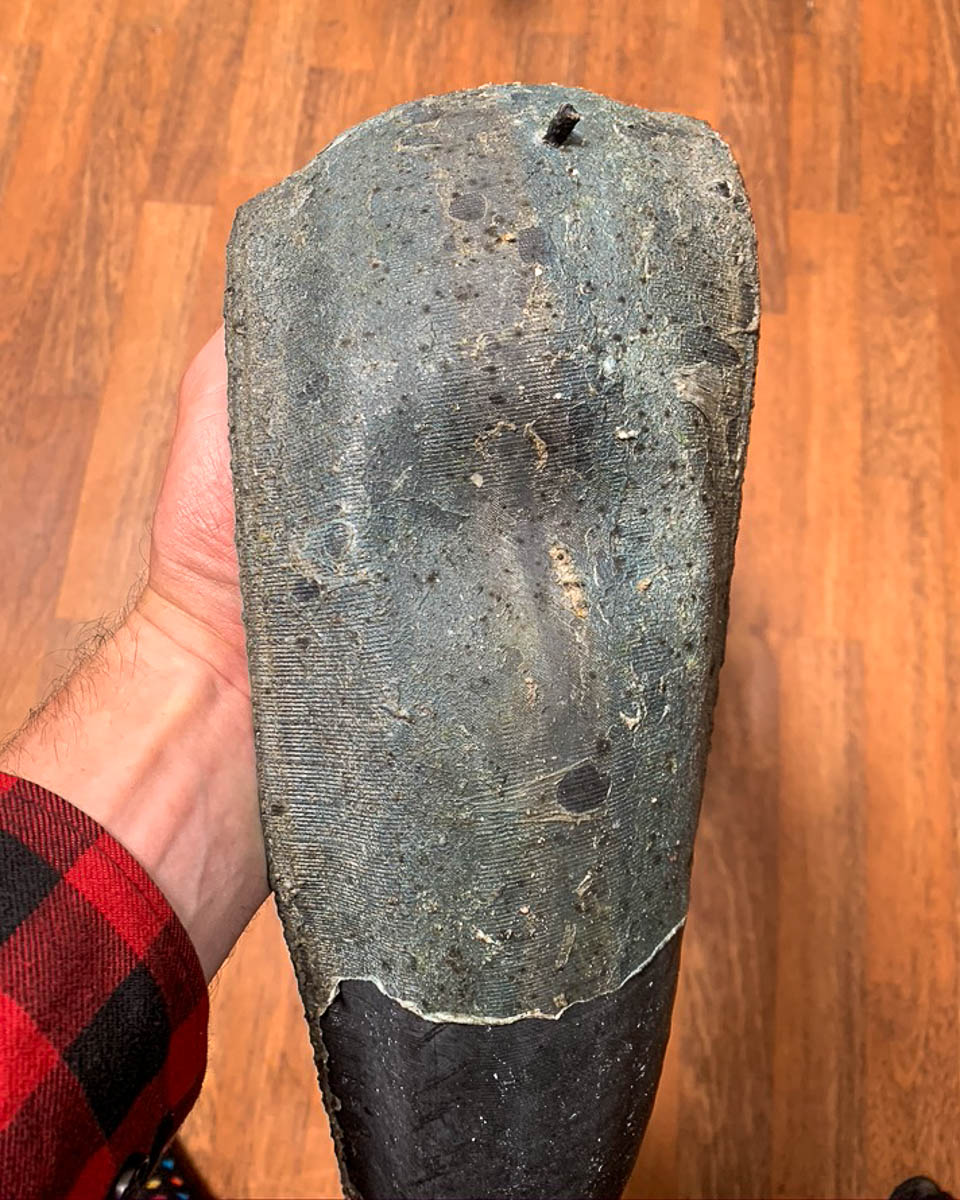
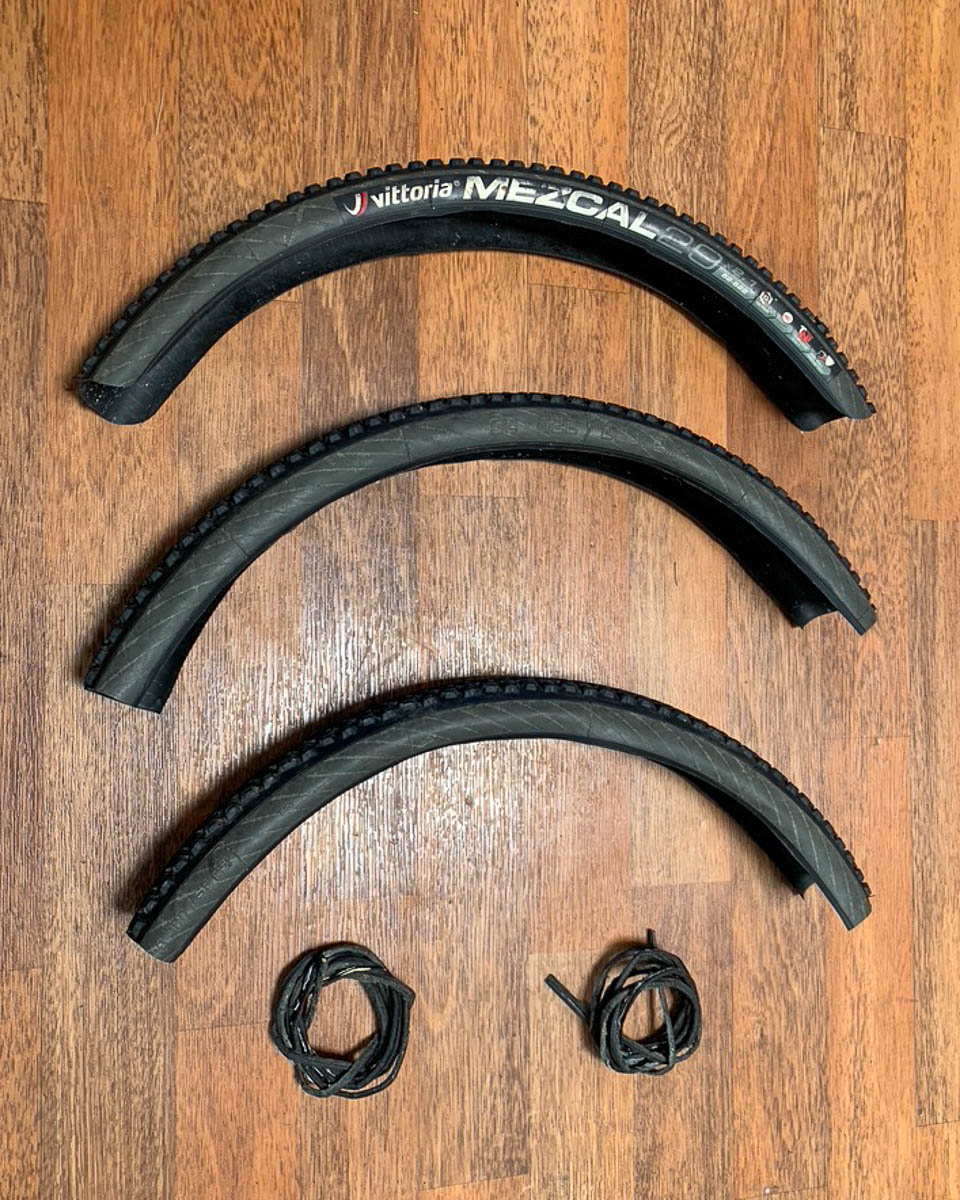
First, take your tire, clean it, remove all the tubeless sealant that’s coating the inside (if applicable), trim off the beads, and cut it to a length of 70cm (27.6″).
Step 2: Create the openings
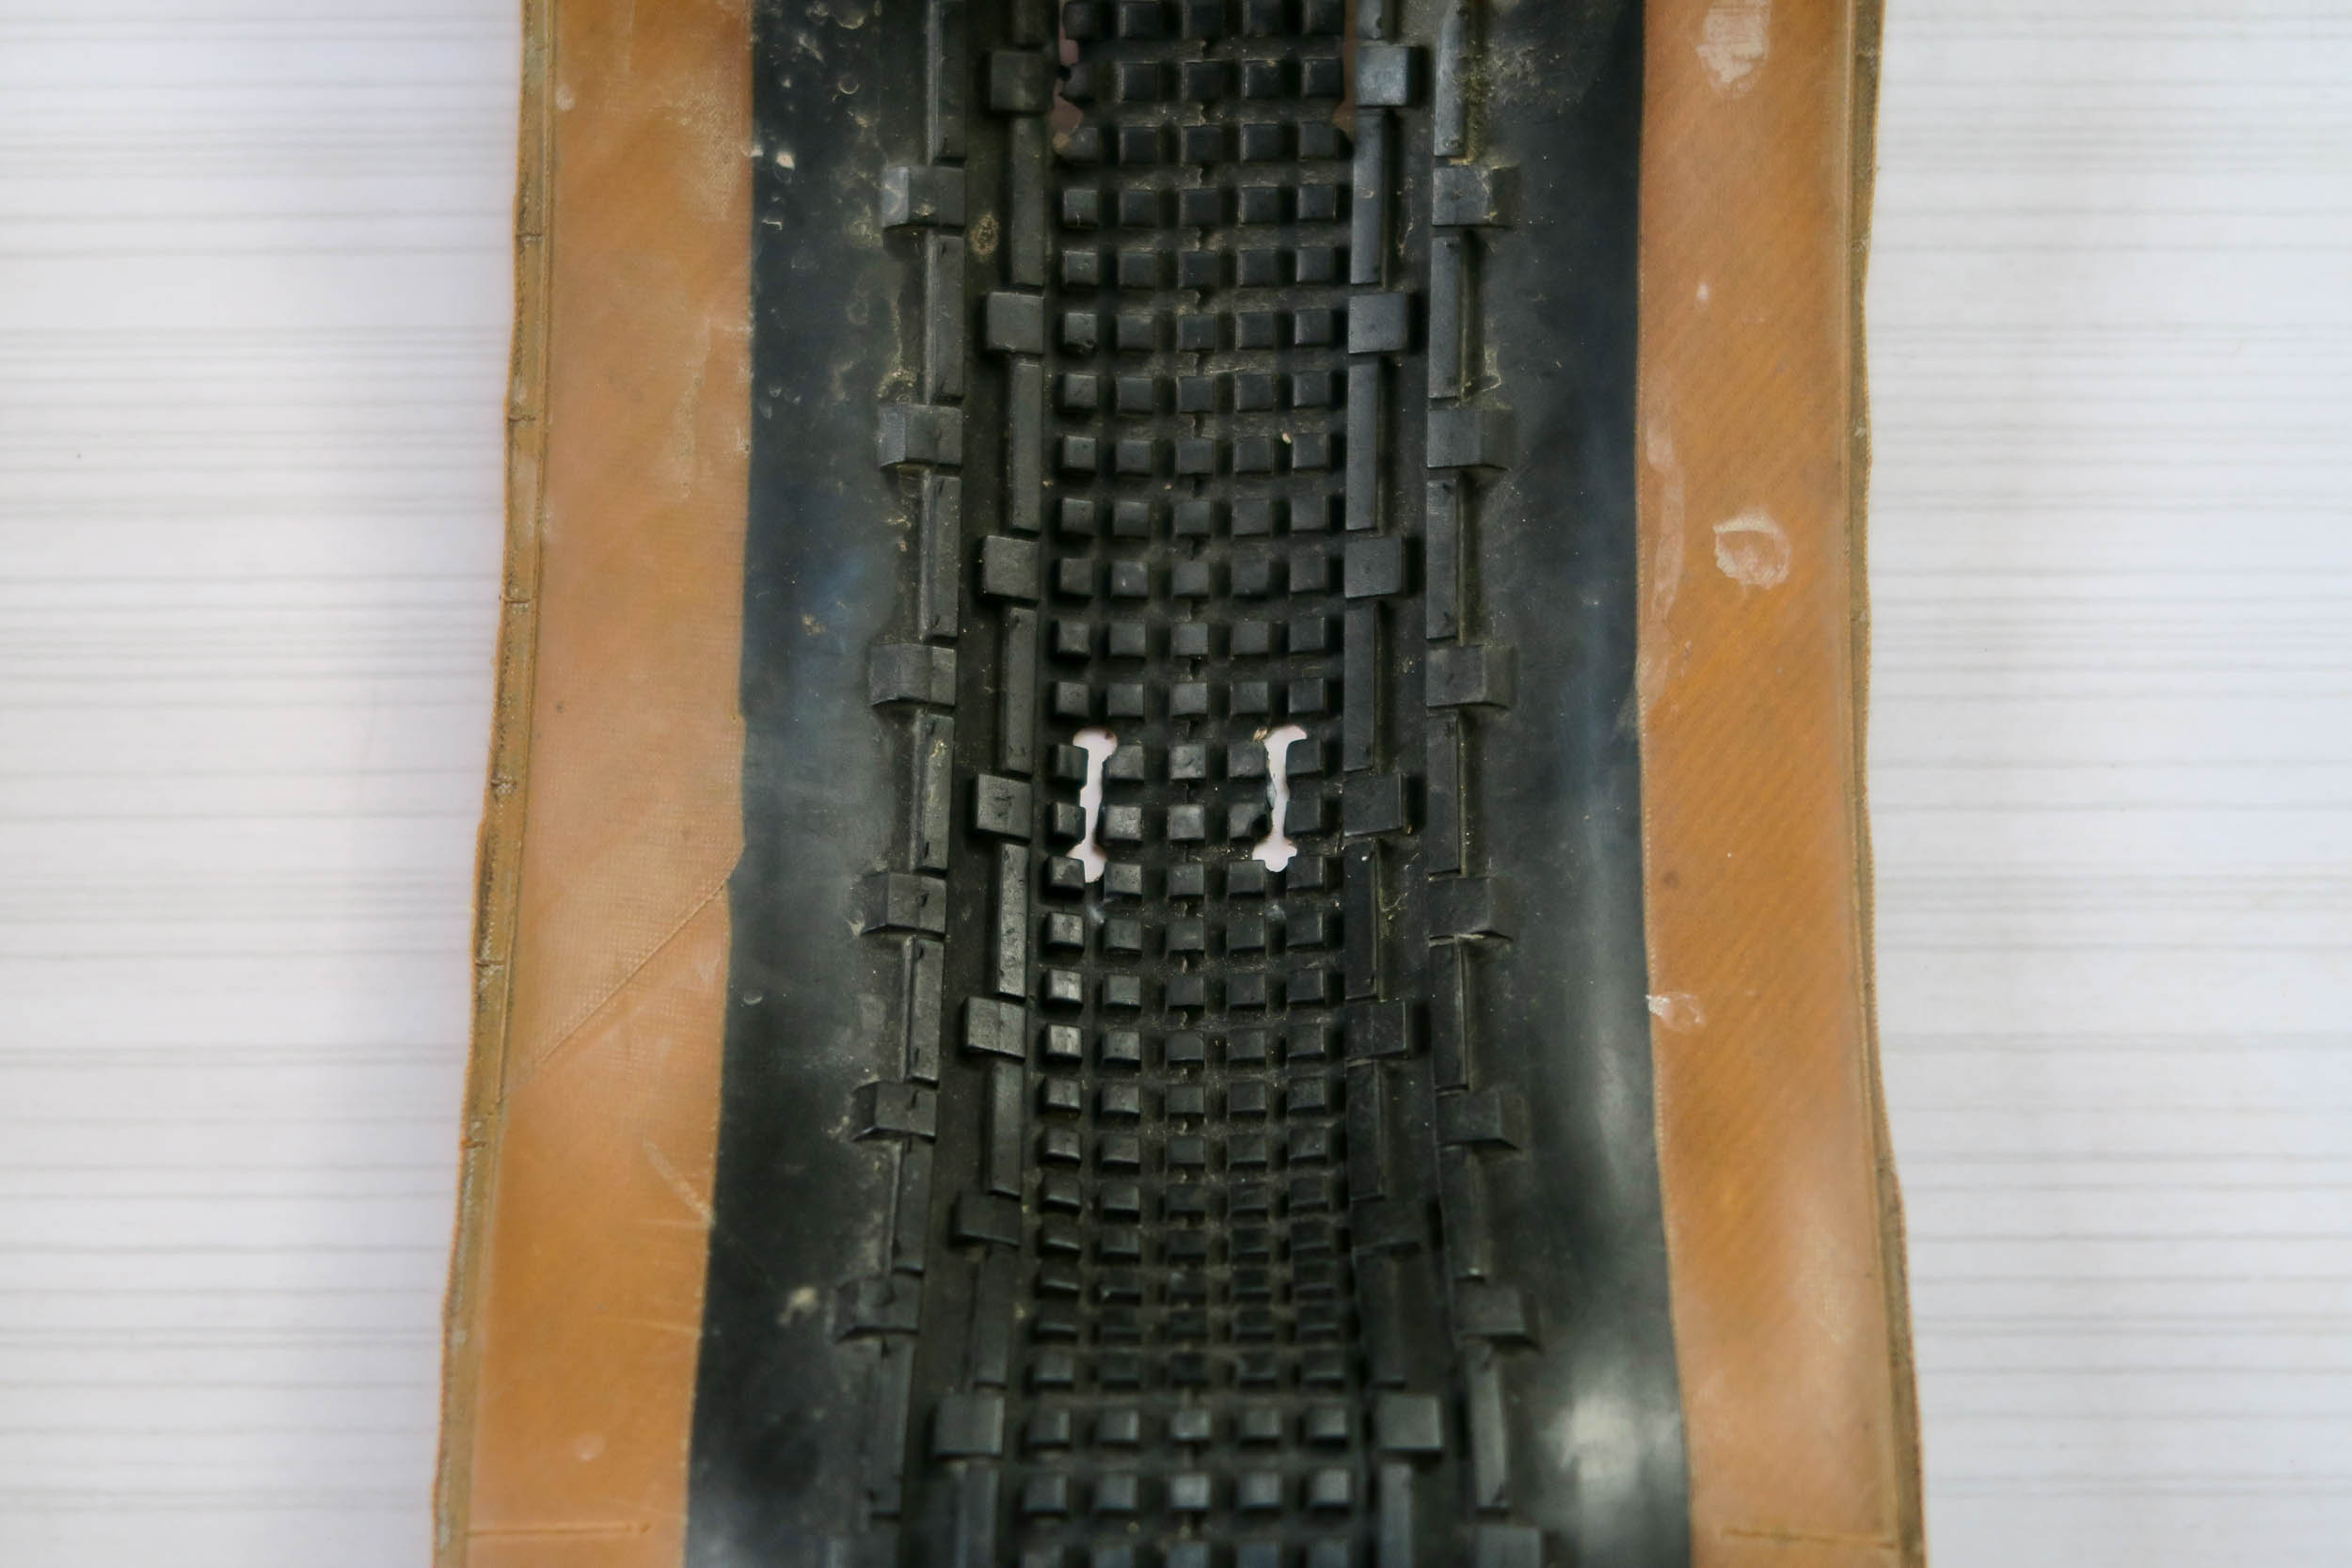
Next, you will create a pair of small cuts in the center of the tire to attach it to the seat tube. They must be in the center of the tire, lengthwise (A). Ideally, you’d drill two little holes and cut between them to create the opening. You can also use an awl and cut in between the holes with a knife. The two openings for the seat tube are spaced 1.5cm (0.6″) apart, and each opening should be a little wider than the strap.
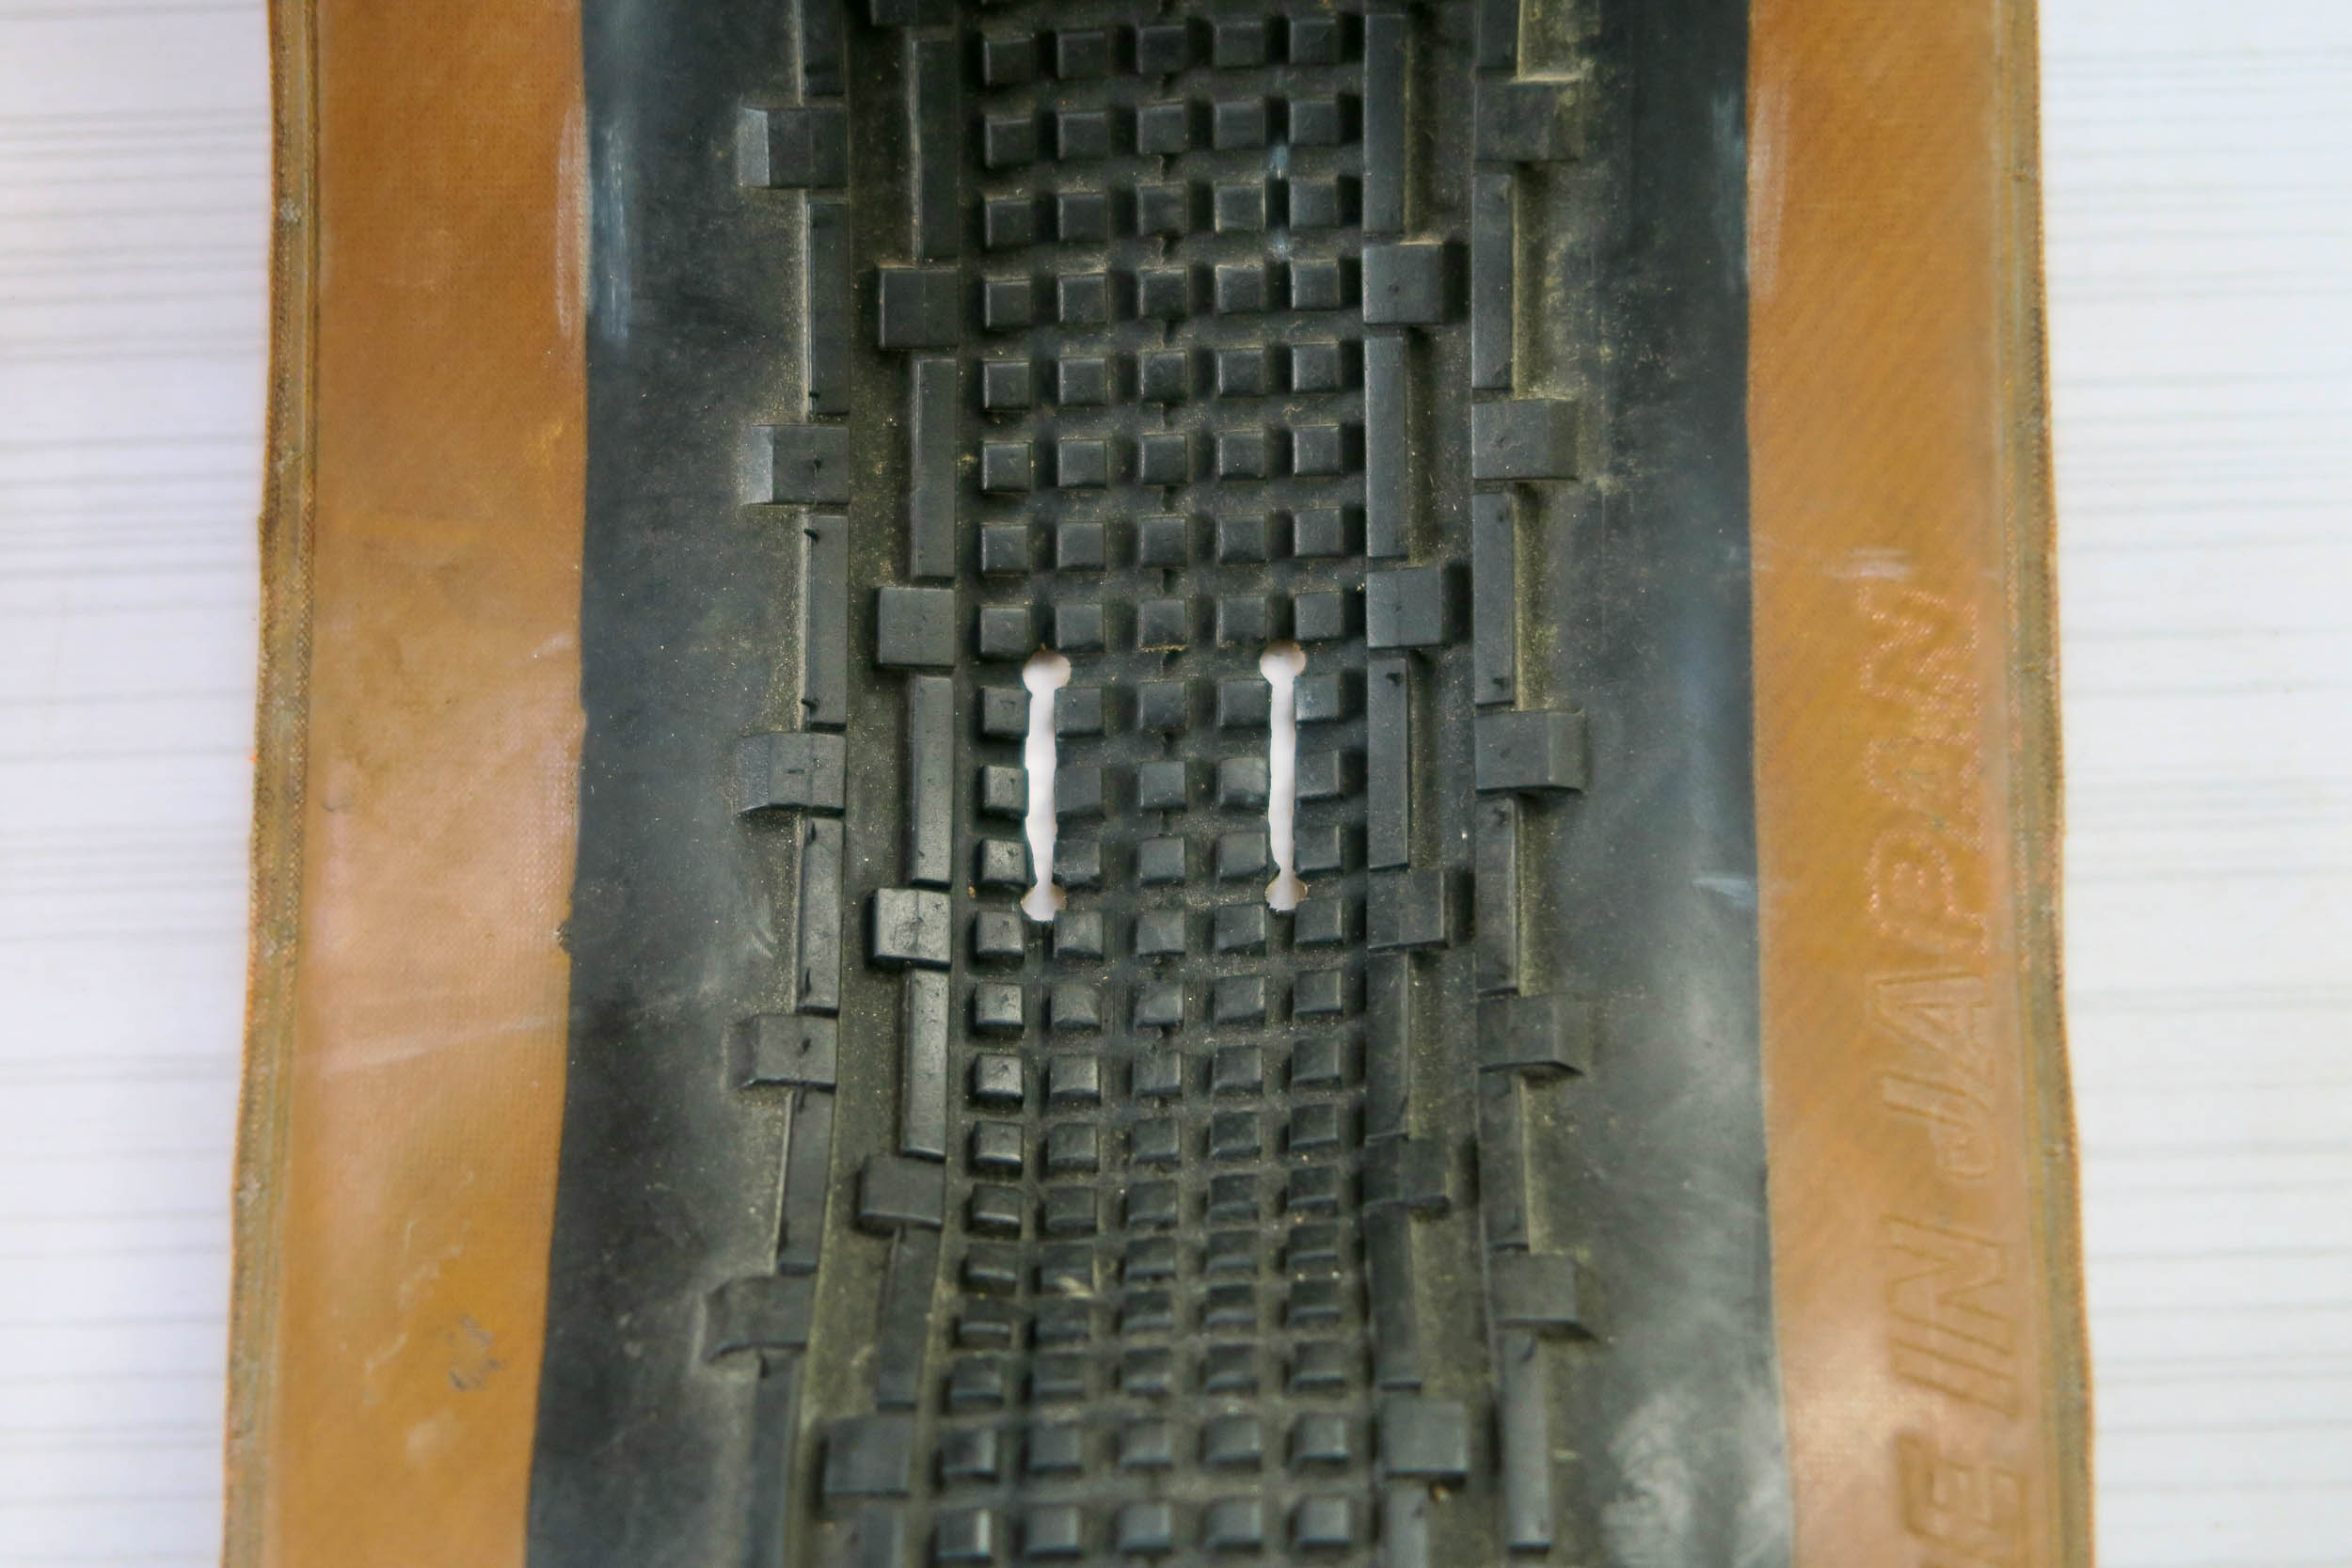
Once that’s done, do the same for the attachment to the saddle rails (B) by spacing them 2.5cm (1″) apart. Likewise here, the two openings must be a little wider than the strap. I spaced the openings between the seat tube strap and the rail just enough that the bag is less horizontal and more stable. If your drybag is shorter, or if you want to raise the bag a little (short seat post, etc.), you can make the (A) openings closer to the (B) openings.
Step 3: Tie the closing cord
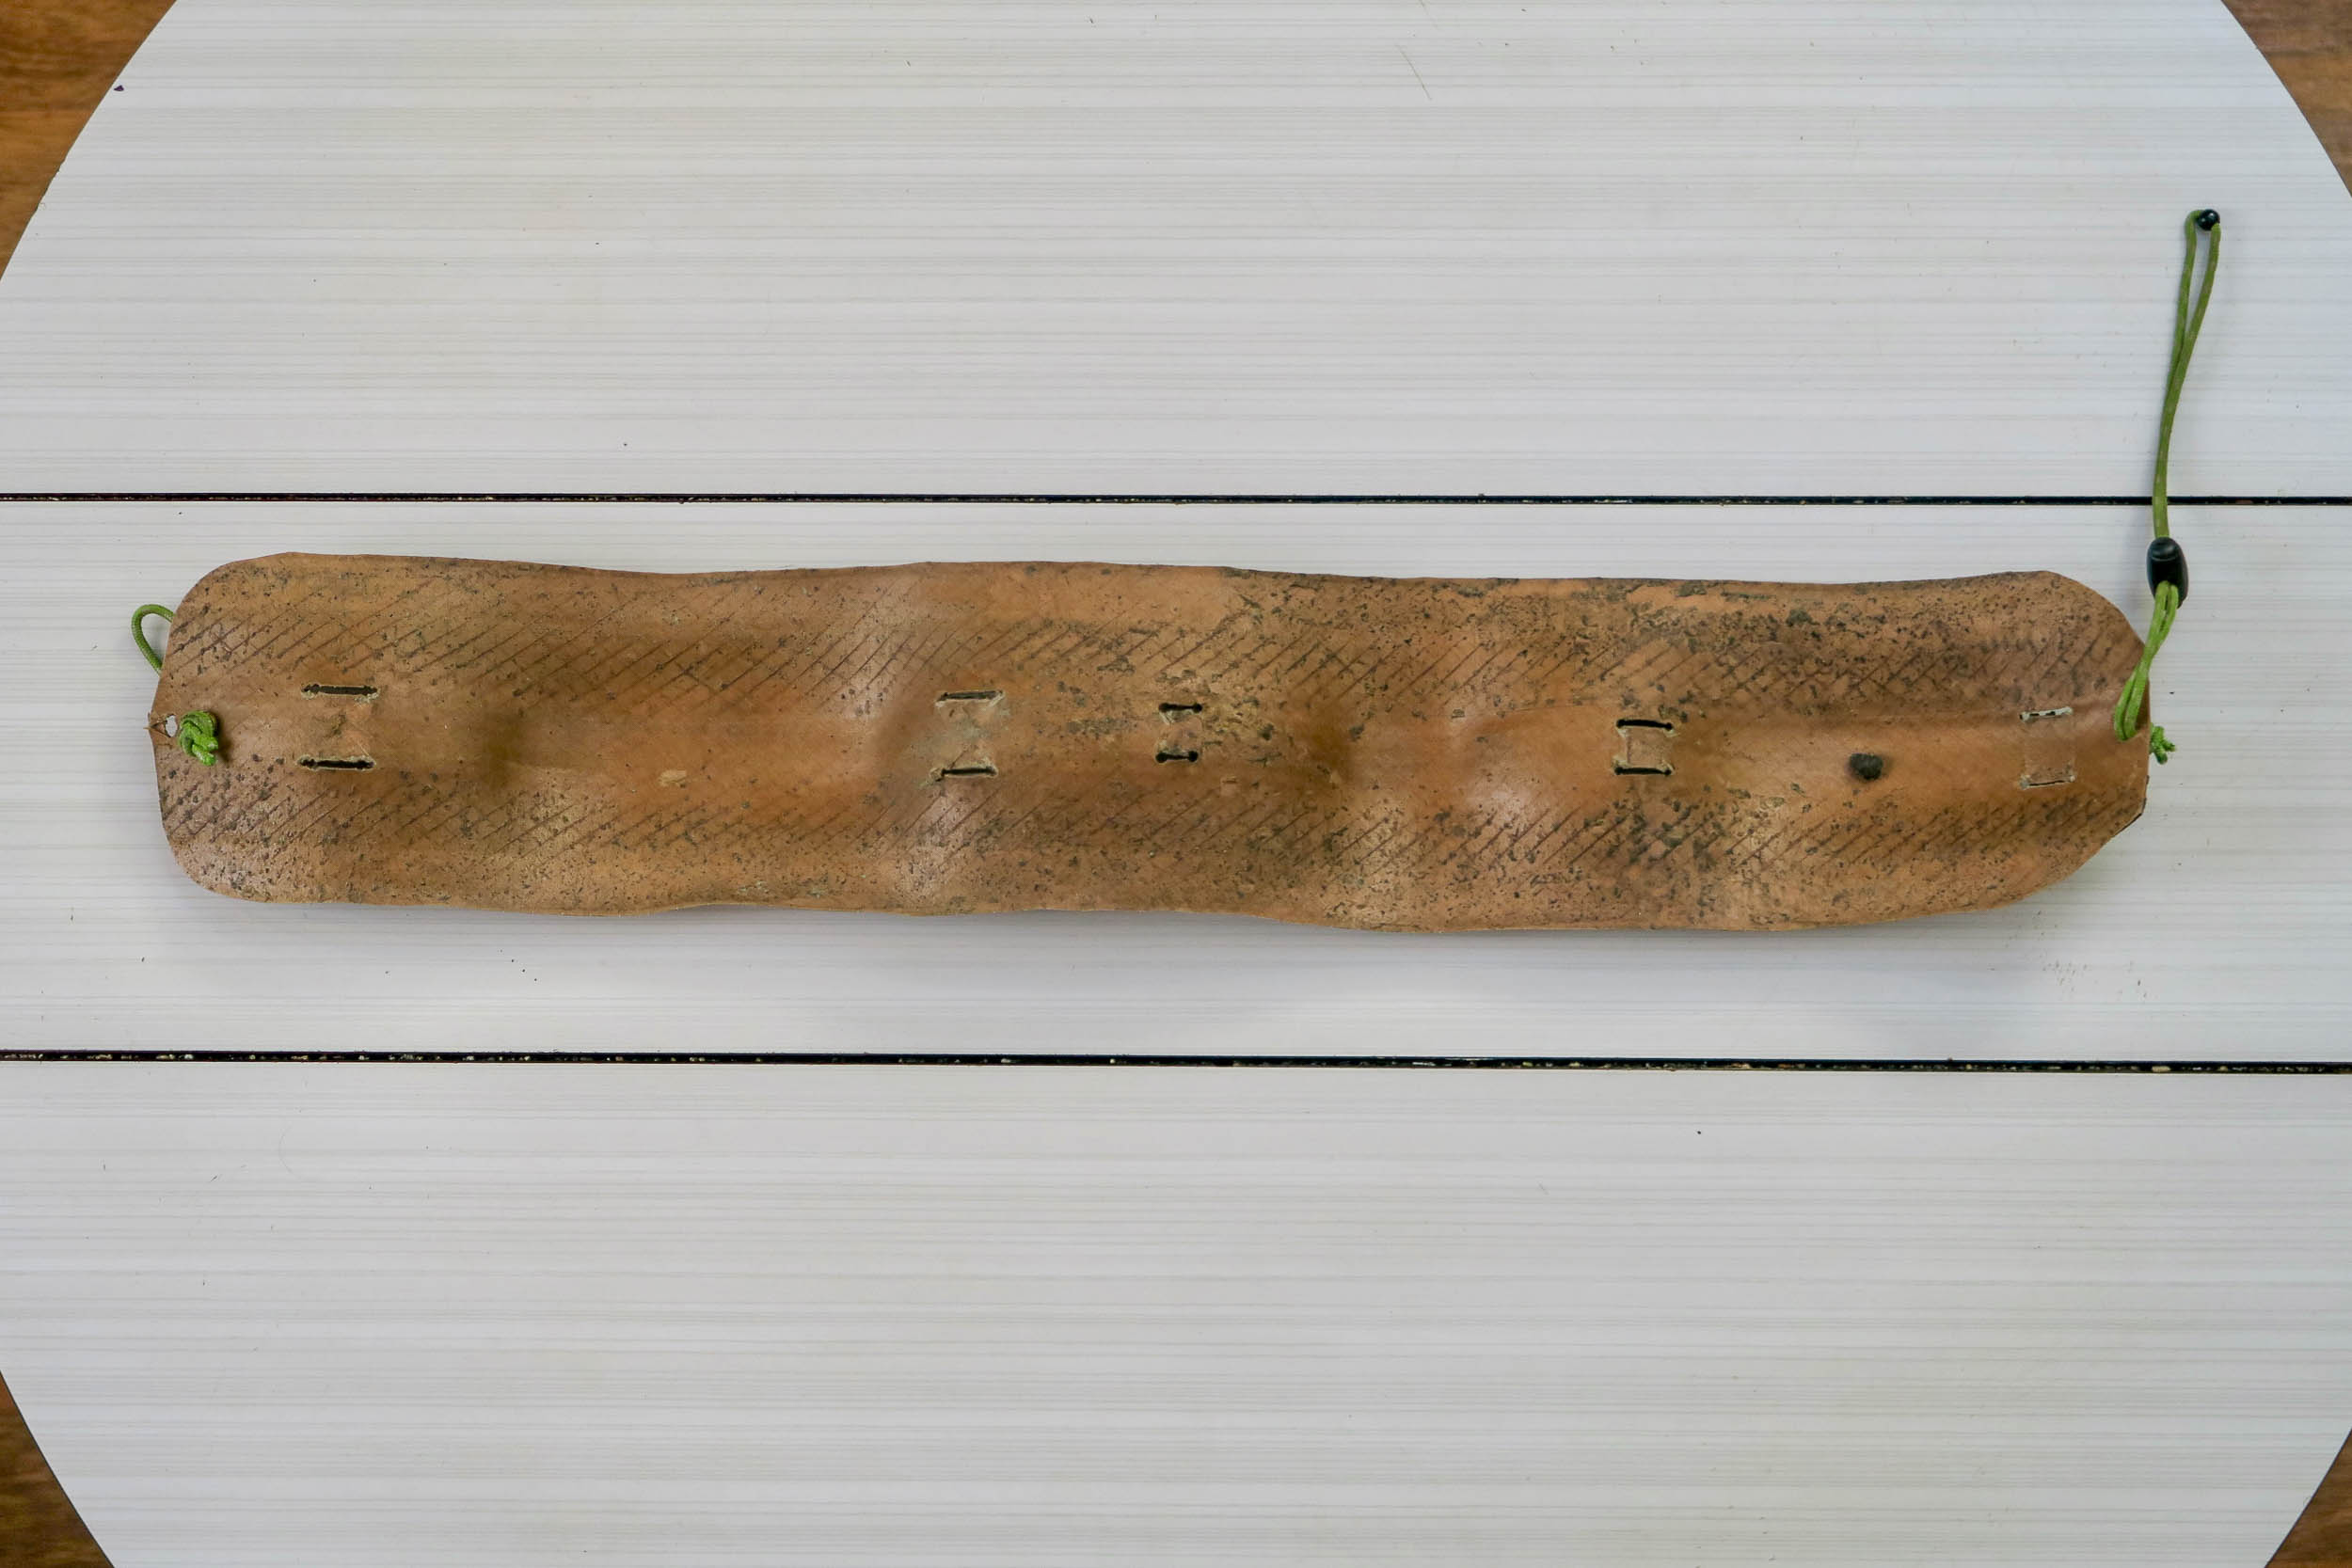
After that, drill a hole in the middle of the tire at each end (C) and (D). I would advise putting an eyelet on each hole to prevent the tire from splitting with friction. I put them 1cm (0.4″) from the edge.


Pass a loop of cord through holes (C) and (D) and tie a knot on the underside. Put a cord lock to hold the bag on one of them. The length of the cord depends on the length of the drybag. You can easily find a cord clamp on an old bag, pair of shorts, jacket, etc. There may be other solutions, but this one work well. This cord also makes lashing lightweight items onto the harness possible.
When your drybag is in the harness, the two sides of the tire might touch. If this is the case, you can cut the tire a little, but make sure to trim an equal amount off of both sides so it’s symmetrical.
Step 4: Add Mounts for Other Bags (Optional)
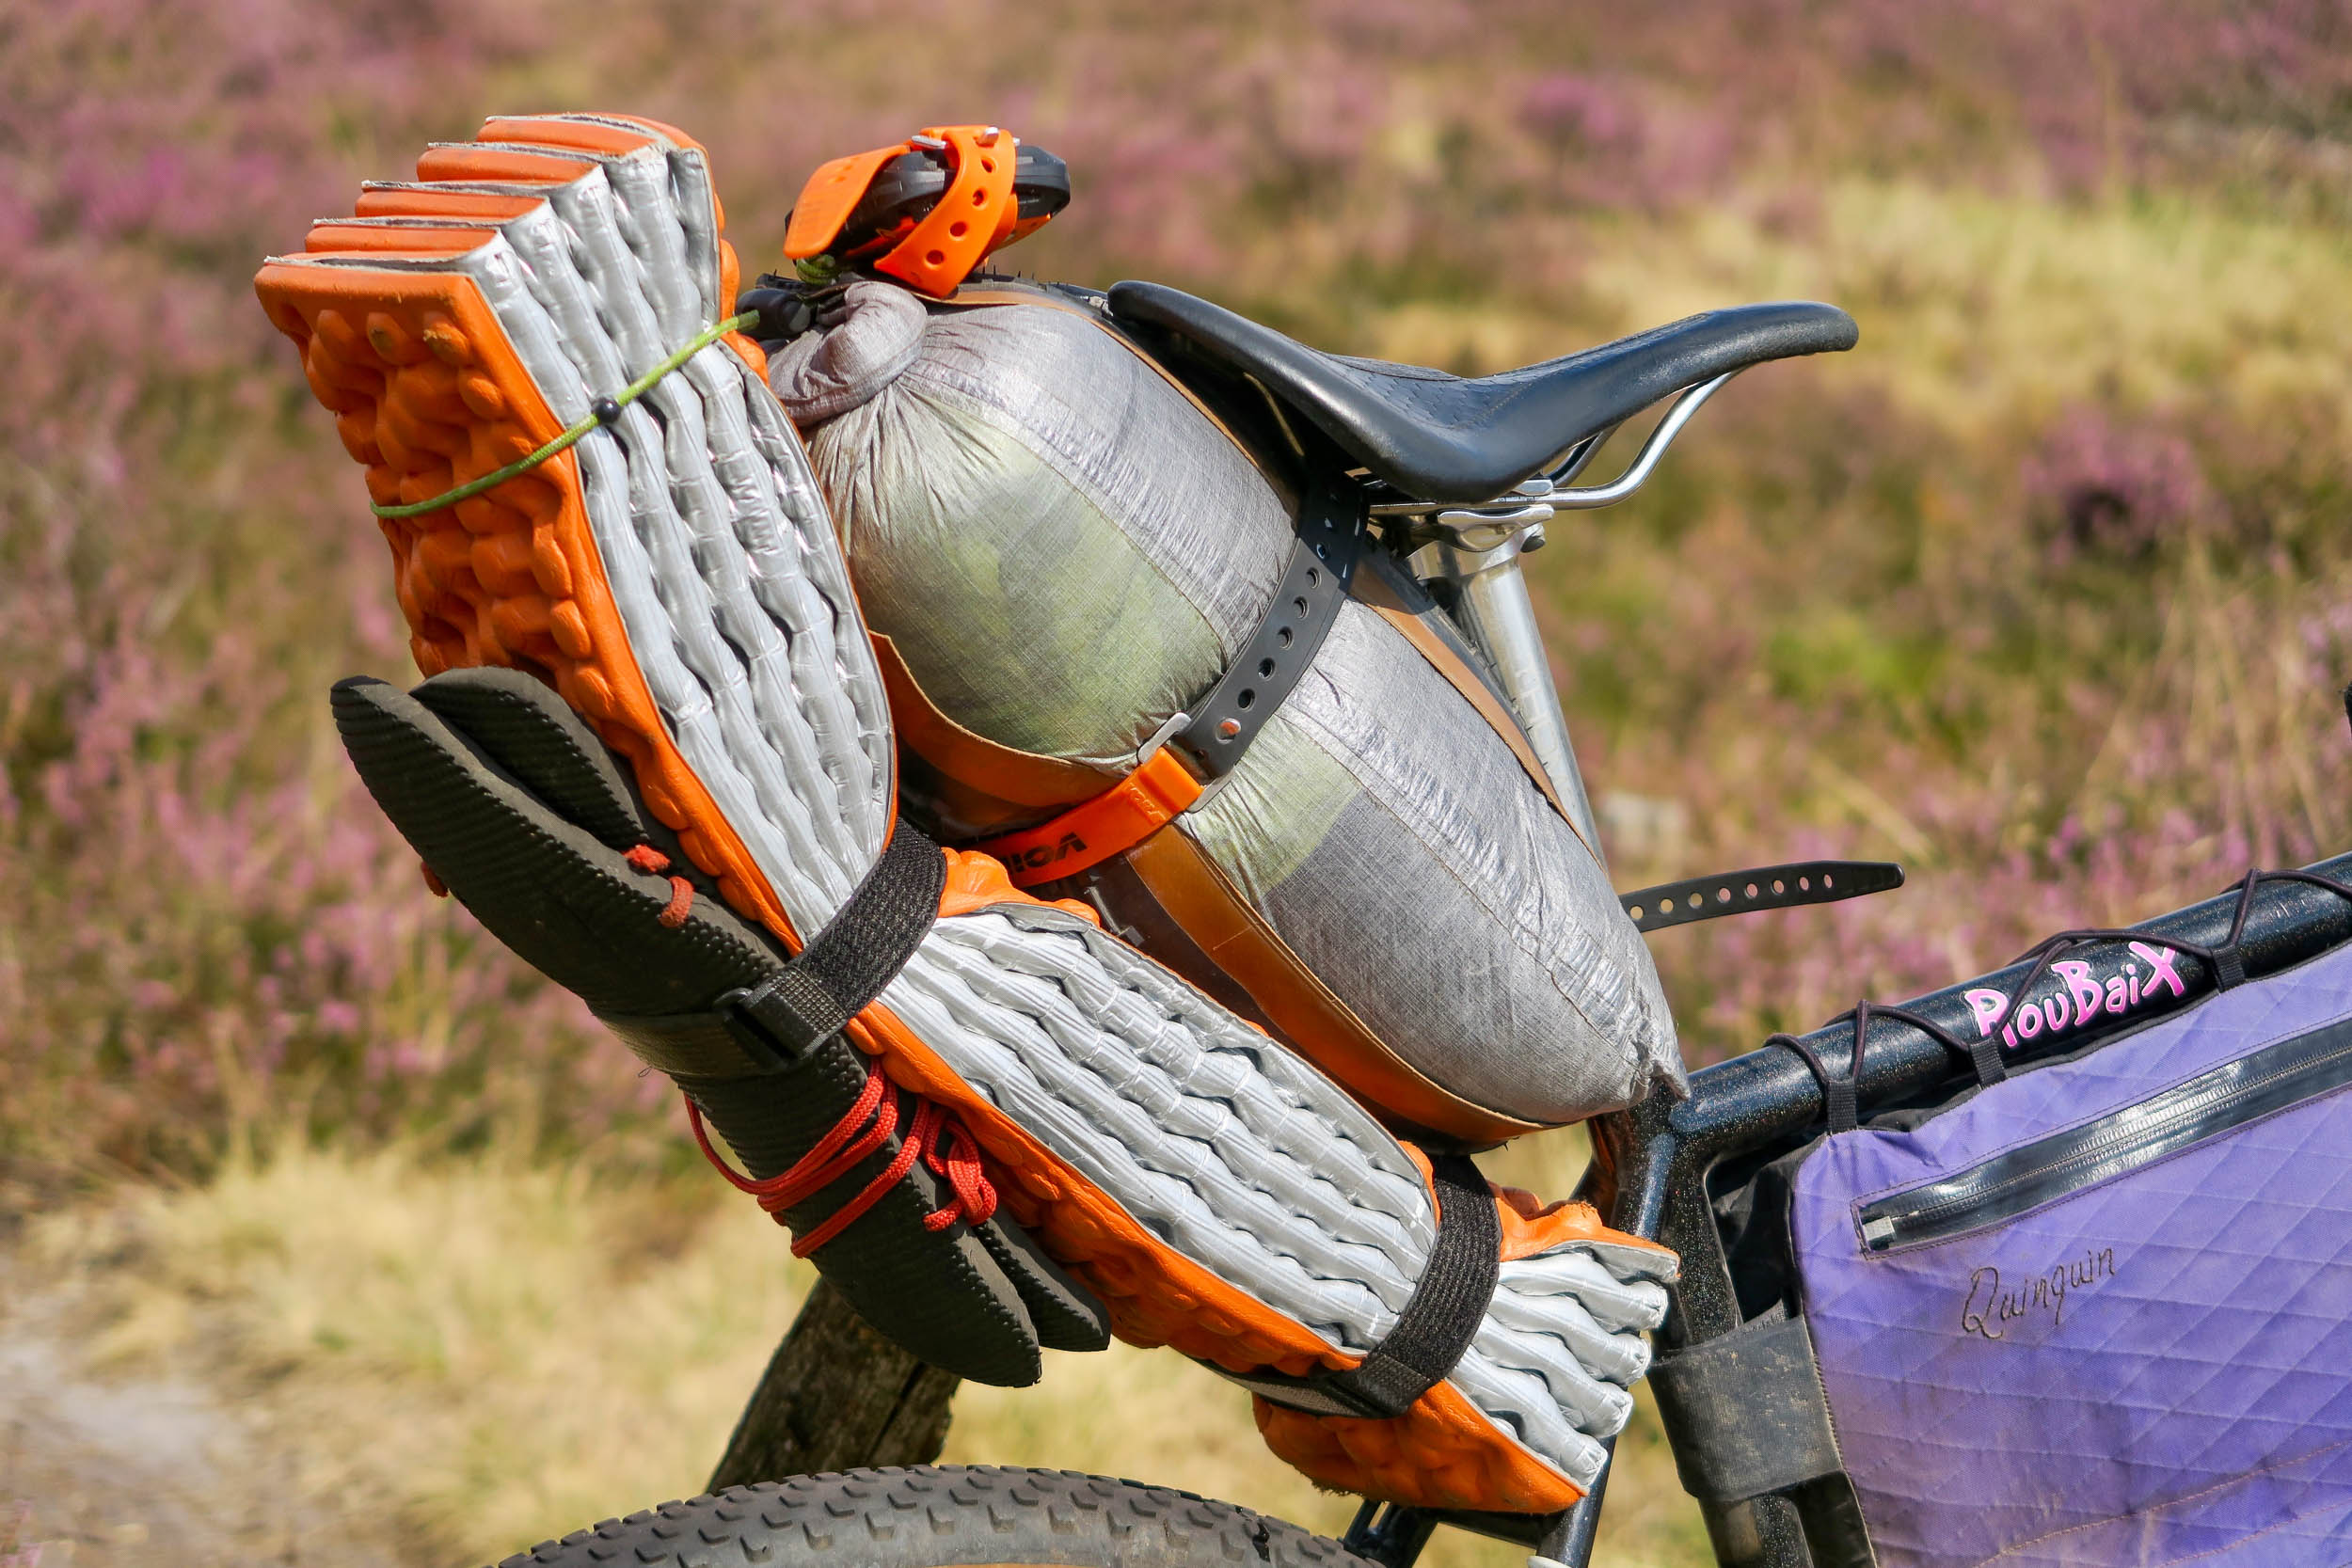
You can add attachments for straps below and above at points (E), (F), and (G). For a little extra capacity, I placed my foam mattress and sandals below, and I have space for my tracker or a small bag above. Don’t hesitate to drill into the tire; it’s strong, and if the holes are clean, it won’t tear.
If you messed up, you can always re-drill other holes in the same tire. Otherwise, the whole thing is pretty low risk, and you can always start over with another piece of the old tire, as you should have one or two extras from the one you cut out.
Step 5: Attach Your Harness
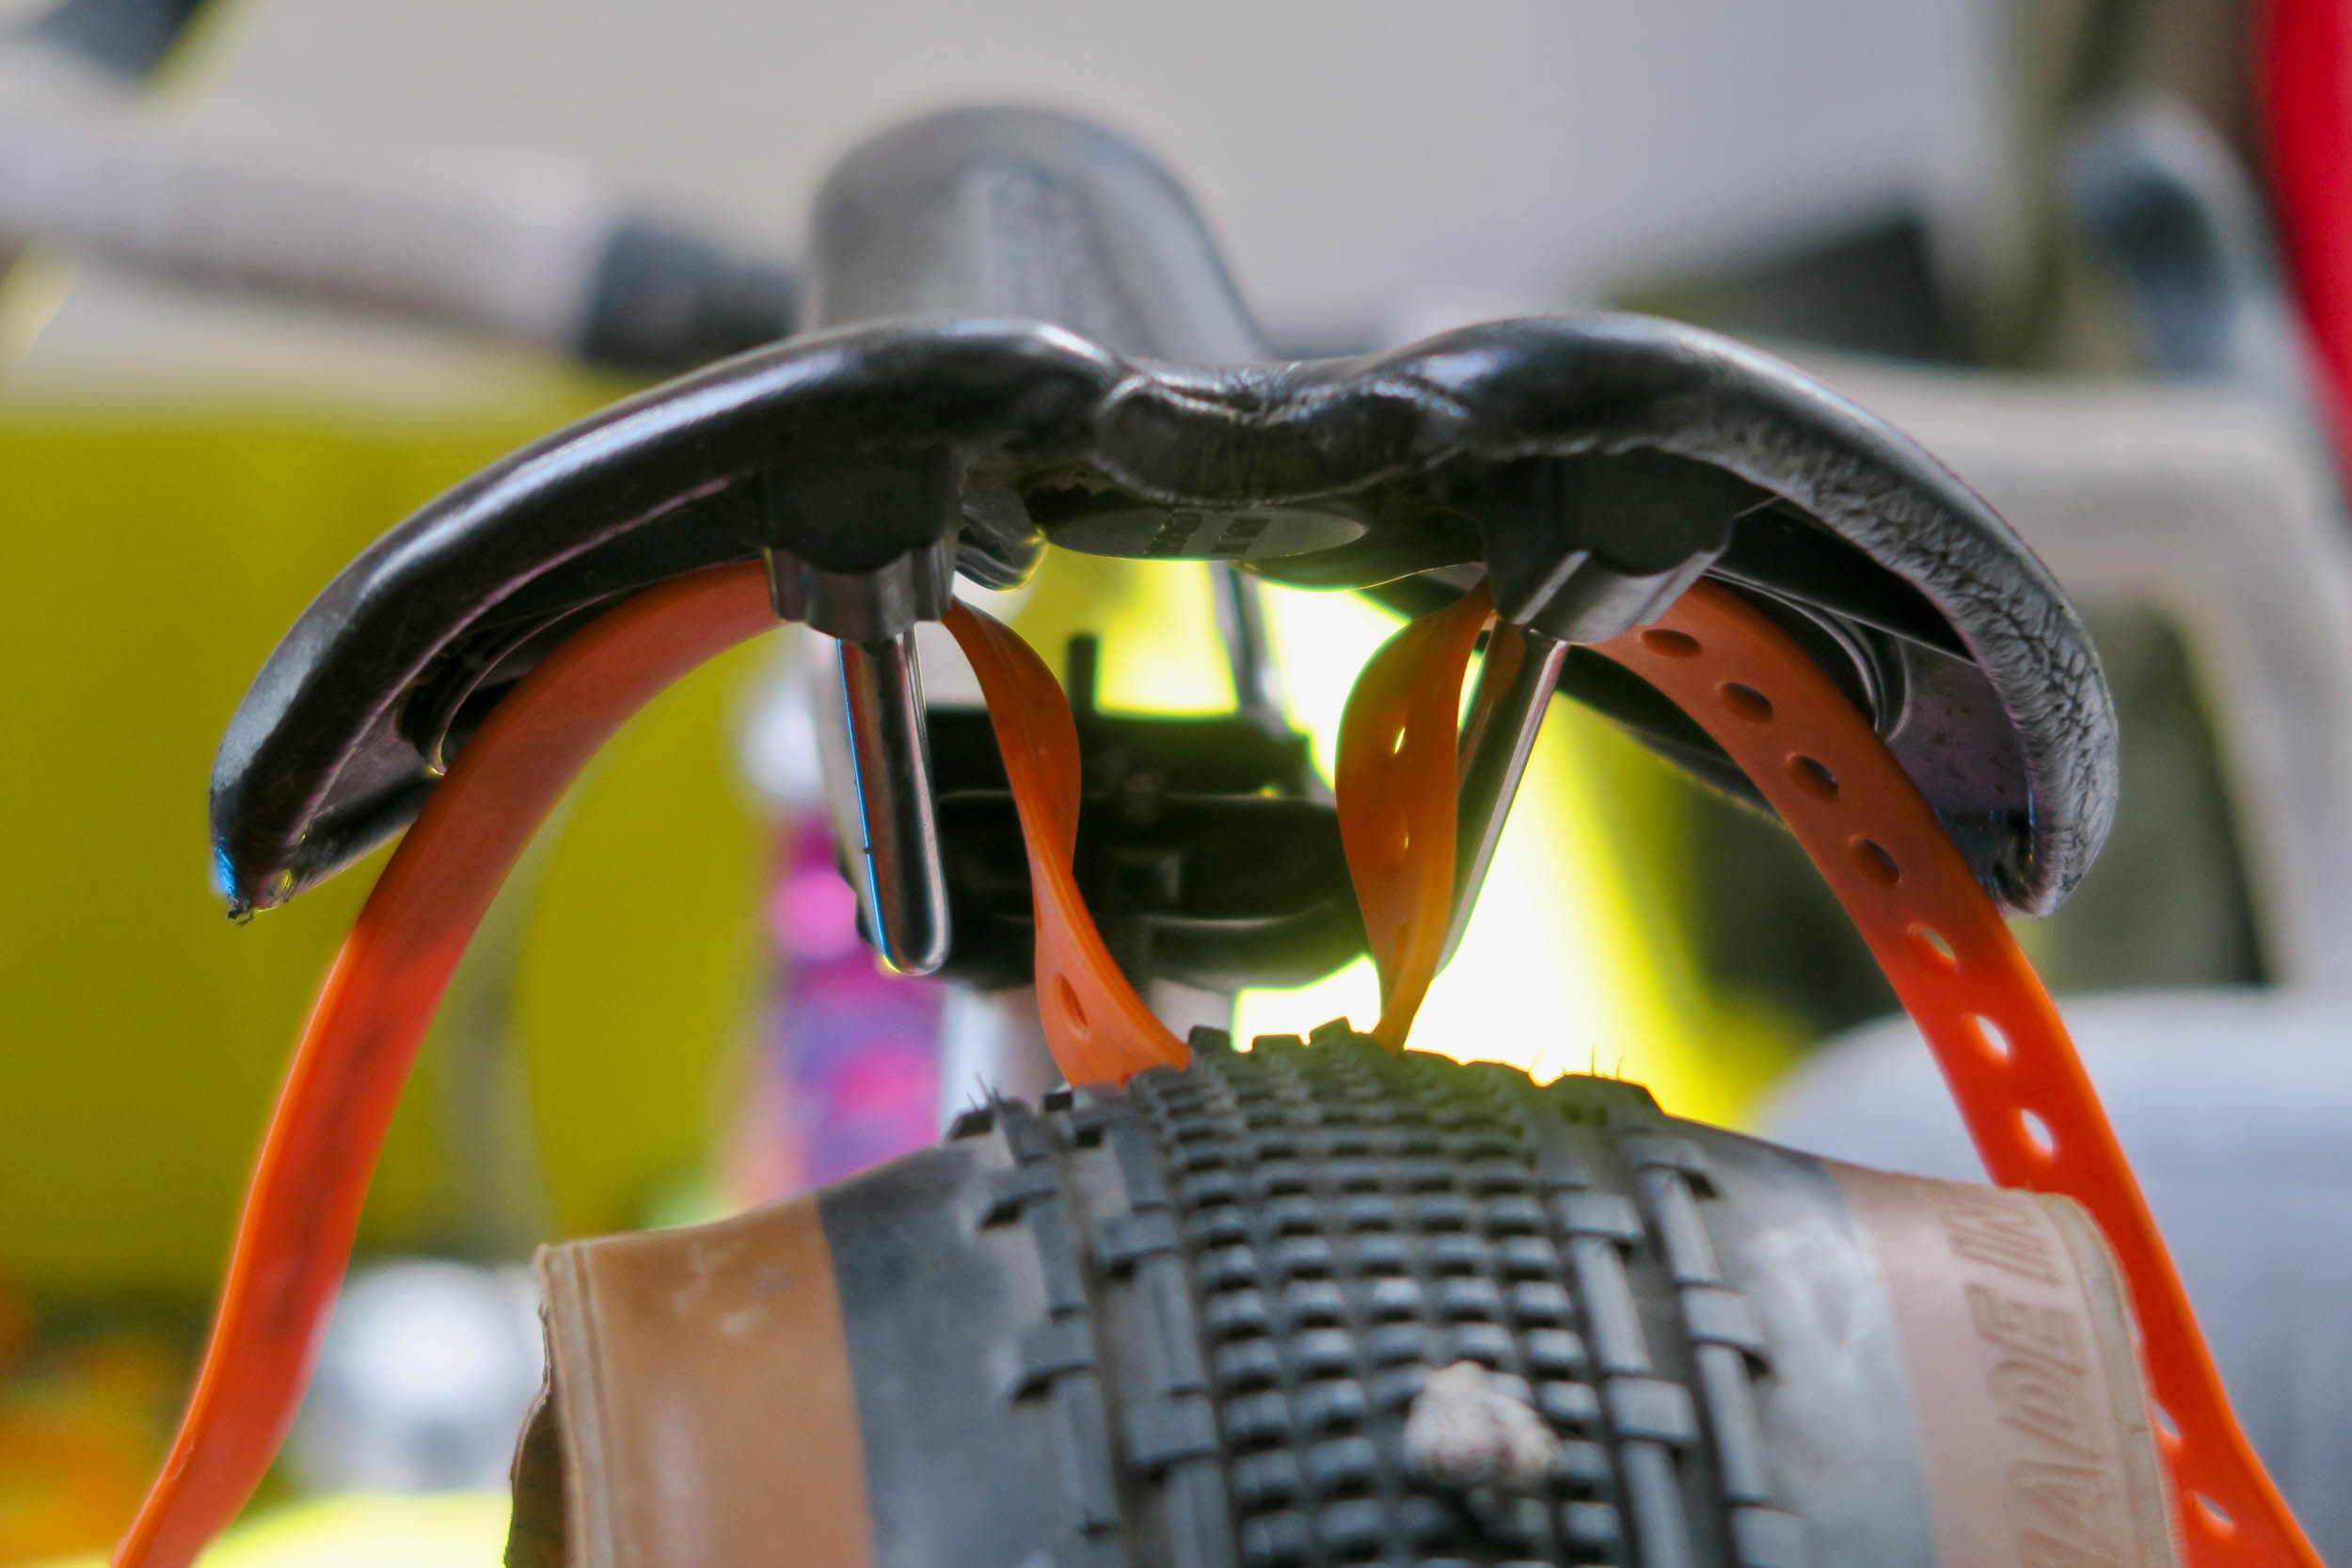
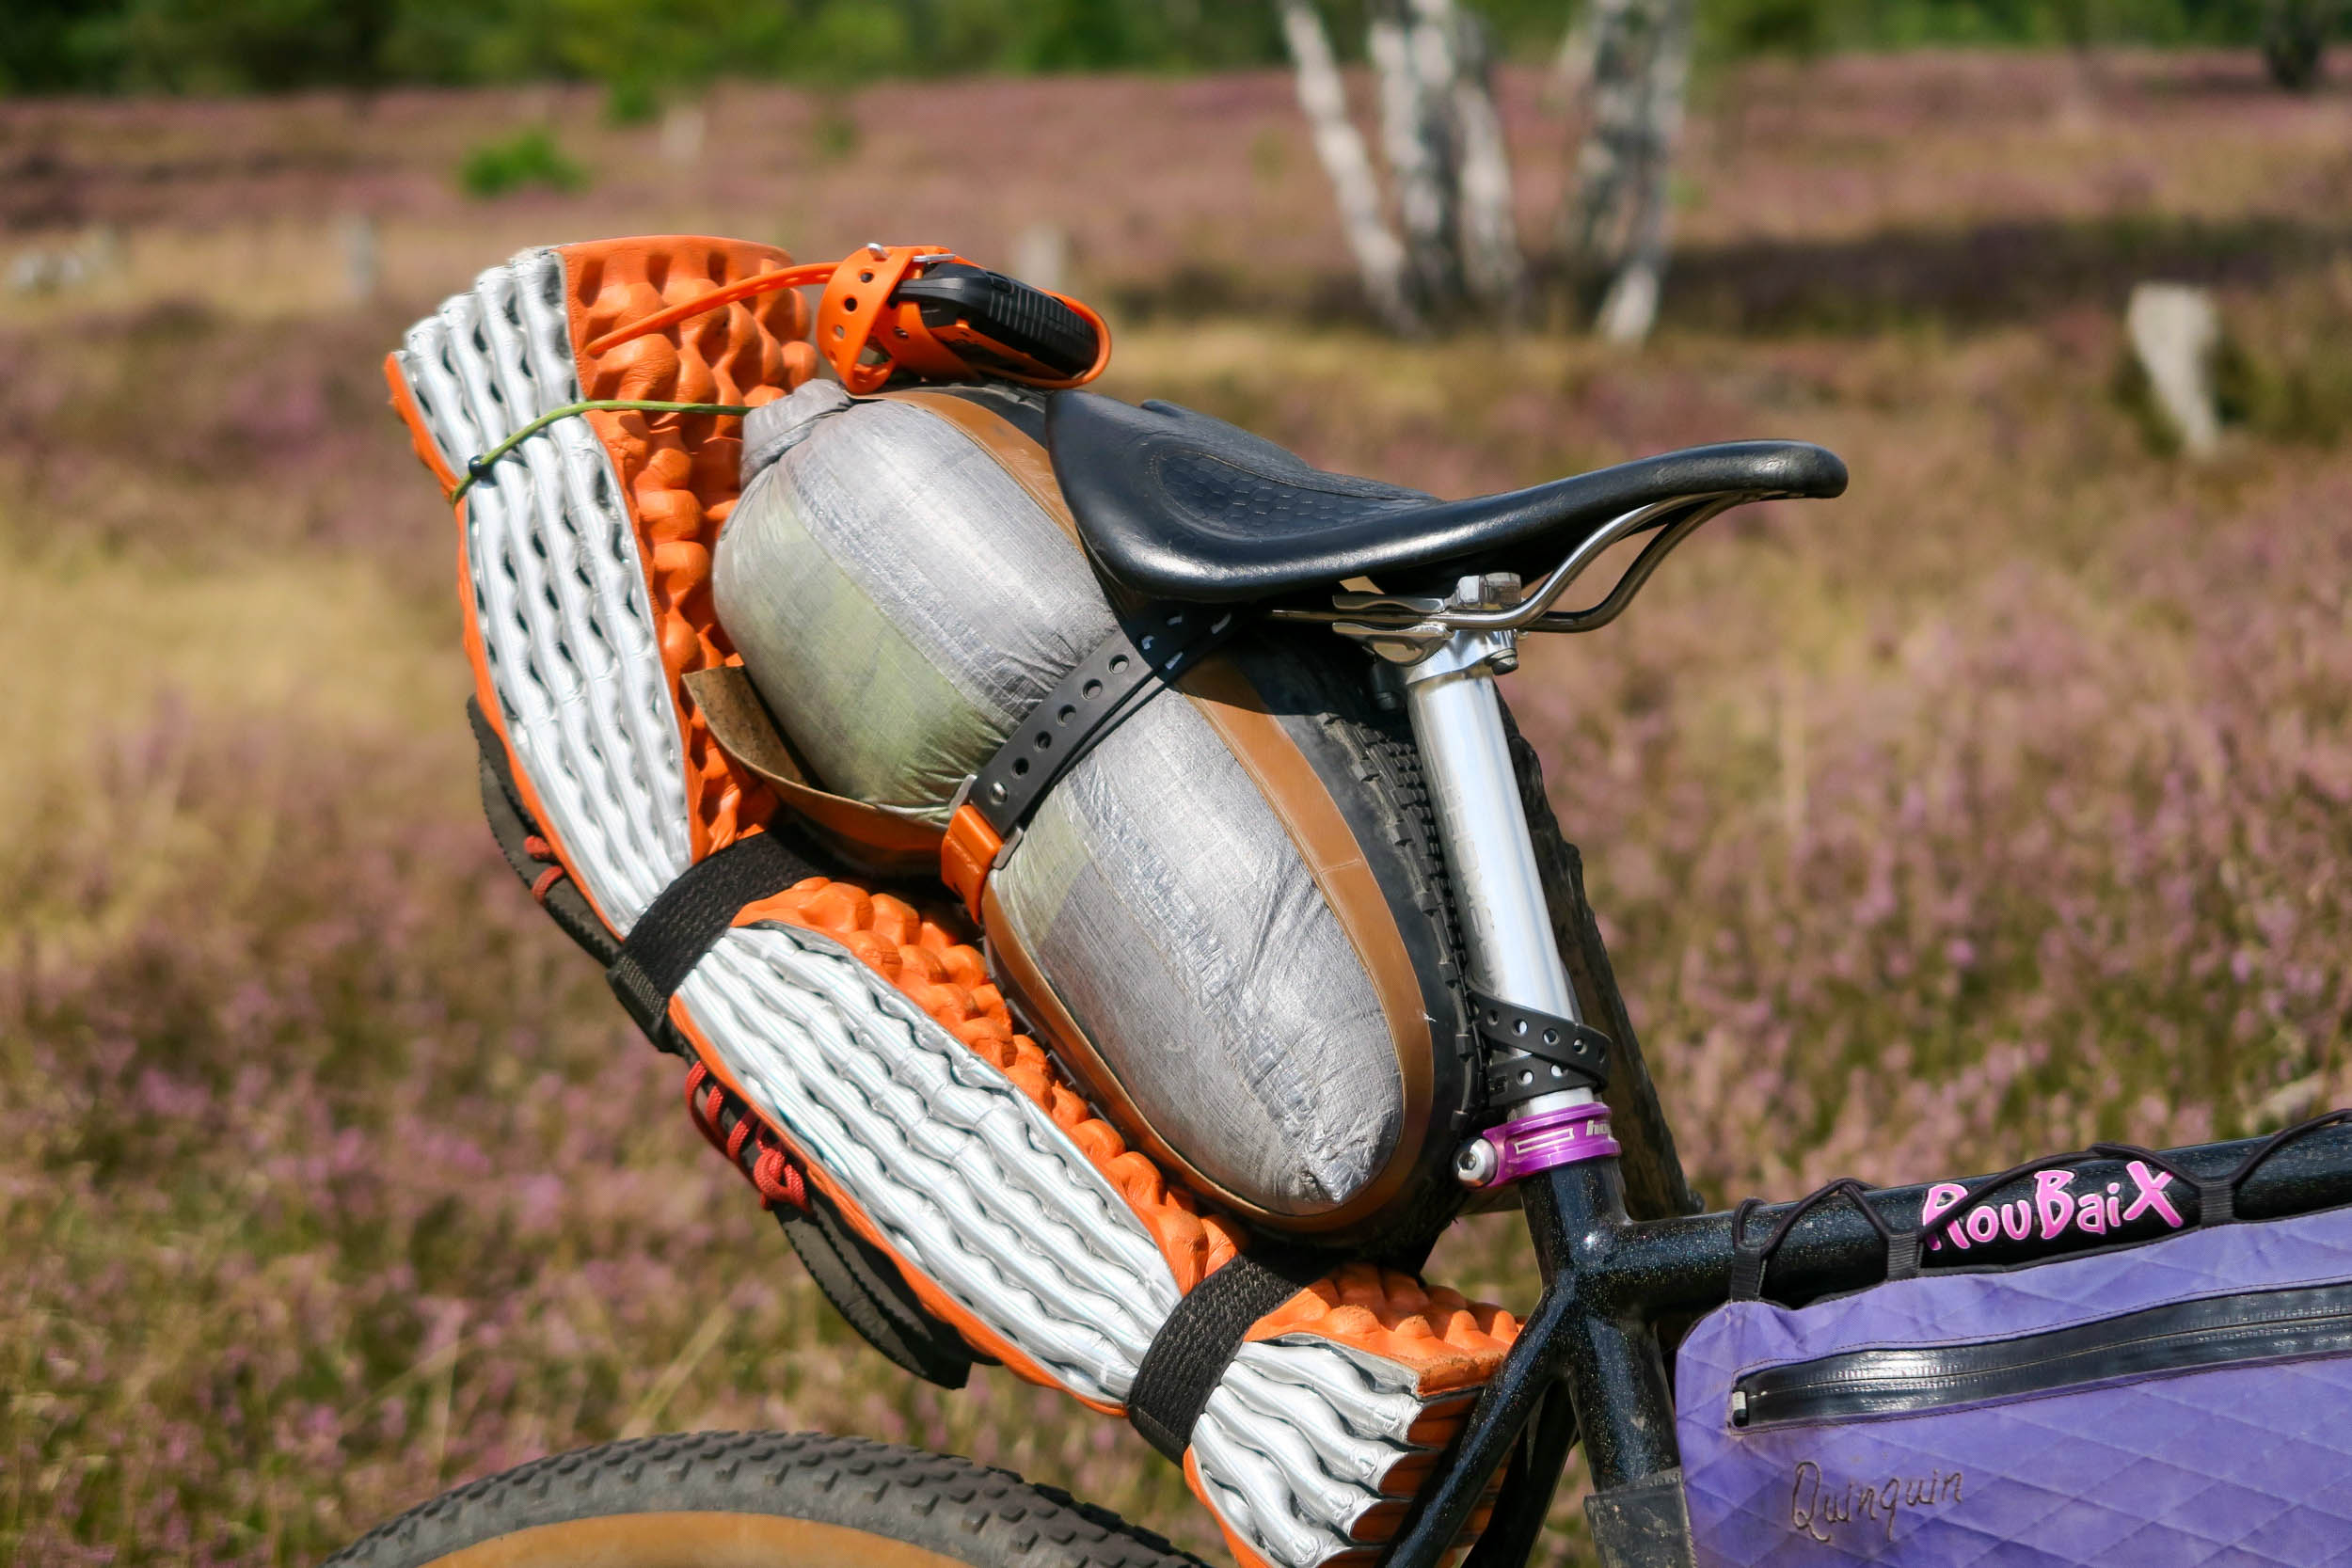
Finally, it’s time to mount everything on the bike. To do this, you’ll first attach the harness to your seat tube (A) with the smaller strap and then to your saddle rails (B) by passing each side of the larger strap over each rail. Insert the loaded drybag and tighten the strap to snug everything into place.
If your drybag is too big—and especially if it’s too long—it will be more difficult to tighten into place, and it risks swinging. Plus, your thighs will probably touch it while riding. If this is the case, you’ll have to reduce the volume until you’re able to synch it tightly.
Step 6: Go Ride Your Bike
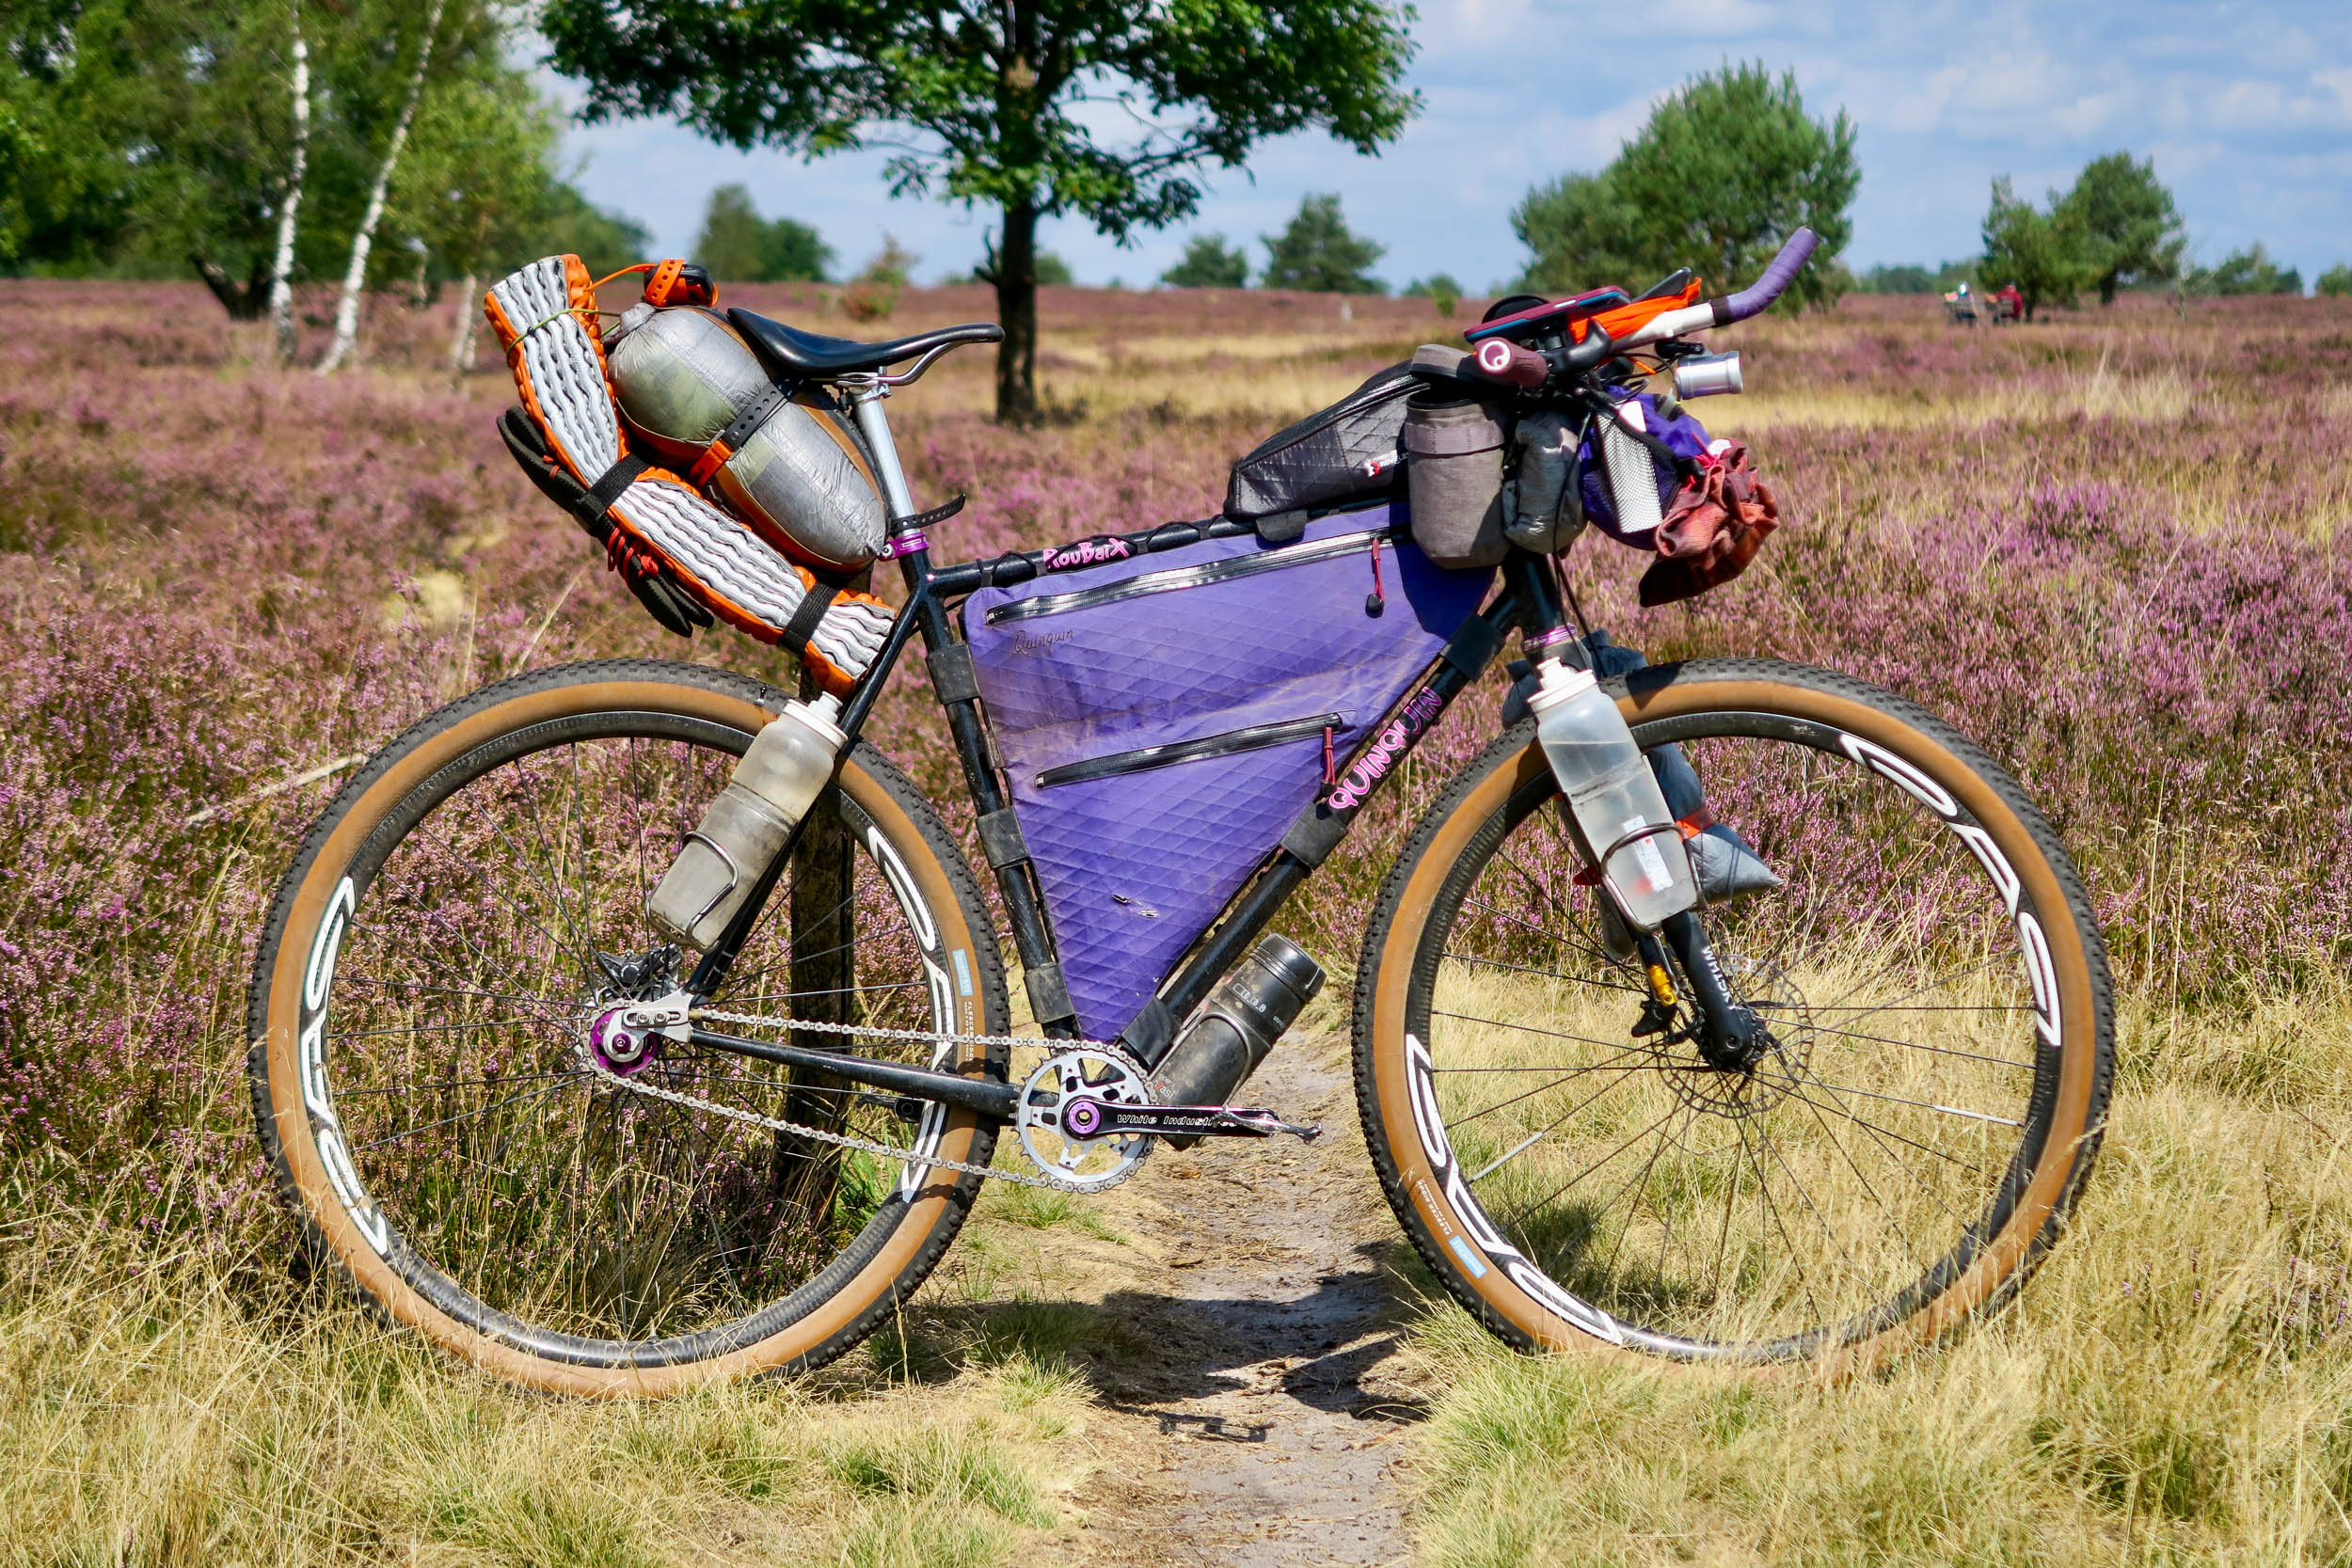
And that’s it. You’re ready to head out on a bikepacking trip with your inexpensive new low-tech saddle bag. Be sure to send us a picture of your loaded harness when you do!
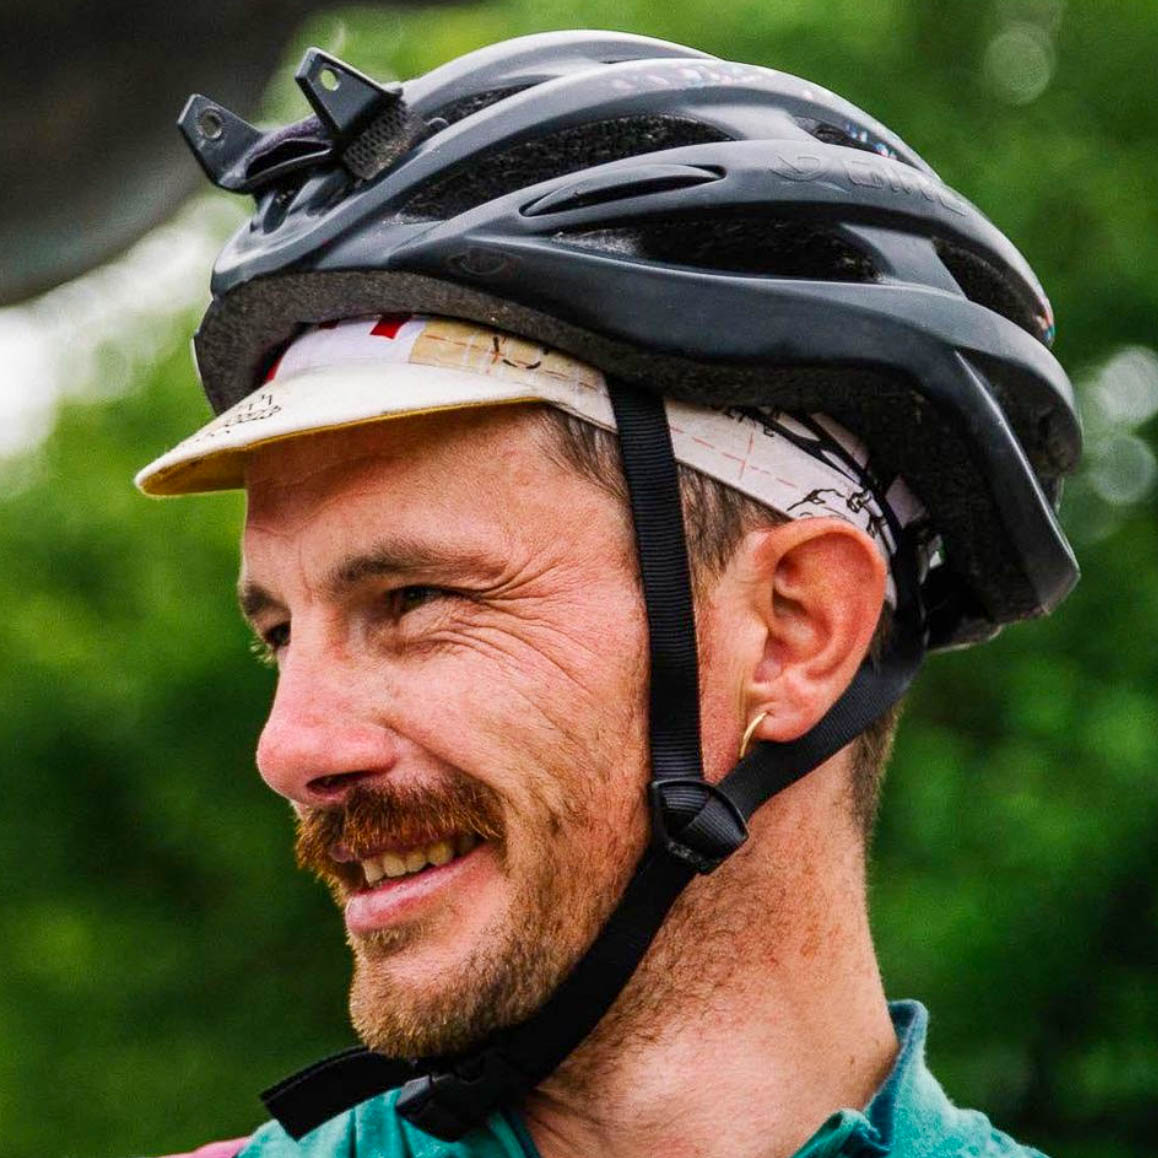
About Remi Quinquin
Rémi Quinquin is a cartographer and bikepacker who lives in the north of France. He likes to ride single-speed across Europe in events or on trips. He organizes a lot of events and rides to help people discover his region between the Monts des Flandres, the cobbled areas, and the mining basin. His small and large cycling adventures often end with a beer. You can find him on Instagram @remiquinquin.
Related Content
Make sure to dig into these related articles for more info...

Please keep the conversation civil, constructive, and inclusive, or your comment will be removed.