


Make Your Own Trail Wallet
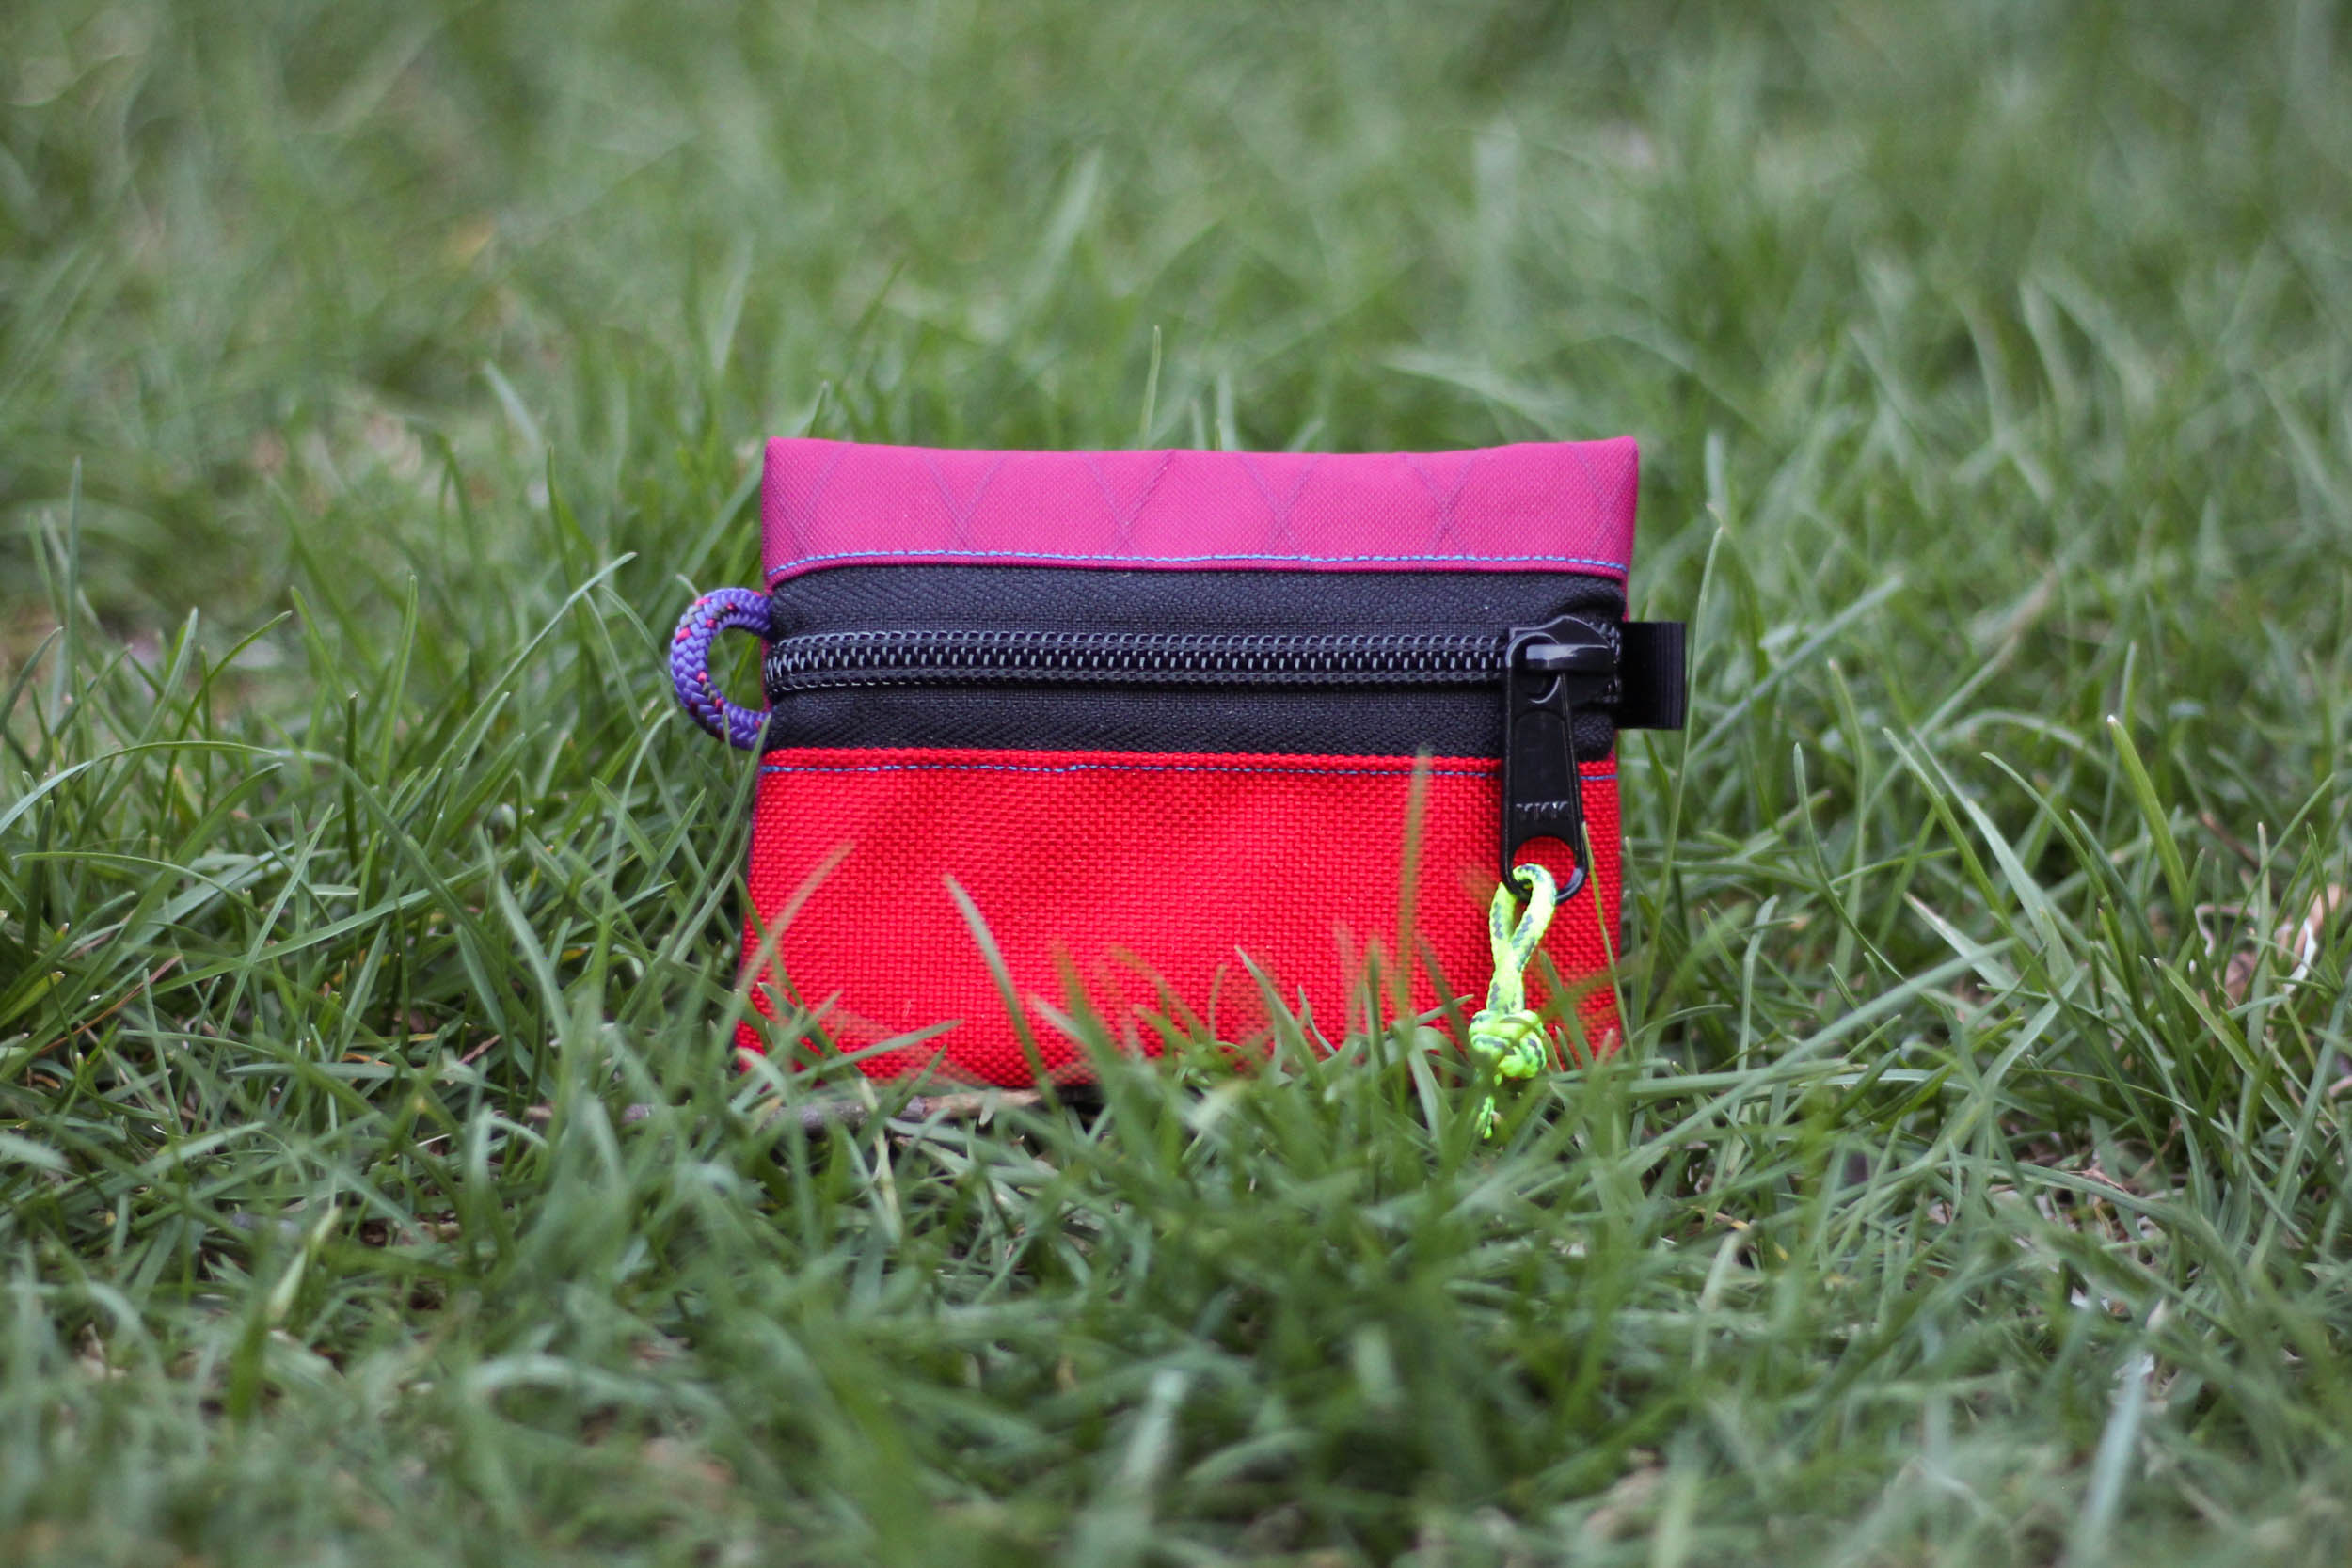
In this Make Your Own Bikepacking Gear (MYOBG) tutorial, Josh Rizzo guides us through the process of sewing a trail wallet, the perfect everyday accessory for carrying keys, small tools, cash, and snacks. Find step-by-step instructions with photos here…
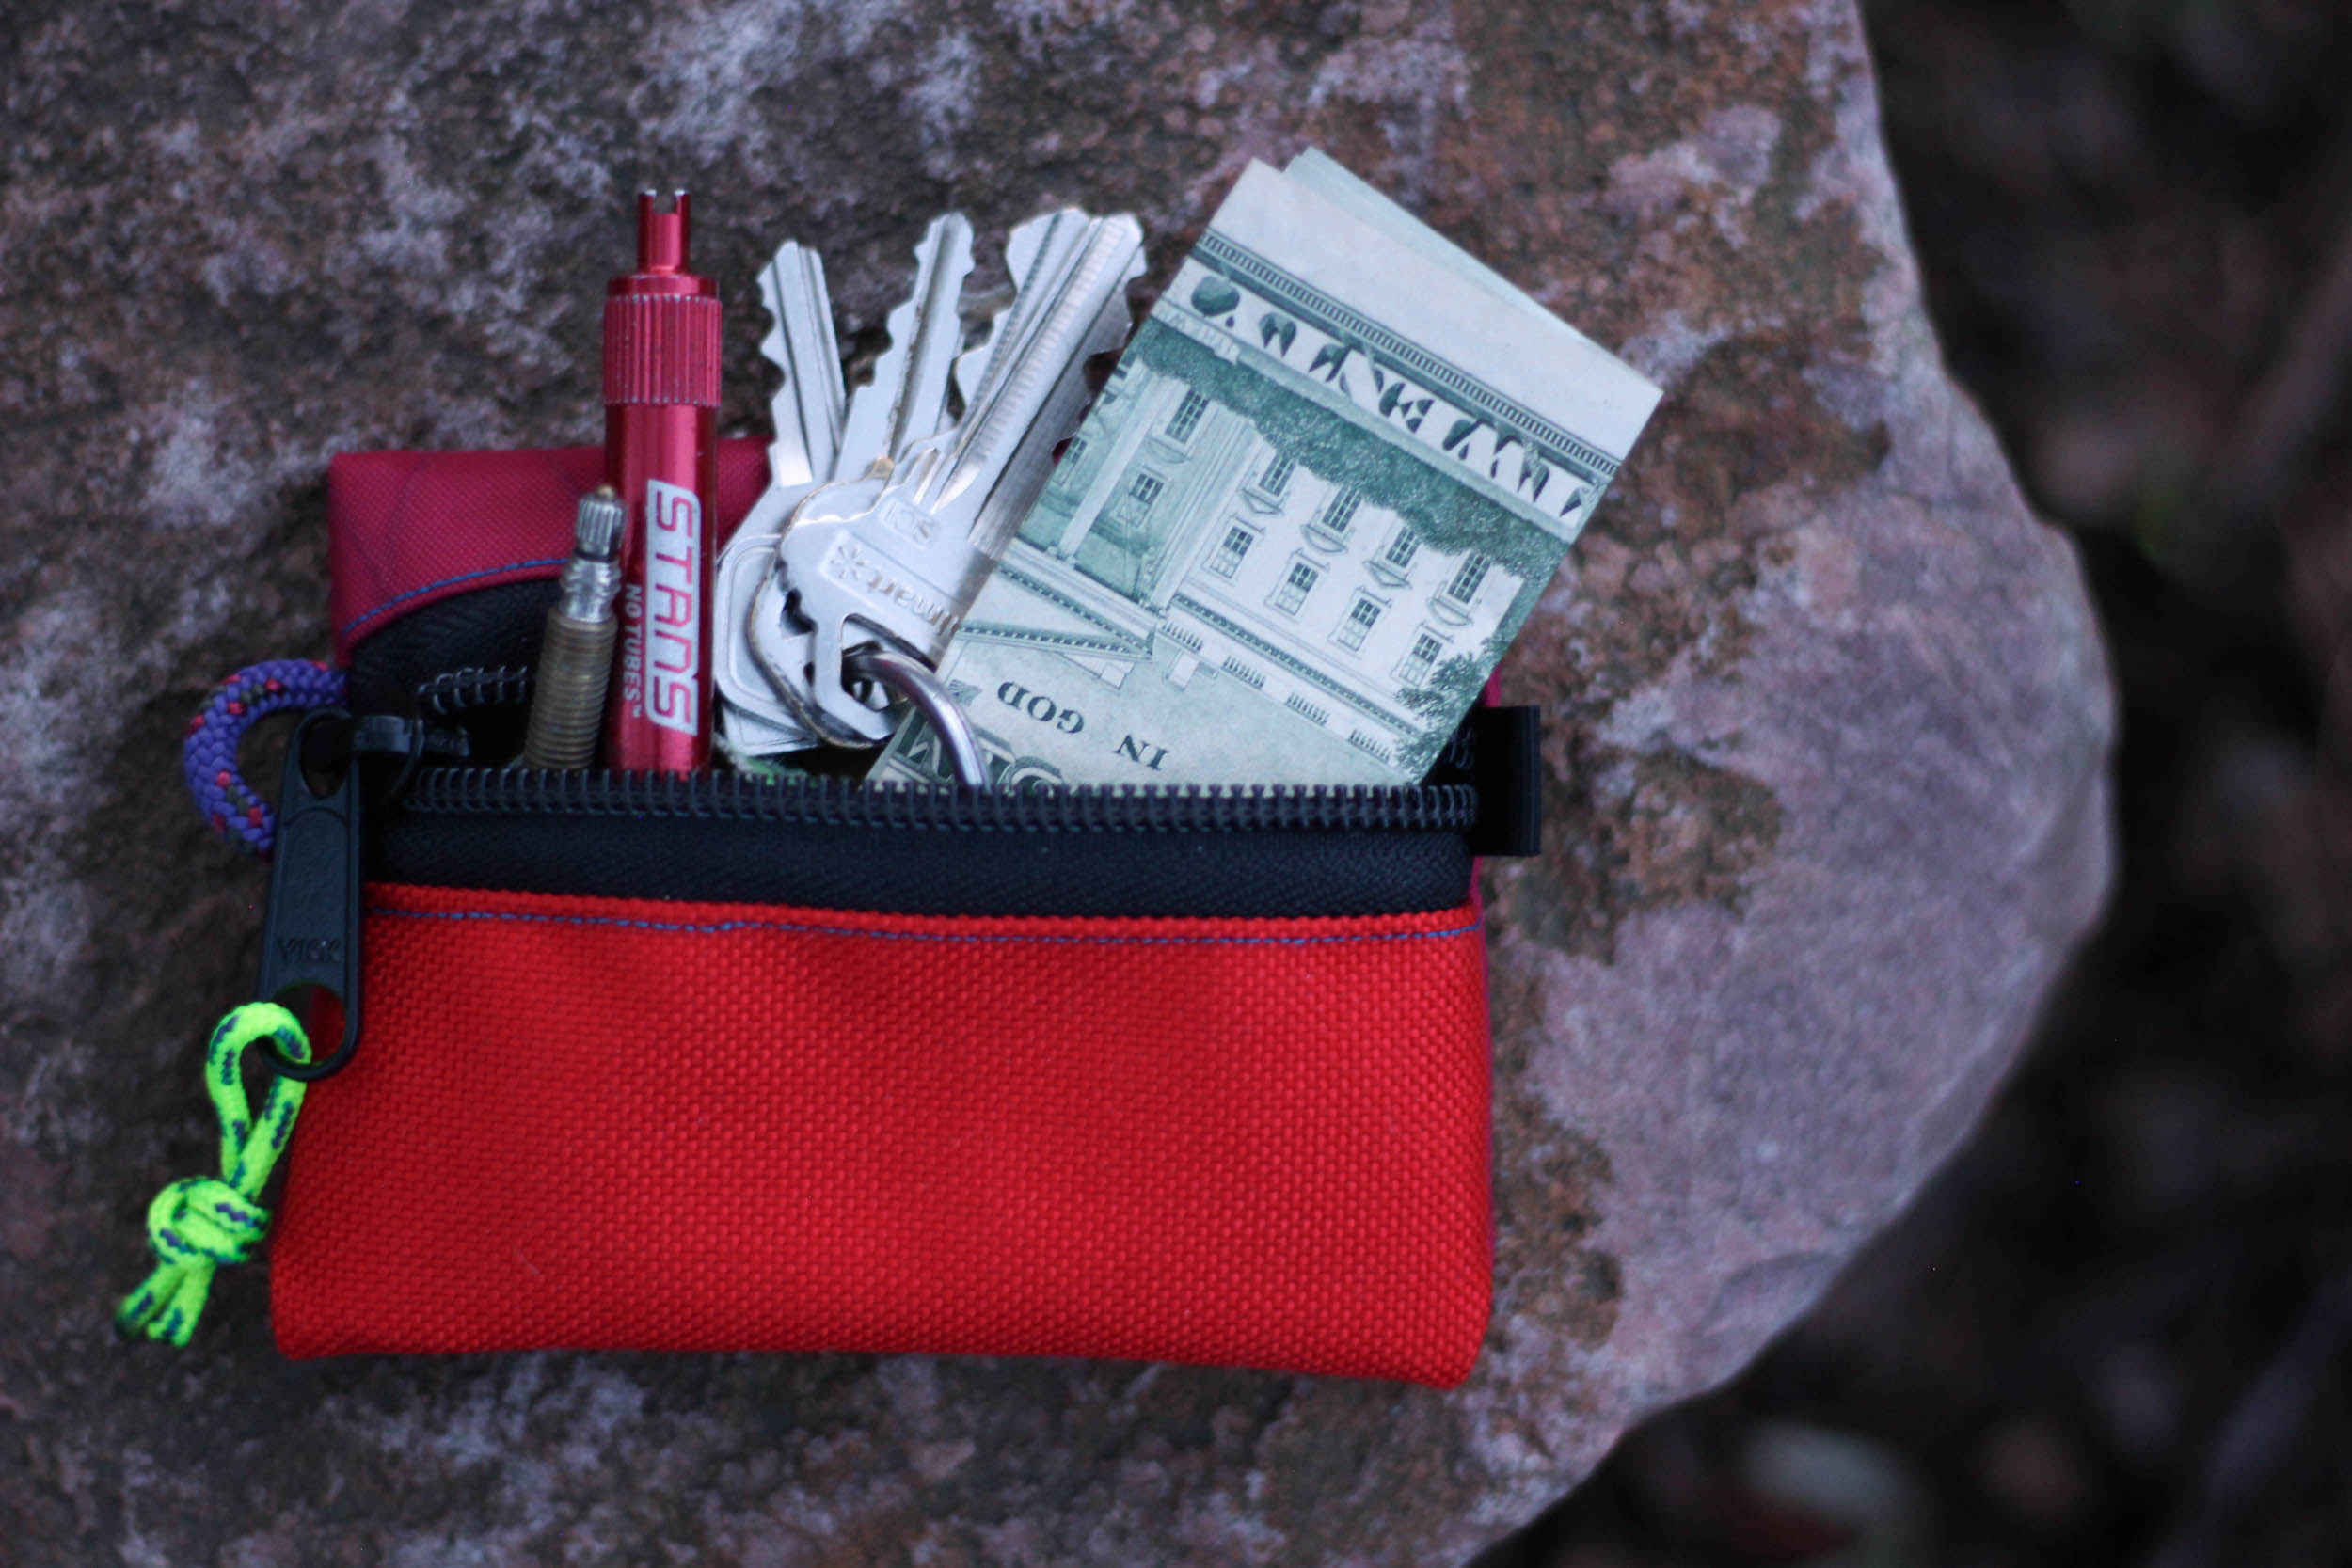
The humble trail wallet has many uses, both on and off the trail. Sure, you can use it as an actual wallet to keep track of your necessities during an overnighter, but they’re also perfect for holding small tools, earbuds, or an emergency piece of dark chocolate.
The trail wallet is a perfect project for people who are new to sewing and want to start with a simple and practical project that’ll get a lot of mileage. This article has some recommended fabrics, but every piece can be substituted for whatever fabric you have on hand, or a different style of zipper or webbing.
Stuff You’ll Need:
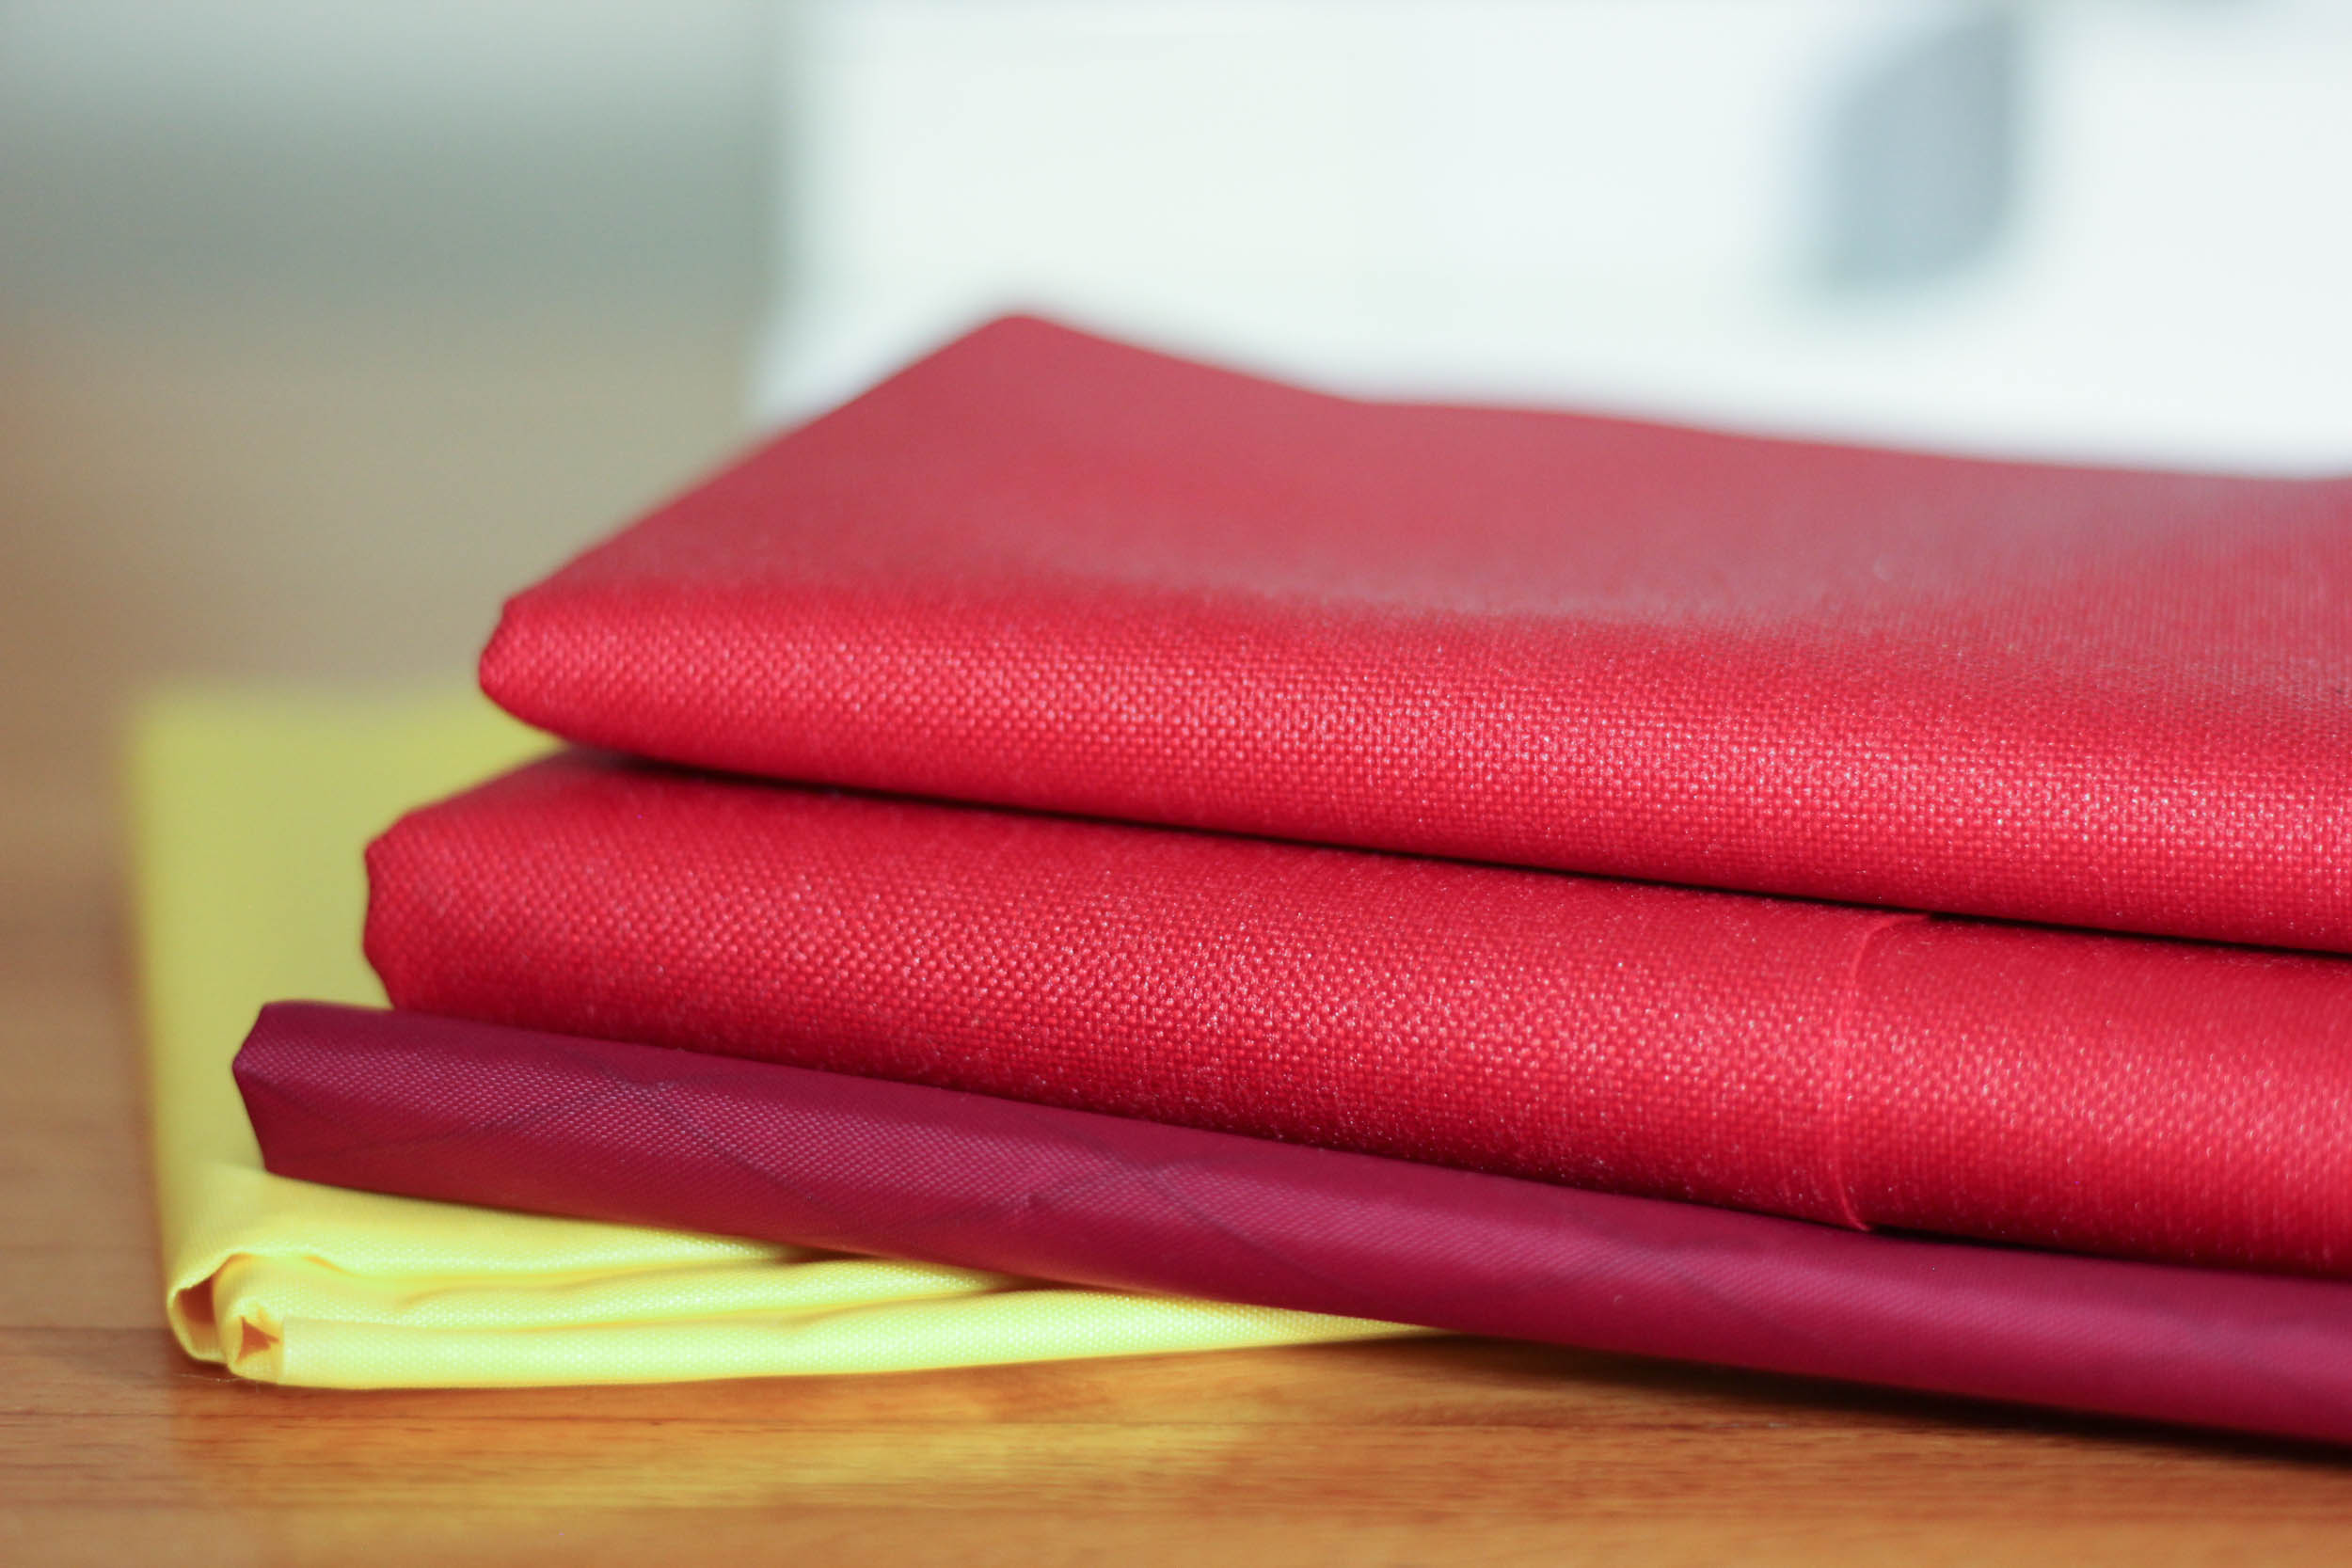
- 2 small scraps of fabric for the outer (I use 1000D Cordura & X-Pac)
- 1 small scrap of bright ripstop for the inner (optional)
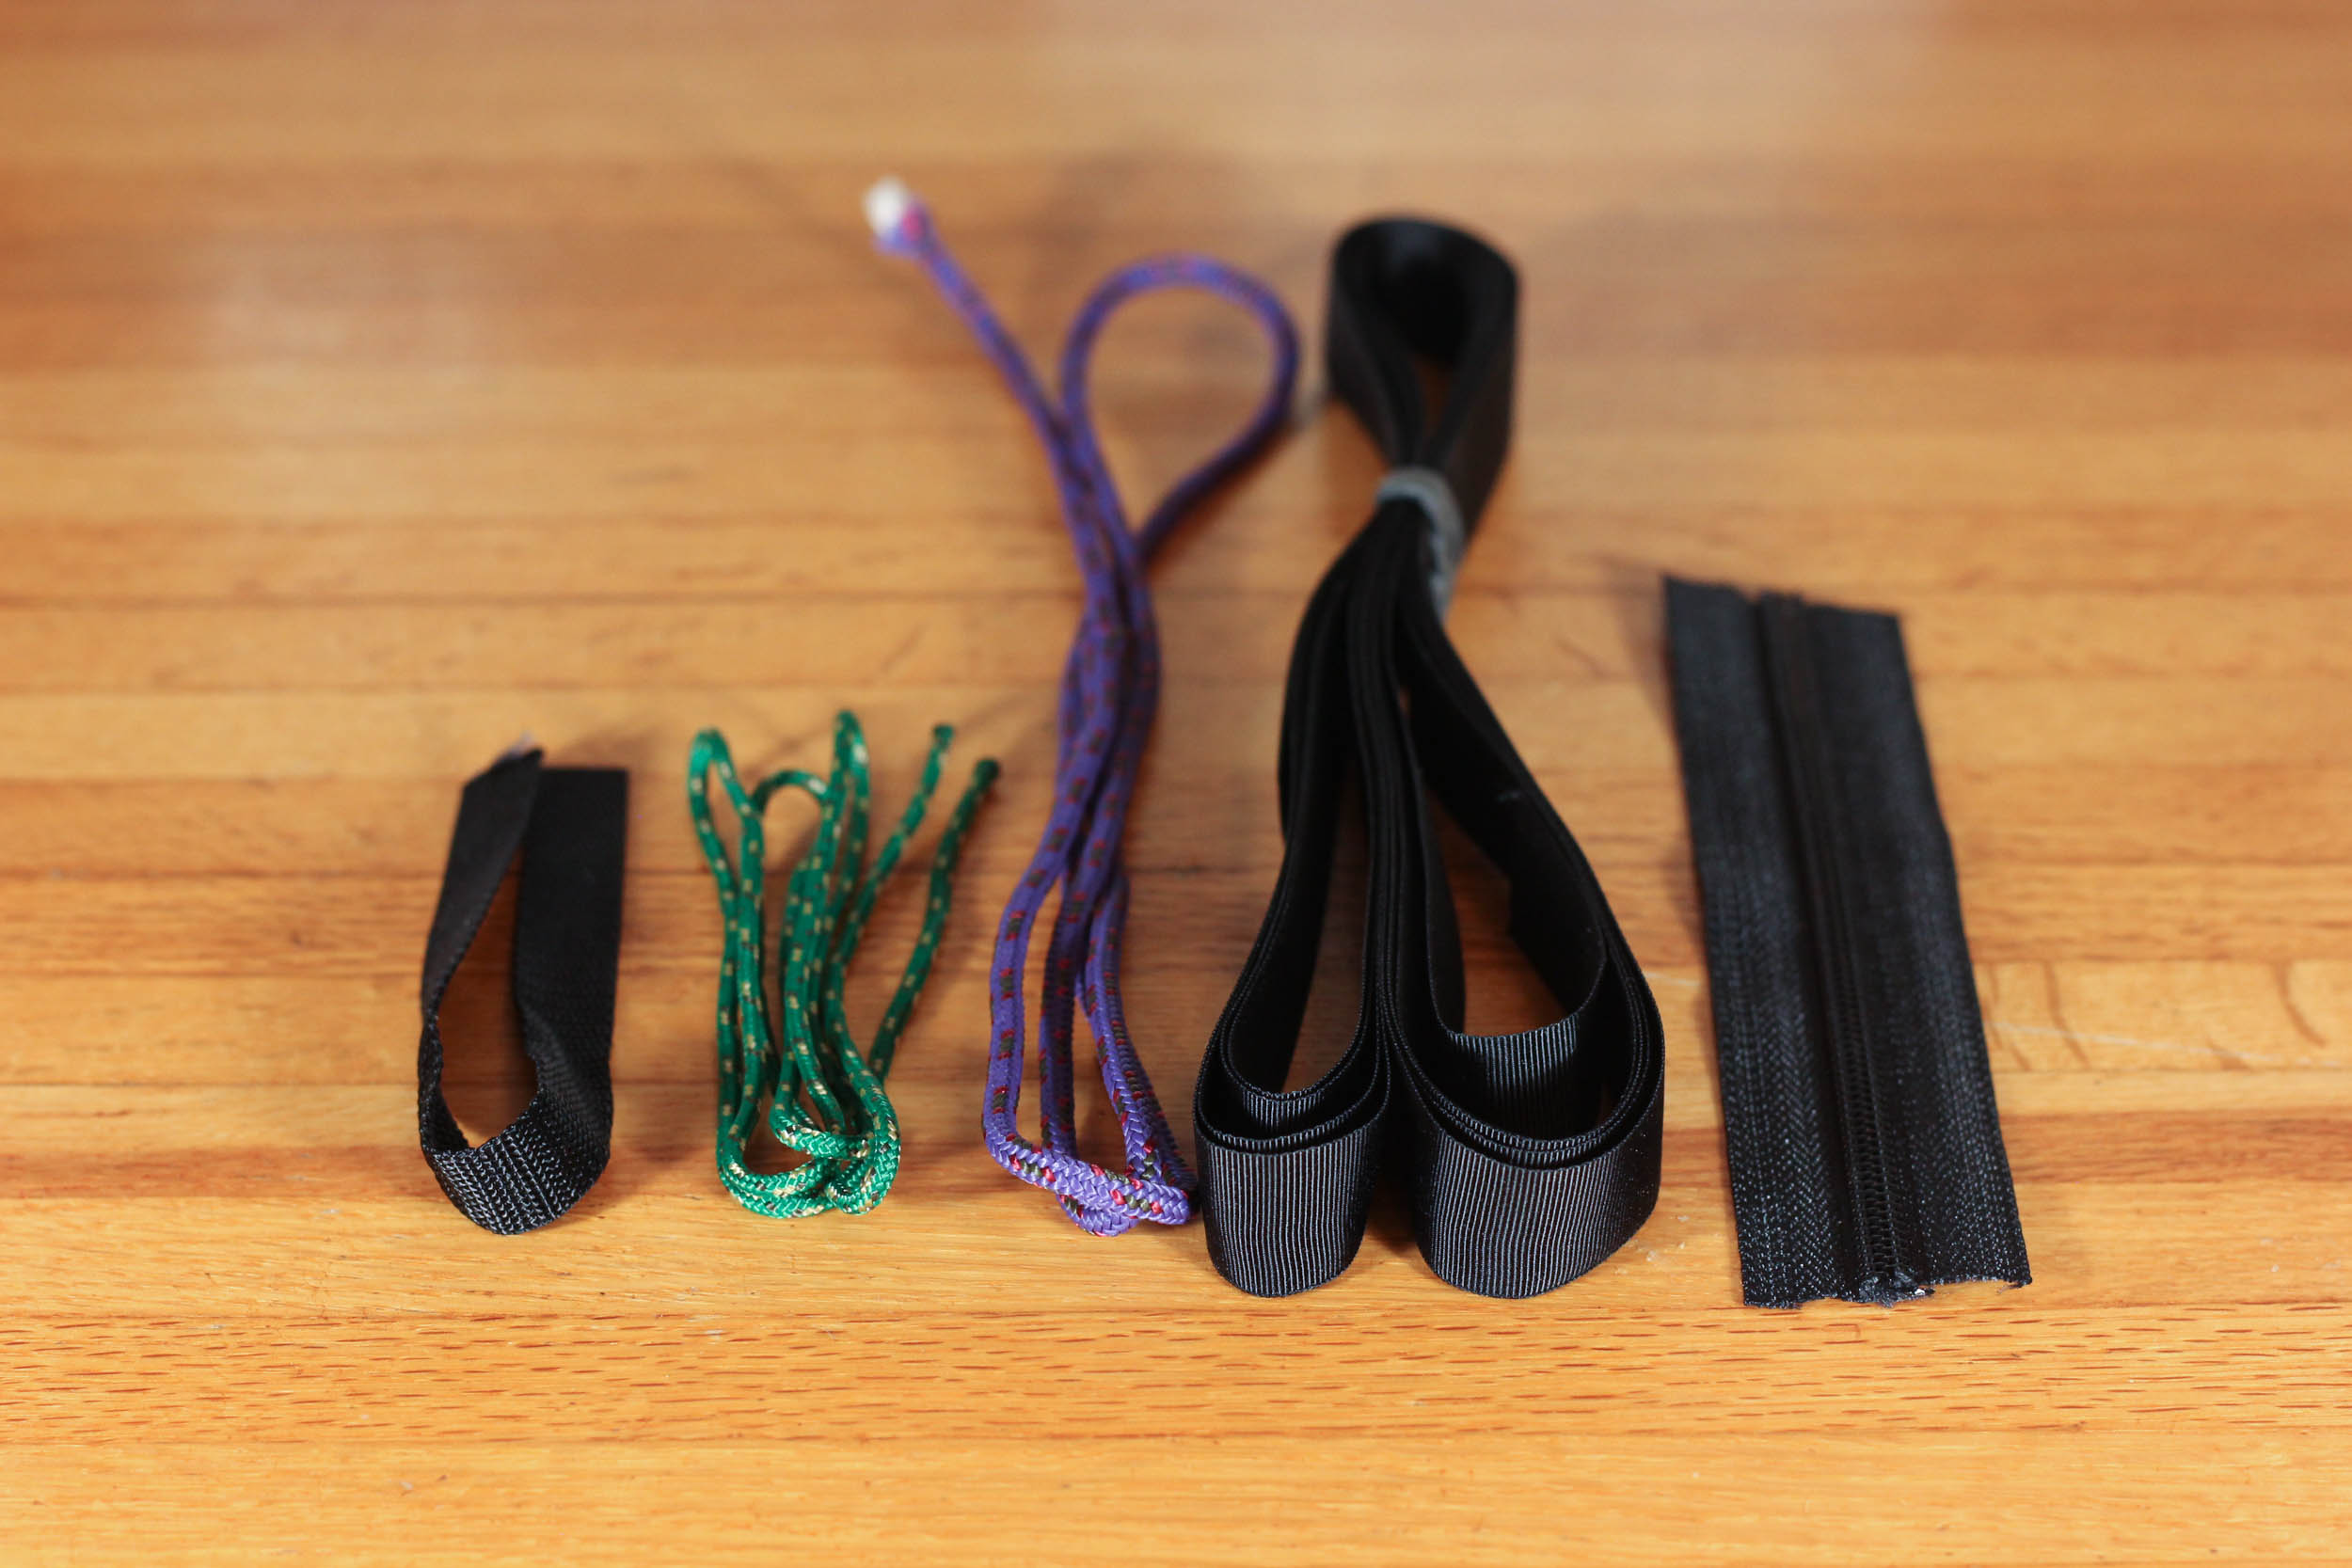
- 6” long zipper & zipper pull (I used a #5 zipper, but any type will do)
- 4” of webbing (Mine is ⅜” width)
- 8” paracord string (Alternatively: use 4” each of two colors like I did)
- 8” of grosgrain edging (¾” width, optional)
Step 1: Cut Your Fabric
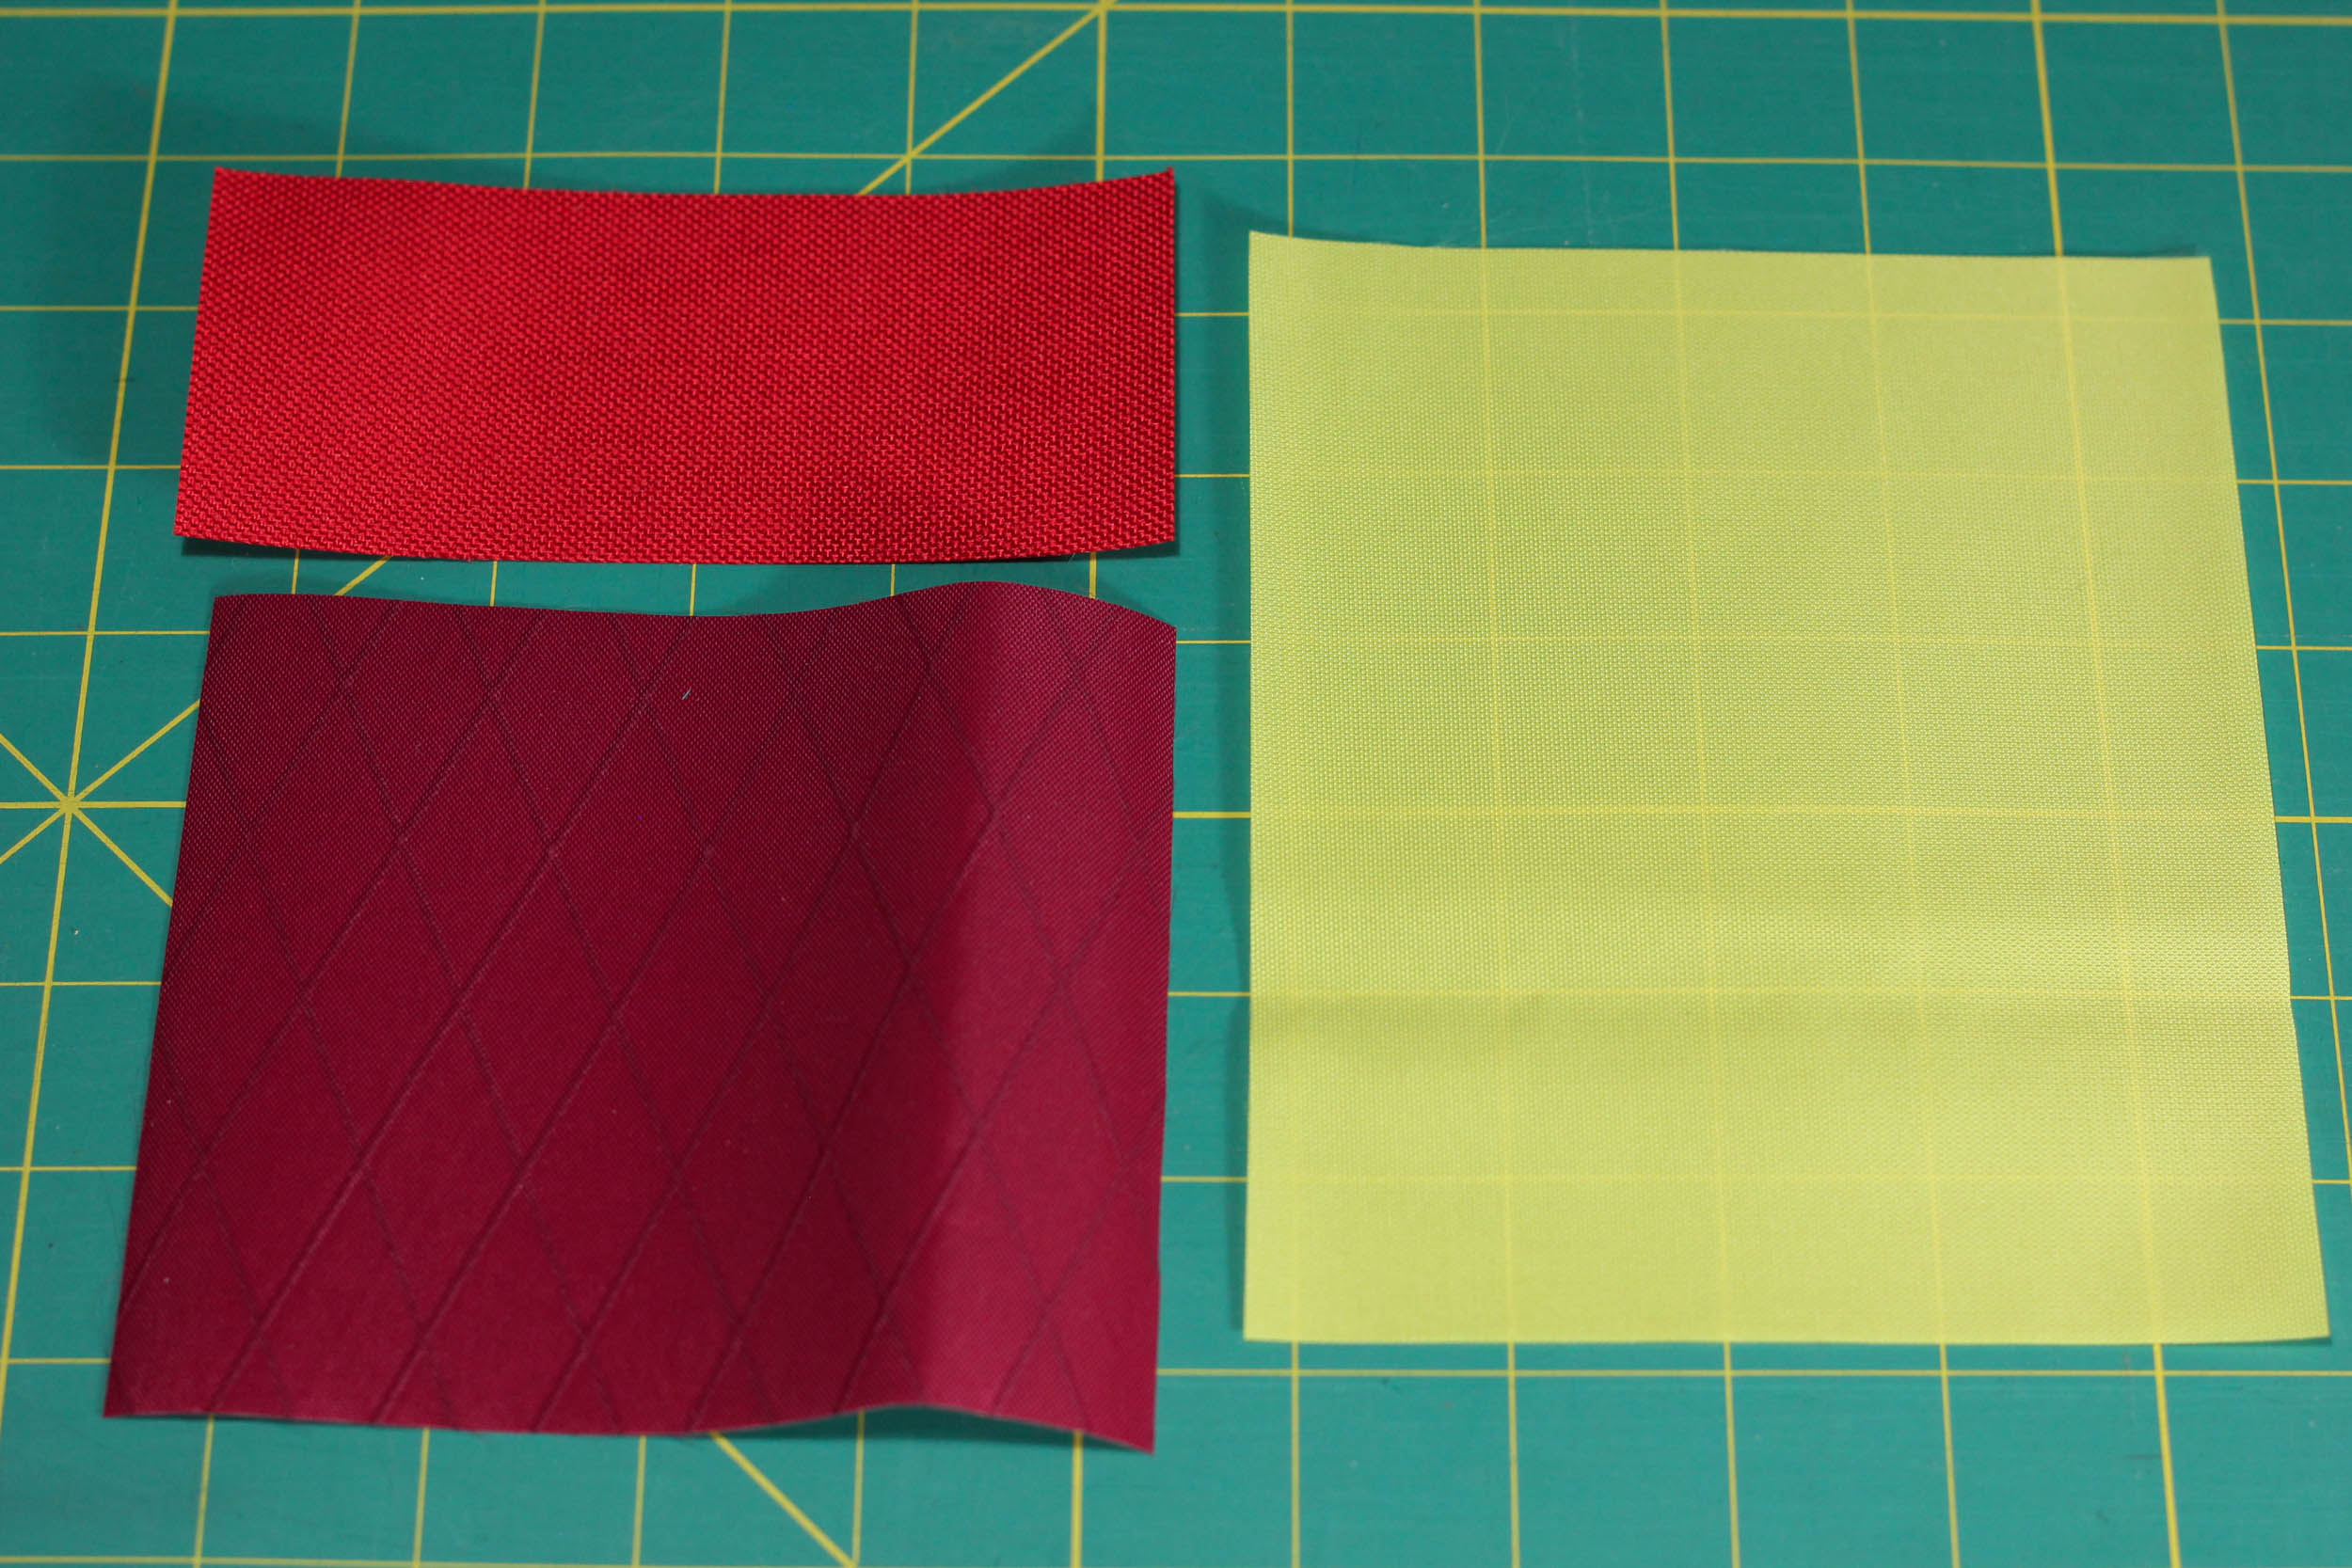
The outer layer is made up of two fabrics to make your trail wallet more colorful. The smaller fabric is on the front below the zipper and the larger fabric is on the front above the zipper, as well as the entire backside.
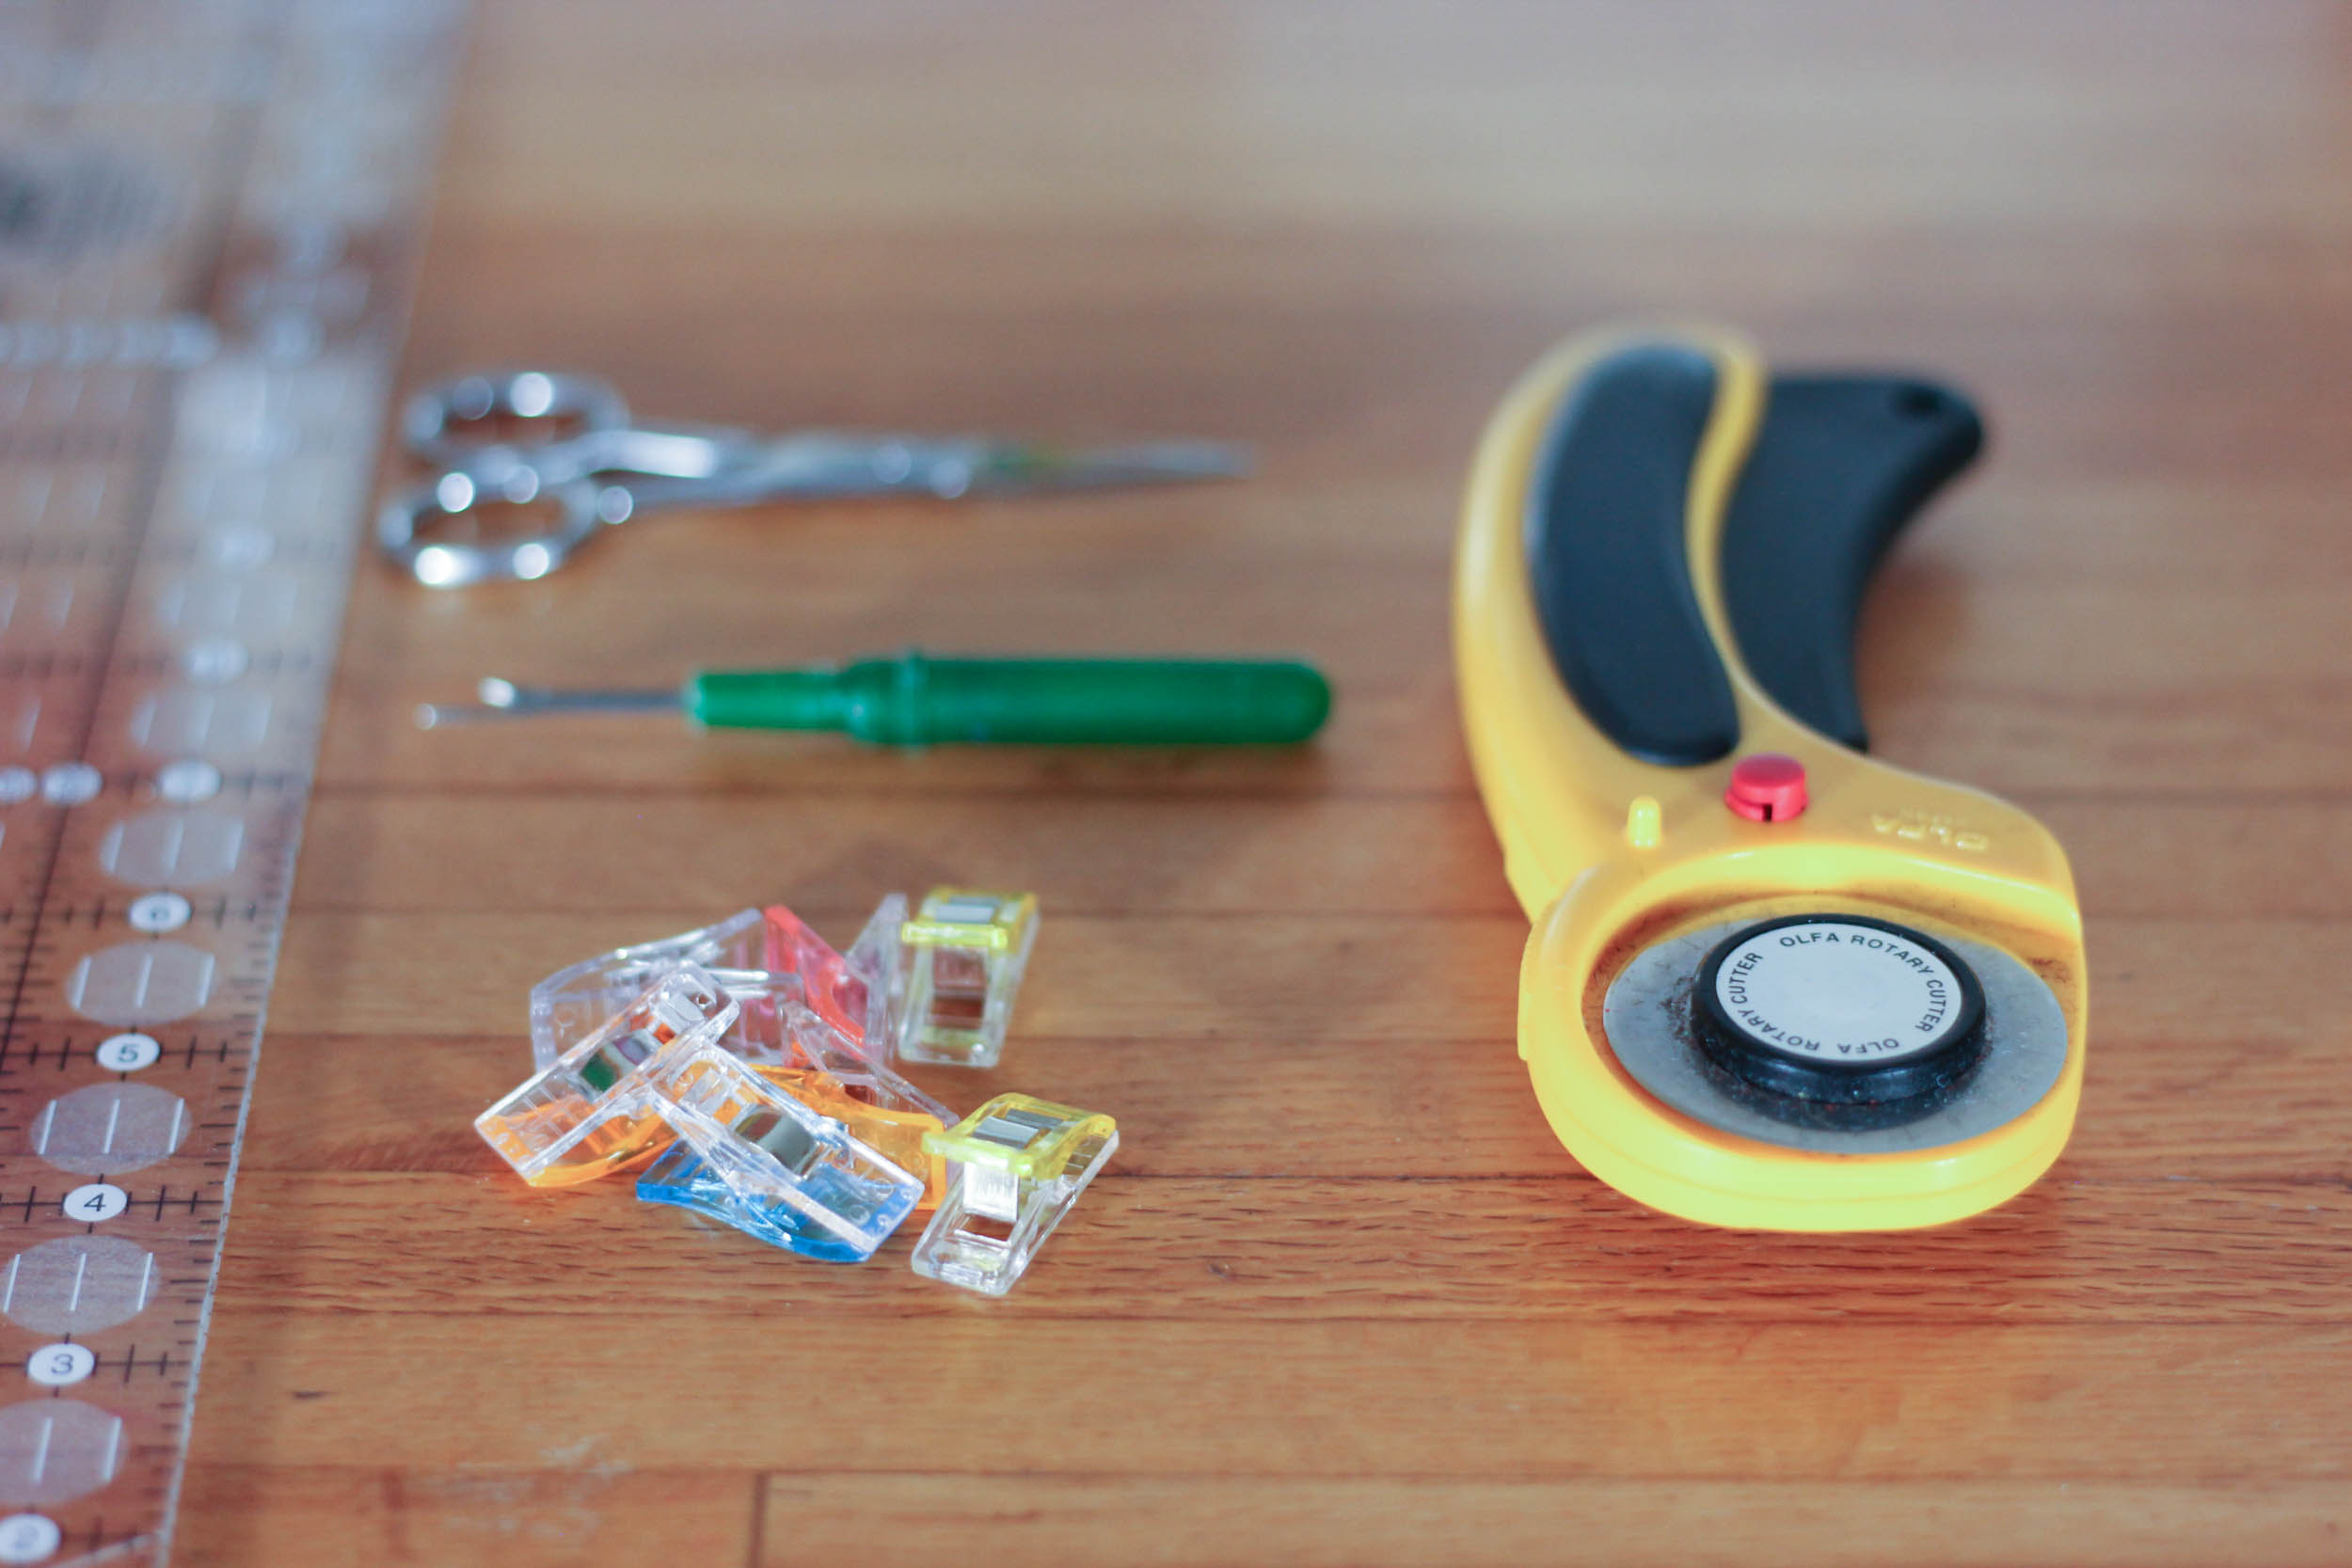
Cut the outer bottom front fabric to 2.25” x 5” and cut the outer top/back fabric to 4.5” x 5”. Optionally, cut a bright colored liner fabric to 6.25” x 5”. This makes it a little sturdier and the bright color makes it easy to see what is inside when you’re fishing for a stray gummy bear. Use a rotary cutter and mat, if you have one. Otherwise, draw your lines with a pencil and then cut with a sharp scissors.
Step 2: Sew Outer Fabrics Together
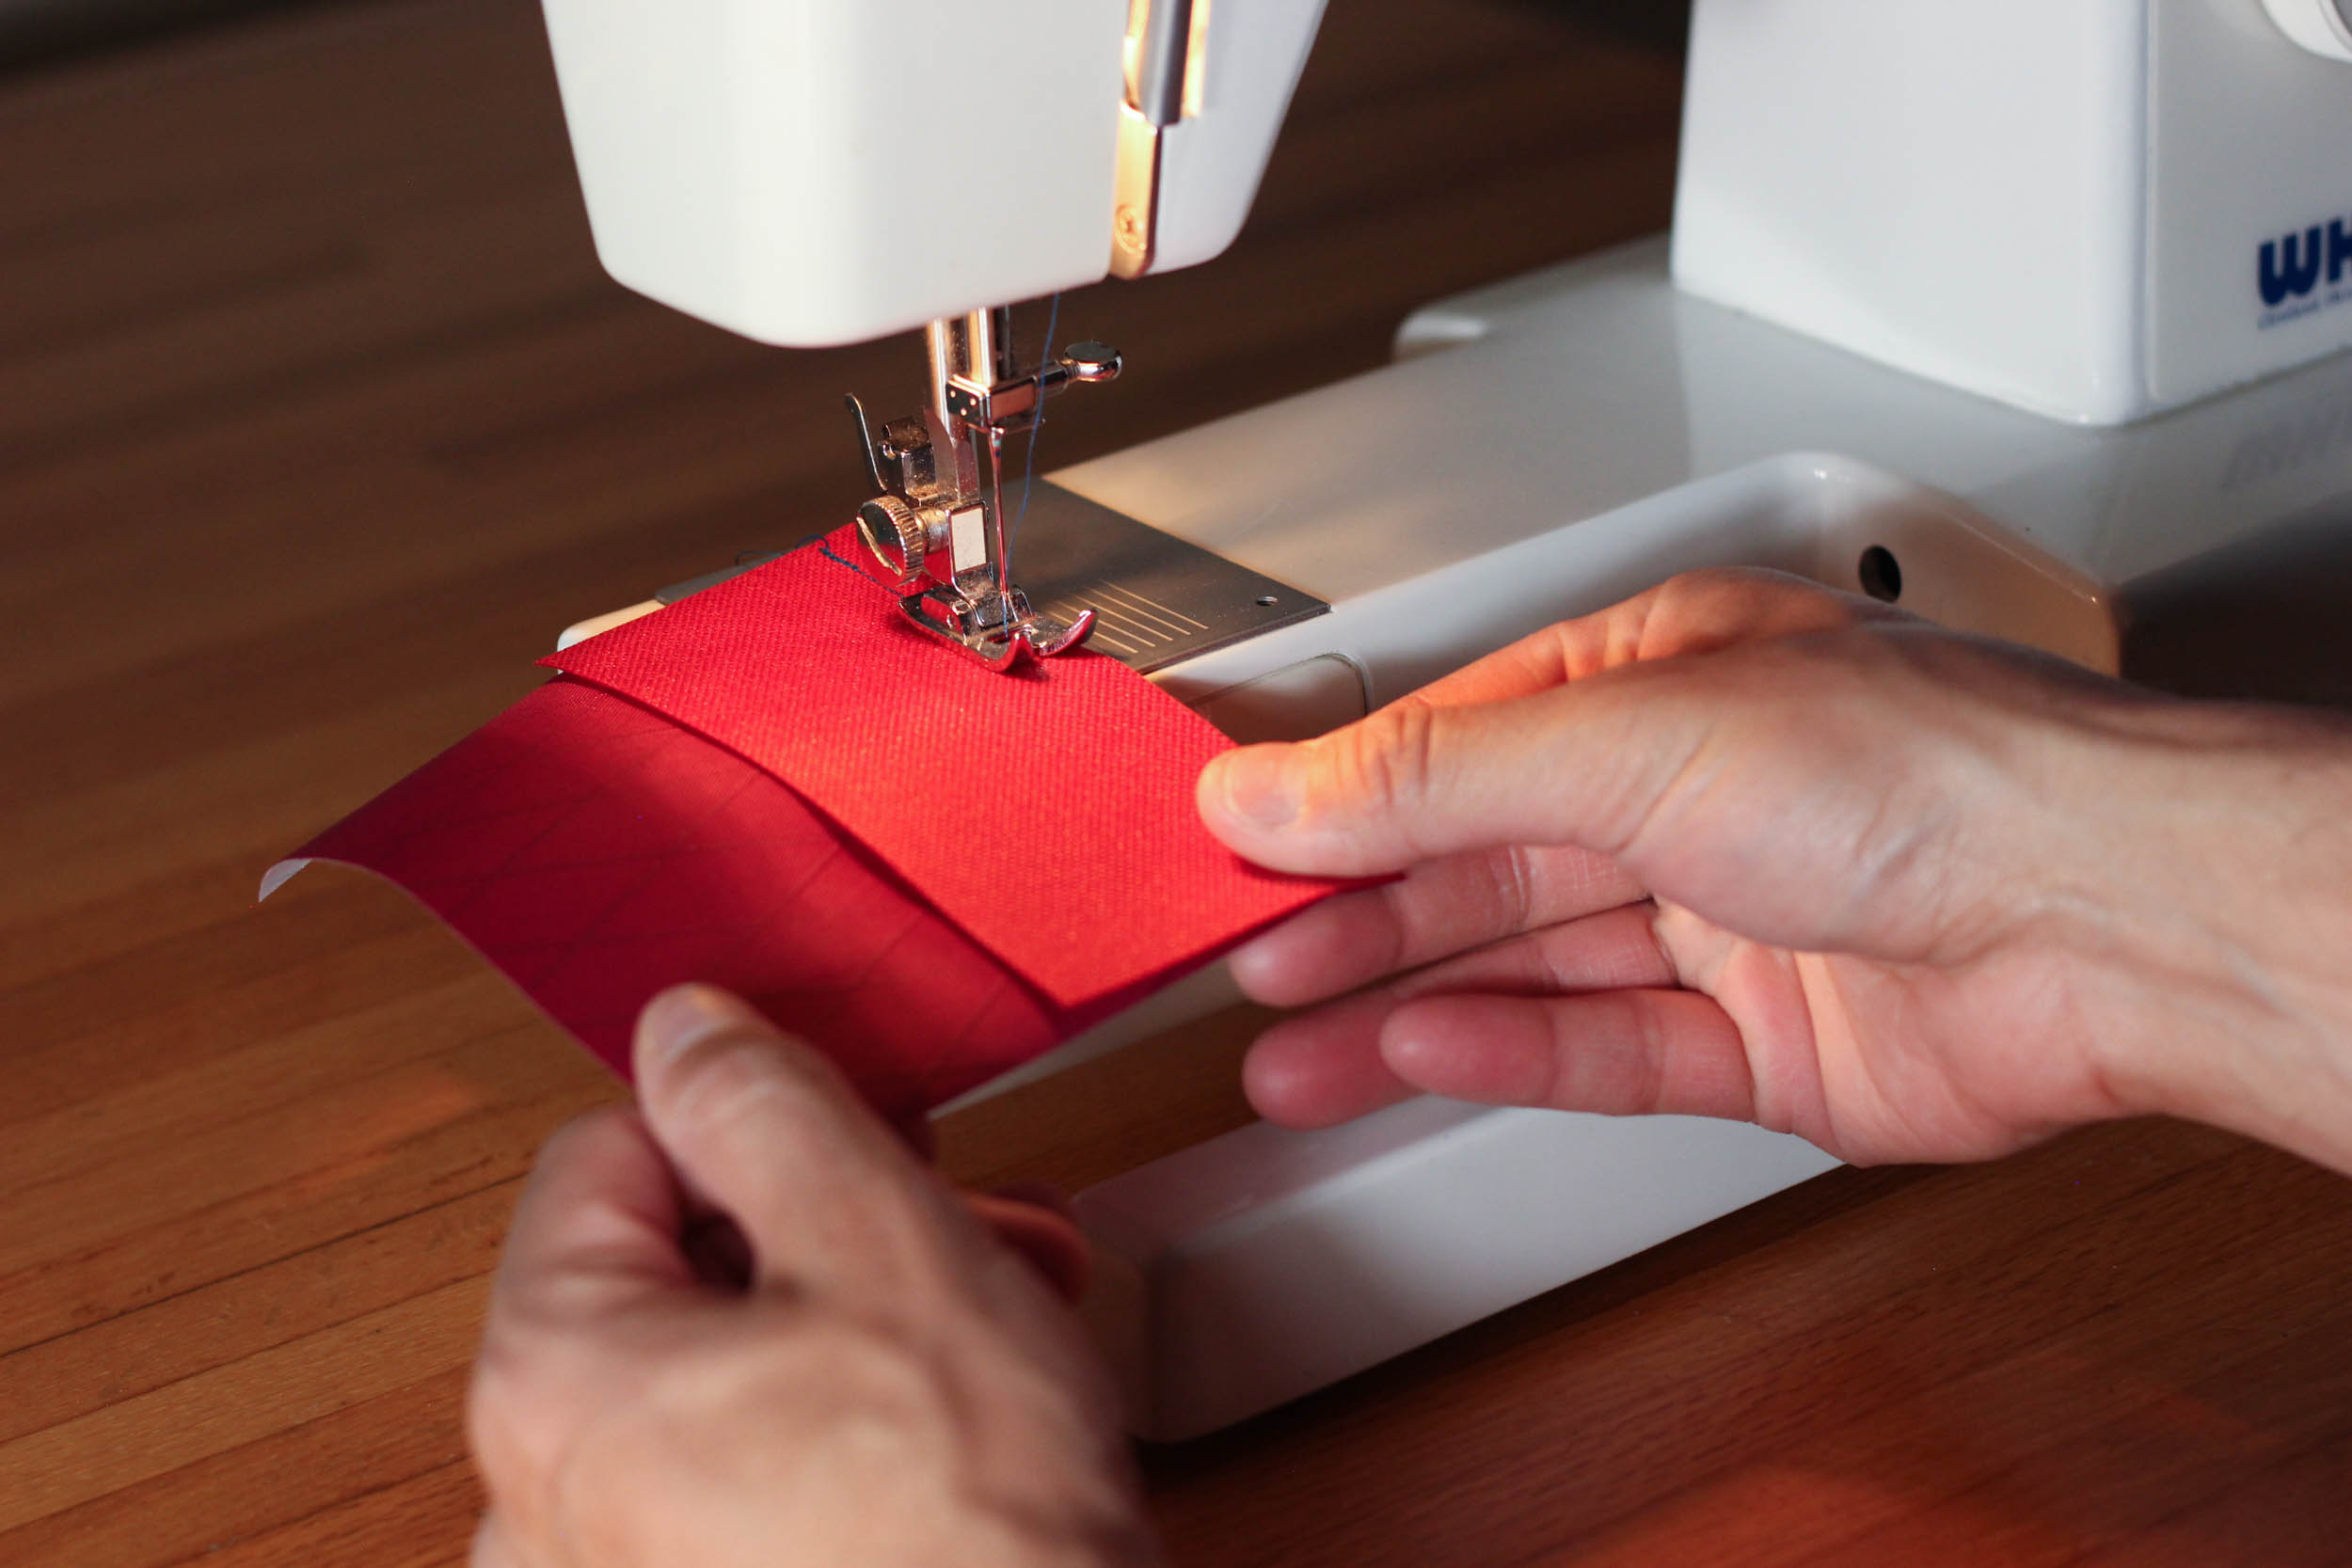
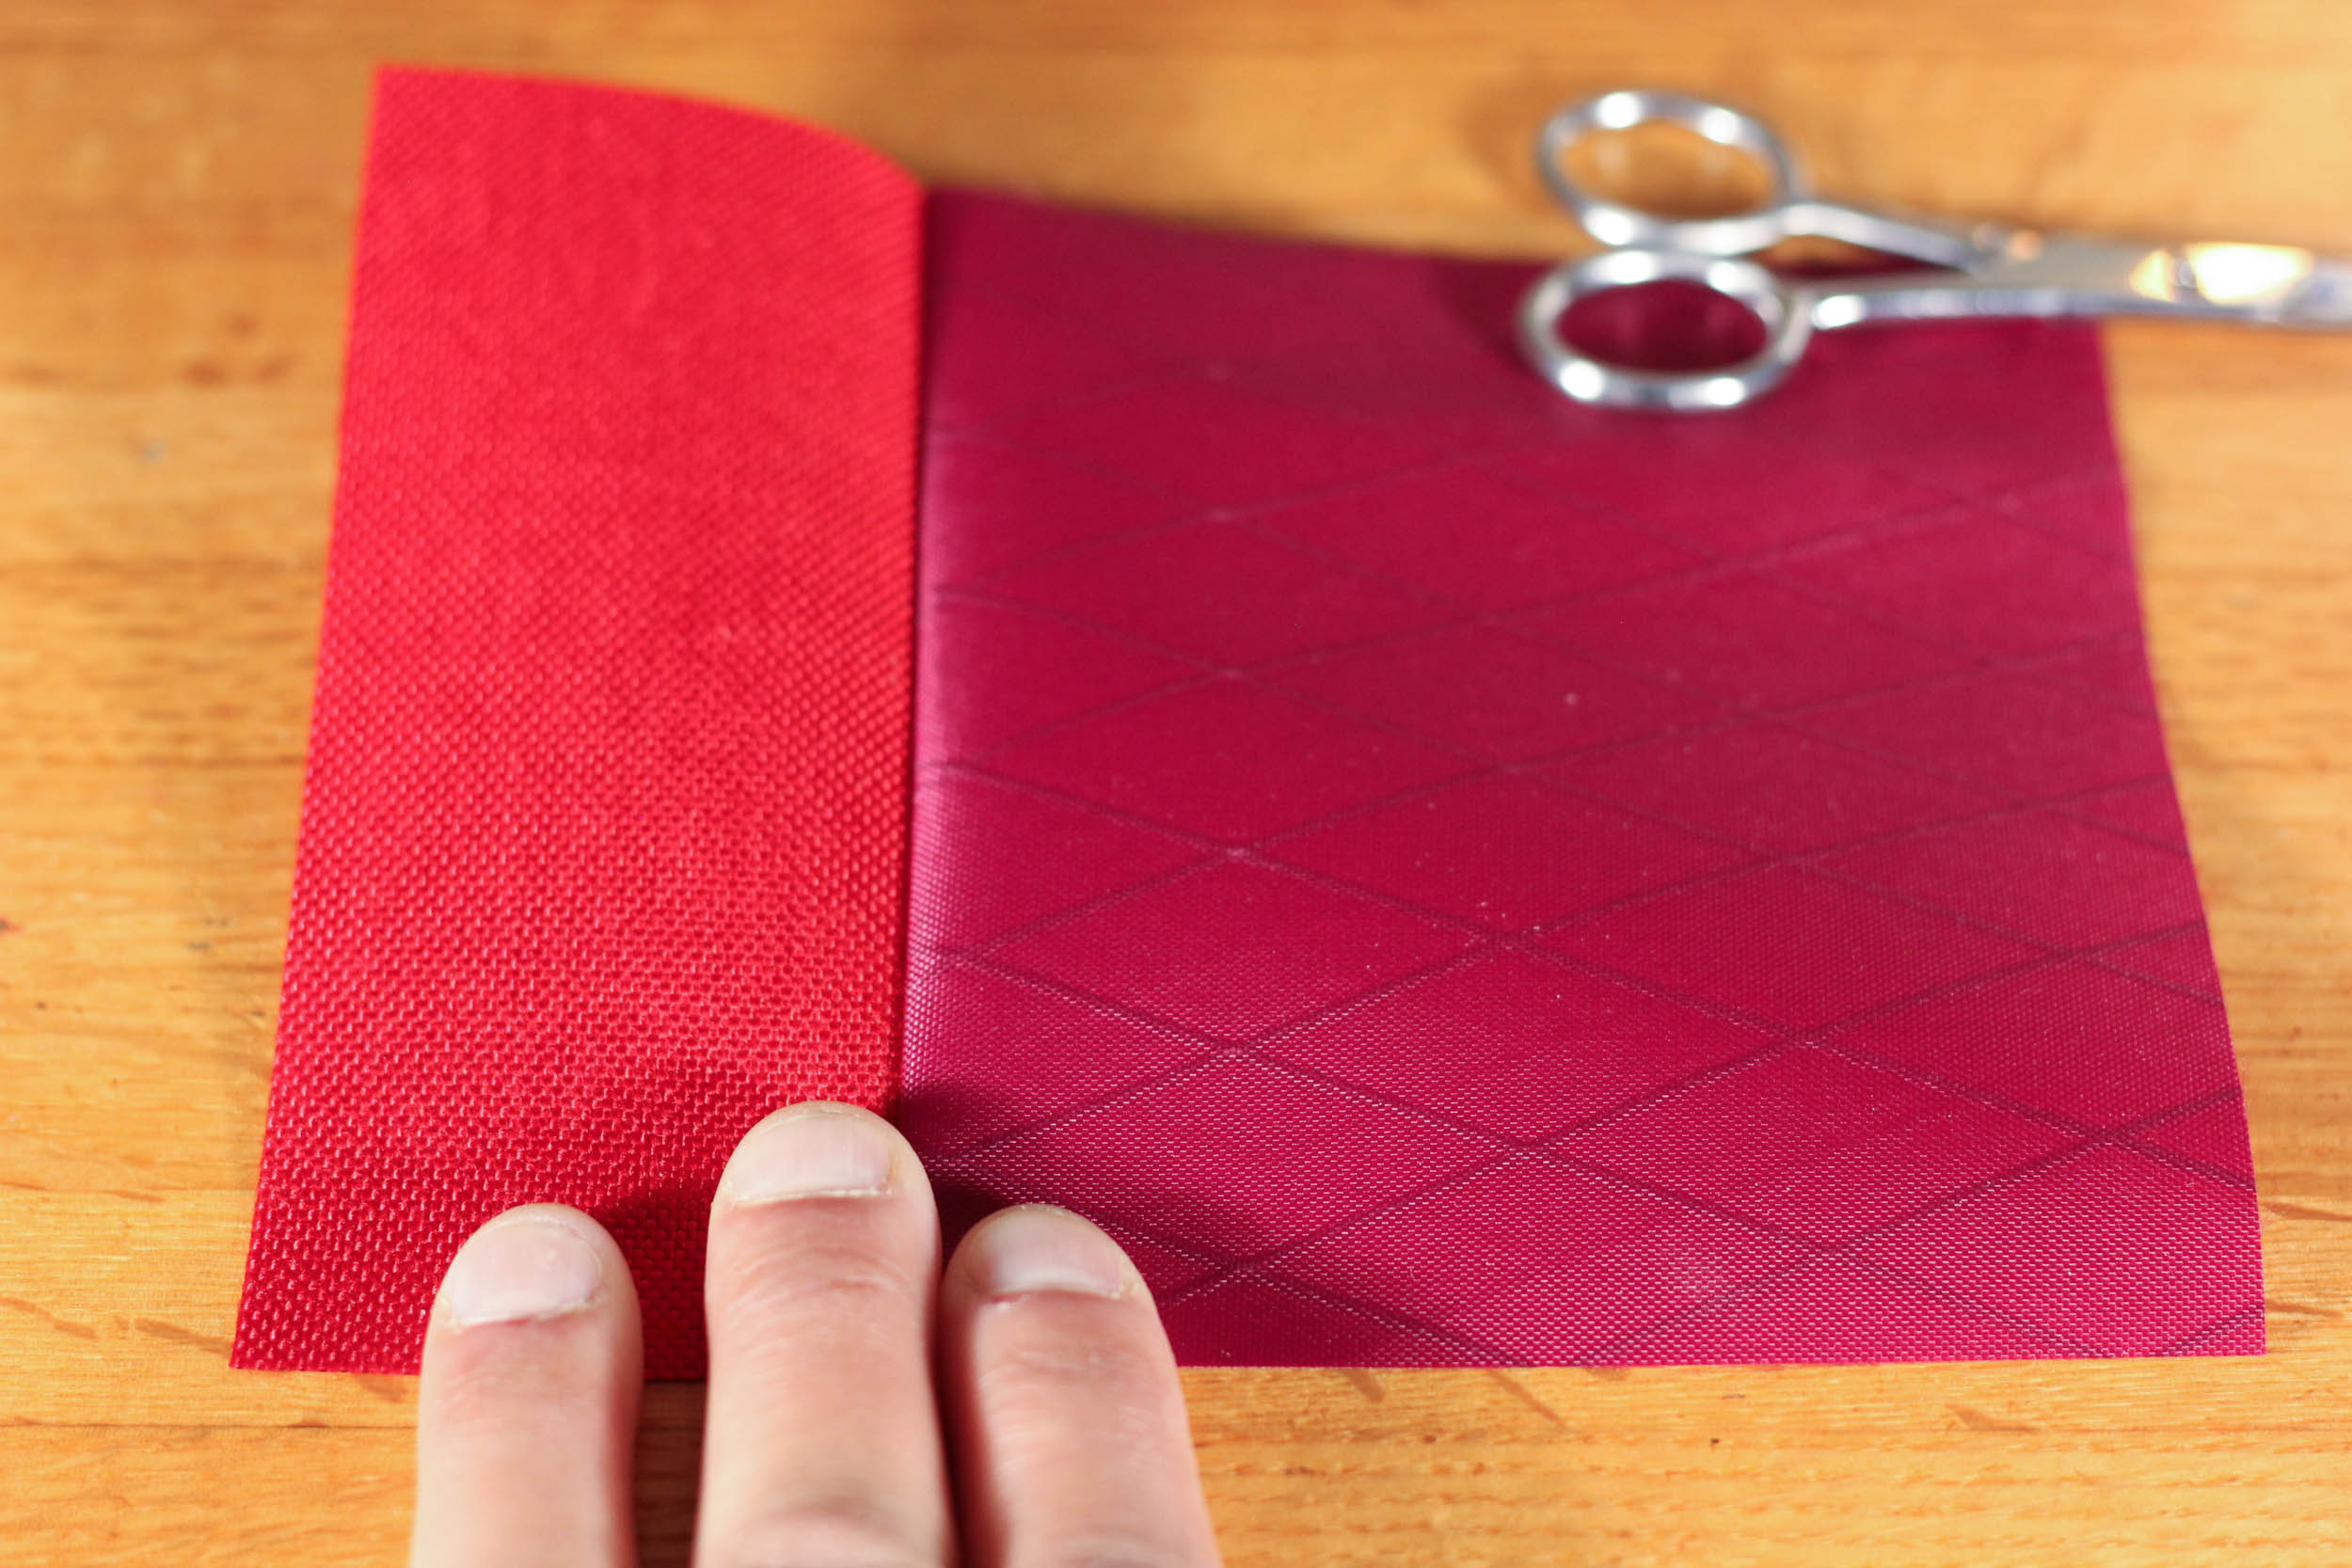
Sew the two outer fabrics together along their short edges with the good sides (the “good side” is the side you want to see from the outside) facing each other. This trail wallet has a ¼” seam allowance, so sew this seam, and all seams hereafter, at ¼” from the edge of the fabric.
Tip: For all of these seams, I sew back and forth 3-4 stitches at the beginning and at the end. This will “lock” the stitch and then you can simply cut off the loose threads and move on.
Step 3: Sew Outer/Inner Fabrics to Zipper
Match the bright inner ripstop fabric with the outer fabrics you just sewed together. Line them up along the top edge of the zipper and center them.

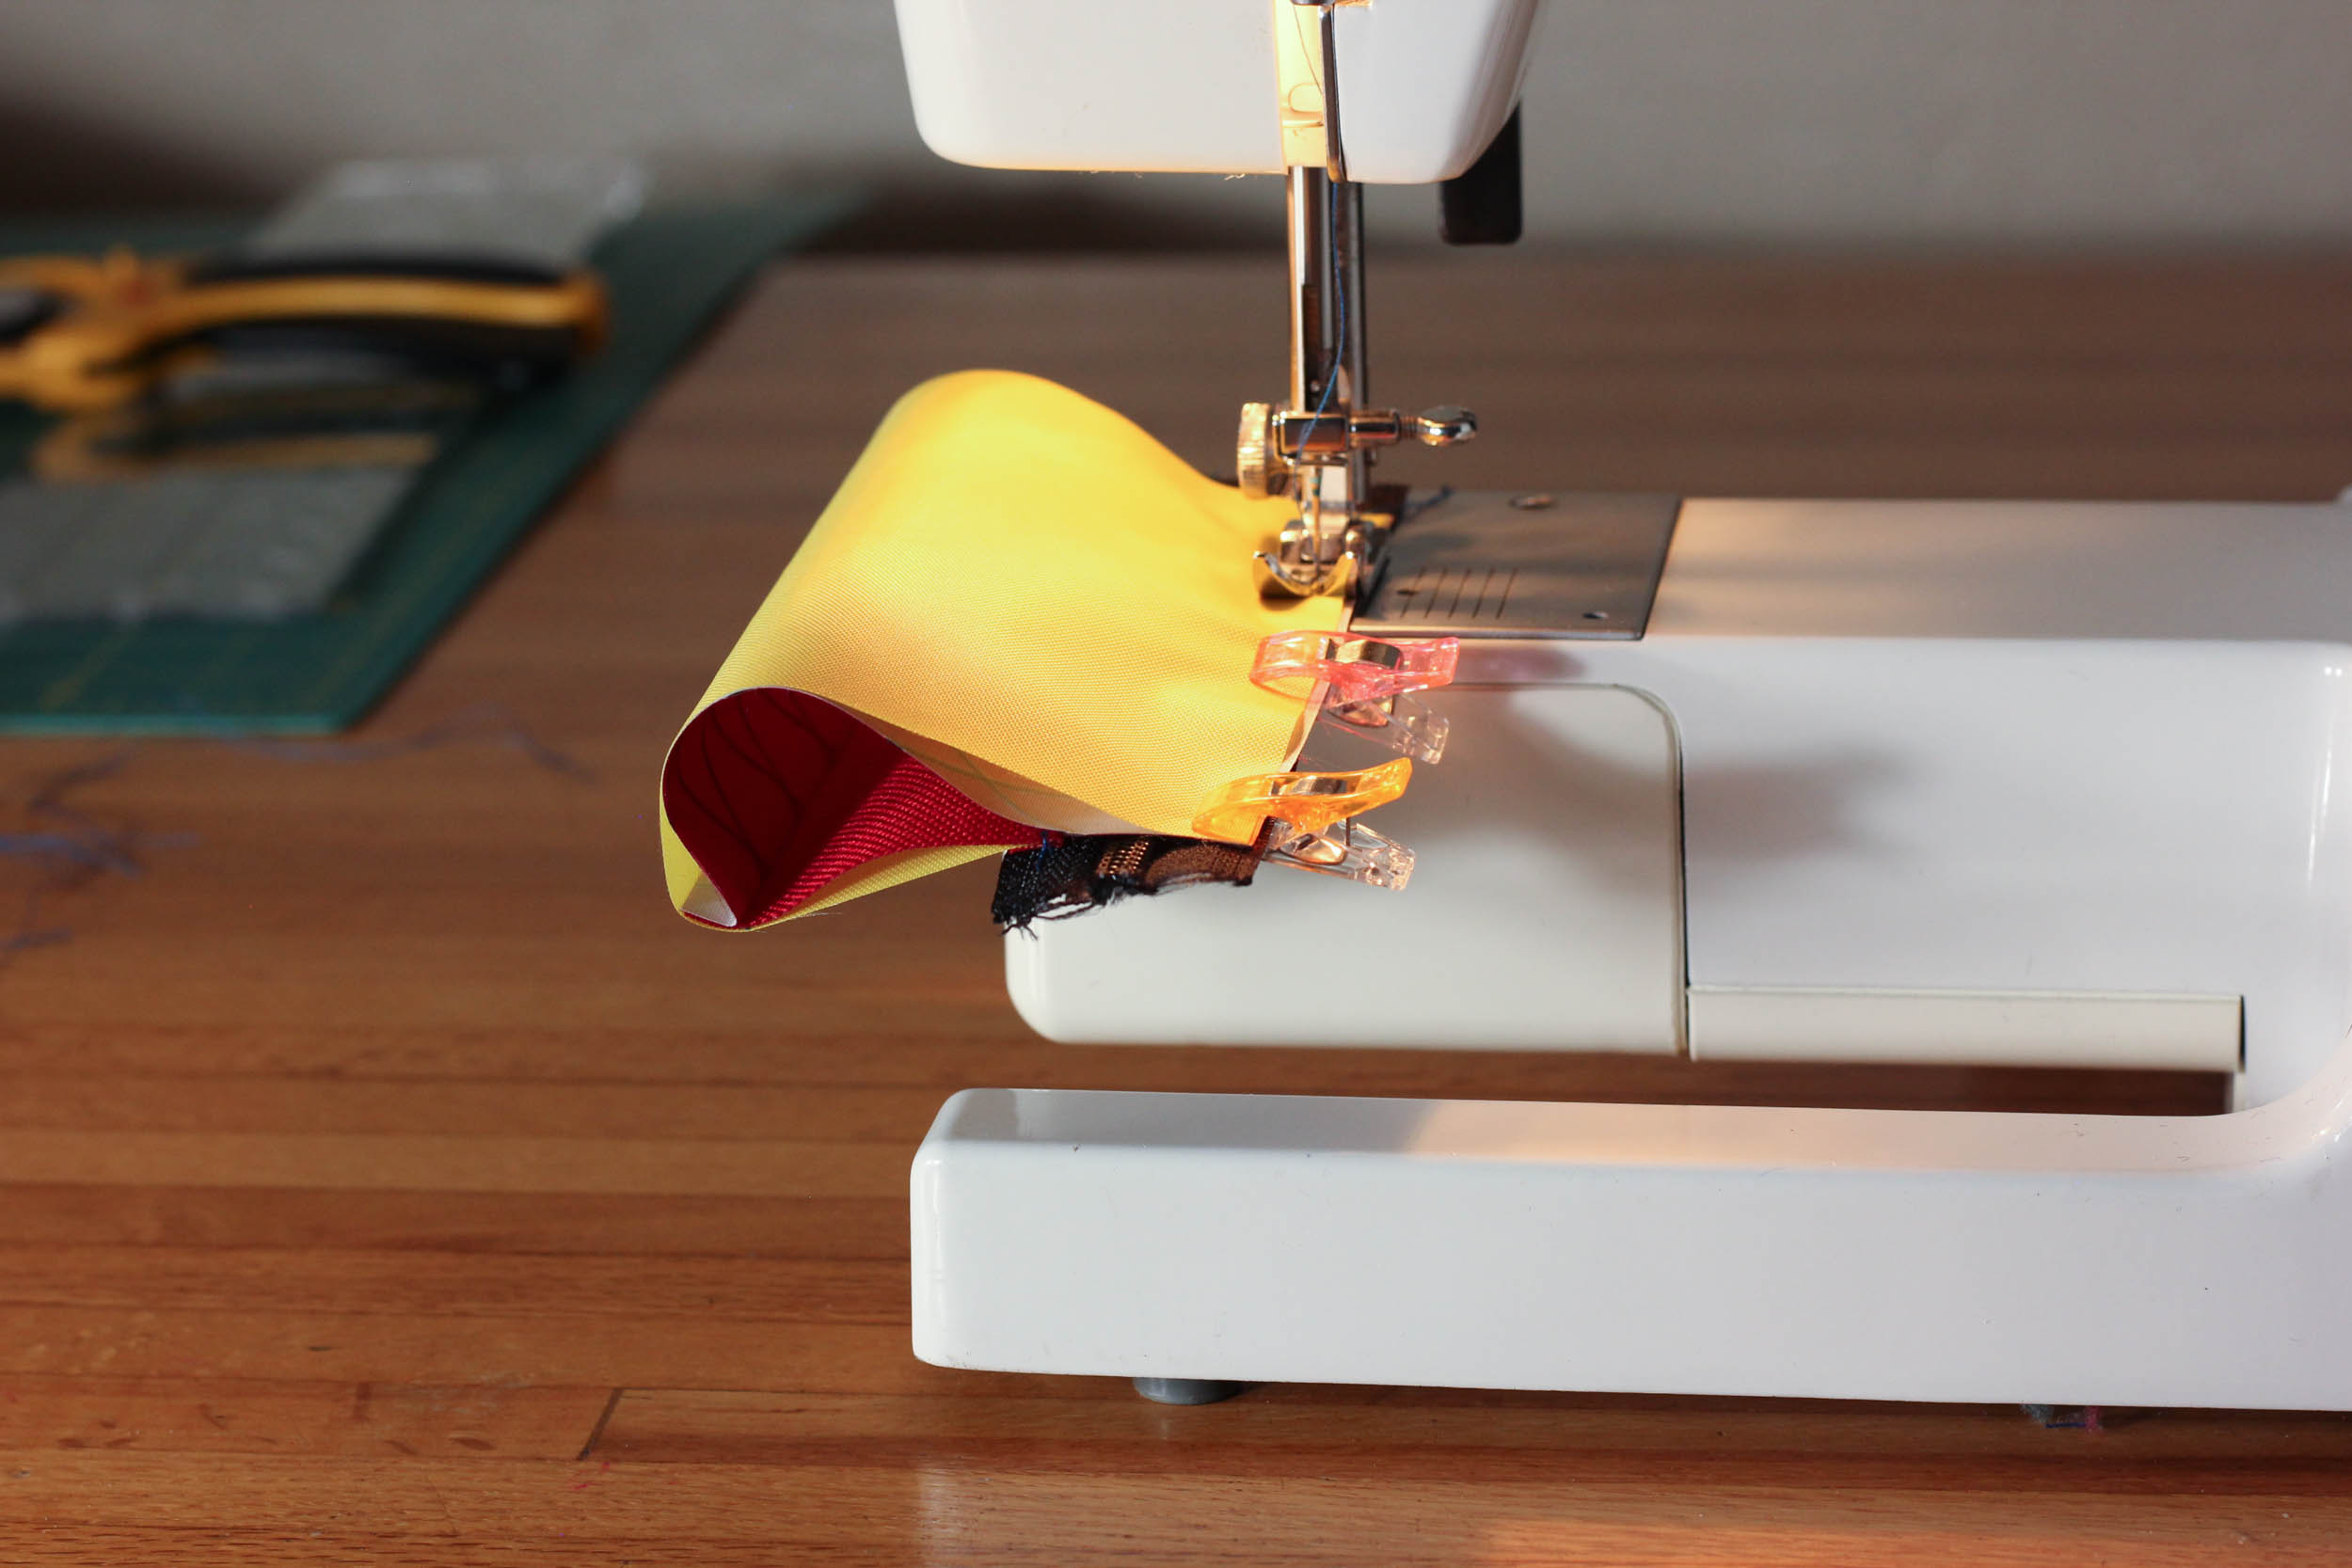
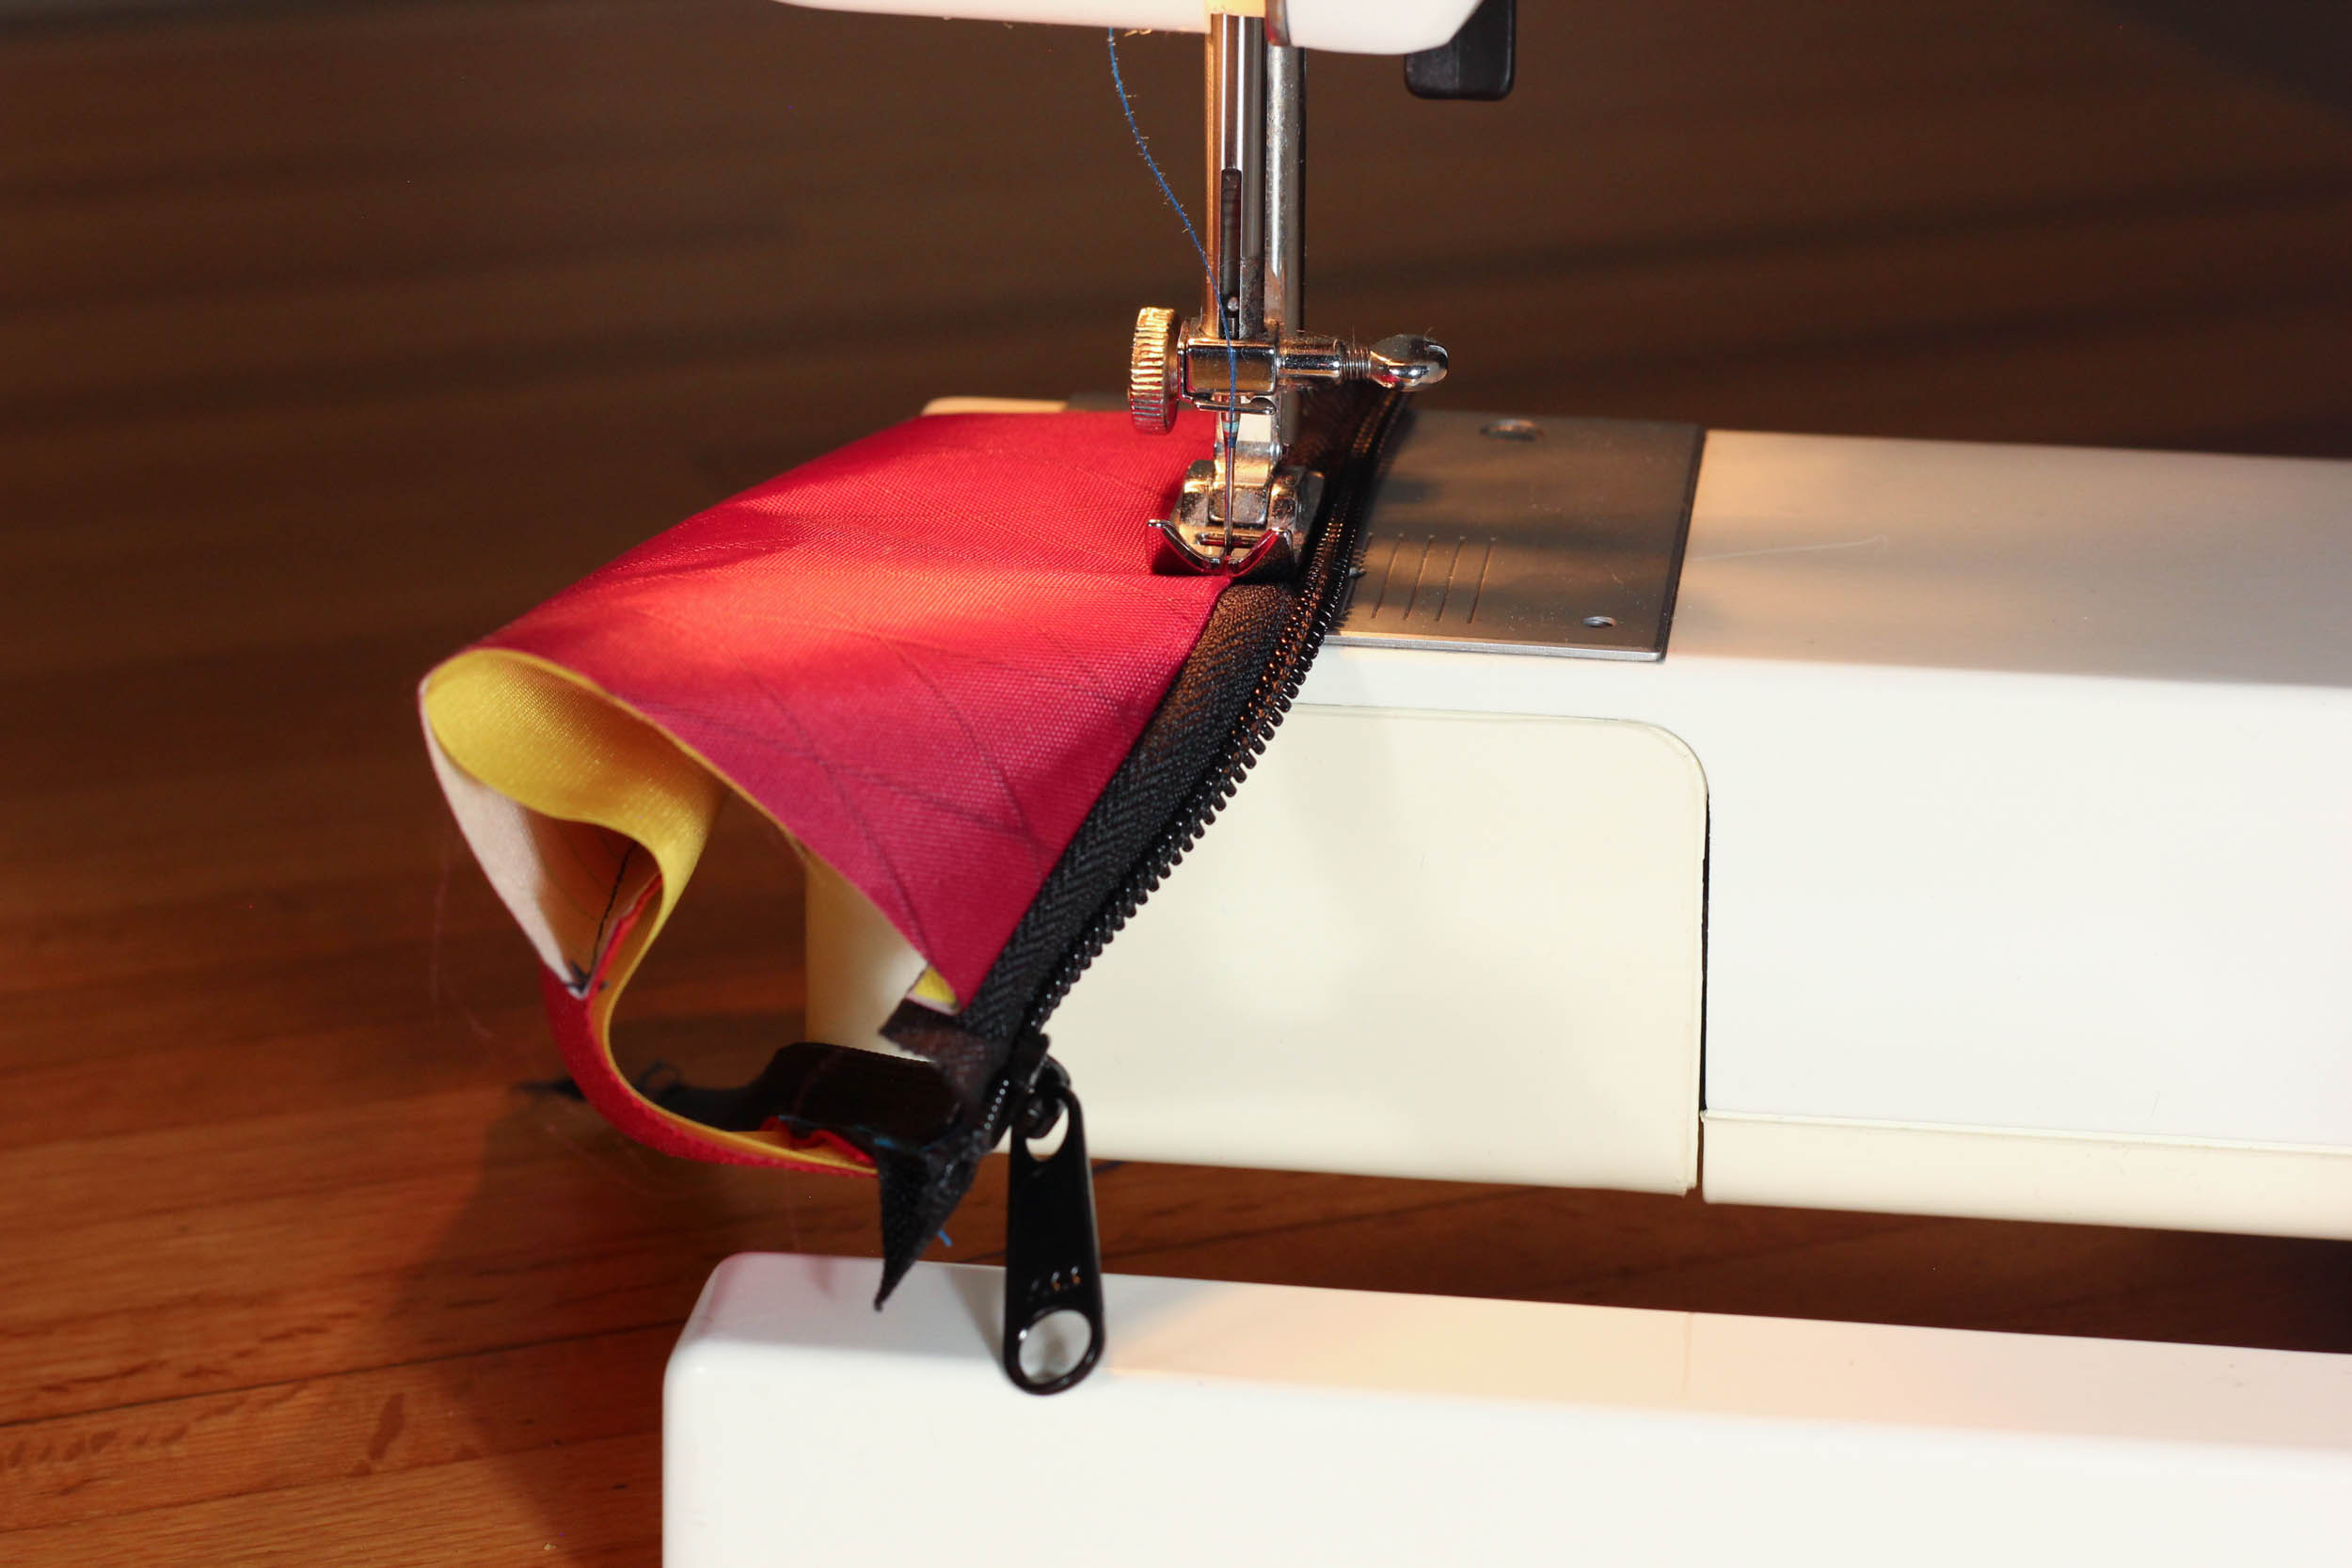
The zipper should now be on the bottom, with the good side facing up. The outer fabric should be lying on top of that with the good side facing down. The inner fabric is on top. Sew everything together.
When you’re done, lay the fabrics open so you can see the good side of the zipper and the good side of the outer fabric. Top stitch the seam so that the fabric lays down flat next to the zipper.
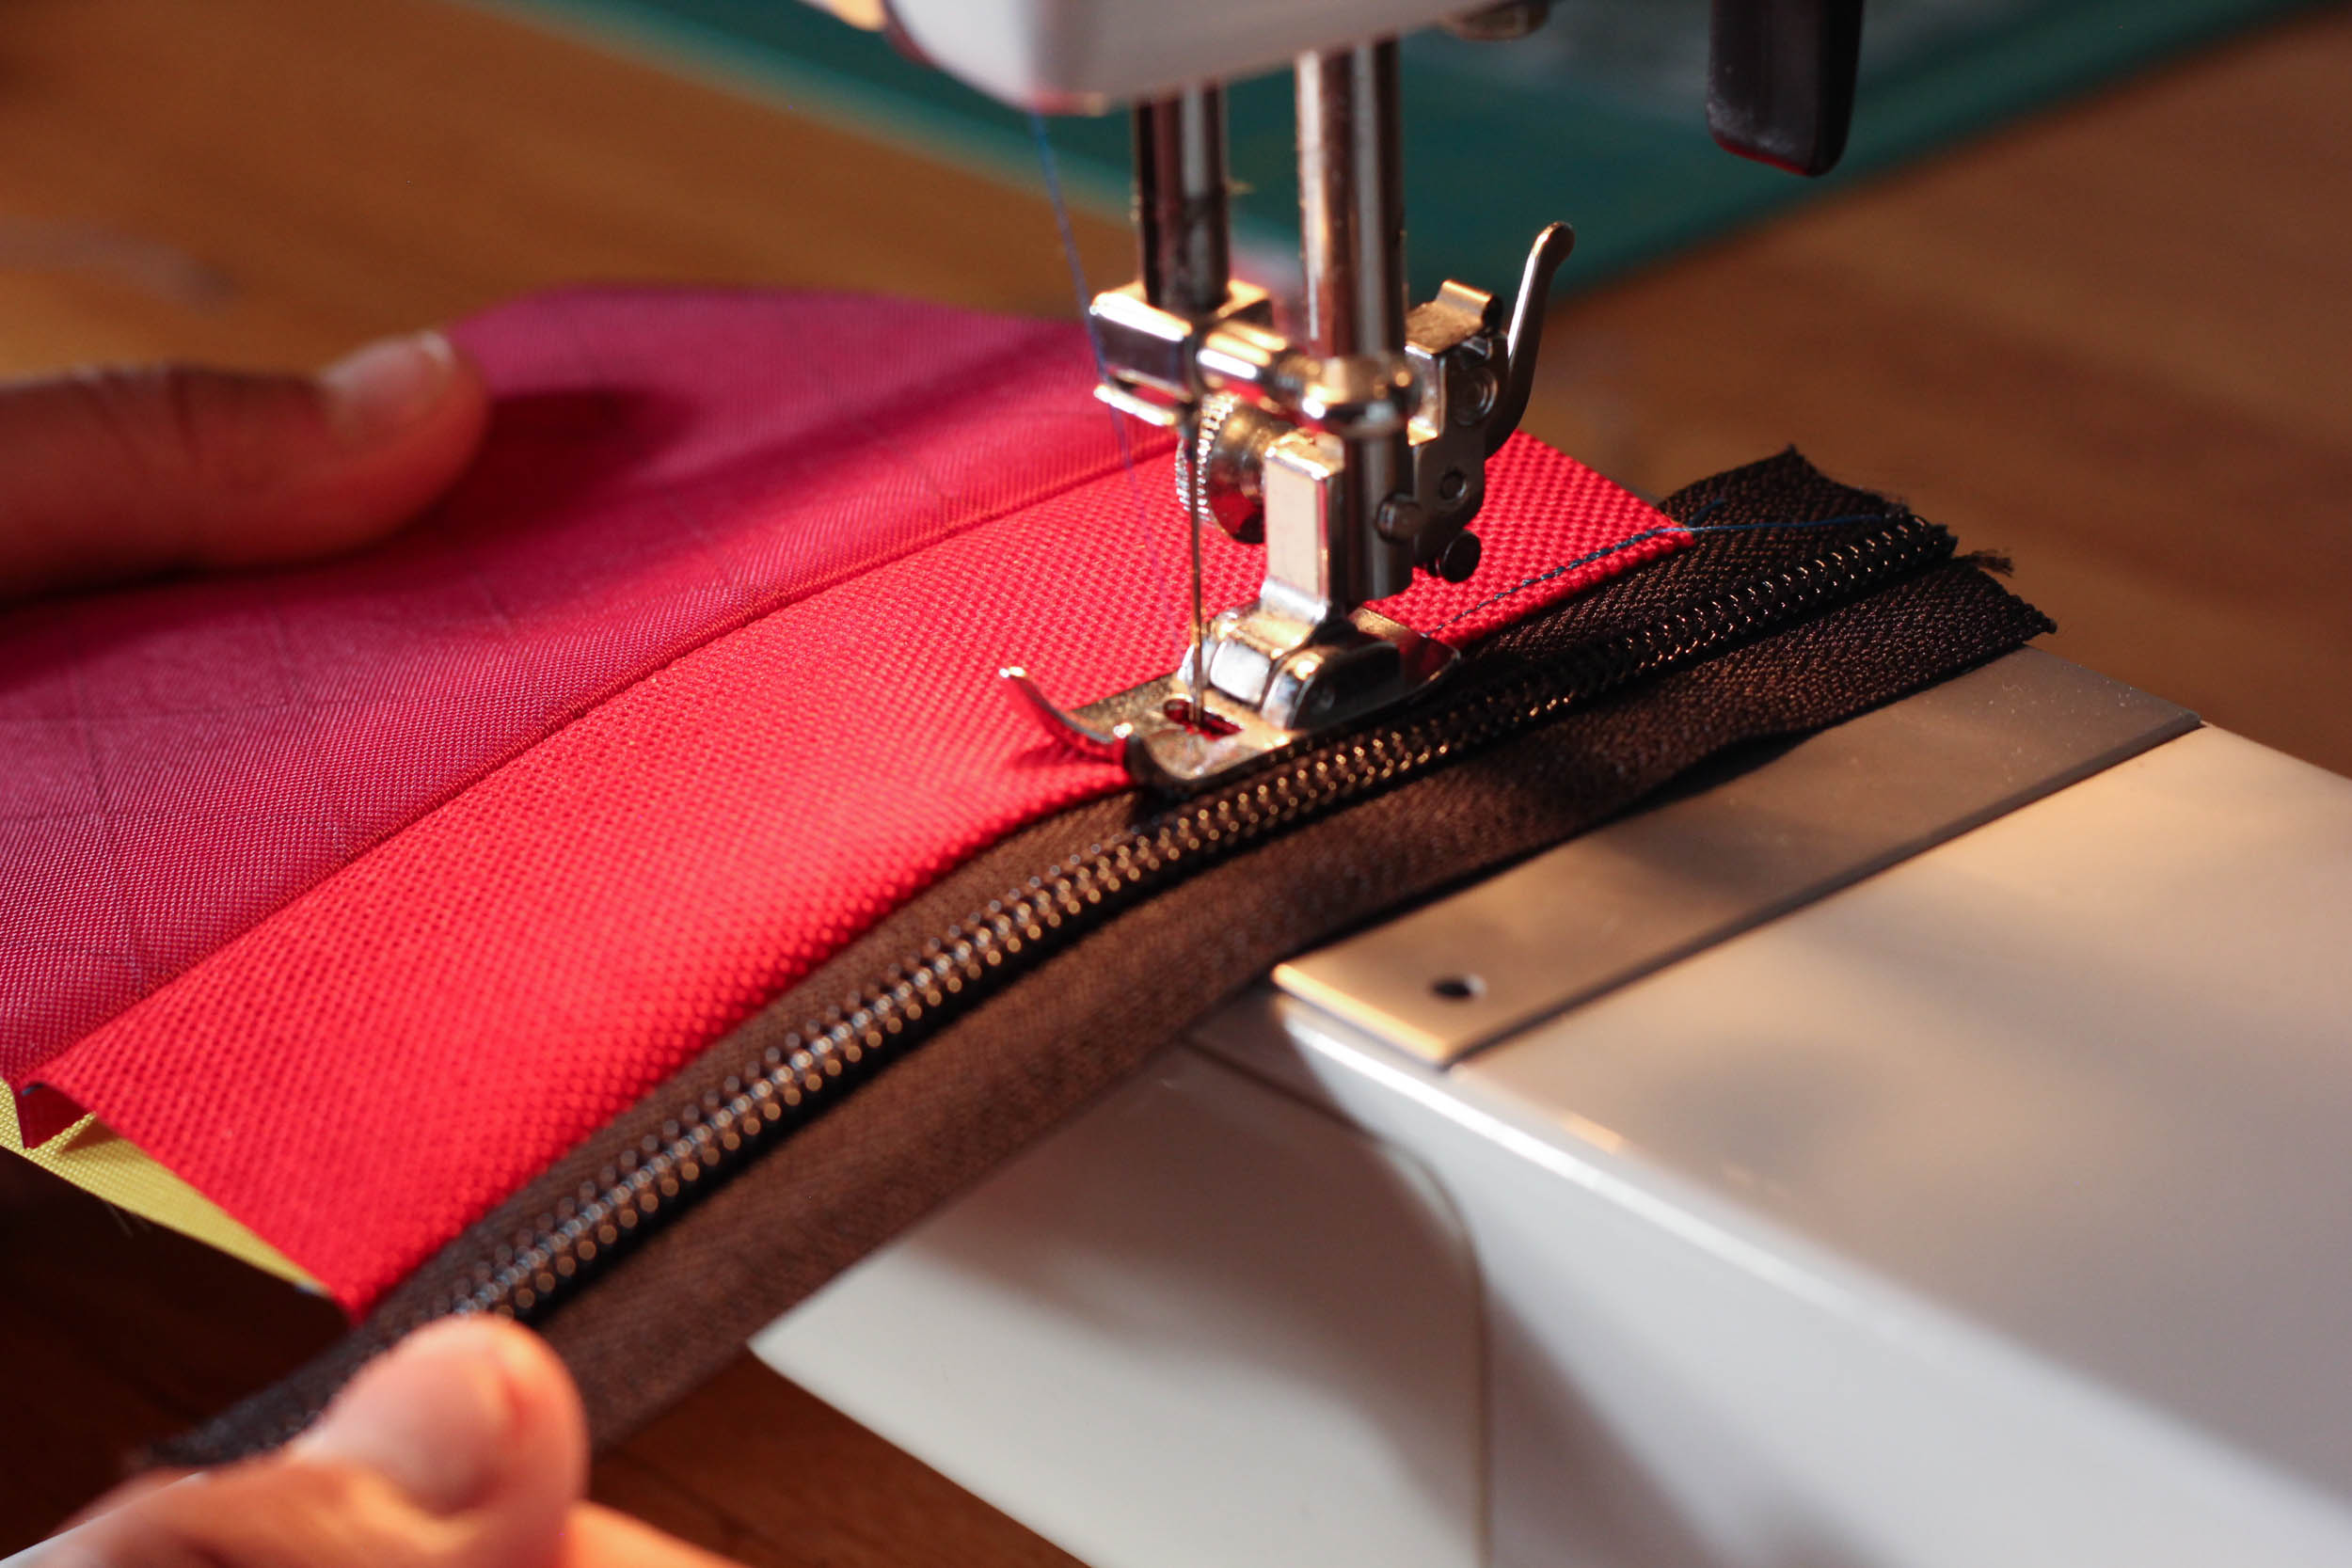
Sew the other edge of the fabric to the other edge of the zipper in the same fashion. Then open the zipper almost all the way, turn it inside out, and top stitch that side too.
Tip: Sometimes the zipper comes off in this step. If it does, just line it up and zip it back on.
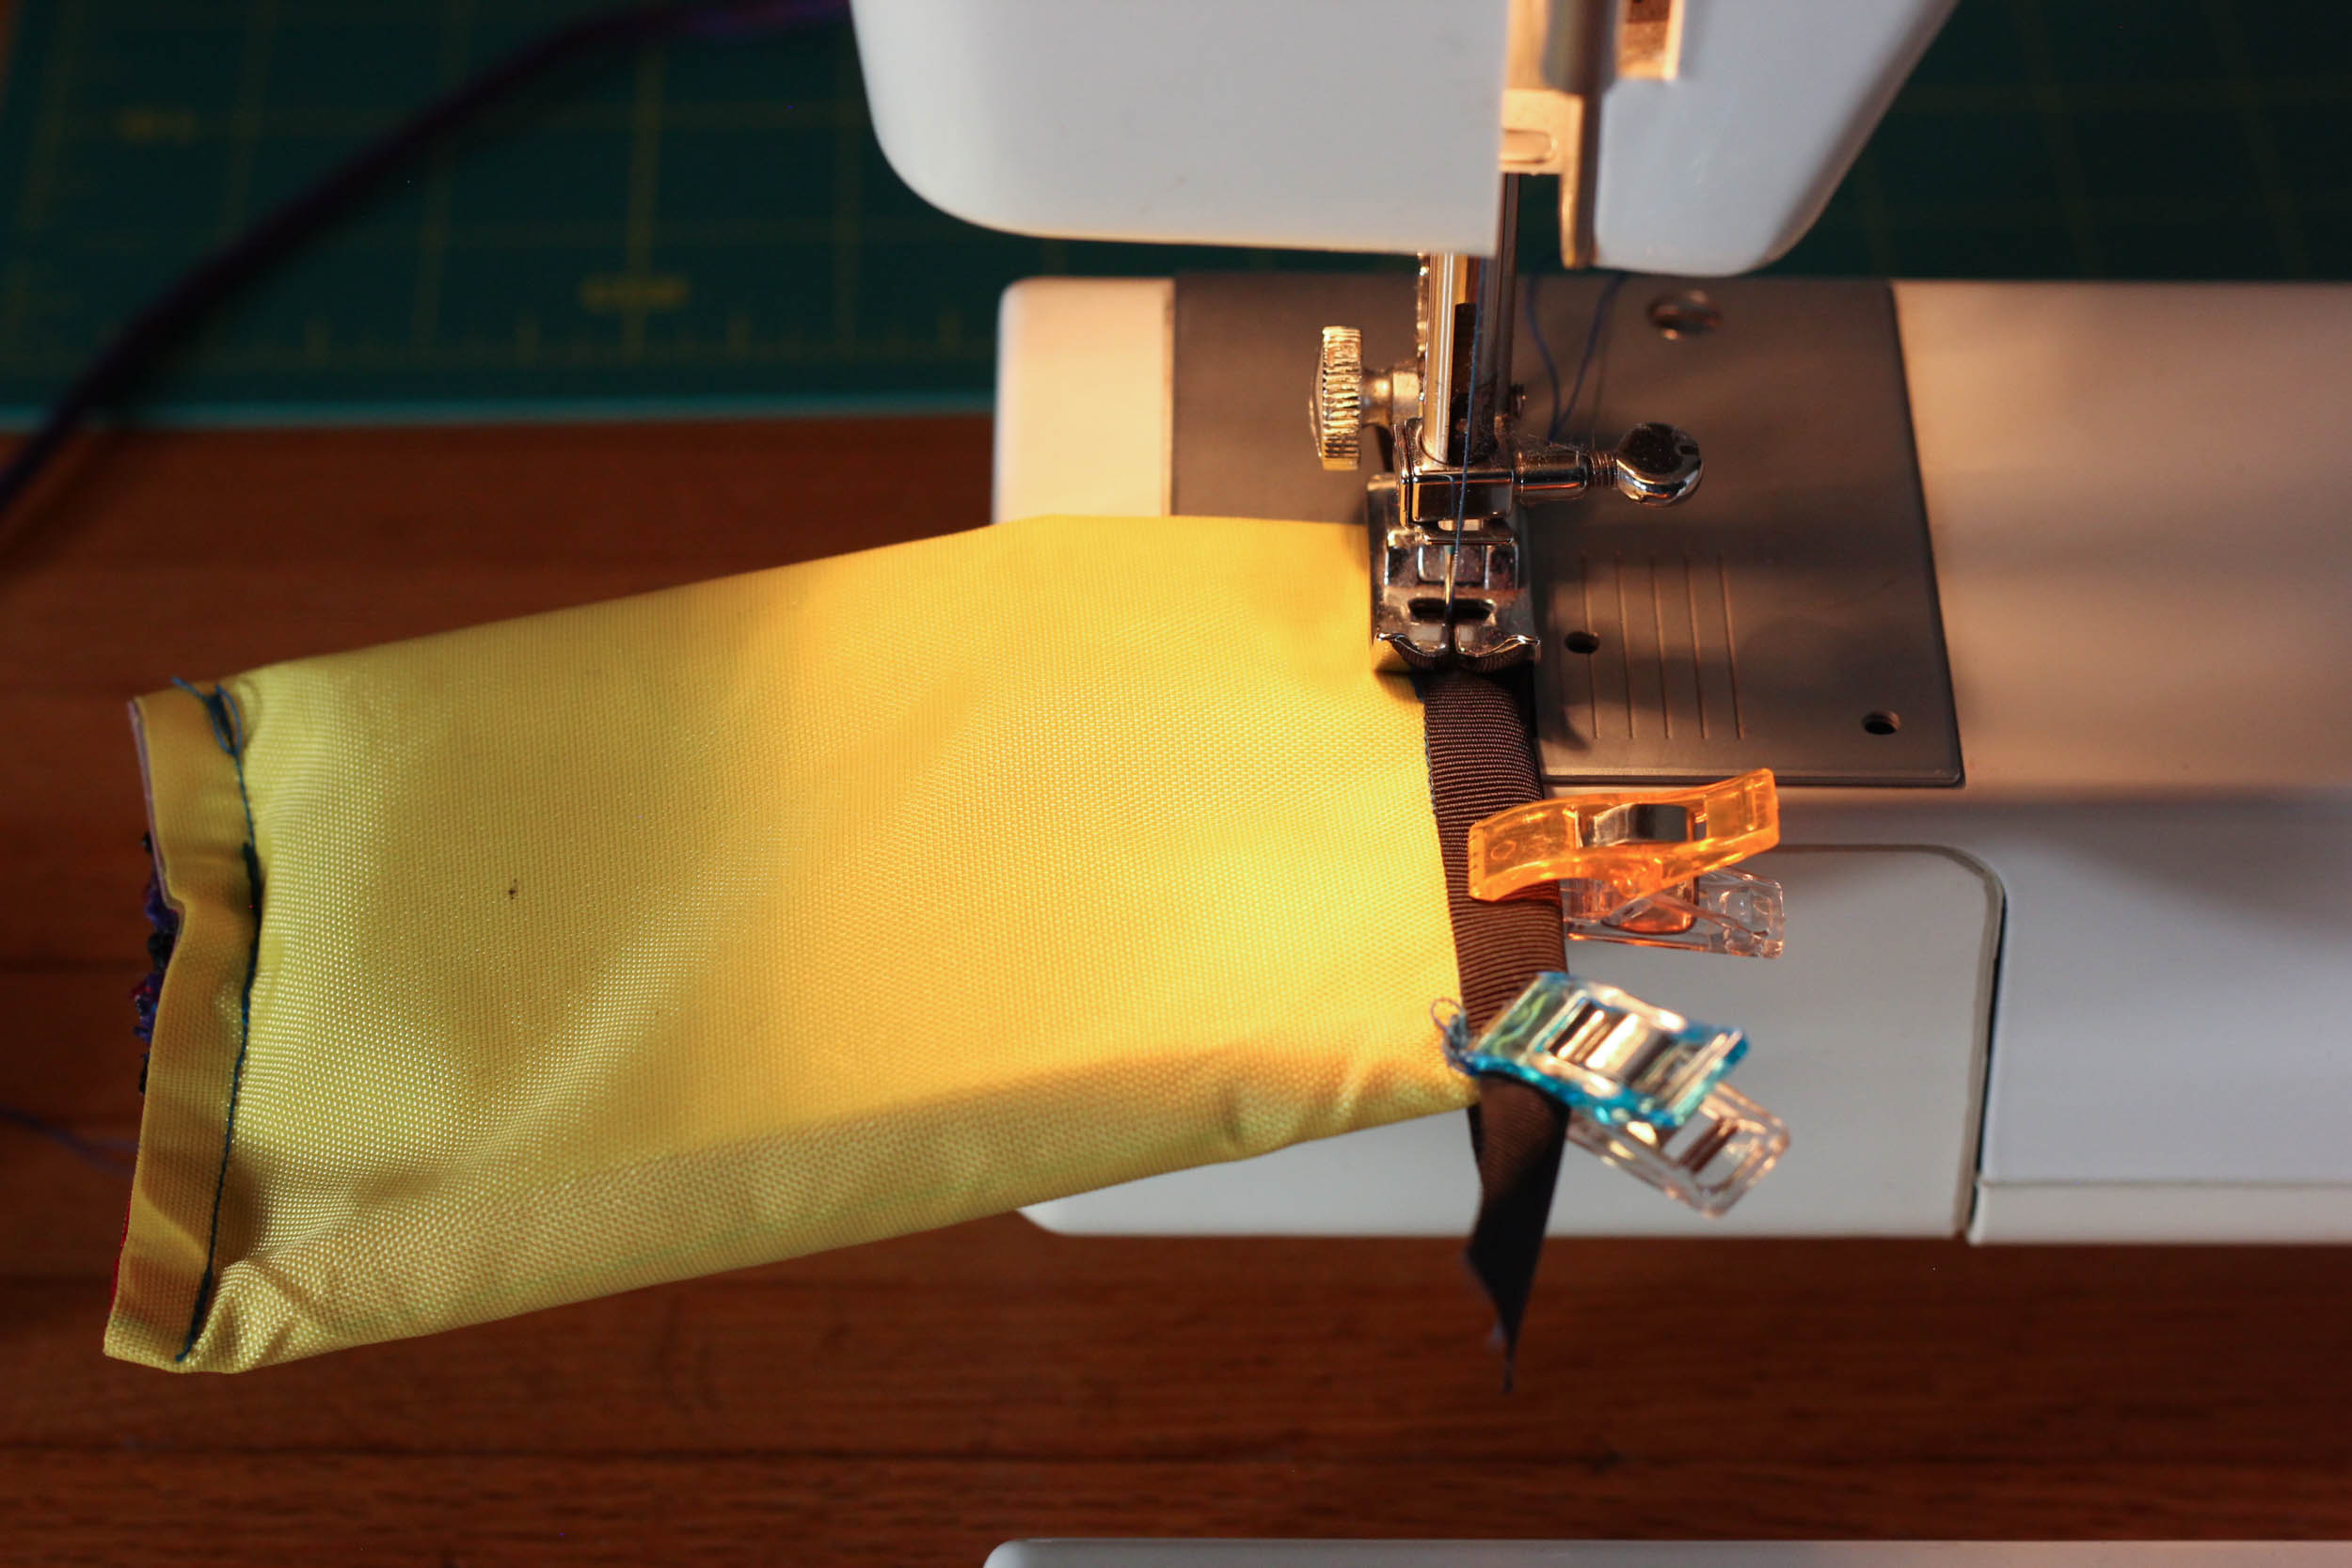
Step 4: Sew the Side with Webbing

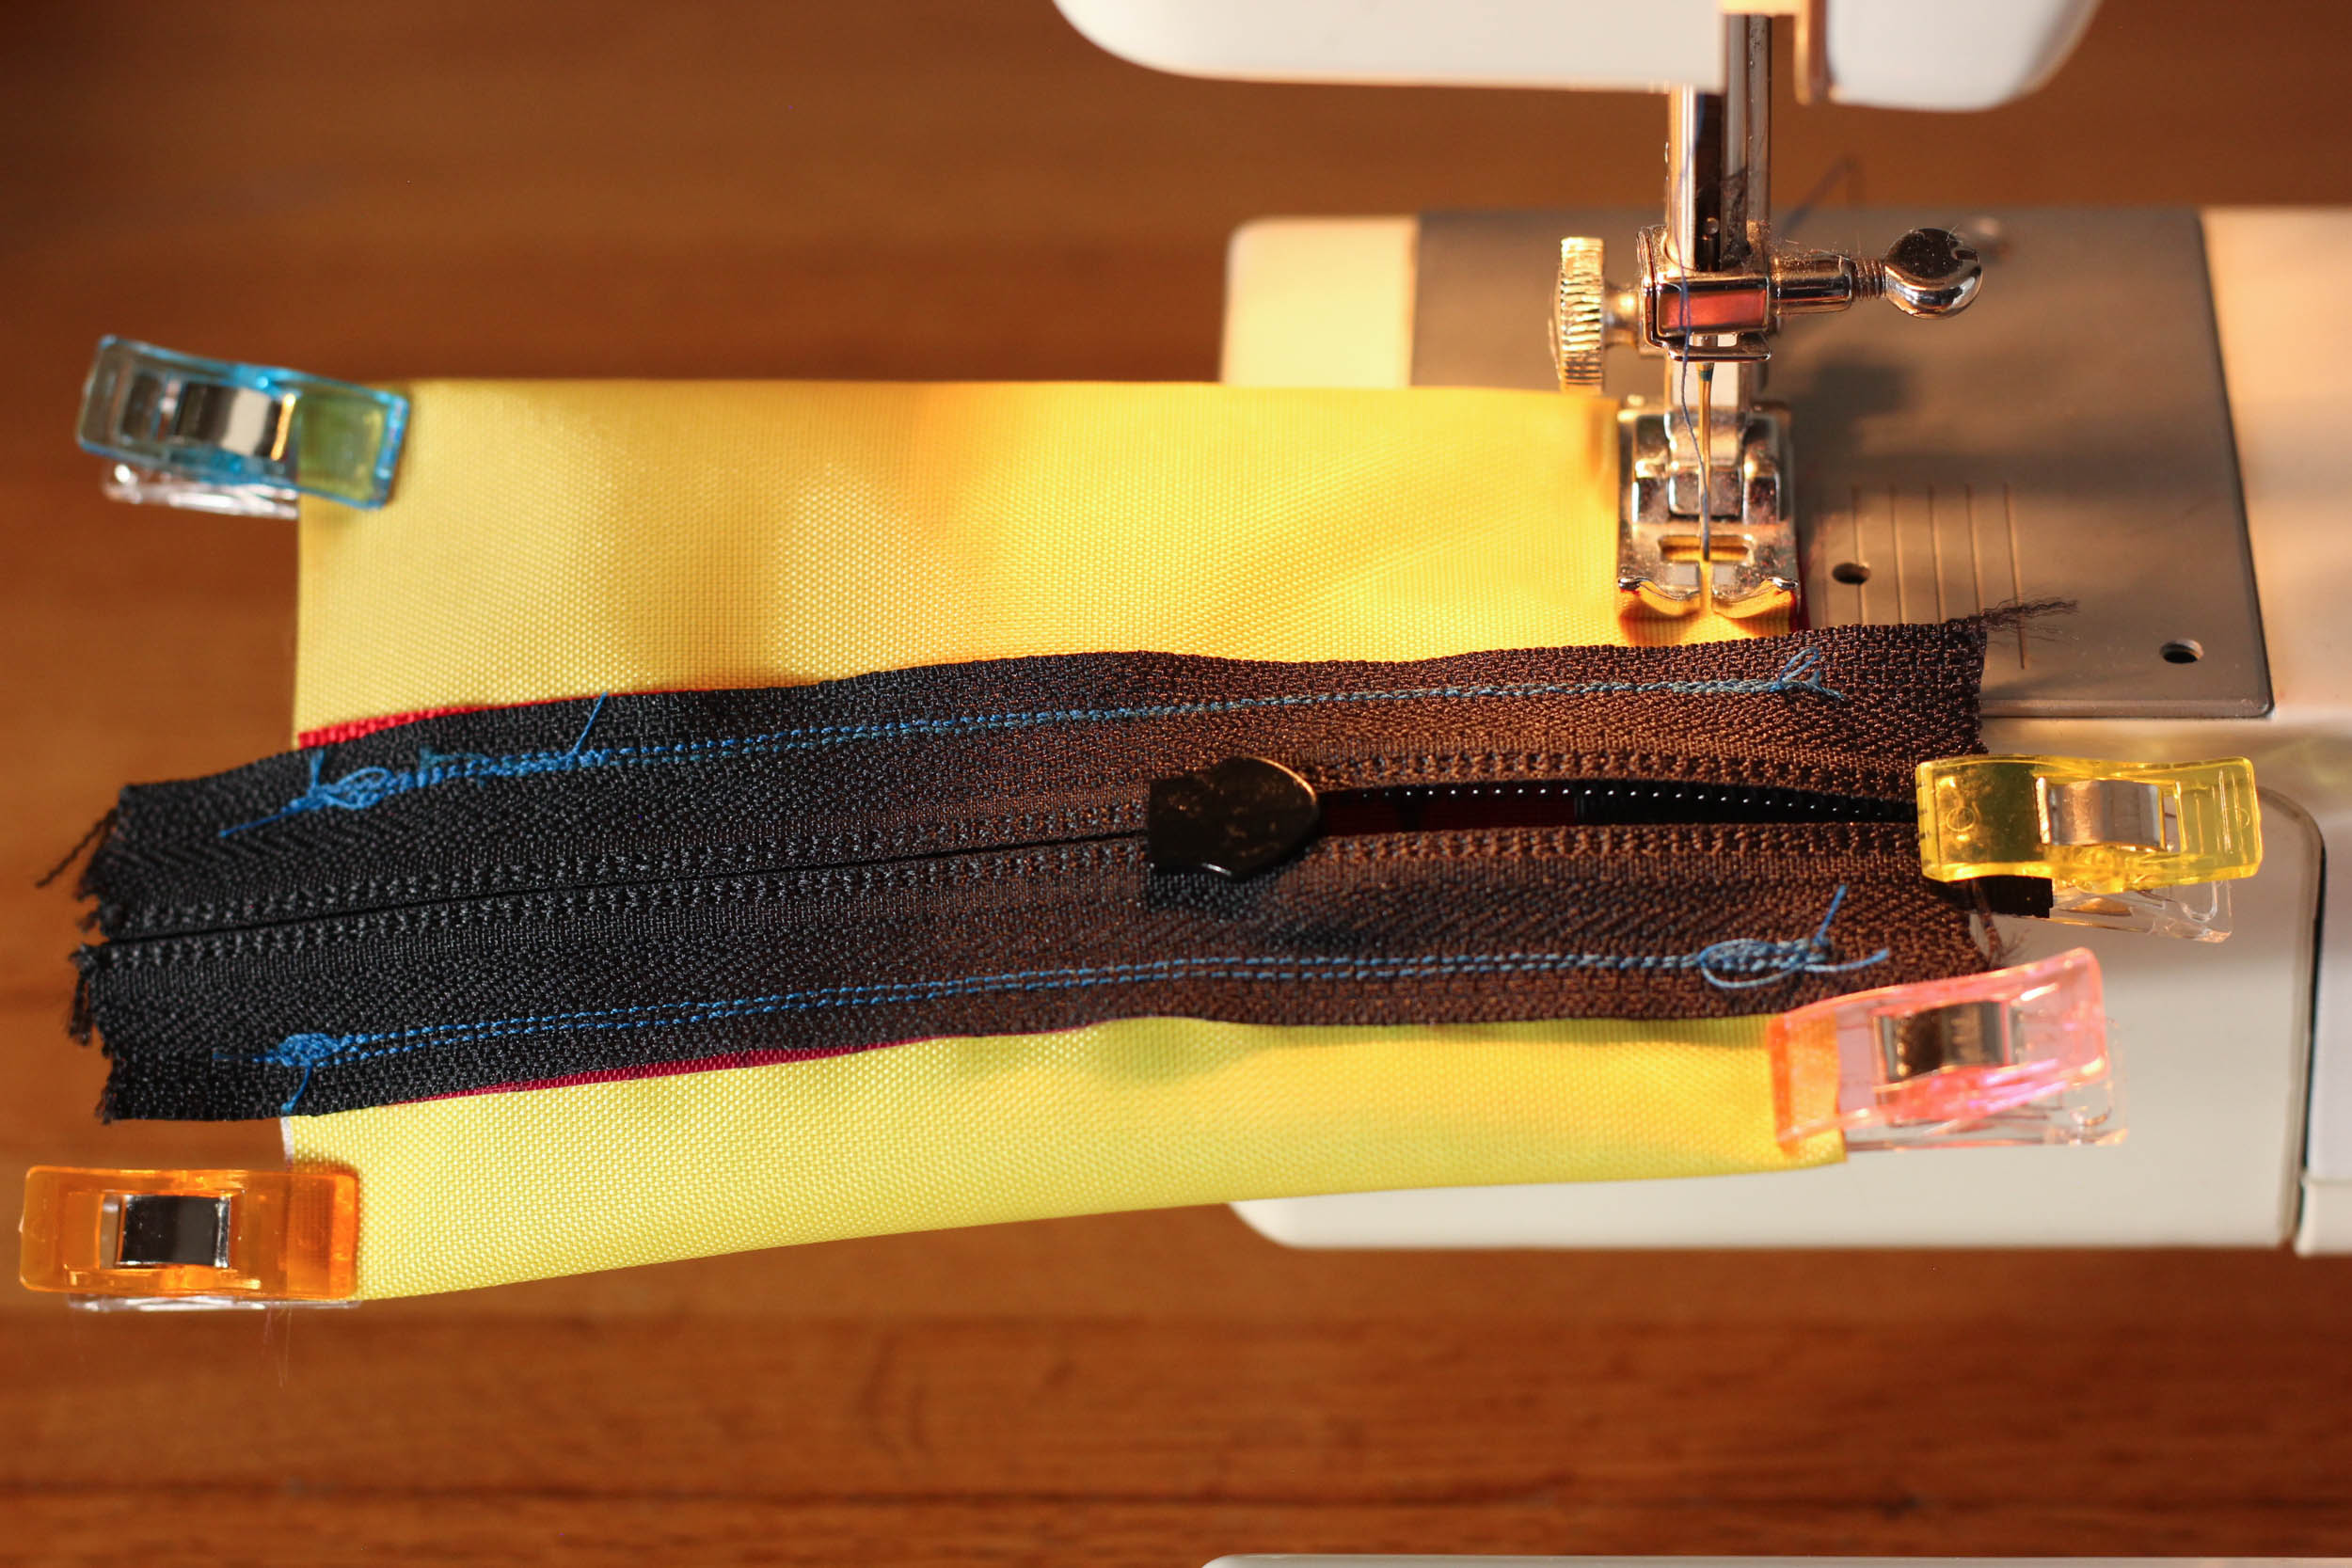
Turn the pouch inside out and line the zipper up where you want it. I like my zipper to be about ½” or ¾” from the top. You now have two seams left to sew.
Cut a 3” piece of webbing and fold it in half. Insert the webbing into the seam perpendicular at the zipper so that the folded side is now inside the pouch (it will be on the outside after you turn the pouch right side in at the end). Sew the edge.
Tip: I usually like to sew back over the zipper to secure it.
Step 5: Sew the Side with Paracord
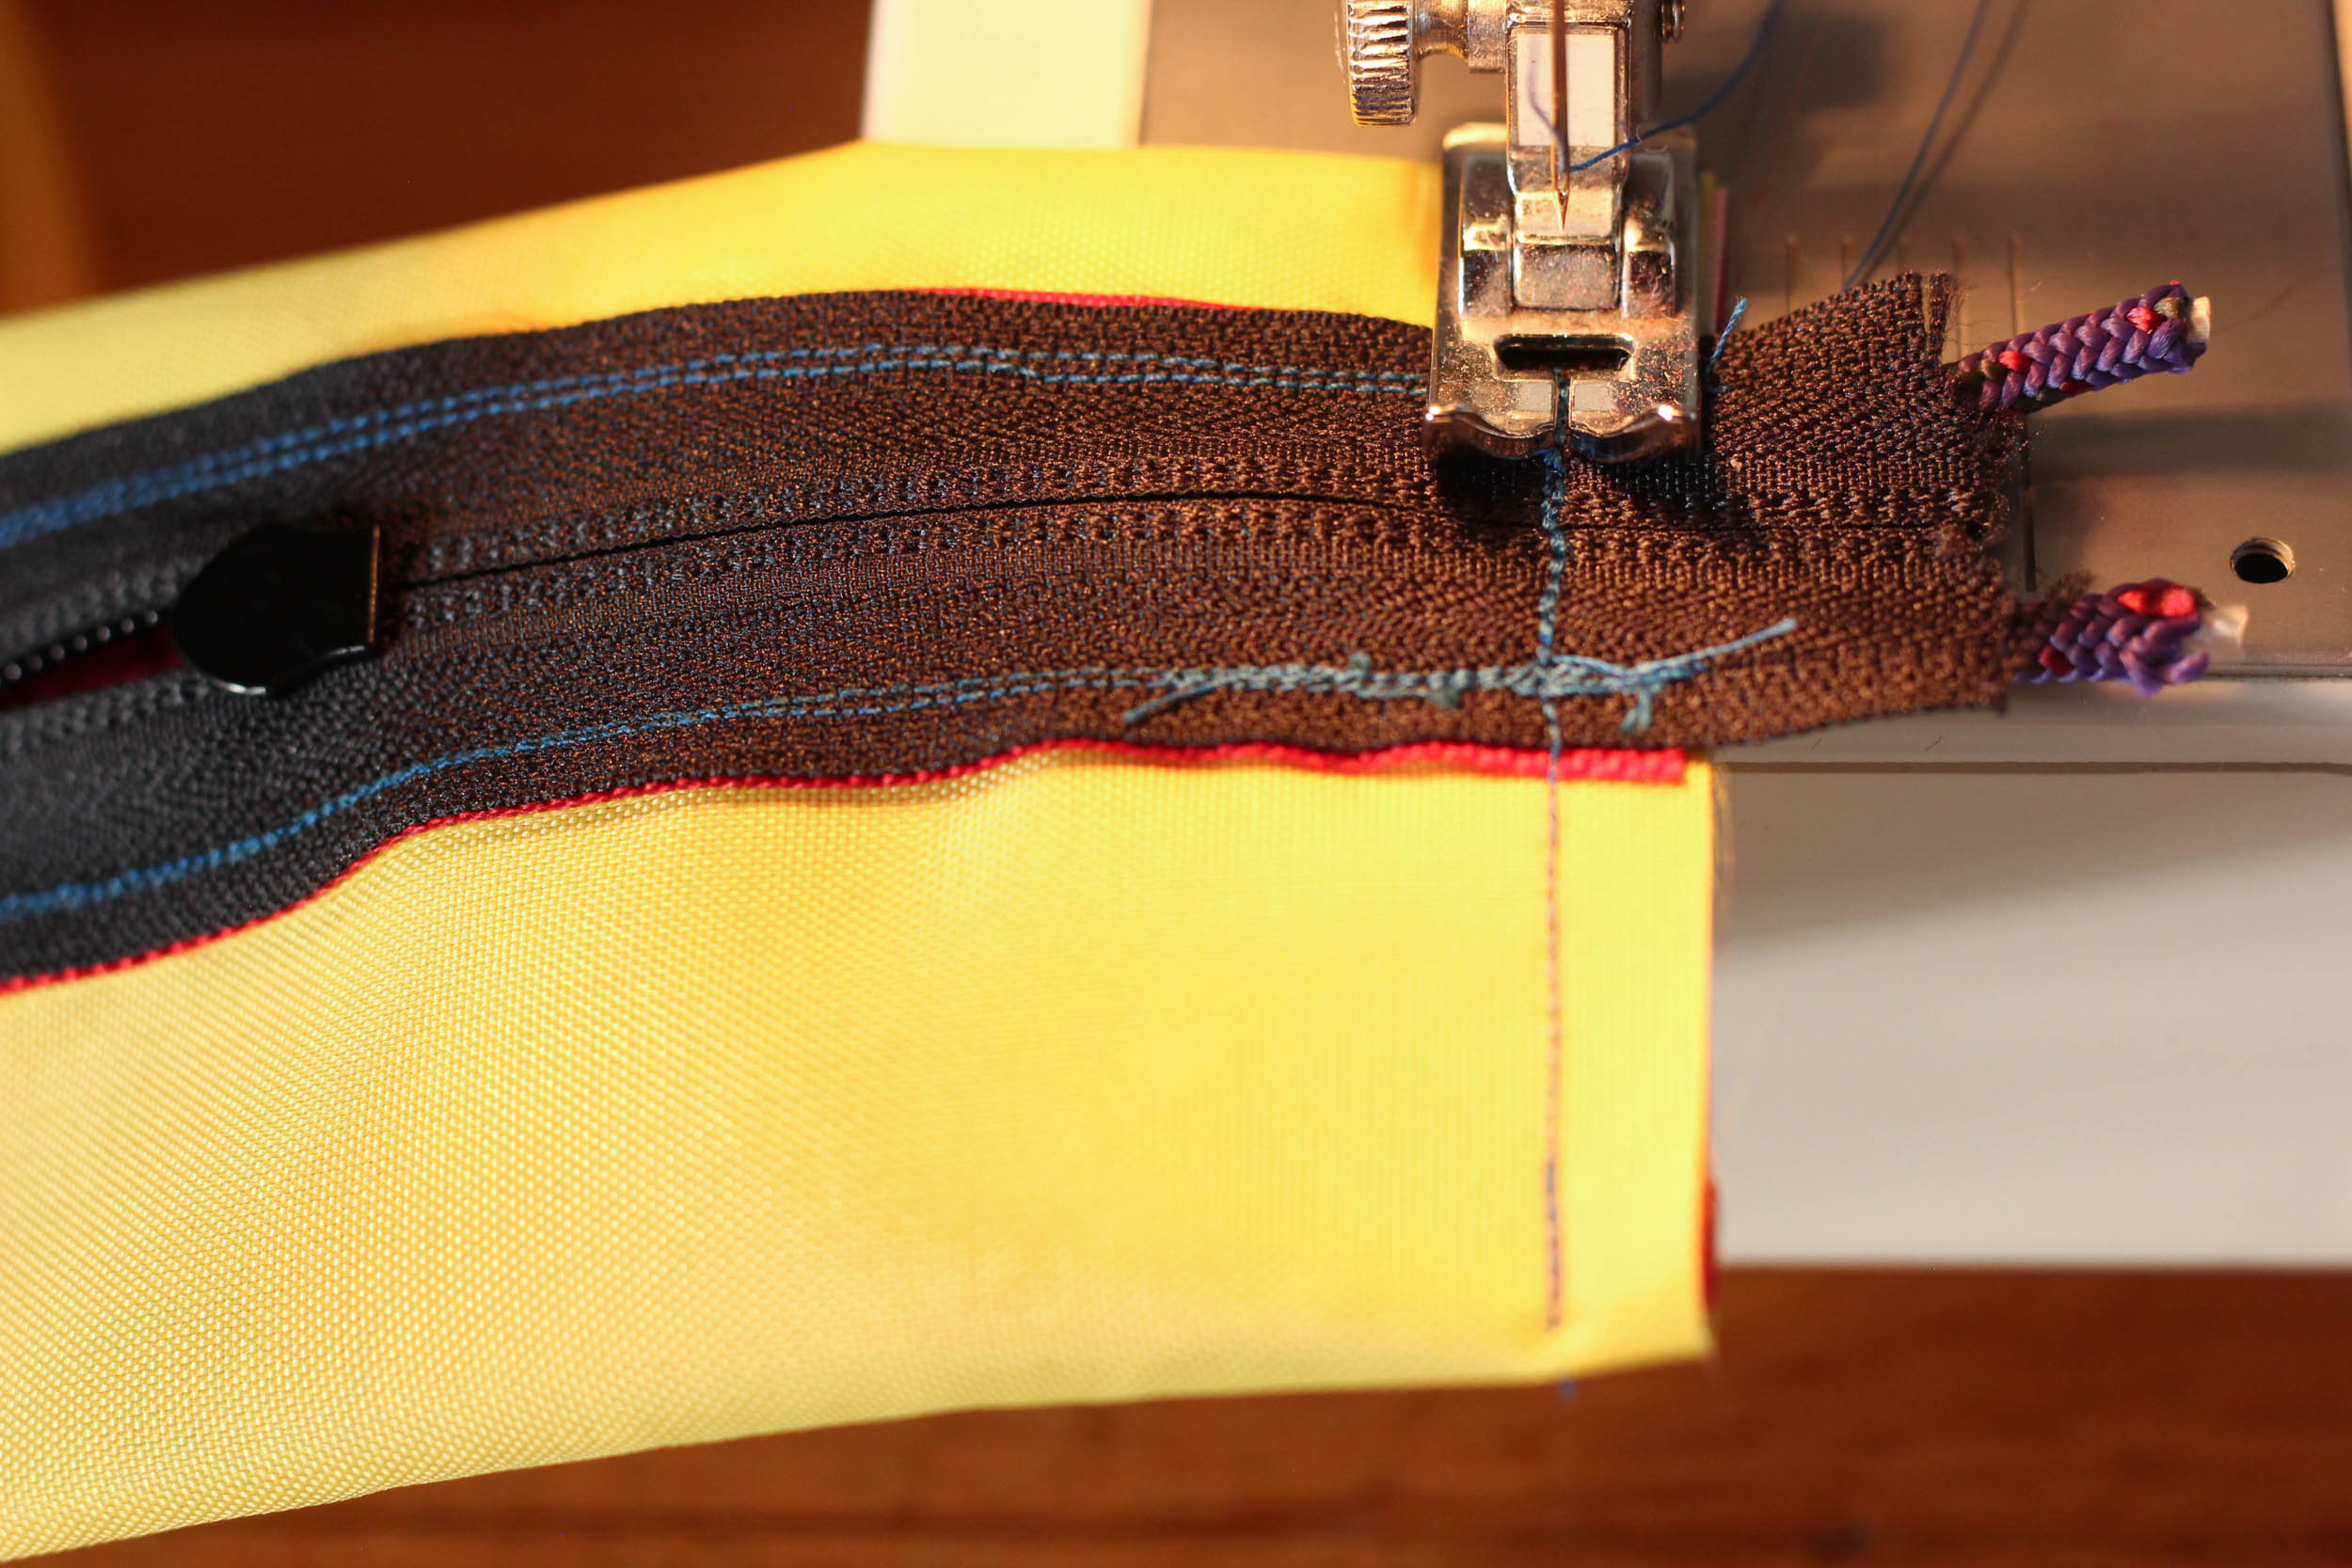
Cut a 4” piece of paracord and insert it into the final seam perpendicular at the zipper so the folded side is now inside the pouch (it will be on the outside after you turn the pouch right side in at the end). Sew the edge and go over the zipper and paracord twice.
Tip: The side with the paracord can be used to clip your trail wallet to a carabiner, keyring, or wall hook.
Step 6: Finish the Edges
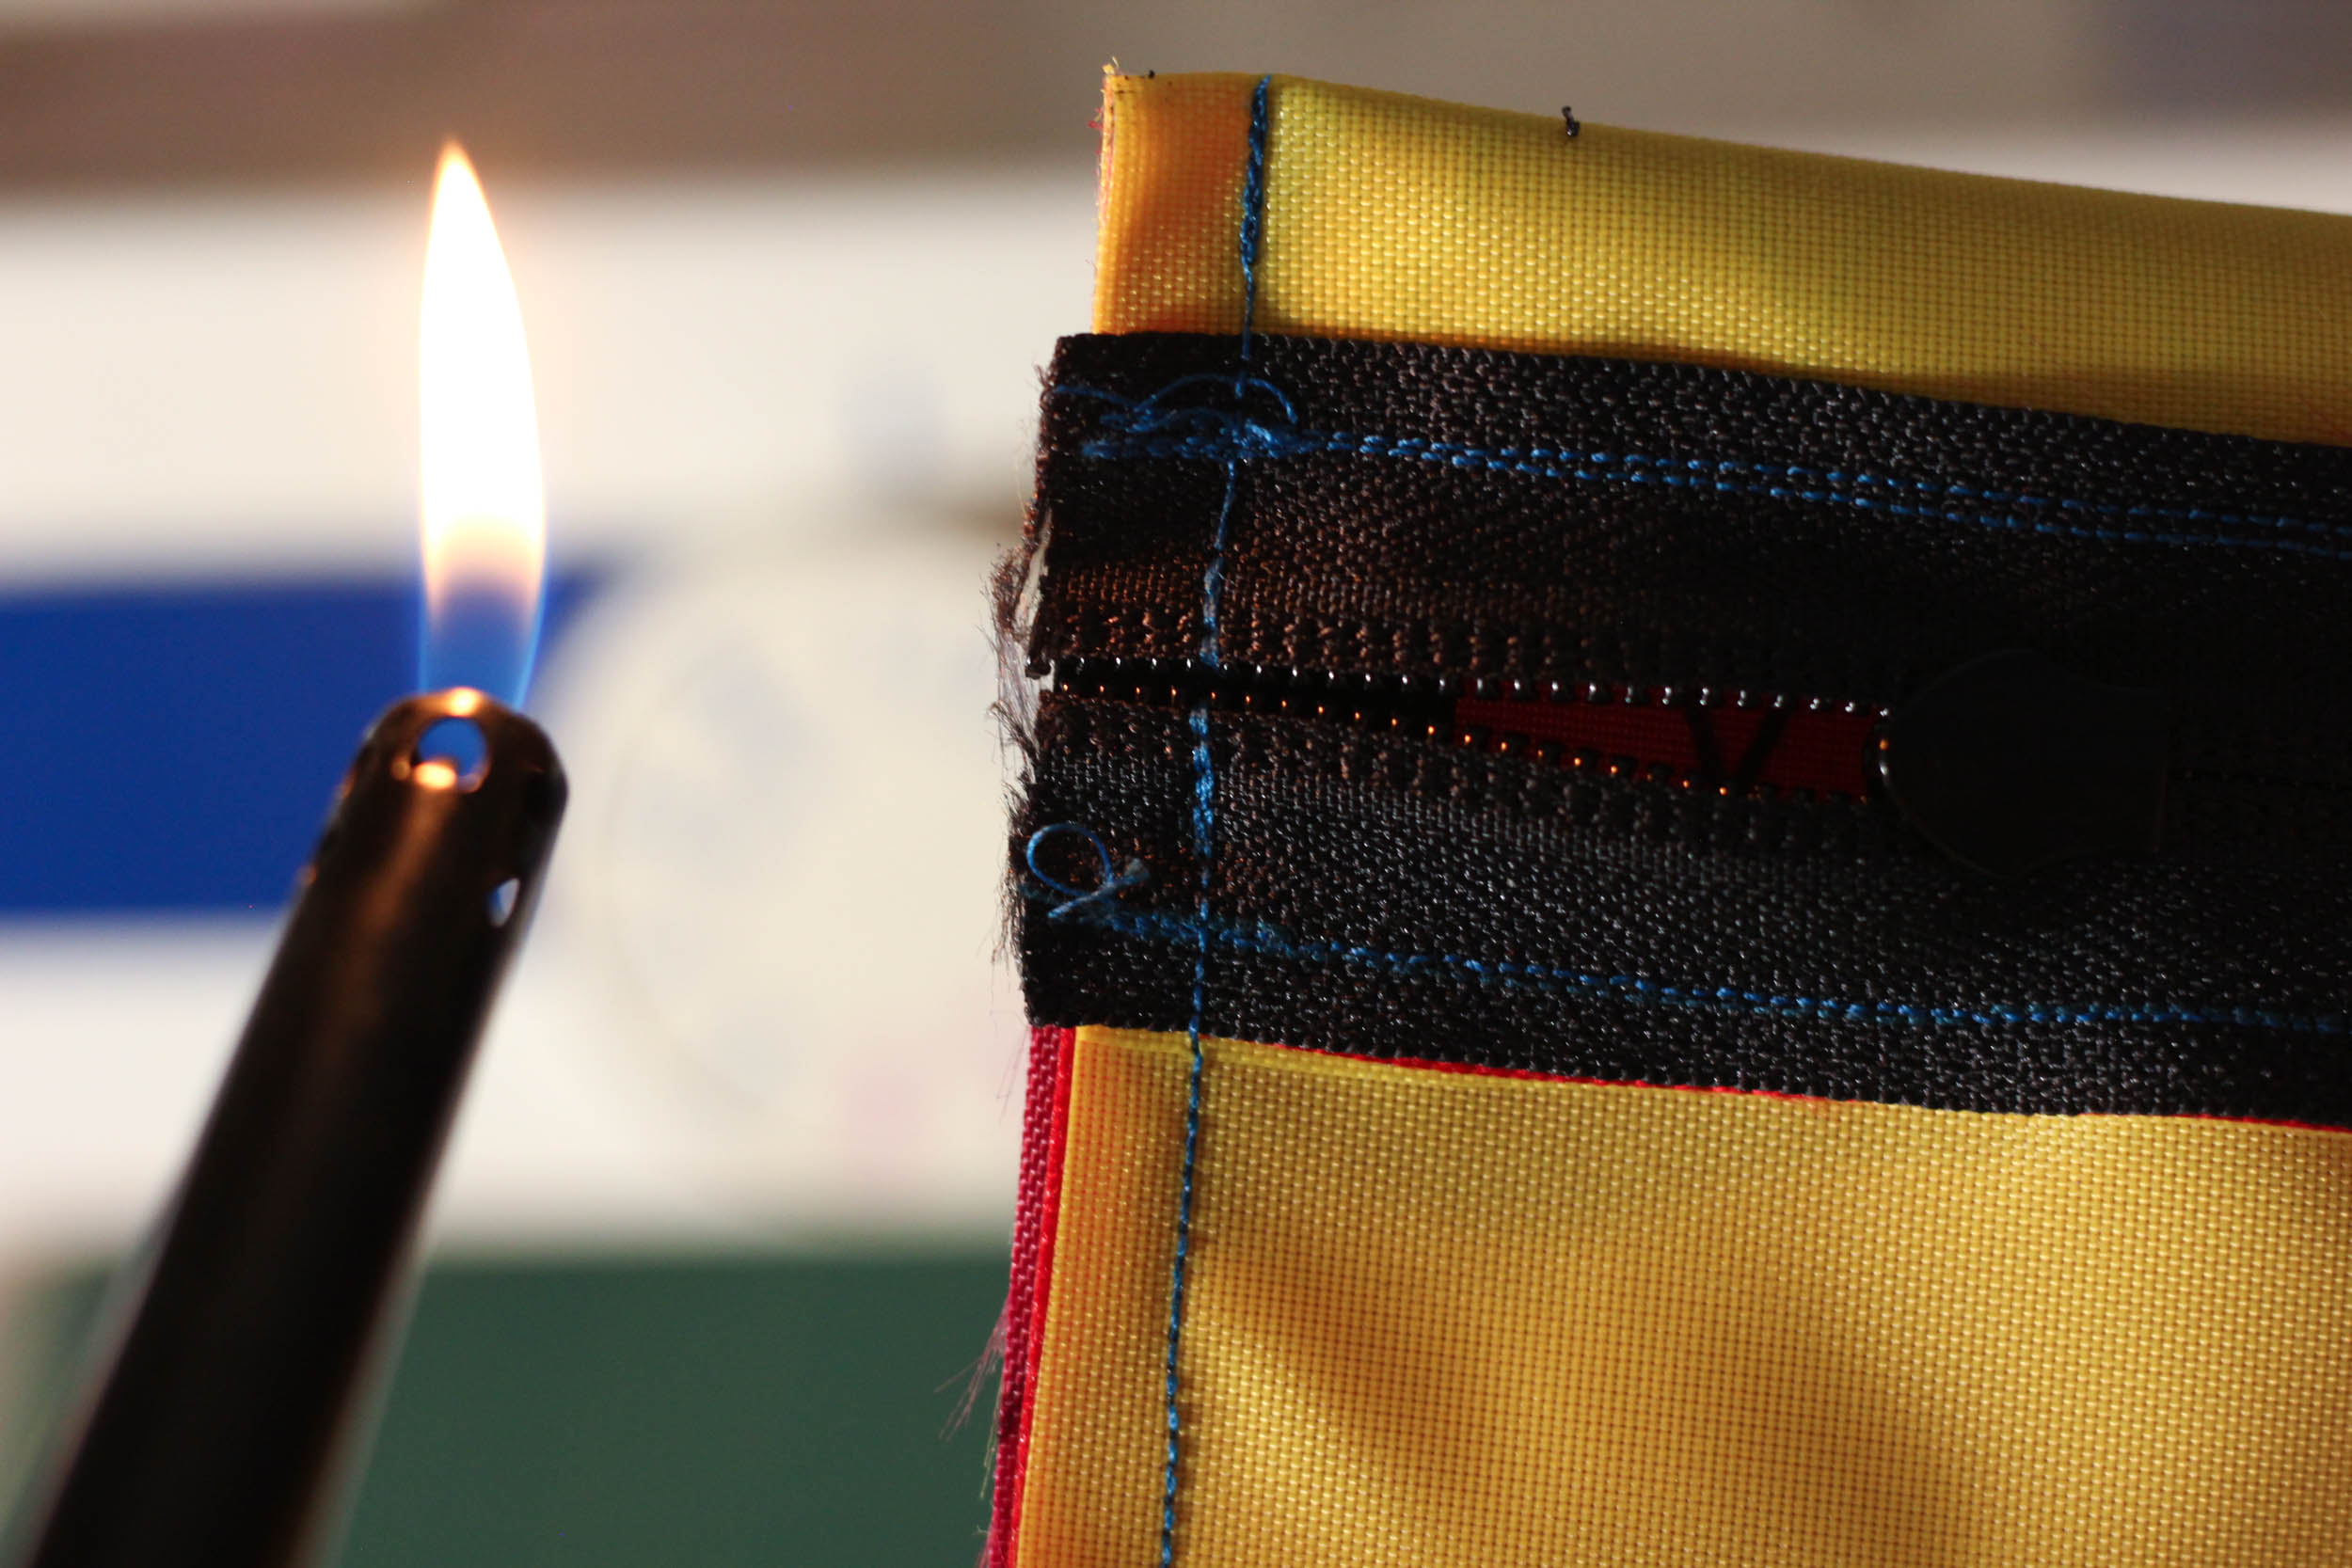
Cut off the excess webbing, paracord, and zipper from the sides. Use a lighter to burn and seal the raw edges of the paracord and webbing to prevent fraying, but make sure not to melt any of the pouch fabric.
Optionally, add grosgrain edging to the side seams to prevent fraying. This will make you look like a pro. Trim and burn the raw edges of the grosgrain.
Tip: Synthetic fabrics like this will burn or shrivel up very easily, so test the flame on a sample piece of fabric first!
Step 7: Turn Right Side In and Add Paracord to Zipper

Turn your trail wallet right side in and use a pointed object to push the corners out. For the finishing touch, add a piece of cording to the zipper. You’re all set. Enjoy your trail wallet!


About Josh Rizzo
Josh Rizzo is a bikepacker who thinks that short adventures are often more fun than long ones. He loves making his own gear, bringing the family along for adventures, and exploring the Northwoods of Wisconsin with a stem bag full of gummy bears and beef jerky.
Looking for more DIY projects? Check out our guides to making your own fanny pack, fire starters, stem bag, ultralight beer can stove, cycling cap, and lots more by following the hashtag #MYOBG. If you make a trail wallet following this tutorial, we’d love to see a photo in the comments below!
Please keep the conversation civil, constructive, and inclusive, or your comment will be removed.
We're independent
and member-supported.
Join the Bikepacking Collective to make our work possible:


