


Shooting From The Saddle Vol. 02: Bikepacking Photography Gear


What’s the best gear to capture great bikepacking photos? Here are bikepacking photography gear lists and insights from six noteworthy photographers …
PUBLISHED Jun 10, 2015
In the first installment of Shooting From the Saddle we asked six fantastic photographers to impart their uncanny photographic wisdom via several bike photography tips. In Volume 02, each photographer provided their gear list, more great bikepacking photos, and insight into their choice of gear. To find out more about each photographer, check out Volume 1.
What camera gear do you carry and how do you carry it?
My gear changes depending on the length of the ride, really. For most of my commercial or editorial photo shoots I will use my Canon 5dmkiii with a large array of lenses. I recently invested in a micro 4/3 system for my bikepacking and longer ride shoots. The Olympus O-MD E-M1. With it I have a 17mm 1.8, 45mm 1.8, 40-150, pancake 15mm and 7mm. I am able to fit the entire setup into a single compact camera bag that I will typically carry on my back. I would like to look into other carrying options, but I am usually riding rough single track, so keeping the camera on my back is the safest option.
The micro 4/3 system allows me to carry a camera body and four lenses that weighs less than my full sized camera and one lens. Not only that, it is extremely compact saving room in your bags. The image quality from the Olympus has been great and the two 1.8 lenses are super sharp. This camera has proved to not be fast enough for high action, so I keep it to shoot bikepacking.


I tour with a full frame Canon 5D Mk2 DLSR. Given it’s brick-like weight and proportions, it’s not a camera I’d recommend to everyone. The body alone tips the scales at over 800g. Factor in two or three lenses, and my camera gear soon weighs far more than anything else I carry.
However, it’s hard to quibble about its image quality, especially in low light. Its battery life is excellent, which is particularly beneficial in the backcountry.and there’s a full frame ‘look’ that I really like. Although I often begrudge lugging it around, I rarely begrudge the images it’s capable of capturing. To me, it’s worth it.
This said, if I was starting afresh and looking for more than a high end compact camera, I’d be considering Fuji, Sony and Olympus’ latest range of mirrorless models, any of which are nigh on perfect for bikepacking photographers. If you’re aiming to broaden your photographic horizons, mirrorless cameras offer all the creative control and lens options of a DSLR, without most of the heft and space.
As for lenses, I have a tiny, Canon 40mm 2.8 pancake lens that lives on the camera most of the time. I find it offers a very natural look, perhaps because its field of view is closest to what the human eye sees. Being a prime, it’s fast enough to isolate subjects from their background particularly well; I find it well suited to street photography, situational portraits and detail shots. I also tend to carry a wide angle prime – a 24mm 2.8 – which I enjoy using for shots of empty dirt roads, as well as big panoramas and interiors.
As awkward as it is to carry, perhaps my favourite lens is my 70-200mm f4, though I’ll only haul around if I’m travelling in a group. It’s perfect for compressing the kind of massive mountain landscapes I love to explore. Add in a rider, and it helps convey a real sense of magnitude that’s hard to achieve without a long lens.”
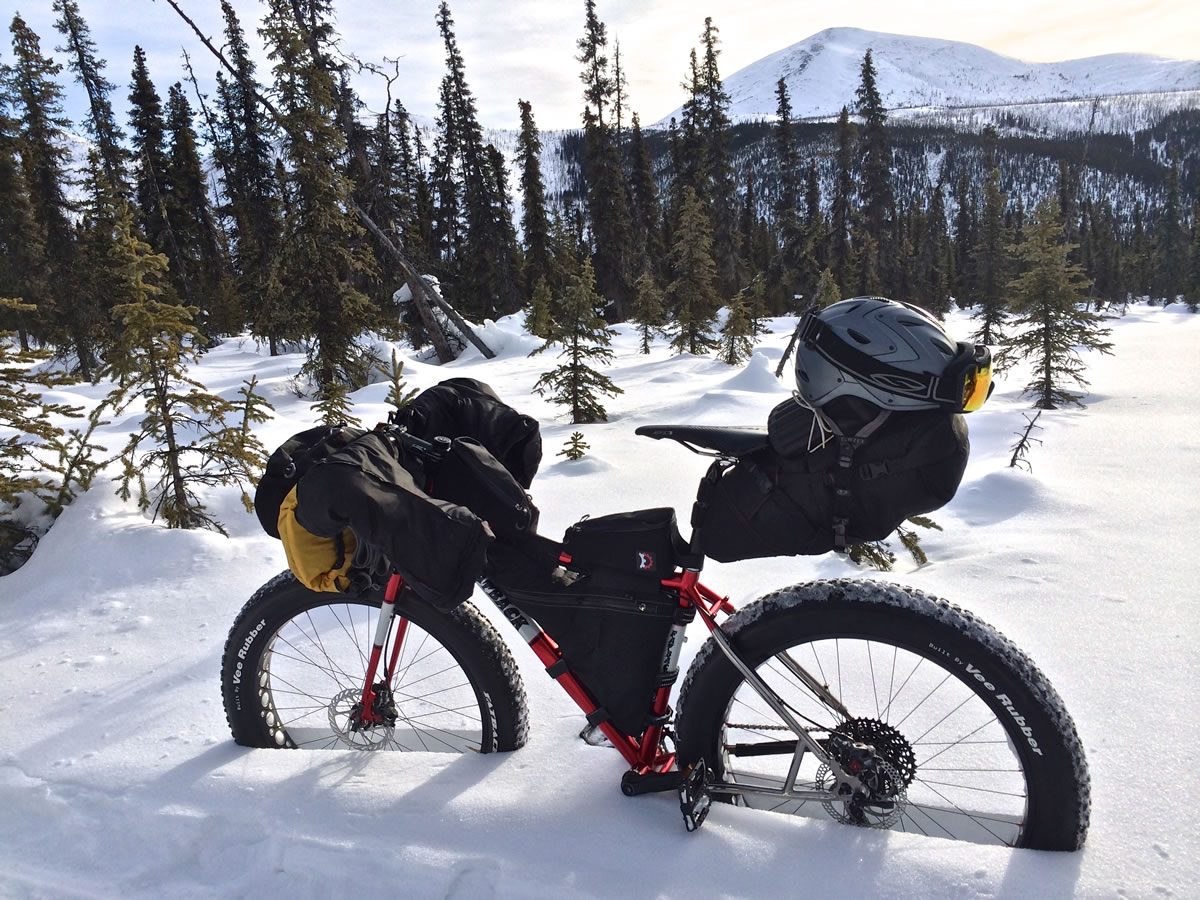
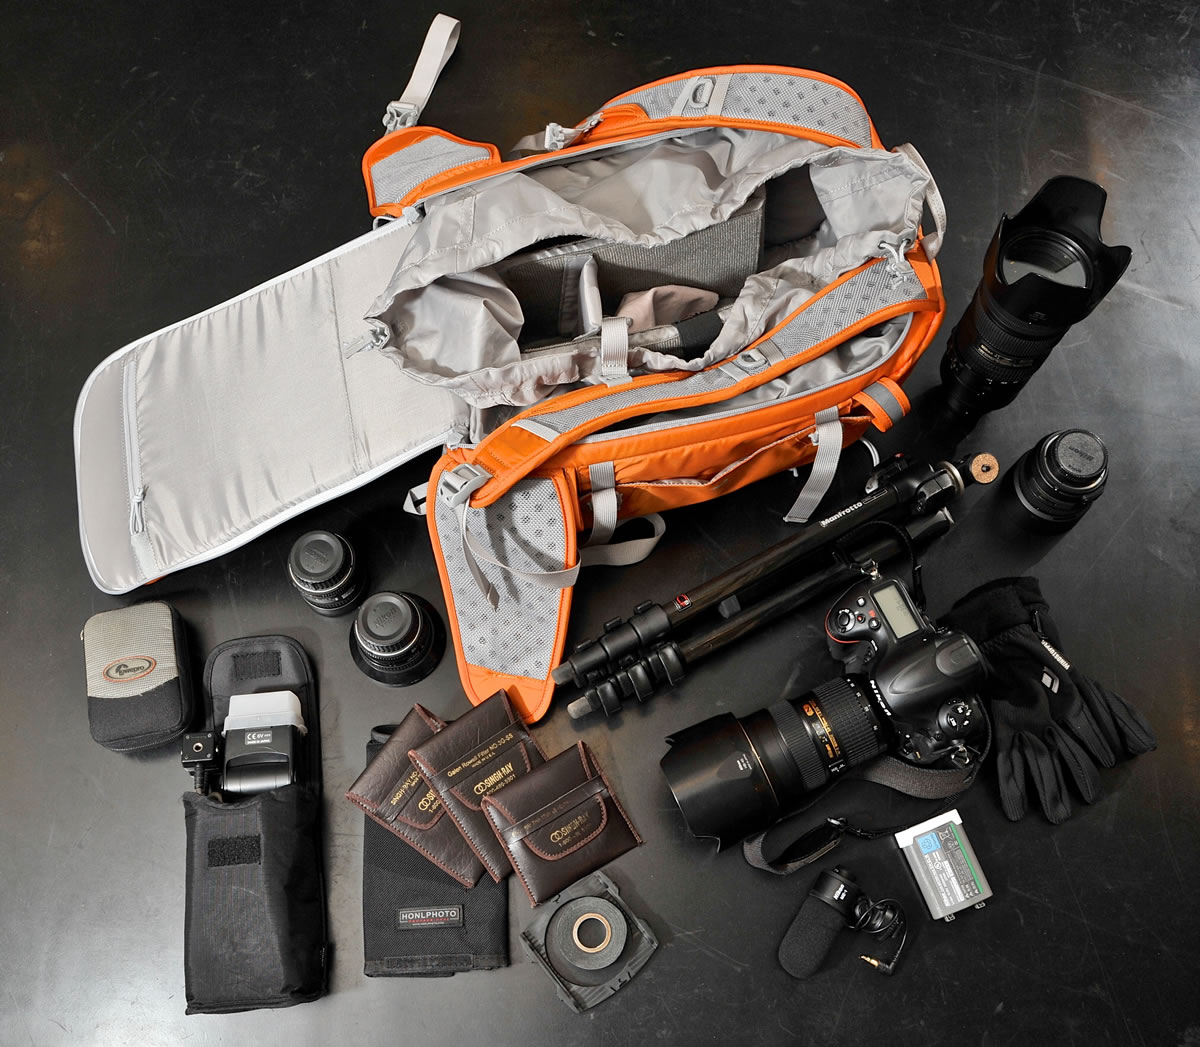
Obviously weight and bulk is a primary concern for photographing backpacking trips. The Nikon D810 kit outlined below is as light as we go while still being able to produce high quality work. Plus the D810 is a great camera for making crisp night pictures at camp, especially when paired with the 50mm f1.4 lens. The lightweight carbon tripod lets me setup for long exposures or astrophotography.
It’s different when out for a day shooting riding action. The priority is put on camera speed, both focus tracking and frame rate. The Nikon D4 excels at both. When the riders we’re out with ‘go big’, we want to be able to capture that, no excuses. It’s also necessary to be able to focus track when a rider is racing towards the camera.
I’m always carrying a pack of some sort and a lot of the photo gear goes on my back. Lenses are packed in neoprene pouches for extra protection in case of a mishap (yep, I’ve took a couple diggers while carrying a camera pack). Camera and lens usually go in the pack for day riding, but I carry them in a chest pouch for backpacking. I’m not shy about distributing the weight among our team; most riders are stoked for the training weight.”
- Nikon D810 Camera
- Nikon 16mm f2.8 lens
- Nikon 50mm f1.4 lens
- Nikon 24-120mm f4 lens
- Nikon SB-900 flash
- Pocket Wizard Radio Triggers
- Memory Cards & Batteries
- Light Carbon Tripod w/Ball Head
- Flask Fine Añejo Tequila
- Nikon D4 Camera
- Nikon 20mm f2.8 lens
- Nikon 24-70 f2.8 lens
- Nikon 70-200 f2.8 lens
- Nikon SB-900 flash
- Pocket Wizard Radio Triggers
- Clamp or Small Tripod for Flash
- Portable Softbox for Flash
- Memory Cards & Batteries
- Vodka Pocket Shot
- 8 oz Red Bull

I like to keep it pretty simple. No fancy bags. Just lenses and body. And even those ain’t that nice since I like to break things.
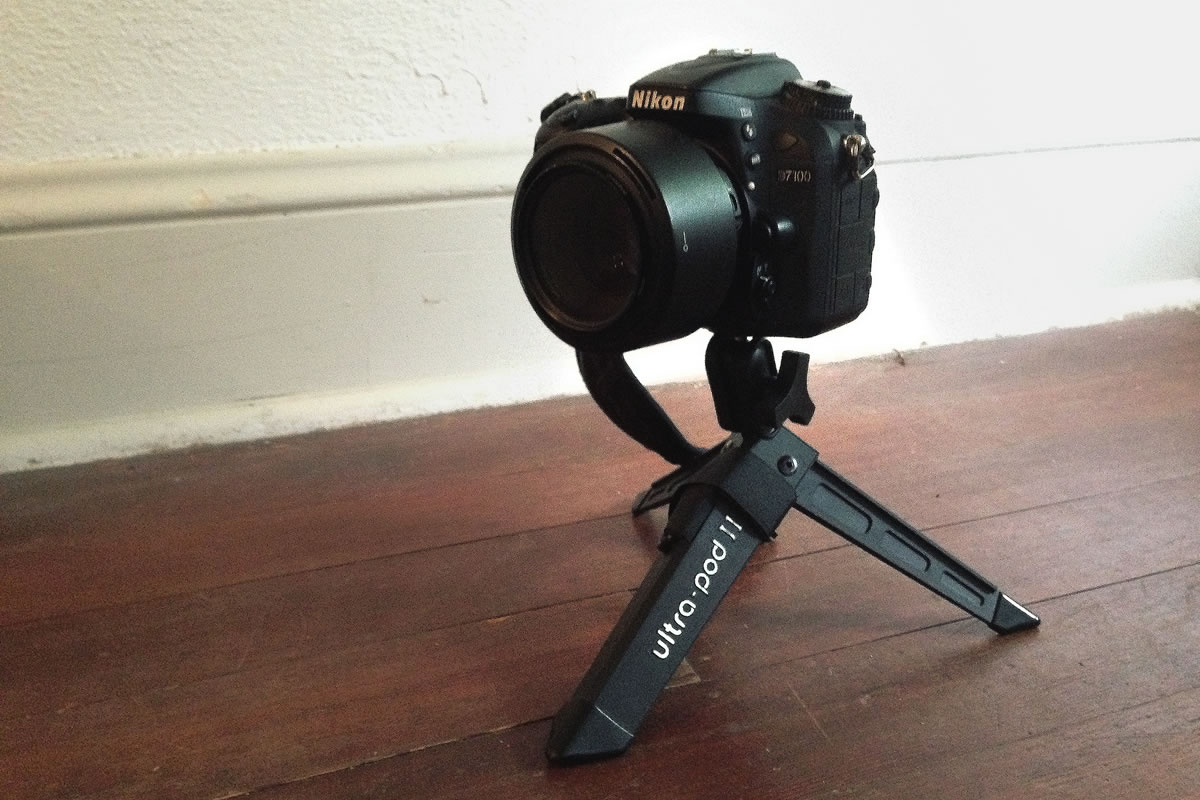
Nikon D7100 – A great camera so far, but much like the Adobe Suite I feel like I’m only using 20% of its capability. I had the entry level D5100 before this which was also a great camera. In my opinion lenses are so much more important than the body, and your feet are so much more important than any gear. Photography is about moving around and finding good composition, not the latest technology.
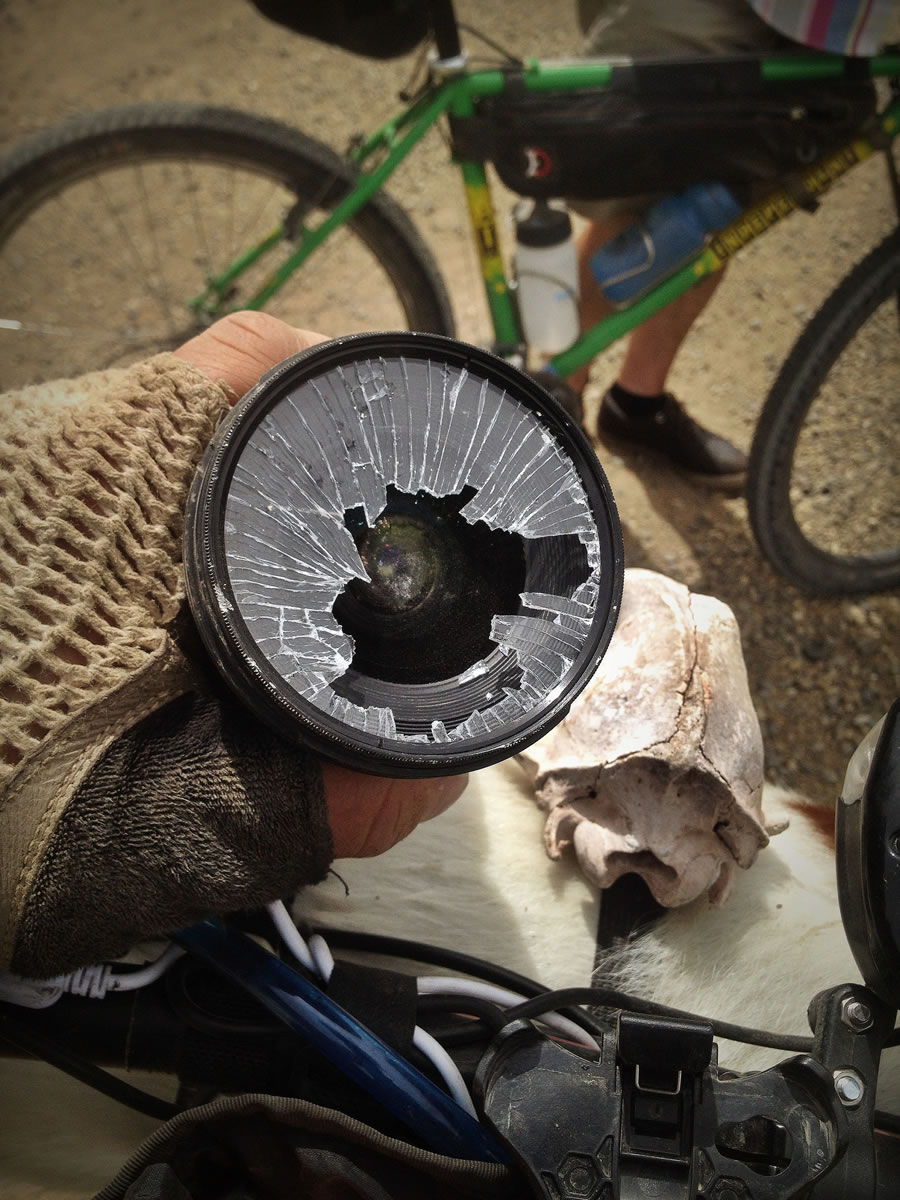
Nikkor 50mm 1:1.8 Prime – This is my favorite lens. It’s small, light, and takes fantastic photos. Someday soon I’ll splurge on the 1.4. Nikkor 35mm 1:1.8 Prime, Nikkor 55-200mm Zoom, Tokina 12-24 Wide angle, UV filters for each lens! – I’m always losing lens caps or crashing, having a filter protecting the lens is a no-brainer for me.
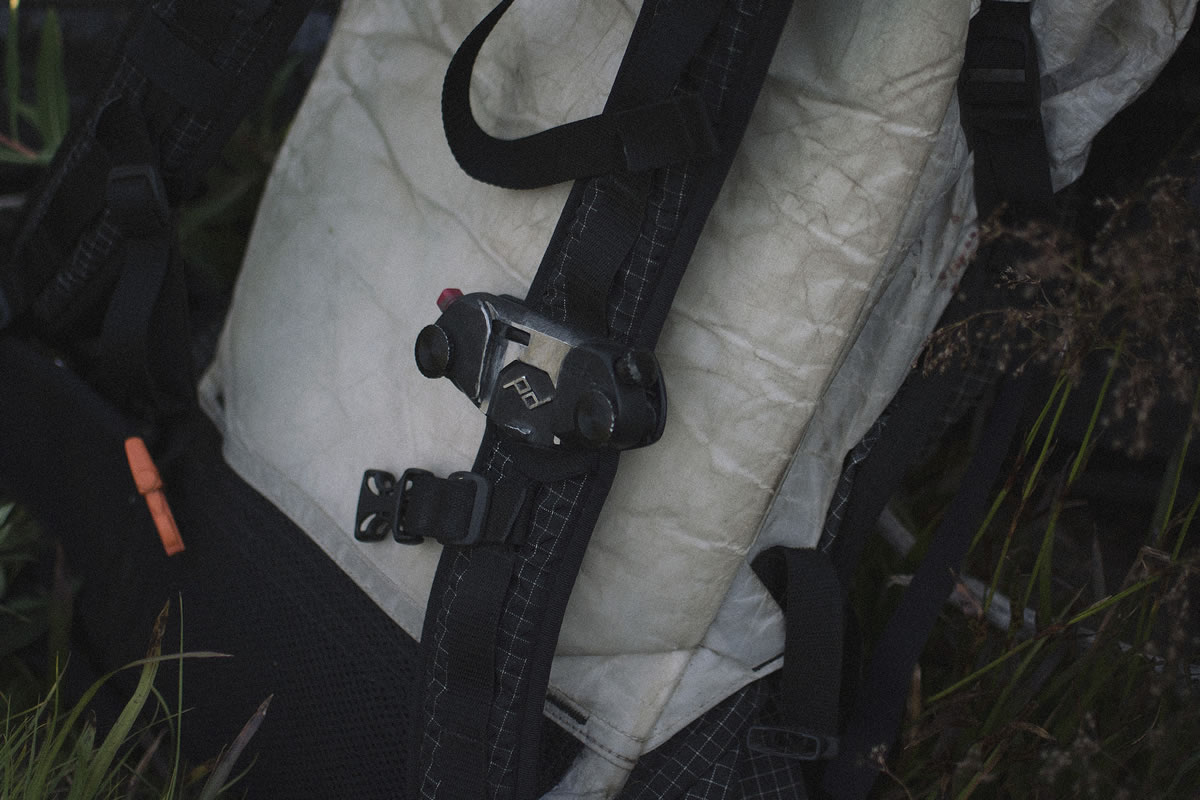

Peak Designs Capture Camera Clip – Hands down my favorite piece of camera gear. This allows for quick, reliable access to my camera while riding. I can grab and re-attach without fumbling or looking, and grab action shots or wildlife that would otherwise have been missed. Right now I’m riding with a backpack because I like having my camera on the shoulder strap, but I’m working on figuring out a better solution for attaching the clip and ditching the backpack.
Ultra Pod II mini tripod – Super handy lightweight tripod, I’d love to use it more but rarely have the time to set up shots when I’m the trail. It’s stable, collapsible, and can be strapped to branches or railings with the included velcro strap.
Eye-Fi Card – Being able to transfer photos to my phone on the road is invaluable. Which this card does, but it’s a huge pain to set up and customer service is abysmal. I just picked up the Nikon Wireless dongle but haven’t set it up yet.”
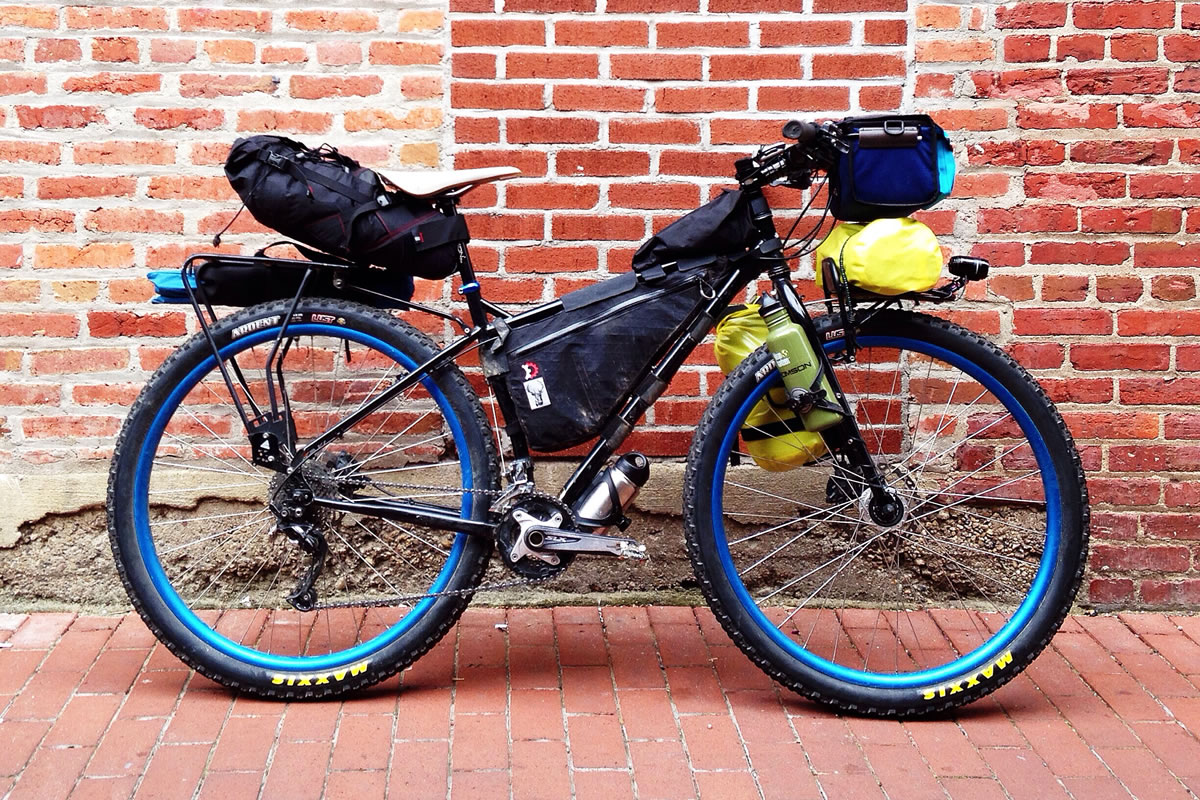
NOTE: Cover photo is by Gabe
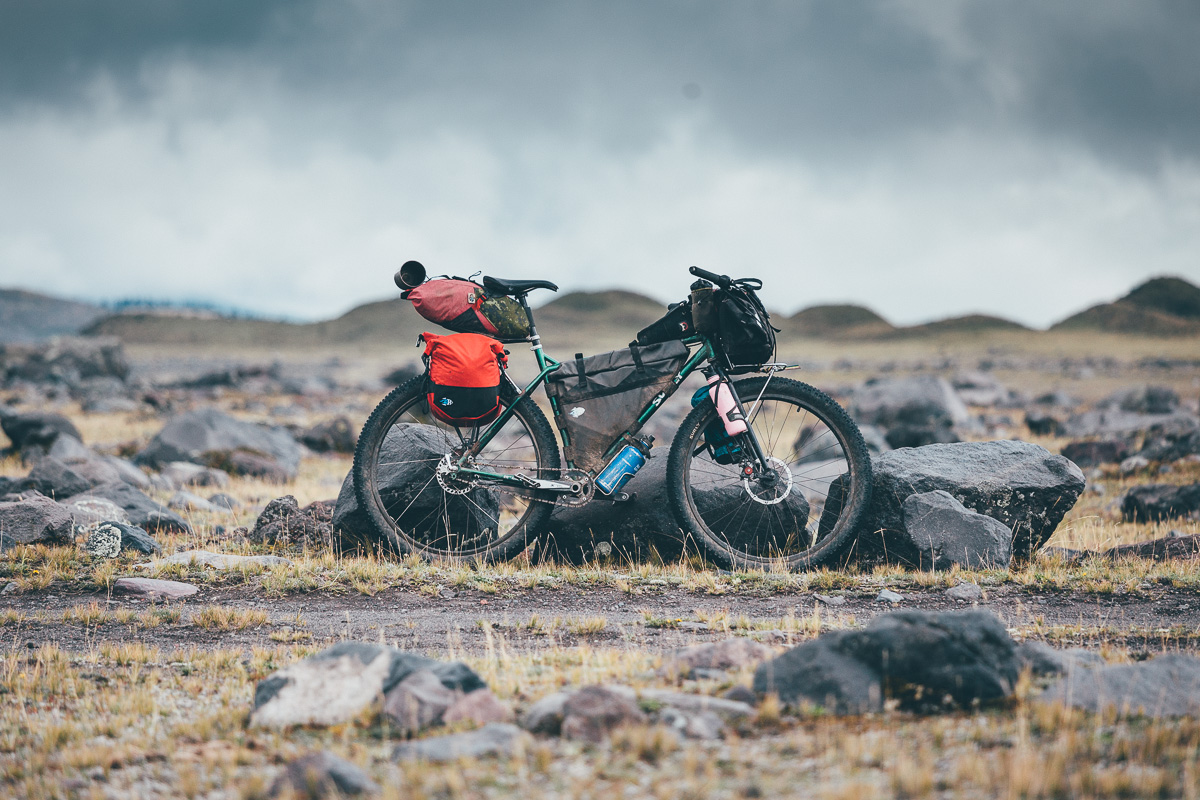
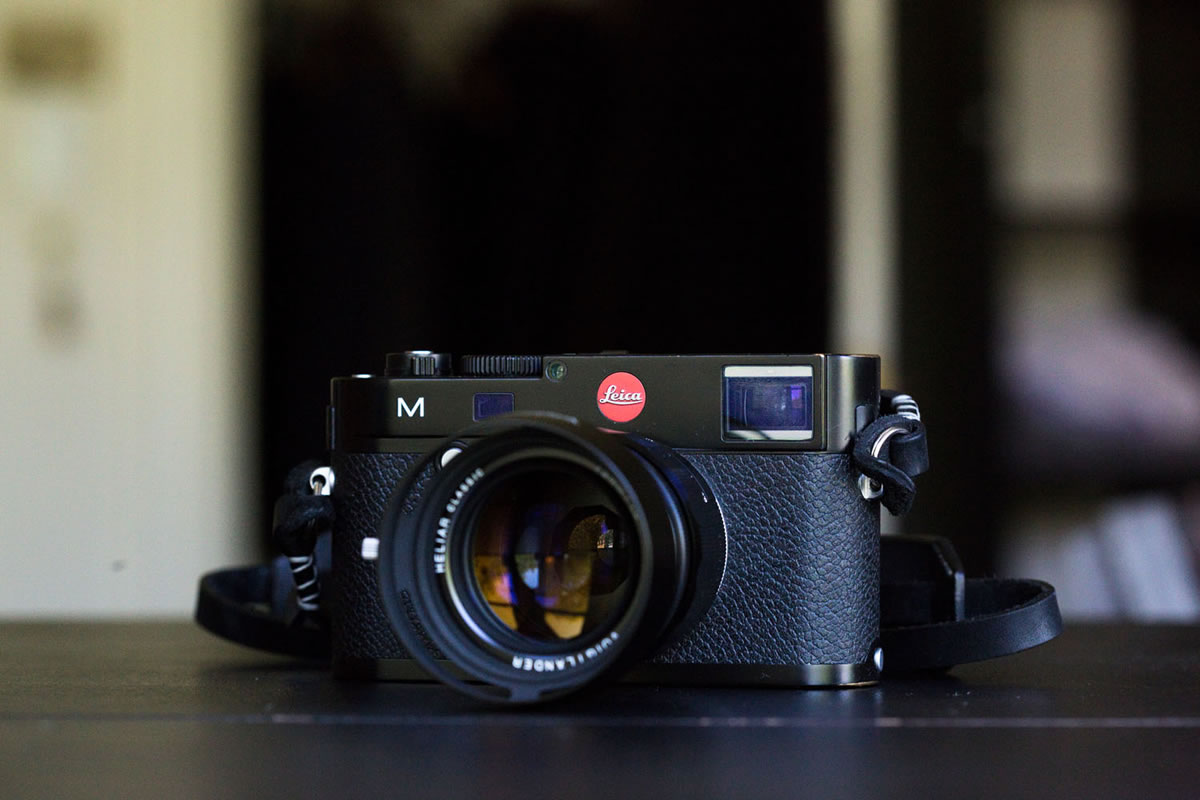
It was a long time coming, but during the GDMBR, I finally got fed up with the size and weight of my Canon Kit (5DII 35mm F/1.4, 50 F1.2, and 135 F/2). I always wanted something smaller and more rugged. So I finally had the nerve to dump it and trade it in for a Leica. I have always been a fan of the Leica Rangefinder system and since I already owned a substantial amount of Canon gear, the entry to the M system wasn’t that terrible. So I now shoot with the Leica system and am very pleased by its quality; both image and construction. The idea of a manual focus rangefinder camera, brings me back to the basics. I feel more aware and careful about the images that I take.
My current Lens setup for touring will most likely center around the 35mm and 75mm lenses. I feel that these two lenses complement my style the best. Having a nice 35mm frame for most of my images and then the 75 tele to isolate subjects.
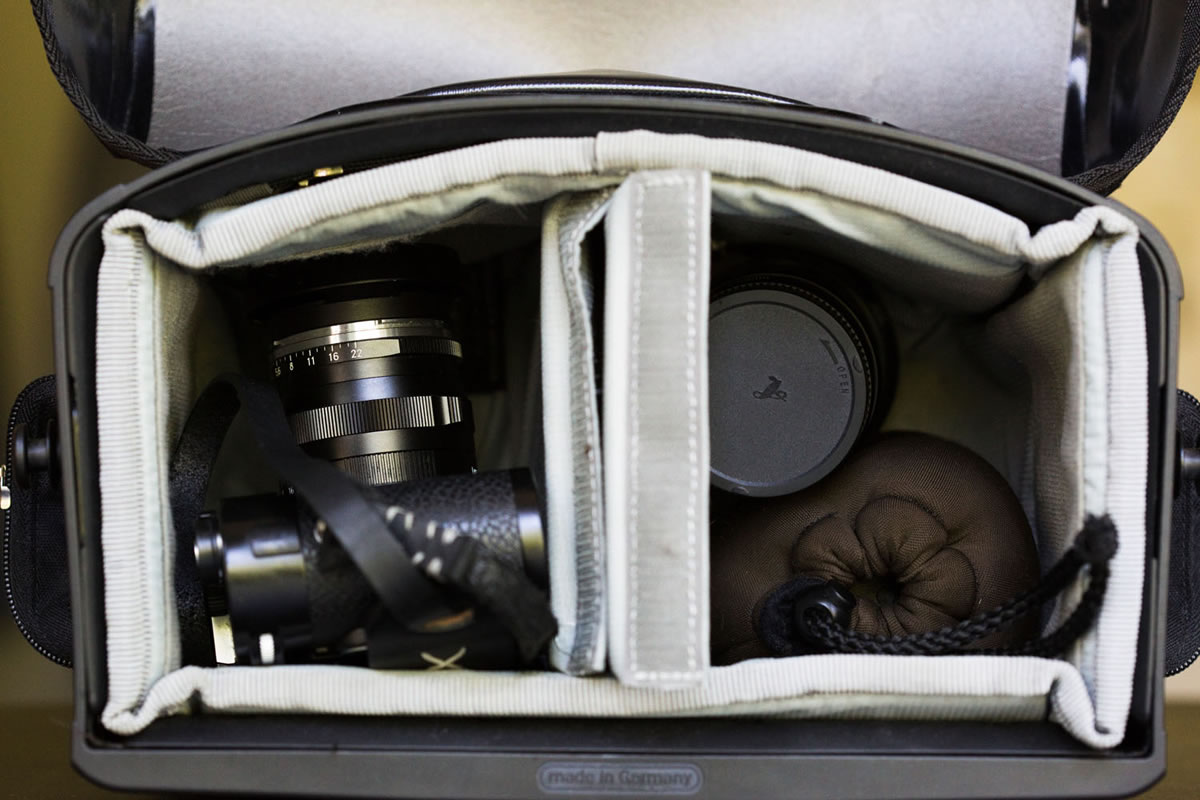
- Leica M240
- Voigtlander 28mm f/2
- Zeiss 35mm f/2
- Leica 50mm f/2
- Voigtlander 75mm f/1.8
- Bag Ortlieb Ultimate 6 Handlebar bag

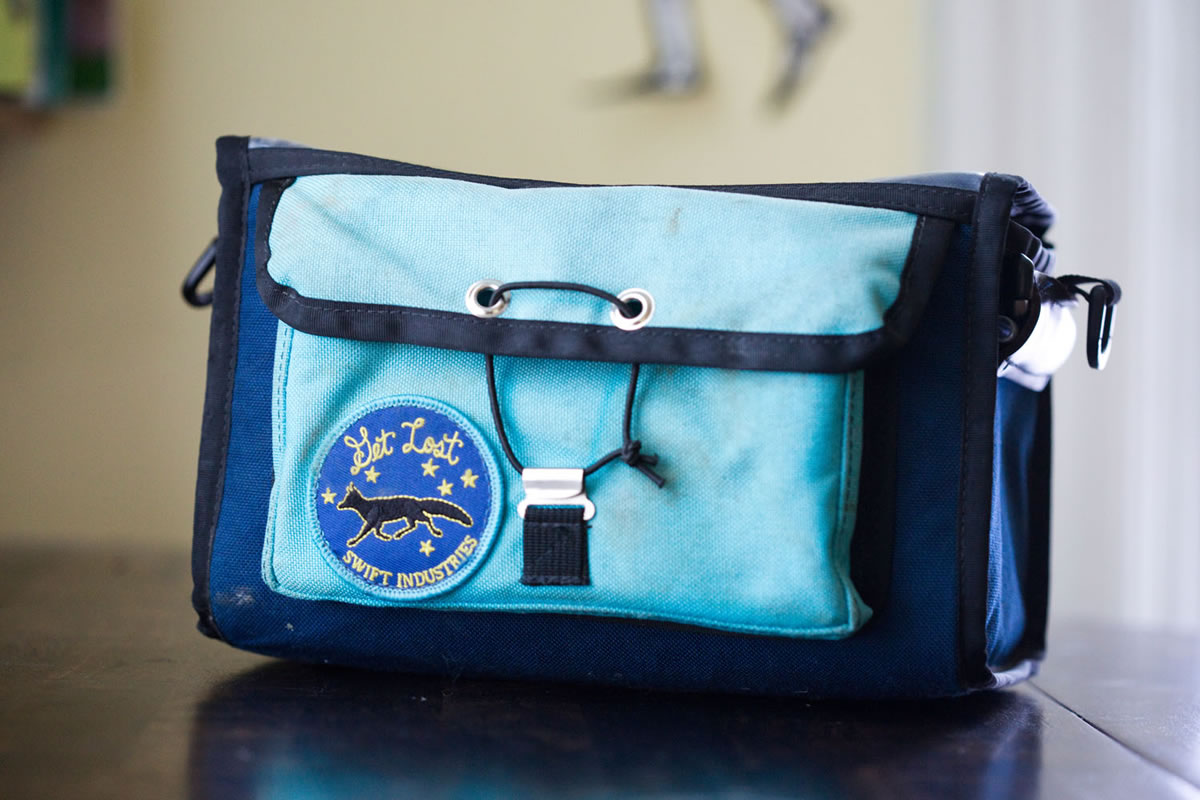
Brett Ziegler @bziegler
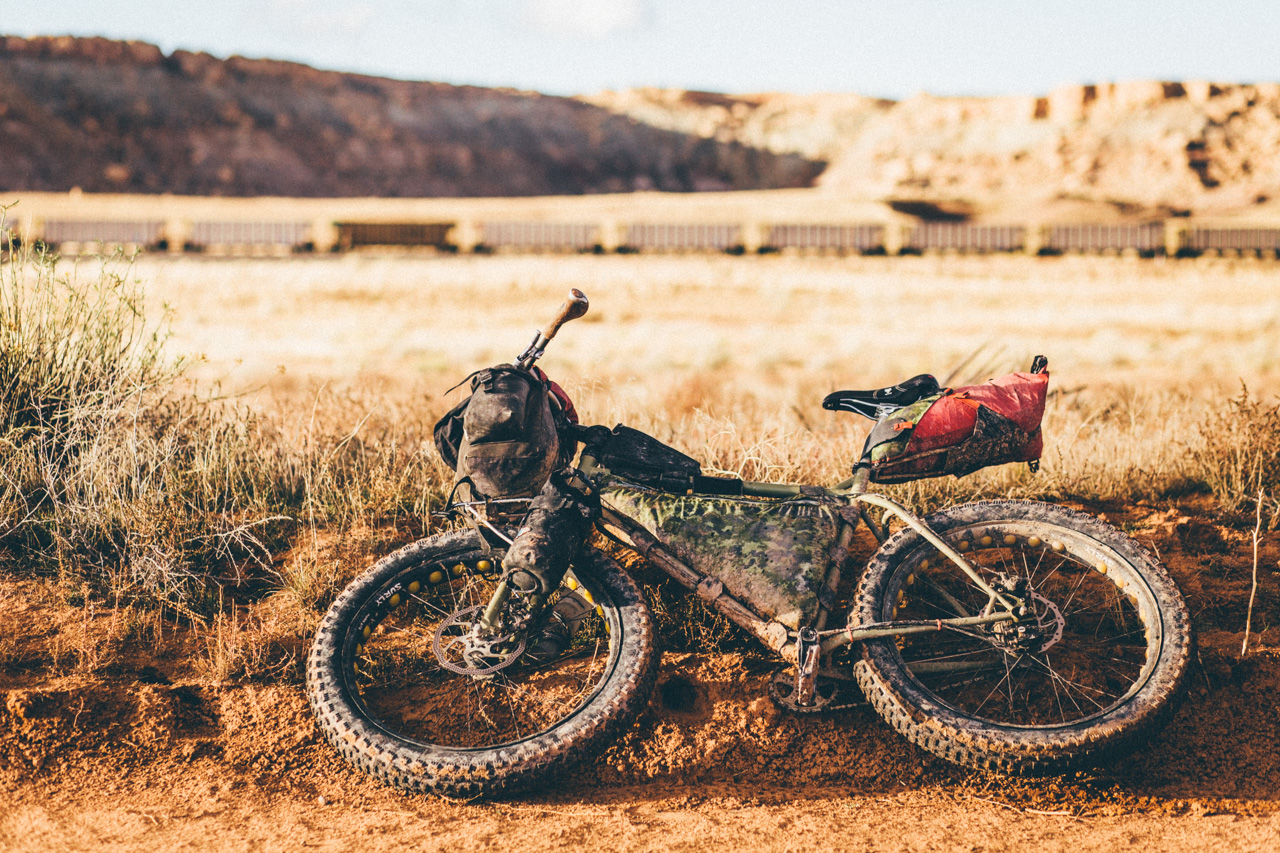
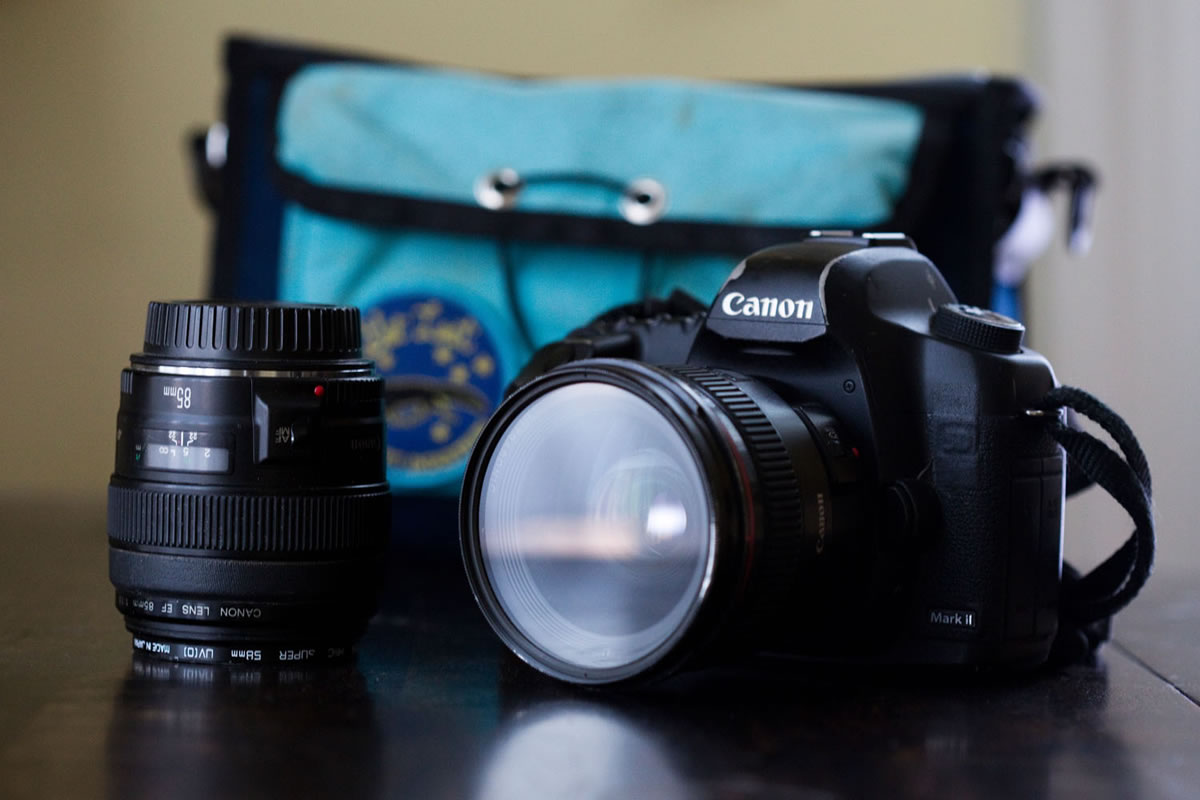
So far my go to kit for these trips has been a Canon 5d mk II, 24mm 1.4 and an 85mm 1.8. These two lenses pretty much cover the spectrum of the majority of shots I take while out riding. The 24mm 1.4 is epic and one of the best investments I have made in my camera gear. It is fast, sharp, and the wide angle is wonderful for riding shots and nature. Although a longer focal length might be nice in certain situations, the size, weight and image quality of the 85mm 1.8 makes it perfect for long journeys. Using the Prime lenses can help cut down on weight, not to mention the faster apertures allow for more versatility, wether you want shallower depth of field or to shoot in less light. And all it takes is a few steps in either direction to turn that fixed focal length into a zoom.
- Canon 5d mk II
- 24mm 1.4
- 85mm 1.8
- Swift Industries Paloma Handelbar Bag w/ Stainless steel mount
In terms of using these lenses I like to mix it up and not always use the focal length as one might think. If there is enough room, awide scenic shots, with the rider being a small part of the frame, are wonderful to take with the longer focal length. The compression between foreground is background can do wonders for making an image more dramatic. At times when the 24 feels just a bit too wide, I can be sure to get the image tack sharp and shoot with a crop in mind that I can do later while processing the images, I like to think of this as the poor mans zoom.
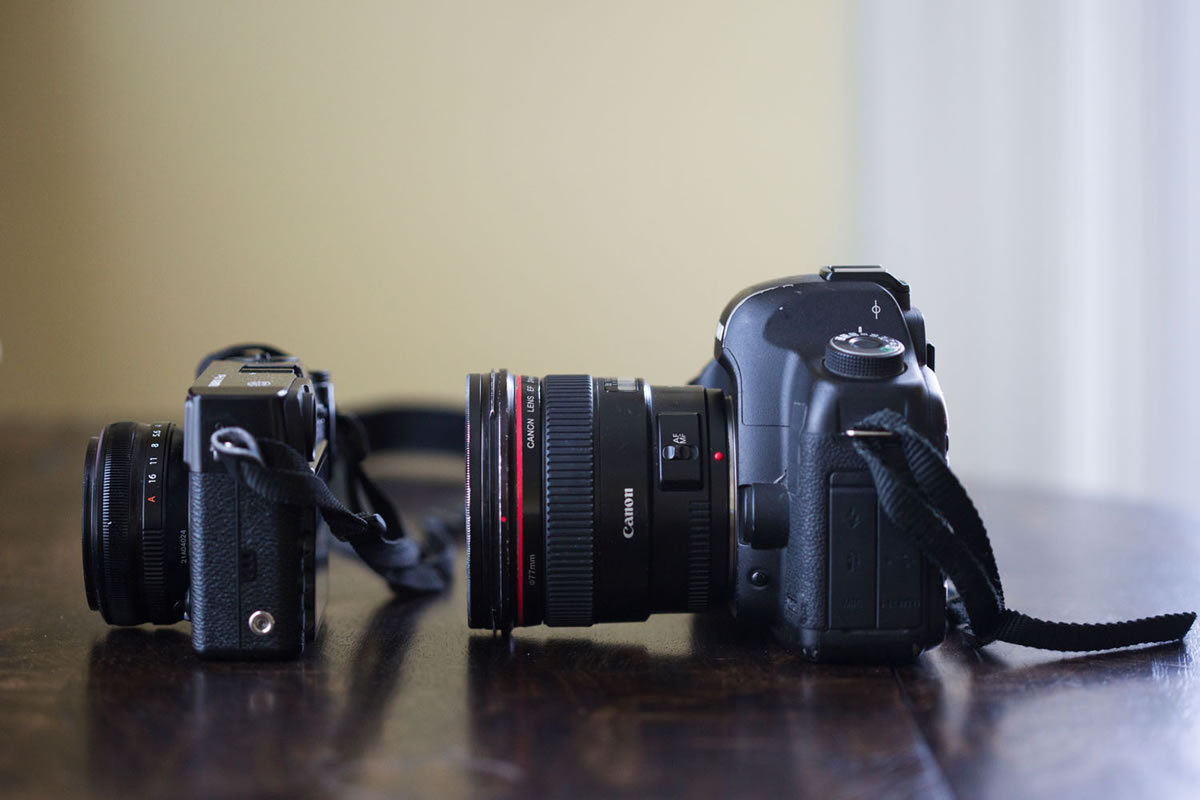
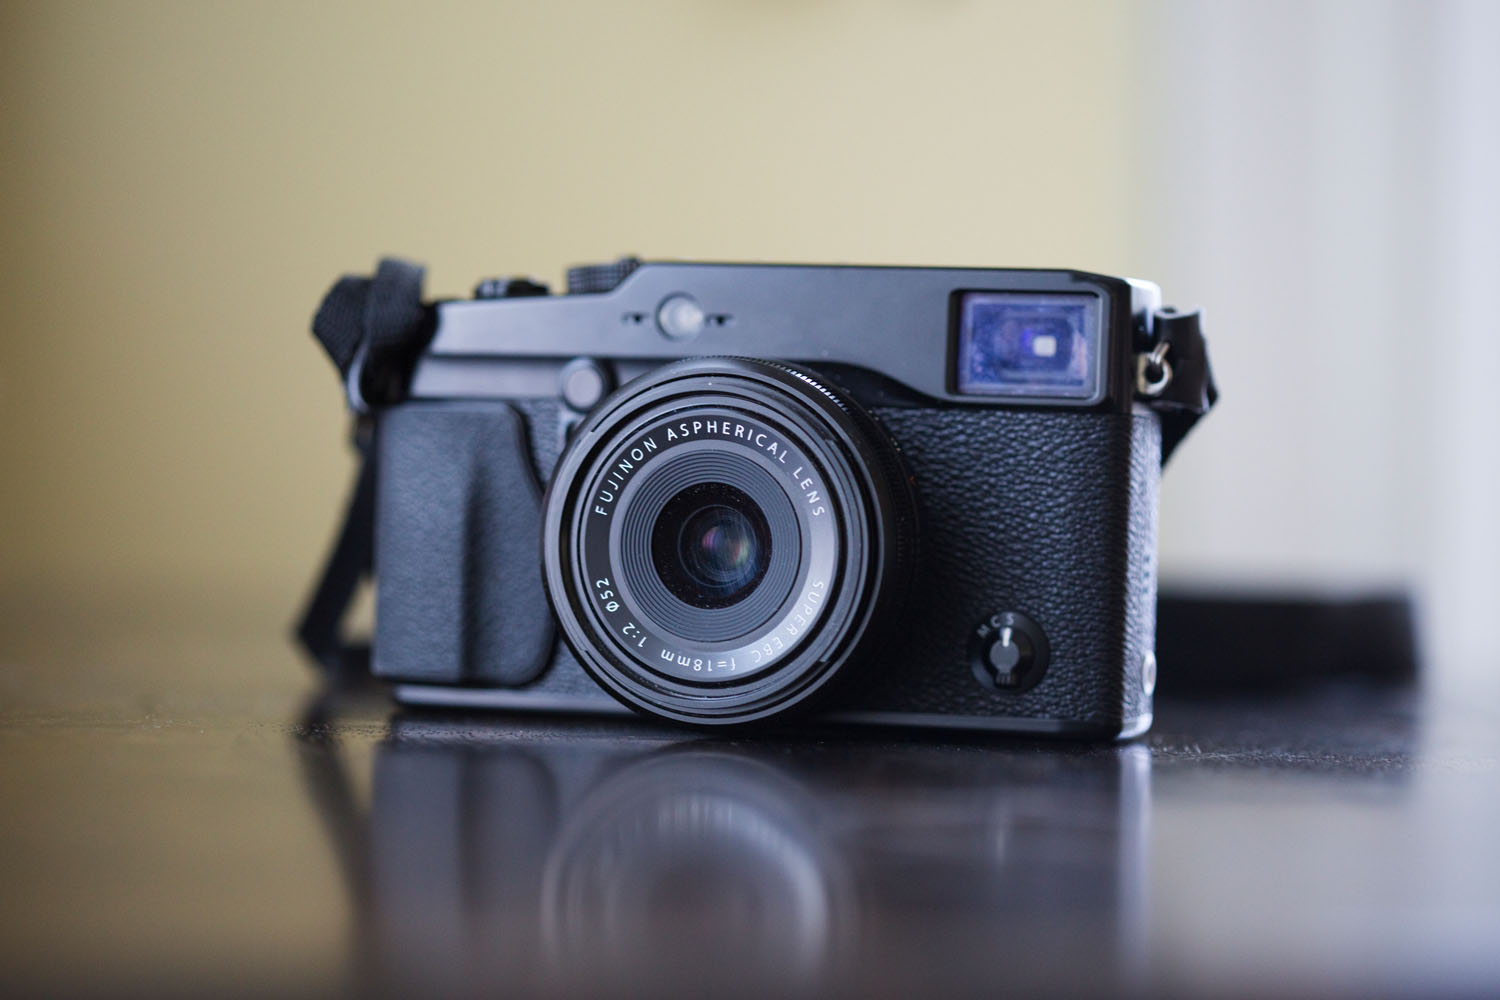
I have also recently picked up a Fuji X-Pro 1 with a 18mm f2 (28mm equivalent) to help try to cut down weight for rides, with the hopes of adding the 60mm f2.4 (90mm equivalent) in the near future. The camera is surprisingly light, especially compared to the Canon DLSR and although is does sport a smaller sensor, the image quality is still wonderful. Once the set up is complete, this will definitely become my go to set up for long journeys.”
Please keep the conversation civil, constructive, and inclusive, or your comment will be removed.