


Ways to Save Money on Bikepacking Food


Store-bought dehydrated meals are lightweight and easy to prepare, and many are damned tasty, but they aren’t budget-friendly. With a little creativity, it’s not difficult to put together trailside meals and snacks that are quick, tasty, nutrient-rich, and easier on the wallet. Here are a few suggestions to keep the budget low and the calories and flavor high…
PUBLISHED Apr 30, 2020
Words and photos by Virginia Krabill and Logan Watts
Although it may seem ideal to simply add boiling water, wait 15 minutes, and feast on dish-free pad thai in a bag while out on a weekend bikepacking trip, there are serious downsides. For one, most dehydrated camping meals are pricey and rely on wasteful, single-use plastic packaging. Fortunately, with a little know-how and minimal effort, you can have delicious meals and snacks that are easy to prepare without having to shell out big money on pre-packaged camp food. Here are some tips you can use to start saving on your next bikepacking adventure.

One-Pot Wonders
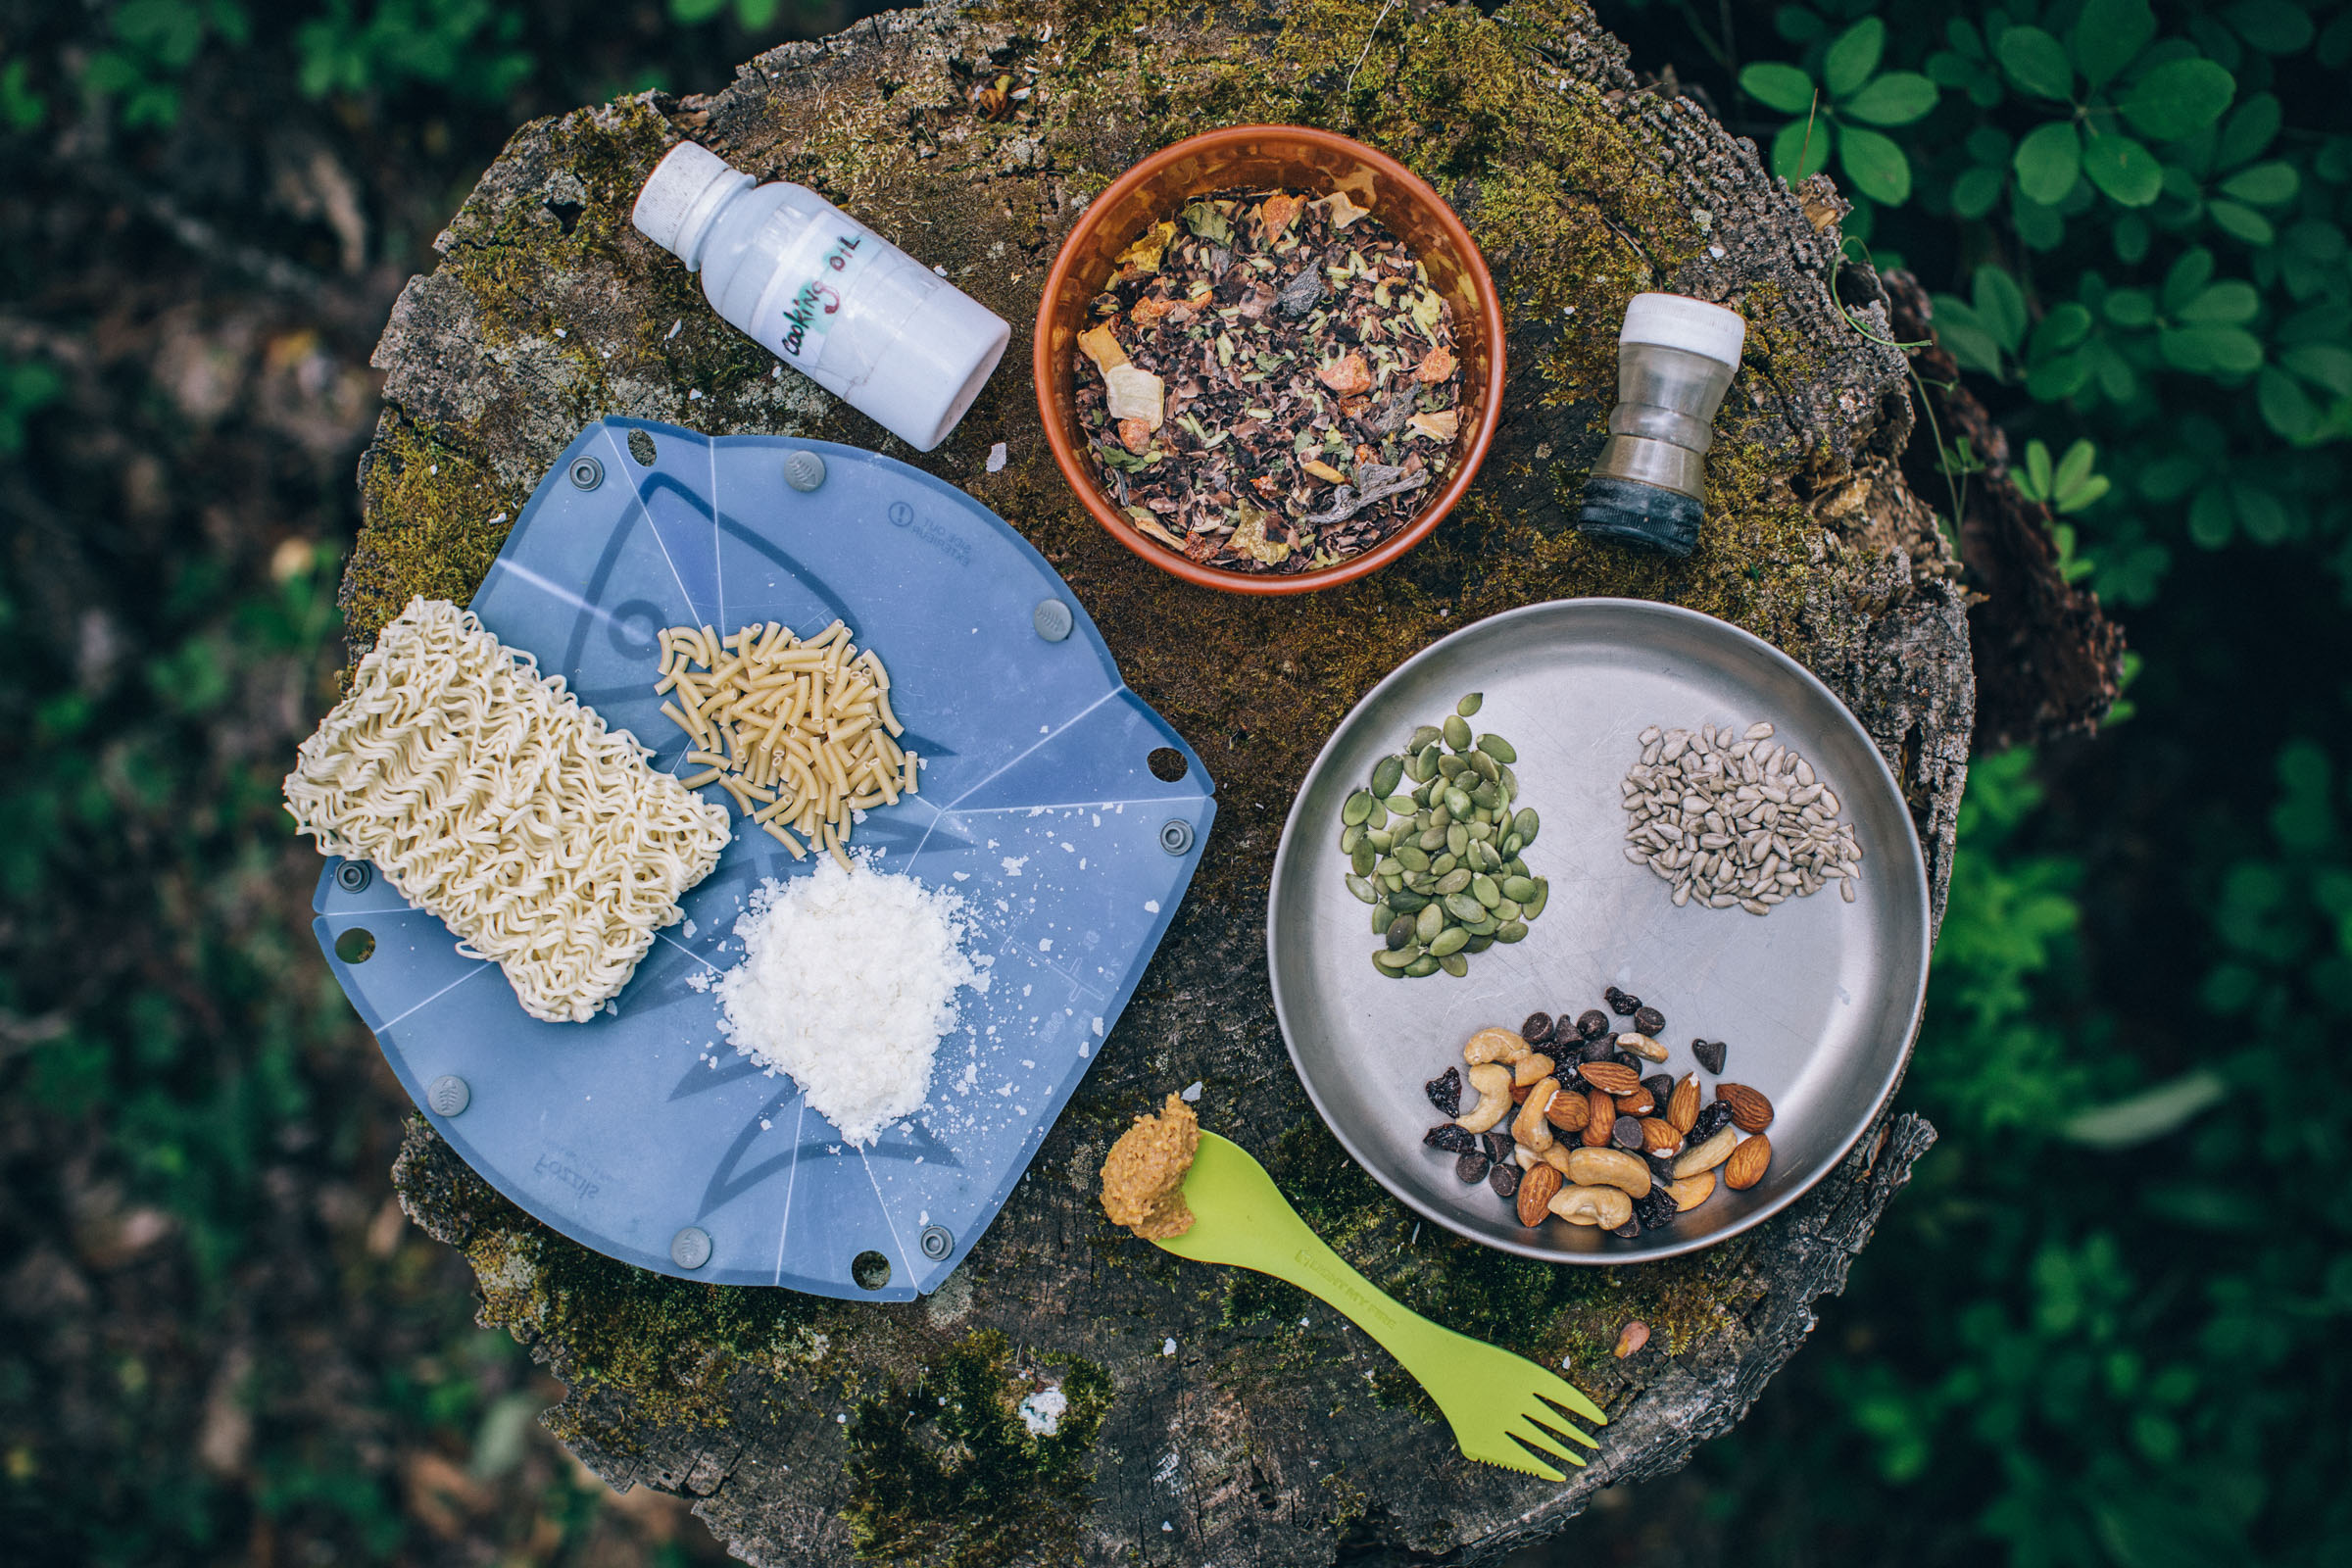
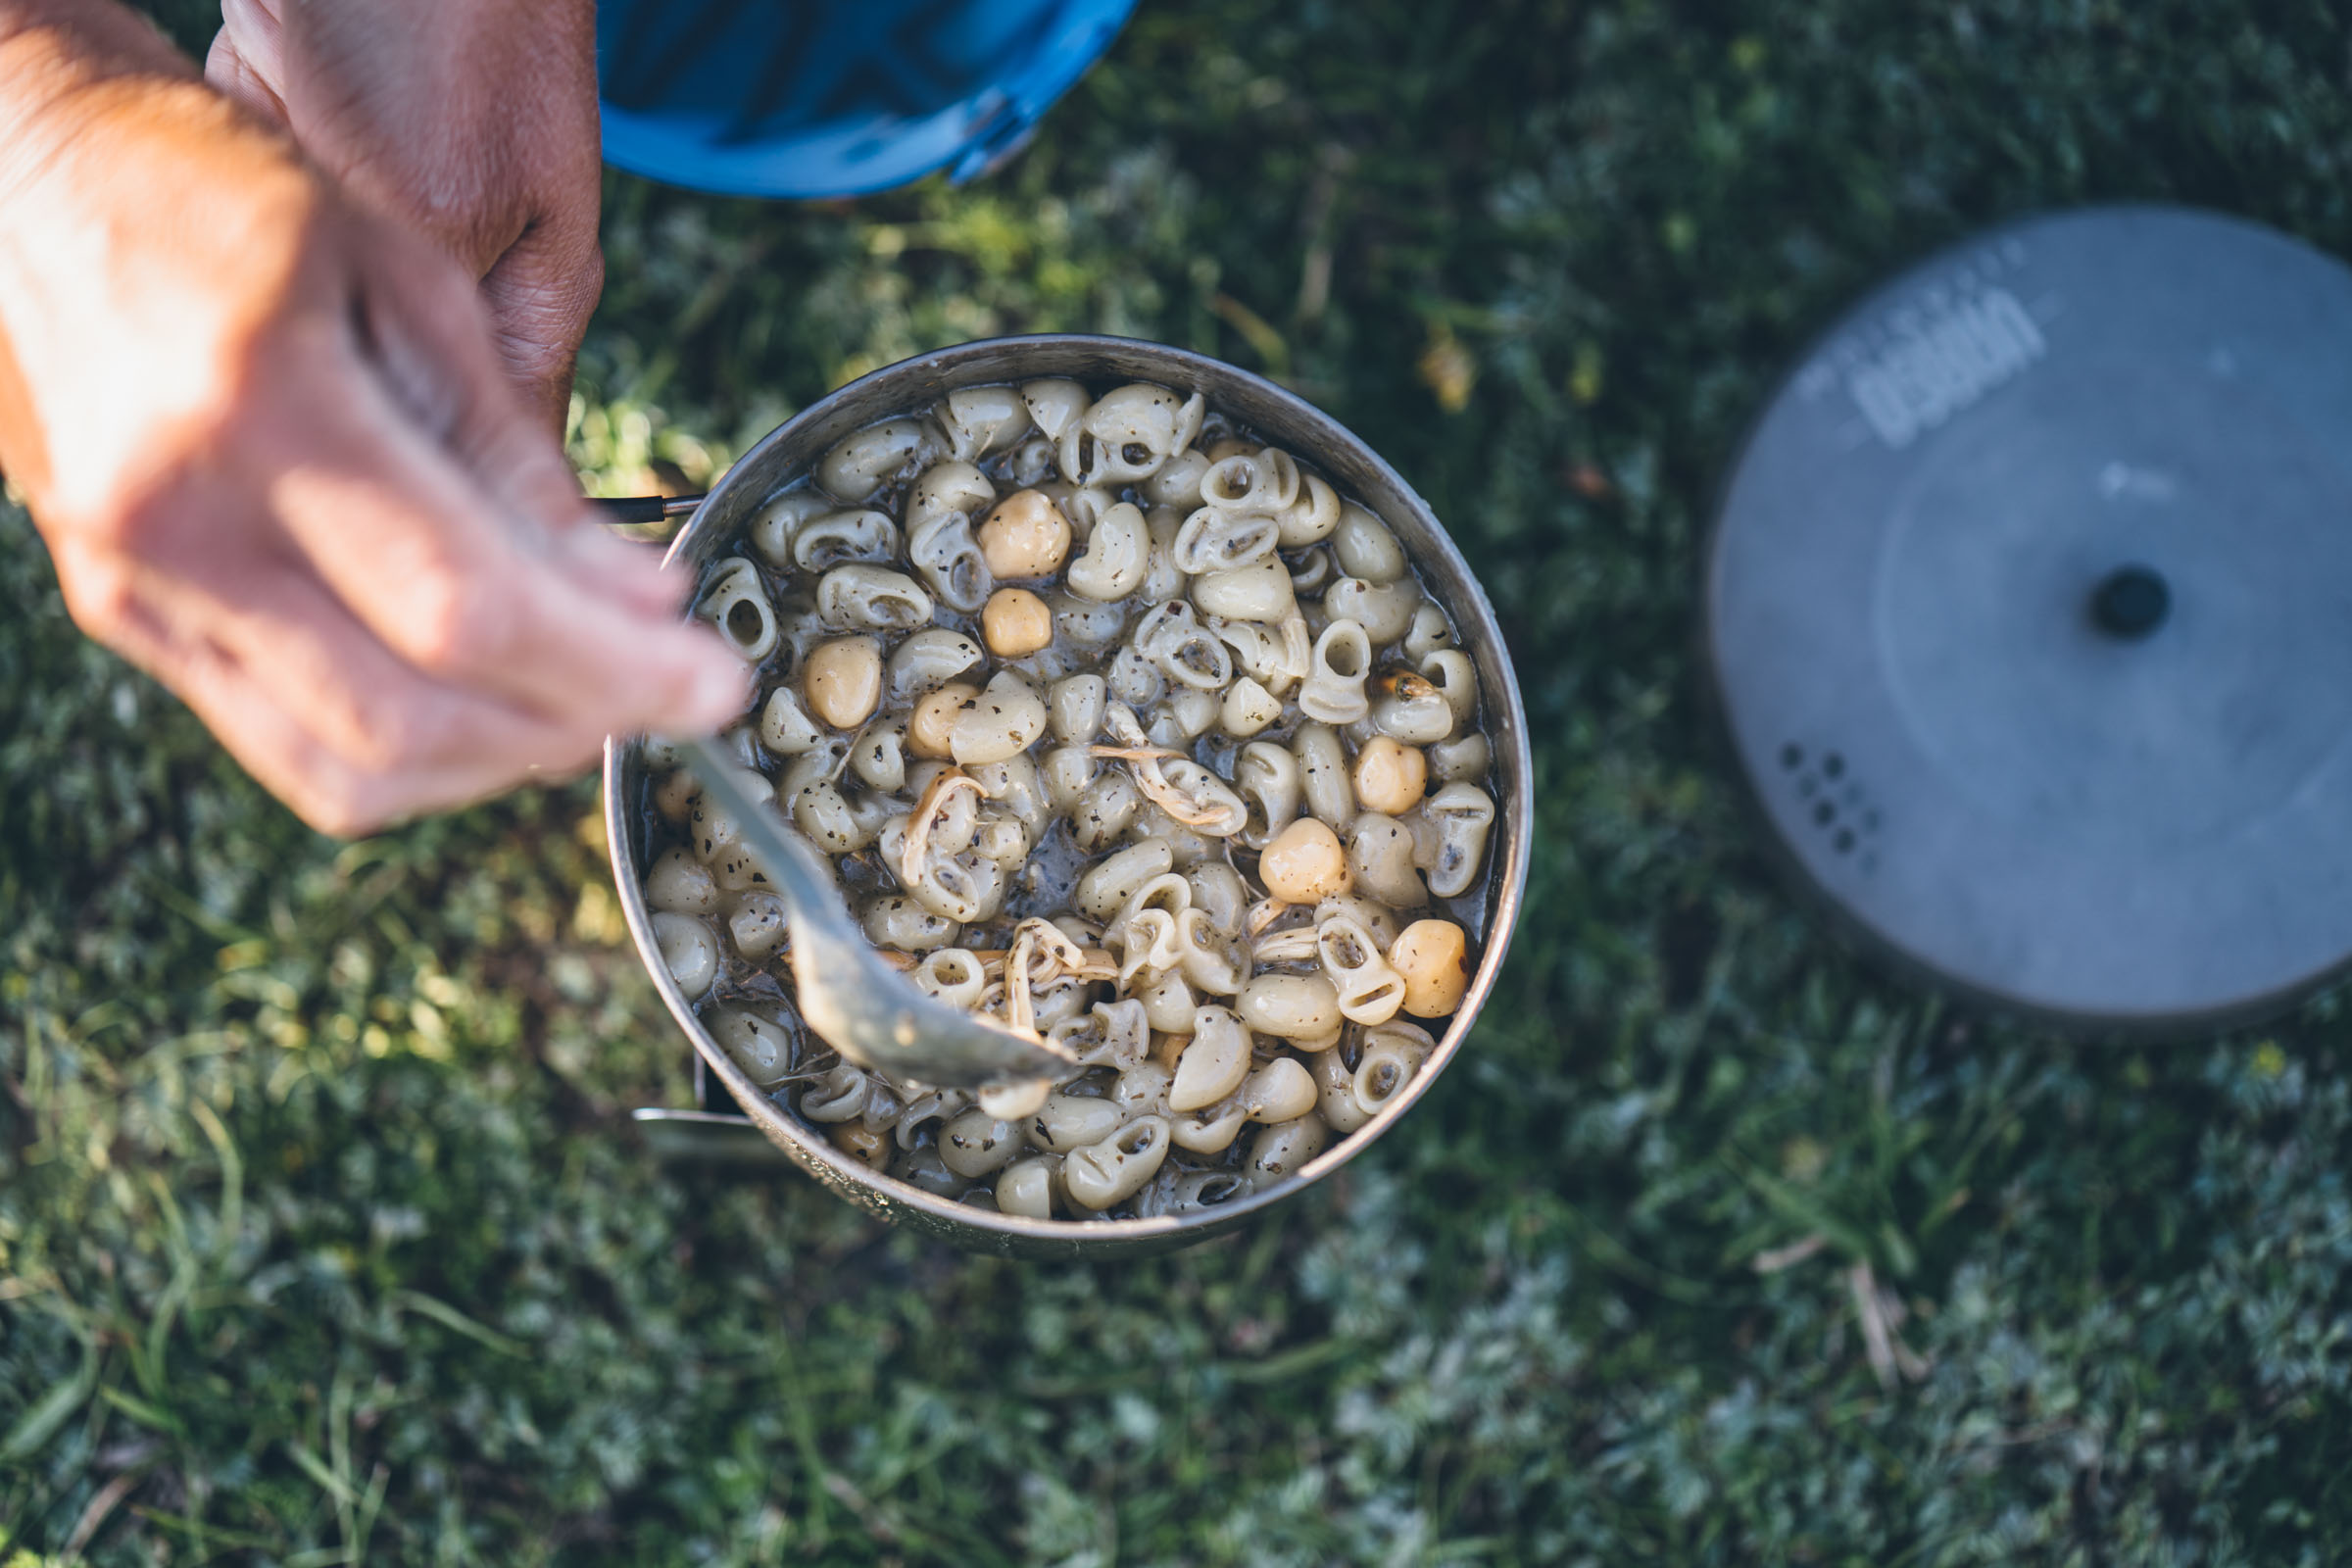
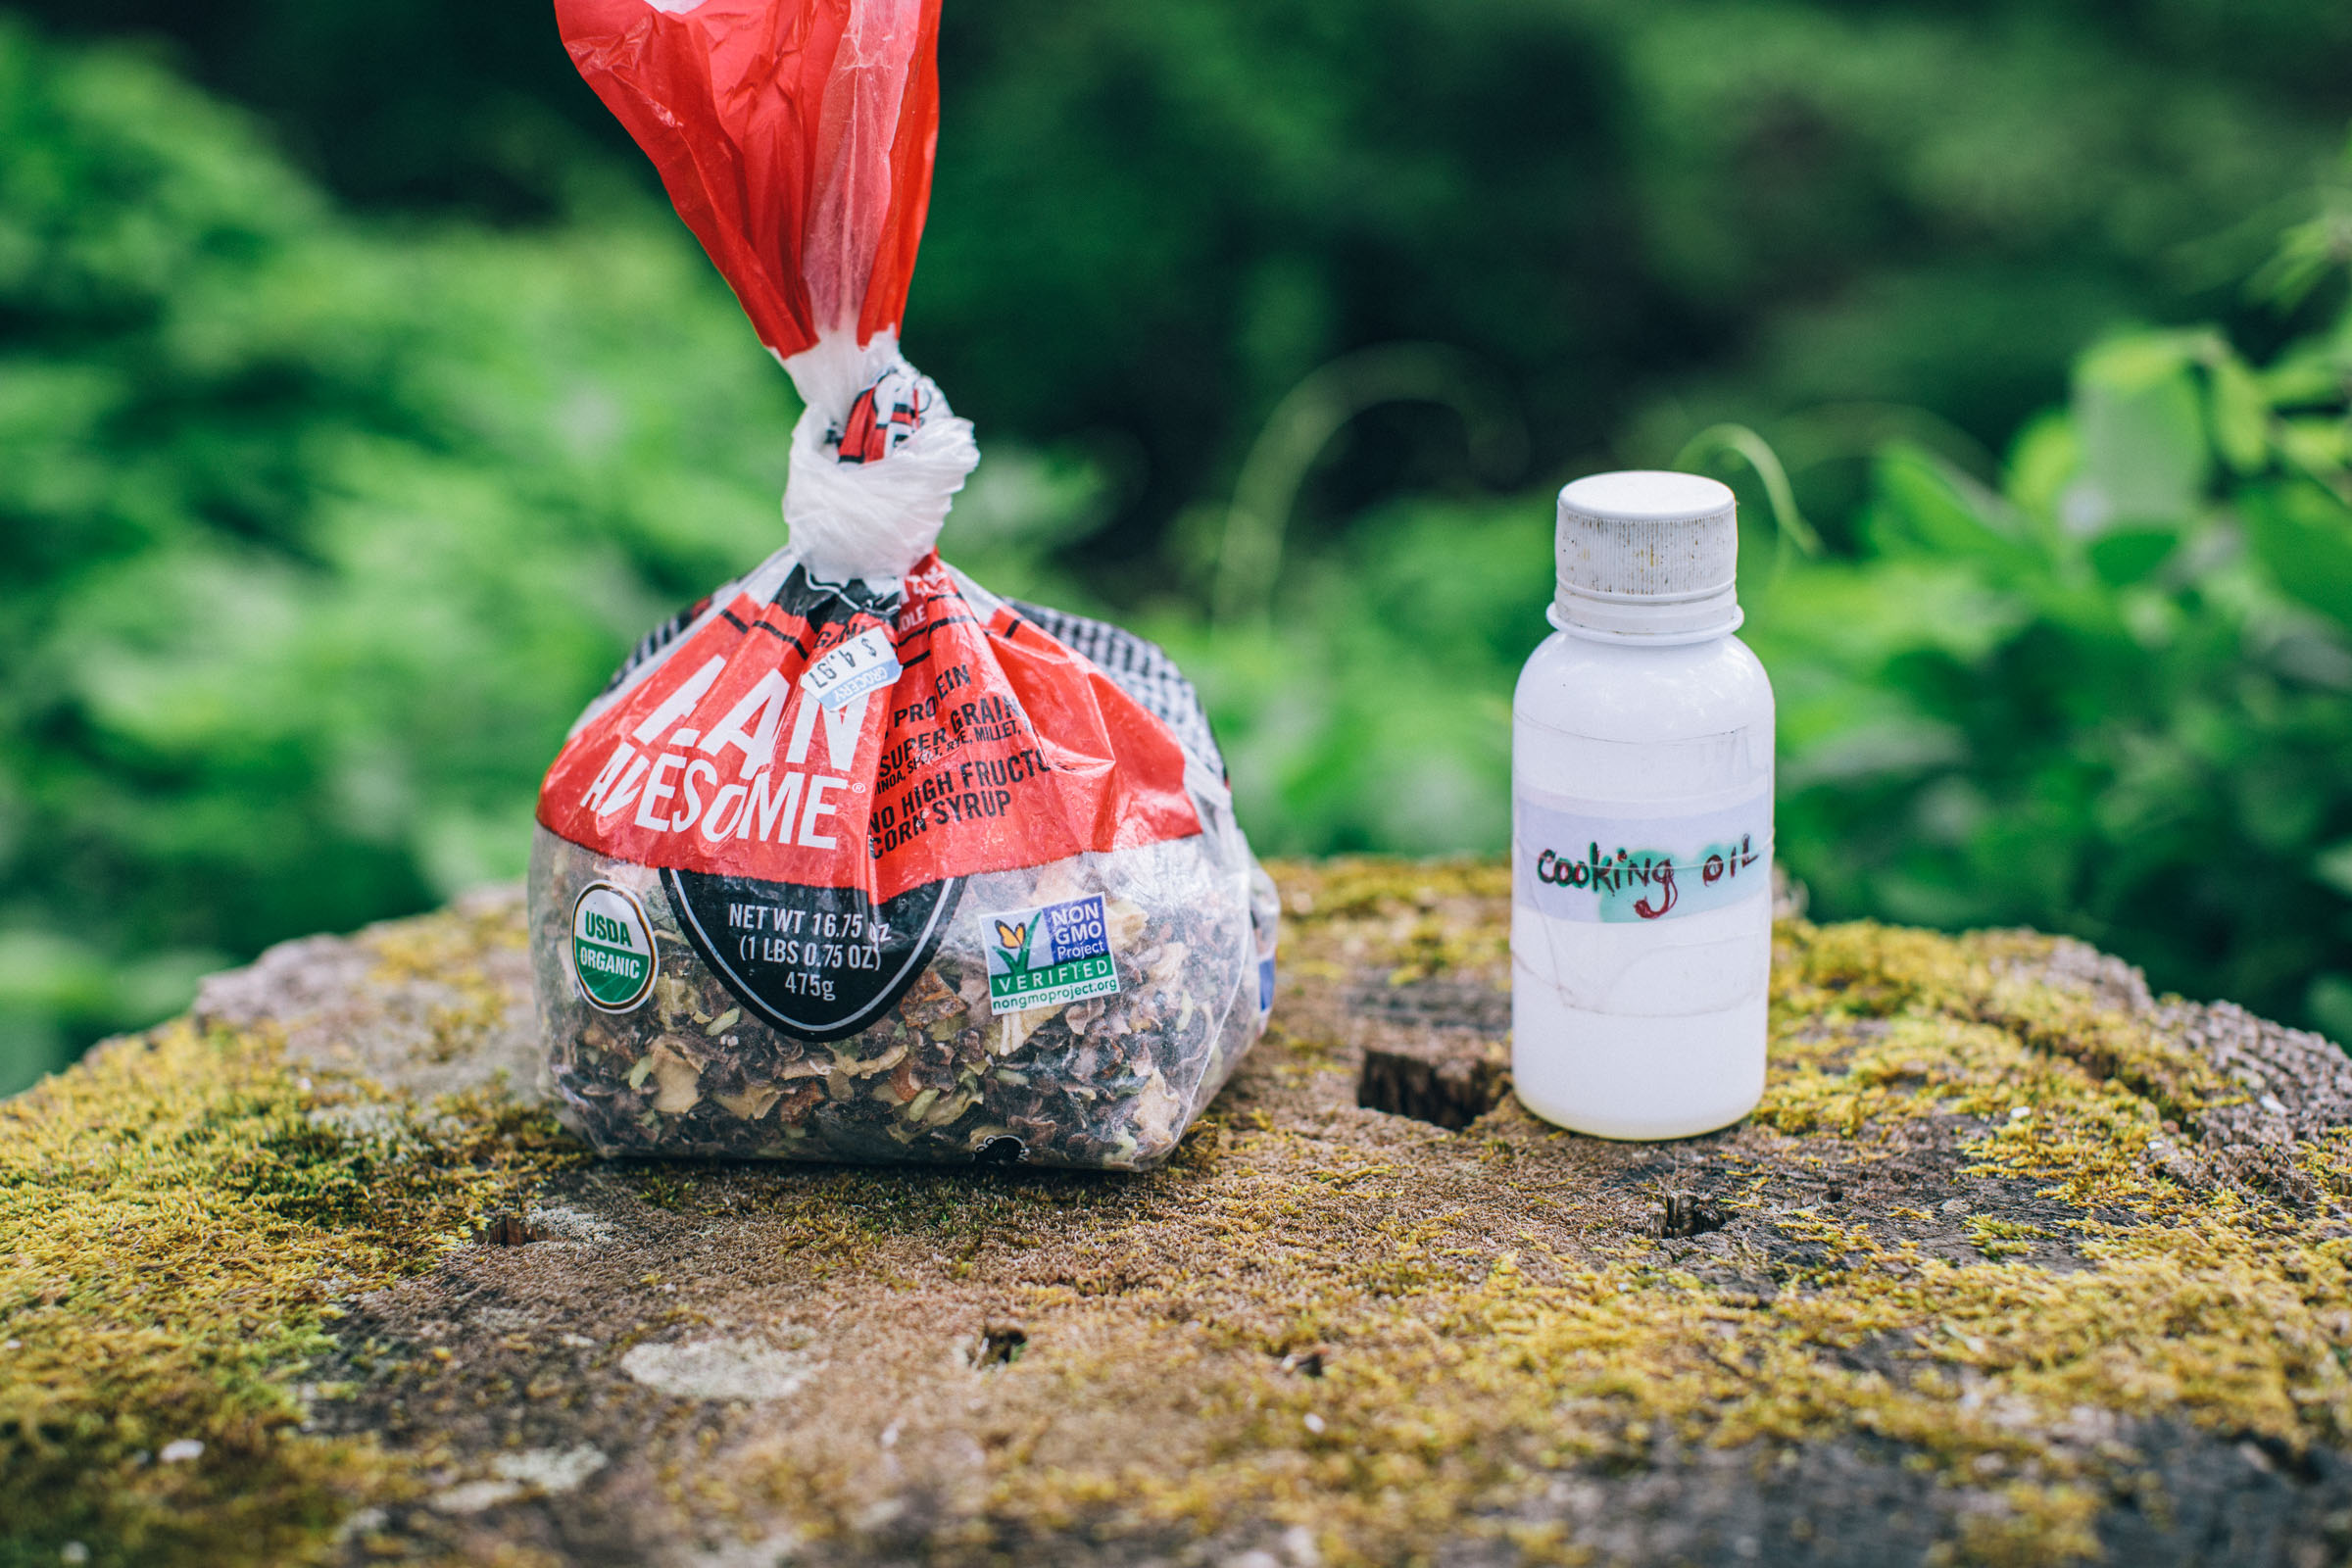
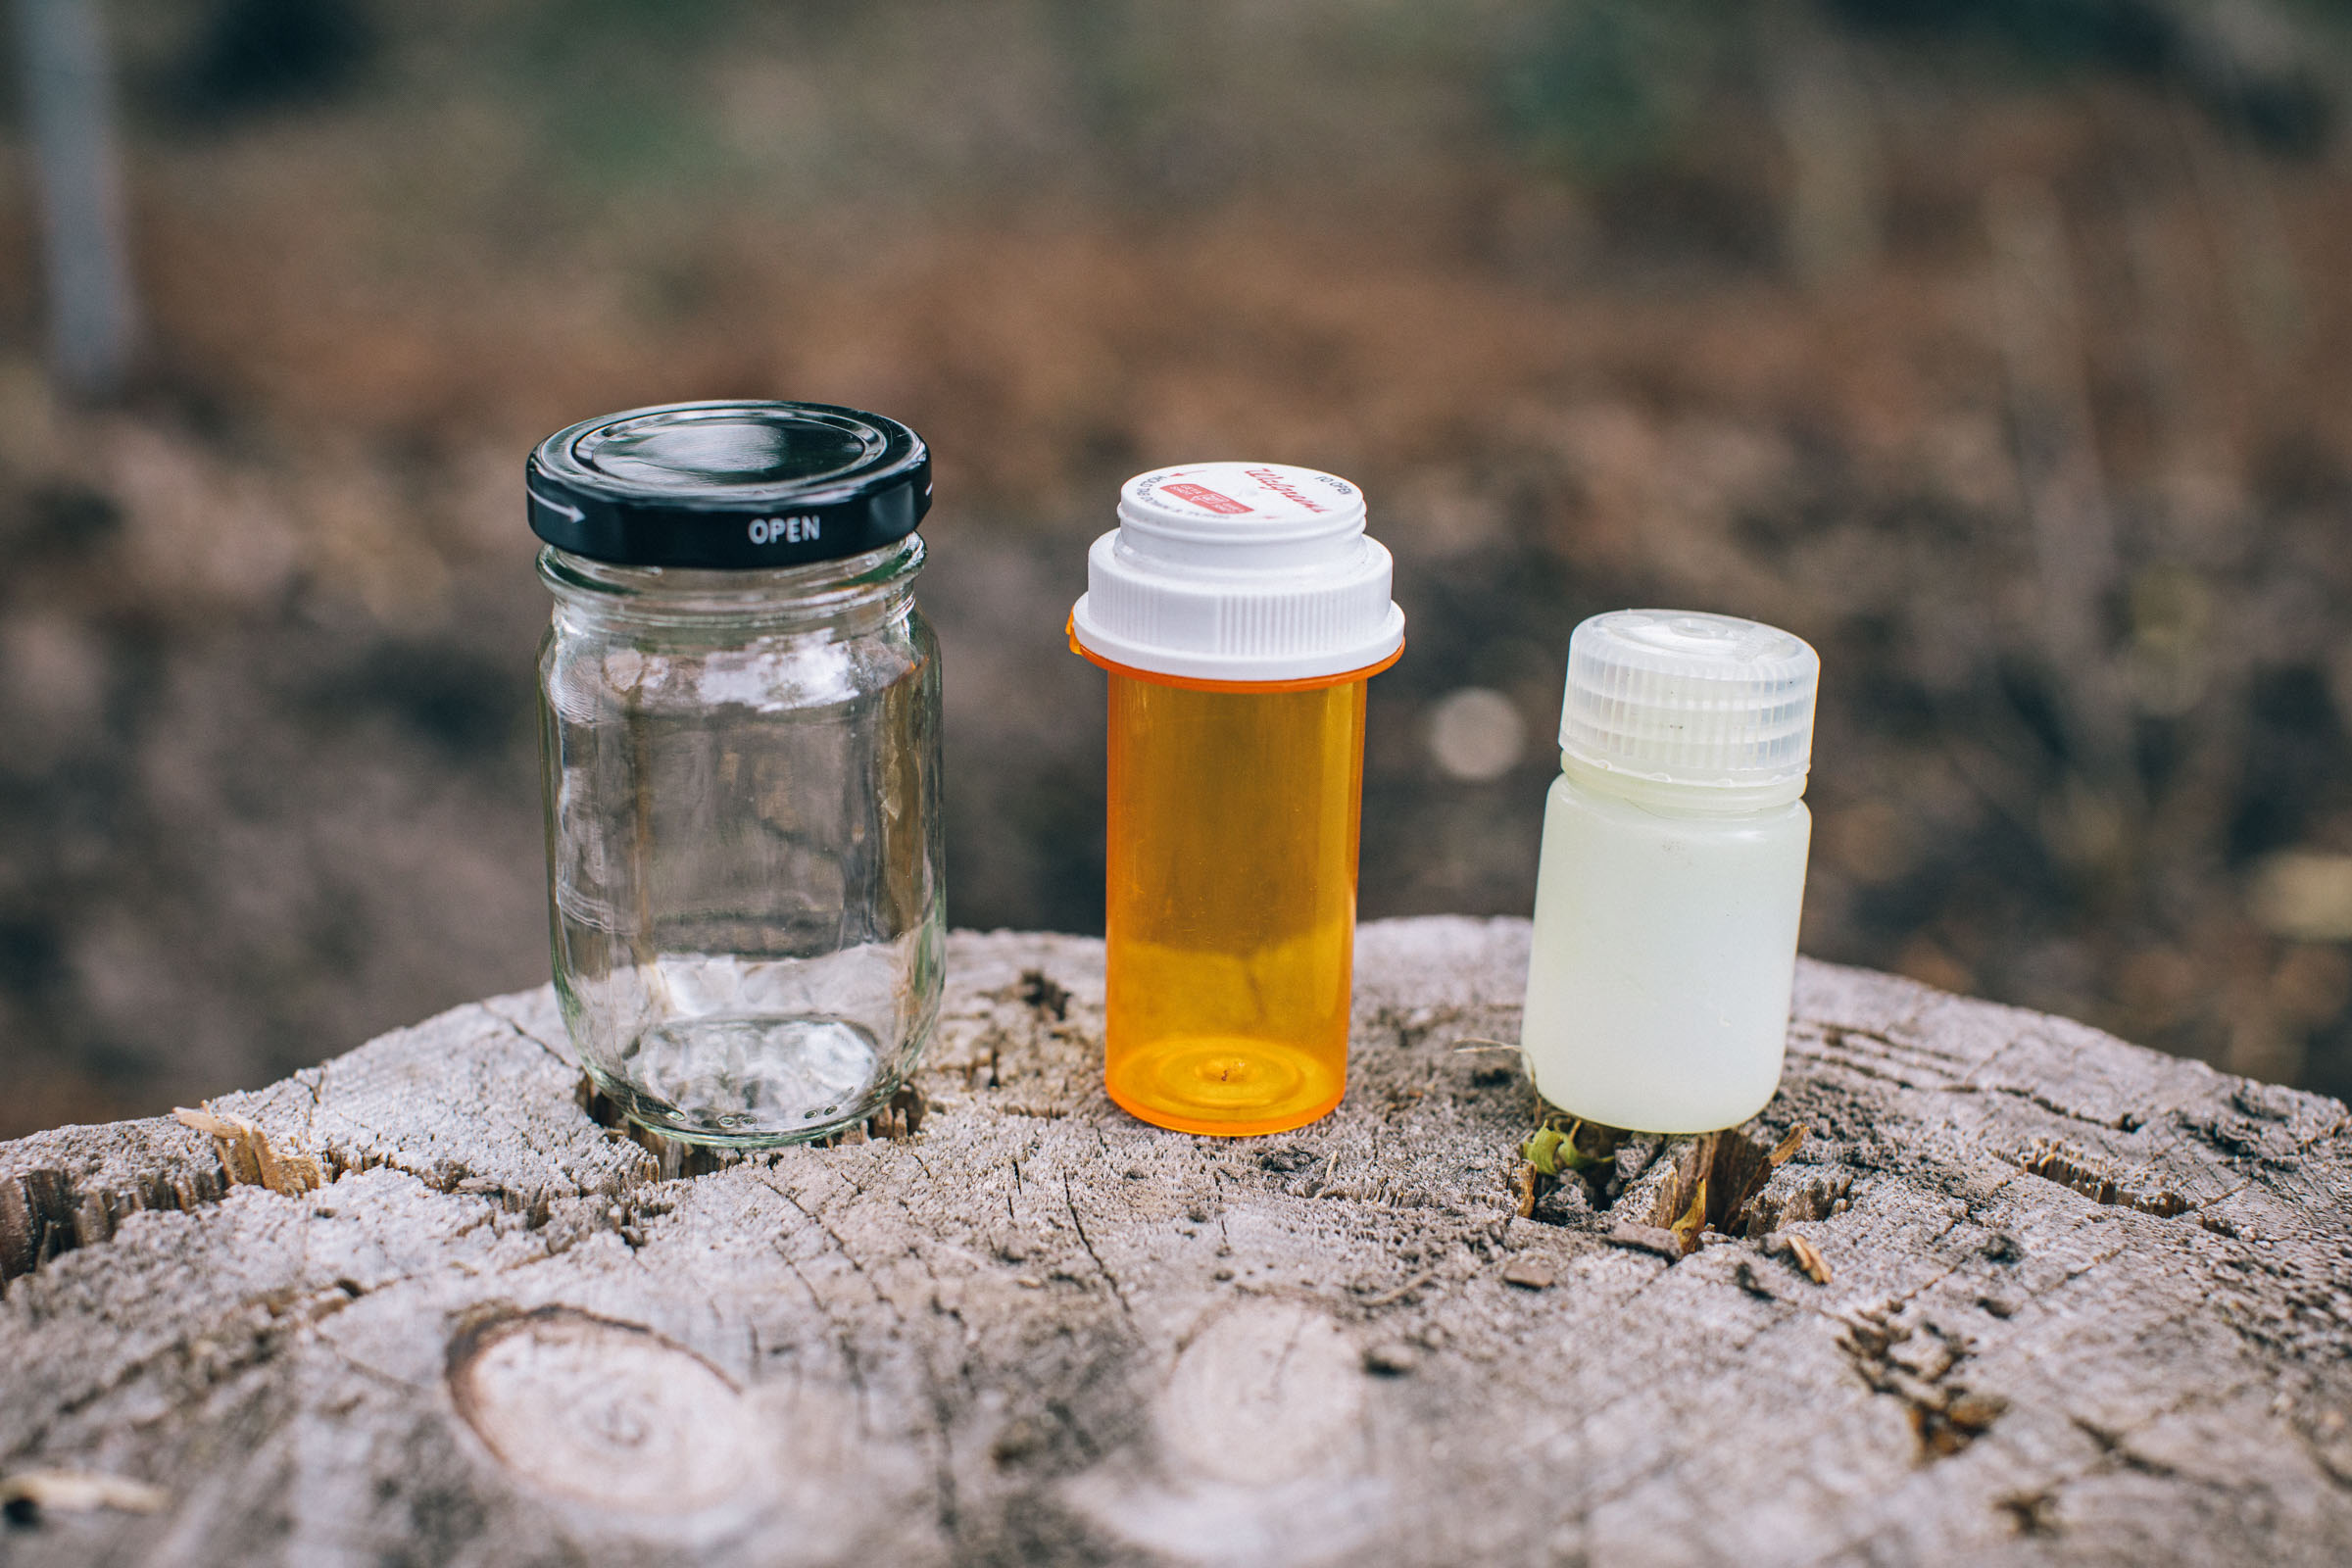
Peanut butter, cold cheese, and dried meat sandwiches all have their place in the bikepacking diet, but after a long day in the saddle, nothing beats a warm meal. Cooking a “real” meal at camp requires a little more planning and preparation than it does at home, and one-pot meals are a great option. Begin with a starchy base, like pasta, grains, potatoes, beans, or legumes. Add some fresh or dehydrated vegetables. And finally, add seasoning to taste. Using a quick-cooking starch is the key to making this process less time consuming and more fuel efficient. Please keep in mind that cooking in the great outdoors doesn’t require buying wasteful, convenience-sized ingredients. To save packing space, simply transfer any oils or spices that you need from your home supply into small Nalgene containers or old pill bottles.
Here are three recipes you can find on our site that fit the bill:
– Backcountry Pad Thai
– Thai Salmon Curry
– Easy Pine Nut Pesto Pasta
DIY Dehydrated Bag-Meals
If cooking in the backcountry isn’t your thing, you can create your own “pre-packaged” meals prior to leaving the conveniences afforded by a real, brick and mortar kitchen. Once constructed, such meals mean you don’t need to pack separate ingredients, think too much, or work too hard when you just want to relax.
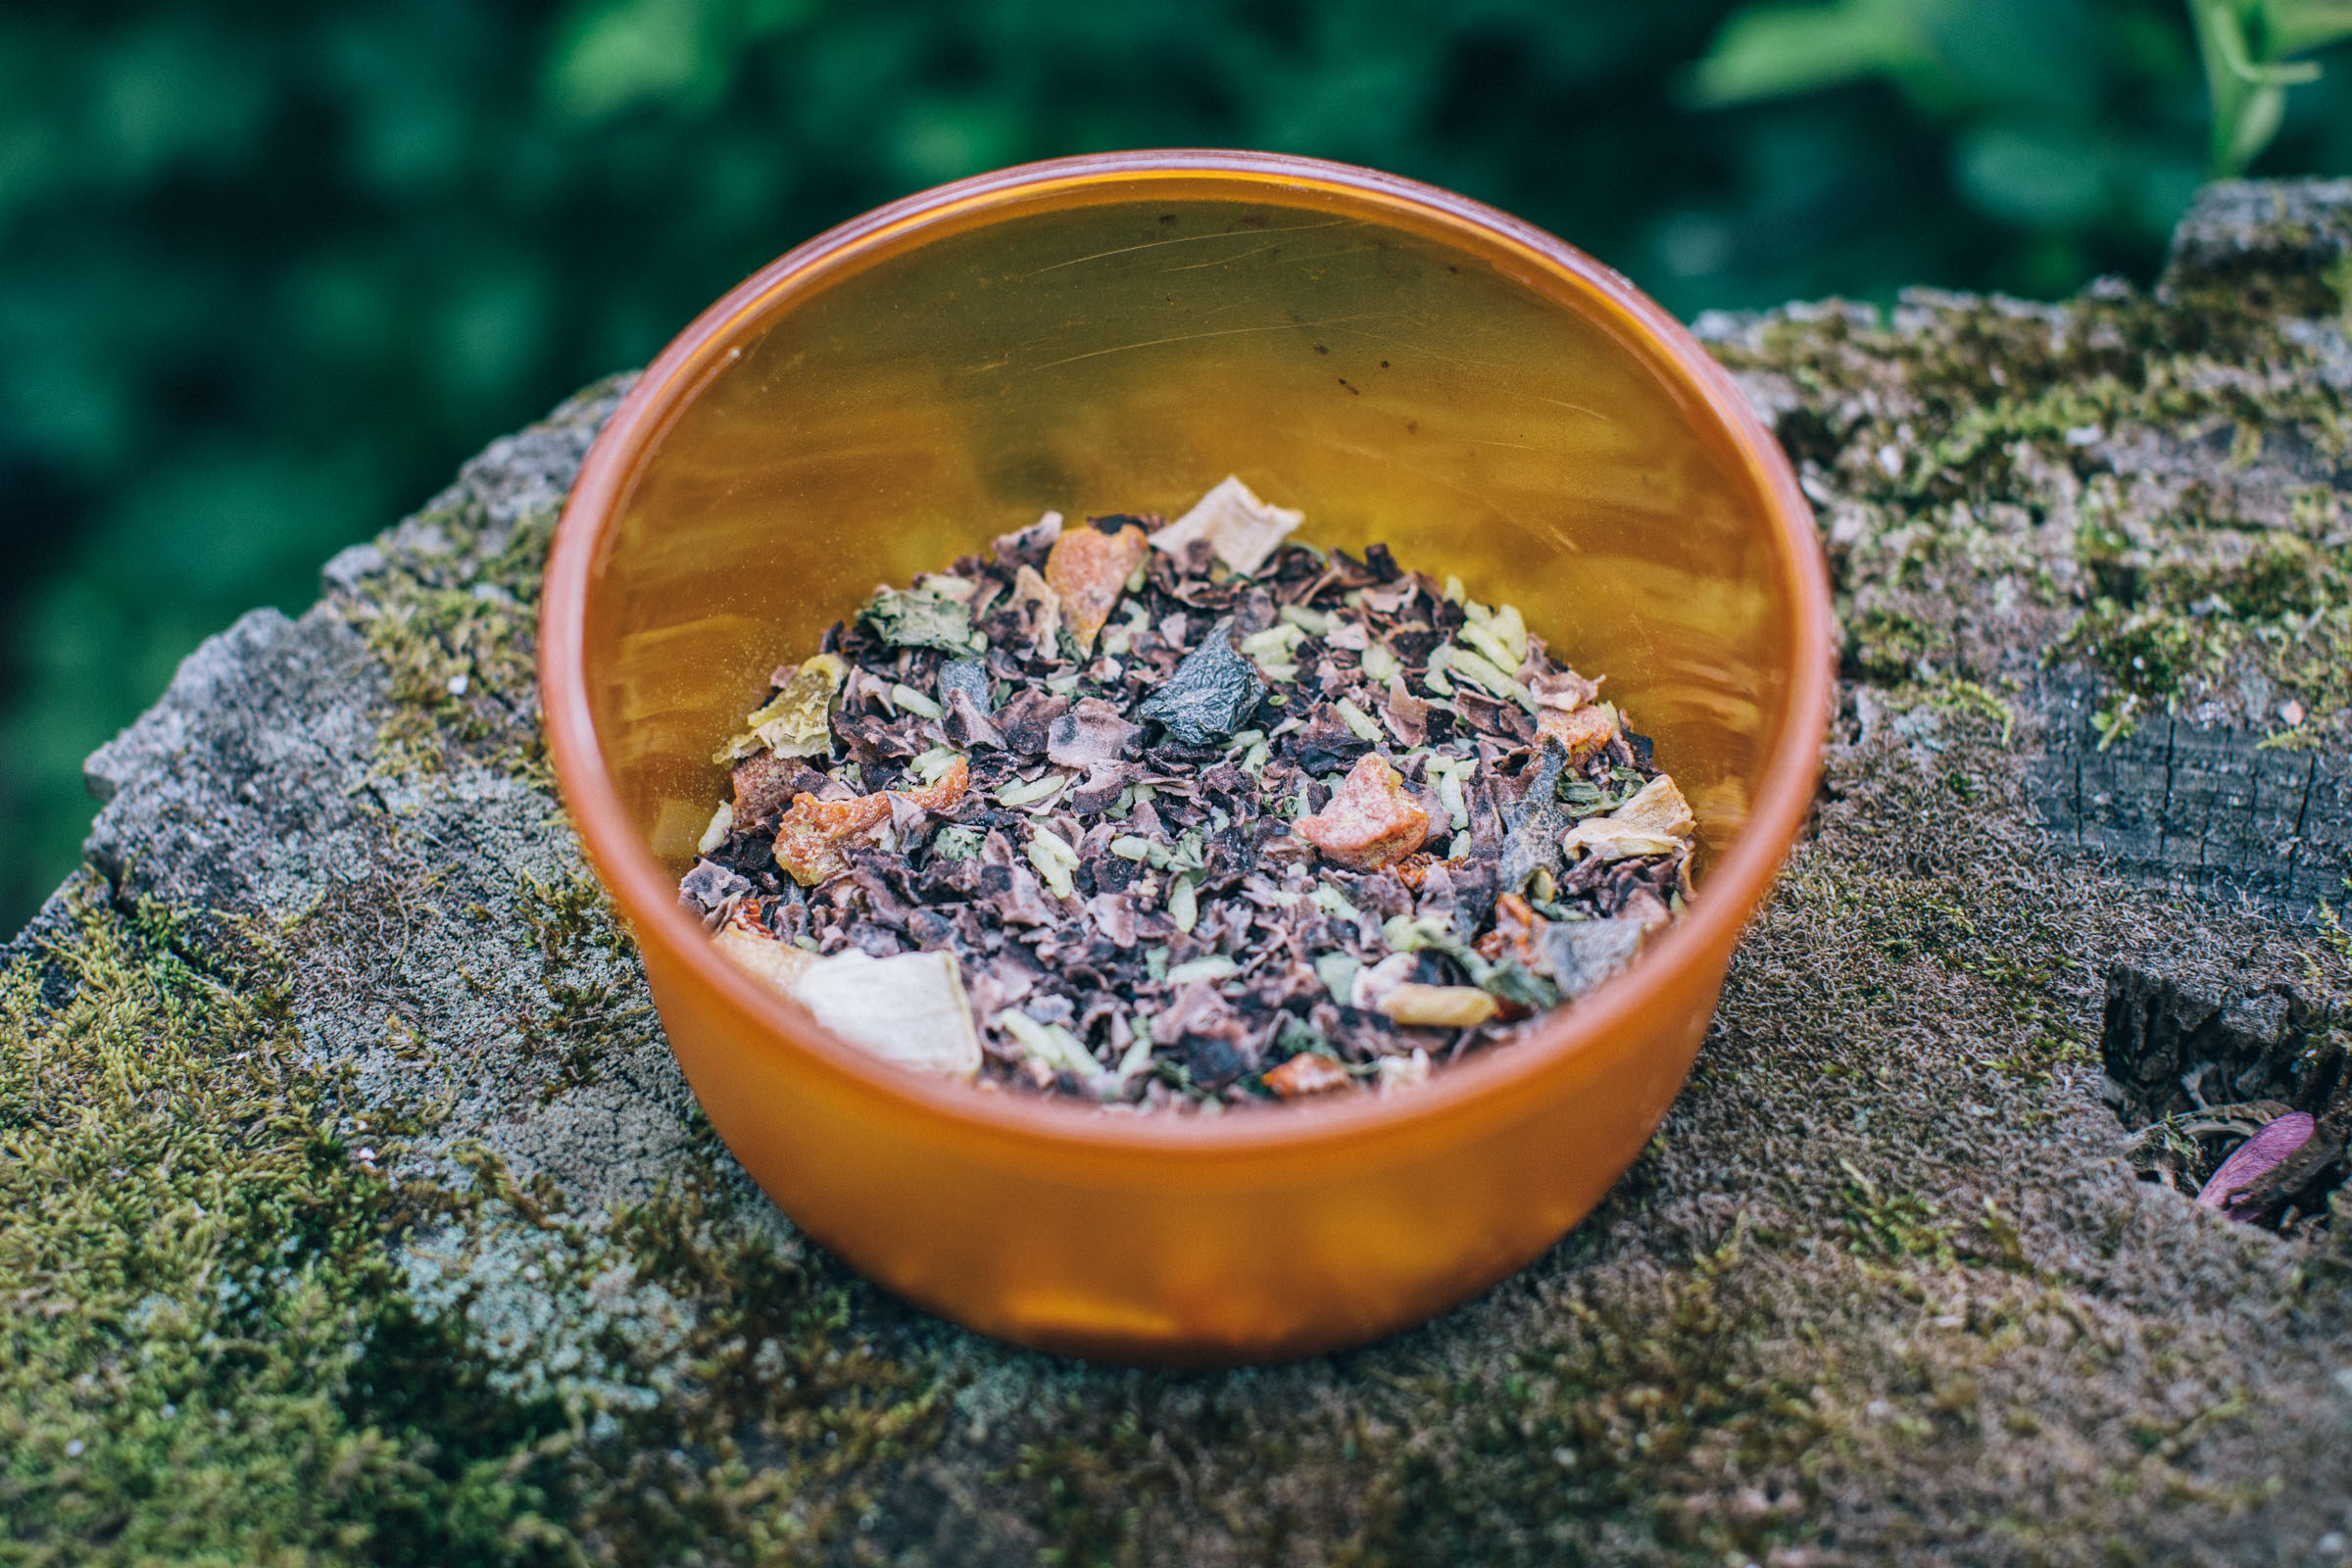
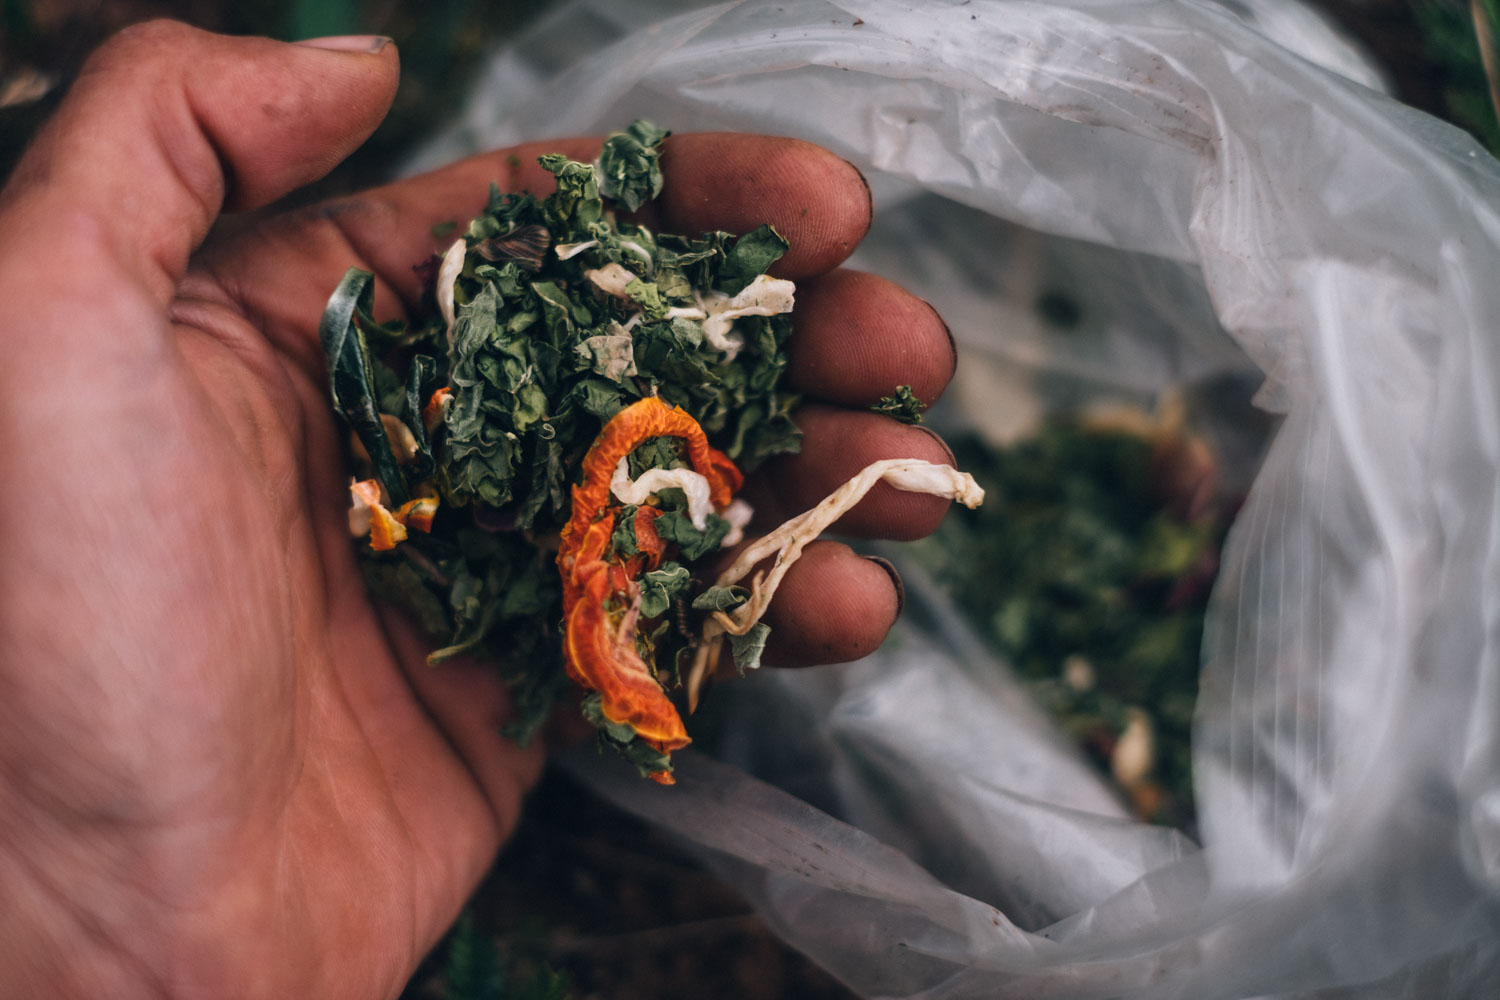
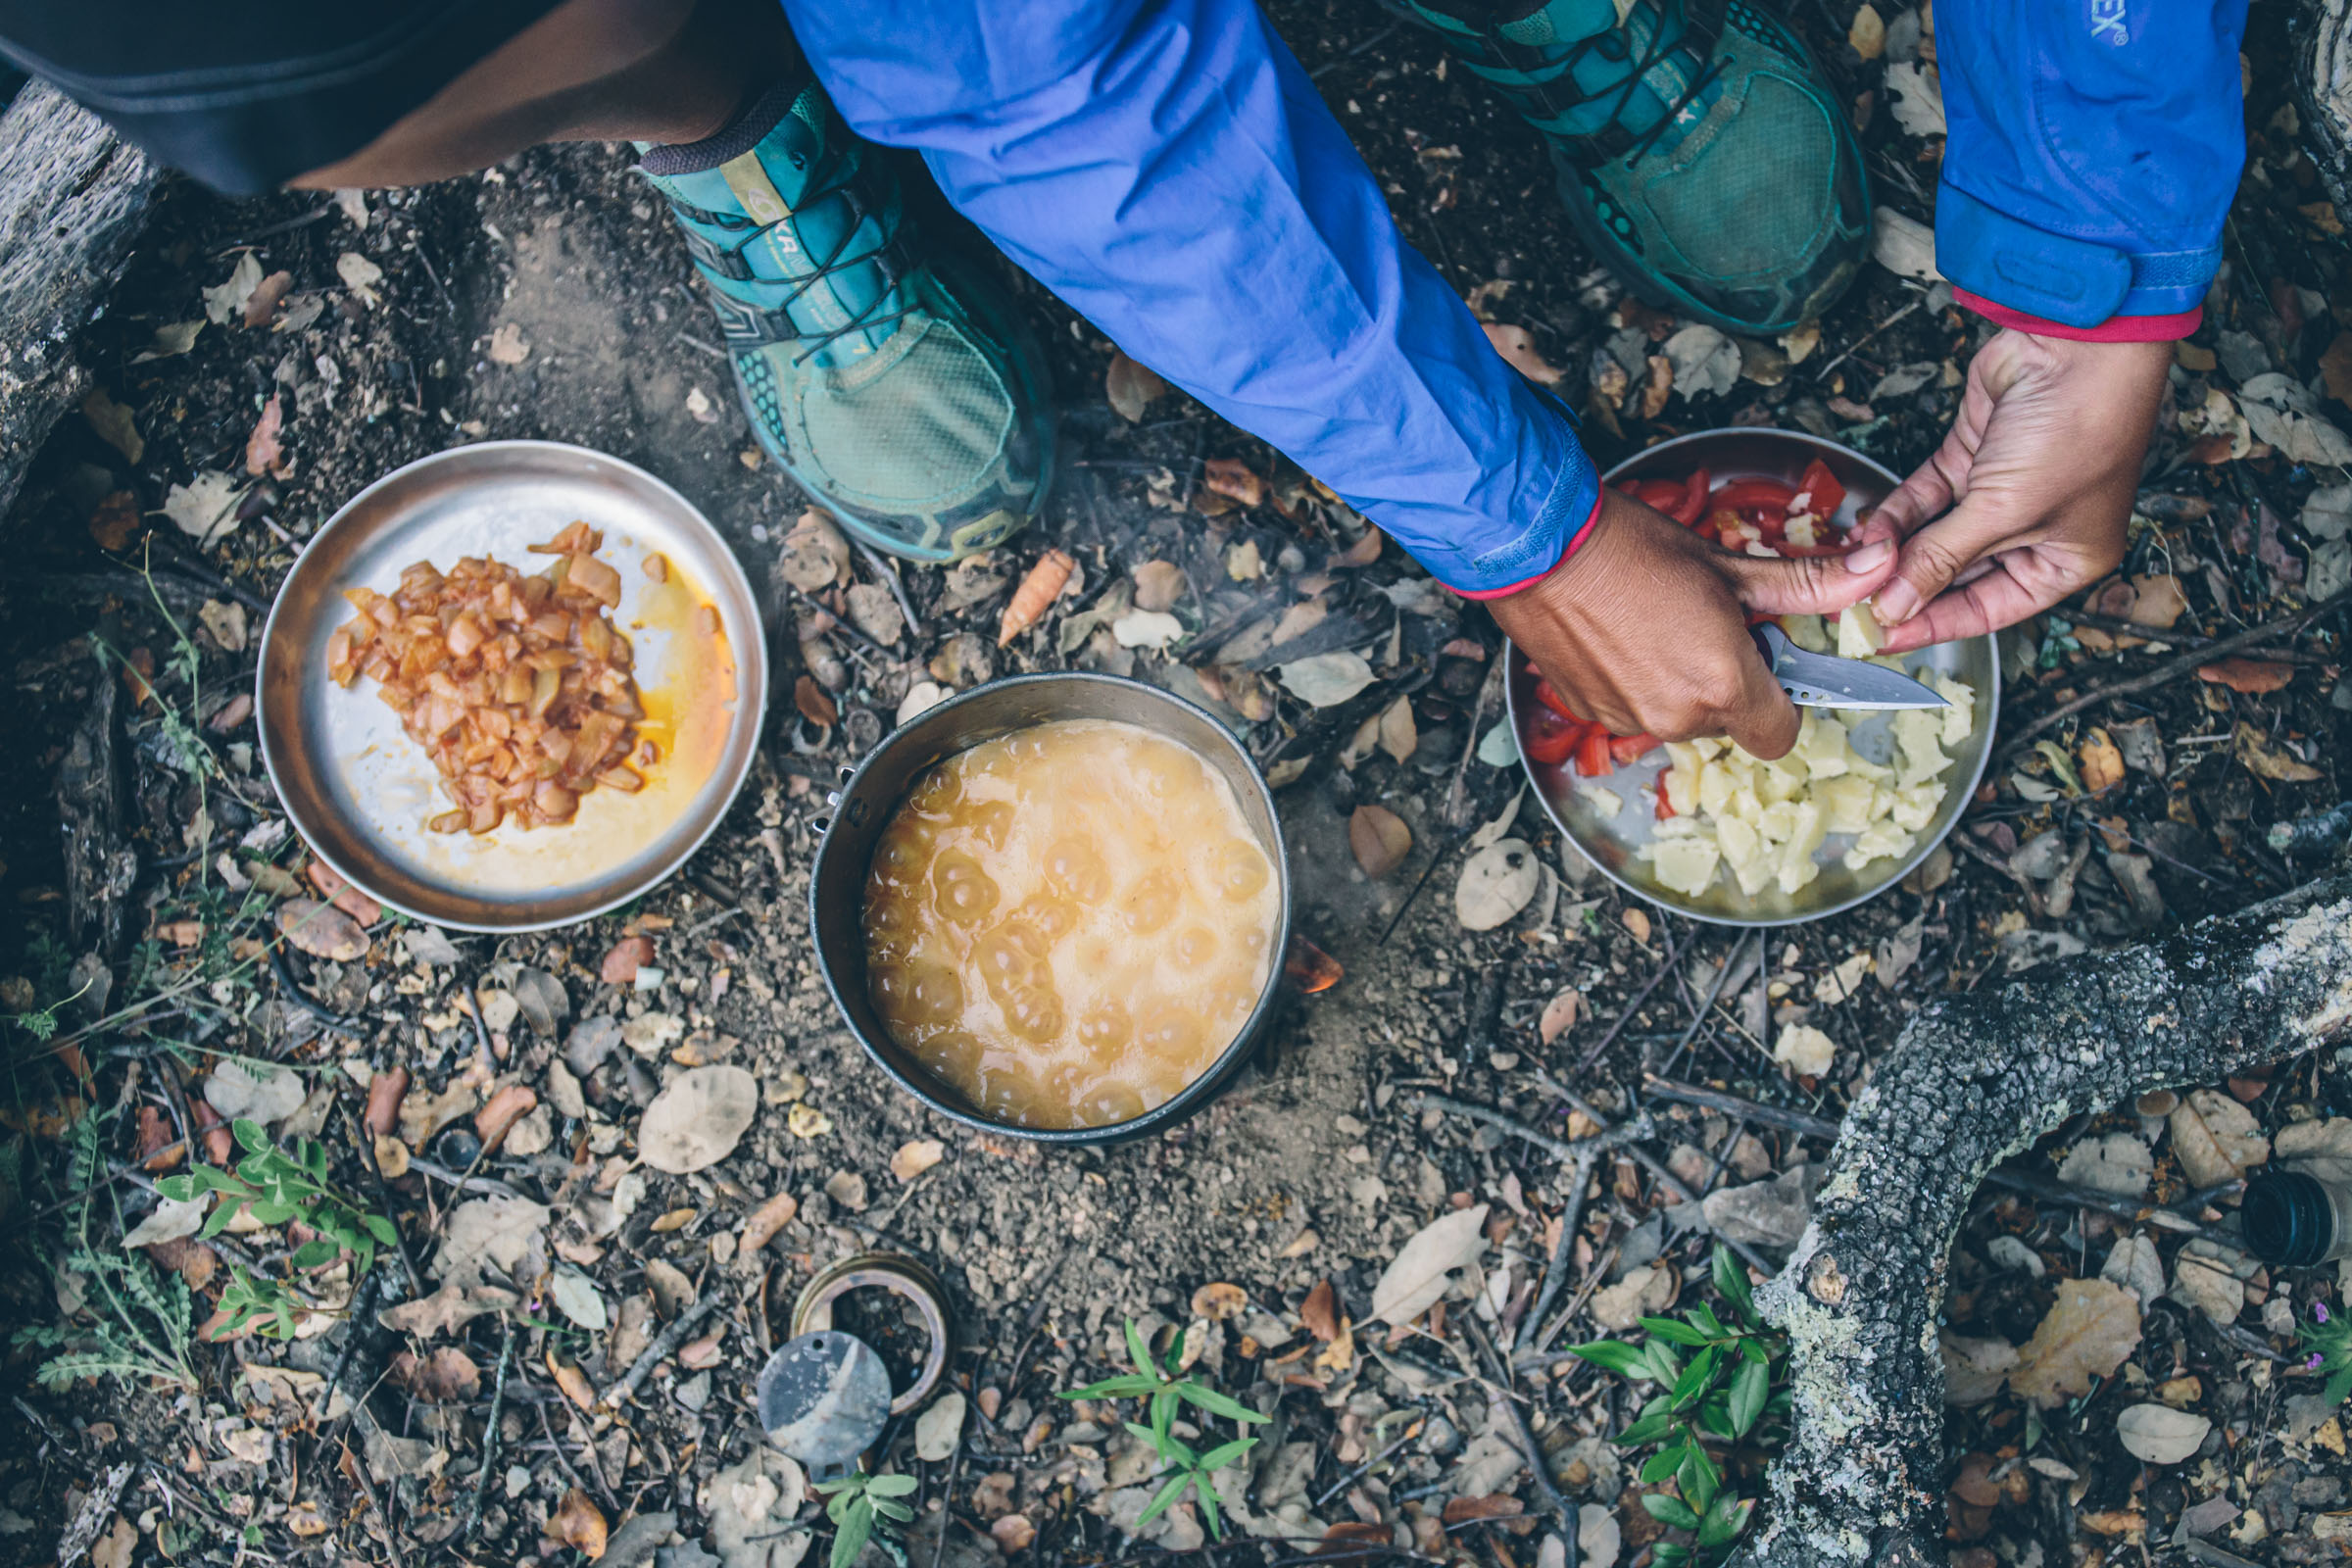
To create these meals, you can purchase store-bought dehydrated ingredients, or, if you have your own dehydrator, prepare the ingredients yourself. Just as you would with the one-pot meal, choose a starch to create the backbone of your meal. Pan-cooked rice and dehydrated potatoes or beans are a great option. Add dehydrated or freeze-dried vegetables and seasonings. Mix the ingredients and store in an airtight container until it’s time for your next bikepacking adventure. To prepare campside, simply transfer the desired quantity of the dehydrated mix into a pot, add water, and boil. Remove from heat, cover, and let your meal sit for approximately 10-15 minutes. Alternatively, use silicone storage bags or high-density, freezer-grade Ziploc bags to make individual servings. Add boiling water to the bag and wait. Stay tuned for our hearty dehydrated black bean stew recipe coming soon (shown in photo above-left). Also, find a recipe for Sopa de Quinoa here (above photo right).
Keep It Simple: Revisit Old Stand-bys
Not every meal needs to be a masterpiece, and not every snack needs to be amazingly nutritious. We’ve all eaten junk in our lives and survived to tell the tale. When you’ve exhausted yourself by spending a long day in the saddle, sometimes calorie intake is all that matters. And childhood favorites can often hit the spot.
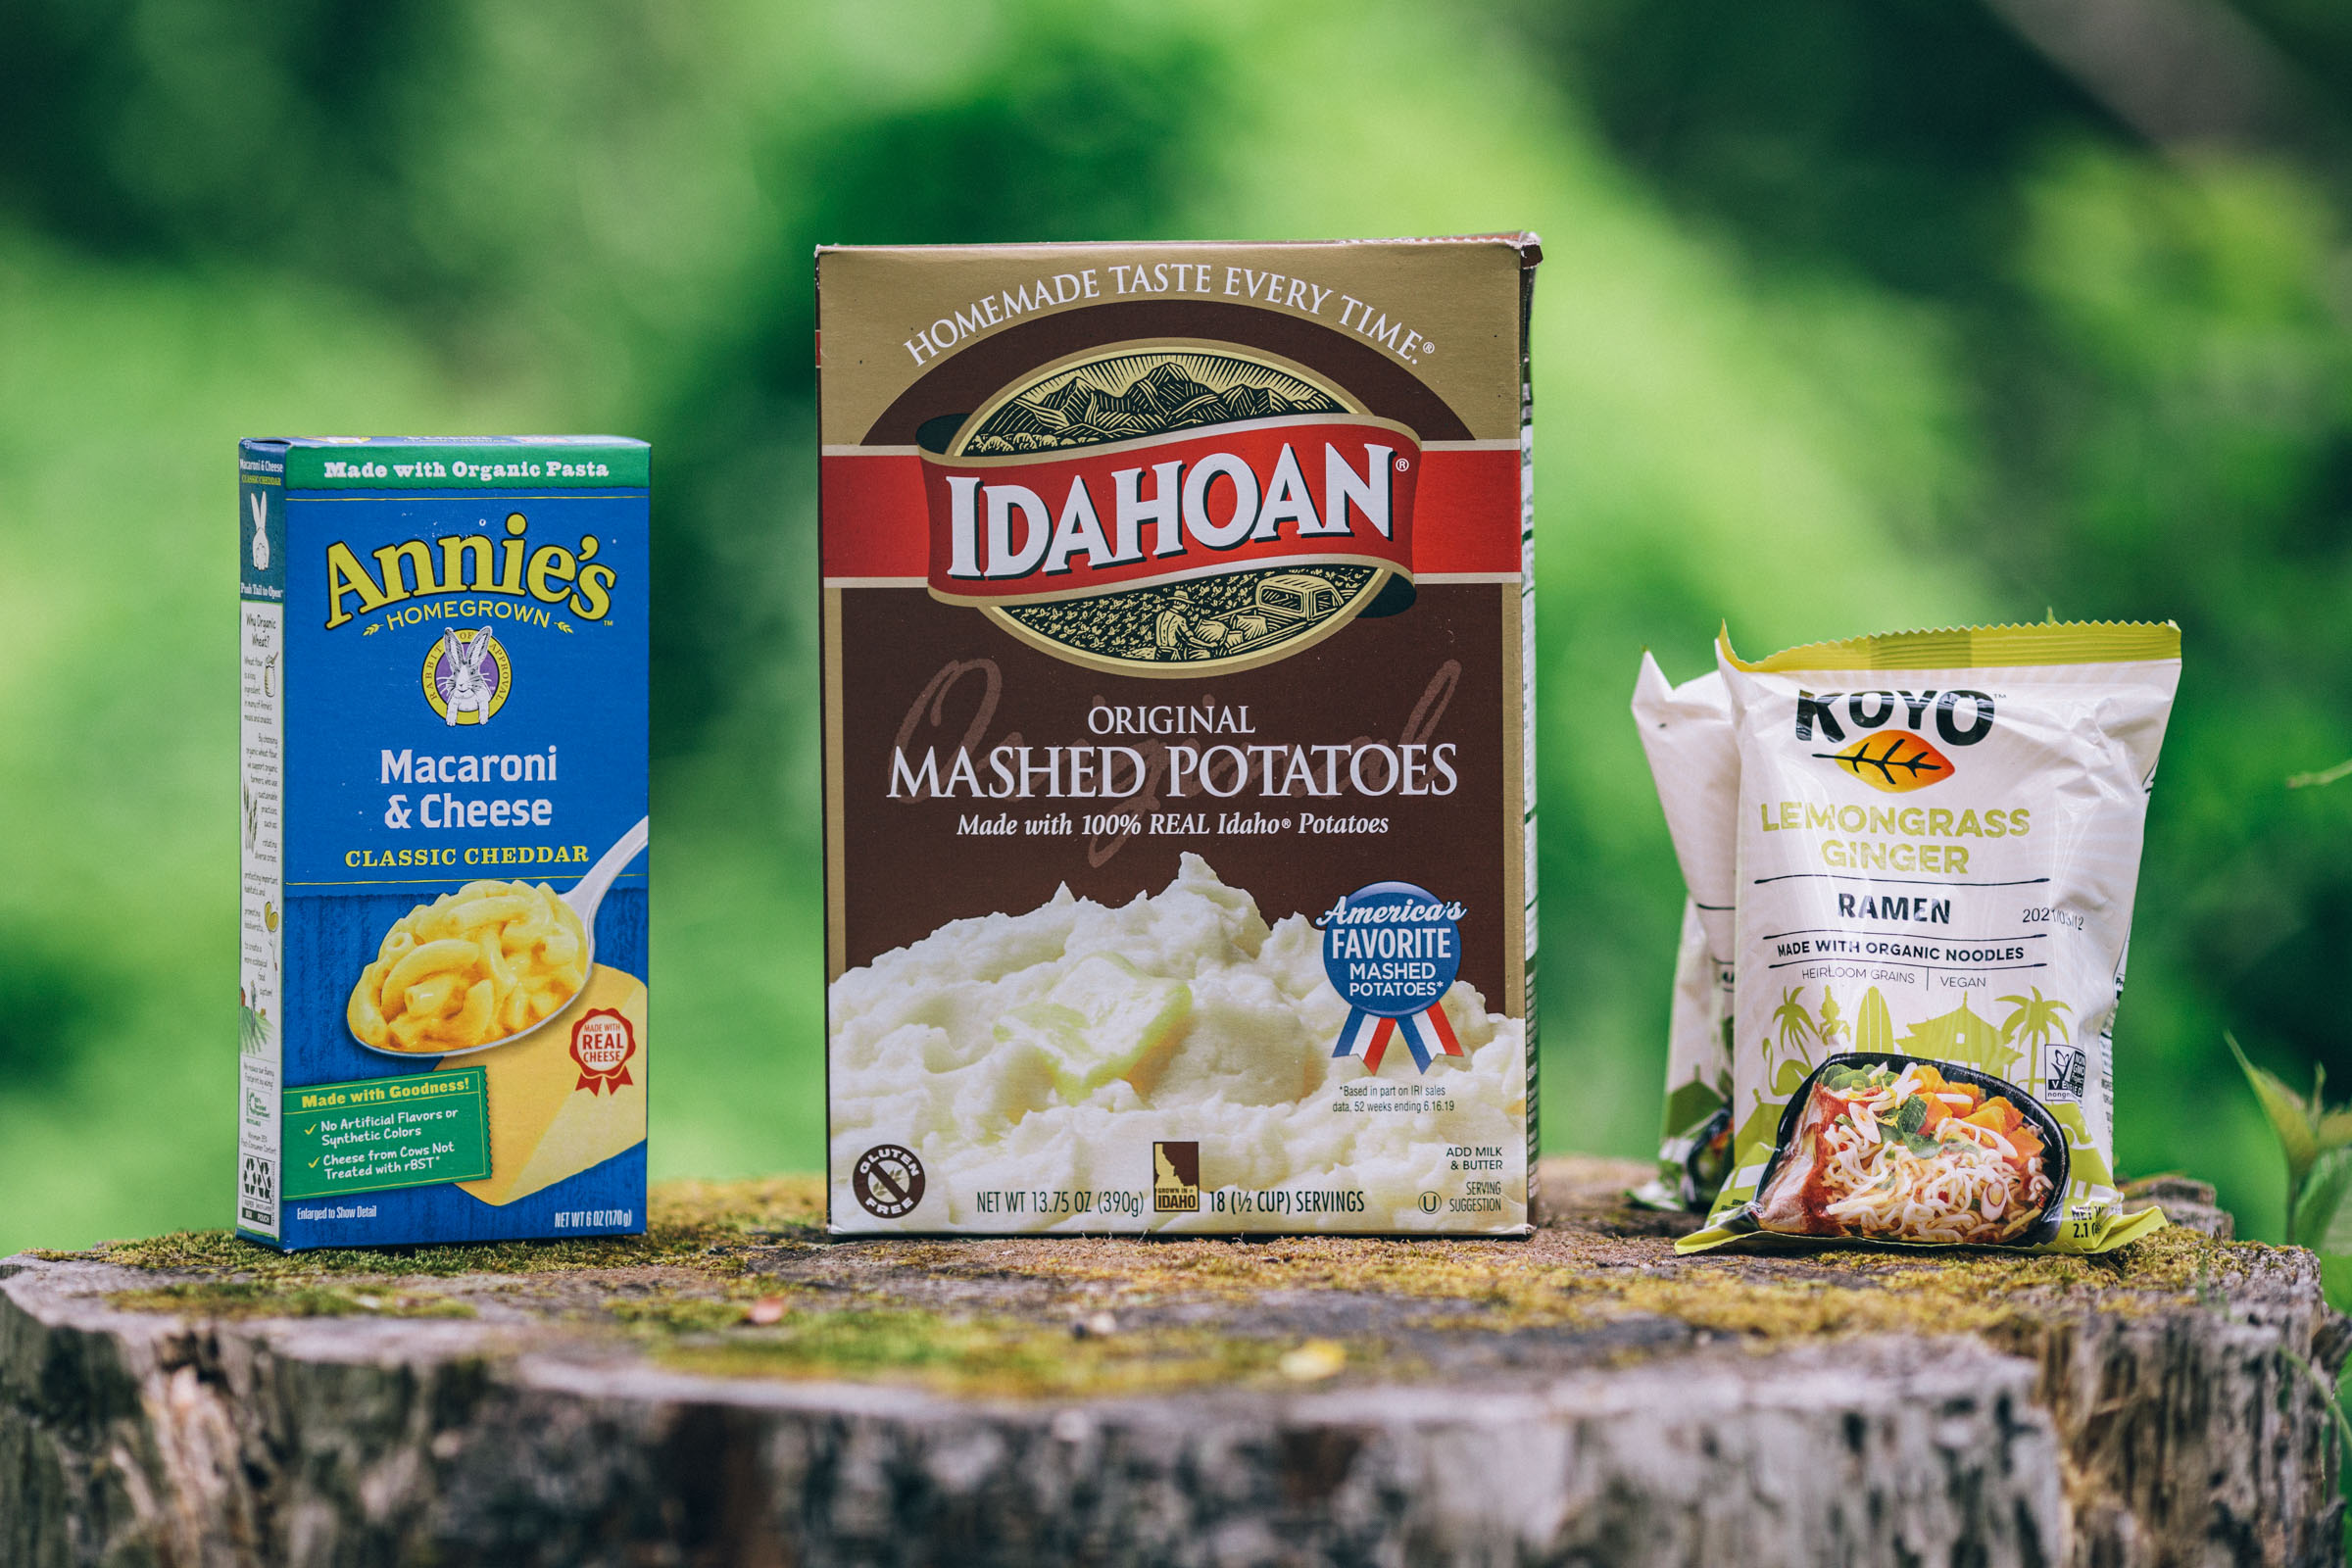
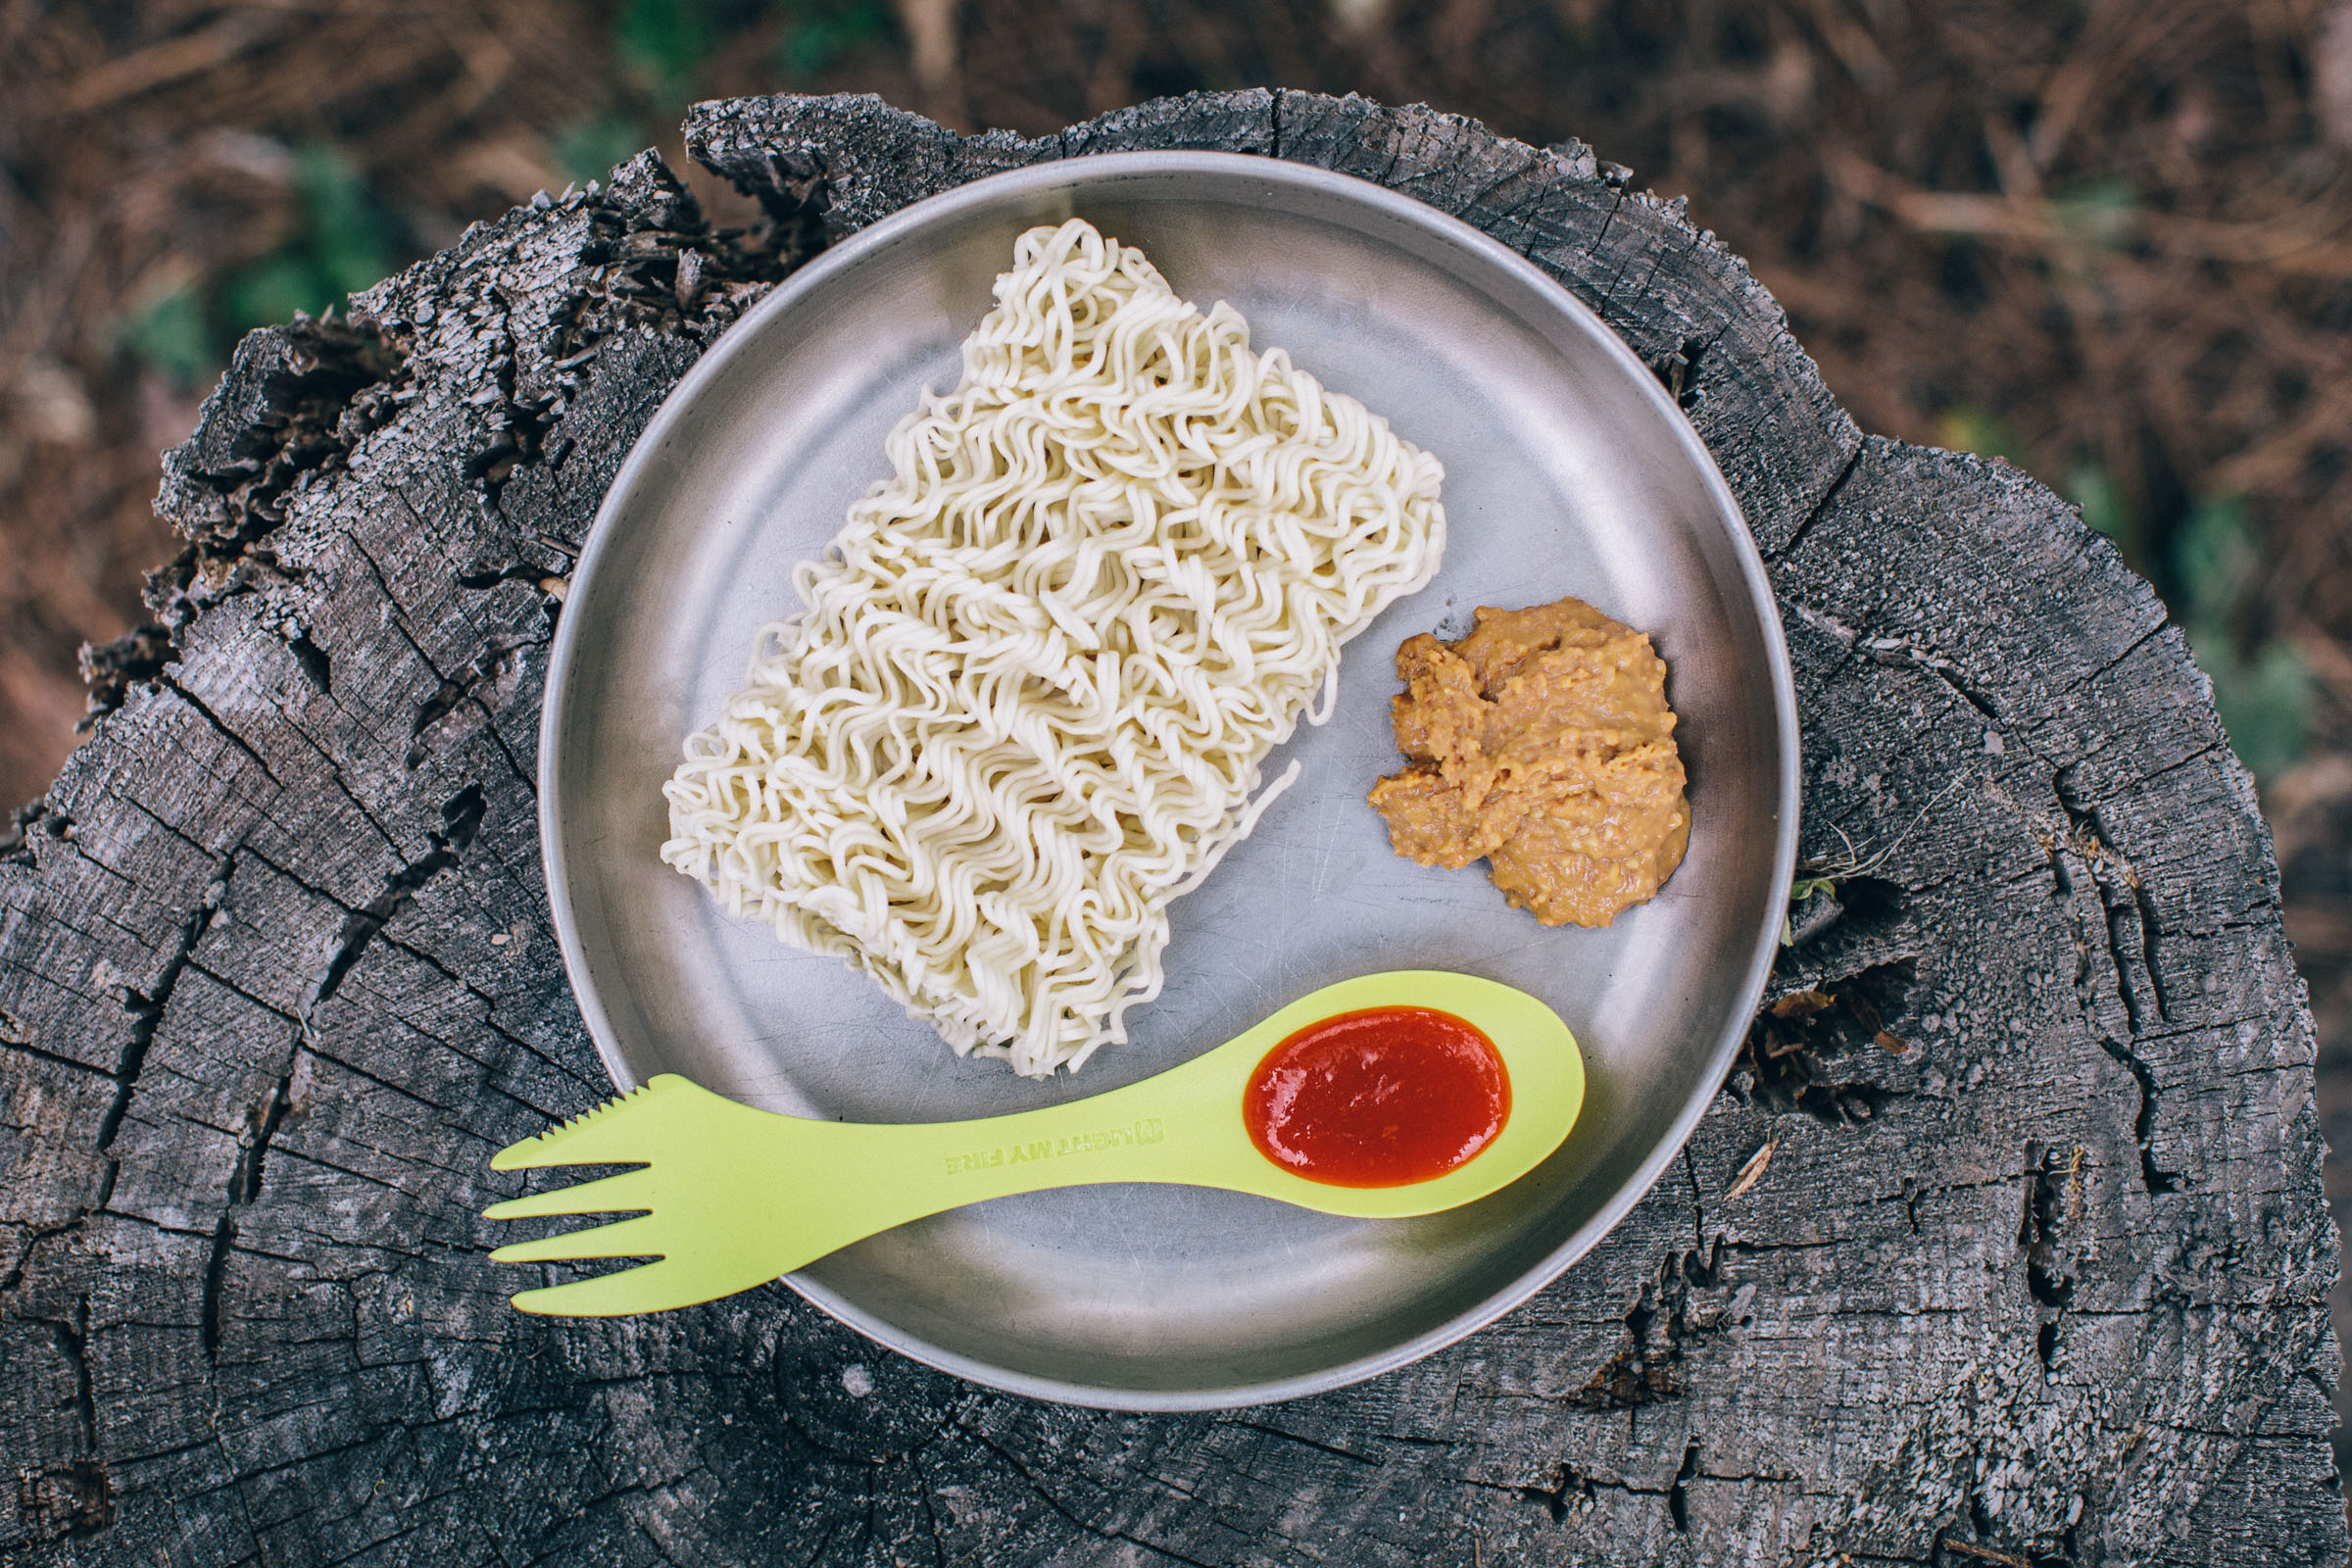

Boxed macaroni and cheese and ramen noodles are two easy dinner options. They’re satisfying as is, but if you do want to amp up the “wow” factor, there are loads of options. Any variety of vegetables can easily be added to either dish, and adding peanut butter, soy sauce, and a little Sriracha takes ramen to new heights. Instant mashed potatoes are another no-nonsense comfort food that’s pretty easy to glampify with the addition of a little cheese or some dehydrated veggies. Instant oatmeal is a super easy breakfast option. A little hot water is all you need to satisfy, but add some dried nuts and fruit or powdered coconut milk, and you’ve got something pretty special.
Learn to Appreciate No-Cook Meals
Cooking a “real” meal isn’t always an option. There are times when resupply is limited. And there are other times when, no matter the bounty of potential ingredients, you’re just too tired to cook or you’ve run out of fuel. Literally. It’s moments like these when the beauty of a slab of dried meat, a dollop of peanut butter, or a simple tortilla are most appreciated.
Cured meats (jerky, salami, pepperoni, summer sausage) and hard cheeses pack a lot of calories and hold up surprisingly well after a few days on the bike. When choosing a cheese, keep in mind that soft cheeses will spoil relatively quickly. It’s best to go with a hard and/or salty cheese. Small, wax-wrapped wheels of Edam or Gouda are also resilient, and they pack an added benefit: in a crunch, their wax packaging can be used as a fire starter. That said, be careful, many of the mainstream brands have converted to wax lookalike plastic shells, which is disheartening.
A peanut butter sandwich may sound uninspiring, but it’s a great option for any meal of the day. Peanut butter is calorie and fat-dense, and is also a good source of protein, fiber, vitamins, minerals, and healthy phytochemicals. And it’s inexpensive, too. Take an entire jar along for the ride or simply transfer some of your home supply into a smaller repurposed container. It’s hard to beat a sporkful of peanut or nut butter for a quick energy boost. Better yet, add some to a sliced apple or pear for a more substantial and refreshing treat.
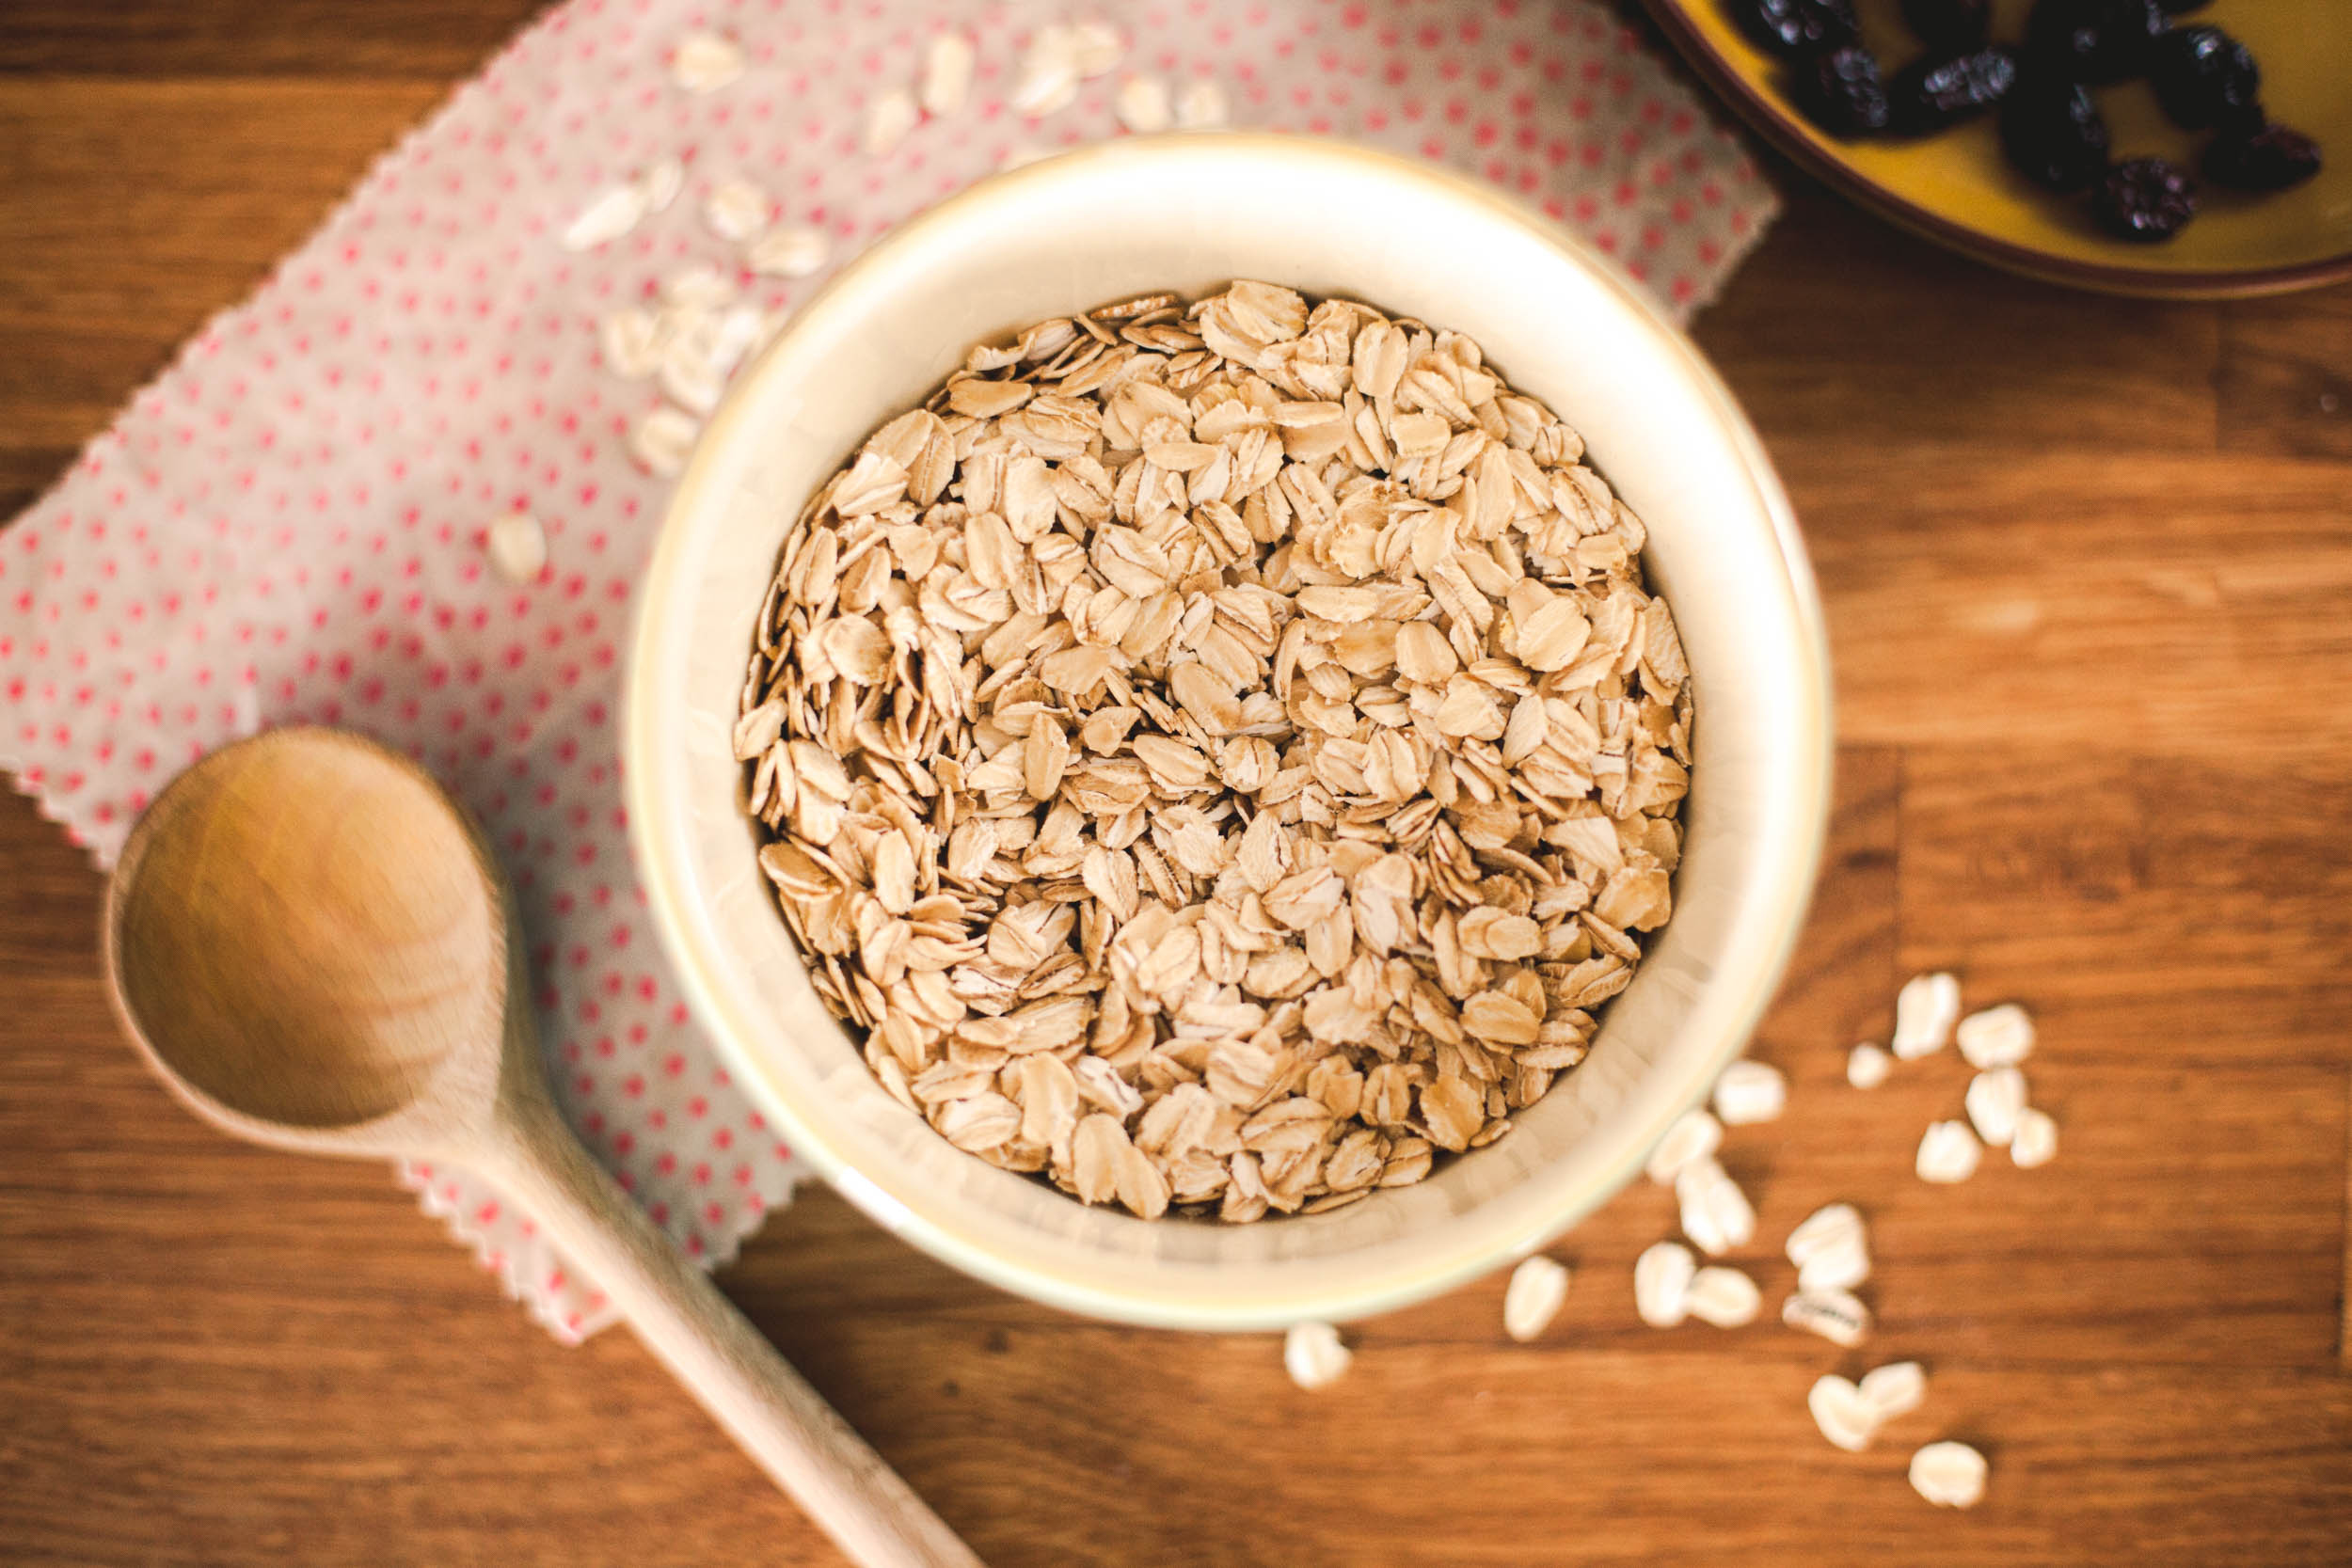
Granola is great for breakfast or for snacking on at any time. Most granola blends pack plenty of calories and, if they include nuts and/or seeds, they’re also a great source of protein. Dried granola is a no-fuss option that’s really satisfying, but to get a head start on hydration, try adding some reconstituted powdered dairy or coconut milk.
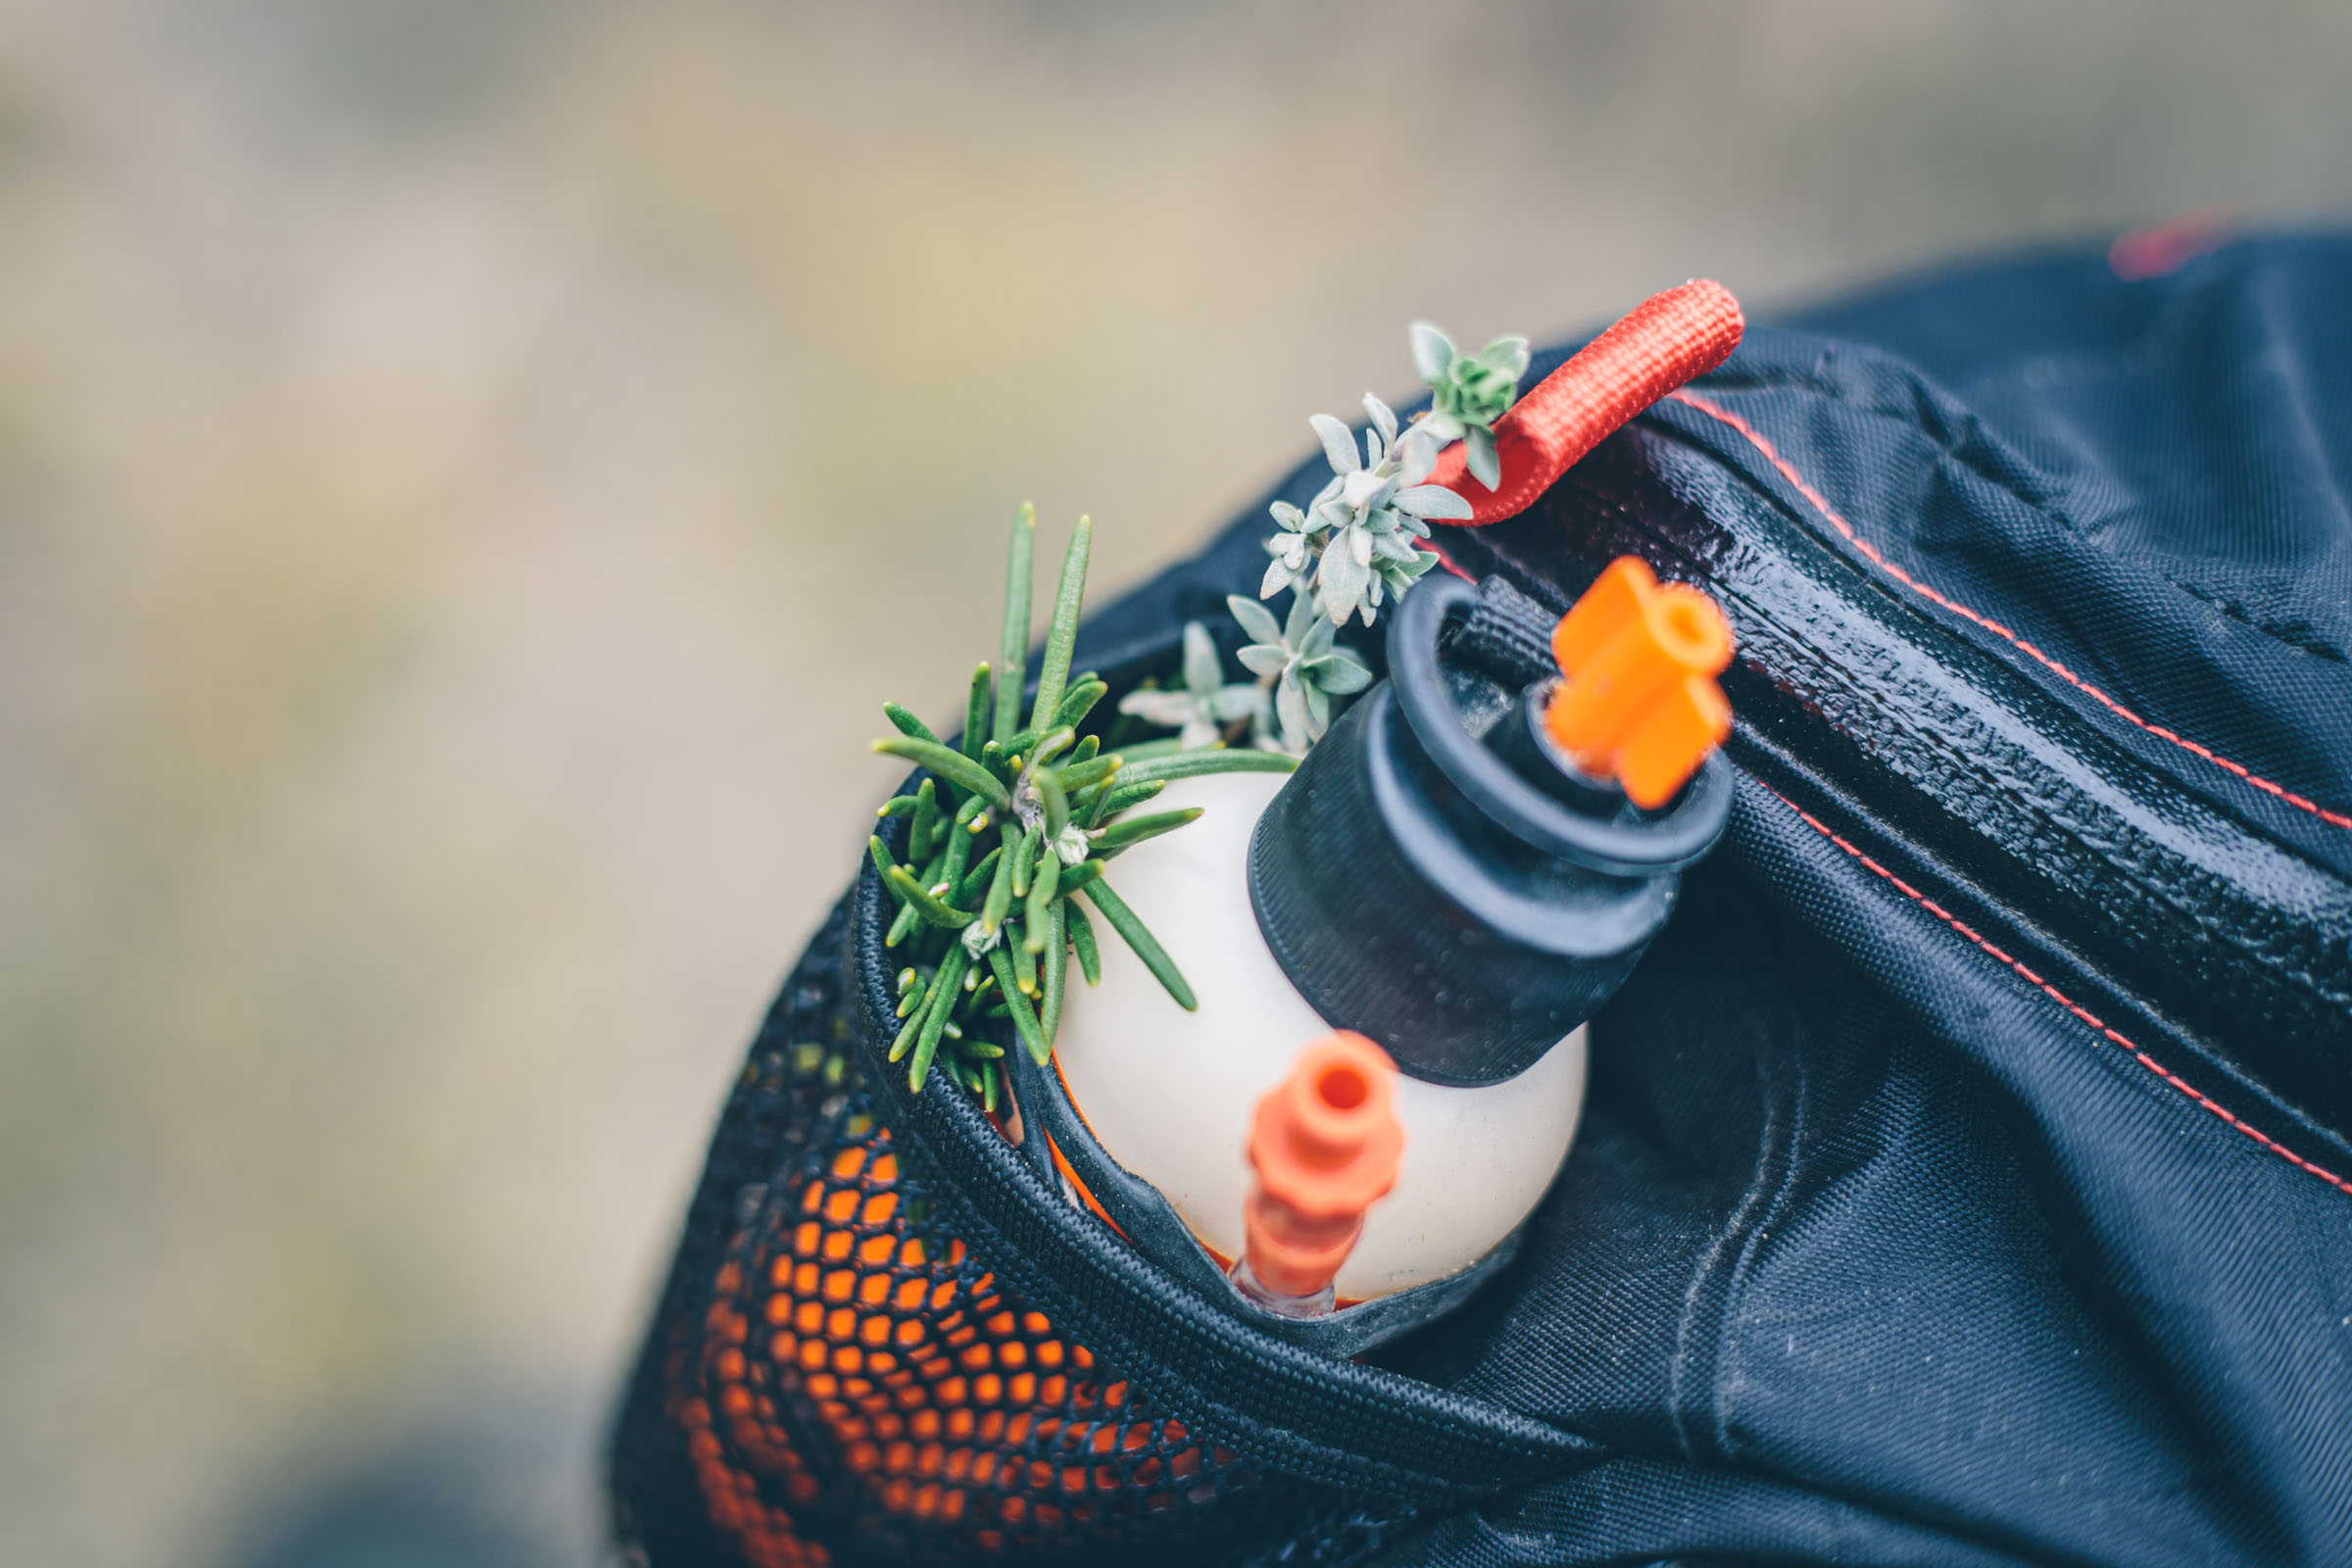
Reuse and Recycle
Mentioned elsewhere in this post, another way to save space and cut down on waste is to utilize multi-purpose items and recycle bags and bottles for prolonged use. One way to do this is by raiding your pantry before setting out and transferring ingredients bought in bulk—such as oils, spices, oatmeal, pasta, etc—into small Nalgene containers, or repurposed jars and bottles.
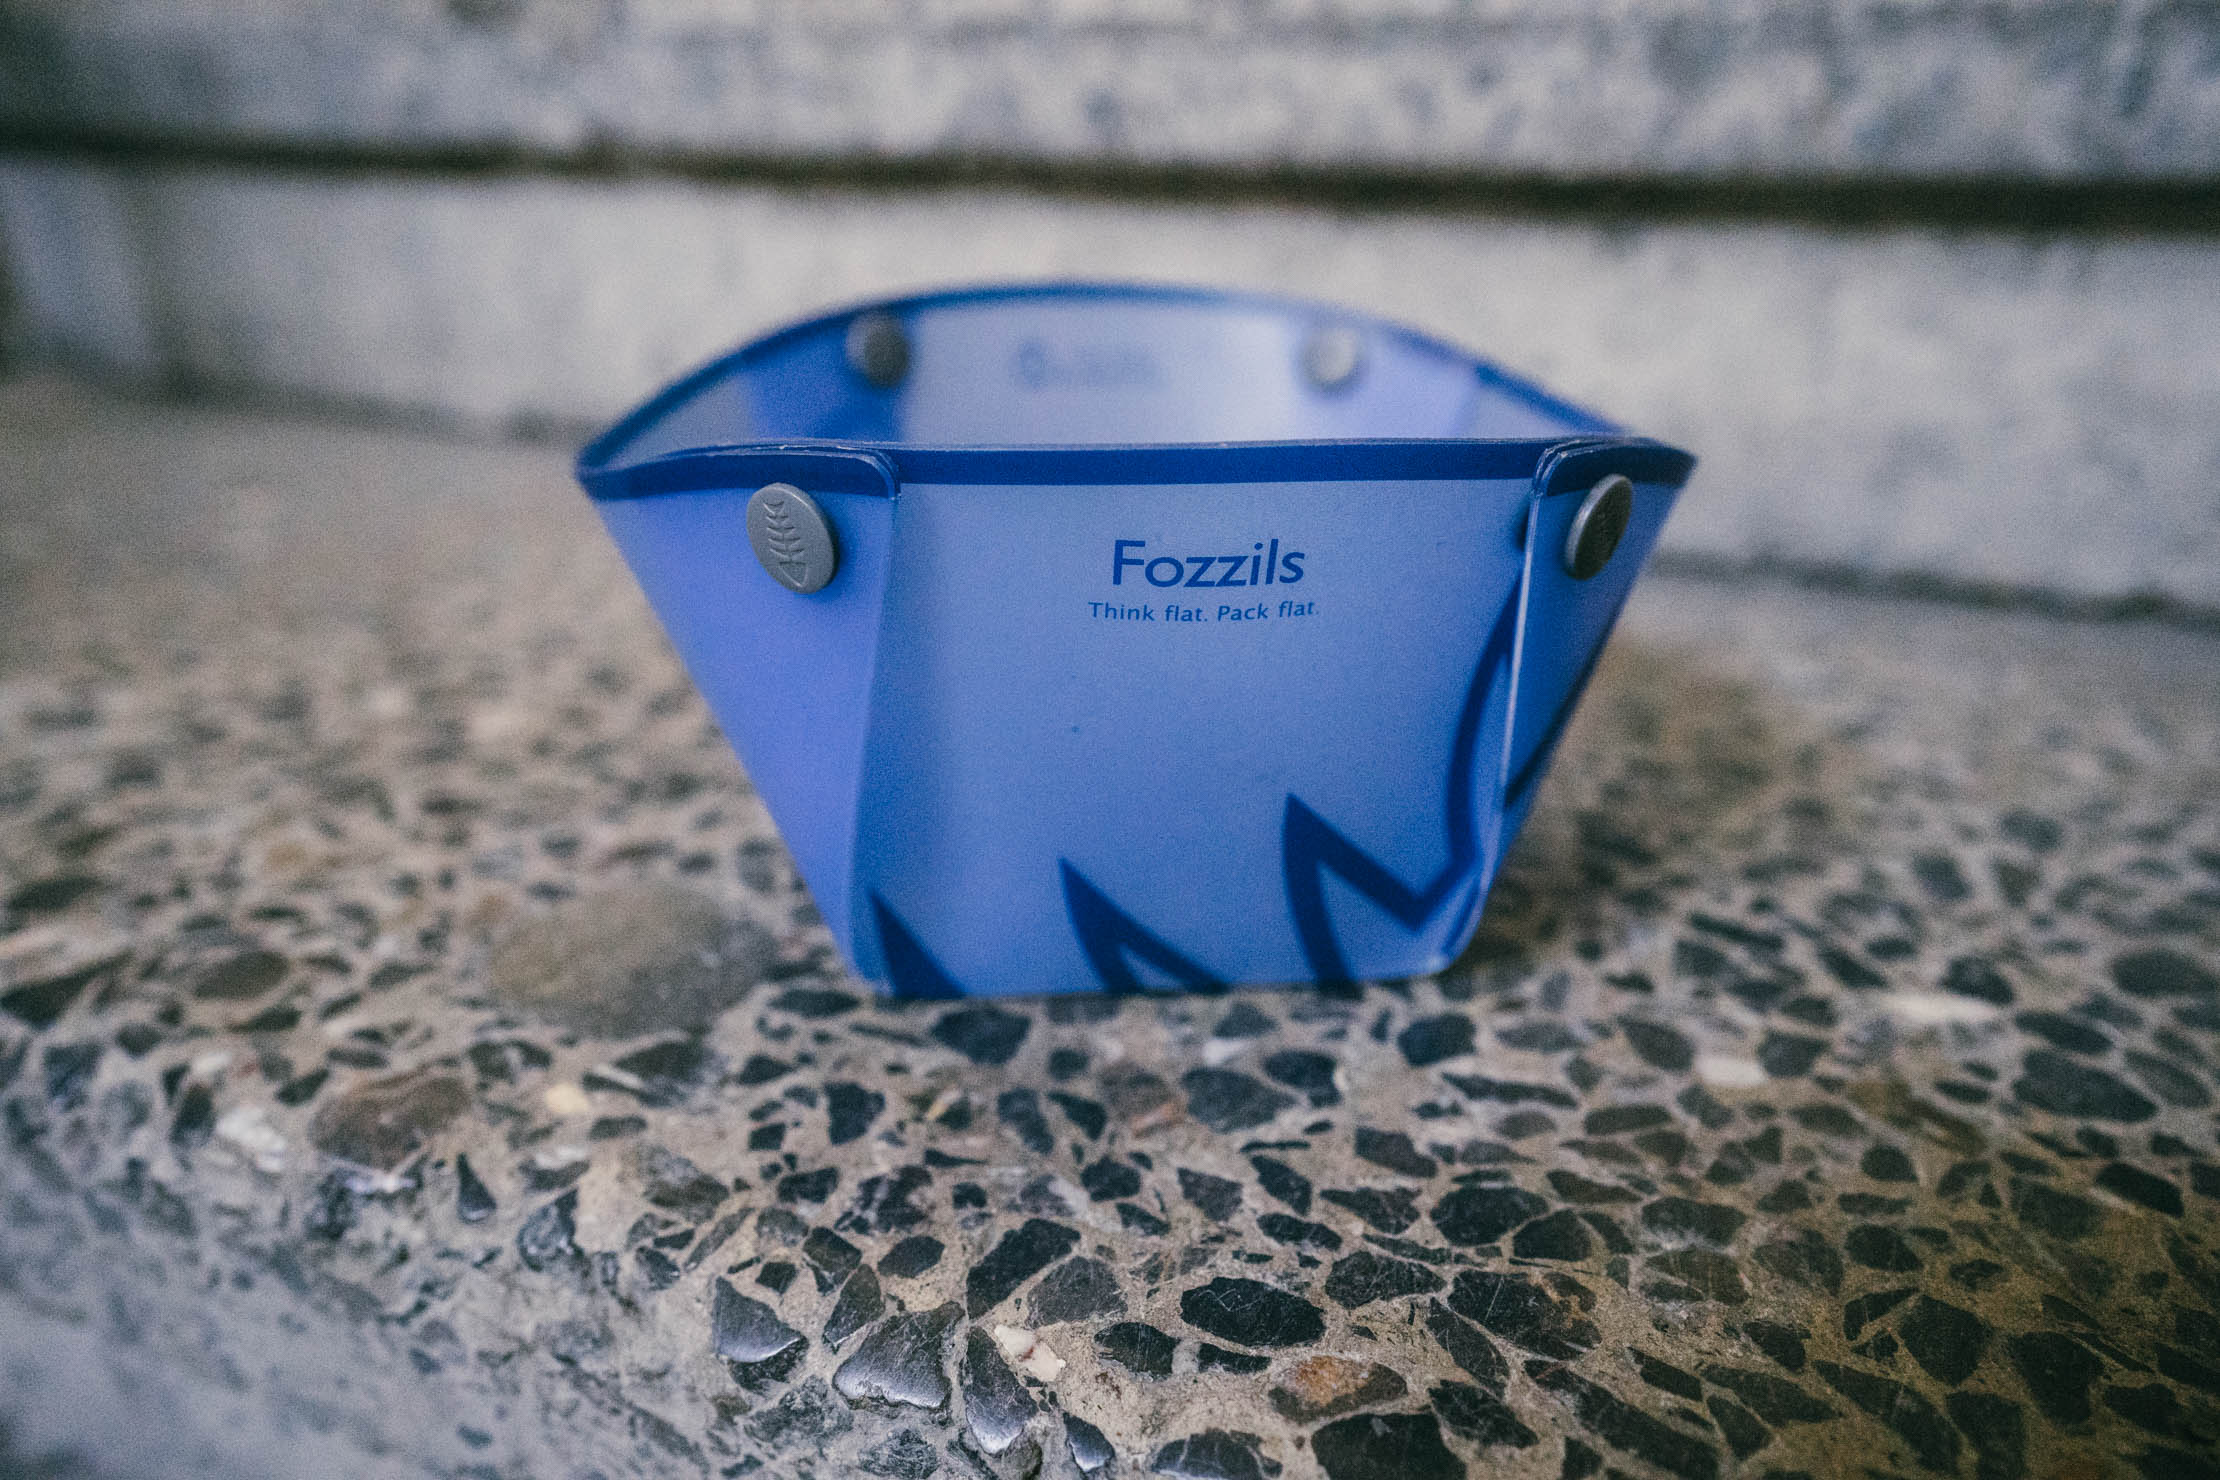
Our favorite store-bought, multi-purpose camp kitchenware are the Fozzils Snapfold Bowlz, foldable bowls that double as plates or cutting boards. When made flat they take up almost zero space in the frame bag and their weight is negligible. Another item that comes in handy is the sturdy and well-sealed Nalgene wide-mouth bottles. They come in a variety of sizes and are great for storing spice mixes, oils, or other seasonings.
As for taking advantage of single-use plastic bags and giving them a second, third, or fourth life, Ziploc sliders work well for storing food, as do bread bags and the ziploc bags used for shredded cheese, sun-dried tomatoes, or other such items. We often keep these types of bags in rotation during a long trip. Obviously, it’s best not to use single-use plastics, but if you do, it’s nice to extend their use even further.
Make Tortillas a Staple
Tortillas are one of the most bikepacking-friendly foods available. In contrast to bulky breads, their flexibility and thin profile make it easy to pack them just about anywhere on your rig. That said, because wheat tortillas contain gluten, they are far more pliable than corn tortillas. Still, if packed along the rigid side of a frame bag, corn tortillas can survive just fine.
Aside from their packability, tortillas are incredibly versatile. Campside burritos are pretty easy to prepare. For the filling, try combining dehydrated onion, pepper (preferably chili), tomato, and black or pinto beans. Add a little spice and reconstitute with boiling water. Add cheese or avocado if you’re really feeling fancy. Tortillas also double as edible pot-scrapers, sopping up stews and other remnants.
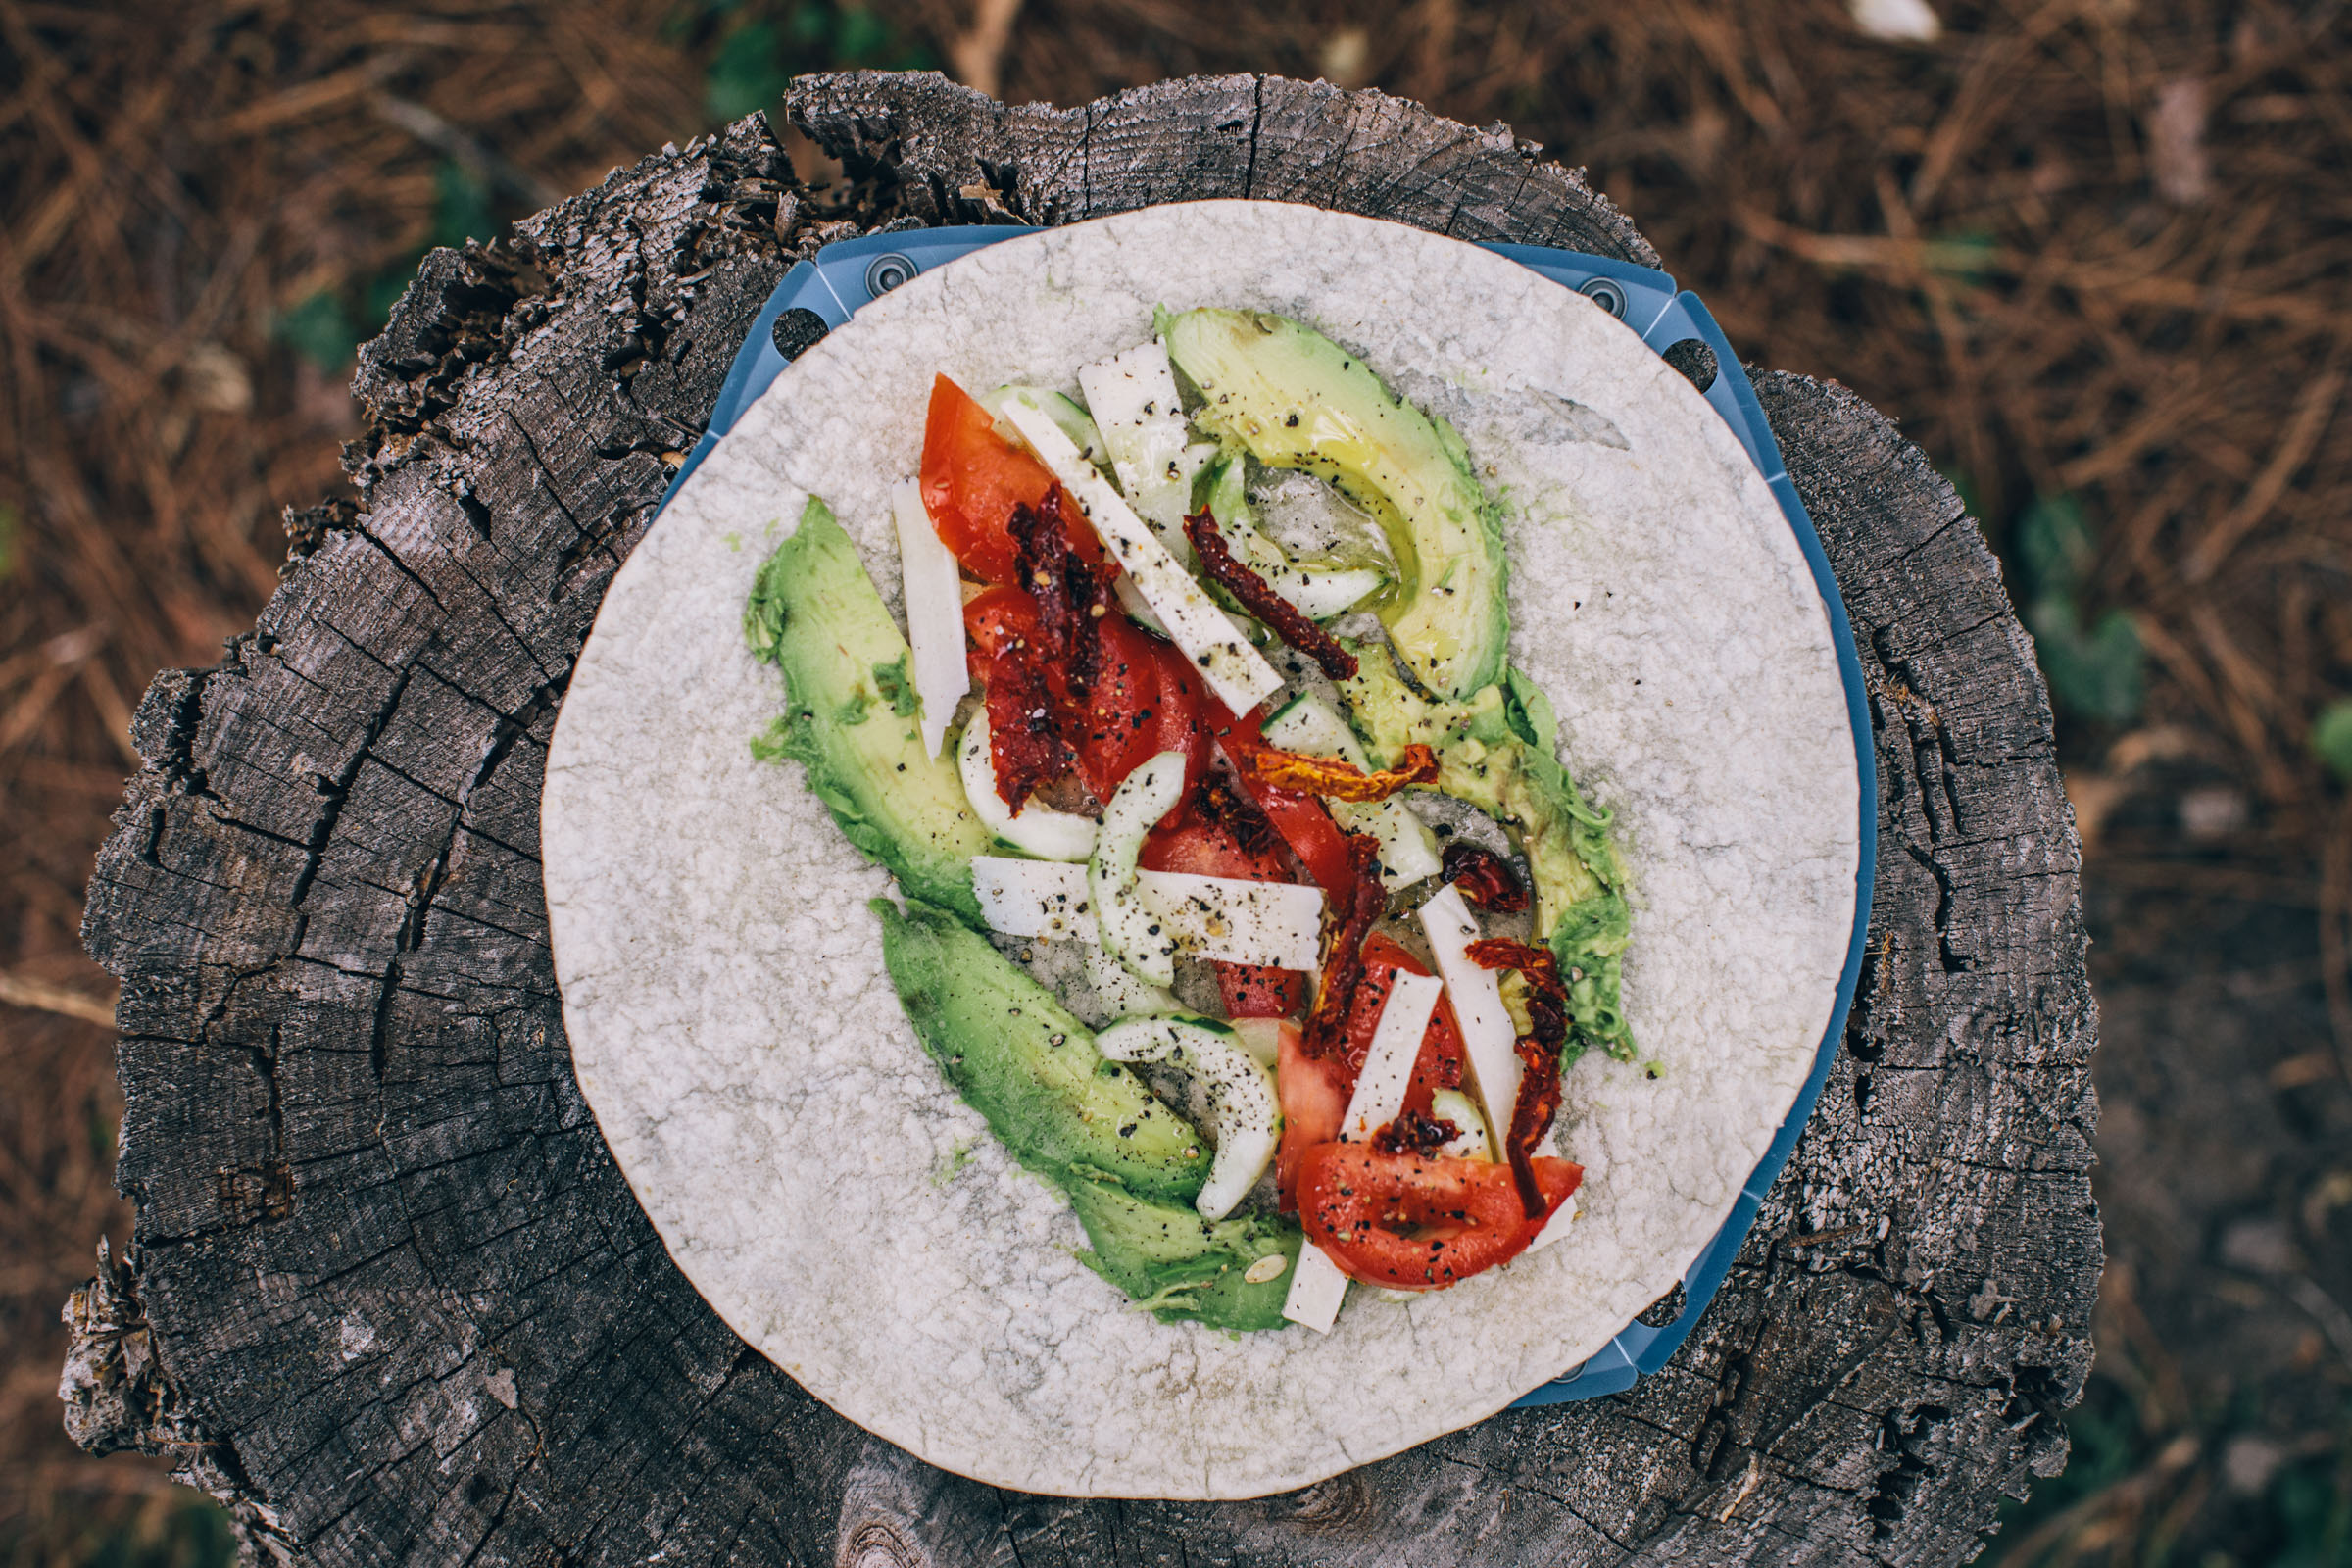
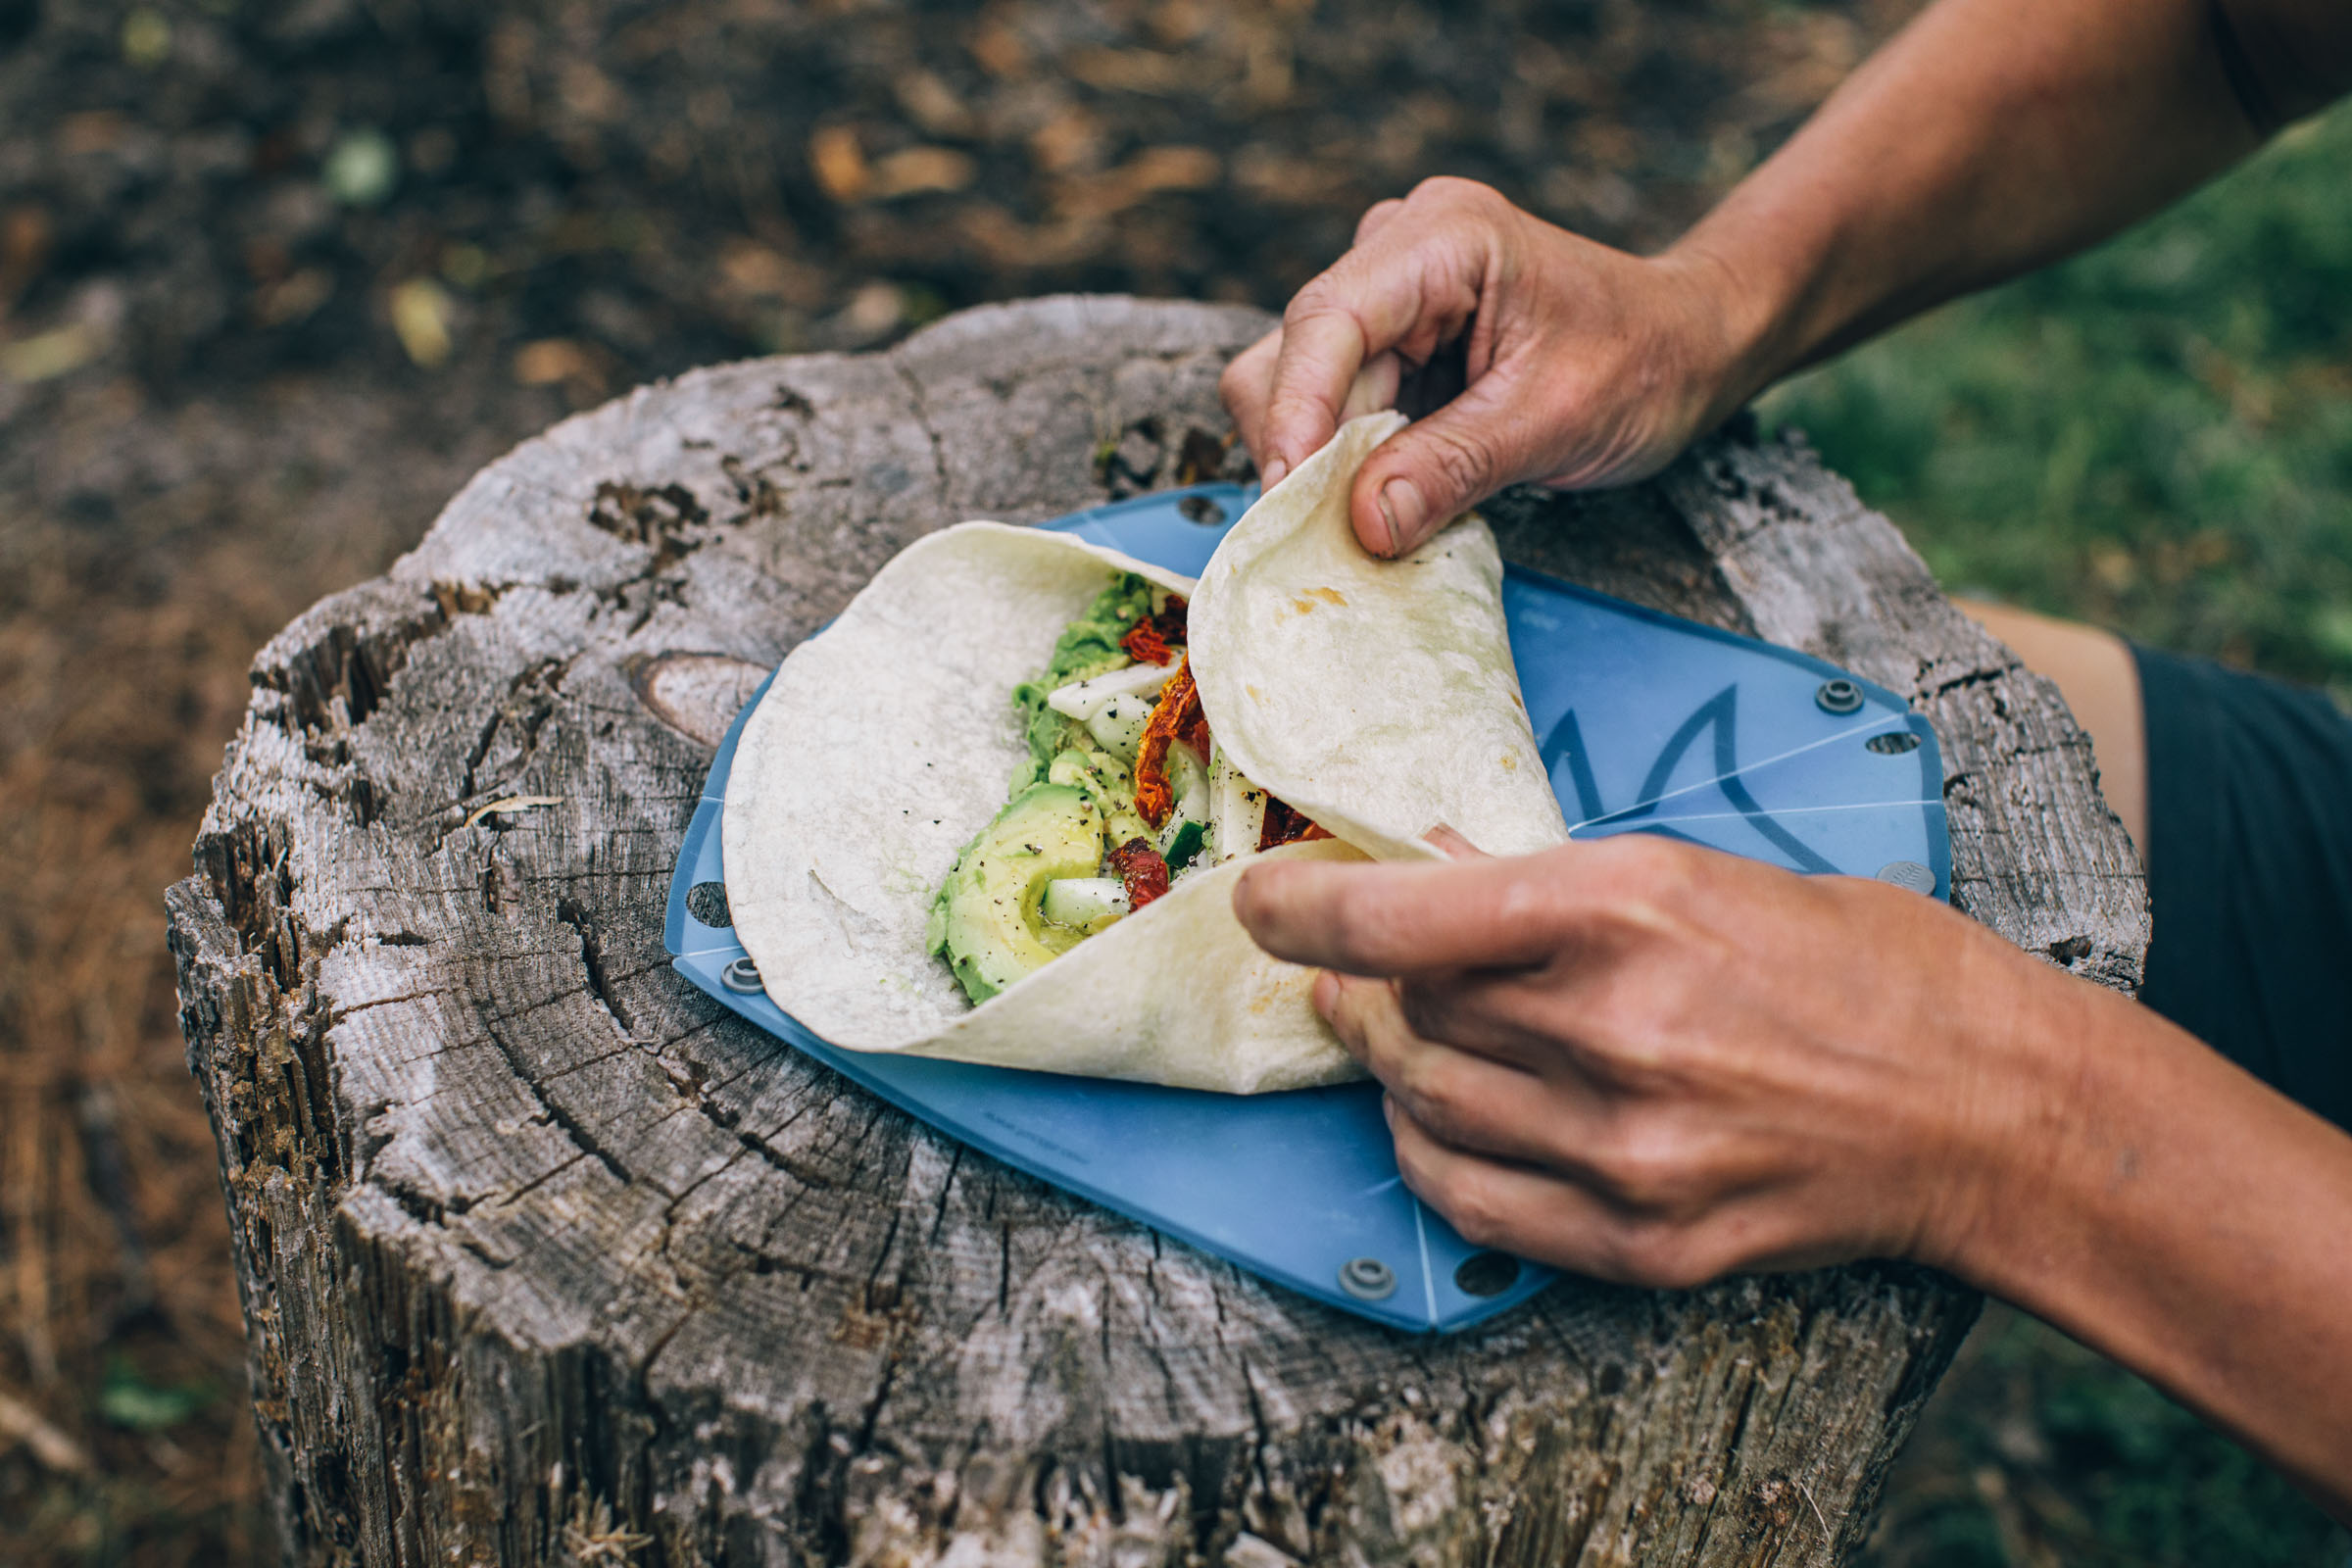
No-cook options abound when it comes to tortillas. Fill them with fresh vegetables for a refreshing trailside snack or stuff them with dried meats and cheese for a more substantial meal. Slap some nut butter or Nutella in a tortilla with a sliced banana for breakfast or any anytime treat. Or just tear them into smaller pieces and dip them right into a jar of peanut butter or hummus.
Add Foraging to the Mix
When packing space is tight, what could be better than finding food at camp or a snack along the route? Foraging is a great way of adding variety into what can otherwise become a bland and monotonous bikepacking diet. Nettles, wild onions, and mushrooms make great additions to most savory dishes, and freshly harvested berries are an awesome treat anytime.
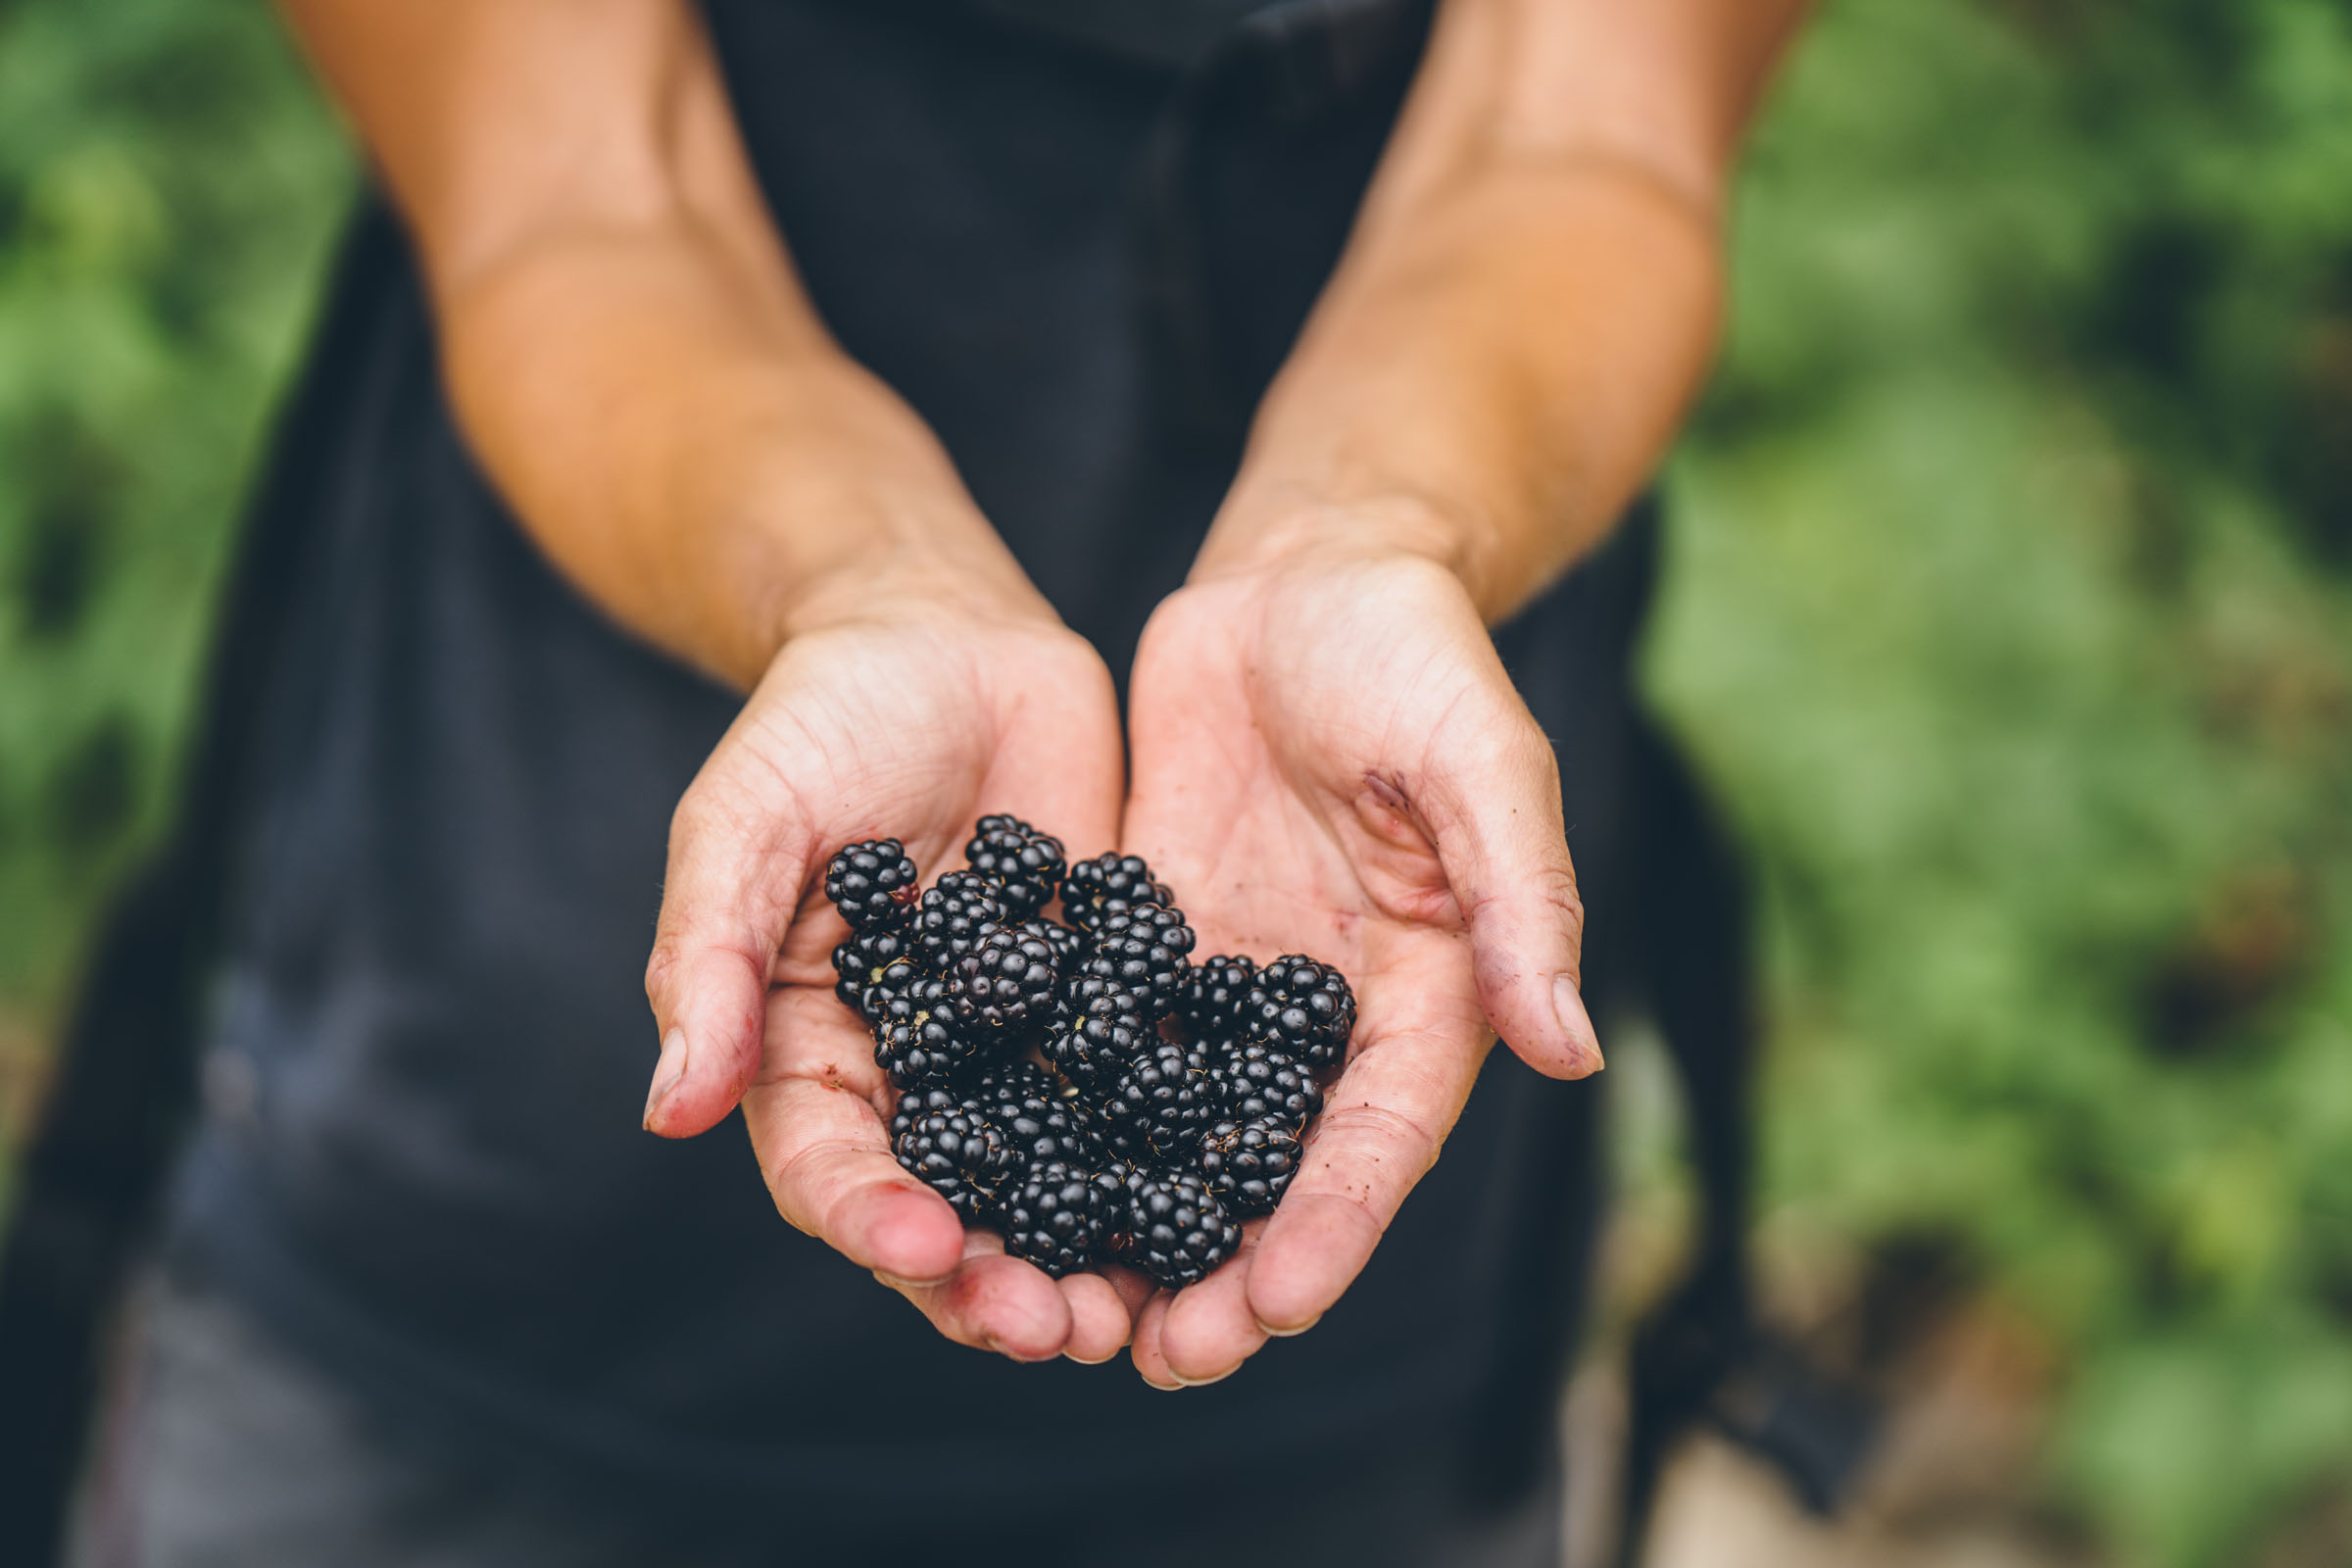
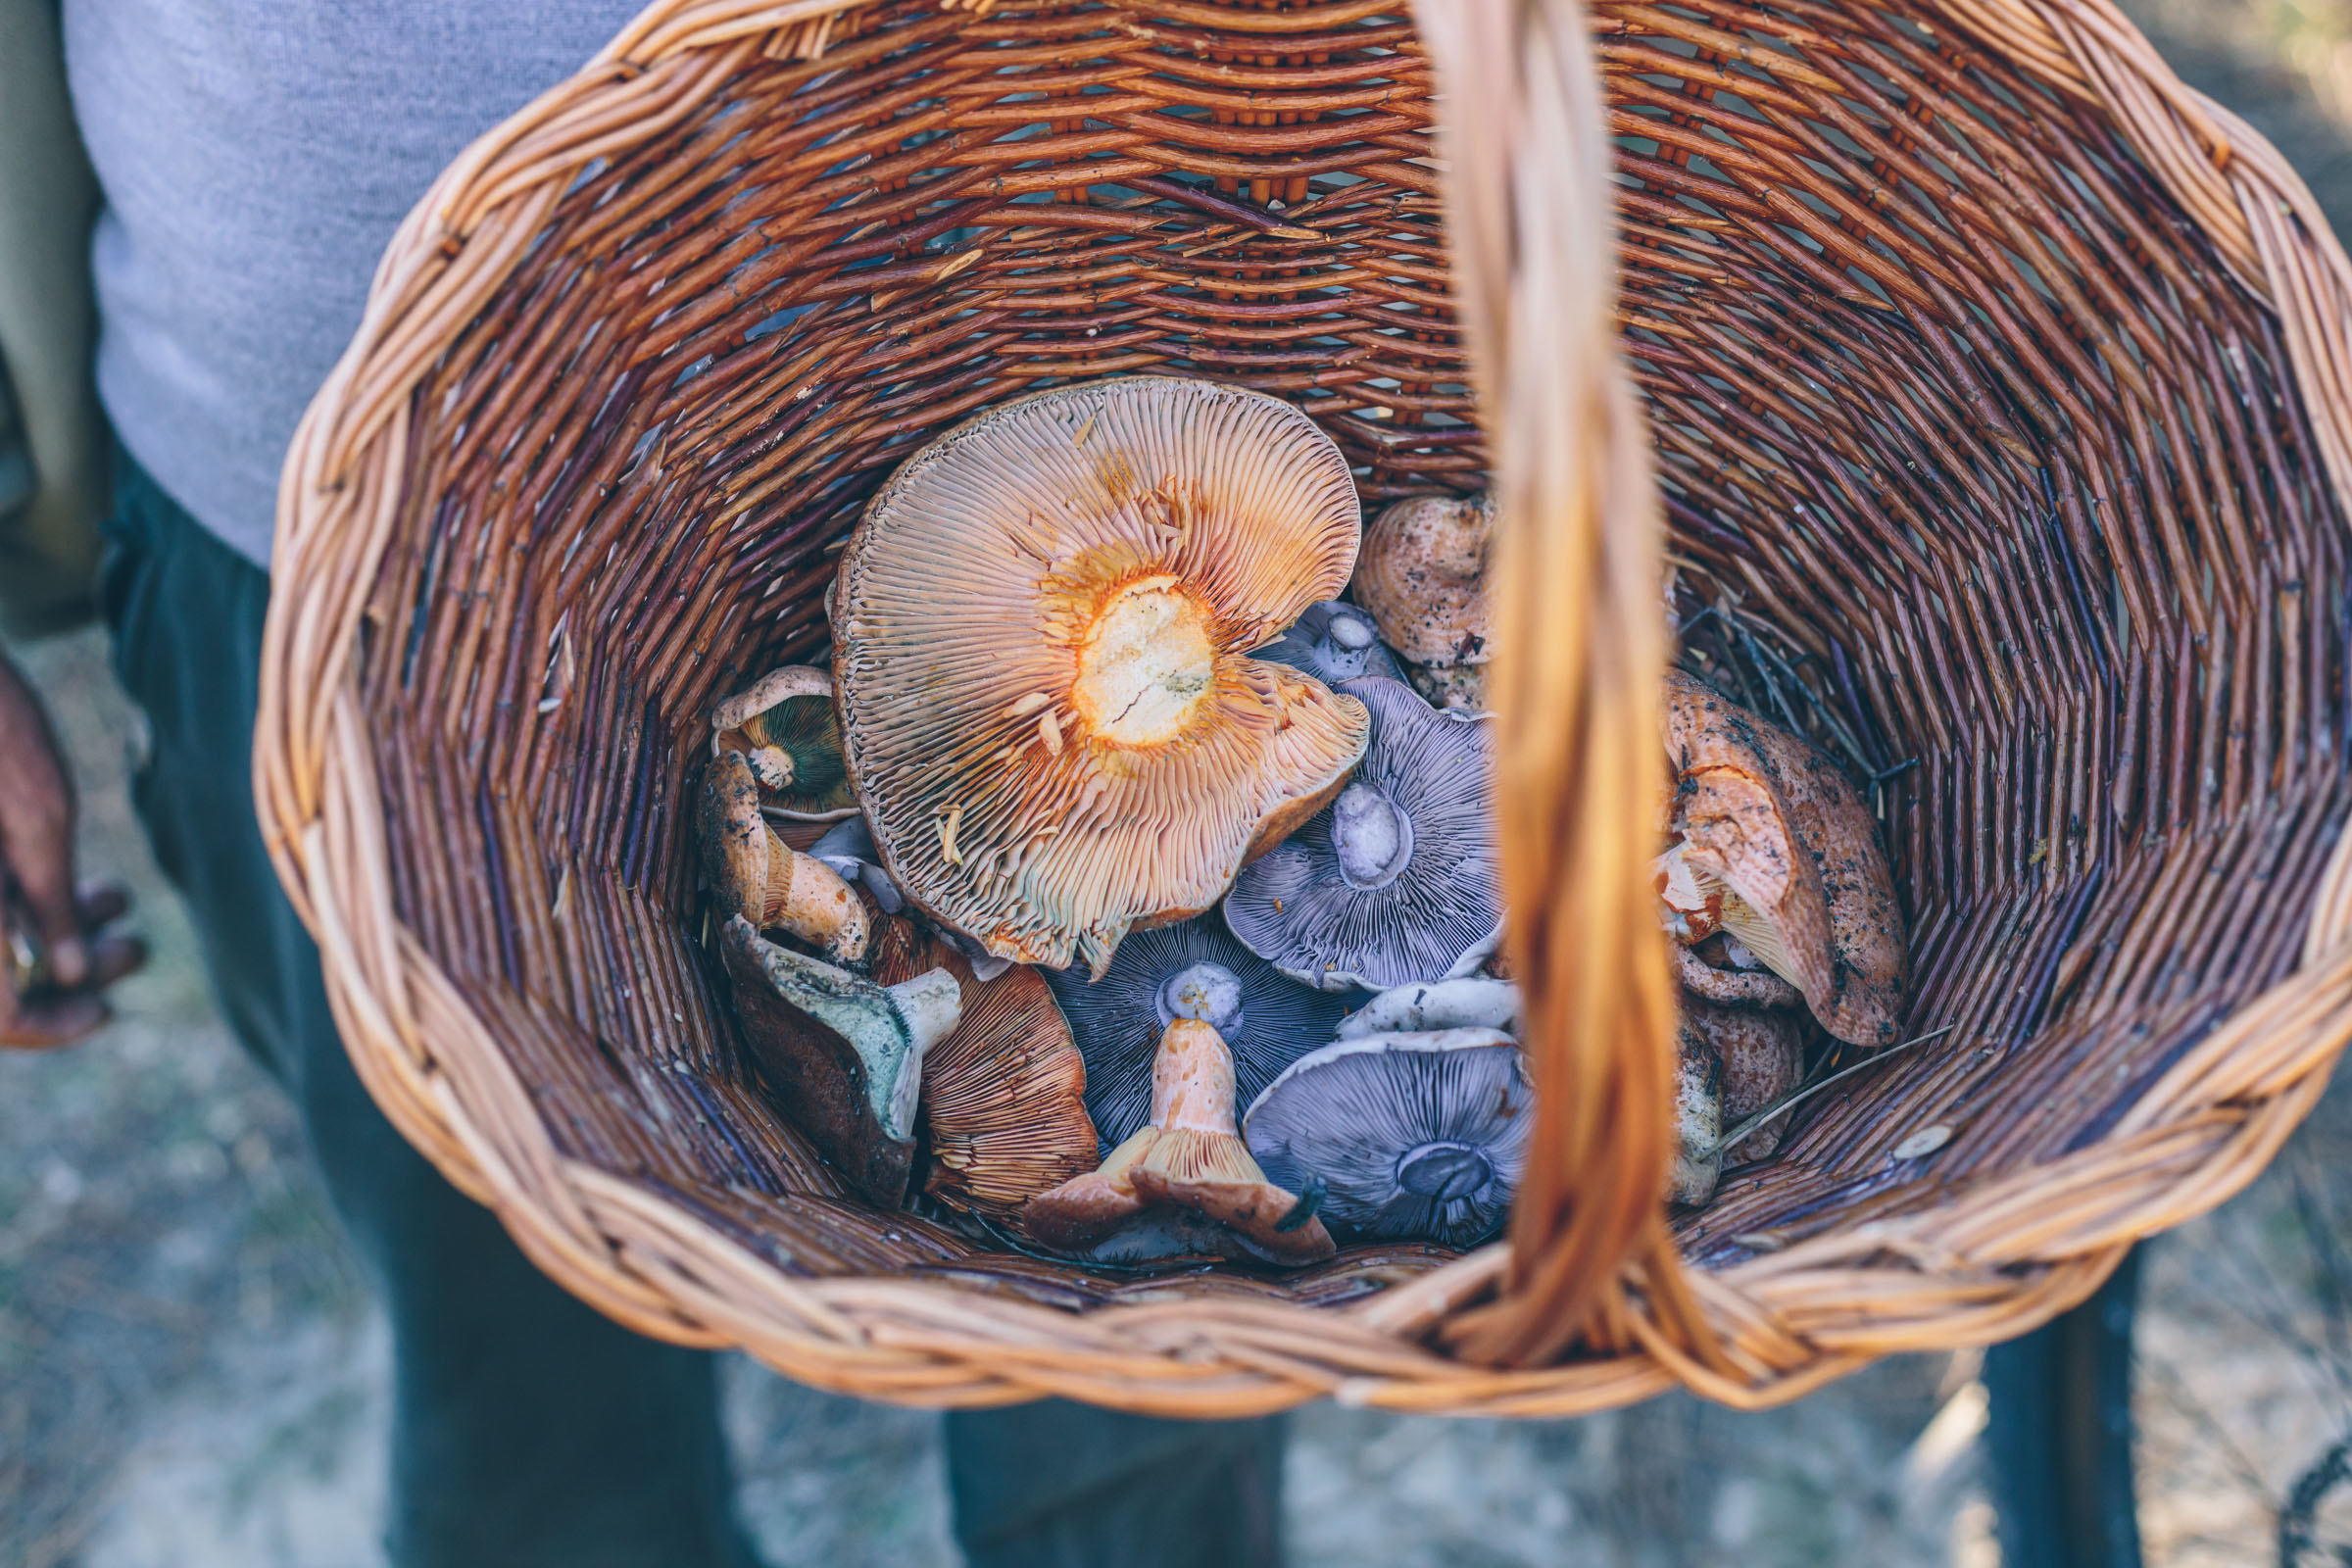
There are several important things to keep in mind if you decide to incorporate found plants into your diet, and there’s a substantial learning curve involved. Start by educating yourself. Get a guidebook, take a class, or join an online support group. Before you start harvesting plants, first learn how to identify the poisonous plants that are common in the places through which you’ll be traveling, and always be absolutely certain of any plant’s identification before consuming it. Also keep sustainable foraging practices in mind. Don’t over harvest, only harvest from vibrant plants that are growing in abundance, and don’t take the whole plant.
Make Your Own Bars
If you own a food processor, making your own energy bars is super easy. What’s more, they can be made to your own taste, and they can be packaged in a more sustainable (aka less trashy) manner than commercially produced options.
Dried, pitted dates make a superb base for energy bars. They are highly caloric, filling, surprisingly nutritious, and their sticky texture binds together whatever other ingredients you want to incorporate. Our favorite date-based bars are assorted combinations of dried cherries, dried apricots, lemon zest, dried coconut, cashews, almonds, peanut butter, and dark chocolate chunks. To really amp up the caloric density of these snacks, throw some sesame seeds into the mix.
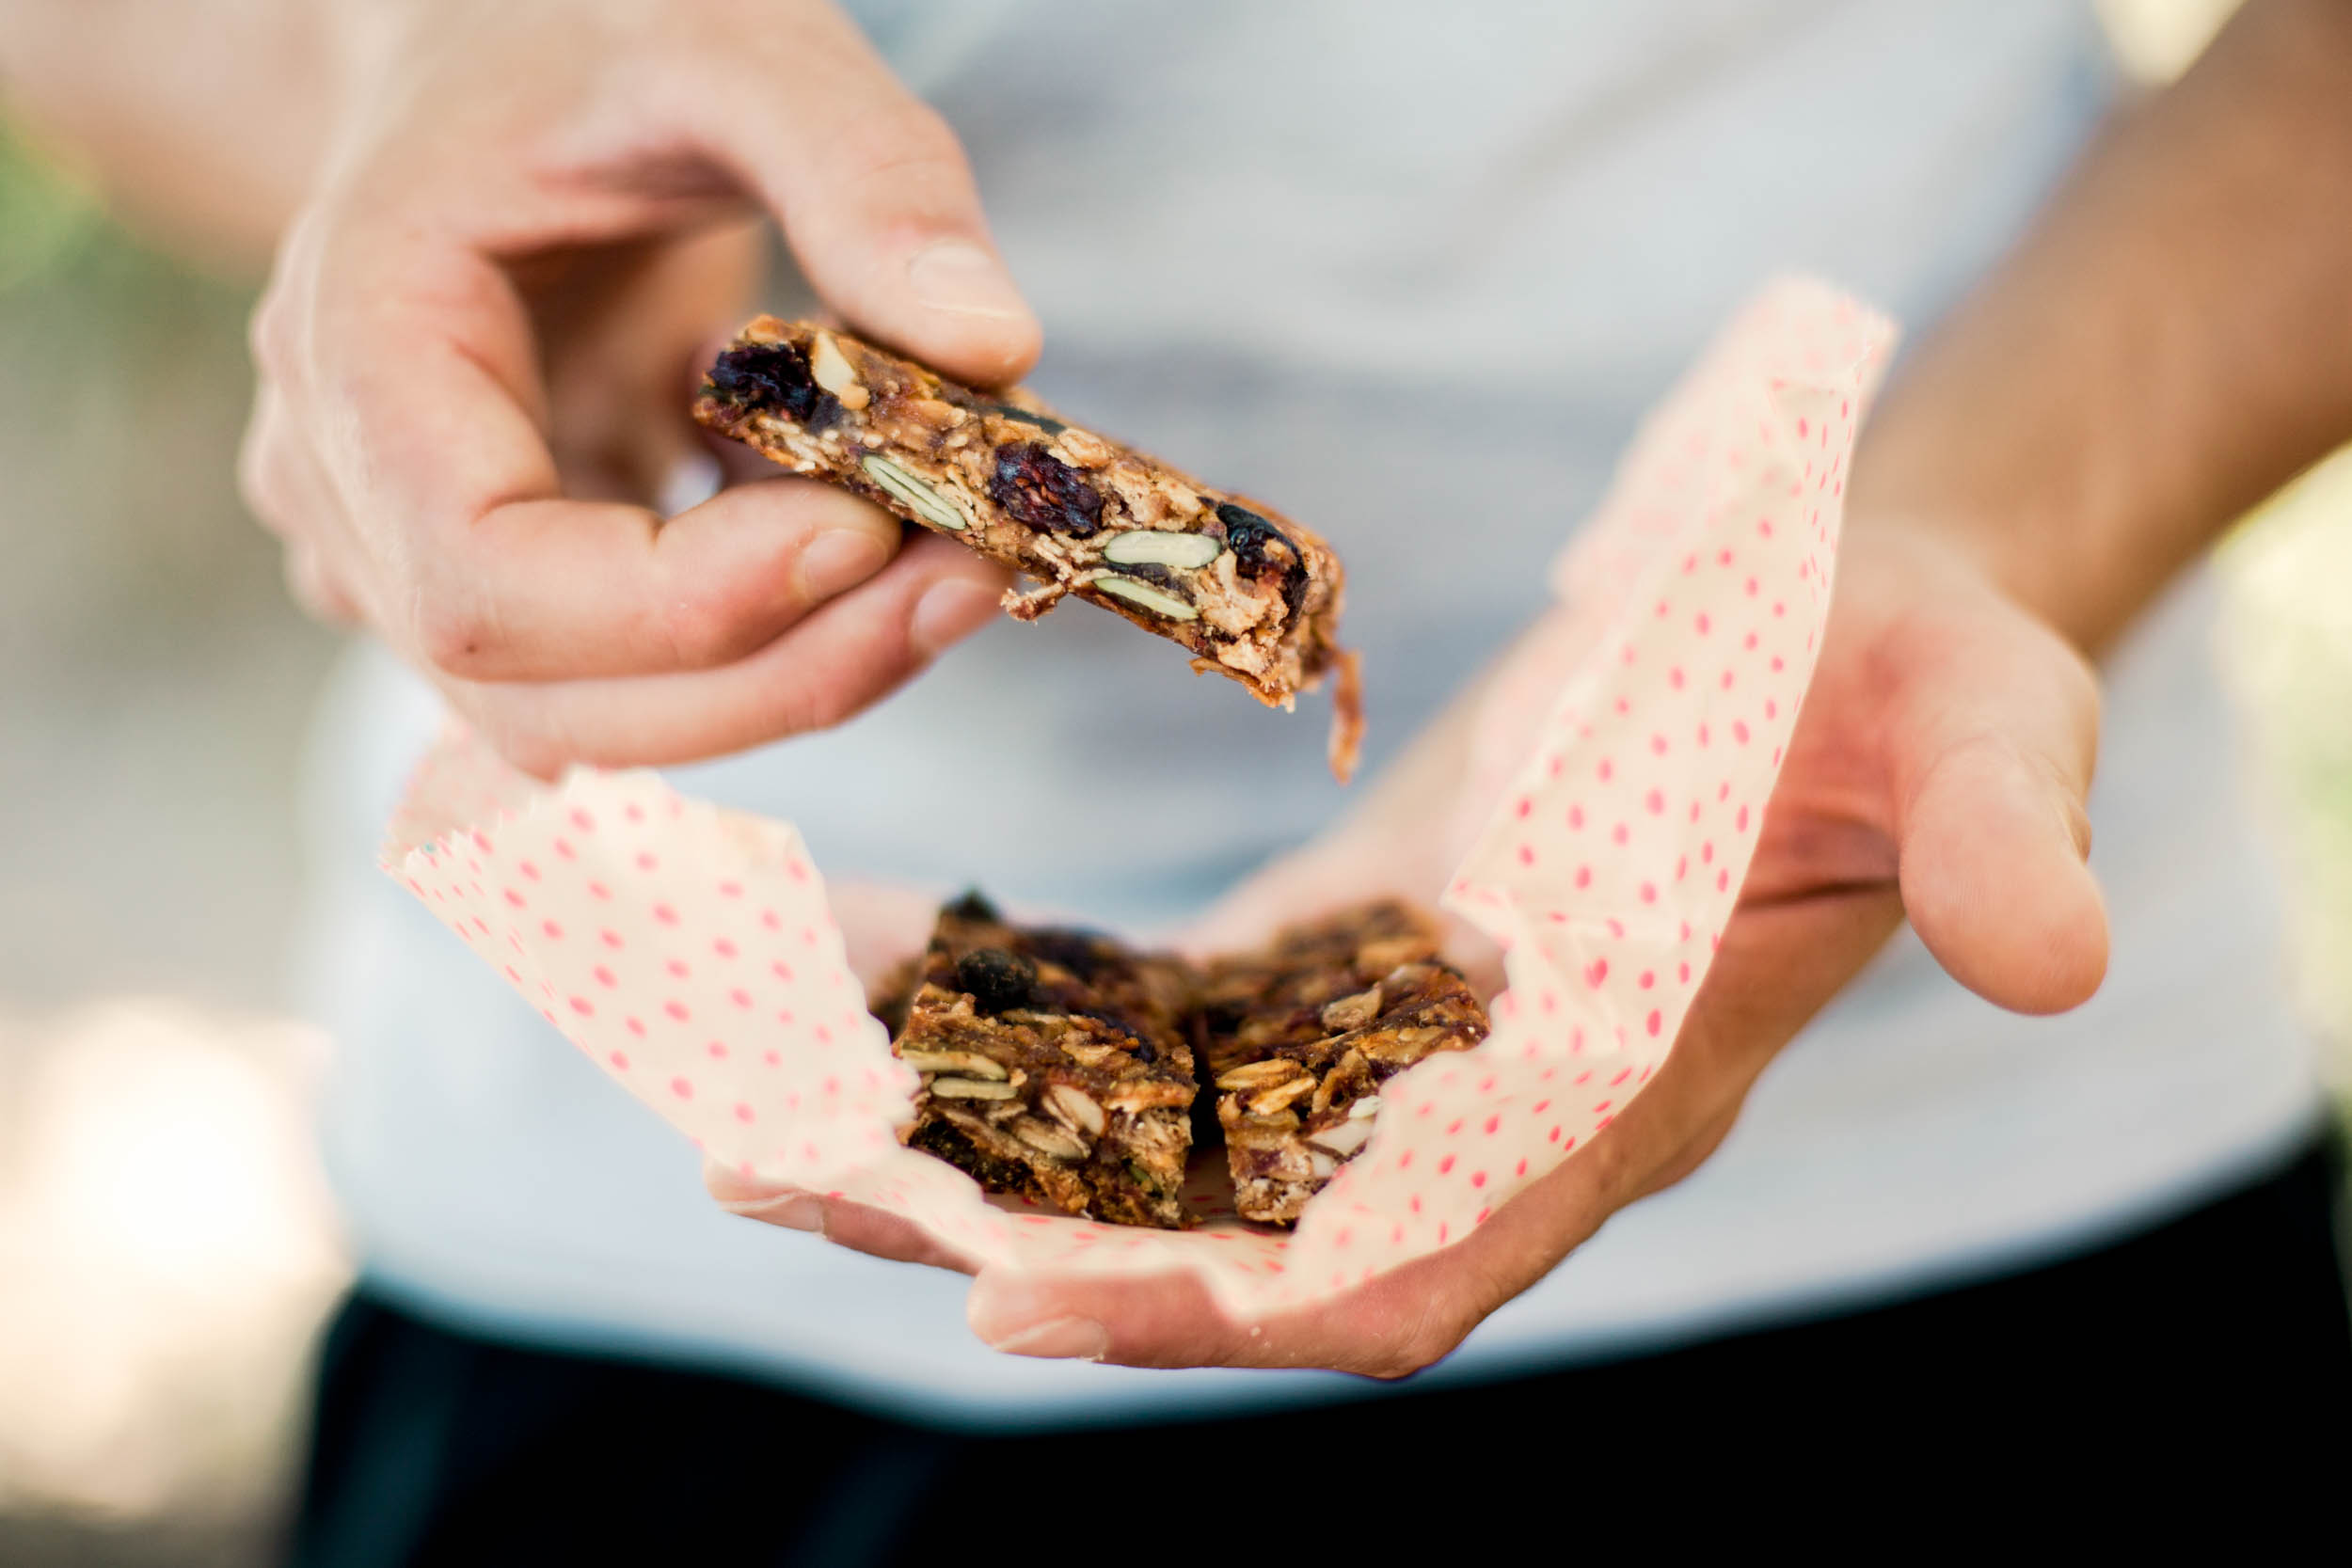
We suggest storing and transporting energy bars in a repurposed bread bag or waxed cloth wrap, as they are a bit oily. Adding a layer of parchment or waxed paper between the individual bars ensures they won’t stick together. Alternatively, roll the prepared, sticky goodness into one larger block to simply tear or cut off bite-sized chunks off of whenever hunger strikes. Stay tuned for our favorite recipe and be sure to check out the Holy Granoly bars recipe we posted last year.
Hit the Bins
Buying in bulk is a great way to save money and reduce consumption of single-use plastics. Bulk bins are a staple at health food markets and are becoming more common at conventional grocers as well. Cereals, pastas, nuts, dried fruits, and legumes are common bulk bin items. Many also offer dried spices. Bulk peanut and nut butters are also available at many shops. The dispensers will typically be located in the same area as the bulk bins.

Stores typically provide plastic bags and containers for patrons to use when shopping the bulk bins. Instead of using them, take your own containers (glass jars, Tupperware, repurposed plastic bags, net bags, etc.) to the store. It’s another easy way to reduce plastic waste. Start by getting a tare weight on your containers and provide that information to the clerk at checkout. If the store is particularly busy, you may want to ask a manager or clerk ahead of time if using your own containers is acceptable. If that’s a problem, use the store’s containers, and just remember to bring them back with you the next time you shop the bulk bins.
Have any more tips for saving money or resources on food for bikepacking? Leave us a comment below.
Please keep the conversation civil, constructive, and inclusive, or your comment will be removed.