


Lessons Learned: What to Pack for the Altiplano


After completing a trip through Bolivia and Northern Chile, Cass Gilbert talks us through his setup choices for touring on the South American Altiplano, including thoughts on weight versus practicality, the benefits of running a modular setup over a long trip, a core packlist, what survived and what didn’t, and a couple of nutritious, high plain recipes.
PUBLISHED Jul 12, 2018
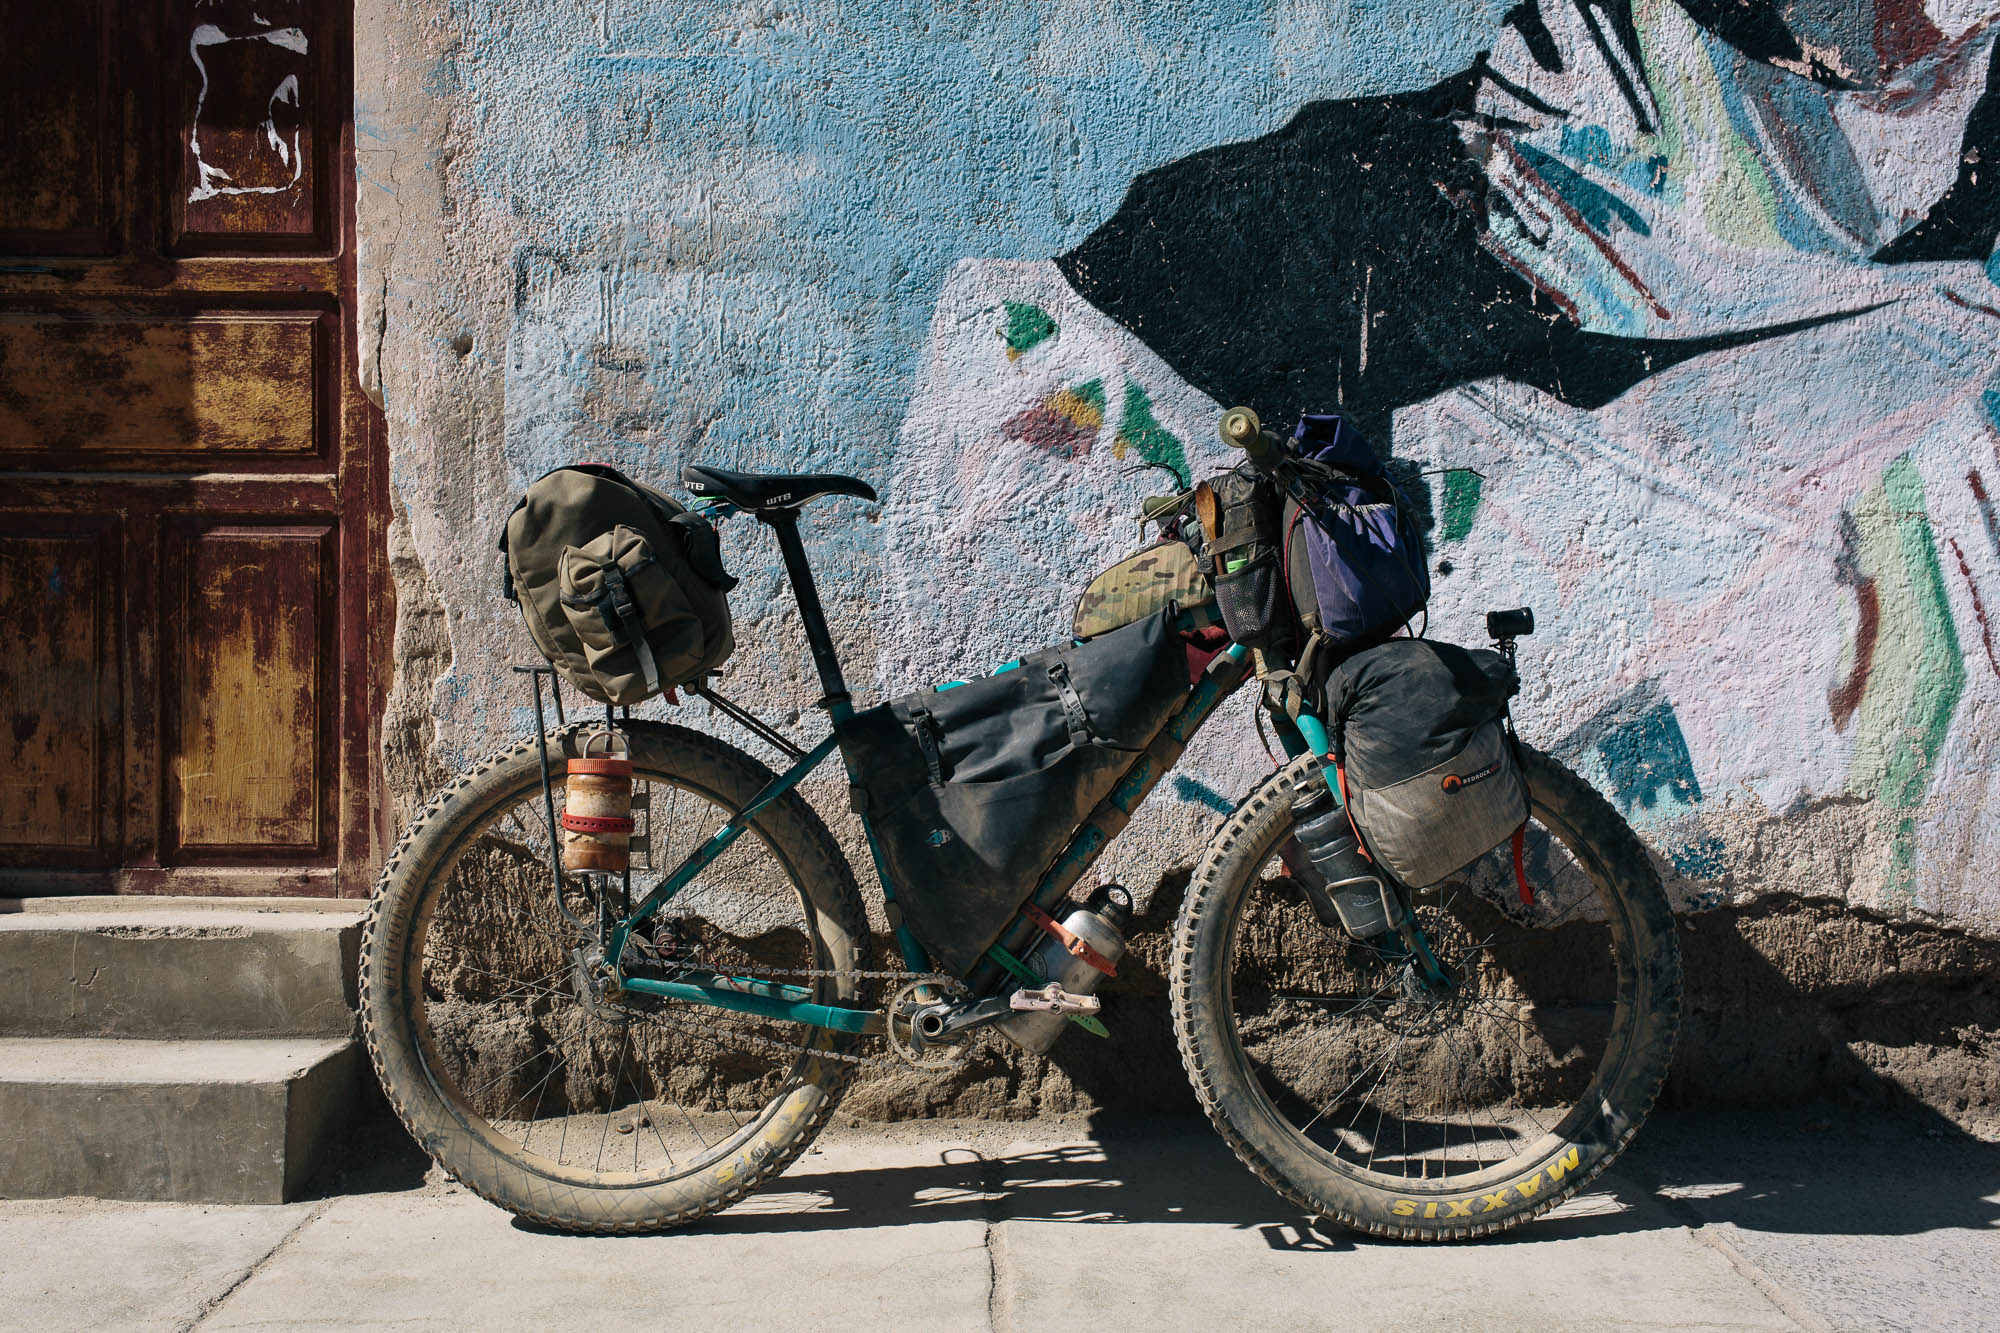
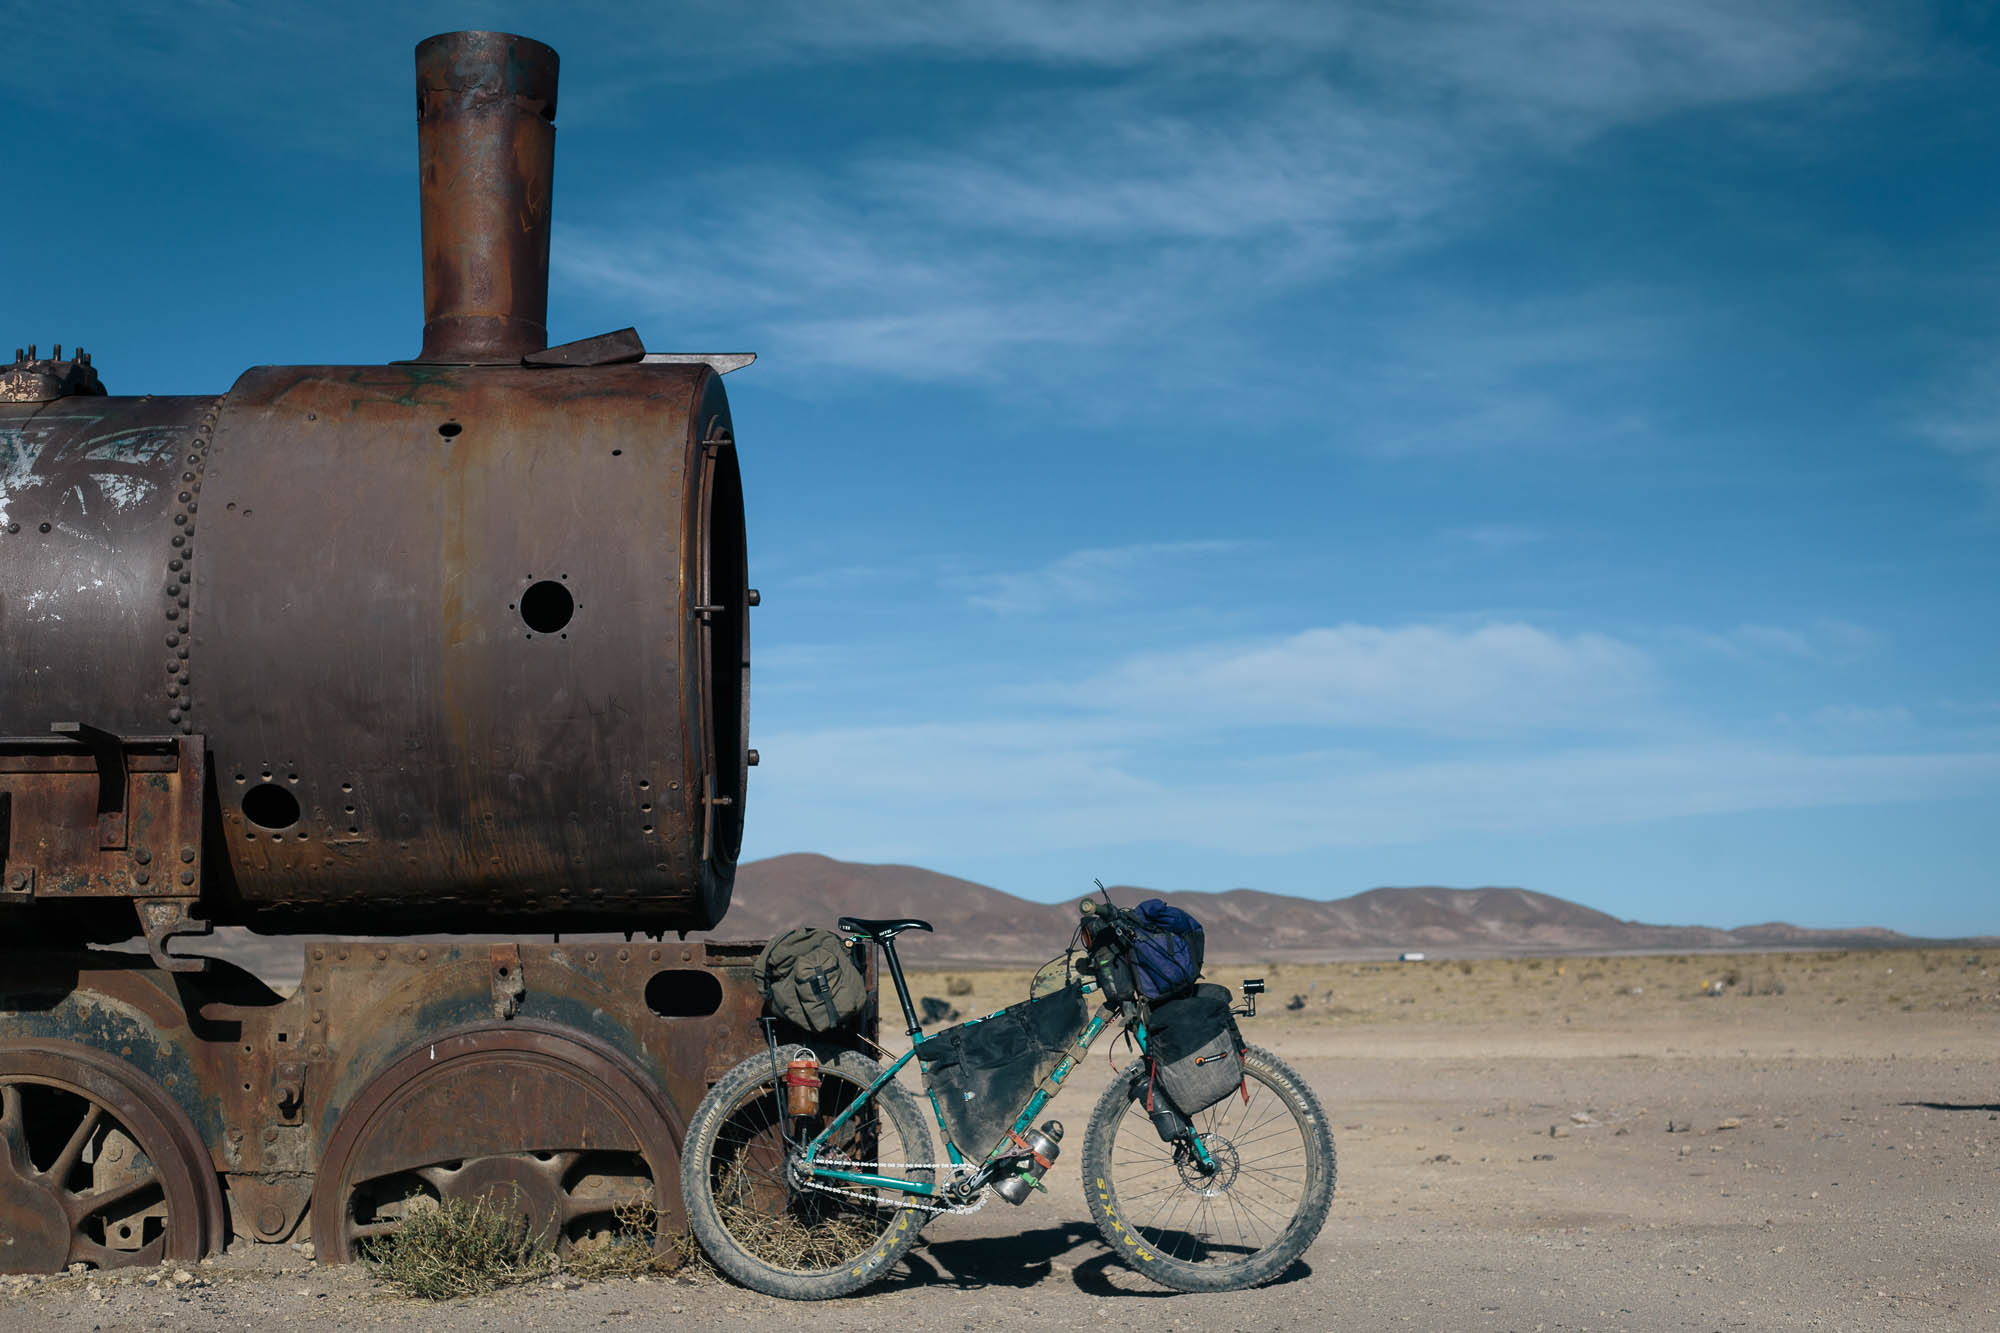
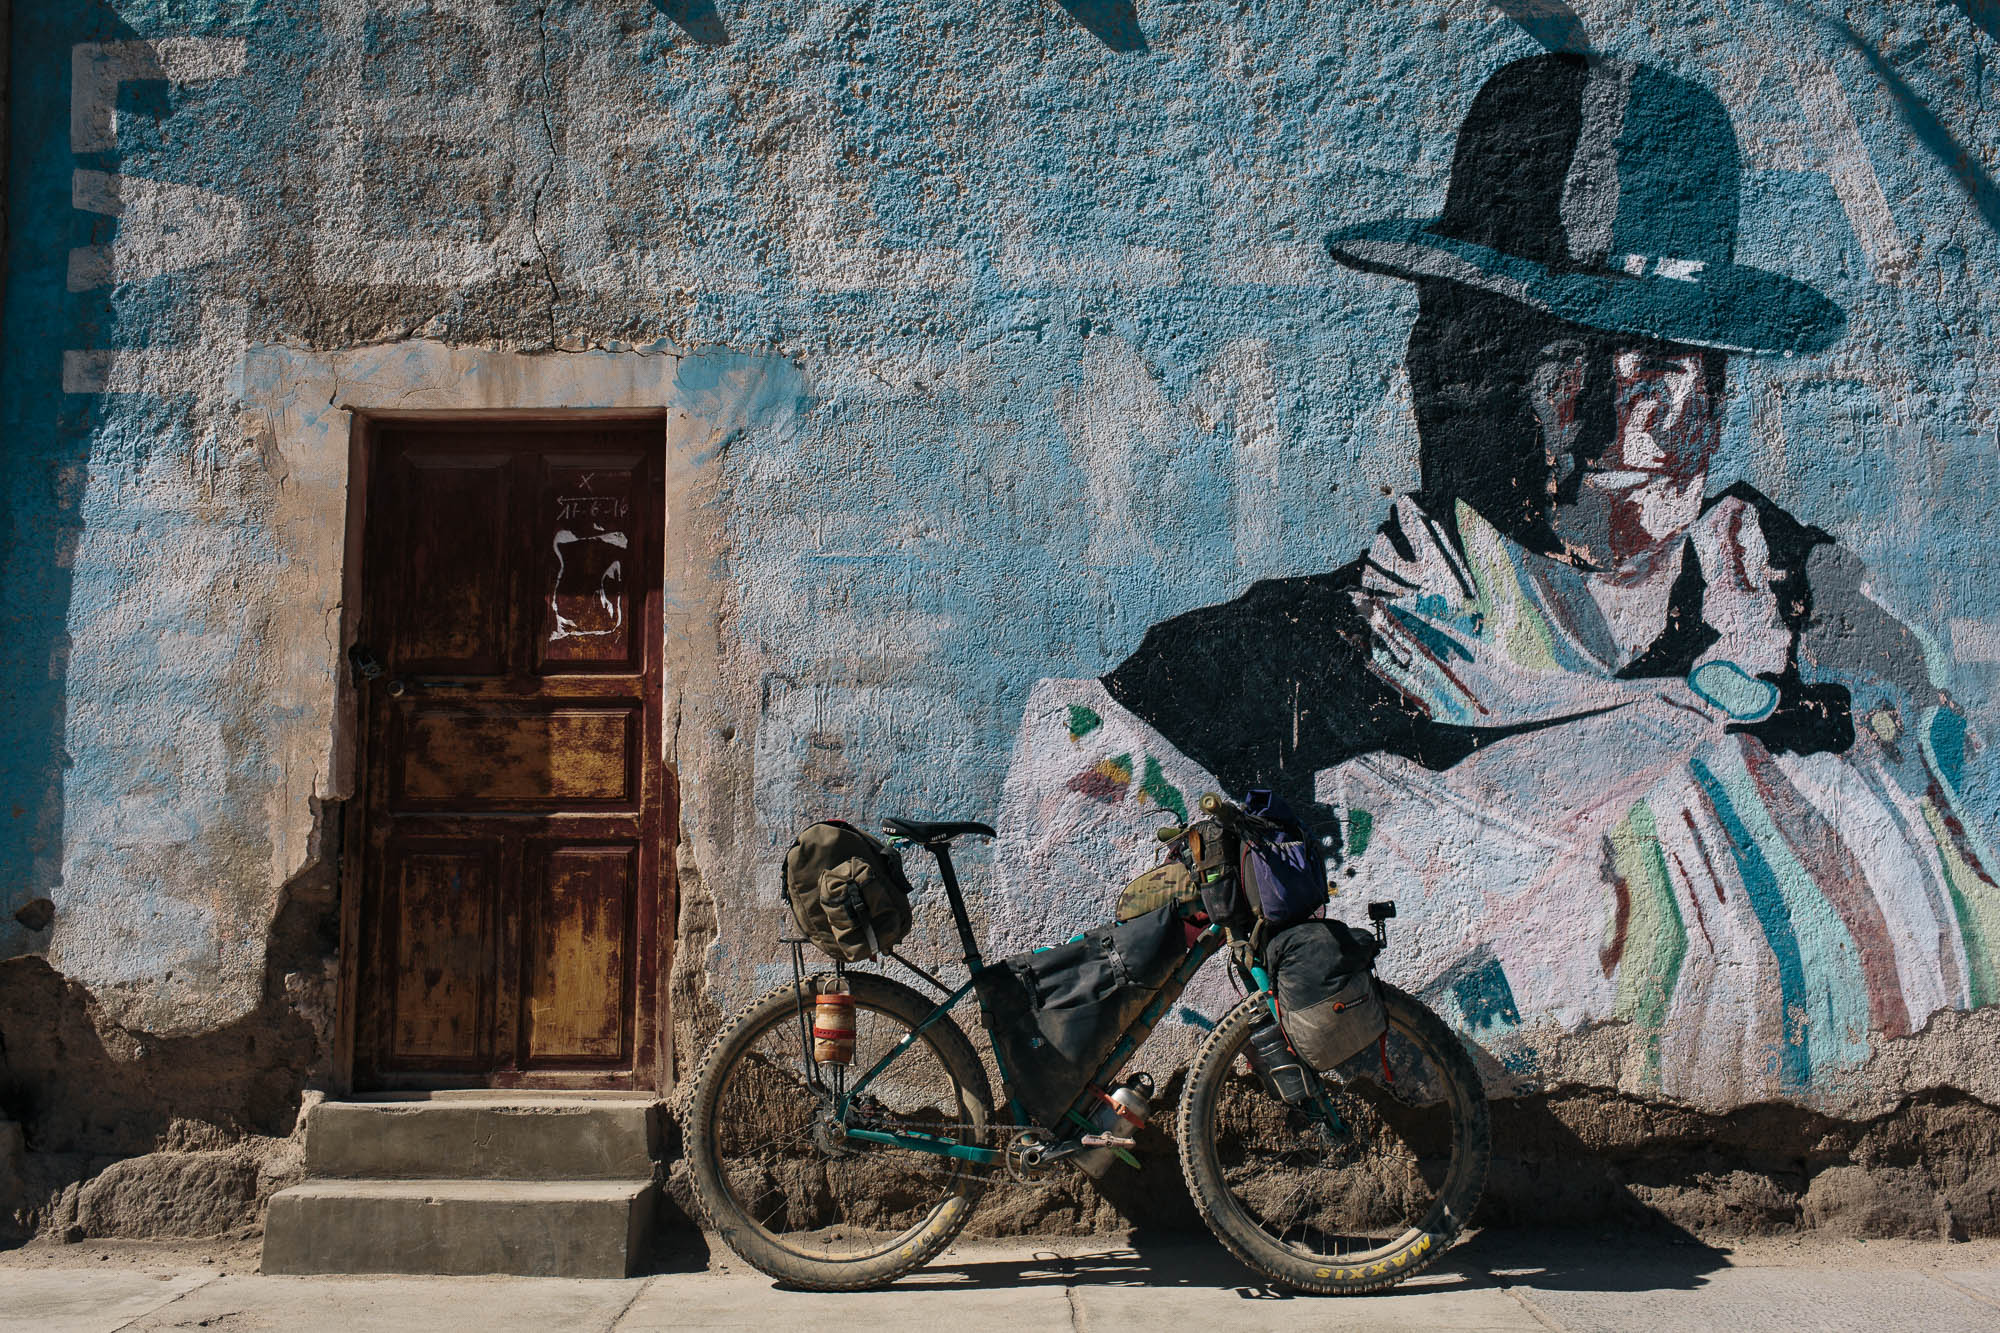
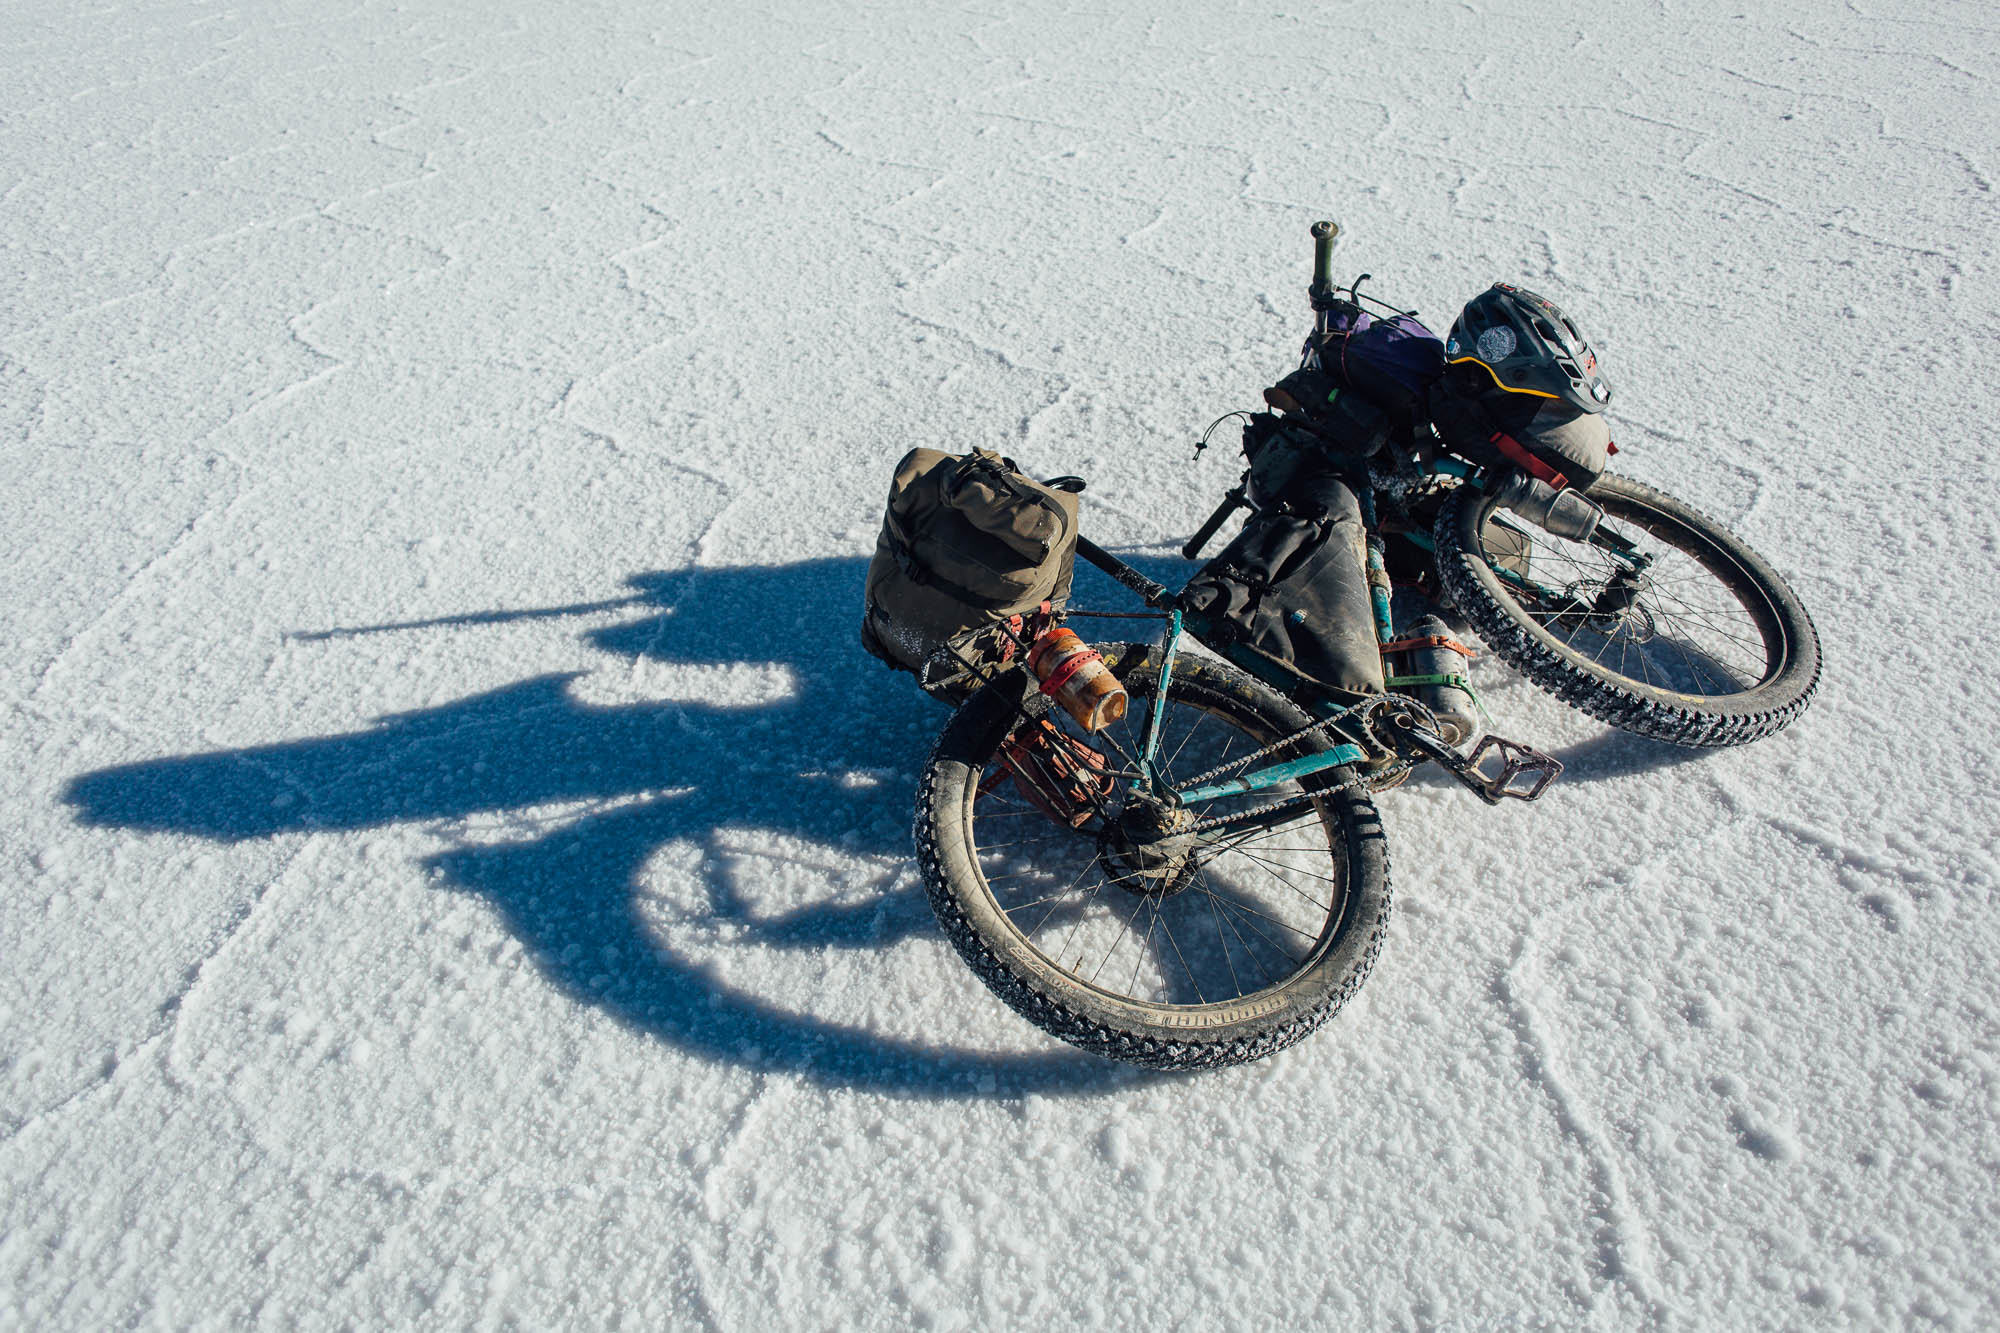
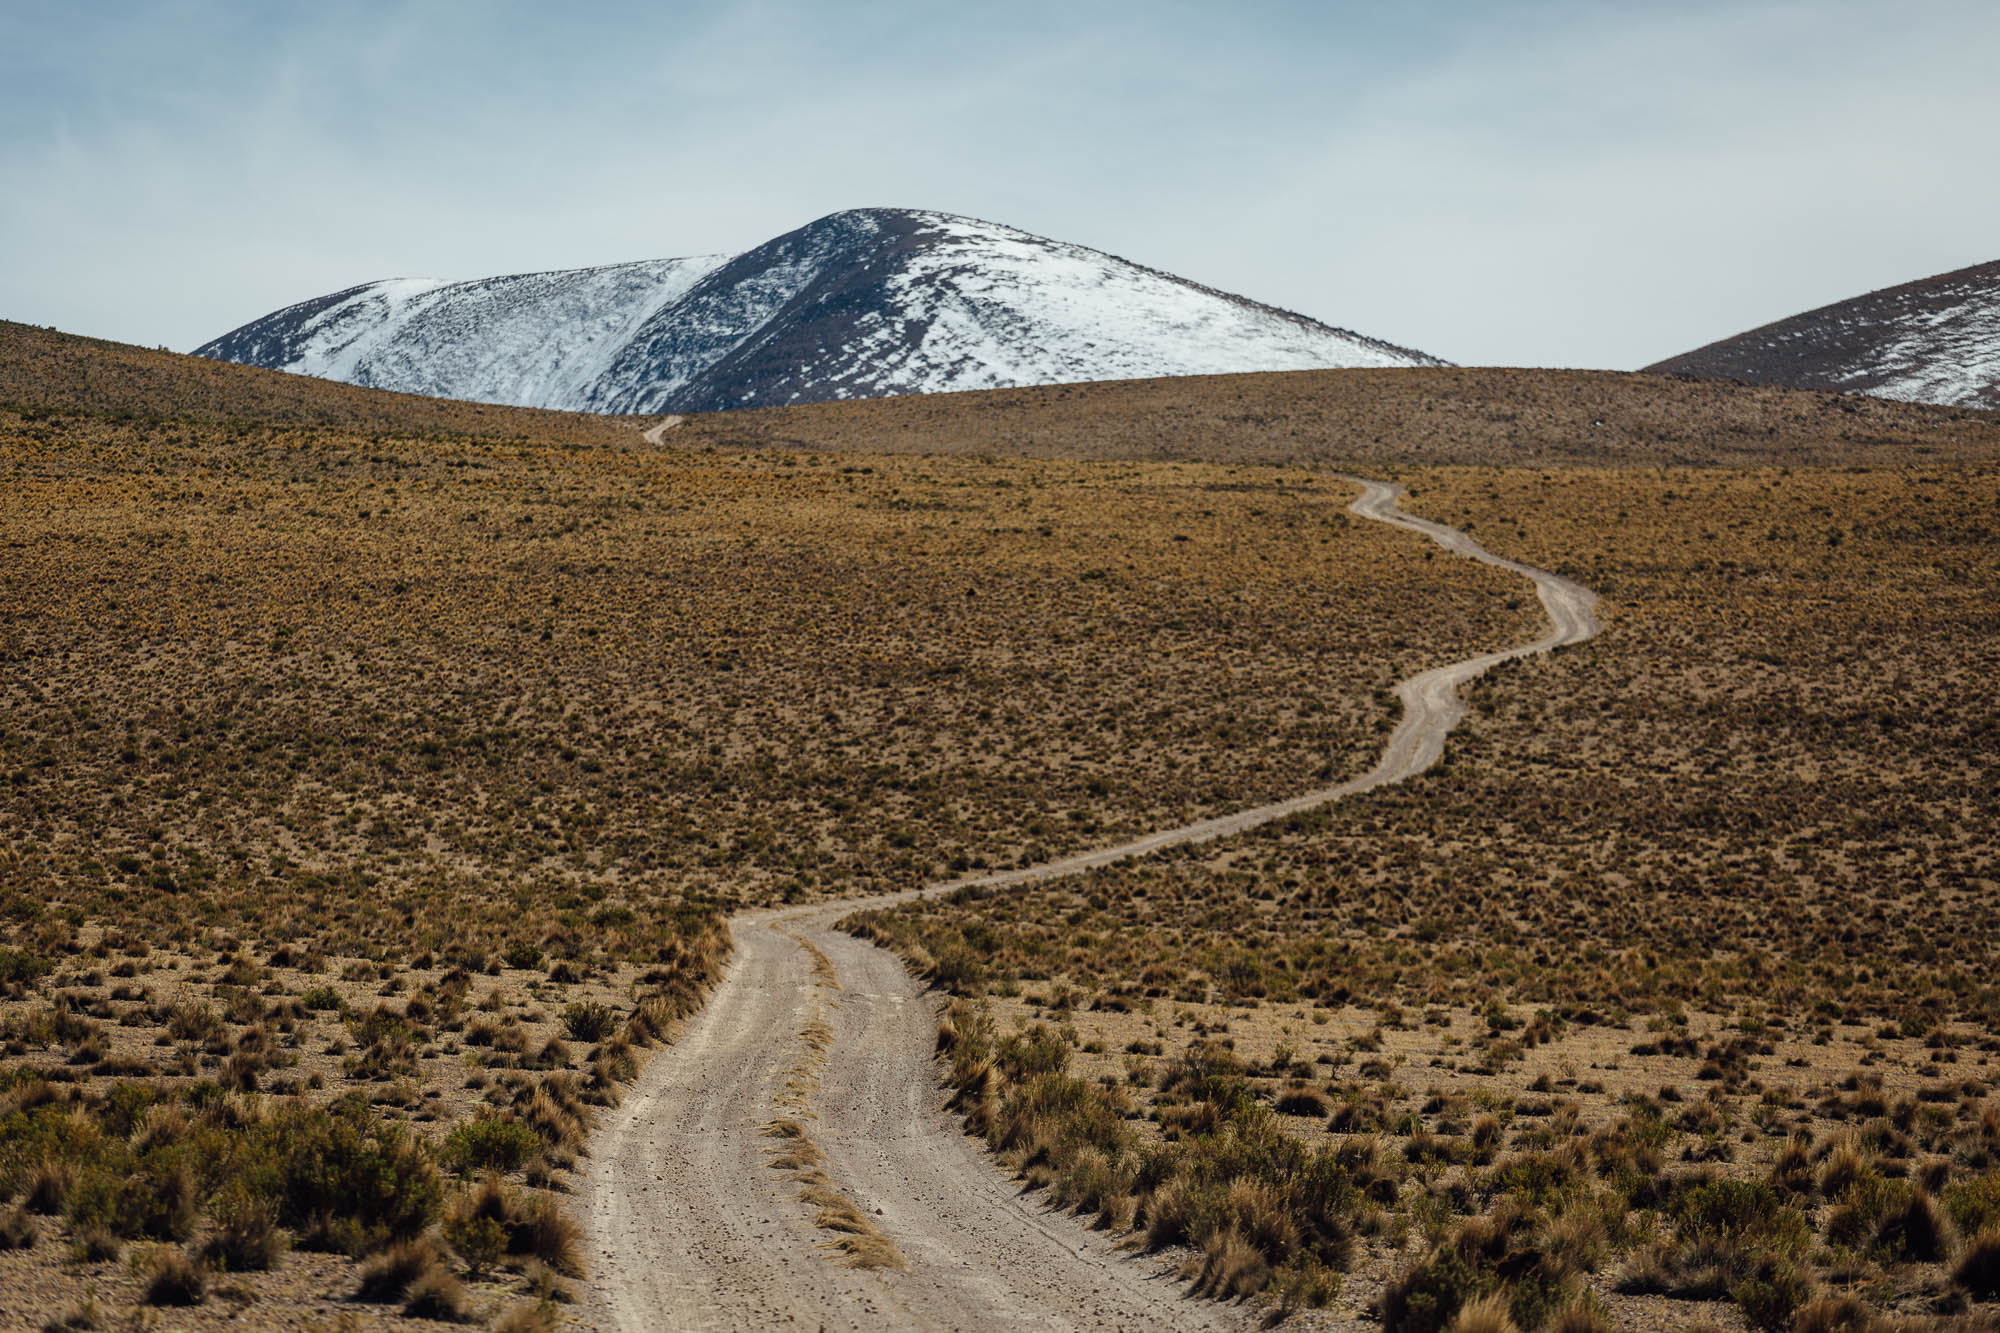
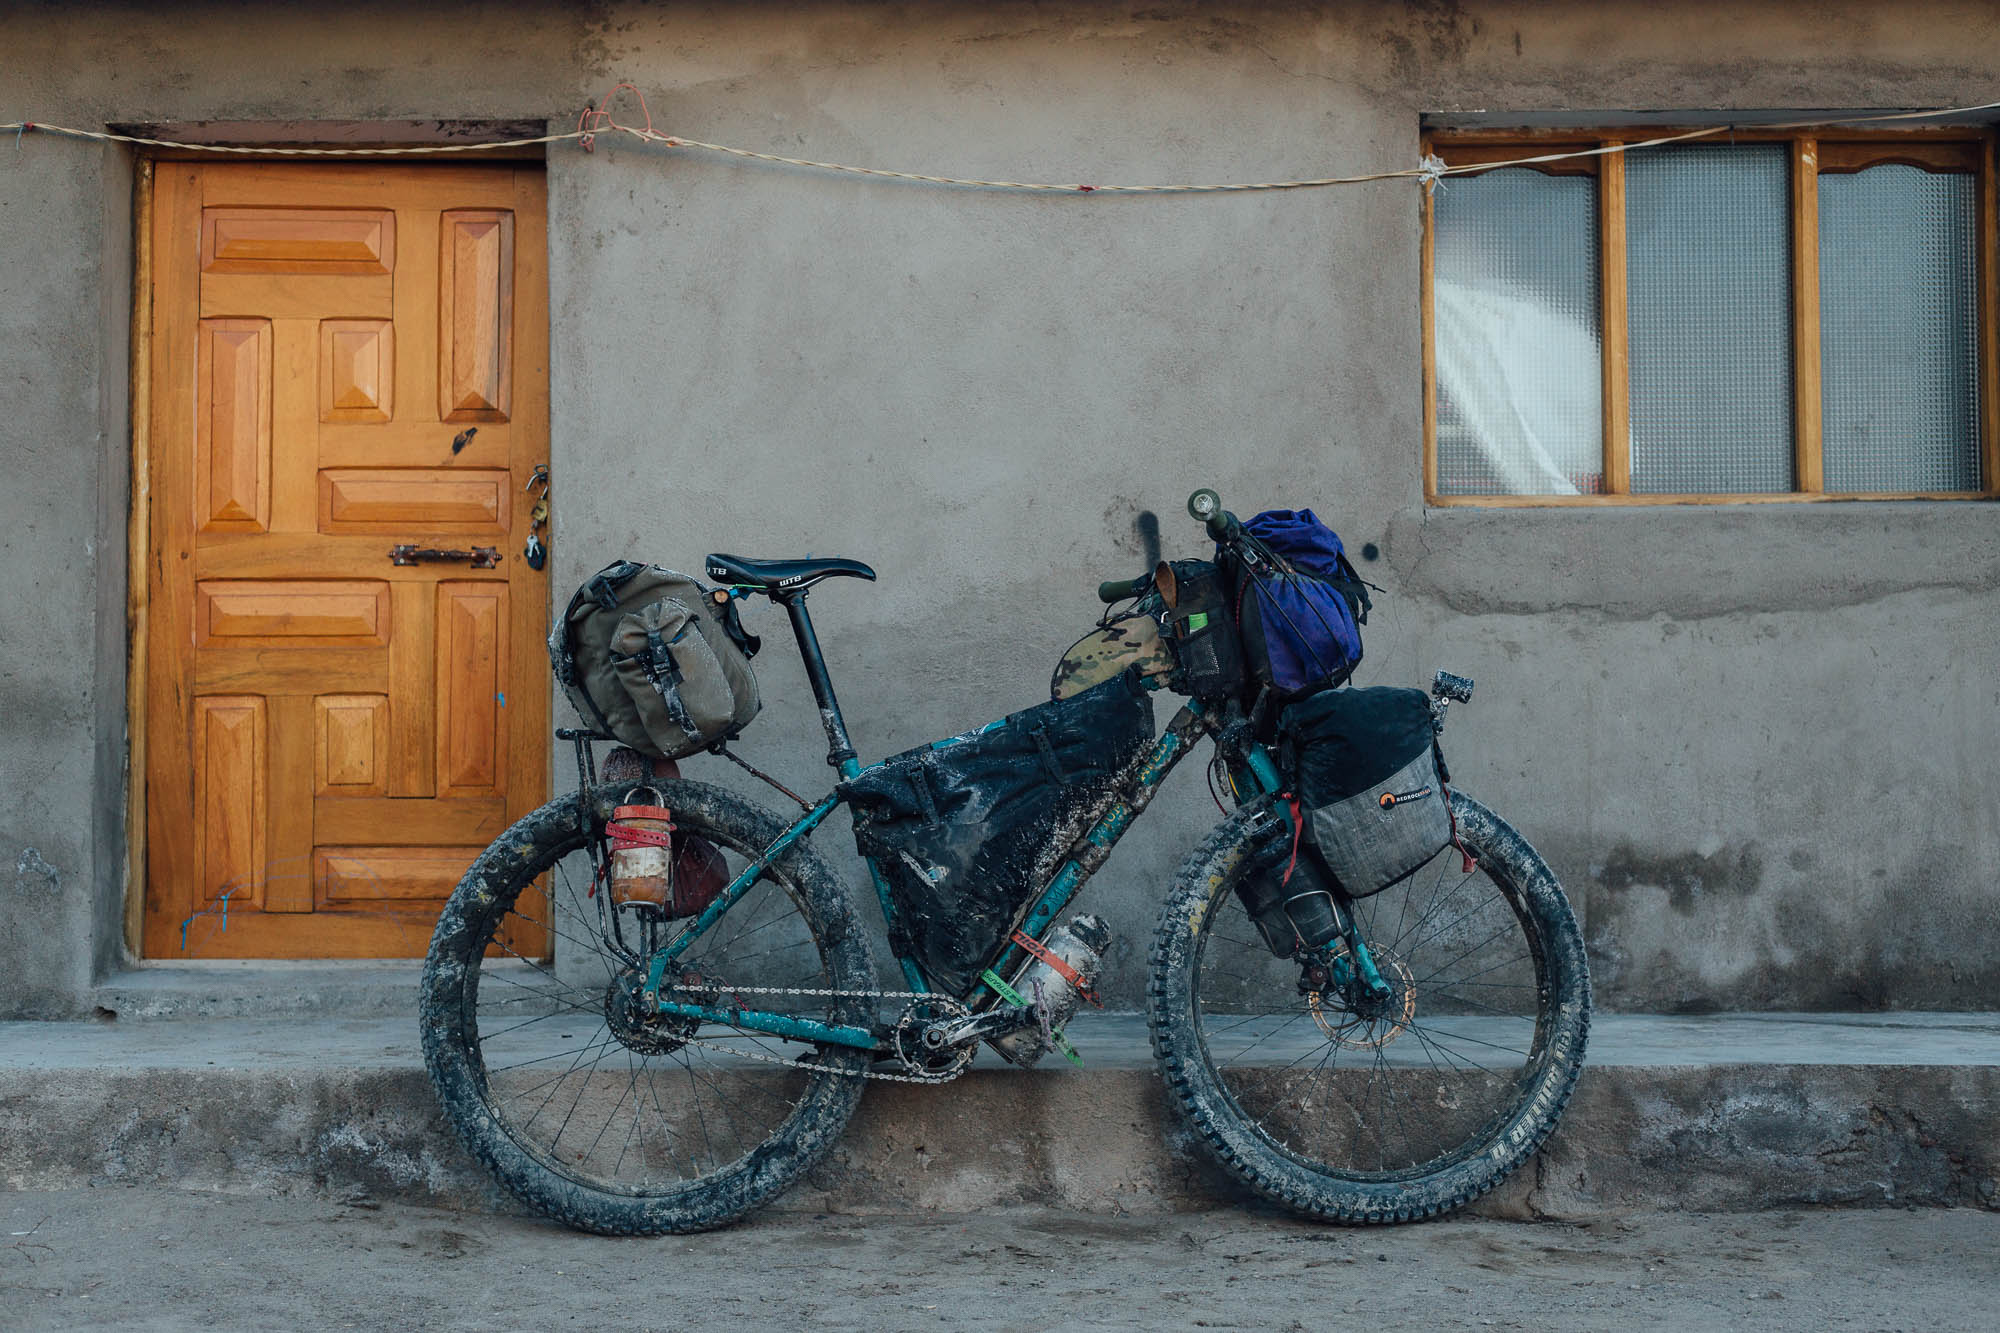
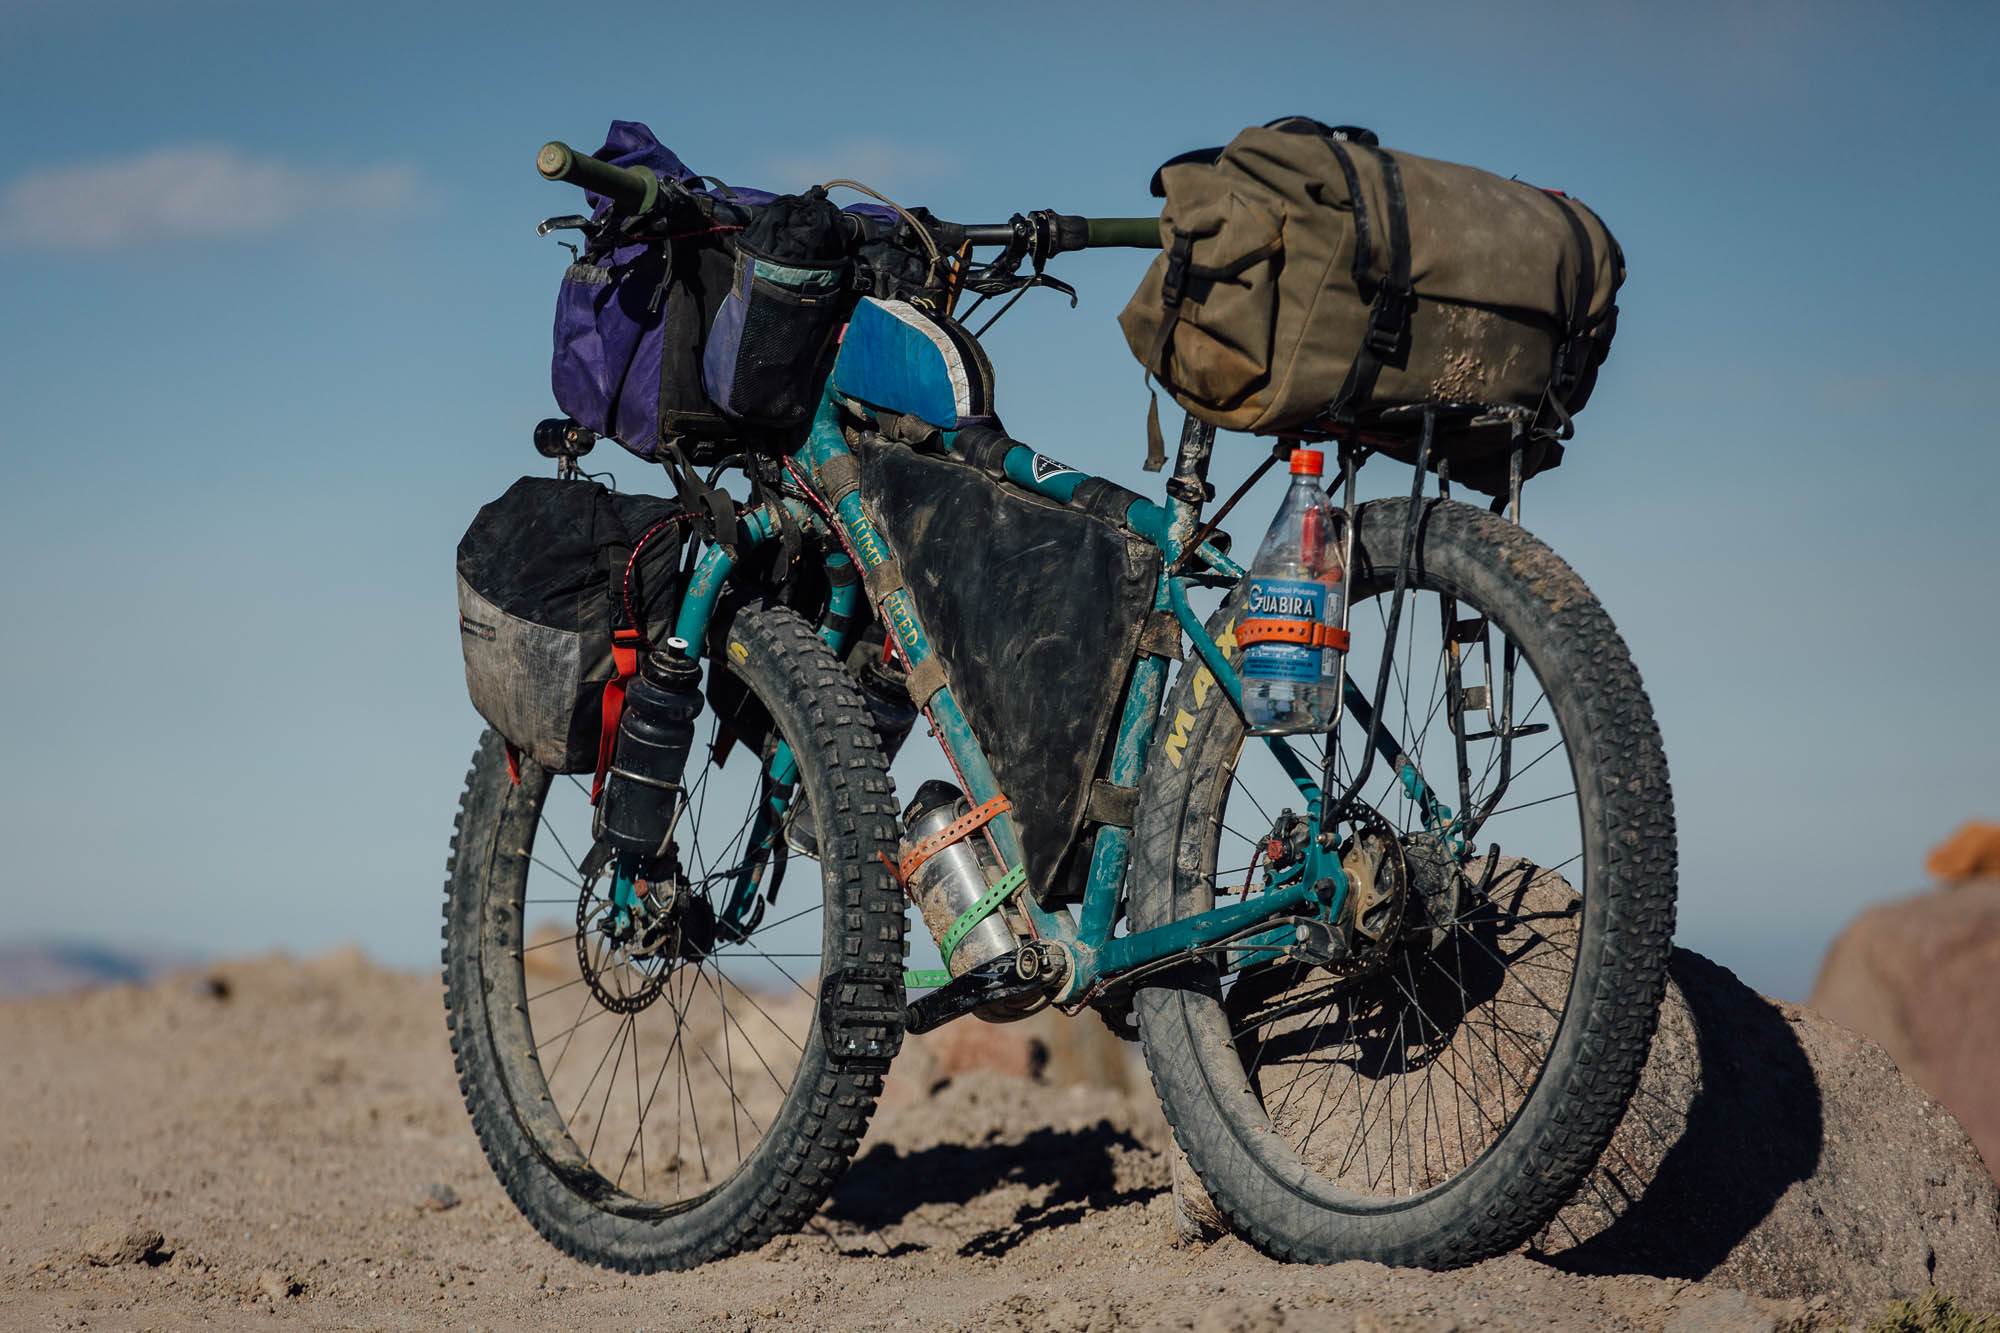
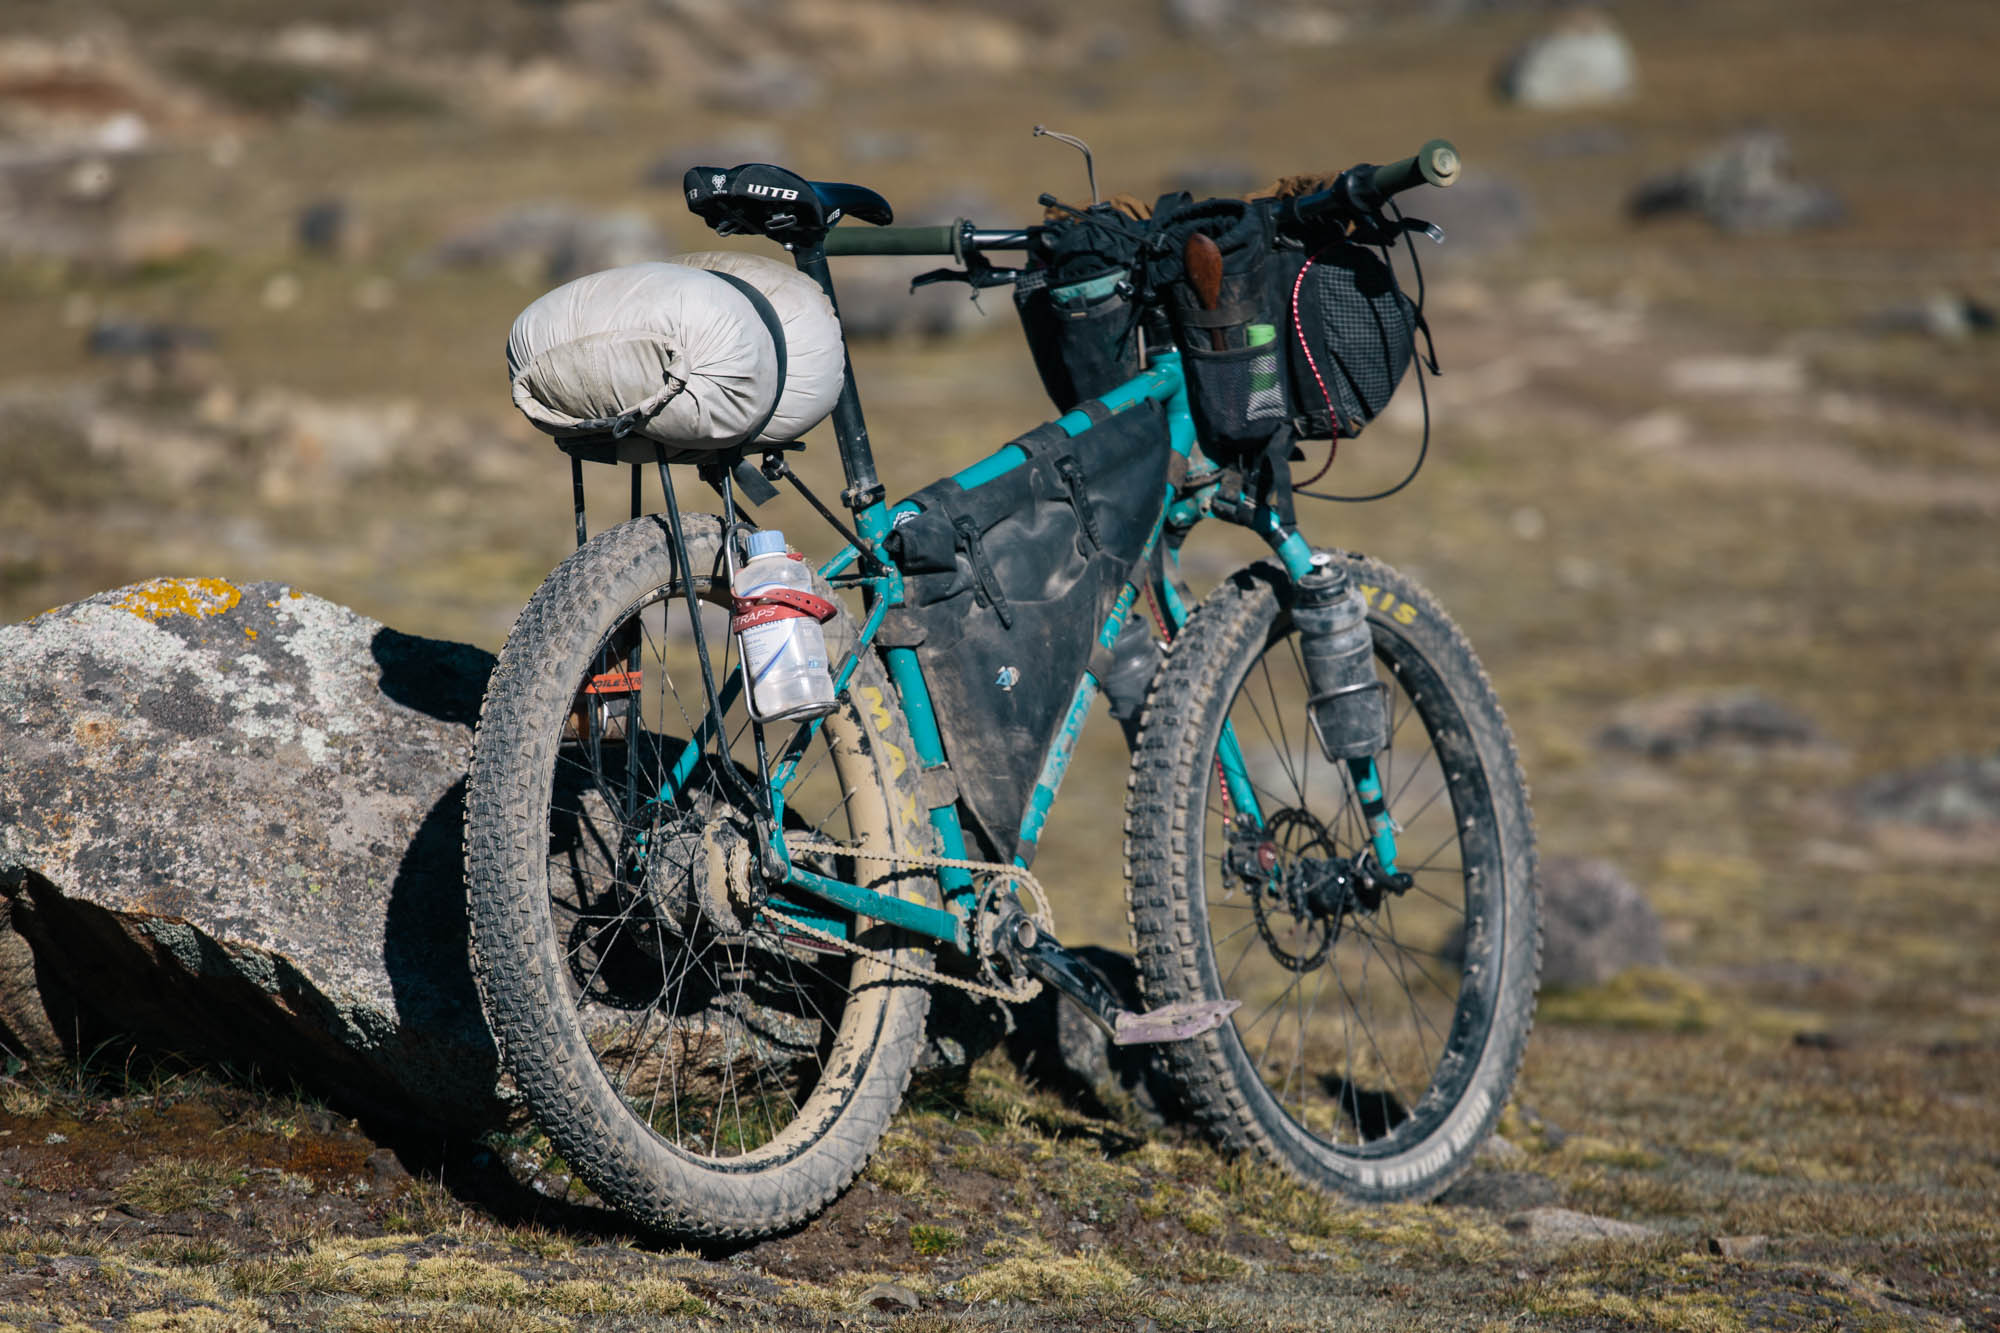
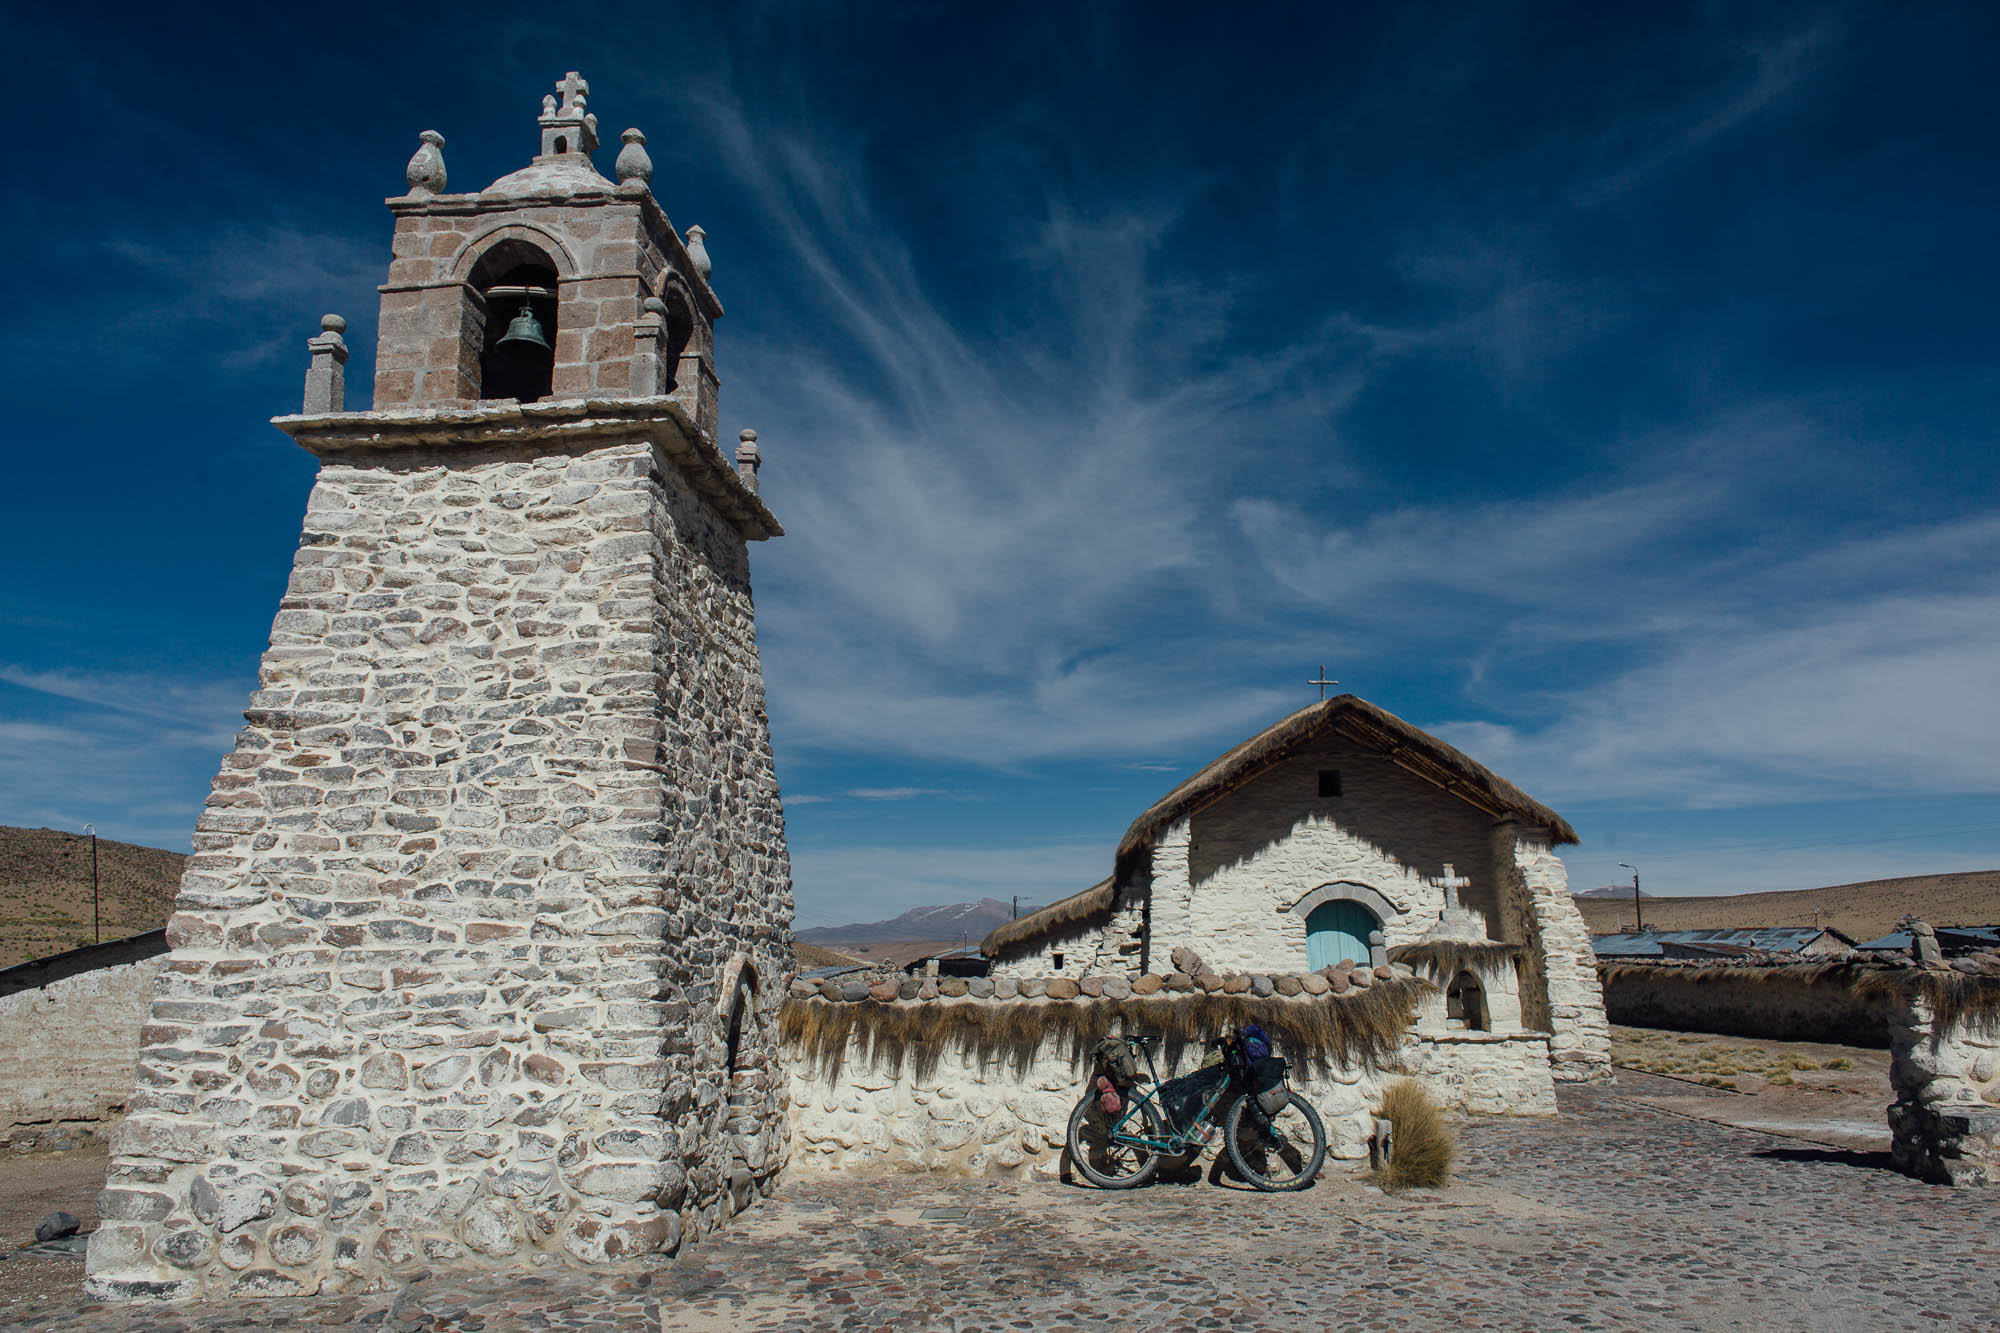
Here at BIKEPACKING.com, we like to sing the praises of traveling light, largely because it opens up the potential for tackling backcountry routes that might otherwise be impossible – or at least, not especially enjoyable – on a traditional touring setup. So, I’ll be the first to admit that the above rig isn’t one that would be suitable for the demands of the Colorado Trail, or indeed necessary for a more mellow ride like the Great Divide.
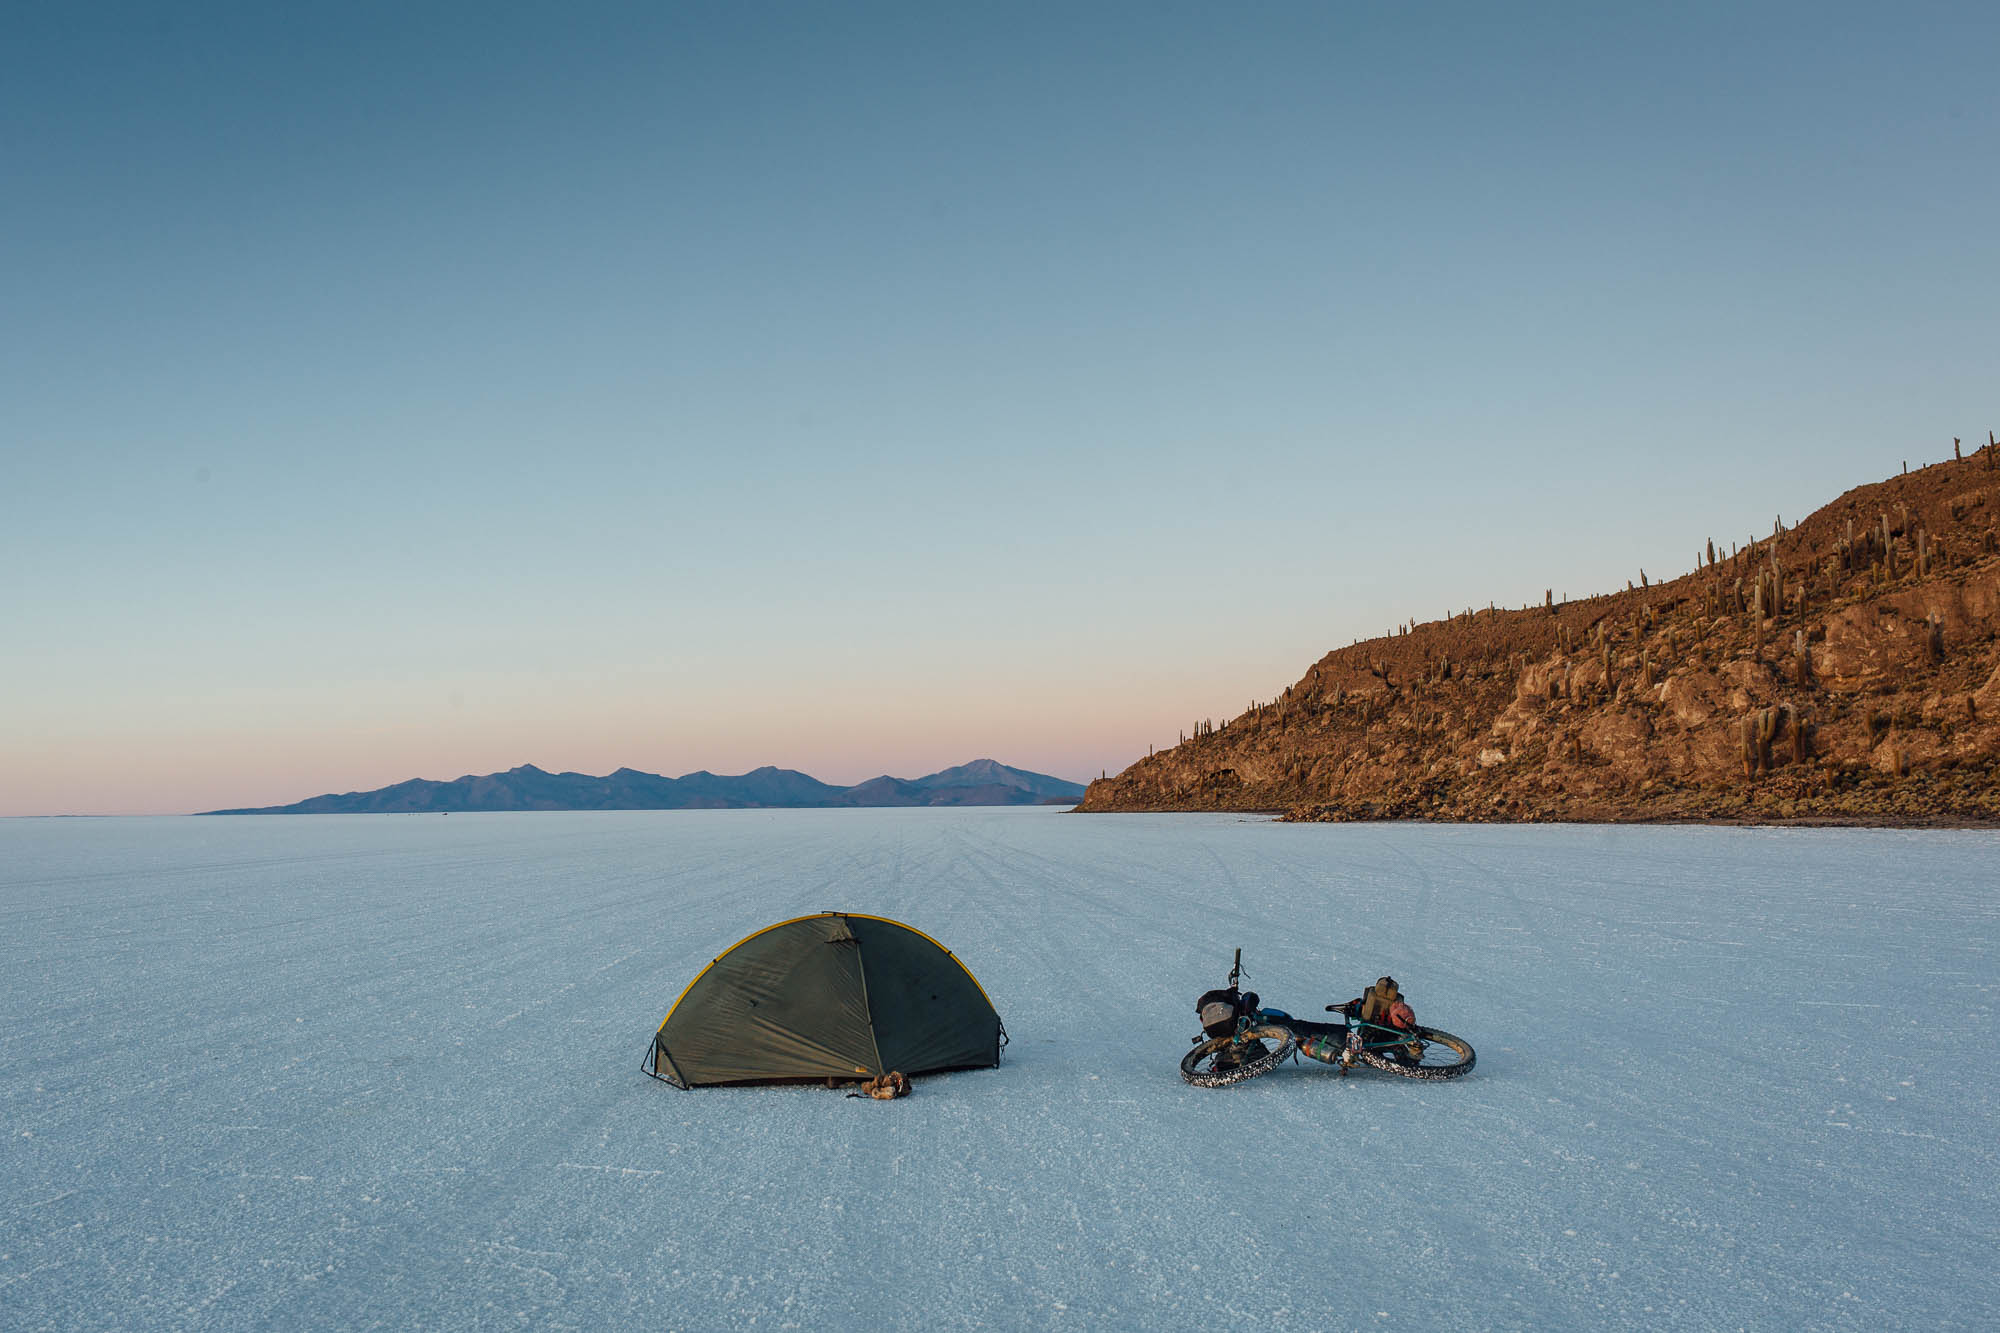
But there’s a middle way between traditional, heavily laden touring and ultralight bikepacking, with the extended dirt road adventures that I favor lying somewhere in between. This is particularly the case if they routes you are planning are remote and high in elevation, as is the case when exploring the South American Andes. My Chilean and Bolivian Altiplano setup – aka the Bulldozer – works well for this harsh, remote environment. It offers me the capacity to travel for ten days without a major resupply (or the need to wear a backpack), yet is also built around a modular setup that works for ‘ultralight’ side trips, too. And while I can’t tell you the exact weight, it passes my touring bike litmus test: I can carry the bike up a flight of stairs, across a landslide, or hoist it into the back of a pickup truck without unloading gear or shuttling bags separately. Just as importantly, it’s a build that can handle the full gamut of rough dirt roads, sandy trails, and the occasional slice of challenging singletrack.
MY CORE PACKLIST
- Riding shorts – Kitsbow Haskell
- Riding shirt – Kitsbow Icon
- Riding cotton T – thrift store
- Riding merino T – 45NRTH
- Surly merino long sleeve top – sleeping
- Insulated leggings (1 riding, 1 sleeping)
- Riding socks – Kitsbow Merino
- Riding mitts
- Sleeping socks (x2) – cosy and loose fitting local llama wool
- Boxer shorts
- Outdoor Research down jacket
- Baseball hat + local wool hat
- Helmet
- Sunglasses + strong suncream + lip balm
- Washkit
- Medkit
- Fleece mitts
- Acre waterproof shell
- Rainproof overshorts – cut down overtrousers
- Tarptent Bowfin + groundsheet + 2 extra stakes + guy lines
- Therm-a-Rest Neoair
- Big Agnes Flume UL30 + Sea to Summit Ember EB I quilt
- Sea to Summit 30L Evac drybag
- Petzl headtorch
- Evernew 800ml potset + Trangia burner + Clickstand + lighter + fuel
- Nalgene 500ml screwtop container + heavy duty zip lock bags for food storage
- Hydrapak 3L Shape-Shift bladder
- 2 x Soma bottles + 64oz Klean Kanteen
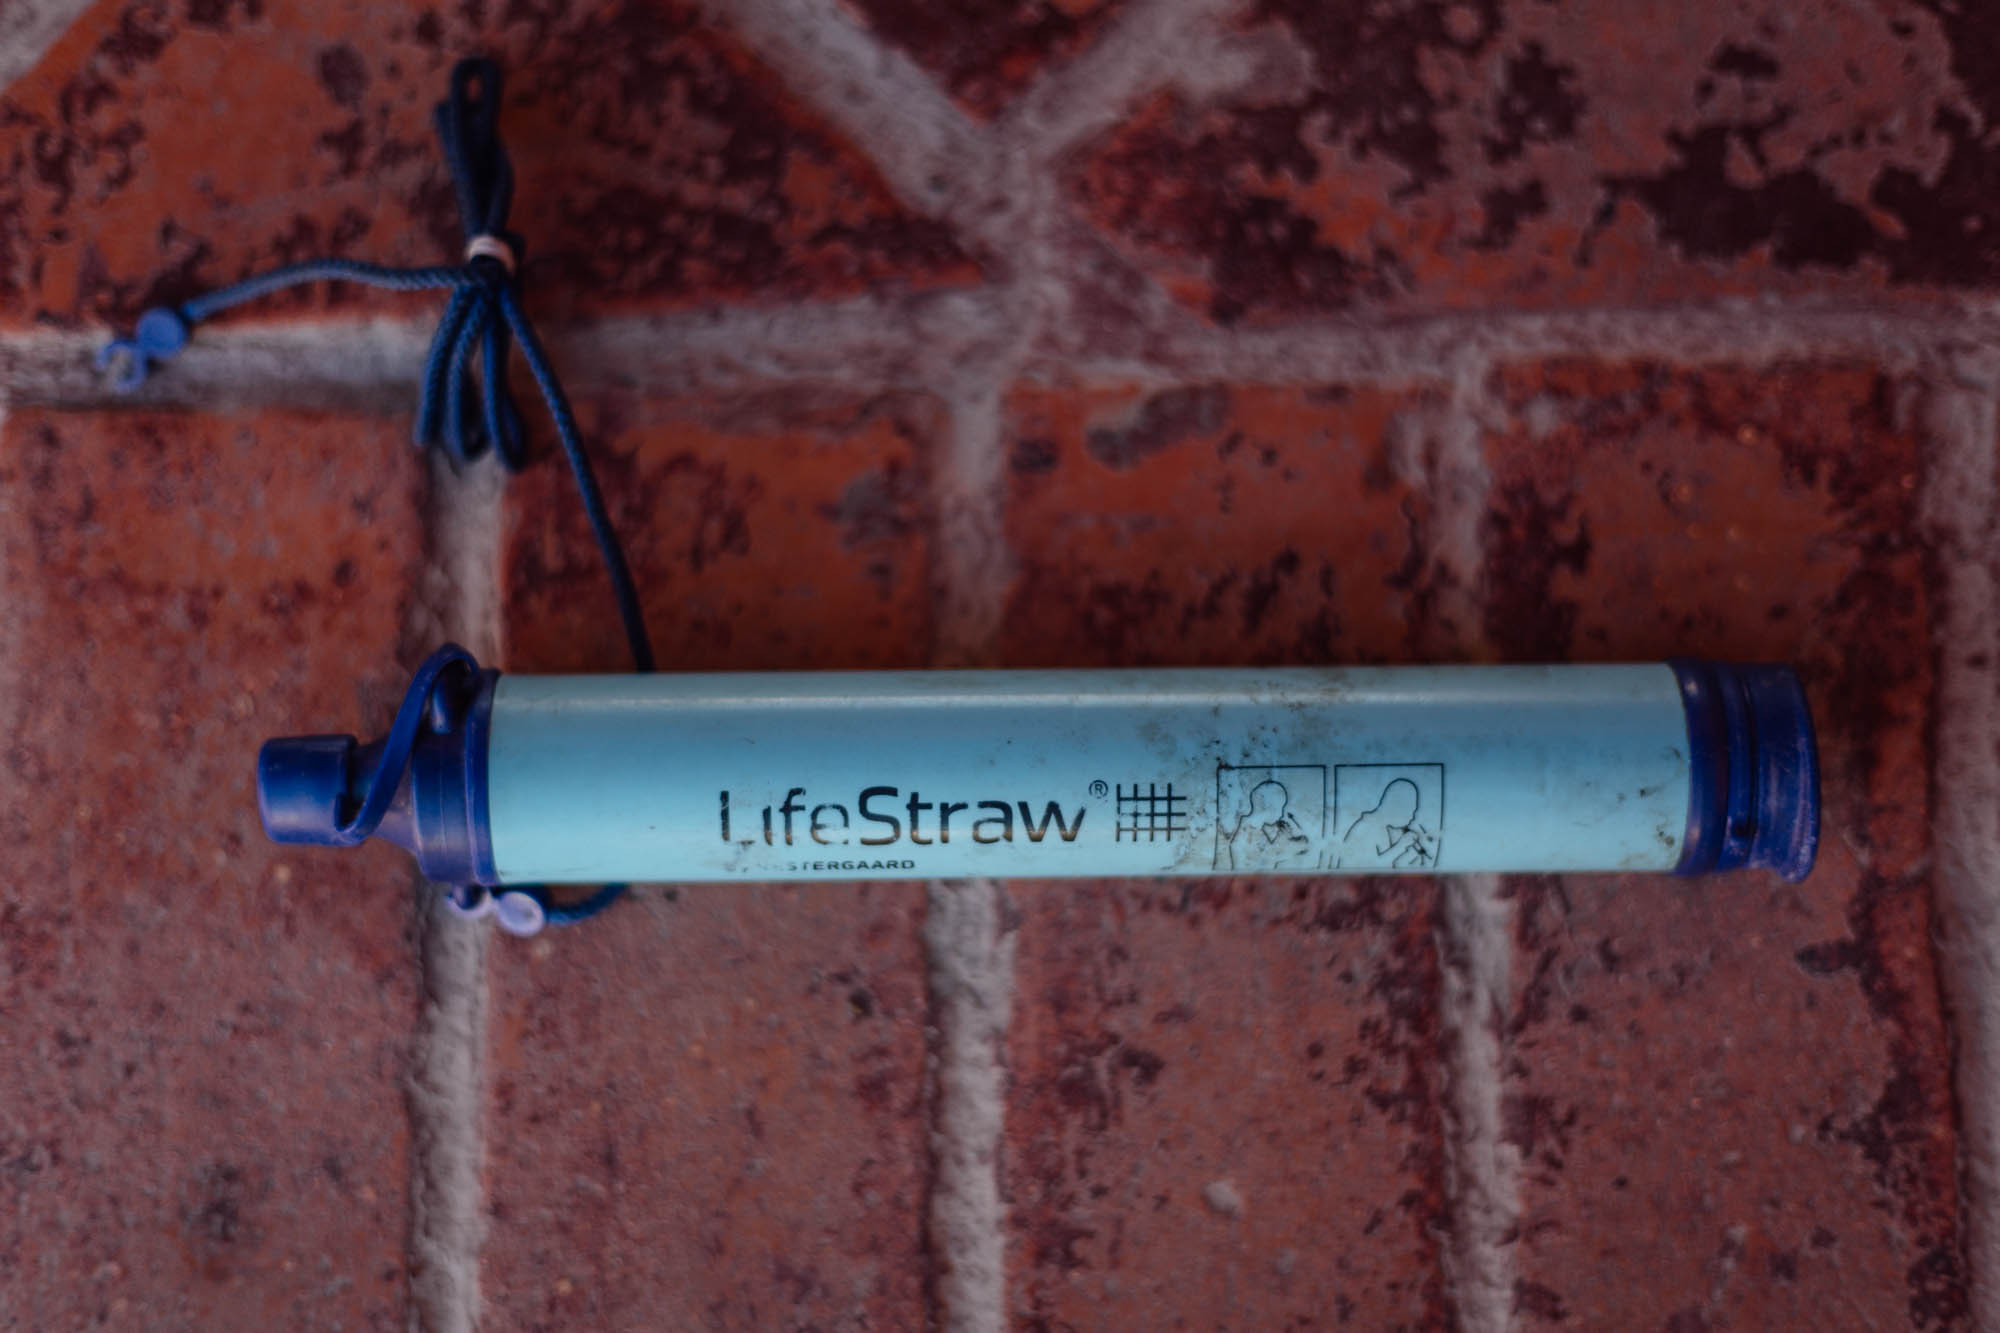
- Lifestraw filter
- Wooden spoon + Opinel knife
- Tool wrap + tool bag inc extra sealant etc
- Lezyne Micro Floor HV pump
- 2 x 27.5+ inner tubes
- Macbook Air 11in + Sea to Summit case
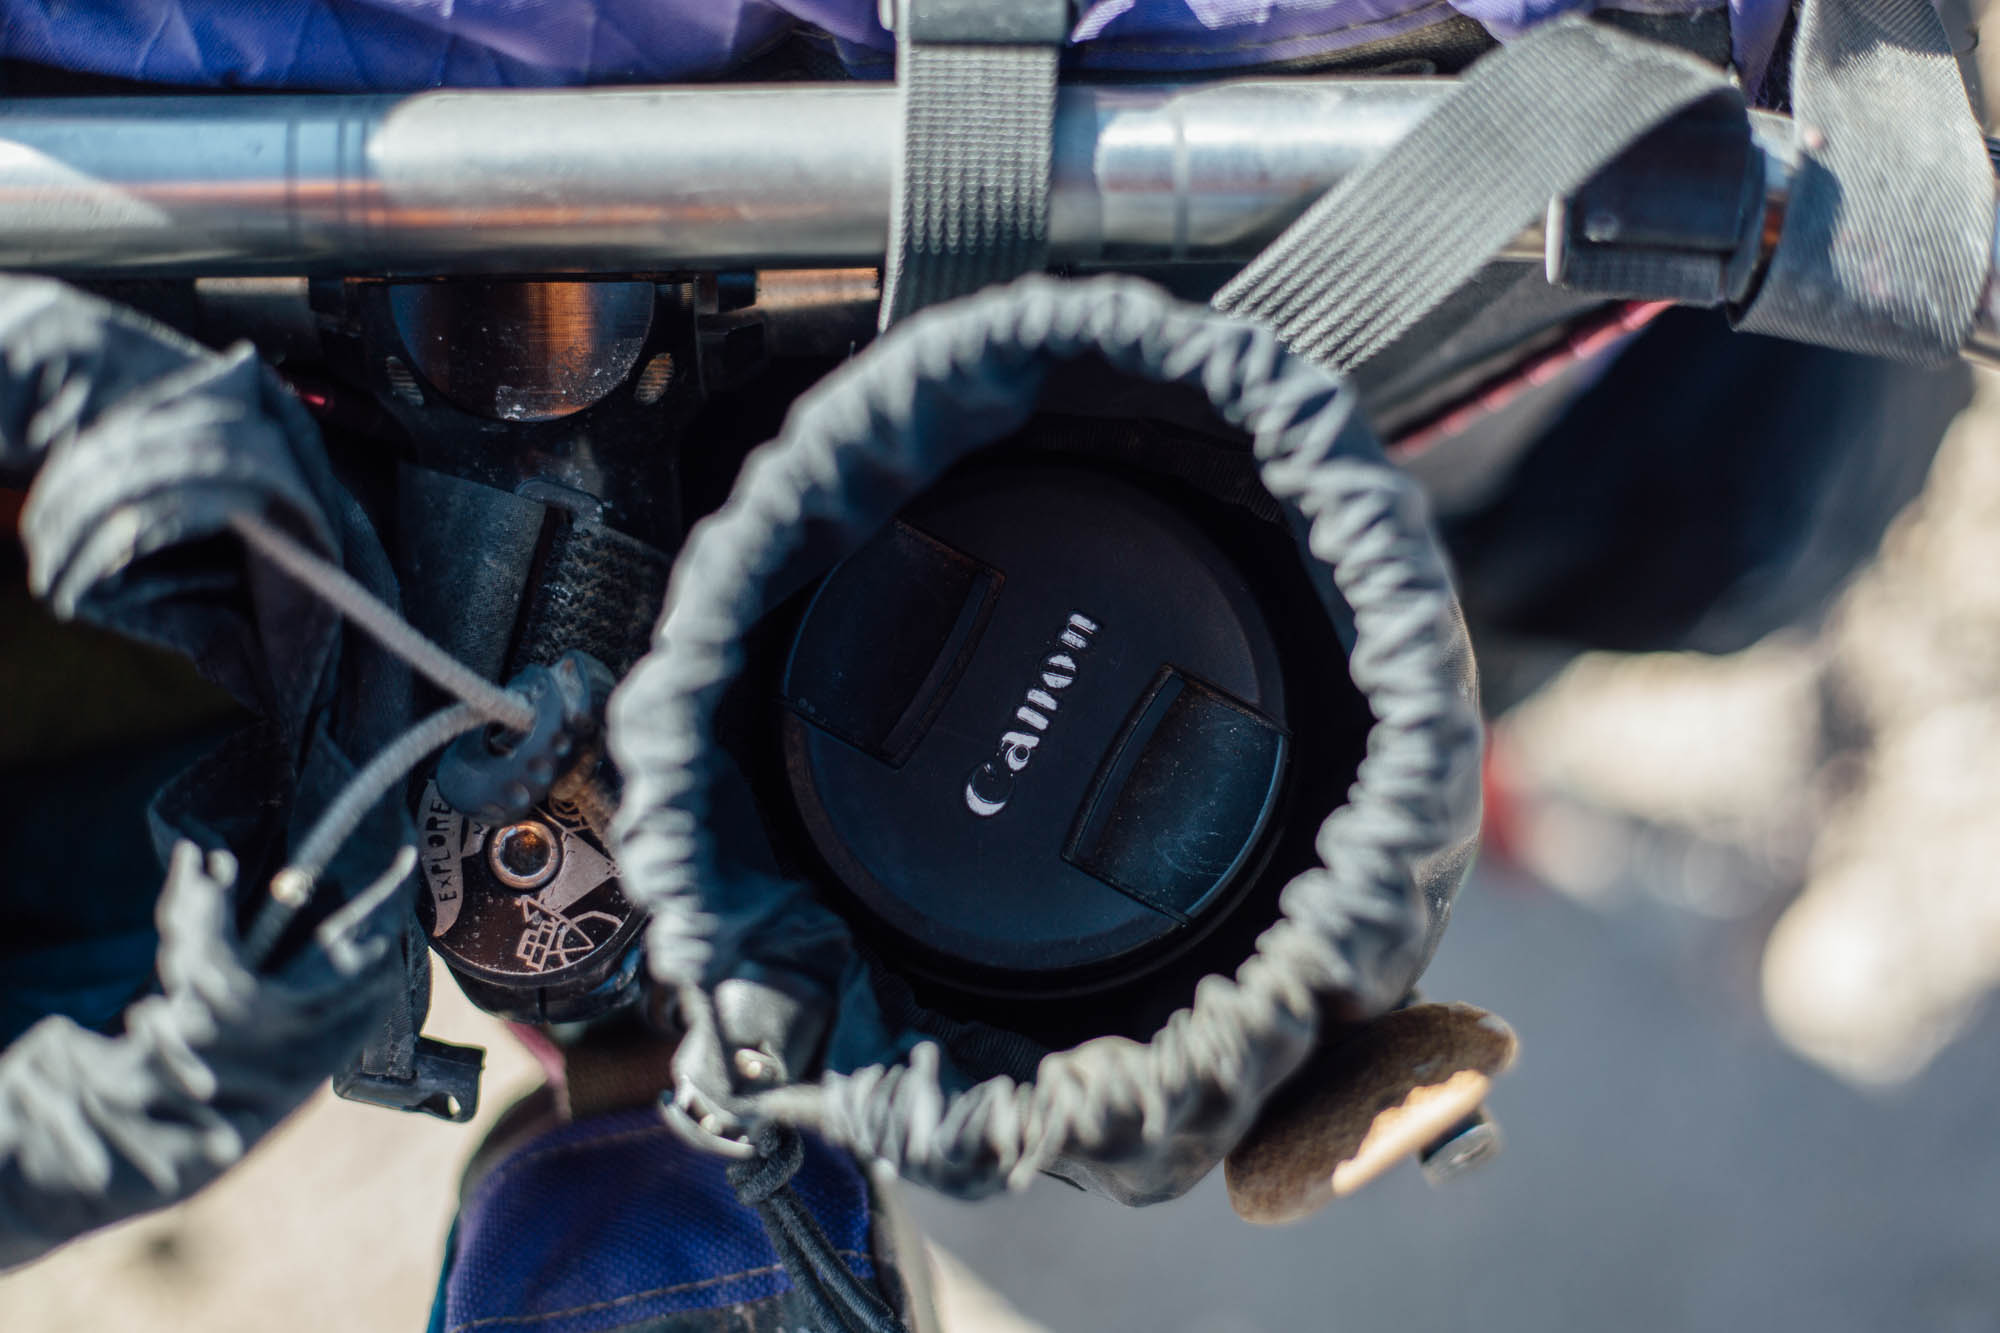
- Canon 5D Mark III DSLR + lenses
- Electronic bag – chargers, spare battery, cache battery, memory cards, etc.
- Moleskin notebook + pen
- Money purse + passport

Where does it all go?
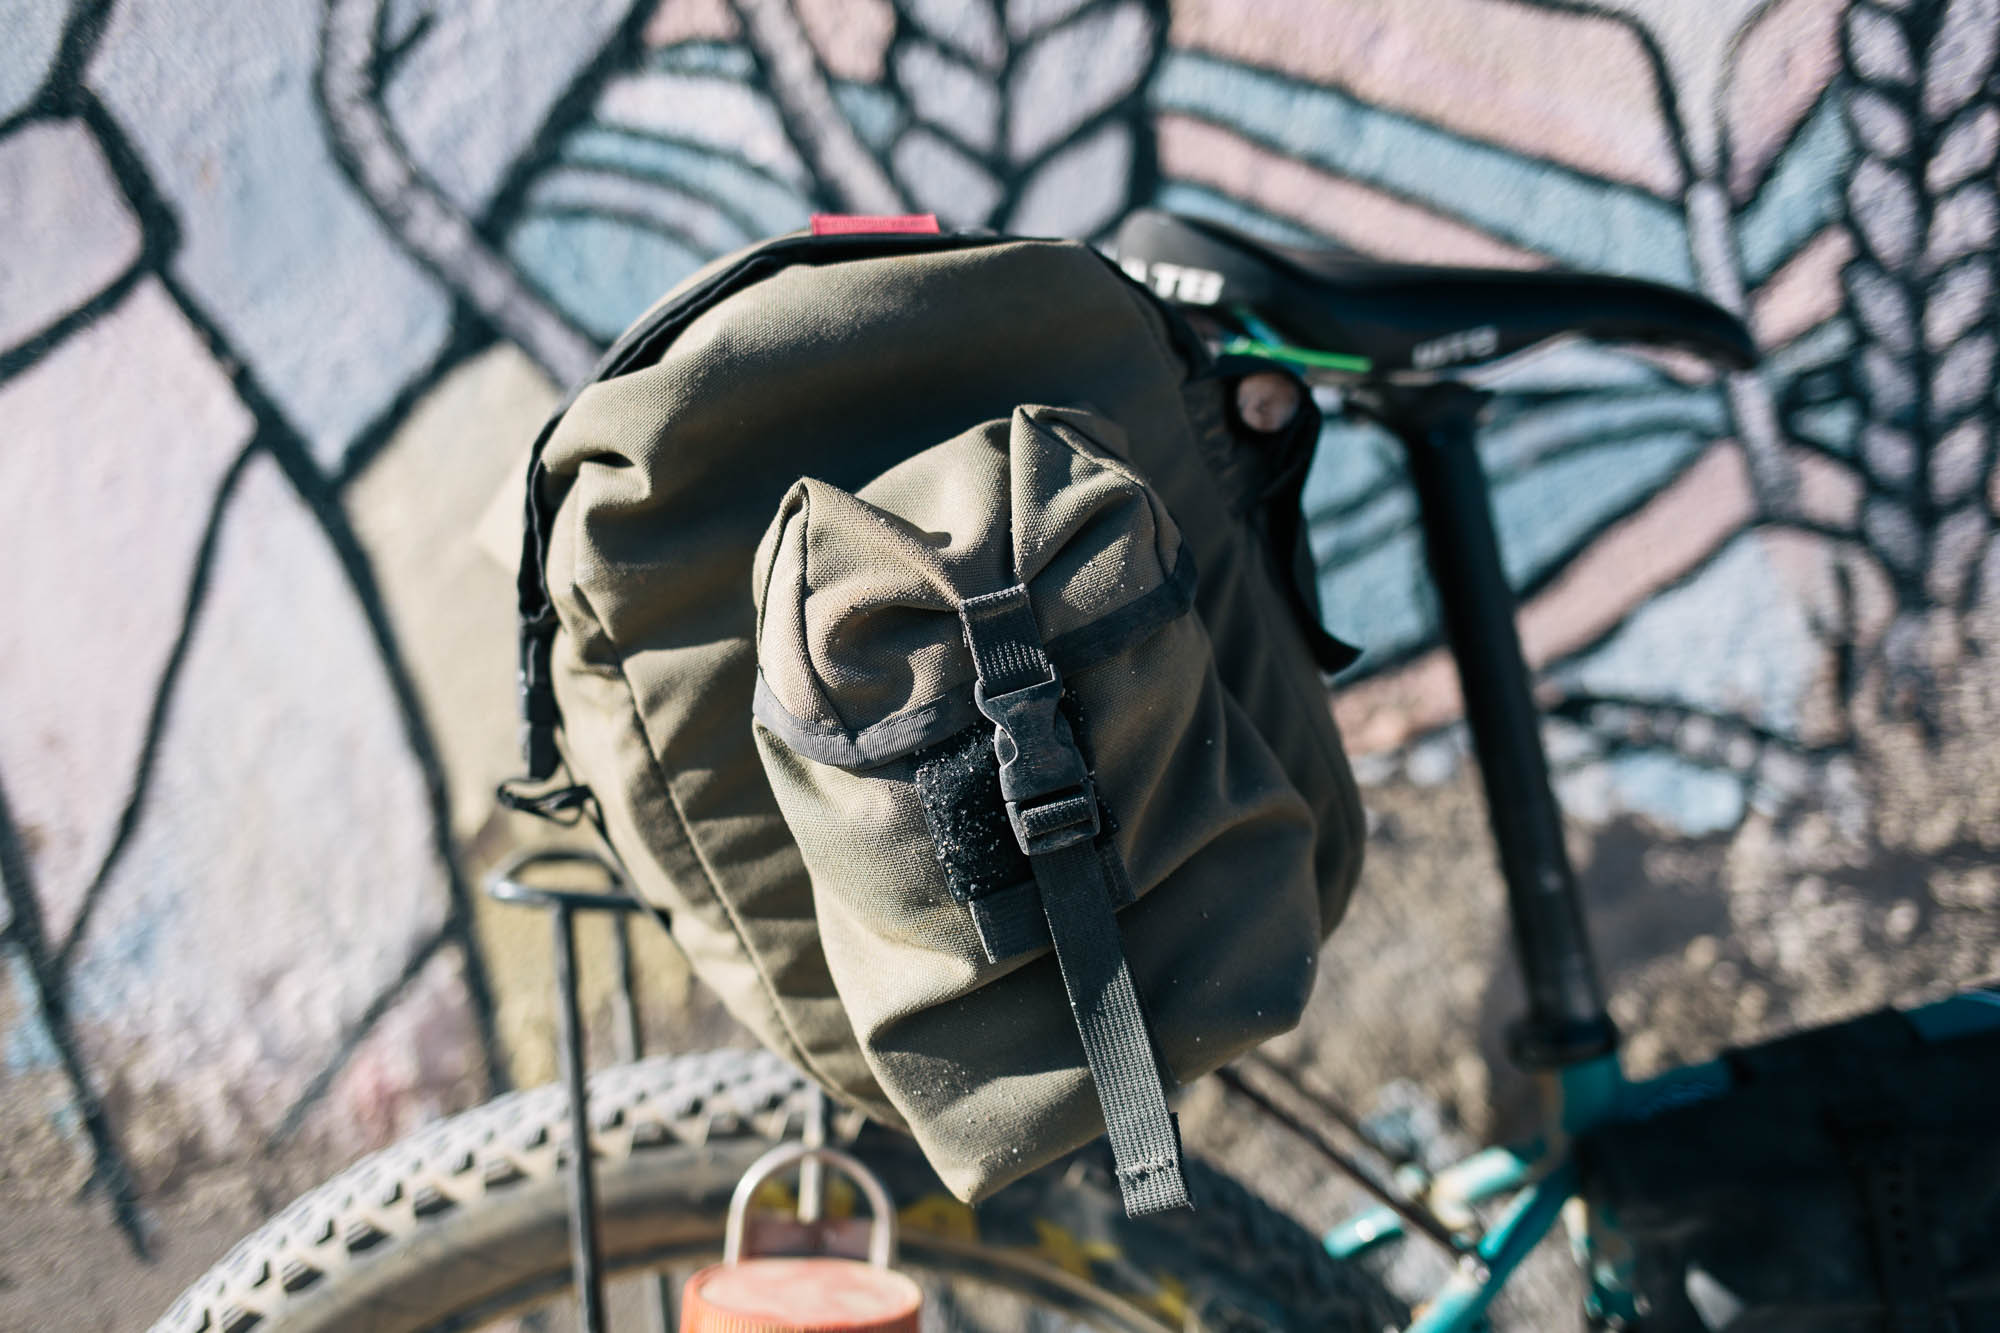
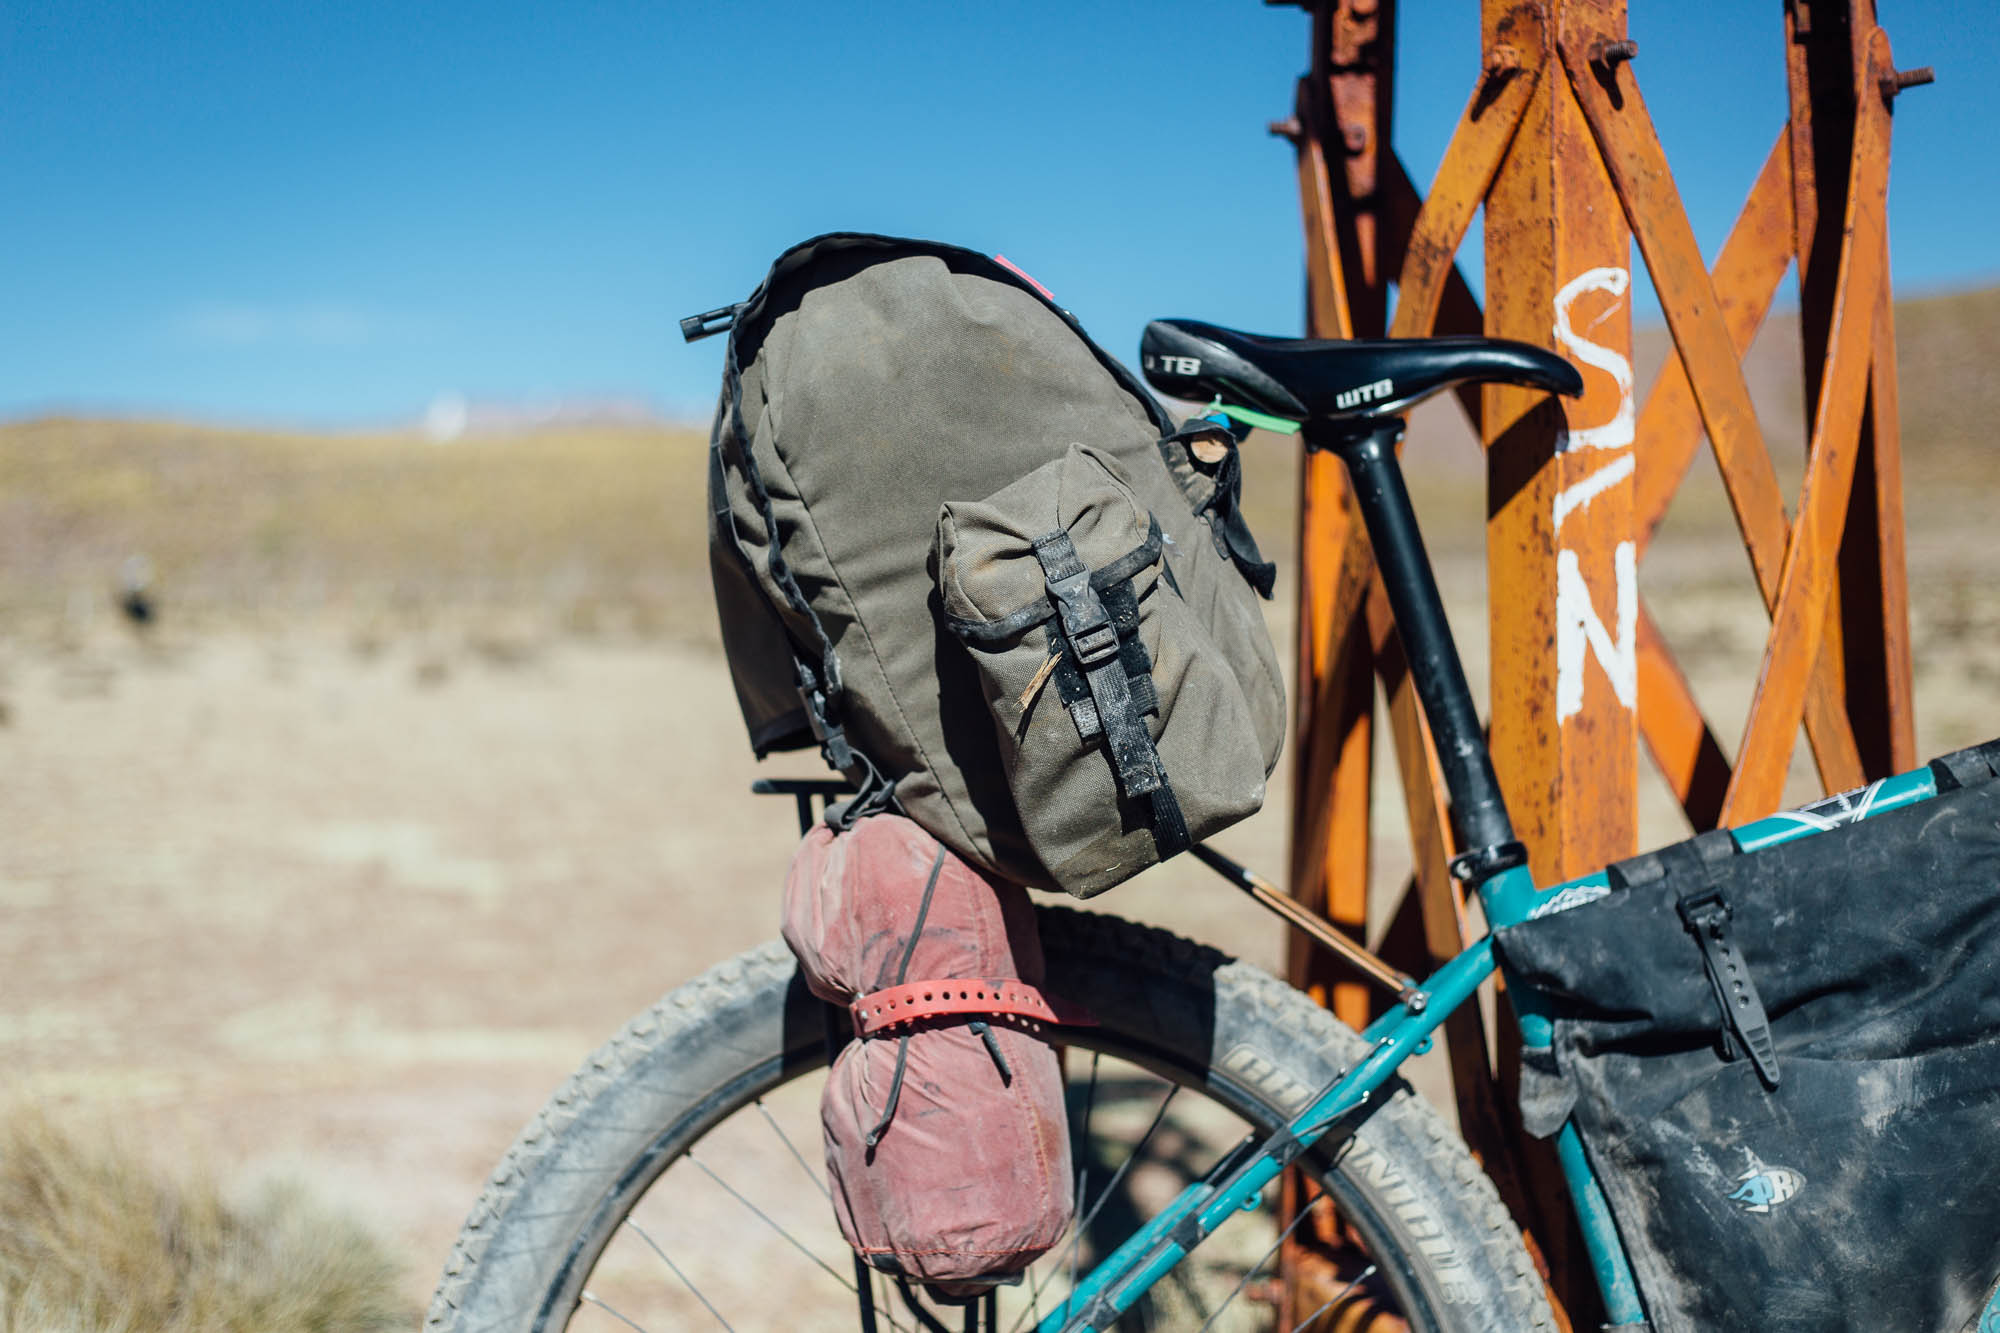
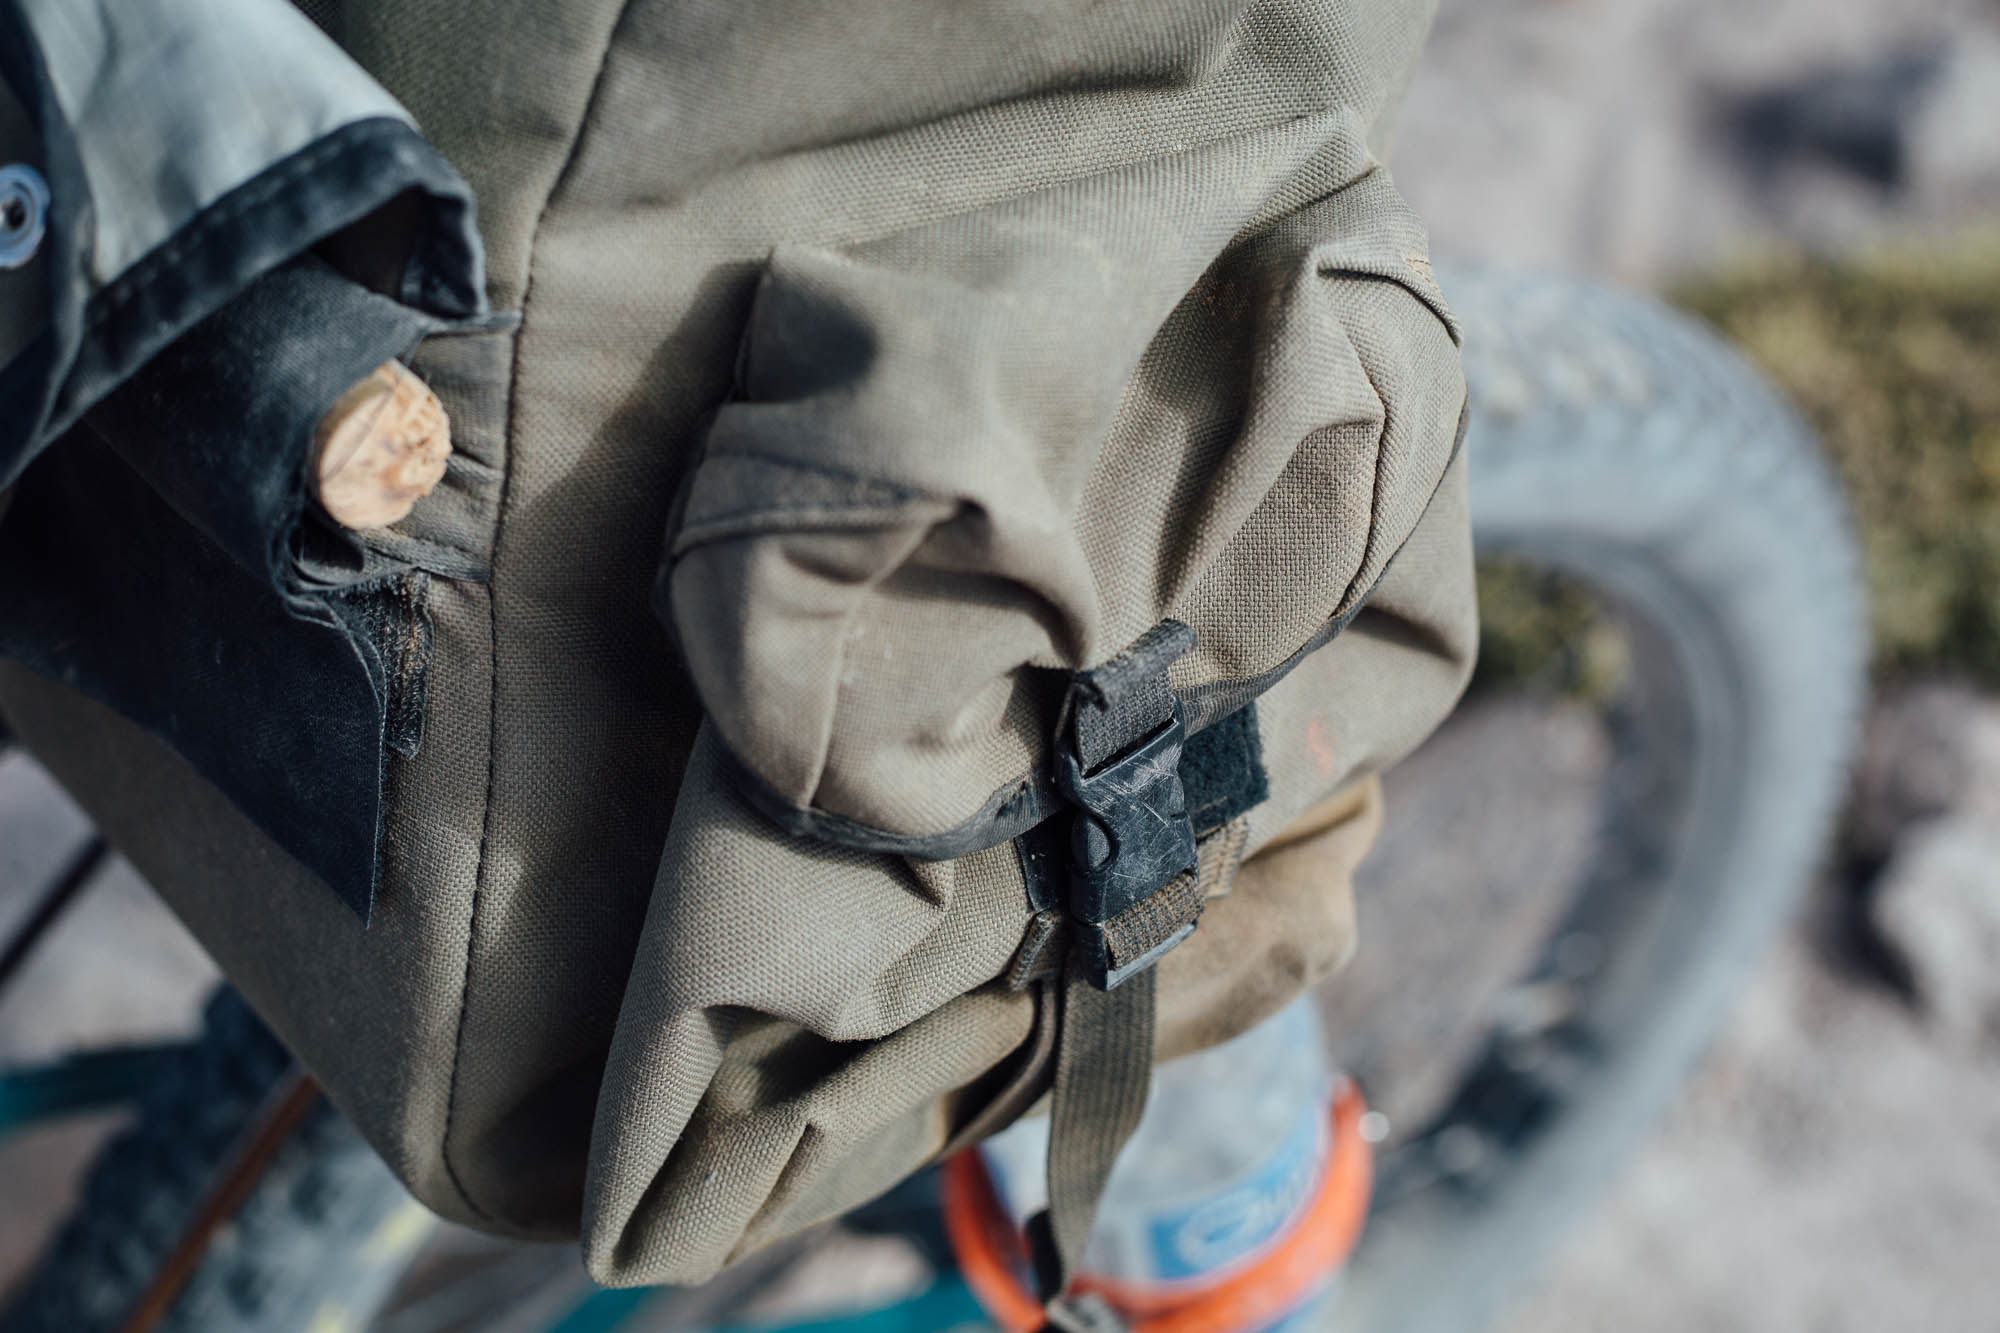
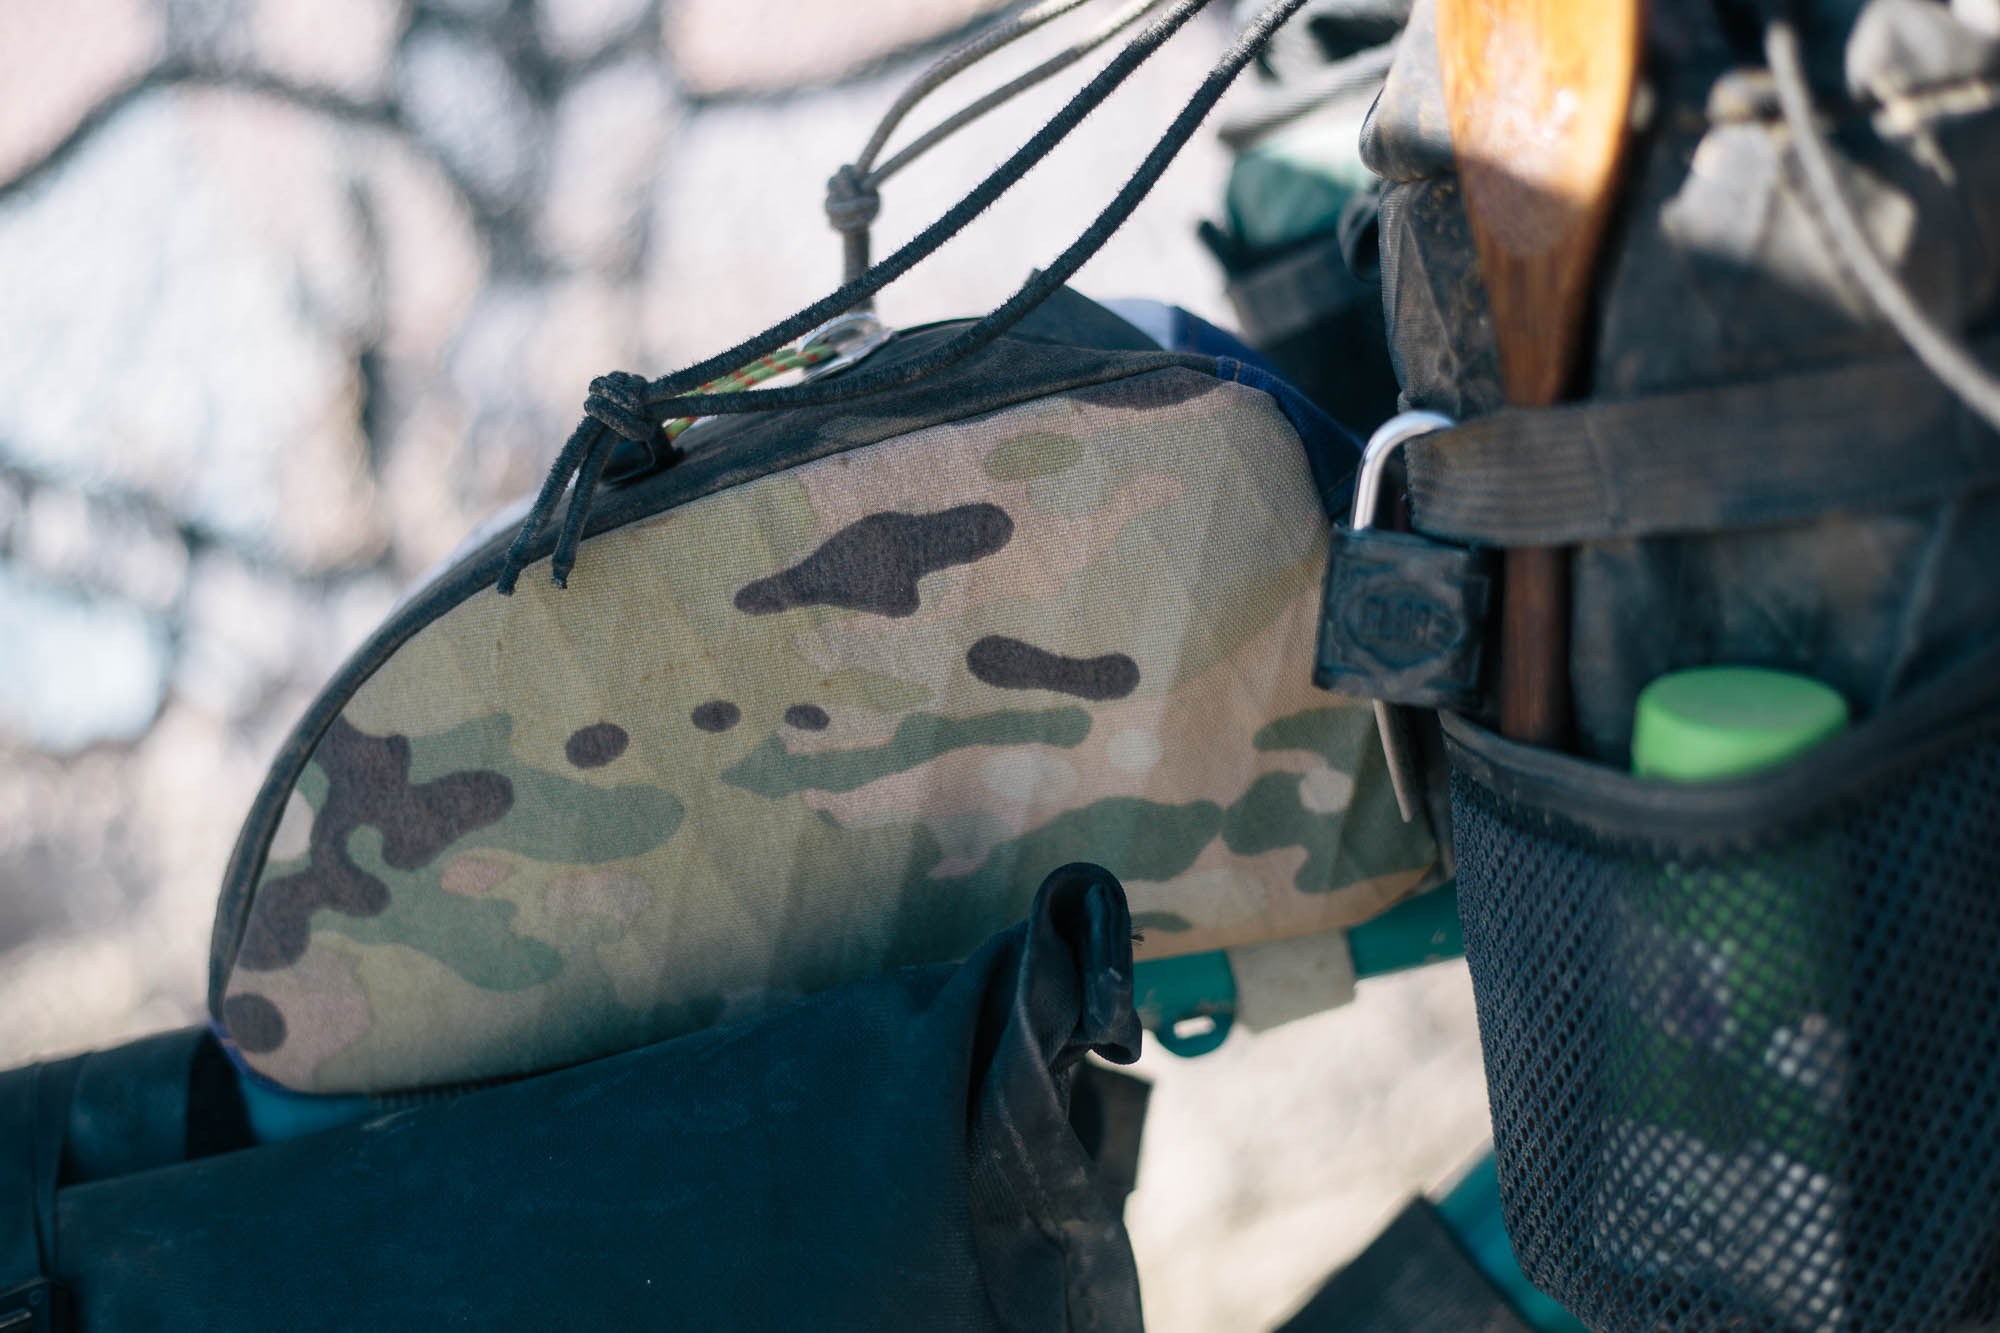
THE FABIO’S CHEST
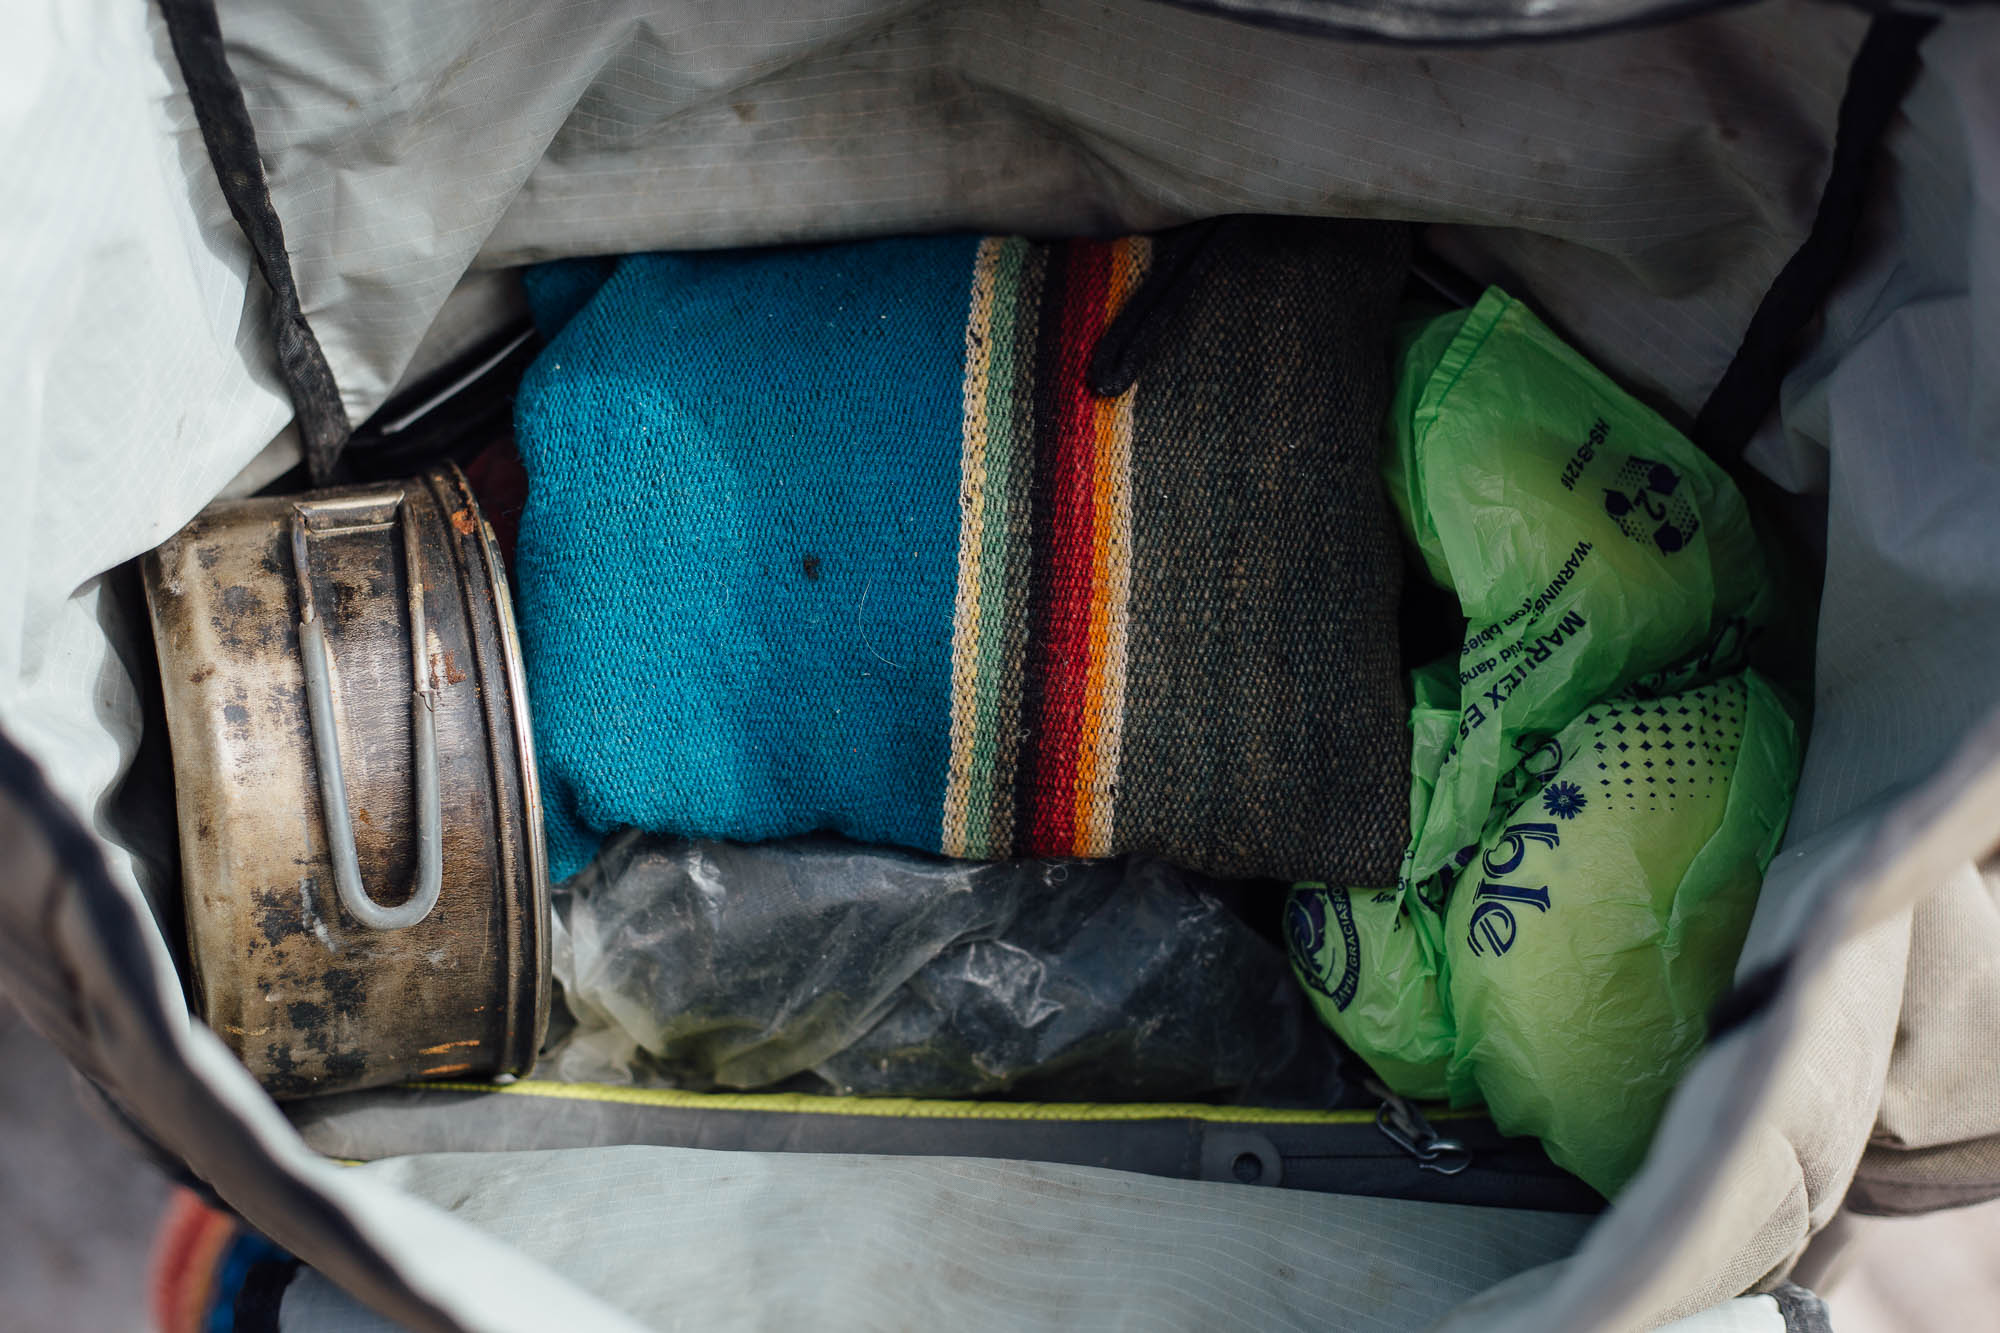
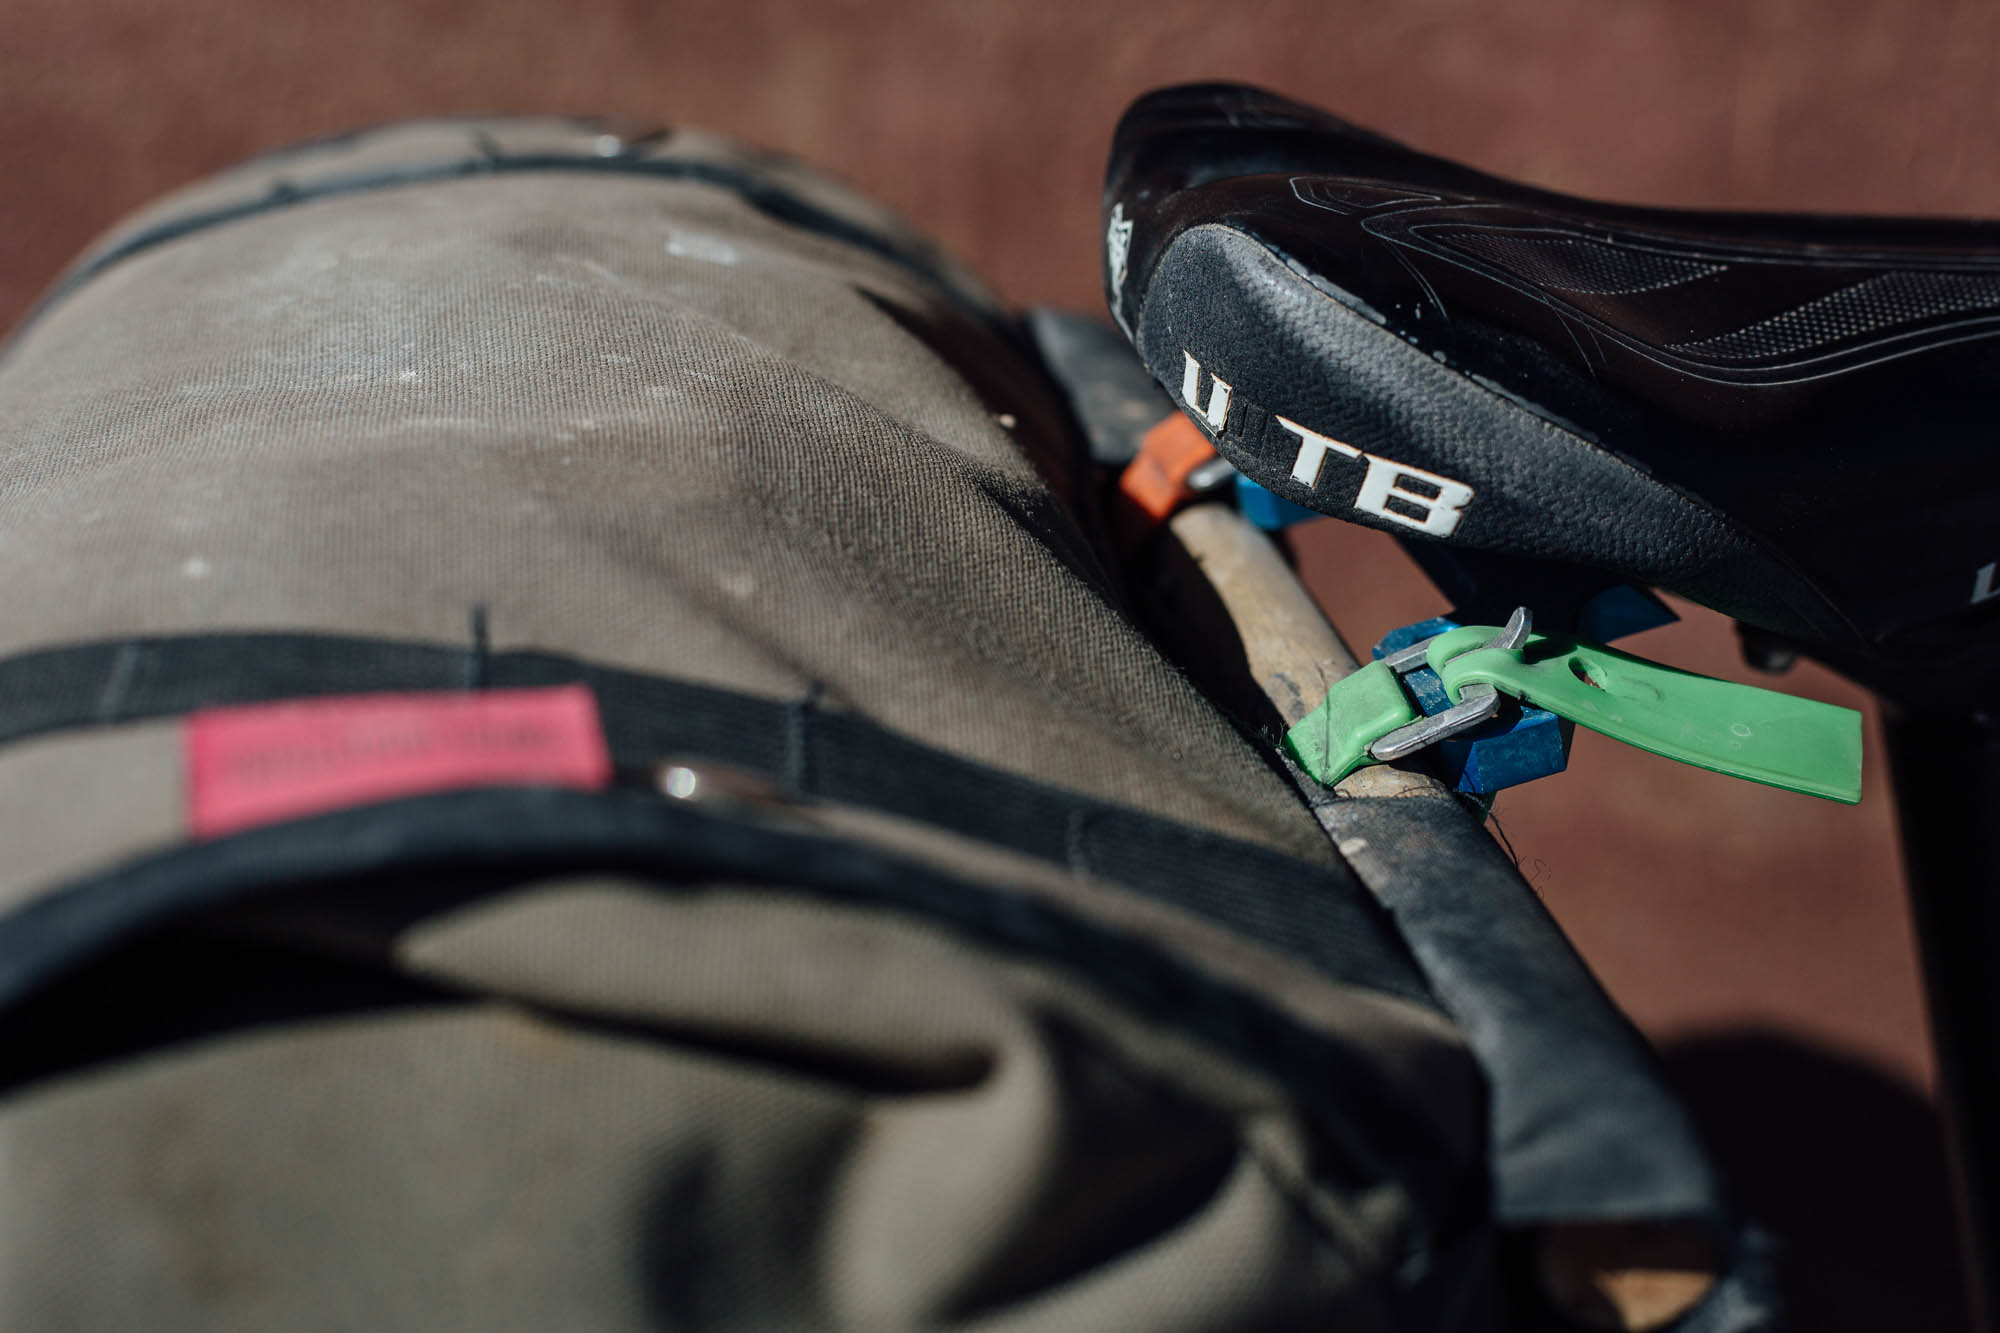
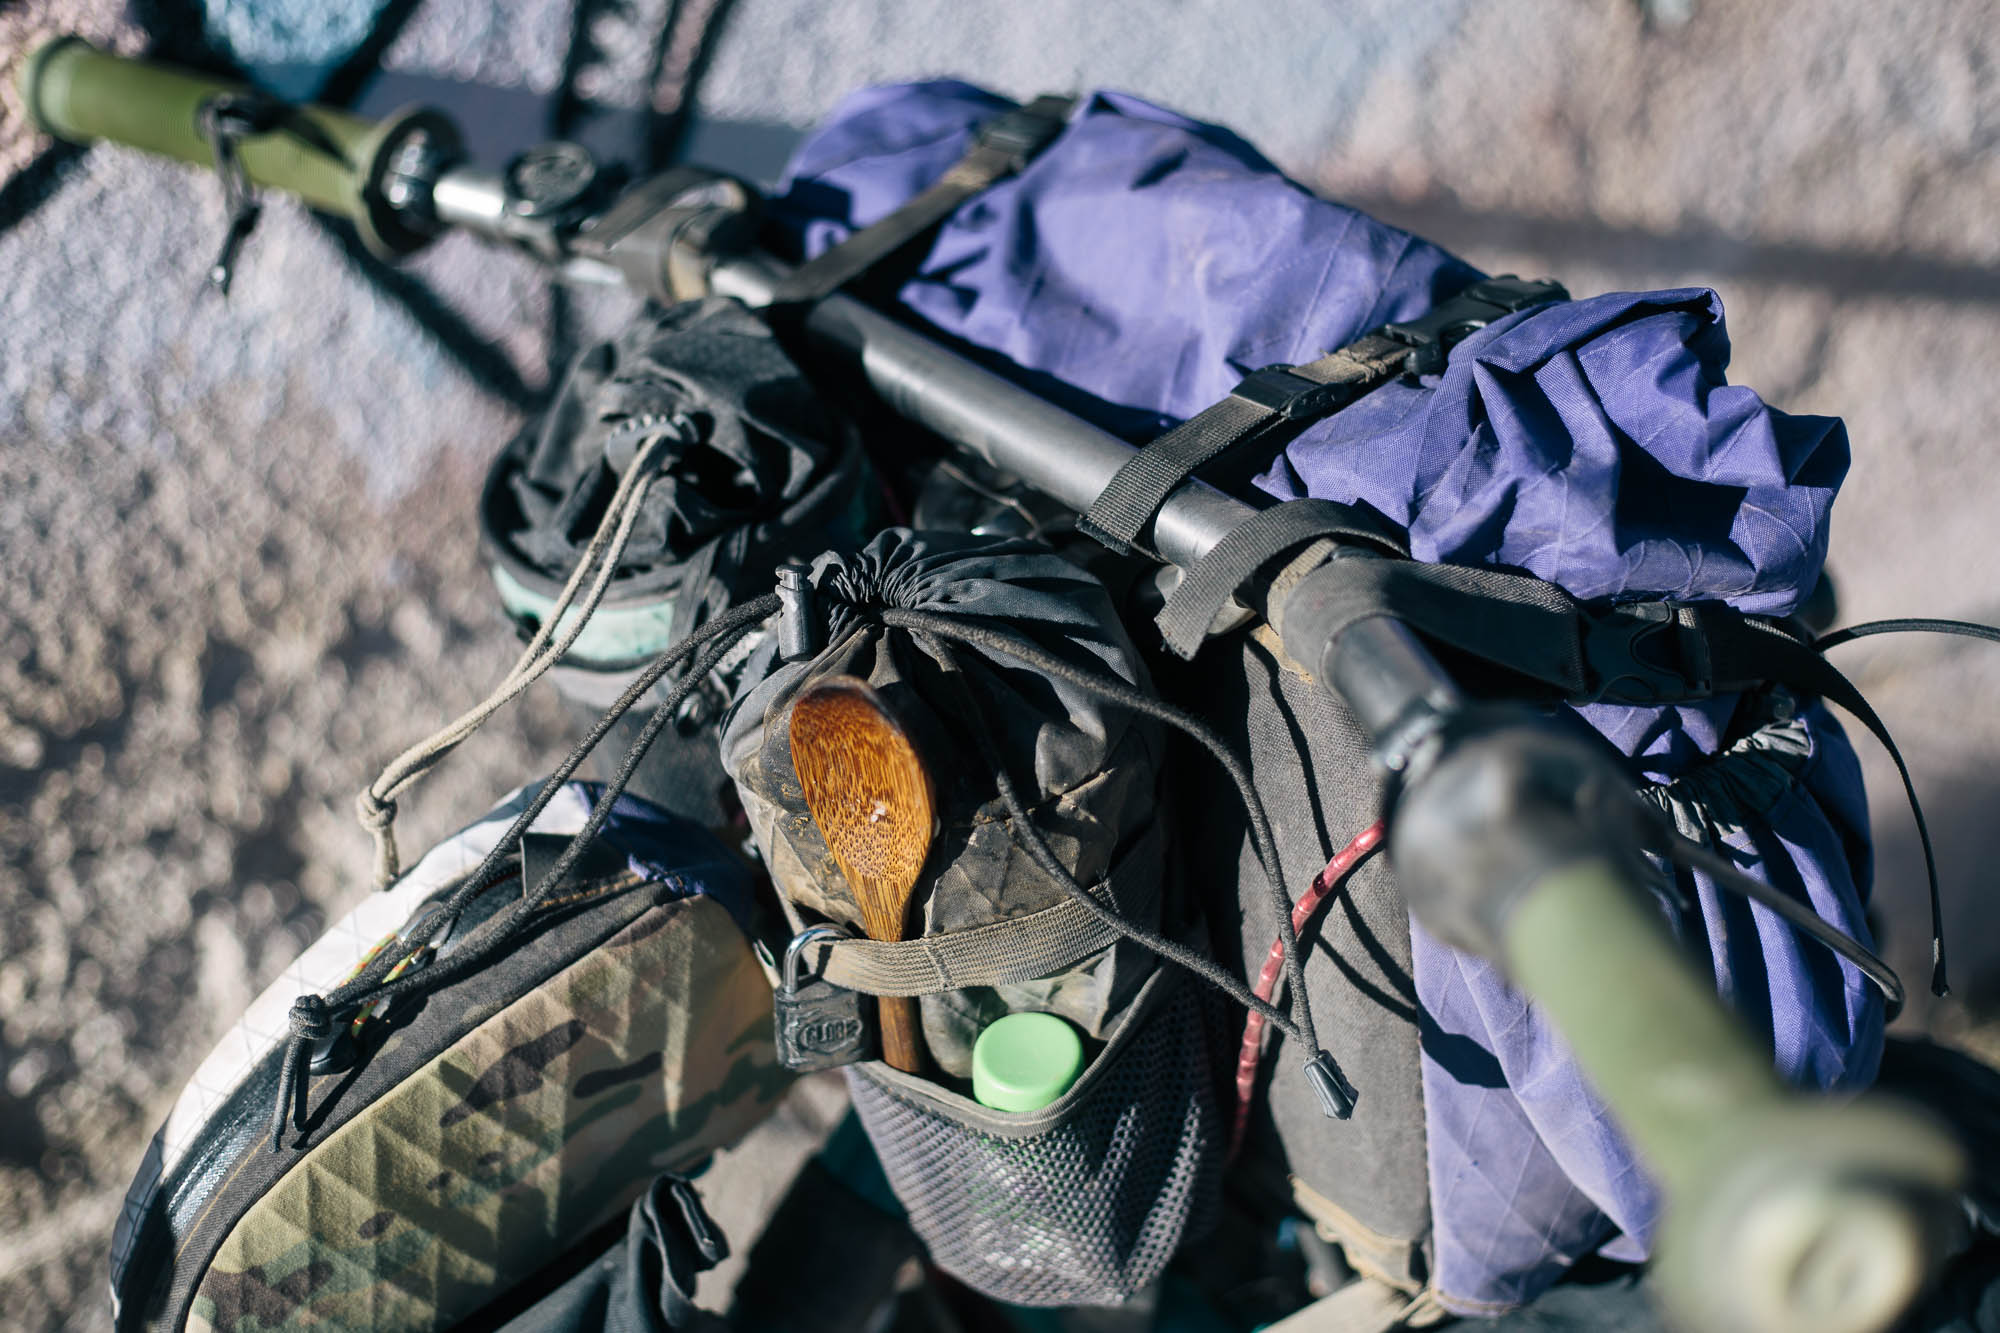
My setup is a mashup that blends old and new. I’ve always liked the practicality of saddlebags for multi-week, day in and day out bike touring; the Fabio’s Chest expands to close to 40L when required, doing away with the Tetris-like demands of modern seatpacks when you take on extra gear or food. It’s also very easy to pack, which I appreciate over longer trips. Although wider than a seat pack, its side pockets can be cinched flush to the sides, narrowing its width for extended bike pushes. I’ve been using a Hobo Pieces Restuvus saddlebag mount, designed to be run in conjunction with standard saddles, and it helps keep the bag really secure.
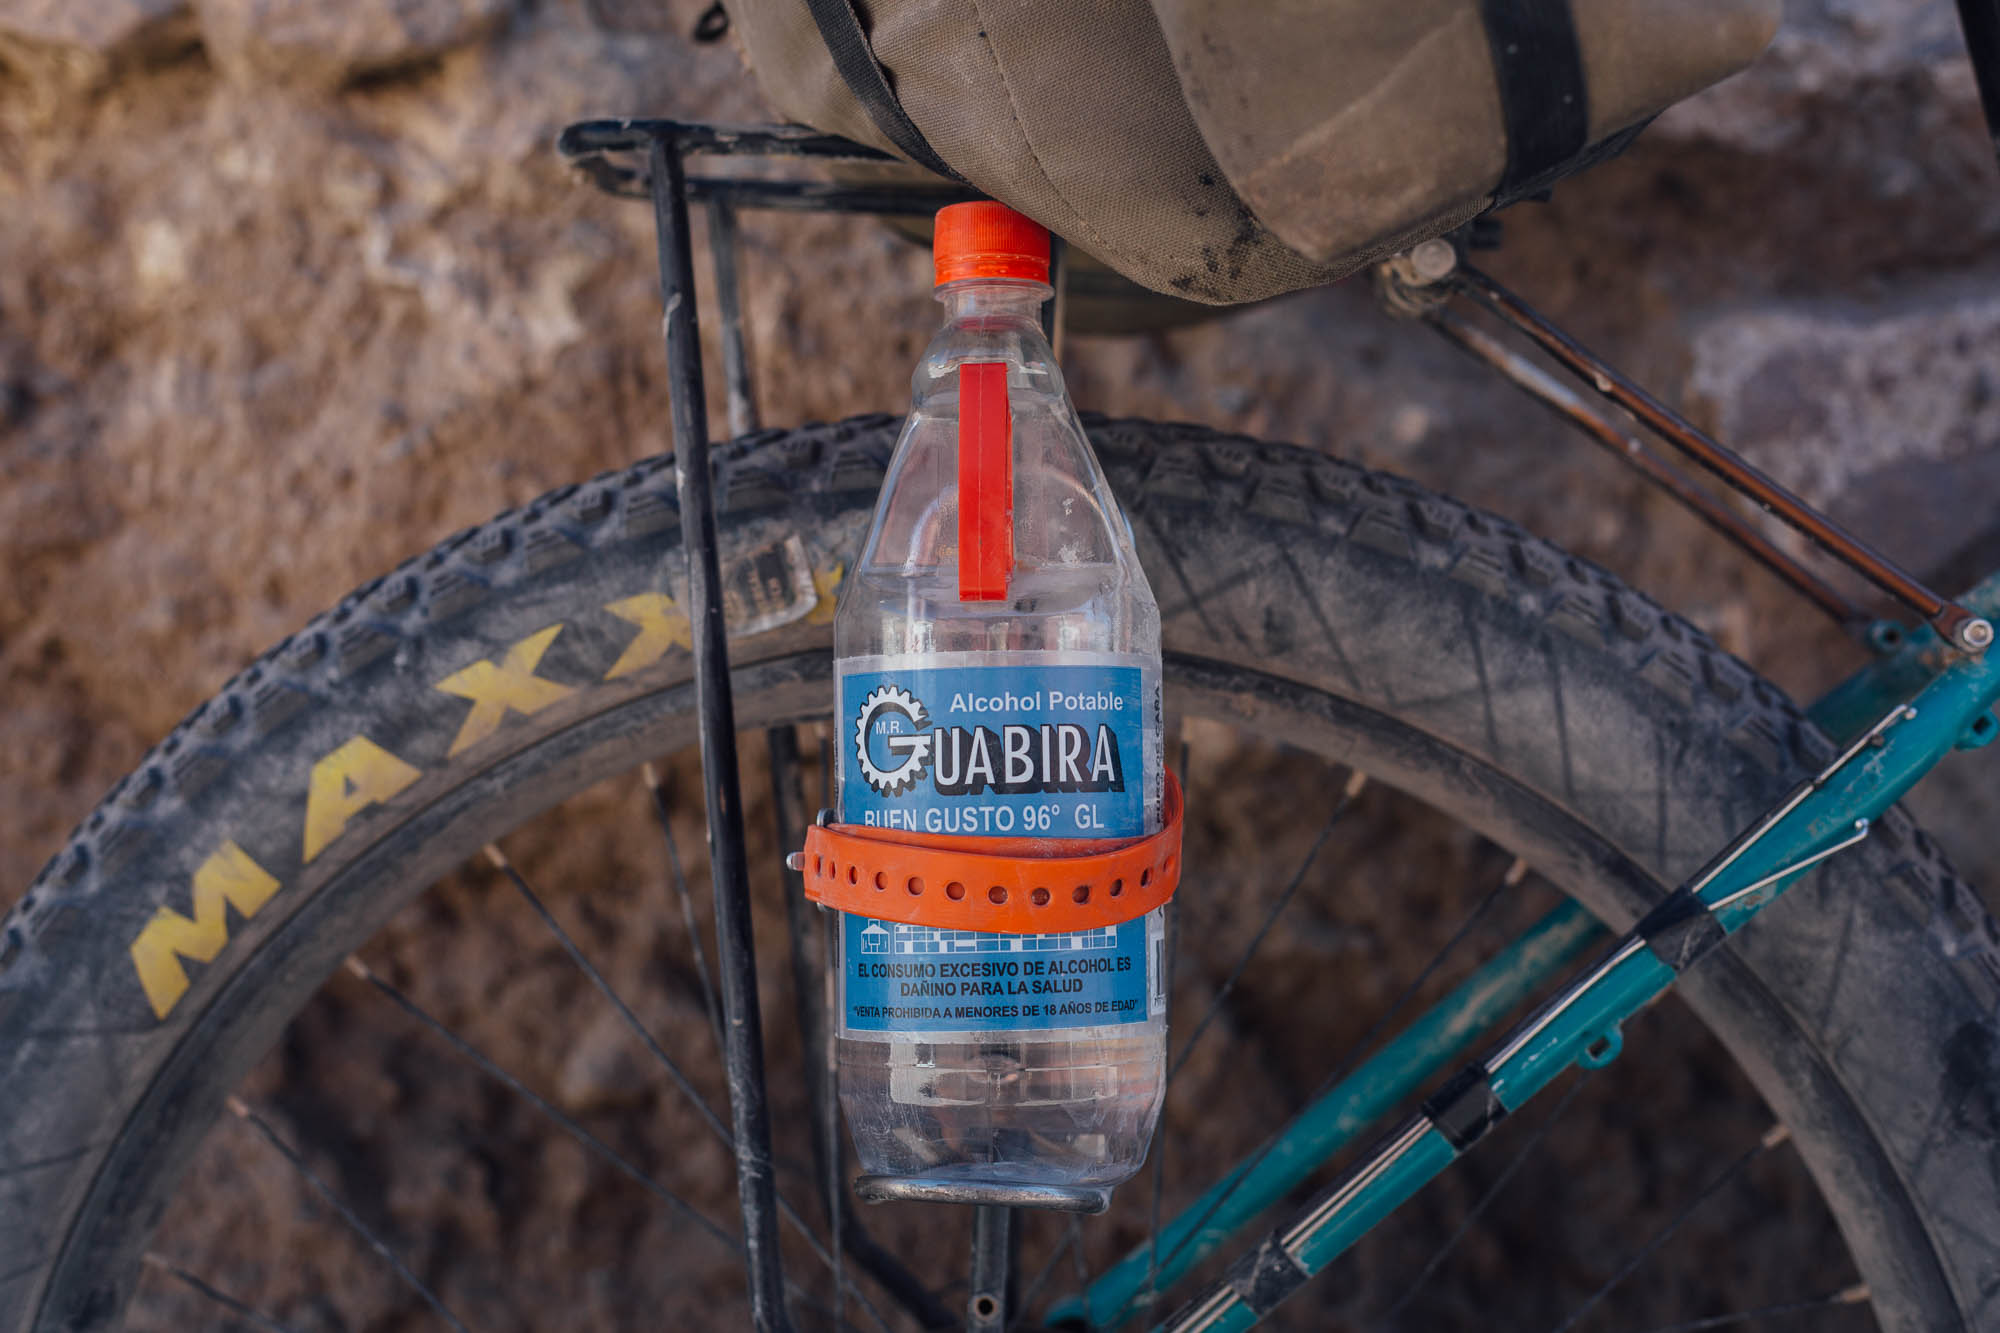
Within, I stowe my laptop (in a Sea to Summit padded case), a bag of cables and chargers, an 800ml Ti Evernew pot set and Clickstand stove, my Outdoor Research down jacket, a small med kit, fresh produce, a sealable 500ml Nalgene container, and light but bulky food items like bread. For some time now, I’ve used a small denatured alcohol stove. 96% alcohol is very easy to find on the altiplano; if I need to carry more, I store it in a salvaged plastic bottle of Coca-Cola. I haven’t toured with a multi-fuel system stove for several years, and if you’re not intending to melt snow, the denatured alcohol option is a good choice for this part of the world, doing away with the need to haul smelly gasoline.
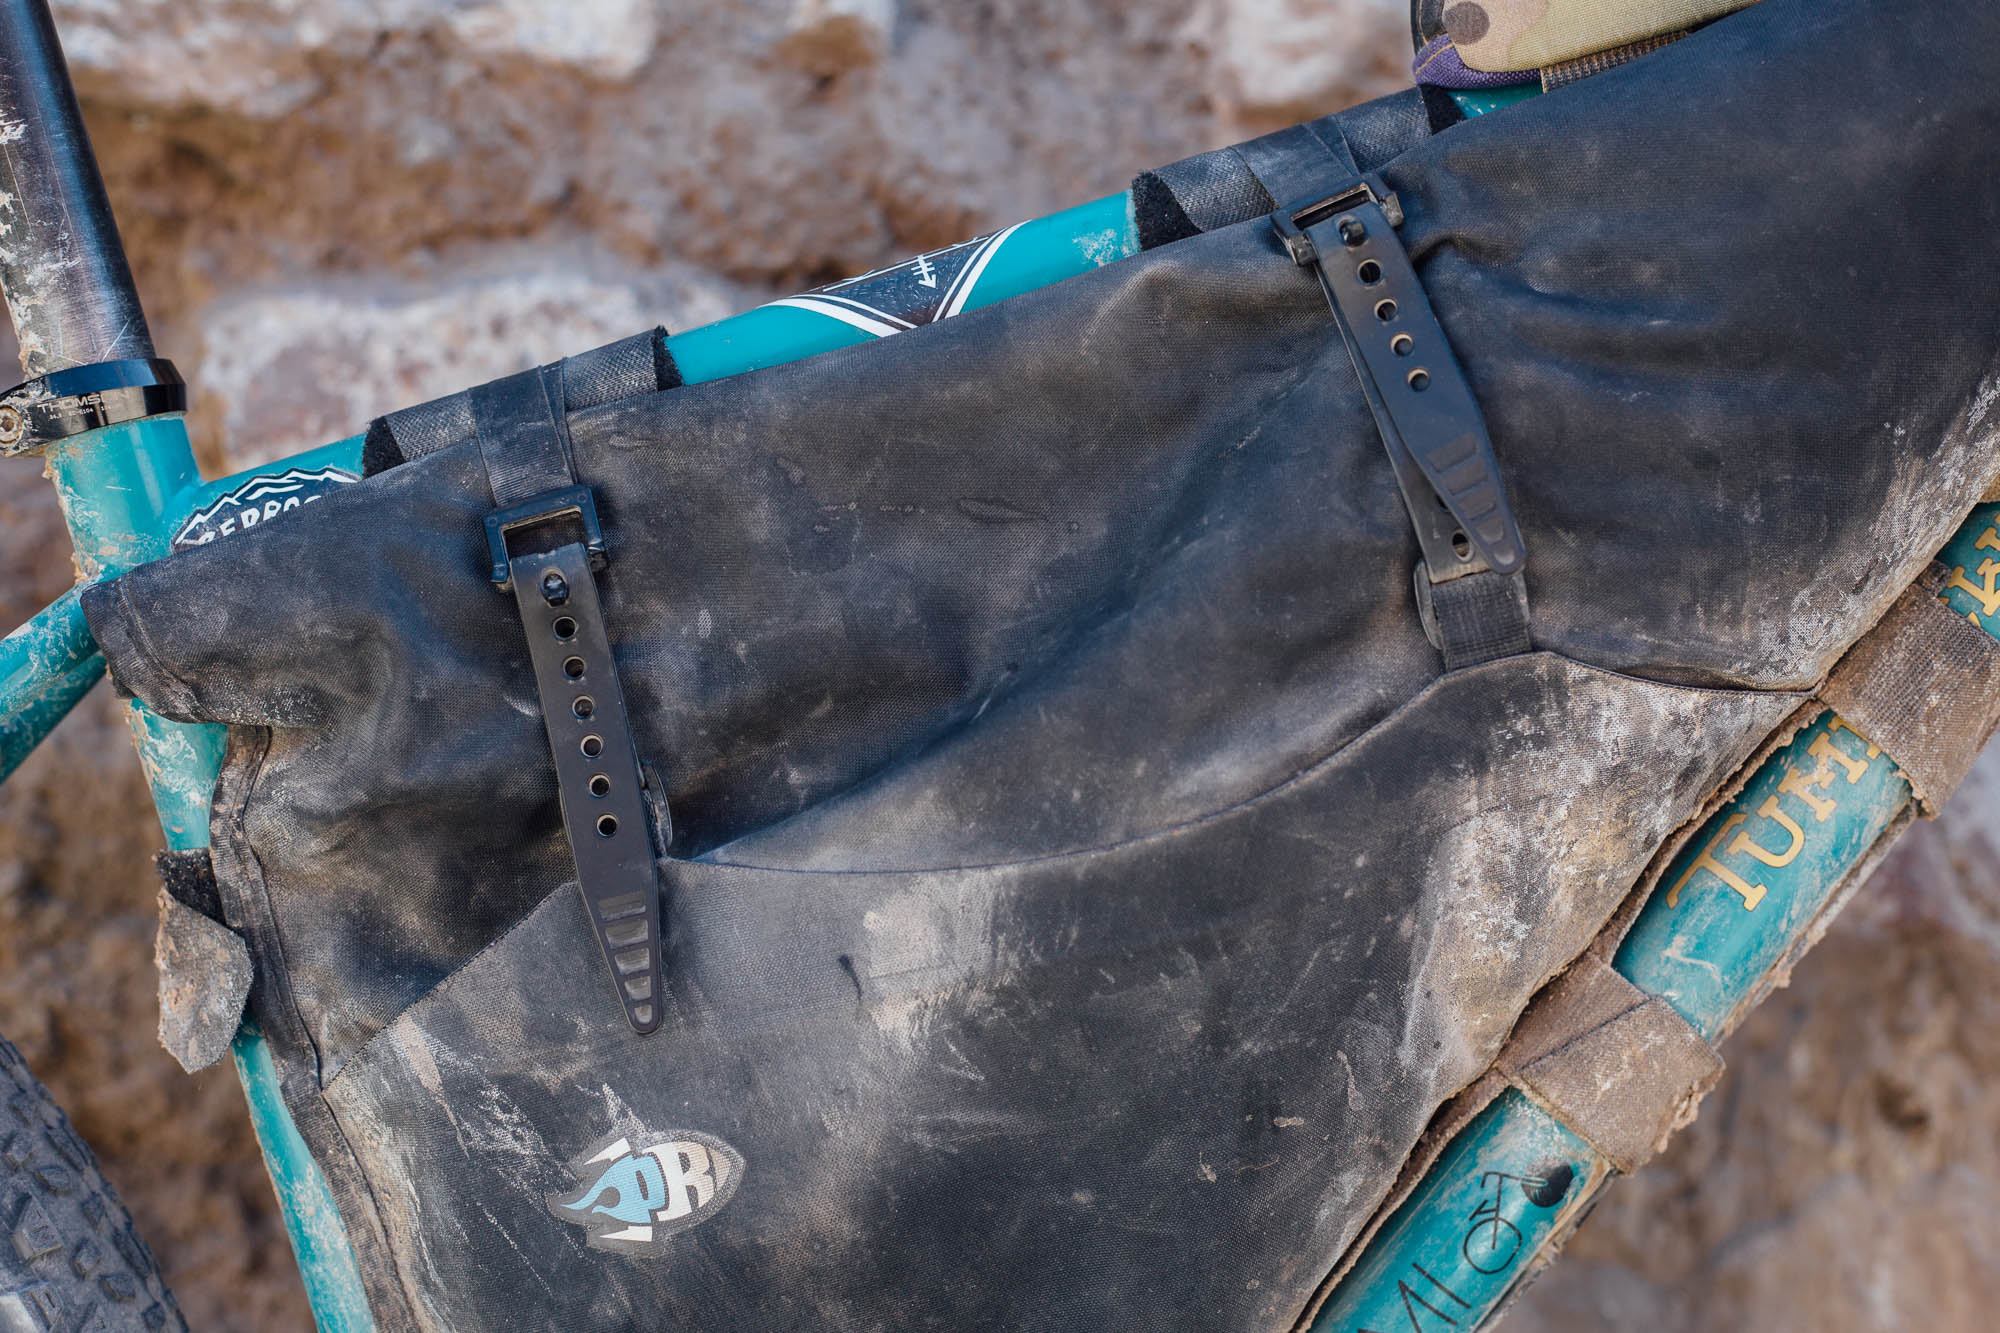
BEDROCK HERMOSA UL MICRO PANNIERS
Bedrock’s Hermosa UL panniers are extremely light, and given their minimal velcro attachment points, they stay on the bike most of the time. One holds my clothes, with room for additional cold weather gear, like the extra wool hat, gloves, and socks I picked up whilst here. I’ve lined it with a thin Sea to Summit Evac rollbag, making it easy to remove all the contents at once and bring them into the tent. Temperatures on the Altiplano can drop down to -10°C or lower (14°F) regularly, which means it’s important to come well prepared. When temperatures drop lower still, I hunt out an abandoned building or a village for the night. This said, during the daytime it’s generally warm, so until that piercing sun slips behind the mountains, a T-shirt and shorts, along with a sunhat, good sunglasses, and plenty of suncream will often do, unless the wind is howling.
The other pannier has lightweight food. Resupply points on the Altiplano are sometimes few and far between, so I’ve allowed myself the luxury of extra space rather than resorting to wearing a backpack. I like to eat healthily, so I carry more food than some. The Hermosa panniers roll up high when you really need the room, so you can fill them to the brim.


ALTIPLANO RECIPES
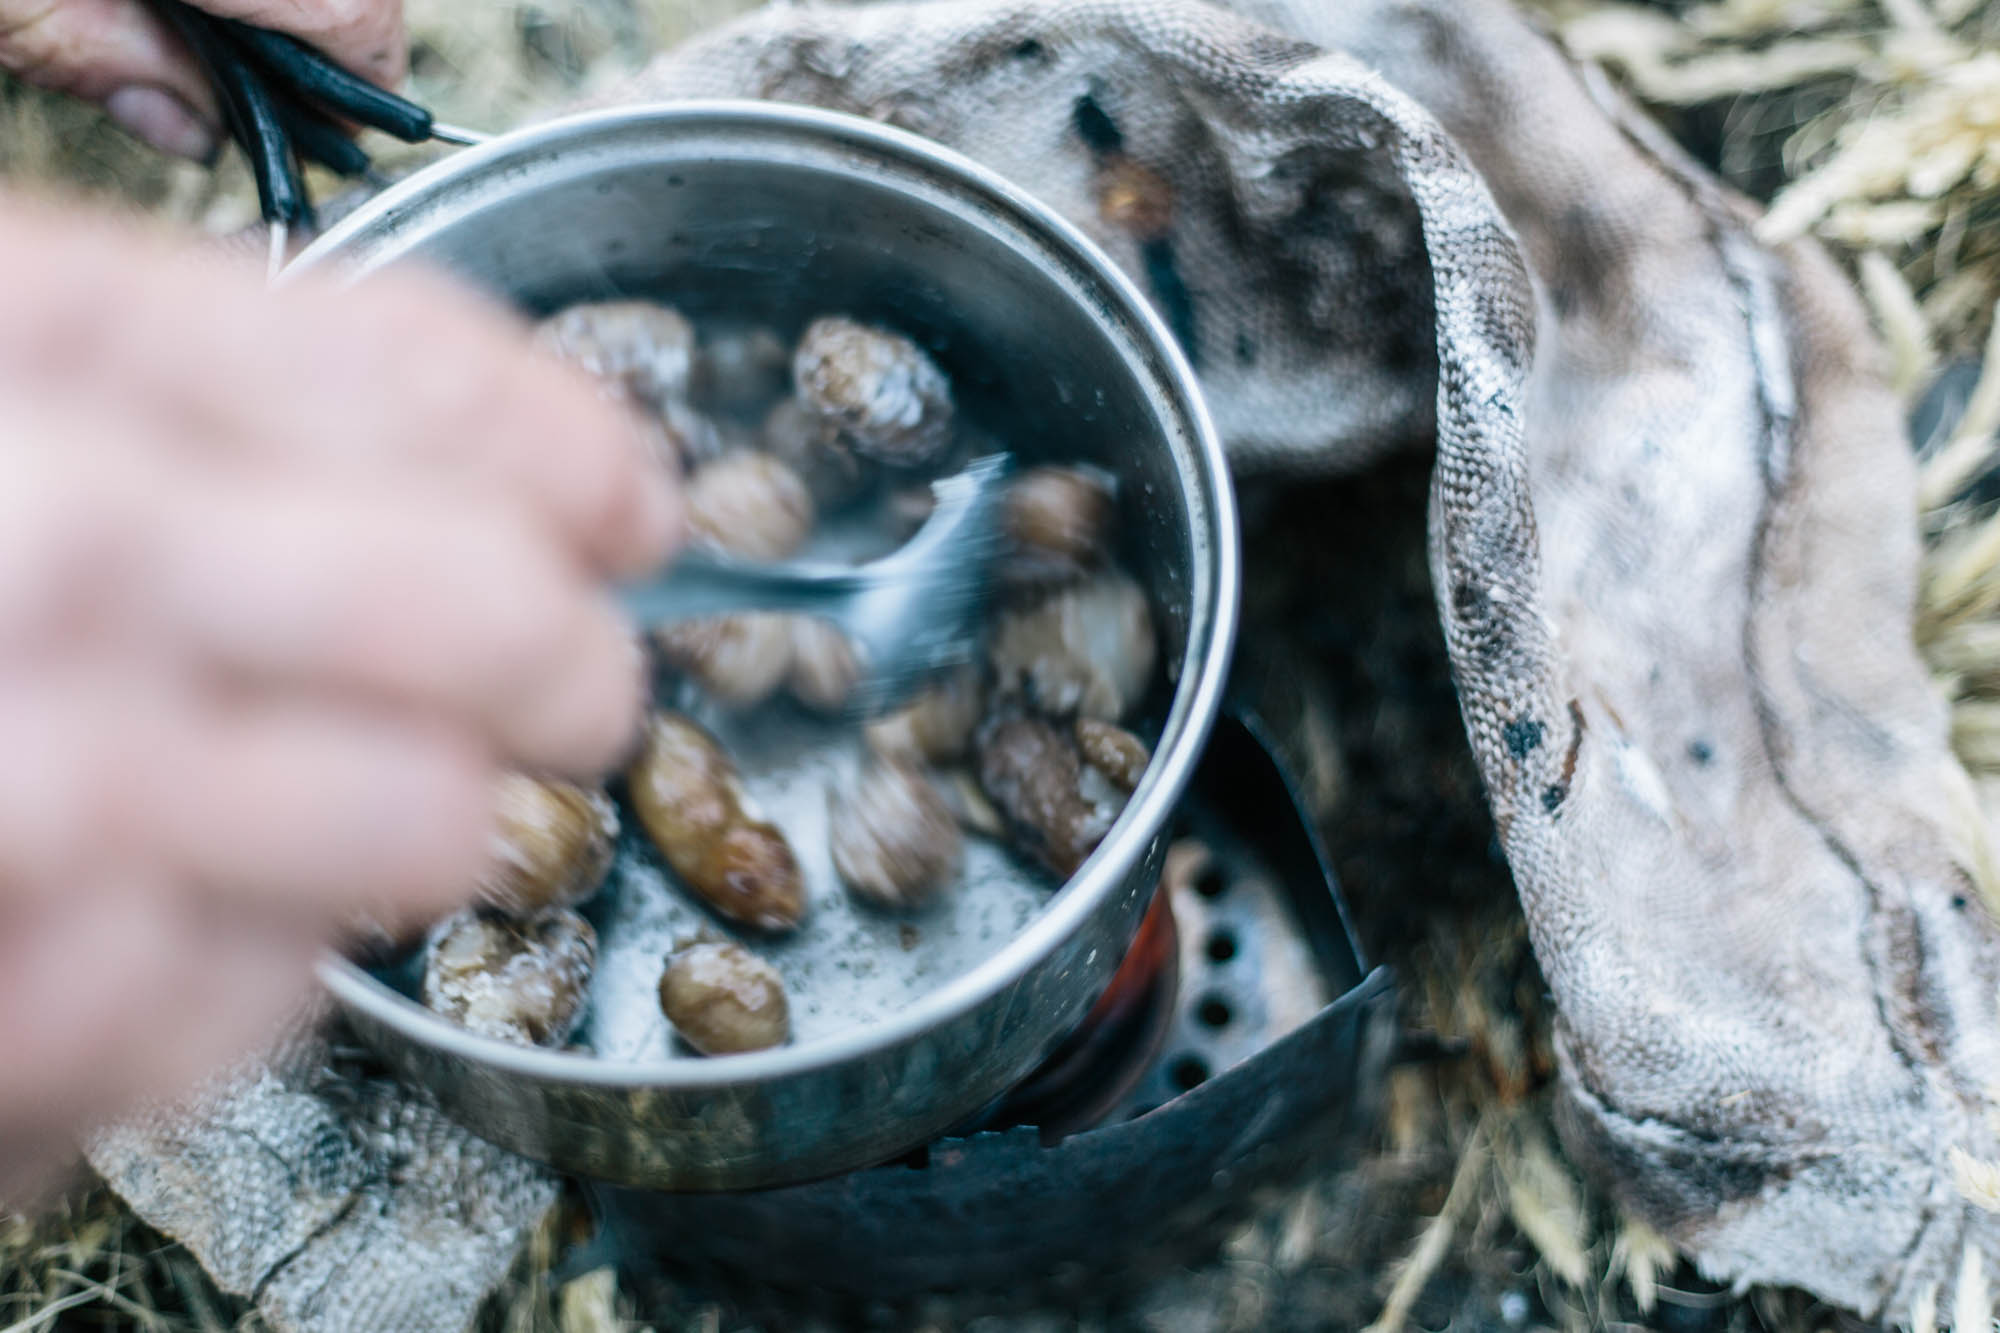
Although Altiplano food can typically be both plain and hard to come by, plenty of nutritious food, typical to the Andes, can be found in local markets. Quinoa takes some time to cook, but is worth the wait. When I shop local, my Altiplano dinner is normally as follows:
- Boil water well.
- Add in a stock packet and a large handful of quinoa.
- Let cook for several minutes, then add in any vegetables you may have chanced upon; carrots, onions and garlic are ideal and travel well.
- Thicken with dehydrated potato mash or potatoes (both found locally).
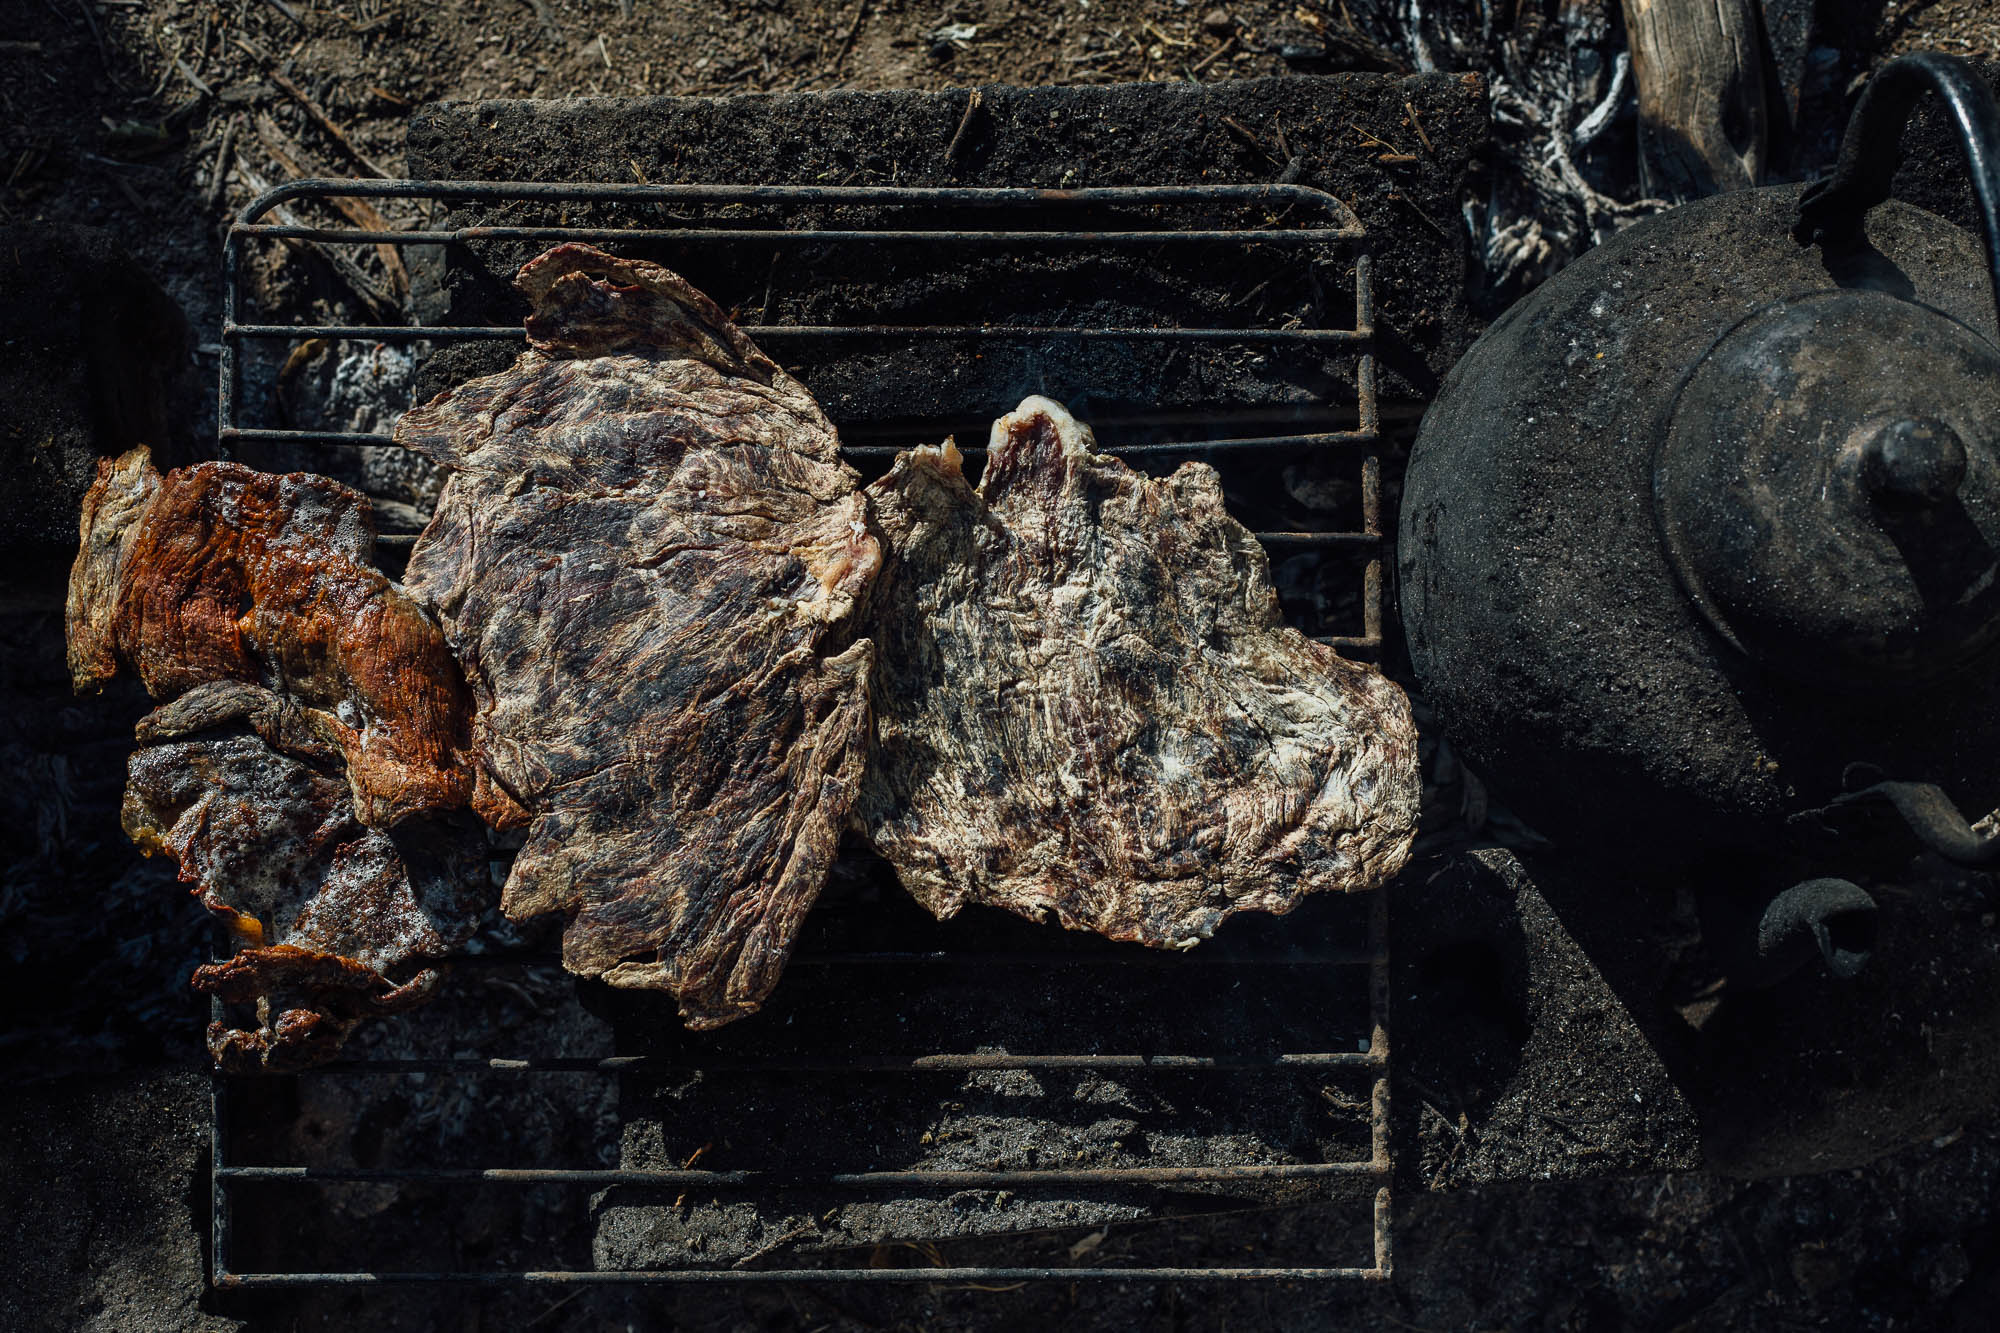
- Sprinkle with shards of charki – llama jerky – which can be bought from shepherds and in small villages.
- Add in a blob of butter (say no to margarine!)
- Add cubes of local cheese, if available.
- Sprinkle with oregano, salt, pepper, etc.
Breakfast can be a challenge in this environment. I’ve never found oats to be especially filling and I’m often hungry after a couple of hours. I’ve taken to adding extra fats and seeds to help keep me sustained, and tasty treats to keep repetitive meals from becoming too bland. I’m a big fan of using local Altiplano produce when I can. I carry a 500ml Nalgene container on my trips; aside from using it to store leftover restaurant food (rice and potatoes are great to add to a soup in the evening), it acts as a chopping board. If I’m in a hurry in the morning, I’ll load it up with my breakfast ingredients and let them soak overnight, ready to be eaten cold in the morning or warmed quickly. Thus, my typical Altiplano breakfast is generally something like this:
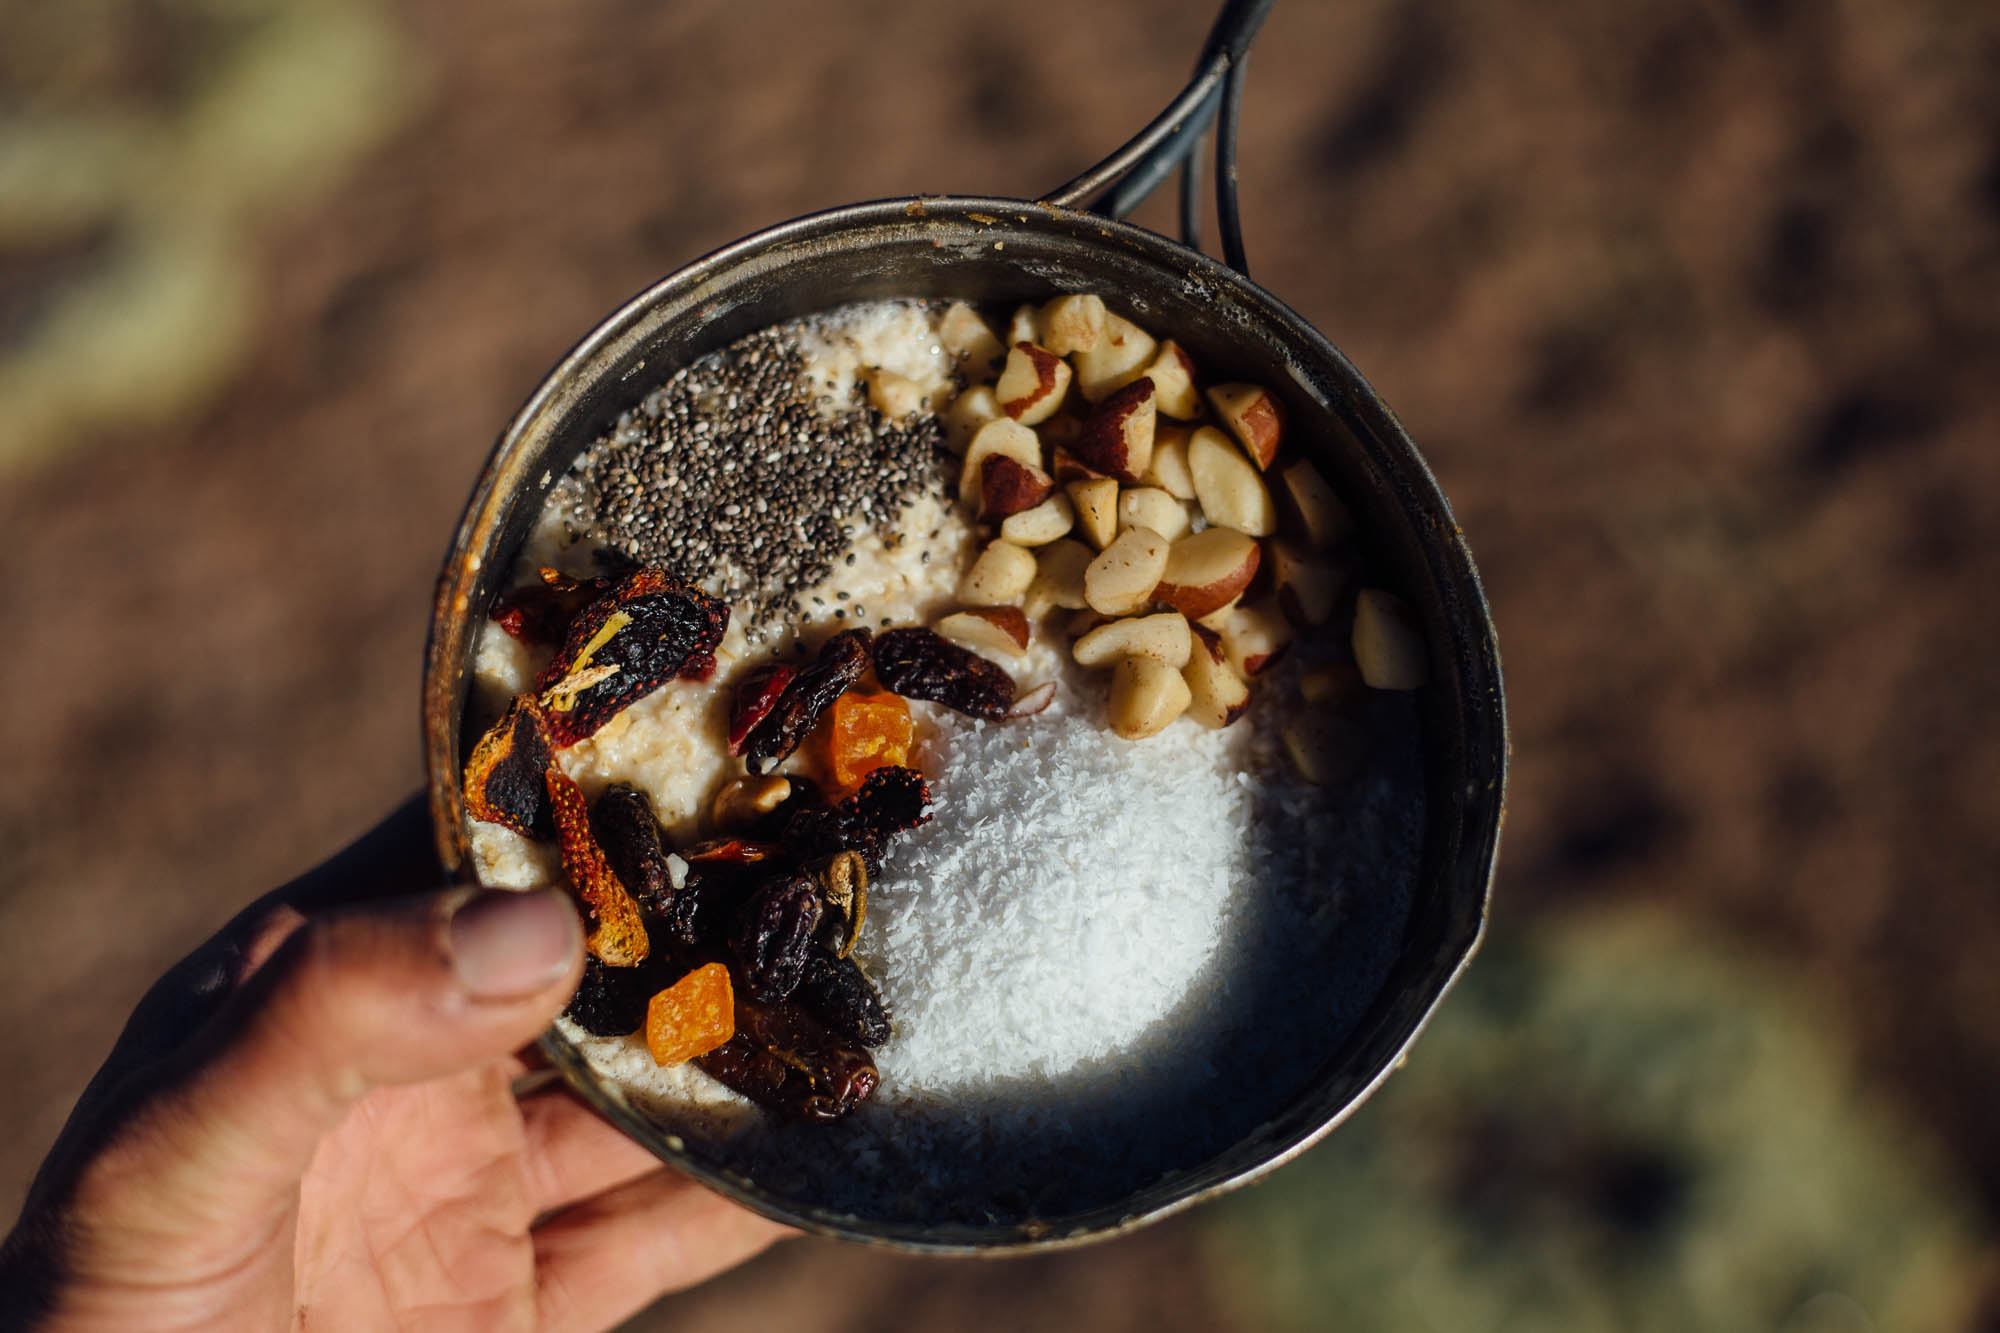

- Boil water well, especially if scooped from a stream shared with llamas.
- Add a big handful of instant oats.
- A scoop of butter.
- A pinch of salt.
- Dried coconut.
- Nuts – almonds and walnuts.
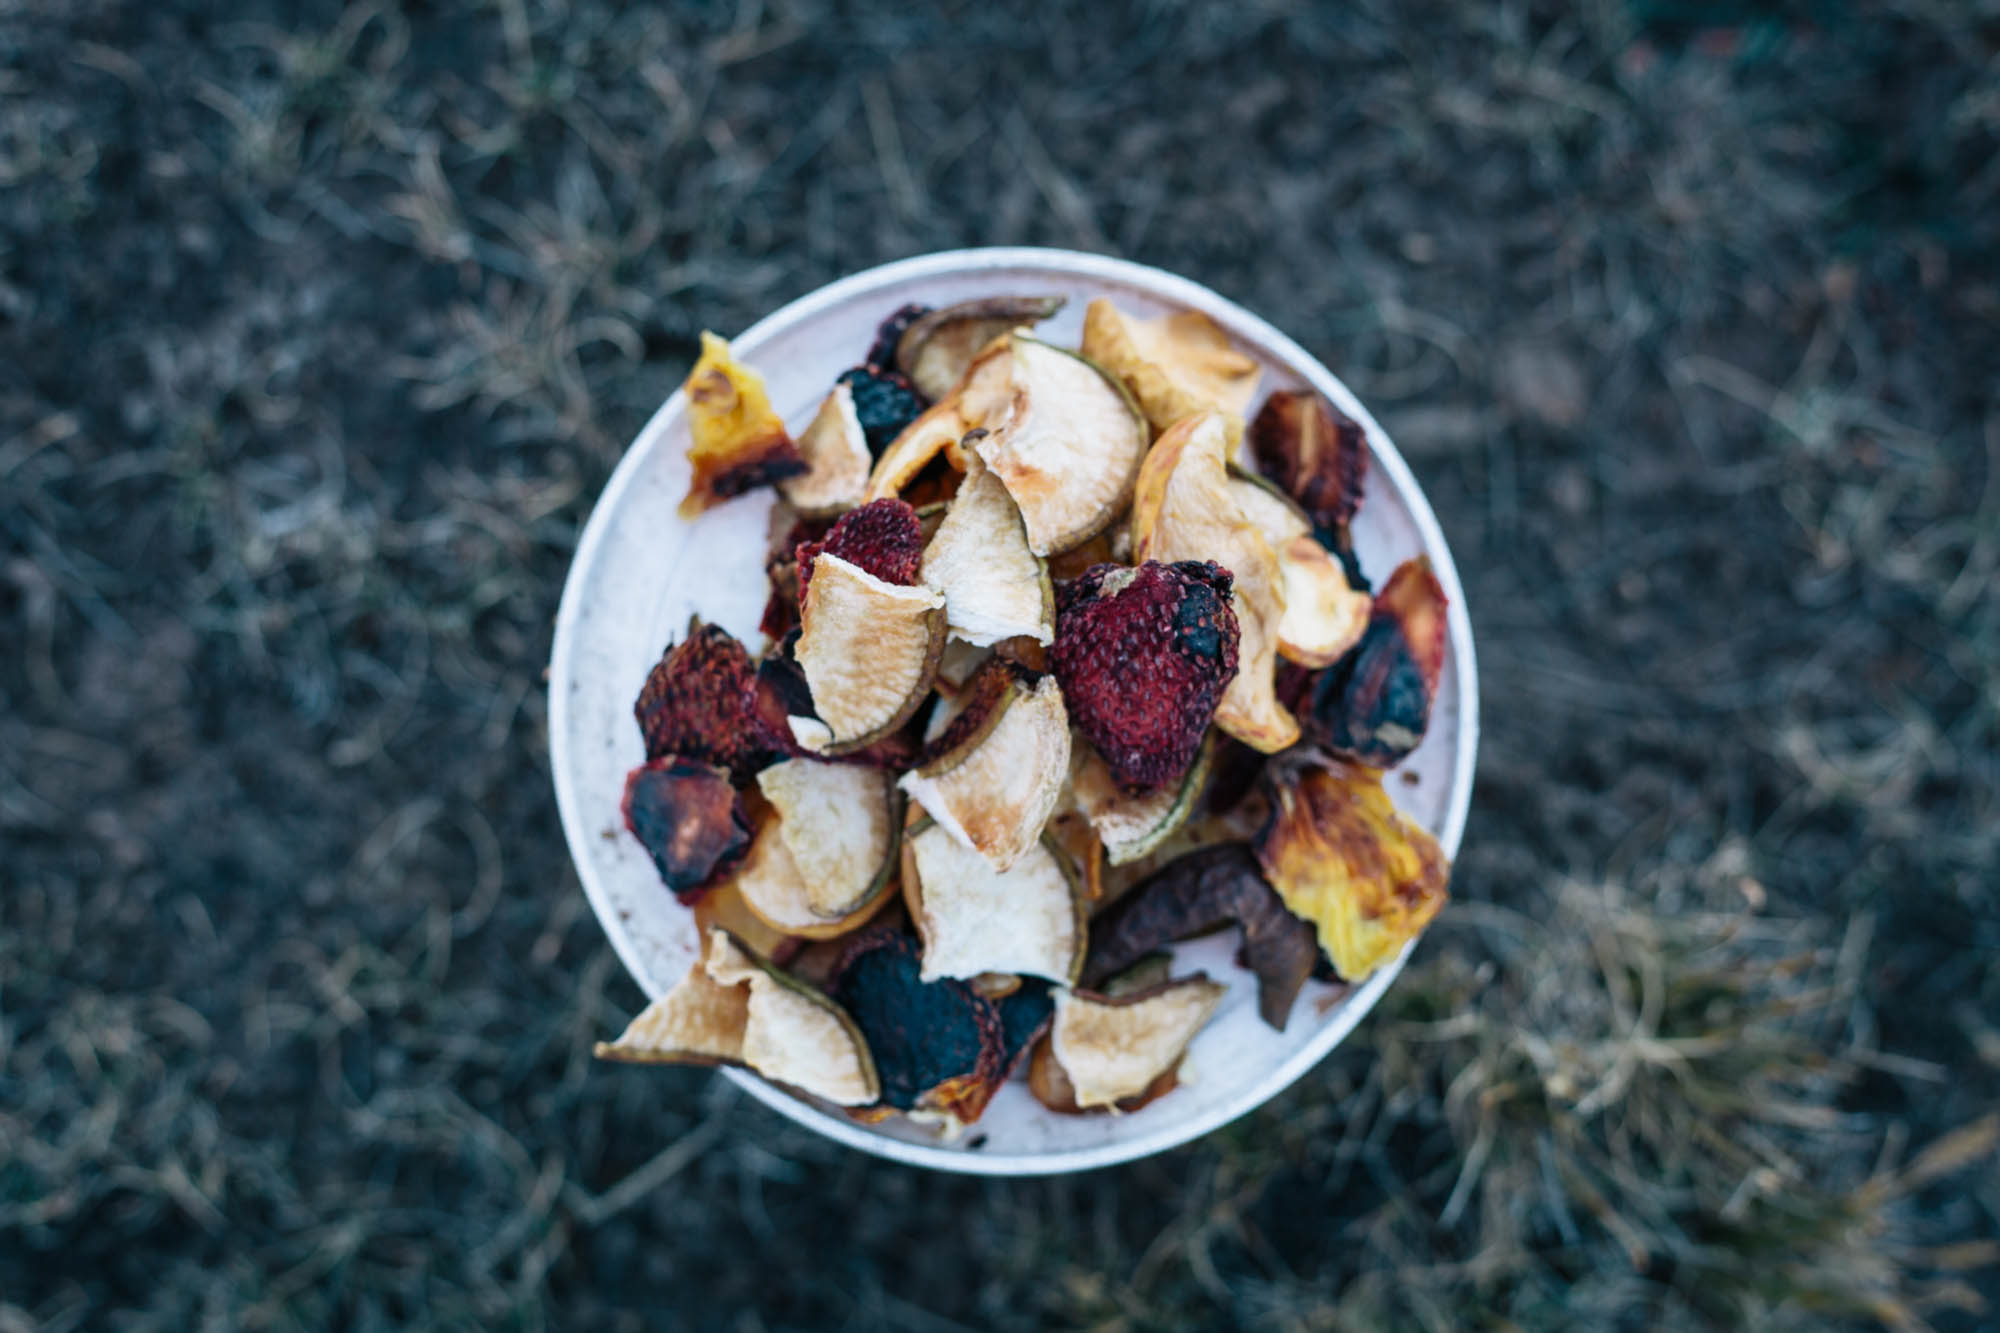
- Raisins and dried fruit.
- Chia seeds.
- Cinnamon.
- Locally sourced roasted barley or equivalent.
- Mountain honey/panela.
- (Best slurped down with coca leaf tea).
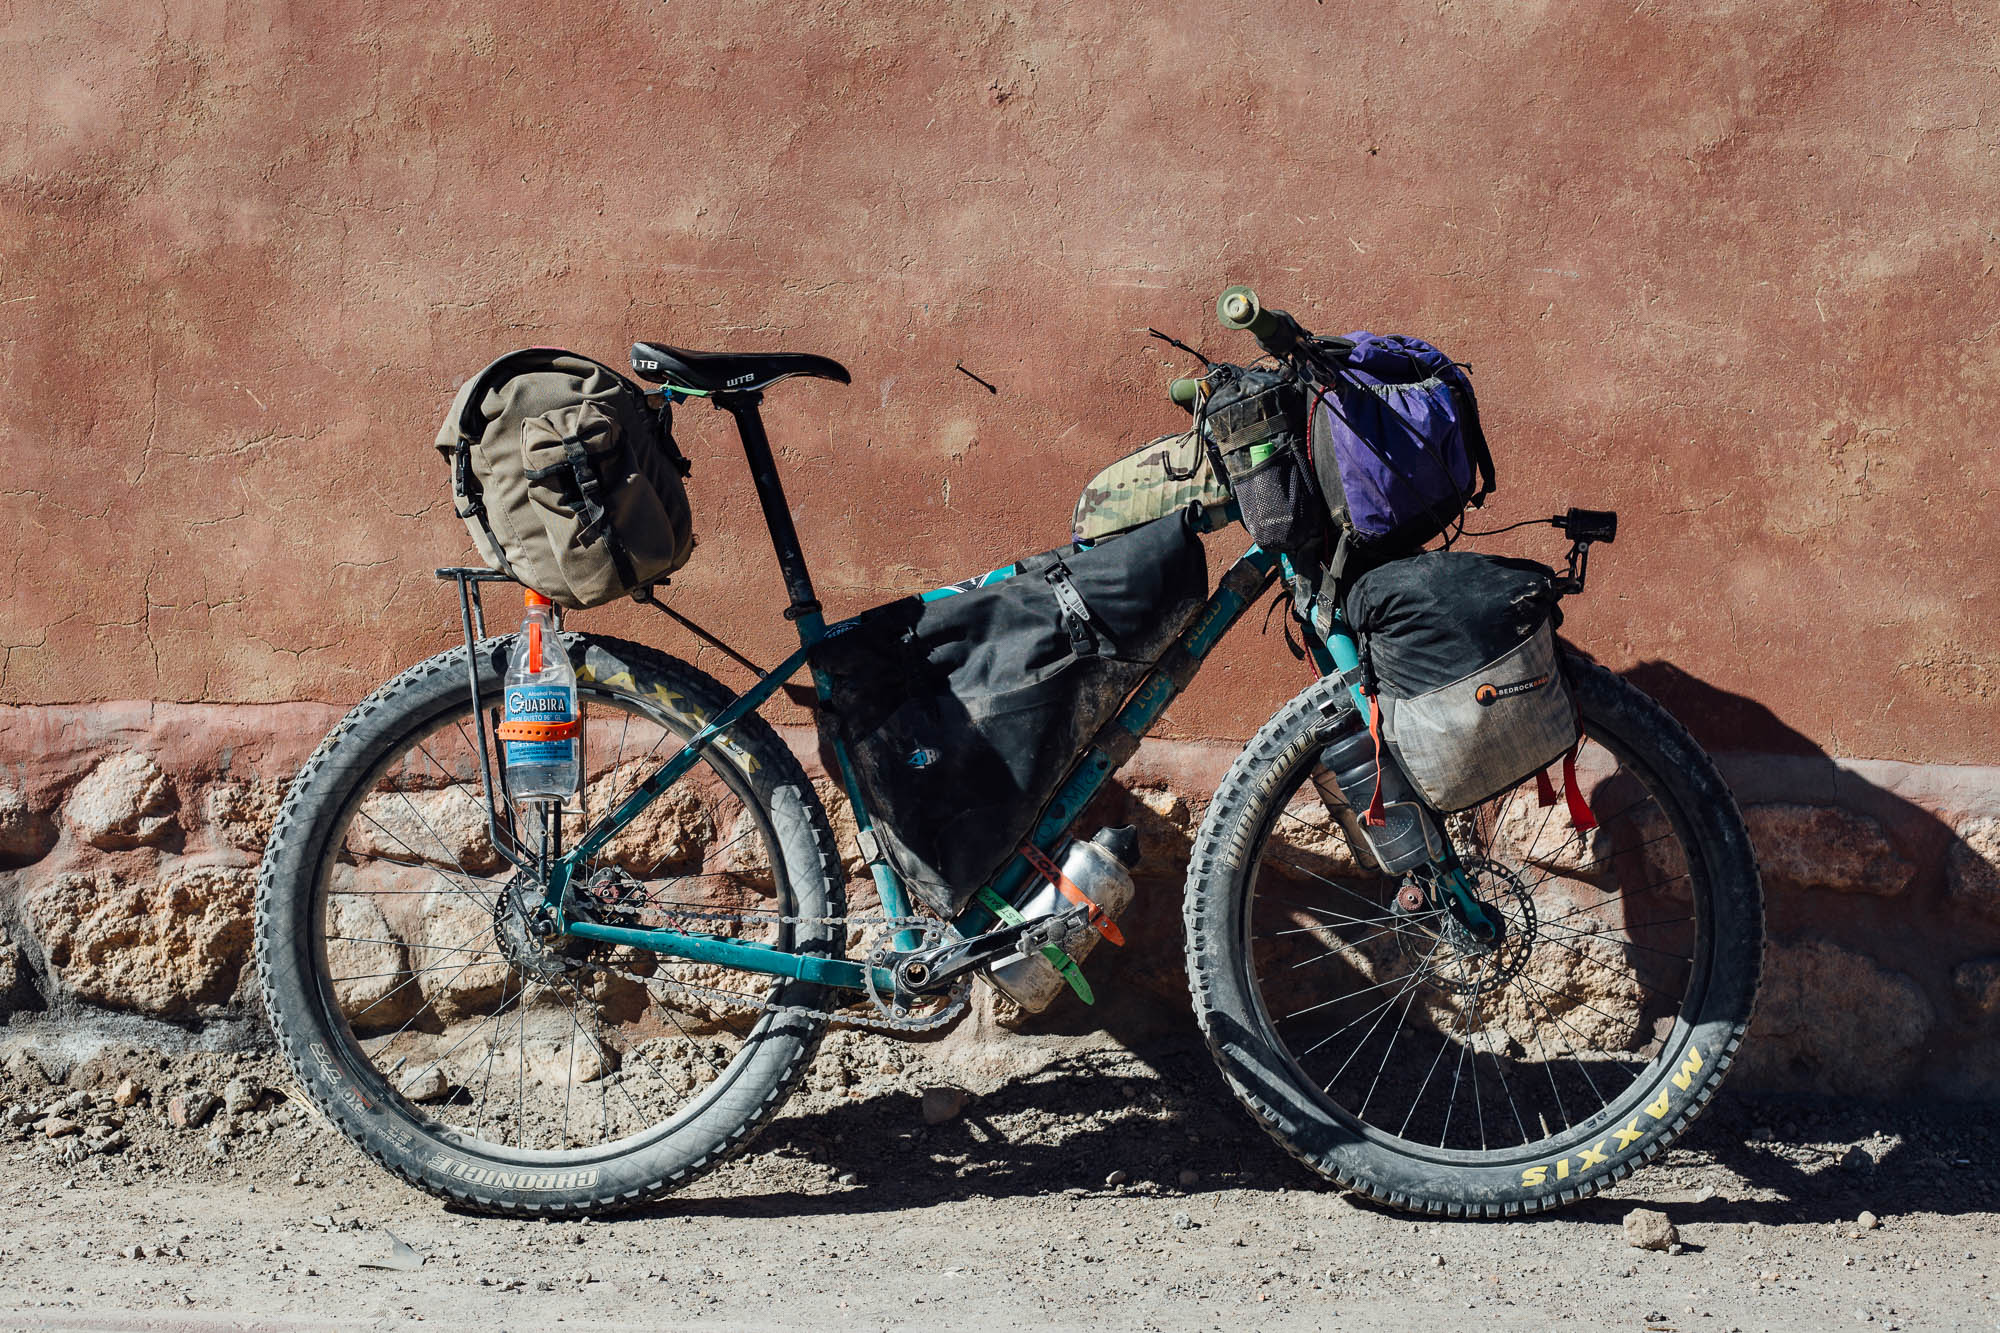
PORCELAIN ROCKET 52Hz FRAMEBAG
The excellent Tarptent Bowfin 1 I reviewed on this trip fits inside the Porcelain Rocket 52Hz framebag, a tent that’s well suited to the often windy conditions on the plains. I’ve run this framebag since it was first introduced and it looks all but brand new. There’s also room inside for my tool wrap, Lezyne Micro Floor Pump HV, and a couple of 27.5+ inner tubes. Lastly, I pack a big bag of trail mix in a ziplock bag that I’m constantly adding to as I find ingredients in small shops and markets; nuts, raisins, toasted beans, pieces of chocolate, almonds, plantain chips, or anything else I can lay my hands on. Ensuring this bag is topped up helps me avoid the likes of packaged cookies and other junk food.

TRIBULUS ENDOVER
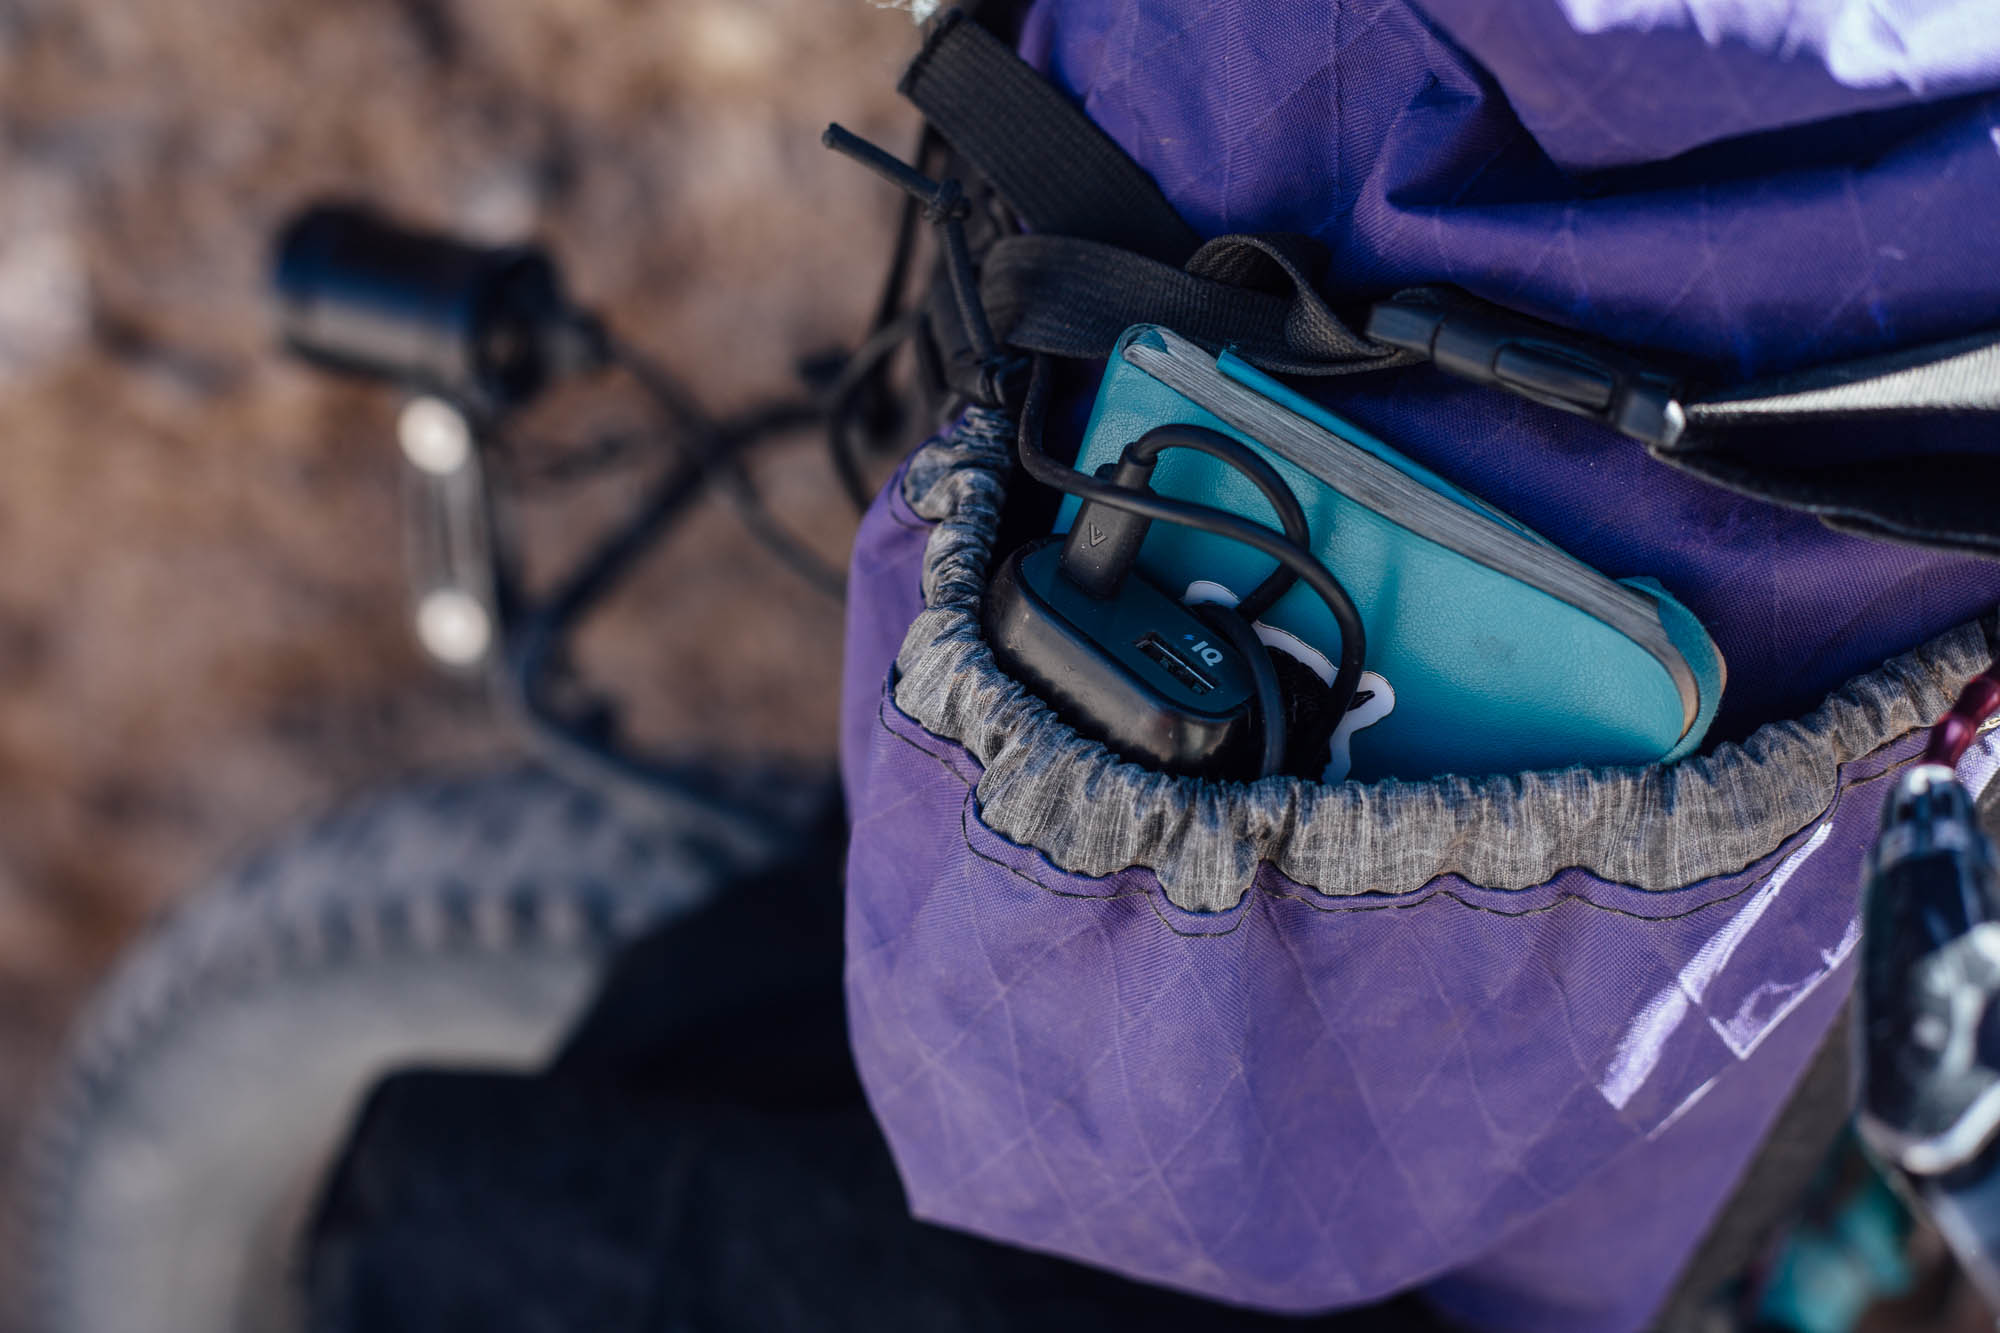
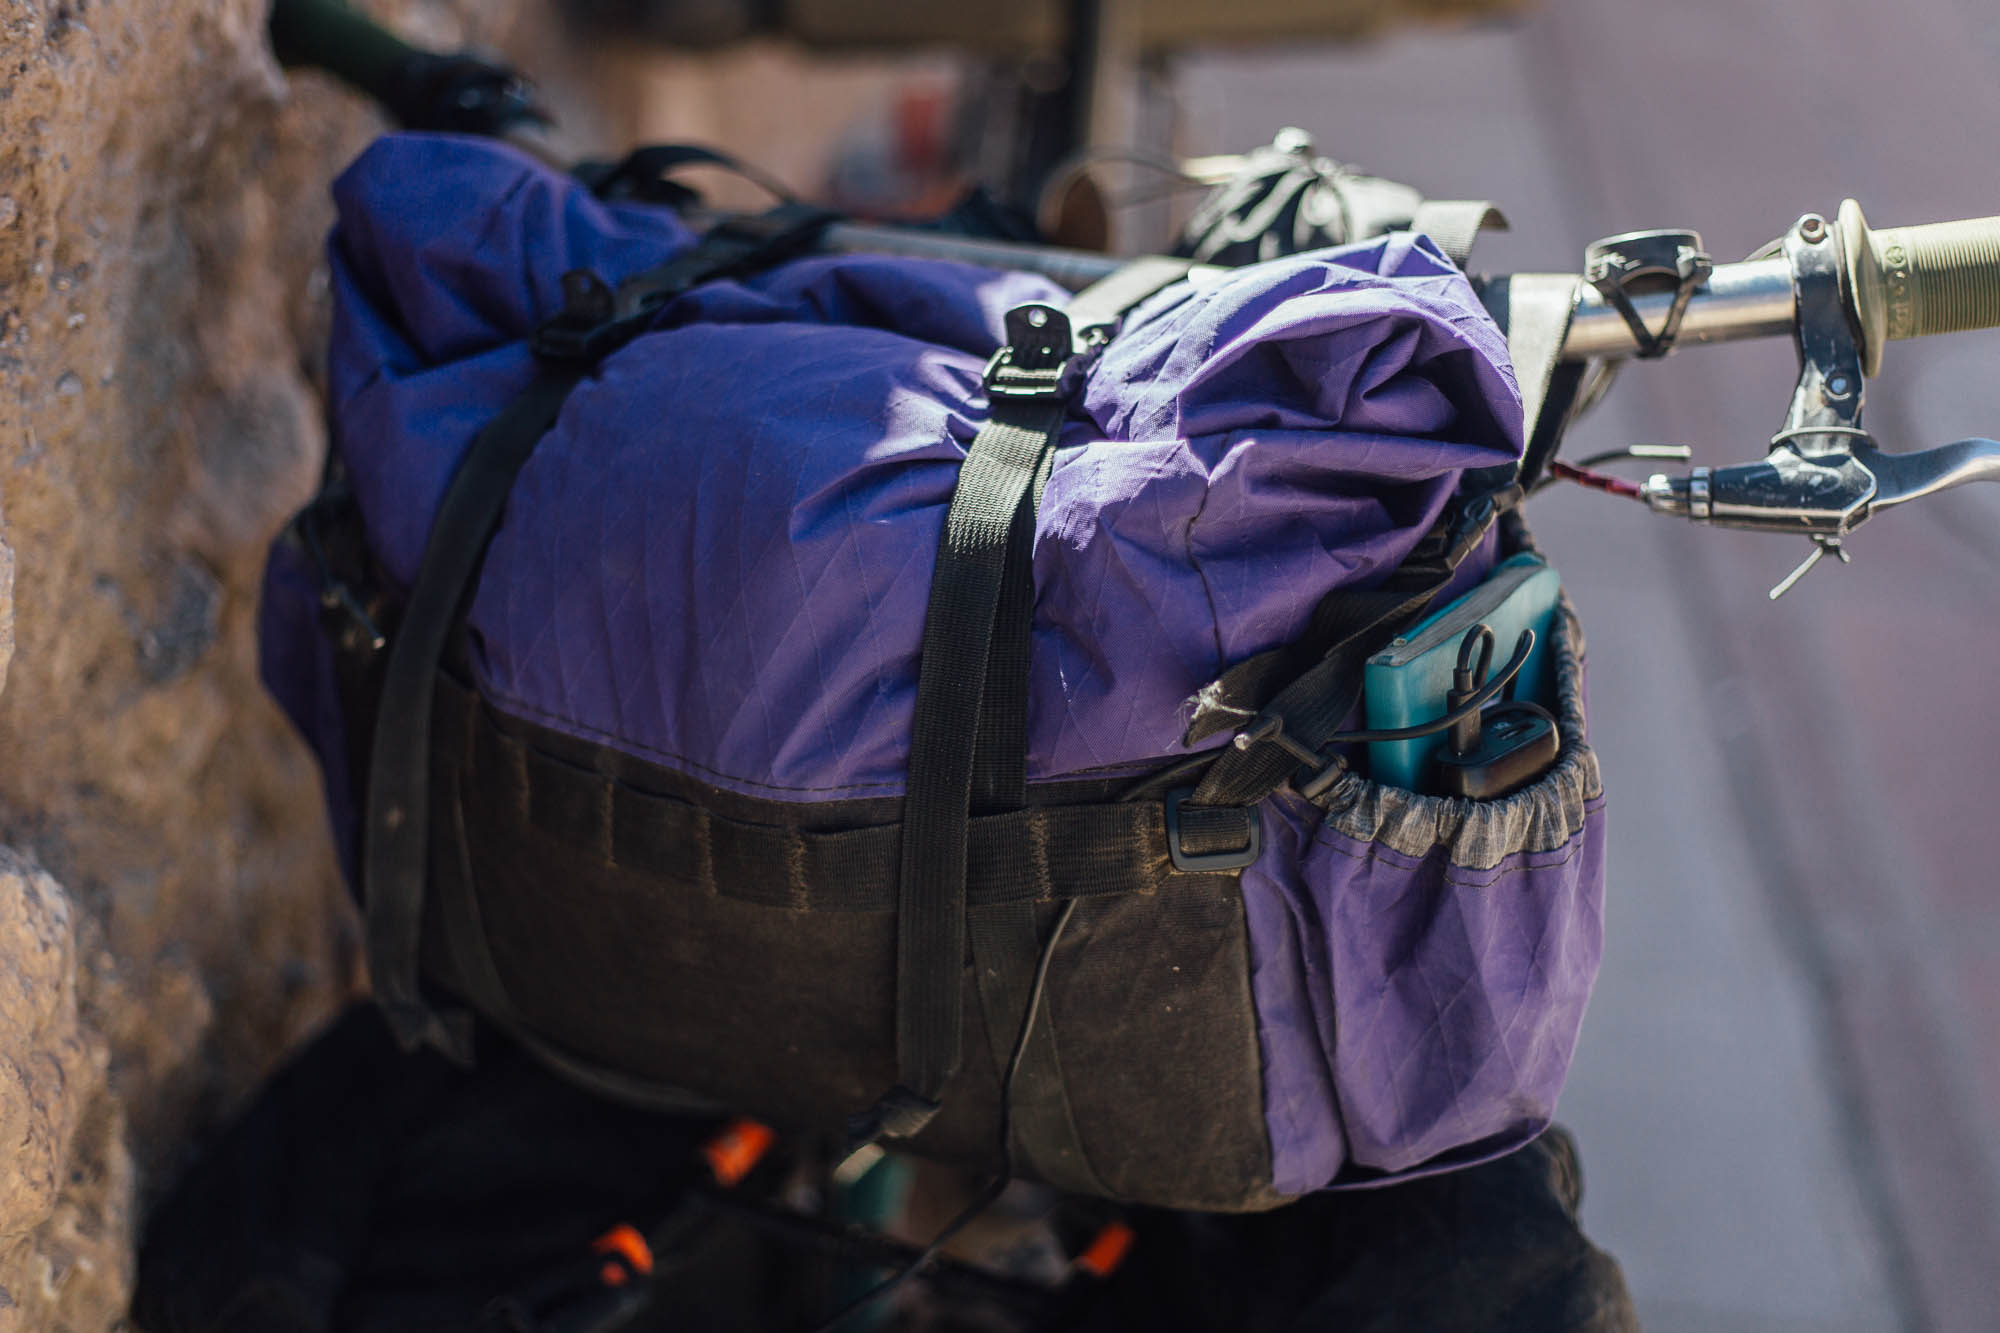
Tribulus’ Endover handlebar bag is dedicated to a warm sleeping bag, or in my case, a 0°C (32°F) Big Agnes bag supplemented with a summer Sea to Summit Ember EB I quilt. Together, they provide a nest on which my Canon 5D Mark III DSLR sits. Doubling up sleeping bags works well; if I wear my down jacket, some thermal leggings, a merino shirt, and a couple of pairs of warm llama wool socks, I’m always cosy. In terms of expected low temperatures and what sleeping bag to bring, my theory is that it’s best to be prepared for 90-95 percent of the time. I don’t mind the odd cold night if it avoids the need to carry overly heavy or bulky gear, especially given that the lowest temperatures are only for an hour or two before sunrise, and not the whole night. The Endover has two side pockets; one houses a cache battery that’s charged during the day from the Sinewave Beacon attached to the front rack, the other my Moleskin notebook, cell phone, and money purse.
STEM AND TOP TUBE BAGS
I have two roomy stem bags – a Chuckbucket by Oveja Negra and the other a custom Goodie Bag by Carsick Designs. These carry extra camera lenses (I carry three in total), while my Oveja Negra Snack Pack (L/XL Wackpack) houses an Opinel knife, head torch, lighter, and snacks.

H20
I only pack a very basic filter – a Lifestraw – as my stomach is for the most part tuned to local water. On this trip I’ve not needed to use it, always finding a tap, a clean stream, or just boiling water at night for tea or soup. Note that generally speaking, I’d recommend carrying a quality filter, using it diligently, and being aware of mining activity in the area. Rechargeable Steripens are my personal favourite as they’re quick and easy to use. If you’re carrying a Sawyer or similar, don’t forget to bring it into your tent at night so it doesn’t freeze.
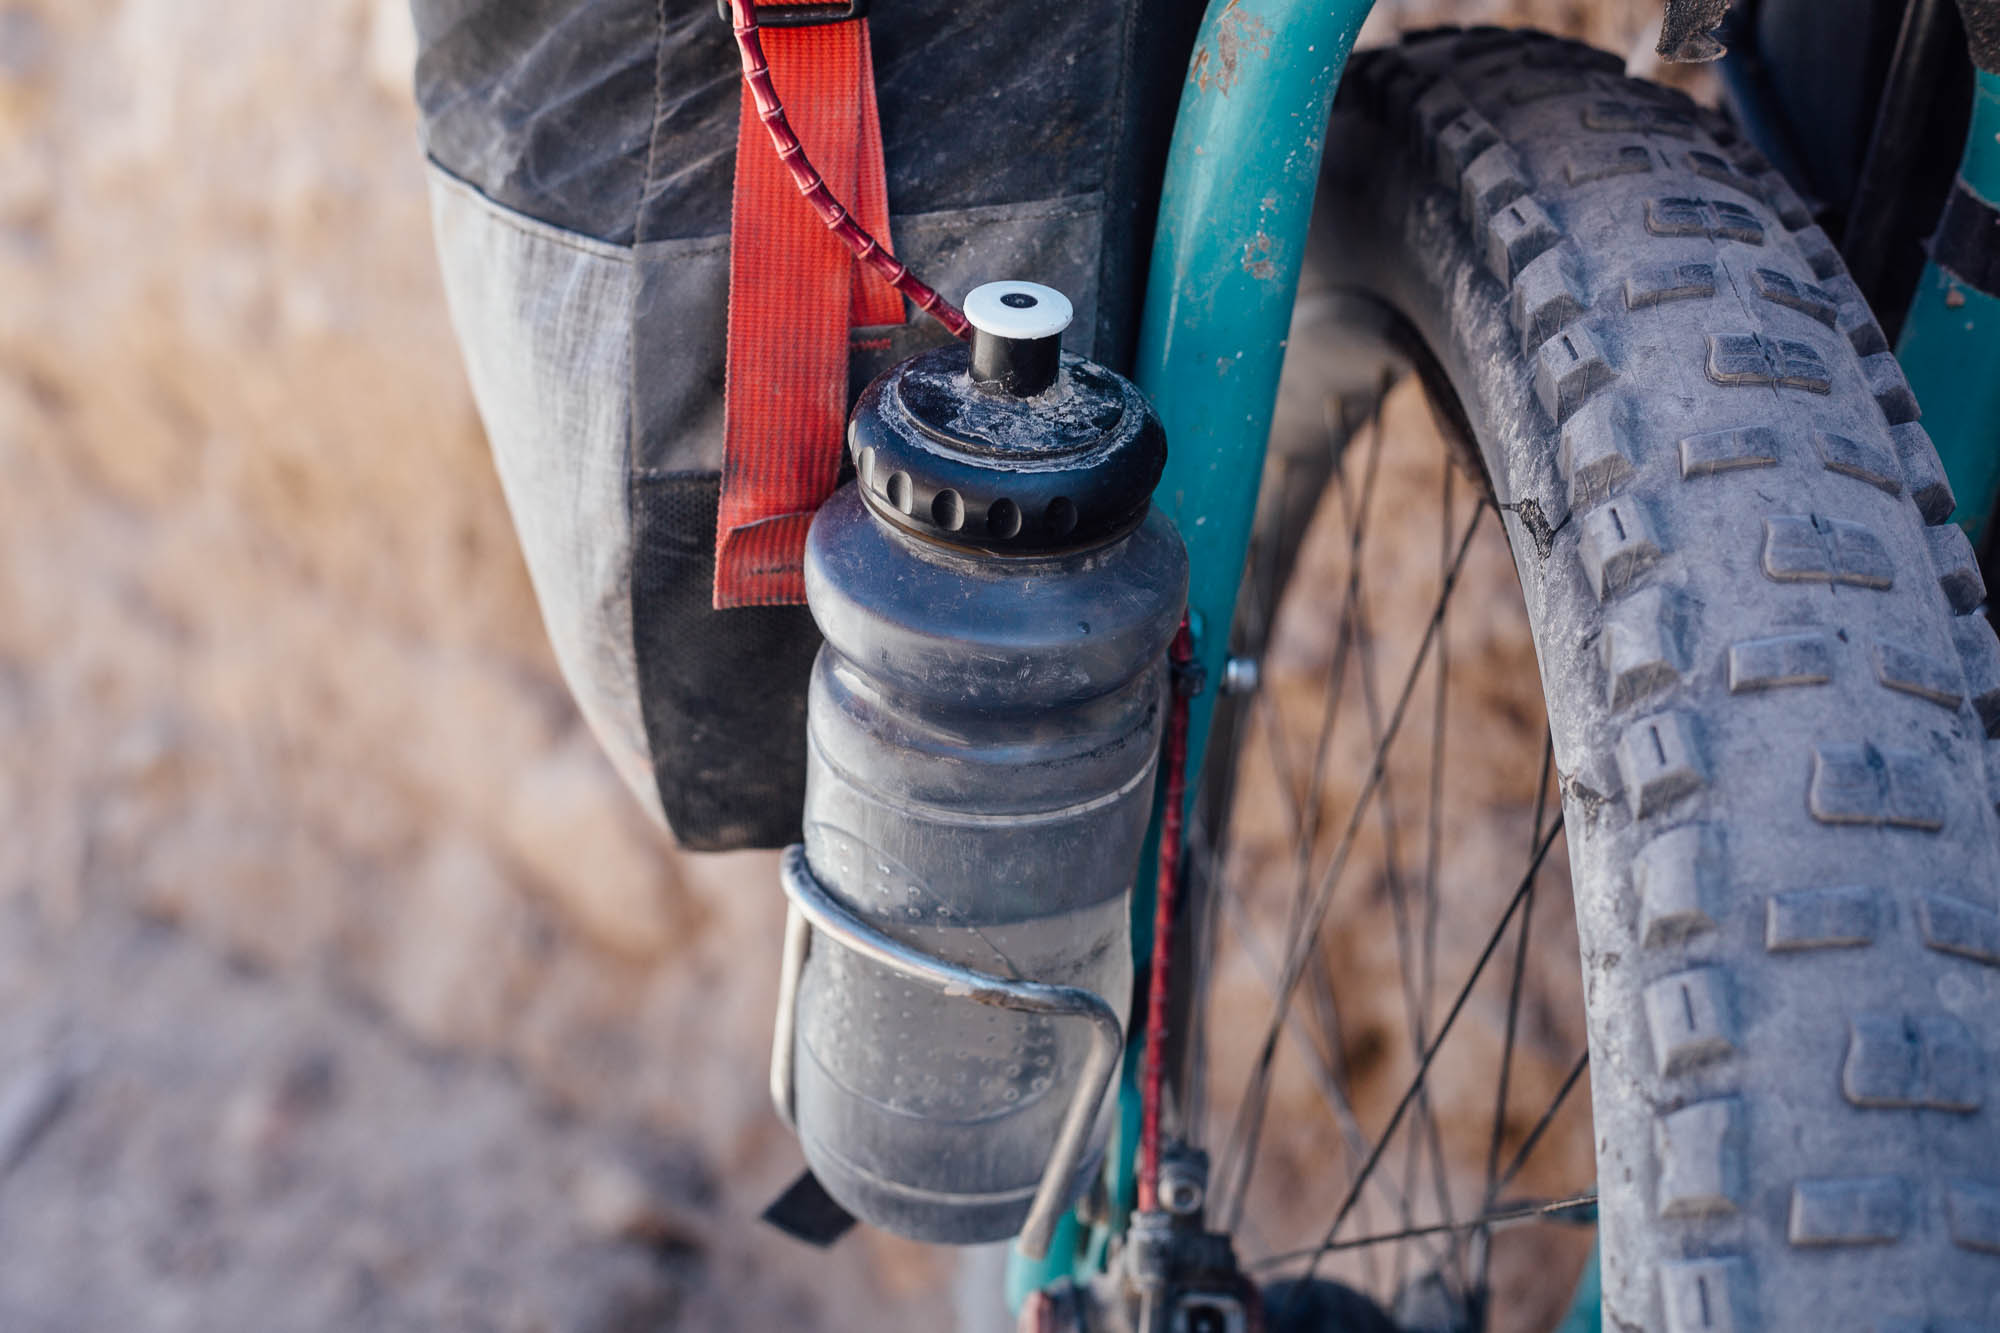
Most days, I carry around 3-4L of water, stored in a 64oz Klean Kanteen and two small water bottles on the fork. I also have a 3L Hydropak Shape-Shift water bladder, as routes that cross salt lakes may require more water carrying capacity. I use Soma’s Crystal Polypropylene water bottles that I hope leach less in high UV light than standard ones. This is the reason I carry a Klean Kanteen over a plastic bottle on the downtube. Although heavier, stainless steel bottles are healthier to drink from long-term and won’t puncture over rocky terrain. Just be sure not to top it to the brim, as if it freezes, the bottom of the canteen will punch out!

Overflow
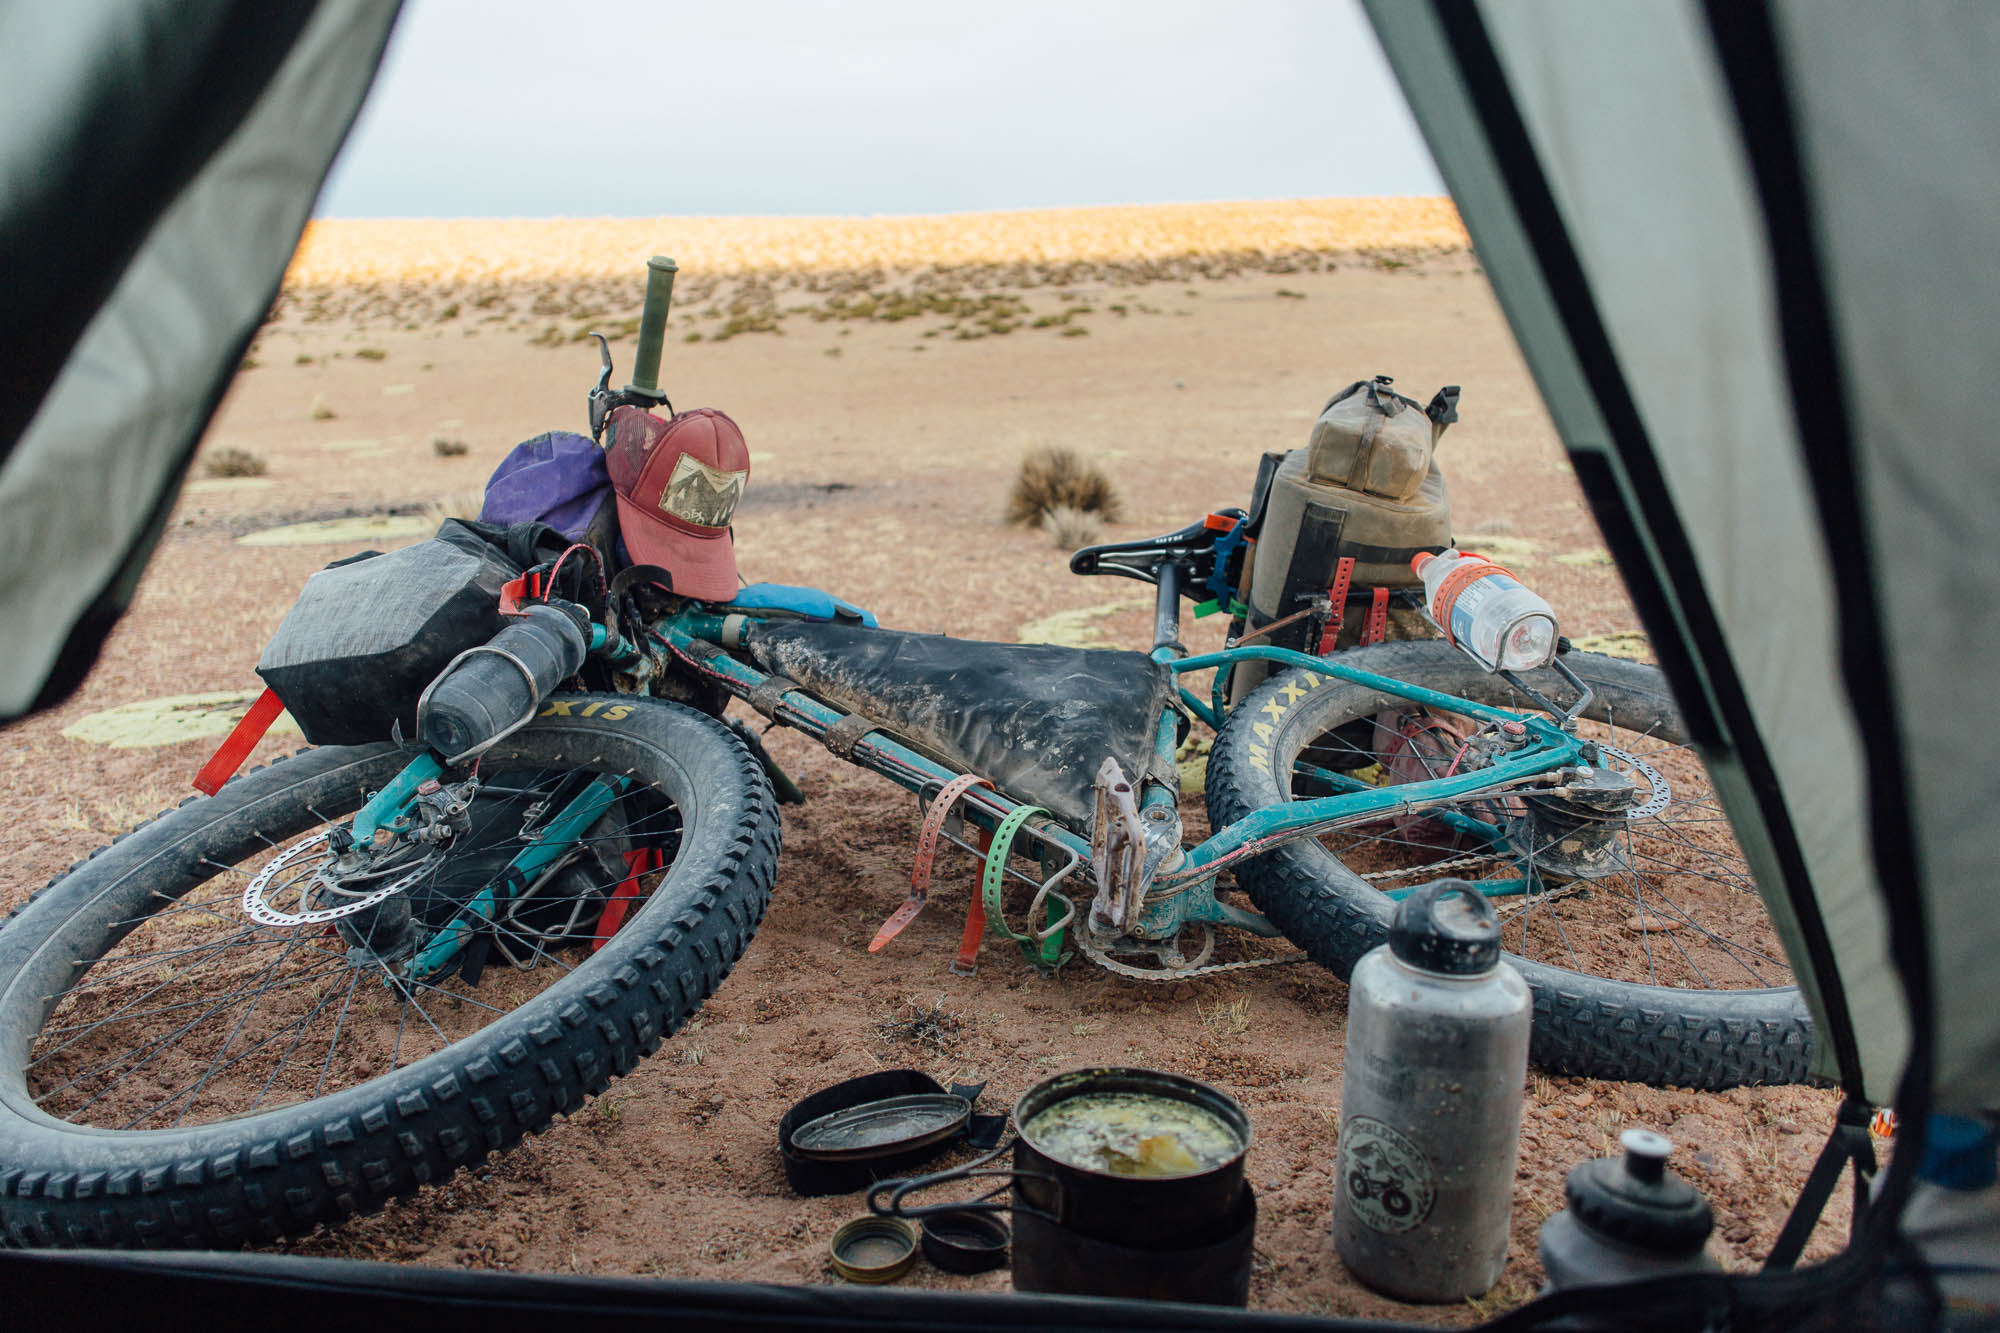
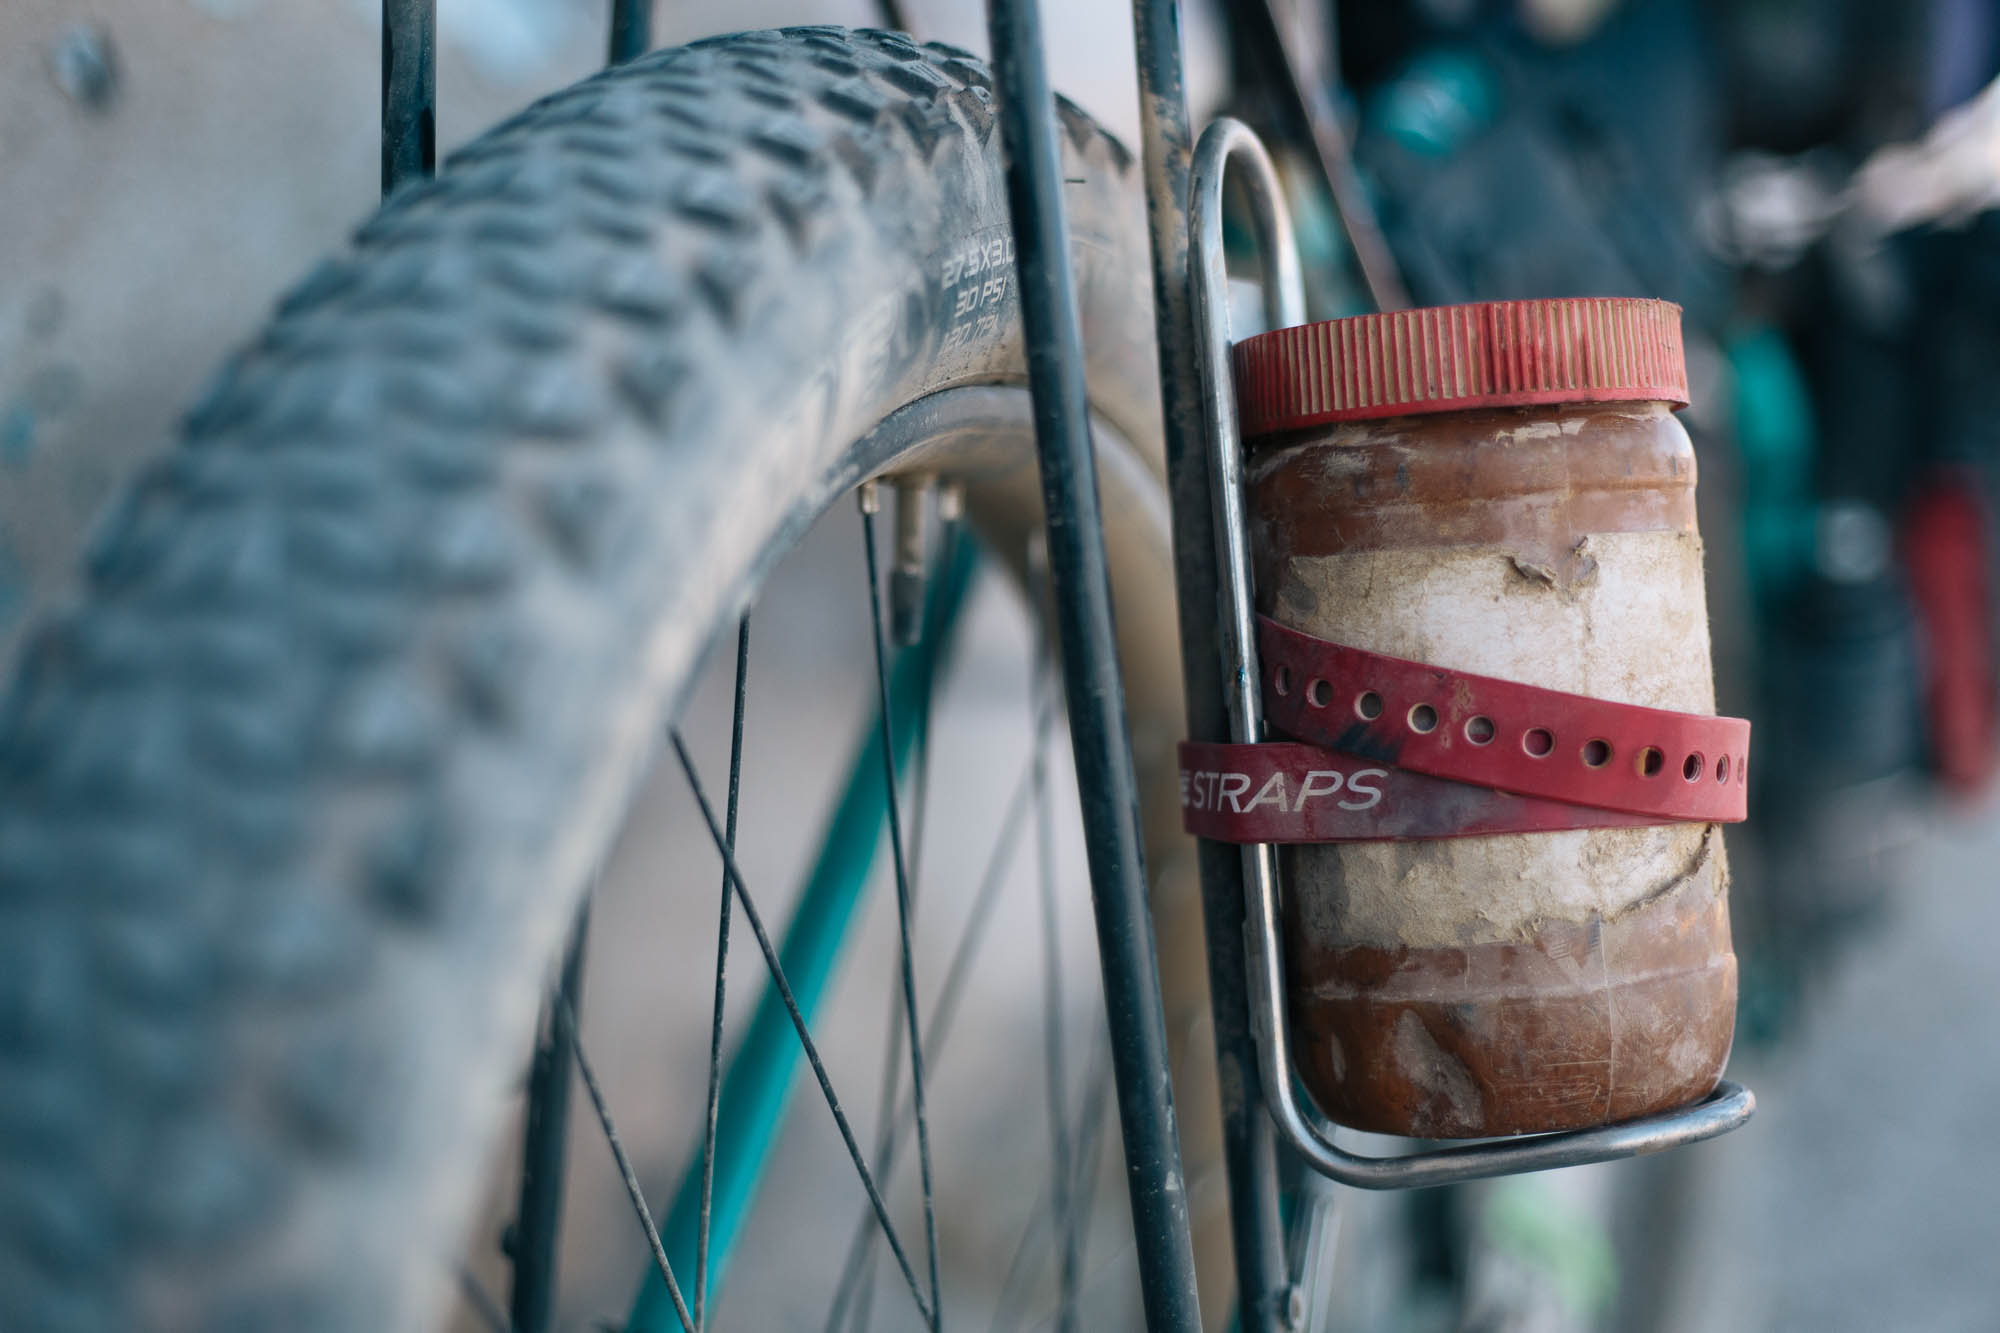
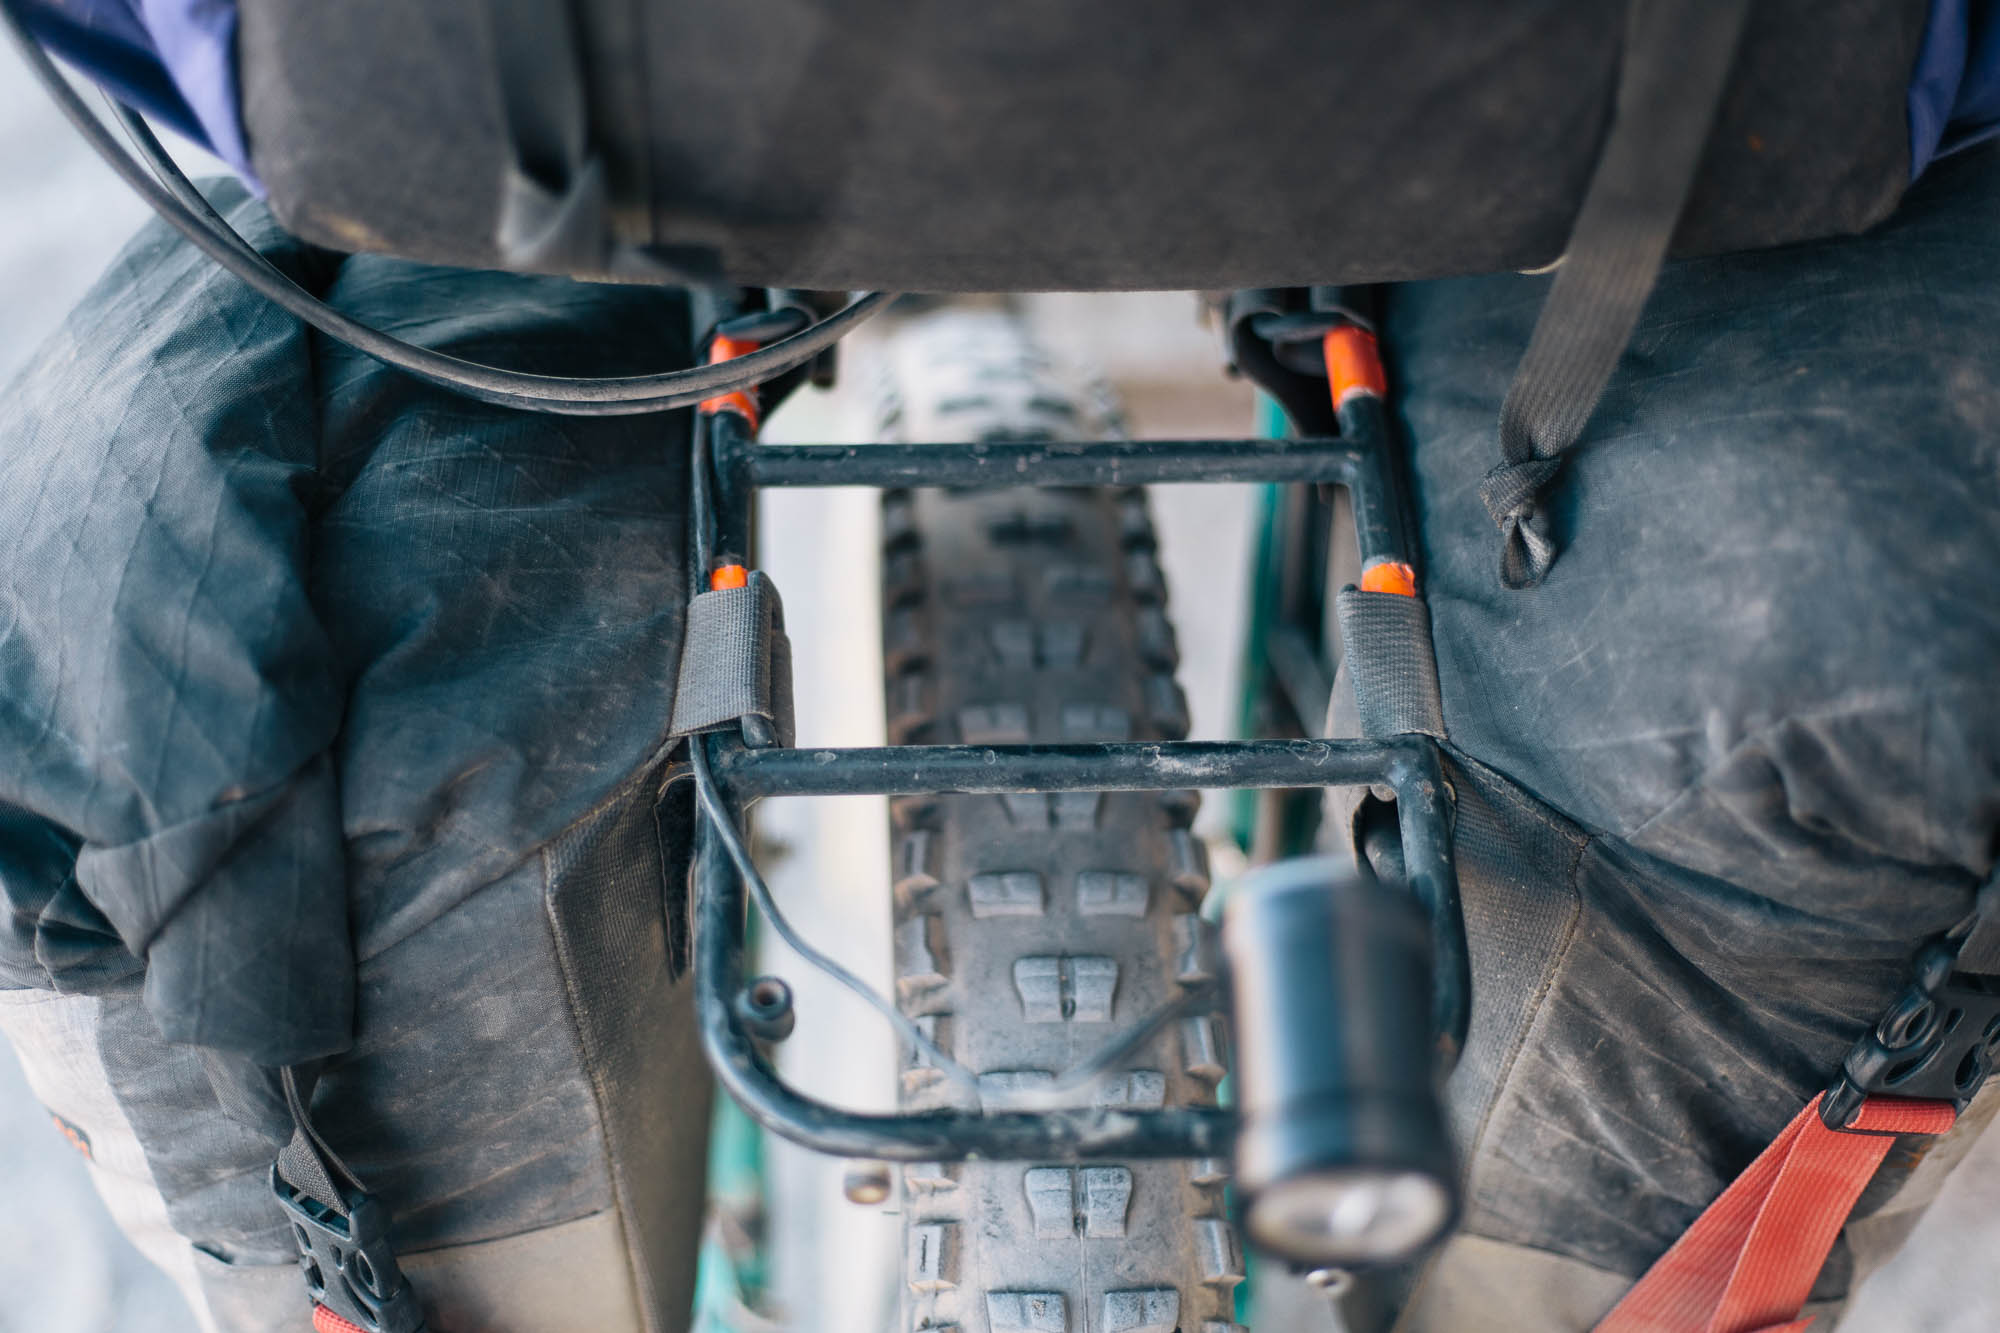
For this trip, I ran a lightweight (approx 600g) rear rack by Ratking with provision for two Ti Manything Cages. These are great for overflow; extra fuel for instance, or a big pot of peanut butter. It’s nice to have the extra space and when not used, the weight of two Manything Cages is negligible. Voile straps secure everything in place; some are cut down to length.
THE BIKE
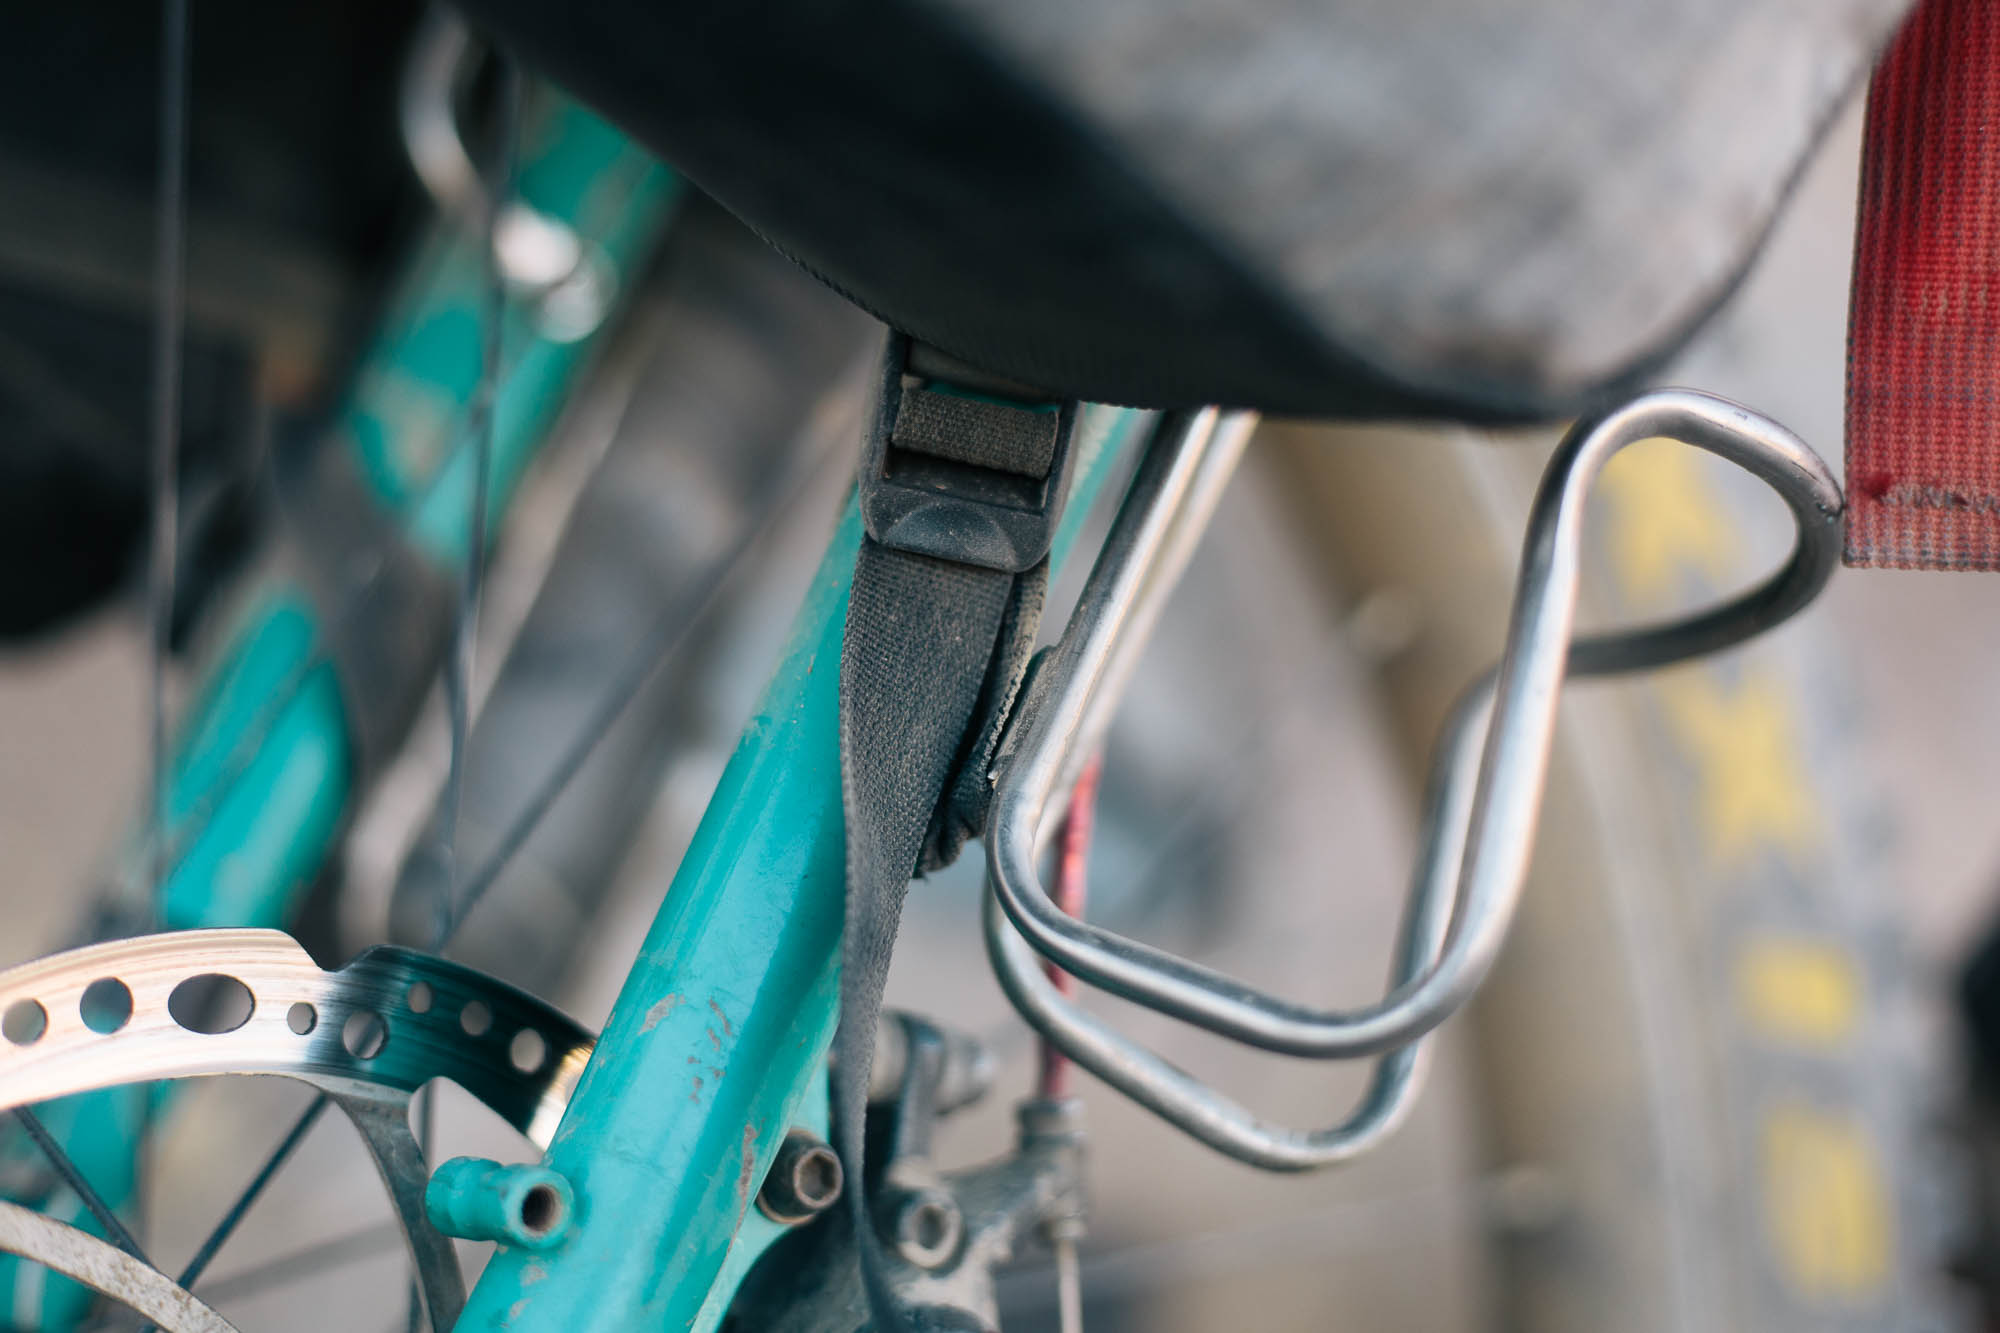
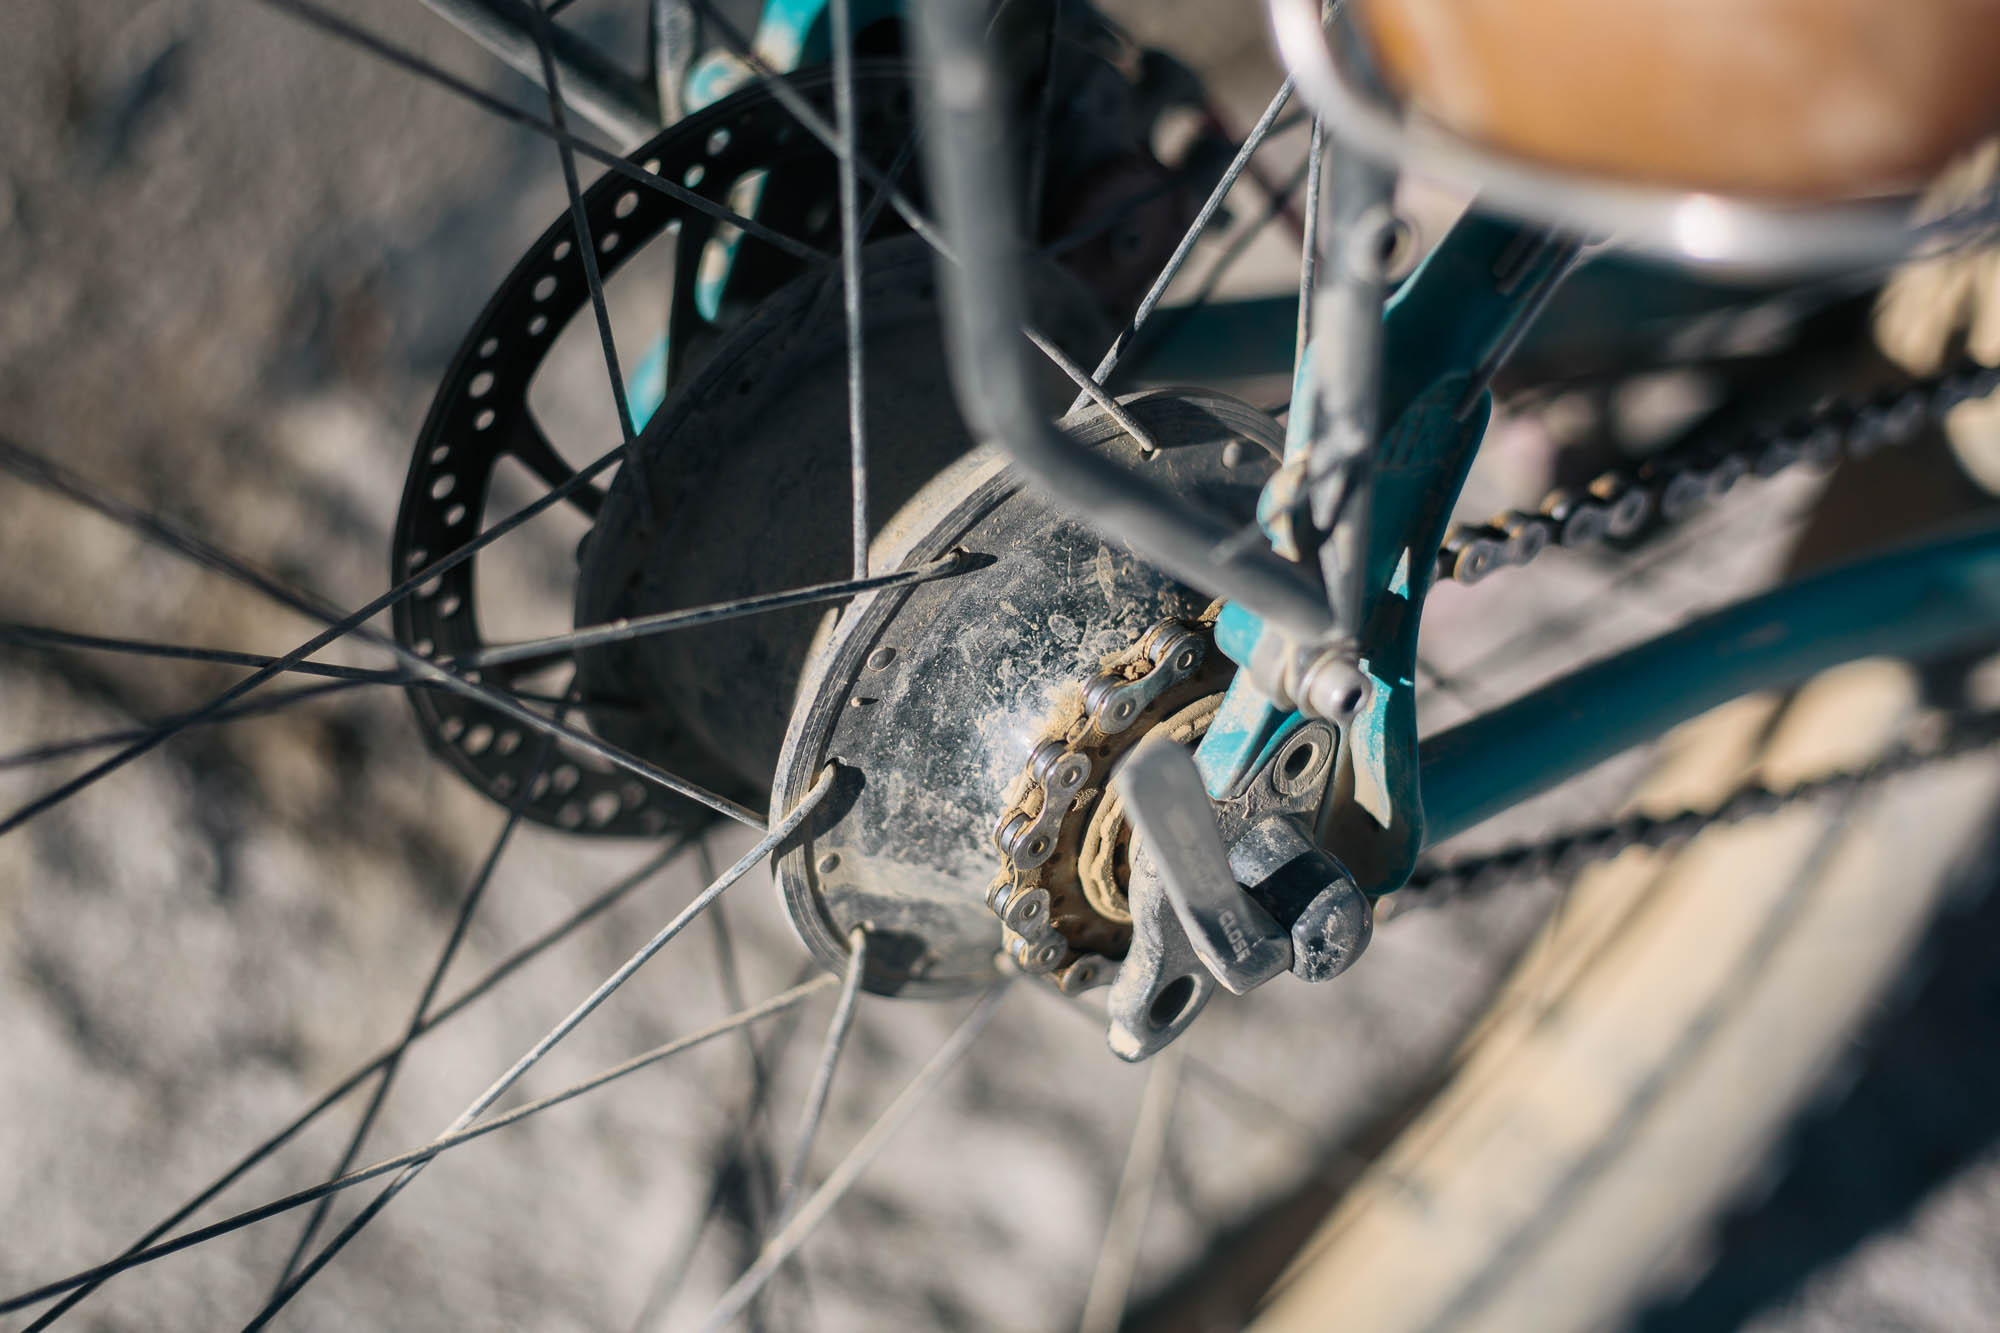
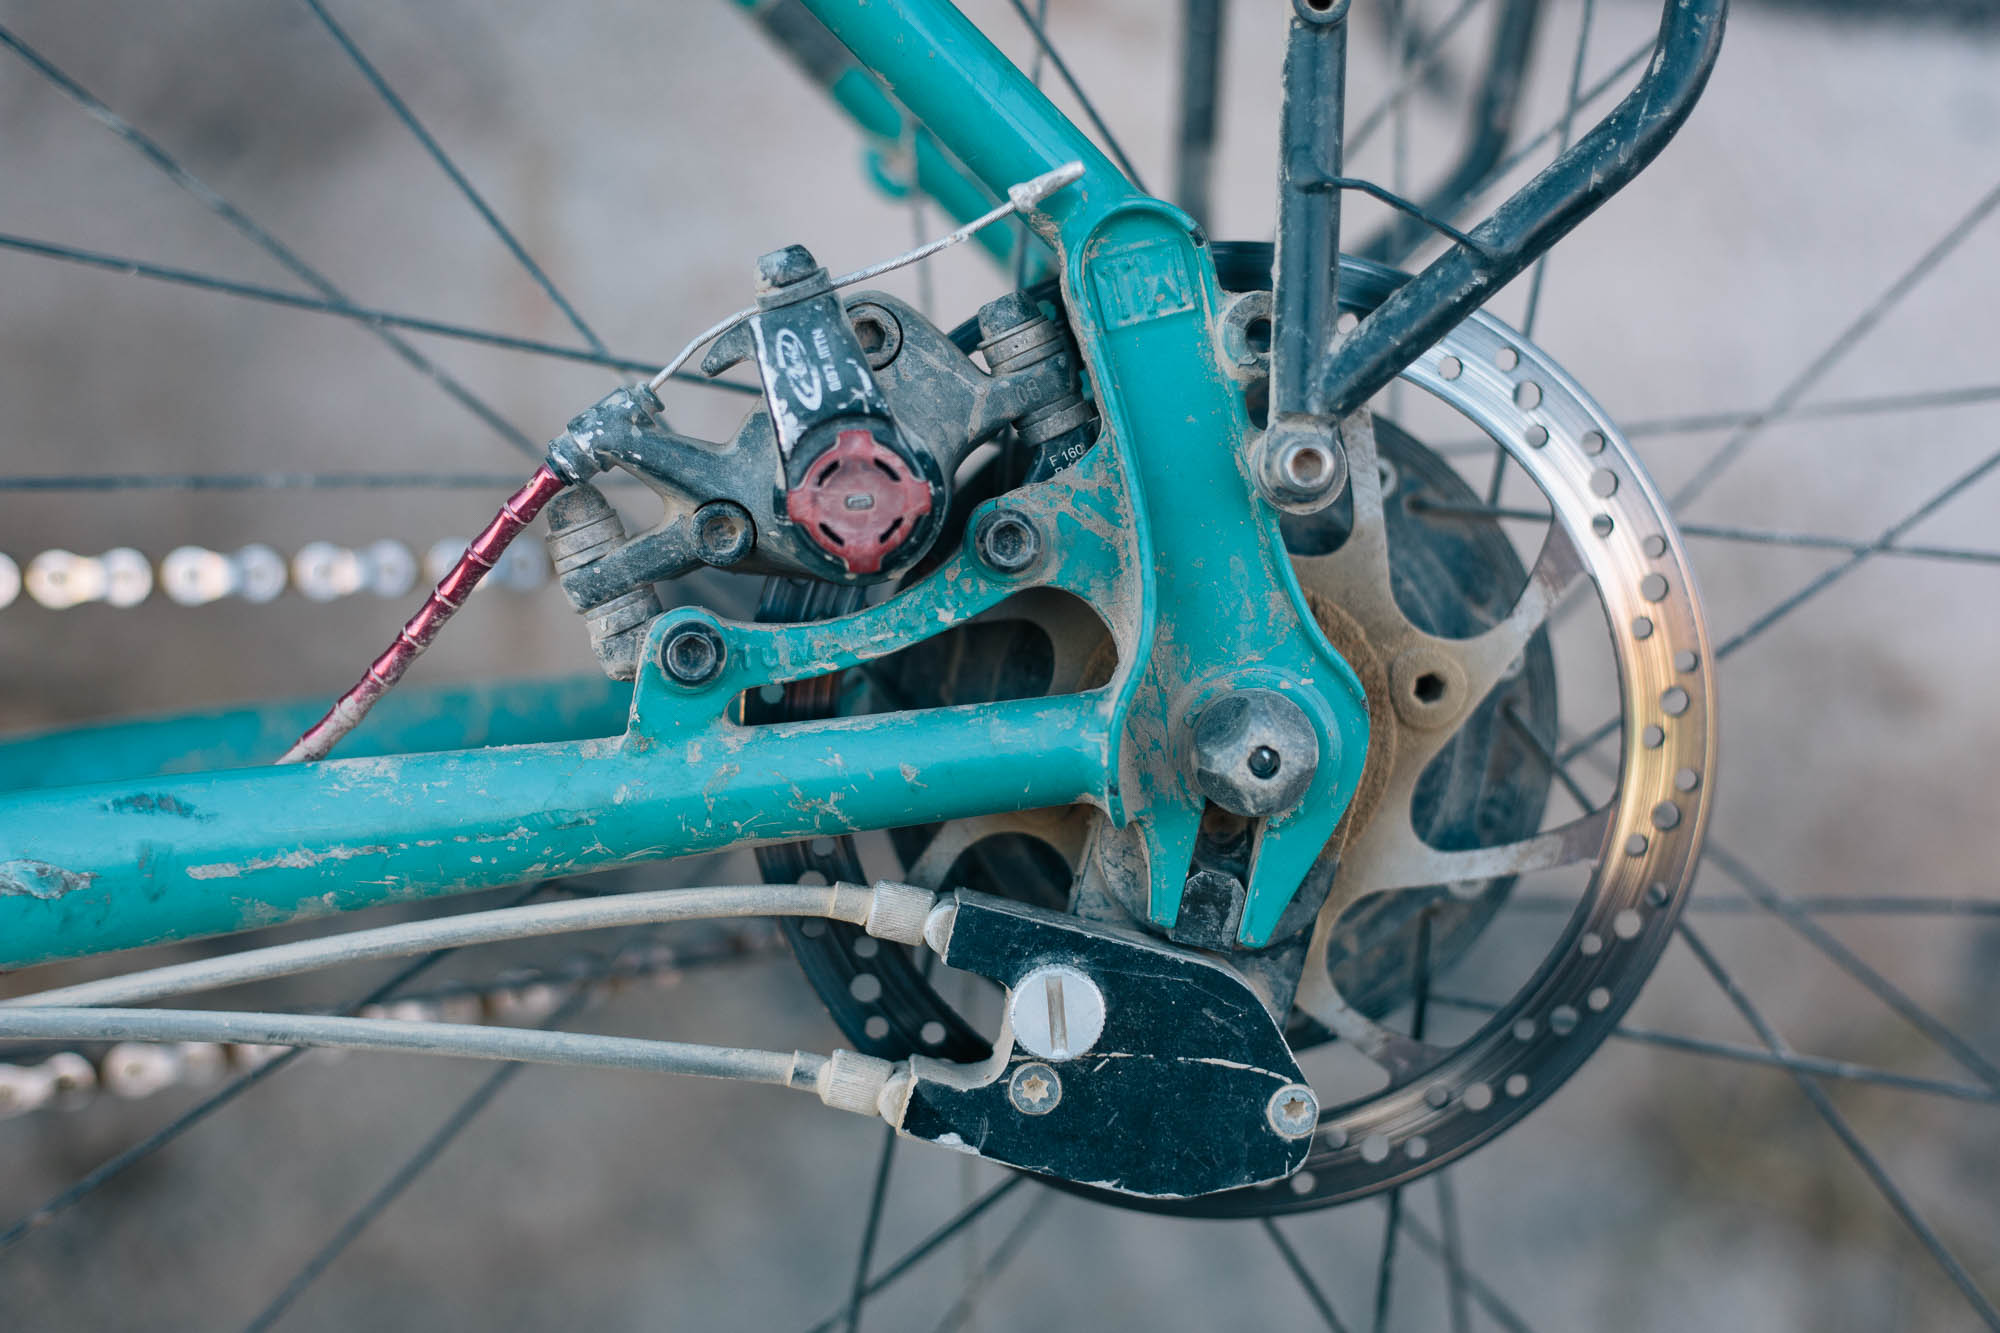
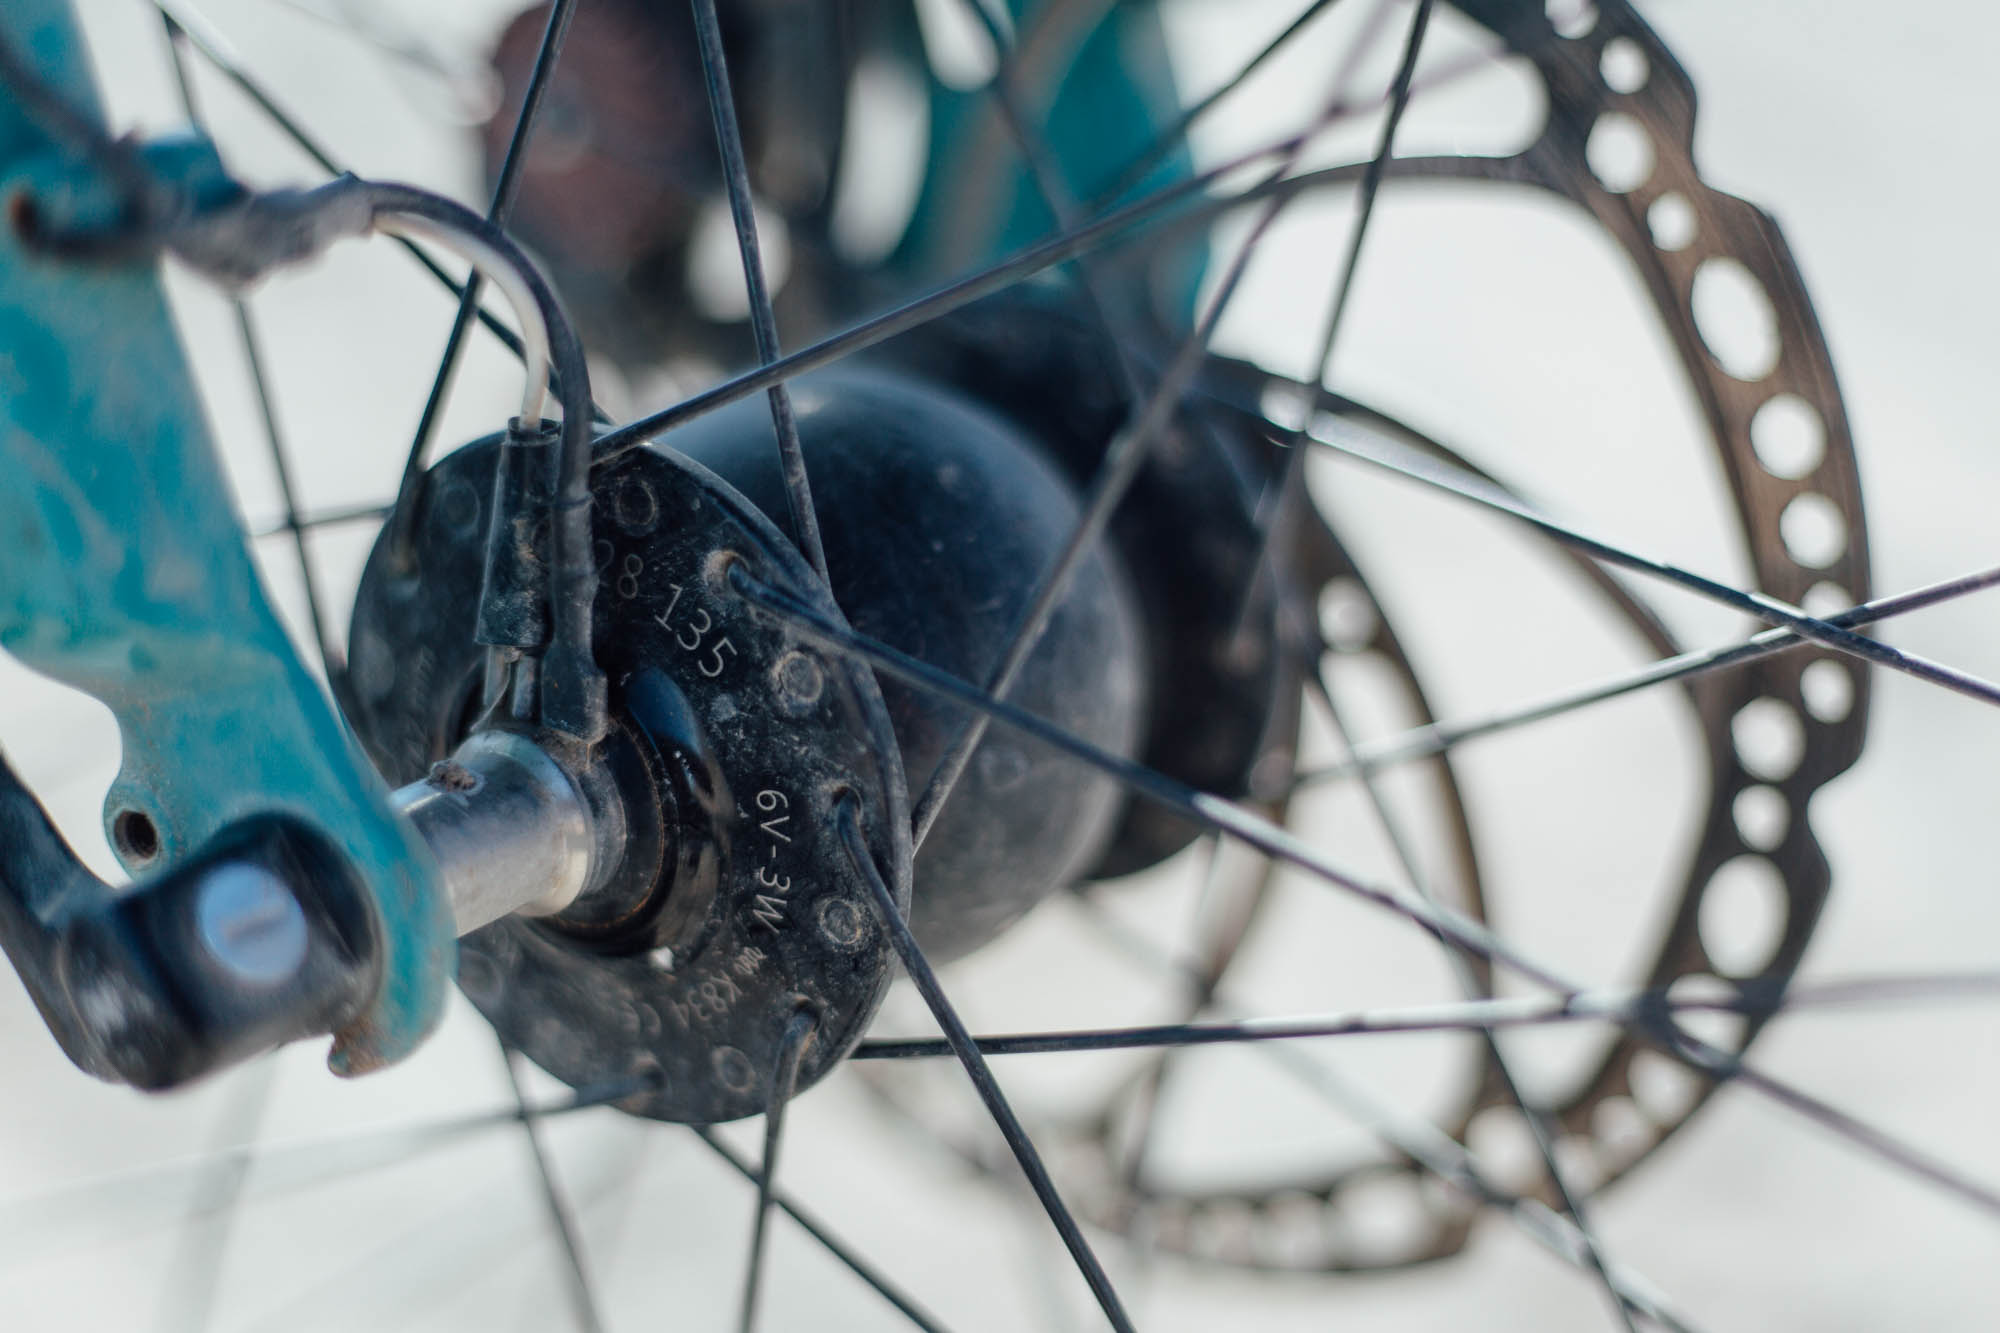
My bike is set up for the long haul. A stout Tumbleweed Prospector frame is teamed with a Rohloff Speedhub and a Son 28 dynamo hub. I trust this setup inherently, no matter what mischief I get up to. Sinewave’s Beacon charges up USB devices (like a 5000mAh Anker cache battery) and provides illumination on the odd occasion I’m late to camp (I try and avoid riding at night). I swapped out the stock fork for a Surly Ice Cream Truck fork that I already owned, as I prefer the rear facing water bottle mounts.
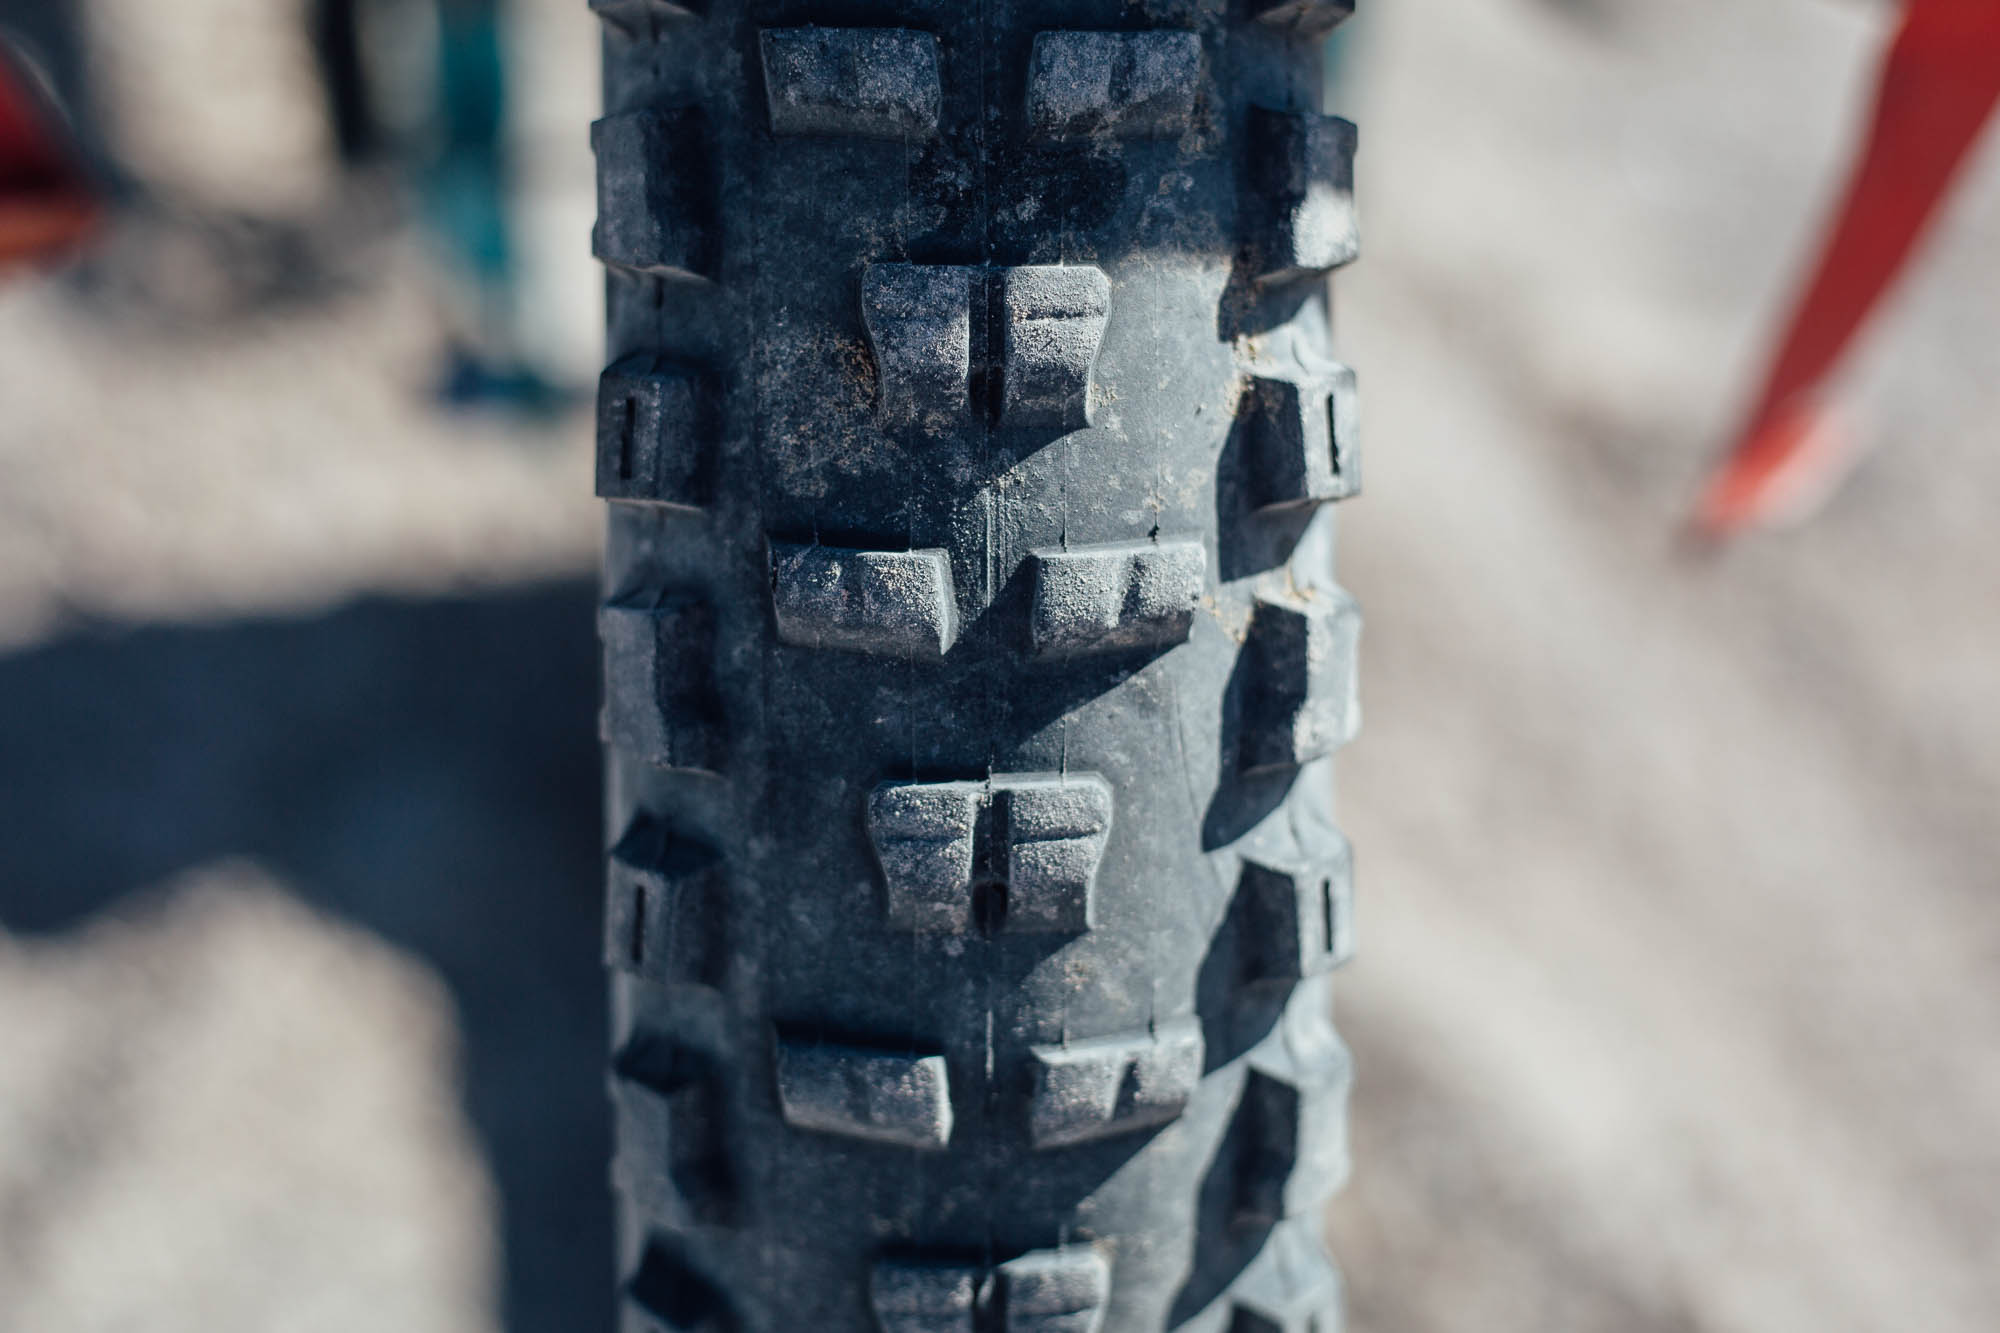
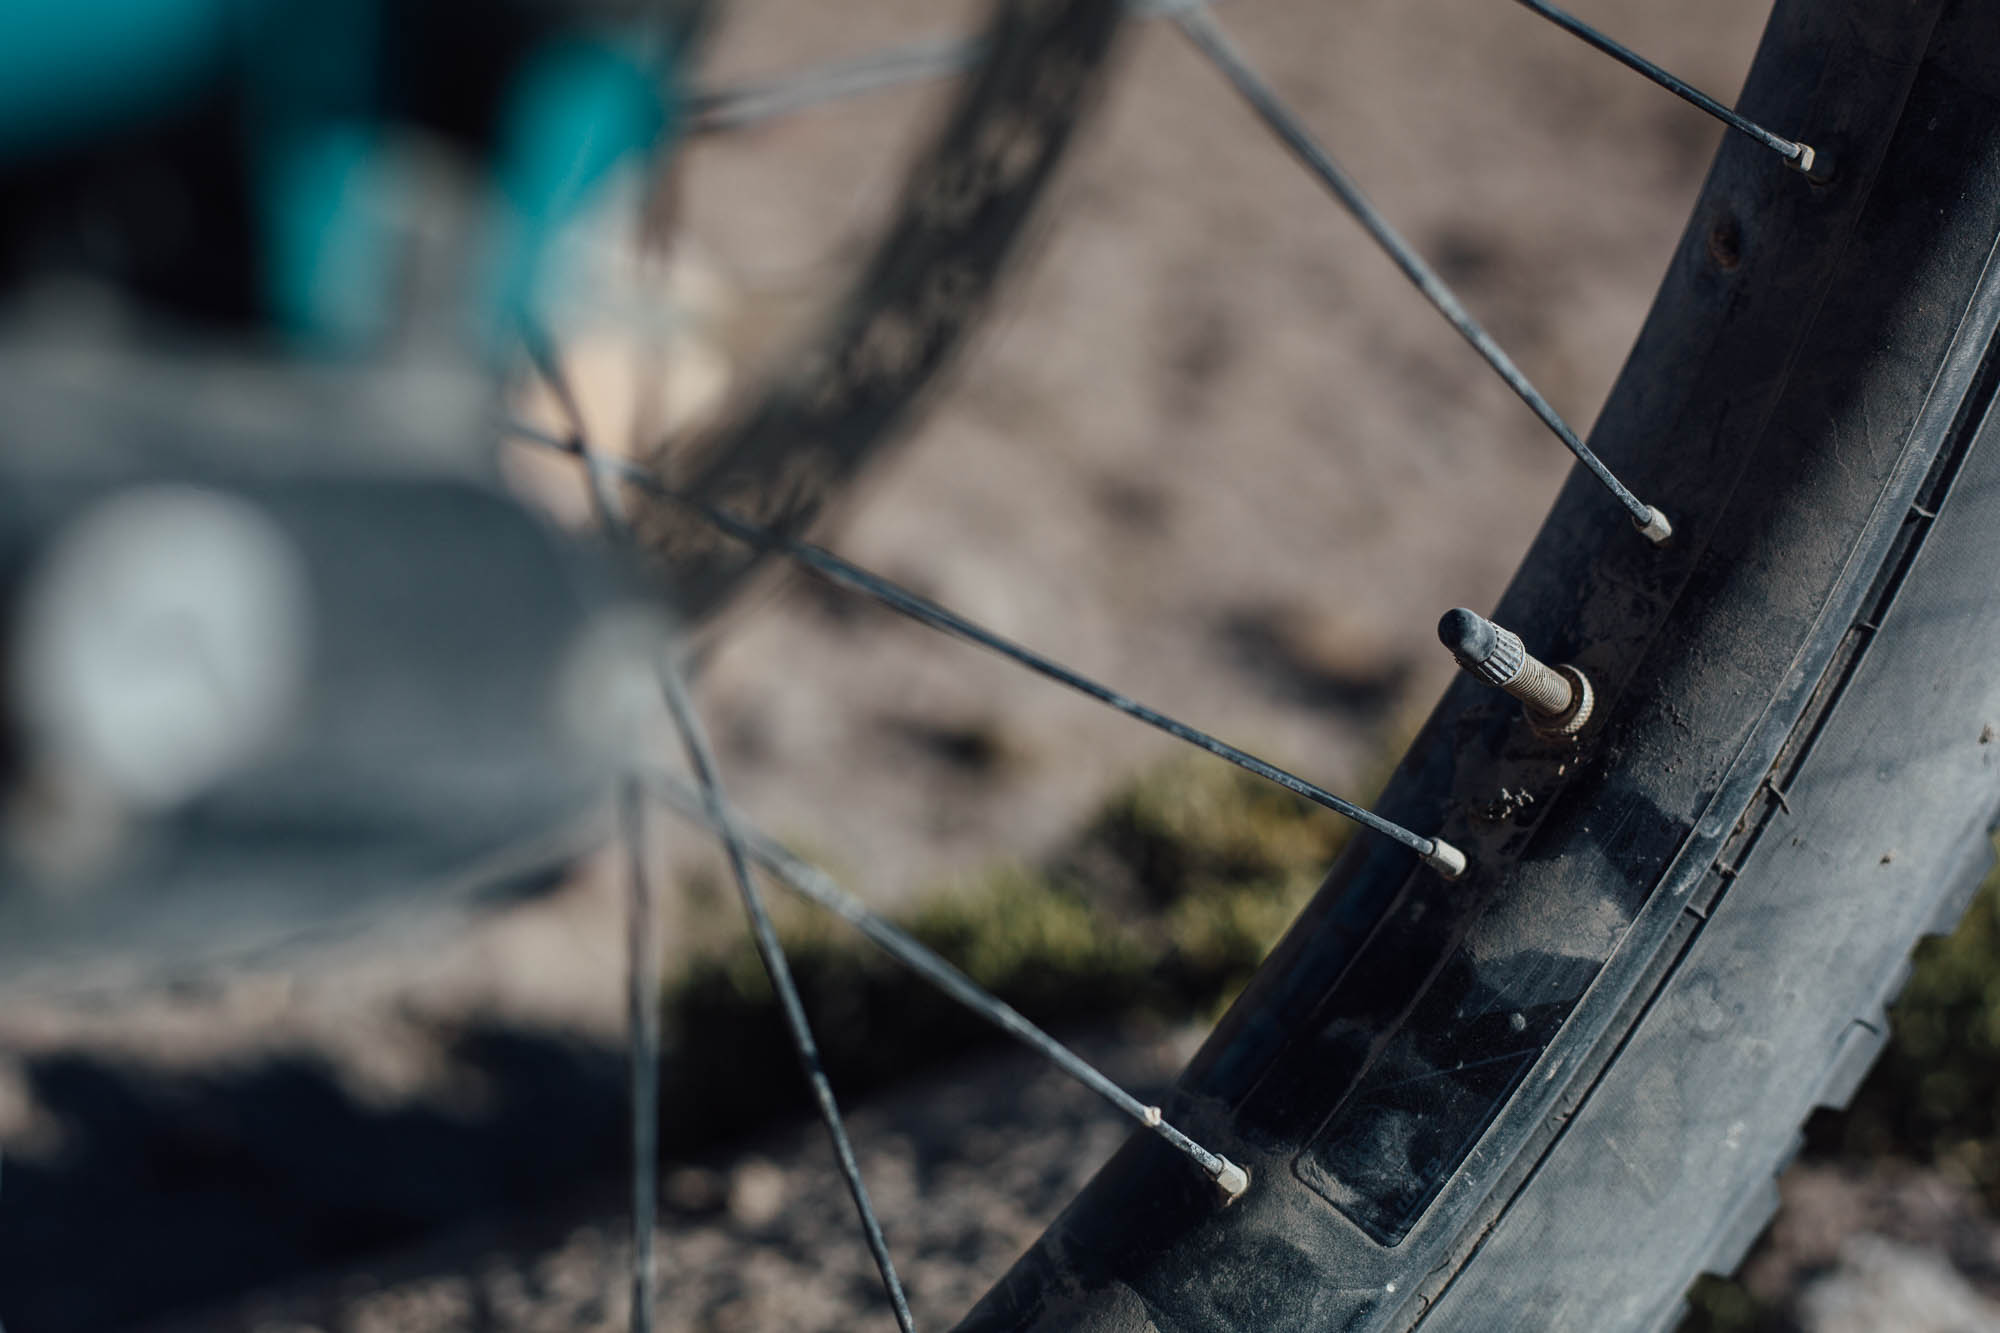
Gearing is provided by a 32T Surly Stainless Steel chainring and 17T sprocket at the back, in harmony with a Shimano XT 9 speed chain. Even if my top speed is capped, low gears are invaluable in the oxygen-depleted, mountainous Andes. I’m a big fan of 27.5+ tires. Being smaller in diameter than 29+ and narrower than full fat, they’re a good deal easier to pack away in a bike box or bag. I don’t carry a spare, but spec new tires before a trip, and keep an arsenal of tire-repairing devices. My wheels are built up with WTB Scraper i45s. Wide rims and 3″ tires are perfect for this kind of terrain, which is often sandy and corrugated. Don’t let their weight put you off. While traditional bicycle tourers often lament the ‘bad roads’ on the Altiplano, with plus-sized tires, I say bring them on!

Other parts on the Bulldozer are all tried and tested, including Shimano XT cranks and Avid BB7 brakes. Jagwire Mountain Elite Link compressionless cable housing allows me to do all kinds of weird bends around bags without compromising braking. The front rack is a Surly 8-pack, the rear is by RatKing.

As for perches, I love my WTB Pure V. I should namecheck my Oddity Razor Bar, simply because it’s my favourite bikepacking handlebar of all time. Mine is Ti and specced with a 25-degree sweep and a 1.5″ rise, allowing lots of space for bag velcro on both the ‘upper’ and ‘lower’ levels.
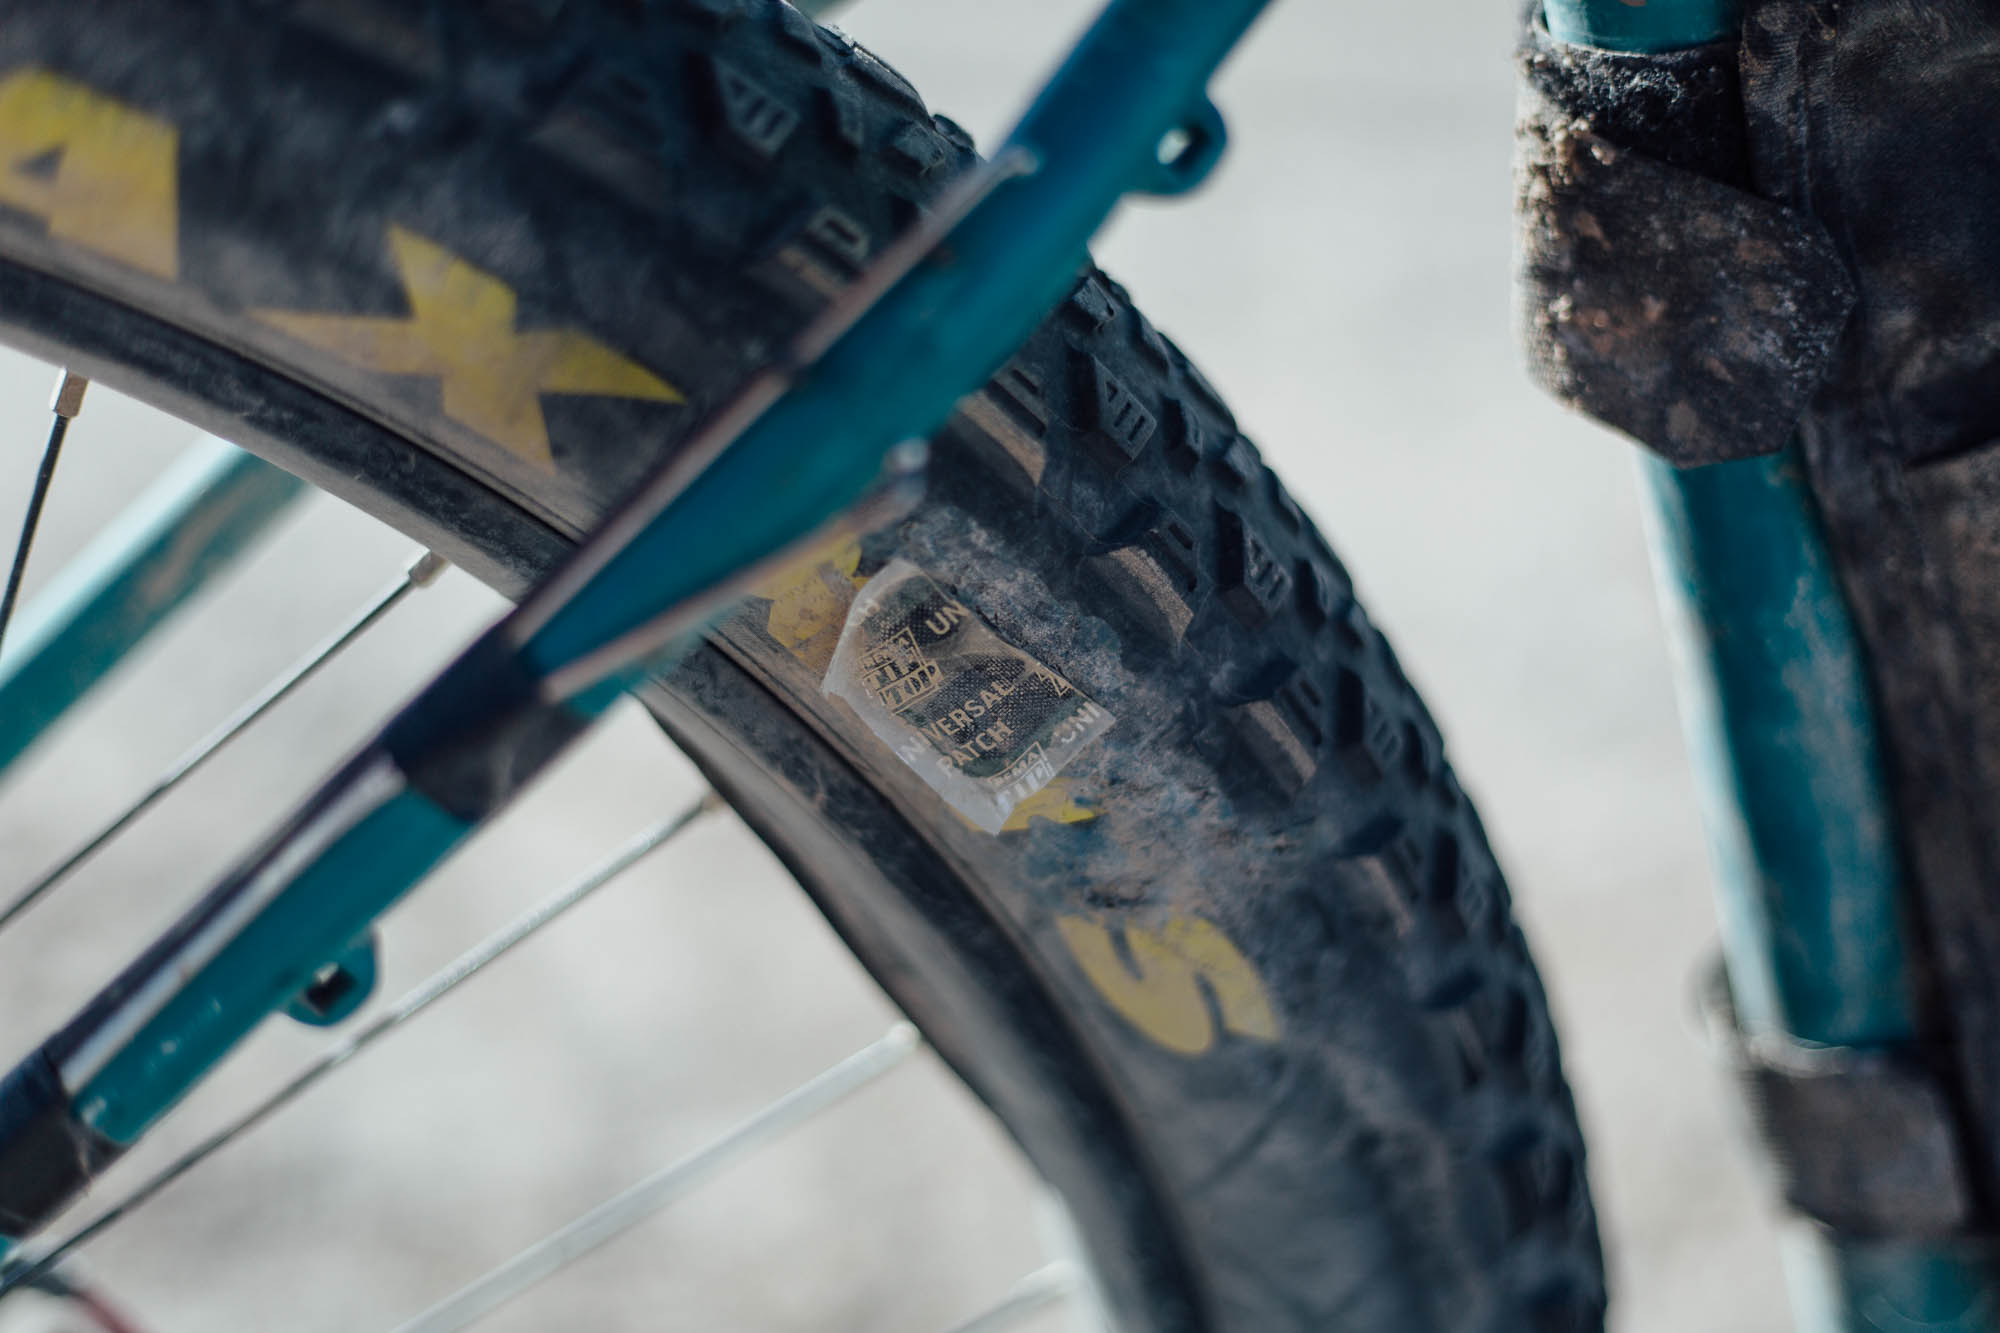
My tire choice isn’t especially conventional. I’m running a Maxxis Chronicle at the back and a High Roller 2 up front, both set up tubeless; they can even be mounted with a Lezyne Micro Floor Drive HV, some graft, and an extra set of hands. The latter is confidence inspiring on rocky and dirt conditions, but draggy on pavement (as I don’t aspire to ride on pavement, that’s ok). Both have held up well, though there’s a worrying wear patch on one sidewall; I caught a ride in a pickup truck on windy afternoon and neglected to make sure the bike wasn’t being damaged as it bounced around. Lesson learned. I patched it with a tire boot and it held.
My setup is also one that’s designed to be modular. During a long trip, I can drop the front rack and panniers, remove my saddlebag, and cinch on the lightweight rollbag I already carry in its place, creating a bike that’s better suited to trail riding and hike-a-biking. I did this for a 500km section of the trip and it worked really well.
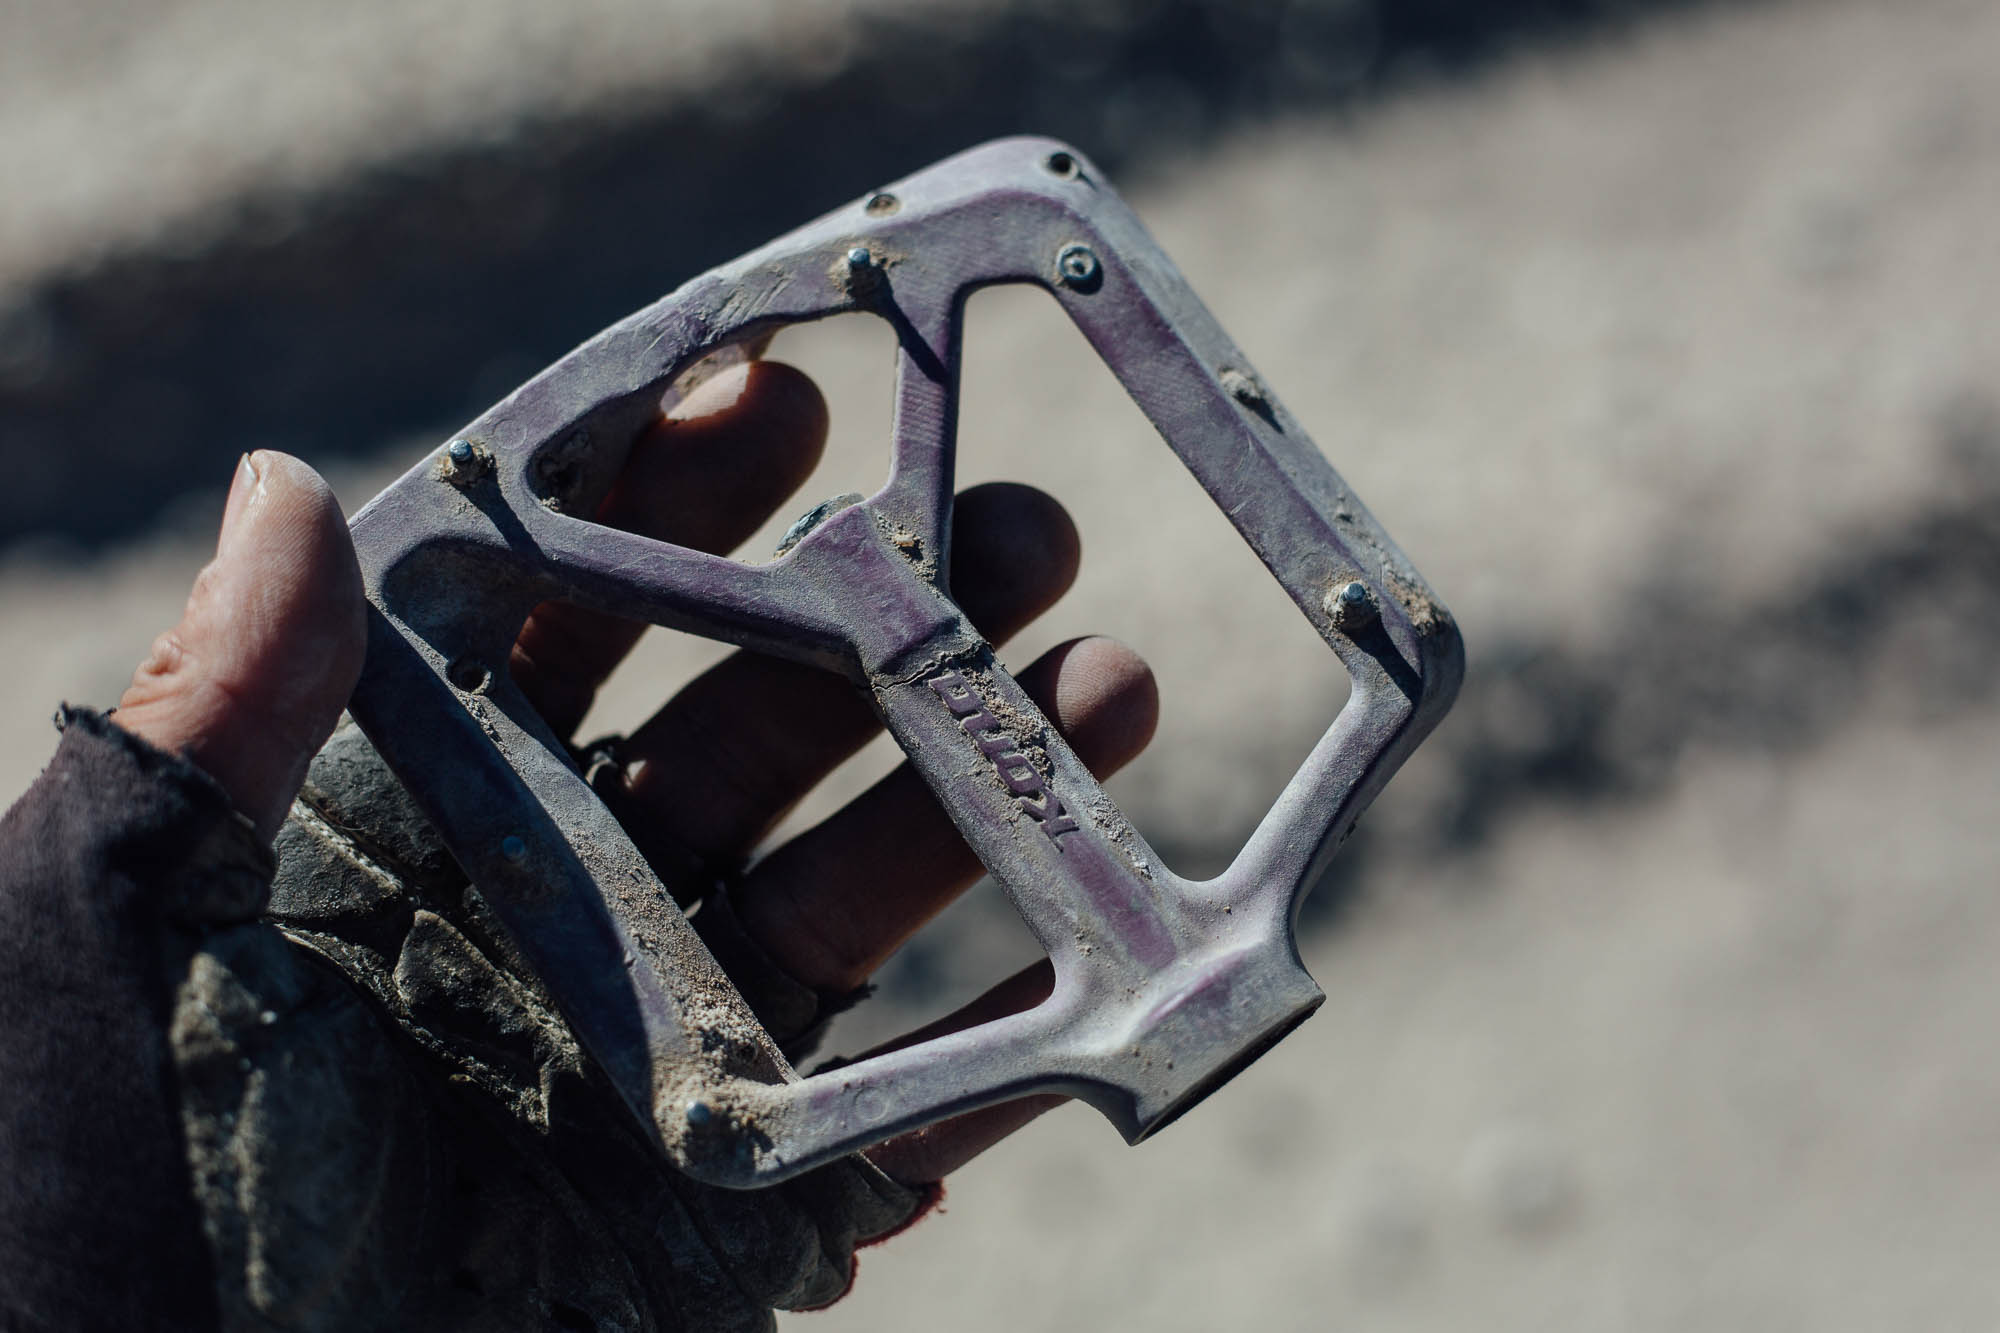
GEAR FAILURES
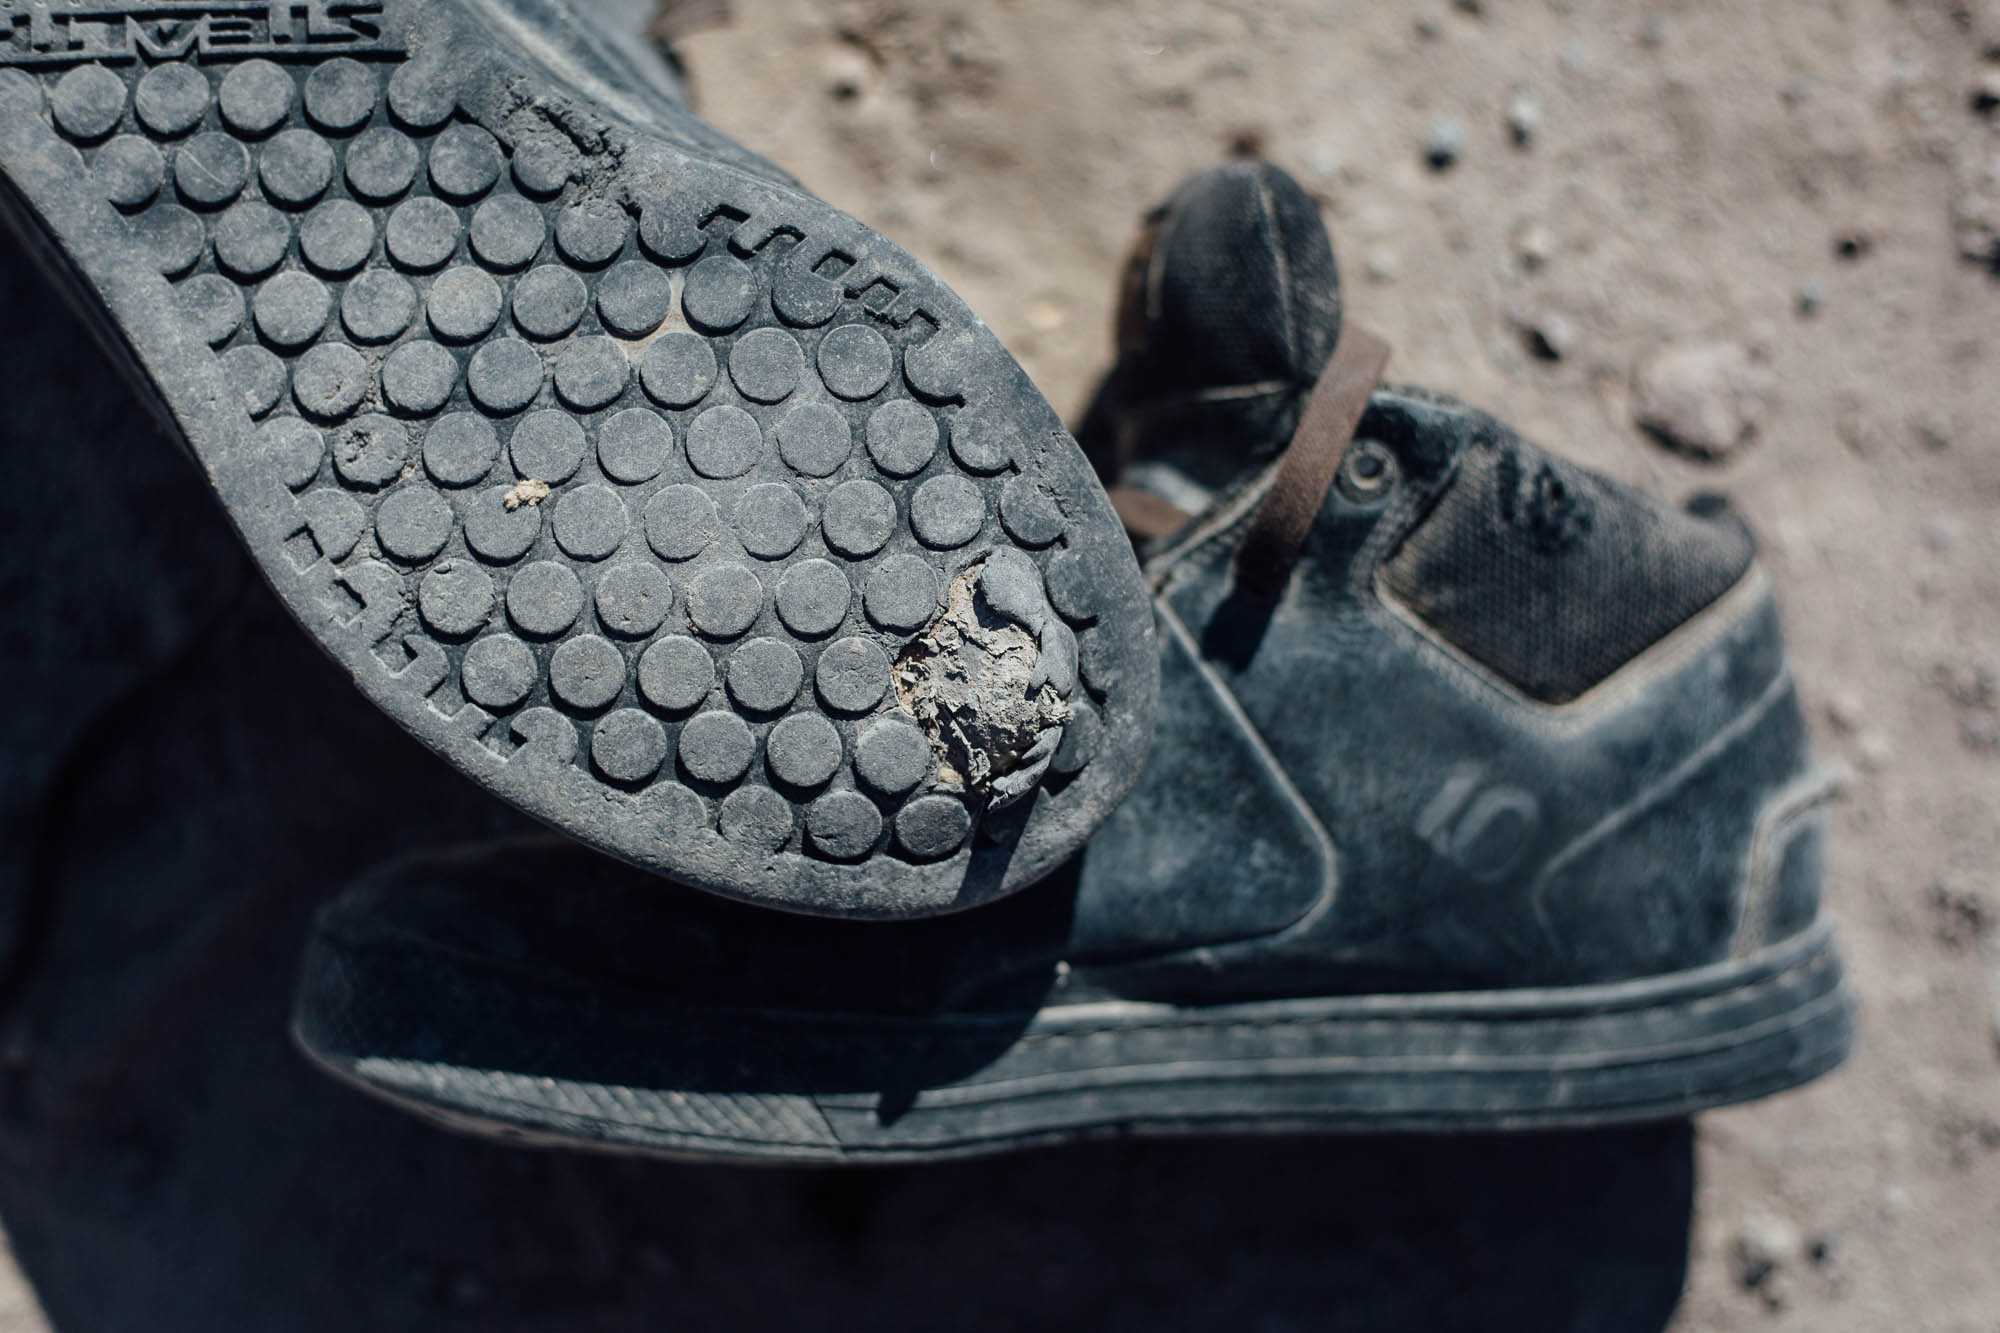
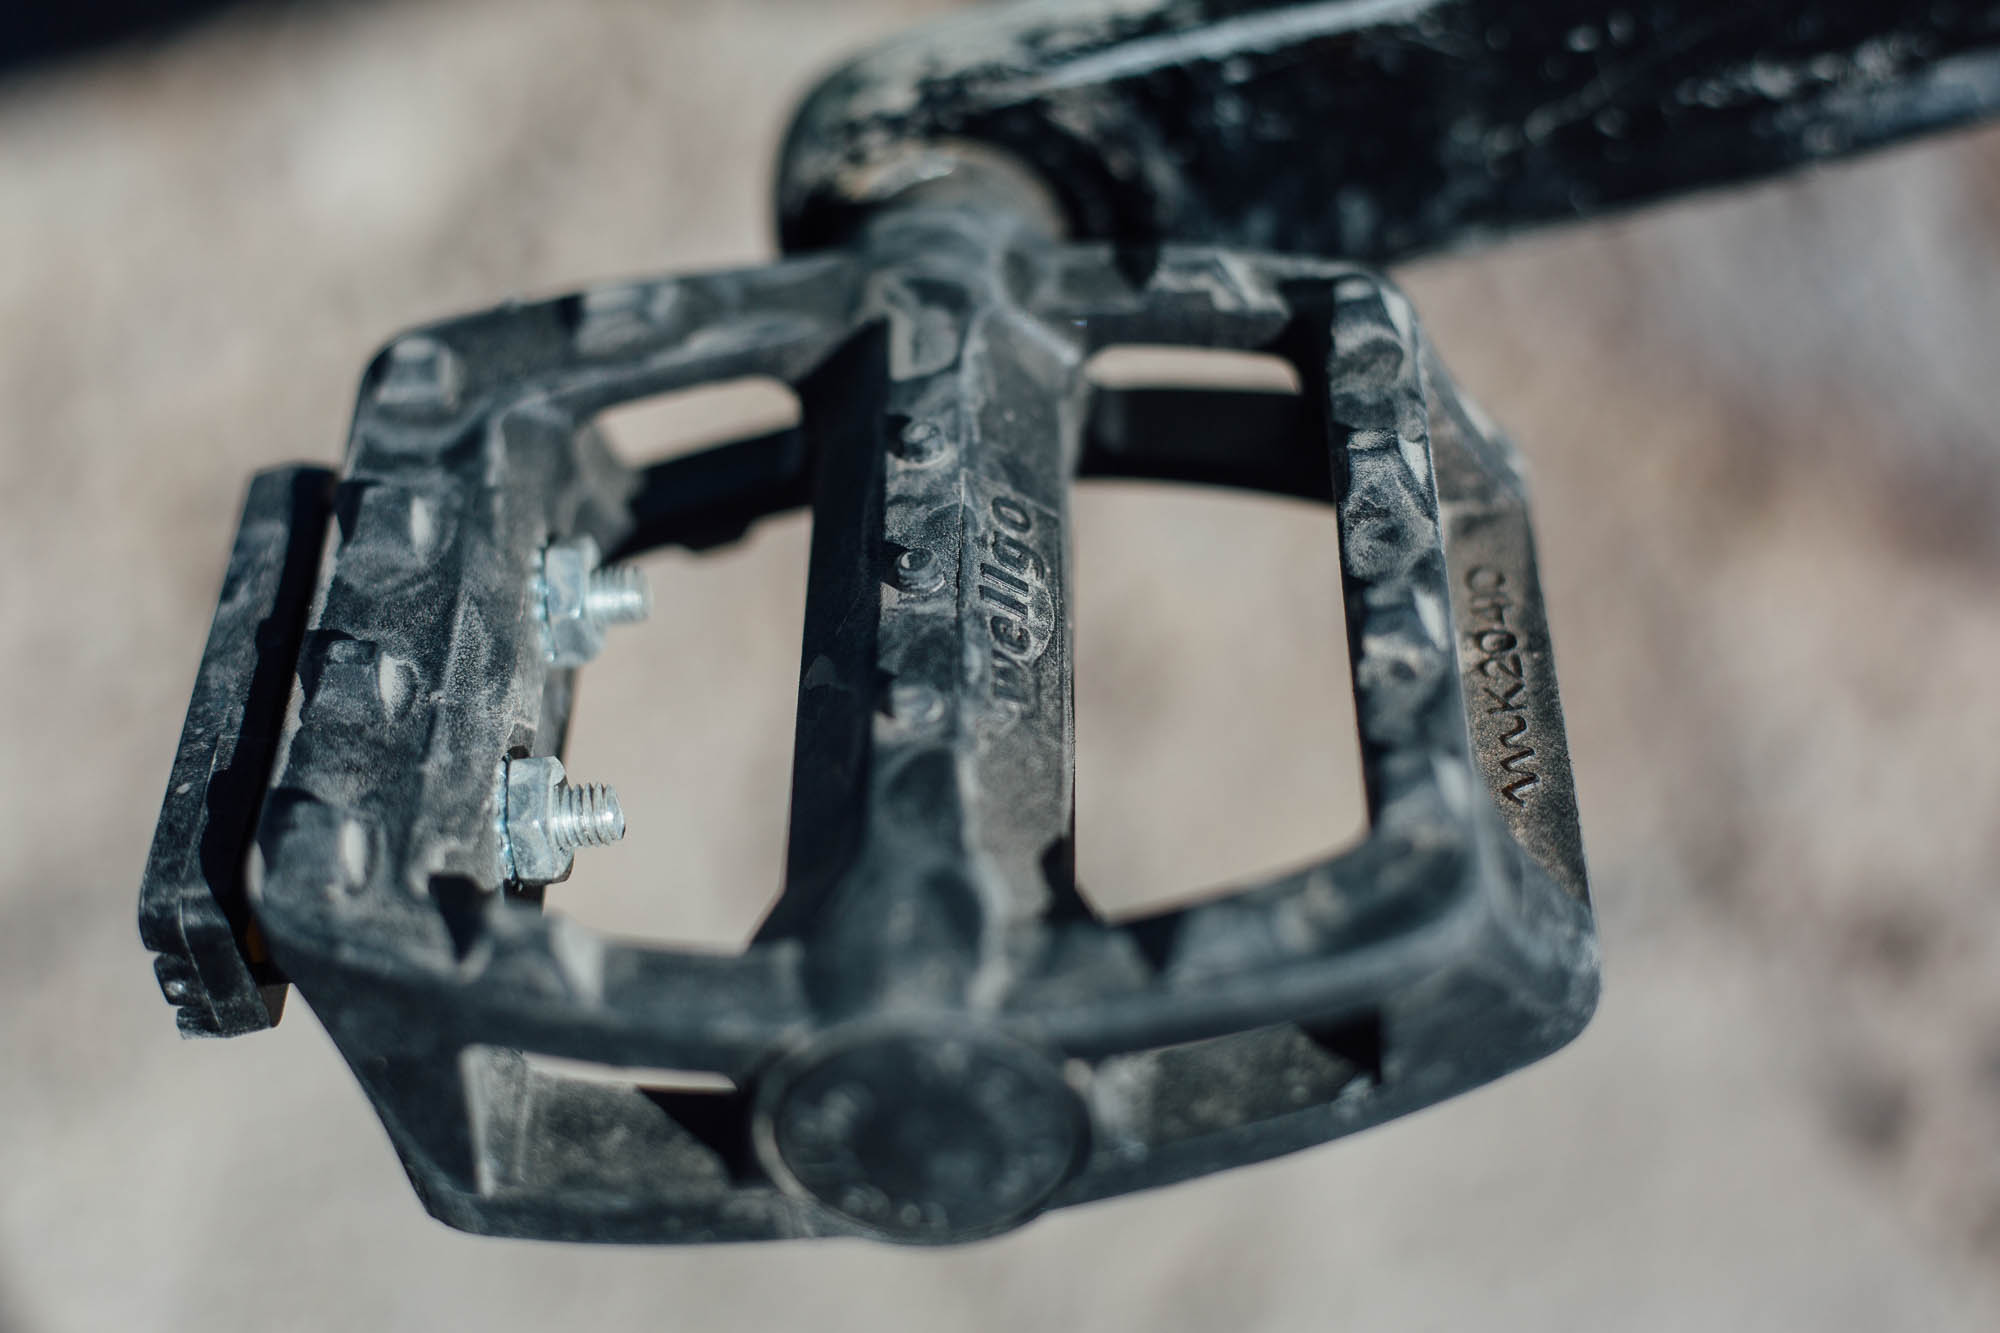
The dowel for my saddlebag snapped in two – I sourced a replacement from an old broom handle for 30 cents! Disappointingly, one of the platforms on my Kona Wah Wah 2 flat pedals cracked and then slid off completely, which required me to pedal on the spindle for 50km, just like the local kids. Luckily, I was able to find replacement Wellgo replacement pedals in the next town, tiding me through the last week of the trip. My 5.10 Freerider EPSs also wore out, to the point that there’s a hole in the footbed. Granted, they weren’t new for the trip, but I’m not sure they’re up to the hardships of long-distance bikepacking. And as mentioned above, the sidewall on my Maxxis Chronicle wore through, but that was my own mistake during transportation of the bike, rather than during the ride. Remember to be super vigilant with how your bike is transported, given the Altiplano’s bumpy roads.

WHAT WOULD I DO DIFFERENTLY?
As much as I love saddlebags, I’m sure there are plenty of riders who would be just as happy with a large seatpack, like Porcelain Rocket’s Mr Fusion XL, especially if you’re not carrying a laptop as I am. This would save over 1kg (2.2 lbs), though you’d lose the extra capacity of the Manything Cages on the RatKing rack, which I find really useful. Personally, I think it’s worth the weight but if you’re wondering about the pros and cons of saddlebags versus seatpacks, check out our Low Down guide. Alternatively, running two small and slim rear panniers (eg Bedrock or Revelate) and a seatpack would cut down the overall weight and keep some capacity.
Surly’s 8-pack rack is as tough as nails but isn’t the lightest. If I could find something more minimal, I’d be tempted to go with it instead… but as it is, it works well. Although it’s the first time I’ve run a relatively front-heavy setup like this, I was very happy with how sure-footed the bike felt, give the rough and tumble dirt roads I was riding. But, if I was riding a route that was more trail orientated, I’d likely want to lose some of the weight up front.
Wrap Up
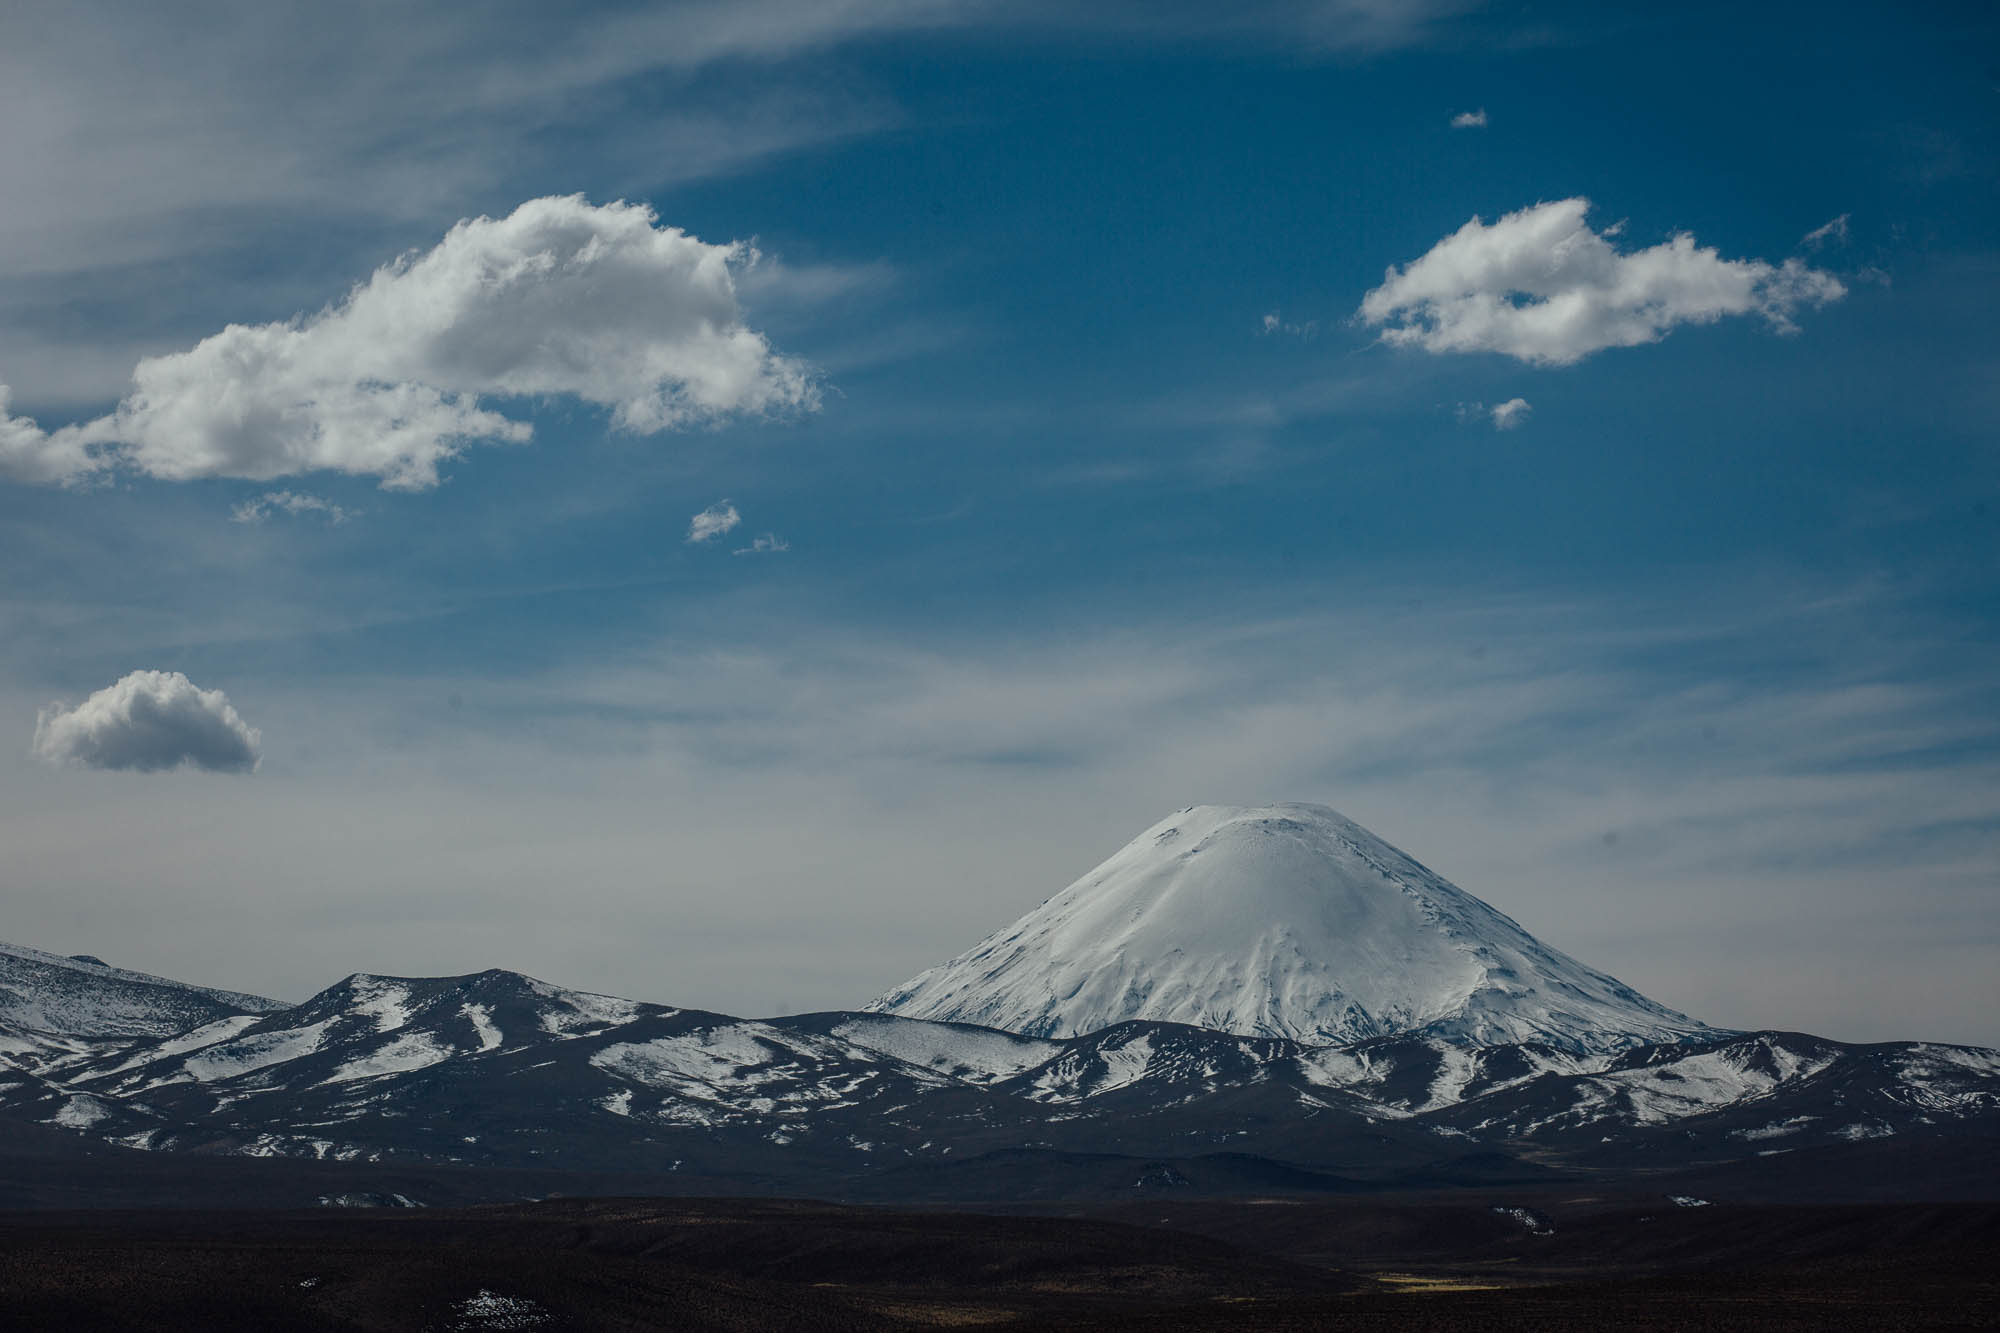
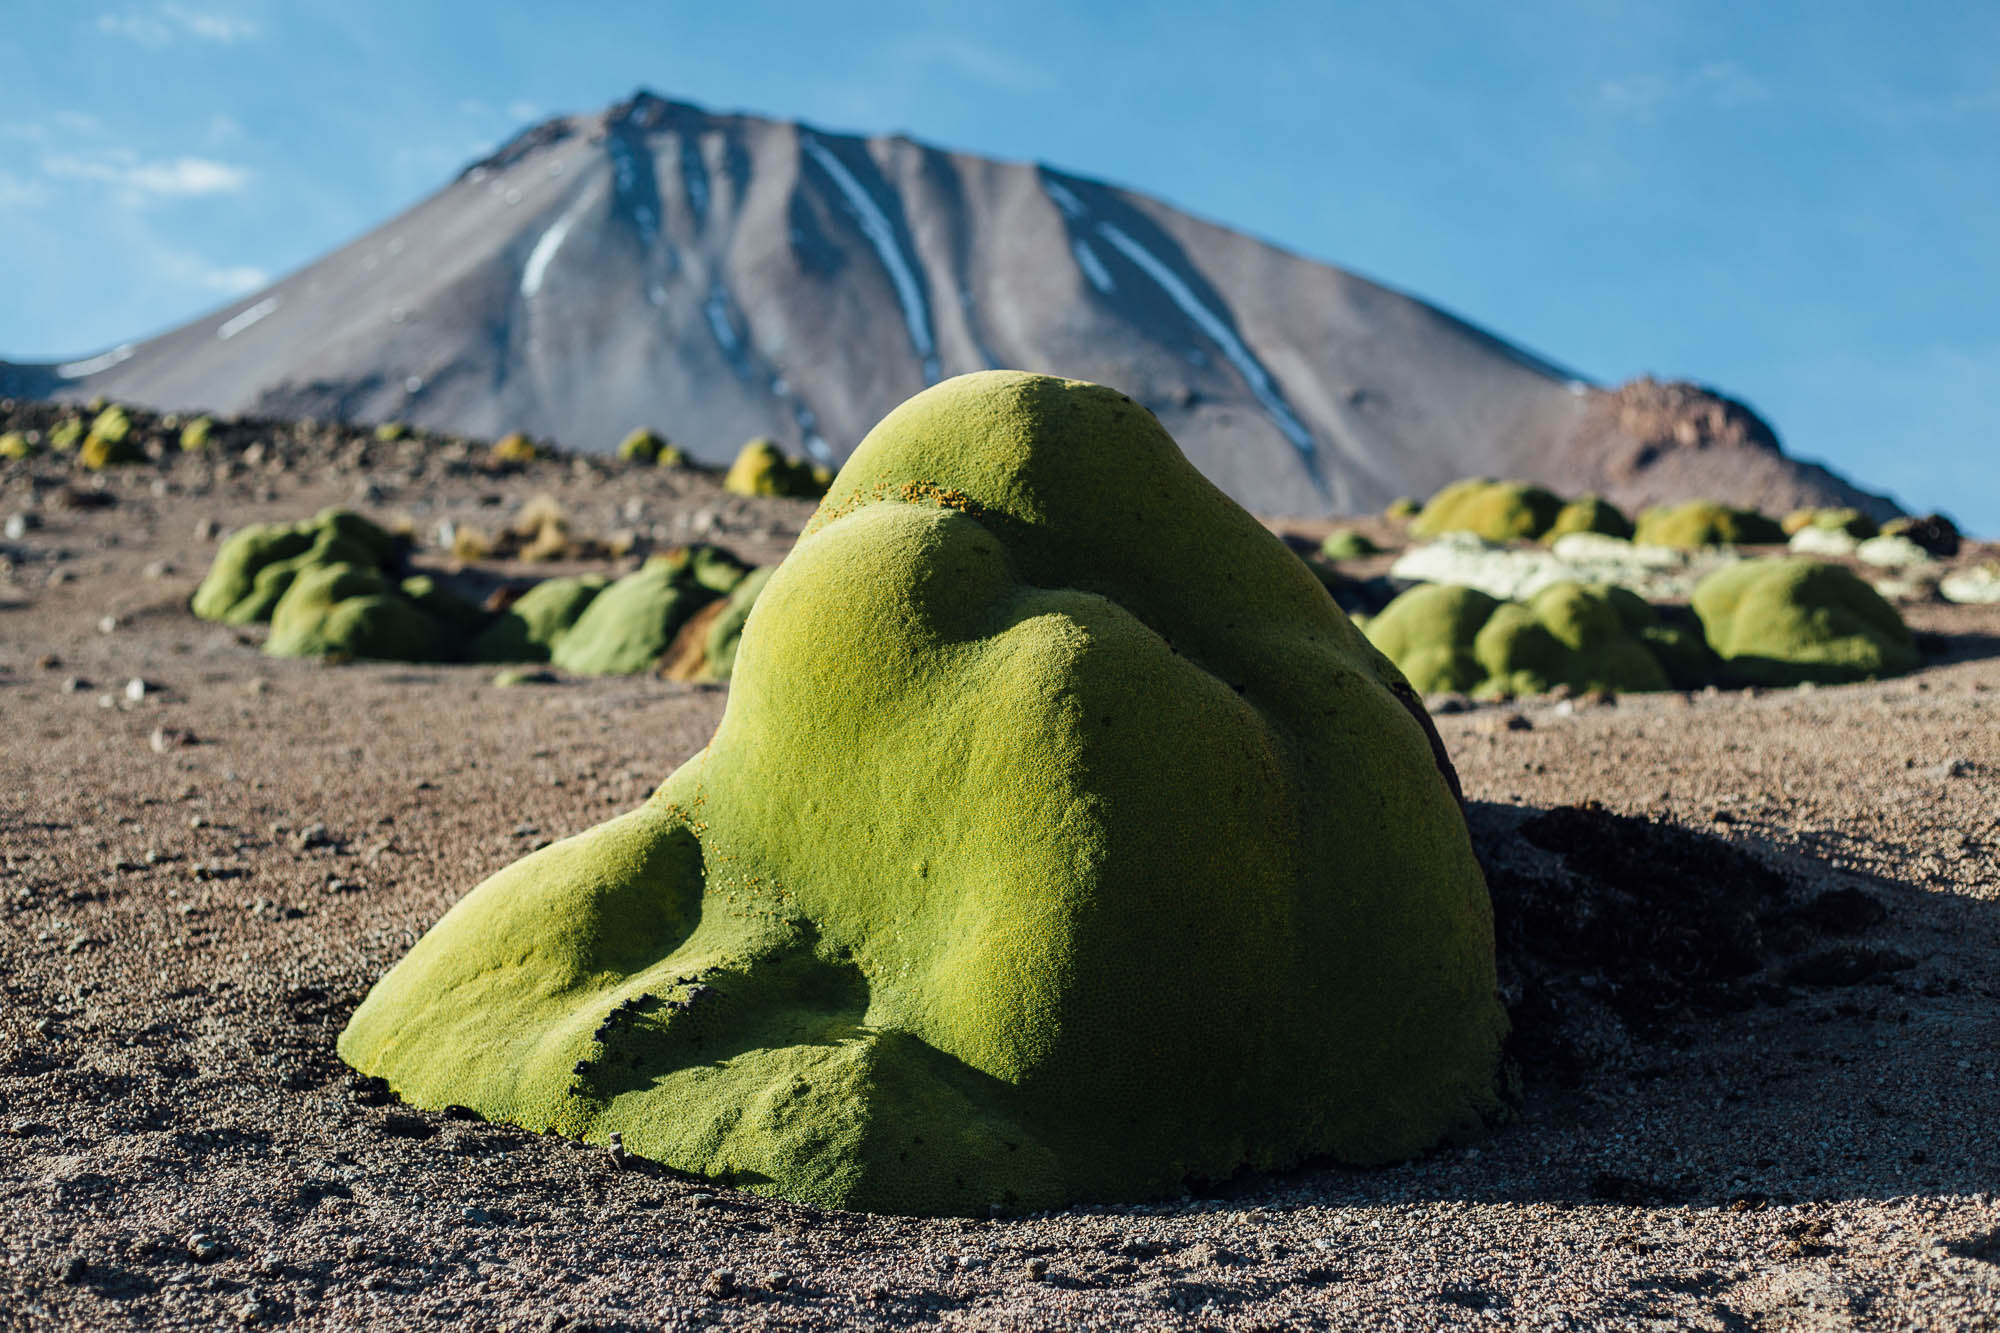
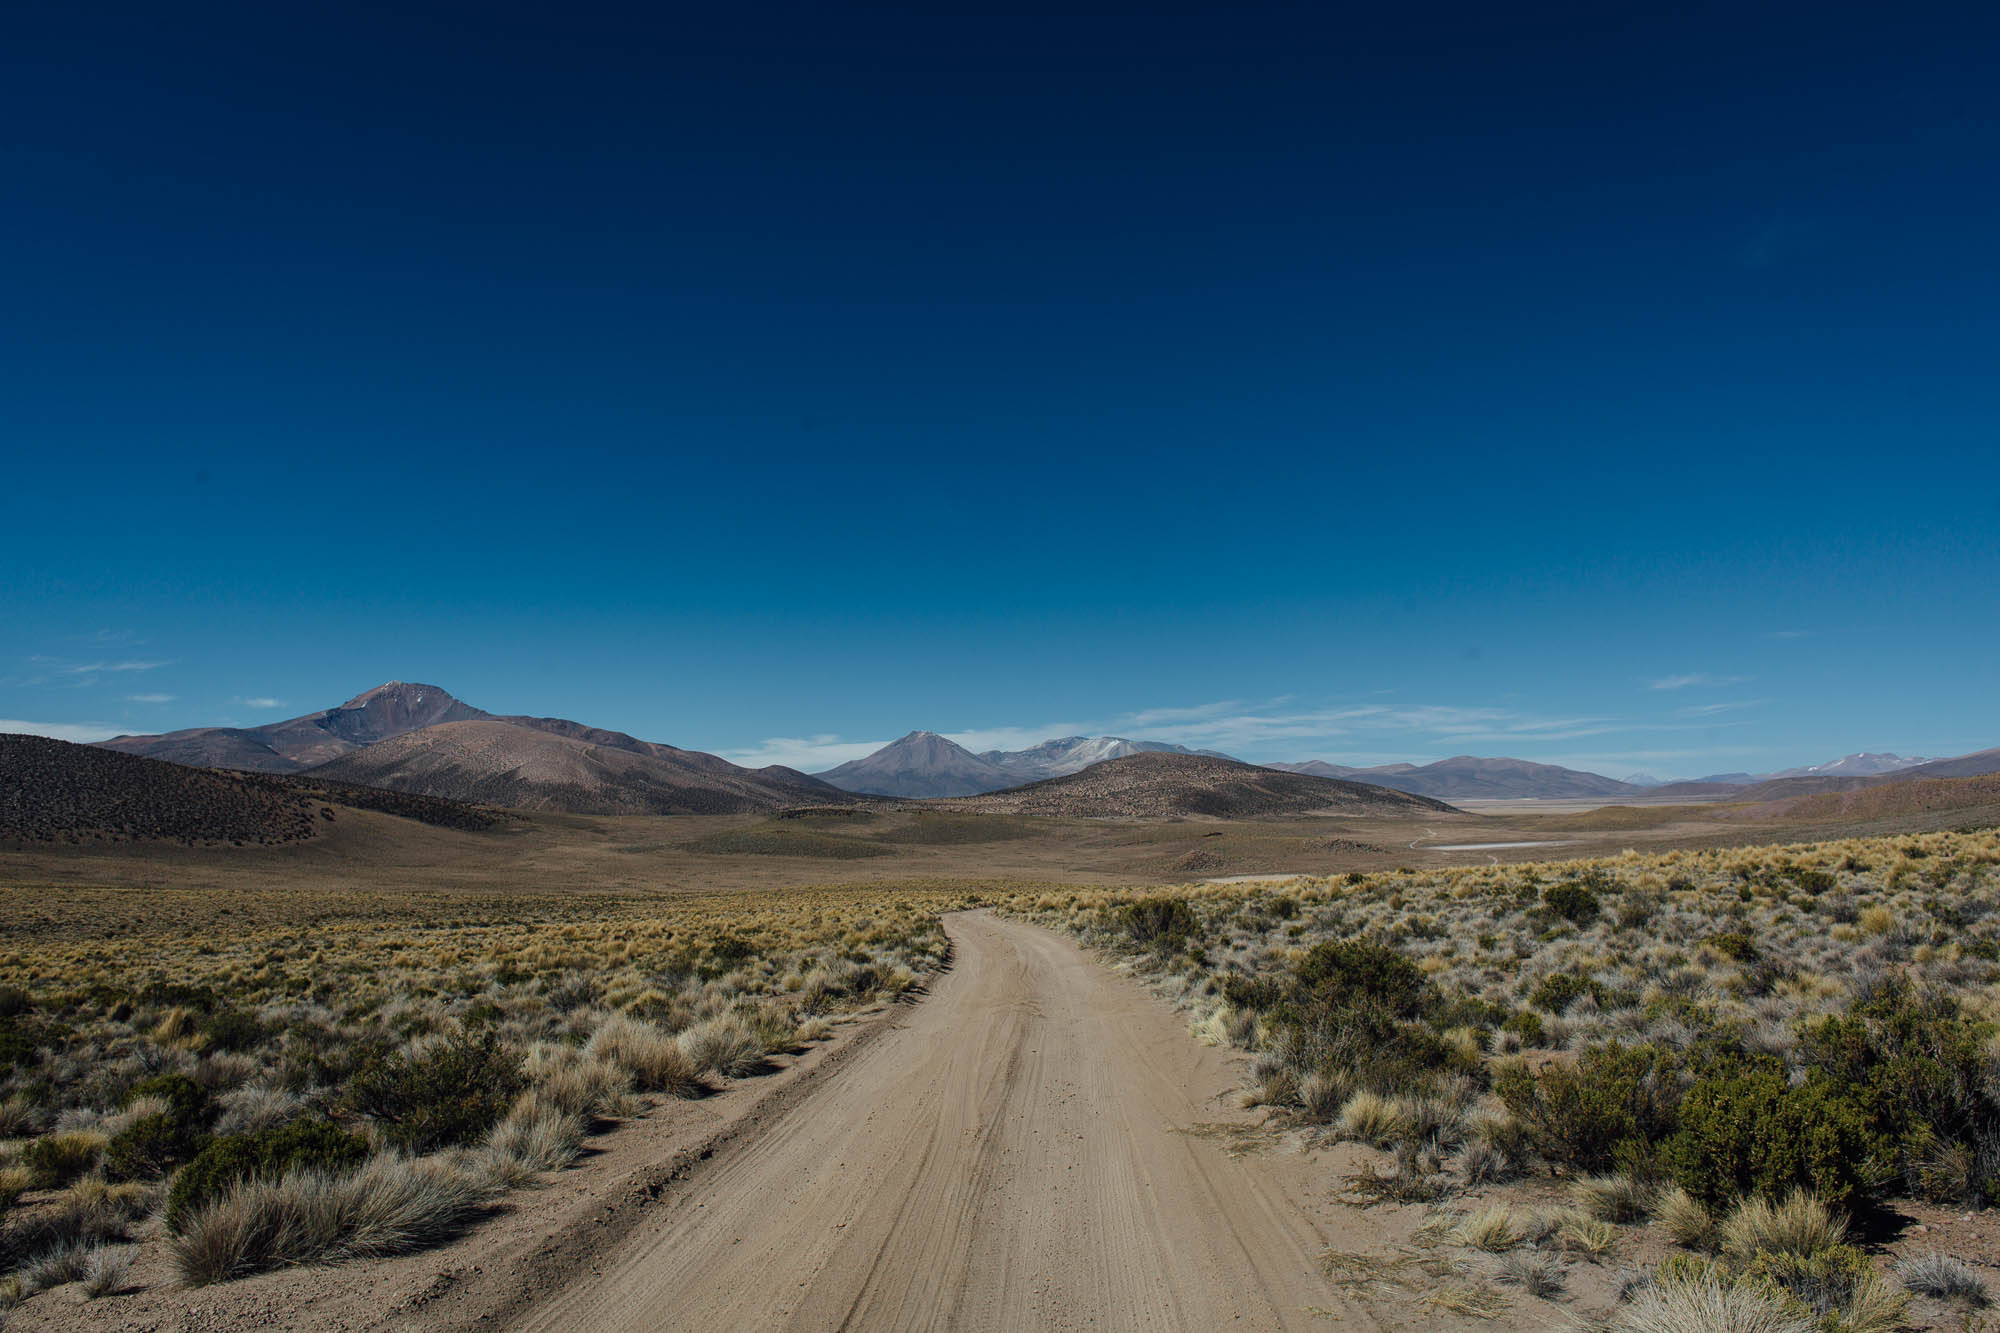
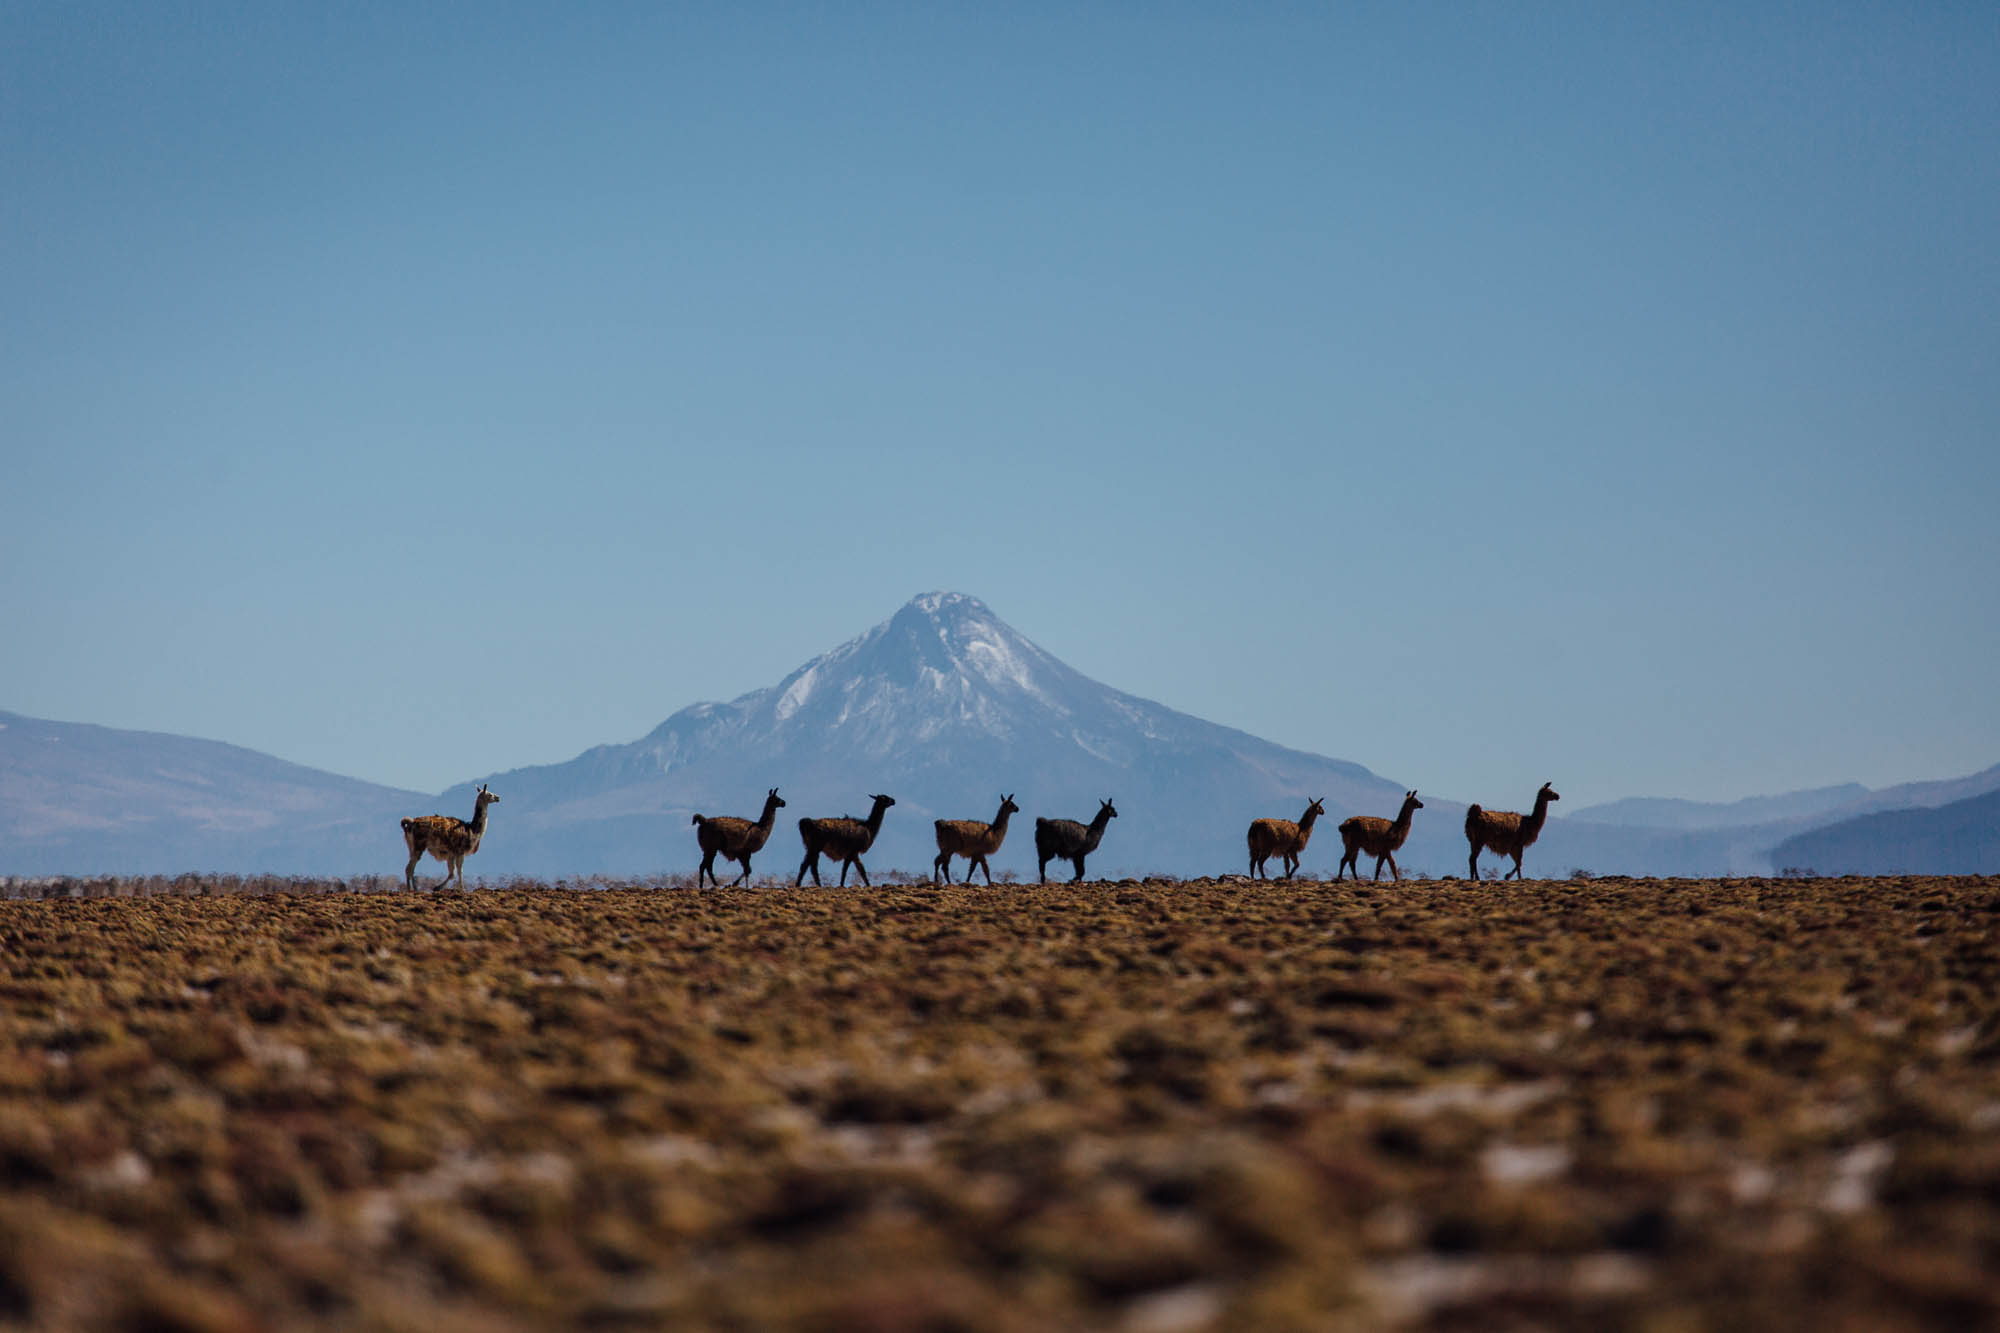
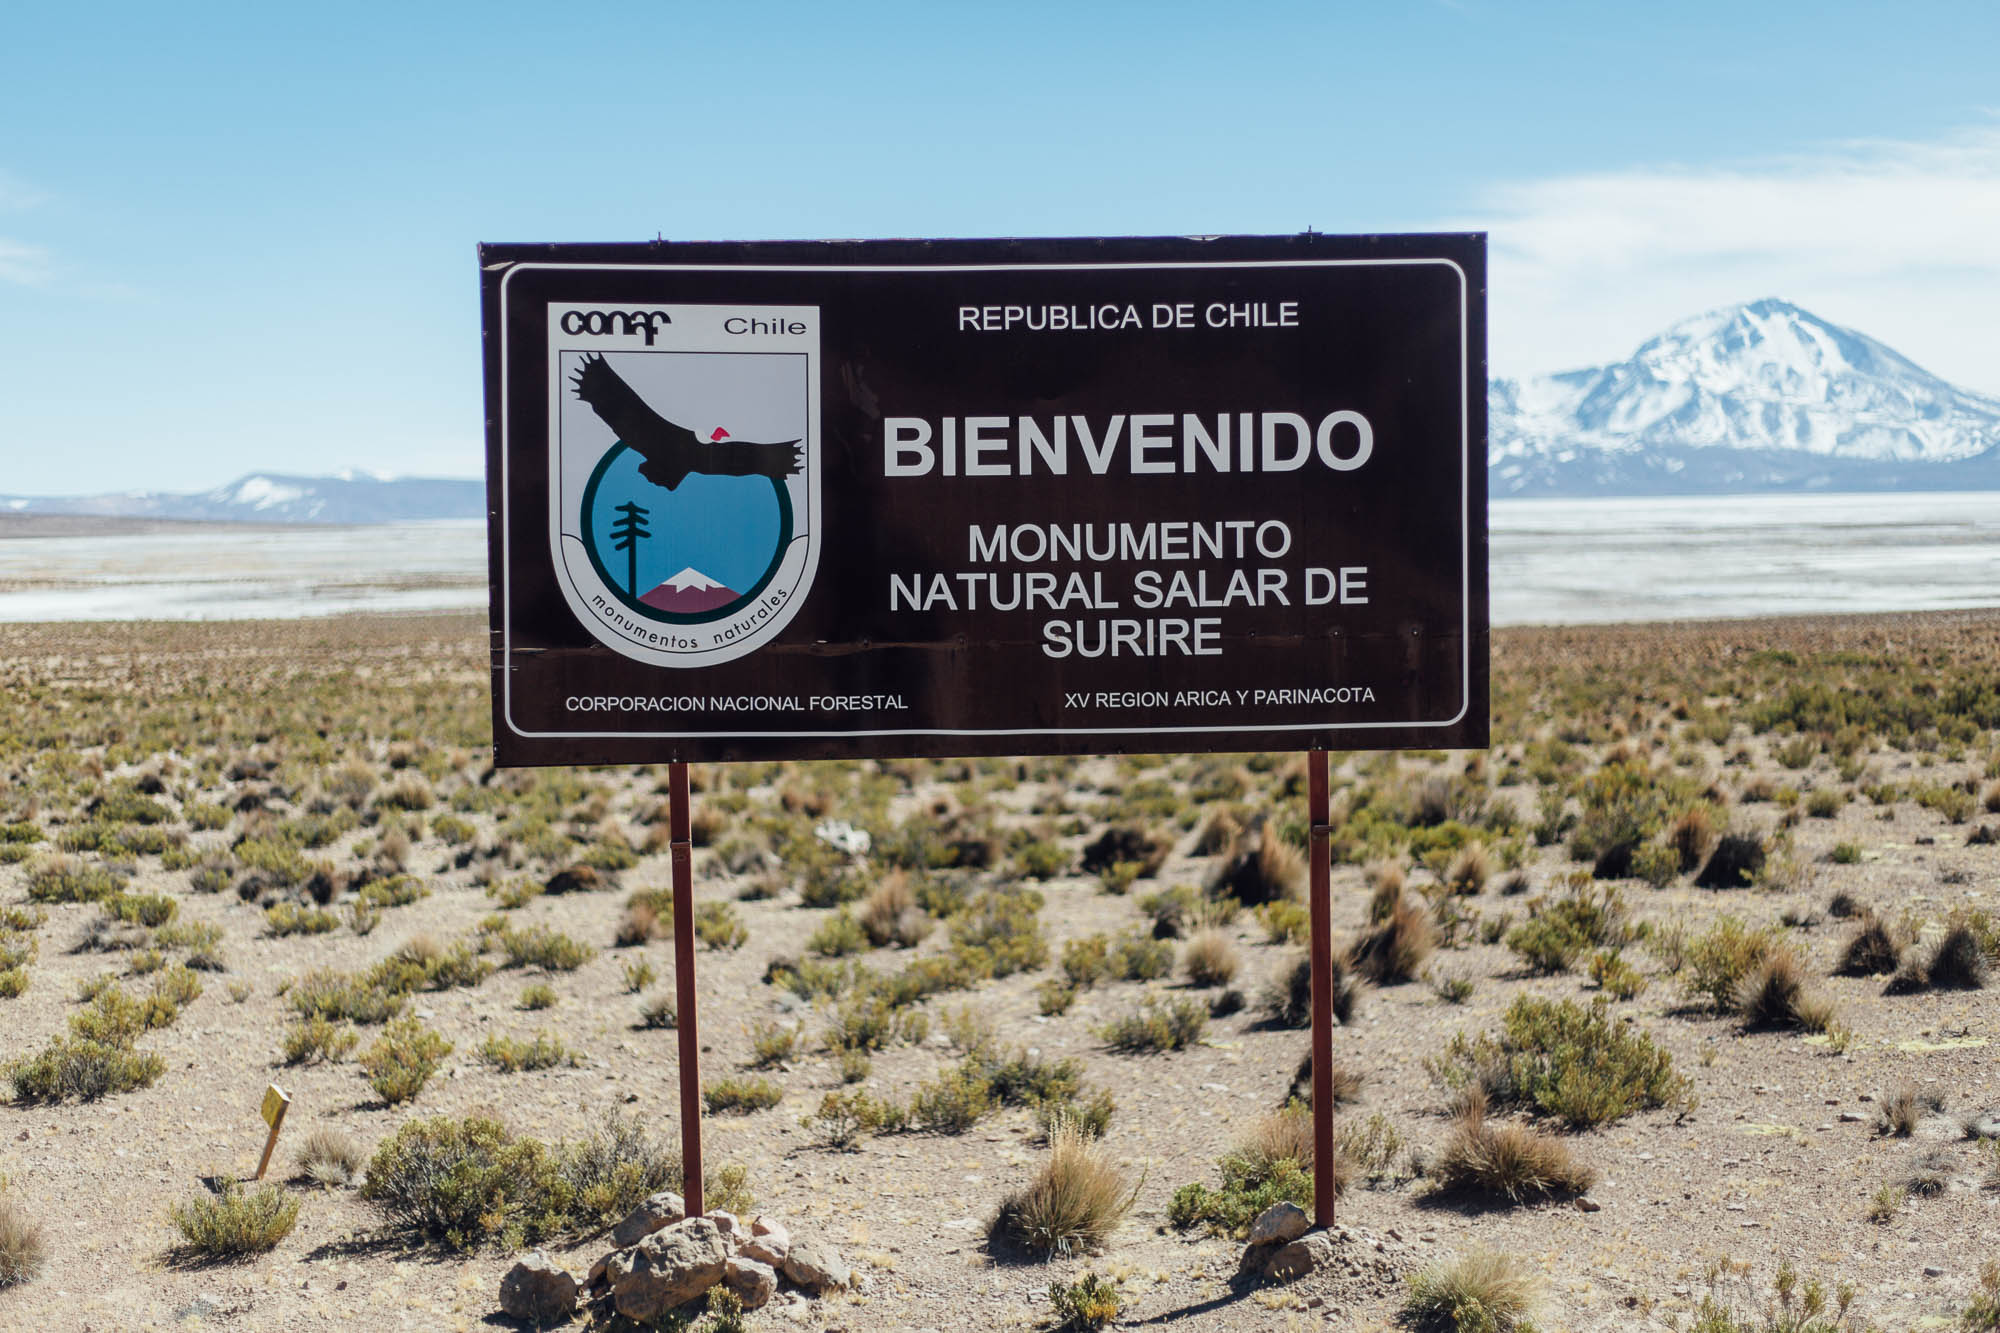
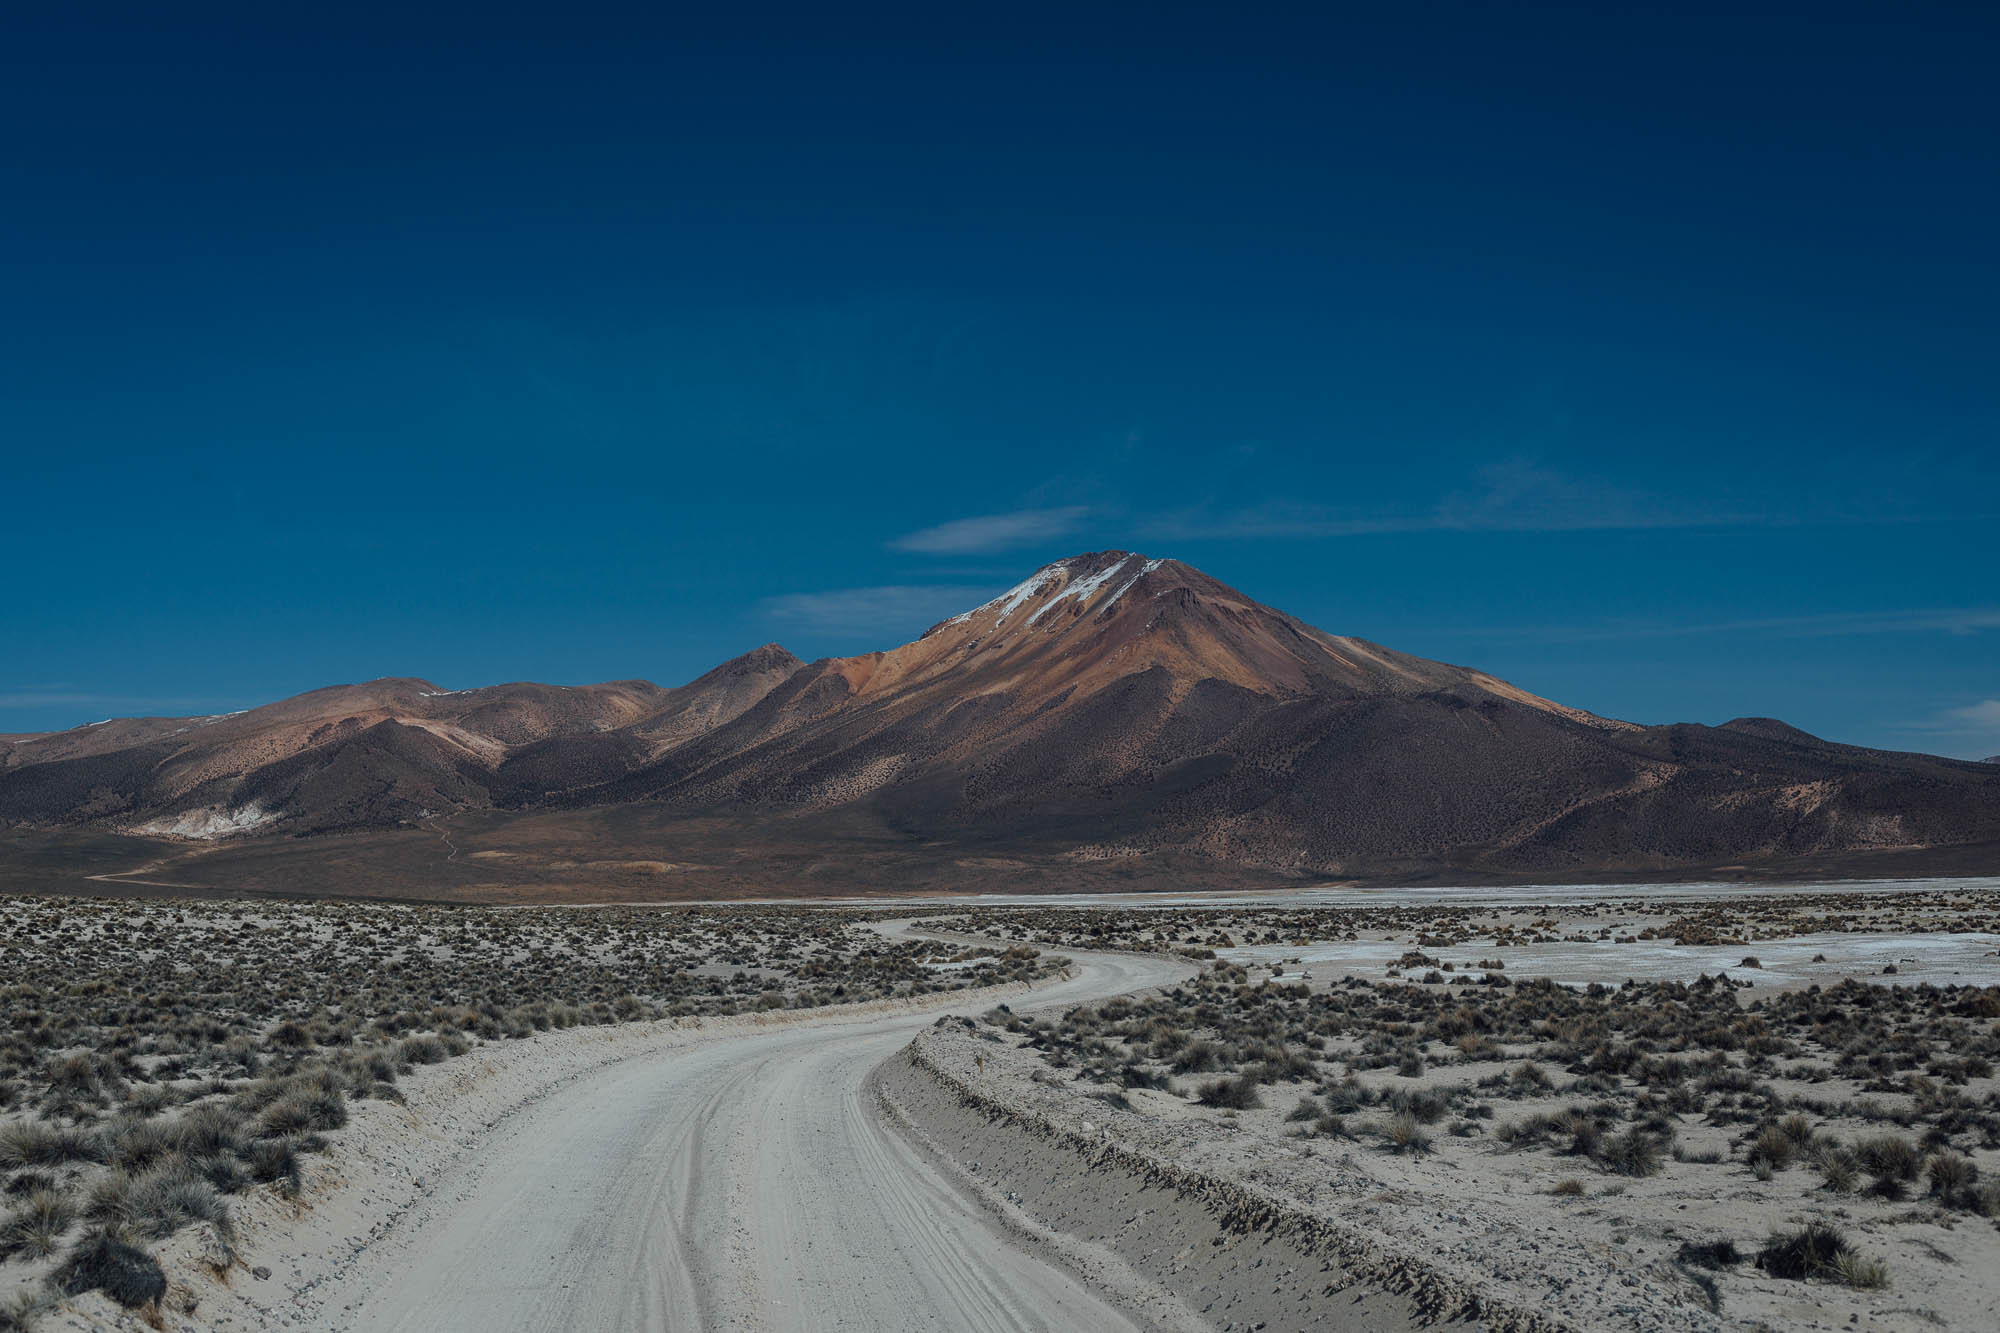
There’s some incredible exploration to be done on the Bolivian and Chilean Altiplano. If you’re prepared for the cold temperatures at night, the mixed road conditions, and the potential for high winds, then you can look forward to some of the most unique riding that South America has to offer – and the company of lots of llamas too! Keeping yourself well fed will make all the difference to enjoying your time there and staying healthy on the road. We’re currently putting together a long distance Andes Traverse route, which will cover several sections of classic Altiplano riding.

As always, follow the Leave no Trace principles in these delicate zones. For ideas on what to pack in your med kit, see our post here. And for a background to planning an international bikepacking trip, read our guide.
Please keep the conversation civil, constructive, and inclusive, or your comment will be removed.