


Budget Bikepacking Build-Off: Miles’ 1993 Univega Via Carisma


Next up in our Budget Bikepacking Build-Off series, which challenges our editors to assemble a bikepacking rig and camping kit for under $500, we share Miles’ 1993 Univega Via Carisma. Find details on his bike and photos from a stunning overnighter on British Columbia’s Sunshine Coast with insight into his money-saving strategy that prospective bikepackers might appreciate here…
PUBLISHED Sep 19, 2024
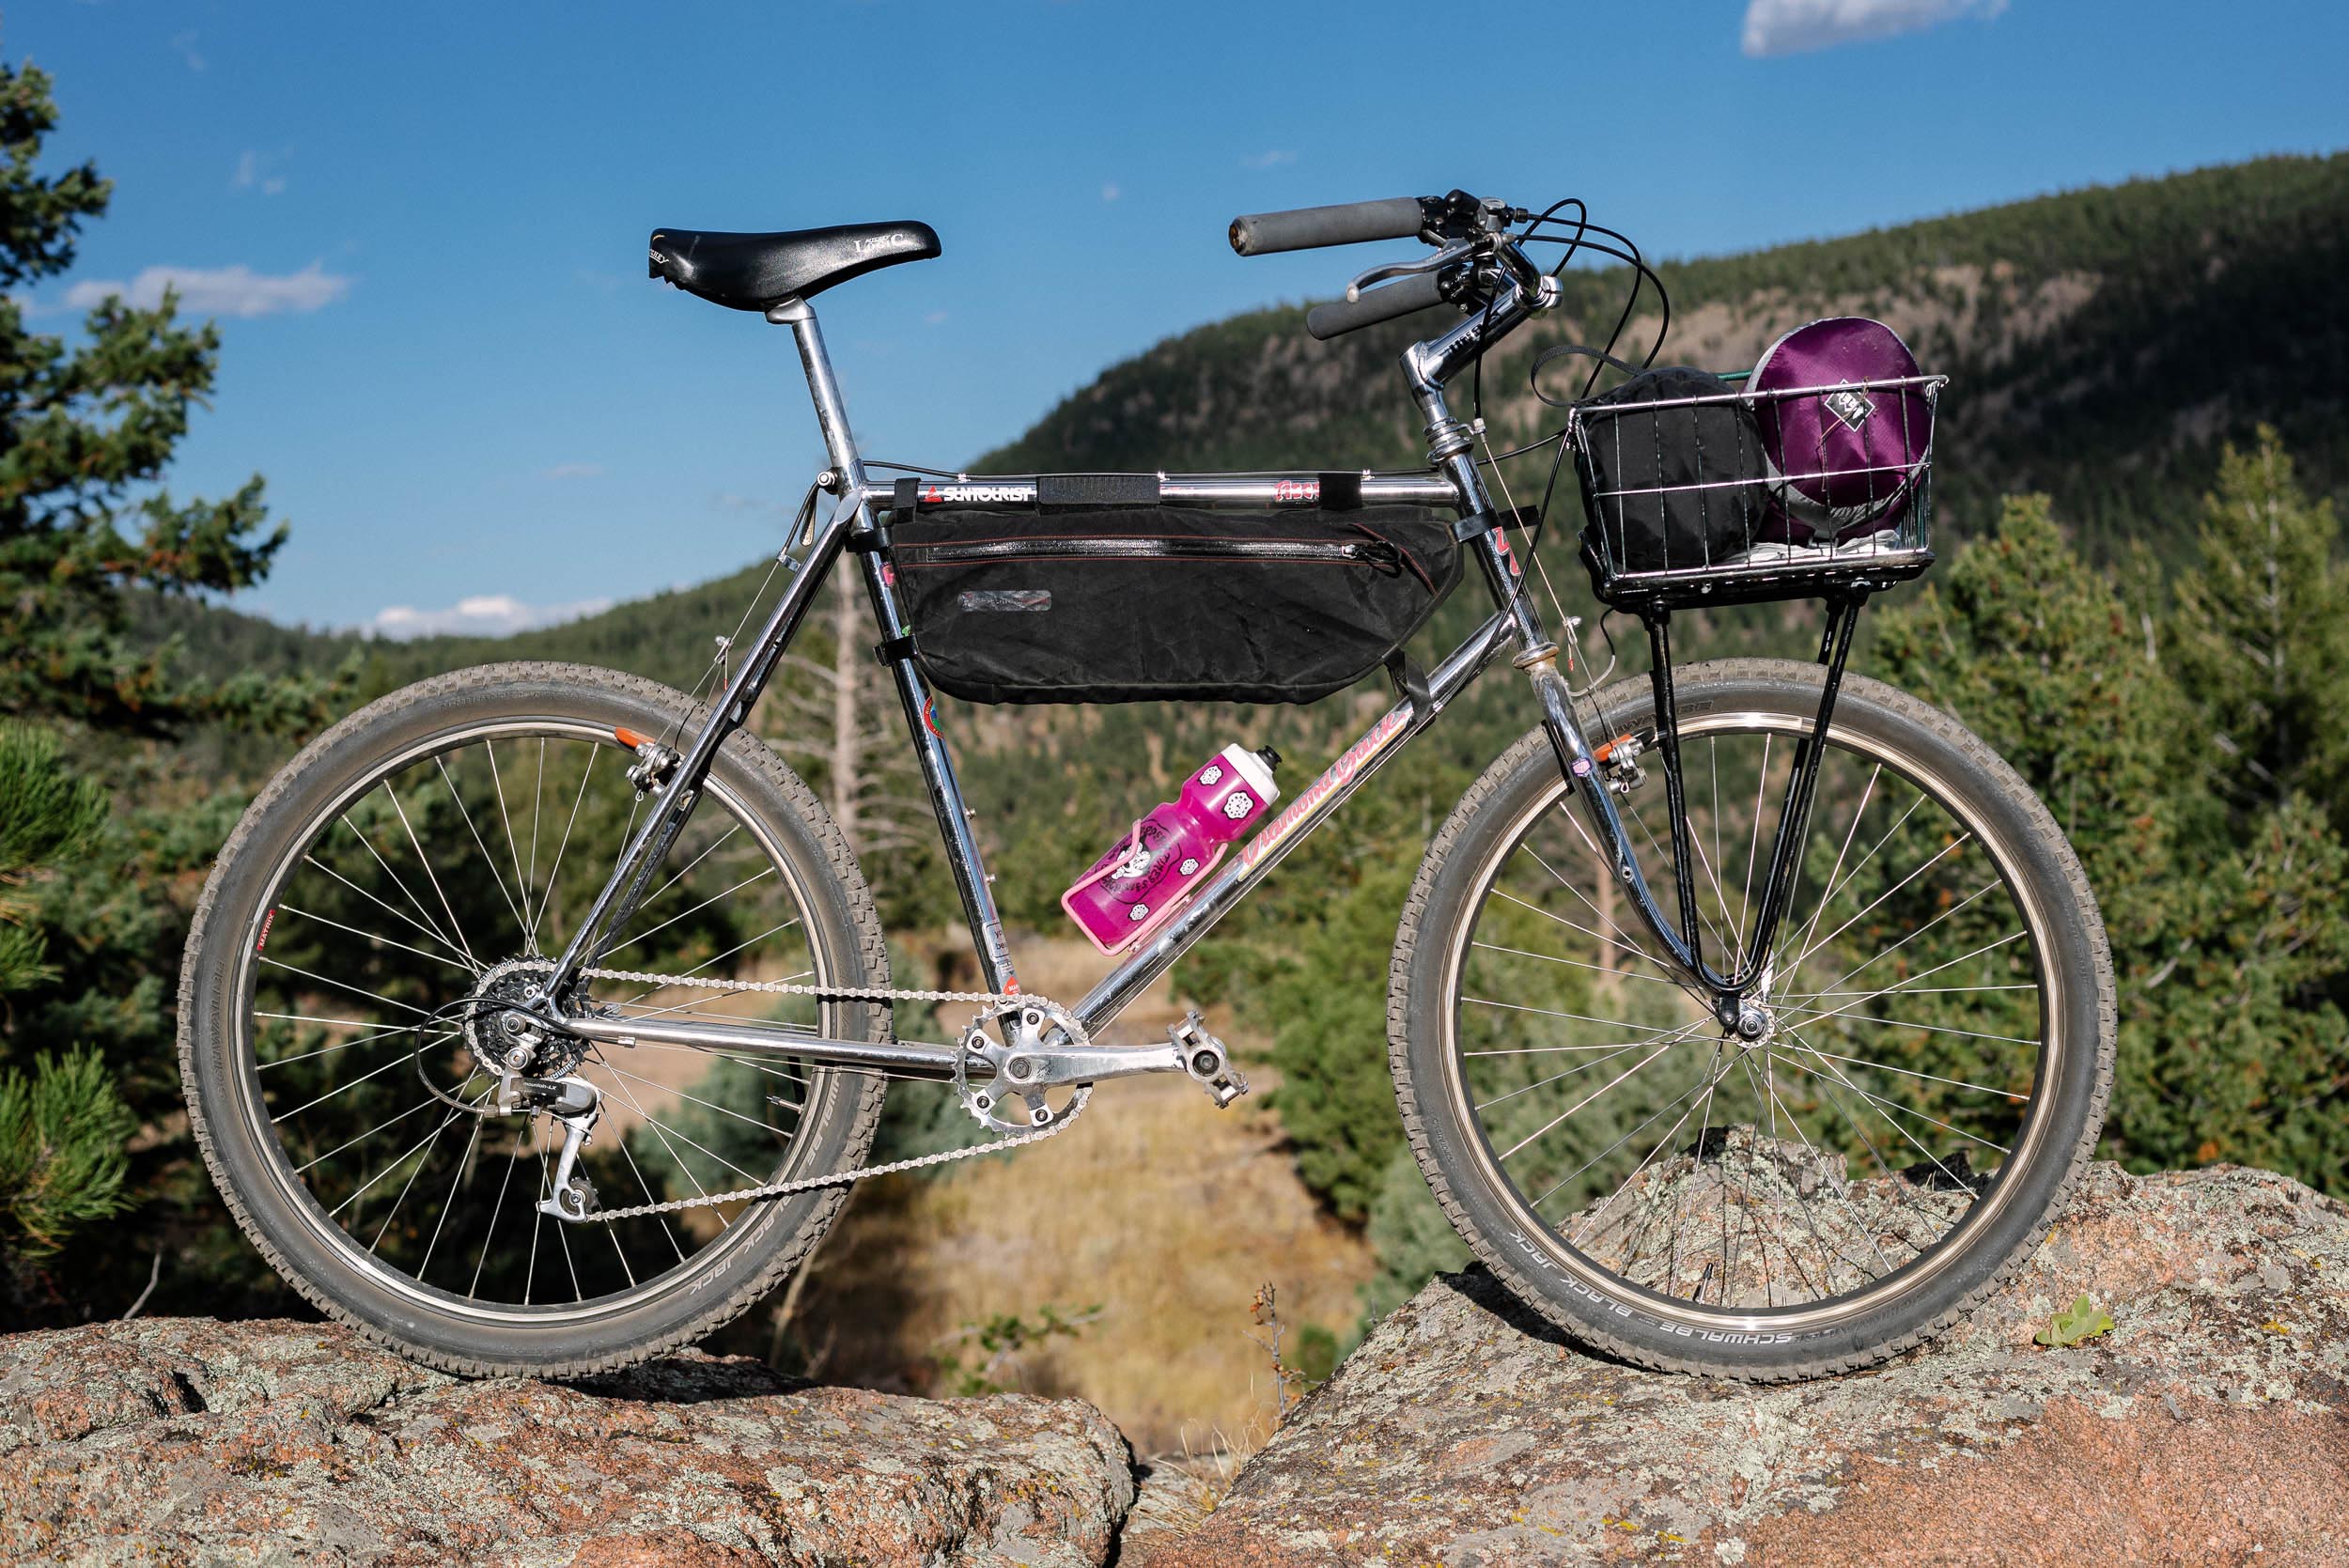
Last fall, Lucas pulled back the curtain on our Budget Bikepacking Build-Off series with a stunning 1986 Diamondback Ascent basketpacker. With nearly 100 comments so far, it’s clear that our readers appreciate a series dedicated to lowering bikepacking’s barriers to entry. The challenge is this: piece together a bikepacking bike and camping kit with a strict $500 budget, and then go test it on an overnighter. After the whole BIKEPACKING.com team has presented their rigs, our Bikepacking Collective members will help us choose the winning rig.
Budget Bikepacking Build-Off Rules
- Spend no more than $500 on your bike, bags, and camping gear.
- No freebies or components from your parts bin.
- No pro deals. Pay full asking price for new and used gear.
- Buy local whenever possible.
- Take the finished build out for an overnighter as a real-world test.
Lucas landed on his Diamondback Ascent after digging through a nearly endless supply of used mountain bikes available in the Boulder/Denver area. He added gears, a rack, a Wald basket, new tires, and even upgraded the grips. His budget bikepacking build results from living in a city, and while I love living in a small town, the used bike/gear market isn’t as hardy. Living in the qathet Regional District on British Columbia’s Sunshine Coast means fewer quality used items on Facebook Marketplace, and for the longest time, I was intimidated by this challenge. To paint a picture, no roads lead to the town I live in. It’s a ferry ride in and out, a few hours of driving, and another ferry ride to Vancouver. I gave up on building a cool vintage mountain bike and set my sights on what I had to work with locally. As it happens, this strategy was more ethical, environmentally friendly, and potentially more realistic for beginner bikepackers—a strategy that influenced more than just the bike build itself.
Don’t Knock a Hybrid
The used bike market in the qathet Regional District exists but is limited. A quick search on Facebook Marketplace uncovers a number of kids bikes, some smaller adult bikes, and a revolving door of $3,000+ full-suspension mountain bikes. I took rule #4 to heart and decided I’d find a bike locally, even if it wasn’t an Instagram-worthy vintage Rockhopper with chunky tires.
My first stop was the town’s local bike refurbisher, Andrew Evans, who fixes up used bikes and sells them at reasonable prices. Two years ago, Andrew was the one who sold me my Klunk ‘n’ Float rig, a 1984 Kuwahara Shasta. At 6’1″ tall with a 33″ inseam, I require a large, or ideally extra-large, frame, and I wanted clearance for at least 45mm tires. Andrew had nothing, but during my visit, we started discussing the infinitely undervalued world of hybrids. While old steel mountain bikes are sold for top dollar, their slightly skinnier-tired relatives have gone pretty much unnoticed. For commuting, gravel riding, and light-duty bikepacking, hybrids have everything you need for a fraction of the cost. There’s a reason why I sold more Dual Sports than any other bike model during my time slinging bikes at Trek.
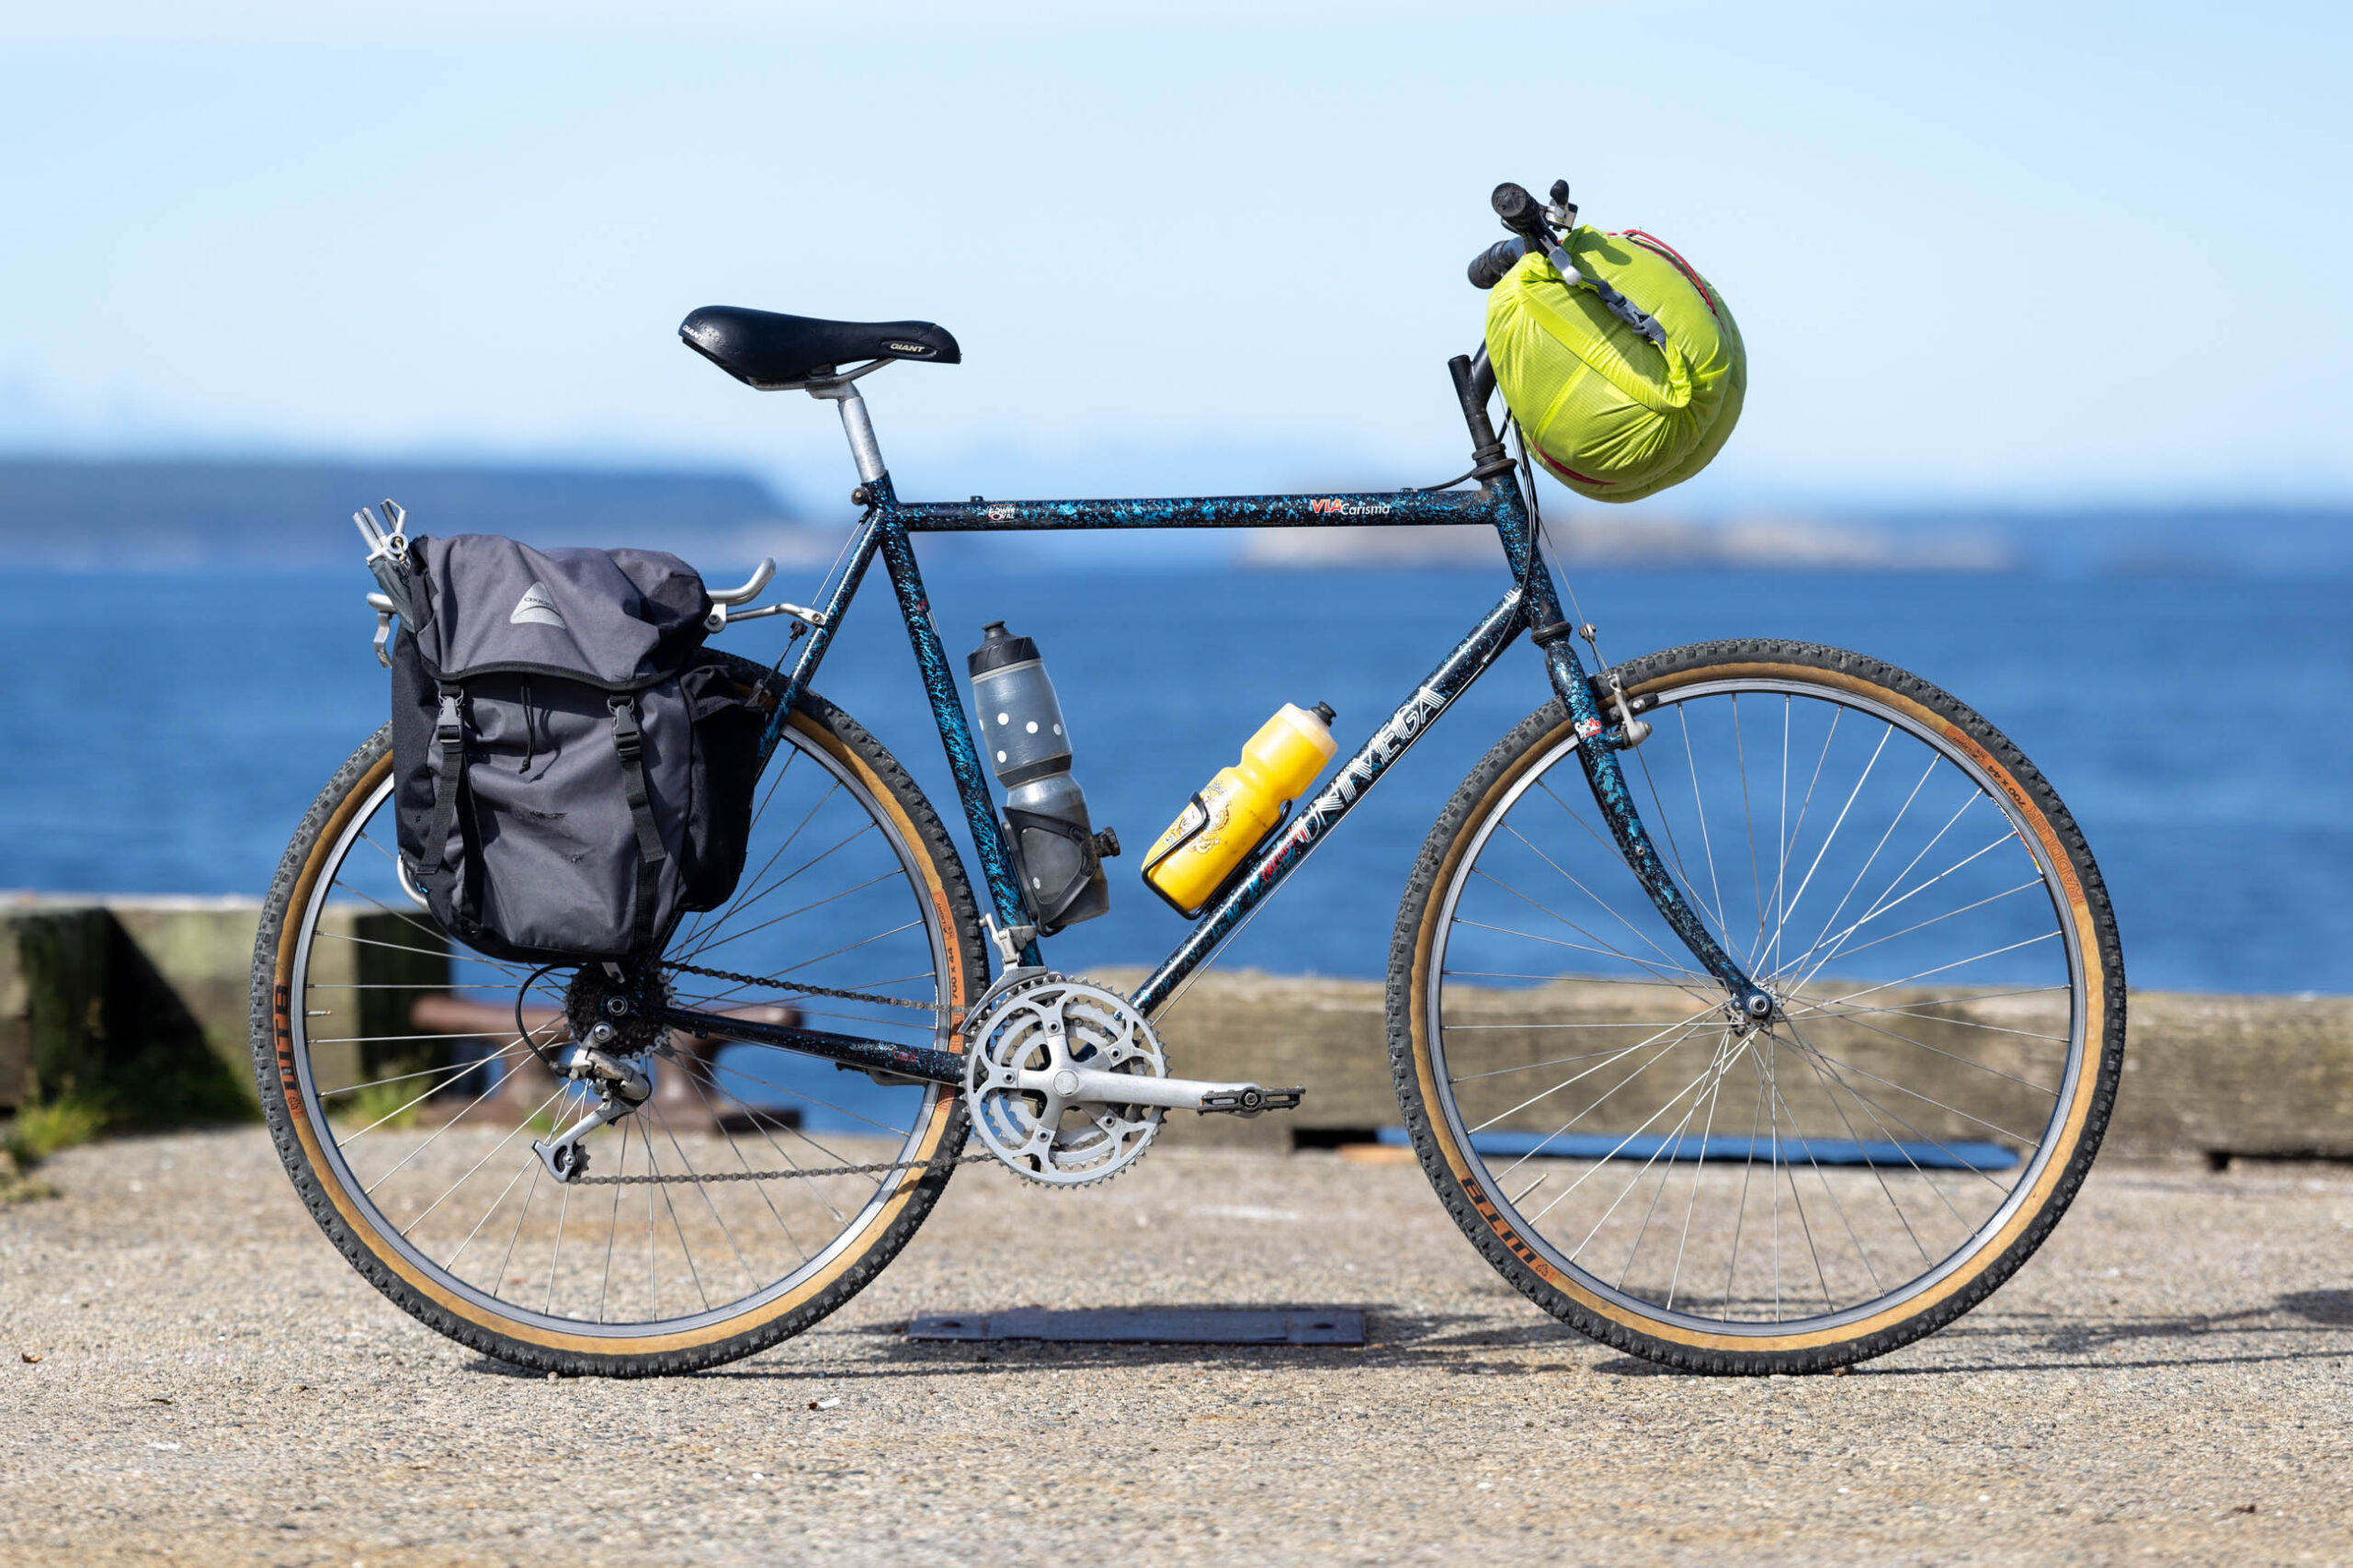
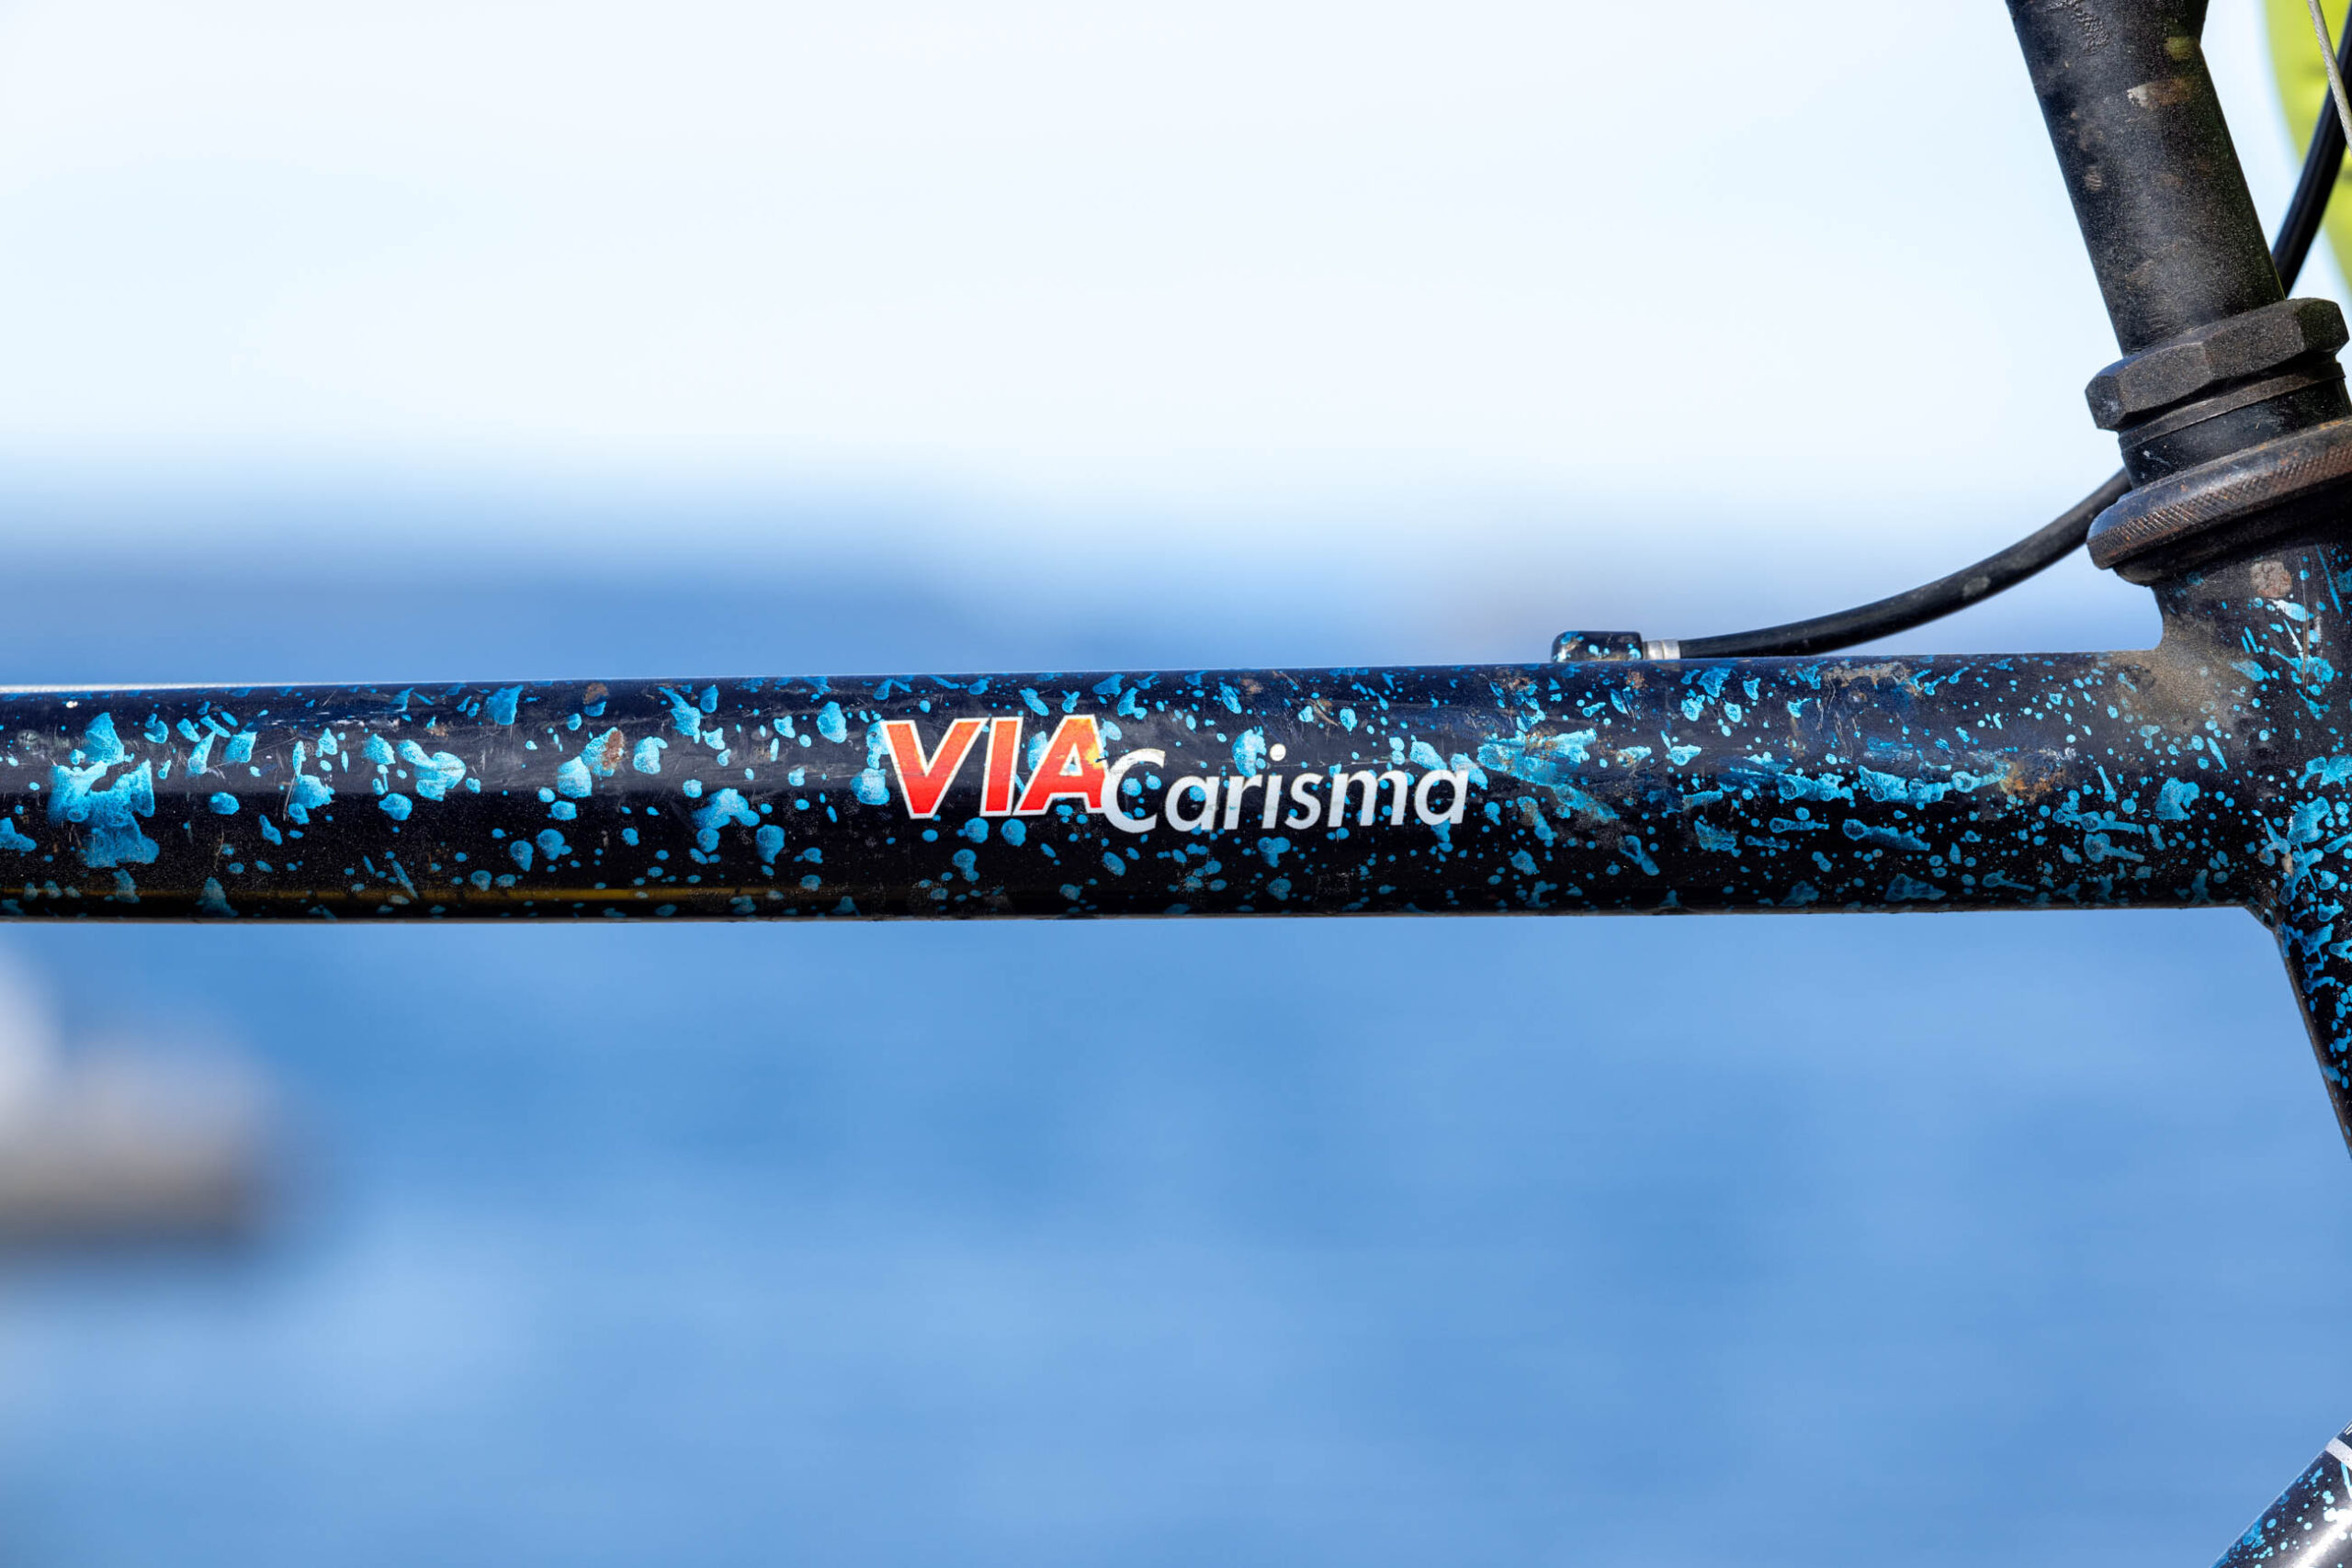
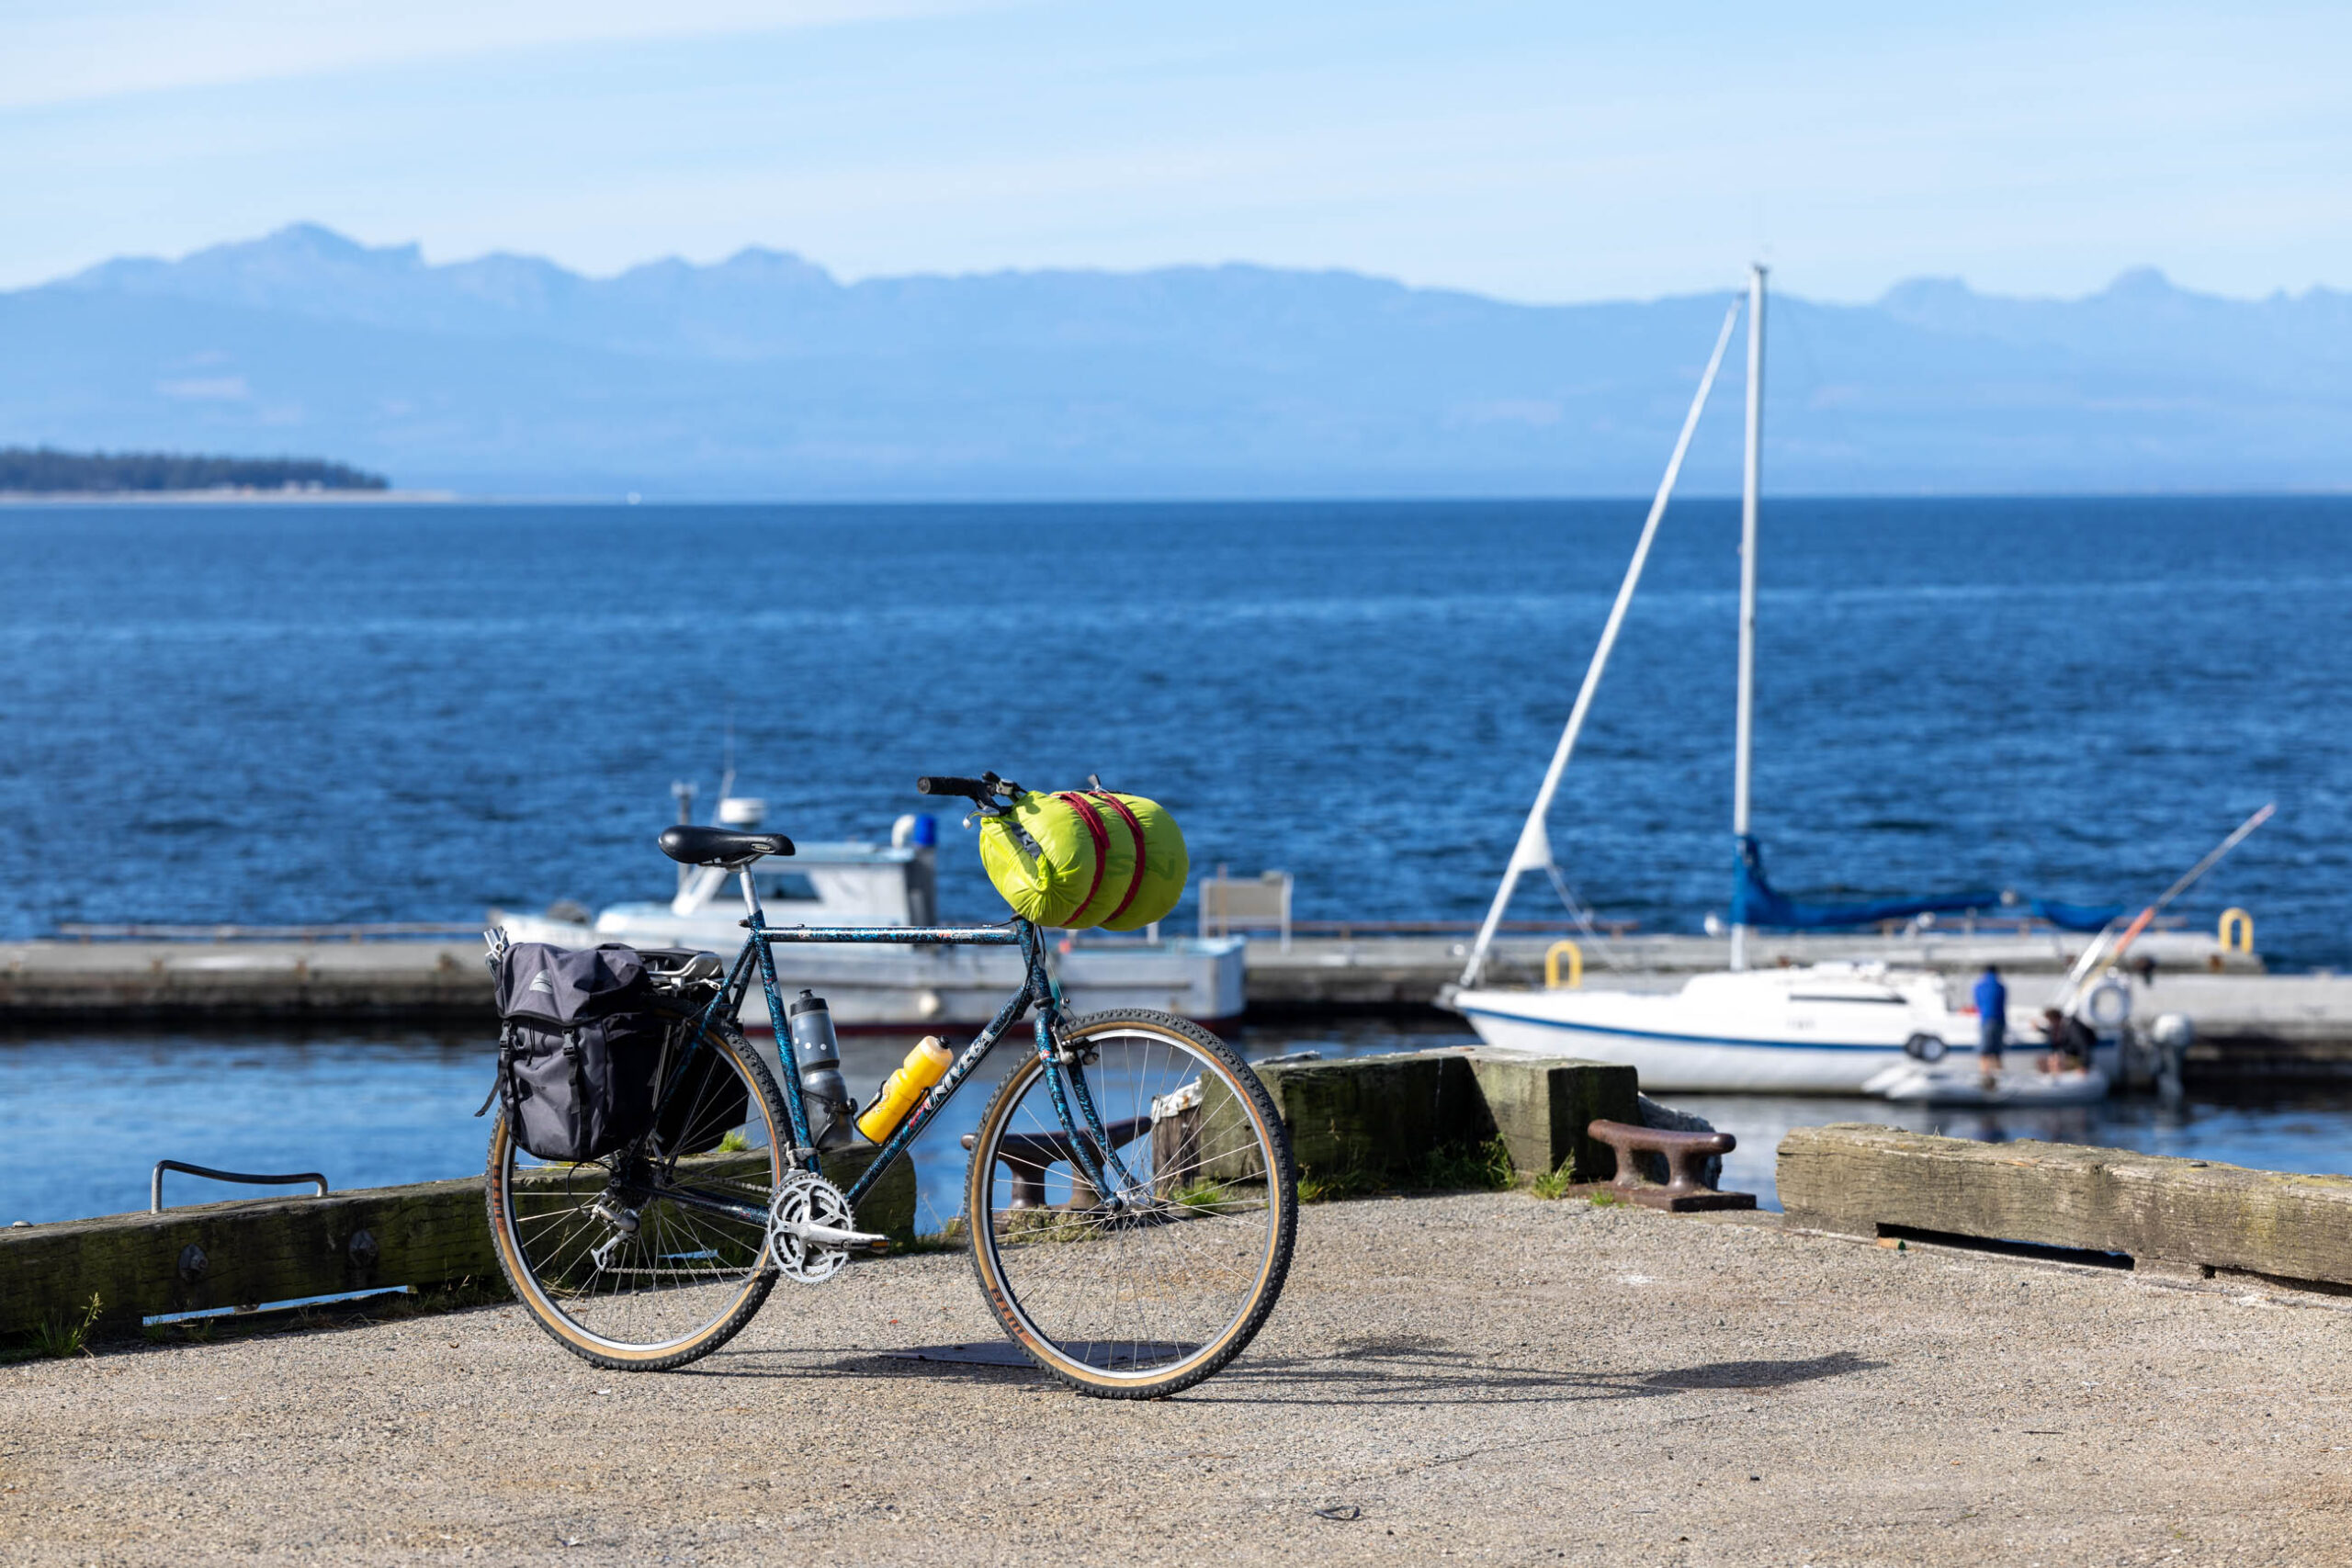
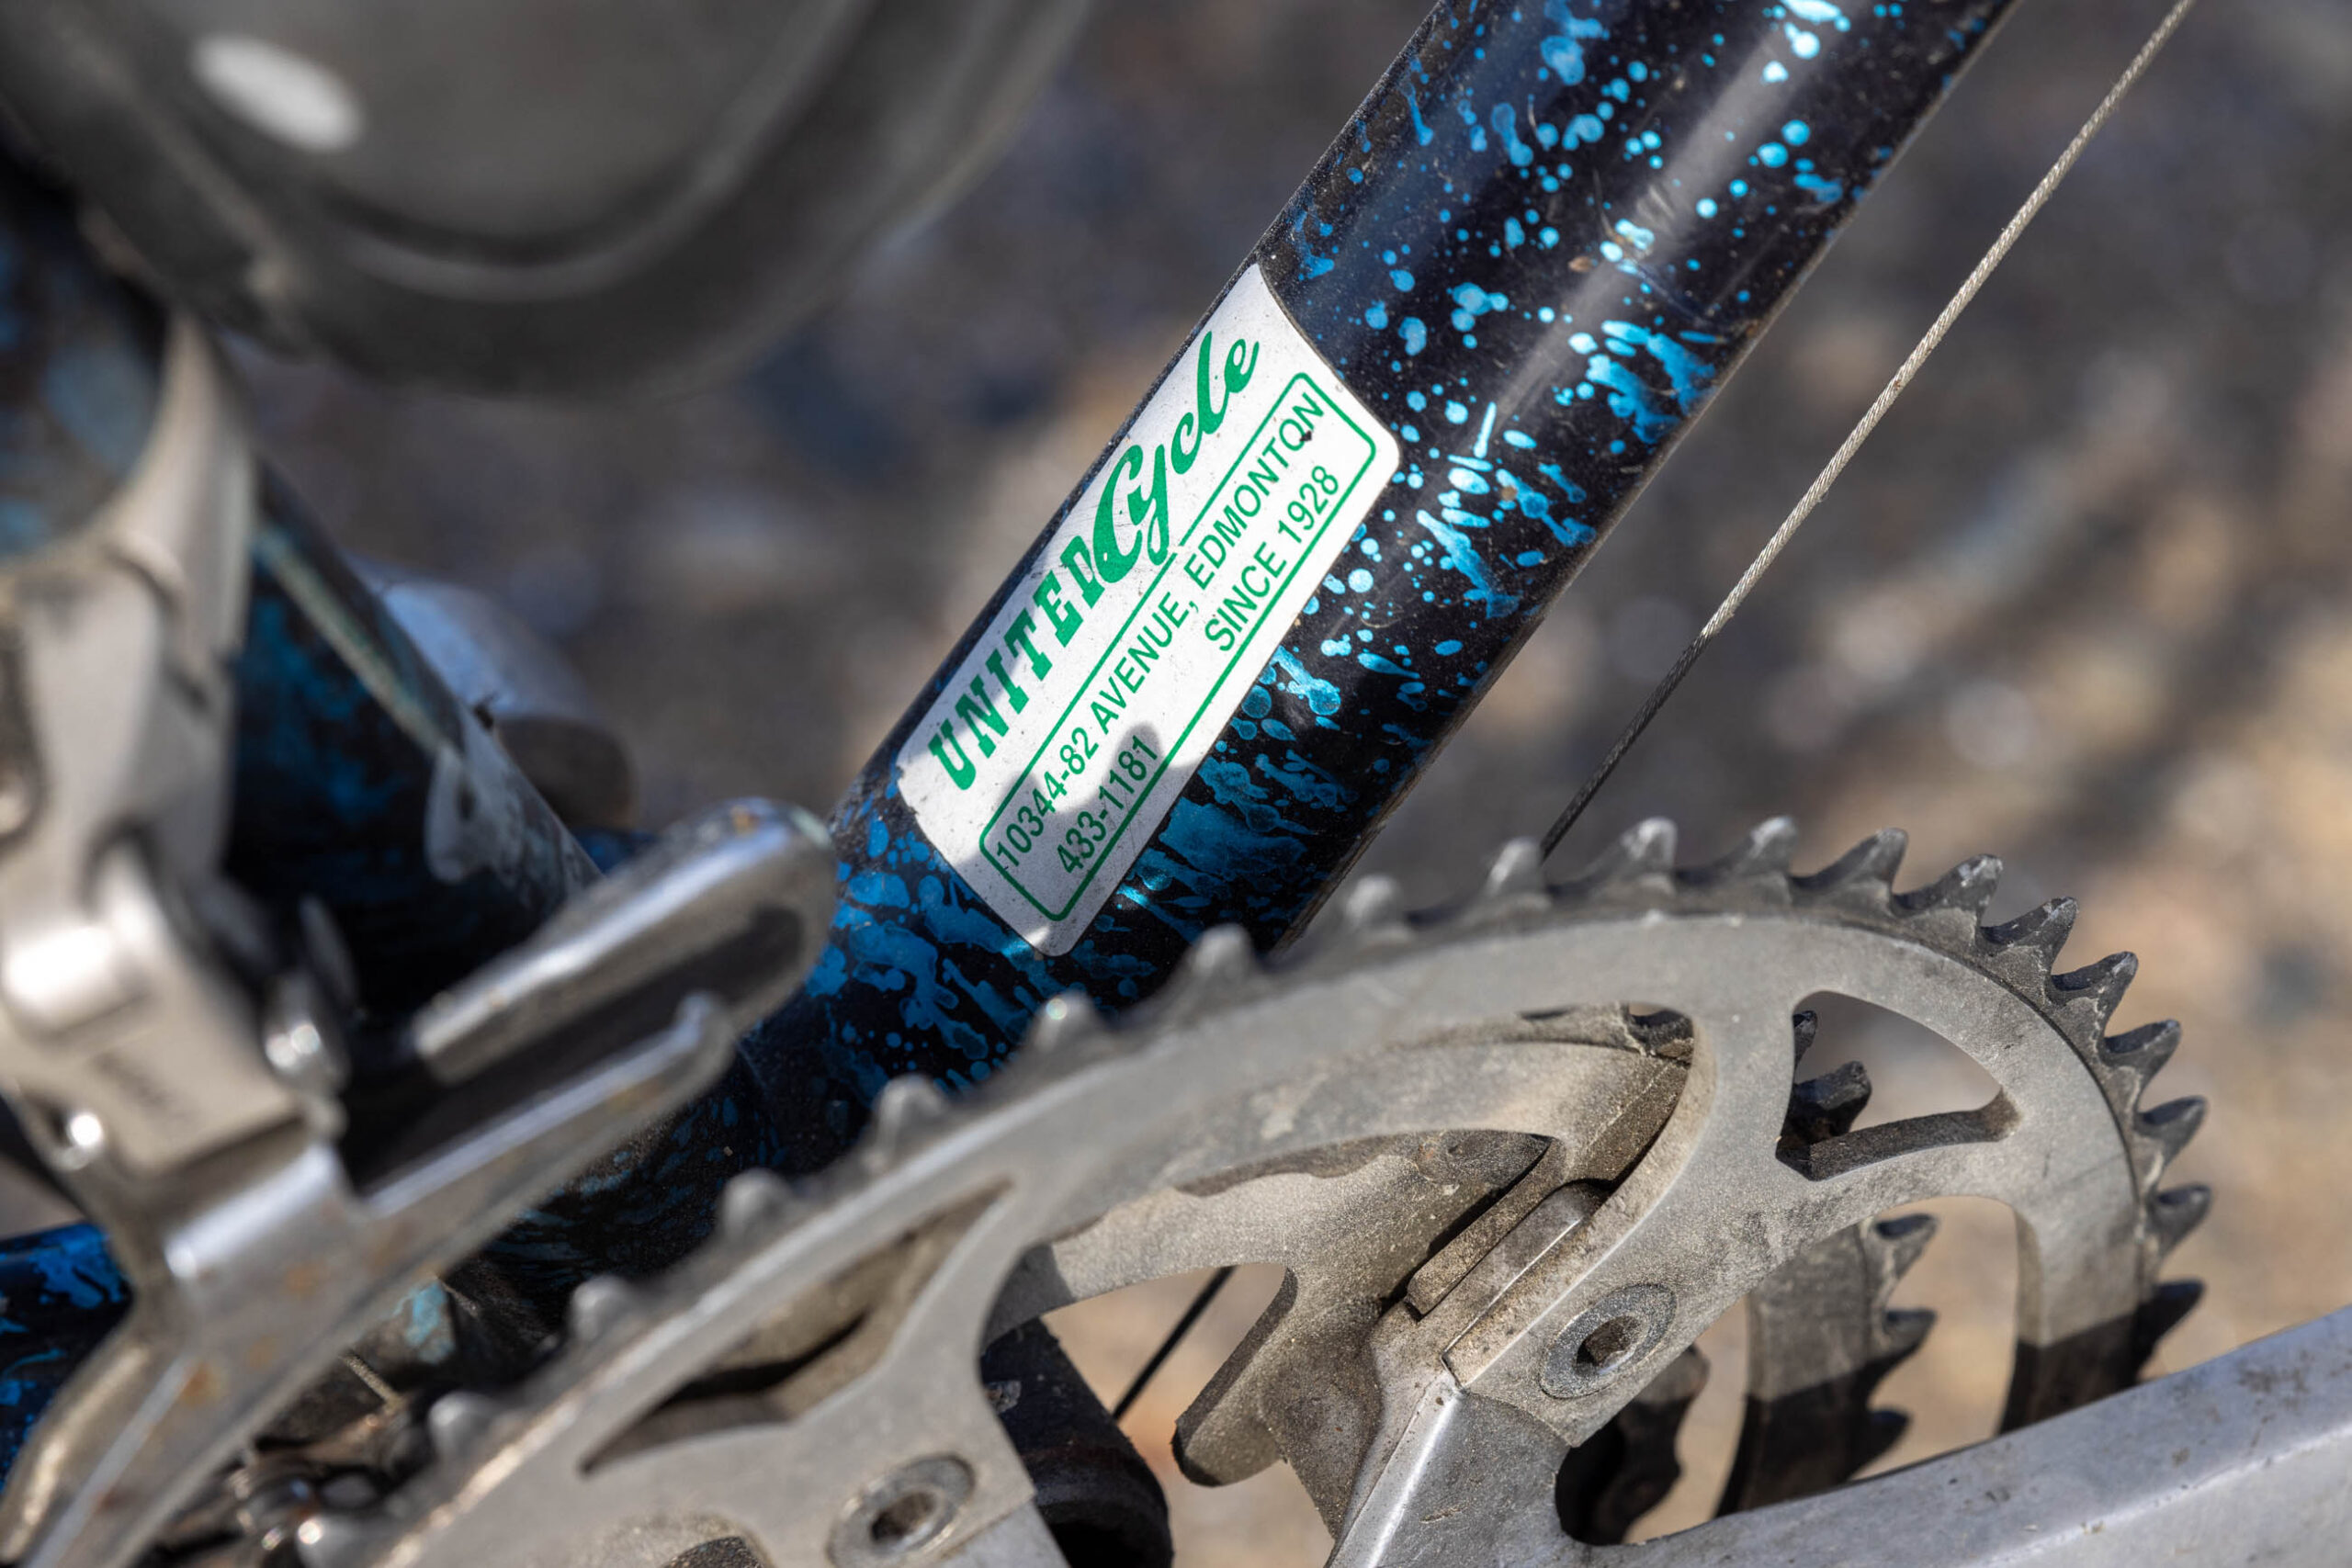
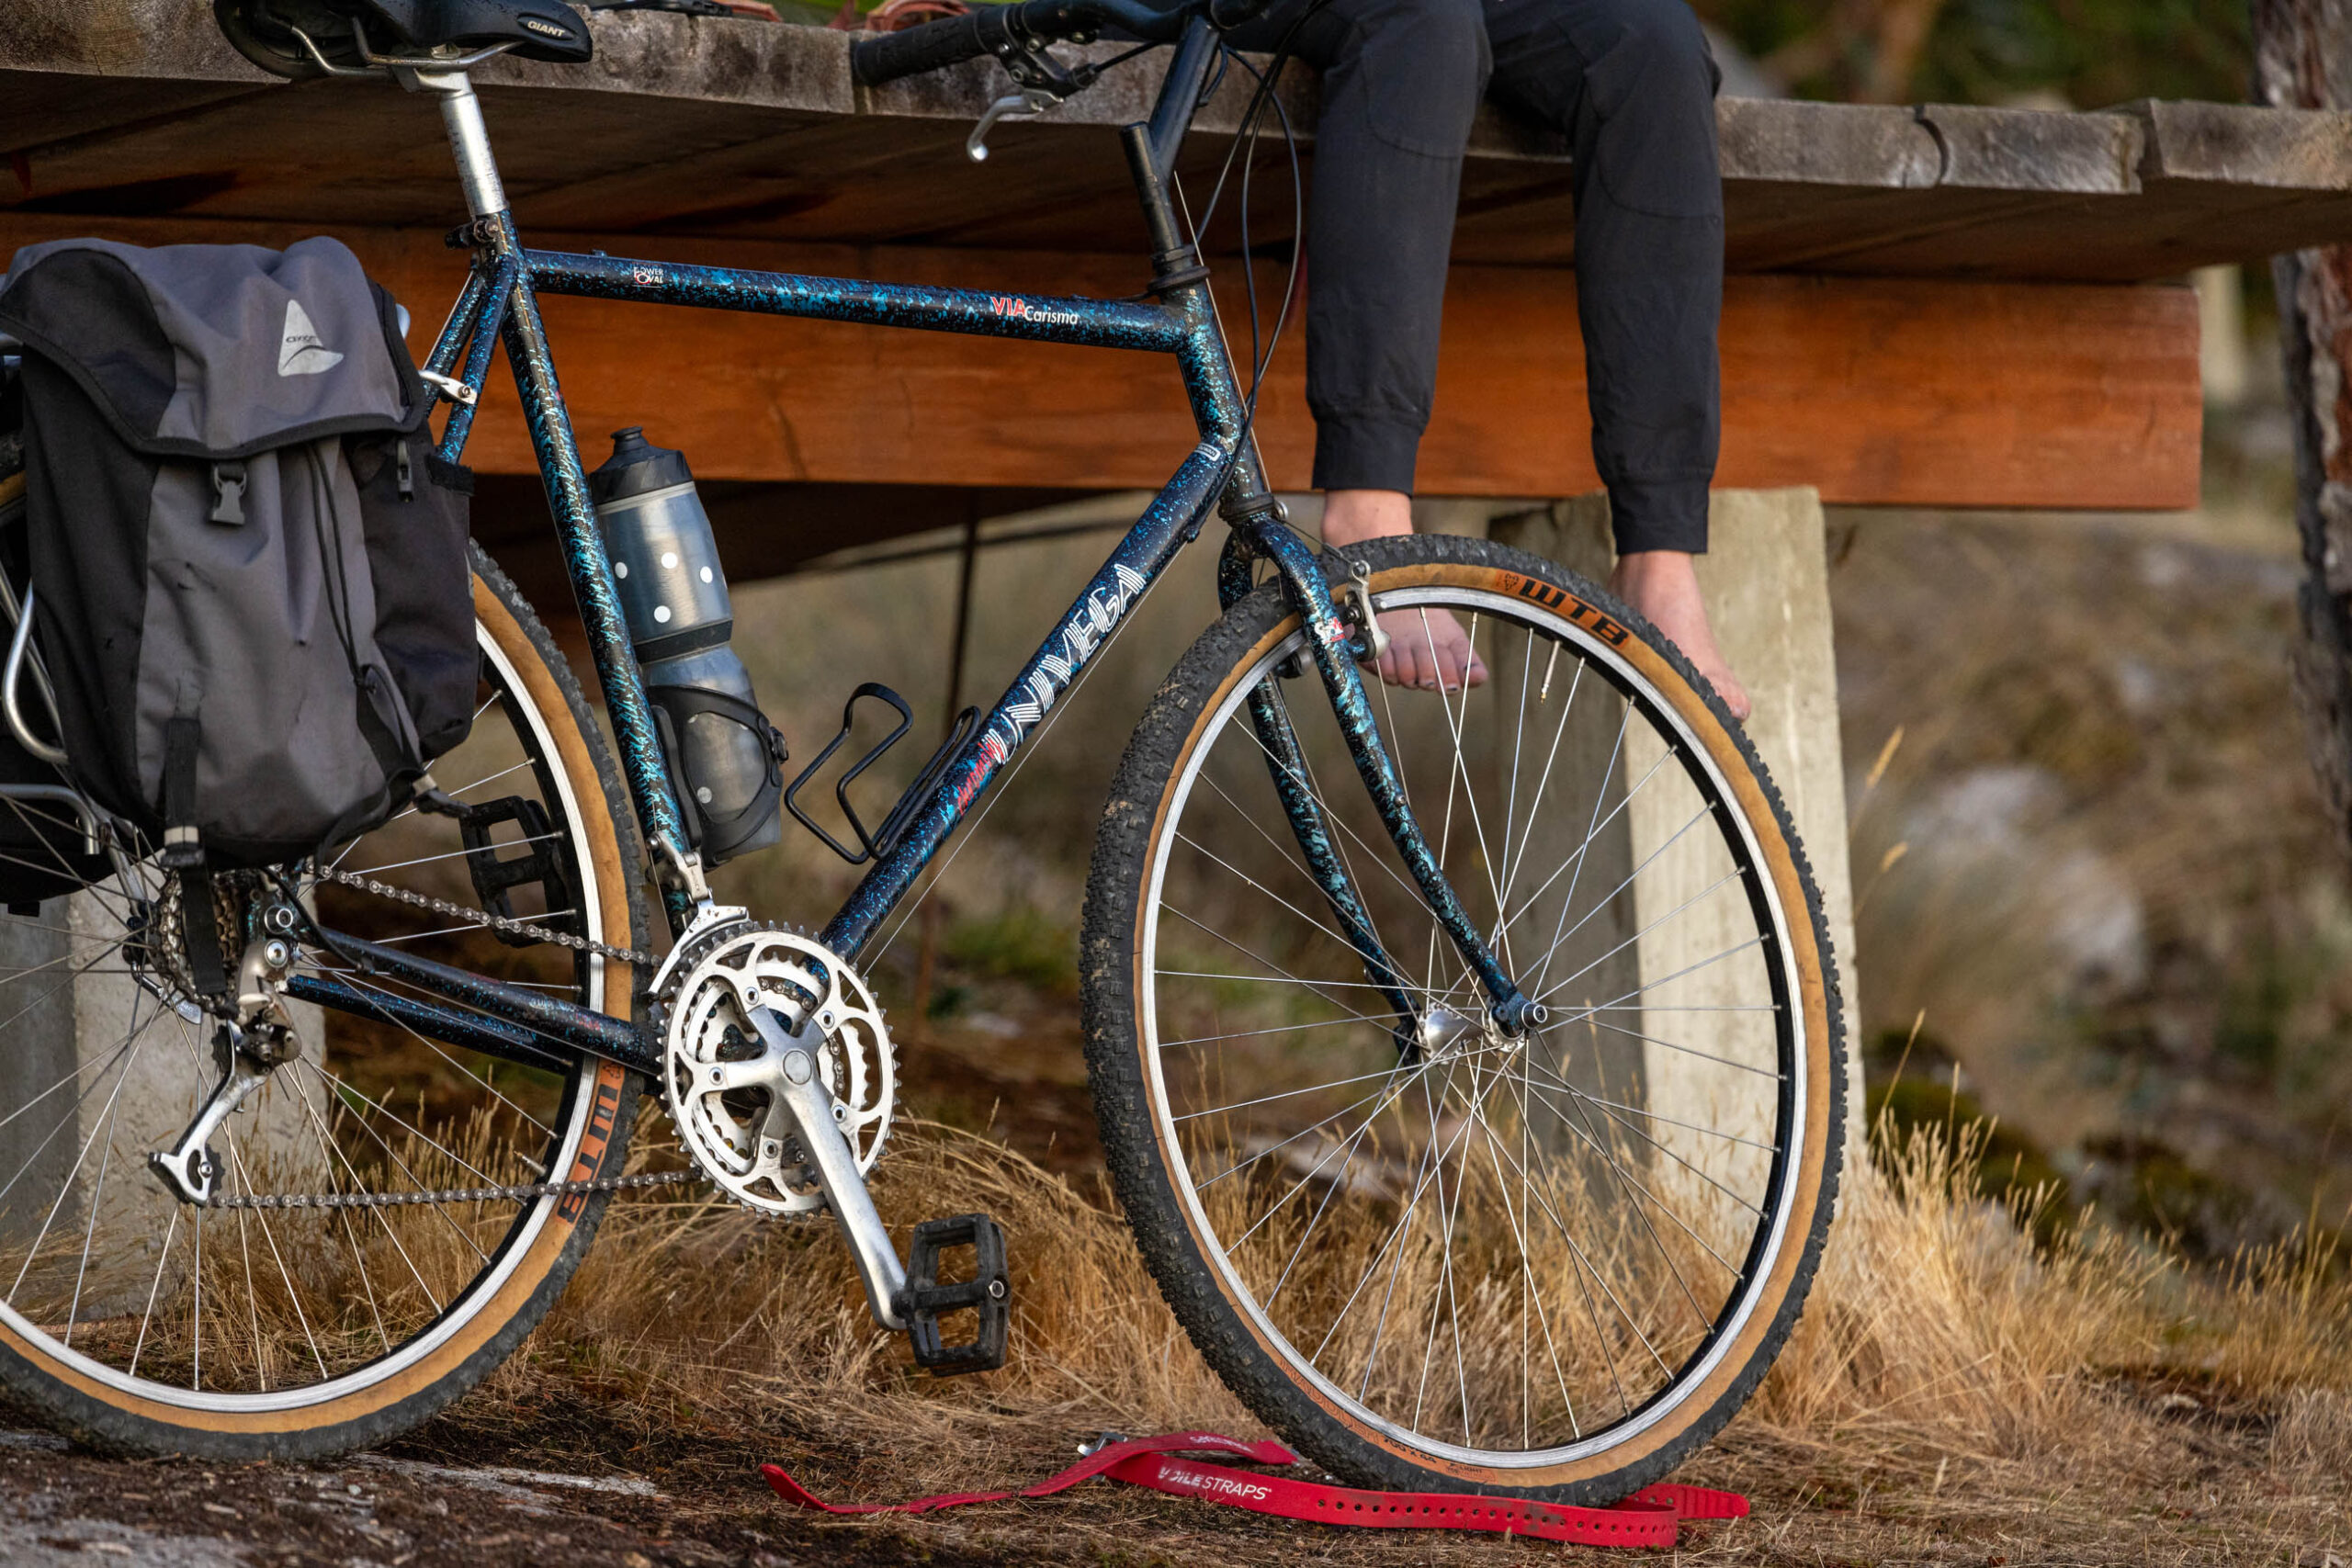
Despite being widely available on Vancouver Island, the local bike market turned up nothing, and I was almost at the point of giving up when Andrew called. He remembered an extra-large Univega with an unmistakably 90s paint job in town that likely wasn’t being used, and he knew the owner. We ended up visiting Rod, who coincidentally lives just down the road from me, and I walked away with a 1993 Univega Via Carisma in great shape for a mere $75, rear rack and panniers included.


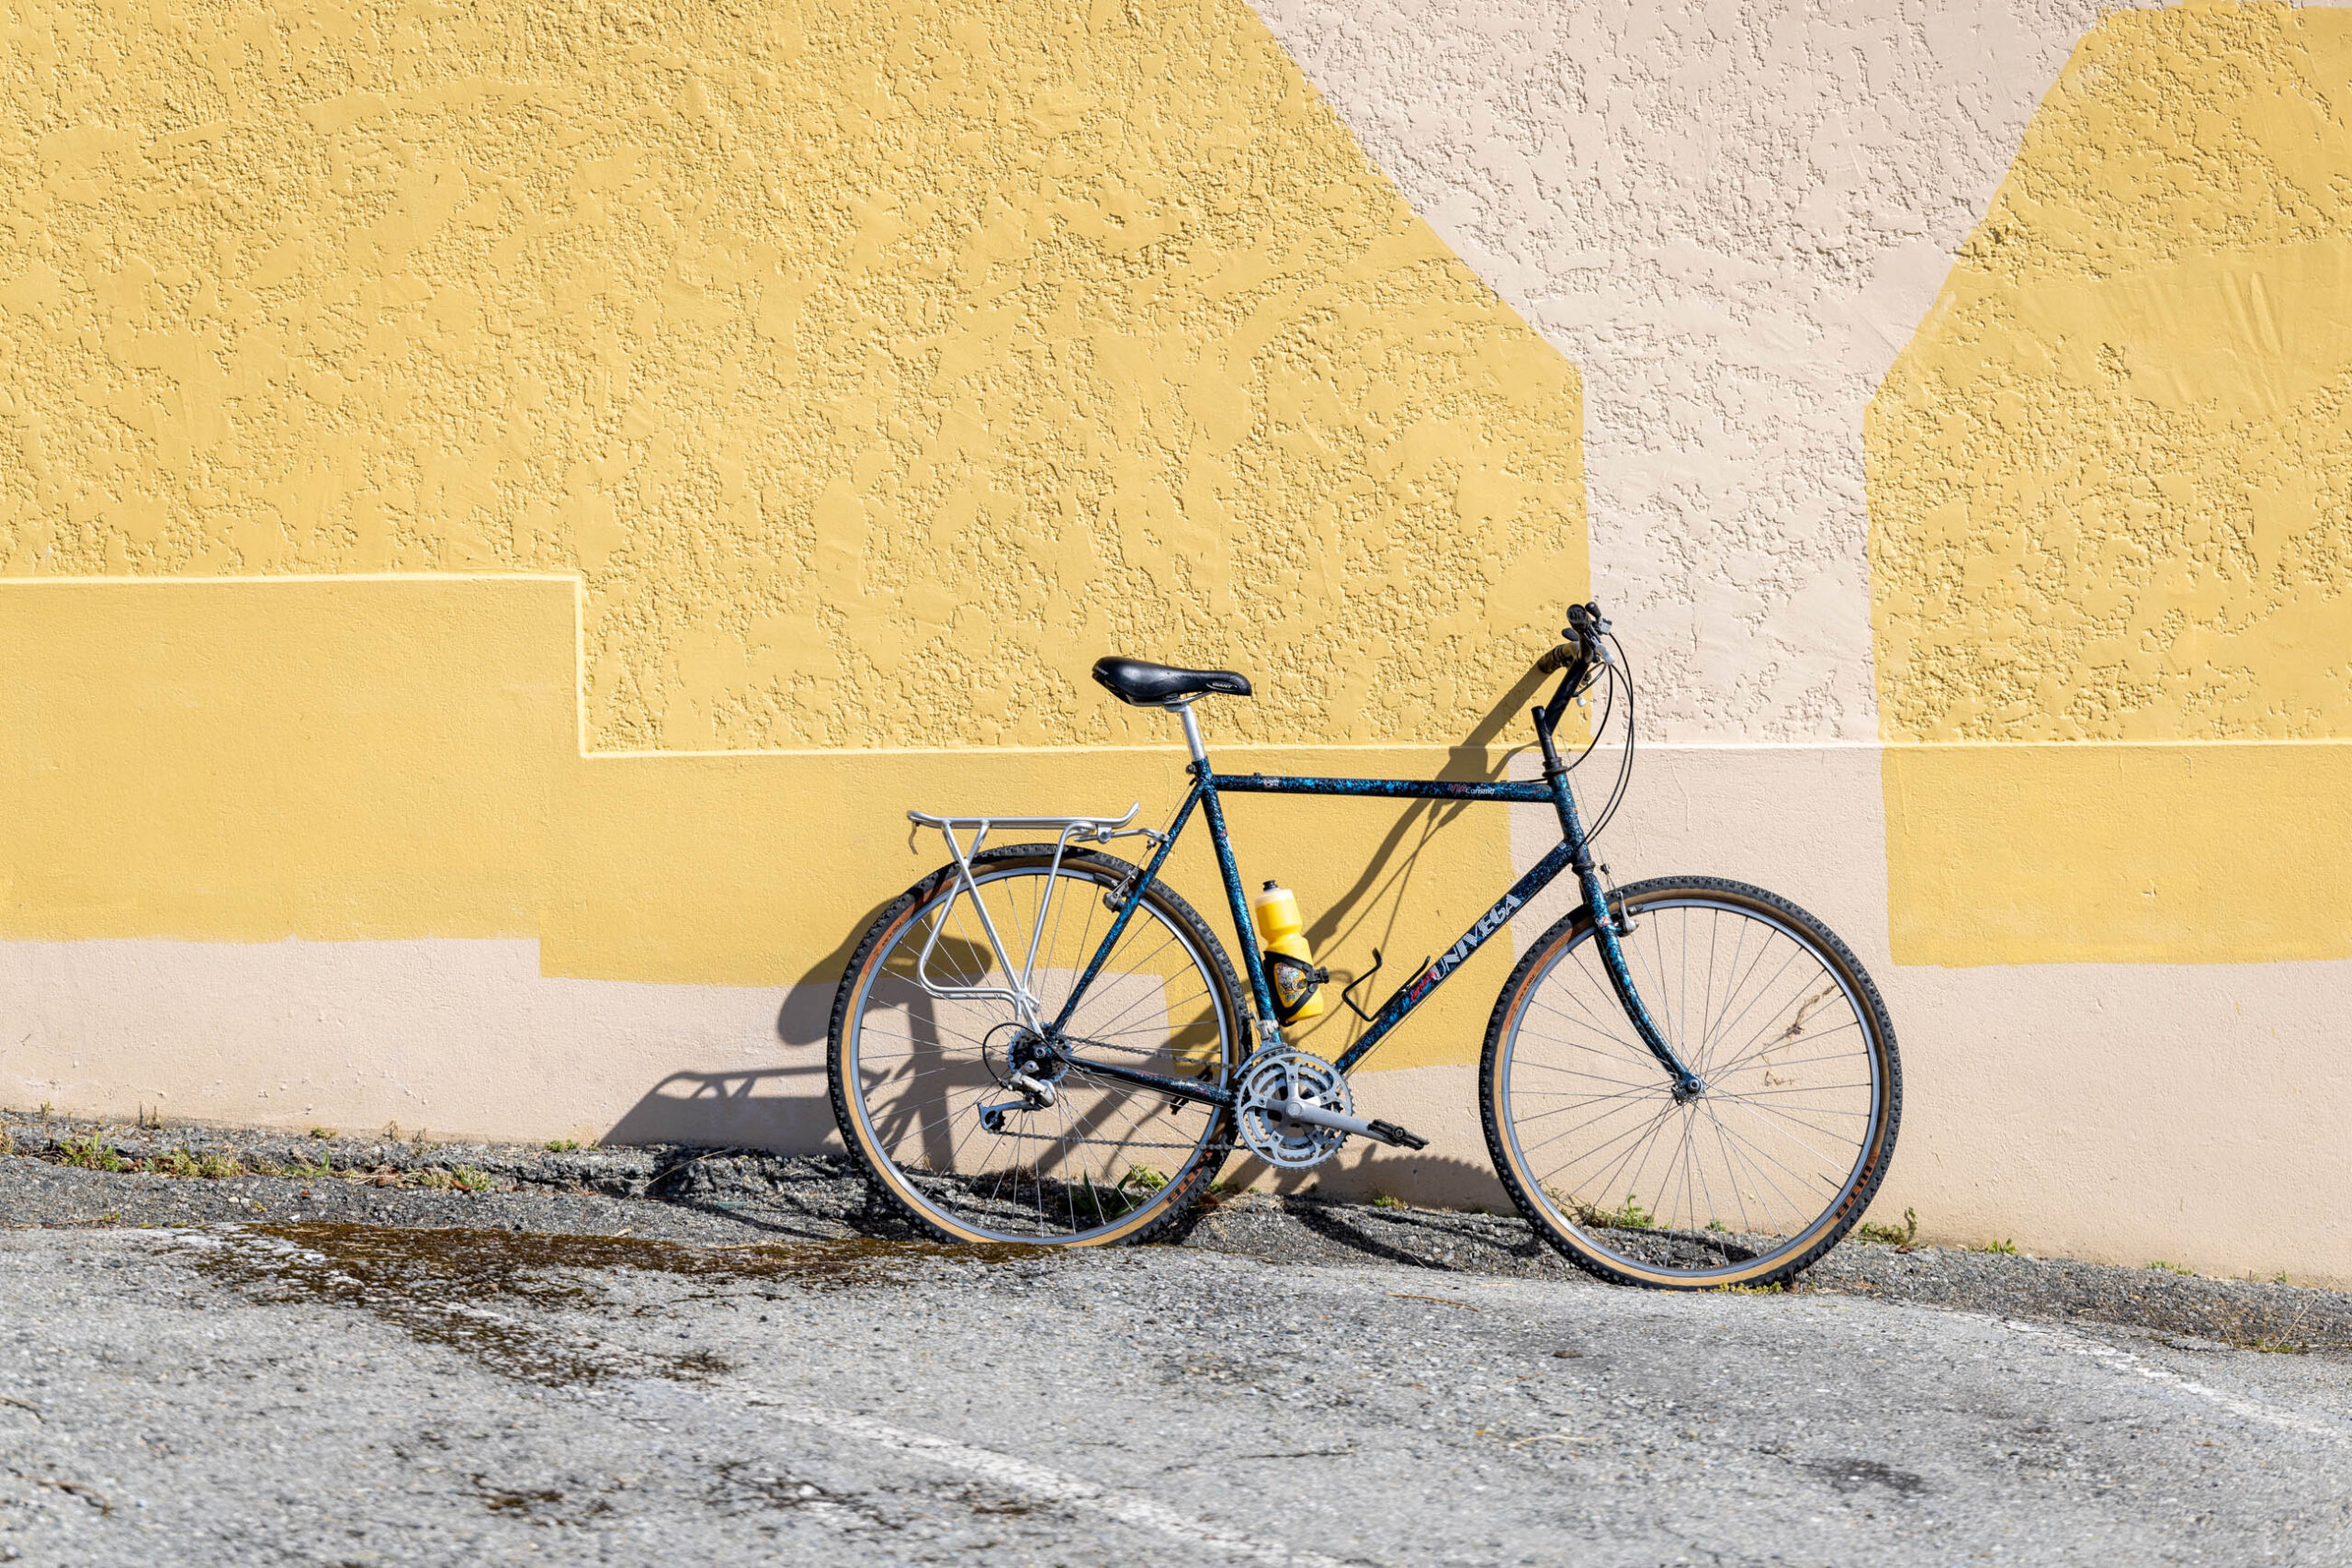
At first, the skinny tires and steep head tube angle weren’t exactly what I imagined as my go-to budget bikepacking build, but then I started conceptualizing this challenge from the point of view of someone interested in bikepacking but not fully ready to commit. For the bike-less bikepacking curious, the Via Carisma is a practical option. It’s steel, relatively lightweight, has a few mounting points, and is efficient as an all-road commuter and light-duty touring rig. If someone wants to zip around the city, get to work, and potentially take on their first bikepacking trip, the Via Carisma has a lot to offer.
In fact, it’s not hard to find modern flat-bar hybrid bicycles for under $300, sometimes even with hydraulic disc brakes and short travel suspension forks. Their geo might not be the most stable while riding off-road, and their tire clearance is somewhat limiting, but they’ll handle the occasional bikepacking trip gracefully as long as you know their limits. Plus, for $75, I had a ready-to-ride bike in my size, a solid rear rack, and panniers. Beyond bigger tires, I couldn’t imagine wanting much more.

The 1993 Univega Via Carisma Build
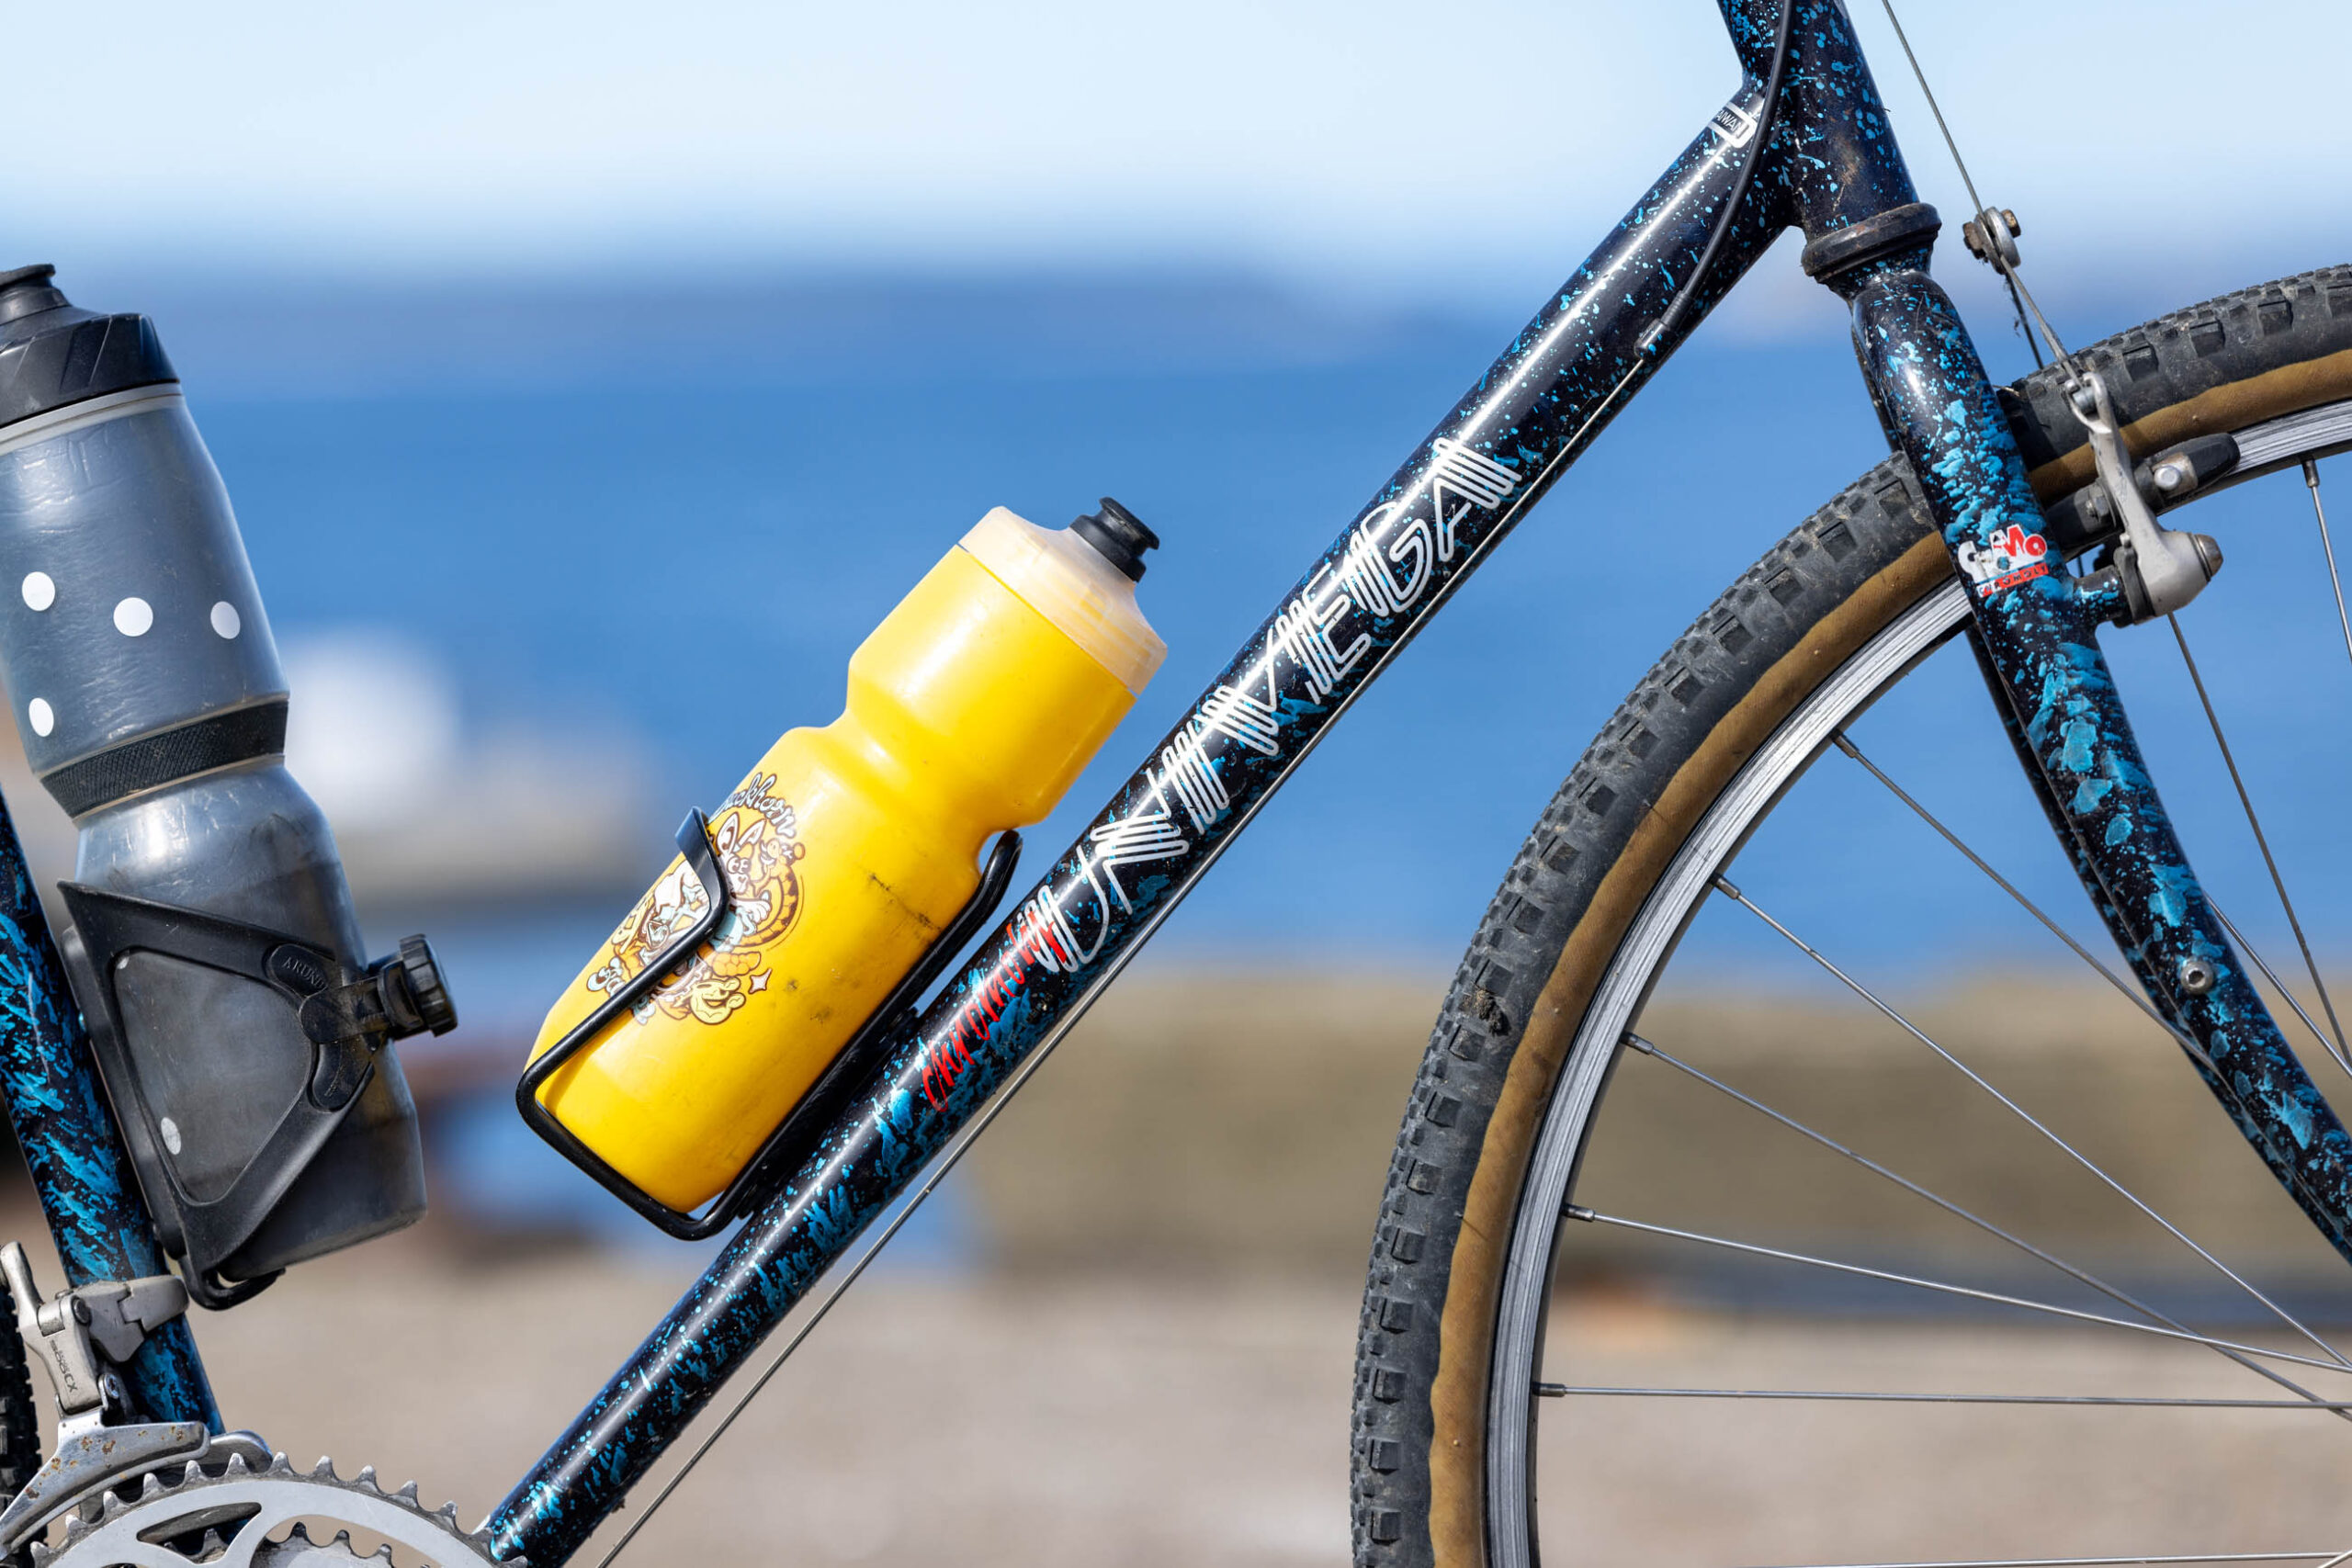
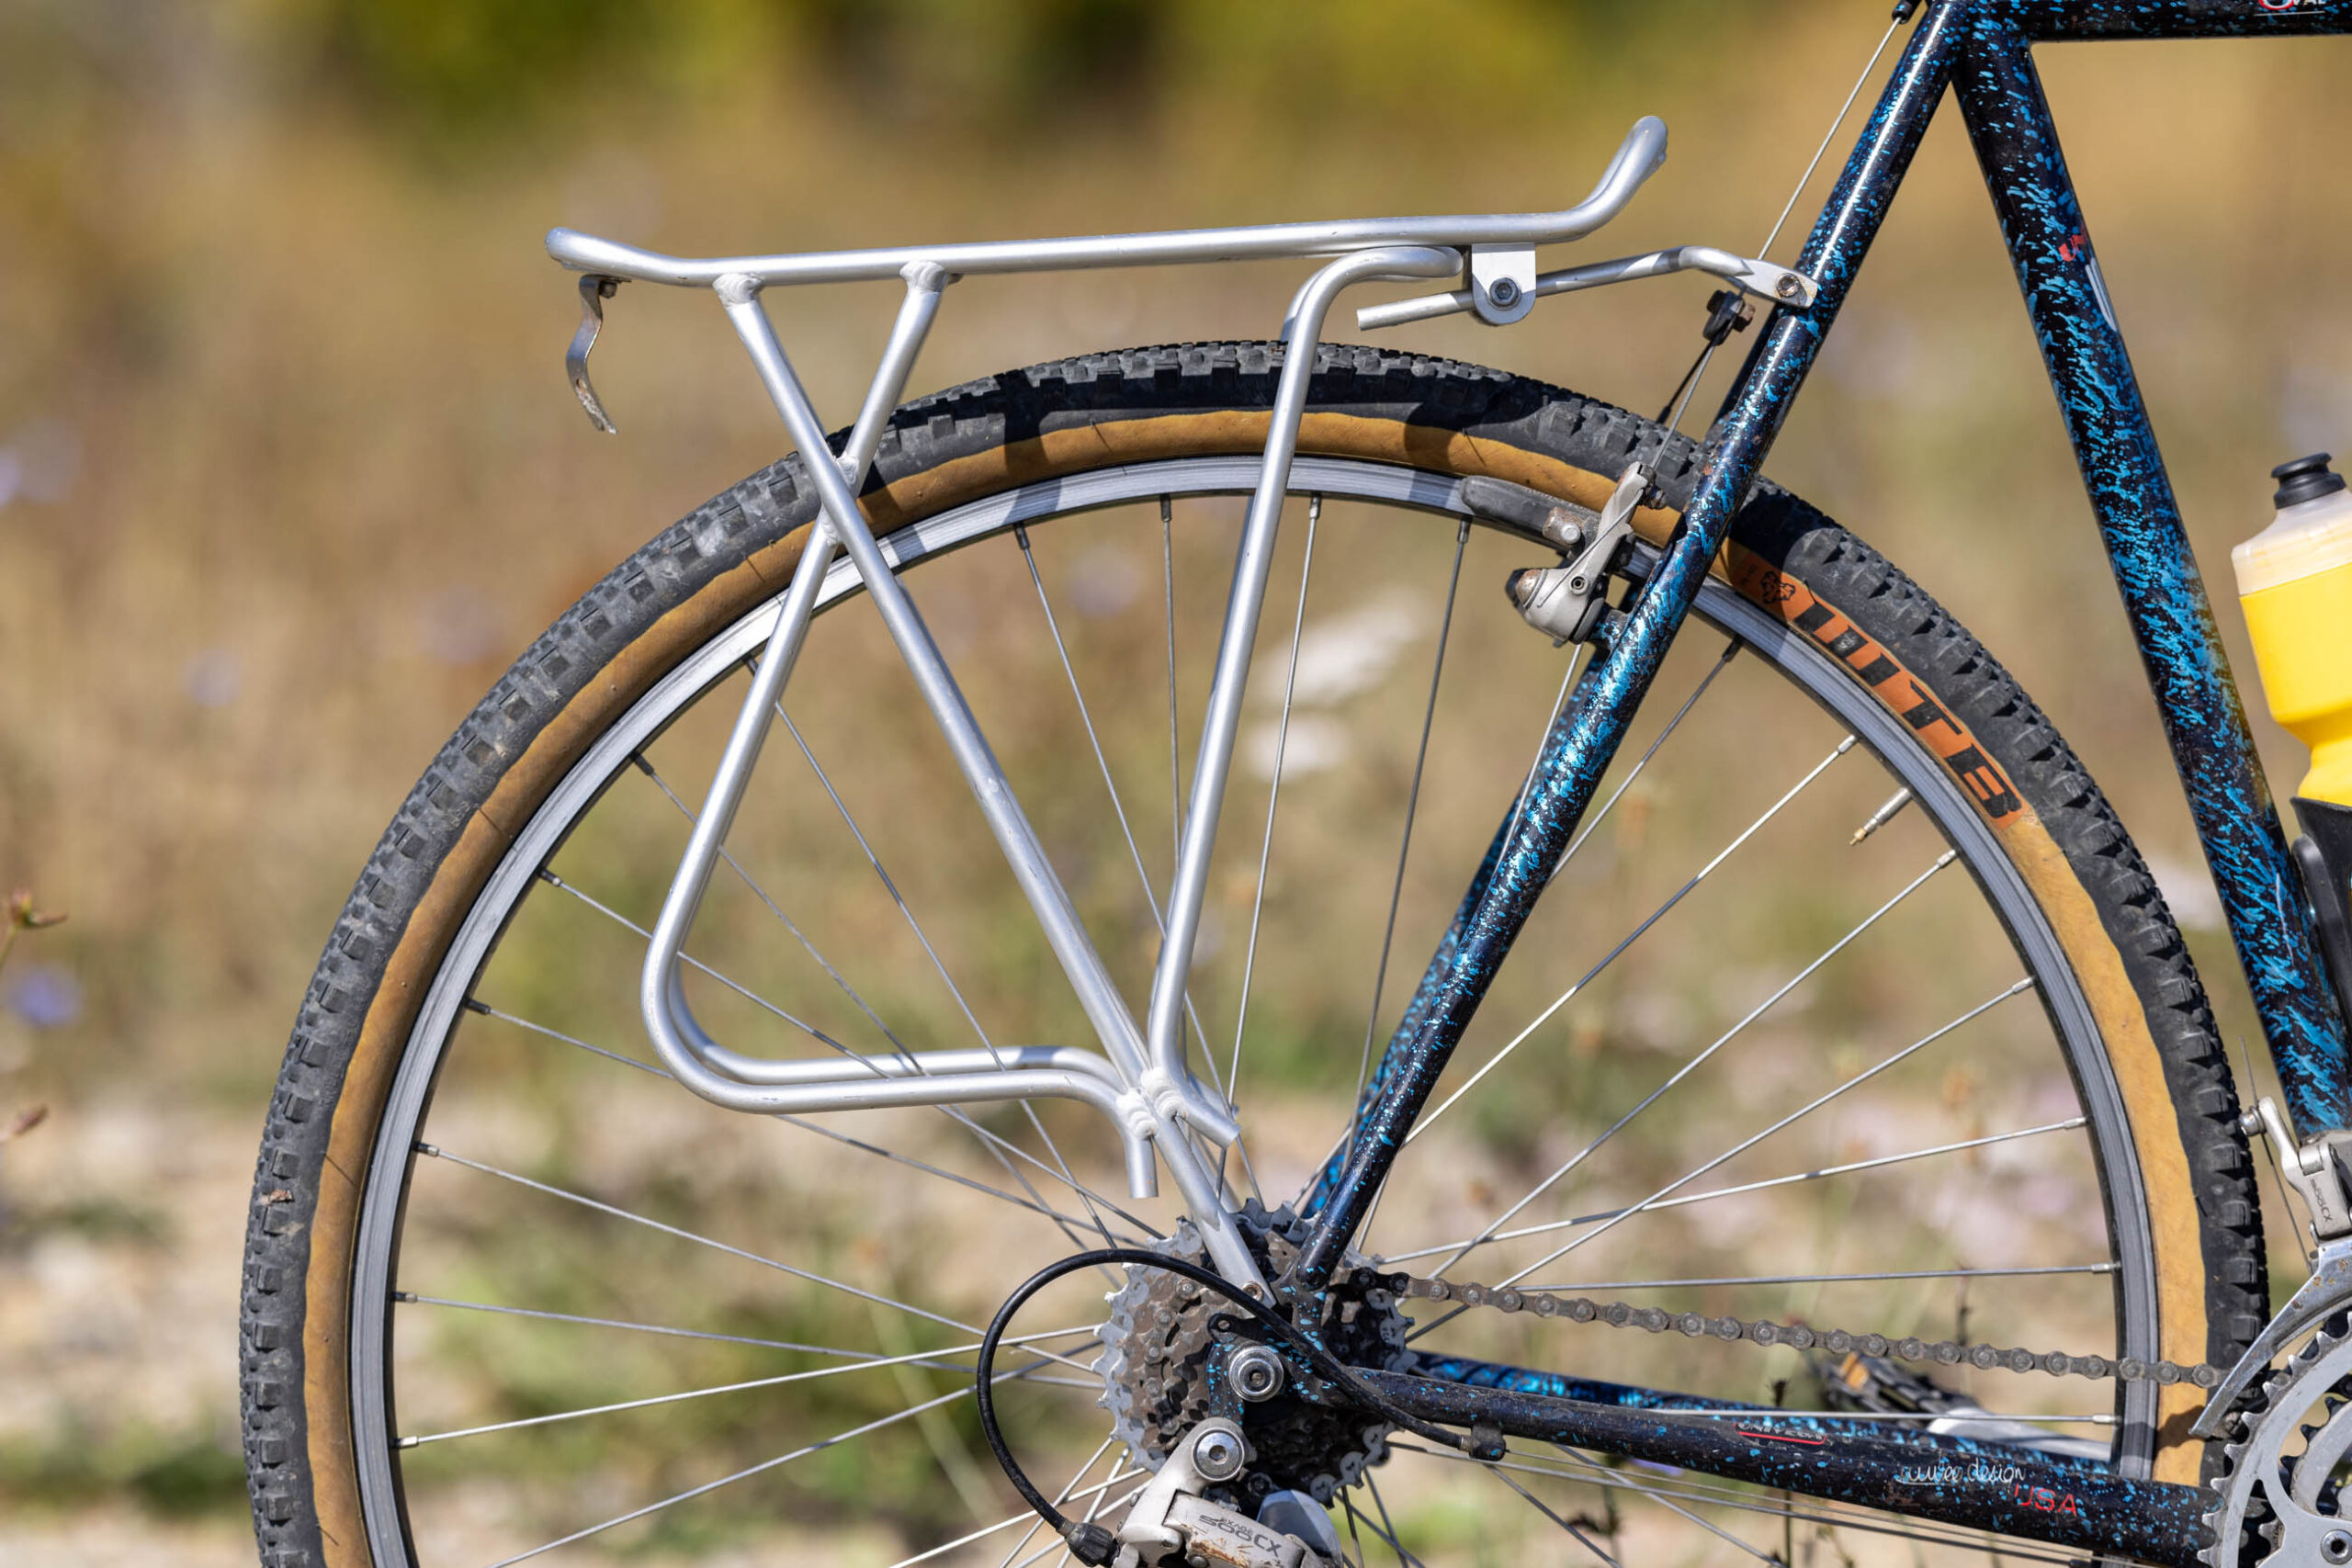
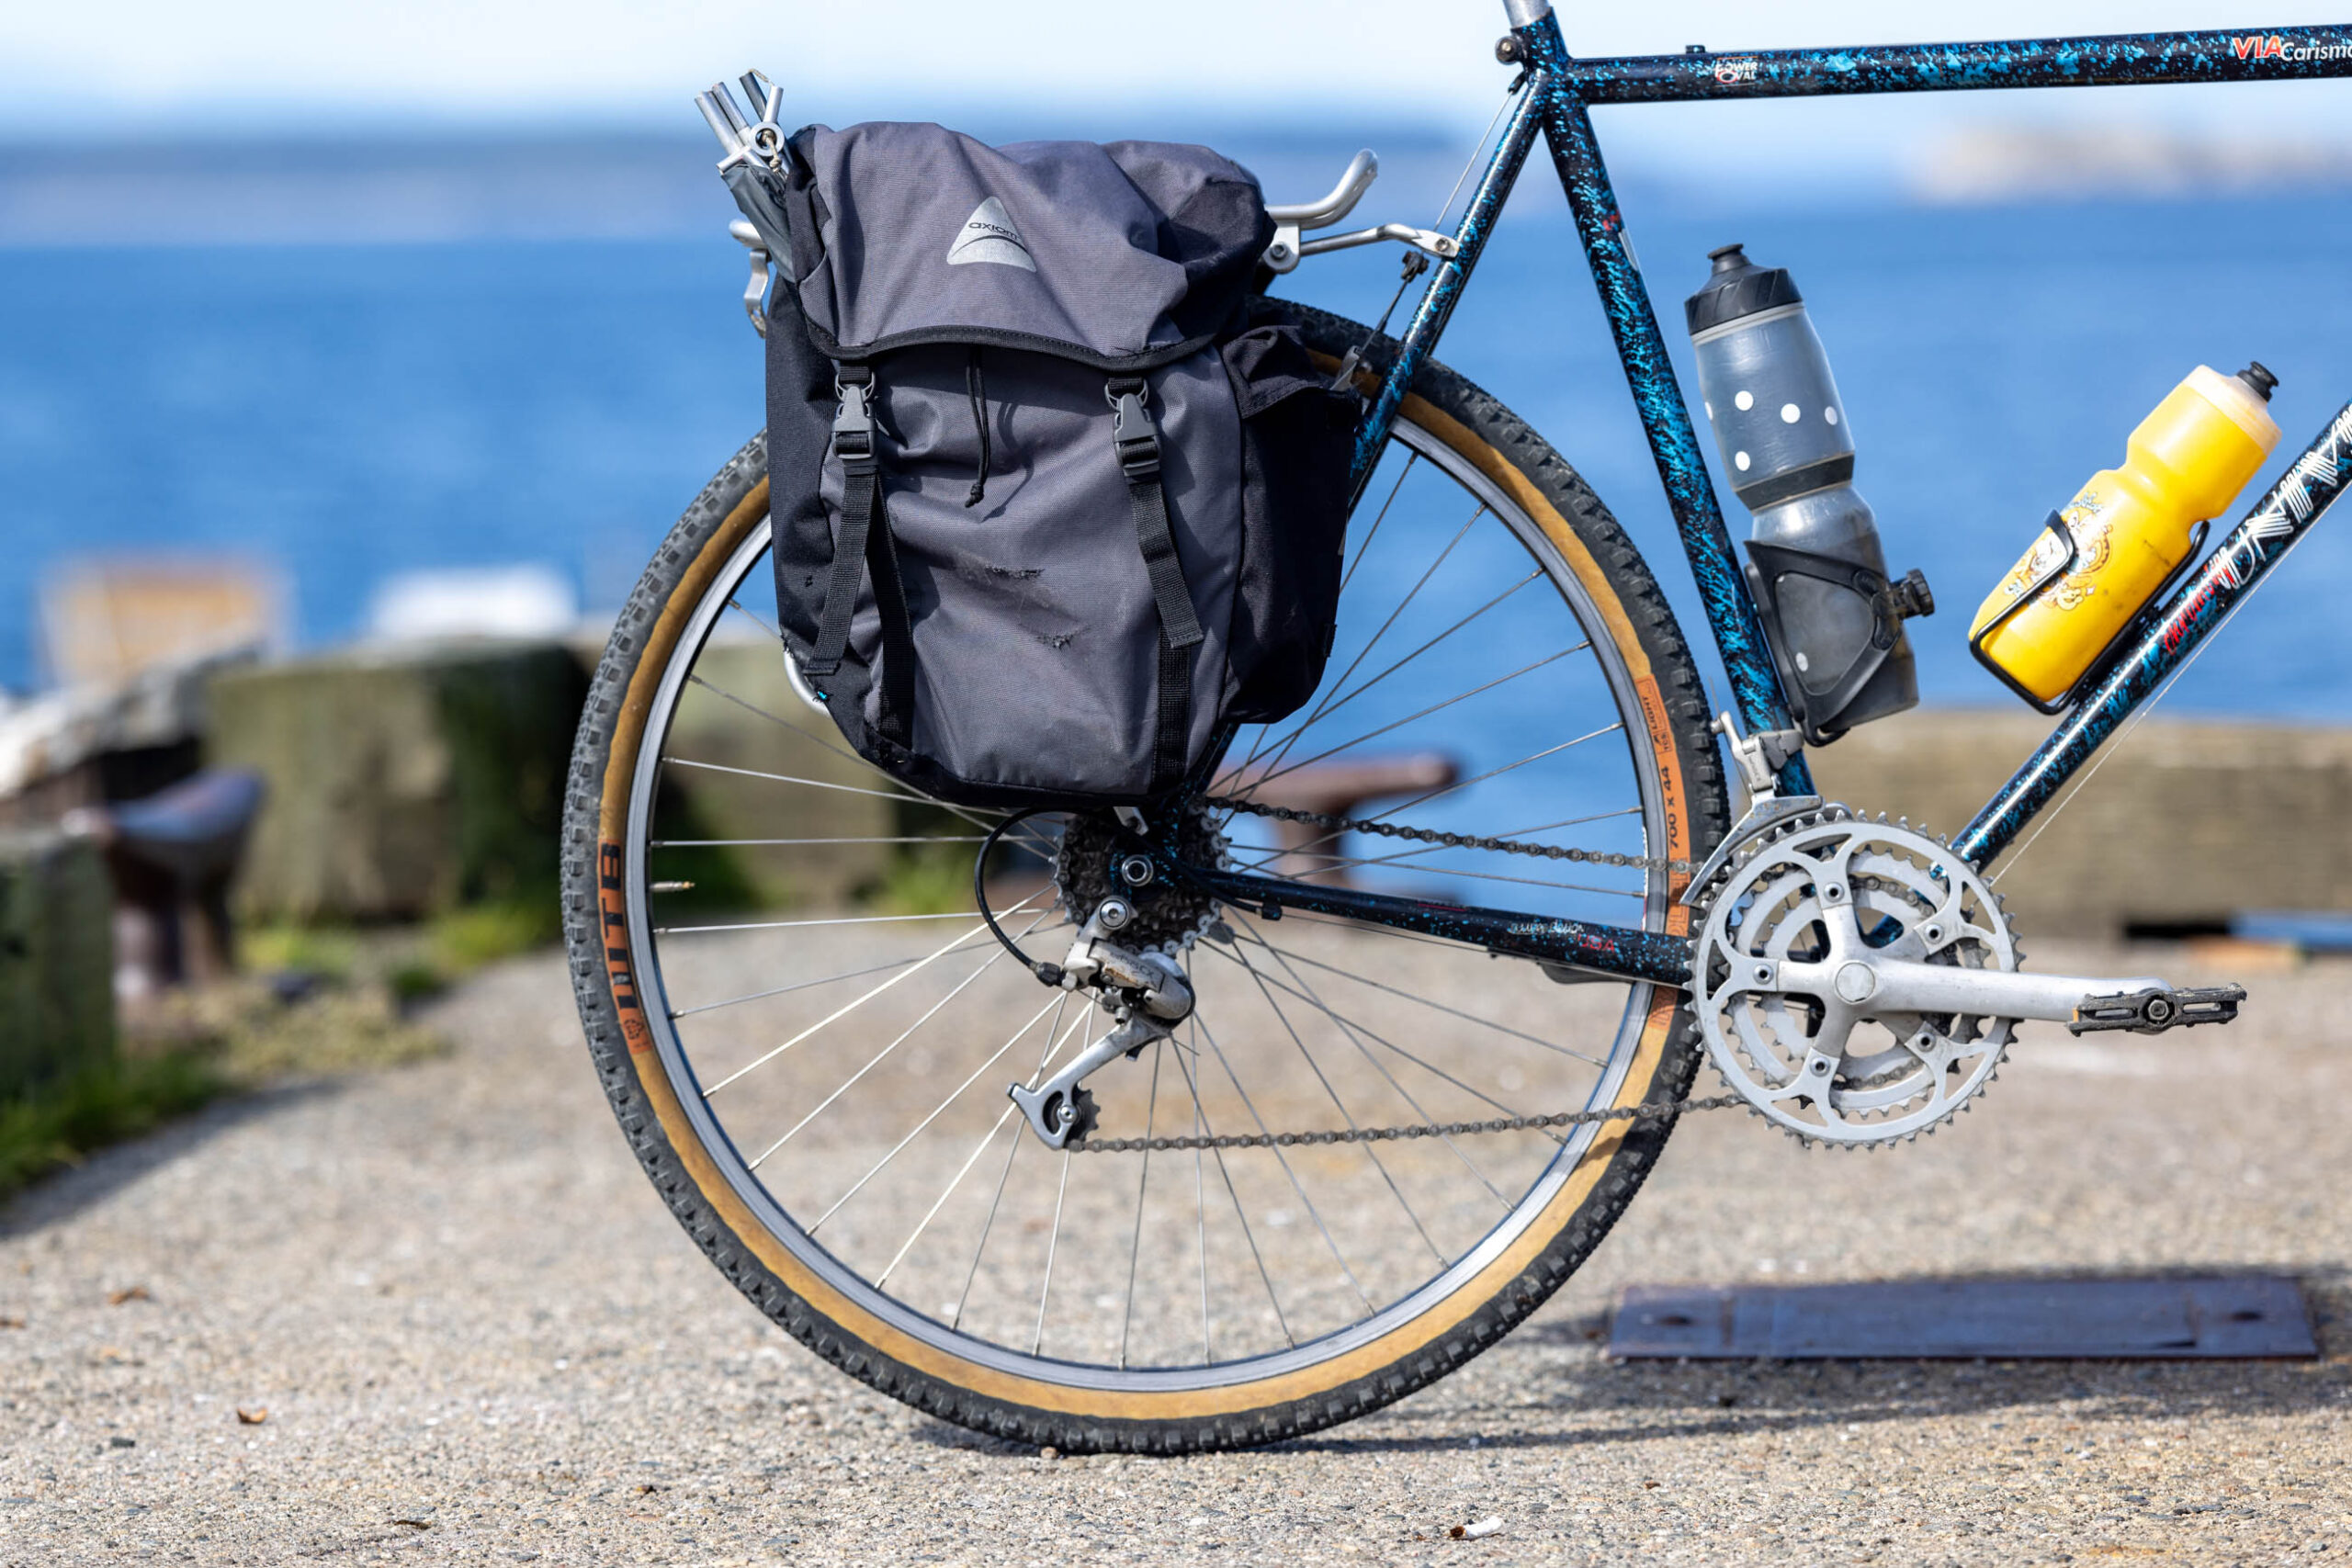
Continuing the theme of a build for the bikepacking-curious, I decided to leave the bike almost exactly how I purchased it. There’s something to be said for just riding a bike before switching out parts, so that’s what I did. Aside from tightening the rack bolts on the included Axiom rack and adjusting the bungee on the panniers, the Univega didn’t need anything major. It came equipped with slick tires, so I picked up some used 700 x 44mm WTB Raddlers for $50 locally to increase its comfort and capability on gravel. I also picked up a couple of bottle cages for $5 a piece.
It’s only natural that mechanically inclined riders will want to swap out stems, bars, and other components, but many people wouldn’t be comfortable taking that on themselves. Folks living in larger cities may have access to bike co-ops and other resources to help with component swaps and adjustments, but the only resource I have nearby is the bike shop, and I wasn’t prepared to blow my budget. I avoid wrenching on my personal bikes most of the time, so I decided to do the same with this challenge, which meant finding a bike that didn’t need any work.


The build came ready to rip with a 3×7 drivetrain consisting of a Shimano Exage 500CX derailleur, a matching front derailleur, a thick stack of chainrings (one of which I’ll likely never use), a quill stem as tall as a high-rise, and rim brakes. I’ll admit the height of the handlebar was a little much and wasn’t the most conducive setup for riding loose gravel, but aside from super steep slopes, I had no problem climbing and descending some fairly steep gravel roads during my campout. I had a surprisingly fun time climbing out of the saddle with handlebars so high that I could stand straight up, gazing toward the top of the climb. Not to mention the Univega’s Bi-Axial Power Oval frame, which probably affects the stiffness, but I love the look of it.


Build Kit
- Frame/Fork: 1993 Univega Via Carisma
- Rims: Araya VX400
- Hubs: TBD
- Tires: WTB Raddler 700 x 44mm
- Handlebars: Brodie
- Grips: Race Face
- Headset: Tien Hsin, maybe?
- Crankset: Shimano FC-M500, 175mm, 30/40/50T
- Pedals: TBD
- Cassette: Shimano (12-28T)
- Chain: Shimano 7-speed
- Rear Derailleur: Shimano Exage 500CX, 7-speed
- Front Derailleur: Shimano Exage 500CX
- Brake levers: Shimano Deore BL-MT63
- Brakes: Shimano Exage 500 CX, BR-C510
- Shifter(s): Shimano Deore Thumbie, 7-speed
- Saddle: Giant
- Seatpost: Unknown
- Stem: Unknown
- Rear rack: Axiom Journey


Renting Camping Gear for Bikepacking
The more I thought about the bikepacking-curious approach to my budget build, the more I started considering the effects of buying the cheapest gear around. I could have made my way to Amazon or Canadian Tire and picked up some cheap camping gear, which may or may not have lasted more than a few campouts. Not to mention the ethical and environmental implications of buying mass-produced gear without fully knowing if bikepacking is your next favorite pastime or simply a yearly activity done with friends. Once again, Facebook Marketplace didn’t turn up anything promising, and I was left feeling somewhat uninspired.
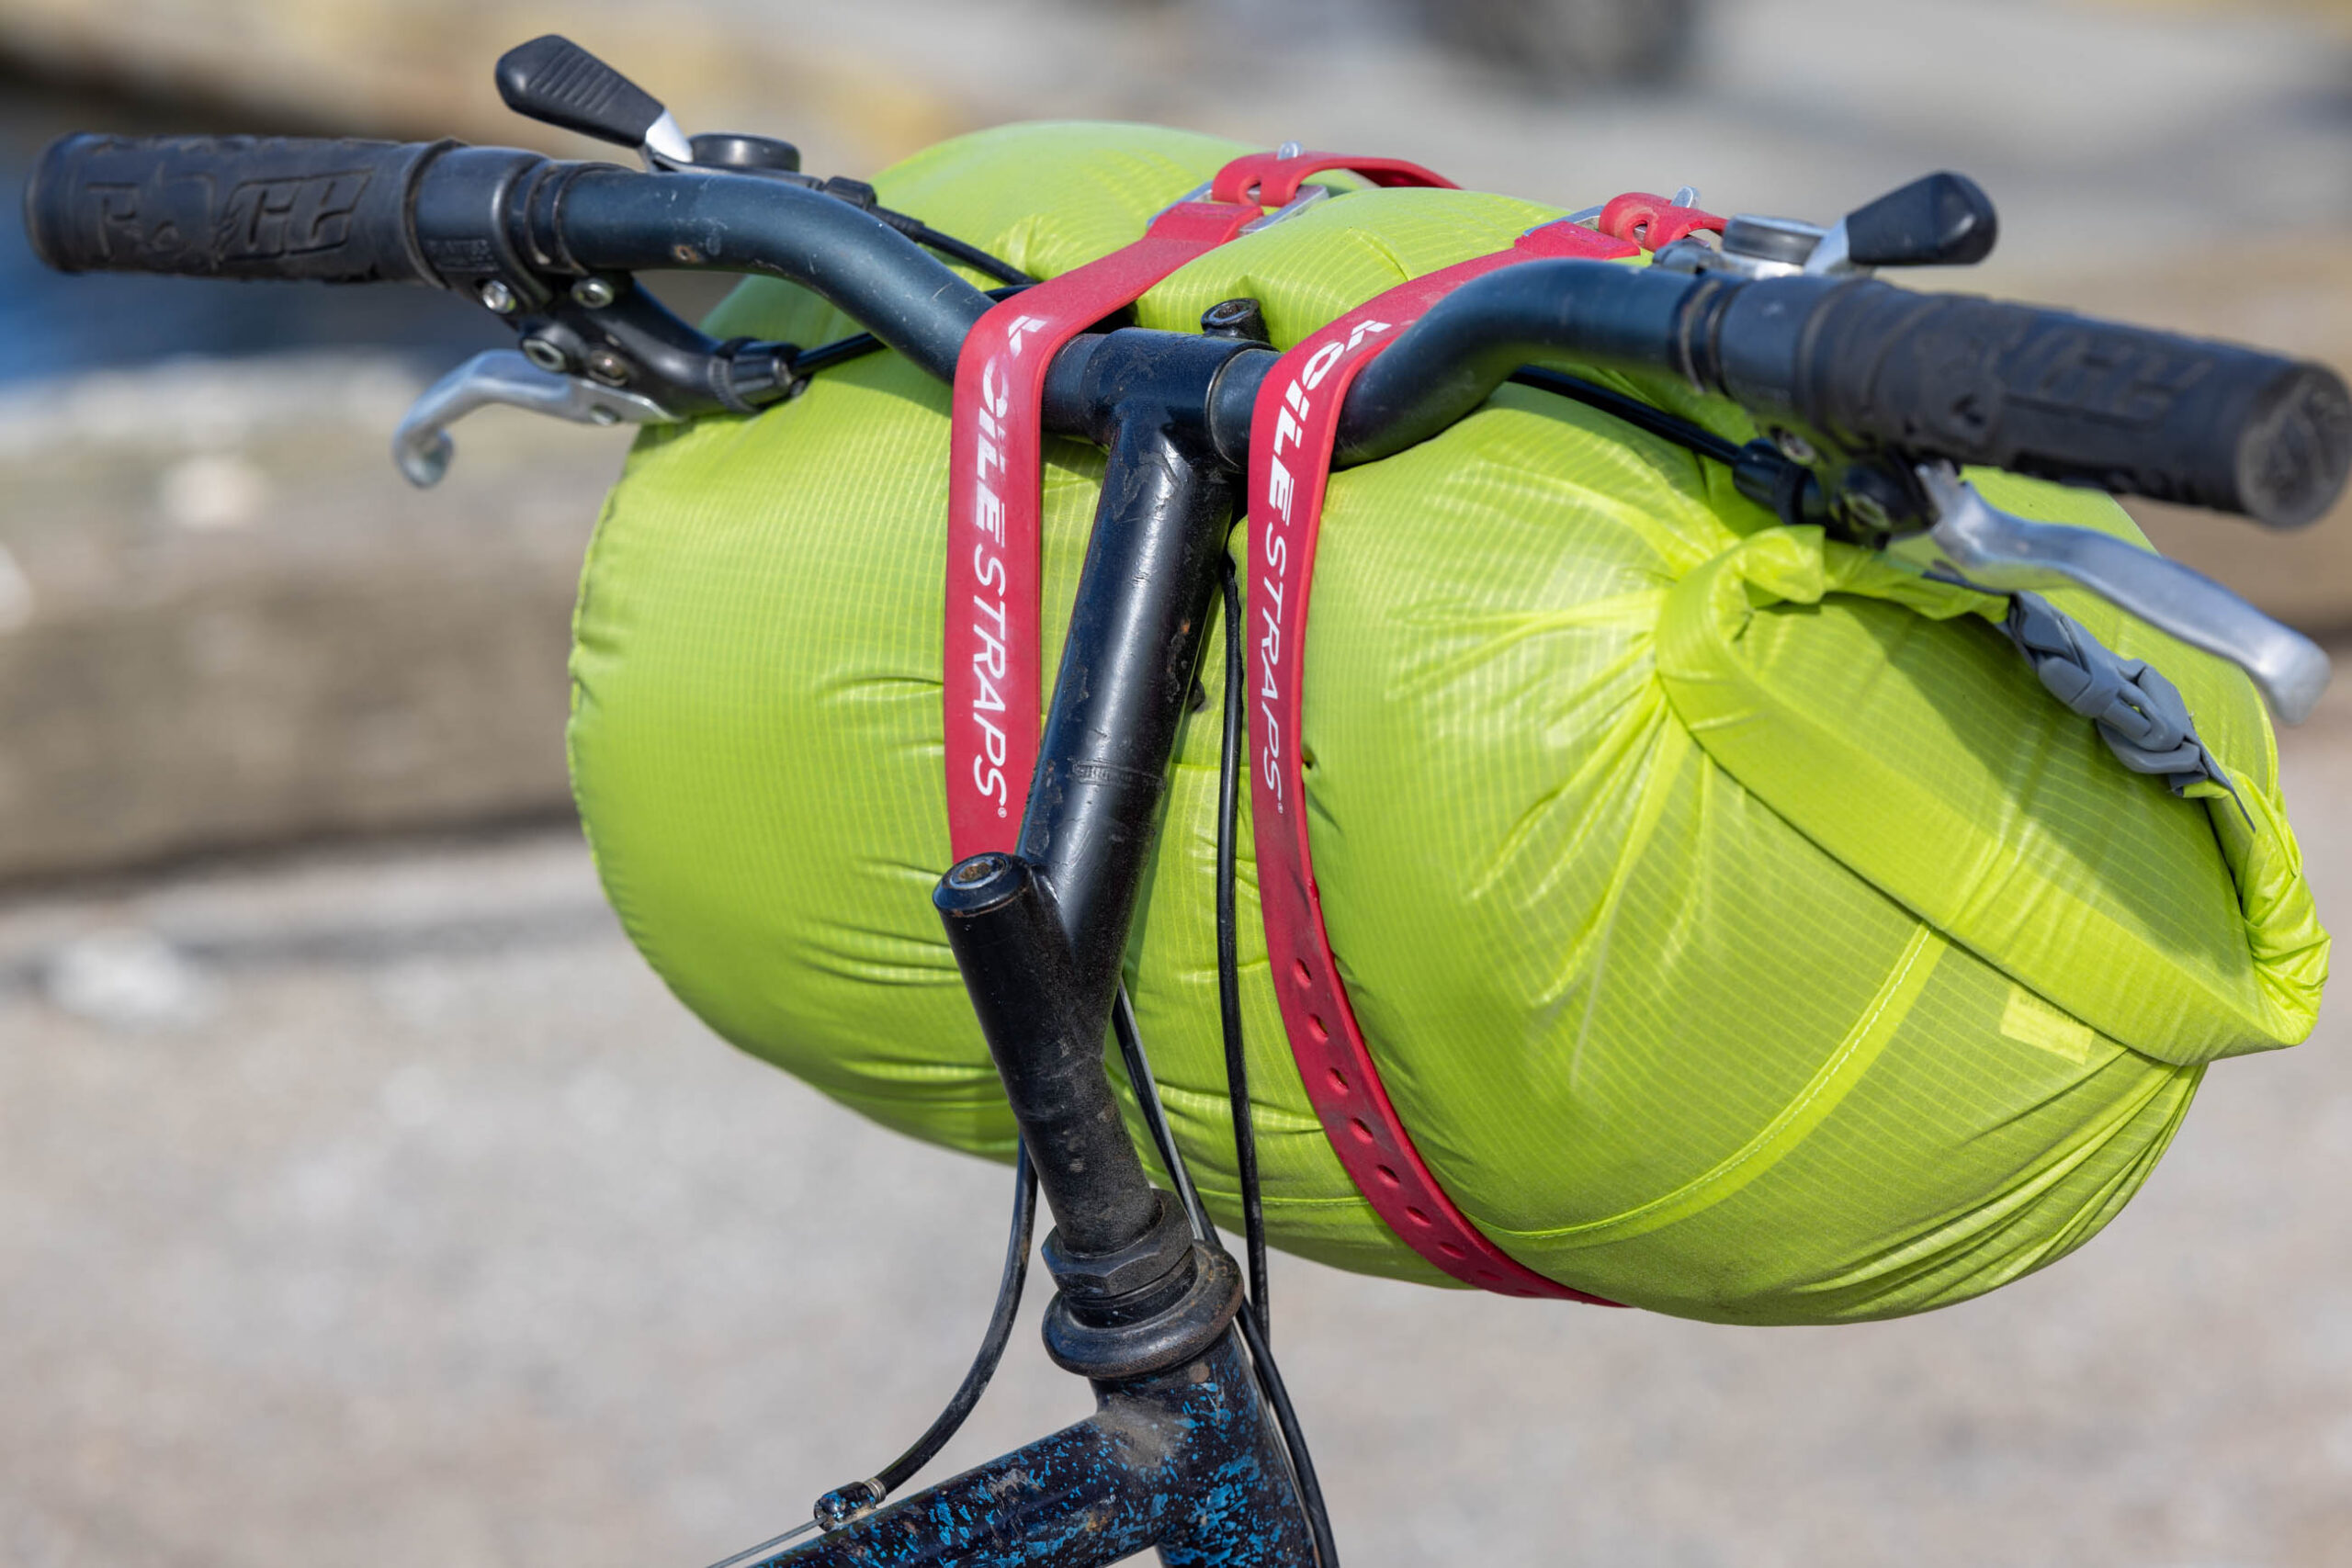
Enter Gear Attic qathet! Our new local outdoor gear consignment store happens to be just a few hundred meters from my front door, and for whatever reason, I forgot that they offer gear rentals. Heck, they even have a dedicated bikepacking page on their website and options to rent bikepacking bags, camping gear, stoves, and more. I walked down to the shop, dug around in their rental gear bins for a few minutes, and emerged with a lightweight two-person tent, down sleeping bag, sleeping pad, stove and pot, and two Voile straps. The two panniers that came with the bike weren’t waterproof anymore, so I purchased a new 15L dry bag to strap onto my bars with the straps I rented.

The real selling point here is that renting allows you to try different types of gear before committing to a purchase. For anyone new to bikepacking and camping, it’s an opportunity to figure out what size tent or sleeping pad they want and how warm of a sleeping bag they should buy. It can also help you get a good idea of how much space all this gear takes up on the bike. In my case, it allowed me to try out some pretty nice stuff for a fraction of the cost of buying new or used. Here’s a breakdown of the gear I rented and what was purchased, the cost to rent, and approximate retail prices.
Rental Gear
- Big Agnes Torchlight 20F: $15/night, Retail Price: $430 CAD
- Nemo Hornet 2P: $25/night, Retail Price: $580 CAD
- JR Gear Presidon Sleeping Pad: $10/night, Retail Price: $118 CAD
- Voile Straps x2: $0/night, Retail Price: Retail Price: $10 CAD/each
- Stove and Pot: $22/night, Retail Price: ~$75 CAD
Purchased Gear
- Outdoor Research 15L Dry Bag: $15 CAD
- 4oz MSR Fuel Canister: $10 CAD
- Bottle Cages x2: $5 CAD/each
- Spare Tubes + Patch Kit: $15 CAD
- WTB Raddler 700 x 44mm Tires: $50 CAD
Looking at the numbers above, I put together a surprisingly lightweight camping setup for under $100. The same gear at full retail value would have set me back at least $1,200, and buying used (if available) would cost around $500 after some serious hunting. Of course, not everyone has gear rentals available to them, but here in North America, REI and MEC both have a rental program, and I’m willing to bet other smaller outdoor gear retailers also rent gear.


Total Spent and Parting Thoughts
My grand total for my bike, a few purchased items, and rented gear was $247. That’s well below our $500 limit, but I admit that my approach skirted around the rules of having to purchase all gear required for a campout. Perhaps the other editors will all buy or make their gear, which is great, but I think renting gear is a totally realistic option, at least for first-timers. When getting friends ready for their inaugural bikepacking trip, I’m the first person to offer up gear for them to try out before purchasing their own. I’m always encouraging people to test out my embarrassingly large collection of tents, bikepacking bags, and camping gear before spending their money, so it seemed silly for me not to live by my advice.

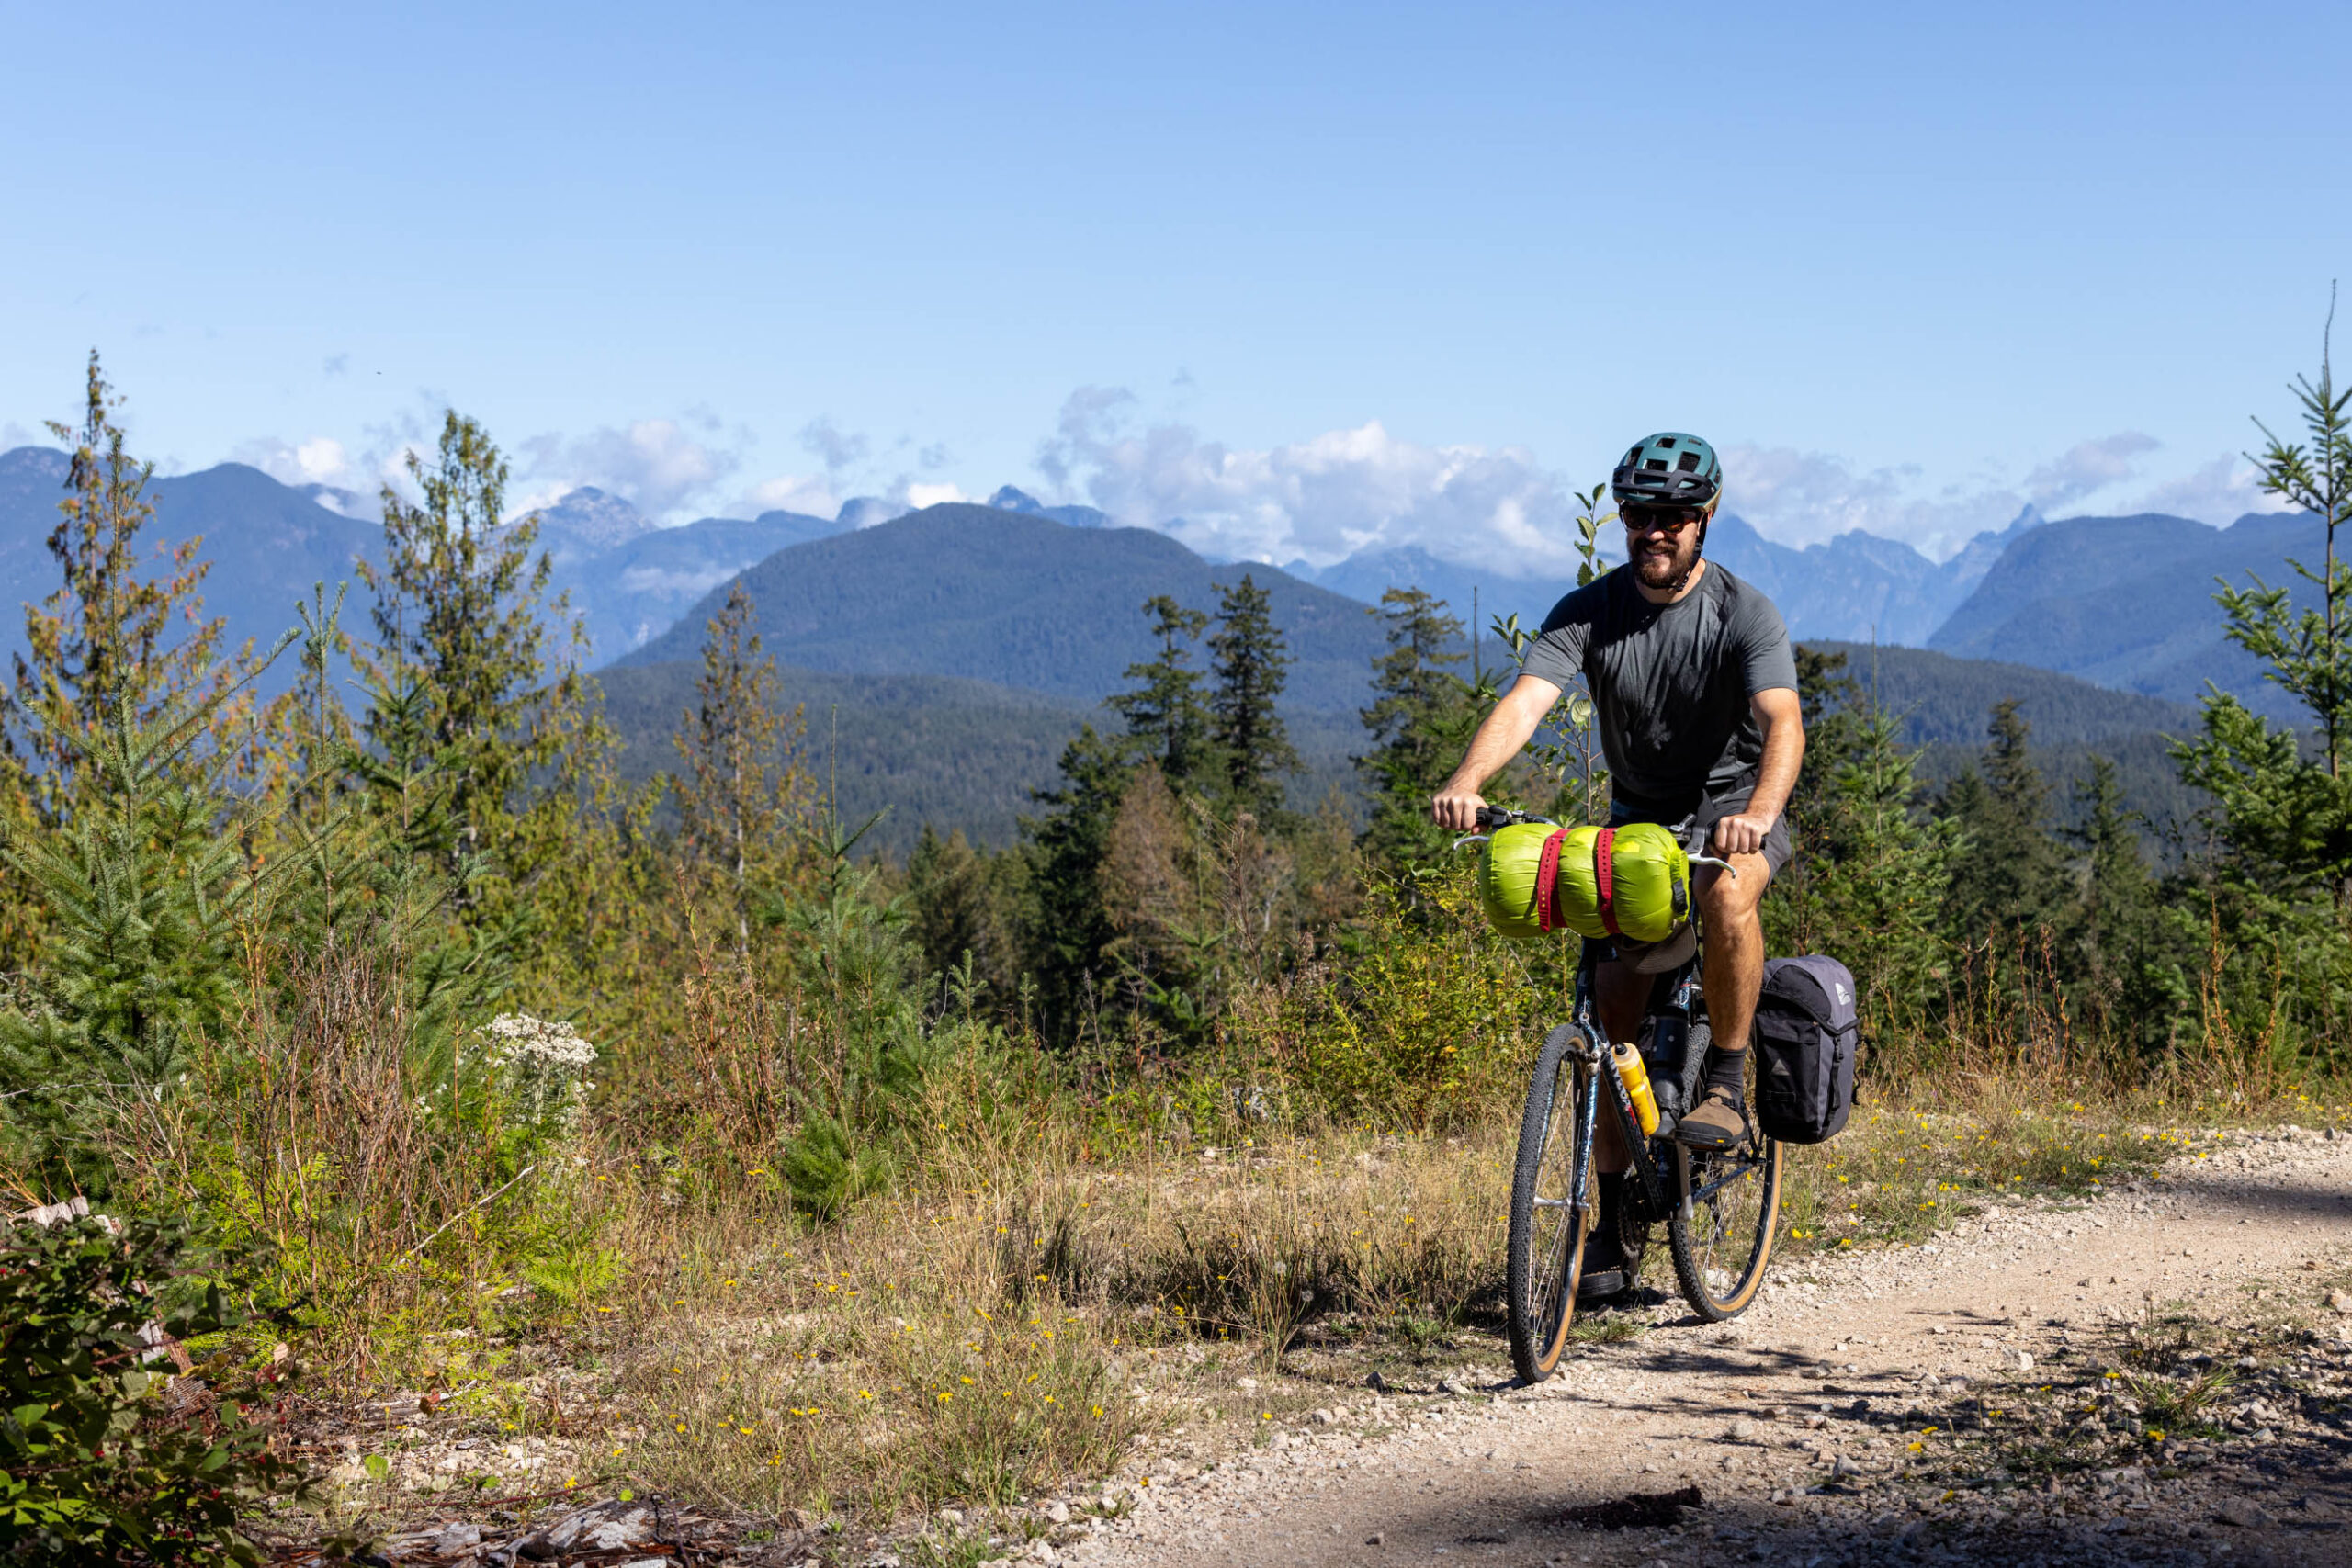
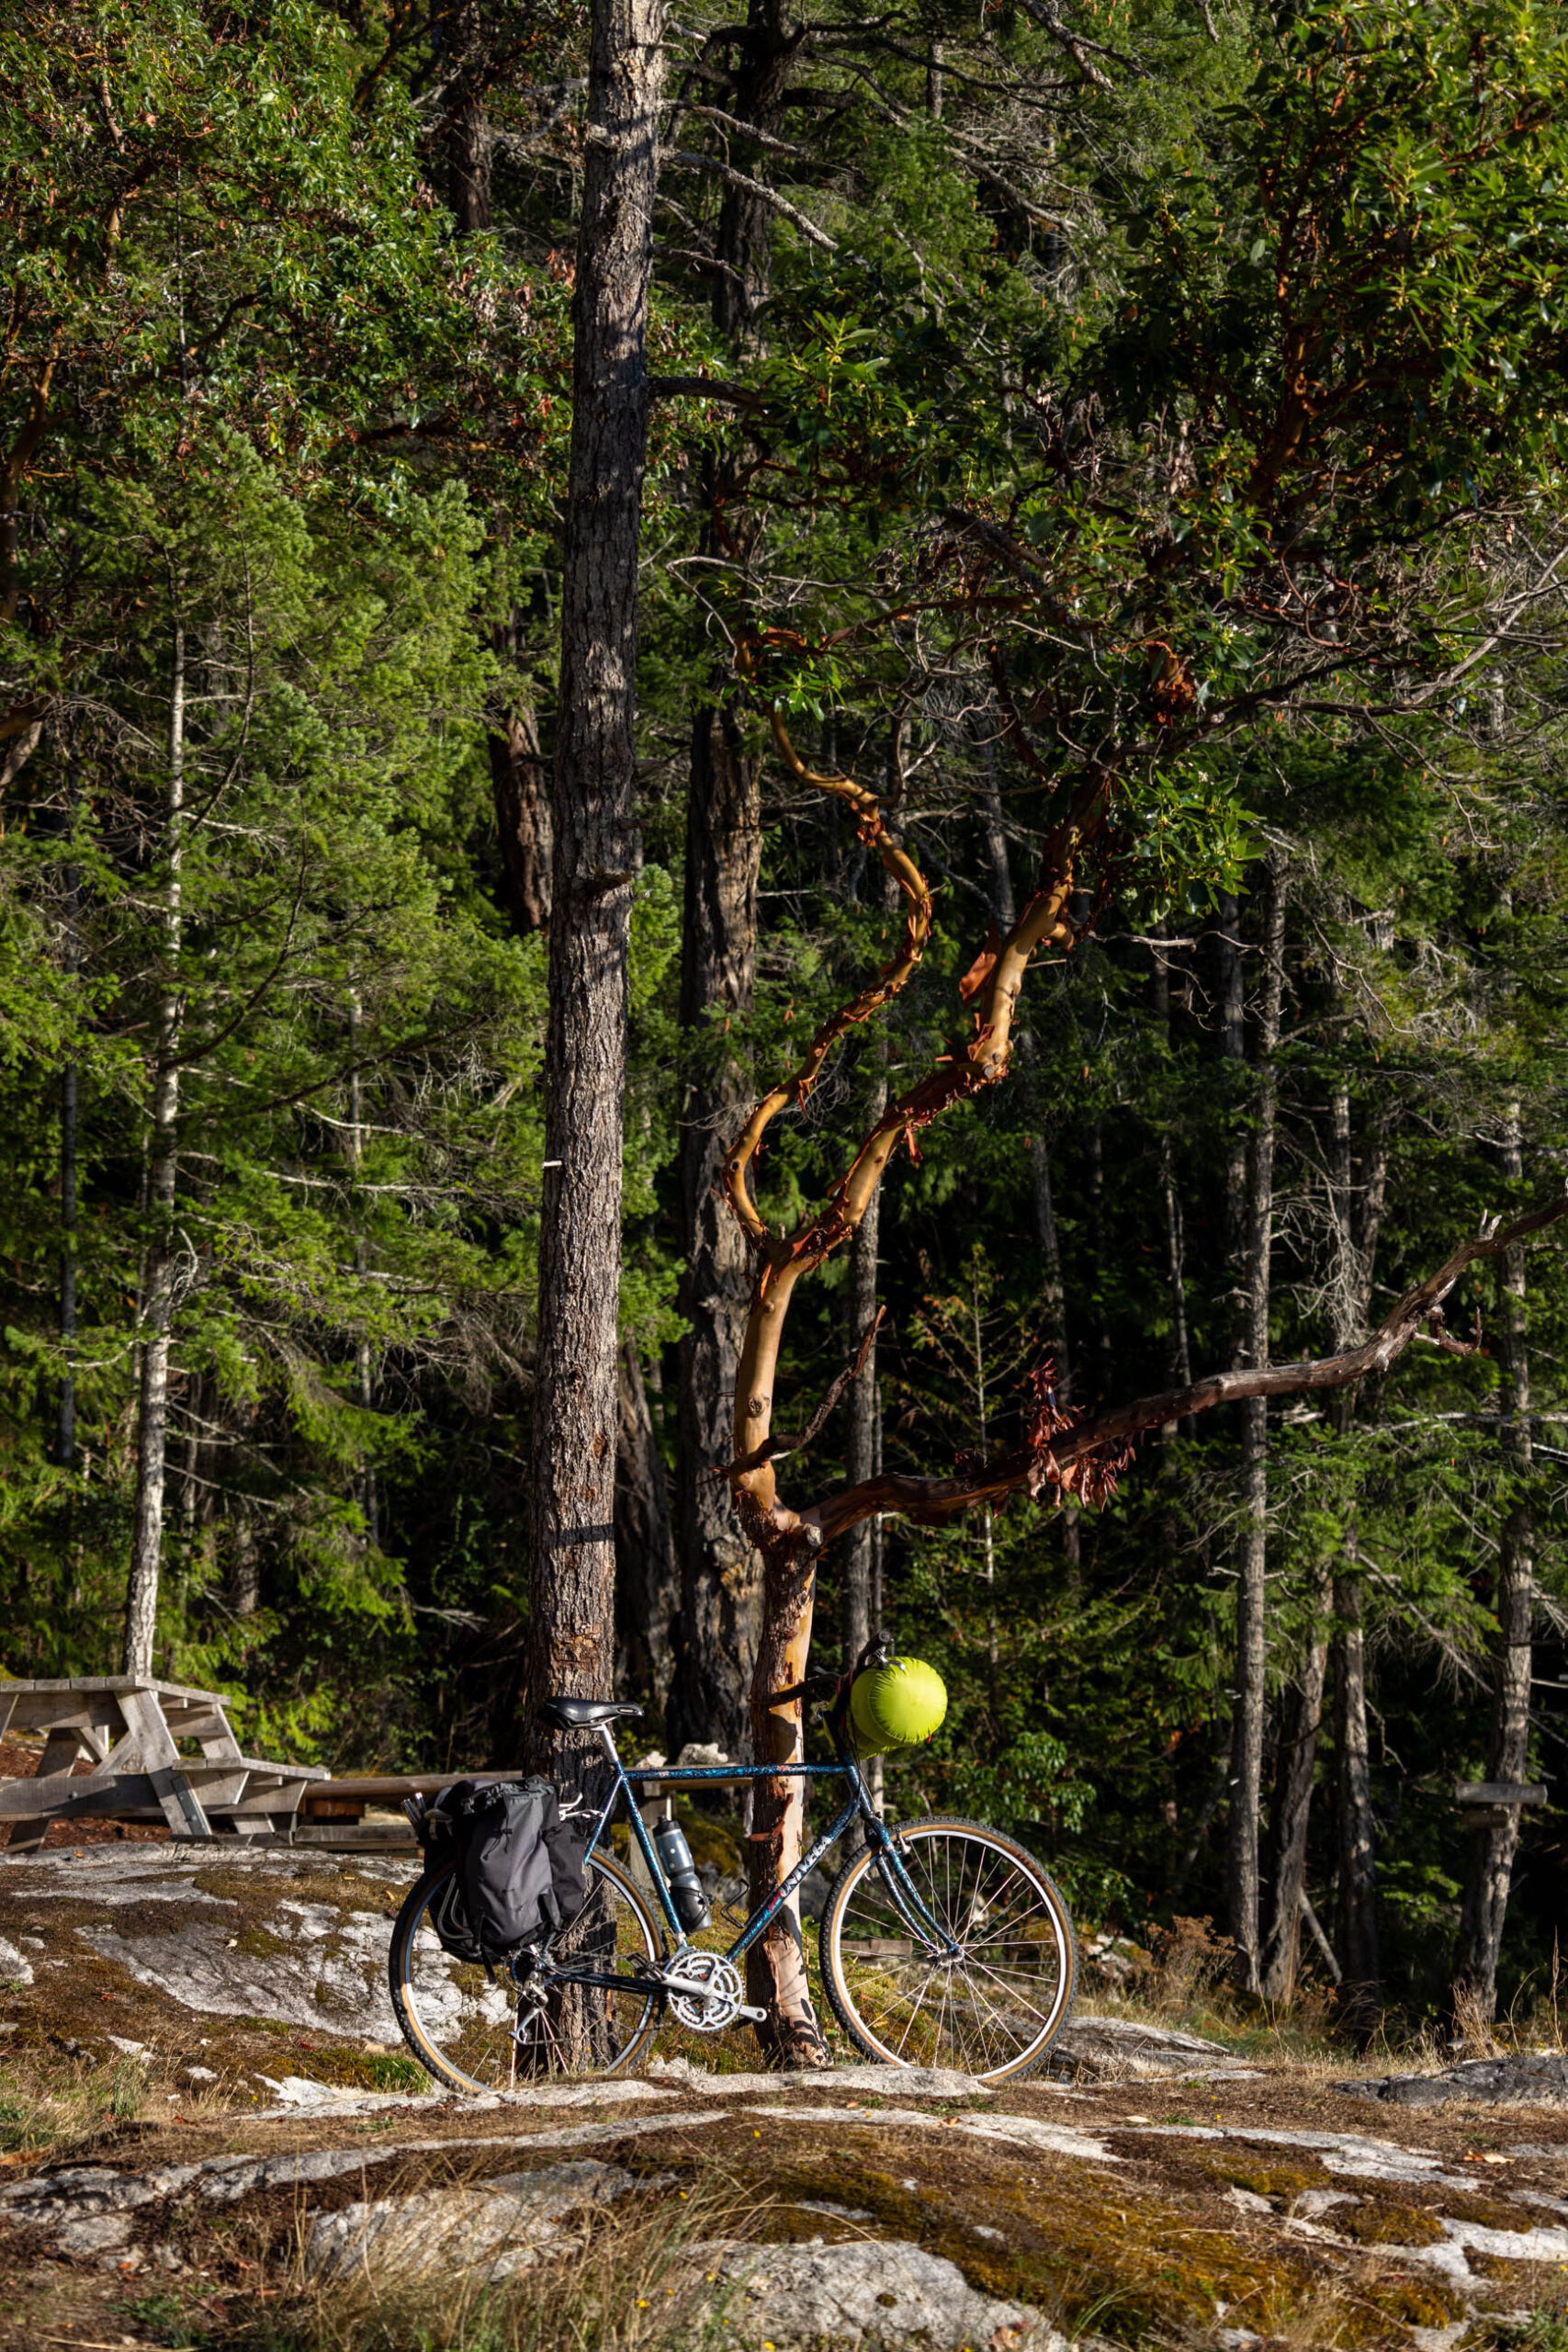
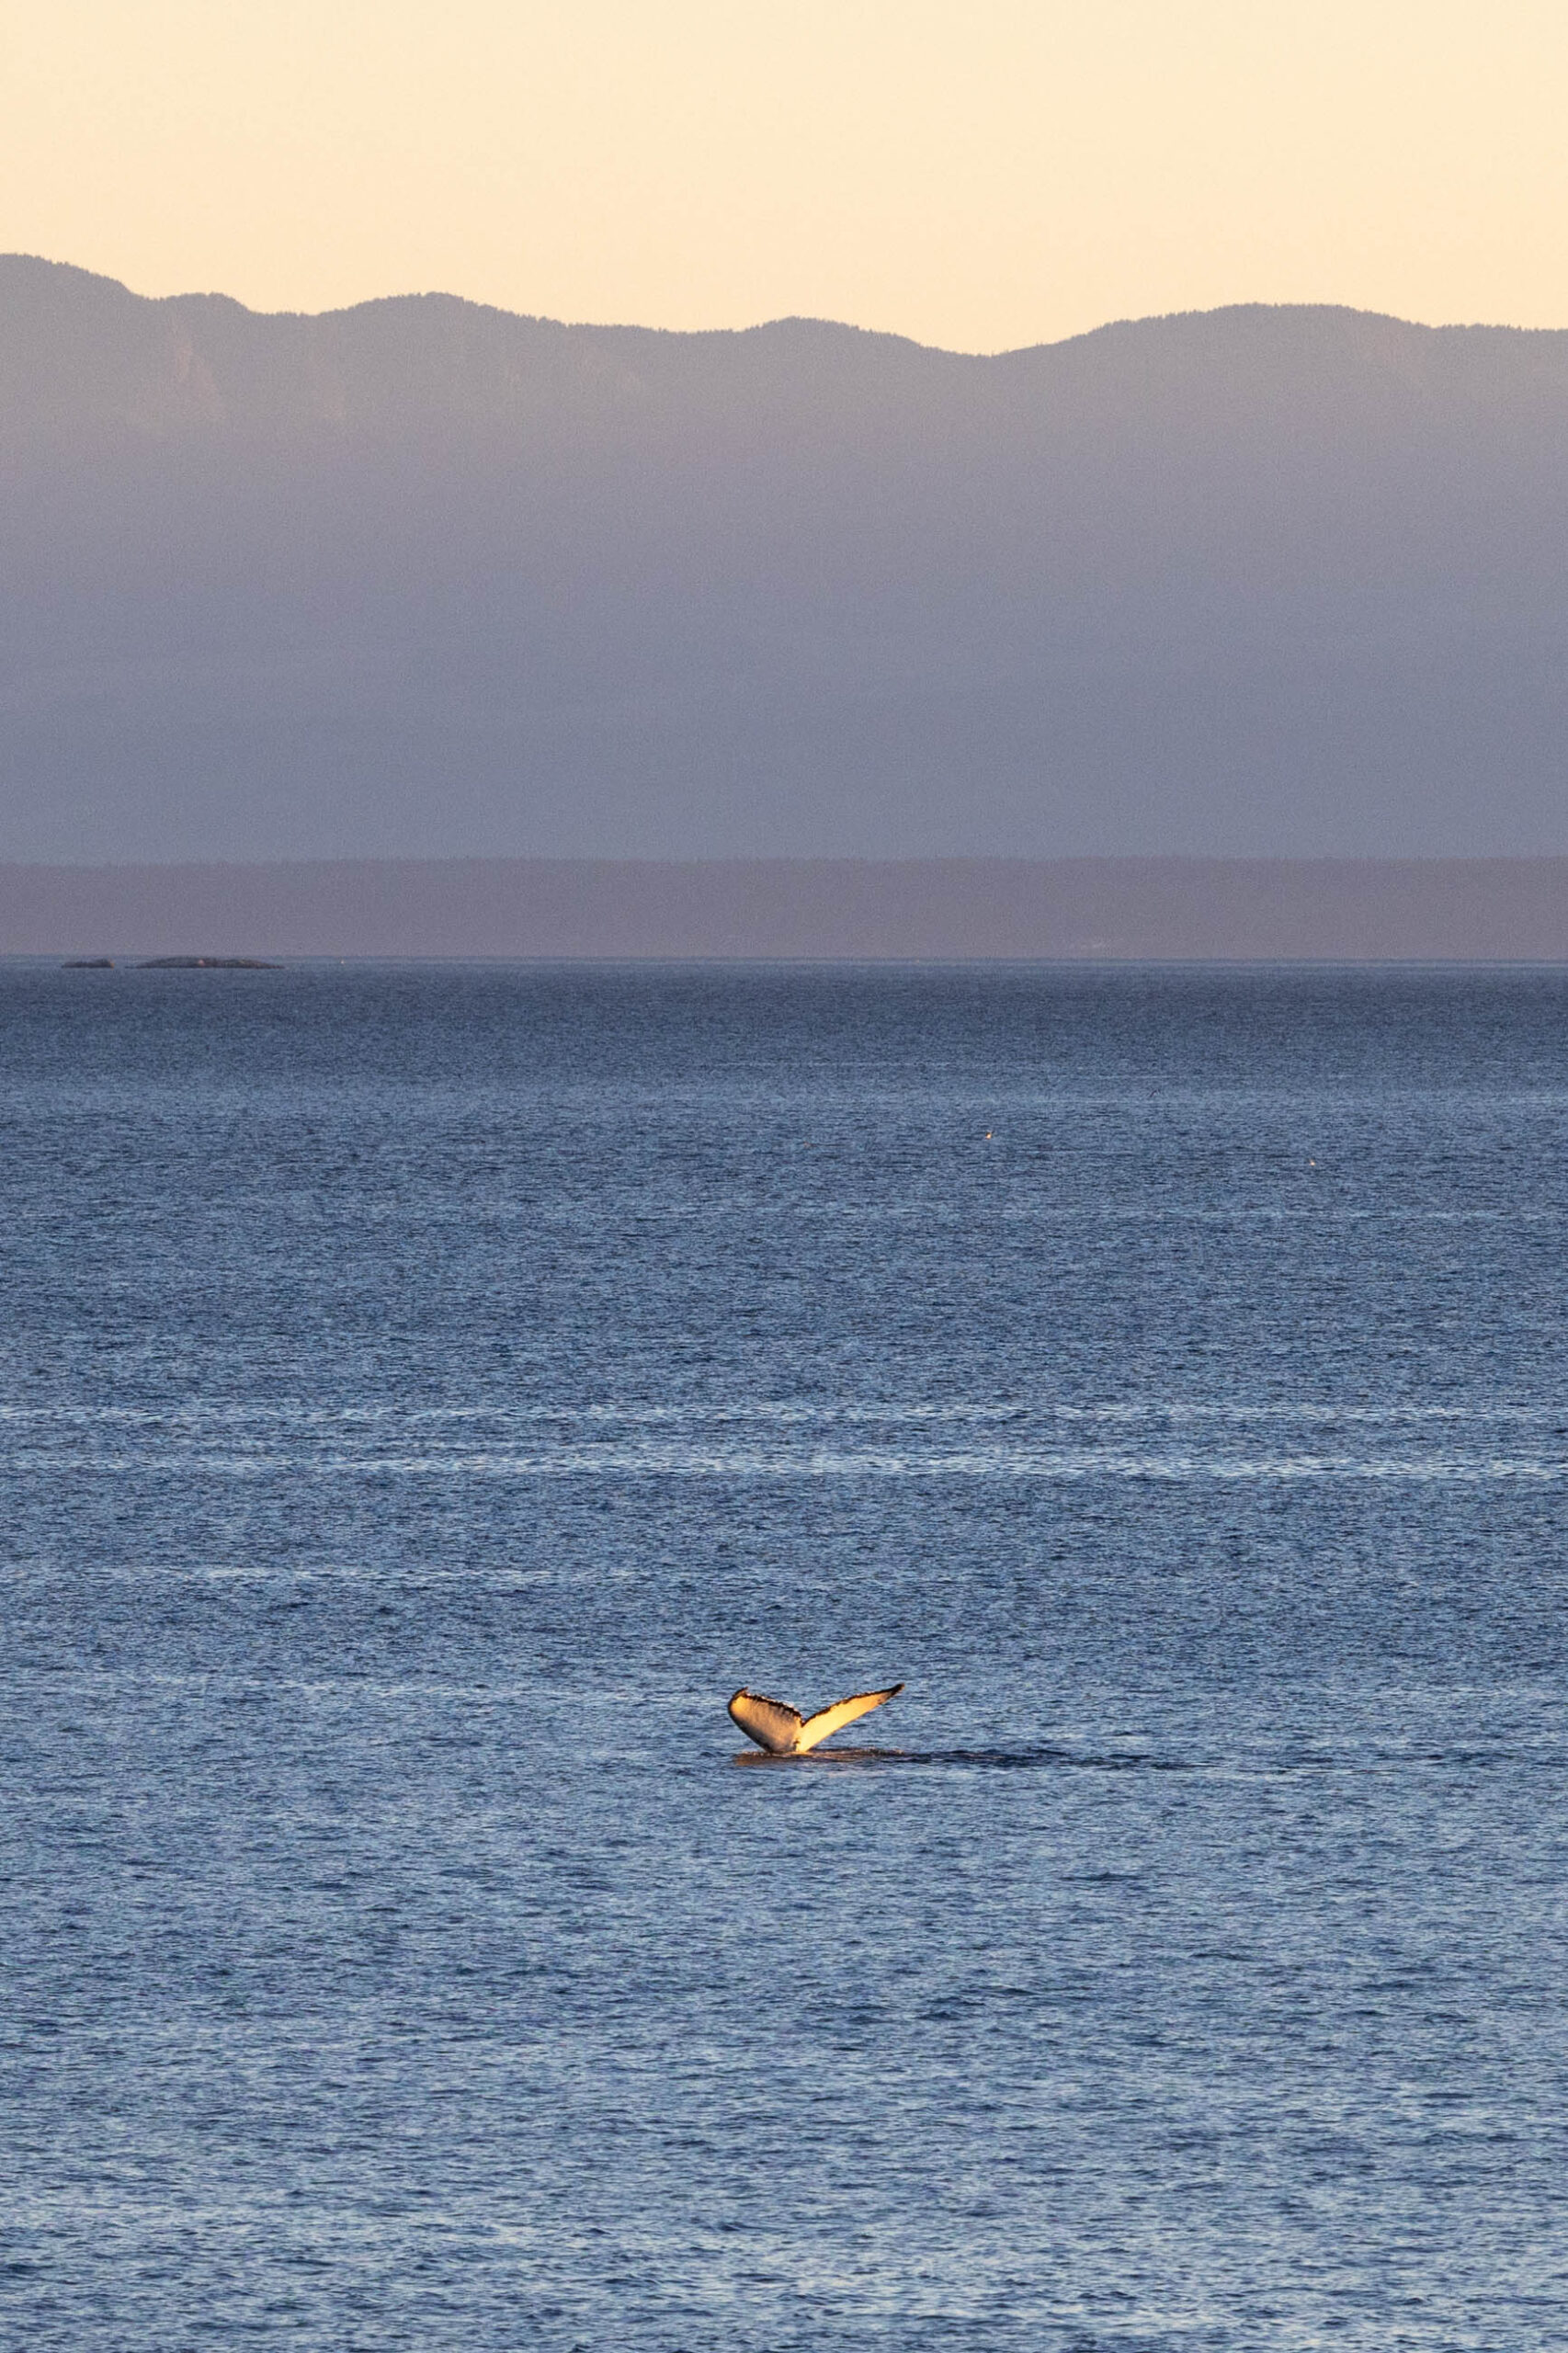
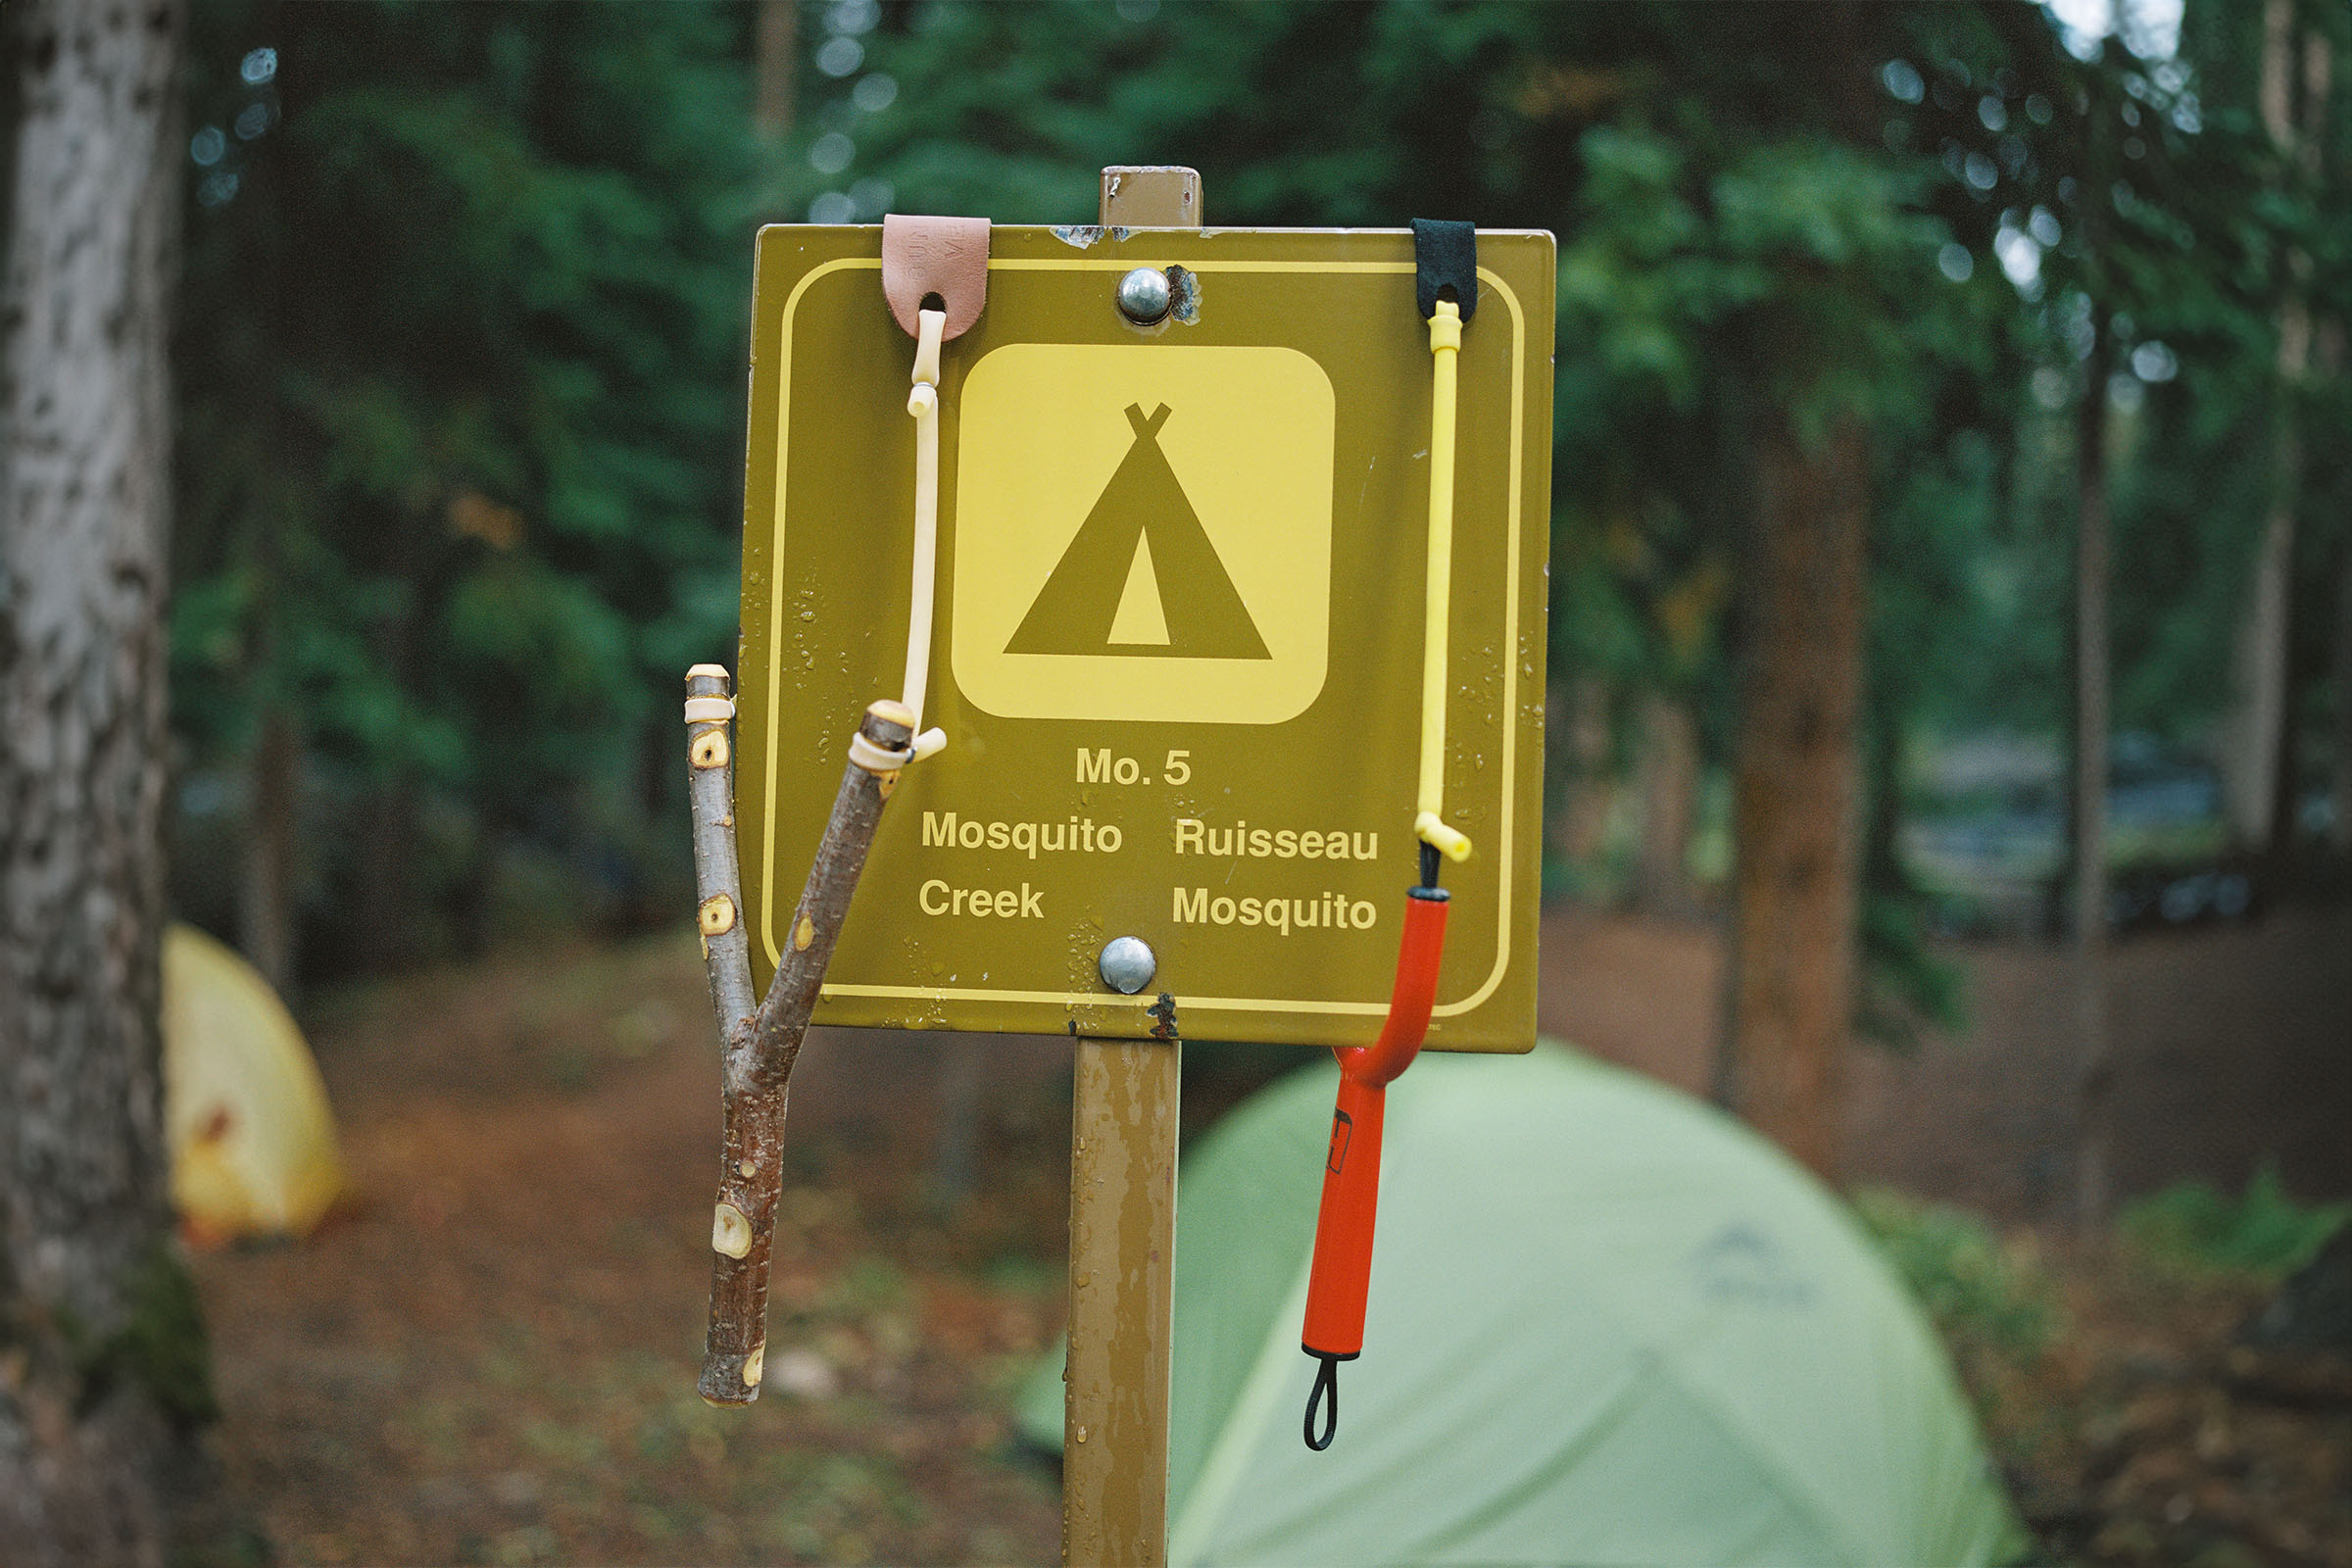
I ended up sneaking out with Emily on a cheeky end-of-season overnighter last weekend to one of our all-time favorite local camp spots. I pushed my bike more than normal, rode more than I thought I would, and we were blessed with fantastic views of humpbacks and orcas breaching in the ocean before heading to bed. Much like my rig, I kept my food simple with boxed macaroni and cheese, a day-old cinnamon bun from the local bakery, and oatmeal for the morning. We couldn’t help but laugh at my $175 clogs as I loaded my bike in the morning. Emily’s mom recently sent her old Olympus point-and-shoot from high school, and she took it upon herself to get video proof of our campout. The grainy video she captured perfectly encapsulates the energy of my Budget Bikepacking Build. Watch it below.


Bonus Content: Budget Campout Video
We’ll have more Budget Bikepacking Build-Off submissions from the rest of the team in the months ahead. For now, we’d love your feedback and photos of your budget builds in the Conversation below!
Further Reading
Make sure to dig into these related articles for more info...


Please keep the conversation civil, constructive, and inclusive, or your comment will be removed.