Bikepacking Hacks
A list of bikepacking hacks, shortcuts and DIY tricks to help you get out there with stuff you already have…
By definition, a hack is a trick, shortcut, or novelty method that increases efficiency, and/or decreases cost. Here is a running list of bikepacking hacks that we’ve gathered over the years. Have a hack or DIY trick of your own that’s not listed here? Send us an email (pedalingnowhere at gmail dot com) and include a photo. If it fits, we’ll add it to the list and give you credit.
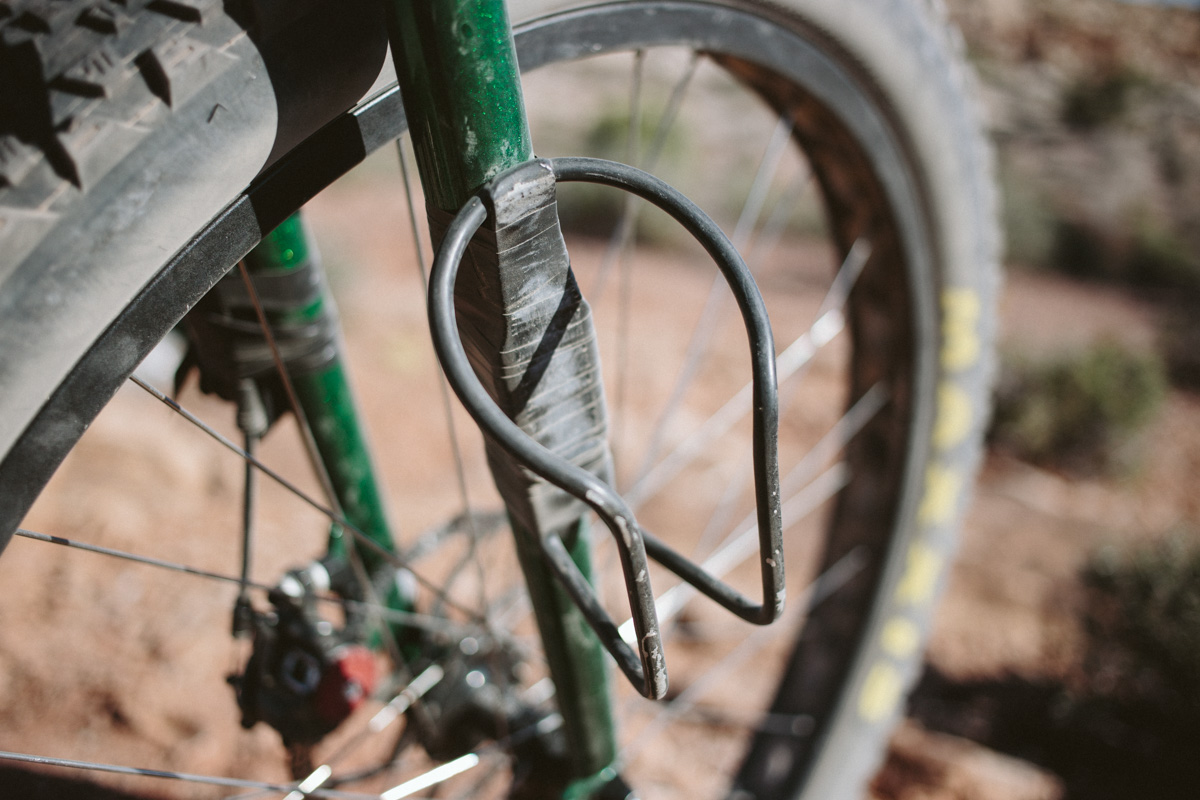
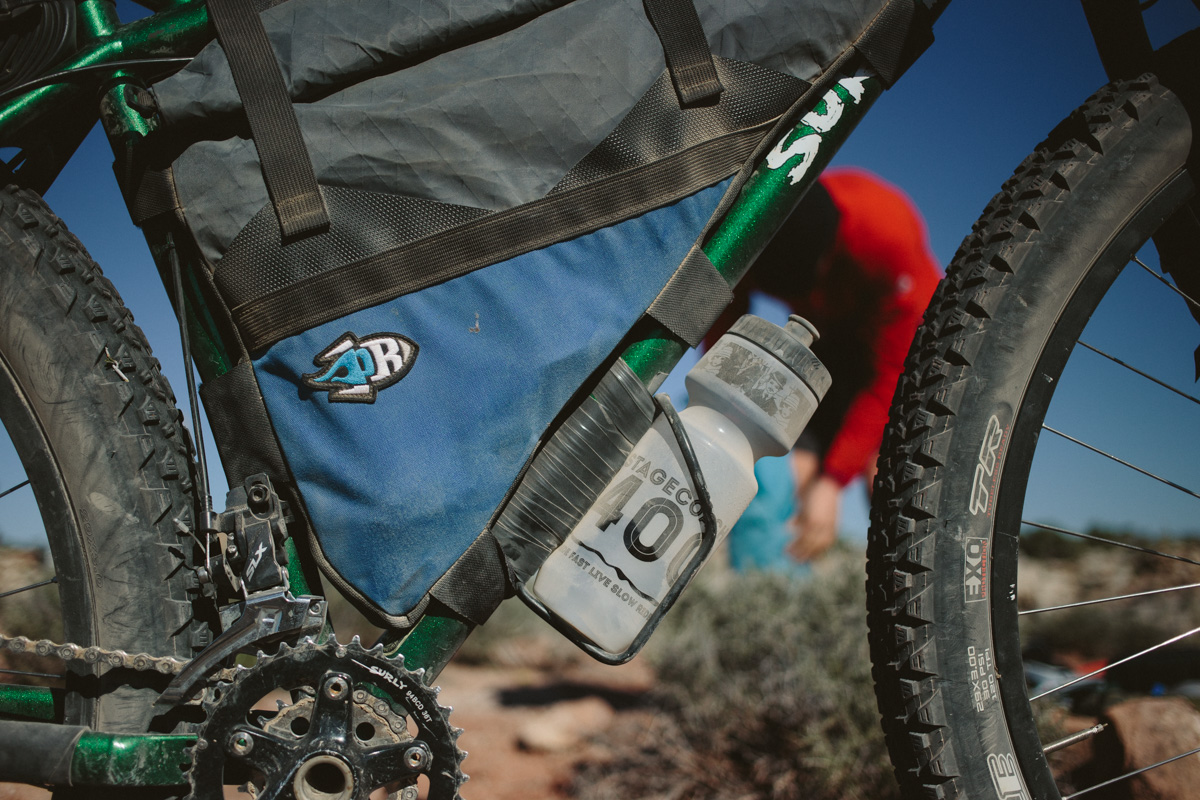
1. Electrical Tape Cage Mounts
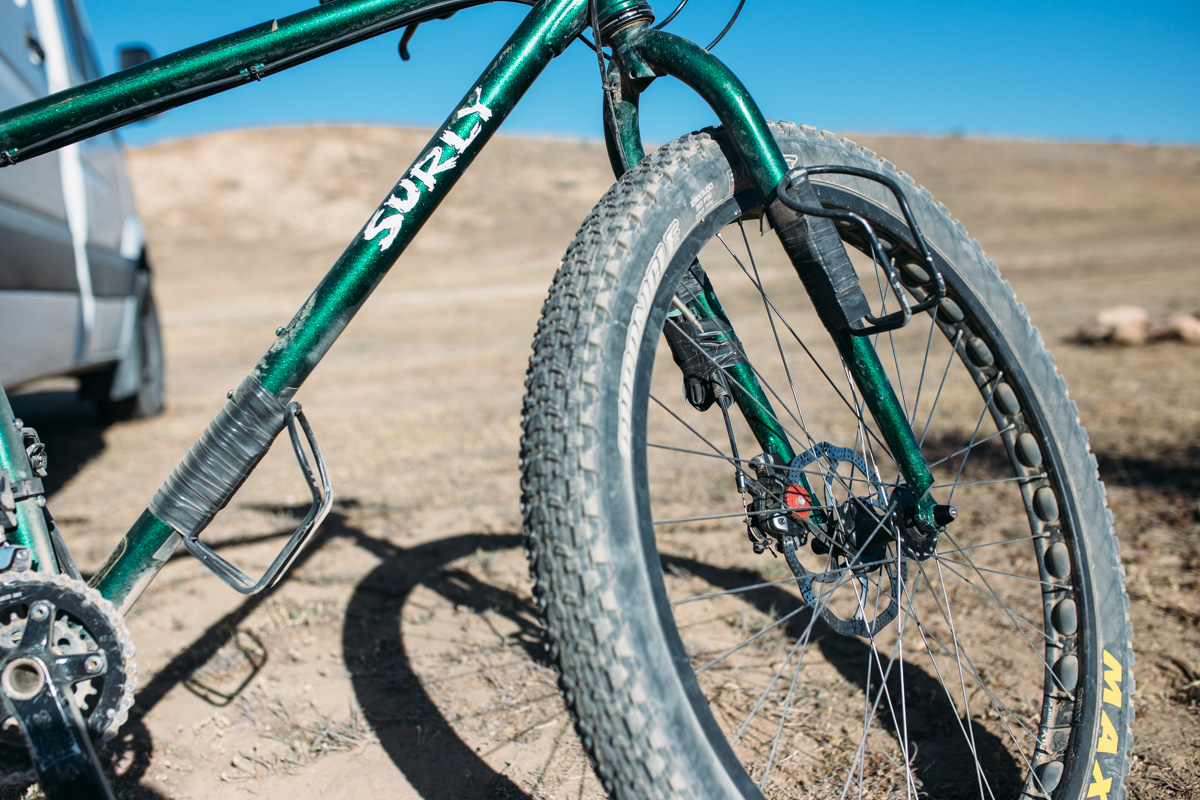
Save your frame warranty and use tape. This is a must-try method for securing cages (or tubes, or a pump, or a can of beans, or anything for that matter) to your undrilled frame or fork. For a secure mount, use about 2/3 of a roll of electrical tape. The Lezyne power cages work great for this. To protect your frame, apply a little tape where the cage will make contact. The two cages above just lasted three bikepacking trips totaling over 300 miles over the rugged southwest, and they are still intact. Also, tape a spare tube somewhere. The great thing about electrical tape is that is comes off easily without residue.
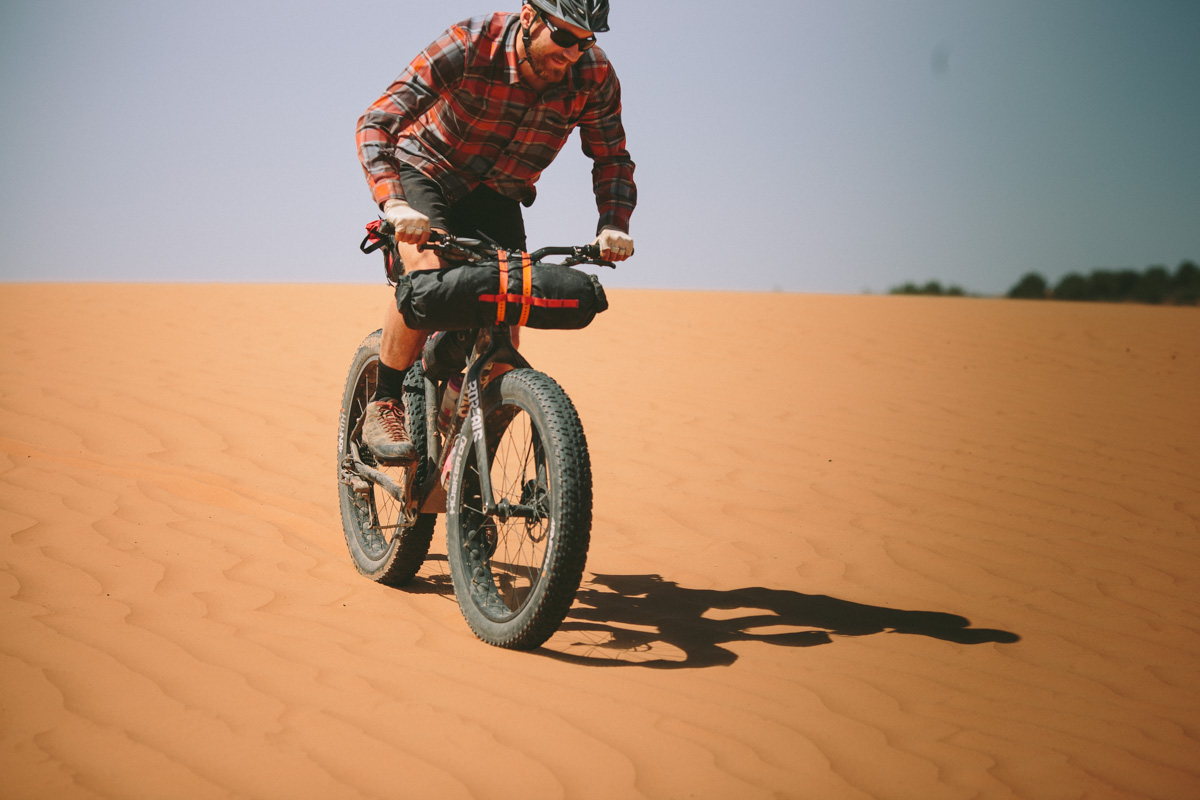
2. Strap it to the handlebars.
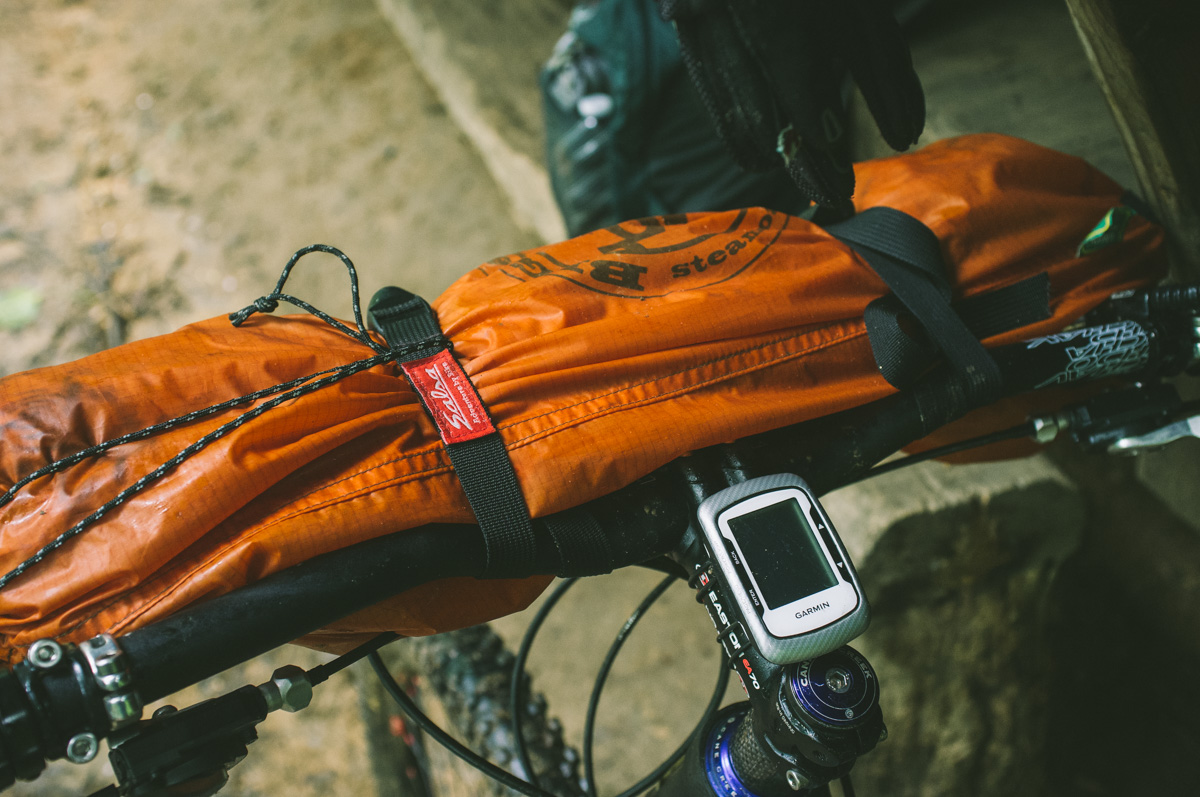
This is the incredibly simple technique enables anyone with a sleeping bag to take a bikepacking trip. Almost any cylindrical object can be strapped up front… a tent, sleeping bag, dry bag, fly rod, etc.; and almost any kind of straps will do. I recommend Salsa straps, or…
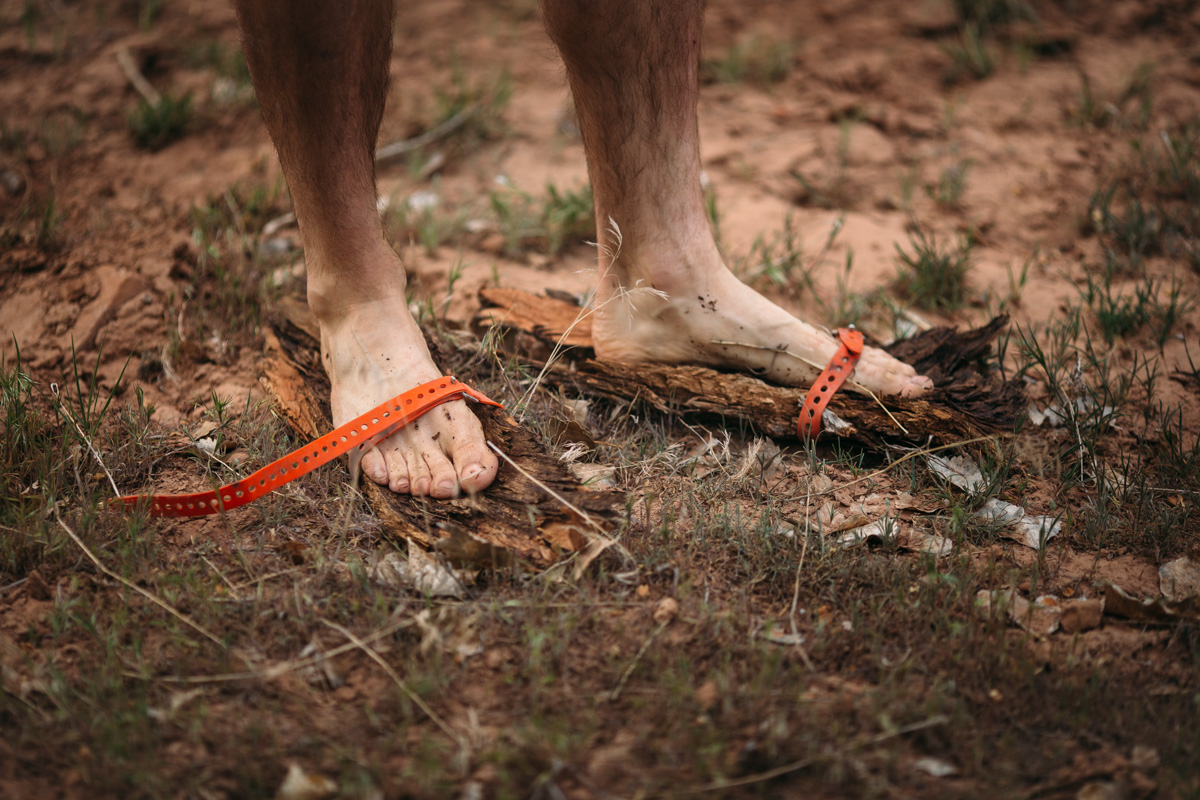
3. Voile Straps
Skyler turned me on to these ski touring gems. They are essentially durable rubber straps that can be used to tightly secure absolutely anything to your bike. Here they are shown replacing the cap strap on a Modula oversized cage, but they can also be used to lash a dry bag to the handlebars… or make camp sandals out of tree bark.


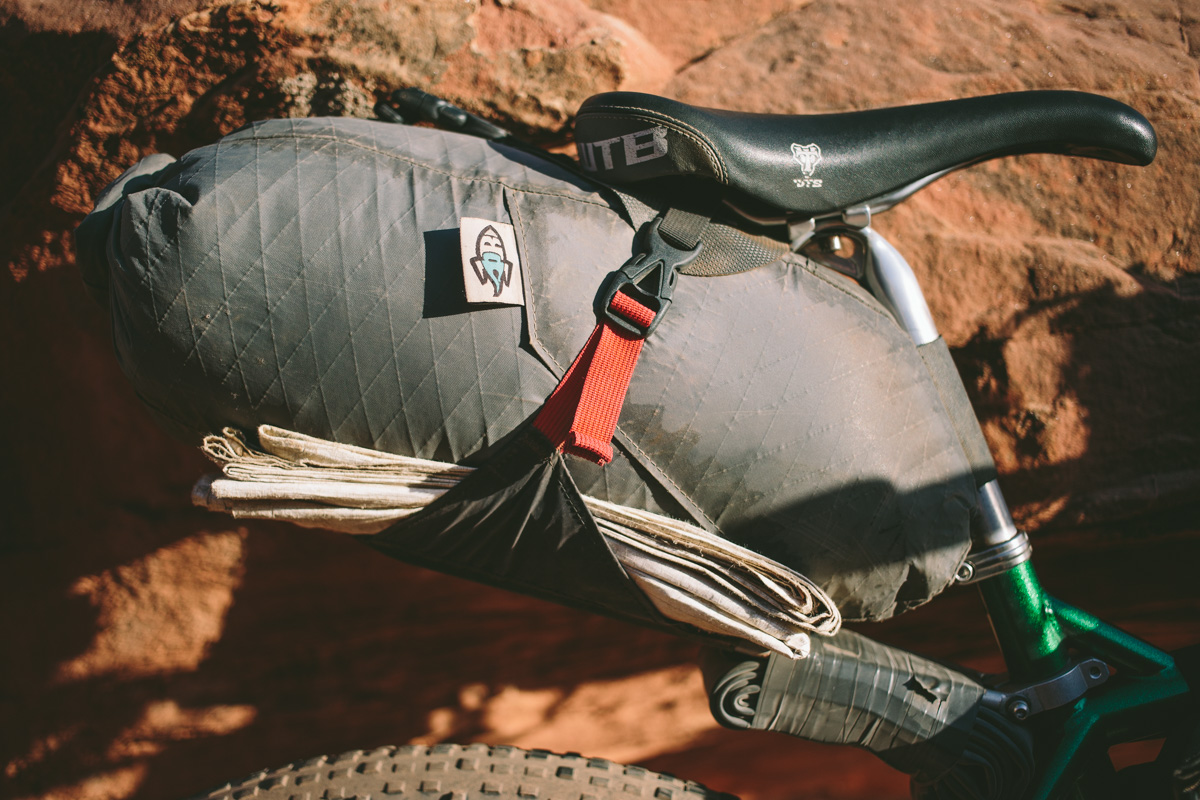
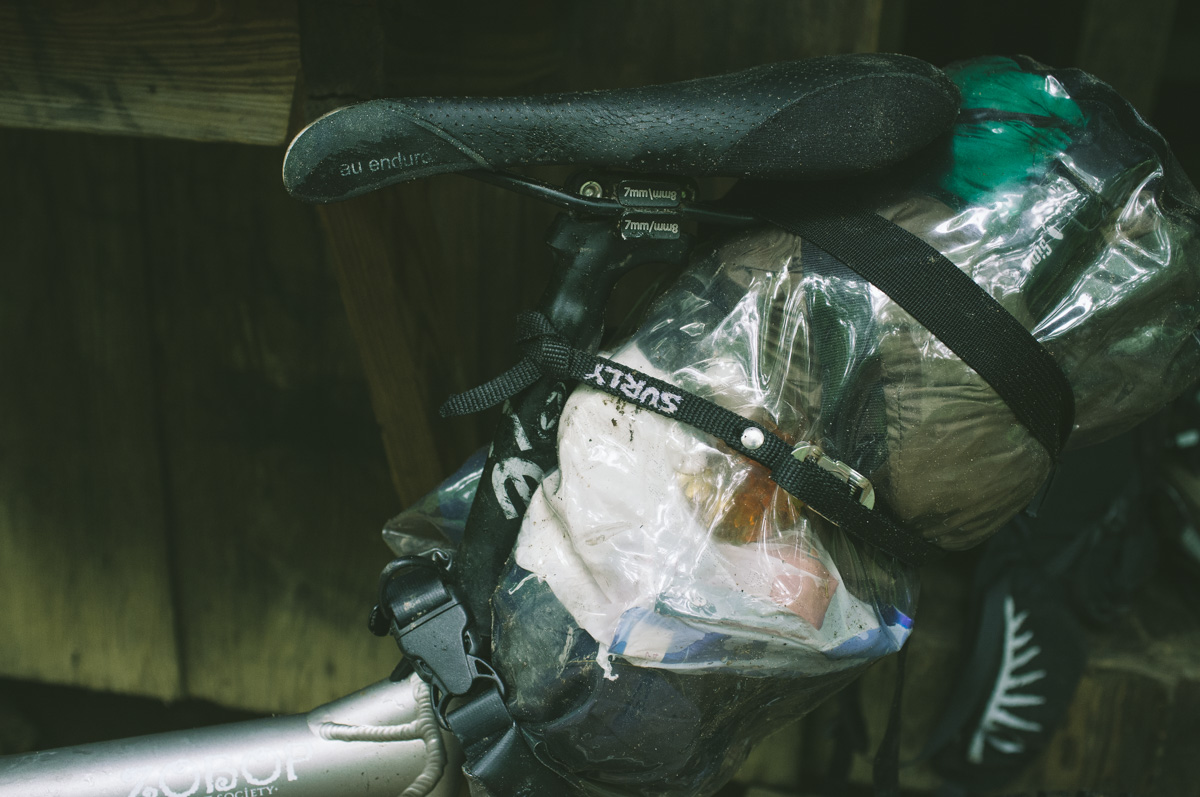
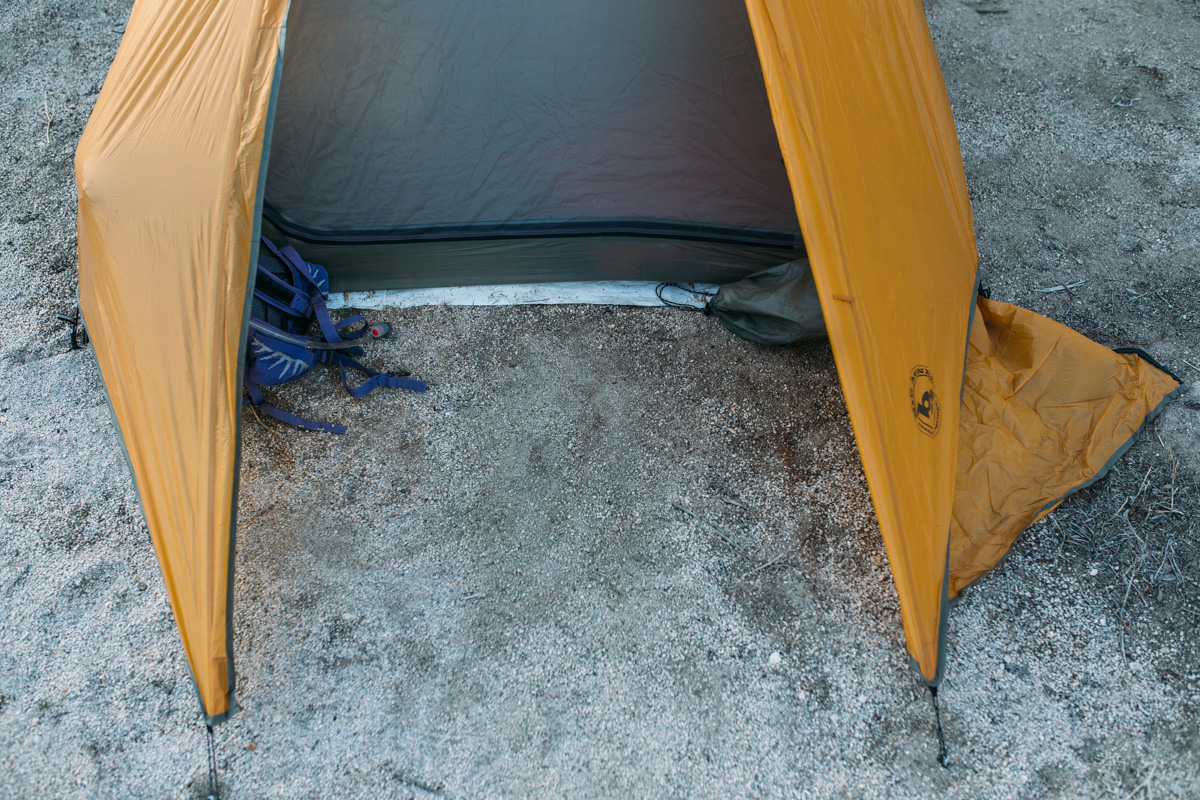
4. Drybag Seatbag
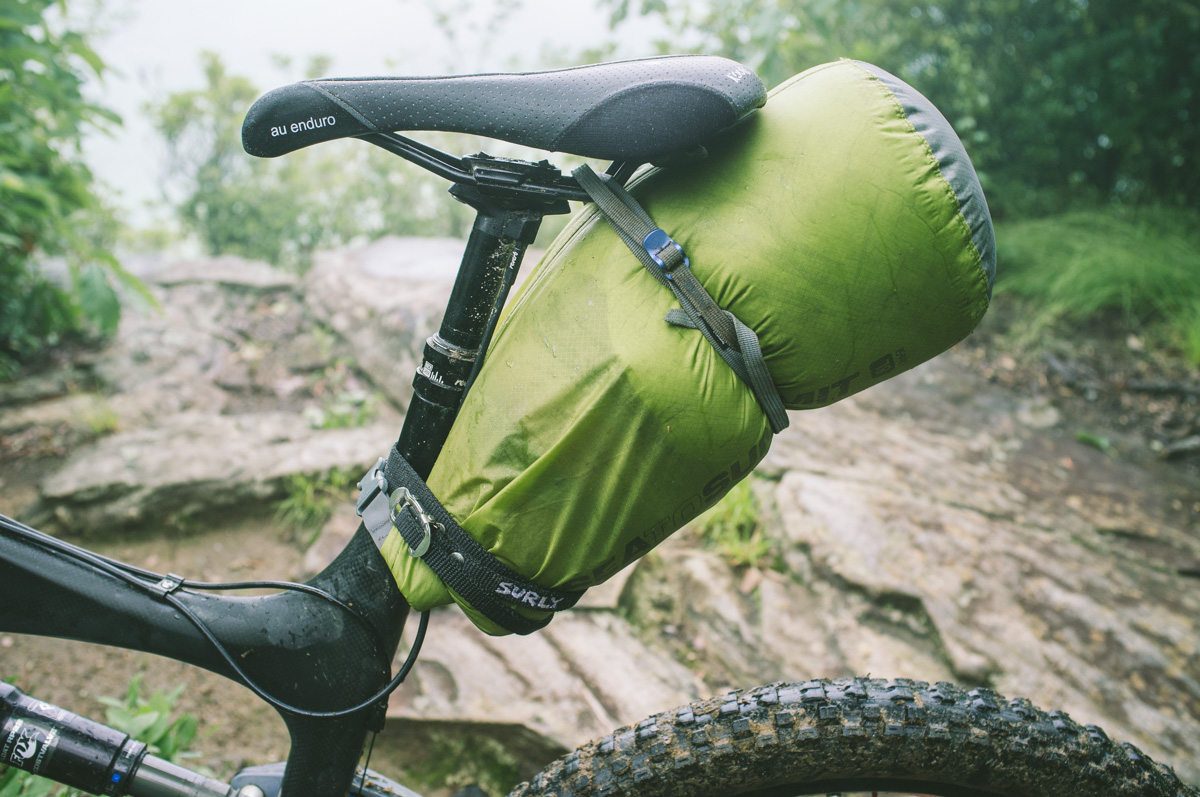
Don’t have a fancy seat bag? Here is a classic gearless dirtbag trick. Use a sturdy dry bag and clip the roll top around the seatpost/seat tube. Then secure the upper portion by wrapping a strap around the seat rails. If you are storing clothes in the dry bag, add an additional strap or include something rigid to prevent it from flopping around. EDIT: Brandon (@dapper_cyclist) shared a photo of his DIY seat bag made from a Salsa Anything Bag using the daisy chain lash-loops to wrap velcro straps to the seat post and rails.


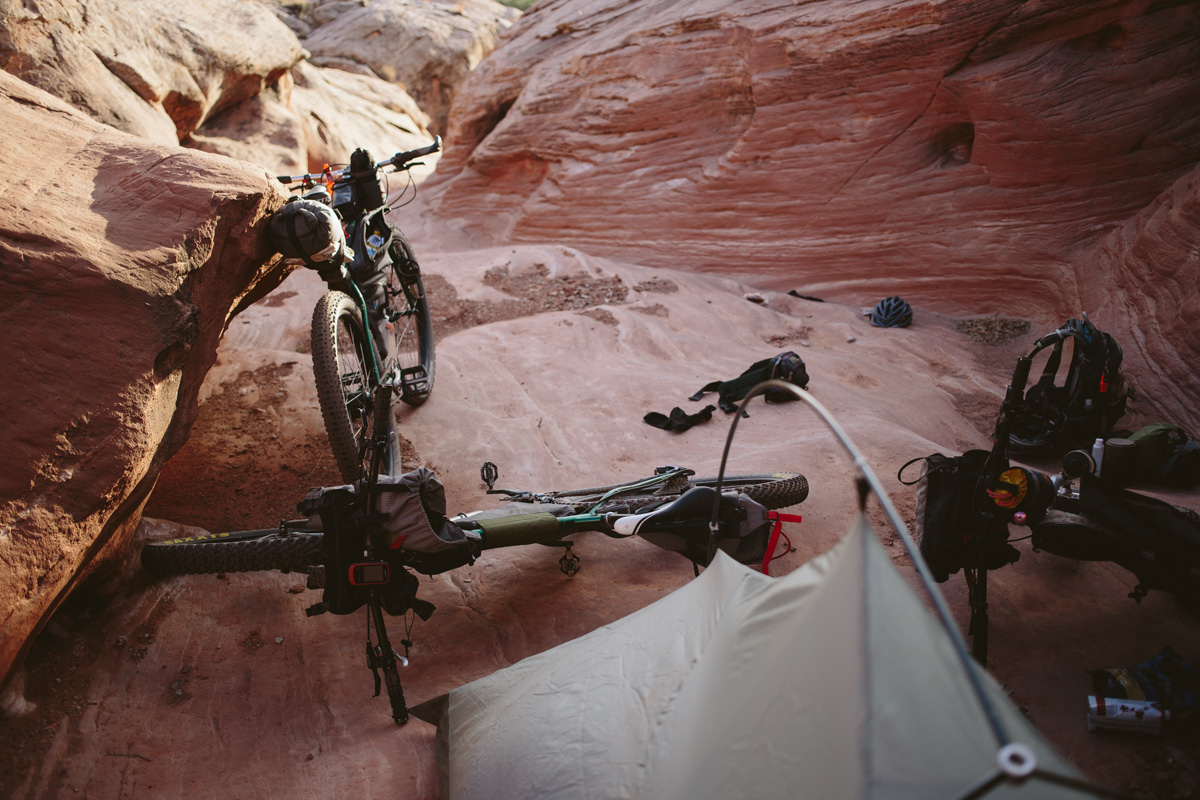
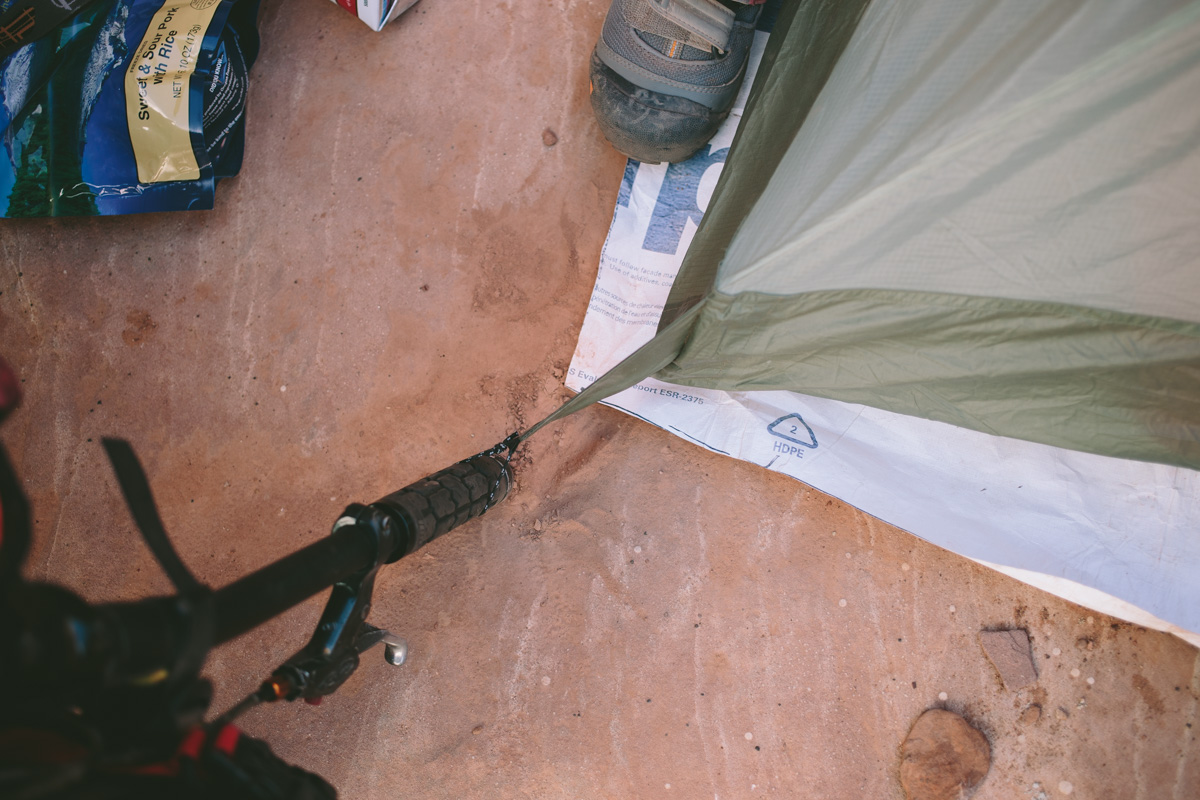
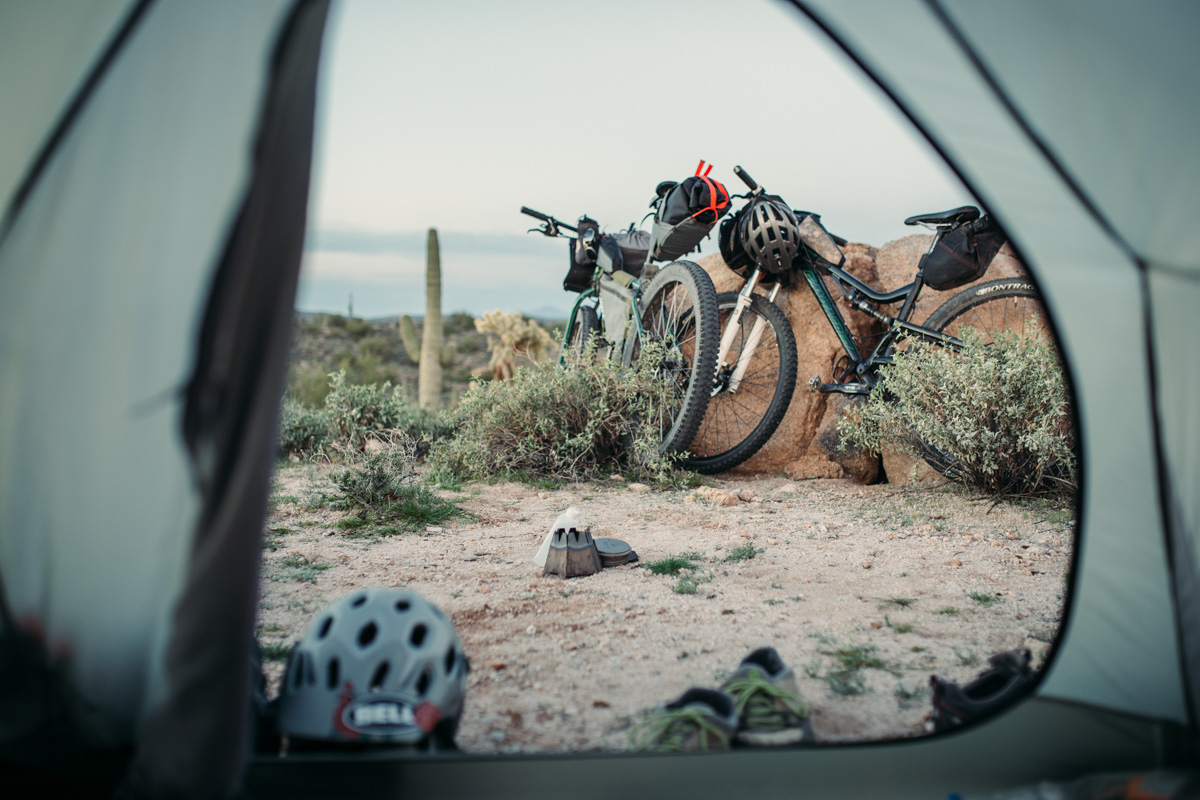
5. Handlebar Tent Poles
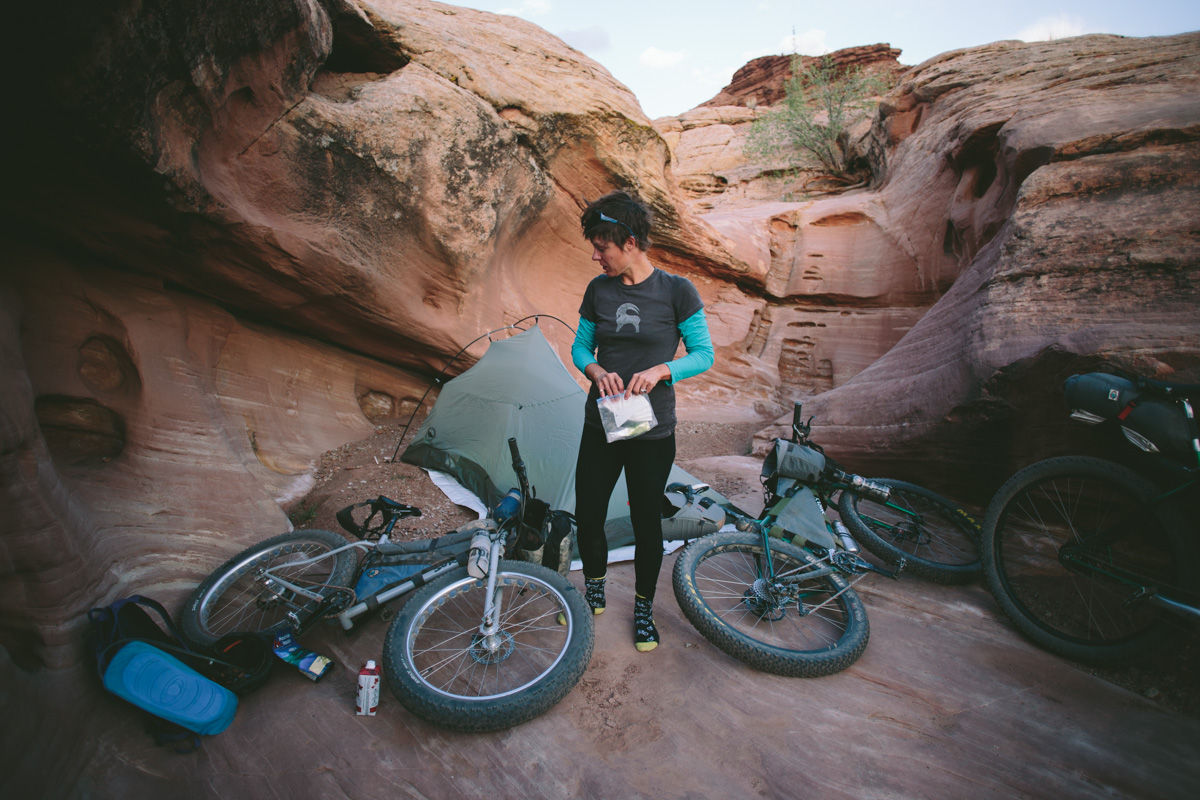
This isn’t really a gear replacement hack, unless you are gram counter. But, it’s a perfect trick for camping on slick rock or somewhere that may not be the most tent stake friendly turf. Simply put your bike on its side and run the bike grips through the tent loops.

6. Gorilla Tape Repair Kit
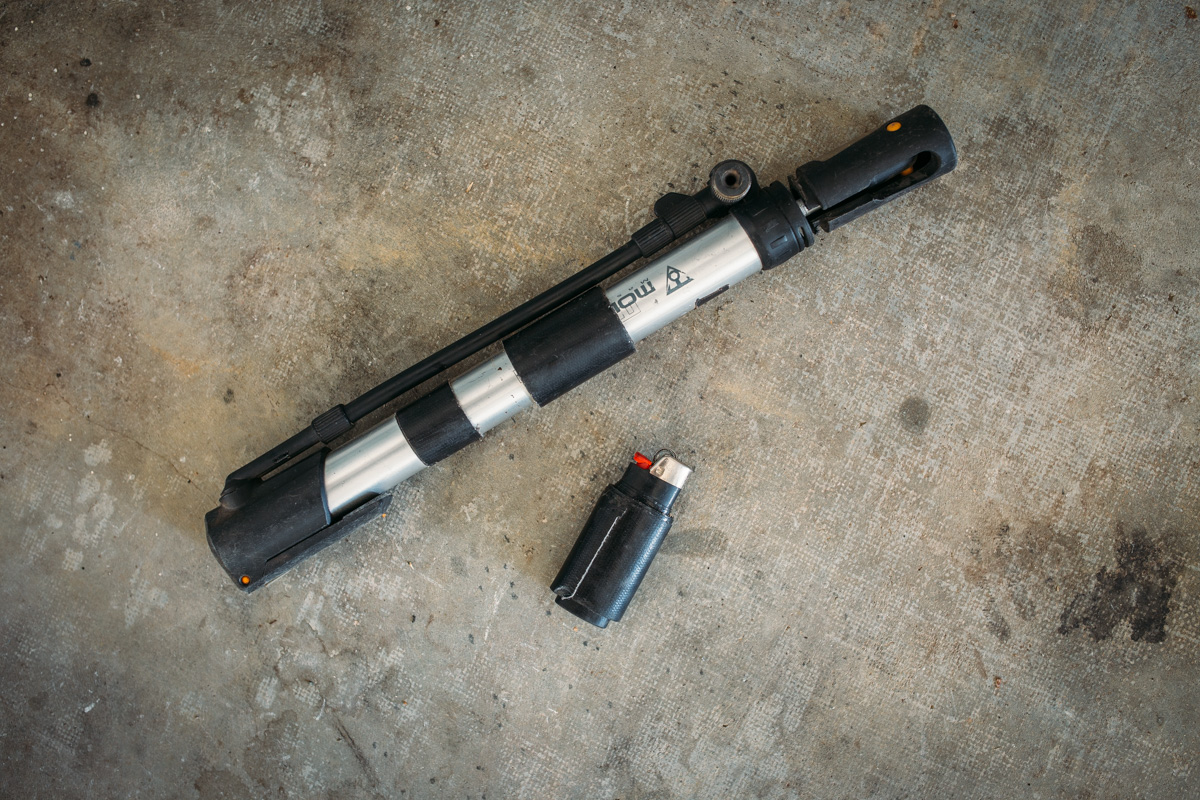
A good start to a versatile toolkit is Gorilla Tape. Gorilla tape can repair almost anything, but you can’t really carry a whole roll. Wrap a dozen or so winds around a lighter, or a tire pump.
7. Tinfoil Meal Plan for Two

If a campfire is part of the plan, and weather permits, this is a great menu for an overnighter (no stove or cookware required). It’s back to the basics. Foil packet ingredients: 1 poblano pepper, 1 Serrano, 1 Yellow pepper, a couple tablespoons of olive oil, salt and pepper. Other ingredients: a package of tortillas of your choice, 1 can of refried beans, 1 avocado. Step 1: Cut up the peppers and add the packet ingredients to a tinfoil pouch; seal it by rolling the sides 3 or 4 times. Step 2: Toss the packet on a bed of coals. Step 3: Open the can of beans and place it on the coals; allow around 20 or 30 minutes (check beans and stir occasionally… times may vary). Step 4: Slice avocado and construct tacos.
8. Make a Hop-can stove.
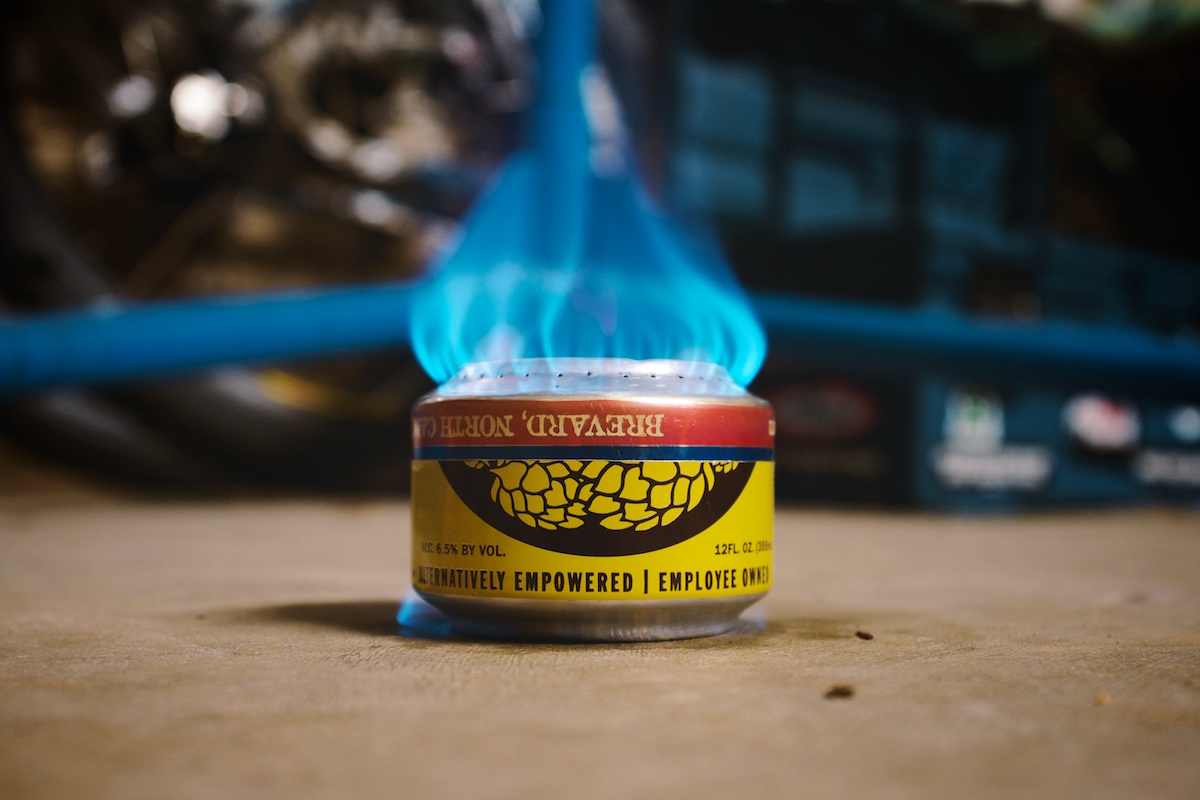
An classic worth mentioning here, again. Build a lightweight alcohol stove from your favorite beverage can. Here’s how.
9. Cheap (and packable) Fuel Flask

One piece of kit that’s always bothered me is the fuel can. Fortunately, when using an alcohol as fuel, anything plastic will do. The REI Oval Poly Bottle makes a fine vessel which may be packed where there’s an extra bit of space. And so far, we’ve never had one spring a leak. The Oval Poly Bottles come in 8oz and 4oz sizes and are $2.00 and $1.75 respectively.
10. Tyvek ground sheet
In case you haven’t already ran across this fairly well known DIY trick… Tyvek makes a great ground cloth for either under the tent, or as a bag barrier for sleeping under the stars. It’s usually pretty cheap, especially if you can find some at a local construction site.
11. MYOG
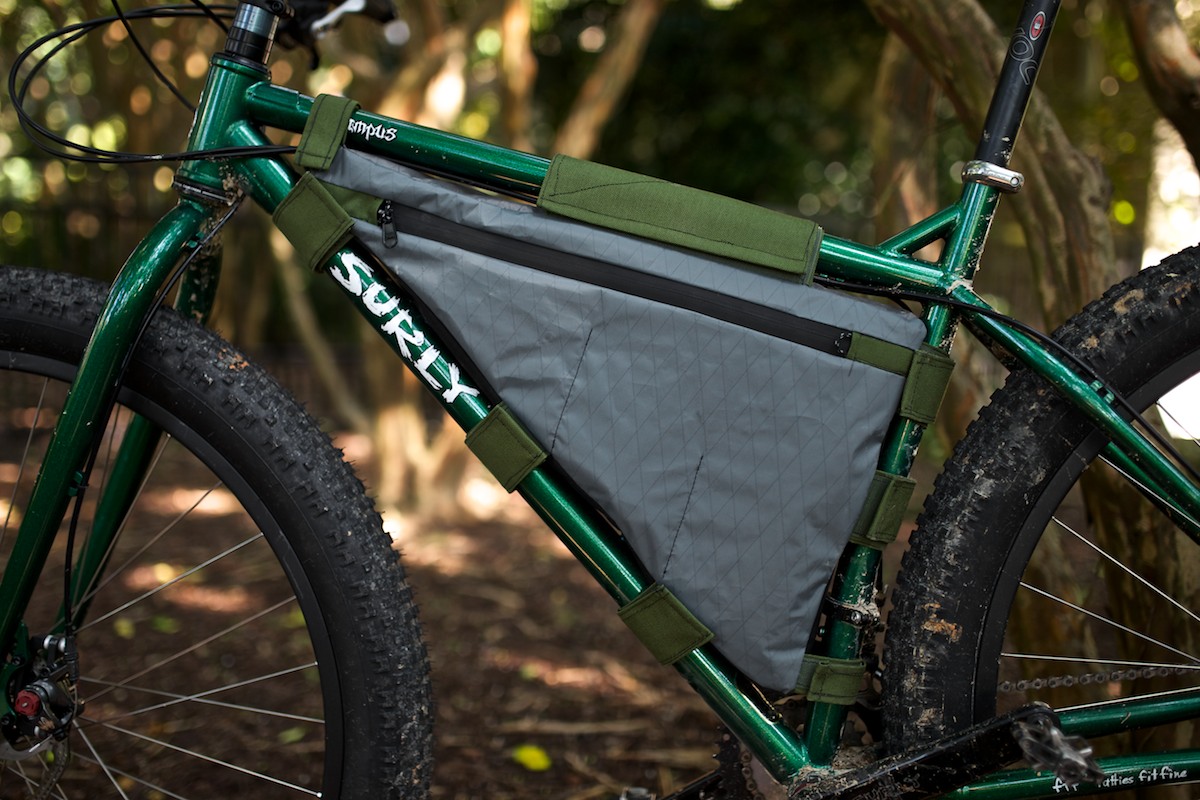
Making Your Own Gear is not always going to save money, but if you are counting dollars, the frame bag is probably the easiest and most approachable. Check out this tutorial.
12. Spare parts in the tubes

For long-distance bikepacking trips, you may want to carry spare spokes, cables, and other parts. Hollow tubes are good spot to stash this stuff (that will hopefully never see the light of day). Thanks to Cassidy Knight for pointing out the idea of using the handlebars as a vessel for spare cables. Above is a photo of spoke storage in the seat tube using a small piece of foam to secure them.
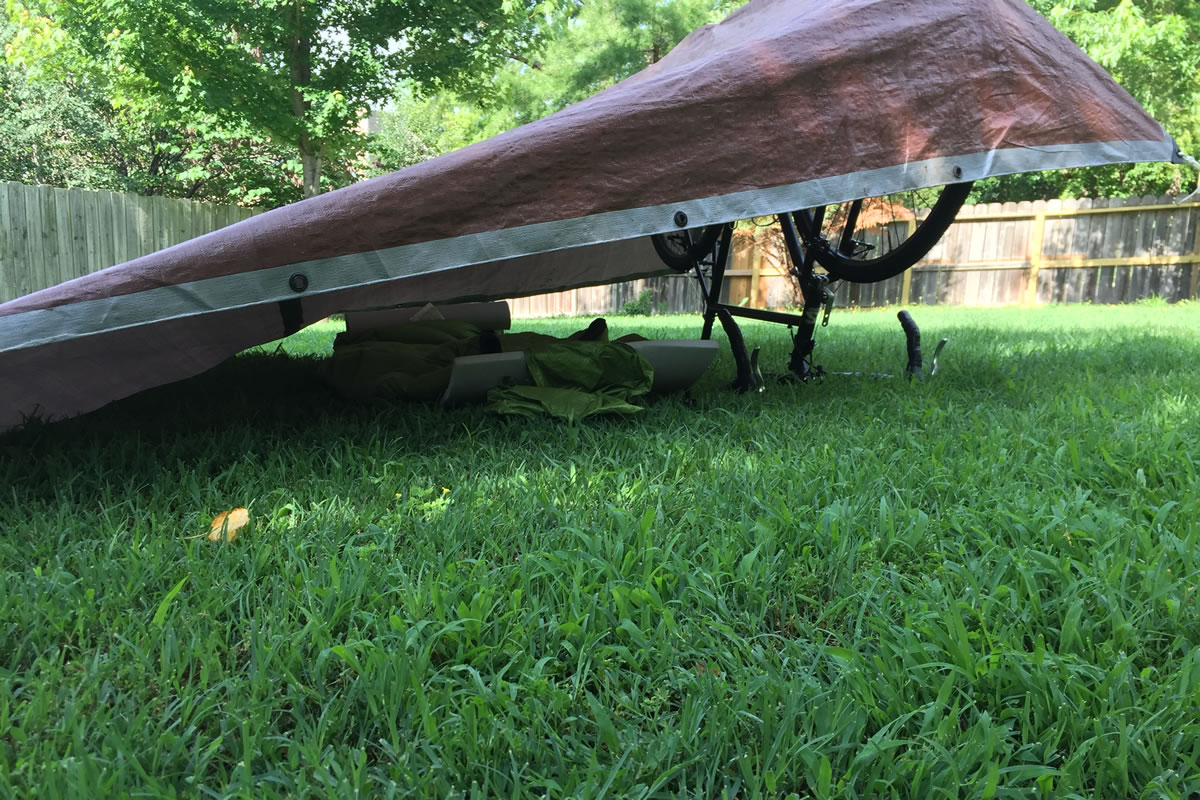
13. Two-wheeled Tarp Shelter
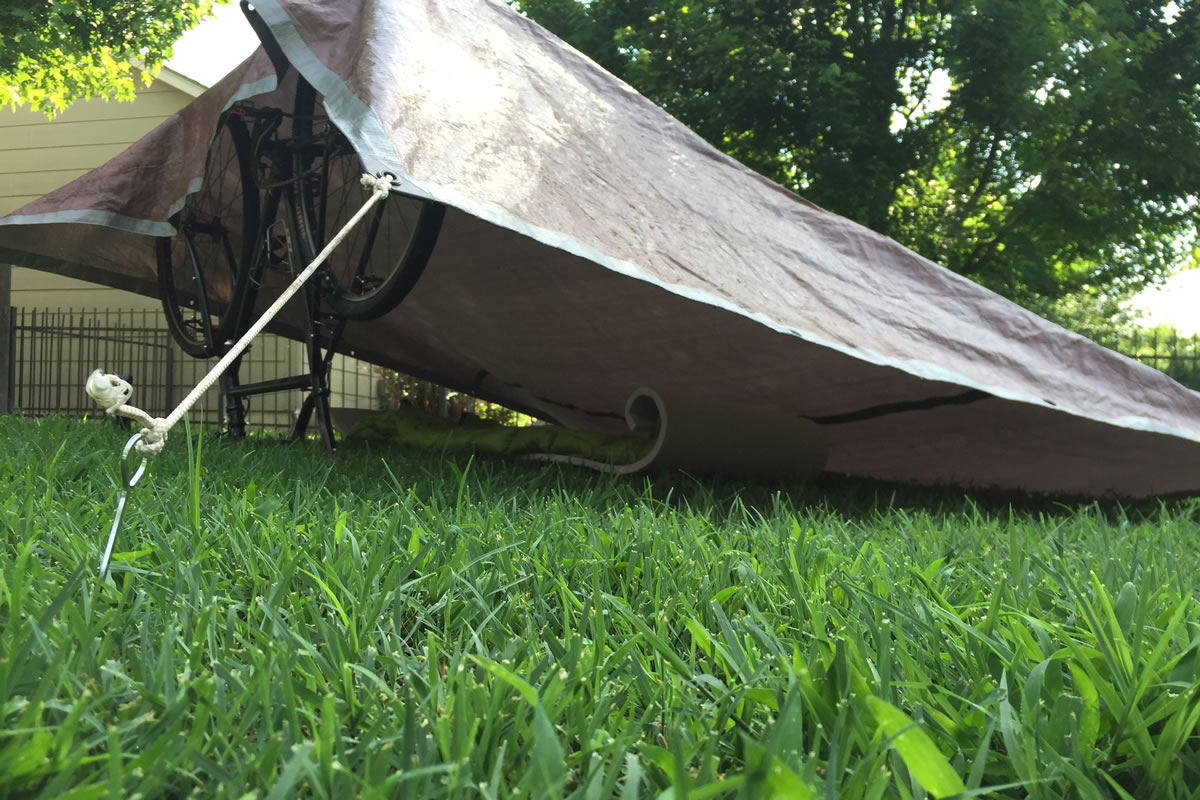
Here’s a great hack sent in by Brandon Davis (@dapper_cyclist): Don’t have a tent? All you need is several feet of rope or line, an 8×10 foot (or larger) tarp, and 4 stakes (Brandon used kebab skewers as tent stakes for these photos).


14. Water Bladder Cooler
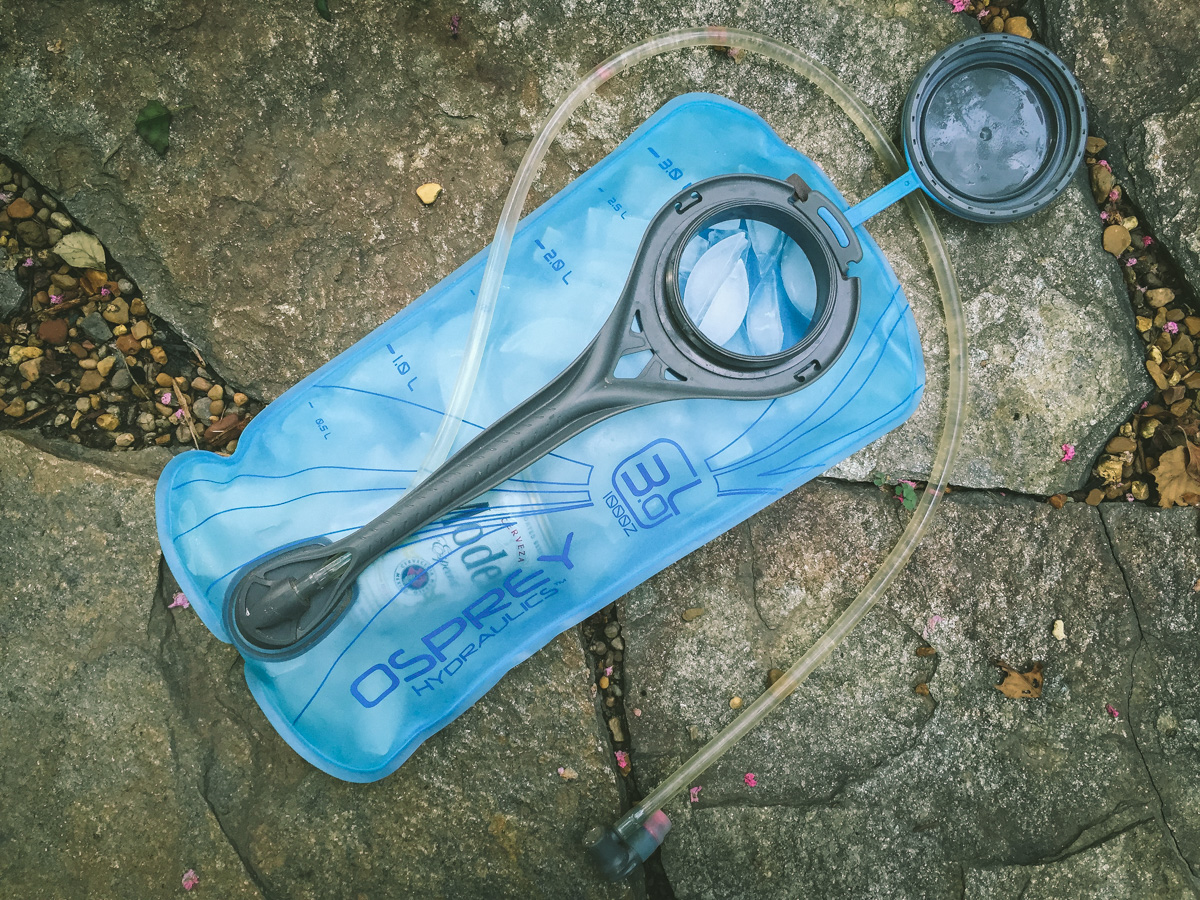
Have a cold beer (or two) on night one of your trip. We got this tip from the ultra-pros over at DrunkCyclist.com… probably conceived by Dirty the dirtbag professional. Beer first, water second. 1. Toss a beer or two in your water bladder (cans are preferable: crush and carry out); 2. add ice; 3. then a little water; 3. ride; 4. enjoy a cold post-ride beer at camp.
Have a hack or DIY trick of your own that’s not listed here? Send us an email (pedalingnowhere at gmail dot com) and include a photo. If it fits, we’ll add it to the list and give you credit.
Please keep the conversation civil, constructive, and inclusive, or your comment will be removed.
bikepacking-hacks
Please keep the conversation civil, constructive, and inclusive, or your comment will be removed.
We're independent
and member-supported.
Join the Bikepacking Collective to make our work possible: