


DIY Pants-Leg Stuff Sack (Rack Bag)
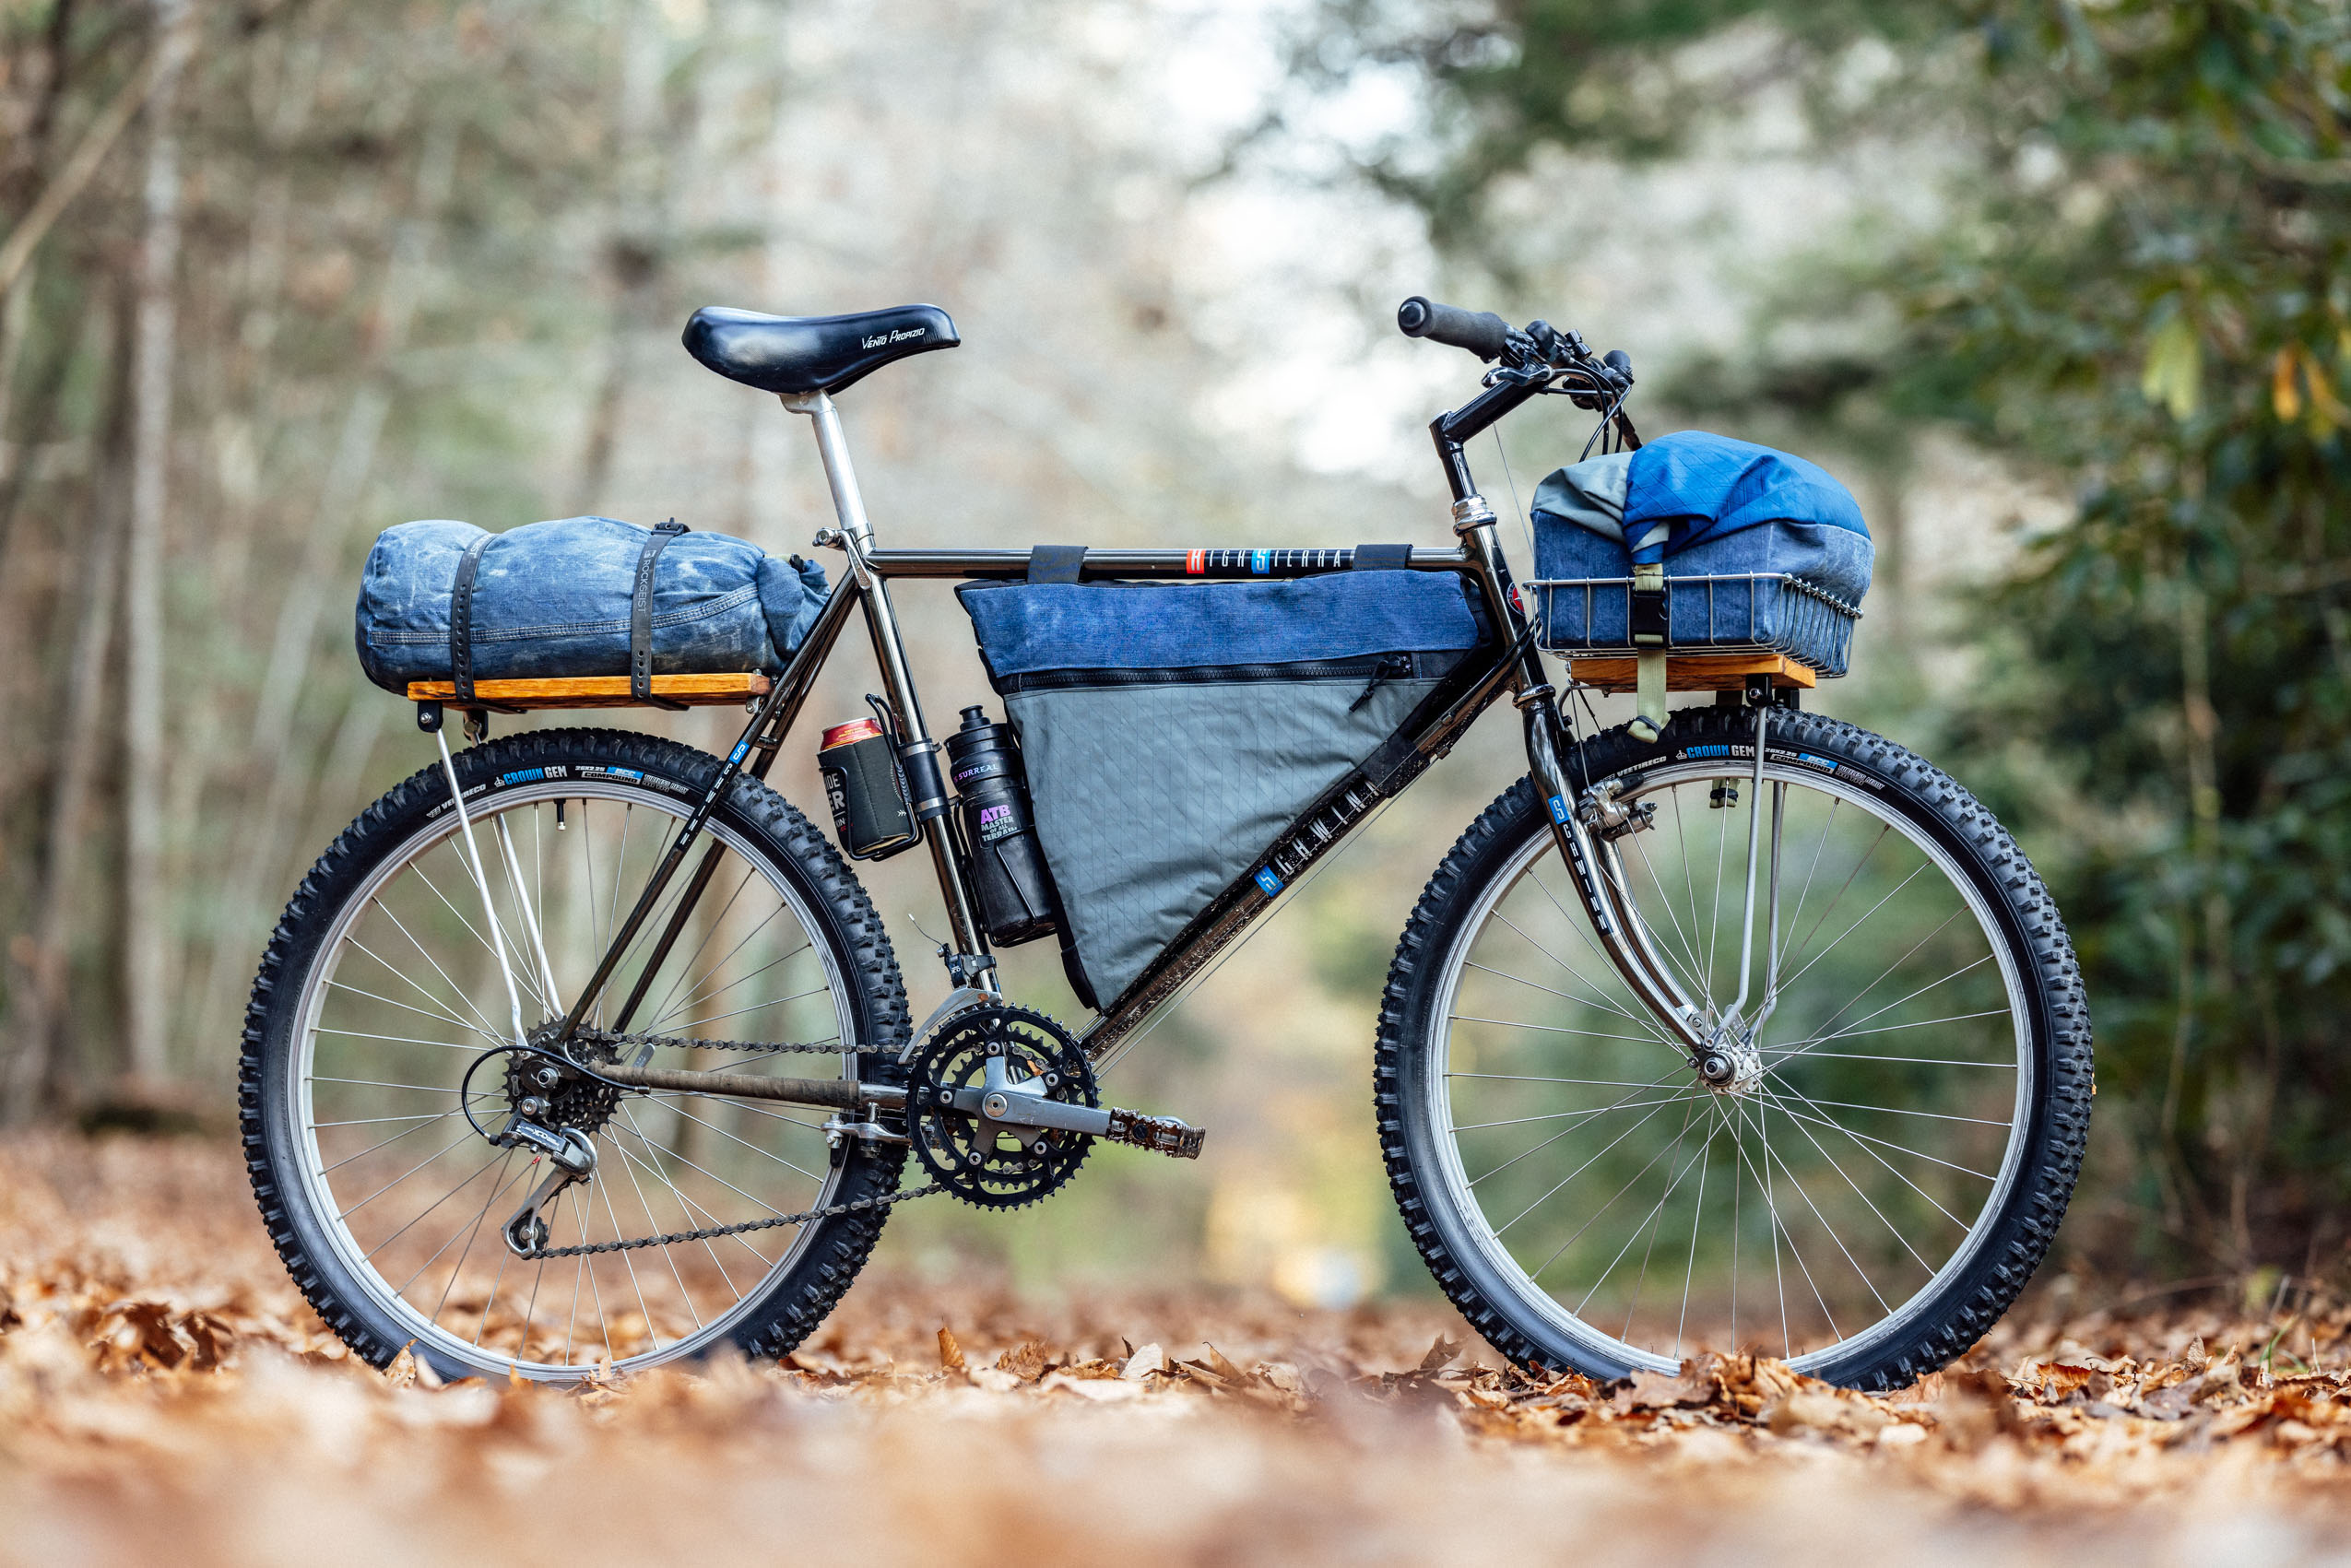
For the rear bag on his Budget Bikepacking Build-Off, Logan made a DIY pants-leg stuff sack from a pair of jeans he picked up for $5 at a thrift store. In this Make Your Own Bikepacking Gear (MYOBG) tutorial, he walks through how to make a waxed denim rack-top bag from start to finish…
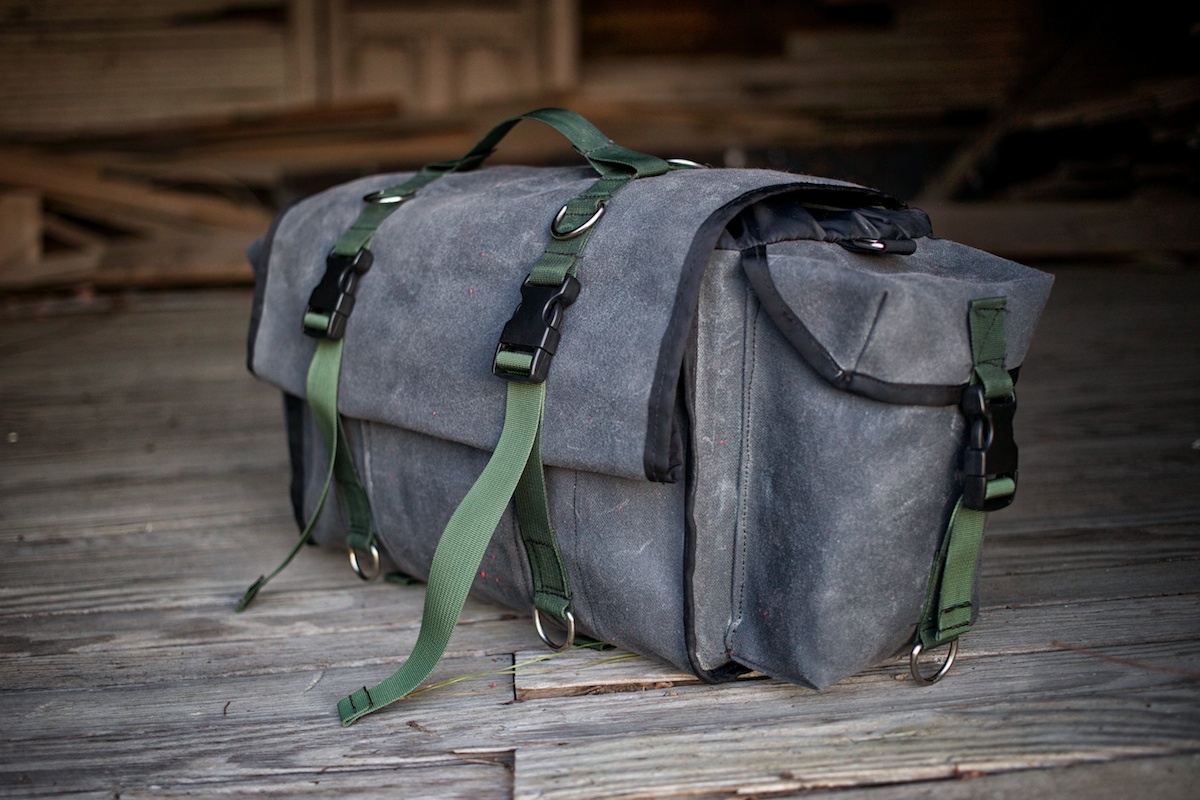
I’m convinced that waxed canvas remains one of the best materials for bikepacking bags. While it’s certainly not the lightest fabric, it’s incredibly durable, highly water-resistant when properly treated, and has an aesthetic charm that’s hard to replicate with modern synthetic materials. When I started planning my Budget Bikepacking Build-Off submission, I knew I wanted to incorporate waxed canvas somehow. It wasn’t until I was browsing the pants section at a local thrift store that it occurred to me that I could wax denim to achieve similar material properties. Then it clicked: if I found the right size leg on a pair of blue jeans, the cylinder was already sewn in place, and half the work was already done to make a pants-leg stuff sack.
It wasn’t that simple, of course, but I managed to make this rugged waxed blue jeans rear rack bag in a matter of two hours. Here’s how I did it.


What you’ll Need
- Pair of jeans, the bigger the better
- Scissors
- Ruler or measuring tape
- Sewing Machine
- 1” Webbing – a little over 2 feet; could also use 3/4″ webbing
- 1″ side-release buckle like this one
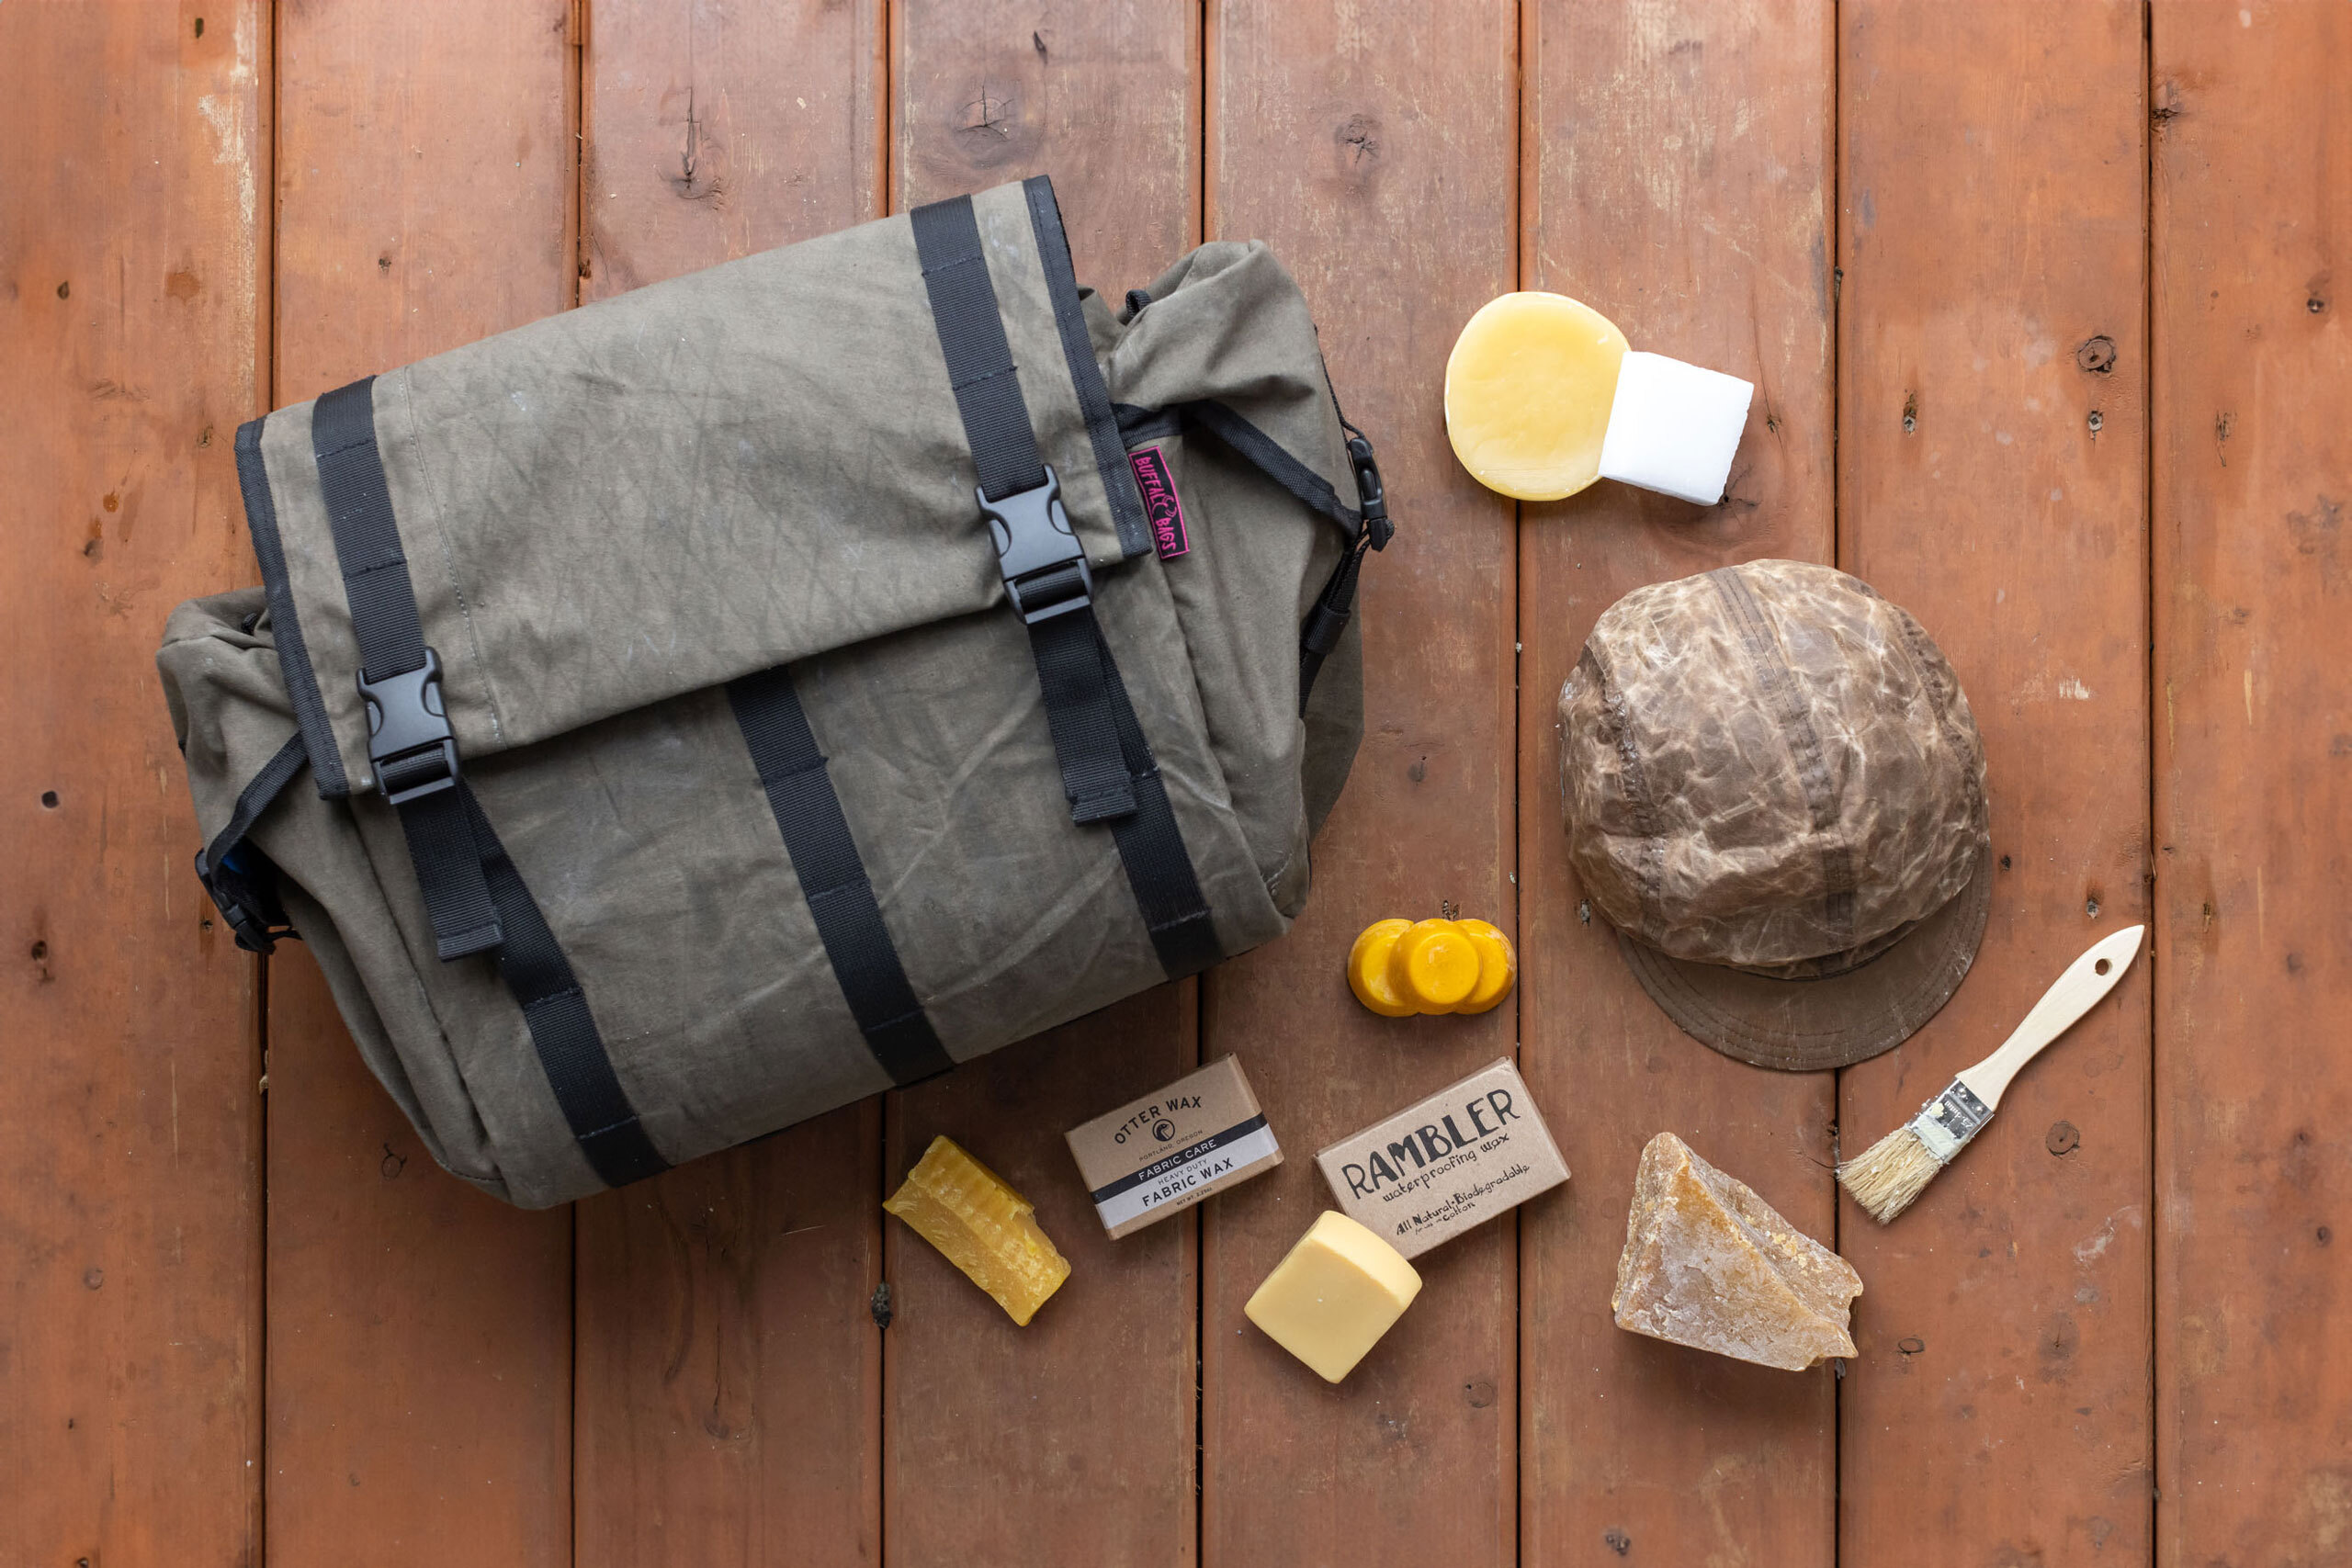
- Wax – I used a bar of Otter Wax
- Disposable brush and can
- Heat gun or propane torch
- Lighter
1. Determine Rack-top Bag Size (Pant Size)
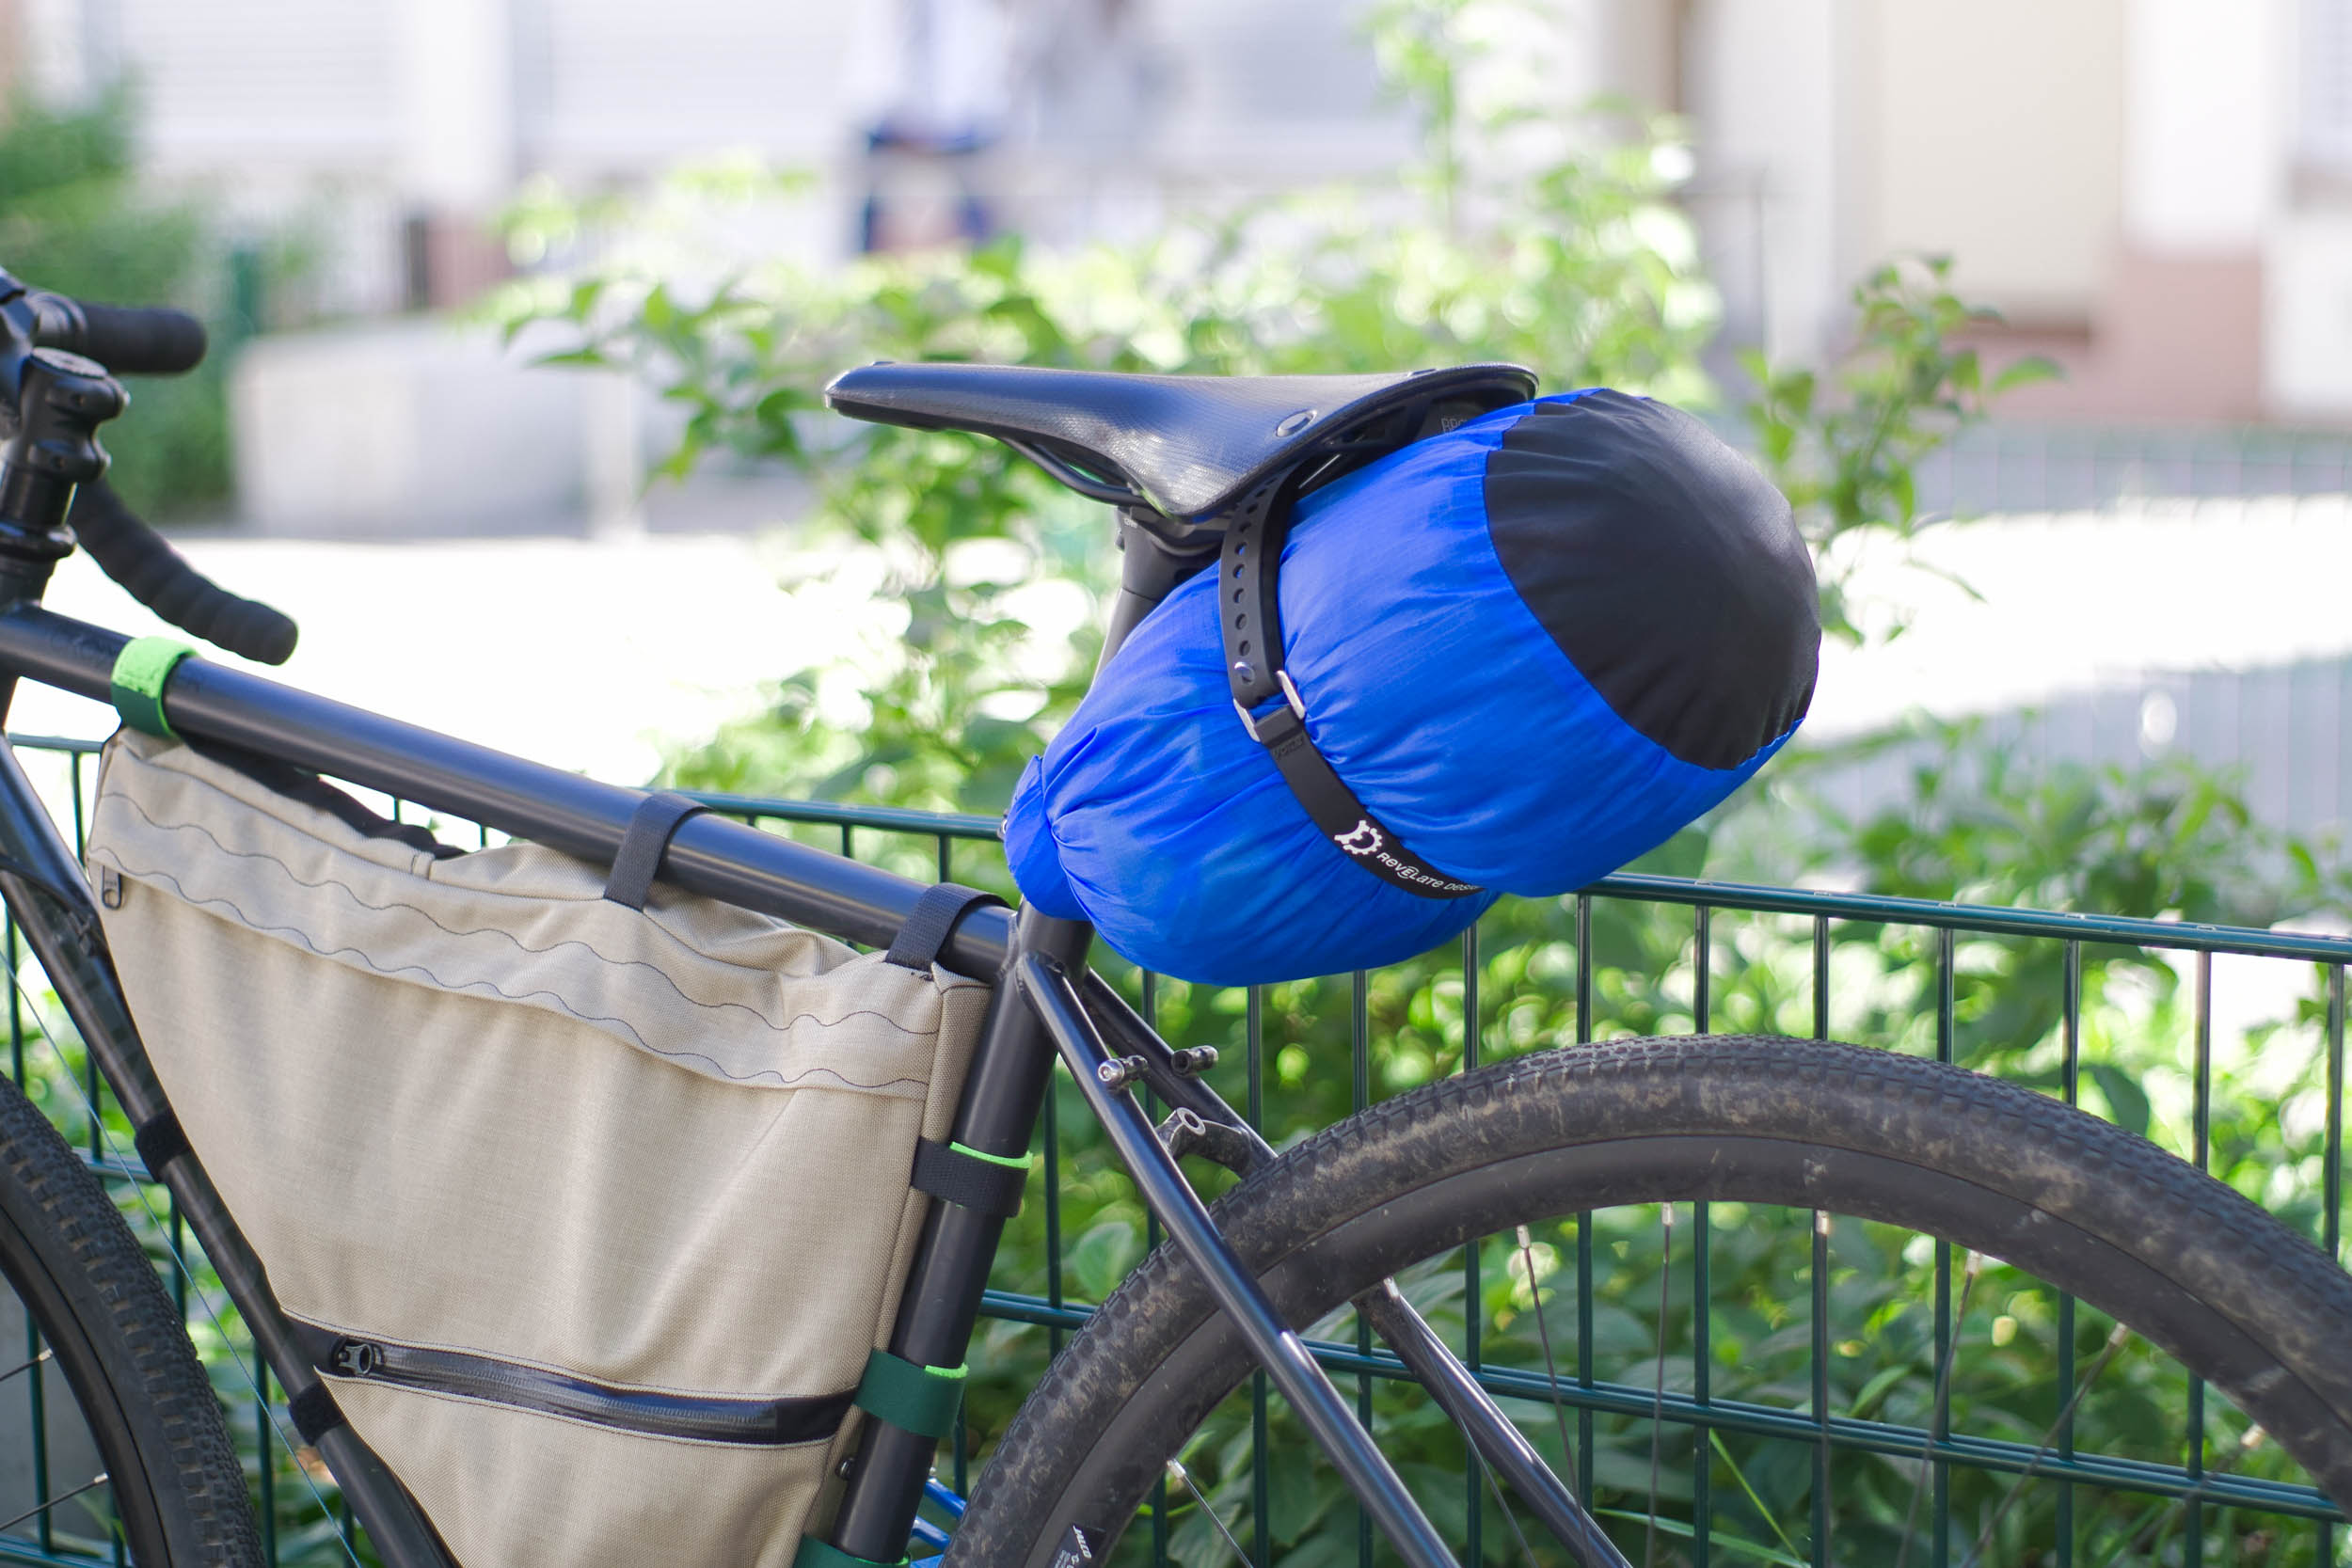
First things first, I needed to figure out what size rack-top bag I wanted. My favorite stuff sack for use on a rack—or the handlebars—is the old single-side-opening Pronghorn Bag. It measures about 10” (25.4 cm) wide and 23” (58.4 cm) long. As a rack bag, it’s a little too long, so I knocked two inches off that measurement when estimating an ideal size bag. I also wanted it to be just a hair wider. With that in mind, I decided on a finished size of 11 x 21” (27.9 x 53.3 cm). As luck would have it, the cuff width of the size 44 blue jeans I bought for five bucks at Goodwill was exactly 11″.

2. Cut Leg and Correct Taper
That being said, most pant legs are tapered, so when I measured from the finished cuff—which I left as the opening of the bag—and cut it to 21.5” (a half inch to allow for the seam at the base), the bottom of the bag was about 12.5” wide. Some people might be fine with having a slightly tapered bag shape, but I decided to add one more step.

Although it almost defeats the purpose of using the finished leg from a pair of pants to make a bag—having half the work done for you—my inner perfectionist won out, and I decided to modify it to make it a straight columnar shape, all one width. I turned the leg inside out, cut the seam out, angled the cut to leave the cuff completely finished, and then stitched up the side. Having the cuff remain finished still takes out some of the work, or at least that’s how I justified it. Either way, it ended up being a fairly simple extra step.
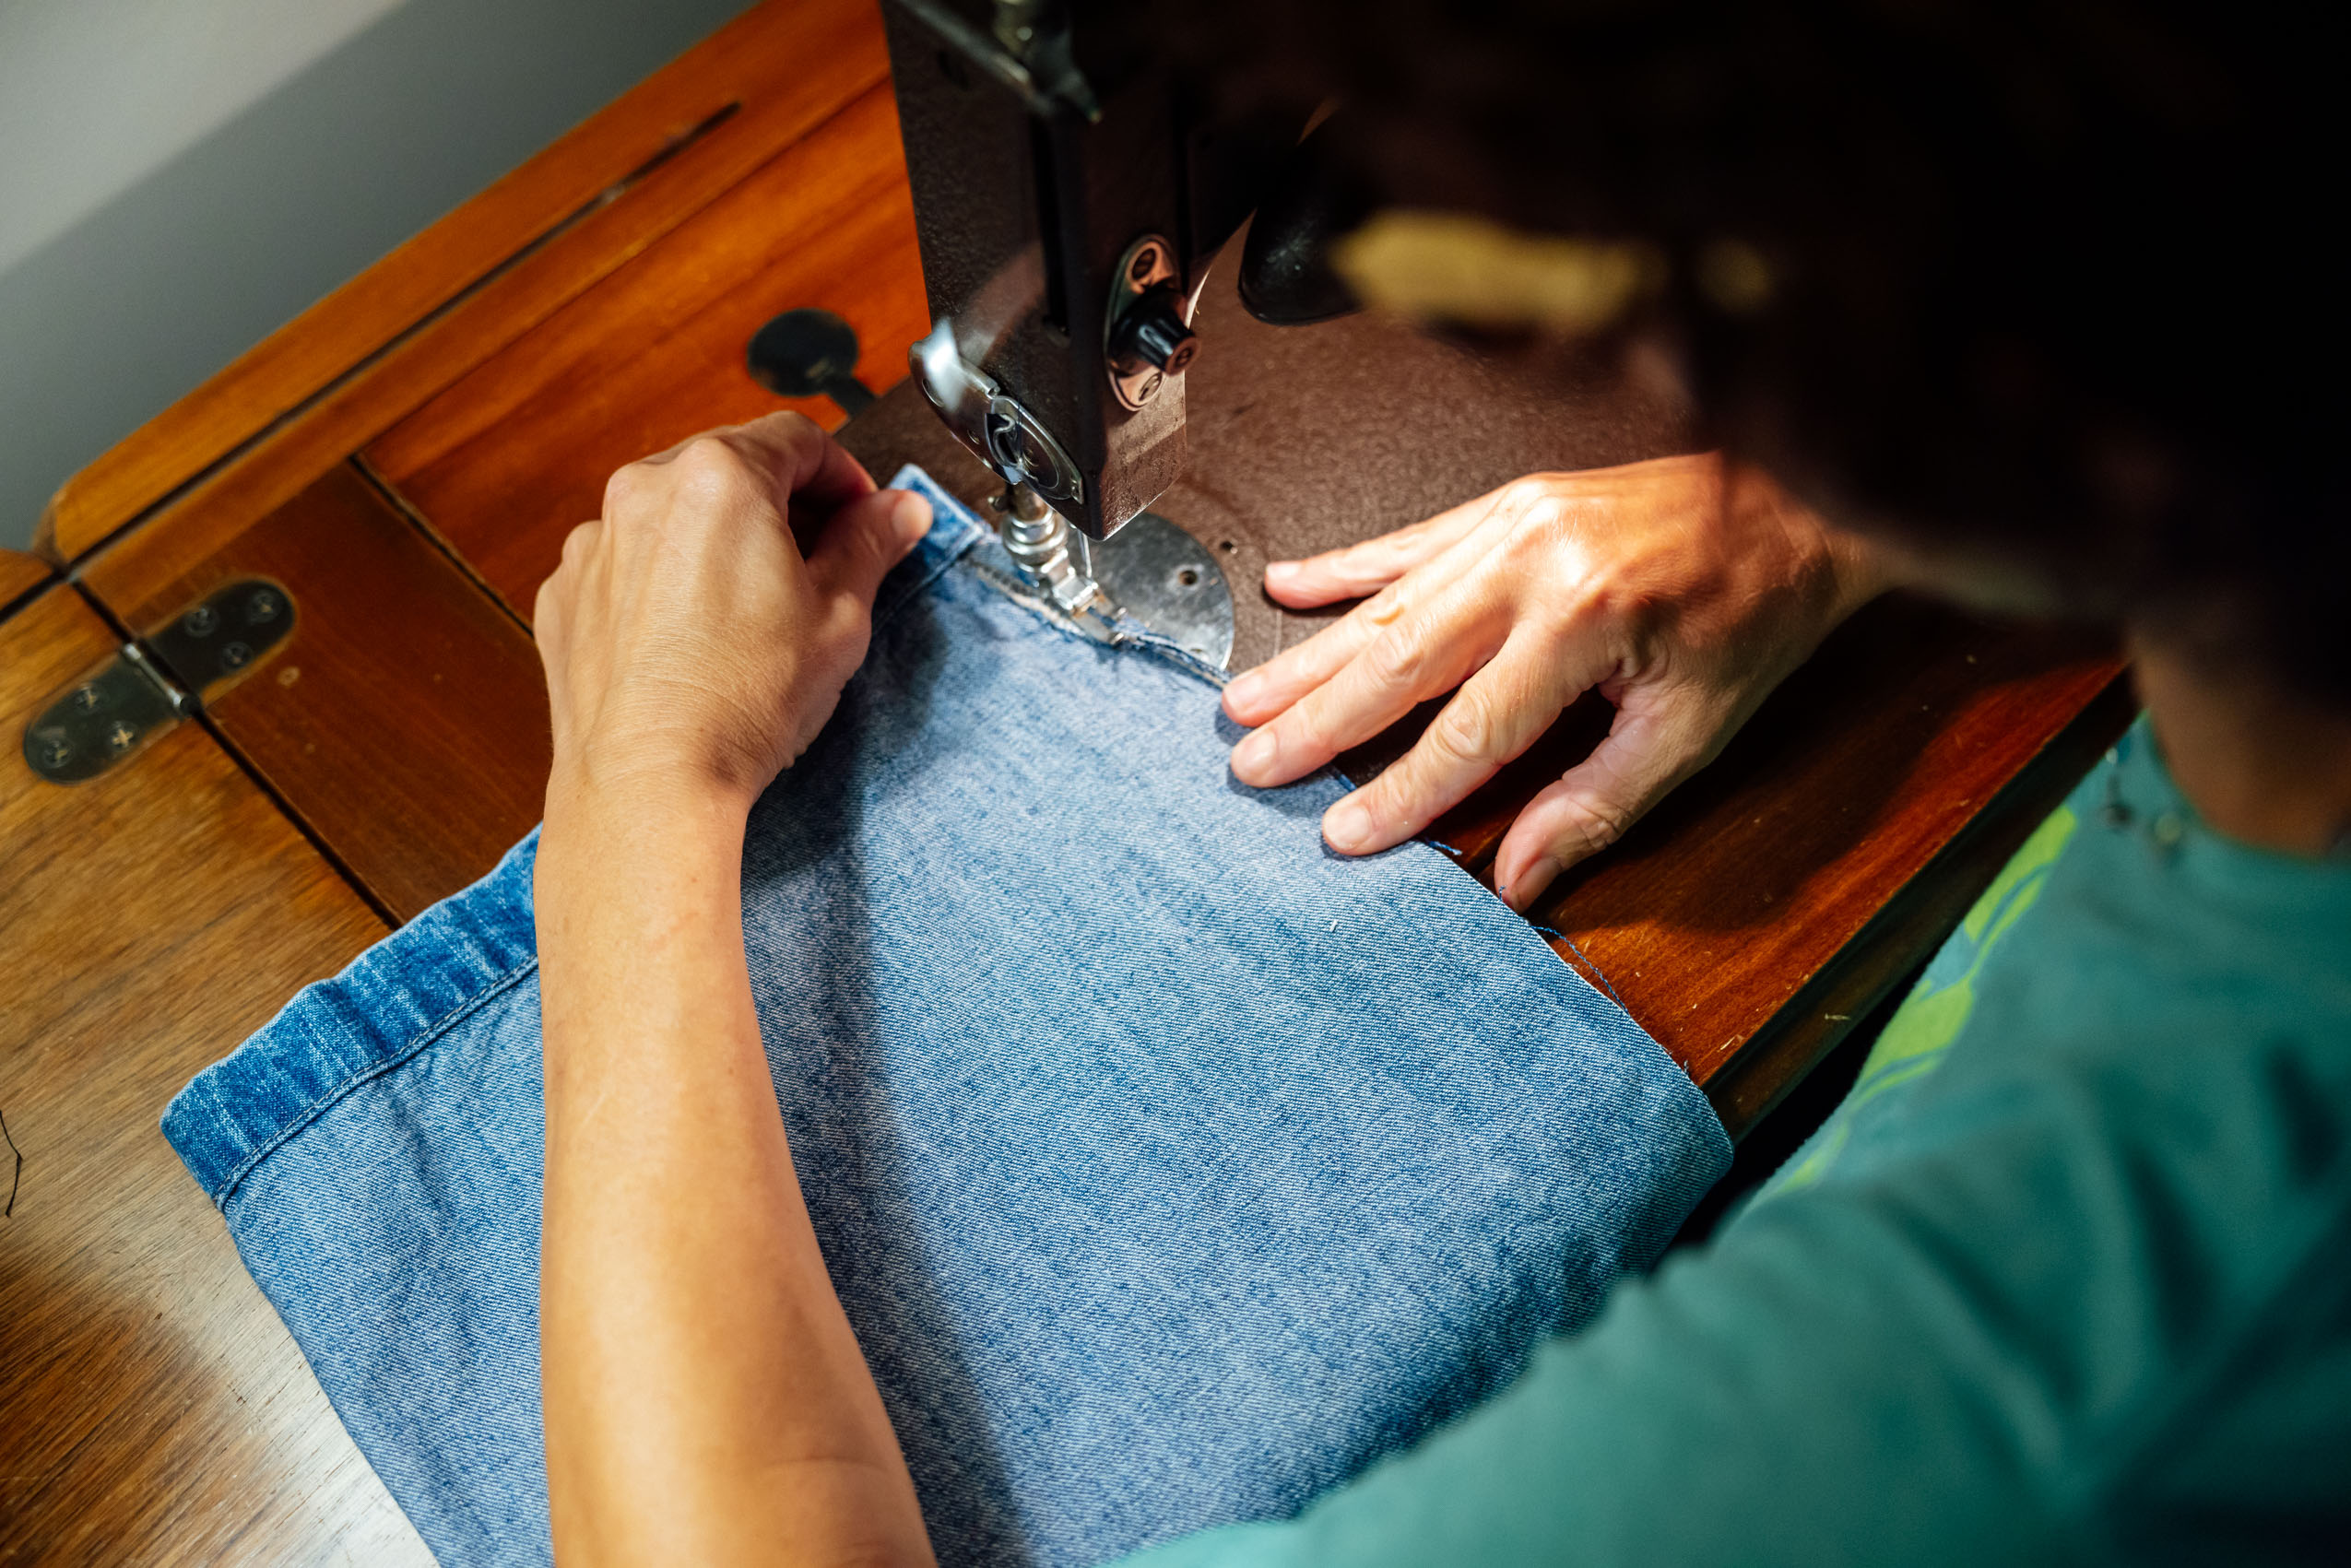
3. Cut Bottom and Stitch
The next course of action was to cut the circular bottom piece. Since I knew the width of the bag, it was easy to calculate the circumference (C) of the finished circle (11” x 2 = 22”). To draw a circle, I either needed the diameter (D) of that circle (D=C/π) or the radius (for a compass). There are plenty of calculators online to figure that out for you, or now with AI built into Google (which will probably kill the internet; don’t get me started), you can simply search “diameter of a circle with 22-inch circumference” and get a quick answer, which was 7”. I added a half inch to each side and cut out an 8” circle, leaving a half inch on the perimeter for the seam.

Stitching it was fairly straightforward. I just kept the jean leg inside out, tacked it in a few places (you could also pin it), and then stitched about a half inch in all the way around. For the sake of time, I didn’t add grosgrain ribbon to finish it, but I will eventually. This will keep the fabric edges from fraying and probably make this bag last a lifetime. Once it’s all stitched up and finished, turn it back outside out, and voila!
4. Waxed Denim!
I went ahead and waxed the denim bag before adding the closure strap. You could wax it after the strap is attached, but I thought it would be neater to have the wax only on the denim. Plus, I find that a hair dryer isn’t quite hot enough to melt all the wax into the fabric, and my heat gun died, so I decided to use a propane torch. That could have done a number on the polyester webbing.

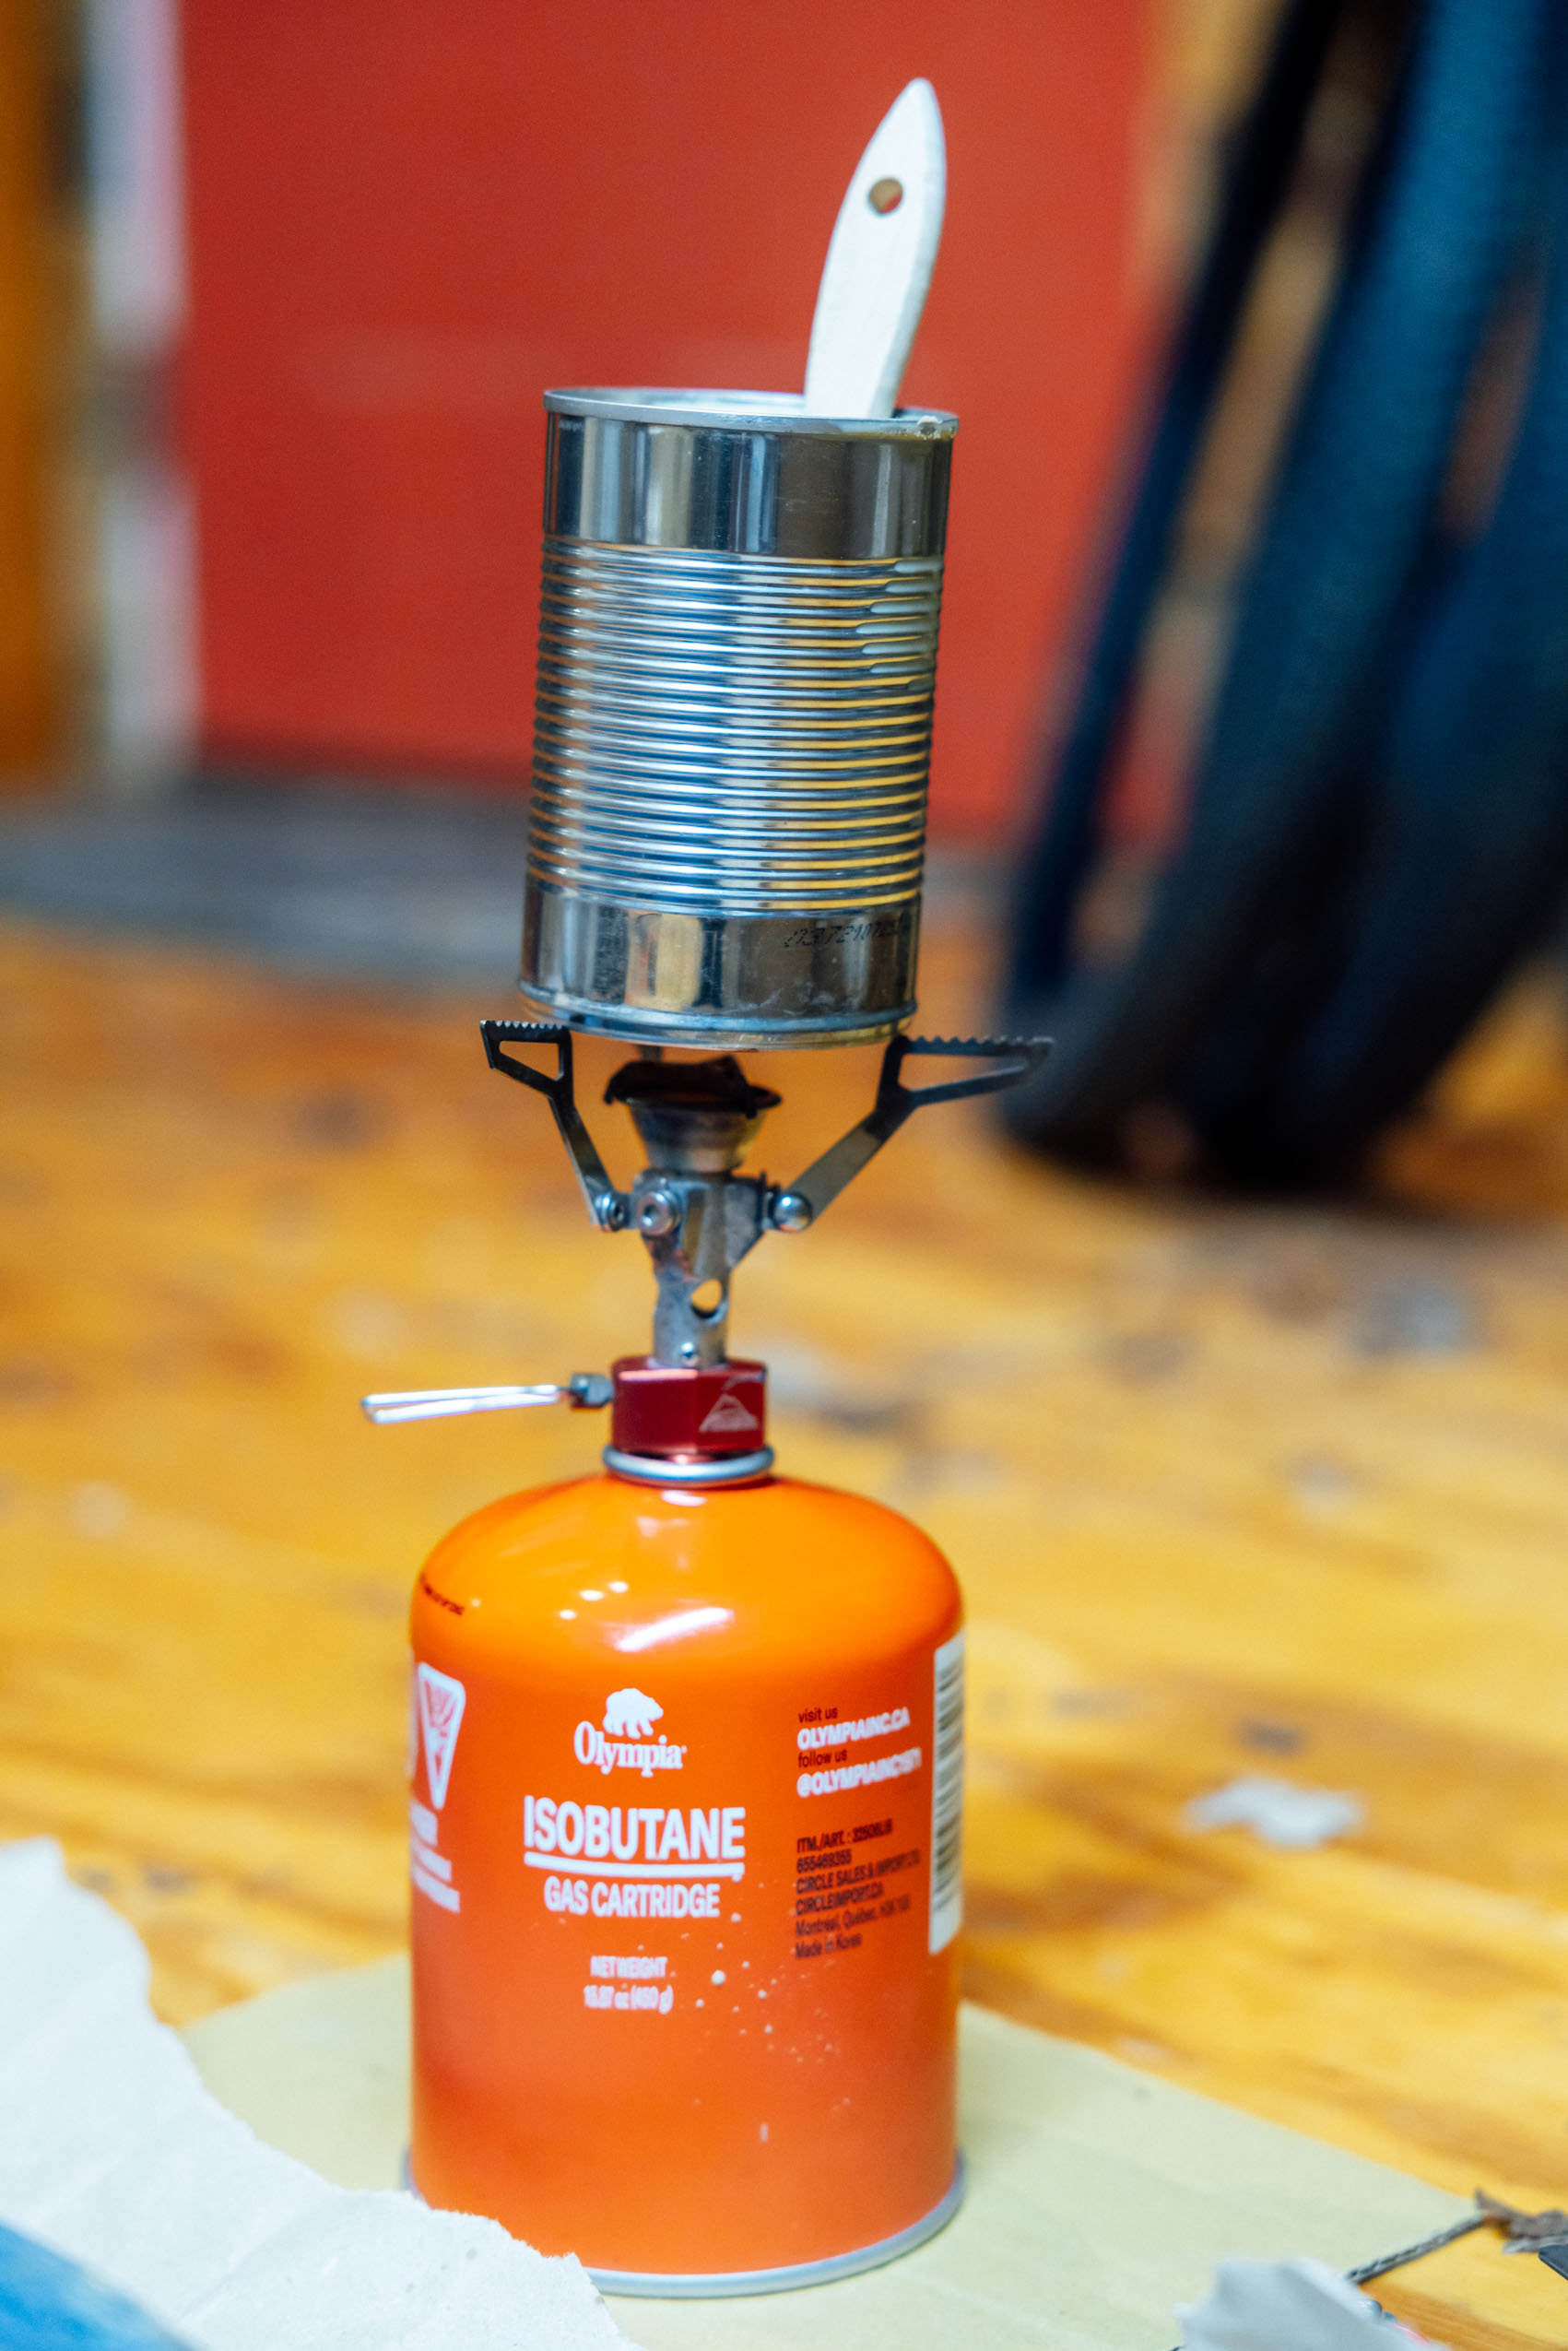


If you’ve never waxed fabric before, you can refer to Miles’ beginners guide to waxing fabric. I find that melting the wax—in this case, a bar of Otter Wax—in a tin can and then painting it onto the fabric to be the best and most thorough method. After getting a heavy coat brushed on, I melted it into the denim using a propane torch, which worked better than a heat gun.
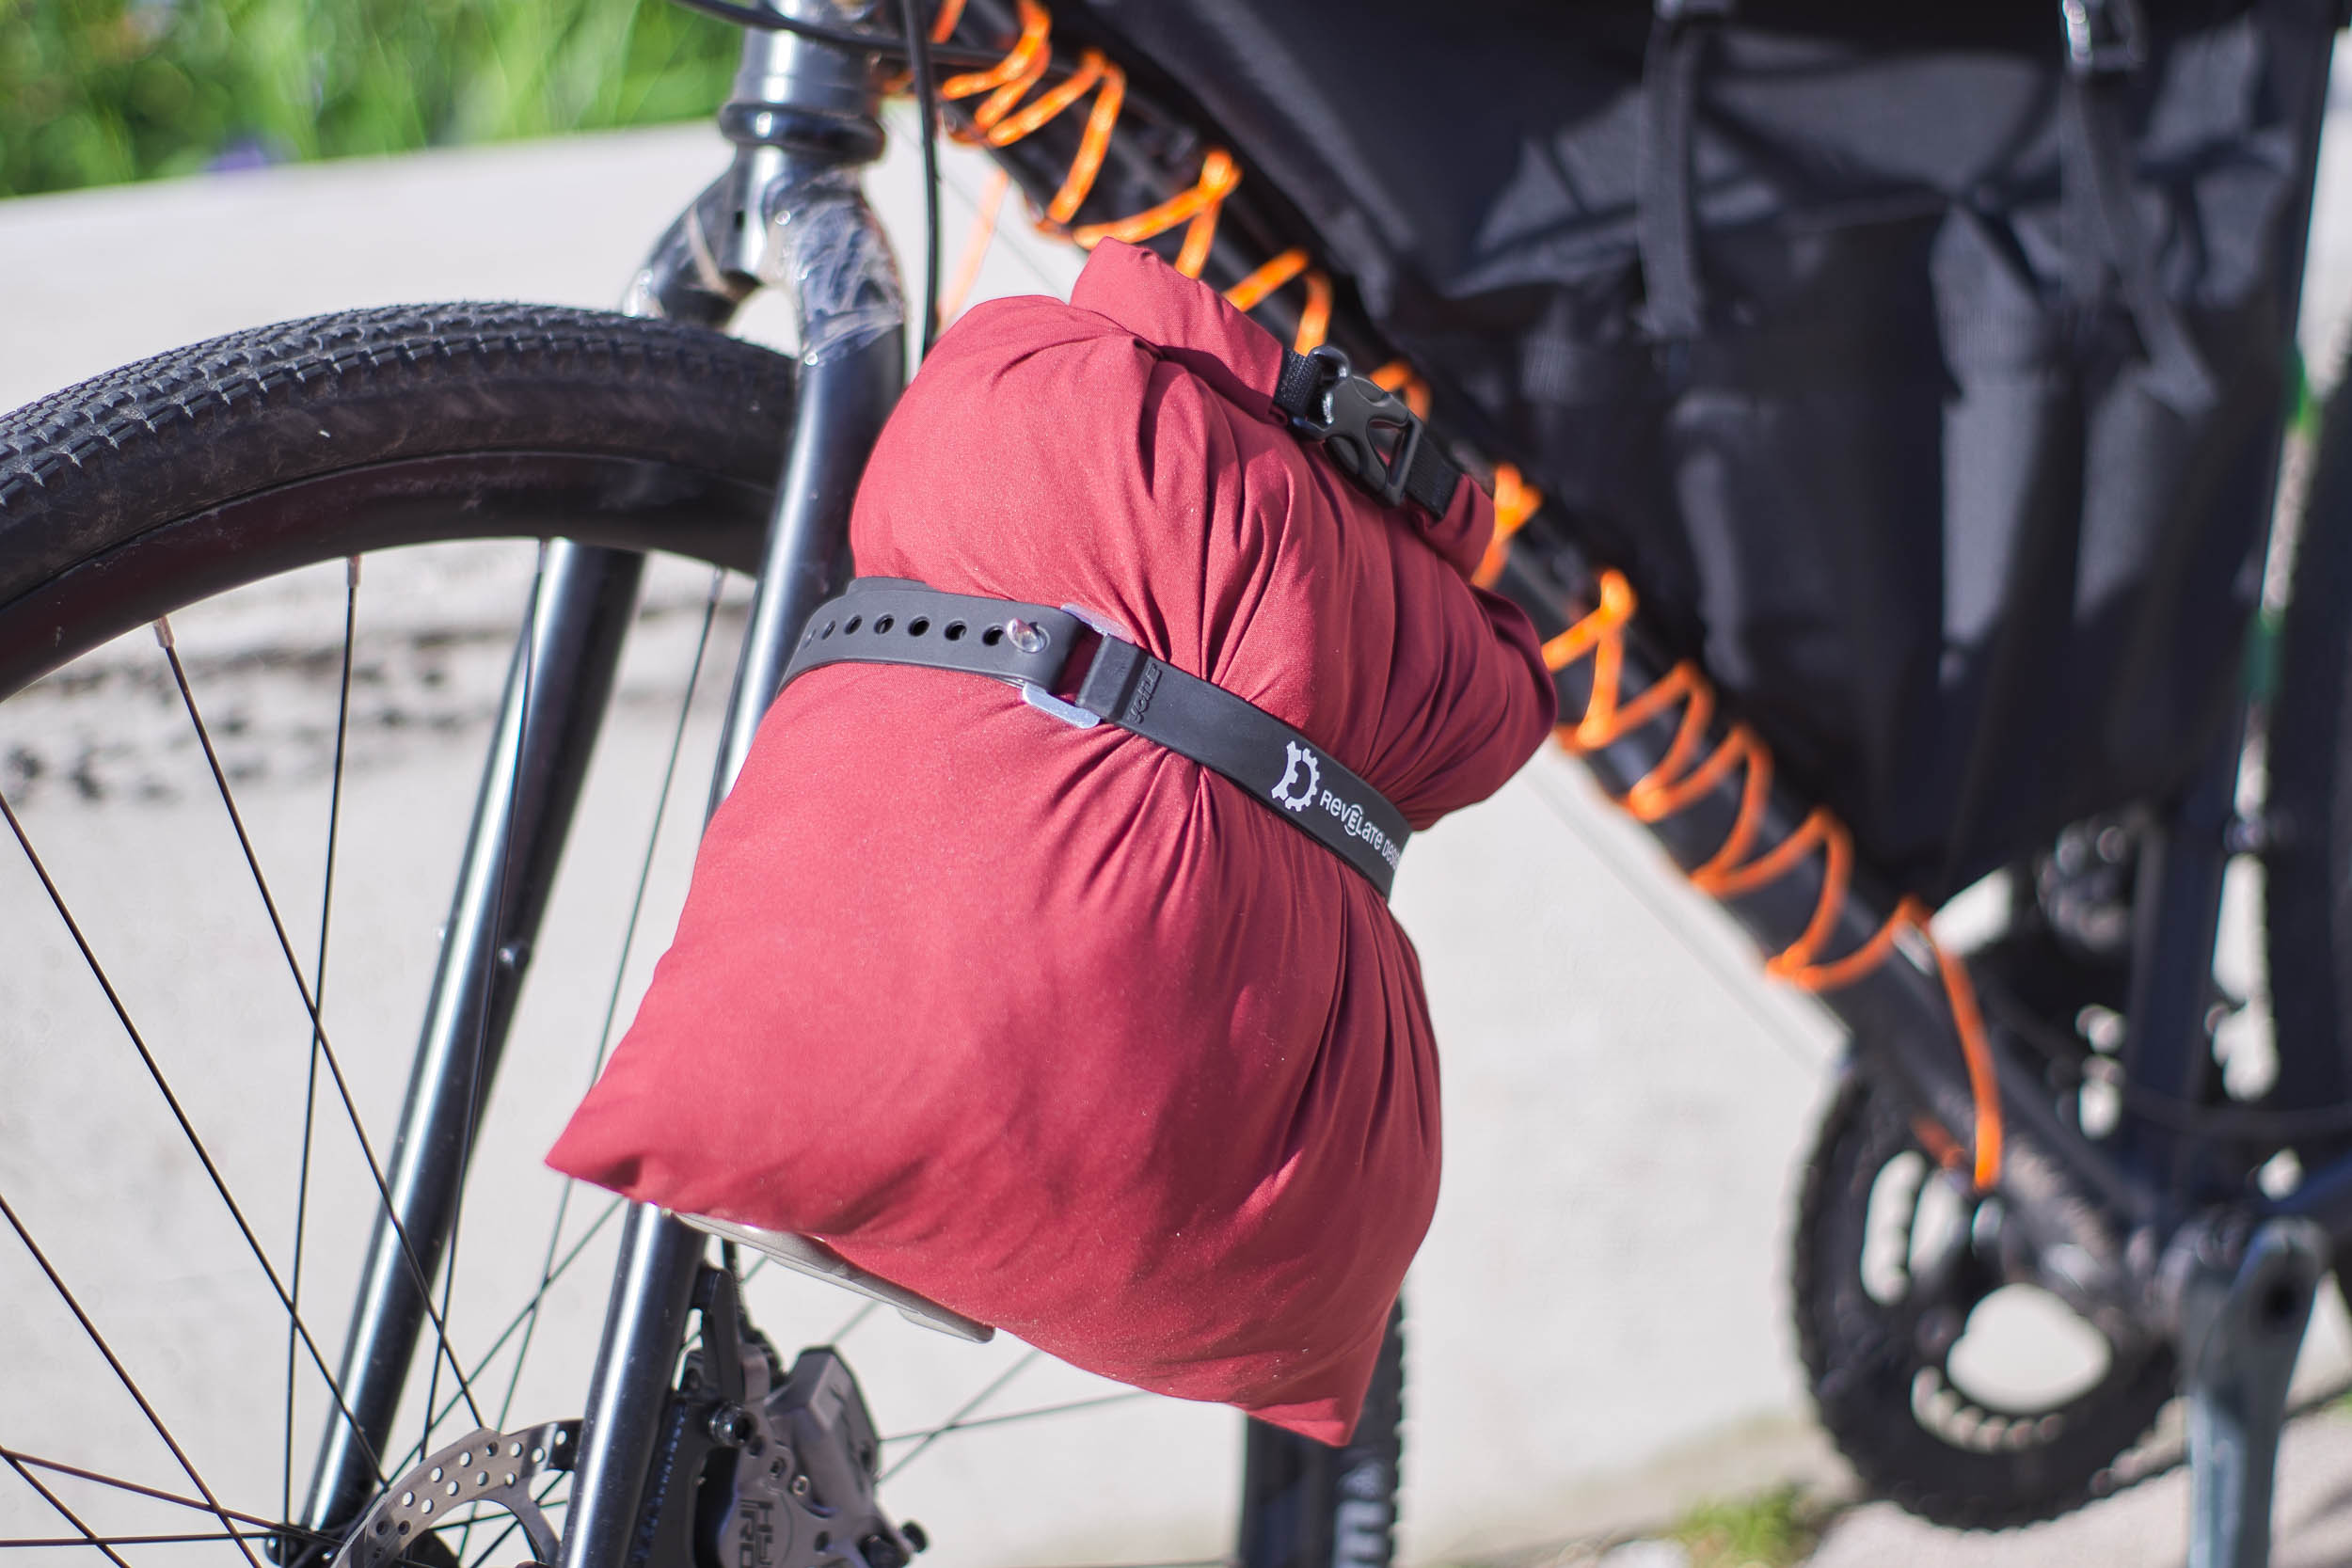
5. Attach Webbing Strap and Buckle
Adding the webbing and buckle is probably the easiest step in the process. I used a couple of feet of standard 1” webbing and a YKK side-release buckle that I had leftover from another project. To gauge the size, I threaded each half of the buckle onto the webbing and looped it around the bag opening to make sure it was oriented correctly—to ensure that once it was rolled up the buckle sides met and connected properly. I left about an inch of webbing on each side of the bag opening (with the buckle ends) to make sure they weren’t swallowed up by the roll-top fabric when rolled, then marked where it needed to be cut.

From there, I trimmed the webbing and hit the cut edge with a lighter to prevent it from fraying. Next, I bartacked the webbing close to the buckles as shown, then stitched the entire assembly onto the opening on each side. This one just got two continuous (and sloppy) bar tacks on each side, which was plenty.
Wrap Up
Waxed canvas is tough, virtually waterproof, and easy on the eyes. In my opinion, waxed denim has all the same qualities, particularly when it comes from a repurposed pair of triple-stitched work jeans. I was pretty excited when I stumbled on this project and even more so about the end result. I think this rack-top pant-leg stuff sack would last forever if properly cared for. It’s got a Springsteen vibe, and I probably would have preferred some faded black jeans, but the size is perfect for how I pack.


Have you ever used waxed denim to make a bag or bags? How about a pants-leg stuff sack? Leave us a note or a photo in the conversation below…
Further Reading
Make sure to dig into these related articles for more info...

Please keep the conversation civil, constructive, and inclusive, or your comment will be removed.
We're independent
and member-supported.
Join the Bikepacking Collective to make our work possible:


