Make Your Own Stuff Sack
In our latest Make Your Own Bikepacking Gear (MYOBG) tutorial, David Helbig provides a step-by-step guide to making your first simple roll-top stuff sack. Learn what it takes to get started here…
Words and photos by David Helbig
Stuff sacks, or dry bags, depending on the materials you’re using, are quite easy and fun to make on your own. In fact, I think they’re perfect for a first Make Your Own Bikepacking Gear (MYOBG) project. Whether you’re looking to level up your sewing skills before starting a more advanced project, or to make someone a handmade gift for an upcoming birthday, stuff sacks can be sewn easily with just an hour or two of work.
To try your hand at your first basic stuff sack, your grandmum’s old sewing machine with some bed linen, webbing, and a buckle off an old backpack will do. After your first stuff sack is completed, you’ll have a better idea as to whether or not you’d like to invest in some better quality equipment and materials.
Even though you might be tempted to sew yourself the perfect dry bag for your fancy new down sleeping bag, I’d recommend waiting until you have a bit more experience under your belt before using your homemade bags for important items like electronics and sleep systems. Having your stuff organized is already a huge plus of having a few stuff sacks around, and is something a DIY bag can easily do.
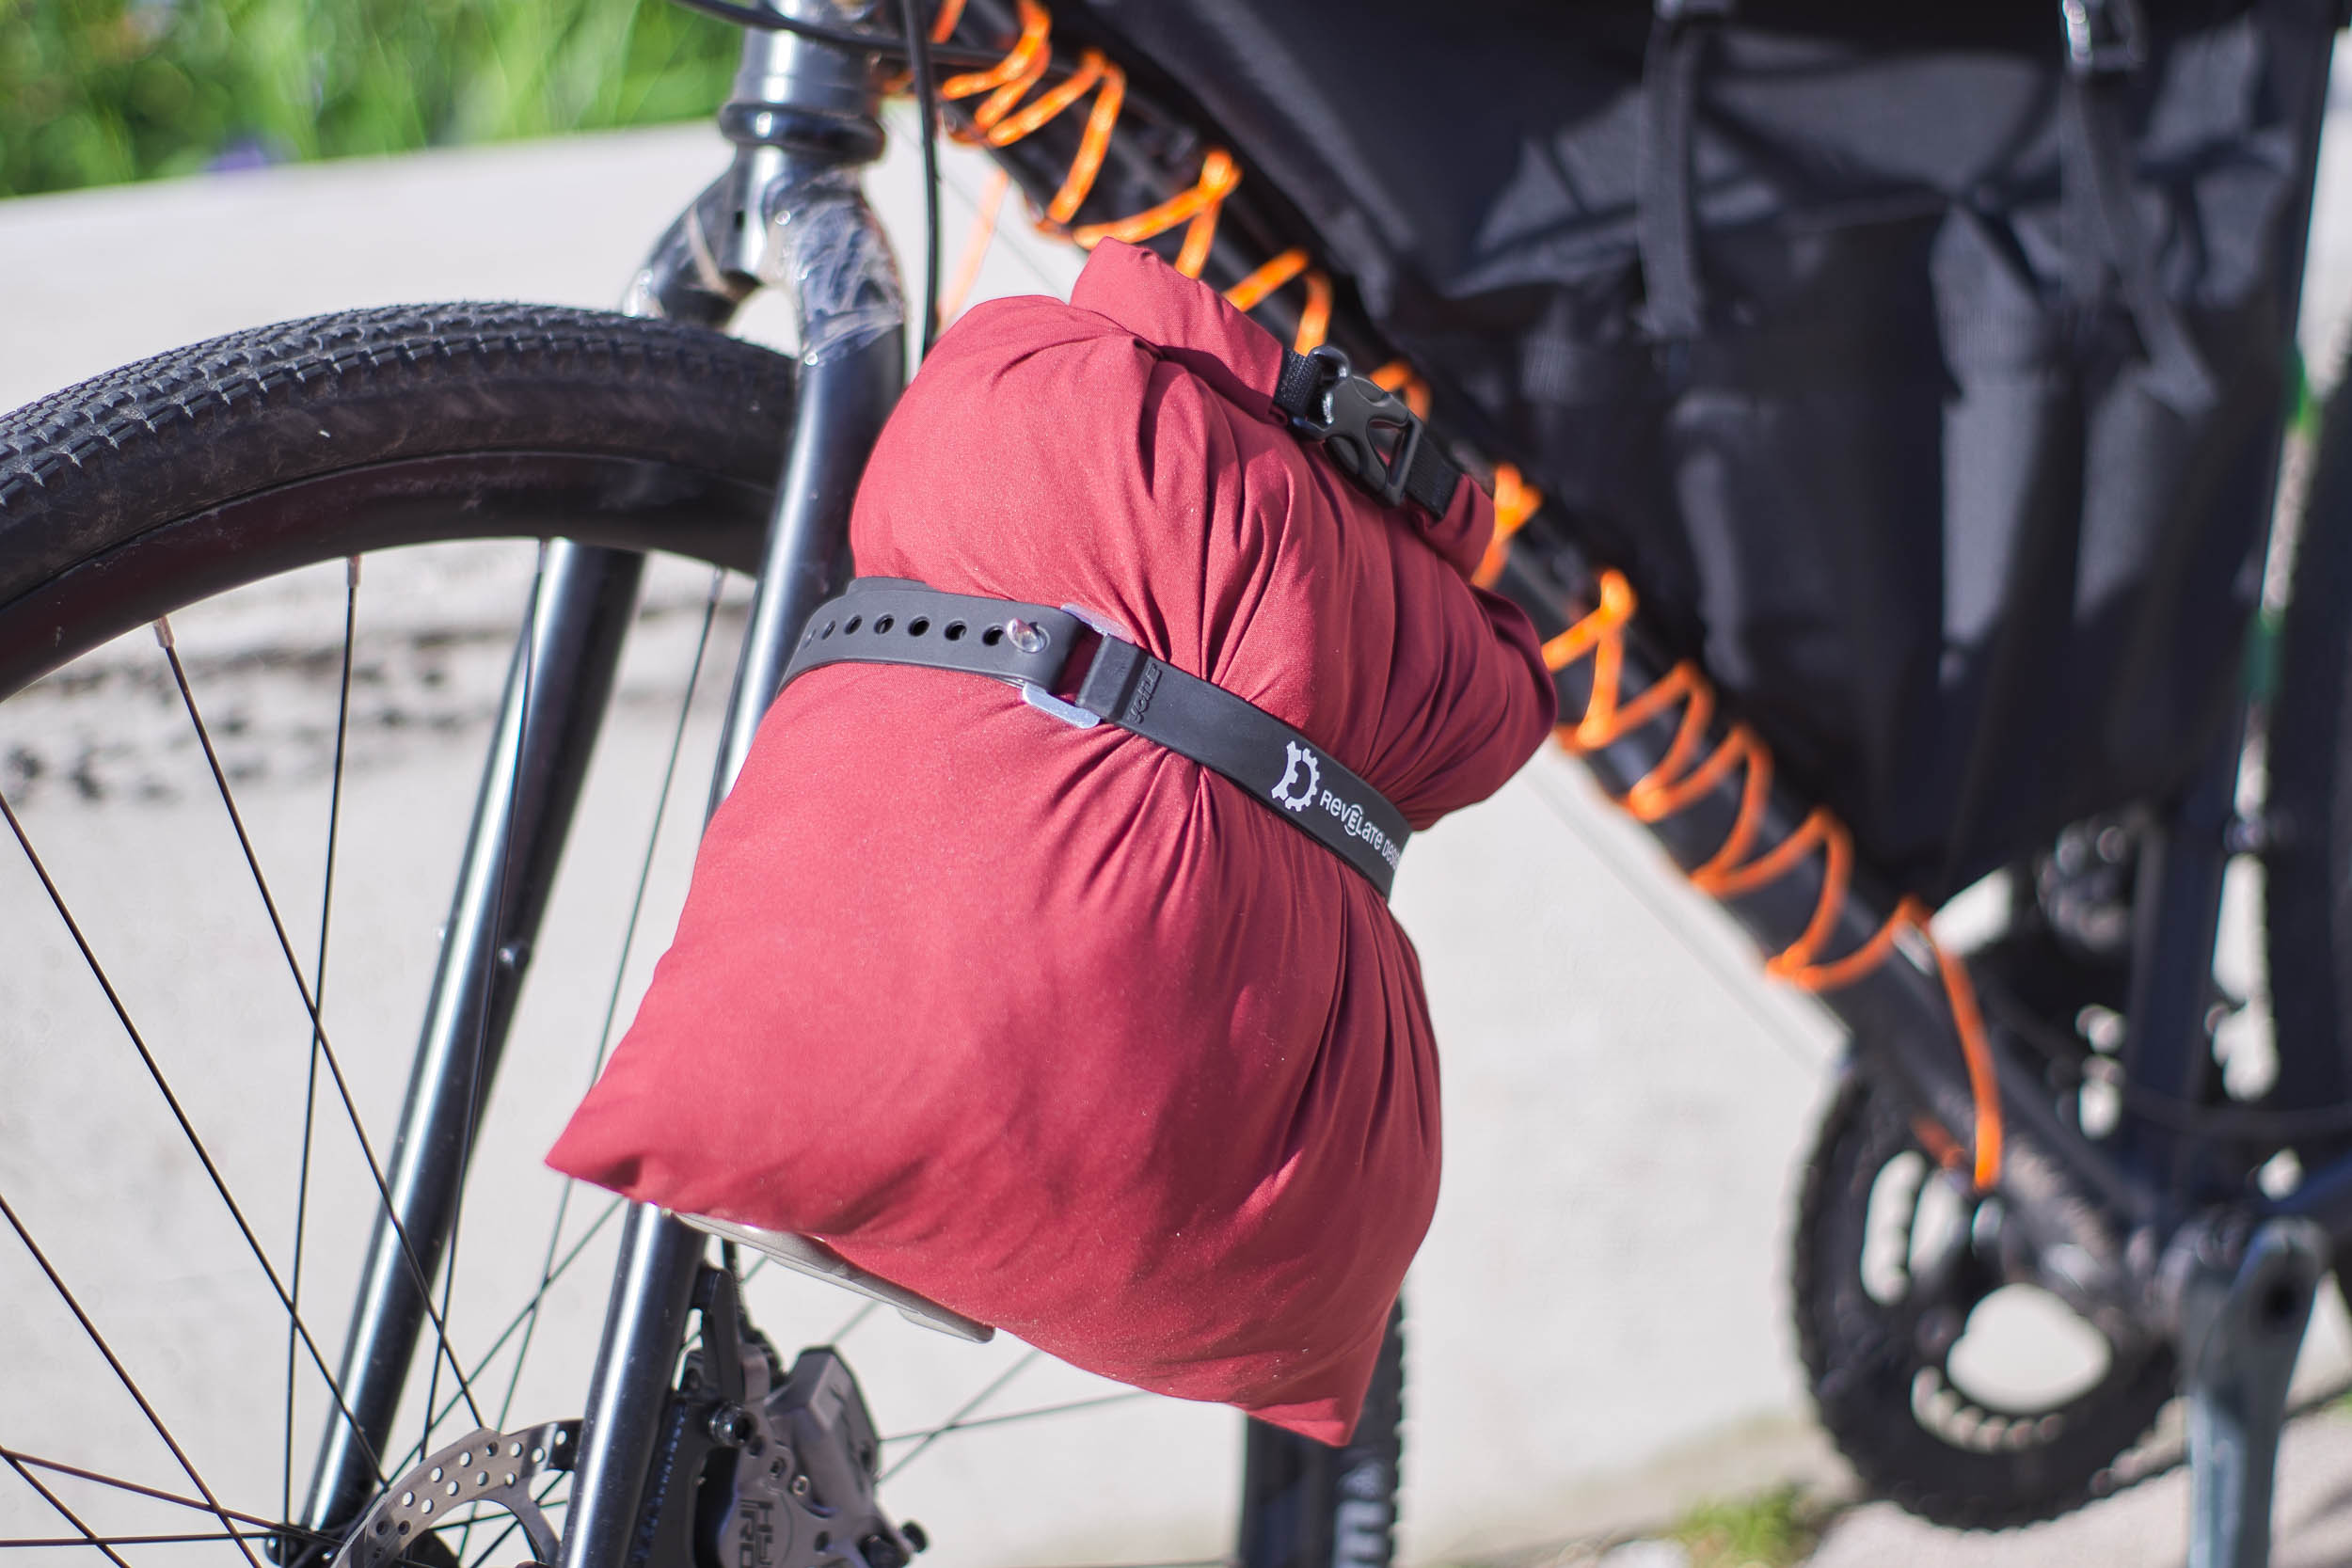
In this short tutorial, you’ll learn to make a very basic roll-top stuff sack. Let’s get to it!
Note: There are loads of different ways to make stuff sacks, and countless other tutorials on the subject out there. I don’t claim to have invented this way of doing it, but I think it’s an easy way to get started.
Making A Rectangular Stuff Sack
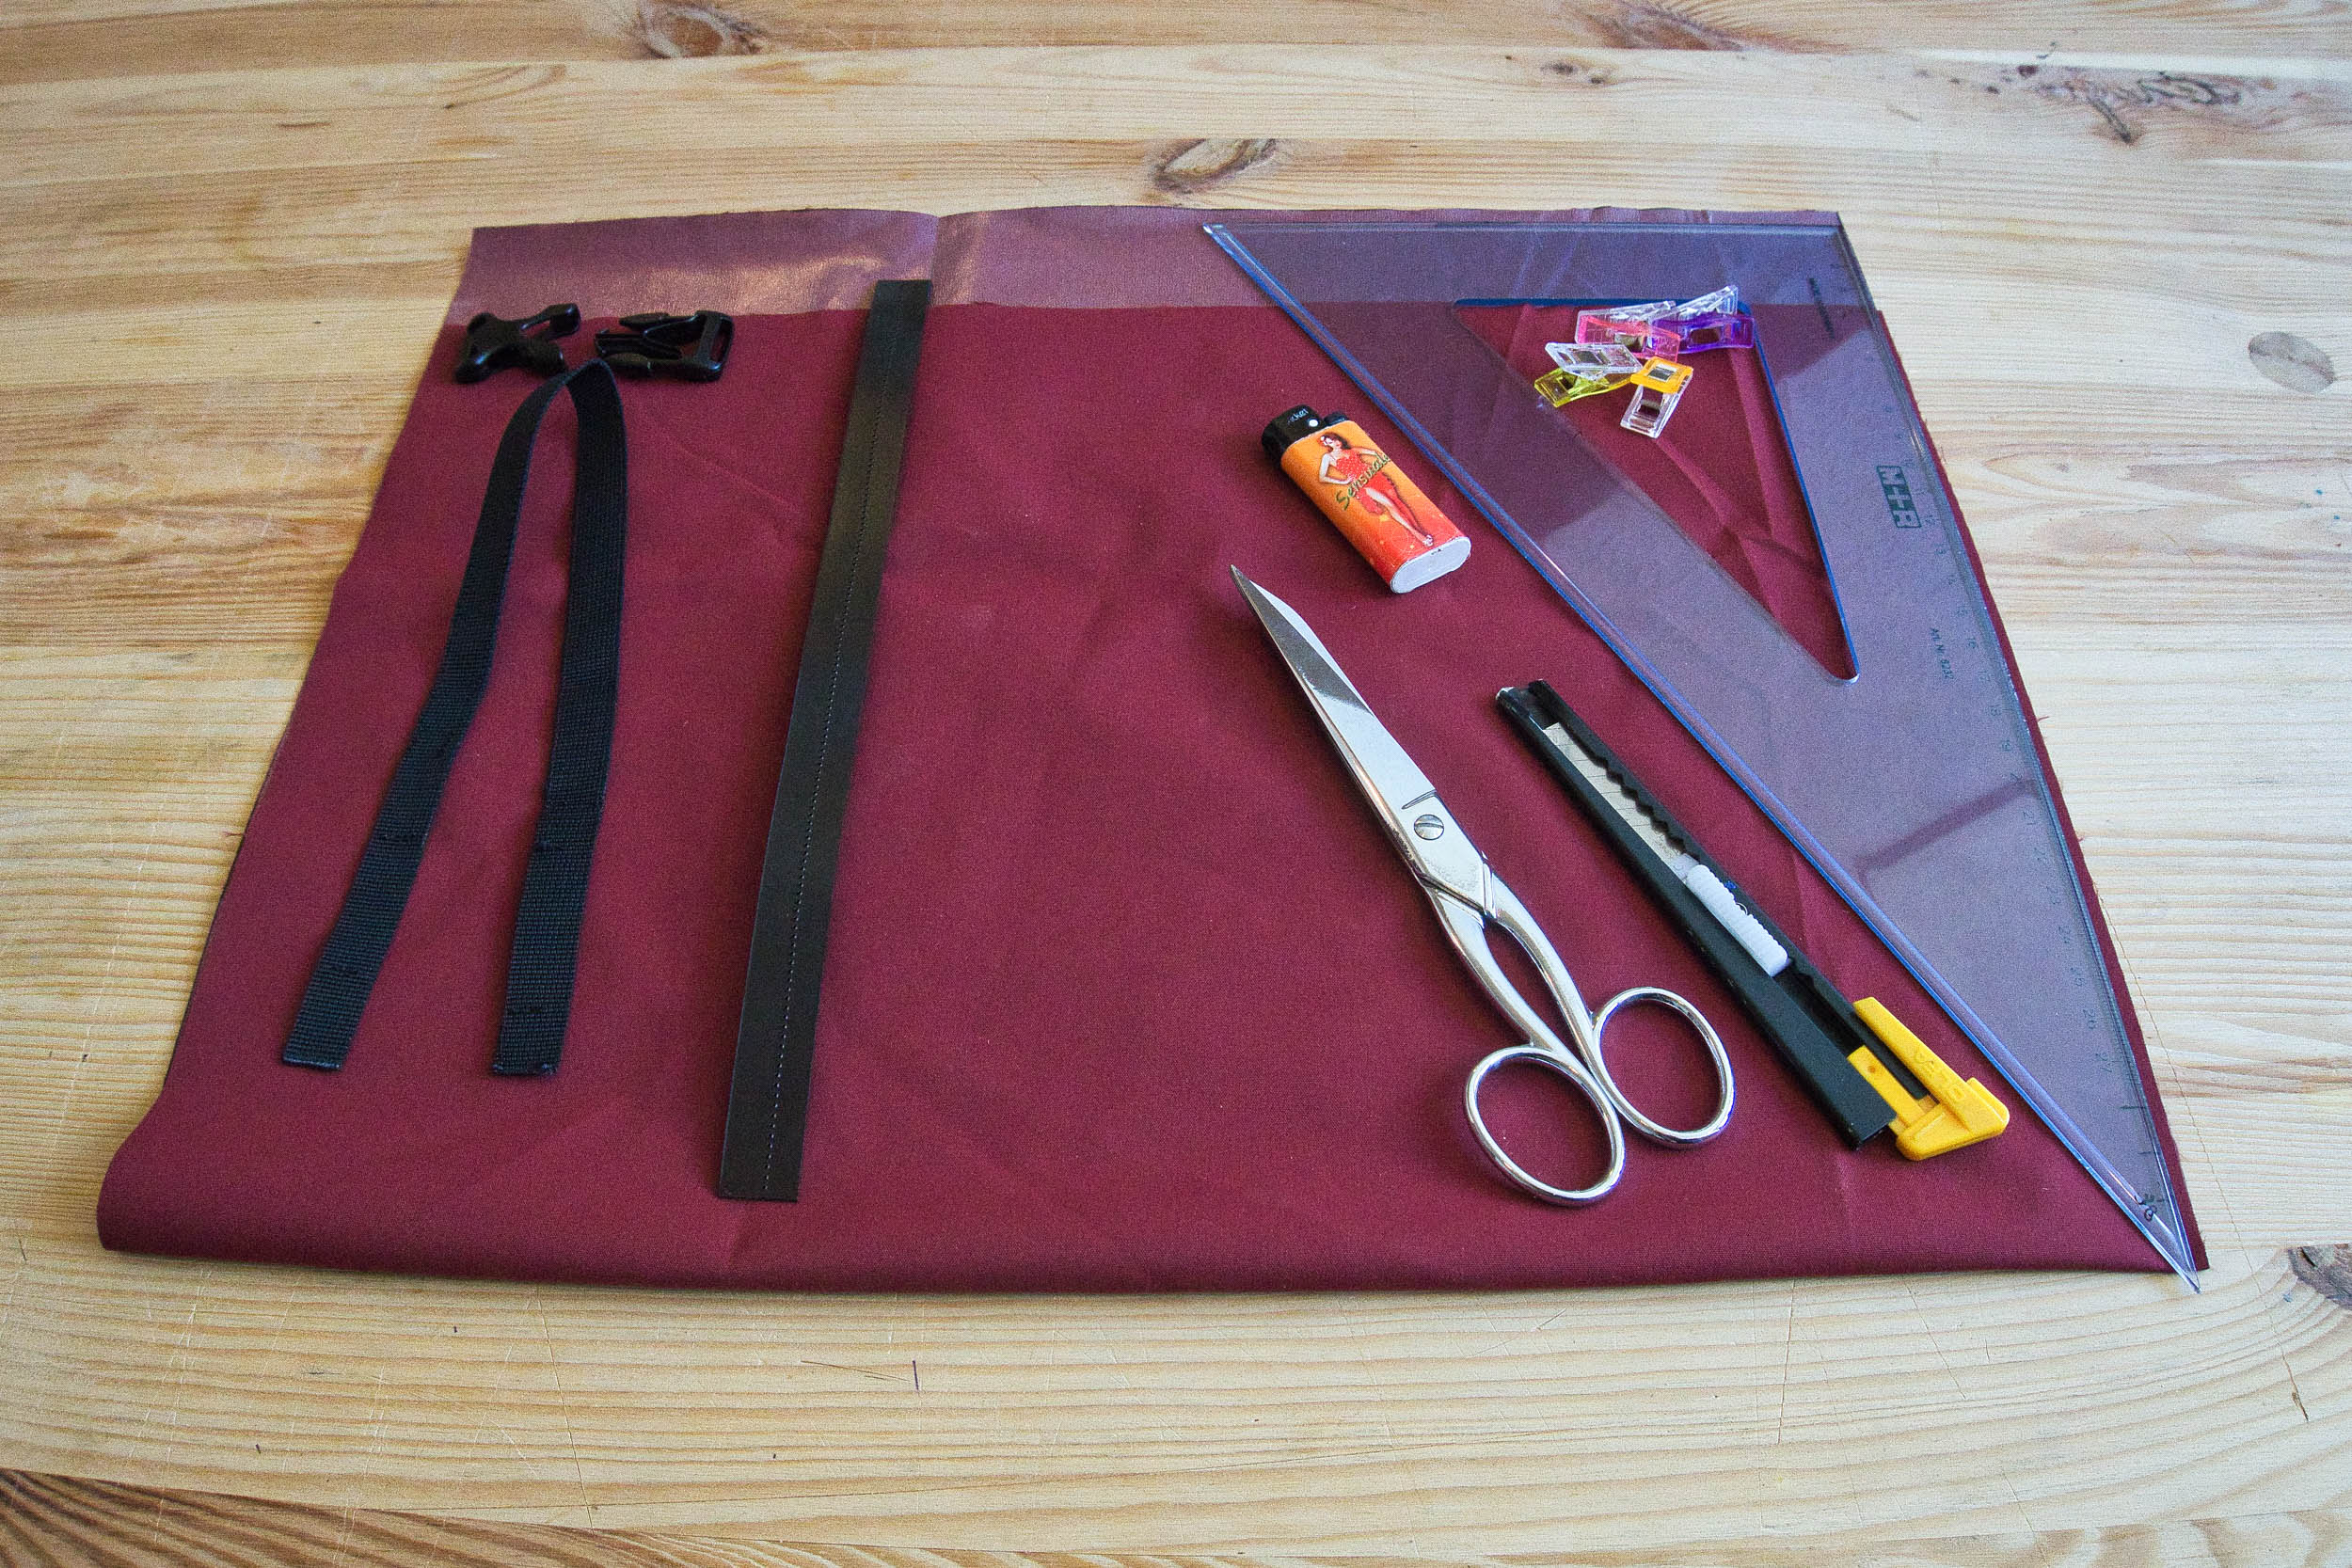
Here’s what you’ll need to get started:
- A basic sewing machine.
- A sharp pair of scissors.
- A lighter.
- Several mini clamps, like those you’d find in the kitchen.
- A straight edged ruler for measuring and cutting your fabric to size.
- A small knife for cutting your fabric.
- Around 0.5m of fabric, depending on the size of your stuff sack. Any kind of fabric will do, at least for your first time sewing. If you want your stuff sack to be completely water resistant you’ll need to use special fabrics like Silnylon, XPAC etc.
- A 15mm buckle, which can be found on an old backpack.
- 40cm of 15mm webbing, also can be found on an old backpack.
- 28 x 1.5cm of polyethylene plastic, or substitute more of the same 15mm webbing.
Note: I understand that not everybody has polyethylene plastic at home. Some people use other kinds of plastic, such as something cut from an old binder, etc., but be aware that they will wear and tear over time. Instead of a substitute plastic, I recommend using a second length of 15mm webbing. It will certainly do the job, but it just needs to be rolled more tightly to work effectively.
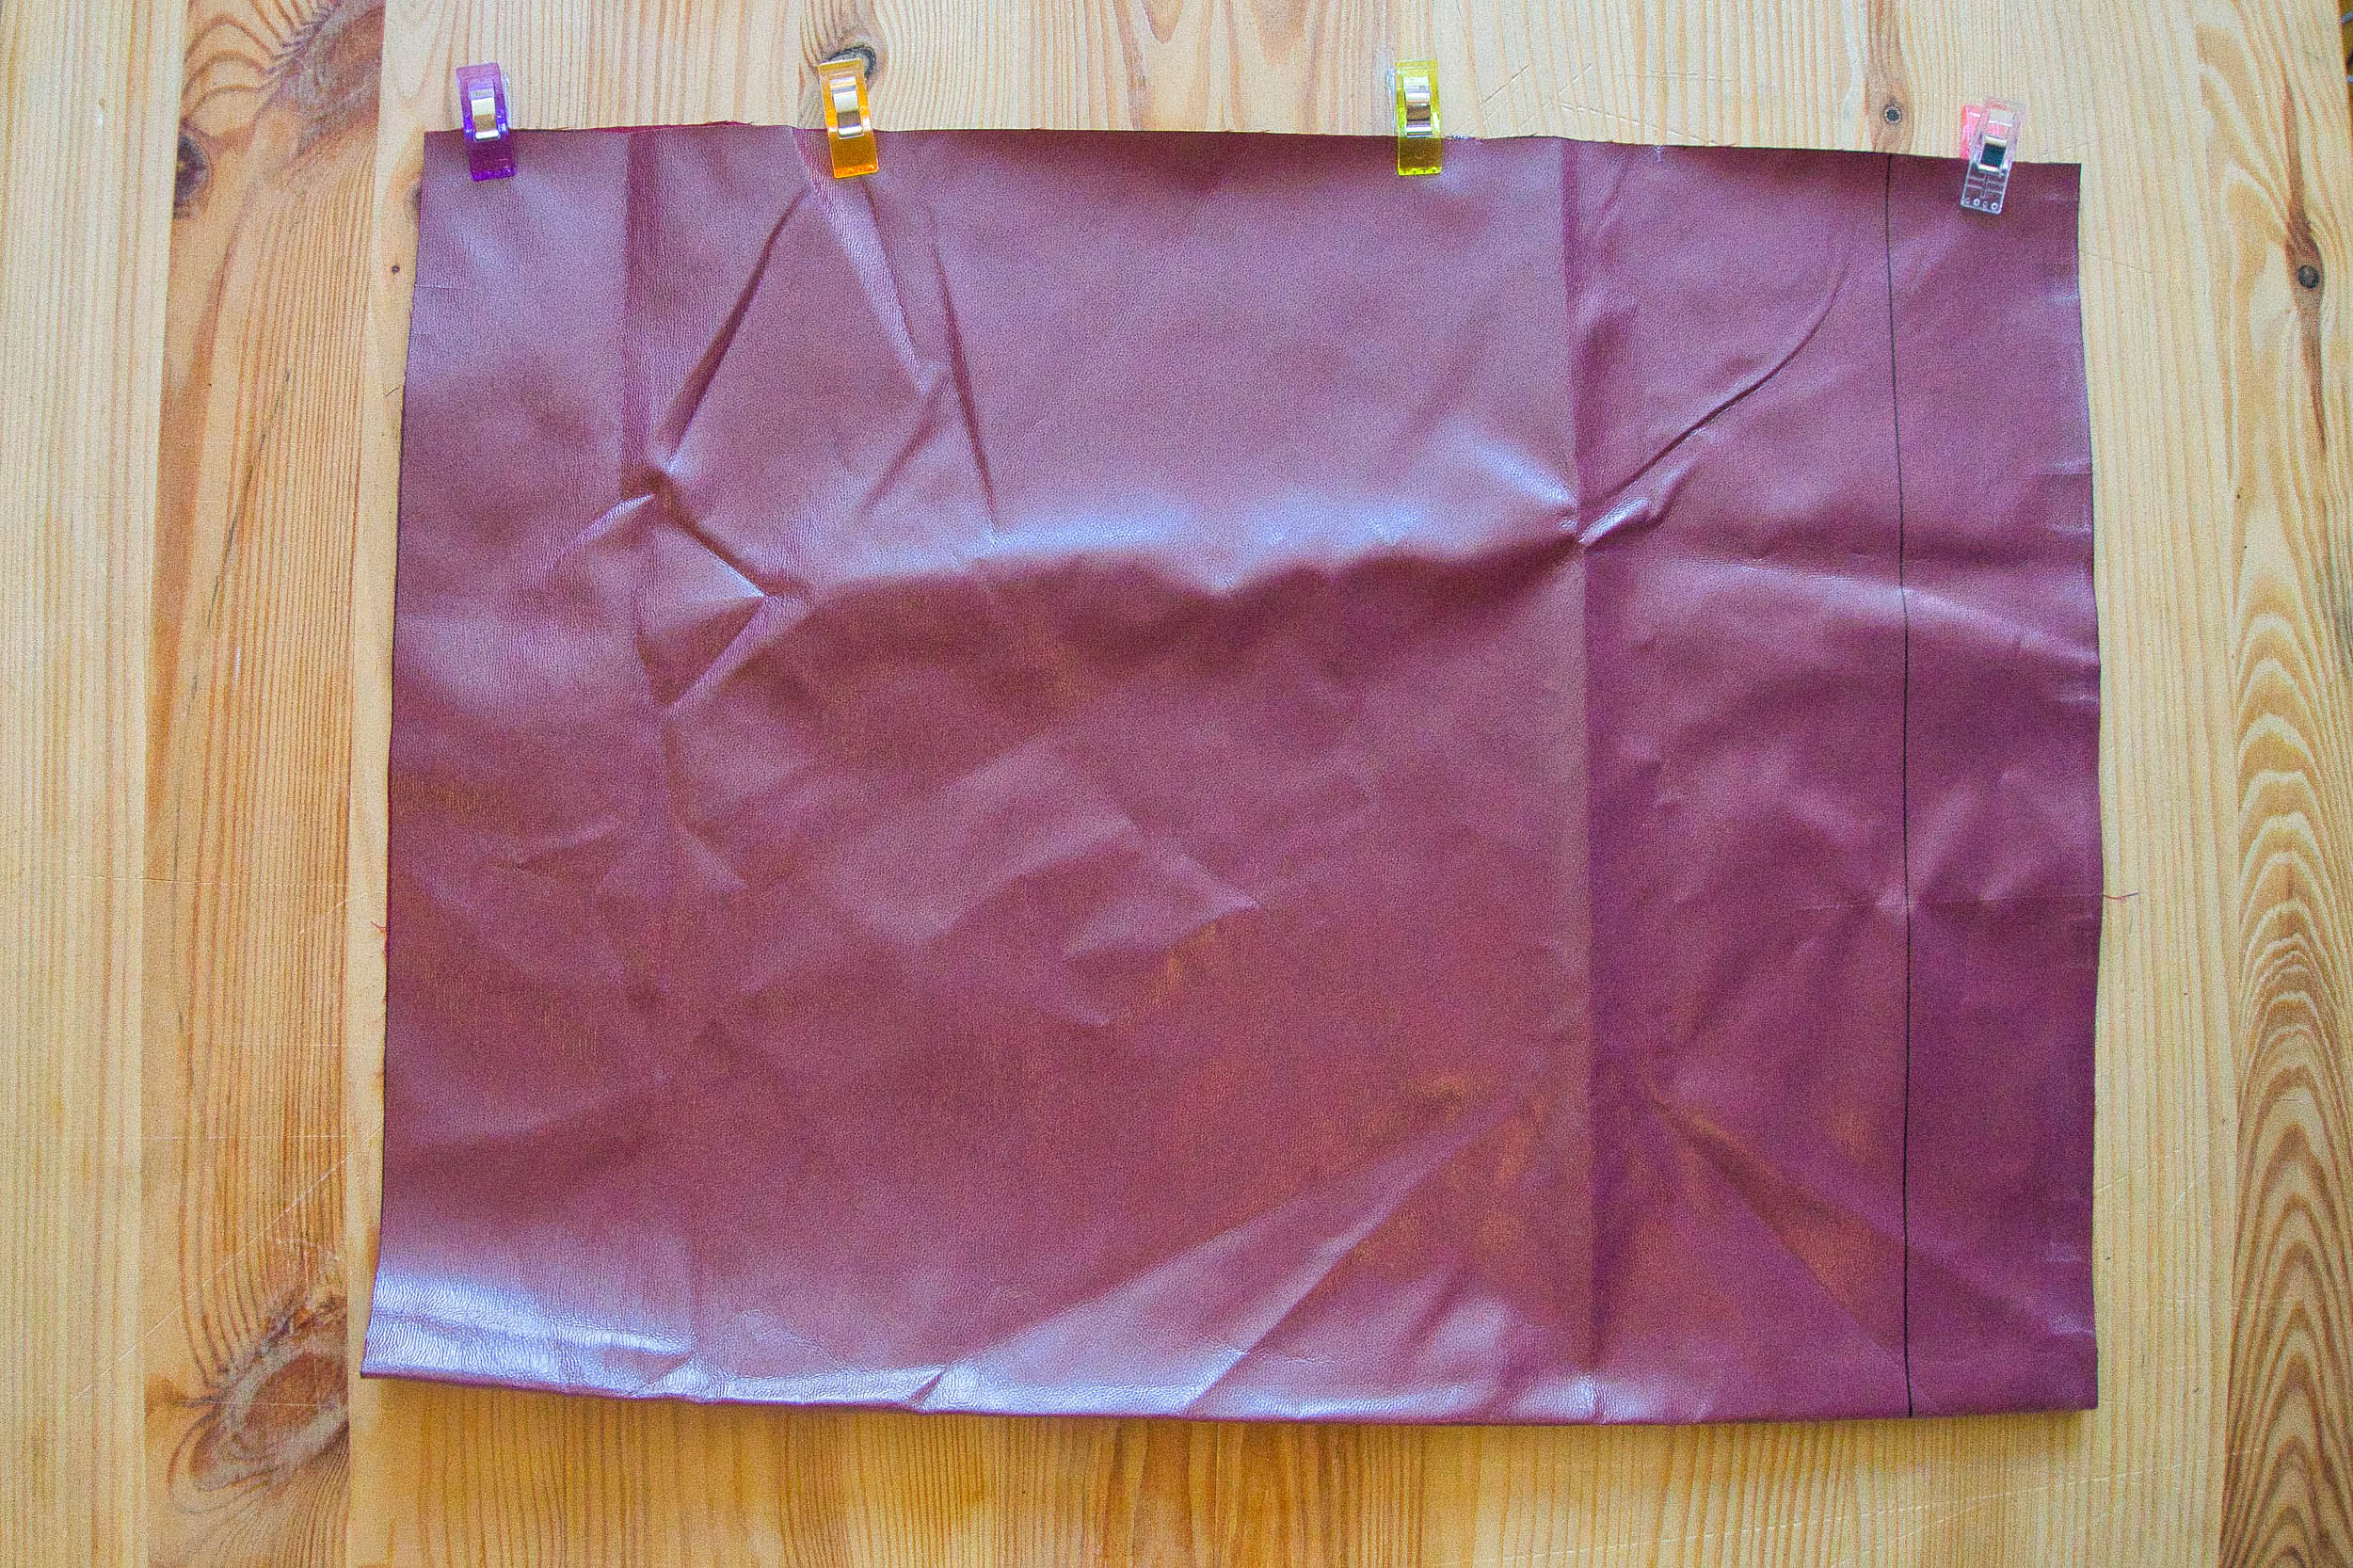
Step 1:
Started by cutting out a 60 x 40cm piece of fabric (or whatever size you’d like, but I’ll use those measurements in this guide). With the cut piece of fabric in front of you, fold it in half the long way, yielding a 30cm wide x 40cm tall shape.
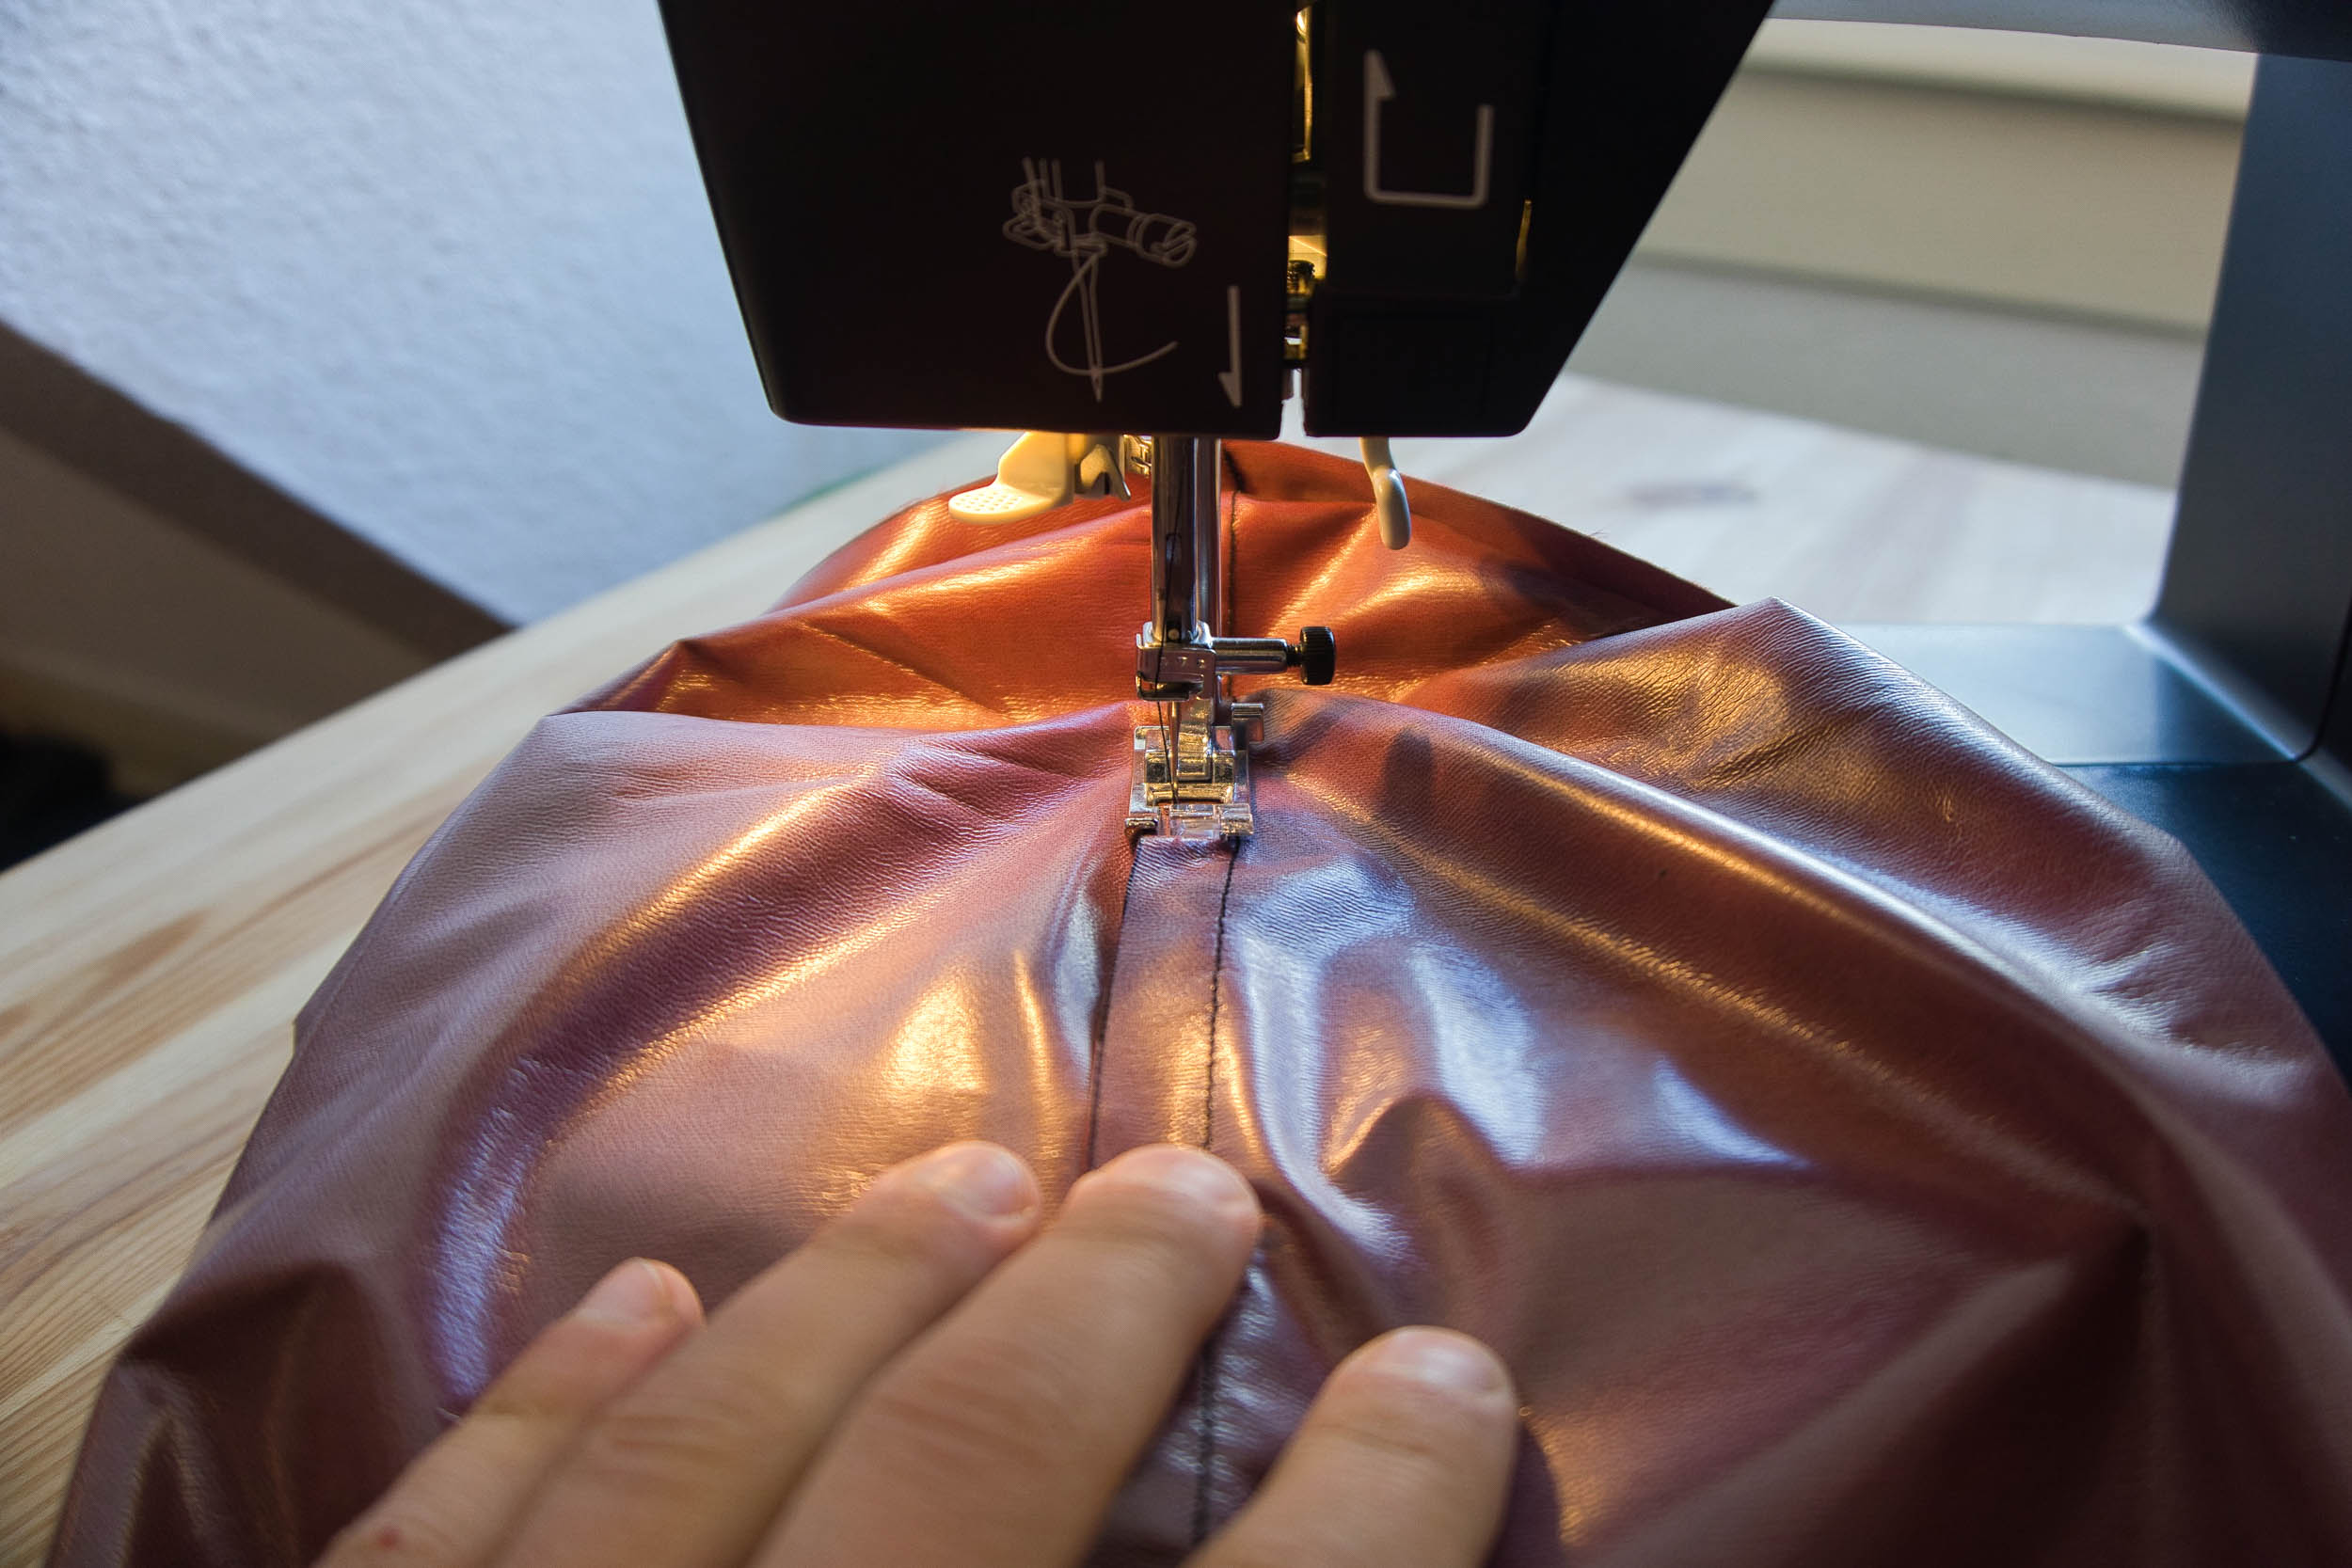
Step 2:
Sew together the two ends that met when you folded the 40x60cm fabric in half (so, the two open ends across from the fold, along the 40cm side). Leave about 1cm of space from the edge for a seam allowance. You now have a tube-shaped piece of fabric that’s open on both the shorter ends.
Step 3 (Optional):
Stitch down the seam allowance along one side. This will facilitate applying seam sealant later on, if desired, and also gives your stuff sack a nicer look. Note: Be really careful that you don’t sew the two sides of your sack together!
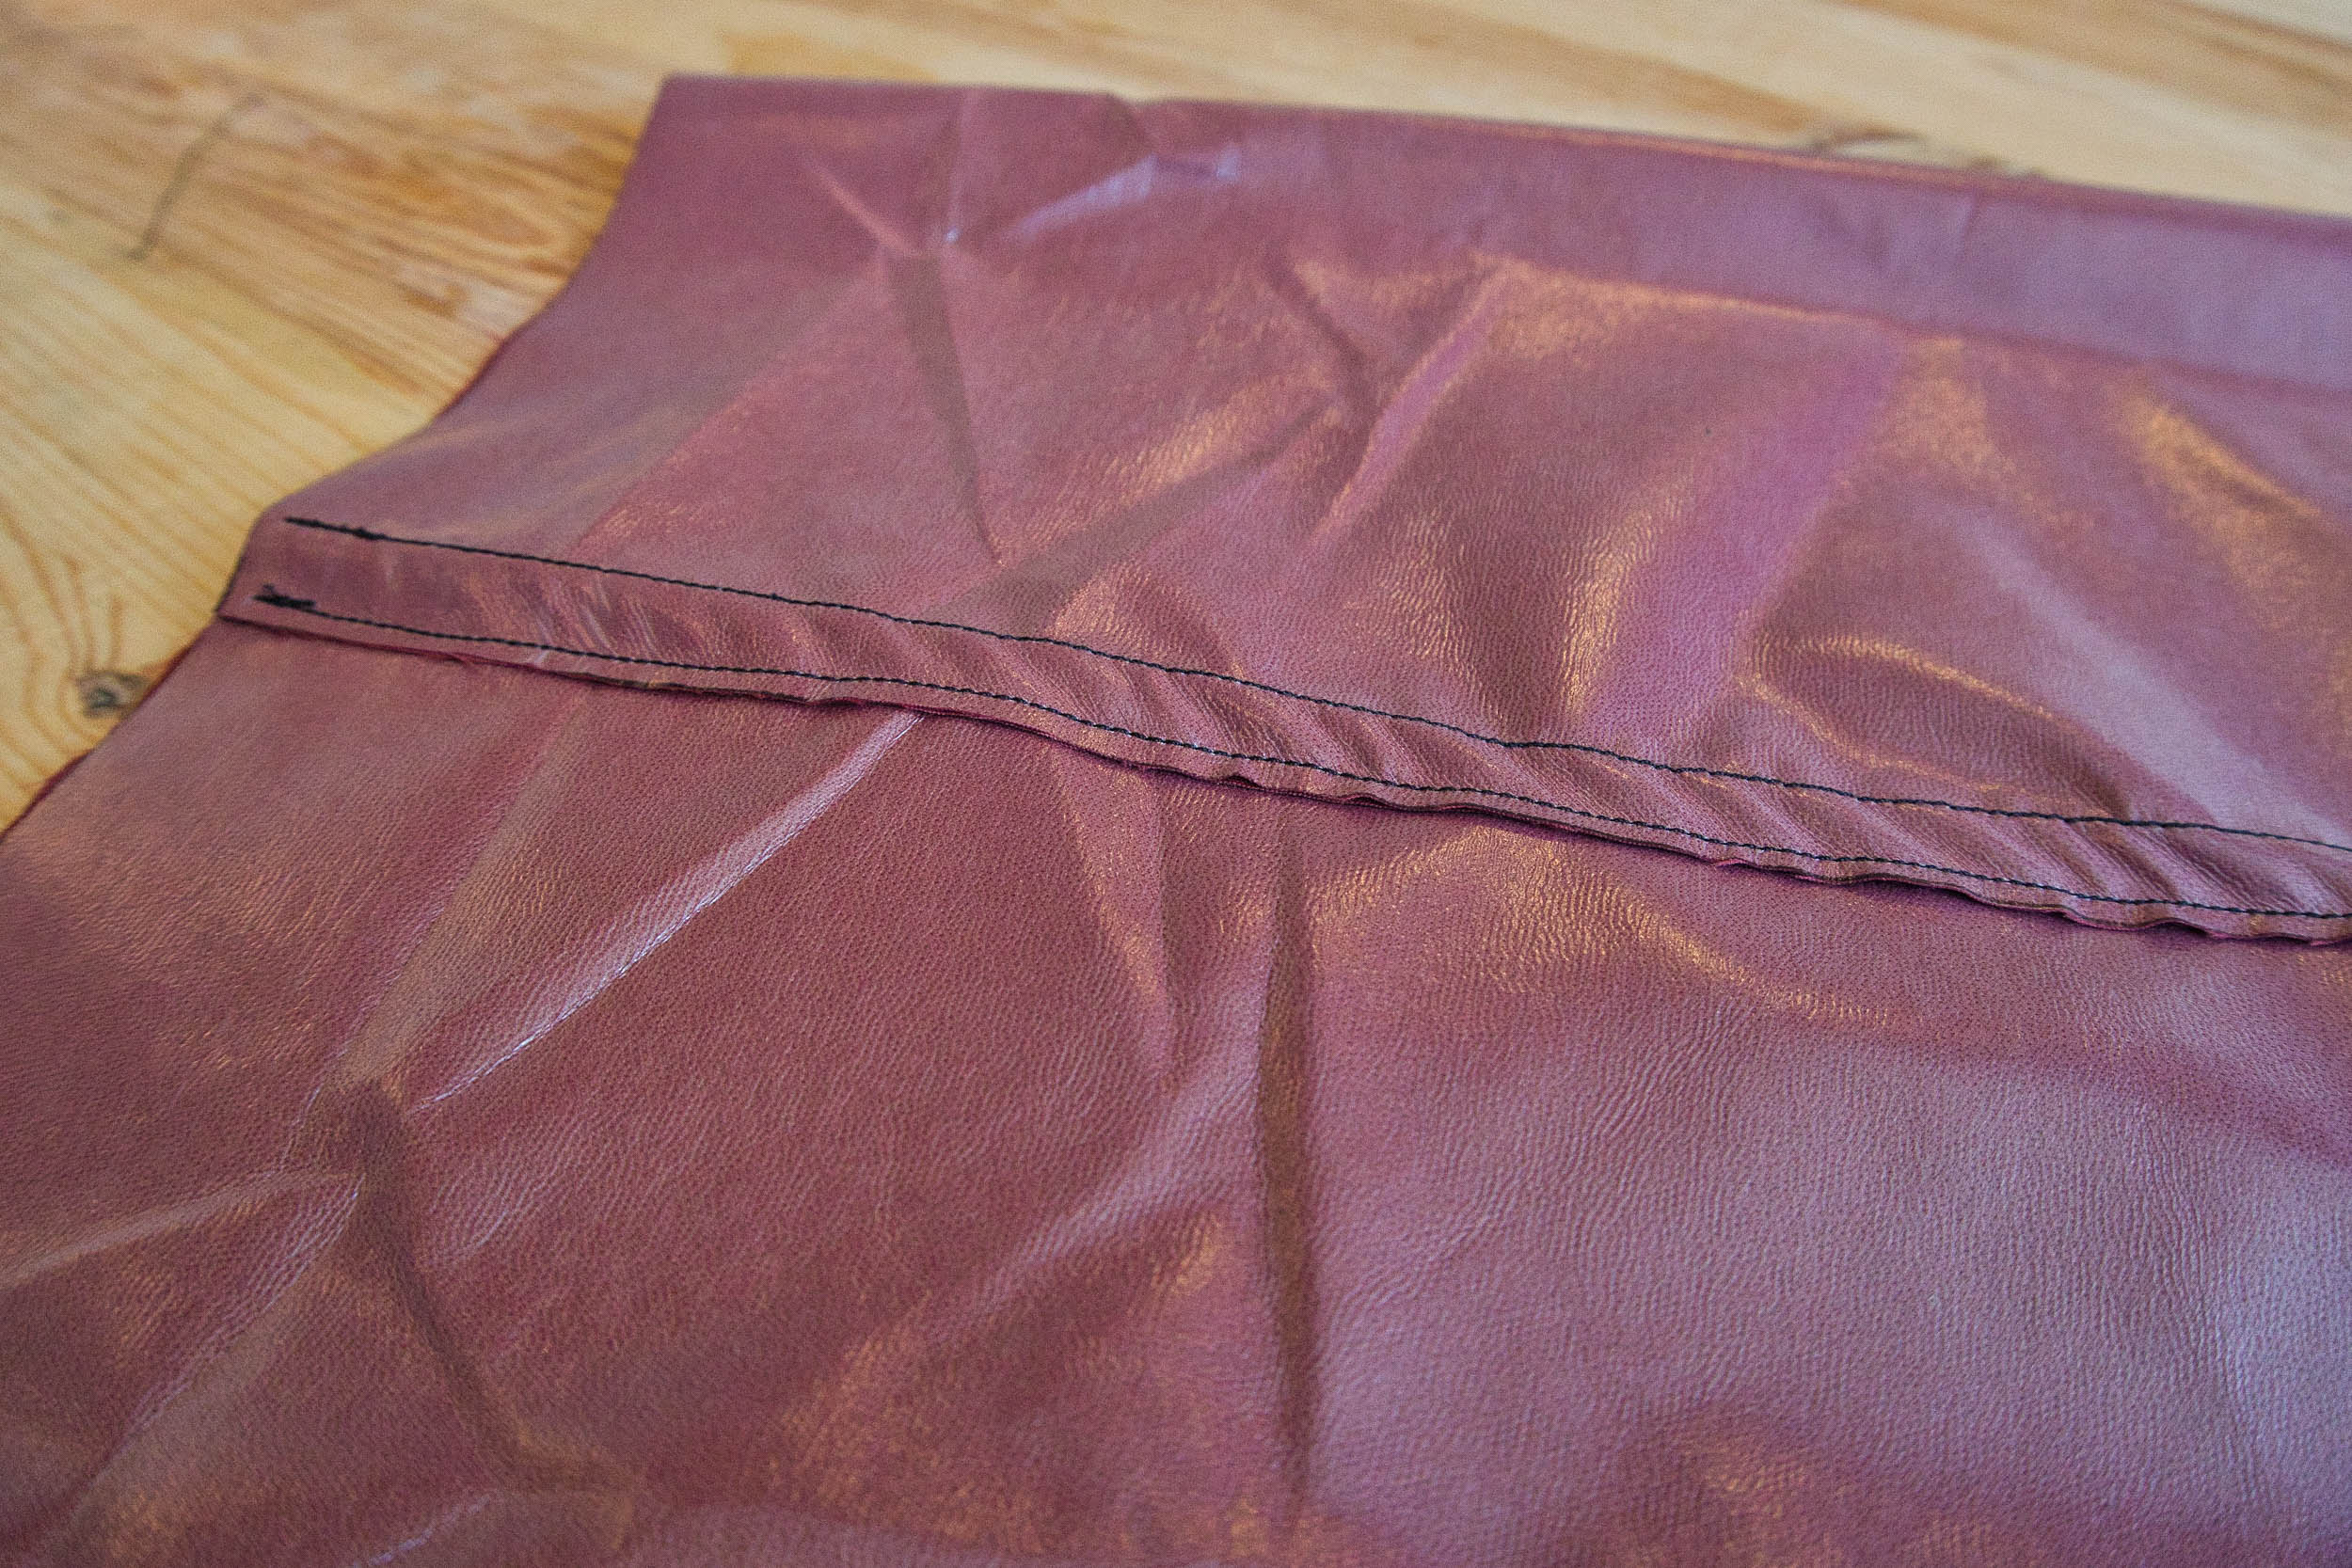
You should have a tube that looks like the above right.
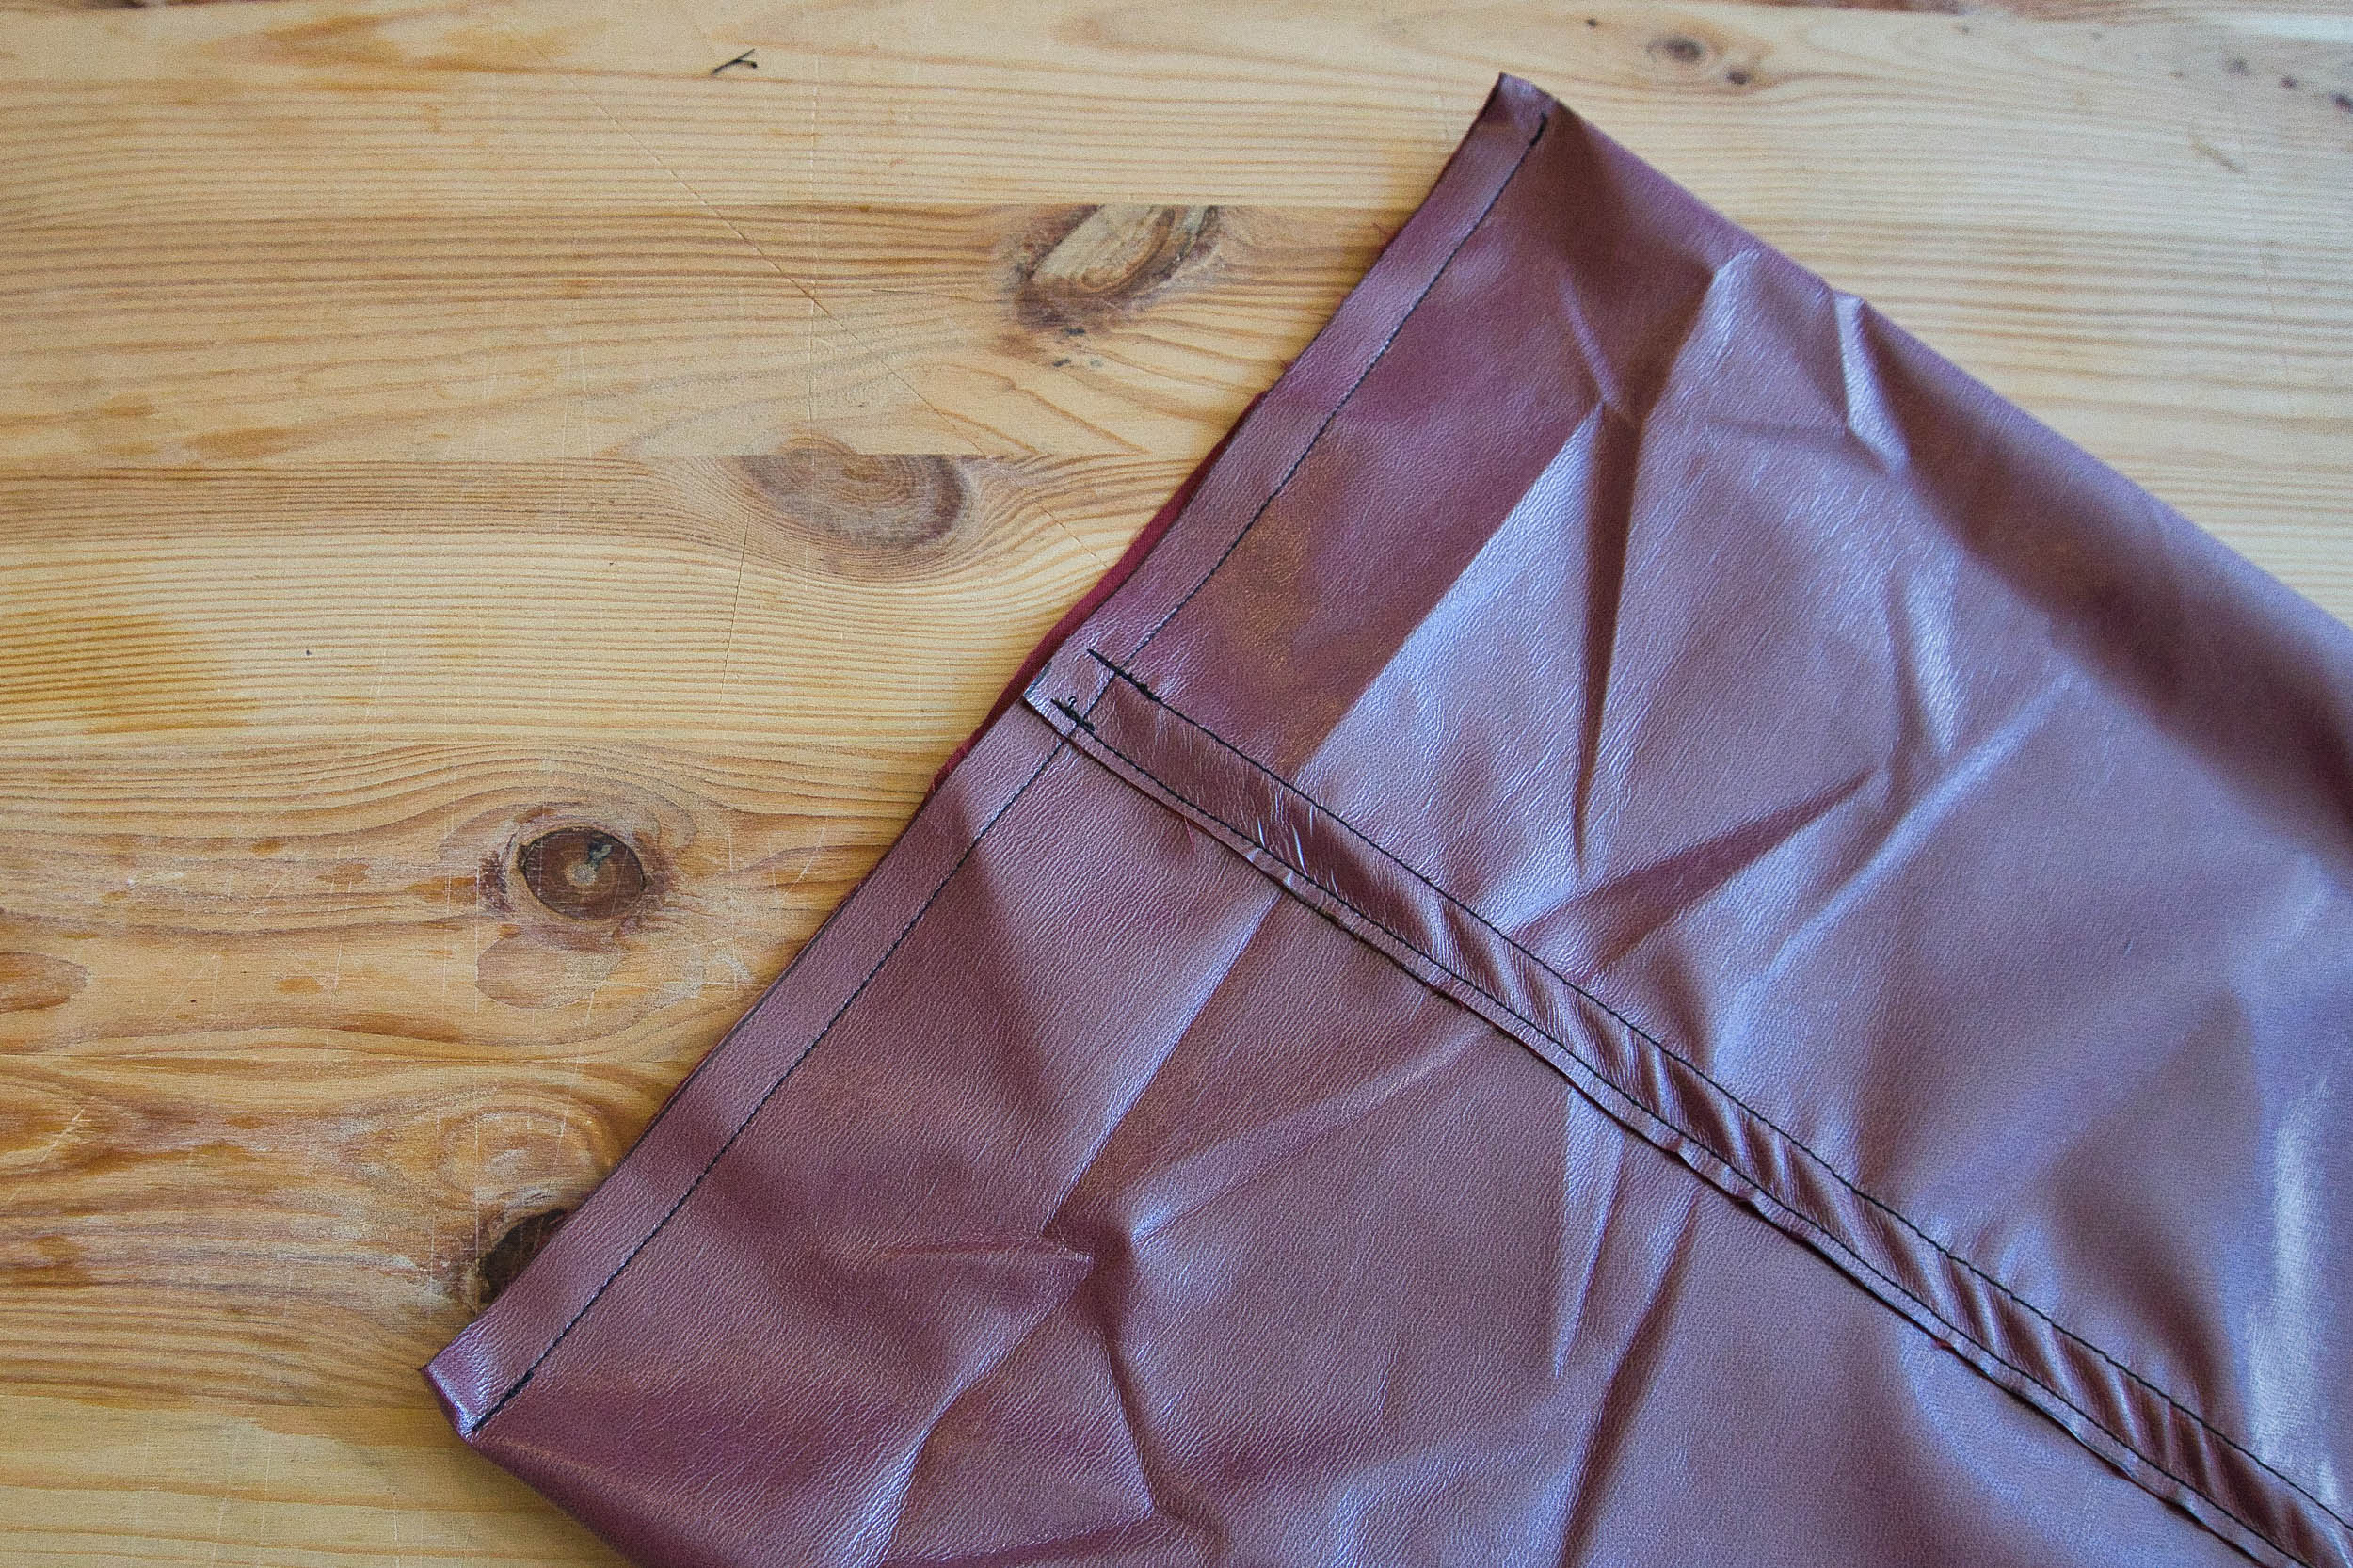
Step 4:
Place the seam in the middle of the fabric and close your bag on the lower side, again leaving a 1cm seam allowance. You can stitch down the edge of the seam allowance again if you like.
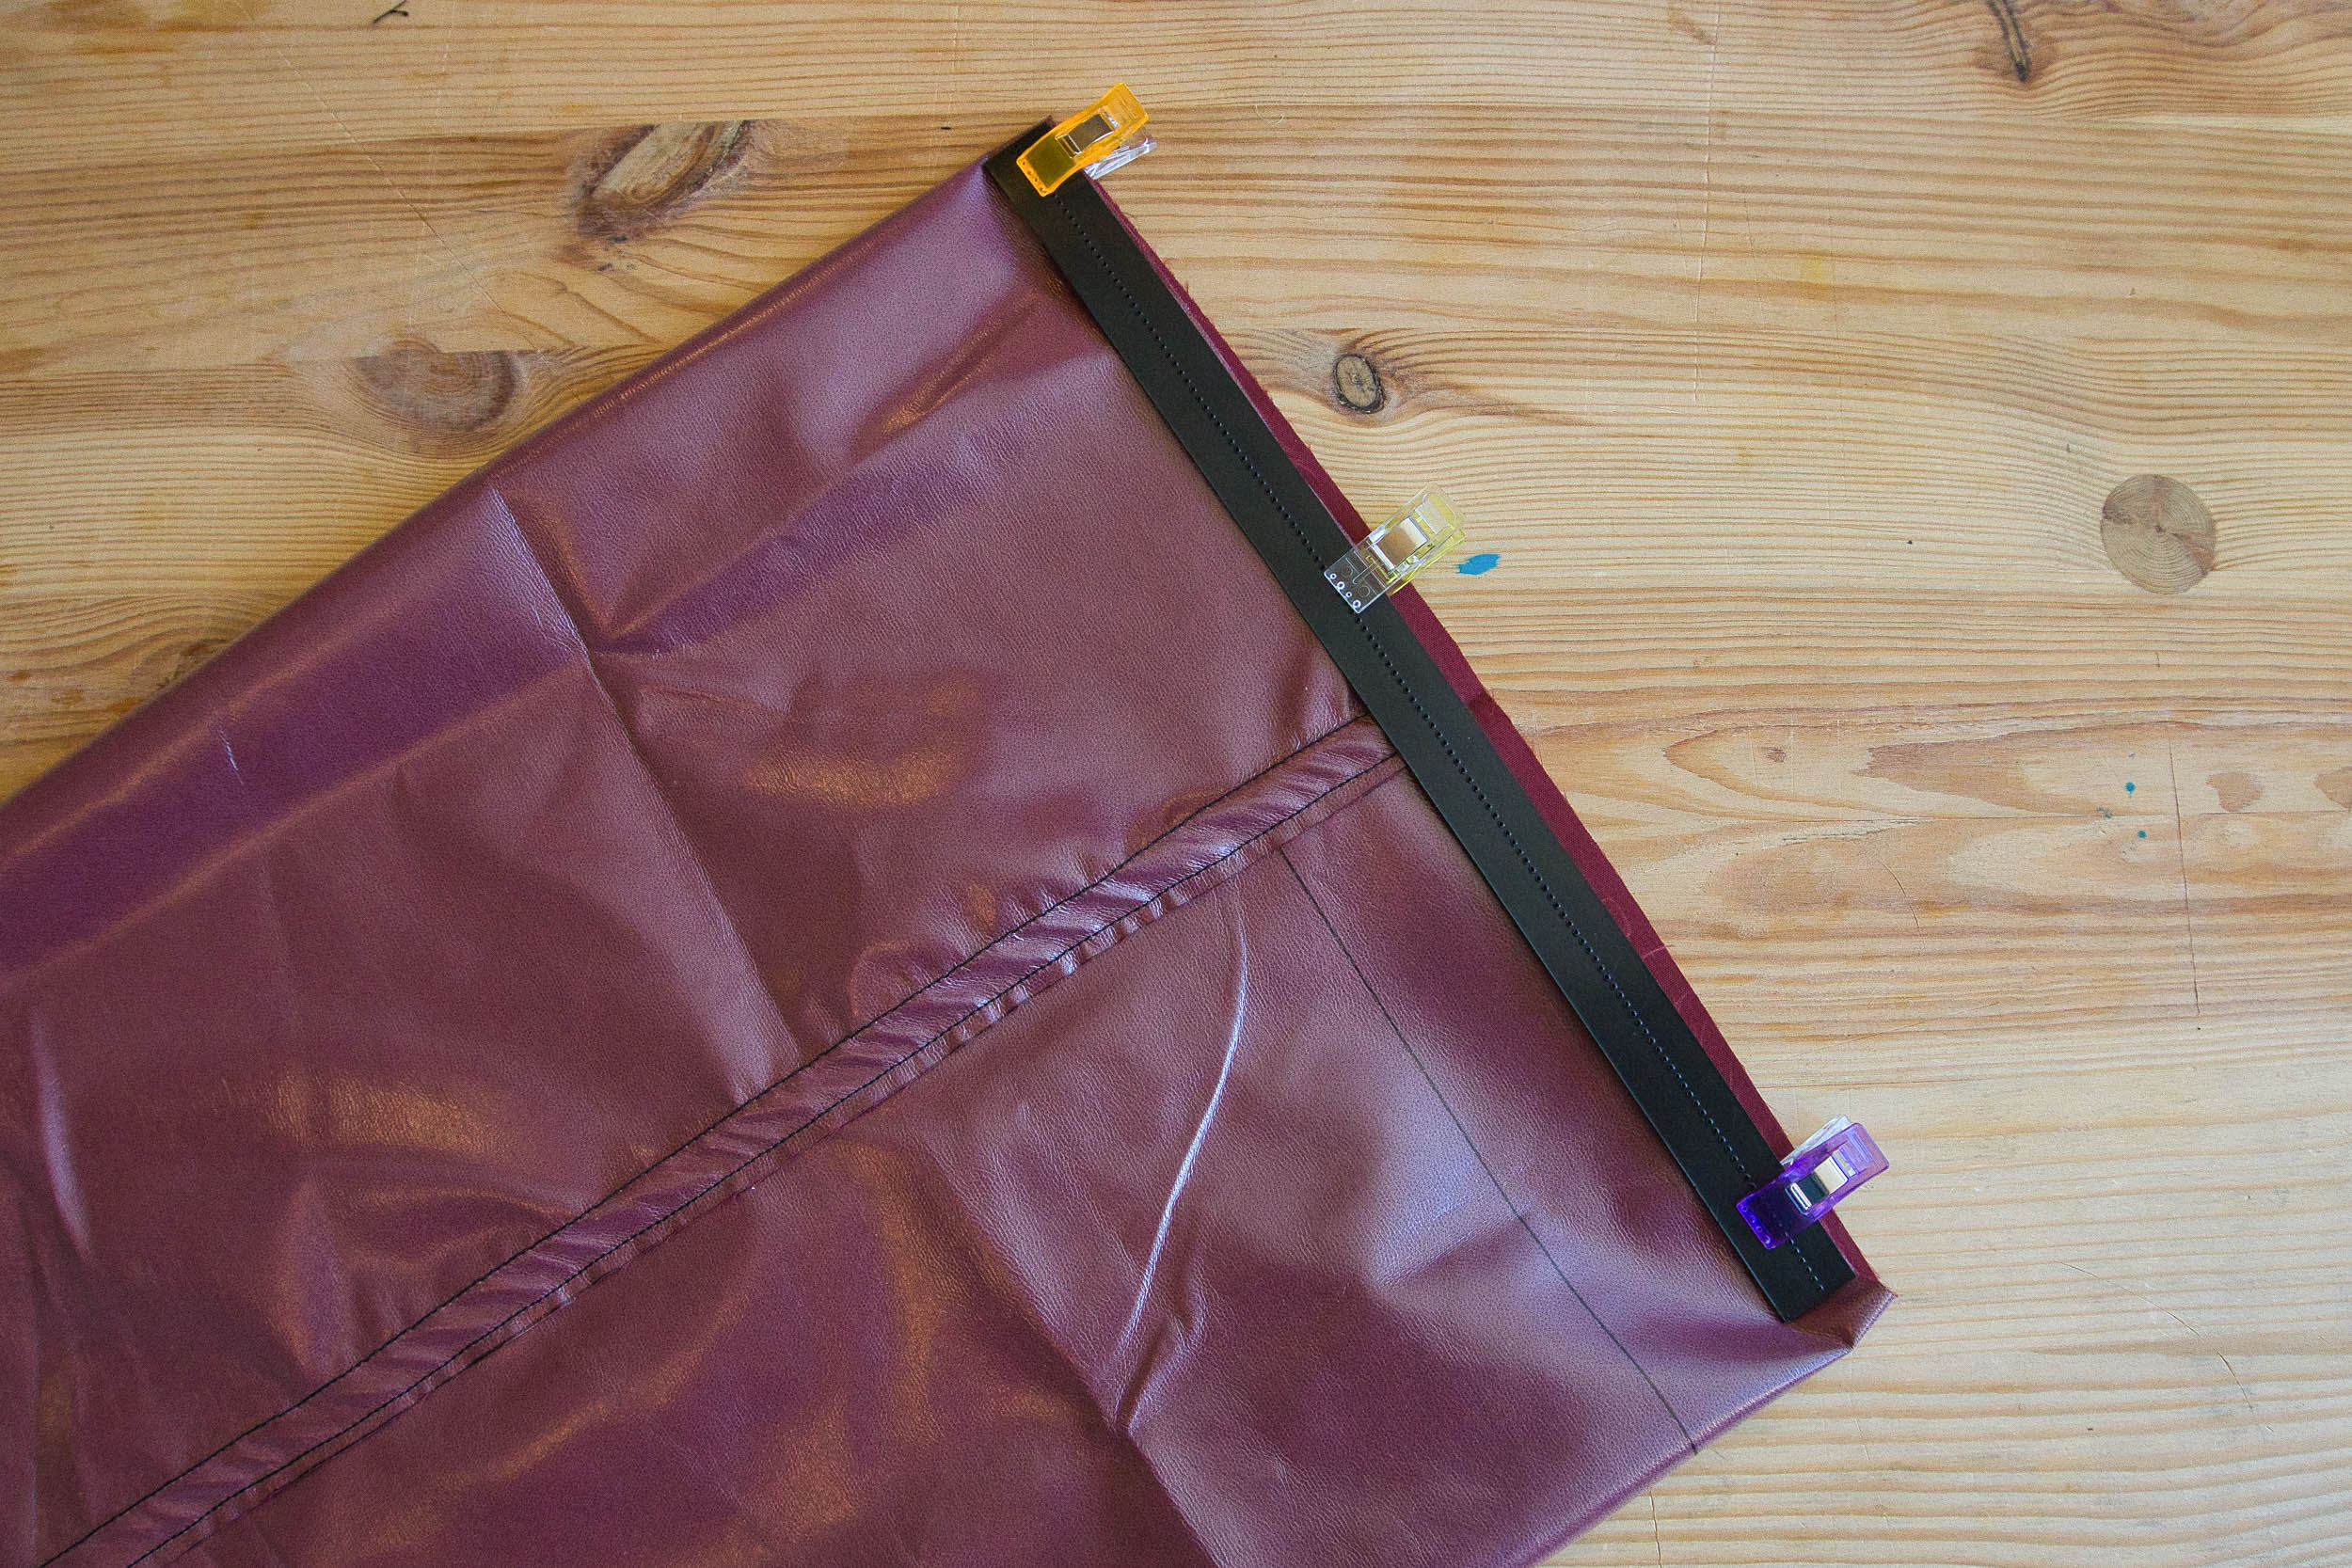
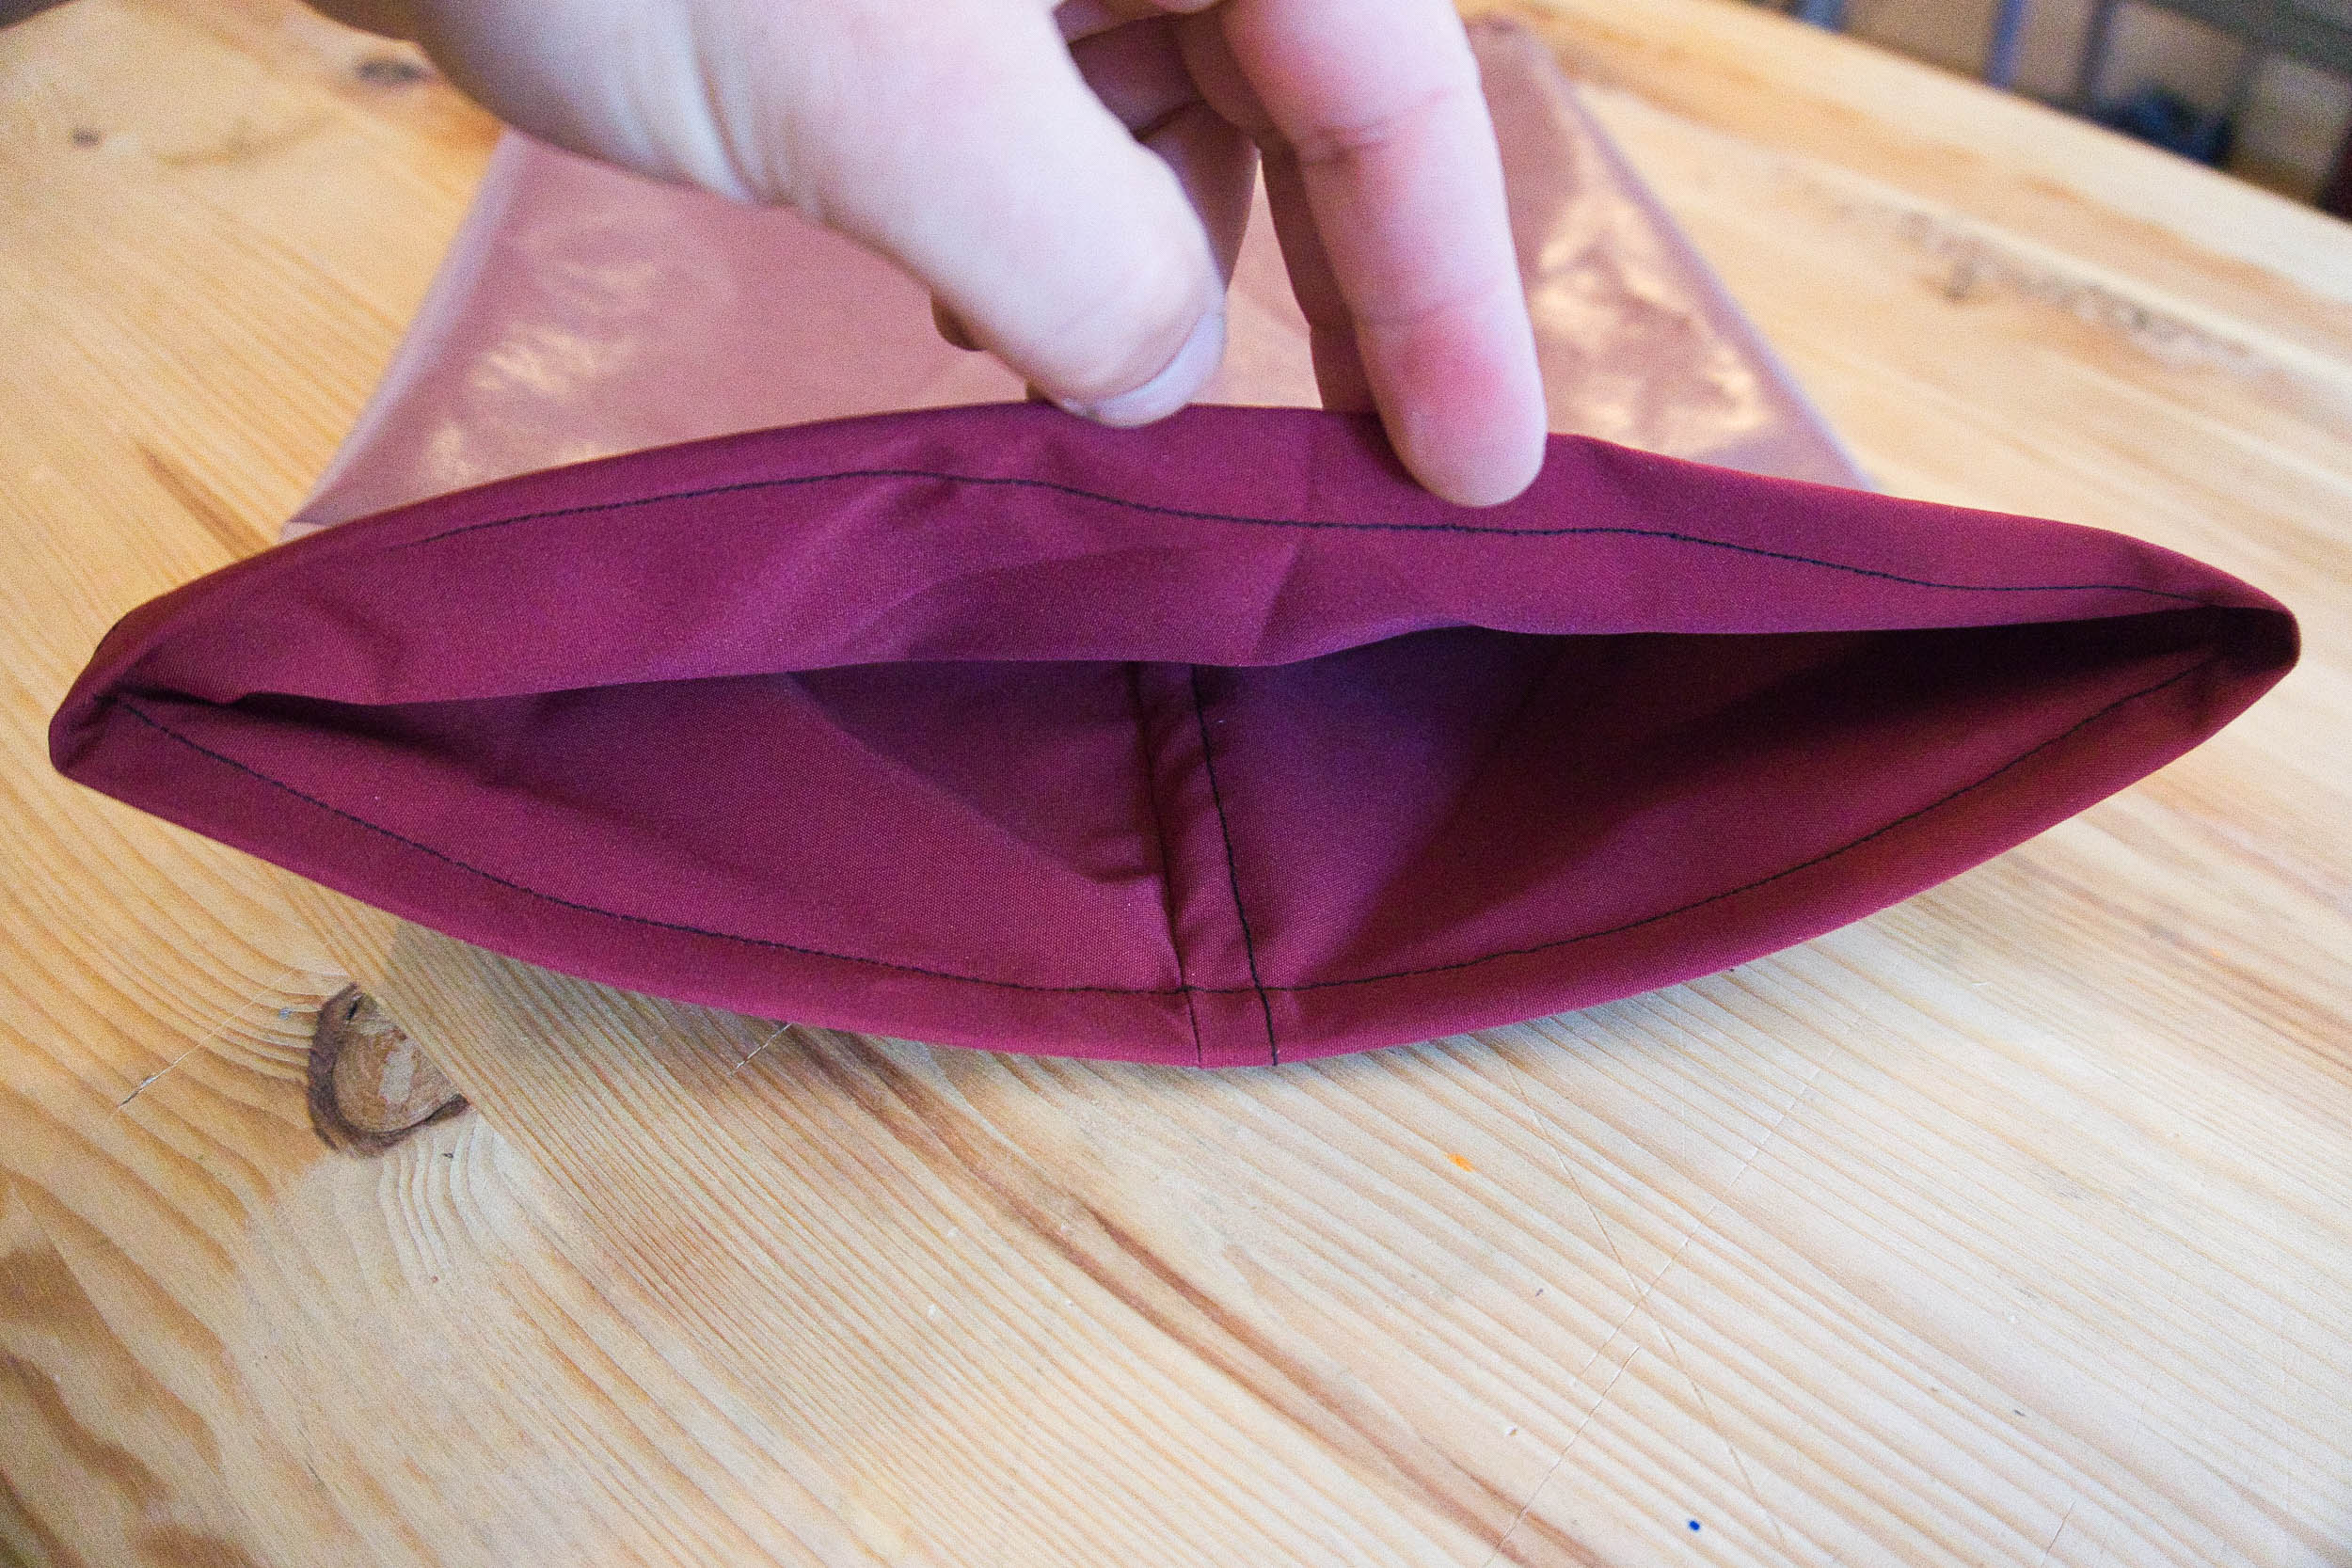
Step 5:
Place the plastic stiffener on the upper side and curl the fabric on one side around it twice. I usually trim the plastic once at this step since I don’t always respect my own seam allowances and might end up with a smaller or bigger bag. Using little plastic clamps is really helpful here to keep things in place.
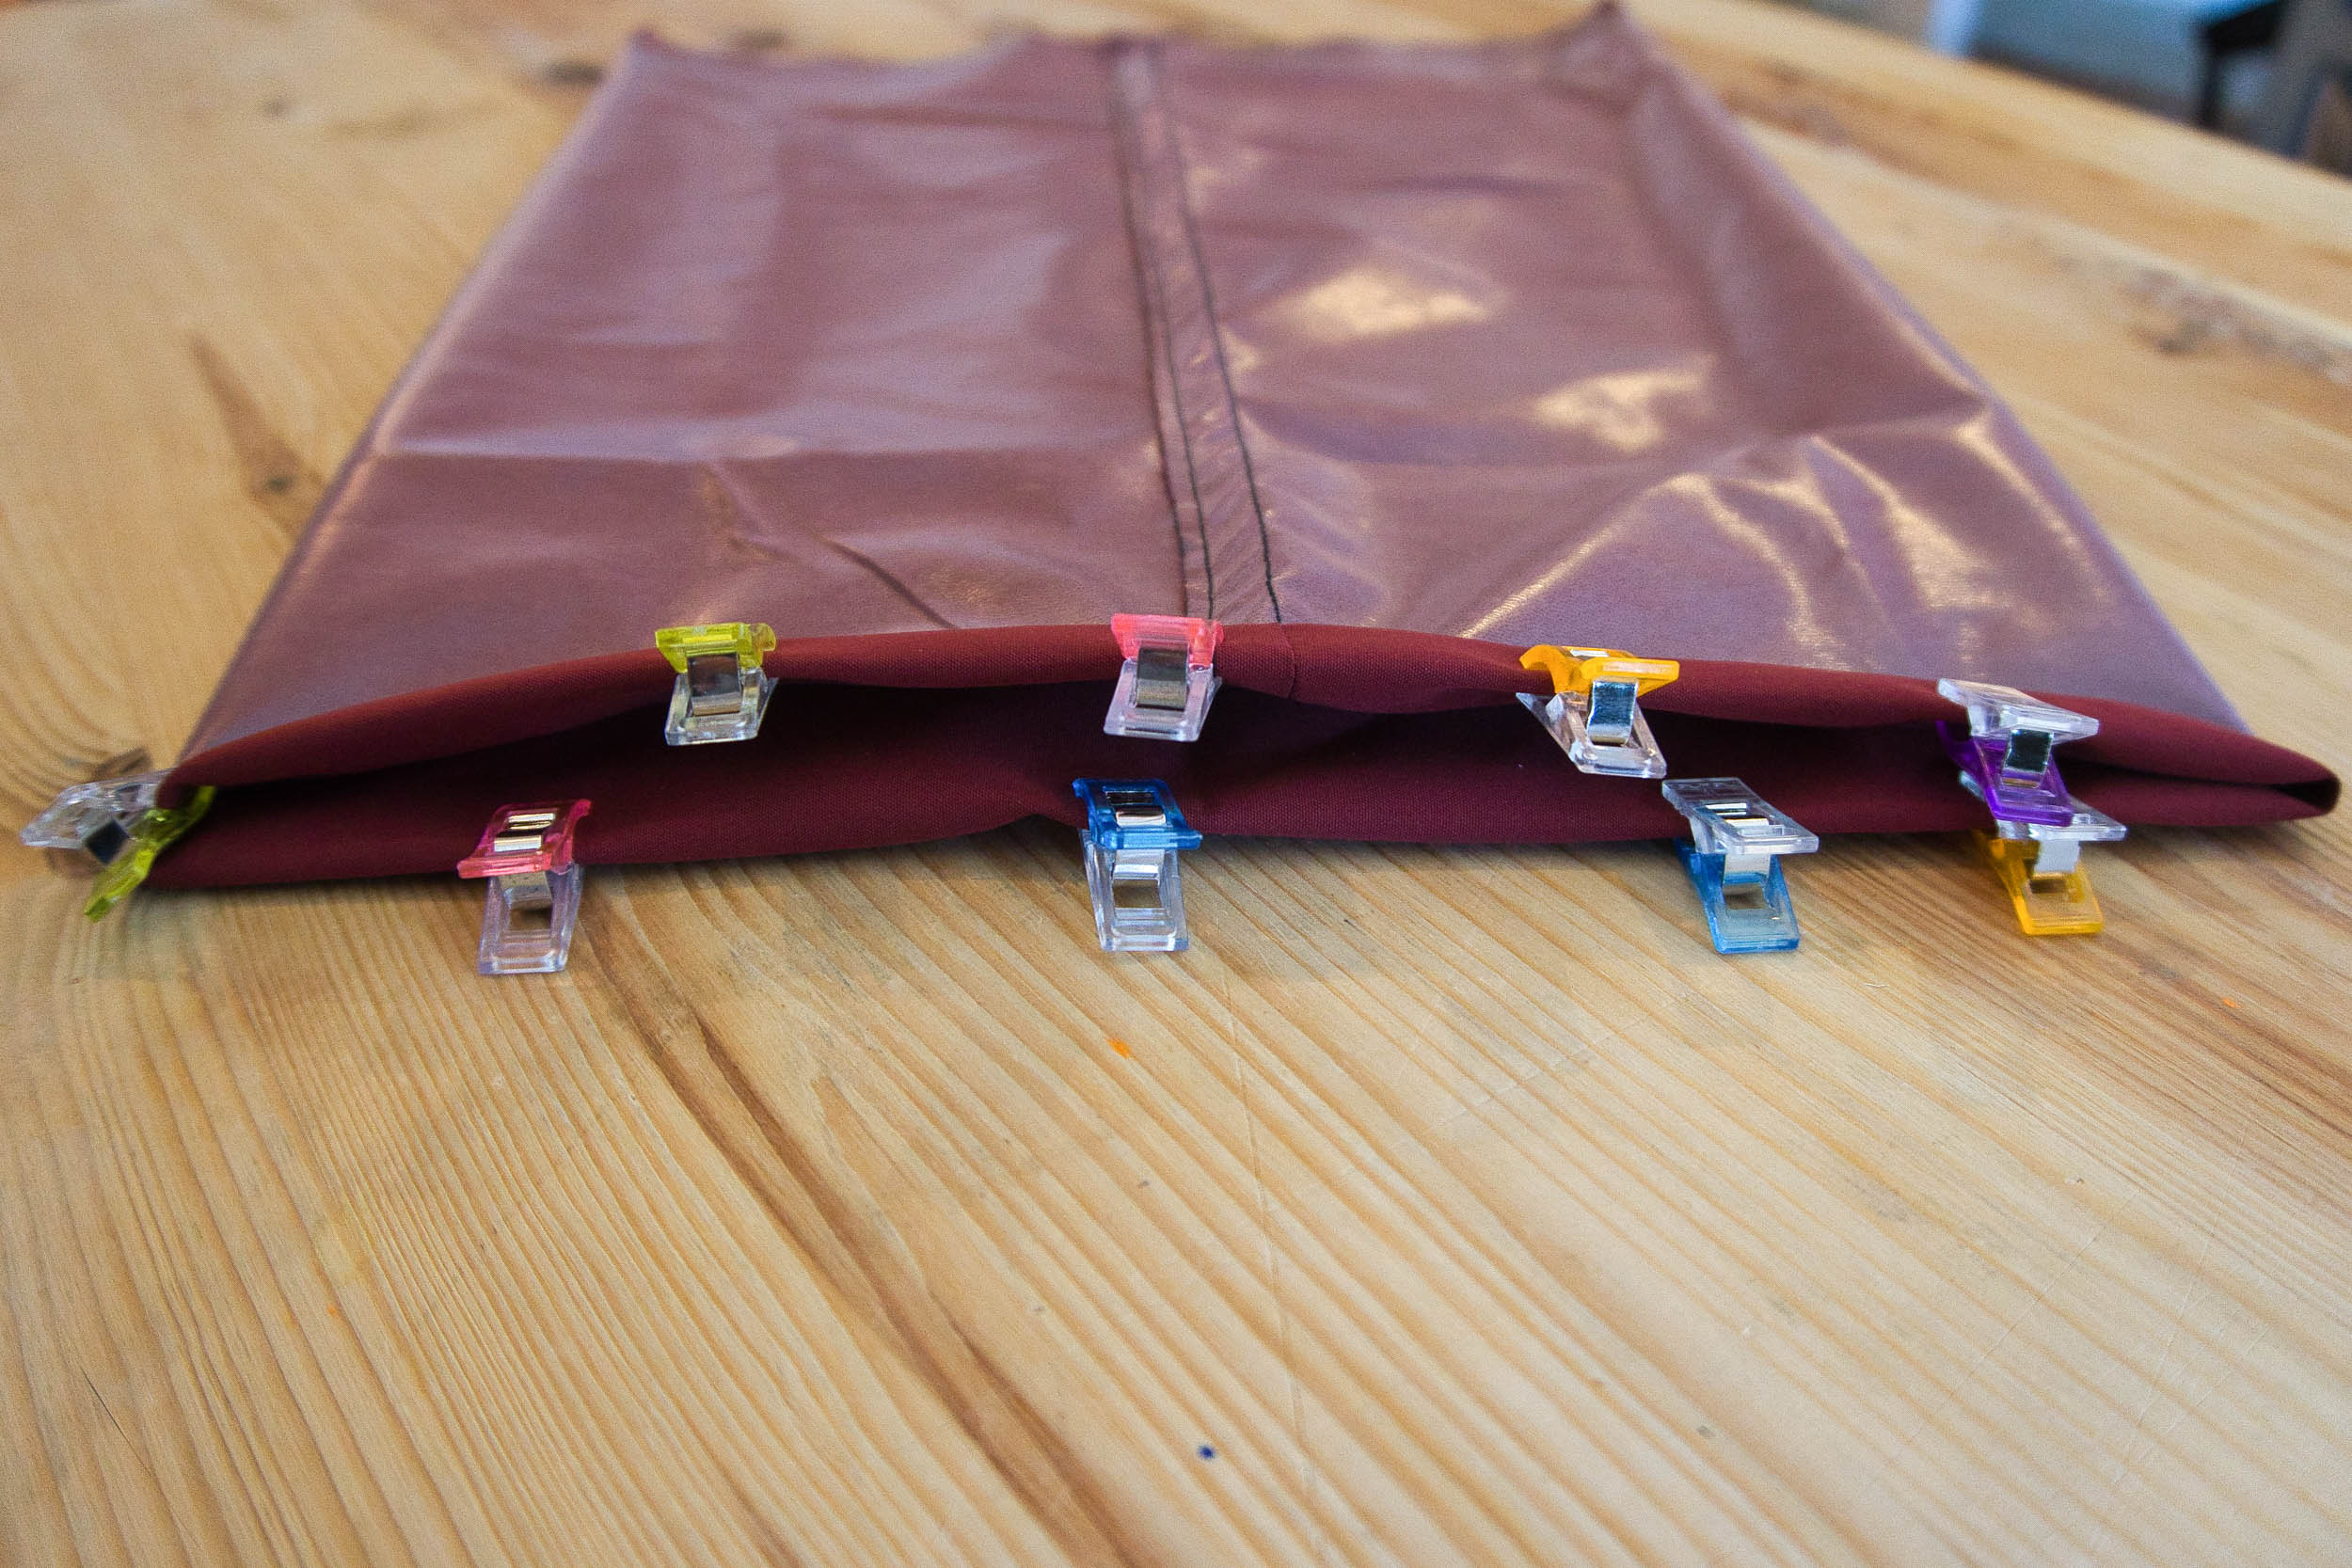
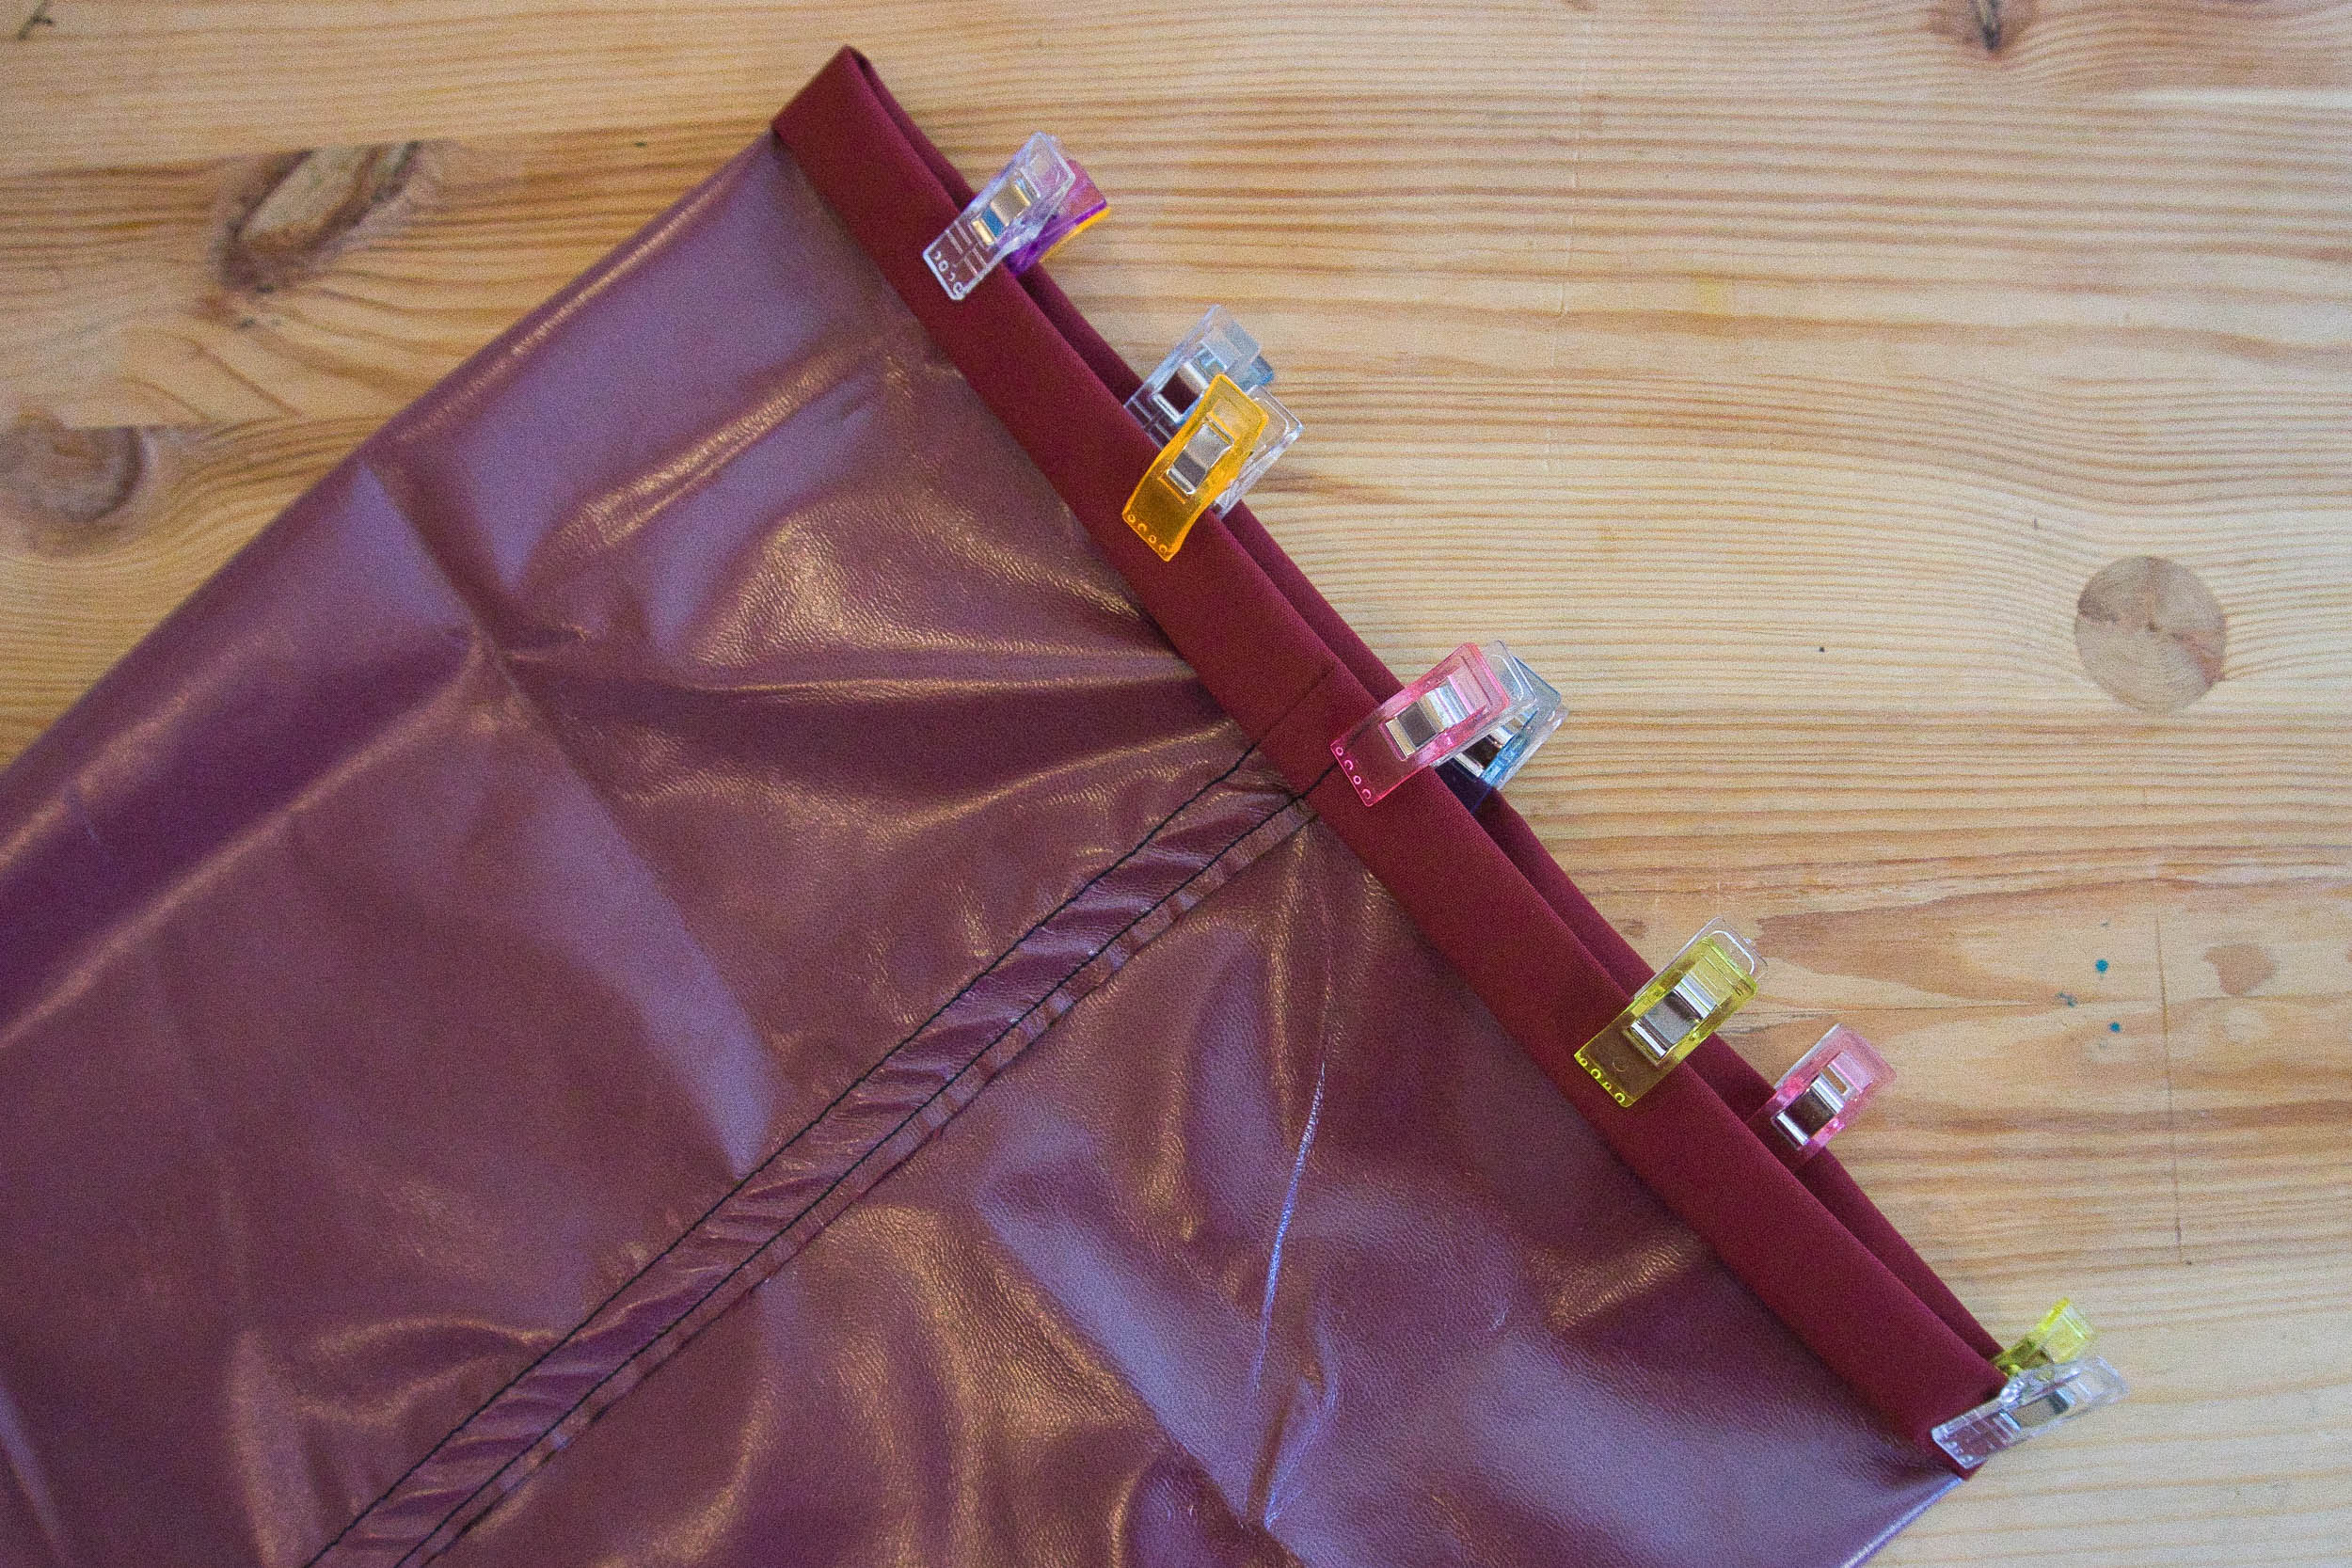
Step 6:
Match the other side by folding it twice and use the clamps to hold it into place.
Step 7:
Stitch everything down. I recommend starting on the non-plastic side, as this will hide the start and end of your seam later on.
Step 8:
Turn your stuff sack inside out, then adjust the length of your webbing to fit the width of the bag.
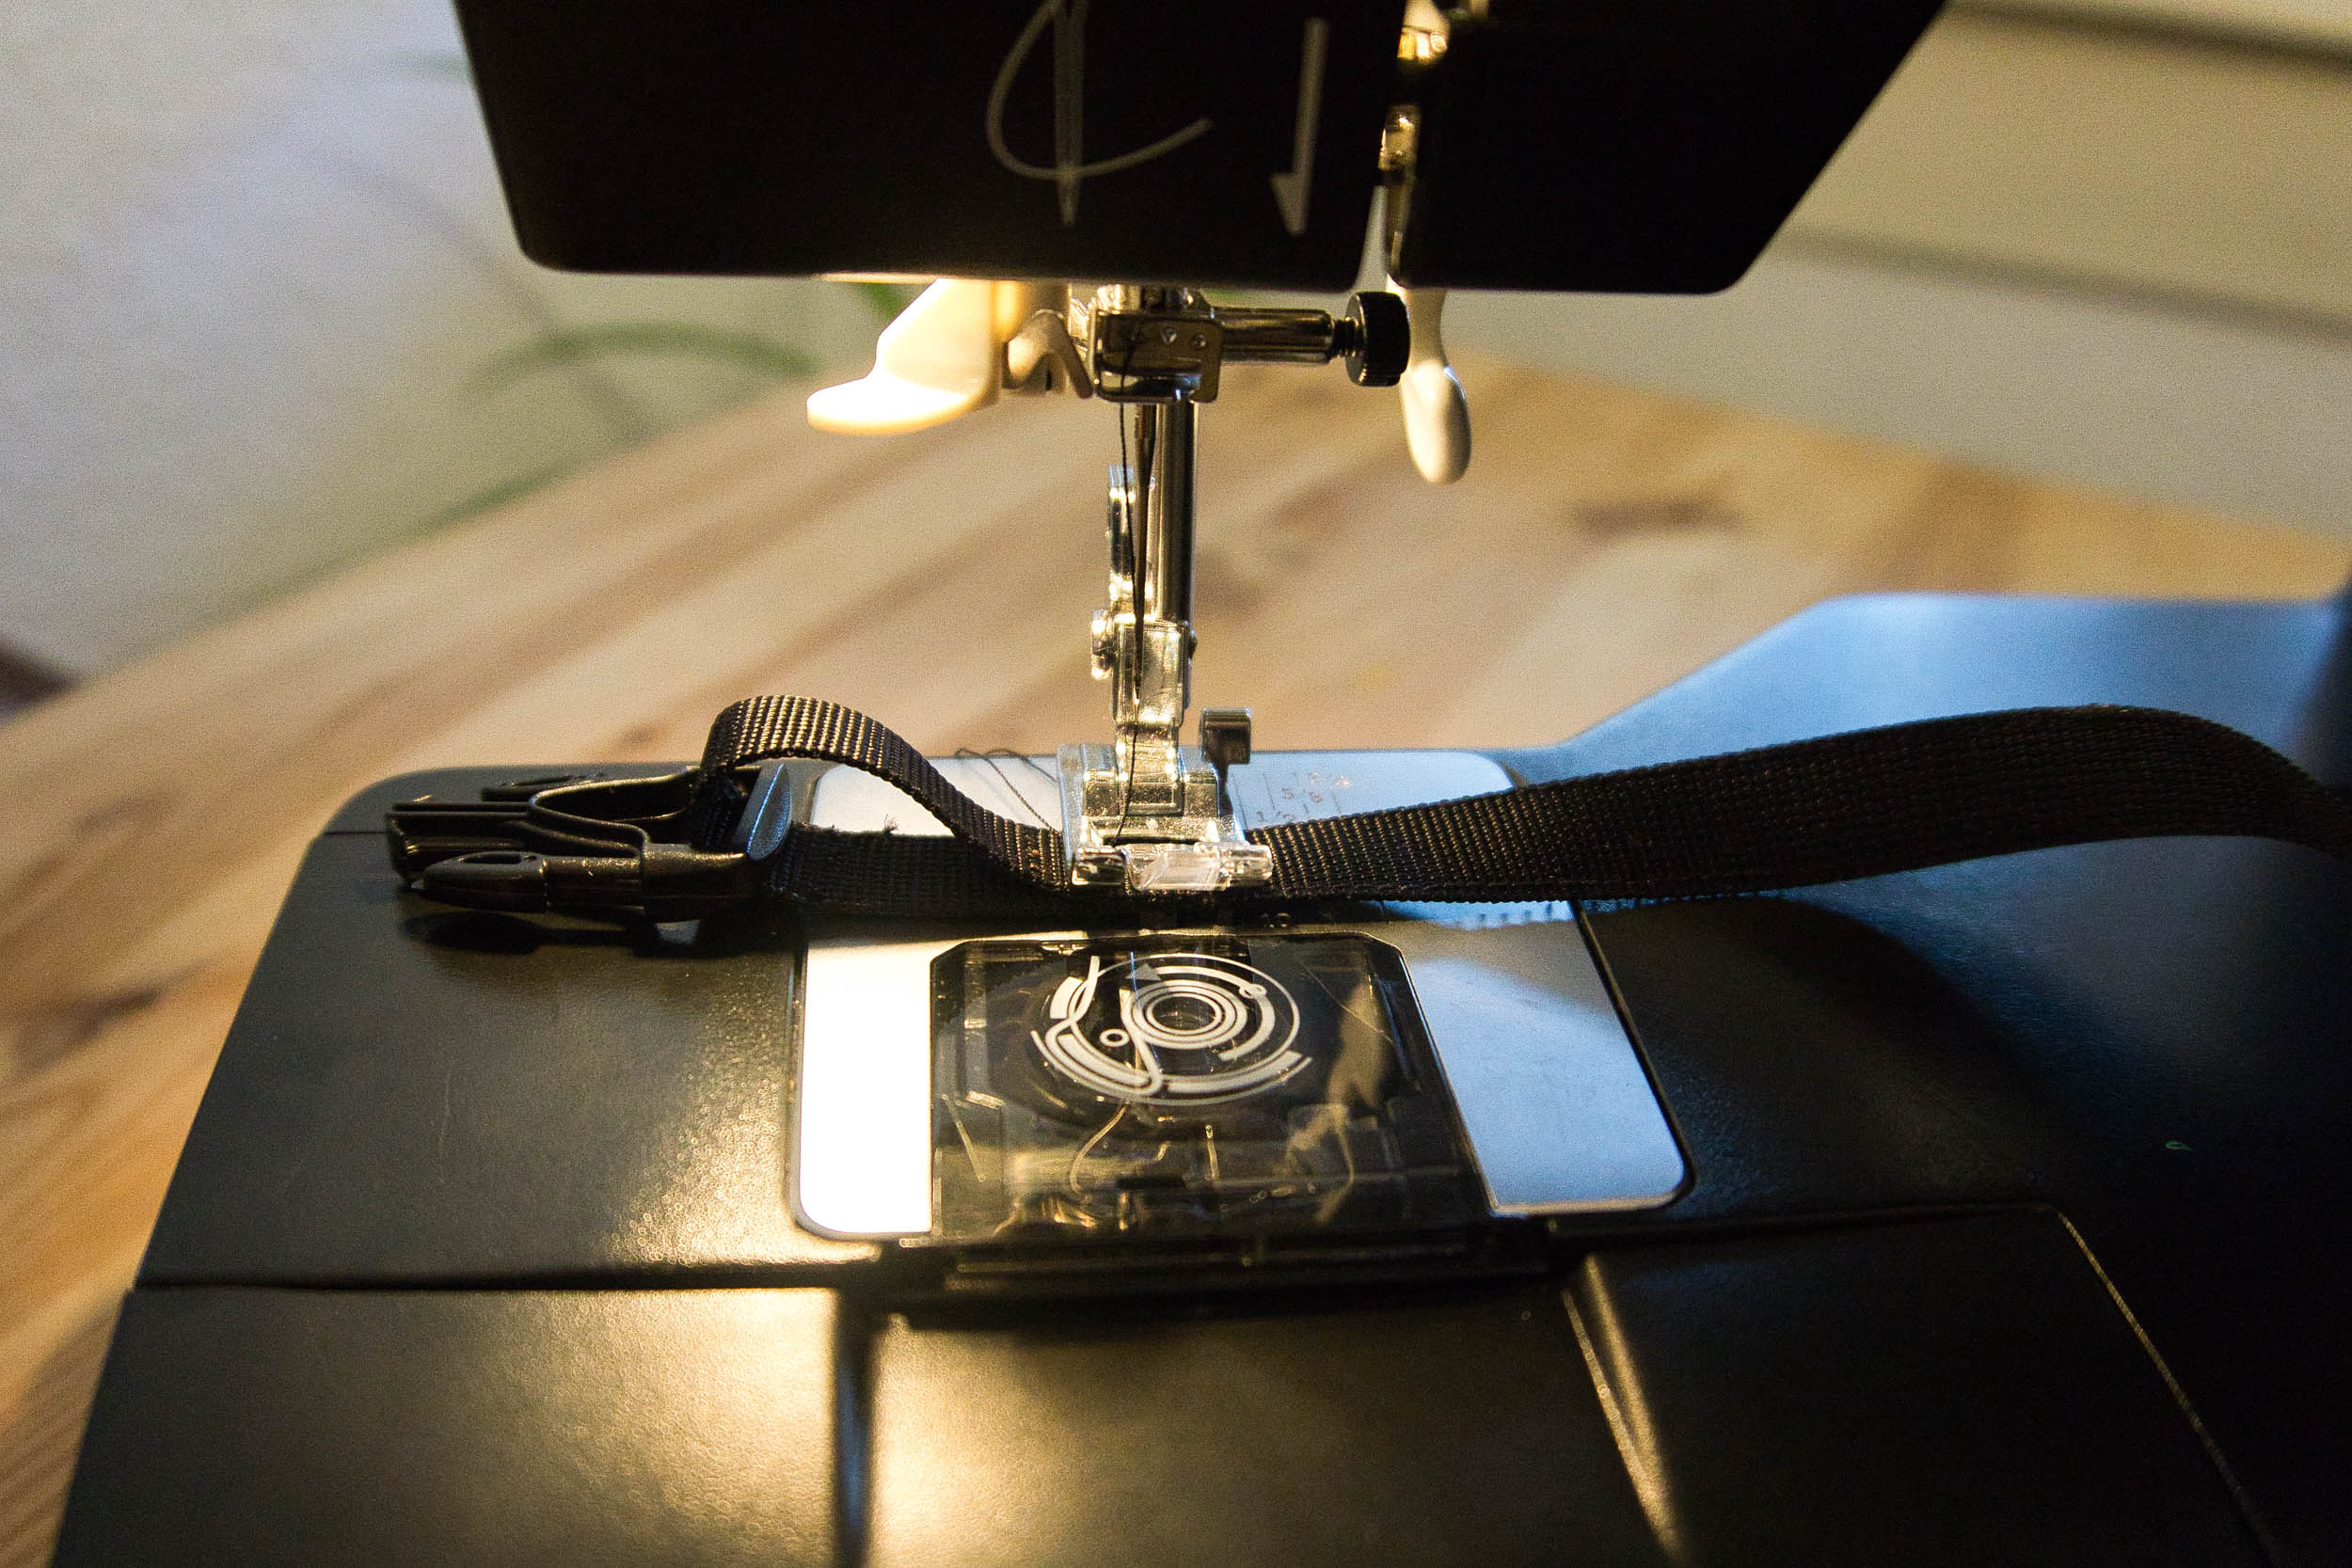
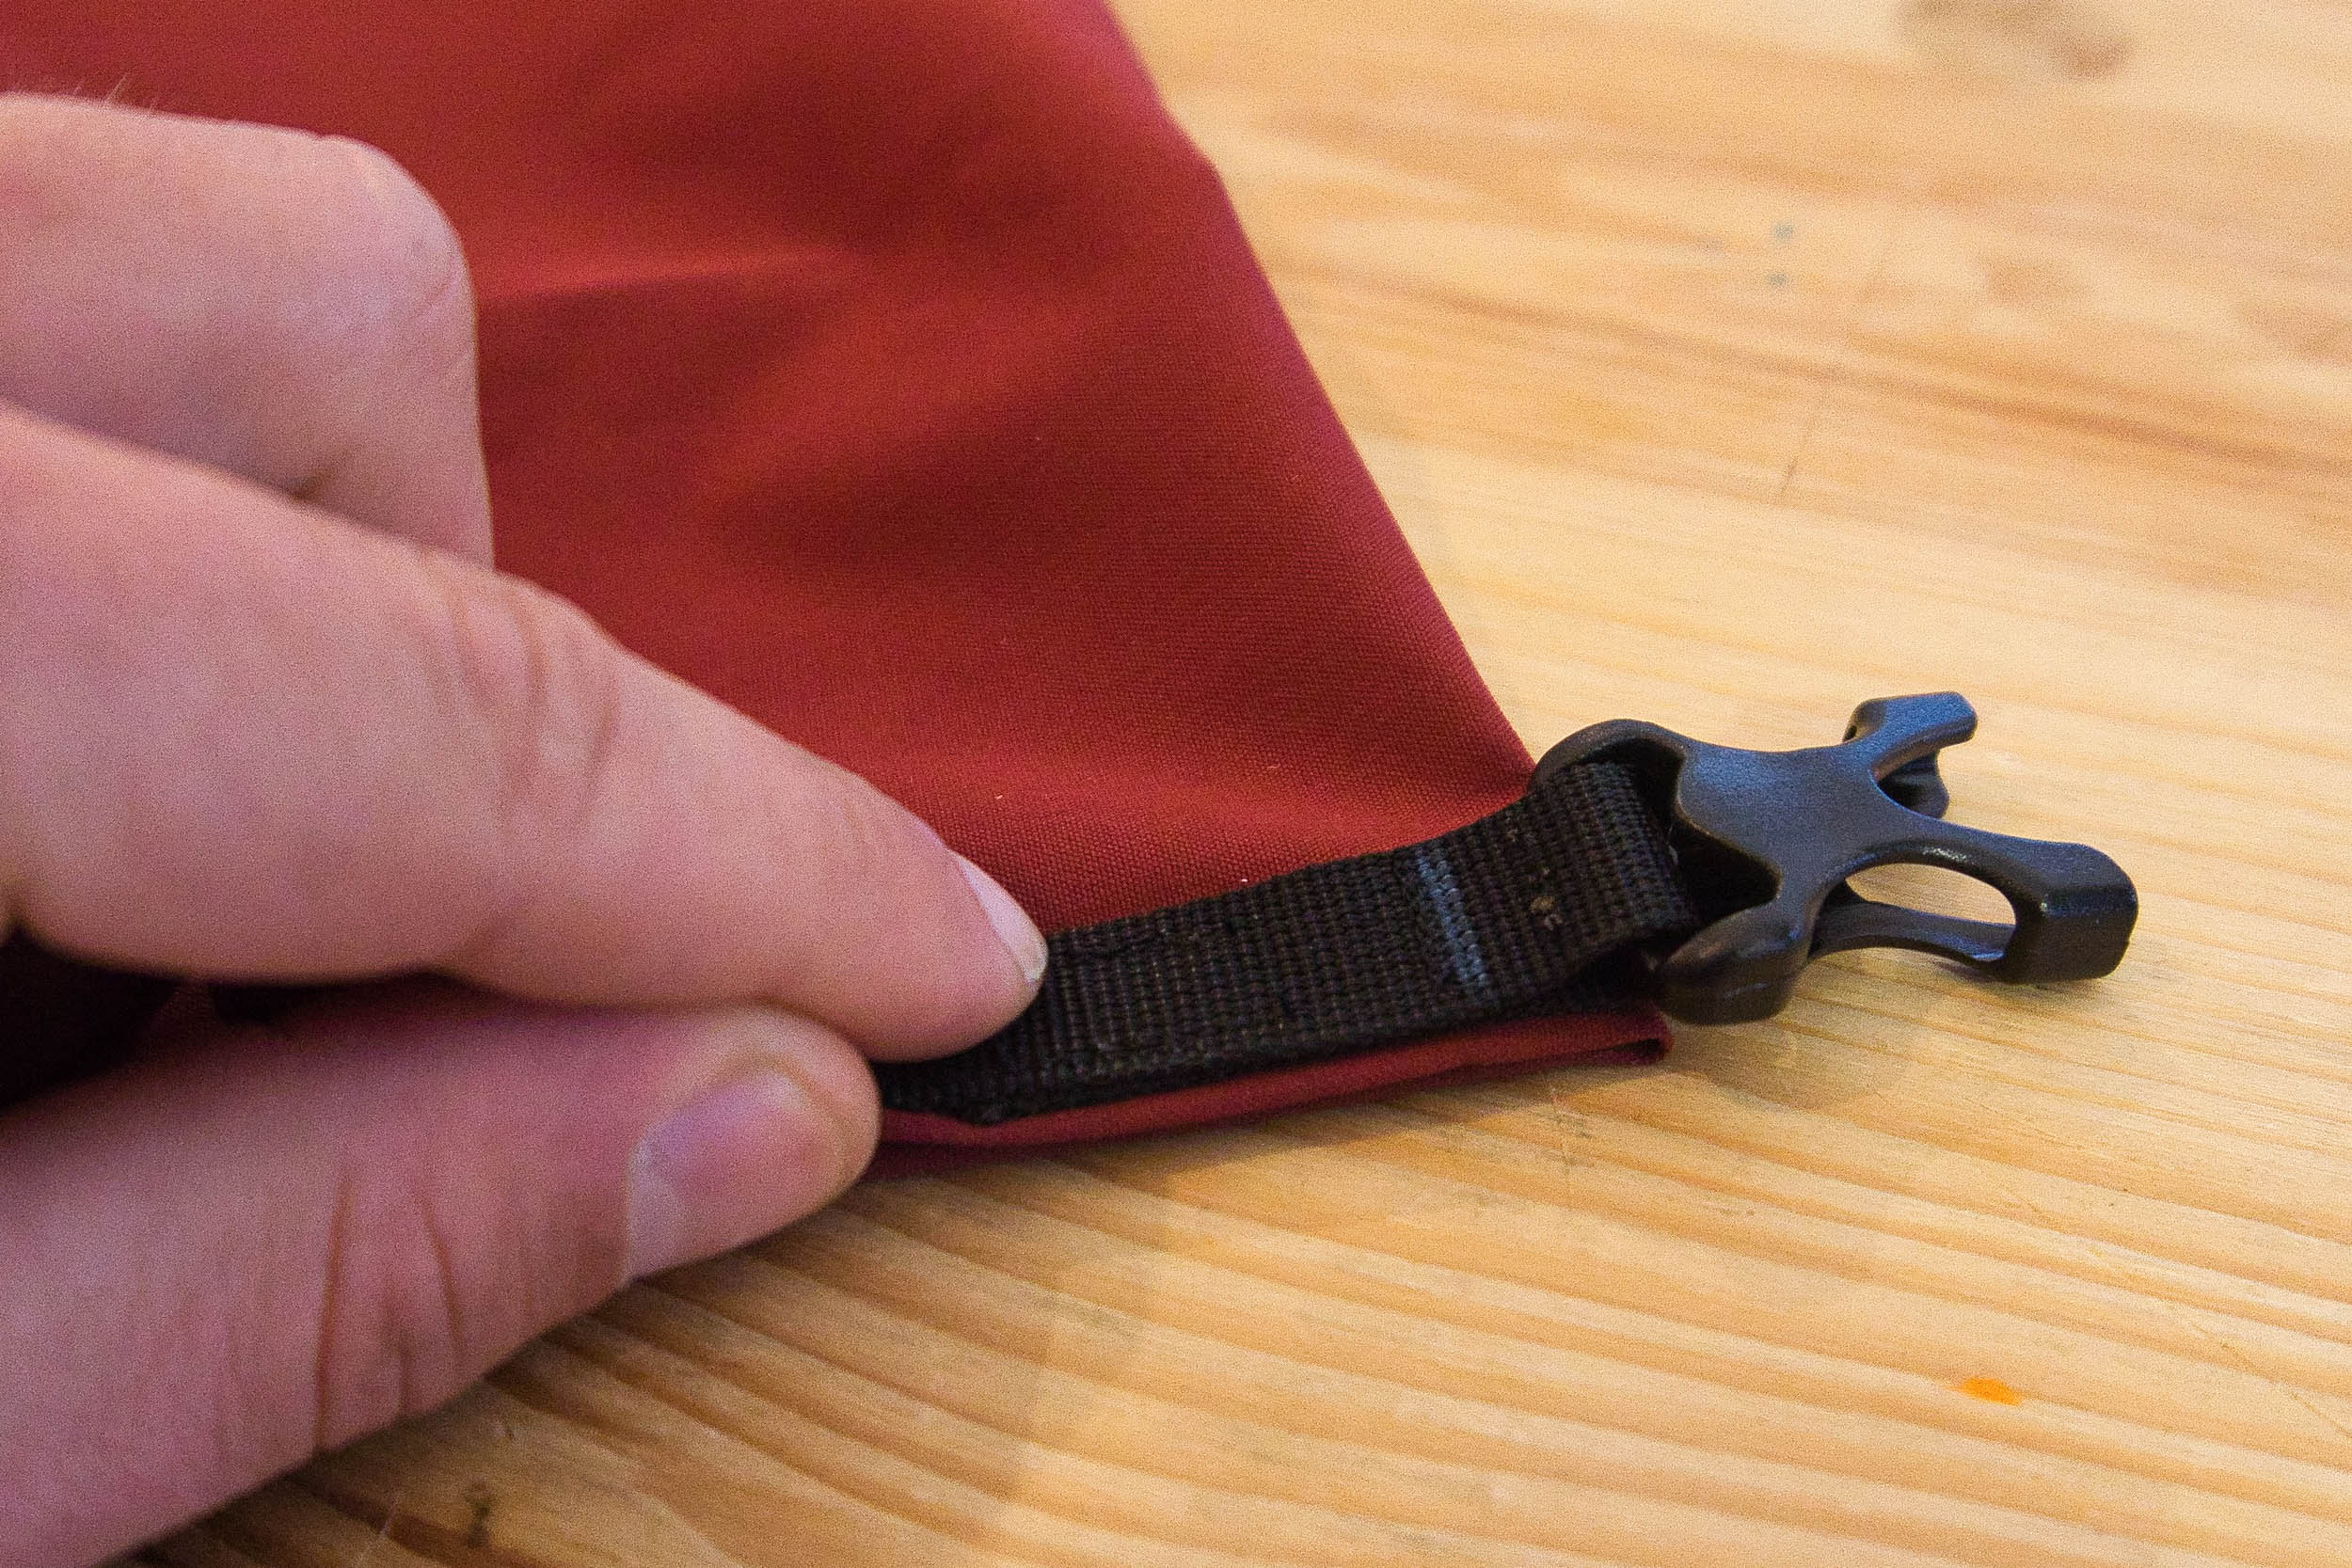
Step 9:
Stitch the excess lengths of webbing to the lower portion so everything is fixed into the appropriate length. This will make it easier to sew on the entire webbing without it slipping.
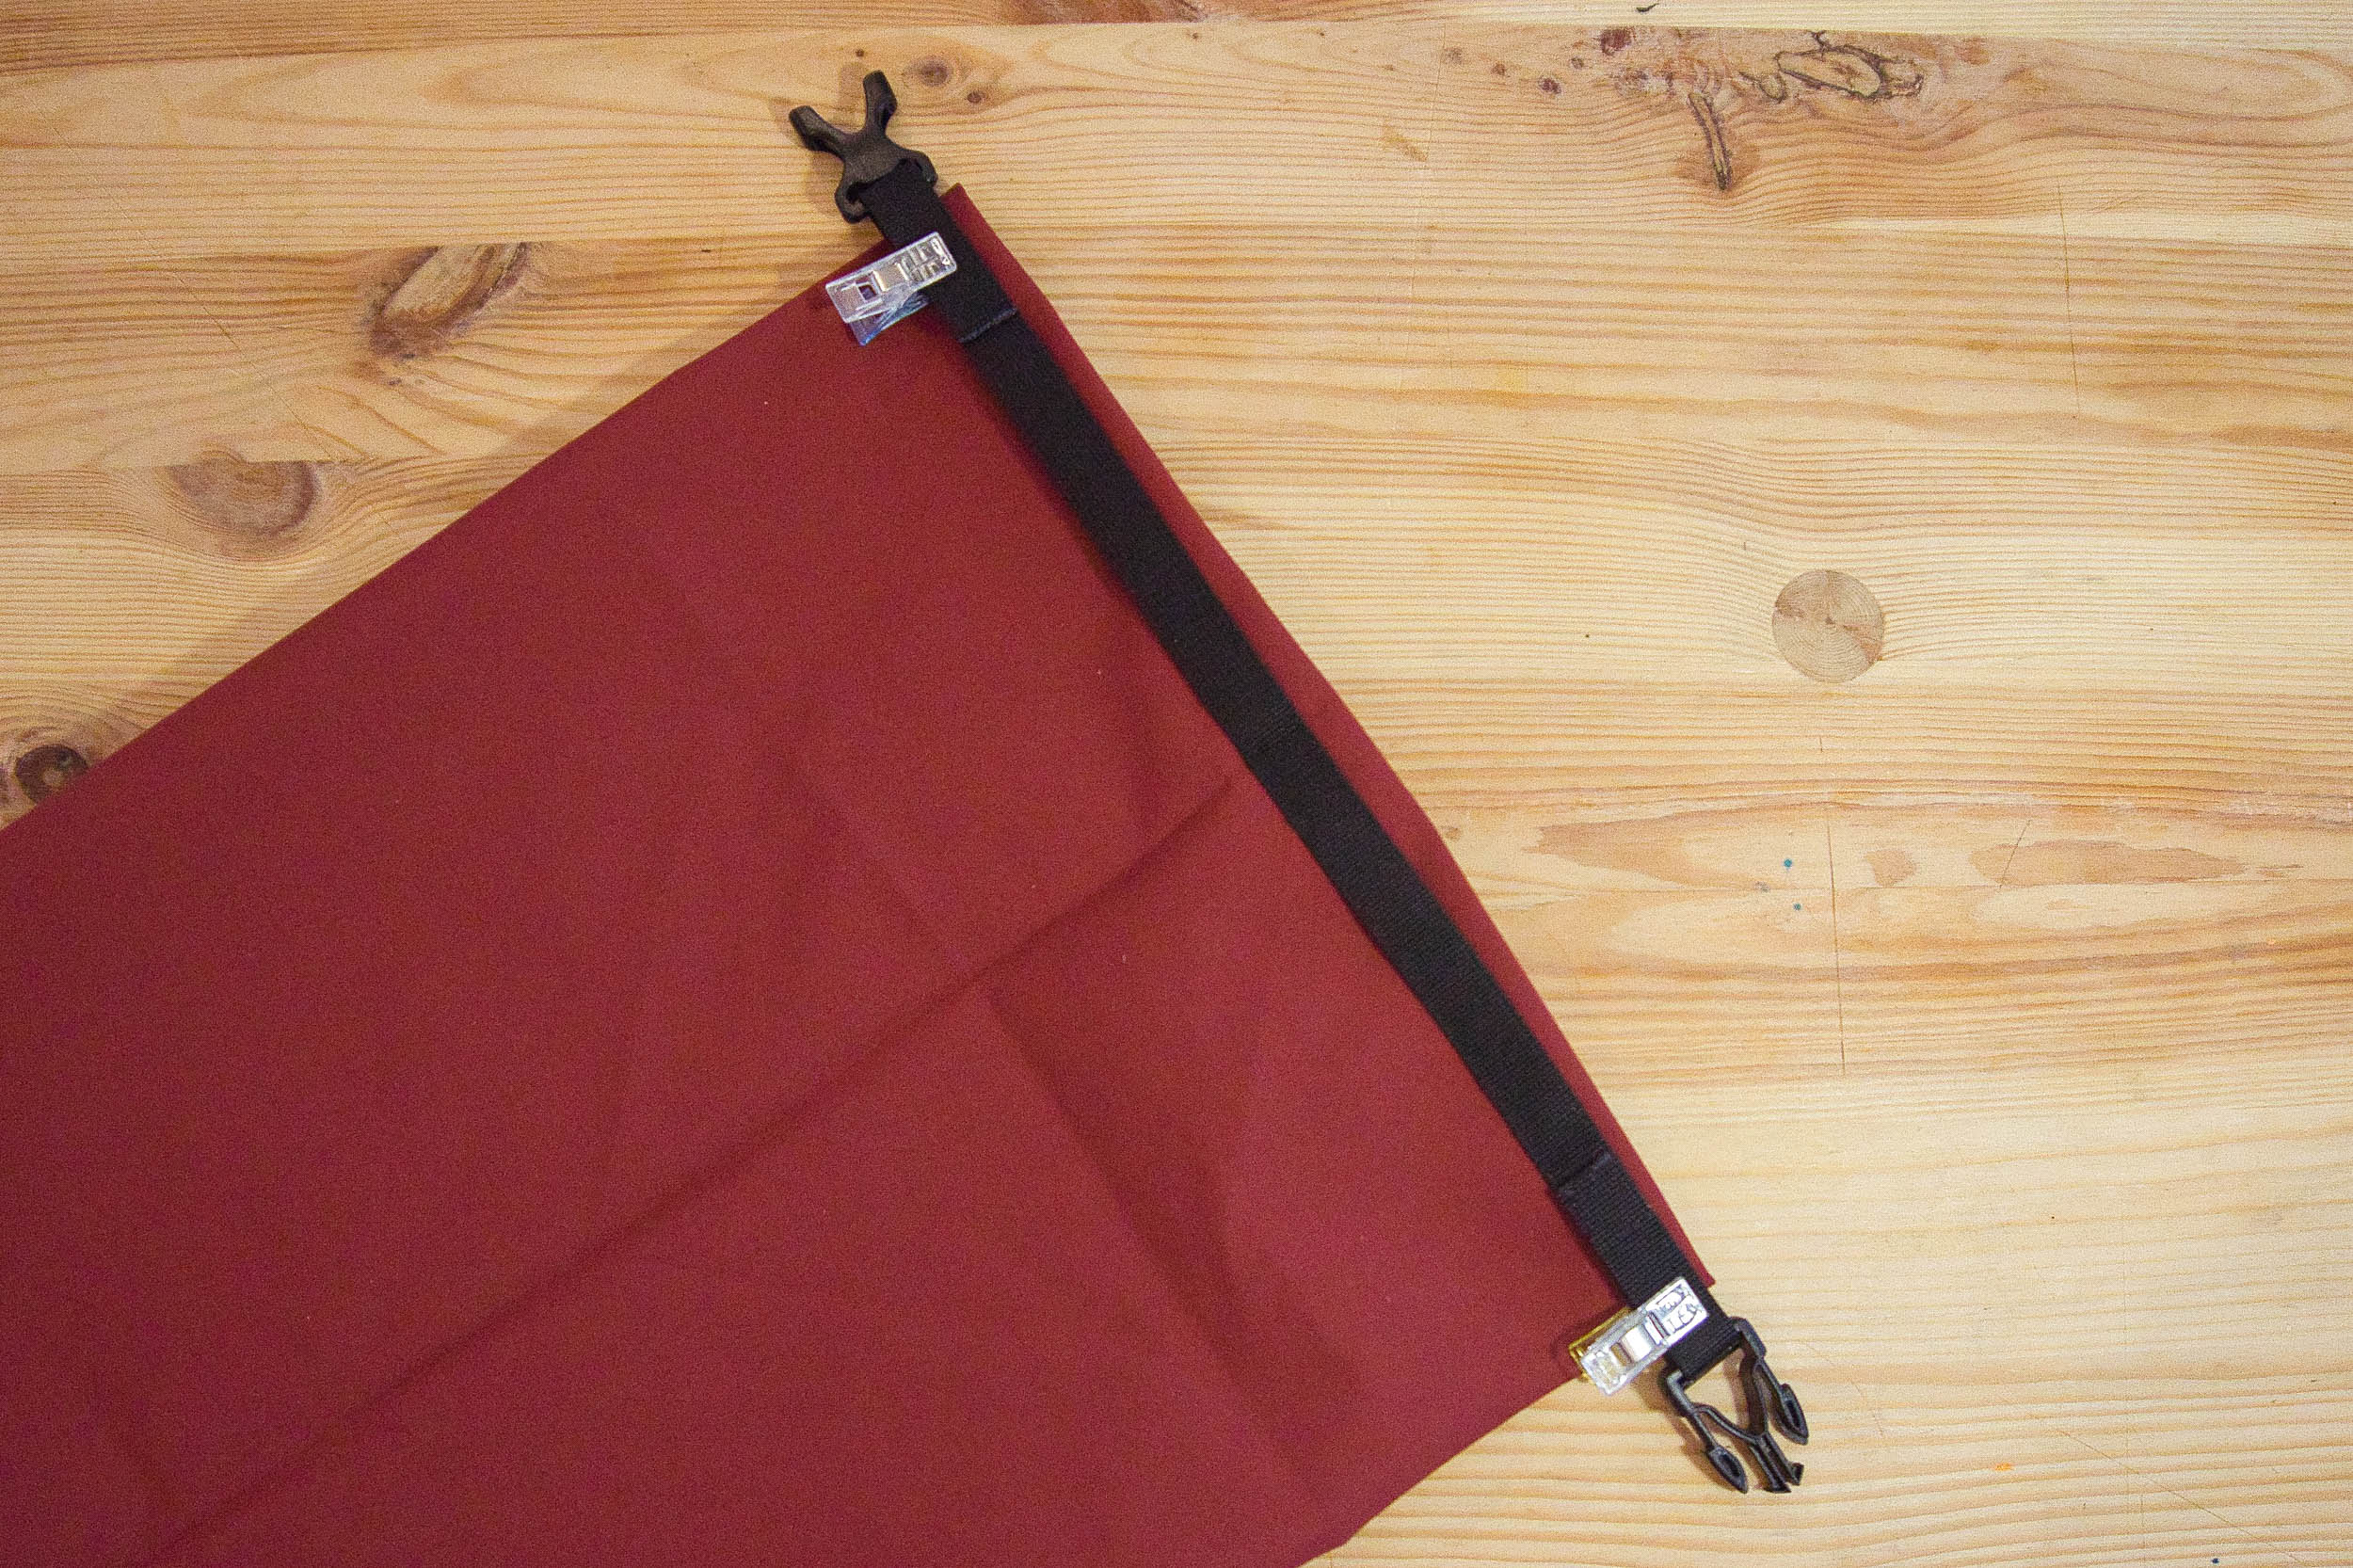
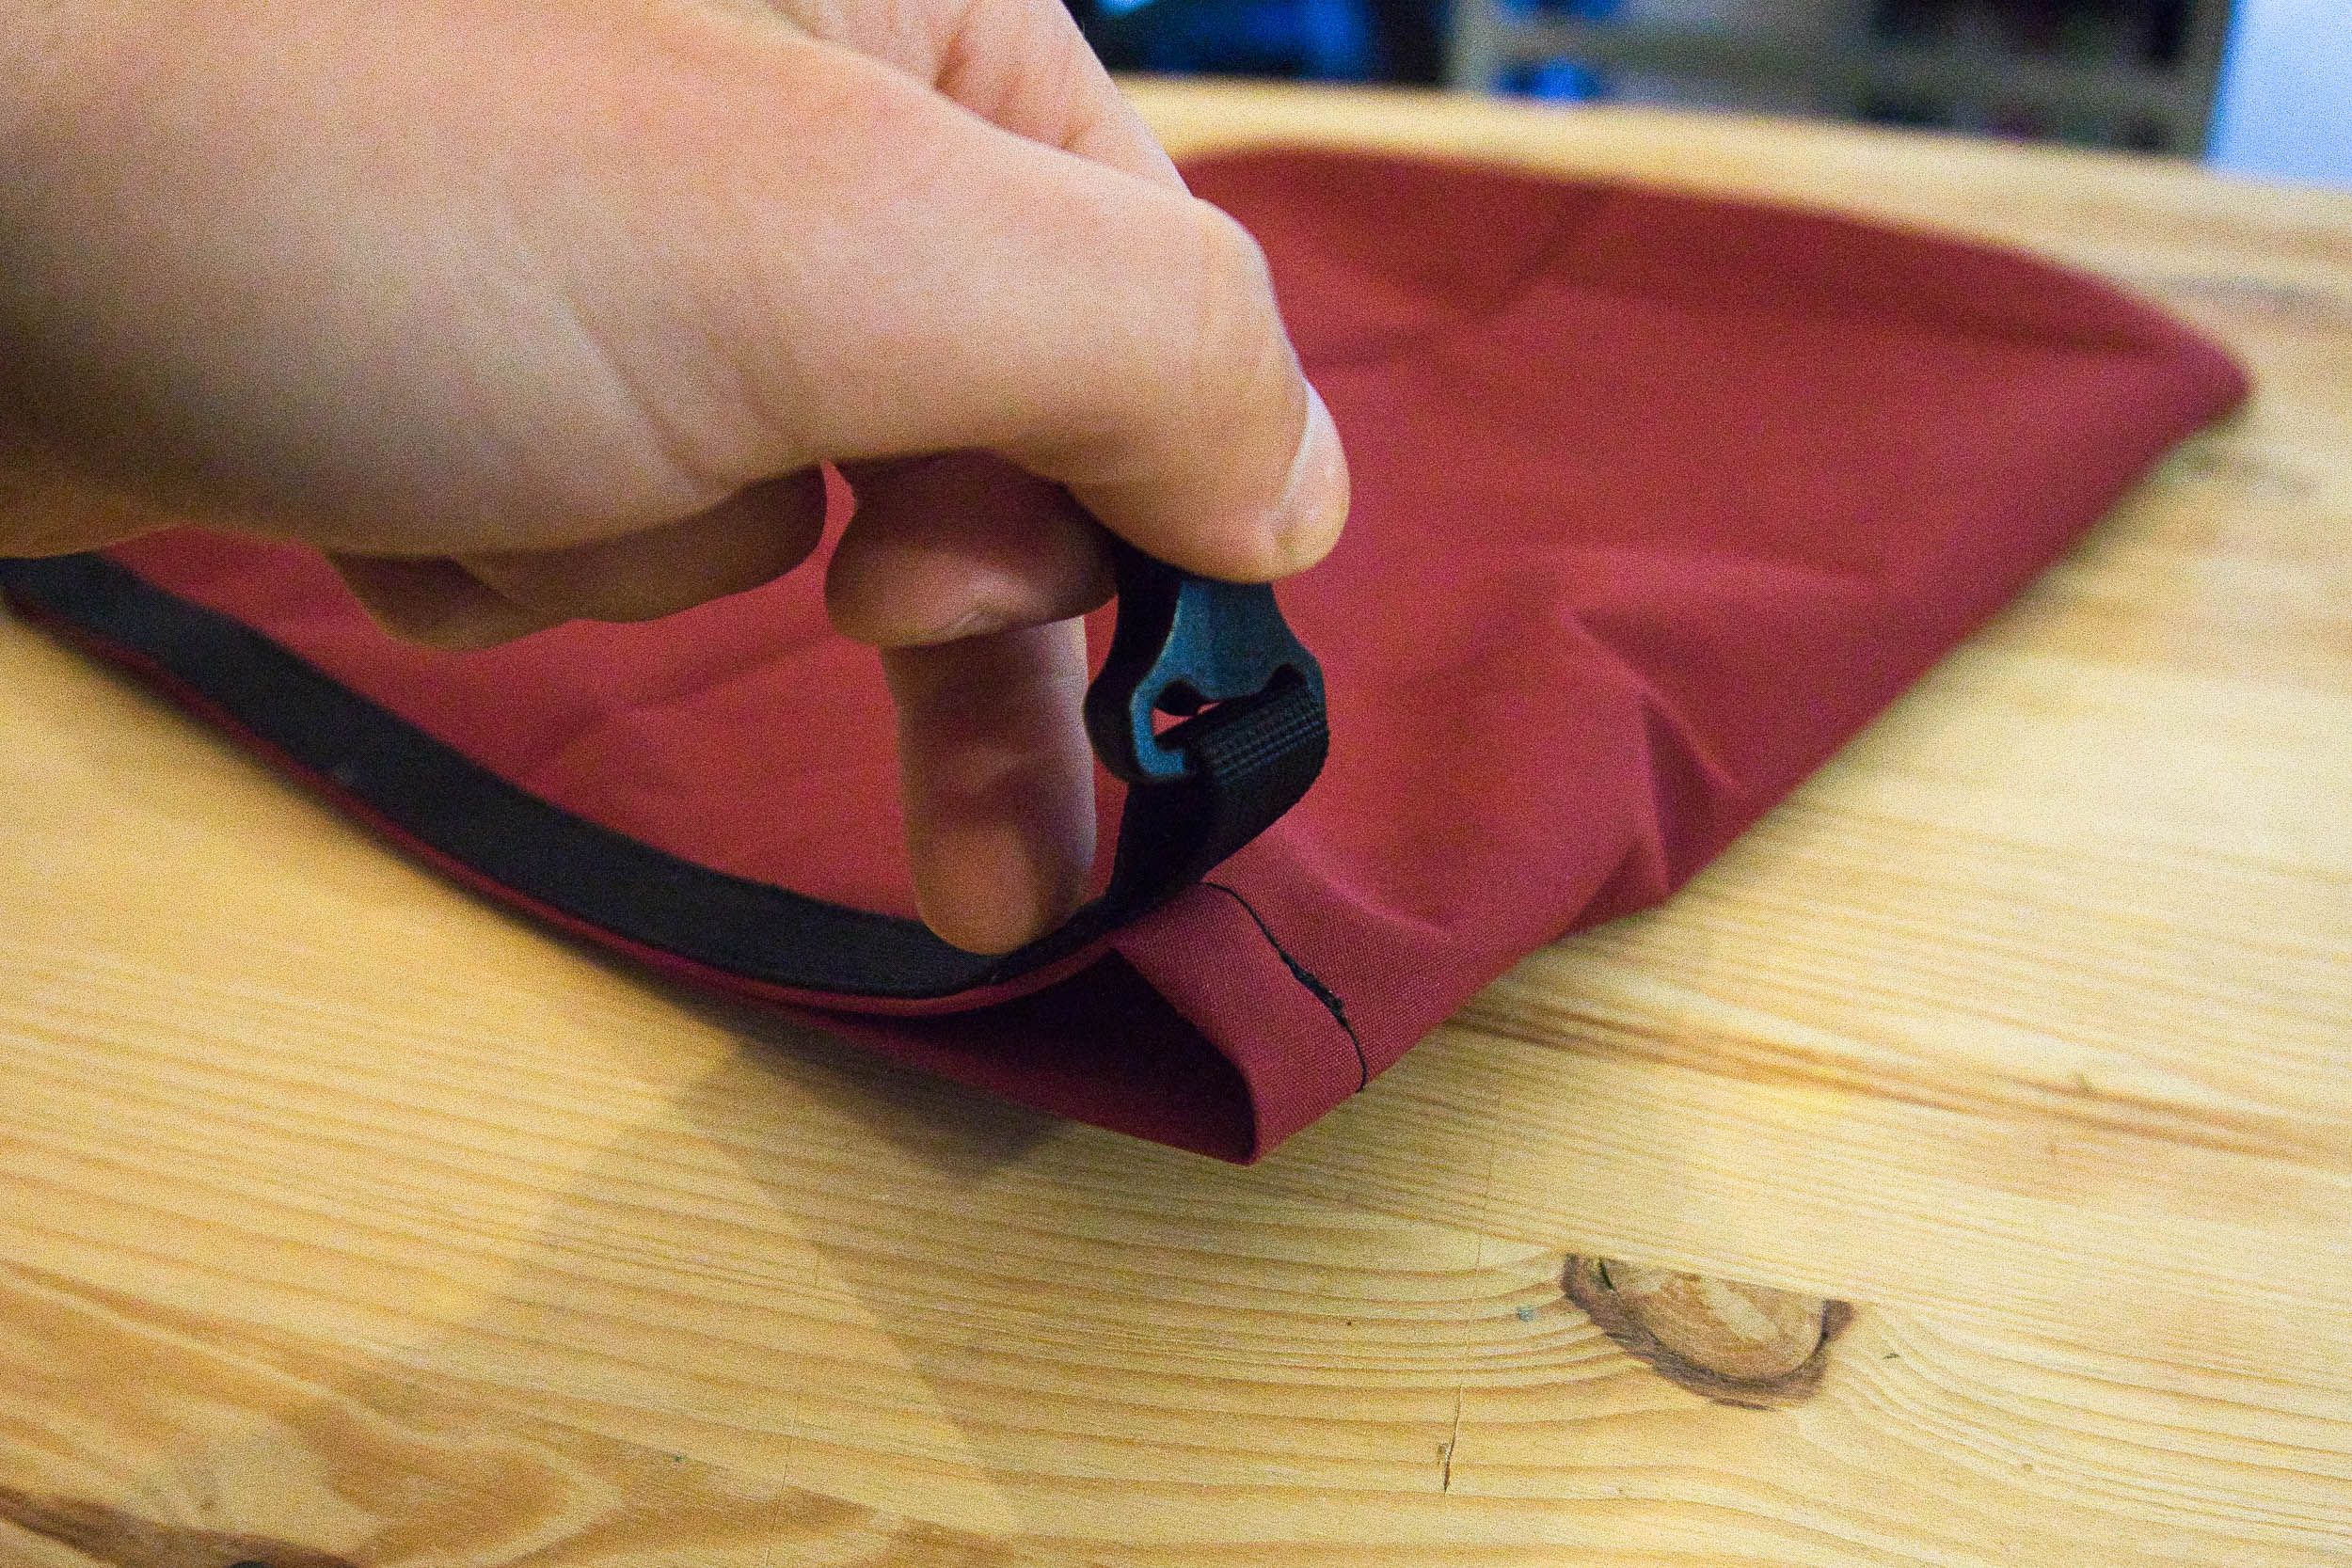
Step 10:
Carefully clip the webbing into position at the top of your stuff sack.

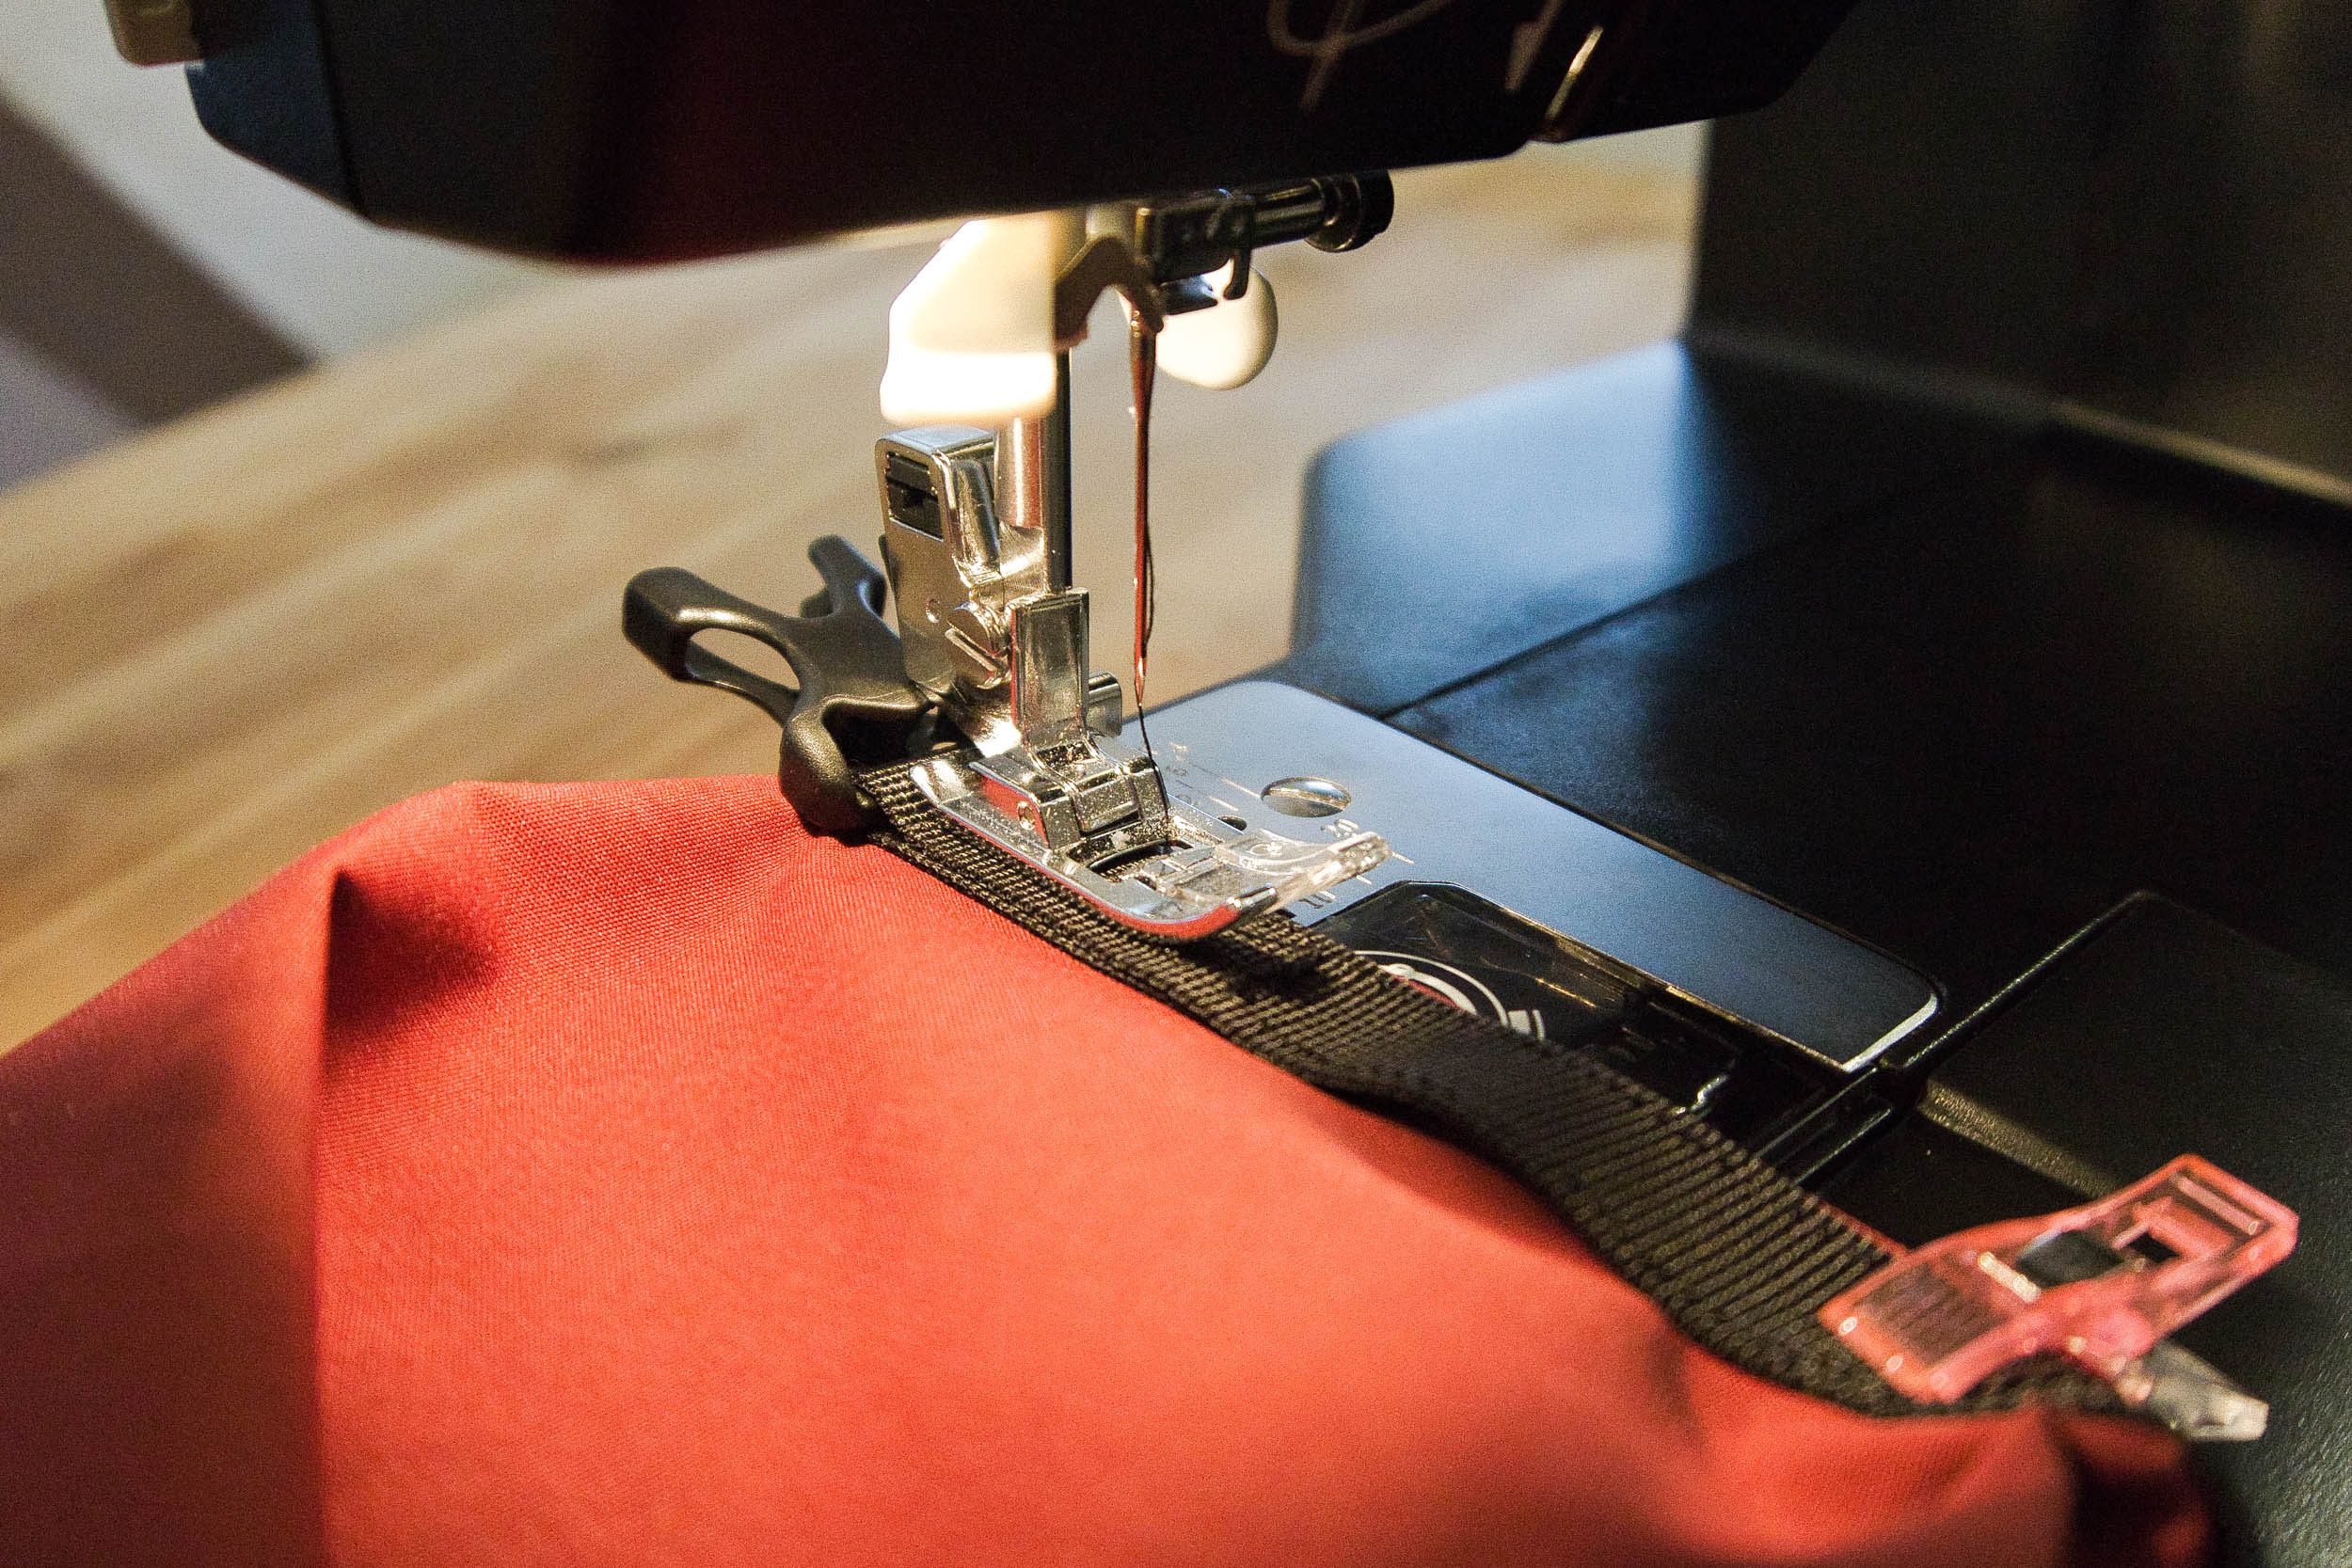
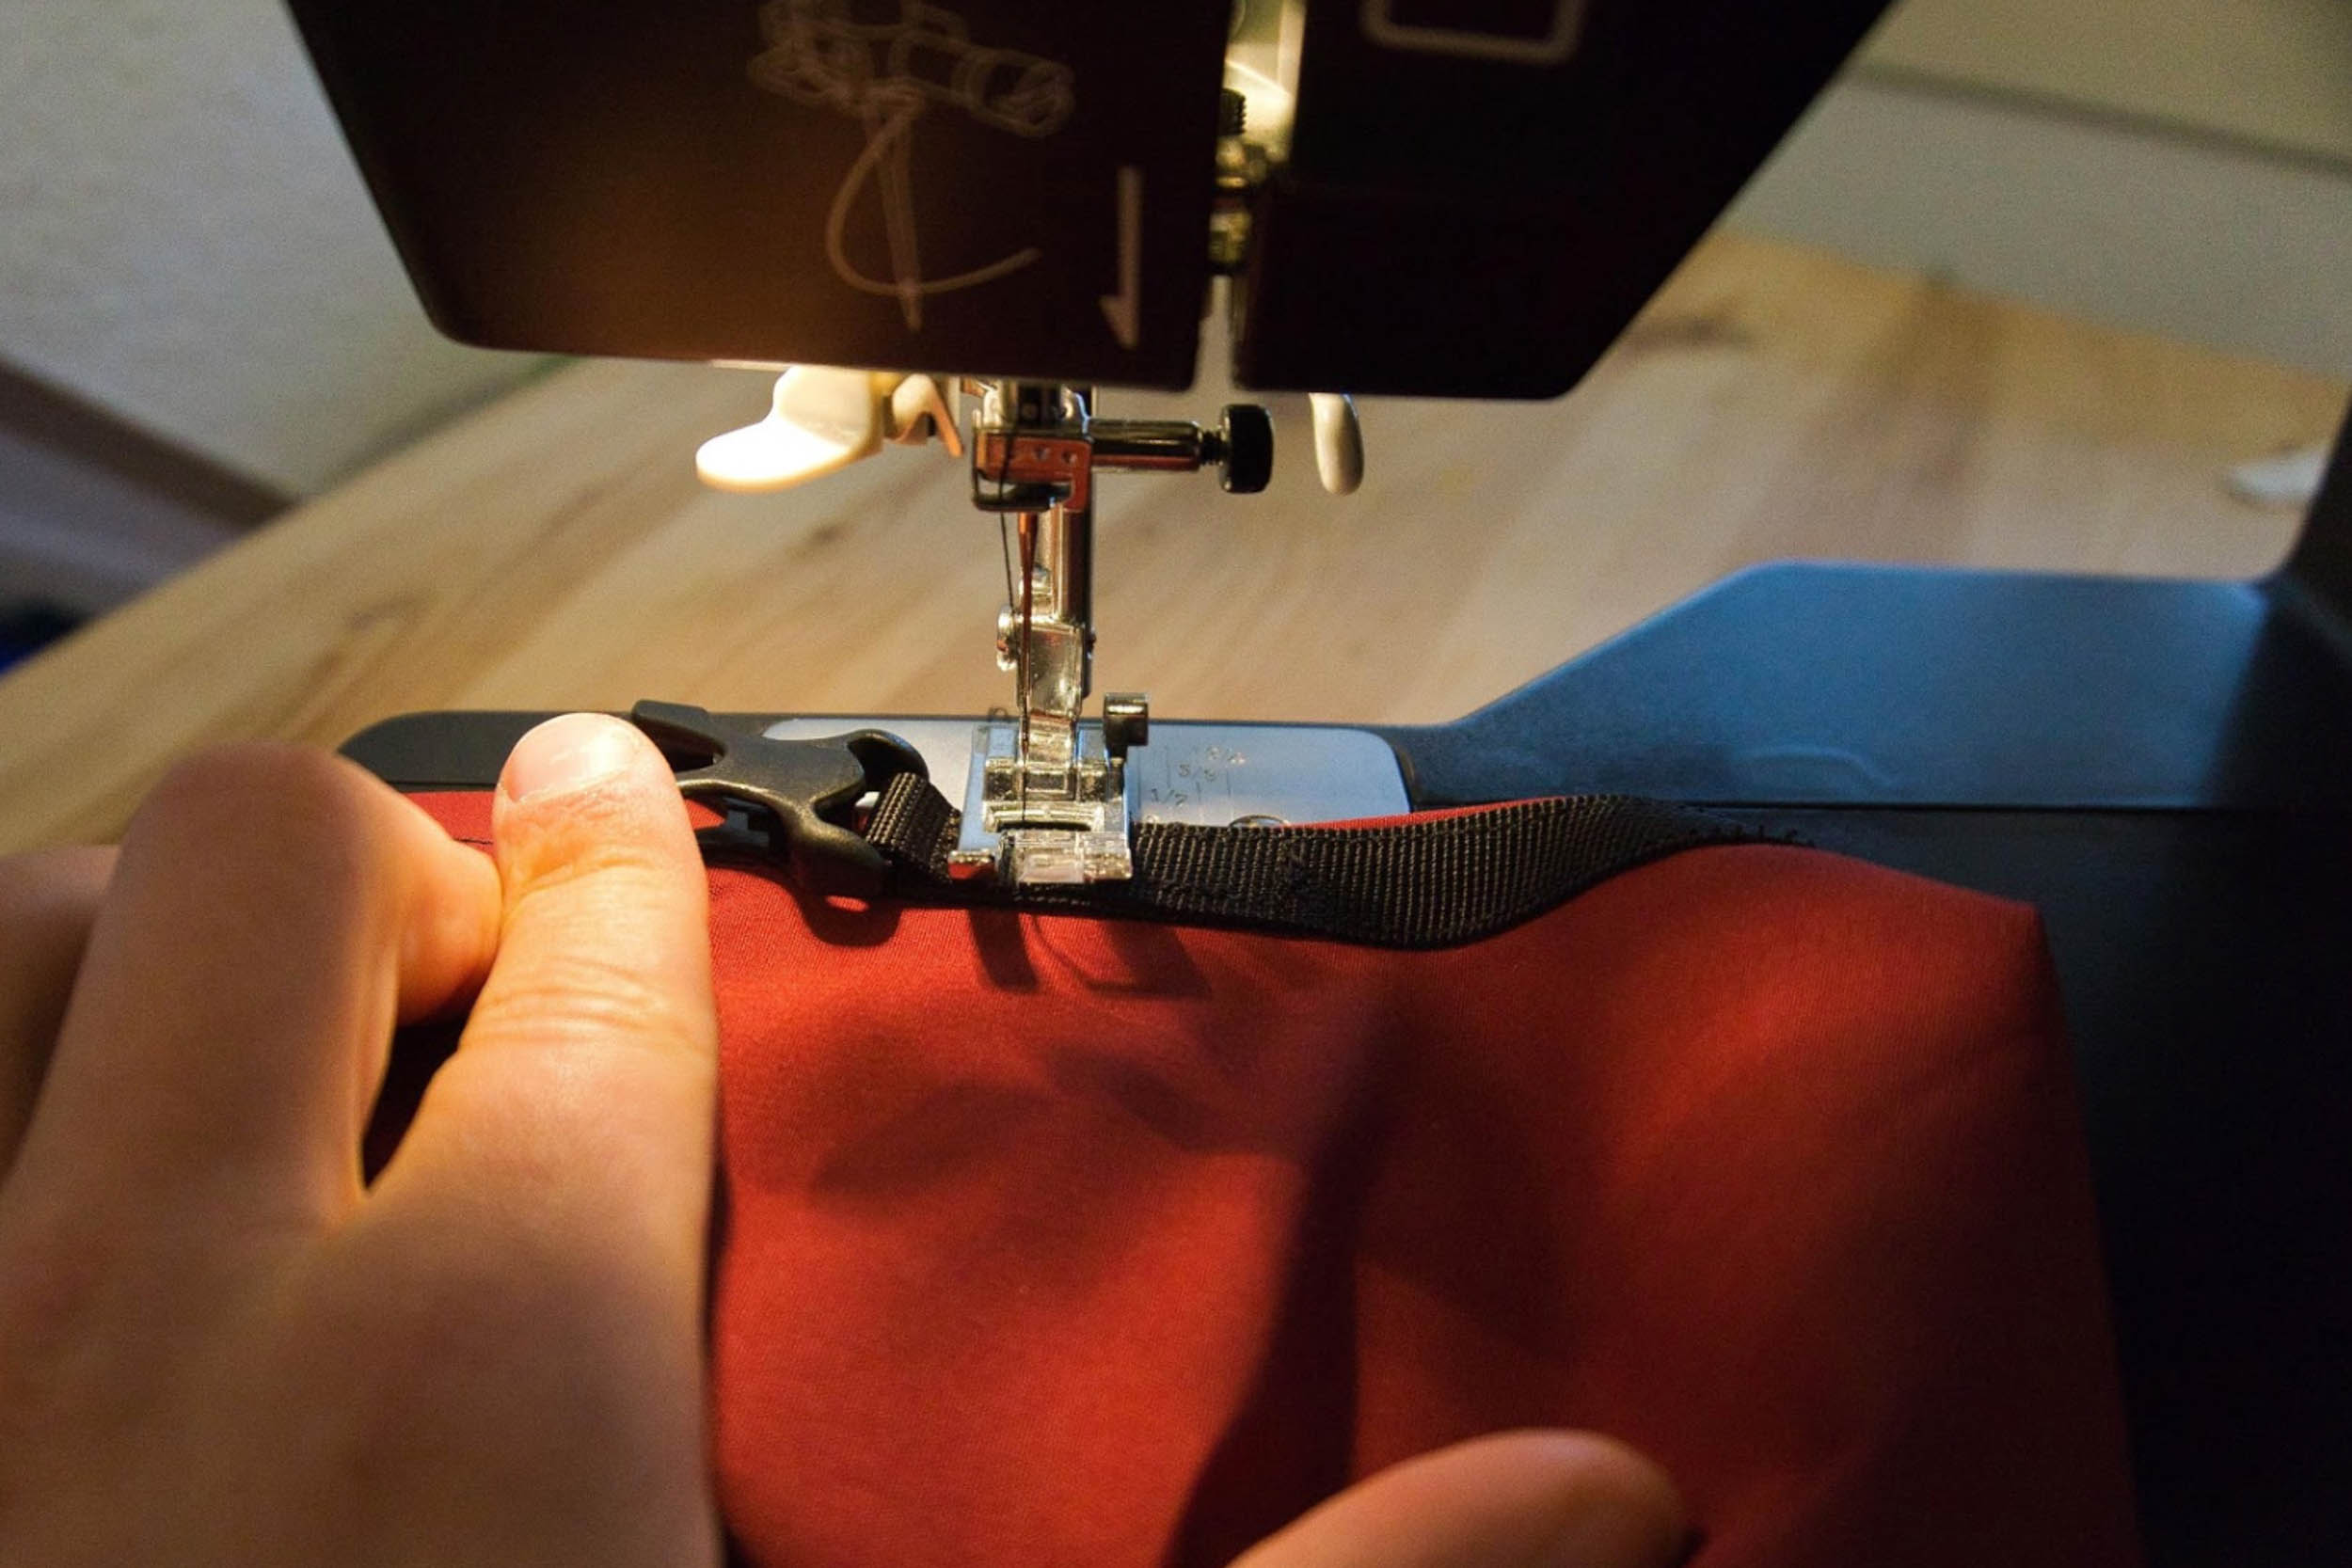
Step 11:
Sew the webbing onto your stuff sack. Start with the upper and then the lower side. Odds are, one of your buckle ends will still be a bit loose at this point, like in the lower right photo.
Step 12:
To firmly affix and reinforce the ends of the webbing, do a little back and forth as close to the buckles as possible.
Step 13:
Use a lighter to burn any remaining bits of thread.
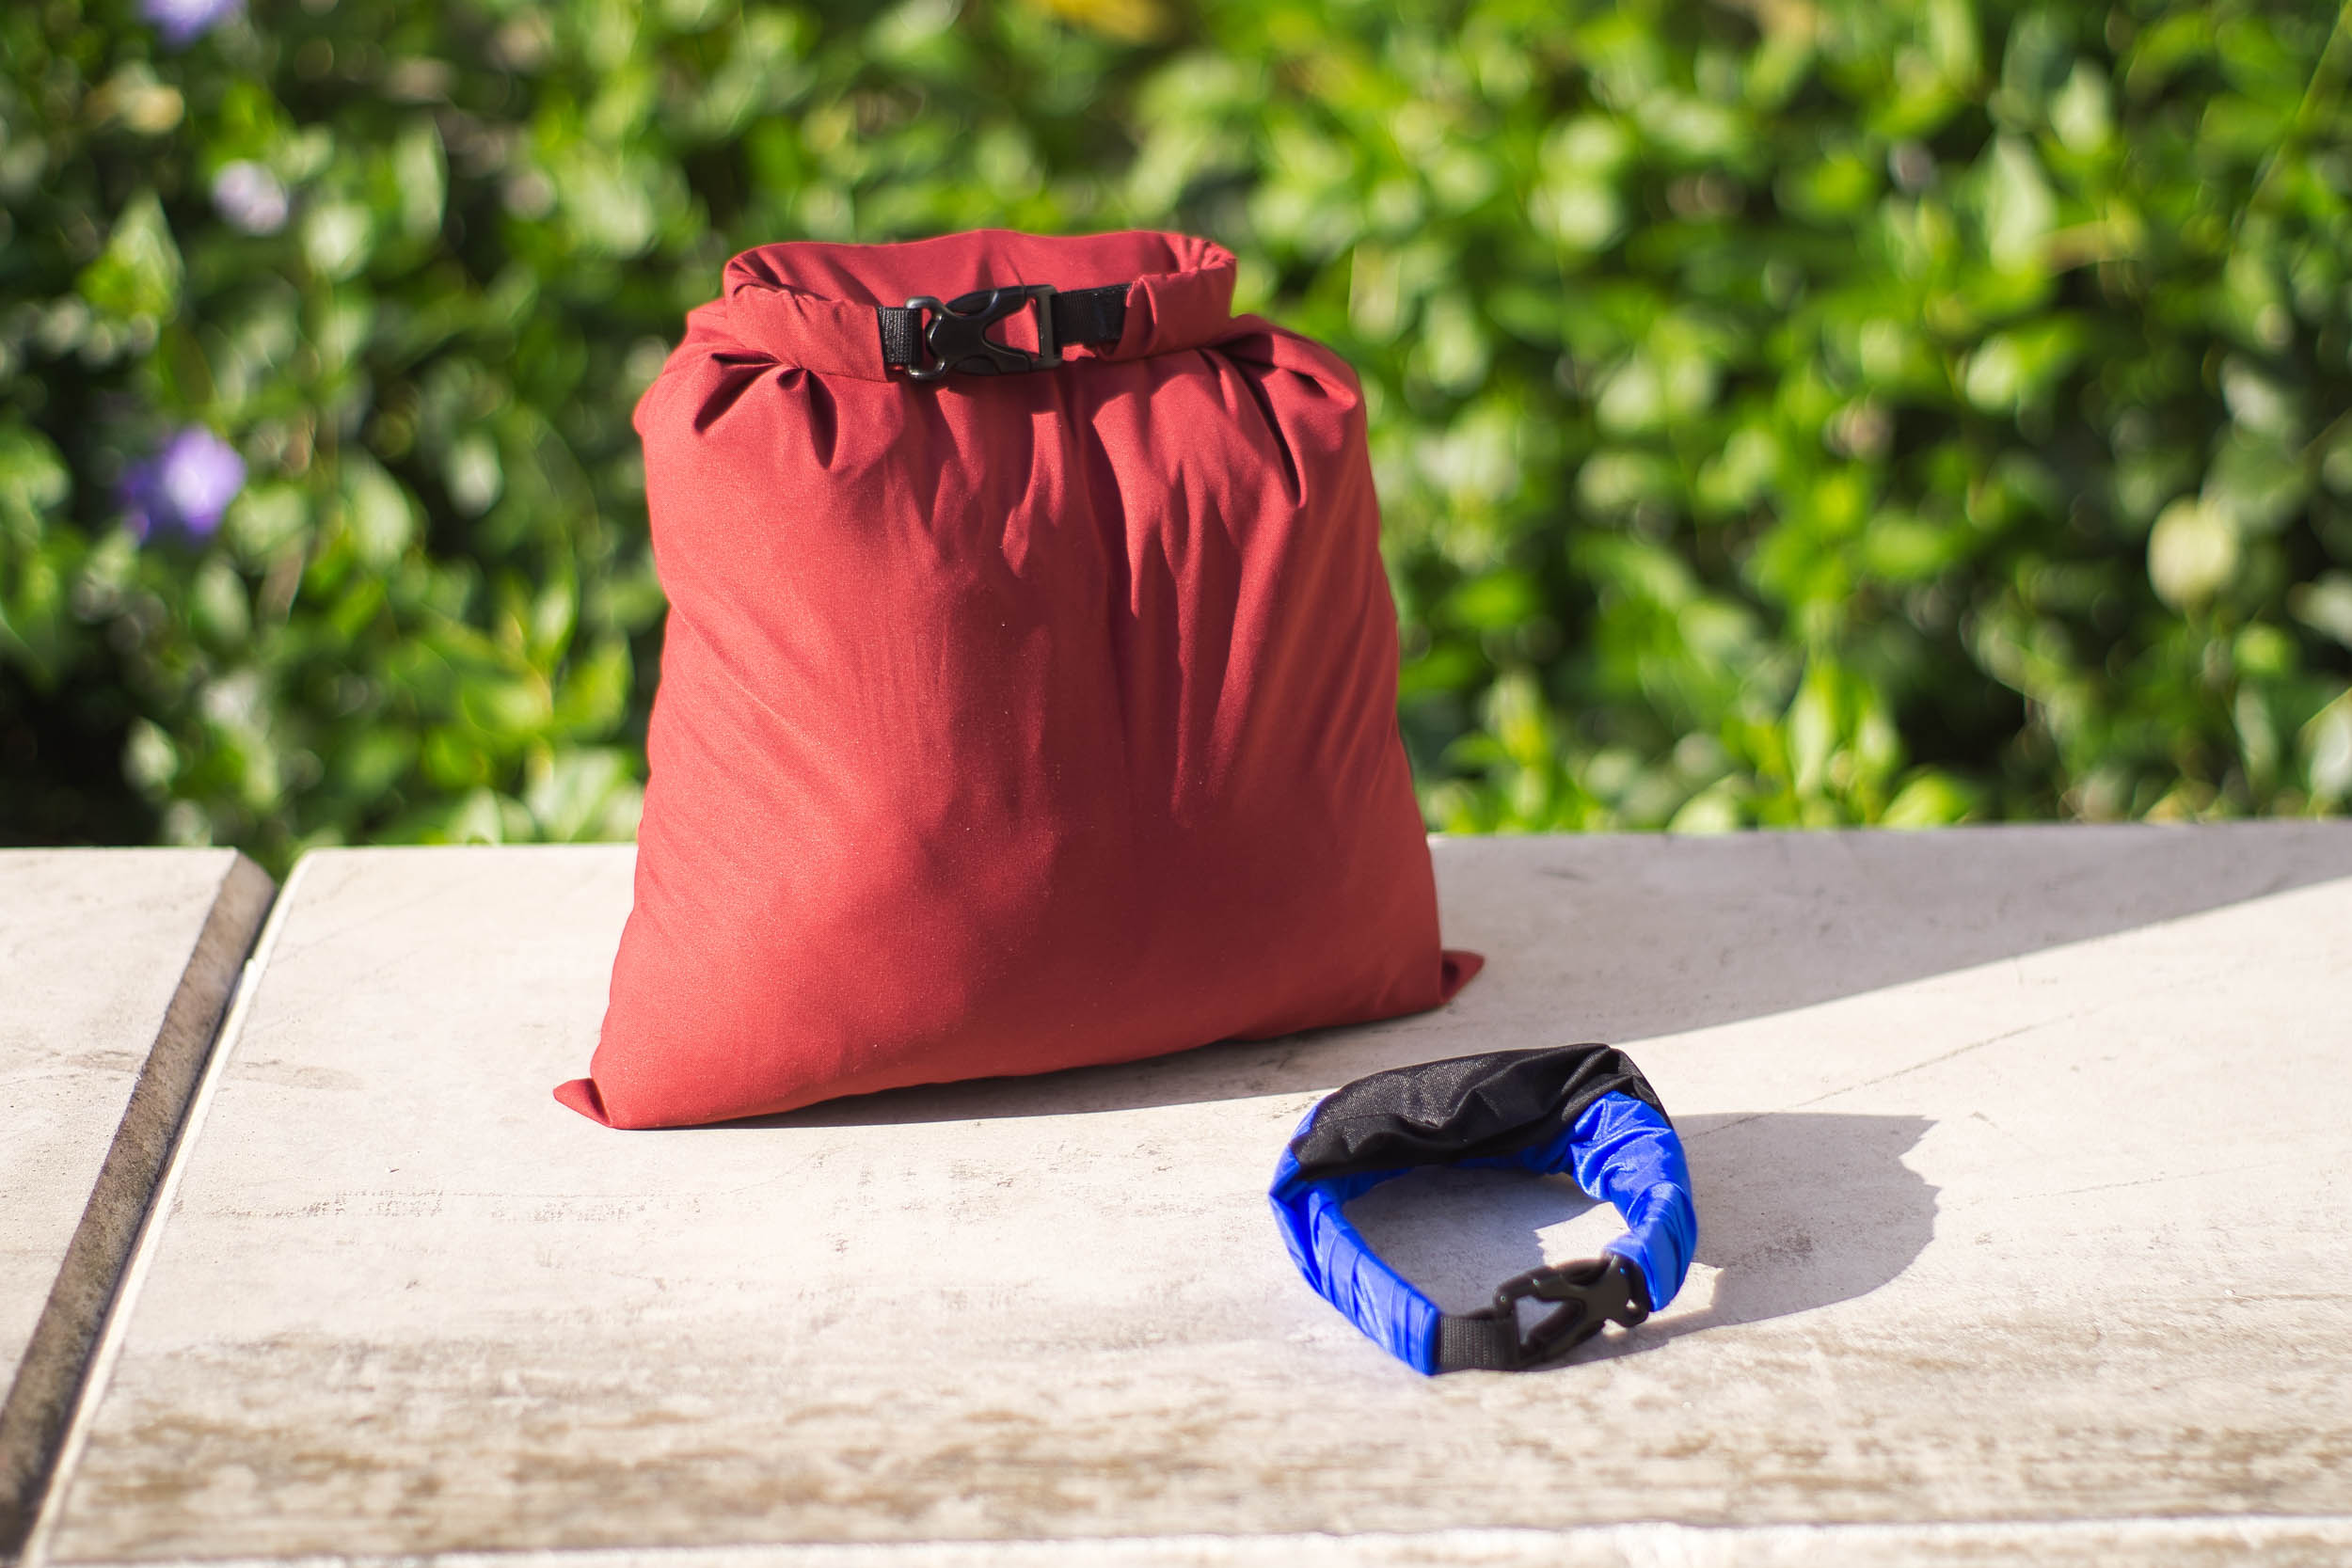
Congratulations, you’ve made your first stuff sack. Sit back and proudly admire your work!

About David Helbig
David Helbig is a bikepacker based in France who spends his free time volunteering for a local DIY bike festival, riding around town on a rusty old bike, or heading off to the mountains to hike, mountaineer, and ride with friends. He’s been getting more and more into making his own gear and exploring the vast opportunities that traveling by bike offers.
Stay tuned for a follow up tutorial from David on making a more advanced round dry bag. Looking for more DIY projects? Check out our guides to making your own fanny pack, fire starters, stem bag, ultralight beer can stove, and lots more by following the hashtag #MYOBG. And if you made a stuff sack using this tutorial, please share a photo of it with us in the comments below!
Please keep the conversation civil, constructive, and inclusive, or your comment will be removed.
We're independent
and member-supported.
Join the Bikepacking Collective to make our work possible: