


Make Your Own Drawstring Stuff Sack
In our latest Make Your Own Bikepacking Gear (MYOBG) tutorial, Josh Rizzo guides us through sewing a simple drawstring stuff sack using upcycled fabric. Find step-by-step instructions to create a handy little bag for organizing your accessories here…
Words and photos by Josh Rizzo
Last year, I borrowed a friend’s pop can stove and accidentally crunched it a little bit while bikepacking. It was still usable but to make up for the poor condition I returned it in, I made them a simple drawstring stuff sack, and this is the design I used.
This is a perfect project for beginners because it uses only one piece of fabric, there’s nothing technical like zippers or other sewn hardware and it’s sewn completely flat and has no 3D corners or curves to worry about. It’s even simple enough for kids. In fact, my five-year-old son just made his first drawstring bag with only a little help from Dad!
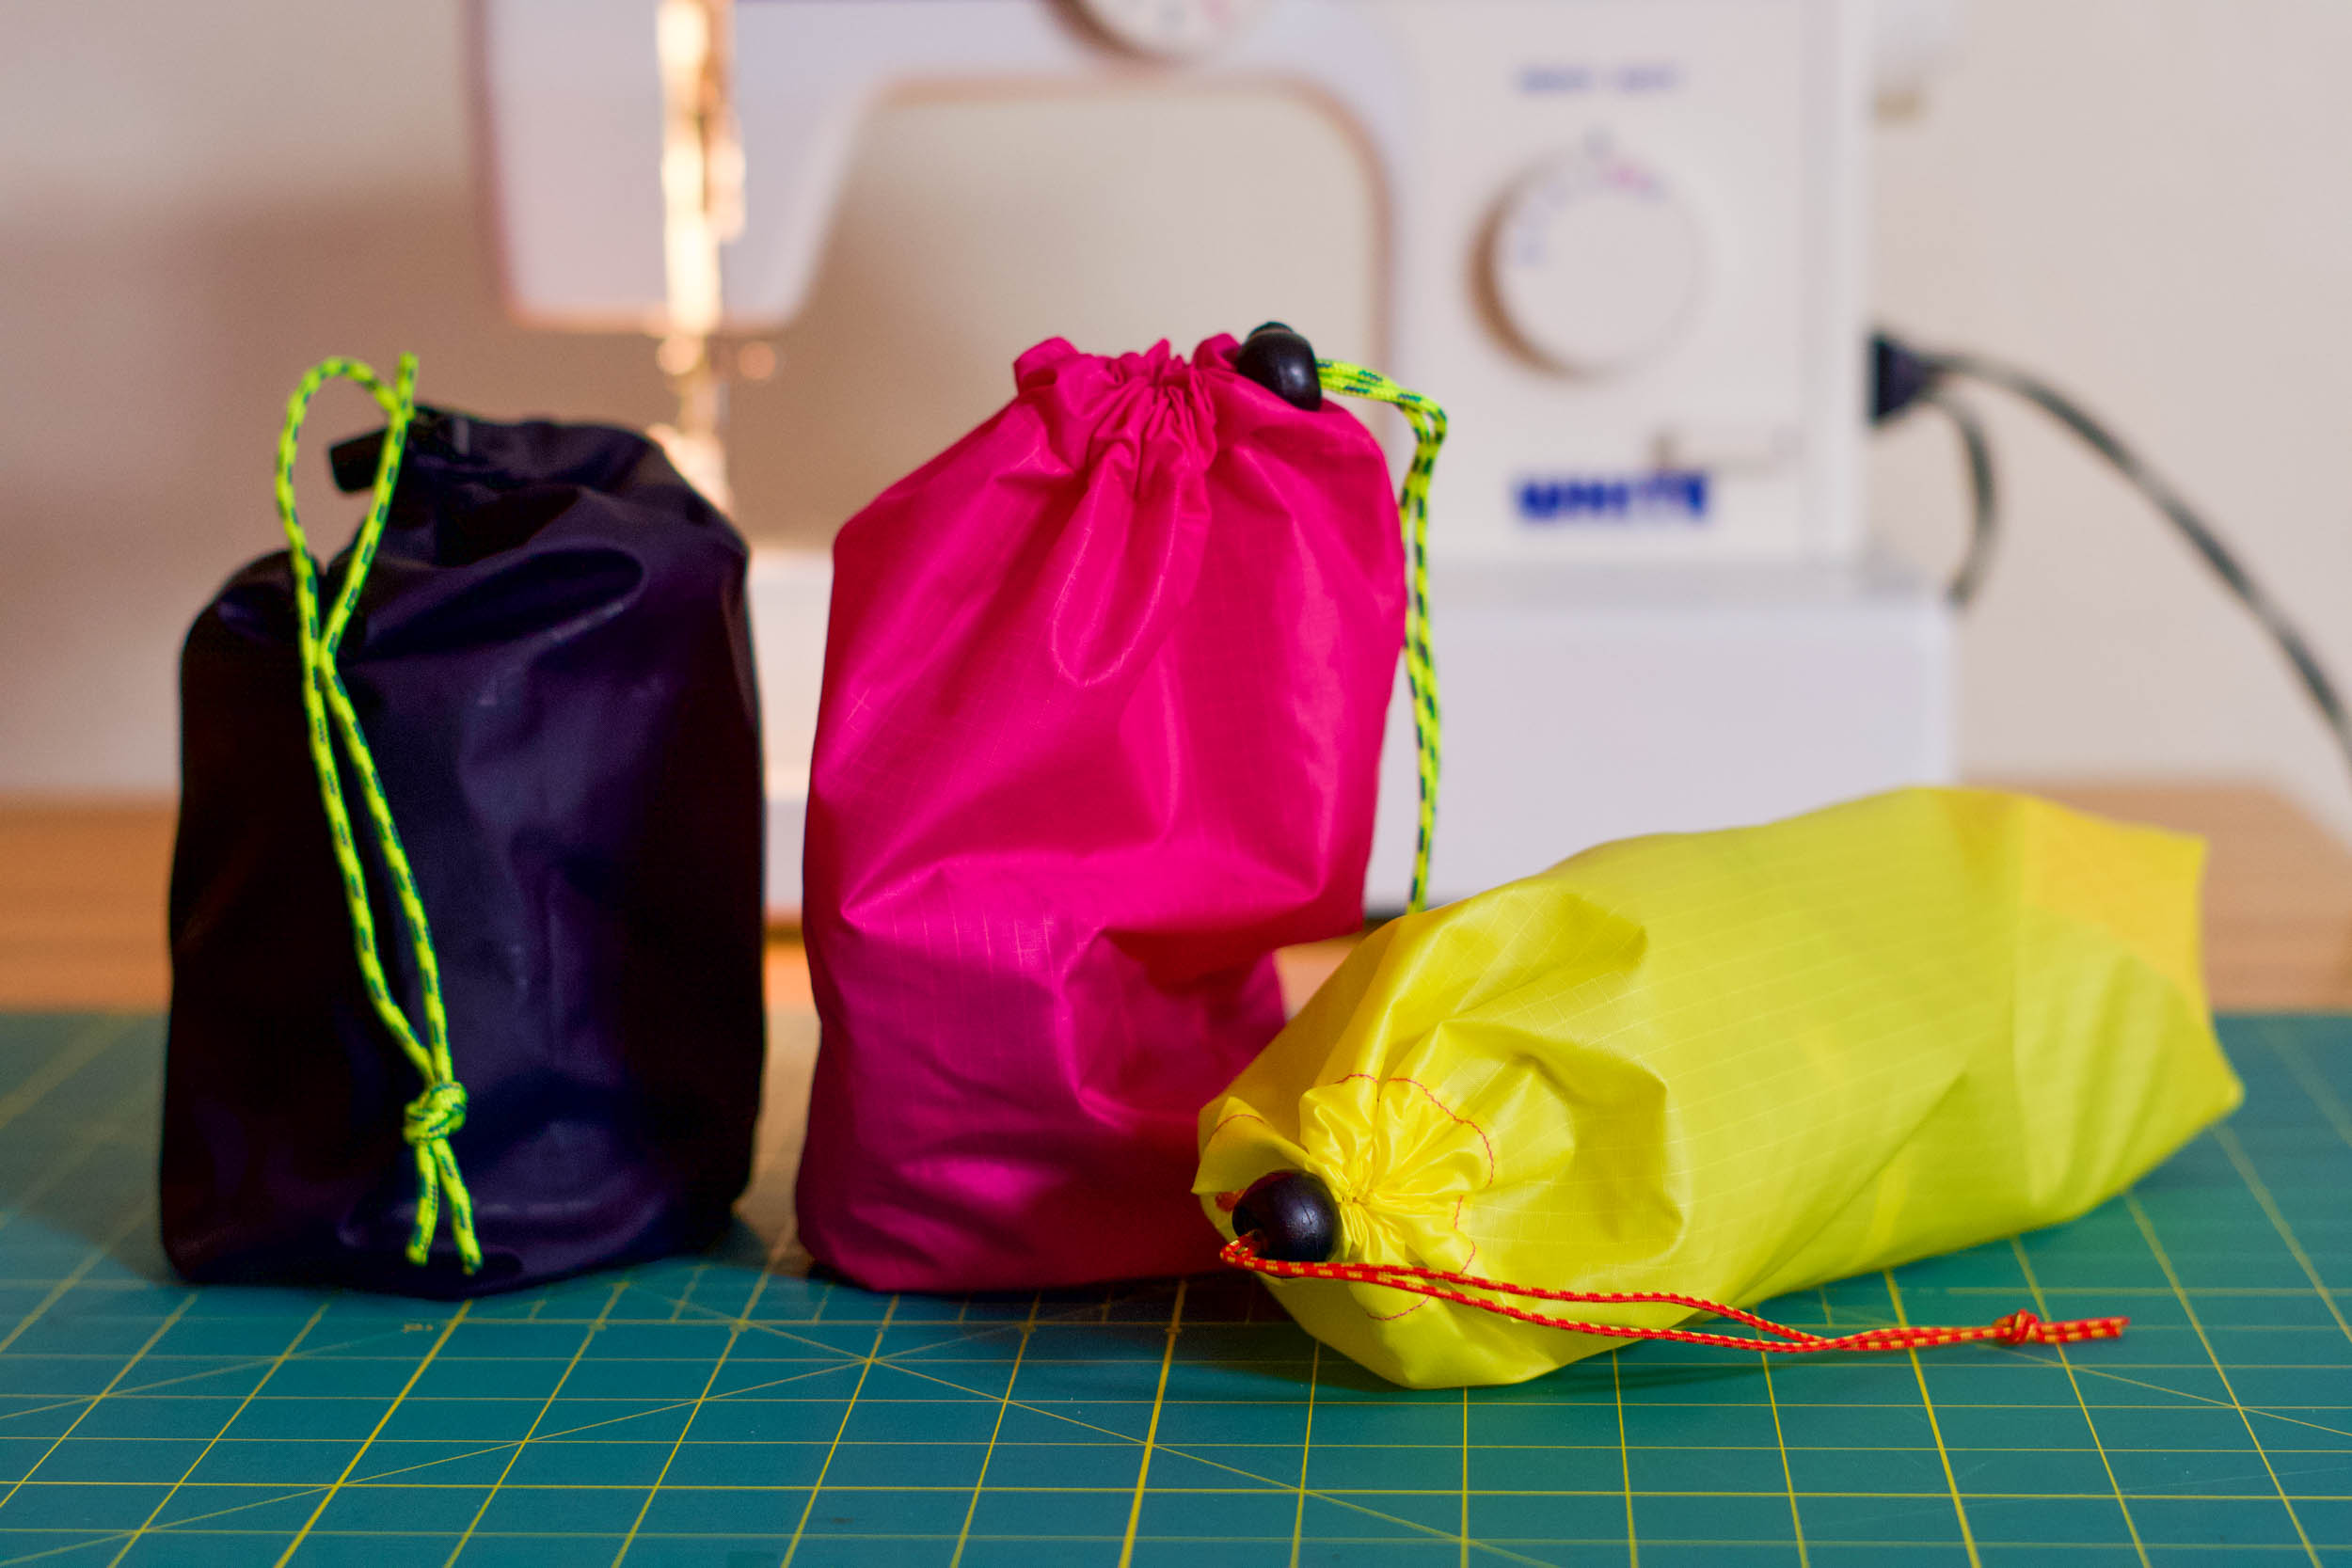
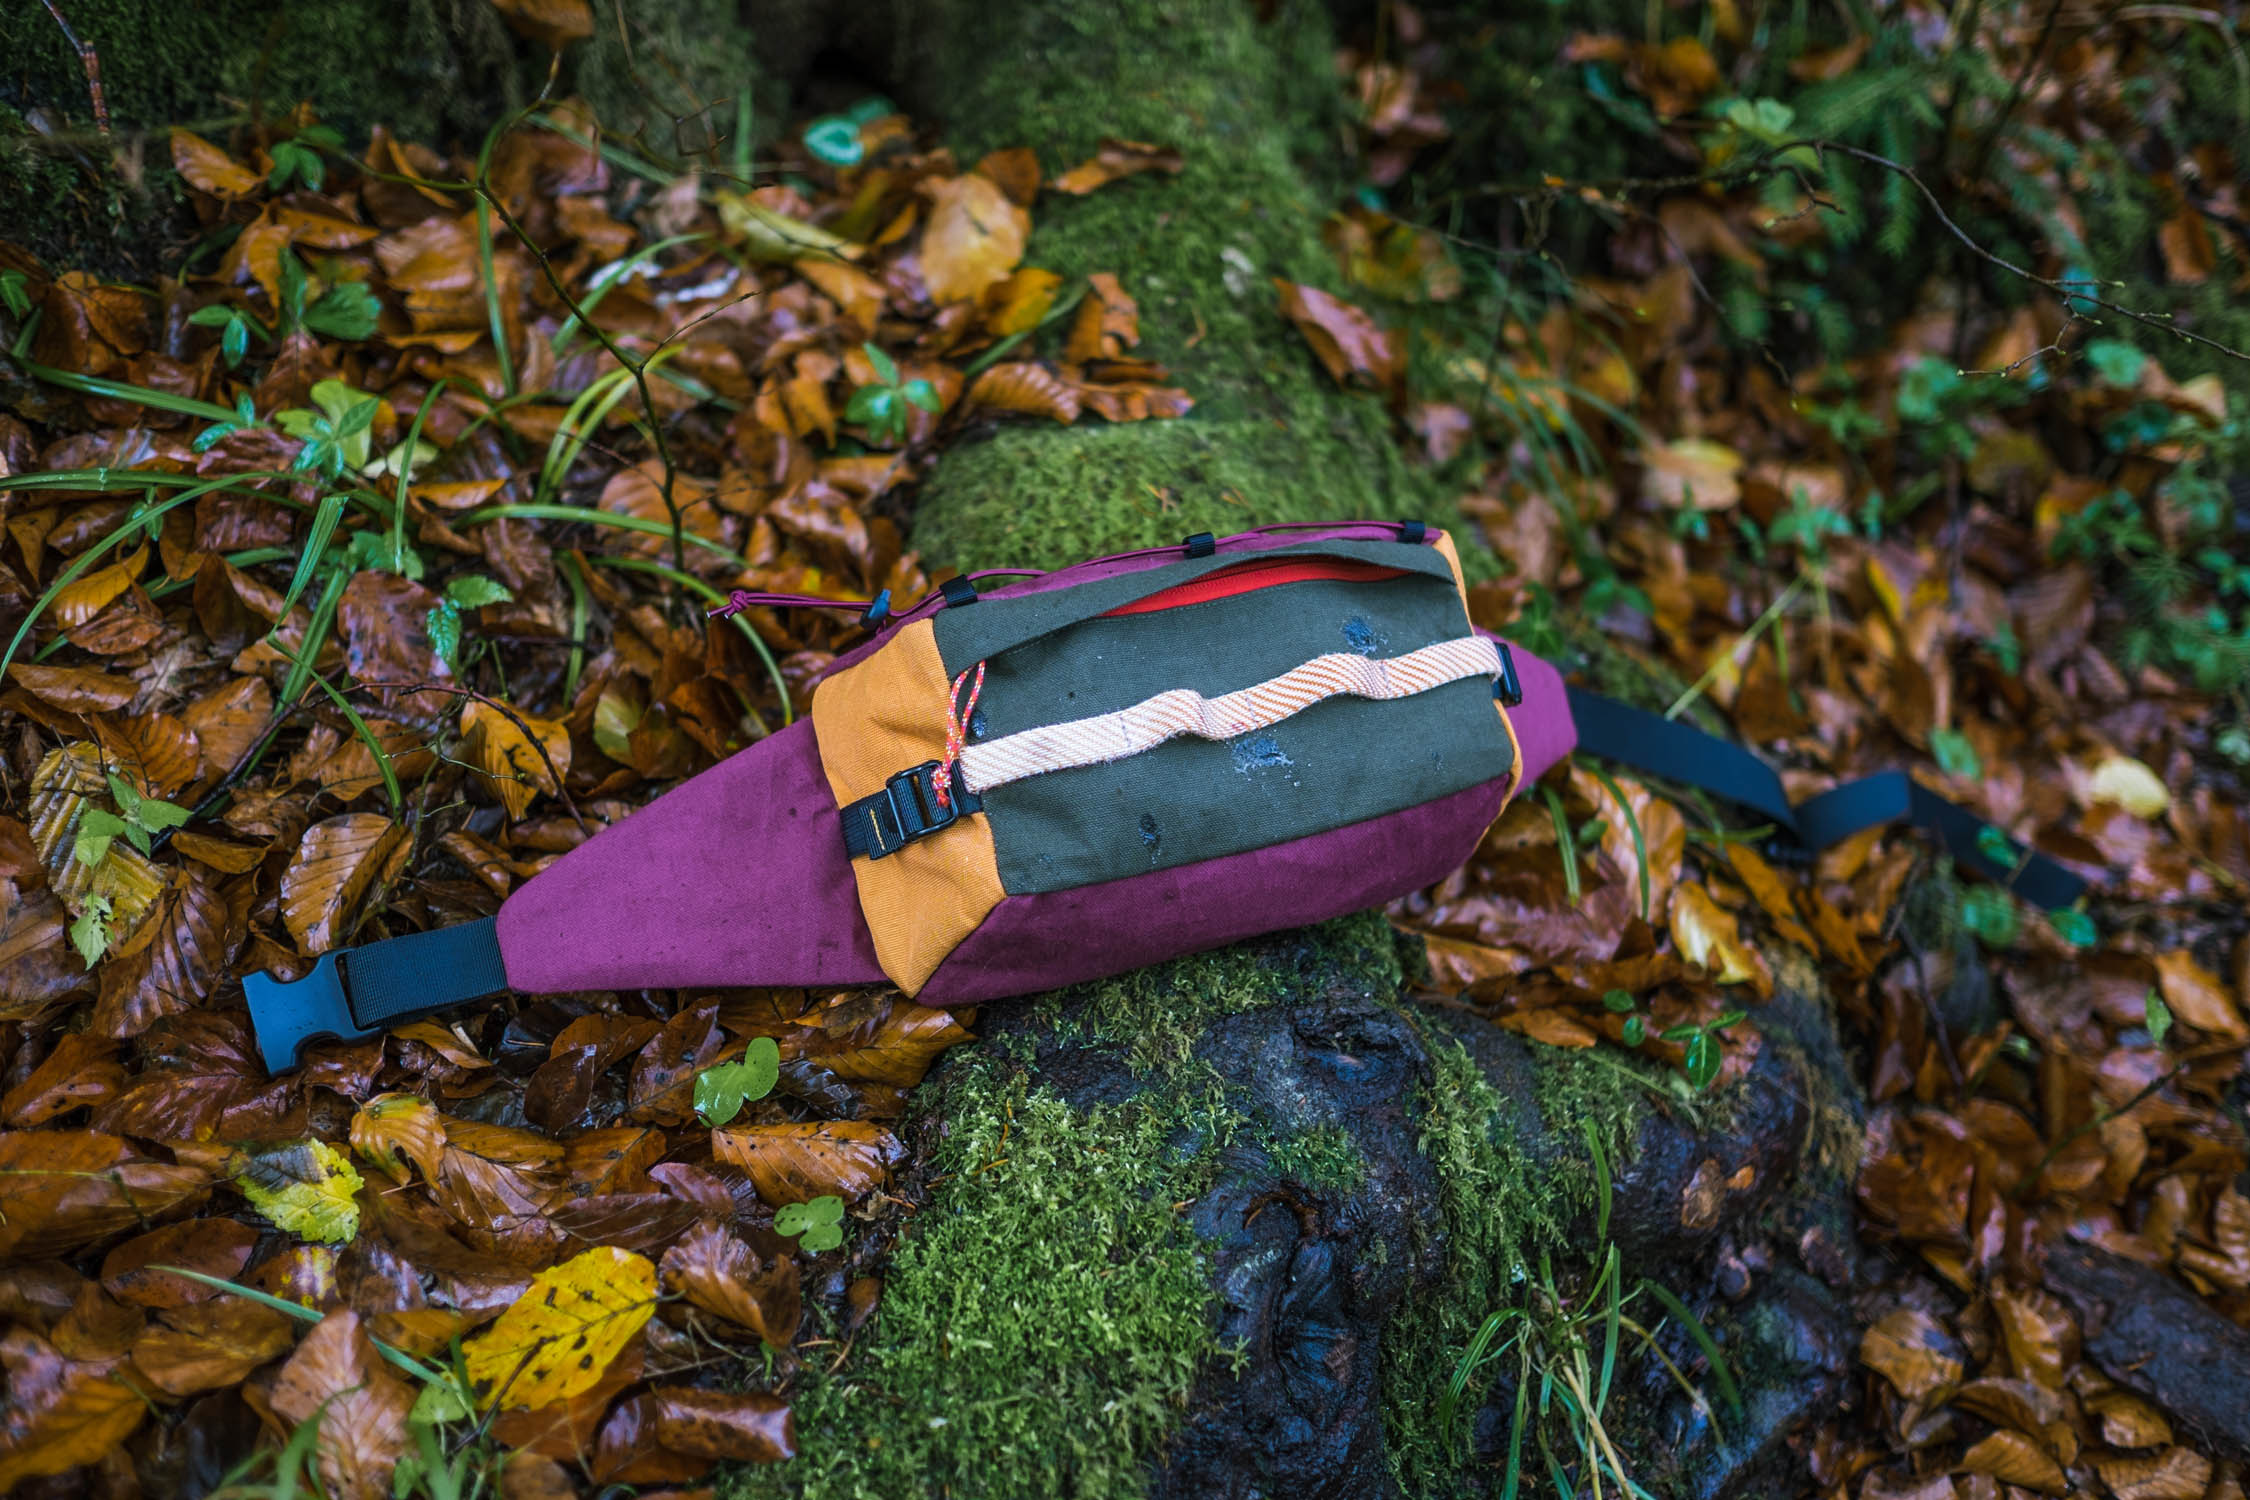
I have several of these and they can be used to organize tools or a cook set, separate from other food, or keep things dry (although it’s worth noting that they’re not actually waterproof). You can hardly have too many stuff sacks, and I especially like using different fabrics so I can easily differentiate my gear based on the color of the bag it’s in.
Stuff You’ll Need:
- Any flexible fabric, preferably a lightweight upcycled ripstop
- Paracord to cinch the bag closed
- 1 barrel cord lock
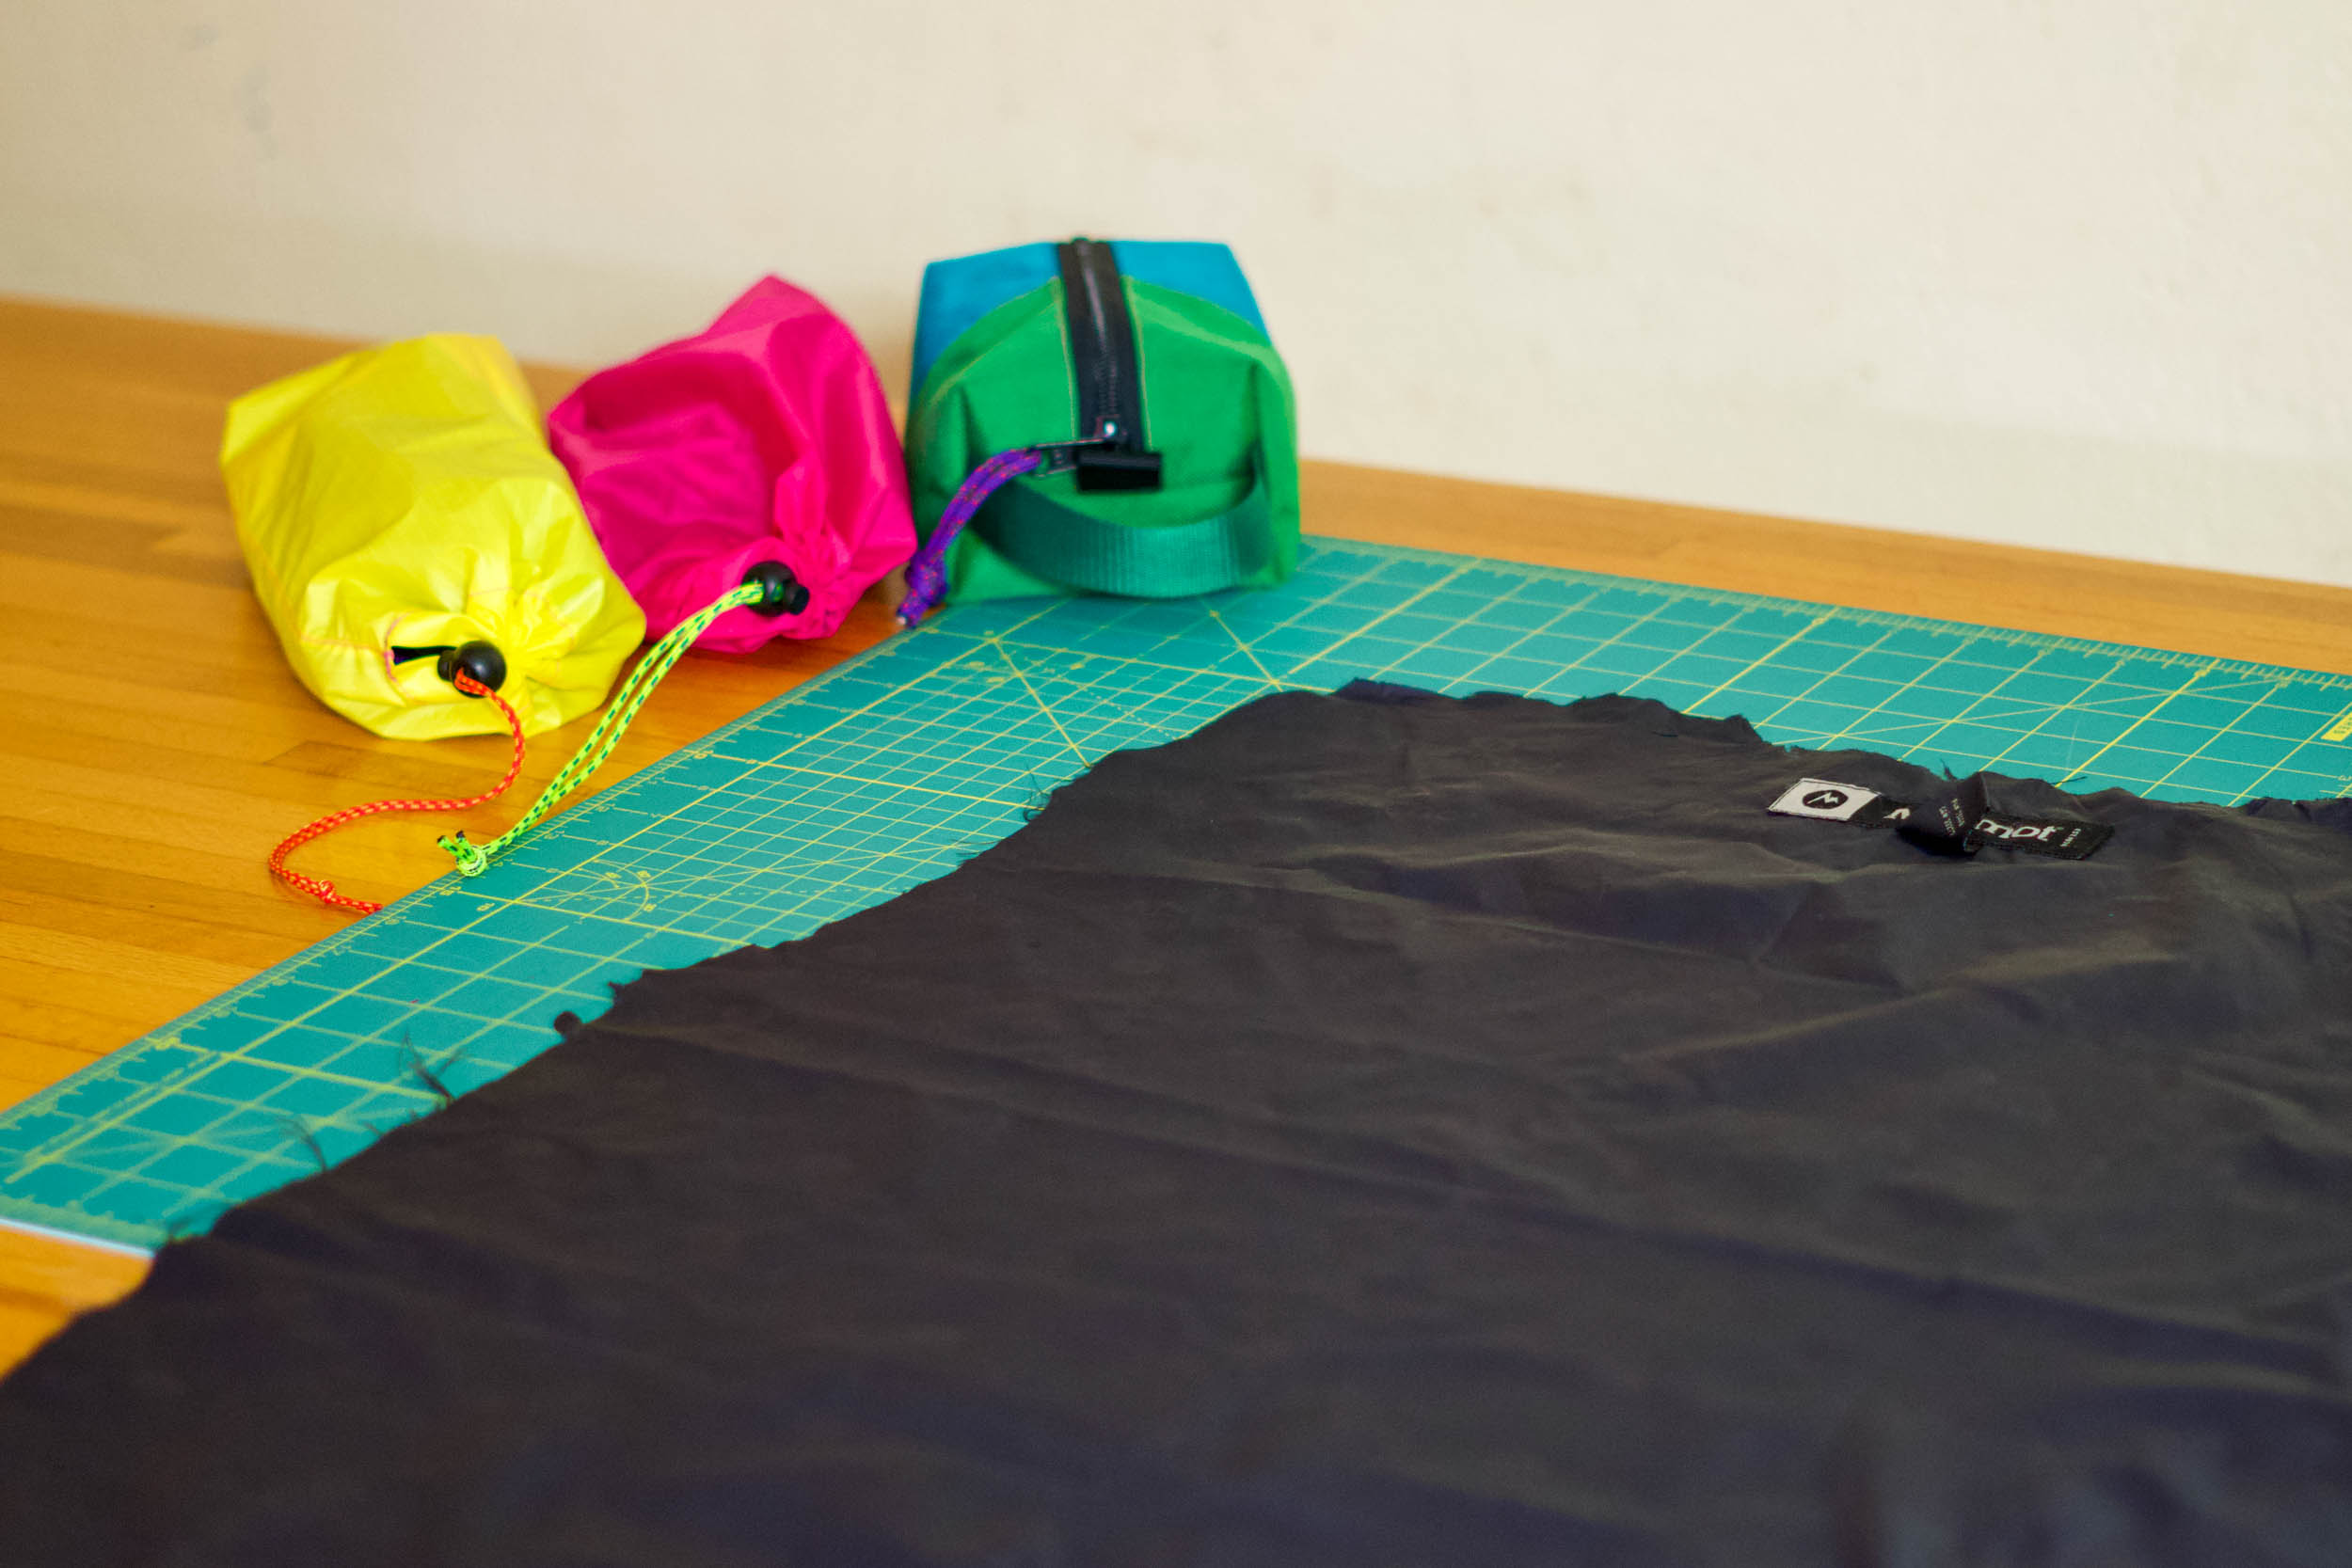
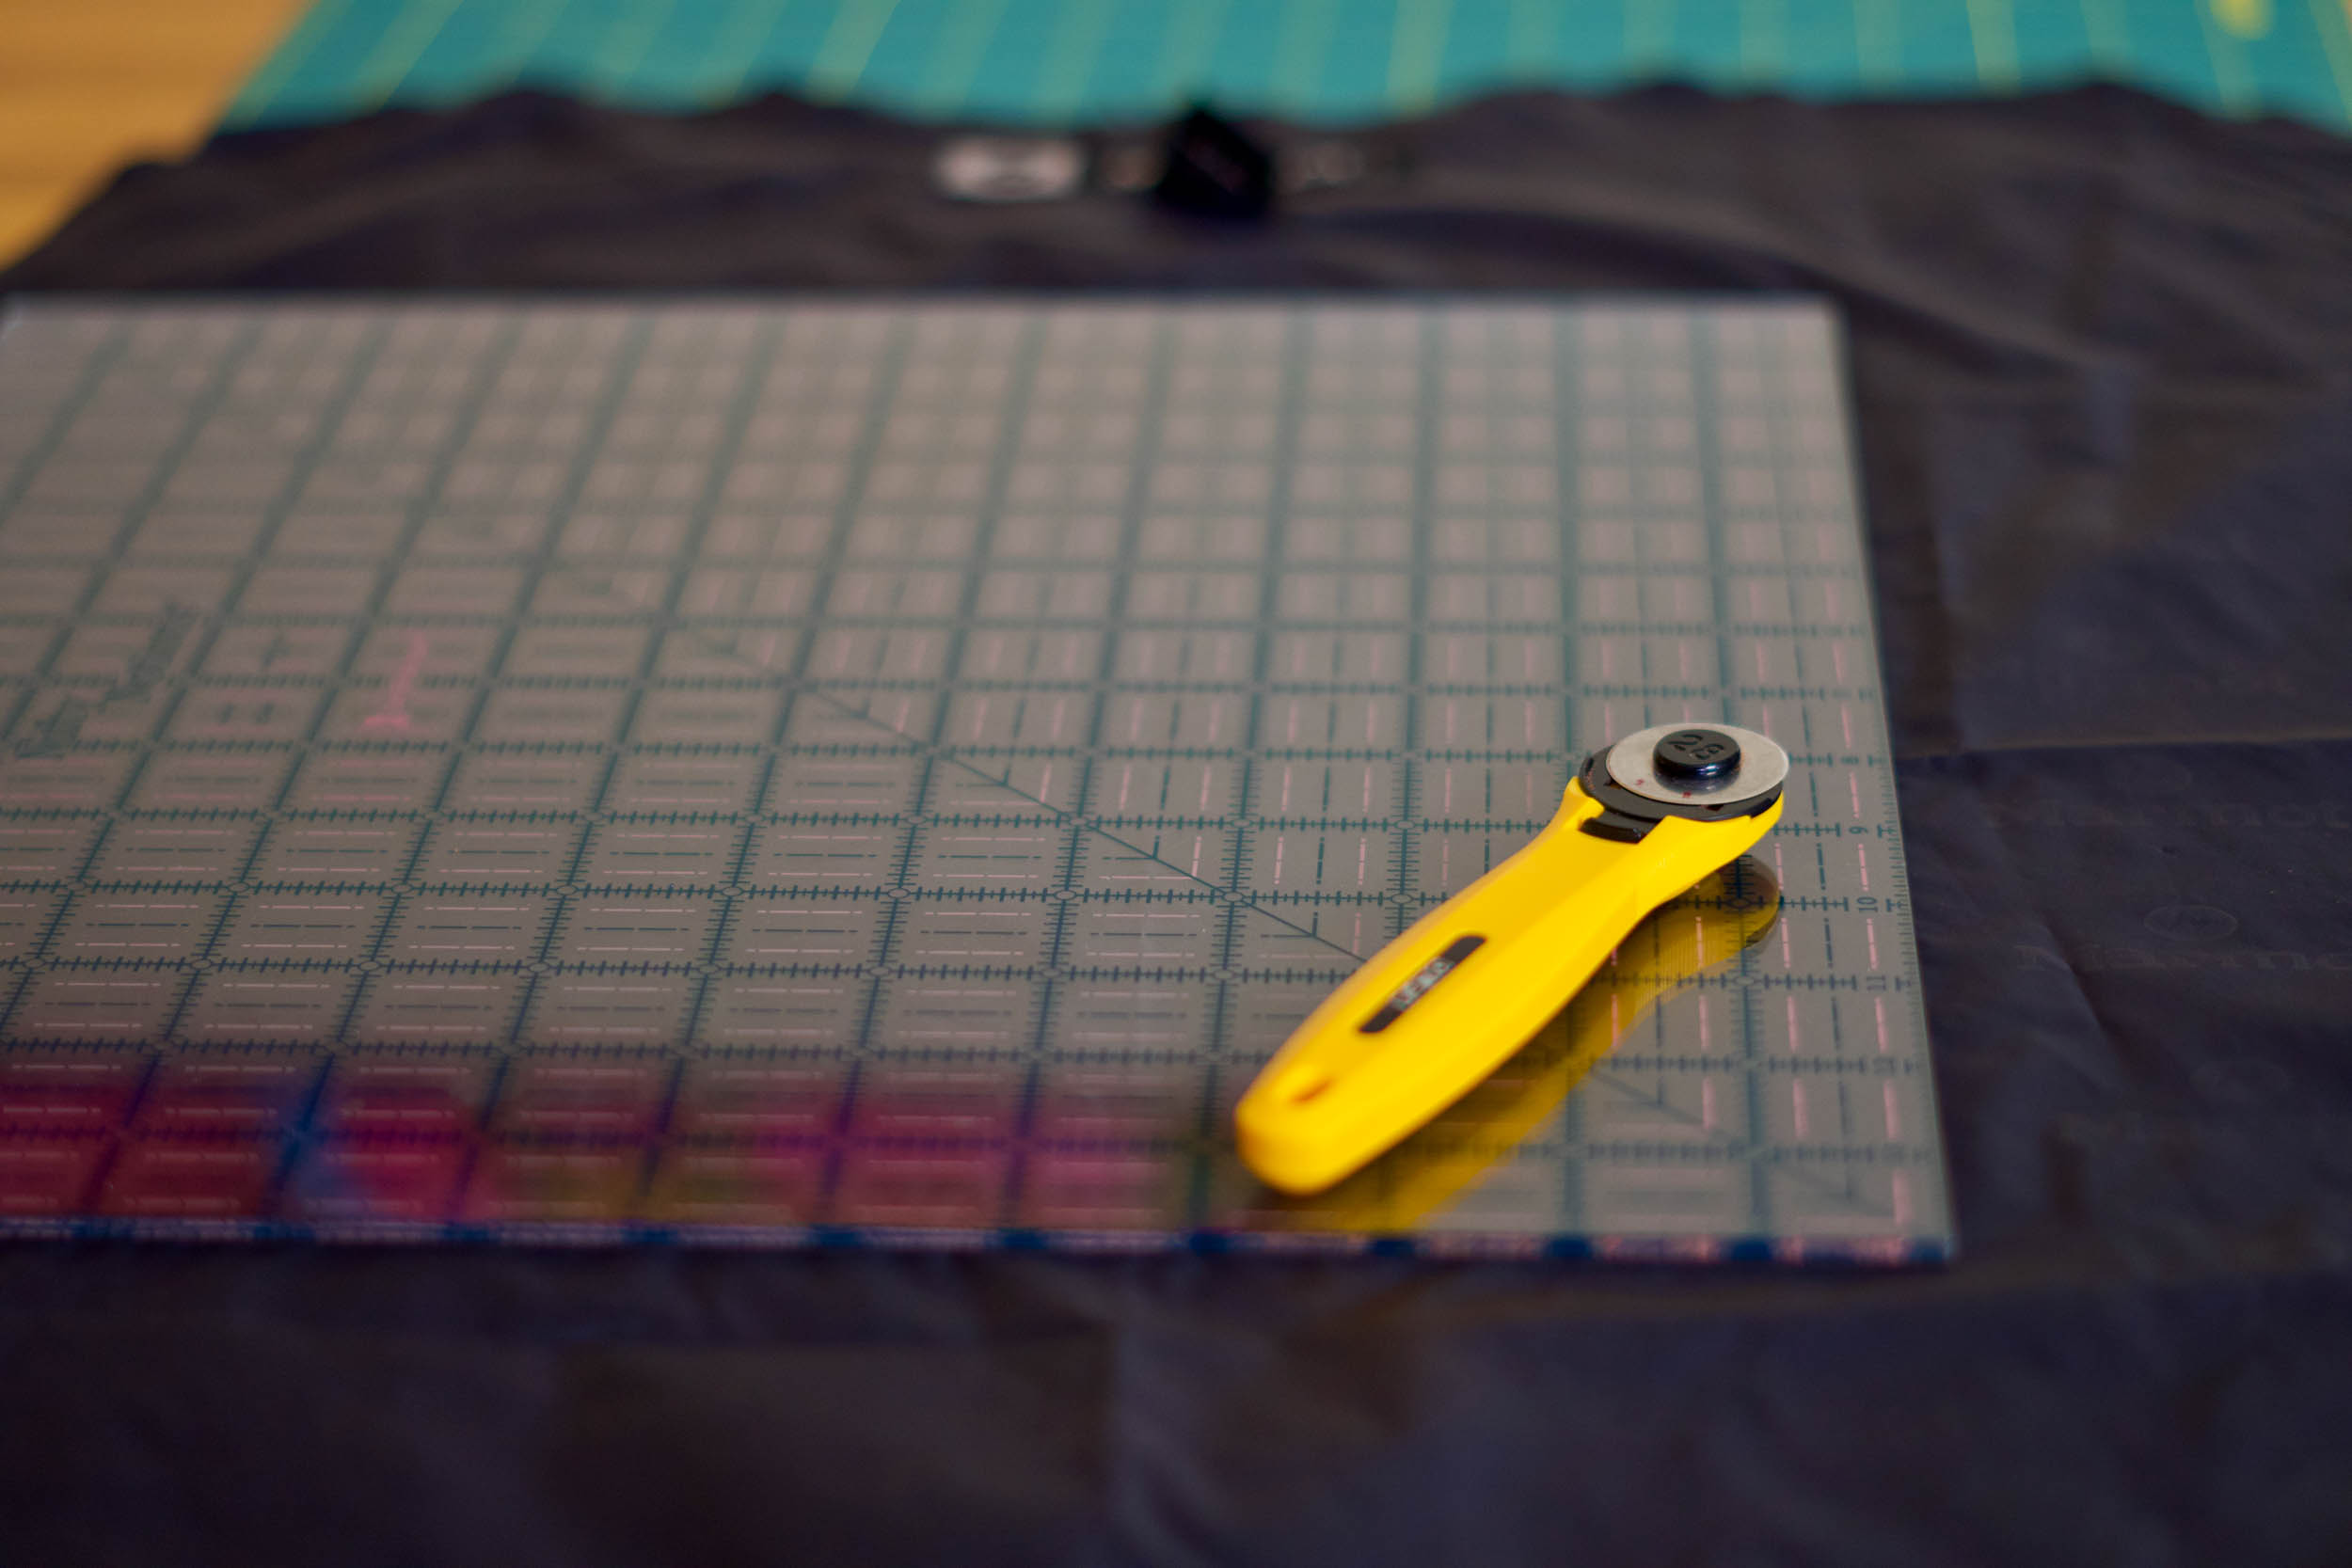
Step 1: Cut your fabric
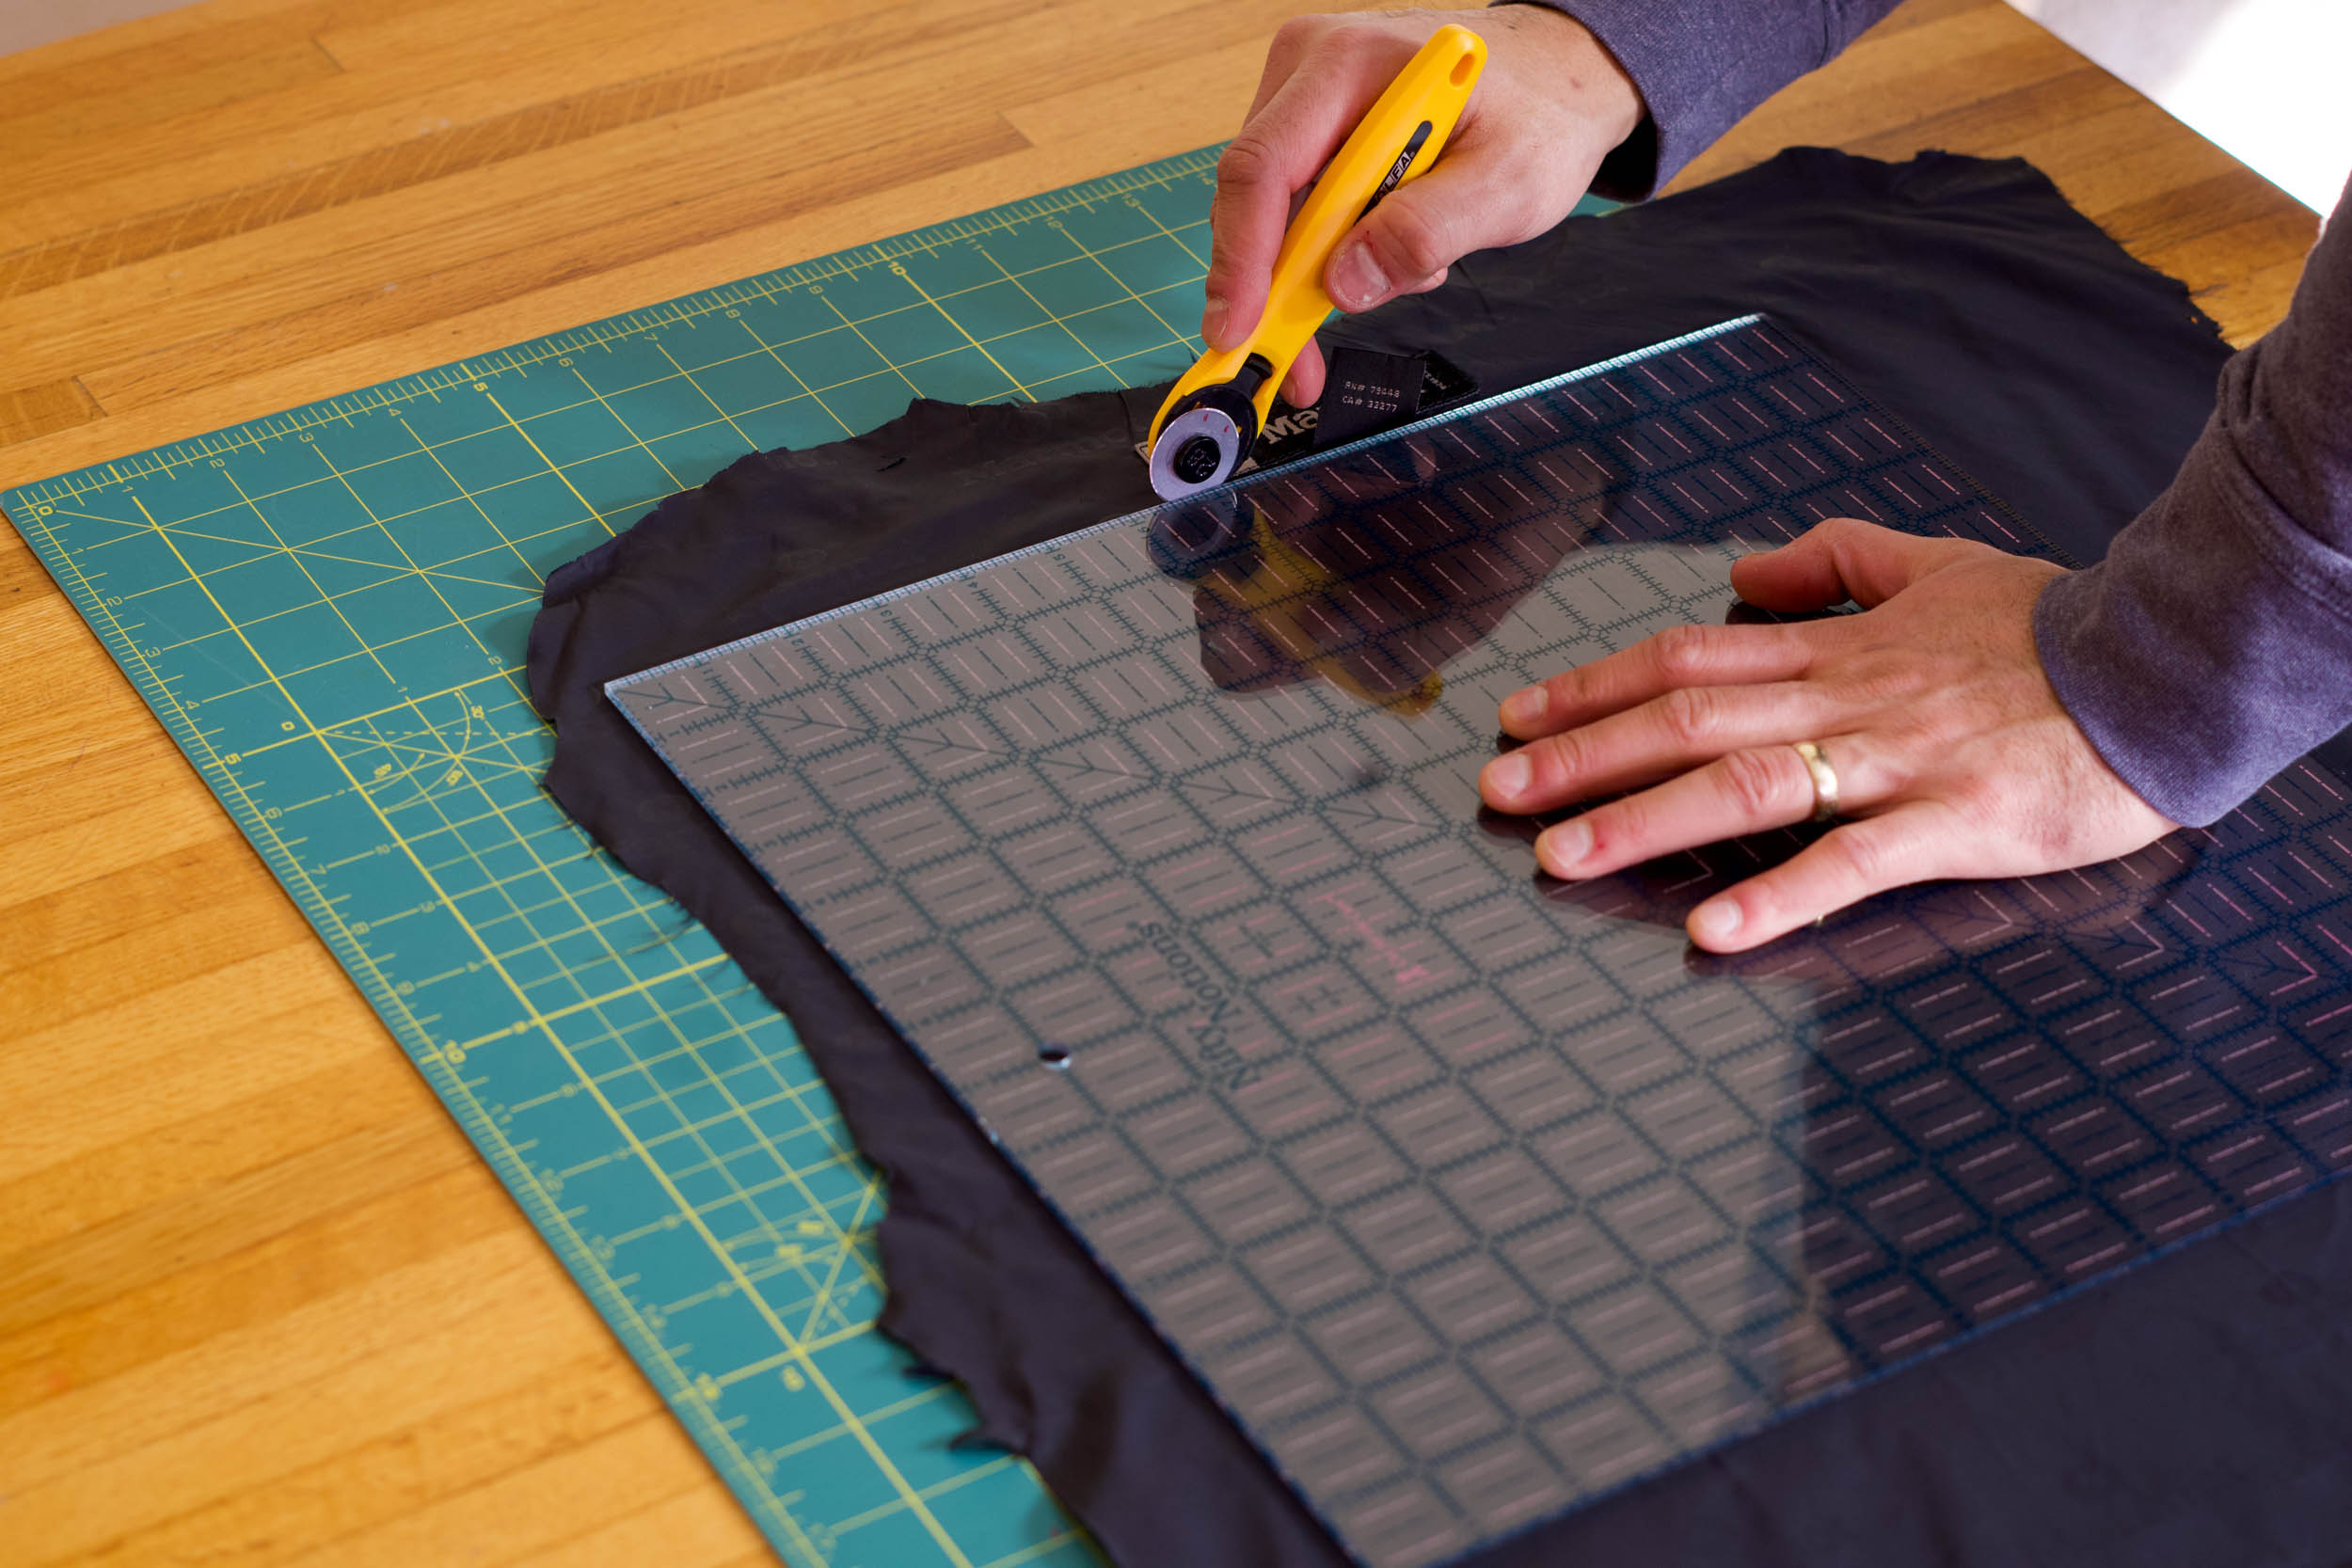
I upcycled some ripstop from an old insulated jacket. It’s a great ultralight fabric that now has a second life. These simple bags can be made in any size, but for this project I cut my fabric into a 12” x 14” rectangle.
Step 2: Fold and sew the upper section
In this step, we’re going to sew the top of the bag where the drawstring cord will slide through to open and close the bag. This will be done along the longer edge.
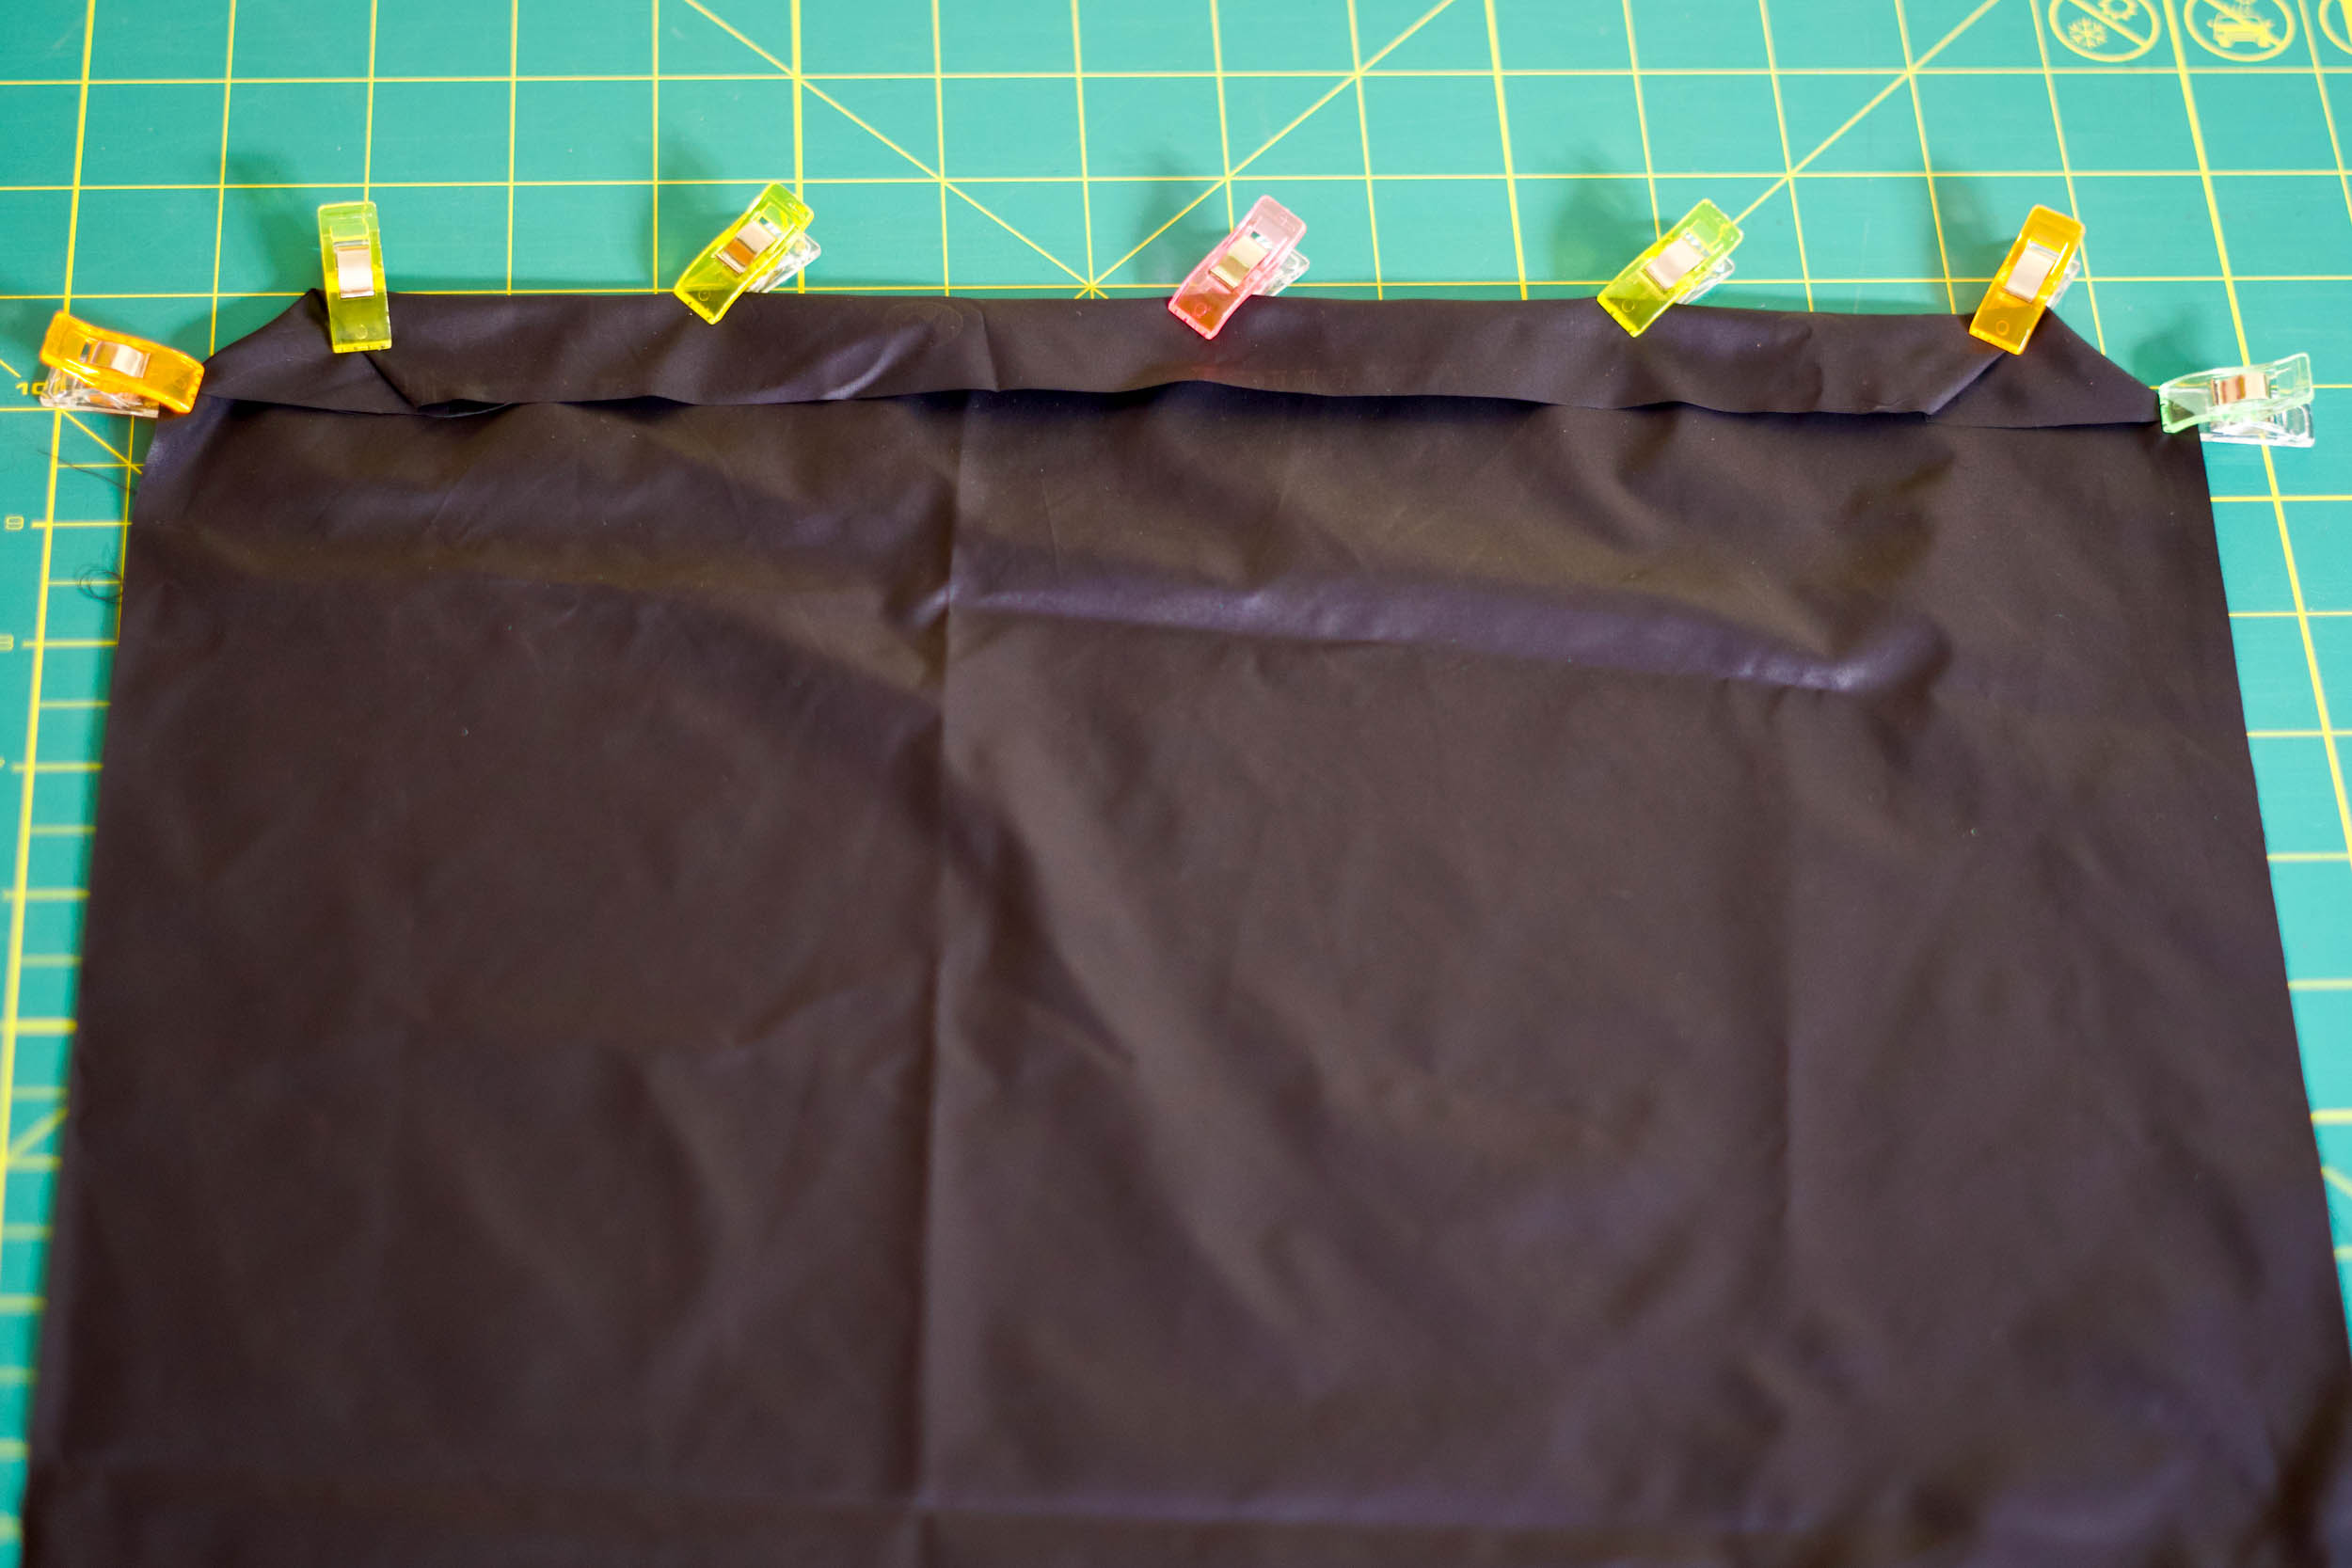
Face the good side (the side you want to be seen from the outside) of the fabric down. On the top left and top right of the fabric edge, fold down 90-degree corners that are about 2” from the top and 2” from the side. Use clips or pins to hold it in place.
Now fold the entire top edge down 1”. It should line up perfectly with the corners that you just folded down 2”. Use clips or pins to hold it in place.
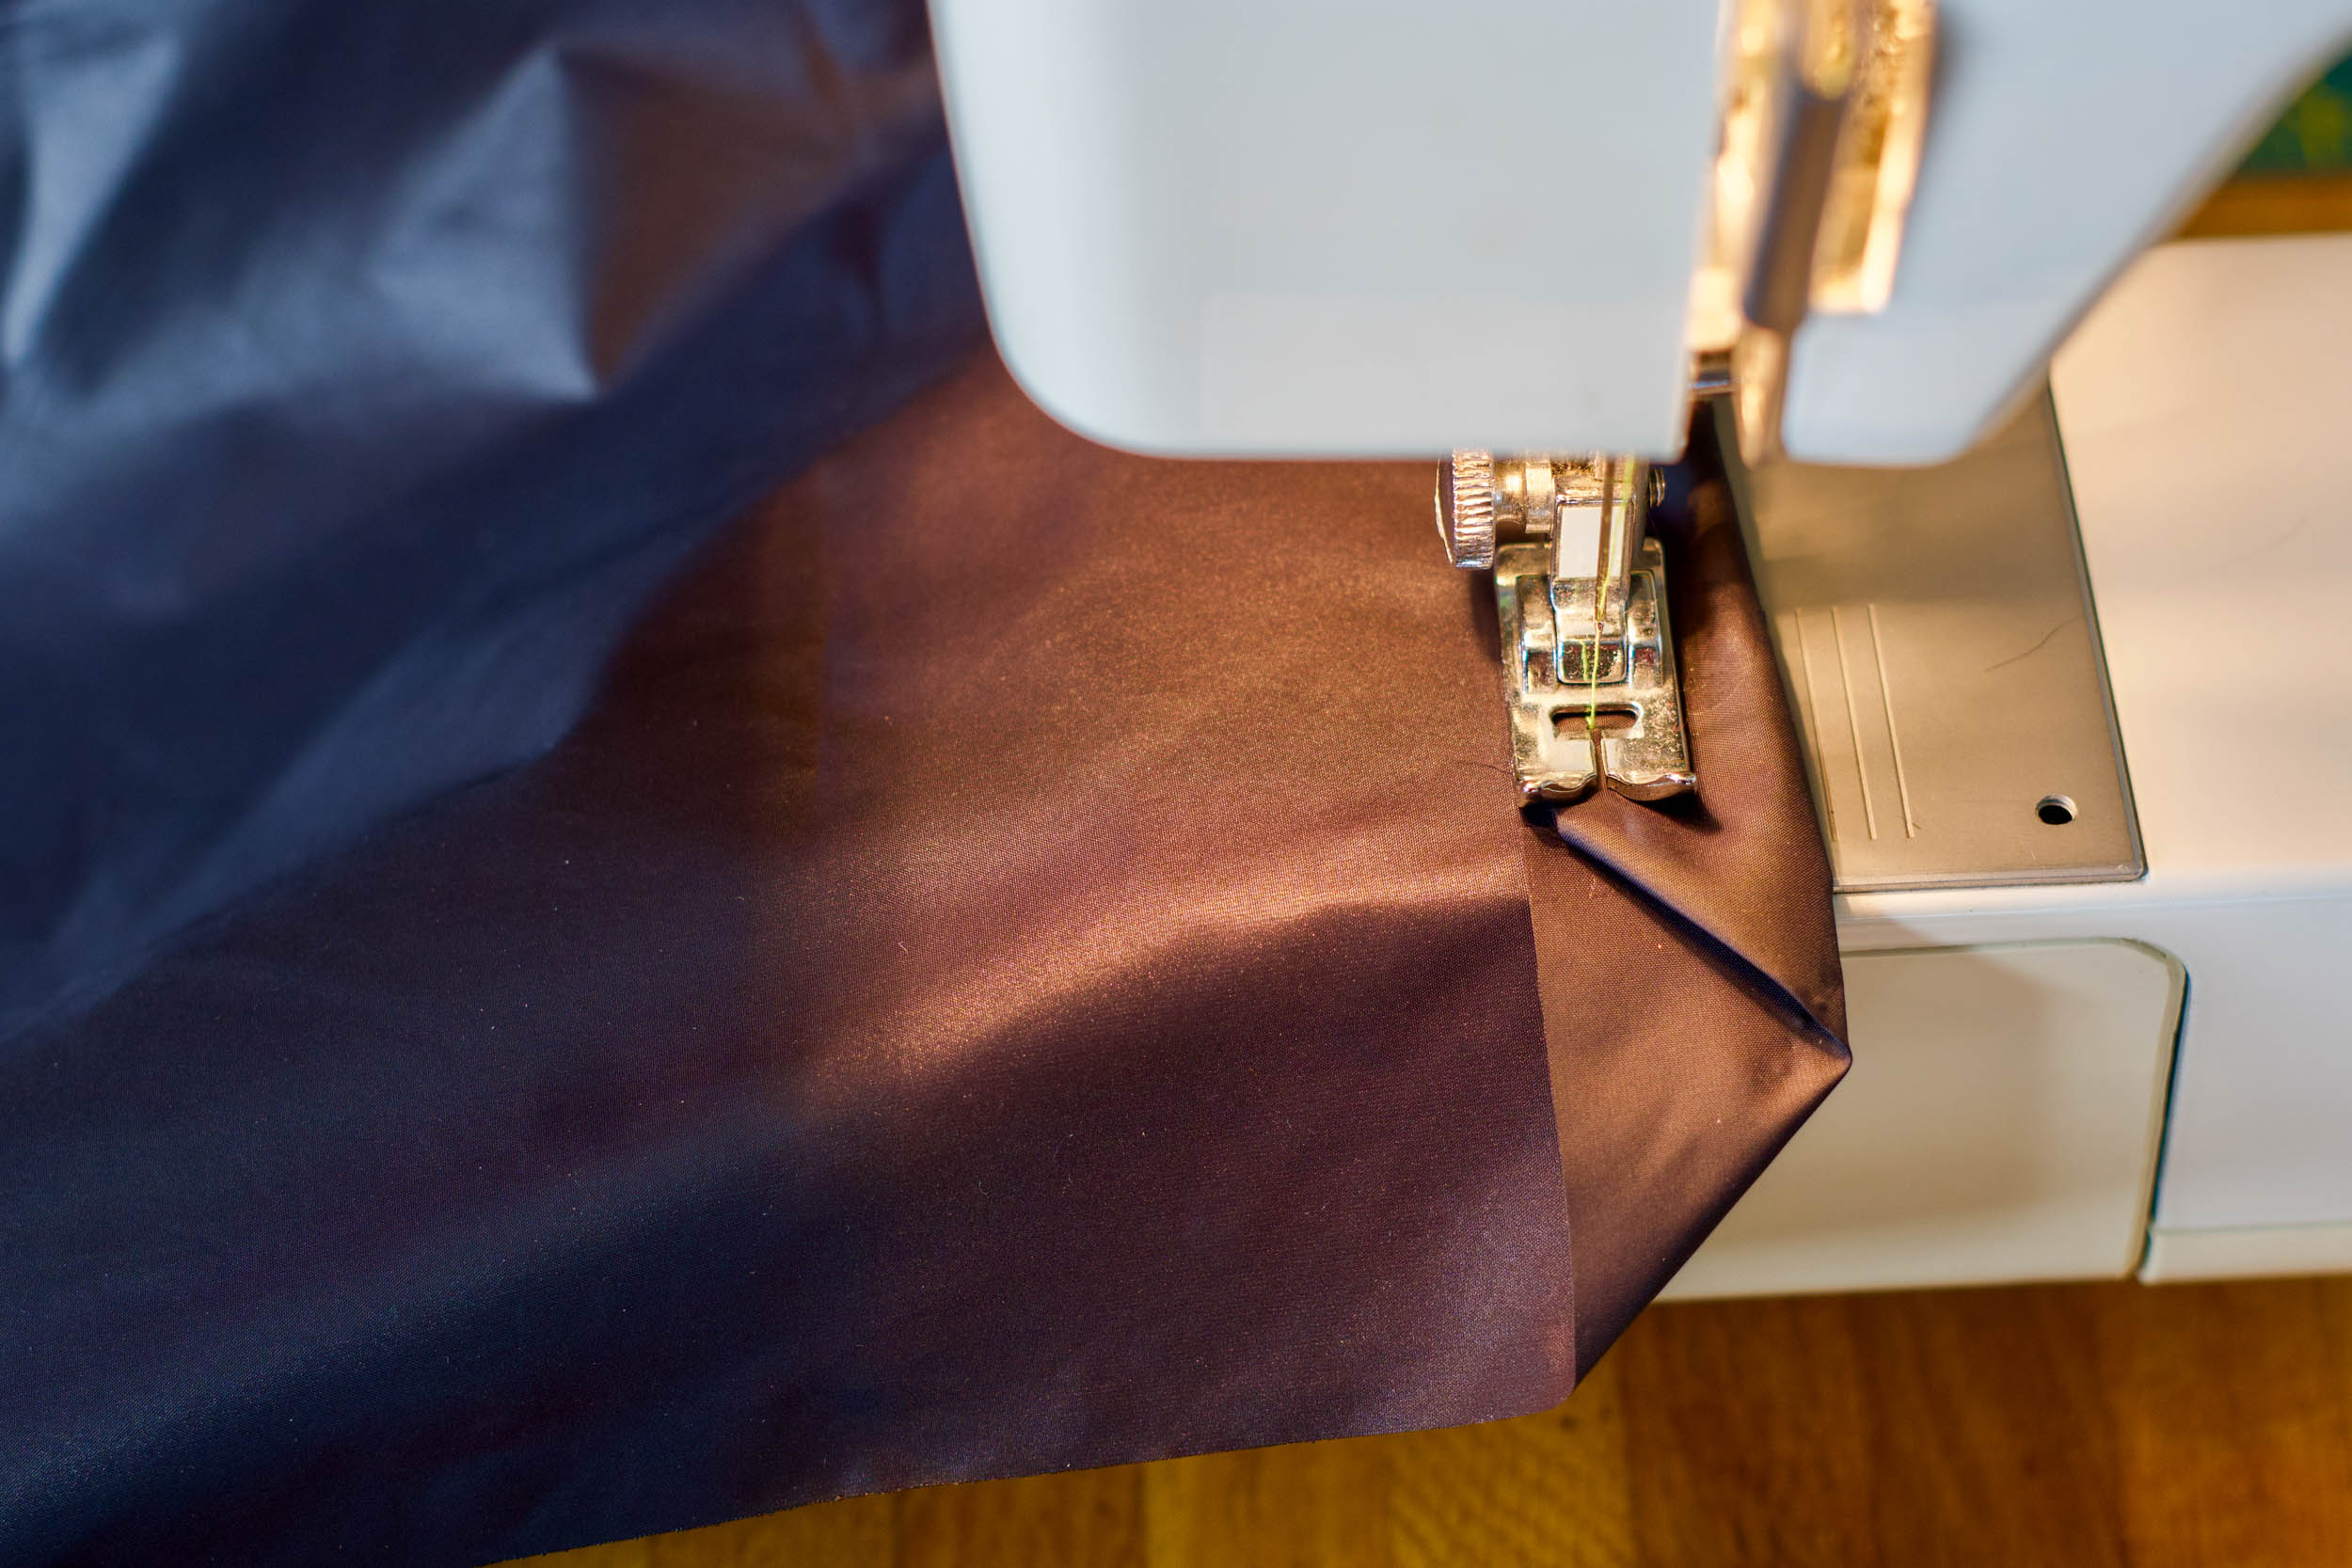
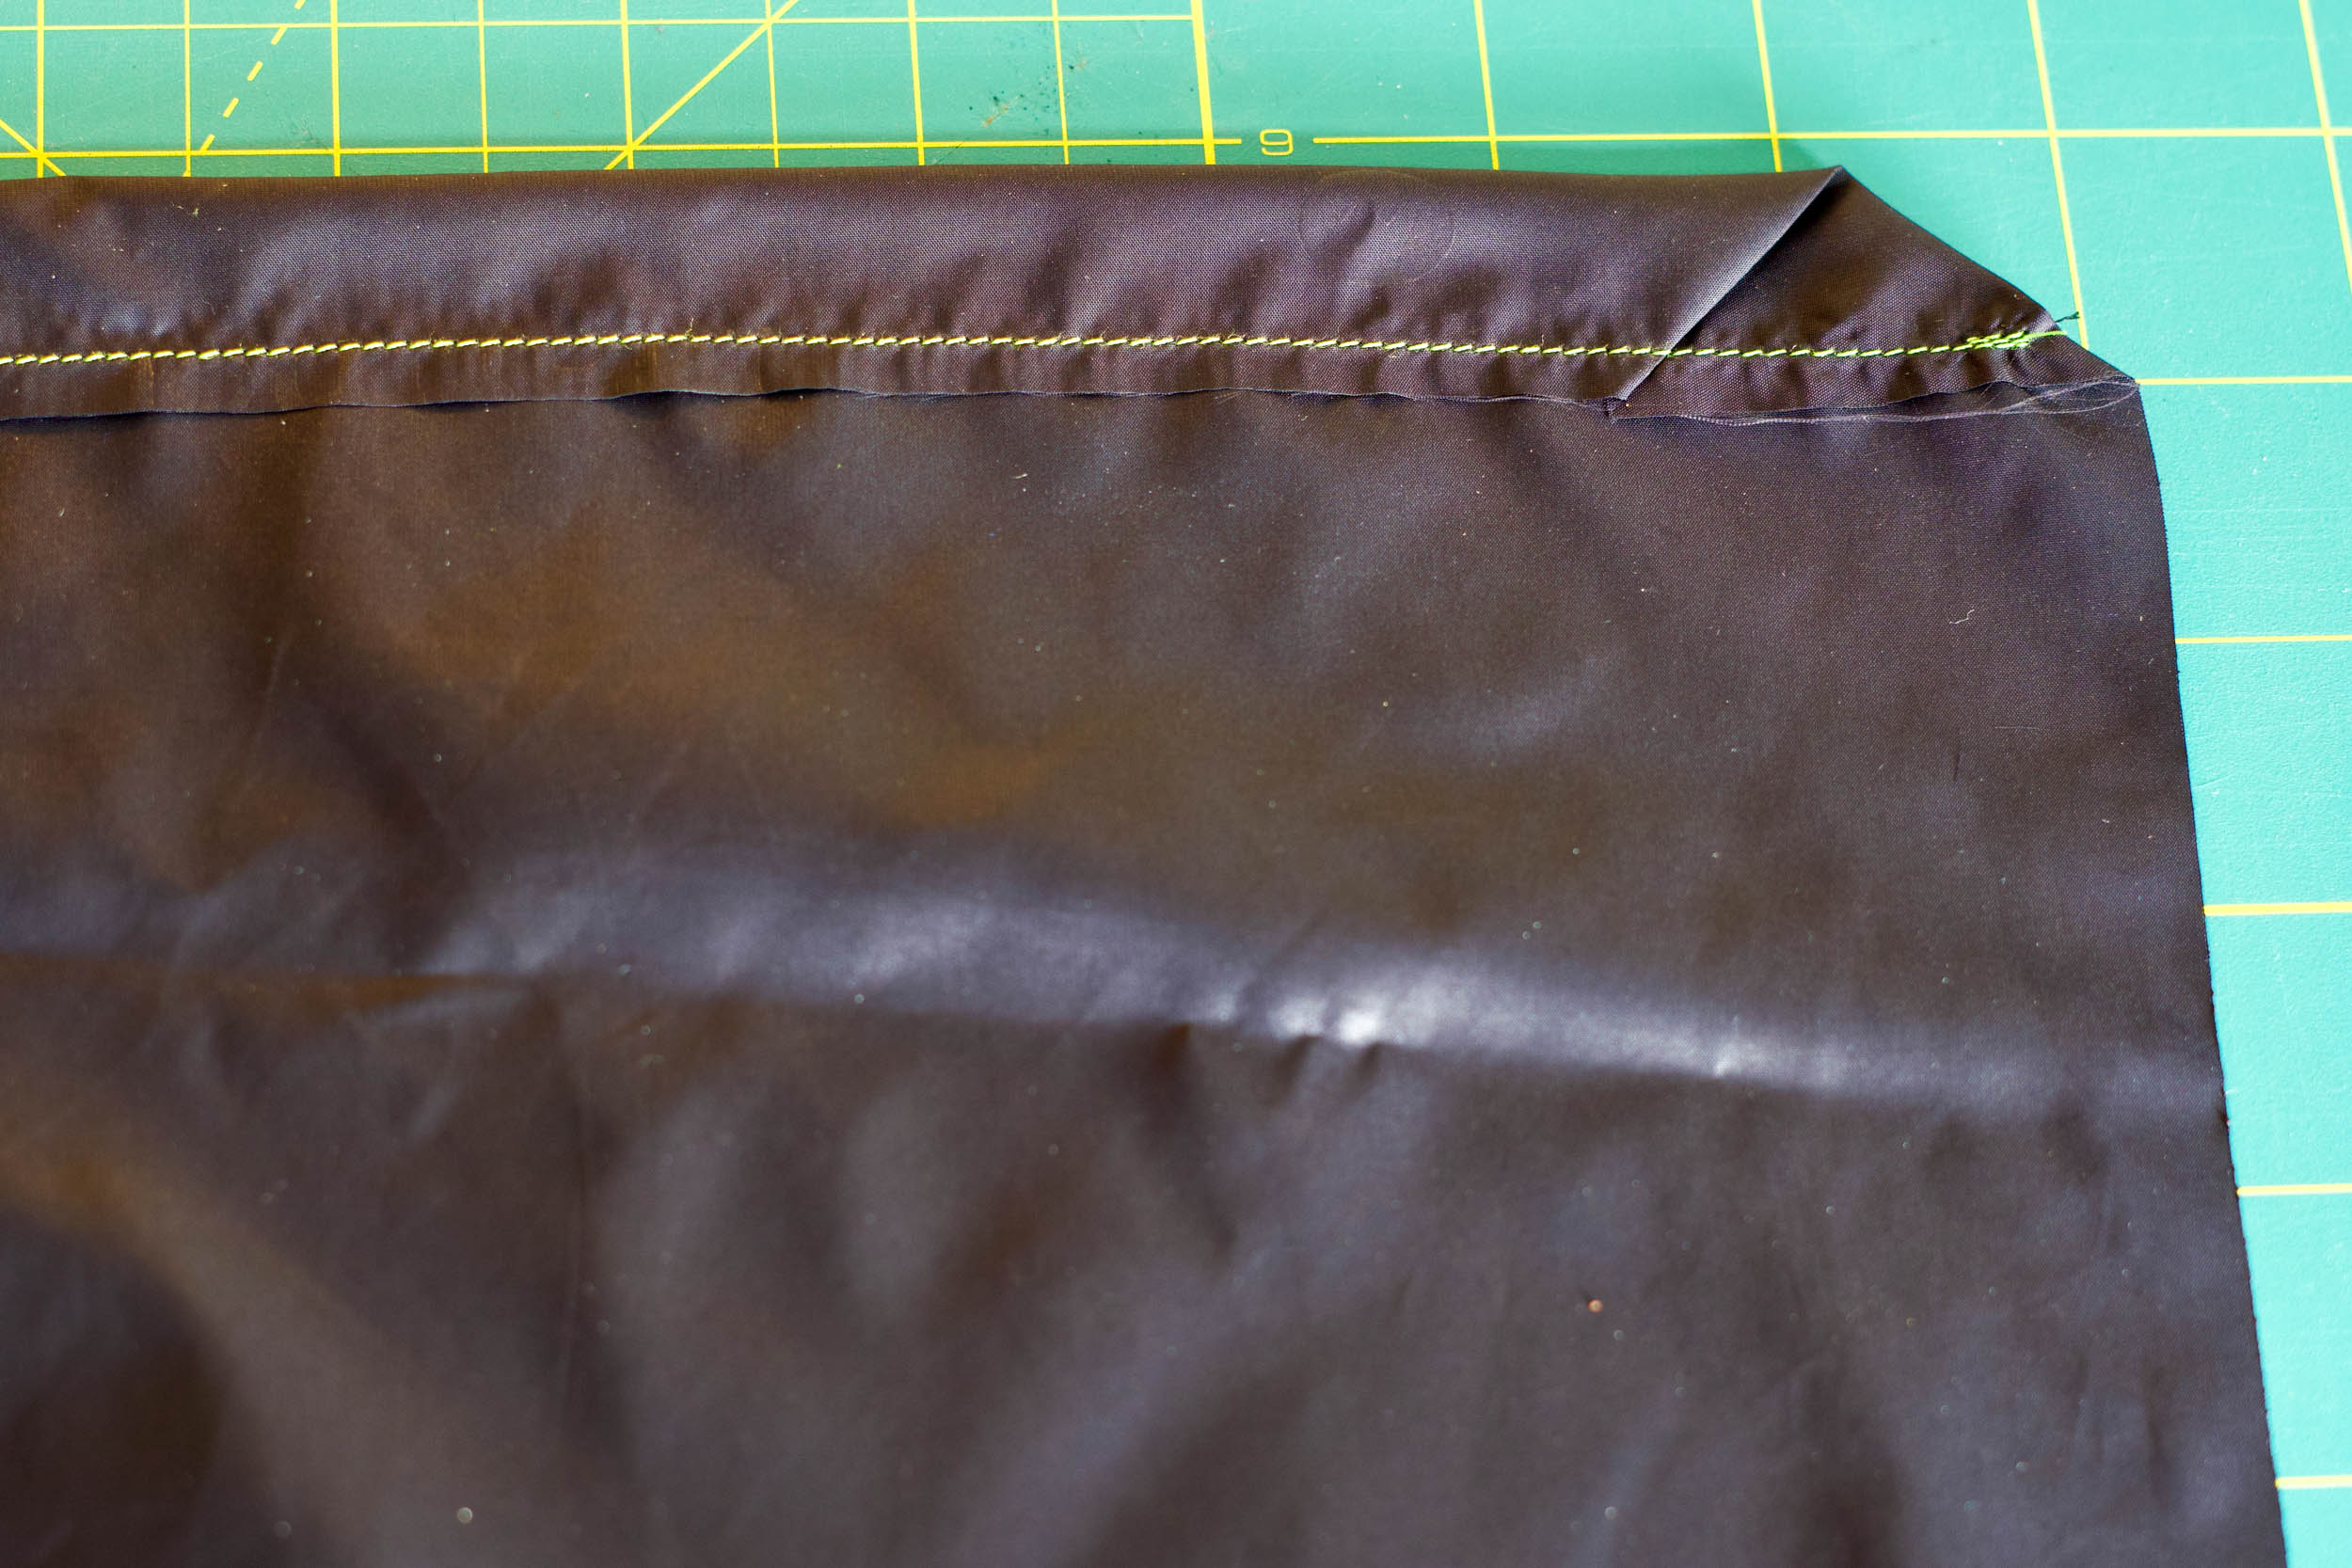
Sew this section down and use a ¼” seam allowance from the live fabric edge.
Step 3: Sew the side and bottom

Fold the fabric in half so the two shorter edges are touching each other with the good sides facing inward.
Sew along the edge using a ¼” seam allowance.
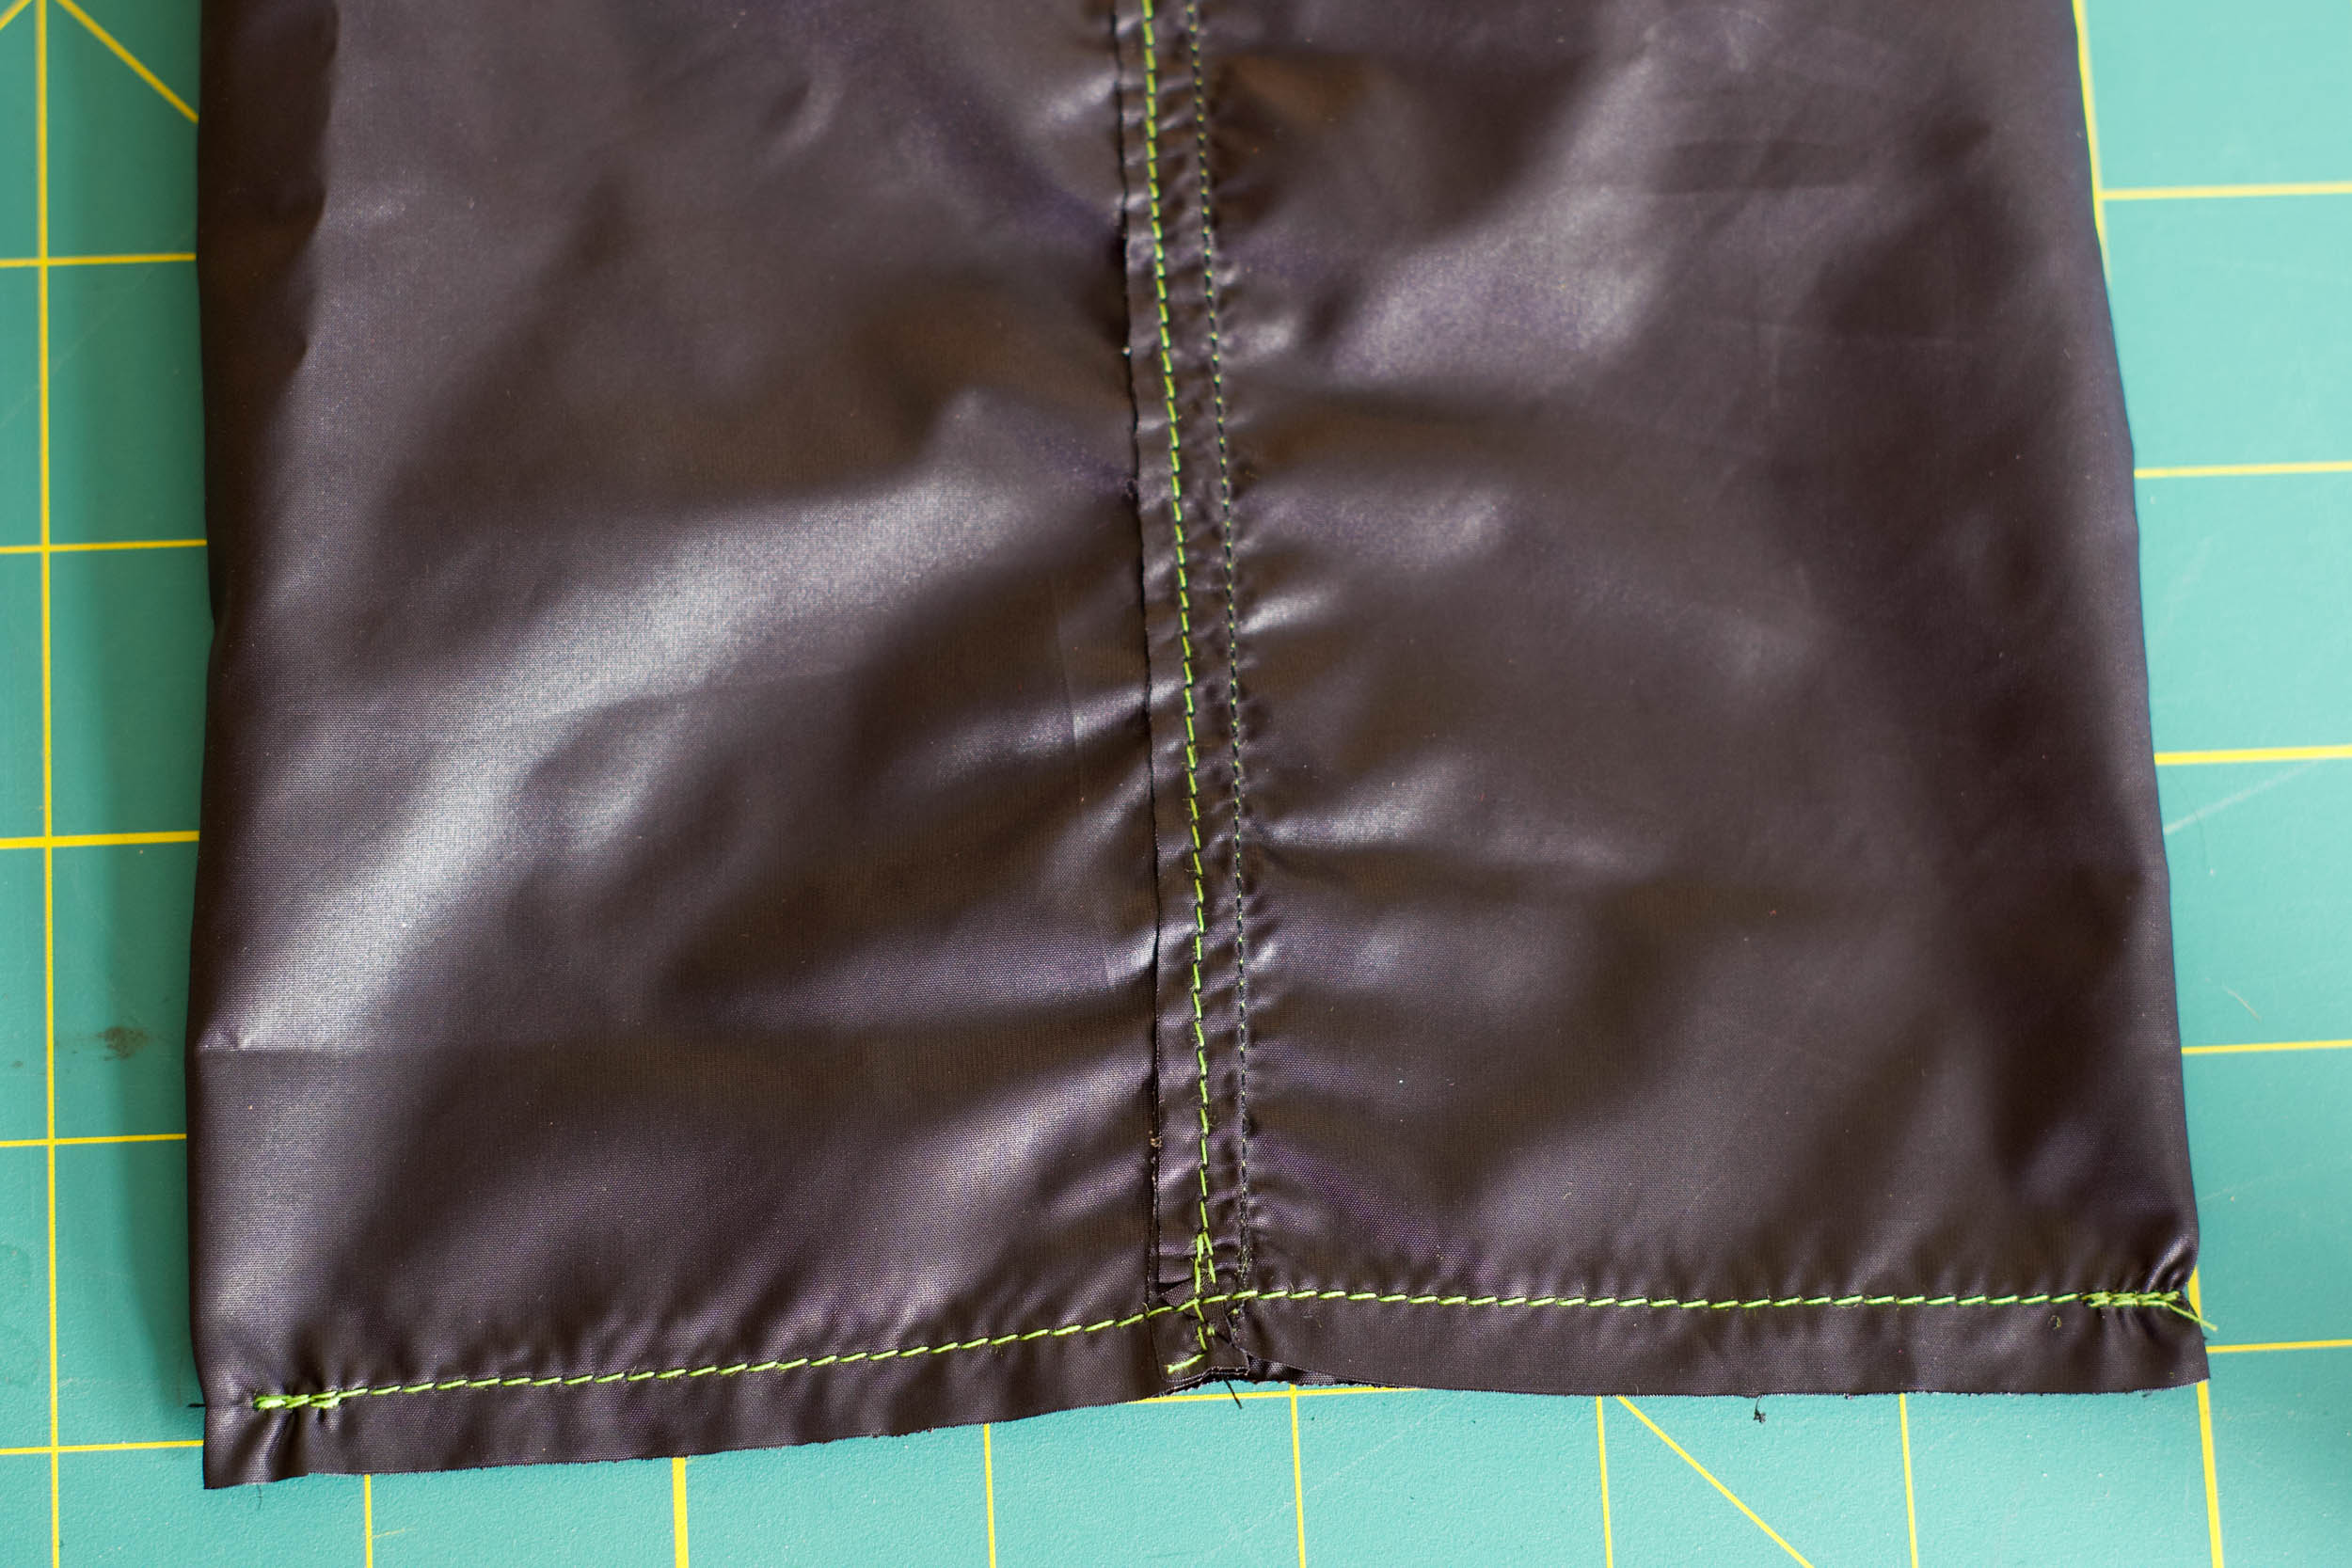
In order to give extra durability and make this seam lie flat, you’re going to topstitch along the edge that you just sewed. Rotate the fabric so the seam that you sewed is lined up in the middle. Lay the extra fabric from the seam to one side or the other and then sew right between the seam you sewed and the live edge of the fabric. This can be tricky since the fabric is now in a loop and you have to be extra careful that you don’t accidentally sew the bag to itself!

With the bag still inside out and the sewn edge still oriented in the middle of the bag, sew the bottom edge of the bag with a ¼” seam allowance.
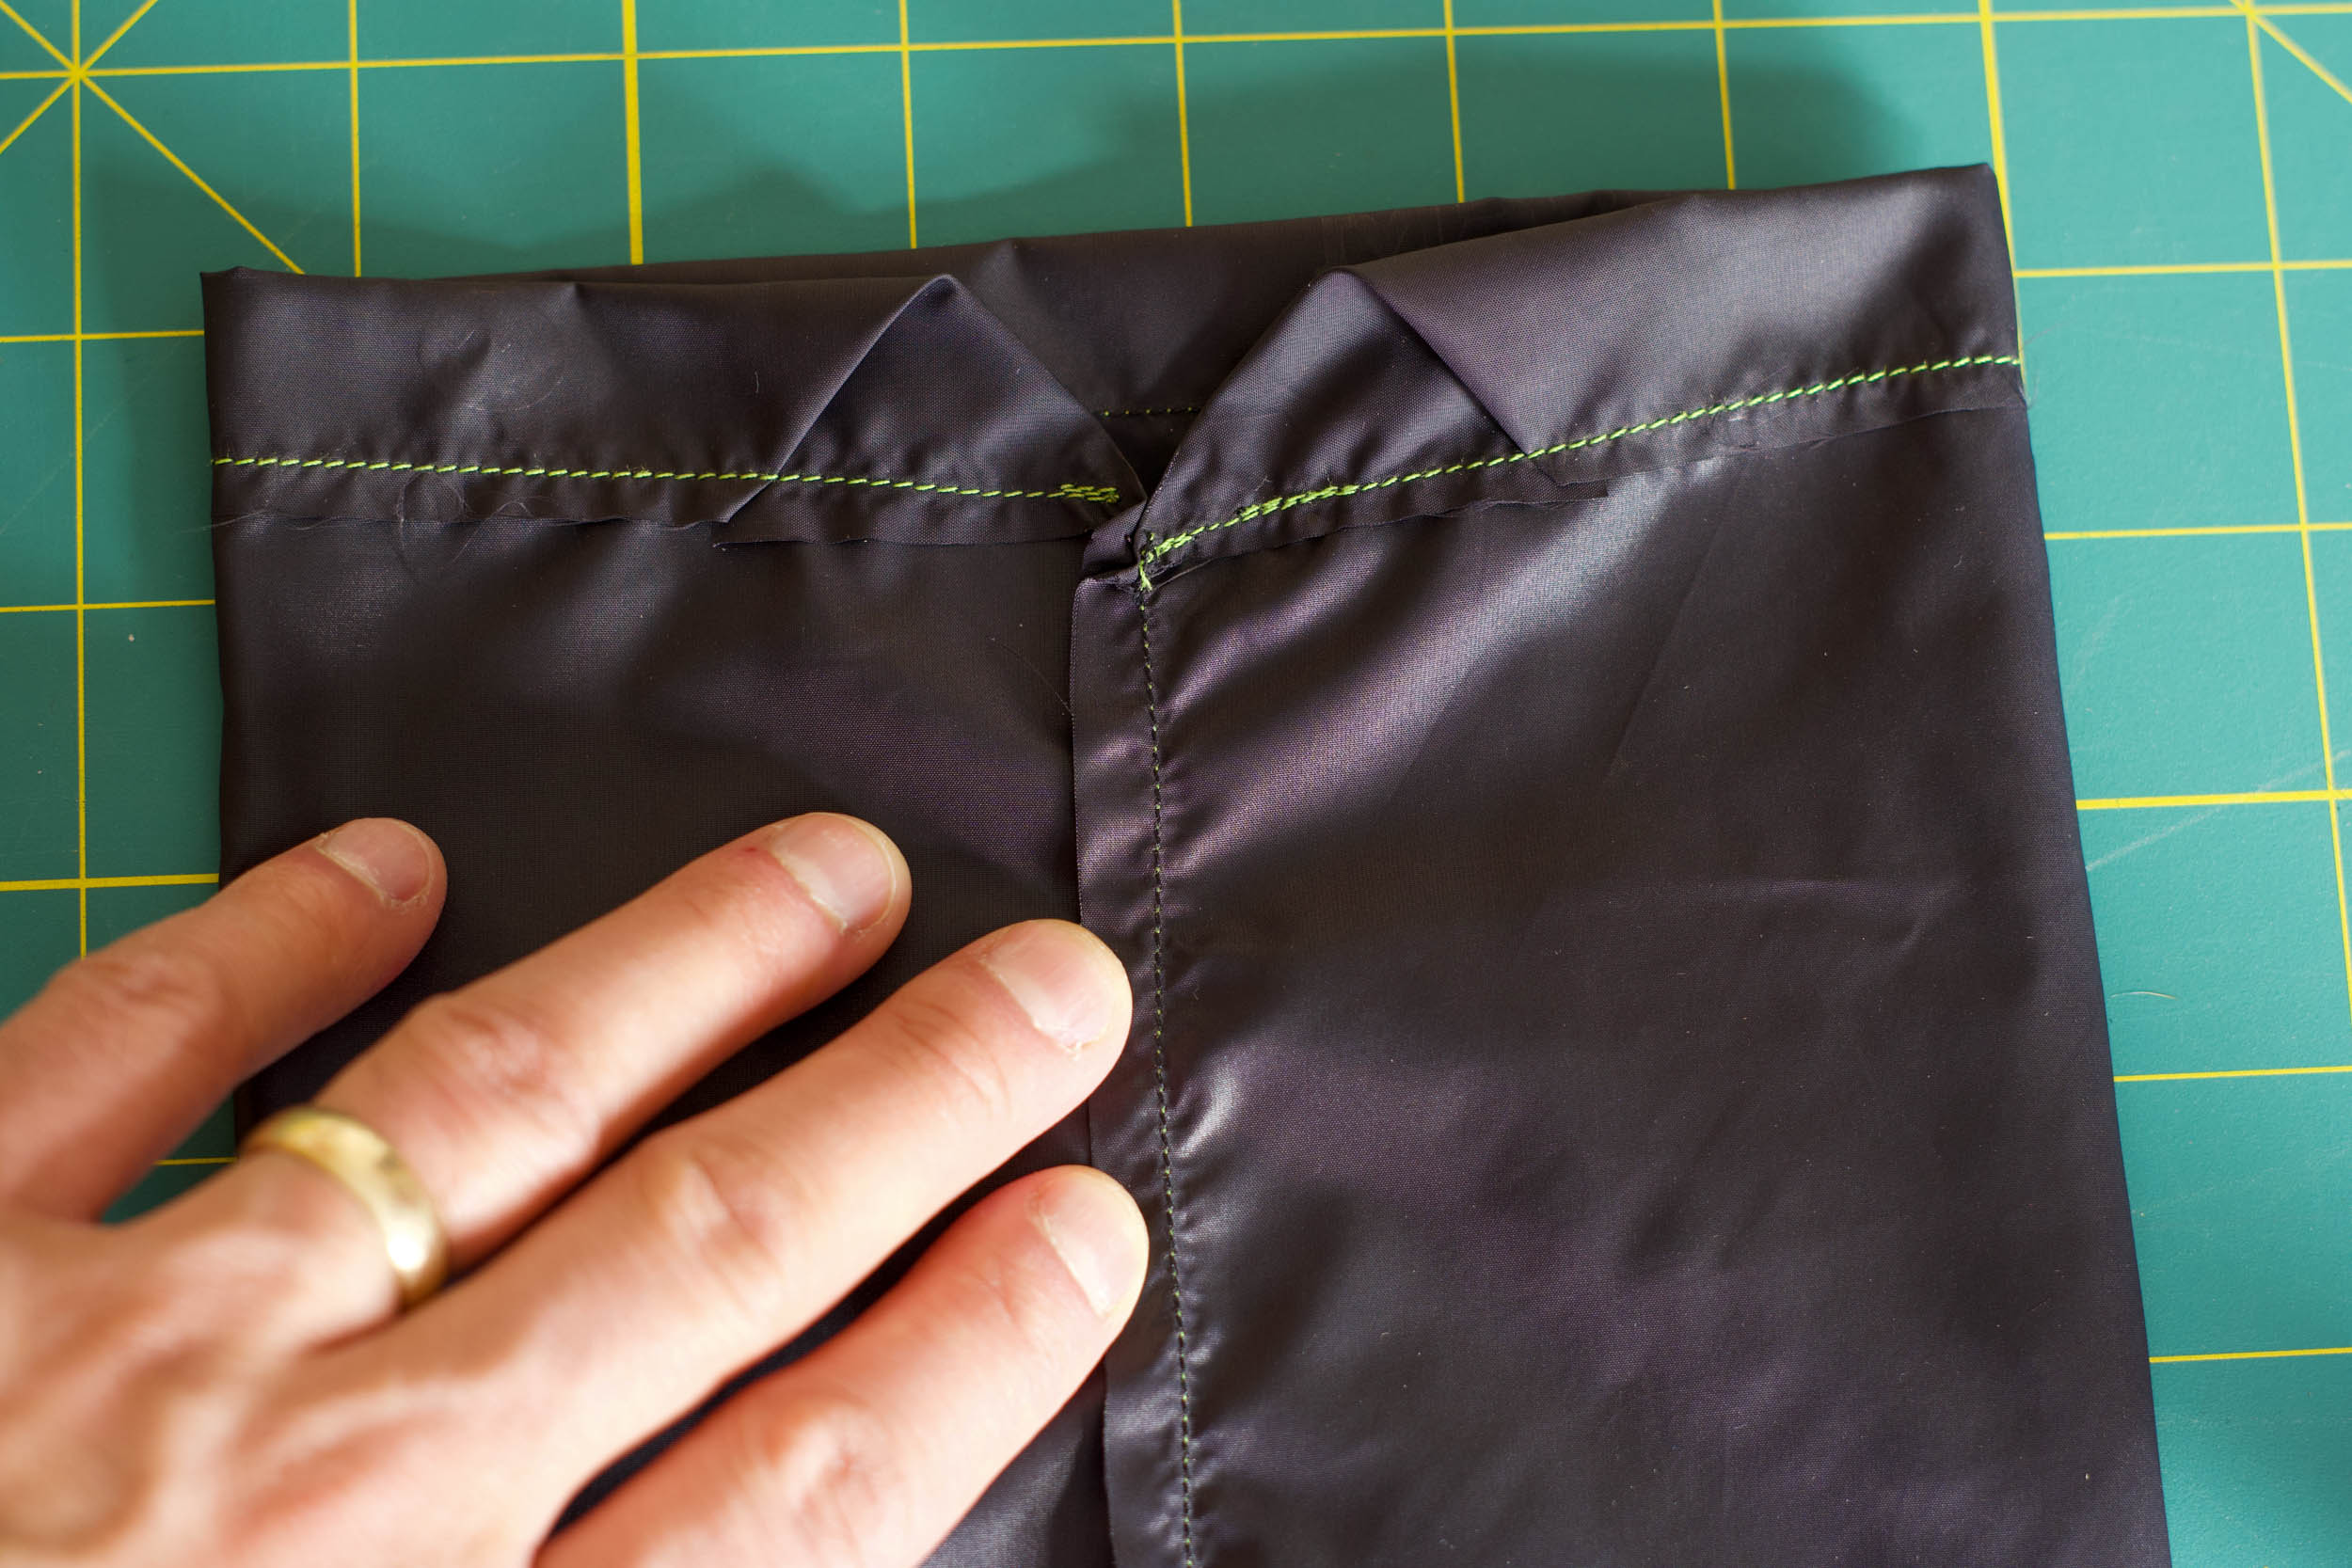
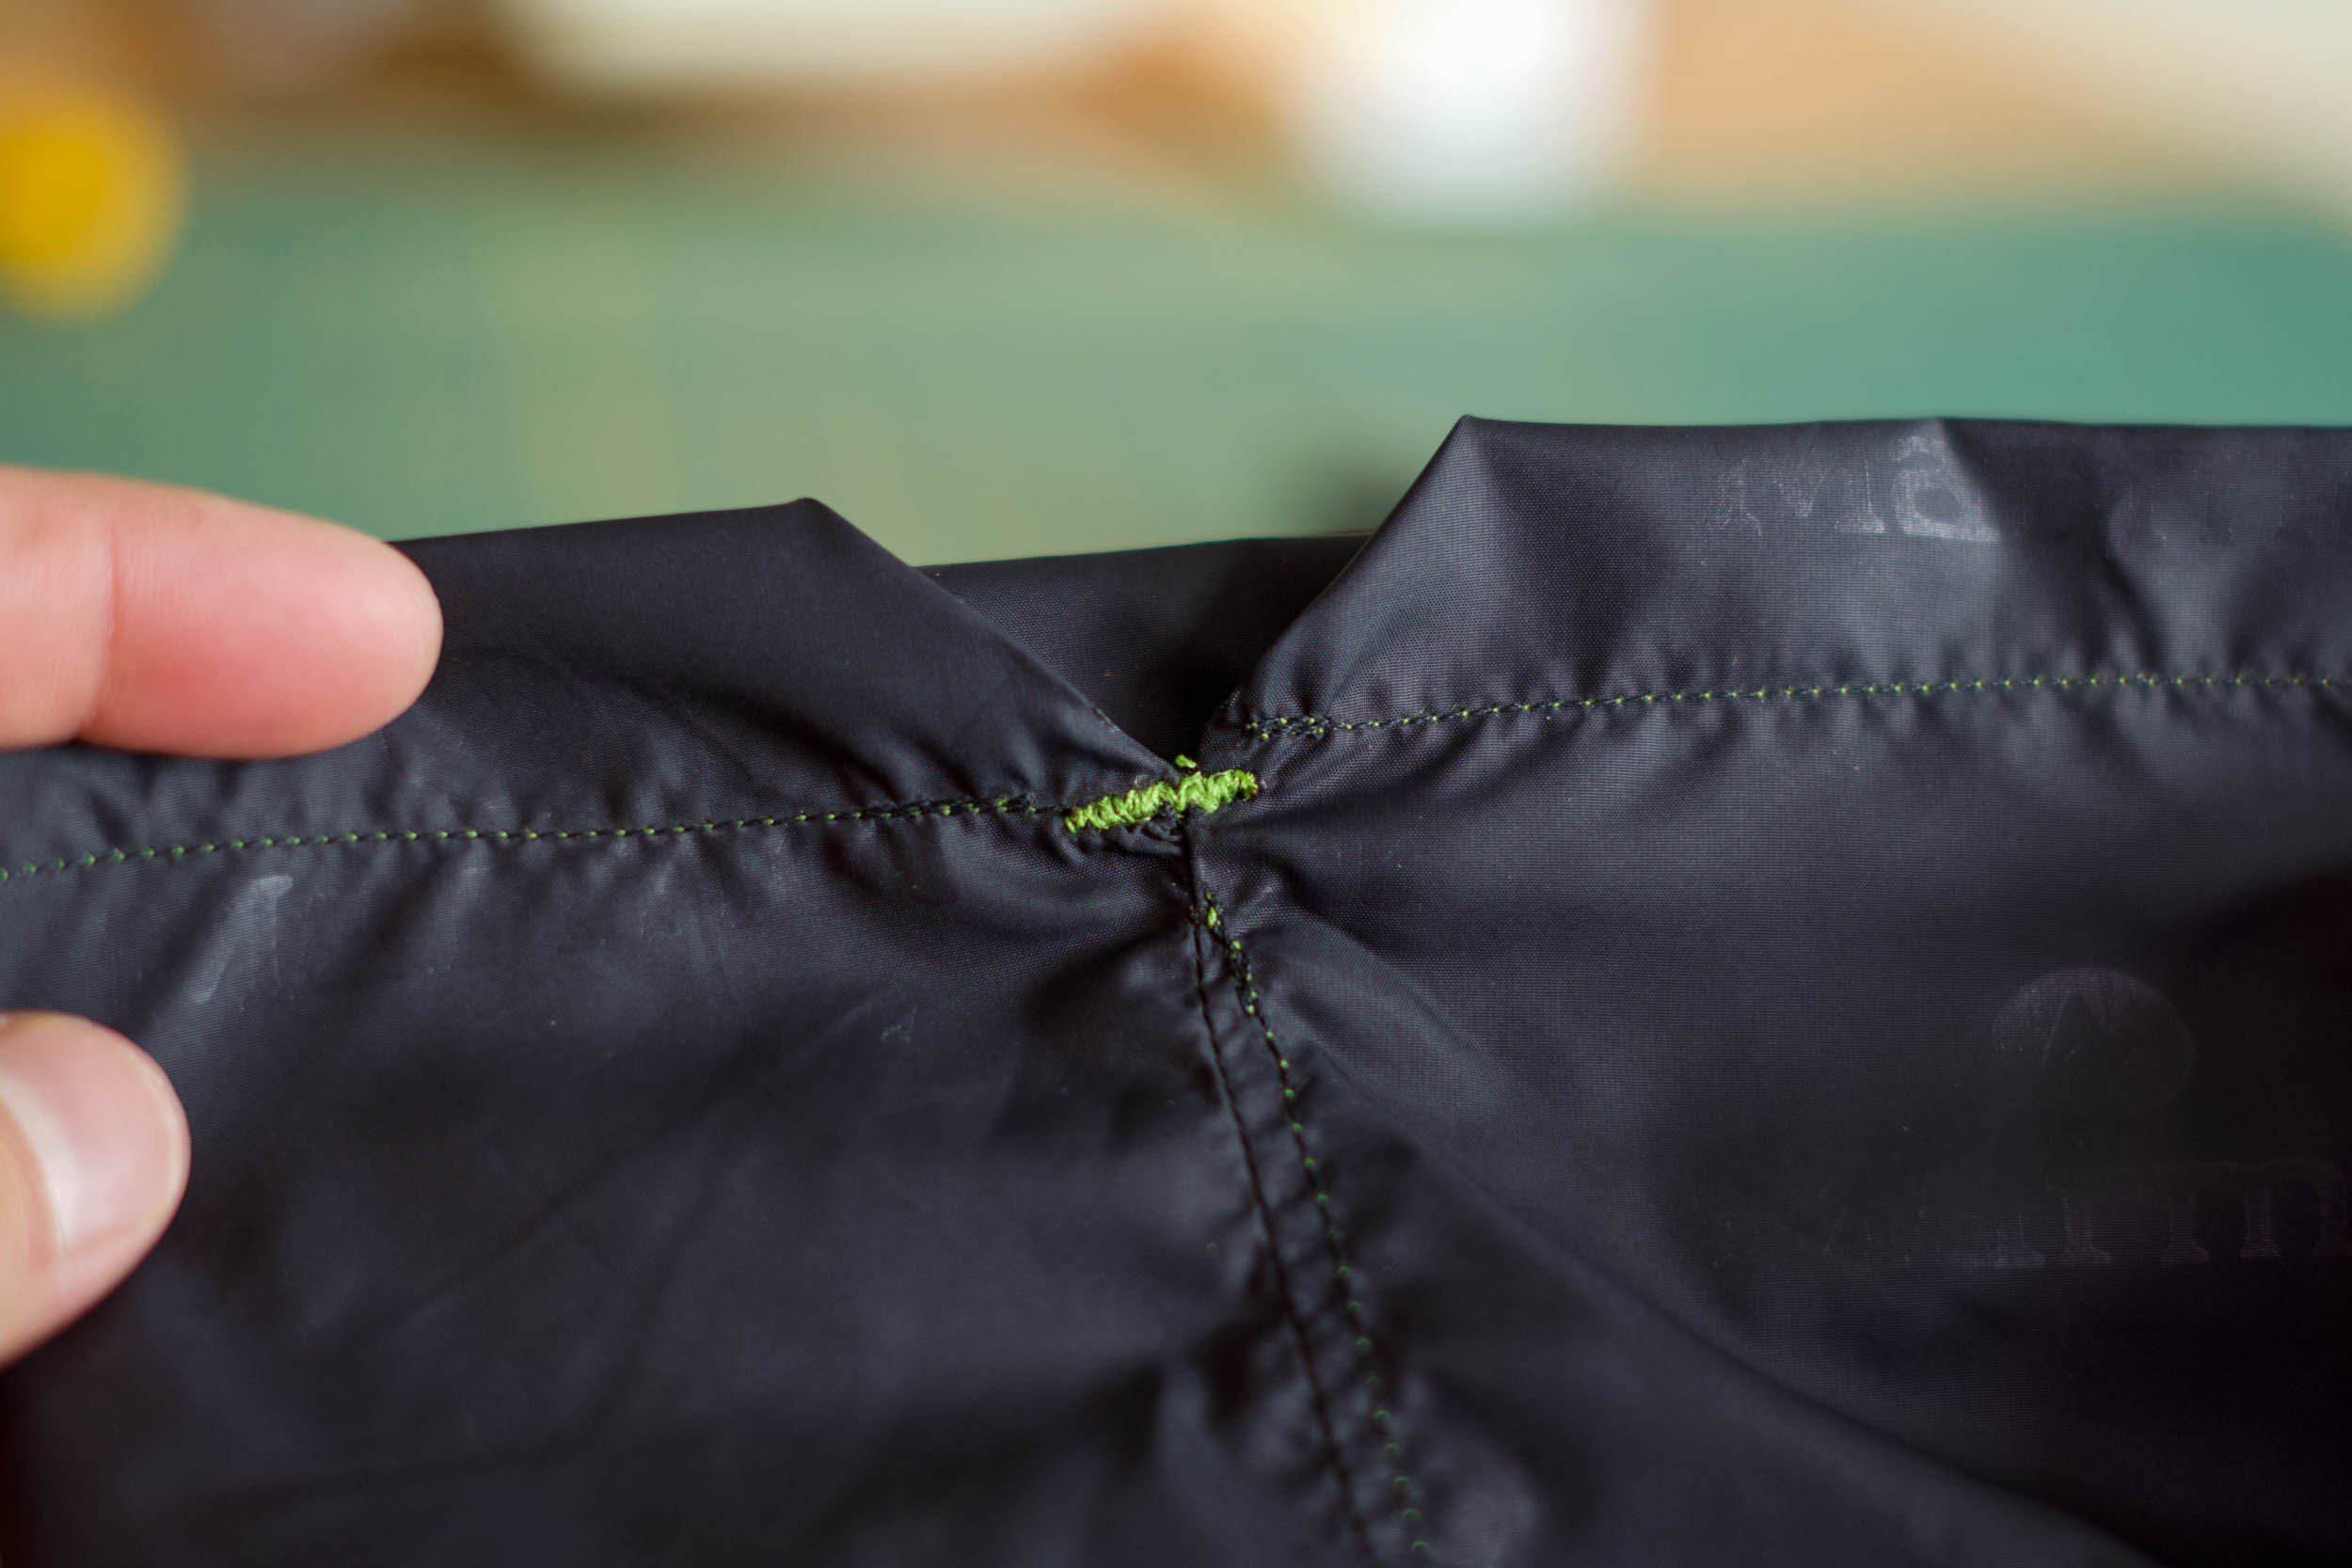
For the last part of this step, turn the bag right side in. Set your machine to a zig-zag stitch and go back and forth a few times at the top of the bag where the opening forms a “V” shape. This is a stress point in the bag and doing this will reinforce this section so the edge doesn’t come undone when you open and close the bag over time.
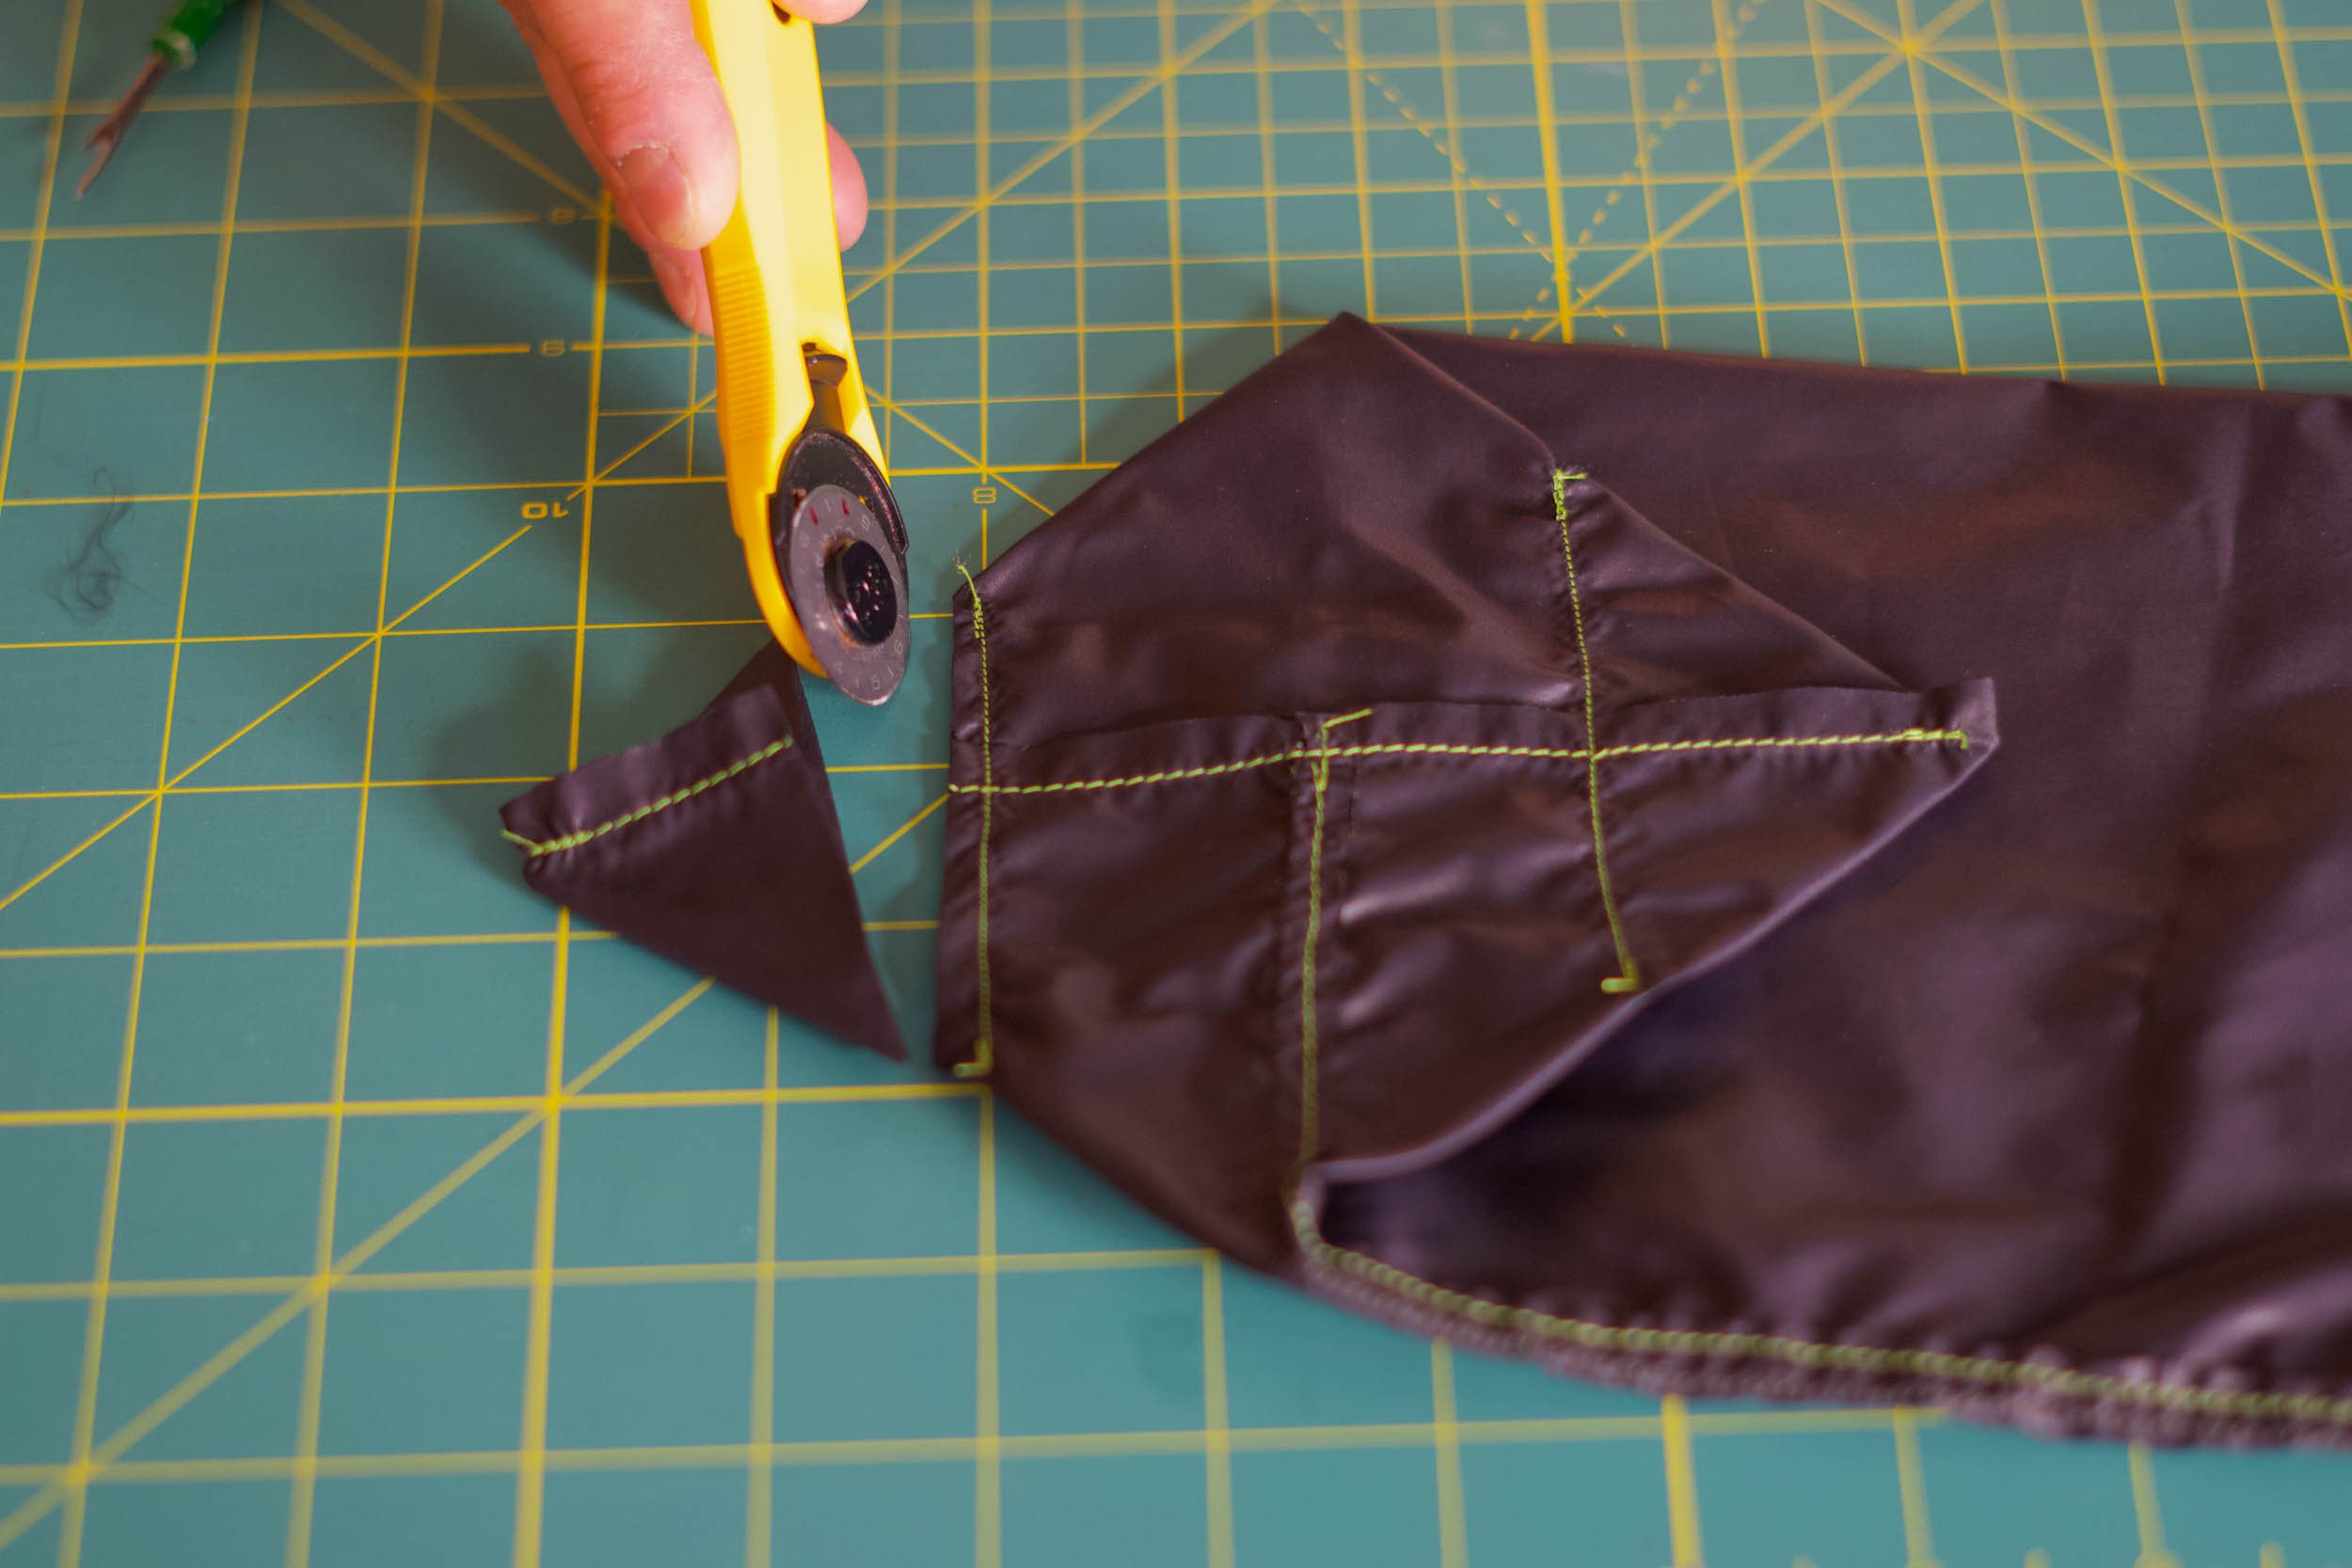
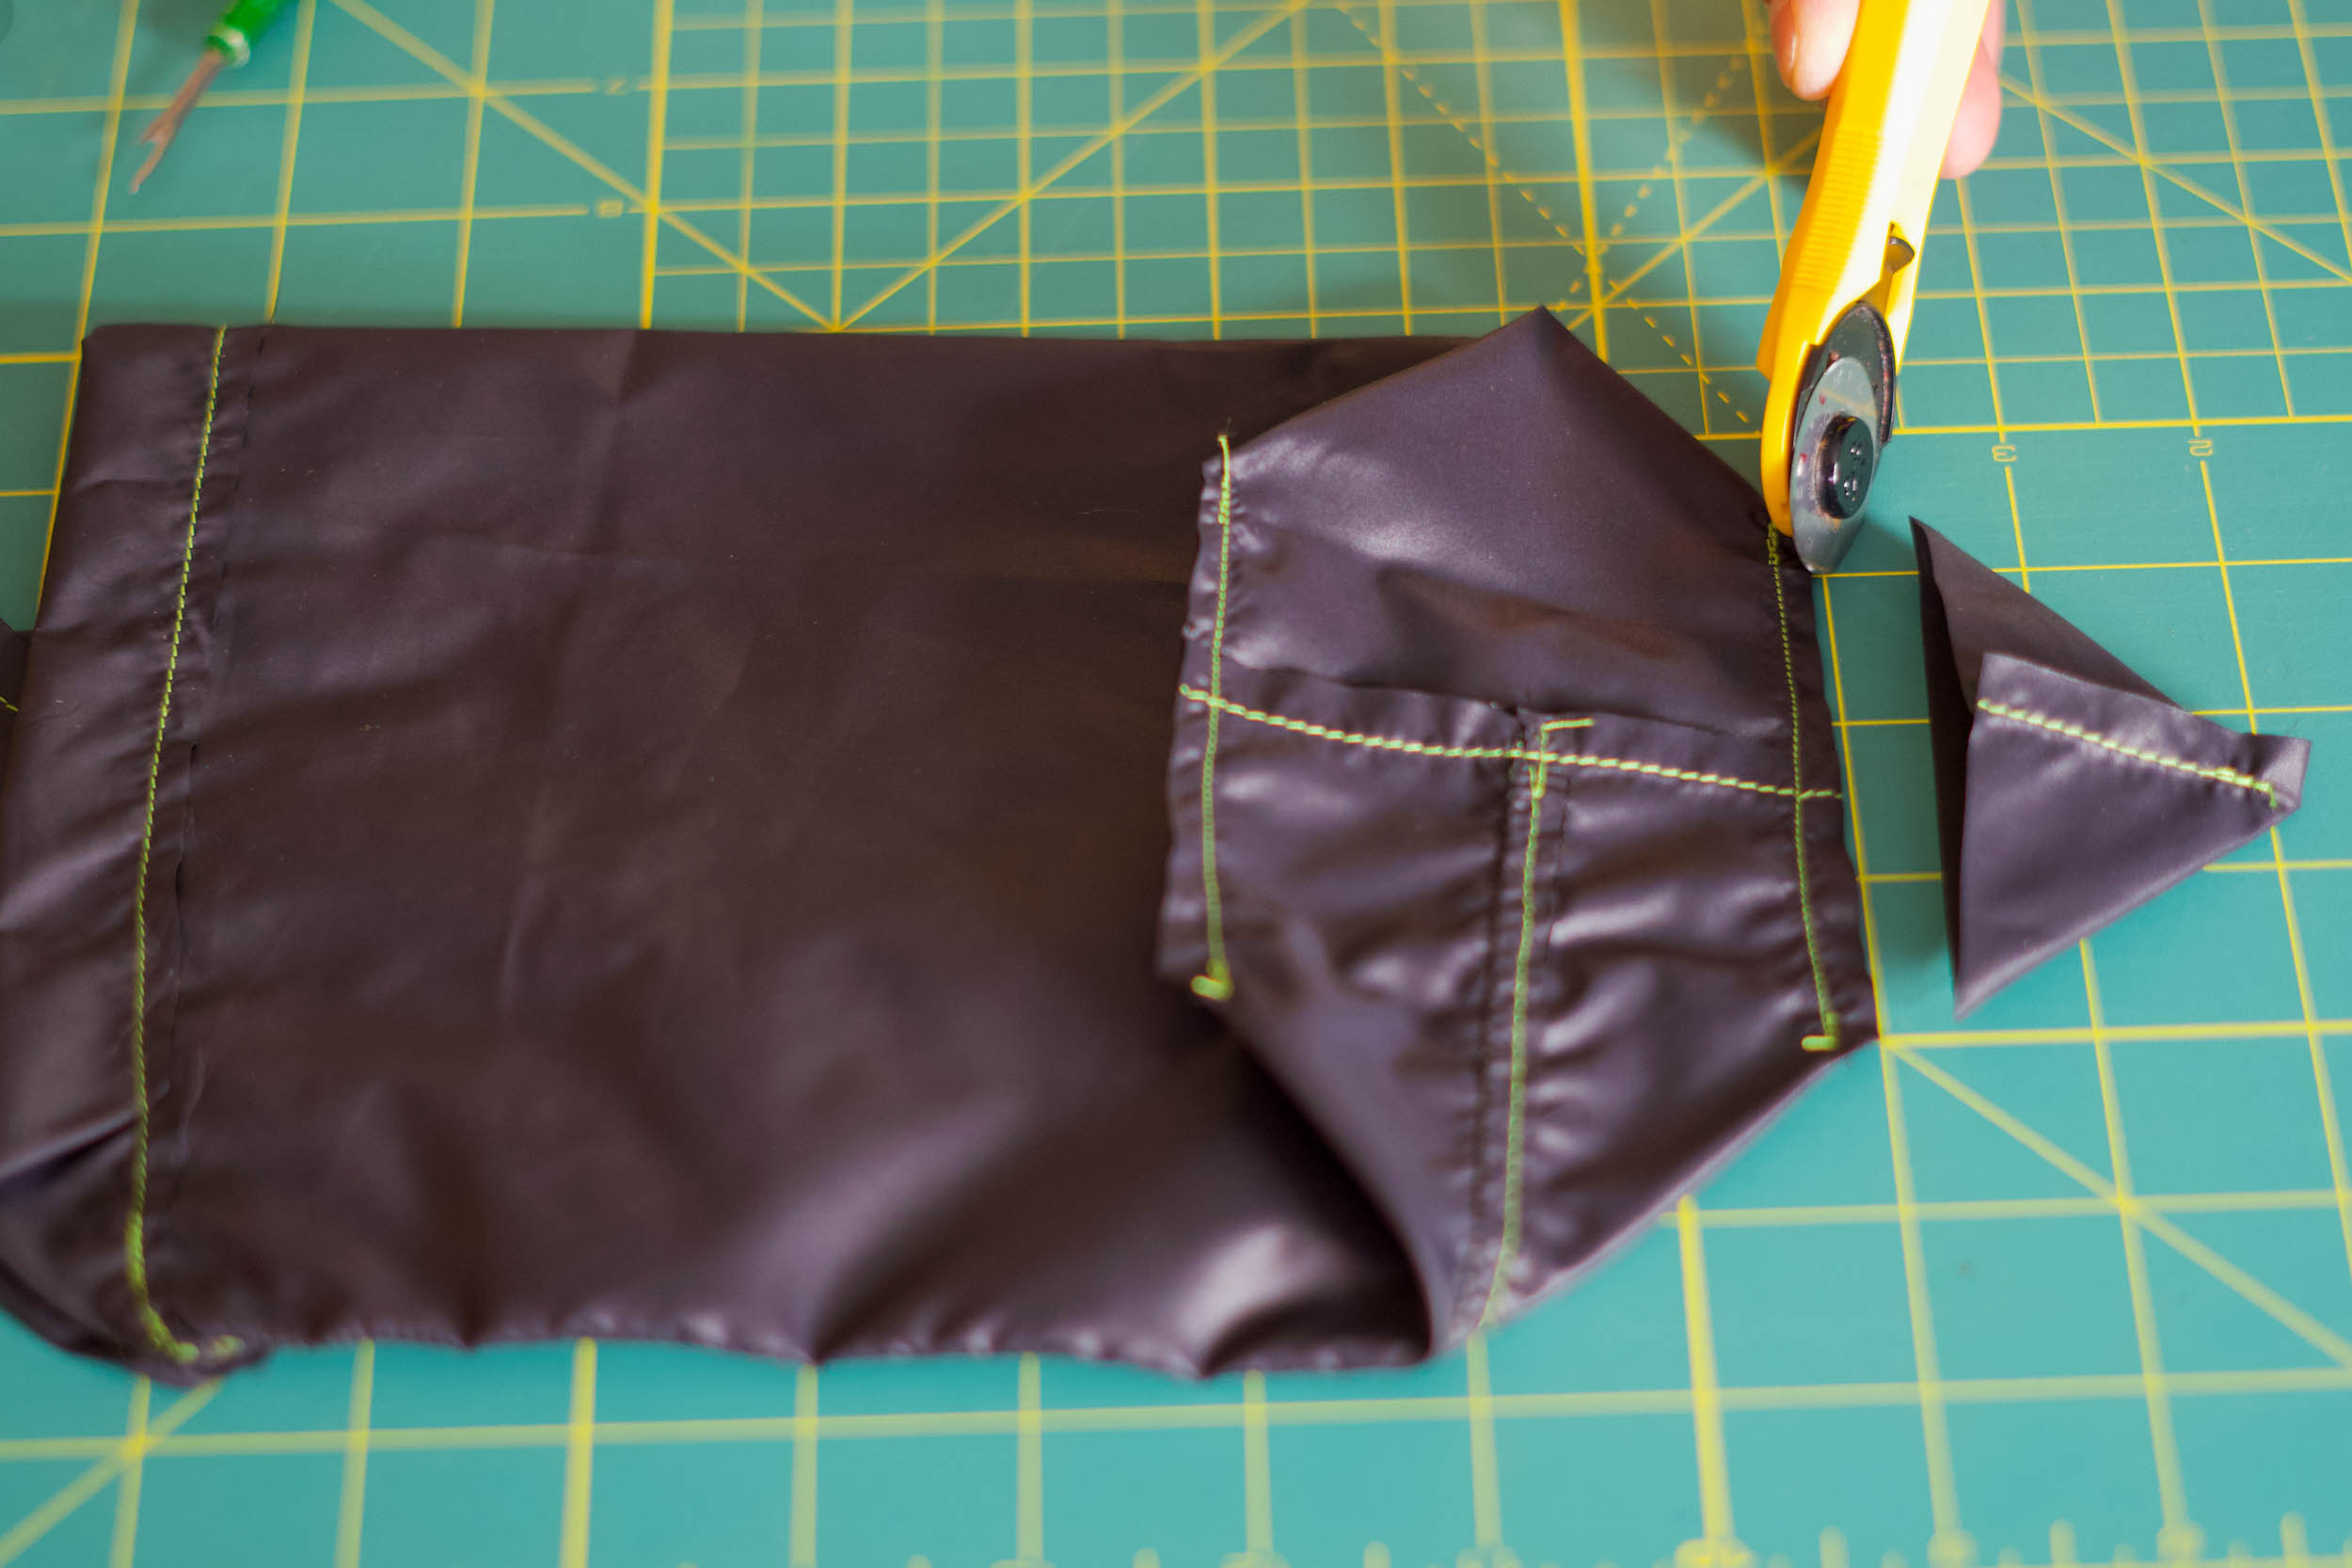
Step 4: Sew and cut the corners
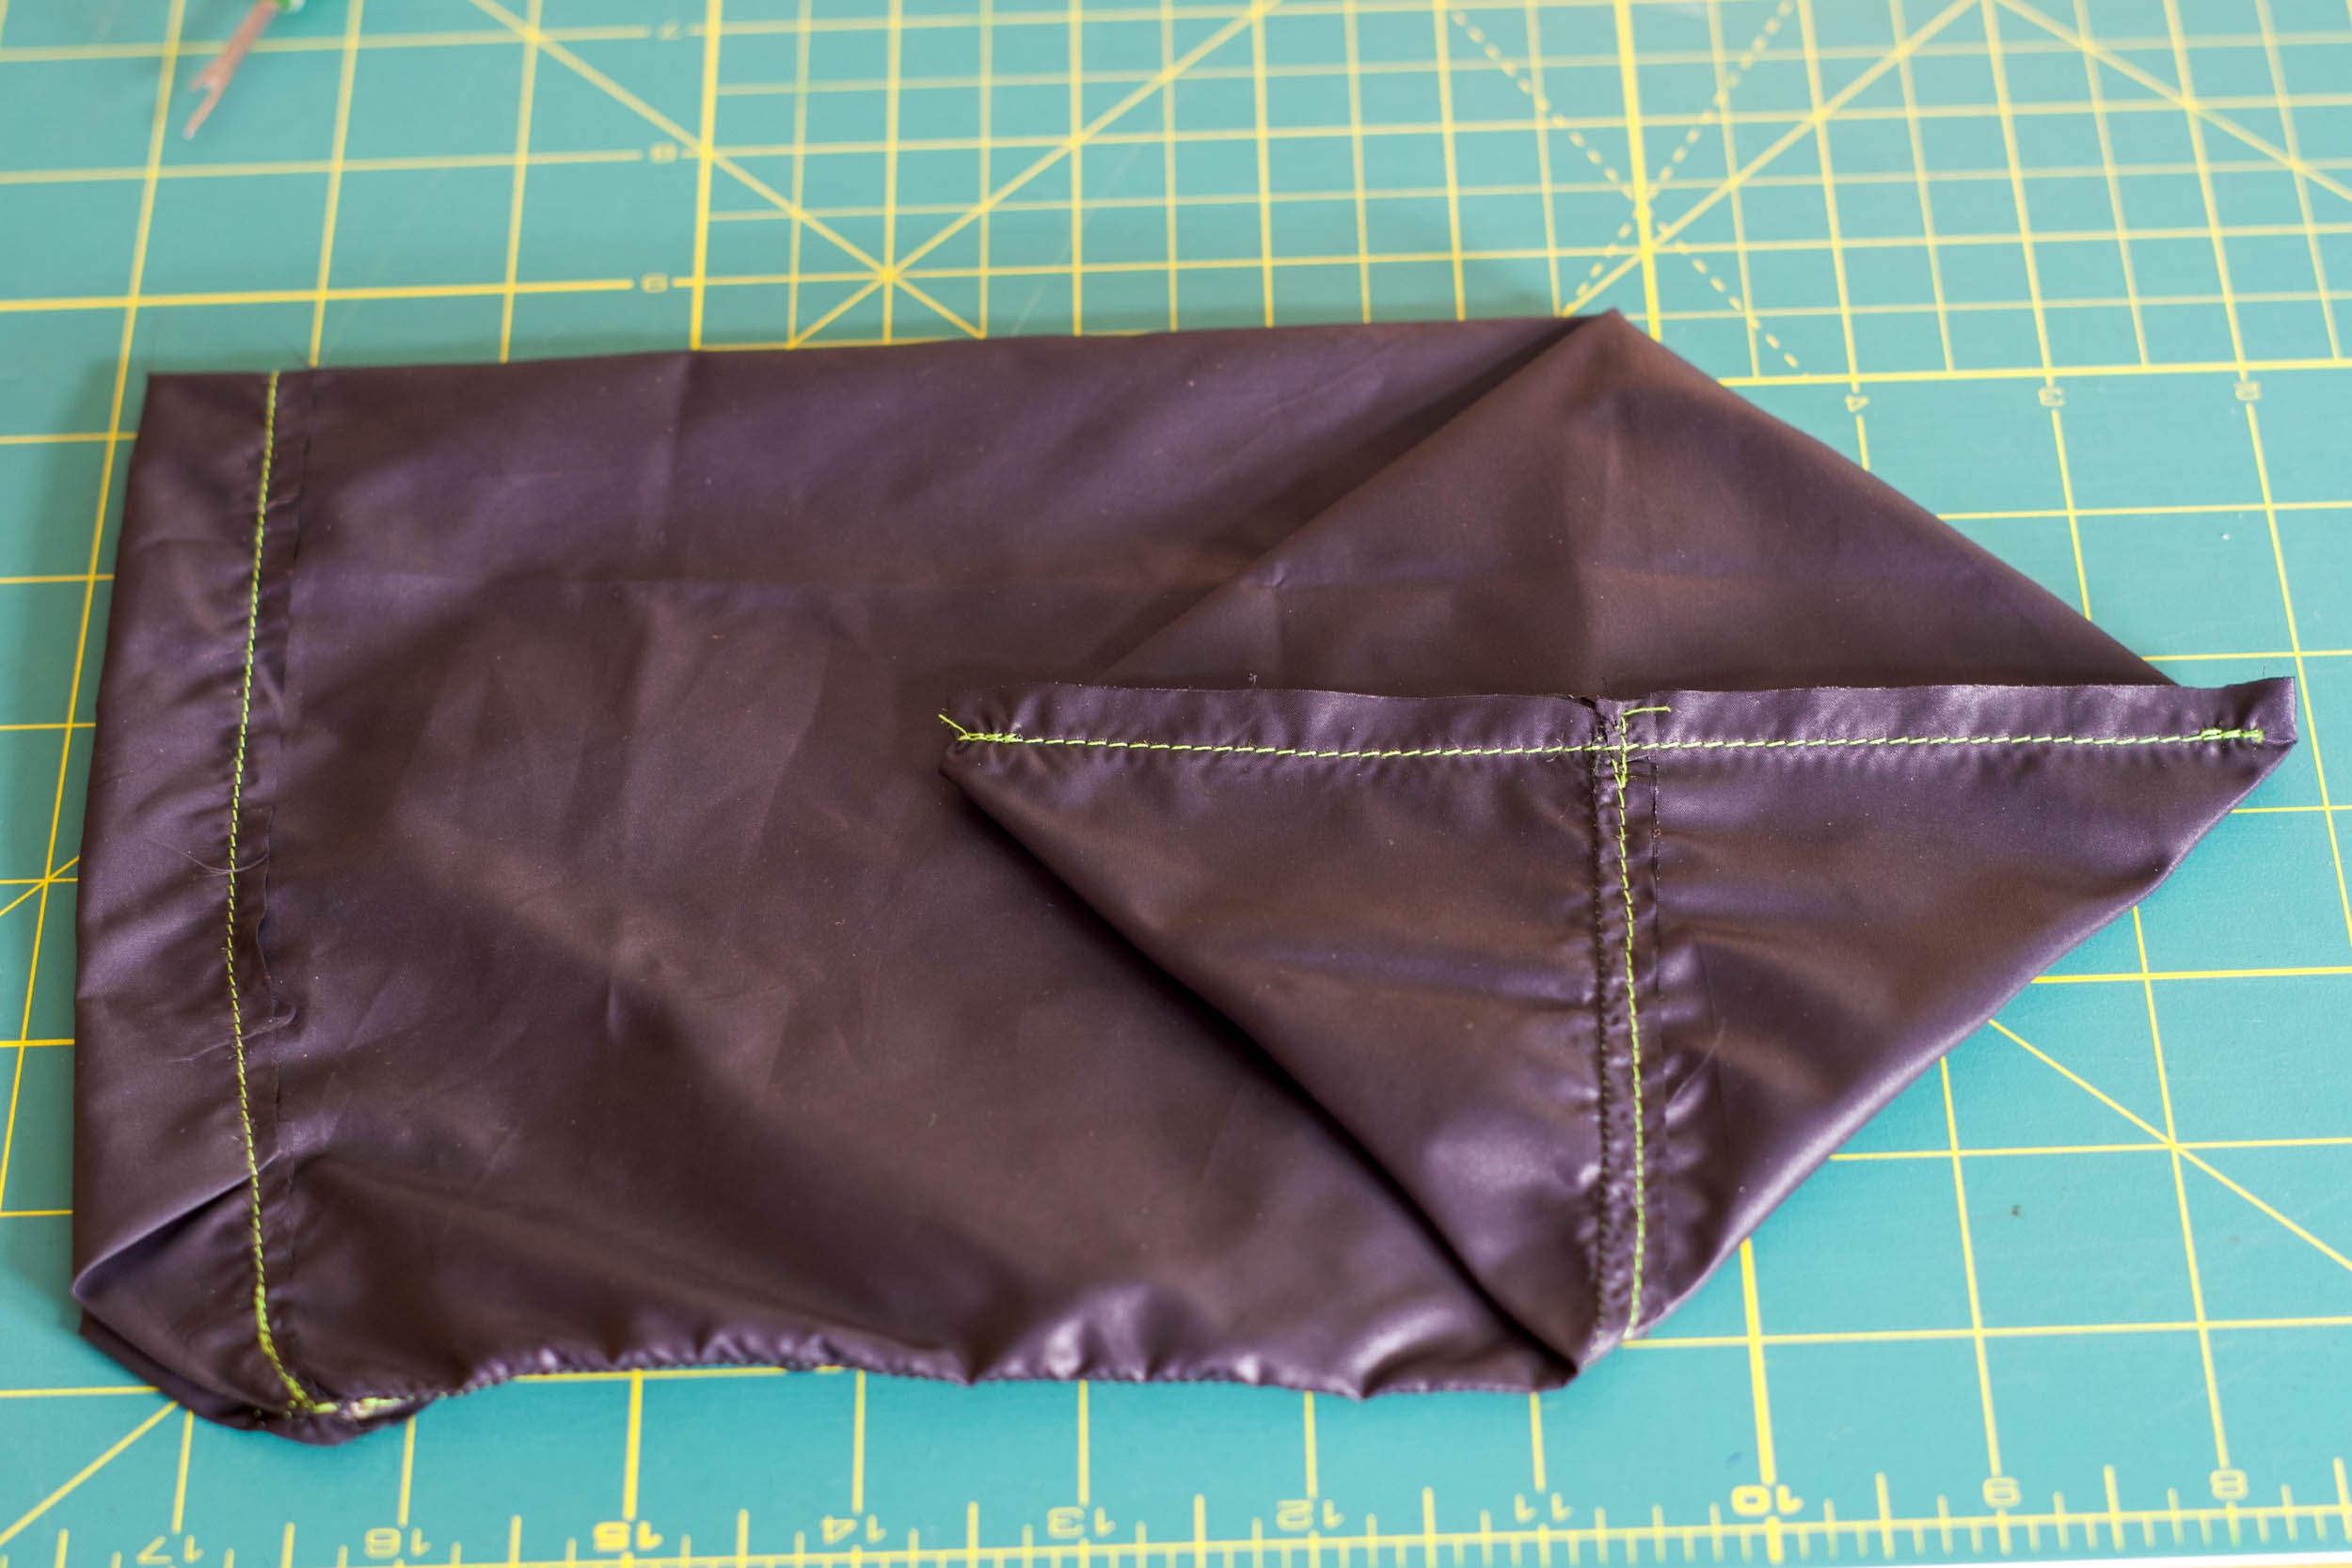
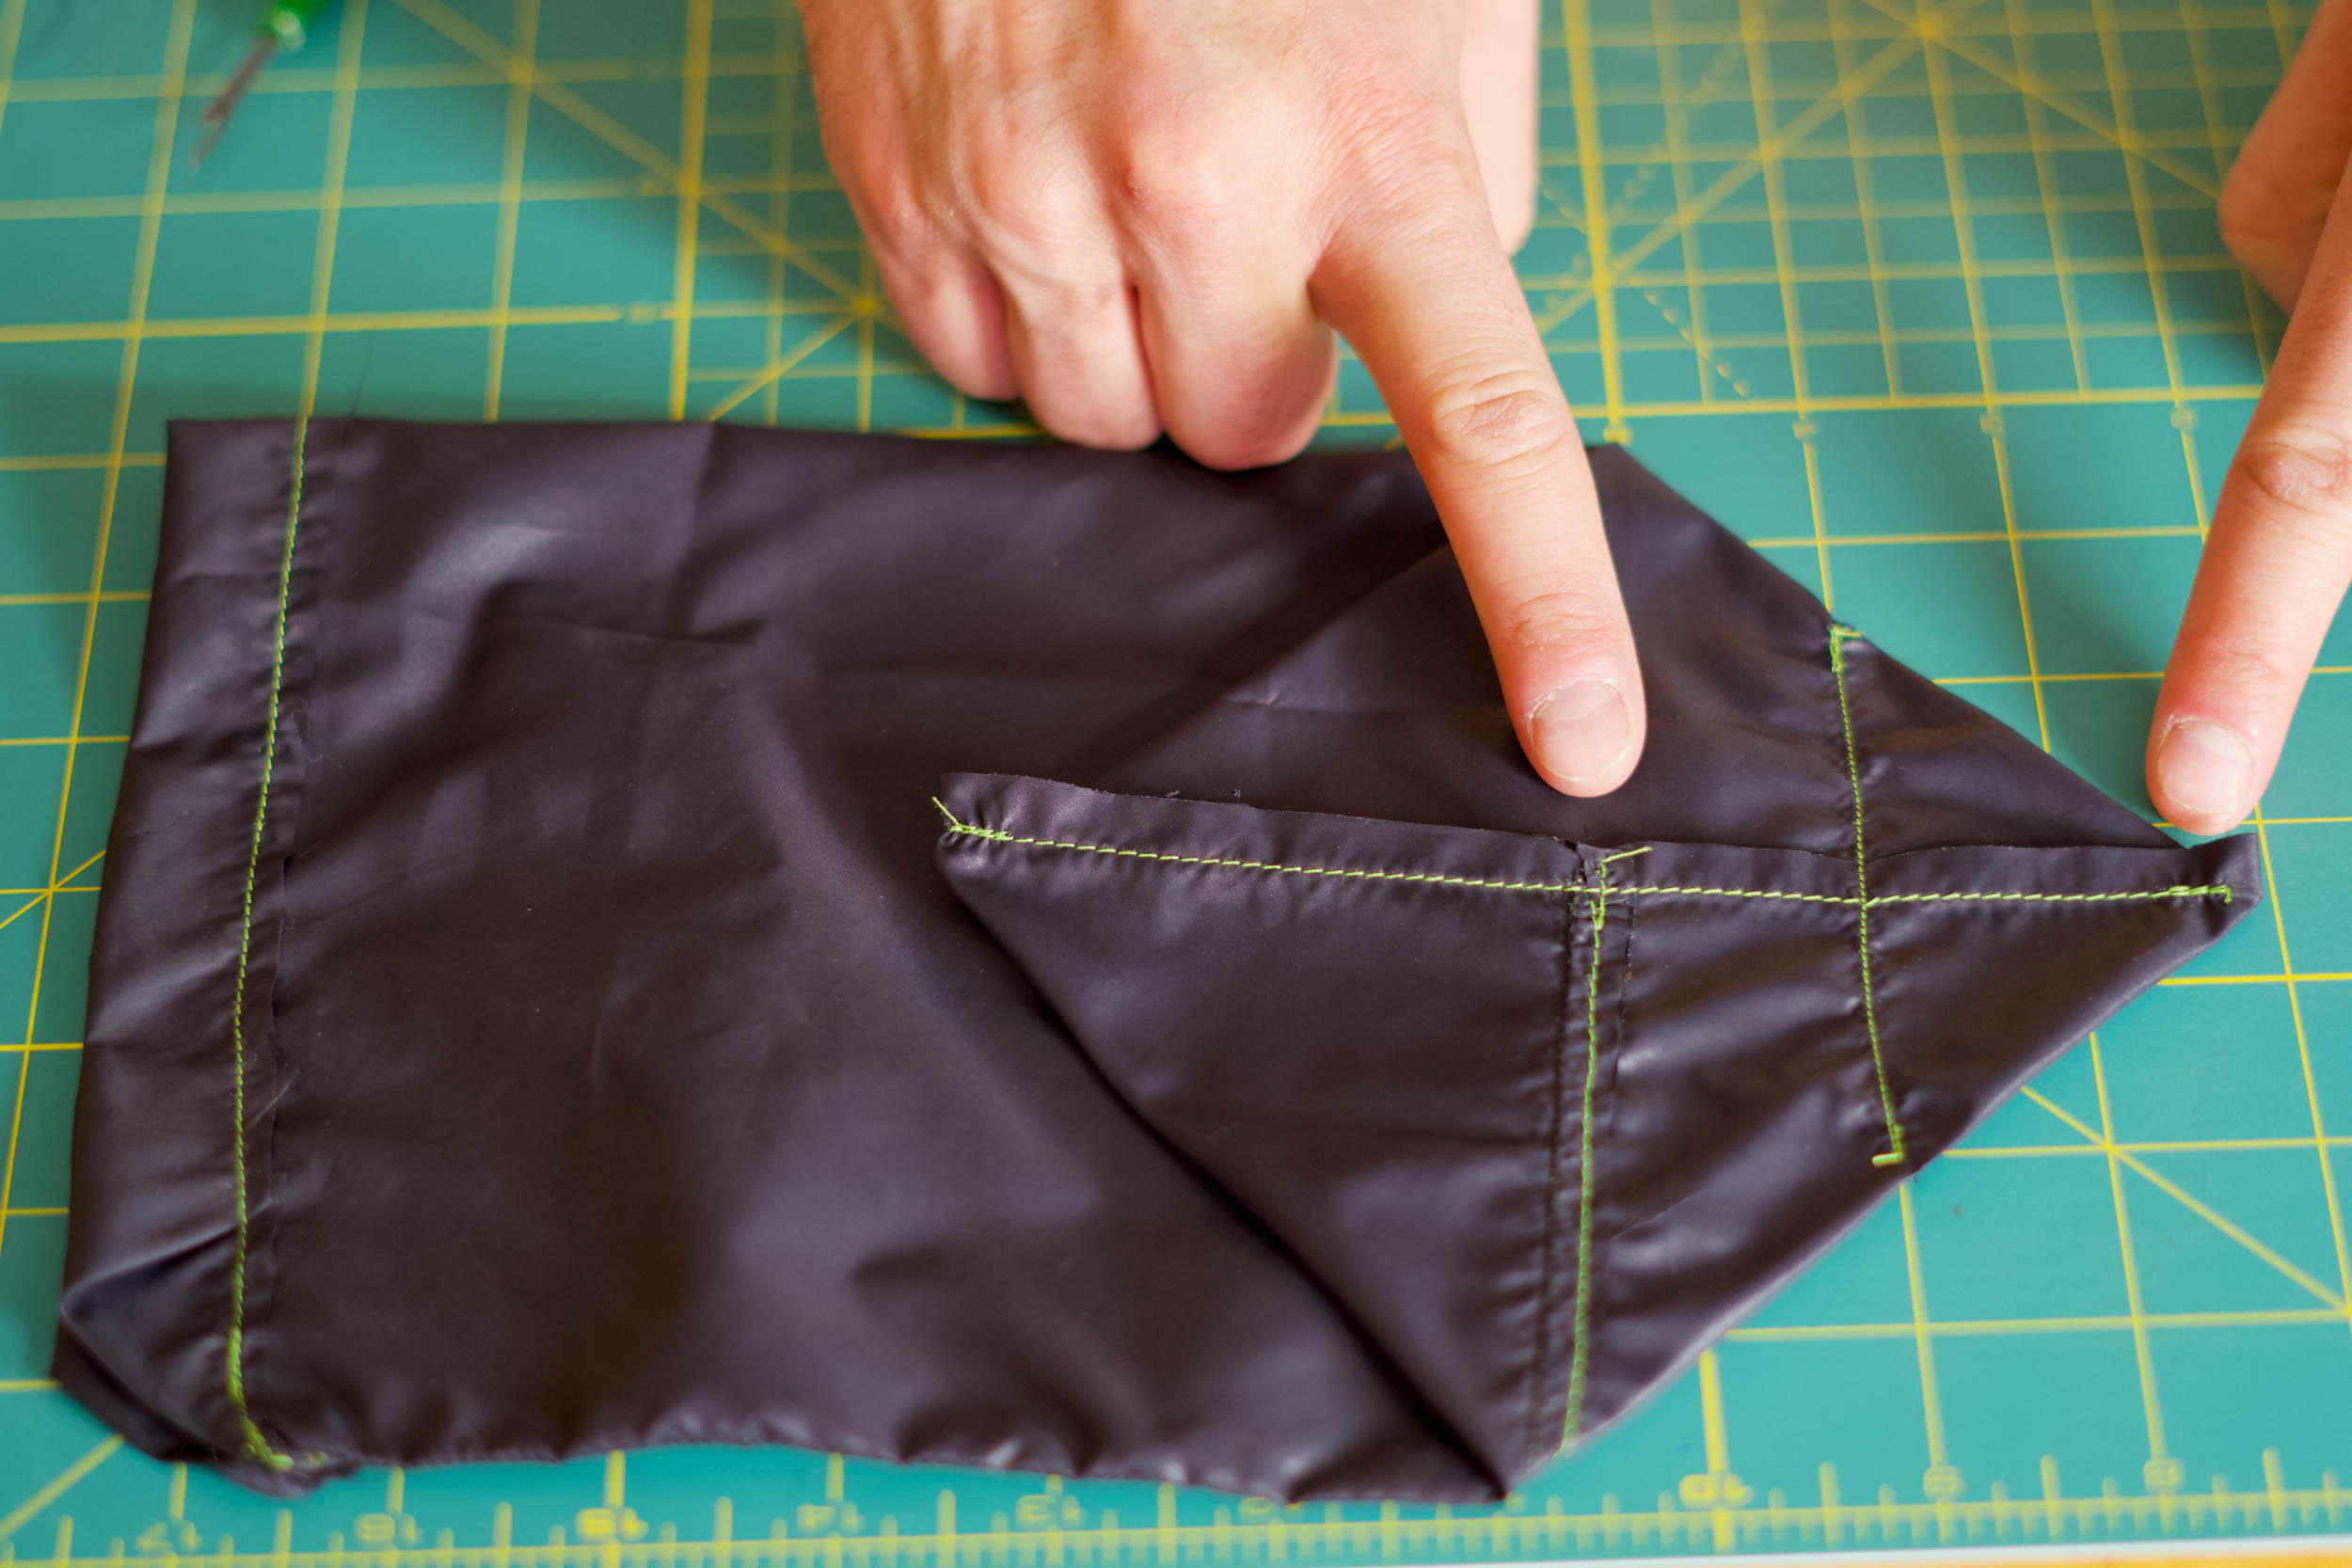
Fold the bag so the bottom makes a square like in the photo. Sew a seam that’s halfway between the midpoint of the bag bottom and the end of the pointed corner. Sew another seam that’s halfway between the midpoint of the bag bottom and the end of the other pointed corner. The bag now has boxed corners and you can cut off both triangles on the other side of the seams you just sewed.

Step 5: Finishing Touches
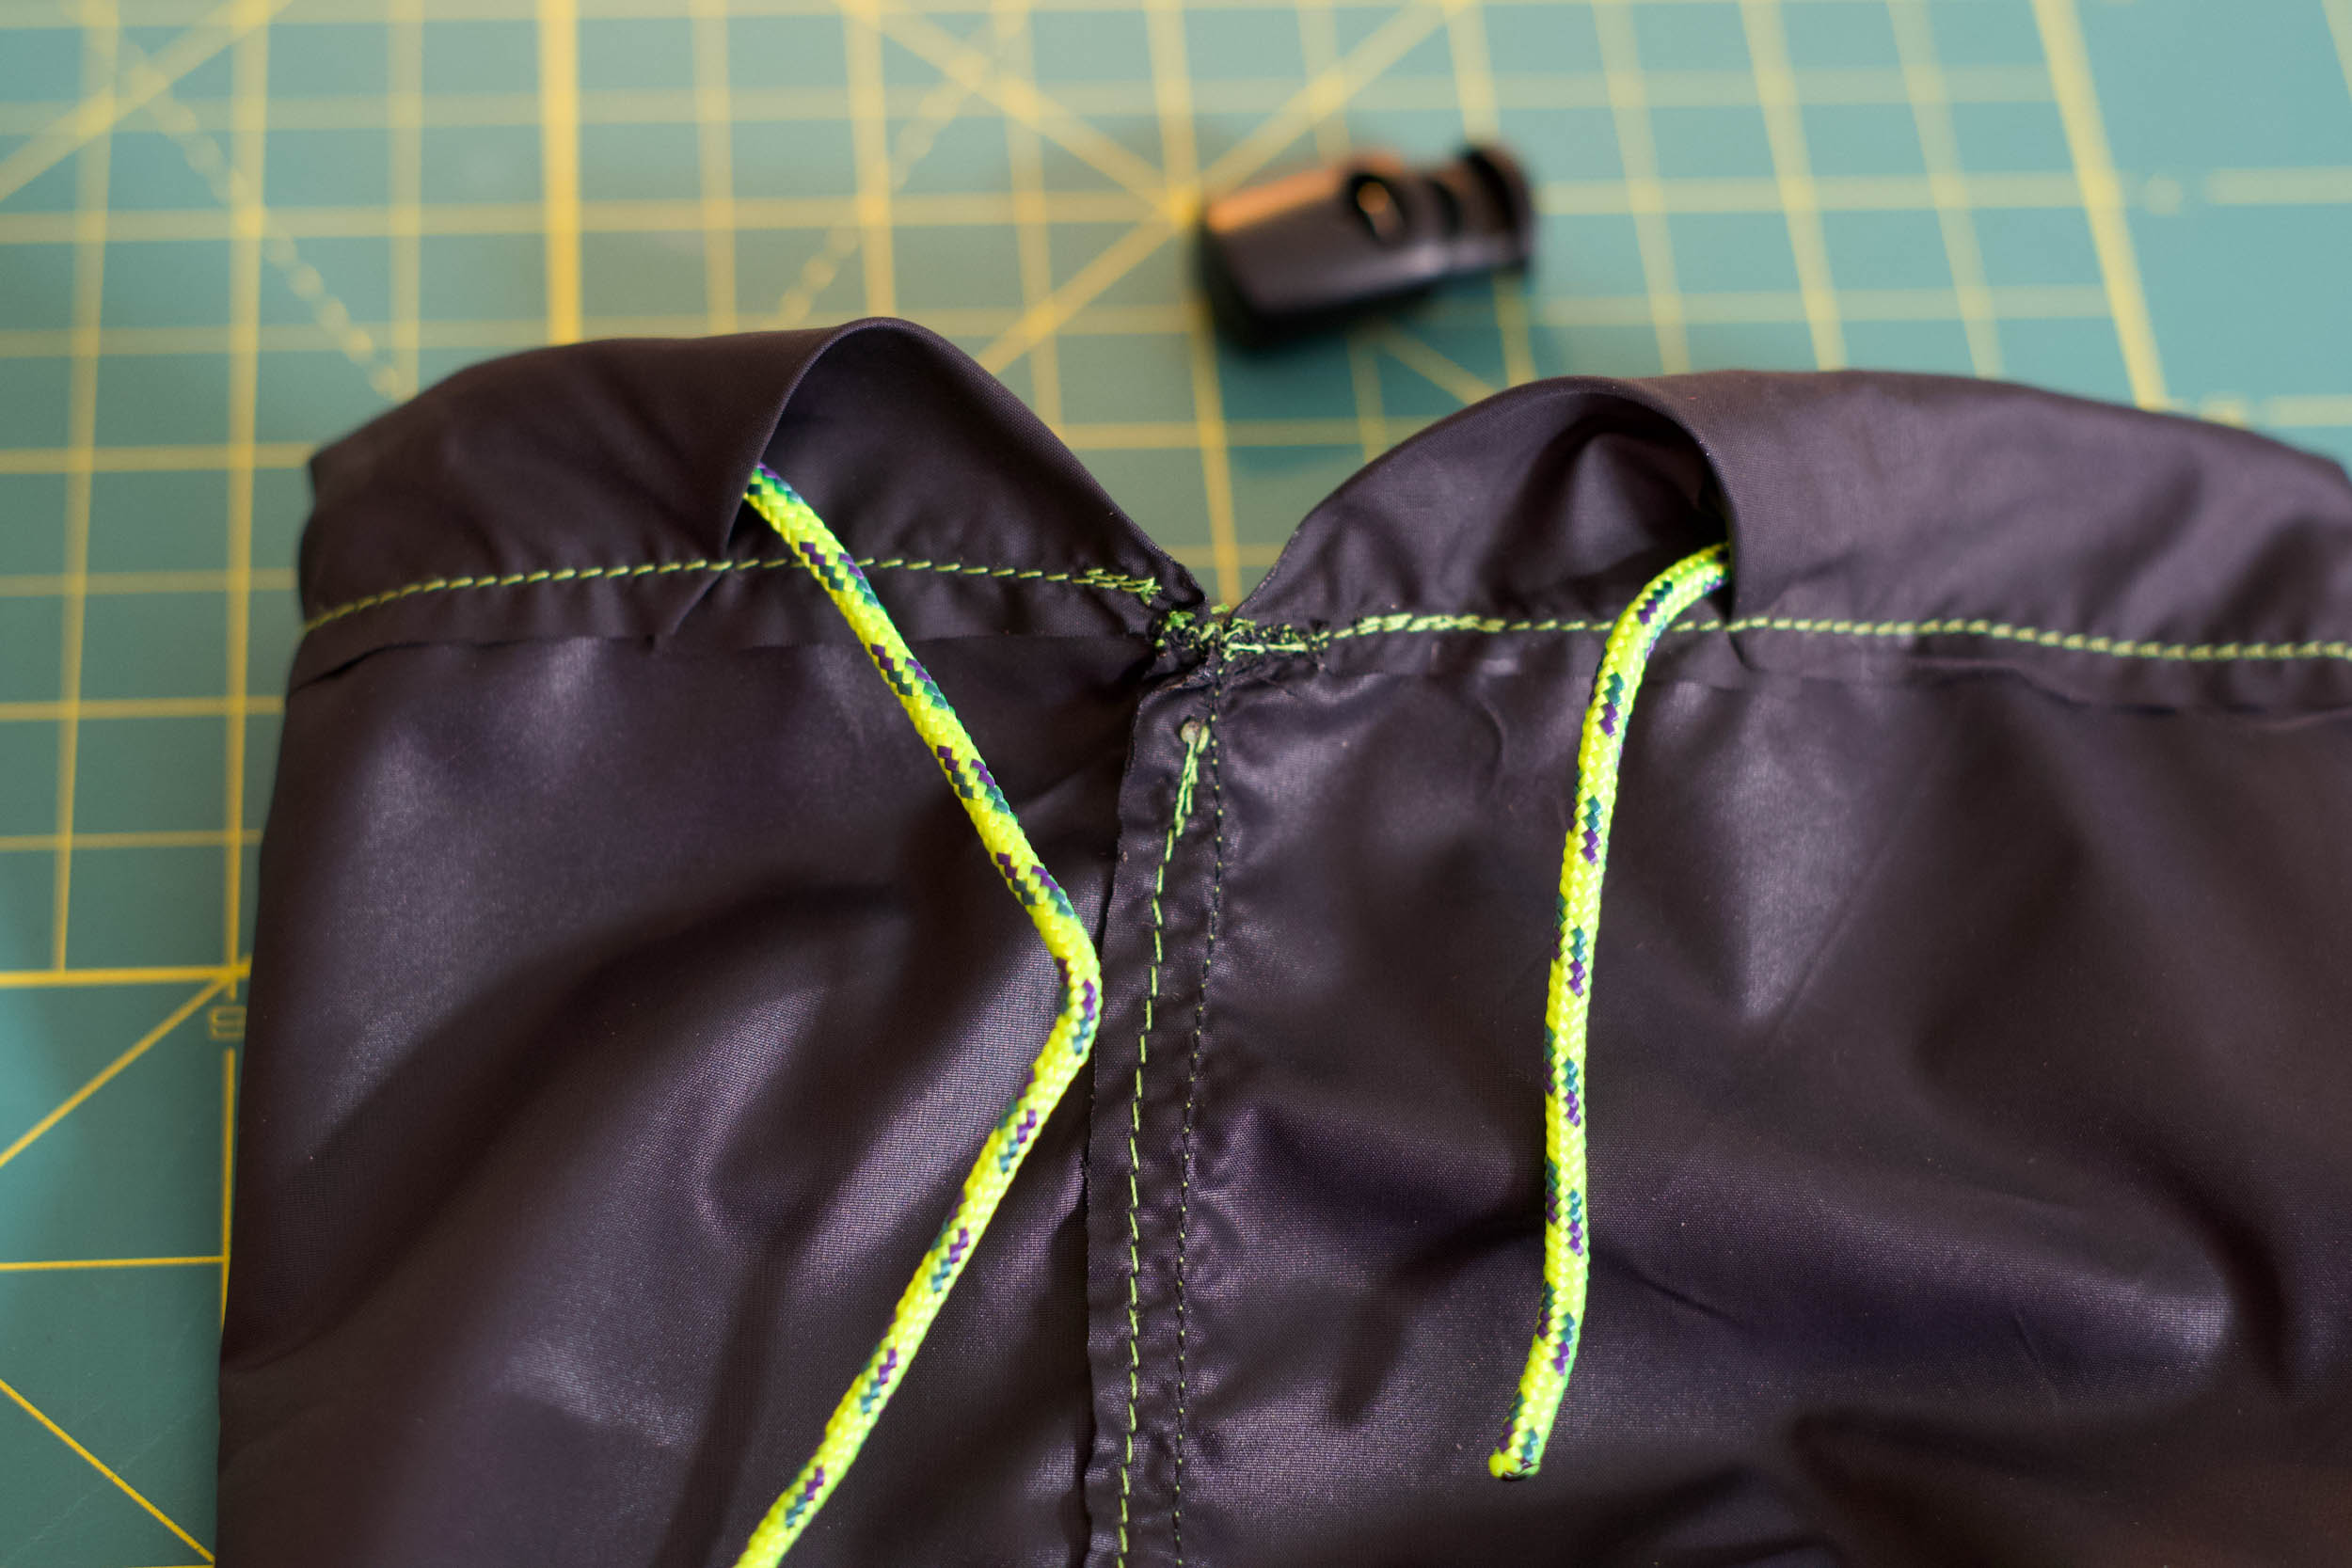
Turn the bag inside out. Melt the end of your paracord so it doesn’t fray and feed it through the upper section of the bag. When the paracord is all the way through, cut it, melt the end, and feed it through the barrel cord lock. Knot the ends of the paracord.


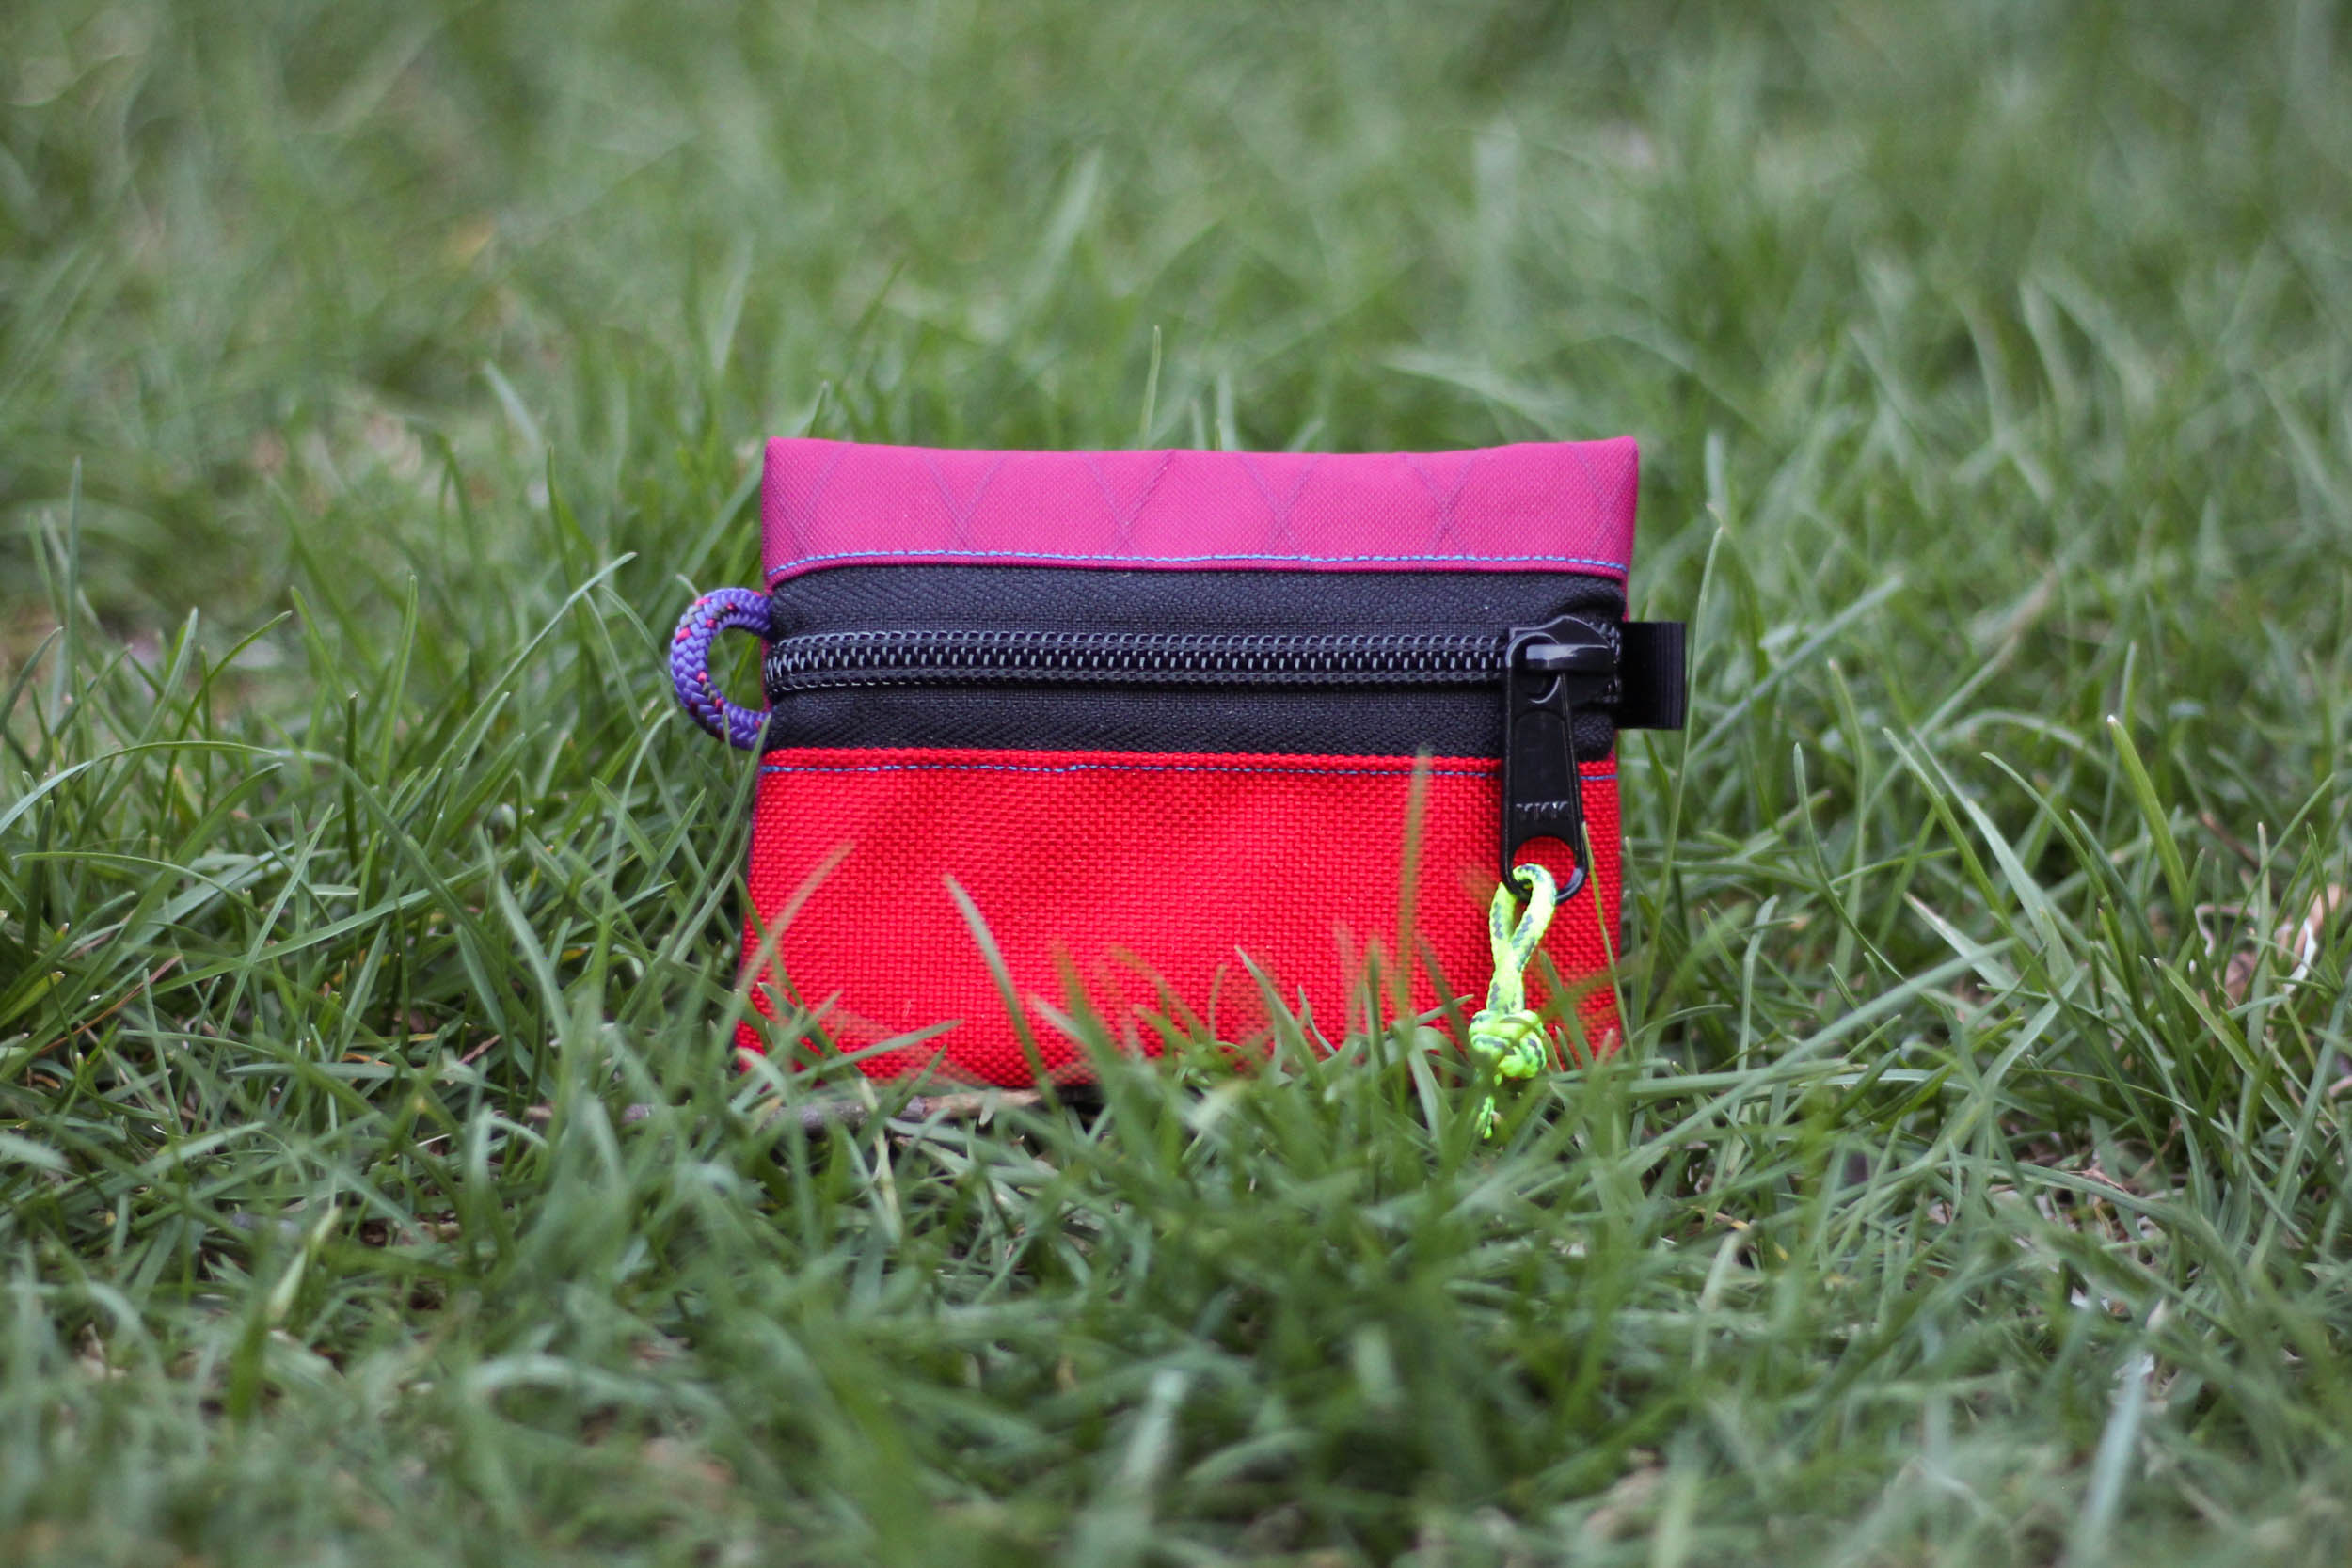
That’s it, your bag is done!
Related Content
Make sure to dig into these related articles for more info...

Please keep the conversation civil, constructive, and inclusive, or your comment will be removed.
We're independent
and member-supported.
Join the Bikepacking Collective to make our work possible:


