


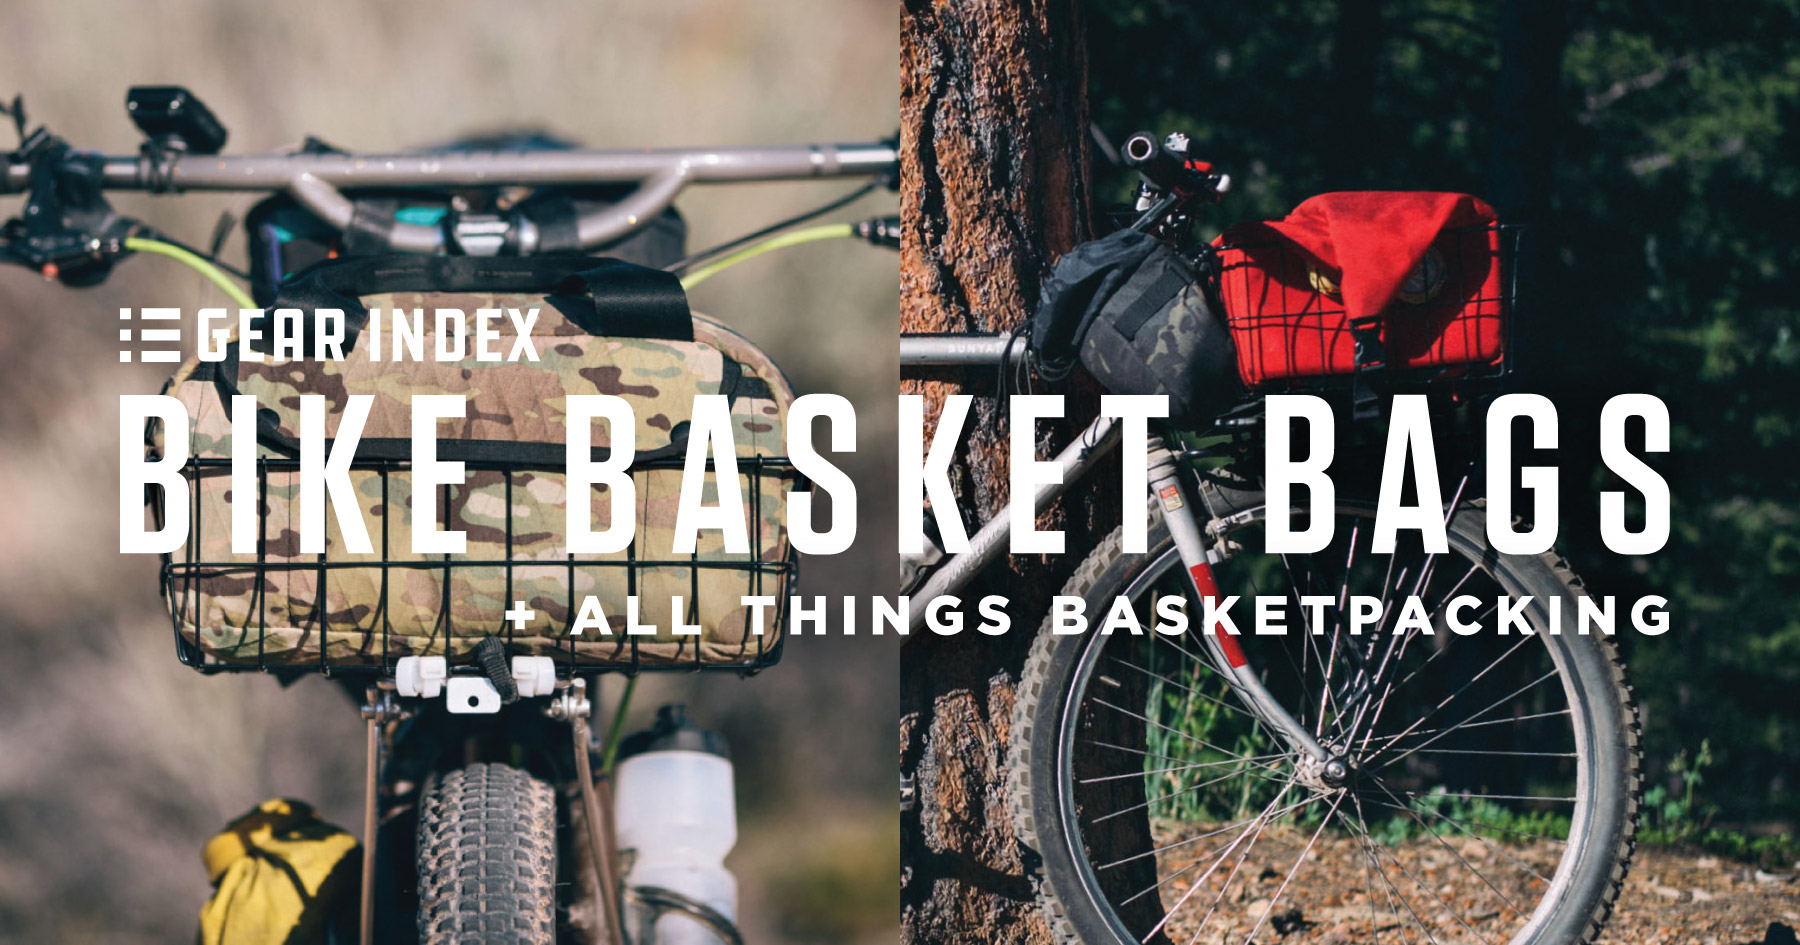
Make Your Own Wald Basket Bag


After being bitten by the basketpacking bug last year, Logan set out to make a bag and pattern for the venerable Wald 137 wire basket. In this MYOBG tutorial, he walks through how to make your own Wald basket bag with a step-by-step process, a bunch of detailed photos, and some reasons to consider making one of your own…
PUBLISHED Feb 13, 2025
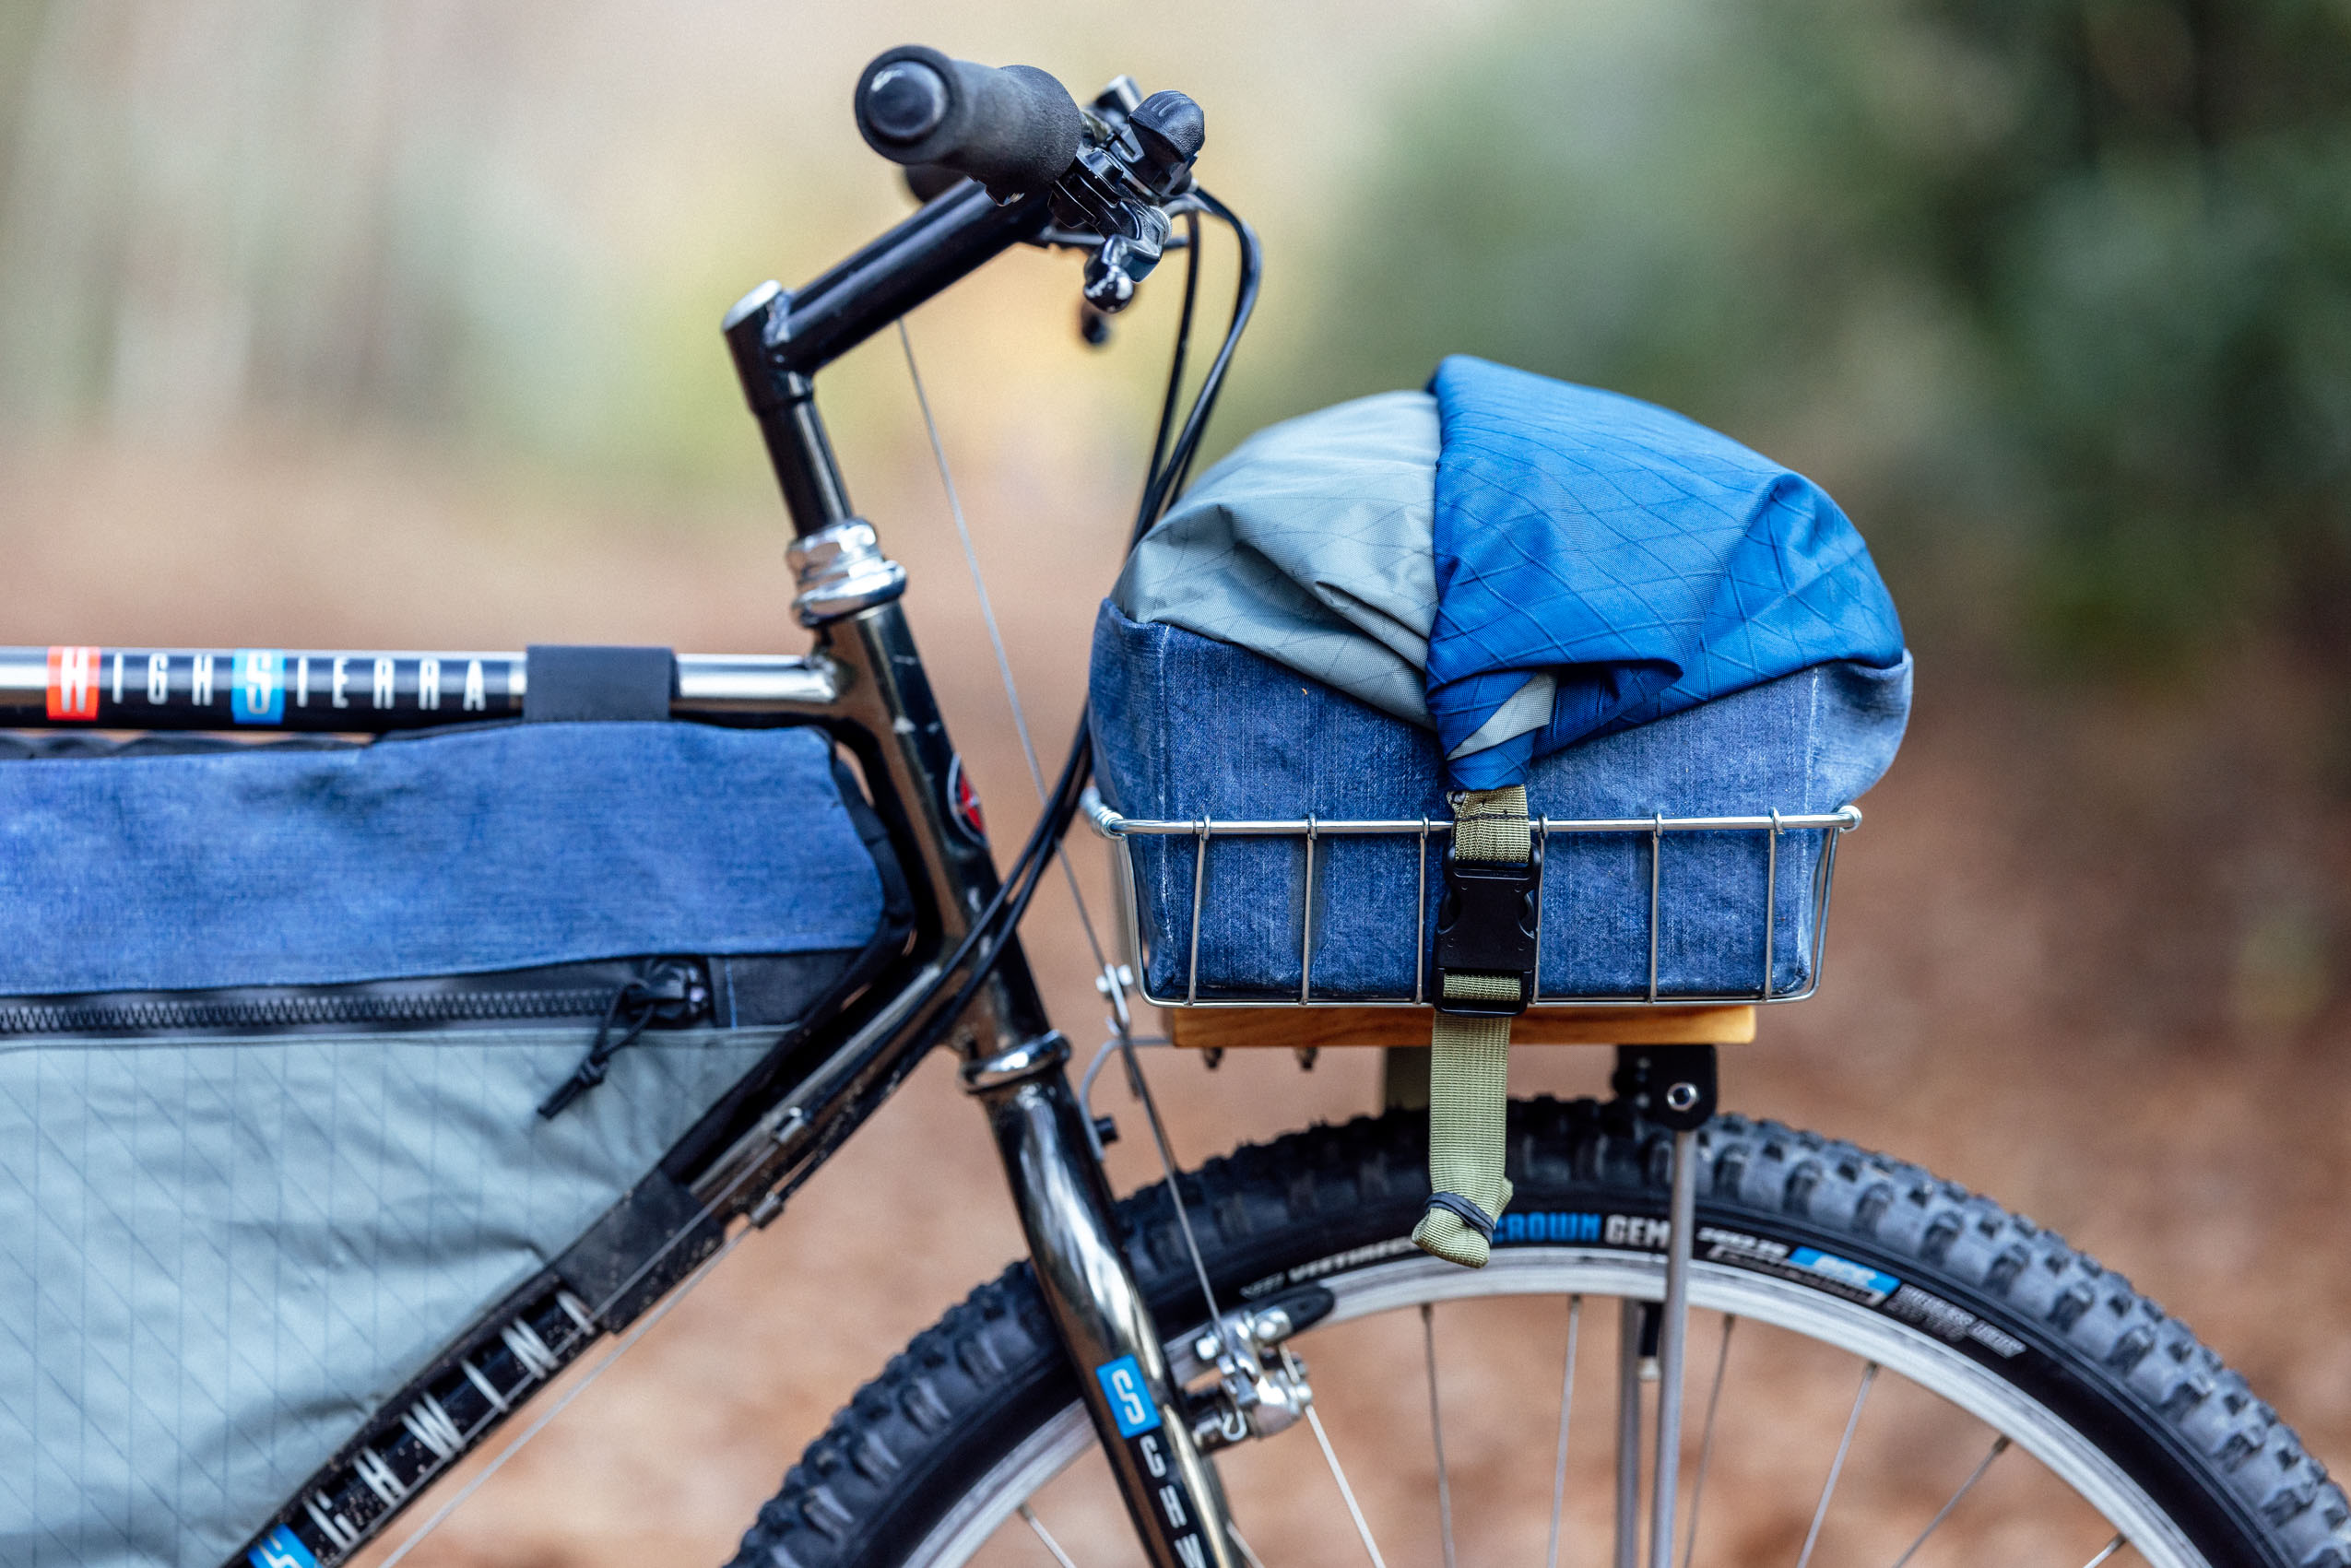
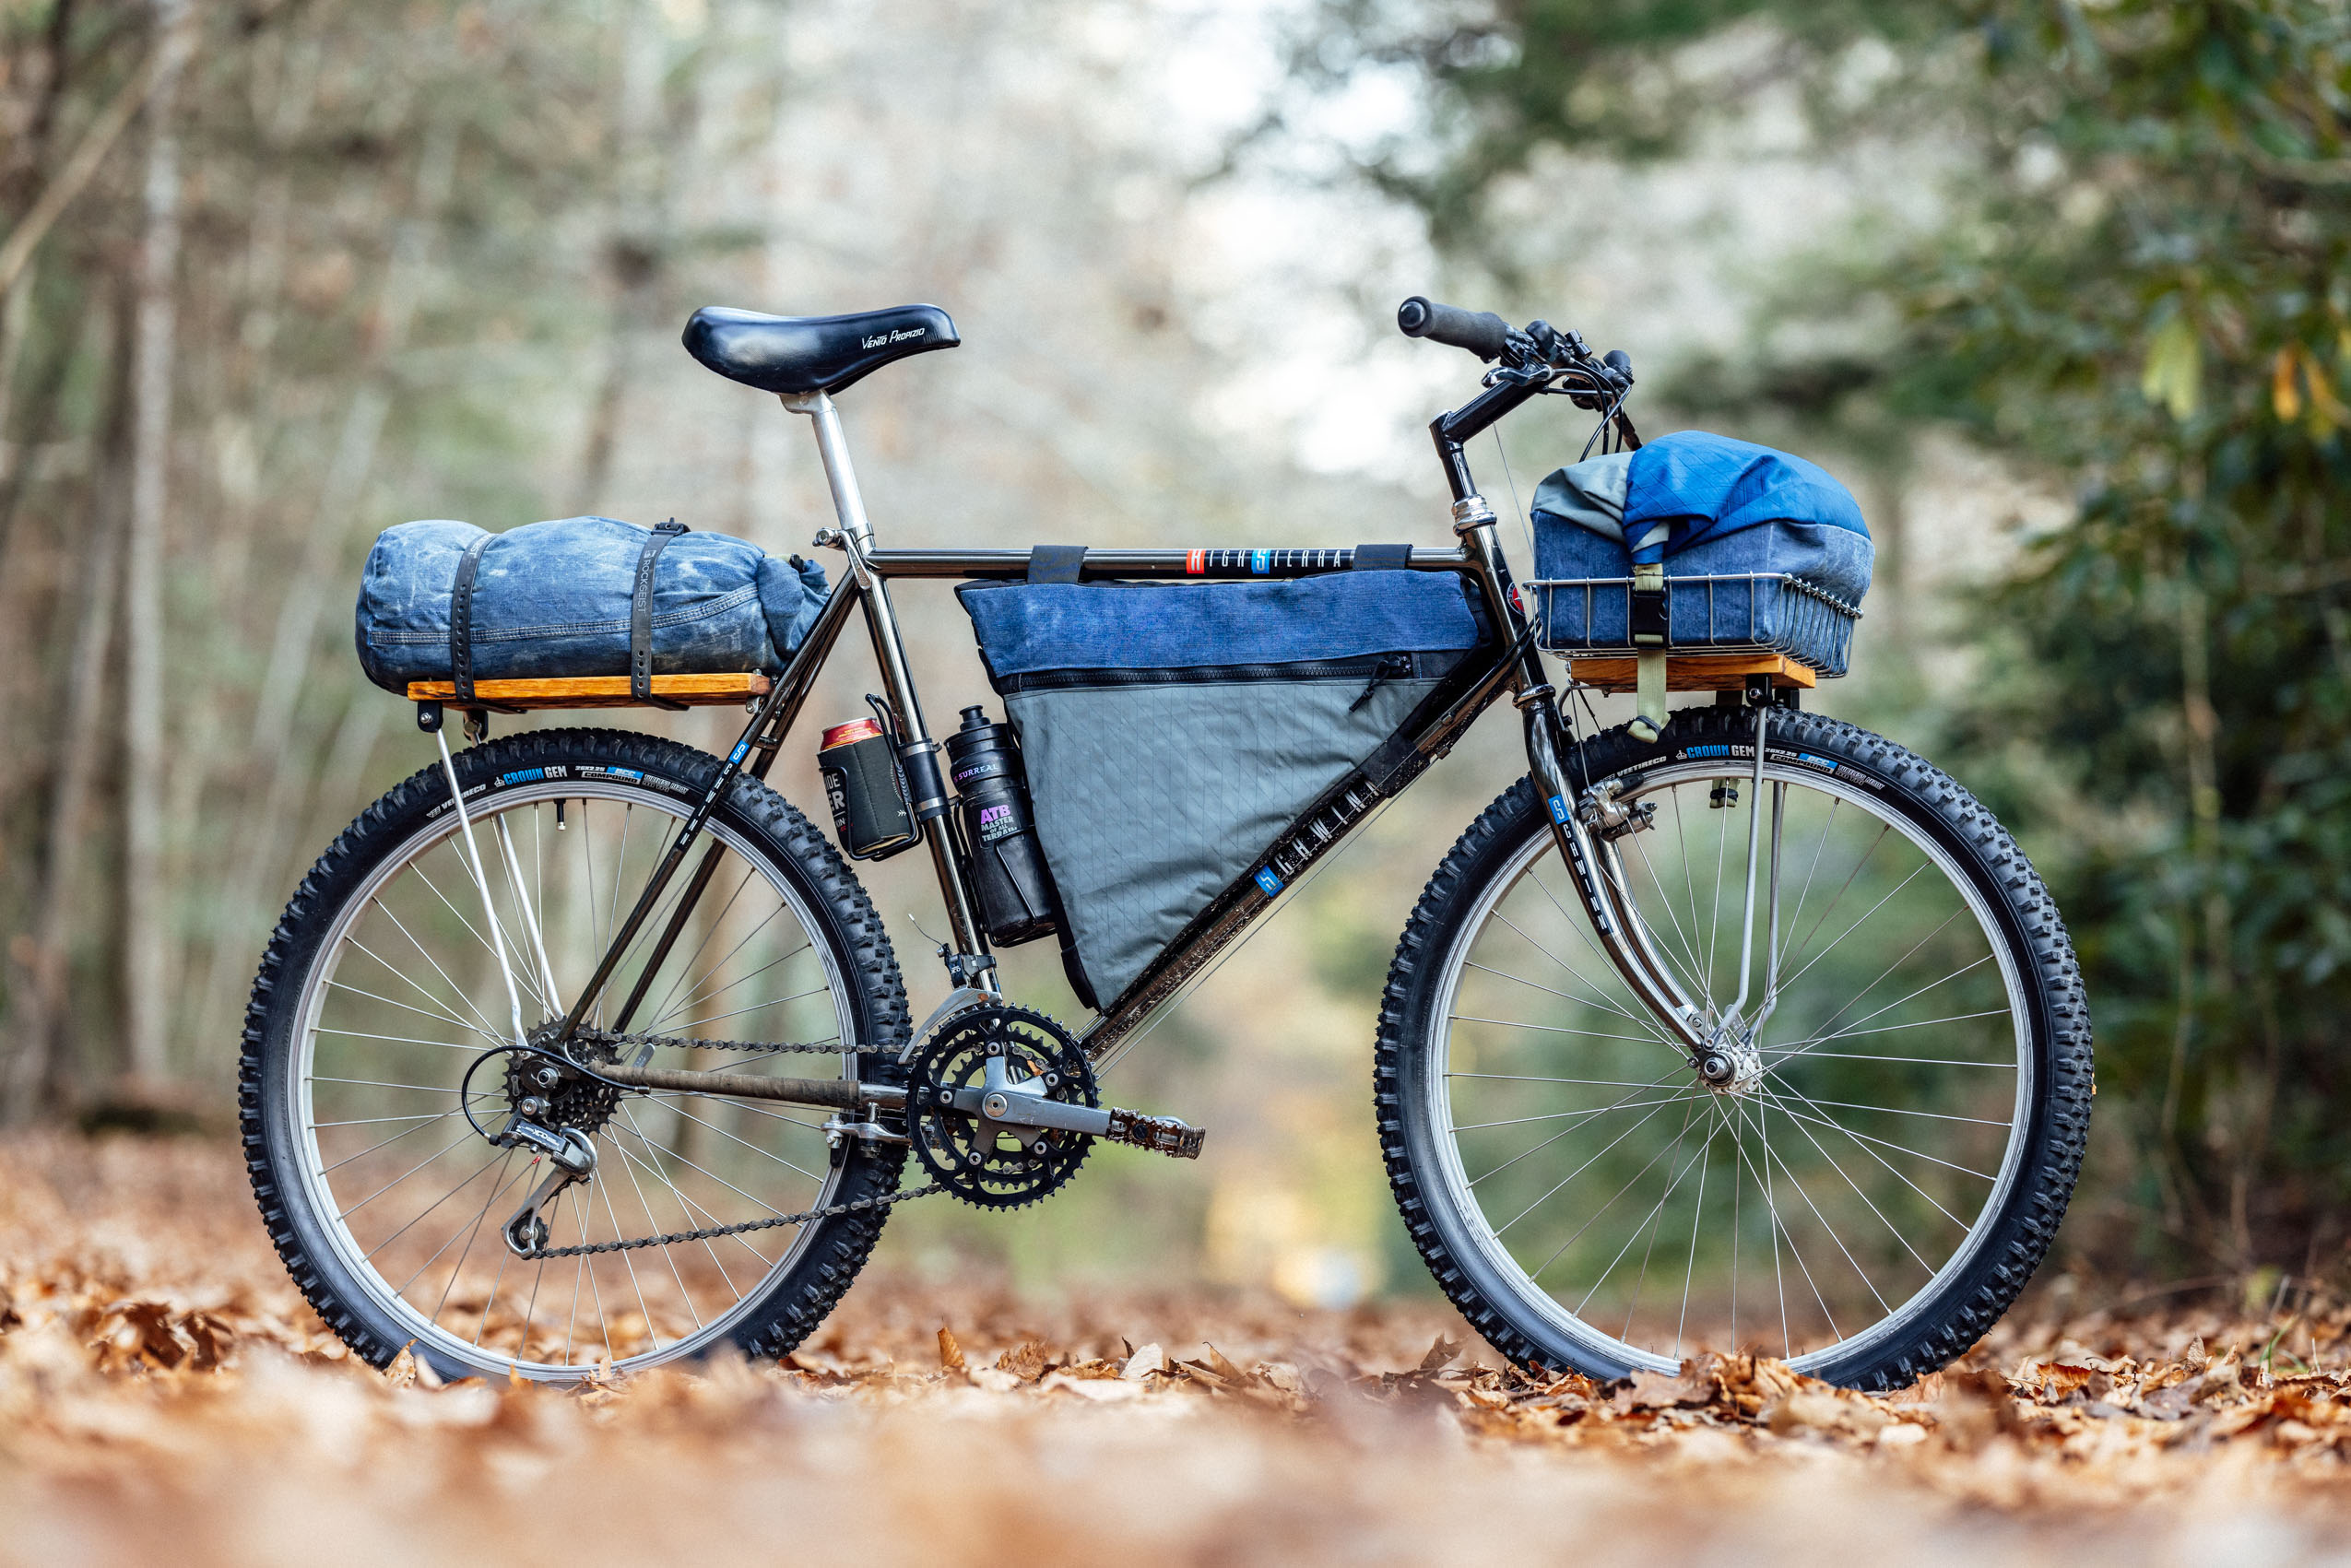
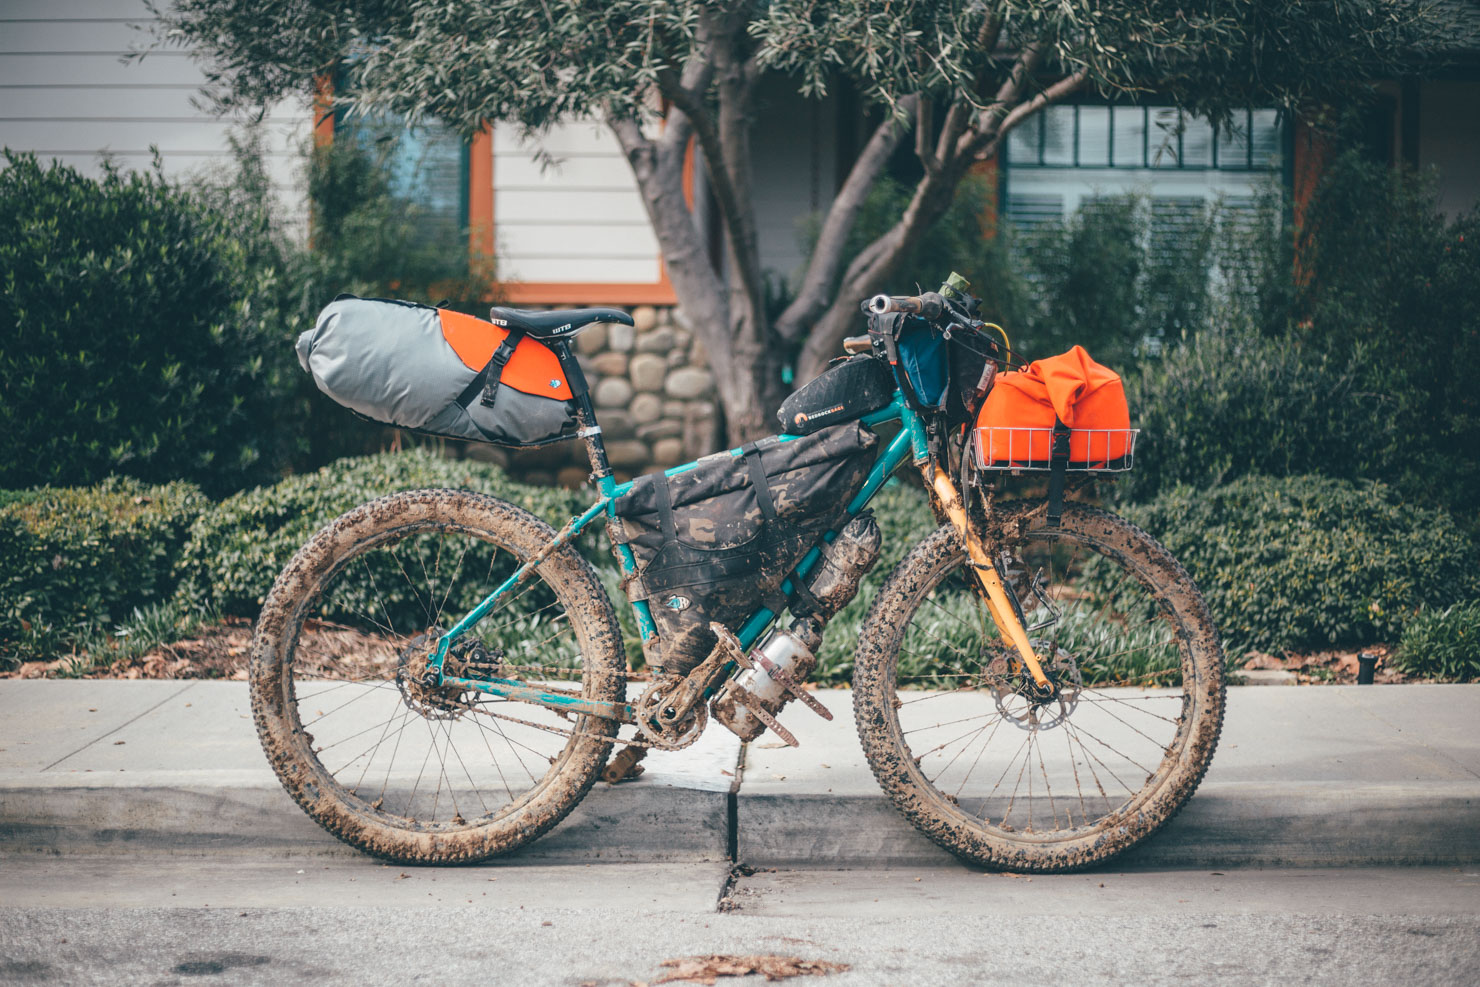
Mounting a basket to a bike might be one of the most tried-and-true old methods of carrying cargo, but in recent years, basketpacking has made a strong comeback in our niche corner of cycling. Obviously, it’s not a great fit for all forms of bikepacking. Attaching a rack and basket to a suspension fork gets complicated, for example, and the forward-placed load isn’t ideal when navigating technical singletrack. However, it’s a practical choice for rigid bikes and those who favor dirt-road touring, especially when paired with a framebag and a minimal rear bag configuration. In short, a basket and basket bag combo offers super-solid, expandable storage on a relatively modest budget. Baskets are relatively inexpensive, and nearly any bag can serve the purpose with the help of a bungee cord or cargo net—whether it’s an old gym duffel, a thrift store find, or even a simple canvas tote.
As I mentioned in my 2024 Editor’s Dozen, I finally set aside my reservations about these potentially rattly wire contraptions and gave basketpacking a proper shot, and—much to my surprise—I was quickly converted. In fact, I was enamored enough to decide to make my own basket bag, which might just be the thing I love most about basketpacking.


There are a few reasons for that last statement. The first and most obvious is that basket bags are designed to be expandable, and they’re very good at it. They usually have a boxy bottom that conforms to the basket’s shape, but the roll-top opening allows the load to be adjusted as needed. For example, if you’re rolling through town and need to stash some last-minute pastries or vegetables for breakfast and dinner at camp, no problem, just stack them in there. Obviously, other bags can accomplish the same task, but I don’t think any other front/handlebar bag setup does it as well as a basket bag. They’re far more sturdy and stable when overloaded. In the same breath, I also appreciate the simple luxury of being able to pack sloppily. You don’t have to be as mindful about organizing items and packing them tightly and neatly since the walls of the basket help keep everything in check.
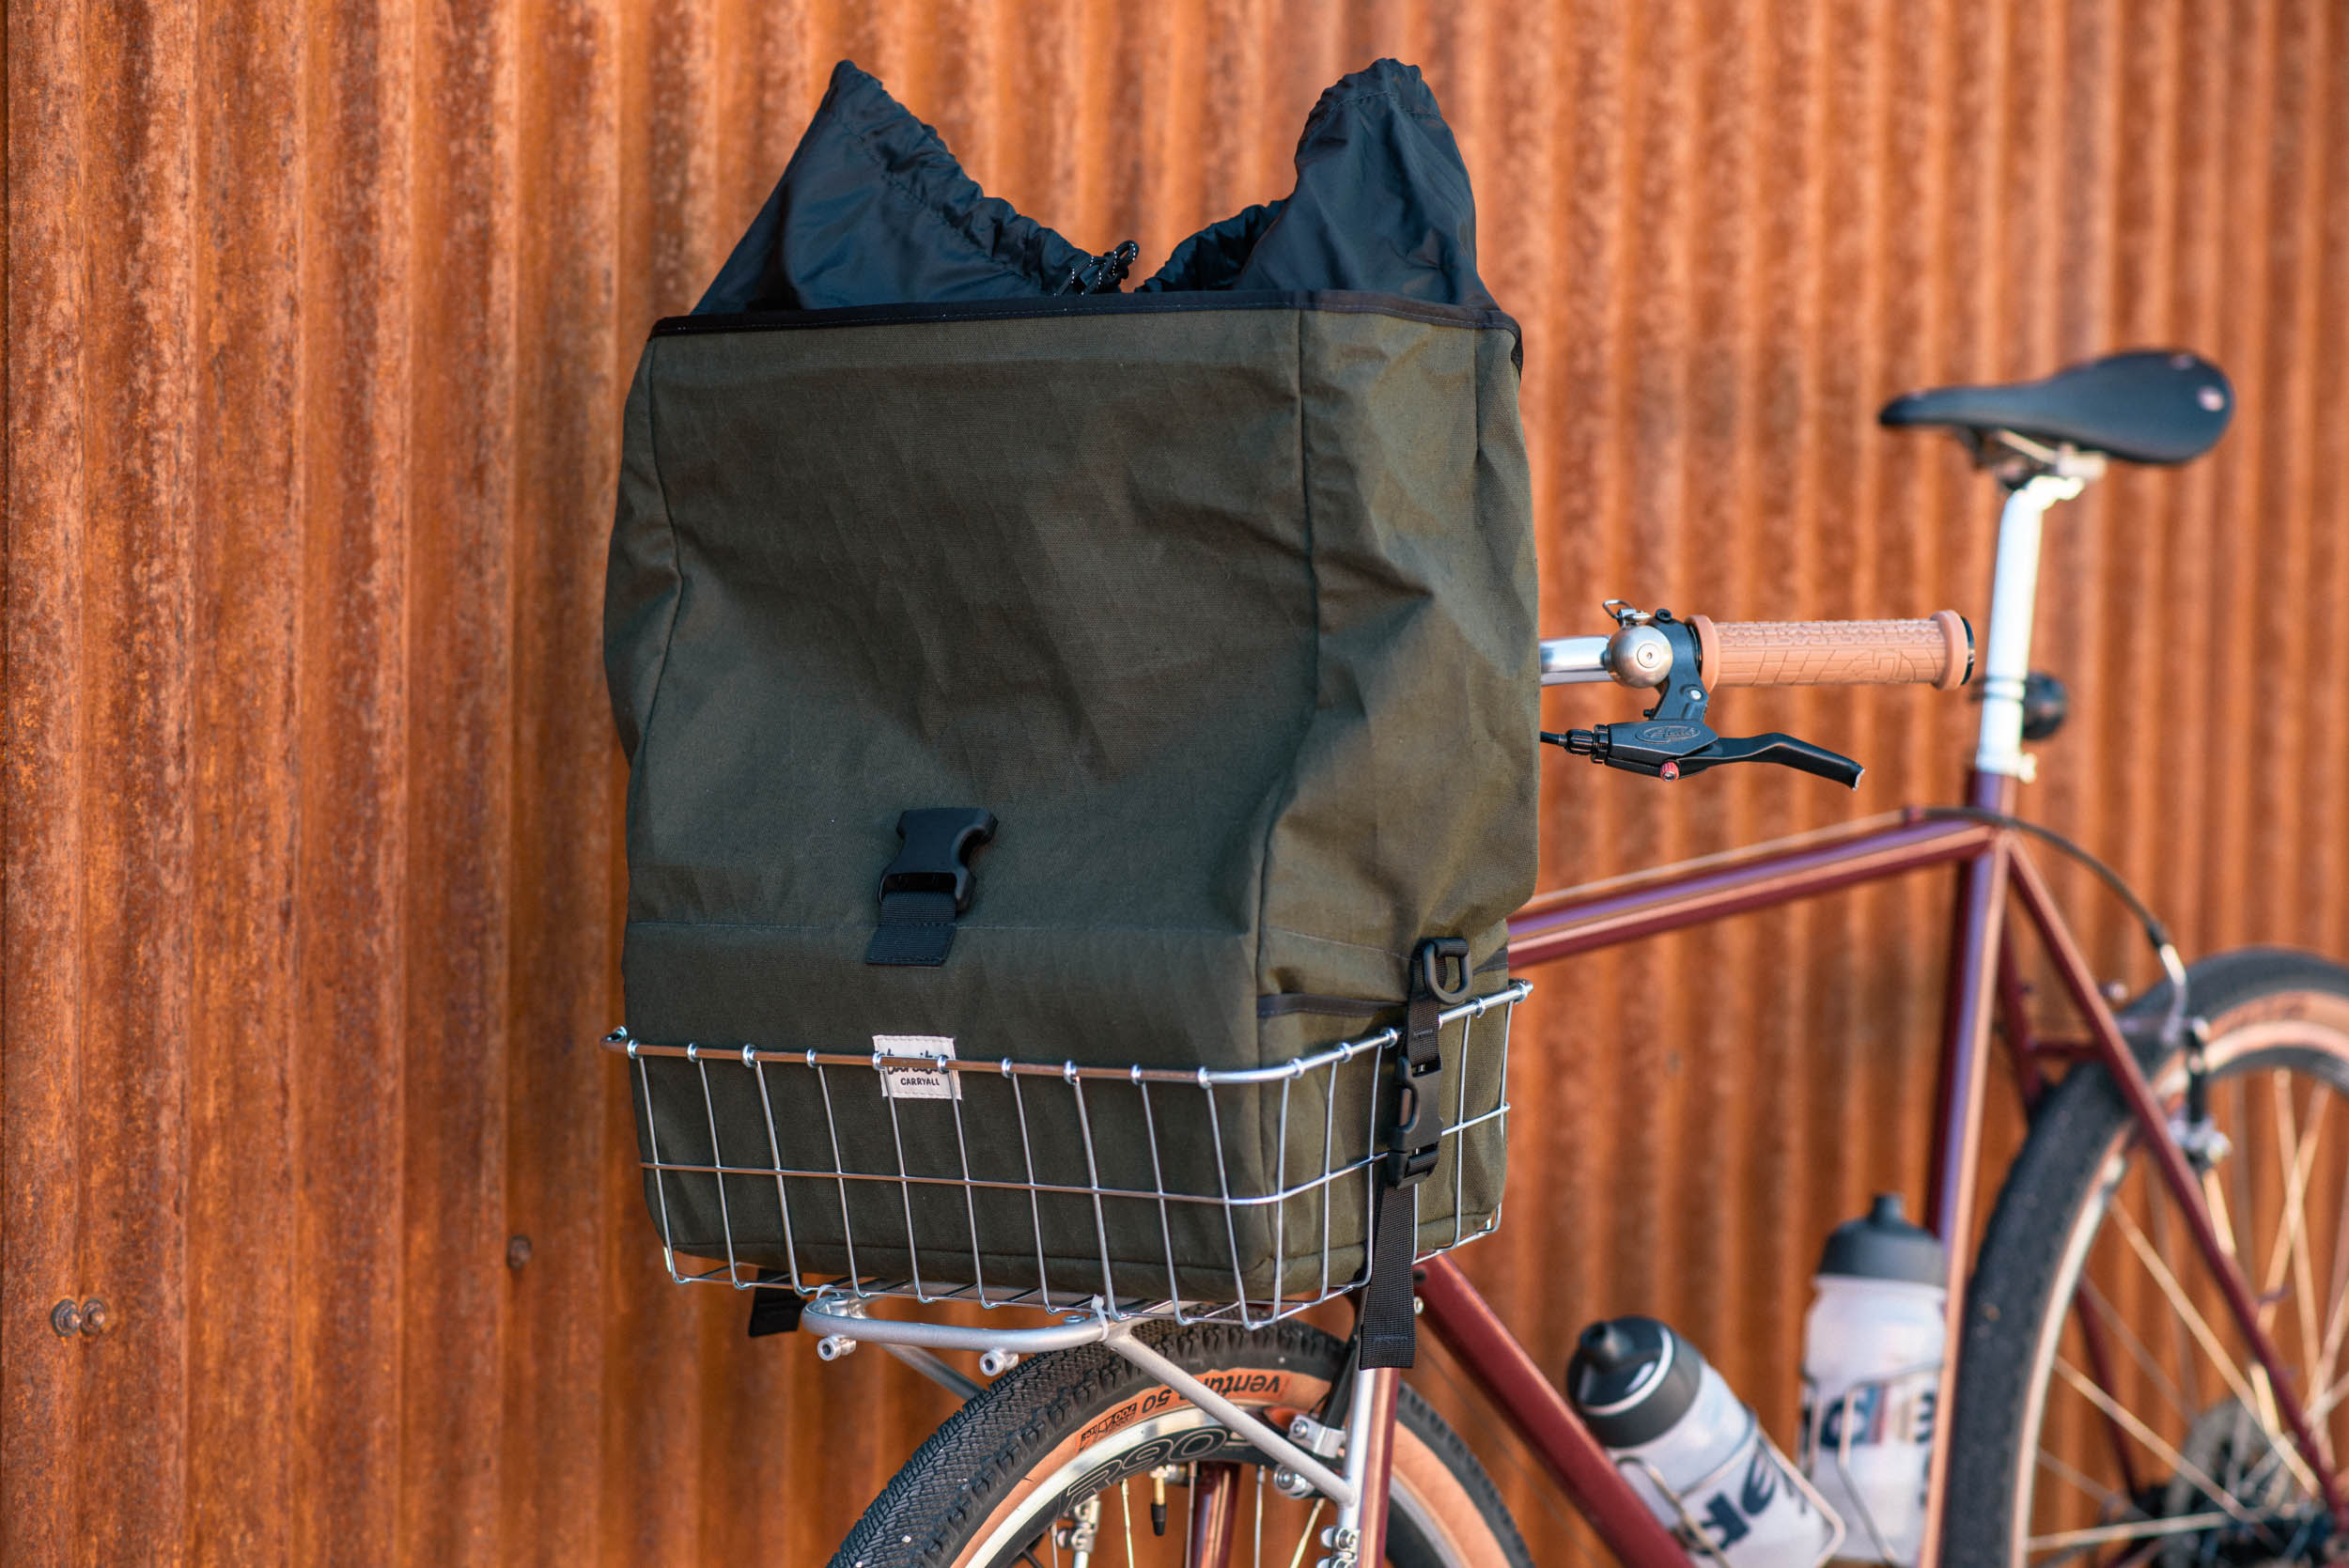
Third, when designed correctly, basket bags are easy to install and remove. This particular bag loops under the basket wires, keeping it securely in place… no additional straps needed. Lastly, basket bags make a useful tool once you’re at camp, becoming a catch-all organizer that can contain all your belongings and help you avoid having your campsite look like a yard sale.
With all that out of the way, let’s start making one. I put this tutorial together paired with photos of the basket bag I made for my Budget Bikepacking Build-Off rig. Note that this is a very simple approach, which I took on purpose for the sake of time, budget, and explanation. After going through the steps, I’ll circle back and note some things that could be polished or done a little differently. Note that I’d recommend reading through the entire tutorial before starting your own DIY basket bag.
Pattern and Materials
I’d be remiss not to mention other tutorials floating around the ether; I didn’t exactly start from scratch with this DIY basket bag. That being said, none of the how-to guides I found were very thorough, and only one other one offered a basic pattern and a starting point. Still, in an effort to make a more comprehensive tutorial for our MYOBG library, I thought I’d take the time to design a complete pattern for both imperial and metric measurements as it pertains to the Wald 137 basket. In my opinion, the 137 is a little more manageable in size than the 139 and has all the volume I’d ever need. That said, perhaps I’ll also adjust this pattern for the larger 139 in the future.

As for materials, deciding on what fabrics to use for a basket bag largely depends on your desired aesthetic. For the “bathtub” bottom of the bag, I’d recommend something relatively abrasion-resistant, such as a heavy 1000d Cordura, waxed canvas, or a repurposed material that’s relatively thick and durable. Vibrations can destroy fabric, and this portion of the bag will be in contact with the wire basket, so it’s an important wear point to consider. Since I made this during our Budget Bikepacking Build-Off, I used the denim from a $5 pair of jeans that I waxed, creating a heavy and highly water-resistant material for the tub portion of the bag.
The roll-top can be made out of something more pliable and lightweight; I used some leftover X-Pac I had from past projects, but you might consider recycling something like a worn-out sleeping pad. The liner material can be something even thinner, like a lightweight Cordura or fabric from a repurposed jacket or other defunct outerwear. Here’s the approximate amount of fabric needed to complete the project:
- 0.7 yards (0.65 meters) for the roll-top panels
- 0.42 yards (0.38 meters) for bathtub bottom
- 0.3 yards (0.27 meters) of liner material
- 0.3 yards (0.27 meters) of 1/8” closed cell foam or similar
- Approximately 76” (193cm) of 1” nylon webbing
- 1” Side-release buckle
- 10-12 feet (3.65 meters) of 1/2” or 3/4” grosgrain ribbon
1. Cut and Join Bathtub Panels
The first order of business is to gather the pieces to construct the tub bottom of the bag, which has a slight taper. Find the individual steps below.

- Cut each of the main panels illustrated in the pattern and the three liner panels.
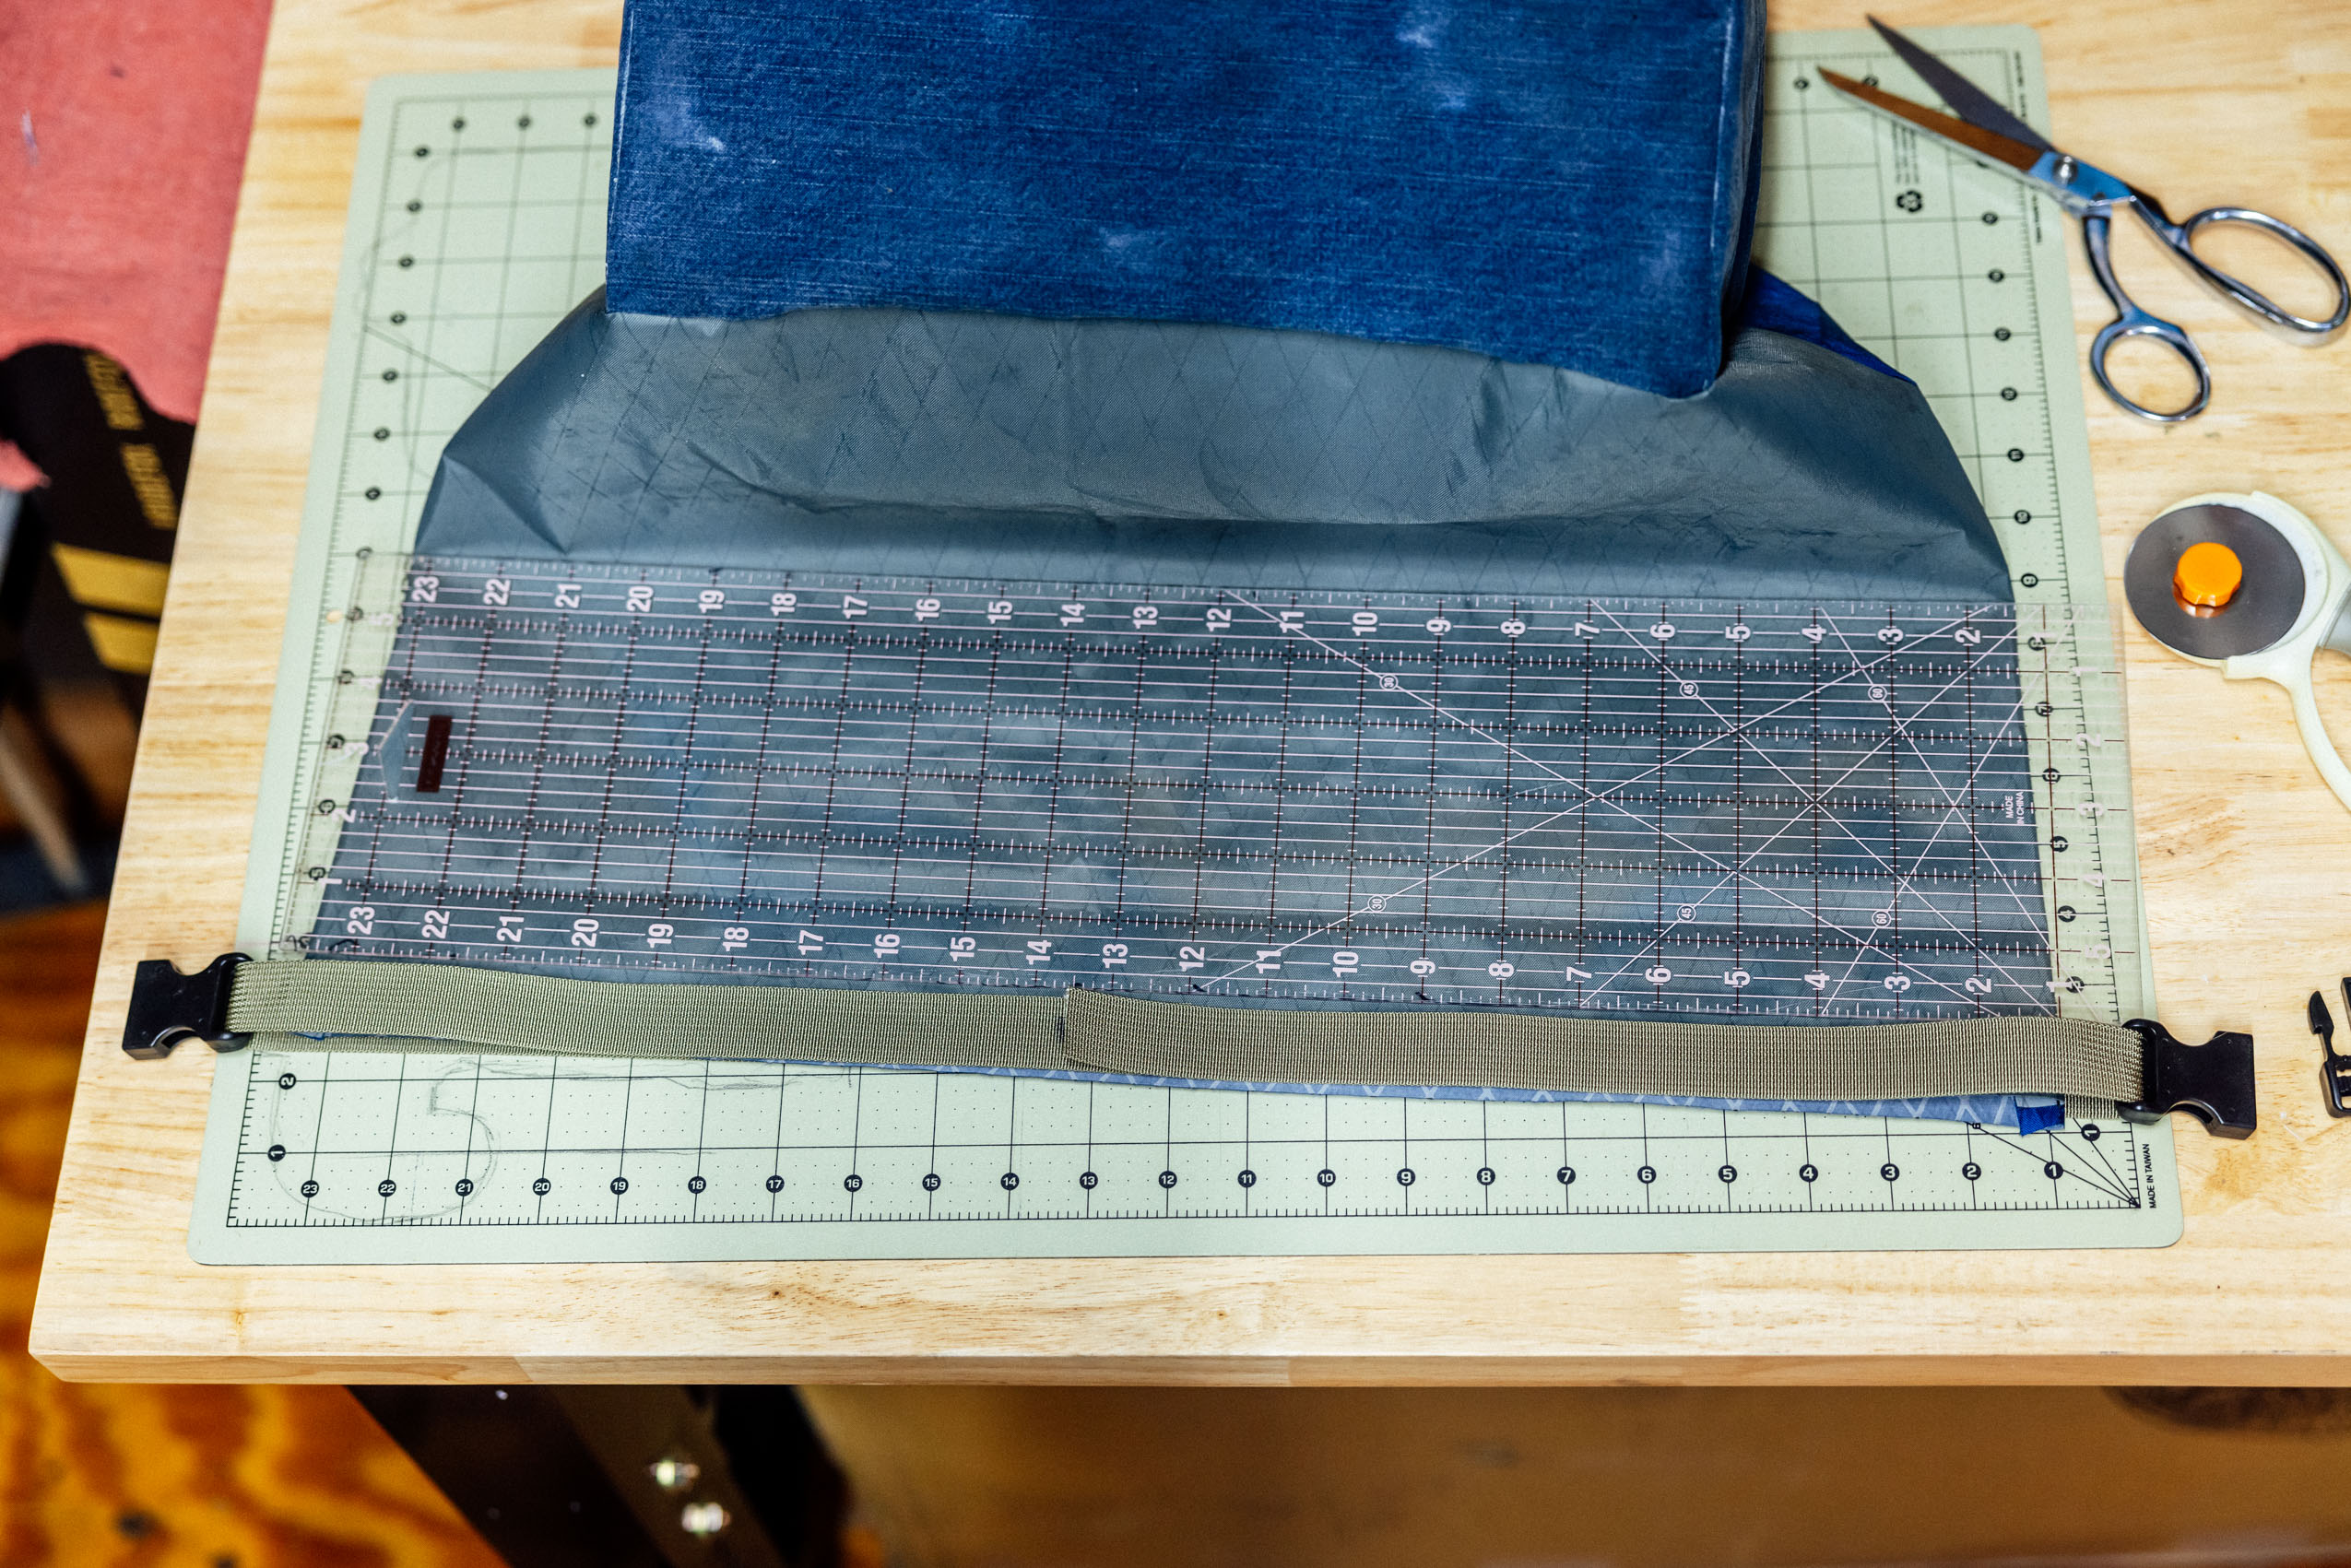
- Cut two 12” pieces of 1” Nylon webbing. You might want to make these a little longer, depending on how you envision overstuffing the bag. These are the compression straps that will loop through the bottom of the basket and connect to the roll-top.
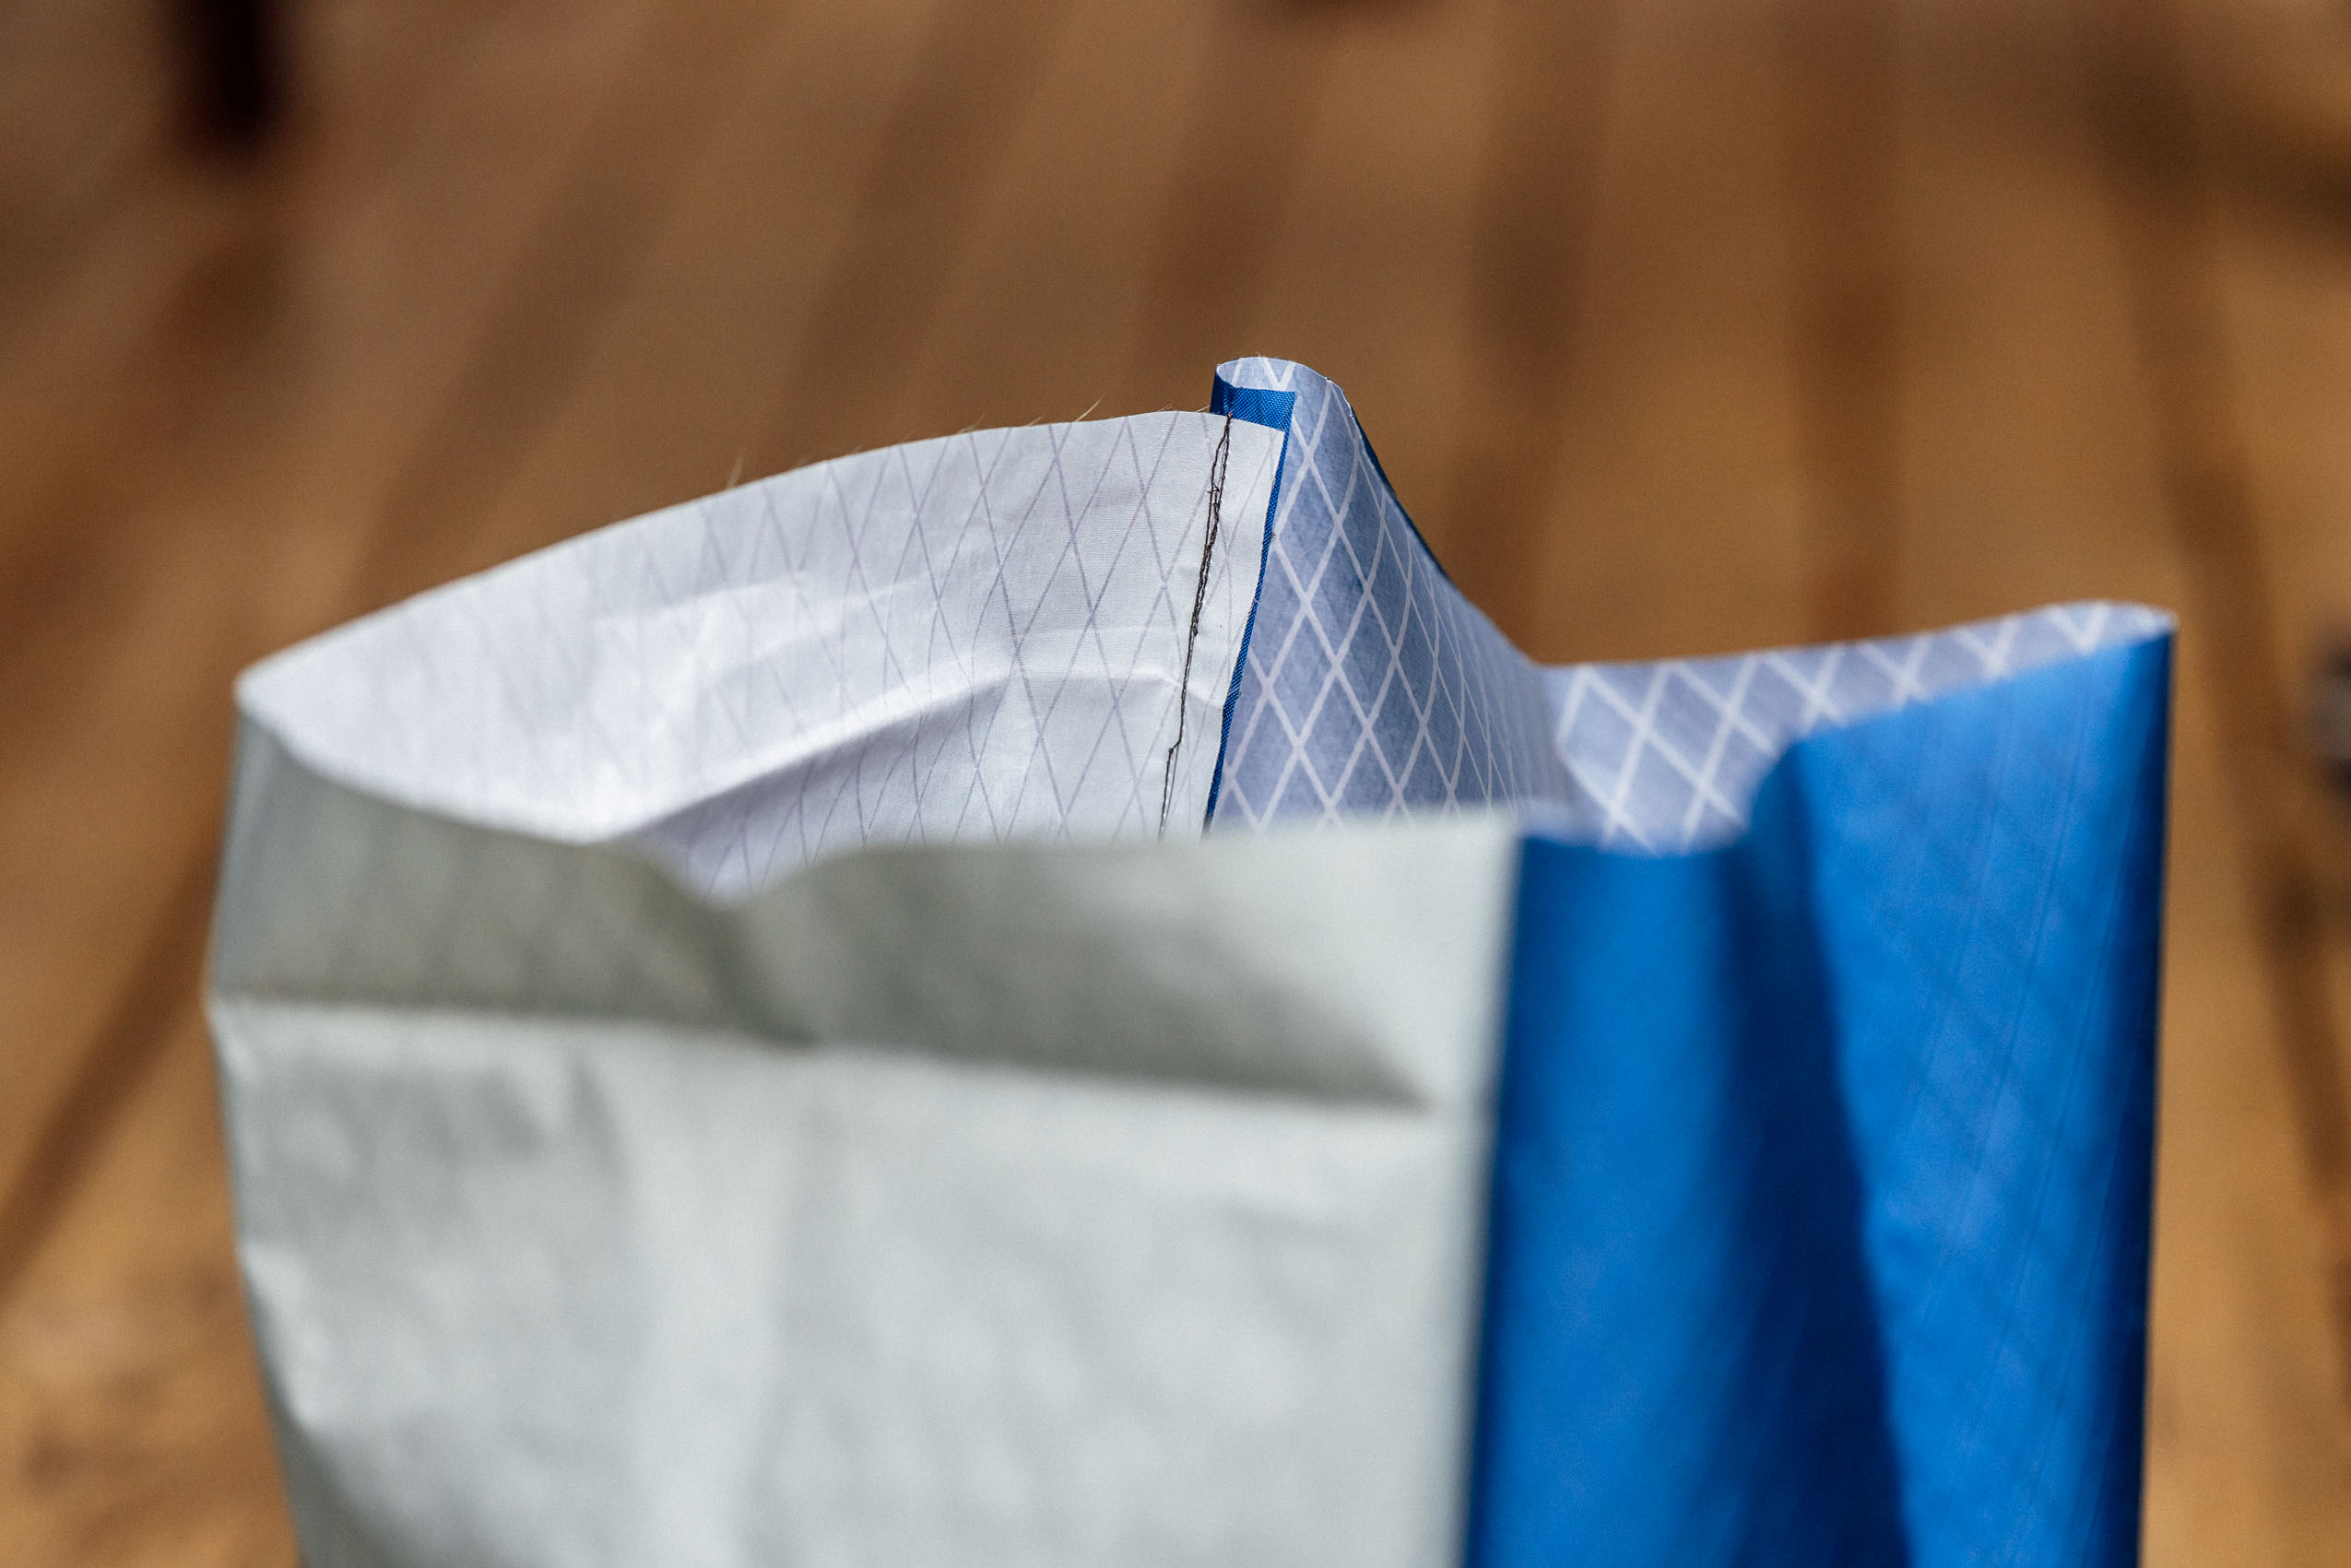
- Once all these pieces are trimmed to size, make the two folds in the liner panel for the bottom of the tub and run a stitch along each fold before attaching (Figure A).
- Next, stitch each liner panel to the corresponding side panel to form the two tub sides. Only stitch three sides (Figure B): the bottom and two corner edges. That will allow you to slide the two side stiffener panels in later.
- Now, stitch the bottom liner panel to the inside of the main tub piece—only stitch the left and right sides to leave an accessible sleeve (Figure C). This allows you to slide the bottom foam stiffener in and out of the bag (bonus: you can use it as a campsite sitting pad). Note that you could add a third stitch to the front or back, but I chose not to.


2. Assemble Bathtub Bottom
Now, assemble the tub by completing the following steps:
- First, stitch the main bottom panel assembly with the two side panels (Figure A). IMPORTANT: You’ll also stitch the two 12” pieces of nylon webbing in place, sandwiched between the two.
- Next, work on the tub “inside-out” and stitch each of the four corners to form the tub shape.
- Now would be the time to add grosgrain binding ribbon to all the edges to keep the fabric from fraying. I didn’t, for the sake of time and budget, but I would recommend doing so.
- Once the corners are stitched, you can return it to outside-out.


3. Add Side Panel Stiffeners
Next, cut the side stiffener panels and insert them into the two side panels. As mentioned in the materials section, I used some scrap 1/8” closed-cell foam I had on hand, but you could use a variety of different backing materials. You could also add front and back panels with additional liner material. I found that the two side panel pieces offered plenty of additional support when combined with the relatively stiff waxed denim.


4. Make Roll-Top and Join with Tub Bottom
To make the roll-top, simply stitch the two panels together as shown in Figure A below, inside out. Then, slide the roll top over the tub and run a perimeter stitch all the way around (Figure B). You could also add grosgrain ribbon to clean up the edges and prevent fabric fraying (recommended). Now, slide the roll-top up and outside-out. Lastly, you can either add grosgrain along the unfinished top edge or fold it down and add a perimeter stitch as I did.


5. Add Roll-top Strap and Buckles
The final step is to add the strap for the roll-top. I simply laid out the webbing and left about an inch of webbing on each side of the bag opening (with the buckle ends) to make sure they weren’t swallowed up by the roll-top fabric when rolled, then marked where it needed to be cut. I trimmed the webbing and sealed the cut edge with a lighter to prevent fraying. Then, I threaded the female ends of the side release buckles onto each side, bar-tacked the webbing near the buckles as shown, and then stitched the entire assembly onto the opening on both sides. For this one, I used two continuous—though somewhat messy—stitches on each side, which proved more than sufficient.


6. Fit to Wald Basket
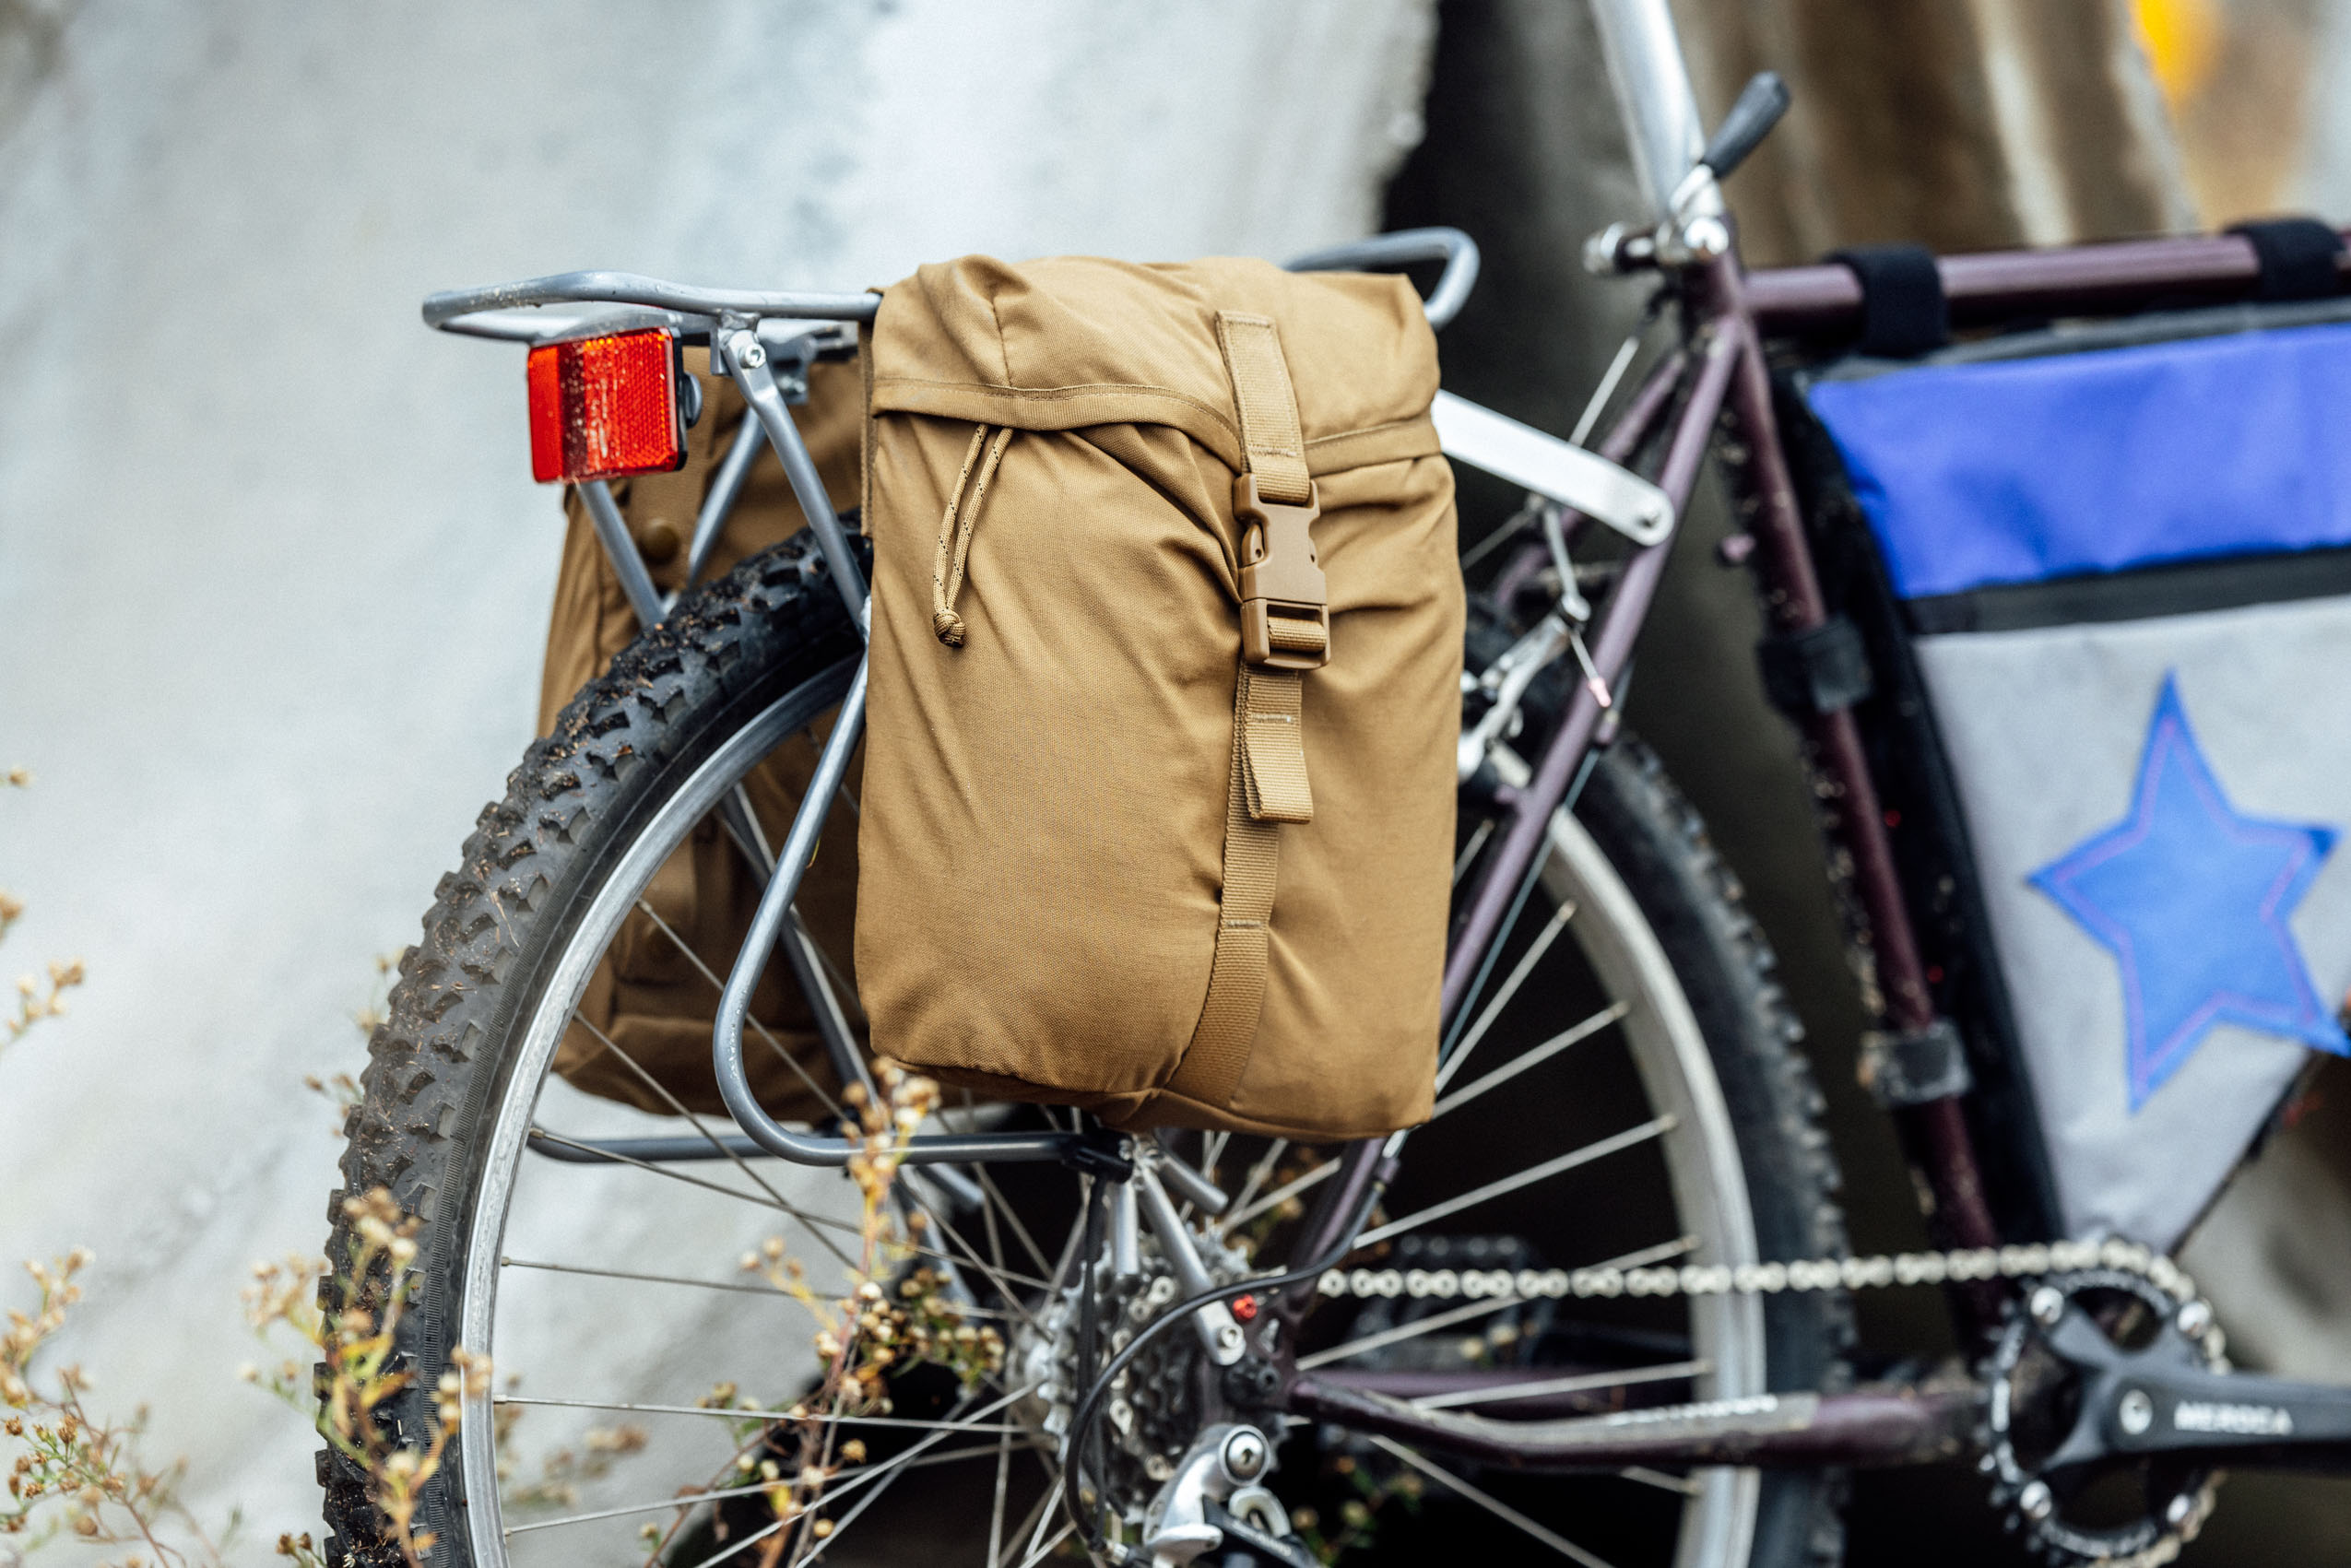
Once you add the male ends of the buckles to the tub-side straps, it’s time to fit it to the basket. As designed, the straps go under the wire on the bottom of the basket. This holds it in place once clipped into the roll top. Voila!


Wrap Up and Finishing Touches
All in, I think this no-frills DIY basket bag turned out pretty well. It holds a lot of stuff, the waxed denim keeps out the elements, and it’s fairly minimal in size and weight. As mentioned, I’ll probably add grosgrain ribbon on all the unfinished fabric edges of the interior to clean it up. And in hindsight, there are a few minor changes I’d consider. One, I think I’d opt for adjust lock buckles, like these. I didn’t have any issues with the straps loosening but could see that as a potential issue down the road. I’ll also probably make a shoulder strap to attach to the roll-top buckle ends; this would be an easy way to turn it into a carry-on bag, nice for traveling on a train or airplane. Otherwise, I’m pretty happy with it. If you have experience in making a basket bag and have any suggestions, please leave a note in the conversation below!


Further Reading
Make sure to dig into these related articles for more info...


Please keep the conversation civil, constructive, and inclusive, or your comment will be removed.