


TranzX Kitsuma Dropper Post Review: Wallet-Friendly Fun


Cass takes the wallet-friendly TranzX Kitsuma dropper post out bikepacking and trail riding on his local singletrack and dirt roads. Find out why it pairs so well with older hardtails and why it could be the perfect dropper for those who’ve yet to try one. And, learn about the easy-to-fit Jump Seat too…
PUBLISHED Apr 23, 2021
The majority of mountain bikers have now been won over by the value of running a dropper post, and I expect that most of those who remain unconvinced by this modern mountain biking marvel likely haven’t tried one. Given that almost all new trail bikes come with droppers these days, the remaining naysayers are perhaps dissuaded by the idea of retrofitting one in part because of price (which is often high) and fear of unreliability (which has been greatly improved over the years). And, I’ll wager, because of a misunderstanding as to when they’re best used and how versatile they really are.
Not just for getting rad
Because the way I see it, droppers aren’t just for the kinds of extreme terrain that make up very small portion of a ride – particularly for those of a cross-country persuasion. Yes, lowering your seat can be invaluable on super steep, loose, or rocky trails, just as we’ve always done in the past with a quick-release seatpost collar. But I use my dropper so much more than that – almost as much as I change gears – which is really where it comes into its own.

Most of the time it’s actually for small, on-the-fly changes, often lowering the saddle by just a few centimetres – enough to add considerable confidence without throwing off the rest of my riding. By dropping my centre of gravity, I immediately feel ‘in the bike’ and not on top of it, helping with fast cornering as much as it does with involved descents. Typically, I’ll drop the saddle most of the way when tackling bigger features, like a staircase of rocks. Then I’ll release it so it’s mostly up when the trails mellow out, then all the way to the highest point to tackle a jabby climb where I need full leg extension.


A dropper can even be useful on rough, doubletrack descents. In some ways, I even prefer running a dropper over front suspension, especially on a plus bike, because it helps my body get out of the way and encourages me to trust my bike’s large volume tyres to do what they’re designed to do in front of me. I enjoy my rigid mountain bike so much more when I’m running my dropper post, as it takes on a whole new character.
27.2 is the magic number
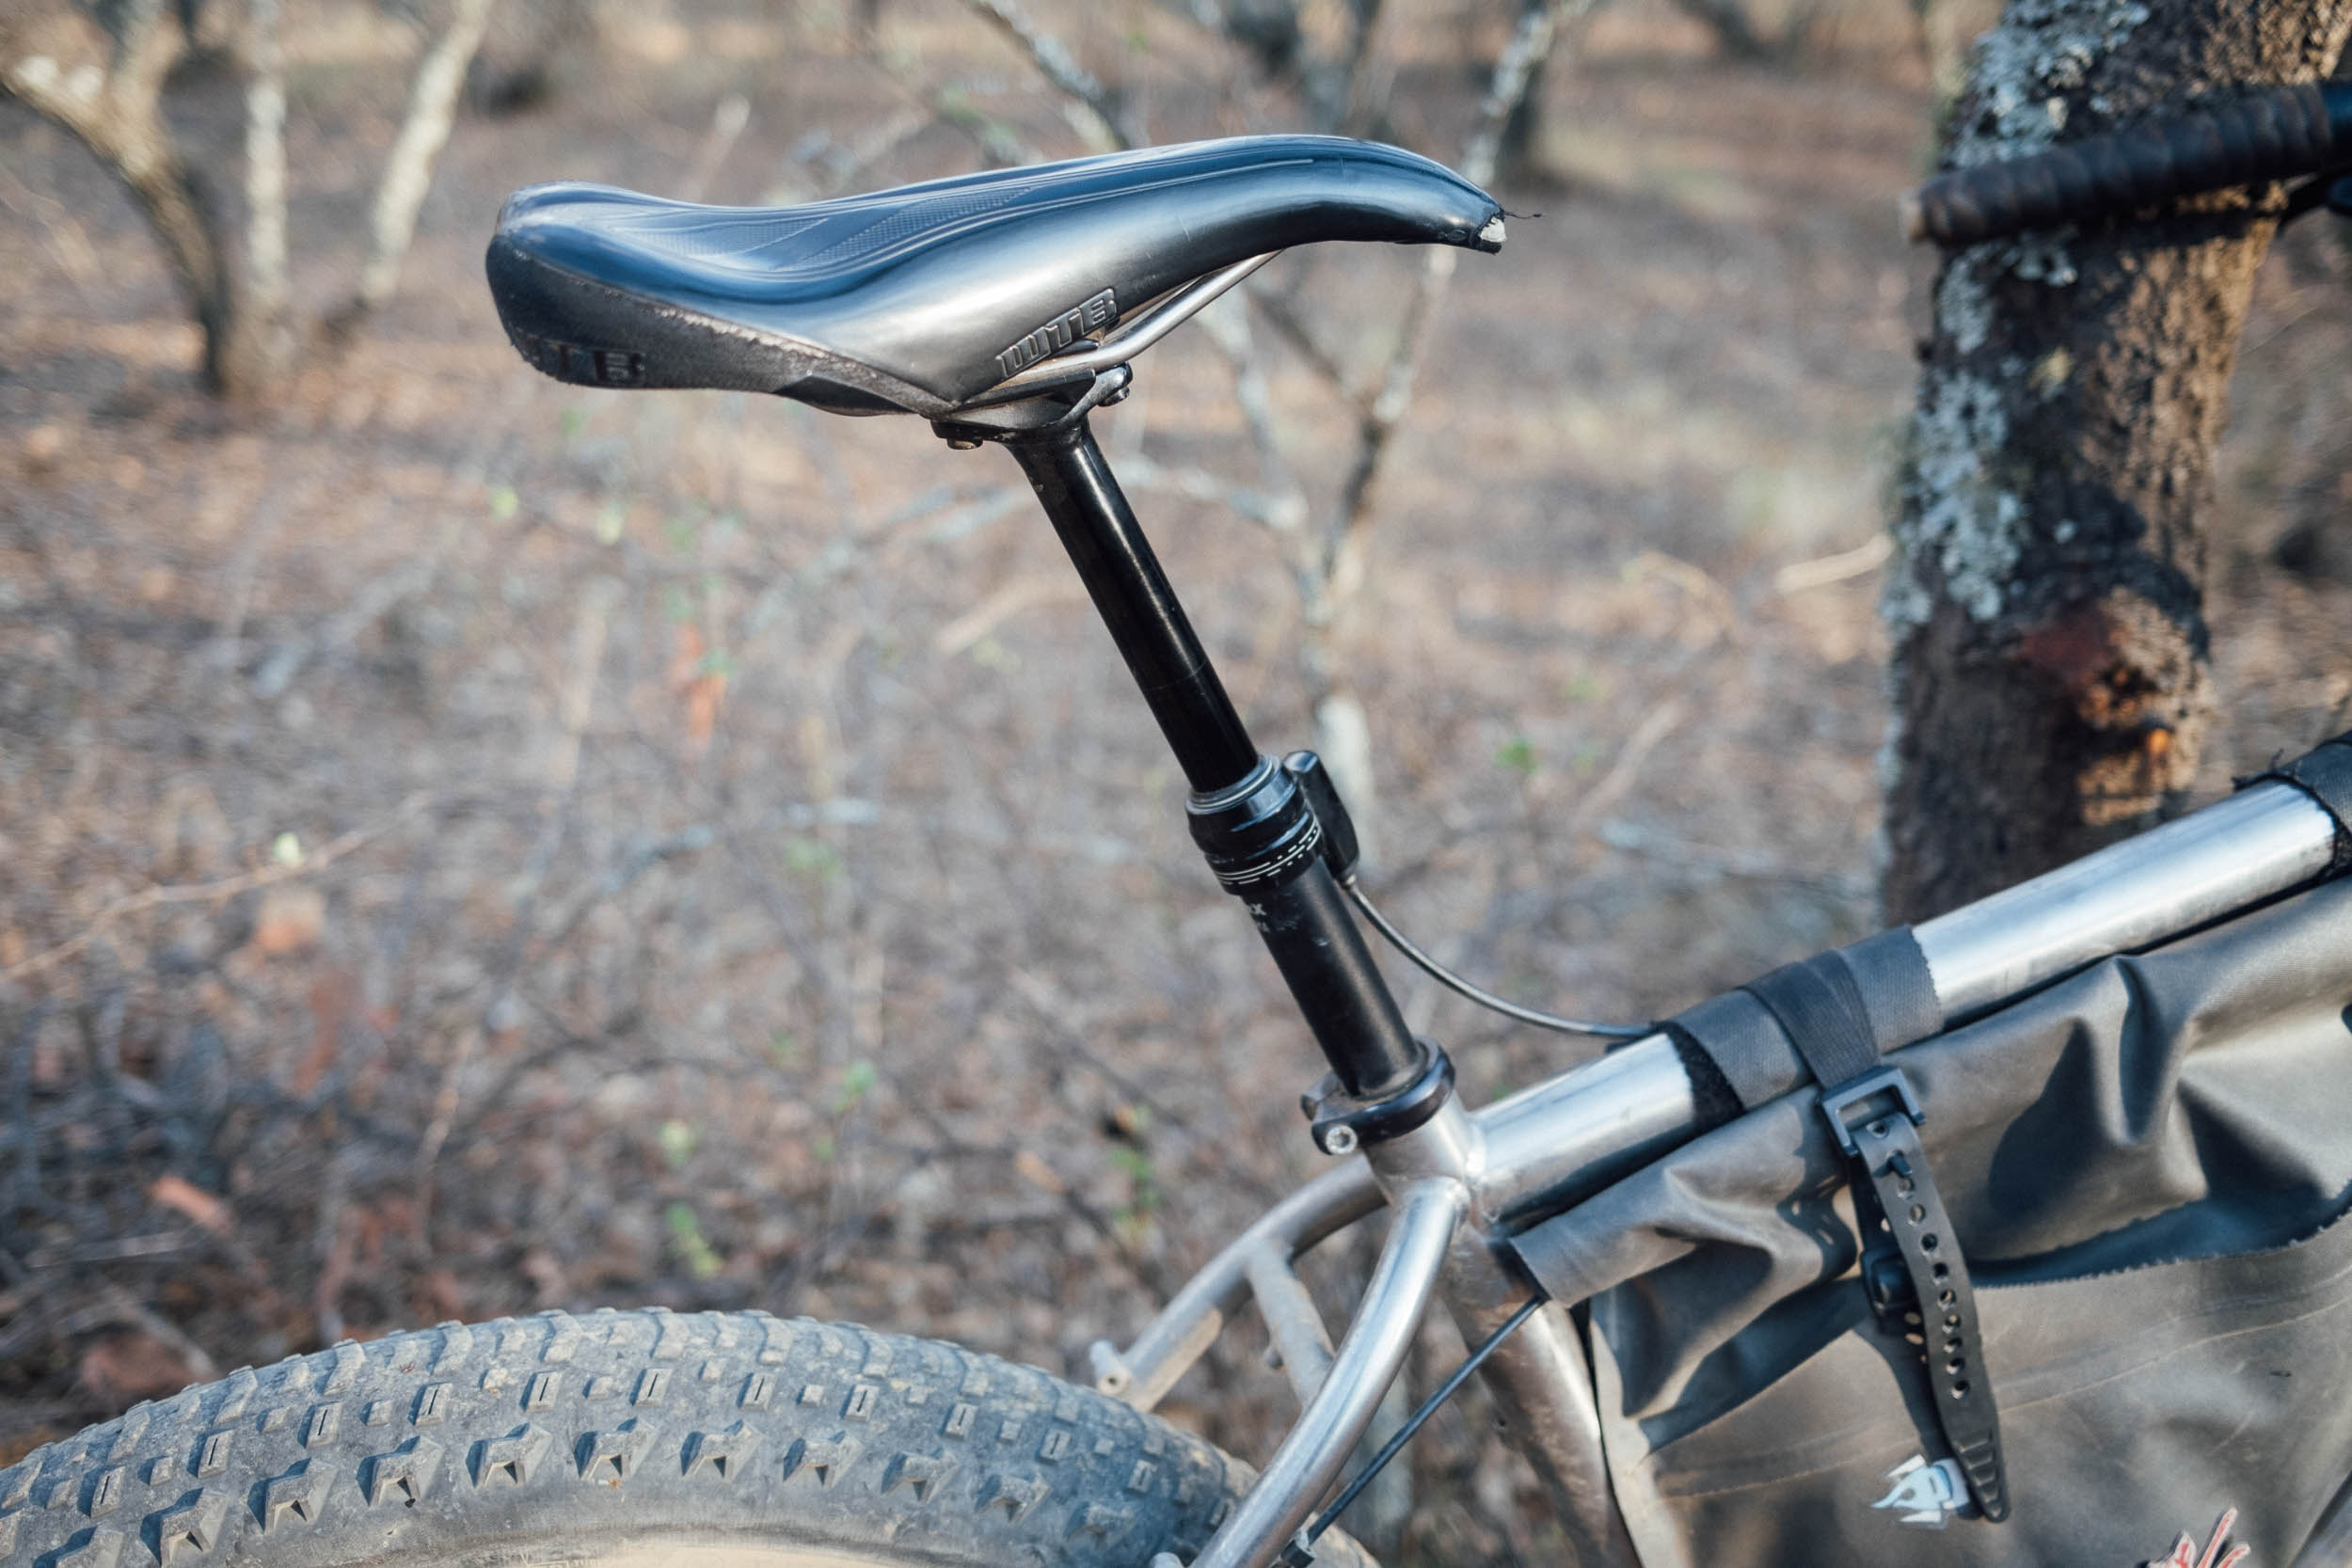
Cost has always been the dividing factor for those looking to try a dropper post out – particularly for anyone who owns an ‘older’ steel frame that requires a 27.2mm seatpost. It’s a size that’s less and less common these days, with most droppers available in only 30.9mm or 31.6mm diameters. Which is where the wallet-friendly range of TranzX seatposts comes in, as previewed on the site last year. And particularly, the Kitsuma. Often specced on OEM bikes, Tranz-X dropper posts recently became available in the US for both aftermarket purchase and servicing.
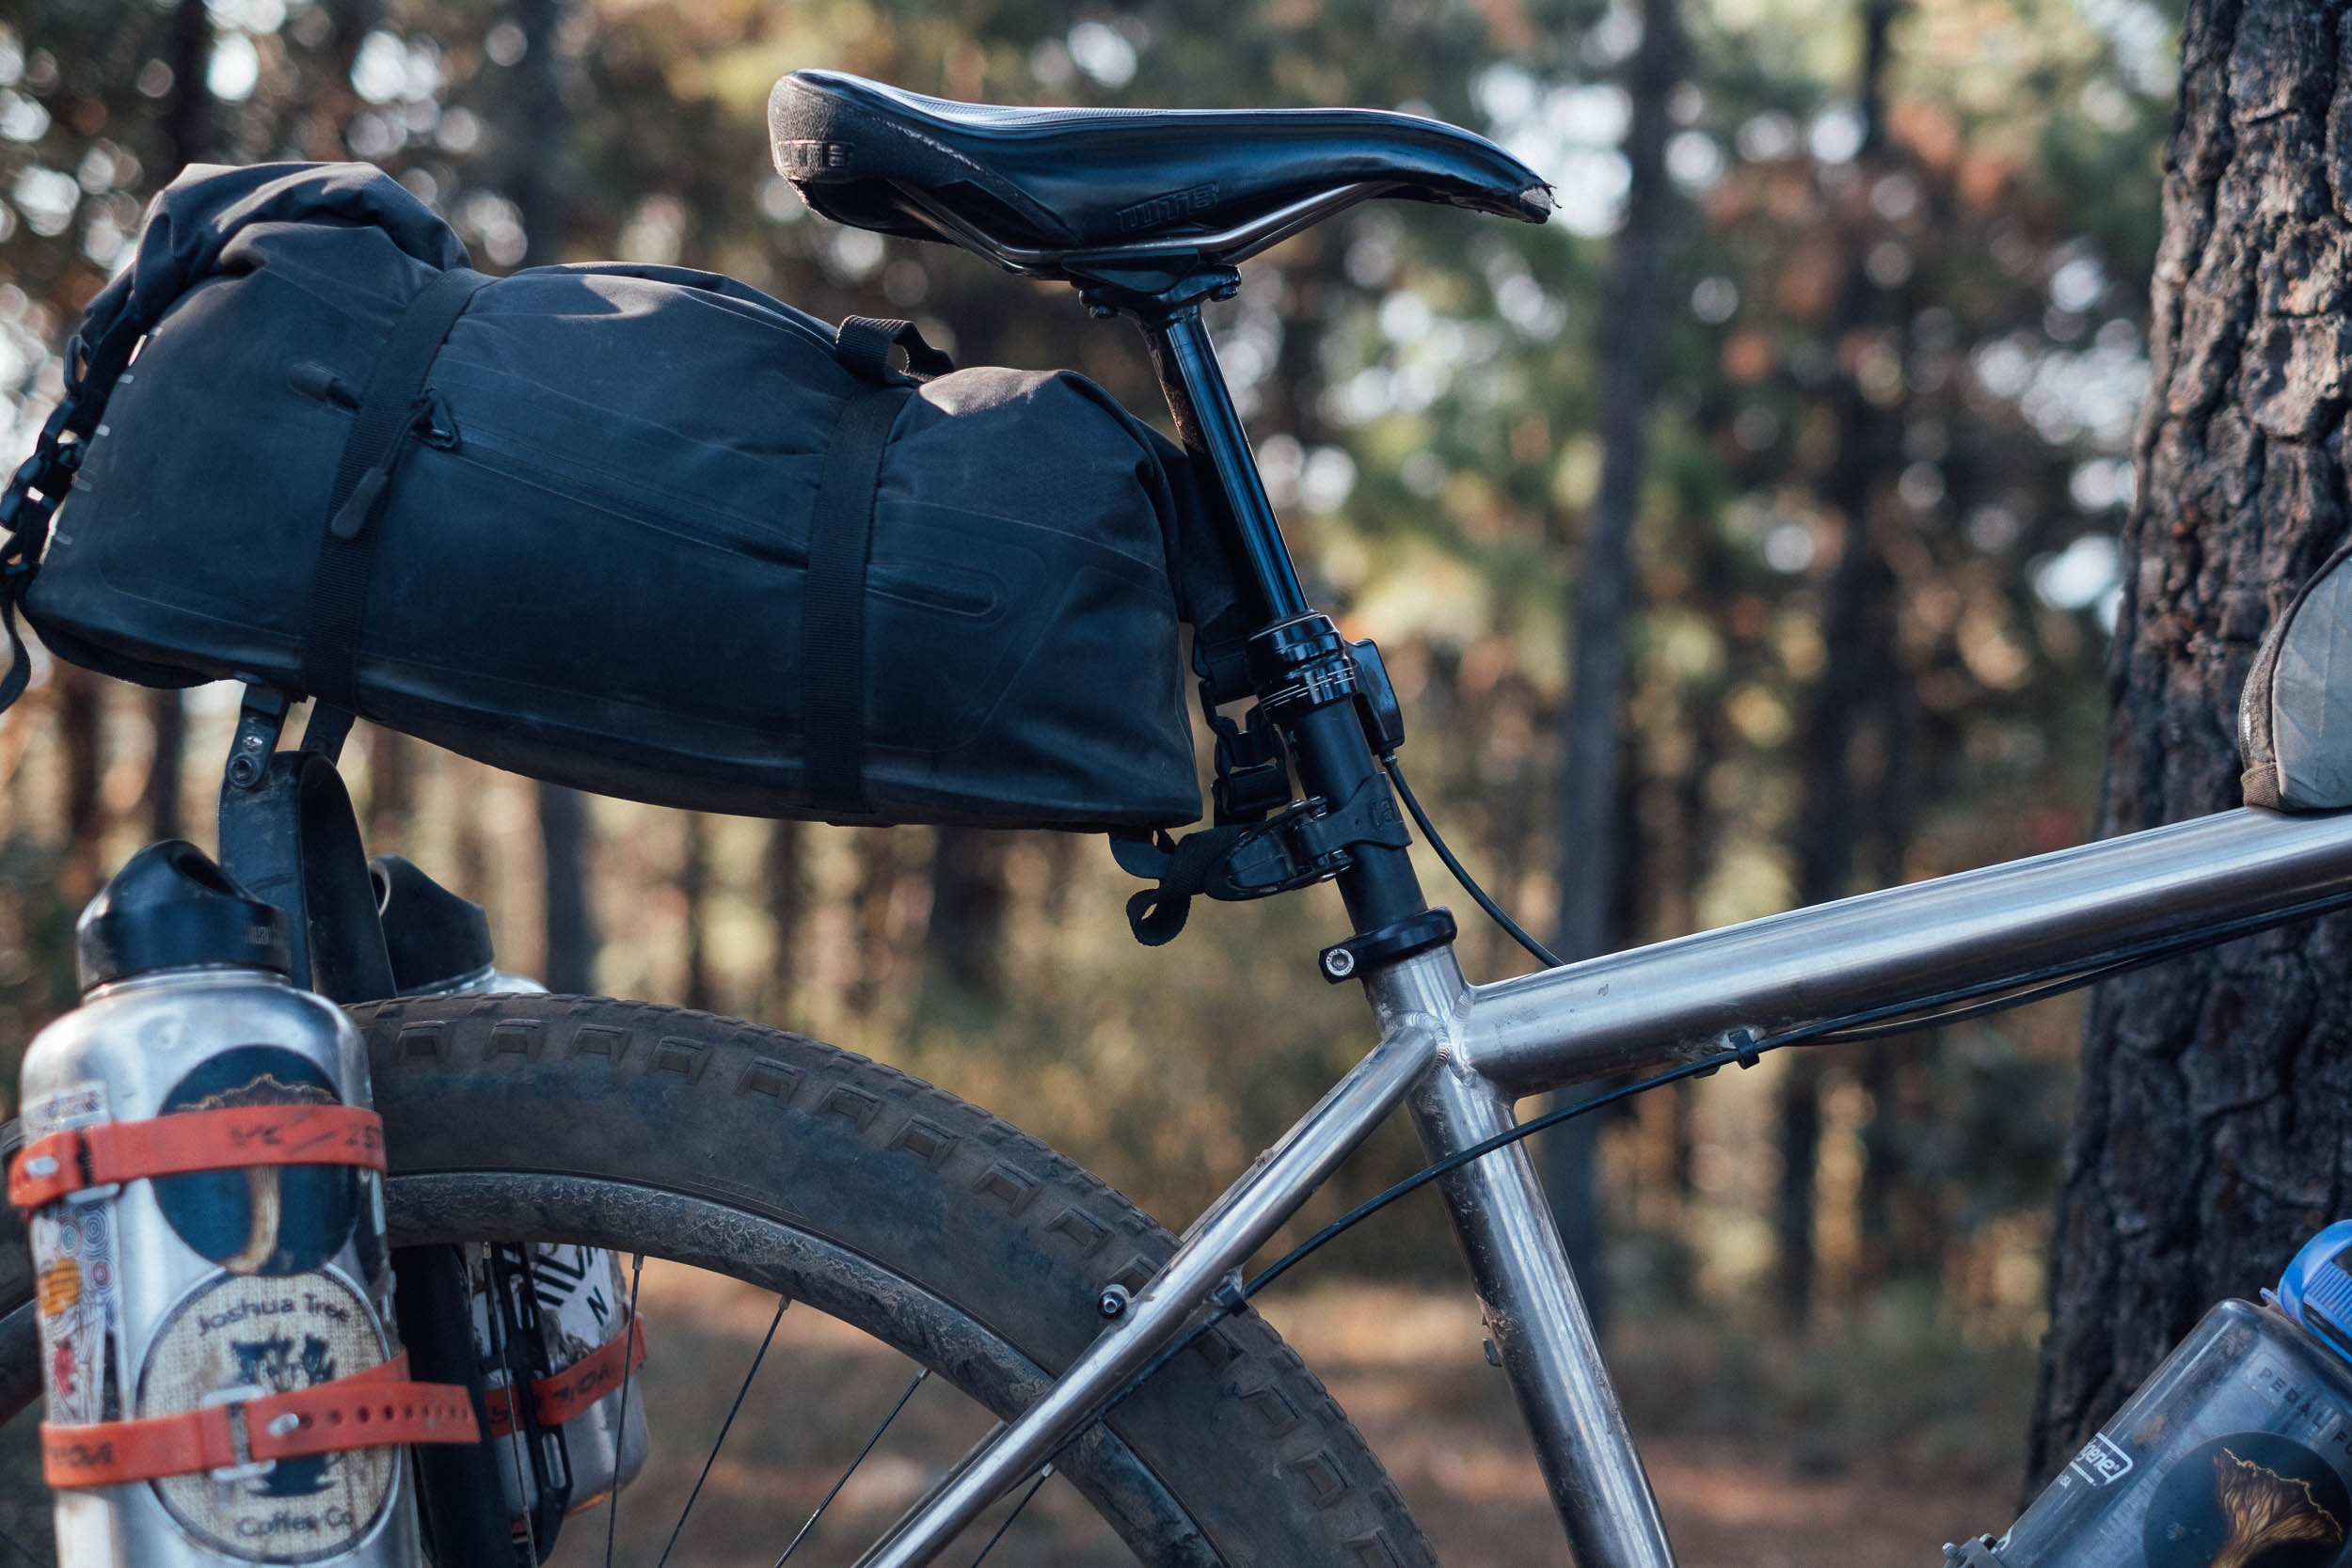
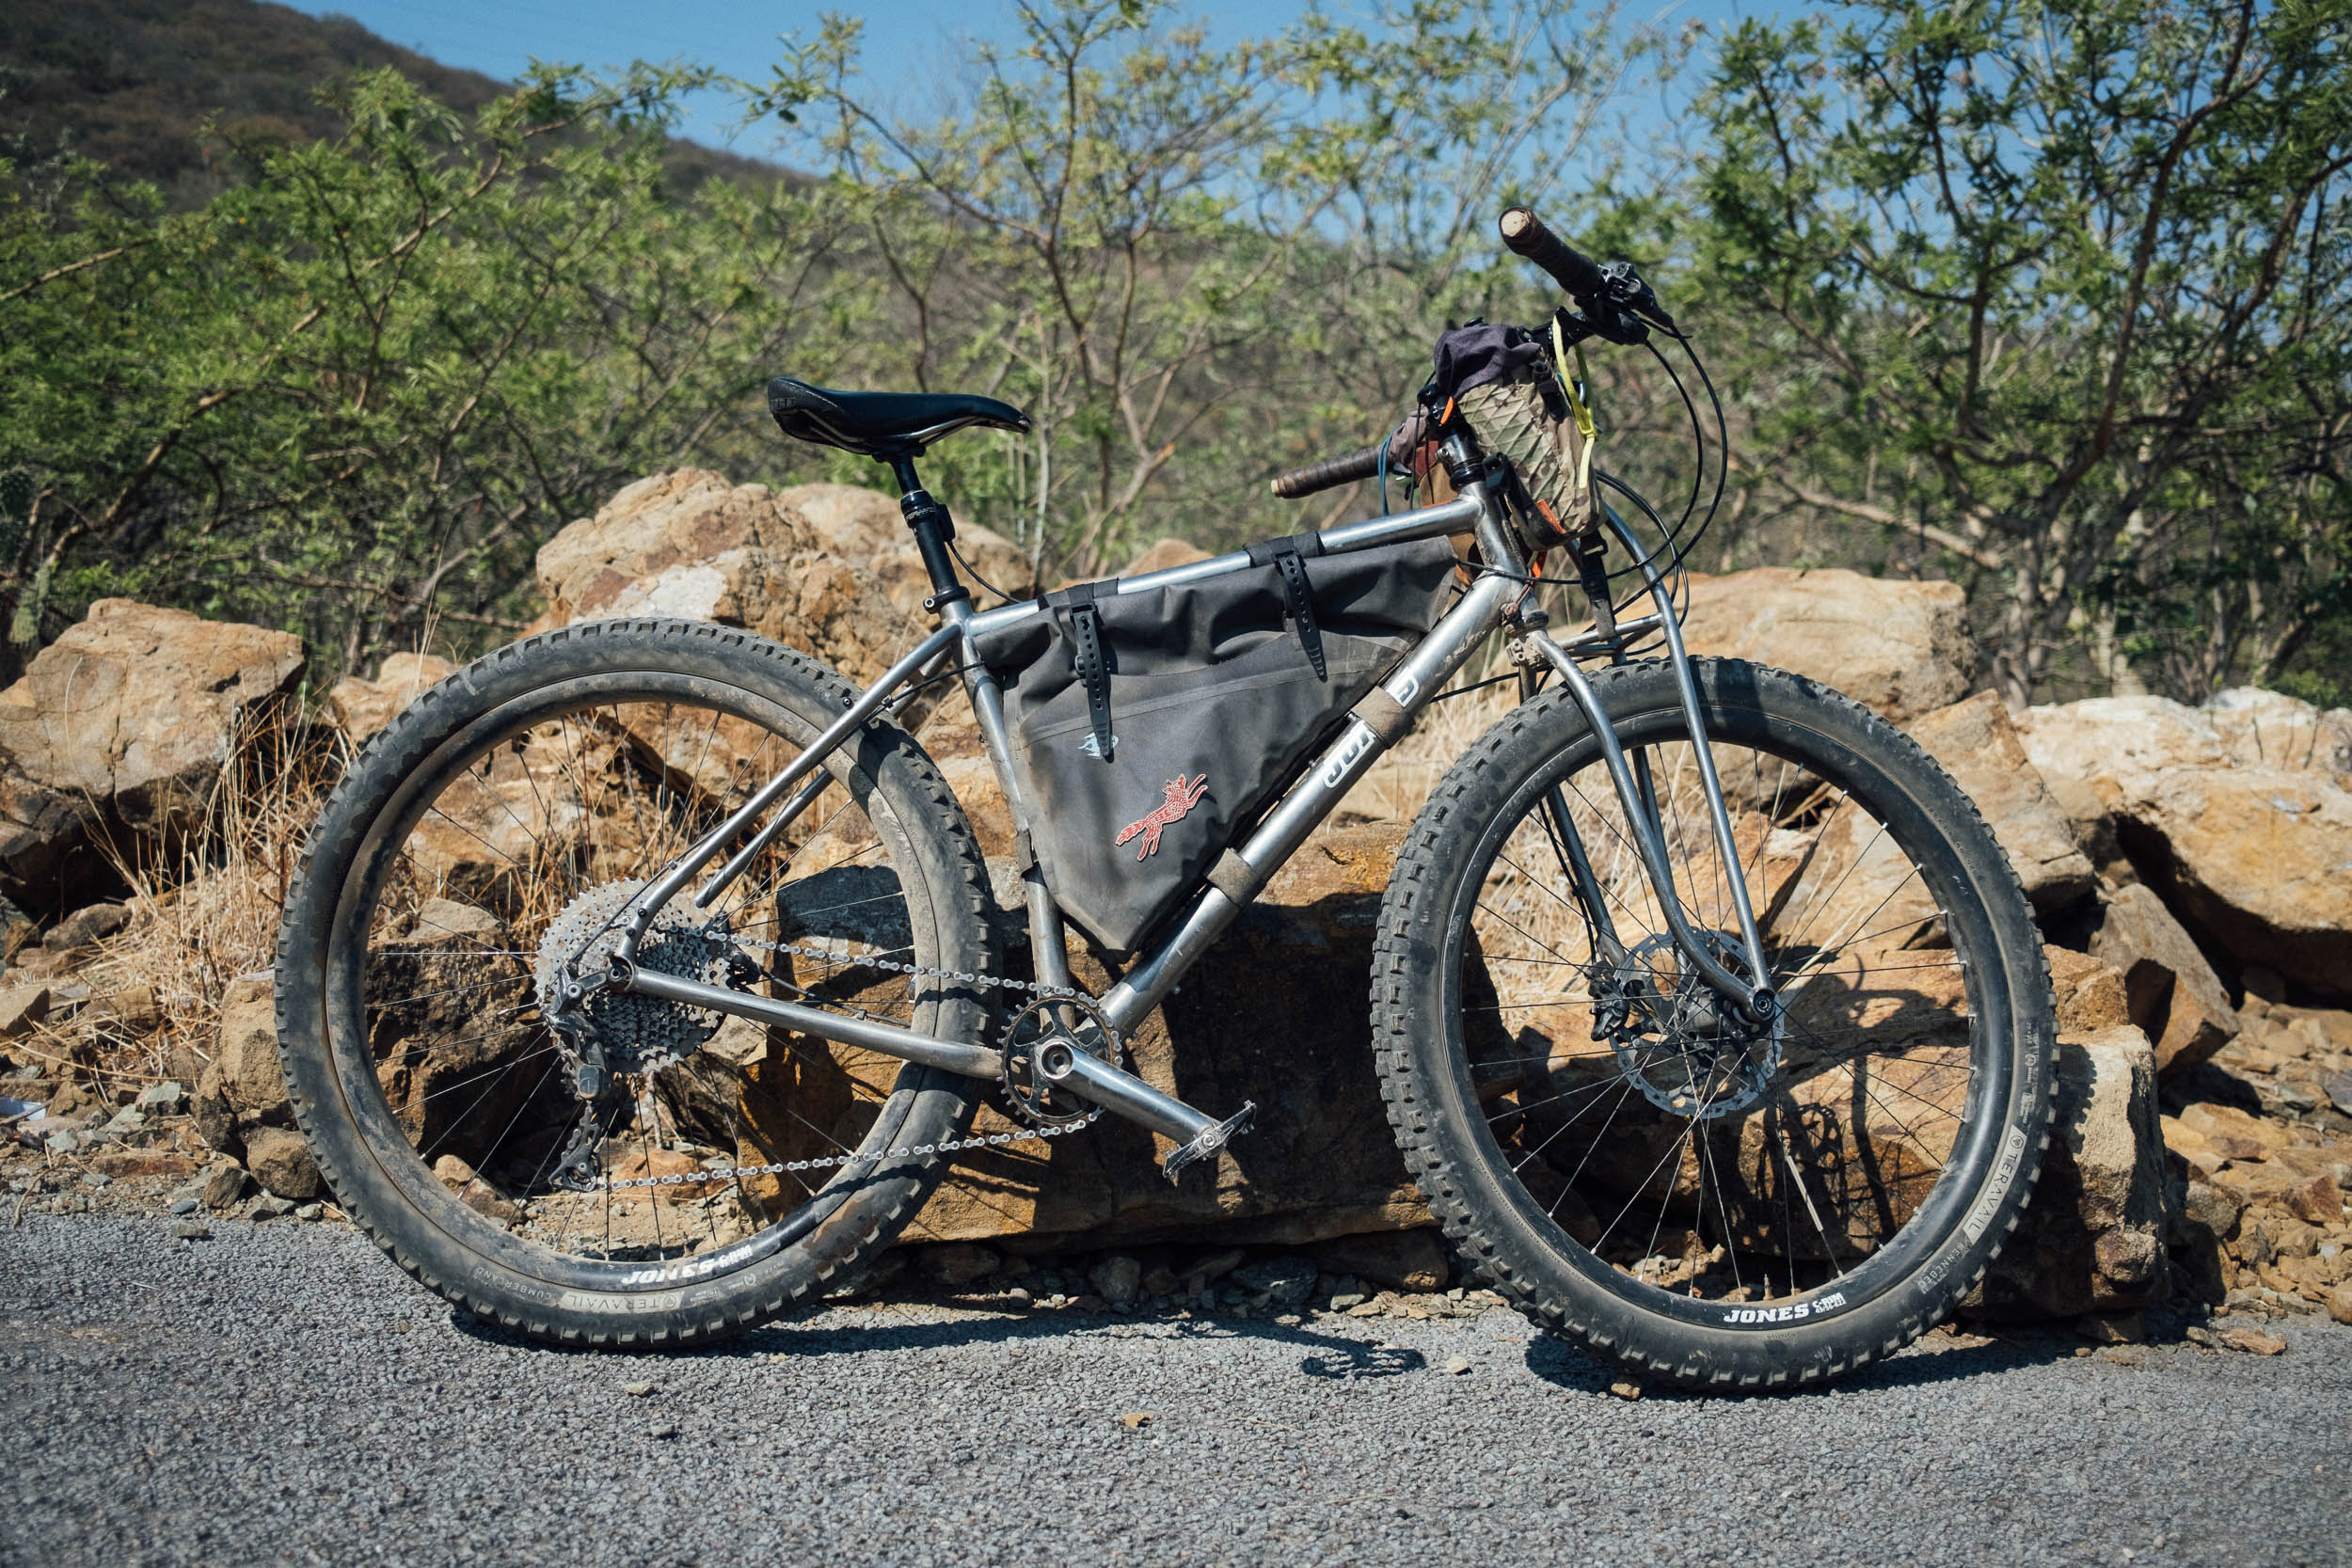
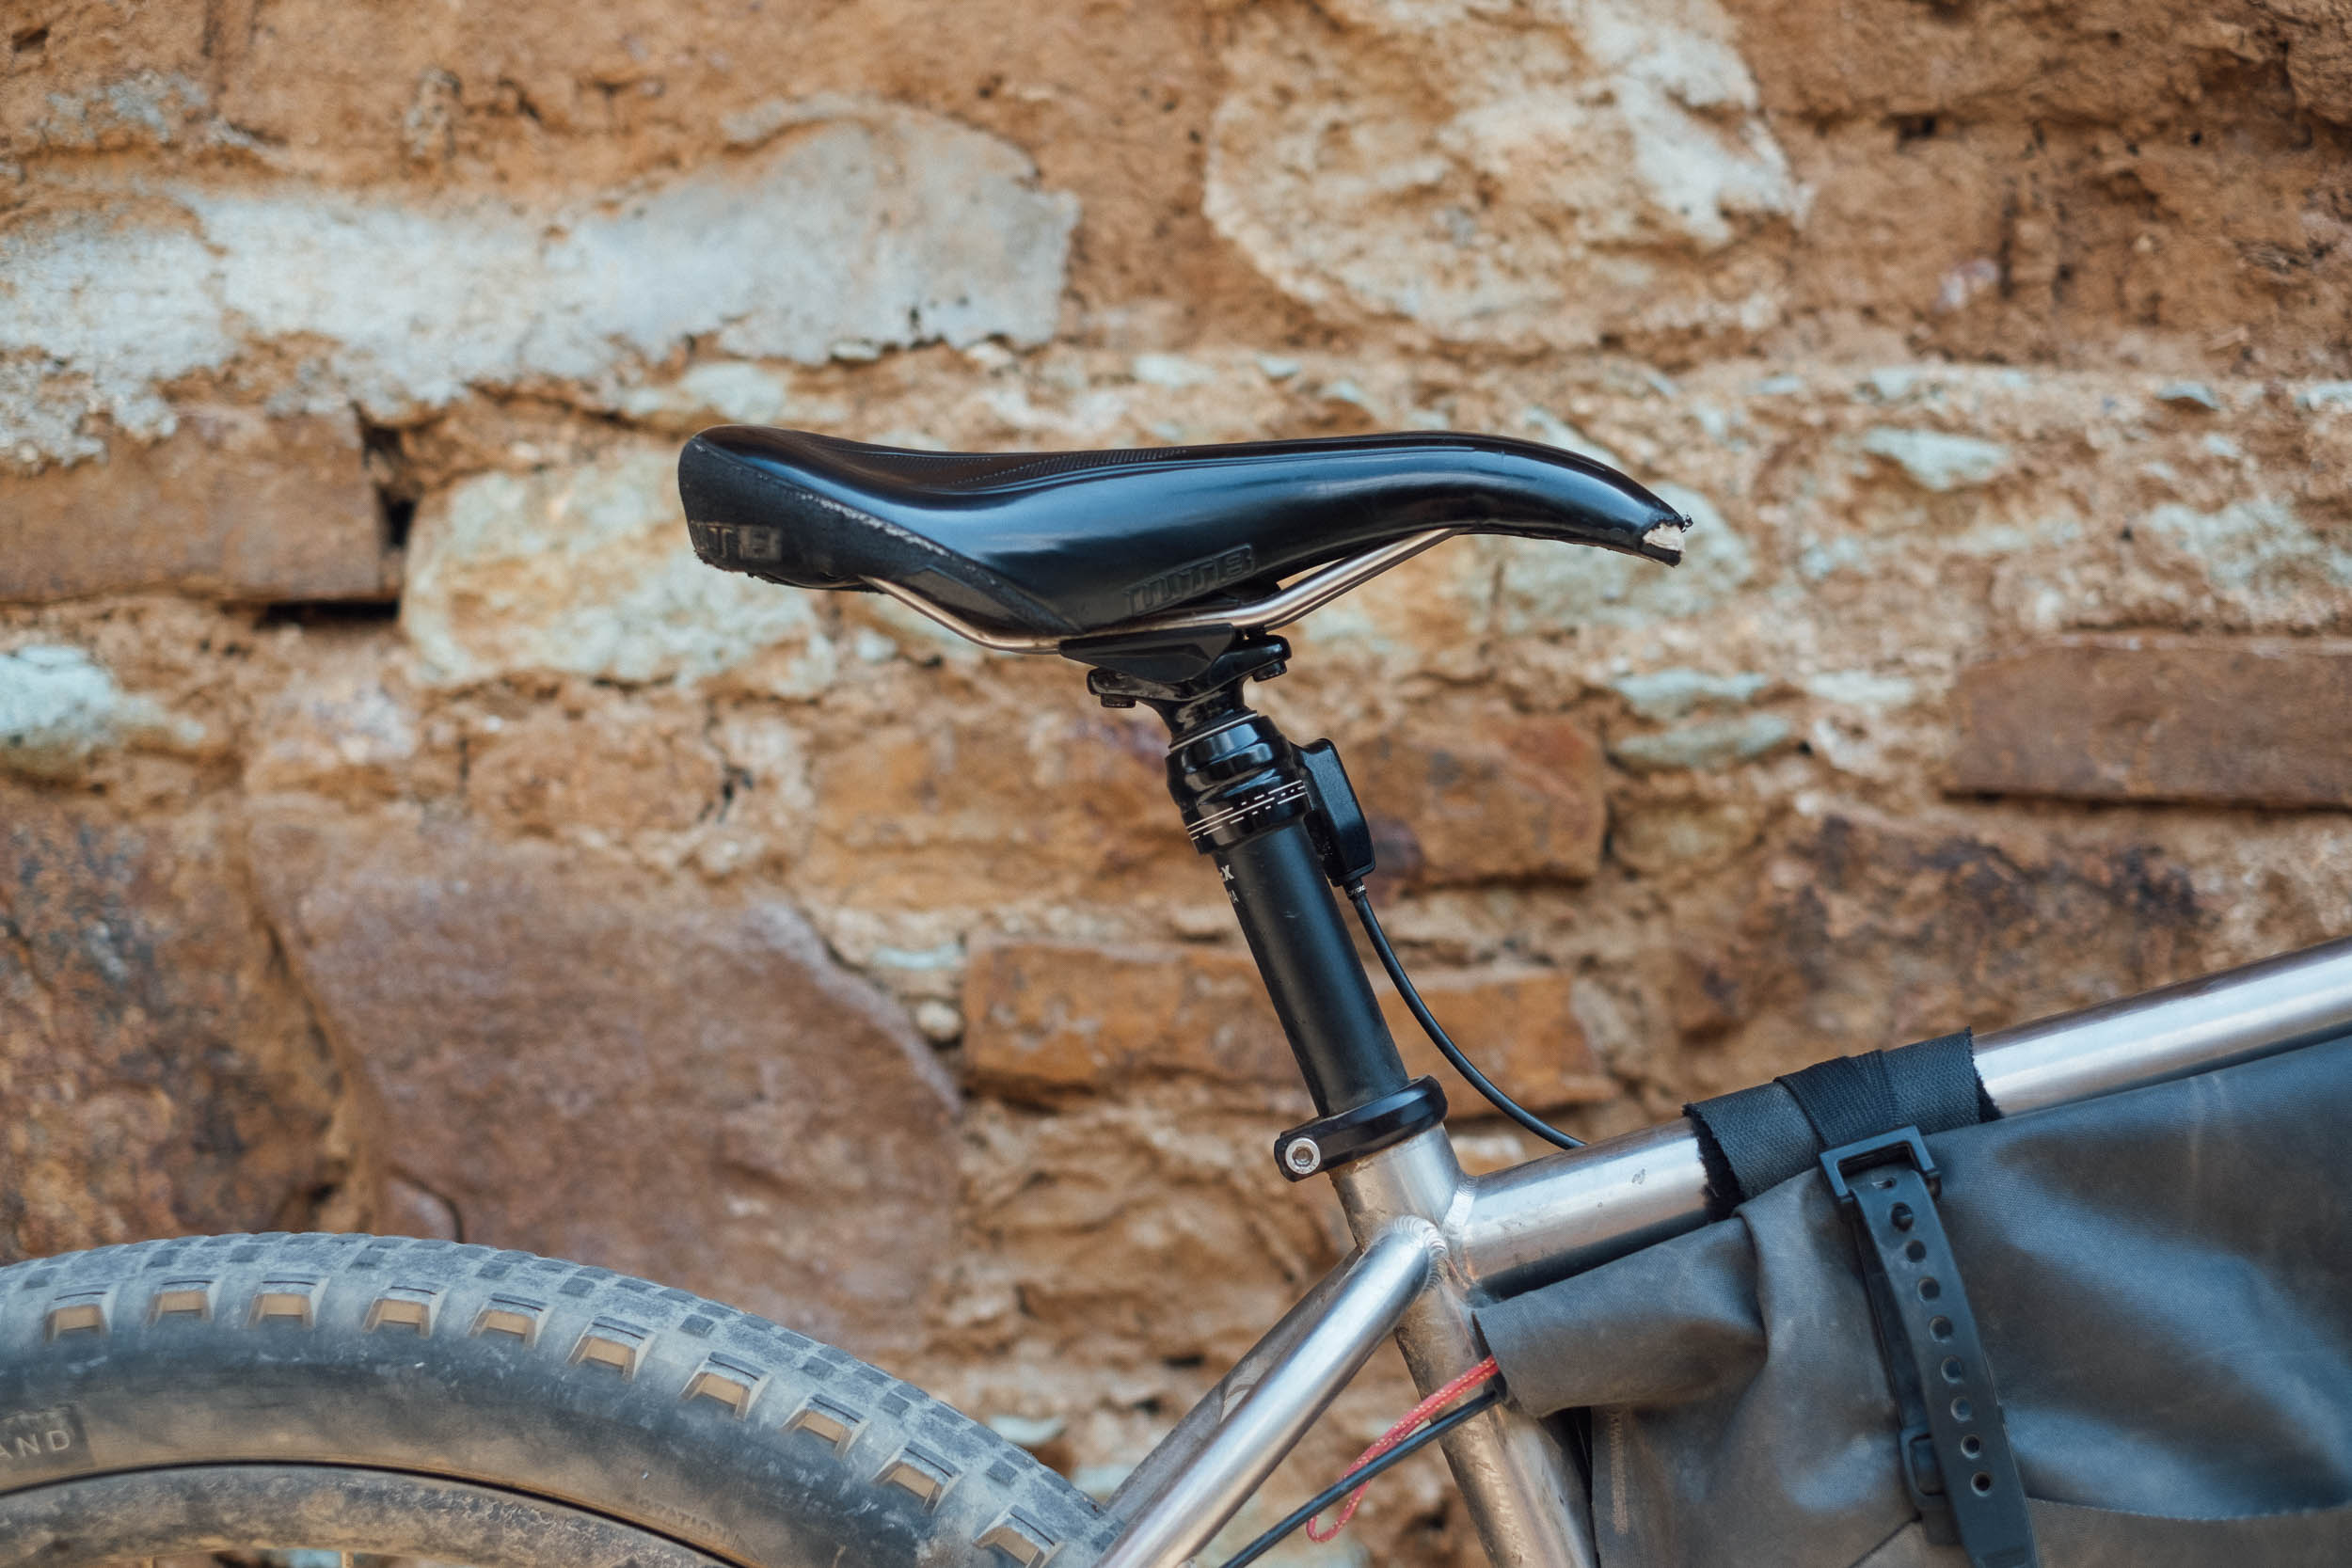
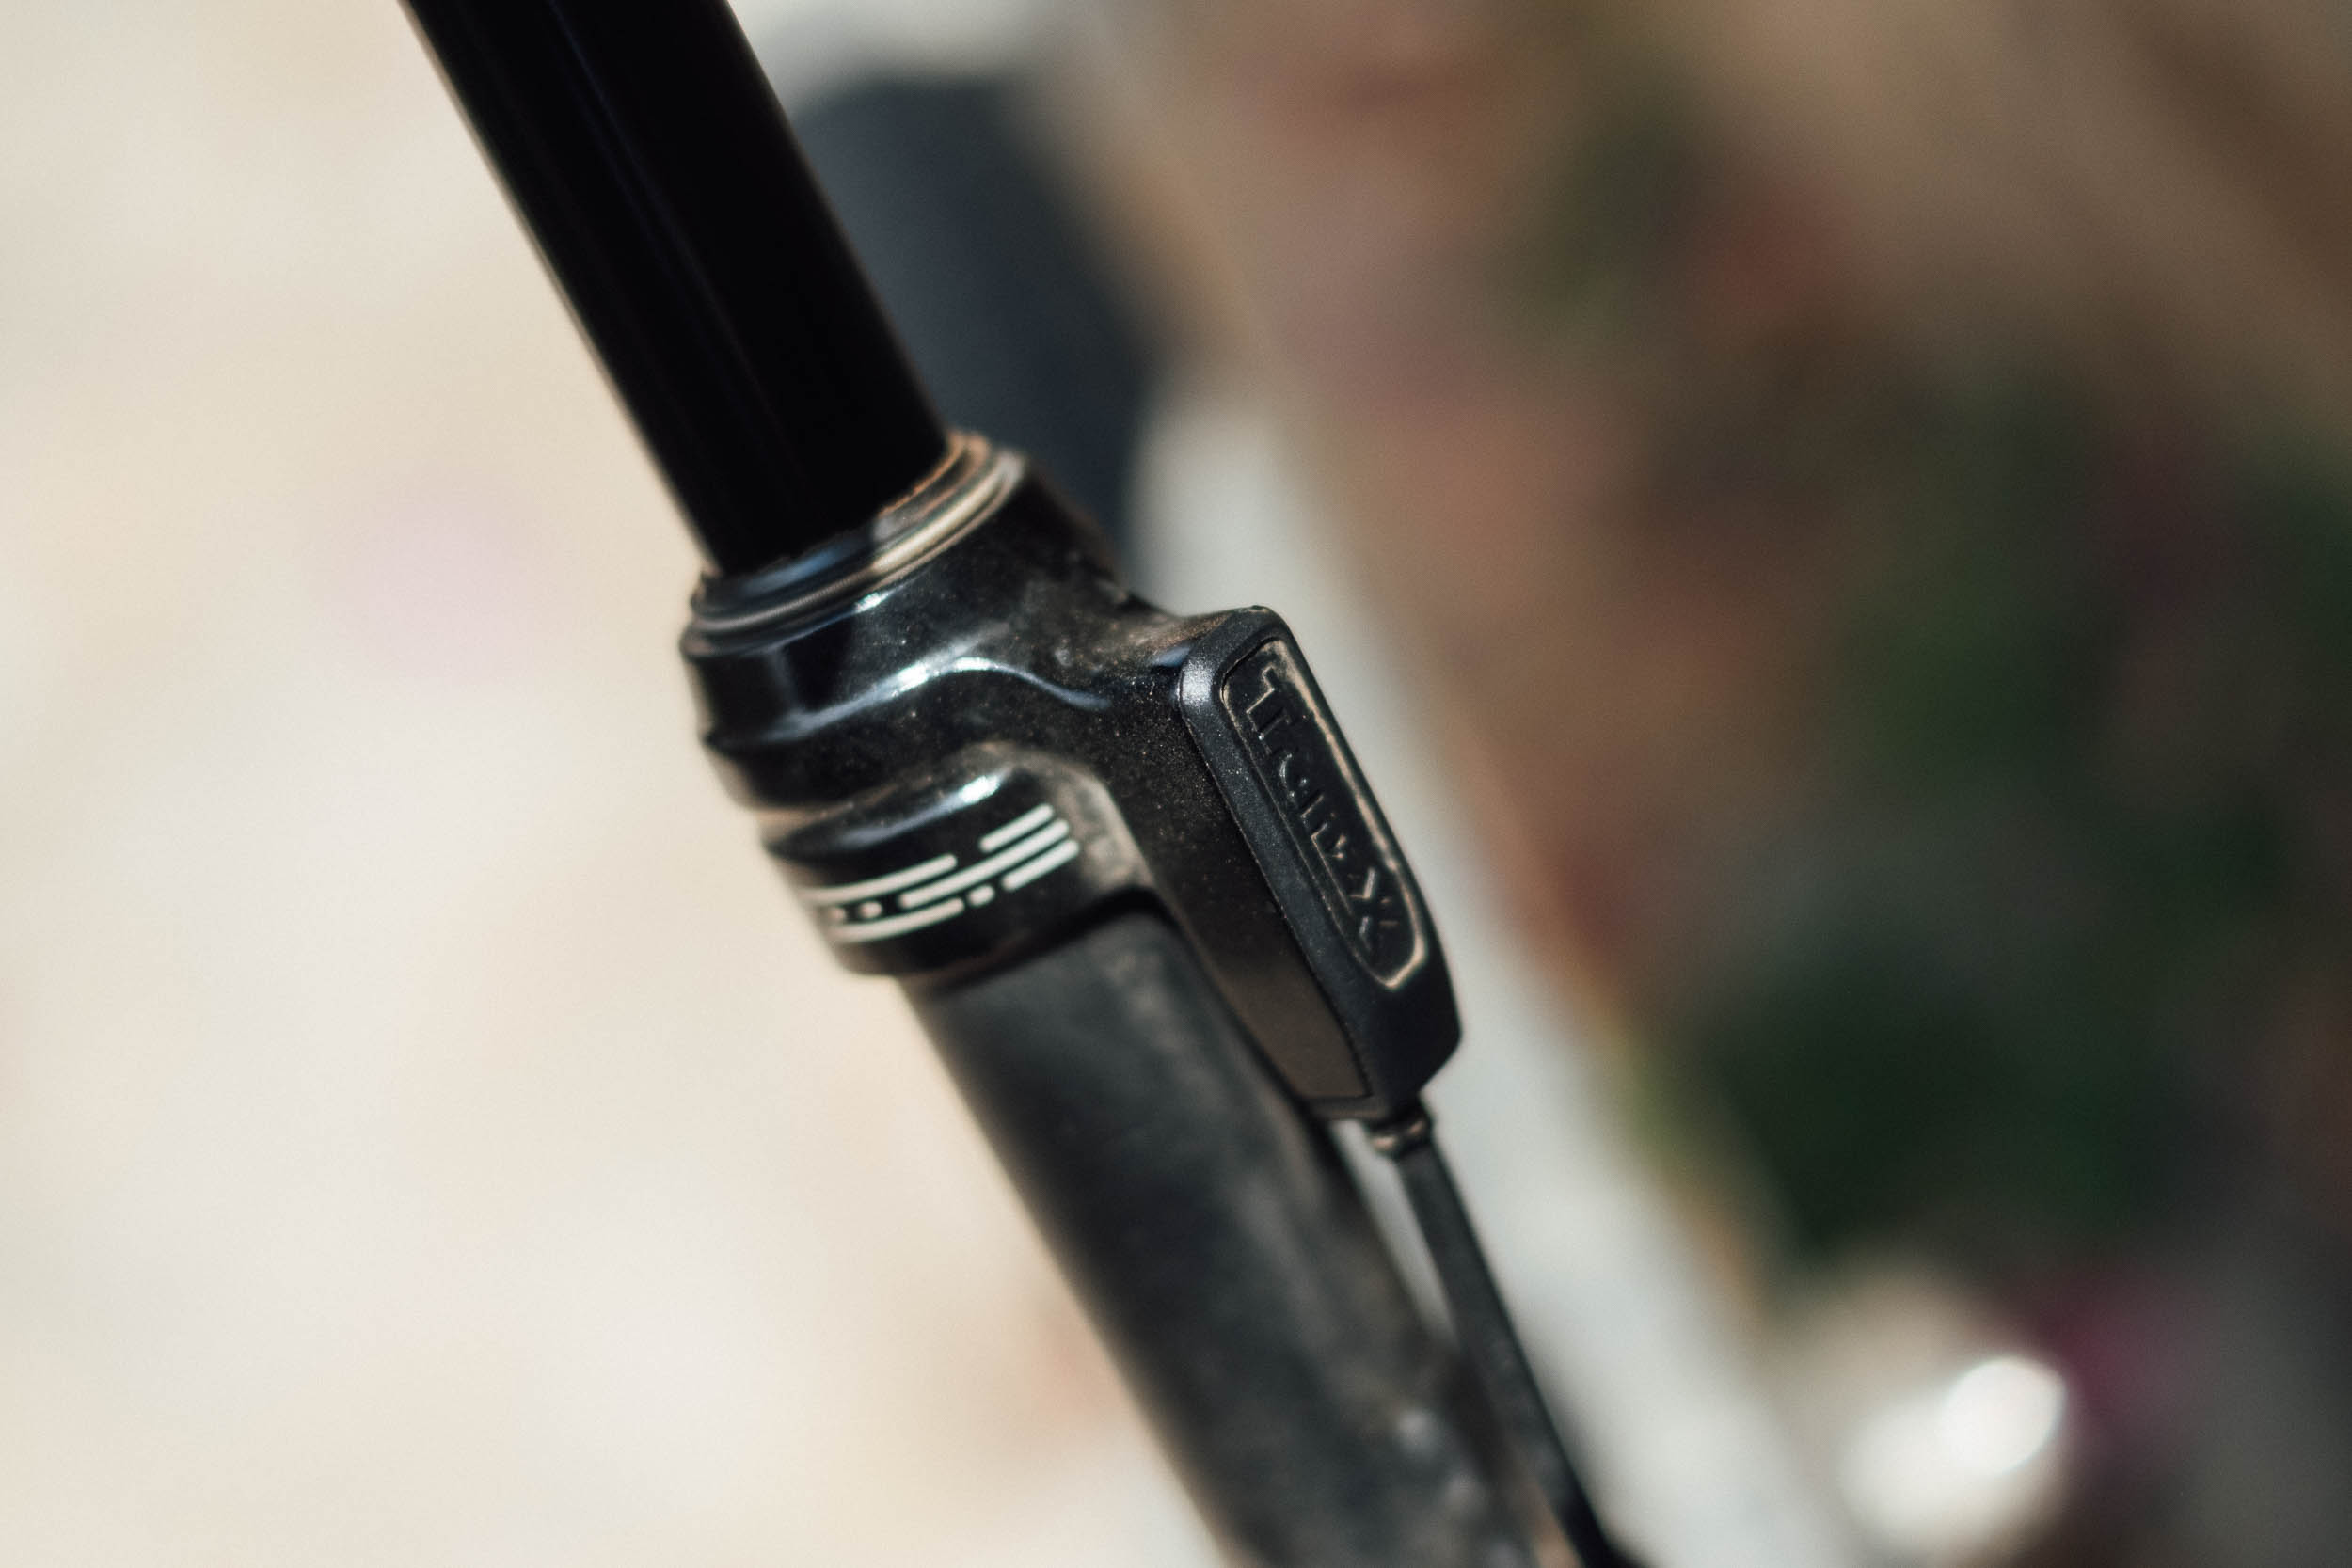
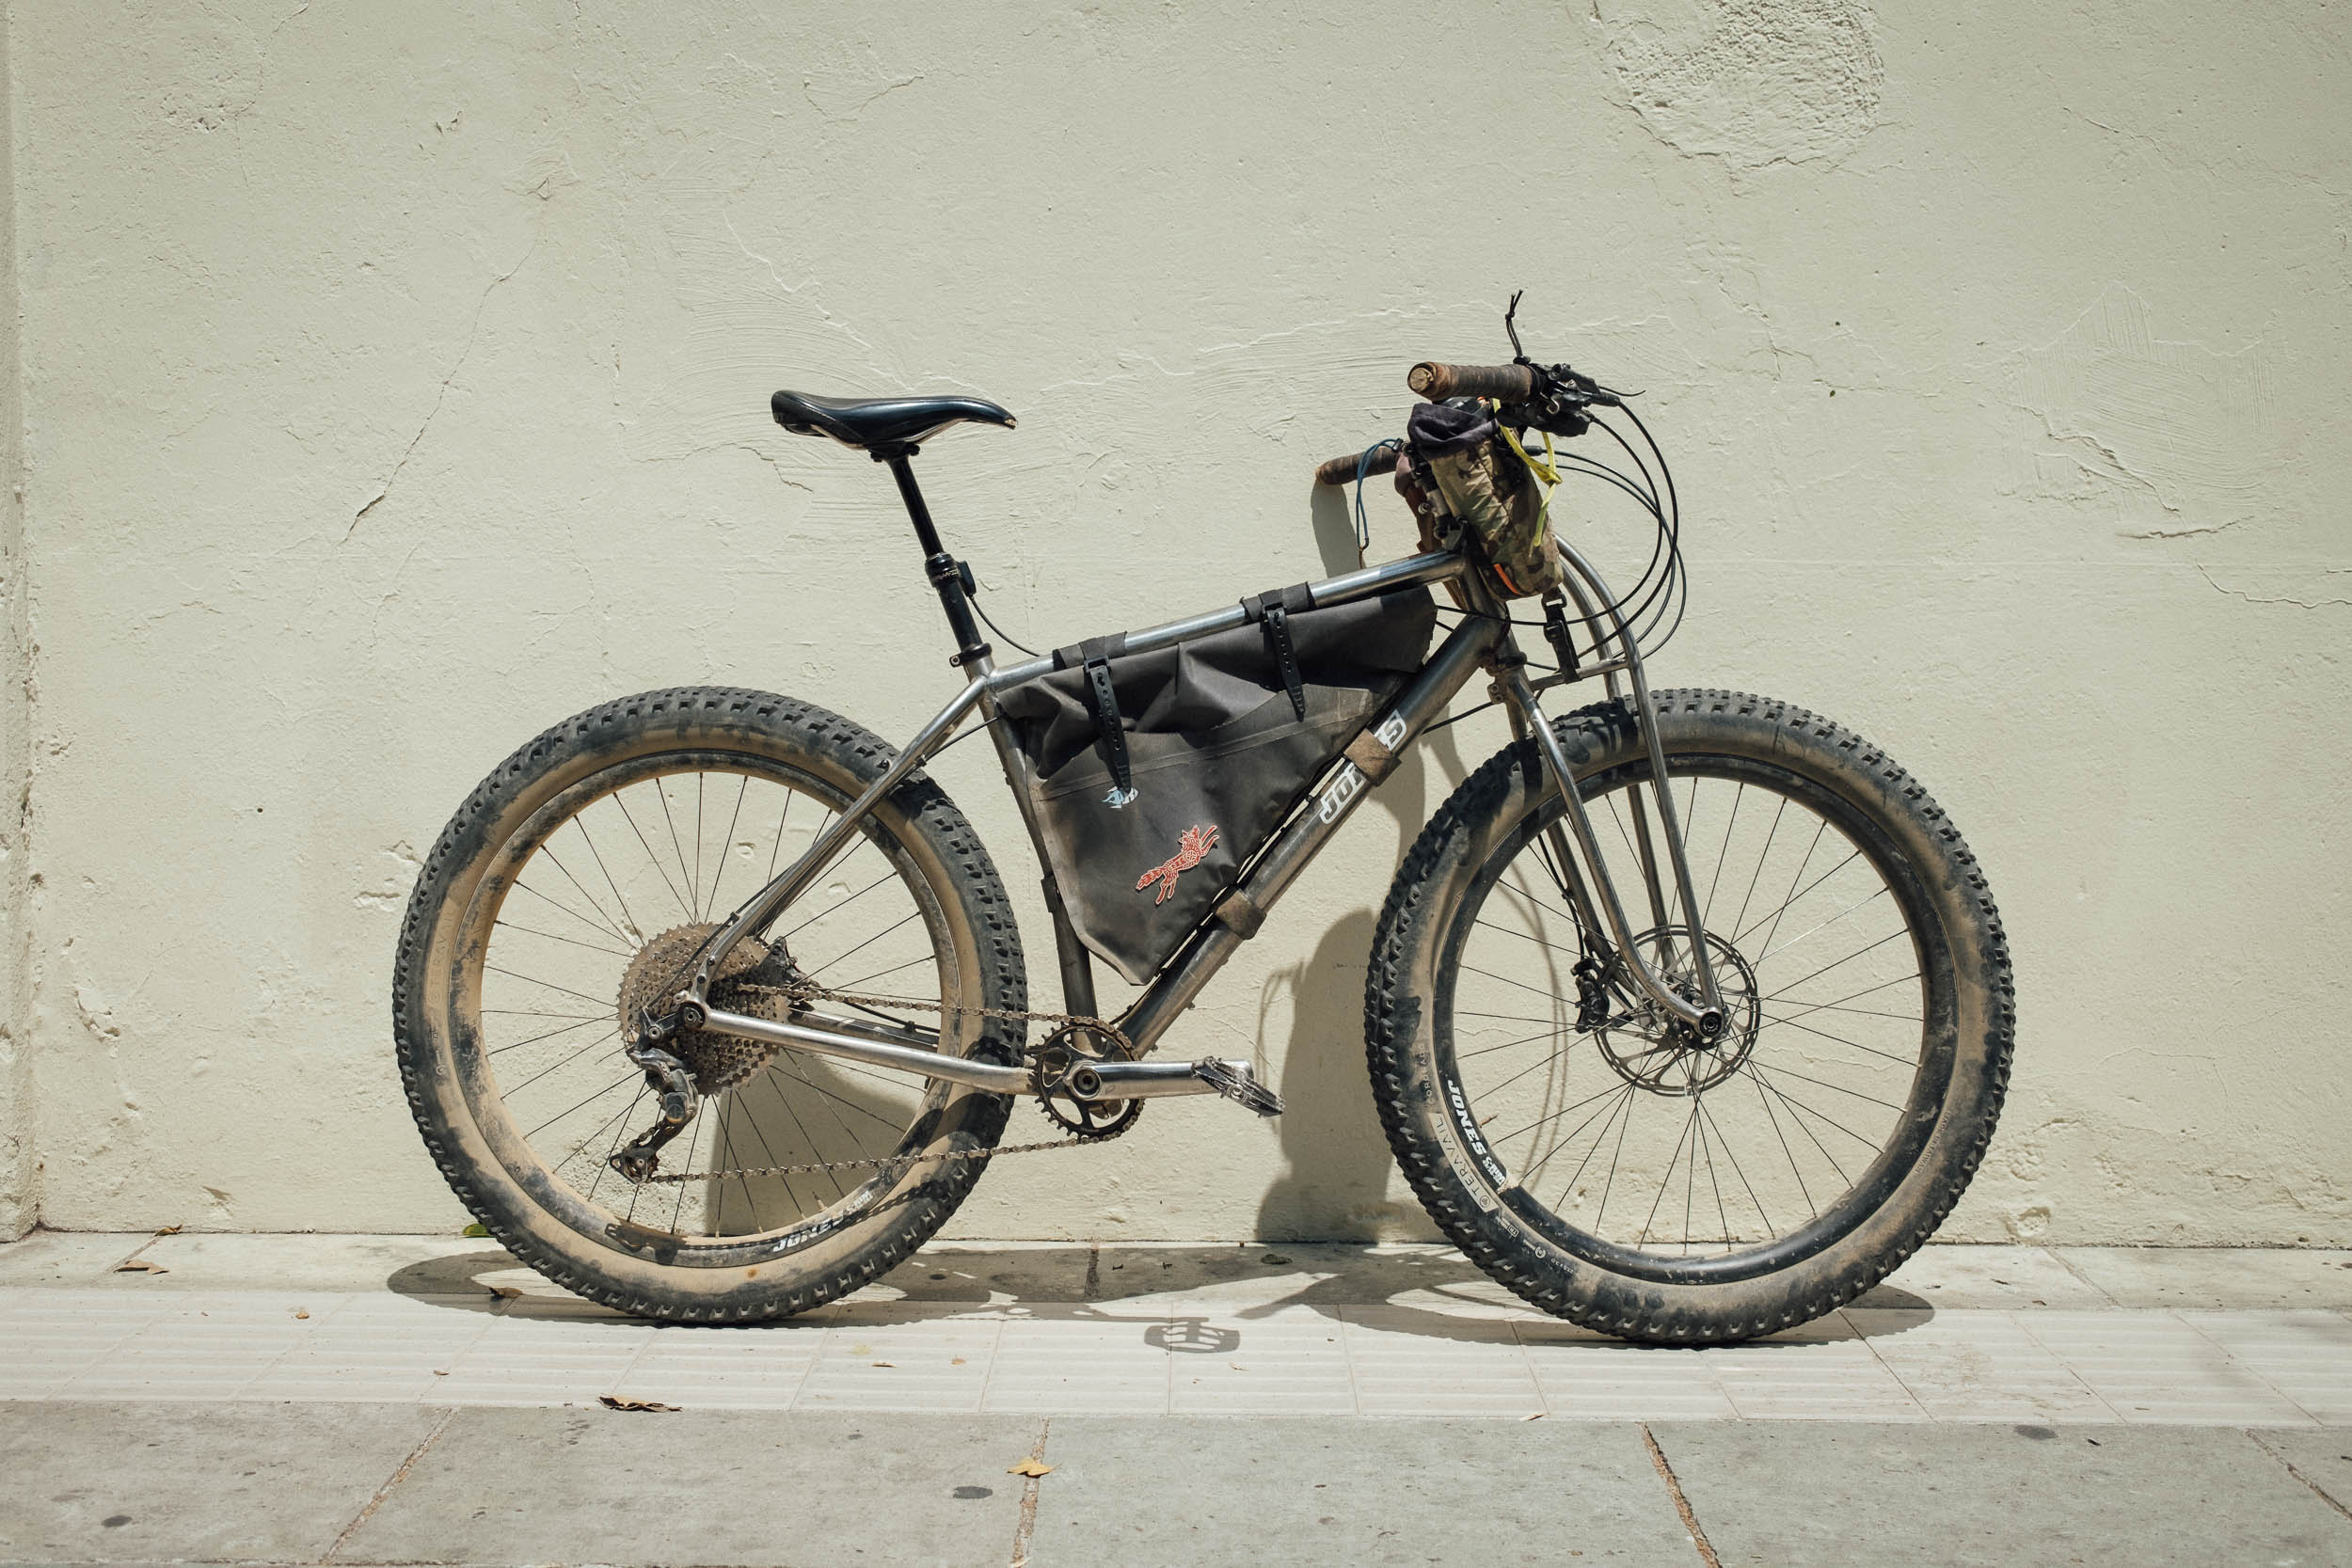
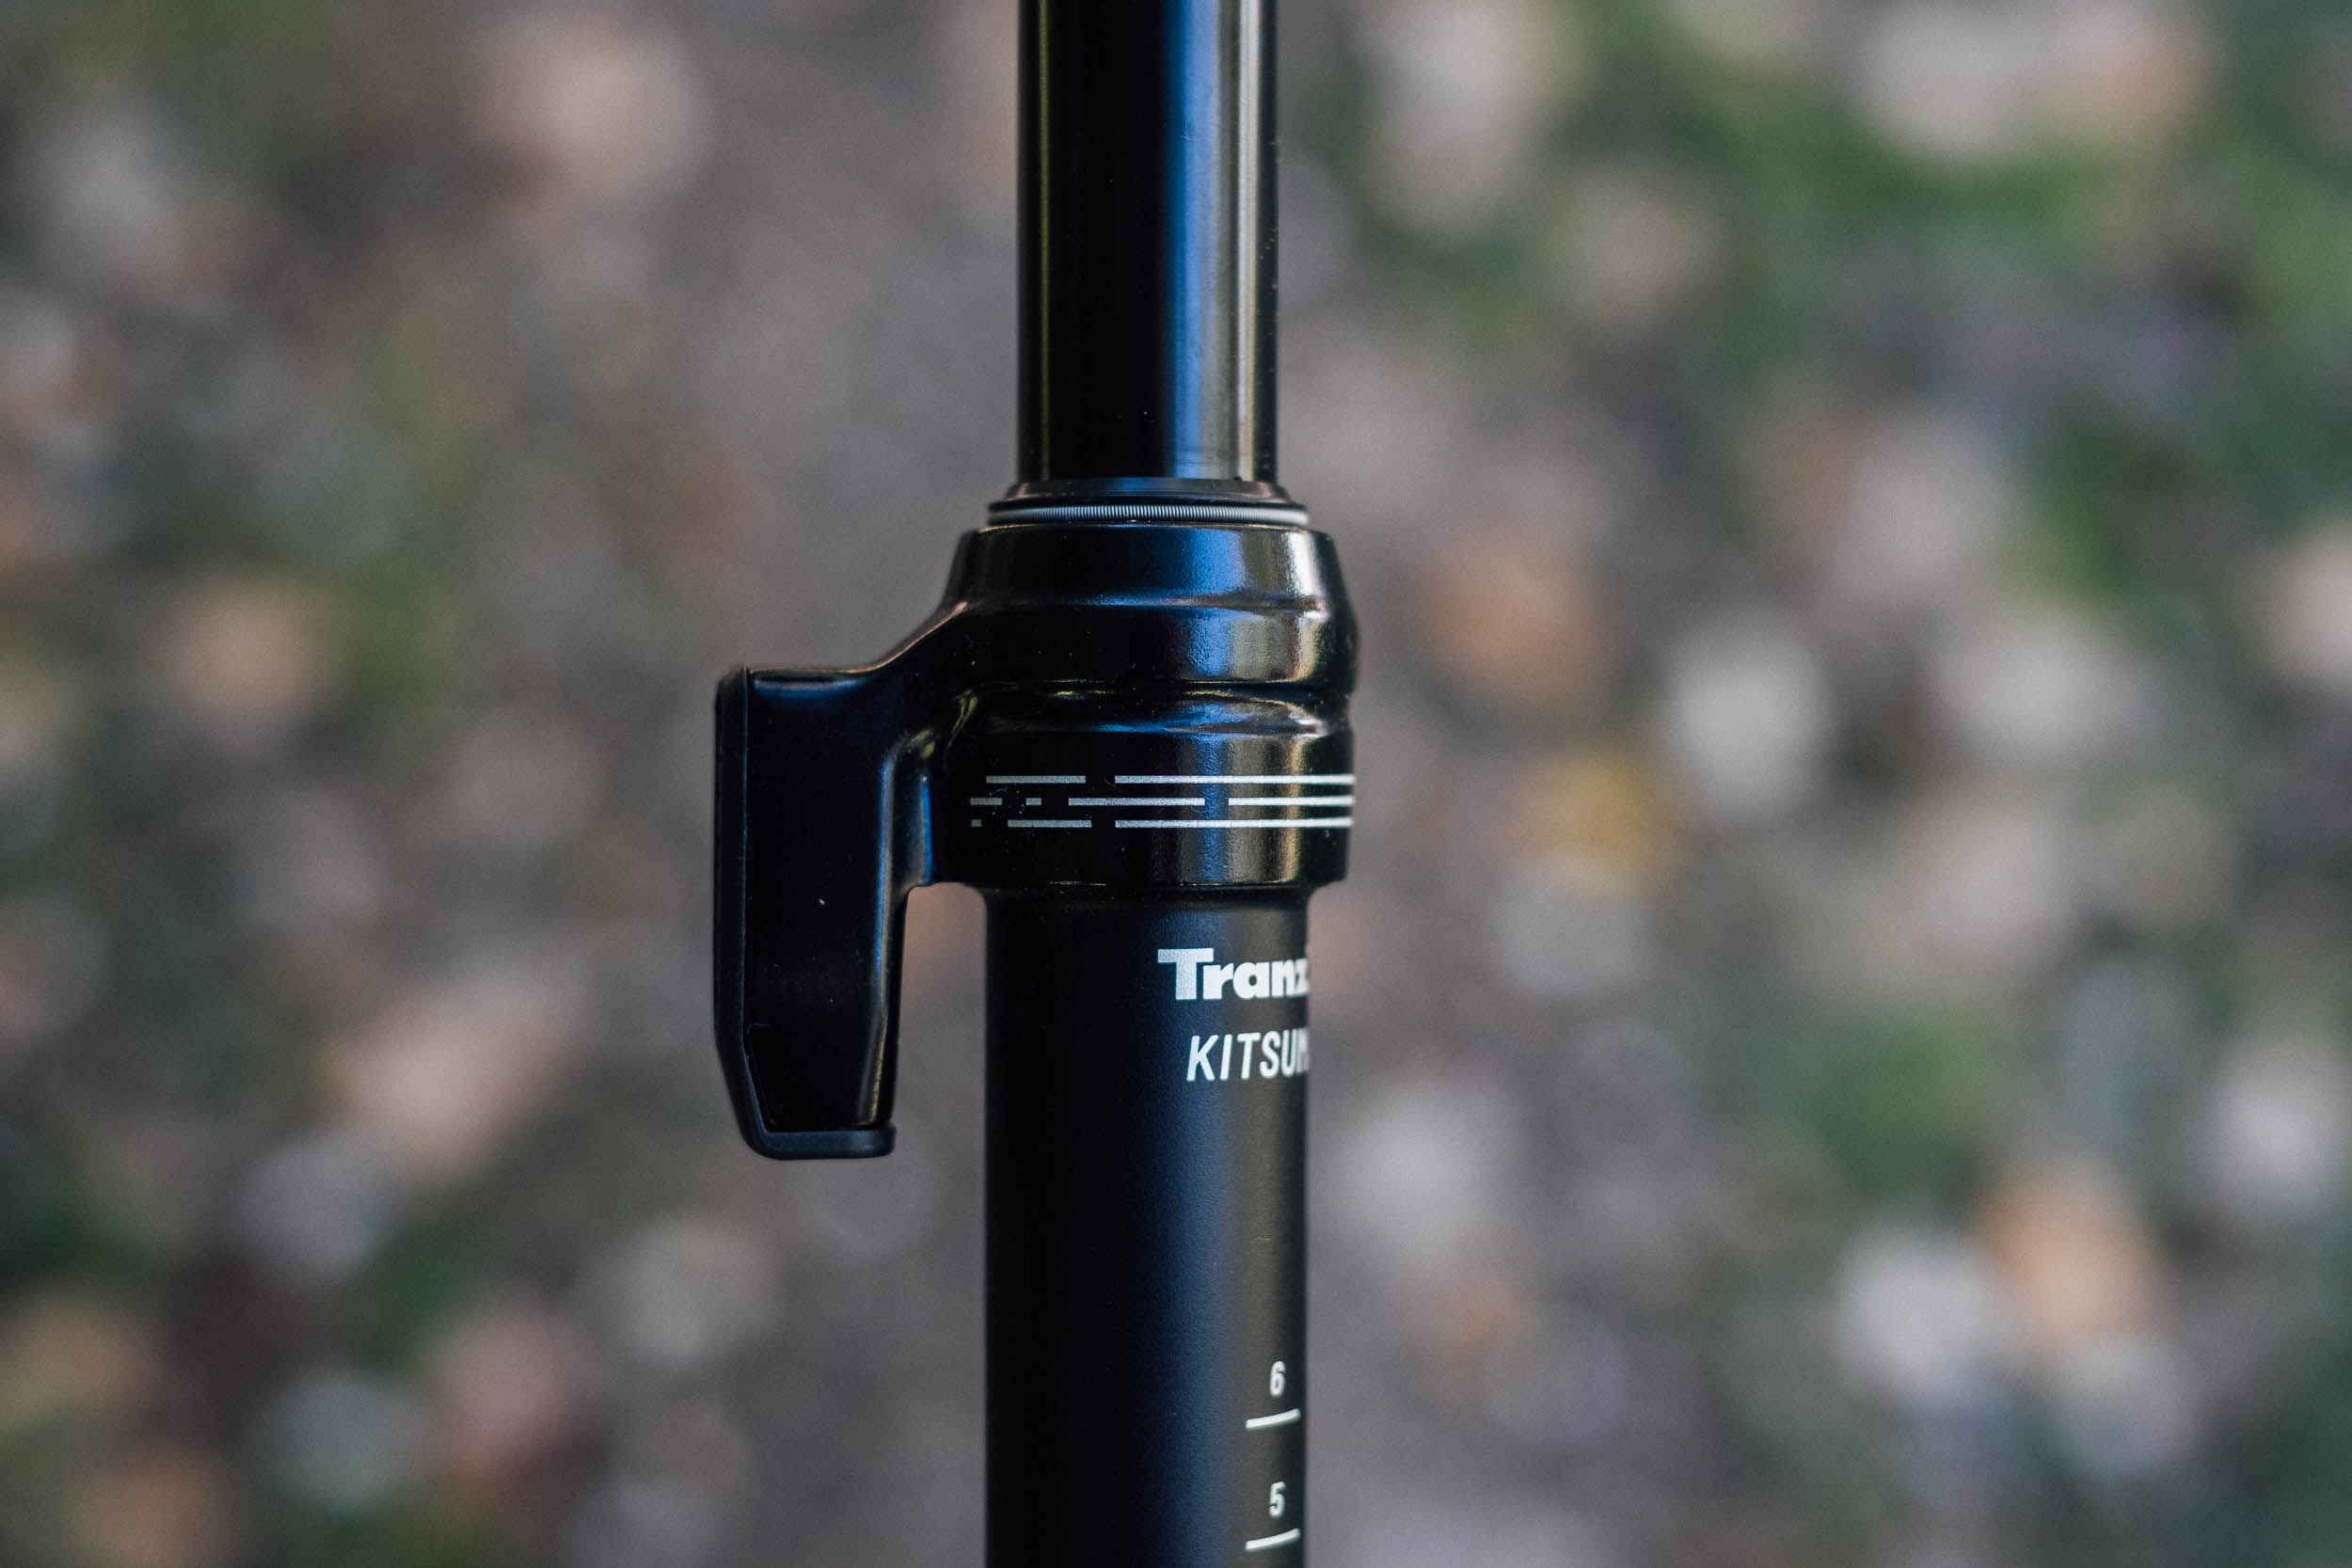
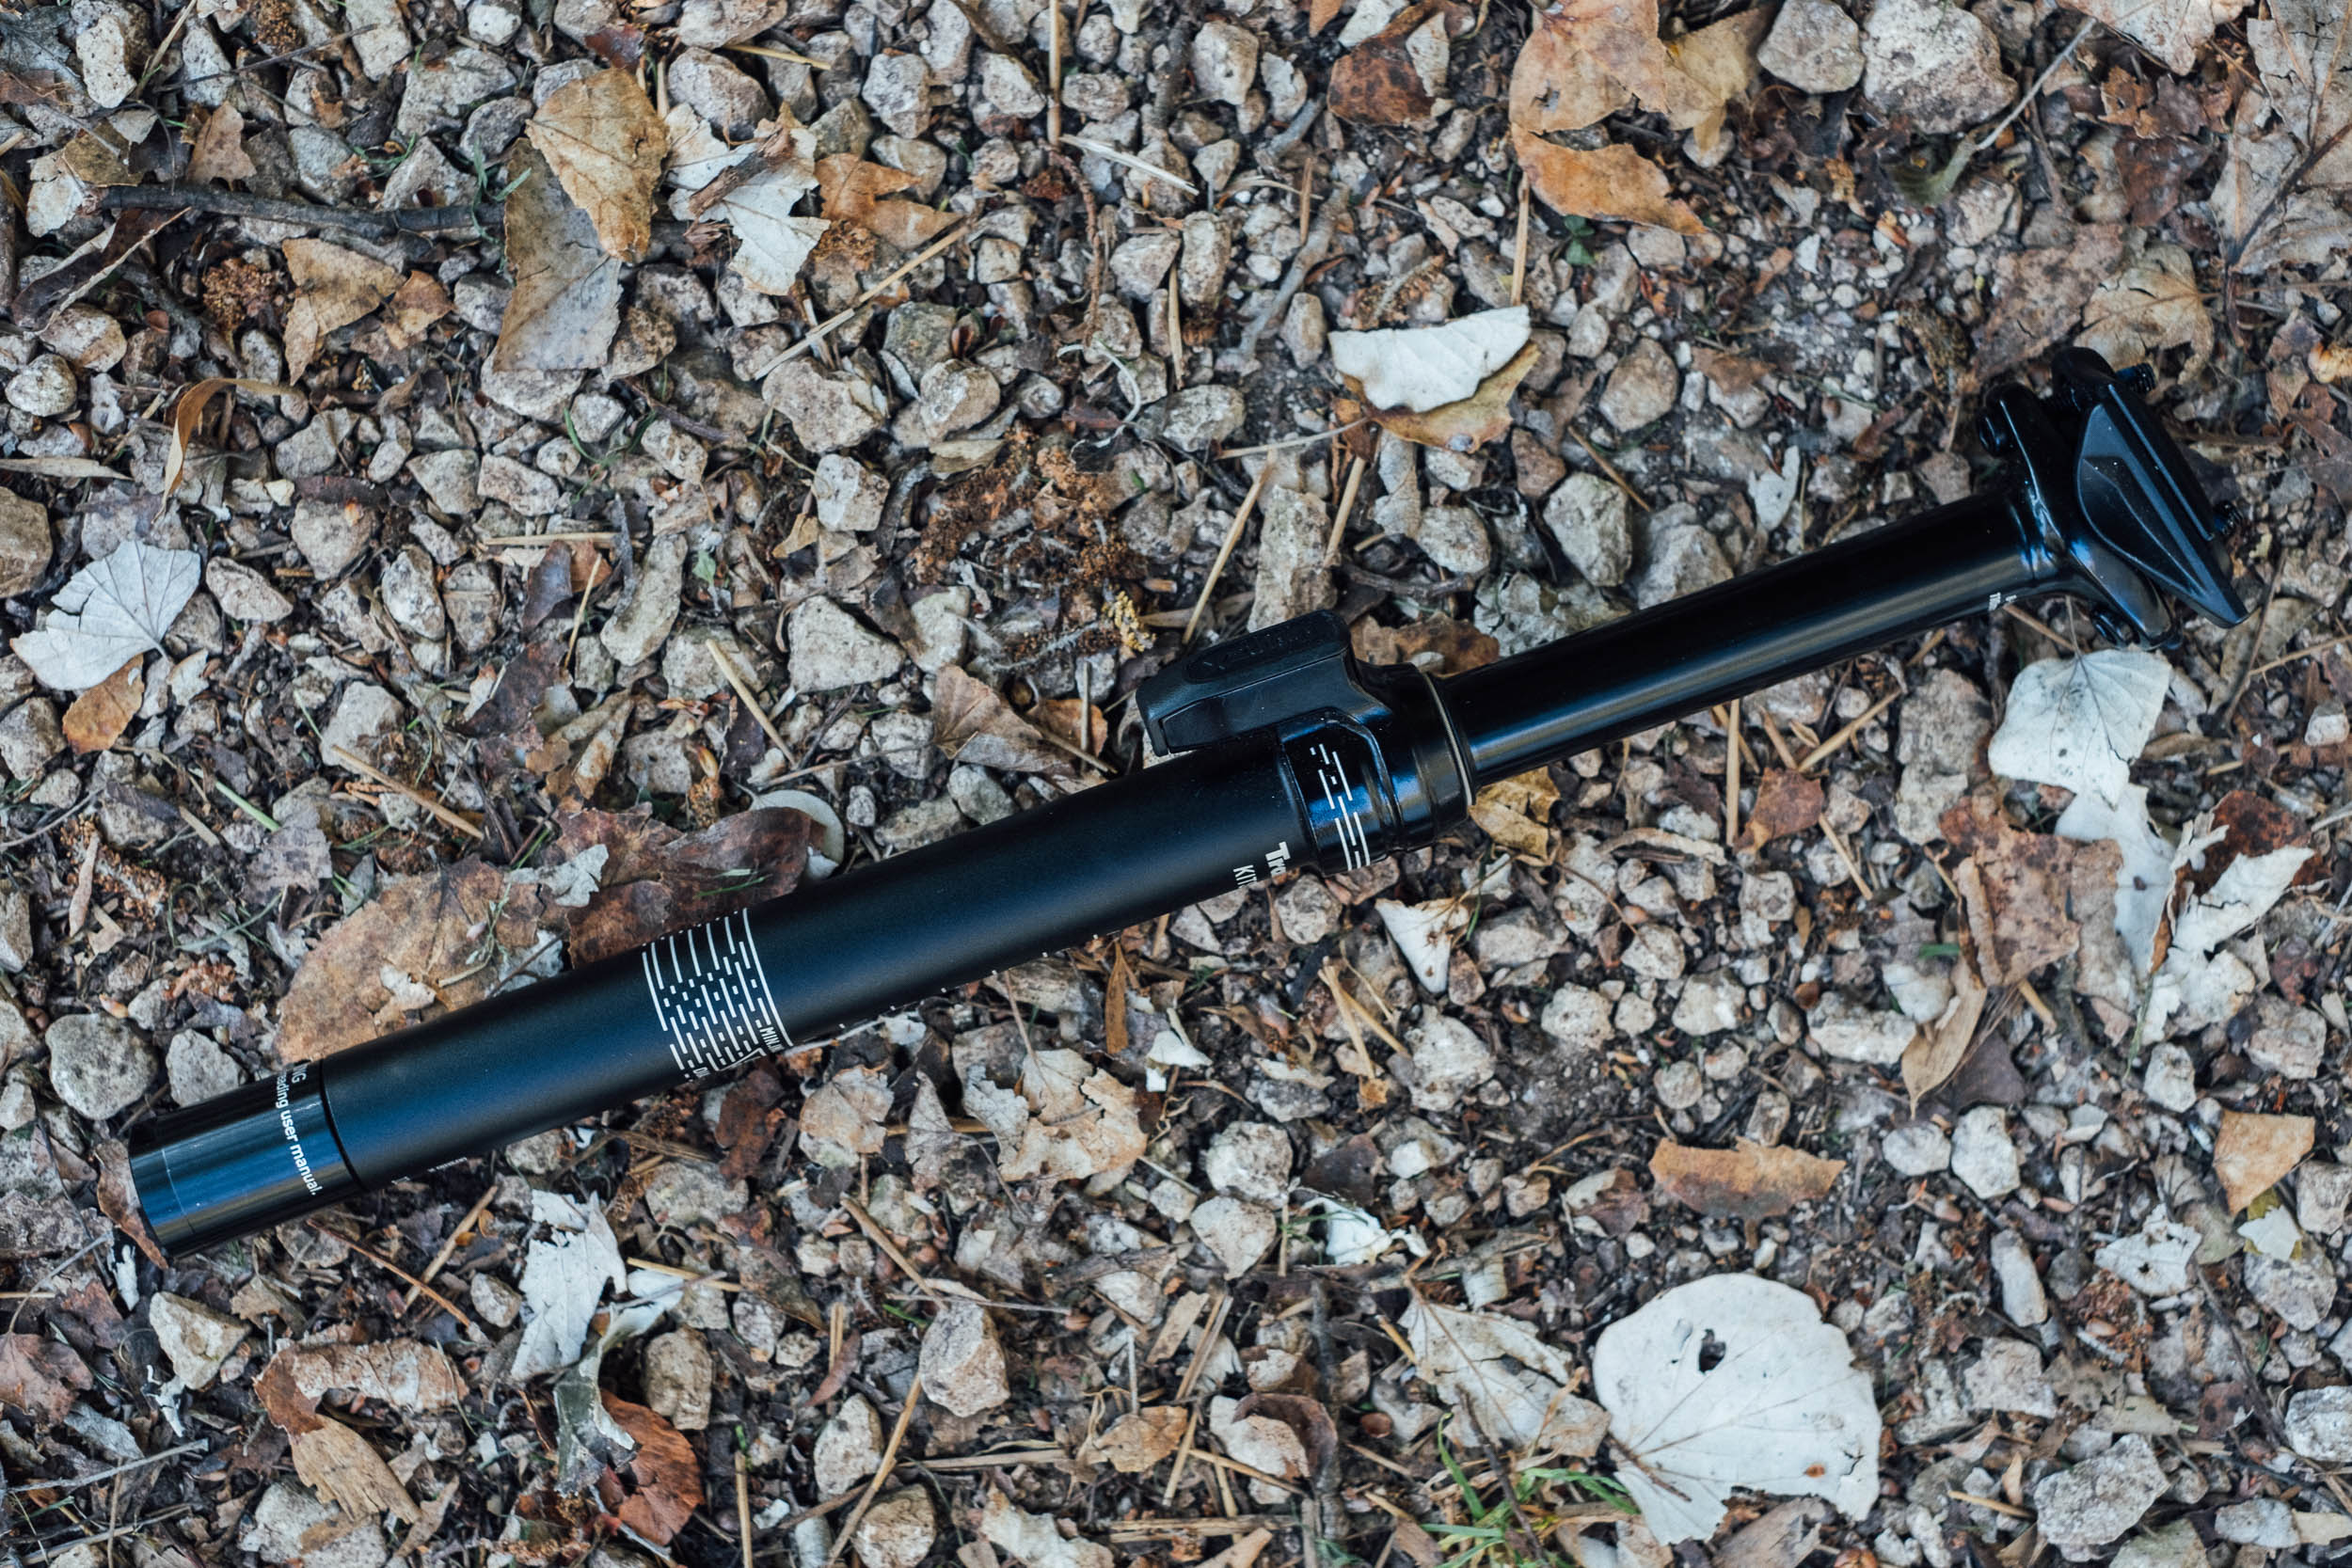
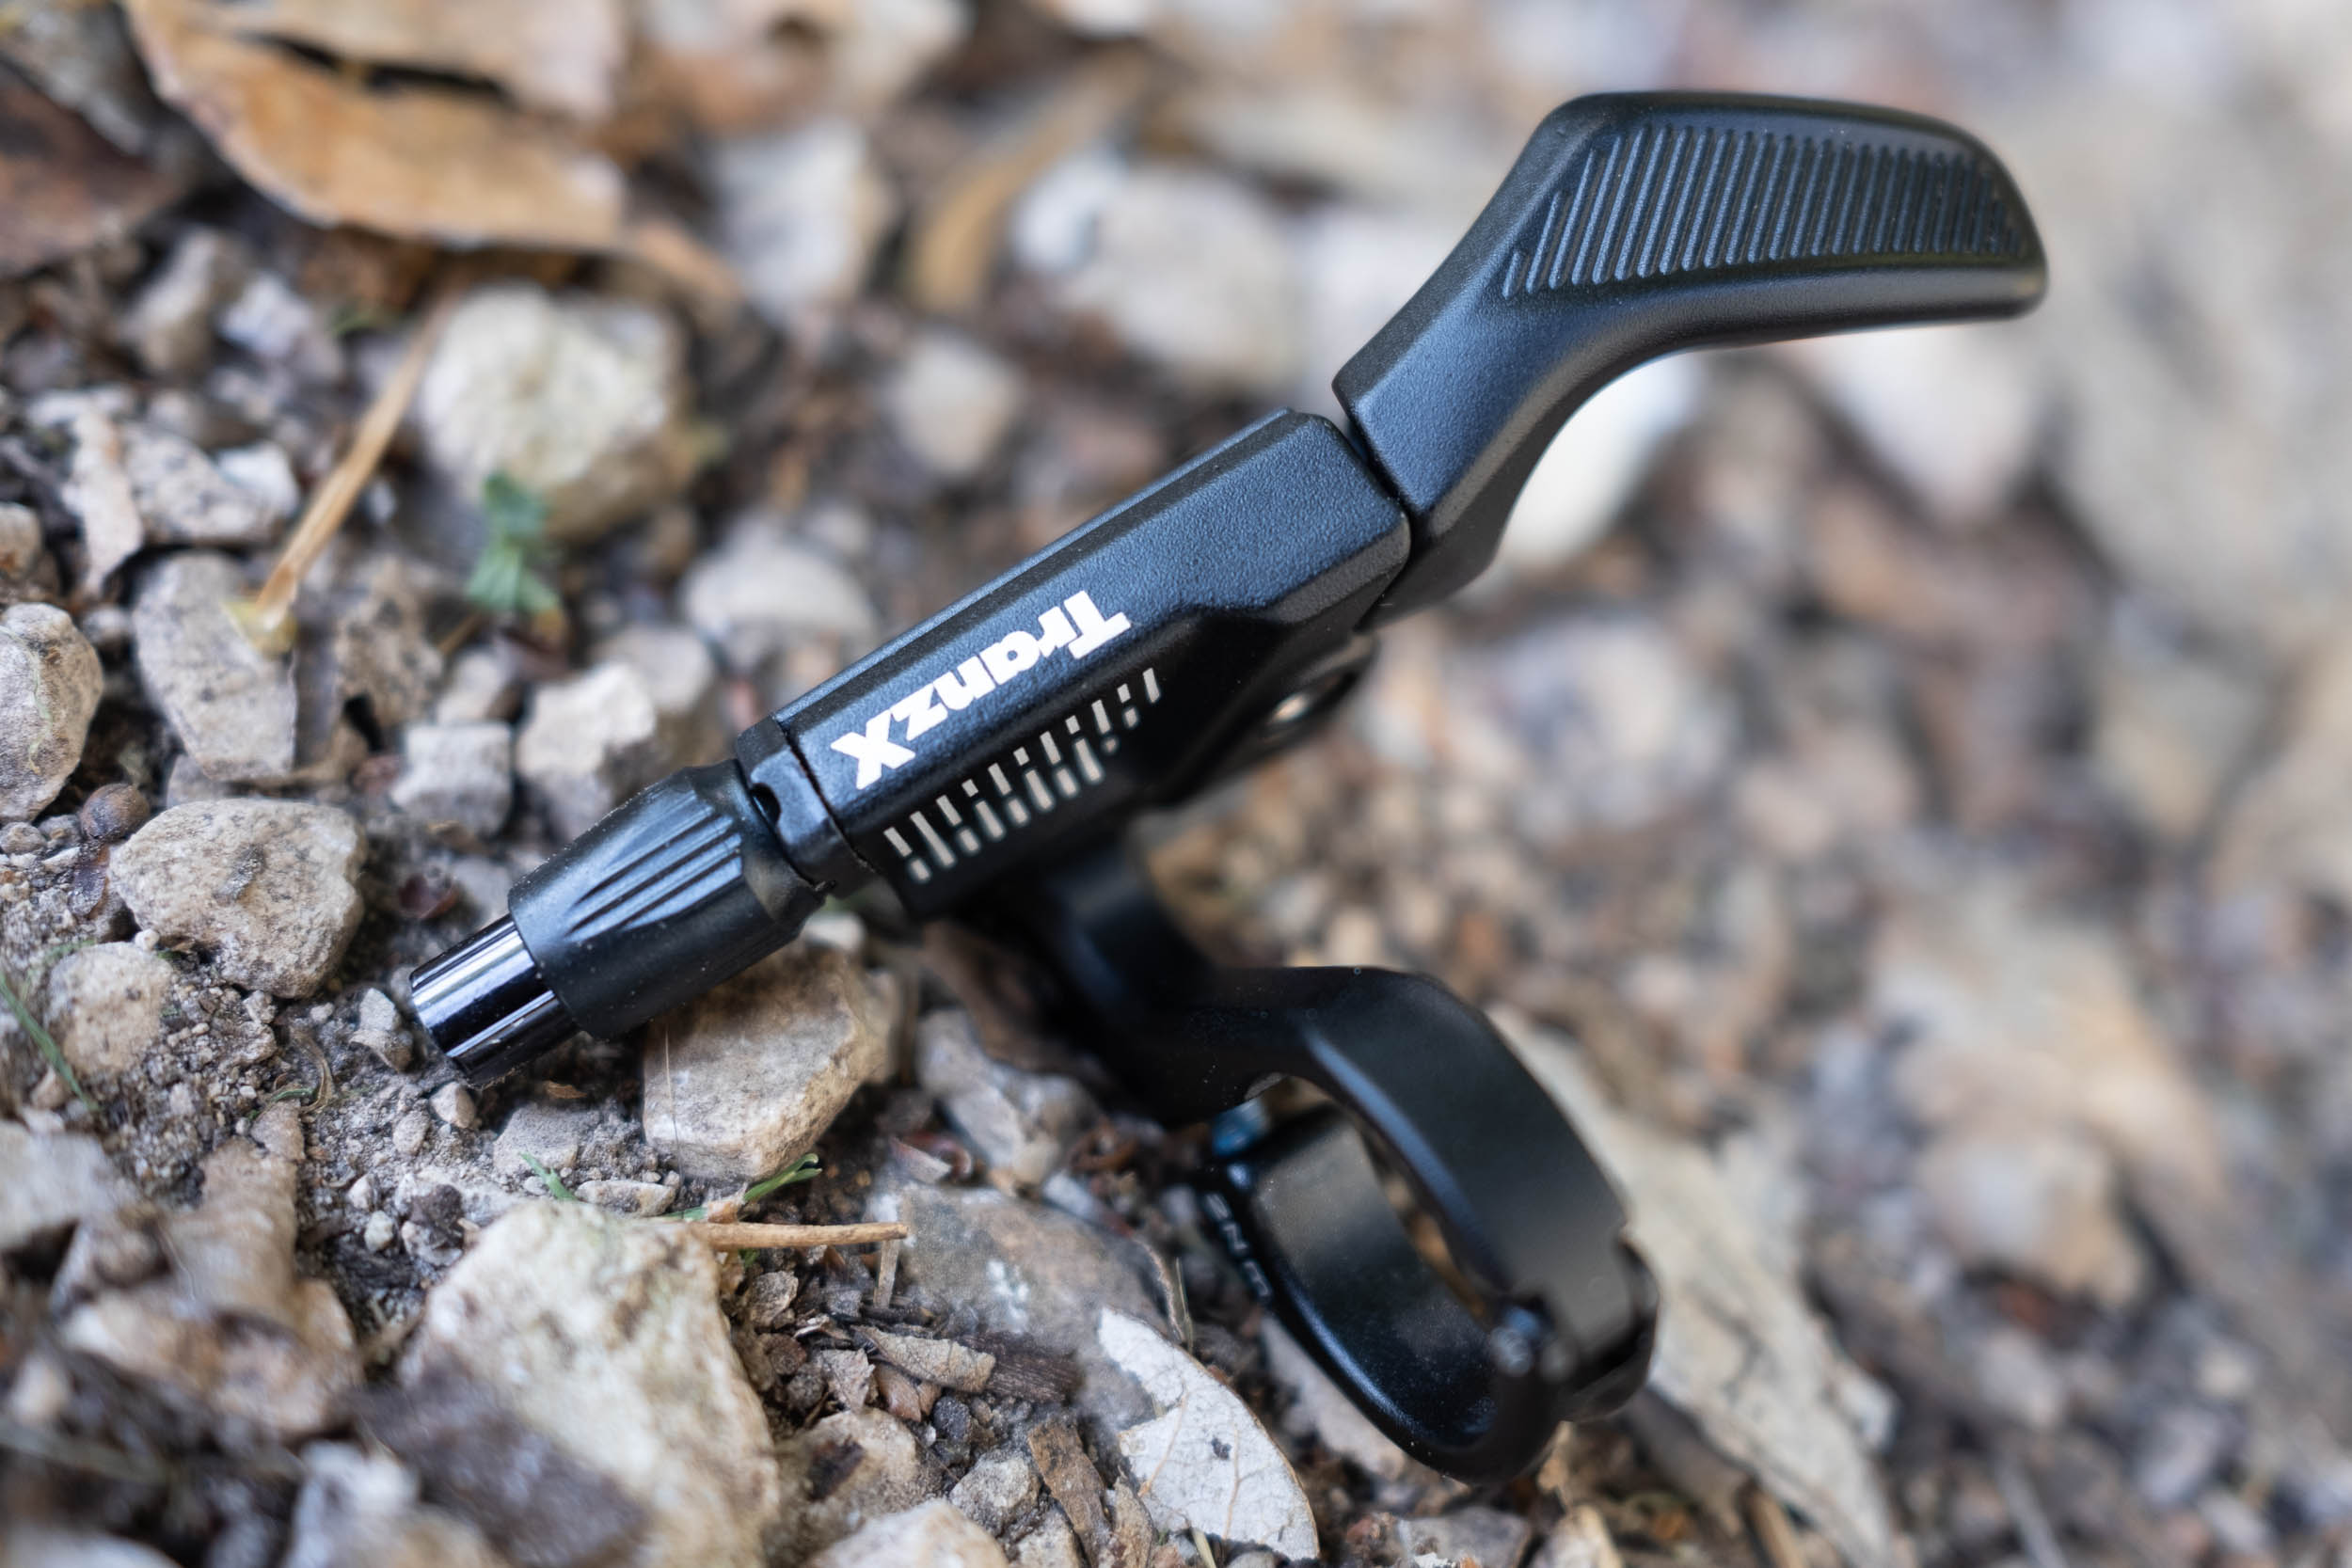
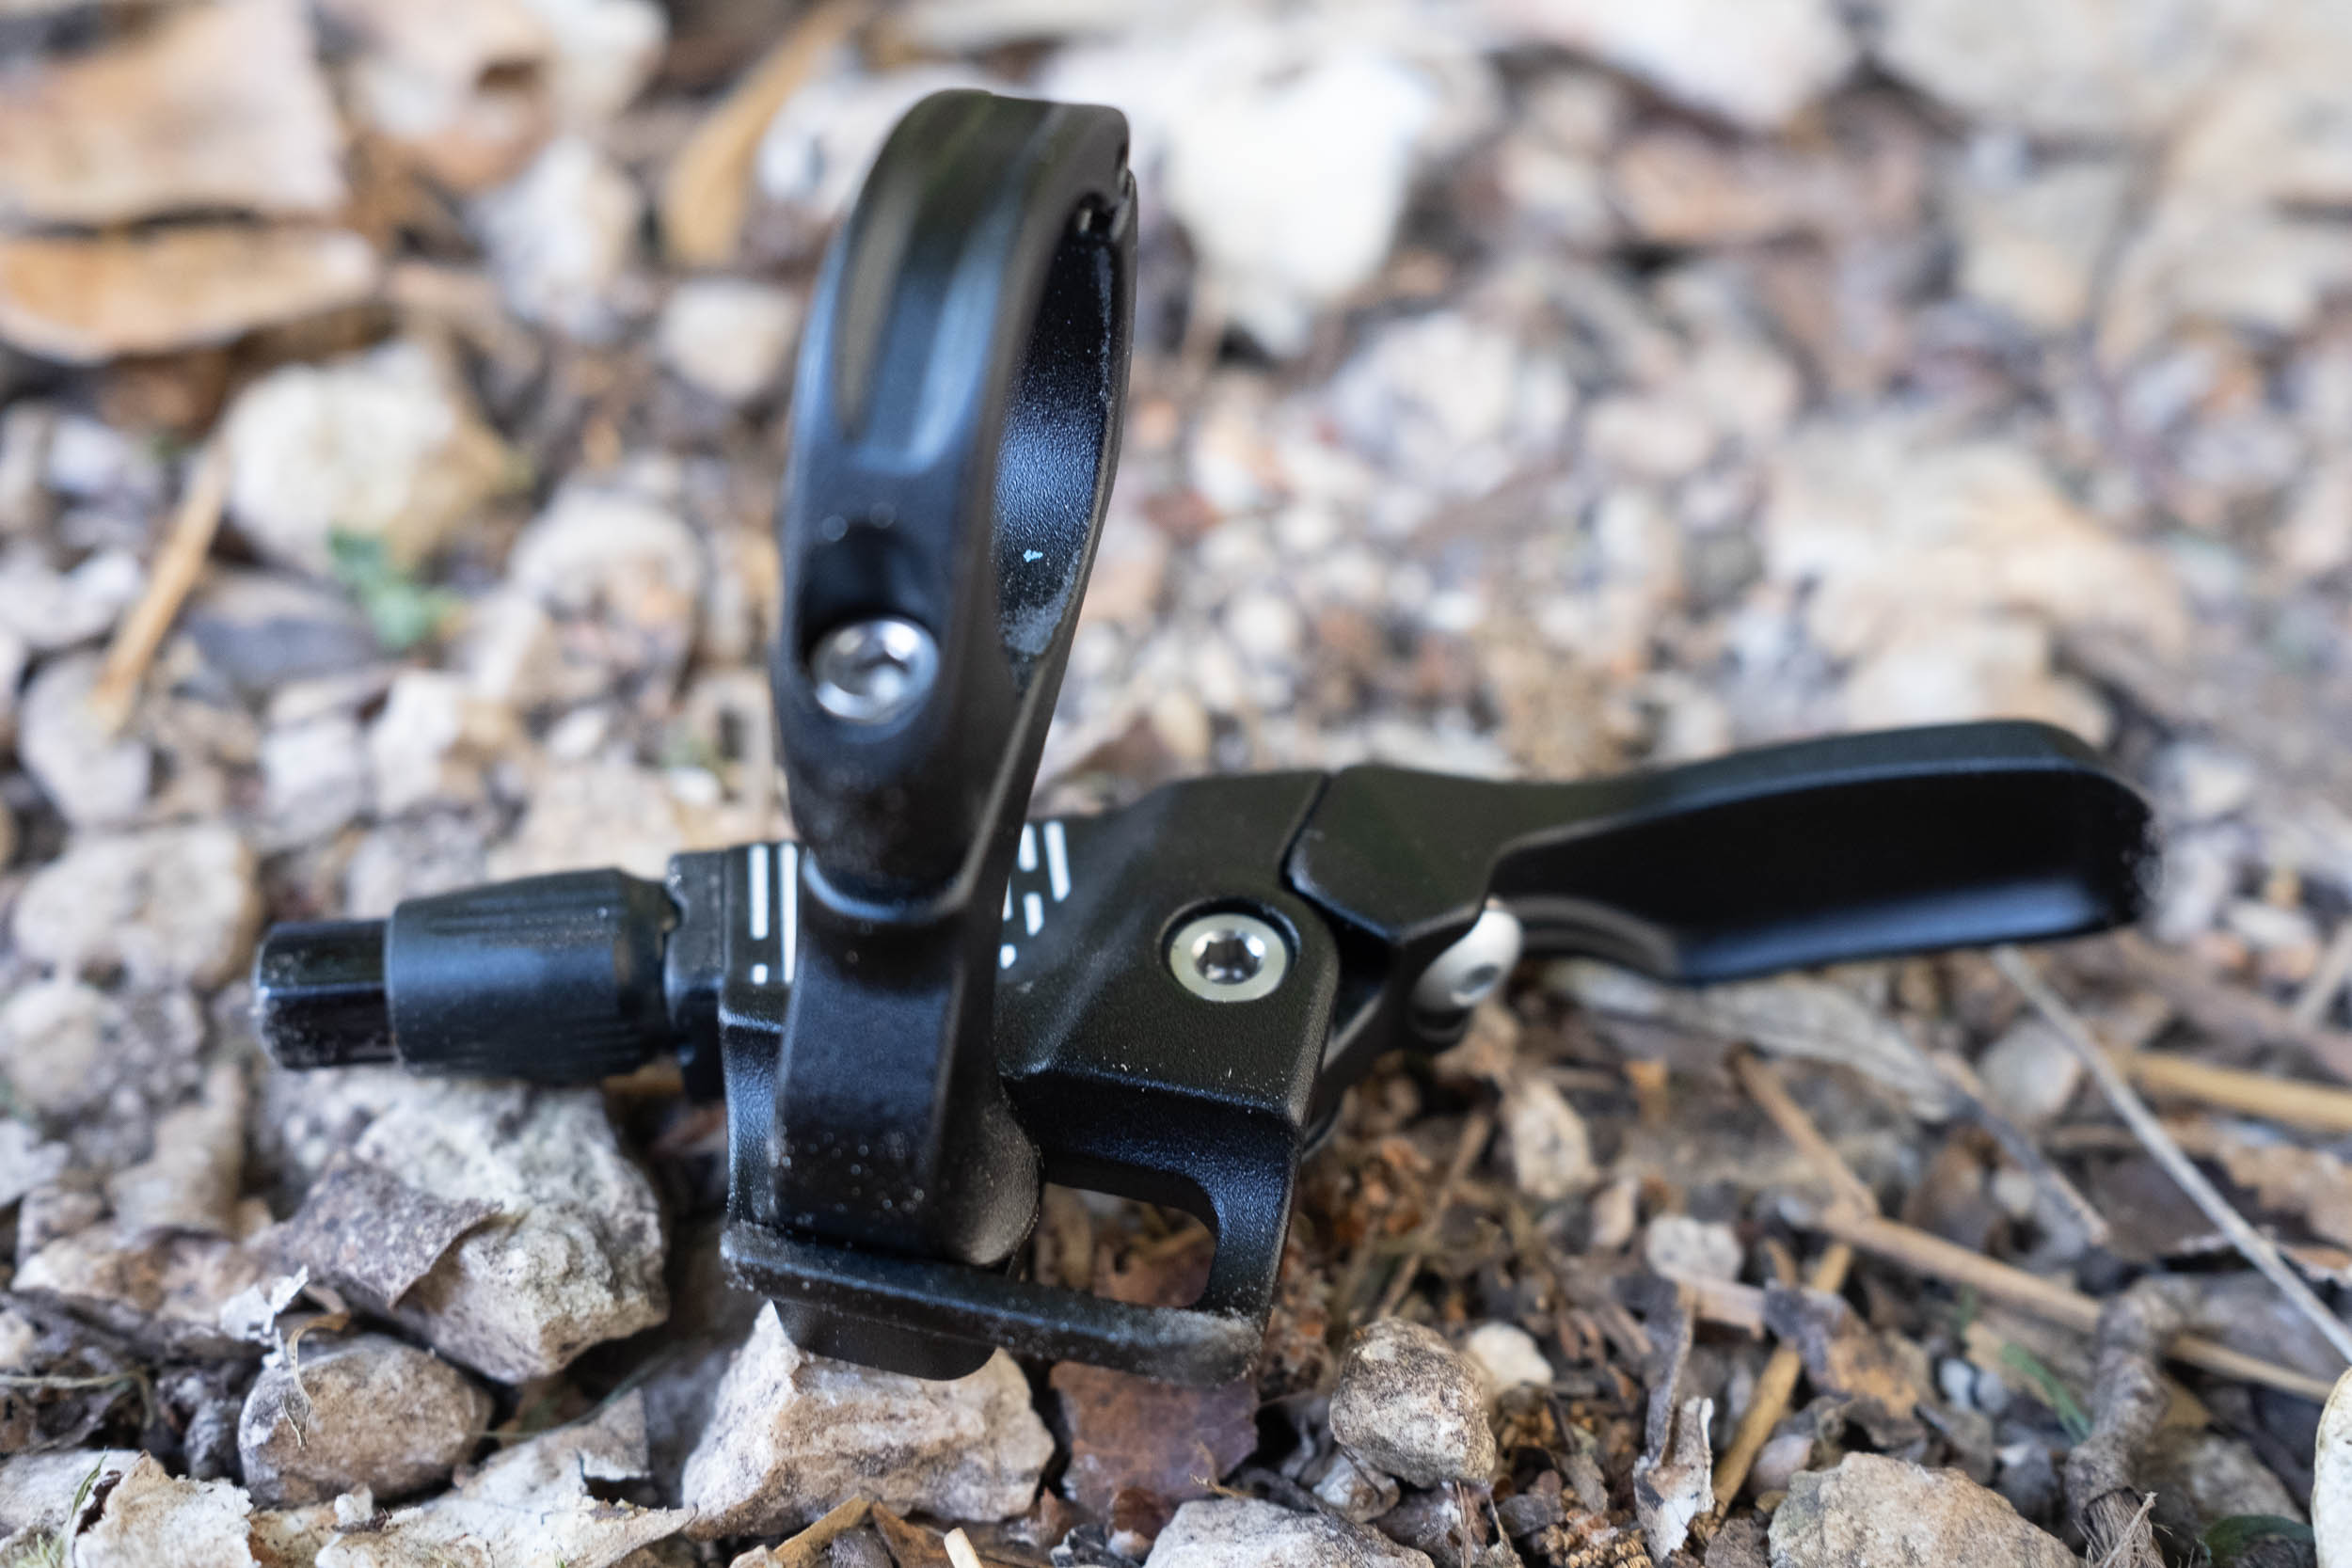
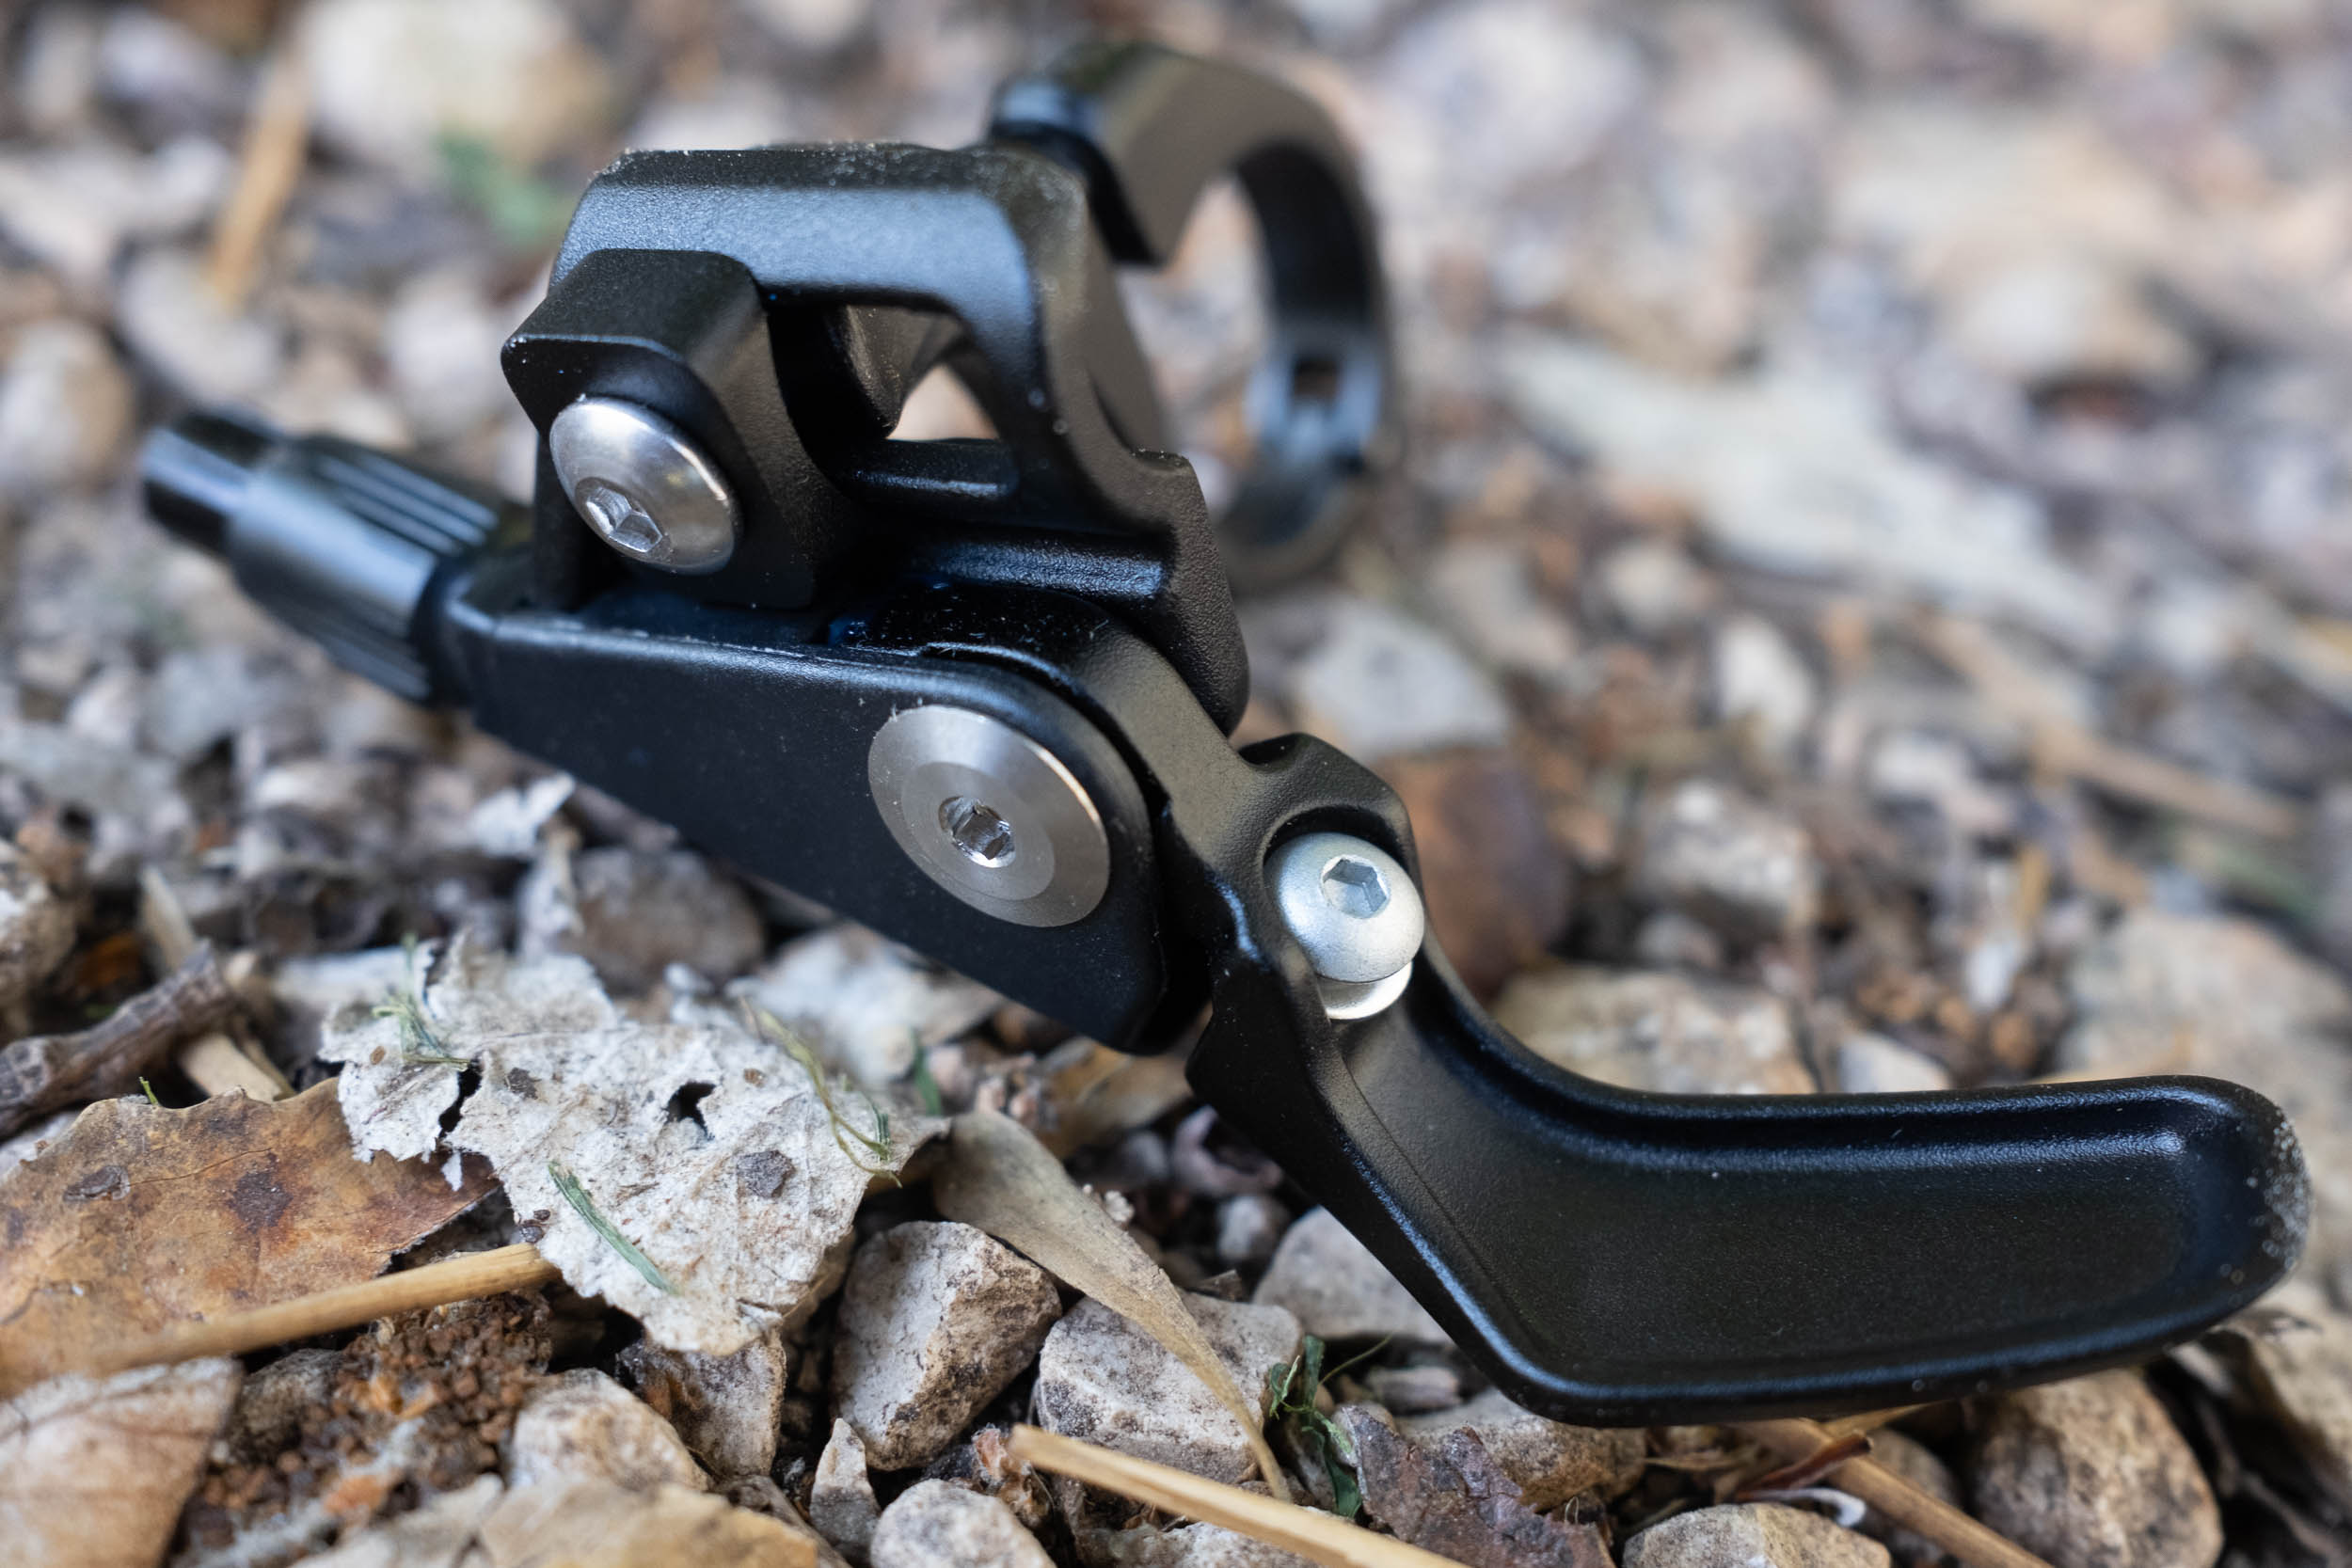
Whilst the Kitsuma, which retails at $130 dollars, isn’t quite as affordable as their headline $99 Skyline, it’s the only option that’s available in the once omnipresent 27.2mm seatpost diameter (the same size as the Ti Jones pictured) and external routing, another criterion for most older bikes. This rules out, for example, the Hot Lap, with its lighter weight build and shorter travel. Note that there’s a lighter, more expensive version with an adjustable rereturn rate – the Kitsuma Air – but as it’s not available in a 27.2mm size, you can rule it out for many of the aforementioned older bikes. Whatever model works best for you and your frame, factor in a further $30 for the TransX lever, which comes with all the relevant cables. Once clamped down in place, I like how this lever itself can be adjusted forwards and backwards. I did notice that the ‘throw’ was more than expected – but the drop kicks in with a little nudge.
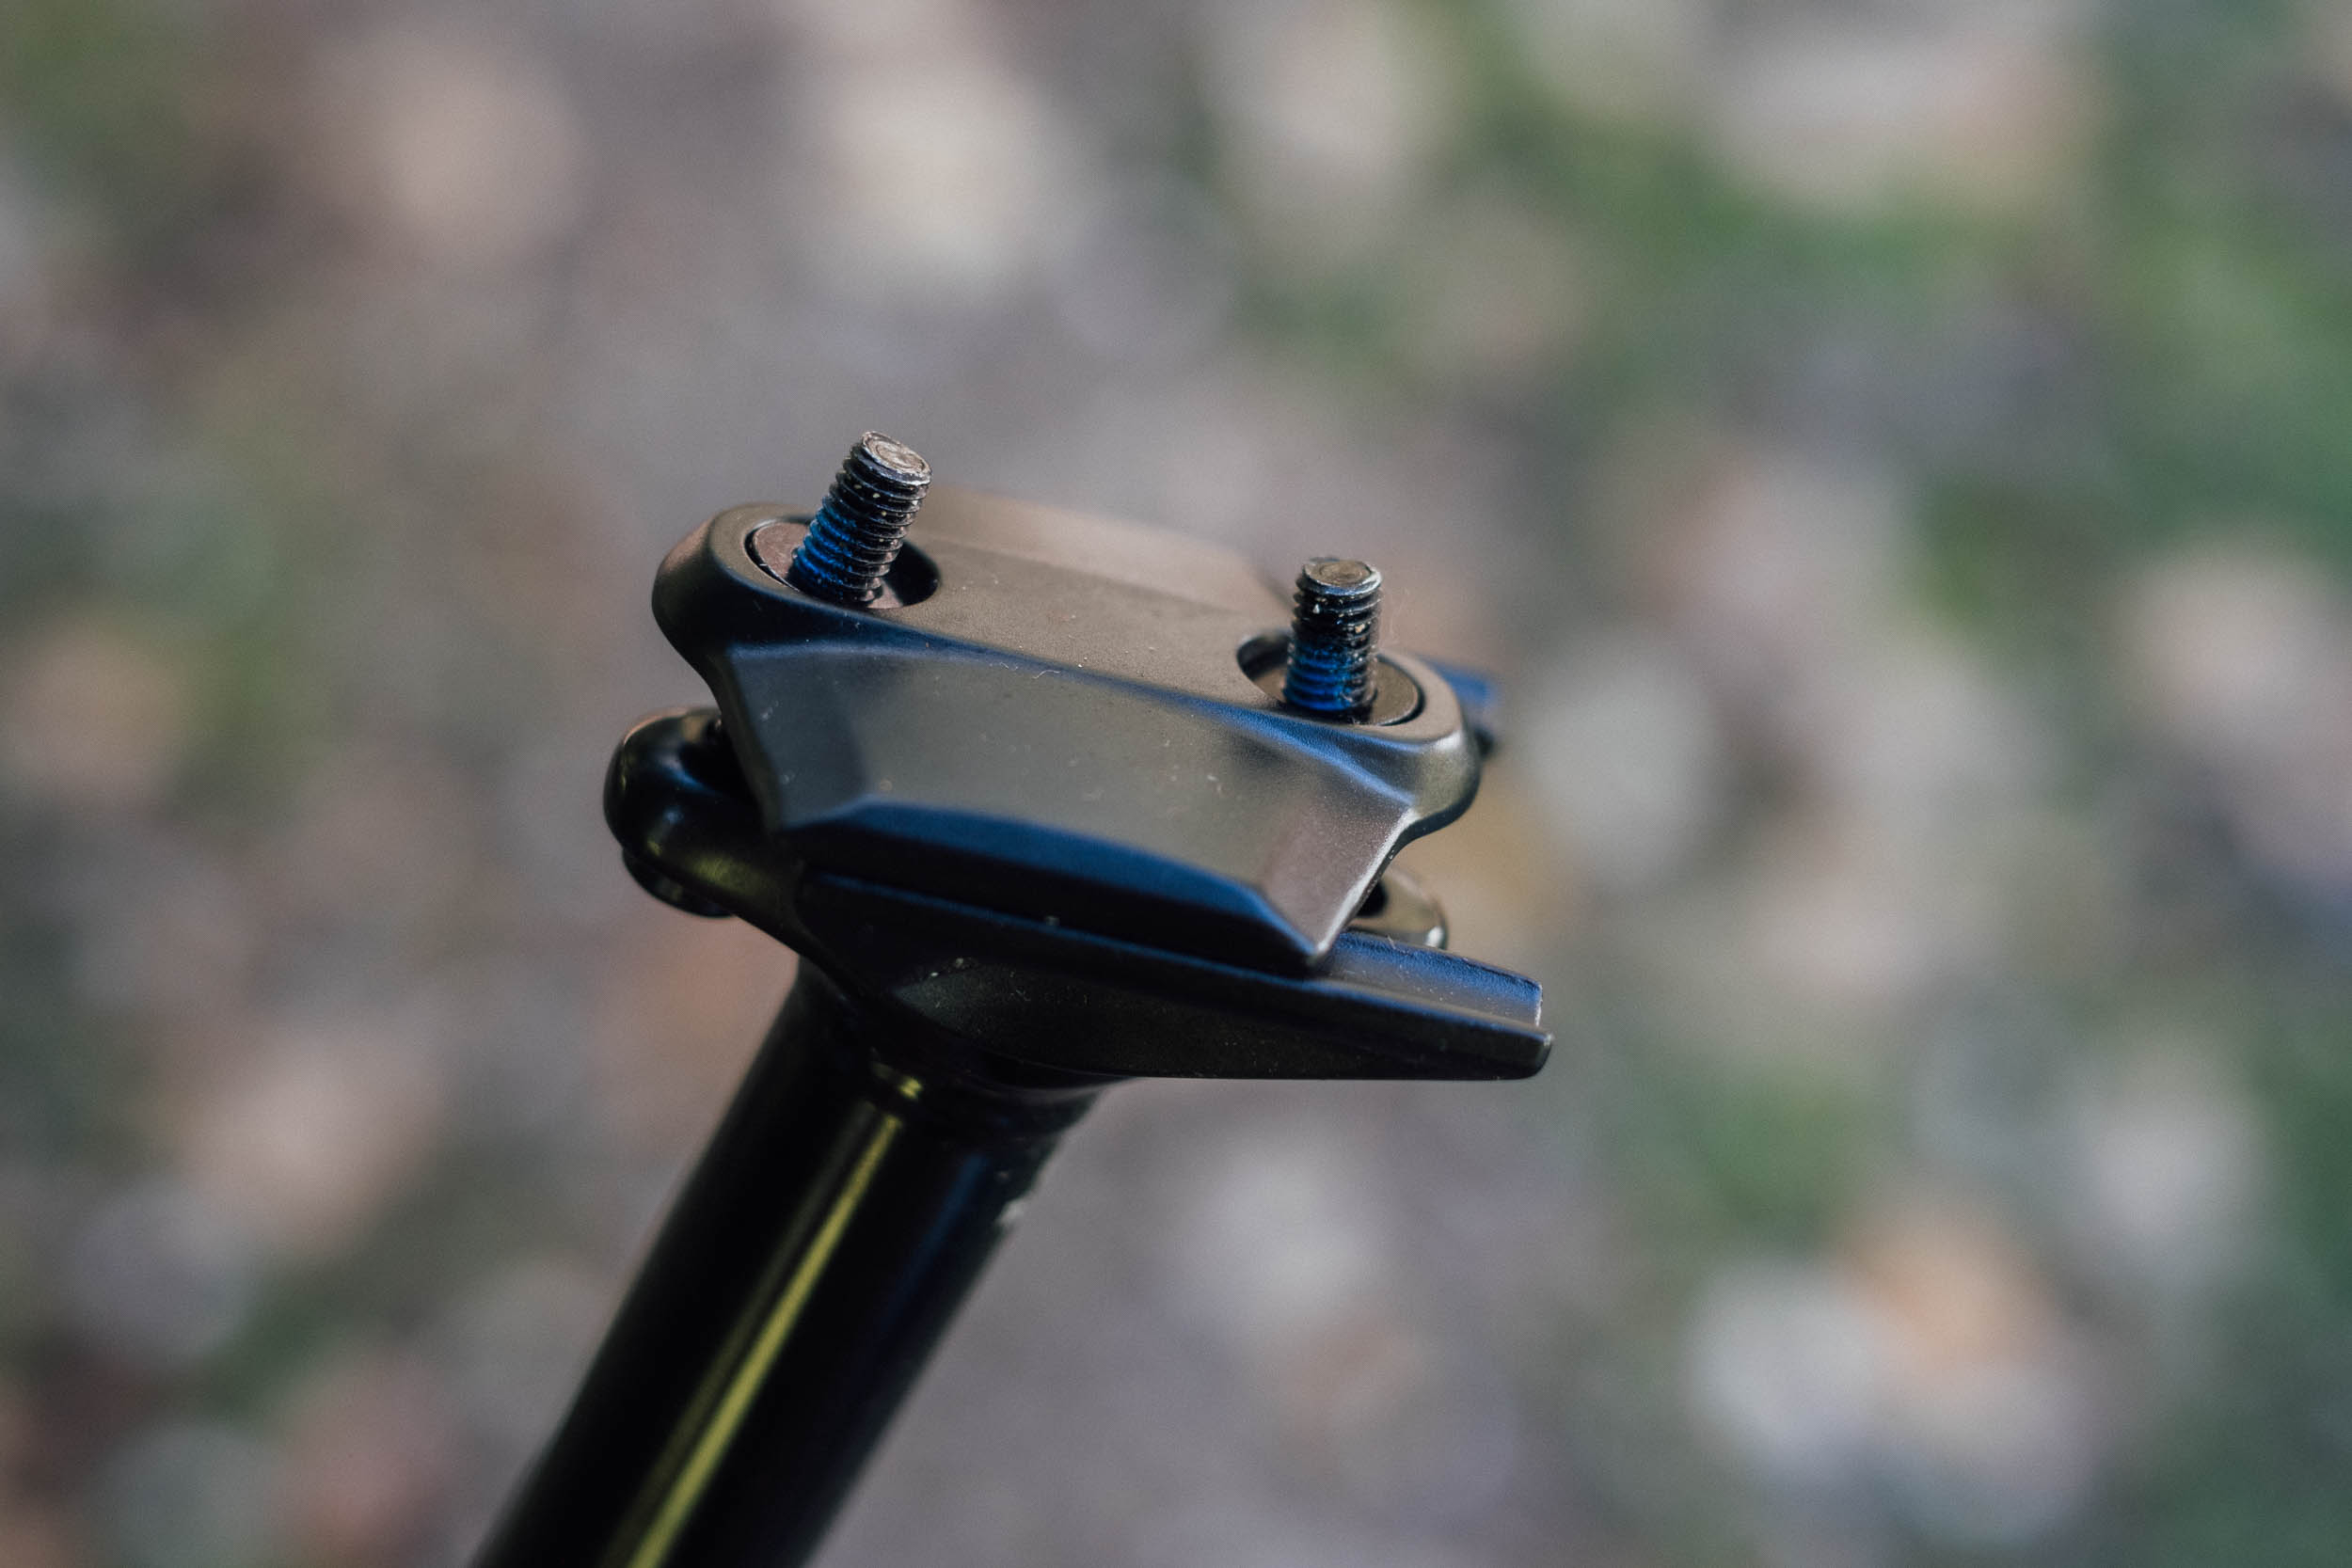

Installation isn’t complicated but I had my local shop fit mine, as I don’t have high-quality wire snips to hand. If you do it yourself – TransX’s online instructions are very straightforward – just make sure you account for any front bags when you cut everything length. Be sure not to overtighten the cable, as this can activate the dropper. And if you find the post binding, check the seat collar isn’t too tight. A side note – all packaging is simple cardboard, which is good to see.
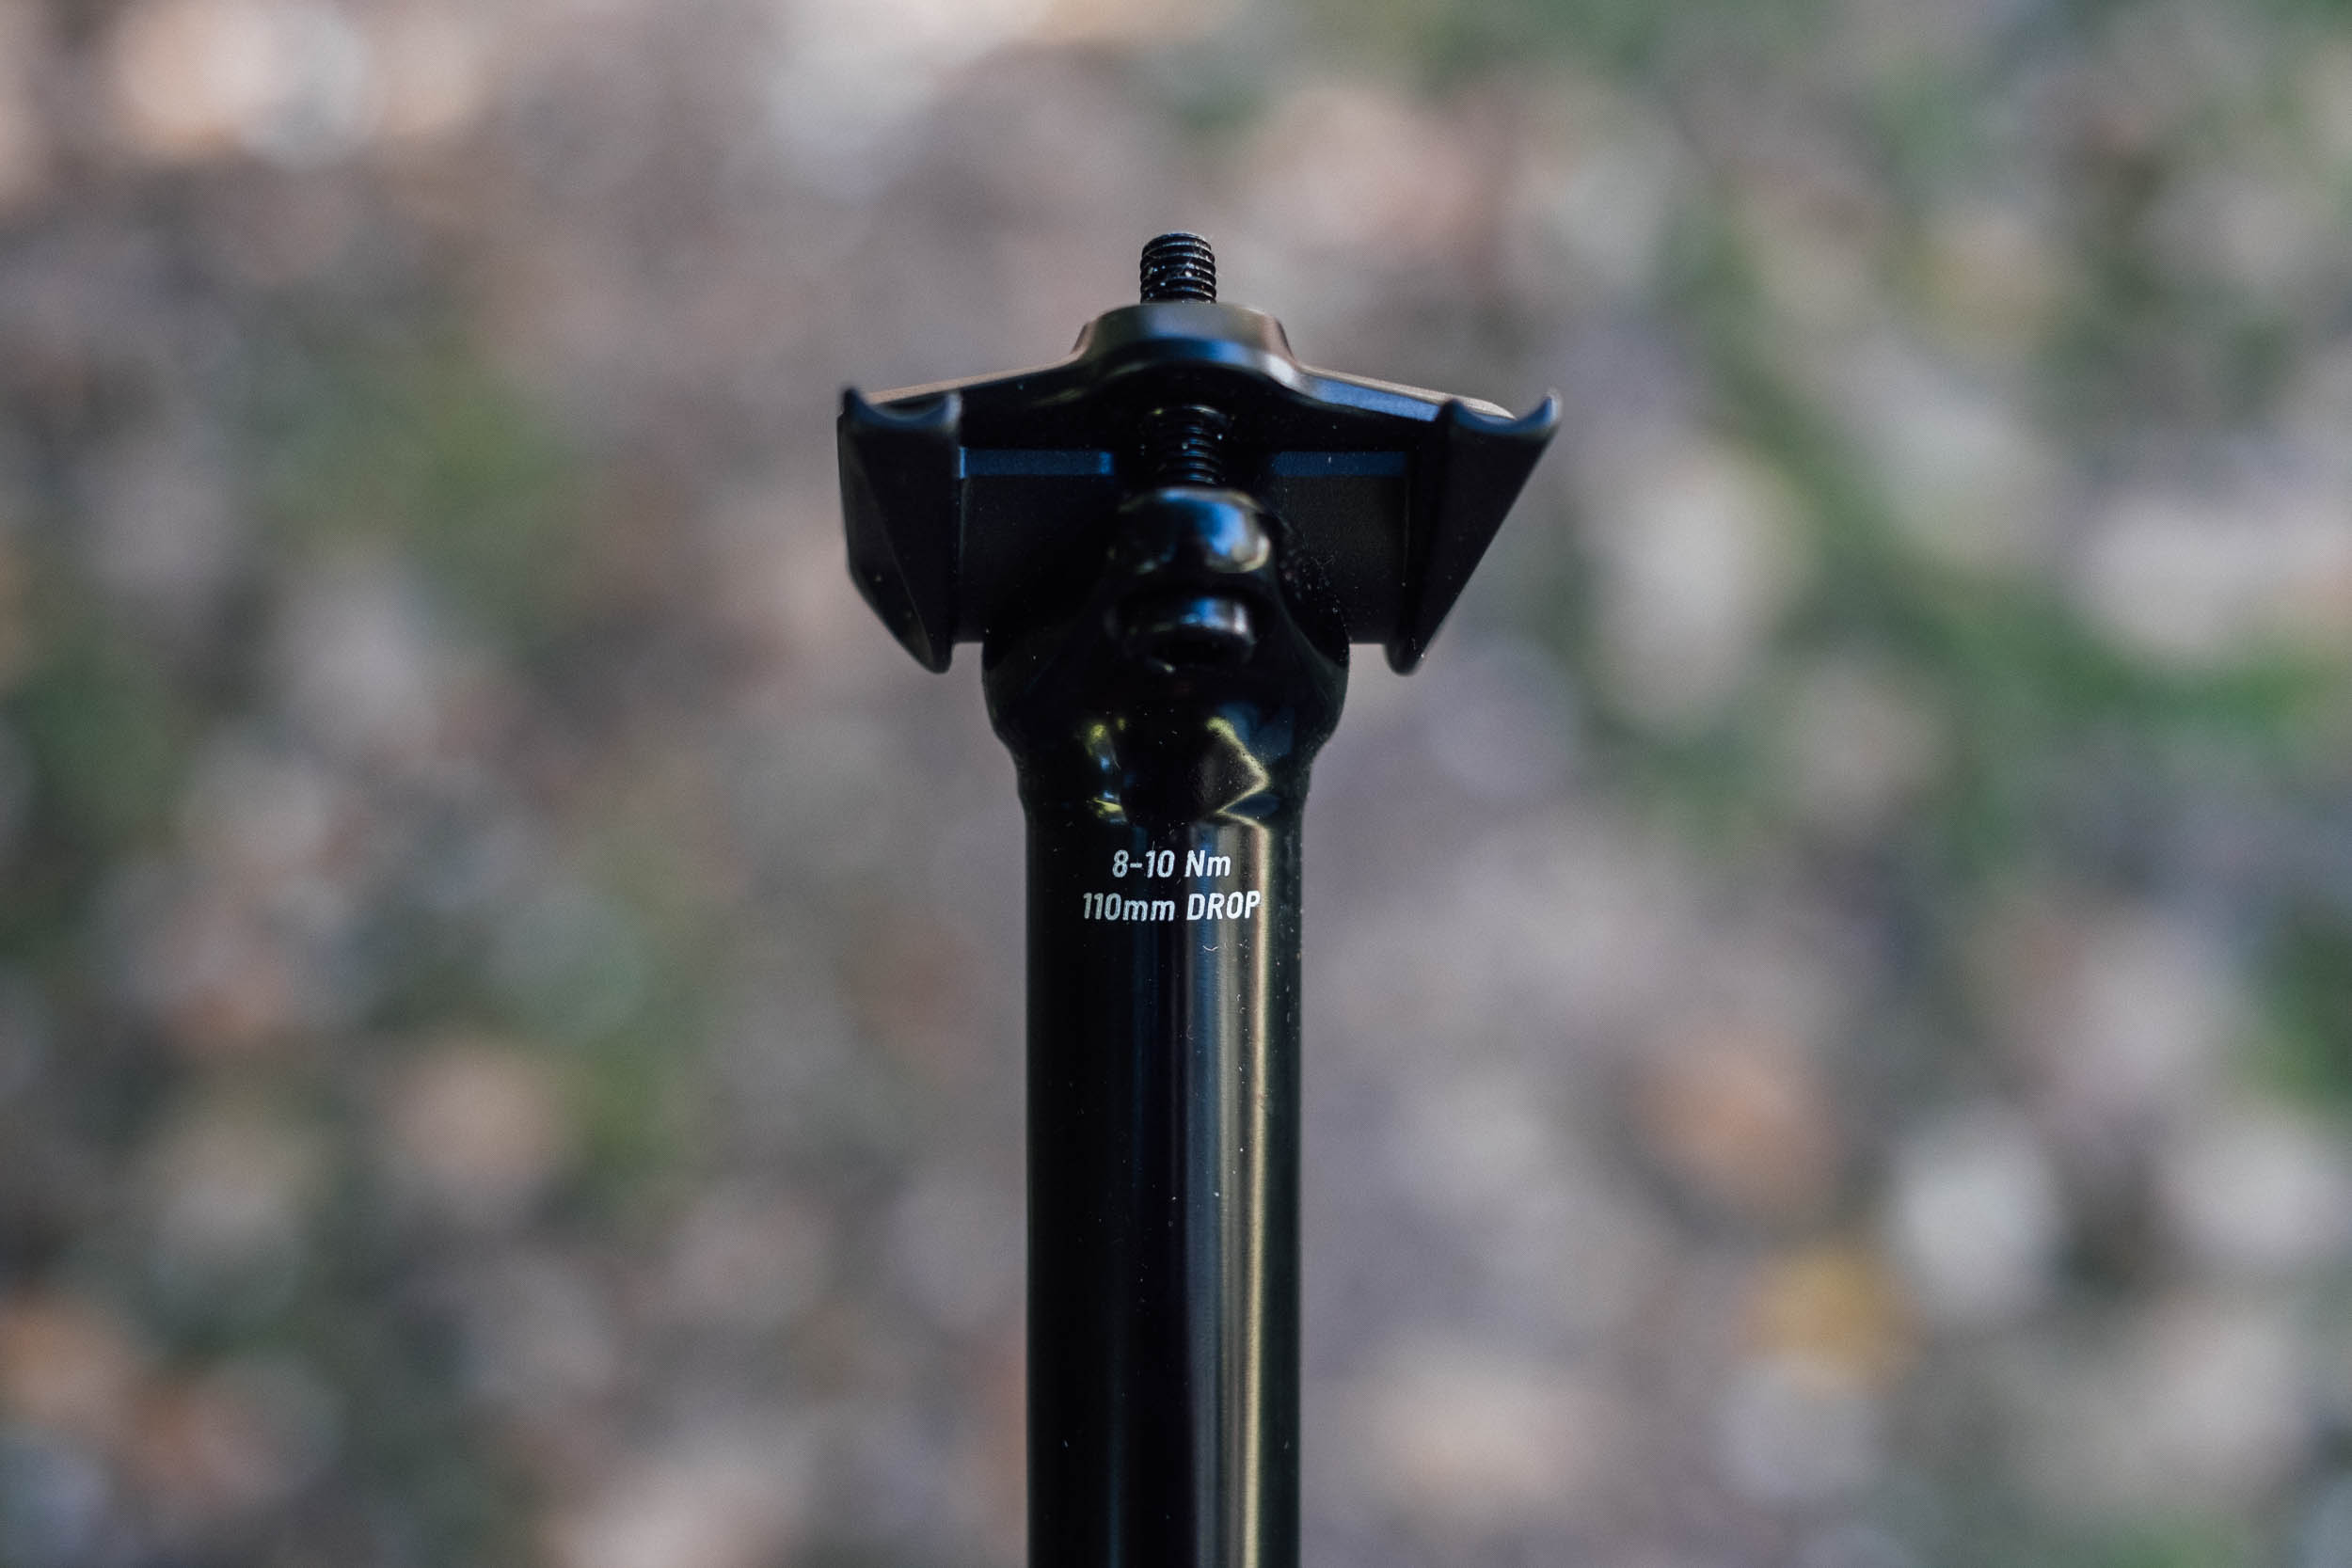
The Kitsuma I tried has 110mm of travel but there’s also a 90mm version, which is likely better suited to gravel bikes. In fact, it’s available right up to 175mm, though at this point, it’s no longer in the elusive 27.2mm seatpost diameter. Still, as I mostly ride cross-country trails, 110mm has been plenty. I opted for the 1x lever ($29) but there’s one designed to mate with a shifter pod if you’re running a 2x drivetrain too – again, a feature on a lot of older bikes.
In use, I found actuation proved smooth and reliable, taking just a nudge of body weight to drop it down. It’s not as snappy to return back up again as the $450 Thomson Elite External dropper I’ve run before, and as it features an internally sealed cartridge, speed and resistance can’t be adjusted. But whilst it may lack some setup finesse, it’s not a significant performance hindrance once you’re used to it. Not surprisingly, it feels very similar to Chain Reaction’s Brand-X Ascend I’ve tried in the past, as it’s made by the same parent company. Friends of mine in the UK have been running them successfully for a few years, even in muddy winters.
Kitsuma dropper post TLC, as per Chris at TranzX
- Keep the stanchion clean
- Occasionally lube the stanchion with stanchion oil, slick honey, slickoleum, SRAM butter, or similar lubricants. On internal models, unthreading the mid cap, sliding it up, and applying the lube below the mid cap helps get more of that lube into the lower tube. Do not spin the mid cap on external models as this will damage the inner cable.
- Other than that they are pretty straightforward. If a full service is needed, we do have an in-house service shop and customers can reach out to us directly at info@dialeddistribution.com. We also have a phone line (916) 249-9665. Our turnaround times are typically 48-72 hours upon receipt of the post. We also have replacement bushings, keys, seals, cartridges etc. If a fellow rider is a more DIY type we can ship them parts as well.
- Cartridges are replaceable and we stock them in our shop. These should last quite a long time but they are enclosed systems with seals that wear over time. If there is a suspected issue with the cartridge I recommend folks to reach out to us with as much info as they can provide regarding their issue. We have a great team that is very responsive and can walk through any troubleshooting with them.
- A full service that would include a disassembly, cleaning, re-lubricating, and replacing bushings and keys as needed would be in the realm of $55-$65 (excluding shipping). If a cartridge replacement is needed and the post is outside of warranty, there would be only a charge for the cartridge, as labor would be included in the full service. Cartridges range from $55-$75 depending on the model.
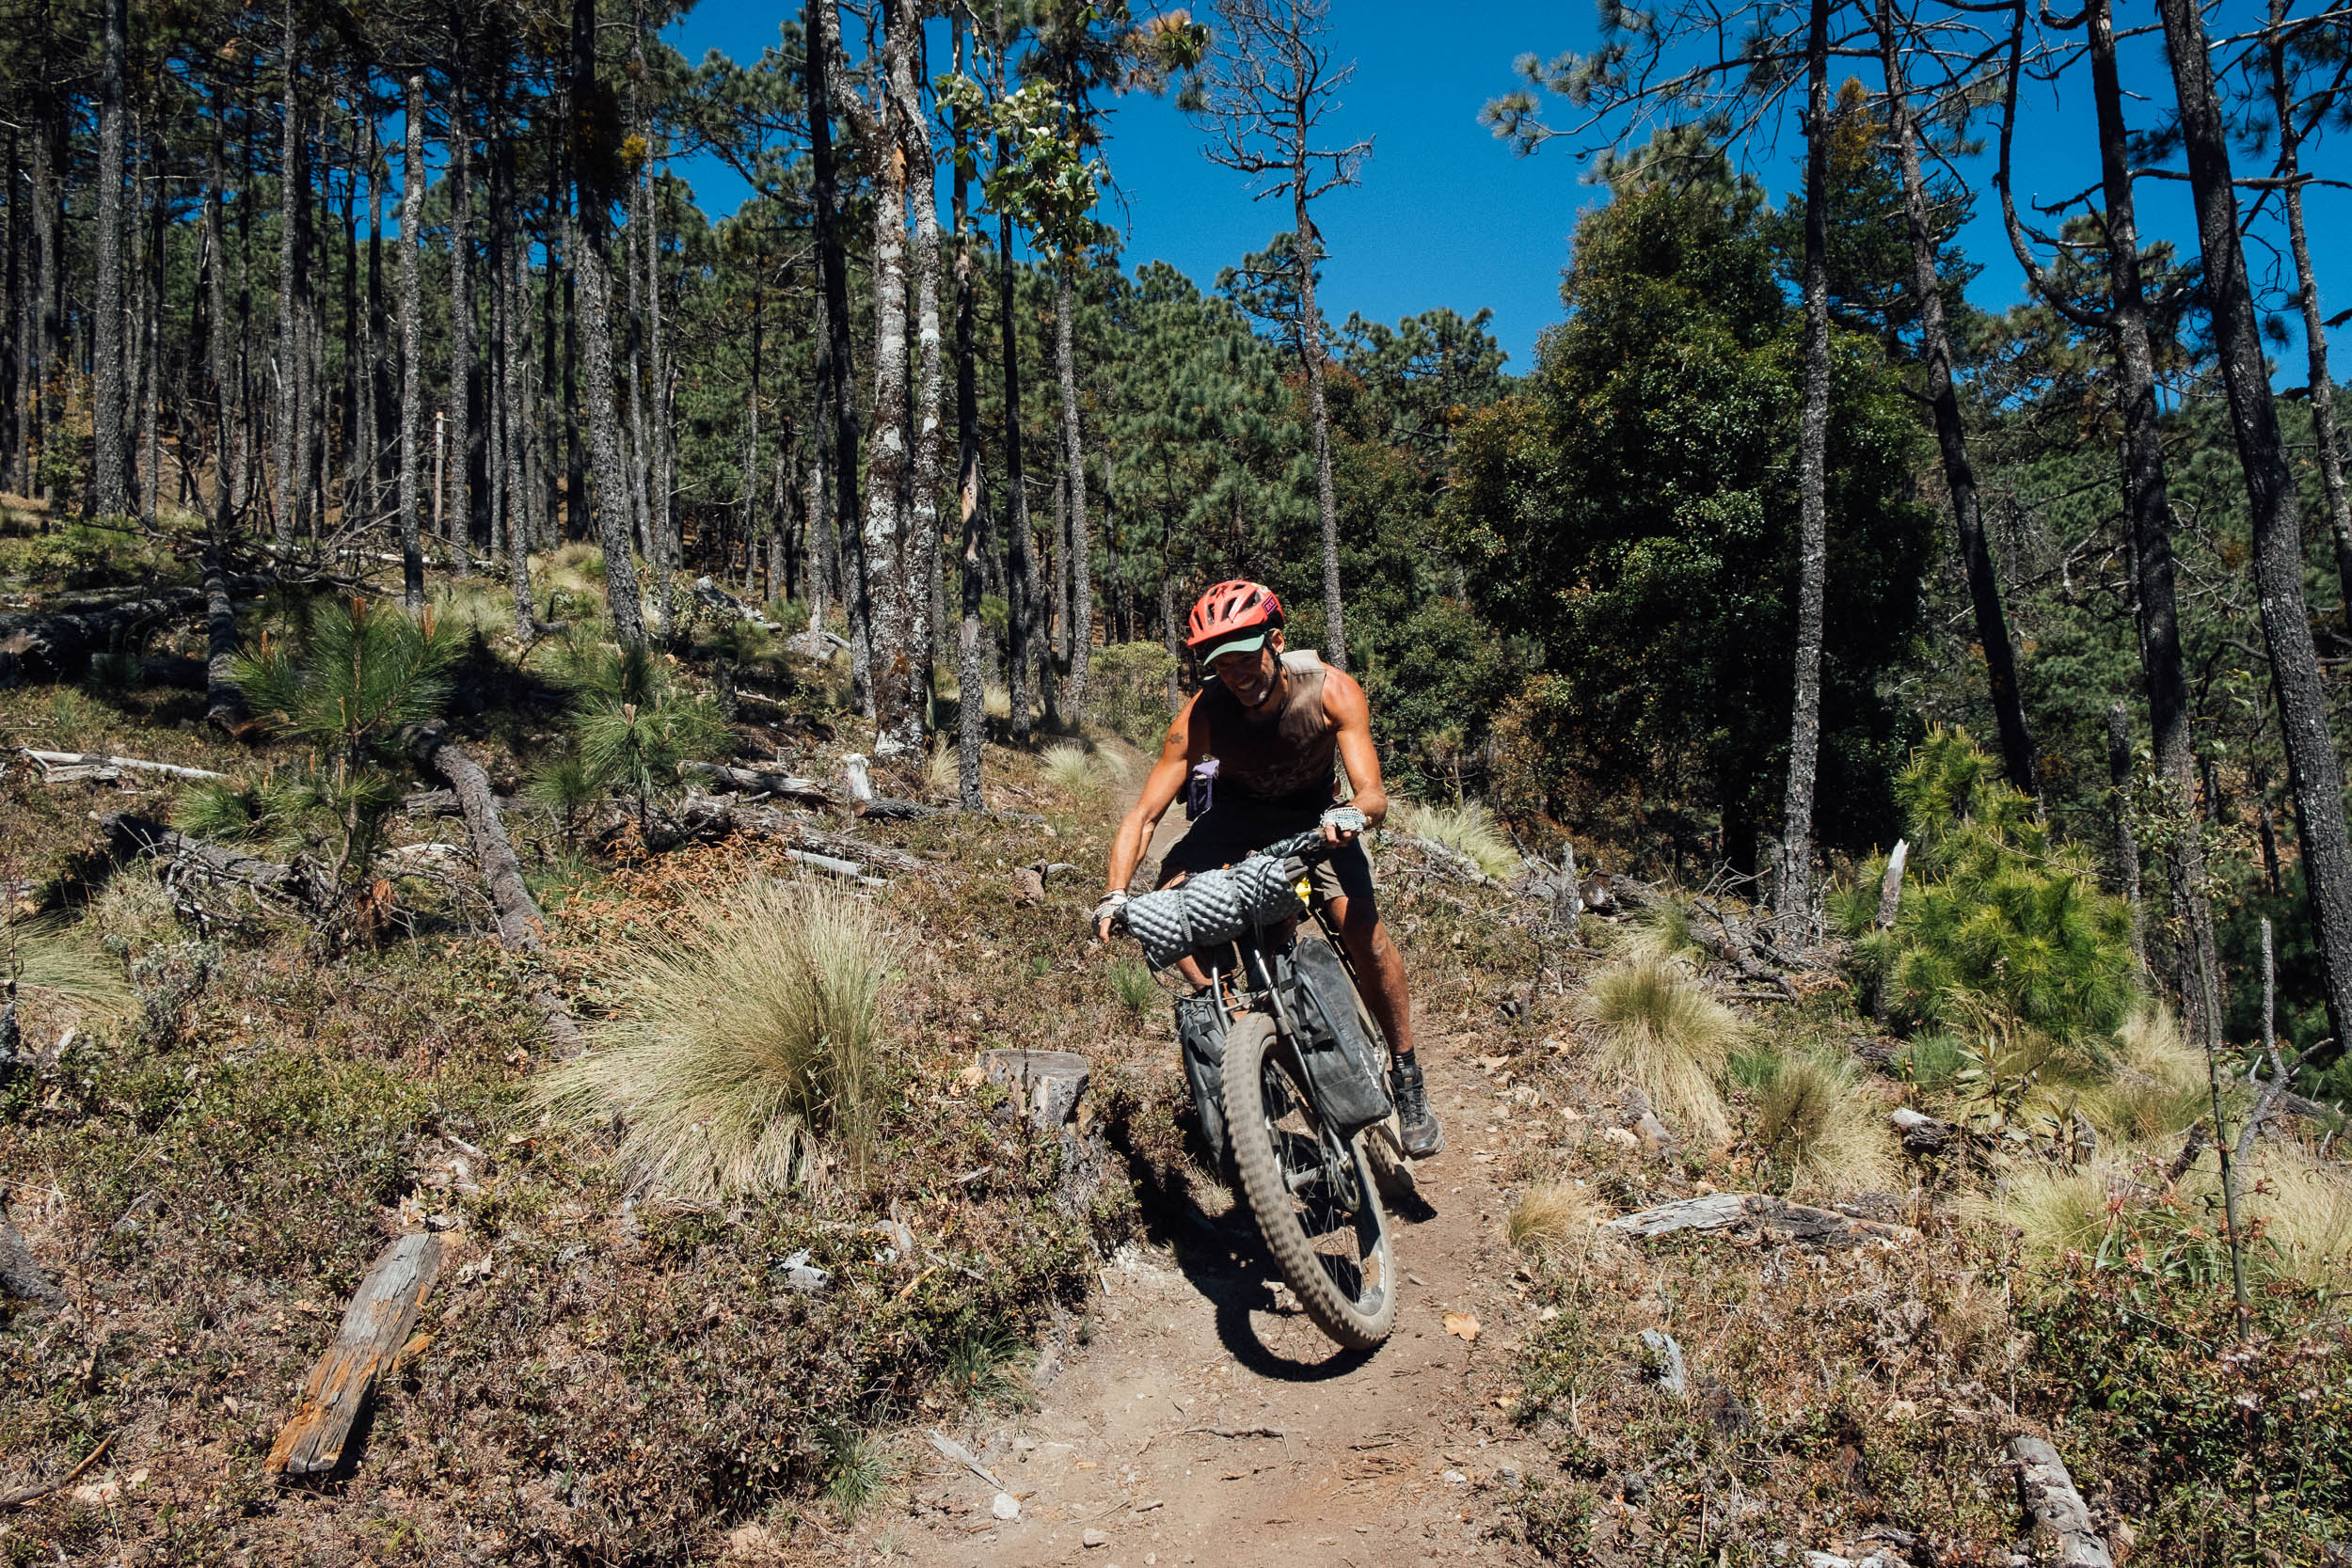
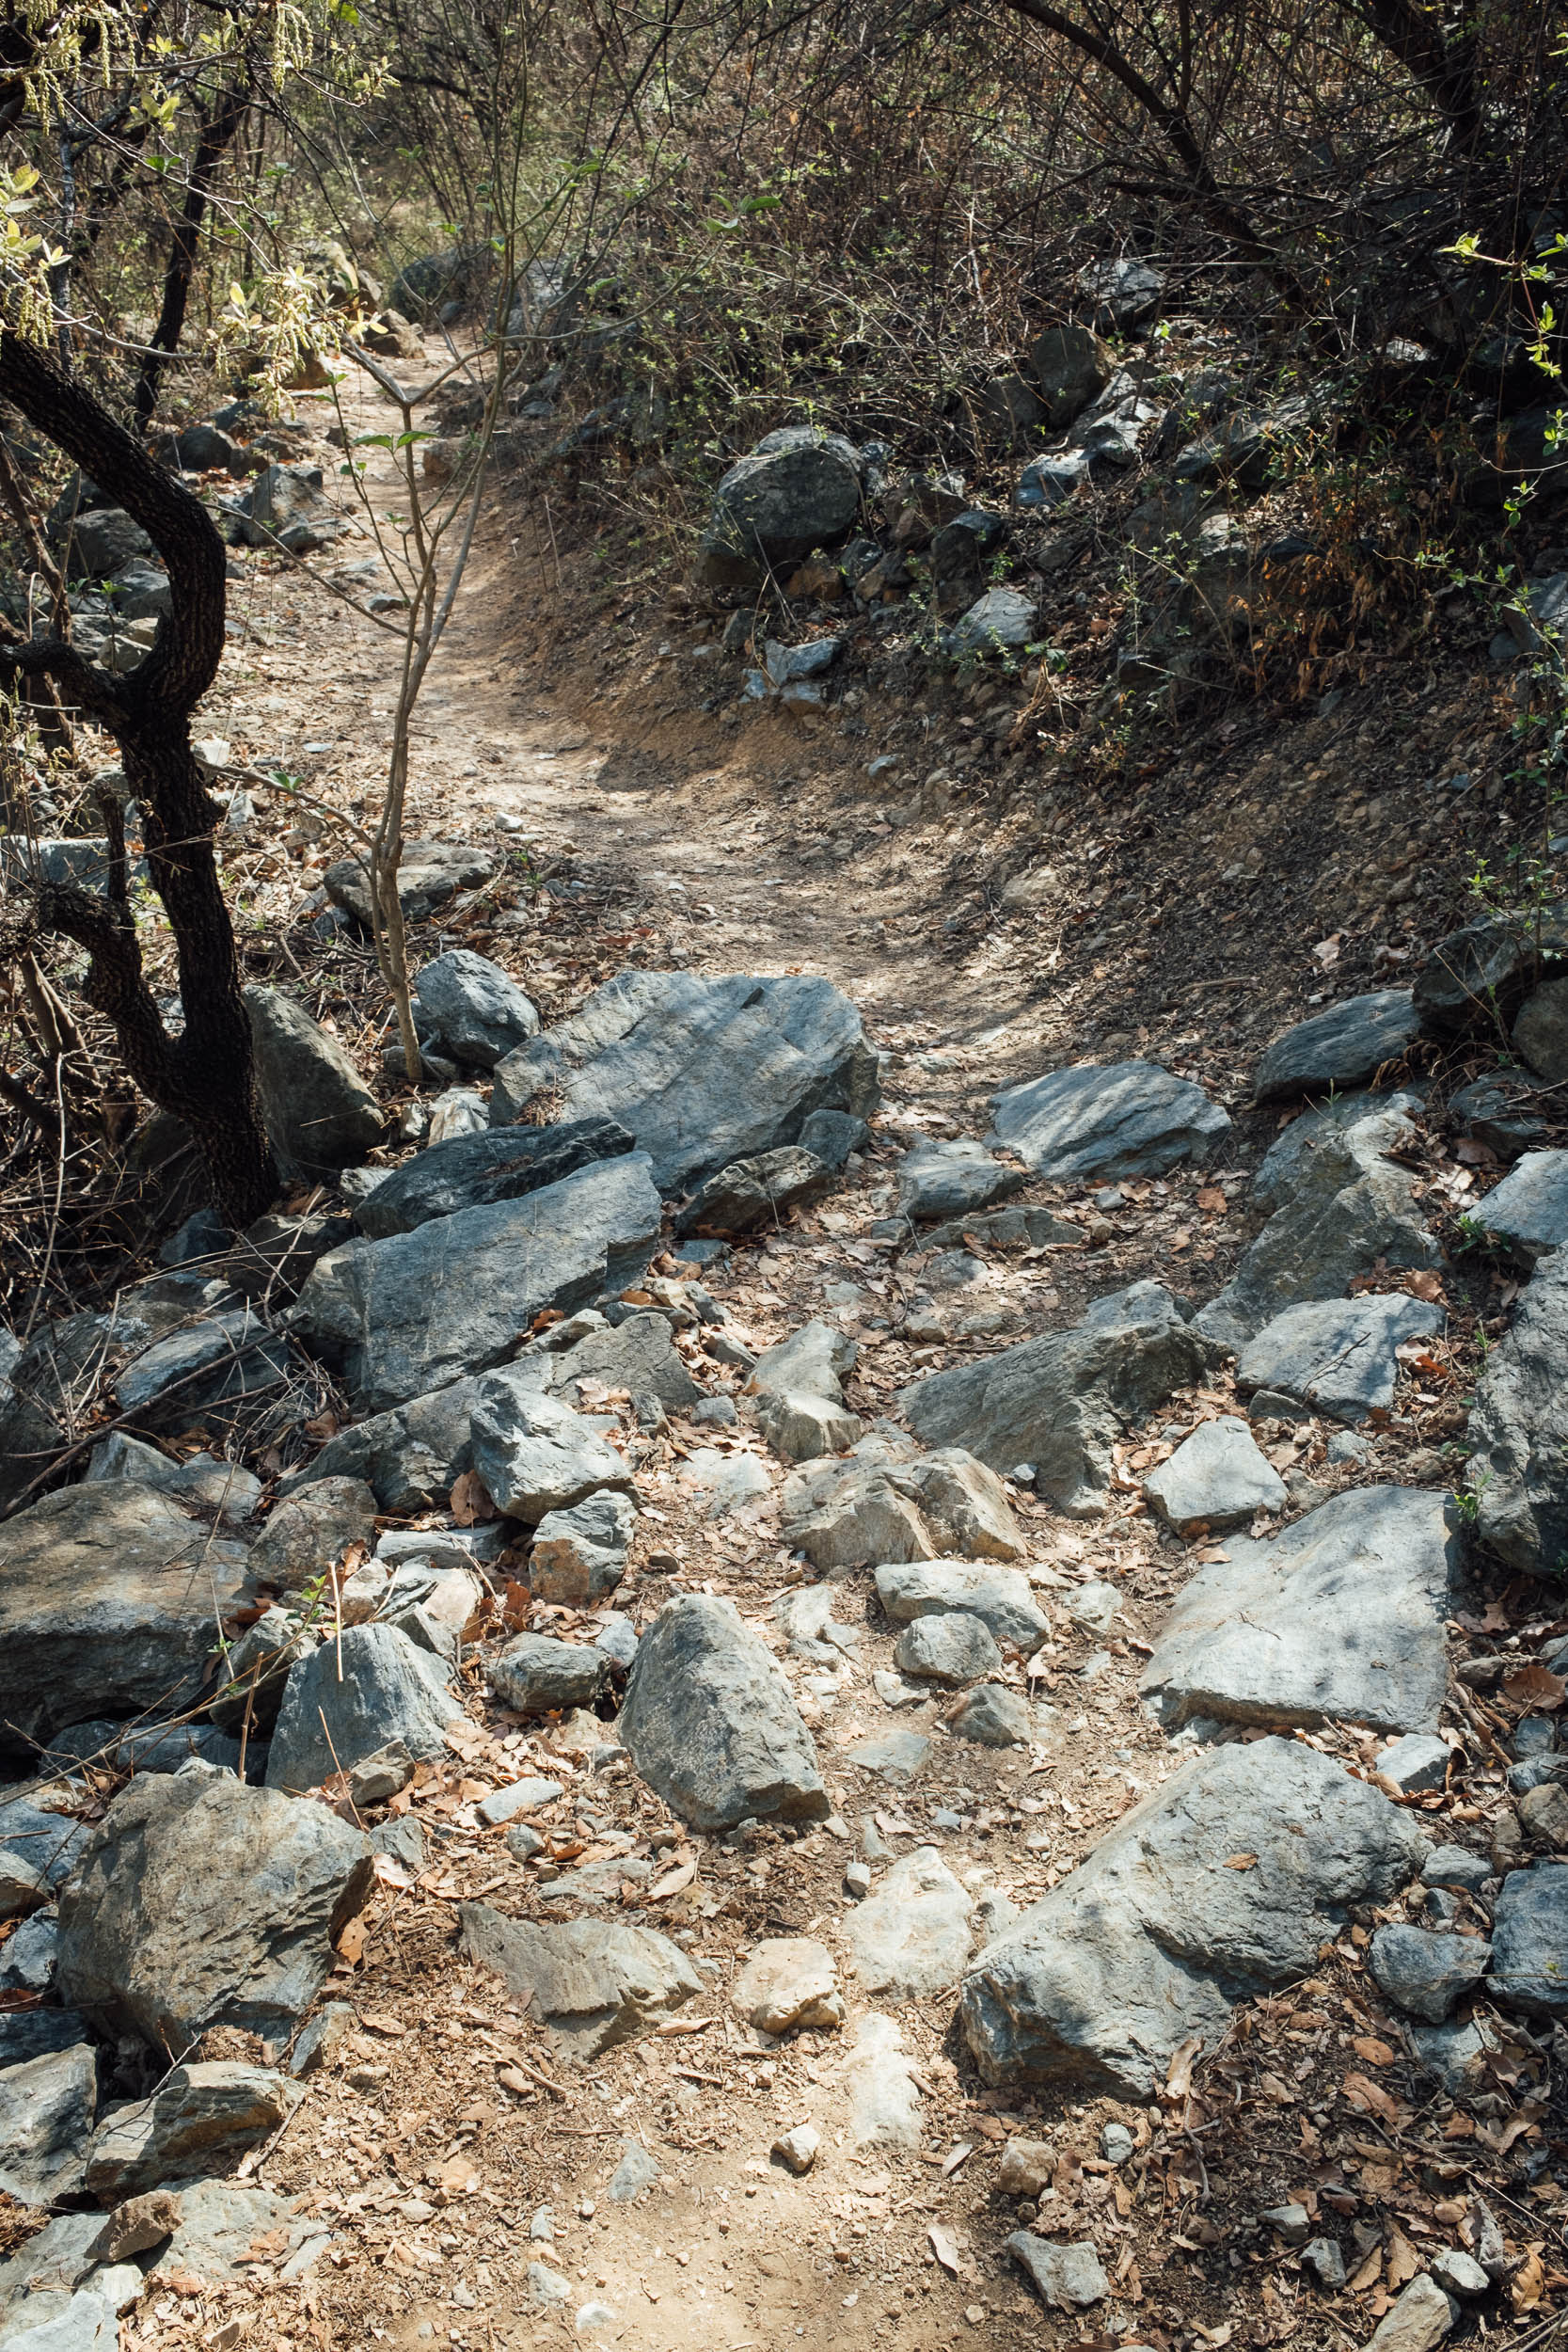
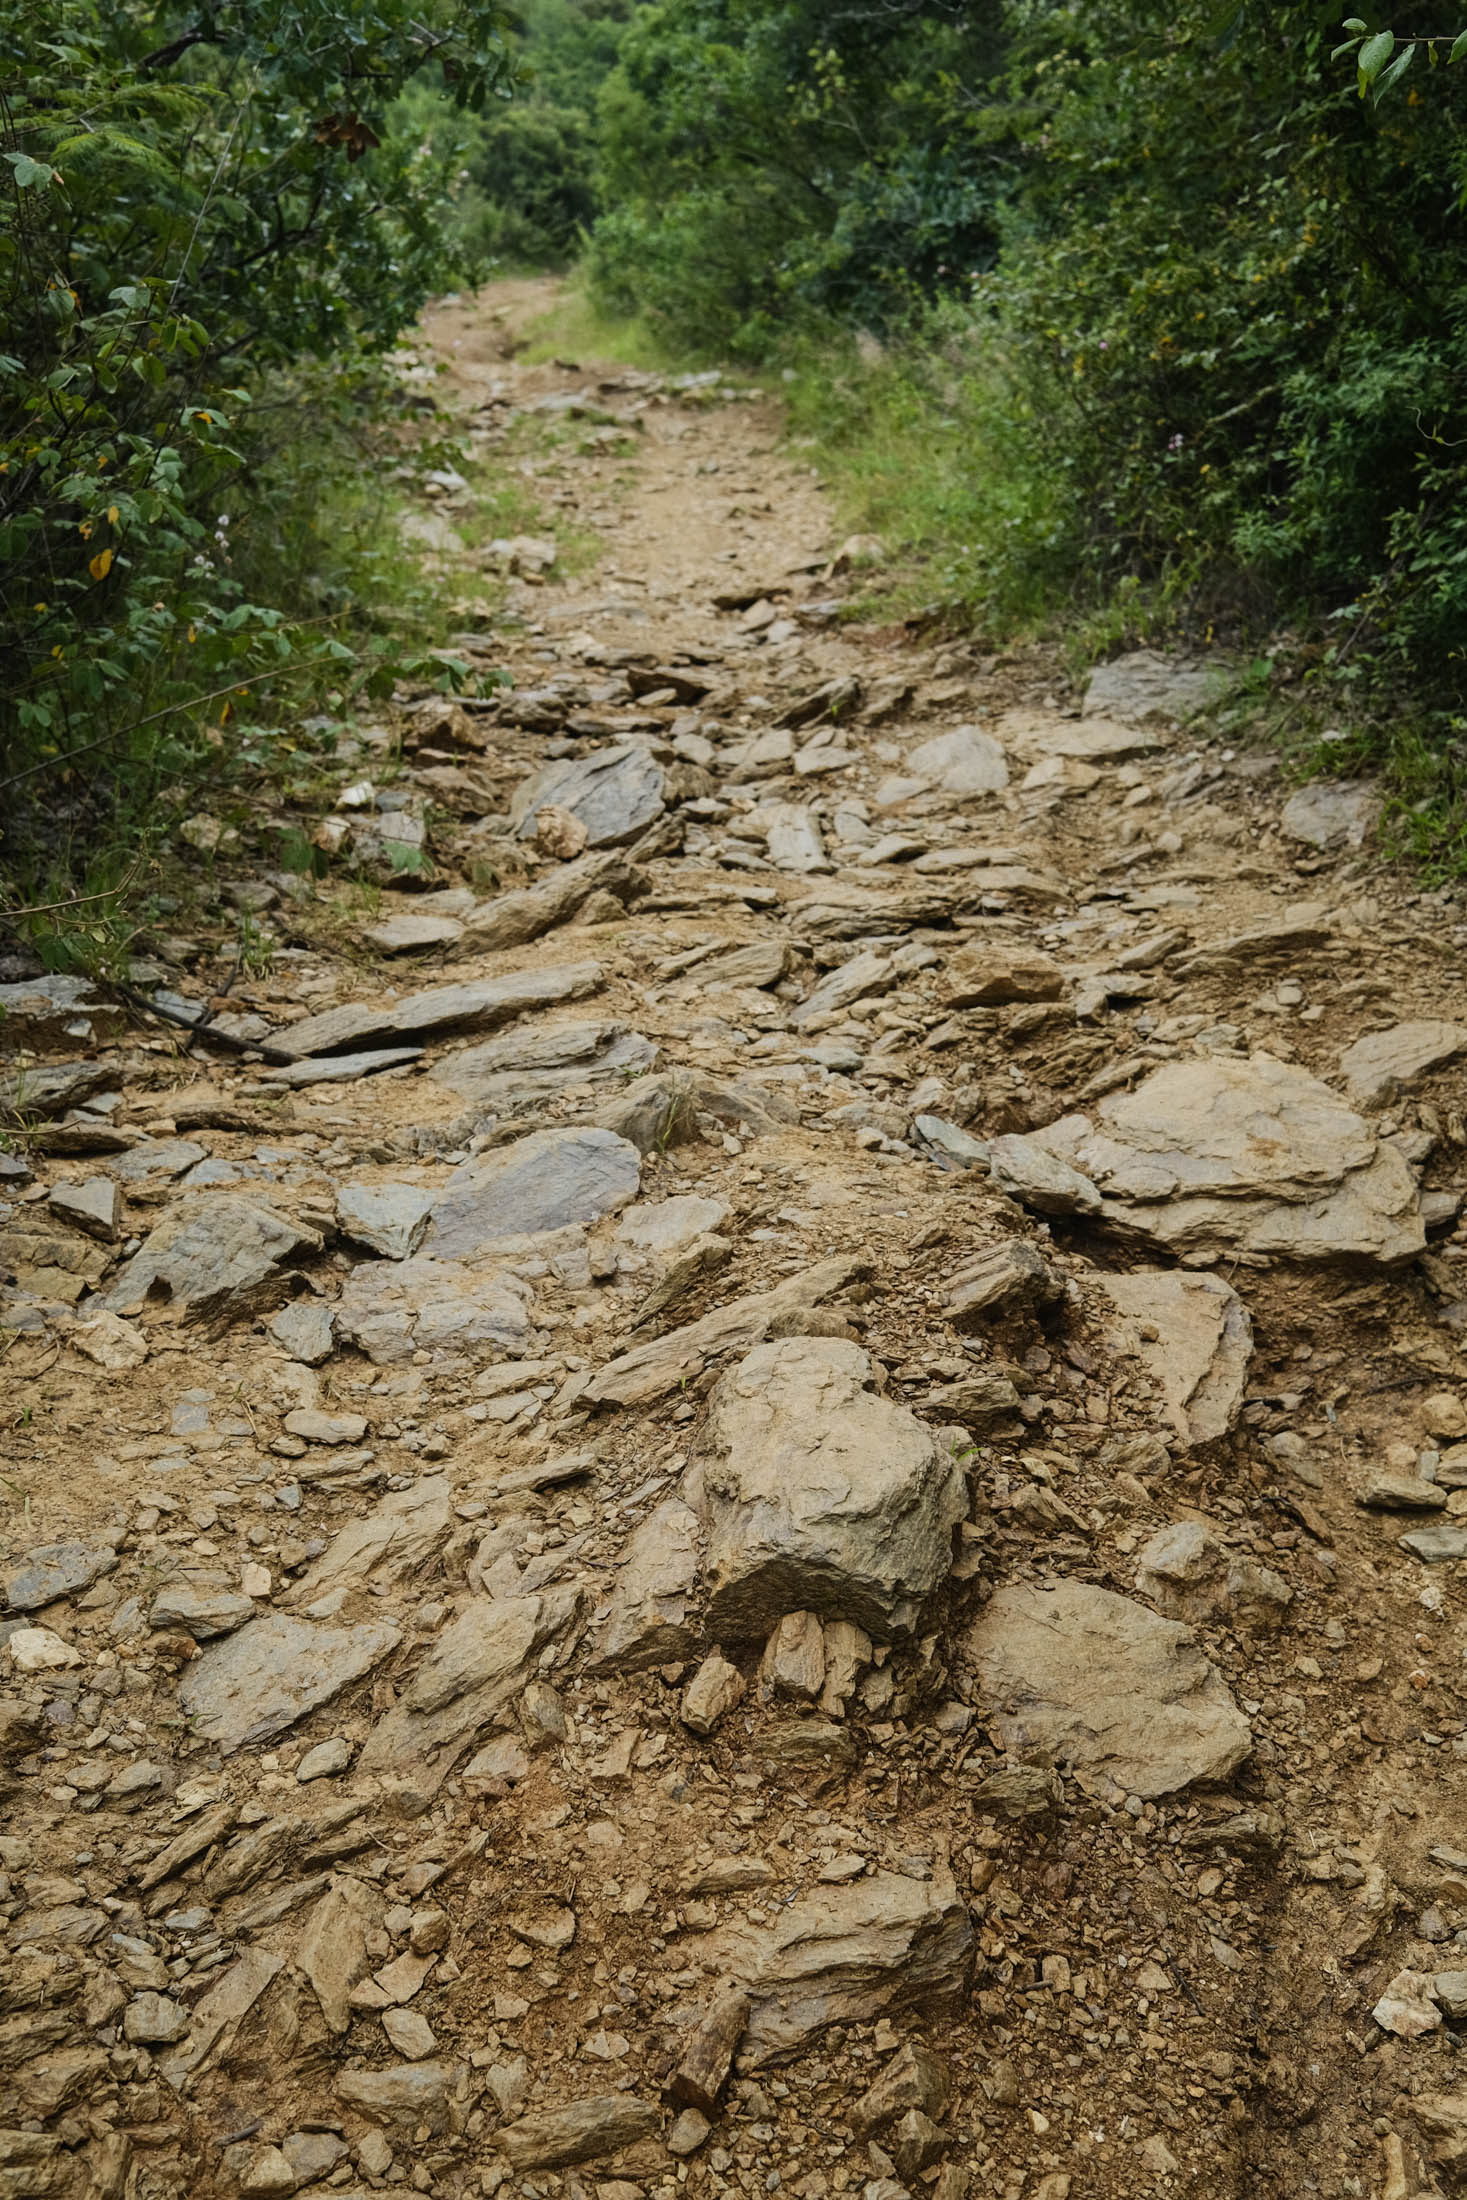
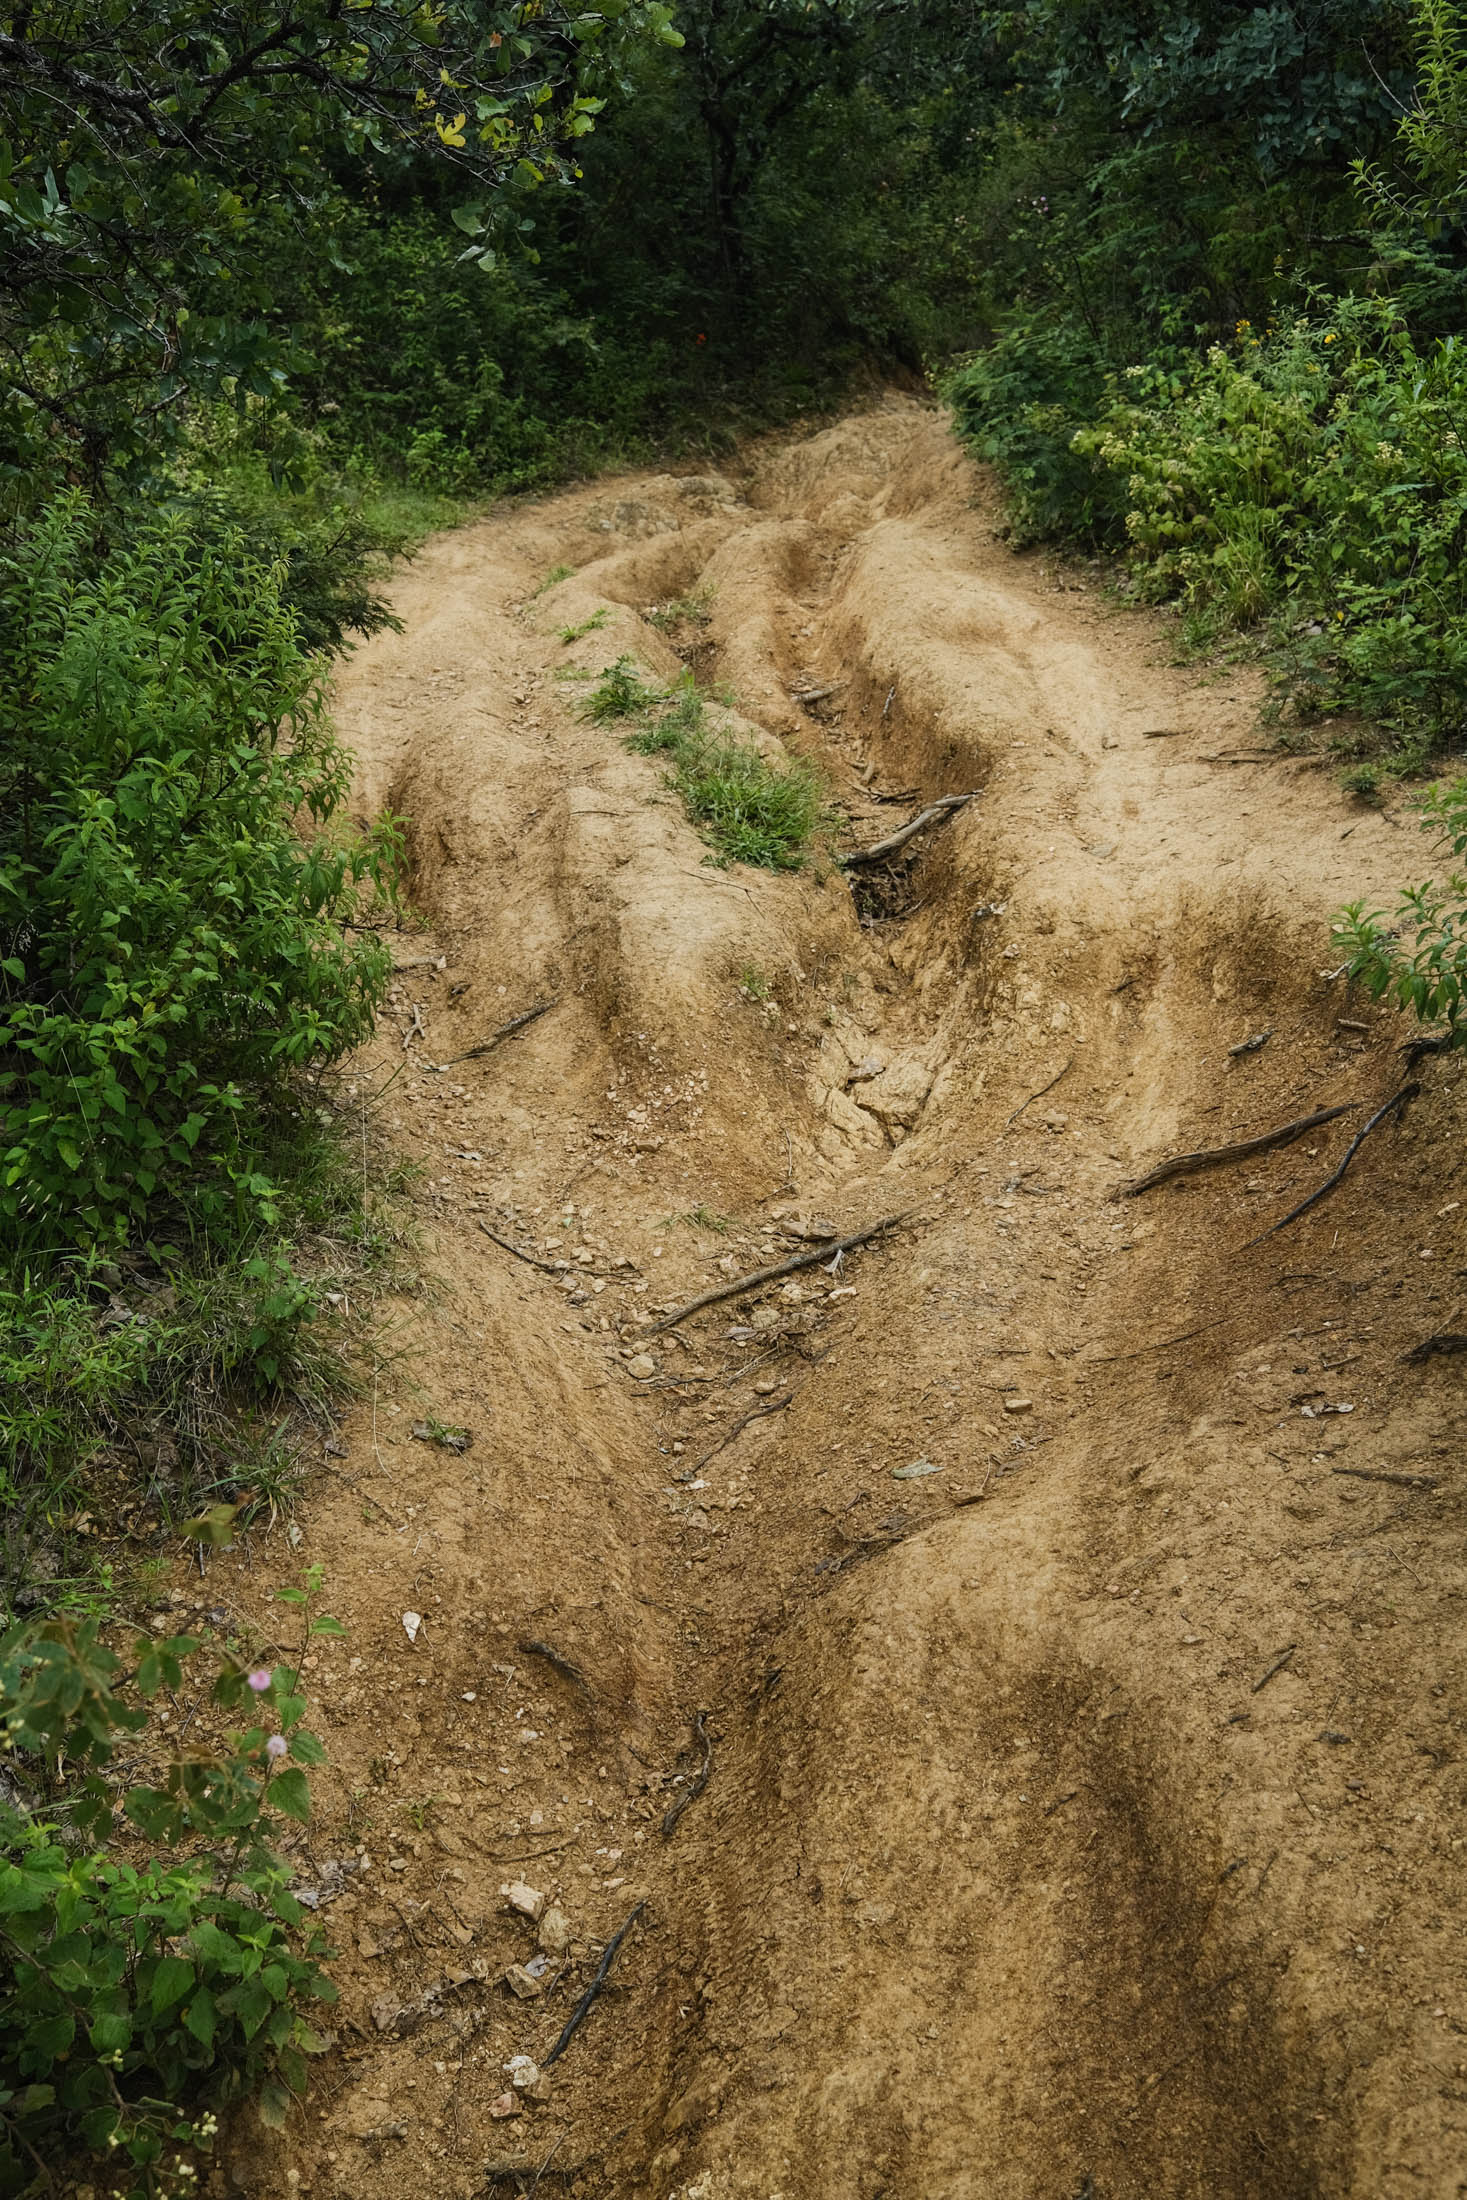
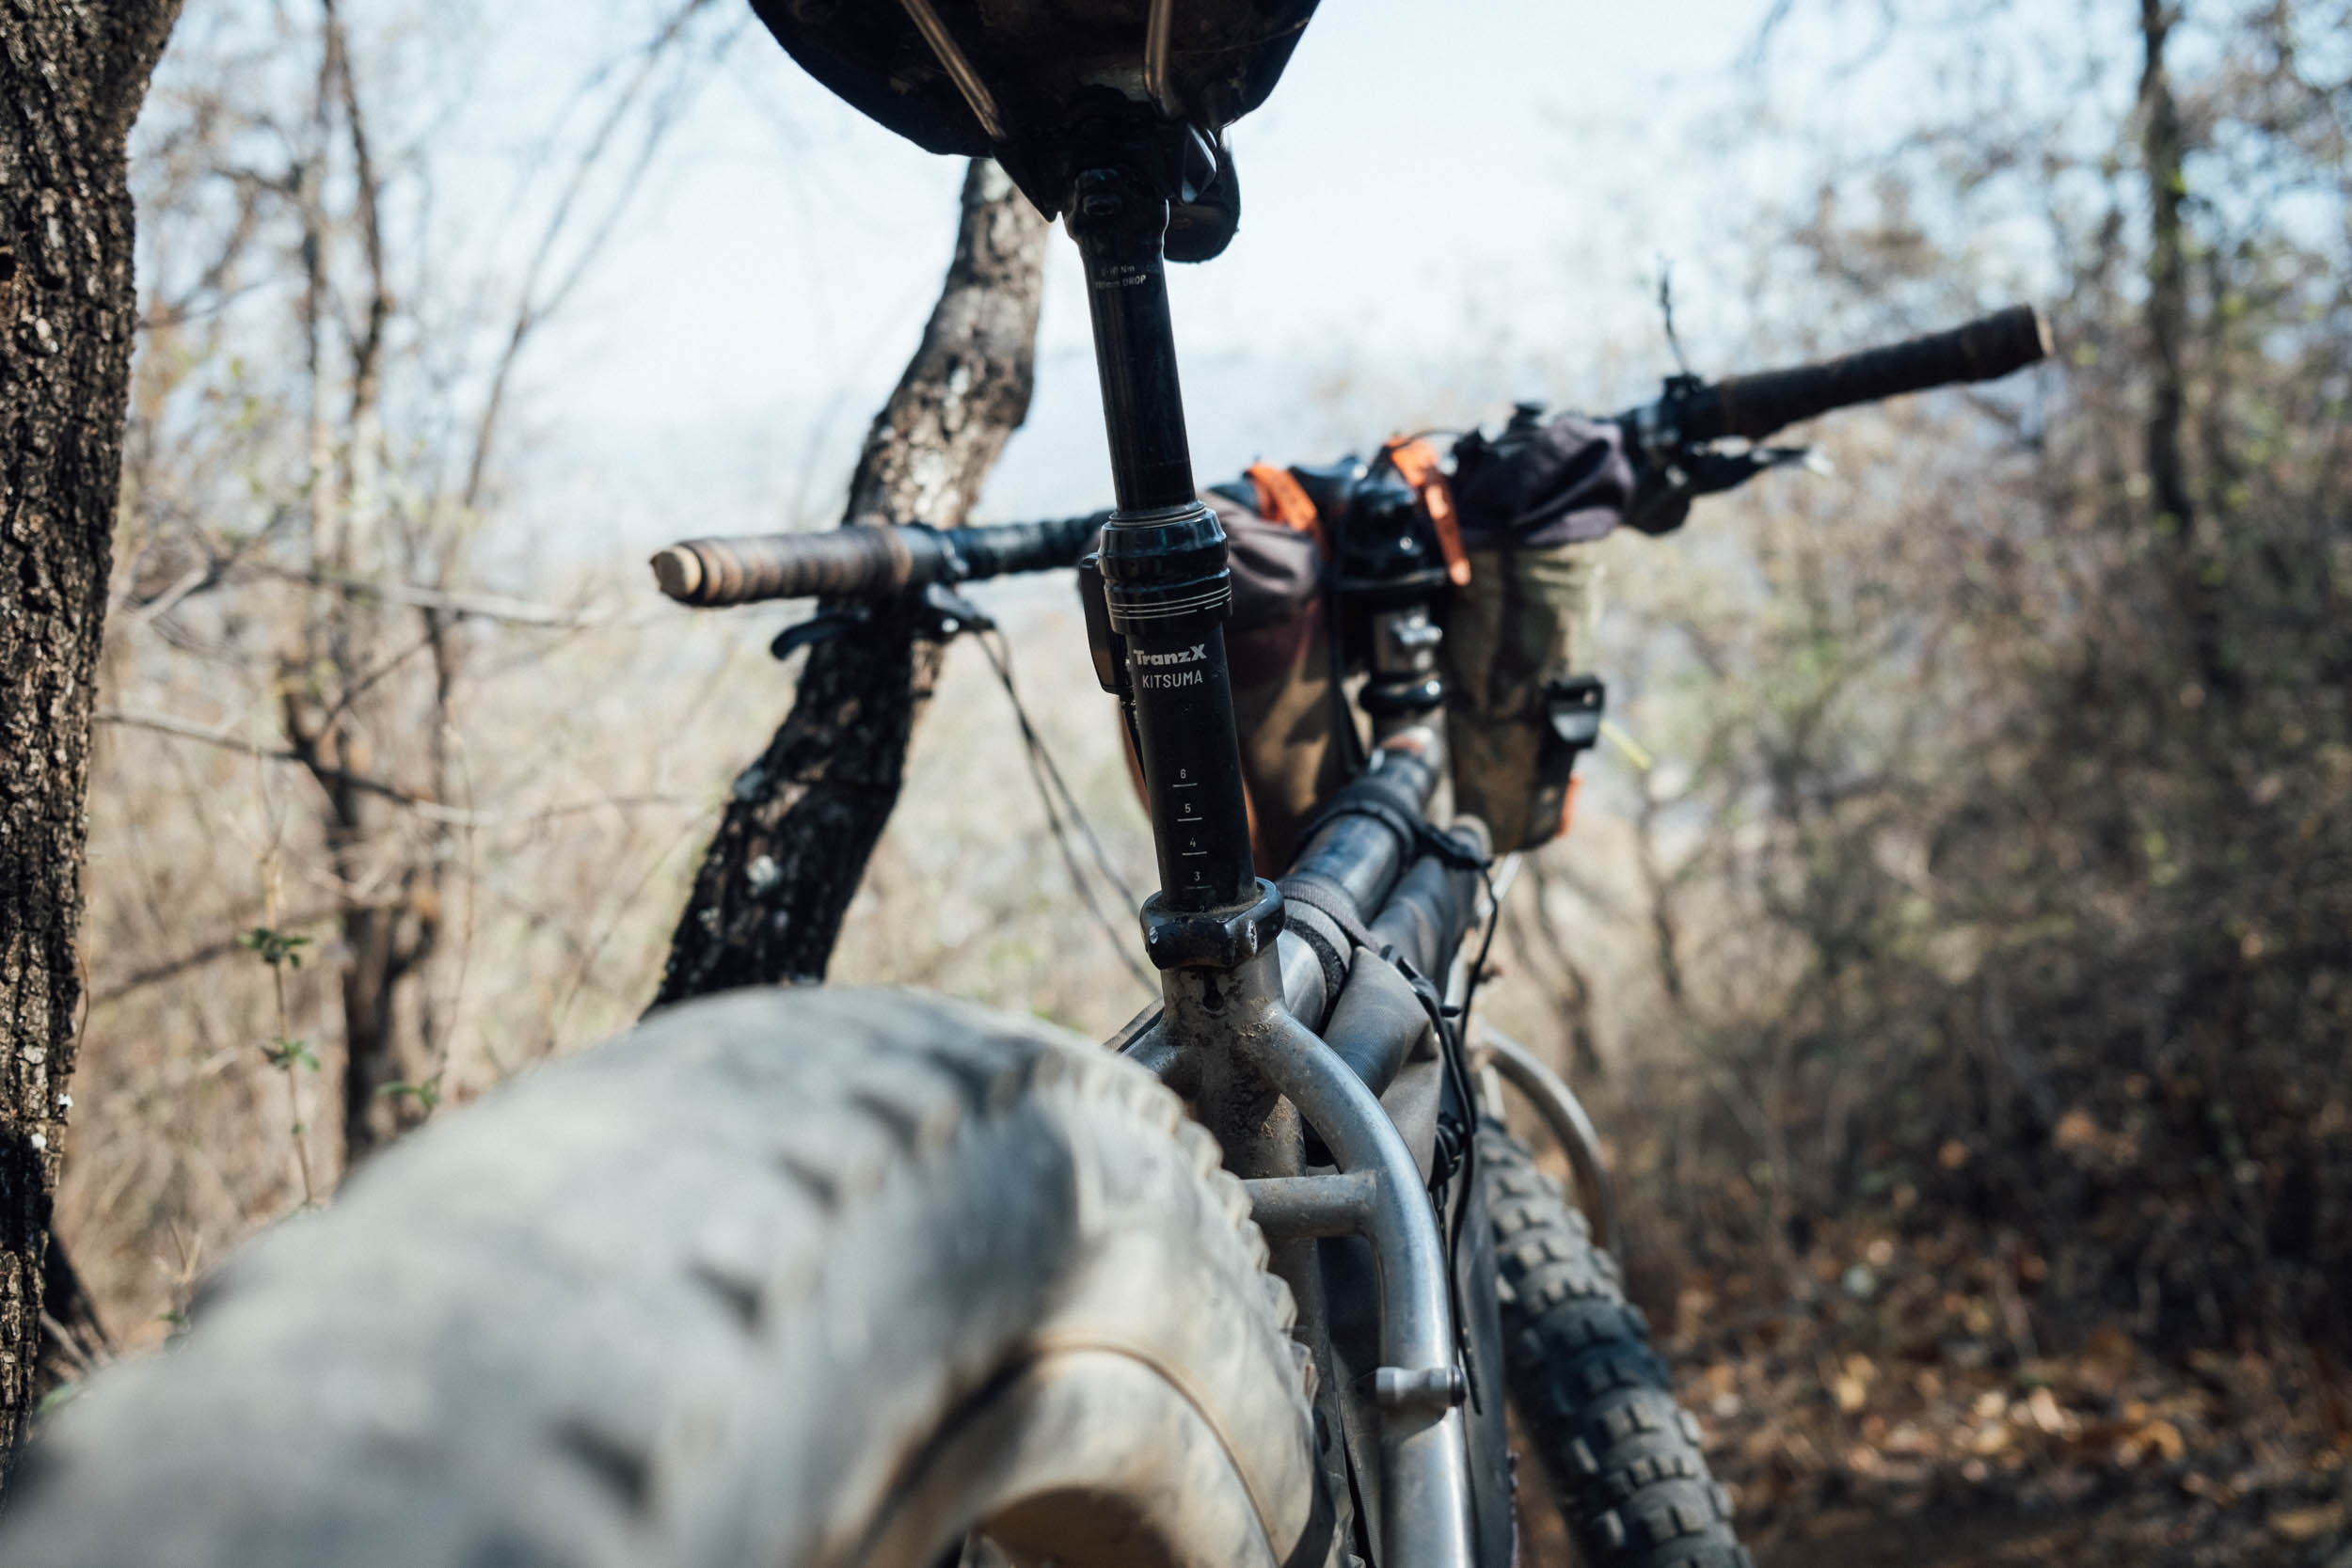
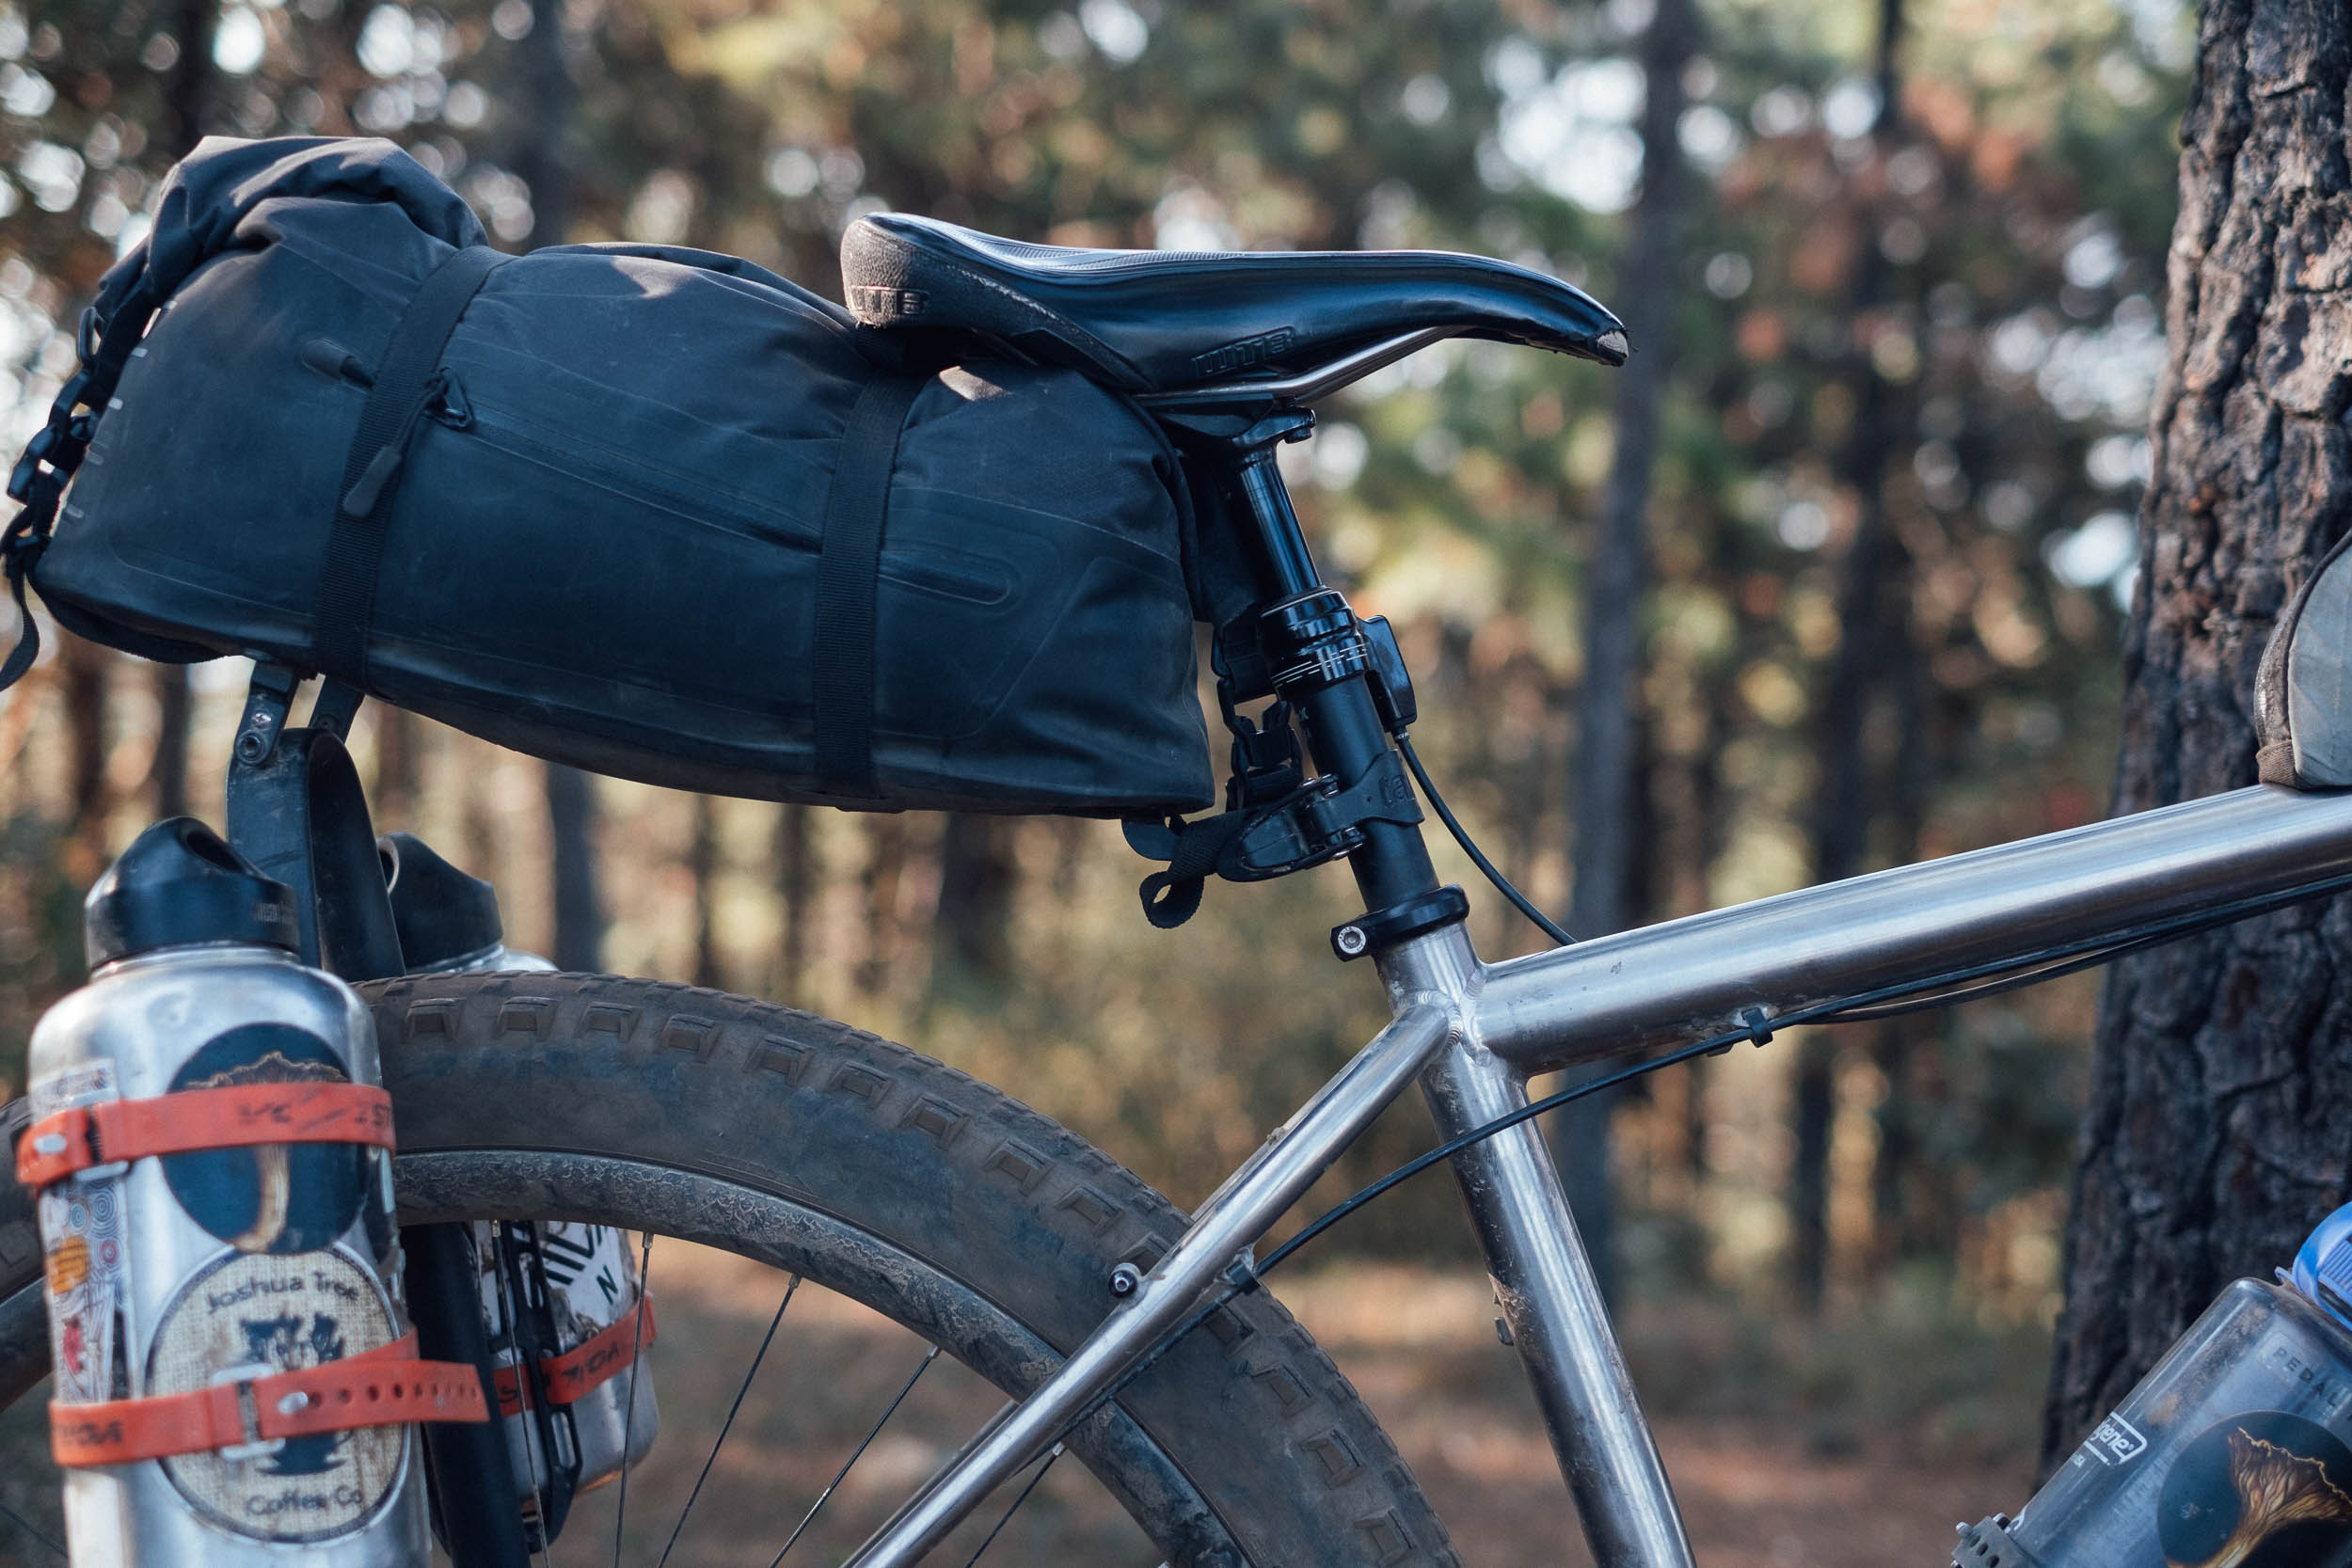
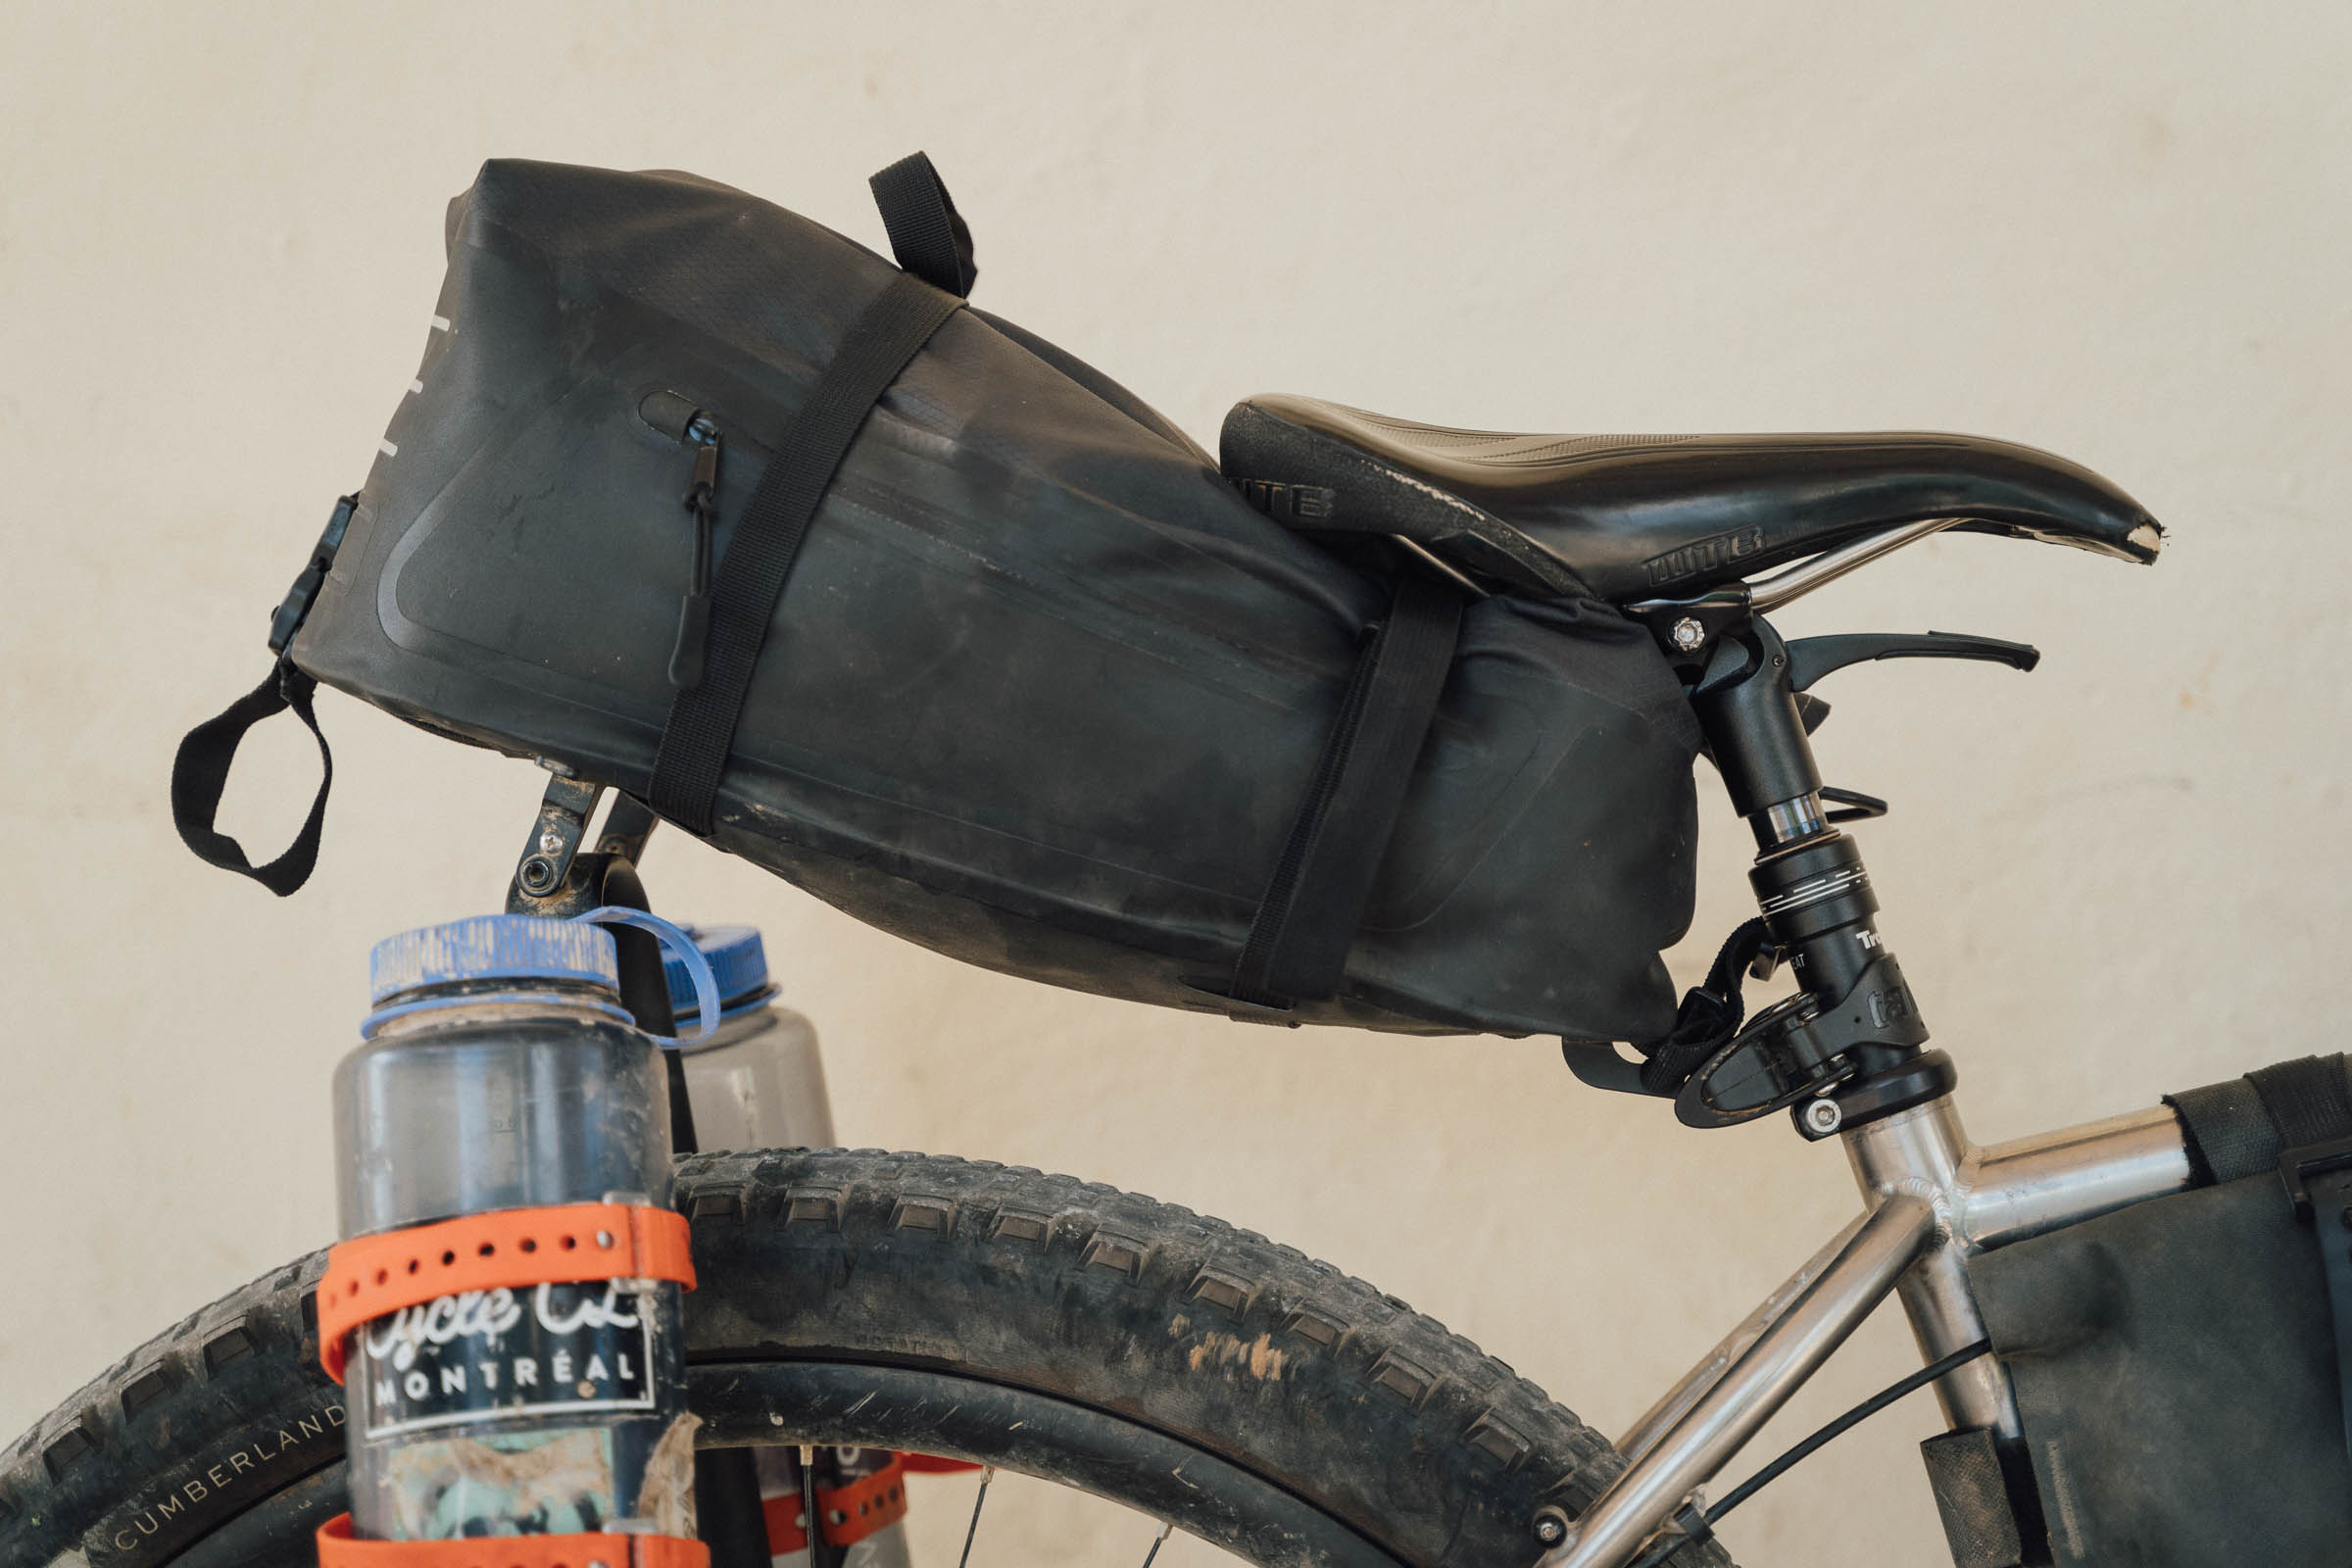
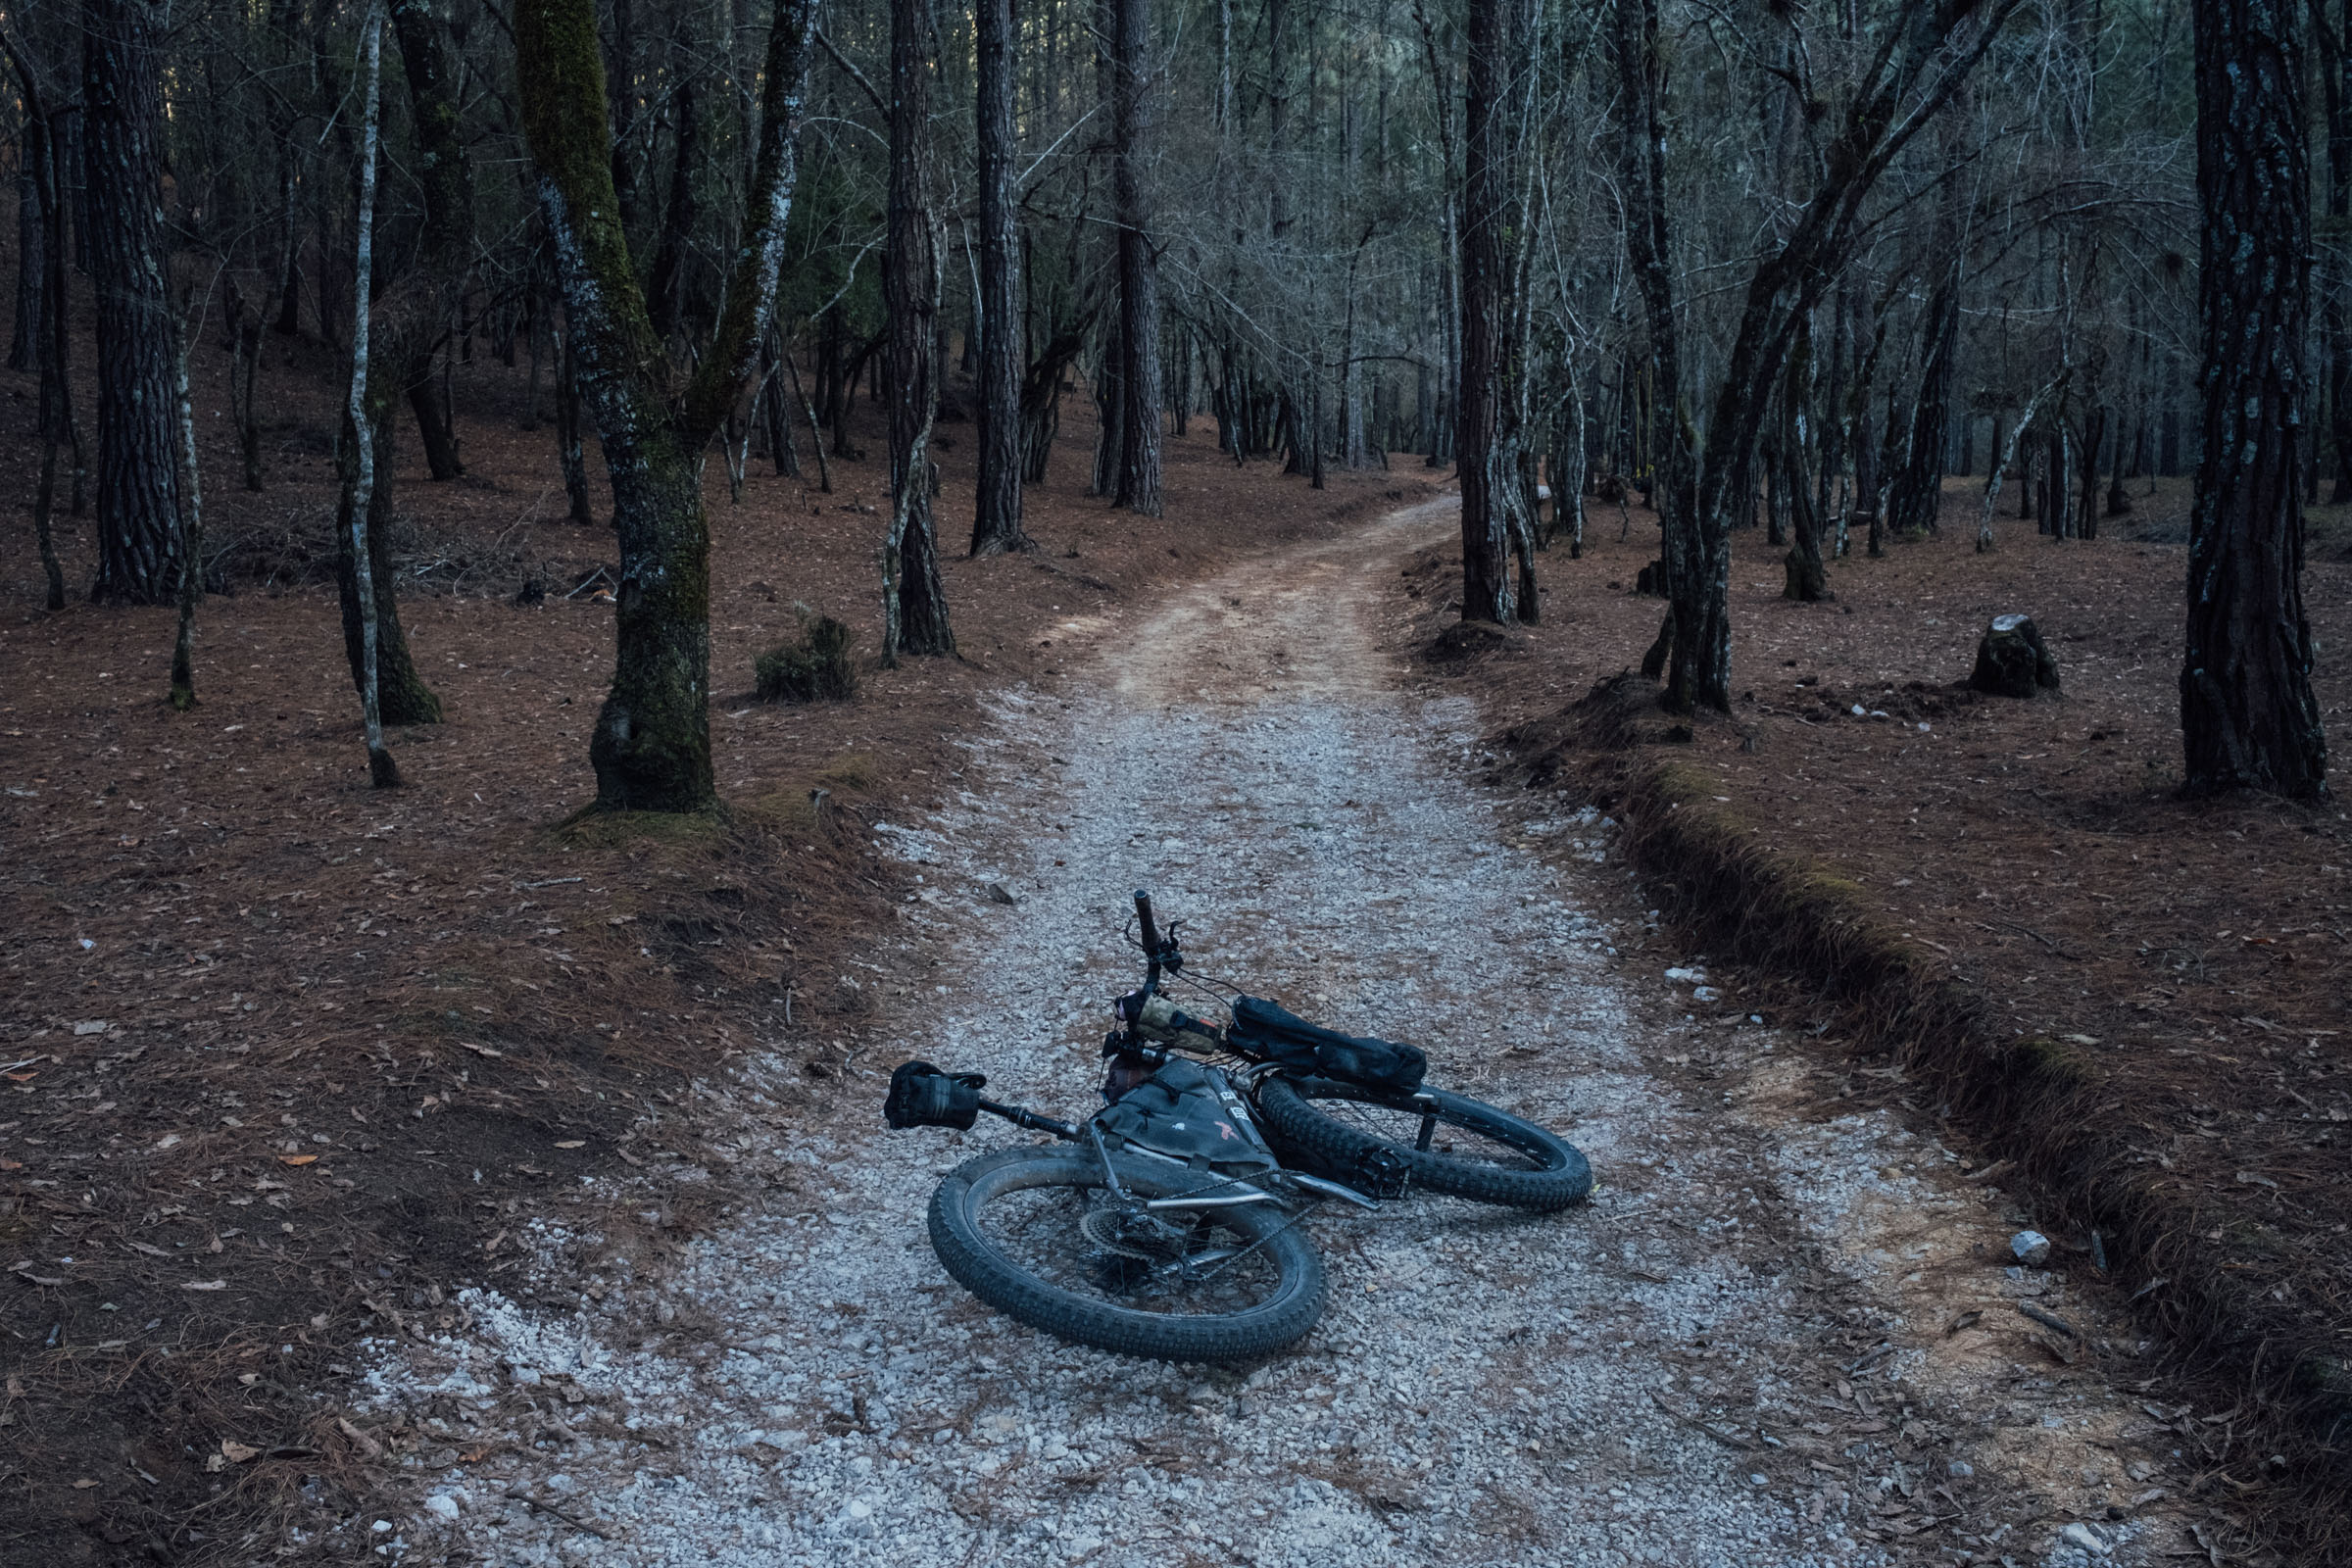
But how necessary is a dropper post for bikepacking? Well, it depends. One of my favourite local loops here in Mexico – Hebras de Ixtepeji – is a prime example of a route where droppers and bikepacking play especially well together. The trails are demanding enough that lowering my seatpost adds greatly to my enjoyment of the route. It gives me more confidence to ride them in the style that I would when I’m unladen, too. I’ve also realised that even when I’m not picking my way down steep trails, I’m grateful for the chance to lower my centre of gravity during the fast, loose, and often rocky doubletrack descents that pepper the route.
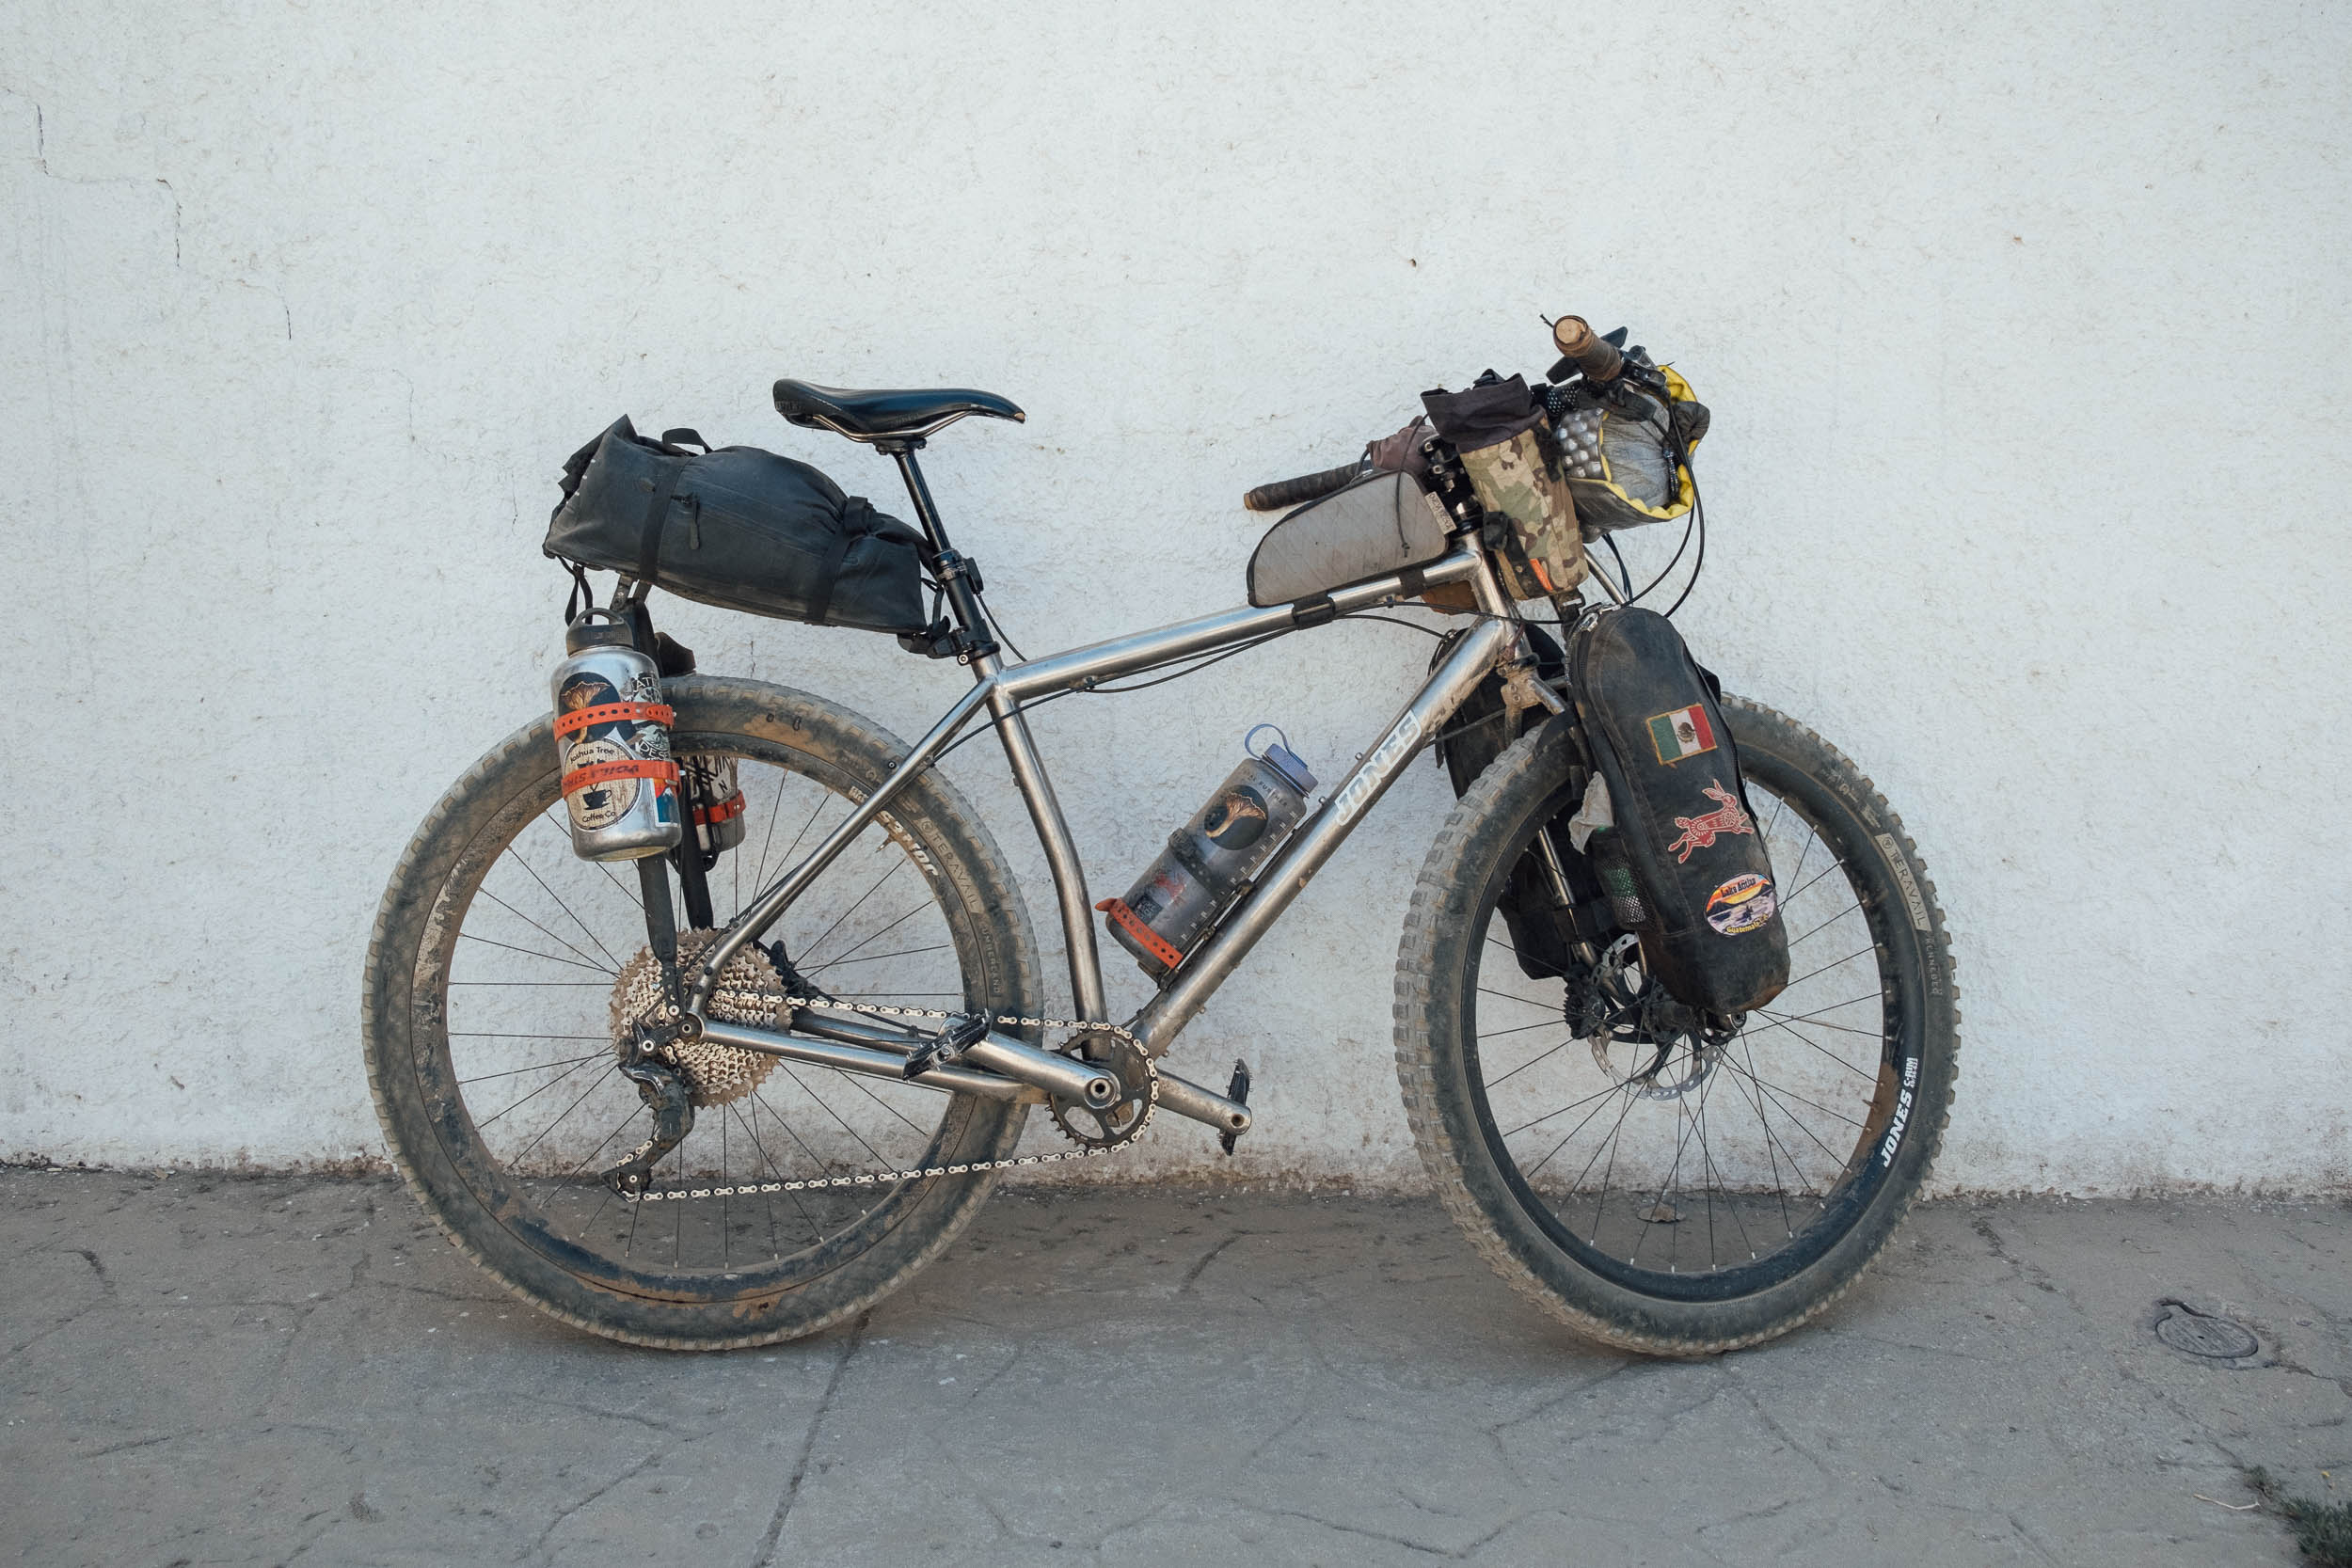
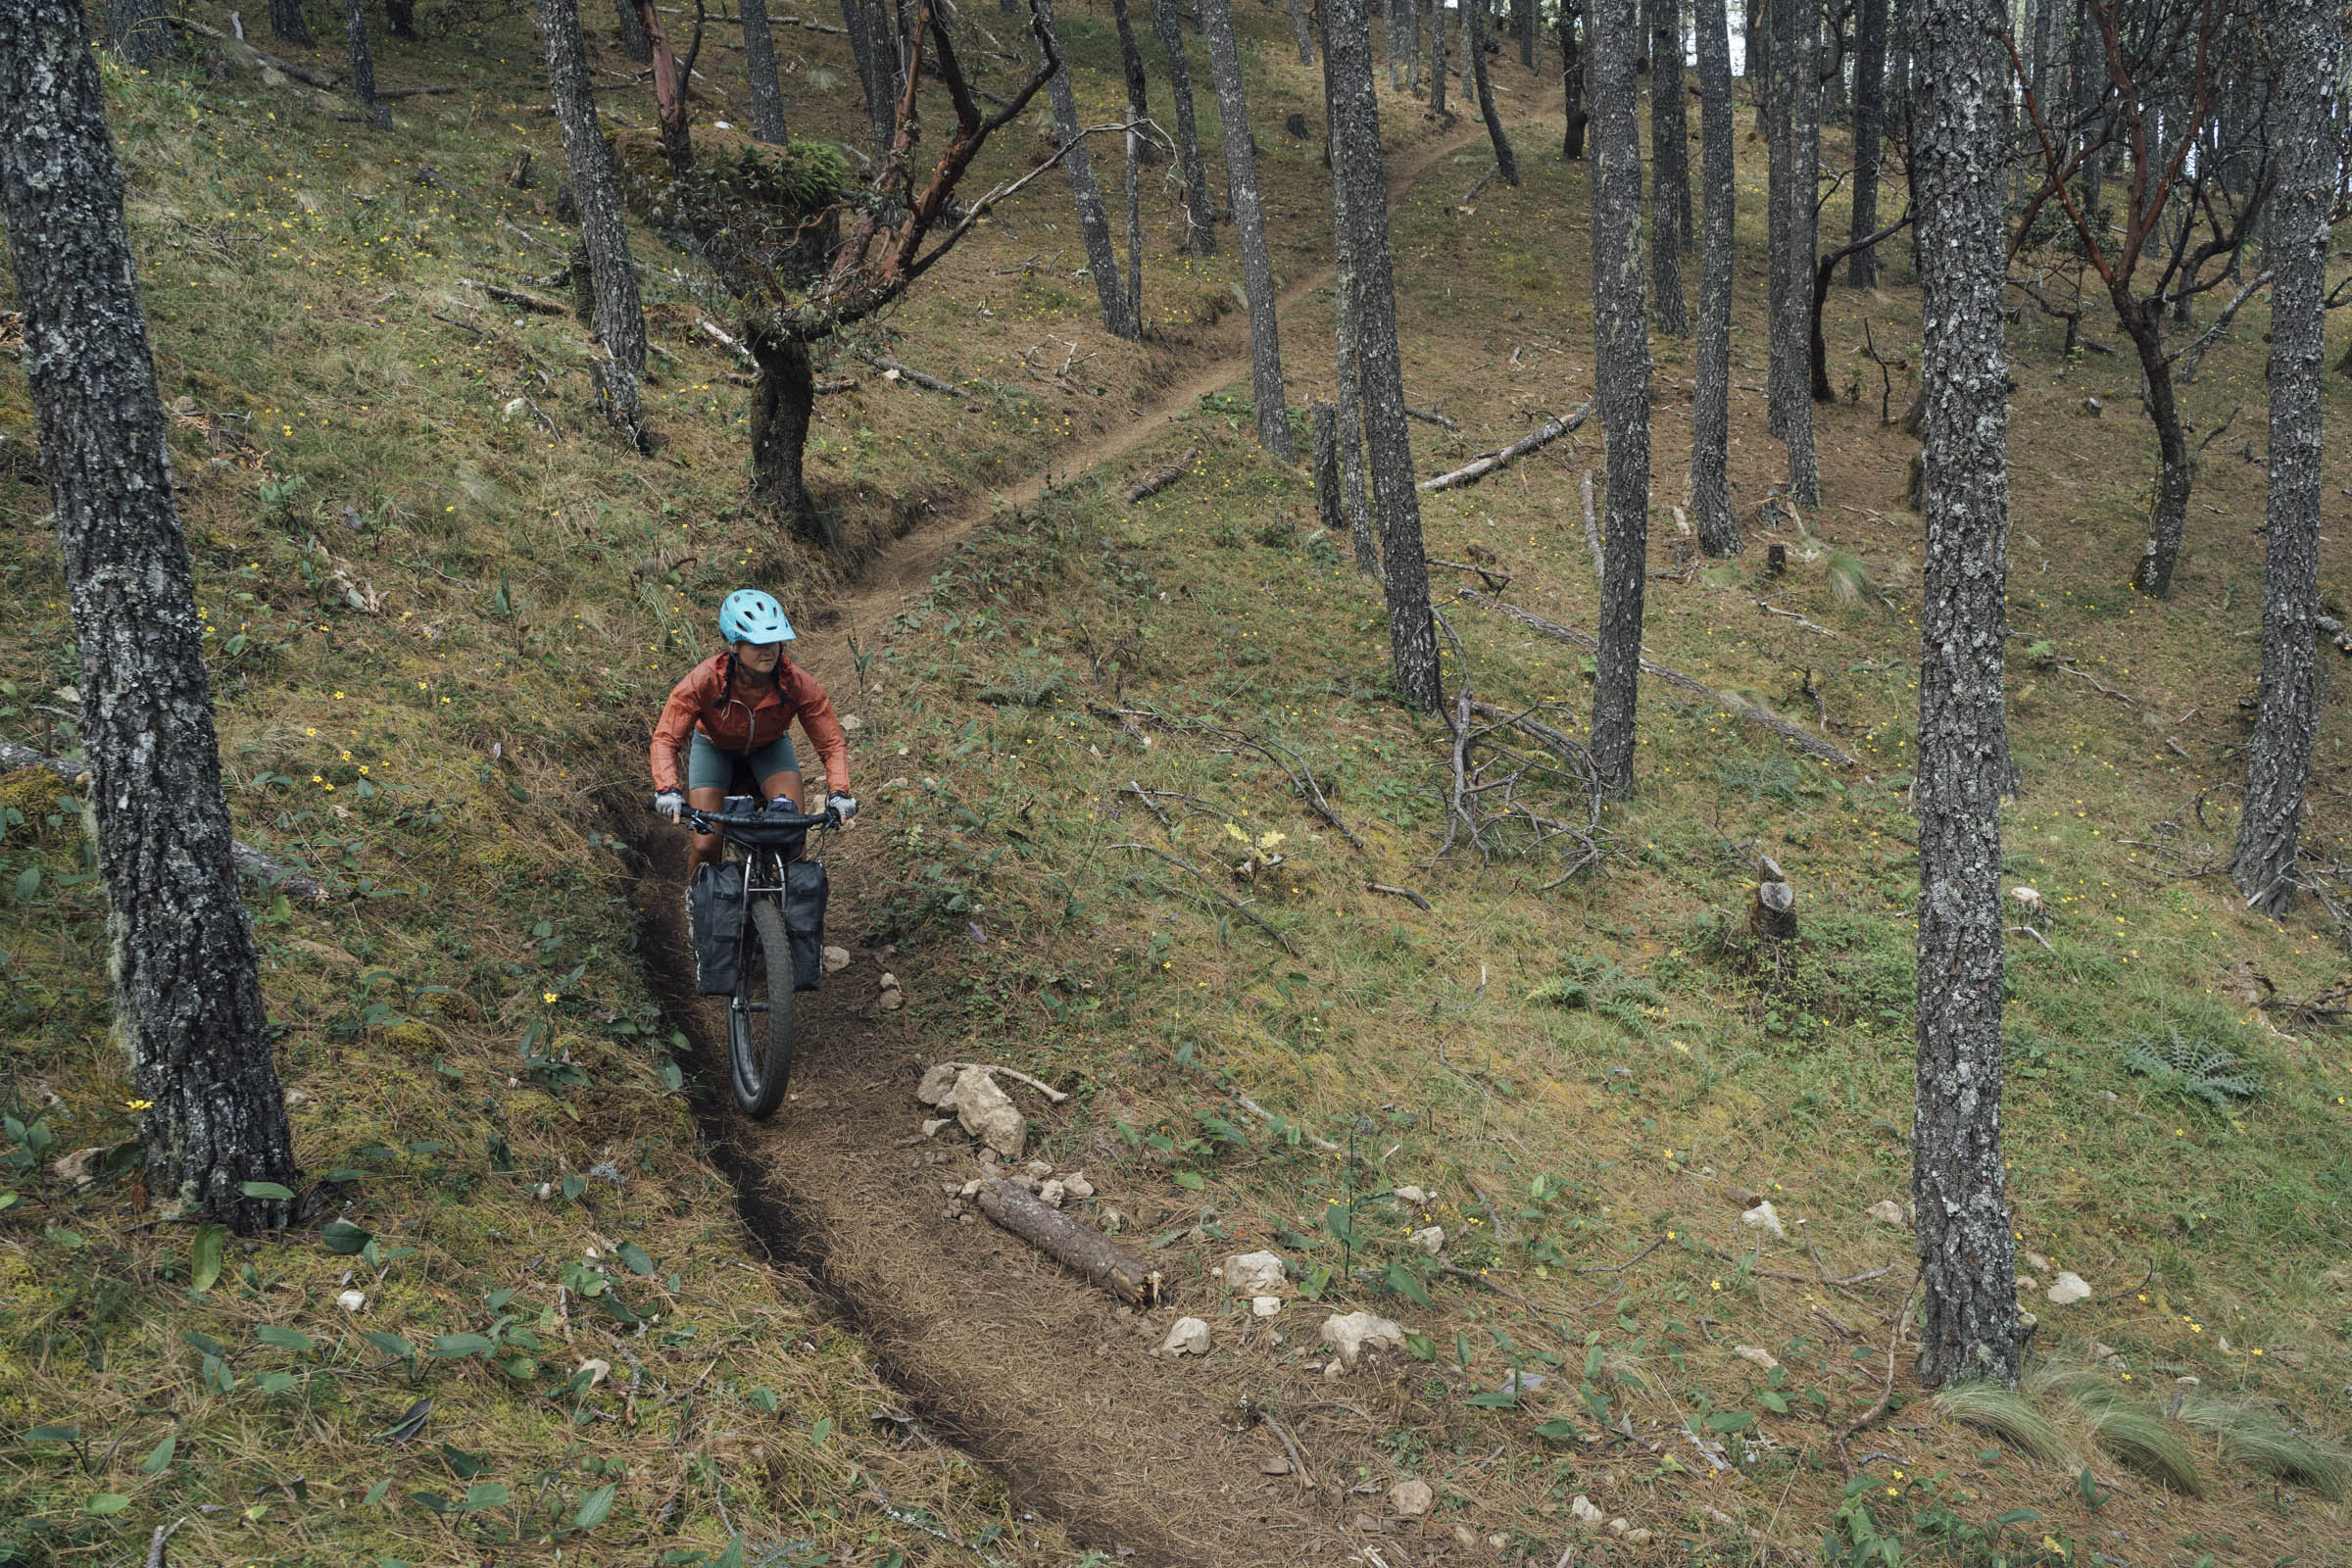
As you can see from the photos below, my Tailfin AeroPack limits the travel I can make use of. But as mentioned previously, it’s rare that I need full travel on a bikepacking route to make a noticeable difference. Need more drop? You’ll probably have to run a rear rack with micro panniers or one of the smaller dropper-friendly seatpacks on the market.
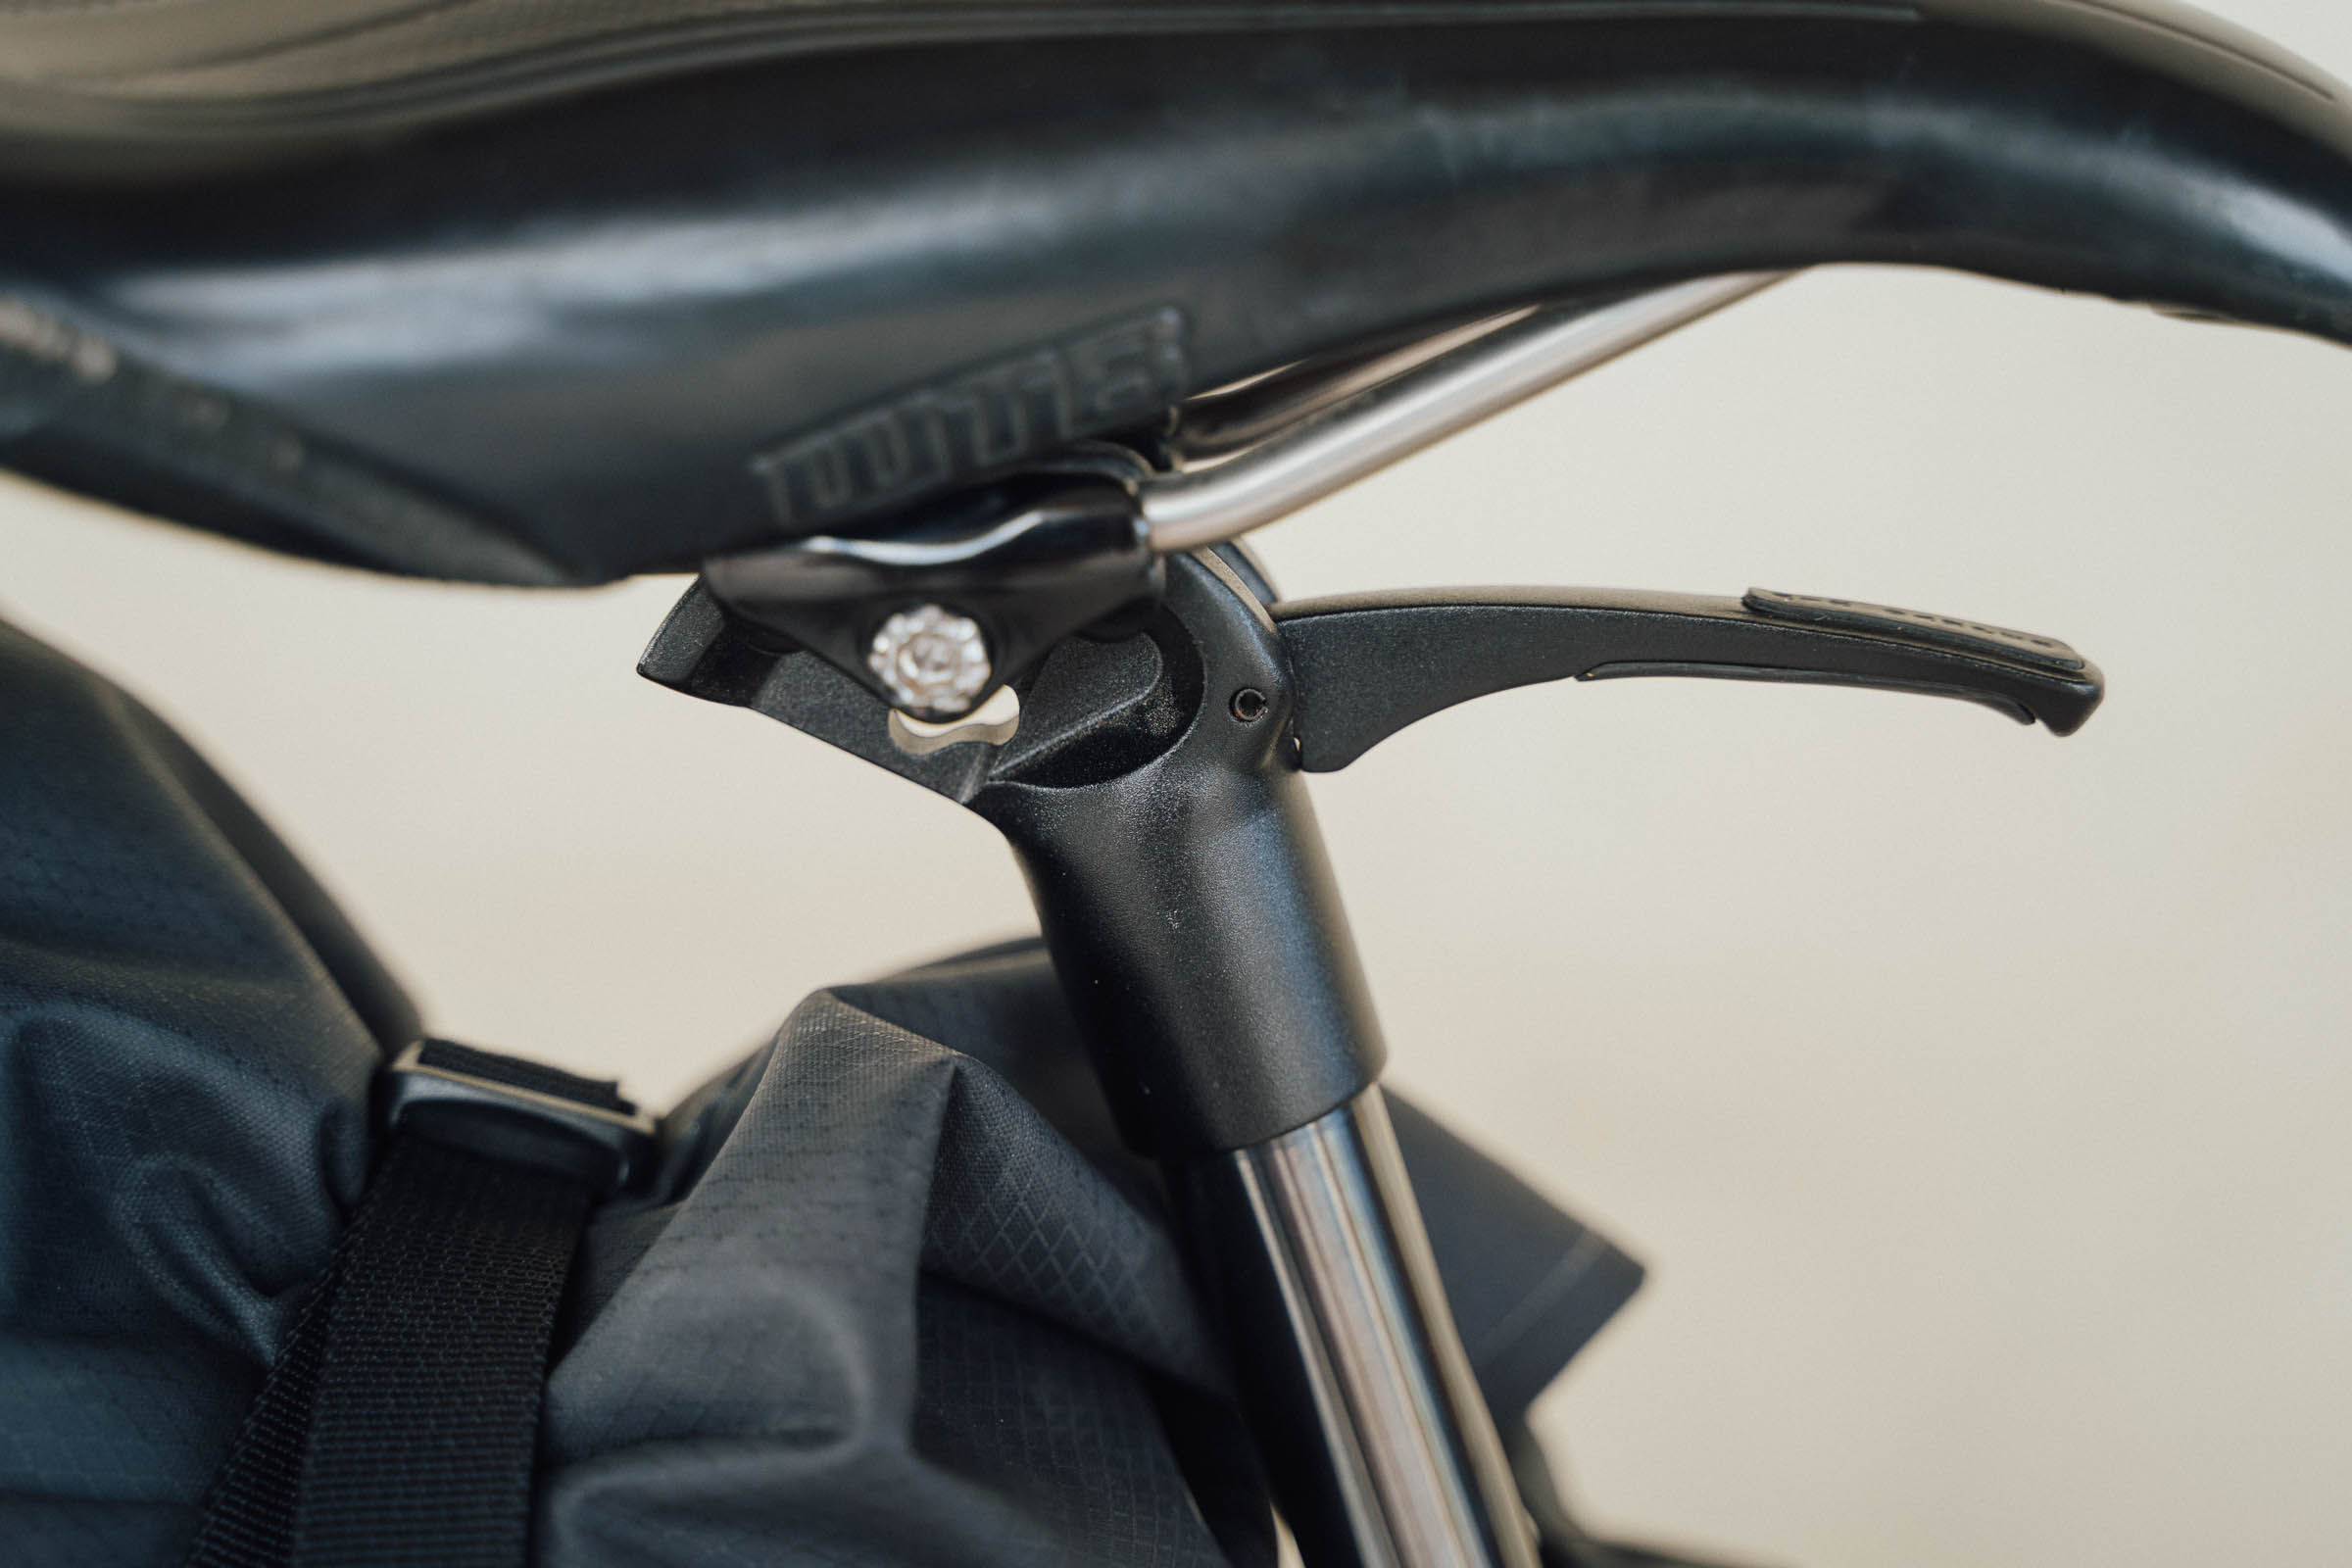
External routing
In my situation, the Kitsuma is the only model in the lineup that works, because my frame doesn’t feature internal routing. But that doesn’t stop you from choosing the same, even if your frame has the provision to do so. For one, externally routed dropper posts are easy to access and maintain. And as a bikepacker, they can be especially advantageous for those who use the same bike to trail ride as they do on longer tours, where reverting to your original seatpost might be preferred. I use the velcro on my framebag for cable routing, so it takes just a few minutes to unclasp the lever and swap the Kitsuma out for trips where simplicity and reliability are key – or just to save on wear and tear.
There are a few unexpected conveniences to running a drop post, too. When I’m returning from a trip, I generally store my bike in the hold of a bus, and being able to lower the seat quickly is useful if spacing is tight. The same goes for putting your bike in the trunk of a car. Yes, you can do this with a standard seatpost and an Allen key, but I much prefer not to mess around with my saddle height once it’s set.
Jump Seat!
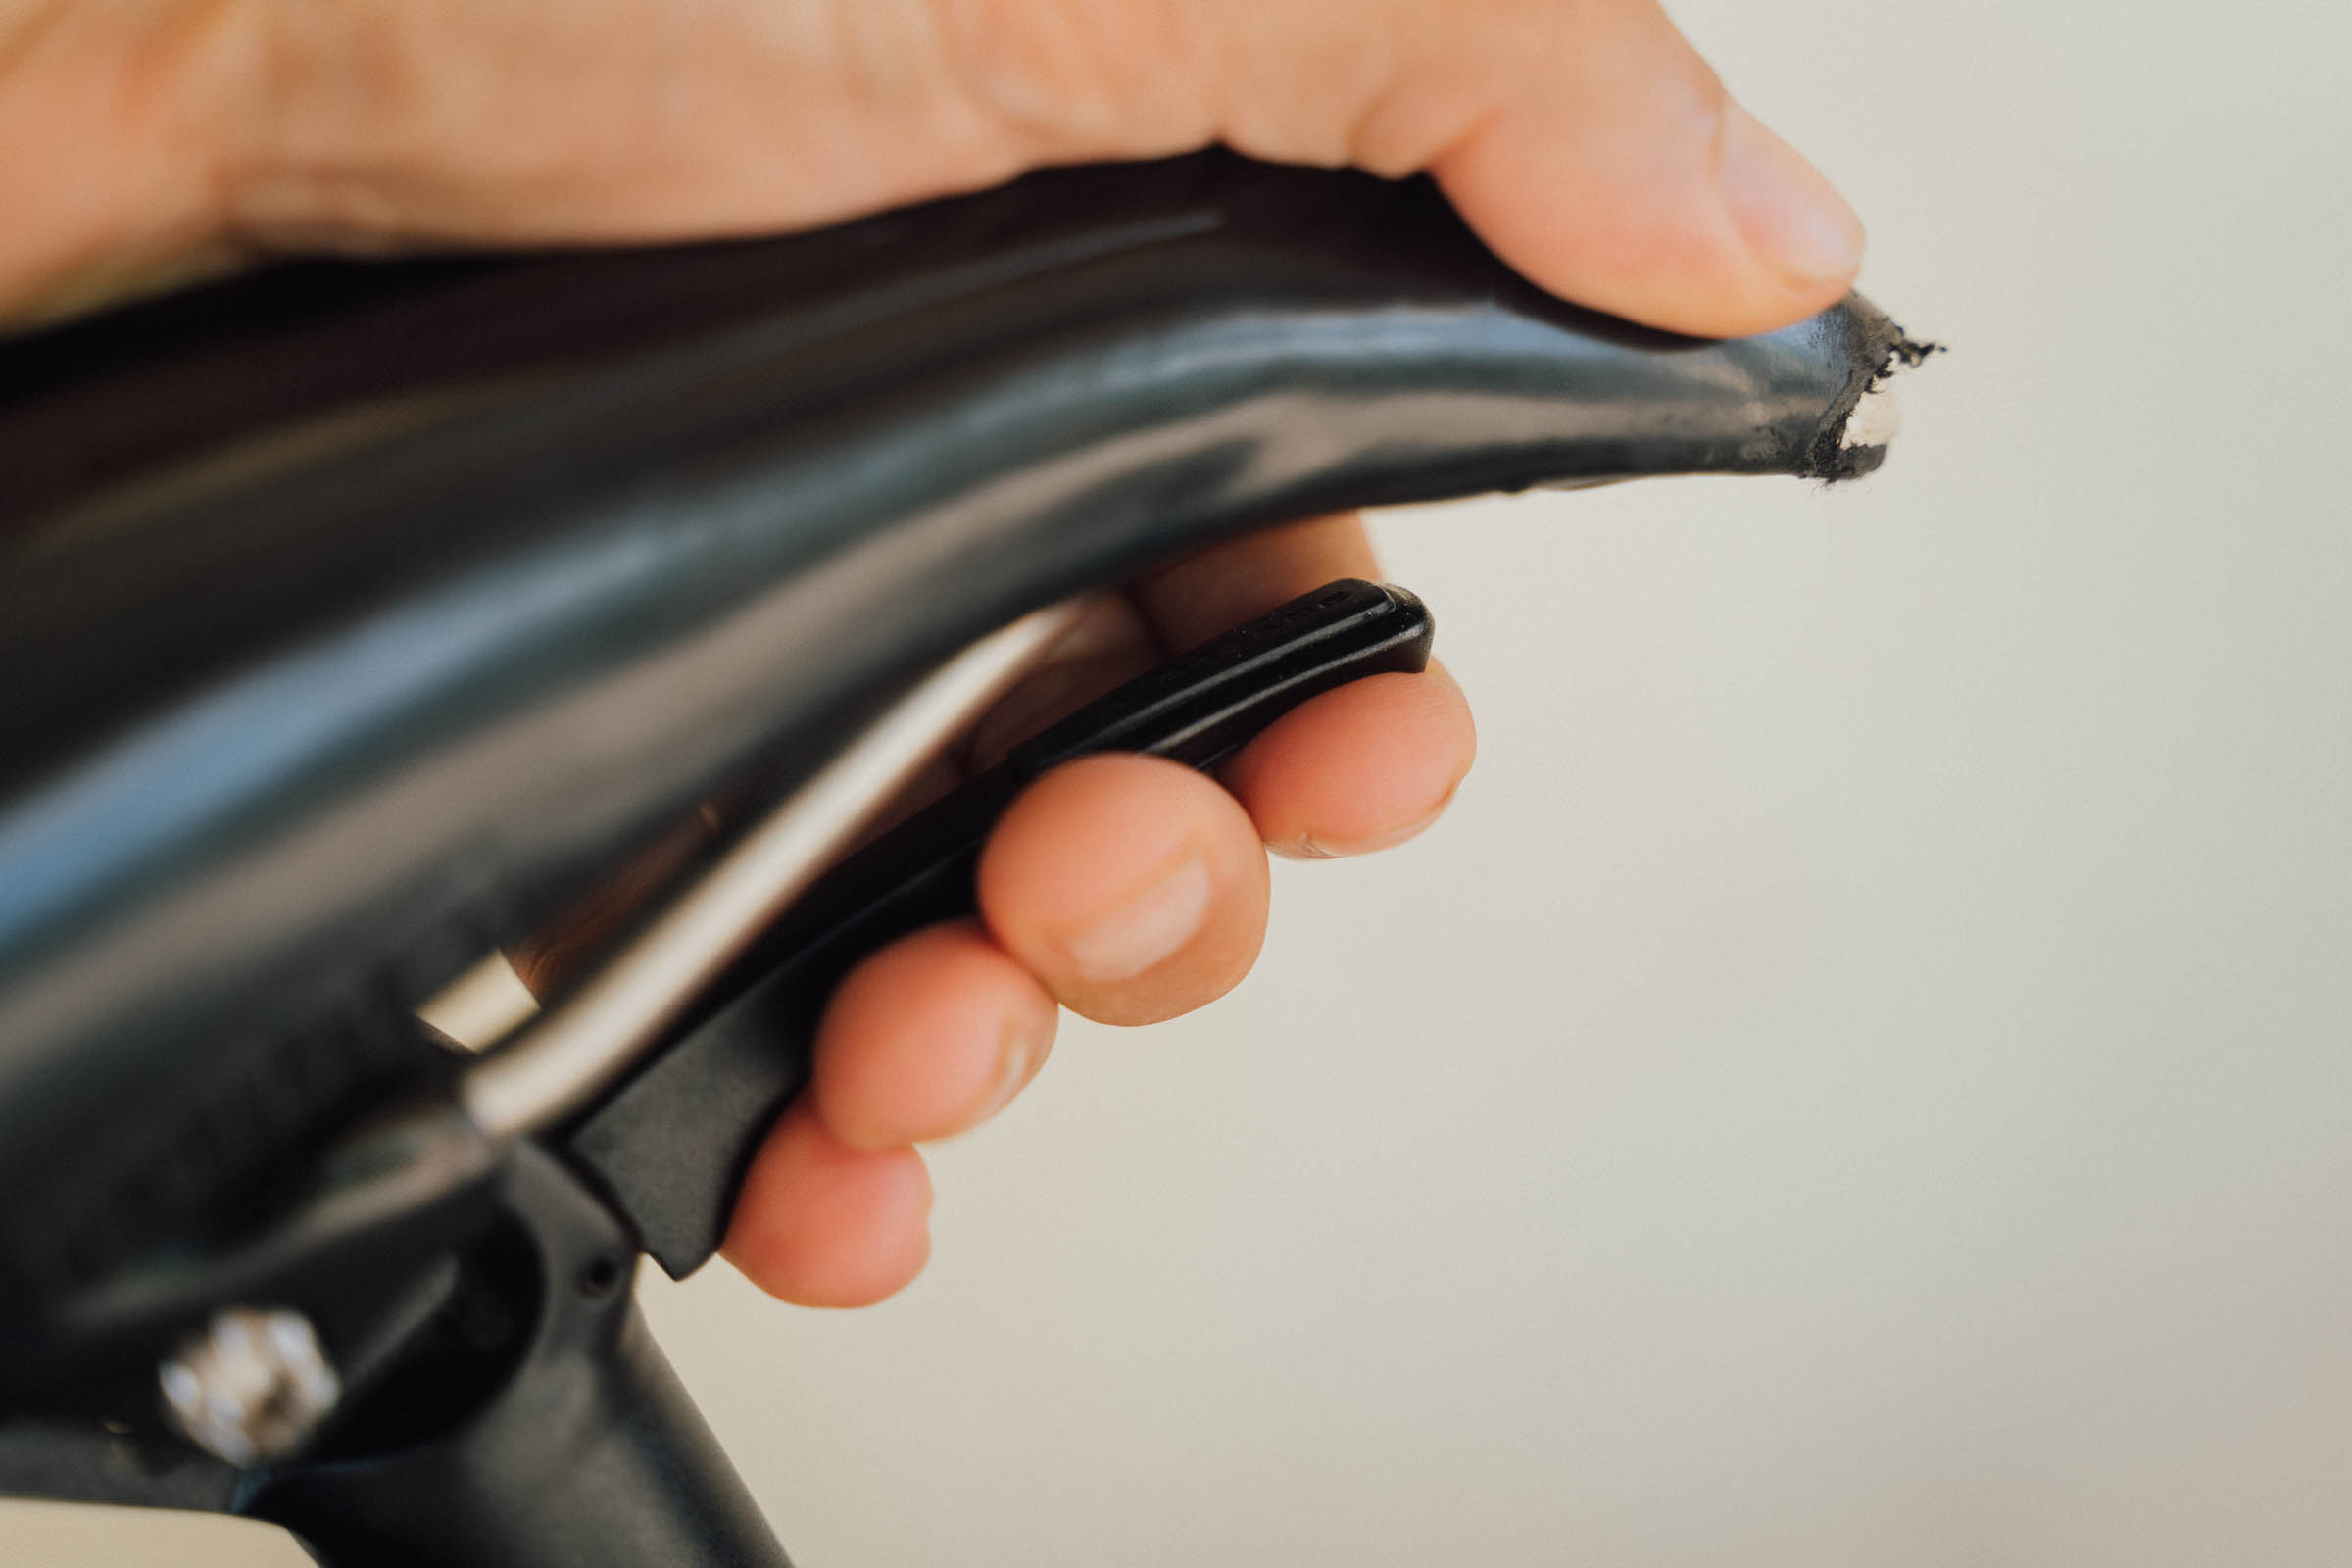
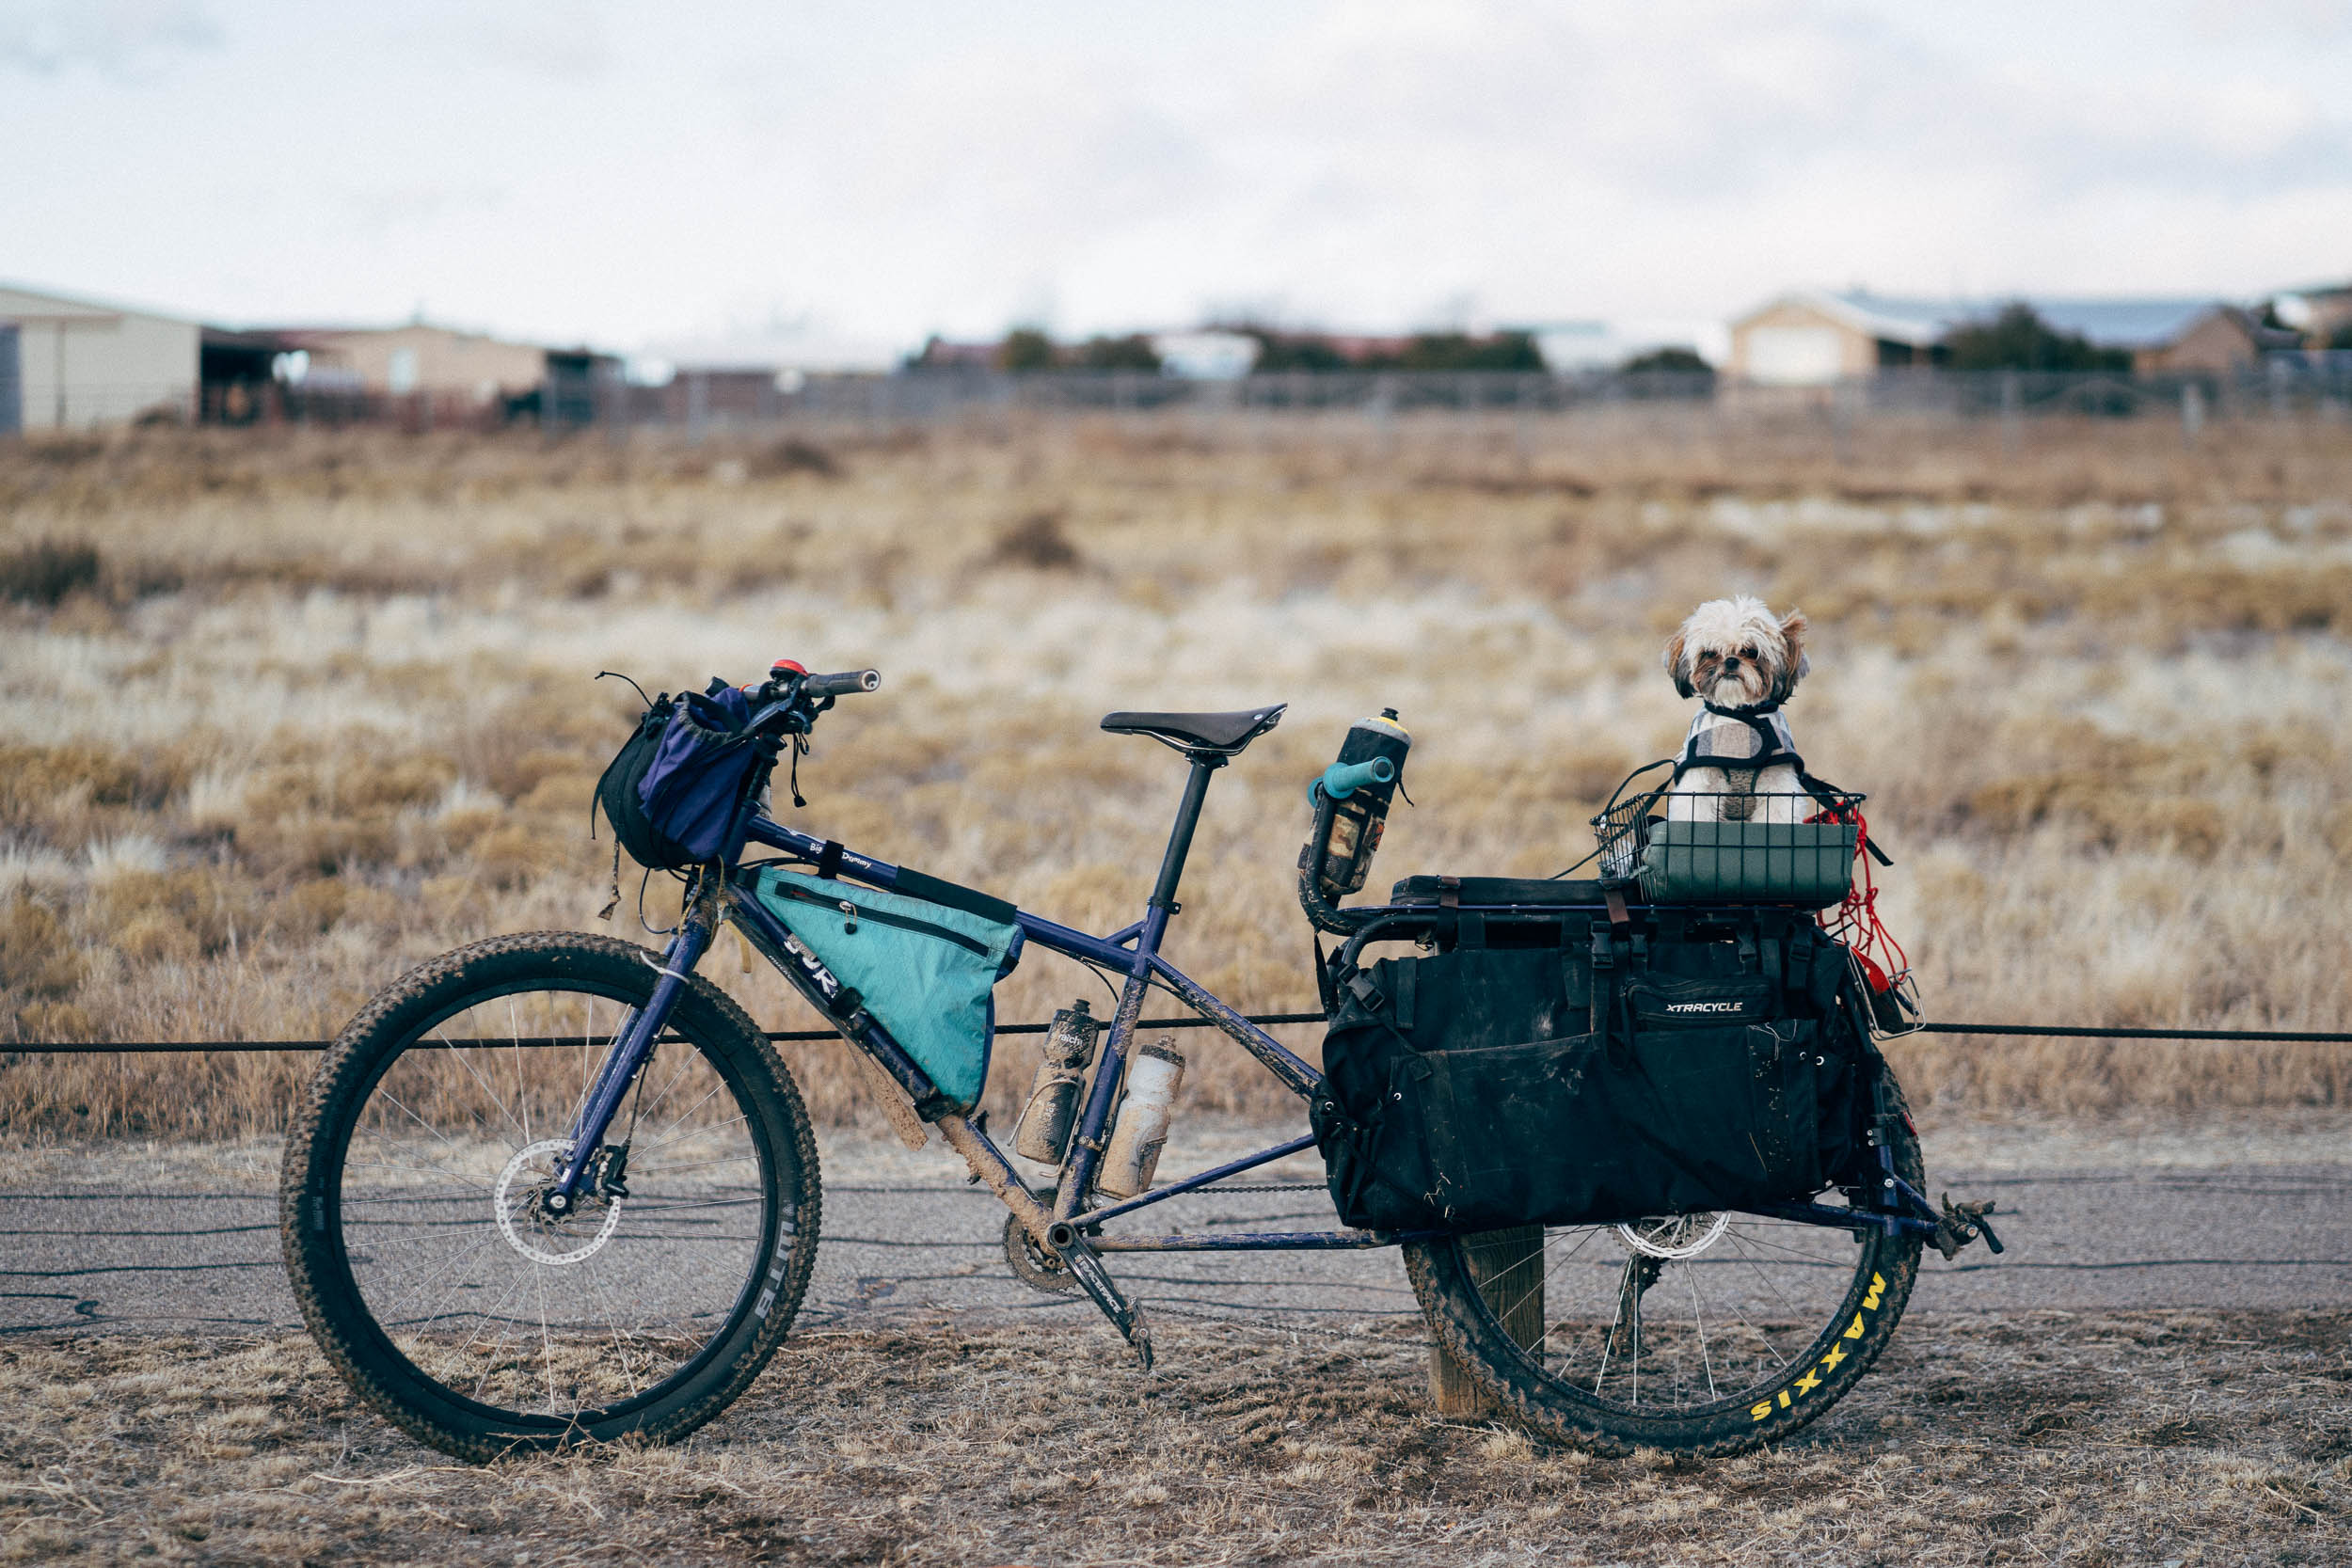
In fact, being able to adjust the height of your saddle quickly can be useful for riders sharing the same bike – especially if it’s a cargo bike, where having your feet flat at traffic lights helps with stability. If such an application appeals, you’ll also want to check out the $99 Jump Seat, with shares similar internals. It’s even easier to install than the Kitsuma, as there’s no external cabling or remote lever to worry about. Instead, a handle under the nose of the saddle activates the dropper. The Jump Seat isn’t going to be the best option for making quick, on-the-fly changes but for more occasional use, it works really well.
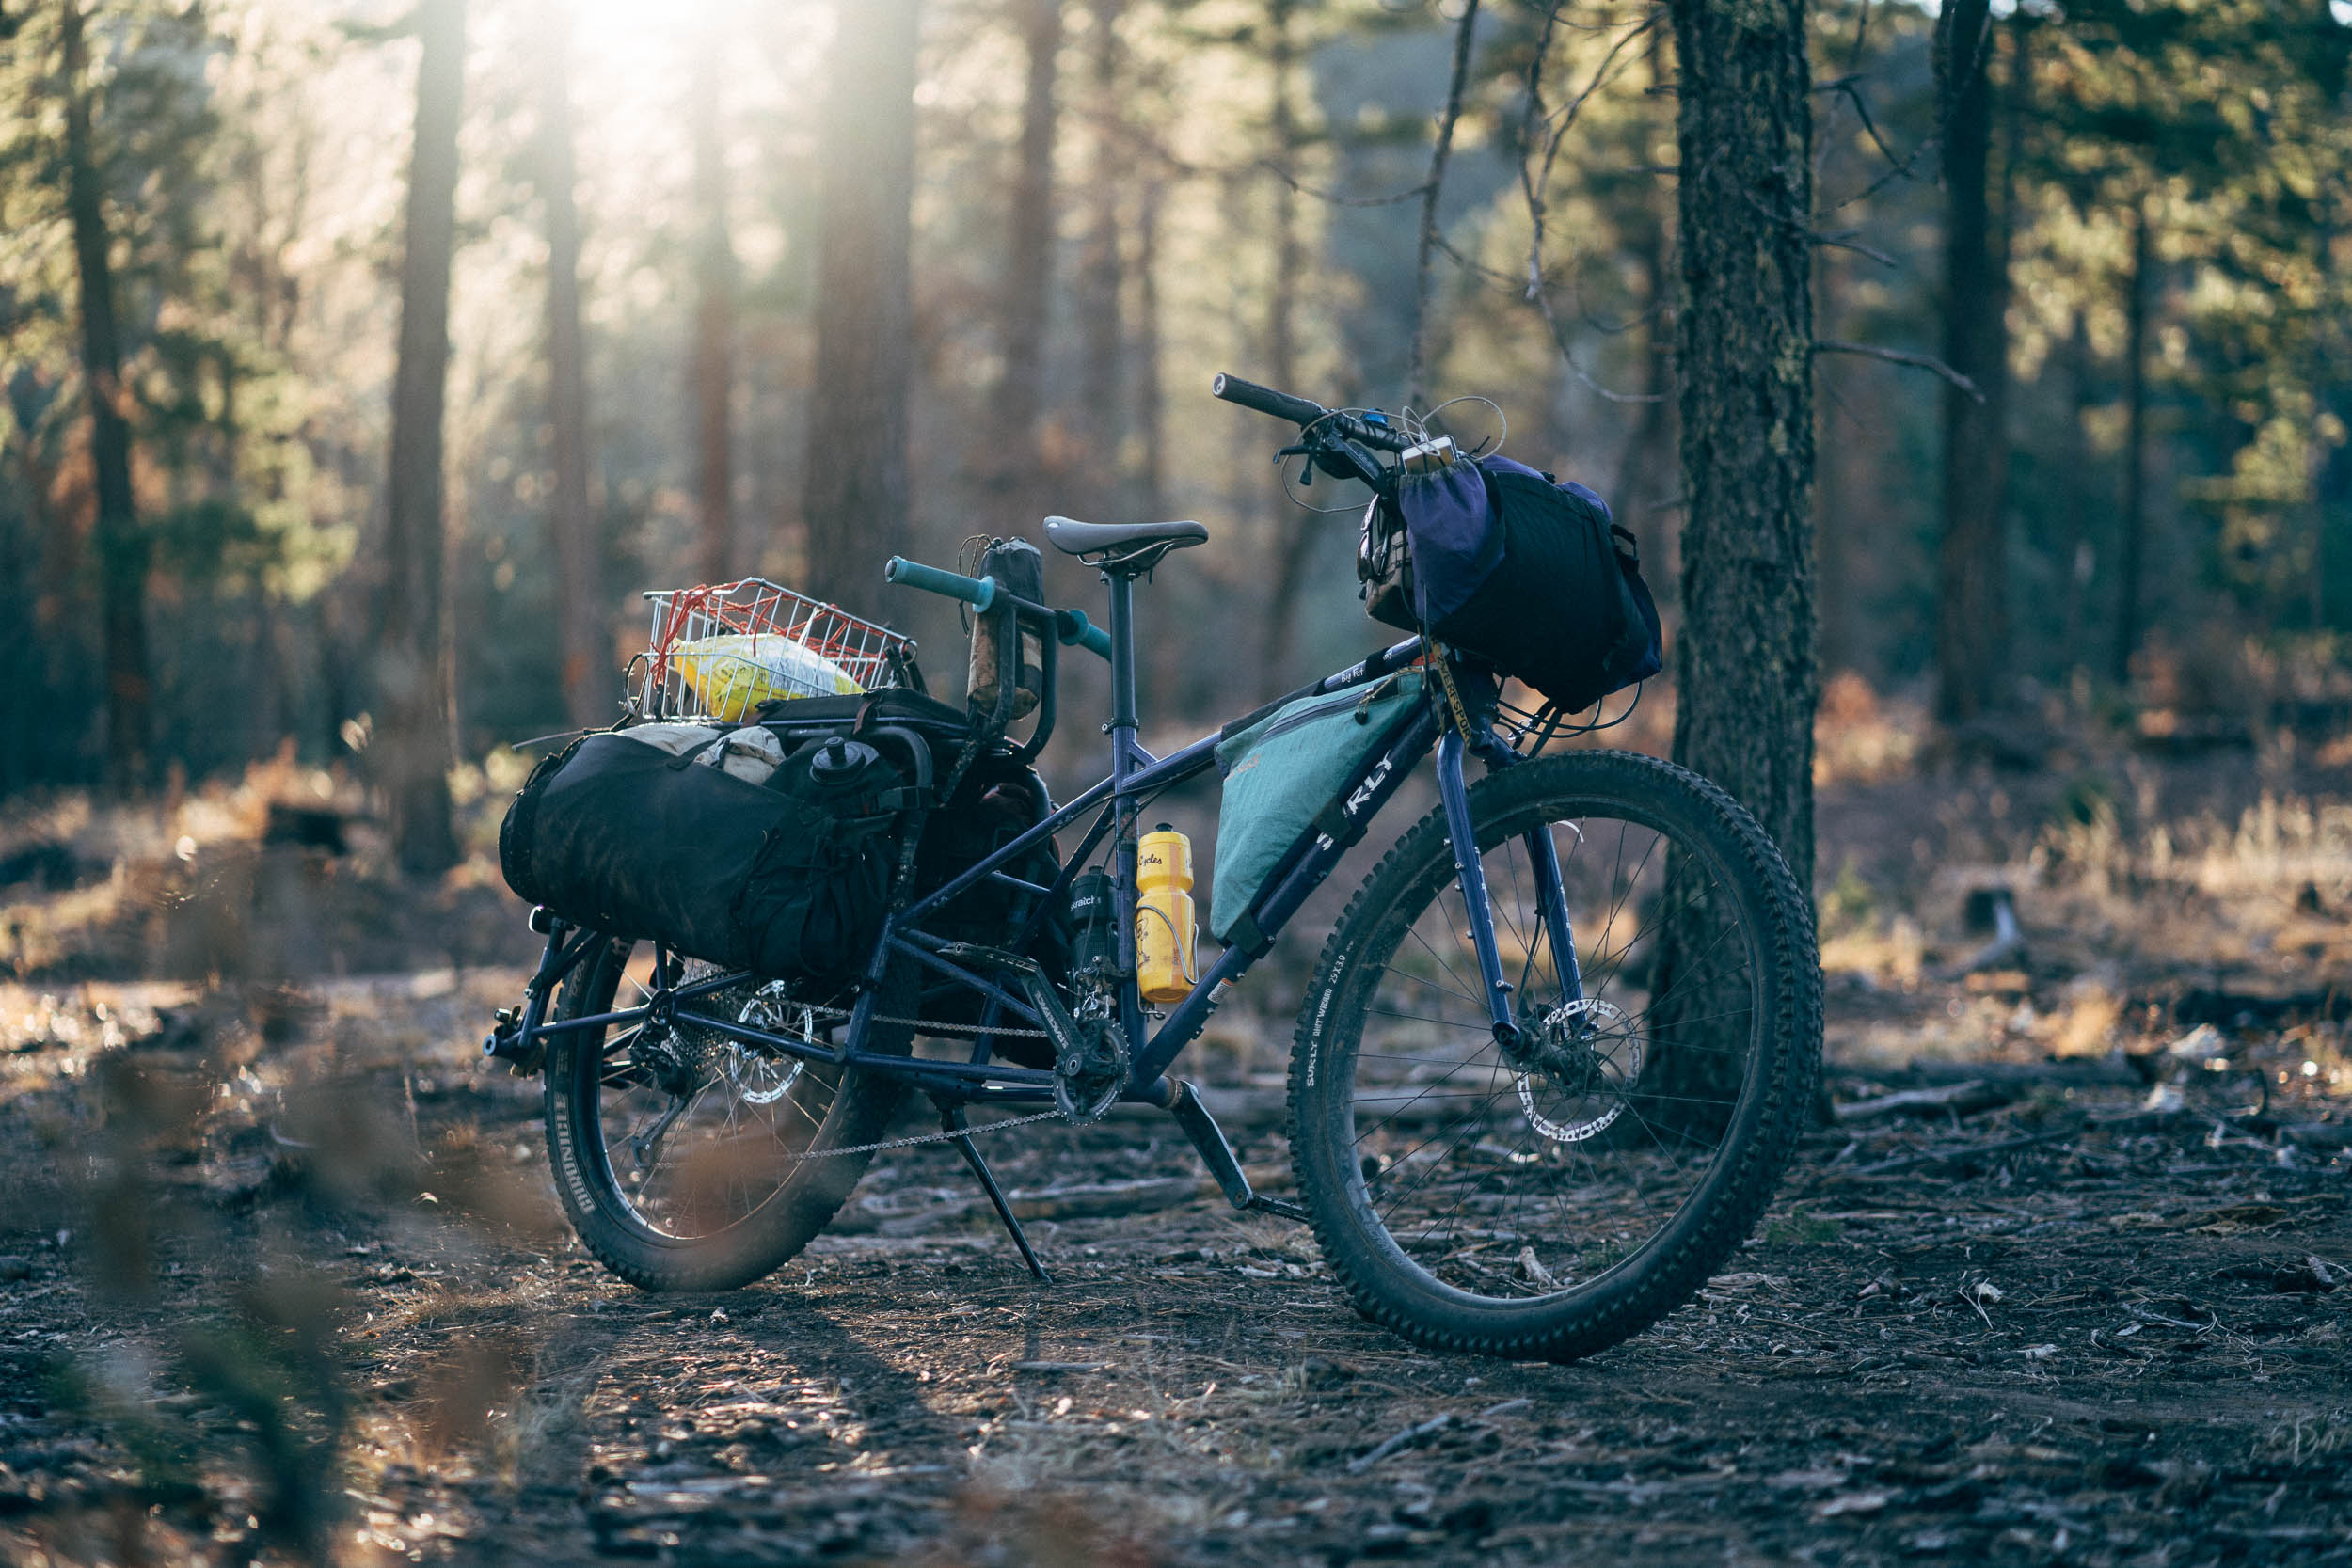
I ran mine for a couple of months on the Jones before fitting the Kitsuma, and I’ll be fitting this one to my Surly Big Fat Dummy, as it’ll be perfect for city duties, off-road family tours, and generally make getting on and off the bike easier when it’s loaded. Due to the BFD’s 30.9mm seat post diameter, I’ll need to add a shim to make up the difference – though like the Kitsuma, the Jump Seat is available in a range of sizes to fit the likes of a Salsa Blackborow, a BFD, or other off-road cargo bikes. I imagine it would be great on a 90s/2000s mtb too.


On both droppers, build quality is very good – specs include an oil spring with 7075 aluminum alloy construction and a hard-anodized stanchion. During the time I’ve used the Kitsuma – whether it’s riding around town, on my local gravel road loop, or ‘proper’ trail riding, I’ve not had any issues to report, bar a very small amount of side-to-side play. In the interests of longevity, it’s worth remembering not to pick up your bike by the saddle – when your bike is loaded – and potentially exasperating this.
Pros
- Available in 27.2mm with external routing, which makes it ideal for many older bikes
- Considerably more affordable than most other dropper seatposts
- Solidly made
- Servicing available so should be good for the long haul
- Lots of size and cable routing options
Cons
- Seat return is a little slow and it’s not adjustable
- Lever has a fair amount of ‘throw’
- Not a massive amount of travel (but plenty for xc, gravel, and most bikepacking applications)
- Model tested Kitsuma
- Travel 95mm, 110mm, 125mm, 150mm, 170mm
- Diameters 27.2, 30.9, 31.6mm
- Routing Internal or external
- Weight (w/o lever and cable) 580-600g
- Place of Manufacture China
- Warranty 2-Year
- Price $129 (plus $29 for the lever)
- Contact TranzX USA
Wrap Up
Yes, a dropper seatpost turns what is inherently one of the simplest parts of a bicycle into one of the most complicated! And I’m not going to suggest that you need one for bikepacking. But dropper posts add so much fun – and confidence – to riding trails that I think they’re well worth running. I’d even suggest that in some situations, I prefer them over running a suspension fork.
As the Kitsuma is one of the few affordable options available in a 27.2mm width – with external routing – it’s nigh on perfect for the many older mountain bikes that are still in circulation. As a steel frame enthusiast, I know I’d gladly run it on any of the ones I own to add to their offroad chops – including my Surly Pugsley! Note that if your frame runs a wider diameter seatpost – or it has internal routing – other affordable TranzX options are available to you too, like the Skyline ($99), the $159 Kitsuma Air ($159), or Hot Lap ($129), with 50mm travel. The latter may well interest those who have recently invested in a modern gravel bike with internal routing, as there’s a lever available that actuates it in the drops of your handlebars.
I’m reassured to know there’s an enthusiastic team behind TranzX/Dialed Distribution’s service centre, though given that the Kitsuma (under different names) has built up a solid reputation in recent years on OEM bikes, I’m not expecting any issues. I’ll be running this dropper for the foreseeable future so will report back if anything goes awry.

Be sure to check out our Complete Guide to Bikepacking With a Dropper Post, too. Have you tried a Kitsuma or its OEM version? Let us know how you got on in the comments below.
Please keep the conversation civil, constructive, and inclusive, or your comment will be removed.