Budget Bikepacking Build-Off: Virginia’s 1994 Schwinn Moab
The latest installment in our Budget Bikepacking Build-Off series features Virginia’s 1994 Schwinn Moab, a creative take on assembling a complete bikepacking setup and camping kit for under $500. Find all the details about her build, photos from a chilly proof-of-concept overnighter in Pisgah National Forest, and practical, budget-friendly tips that aspiring bikepackers are sure to find useful here…
PUBLISHED Jan 7, 2025
Well-engineered bikes with high-end components and featherlight camping gear make cycling with a load a lot easier. But do they make the bikepacking experience better? I suppose if getting to one’s destination as quickly as possible is the end goal (or maybe if someone has some serious back or joint issues), the answer would be a “yes.” But, for a simple overnighter or weekend getaway, I like to think that making the most out of what one already owns, can make, or can borrow takes folks a lot further than any fancy bike build might. So, with that in mind, I set out to not only win the Budget Bikepacking Build-Off challenge but to do it in the most resourceful way I could.
Our Budget Bikepacking Build-Off Rules are simple: 1. Spend no more than $500 on your bike, bags, and camping gear. 2. No freebies or components from your parts bin. 3. No pro deals. Pay full asking price for new and used gear. 4. Buy local whenever possible. 5. Take the finished build out for an overnighter as a real-world test.
While $500 isn’t exactly chump change, it’s a very reasonable amount of money for someone to invest in any sport or hobby they’re committed to pursuing. However, I think most people who are interested in bikepacking likely already own a bicycle, and a $500 budget could go a lot further toward assembling a really lightweight camp kit as well as any bags, racks, or other hardware one might need to carry it. Alternatively, newbie bikepackers could easily spend less than $500 and still have a very solid albeit slightly bulkier kit. All of that said, in the spirit of competition, I purchased a rad bike that I didn’t really need, and I look forward to having some fun with it before passing it on to someone who may need it more than me.
The Bike
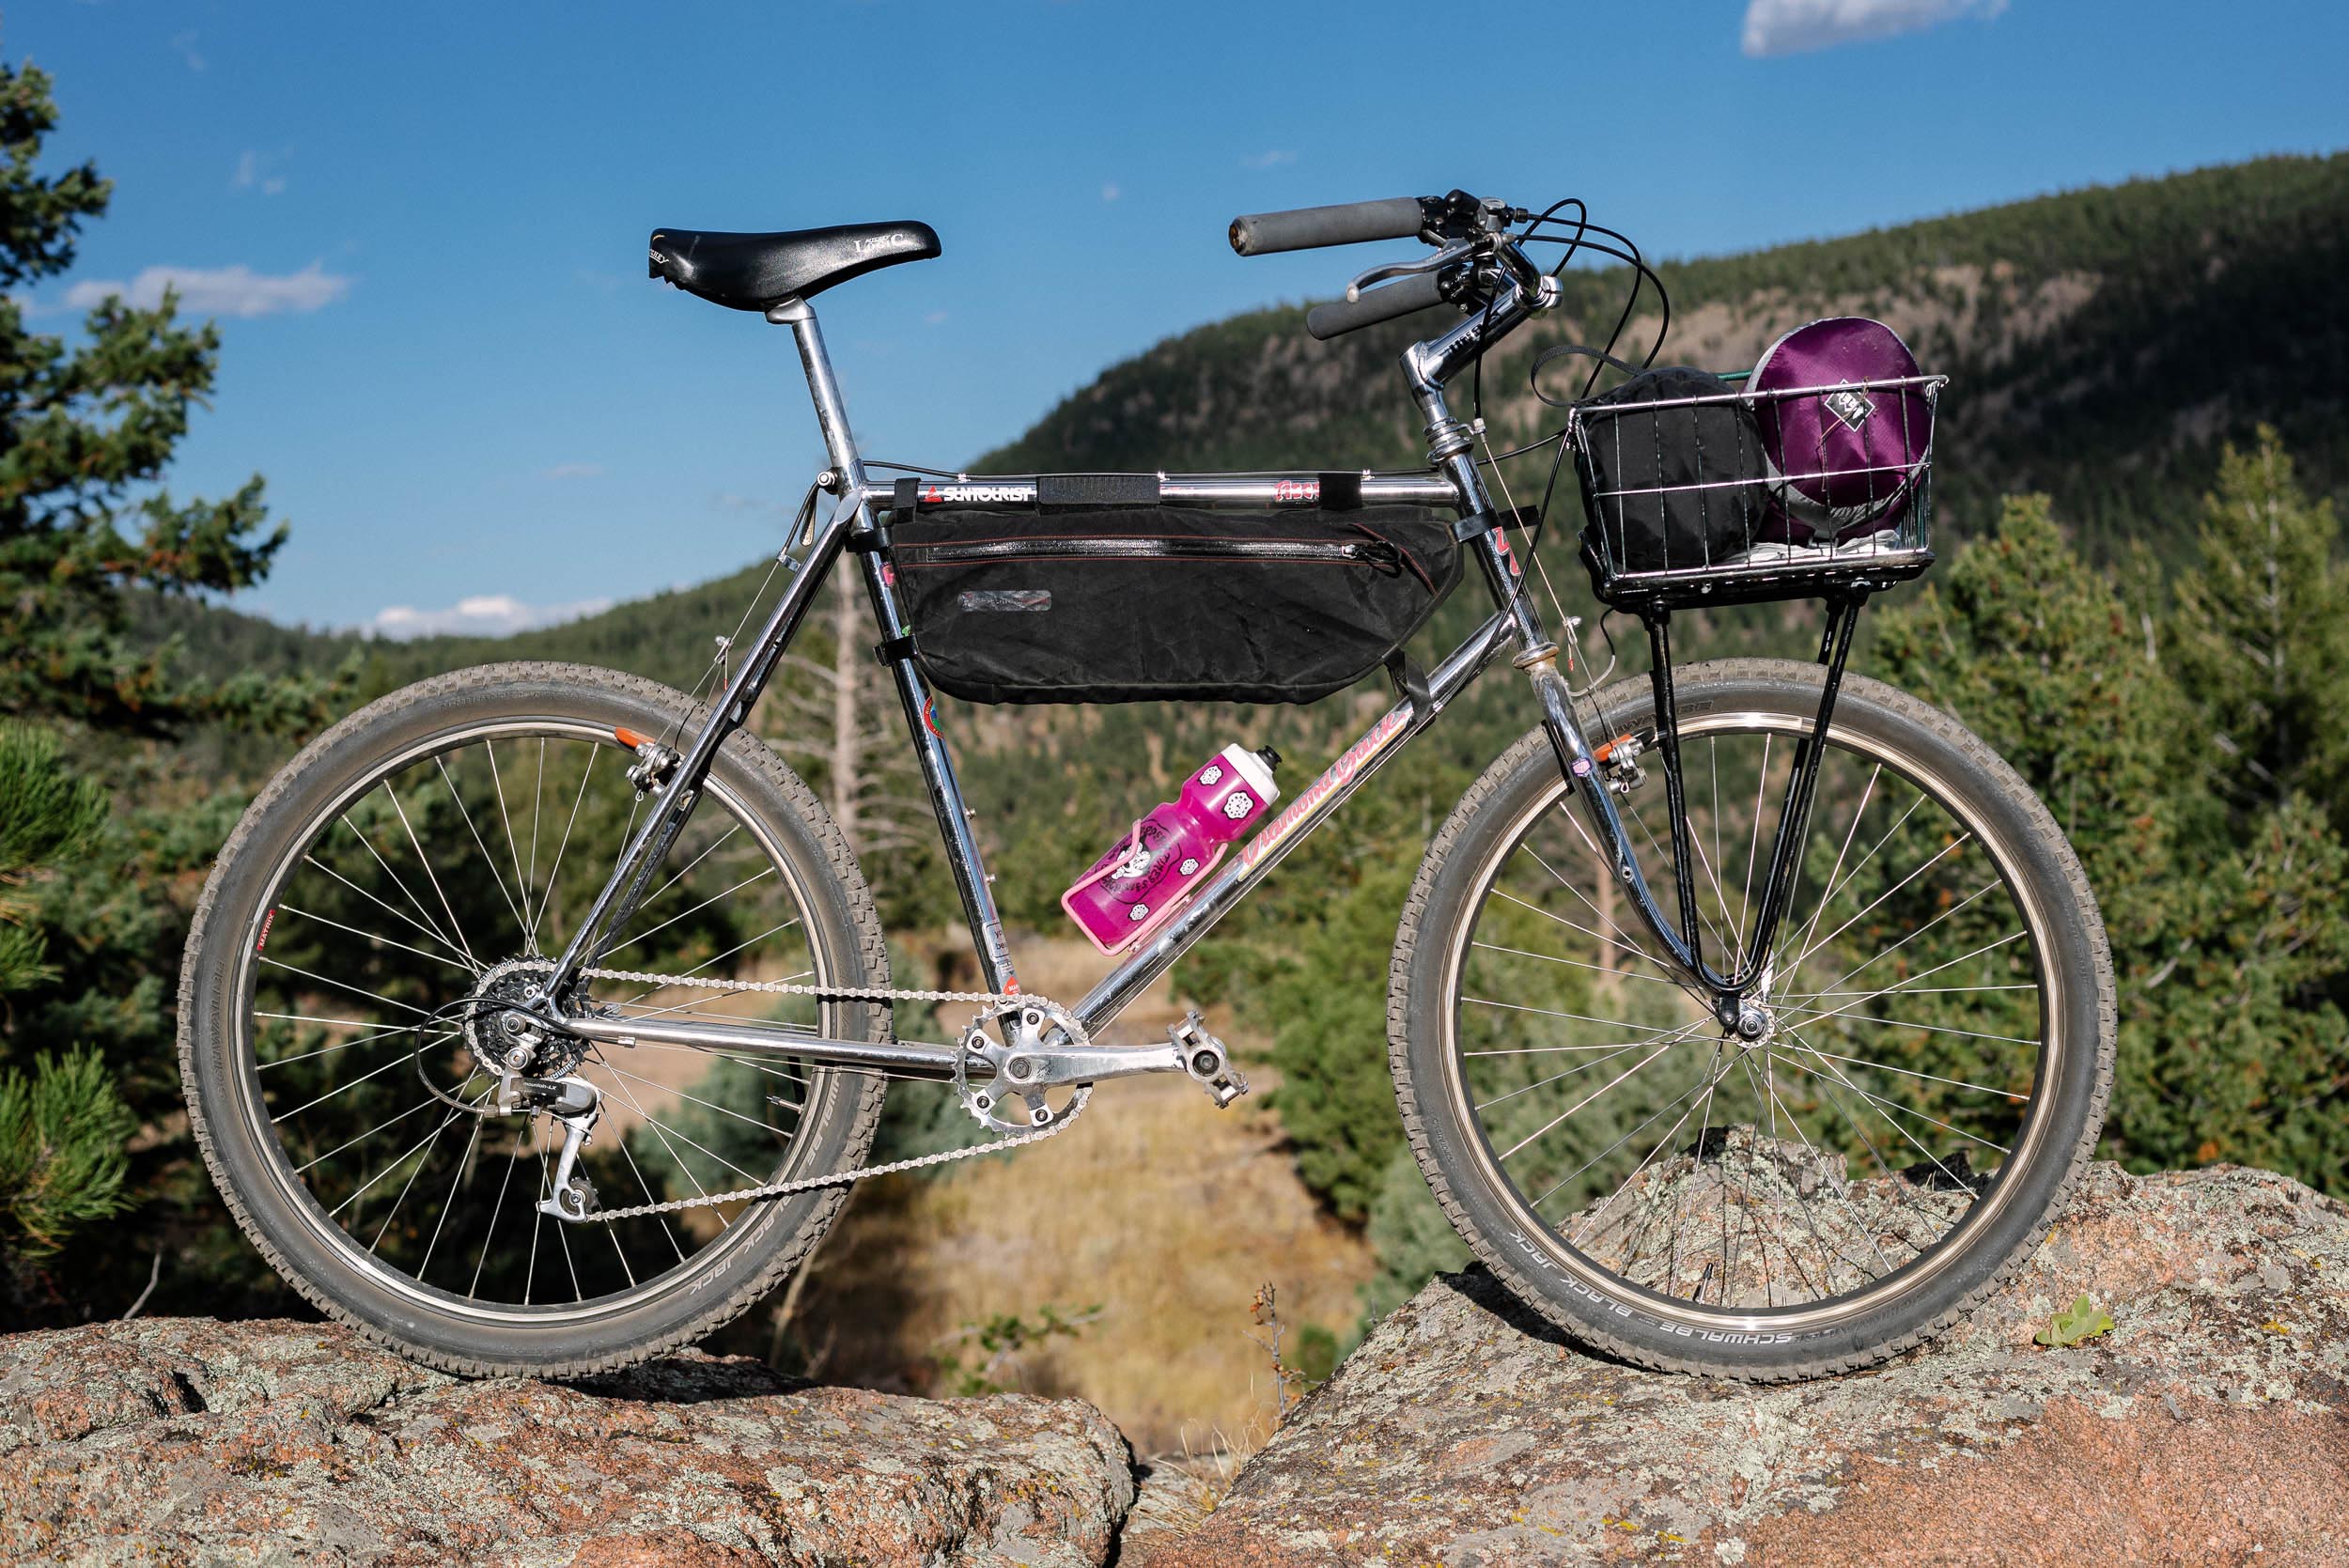
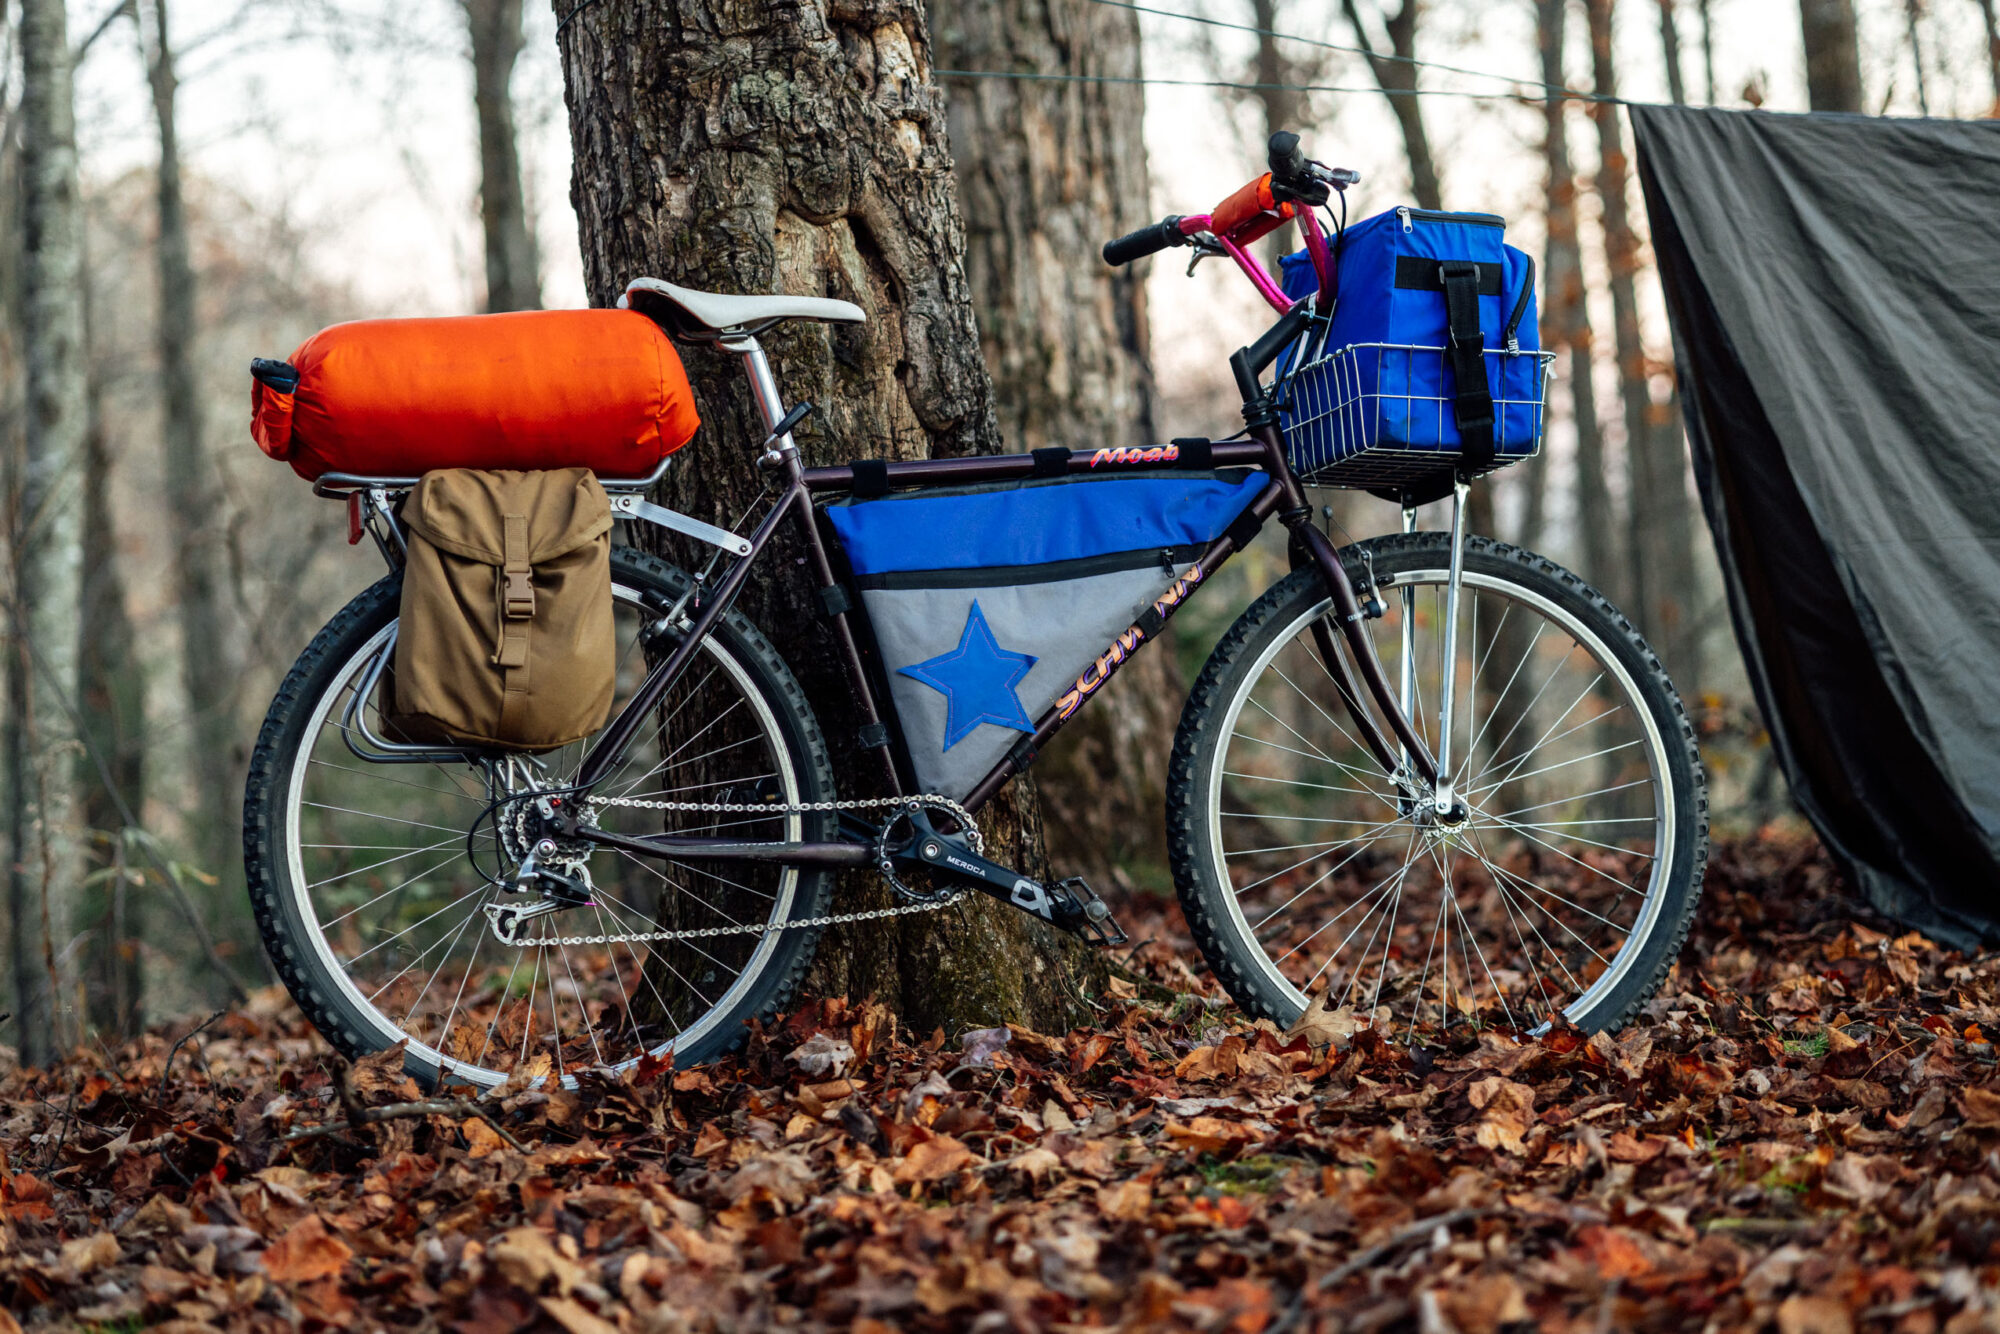
I spent quite a bit of time searching Facebook Marketplace, eBay, my local second-hand stores, and even a few dumpsters to see what I could find to meet this challenge. Within days of looking online, I found a bike that was located close to me on Marketplace. Isn’t it a beaut?!

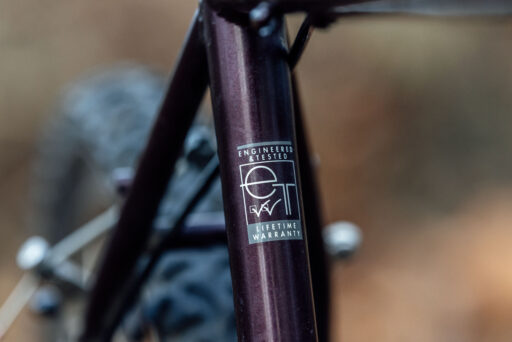
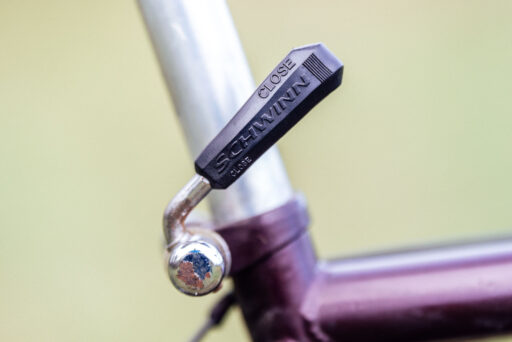
The bike is a 1994 Schwinn Moab. Originally introduced into the Schwinn Off-Road lineup in 1993, the Moab was positioned as a mid-tier, high-value model. The Moab was offered in an “SS” version with an elastomer suspension fork and this version, which has a rigid chromoly steel fork. It came in Ruby Red, or this dark purple color, which they called Lite Black Cherry. Here’s the full parts list from the Schwinn catalog:
- Sizes: 15″, 17″, 19″, 21″
- Frame: Schwinn OverSize Custom Gauge Double-Butted Full Chrome-Moly, Tig Welded, Tapered Chainstays And Seat Stays, Investment Cast Seat Collar, Asymmetric Chainstay, Steer Clear Cable Routing on Top Tube, 2 Sets Bottle Bosses, Rack and Fender Mounts, Sport Geometry
- Fork: Schwinn, OverSize, Full Chrome-Moly, 1-1/8″
- Headset: OverSize, 1-1/8″, Sealed
- Crankset: Shimano Alivio MC10, 170mm (15″-17″), 175mm (19″-21″), 24/34/42T
- Derailleurs: Shimano Alivio MC11, Top Pull (Front), MC10 (Rear)
- Shifters: Shimano Alivio MC10, Dual SIS, Rapidfire Plus, 21-Speed
- Freewheel: Shimano HG-50-C, Cassette, 7-Speed, 11-28T
- Pedal/Clips: Victor, Nylon Resin, Chrome-Moly Axle
- Brakes: Shimano Altus, Alivio (15″), M-System w/Alivio MC10 Levers
- Handlebar: MTB, Tapered, 560mm
- Stem: Full Chrome-Moly, 30° Rise, 110mm (15″), 120mm (17″-19″), 130mm (21″)
- Hubs/Spokes: JY (Front), Shimano Alivio (Rear), Parallax Design, 36H, Alloy, QR, 14GA Stainless Steel
- Rims: Araya GP-710, Alloy, 36H, Silver
- Tires: Chisel Cut Knobby, 26″ x 2.1″, A/V
- Saddle: Schwinn Cutaway, Gel, Emerald Cover
- Seat Post: Kalloy, Alloy, 300mm, QR
- Extras: Chainstay Protector
- Color: Lite Black Cherry, Protective Clear Coat
This particular Moab didn’t retain much of its original build spec. The previous owner had replaced some parts, focusing on utility versus authenticity. The notable mods Steve made include the jazzy, hot pink BMX bars, a nondescript white vinyl saddle, and the brand new Maxxis tires. He also changed the drivetrain, using a very basic 1x crankset with a 38-tooth chainring.
The only upgrade I purchased was a 30-tooth chainring, the smallest one available for the 104 BCD crankset. My primary concern when I first saw the bike was the gearing, but the 30-tooth up front paired with the 28-tooth in the rear left me with a friendlier 27.8 gear inches. That still isn’t close to the 18 gear inches I’m used to when using a modern Eagle 12-speed drivetrain, but it left me with a very reasonable grandpa gear.
My secondary concern, the crank that fell off on my first ride around the neighborhood, just required some Loctite and a little more torque on the wrench, and it was good to go. Ultimately, I was able to climb nearly 3,000 feet (1,000 meters) in elevation with relative ease, but if I’d needed to stand, I could have done it safely.
Camping Gear
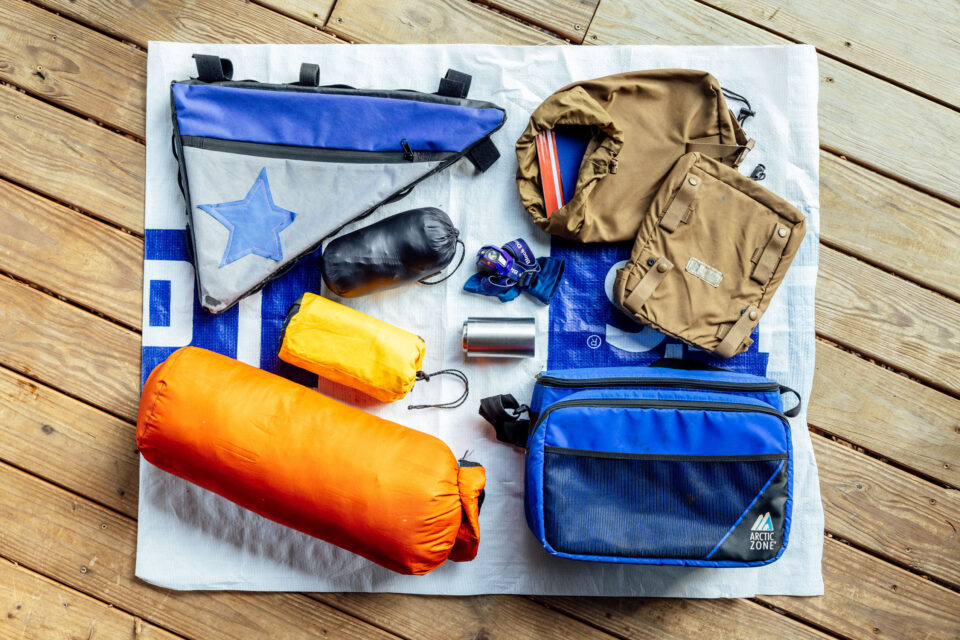
As for my camping gear, I opted to “spend” more of my budget than necessary on my sleeping pad to avoid buying one I didn’t need. I already own a perfectly good Nemo Tensor, so I used it and just subtracted the cost I found for the same pad on Marketplace from my budget. This put me at a slight disadvantage, because I could have easily bought a less expensive pad that would have been perfectly adequate. Still, I felt better doing that than wasting resources. I also used two Voile straps from our garage for this challenge and deducted their value from my budget. I could have constructed straps from some old tubes and buckle hardware I have lying around, but I was in a time crunch to get out before the temperatures plummeted. I did purchase a used North Face 20 degree bag, as I couldn’t find a match for either of the quilts I own. If the weather were warmer, I could have spent far less on a lighter, and less bulky, option.

For a pillow, I packed a simple cotton pillowcase that I later stuffed with my puffy jacket. For a coffee cup, I purchased a small, stainless steel toothbrush holder from our local Goodwill for $1. As for the shelter, I borrowed the tarp from a friend who had sewn and constructed it a few years ago. I think borrowing camping gear is always a great option, especially for those new to bikepacking. It’s not only a cost-effective approach, it also allows folks to try different gear before committing to a specific sleep system. To make a similar tarp, I estimate that the cost of materials would be approximately $80, the same amount I spent on my bike.
Bags
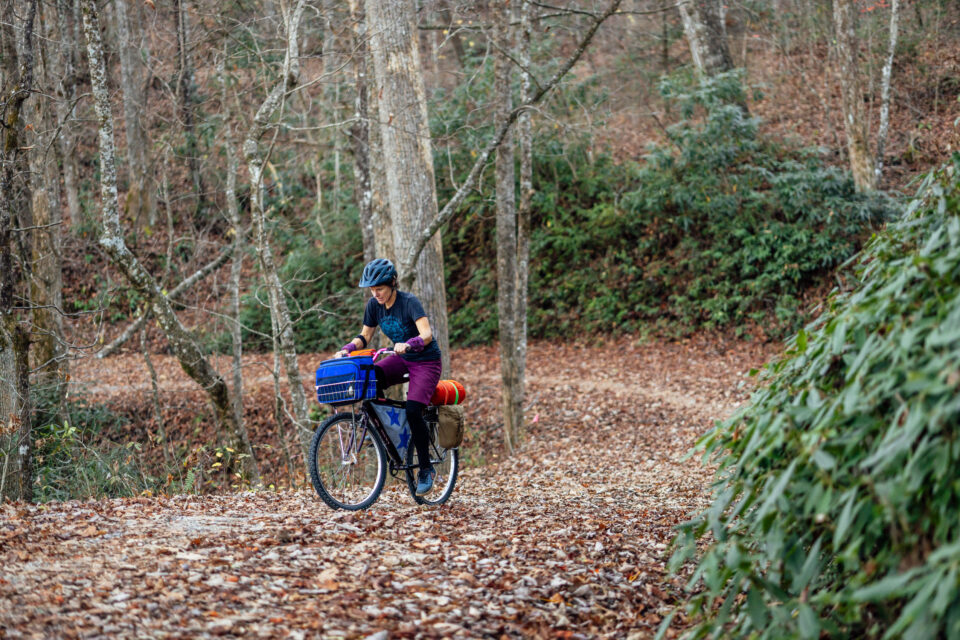
For the bags, I repurposed household items when I could. The framebag material came from a deconstructed tailgate cover I sewed for my truck years ago. The fabric is a water resistant-vinyl coated duck cloth that I bought at Walmart. I did have to buy an extra 1/4 yard of fabric from Walmart, which they fortunately still carry. For the inserts that create stiff edges along the top, seat, and down tubes, I repurposed some political signs made of corrugated plastic. The hook and loop material was surplus from bags Logan and I sewed years ago.
For my front bag, I re-purposed a small, soft-sided cooler that I took from my parents on a recent trip to visit them. I know that adult children shouldn’t steal from their parents, but I swear it was for their own good; their garage is a mess. I didn’t have to alter the cooler in any way, so it can still be used for its original purpose (or maybe returned to Mom and Dad someday).

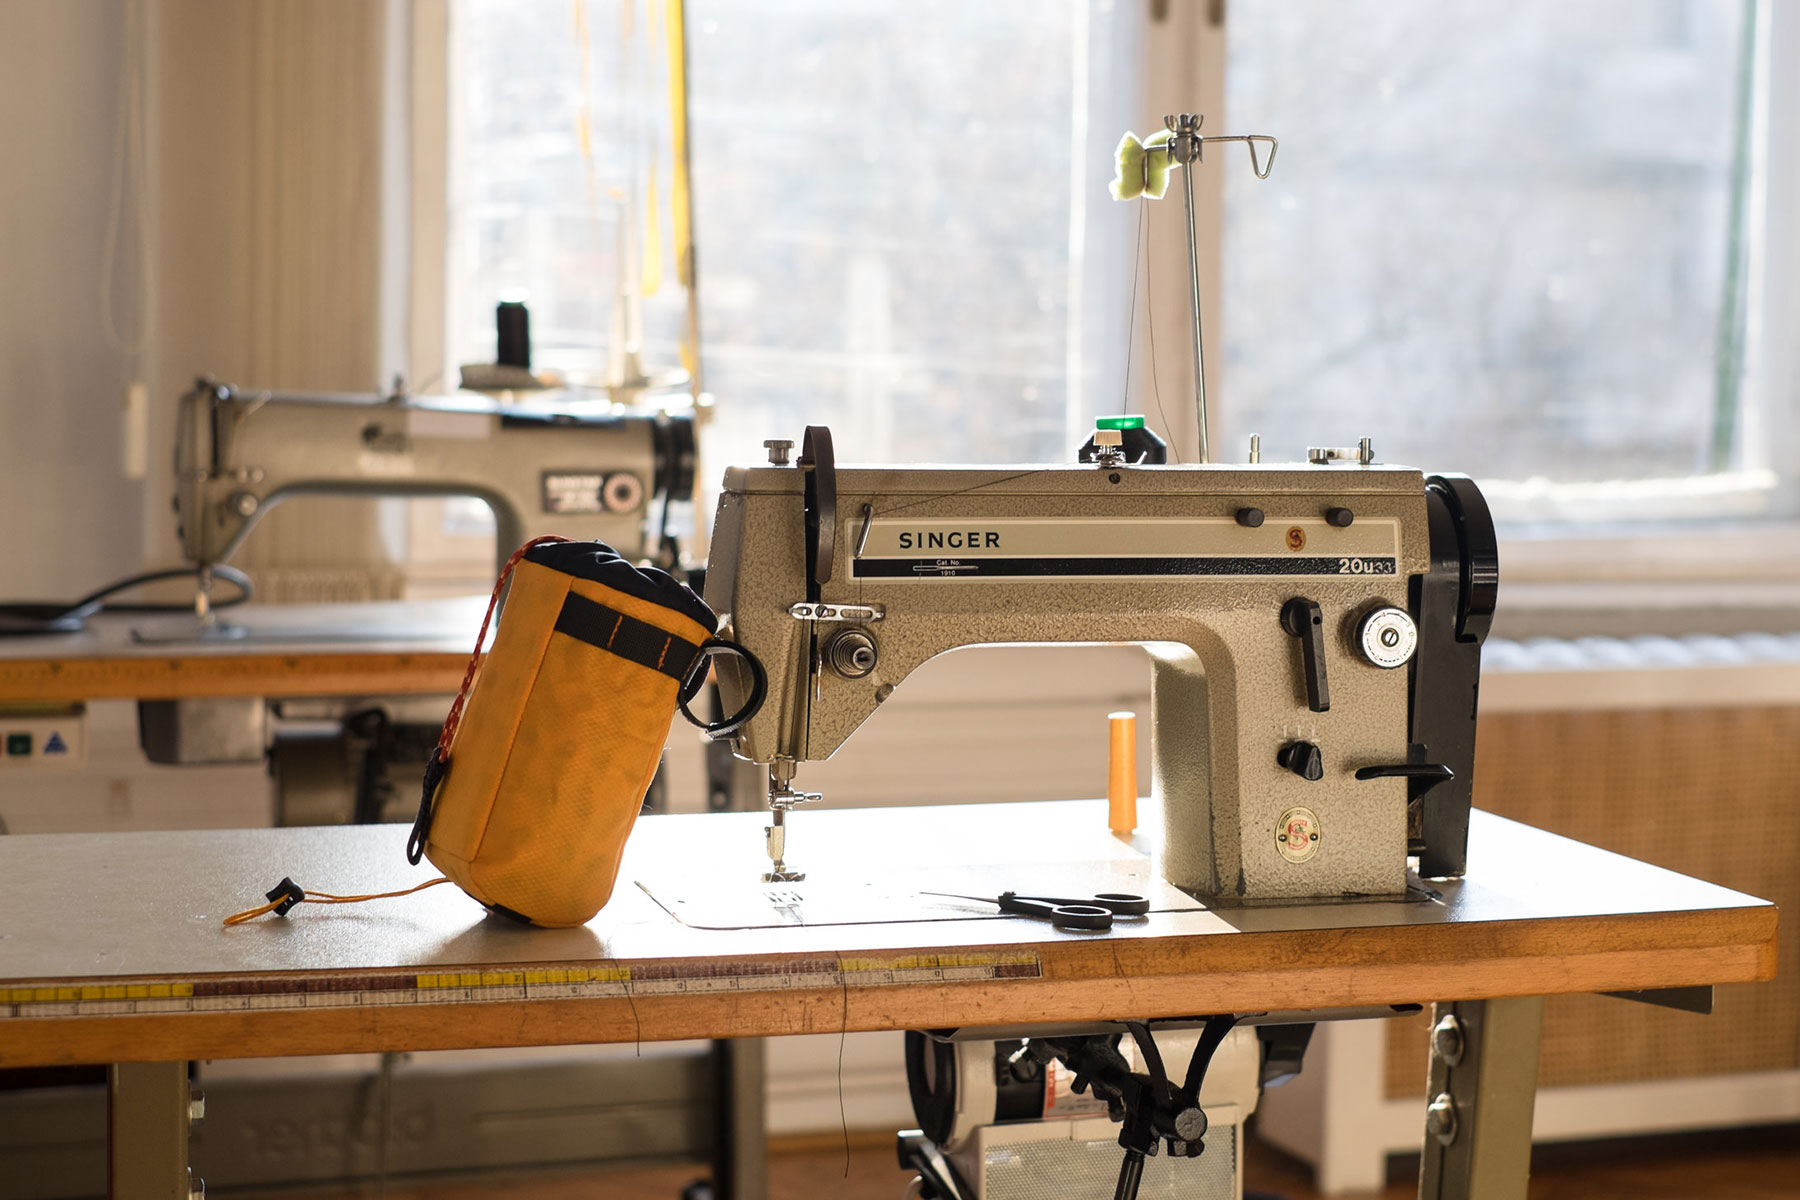
As for my stuff sack, I repurposed an old sleeping pad with a delaminated seam. I scored its strapping and buckle off of a discarded inflatable camp sofa that I found in a dumpster at our local campground. It’s a relatively simple stuff sack design that you can find in our MYOBG archive here. I made this one a bit larger to accommodate the oversized cold-weather sleeping bag I carried in it.
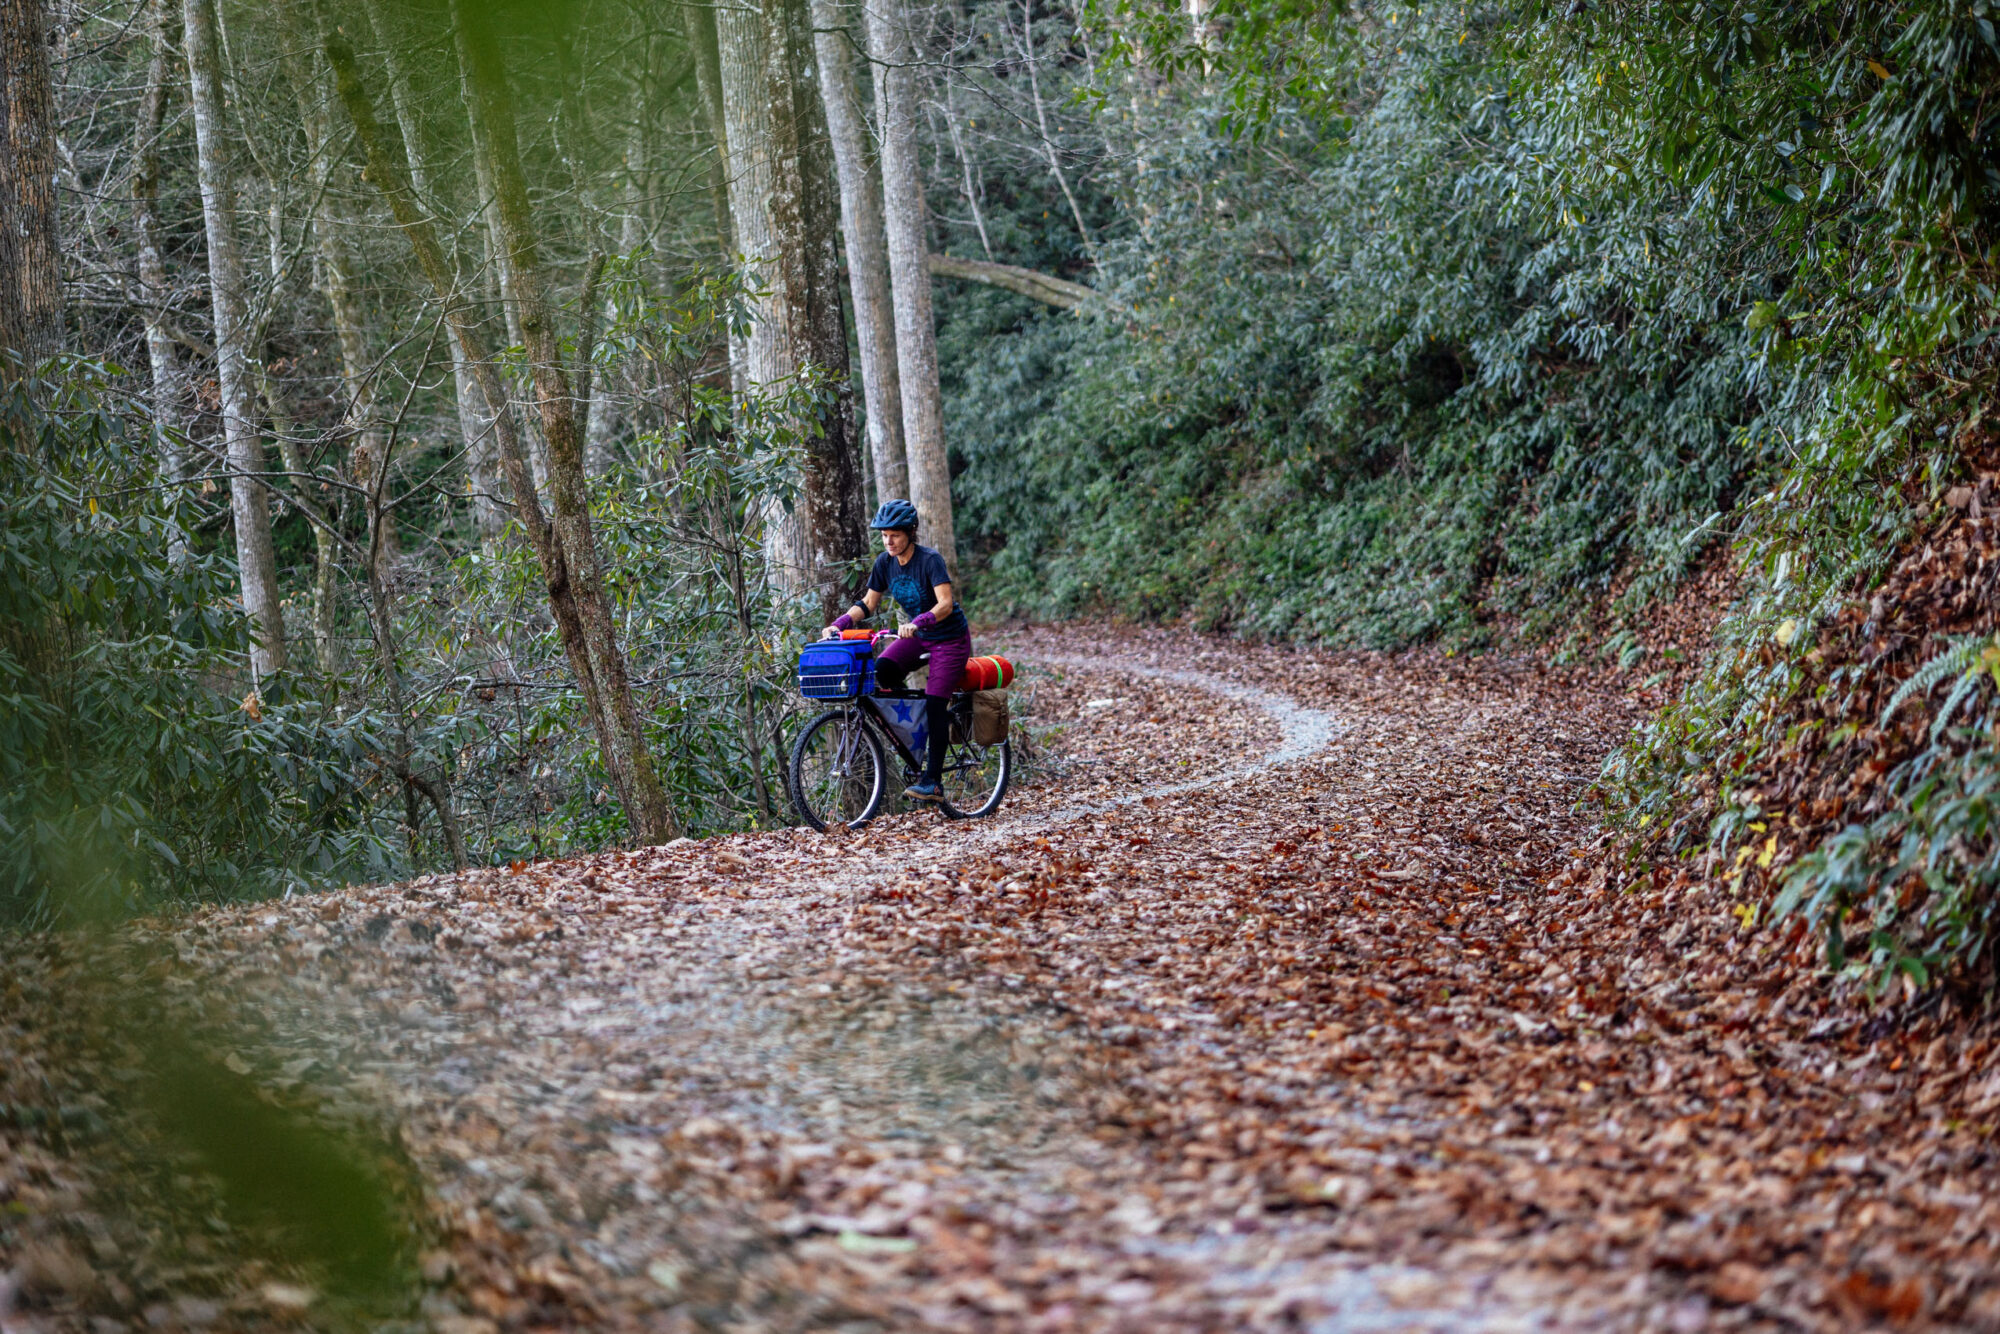
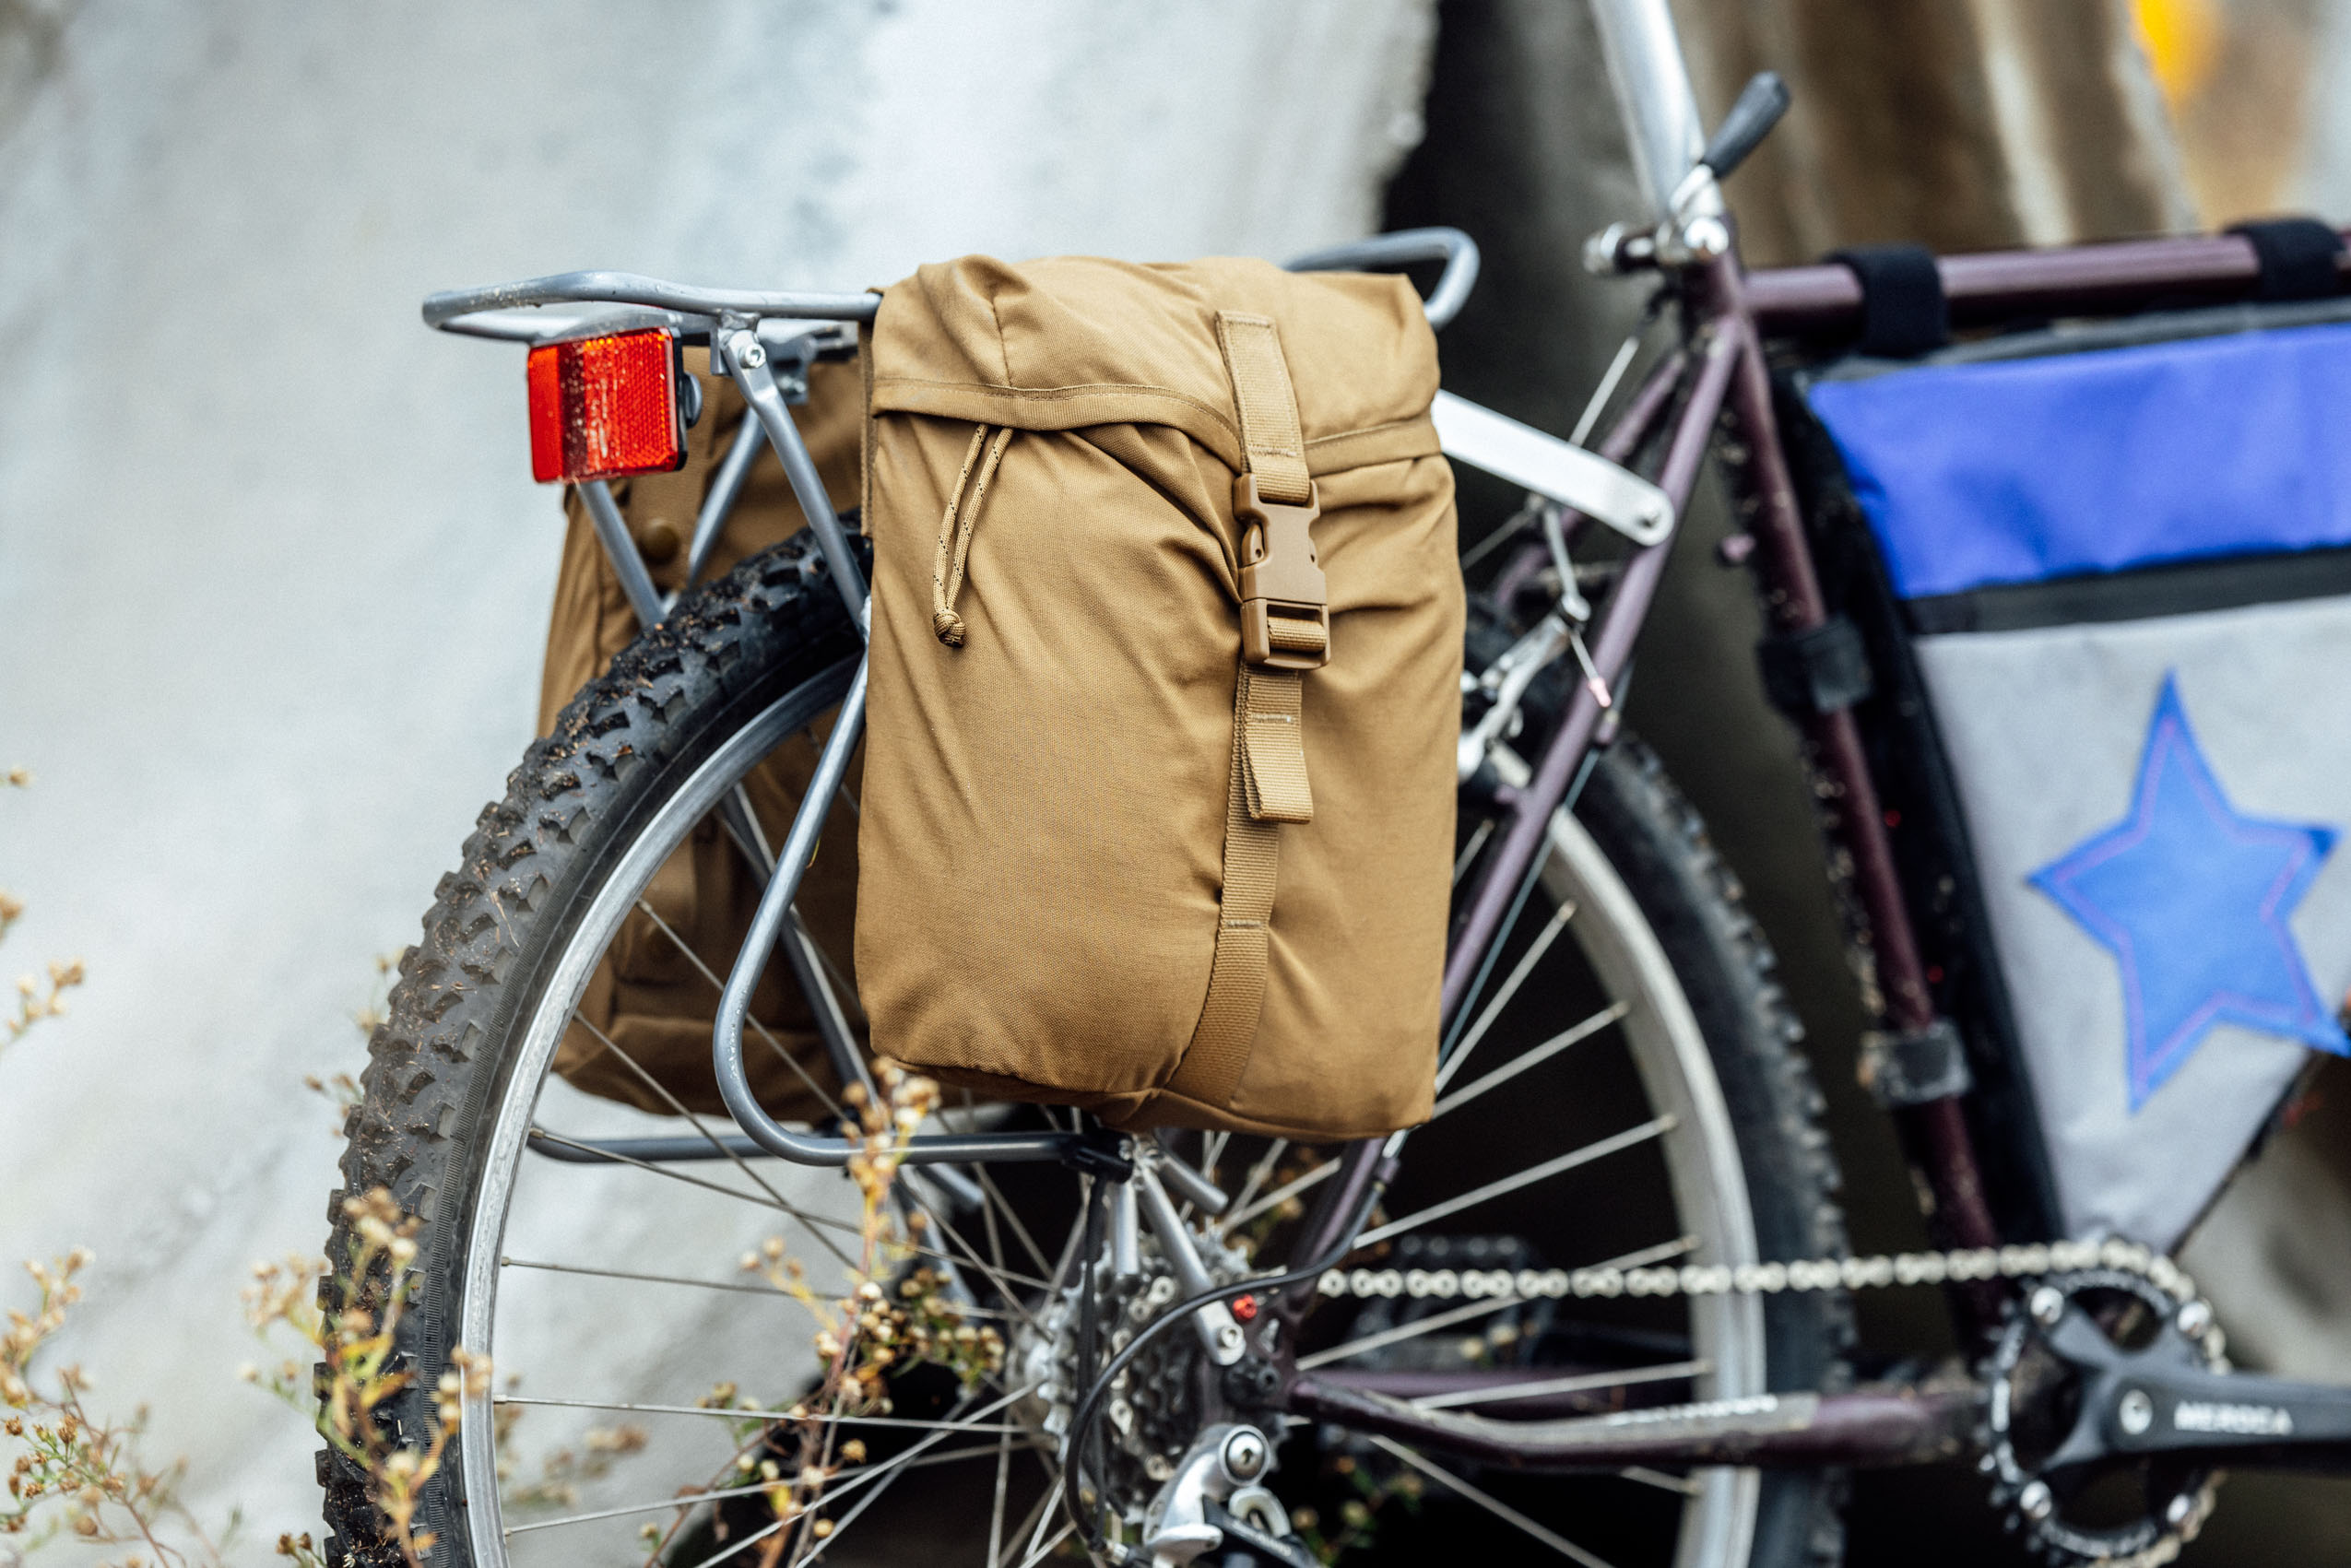
The panniers were purchased at an army and navy surplus store. To make them sturdier, I simply used some of the surplus frame bag material that I had and sewed a small pocket into the backside of each pannier and slipped additional corrugated plastic into the pocket. To secure the bottom edge of each pannier to the rack, I made loops from paracord I had leftover from a landscaping project and secured them with spare toggles I had from yet another sewing project. You can find our detailed guide about this DIY mini-pannier modification here.
I did purchase both the basket and the rear rack. The Wald basket came from Walmart, and the rear rack came from a local shop that sells used sporting gear. To properly attach the rack to the bike, I had to purchase a $6 piece of aluminum bar from our neighborhood hardware store and then drill a couple of holes in it for mounting.
Conclusion
For a grand total of $334.37, I assembled a complete bikepacking rig and cold-weather camping kit. While I wouldn’t take this bike on an adventure far off the beaten path just yet, it was more than adequate for an overnighter and, as is, makes for a great townie. With a little work, namely a fresh set of brake pads, a shorter chain, and maybe a tubeless tire conversion, I think it’d be good to go for a long haul. A new fork would also go a long way to making this a smoother ride, but there are limits to what $500 can afford. On the bright side, using my rusty sewing skills and a little ingenuity turned out to be a priceless experience for me. Here’s how the budget played out:
- $80 – Schwinn Moab
- $50 – North Face sleeping bag
- $70.75 – Nemo Tensor Insulated sleeping pad (could have purchased a cheaper pad, but I did not need another pad at this point, so I found a pad on Marketplace that was the same as one I already own. This price included shipping.)
- $19.22 – Rack from Used Outdoor Gear shop locally
- $35.05 – Wald basket from Walmart
- $17 – Voile Straps x 2 (I could have used another strapping solution, but I was in a hurry to get out before it got too cold)
- $1.00 – Stainless cup/toothbrush holder from Goodwill
- $13.77 – DJC 104mm Chainring at Amazon
- $6.00 – Aluminum bar from Lowe’s hardware to make bracket to secure rack
- $34.90 – Two panniers from military surplus (delivered)
- $2.98 – Additional frame bag fabric from Walmart
- $3.70 – Needles
- $0 – Pillowcase from home
- $0 – Framebag material from failed truck bed cover I made years ago
- $0 – Stuff sack made from old sleeping pad with a delaminated seam and a buckle and strap found on a discarded inflatable couch in a Davidson River campground dumpster
- $0 – Basket bag (re-purposed soft-sided cooler from my parents’ garage)
***Tarp was borrowed, but the estimated construction cost is approximately $80. If I were to split that cost with the person who slept under it with me, I would still be under budget, but, alas, he would be over.
Further Reading
Make sure to dig into these related articles for more info...
Please keep the conversation civil, constructive, and inclusive, or your comment will be removed.


