


Rackhackers Cannier DIY Panniers Review: Repurposed with Purpose


There are innumerable ways to haul stuff on a bike, but that didn’t stop Rackhackers from taking it a step further with their DIY pannier kit, which repurposes readily available hardware and discarded plastic containers for a surprisingly solid setup. We jumped on the opportunity to experiment with the Romanian brand’s kit in multiple configurations. Find our Rackhackers Cannier DIY Panniers review here…
PUBLISHED Jan 17, 2025
Making your own gear is one of the best ways to reduce the financial barrier to bikepacking. We’re advocates for this approach and have dedicated an entire section of our website to tutorials and tips for DIY projects. You’d be surprised at how many do-it-yourself projects don’t require specialized tools or sewing machines, or at the very least, can be completed on your grandma’s old sewing machine that has been in your basement collecting dust.
Still, some items are more difficult to put together at home. Panniers are one of those items. Yes, you can grab a rectangular bucket or kitty litter bin, bolt some metal hooks and a bungee to it, and call it a day, but creating a secure, reliable pannier isn’t as simple. Unless you have a rear rack with three-pack bosses and can bolt on a bin or Tupperware like Rick Hunter (see below, middle), you’ll likely be left with a wobbly, noisy contraption only suitable for short rides on smooth surfaces.


The folks behind Rackhackers in Romania decided to take the DIY pannier kit a step further. Owned and operated by brothers Andras and Tuna, Rackhackers was born at the start of a southbound bicycle tour from Chile in 2012. They had bikes but no panniers. They found a handful of discarded plastic cans, strapped them onto their racks, and were surprised at how well they worked for touring. They’ve since used them on several other longer tours and for commuting.
Similar to some of the DIY guides out there, the brothers believe big plastic containers make great panniers because they’re waterproof, easy to clean, and provide rigidity for effortless organization. Thanks to their DIY kit, they’re reliably fixed onto the bike. These plastic containers can usually be found, repurposed, and replaced easily. Last fall, the guys sent along their DIY Cannier kit for me to mess around with, and after some trial and error, I’ve finally been able to use the kit and test the panniers.


Using the DIY Cannier Kit
The first unexpected hurdle was finding a suitable container to use. Rackhackers spells out the requirements for the ideal plastic containers, but I couldn’t find anything that had a similar shape, both top and bottom, without any obstructions. Or if I could, there weren’t two of them. Because a single pannier uses the bottom of a second container, making one pannier with the complete Cannier kit requires two containers. One way to get around this would be to find plastic containers or buckets with lids, skipping the lid hardware/straps Rackhackers provides. They suggested scoping out my local recycling or waste collection center, but I kept coming up short.
Eventually, they sent some pre-cut plastic containers for me to experiment with. The kit has everything you need to convert a plastic container into a locking pannier. One kit makes one pannier. The kit includes two rubber-coated rack hooks, a support clamp in your choice of diameter to match your rack, a one-eyed rabbit steel plate, a quick release, a handle and straps, and all required nuts, bolts, and washers. Rackhackers recommends a jigsaw for cutting the top off the plastic container and a drill to make holes. You’ll also need 3, 4, and 5mm hex wrenches and 8-10mm open-end wrenches.


I won’t go into too much detail regarding the installation, as Rackhackers does a great job of explaining the process in the included printout and their videos online, but I’ll offer a summarized version. If you’ve found two suitable plastic containers, the first step is to cut the bottom off of one to make a lid and cut an opening in the other to create your pannier. The handle is bolted onto the top of the lid, while the corresponding straps are bolted onto each side of the pannier body. The webbing straps attach to the lid through adjustable ladderlock buckles, which provide a secure, weatherproof seal.
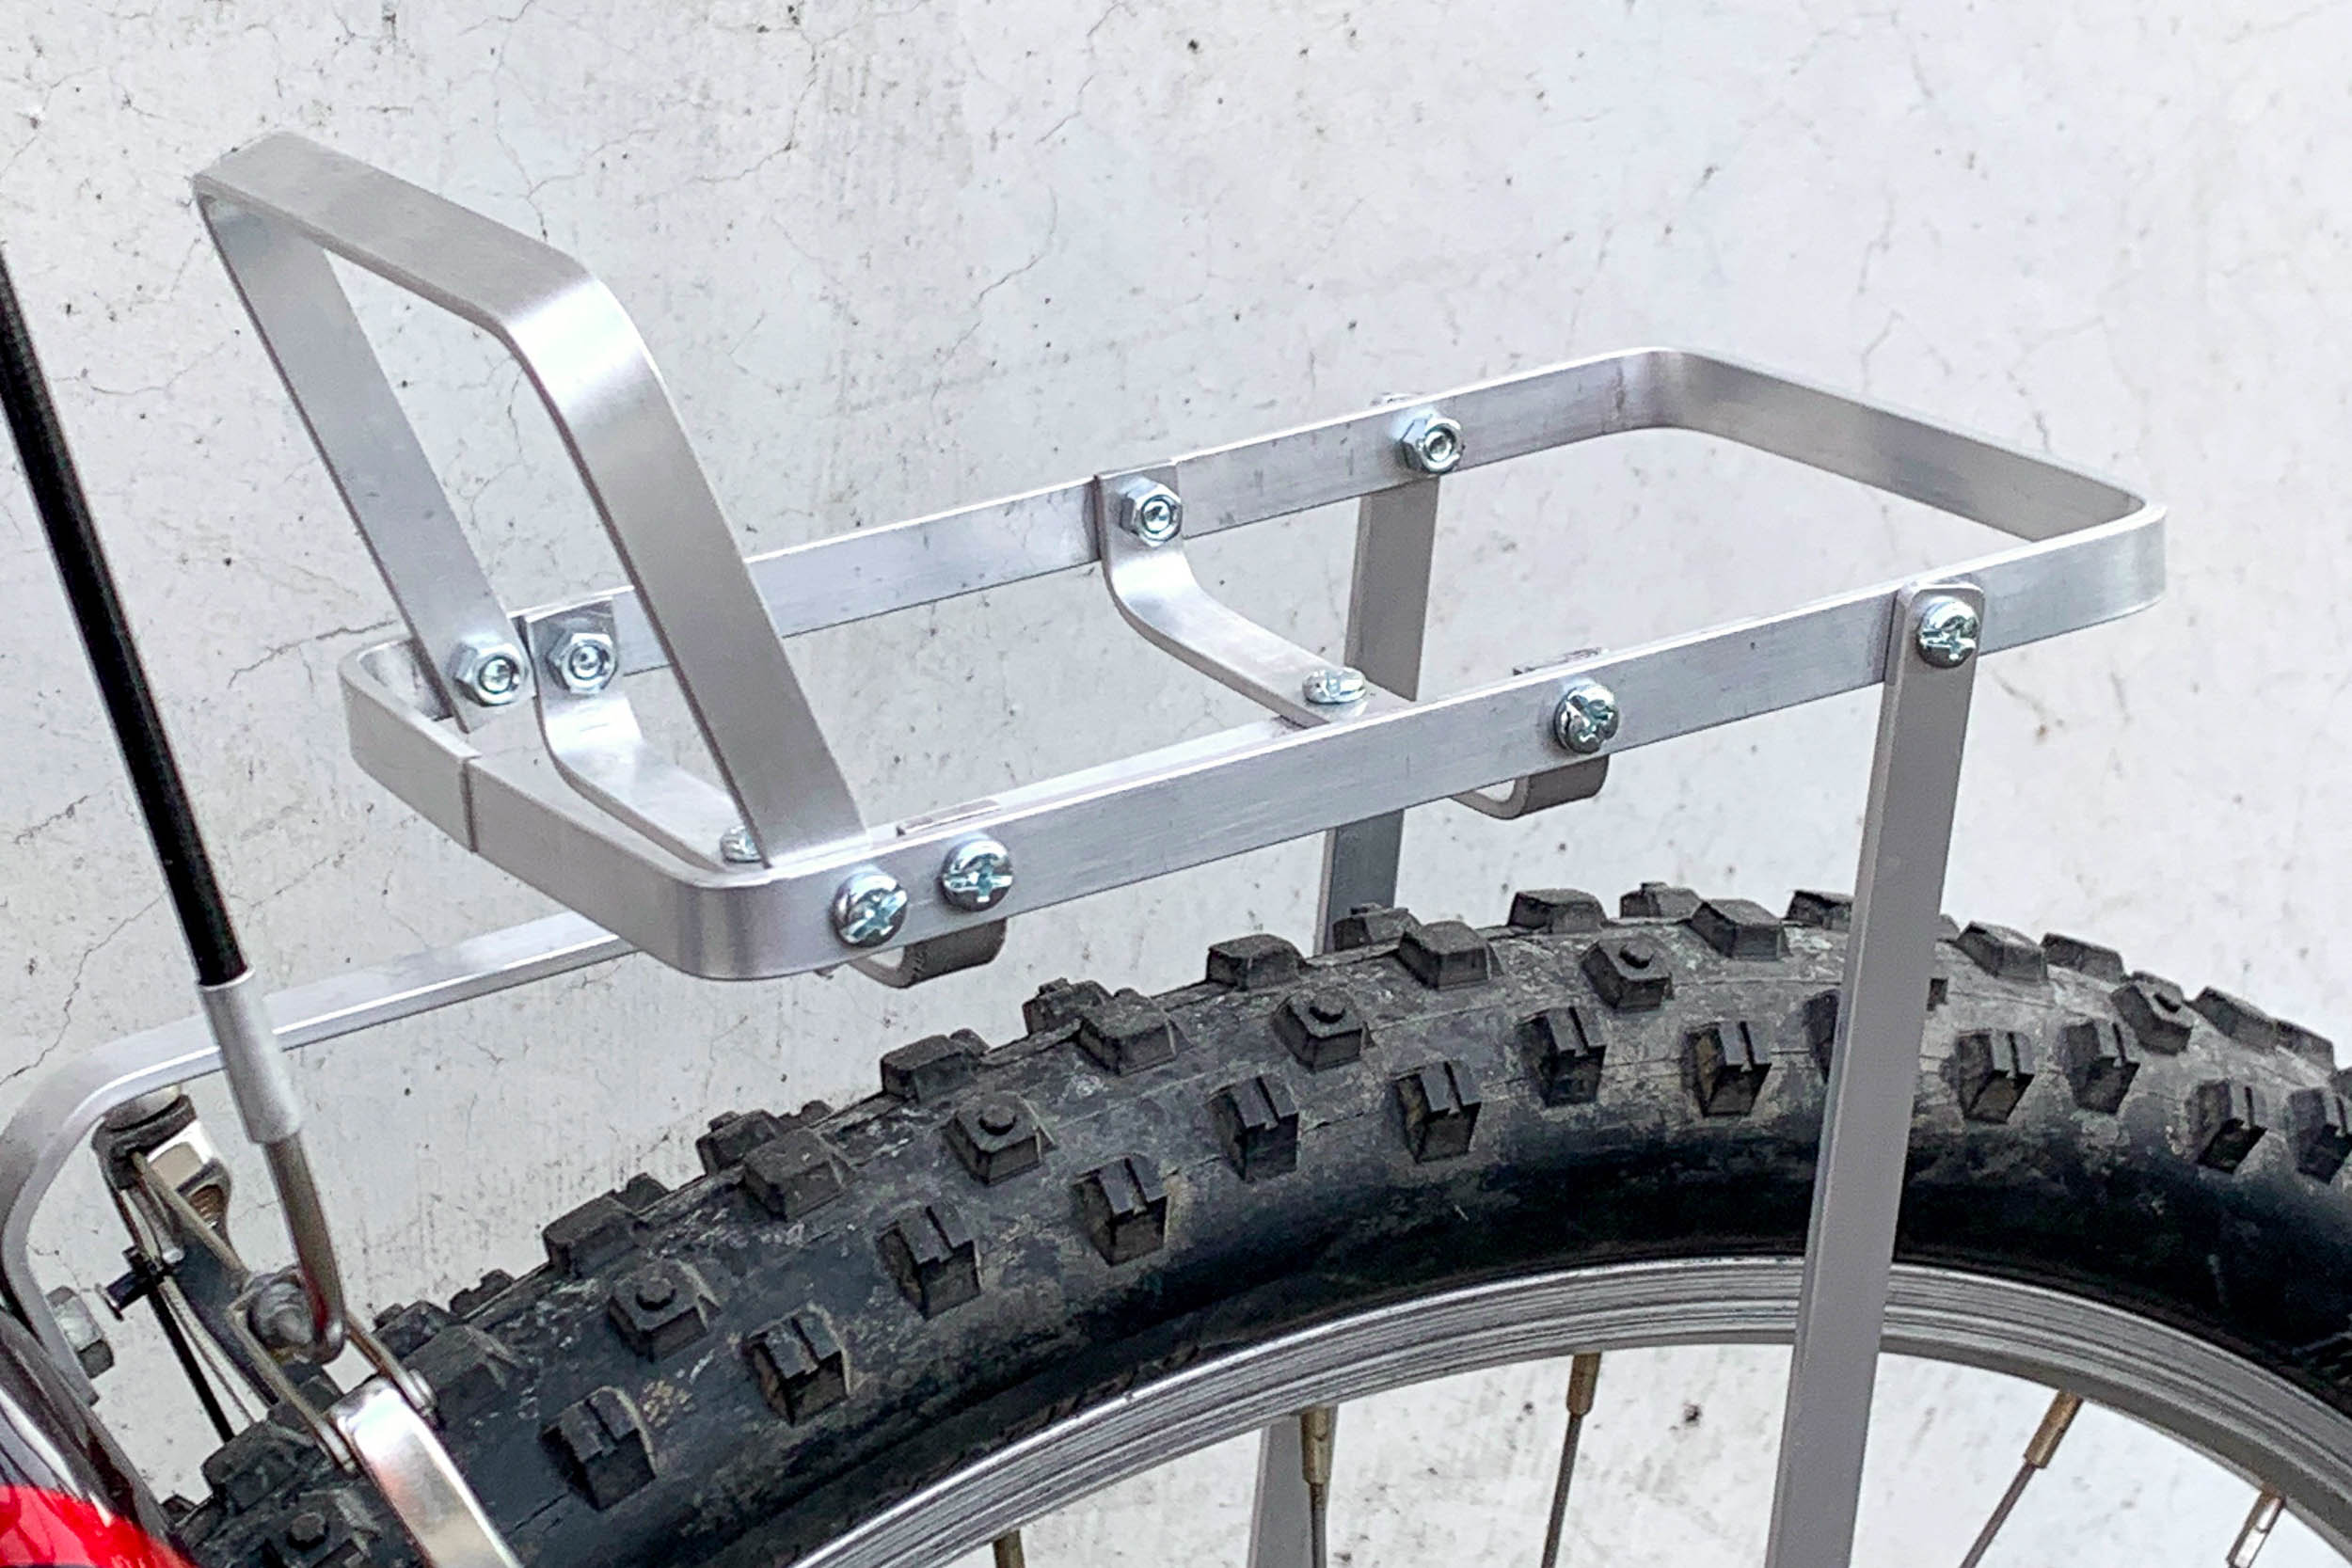
From there, it’s a matter of finding the correct position for the pannier. It’s important to consider your foot/heel position while keeping the weight of the pannier as close to the center of your bike as possible. The two hooks determine the position of the pannier and should be mounted as far apart as possible. Once your holes are drilled and the hooks are installed, hang the pannier on the rack with the lower clamp and steel plate in position (as low as possible). The final step is marking the position for the quick release, which works best by slightly pre-loading the pannier or pushing it downward on the rack and then marking the bottom of the opening in between the rabbit’s ears (steel plate). If this step isn’t followed, the pannier won’t fit snugly on the rack and has the potential to rattle. Thankfully, the support clamp is easily adjustable if the quick-release position isn’t quite right.

The first installation took me 20 minutes, most of which I spent securing the hookless pannier into position and second-guessing my mounting locations. The second time around, I was able to mount the hardware in under five minutes. It’s a straightforward process for anyone who can use hex keys and a drill.
Canniers in Action
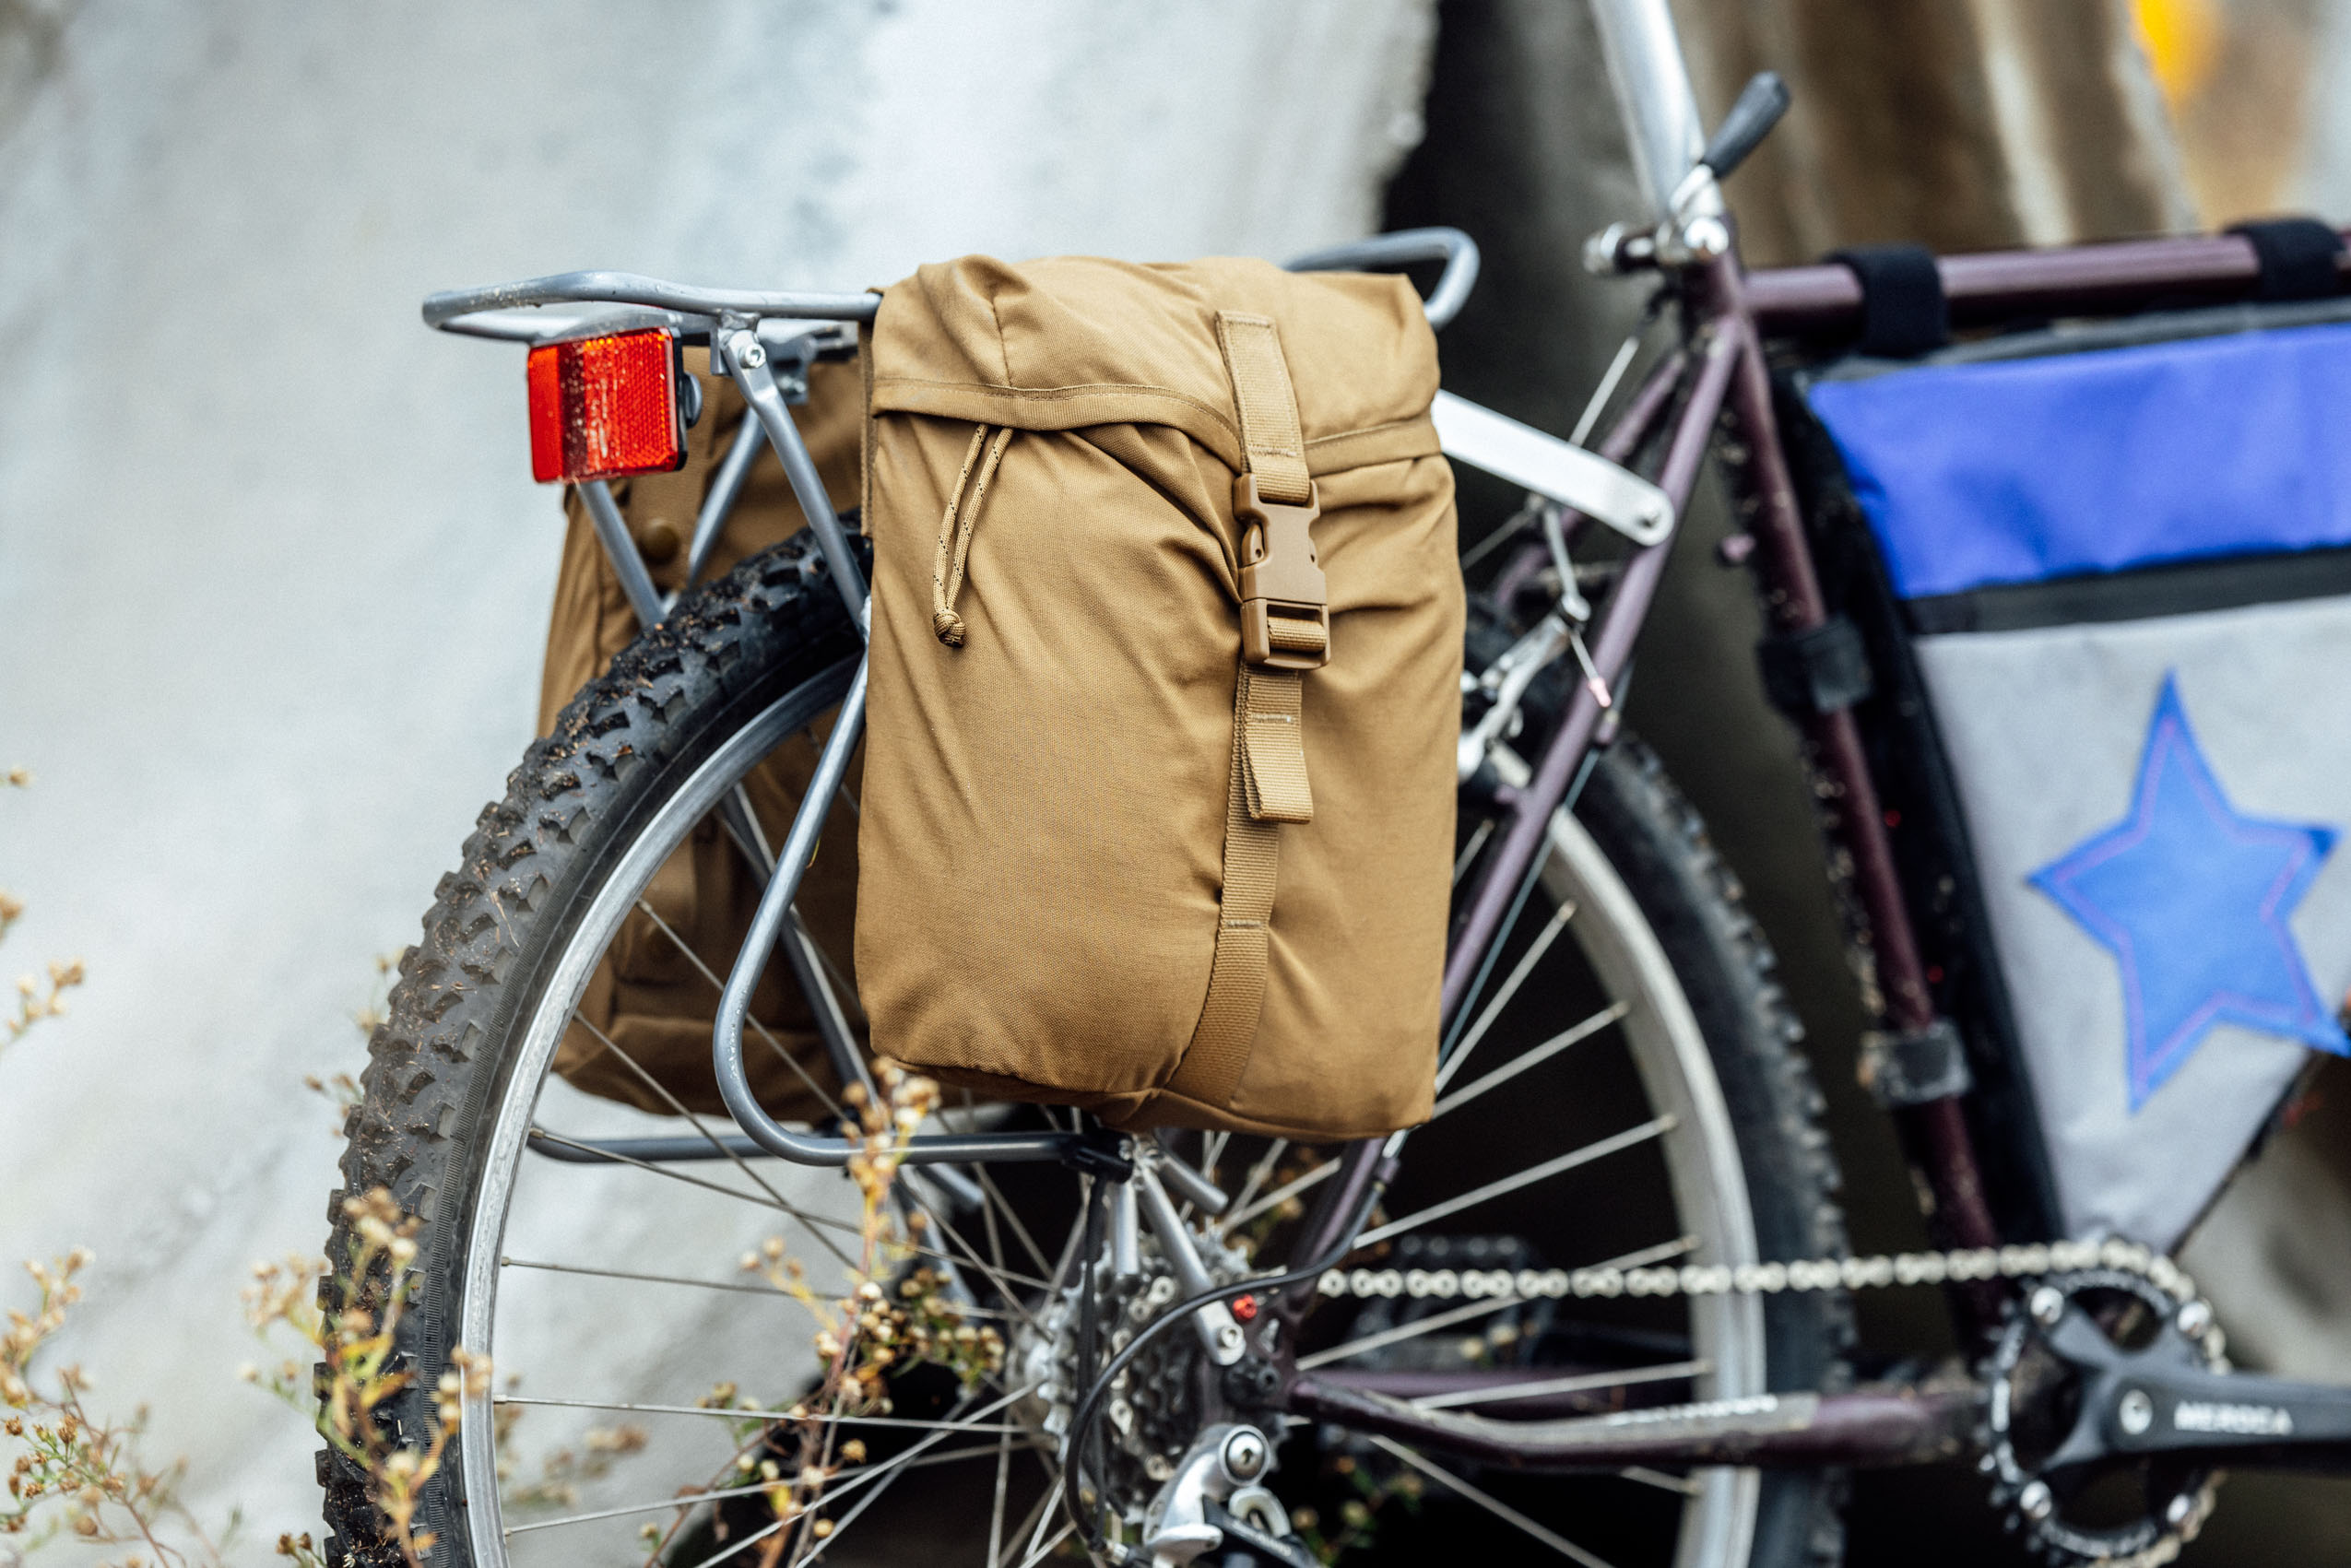
I spend most of my time using soft-sided panniers secured using rubber straps and velcro, so was expecting a rattling, noisy mess behind me. To my amazement, with a properly pre-loaded setup, the Rackhacker Canniers were surprisingly quiet. The rubber-coated hooks and rubber washer on the quick-release do a reasonable job of keeping down the noise, although they’re not as quiet as panniers with no rigid hardware.


The mounting system was impressive, but the plastic pannier left something to be desired. Unlike a fabric pannier, if anything hard or loose is put inside the plastic container, it’ll bounce around and make quite the racket. Strategic packing and adding a small foam layer in the bottom would help, but it will never be as silent as a traditional pannier. However, if you have the budget to compare this kit against a ready-made pannier, it’ll never win.
I left the pannier in the rain for several hours one day to test how well the lid kept out the weather and returned to a totally dry interior. Despite drilling several holes into the container, the mix of webbing handle straps, tight-fitting bolts, and washers does a good job of keeping the elements out.
DIY Panniers: Take Two
The Rackhackers DIY Cannier kit isn’t the only purchasable do-it-yourself pannier kit. Jandd Mountaineering sells a Bucket Pannier Kit ($44 USD) with everything to assemble two panniers out of nearly any box-shaped container. Traditional plastic pannier hardware is also easy to buy online and can be used to convert buckets and other bags into panniers. The major difference is that Jandd uses a traditional bungee lower attachment, which I imagine is even less suitable for riding off-road. The benefit is that the kit can be used on any number of plastic containers, while Rackhackers’ requirements are slightly stricter. It’s worth noting that the rubber-coated hooks both systems use are nearly useless without a solid lower attachment. Bungee systems work and allow for quicker adjustments and more effortless swapping between bikes and racks, but the stretch in the bungee often means the pannier can bounce around more. The lower support clamp, lid handle, and cinch straps really set this kit apart from other kits and DIY versions.


To get around the limitations of finding the perfect container, I turned to our dollar store and picked up a couple of plastic cereal containers. Inspired by Rick Hunter’s Tupperware panniers, using cereal containers achieved two things: they were far smaller than the containers sent with my kit, which felt too large for my purposes, and they already had snap-on lids, so I didn’t need to cut anything.
I set the cereal containers up using all the same steps Rackhackers provides minus the lid-cutting and handle attachment steps. As expected, the result was a mostly-wiggle-free plastic mini pannier with a nifty quick-access lid. The bigger containers were impressive, but the mini cereal version sold me on the entire system. It also got me thinking about how simple a true DIY Tupperware pannier is to make, especially for racks with three-pack bolts like those from Old Man Mountain, Mica, Tumbleweed, and others. Most of Rackhackers’ hardware could be purchased from a hardware store and bike shop for cheap, so the various sizes of support clamps and rabbit ears steel plate are really what you’re paying for. Considering the complete kit is priced at €19.90 (~$22 USD), that feels like great value.
There’s also no reason the handle and side straps can’t be used on a container that has a lid, which would not only ensure the lid doesn’t pop off while riding, but would hold the lid in place so it doesn’t get lost when opening/closing the pannier. I’ll be doing that for my cereal container panniers eventually. The only downside of cereal containers is that they’re usually not made from high-density polyethylene (HDPE), which is far more durable and less brittle than the polyethylene terephthalate (PET) containers I found locally. After seeing my cereal container panniers, Rackhackers has decided to offer the DIY kit without the handle/side straps, which costs just €13.90 (~$14).


Pros
- DIY pannier kit offers excellent value for a well-designed system.
- Surprisingly stable and wiggle-free thanks to lower support clamp and pre-loaded design.
- Support clamps are available in different sizes for different rack tubing diameters.
- Pannier size is up to you.
- It doesn’t require cutting and handles if you don’t need them.
- Handle and lid straps are a nice touch and useful on all container types.
Cons
- The contents of plastic panniers can be loud, so careful packing is important.
- Rigid hardware will never be as quiet as soft-sided strap-on/velcro-on panniers.
- Once set up, the pannier might not work well on other racks, unless the support can be positioned in the same spot.
- Finding appropriate containers can be tricky. Thankfully, the kit can work on any type of flat-sided container without cutting the lid out.
- Capacity: You Decide!
- Material: Plastic, Steel, and Nylon Webbing
- Weight: 367 grams (complete kit, no containers)
- Place of Manufacture: All over the EU/China
- Price: €19.90 (~$20 USD)
- Manufacturer’s Details: Rackhackers.com
Wrap Up
Most panniers in our Mini Panniers Gear Index cost over $150 USD, with some costing as much as $300 or more. While most of them offer some clear advantages over DIY panniers, such as silent mounting systems, waterproof construction, and less weight, the Rackhackers Cannier DIY Panniers are a refreshing alternative that can repurpose discarded plastic containers and are easy on the wallet.
Considering just how simple all the hardware they use is, the Rackhackers kit exceeded my expectations. The clever use of different-sized support clamps that attach to the rack legs, forming the foundation for a wiggle-free lower attachment point, is the real kicker in the design. It allows nearly any rack, whether it has lower pannier loops or not, to mate with their attachment system, and the use of a quick-release skewer means it’s easy to remove and install the pannier between errands. Perhaps the coolest thing about Rackhackers is that they provide everything you need to know to gather your parts kit, including specific design considerations and what hardware is required to make your DIY kit. It turns out even the clamps are repurposed from industrial hydraulic hose systems and can be found at hydraulic specialty stores.
I can see the Rackhackers kit or different DIY interpretations being the most useful on commuter bikes, cargo bikes, and budget bikepacking builds. Had I realized most of the components, maybe excluding the one-eyed rabbit steel plate, could be purchased from hardware stores, I likely would have considered this approach for my Univega Via Carisma budget bikepacking build.
Further Reading
Make sure to dig into these related articles for more info...

Please keep the conversation civil, constructive, and inclusive, or your comment will be removed.