


Guide to Bikepacking with a Camera & Carrying a Camera on Your Bike


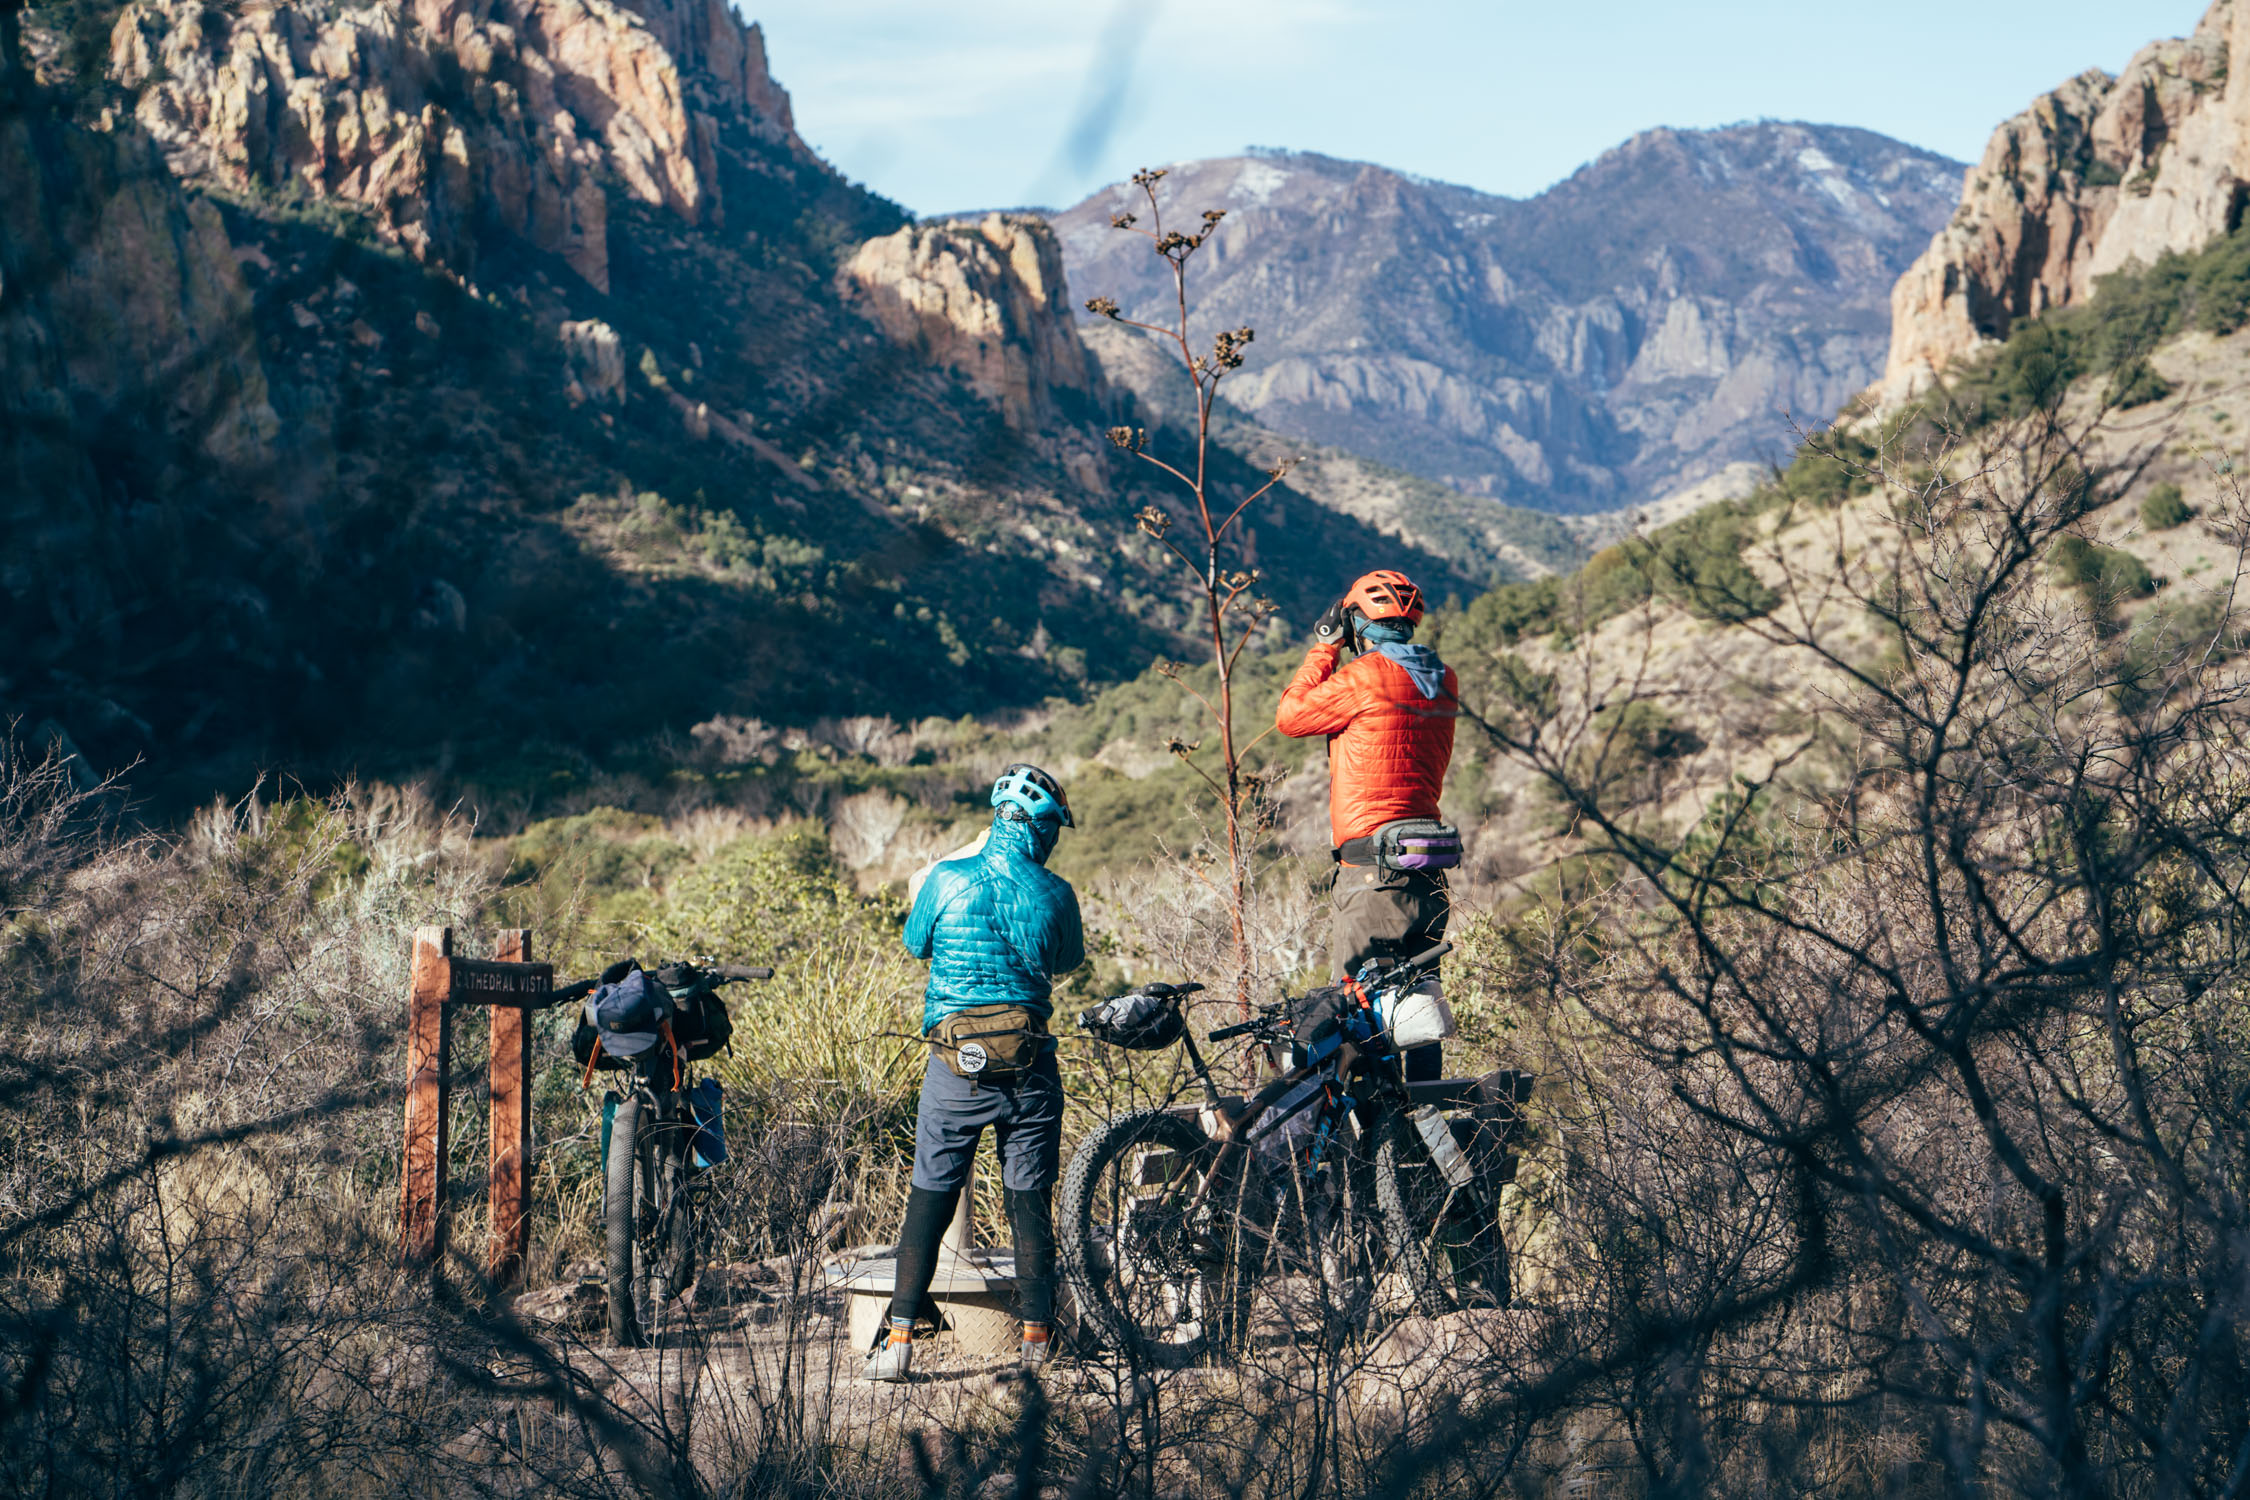
Documenting a bikepacking trip through photography can be a creative and rewarding experience. For some, it’s almost as enjoyable as the riding itself! But what’s the best way to carry a camera on a multi-day adventure, so it’s protected from dust, water, and vibrations but still easy to grab and use? Find our guide to the subject here, including our team’s preferred options and input from some of our camera-toting contributors…
PUBLISHED Sep 17, 2021
Pausing to capture moments when riding can be an enriching experience – both at the time we’re there, and when we’re looking back on trips in years to come. If we’re not careful, however, it can be an expensive one! Given how demanding bikepacking can be on gear, it’s probably sno surprise that it can be very hard on cameras too, especially digital ones. The choppier the terrain, the more their delicate internals are subjected to the vagaries of jolts, bumps, and vibrations. Over time, most eventually fail.
Of course, not all cameras are created equal. Some have better seals and are built more solidly, while others feature complex parts that are prone to damage. Still, the vast majority – even sturdy old film cameras – will benefit from extra care and attention when comes to long-distance off-road riding. It’s worth considering how best to carry them, so we can get as much life from them as we can.

Broadly speaking, there are two ways to carry a camera whilst bikepacking: on your body or on the bike. The former is certainly better for your camera but the latter allows your bike to do the heavy lifting. Which method works best for you will depend on the terrain across which you like to ride, the size and weight of your camera, and how solidly it’s built.
For this guide, we’re concentrating on carrying solutions for the kind of cameras that appeal to enthusiast bikepacker-photographers. This might be a small but high-quality pocket zoom, a compact fixed lens camera, a mirrorless system, or for the more dedicated image capturers, a DSLR. Although it’s unlikely you’ll want to carry a full-frame DSLR and a clutch of lenses, you can see how one of our contributors manages to do so towards the bottom of the post. We’re not saying a smartphone with a decent camera can’t do a good job at documenting your rite, especially in capable hands. But as you can carry them almost anywhere, they pose less of a challenge – just make sure they stay dry and they’re not justling against your keys!
Camera Options
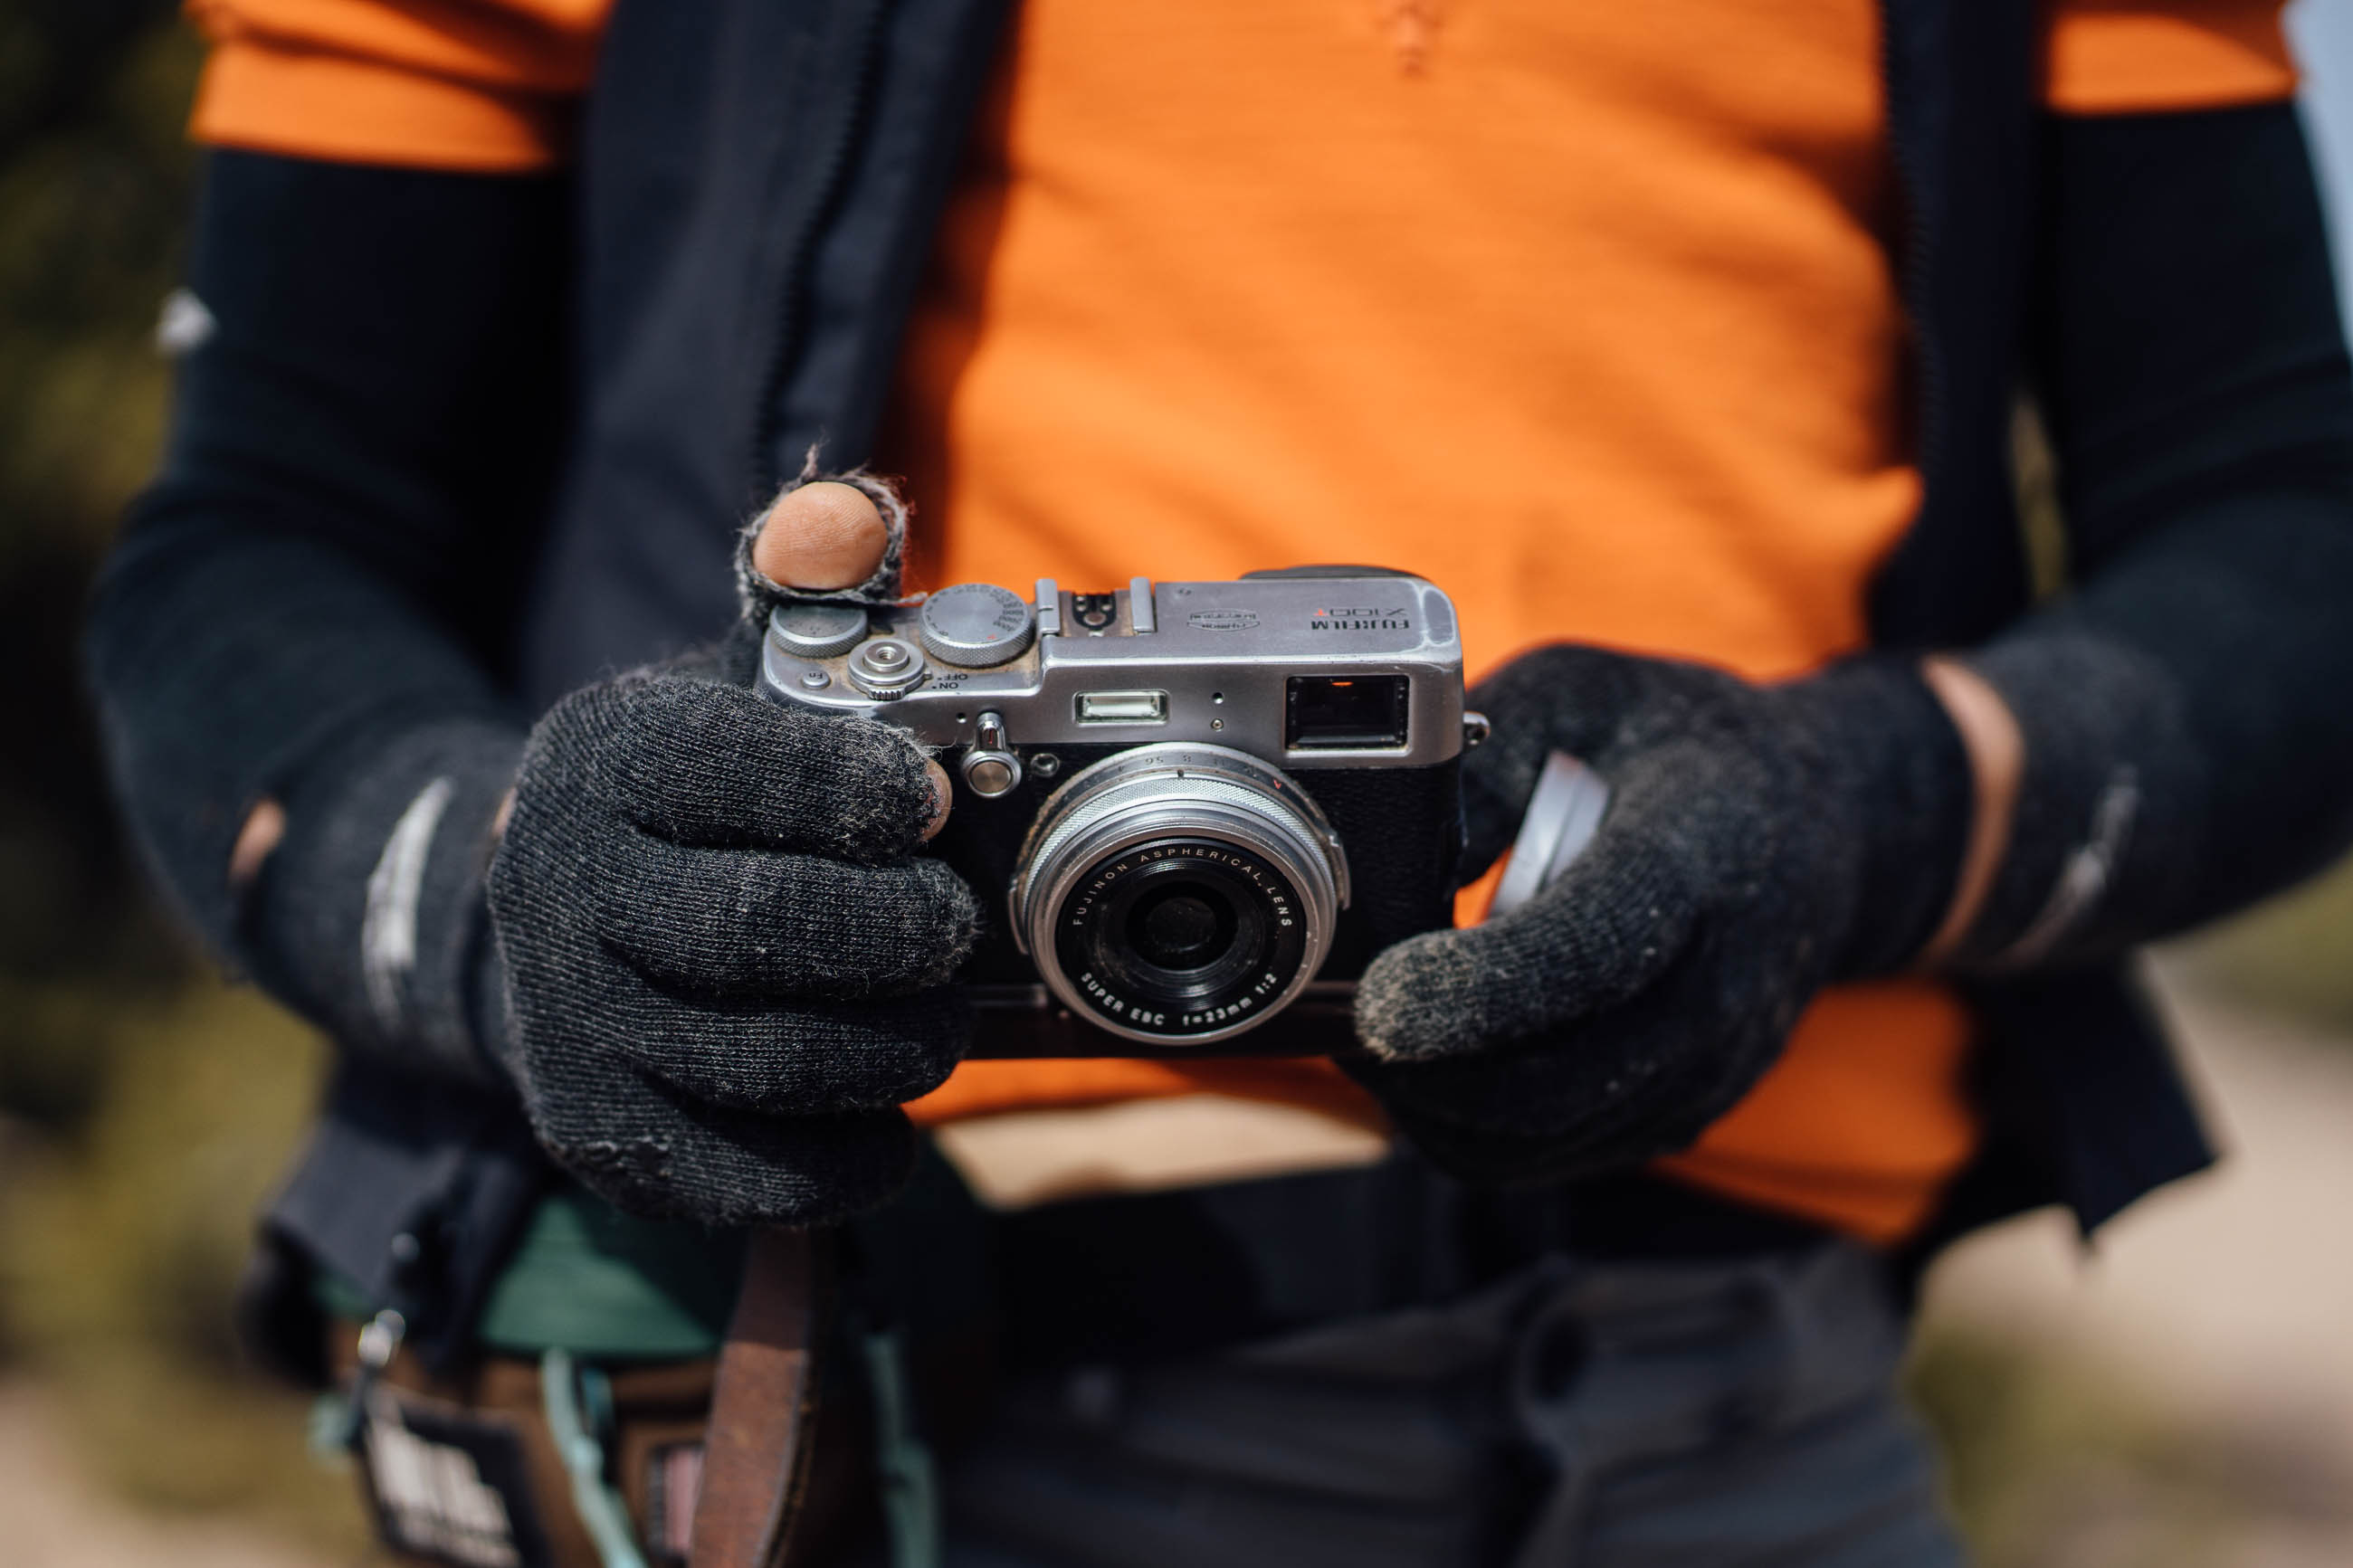
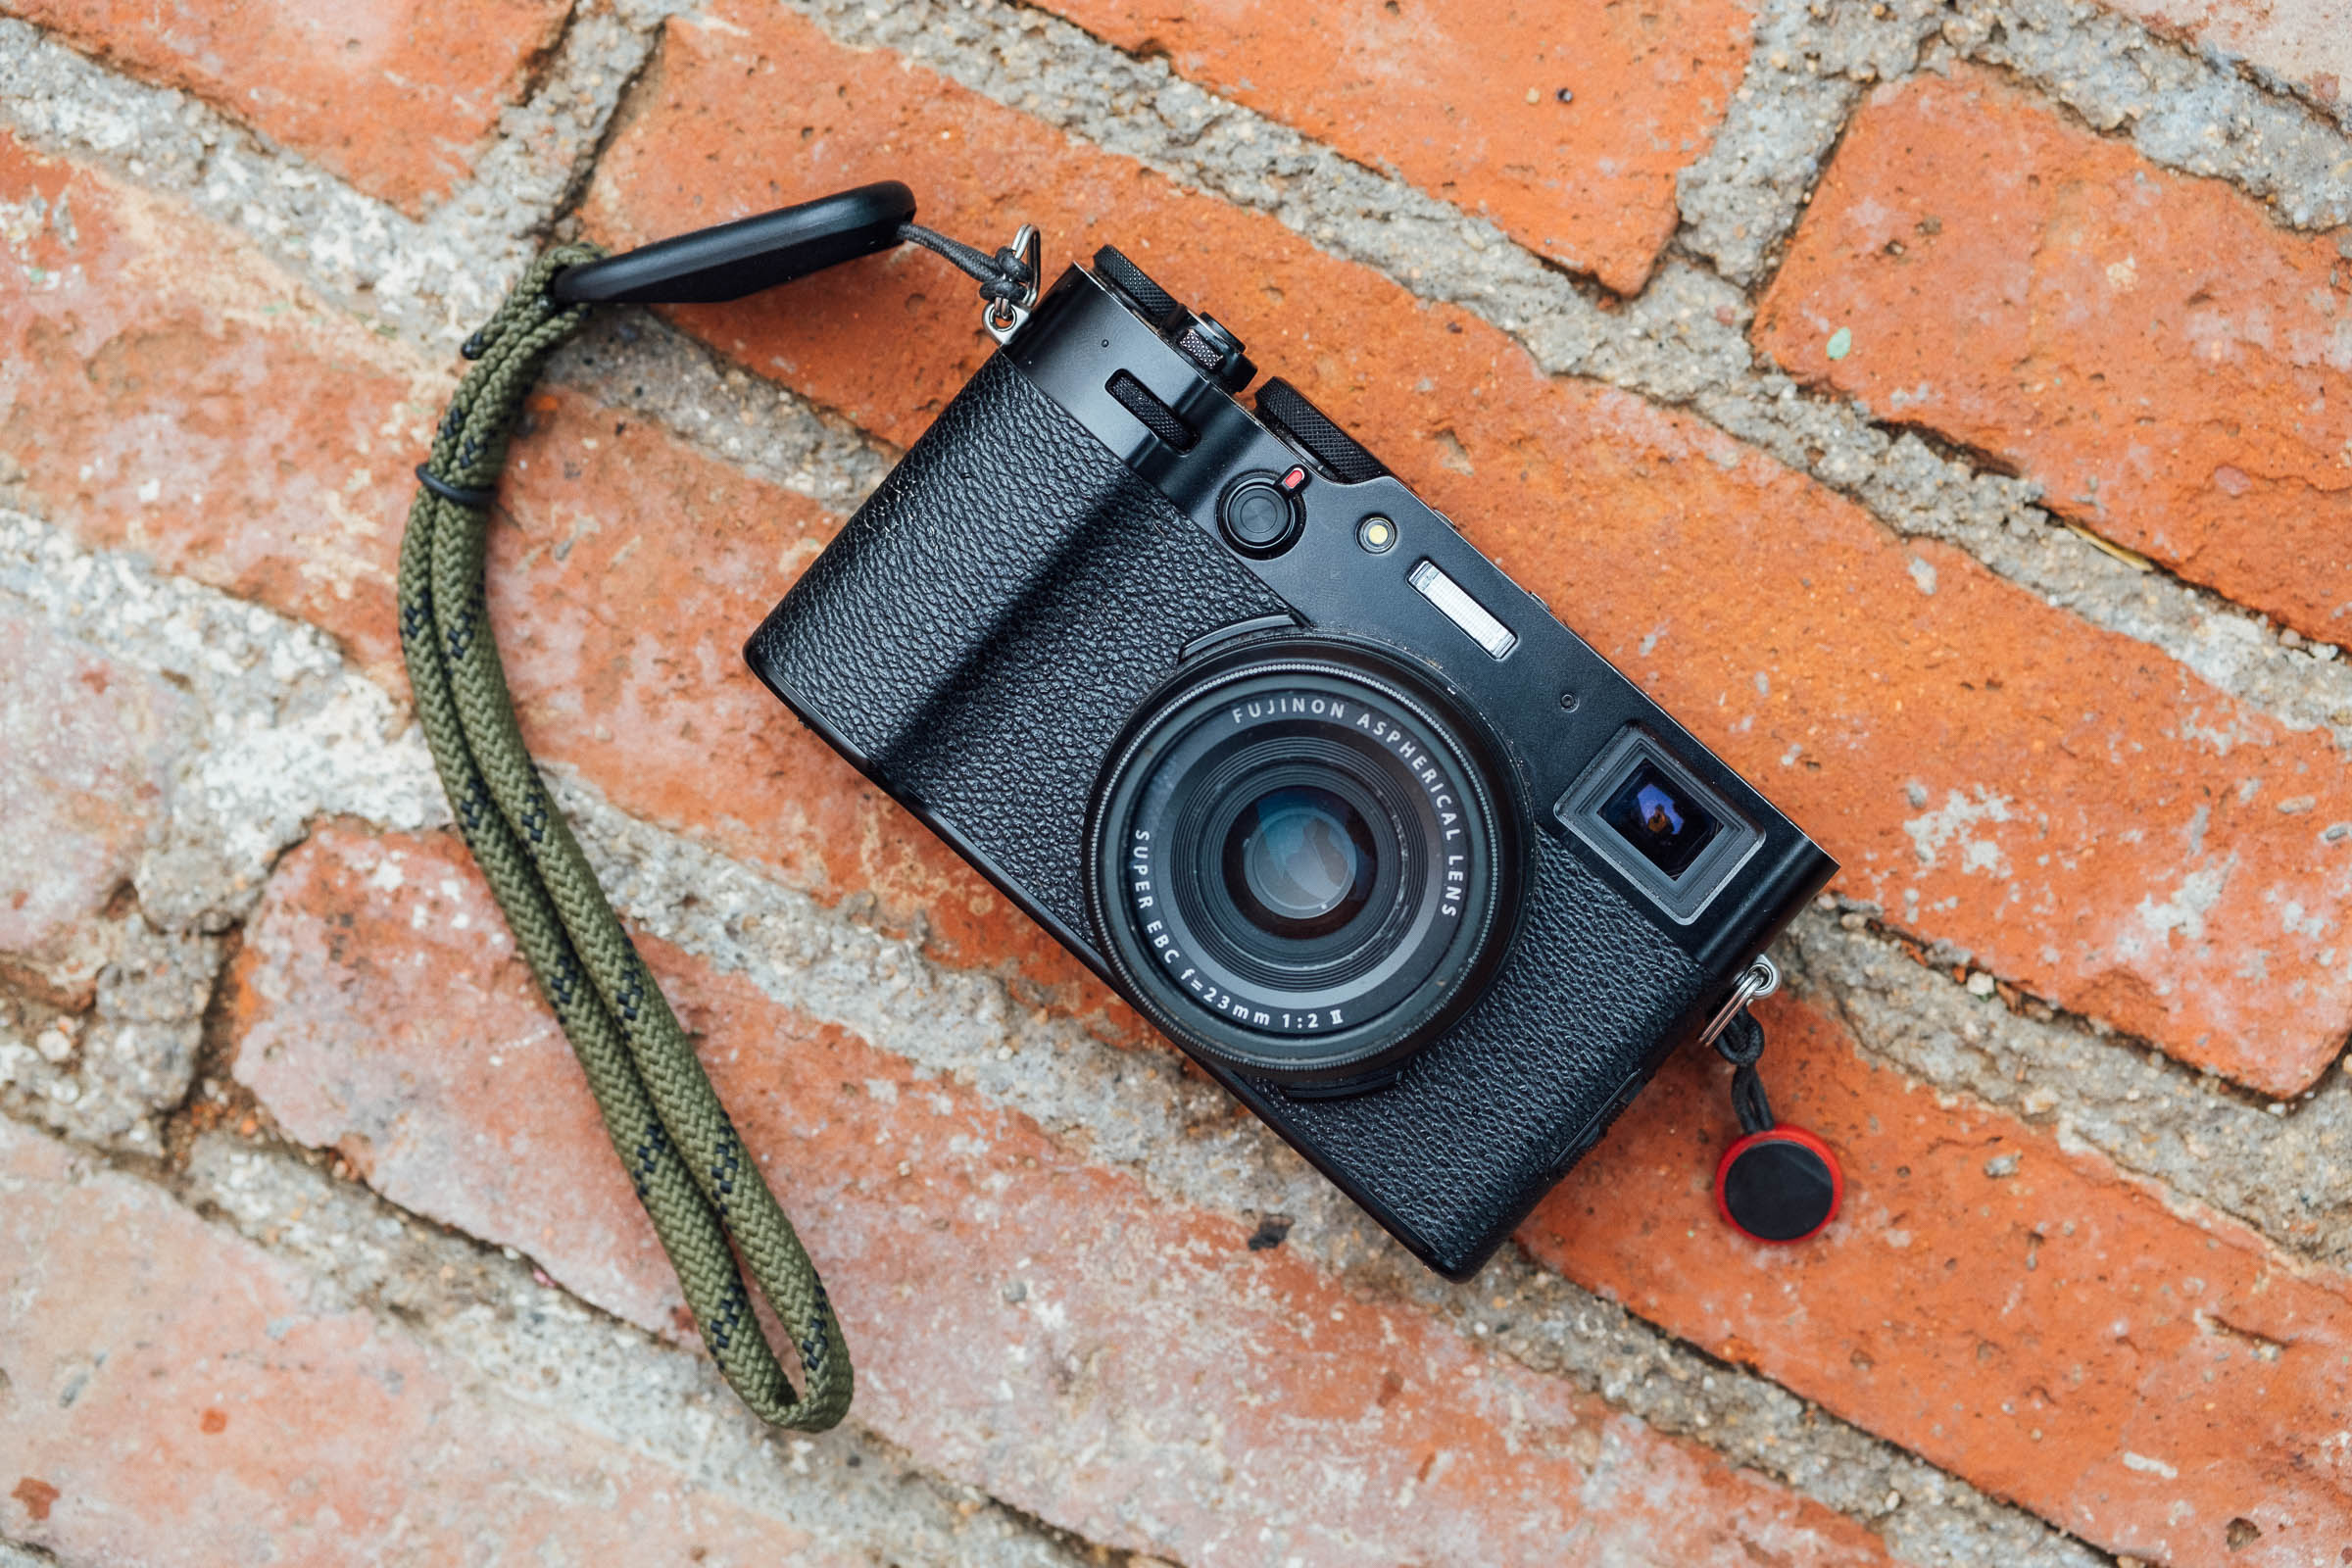
Although we’re not aiming to discuss the pros and cons of specific cameras, there are certain brands and models that are favoured by bikepackers. The smaller ones that we know to be popular include the Sony RX100, Ricoh GR, and Fuji x100, all of which have been updated over the years. Moving up in size comes the likes of Olympus and Panasonic Lumix Micro 4/3rds, which have a reputation for being well made. Then there’s the well-considered Fuji X System, which strikes a size/quality sweet spot, and is fun to use. Sony’s crop and full frame Alpha series is also a bikepacking staple, offering a compact and versatile mirrorless camera, albeit one with less of a reputation for durability. Older DLSRs teamed with small prime lenses can be good options too, as long as you’re happy with the jump up in volume and weight.
The latter is a good reminder that you don’t need to buy the latest camera, especially if it’s going to be bounced around on a bike. If you’re thinking about getting into photography, there are amazing deals to be had on discontinued models. Check out Mattias Burling’s YouTube channel for great recommendations of second hand, more affordable cameras that are compact and capable of fantastic results – he covers all kinds of obscure models that are now discontinued. In the US, Fred Miranda is a good option for photographers looking to buy and sell gear, and if you’re wanting to compare camera dimensions and weight to figure out what might work for you, Camera Size is a great resource.
Some Considerations
Clearly, there are many variables to consider as we all have different needs, depending on the cameras in question, how our bikes are set up, how we ride, the kind of terrain we prefer, the weather, personal comfort, and more… But perhaps the biggest concern for those who share a love of photography with a yearning for dirt roads is ensuring prized gear is protected from bumps and vibrations. Whatever system works best for you, make sure there’s enough padding – see our recommendations for camera inserts below, or just chop up a piece of closed-cell foam from an old sleeping mat and place it strategically.
Generally speaking, camera fit should be snug but not too tight, or you’ll end up nudging all the dials each time you grab it, depending on the camera’s form factor. At the minimum, choose a bag that’s weatherproof, as much for dust as for rain, and you should always carry a backup ultralight drybag. But for ultimate peace of mind, a completely waterproof option may be advisable, especially if you live and ride regularly in damp climates.
Just as important, though, is finding a bag that provides quick access to your camera, If your camera isn’t easy to reach, you’ll end up missing the incidental shots that often capture a ride best. Speed of access can also be a factor if you’re riding with a group, as you’ll always be playing catchup.
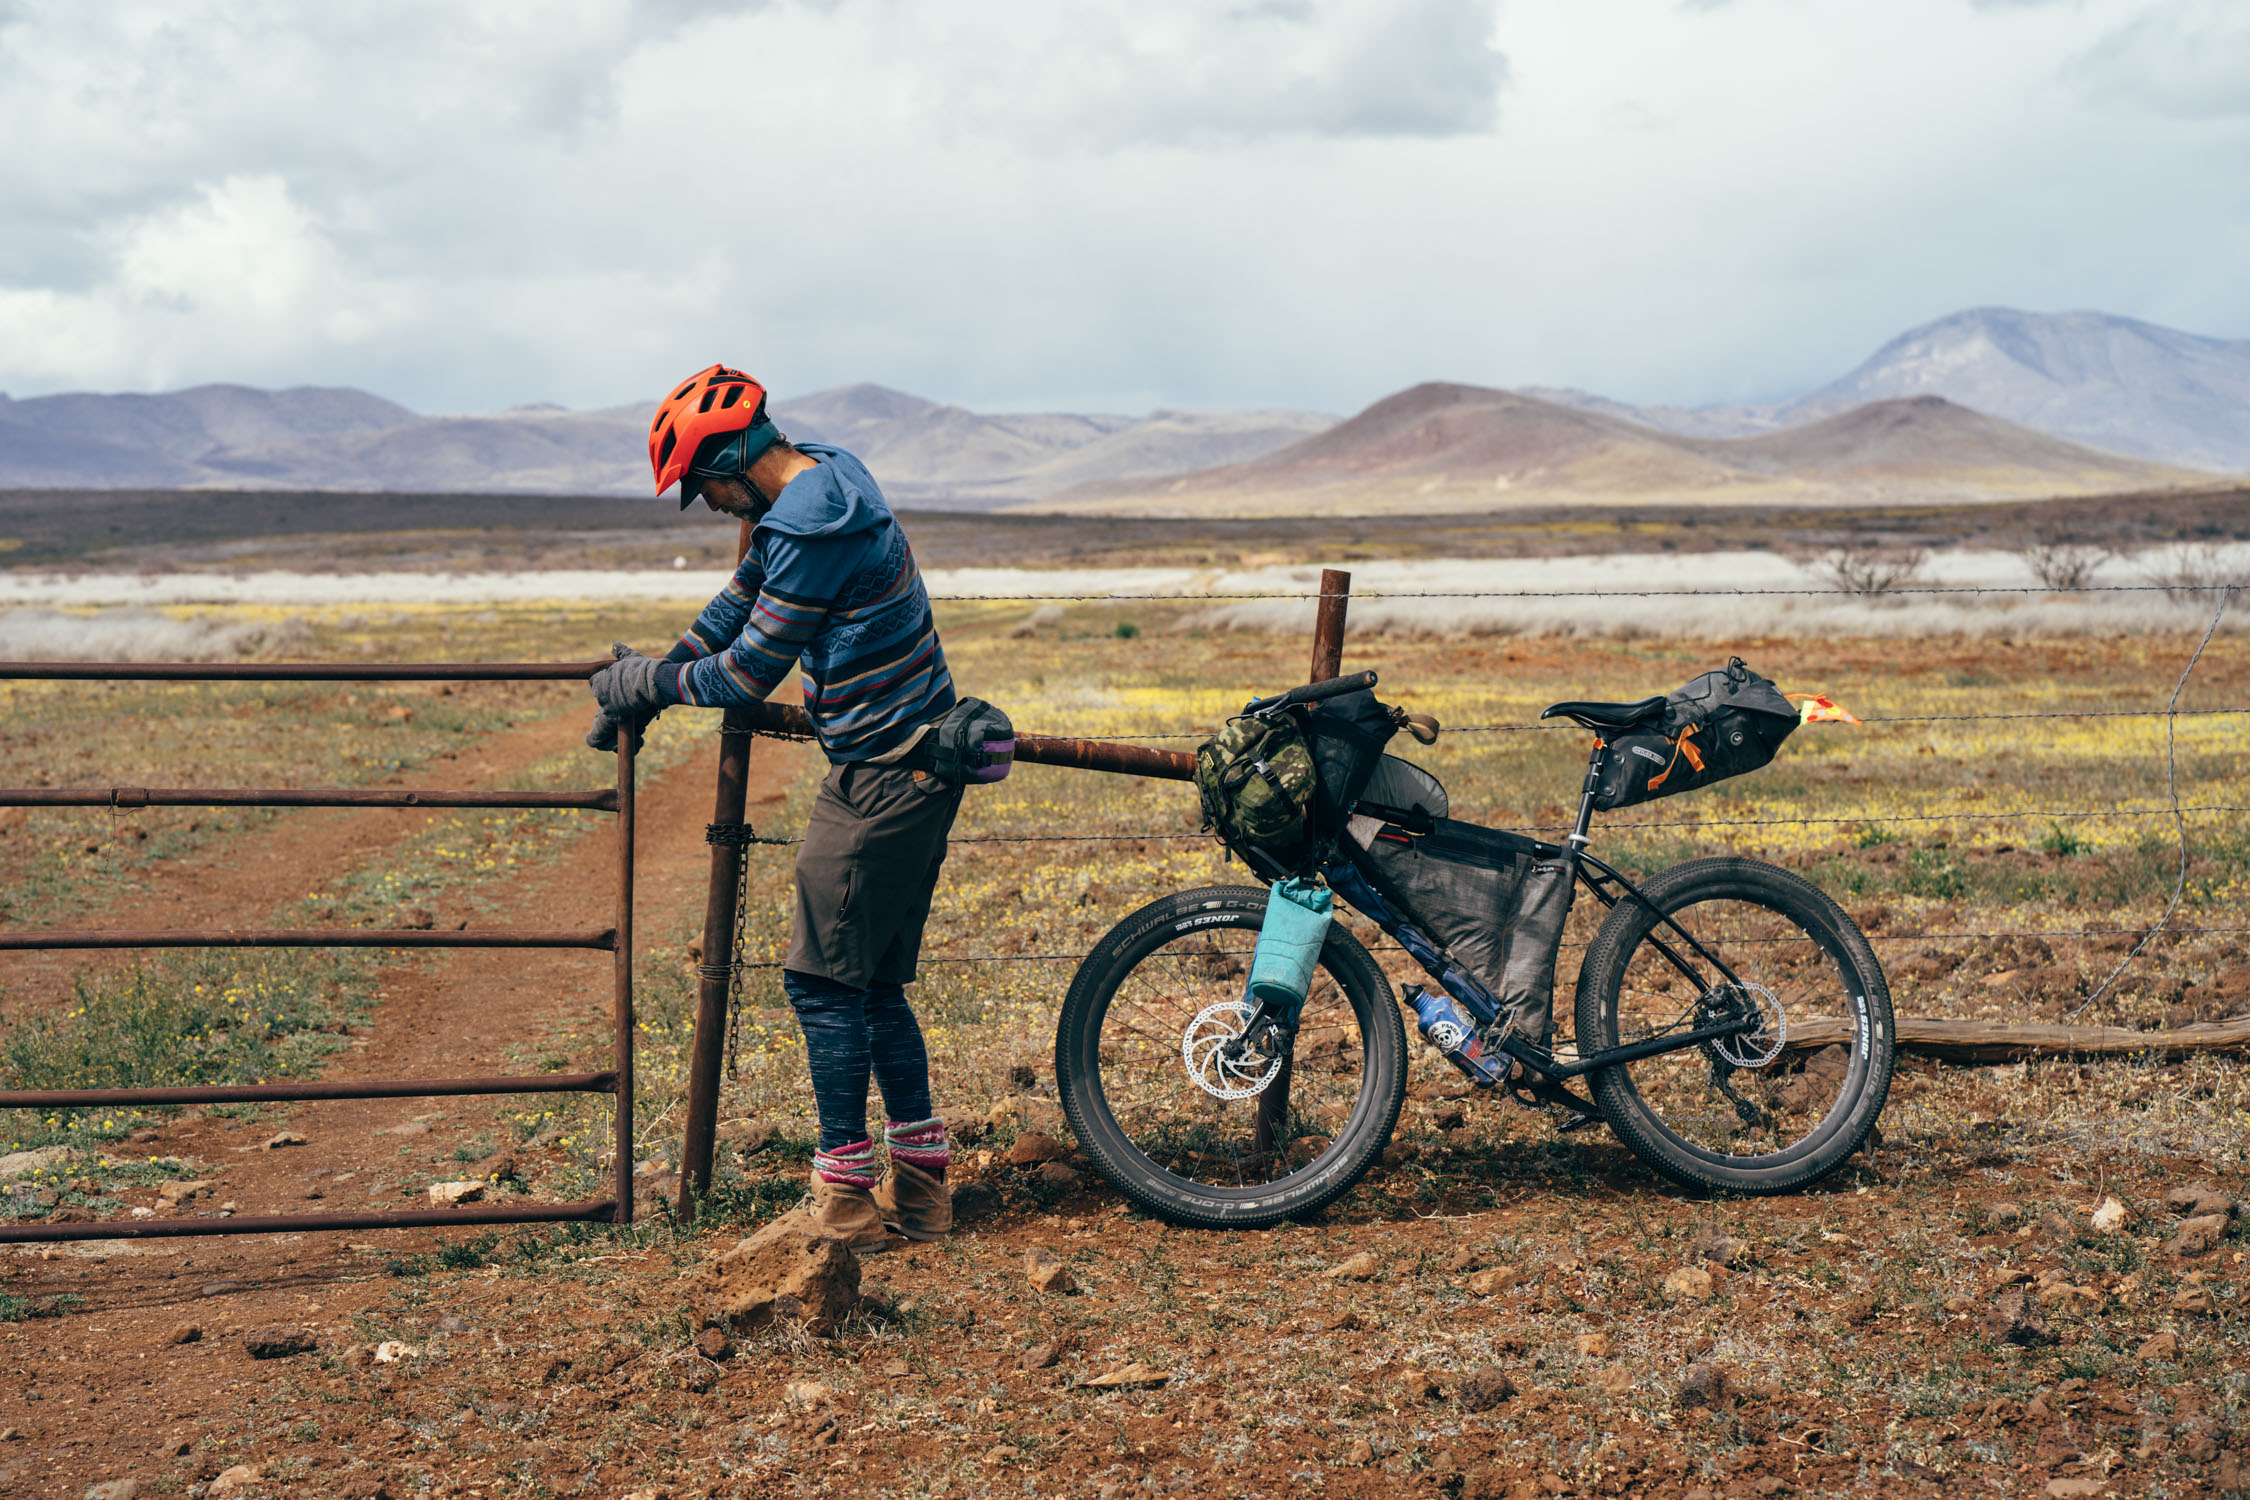
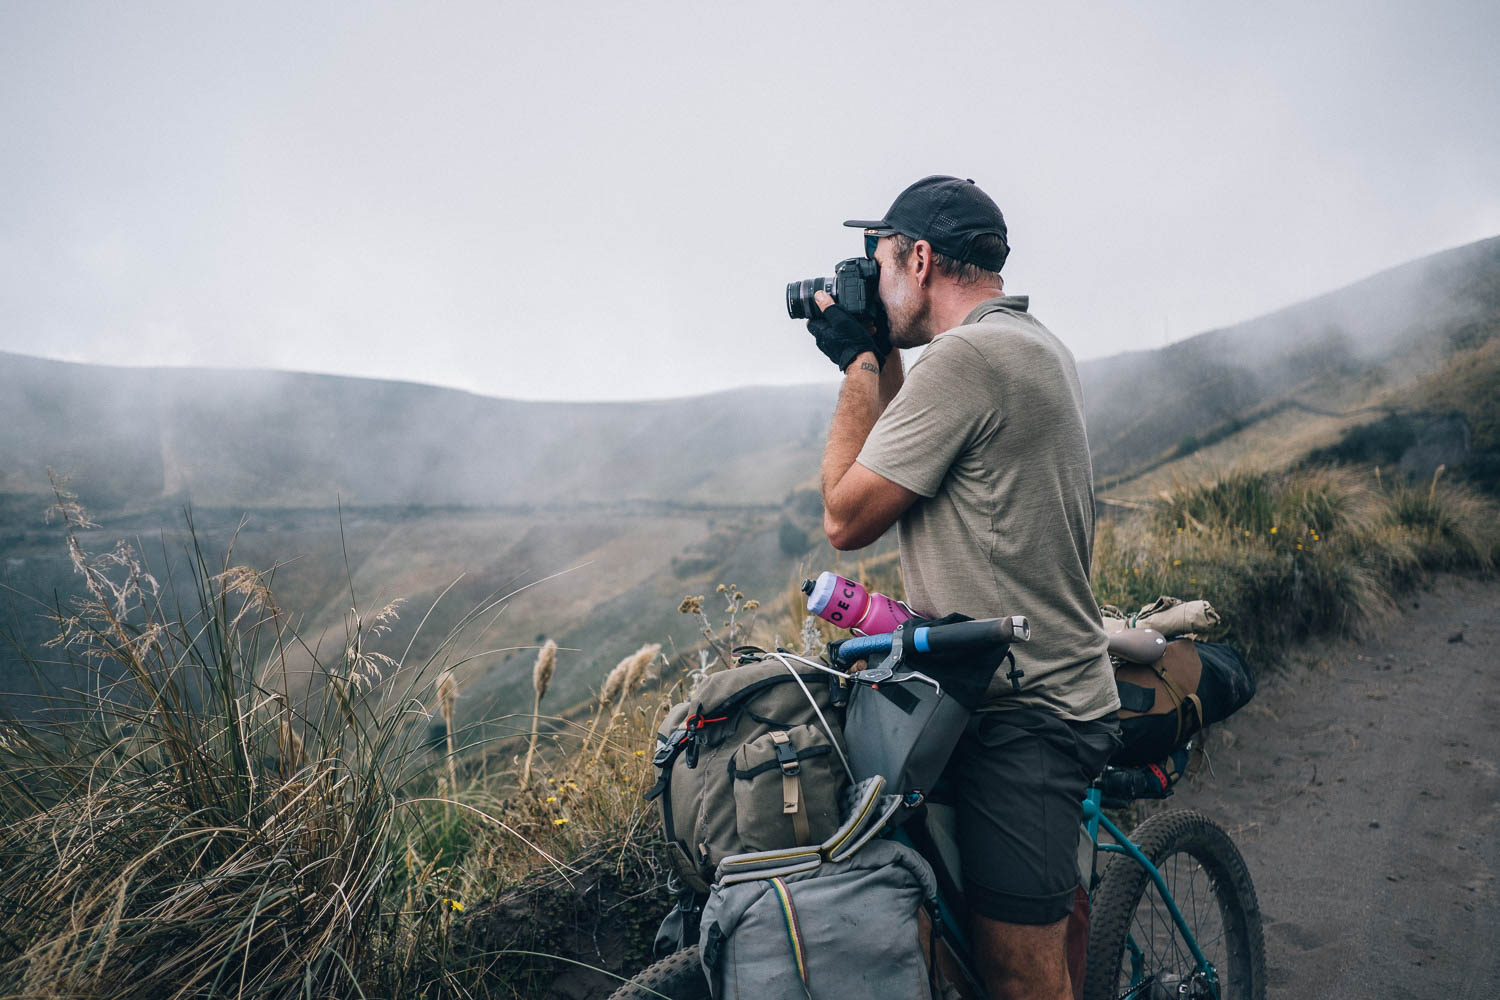
CARRYING A CAMERA ON YOUR BODY
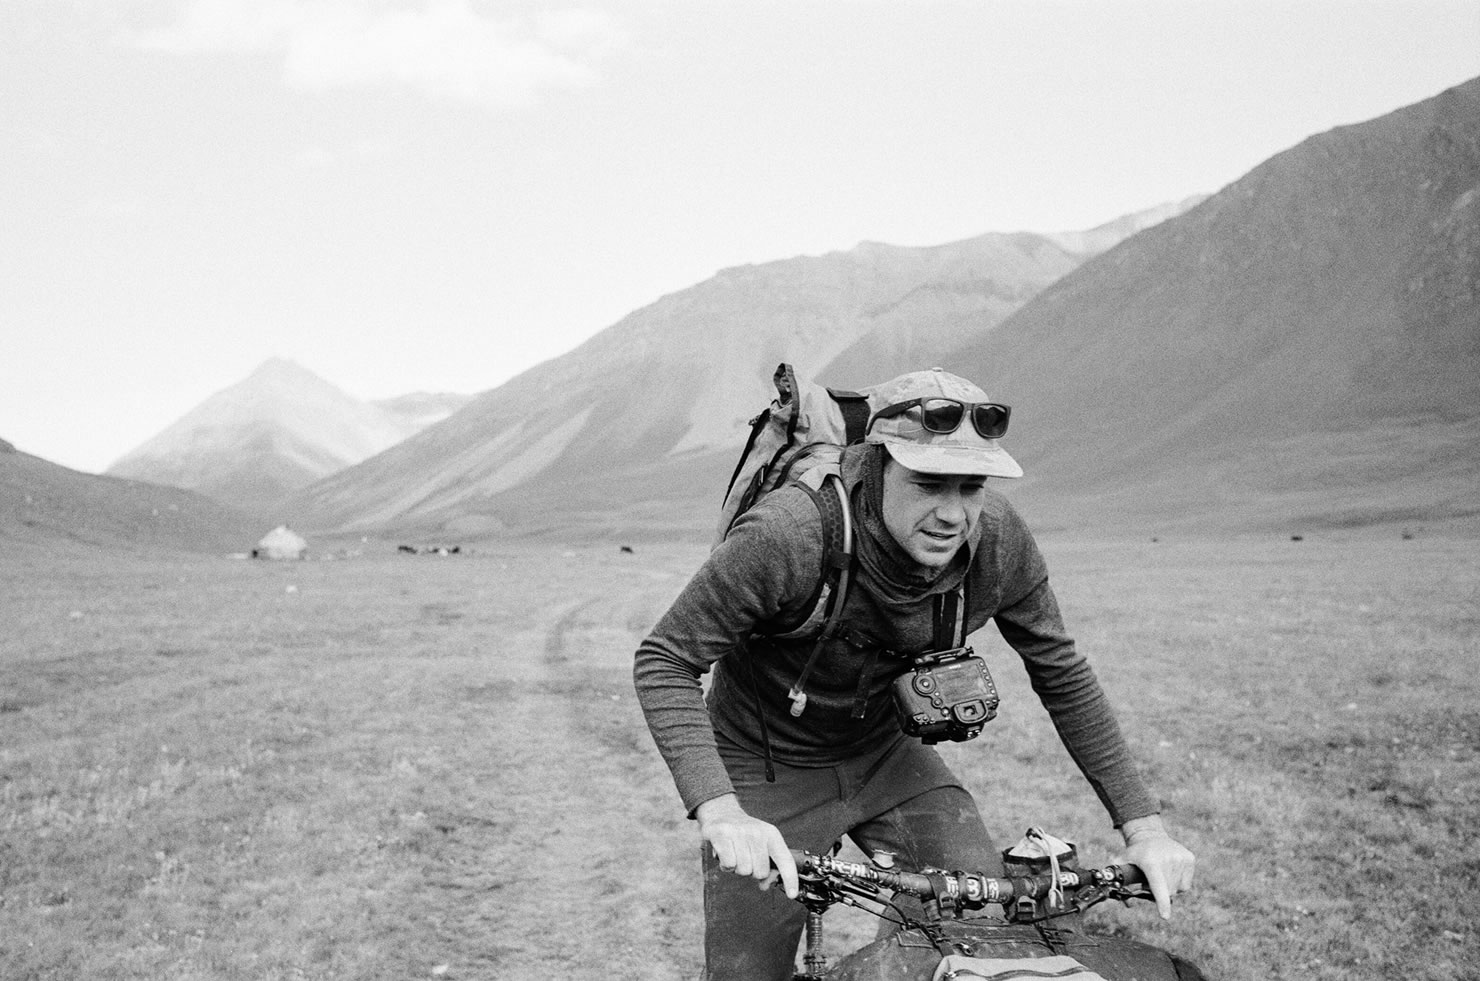
The majority of the time, carrying a camera on your body provides the best long-term protection, as it absorbs the micro-vibrations that can eventually rattle them apart. Within this category, you can choose a hip bag, a backpack, or a sling. A cycling jersey can work too, as does a shoulder strap with a three-point carrying system. One advantage to carrying your camera on your body is that it’ll be with you every moment of the ride, whether you’re on the bike or off it. But given that your body will be doing the carrying, the size of the camera will play a defining role in how well this works for you, especially in terms of comfort. Smaller cameras are best!
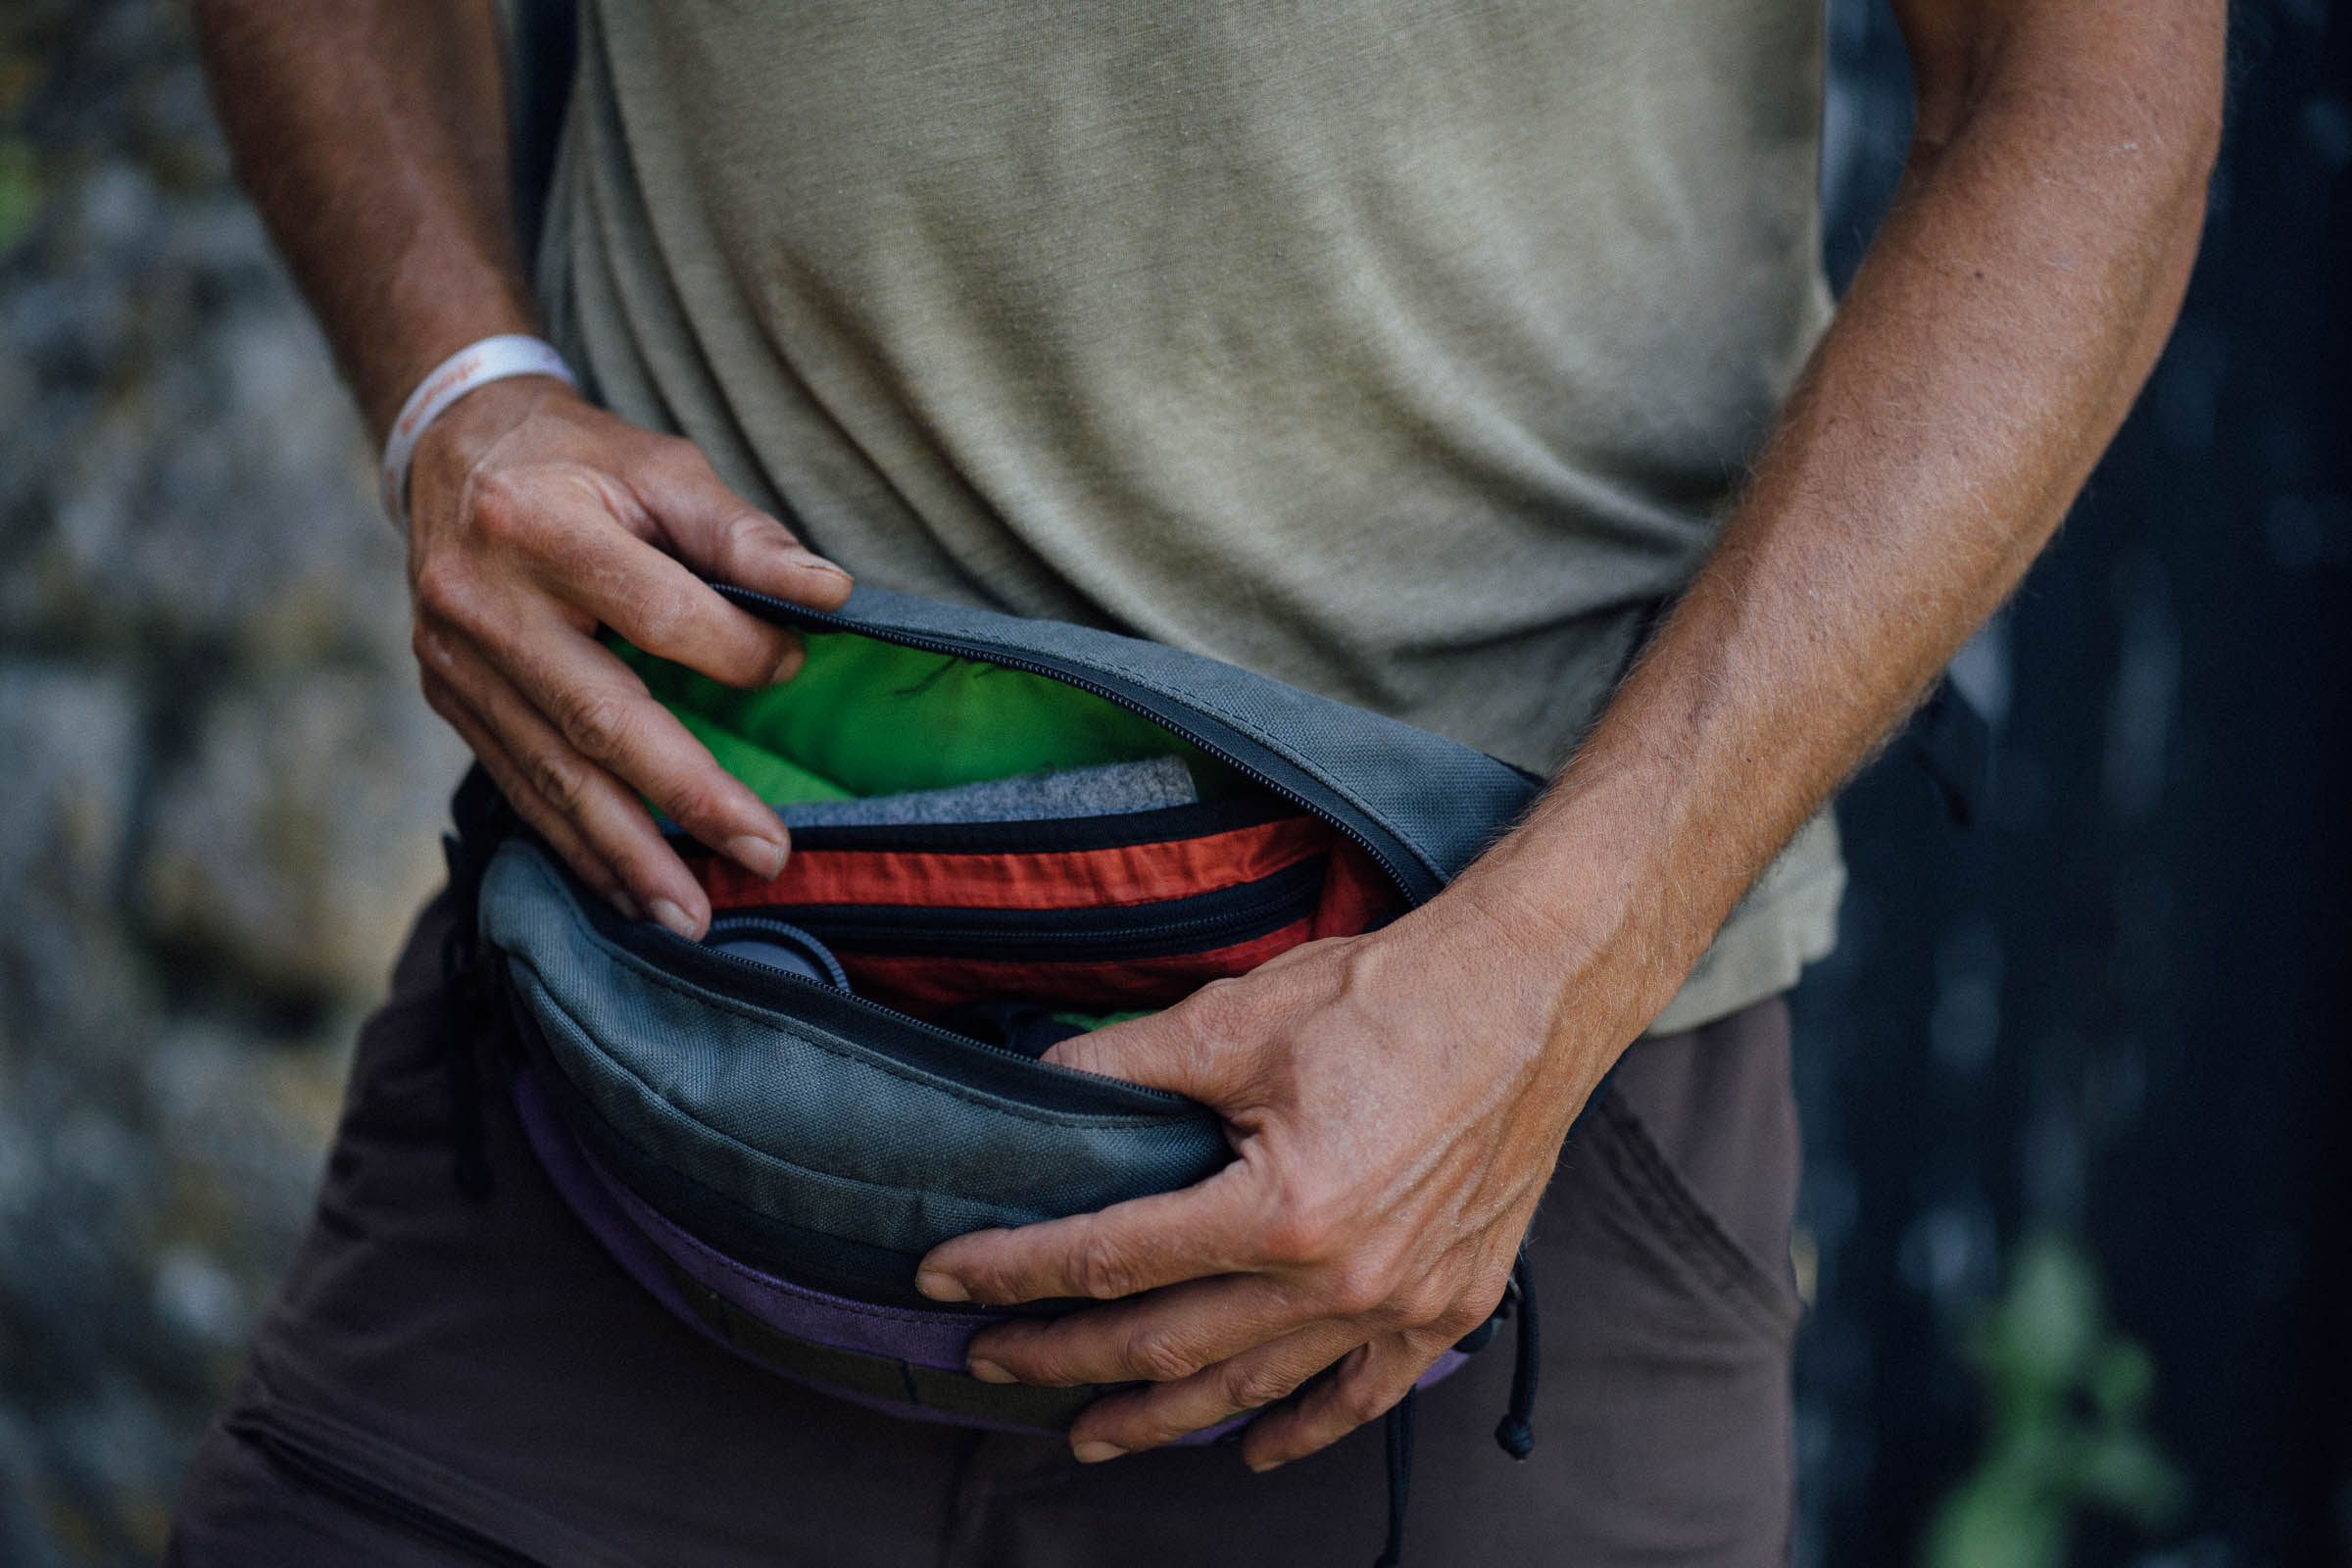
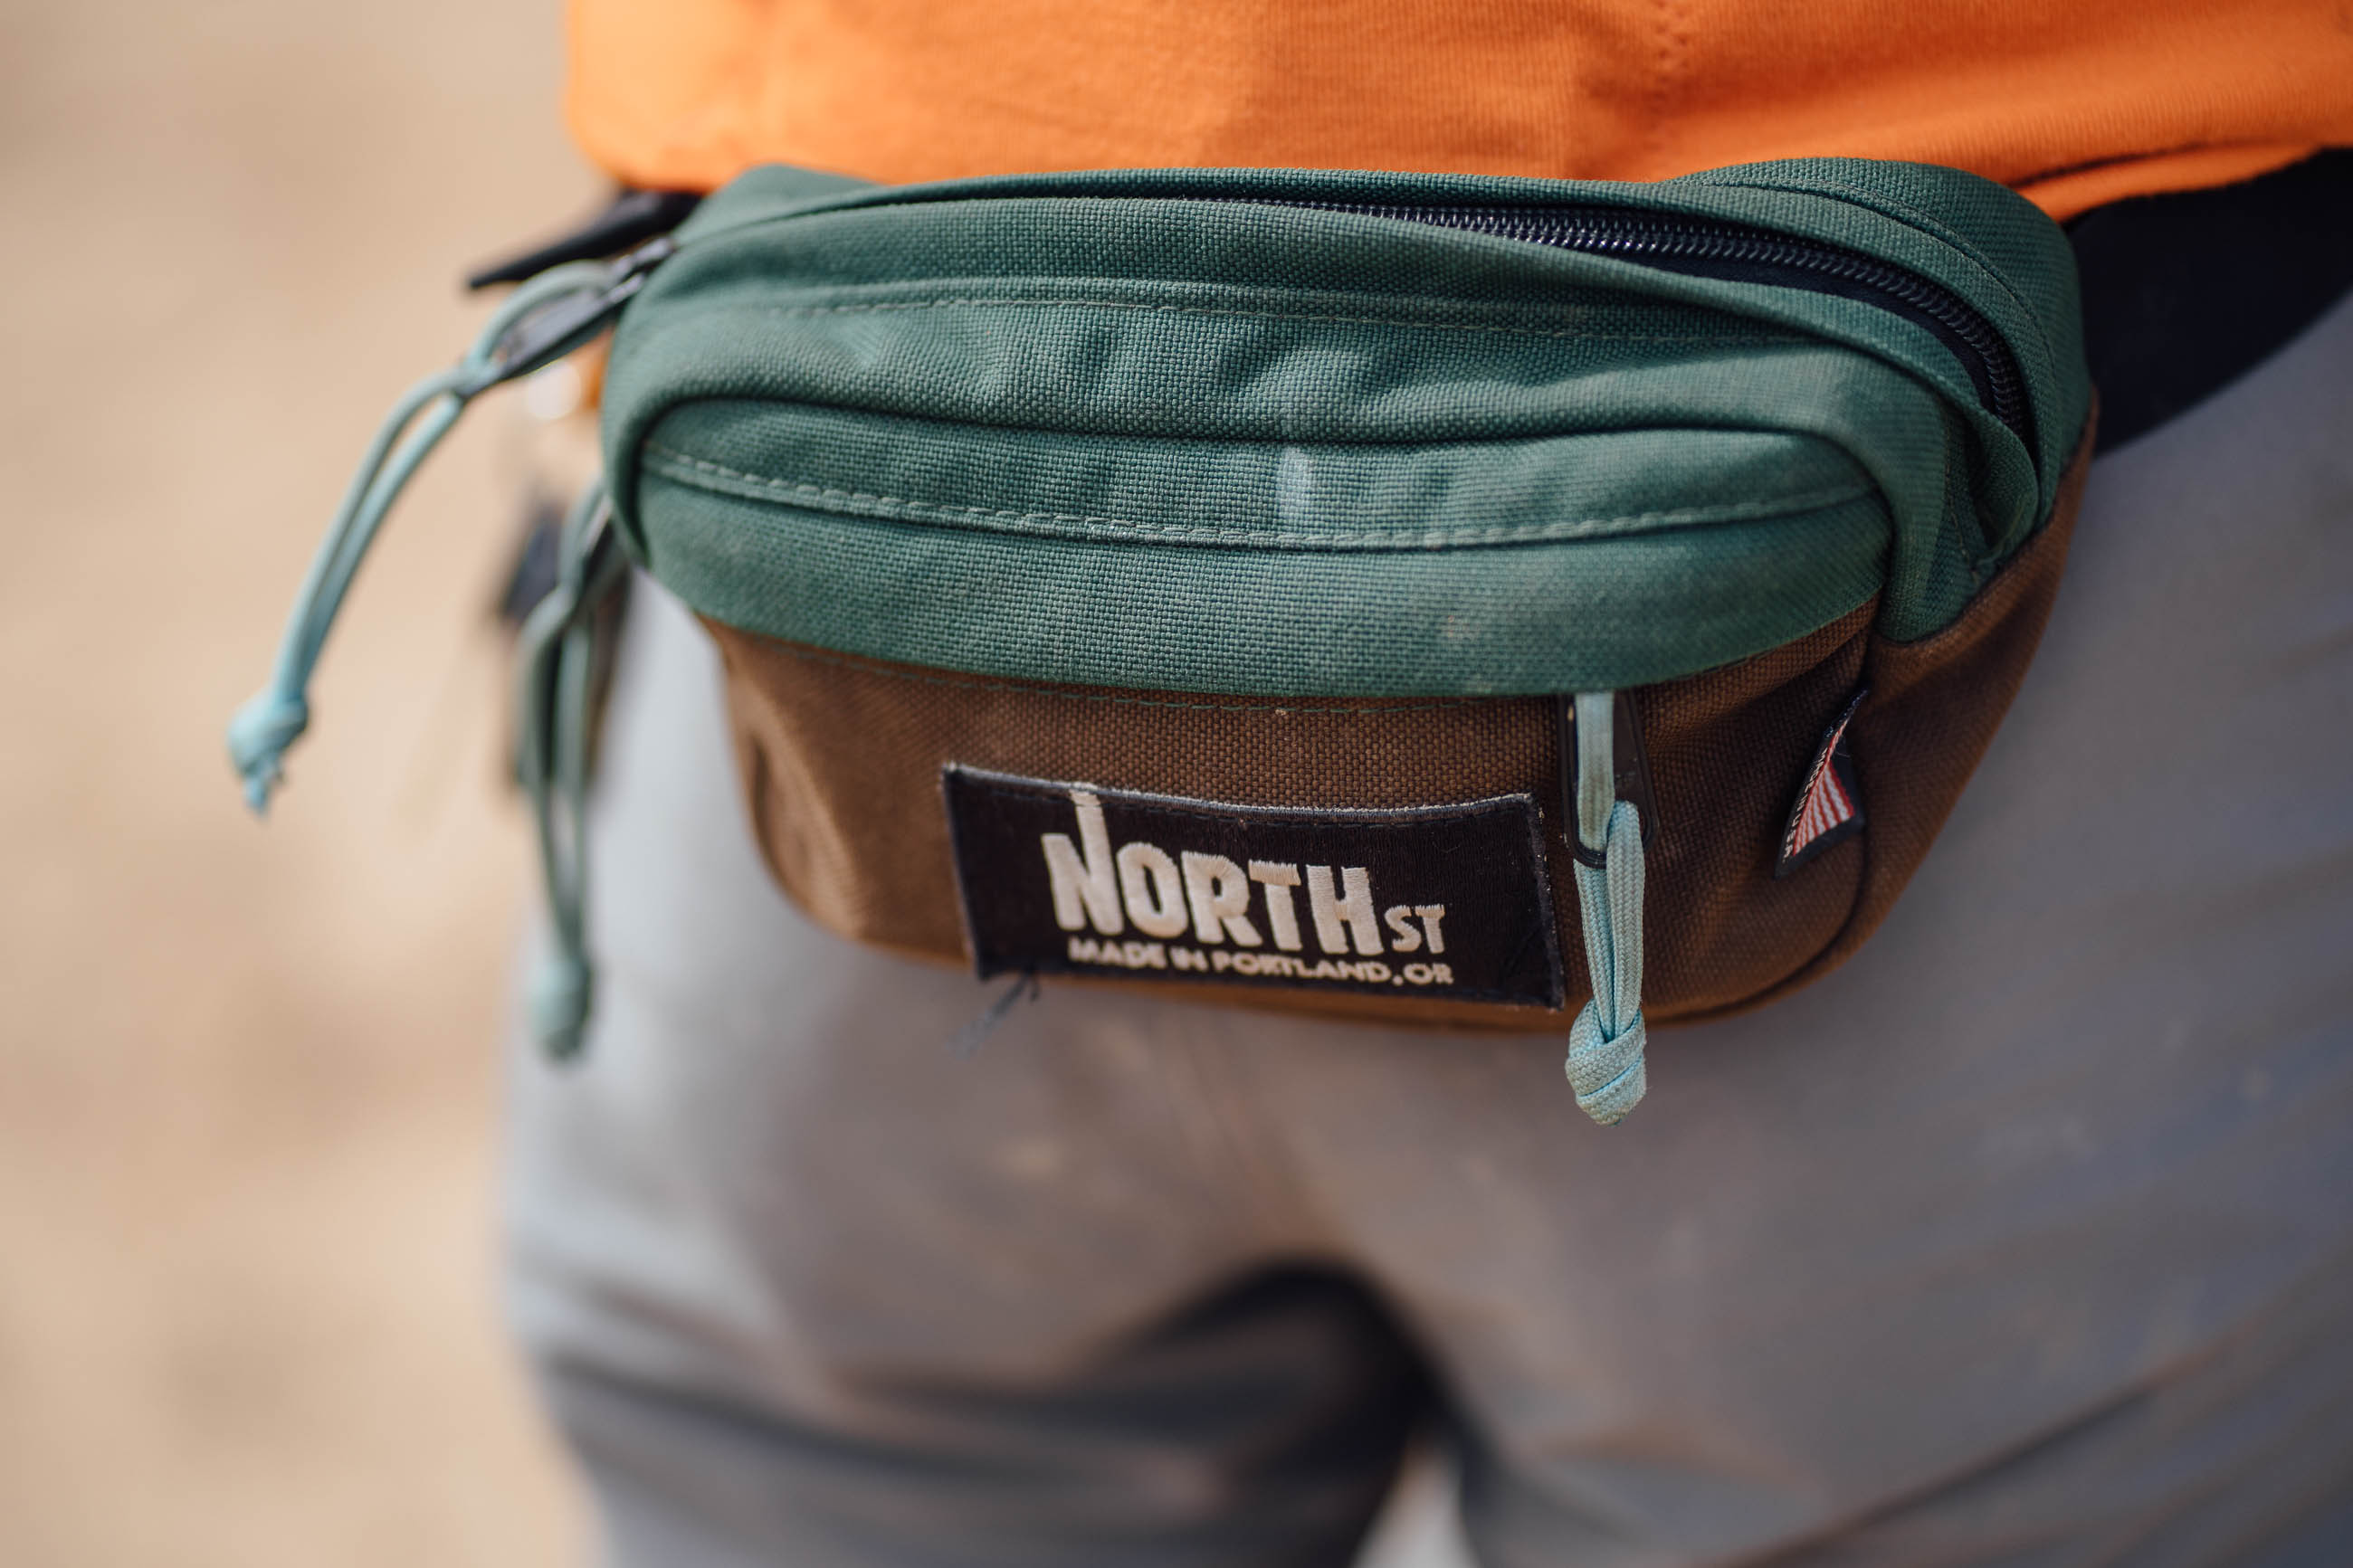
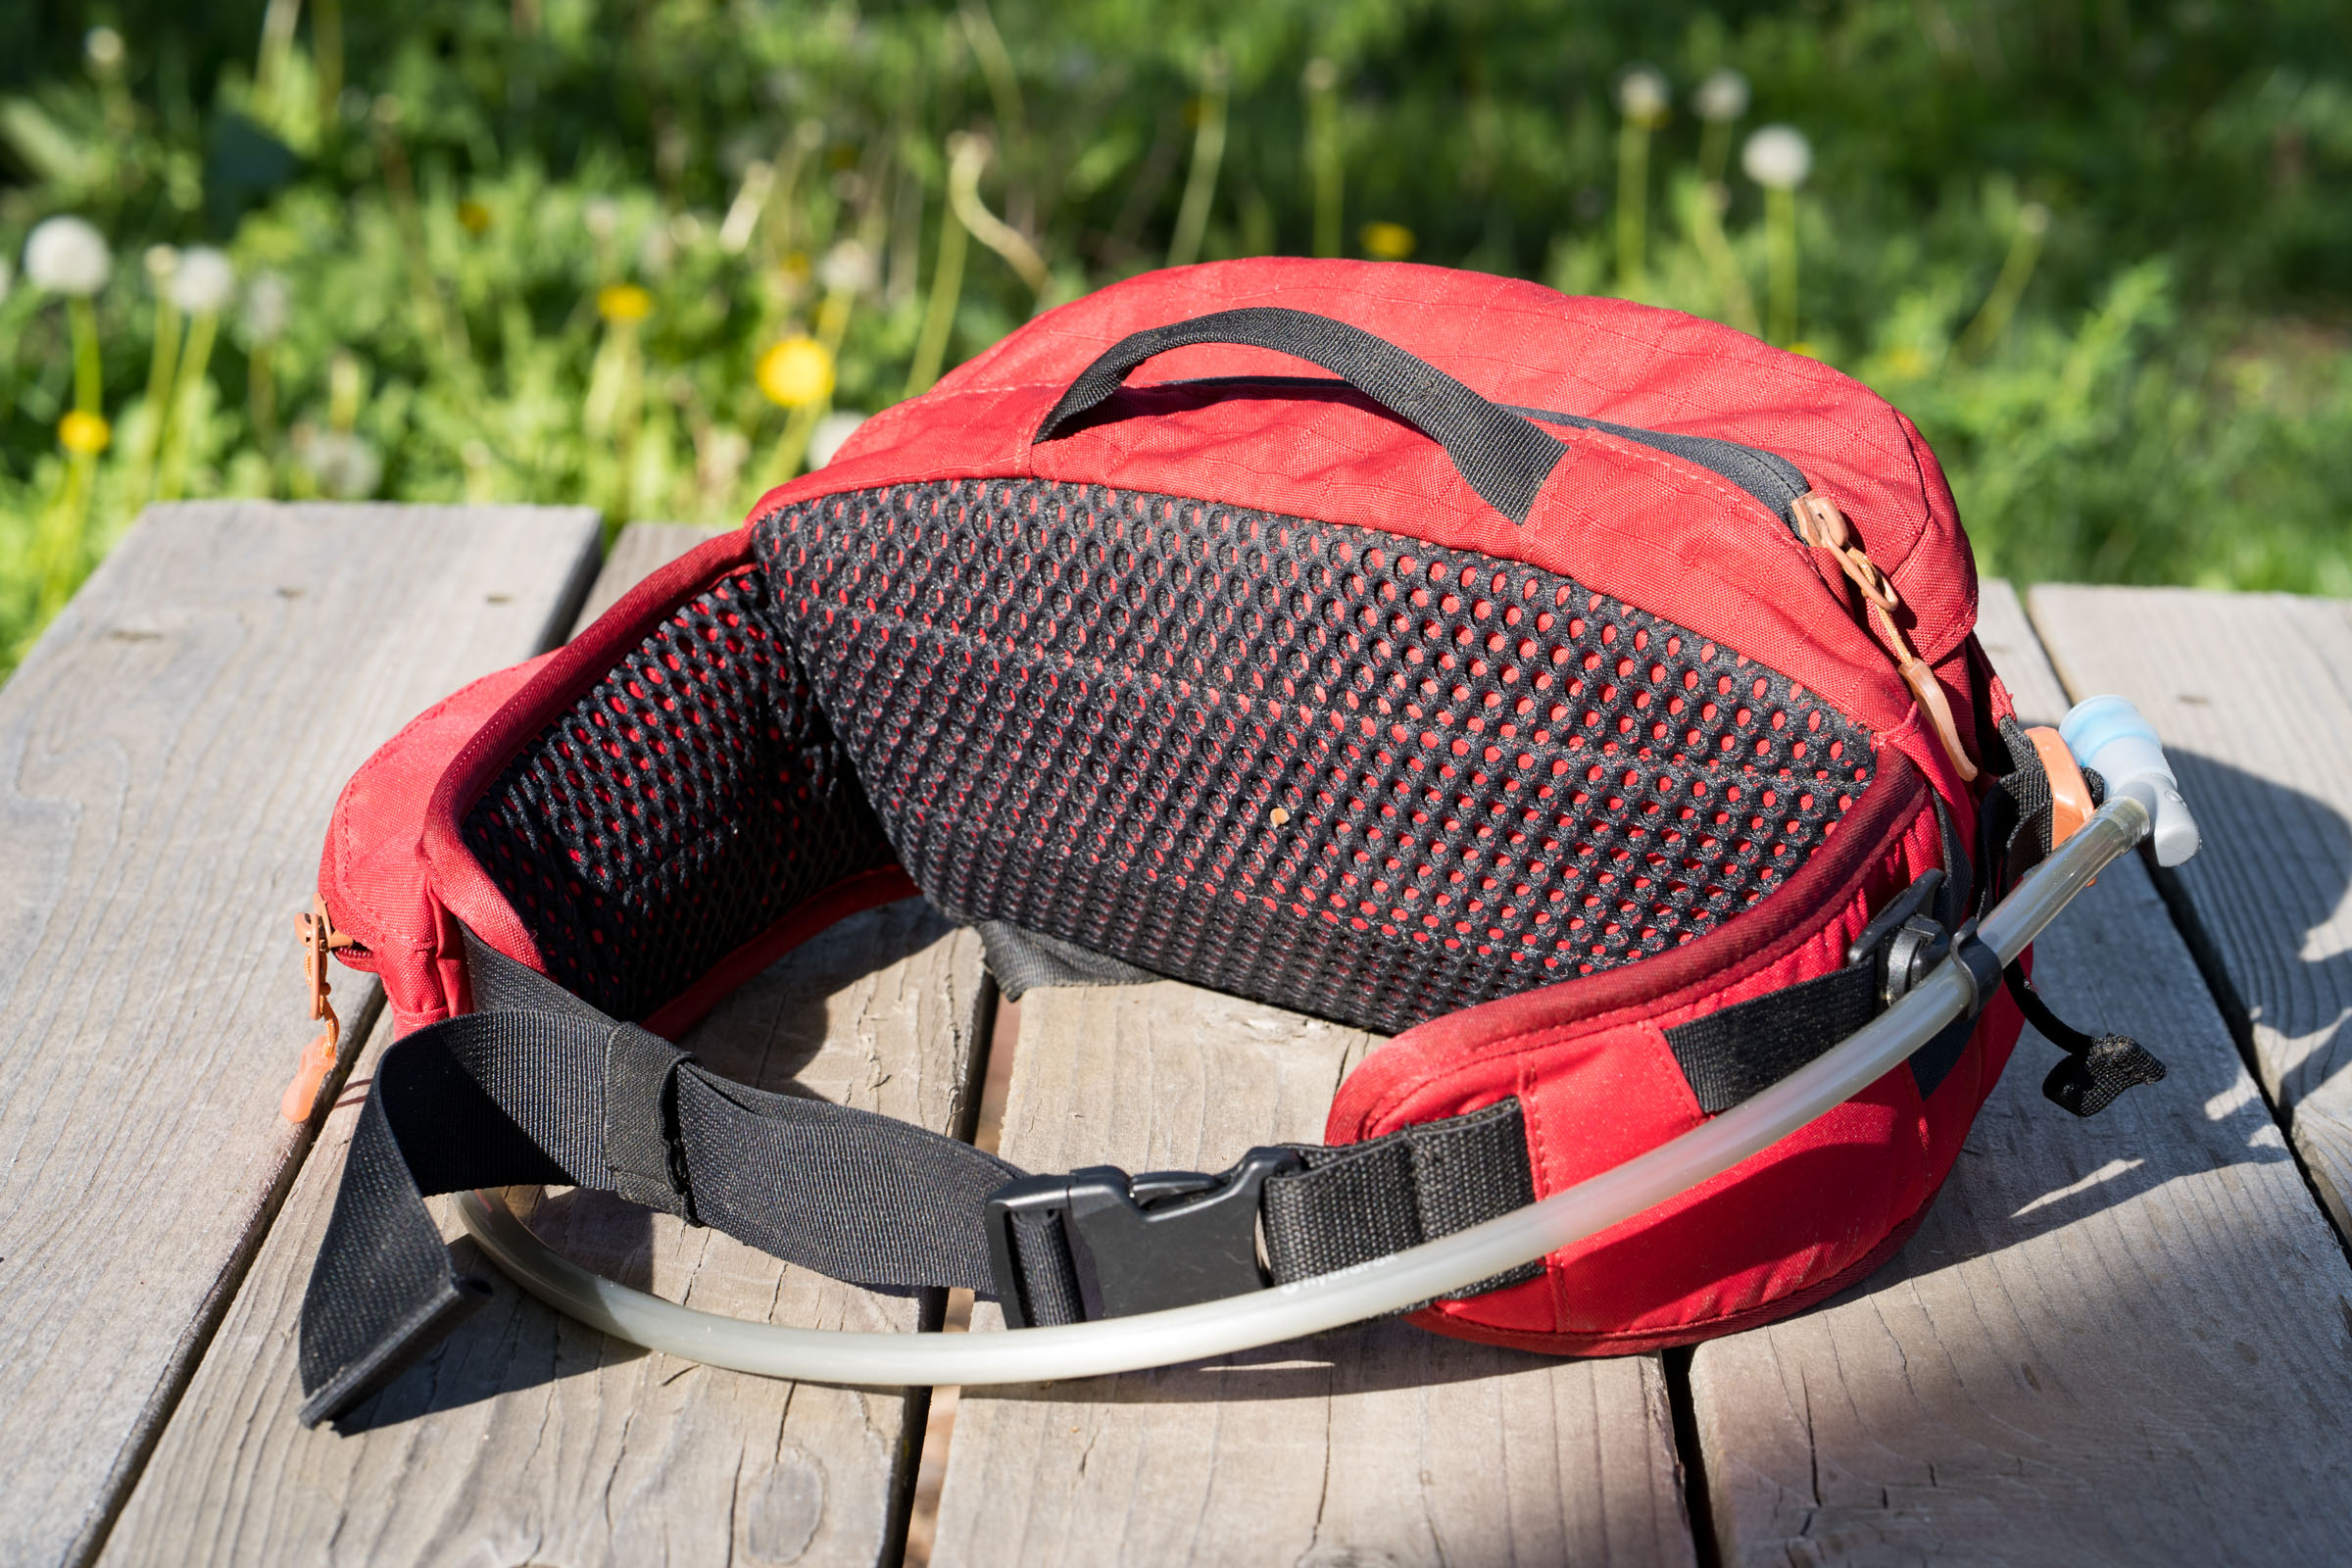
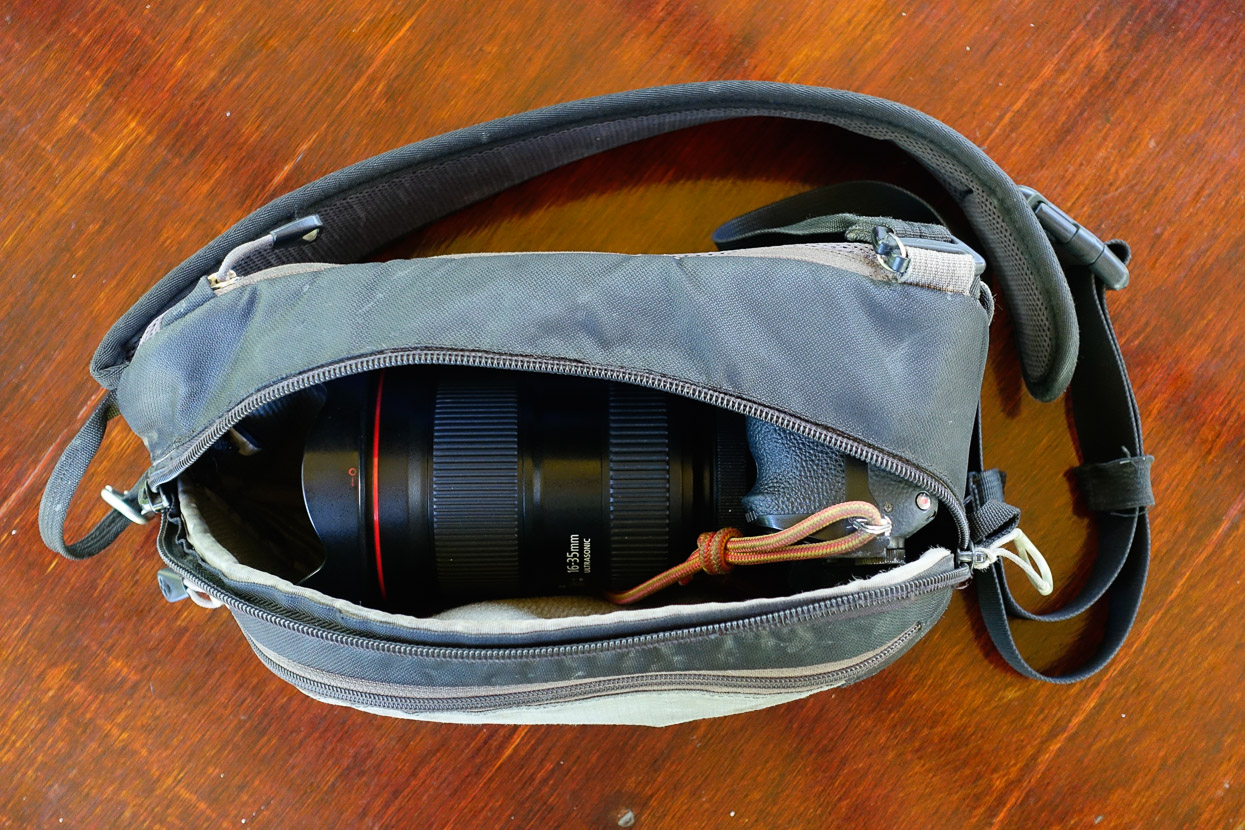
Carrying a Camera in a Hip Pack
Fanny packs are dead. Long live the hip pack! Here on the site, hip packs are our camera-carrying bags of choice, largely because they provide similar protection to a backpack when riding trails and bumpy roads, but with less of the sweatiness. Most models rest above your backside and can be adjusted for stability. But some sit on the hip itself, which is inherently a surprisingly stable spot when you’re pedalling, and easier to get to when you stop. Hip packs can be tightened in when riding rowdy singletack and when it comes to taking a photo, it’s simply a case of swinging the bag around your hips to access your camera in front of you.
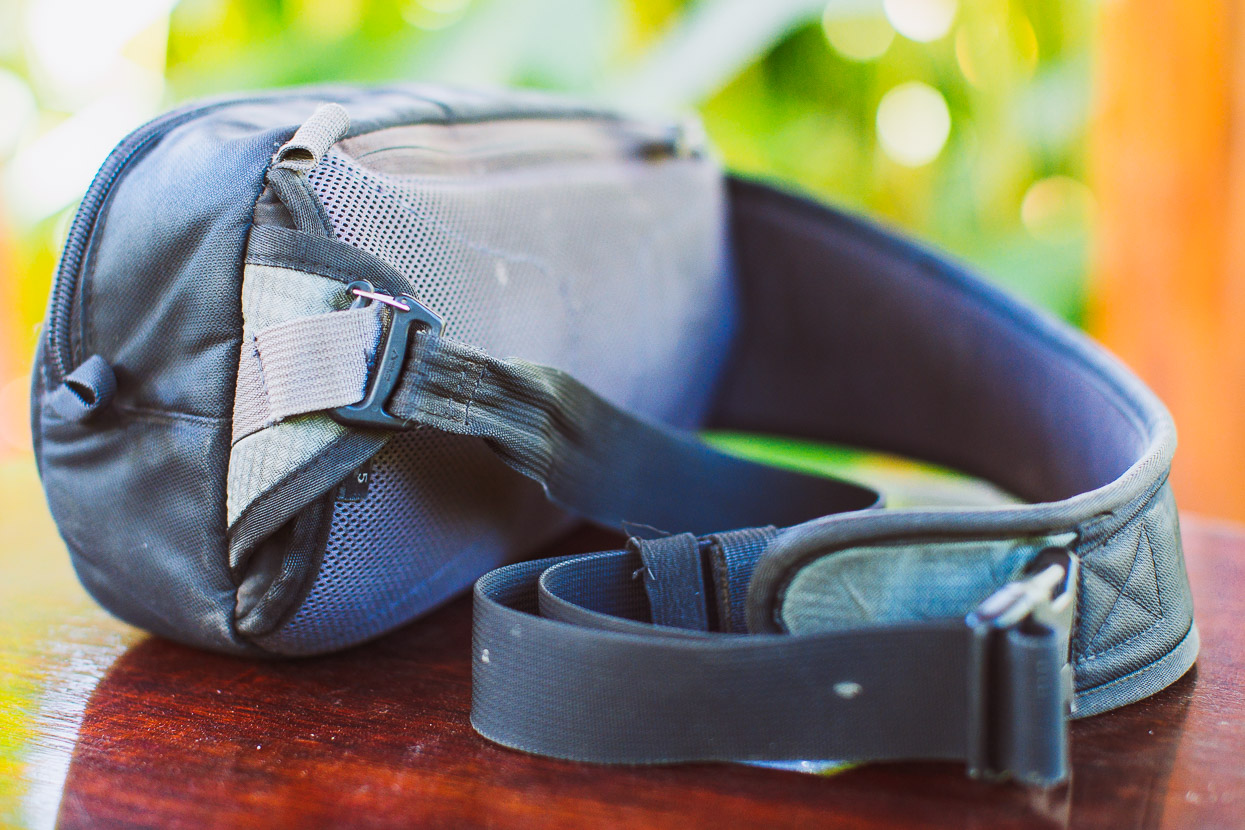
On the downside, hip bags don’t always suit larger cameras, especially those with long lenses – if your camera is heavy, choose one with a broad belt and make sure it has side stabilisation. It’s worth being mindful of the weight of your camera because when hip packs are overloaded, they can bounce around off-road, or pull uncomfortably on your belly on climbs. We’re all different but as a rule of thumb, but it’s probably best not to pack more than 1.5 kilograms (3.3 pounds) or so inside them. Additionally, hip bags can catch on your saddle when you’re getting on and off the bike, pull on the stomach when they’re cinched in for a descent, and you’ll get a bit sweaty when using them.


If it’s the right choice for you, you’ll be pleased to hear that there’s no shortage of options. For those who want to keep to a budget, start by searching your local thrift store and adapting the best hip bag you can find. Otherwise, check in to see what your favourite bikepacking bag maker is offering – see our Handmade Hip Bags Gear Index for ideas. Even if your riding doesn’t require a fully waterproof model, it should at least be dust-proof and able to shrug off showers. Roll-top designs tend to offer slower access than zips, but they also promise better weather resistance and durability, given that it’s a bag you’ll be opening and shutting regularly. If it has a zip, make sure it’s a suitably burly one. Look for models with sufficient padding so your camera doesn’t poke into your back.
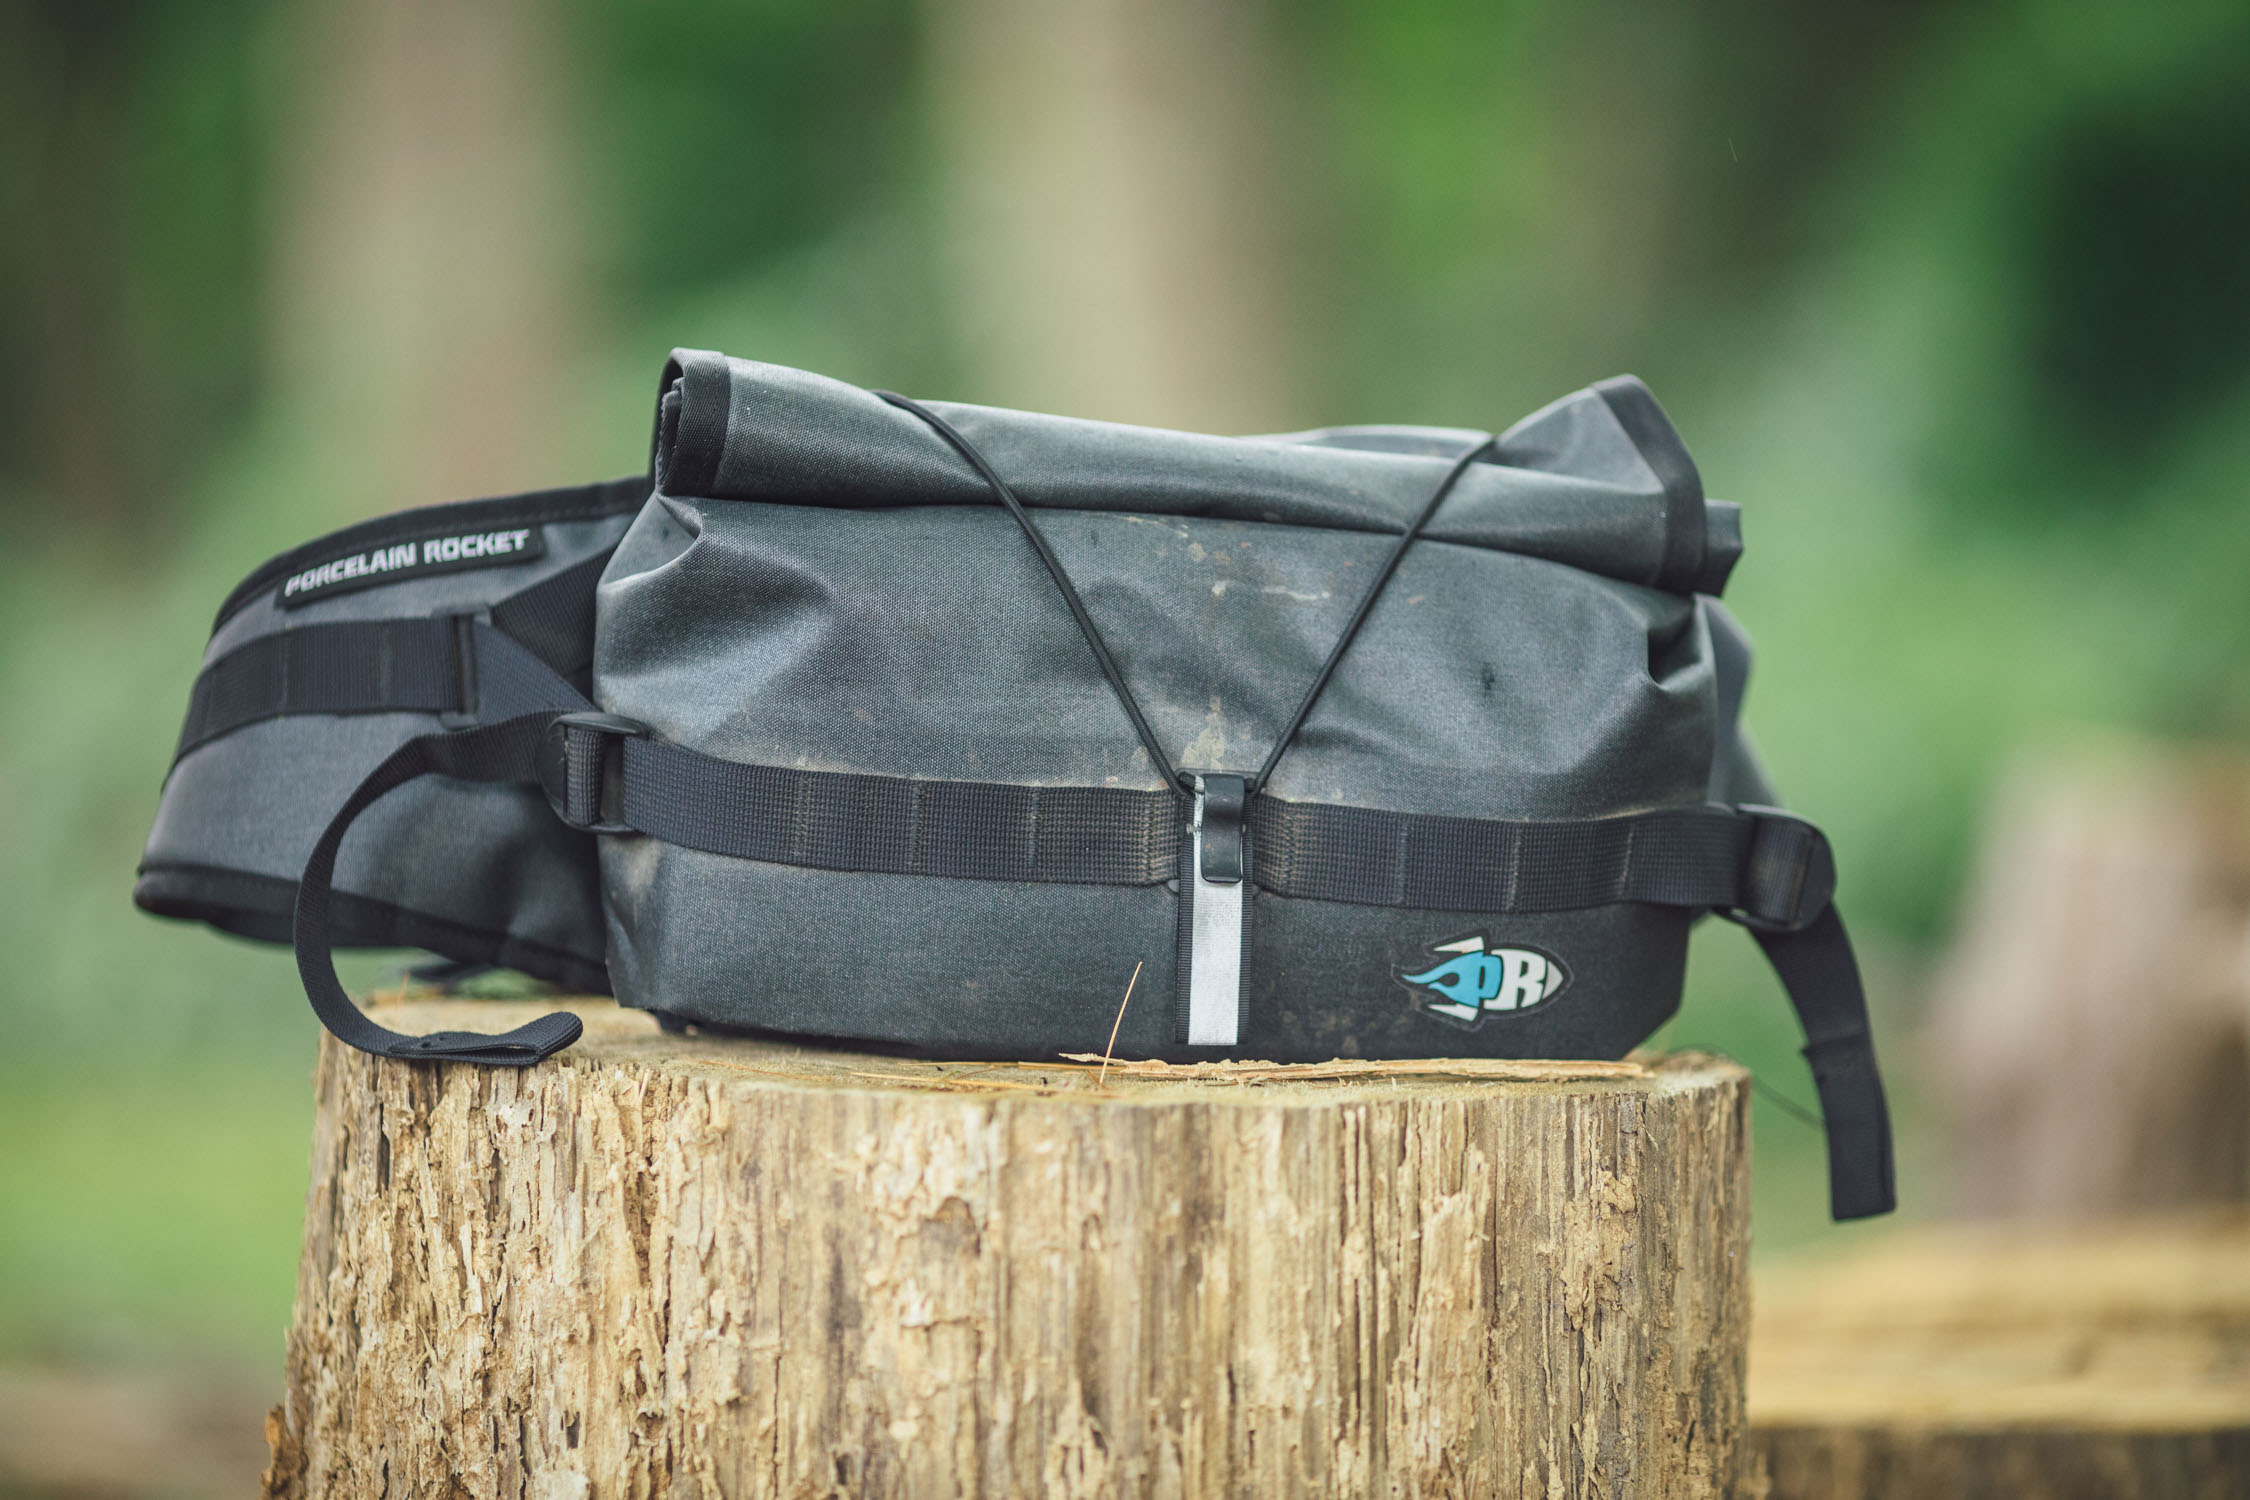
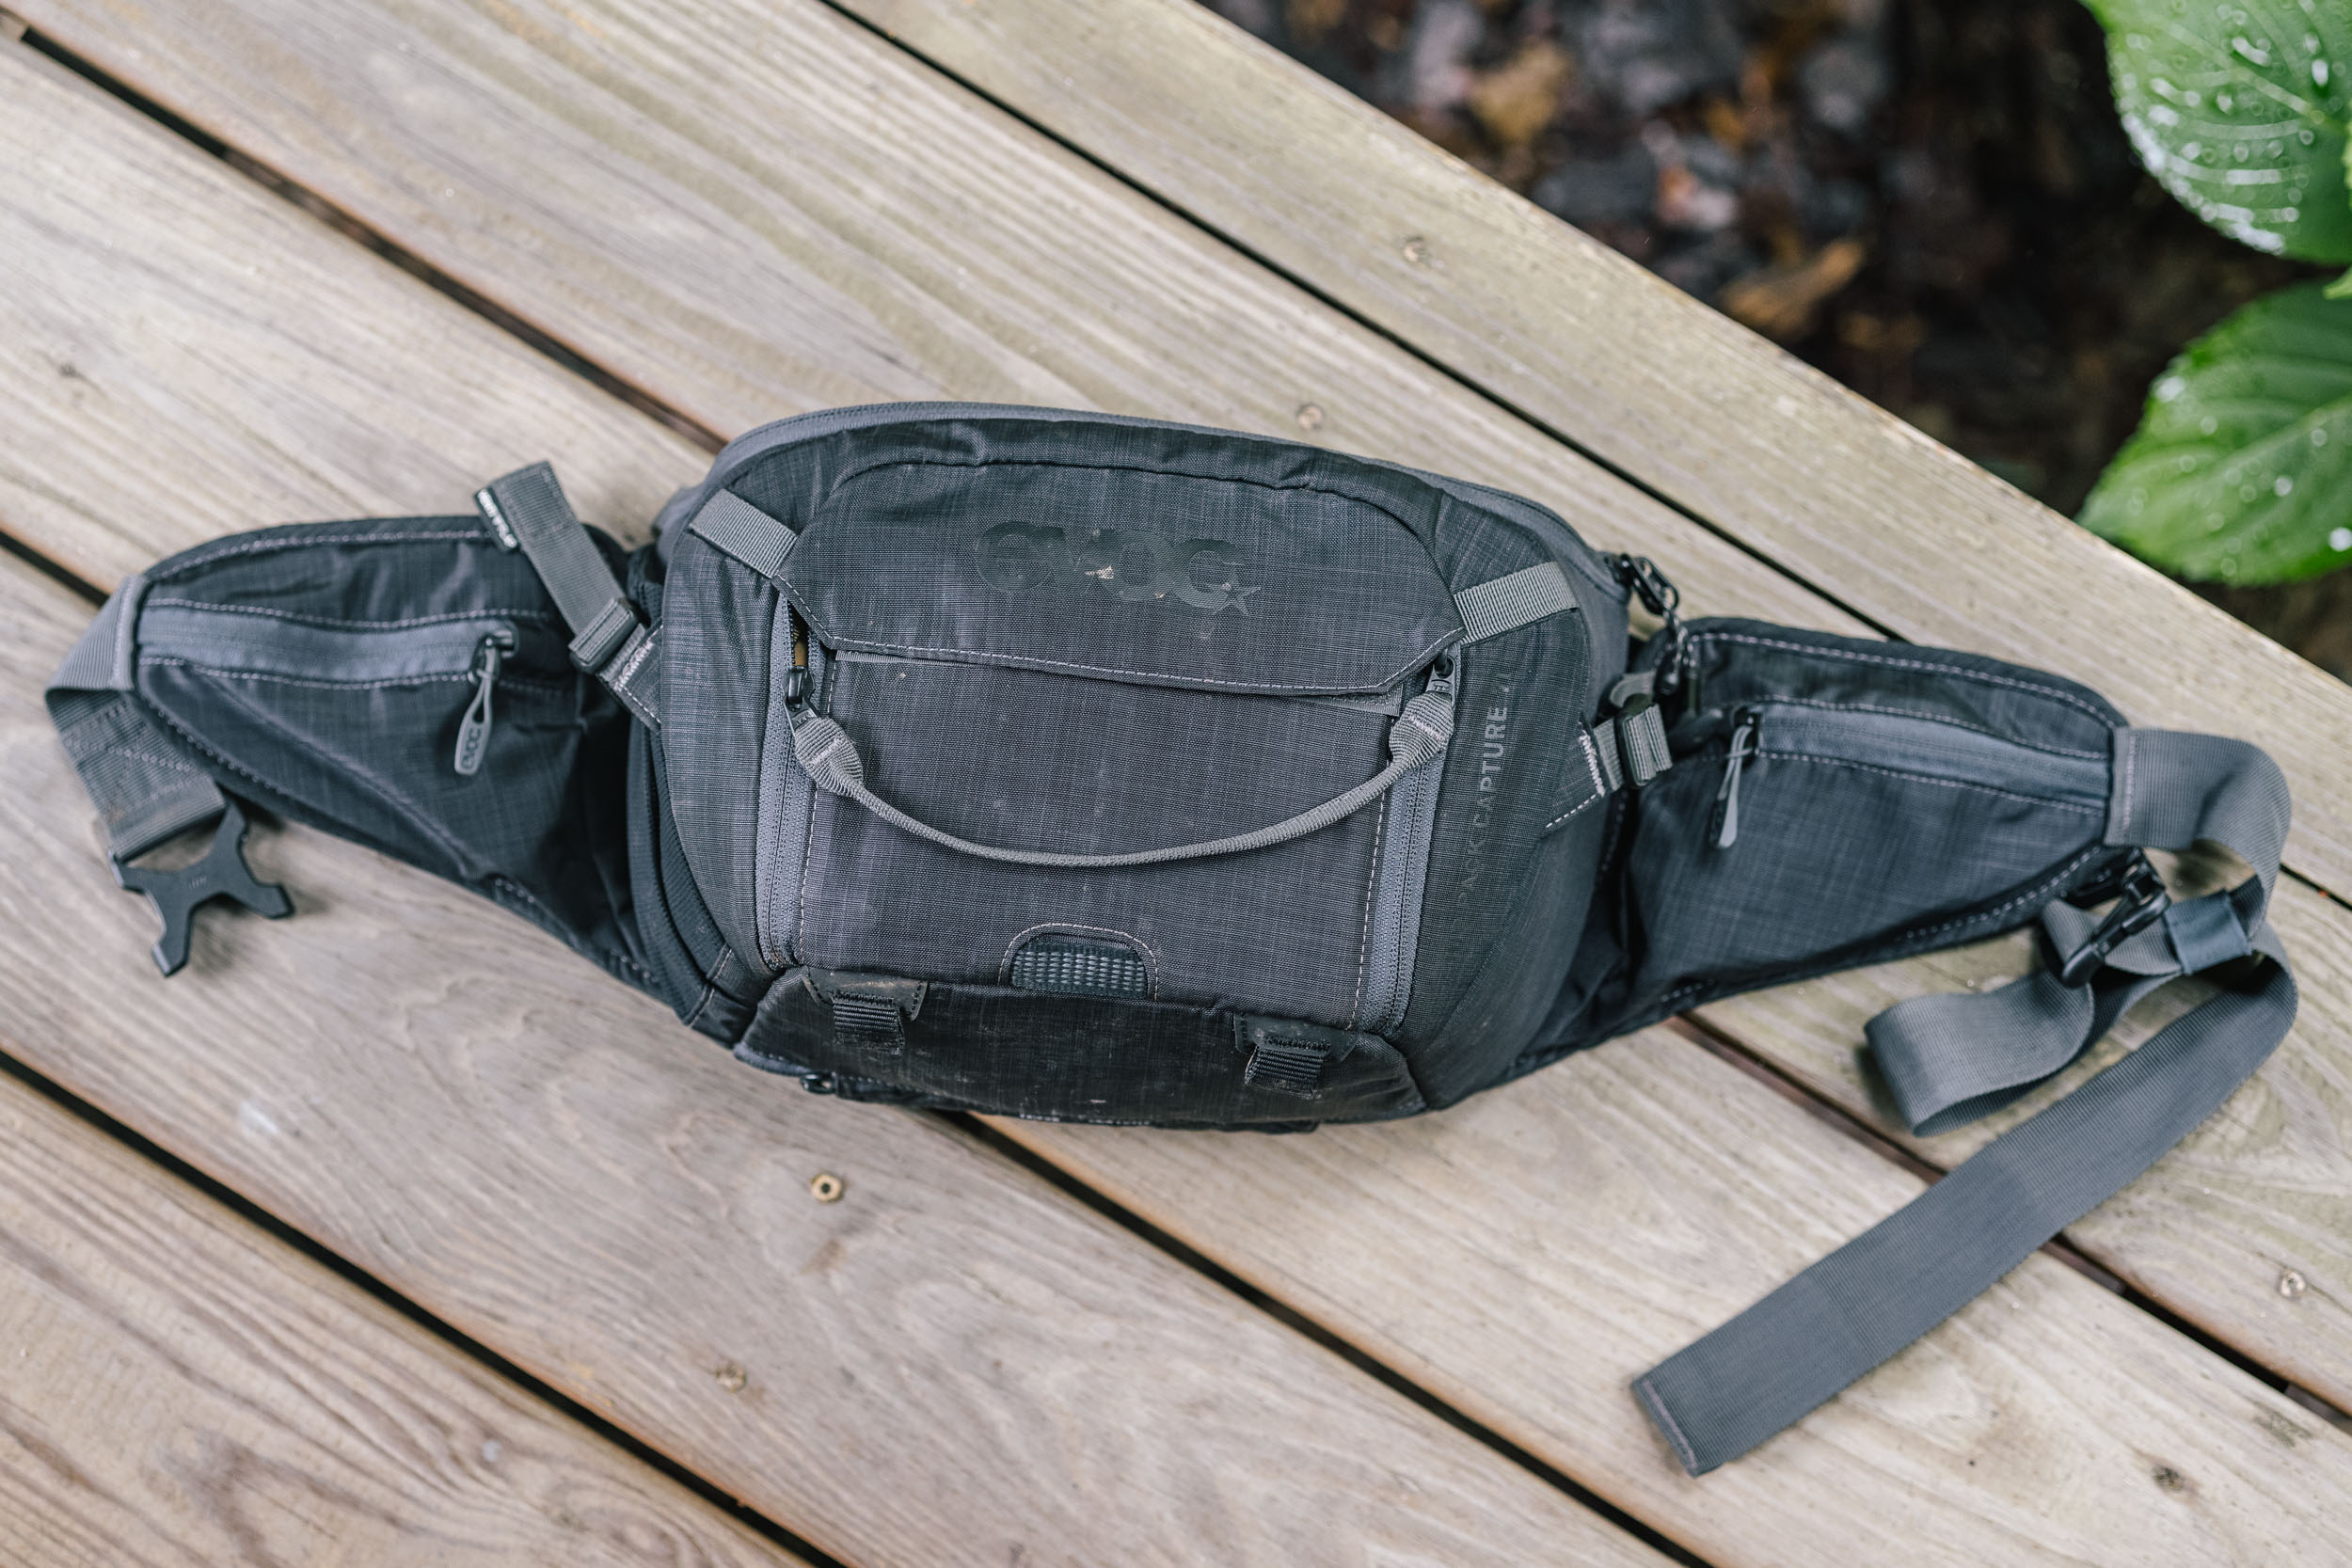
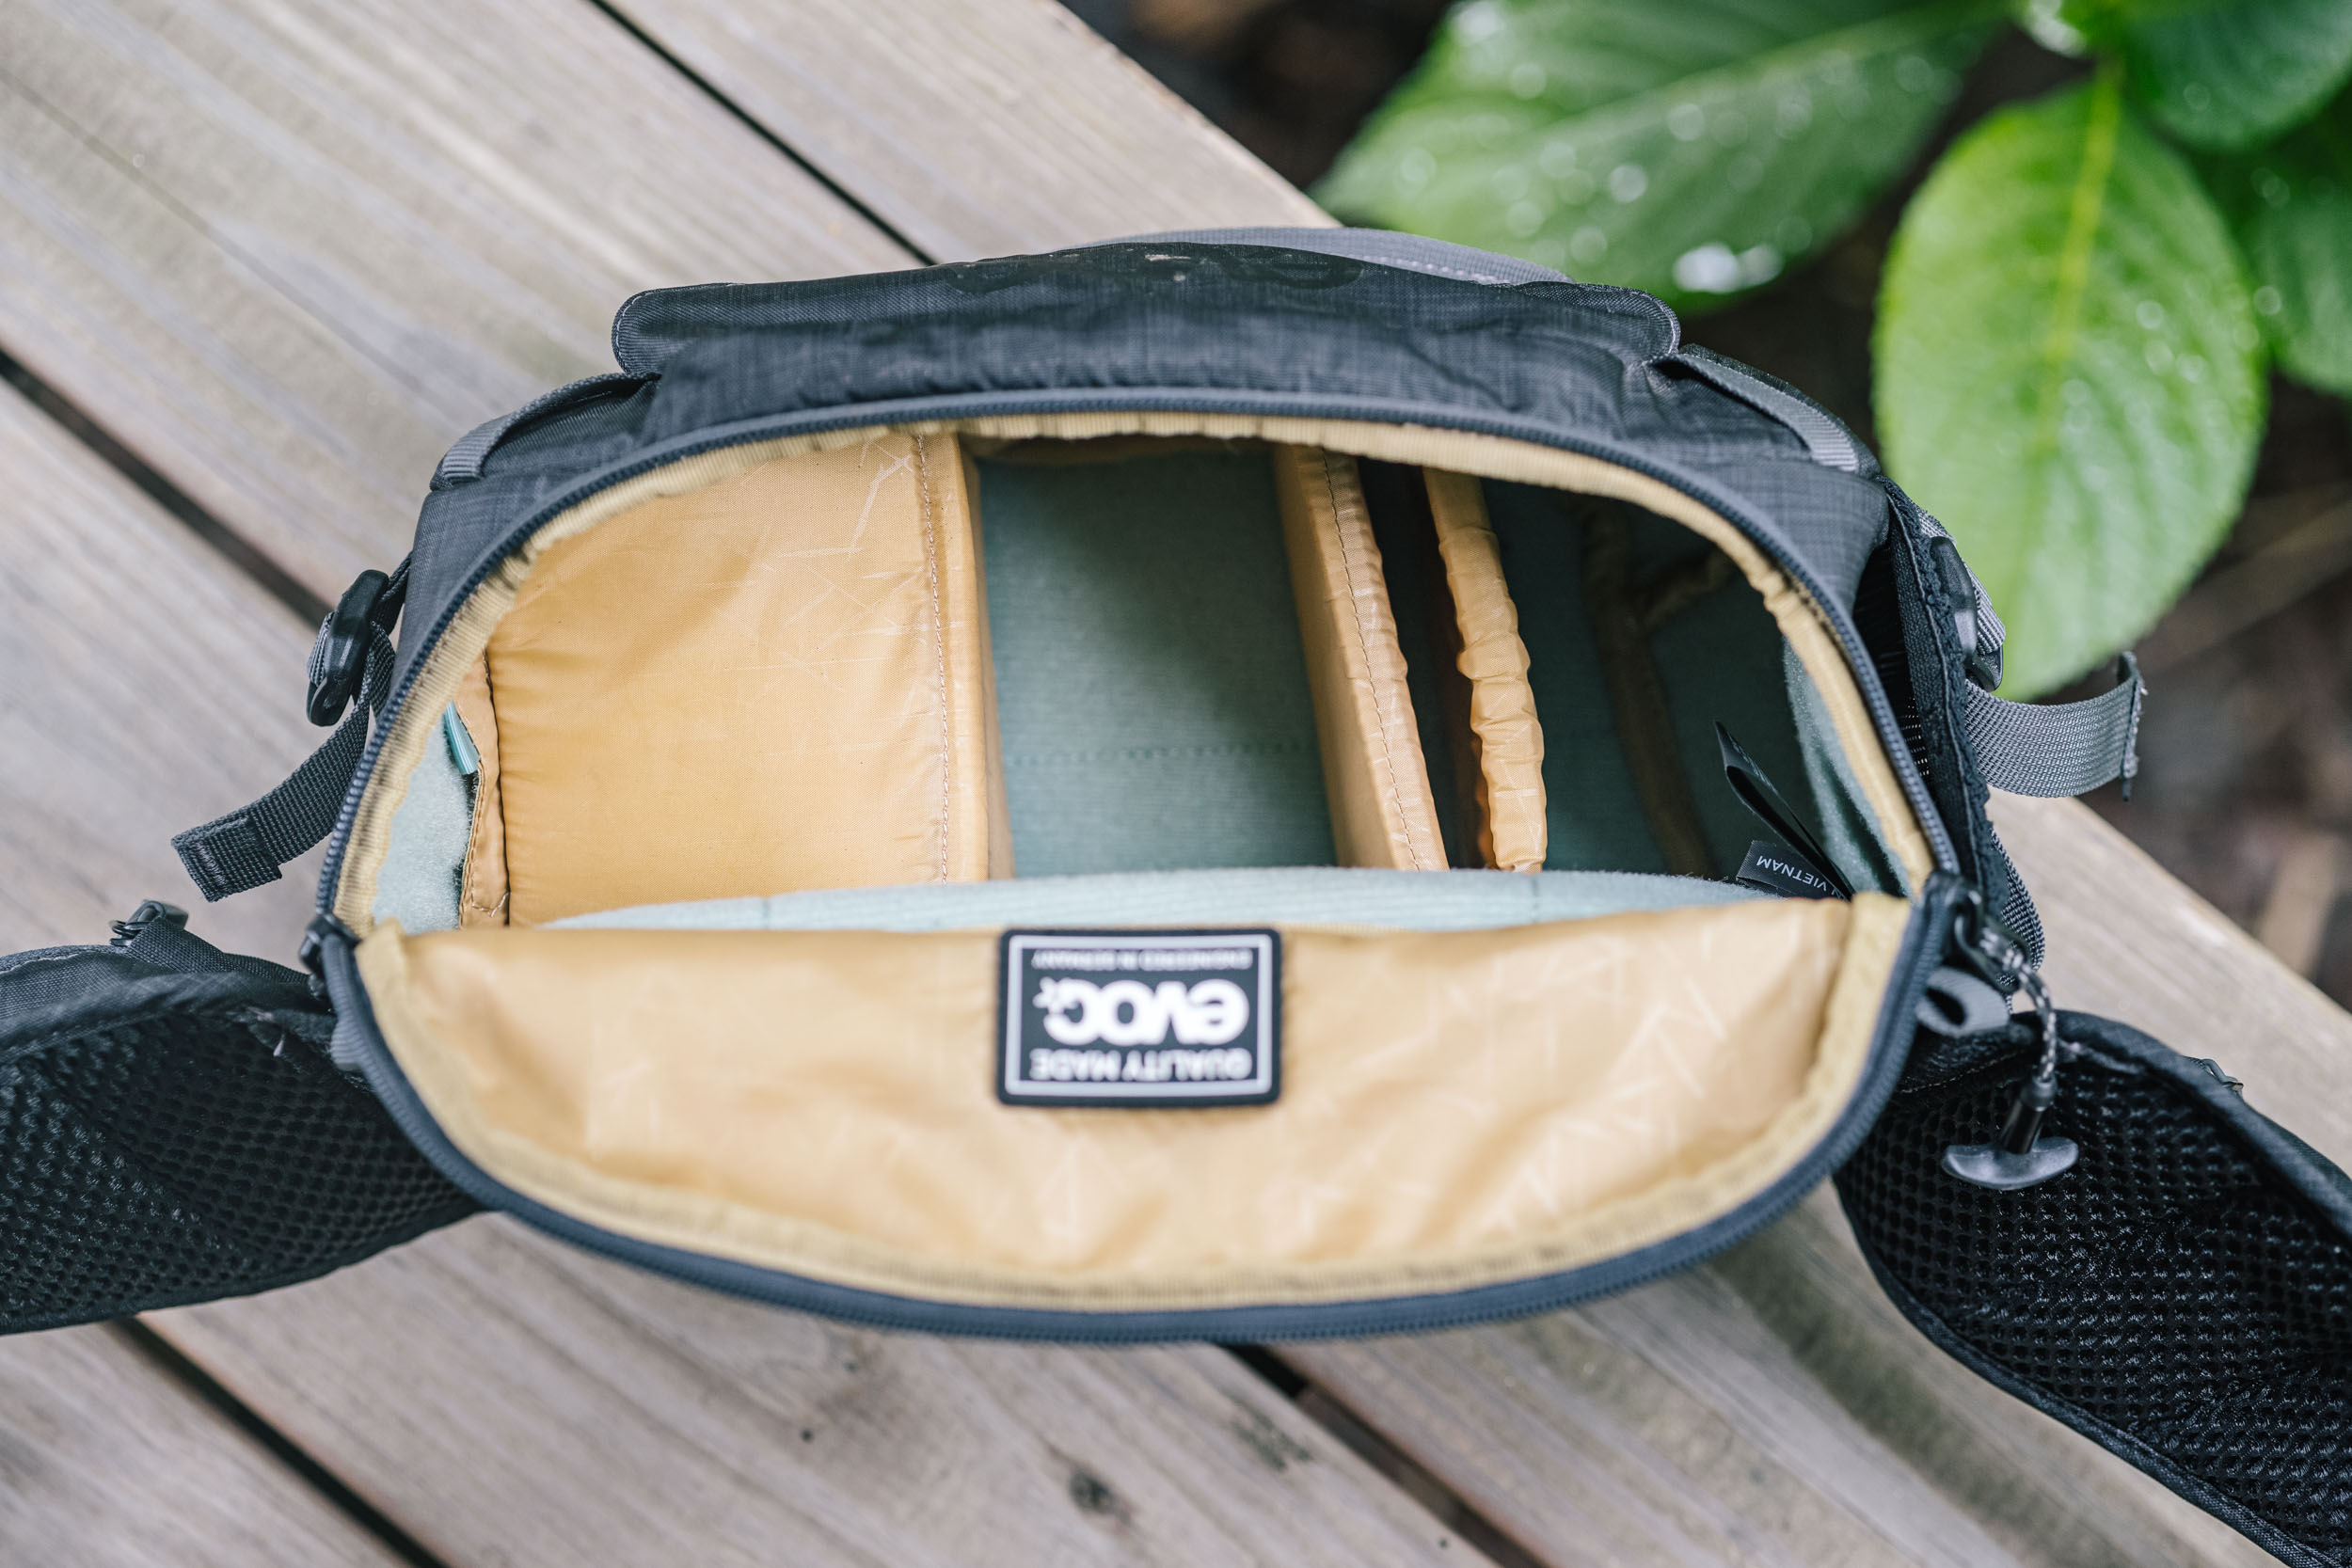
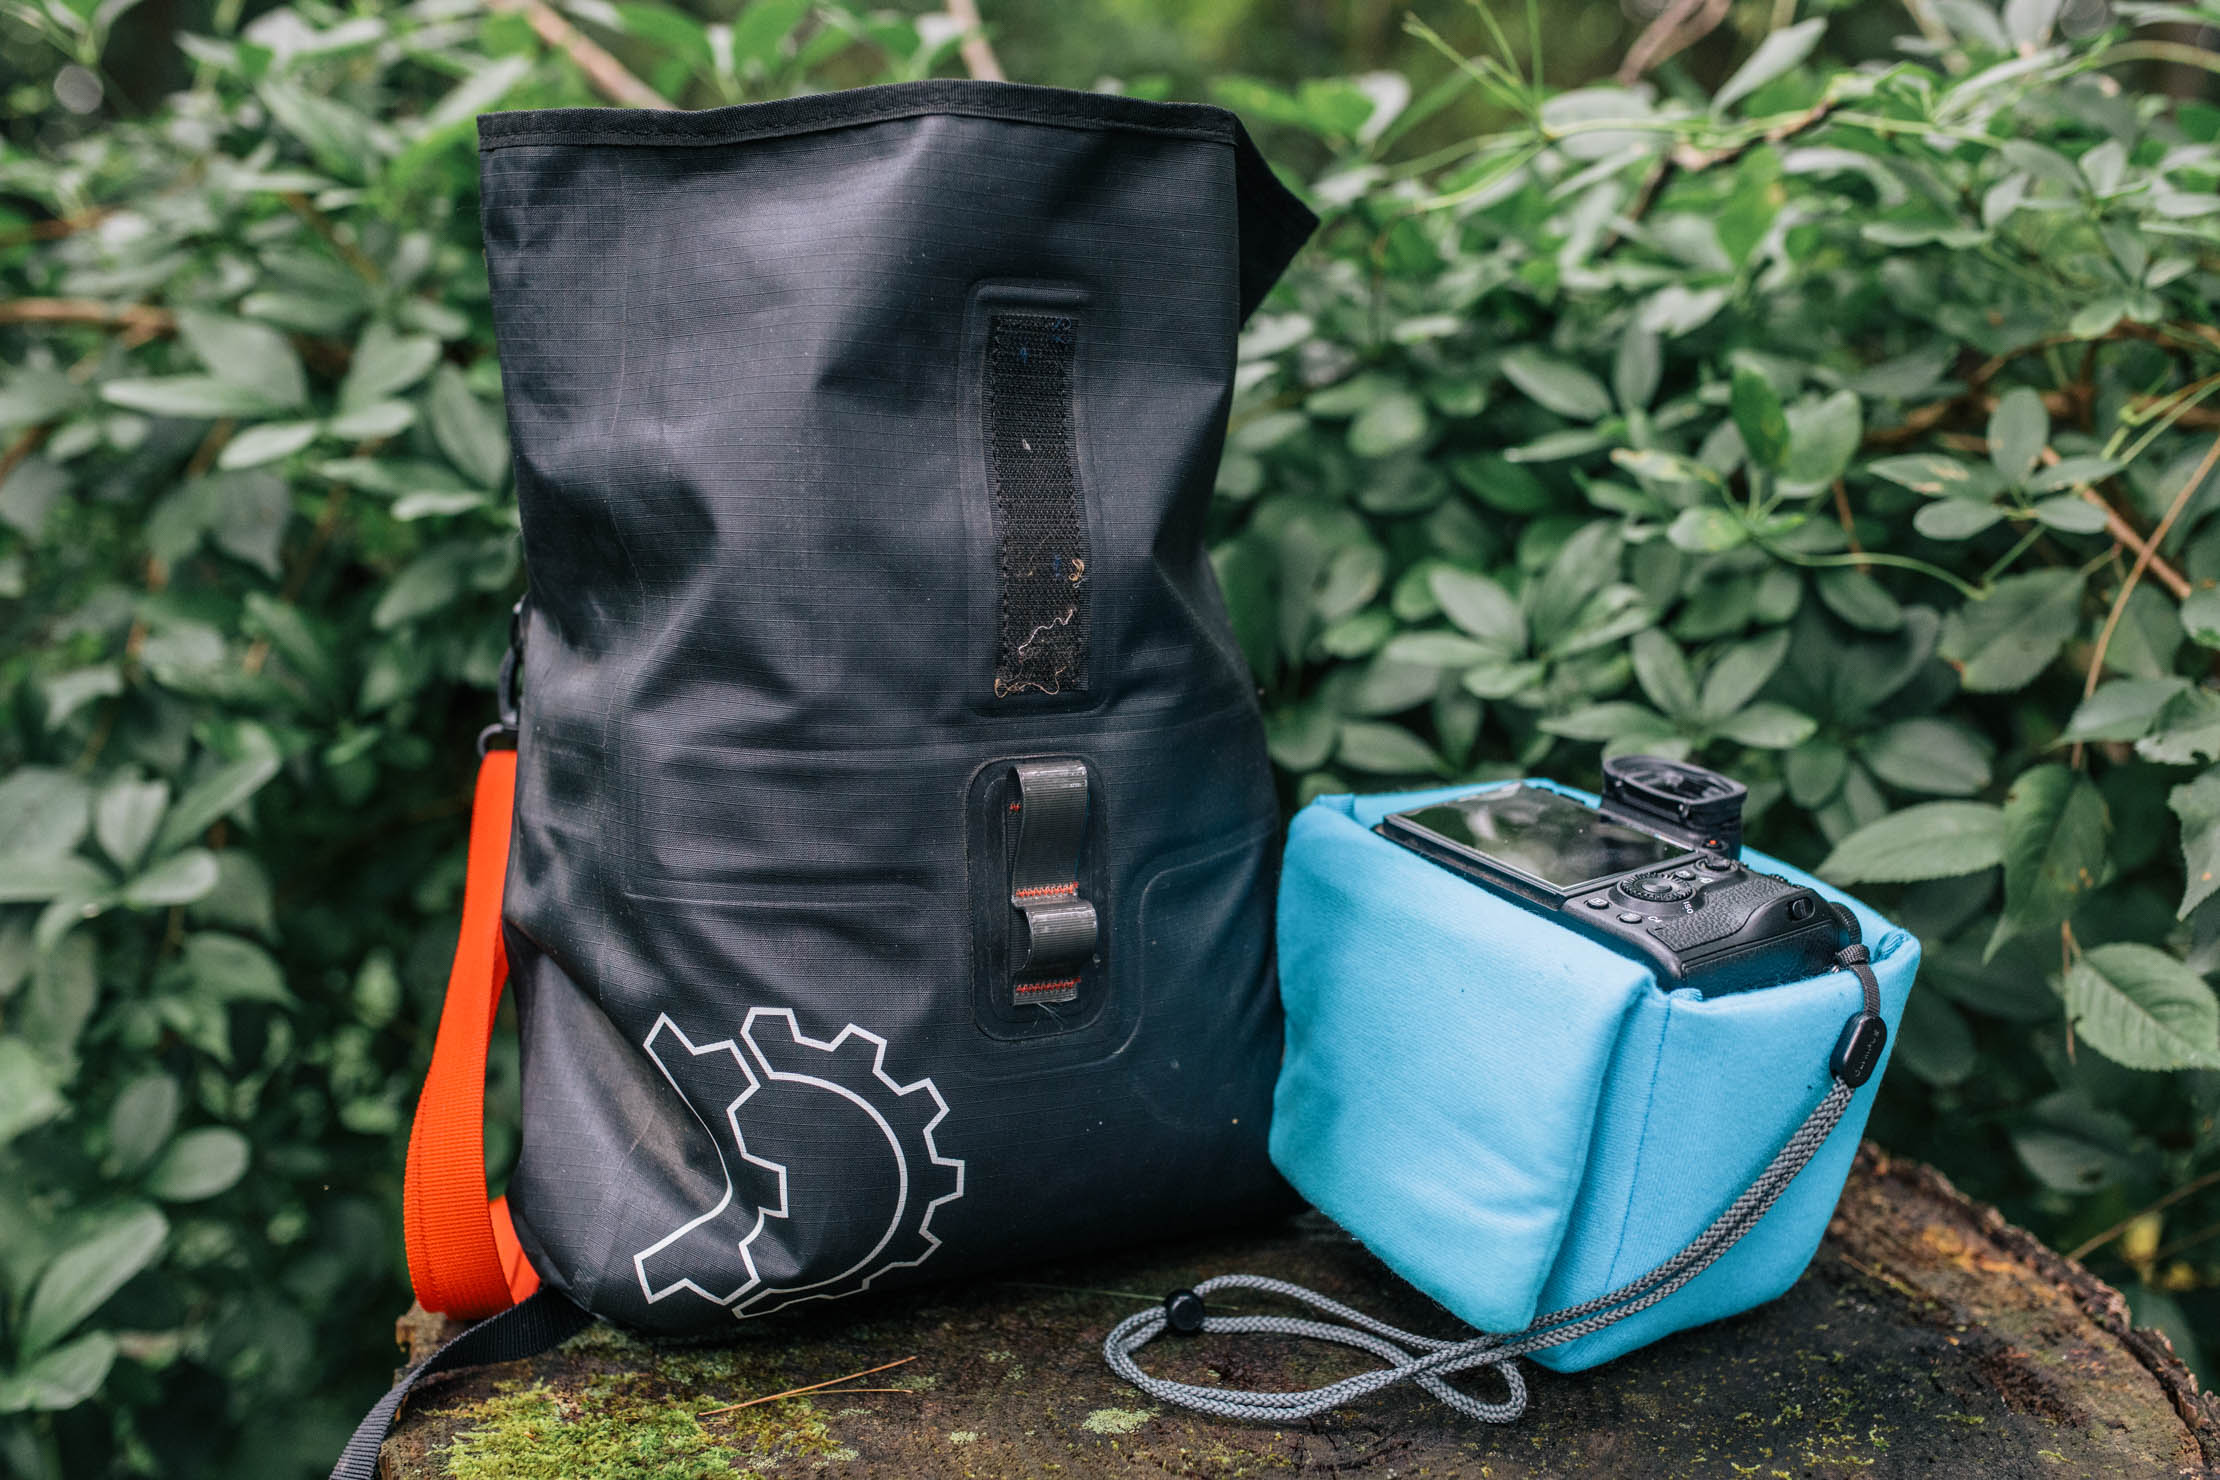
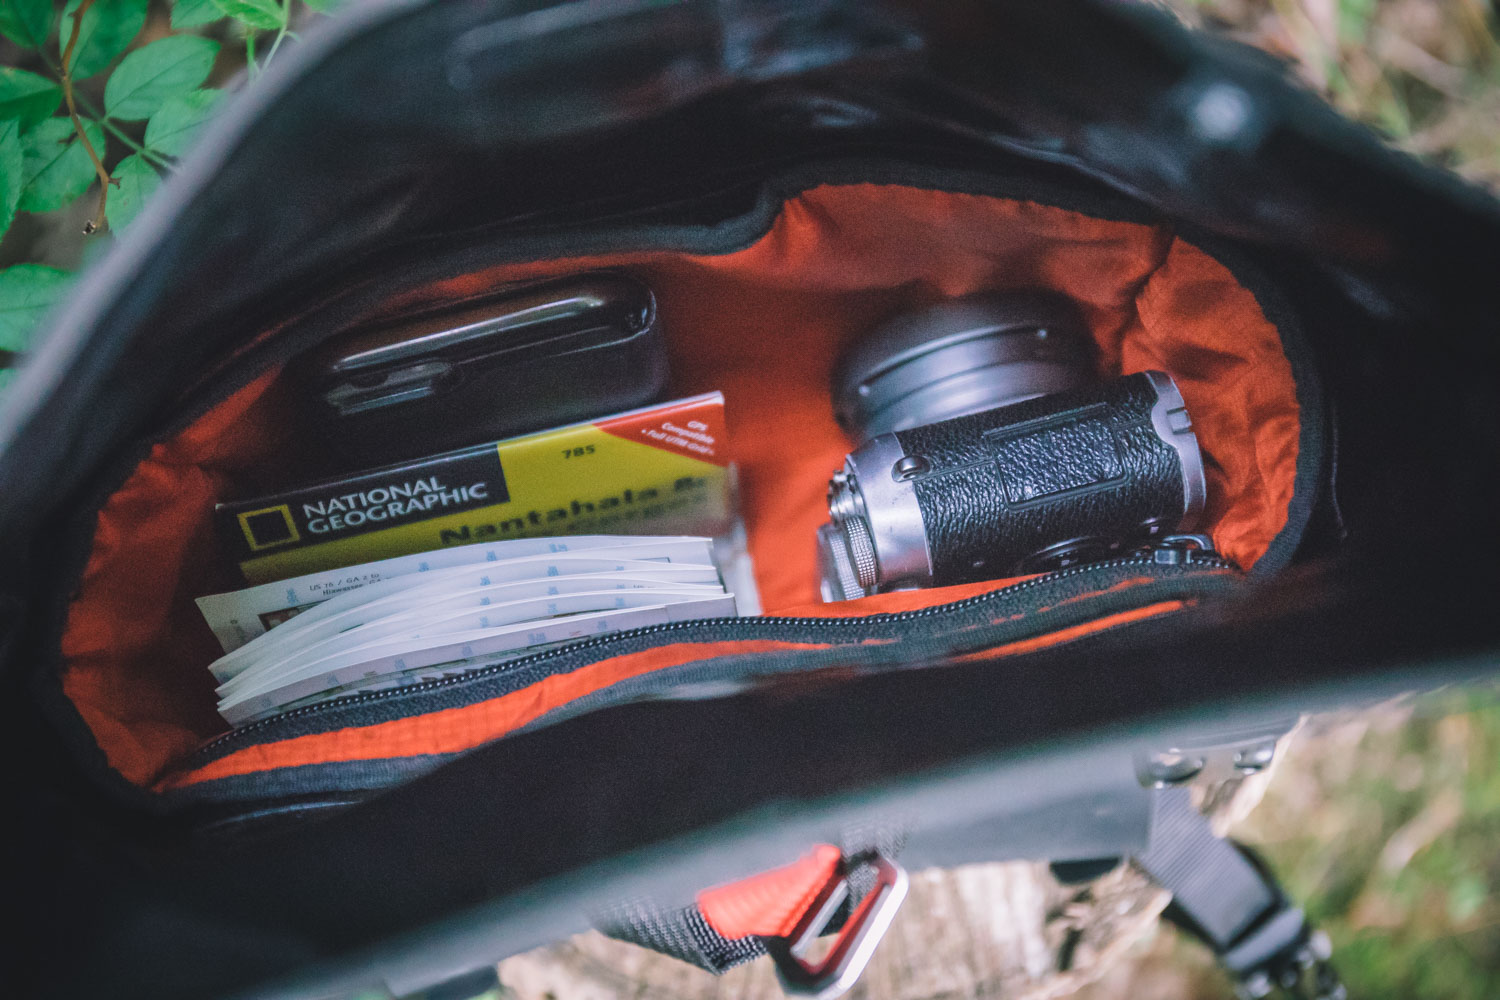
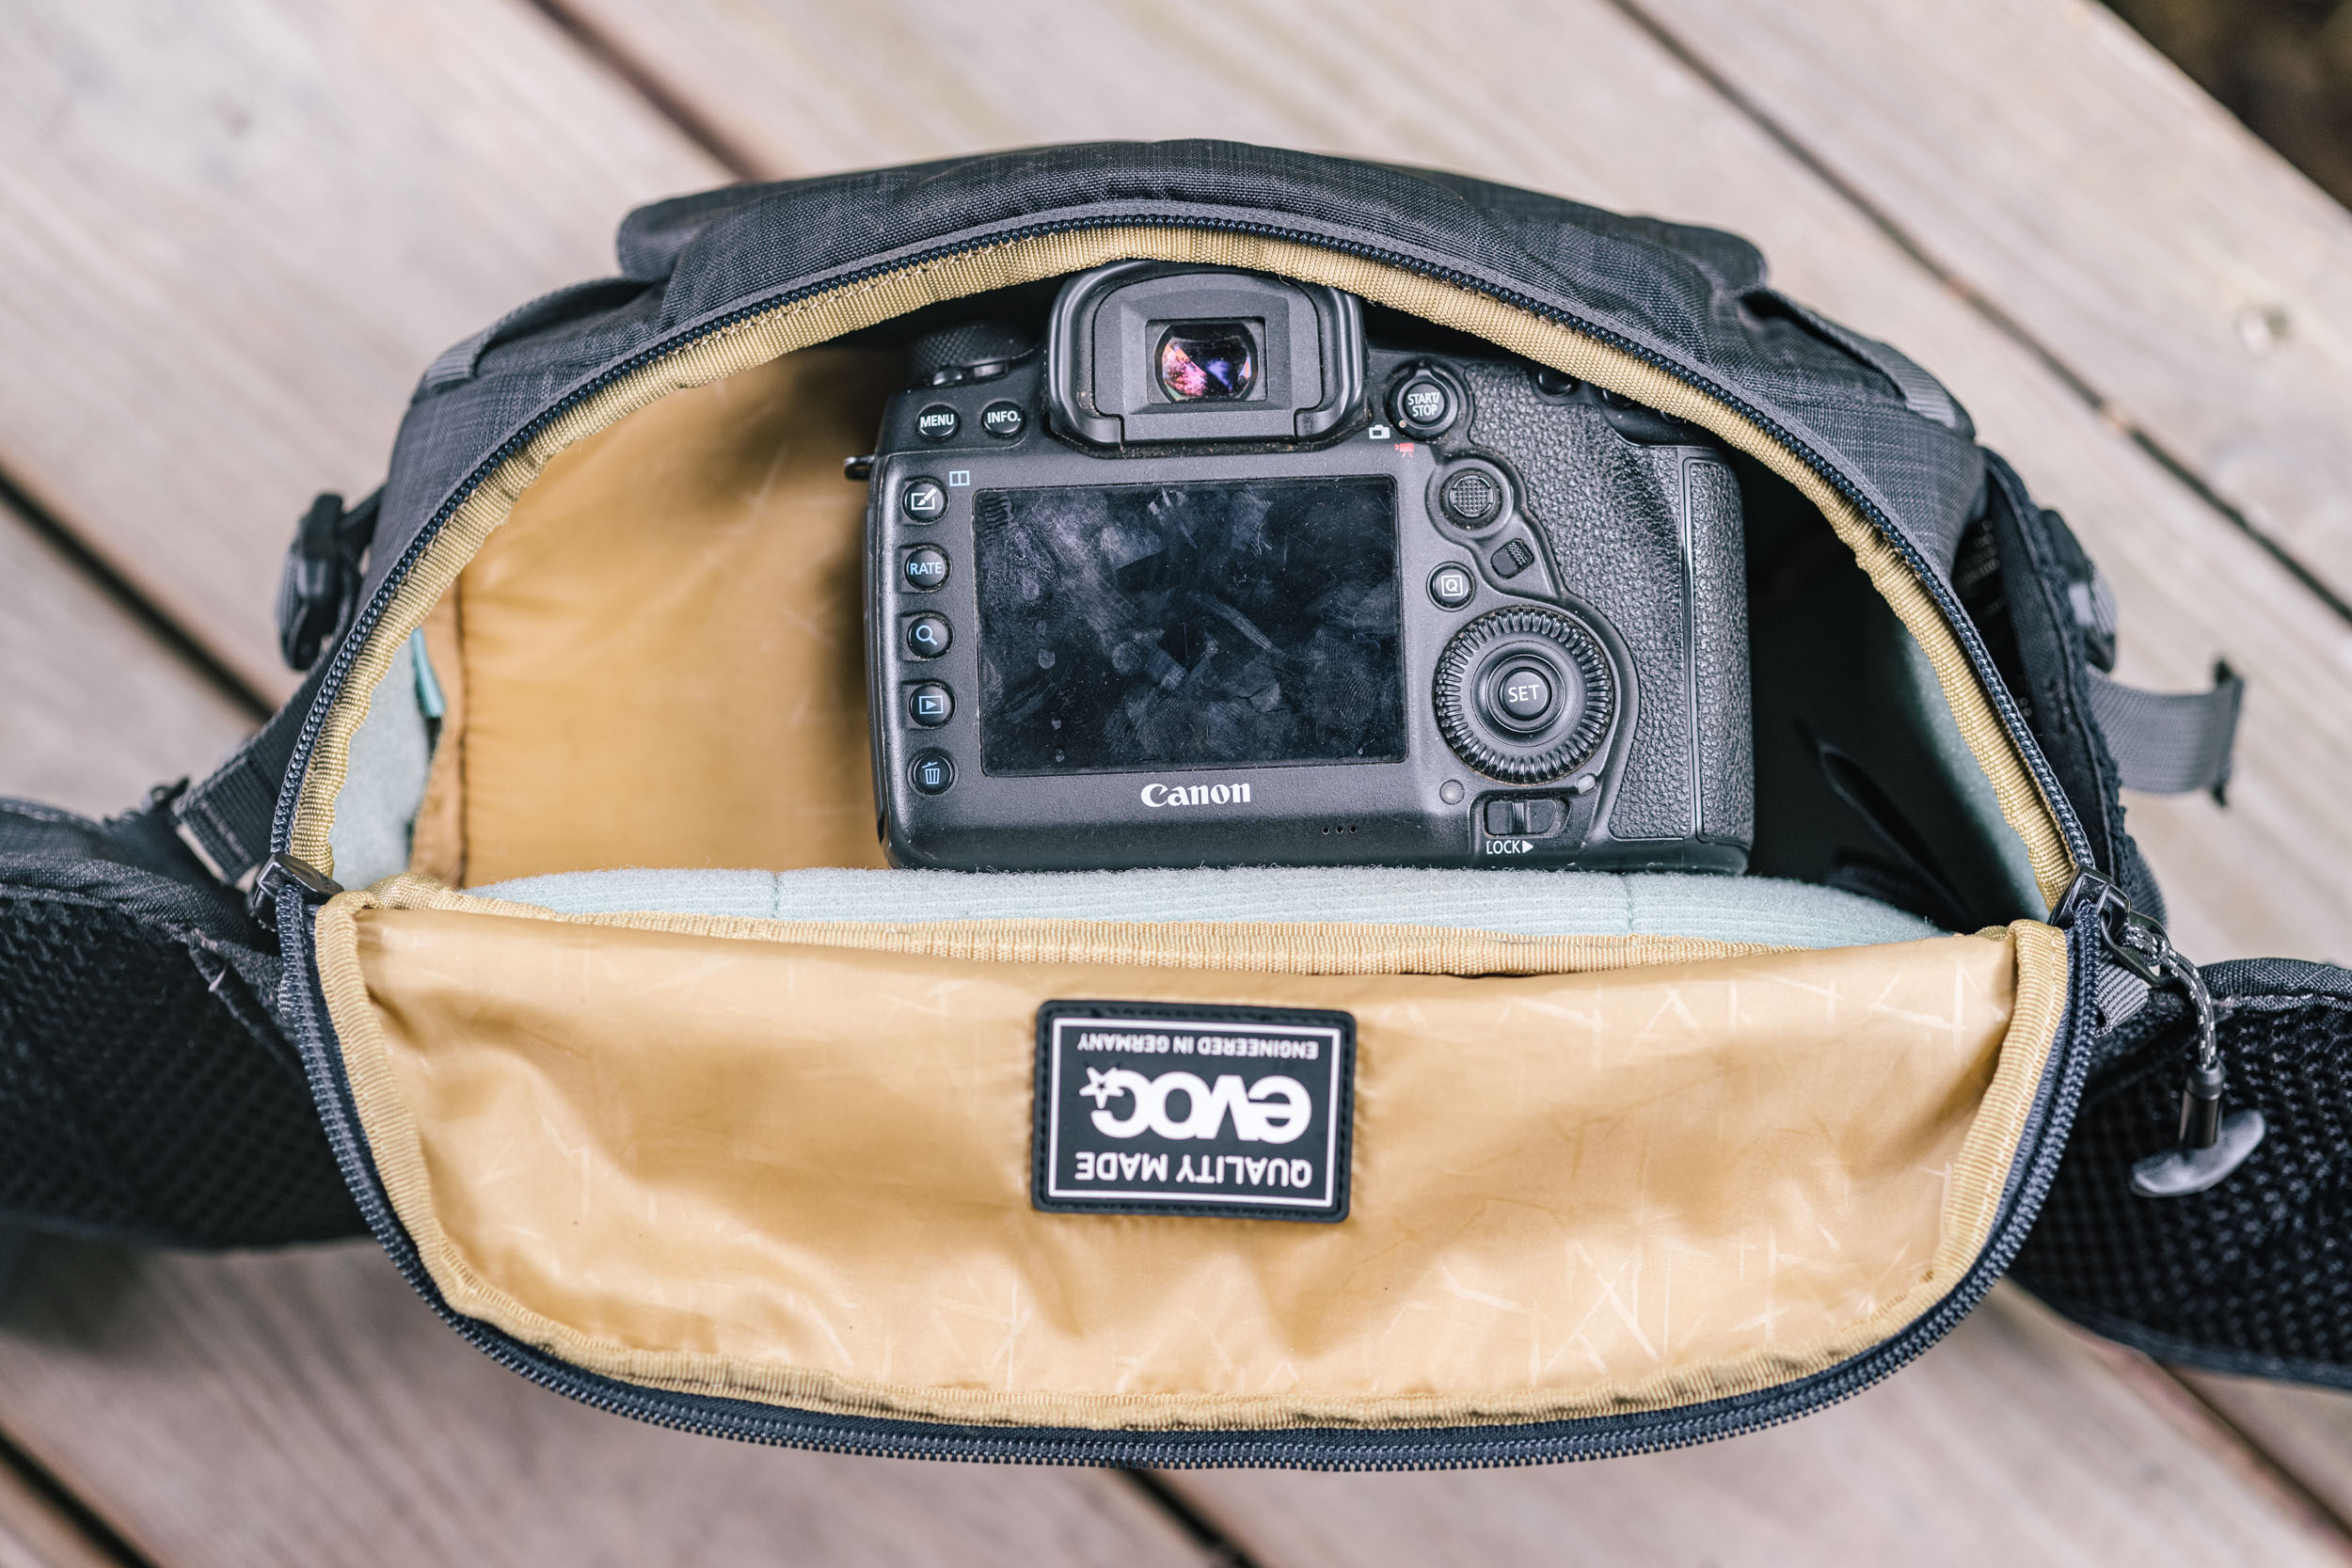
When it comes to camera-toting duties, our favourites include Oveja Negra’s Royale Hip Pack and Porcelain Rocket’s Big Dumpling, in part because it’s completely waterproof and very quick to access. Rockgeist now produces Porcelain Rocket’s waterproof lineup and has plans to offer both sizes of the Dumpling later this year. Neil is a big fan of Dakine’s Hot Lap for his Sony A73, which is especially stable when riding technical trails – you can check out his video review here. Logan rates the Evoc Capture 7 very highly, which is aimed squarely at mountain bikers who want to carry nice photography gear. Lucas has been testing the Australian-made Hungry Big Lunch over the past few months and loves it for hauling around his Fuji. In terms models with durable zips, try Nittany’s Deluxe Hip Sack, and as for hip packs that sit on the hip itself, Dos Erres makes the lightly padded Riñona, which works well for smaller cameras and is fully waterproof – as is Road Runner’s Hip Bag Pro.
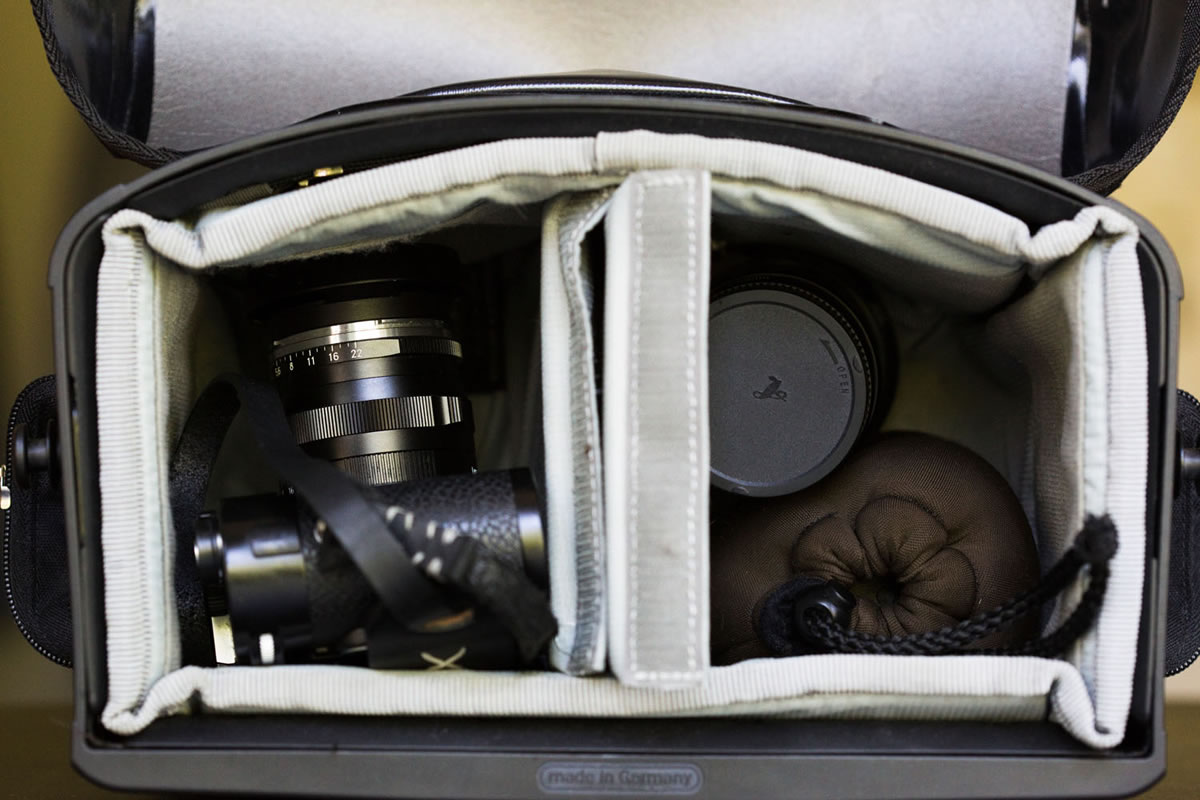
If your favourite hip bag isn’t sufficiently padded, simply drop in a camera insert. You can either treat yourself to a speciality model, like this one from Billingham, or something more basic from Amazon. Ortlieb sells their own affordably priced padded insert too. It’s designed for their Ultimate 6 bar bag but it can be made to work elsewhere too. For the perfect fit, you can also make one yourself, designed around your specific camera – see Logan’s hints below.
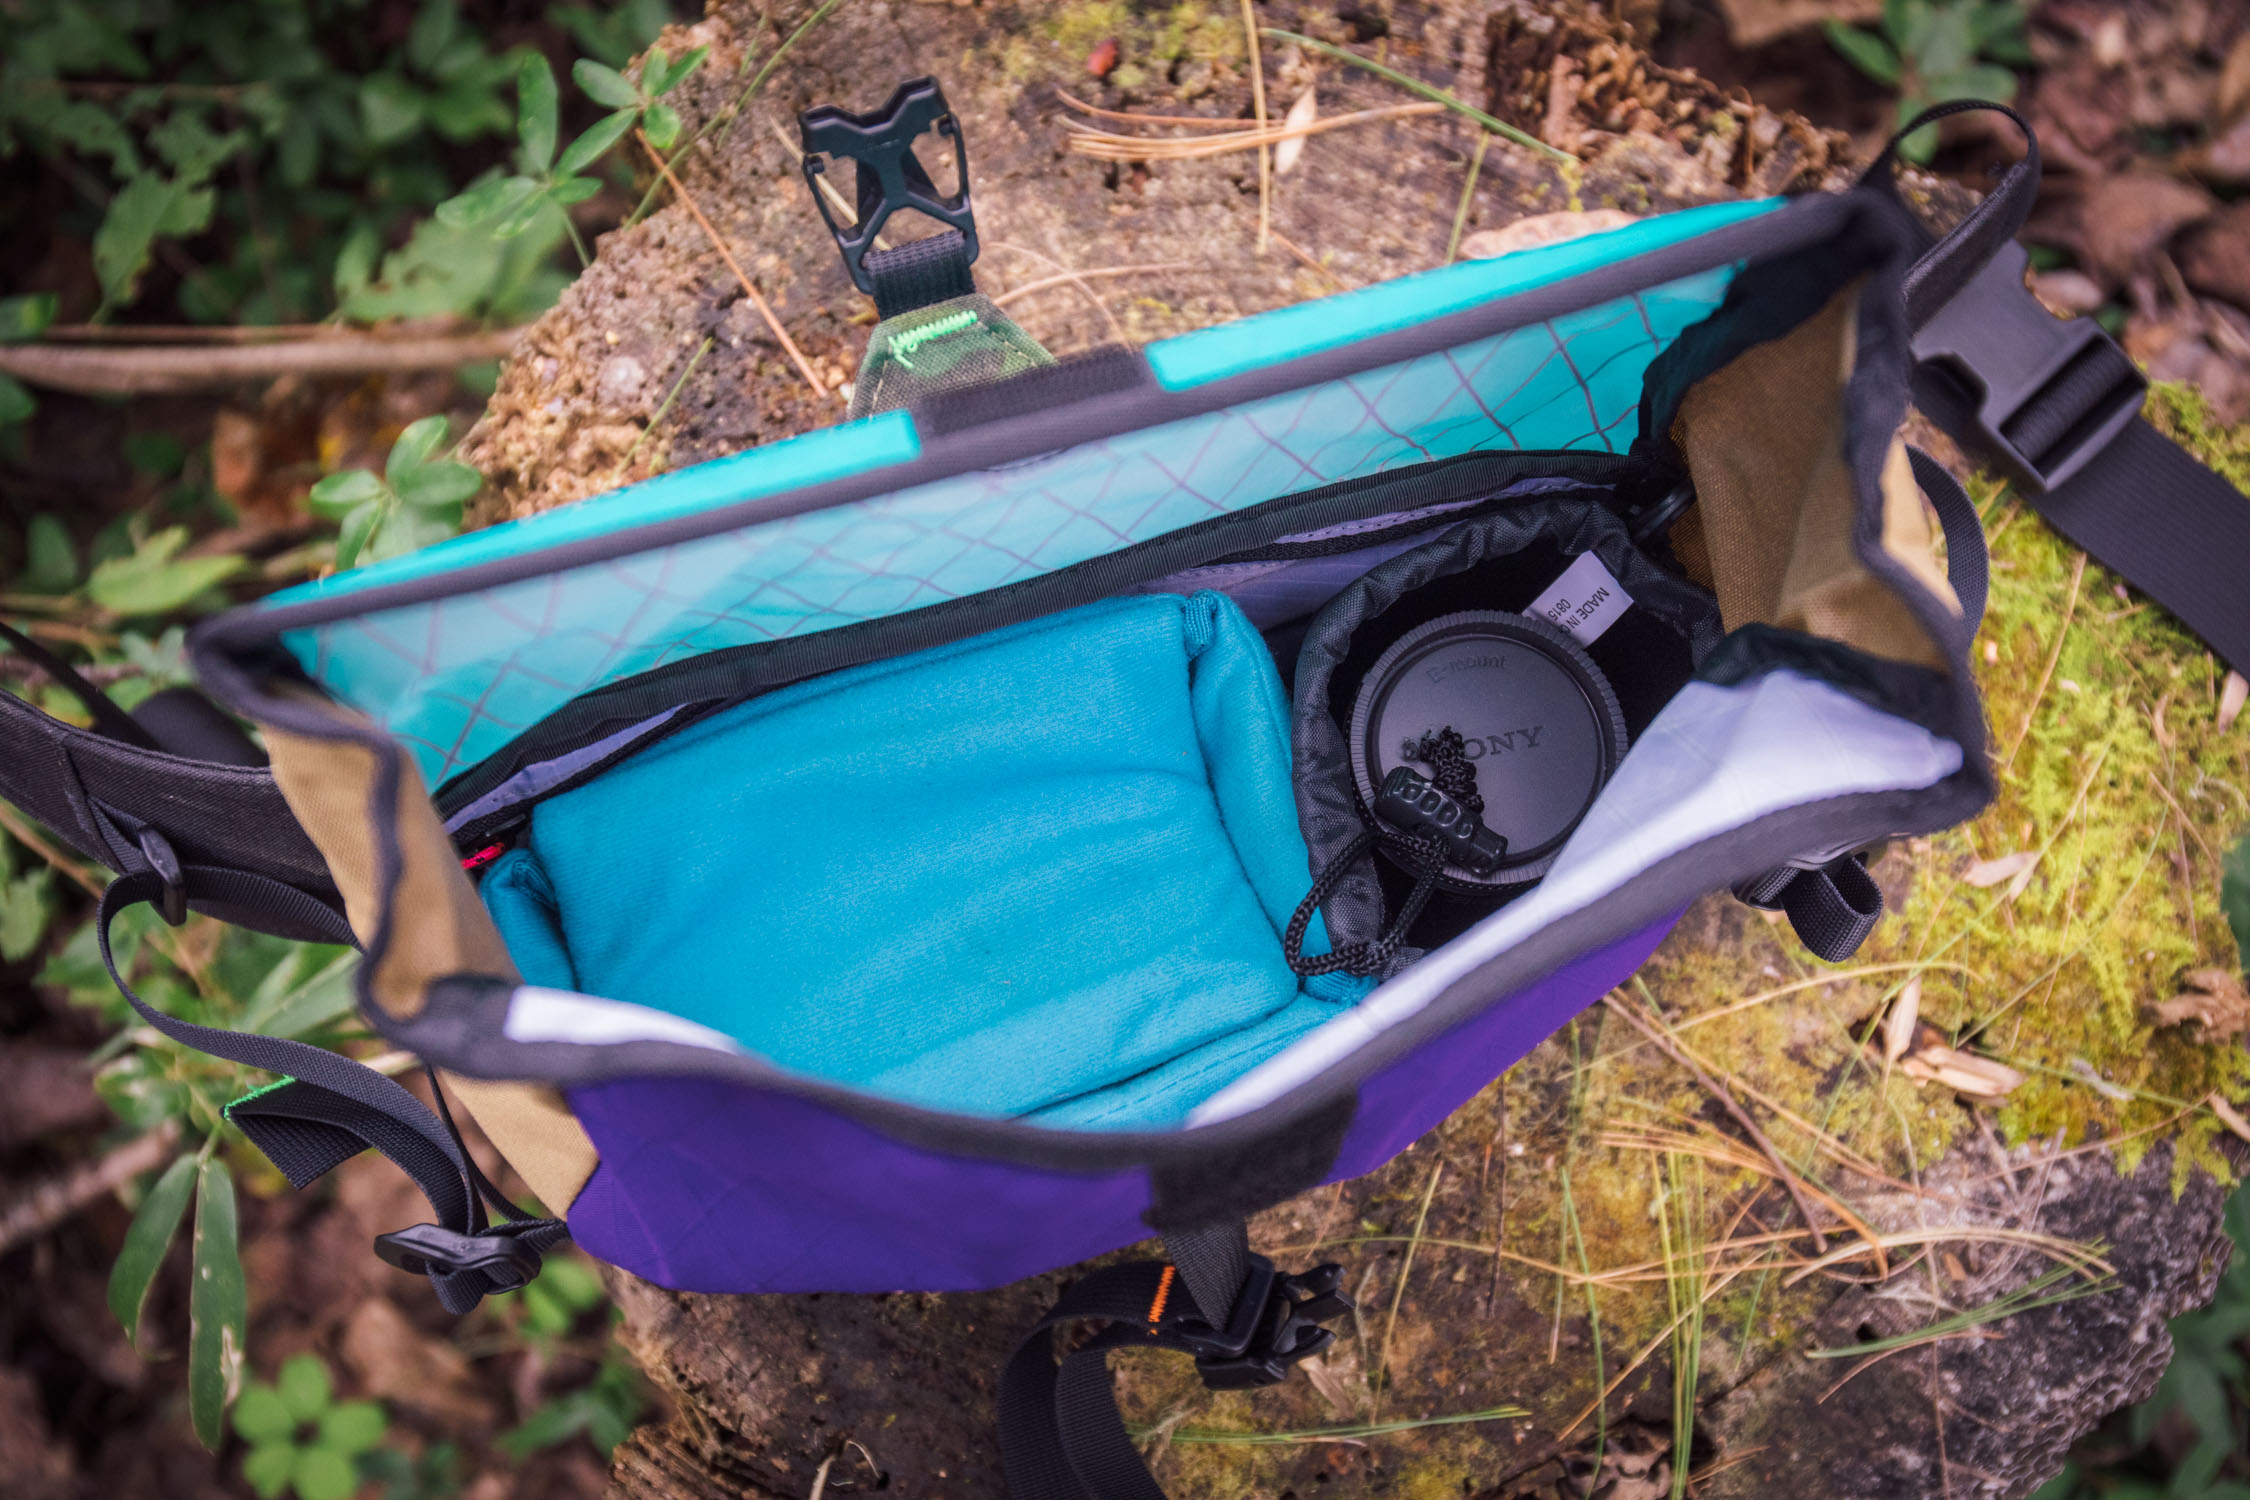
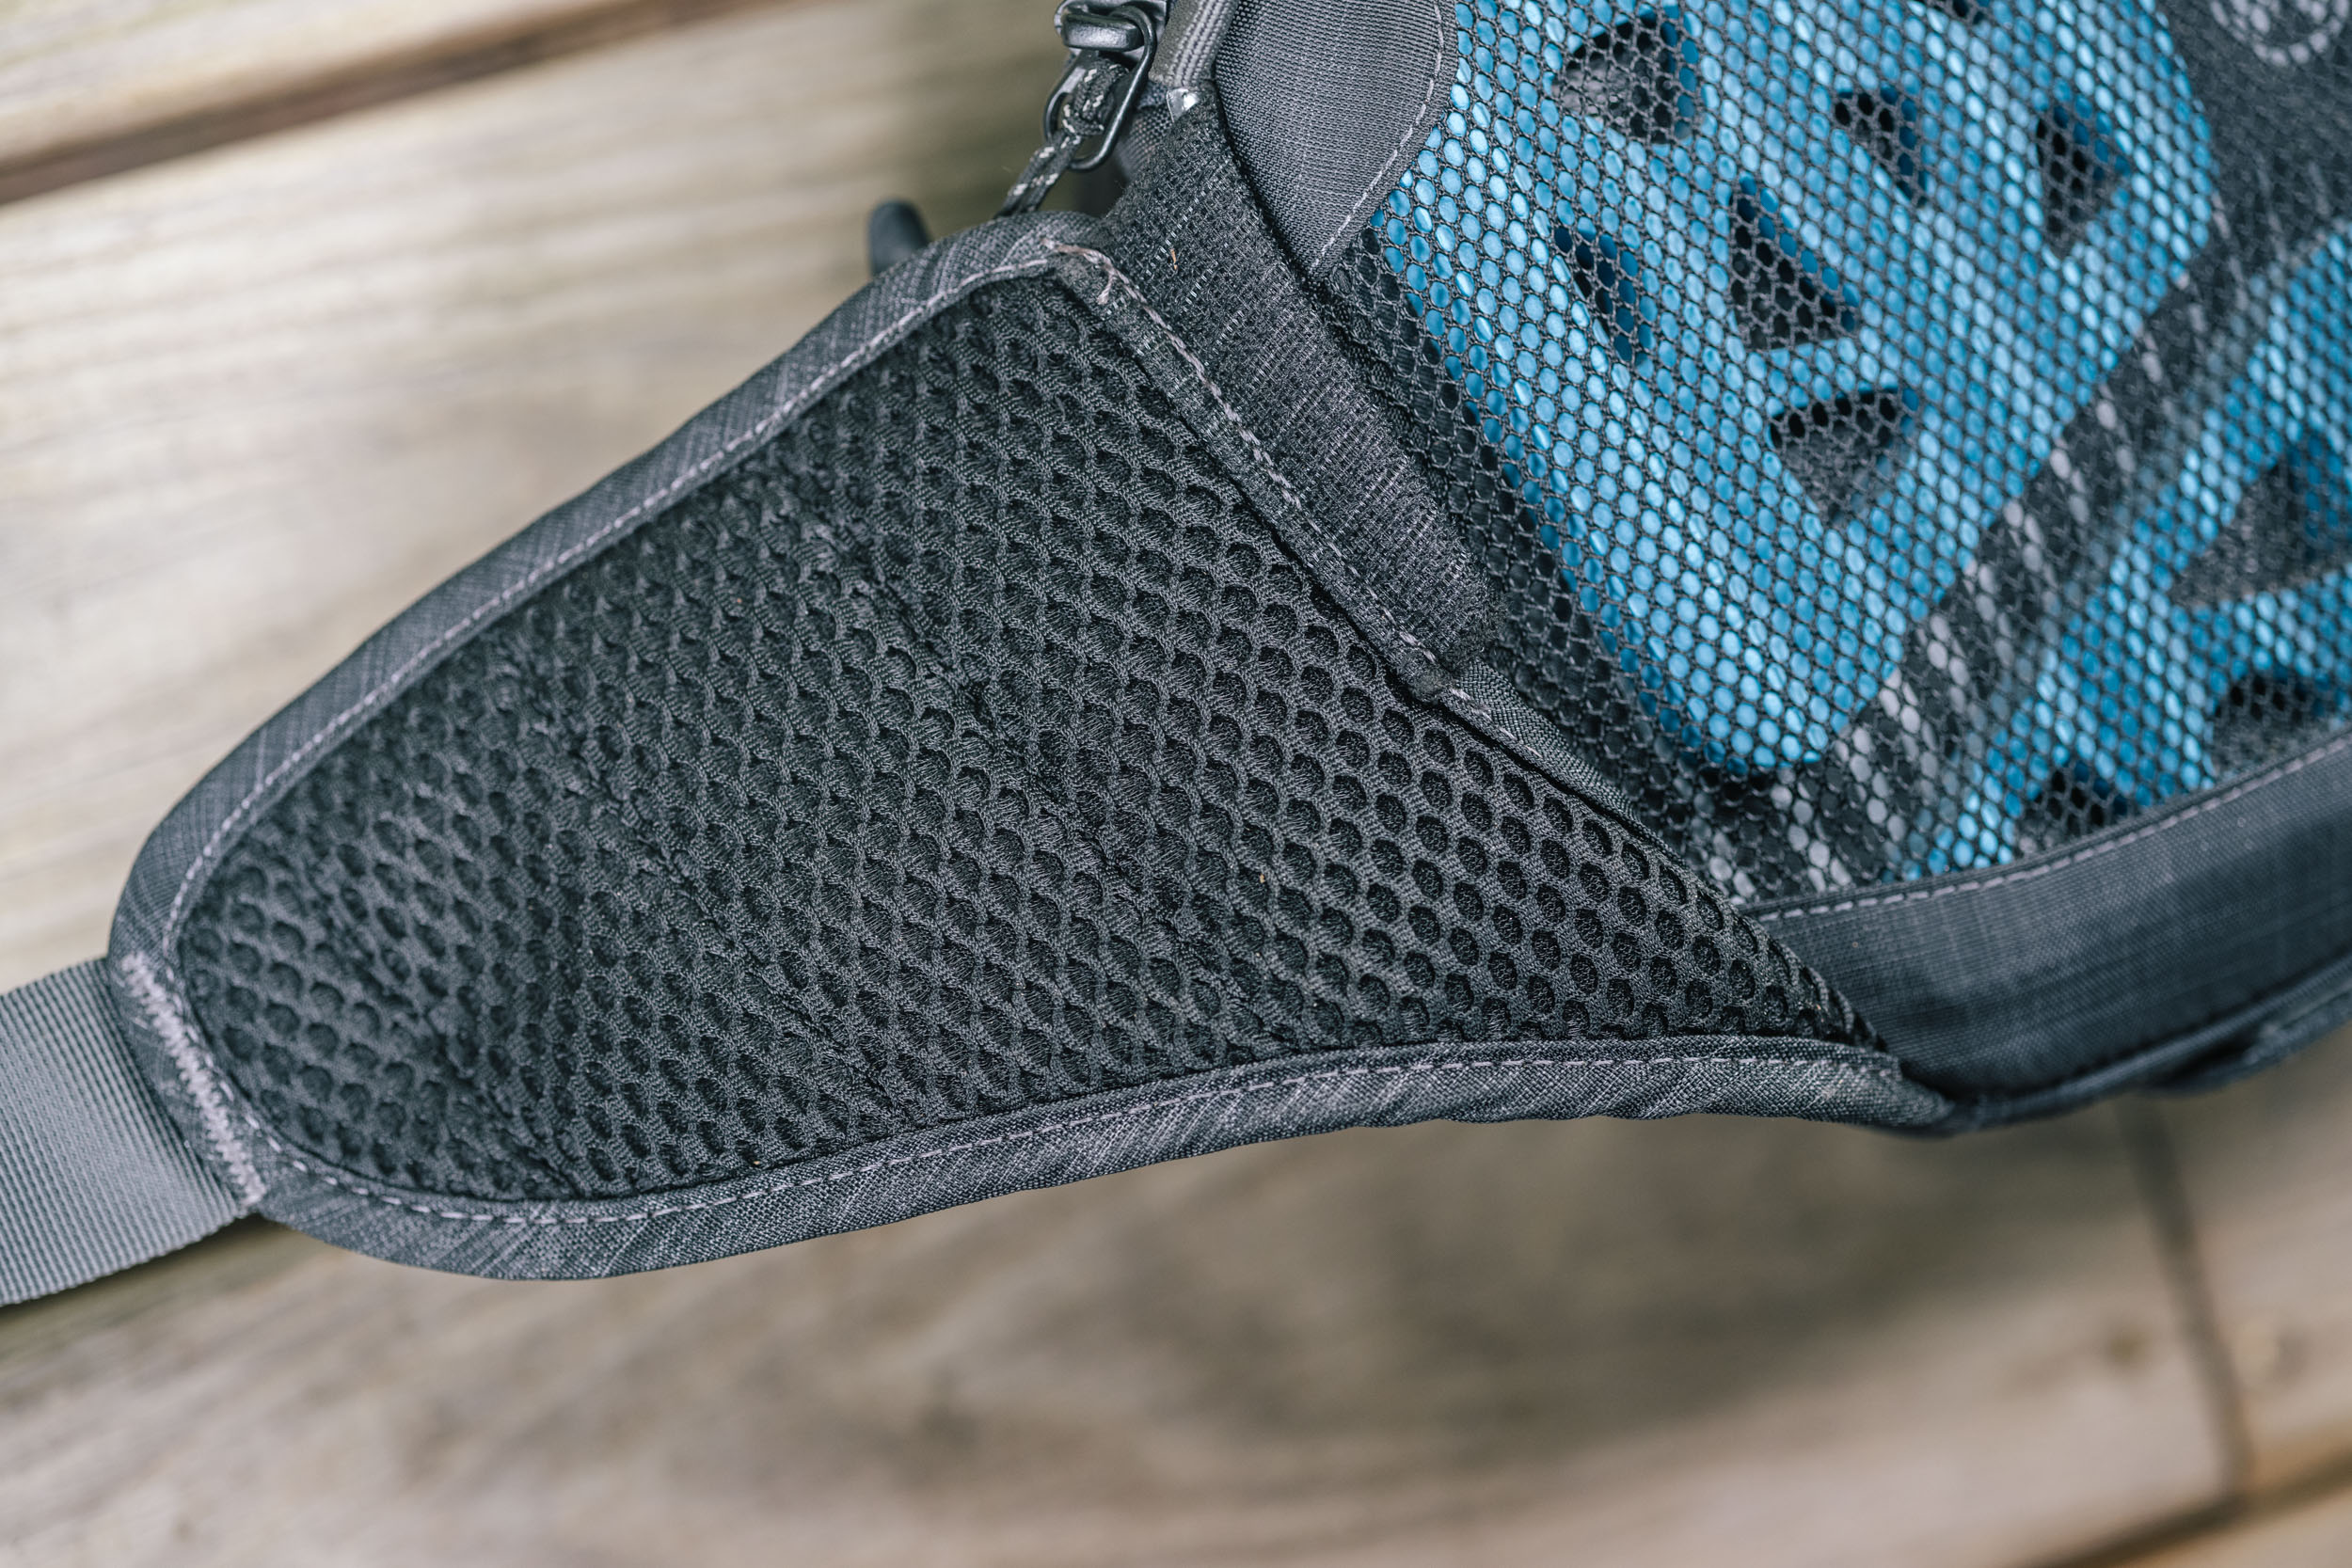
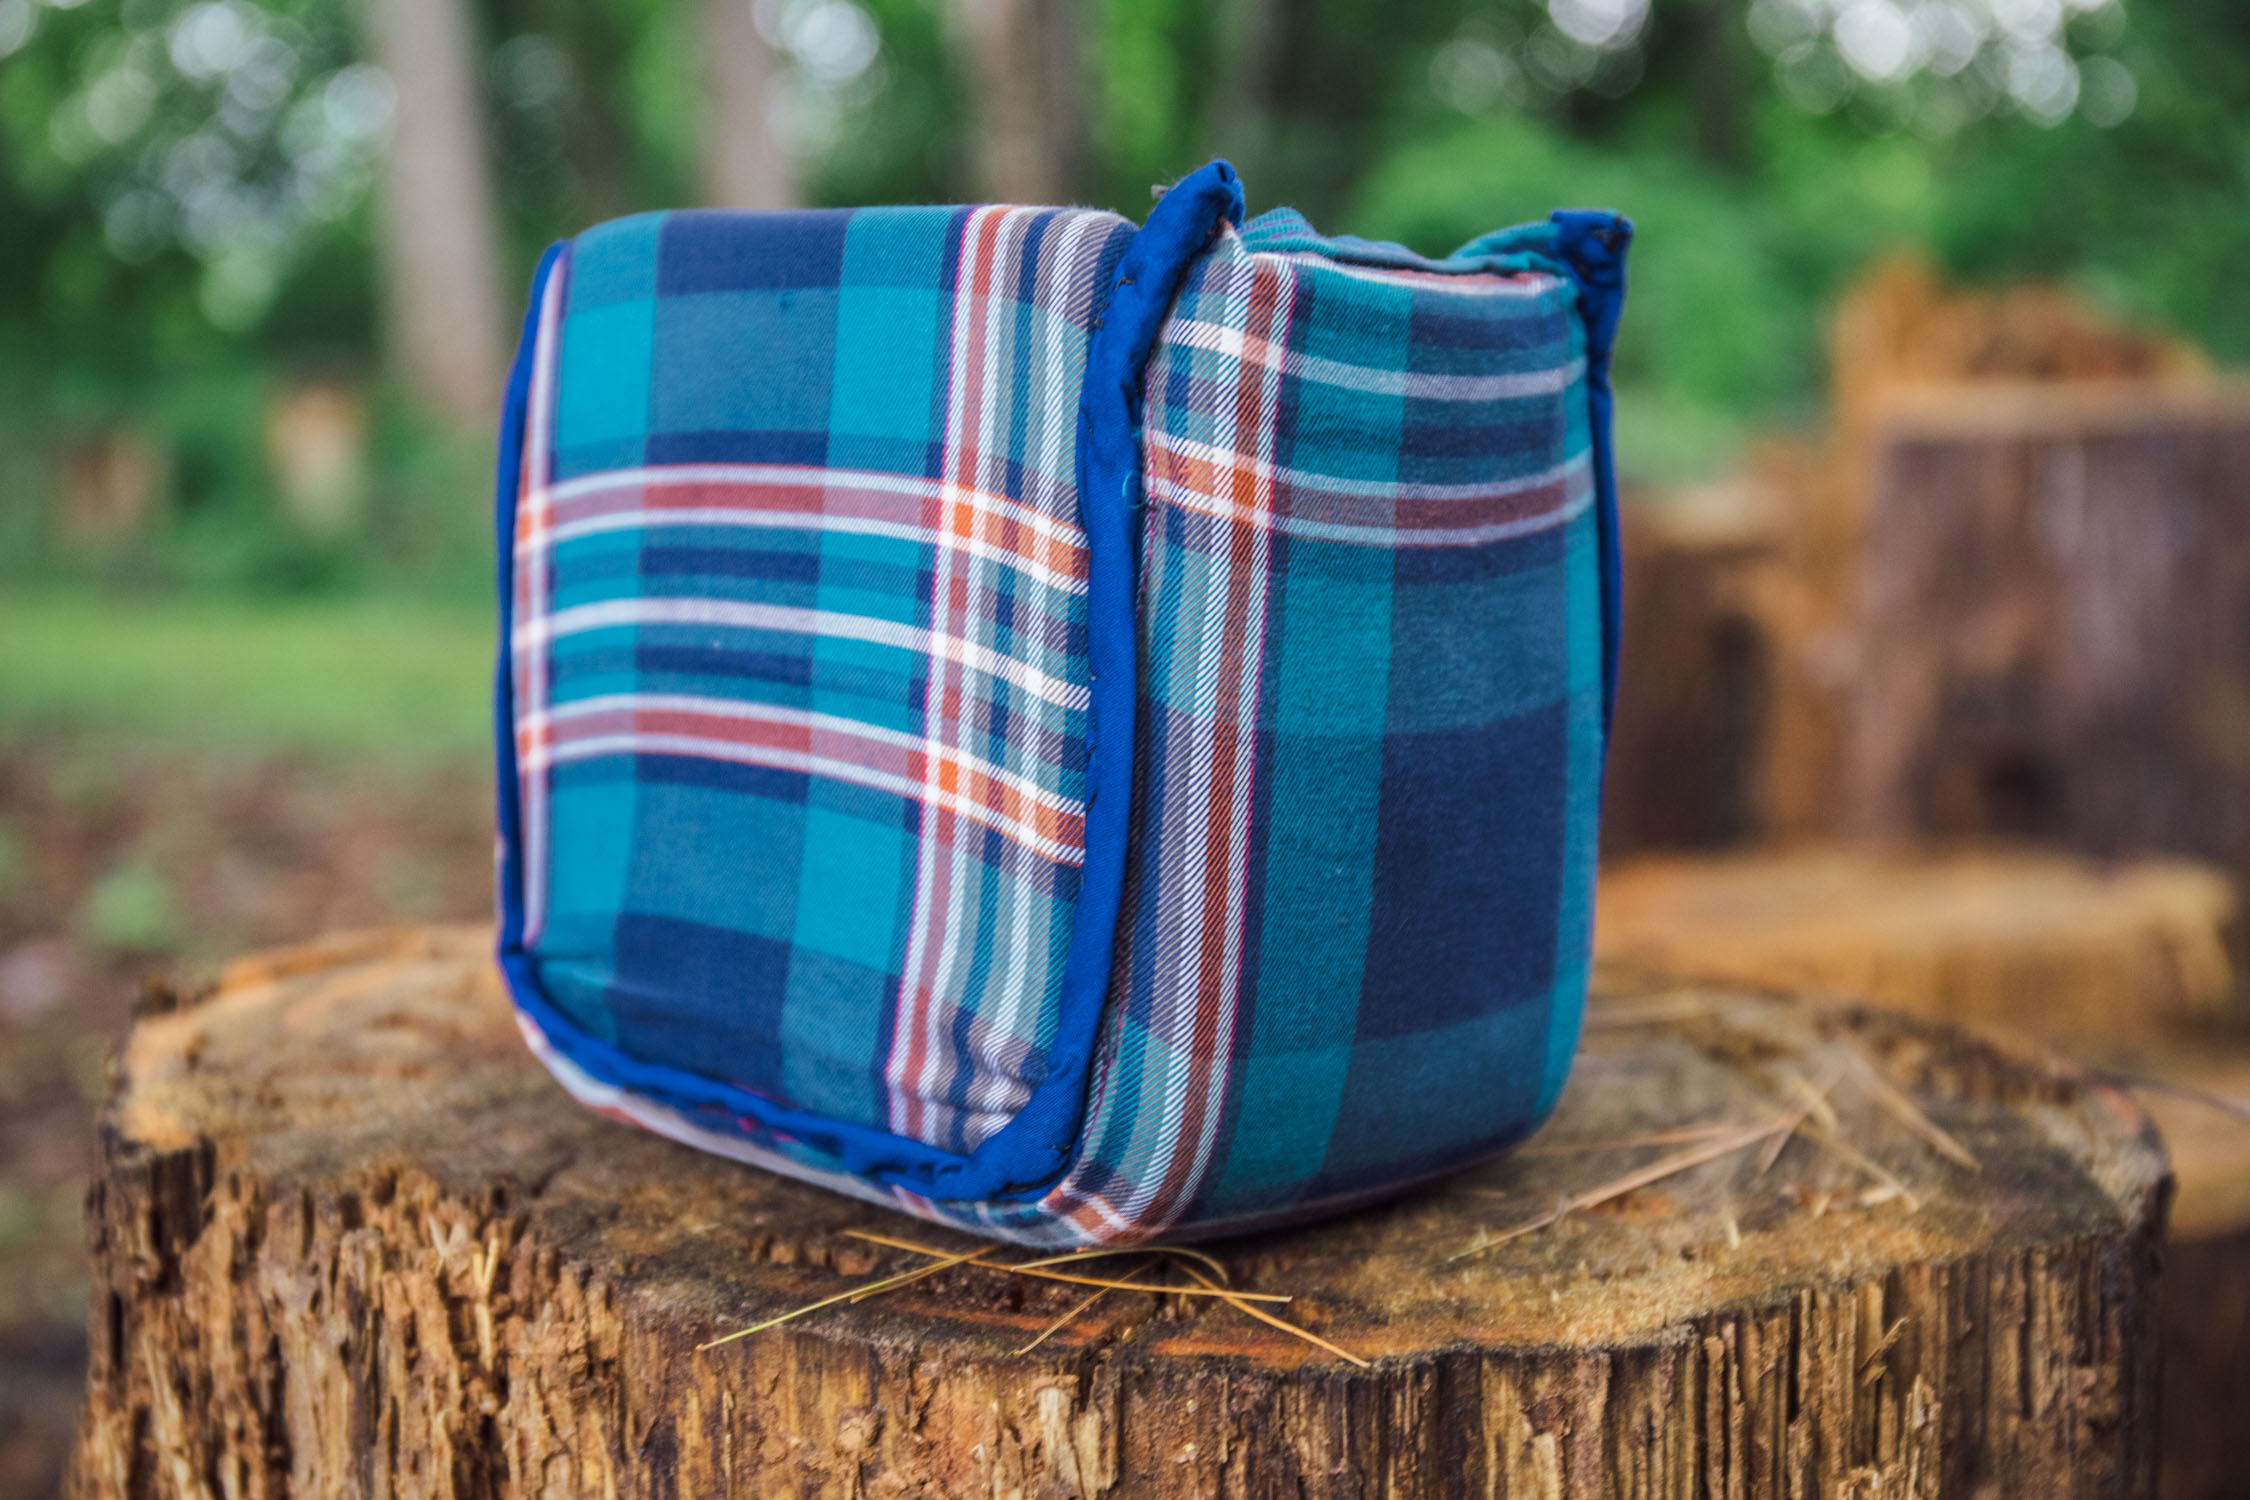
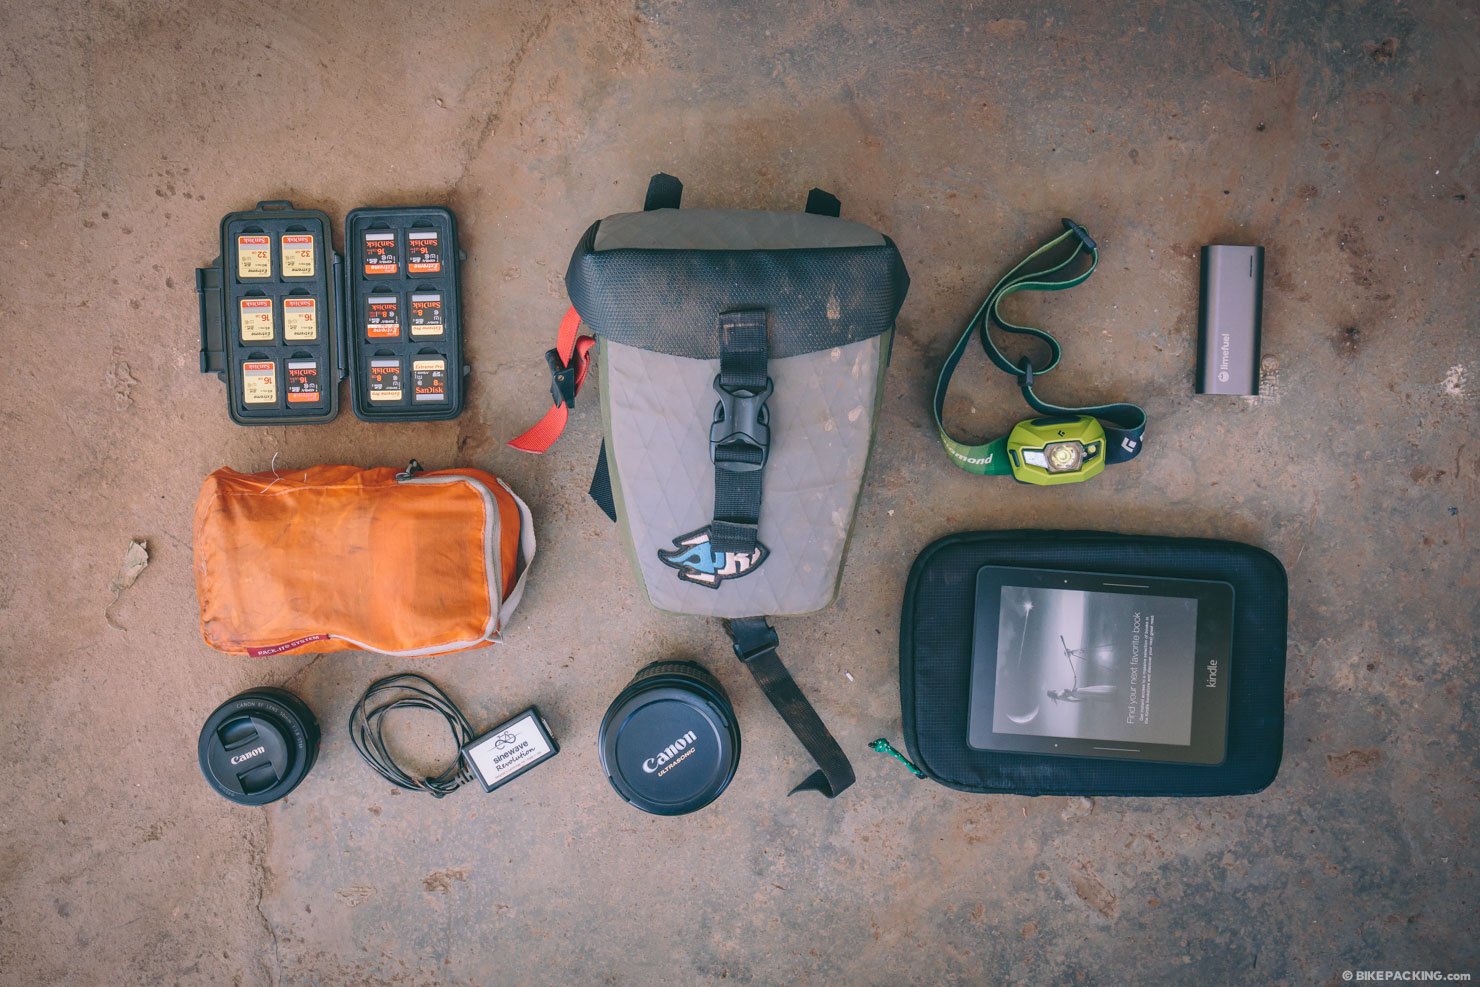
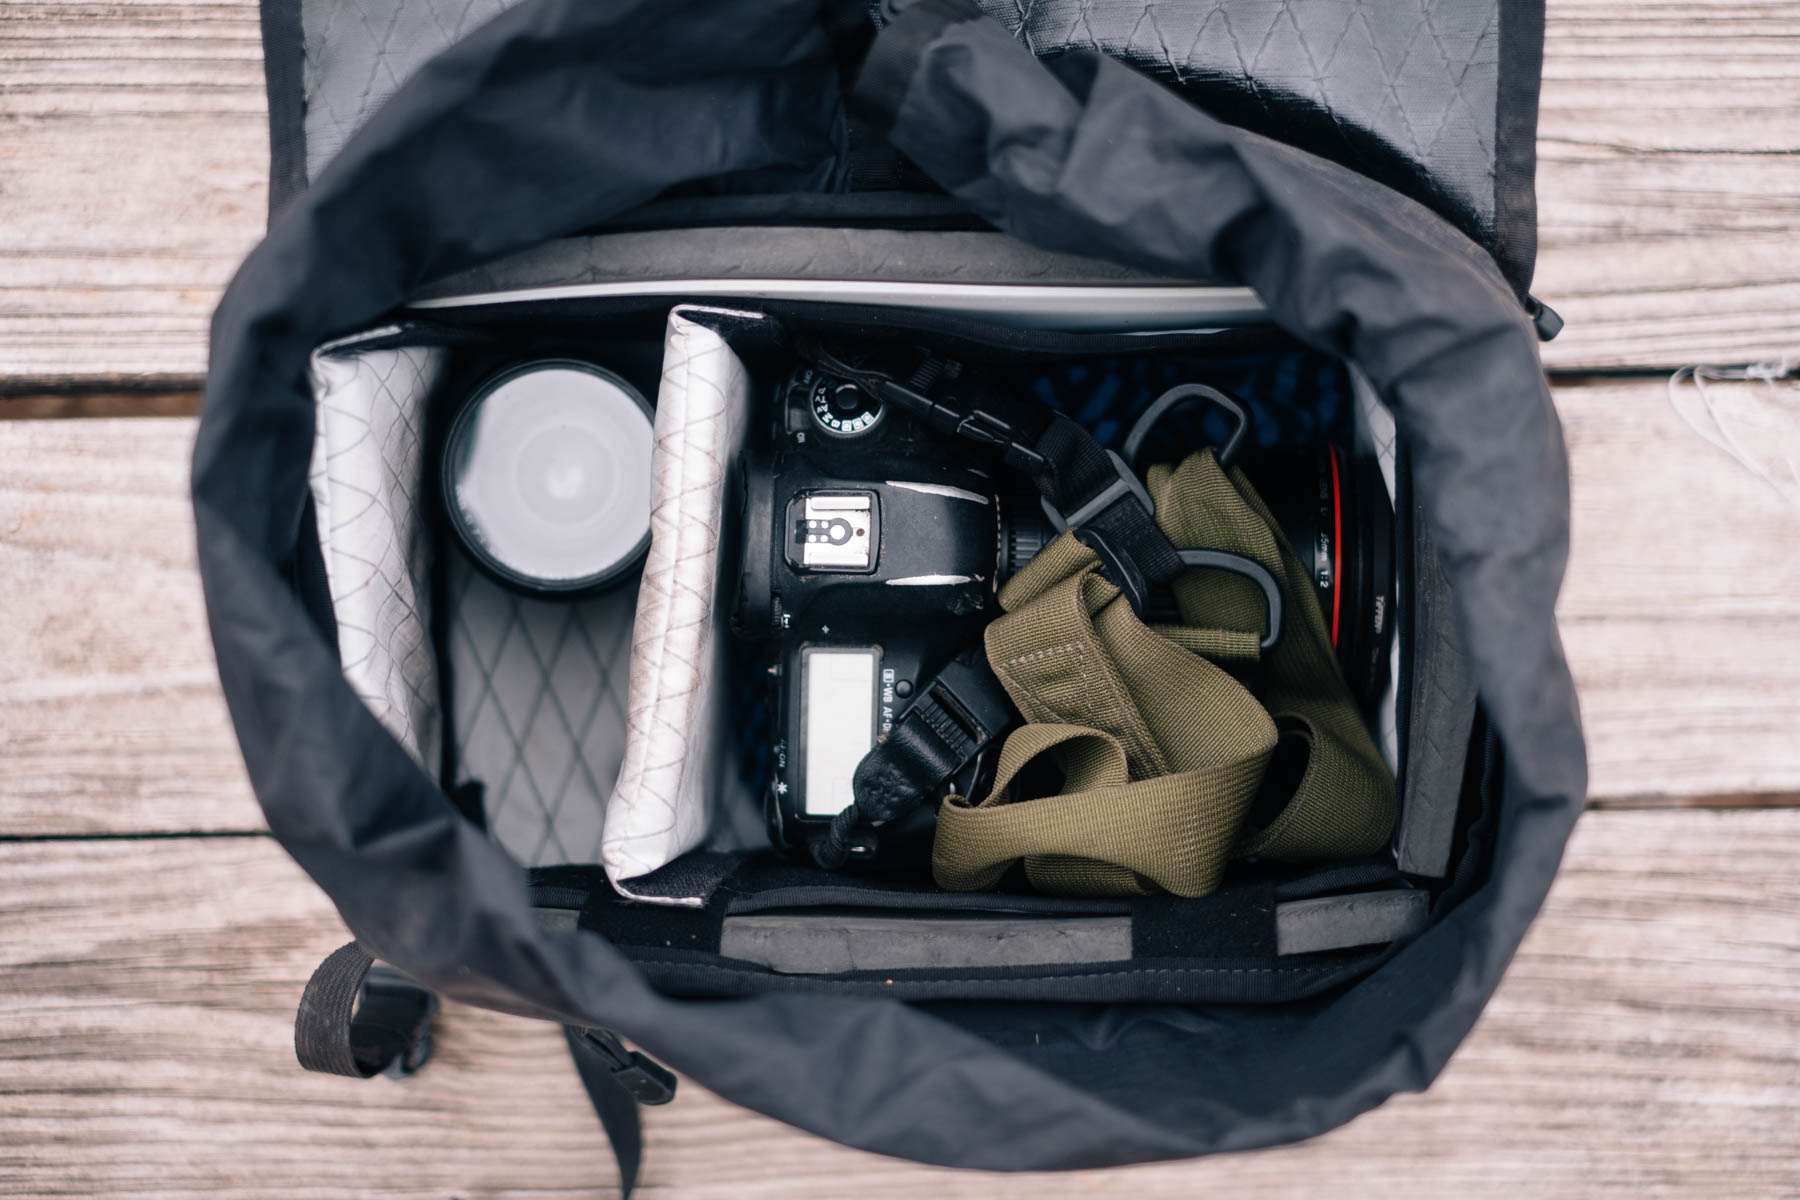
DIY Padded Camera Insert
While it’s pretty easy to stuff a down jacket or other light layer into a hip pack to provide padding for your camera, that’s not always ideal. Instead, we recommend a dedicated padded camera insert if you’re planning on regularly using your hip pack as a camera bag. There are quite a few camera inserts available from consumer websites such as Amazon and B&H, however, they are never the perfect size. If you have access to a sewing machine (and some basic sewing skills) you can easily make your own. We made this one out of a recycled flannel shirt and three pieces of lightweight closed-cell foam that came from a packing insert.
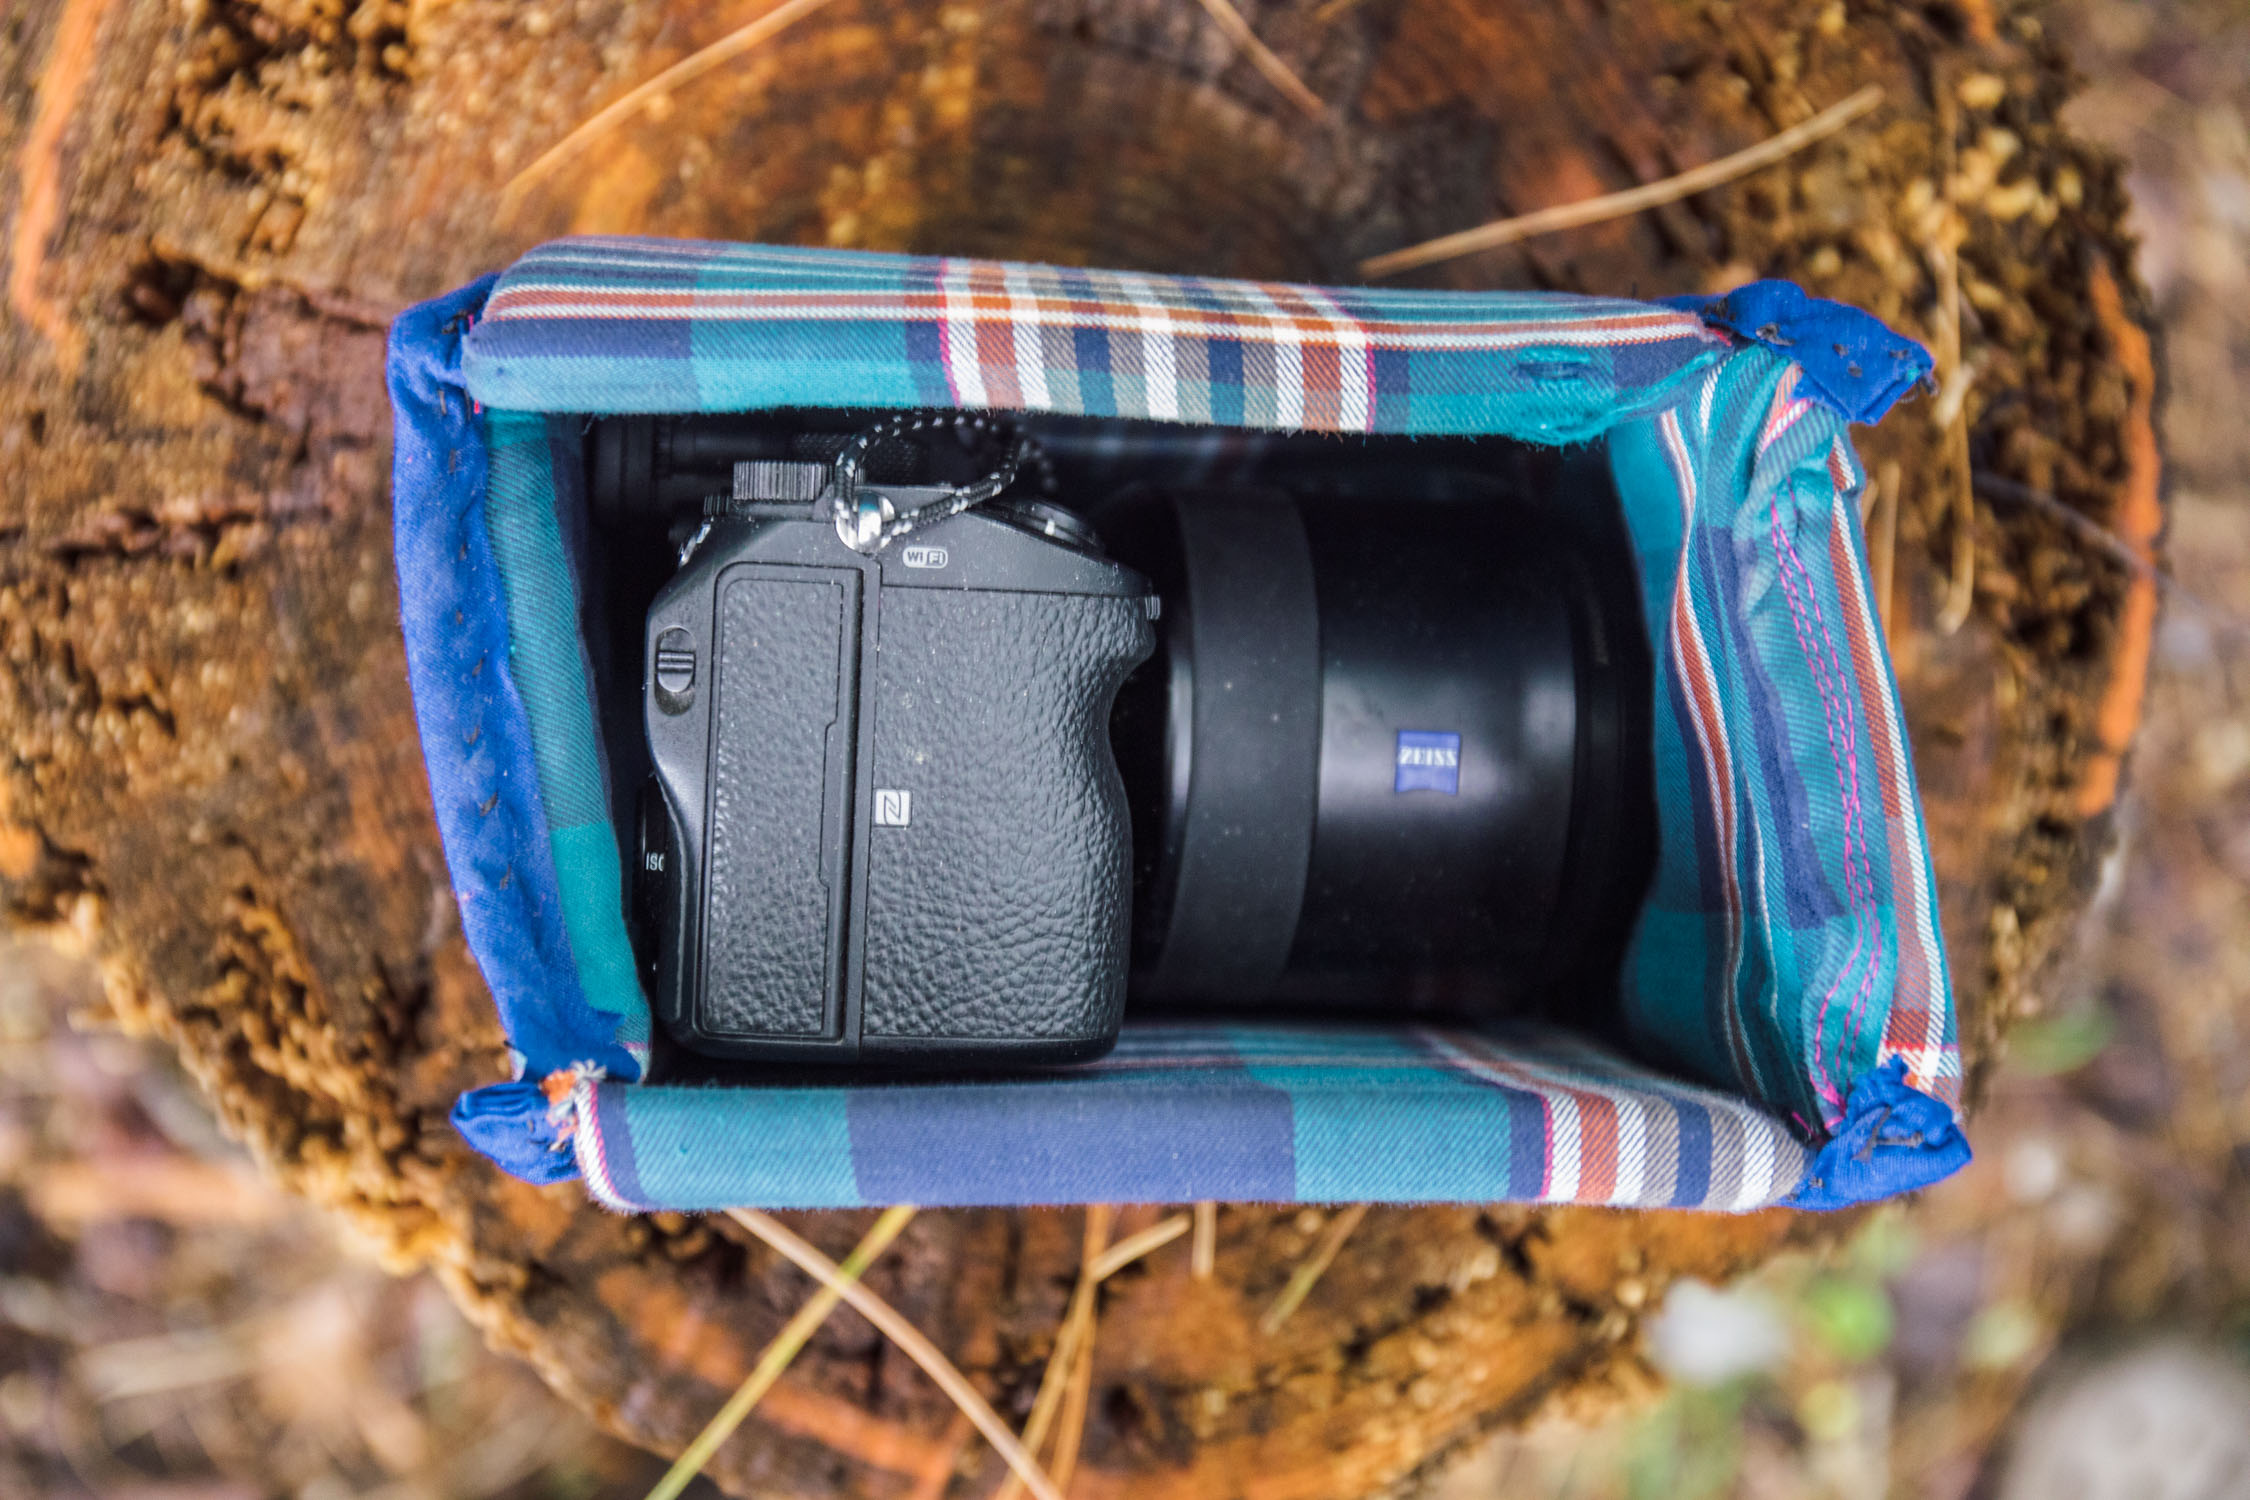
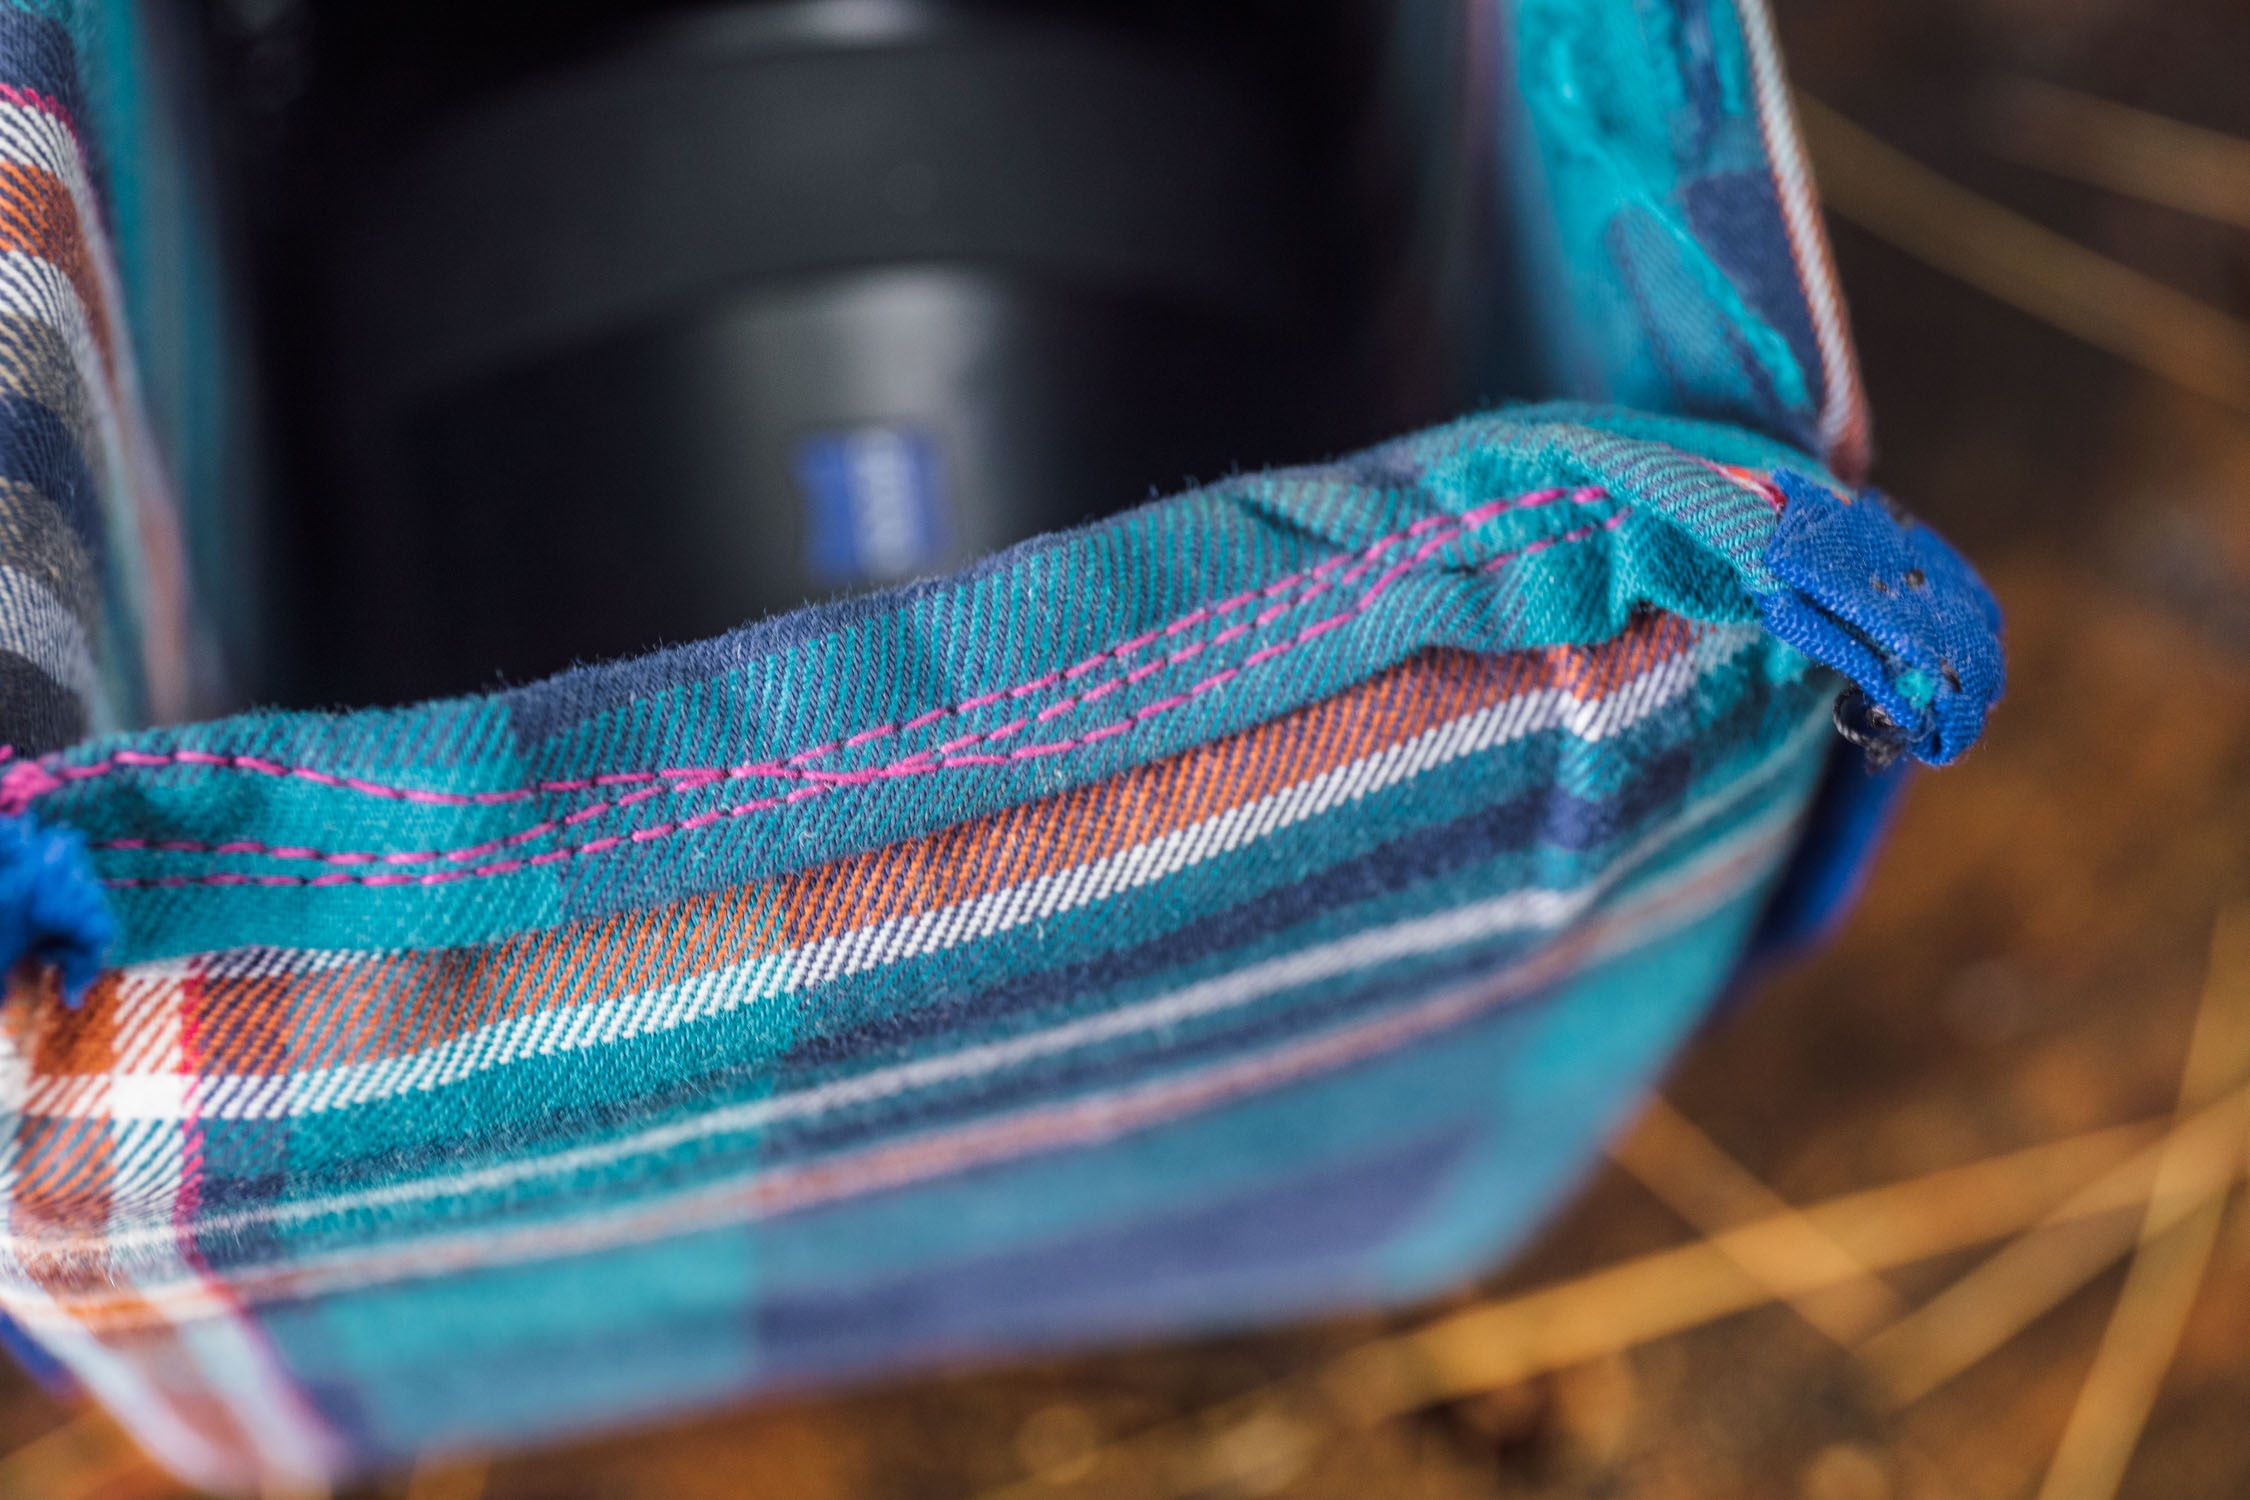
Aside from being free, the great thing about a making your own padded camera insert is that you can use a soft old t-shirt or other such cotton fabric that’s easy on the camera. The store-bought versions often have a nylon outer fabric which can be abrasive to the finish of a camera.
In brief, I traced the camera with the largest lens on a piece of cardboard. Then we matched that profile with a single piece of foam for the bottom and sides. Once that main body was established, the front and back panels were made. Then, all three pieces of foam were sewn inside of two pieces of cut fabric. Once each was enclosed in flannel, they were all joined together by stitching the perimeter with homemade 1.5cm wide grosgrain (we just used some old fabric we had on hand), which binds the edges of the stitched panels. The result isn’t exactly pretty but it works like a charm, and this one now has a couple thousand miles on it.
Carrying a Camera in a Backpack
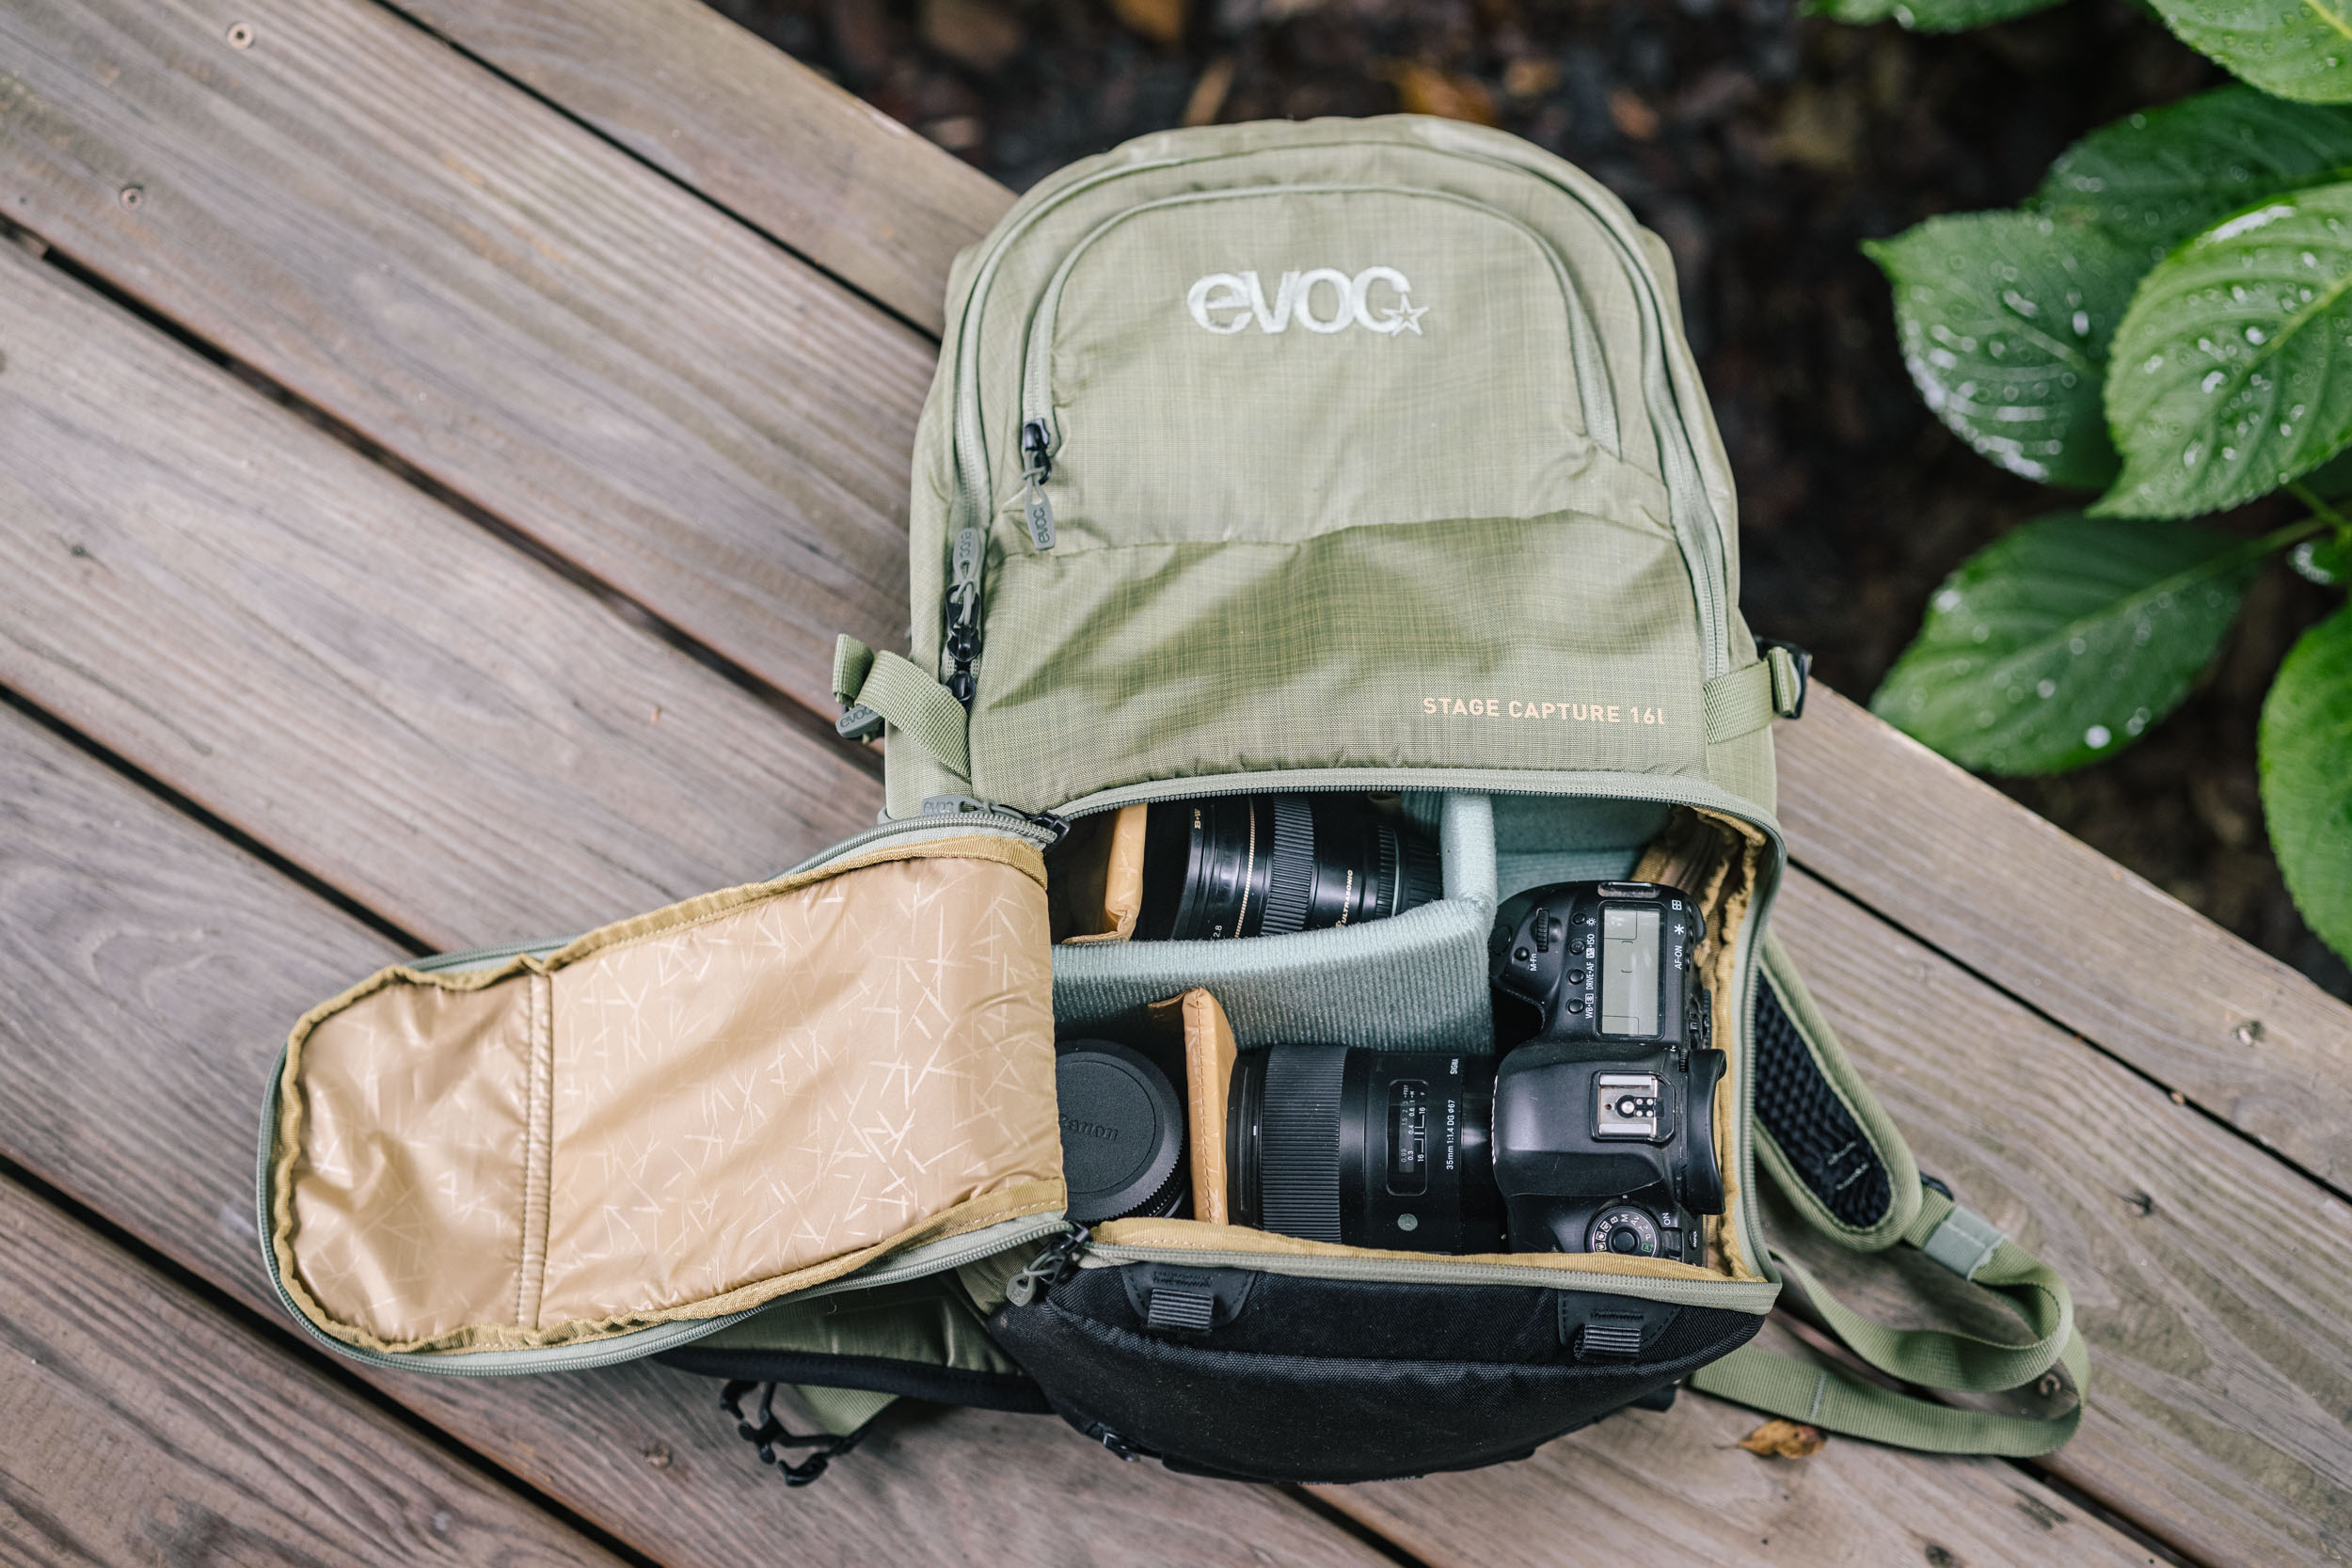
Generally speaking, we’re not big fans on backpack for multiple days, though they can come into their own when you need to carry heavier camera gear on routes that are predominantly technical in flavour. Check out Peak Design’s Capture Clip for a novel way of attaching a camera to your backpack’s shoulder straps – there’s little to match it for taking quick shots. In terms of what we’ve tried, Acre’s 10L Hauser has a velcro closure and is very comfortable on trails, while Oveja Negra’s Portero is another good option for more general use. For a more specialist option, Evoc’s Stage Capture 16L comes recommended, as seen below.

Carrying a Camera in a Sling Bag
Slings are just as the name suggests – a pack that slings around your body, so you can grab your camera. It’s quicker than using a backpack but as it doesn’t distribute a load evenly, it’s not always as comfortable over long distances, especially for those with back problems. Still, they’re really convenient and a number of bikepacking photographers who carry larger cameras and longer lenses favour them – like the Peak Designs Everyday Sling, the Think Tank Turnstyle 5, or Chrome Niko Camera Sling. Some sling bags can be worn like a hip pack too, so you can change things up and give your back a rest. See Mark Watson and Conan Thai’s preferences below for more on how they use them.
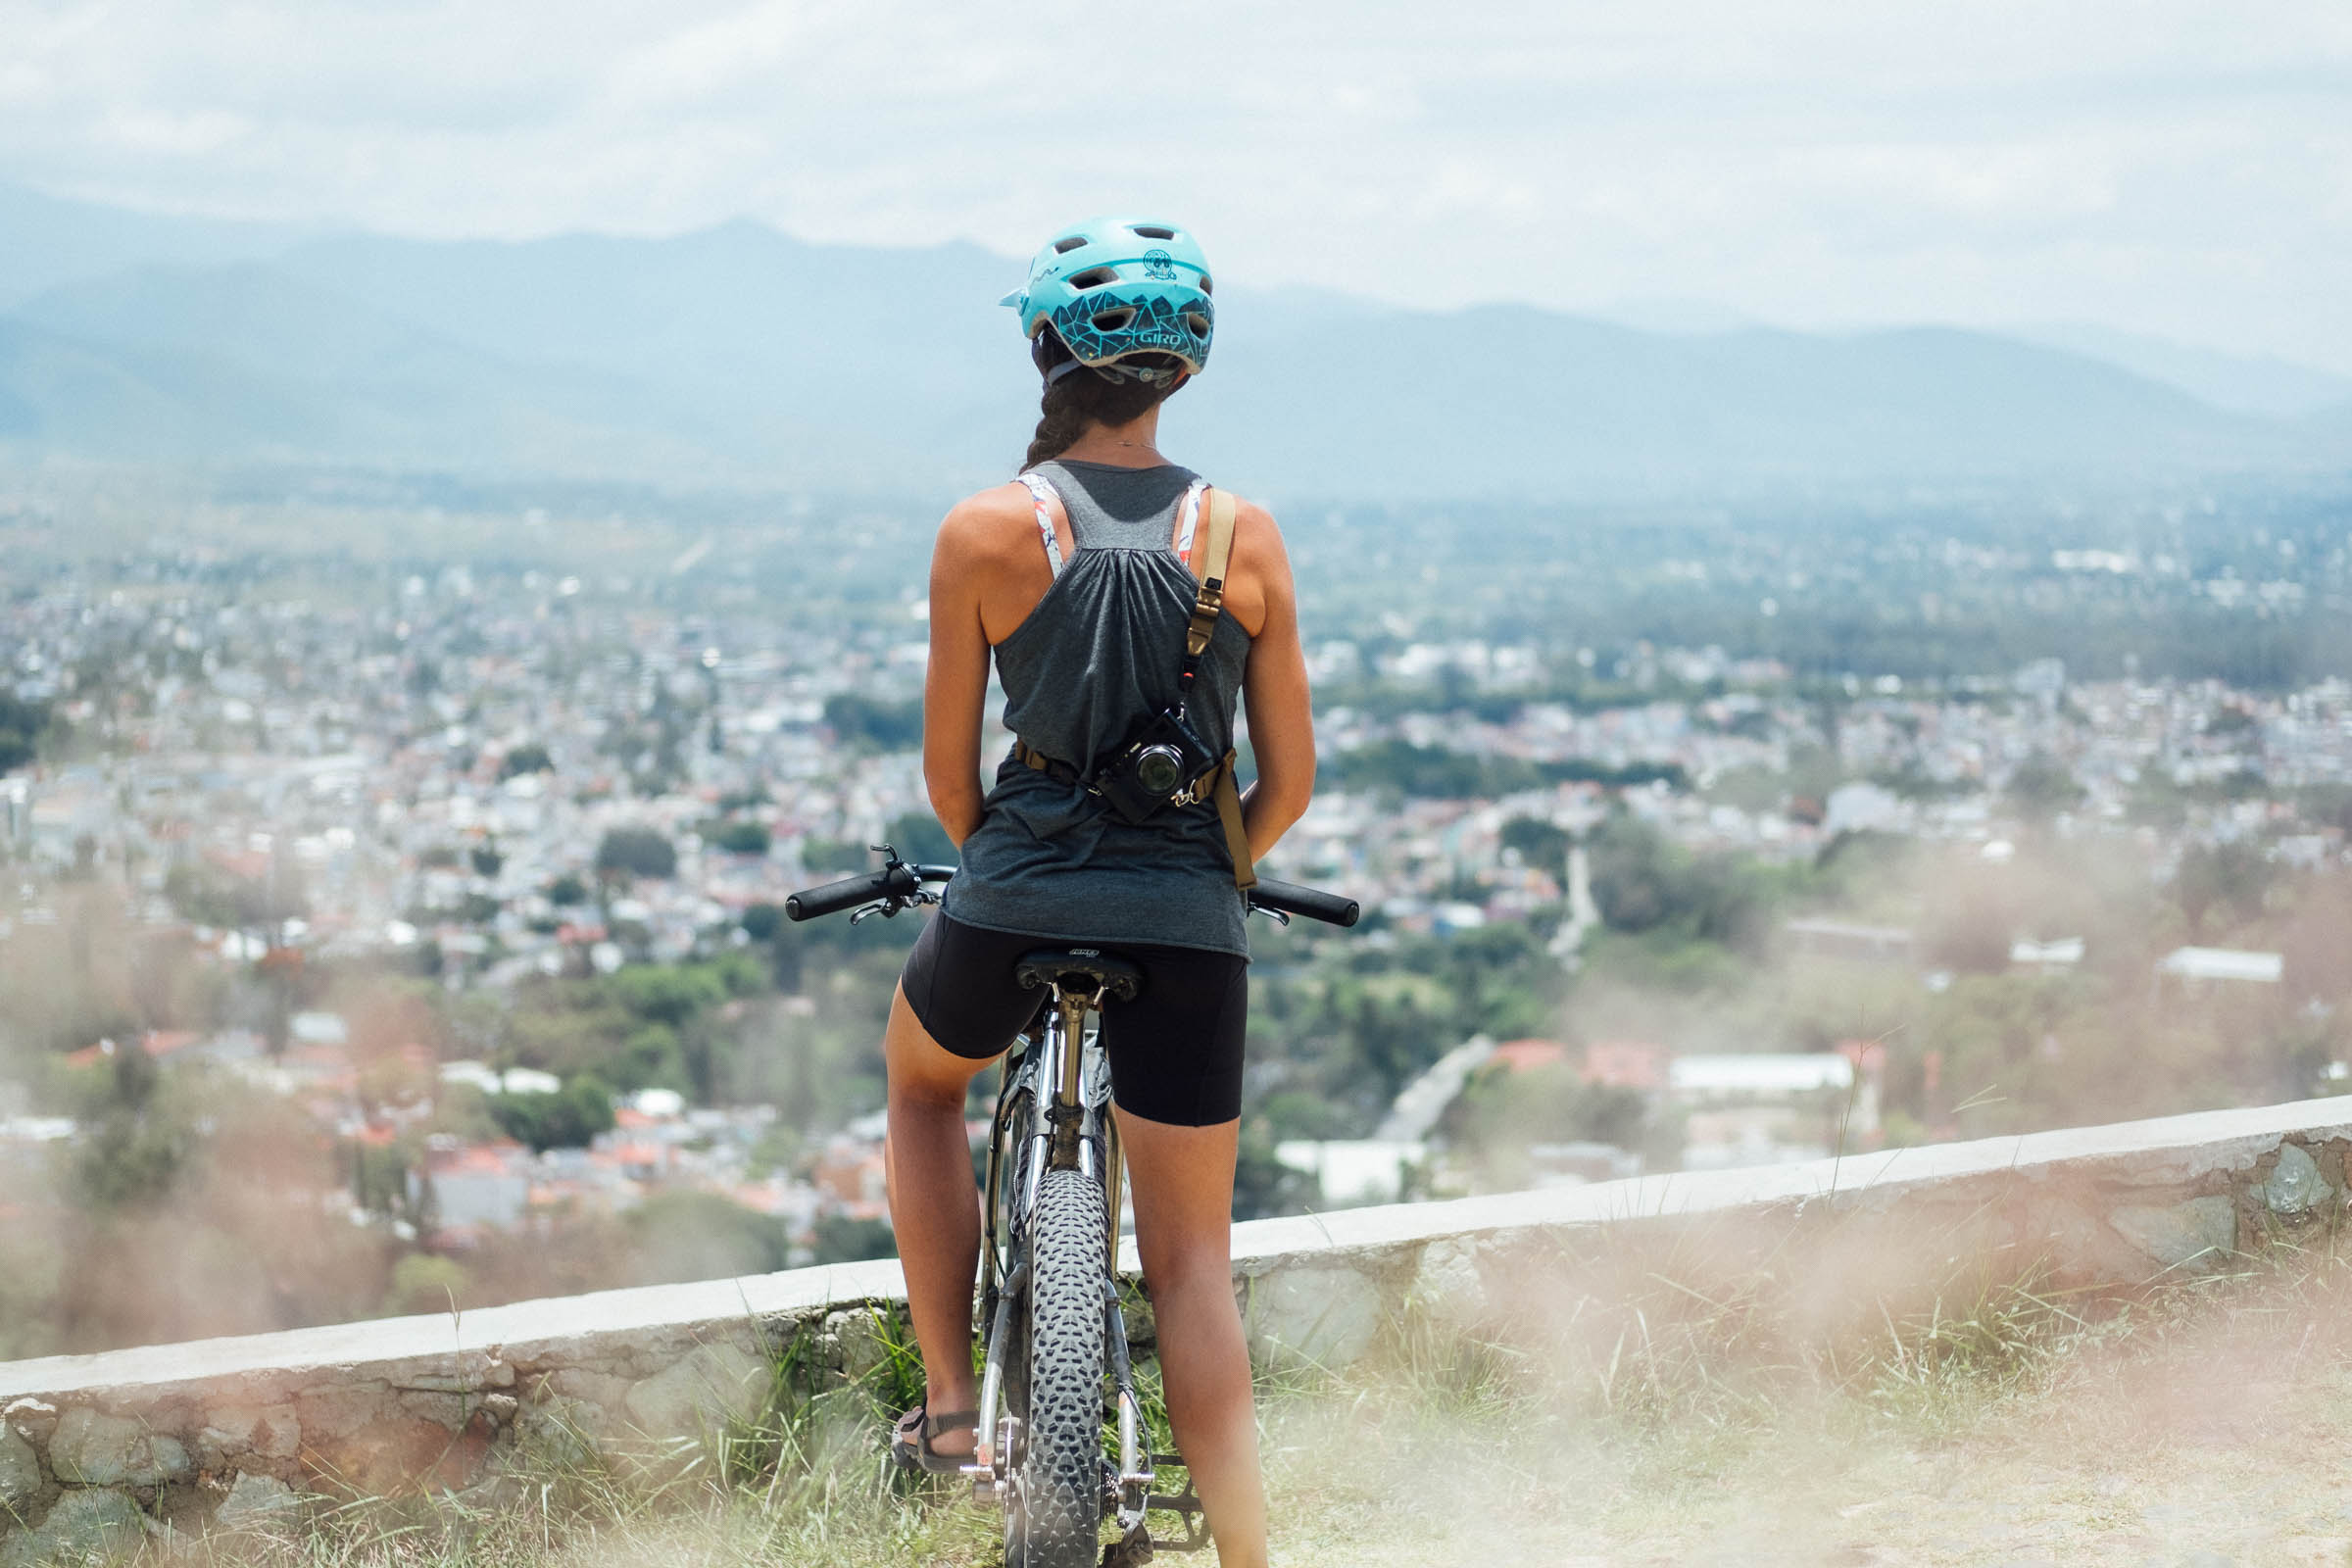
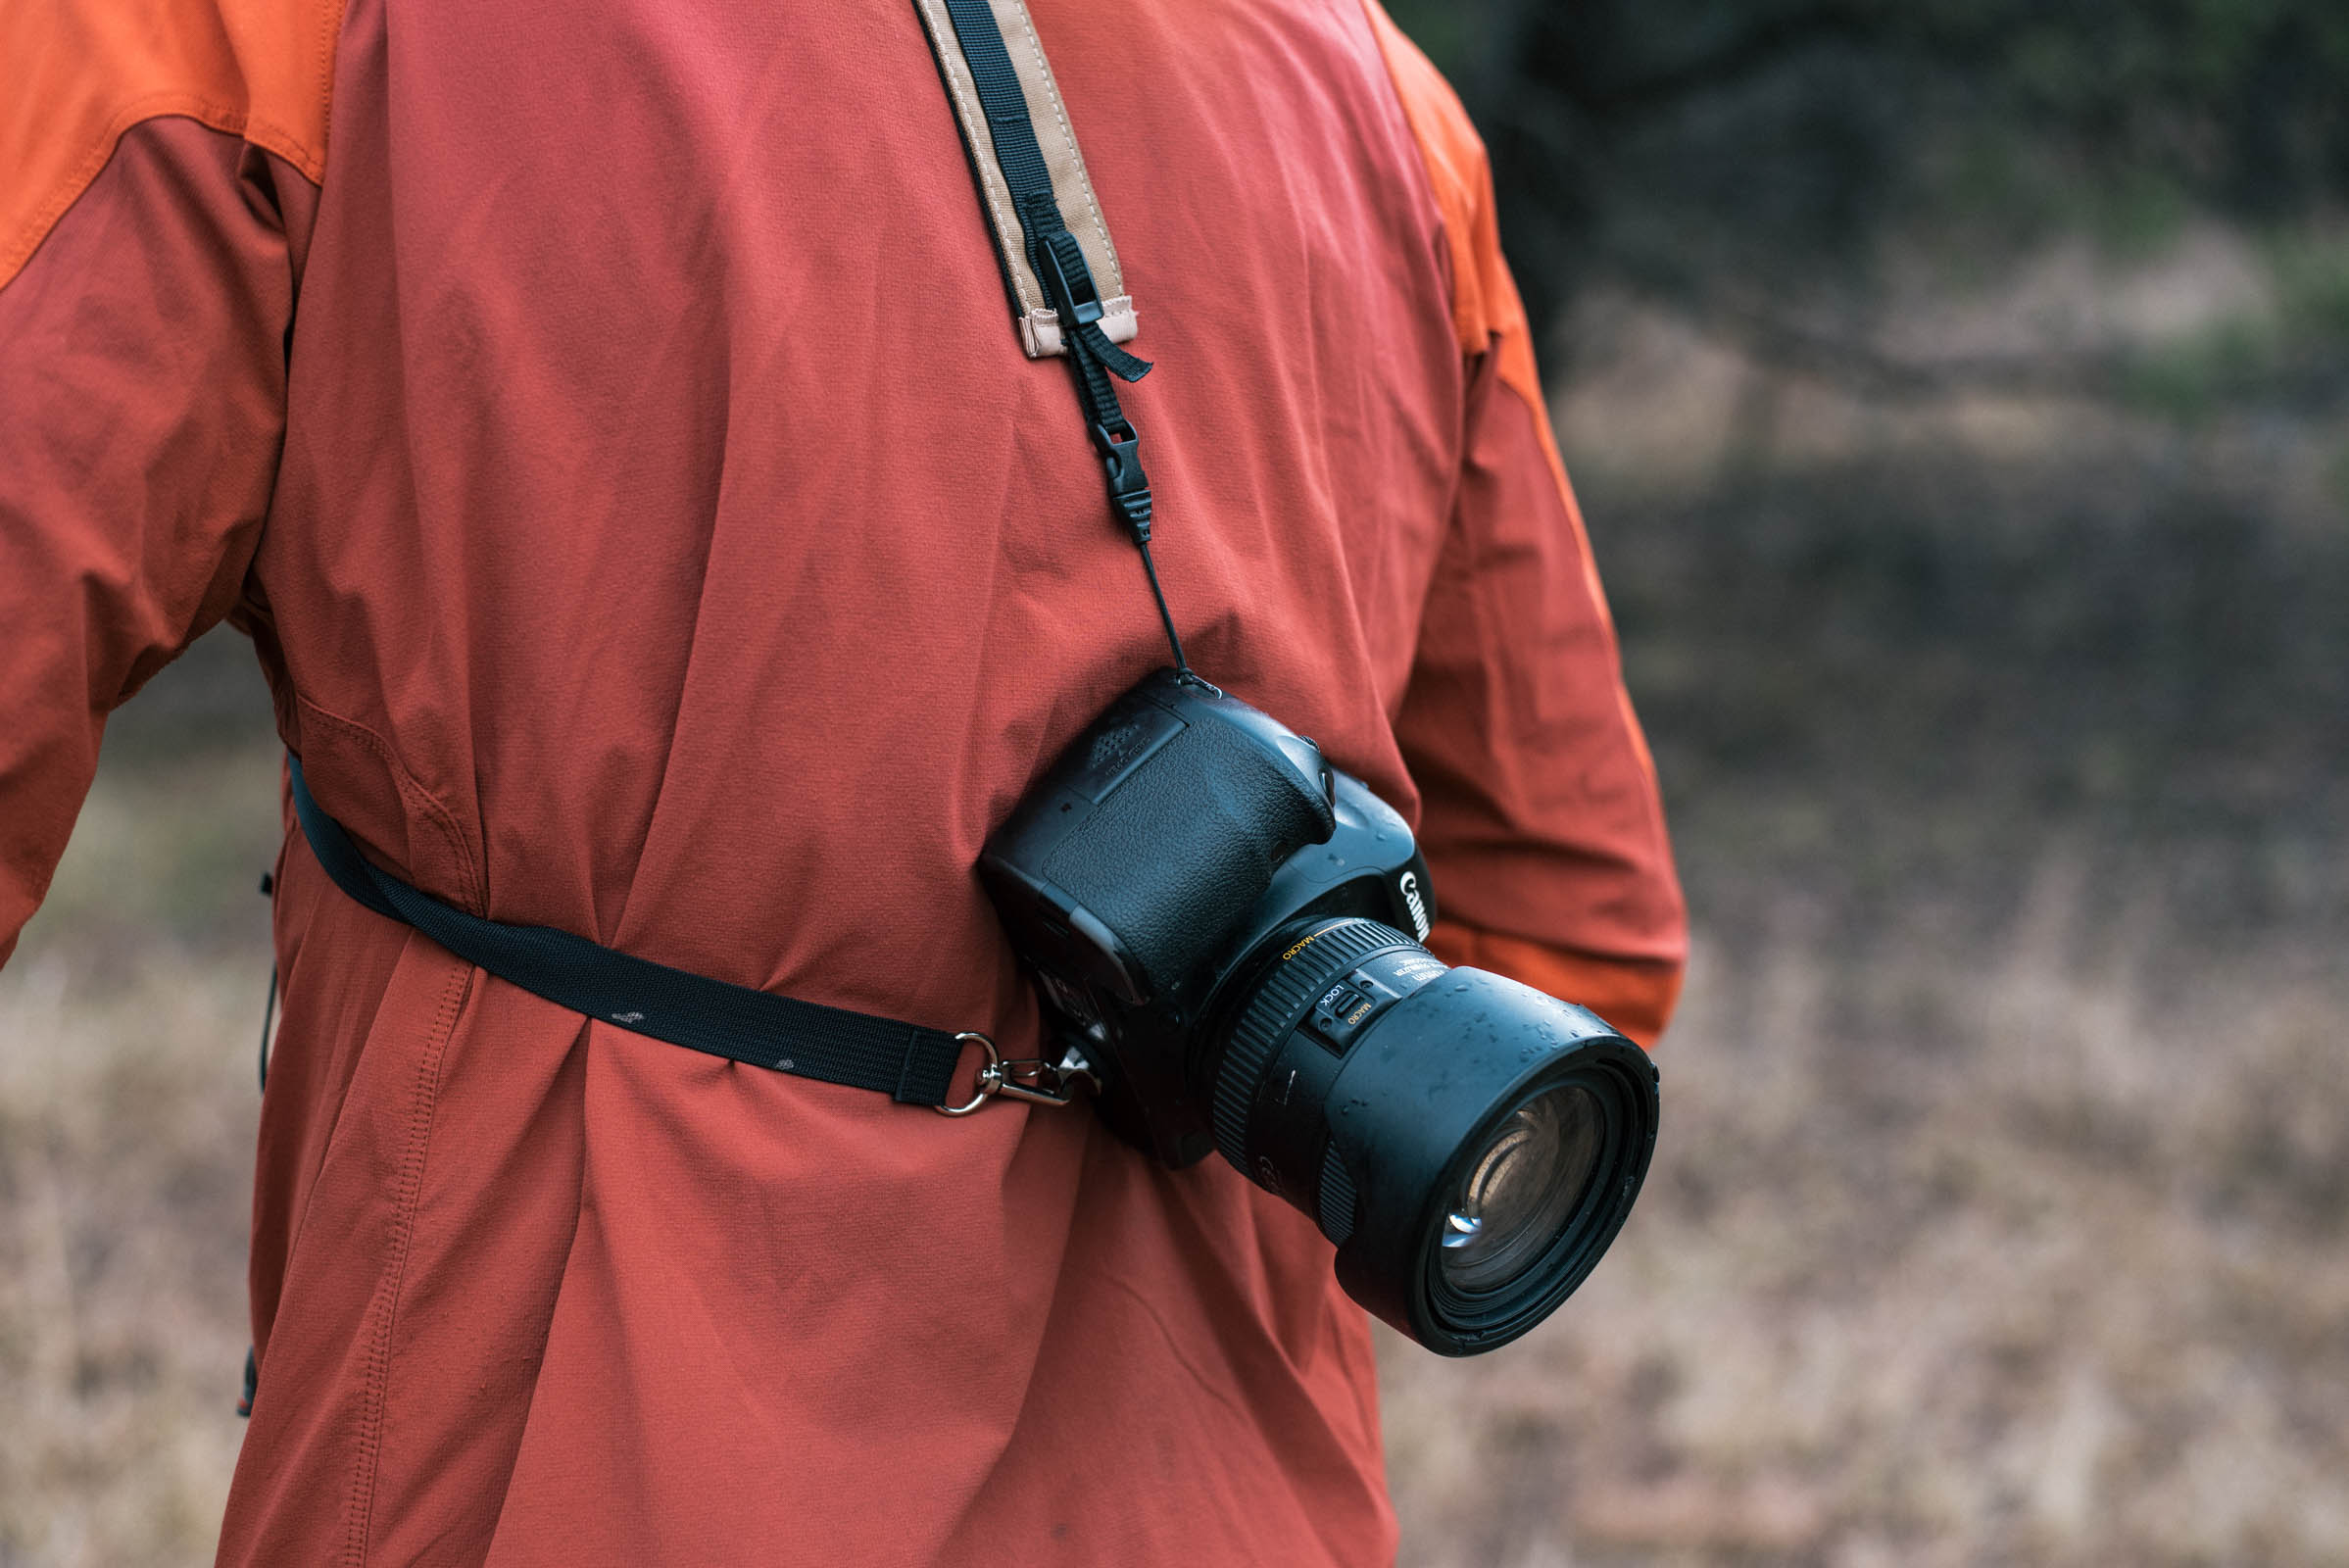
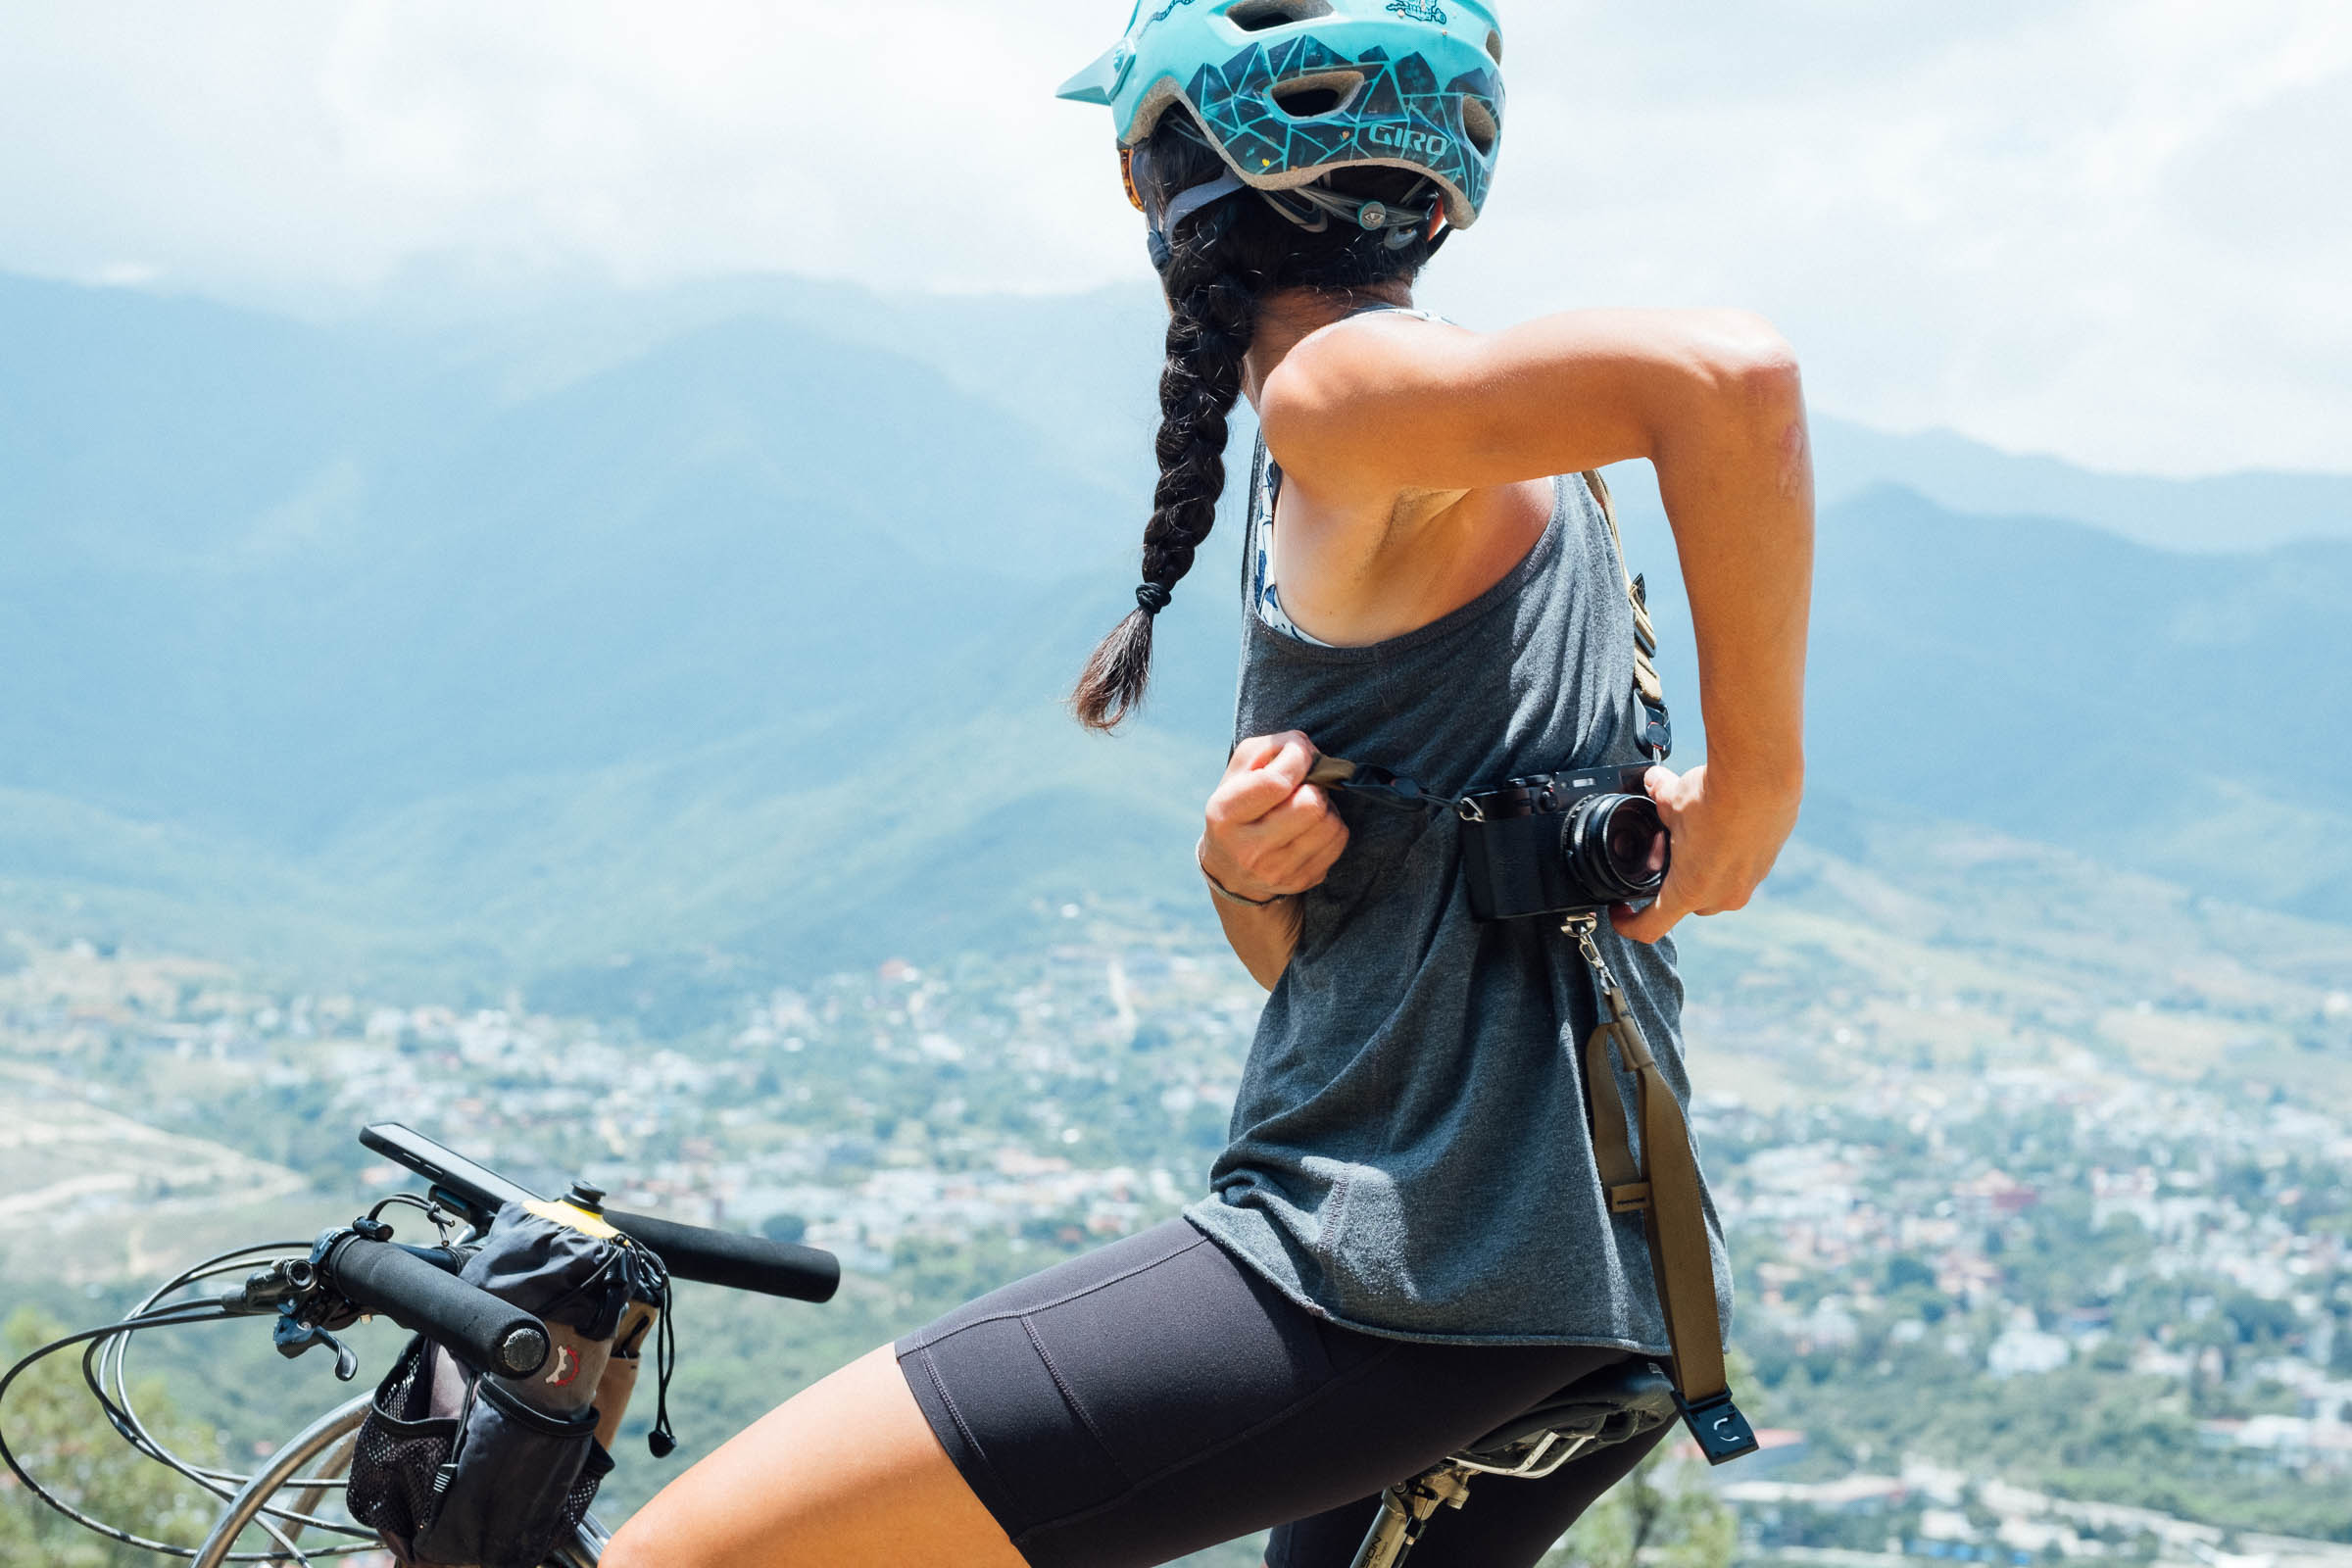
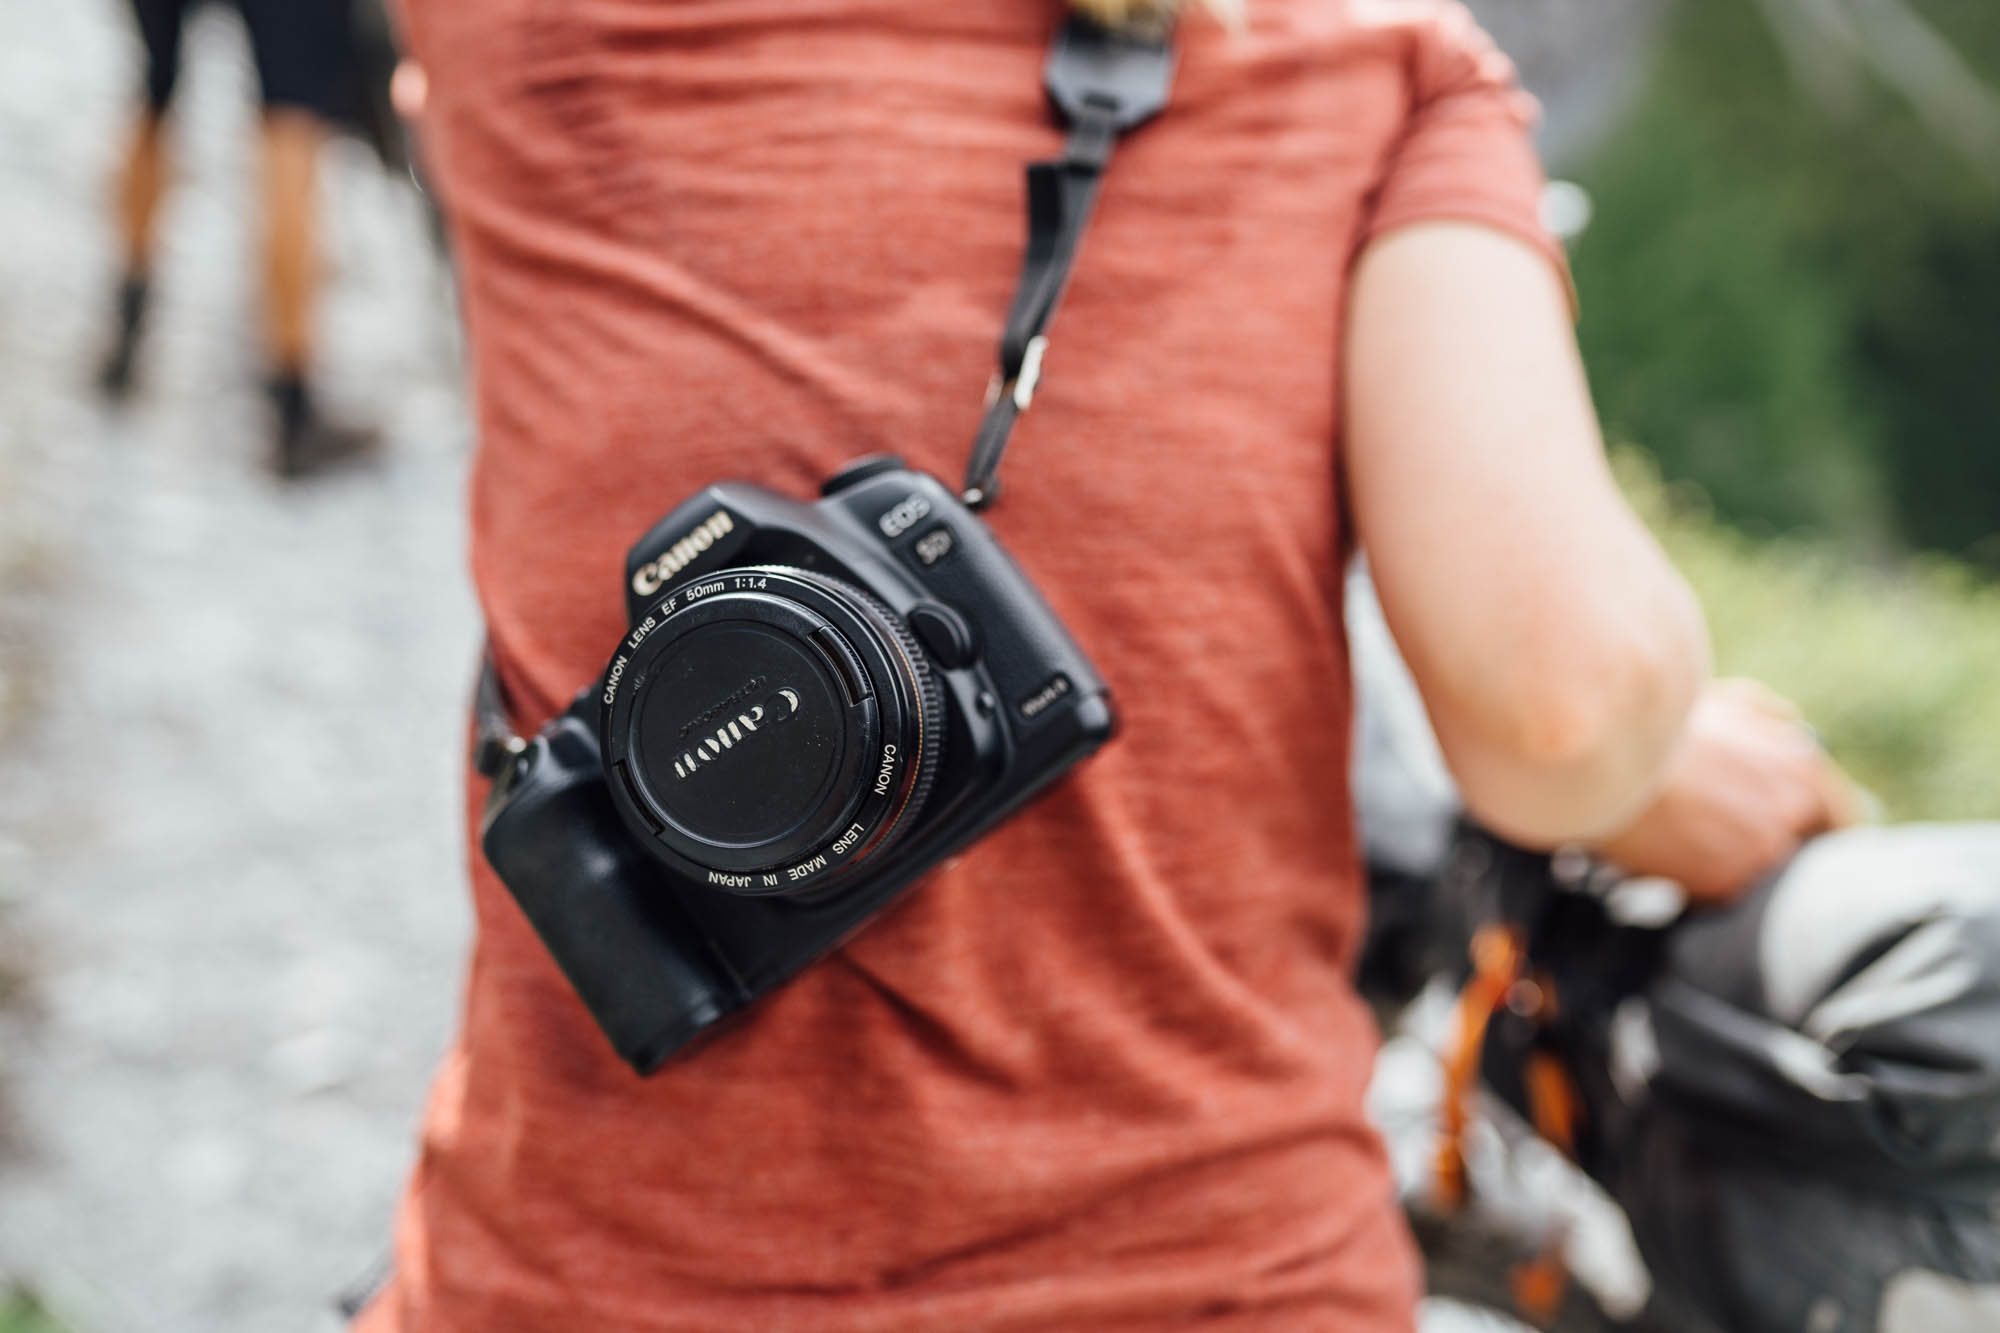
Directly across your back
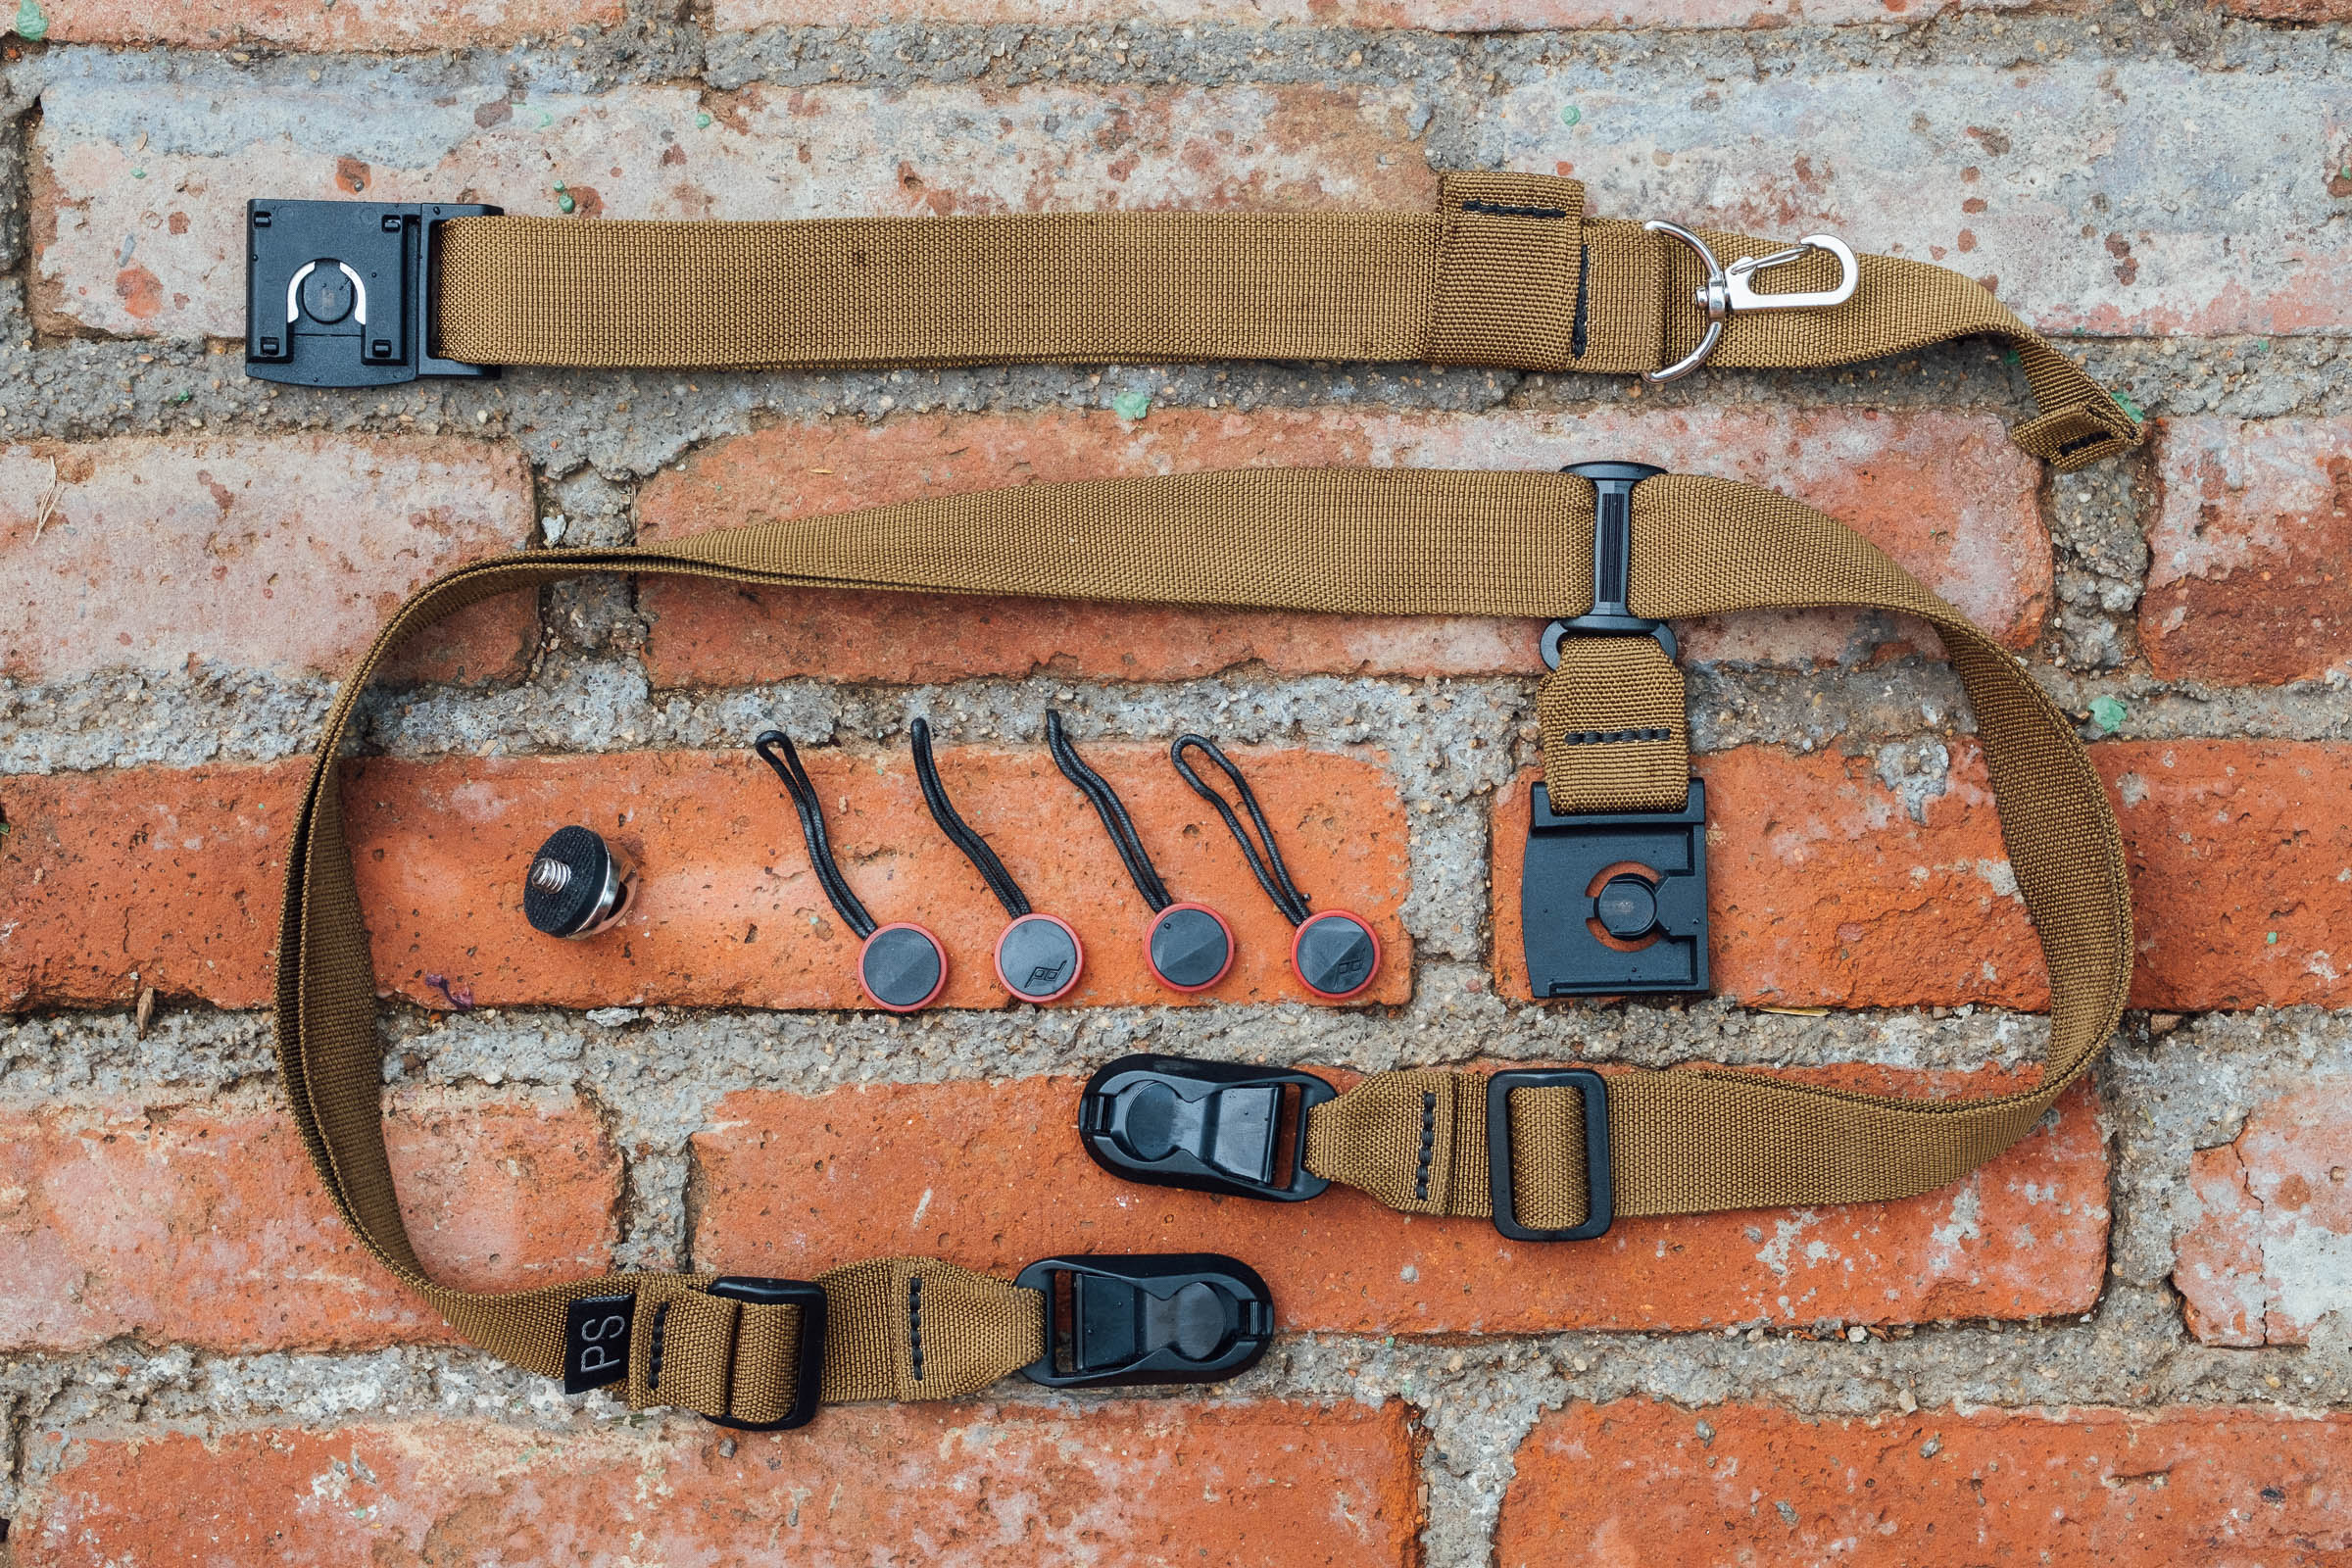
If you’re in a group and want to capture shots from the saddle, carrying a camera across your back with a three-point shoulder strap can also be an option. It’s not something we’d necessarily recommend on trails, in case you take a spill, or on hot days, as viewfinders can steam up on sweaty backs. But it definitely has its place and is popular with many rider-photographers. Check out our in-depth reviews of the Outer Shell Camera Strap, PS Bagworks’ Rider Strap, as well as the Makers in Motion Kickstarter option. If you already have a camera strap you love, PS Bagworks offers a universal stabilizer.
In a jersey pocket
If you like wearing cycling jerseys and tote a compact zoom, this can be a very convenient place to keep your camera safe. Keep a LockSak, a Ziplock, or some kind of waterproof bag handy too, in the case of inclement weather, whether it’s rain from above or mud kicking up behind you. This style of camera-toting suits Sony’s RX100 well, and is especially popular with fast gravel riders who want to capture great images… without the downtime!
Dust and waterproofing your gear
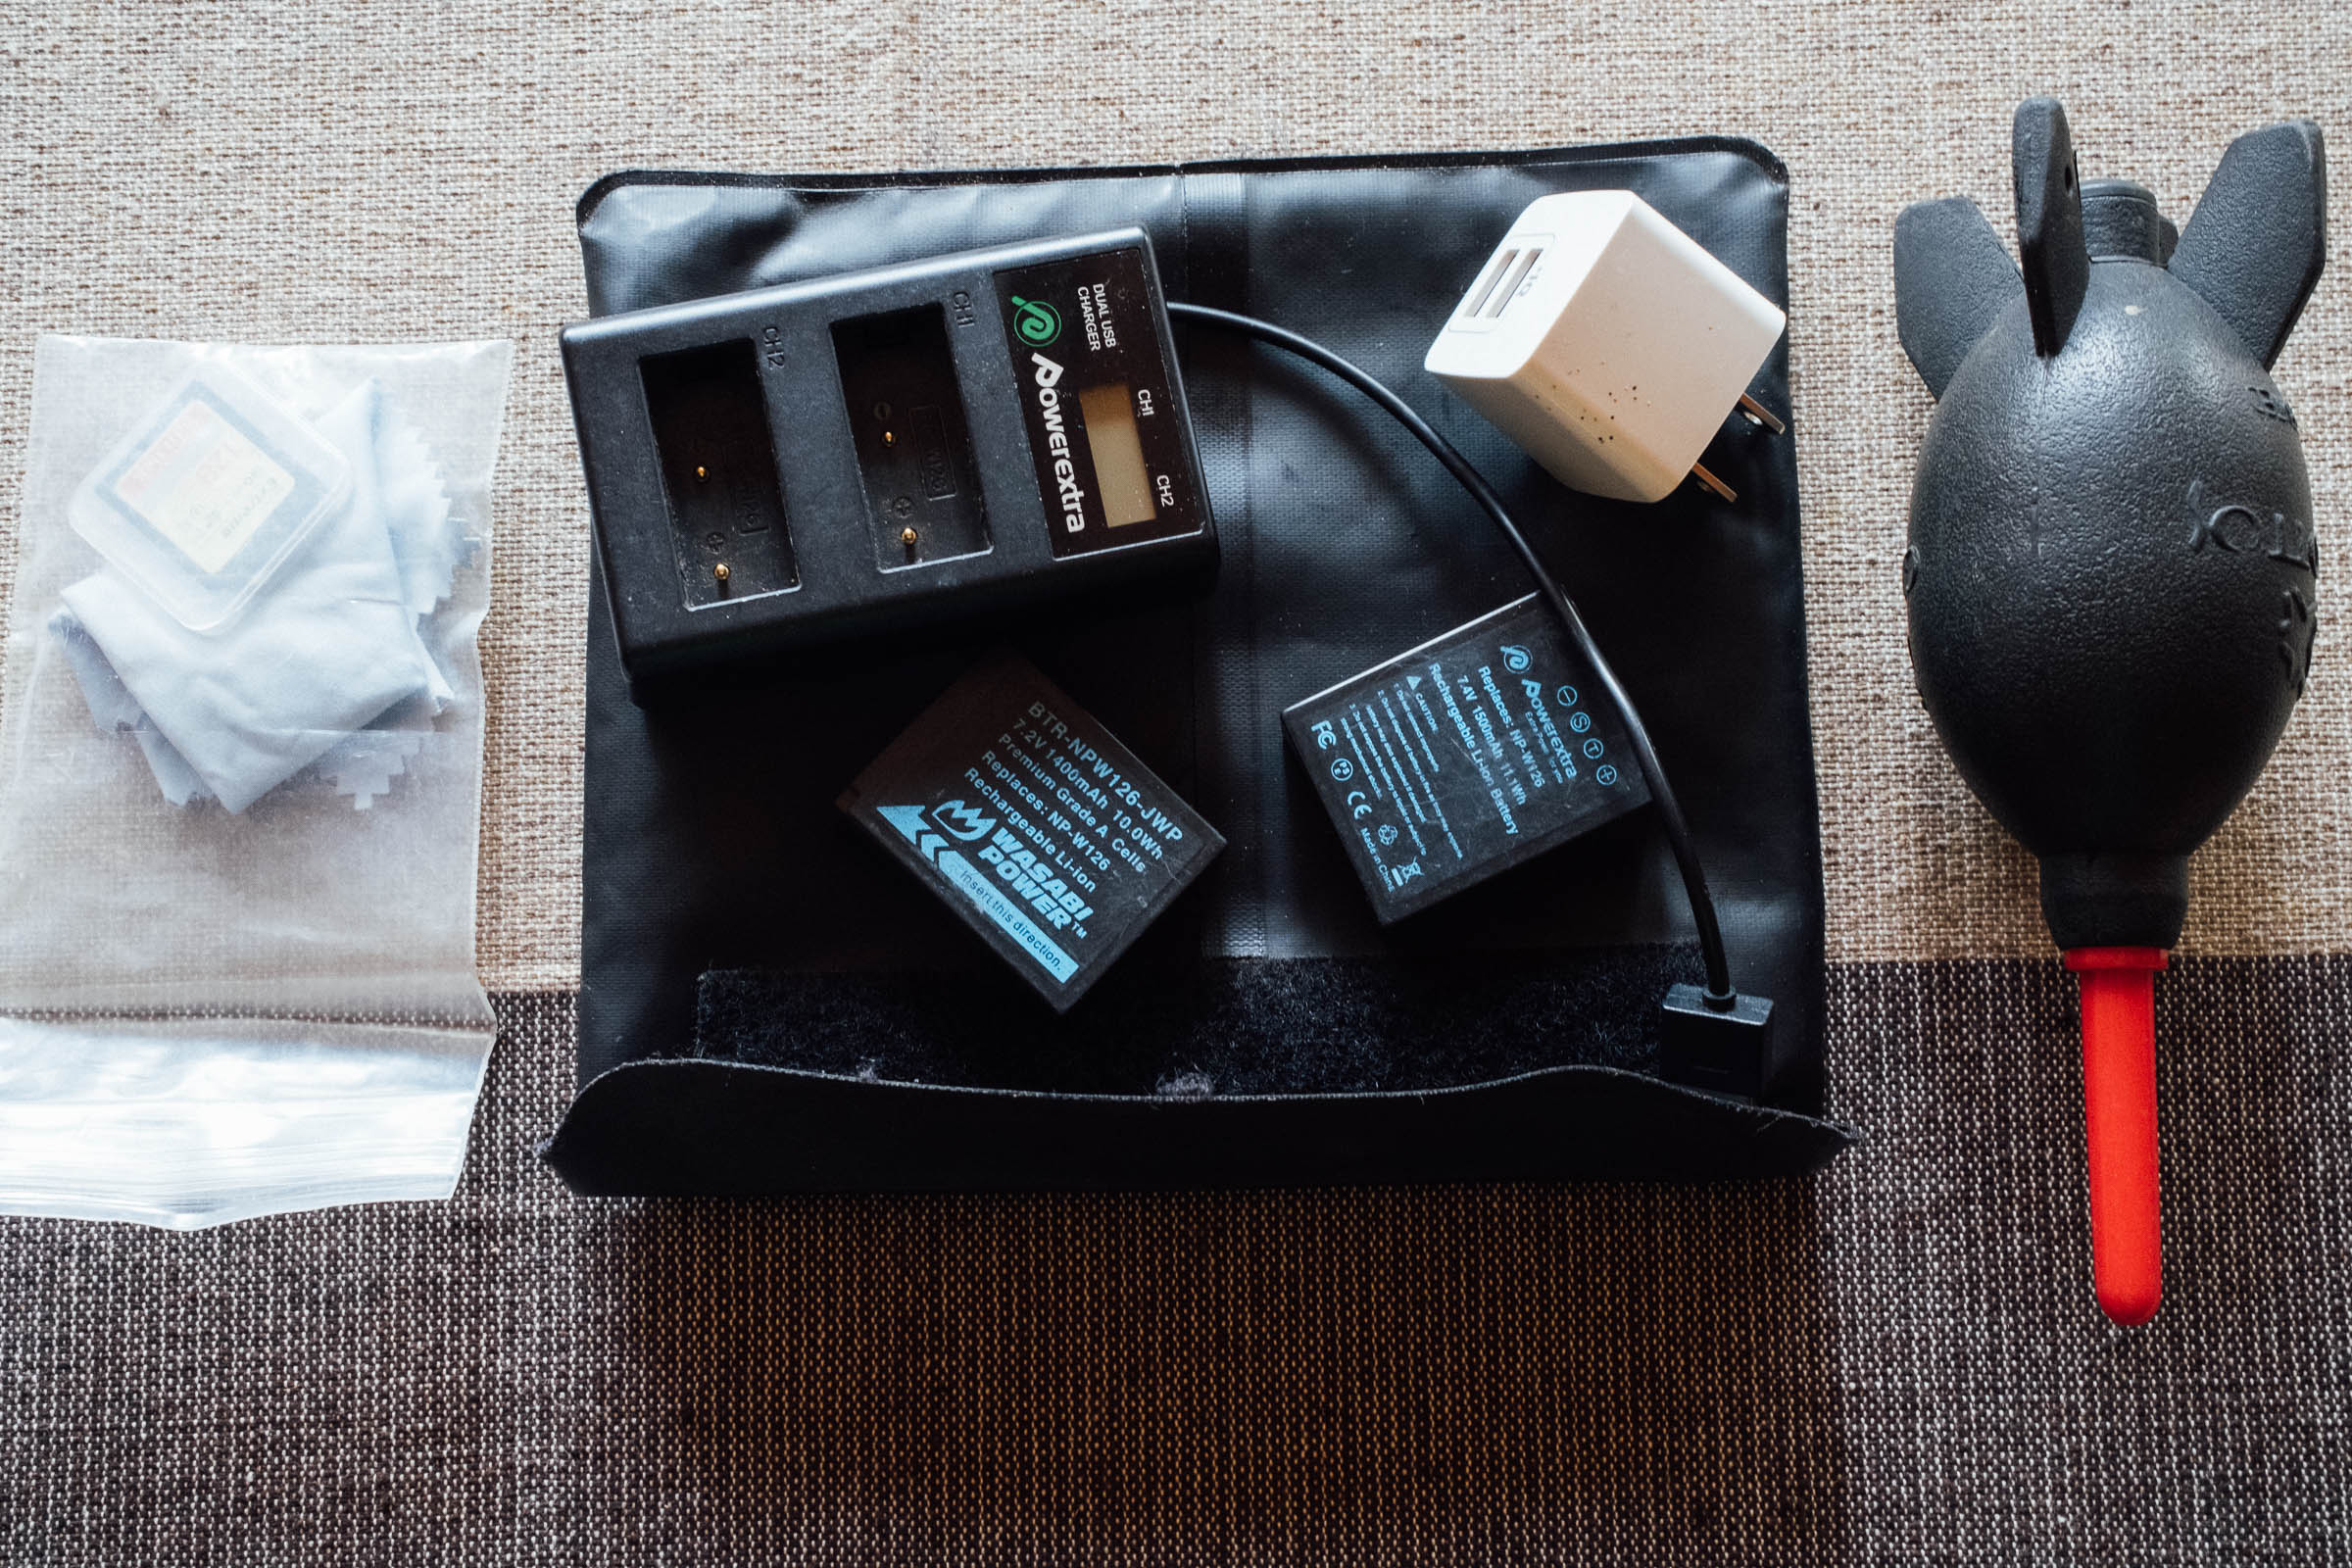
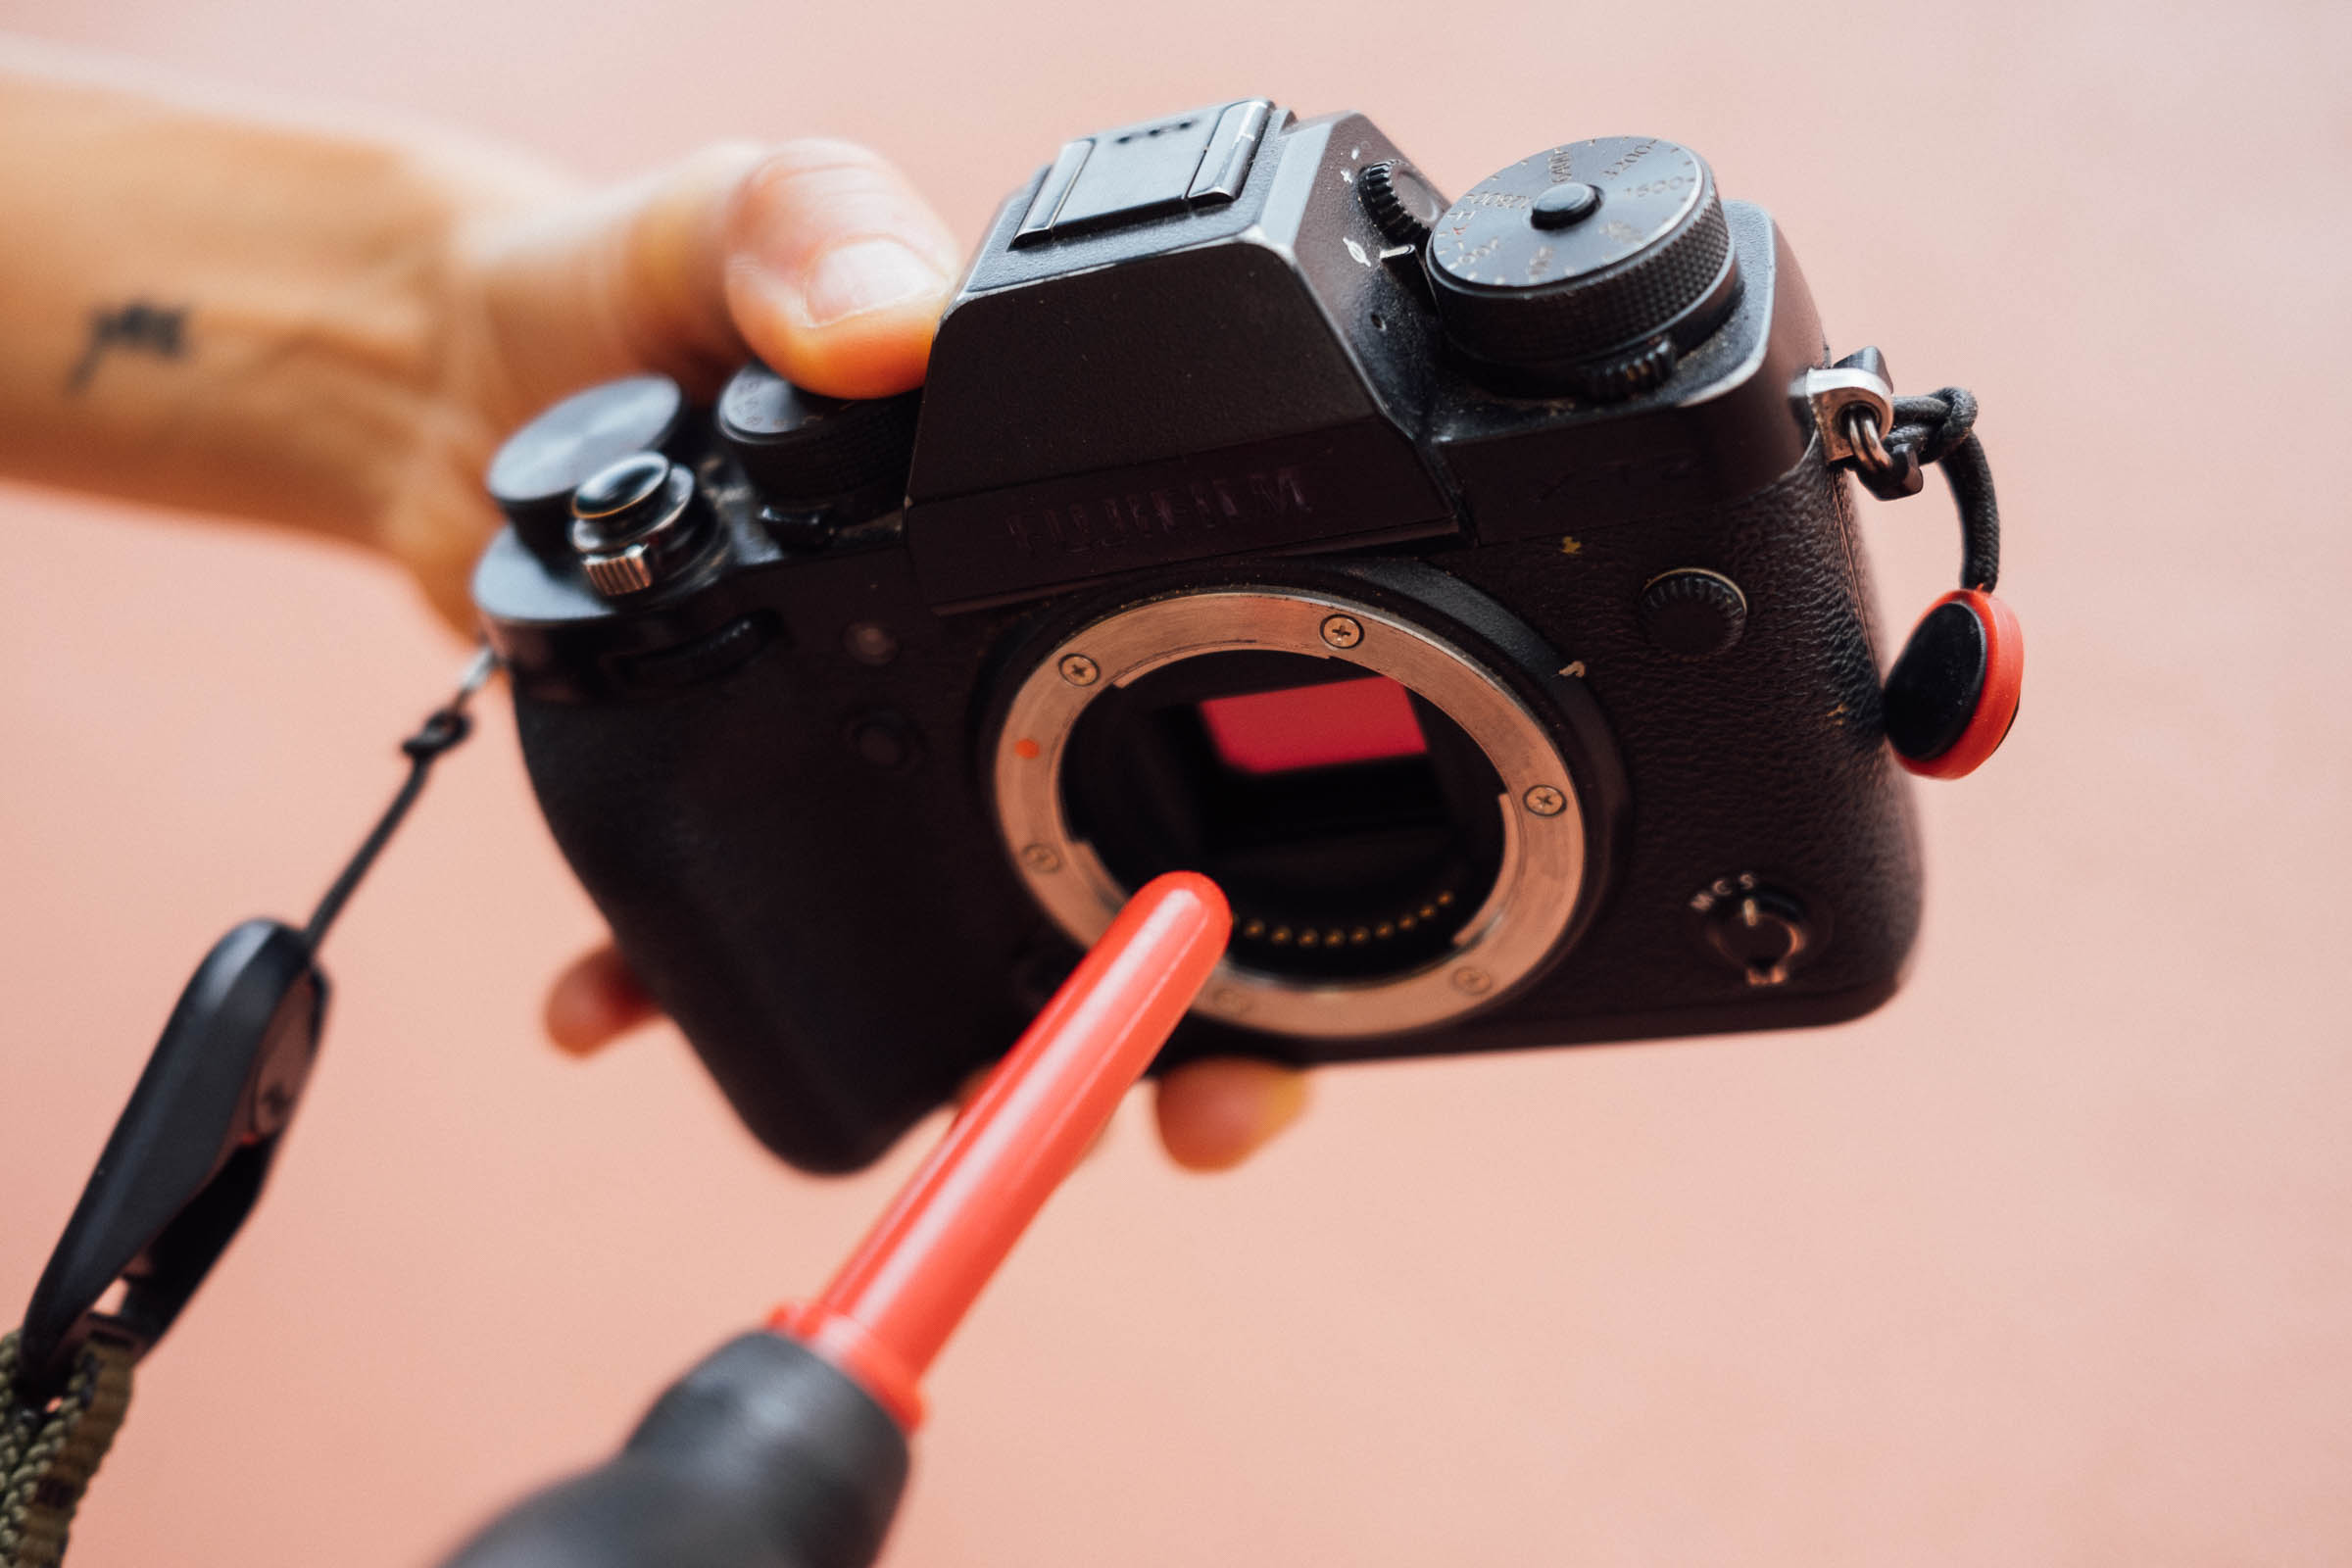
If your bag itself isn’t completely waterproof – as many aren’t – always stash a lightweight, waterproof rollbag, even if you’re not expecting rain. If you’re bringing an additional lens, a dust blower – like the Giotto Rocket Air Blaster – is useful for sensor cleaning, particularly with mirrorless cameras, whose sensors are exposed when you change lenses. Nothing is more annoying than having to spend hours on your computer tidying up photos. Try and change lenses when conditions are sheltered and turn your back to the wind if need be.
Dust can work its way into electronic zooms, causing them to fail, or get sucked into lenses. It’s worth giving your camera a regular clean when you’re on a bike tour and emptying out your camera bag of debris that can scuff and dirty your camera.
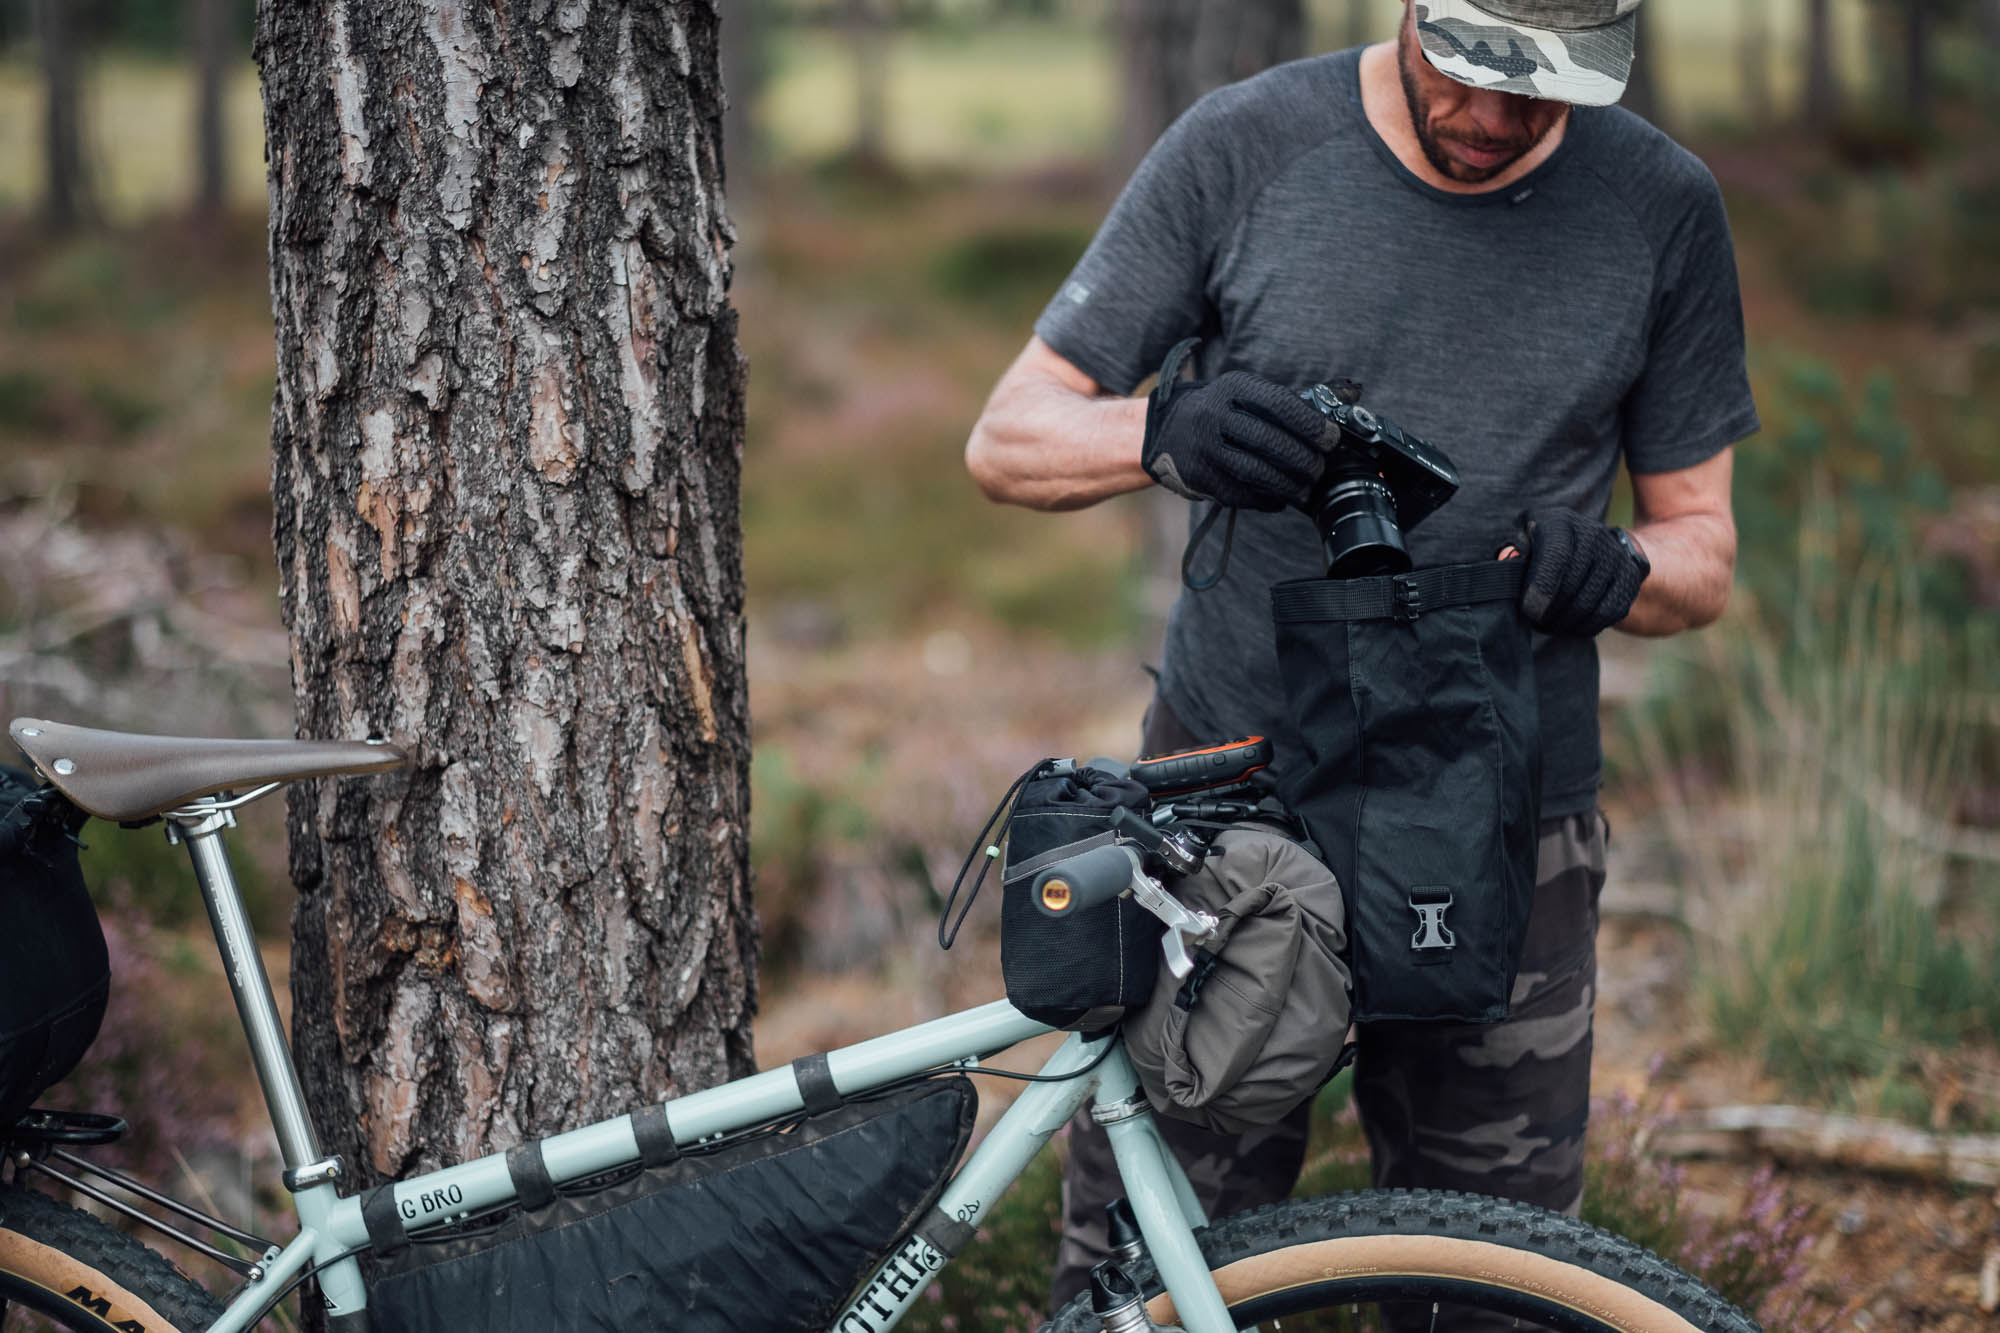
CARRYING A CAMERA ON YOUR BIKE
Unless your camera is an especially sturdy one, stowing it on your bike is generally best suited to gentler terrain, like pavement, gravel roads, and mellow forest tracks. We’re not suggesting that a few rides will shake your camera to pieces, but in the long run, most cameras will eventually suffer. Heavier cameras positioned at the front of your bike can also have a negative impact on steering, especially if you’re running suspension, so there are bike handling variables to consider too.
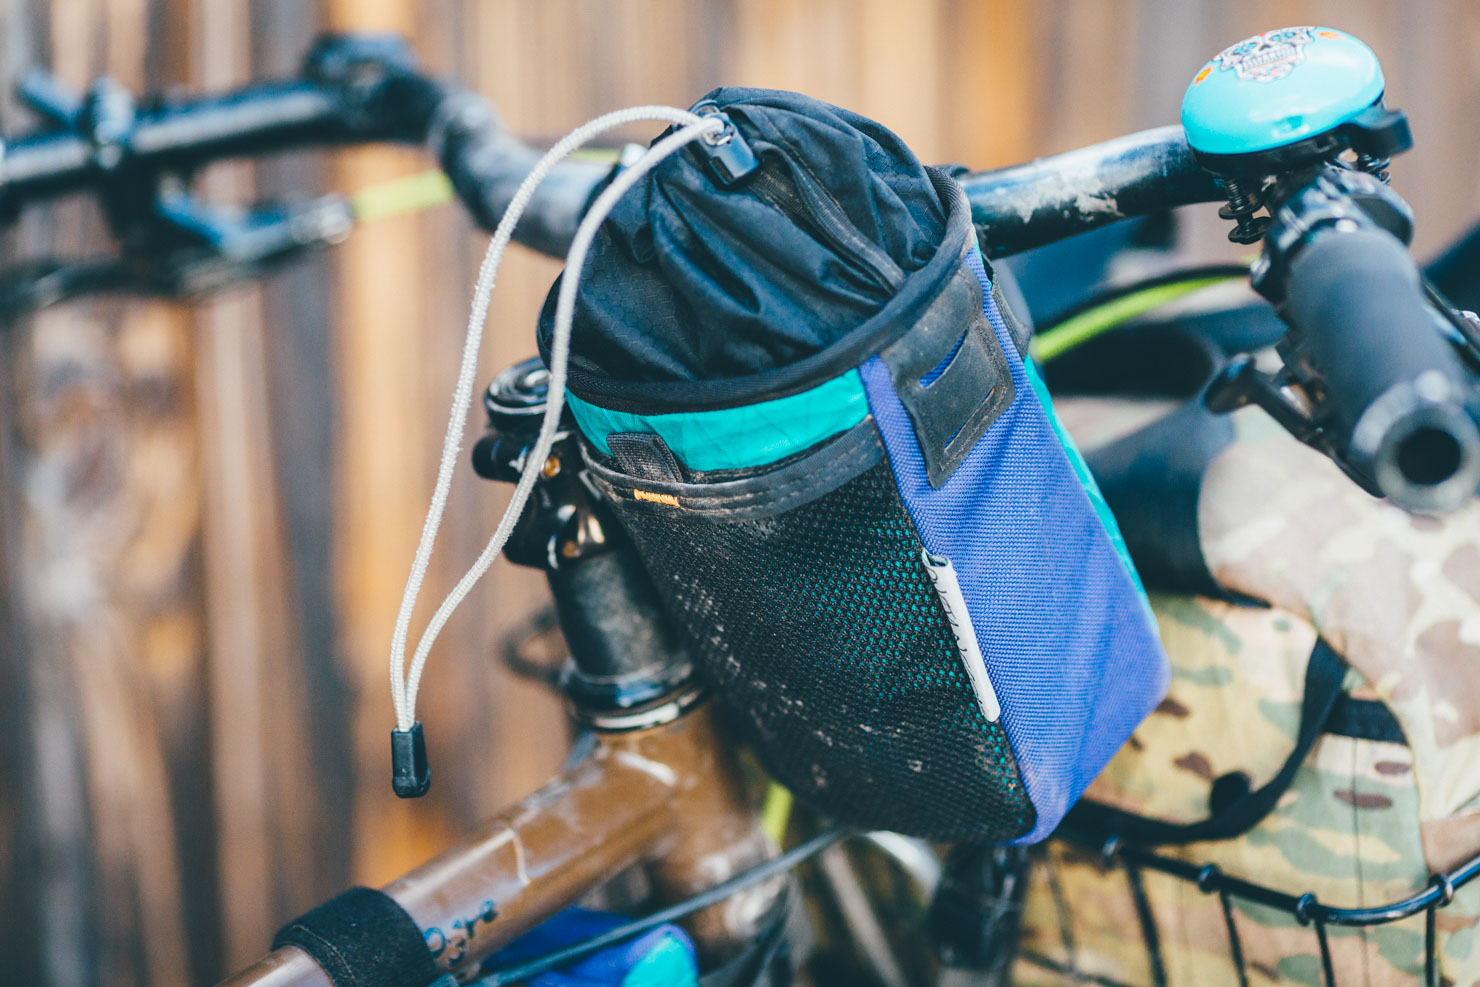
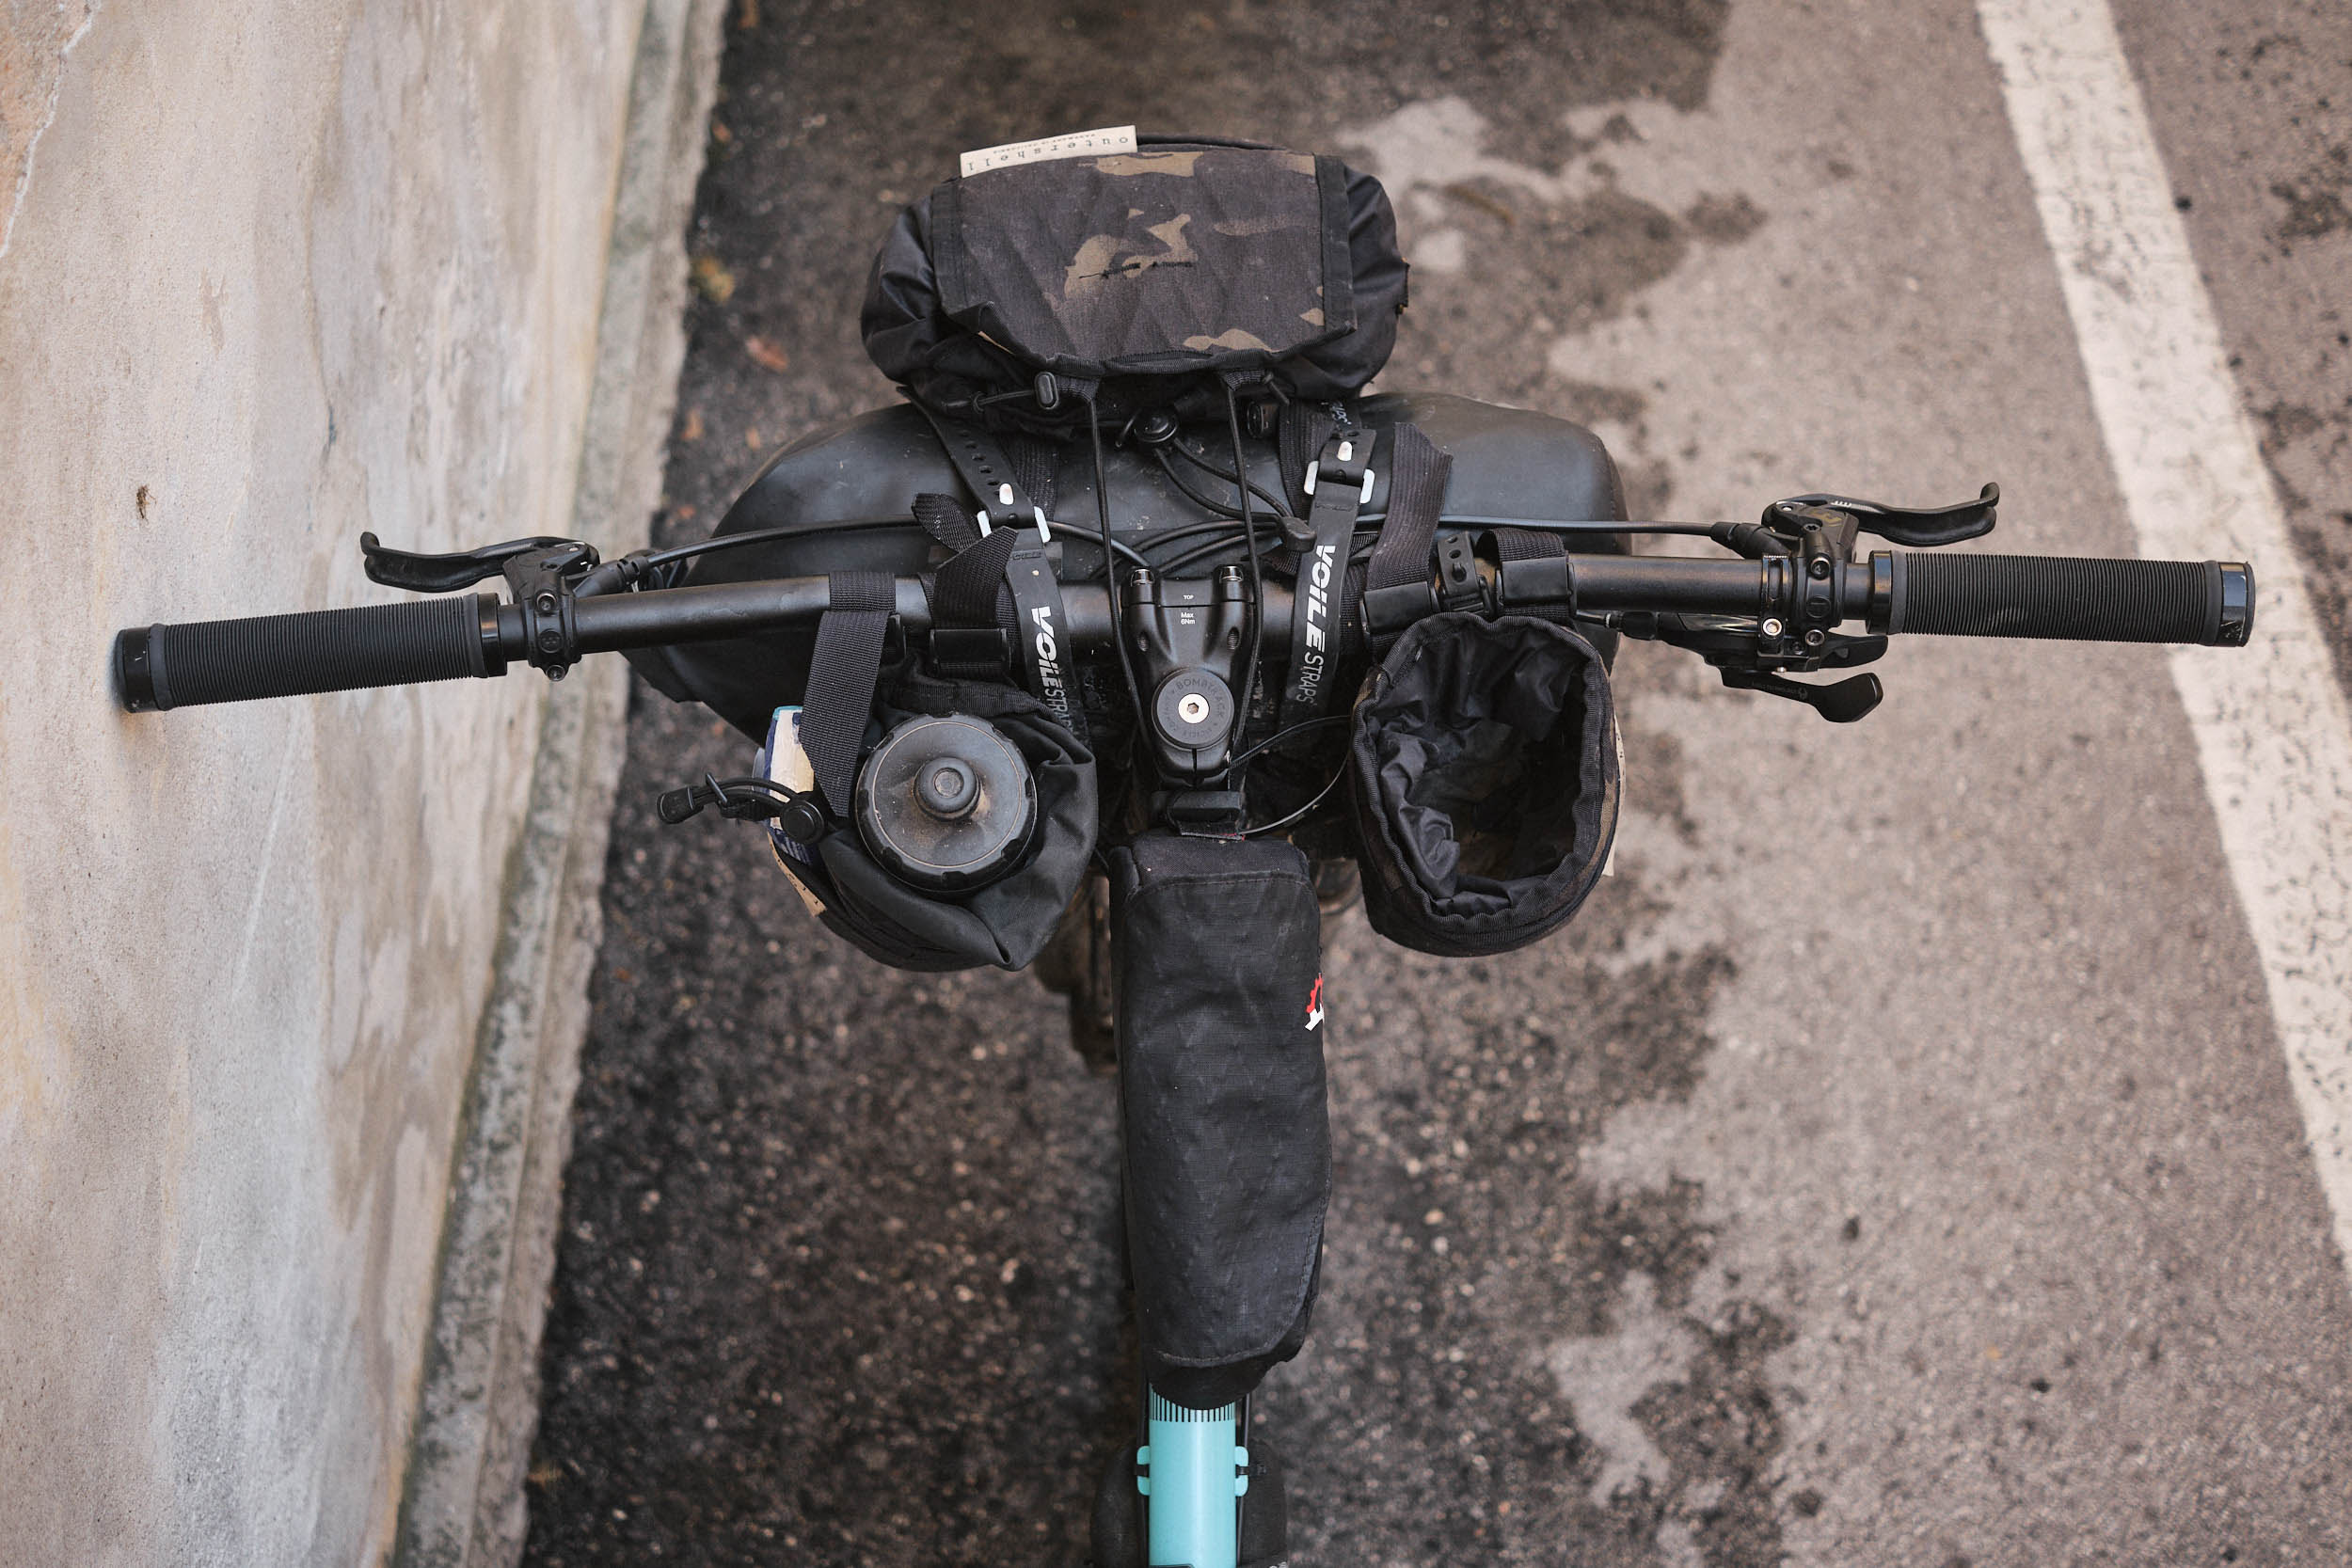
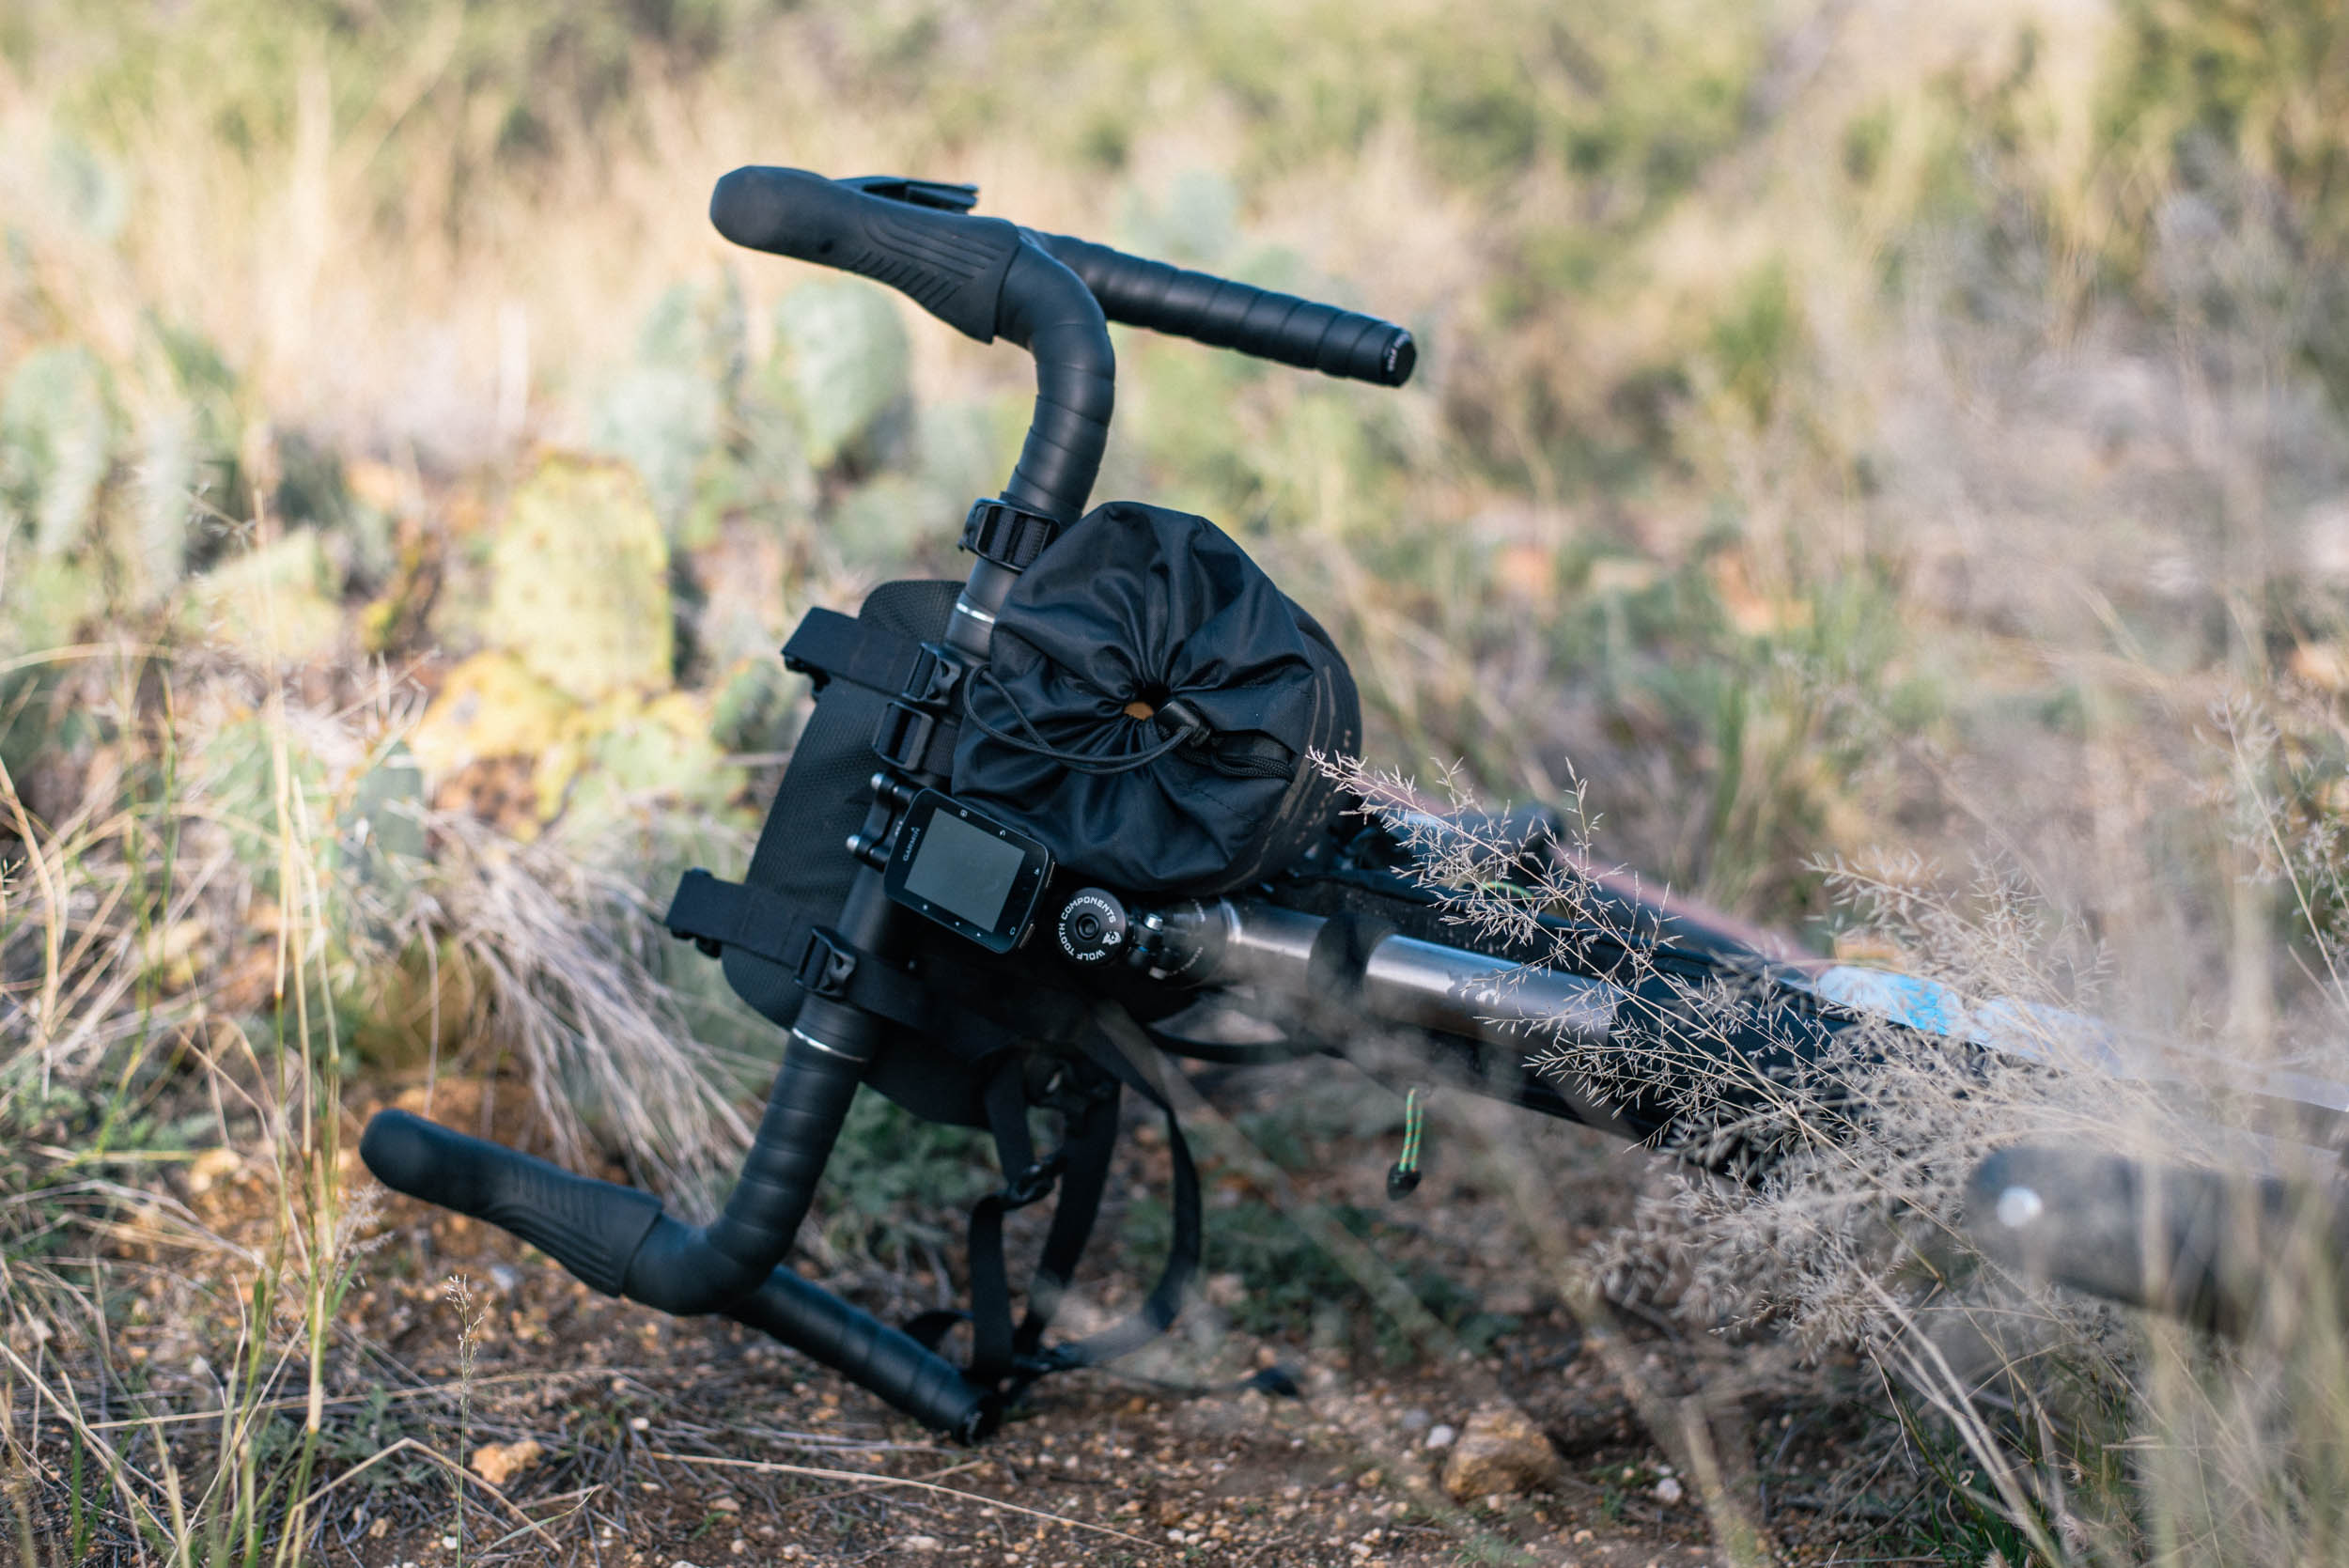
Still, nesting a small camera in a padded stem bag can be an appealing option for day rides and longer trips alike. Front pouches – the kind that clip to many handlebar rolls – can also work well if they’re secure enough, as do more specific camera-carrying options that attach directly to your handlebars.
Stem Bags
If your camera is compact enough – think Sony’s RX100 series, a Fuji x100, or even a small mirrorless with a pancake lens – then a stem bag may well work for you. In terms of fit, we prefer stem bags that aren’t too snug, or you’ll end up nudging all the dials each time you grab it, or catching it as you pull it out. Stem bags can also make good options for an extra lens. Don’t forget to remove your gear in the evening, in case it rains – if the stem bag becomes damp, it can create humidity in your camera, so you’ll need to let it dry out first. Keeping an an ultralight drybag rolled up at the bottom can be a good idea too, below some extra padding to stop your camera from wearing holes in it. One downside to stem bags is that they can knock your knees when riding out on the saddle, depending on the model and your bike’s geometry.
Look for models that are padded and offer some form of weather protection – like Andrew the Maker’s Little Hatch Sack, or Roadrunner’s Auto-Pilot with detachable Lid. Bedrock’s Tapeats is a nice option too, with a weather-resistant closure system, though it needs additional padding, and Framework Design’s Trail Grazer also looks like a good contender.
You can even make your own that’s just the right size, using this DIY guide as a template.
In the past, we’ve run Porcelain Rocket’s now discontinued DSLR and Mini Slinger. These days there are more bag makers around, a number of whom will be happy to work with you to help realise your camera-carrying dreams – including What Happened. Think protection against the elements, perhaps a magnetic or elasticated closure, and a strap that cinches to your fork crown to keep the bag stable.
Bear in mind that a camera-specific stem bag will be permanently attached to your bike, so unless you want to remove it each evening, it tends to suit dry climates better than damp ones.
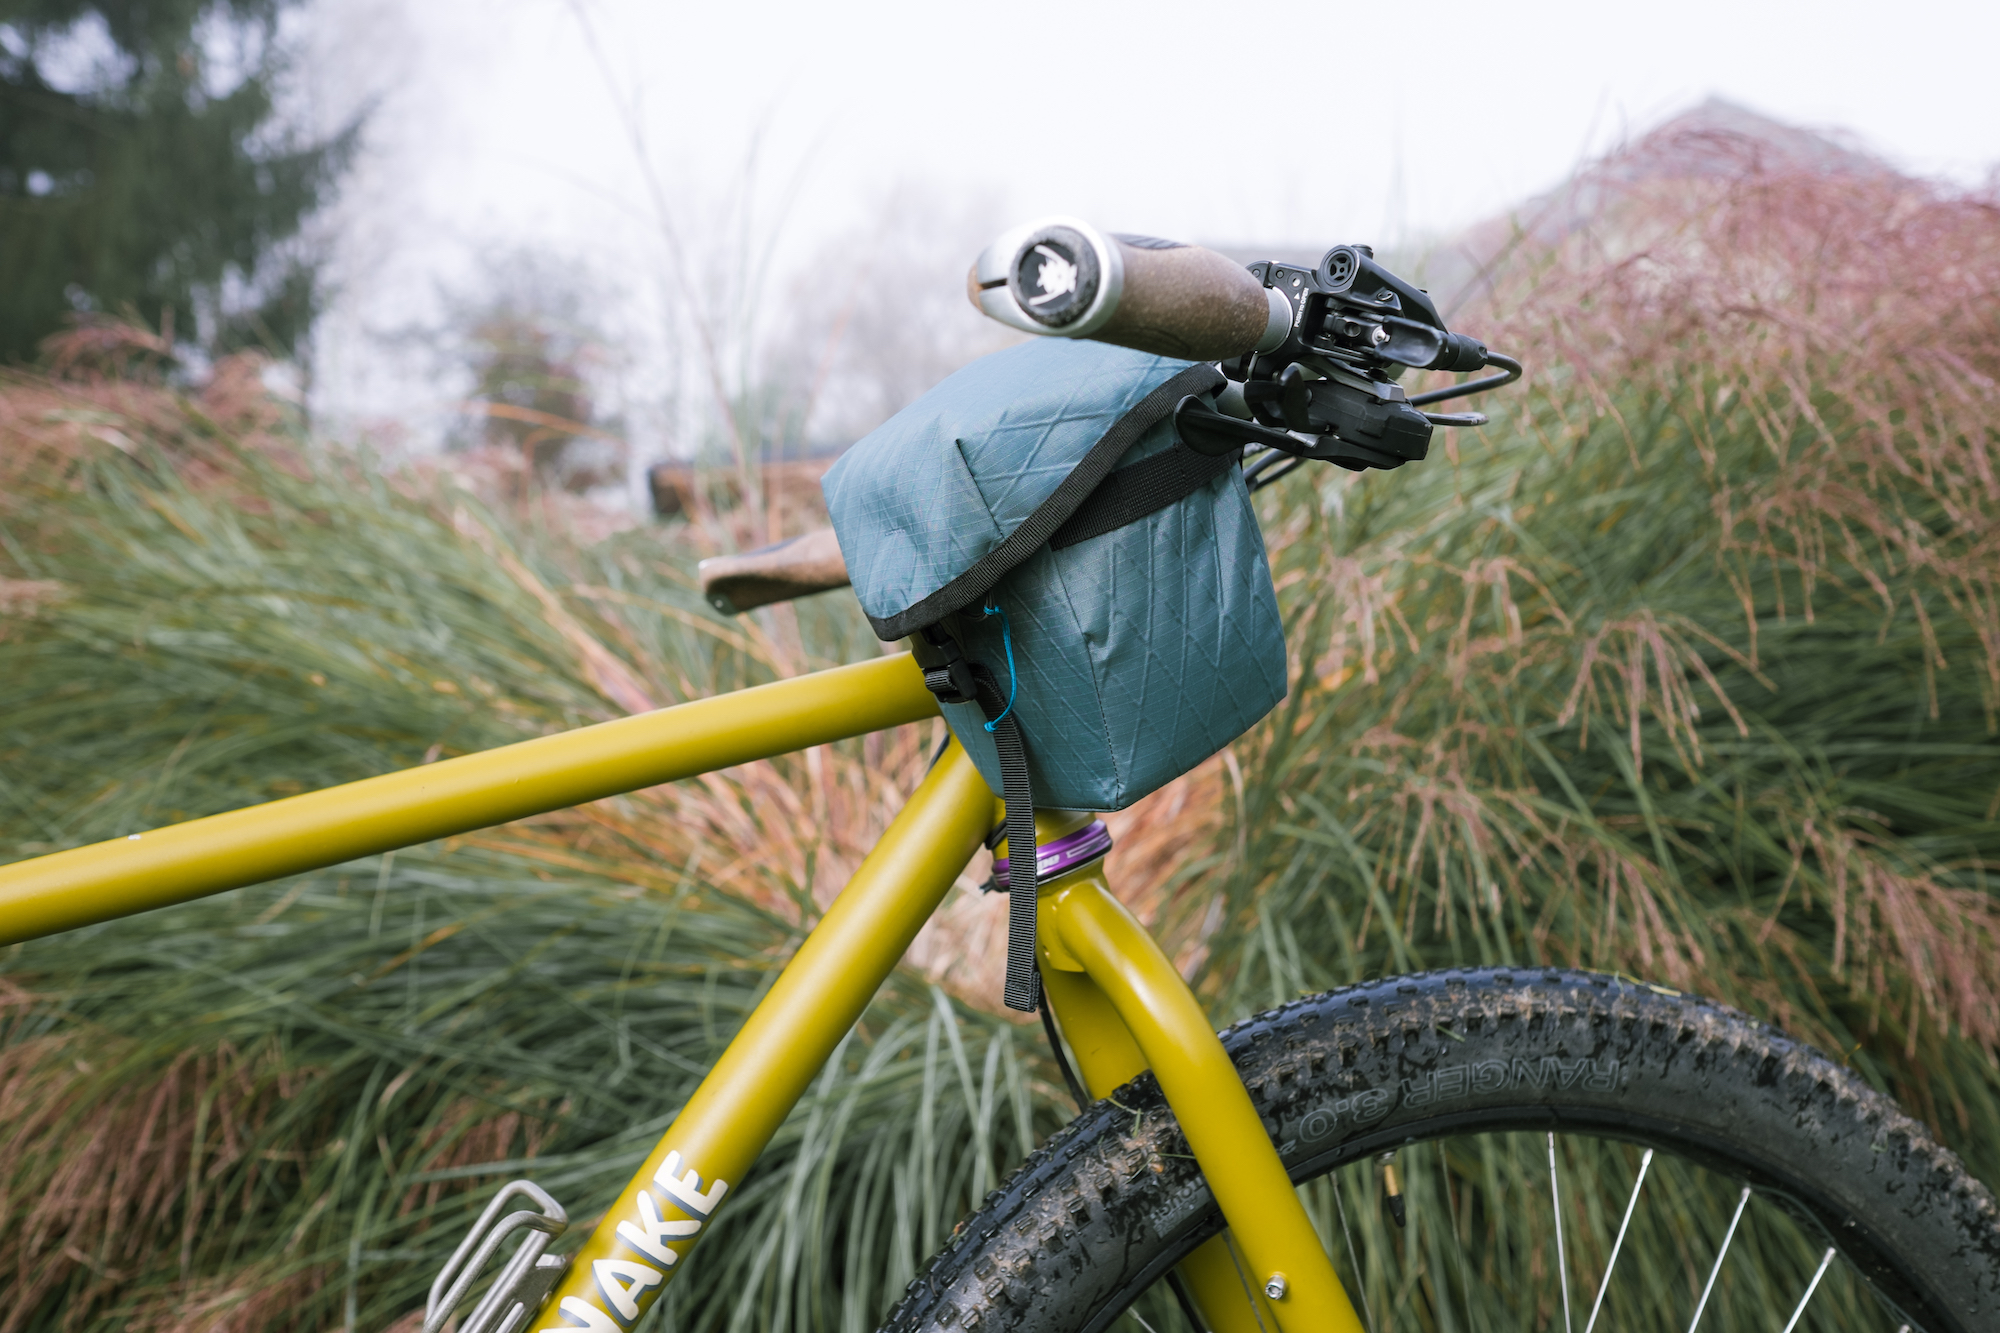
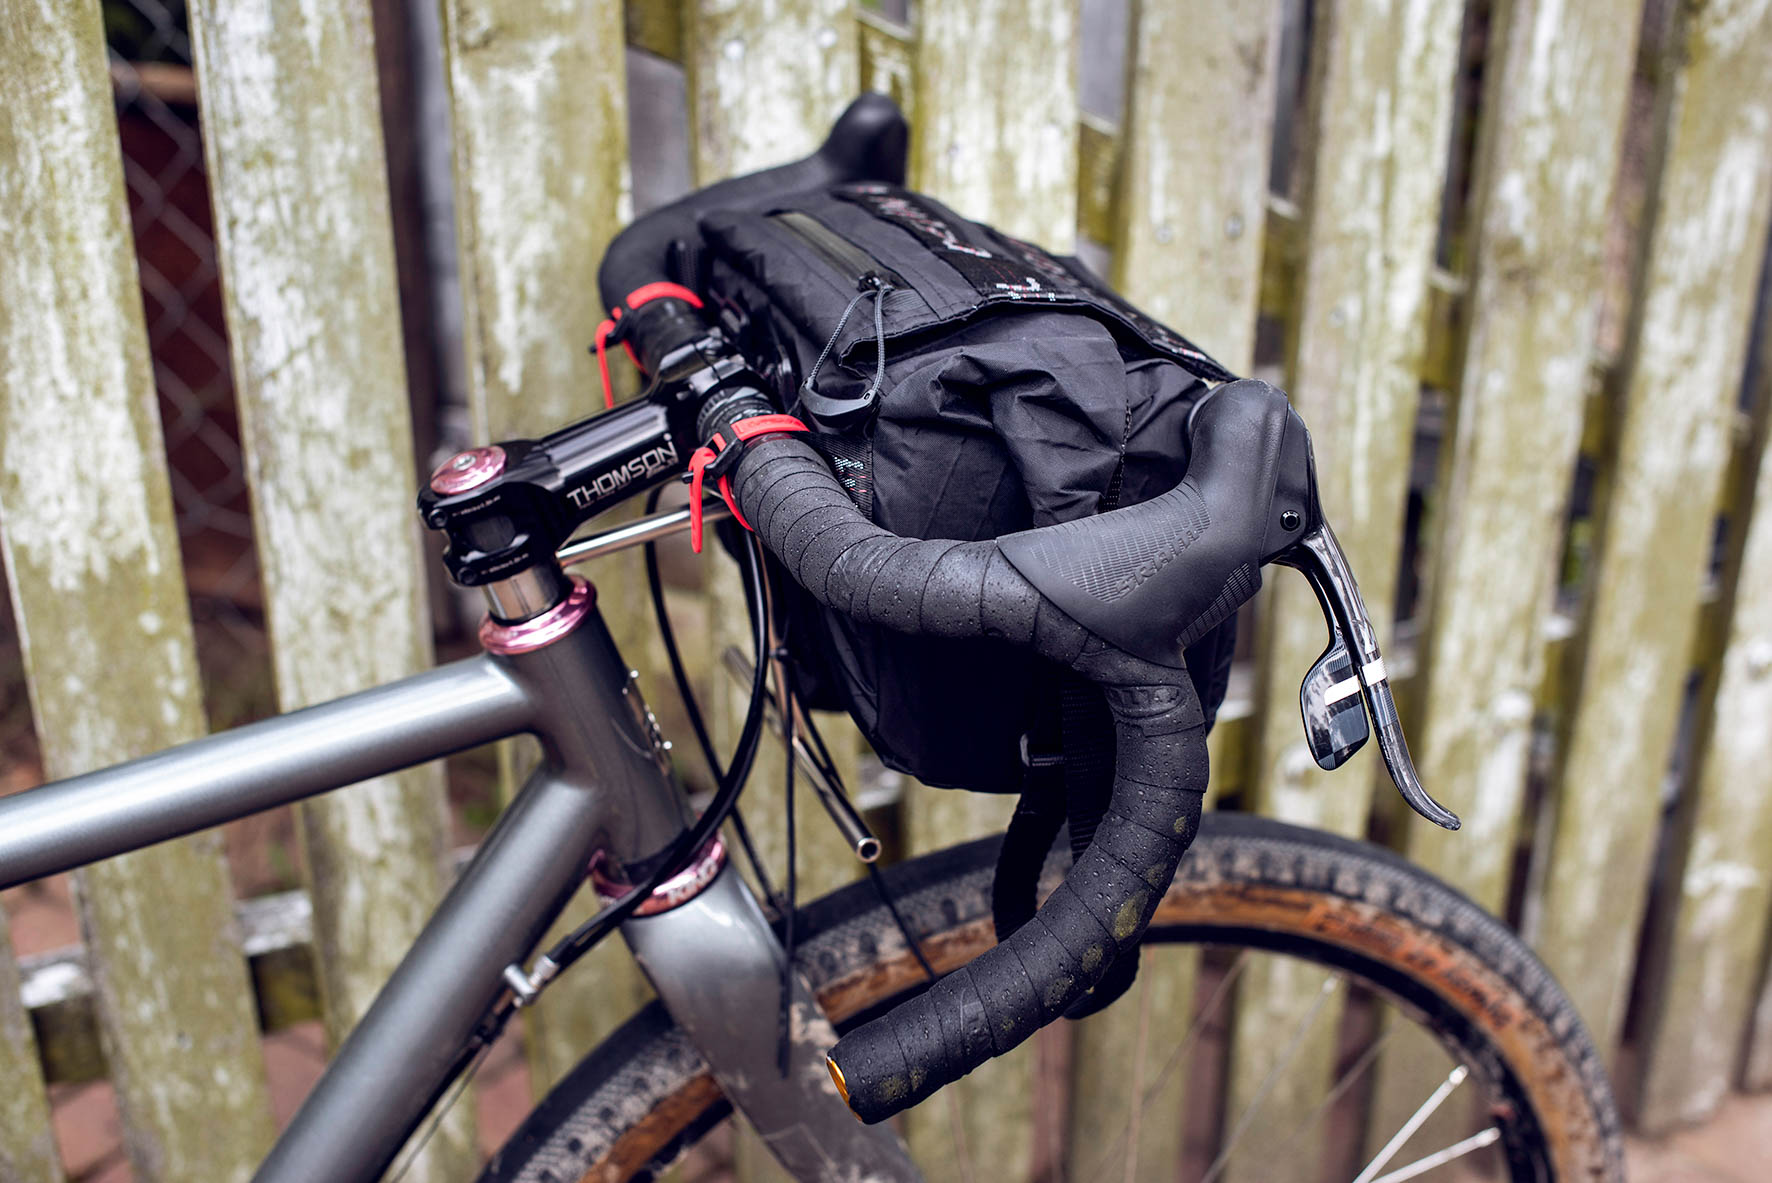
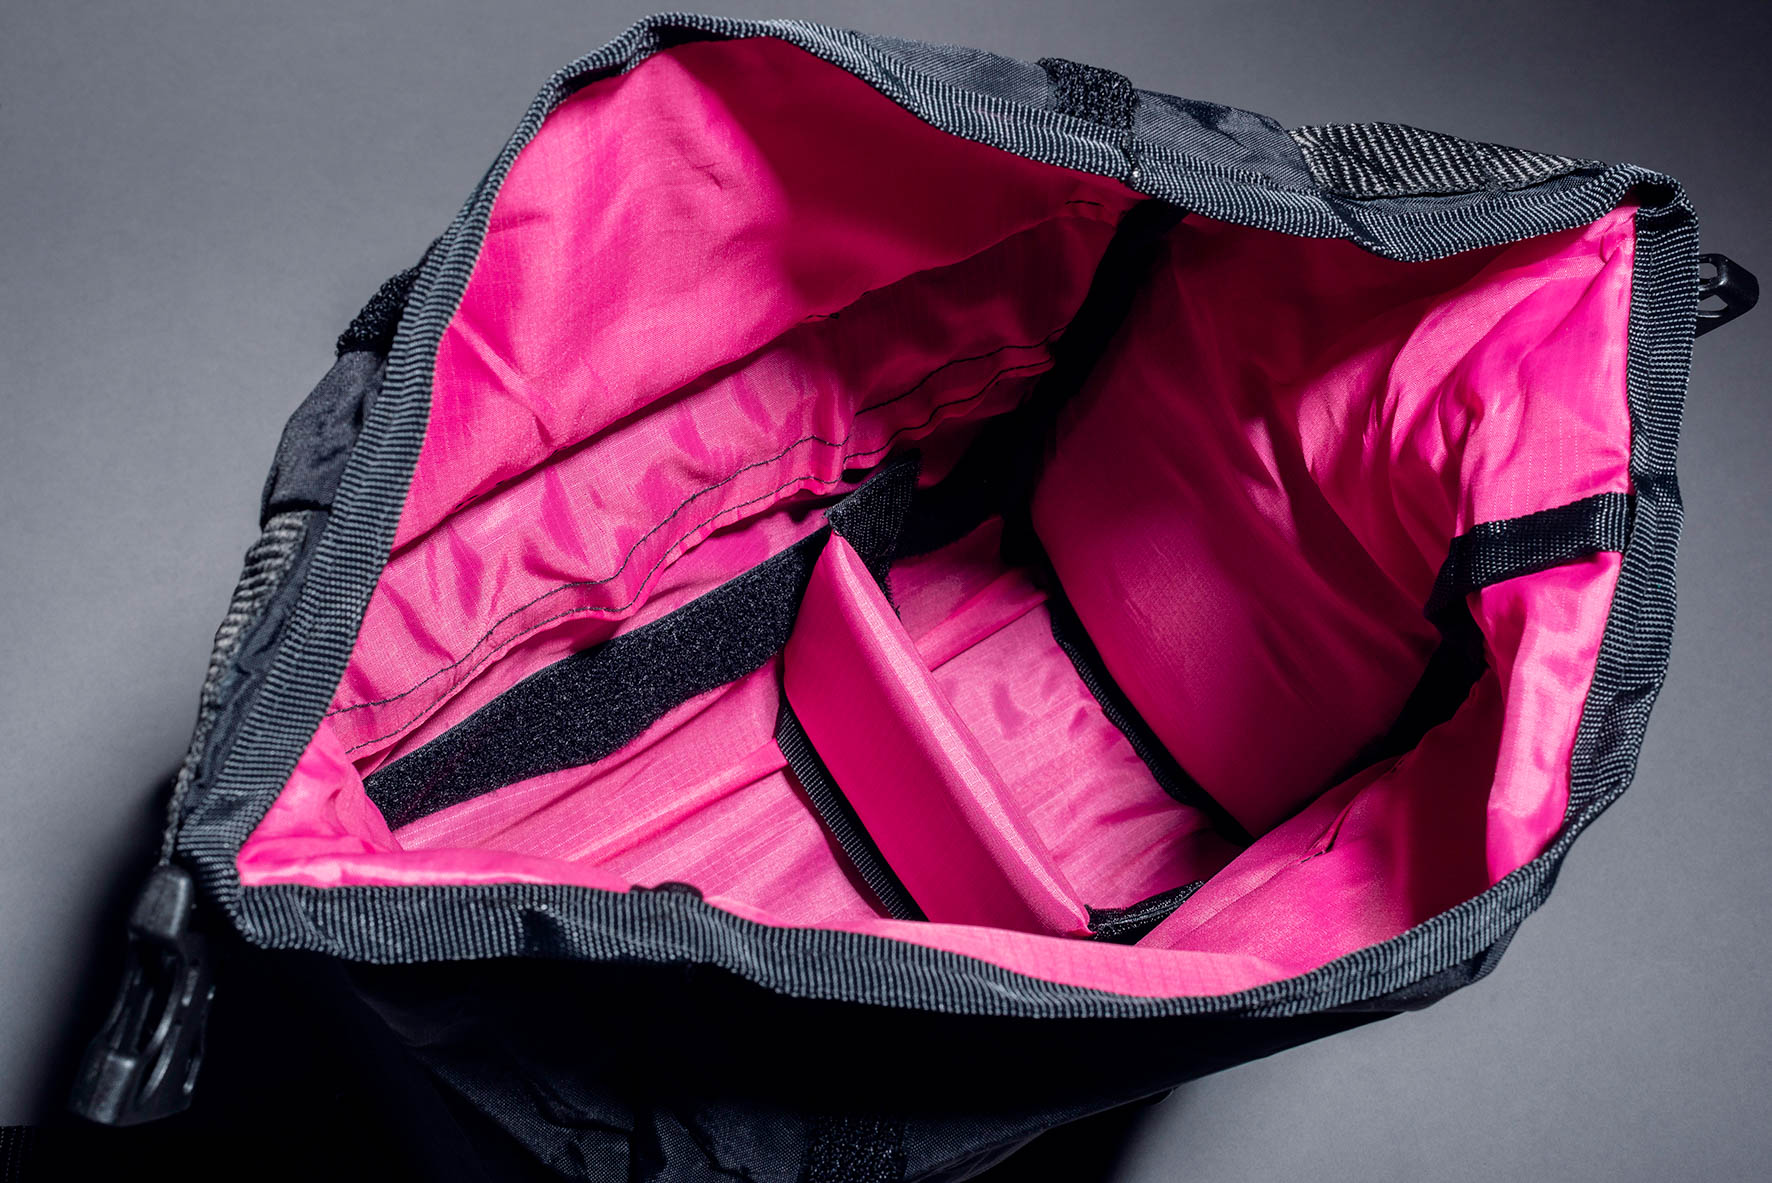
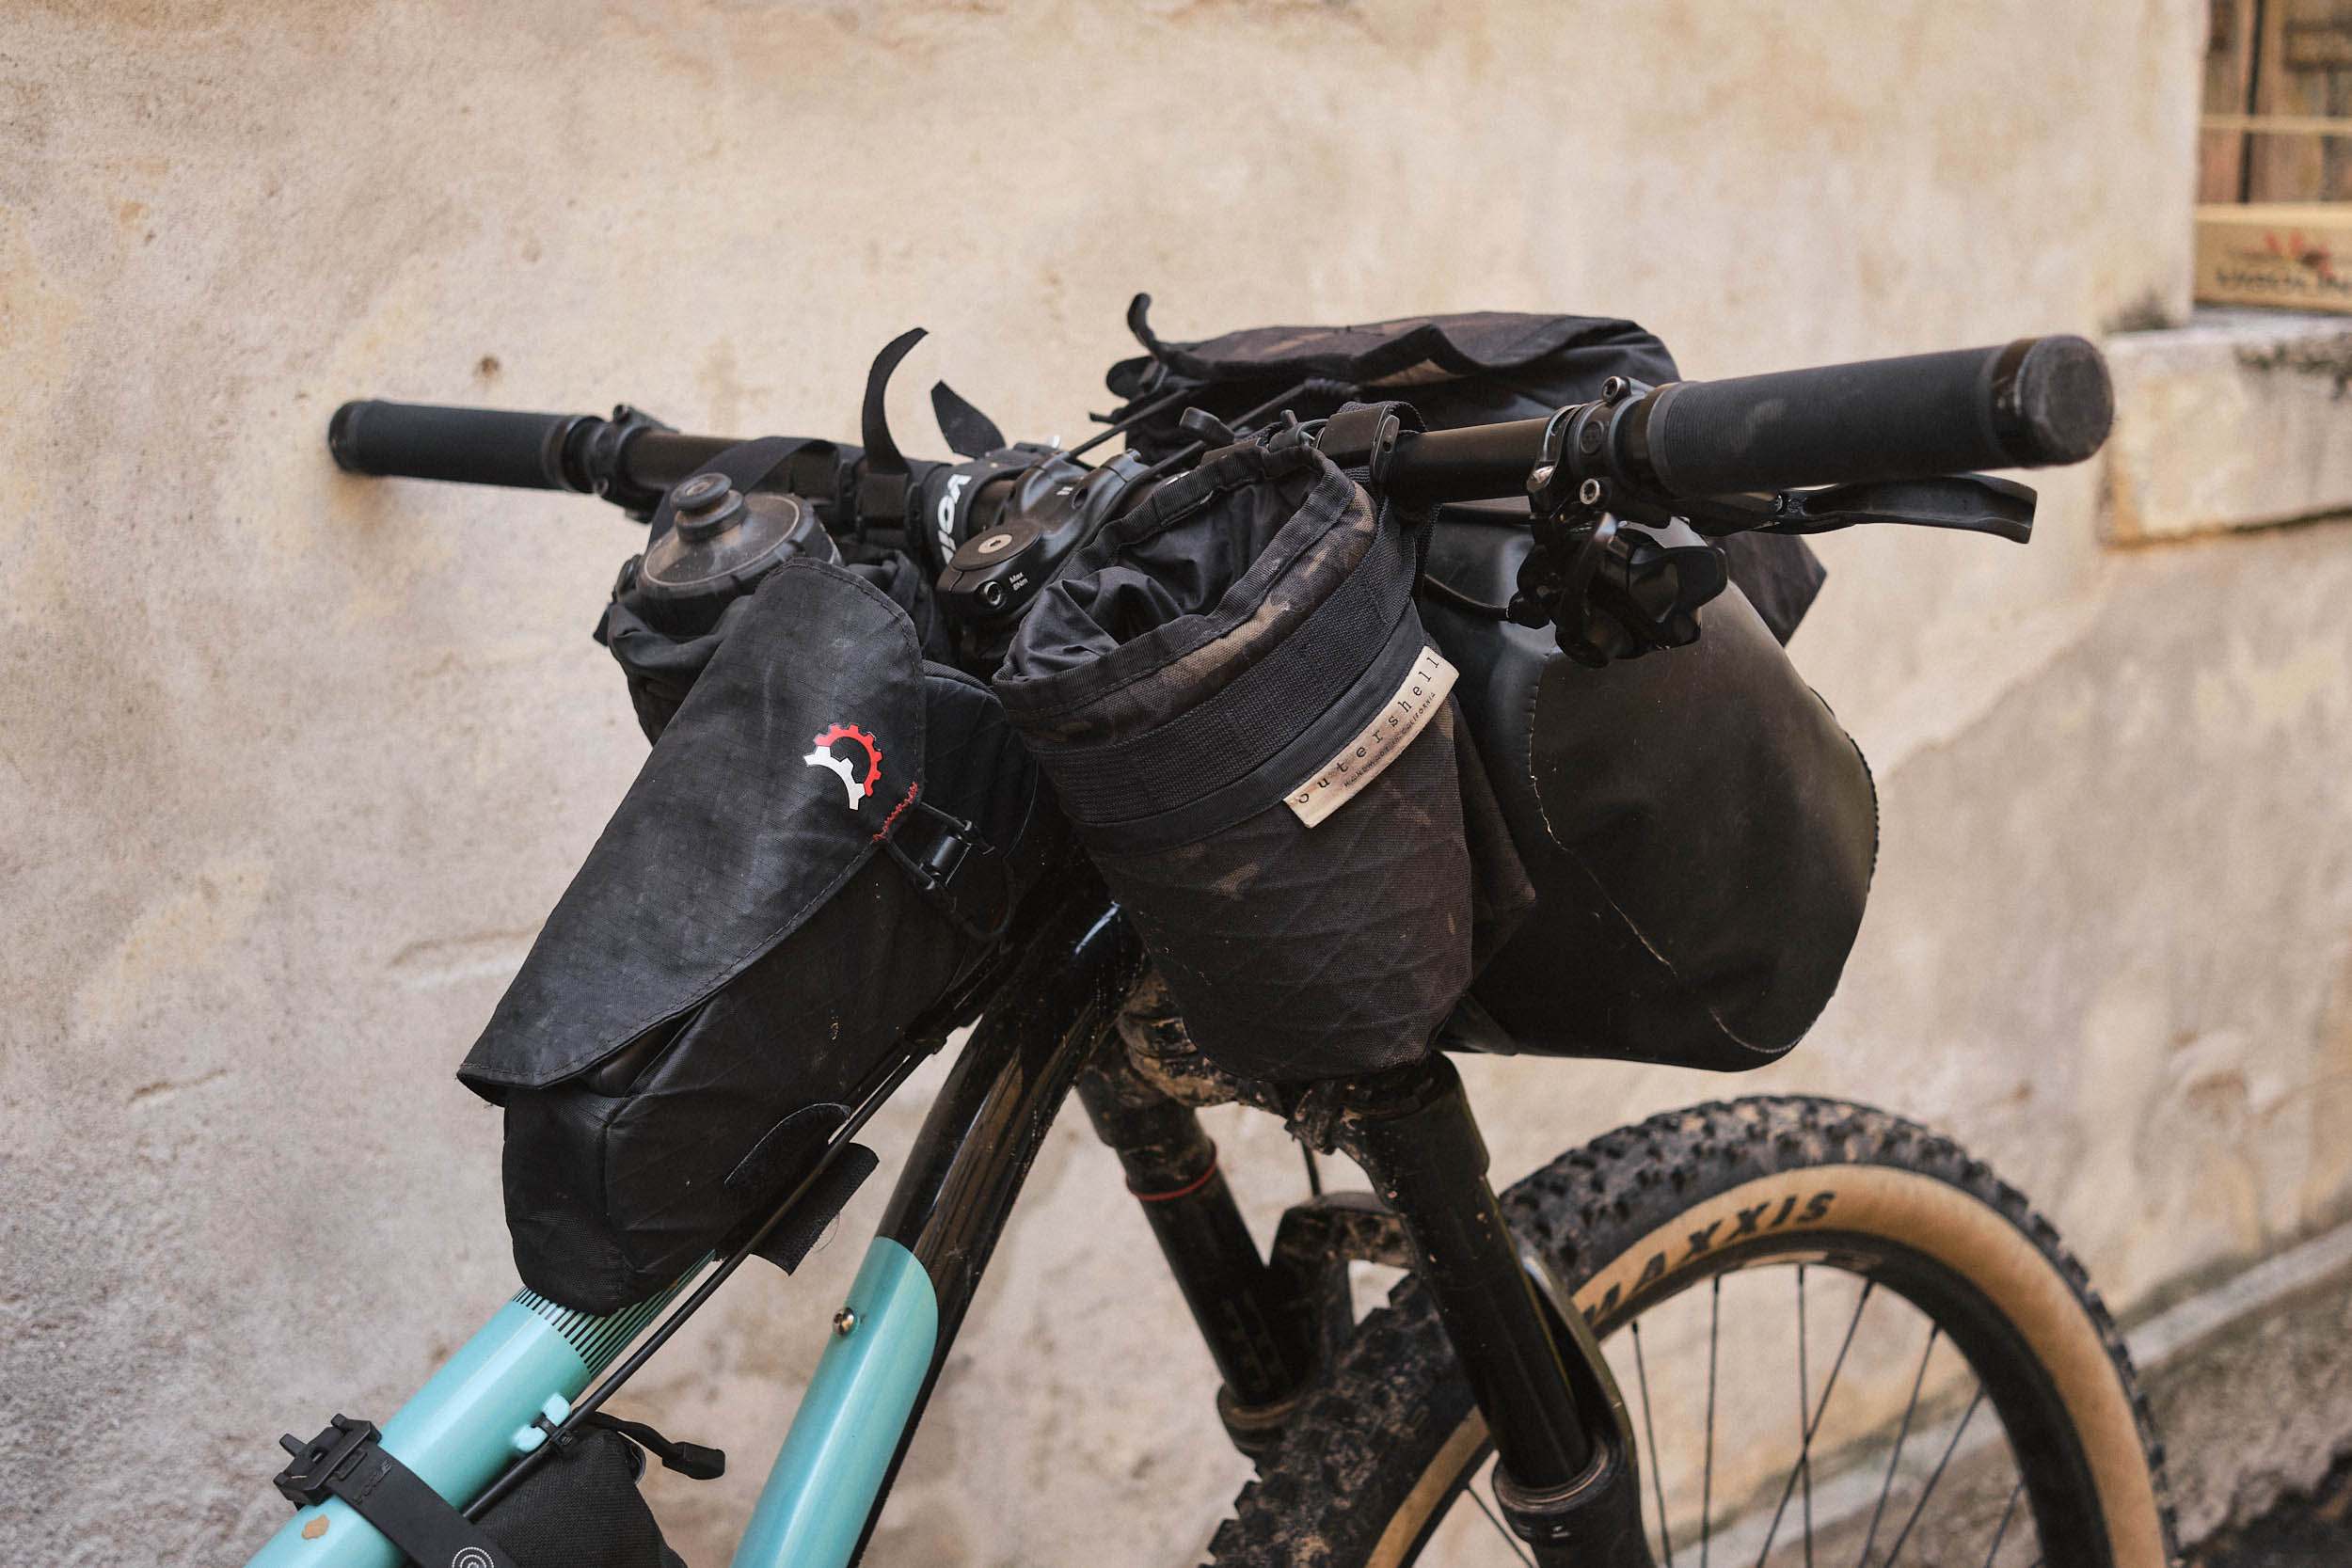
Handlebar Bags
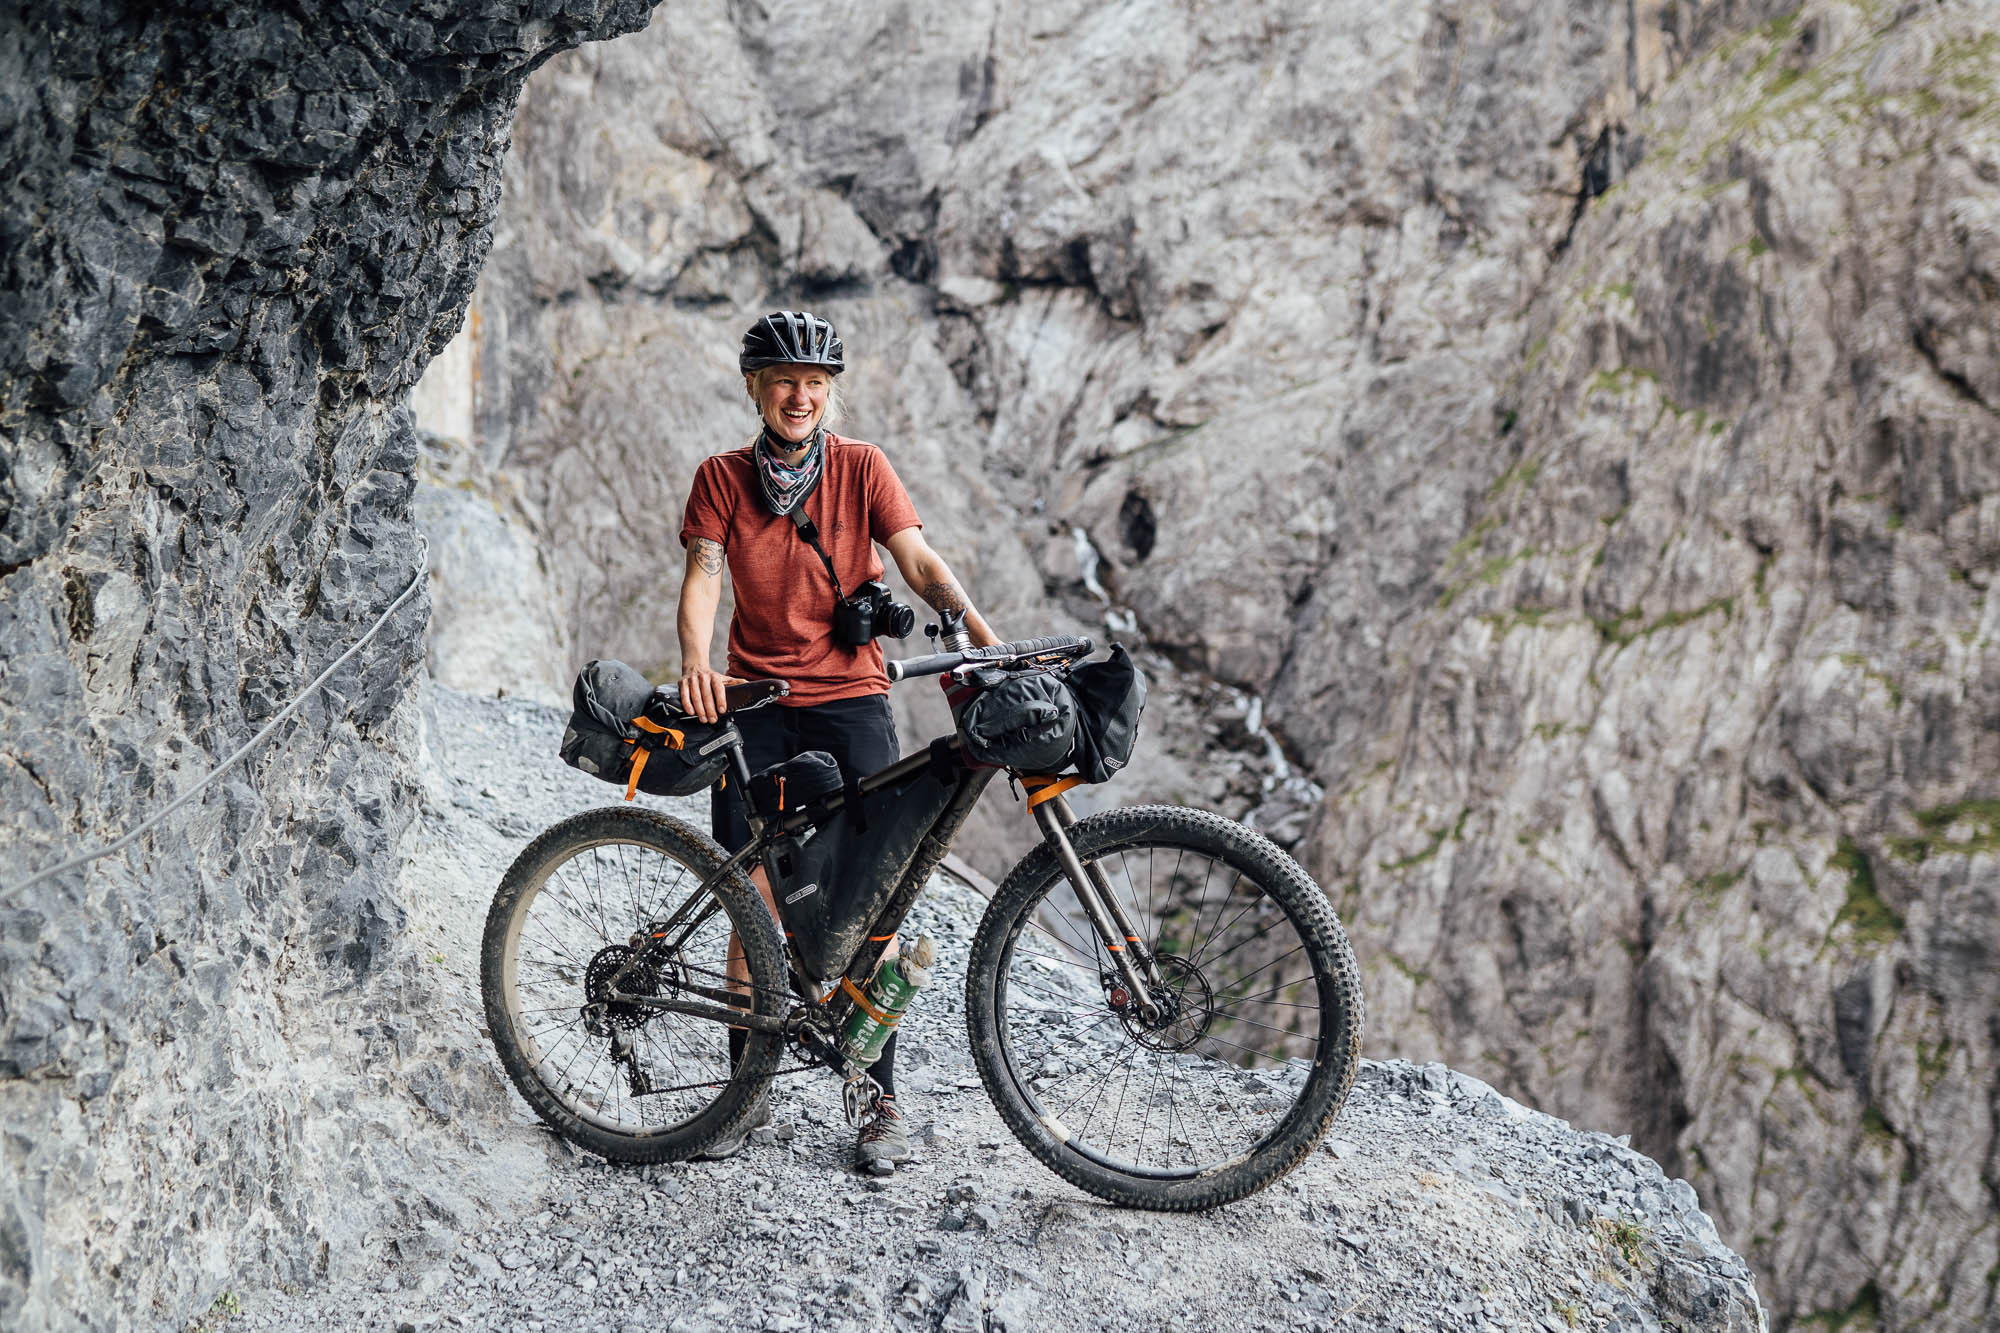
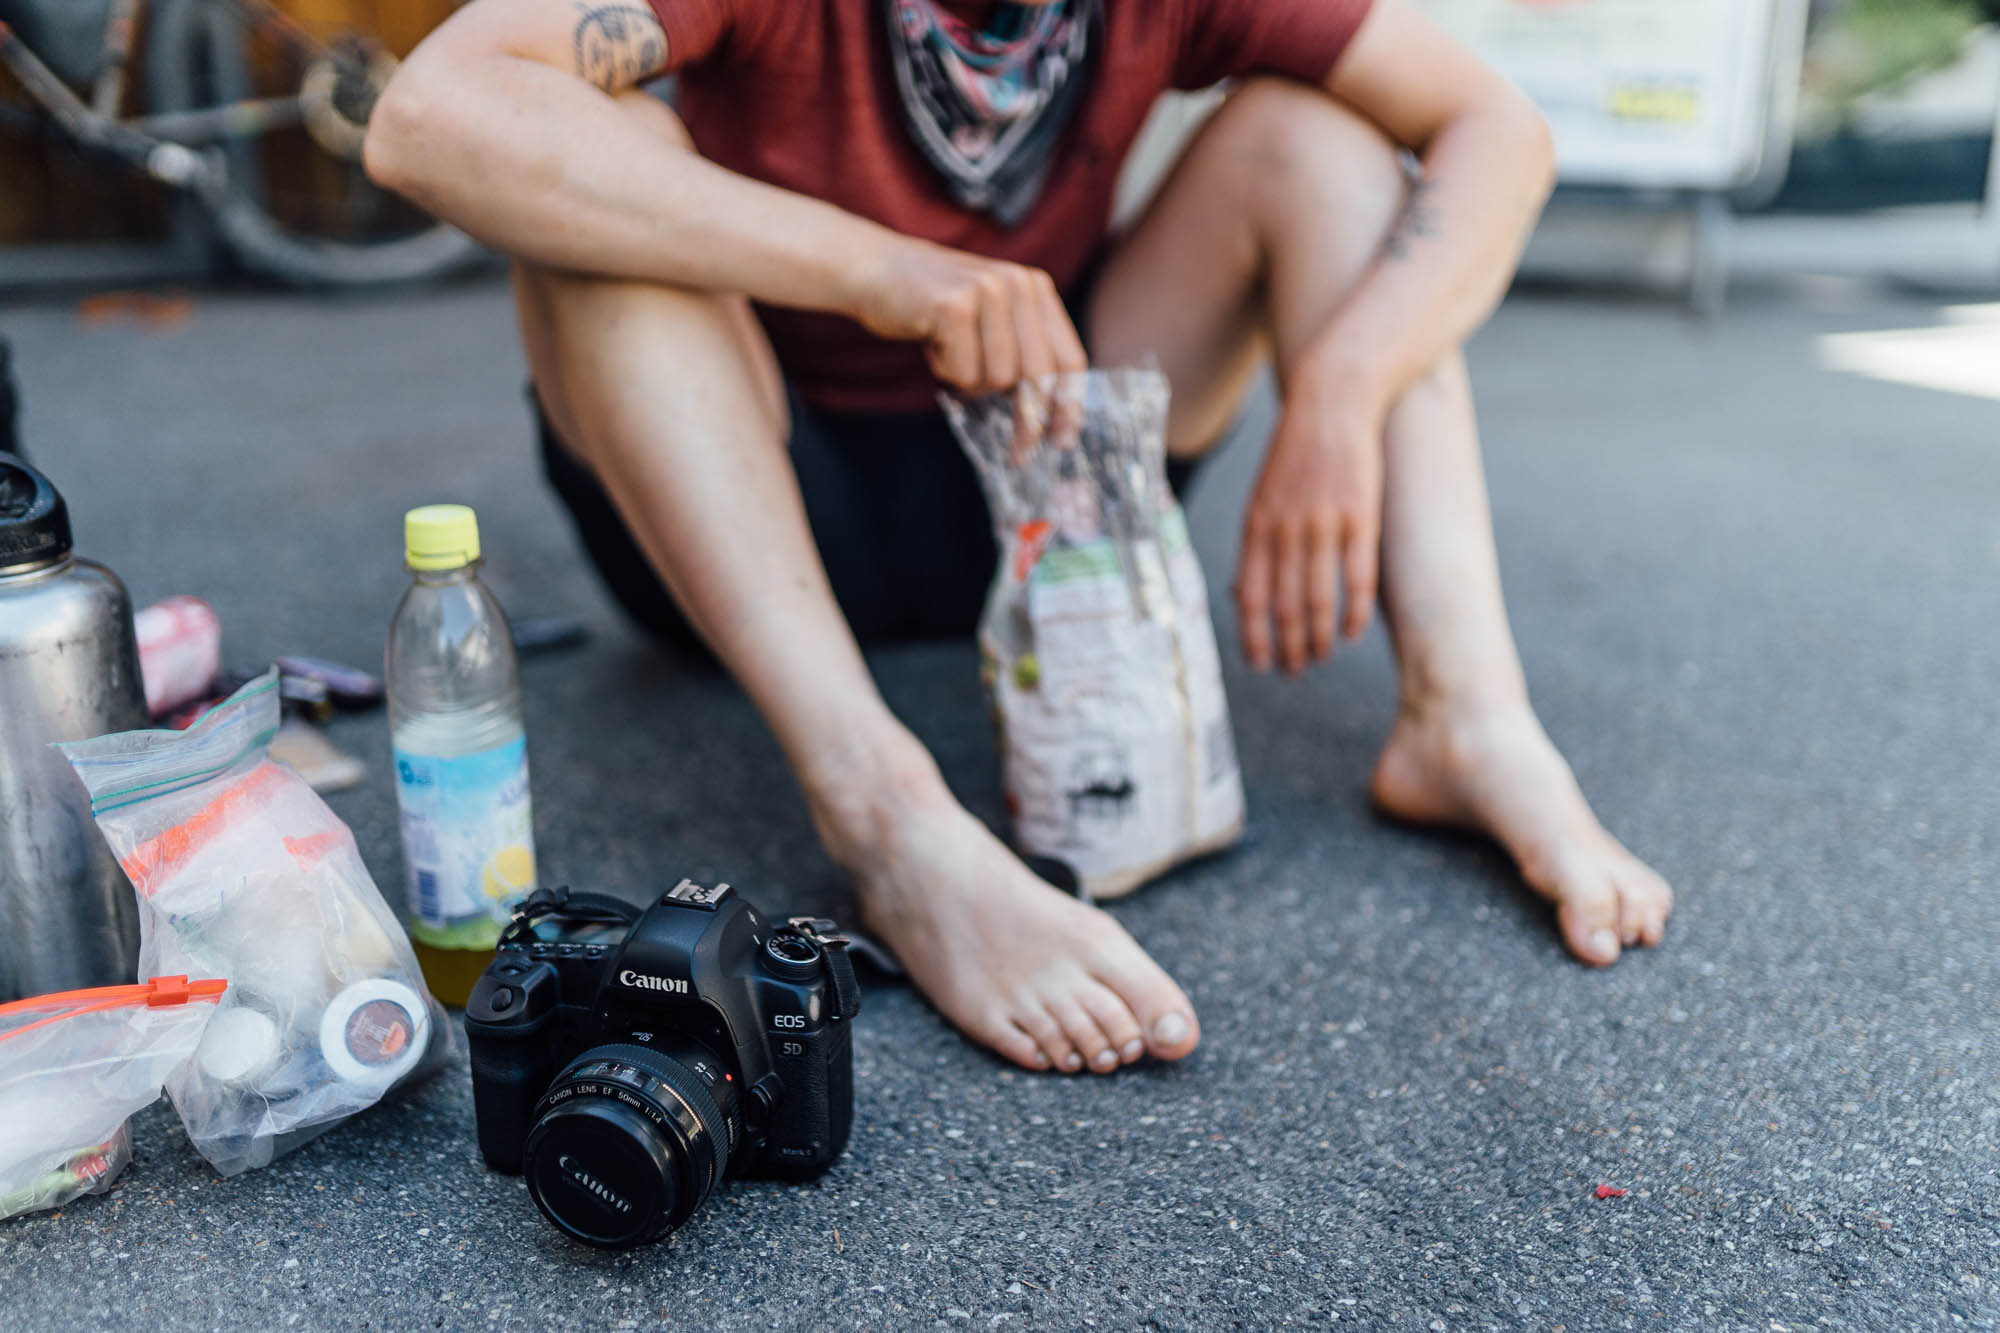
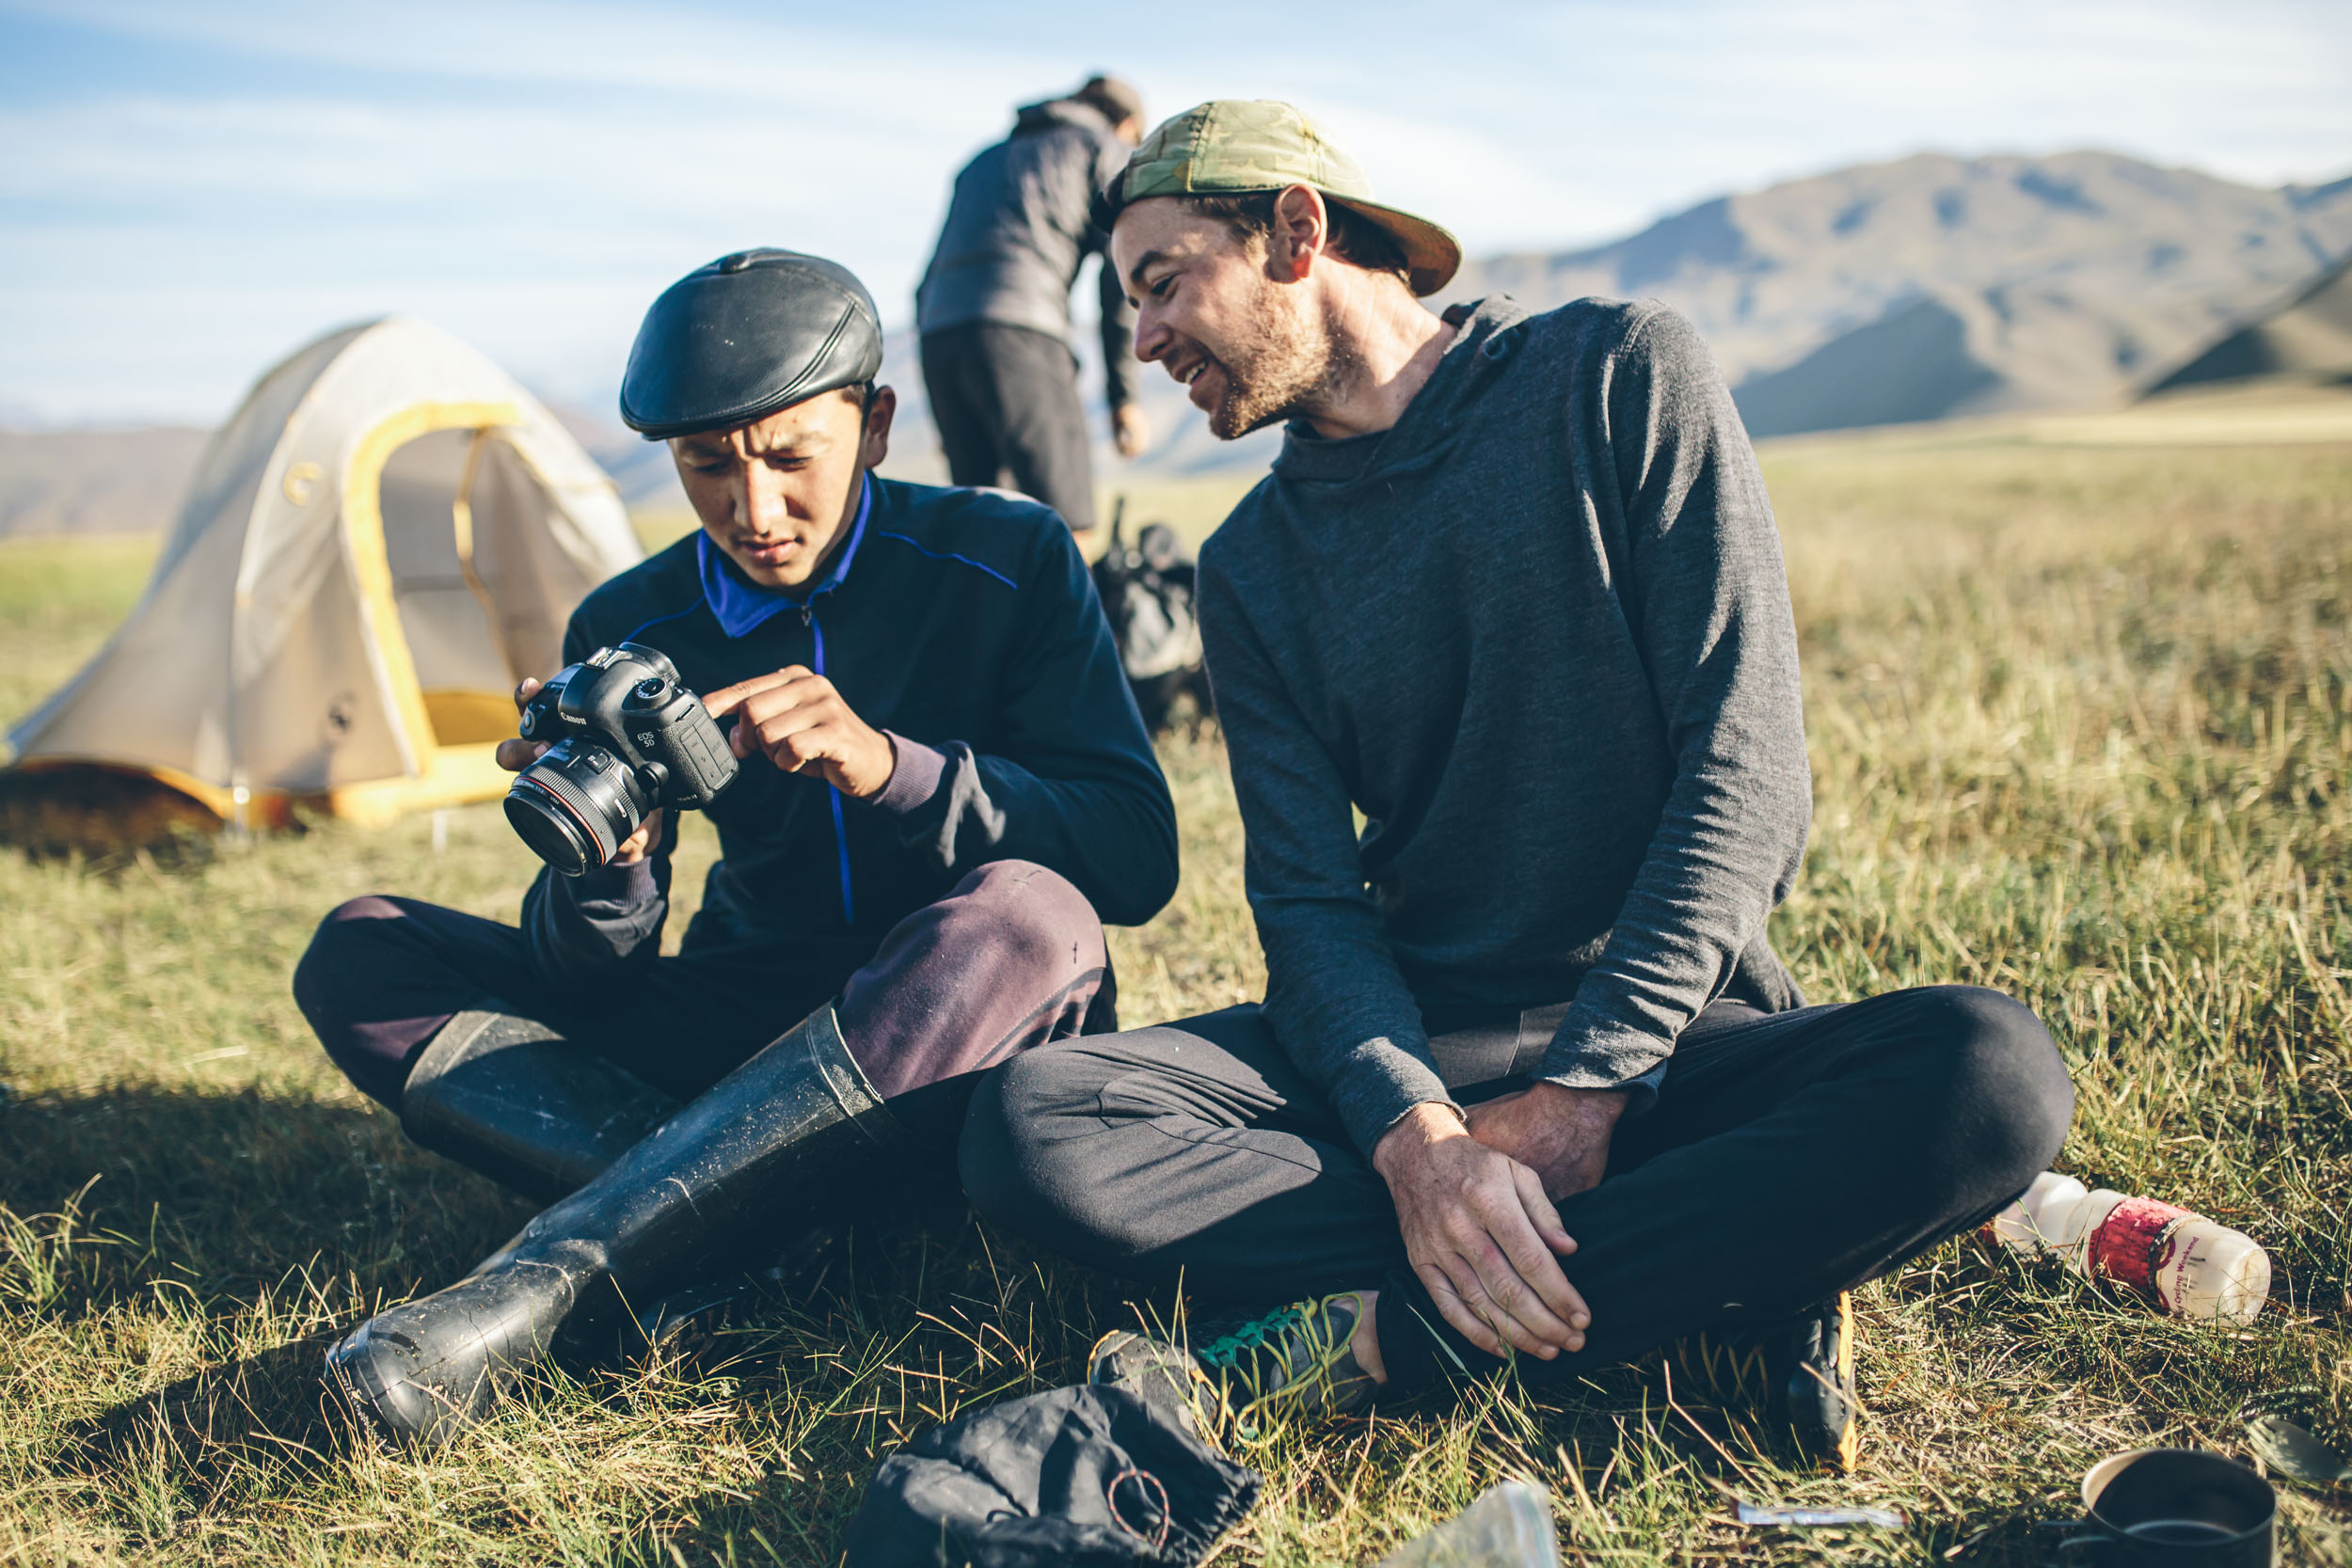
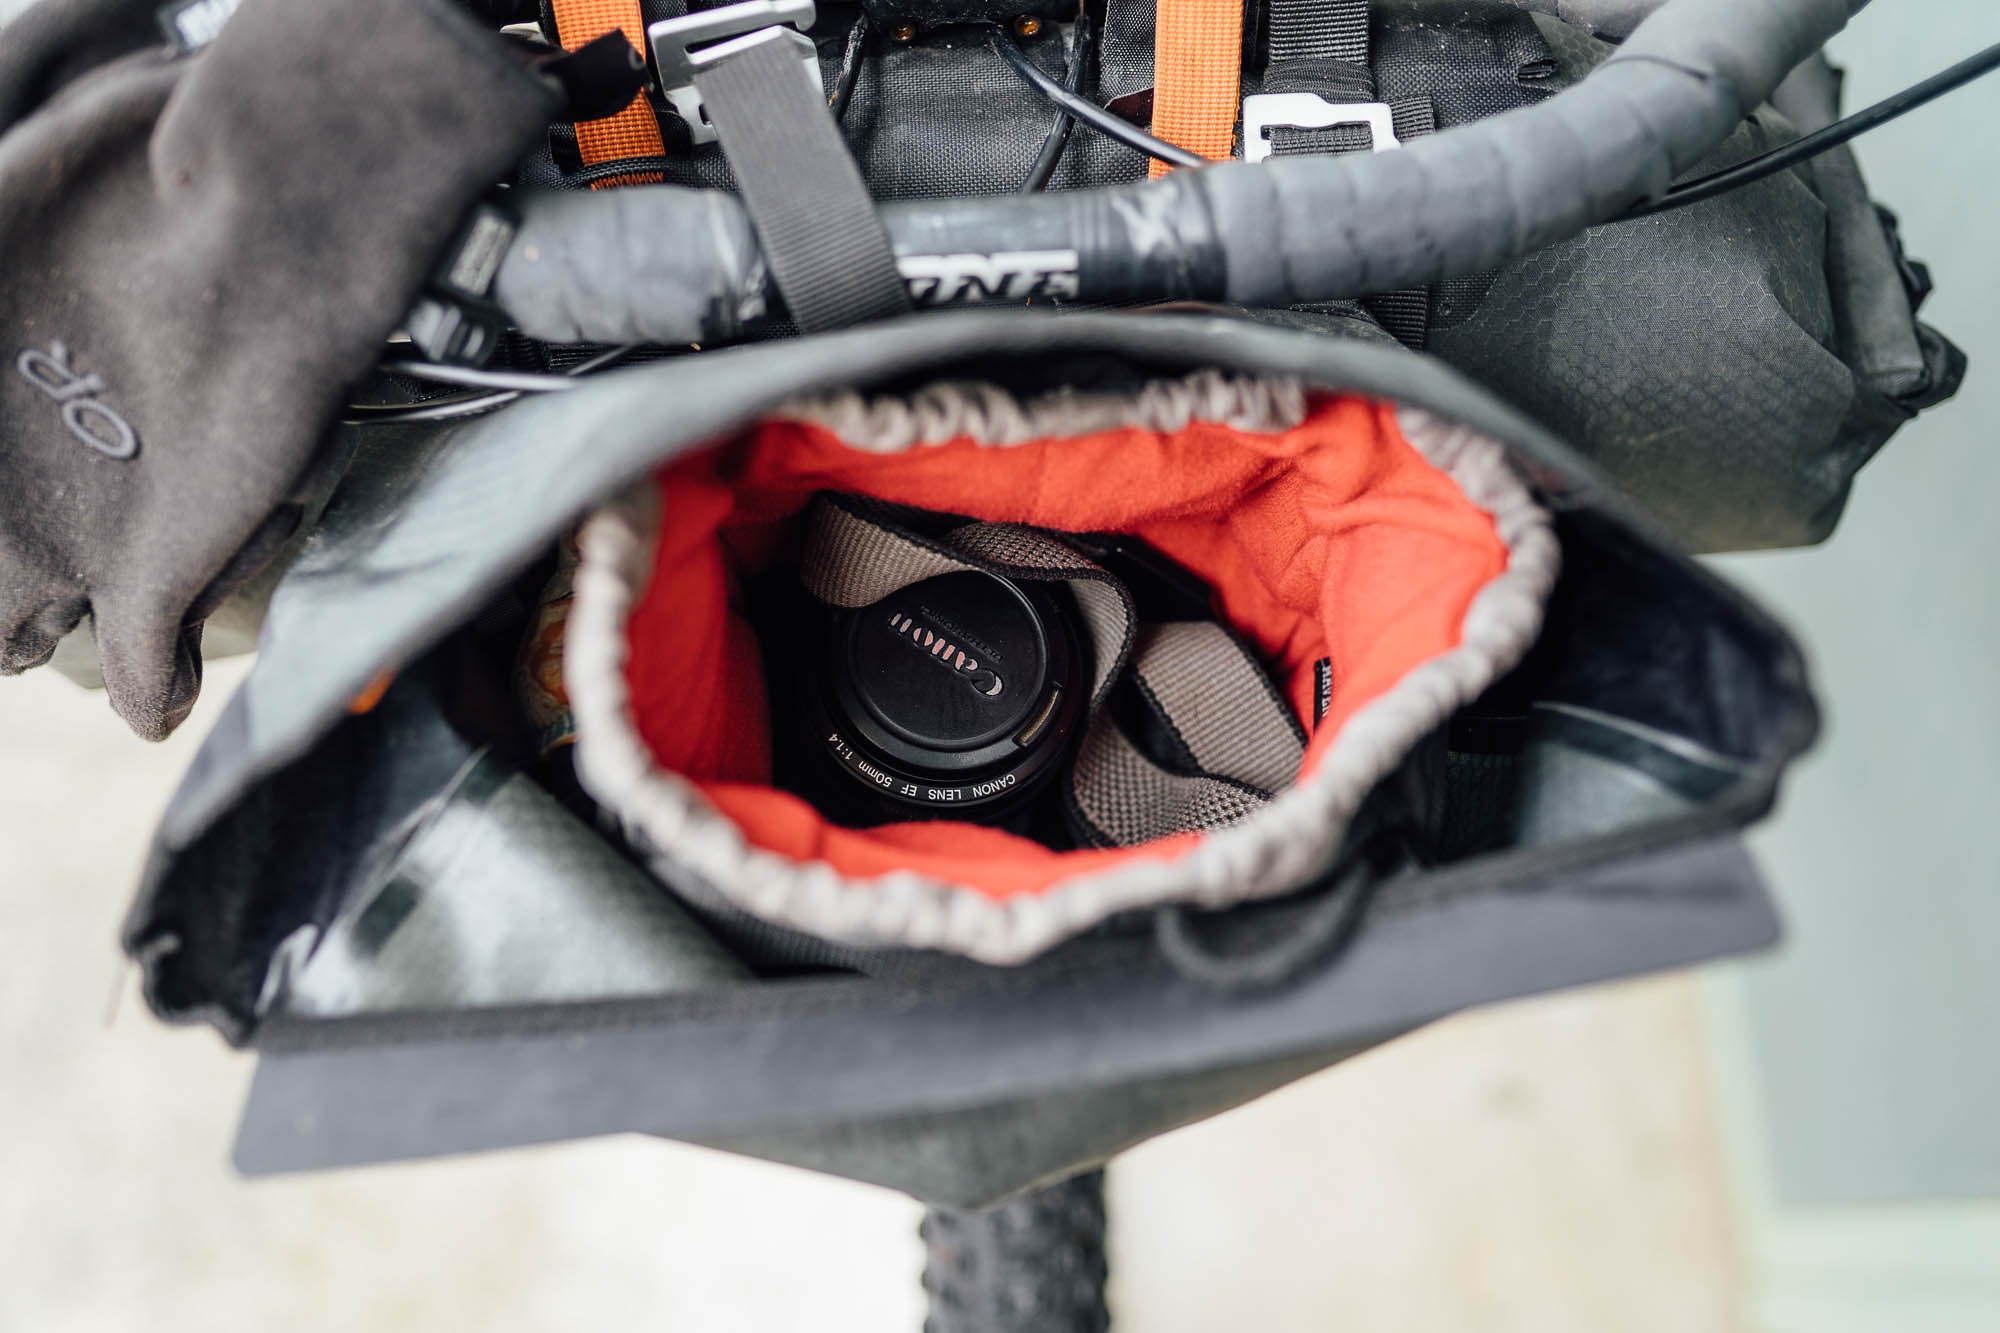
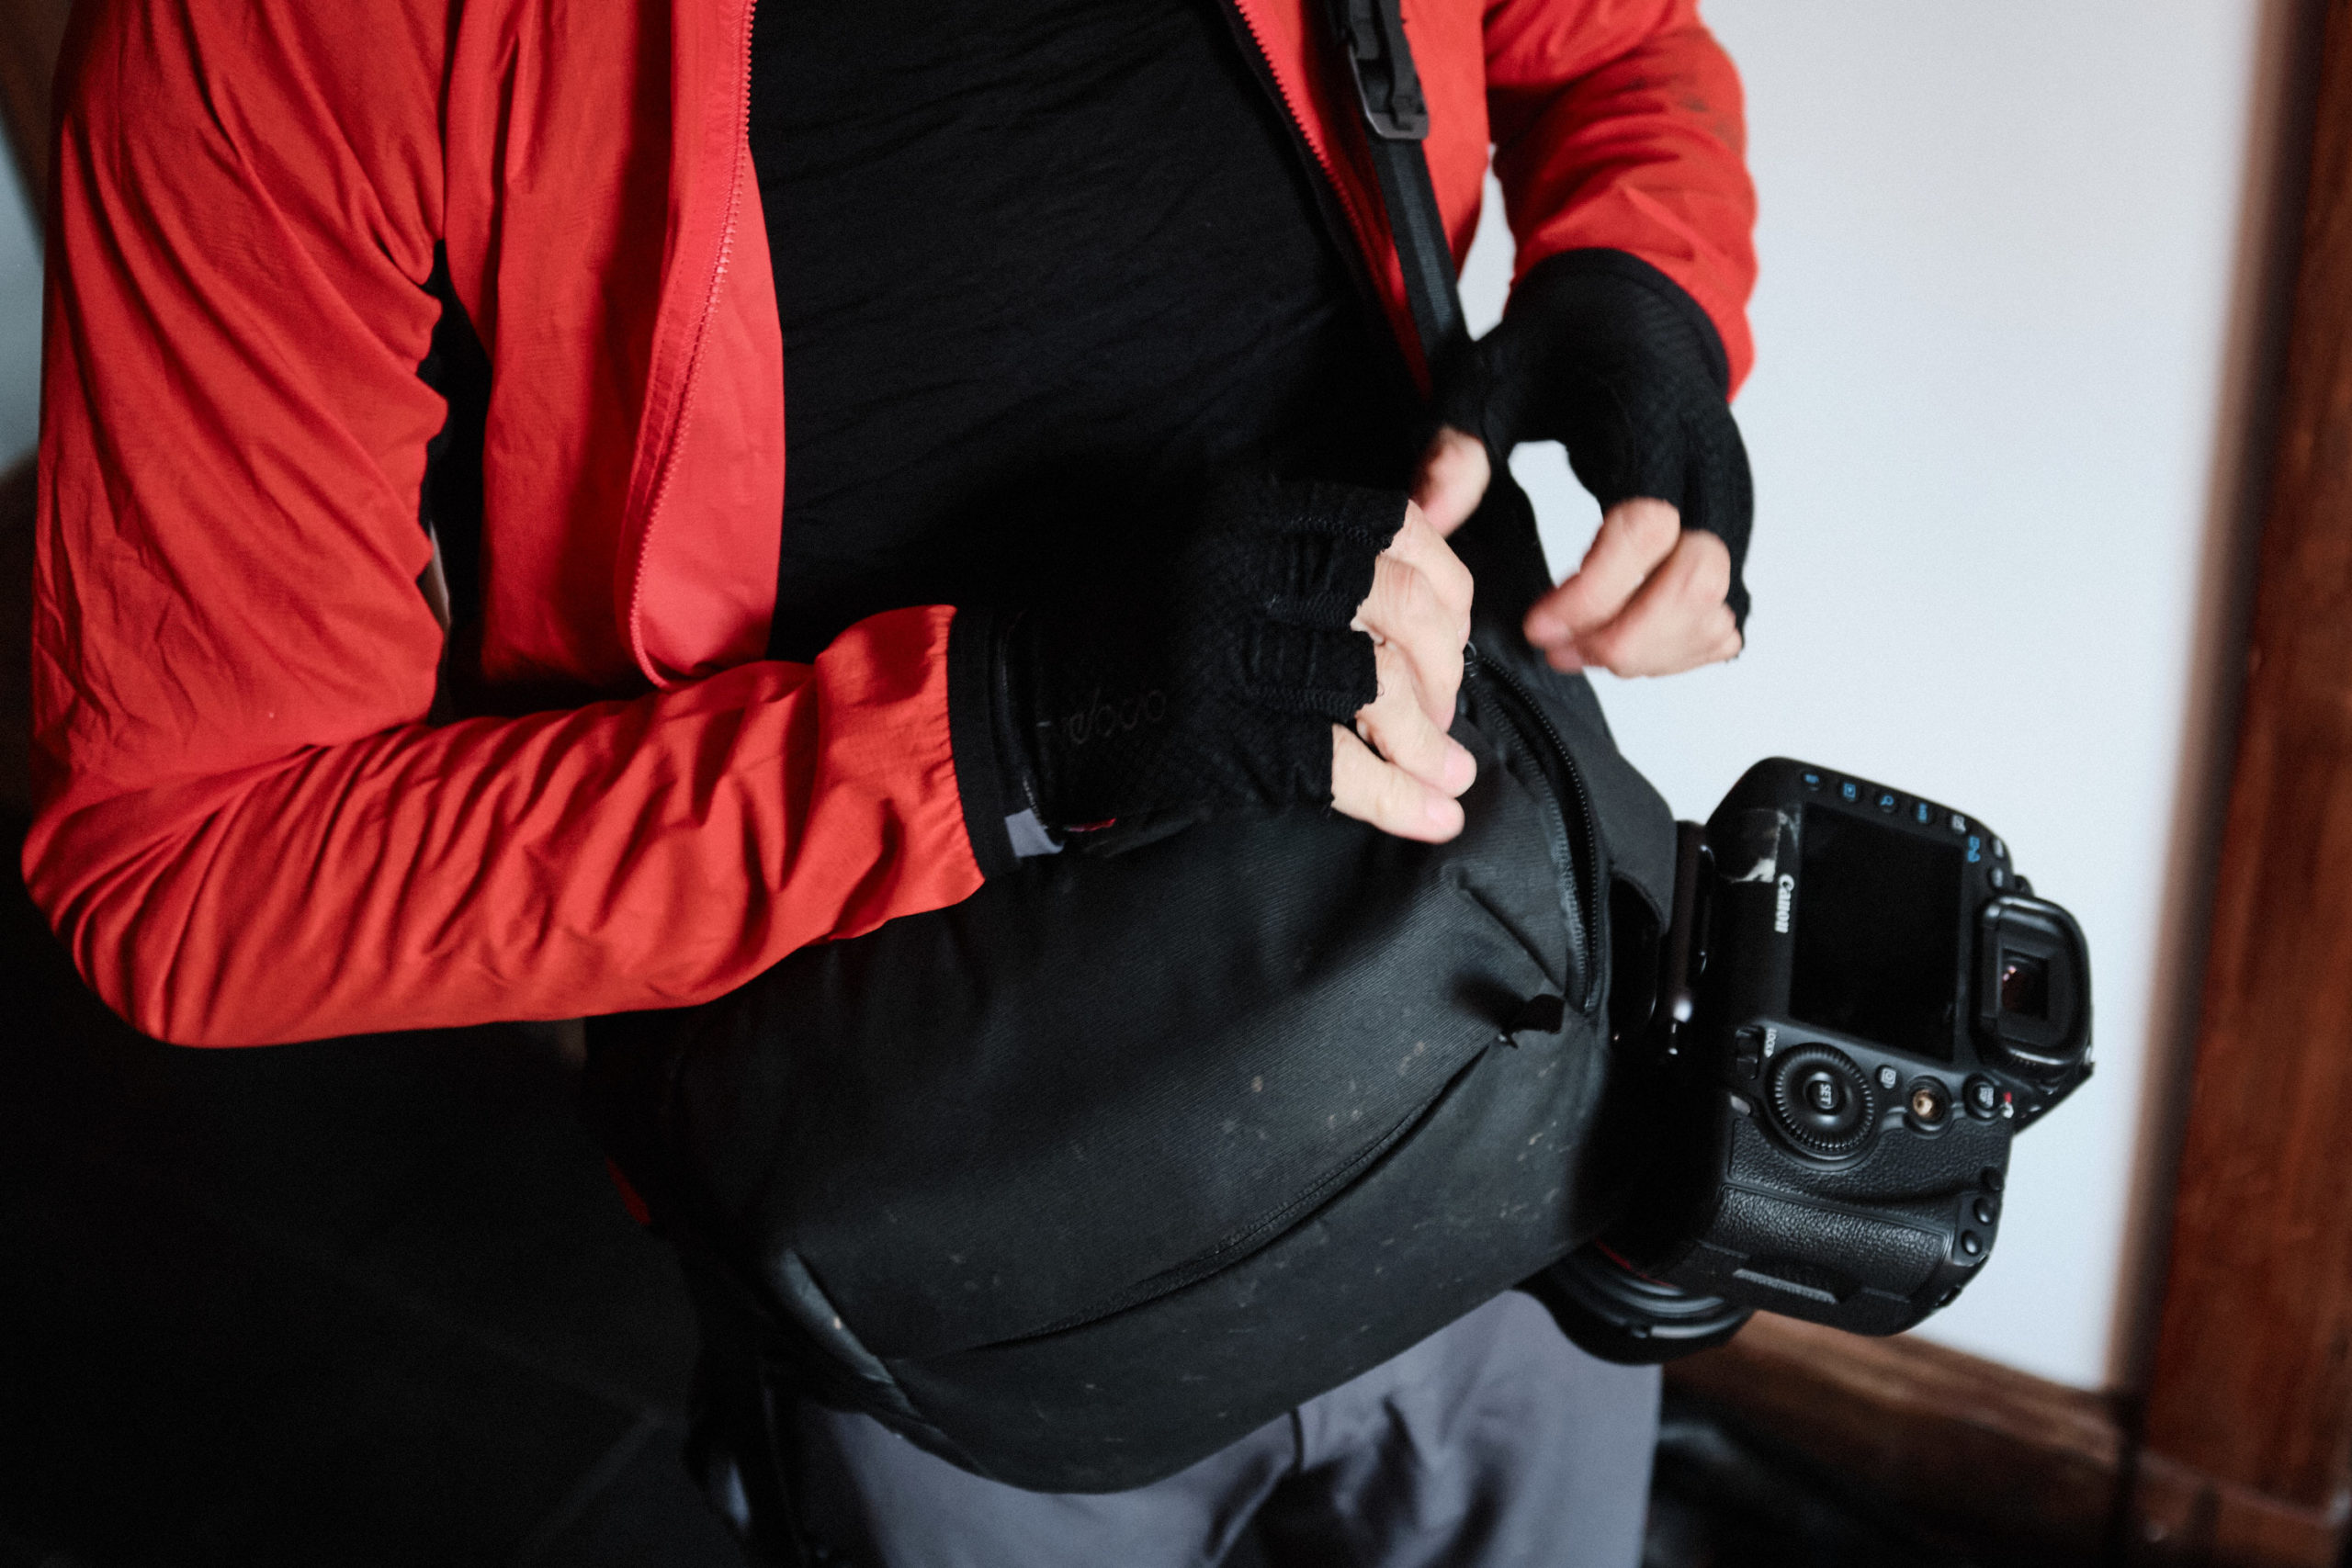
Carrying your camera in a handlebar bag is another option to consider. Many roll-top bags have easily removed accessory pouches – like the waterproof Revelate Egress, which even includes a padded insert. Similarly, Ortlieb’s Handlebar-Pack has a completely waterproof marsupial pouch, that’s quick to access too. Contributor Franzi Wernsing even finds room in hers to stash a Canon 5D and a 50mm 1.4 lens – and her camera is still going strong after many years. If weather isn’t an issue, there’s also Outer Shell’s Drawcord Handlebar bag, which can provide quick camera access, and limpets onto a front roll with a sleeping bag.


If waterproofing isn’t a priority, top opening handlebar bags – see our Gear Index – can offer a useful platform for a larger camera, especially if you pack it on top of clothing or a sleeping bag. Just be sure that it can’t move around and hit other items, or knock on your handlebars. Or, consider packing your gear around a camera insert, or one of Hyperlite Camera Pods. Similarly, randonneur bags, like the Peregrine from Swift, offer plenty of room for both cameras and lenses, when road conditions are suitable.
Ortlieb’s Ultimate 6 is a handlebar bag that’s been around for many years. Even if it’s much more popular with traditional tourers than bikepackers, it can still be a great solution if you’re keeping to gravel roads. It’s really quick to remove, making it perfect for resupplies, restaurants, and the like. What’s more, Ortlieb offers a padded camera insert to keep things from cartwheeling on unpaved descents.
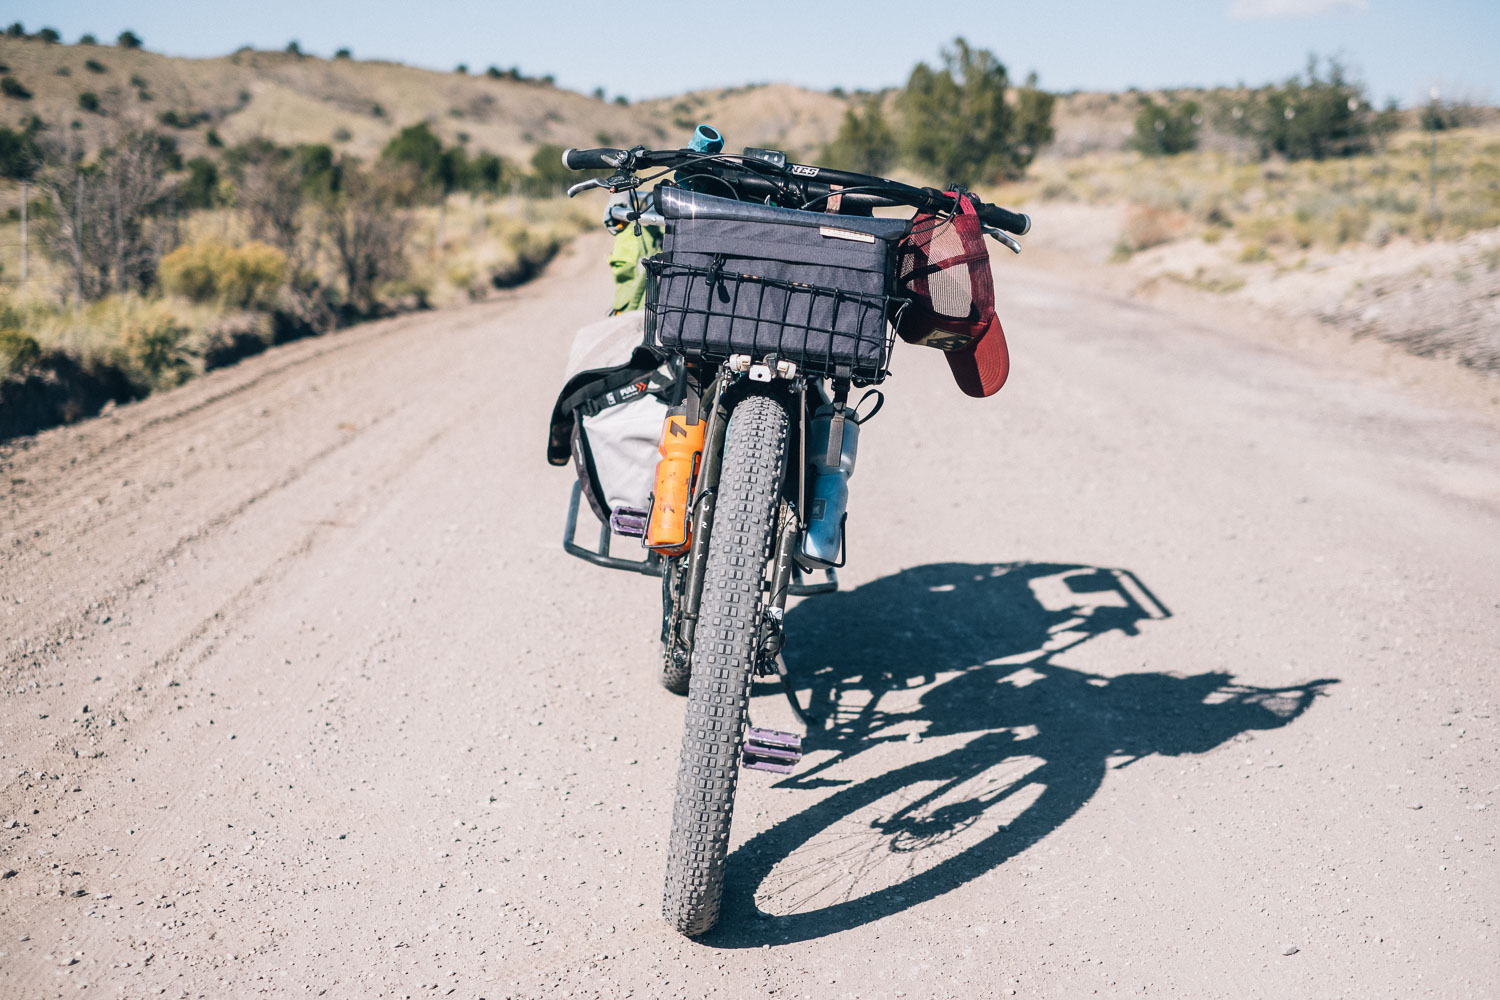
If you’re a basketpacking-photographer at heart, check out Outer Shell’s 137 Basket Bag, which has optional, camera-specific padded insert – we’ve used it to carry a Canon DLSR and a number of lenses in the past. You’ll also find other basket bag options in our related Gear Index). Again, these are better suited to gravel riding than trails. And lastly, if a dedicated, handlebar-mounted camera bag appeals, Dyed in the Wool offer this interesting option, with all manner of padding and pouches for the serious photographer.
Accessories
Although shoulder straps can be useful, wrist straps take up far less space and can’t get tangled. You can either make one yourself, with a length of paracord and a double fisherman’s knot, or buy one from the likes of PS Bagsworks’s Rope Wrist Strap, which can be specced with different attachment clips, so all your gear is cross-compatible.

It’s also worth stashing your camera spares in a waterproof accessory bag that’s safe from harm’s way. This can include a lens wipe, a charger, a battery or two, and a dust blower, depending on the length of your trip.
Team & Contributor choices
As you can expect, bikepacking and cameras are synonymous with everyone who works on Bikepacking.com. We’re always taking photos of bikes, the gear we try out, and the routes we ride. Read on for what cameras we use and how we prefer to pack them, along with the experiences of a number of our contributors use.
LOGAN WATTS
I’ve pretty much tried everything at this point, I think. On a big dirt tour through Africa, I used a custom handlebar DSLR bag and broke my camera. After killing another DSLR in an on-bike bag, I pretty much converted to only carrying a camera on my body. Modern digital cameras simply can’t handle the vibrations that rugged trails and dirt roads dish out.
Currently, I rotate between two cameras for bikepacking and cycling in general. I carry a full-frame Canon R5 paired with one or two small primes (usually 35/85) when getting super-high quality shots is a priority. For smaller outings, trail rides, or when getting B-roll shots is the only need, I bring the much more compact and durable Fujifilm X100V, a single fixed-lens, 35mm-equivalent mirrorless camera. For a while, I used a backpack with a Peak Design Capture Clip on the strap, which I really liked and now miss. But after a serious back injury, I converted to only using hip packs for camera carrying duties. For the X100, I mostly use the Oveja Royale or the Porcelain Rocket/Rockgeist Big Dumpling depending on the threat of rain. With both I add my DIY padded insert for the camera. For the R5, I’ve been using the EVOC Hippack Capture 7L, which is the most comfortable and capable camera-carrying hip pack I’ve tried to date.
MILES ARBOUR
My first “real” camera setup was a mirrorless Olympus OMD E-M5 stored in a Porcelain Rocket DSLR Slinger. This combination worked quite well, and while it didn’t provide complete weather protection, my camera was always at hand. I’ve tried shoulder straps and other out-front handlebar bags that claim to be designed for cameras, but for a small camera like the Olympus, nothing ever really worked as well as a padded stem bag.

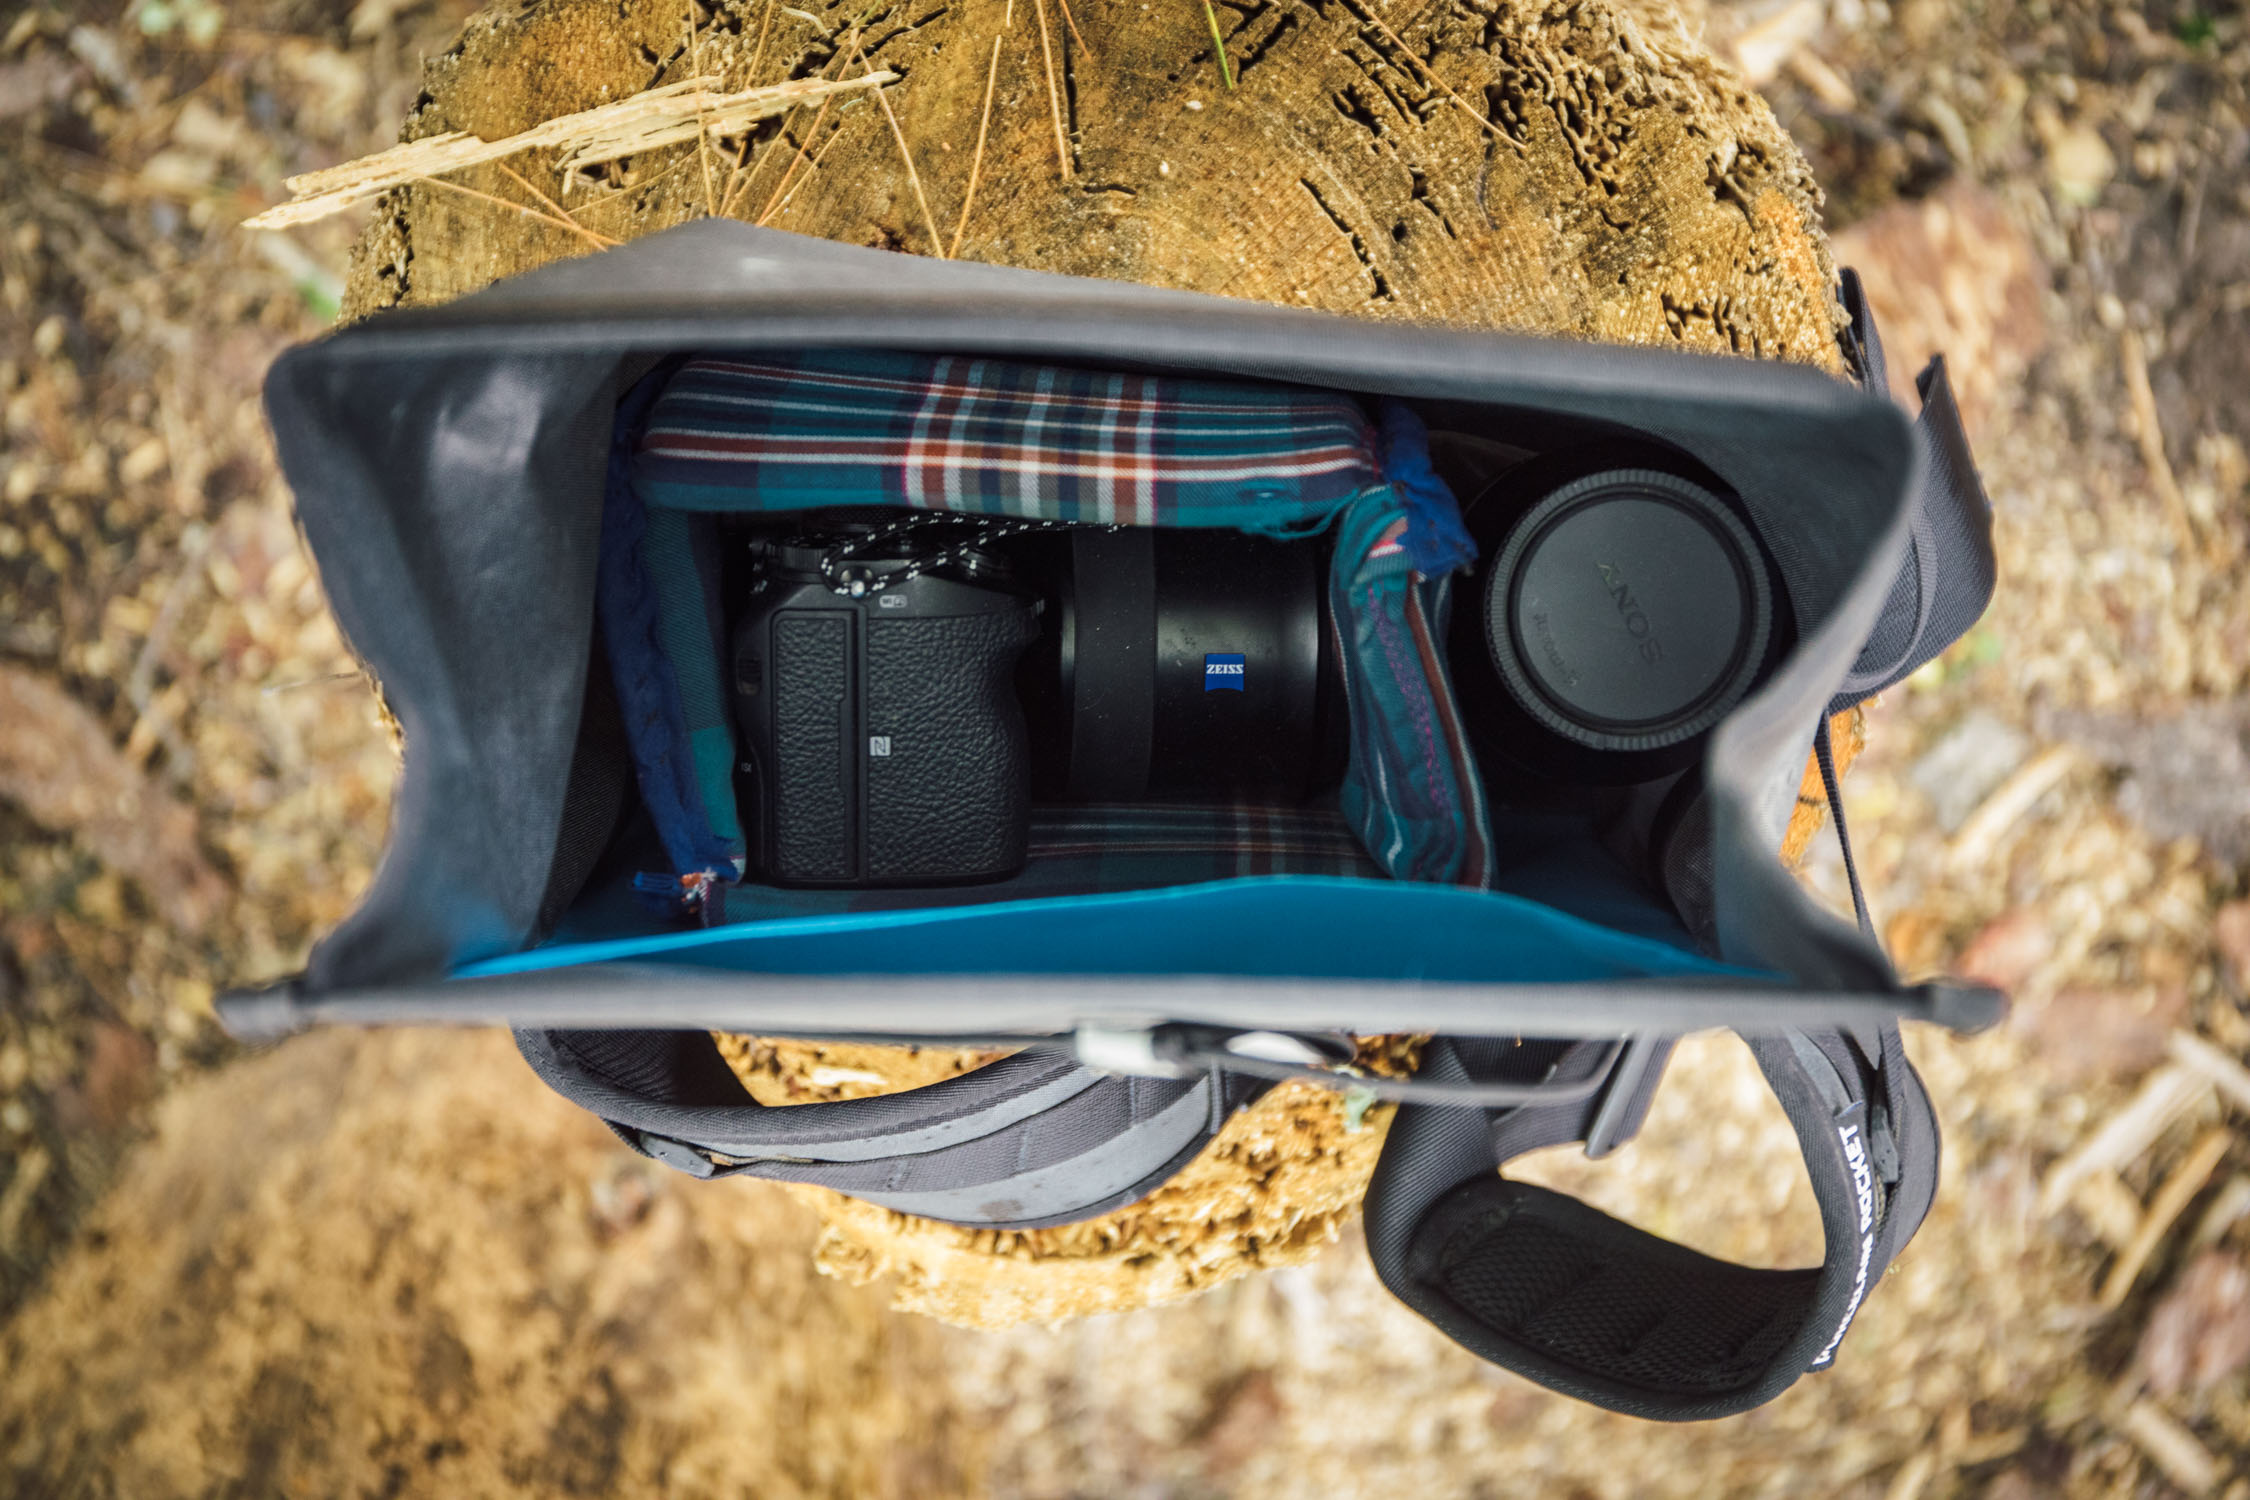
Everything changed when I inherited Logan’s old Canon 6D. Storing a bulky and heavy camera on the bike was no longer an option for rough roads and singletrack, mainly because of the camera-wrecking vibrations and lack of space. There also isn’t a DSLR-sized padded stem bag available, from what I’ve seen, besides modifying a camera belt bag of some kind. Enter the Porcelain Rocket Big Dumpling. The Big Dumpling is a monster-sized hip pack made from a 100% waterproof seam-welded fabric. I’ve been using mine nearly daily for over two years, lined with a padded camera cube, leaving enough room for the 6D and one or two lenses. I normally shoot with a 50mm lens, leaving room for a few small items, but I tend to leave that space just for the camera. A hip pack isn’t nearly as susceptible to road and trail vibrations, and I find the Dumpling’s closure design one of the fastest to access. From a photography standpoint, I also appreciate having my camera on me at all times, making it easier to capture B-roll and off-the-bike shots.
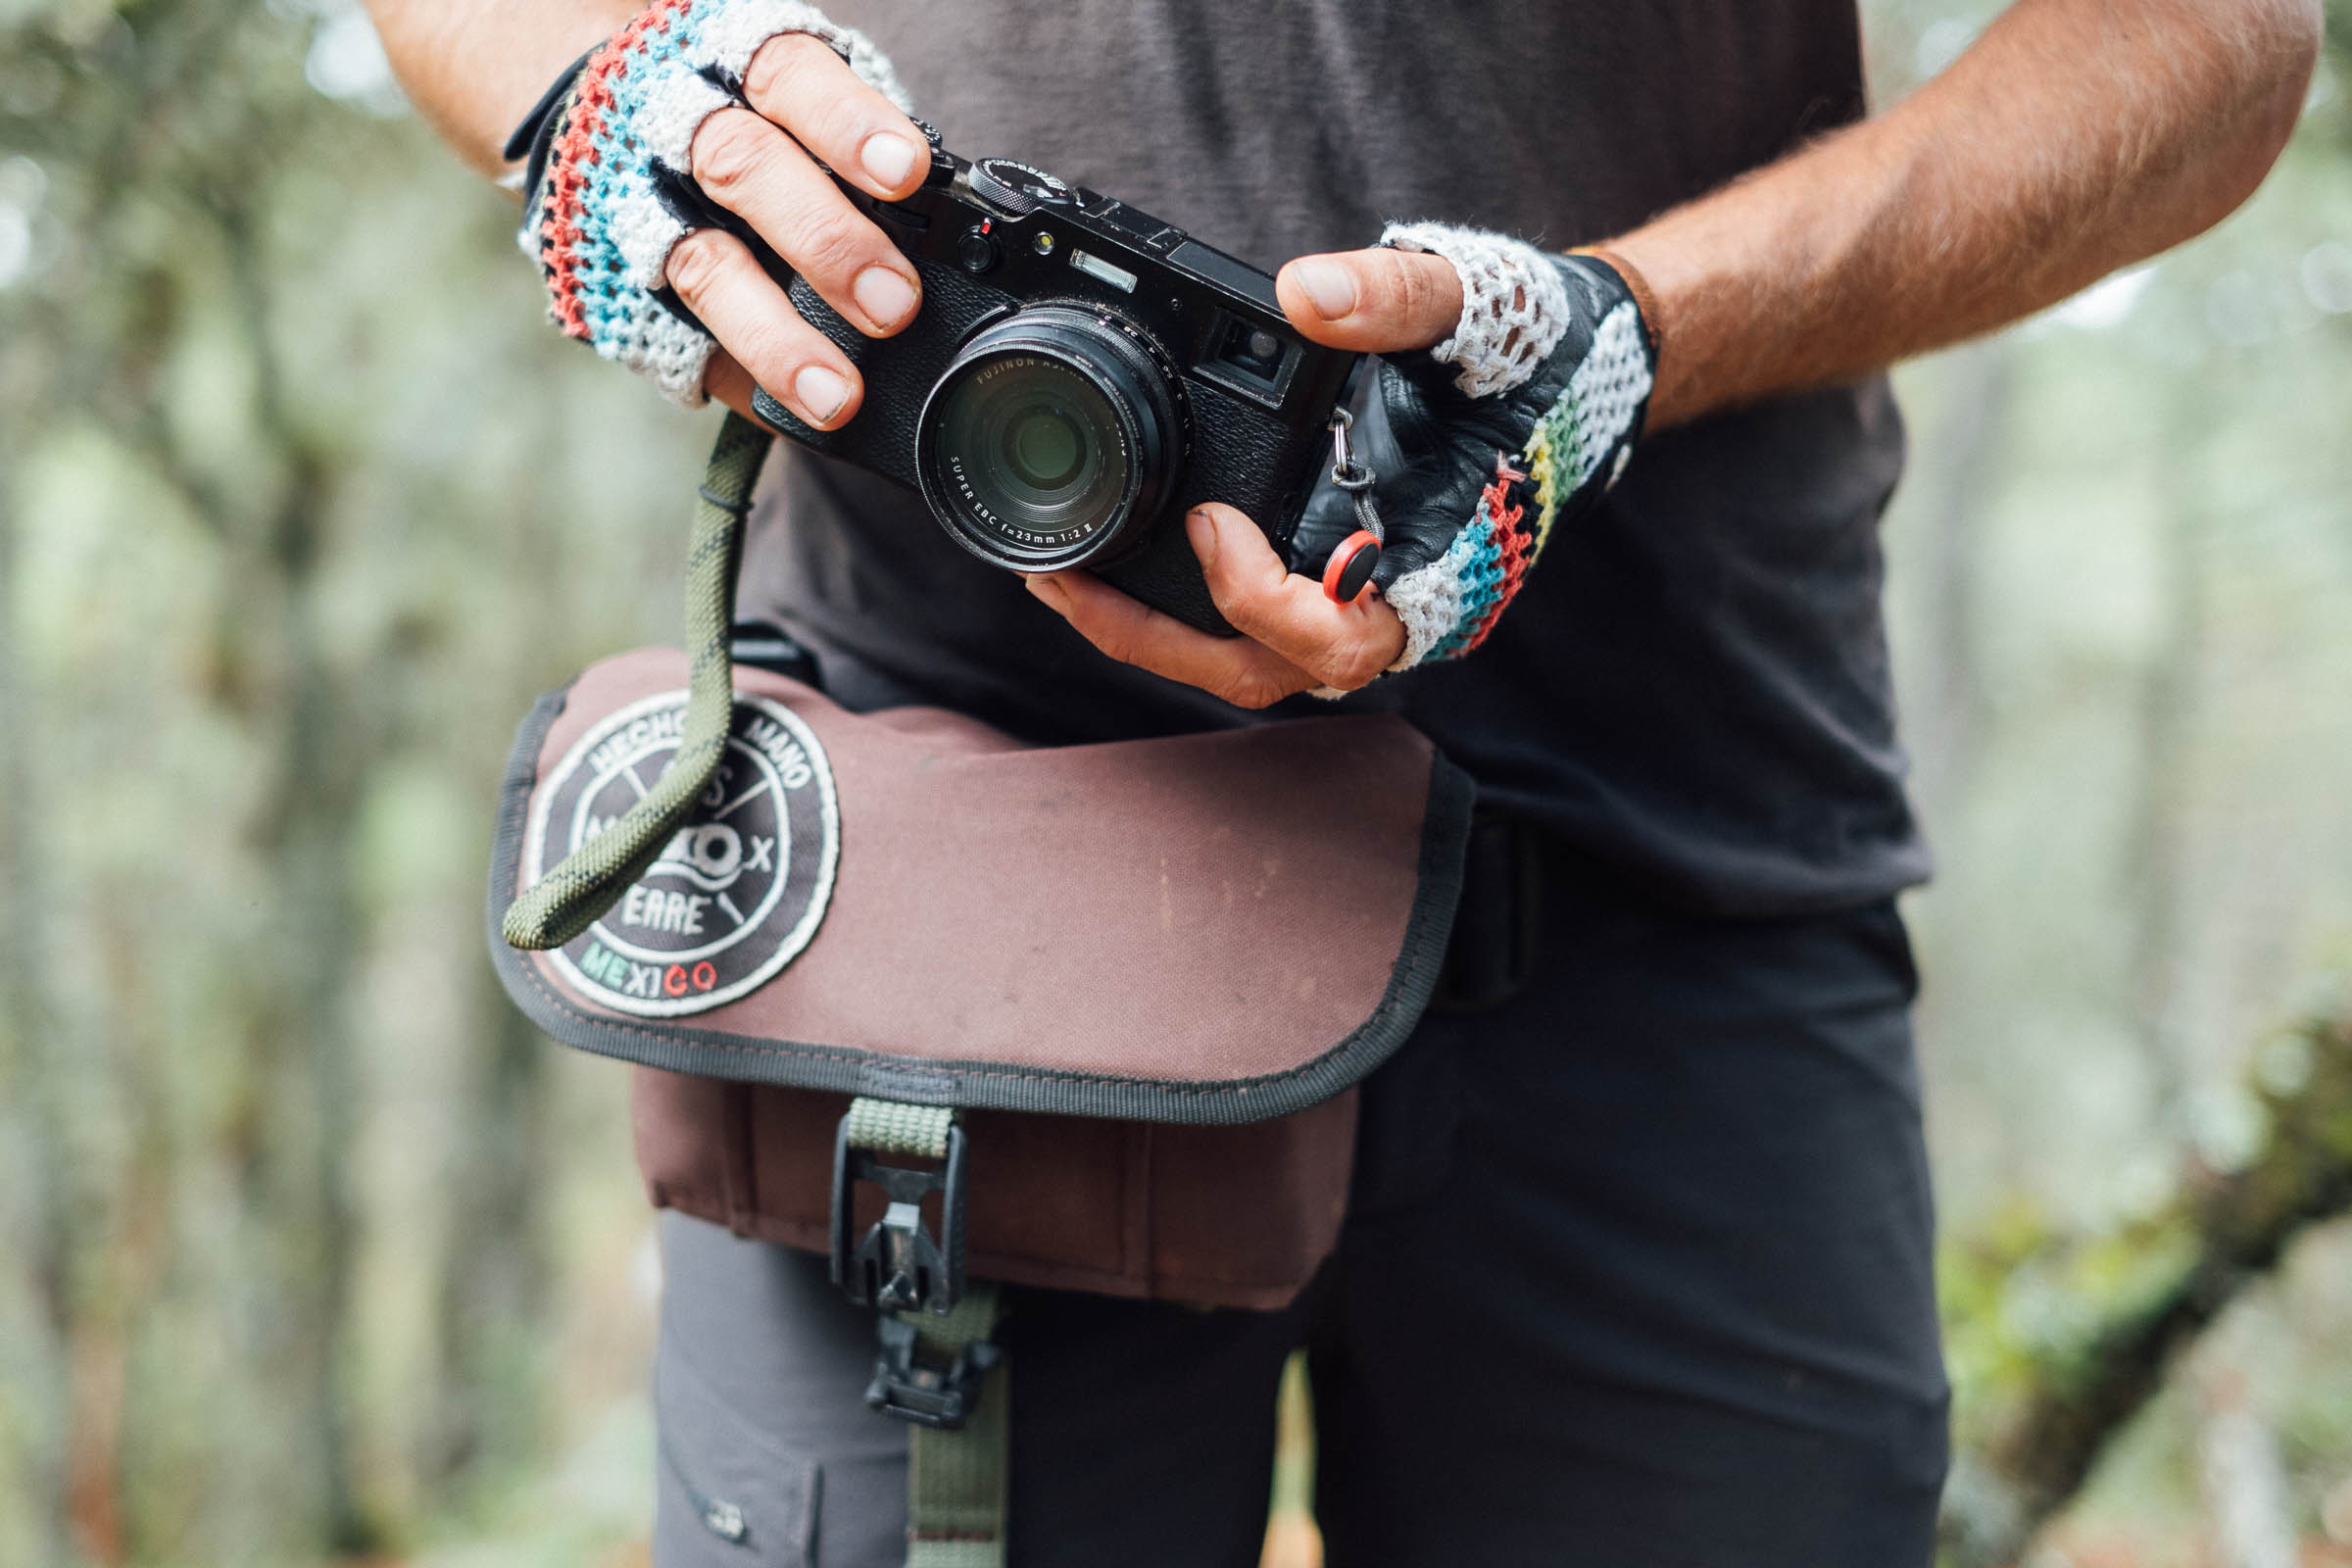
CASS GILBERT
These days, I mostly use Fuji X100V with its fixed focal length, partly because it’s simple and solidly made, and also because it feels like a refreshingly fun memory catcher. I keep it in a customized version of the Dos Erres Riñonera (size small), a simple and affordable waterproof hip back that’s made in Mexico. It’s really quick to access, completely waterproof in the heaviest of downpours, and it works well for me both on the bike and when I’m wandering around town.

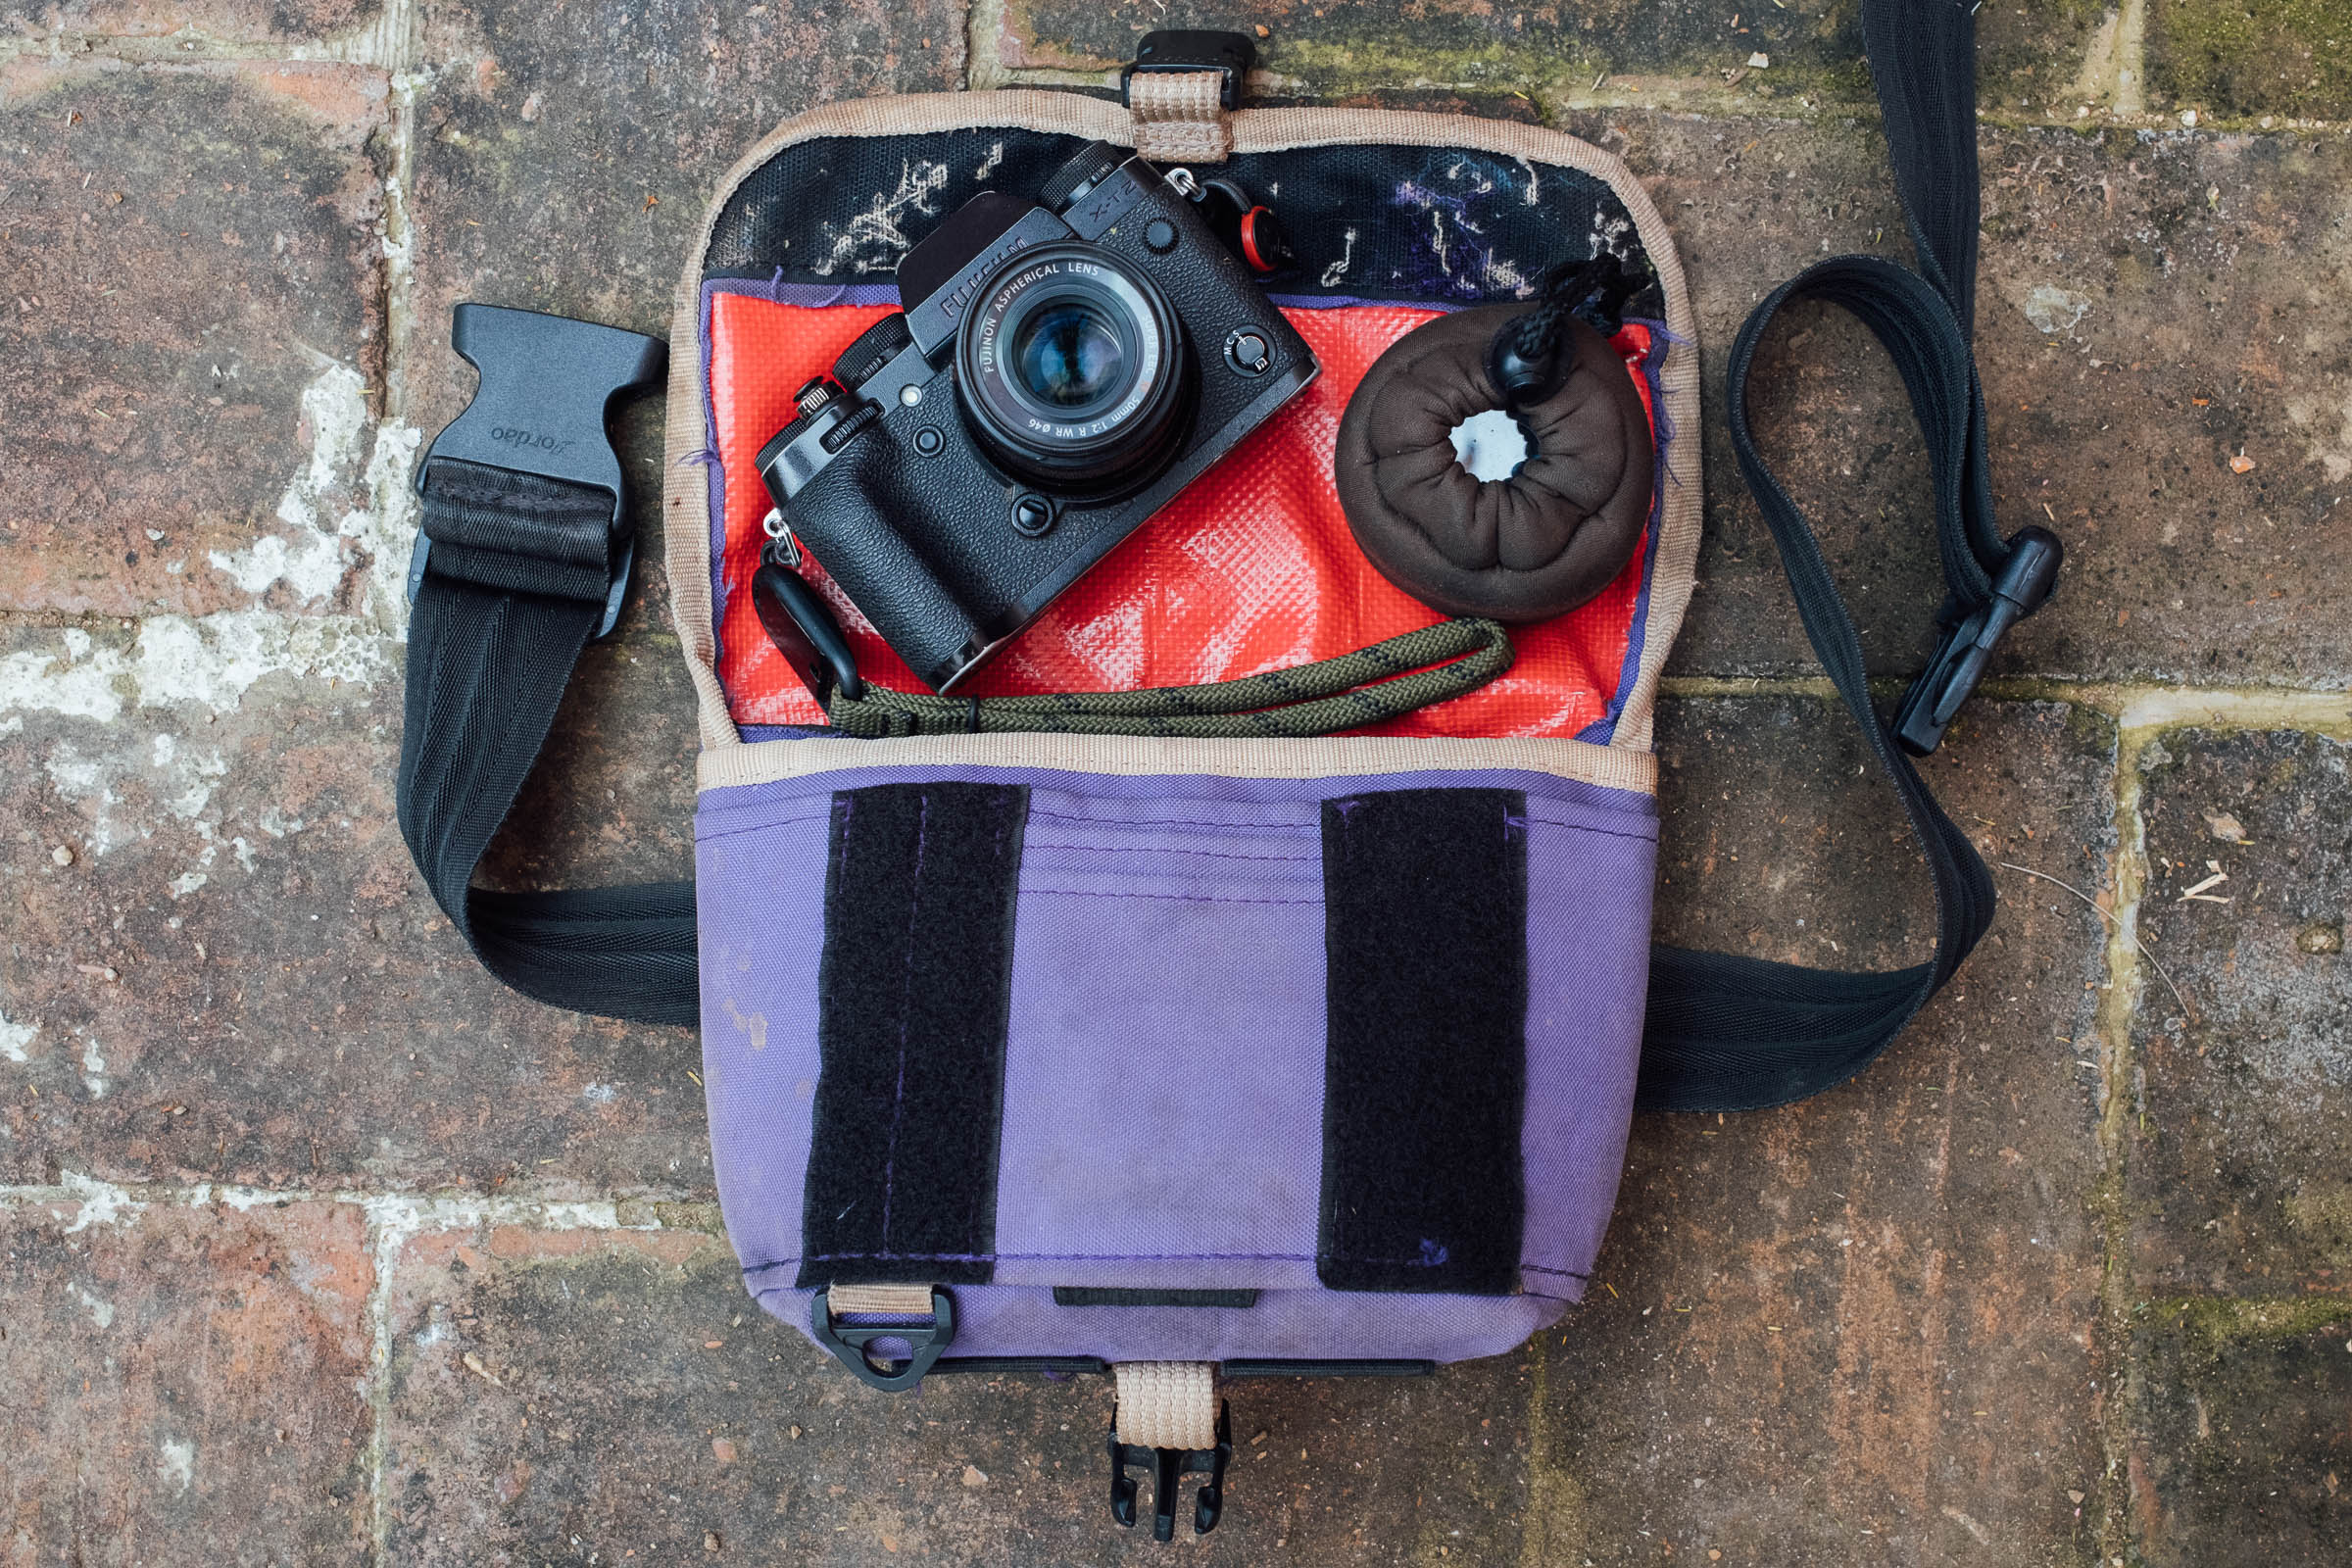
I also have an older Fuji X-T2 with 23mm and 50mm f/2 weatherproof lenses, which fit in the larger version of the same hip bag. This said – and at the risk of sounding repetitive – I too have a Porcelain Rocket Big Dumpling, like Logan and Miles. When I eventually get my Sony A73 replaced – it broke last year, perhaps because it was always being jostled around in my handlebar bag – that’s where I’ll keep it, in a padded insert. In the future, I’ll only store my camera on the bike for routes I’m confident will be mellow.
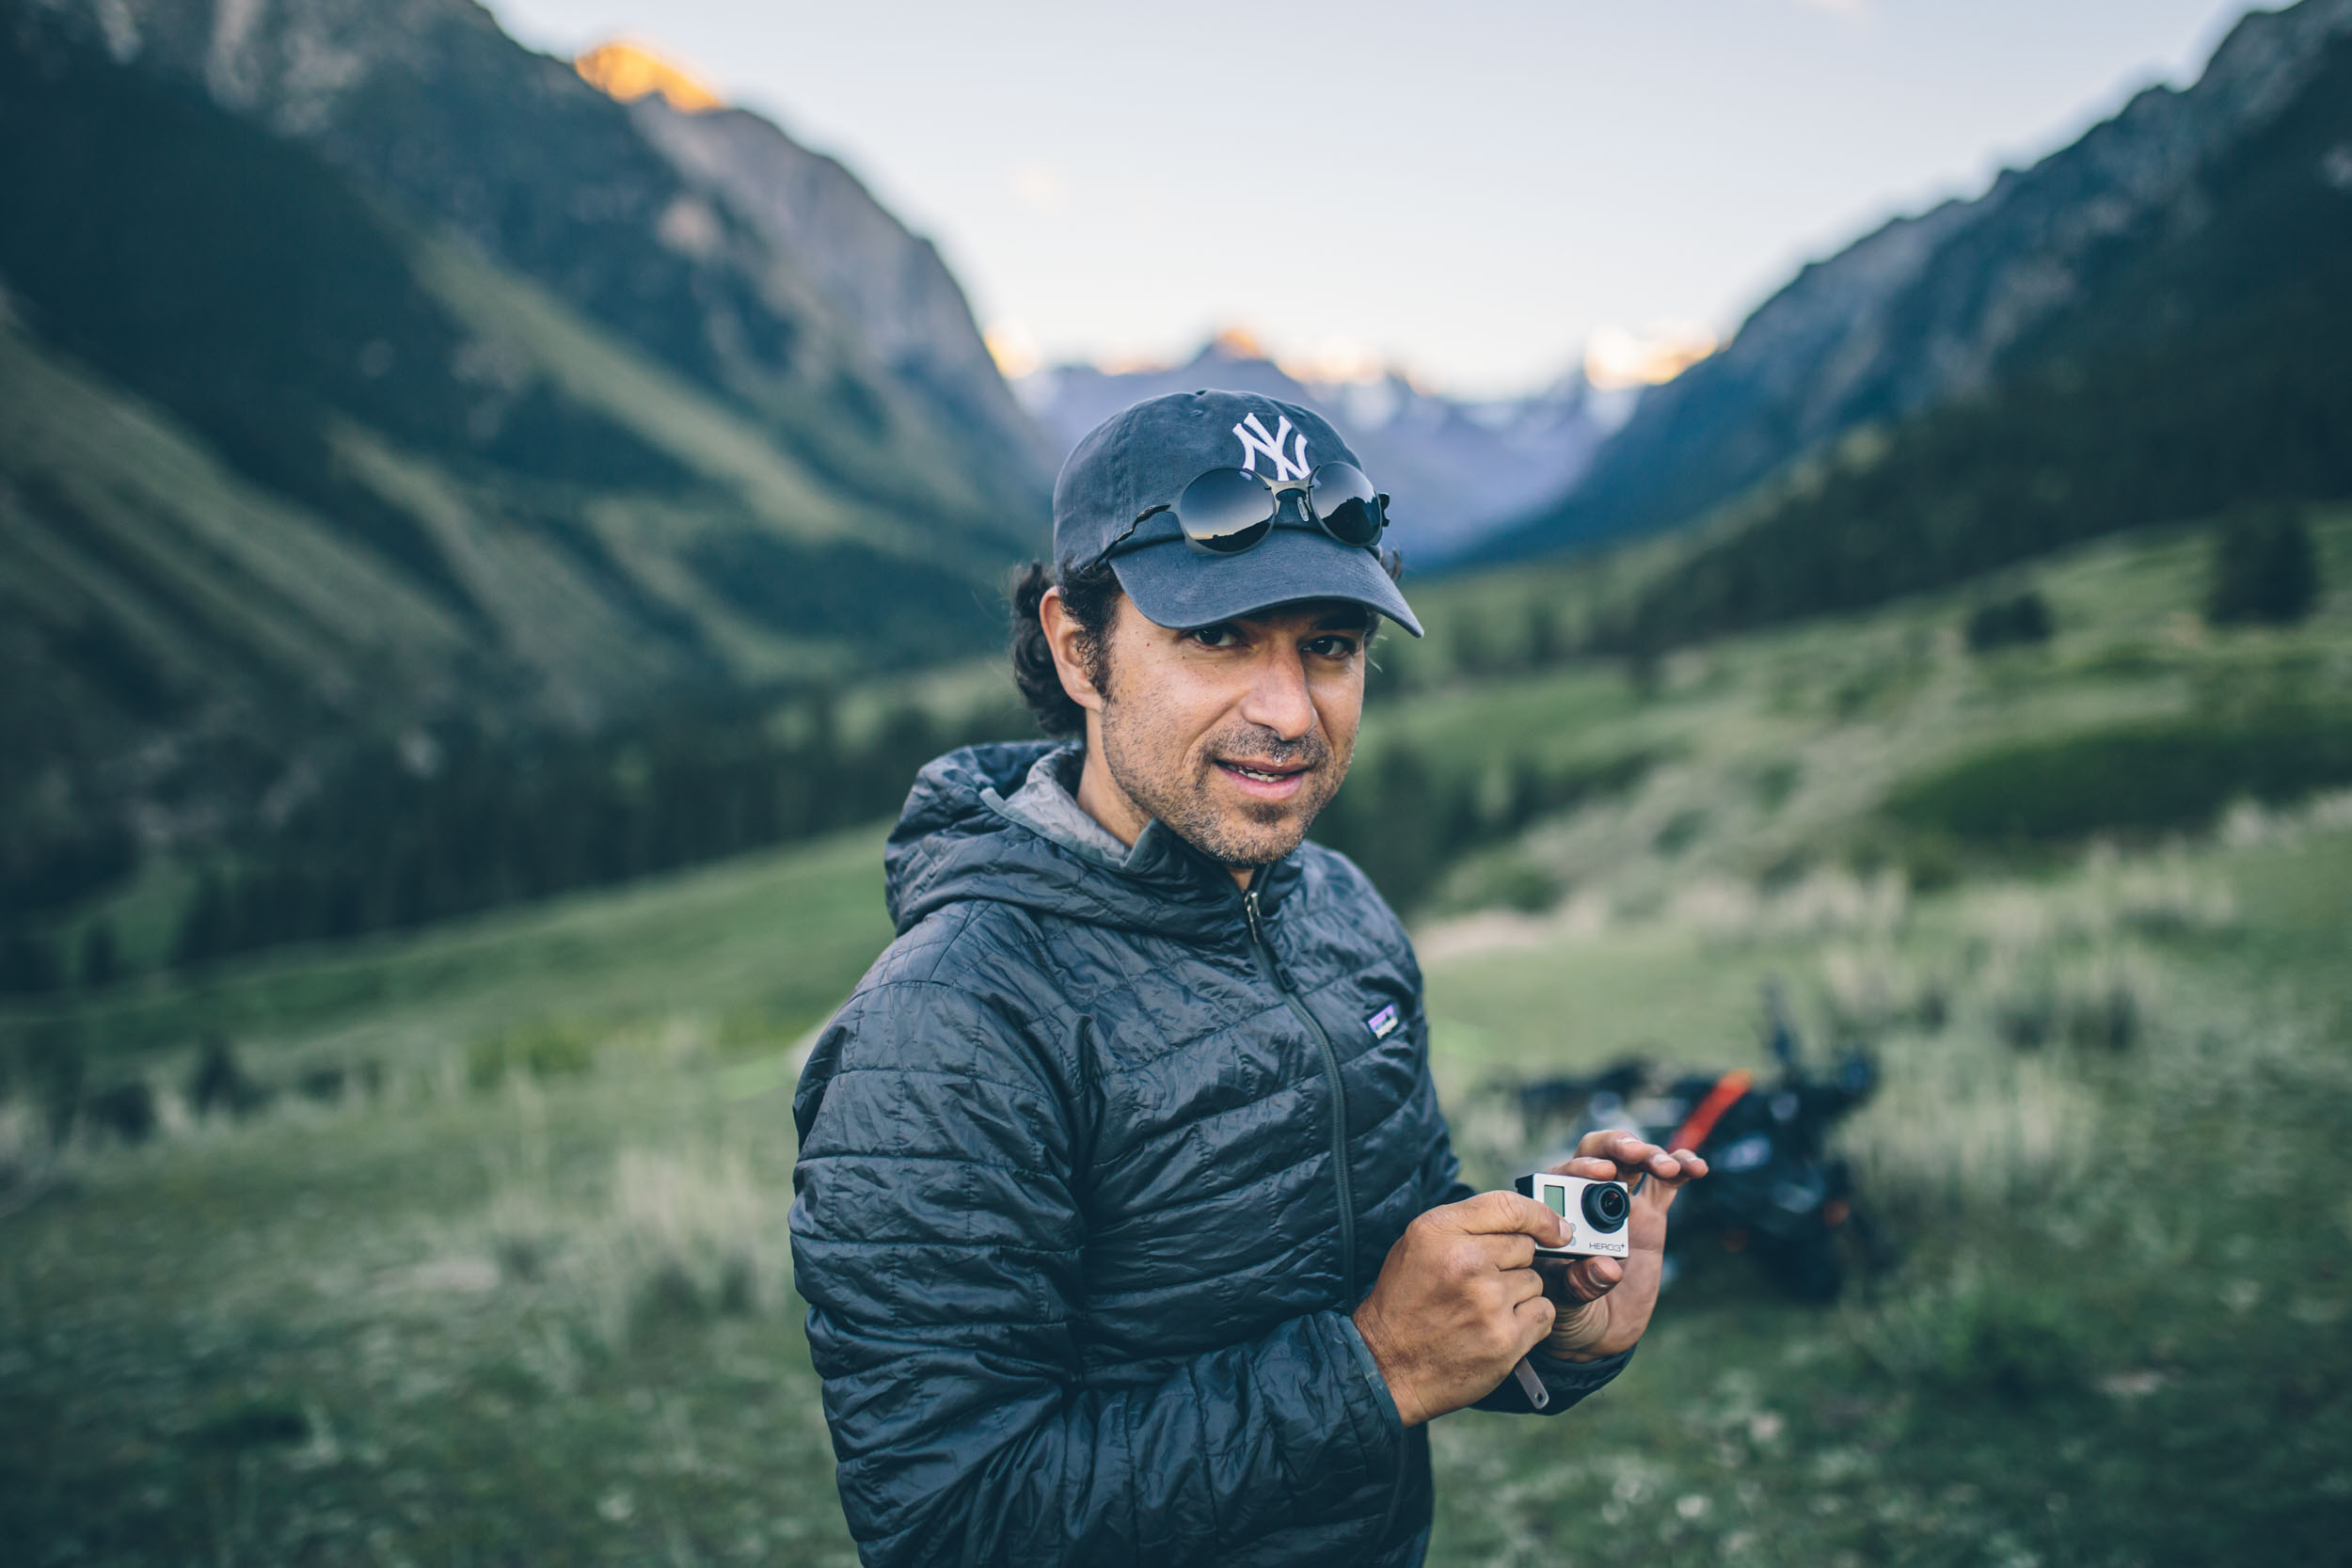
NEIL BELTCHENKO
I’ve been using a Sony Alpha series camera for the last eight or so years. I first purchased a Sony a6000 as I was looking for something that was rather small but with the ability to change lenses. After a few years, I moved on to the a6500, which I sold some time last year. I now shoot both video and photos with the Sony a73, which Logan turned me on to. It’s a great action camera and also perhaps one of the best cameras for video content for the price, and that’s what I primarily use it for. I’m currently only shooting with Zeiss Batis prime lenses. My most used and favorite lens is the 85mm.
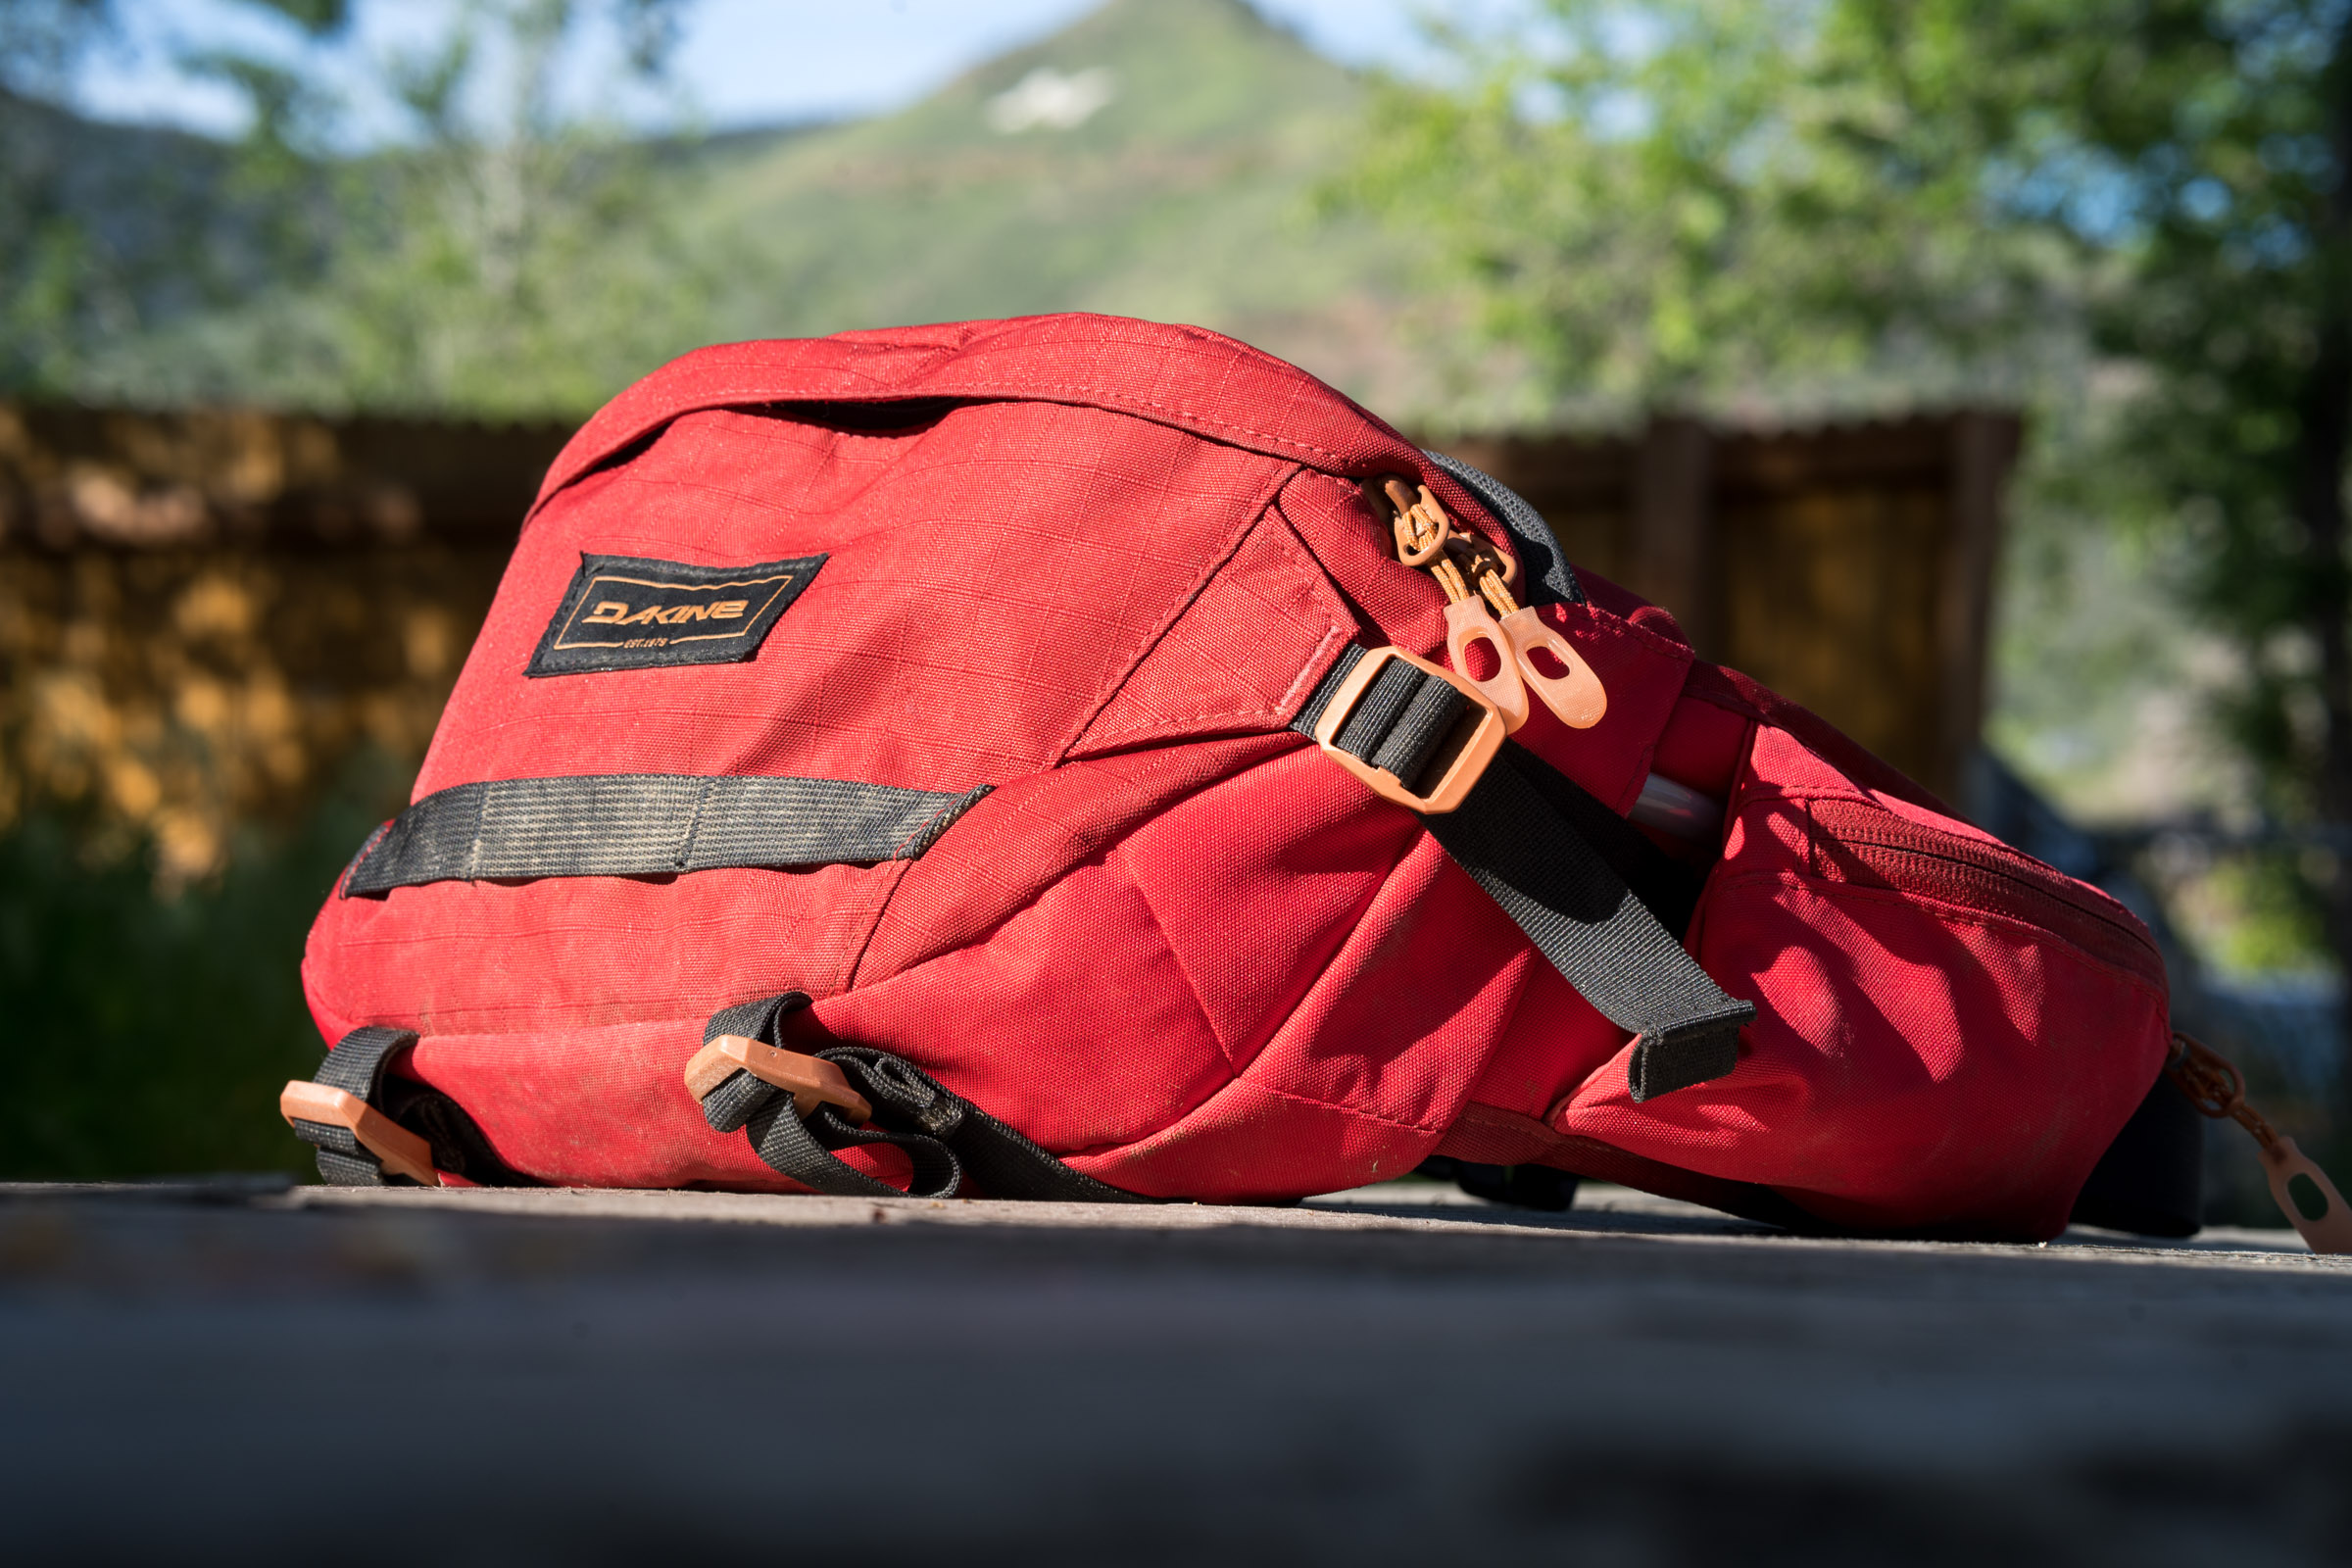
At one point I carried my camera in my frame bag but because I’m primarily a mountain biker. I ended up ruining my A6000 as it rattled around and finally broke. I learned my lesson. I now always wear my camera in my hip pack. I’ve used a variety, such as the High Above hip pack and the Dakine Hot Laps 2L and 5L versions. For day rides, I use the 2L the most, but for bikepacking trips, I like the 5L because I can store an extra lens, my GoPro, and batteries for all my electronics.
LUCAS WINZENBURG
Like others here, I’ve rotated through several camera-hauling systems over the years. I’ve had phases of keeping my camera in my backpack, slung across my back, in a hip pack, and in a stem bag.
For my compact film and digital cameras, my tried and true companion over the years has been a Porcelain Rocket Mini Slinger (they’re no longer produced, but the Outer Shell bag option Josh mentions below looks to be a good alternative). I find a small stem bag to be the most convenient option for quickly accessing my camera, and I keep an ultralight drybag tucked into the bottom in the event of inclement weather. I’ve yet to knock a rangefinder out of alignment or rattle a digital camera to an untimely demise using this method, though maybe I’m just lucky.

I like being able to see the camera in front of me while pedaling as it serves as a reminder to take it out and shoot. However, I’ve also occasionally ridden with my Leica or Fuji tucked into a hip pack over the past few years, which I prefer to stashing it in a backpack or storing it directly on my back for the reasons outlined in the guide above.
Joe Cruz
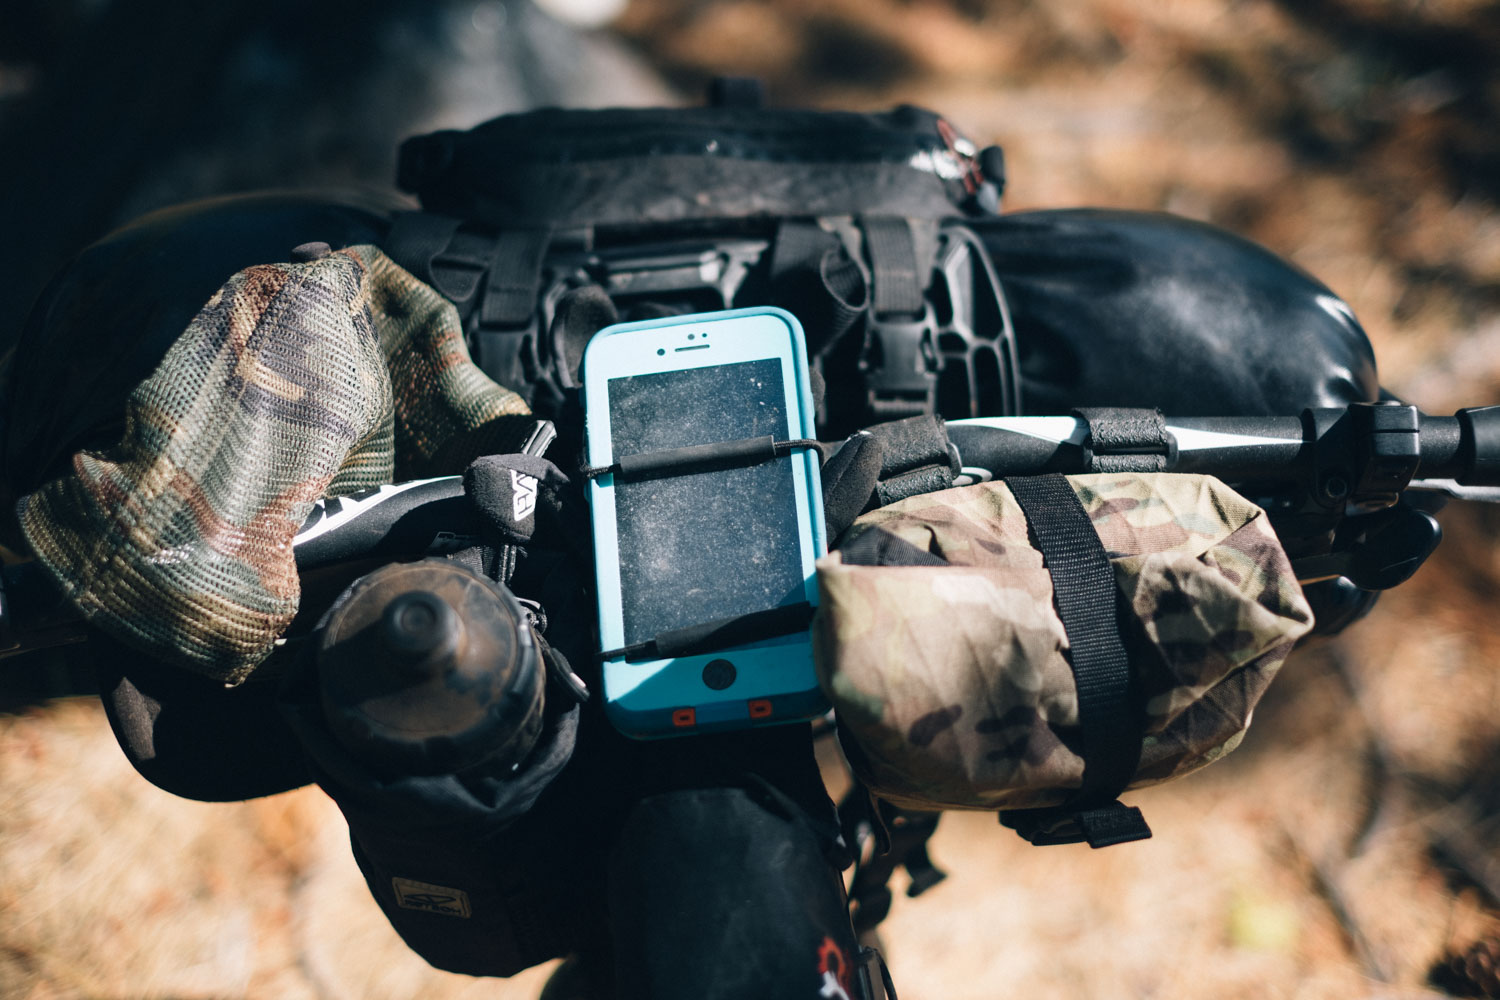
I’ve been making pictures since my teens with compact cameras, starting with a Rollei 35, then a Yashica T4 super, and moving on to too-many-to-count digitals including Canons and Panasonics. These days I photograph with a Sony RX100 VI and a Fuji X100V (and, of course, an iPhone). Over the years I’ve tried every carrying system that I could think of. In a waist pack – Pros: Convenient, camera is saved from damaging vibration; Cons: Painfully unstylish, sweaty lower back. Clipped to belt at hip with a peak designs capture clip – Pros: Actually worked pretty well, saved from vibration, quick access; Cons: camera a bit exposed, camera has to be very small to not bounce around annoyingly. In a top tube bag – Pros: Easy access; Cons: takes lot of vibration. In a feed bag – Pros: Saved from vibration because the bag is suspended off the bar; Cons: Not as accessible as one might think, since it kinda gets caught up in the neck of the feed bag (depending on feed bag design); bumps my knee. Chest pack – Pros: Accessible; Cons: Dorky and obtrusive
I’ve rejected all of the methods above. Nowadays I stick to these three (The first two are for the Fuji and the third is for the Sony): Front pocket, Revelate Egress – Pros: saved from vibration because the pouch is cantilevered out front and bounces (the front roll is not on a rigid rack); weather protection; Cons: Accessible but not as accessible as the other two ways I use. Chest strap (i.e., standard strap diagonal across chest plus a psbagworks universal camera stabilizer) – Pros: saved from vibration; very accessible; not very annoying with a camera up to size of the Fuji X100v; Cons: camera exposed to elements; can fog lenses with body heat; theoretical worry about damaging camera or body in crash. Back pocket (!) This is with the Sony RX100. I literally just slip it into my right shorts rear pocket – Pros: saved from vibration; very accessible; Cons: Looks funky. With the lens away from body, seems like you have a tin of chewing tobacco back there. Whether this is good or bad probably depends on your cultural affiliations.
In every case, when the weather turns the camera goes in the front pouch.
CONAN THAI
I use a Peak Design Everyday 5L Sling with a 5dmk3 hanging outside on a Capture Clip. Extra lenses and delicate items are kept inside the weather-resistant bag. A cross-body strap borrowed from an old messenger bag keeps it stable on my back when I’m riding through rock gardens and other rough stuff. I still have to adjust its position every so often and I’m less likely to hop over features while wearing it. I typically use a 24-70mm along with an 85mm, and I’m still trying to figure out a way to carry a 70-200mm that is easily accessible.
I recently have begun using a Fuji X100F for trips when photography is less of a priority. It lives in a Revelate Design stem bag on top of a bandana. It’s not the most ideal setup, as my knee bumps into the bag when I’m standing and pedaling. For short rides, I might have an Olympus mju:ii stashed in a jacket or jersey pocket.

NEZA PETERCA
I’ve gone through several different ways of carrying my camera and have now settled on a Peak Design Capture Clip on my backpack. I carried my camera in fanny packs and snack bags when I had a smaller Fuji XT1 with a 50mm lens, but endless rough roads rattled it to the death. After I changed my camera to Sony A7R, I didn’t want to take the same chance again, so I opted out for a backpack and a Capture Clip. My camera is always at hand and I actually find myself taking more photos than I did before. The camera set up I use at the moment is on a heavy side, especially because I use a Tamron 28-75mm zoom lens. At more than 1.5 kilograms (3.3 pounds), it weighs me down quite a lot on the downhills, but I fully trust the Peak Design mount to do its job – so I can still enjoy blasting down the singletrack. When it starts raining, I simply put it in the backpack, where it’s safe and dry. Yes, my back gets very sweaty from wearing the backpack, but I prefer to keep my camera safe than to have a dry back!
JOSHUA MEISSNER
I highly value quick one-handed access to my camera, so I favor a slim Fujifilm mirrorless system with a pancake lens, which fits in a padded stem bag by Outer Shell. Having the camera so close at hand means I can quickly grab it, snap a few shots, dump it back in the bag and get back to riding without fussing with a camera strap or hip pack. The trade-off is that the camera is exposed to more wear and tear than an on-body carrying setup or a better-protected bag. Dirt always deposits at the bottom of the stem bag, wearing through any edges not protected with tape, and the vibrations are known to rattle apart cameras over time. So far though, I’ve not killed any cameras over tens of thousands of kilometers on gravel and dirt roads.
I’m quite satisfied with the Fujifilm X-T1/2/3 cameras I’ve used over the years. I love the handling and the series offers a good balance of image quality, autofocus performance, and a seemingly durable build. Fujifilm also offers a fantastic range of high-quality lenses, although I almost always use the Fujinon XF 27mm f/2.8 lens, so I can slide the camera into my stem bag. I also like the Ricoh GR III point-and-shoot as it allows me to take high-quality snapshots in a low-profile manner, but I’m far less confident in its long-term durability for bikepacking.
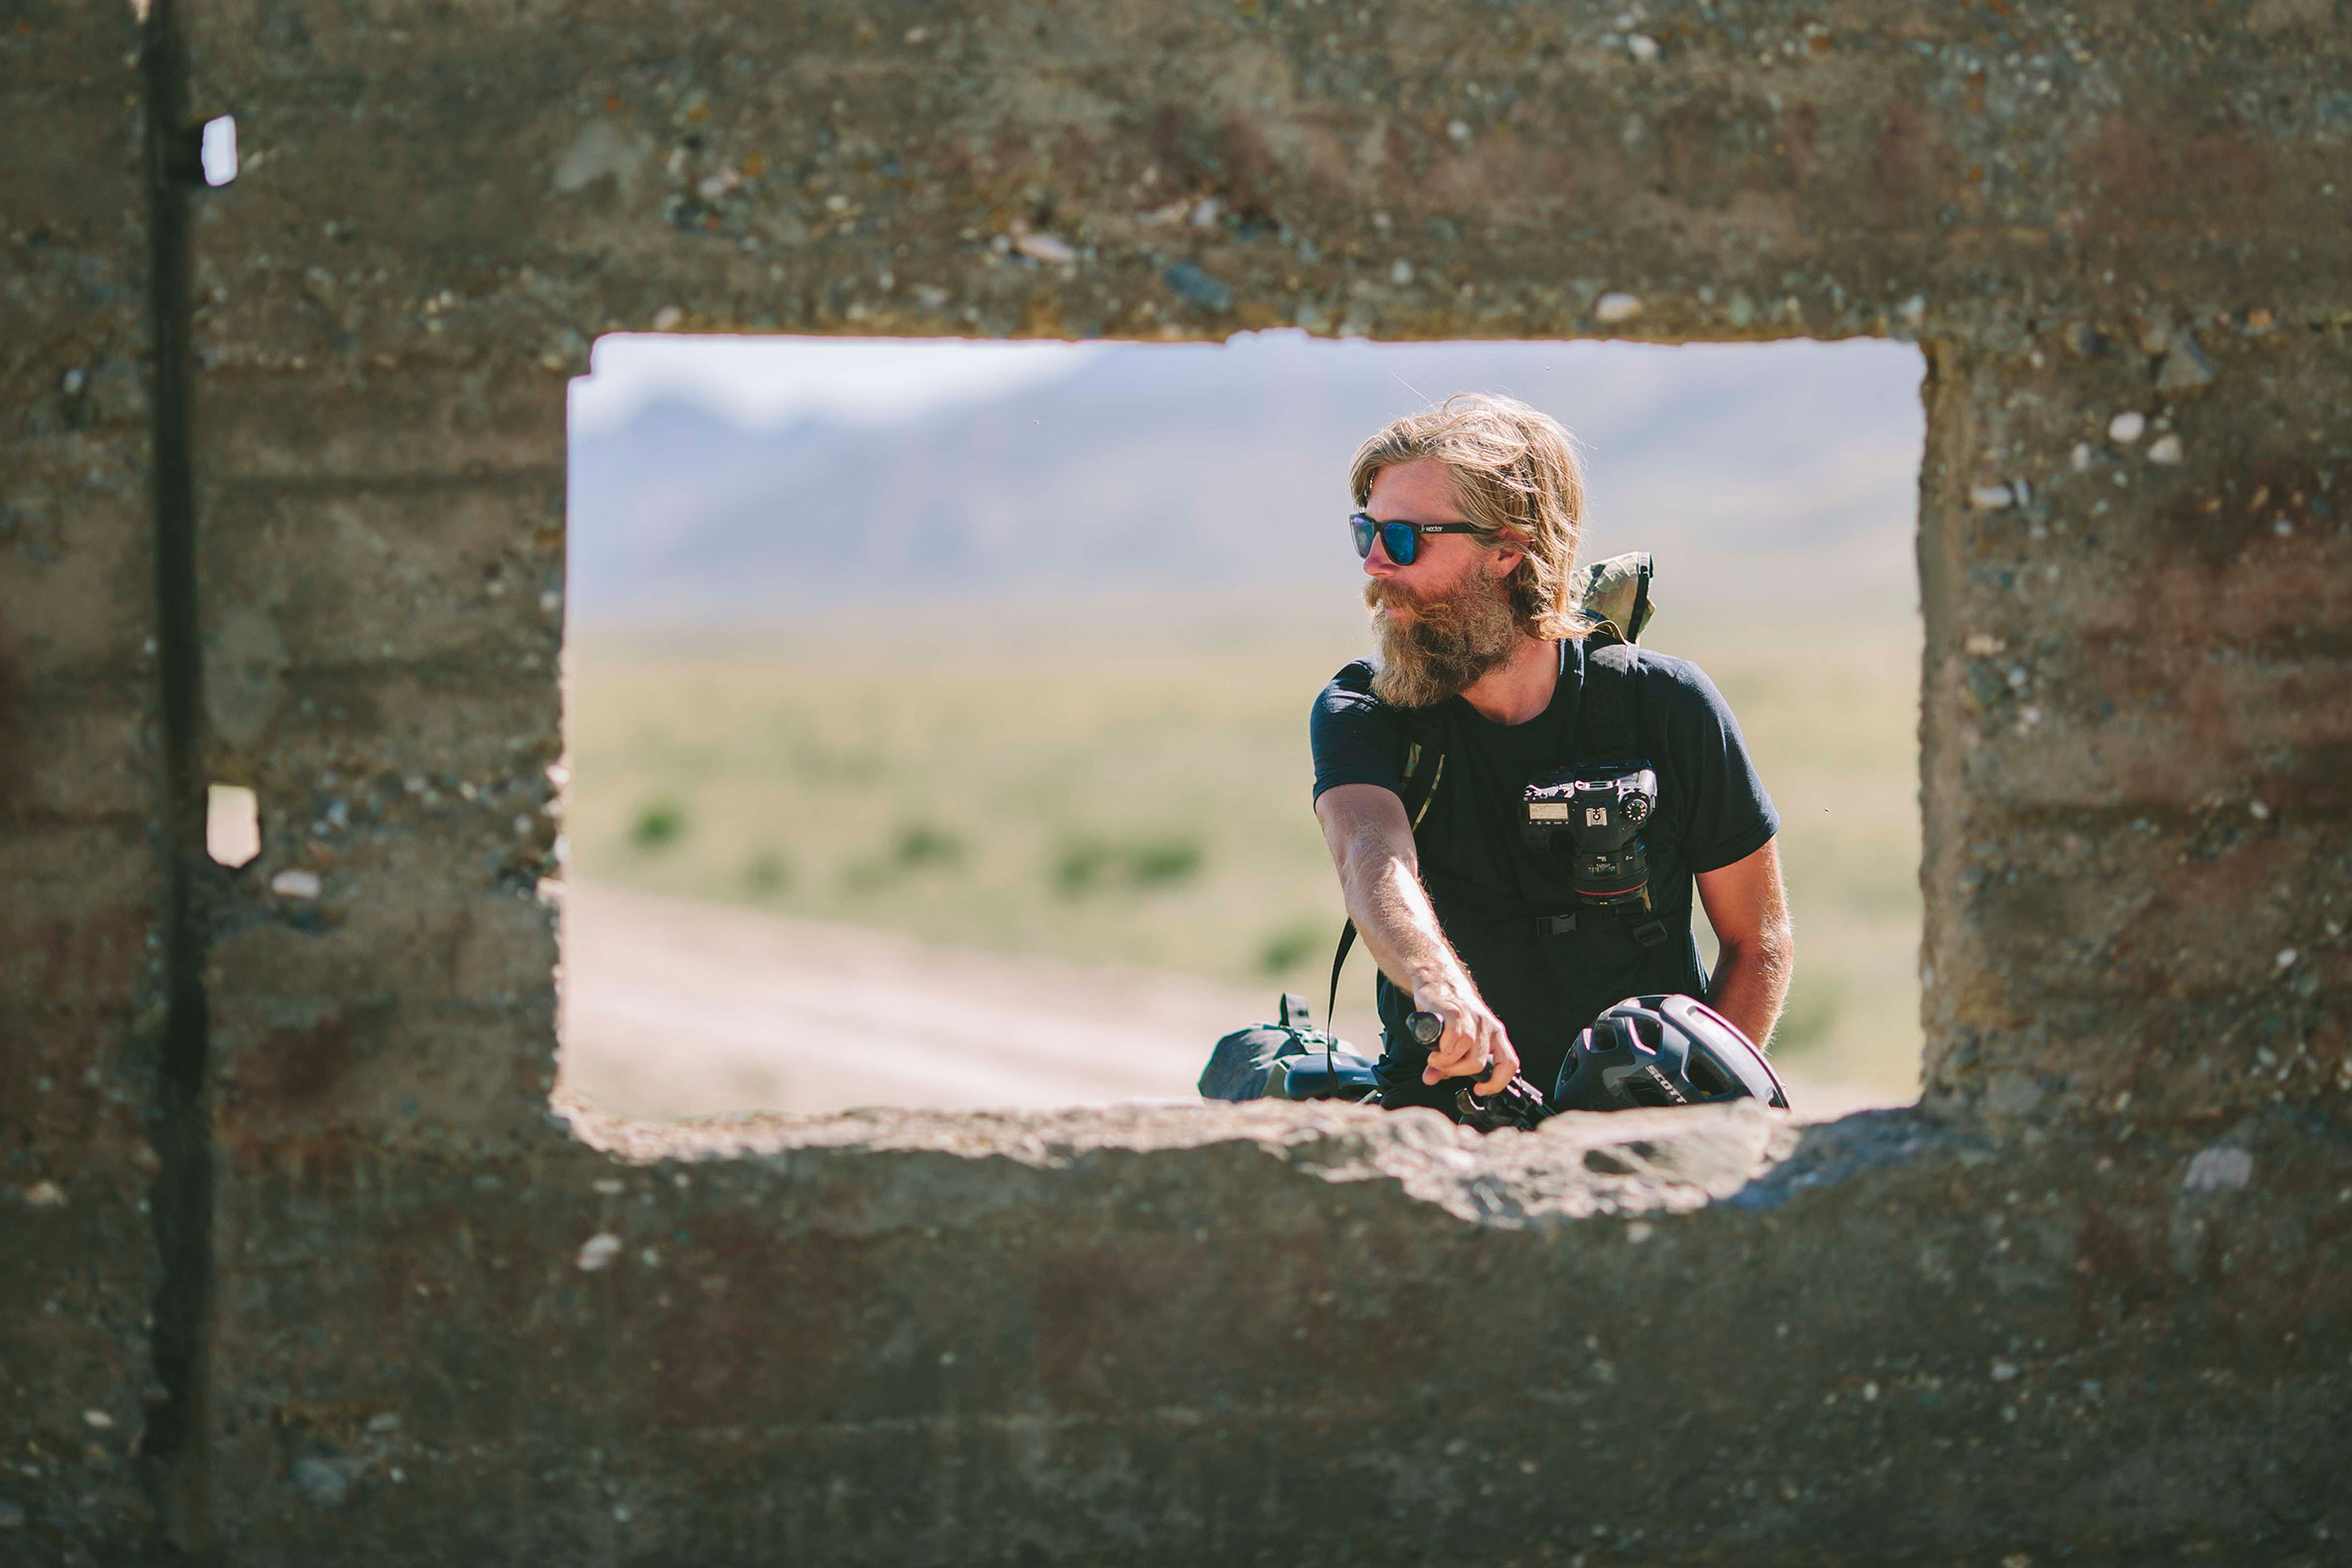
MARK WATSON
My go-to is the Think Tank Turnstyle 5, which is a sling-style bag that can also be worn as a fanny pack. Mine is the original model, which had a dedicated fanny pack conversion. Sadly, the newest model, (the V2.0), doesn’t have the same function, but it still sits quite comfortably as a fanny pack. I tend to switch between the two modes a lot: sling mode for photography walkabouts and fanny mode for cycling, although the sling can work really well for this too, especially with the stabiliser strap on the V2.0.
I carry the camera on my body at all times for two reasons: it’s always handy so I never miss a shot or get lazy about getting it out, which is sometimes a trap when you’re tired; and my body dampens the road shock that might otherwise vibrate a camera to death if it were kept on the bike.
The capacity is enough for my Sony A7R Mkii with any of the three lenses that I carry attached (16-35mm f/2.8, 50mm f/1.2, 70-200mm f/4), plus spare batteries and a cleaning kit. Normally I carry the two extra lenses in Think Tank Lens Changers, which I keep in my framebag, but lately I have been using a custom feed bag to carry a lens on the handlebar, which works very well for ease/speed of reach.
The nice thing about my modular system with the Lens Changers is that if I want to carry the whole complement walking around a village, I can clip the cases onto the shoulder strap for the Turnstyle. Rain can be a problem with any on-the-body carrying system, so my solution is to put the Turnstyle in a drybag and then inside an ultralight day pack, such as a Sea to Summit Ultra Sil, which I tend to always carry for overflow anyway.
FRANZI WERNSING
I still use my 5D Mark II with a 50mm prime lens. On shorter trips, where I don’t need so much space, I use the Ortlieb Handlebar-Bar Pack QR and I love it. It’s big enough to fit my camera and I can easily stash some more stuff in there, like snacks and so on. For my other trips, I still use the normal Ortlieb accessory pack, which also works fine for me. It’s a bit tight but totally doable. I’ve had my camera for almost 10 years now and it has been on some rough and bumpy rides in those bags. However, it’s still functioning fine.

Wrap Up
For the most part, we’ve learned the hard way that for the kind of rough and tumble bikepacking we love most, carrying a camera on your body is the best way of ensuring its long-term health. This is particularly important with many modern cameras that have image stabilization, because of the moving parts within the body. Plus, your camera will be with you at all times, helping you capture those incidental moments that can make up the essence of a trip.
Granted, if you’re keeping to more mellow terrain, there’s a stronger case for stowing your camera on your bike, be it in a stem bag or a handlebar bag. But to be on the safe side, a hip bag and a camera insert is probably the best solution for the majority of riders, especially those with an interchangeable lens system. Thankfully, there’s a wide variety of options available, which can easily be customized to your exact needs.
Do you carry a camera when bikepacking? What style of bag works best for you? Let us know by joining the conversation below…
Please keep the conversation civil, constructive, and inclusive, or your comment will be removed.