


A Guide to Taking Better Photos while Bikepacking


In this guide, Evan Christenson offers some advice on how to select the right camera for your next bikepacking trip and shares nearly a dozen tips to help improve your photography while out on the bike. Dig in to his guide to taking better photos while bikepacking and find a gallery of sample images here…
PUBLISHED Feb 8, 2023
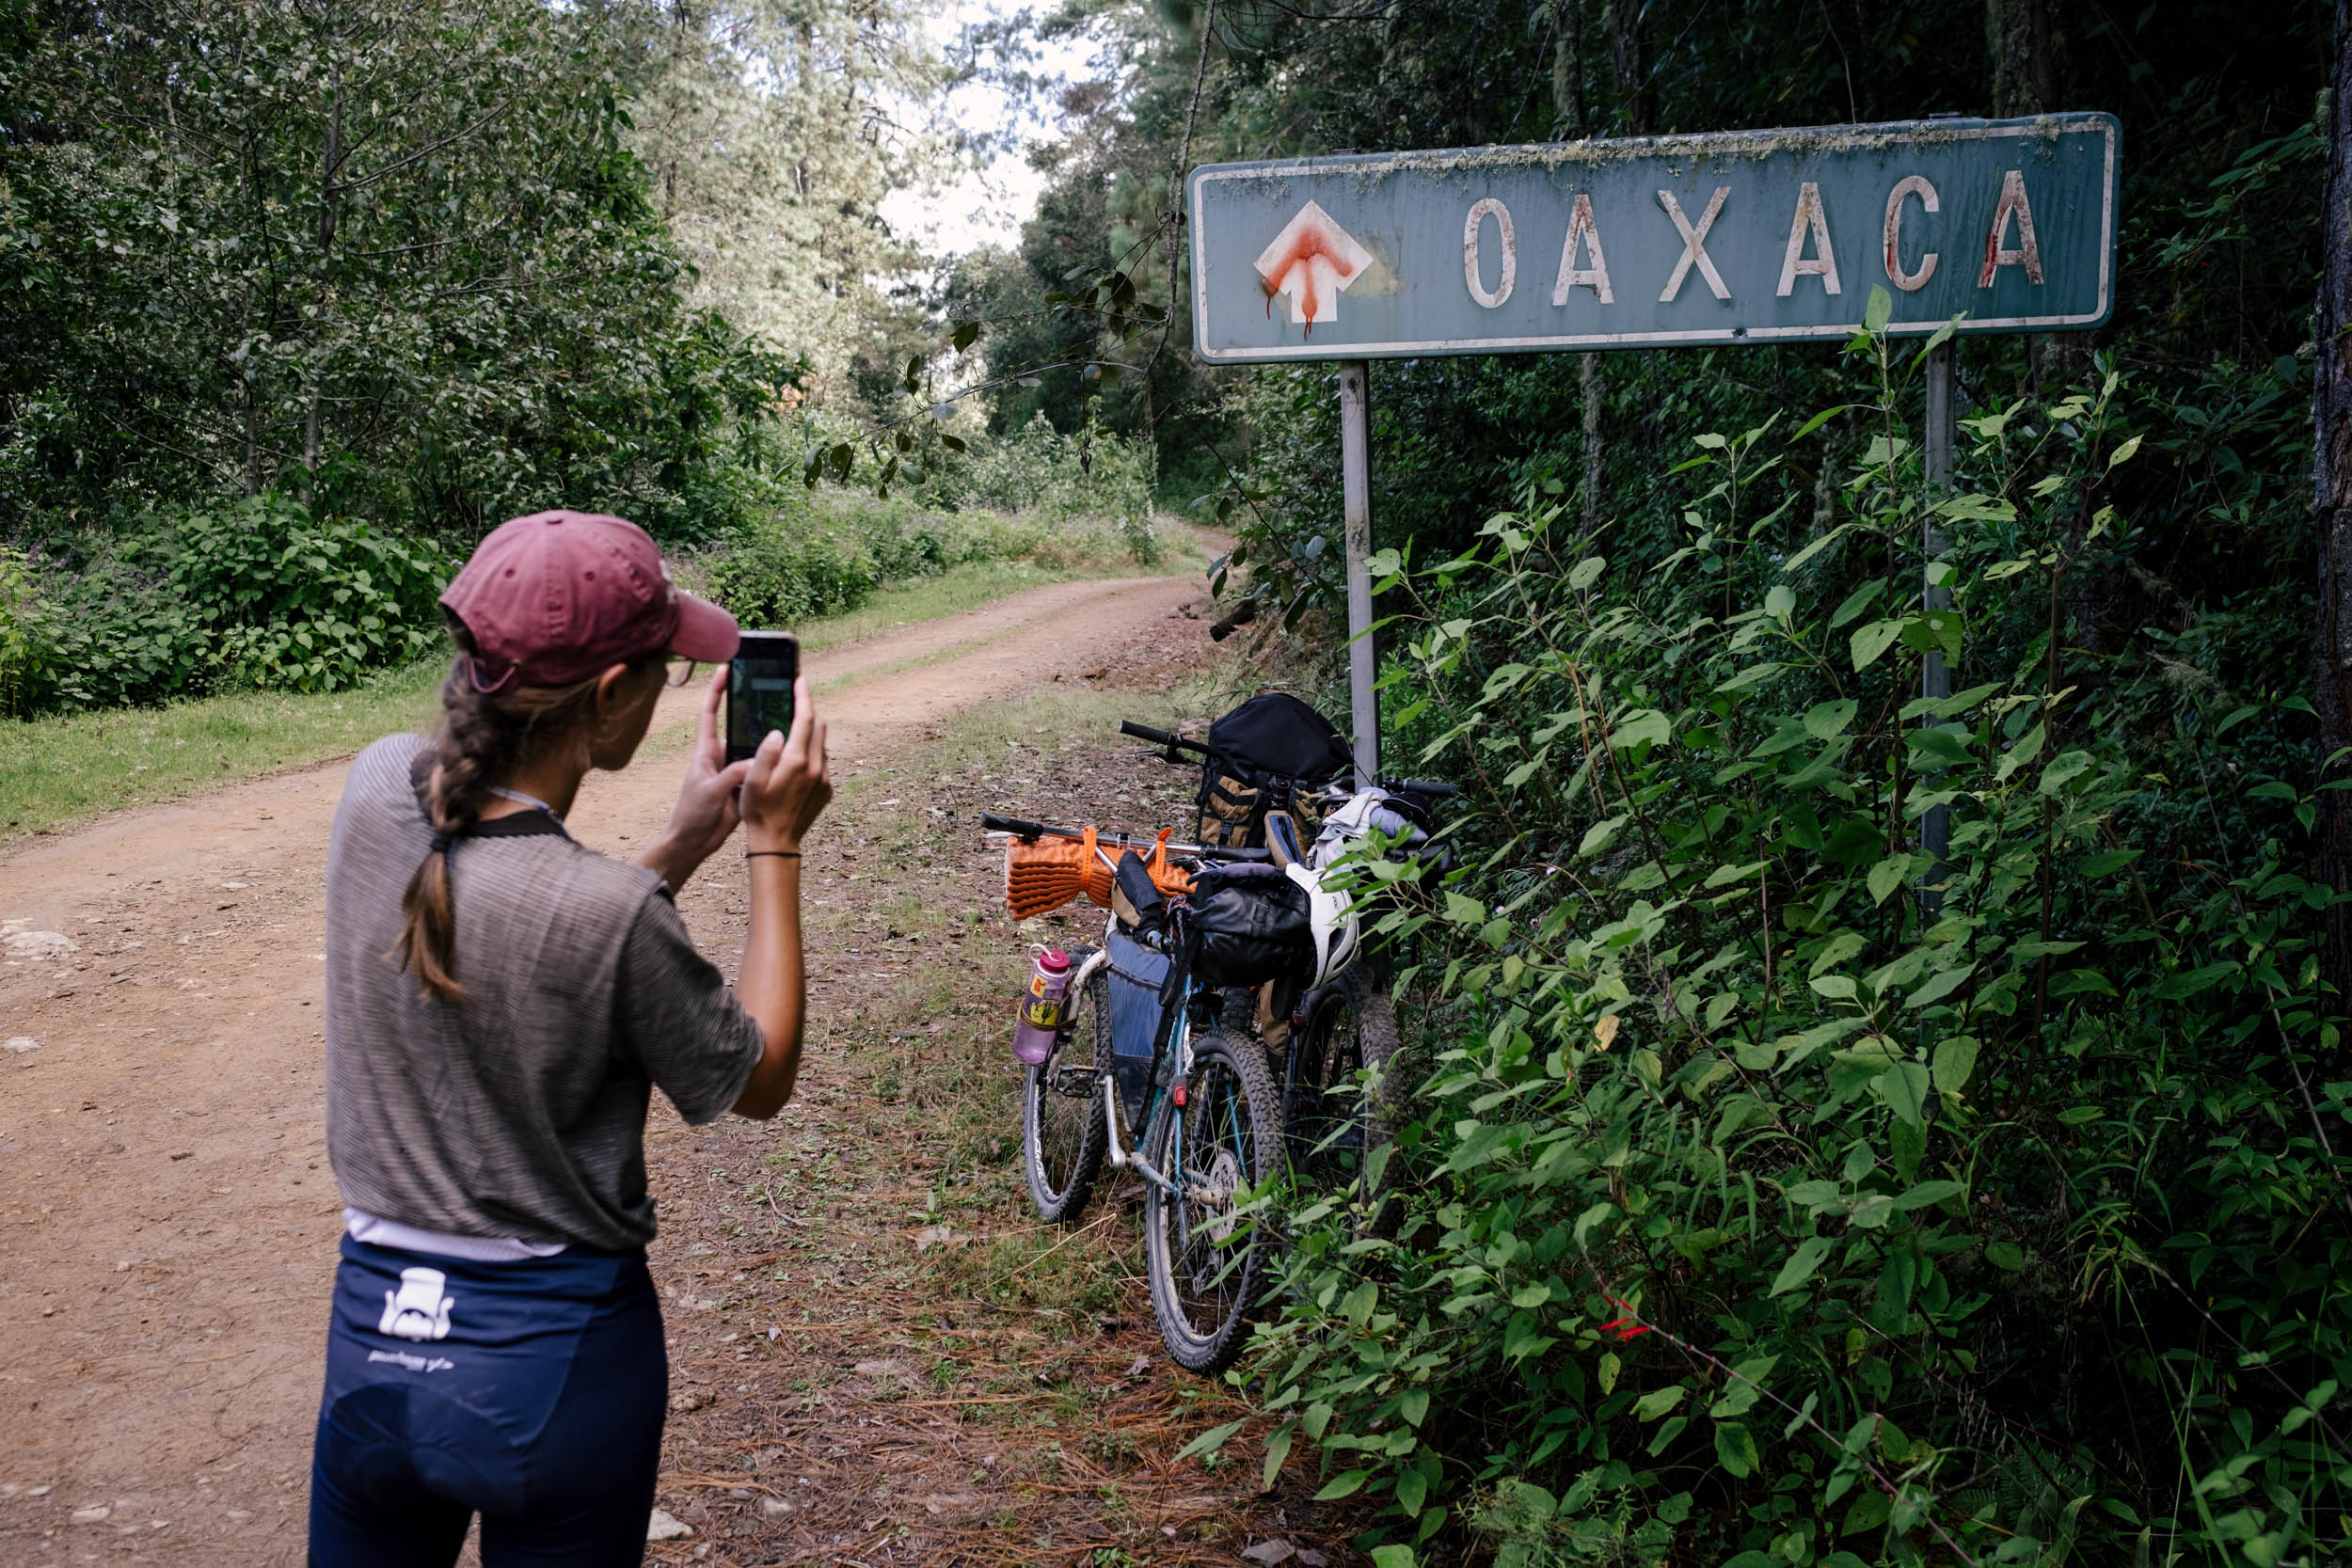
I brought three cameras on my recent trip down to Mexico: my tried and true Fuji X100V, my old 35mm film camera with three lenses, and of course, my iPhone. I didn’t go down there to compare the experience and write this article, but after I left my film camera behind for half of the trip, then broke my Fuji by dropping it into a river and was stuck with just my iPhone, I was left to contemplate the value of each system. And in doing so, I also thought a lot about what it is that makes some bikepacking photography so amazing and some hard to even look at. Let’s dig in.
On Cameras
“The best camera is the one you have with you” is an adage in the photo world. For bikepacking, it especially bears fruit. The best camera to capture your adventure is the one you can justify carrying and the one that will keep working. Bikepacking is an extreme use case for cameras, and the weight weenies among us would balk at carrying the big DSLR type cameras that are probably the best cameras for withstanding this environment. So, picking your camera is all about balancing your values. Protect them as best as possible… and always insure a fancy camera before going into the woods!
The iPhone
Pros: Being small, light, easy to carry, and having perfectly good photo quality makes whatever iPhone you’re probably reading this on the best tool for the job for 90% of bikepackers. Modern iPhones are solid state, meaning they aren’t susceptible to the endless rattling that breaks apart most high-end cameras over time. They’re weather sealed too, meaning you won’t have dust spots on the sensor. The iPhone is also completely normalized nowadays, meaning you don’t stand out like a freak in cities, and maybe you won’t look like a spy when out touring on the Tibetan plateau next summer. They’re super user friendly, and with today’s AI, they shoot good photos just about every time.
Cons: Optically, the iPhone is obviously restricted by its size. A small lens and a small sensor mean you can’t get any background separation, the corners can get a bit blurry, and most non-pro models restrict you to only a wide or an ultra wide lens. And, at least from my perspective, I don’t like using it all that much. I don’t like interacting with the camera through a big touch screen. I simply prefer a viewfinder and a shutter button. If this doesn’t bother you, carry on shooting iPhone photos. In terms of quality, if the following photos look the same to you and subtle (or not-so-subtle) differences in quality don’t bother you, your iPhone shoots perfectly well enough.
The film camera
Cons: Film prices have gone through the roof since the pandemic, and were steadily on the rise even before, so it takes an extra committed person to buy a roll of film for $15 now and get it developed and scanned for another $15. Every frame is now ~$1. Film cameras are also big, heavy, and fragile. They’re slow. You miss half the shots you take. Using film makes no sense in 2023, especially if we’re getting the negatives scanned and converted to jpegs anyways. You’ll never escape the label hipster and you’ll always have black and white film loaded when there’s an amazing sunset.


Pros: The heart can be so stubborn. It’s so beautiful. Just look at it!
The Fuji X100V
Pros: This is probably the best camera for bikepacking, aside from your iPhone. The colors are beautiful, the lens is sharp, and it’s small and light. The camera is good looking and the dials all feel nice in the hand. It’s a joy to shoot with this camera too. I’ve loved using it over the years, stashing it in a pocket for hikes, in my feed bag for rides, and as a small but powerful carry around in the city. This camera is Cass’ go to as well. We sat in a cafe recently and talked for hours about just this camera.
Cons: It’s expensive at around $1,700 new, and I’ve broken two now from minor water exposure. You’re also stuck to only a 35mm lens, which, while I do think is a great focal length, it is only one. Keep it insulated from major vibration, away from water, and try and keep it out of the dust all day if possible. These cameras are “weather sealed” but nothing truly is.
How to shoot better photos
Photography is so much more than what camera you’re using. It’s about reading light and capturing emotion, about finding order in chaos, about freezing time, telling a story, and transporting your viewer. If the reader doesn’t care what pen you write with, then nobody cares what camera you shoot with. Good photos aren’t made in the camera store, they’re made patiently out in the field. I am by no means a great photographer, but I’ve learned a couple tricks over the years. Here are 10 tips to help you get started shooting better photos on your next trip, whether that’s local overnighter or a six-month trundle through South East Asia.
1. Shoot a ton, Delete a ton
“The better the photographer, the bigger the trash can.” I heard that first from Jered Gruber, arguably the greatest cycling photographer of all time. Some days, shooting the Tour de France, Jered will shoot thousands of photos. Then, at night, he’ll edit them all down to a few selects, effectively taking the diamonds from the rough. When I rode across Europe last year, I shot 10,000 photos and deleted 8,800. There’s really only 10 good photos in 10,000 anyways. Memory cards are so cheap, you might as well fill them up!
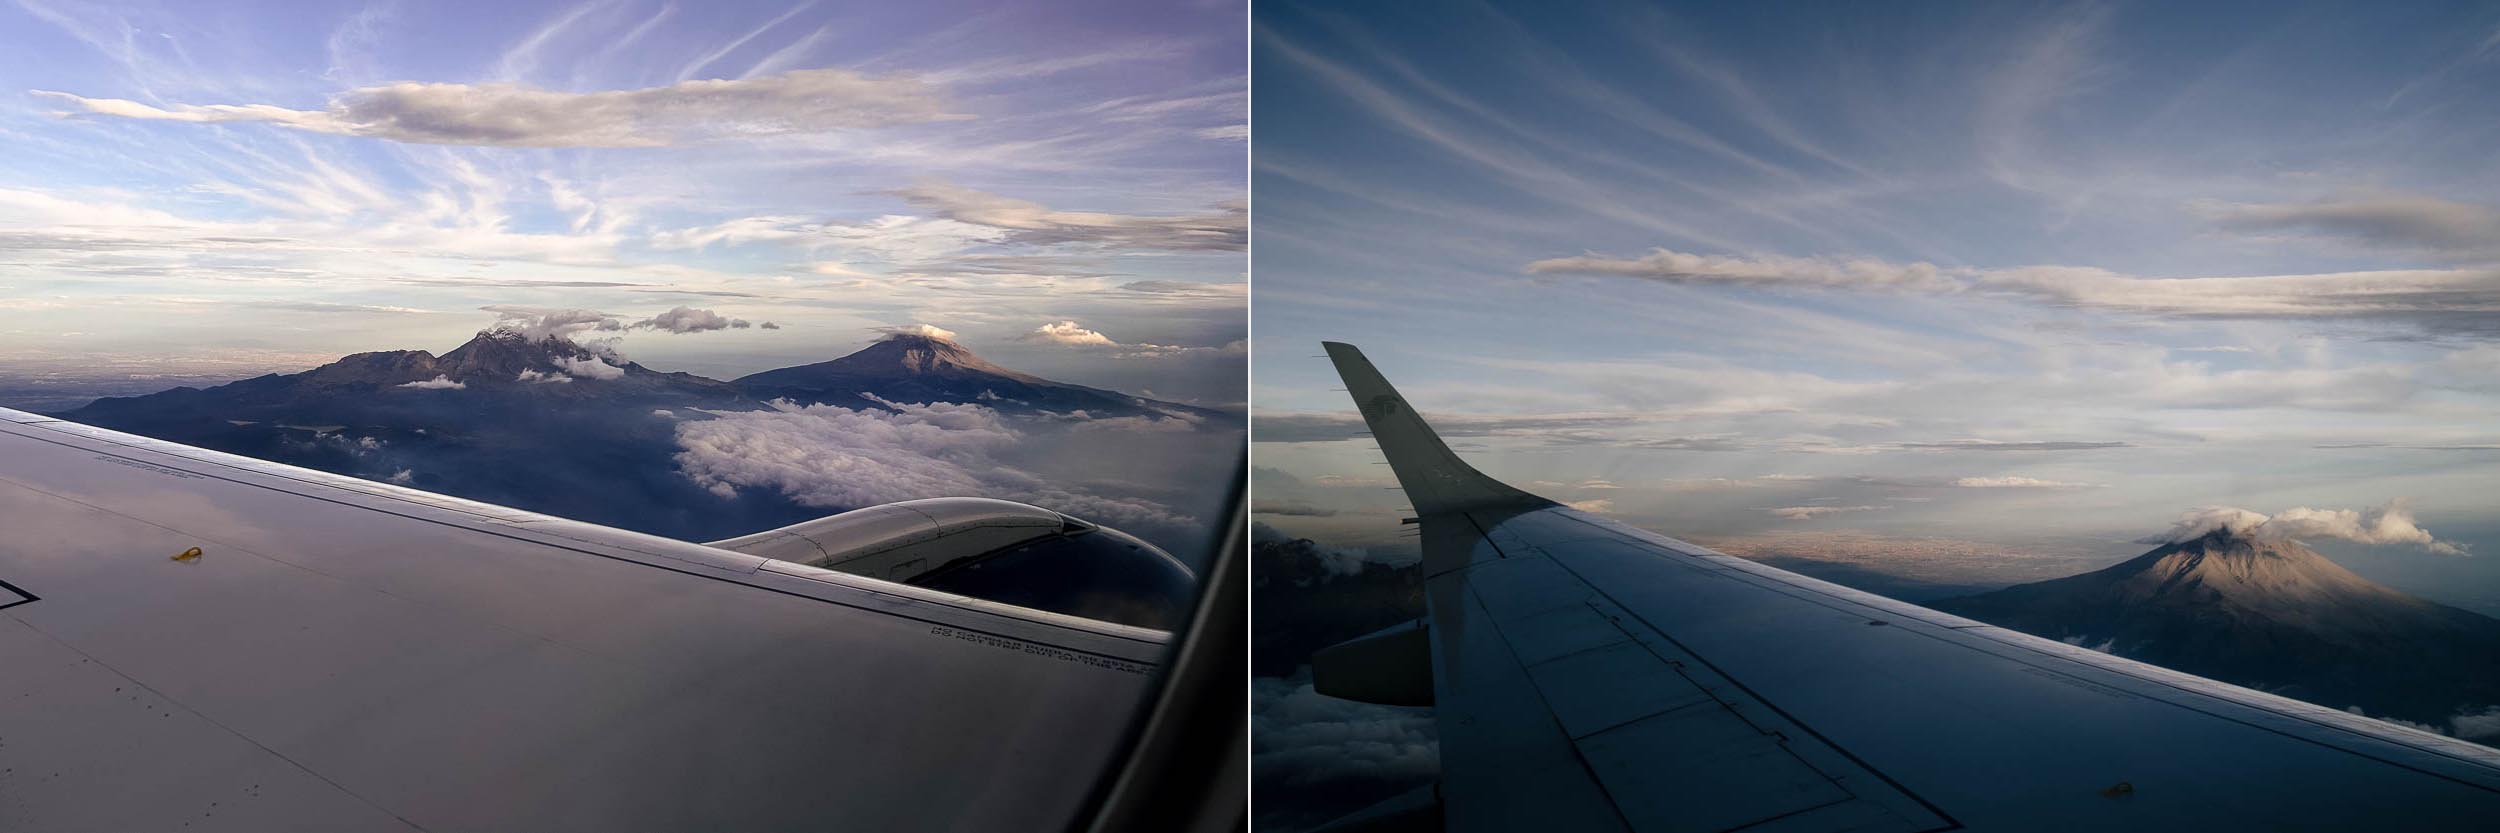
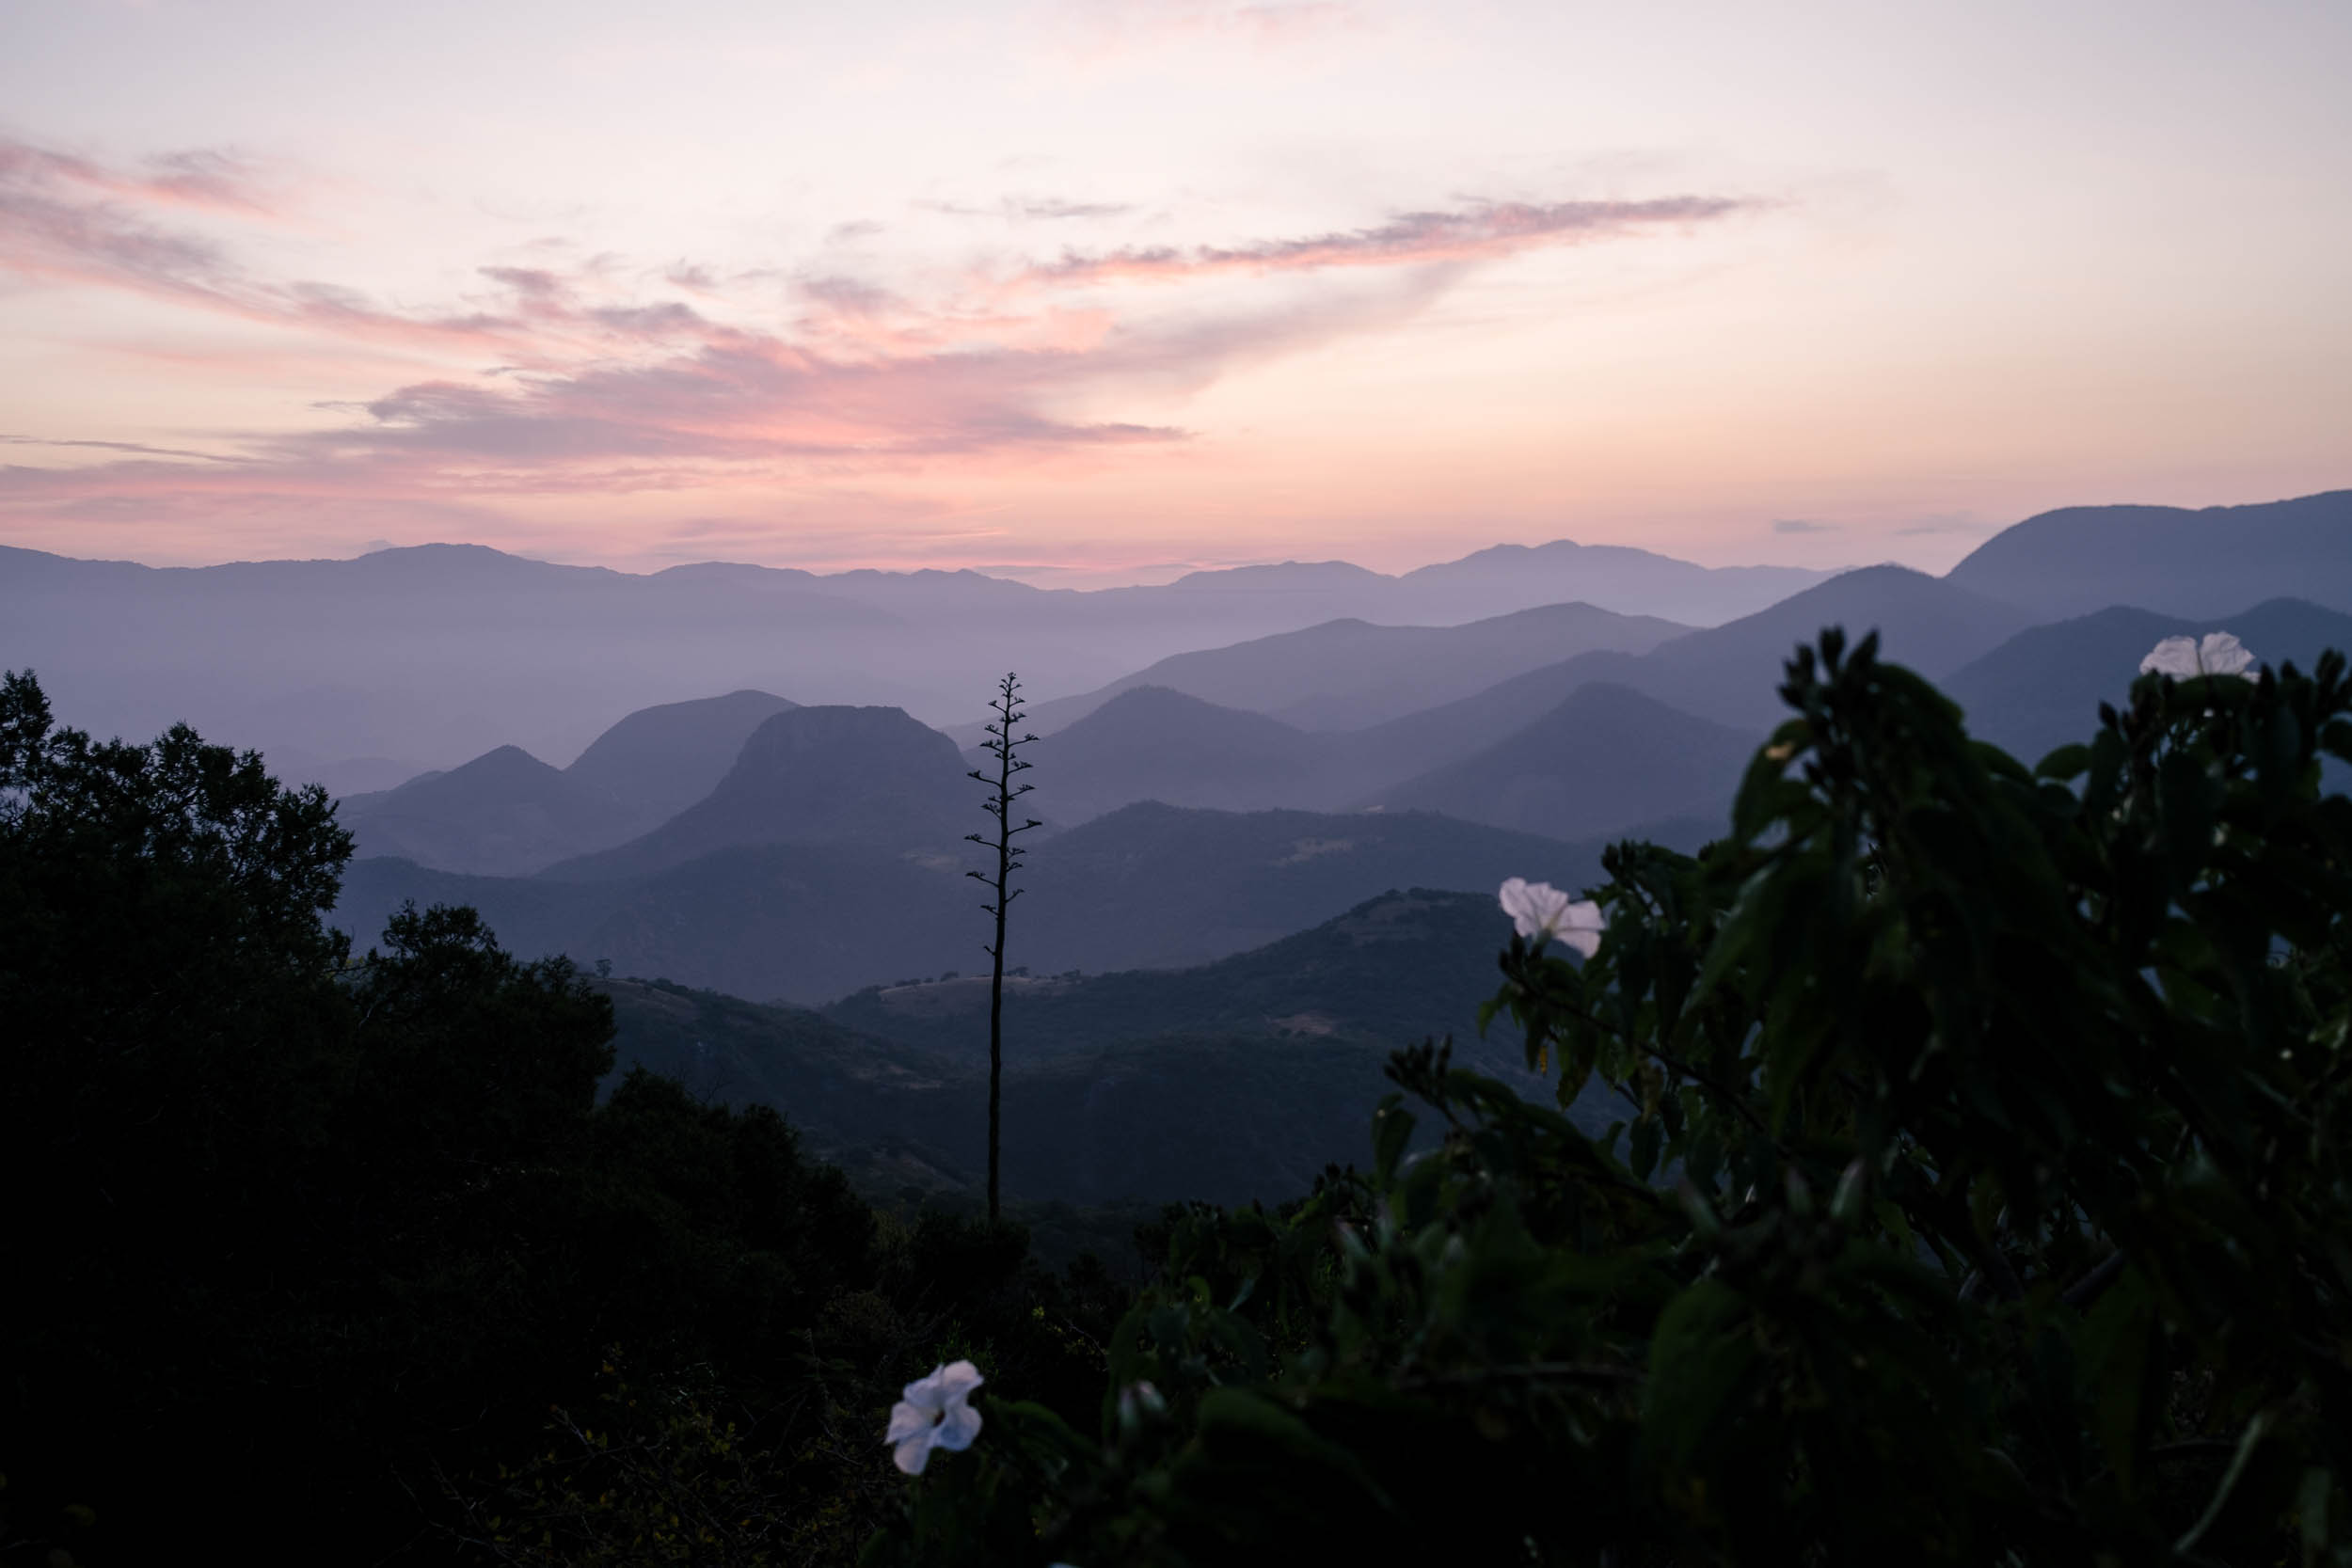
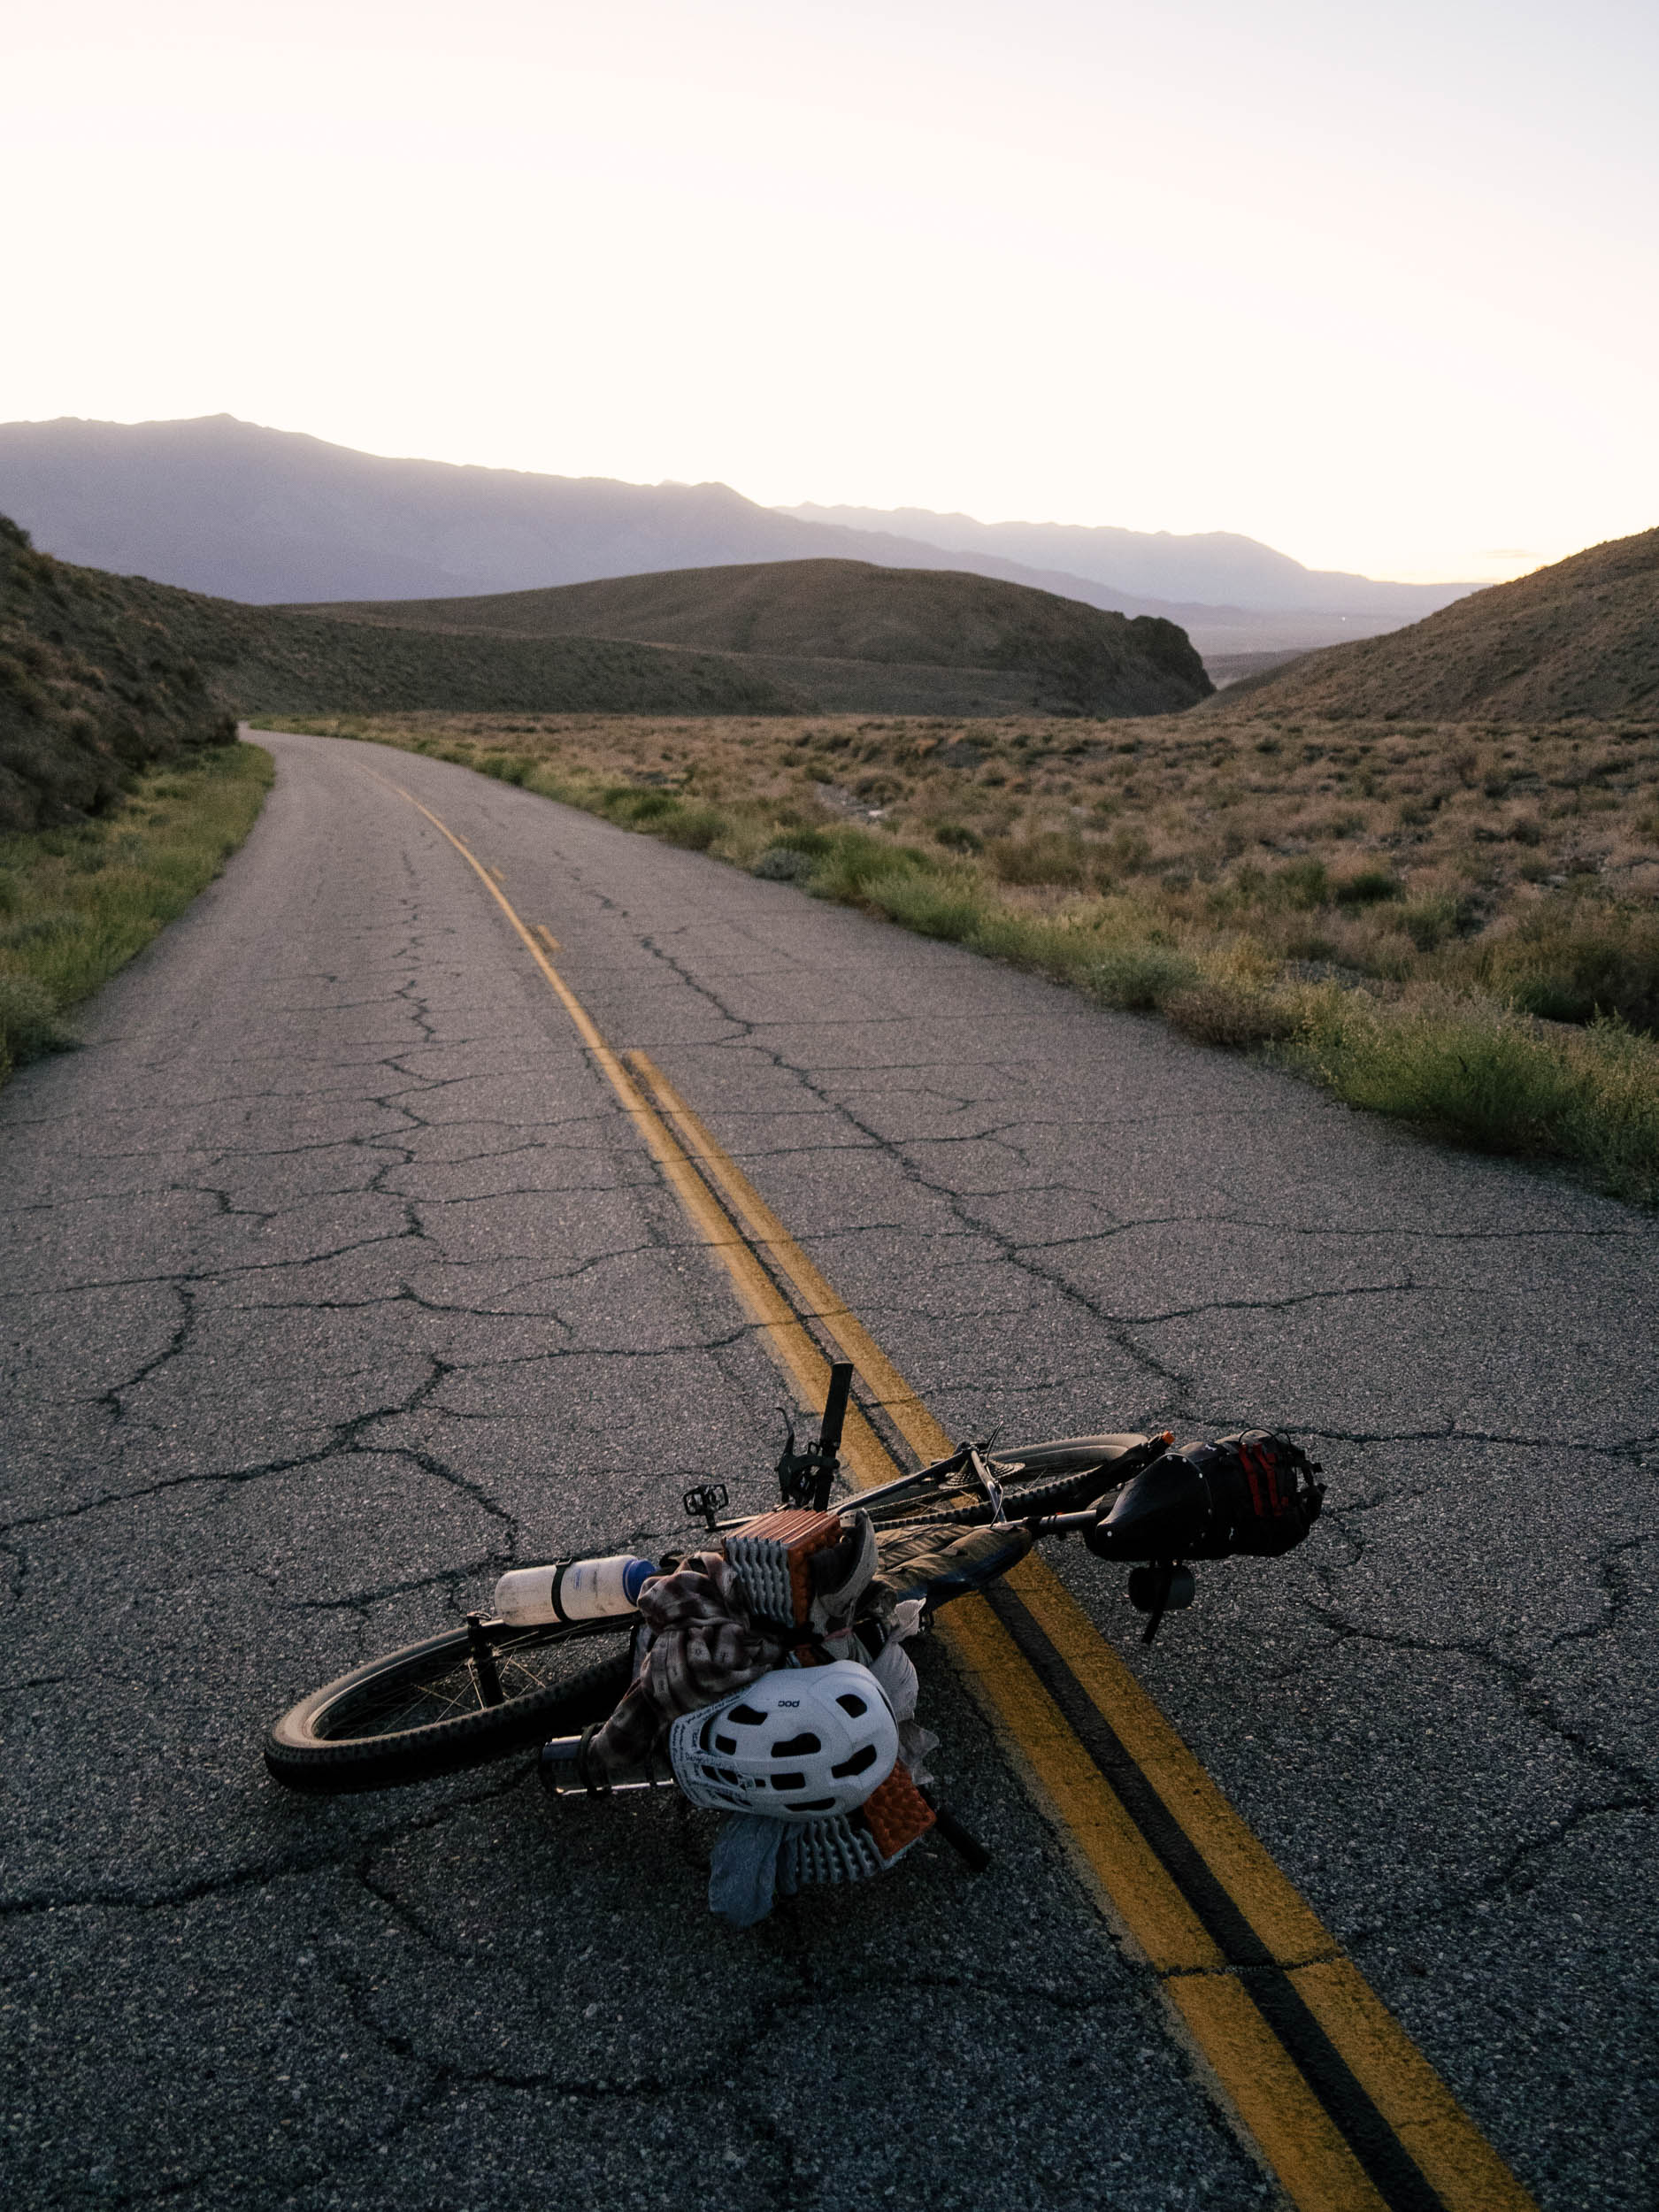
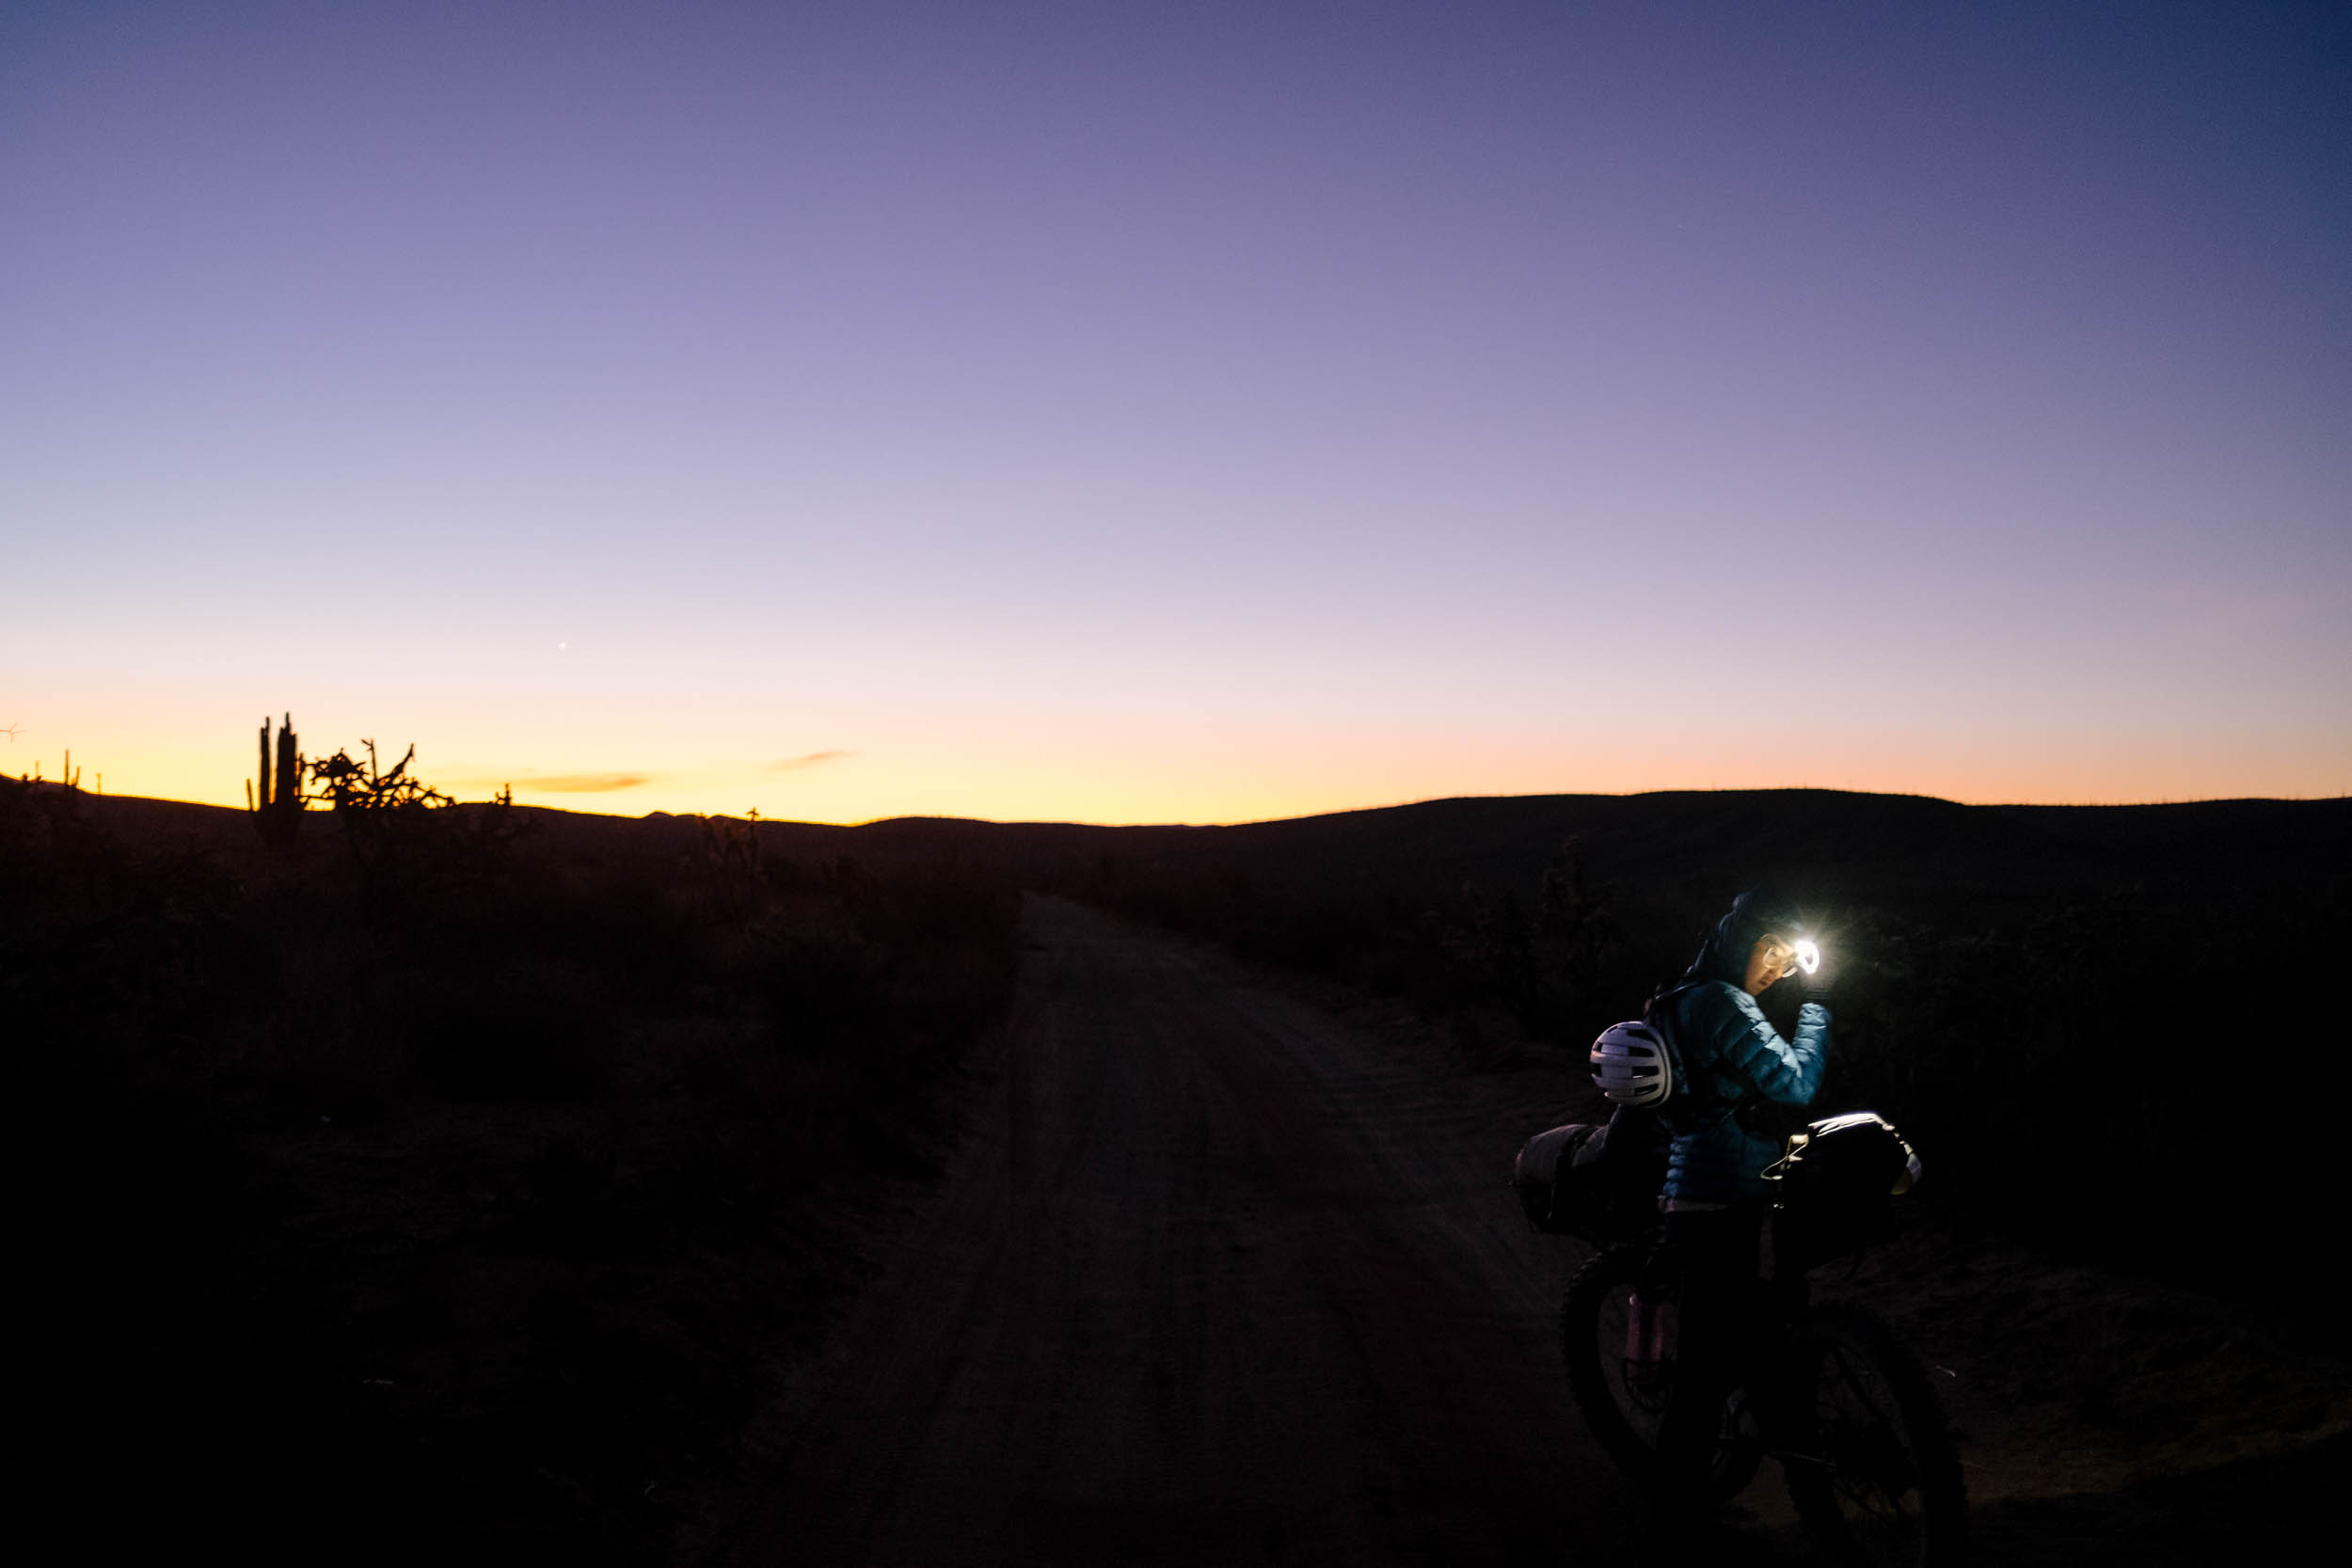
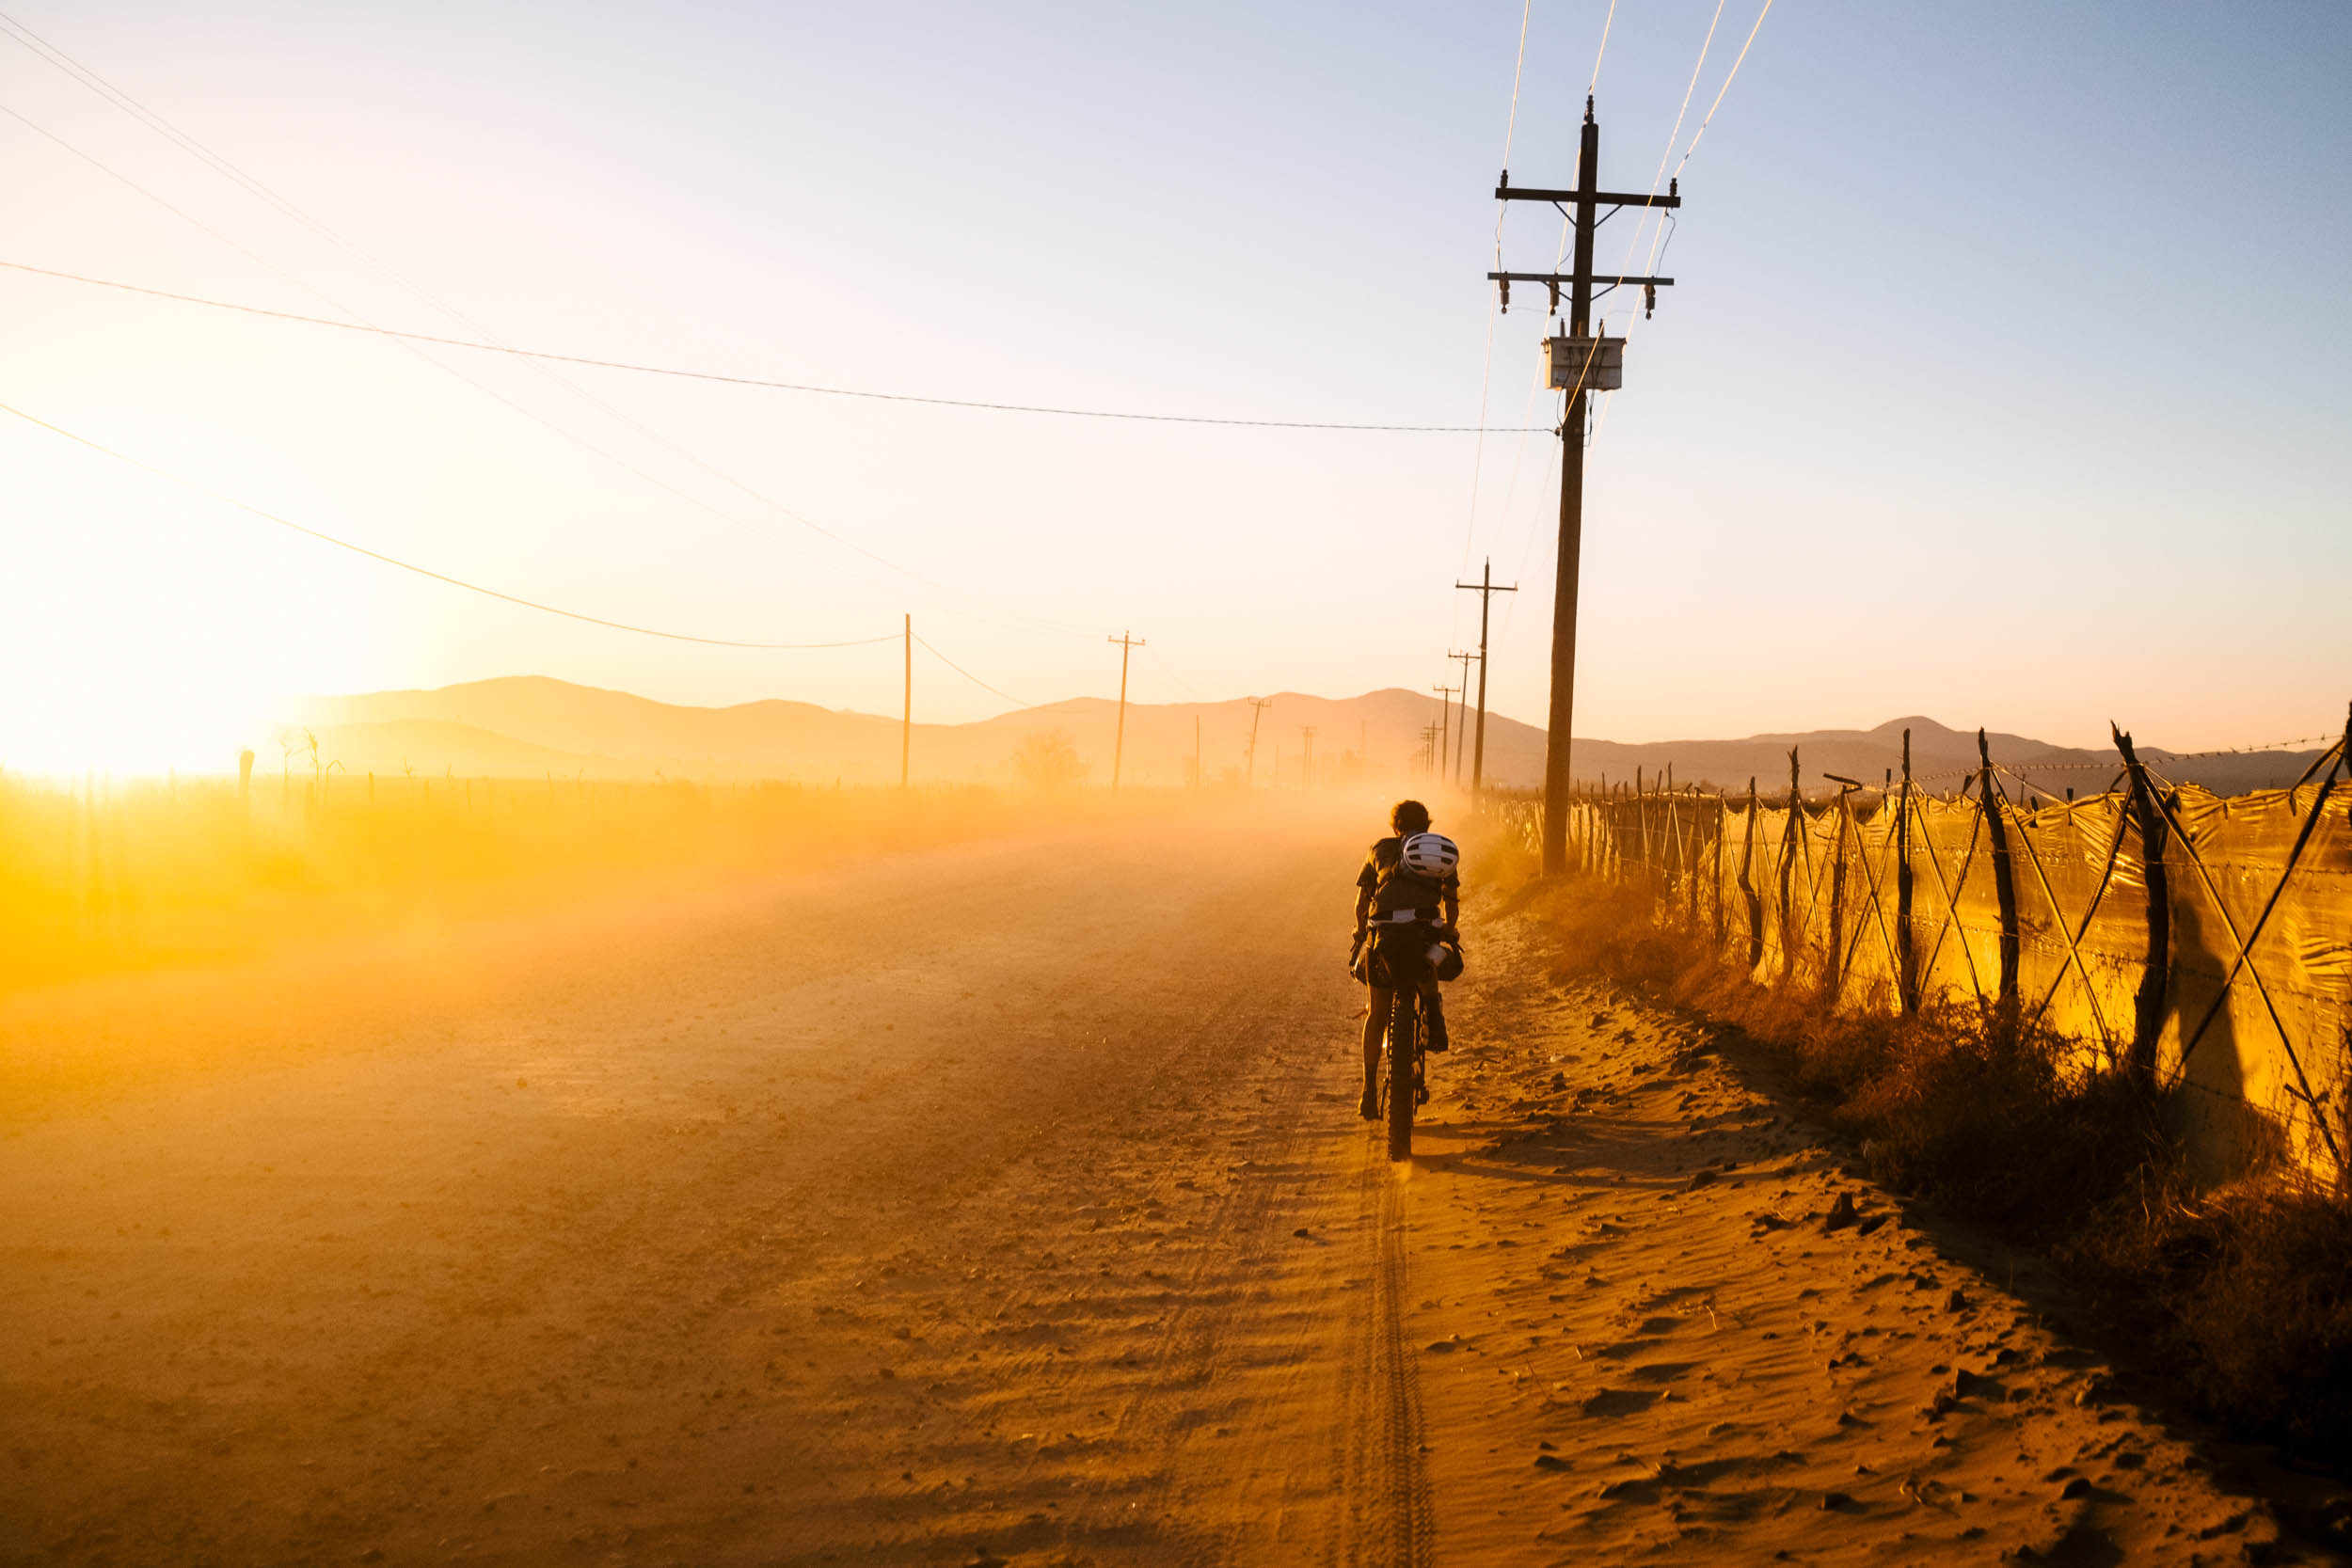
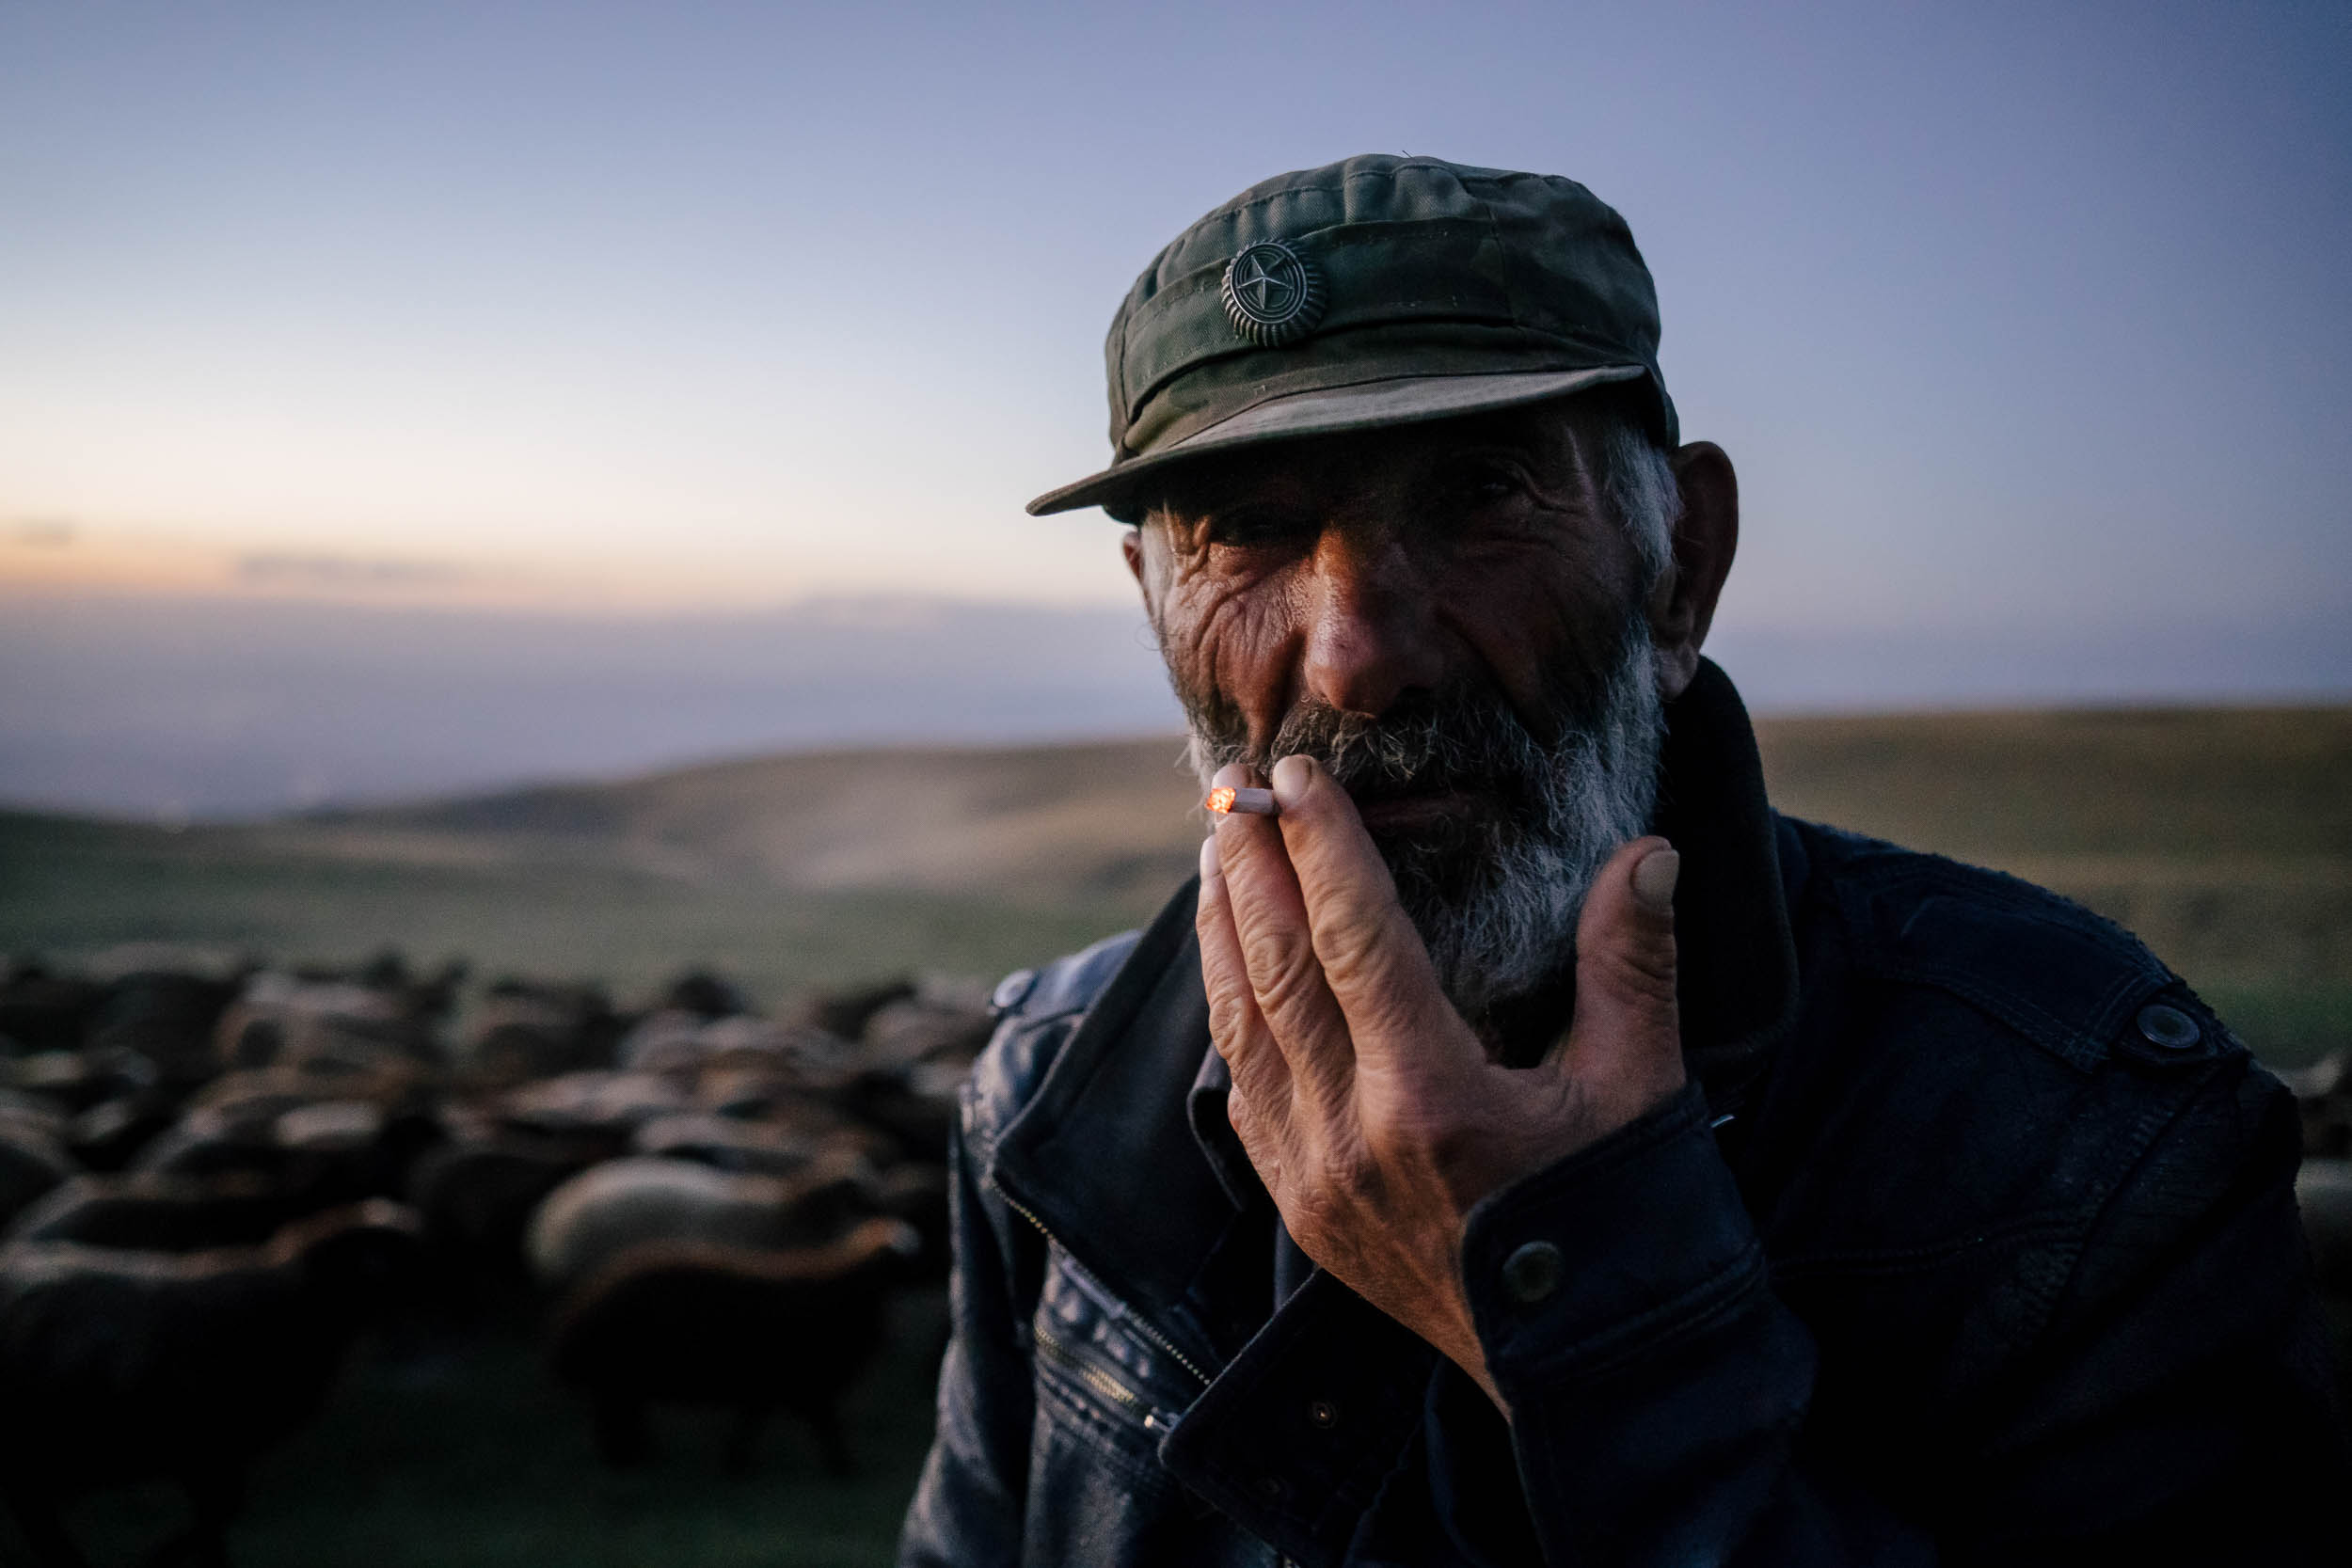
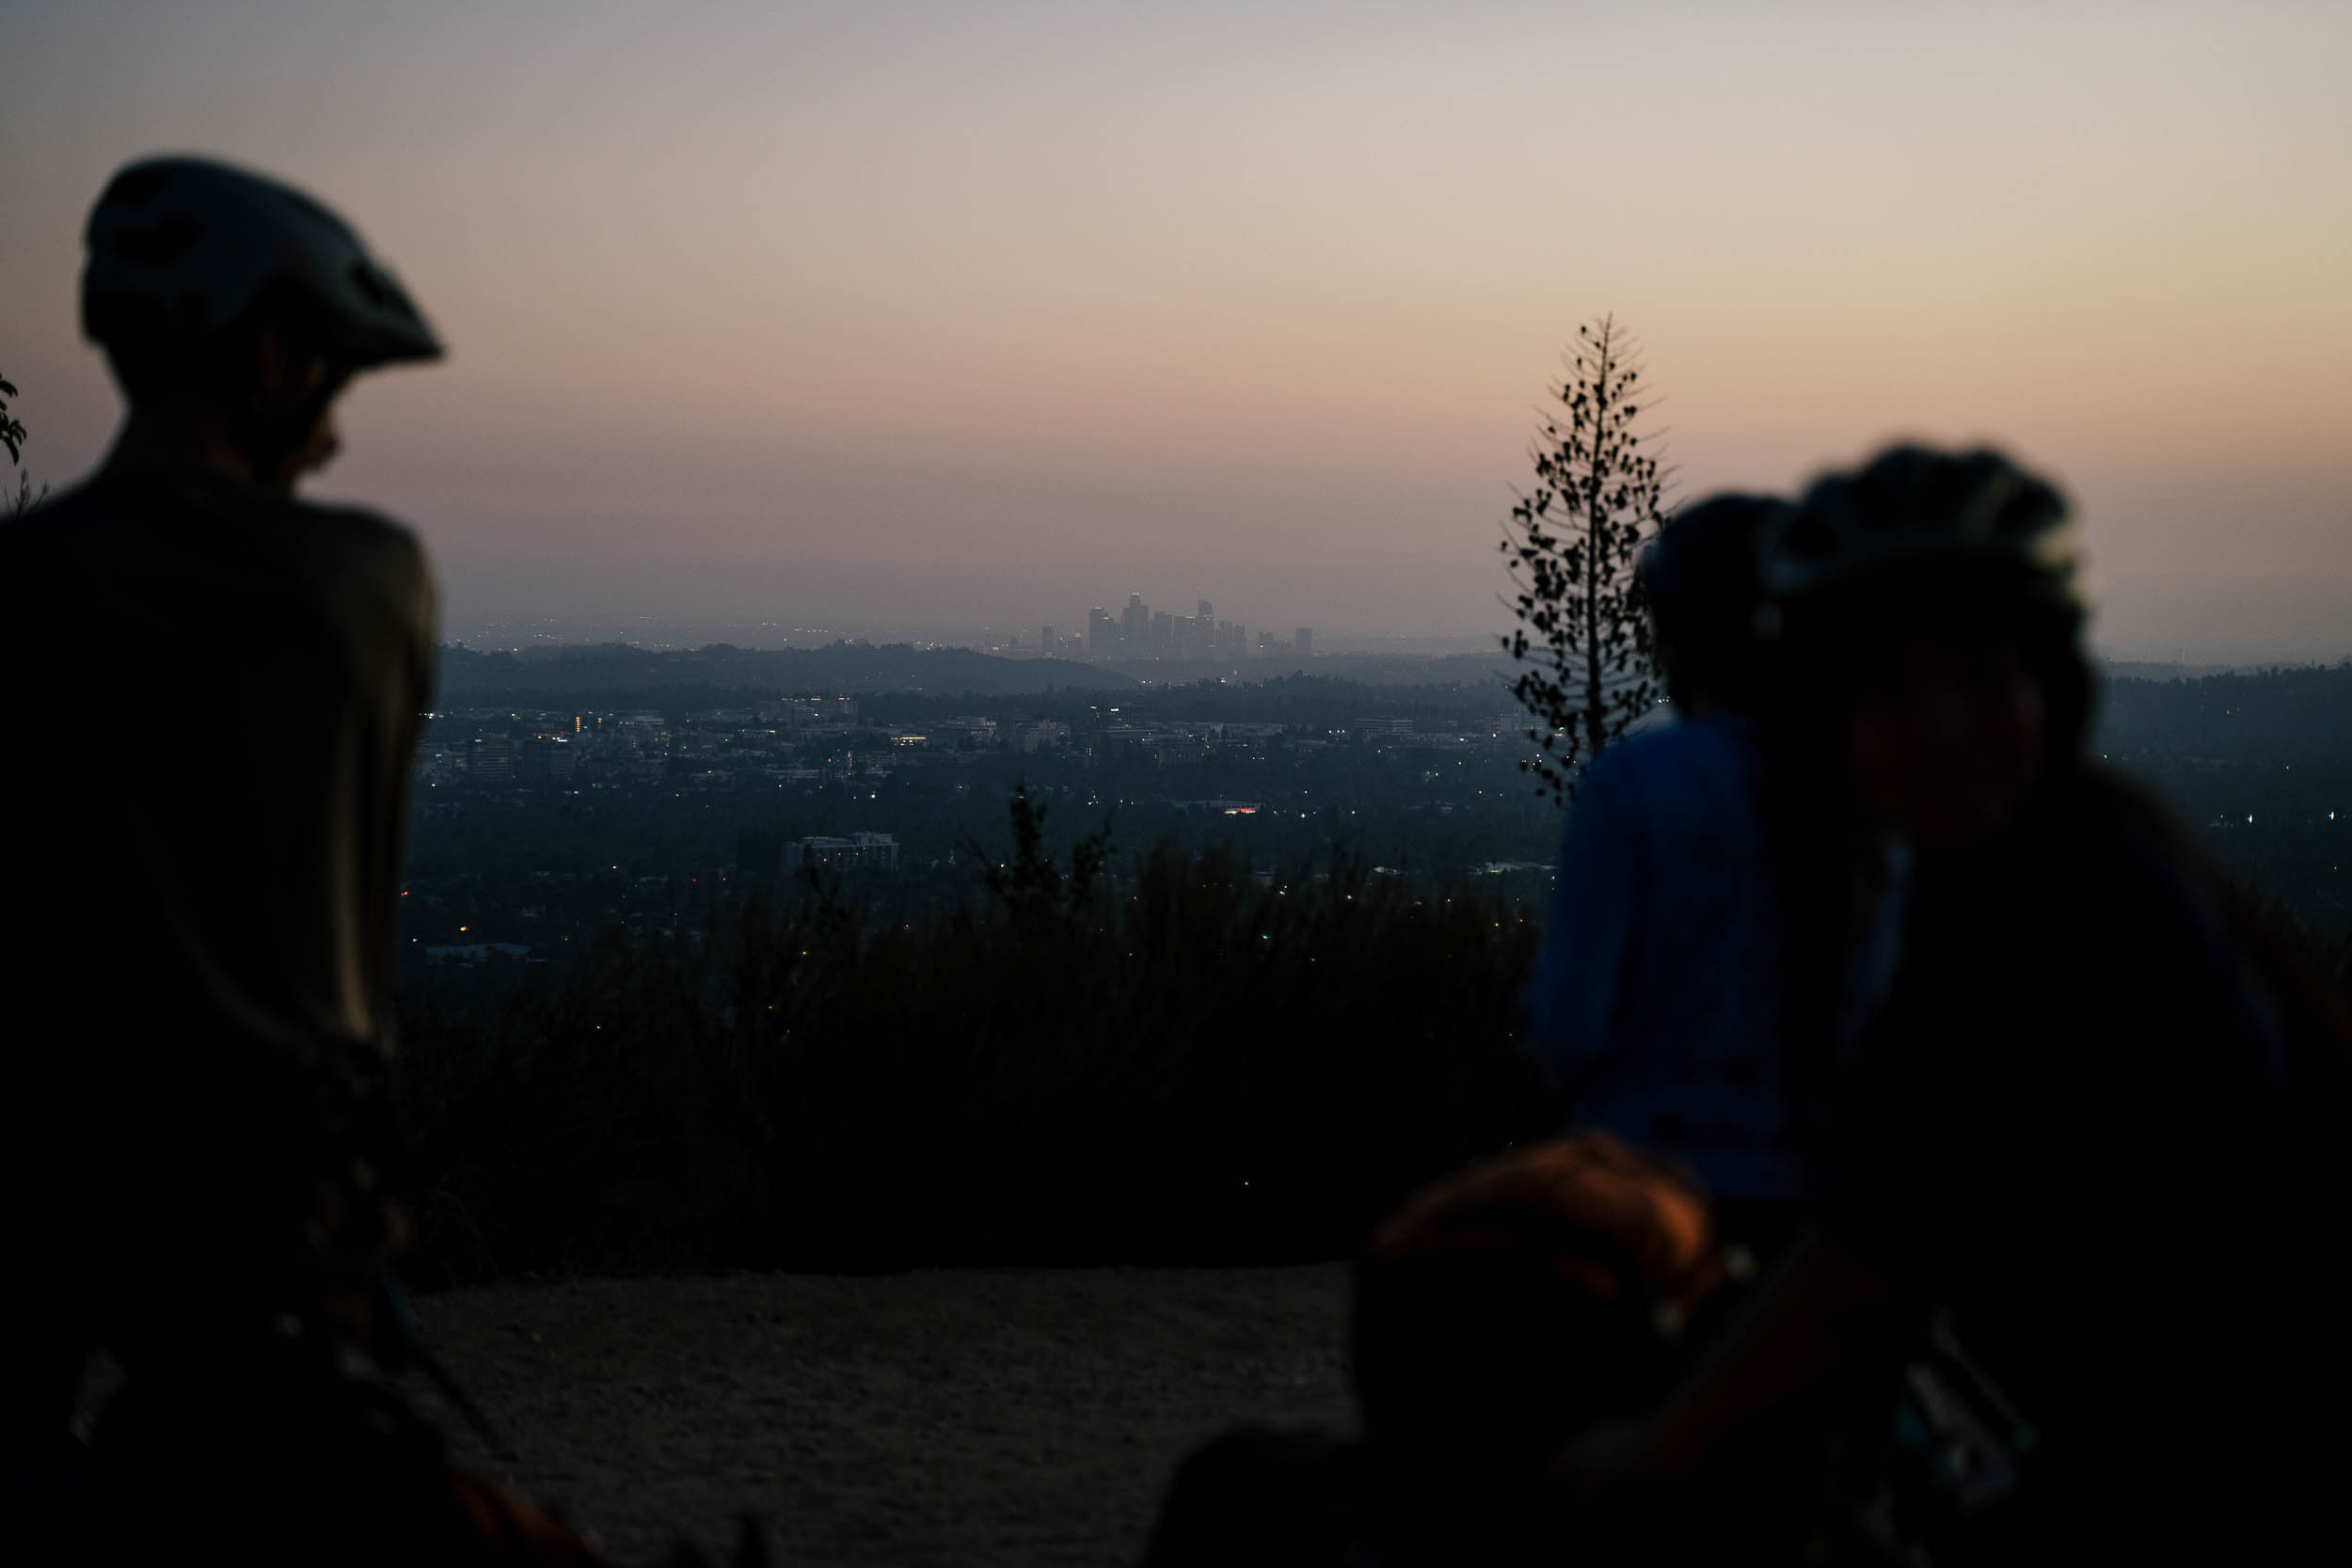
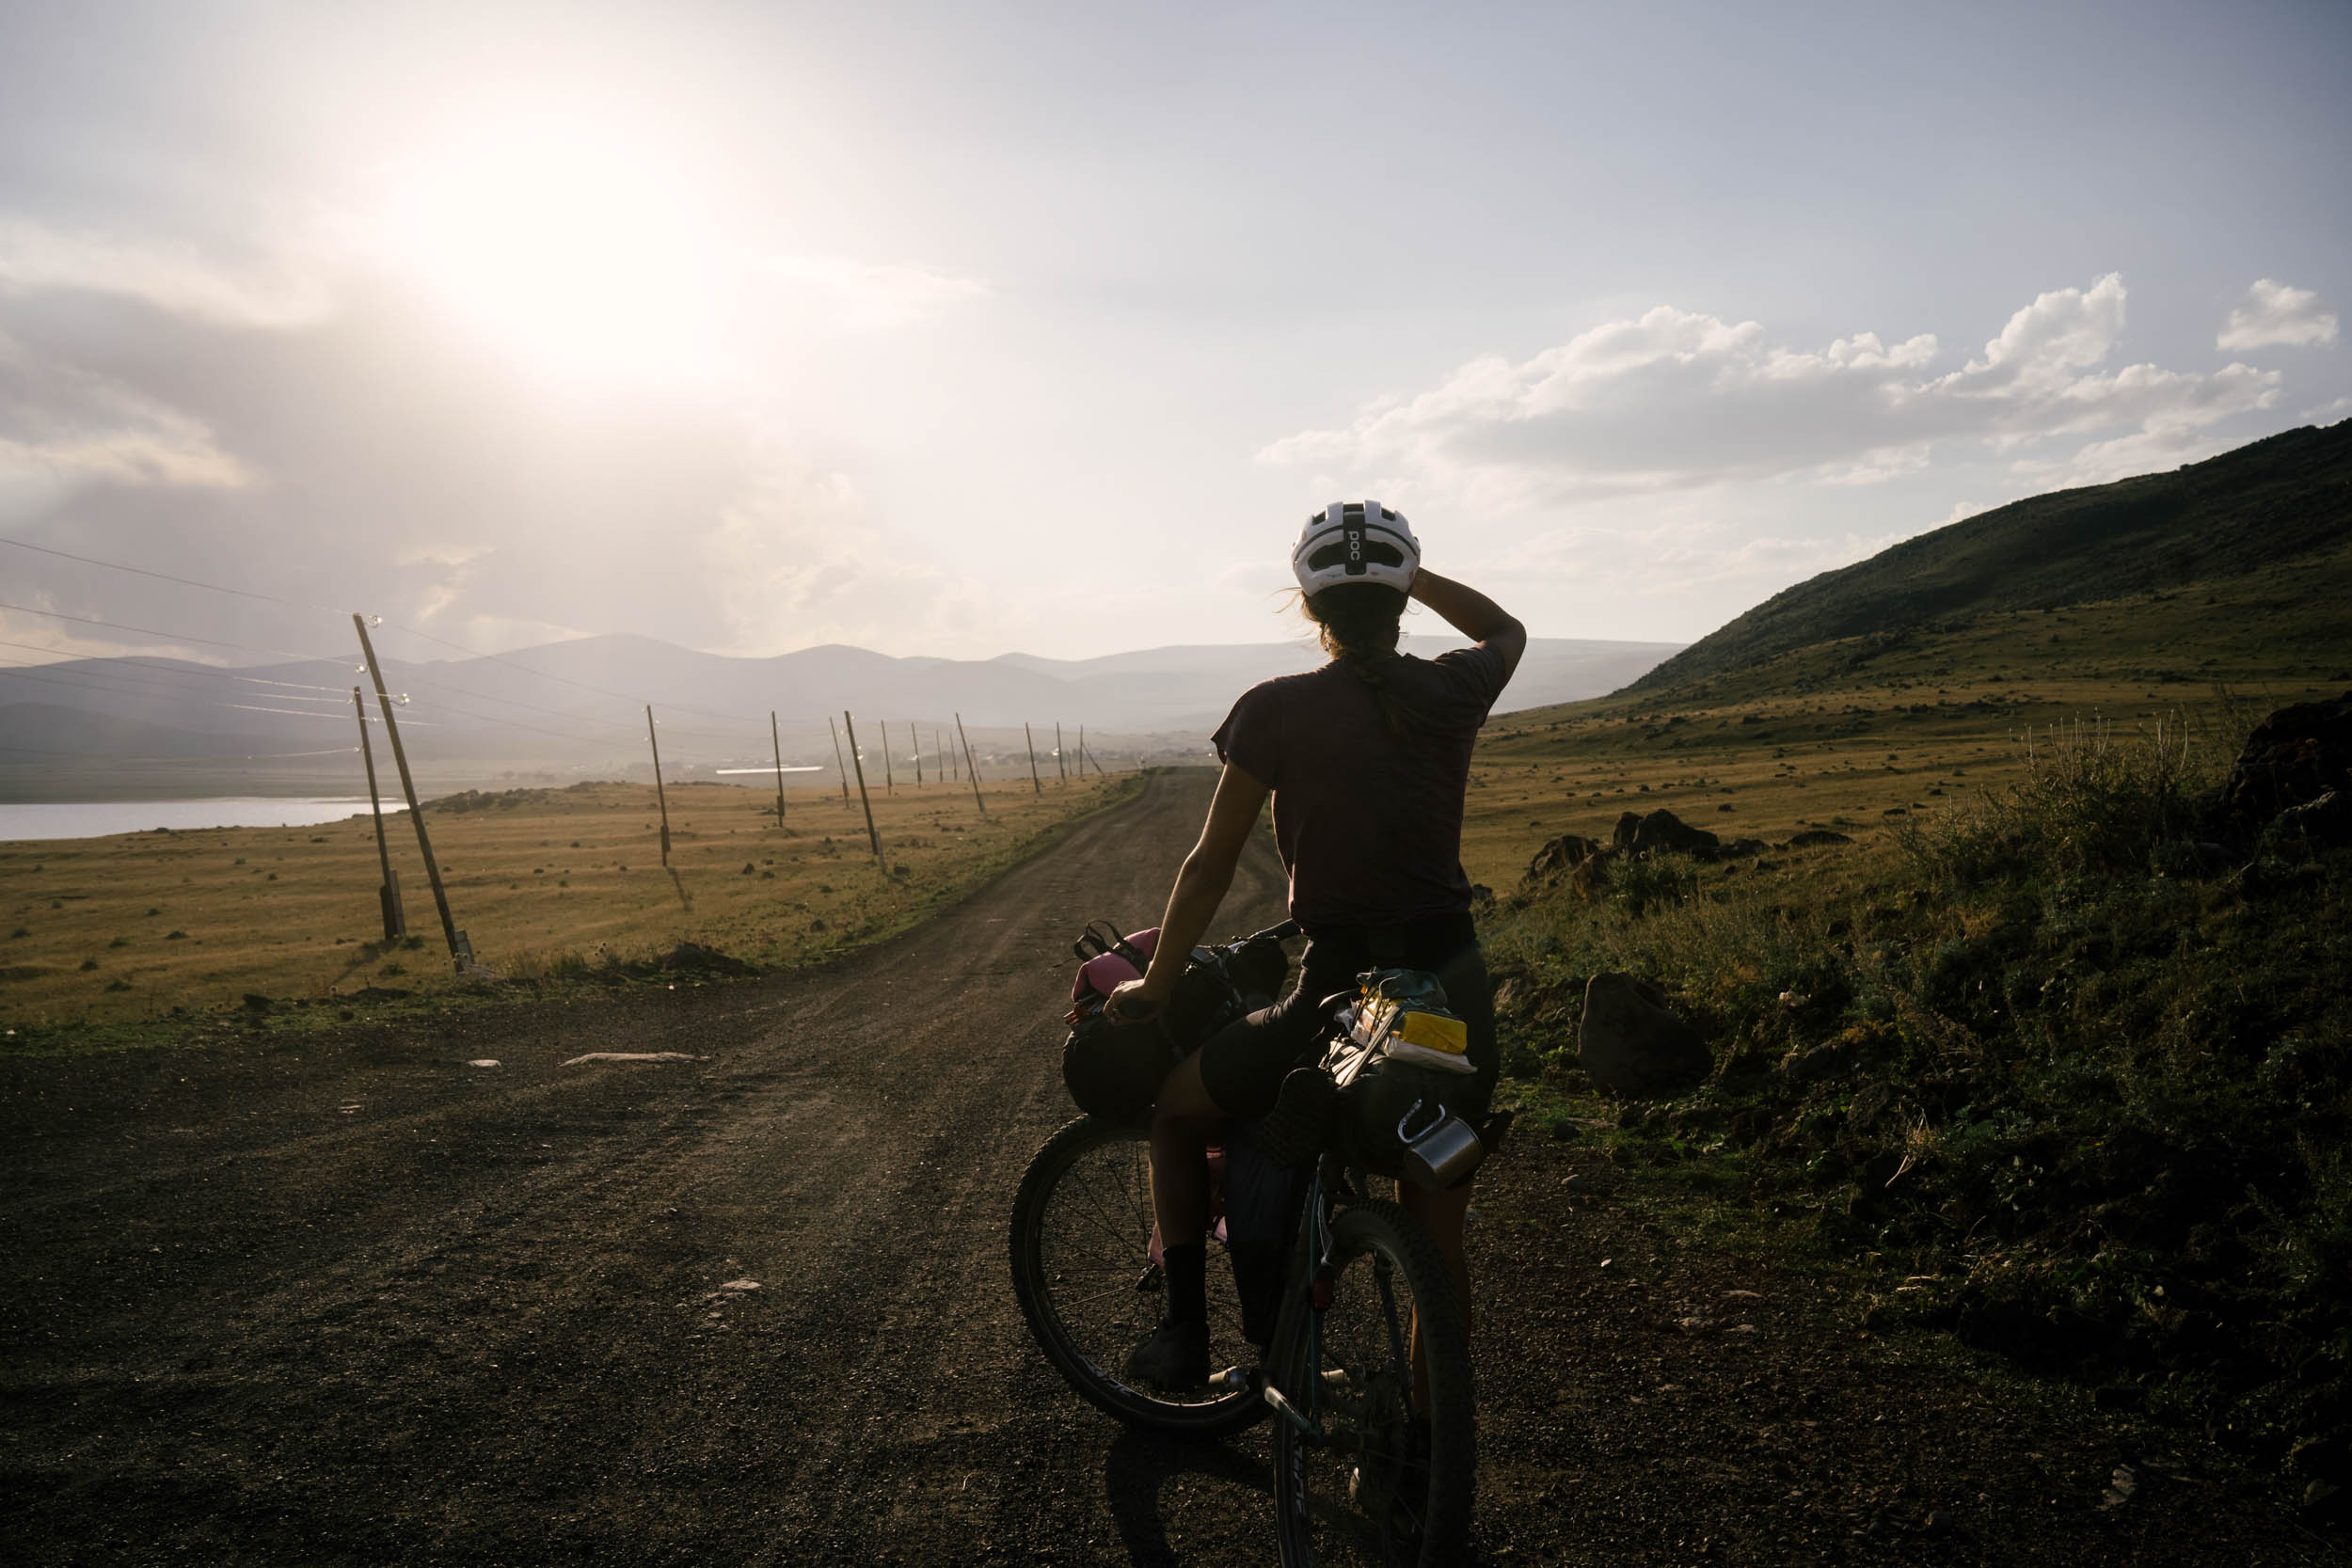
2. Shoot early, shoot late
When the sun is low on the horizon and has more haze to filter through, it comes in softer, and often with a nice warm tint to it. And those extreme angles can make for really fun shadows. Don’t just take a picture of the sunset; look around and see how the unique light is bouncing off the scenes around you, and try and capture that as well. Wake up early and shoot the good light if you’re staying in a particularly beautiful place.
3. Keep the camera close
Whatever camera you choose to use, try to keep it close to you and accessible at all times. Often, a brief flash of good light will hit, a random stranger will enter the scene, or something will overlap with your path. If you can get your camera out and start shooting fast, you have a better chance of getting the shot.
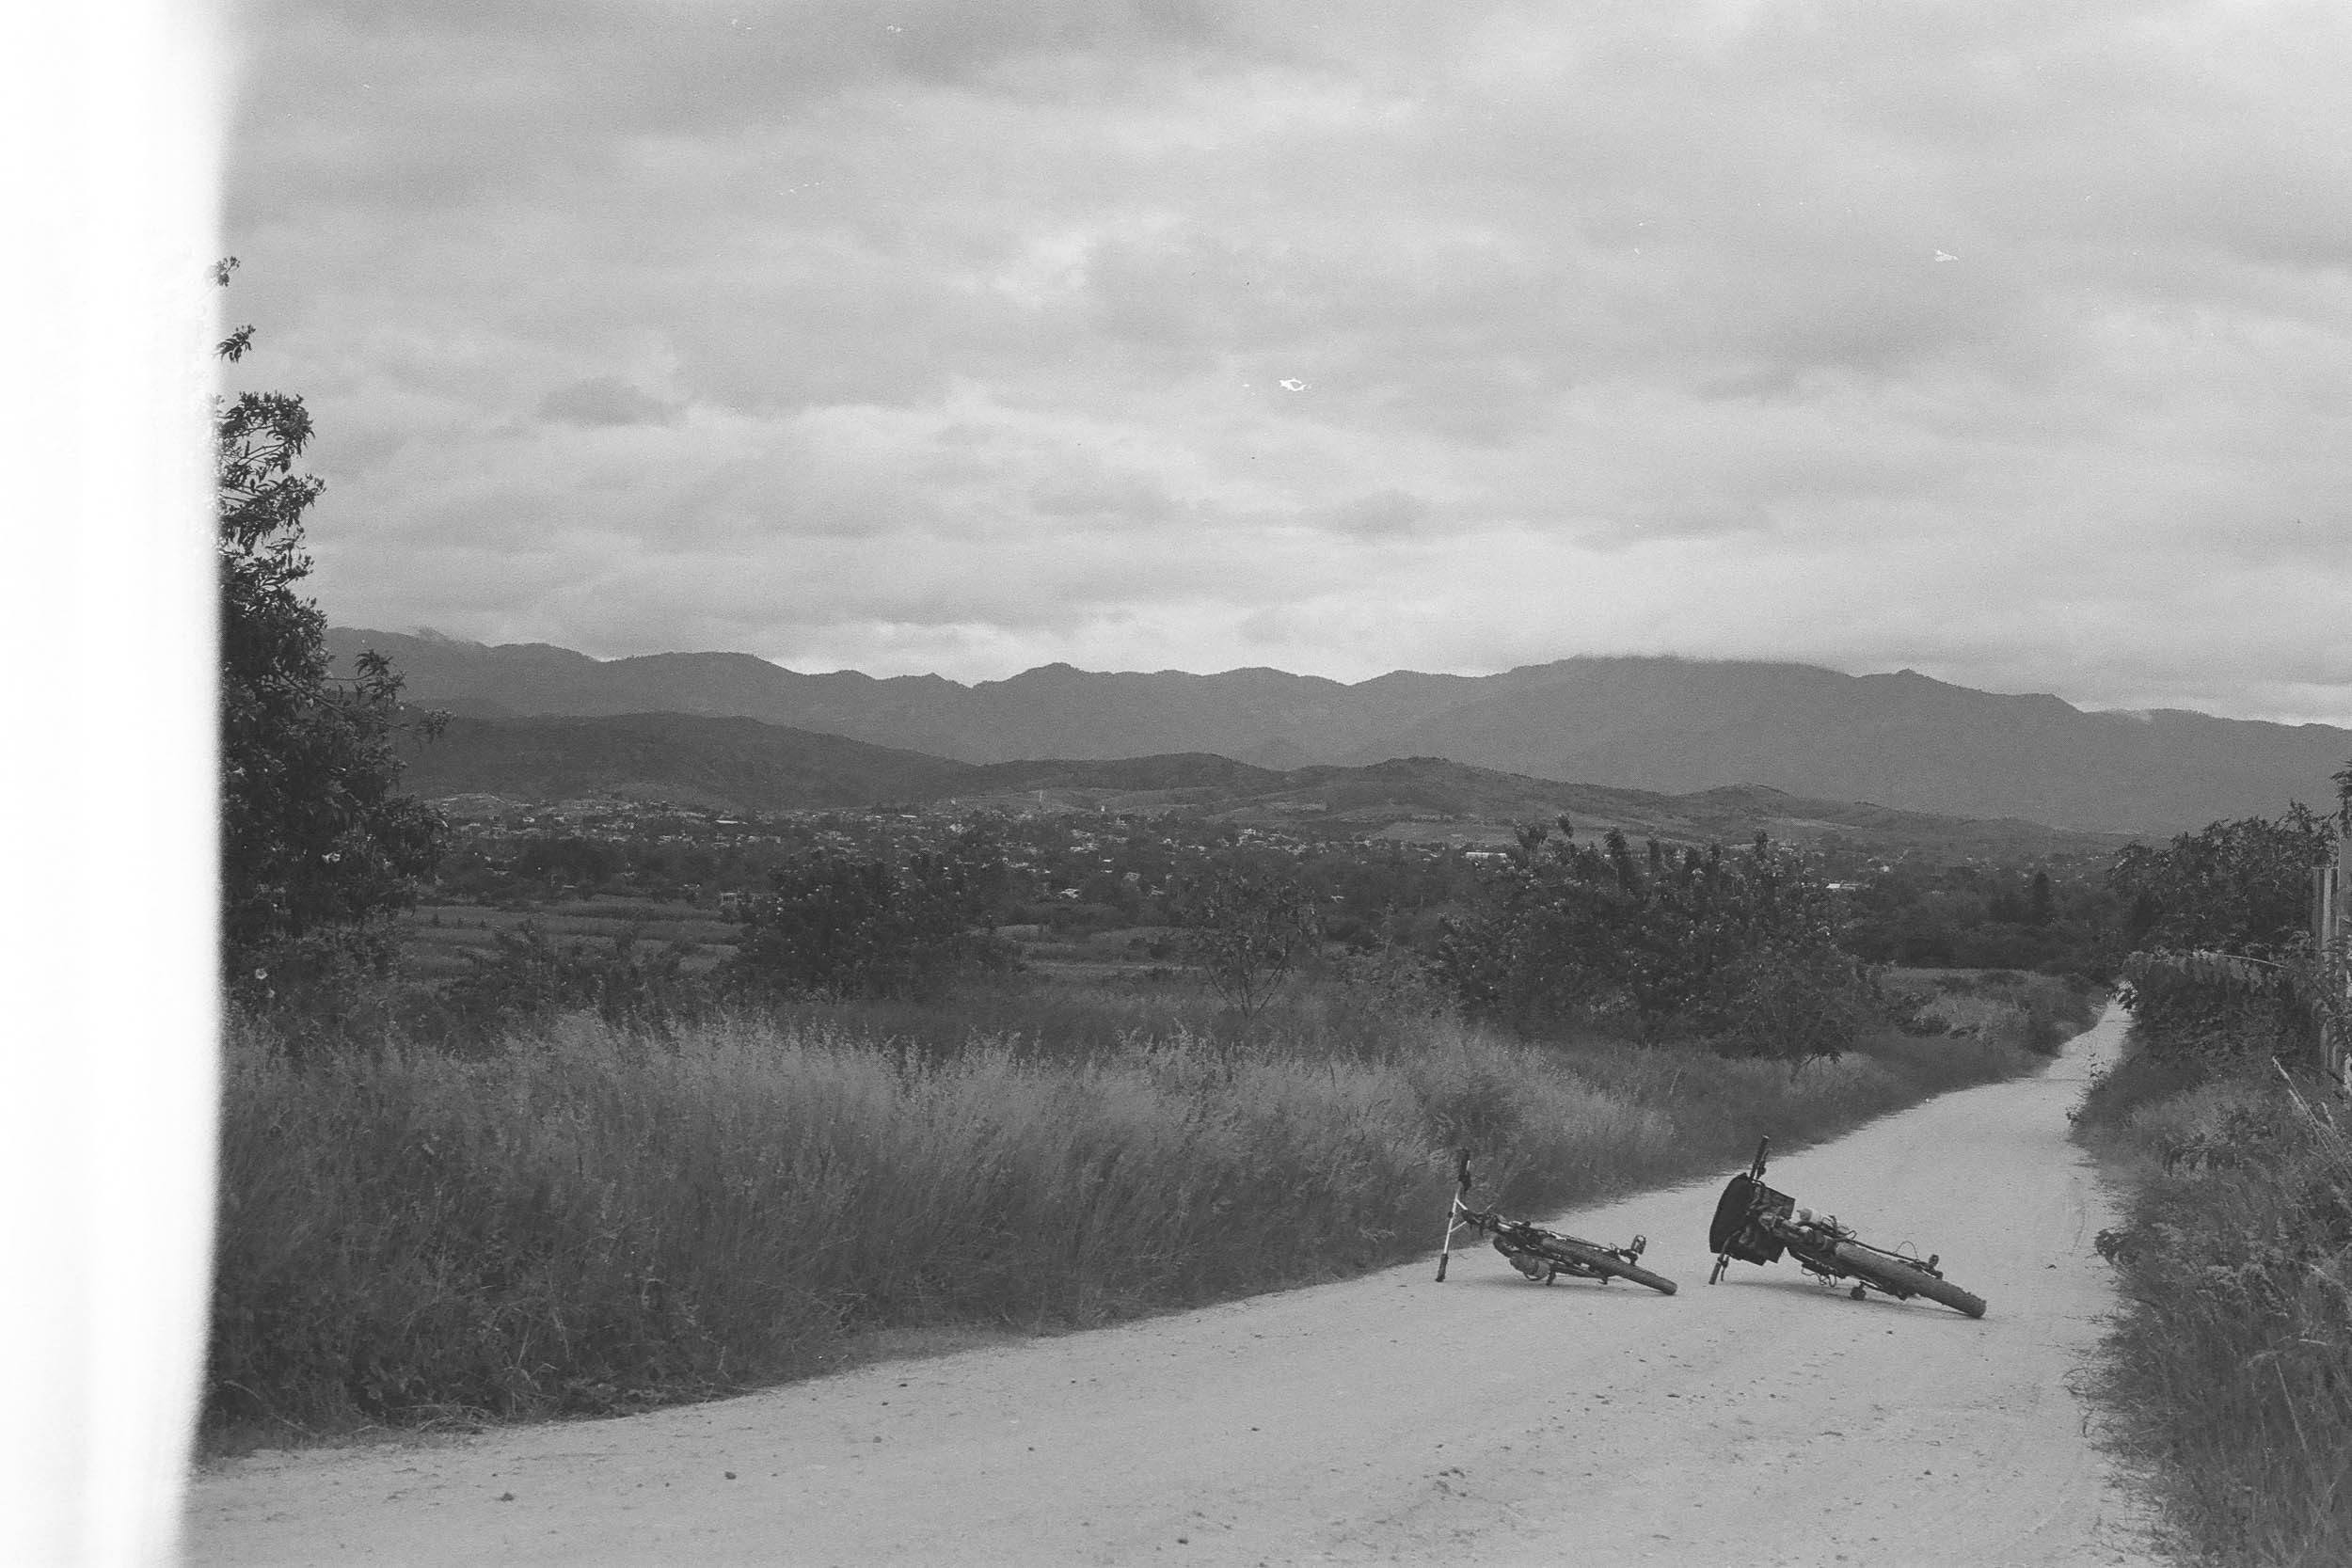
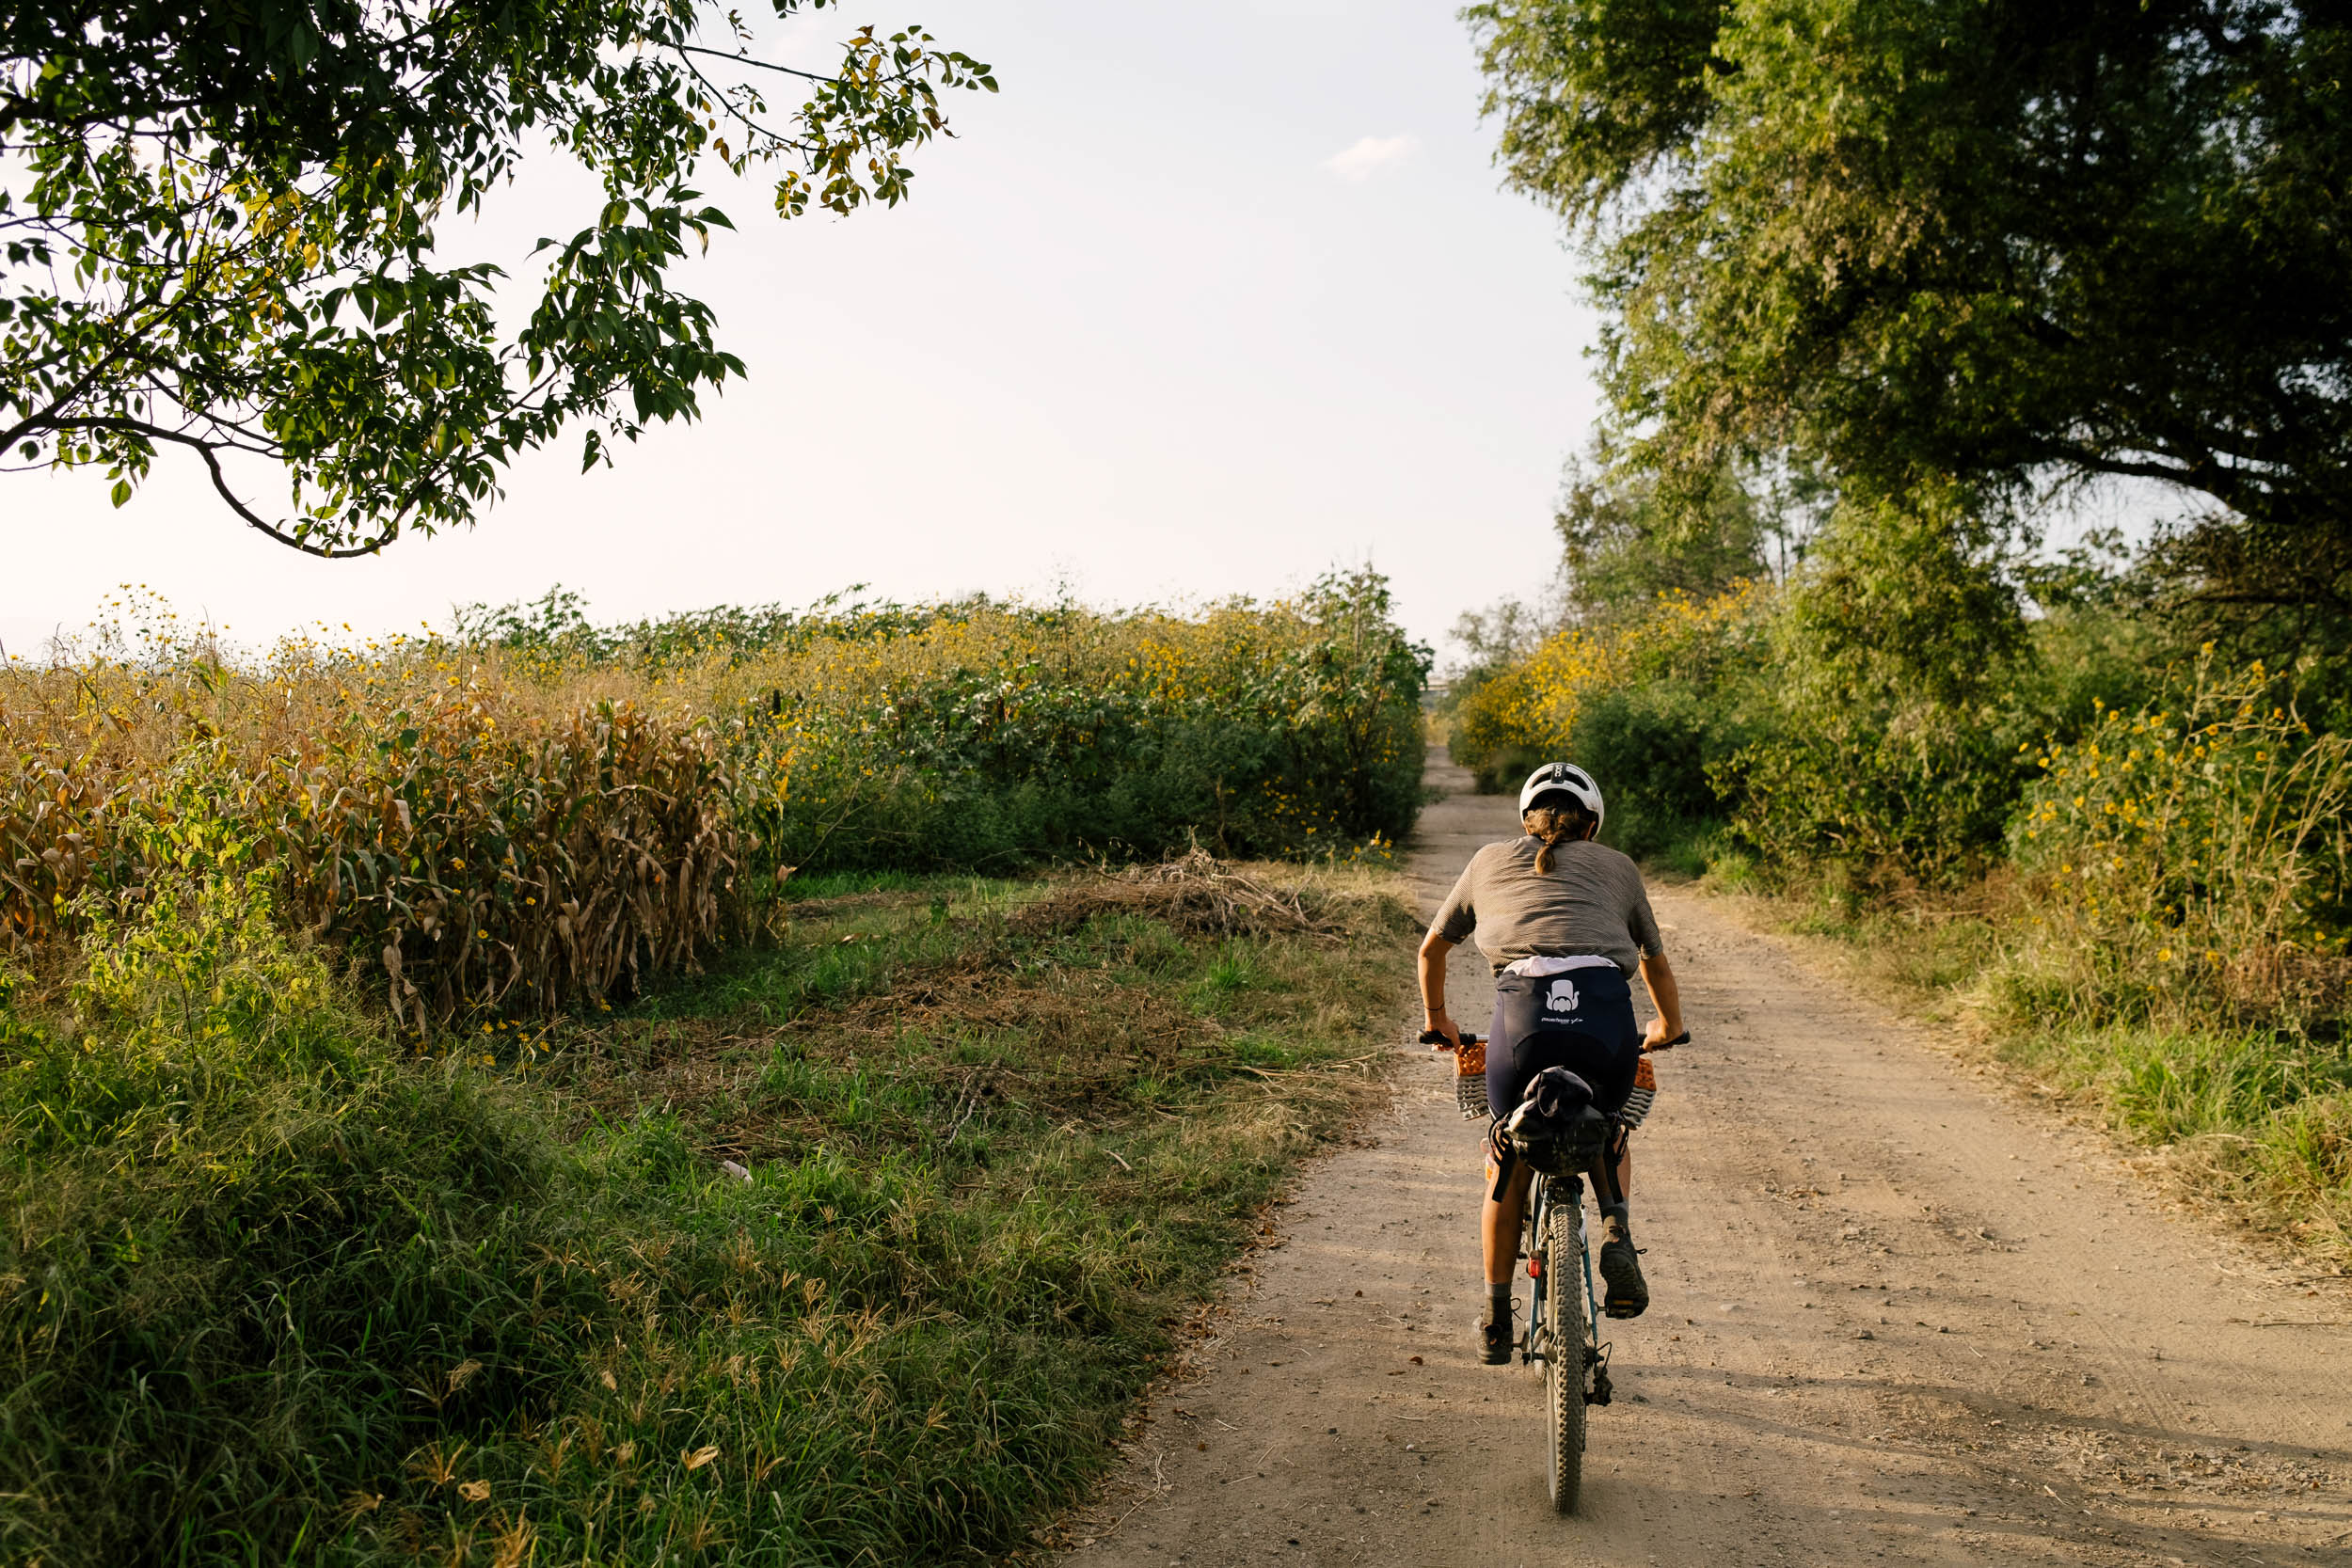
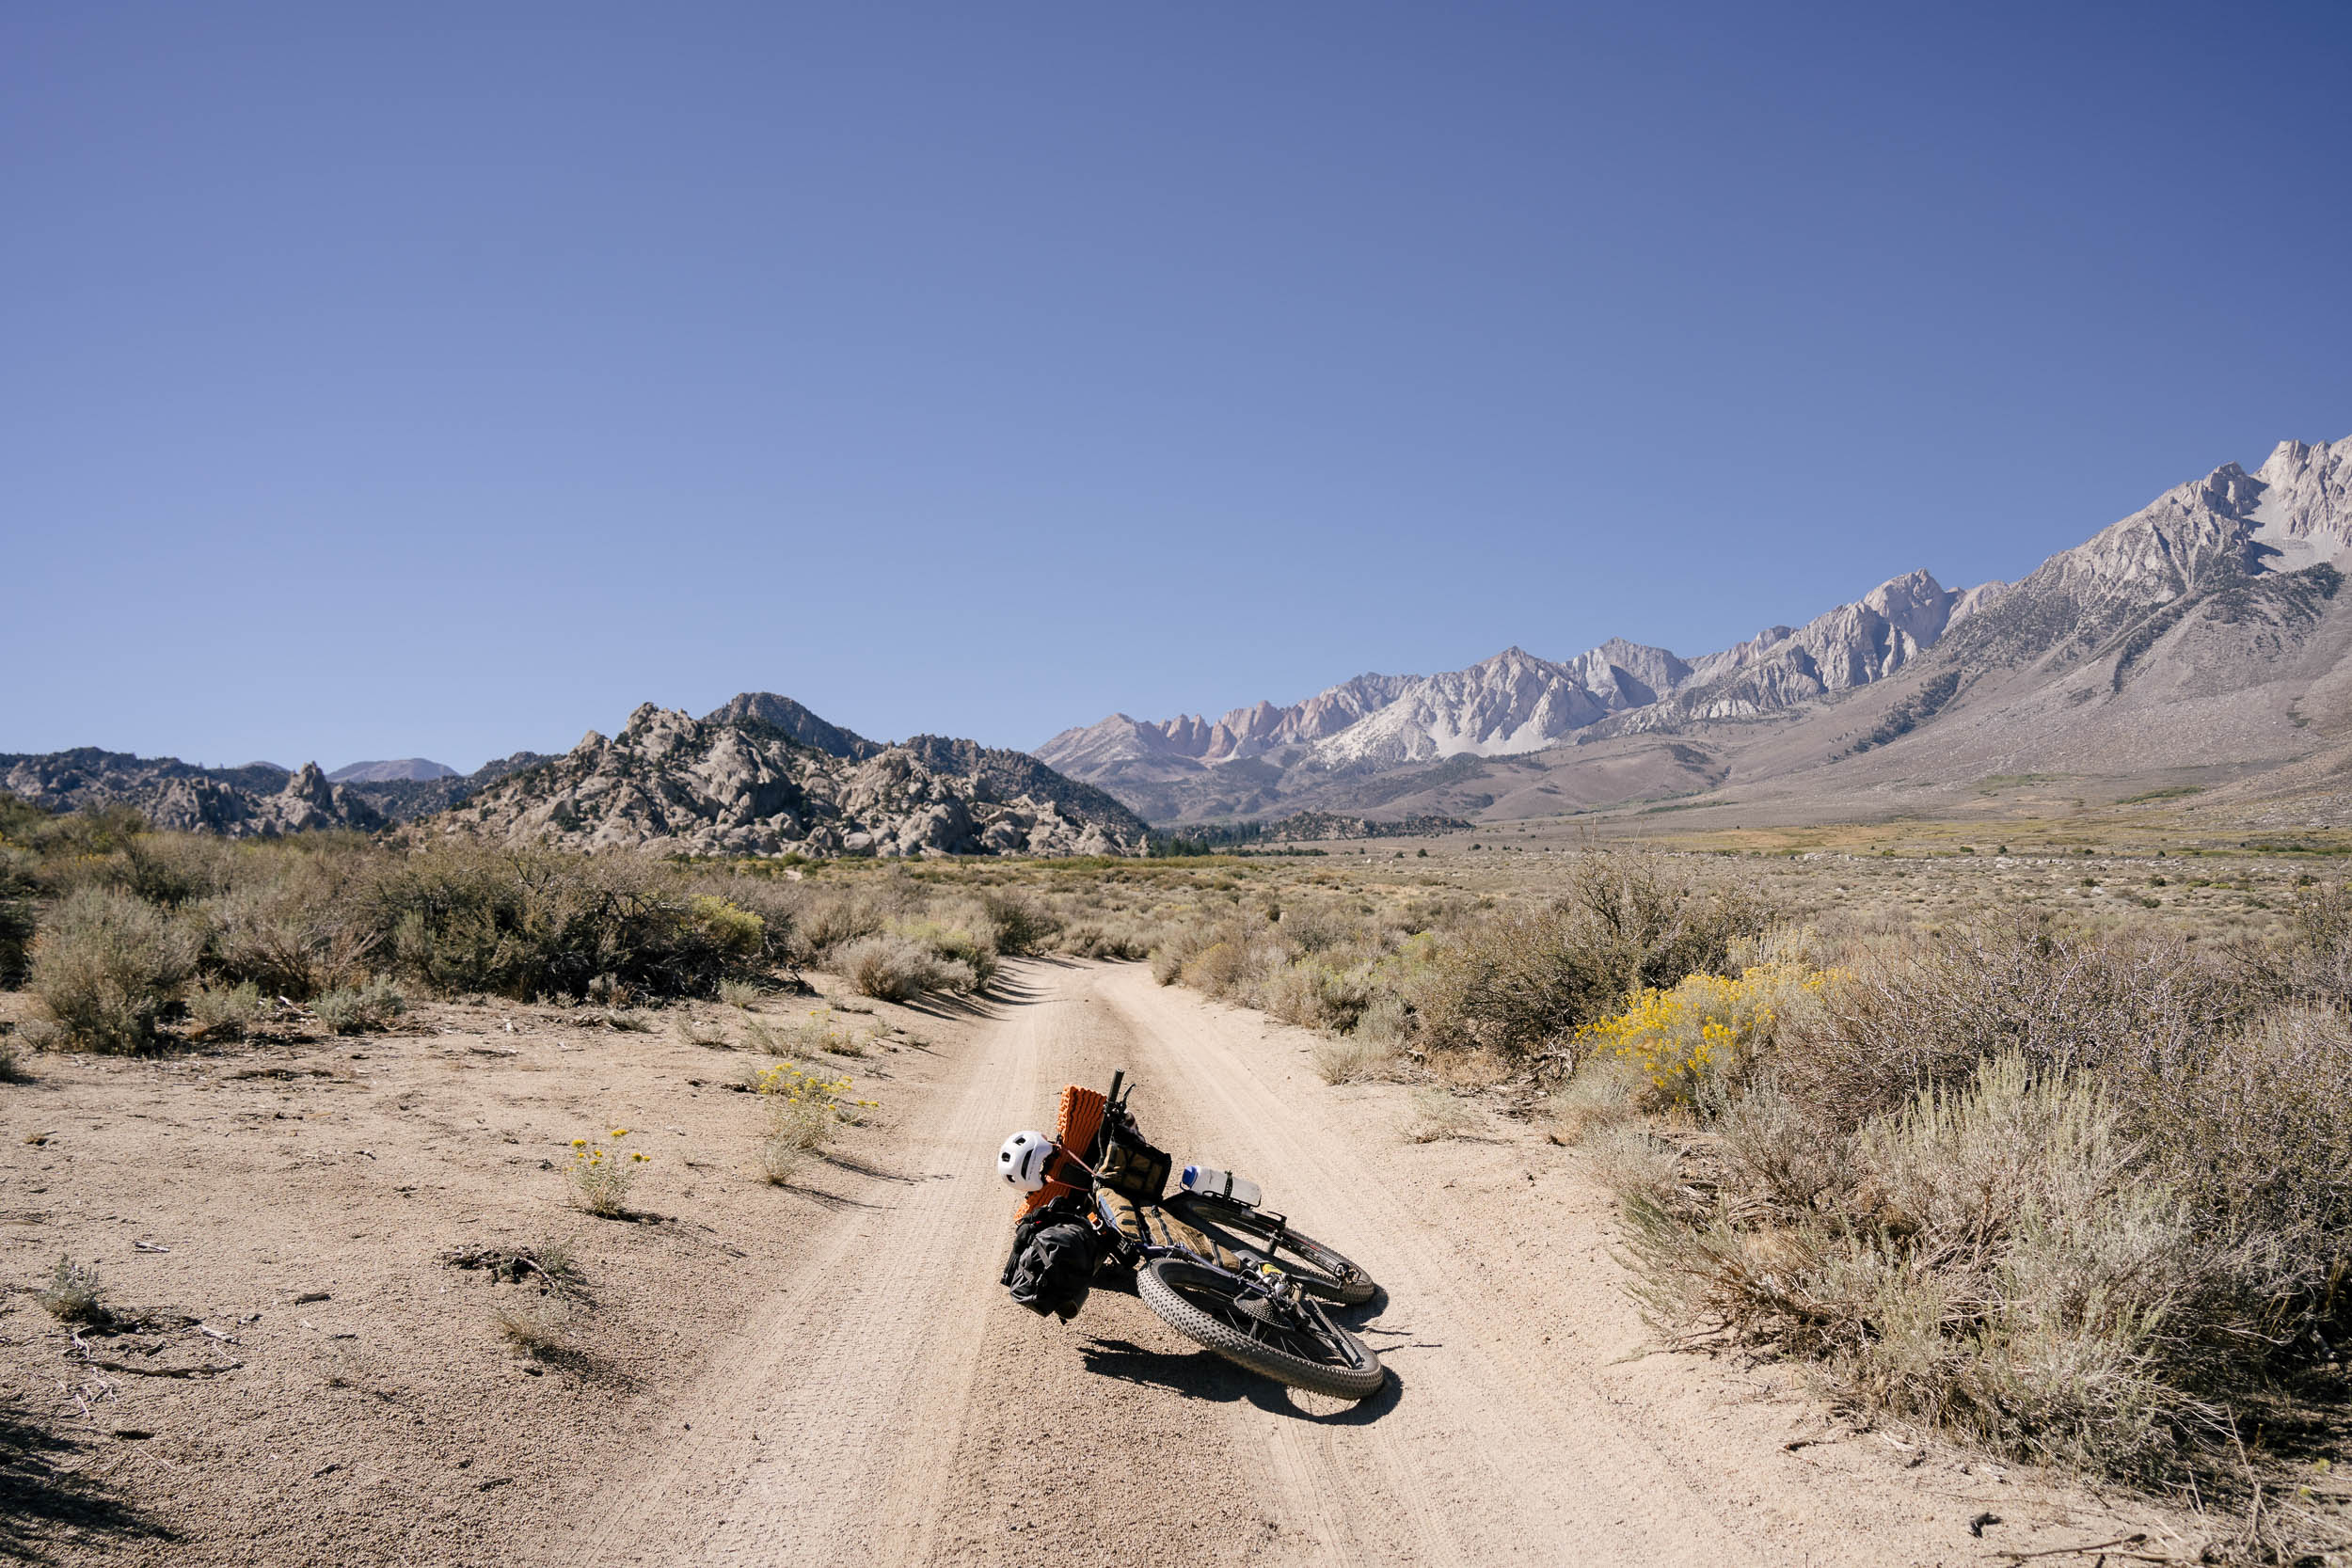
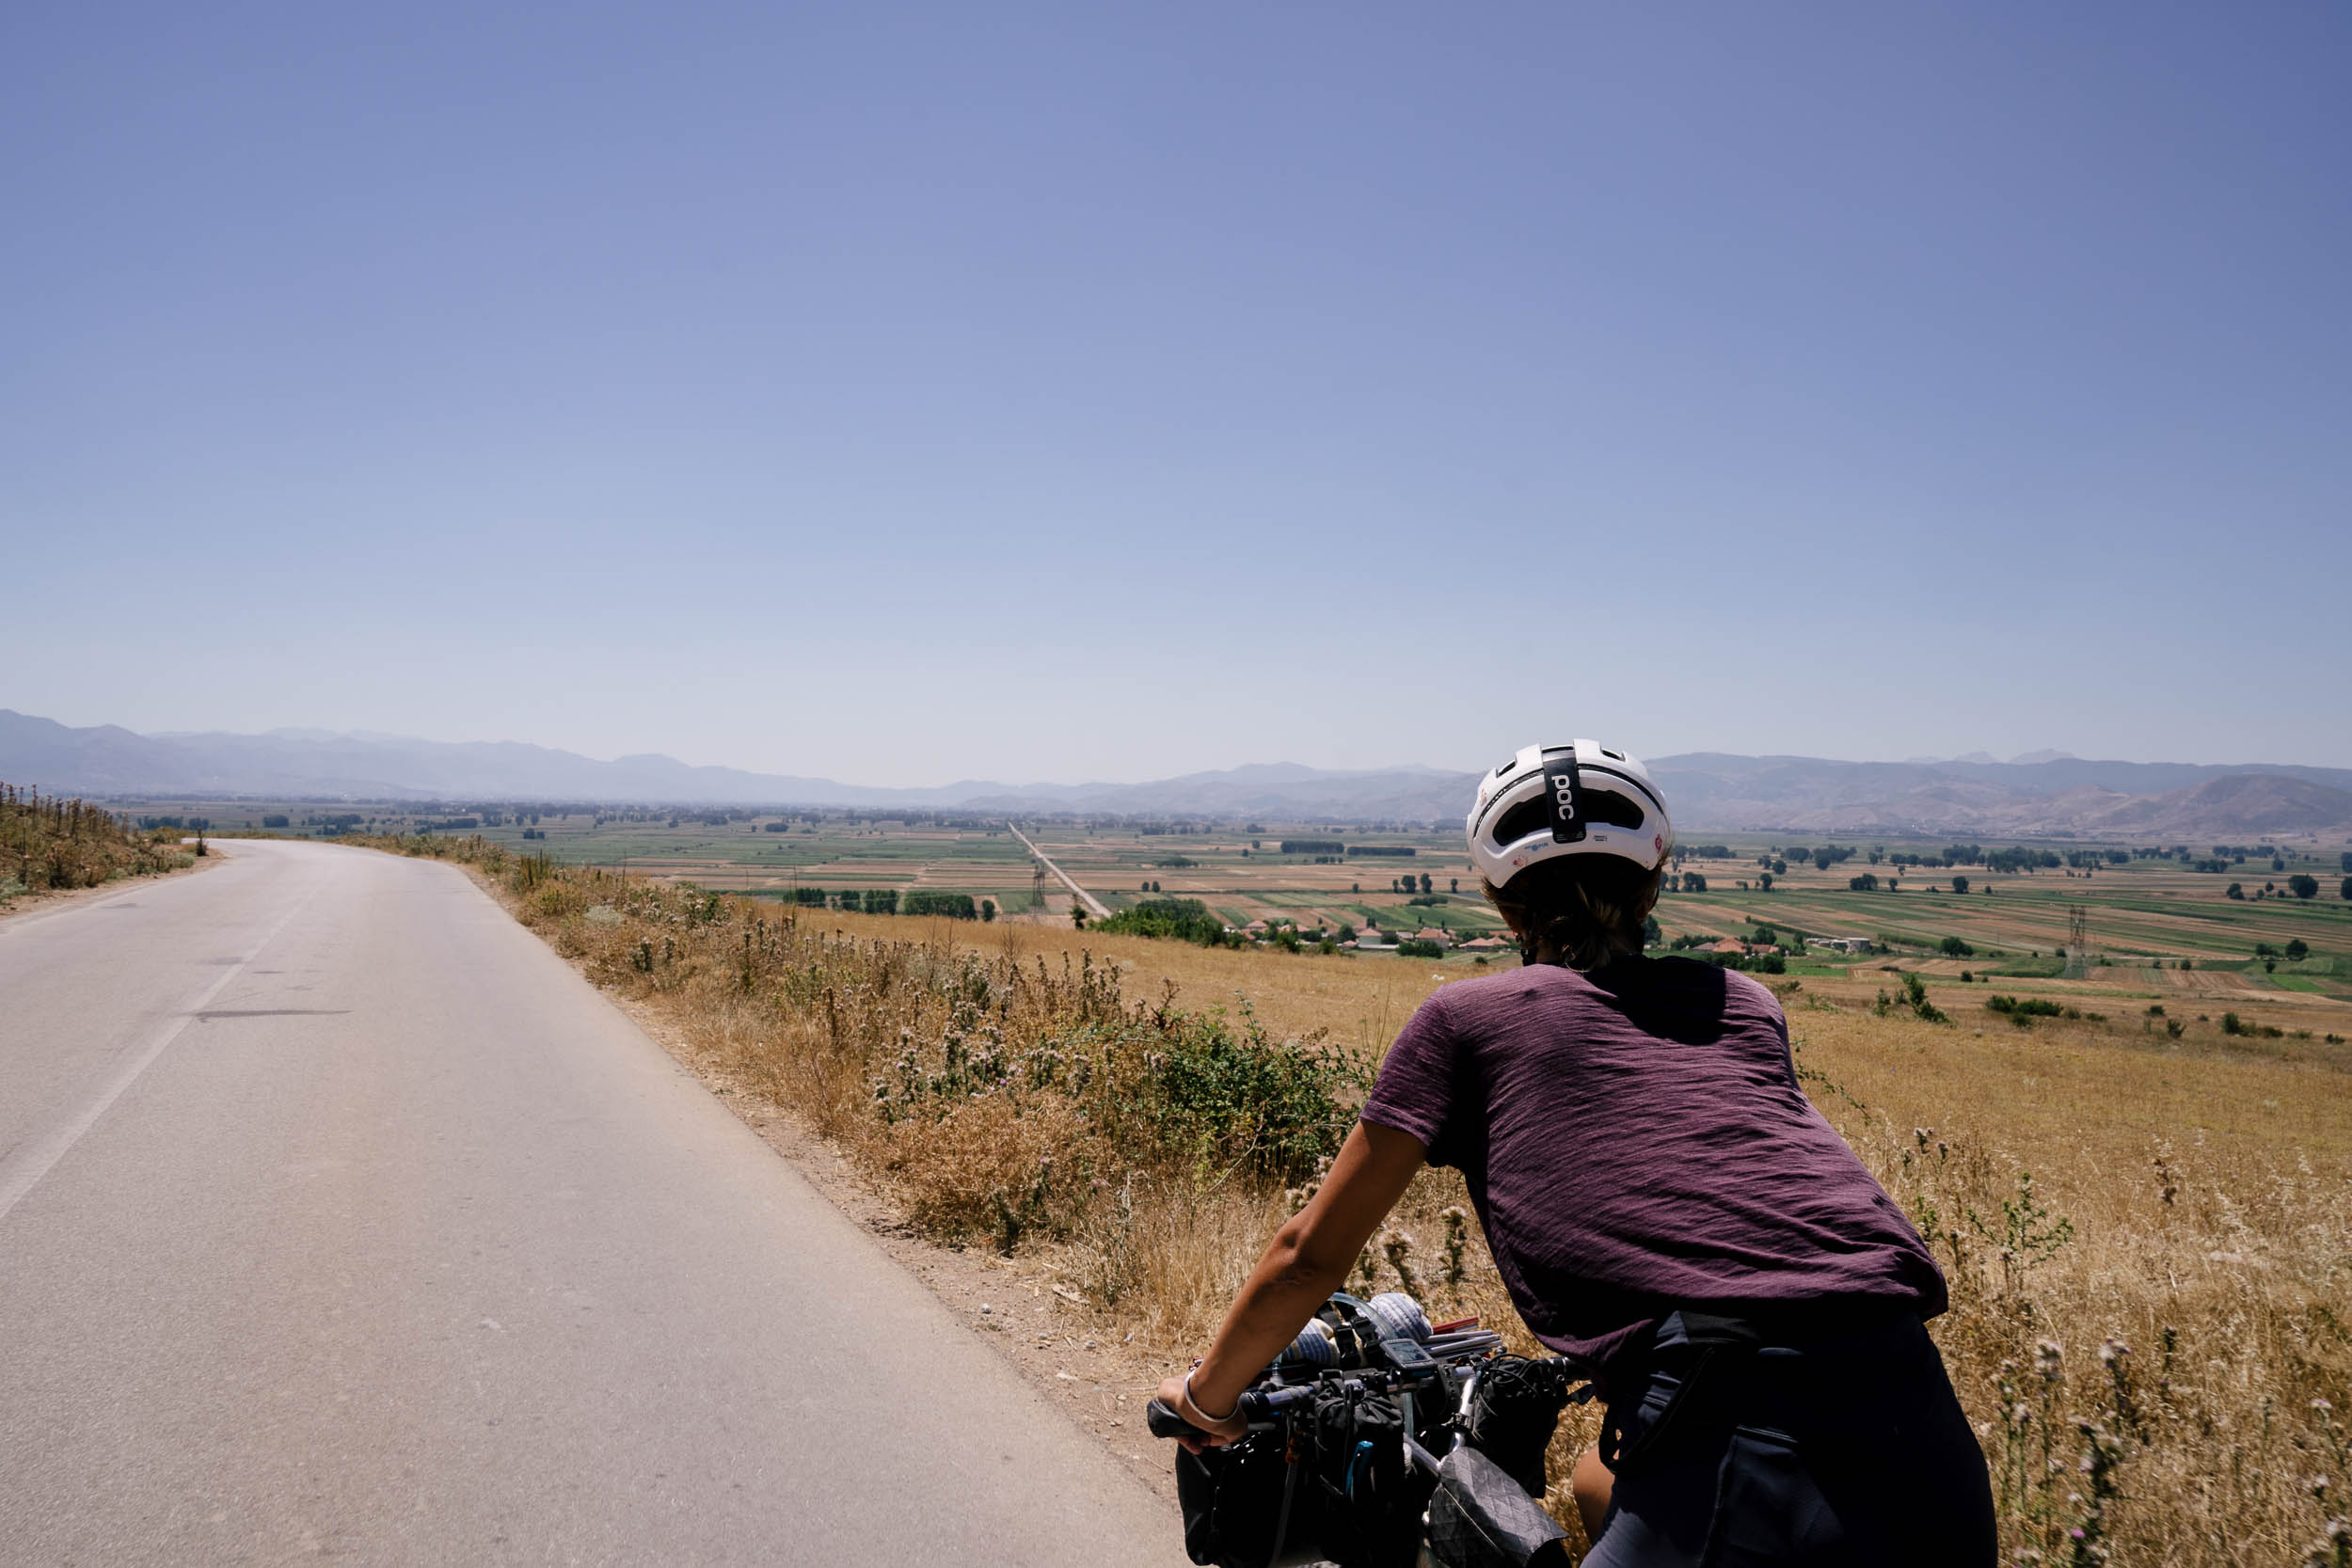
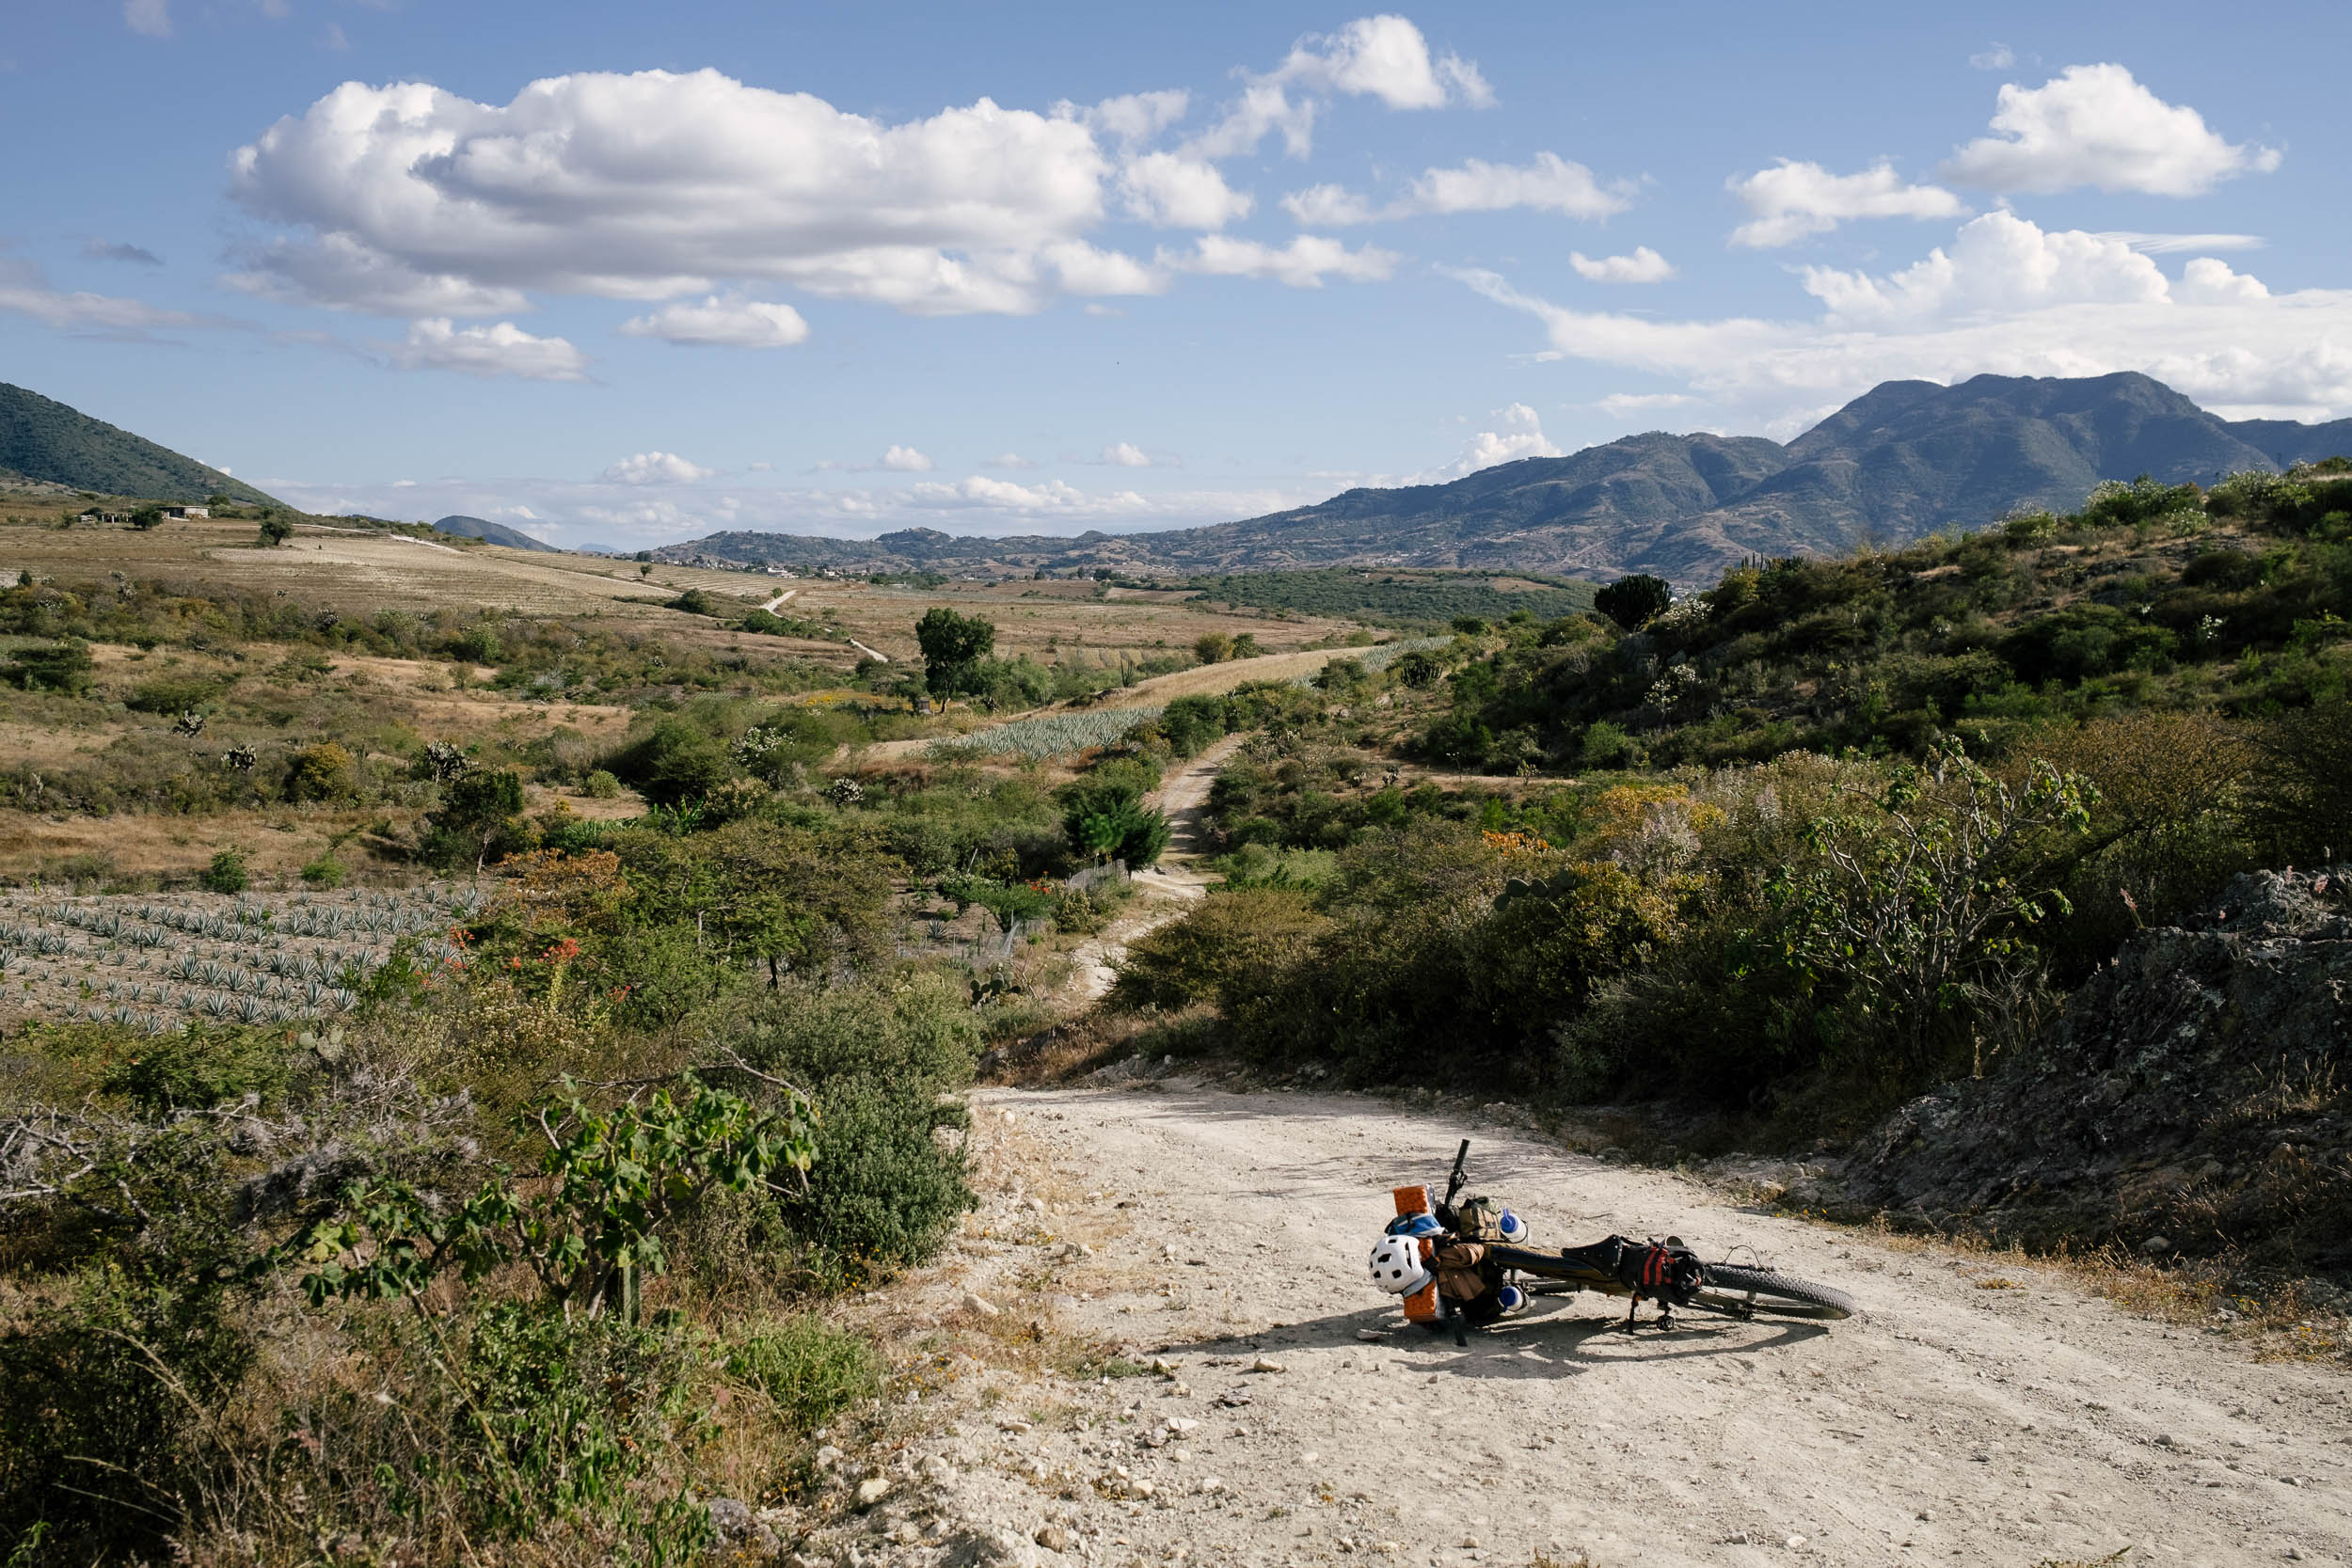
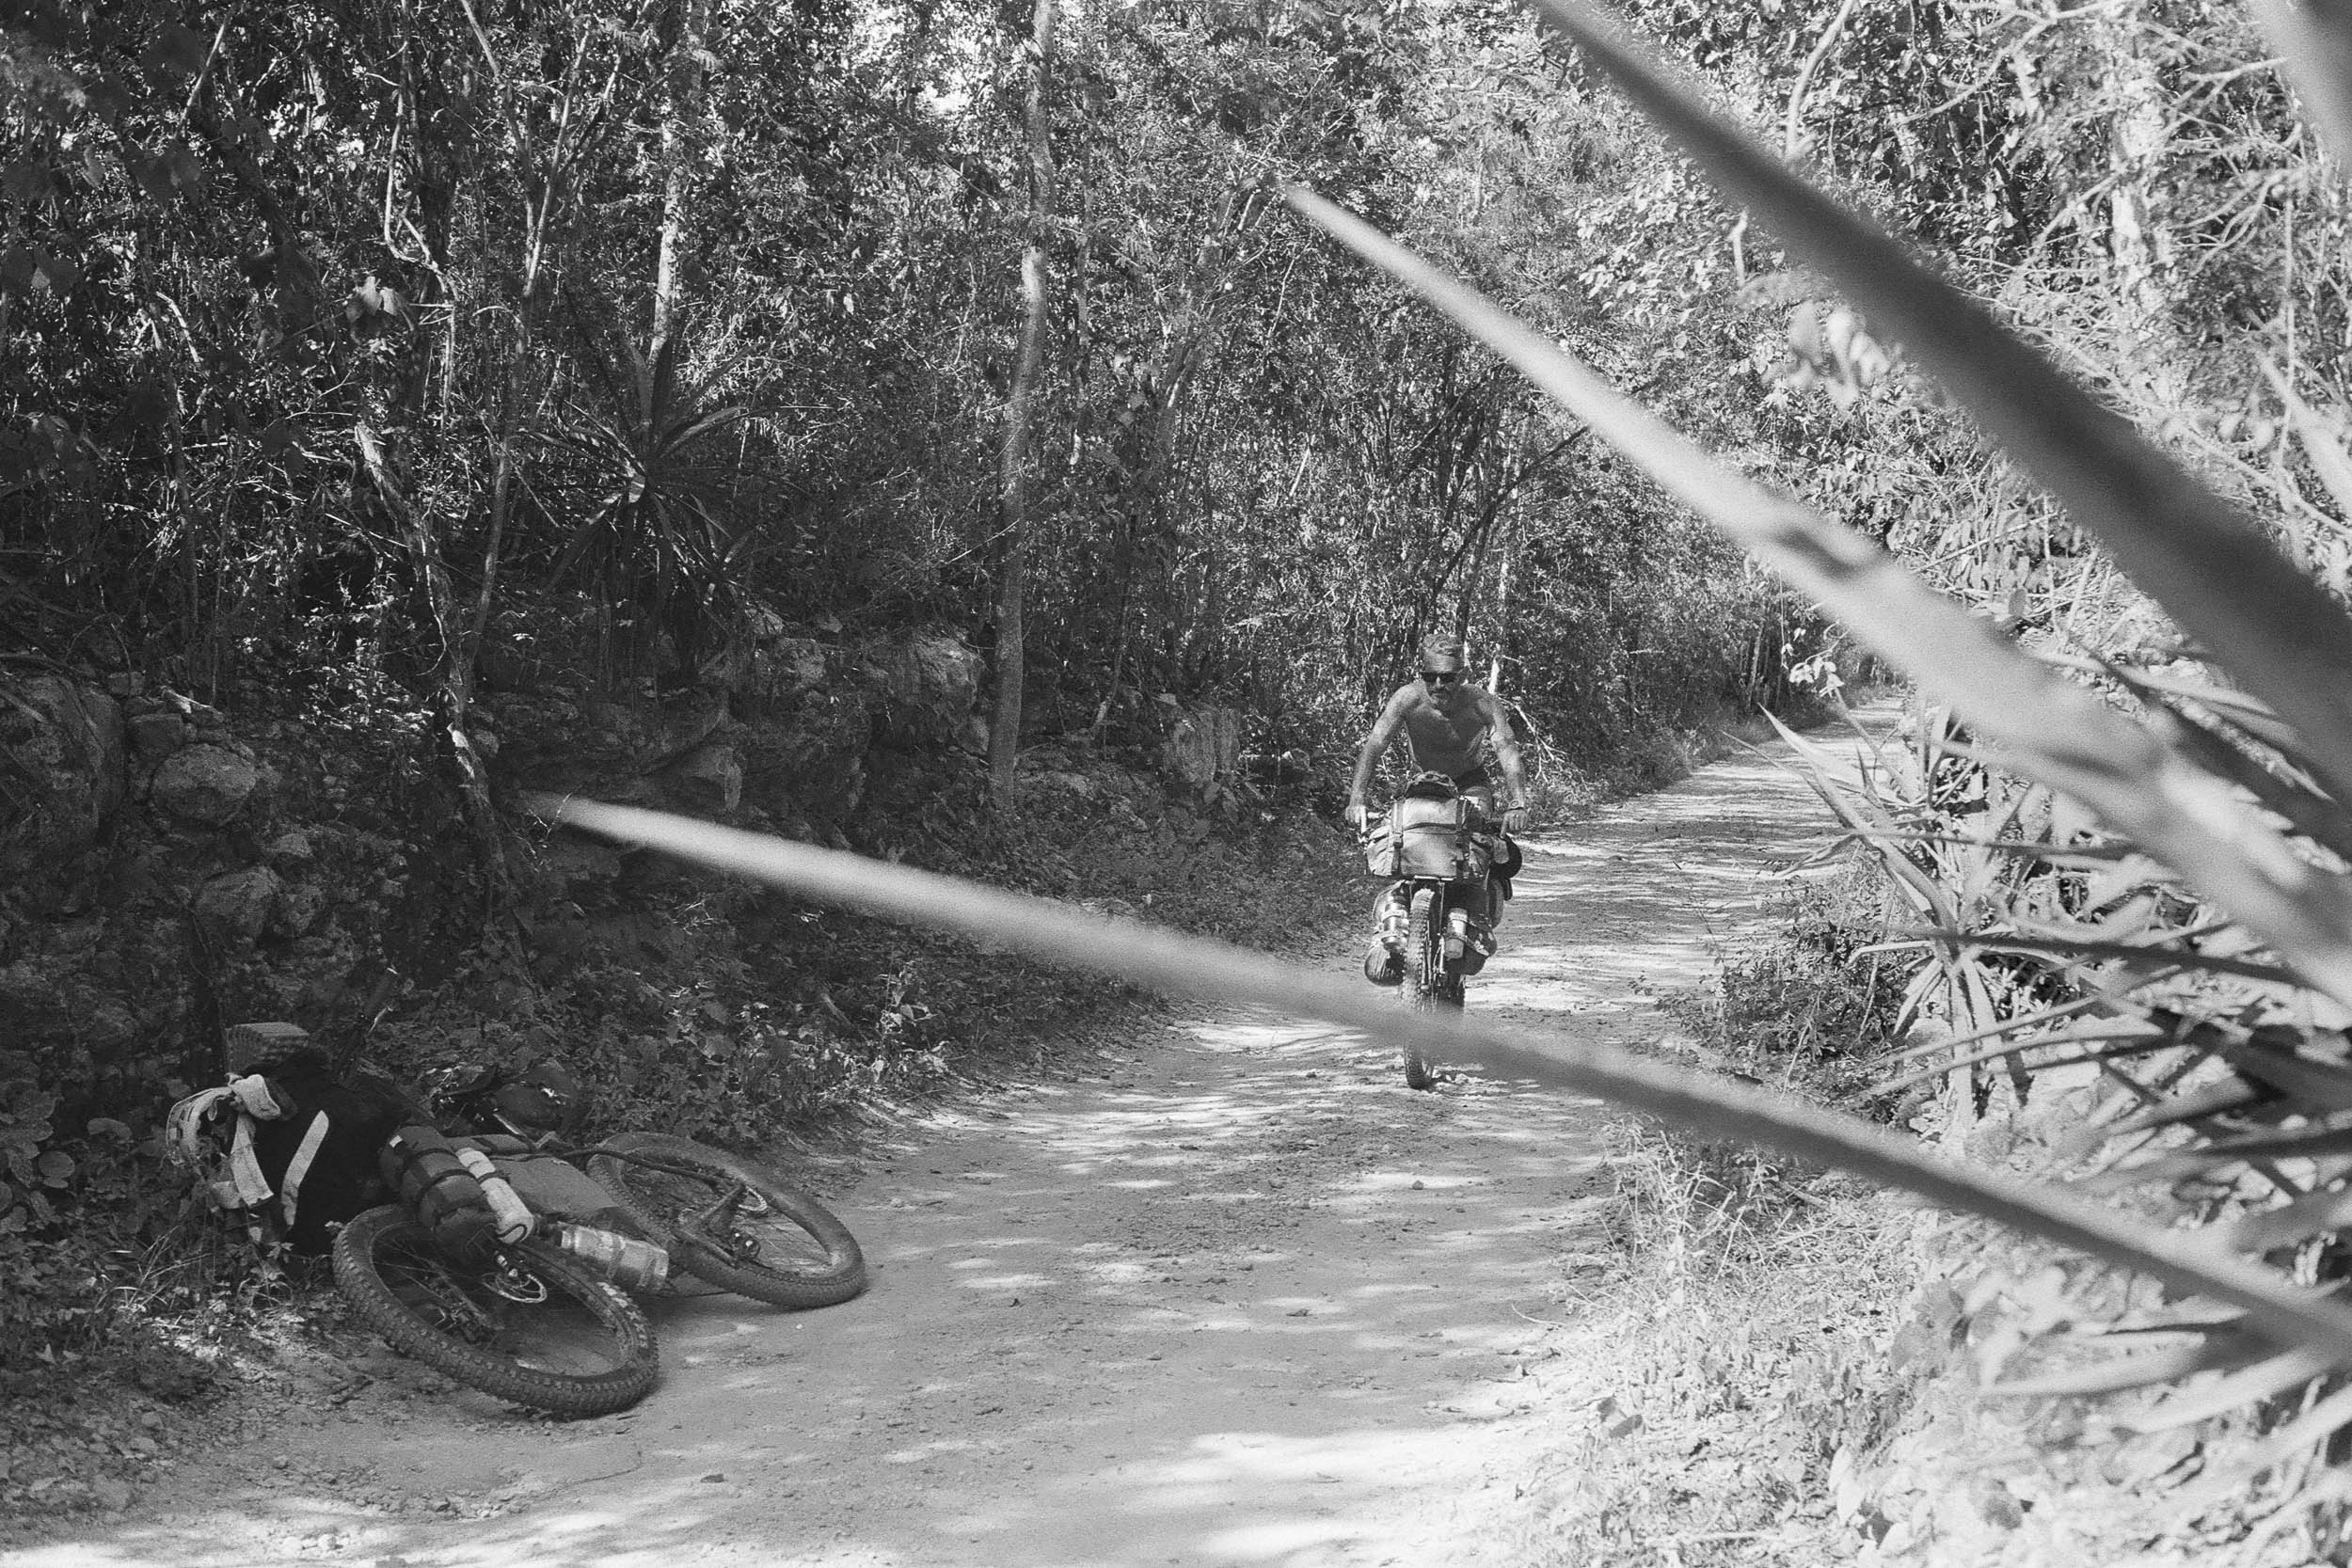
4. The road photo
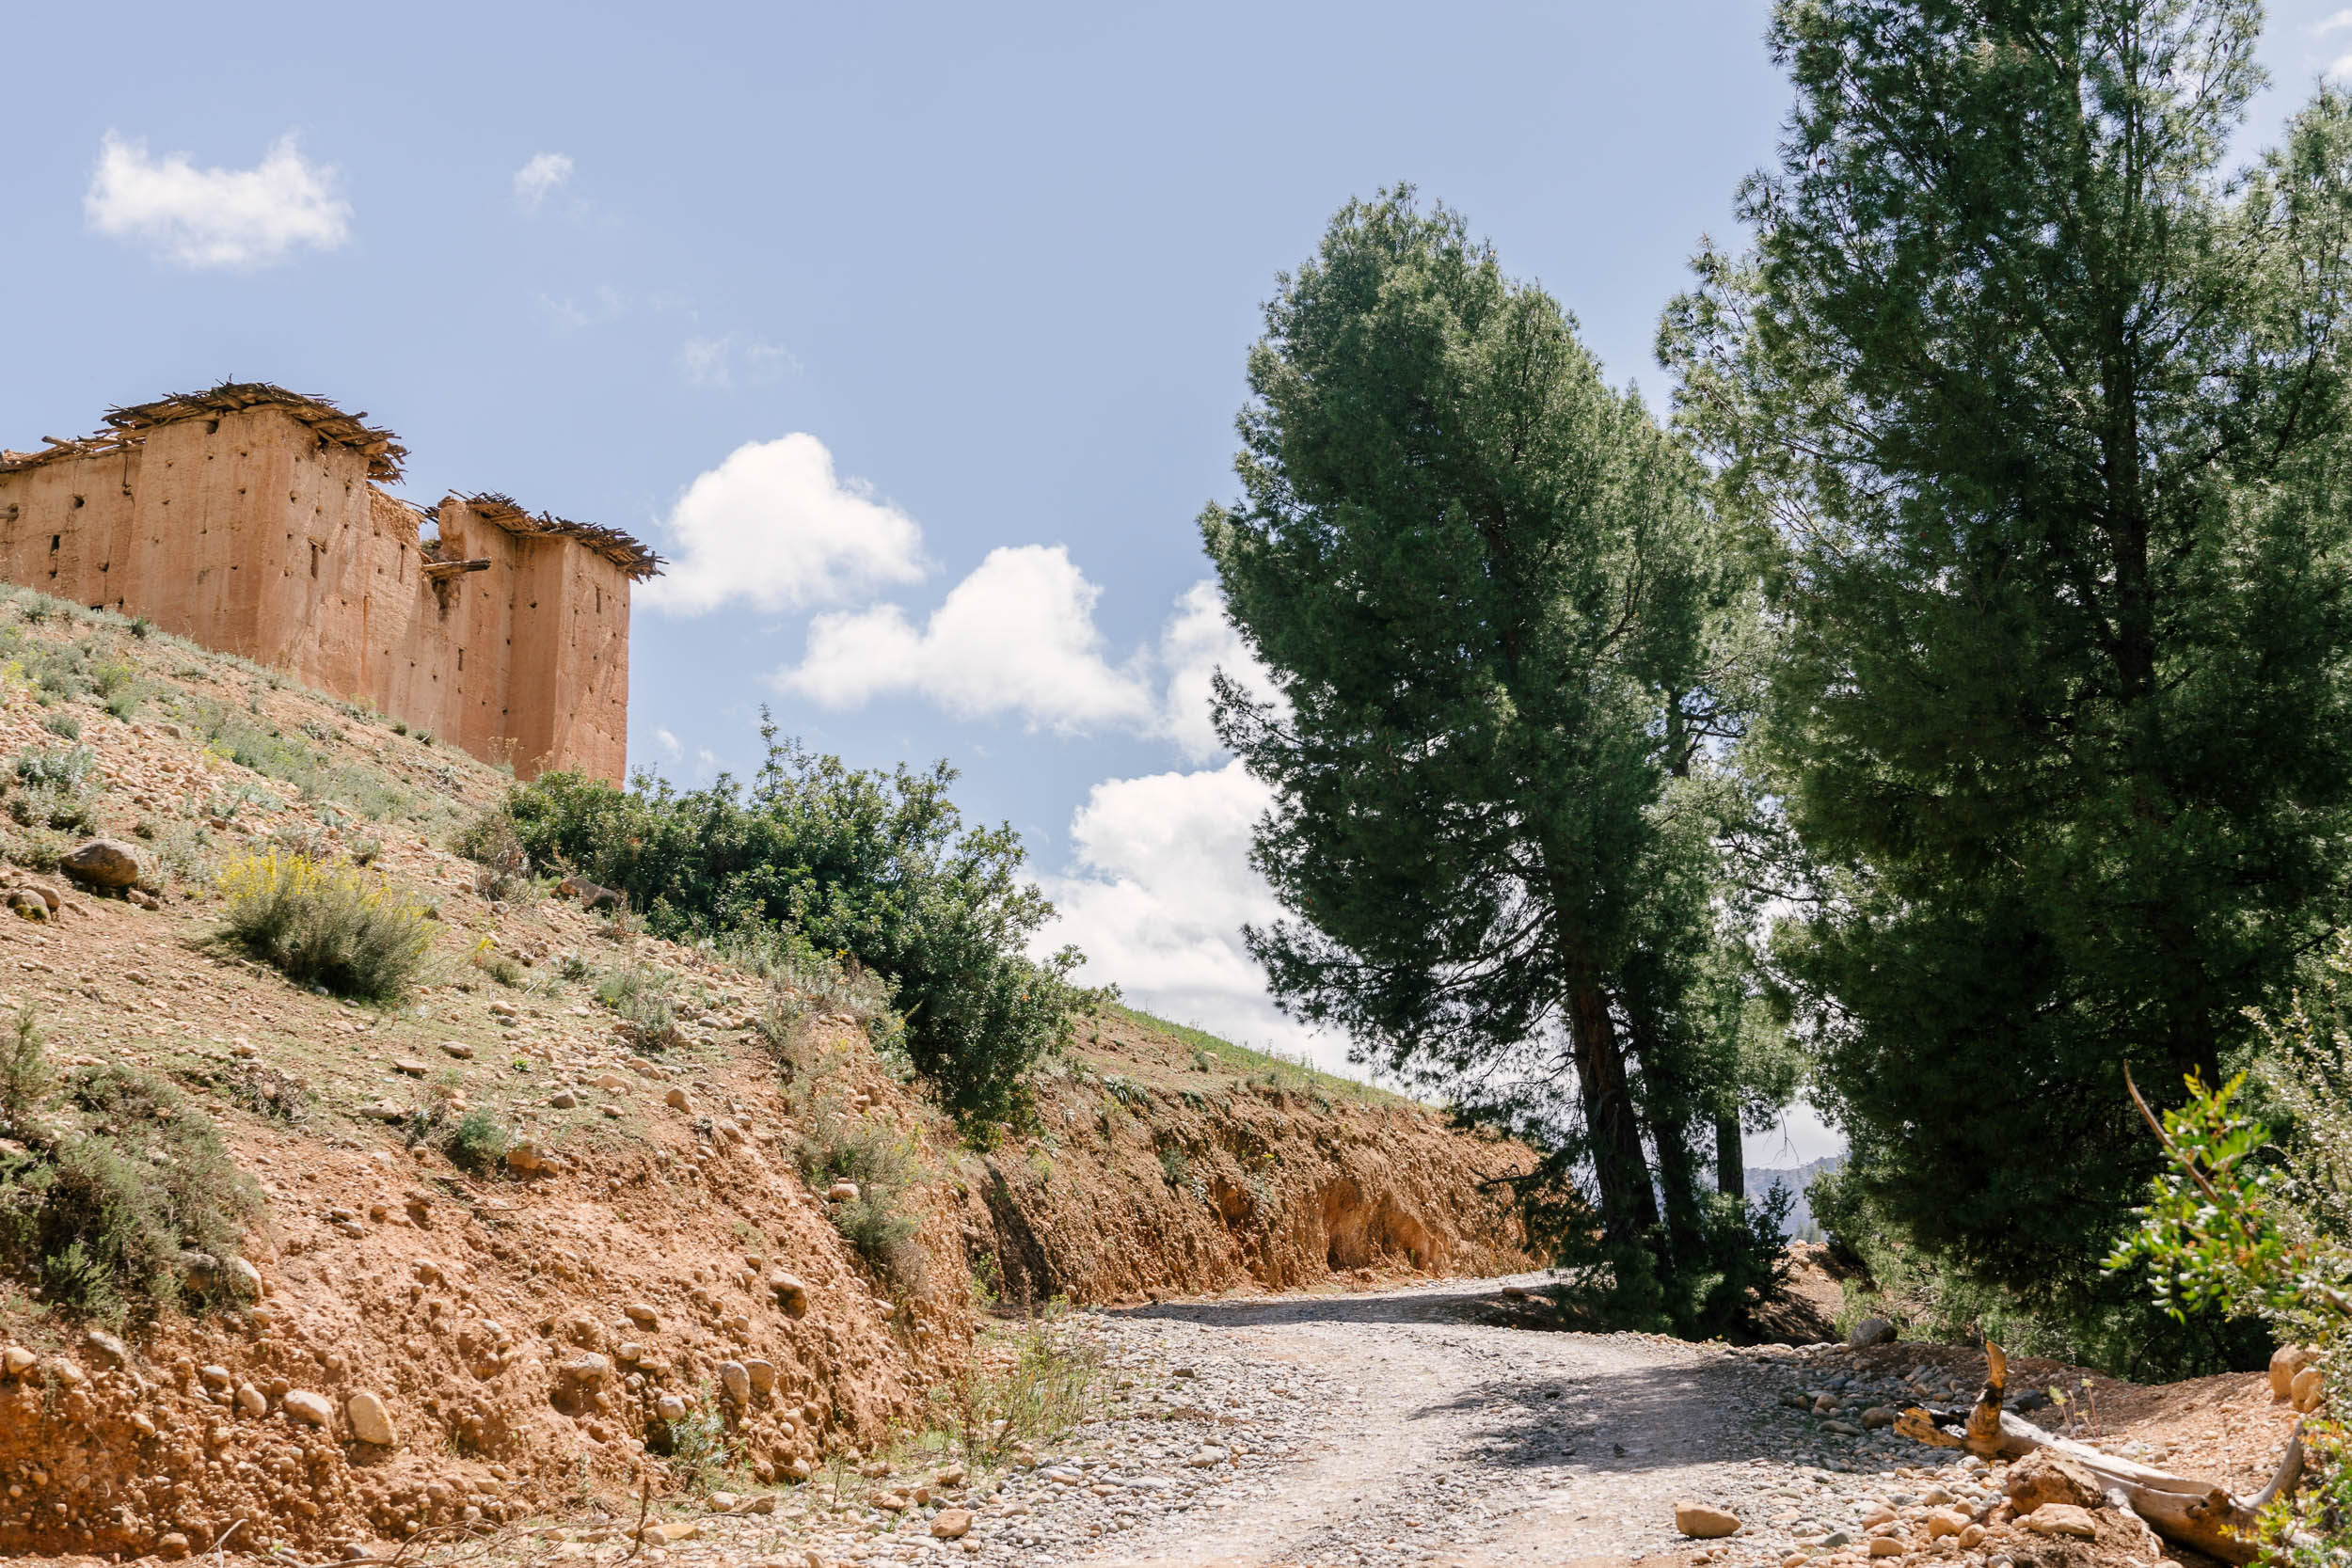
Don’t get stuck in the trap of just pulling out your phone and taking a straight-on picture of the road. Even the bike lying in the road photo. It’s a classic, it’s easy, it works, but if that’s all you come home with, no one will sit through more than five minutes. Try to find new angles of the roads you’re riding. Hike up a hillside, shoot the road below as it switchbacks, shoot from the side, wait for a donkey to enter the frame. Shoot it when it does crazy things, or just looks perfectly straight. Those are always fun too.
5. Shoot wide, shoot close
The iPhone defaults to either a wide angle or ultra wide angle lens. This means everything is pushed away from you, and only stuff close up looks dramatic. Wide angle lenses push the horizon away to fit more in the foreground, (this is why that full moon always looks tiny on your phone.) So, if you’re using that wide angle lens built into your phone, you need to be close up to whatever it is you’re photographing for it to look good. I also like the effect of the road falling away and getting smaller when shooting wide.

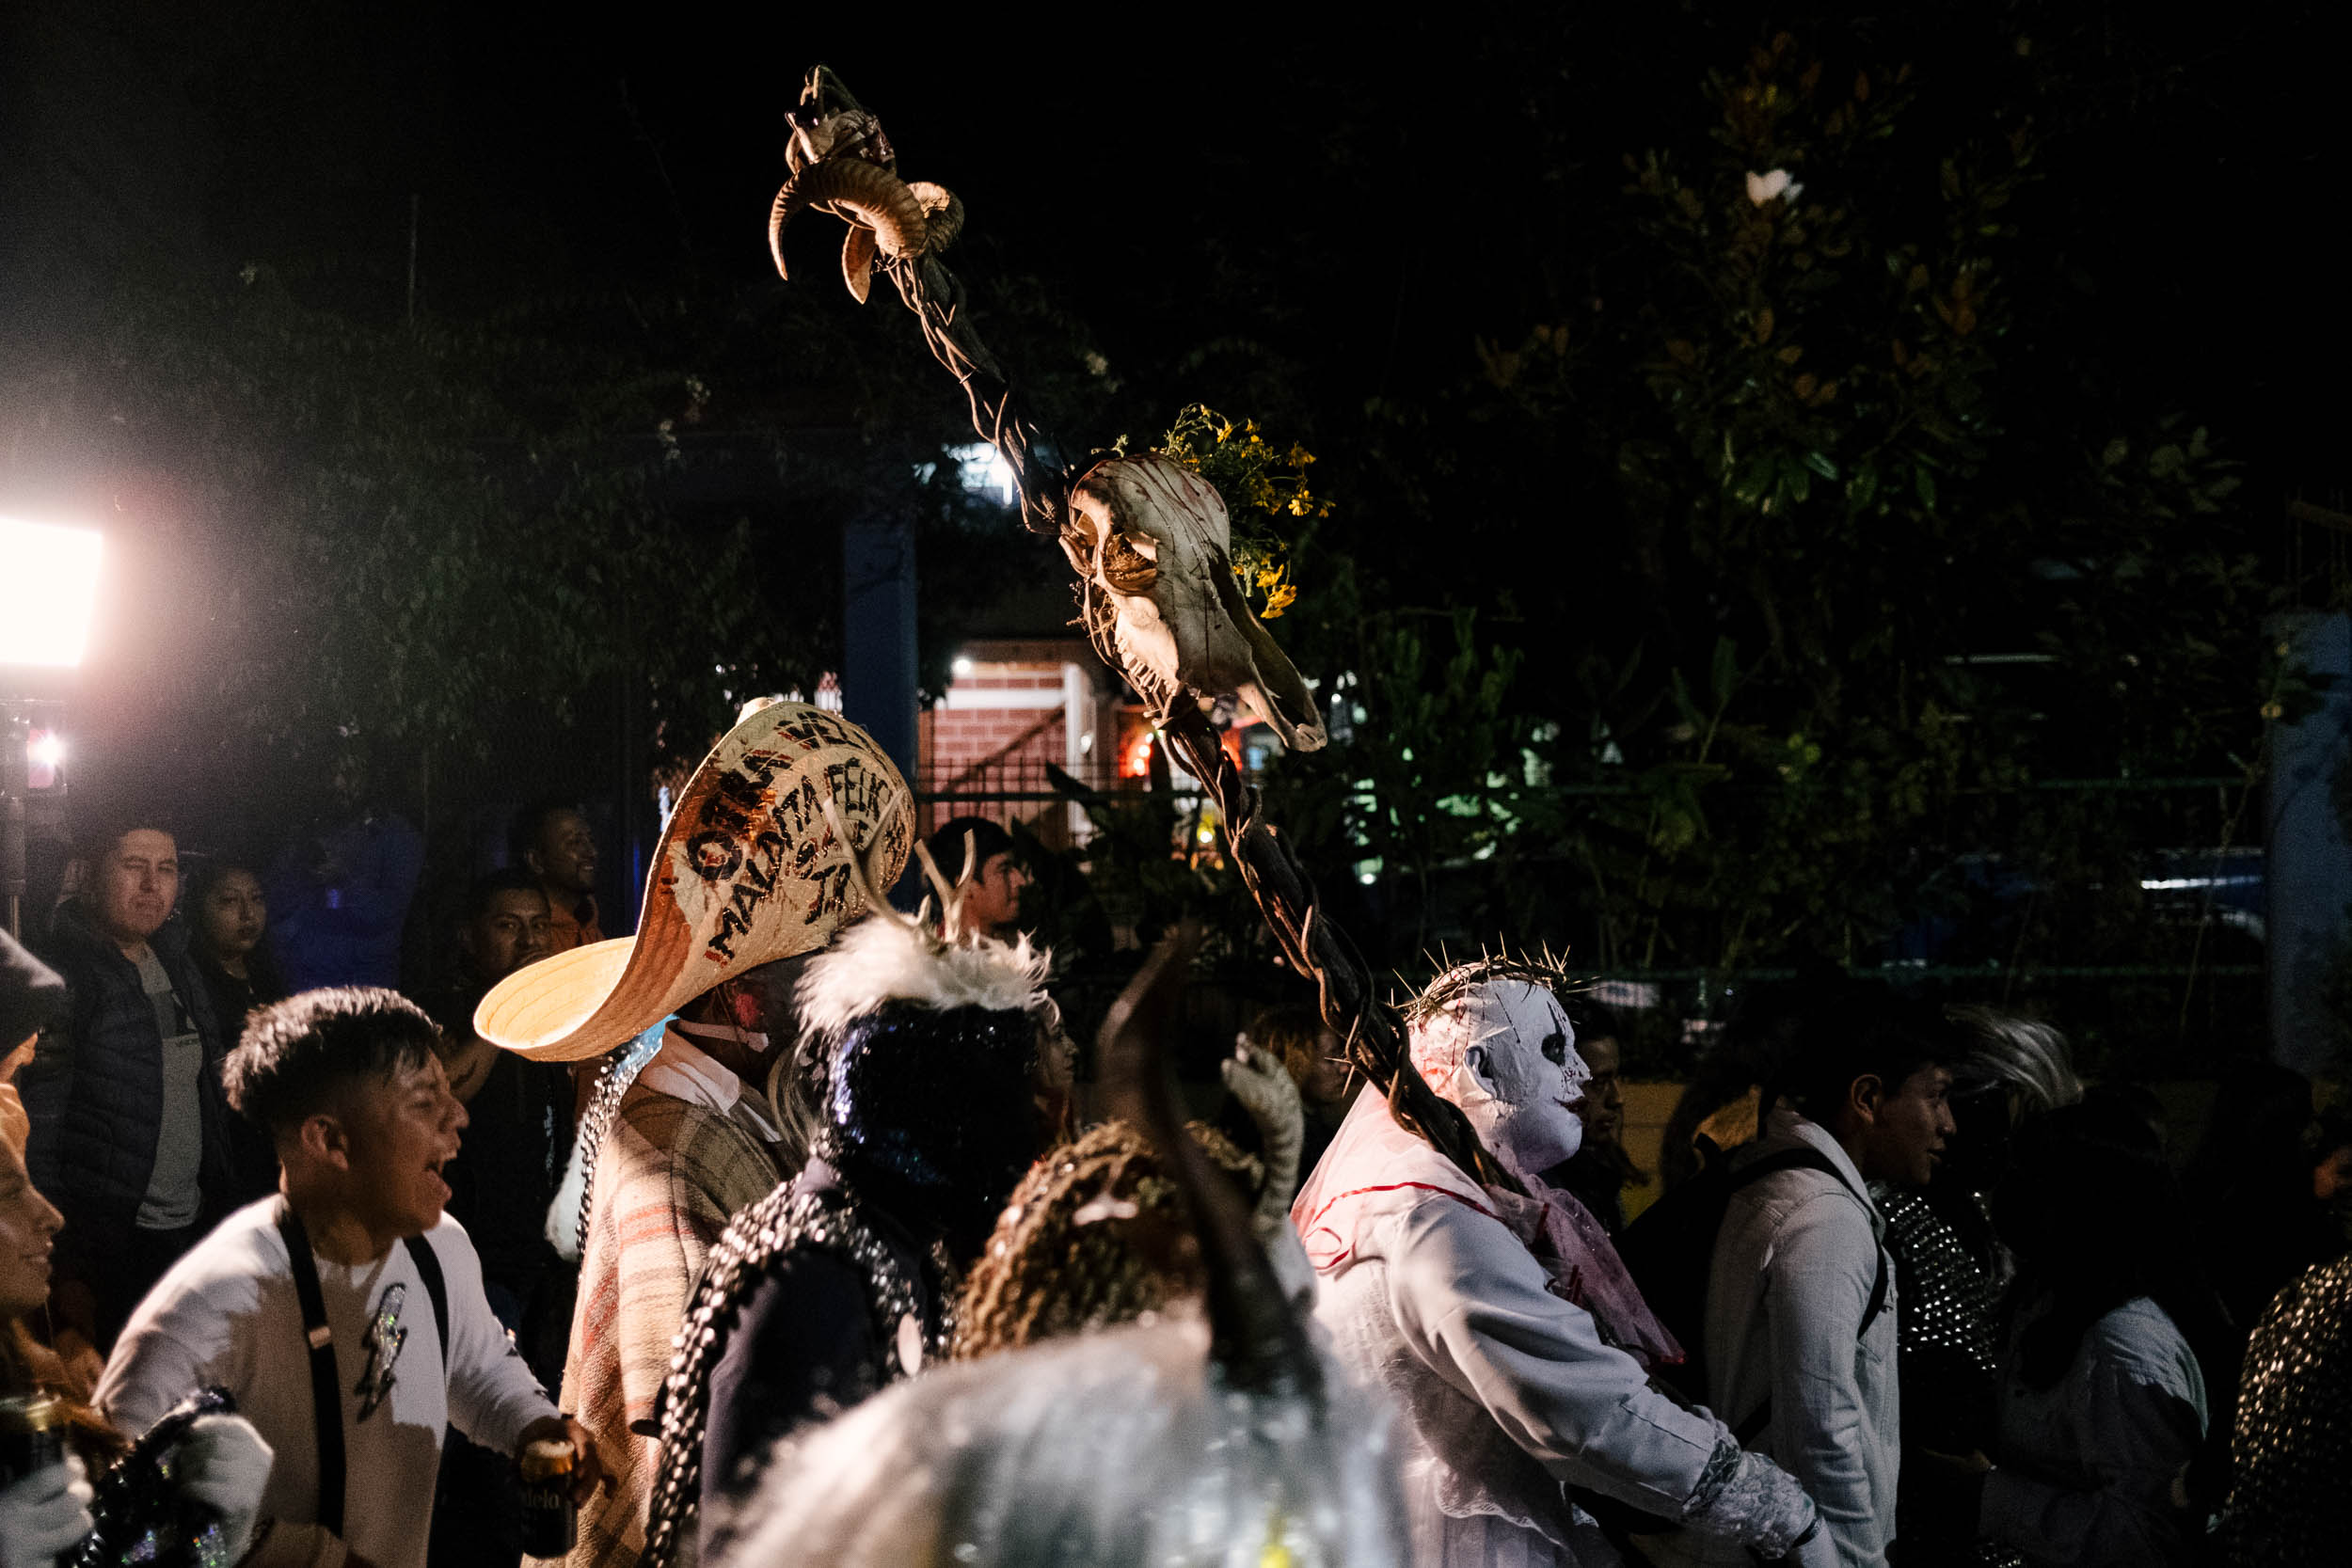
6. Exposure
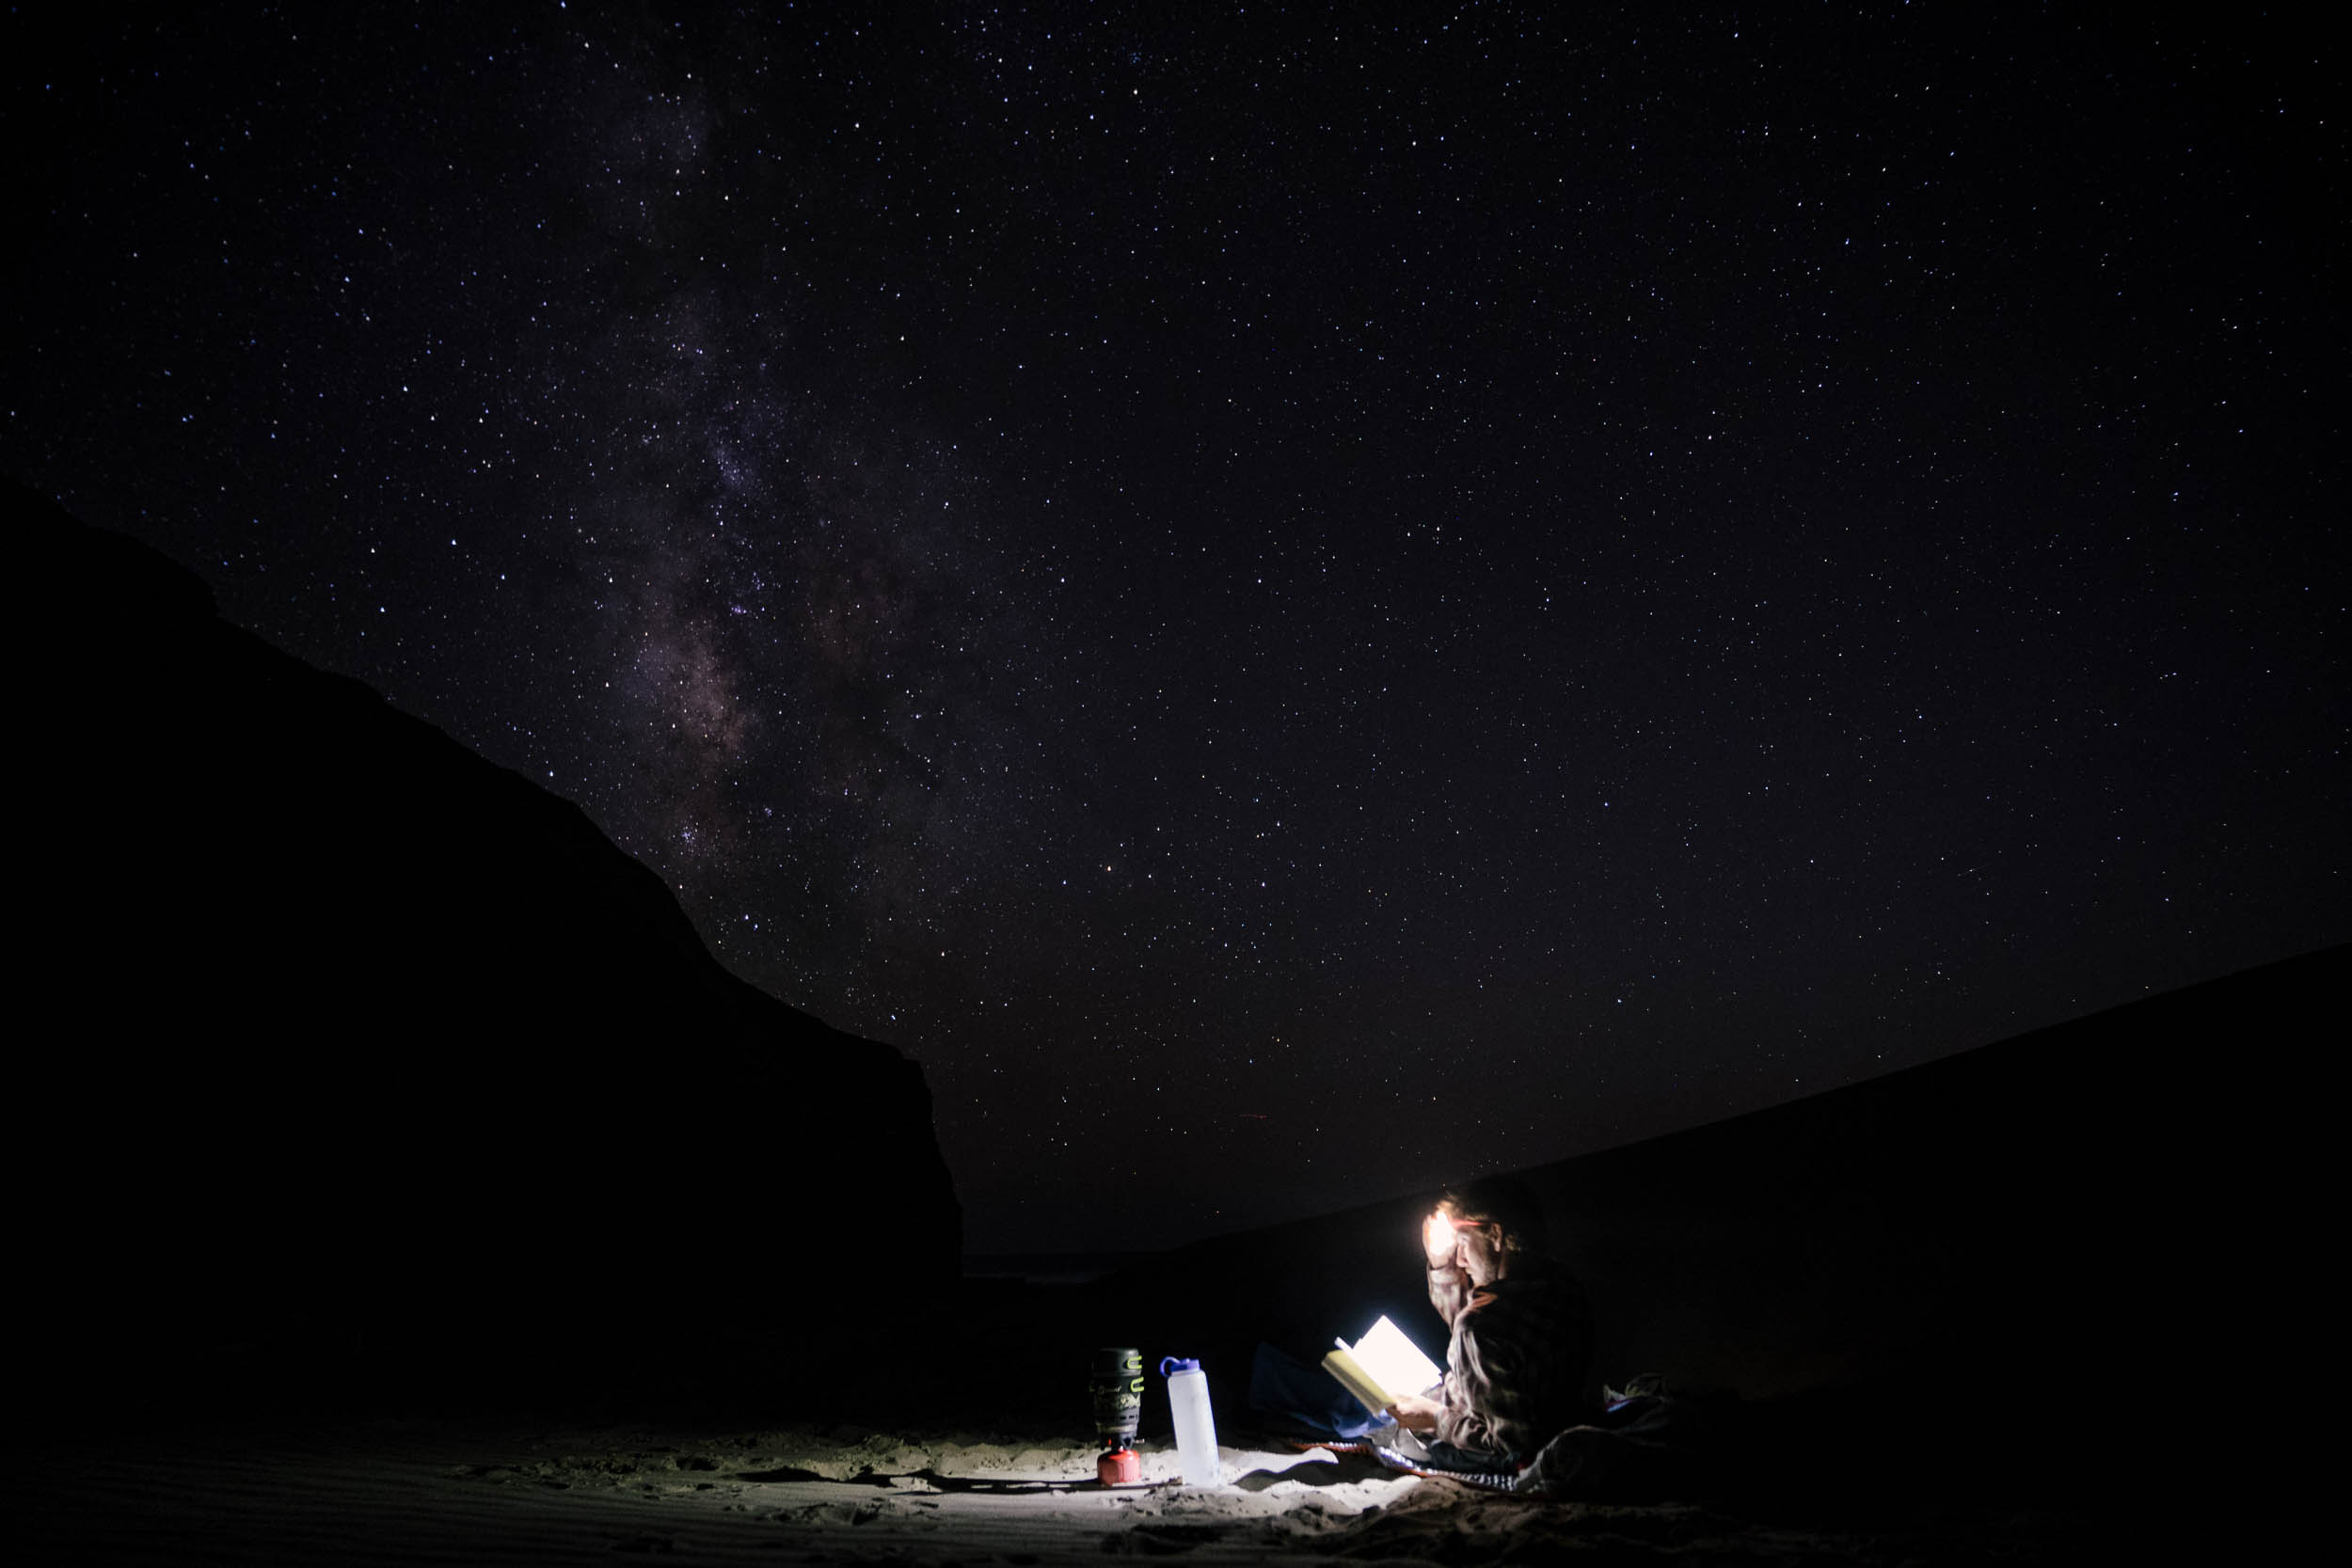
We could talk about this for days, but in general, understanding how to expose a photo will help you isolate your subjects in interesting light. If you have a strong light source at night, it is best to darken your image to highlight that. If your subject is in the shadows, brighten your image to highlight them. If shooting on an iPhone, tap your screen and then slide your finger up for brighter or down for darker. I find iPhones typically overexpose photos, and I almost always like to darken them.
7. Composition
Plenty of adventure photographers live and die by the rule of thirds. Divide the photo into thirds, horizontally and vertically, place the subject on the intersection. It’s so easy to fall into this trap and never leave, but if you’re just starting out, this is a super easy way to take a nice photo instead of always centering the subject.

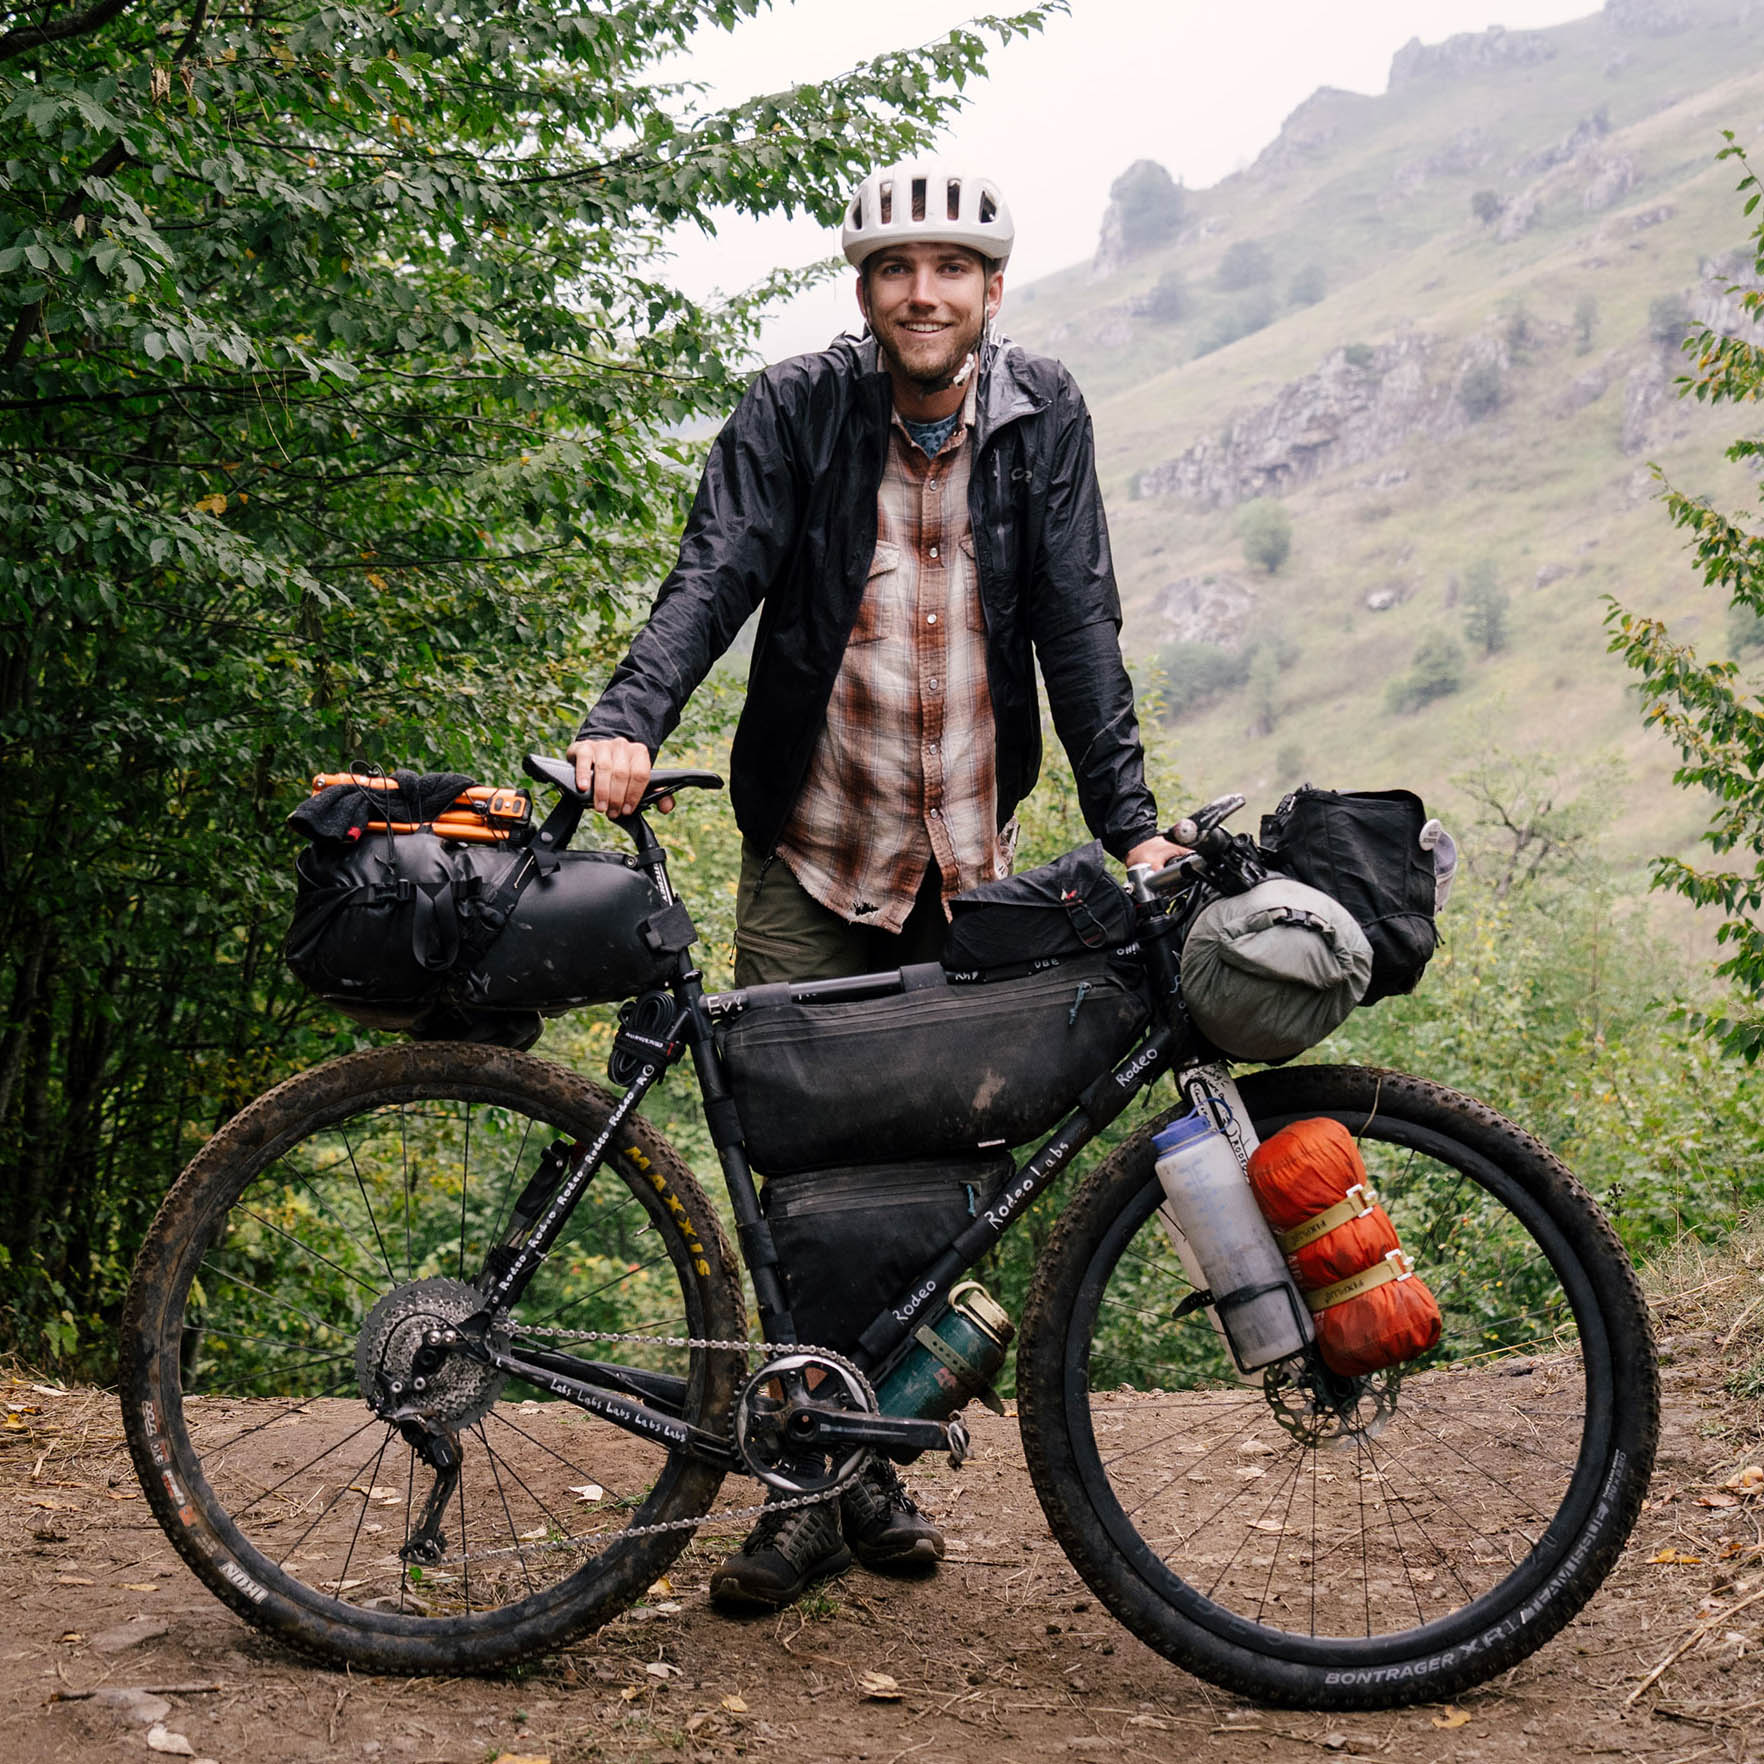
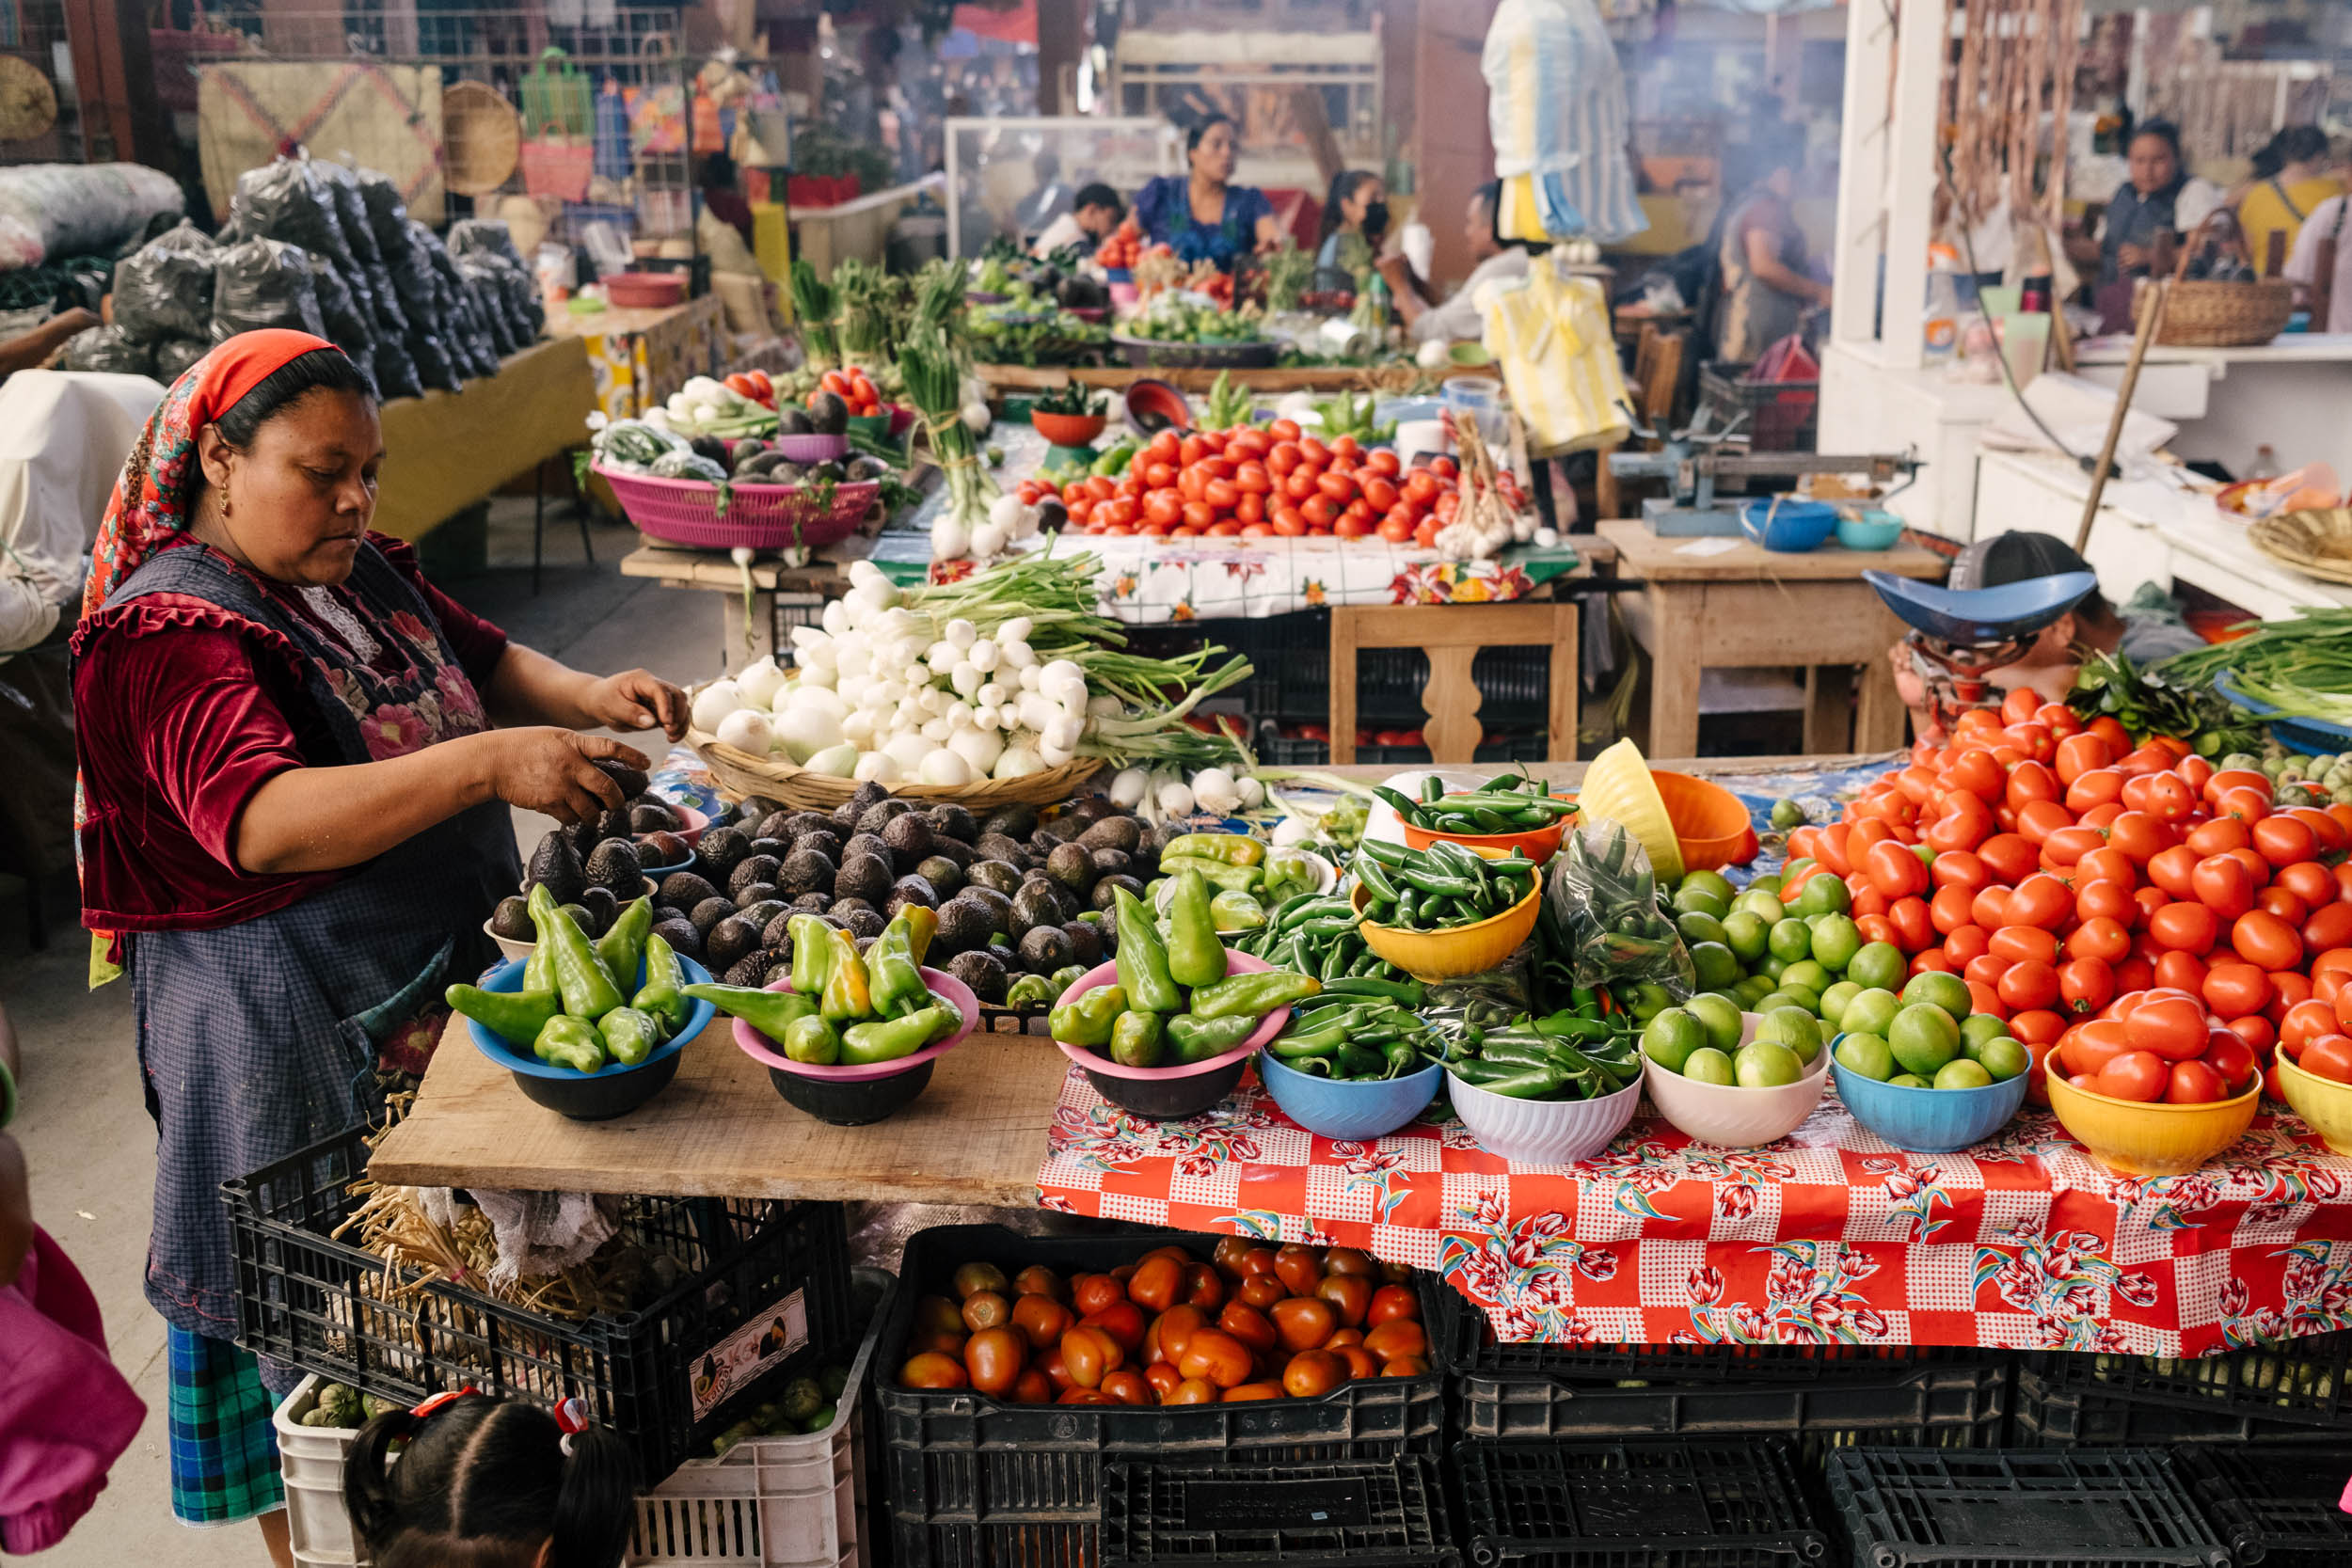
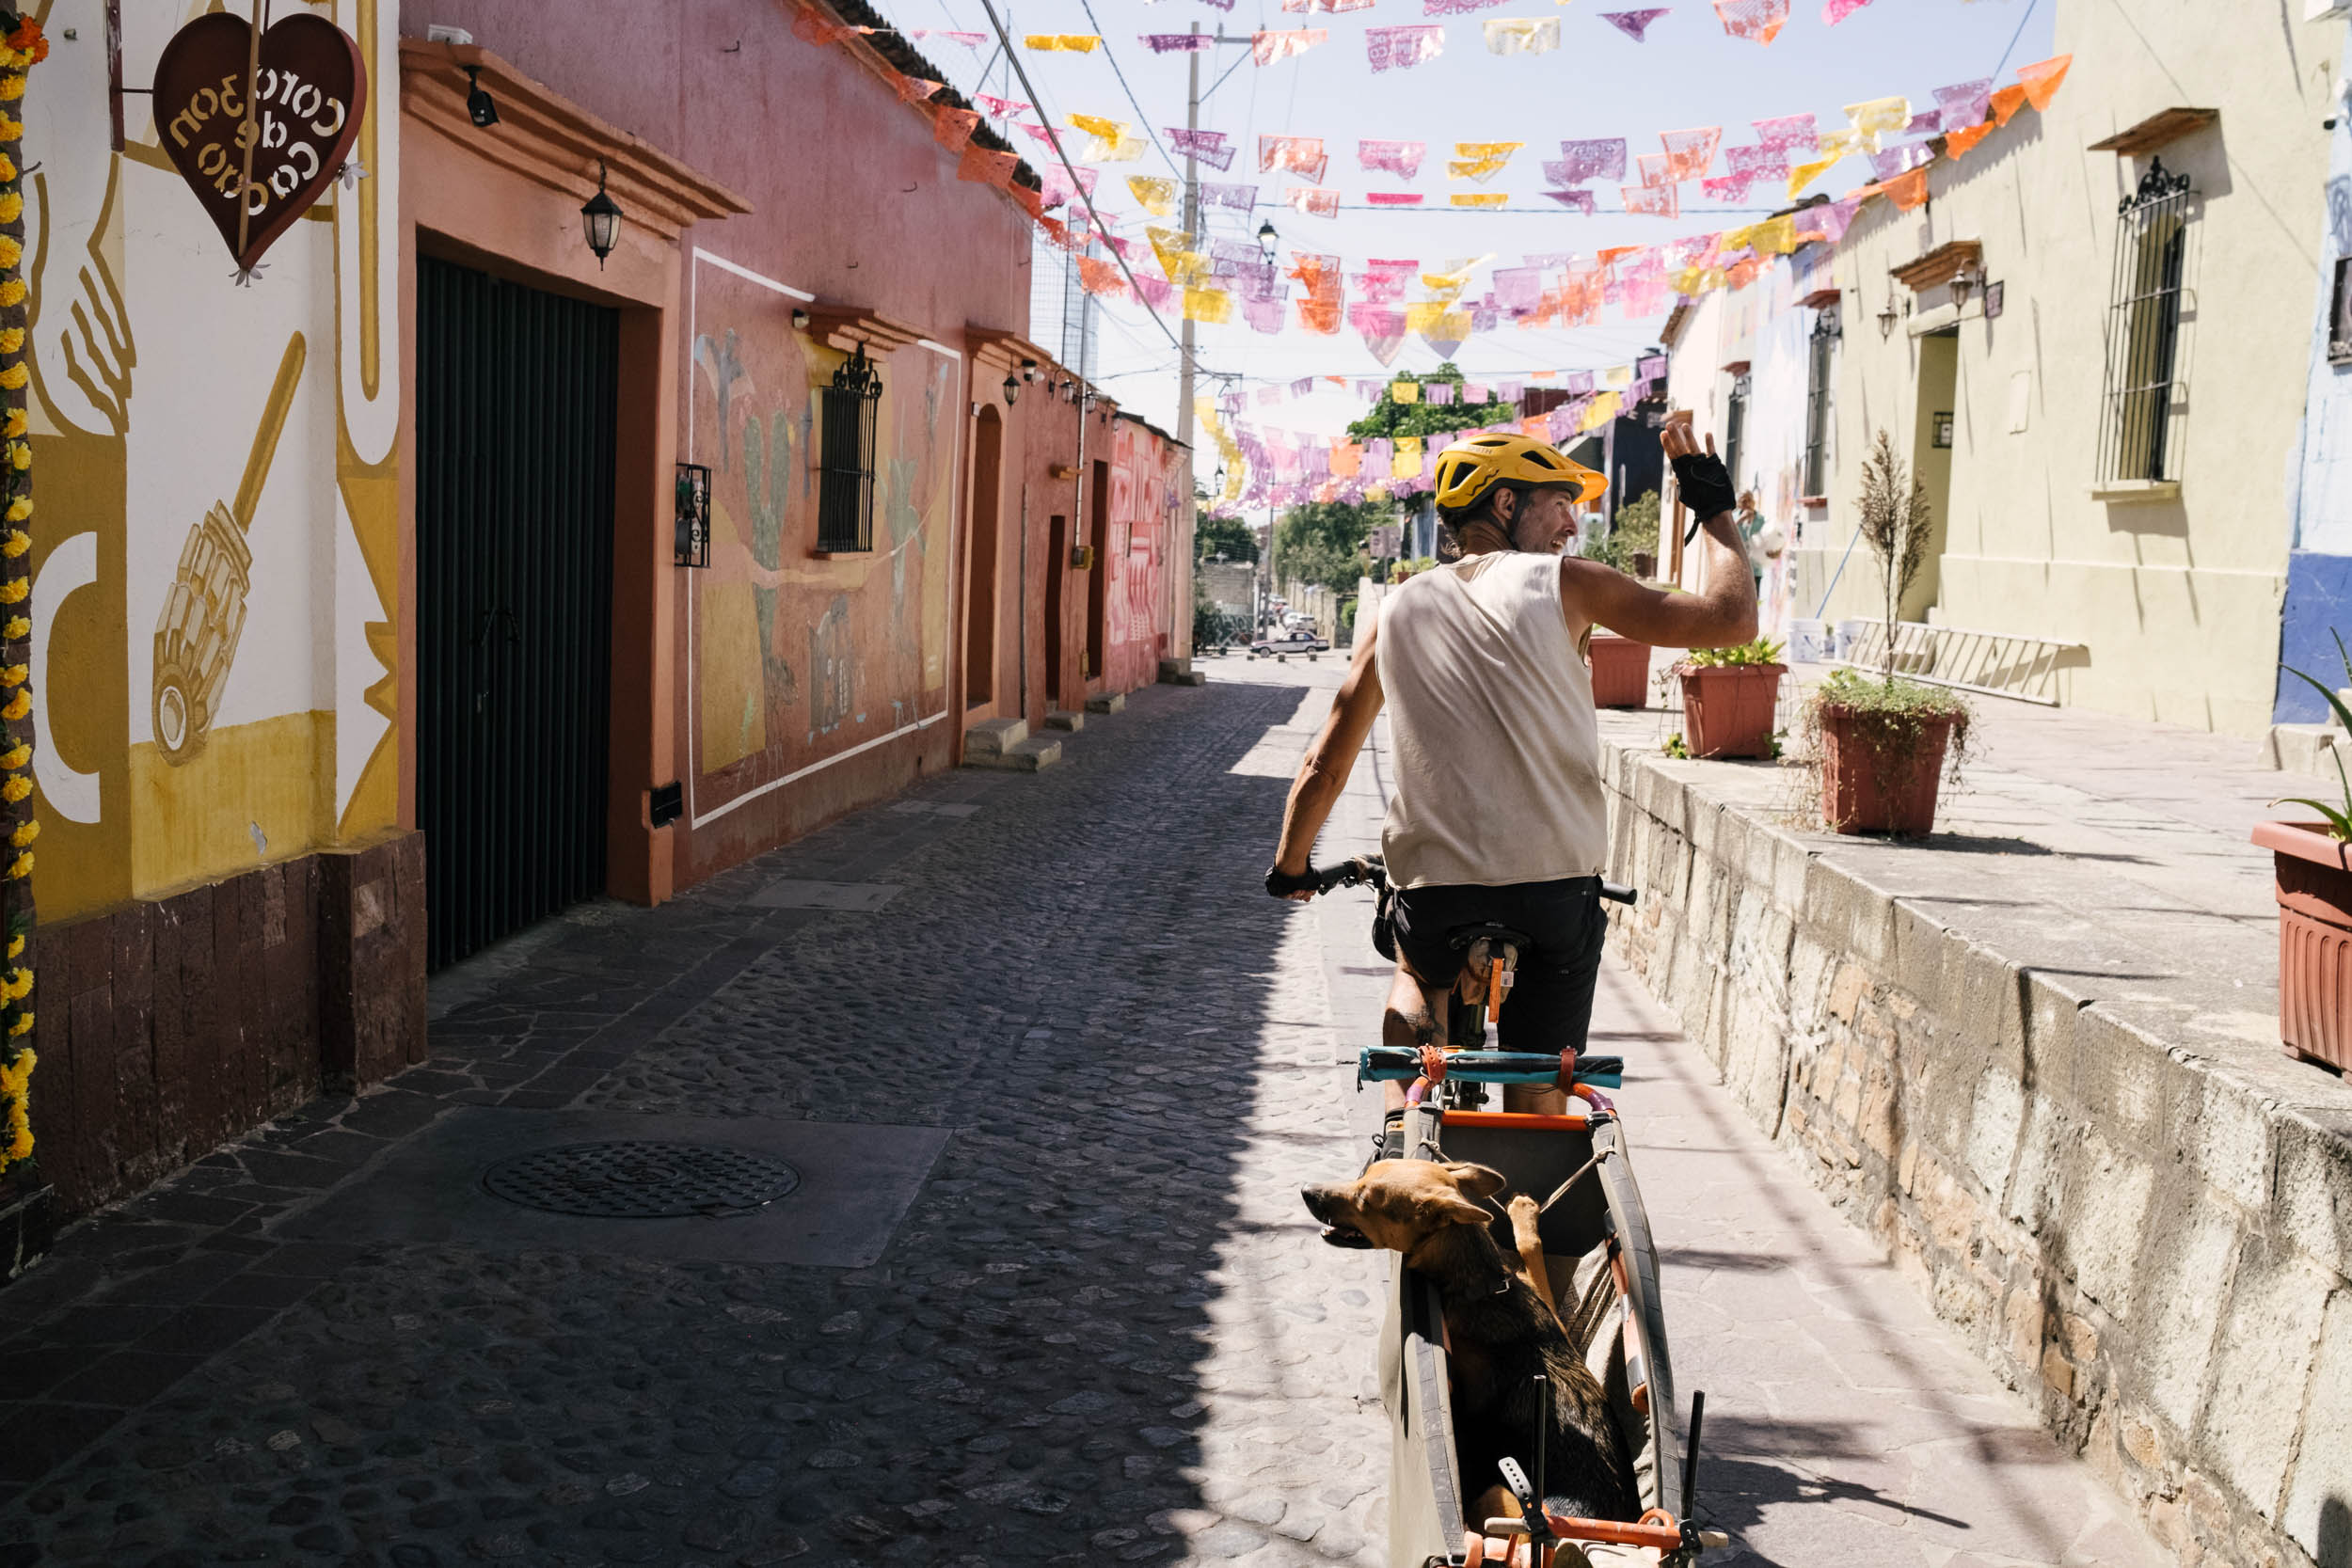
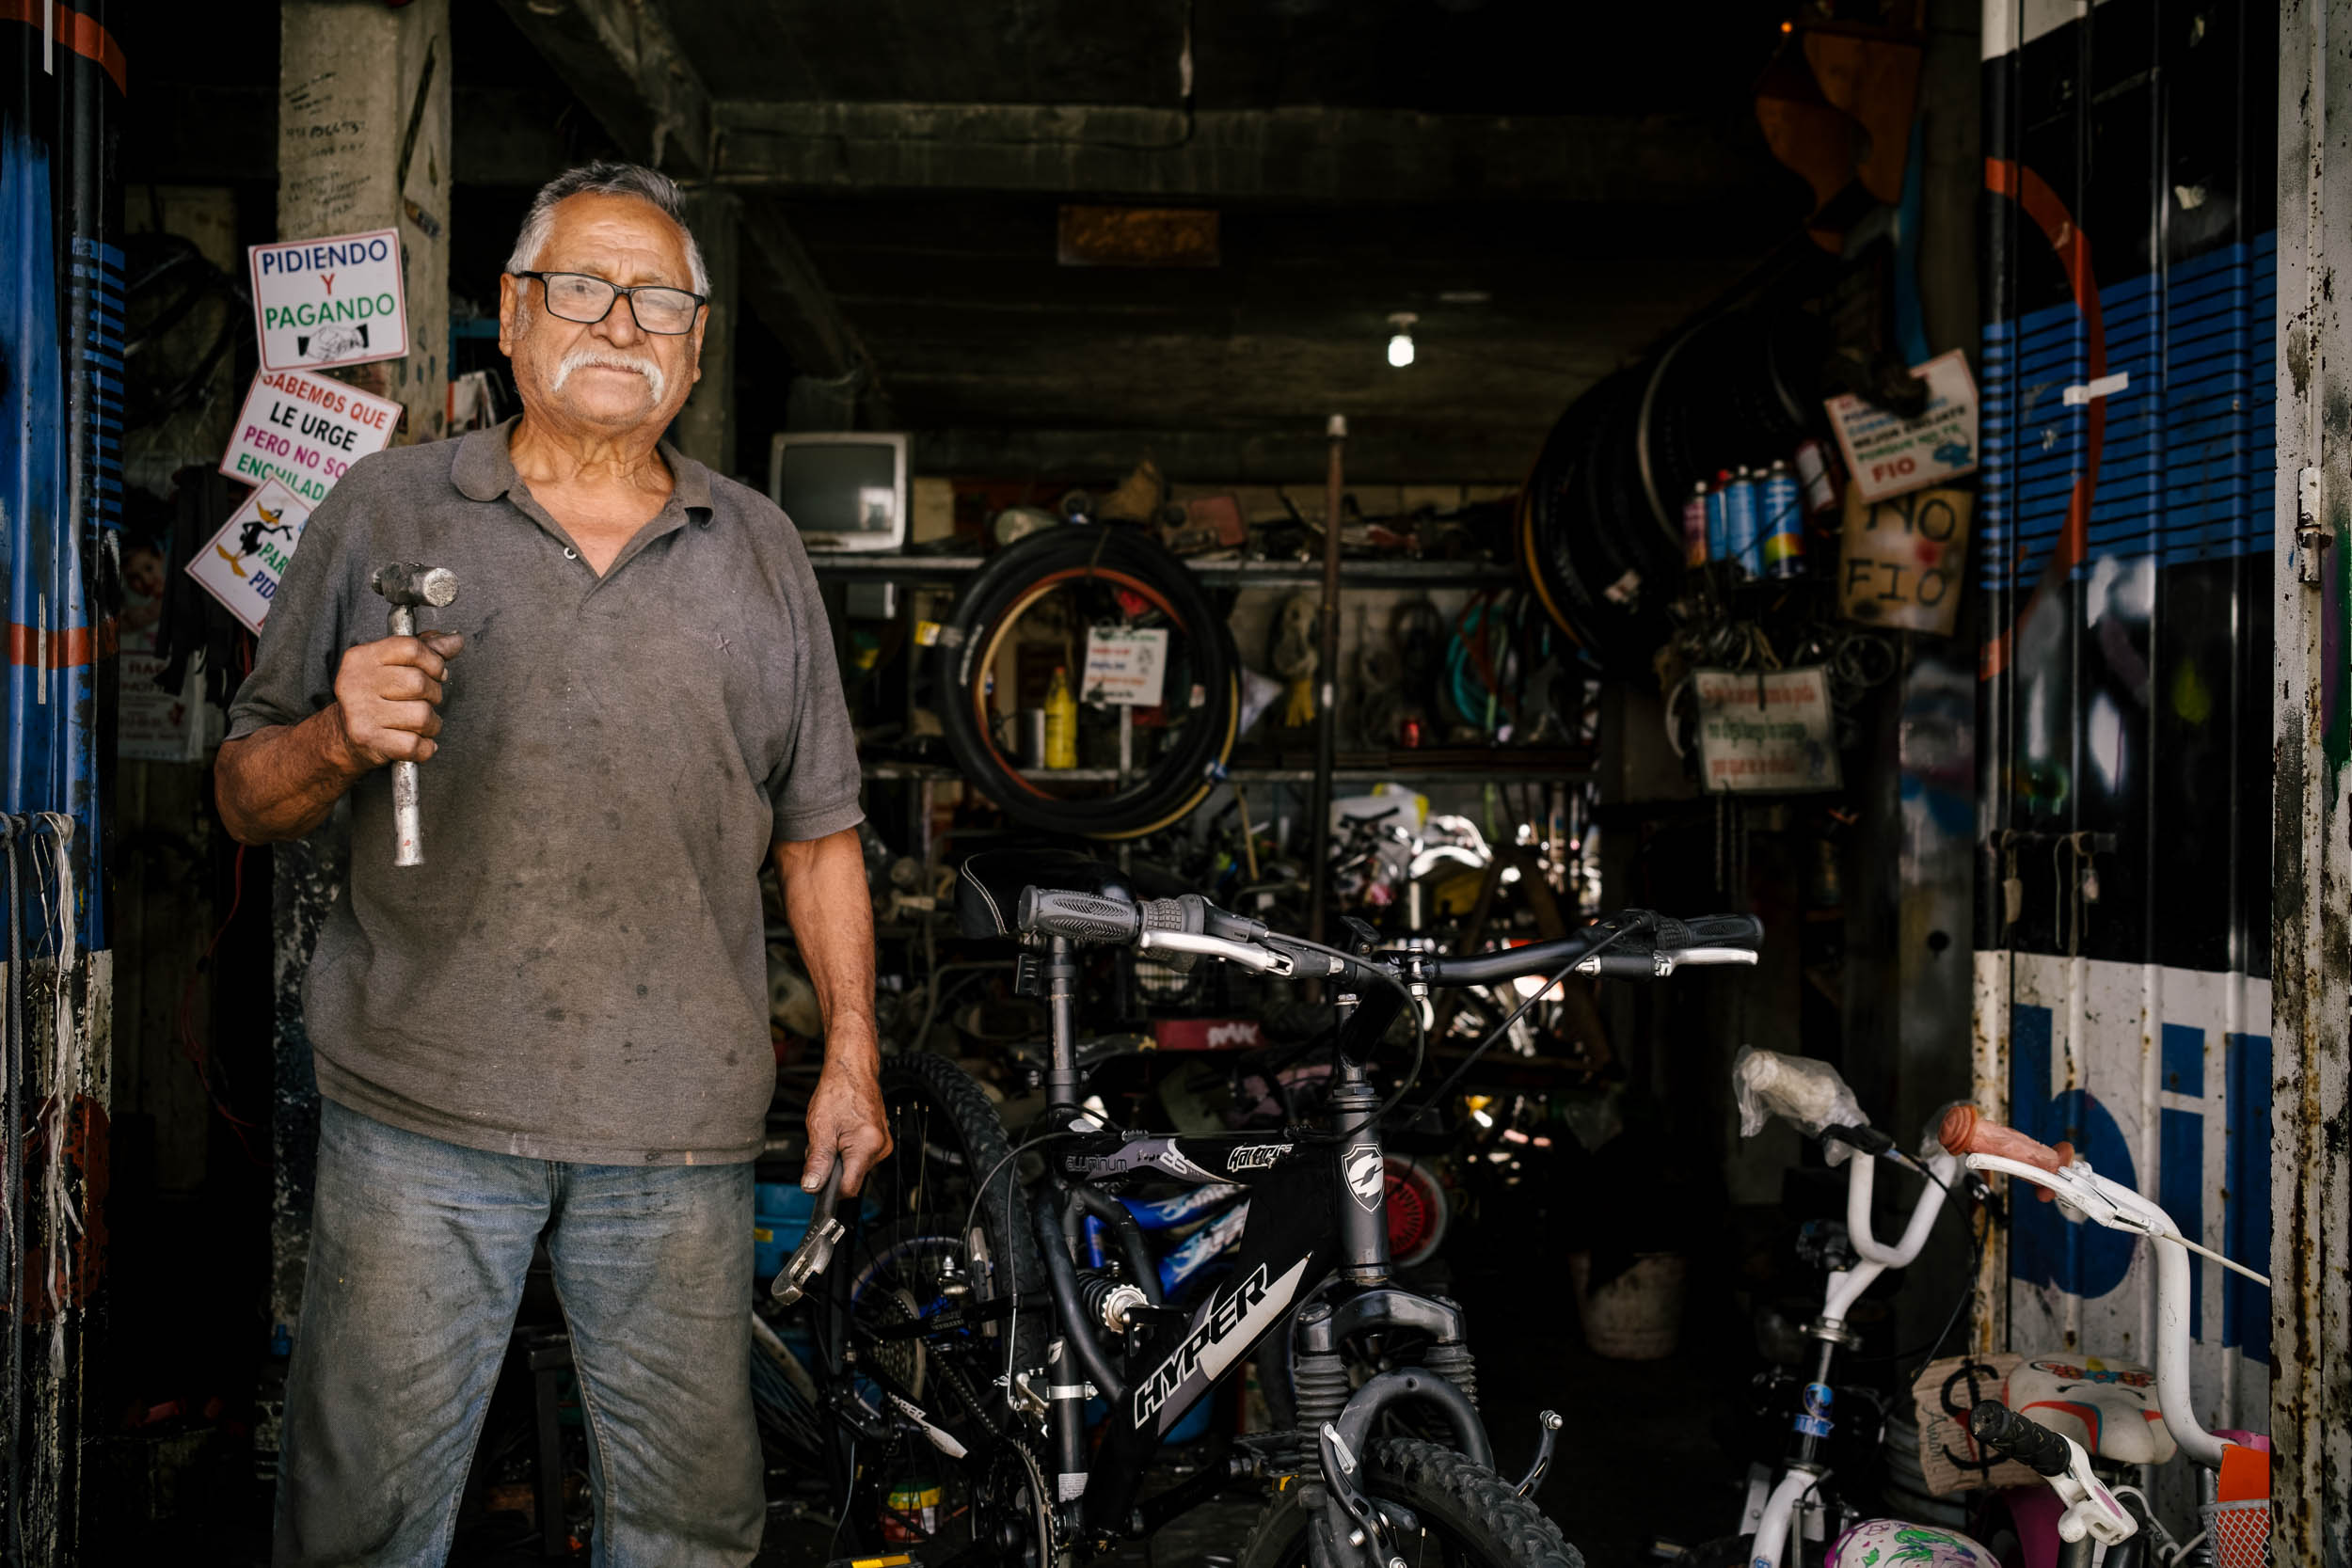
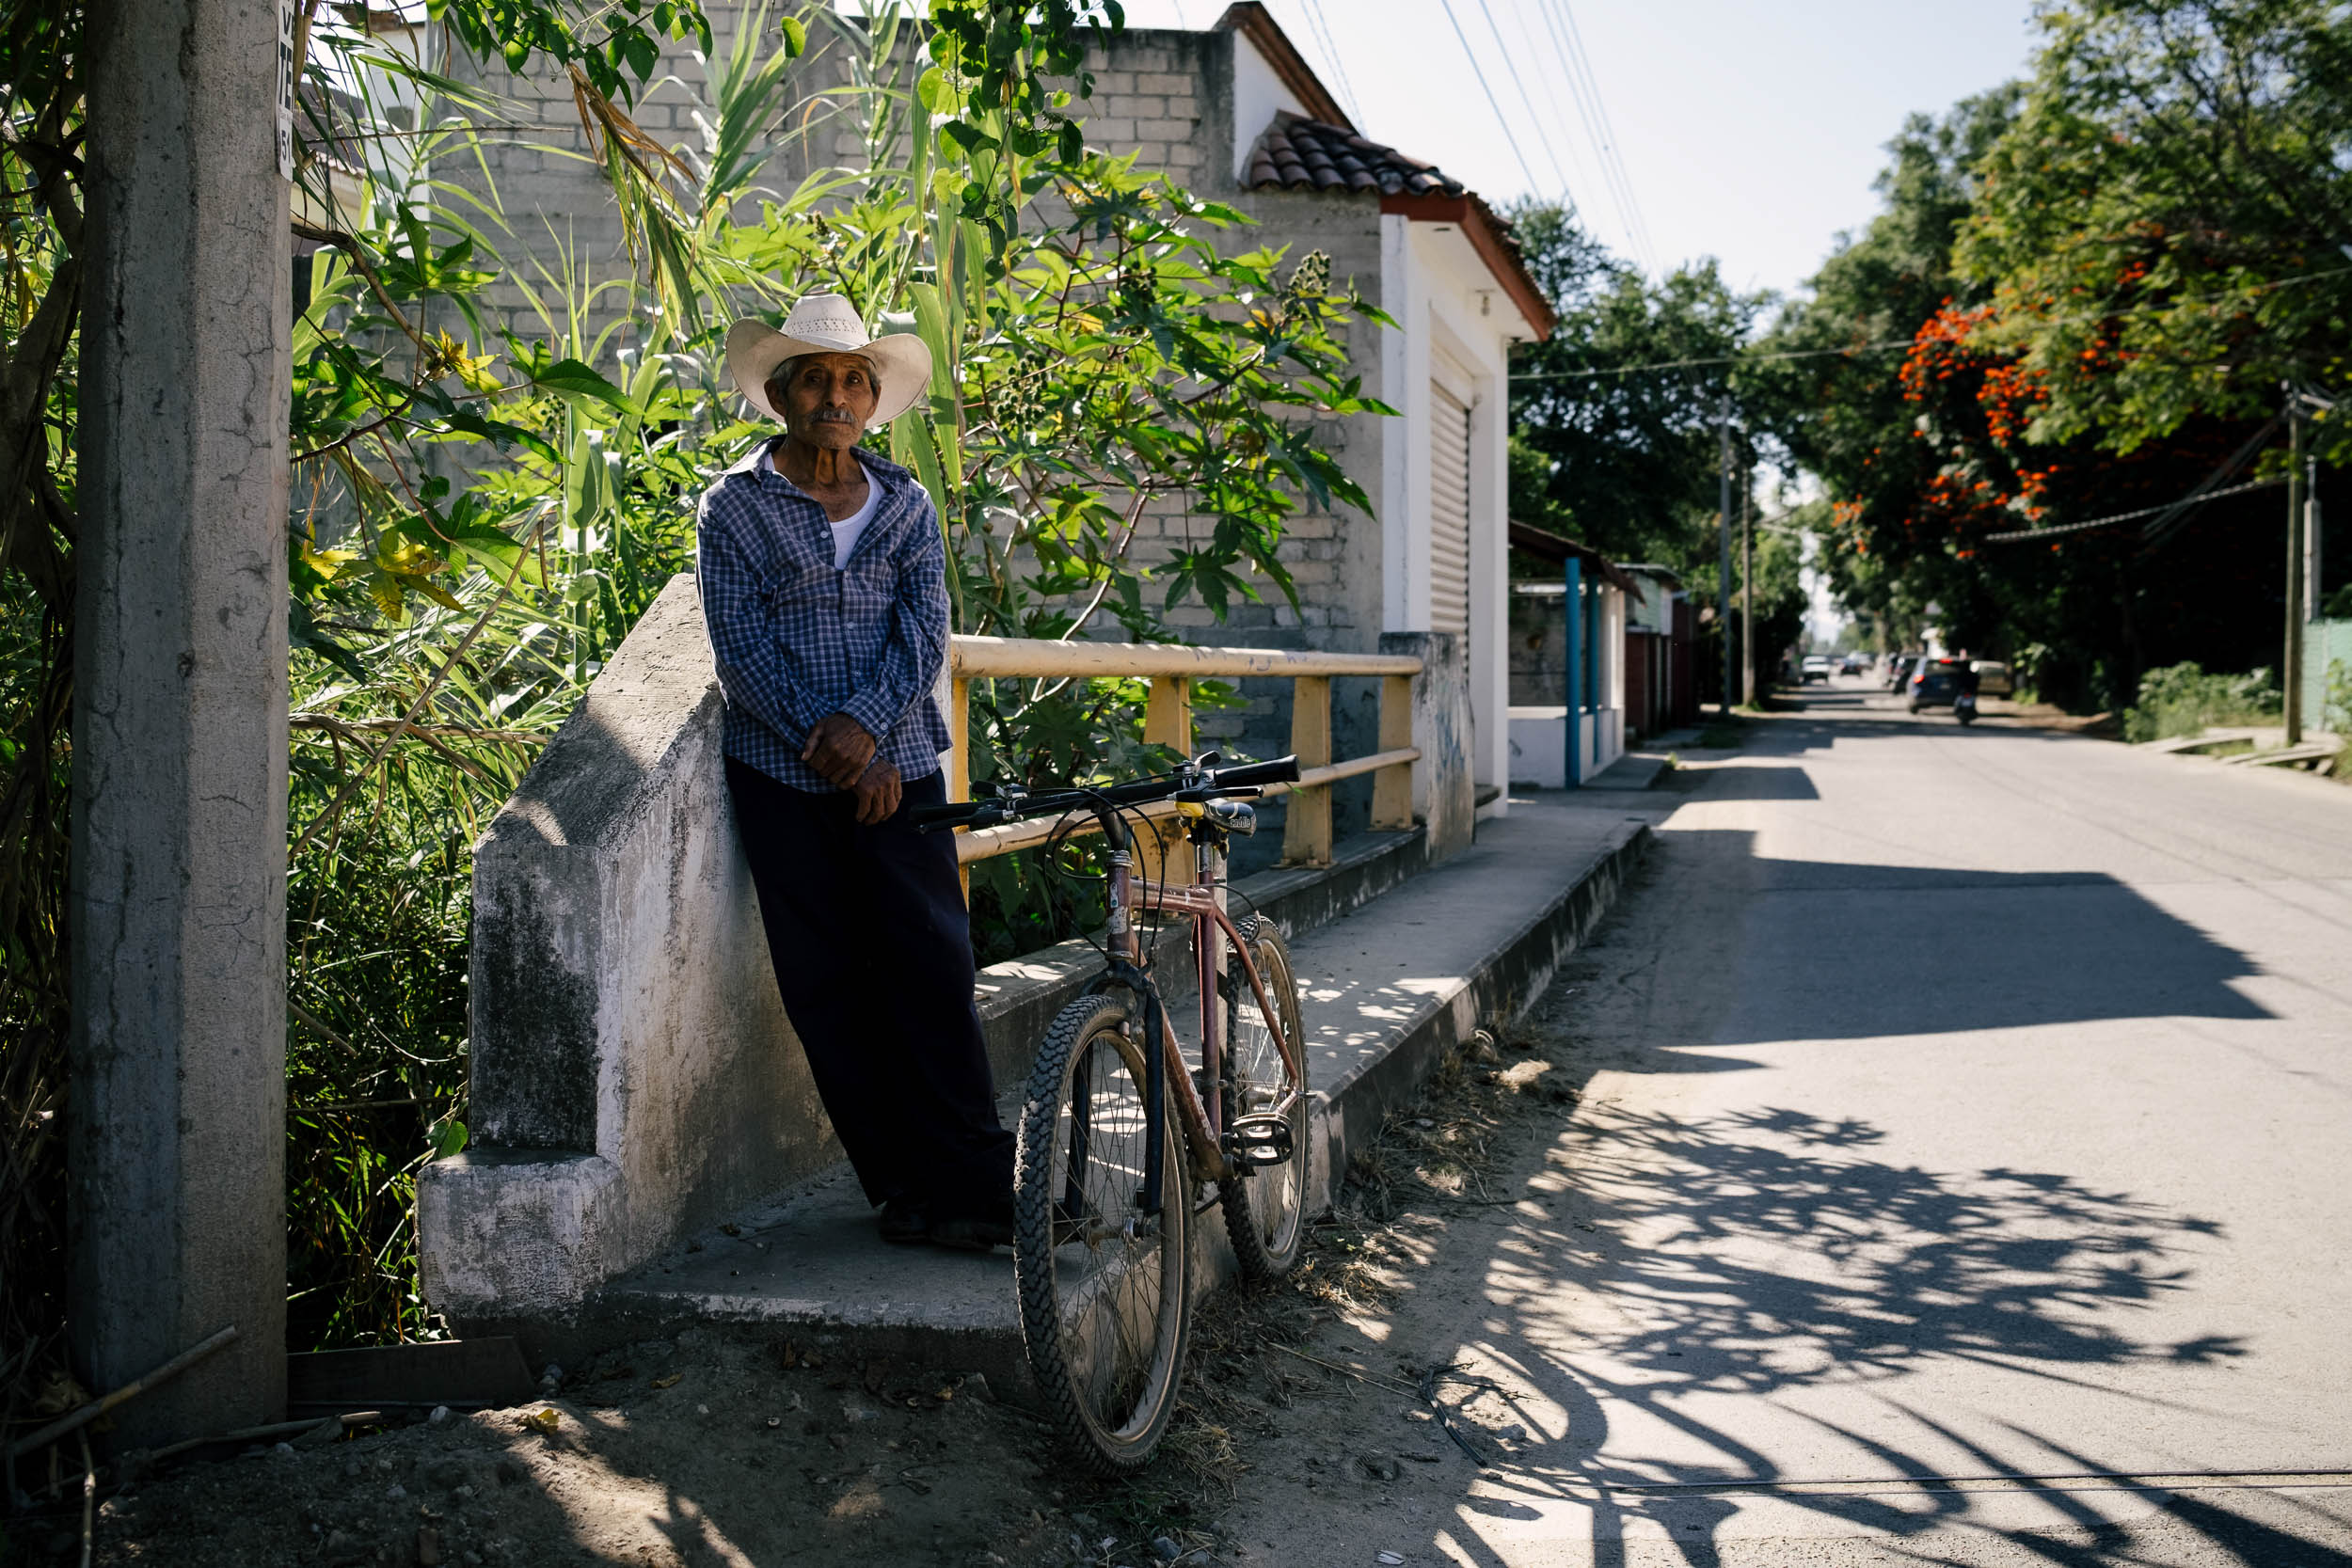
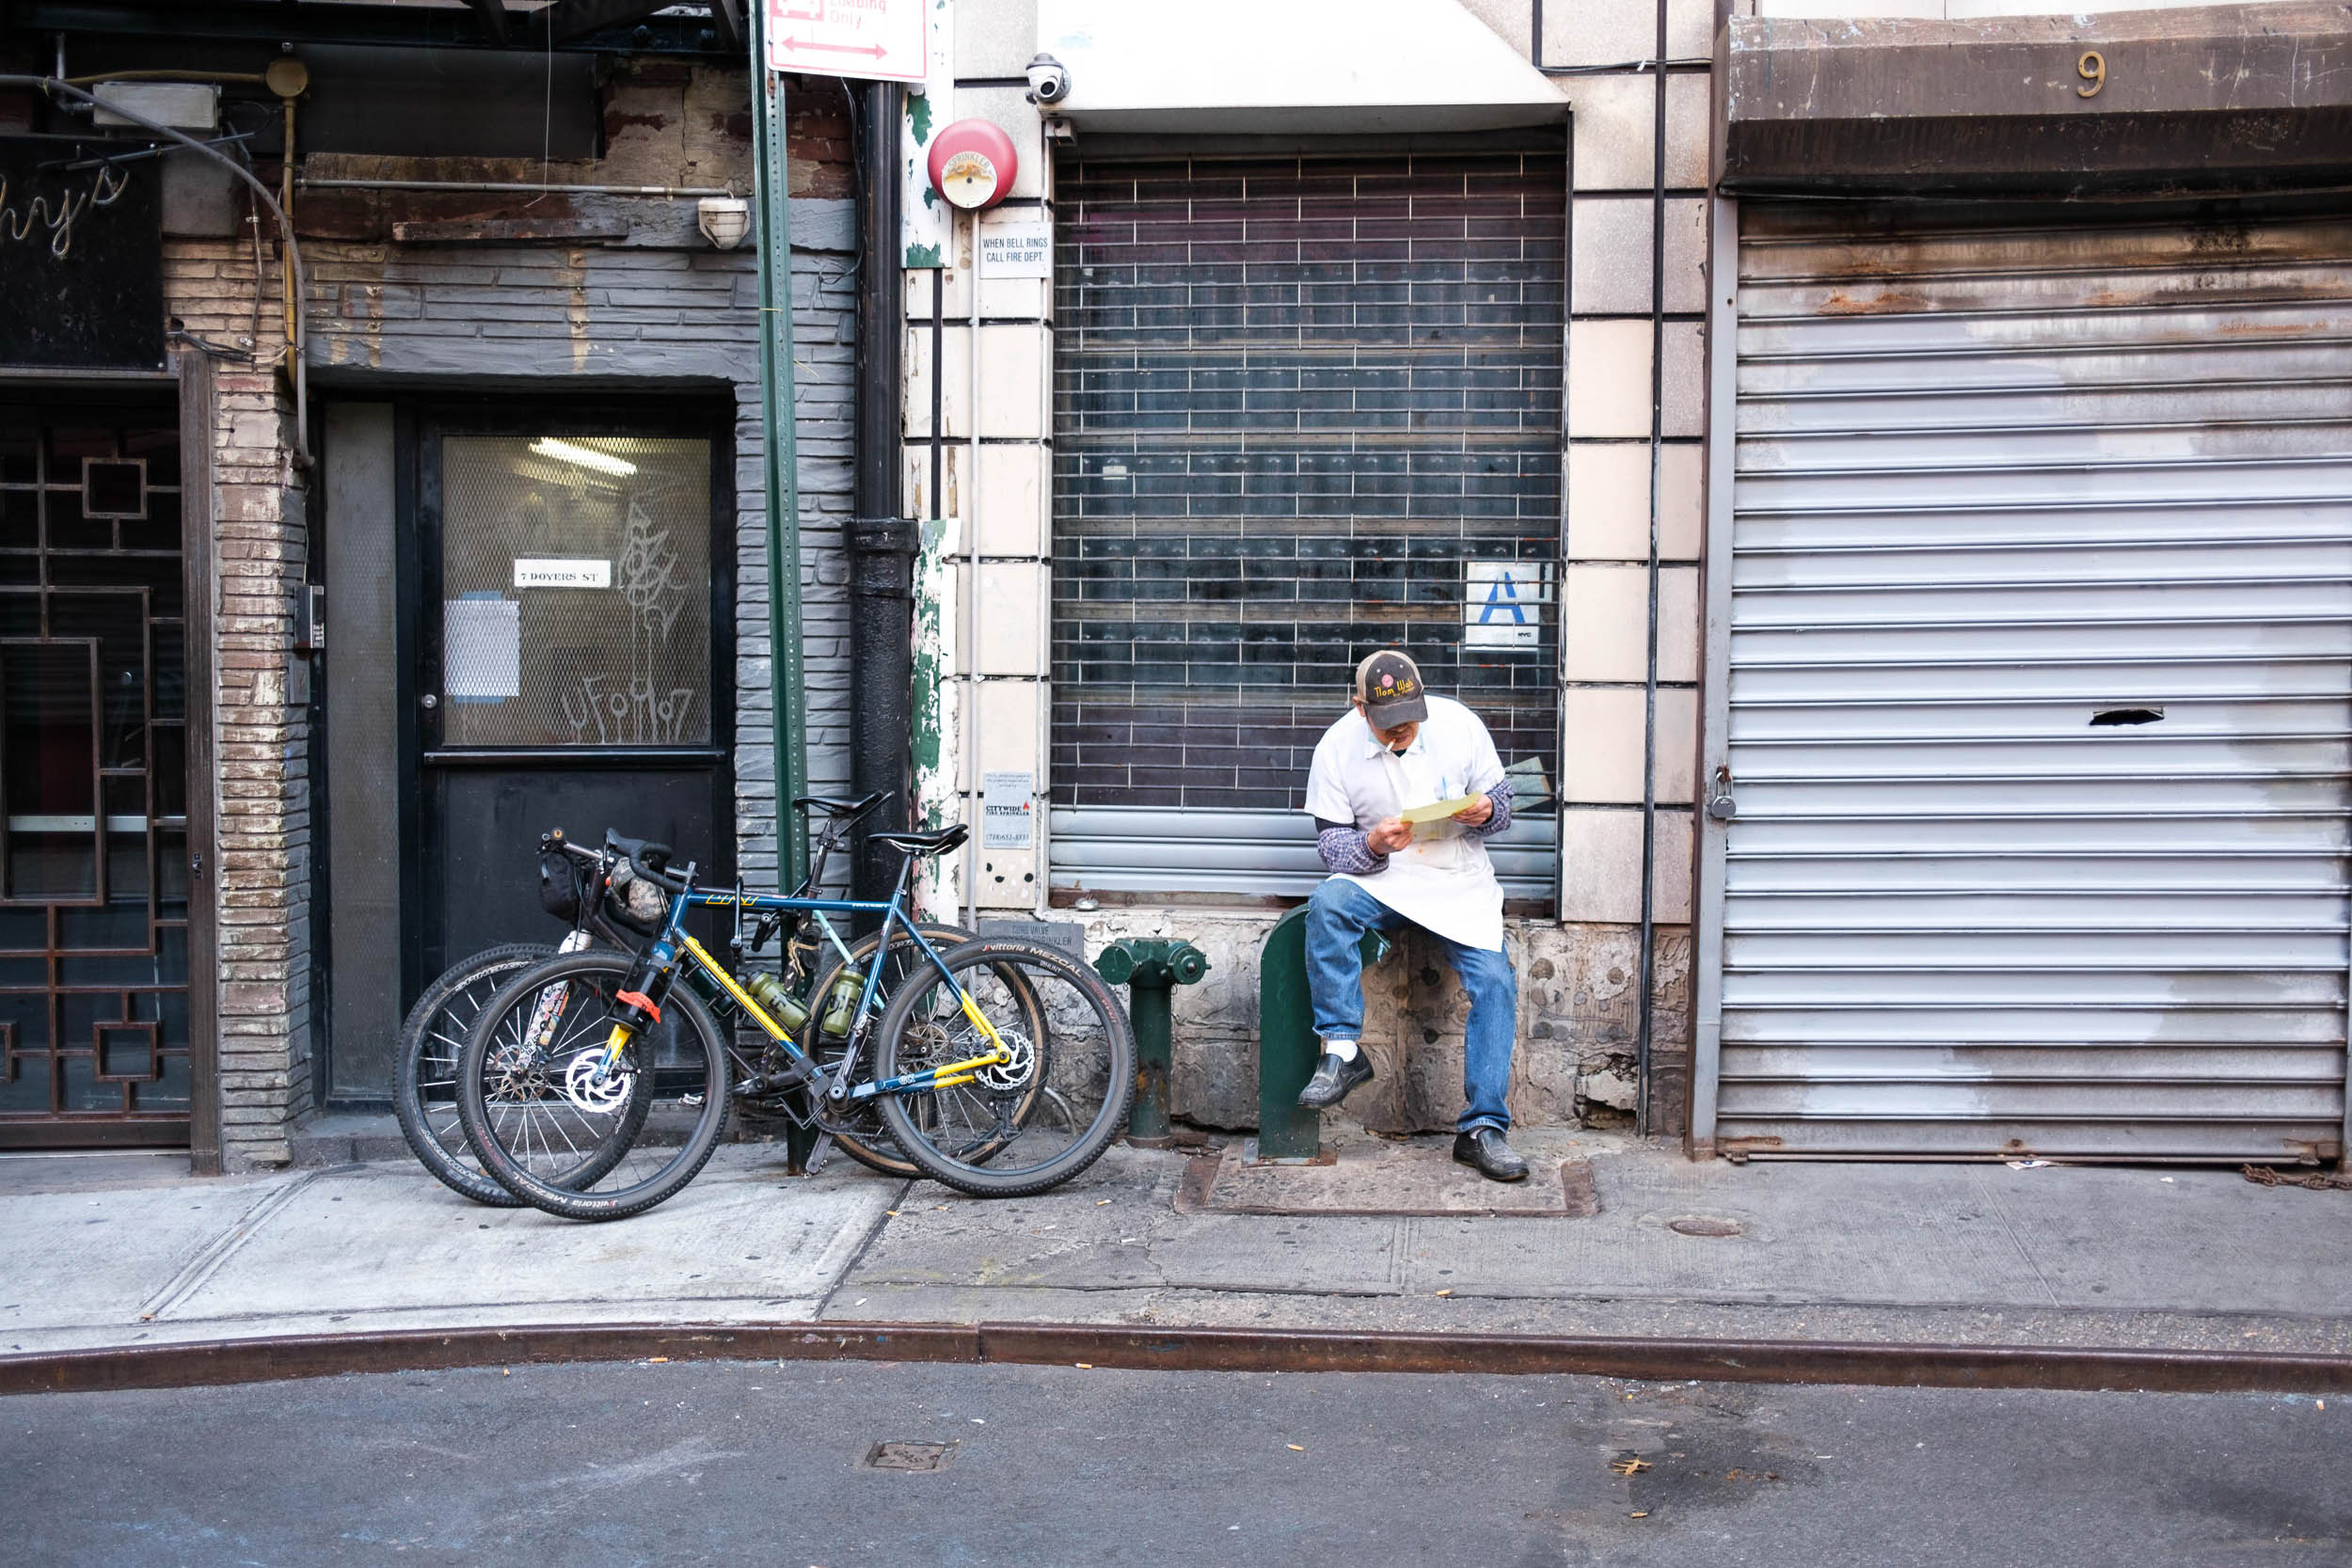
8. Portraiture
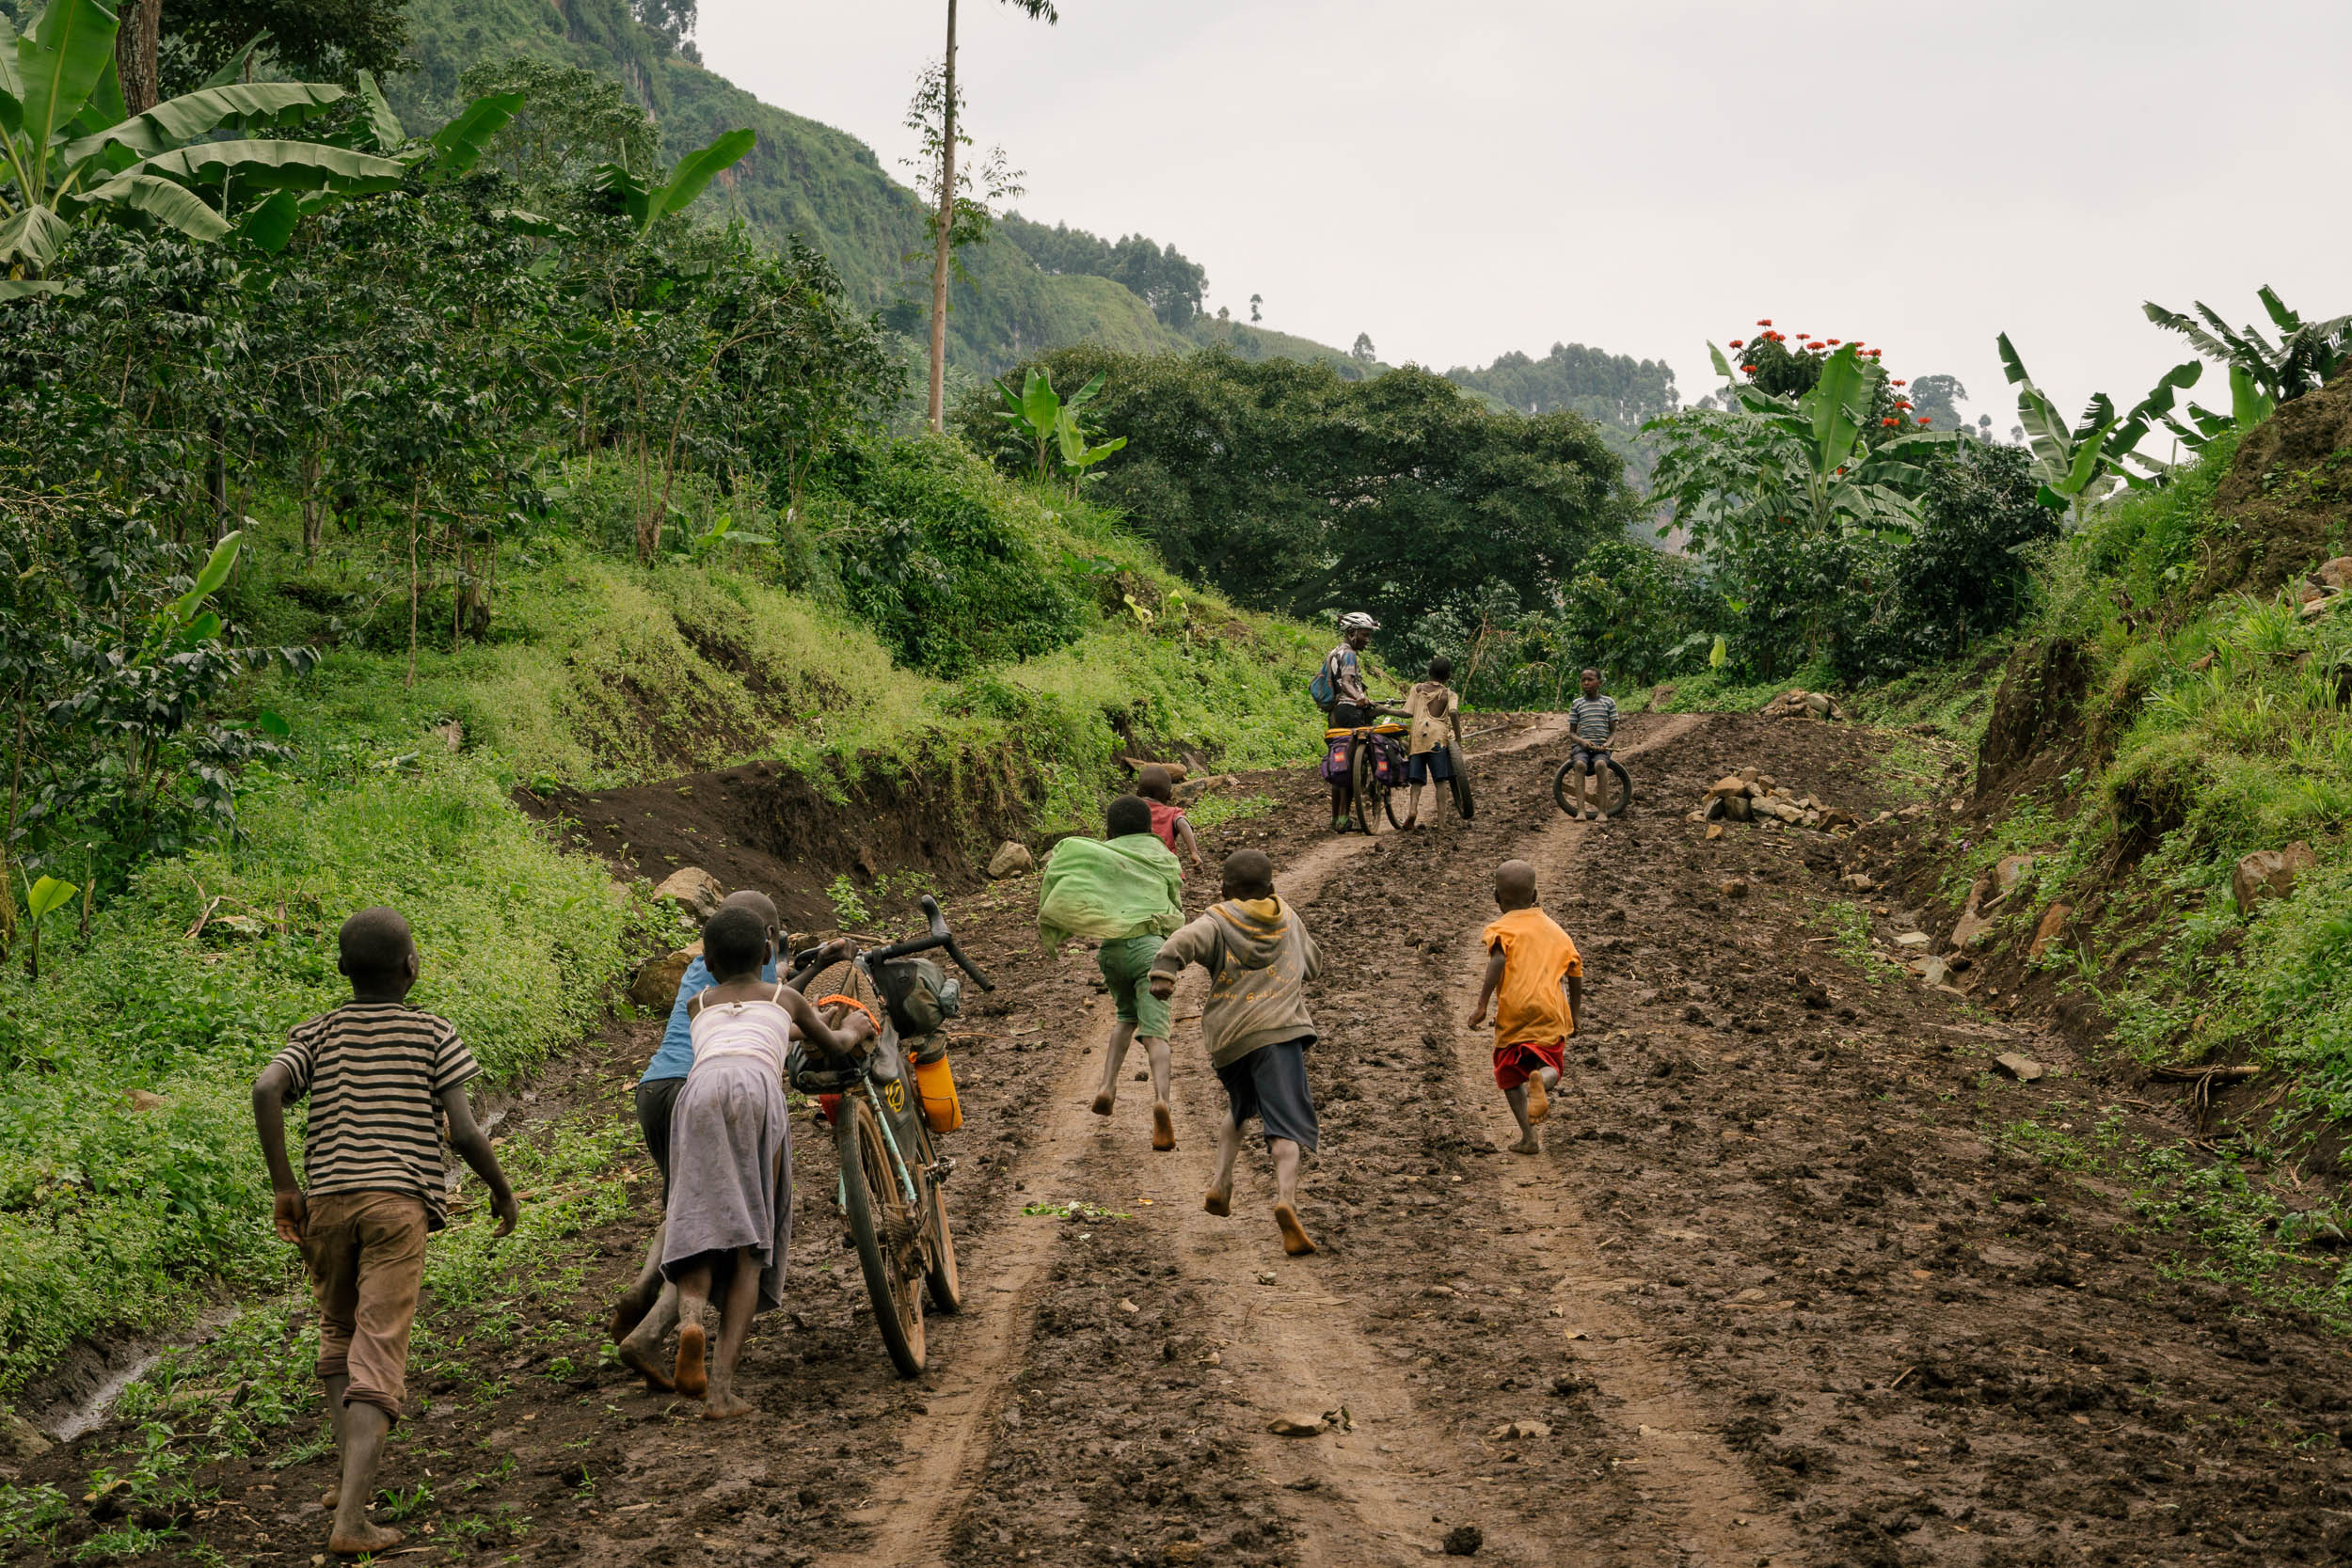
There’s nothing like good portraiture. That being said, there’s nothing harder in photography than good portraiture. Shooting photos of people is like dancing, you have to manage a relationship with the person, the camera, their relationship with the camera, and the scene all at once. I love taking pictures of the people I meet along the way to help me remember the ride, and find the act itself super exhilarating. My best advice for portraiture? Every good photo of a person begins with a conversation, or some sort of acknowledgement. Never just stick a camera in someone’s face and start shooting. Especially children. Ethically, this can become a can of worms. In general, please just be a nice person, and treat anyone you’re photographing with respect after getting their consent to shoot a portrait of them.

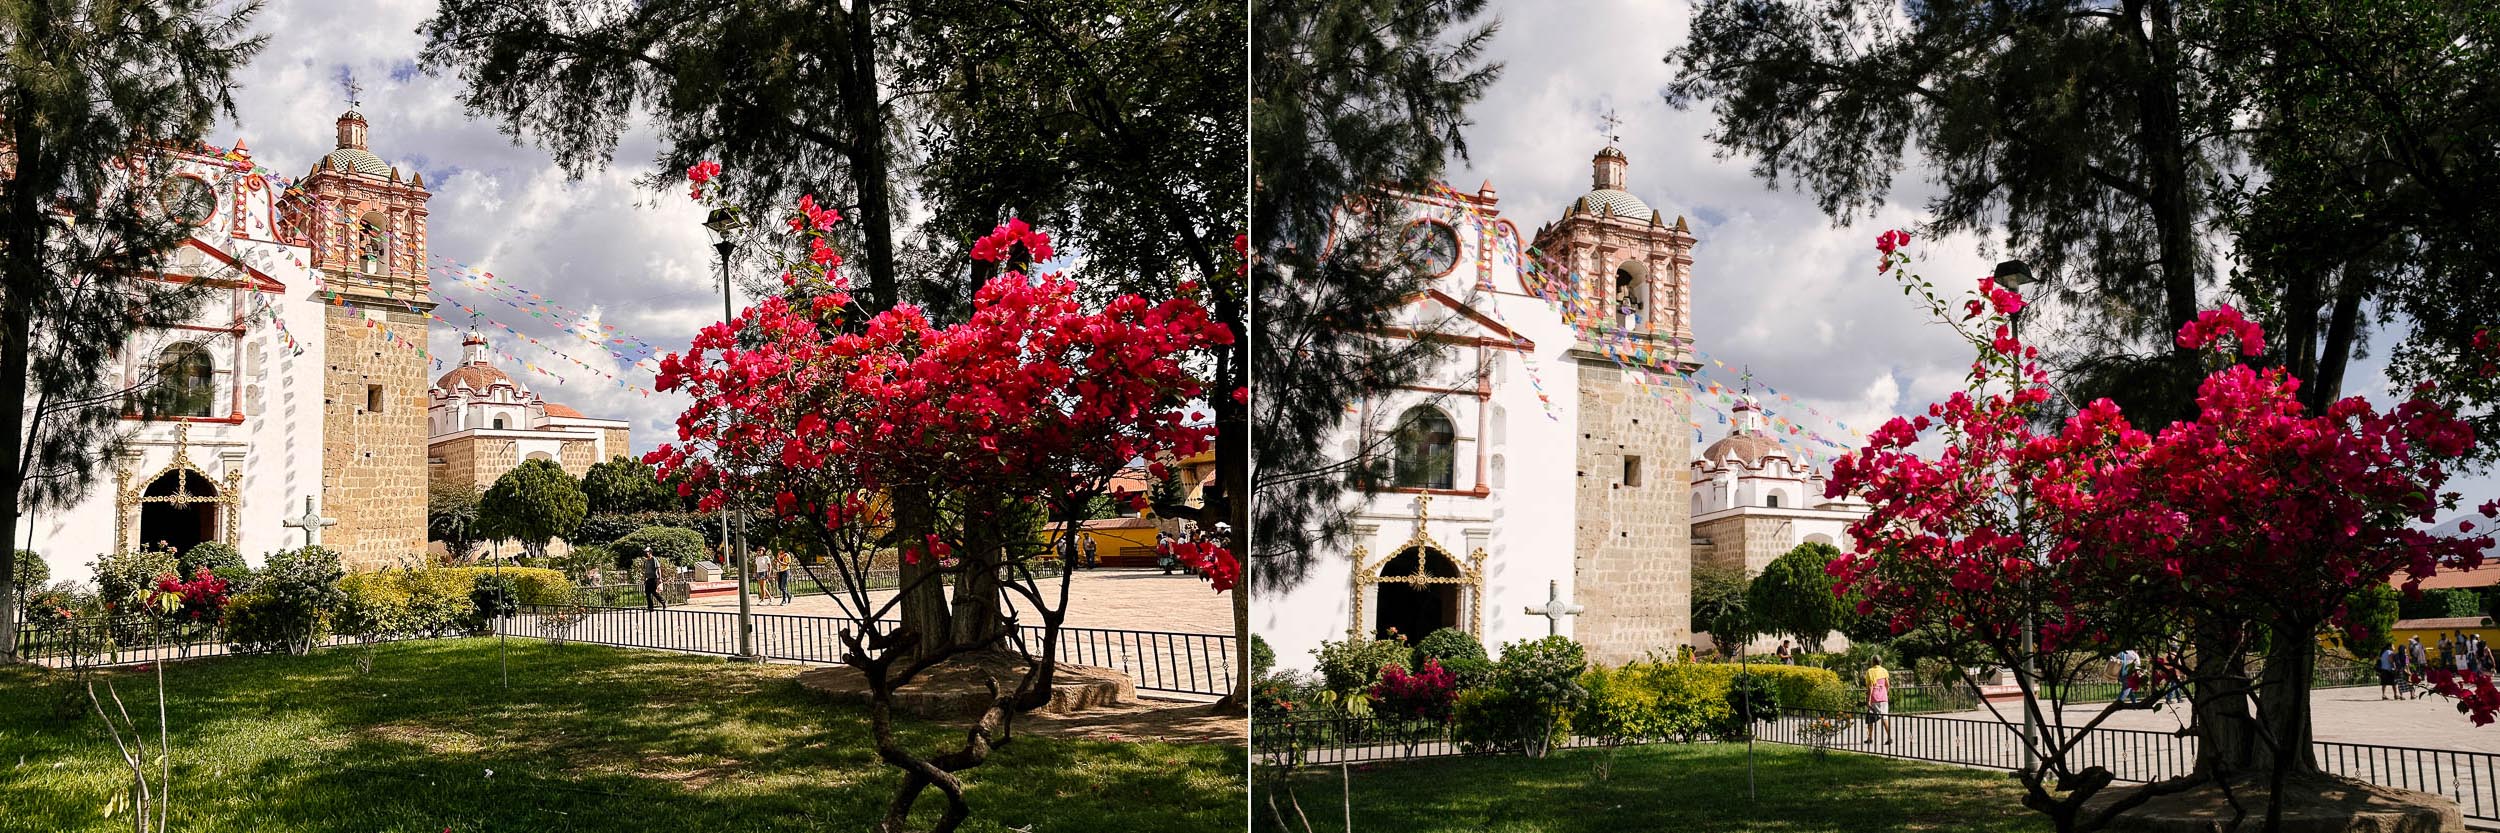
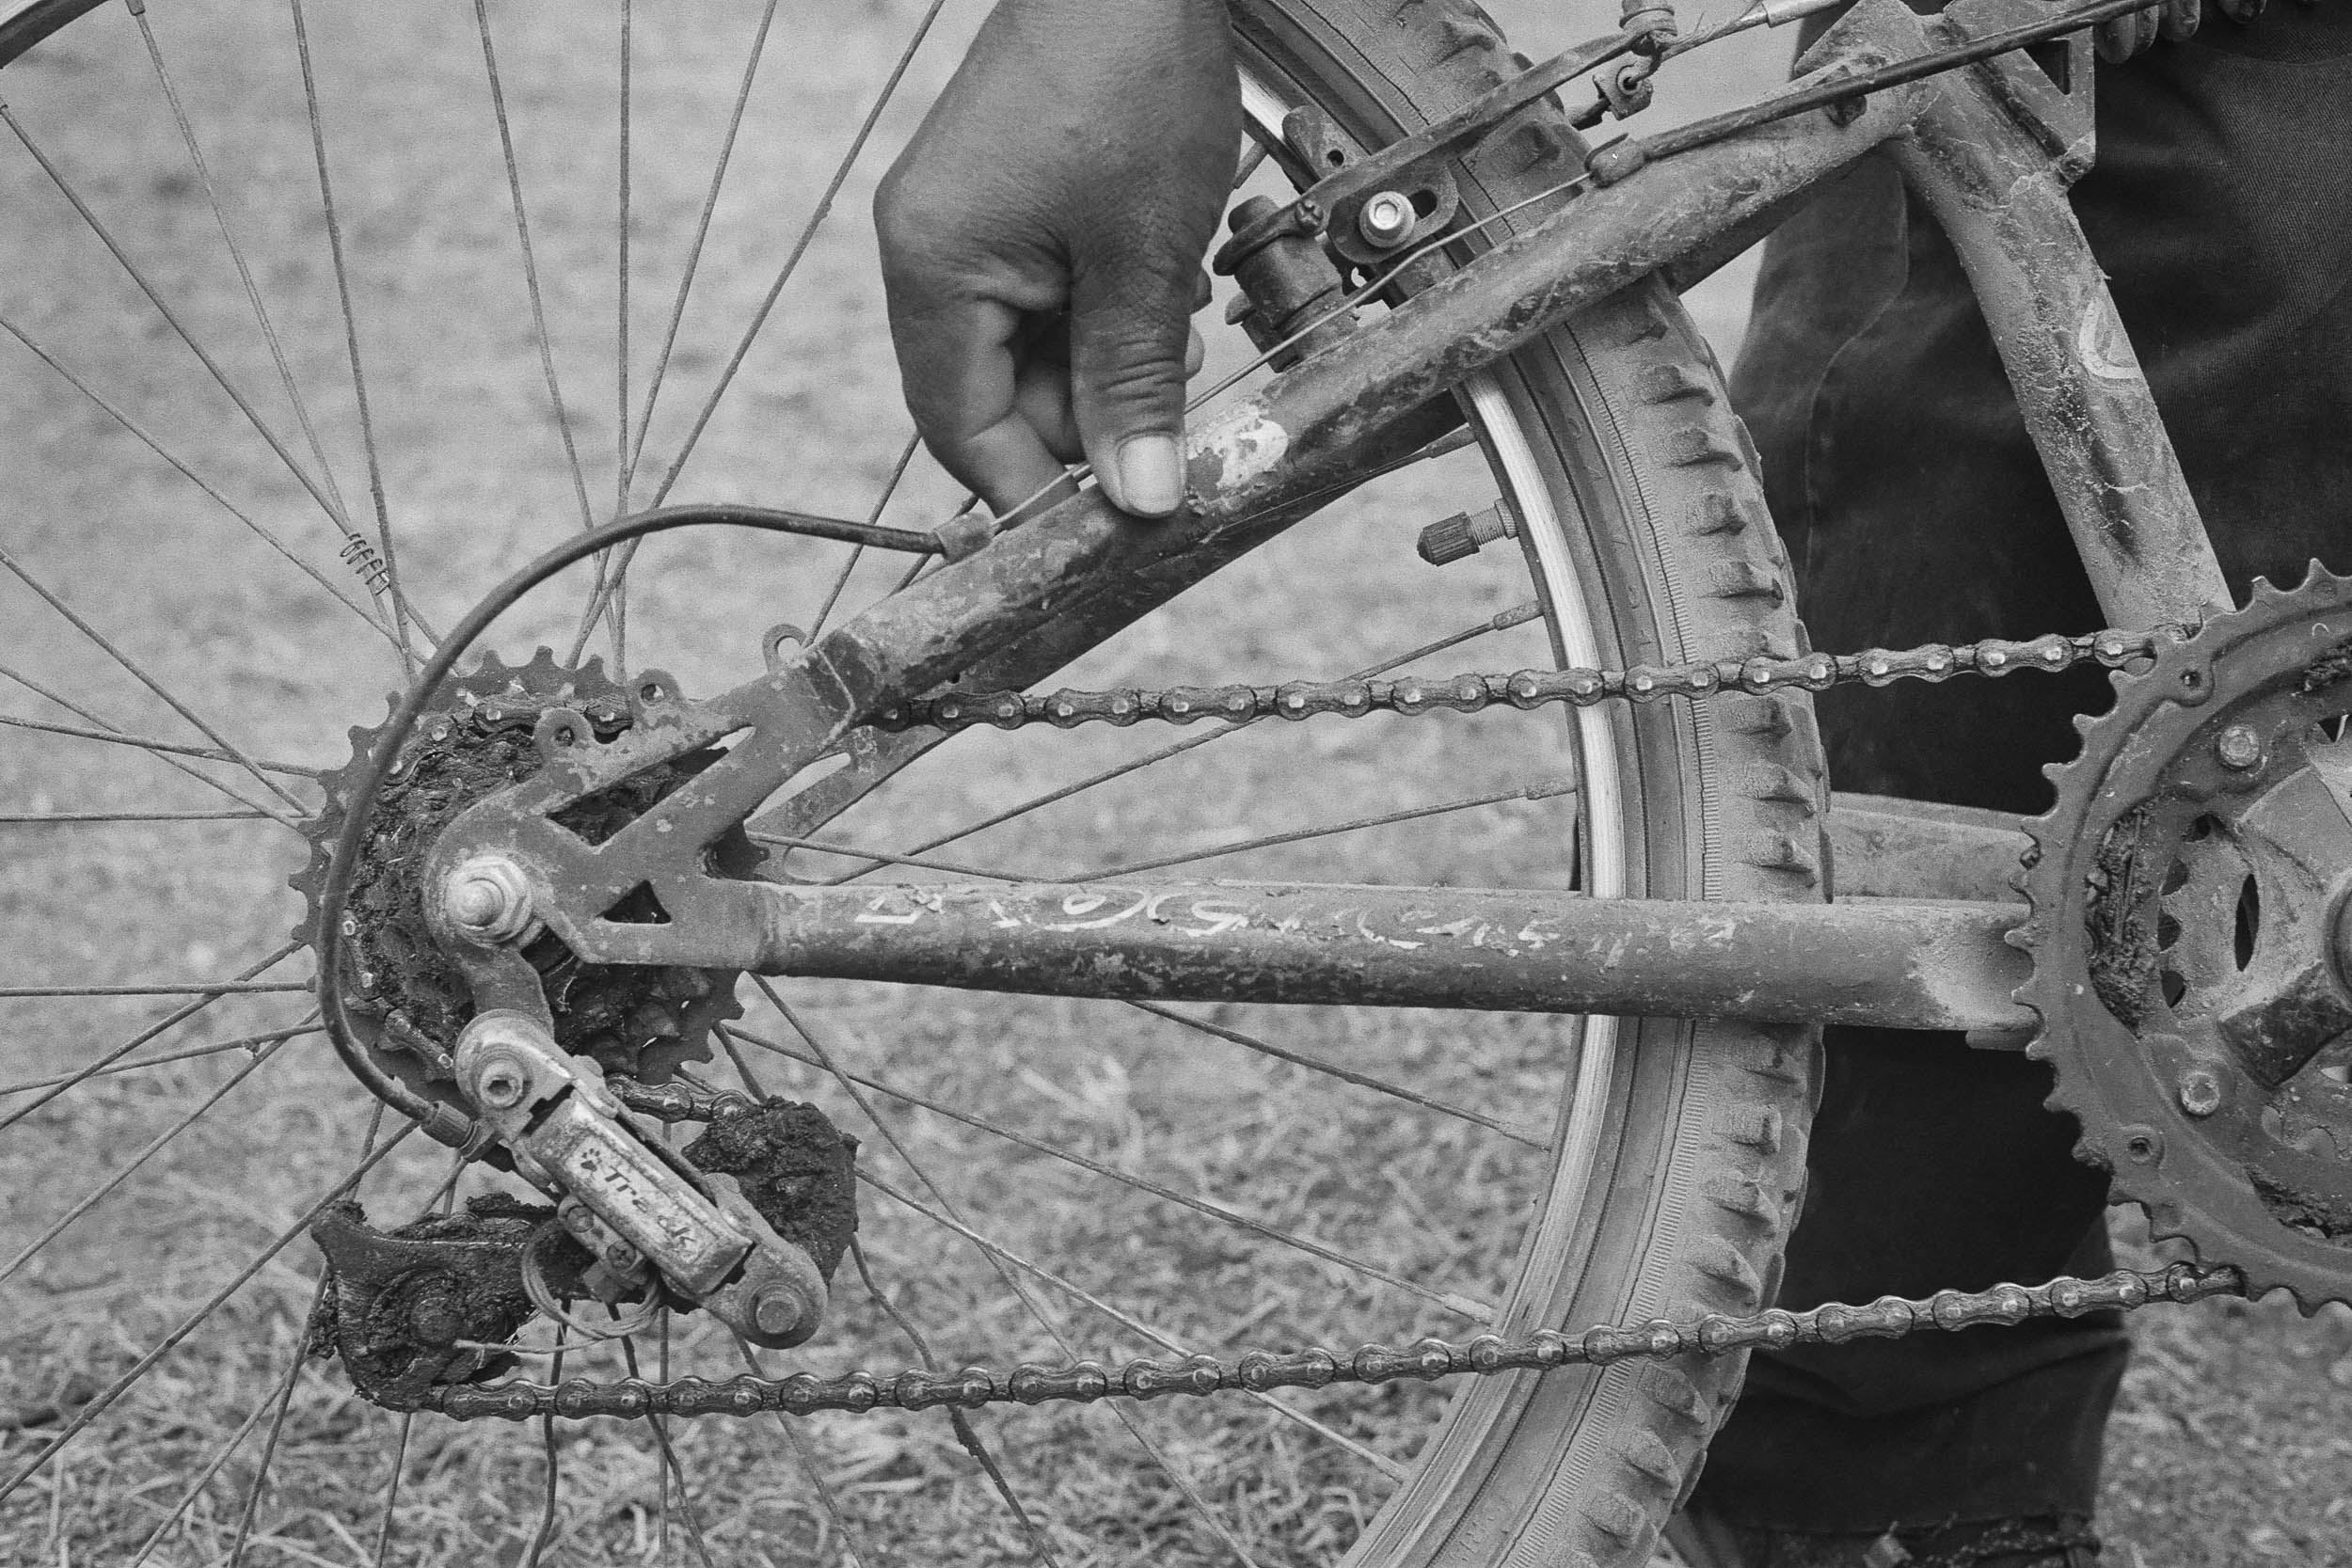
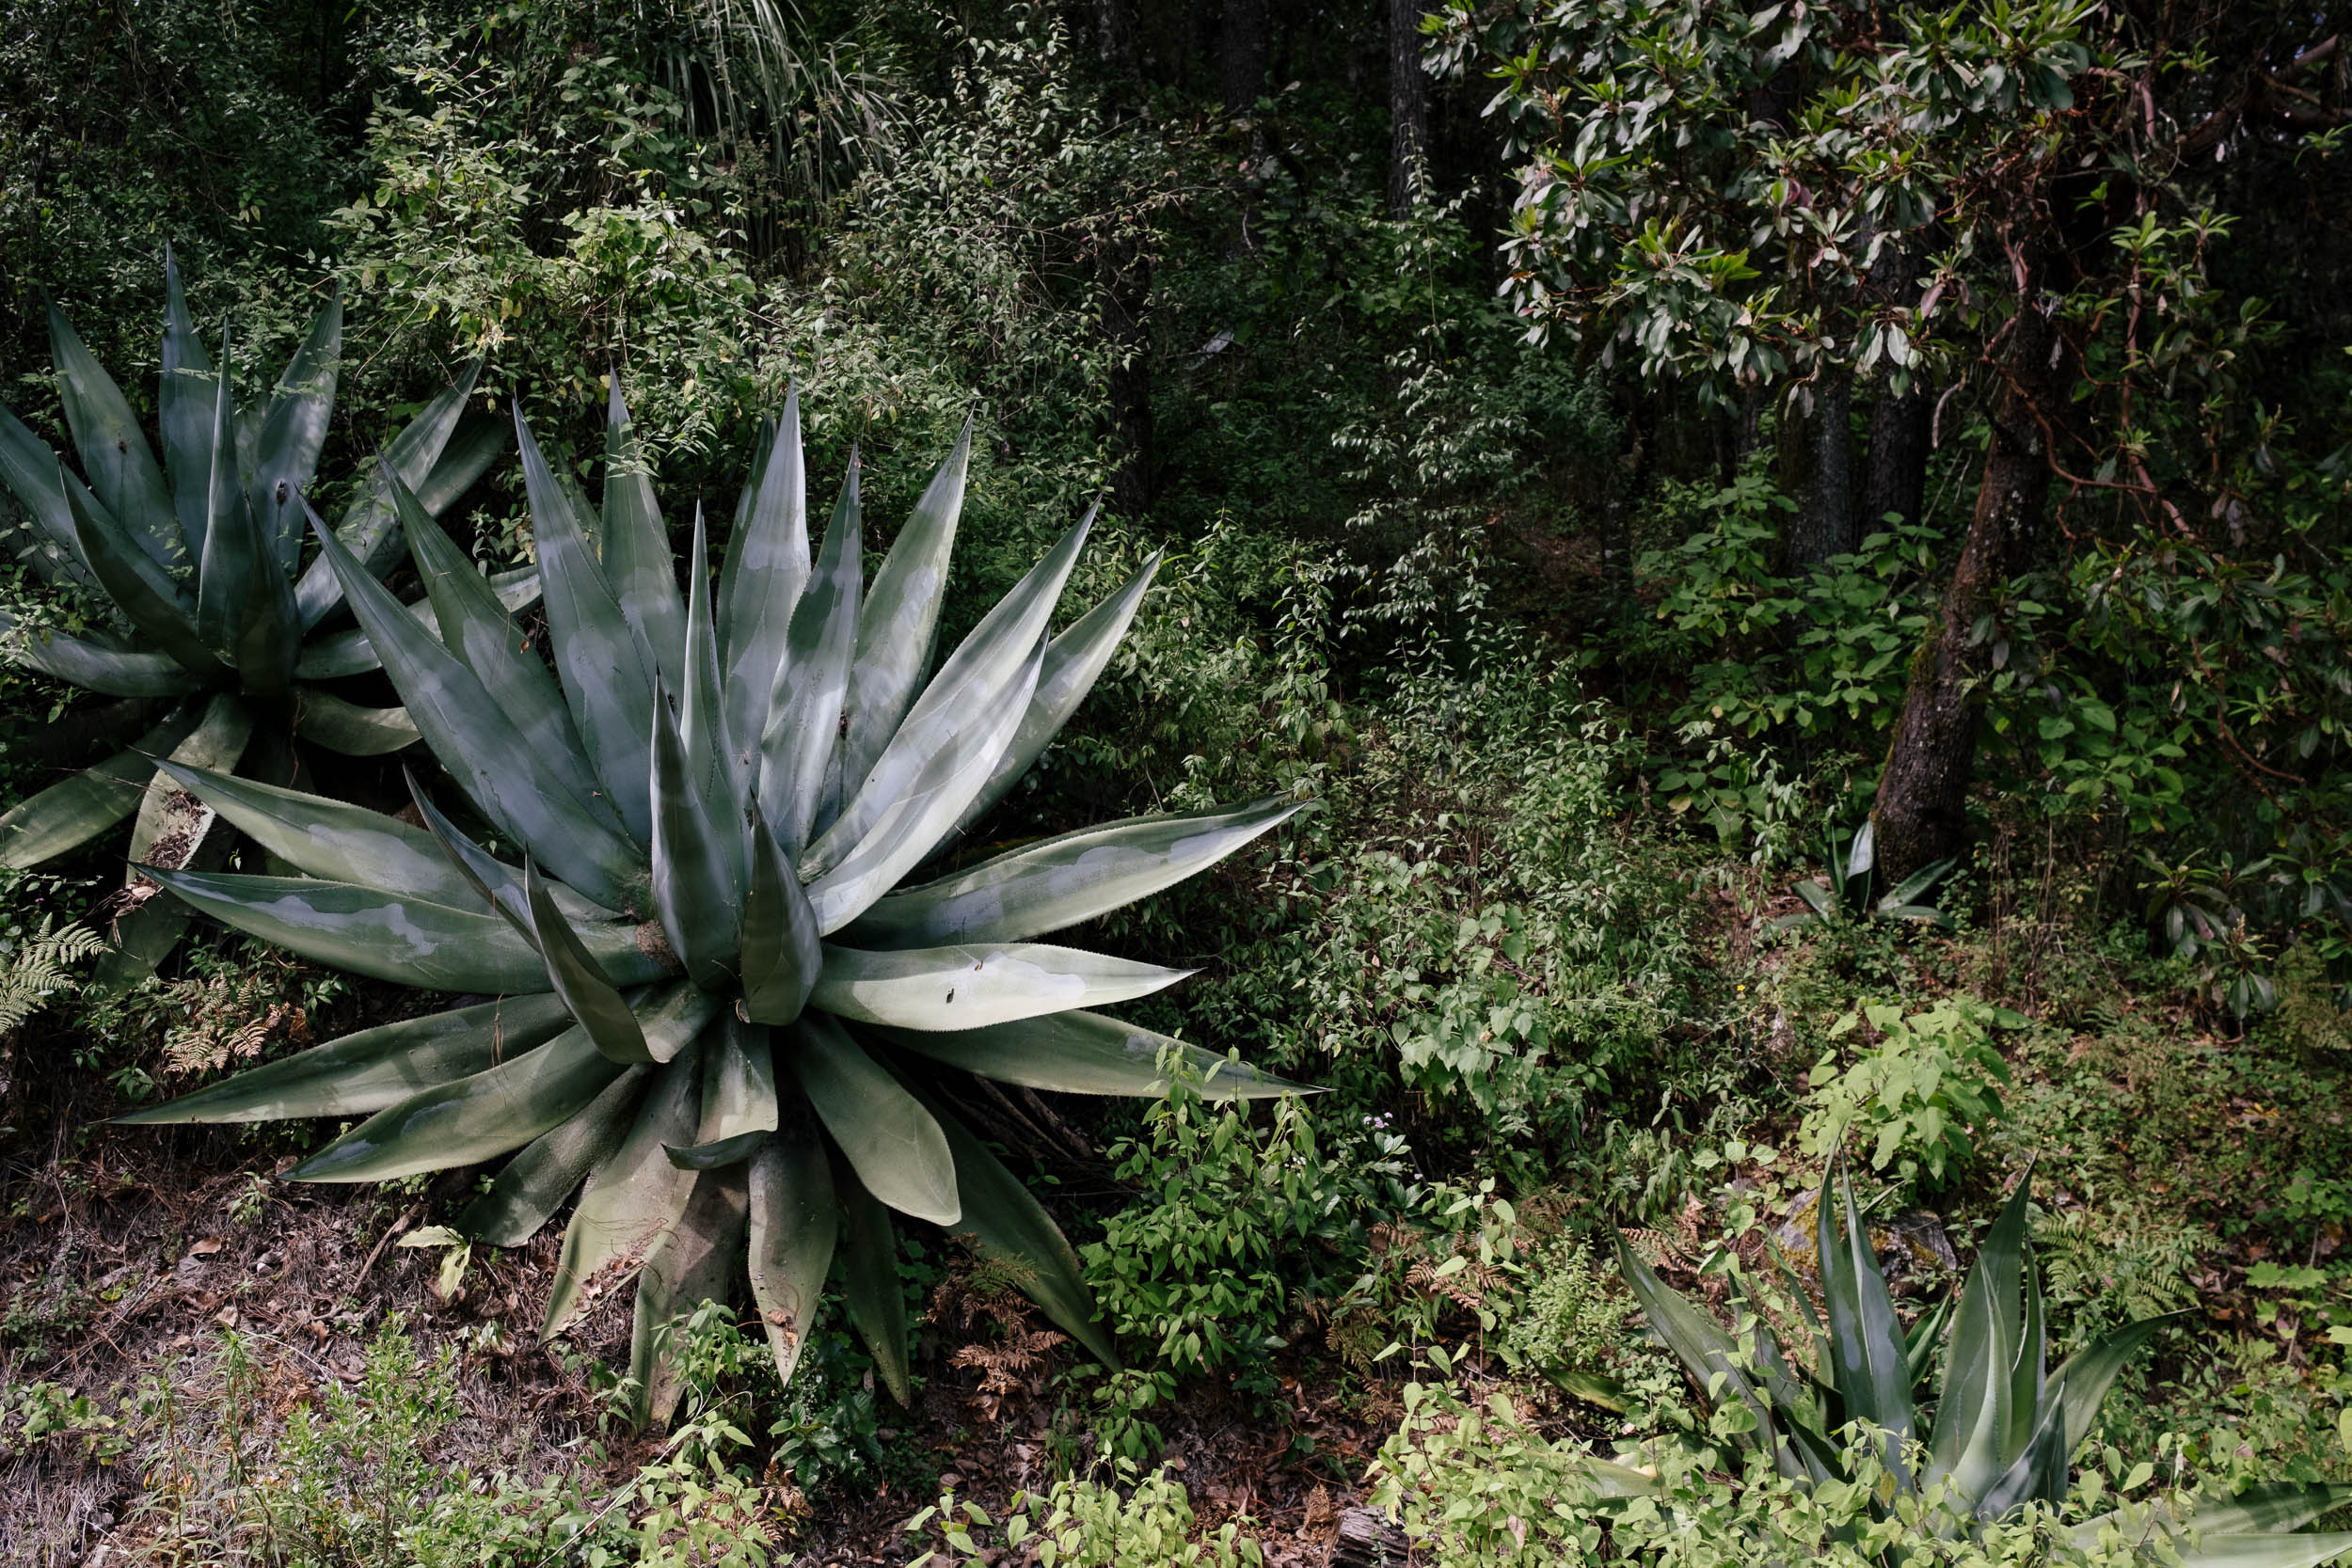
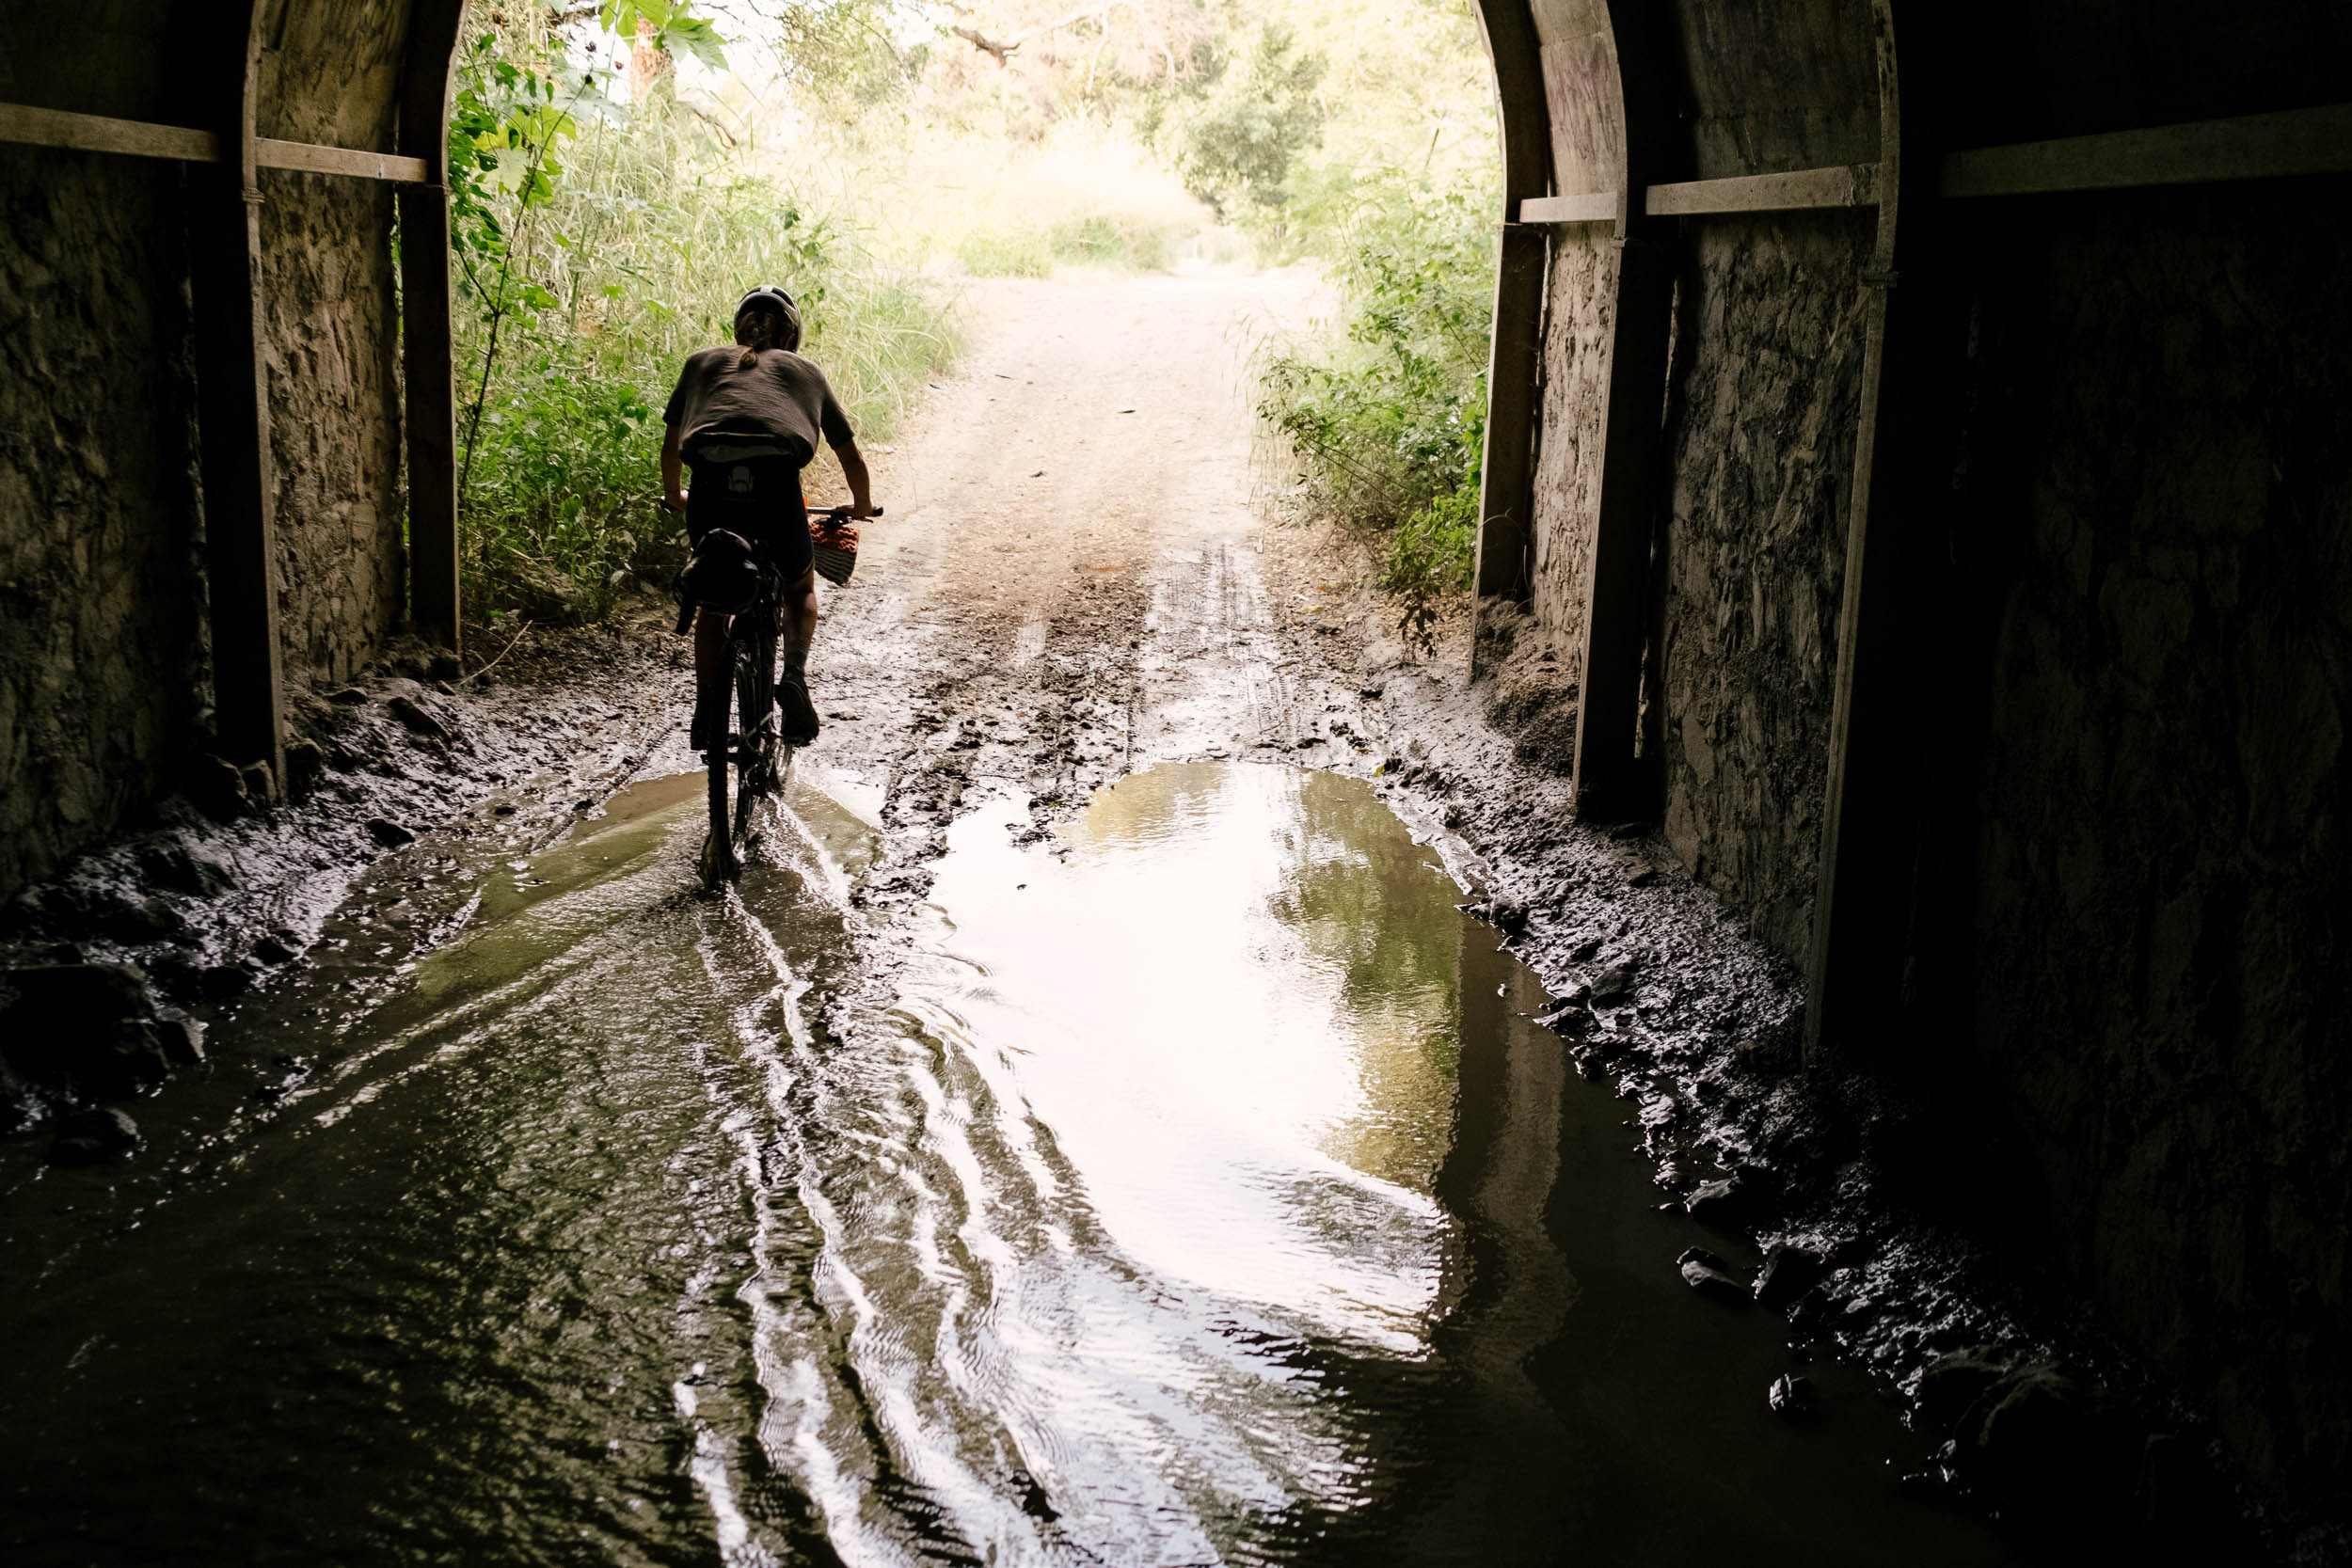
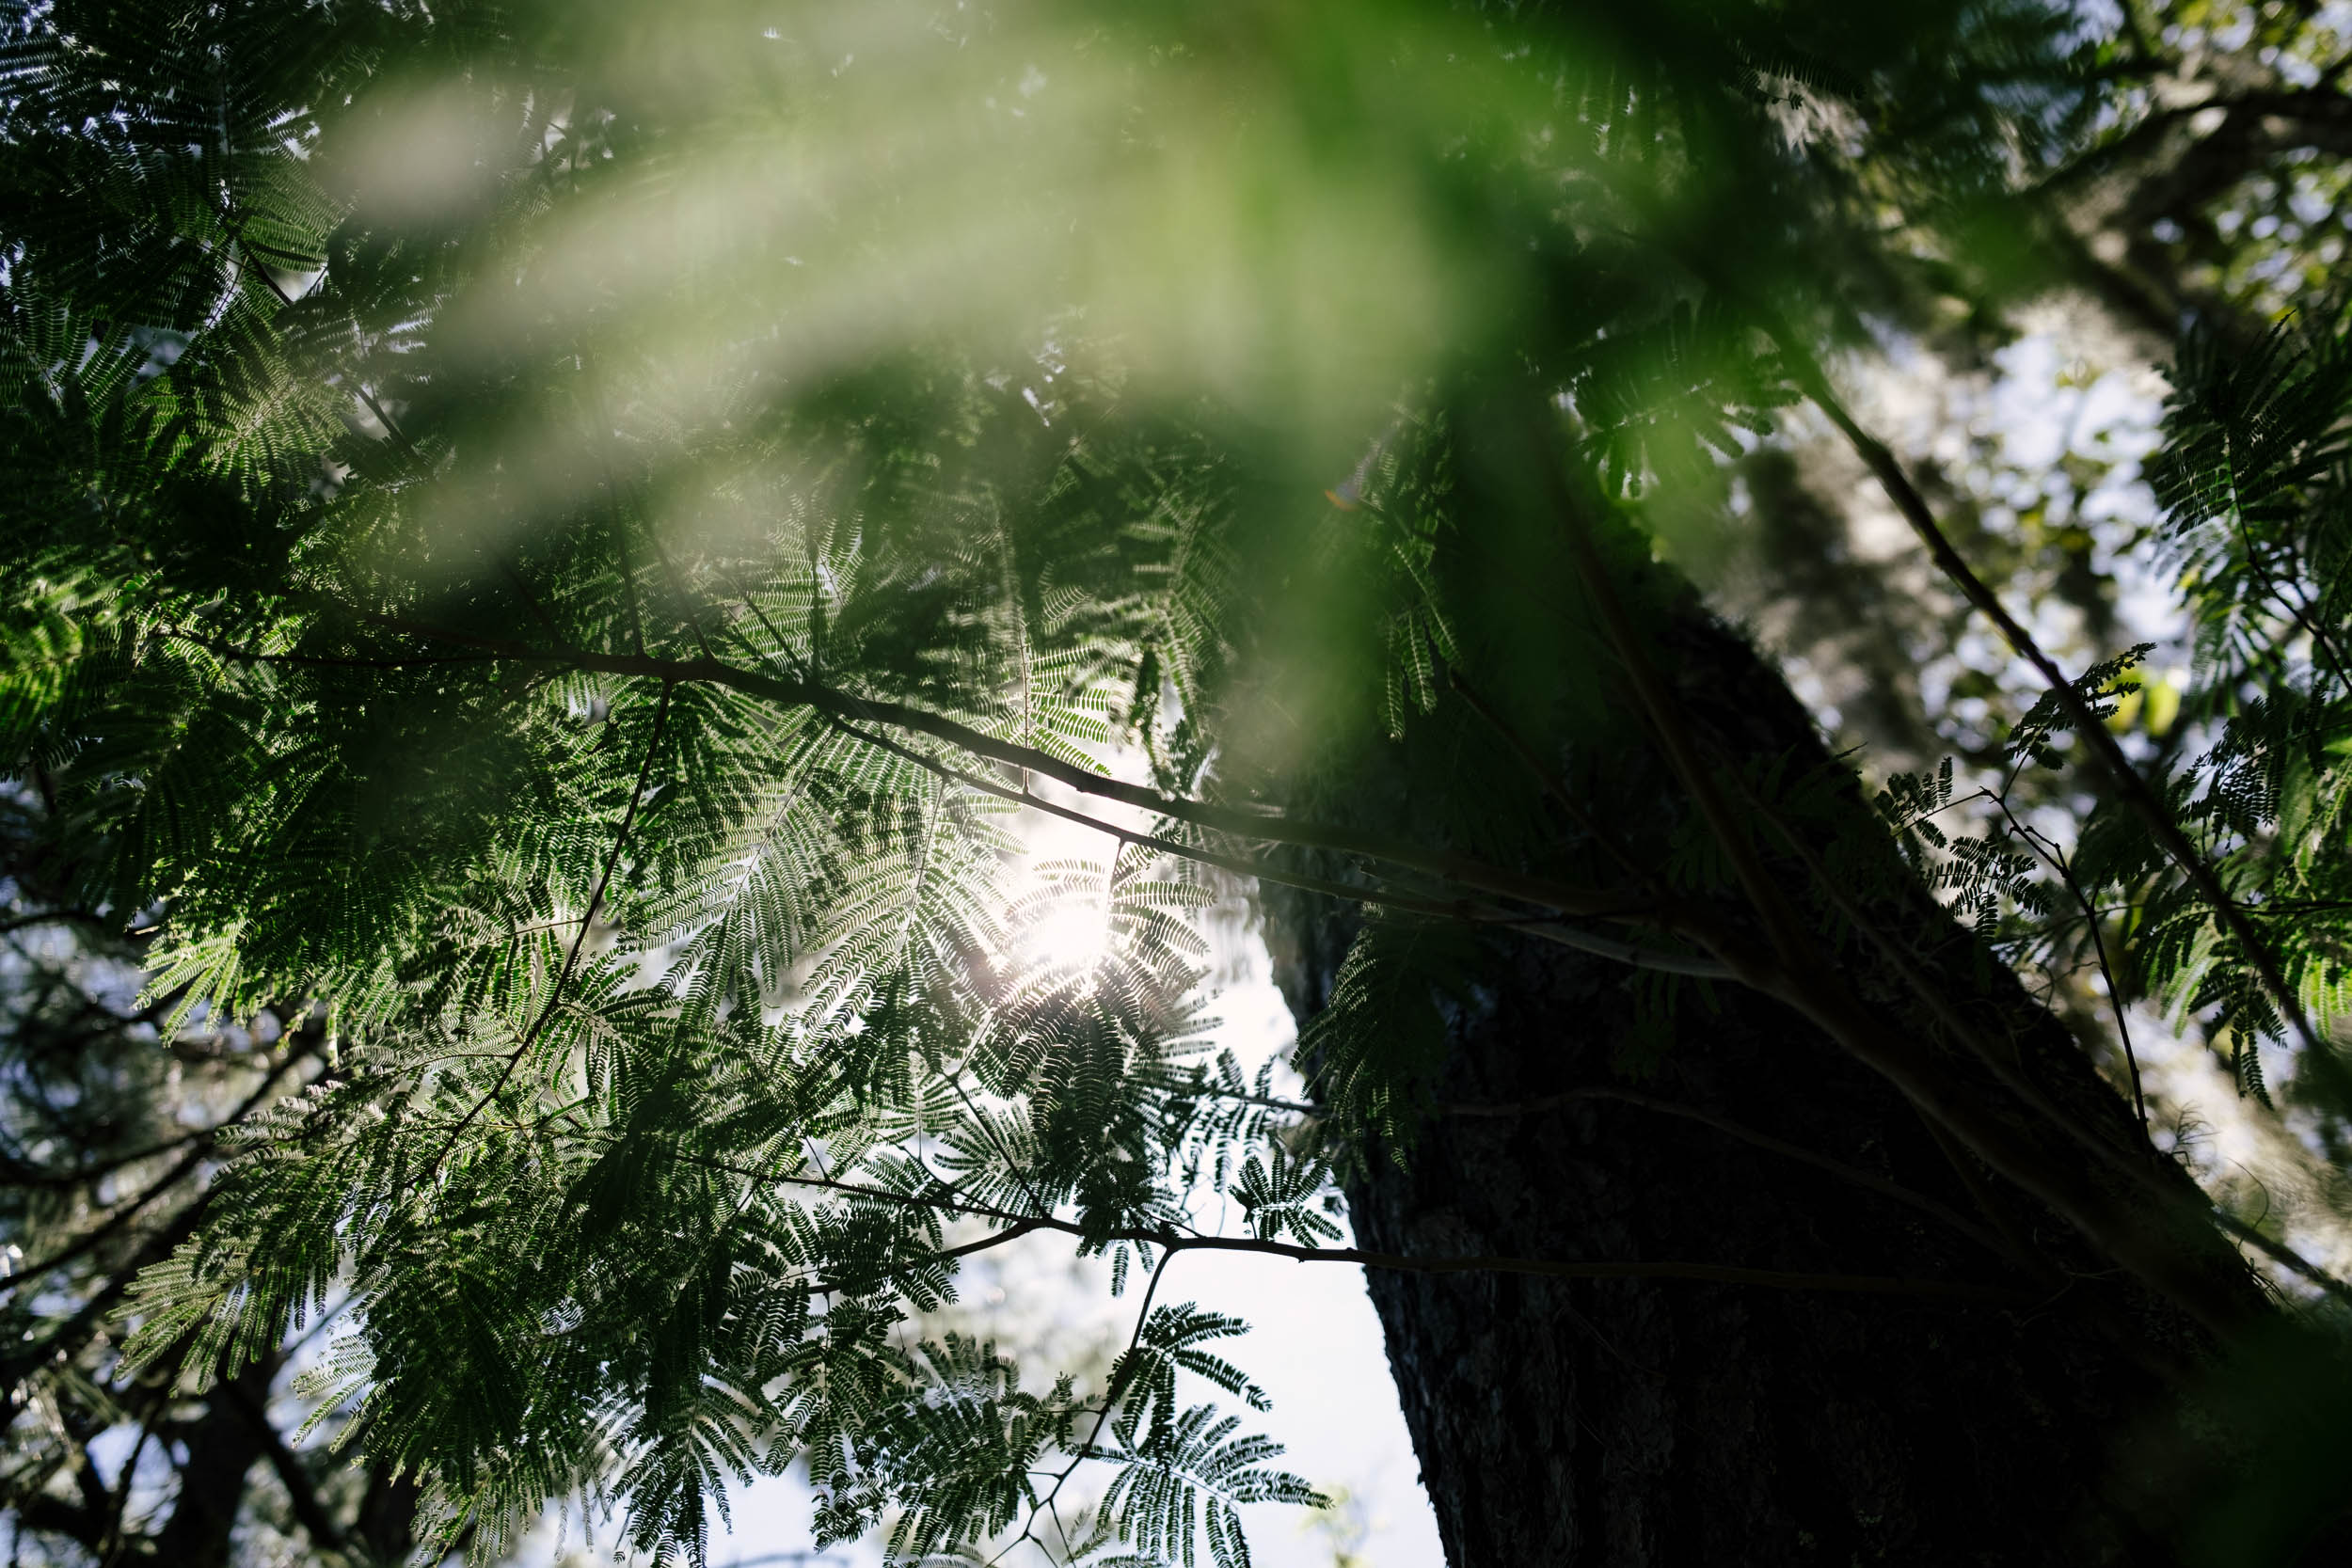
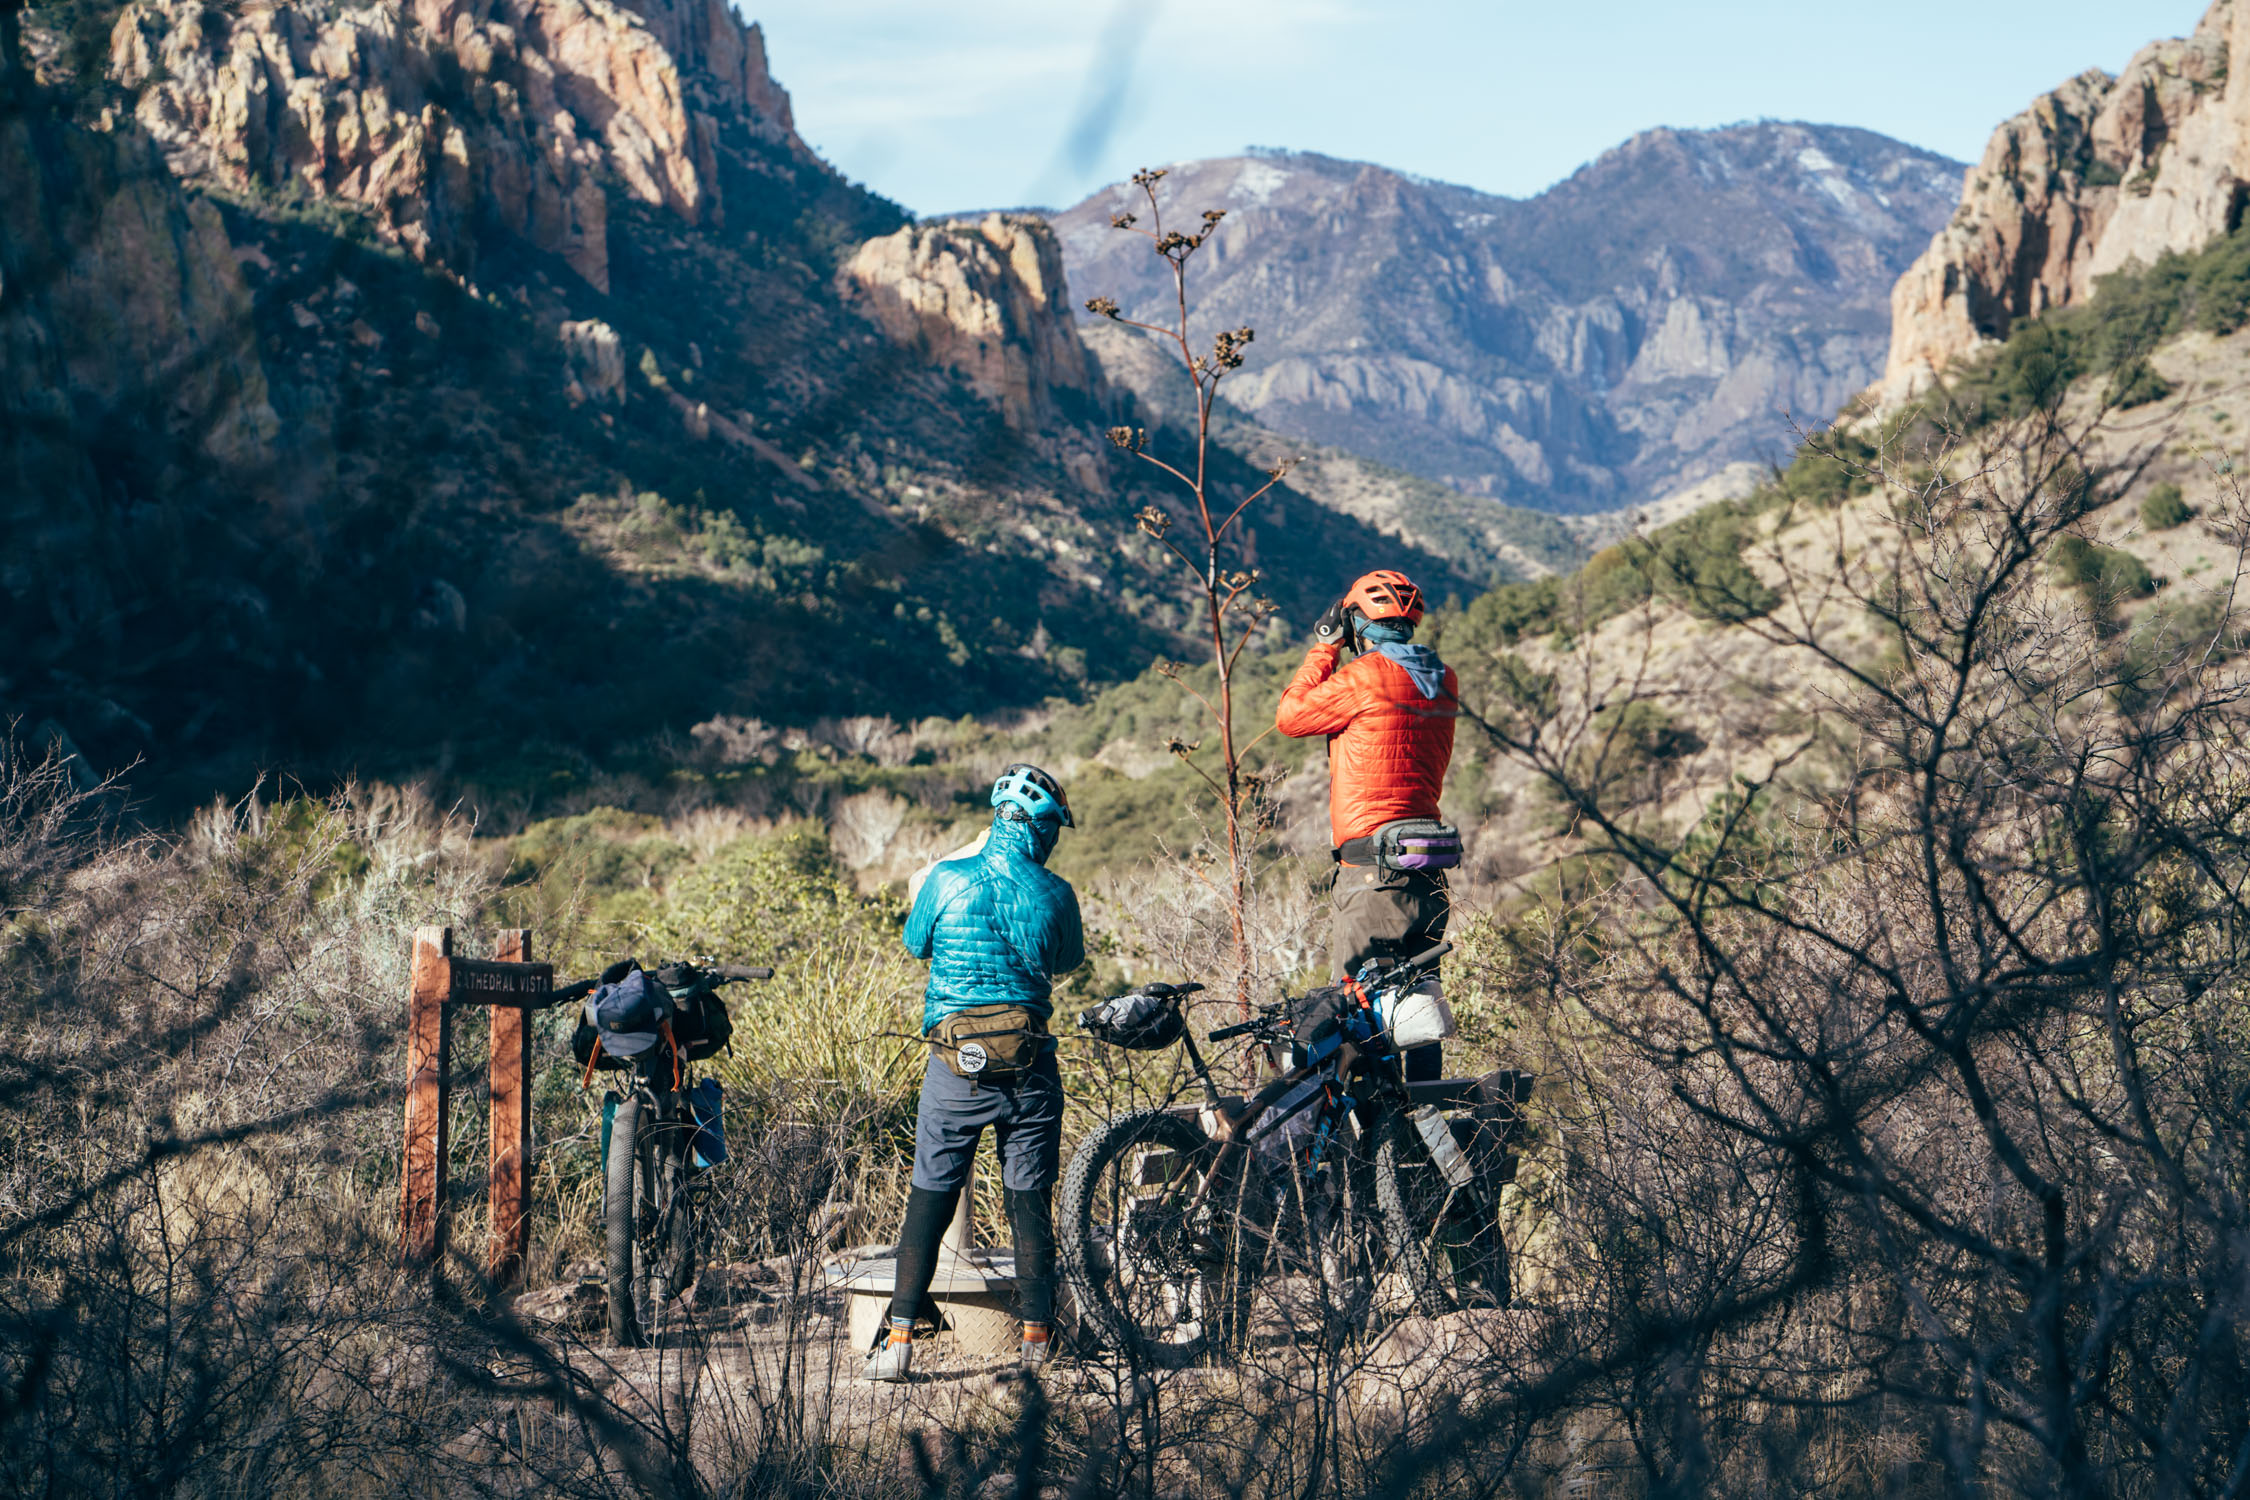
9. Foreground elements
Adding a texture or element from your ride into the foreground (close up) can help create an overall scene. Leafs can help diffuse light and give a jungly feeling, and people can create a feeling of chaos or community. Sometimes, just a wall to block off half the frame can help isolate the subject. Occasionally, I will pull a leaf off a tree and hold it in front of the camera to create the effect where I want it, but that’s a bit extreme, and not something you want to overdo.

10. Sequence a story
You’ve gone on your ride, exposed your photos, used some rule of thirds, put some other elements into frame to create ambiance, took some portraits, some nice road photos, and shot the creamy golden hour light. What’s next? First, delete all the bad photos. Keep only the good ones. And from here, you can decide where to put them. Pick a fun 10 for Instagram. Or pick 40 and make a little slideshow on the TV to show your friends or family who are still reluctant to try sleeping in the dirt and eating beans all weekend.
Try to balance photos that give a sense of environment, photos of your buddies, photos of food and strangers and night time and morning and arrange them either in chronological order, or as in the passing of one day (morning to night time photos), or randomly, or best to worst or worst to best, or try to arrange them to match the cadence of the trip. You can even get cheap prints done at your local camera store and sequence them in a binder if you want! With all good storytelling, try to create the feeling you experienced in the viewer. Enjoy your photo story!
11. Look at photos, ask questions, shoot garbage
From here all that’s left is to dive deep into this rabbit hole and never come out. There are so many resources to learn photography out there now, from webinars to YouTube videos to paid classes with pros or simply infinite scrolling of Instagram. Learning photography, like anything, is best done through practice. Go shoot a bunch of photos, see what works and what doesn’t, try again, and in doing this, you’ll eventually begin to develop your own style. Read photo books of photographers you admire and ask yourself how they took that photo. Give yourself photo assignments. Print your work every once in a while. Learning is so exhilarating. Be energized by its infiniteness!
What are your top tips for taking better photos while bikepacking? We’d love it if you share a couple that have helped you in the conversation below.
Related Content
Make sure to dig into these related articles for more info...

Please keep the conversation civil, constructive, and inclusive, or your comment will be removed.