


Trans Salvador
Distance
433 Mi.
(697 KM)Days
15
% Unpaved
65%
% Singletrack
0%
% Rideable (time)
95%
Total Ascent
42,309'
(12,896 M)High Point
5,896'
(1,797 M)Difficulty (1-10)
7?
- 6Climbing Scale Moderate98 FT/MI (19 M/KM)
- 7Technical Difficulty Difficult
- 7Physical Demand Difficult
- 3Resupply & Logistics Fair
Contributed By
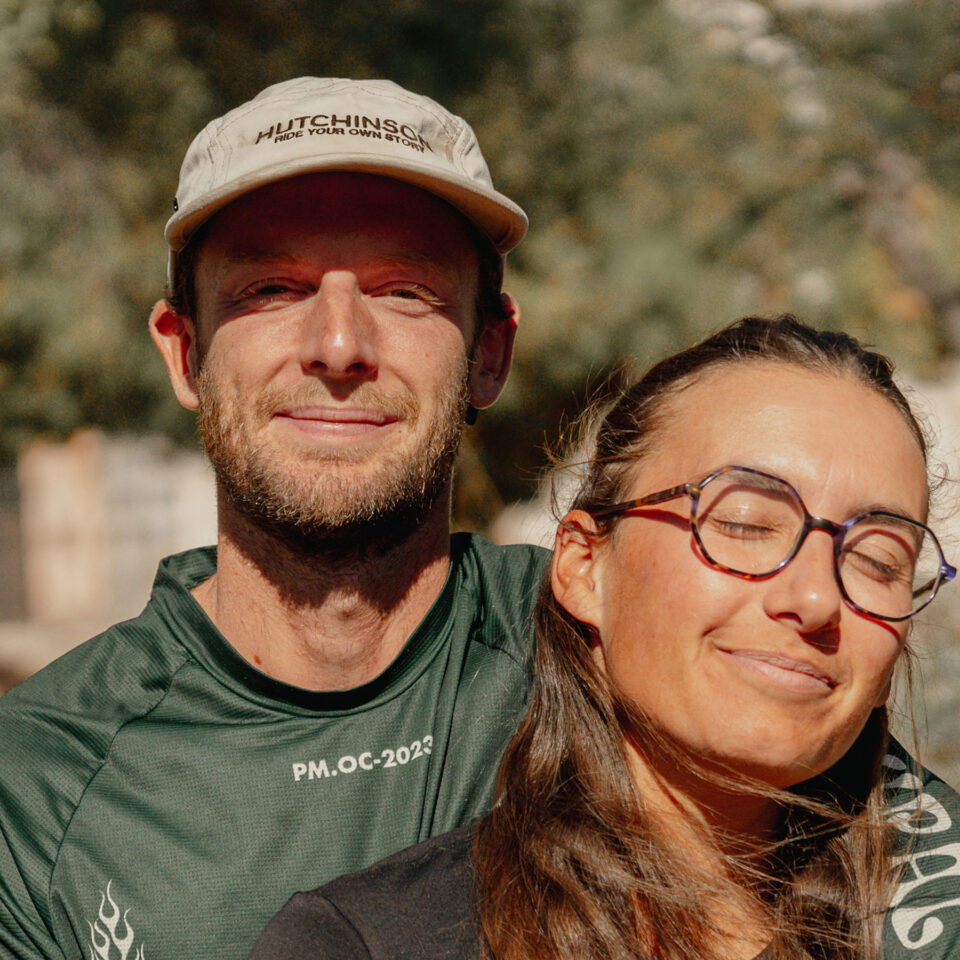
Julien and Marie
Guest Contributor
Julien and Marie-Liesse left Paris to cycle off-road from Canada to Argentina, embracing a slower way of travel. Under the name Fast Won’t Last, they share stories of landscapes, encounters, and everyday life on the road through words, photos, and podcasts. For them, cycling is a way to see better by going slower. Follow them on Instagram @fastwontlast.cc or their website, Fast Won’t Last.
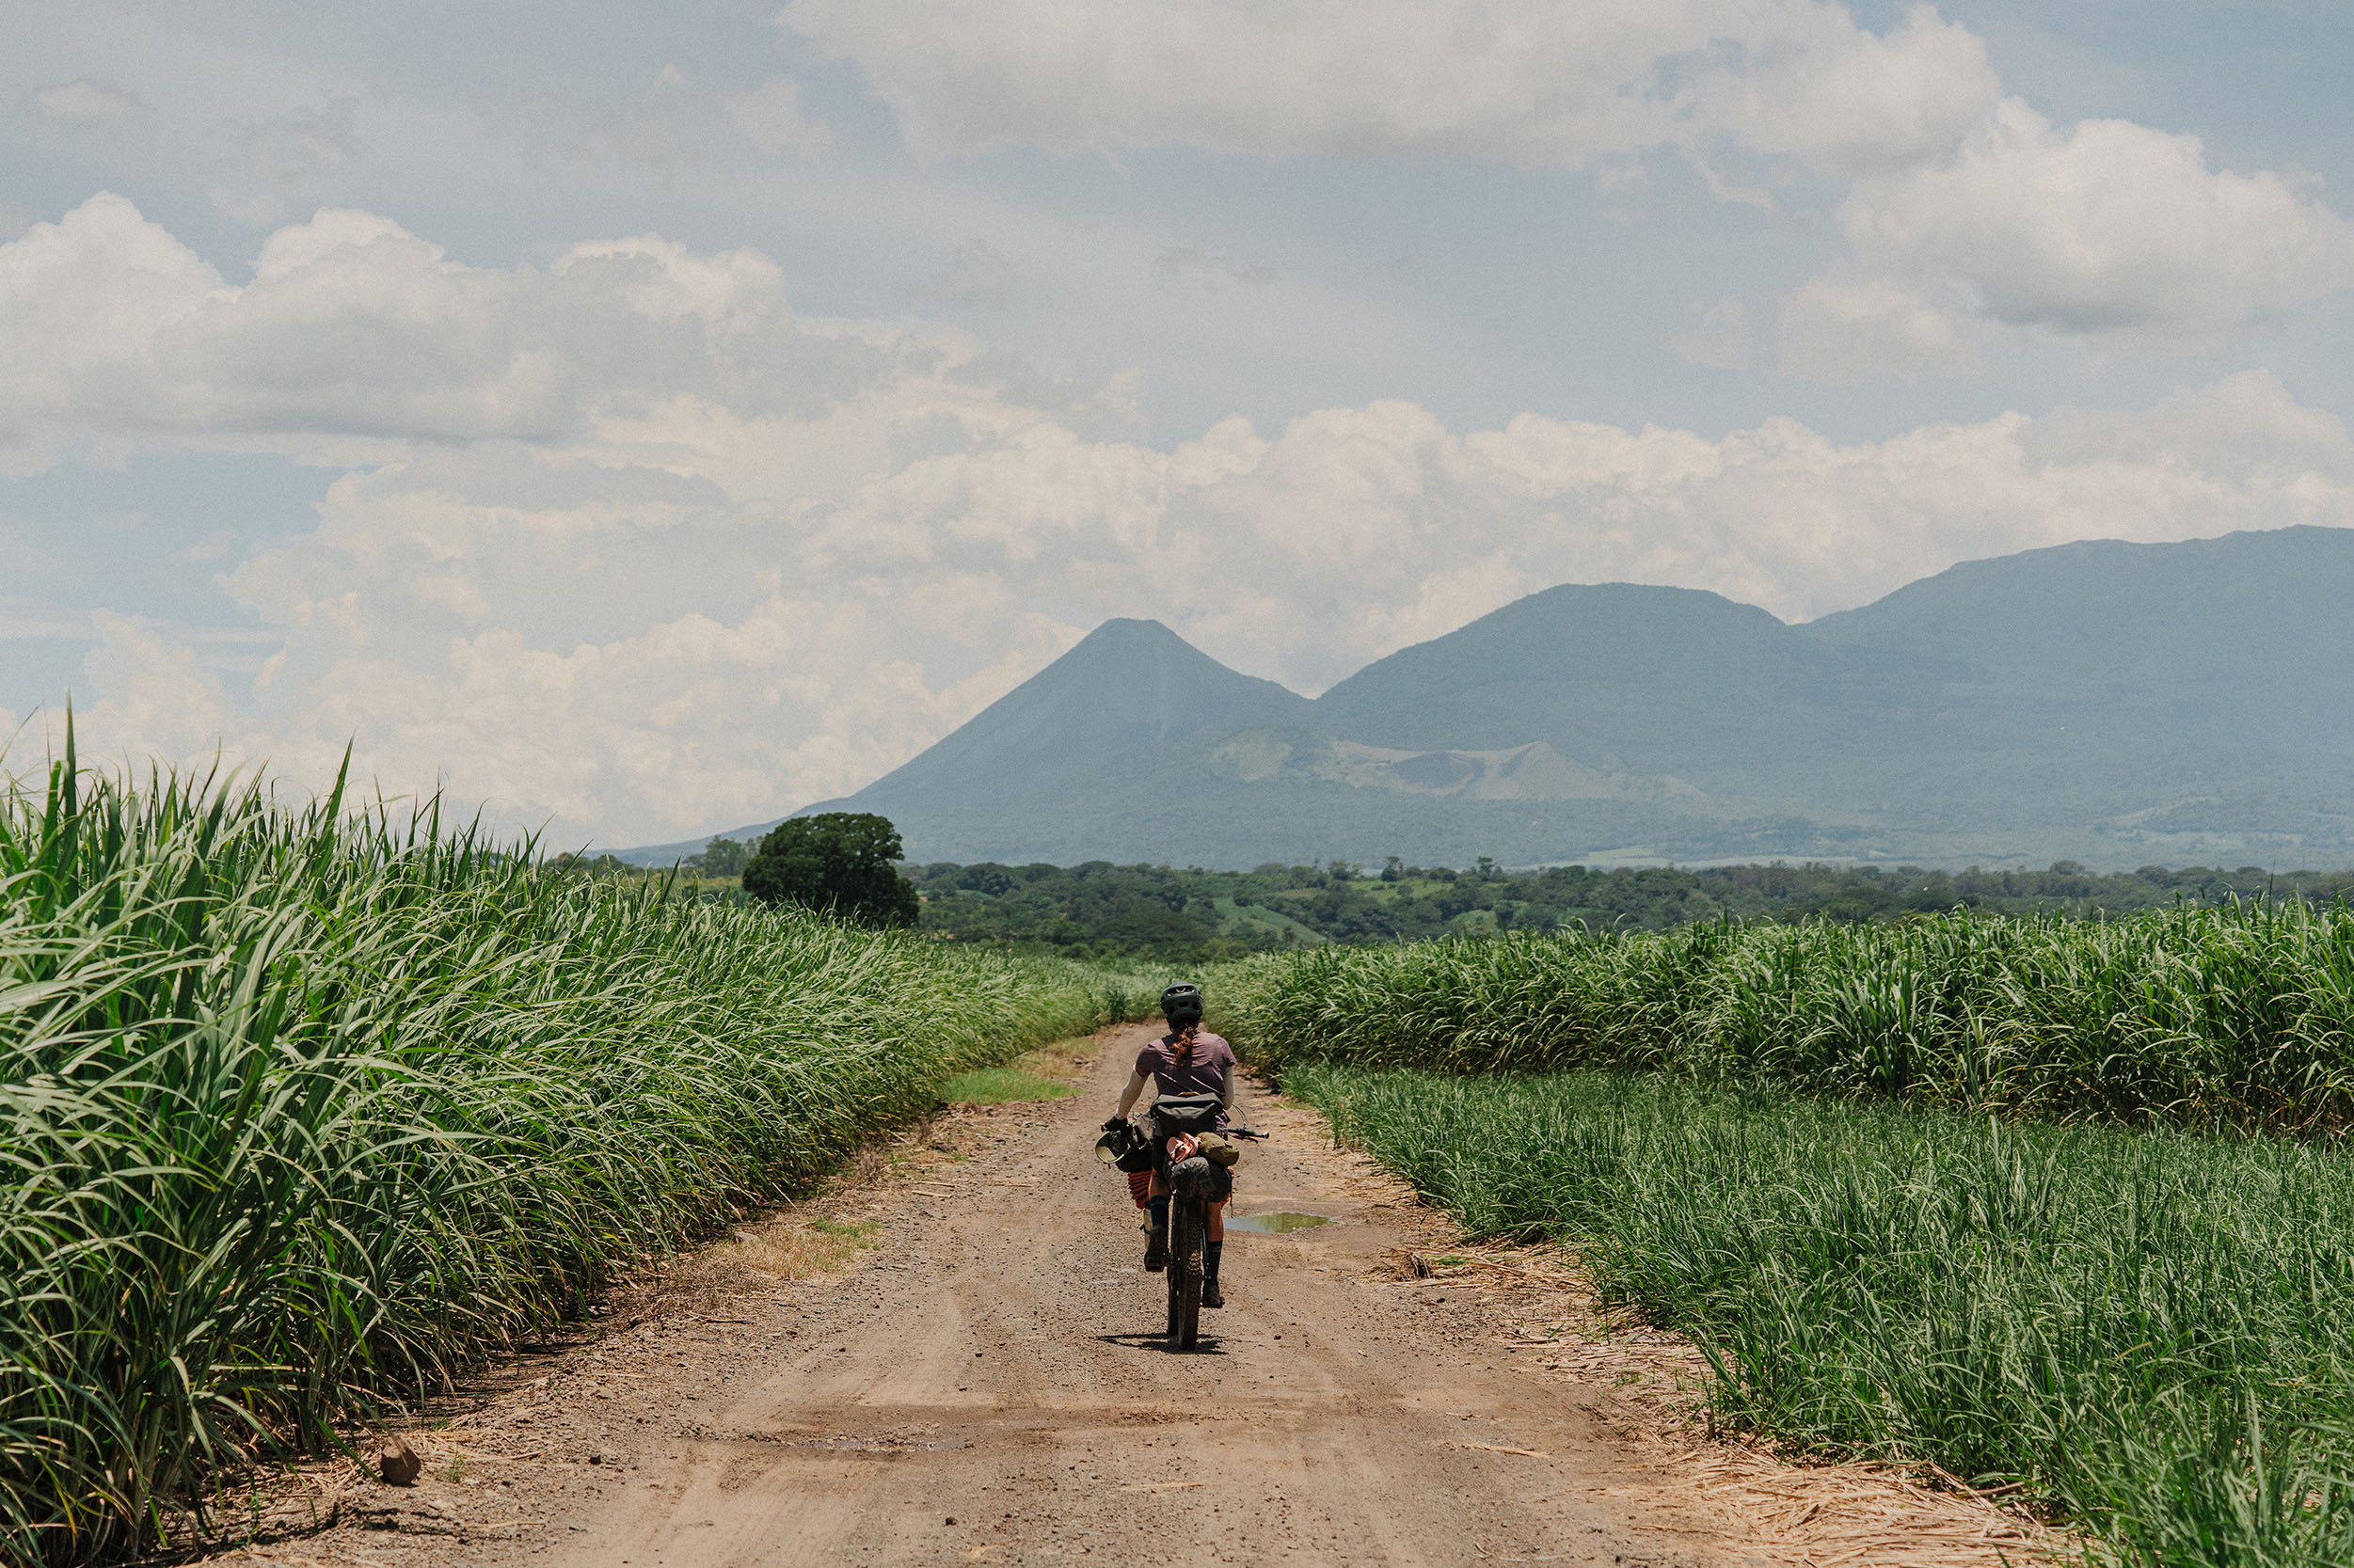
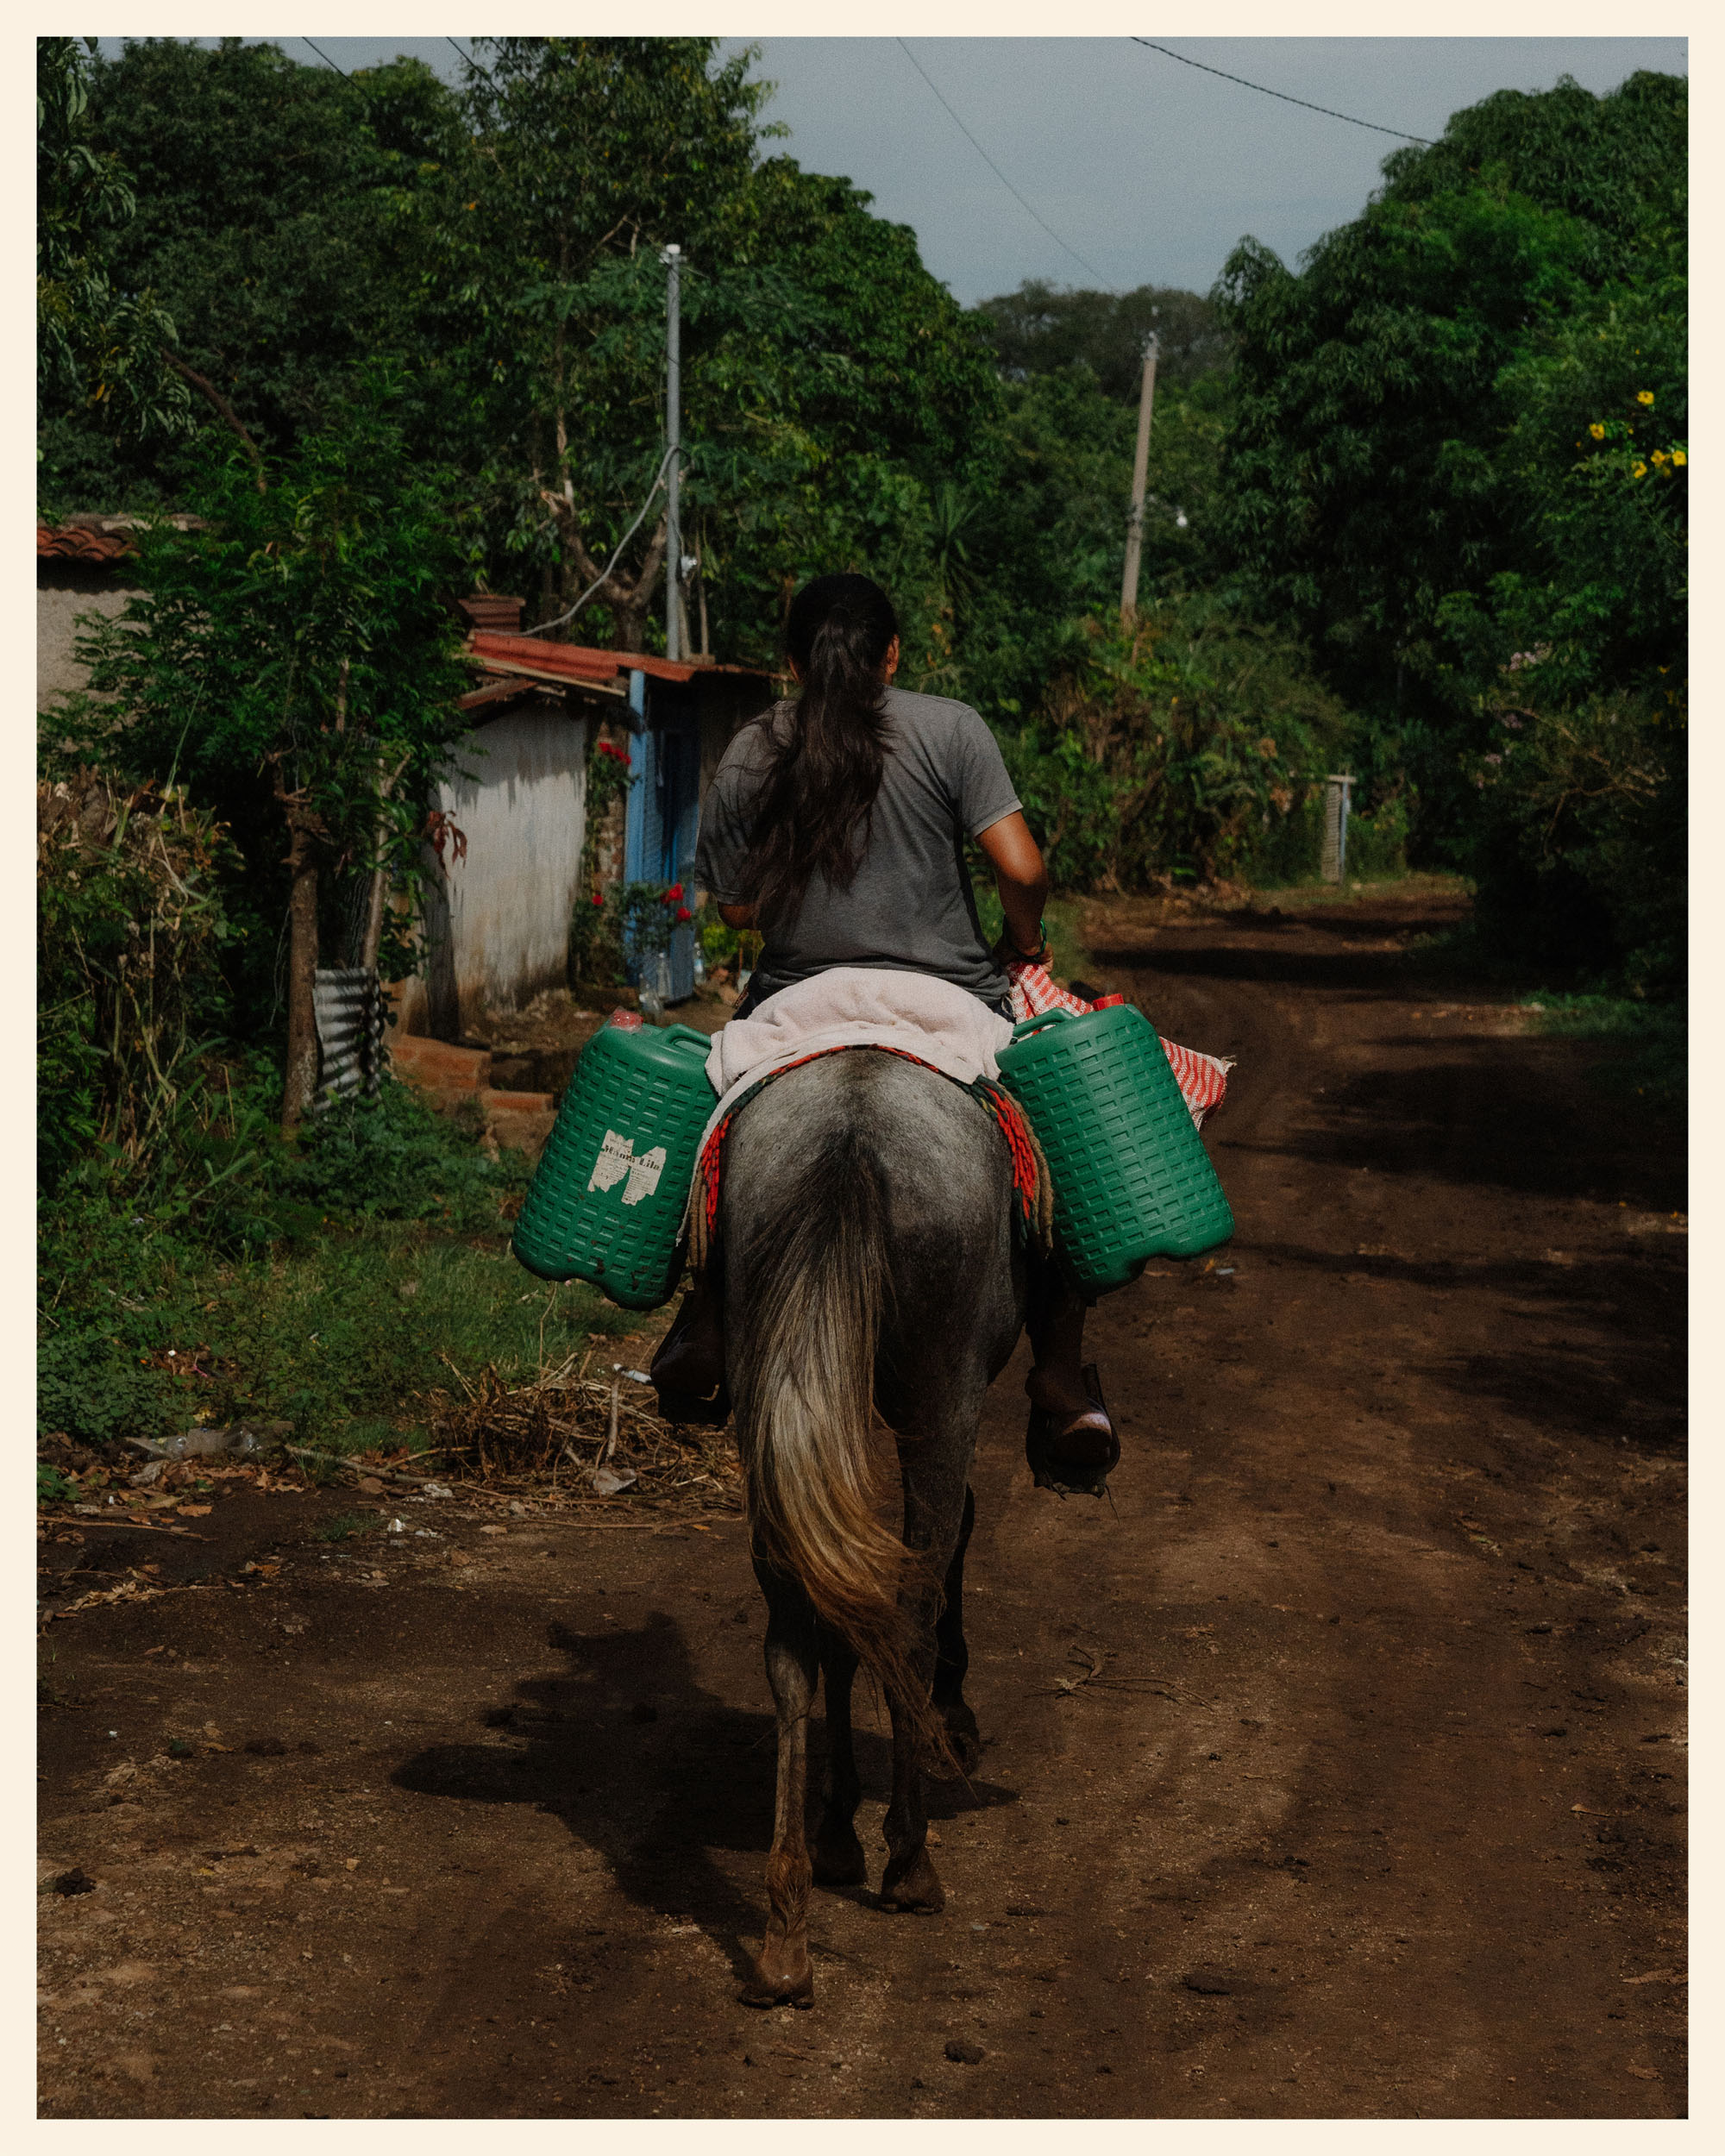
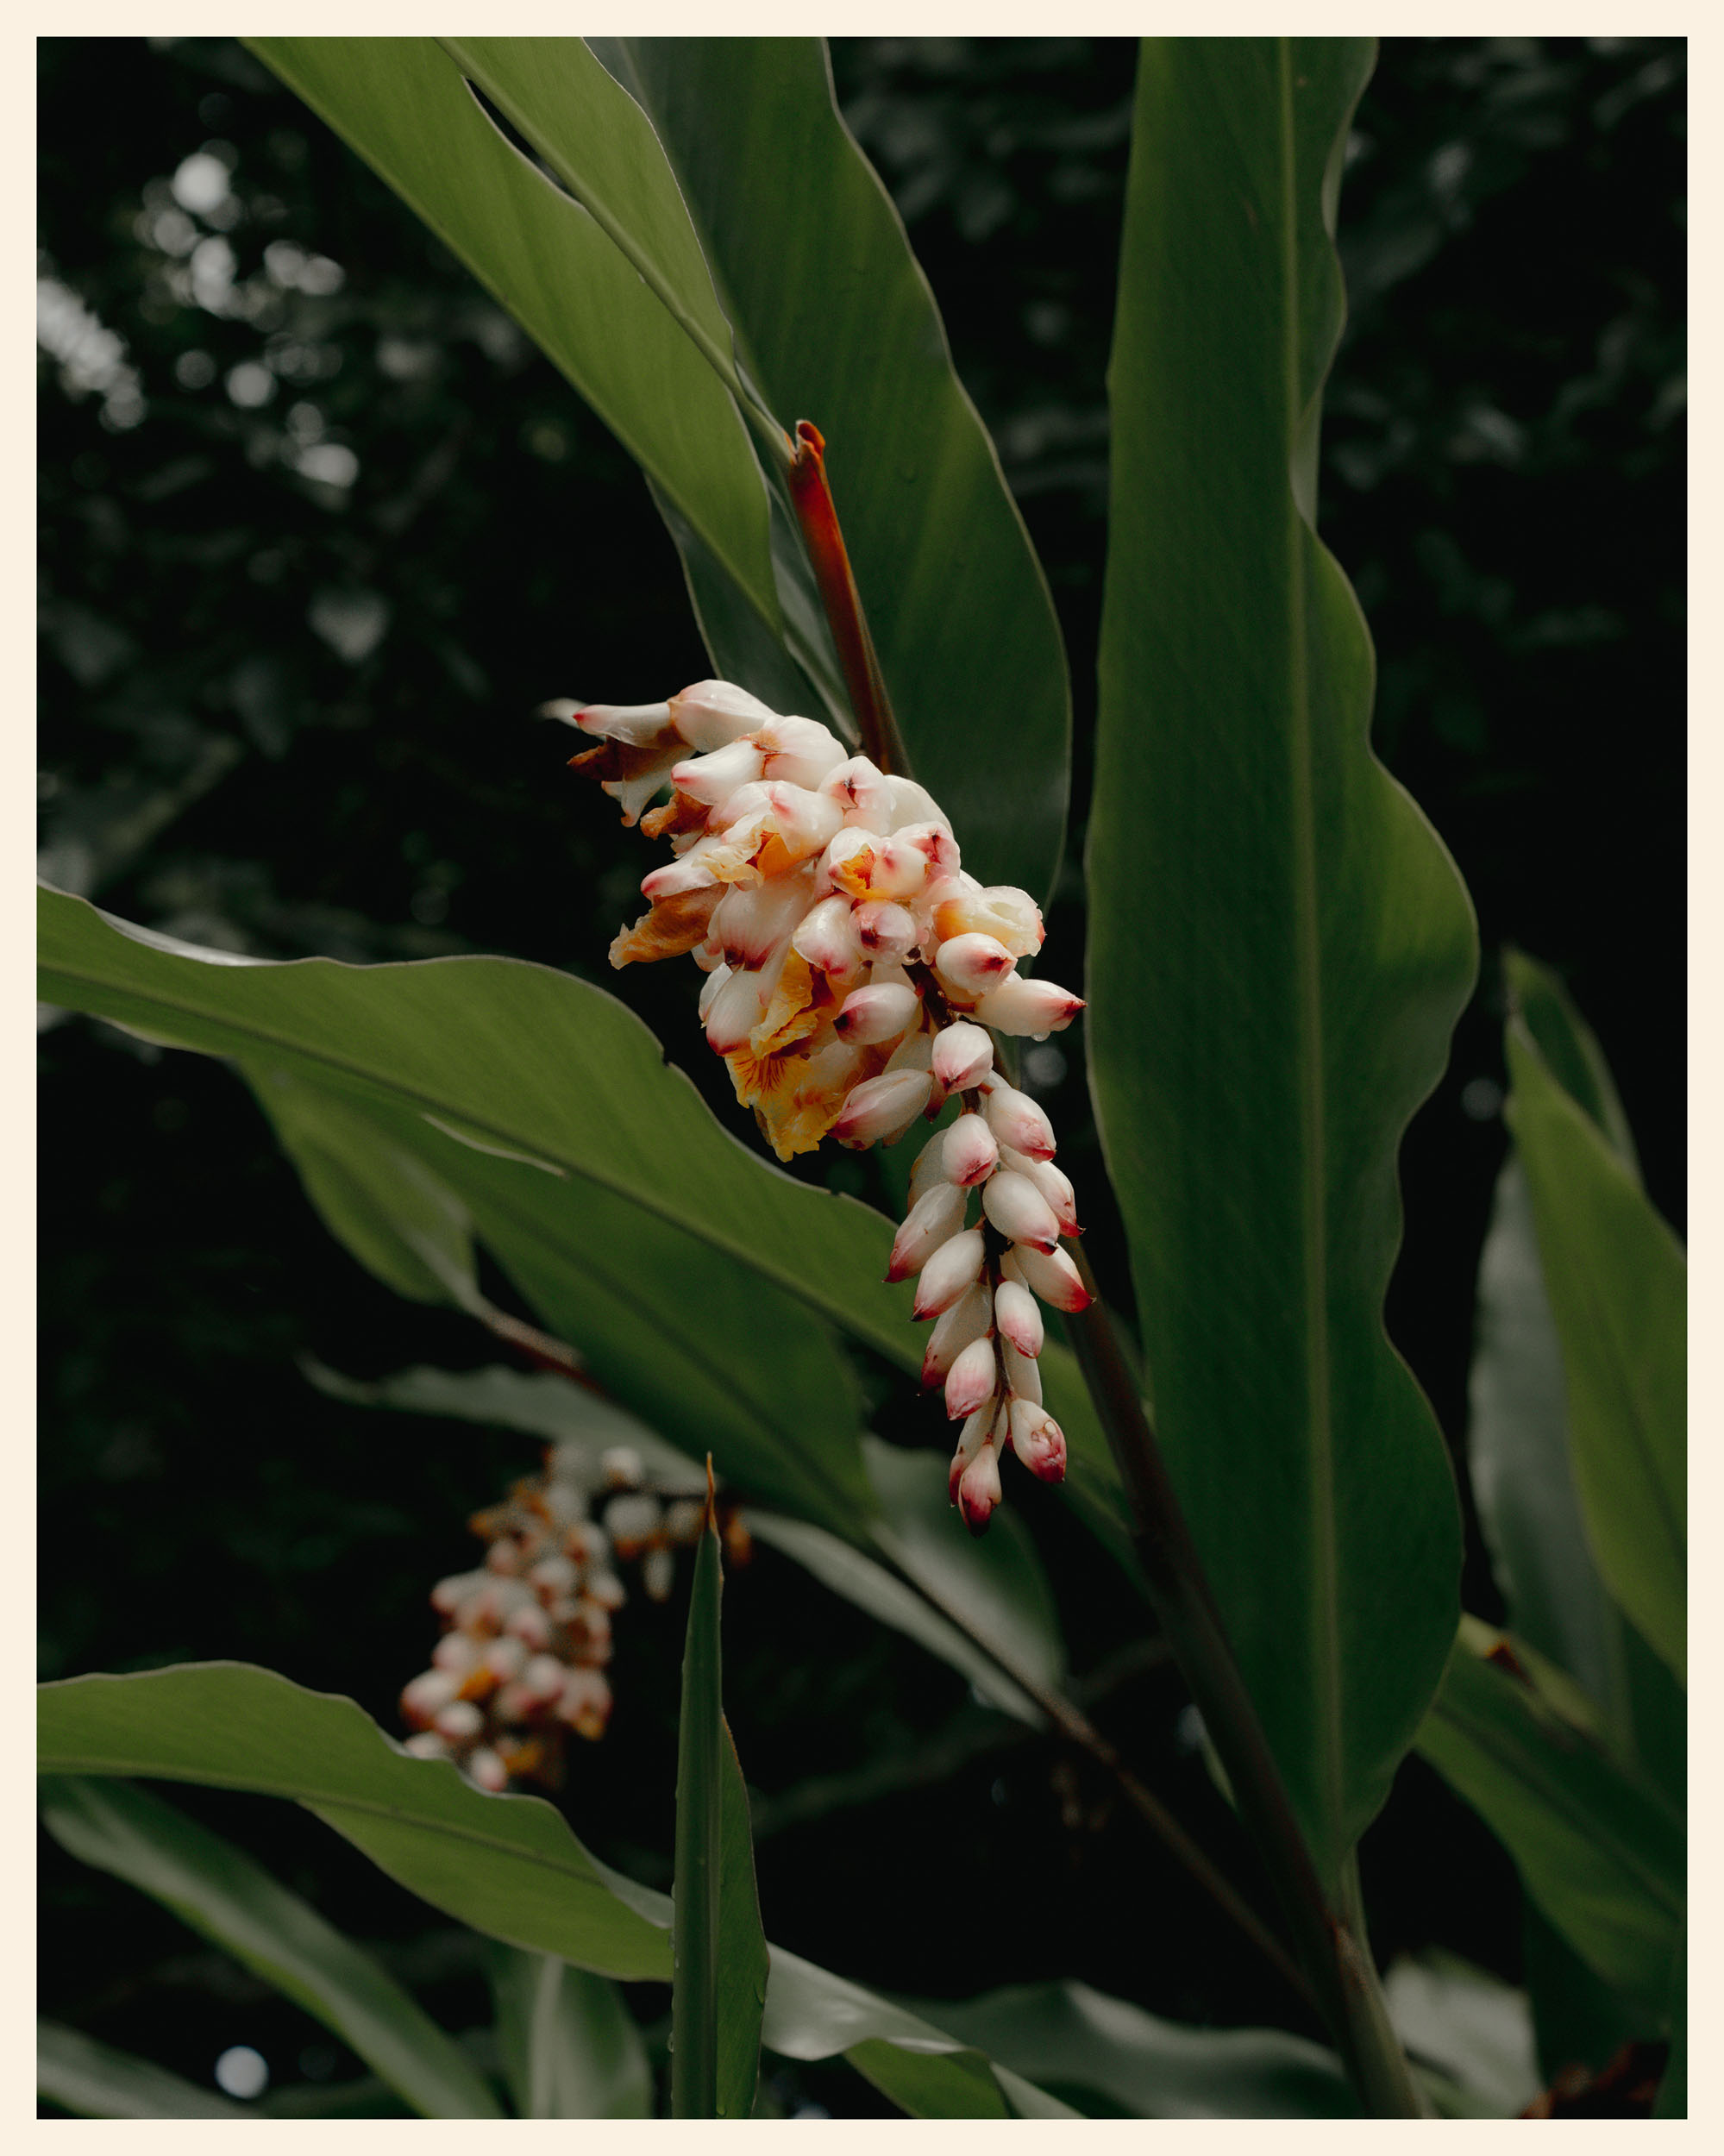
In El Salvador, we truly discovered a world we hadn’t imagined. How could such a small country offer so many different landscapes? When designing this route, the most important thing for us was to define the points of interest we absolutely wanted to reach. El Salvador is especially known for its volcanoes, lagoons, and beaches, and each brought its own unique atmosphere to the ride.
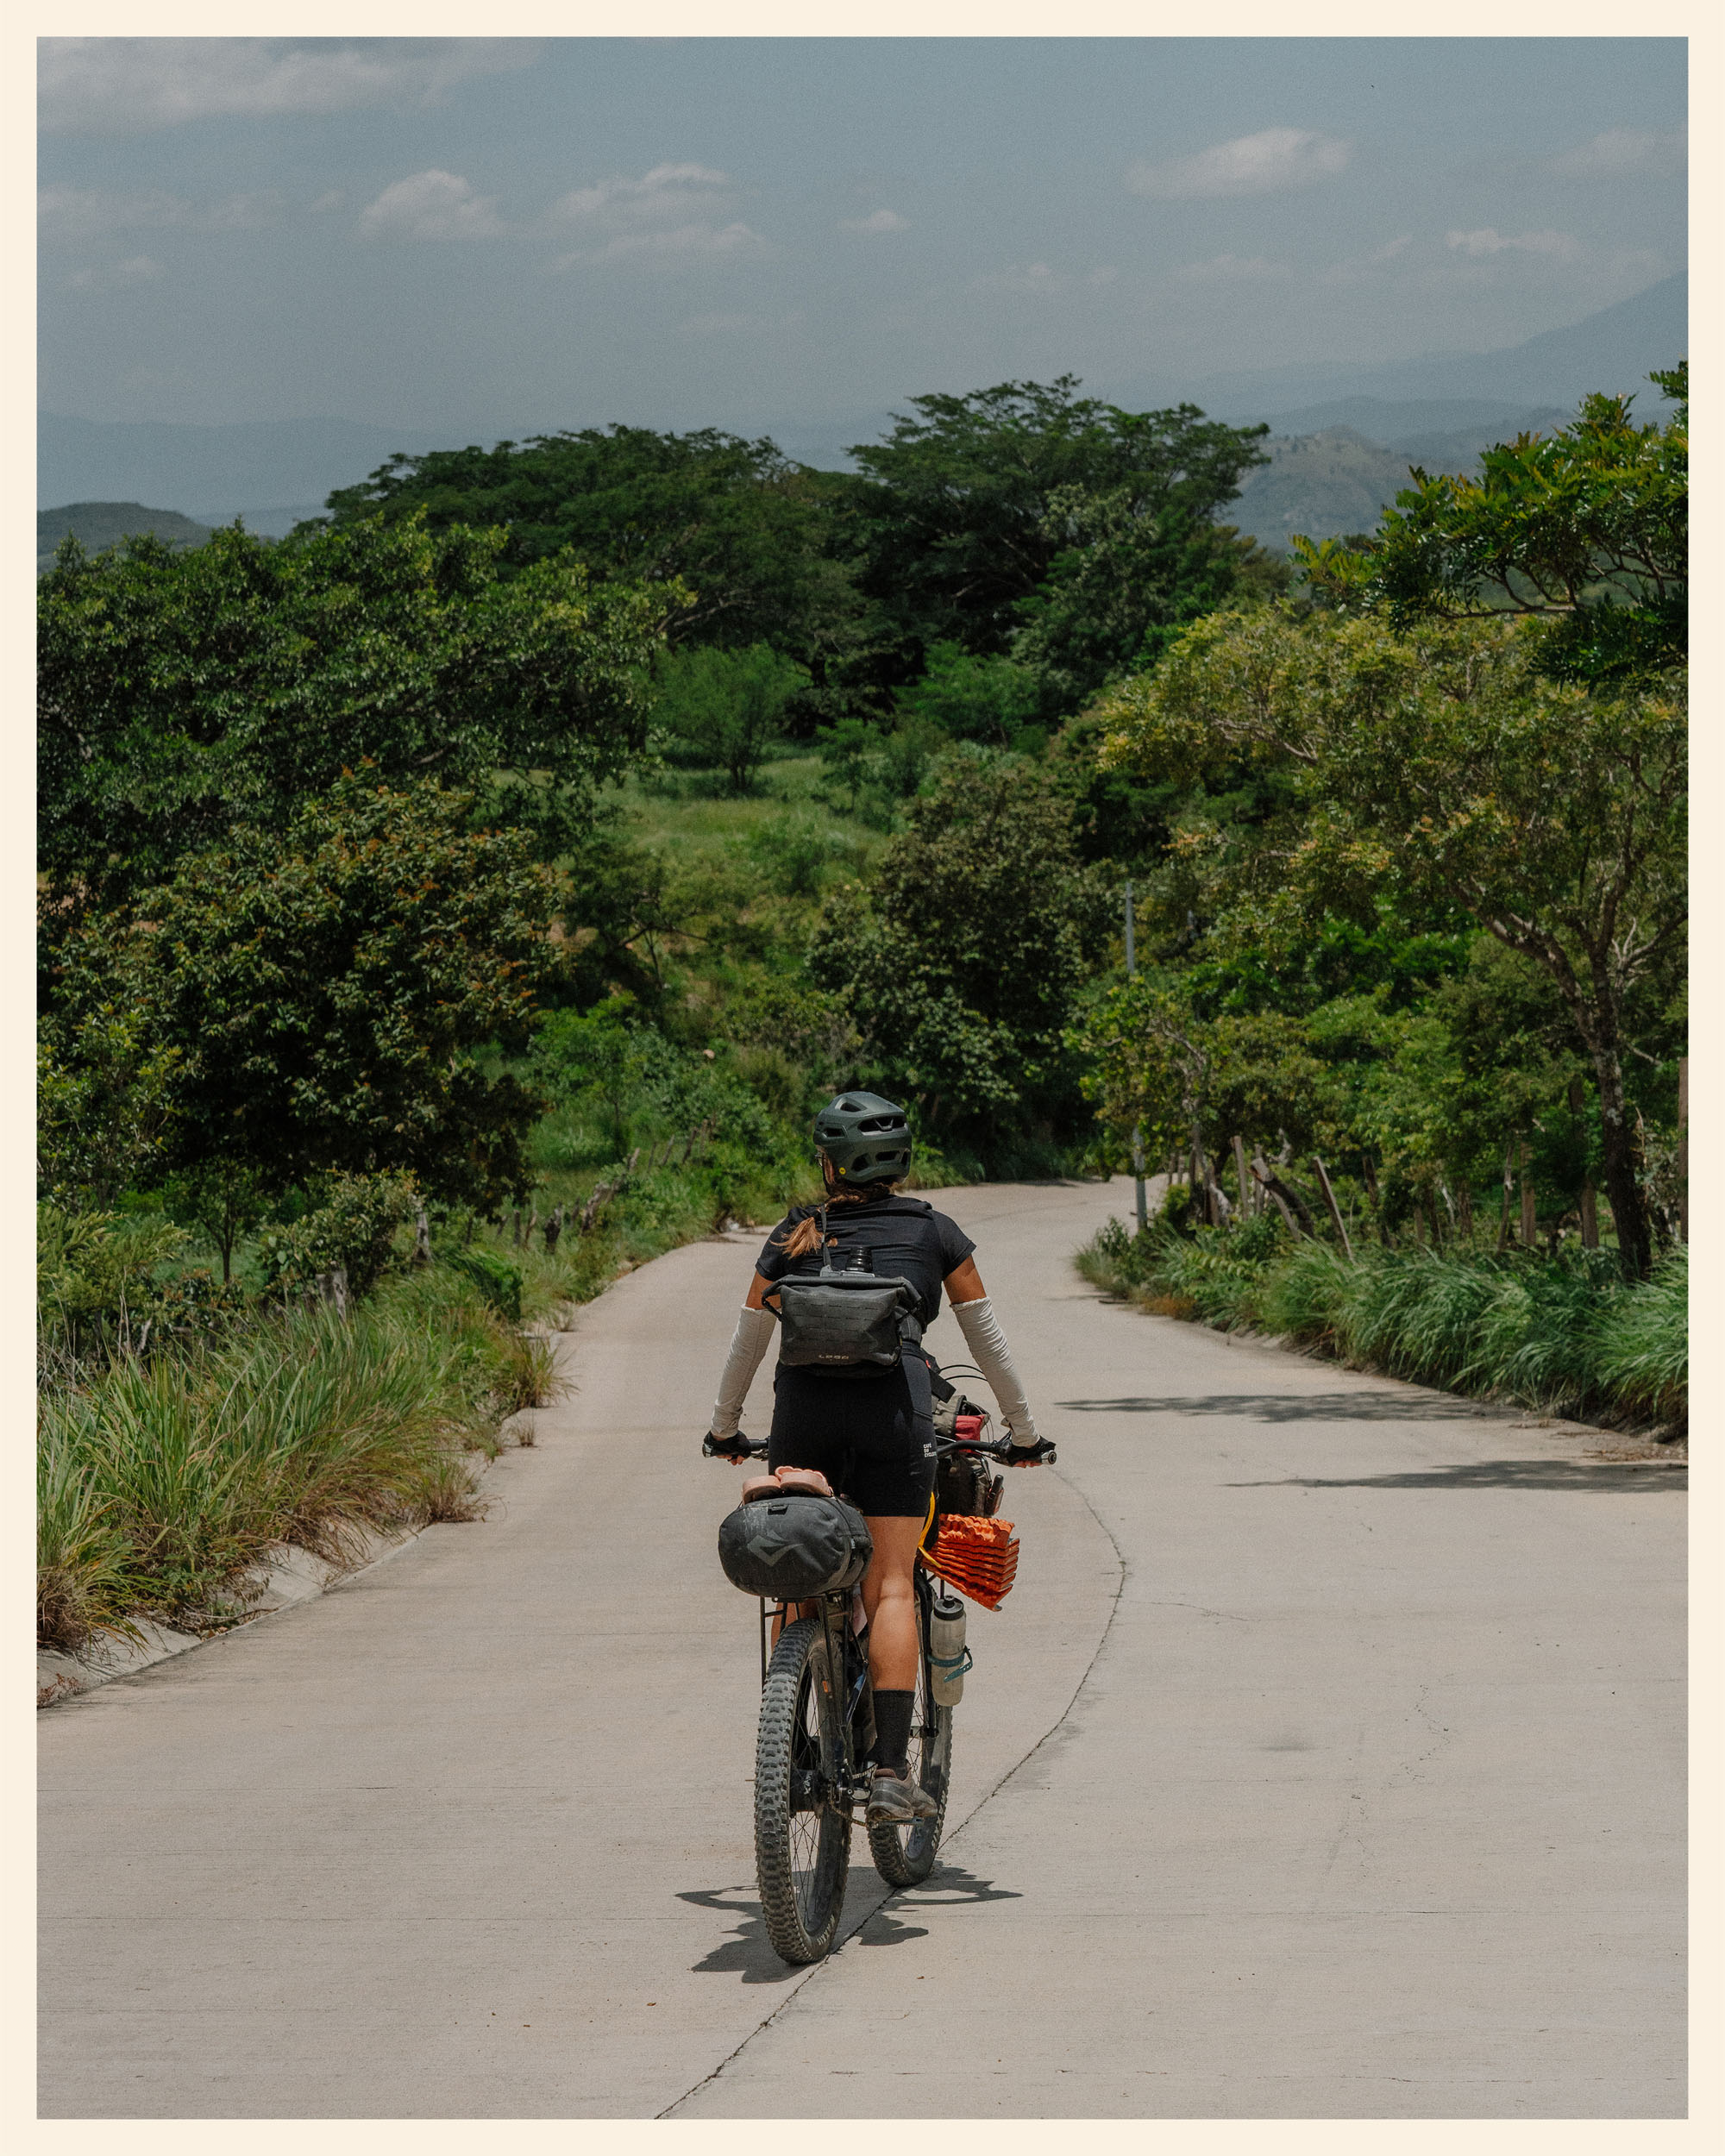
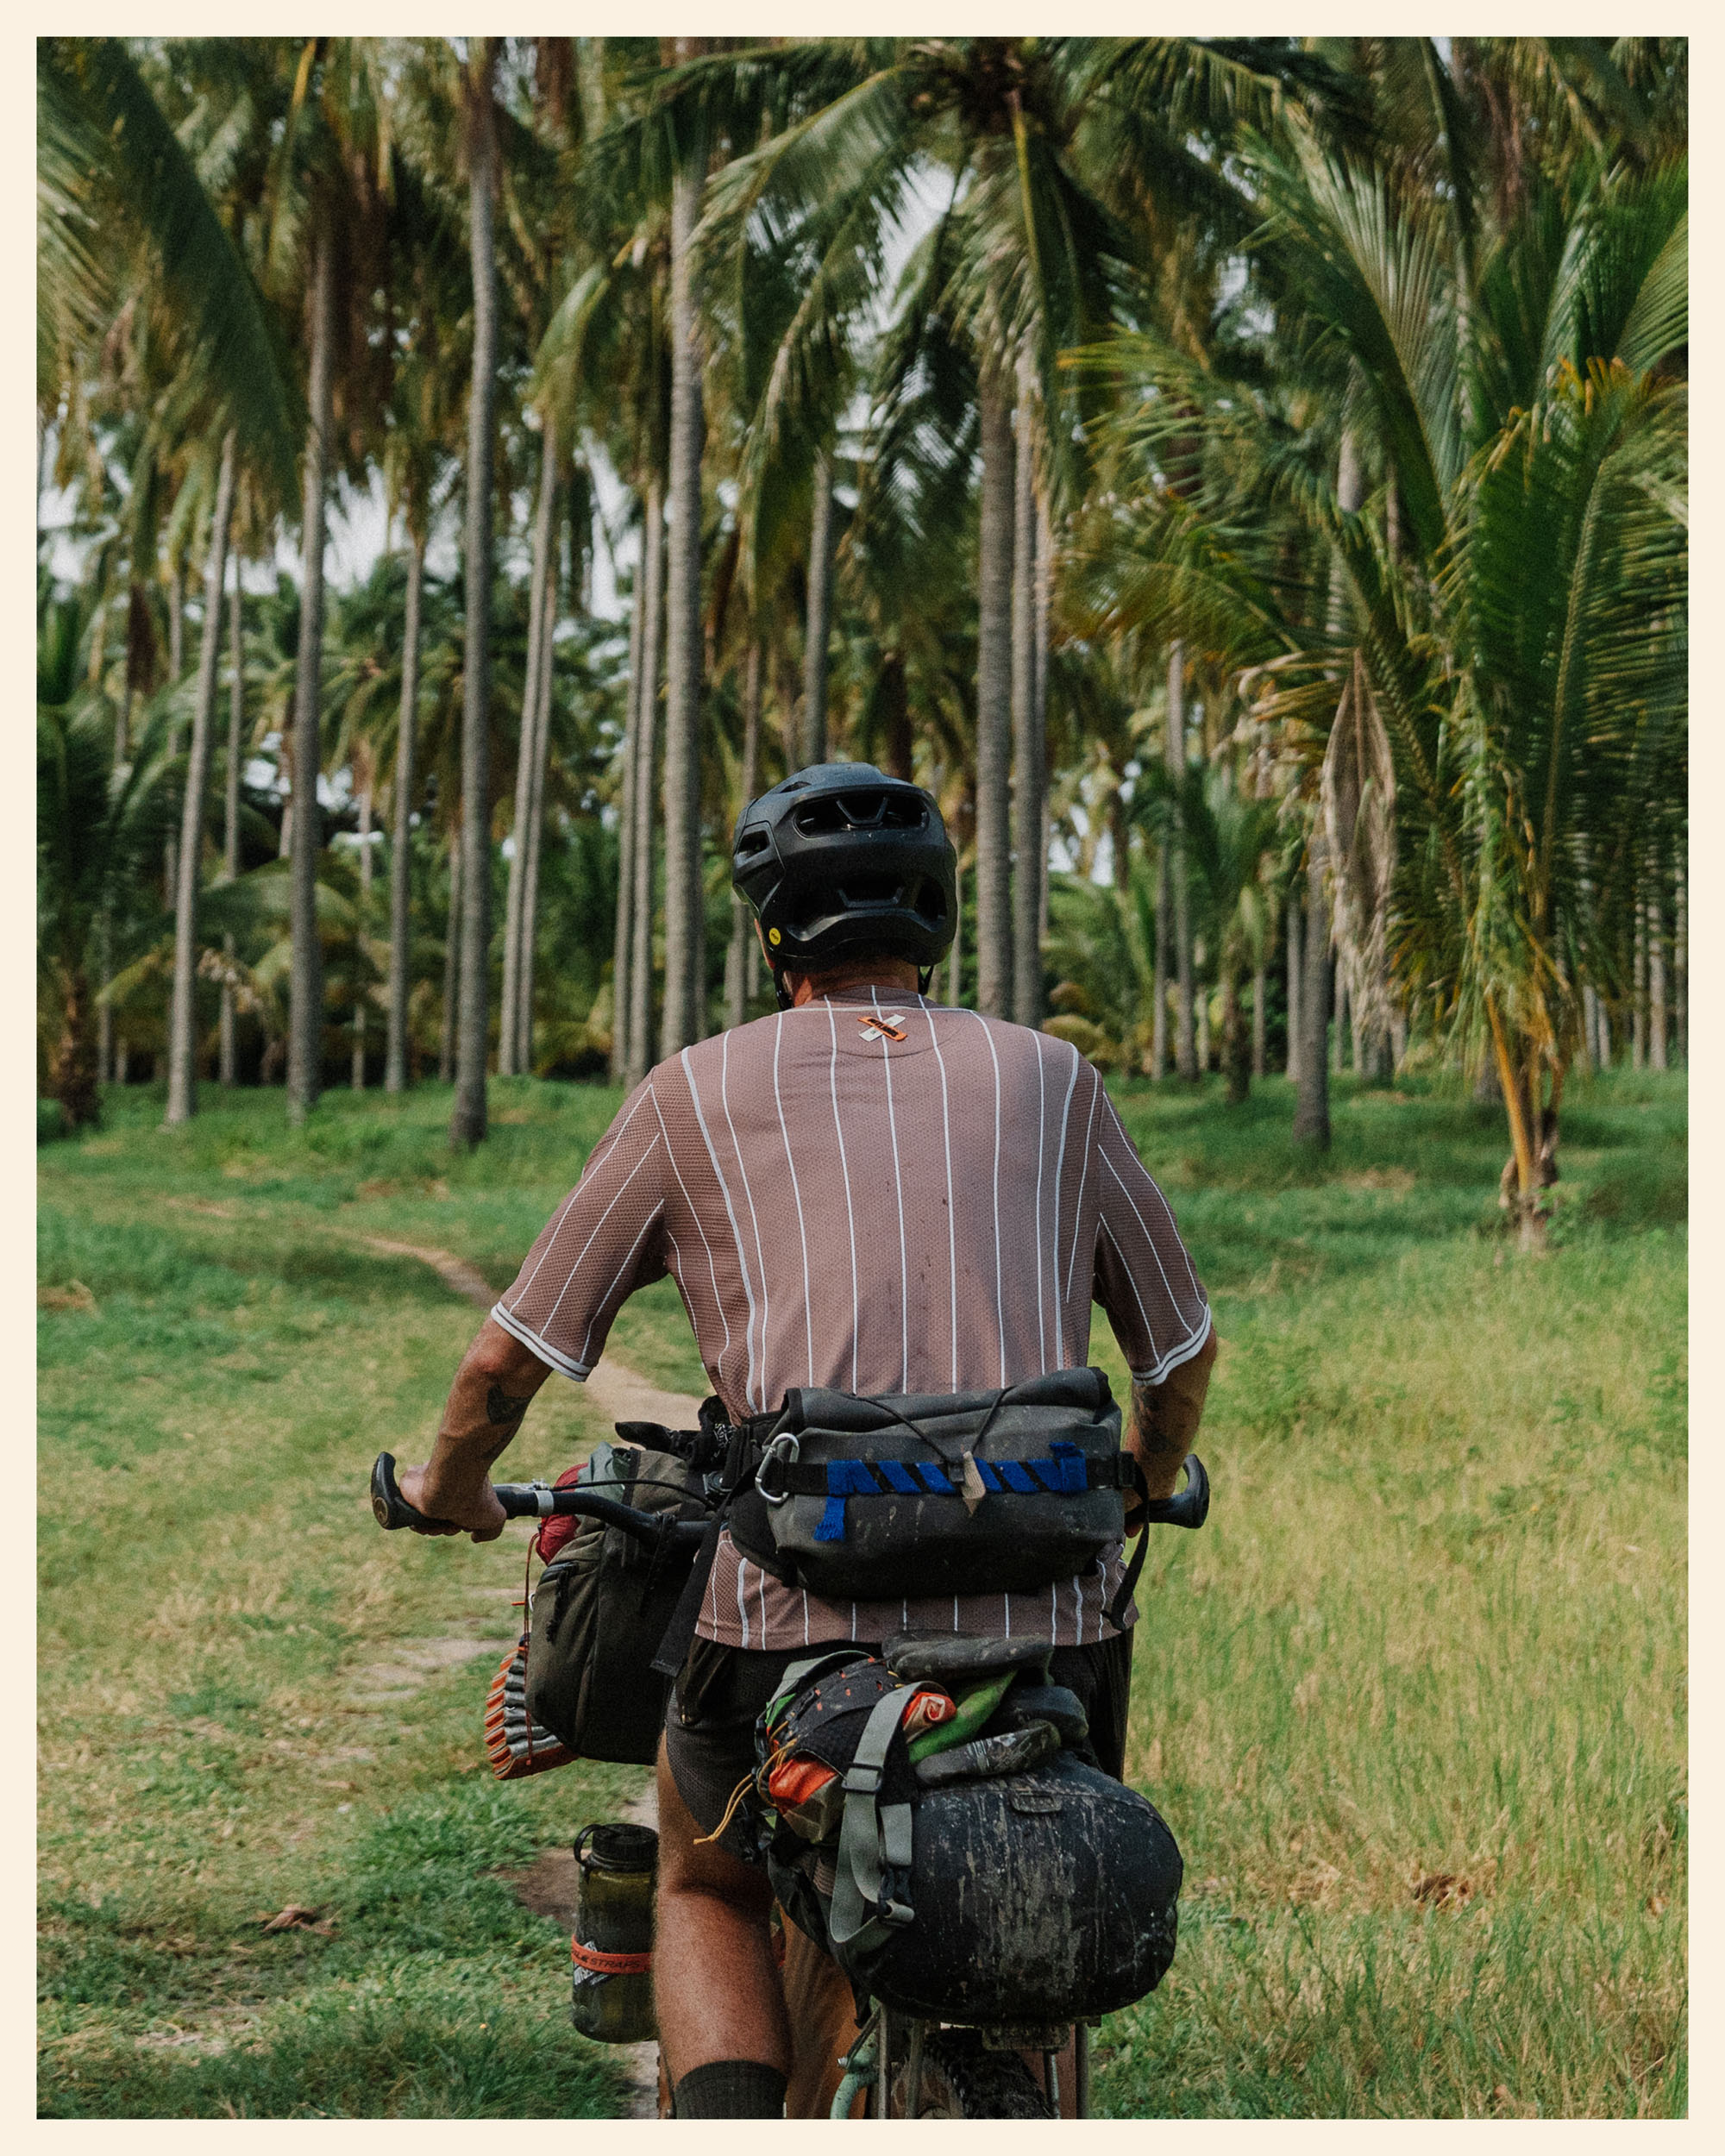
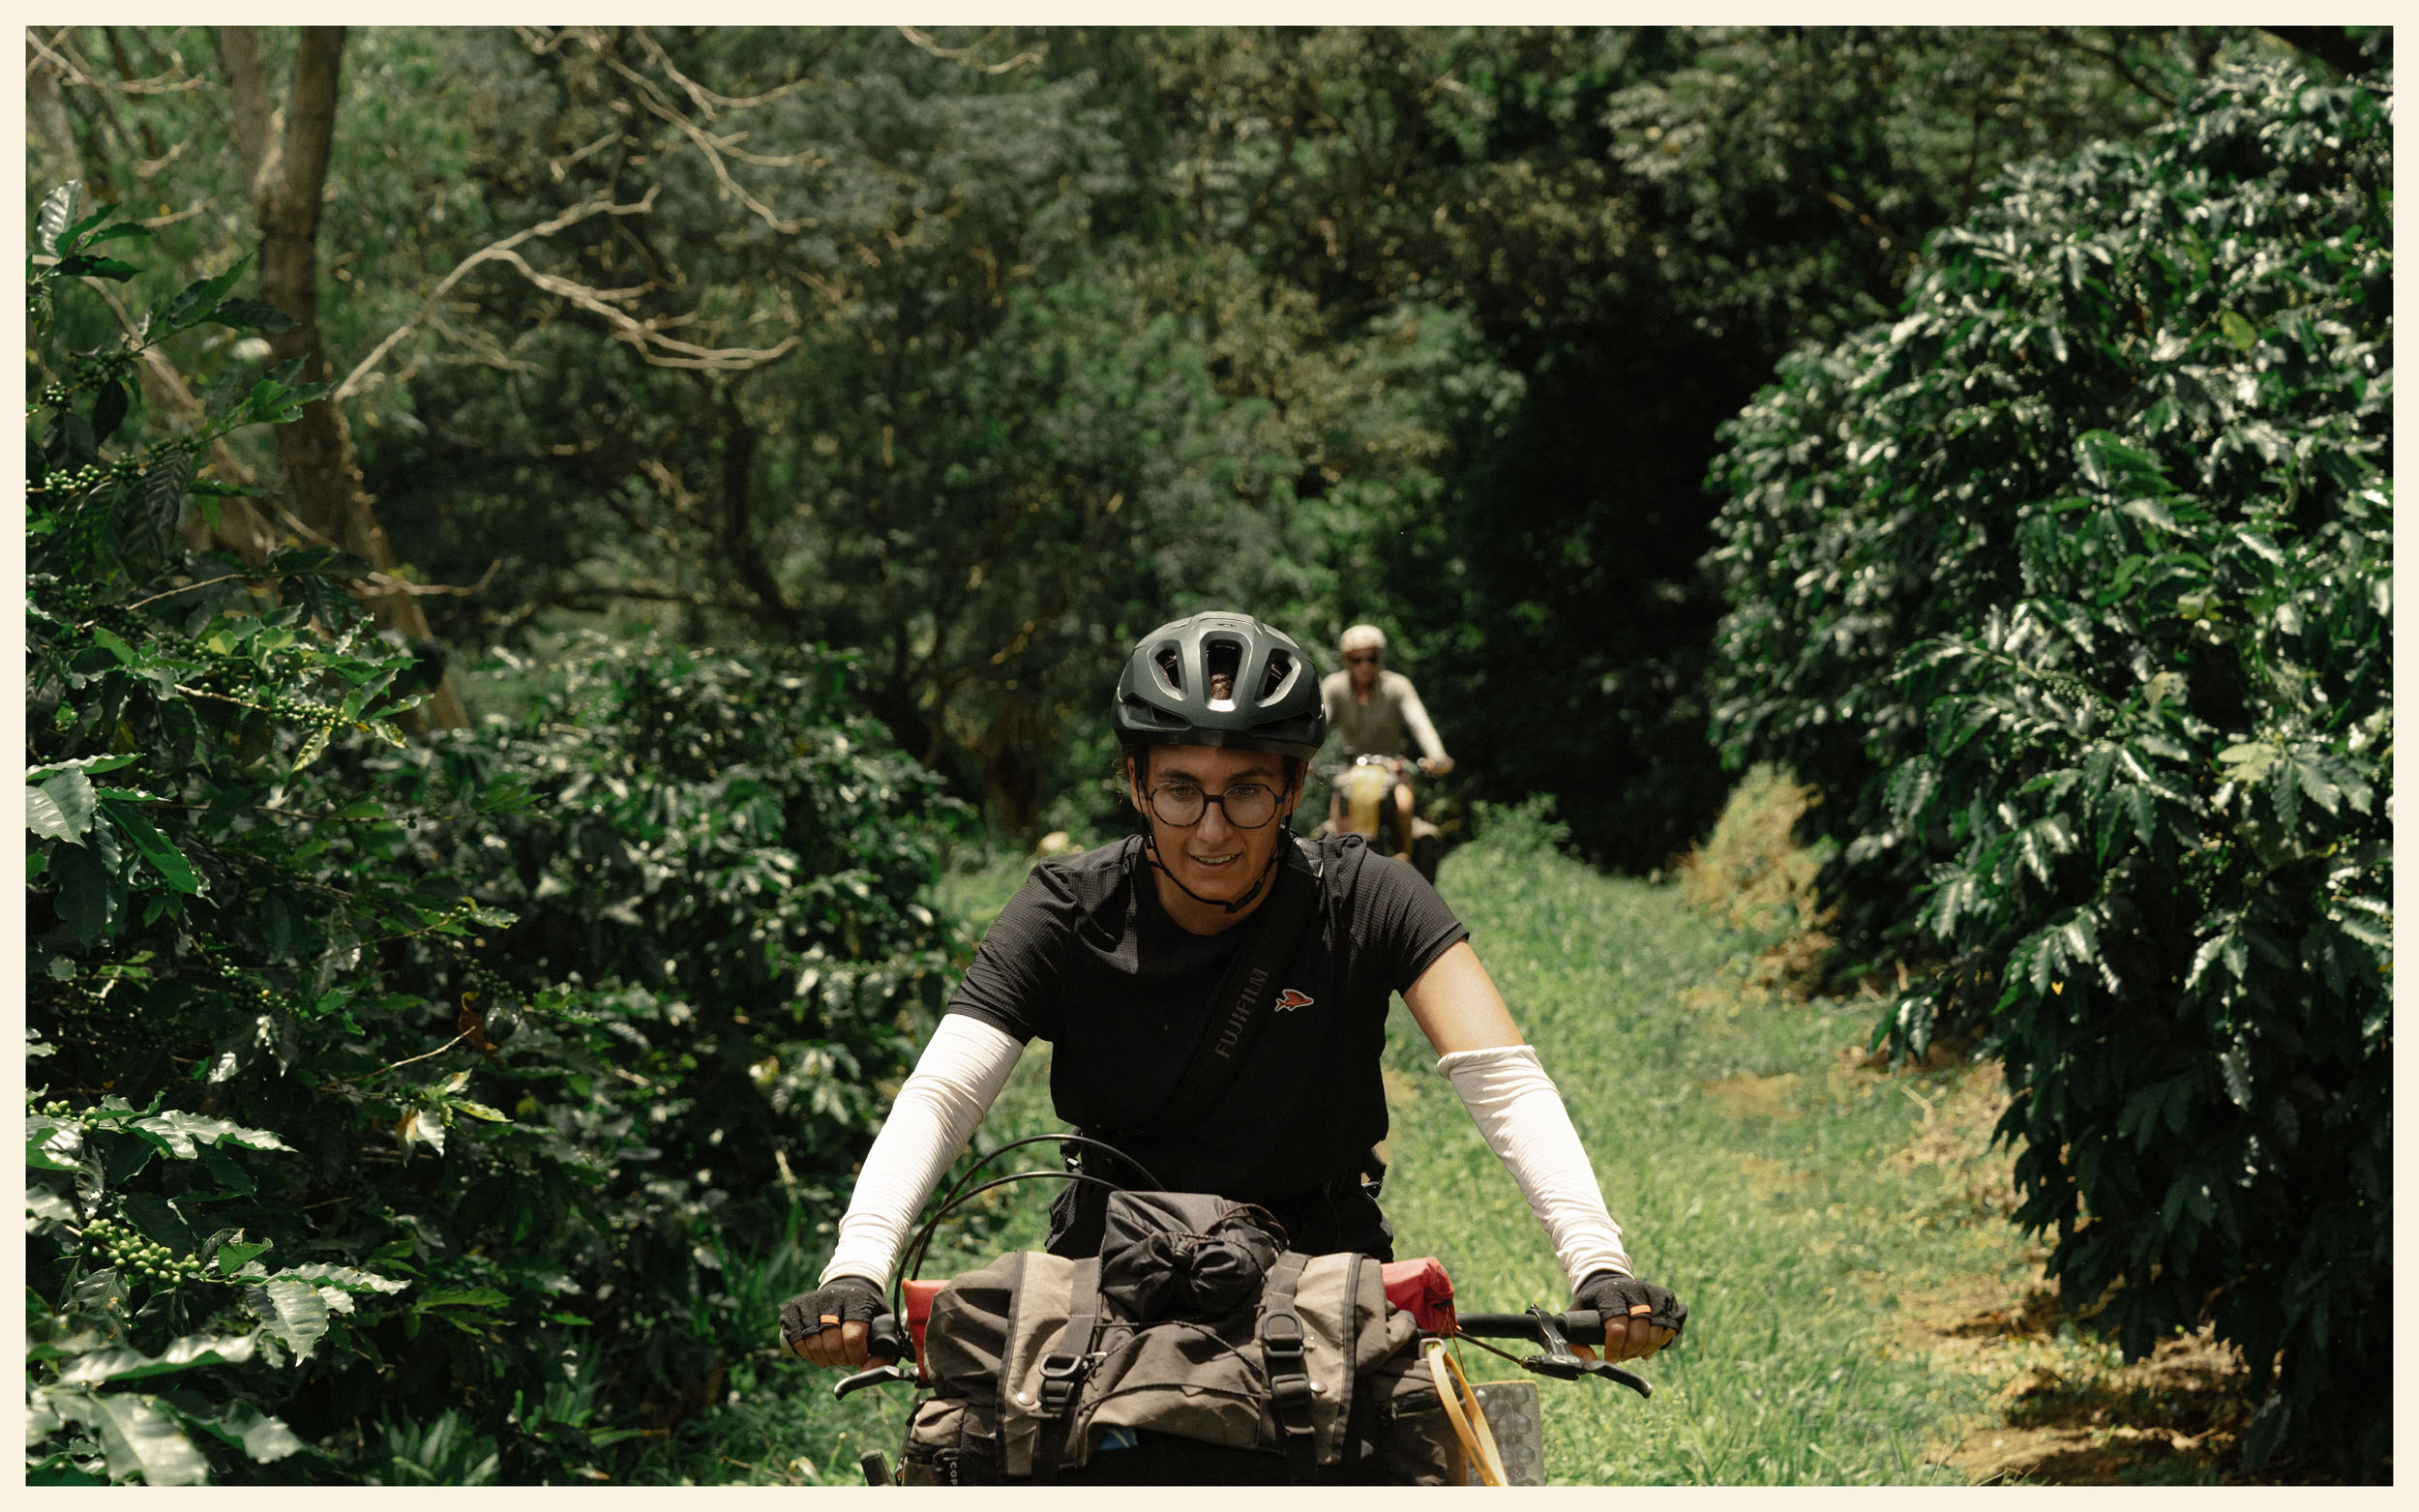
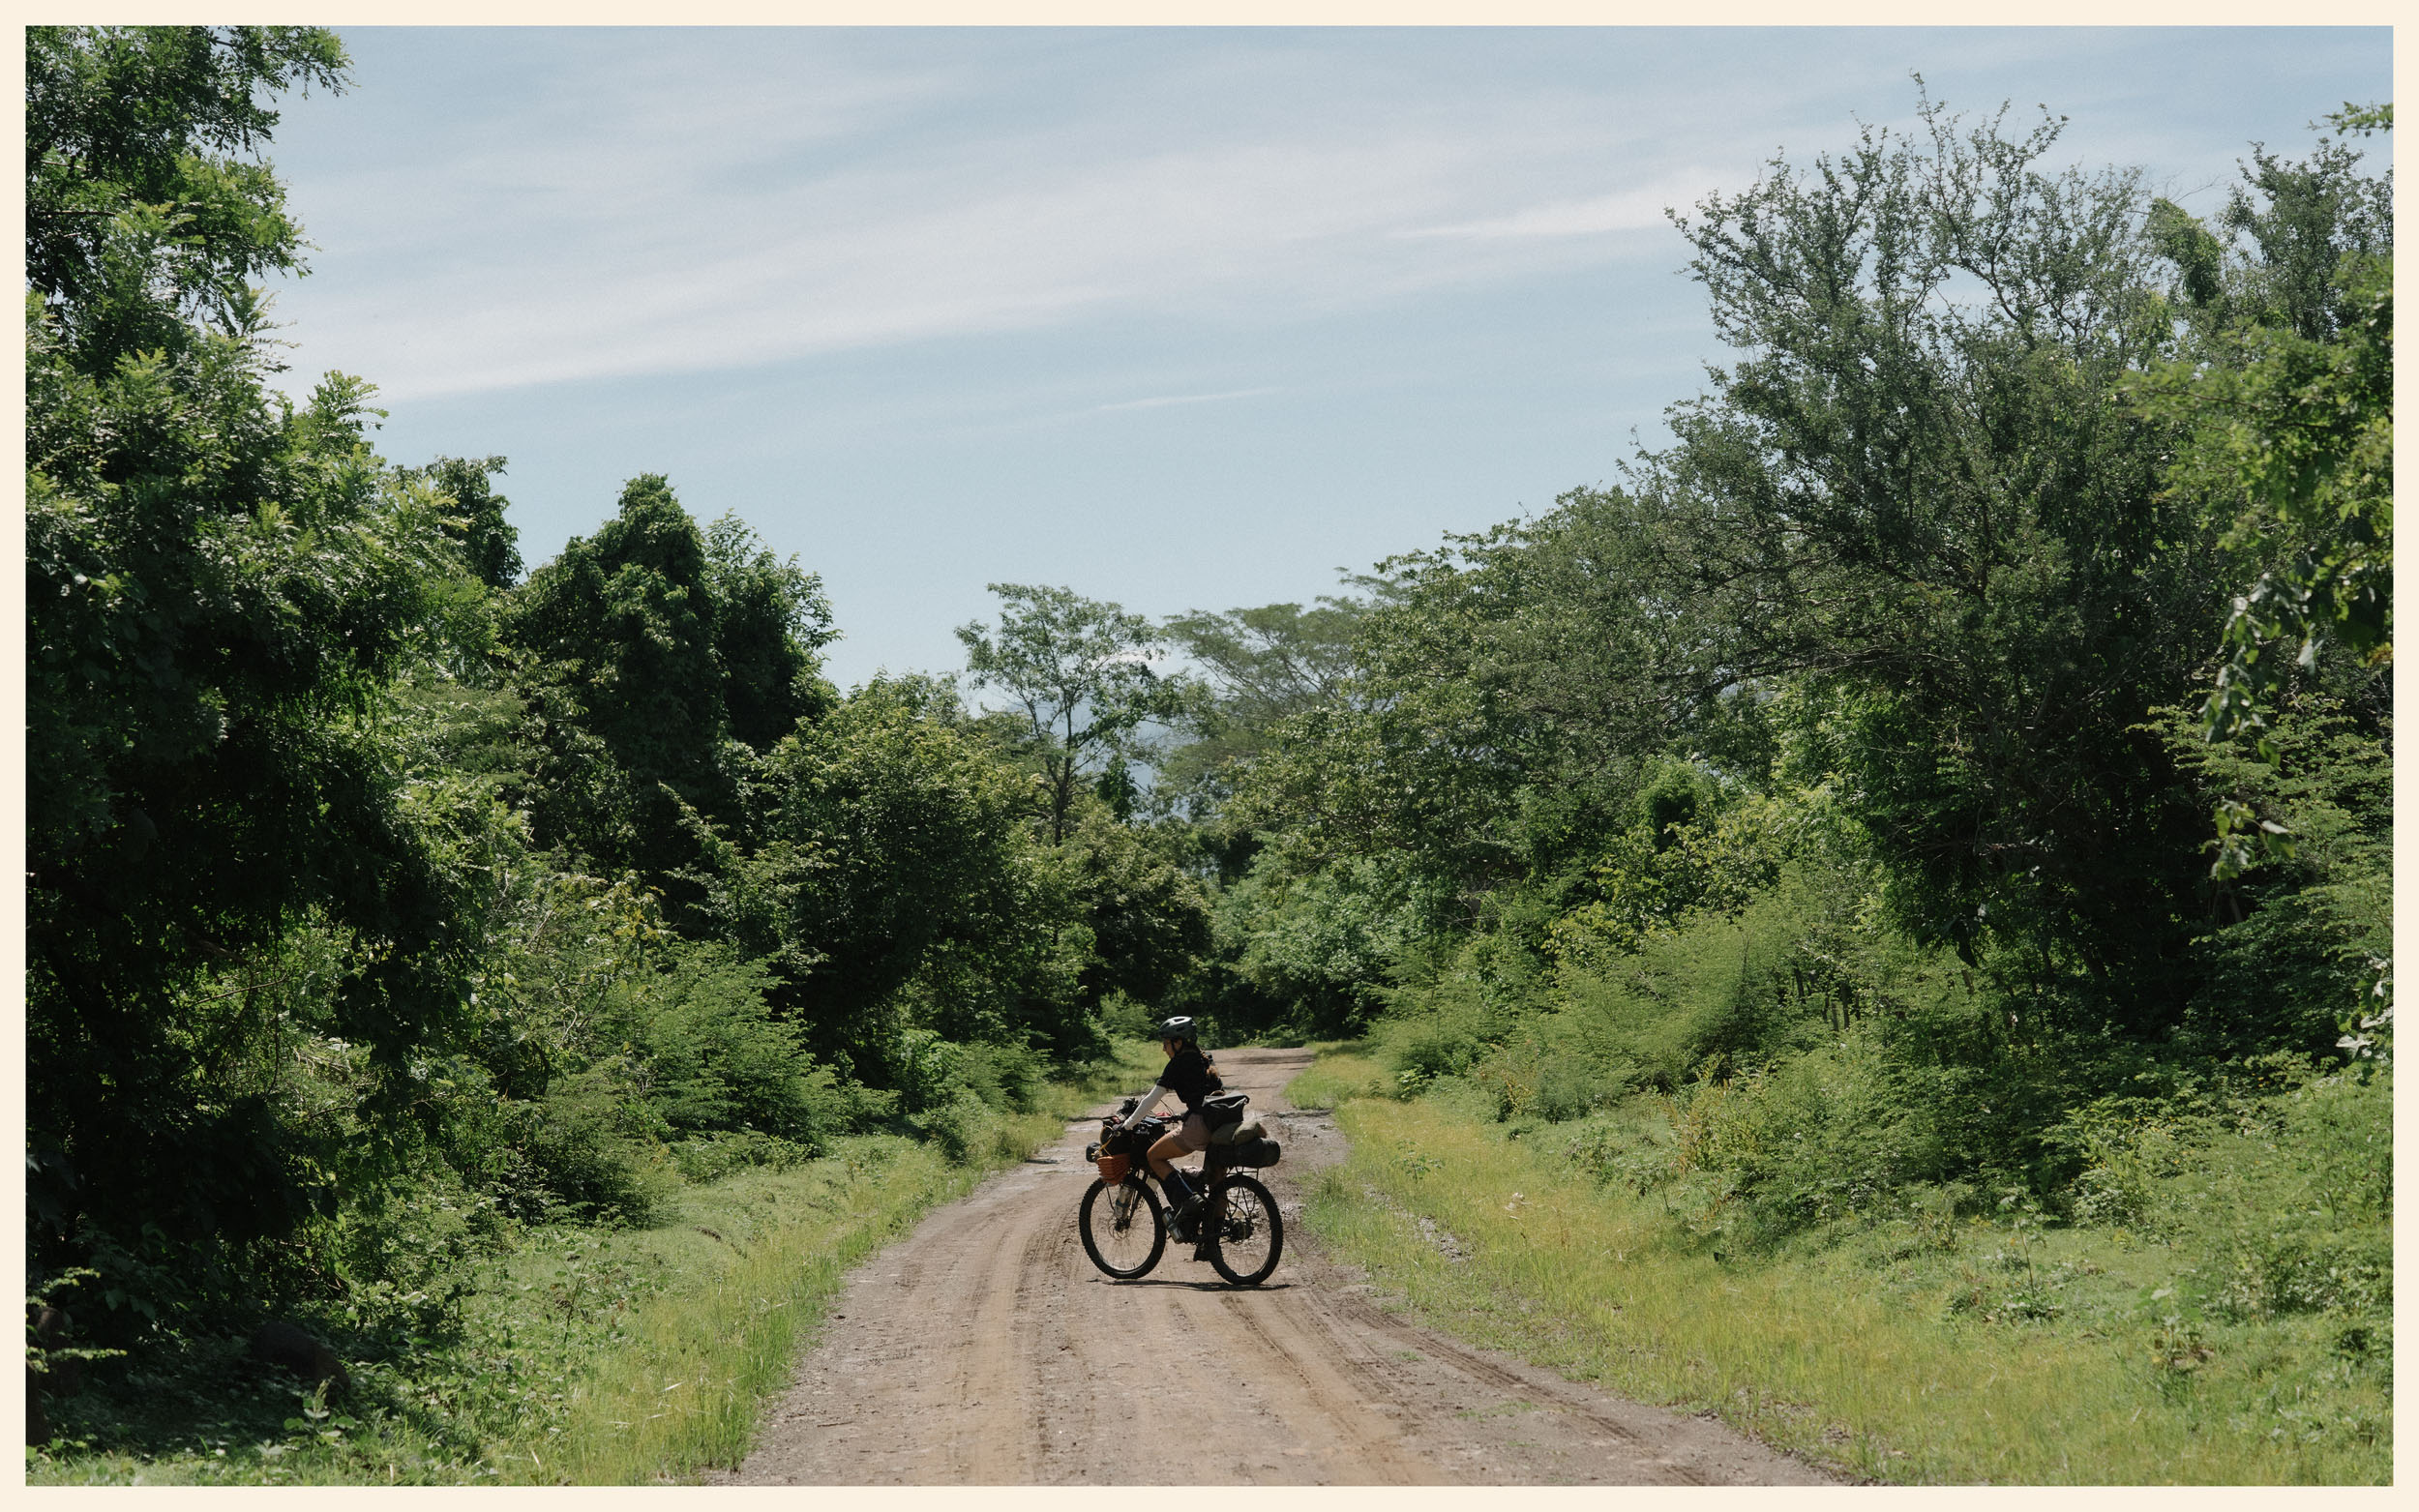
To make the journey more adventurous, we mostly stuck to dirt roads, avoiding the Pan-American Highway to experience the Salvadoran countryside. Rolling past small villages, coffee plantations, and lush green hills, we felt immersed in the daily rhythm of local life. In fact, we only crossed the highway once, and that was enough to promise ourselves never to ride on it again.
El Salvador has long been seen as one of the most dangerous countries in the Americas, which explains why travelers usually pass through in just a few days. Today, security has improved, although the political situation remains complex. The president has implemented an authoritarian policy to end gang wars, which has brought safety back to the streets. The cost of this peace, however, raises obvious human rights concerns. Our encounters with locals showed us that reality is not black and white. There is some good in this policy, but also a significant shadow.
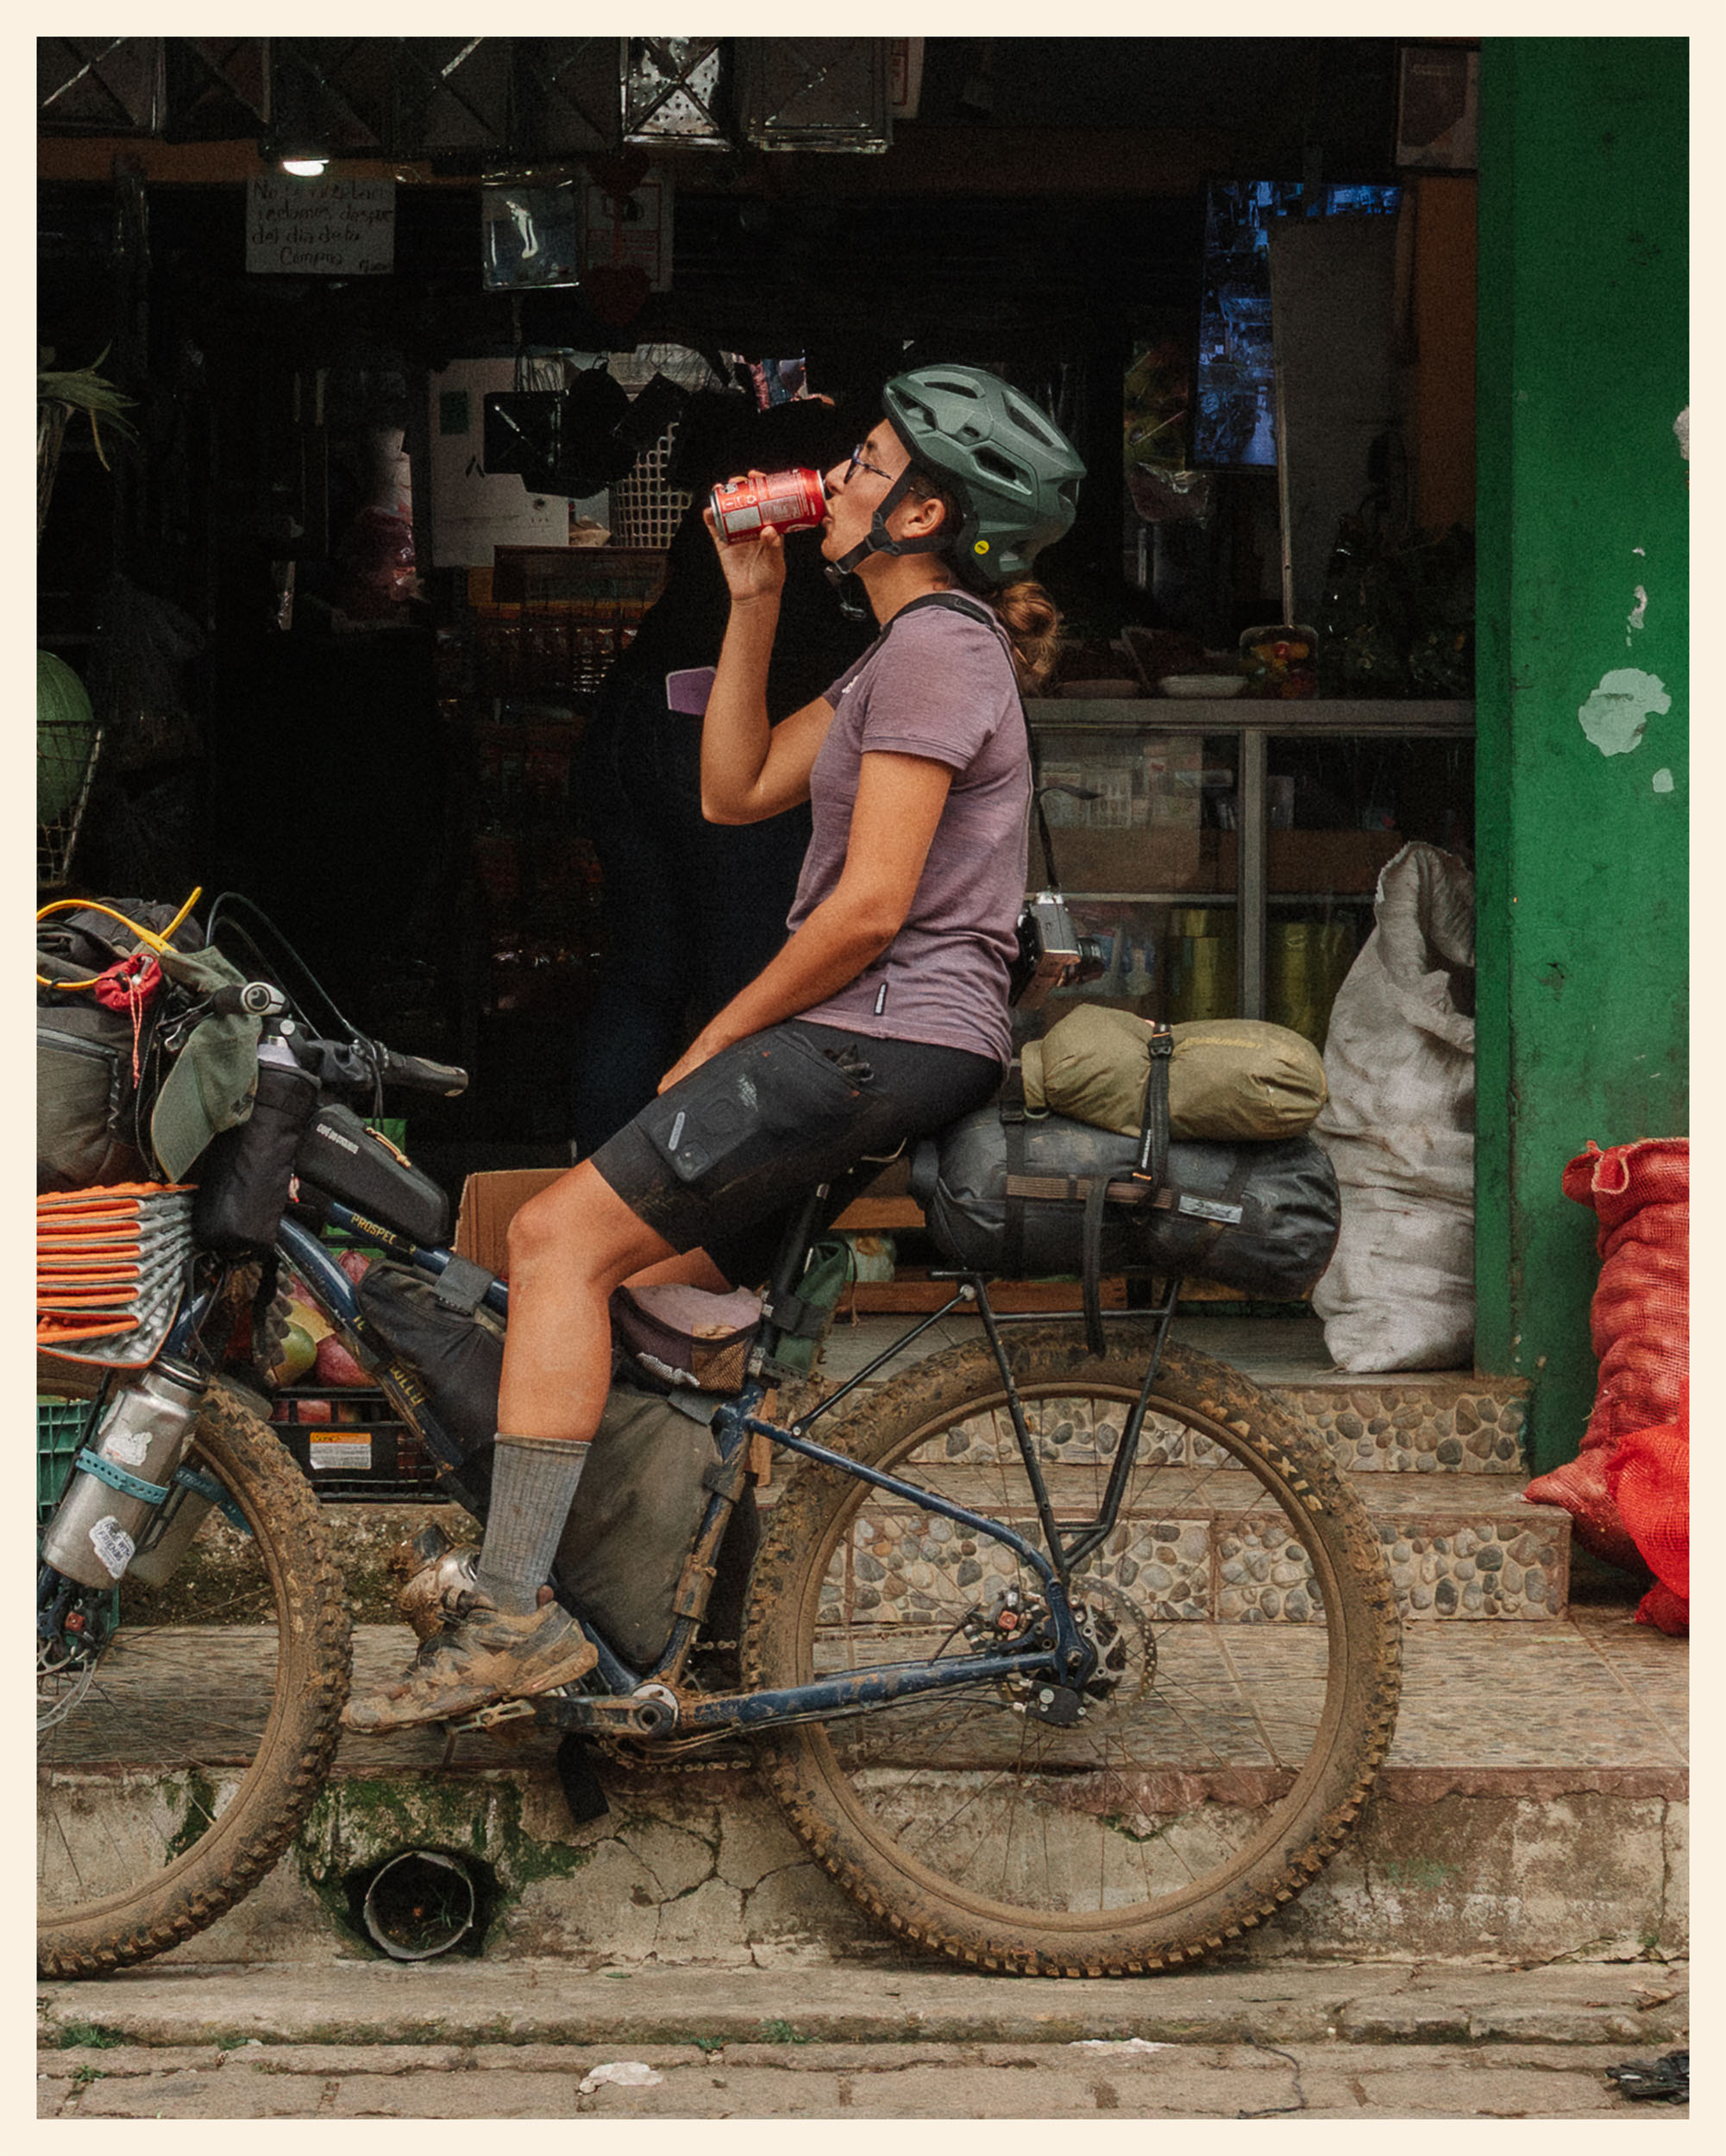
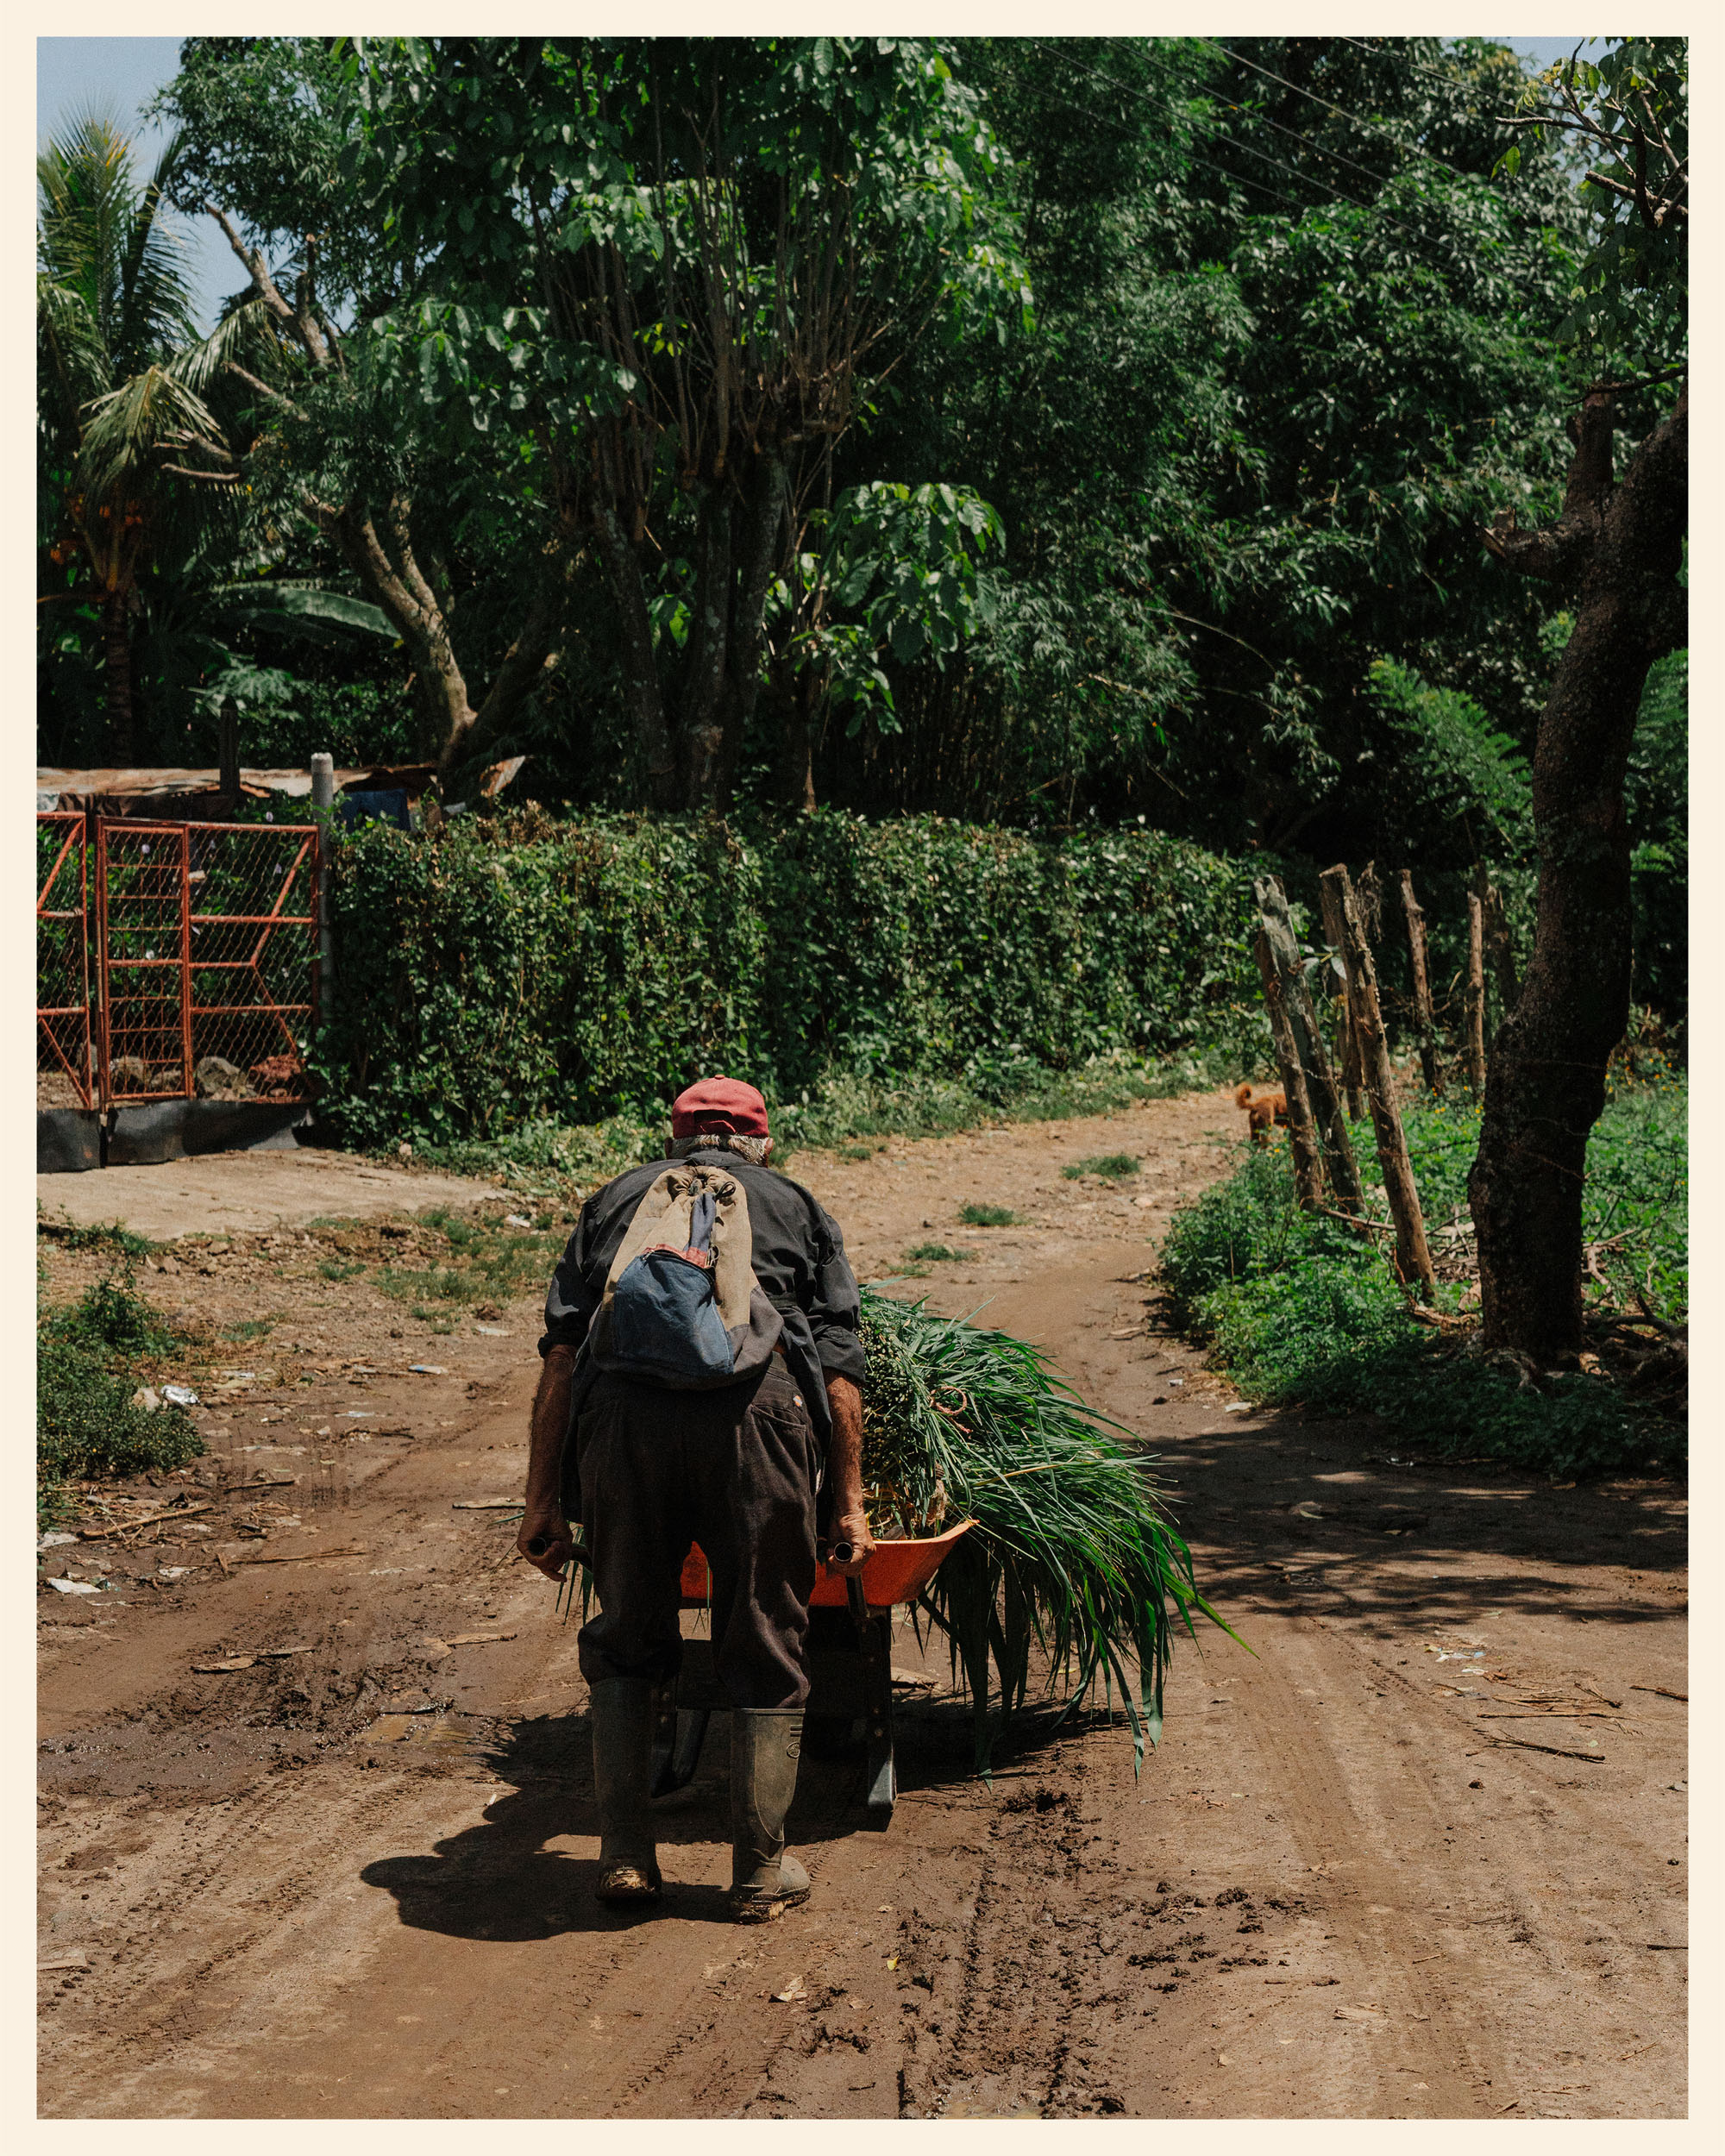
For us, cycling through the country revealed a joyful, free, and serene side. People celebrate, stroll through town even late at night, and gather to eat pupusas morning and evening. Each day on the bike offered new discoveries: quiet lagoons reflecting volcanoes, the smell of fresh coffee plantations, and the rhythm of local markets alive with chatter and color. El Salvador surprised us at every turn, and the variety of landscapes, people, and experiences made every pedal stroke unforgettable.
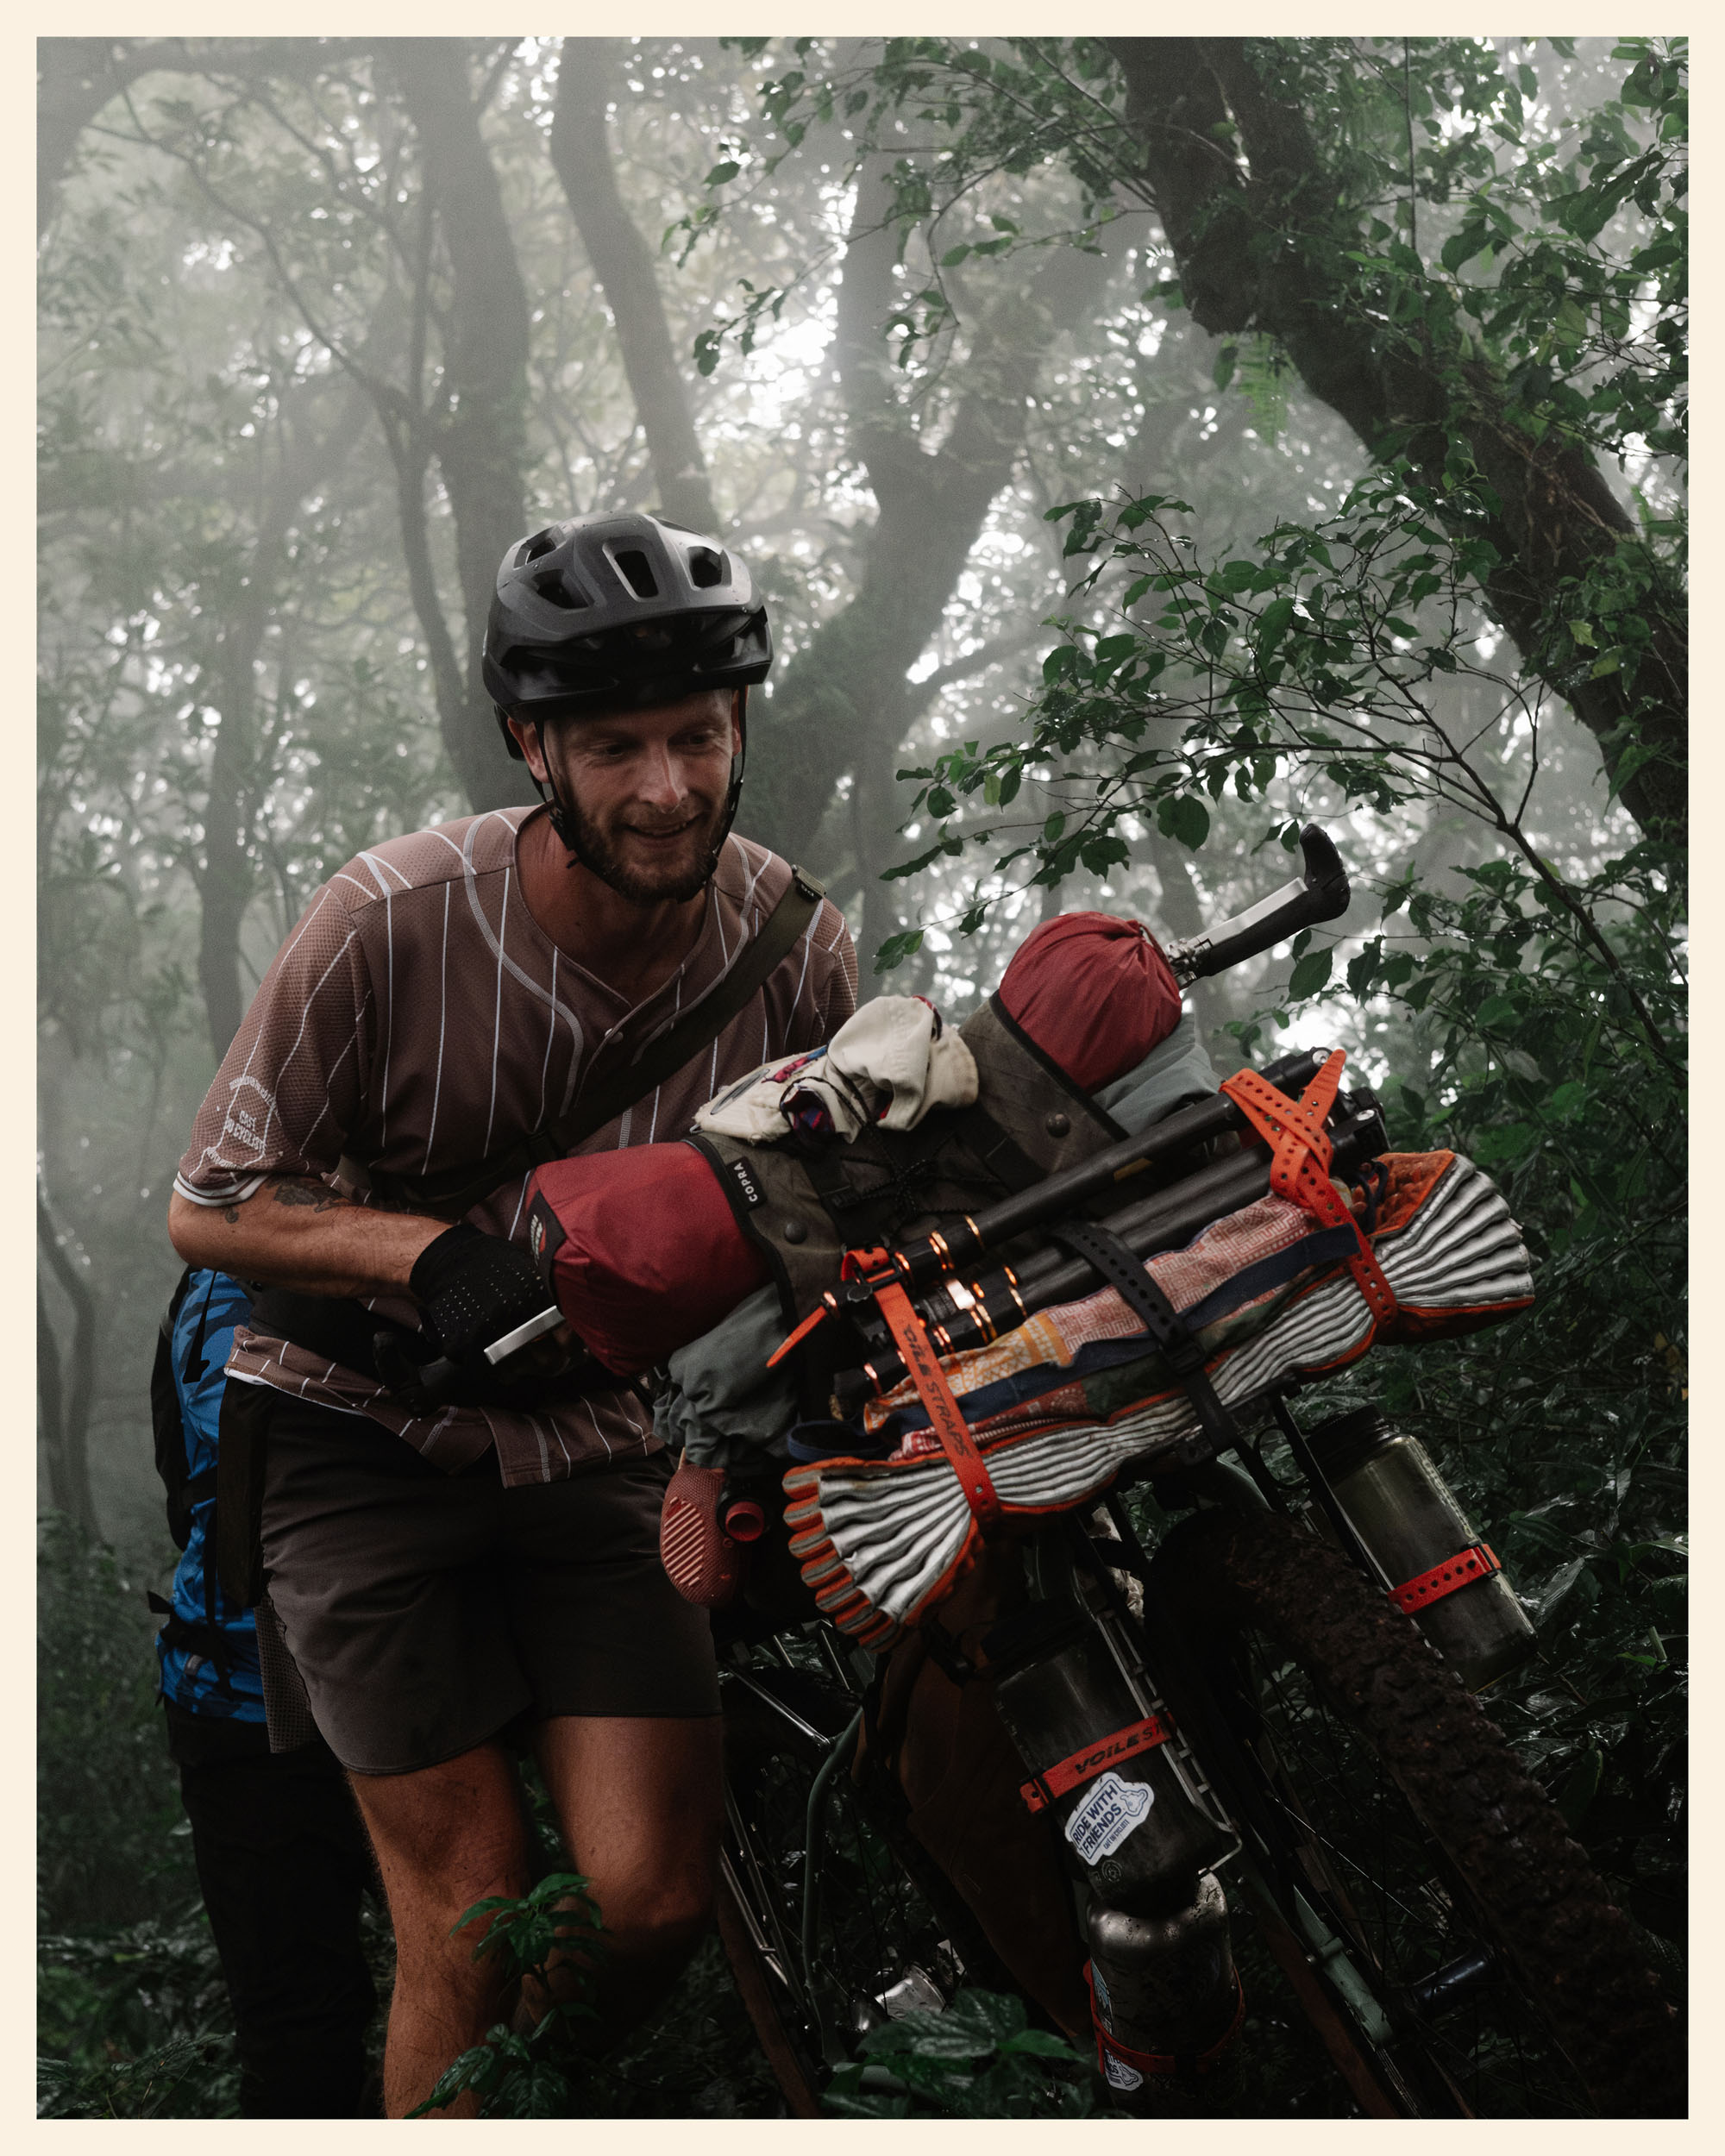
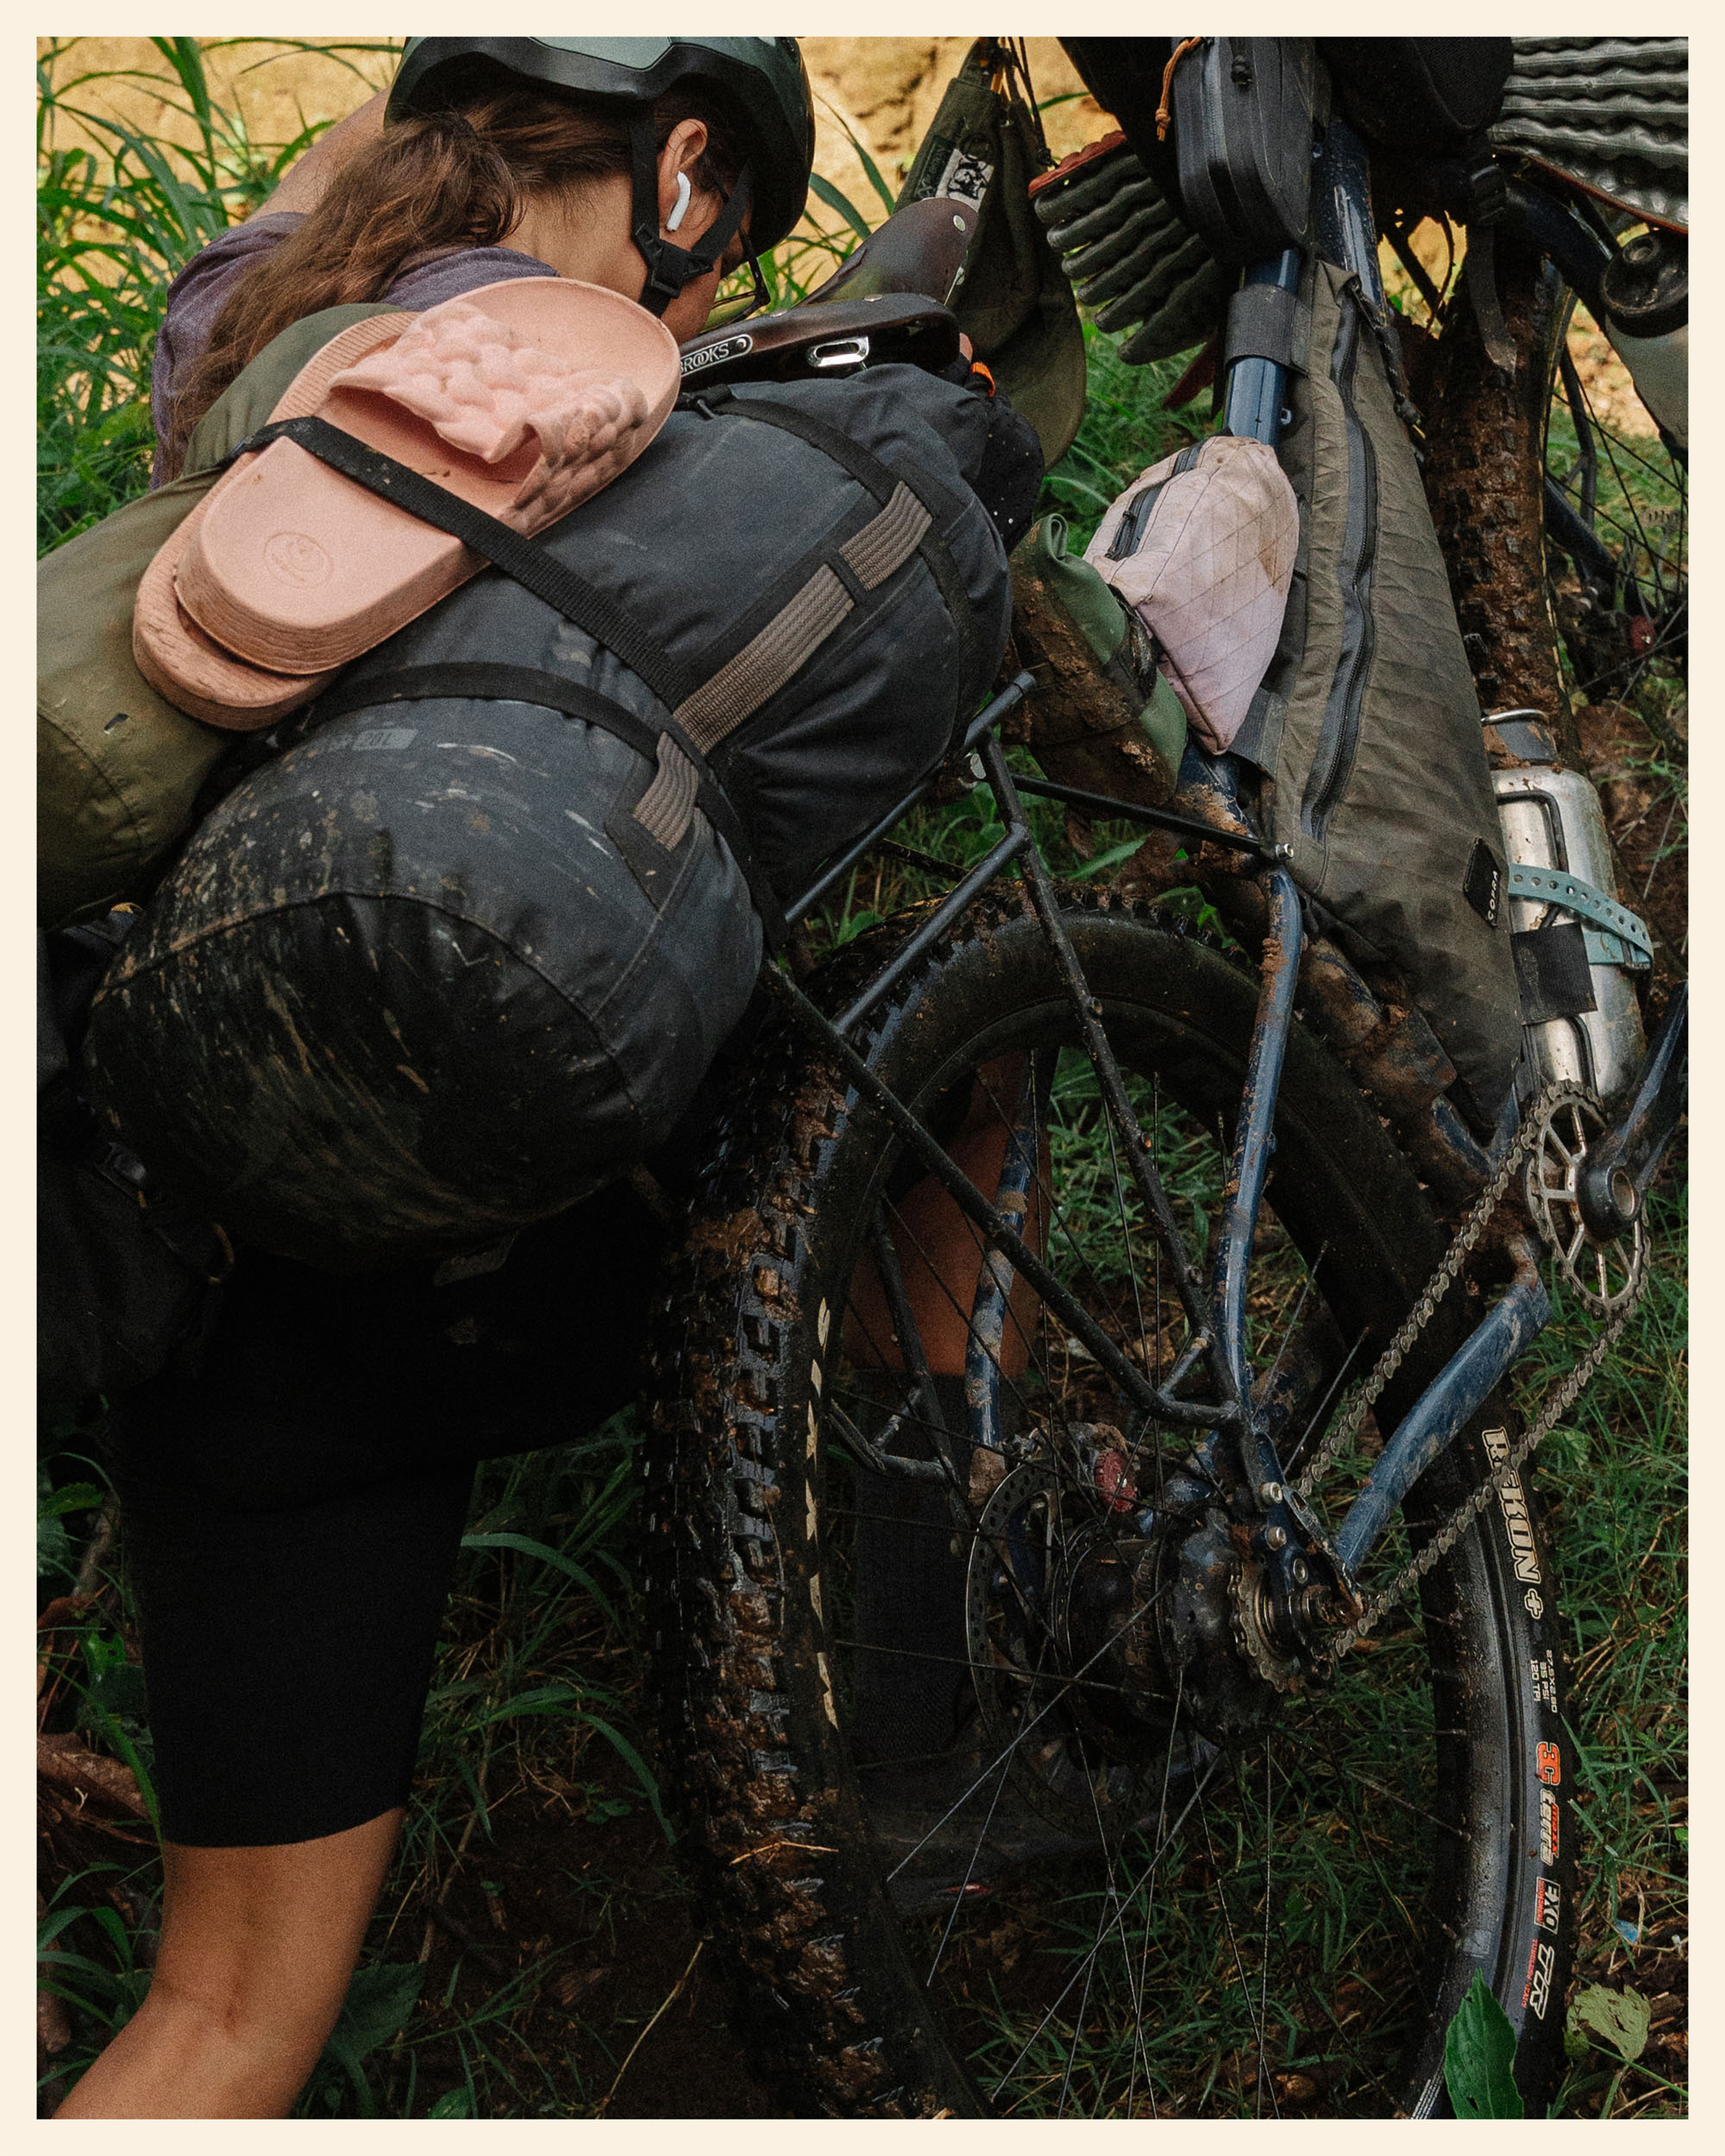
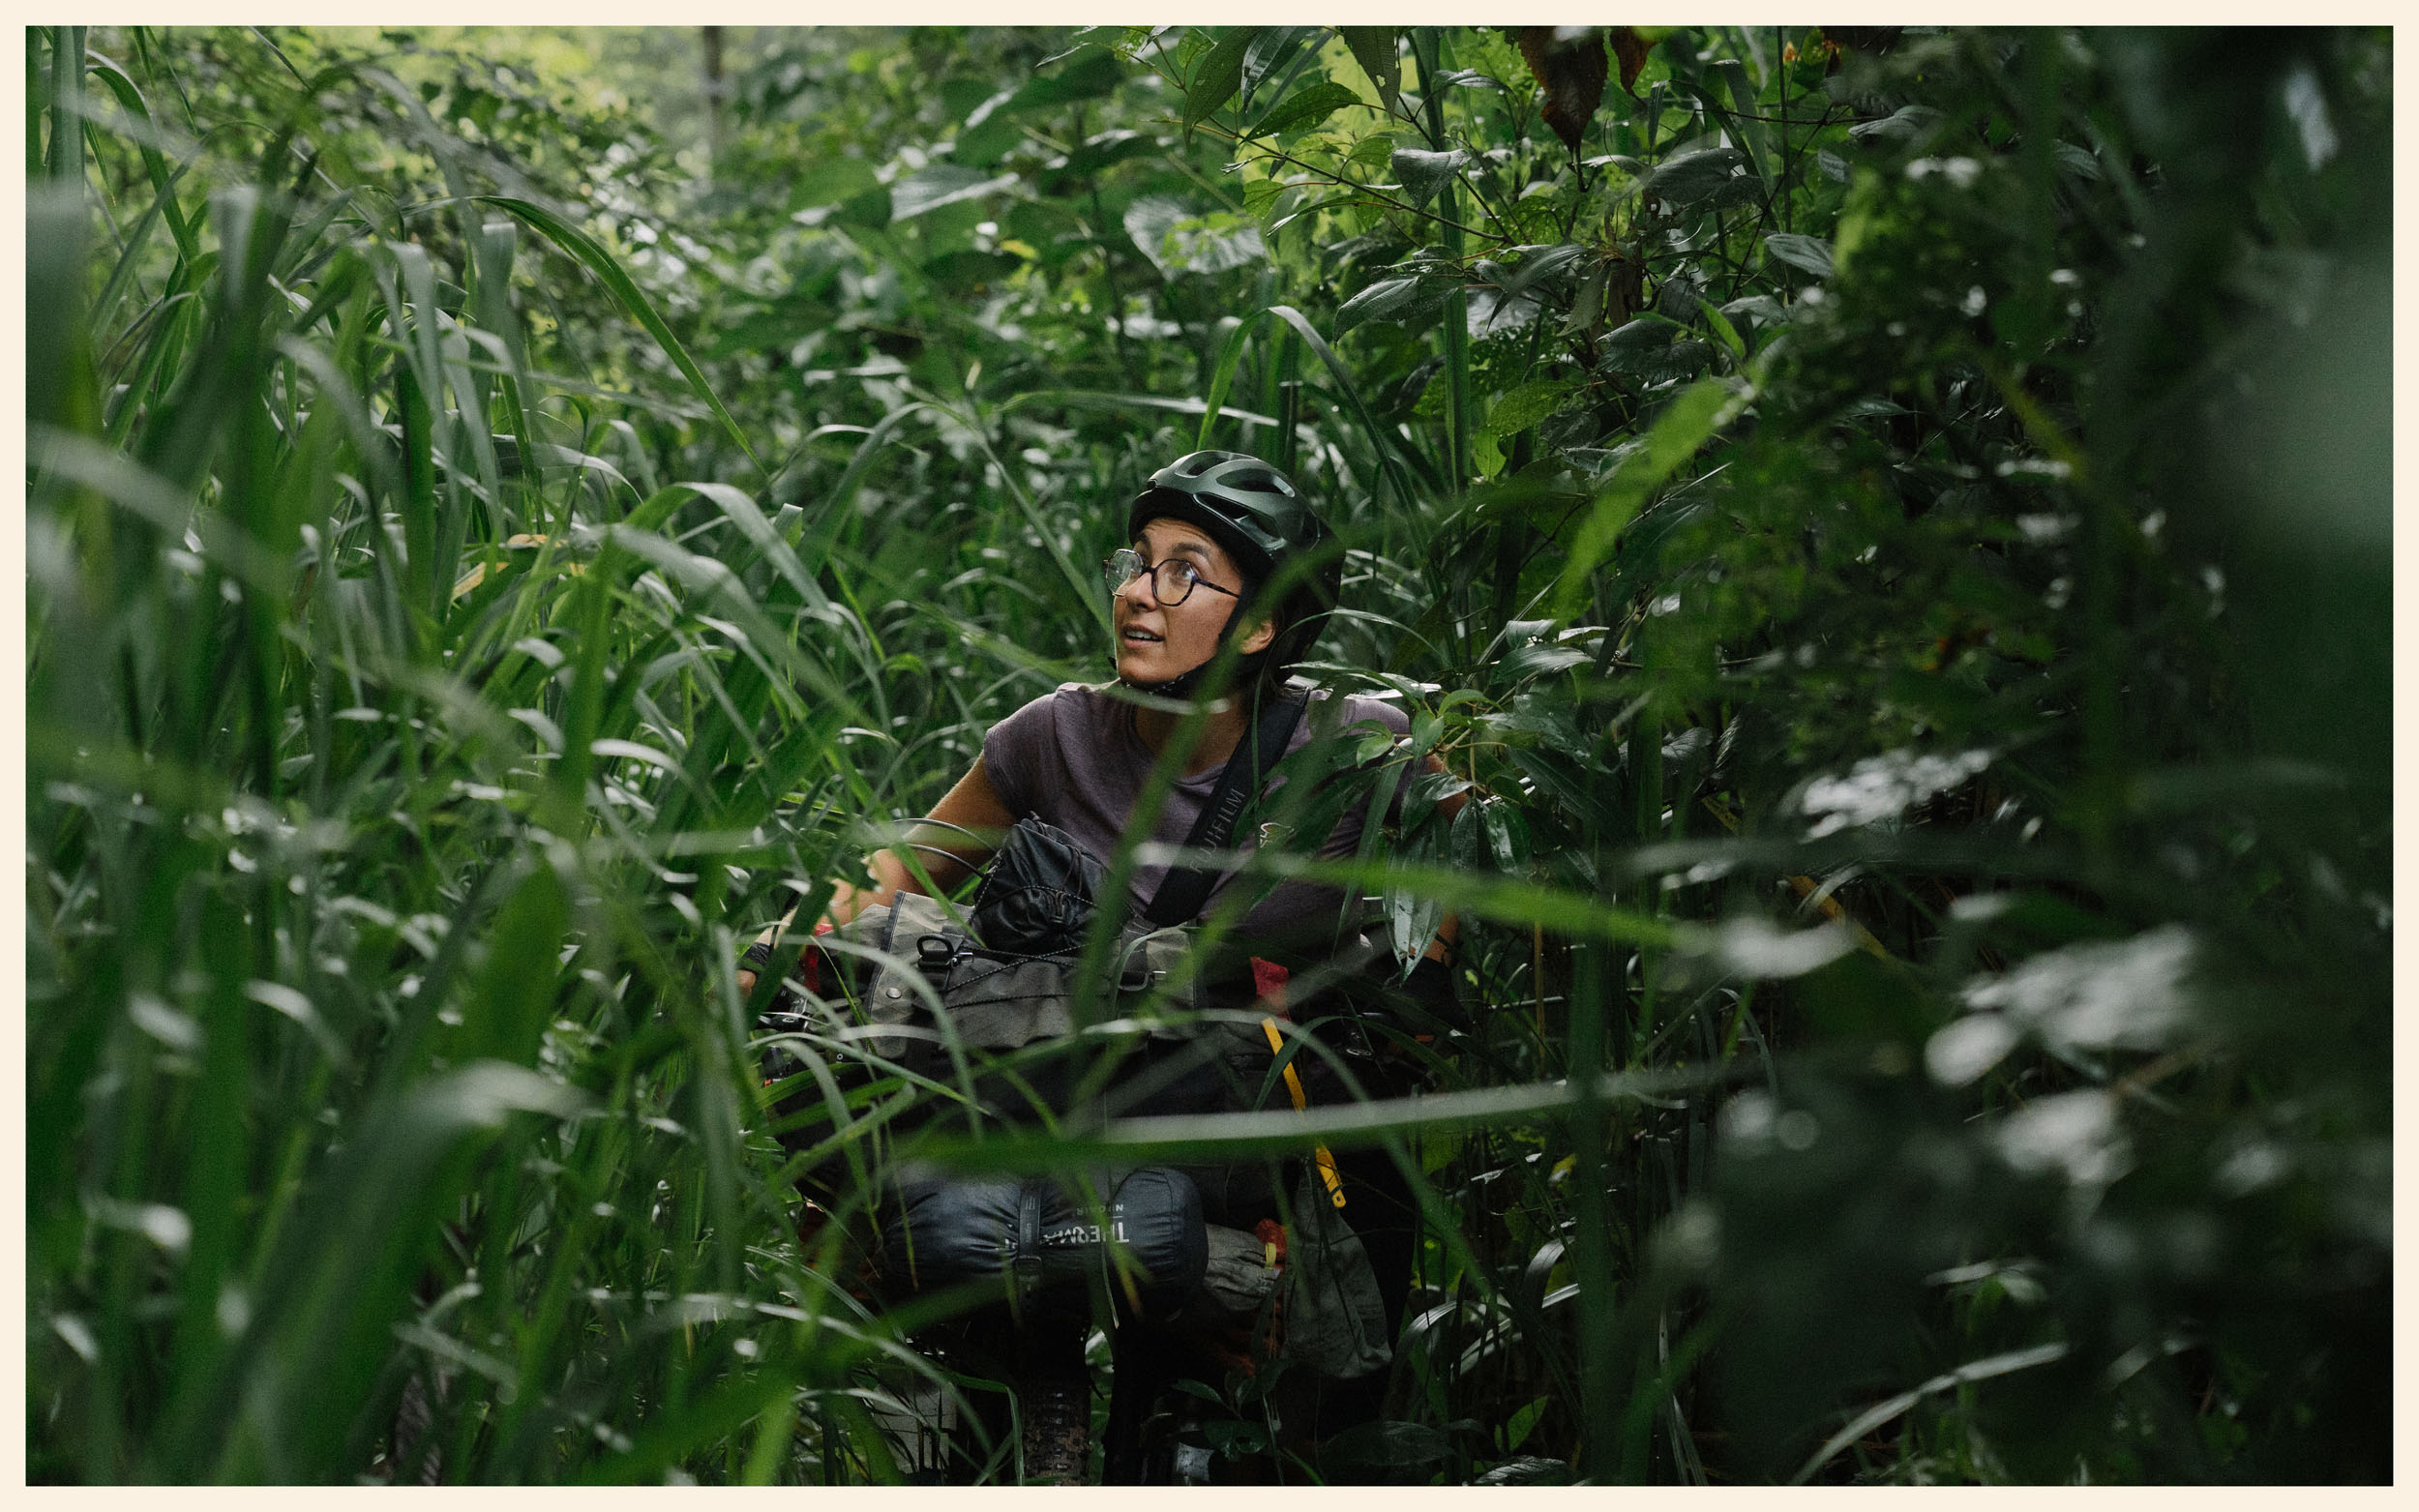
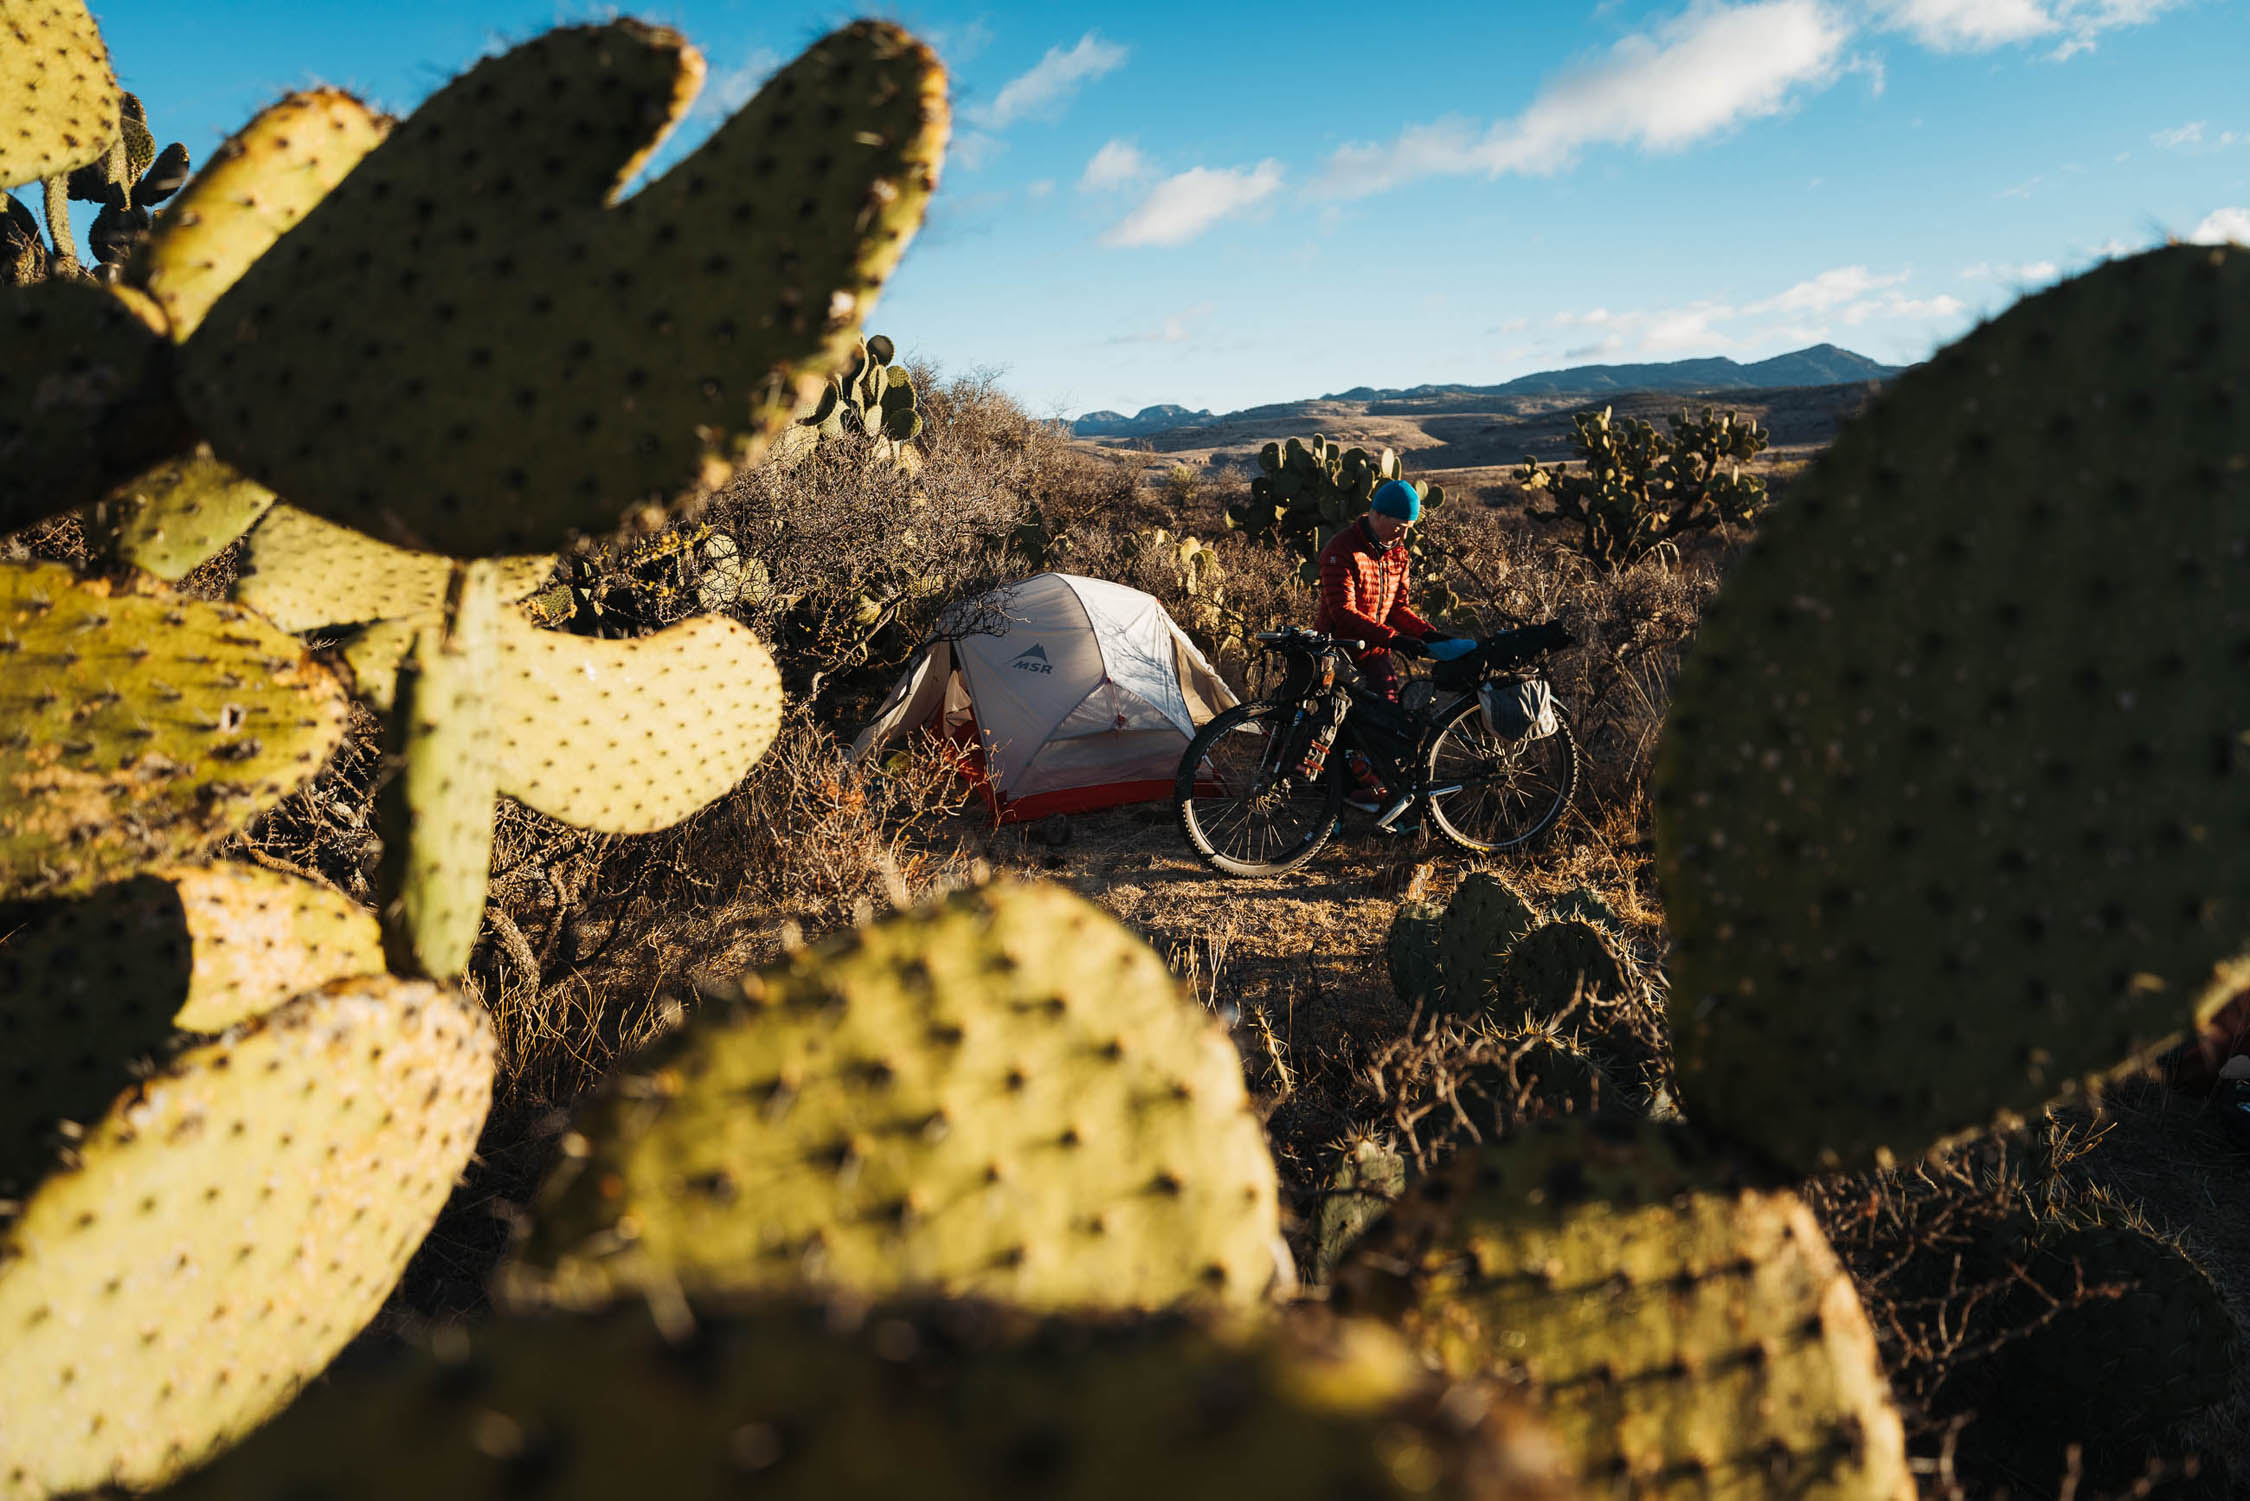
The Trans Salvador route is a truly challenging journey, offering long hours of pushing your bike through landscapes that feel almost magical. Steep climbs test your endurance, and technical descents demand focus and care. But this is exactly what makes the route special: it slows you down, forcing you to be fully present, to notice the shifting light over volcanoes, the sounds of birds in the forests, and the smiles of people in the villages you pass. Every hill, every trail, and every turn becomes an invitation to savor the moment, making the effort of the ride all the more rewarding.
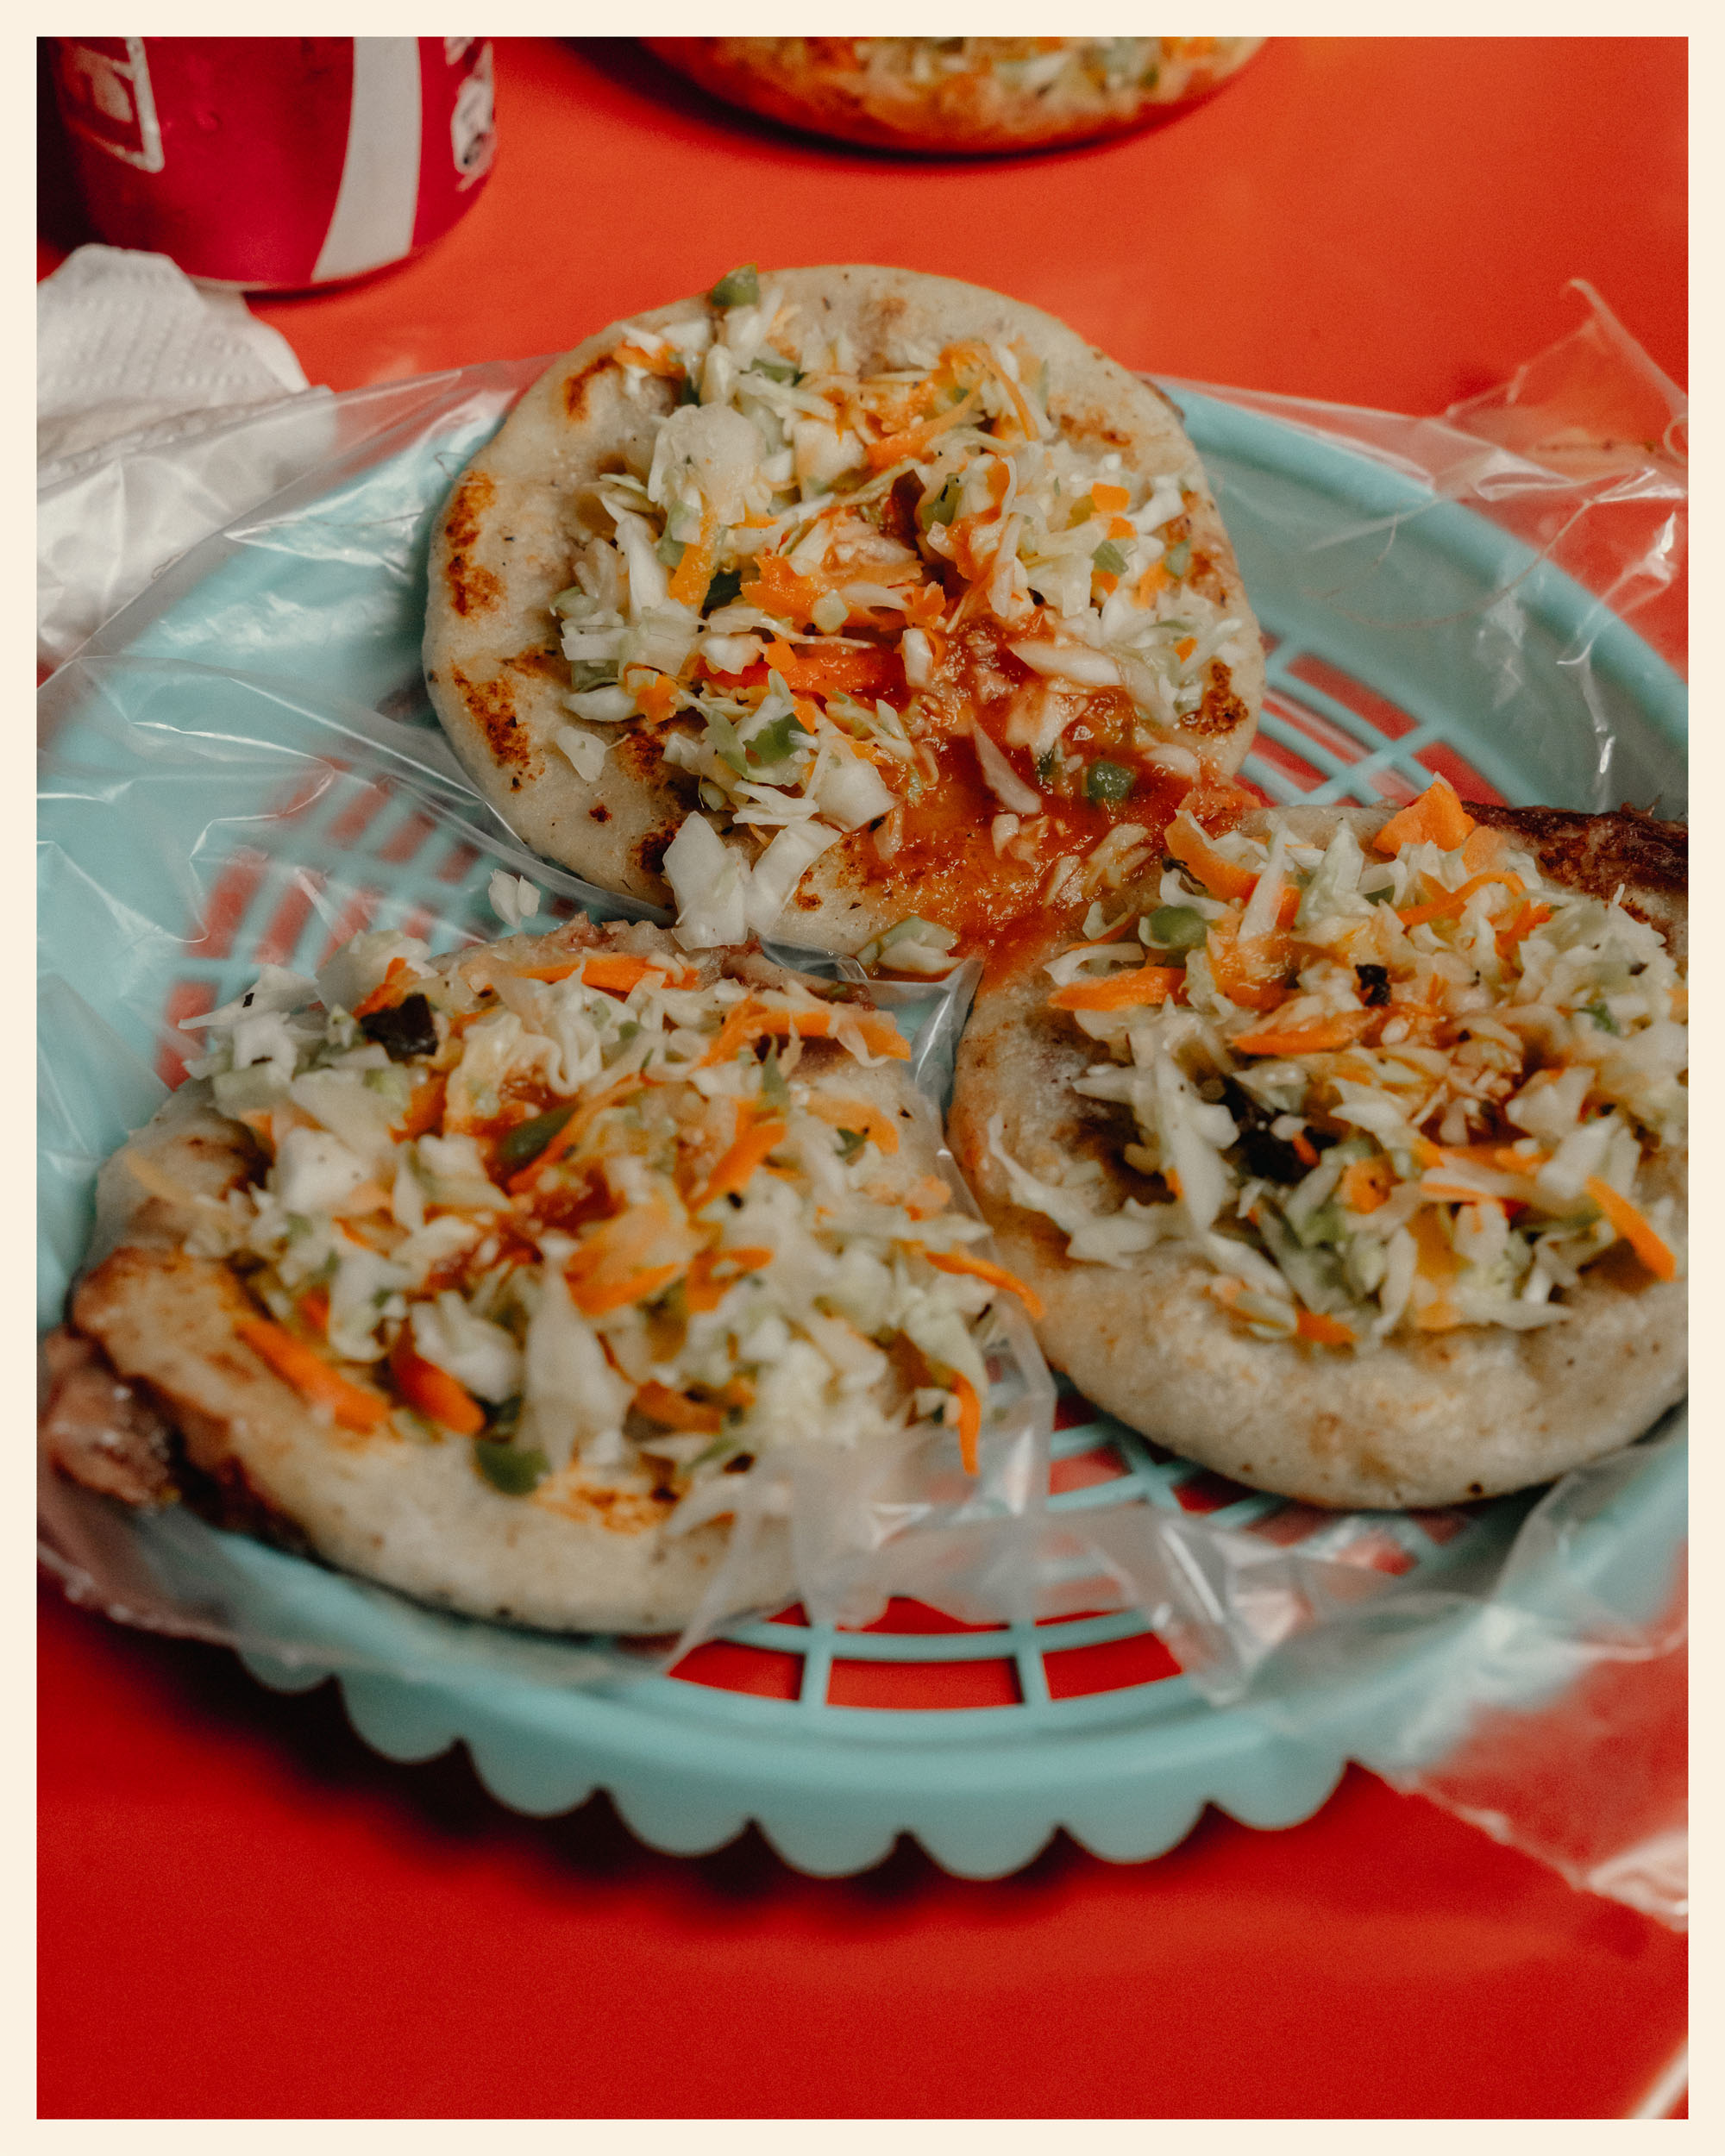
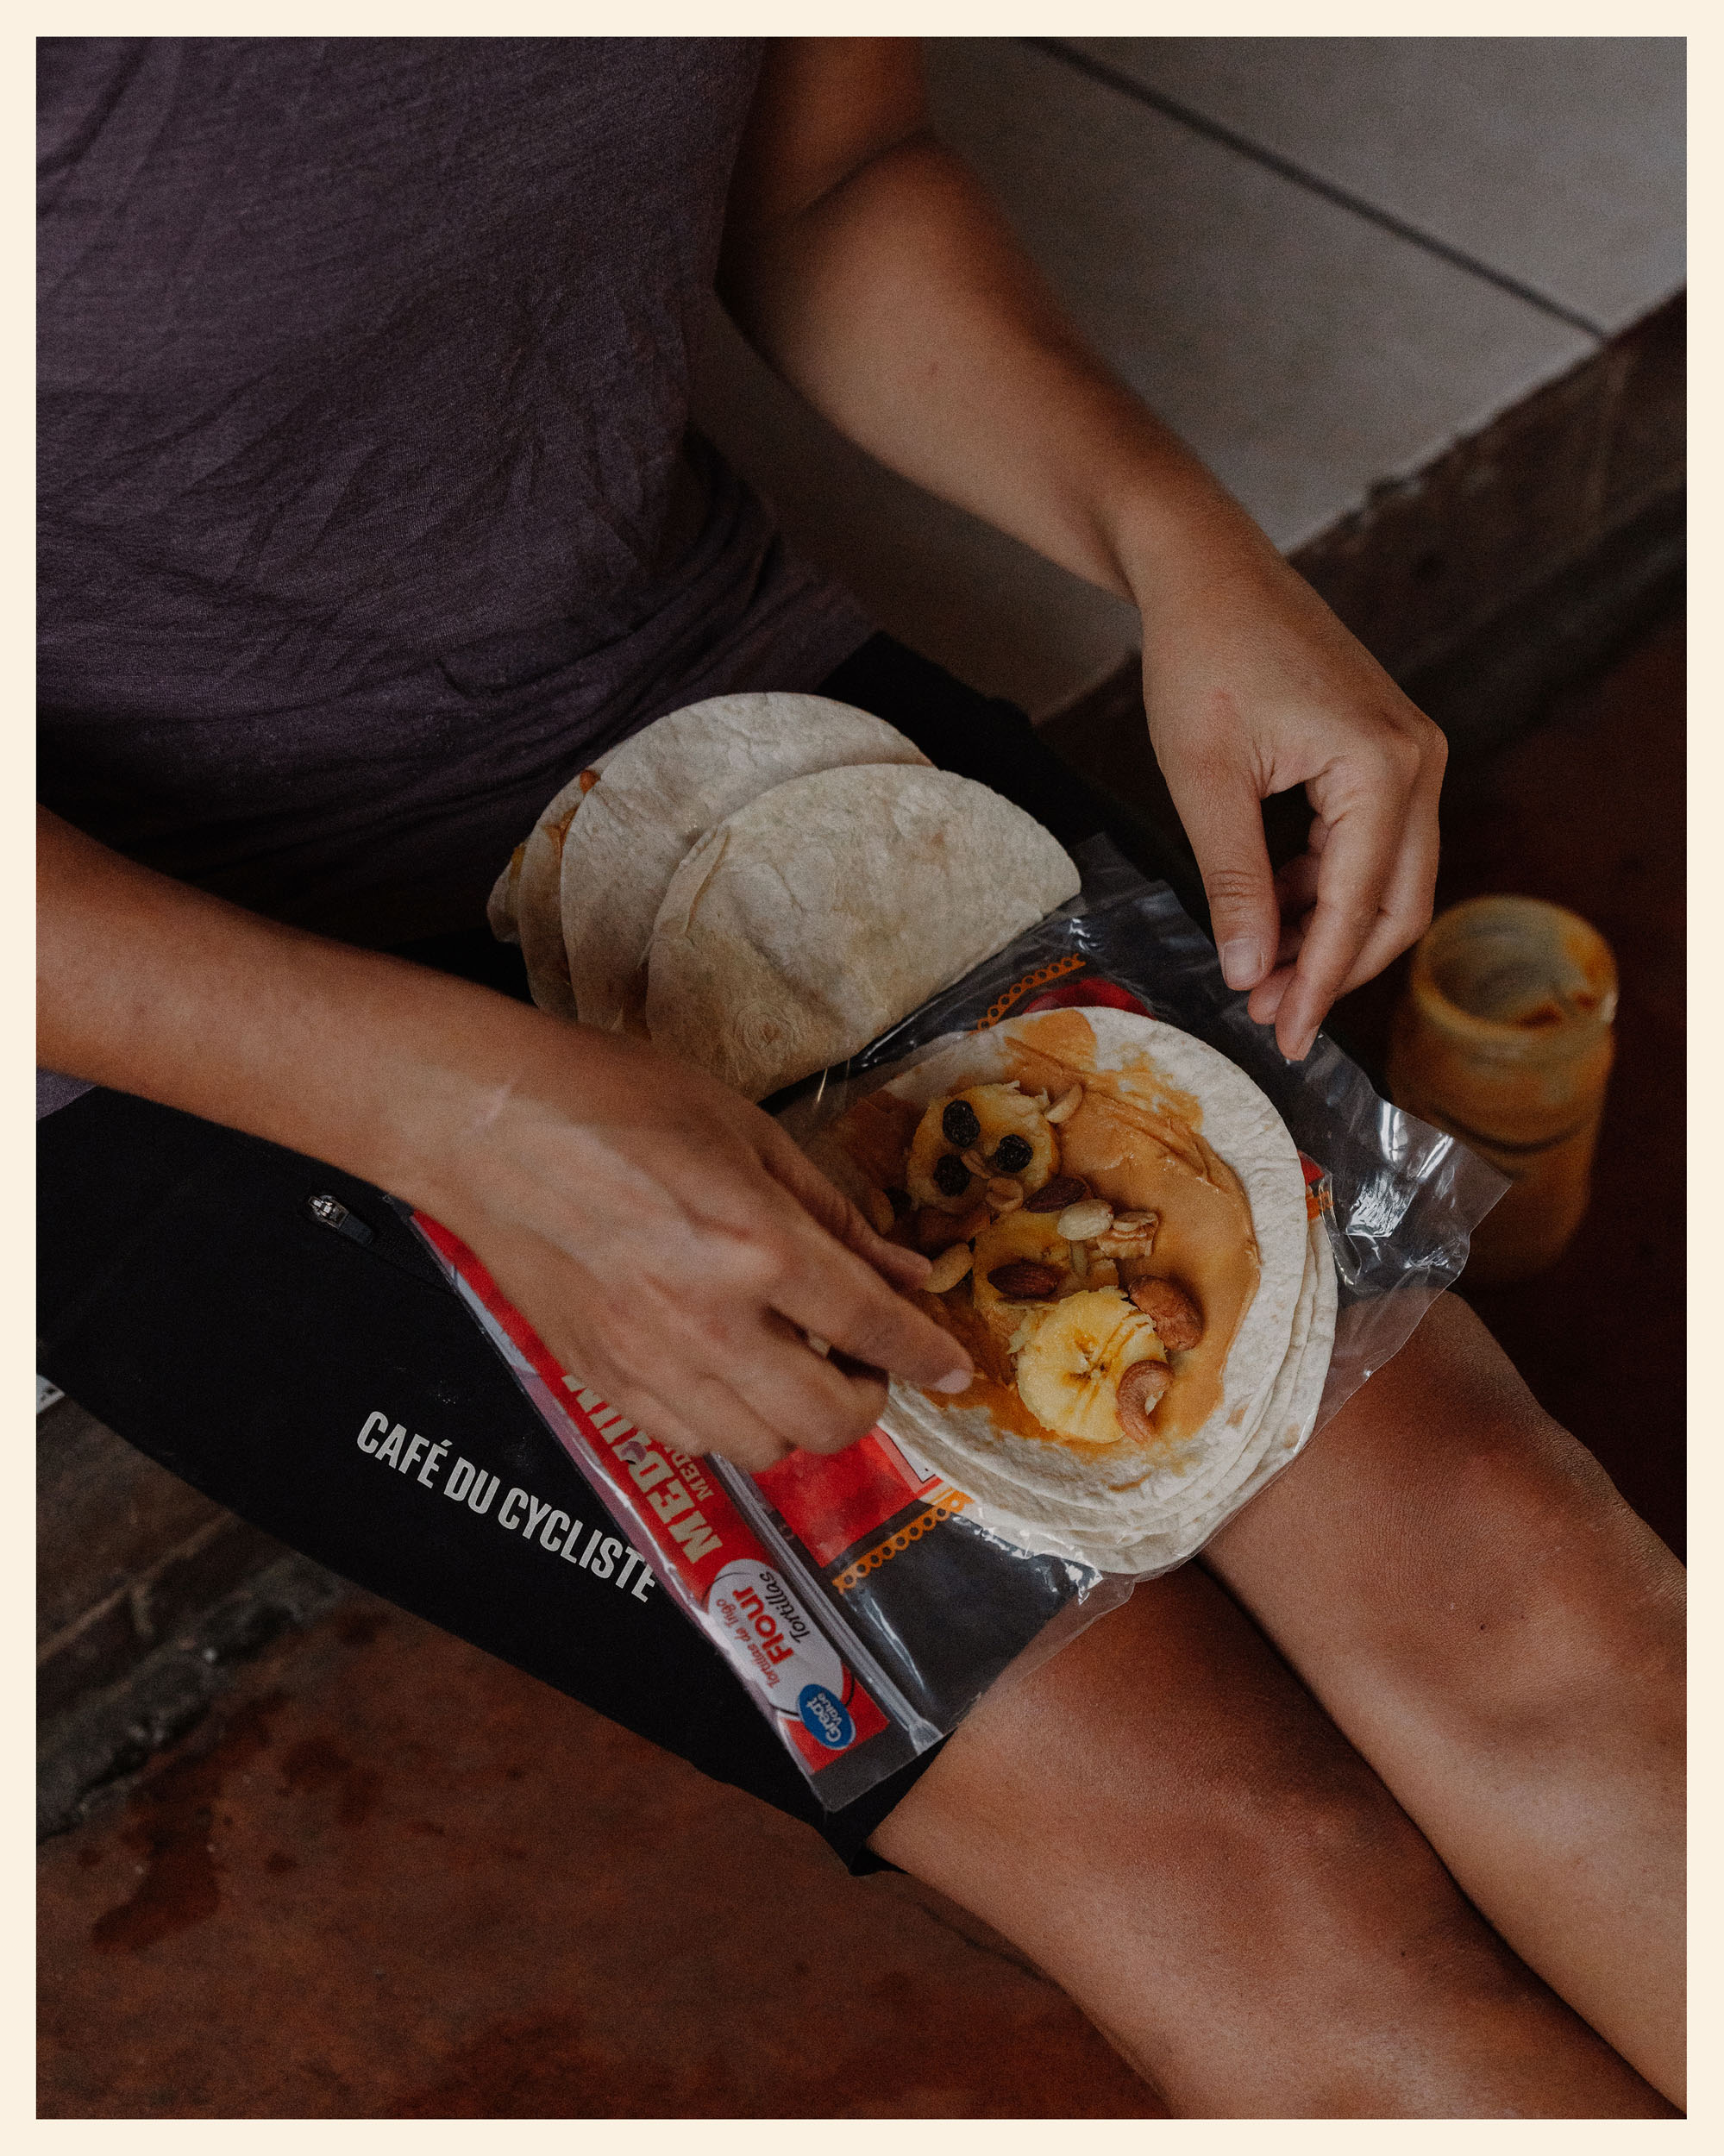
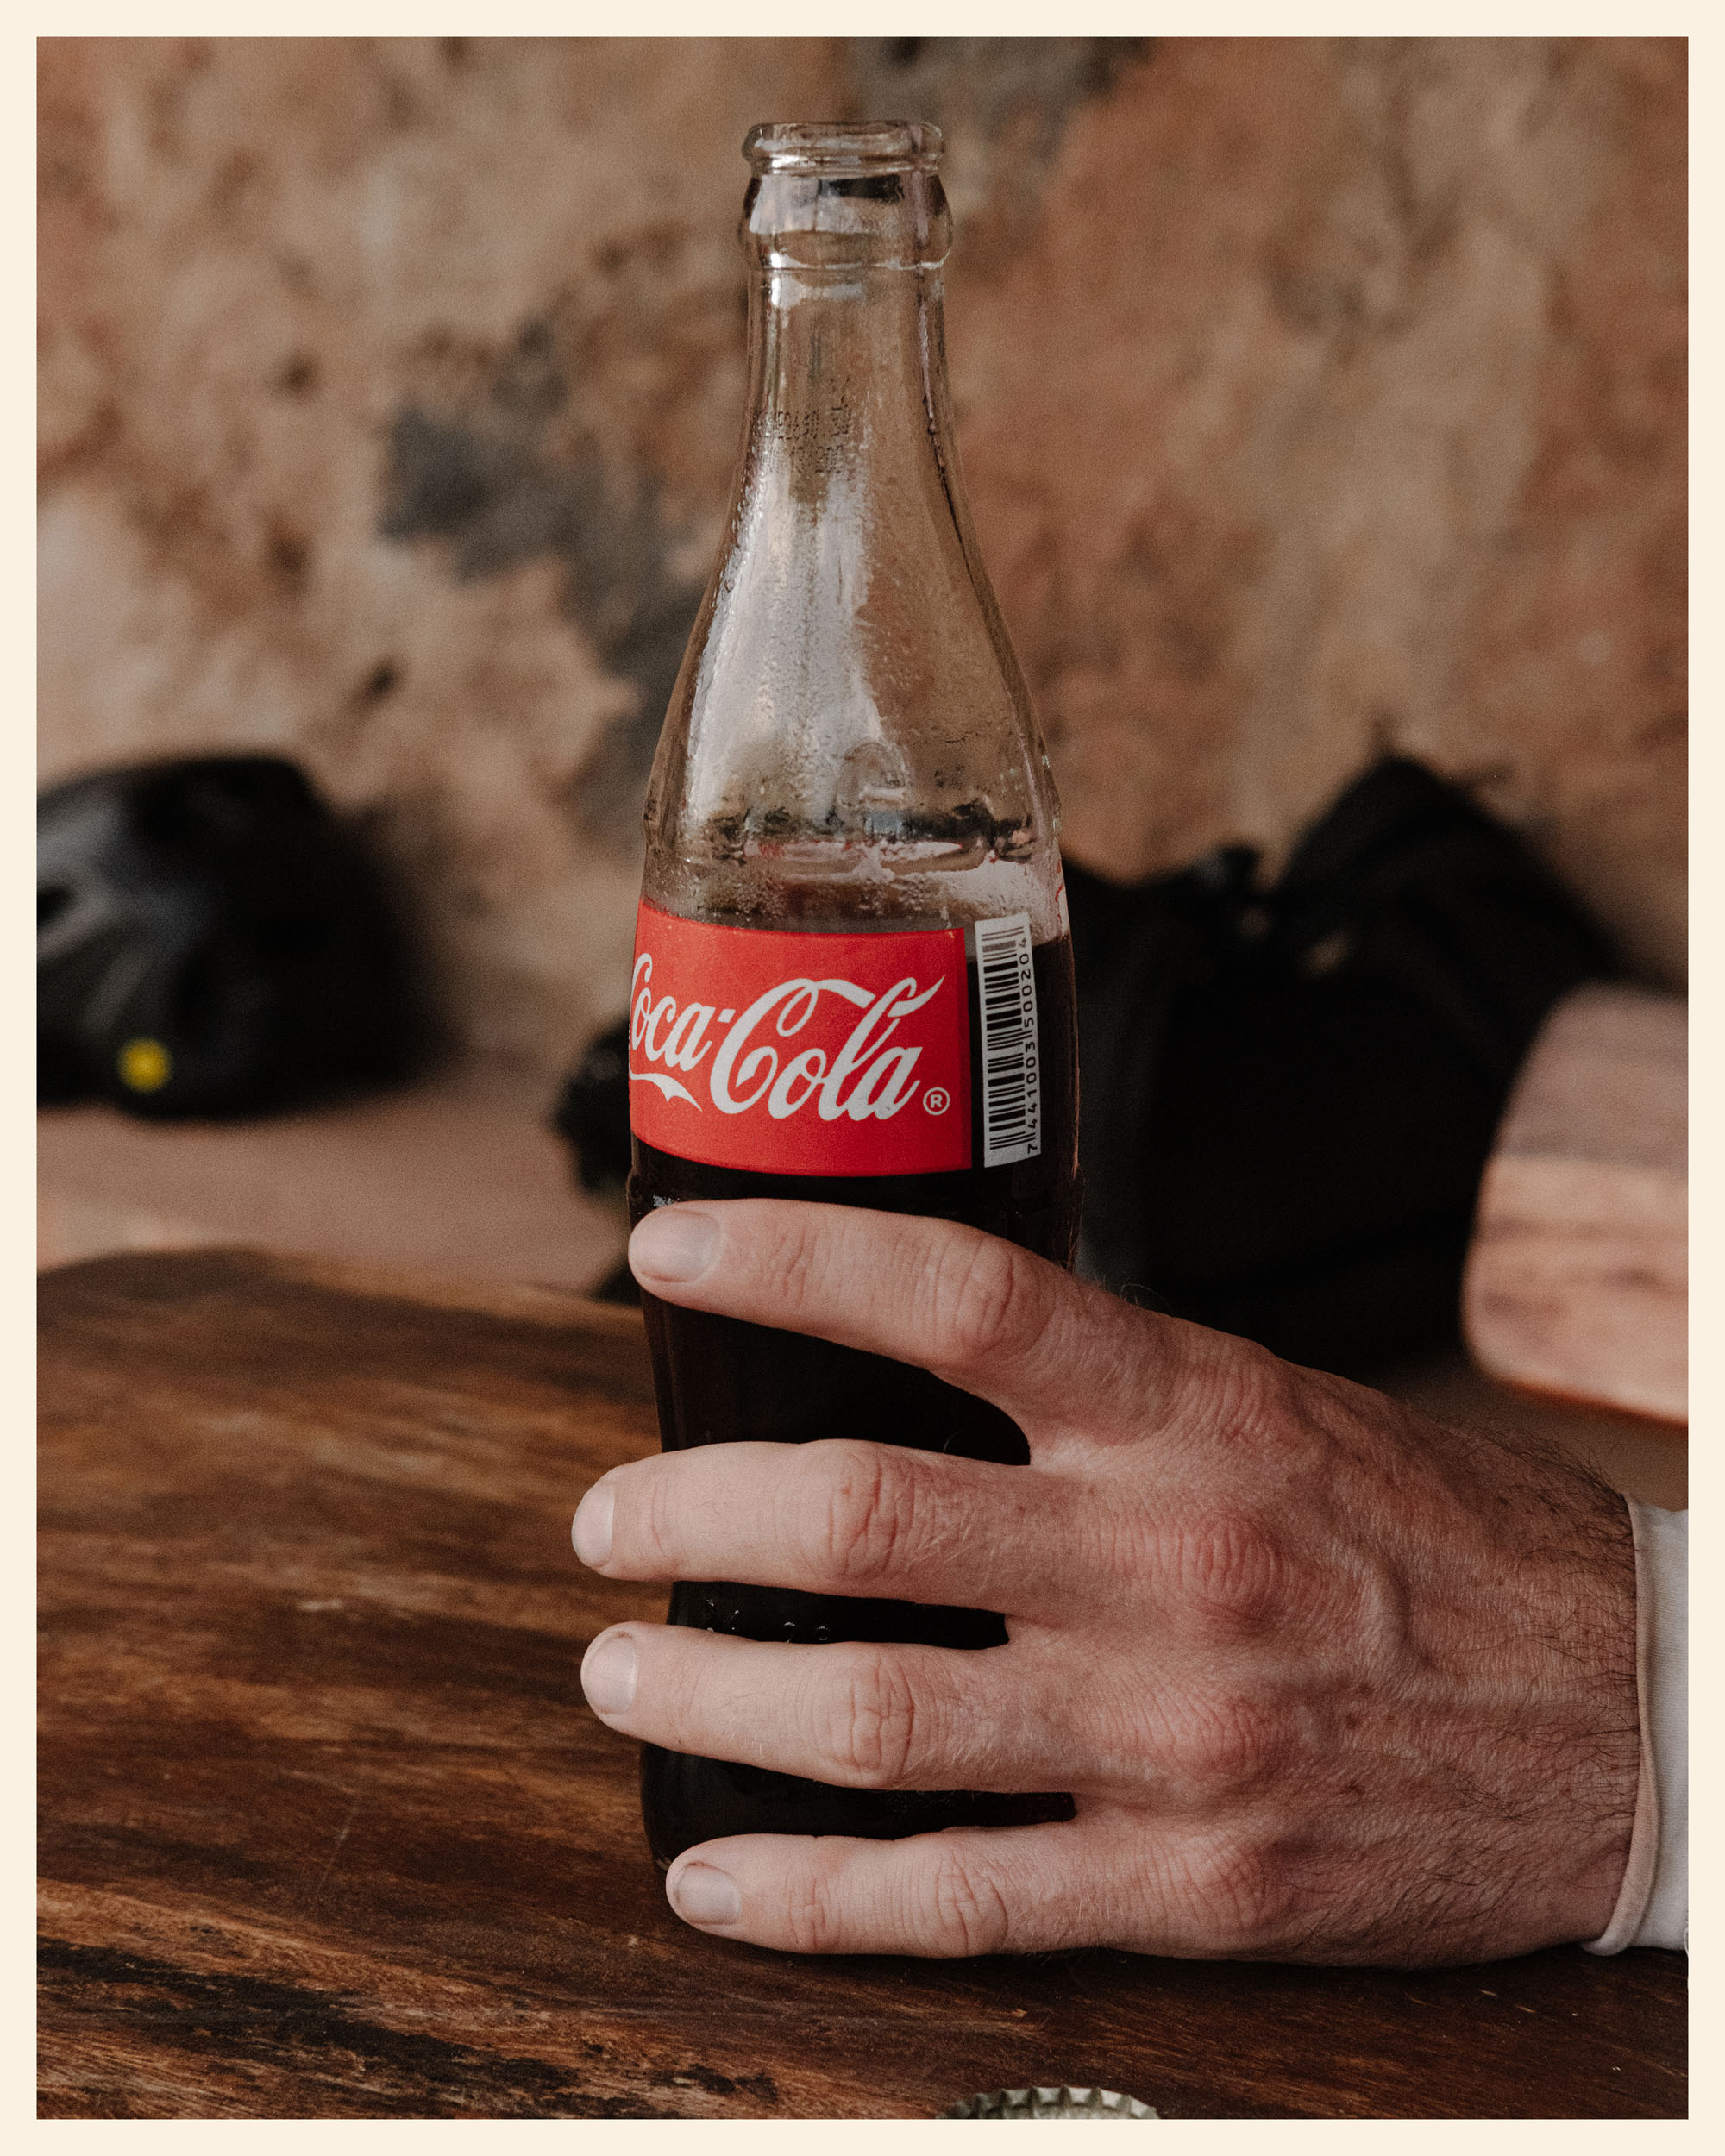
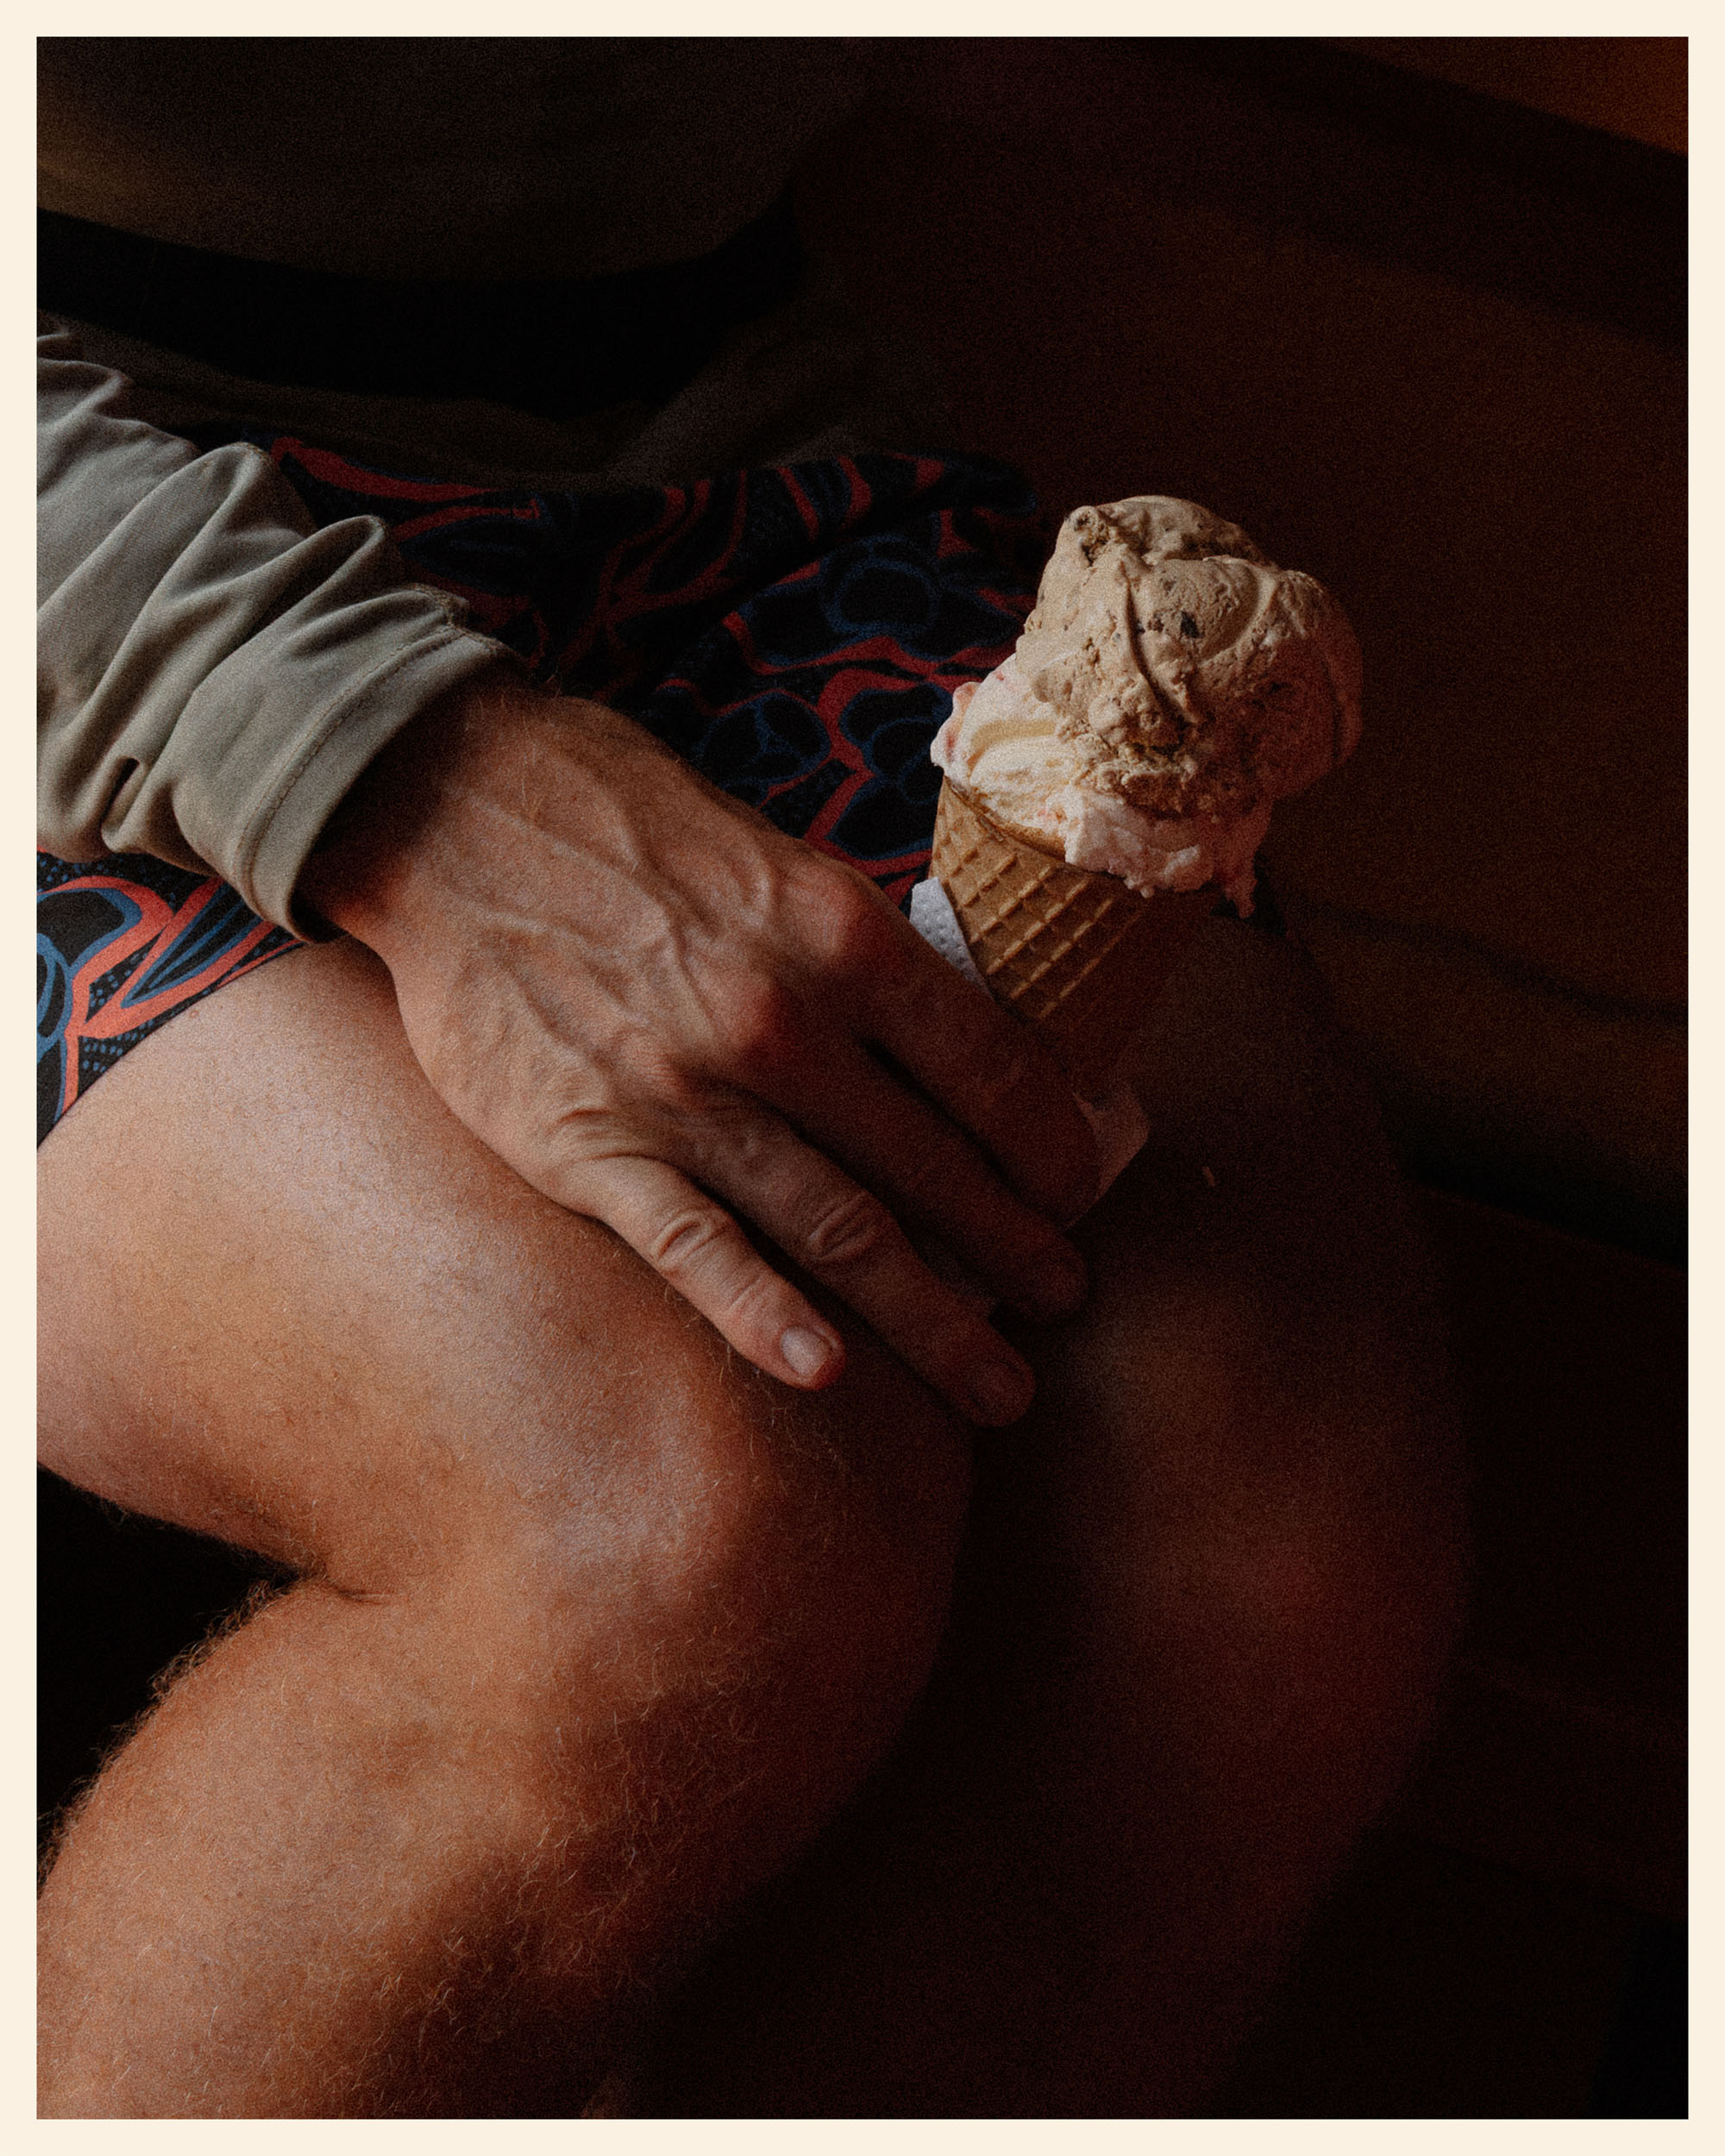
And, of course, it would be impossible to end this description without mentioning what became the true highlight of our days: the hunt for pupusas. These stuffed corn tortillas are El Salvador’s iconic dish, and we quickly realized just how much variety and creativity exists. From cheese and beans to more adventurous fillings like loroco or squash blossoms, each town and even each small pupusería offered something unique. You’ll find them everywhere, at all price points, and served with the warmth and friendliness of the local people. Chasing down the best pupusas became more than just a meal; it became a way to connect with the culture, savor the flavors, and celebrate the simple joys of life on the road.
Route Development
Planning this route through El Salvador was an adventure in itself. We started by researching every corner of the country—digging through official websites, blogs, and YouTube videos to find hidden gems and potential highlights. From there, we sketched a rough route, aiming to stick to off-road tracks and quieter roads whenever possible.
To make it real, we reached out to a local outdoor agency based in Apaneca. They knew the area inside out, rode alongside us for a stretch, and helped refine sections that were too tough or crossed private land. Their insights were invaluable in shaping a route that was both challenging and rideable.
When we finally arrived in El Salvador, the three of us—Marie, Julien, and an American friend (@cyclingkindness) we’d been riding with us since Oaxaca—followed the route closely, staying almost a month in the country to fine-tune every stretch.
By the end, the route had become more than just a track on a map. It was a lived experience, shaped by research, local knowledge, and our own curiosity and persistence on two wheels.
Route Difficulty
This route is mostly rideable, but as you approach each volcano, the paths turn into hike-a-bike sections. How challenging these feel depends on your experience pushing a loaded bike, but none are insurmountable. Take your time, enjoy the changing landscapes, and use these sections as a chance to slow down and appreciate the surroundings.
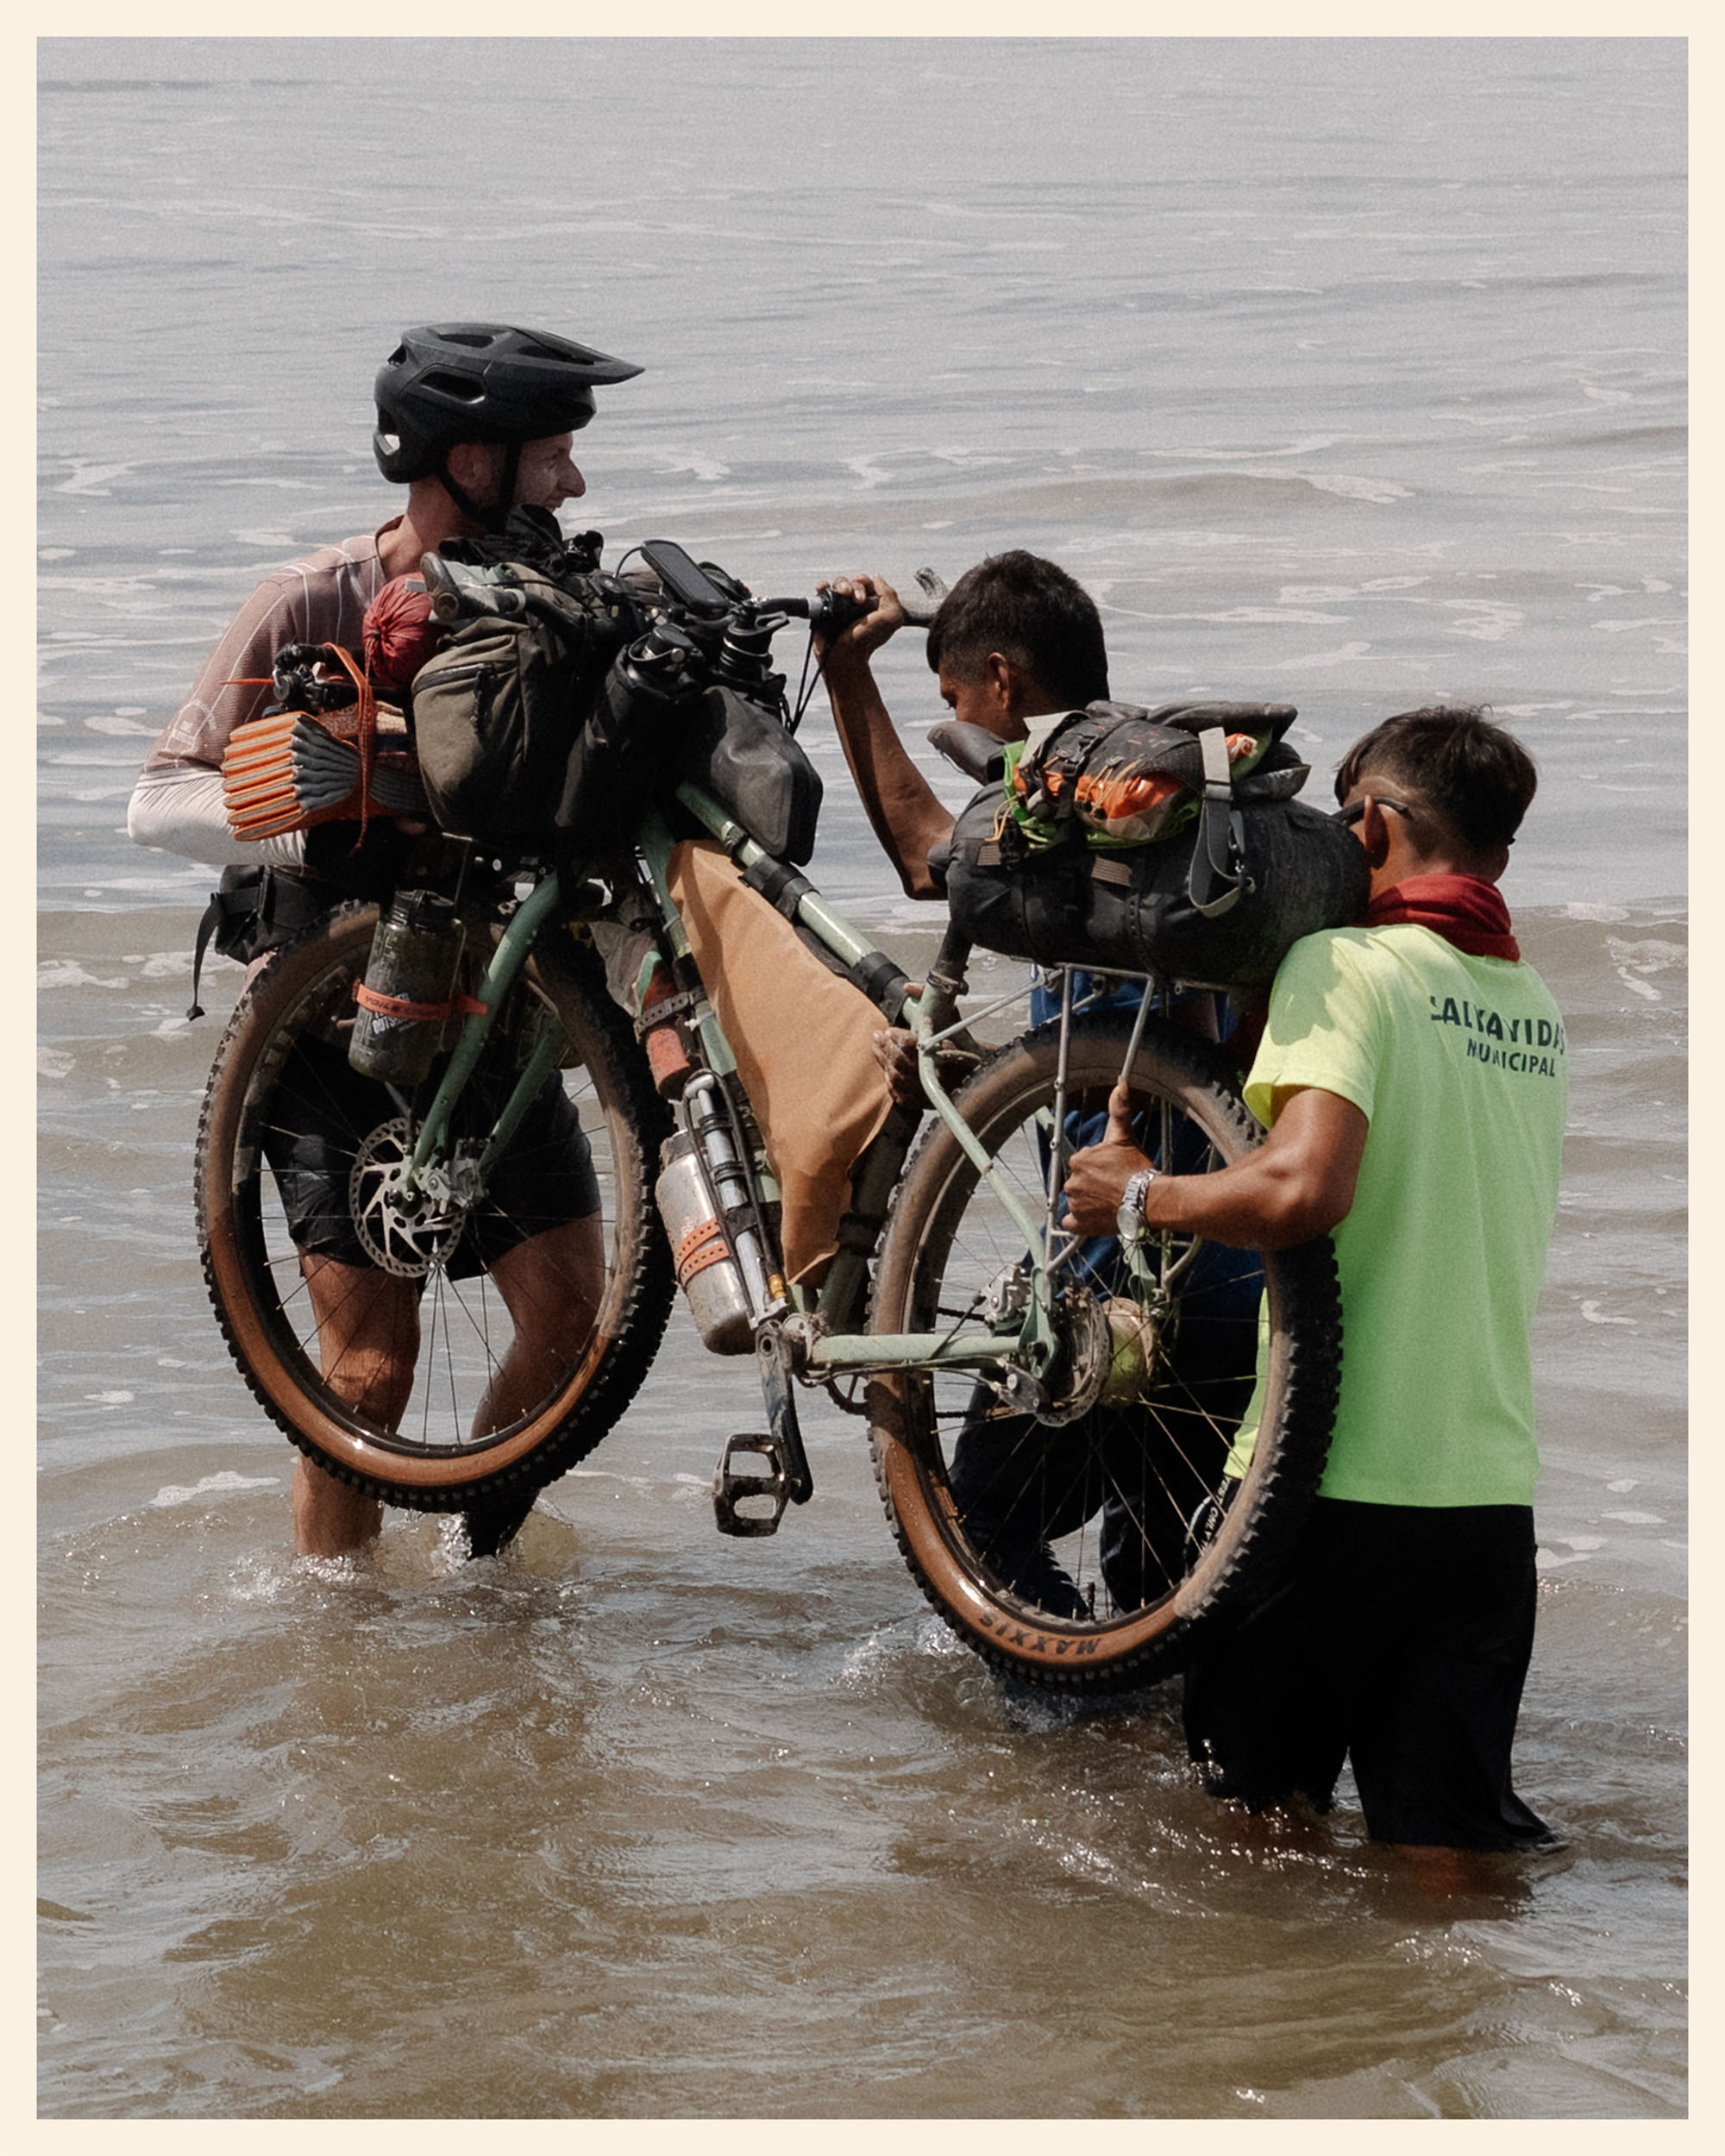
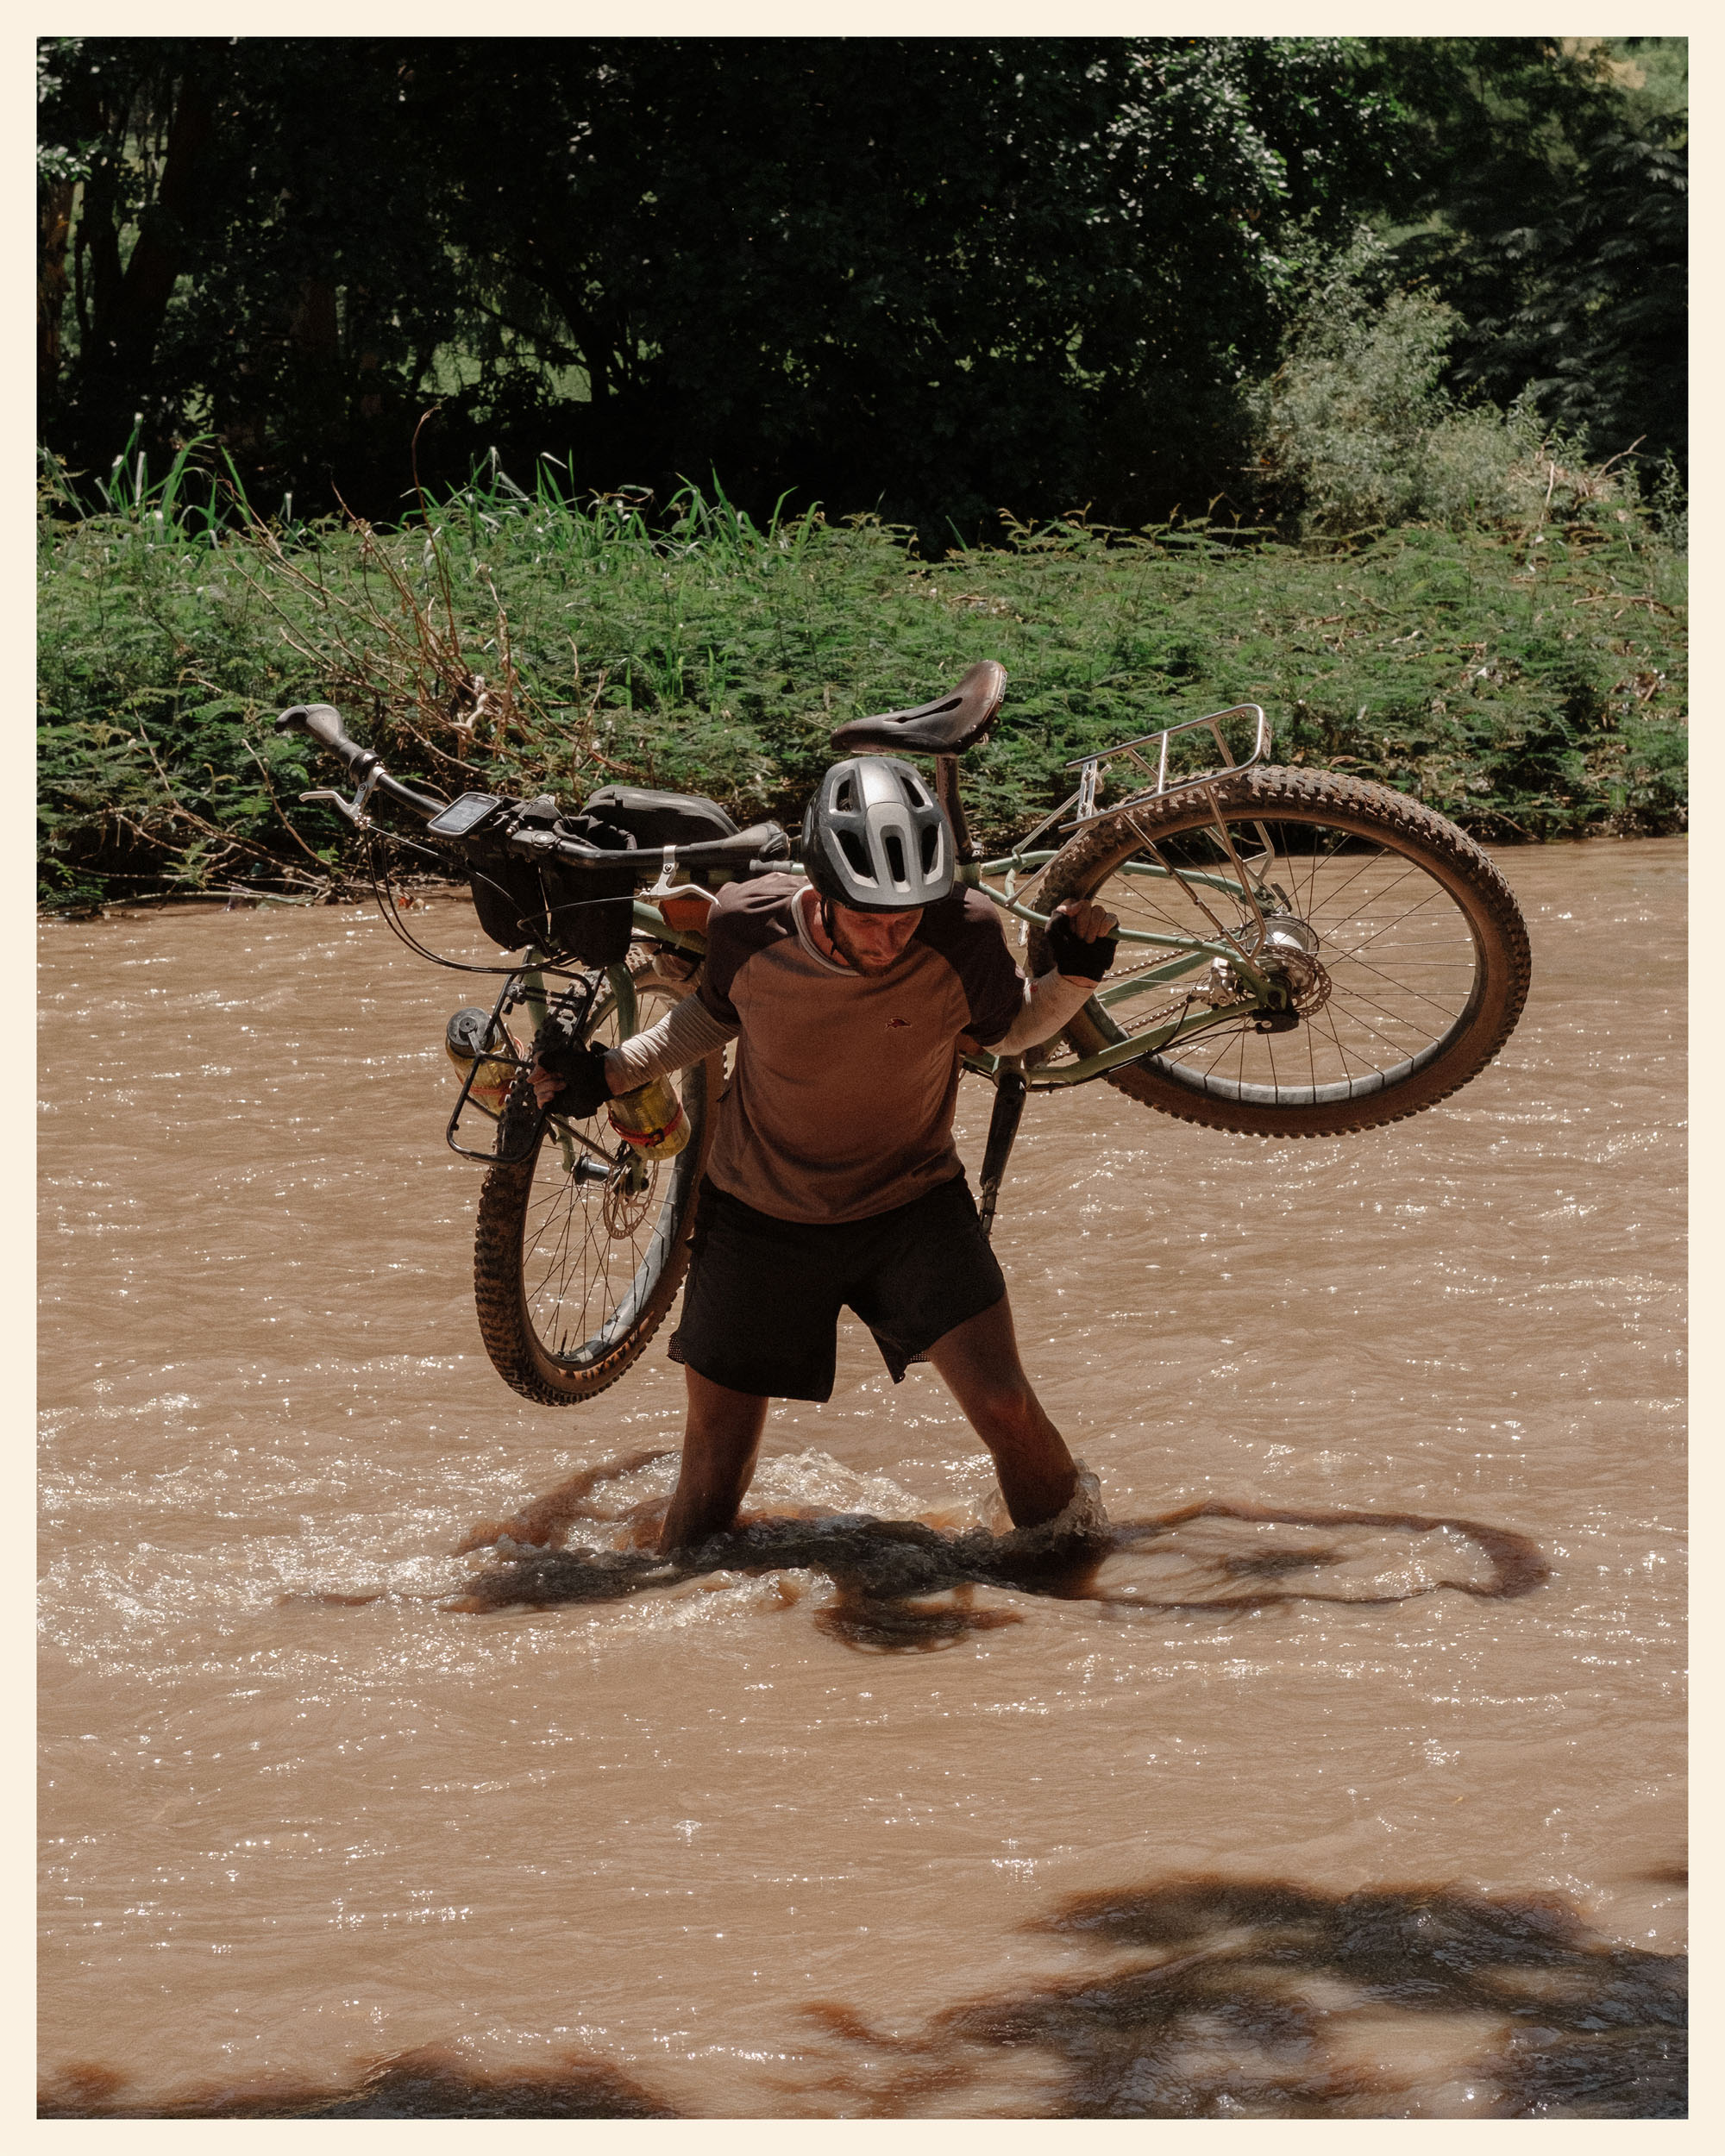
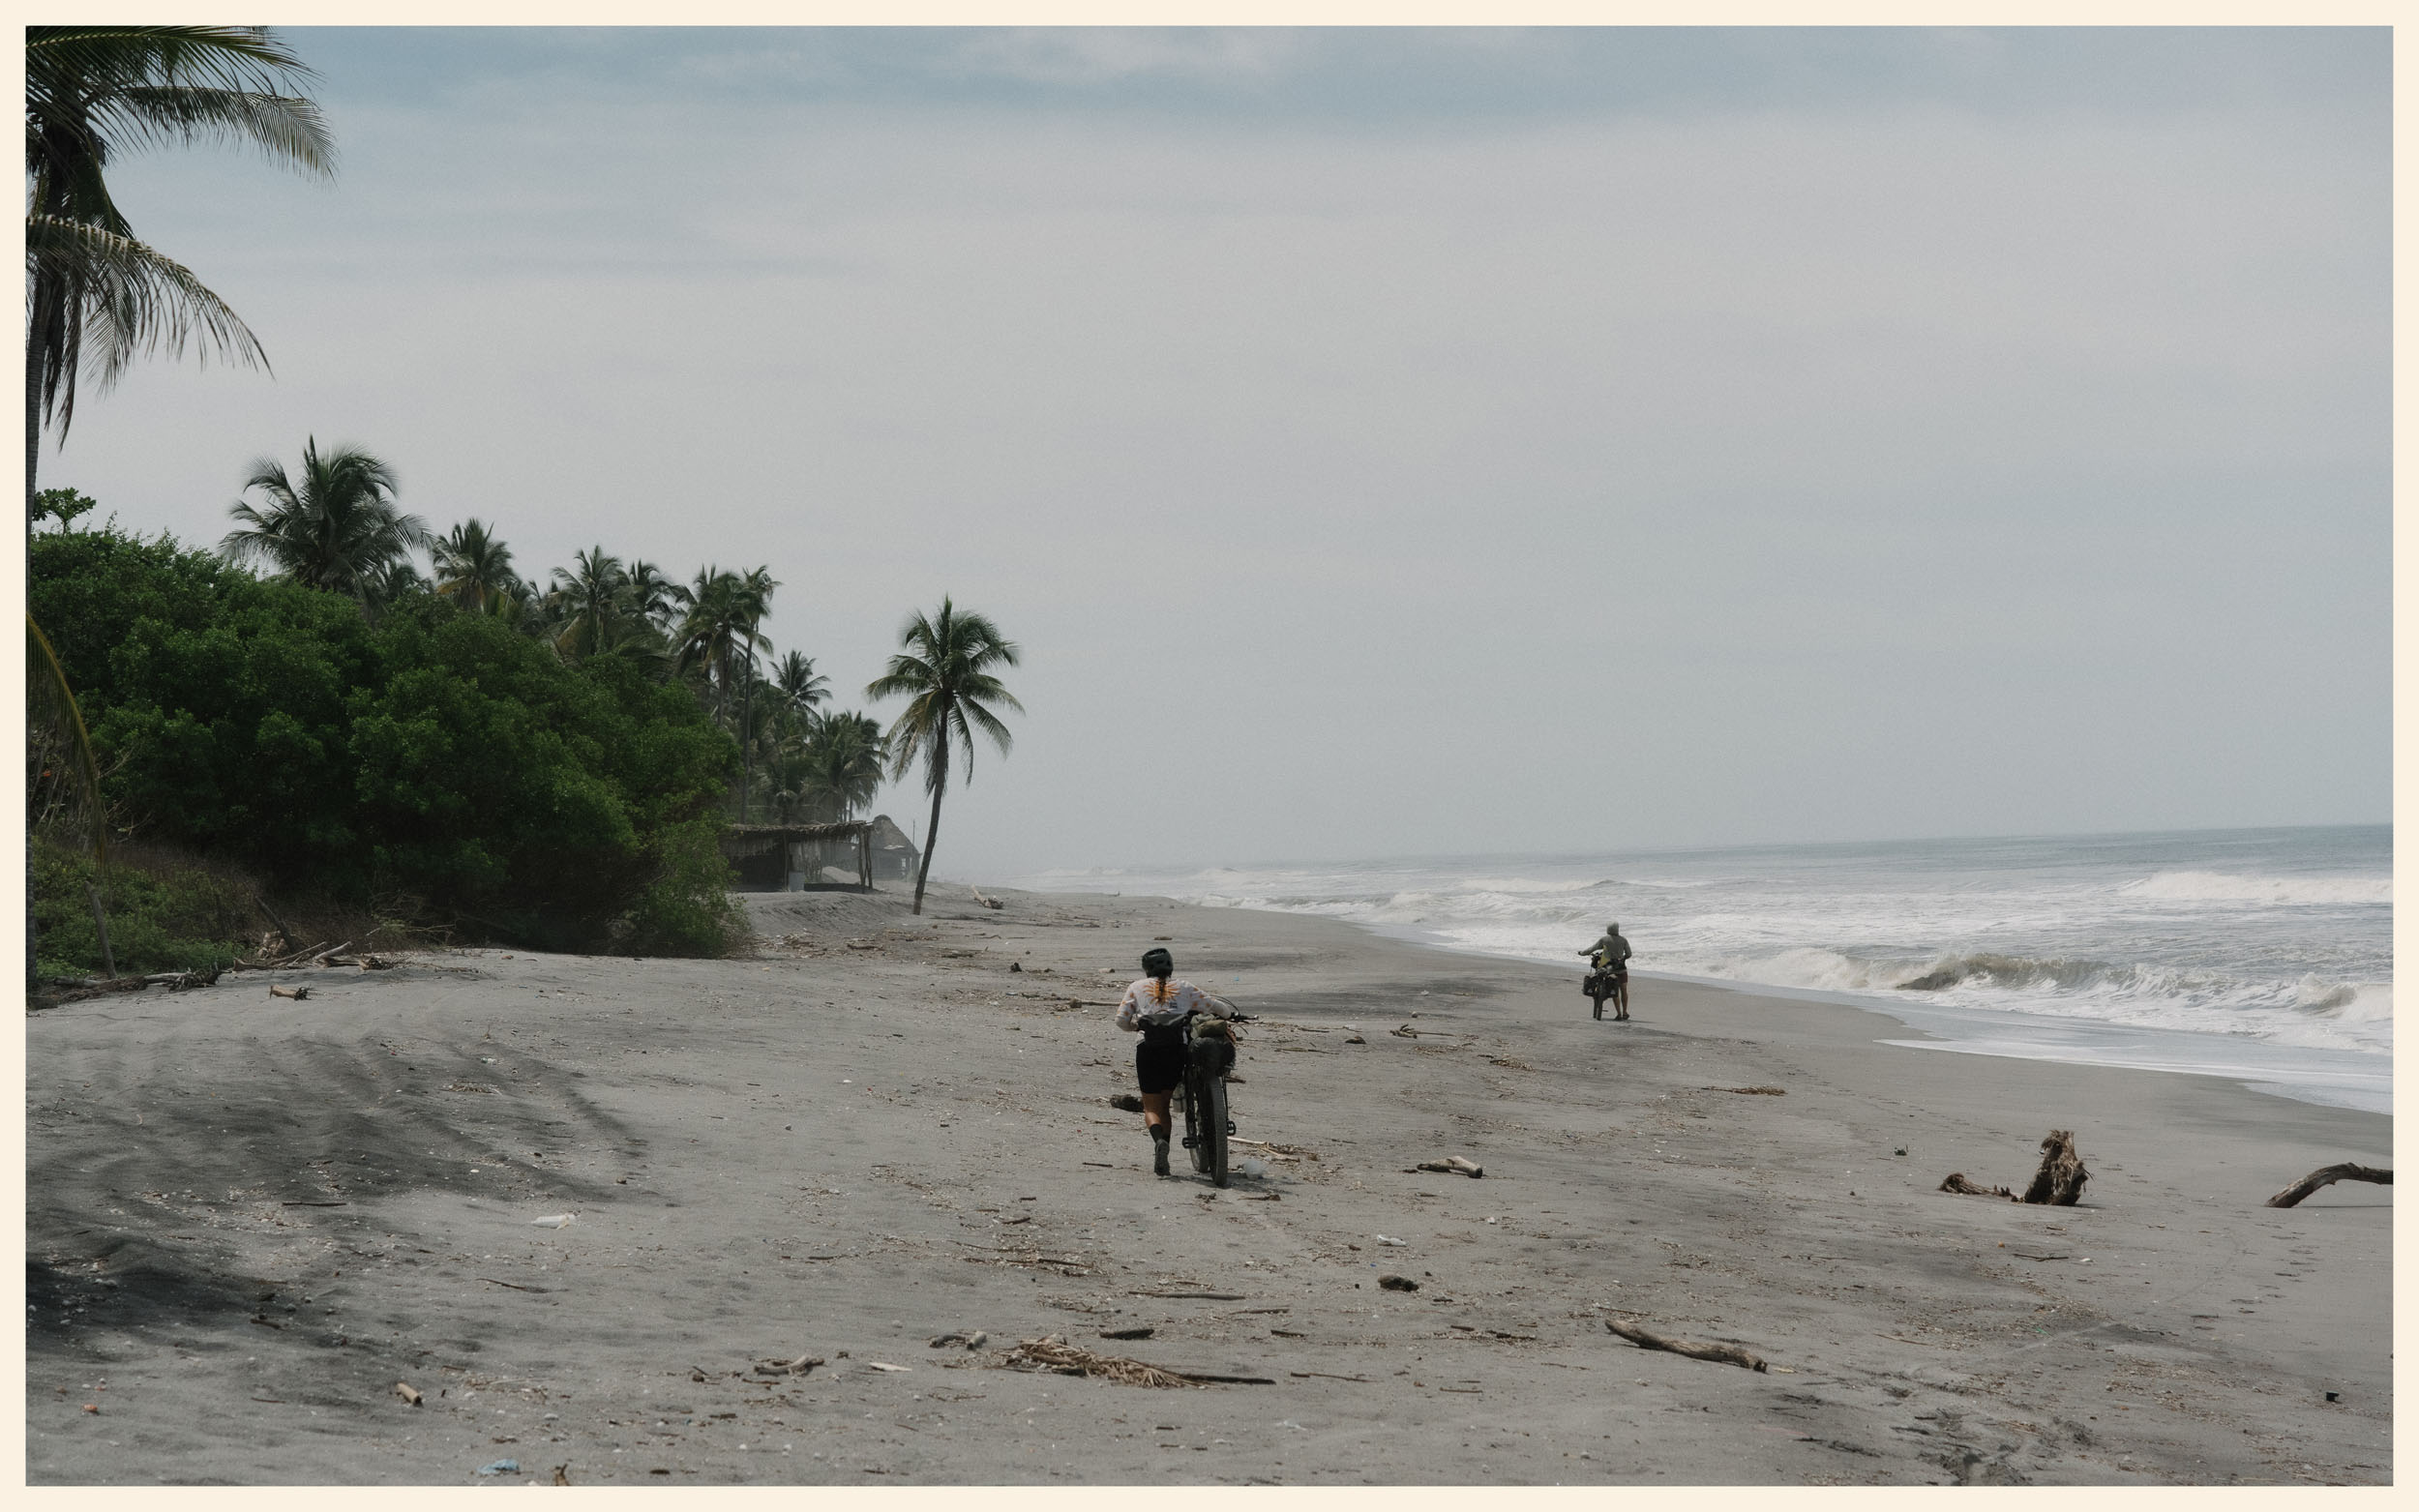
The route also includes a few river and ocean crossings, all marked on the GPX file. They can be avoided by sticking to main roads, but tackling them adds a little adventure. Even during the rainy season, we managed to cross them all safely. Be sure to check conditions and tides when approaching ocean crossings.
The climbs are challenging, but they don’t require advanced mountain biking skills. Some descents (for example, day 8 down to the coast) are technical, though they are short and manageable. Remember to pace yourself on steep sections, and always take extra care when the trails are wet or muddy.
Overall, the mix of rideable stretches, hike-a-bike climbs, and occasional crossings makes this route varied and engaging. It’s a journey that rewards patience, careful planning, and an openness to adventure.


Submit Route Alert
As the leading creator and publisher of bikepacking routes, BIKEPACKING.com endeavors to maintain, improve, and advocate for our growing network of bikepacking routes all over the world. As such, our editorial team, route creators, and Route Stewards serve as mediators for route improvements and opportunities for connectivity, conservation, and community growth around these routes. To facilitate these efforts, we rely on our Bikepacking Collective and the greater bikepacking community to call attention to critical issues and opportunities that are discovered while riding these routes. If you have a vital issue or opportunity regarding this route that pertains to one of the subjects below, please let us know:
Highlights
Must Know
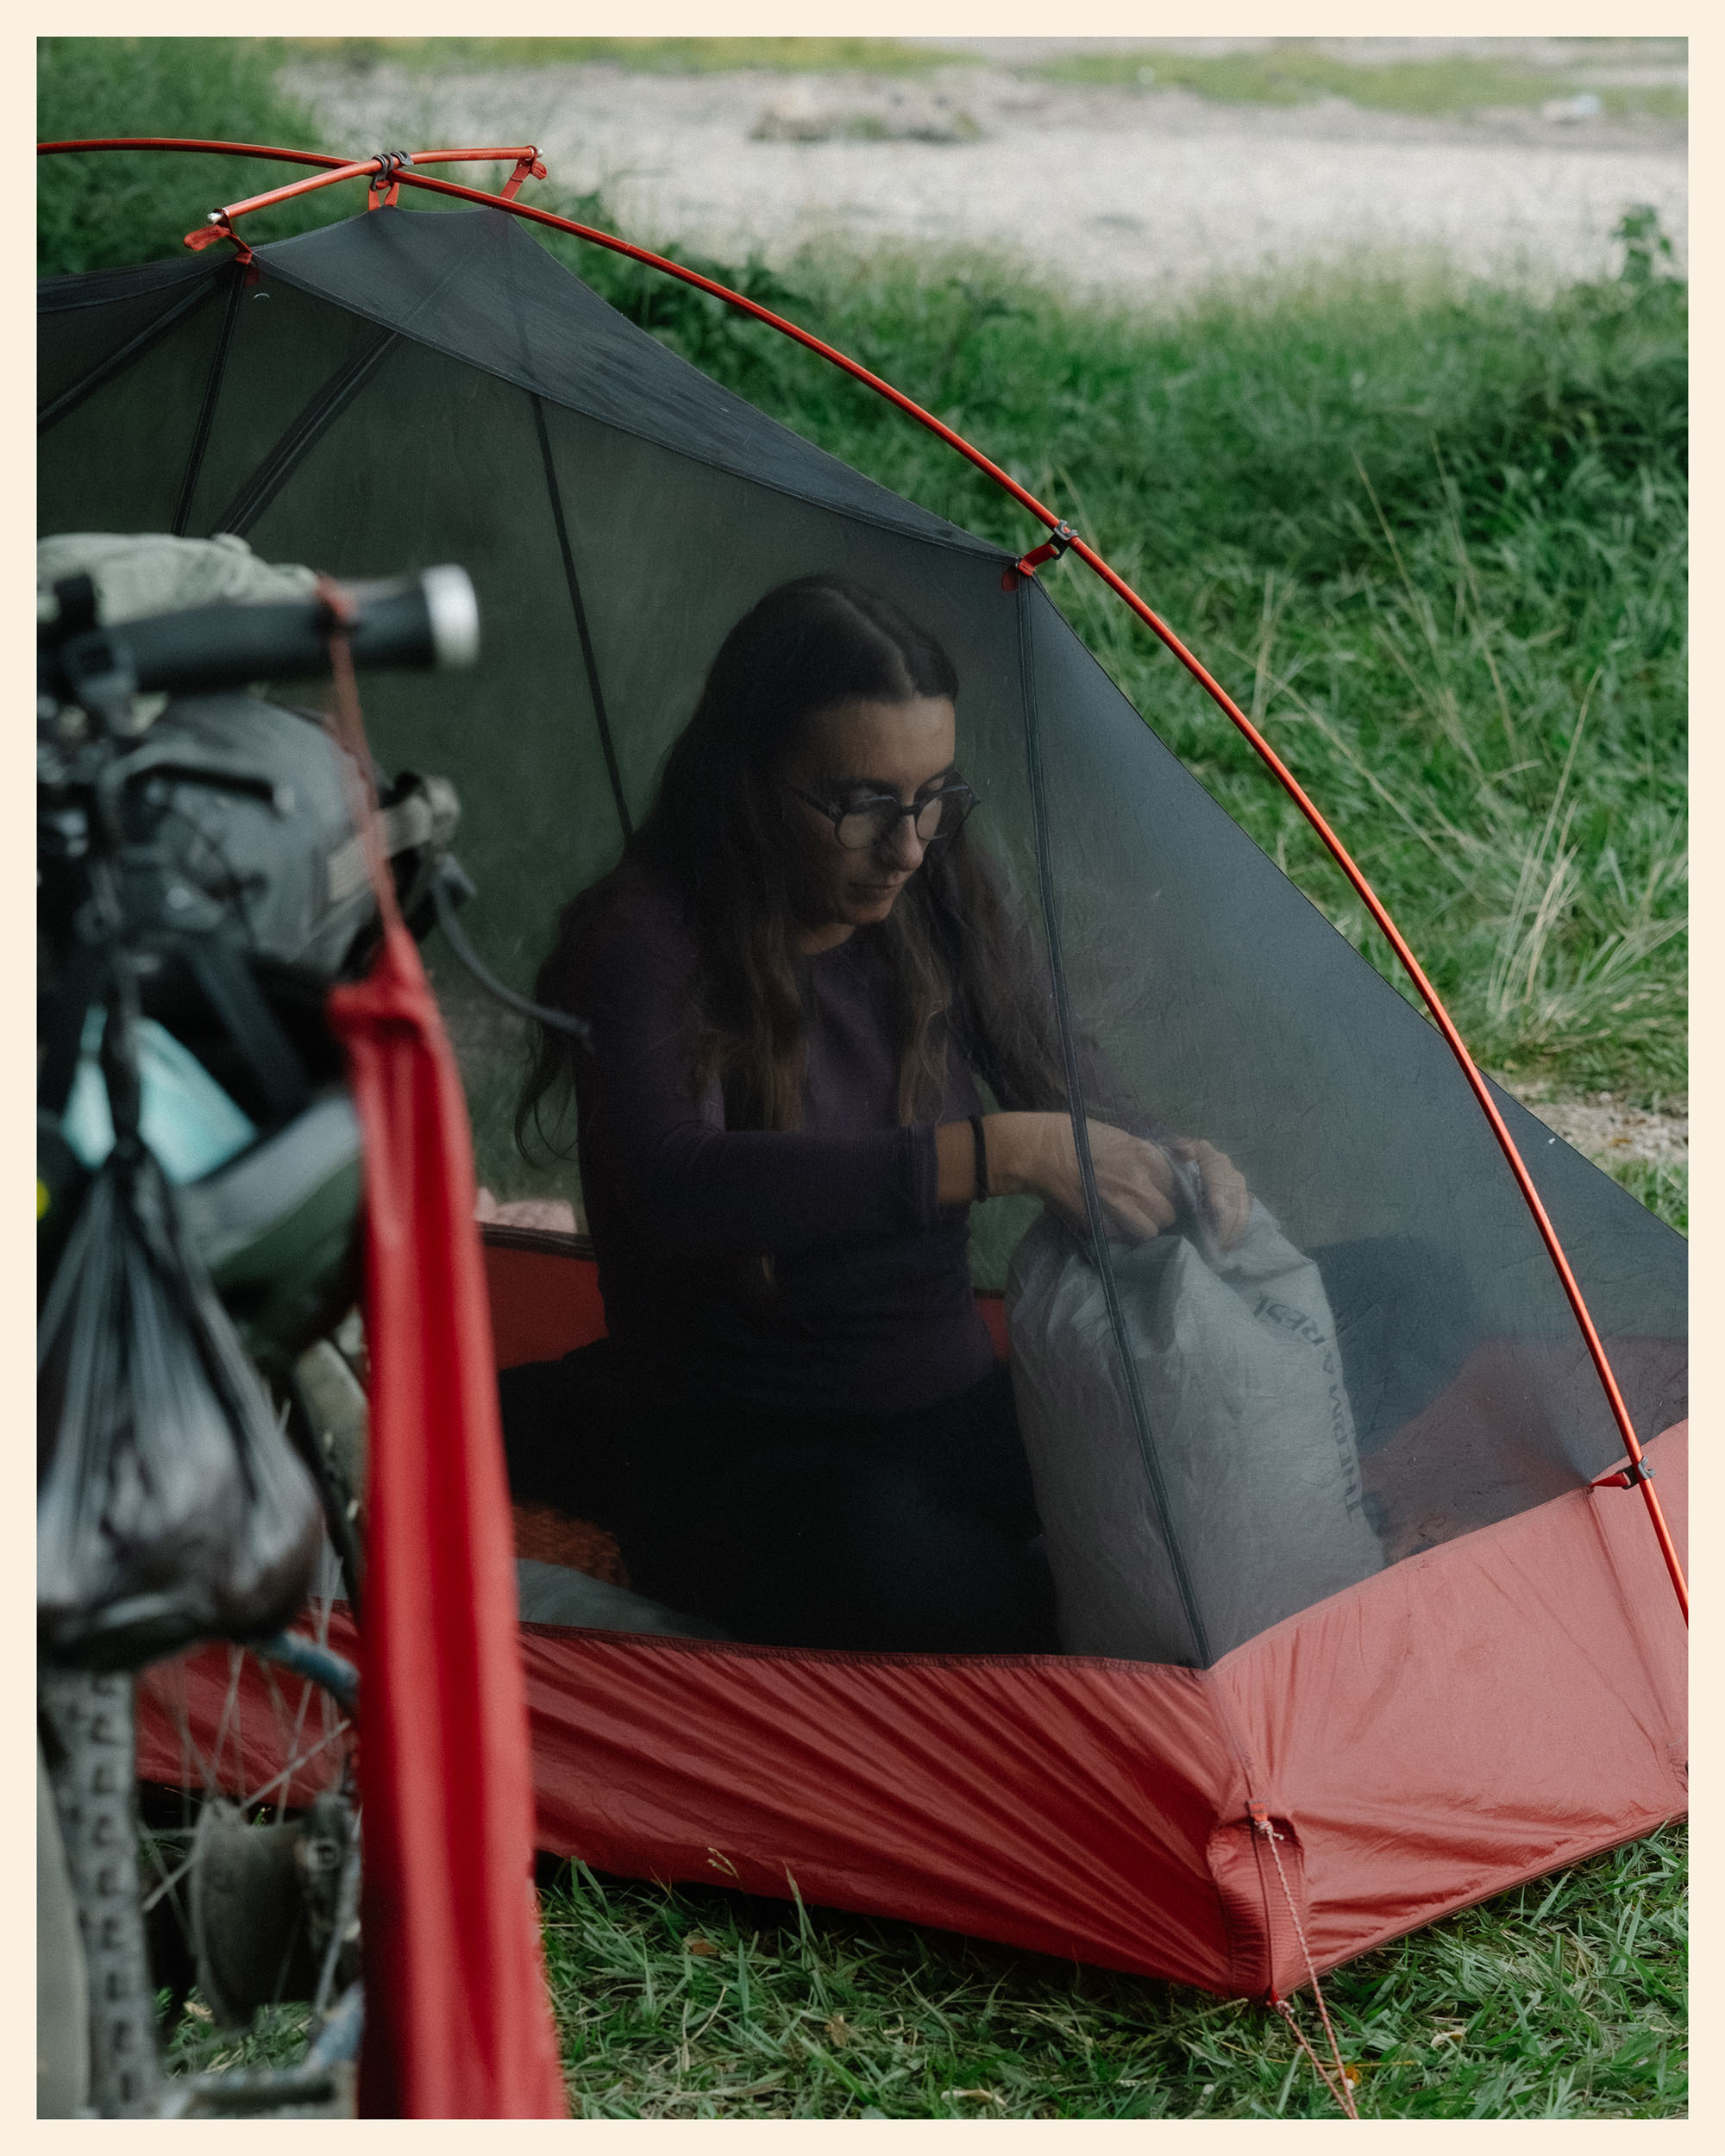
Camping
Food/H2O
Trail Notes
Resources
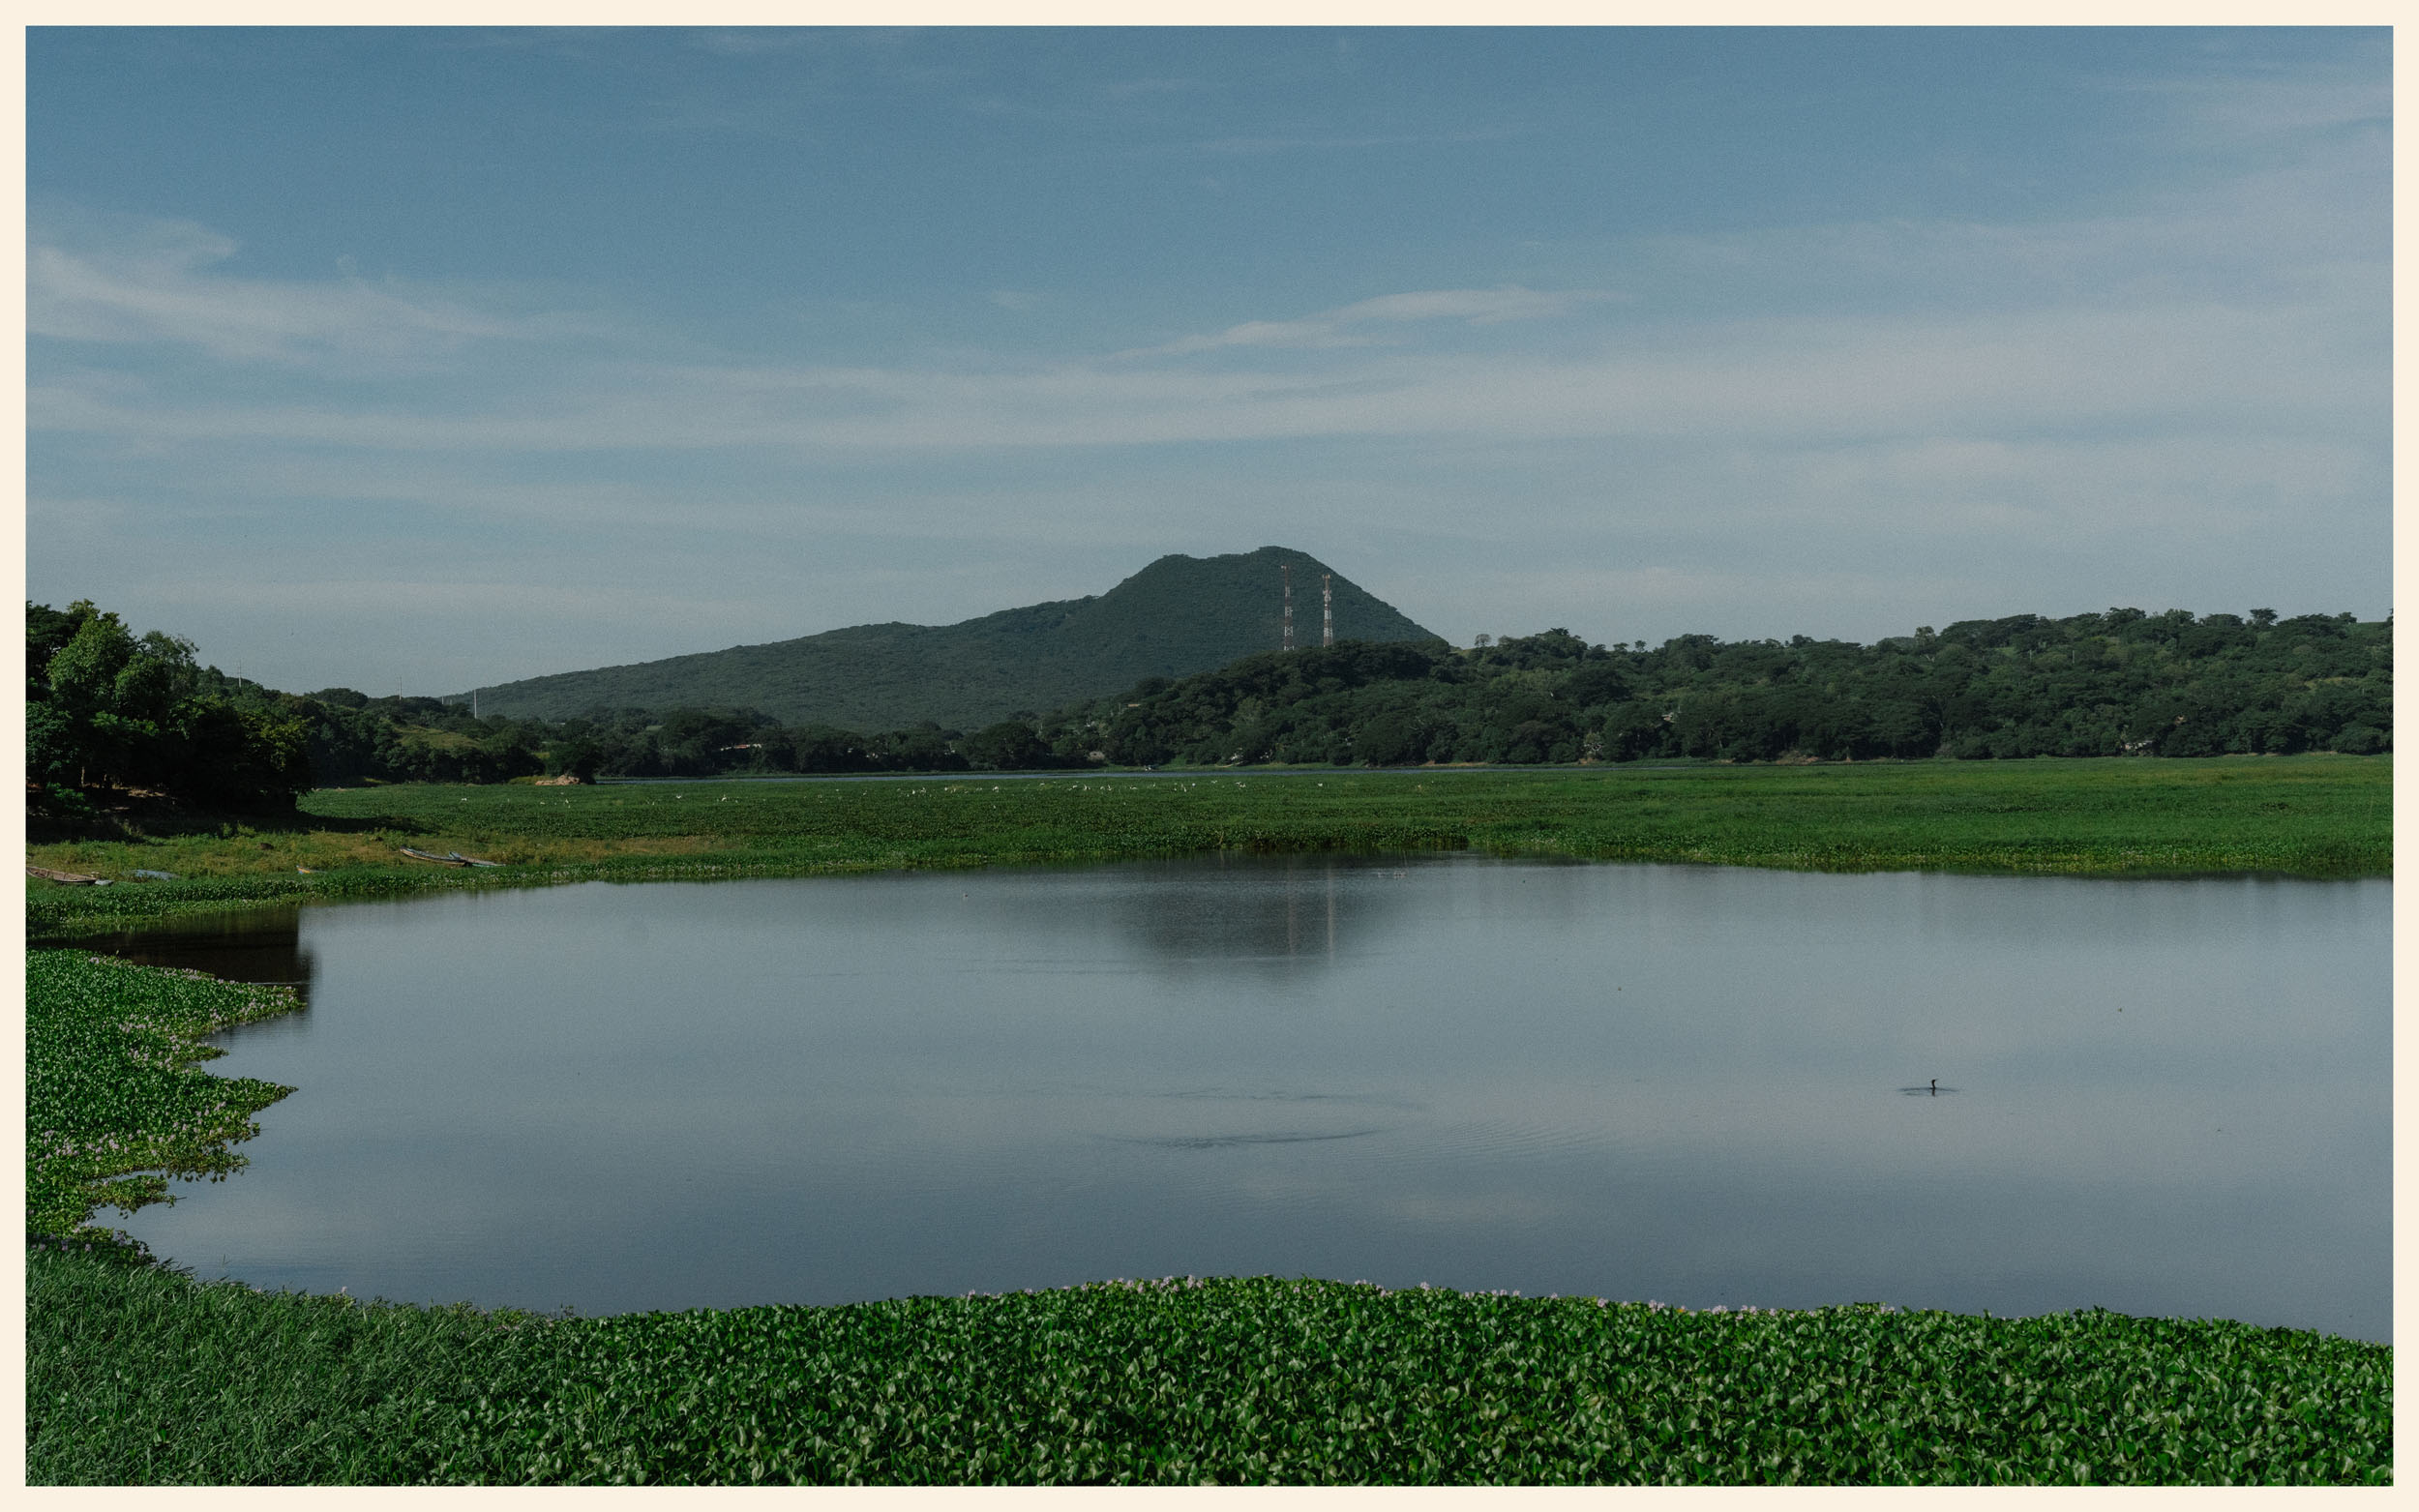
- Laguna de Metapán: The first must-see stop on the route. A small, peaceful, and rarely visited lagoon. The owner allows cyclists to camp for $5 per person and gives access to the swimming pool. The morning view over the lake is stunning, and the birdlife is abundant.
- Las pupusas: A national must! These corn tortillas, stuffed with cheese, garlic, beans, or other surprises, will accompany you throughout the route. Our favorite spot is the small village of El Porvenir: affordable, filling, and delicious, leaving a lasting memory.
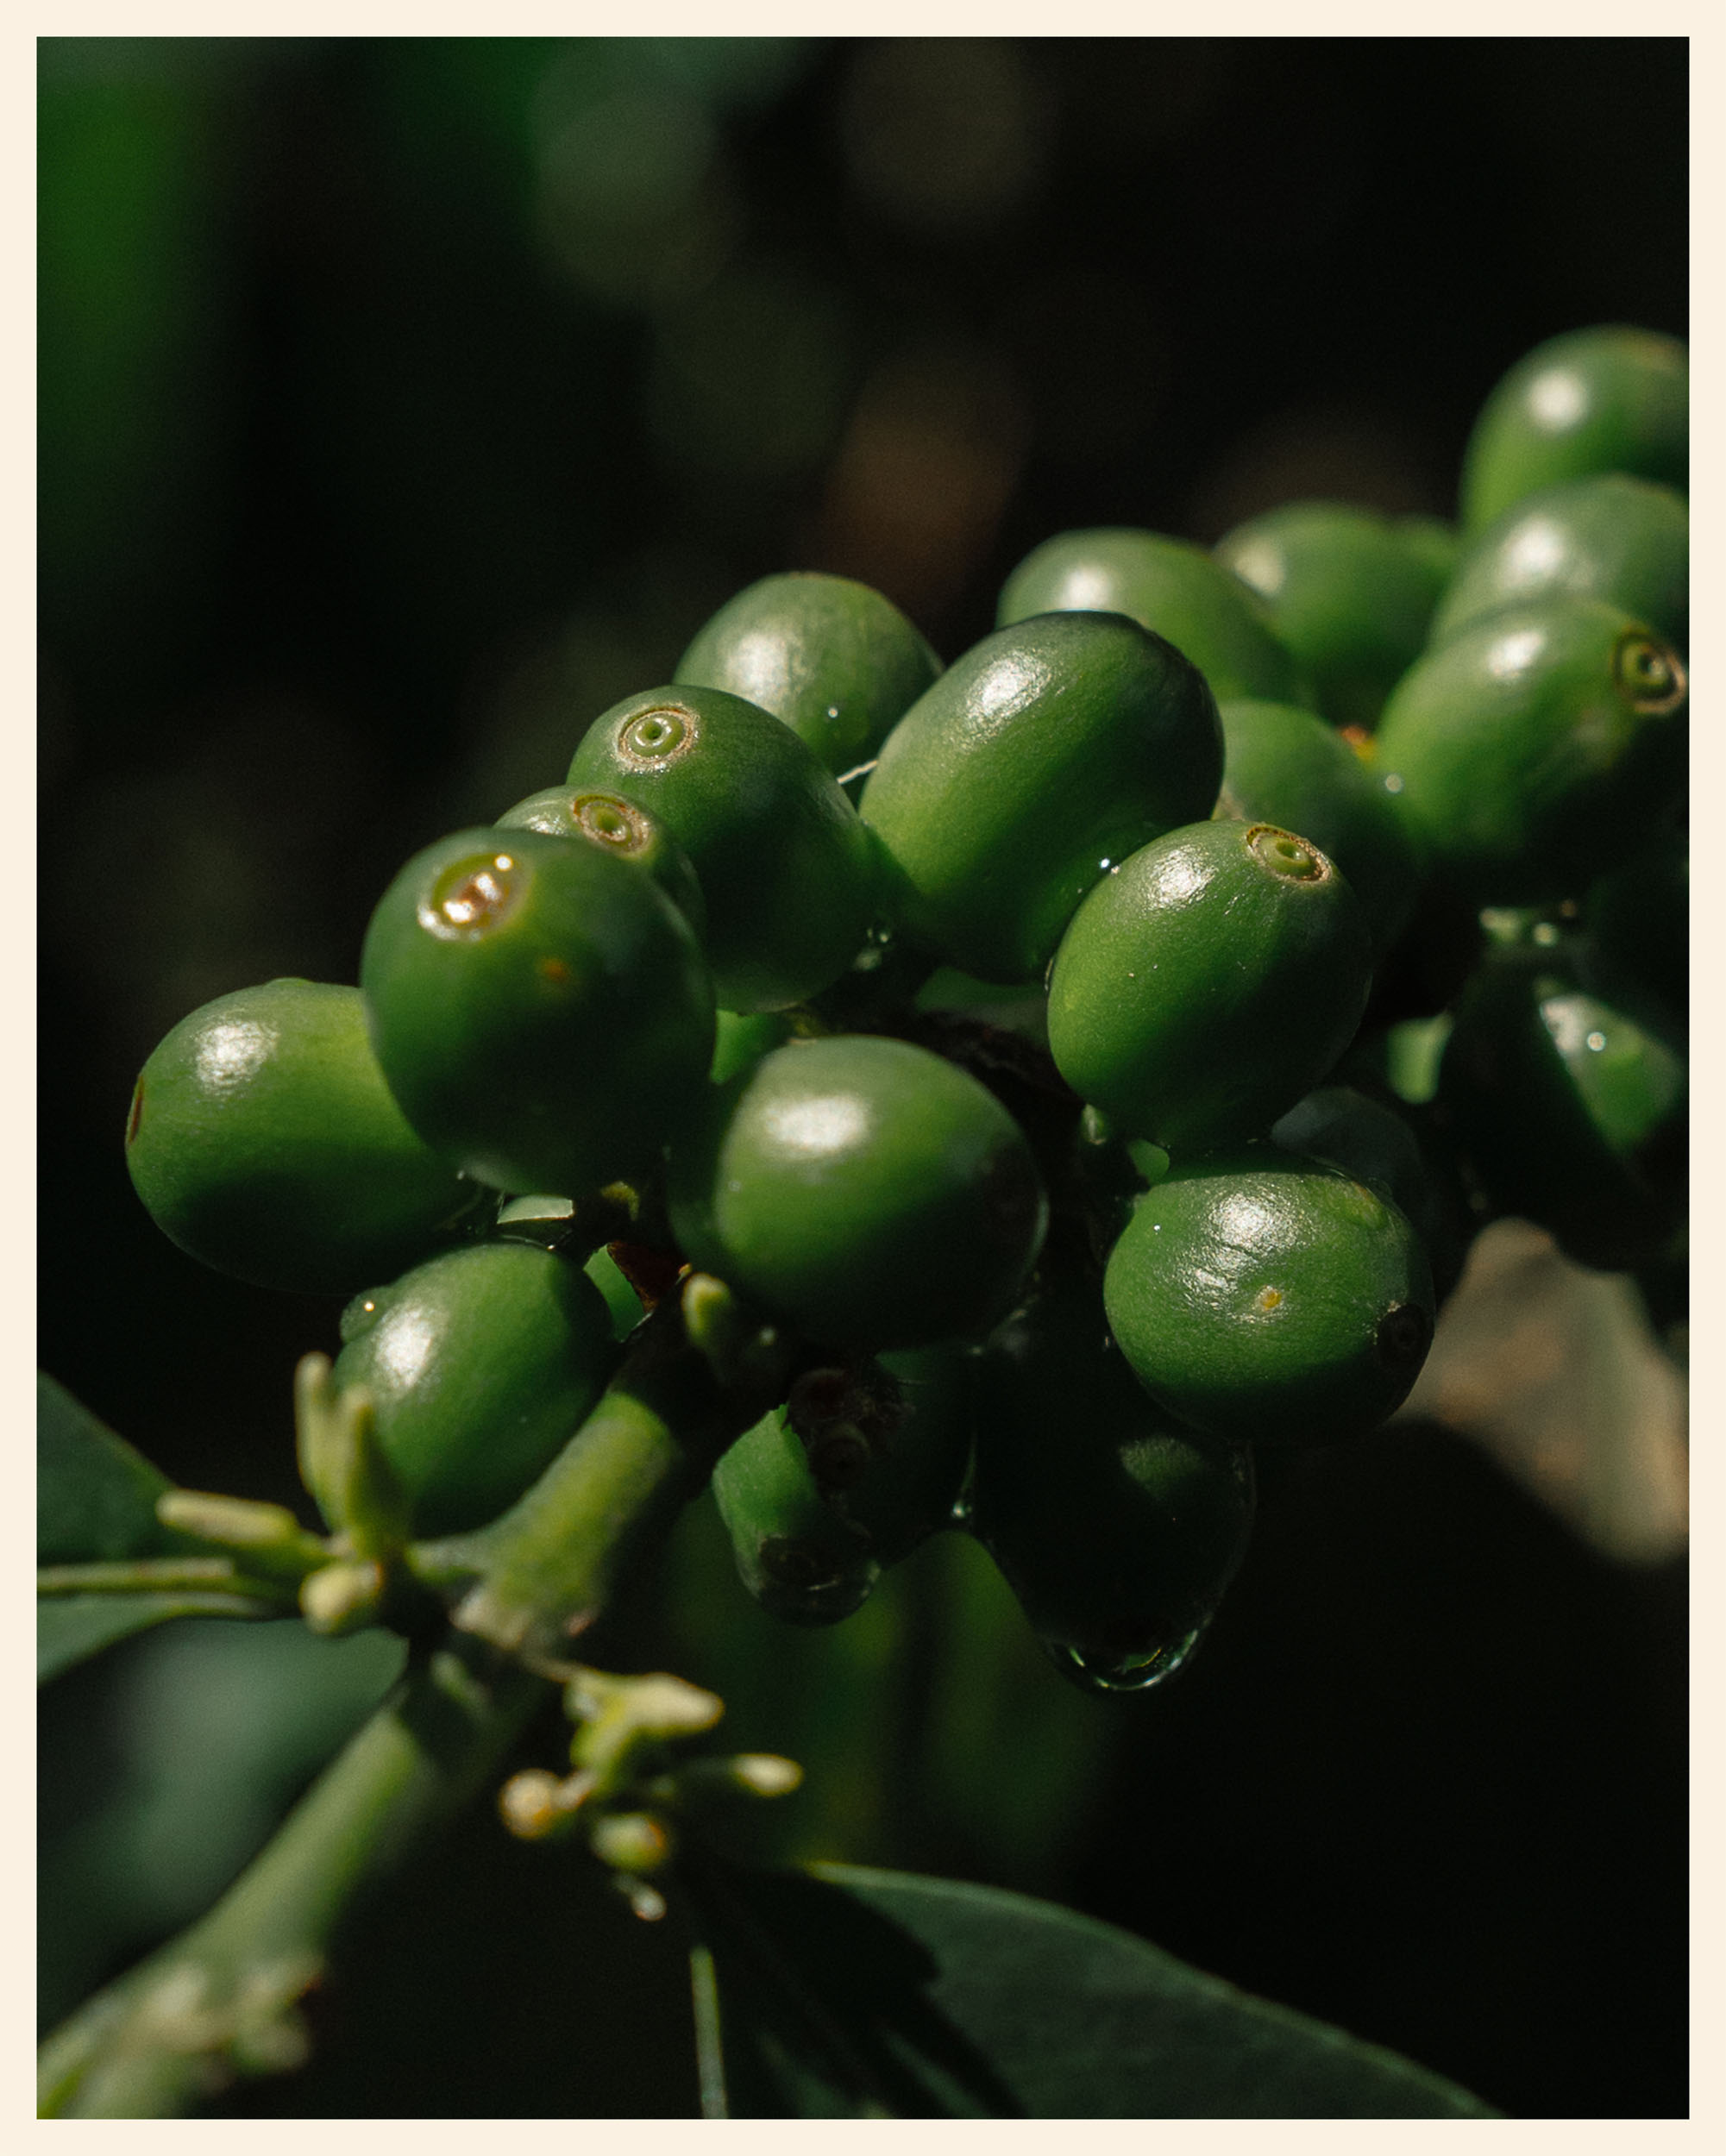
- Ride through coffee plantations: El Salvador has long been a renowned coffee exporter. Along the route, you can explore some of its plantations. If you have time, don’t hesitate to ask for a guided tour at a finca to learn more about coffee cultivation and harvesting.
- Casa Ciclista Apaneca Outdoors: What would El Salvador be without its people? We couldn’t present the route highlights without mentioning Alex and Patty’s cycling house. This welcoming couple will share their country with sparkling enthusiasm, offering insights, stories, and a warm place to rest for cyclists passing through.
- Laguna Verde: A small lake just outside the town of Apaneca. If the cycling house is closed, you can spend the night here. A peaceful spot, away from the city’s bustle, with a bonus: small stands open in the morning serving excellent local coffee.
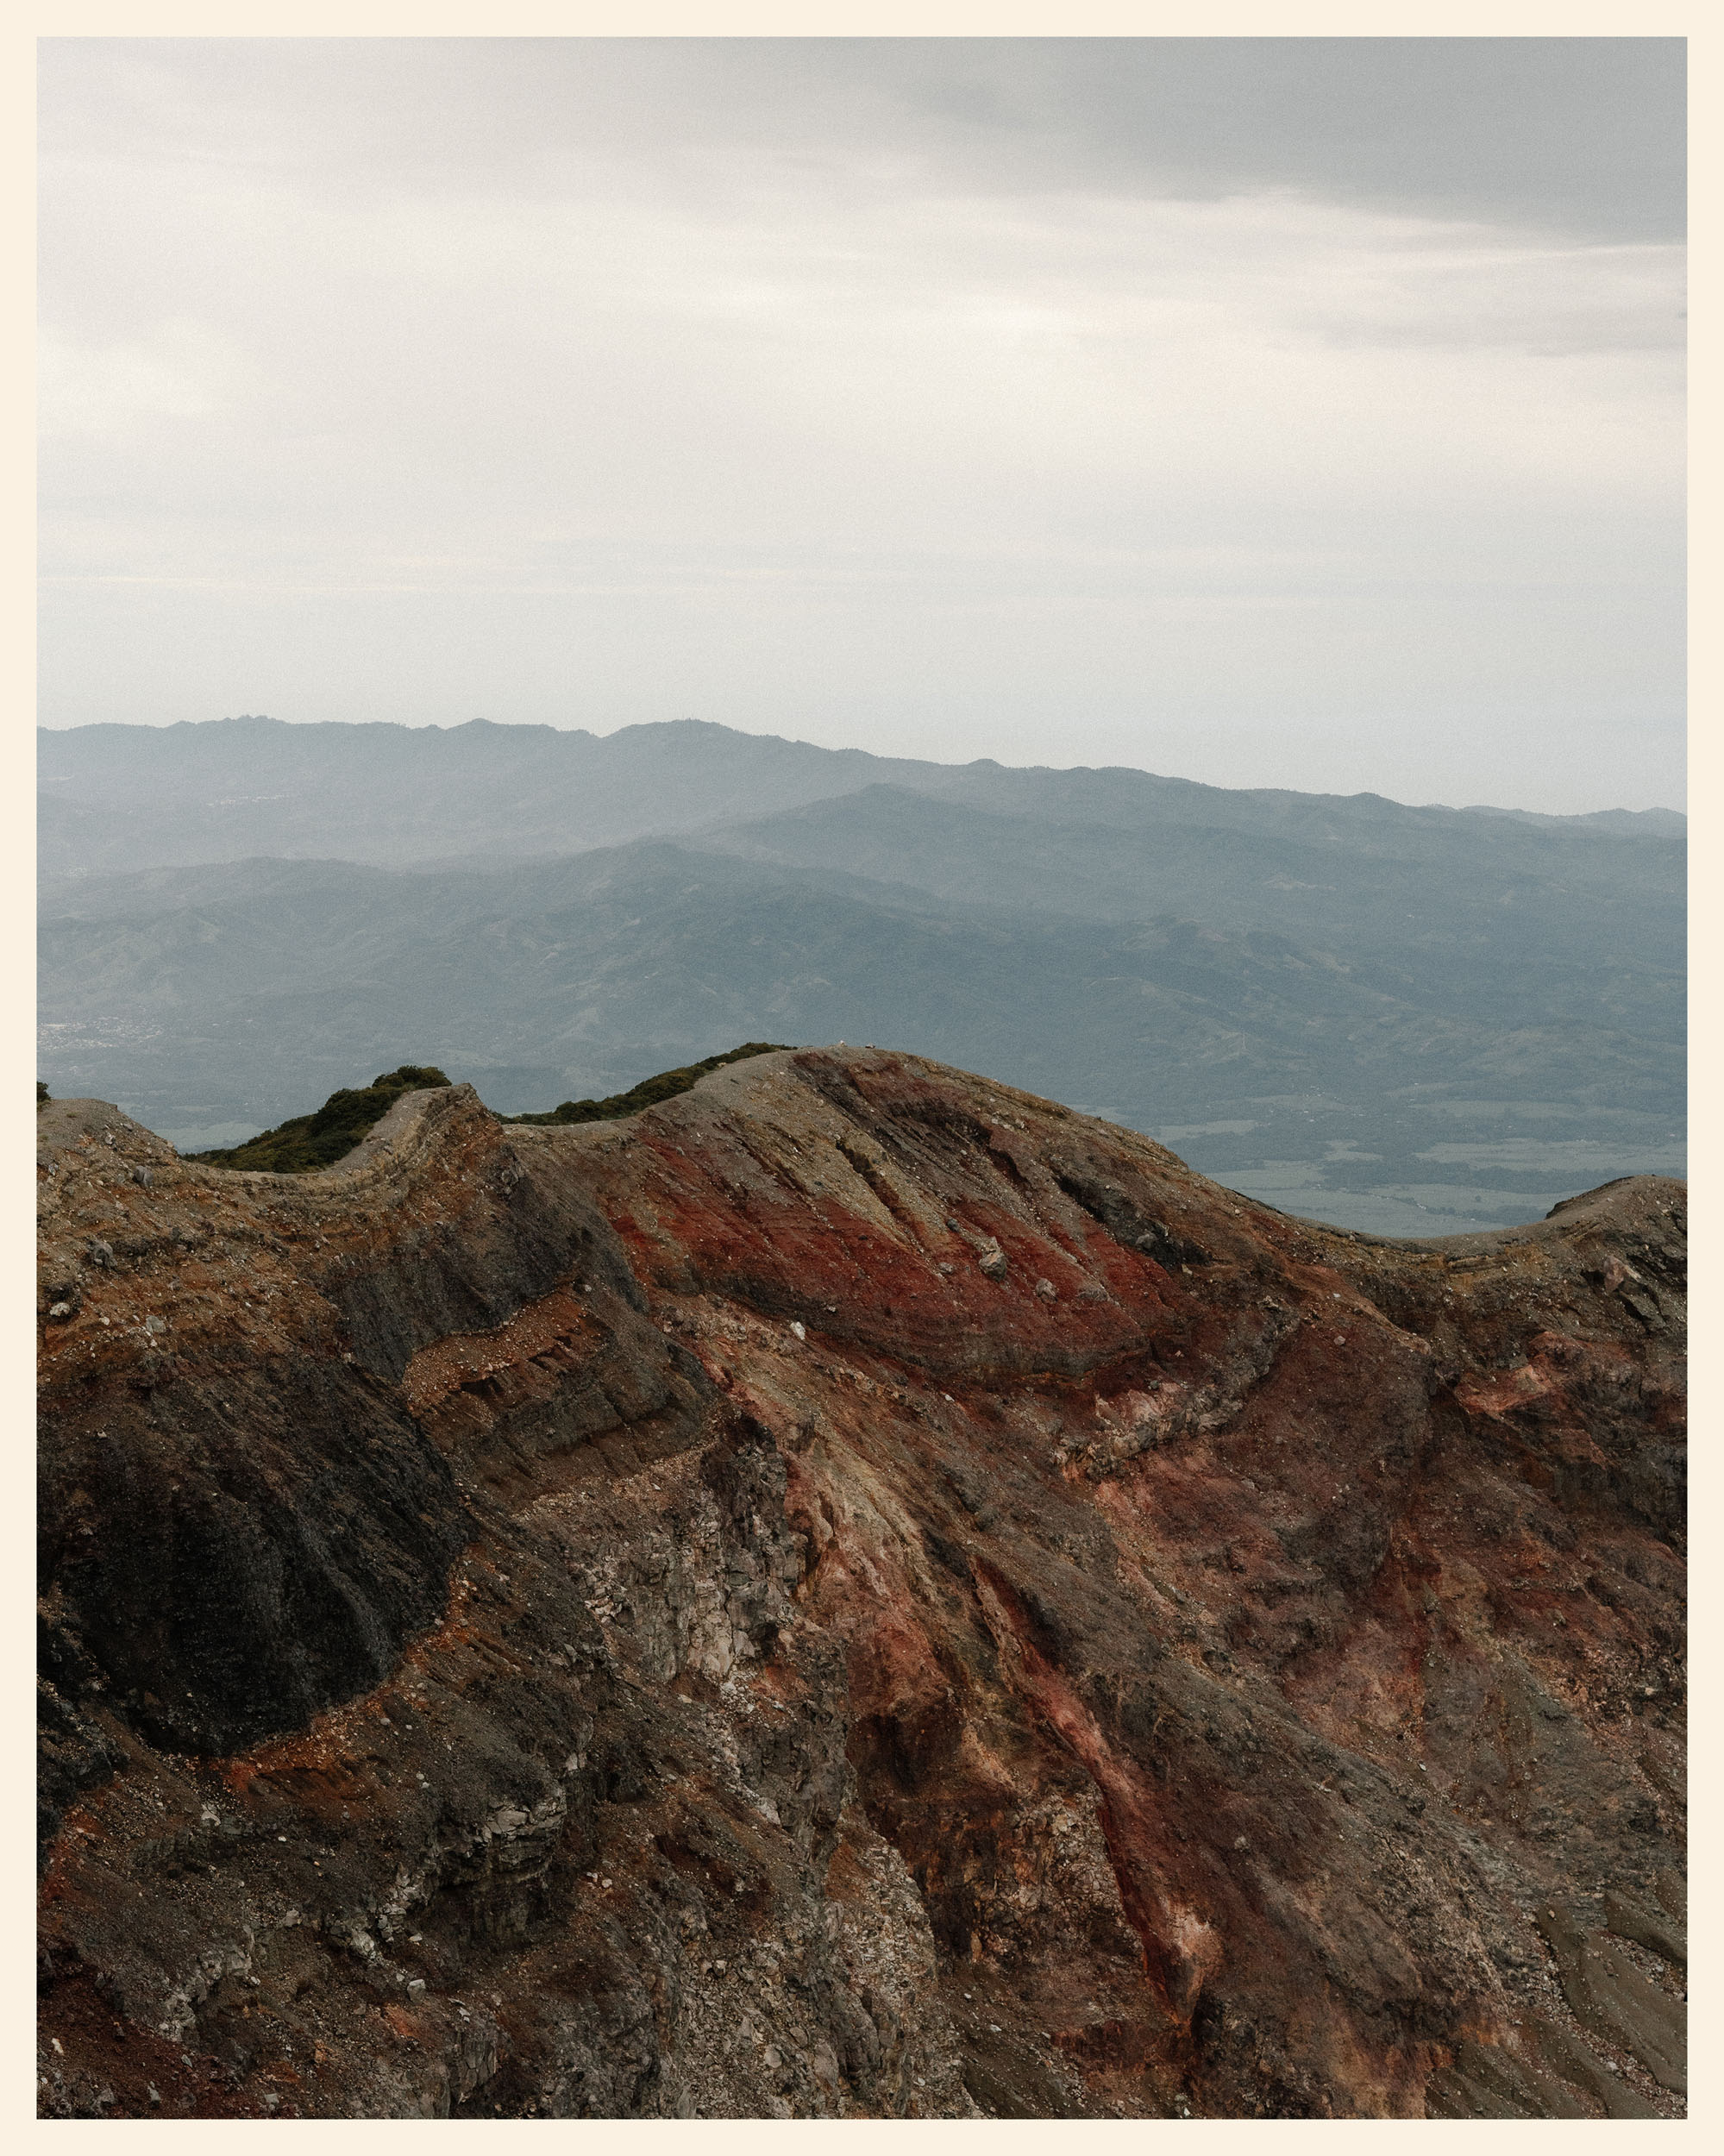
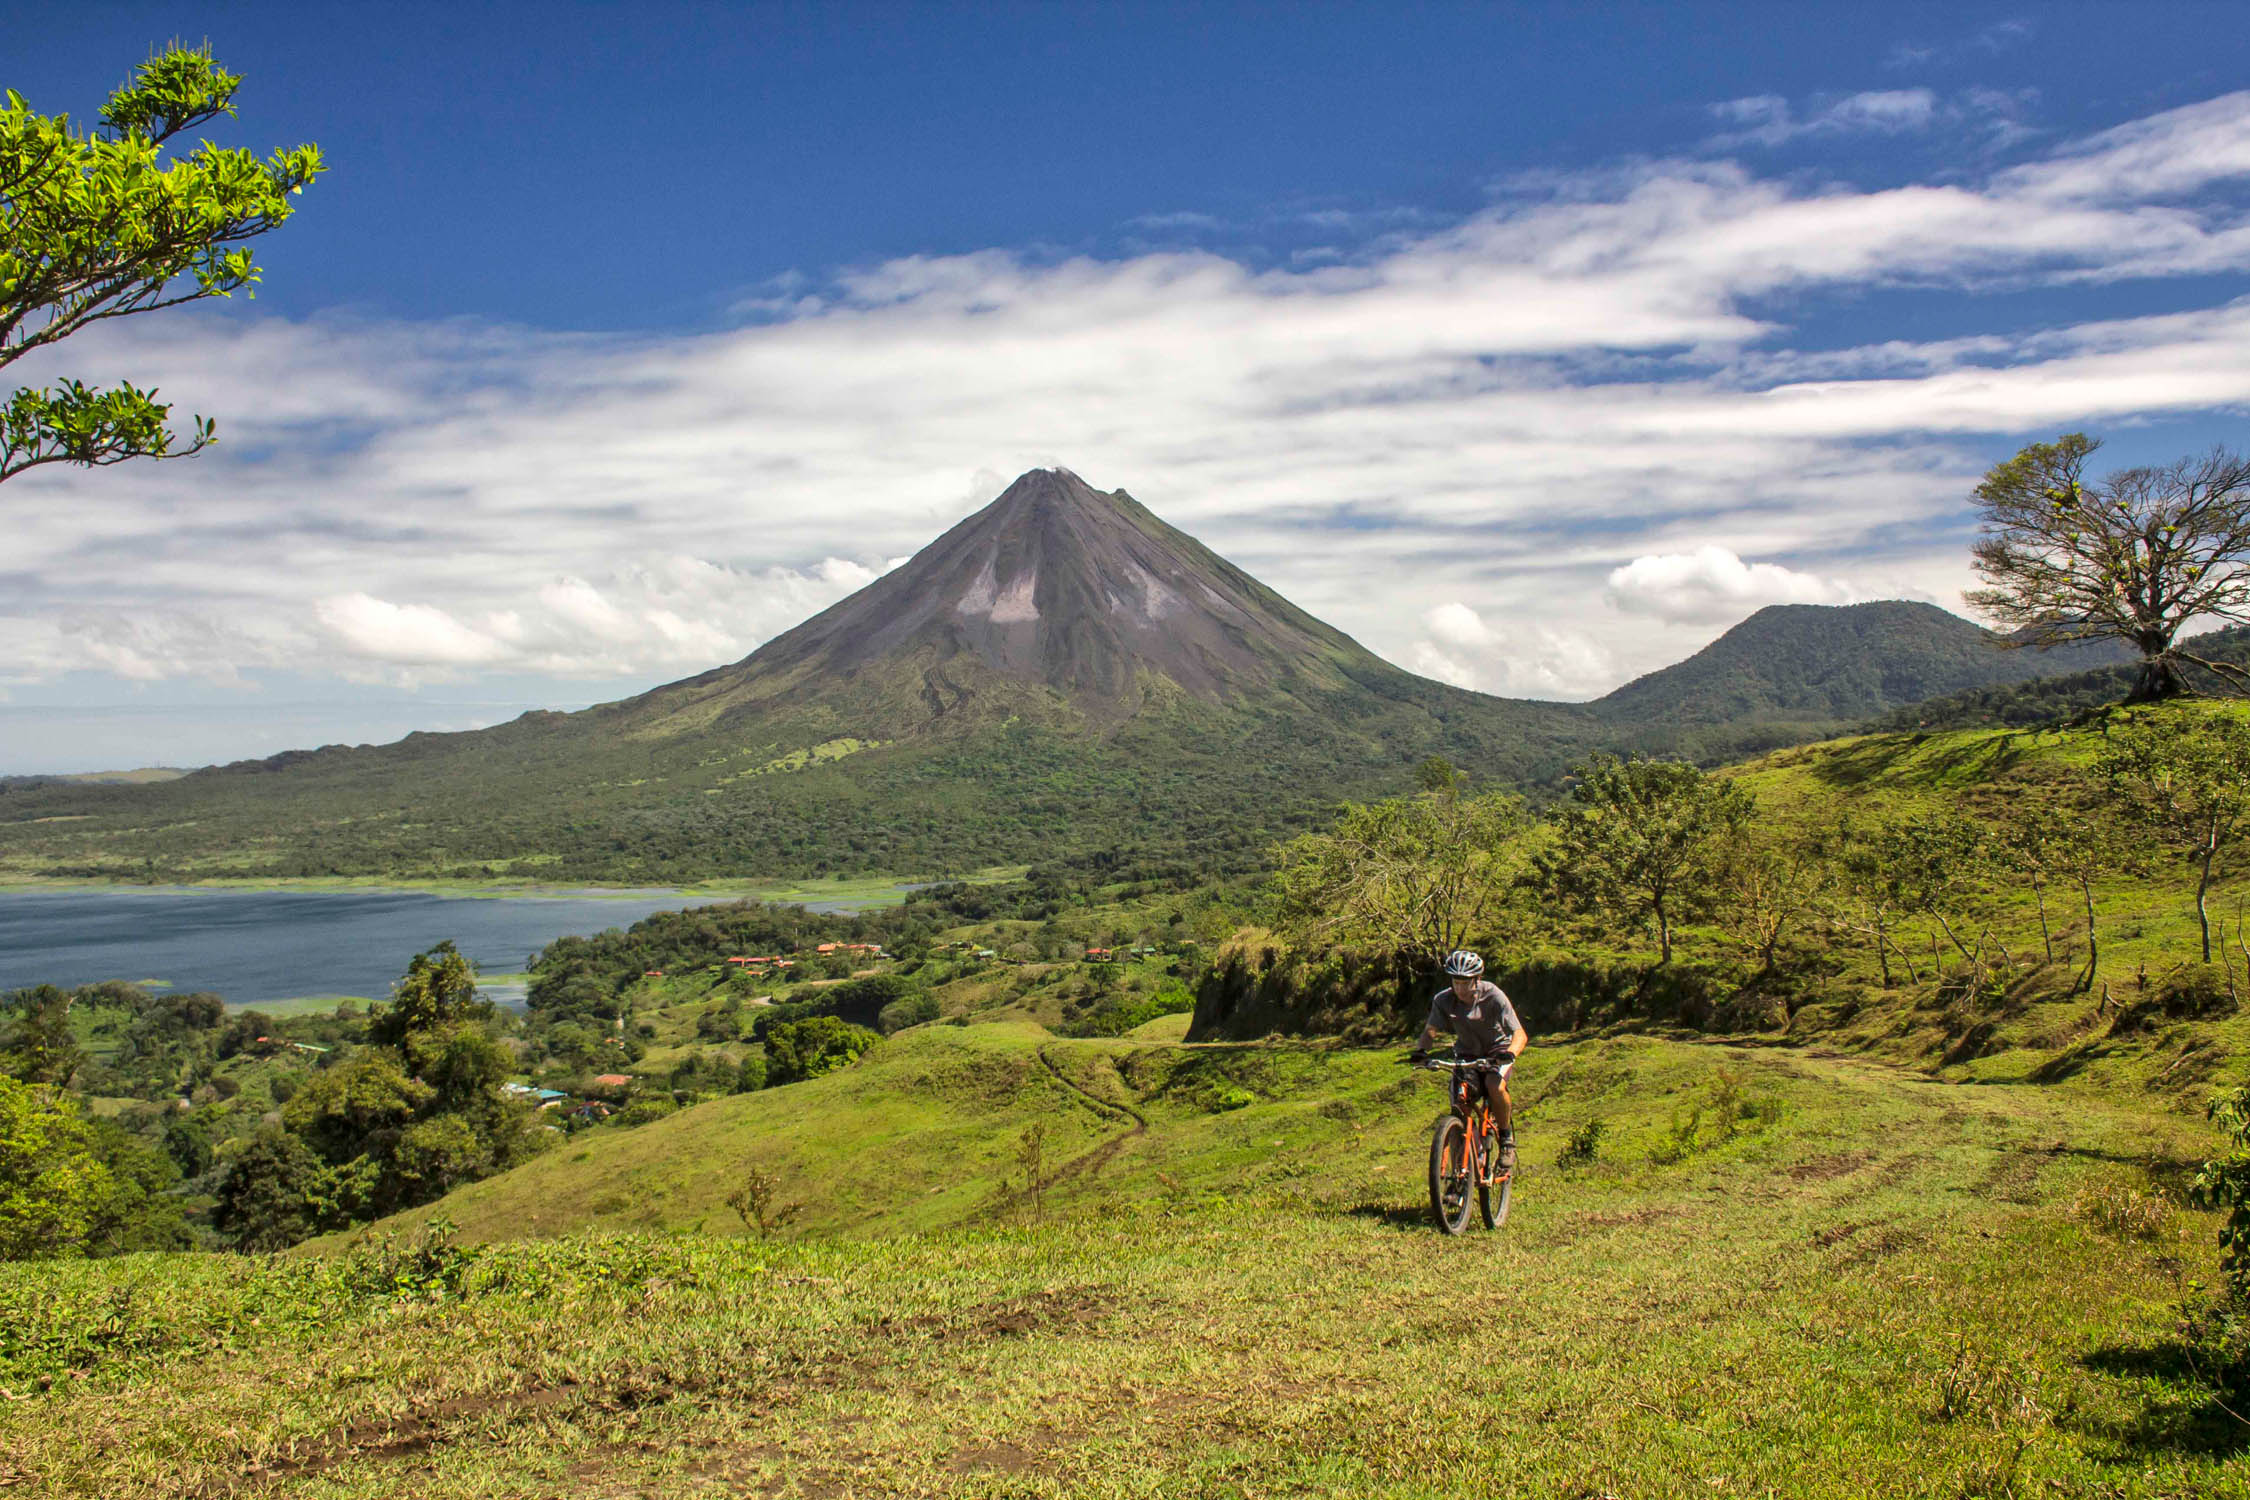
- Santa Ana Volcano: One of the country’s most iconic volcanoes, famous for its almond-green crater lake. Our route passes through a less-visited side (you’ll quickly understand why while riding). You can experience this natural gem in near solitude.
- Lago de Coatepeque: After climbing Santa Ana Volcano, the route becomes more rolling as it leads toward Coatepeque Lake. Spend an afternoon admiring the view from one of the piers while enjoying some pupusas.
- Pacific Ocean: An essential stretch near the coast. Surf enthusiasts can stop for a few nights in El Tunco. Note: hostel and hotel prices can be high, so booking in advance is recommended if you plan to stay more than one night.
- Laguna Alegría: After your beach break, head up a little to discover this timeless lagoon. Check the weather carefully if you plan to camp, as there are no shelters in case of rain.
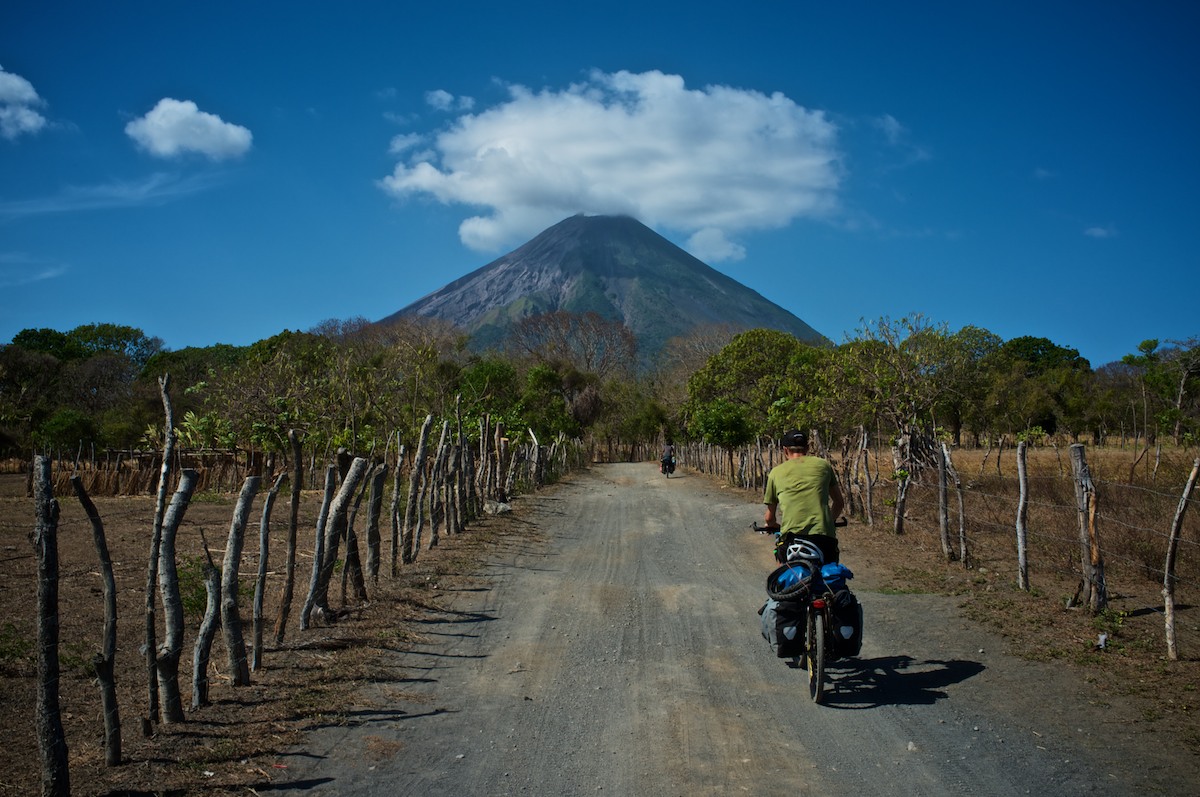
- Volcán Chaparrastique: The second volcano on this route, impressive and very steep! Good physical condition is essential to reach the summit of this giant.
- Playa El Carrizal: Our favorite beach along the route. Almost deserted, except for some local fishermen and surfers. A real treat after a hot, challenging day on the bike.
- Volcán de Conchagua: The last point of interest on this route. A beautiful way to say goodbye to El Salvador before taking a boat to Honduras or Nicaragua. It is, above all, an extraordinary viewpoint that allows you to see both Nicaragua and Honduras.
When to go
- Time of year: The ideal time to visit Central America is during the dry season, from November to April. We had no choice but to ride this route during the rainy season (August), and honestly, we ended up enjoying the late-afternoon storms—they brought cooler temperatures and a refreshing break after long days on the bike.
- Mud and slippery roads: Some sections can be more challenging during the rainy season due to muddy and slippery terrain.
Logistics
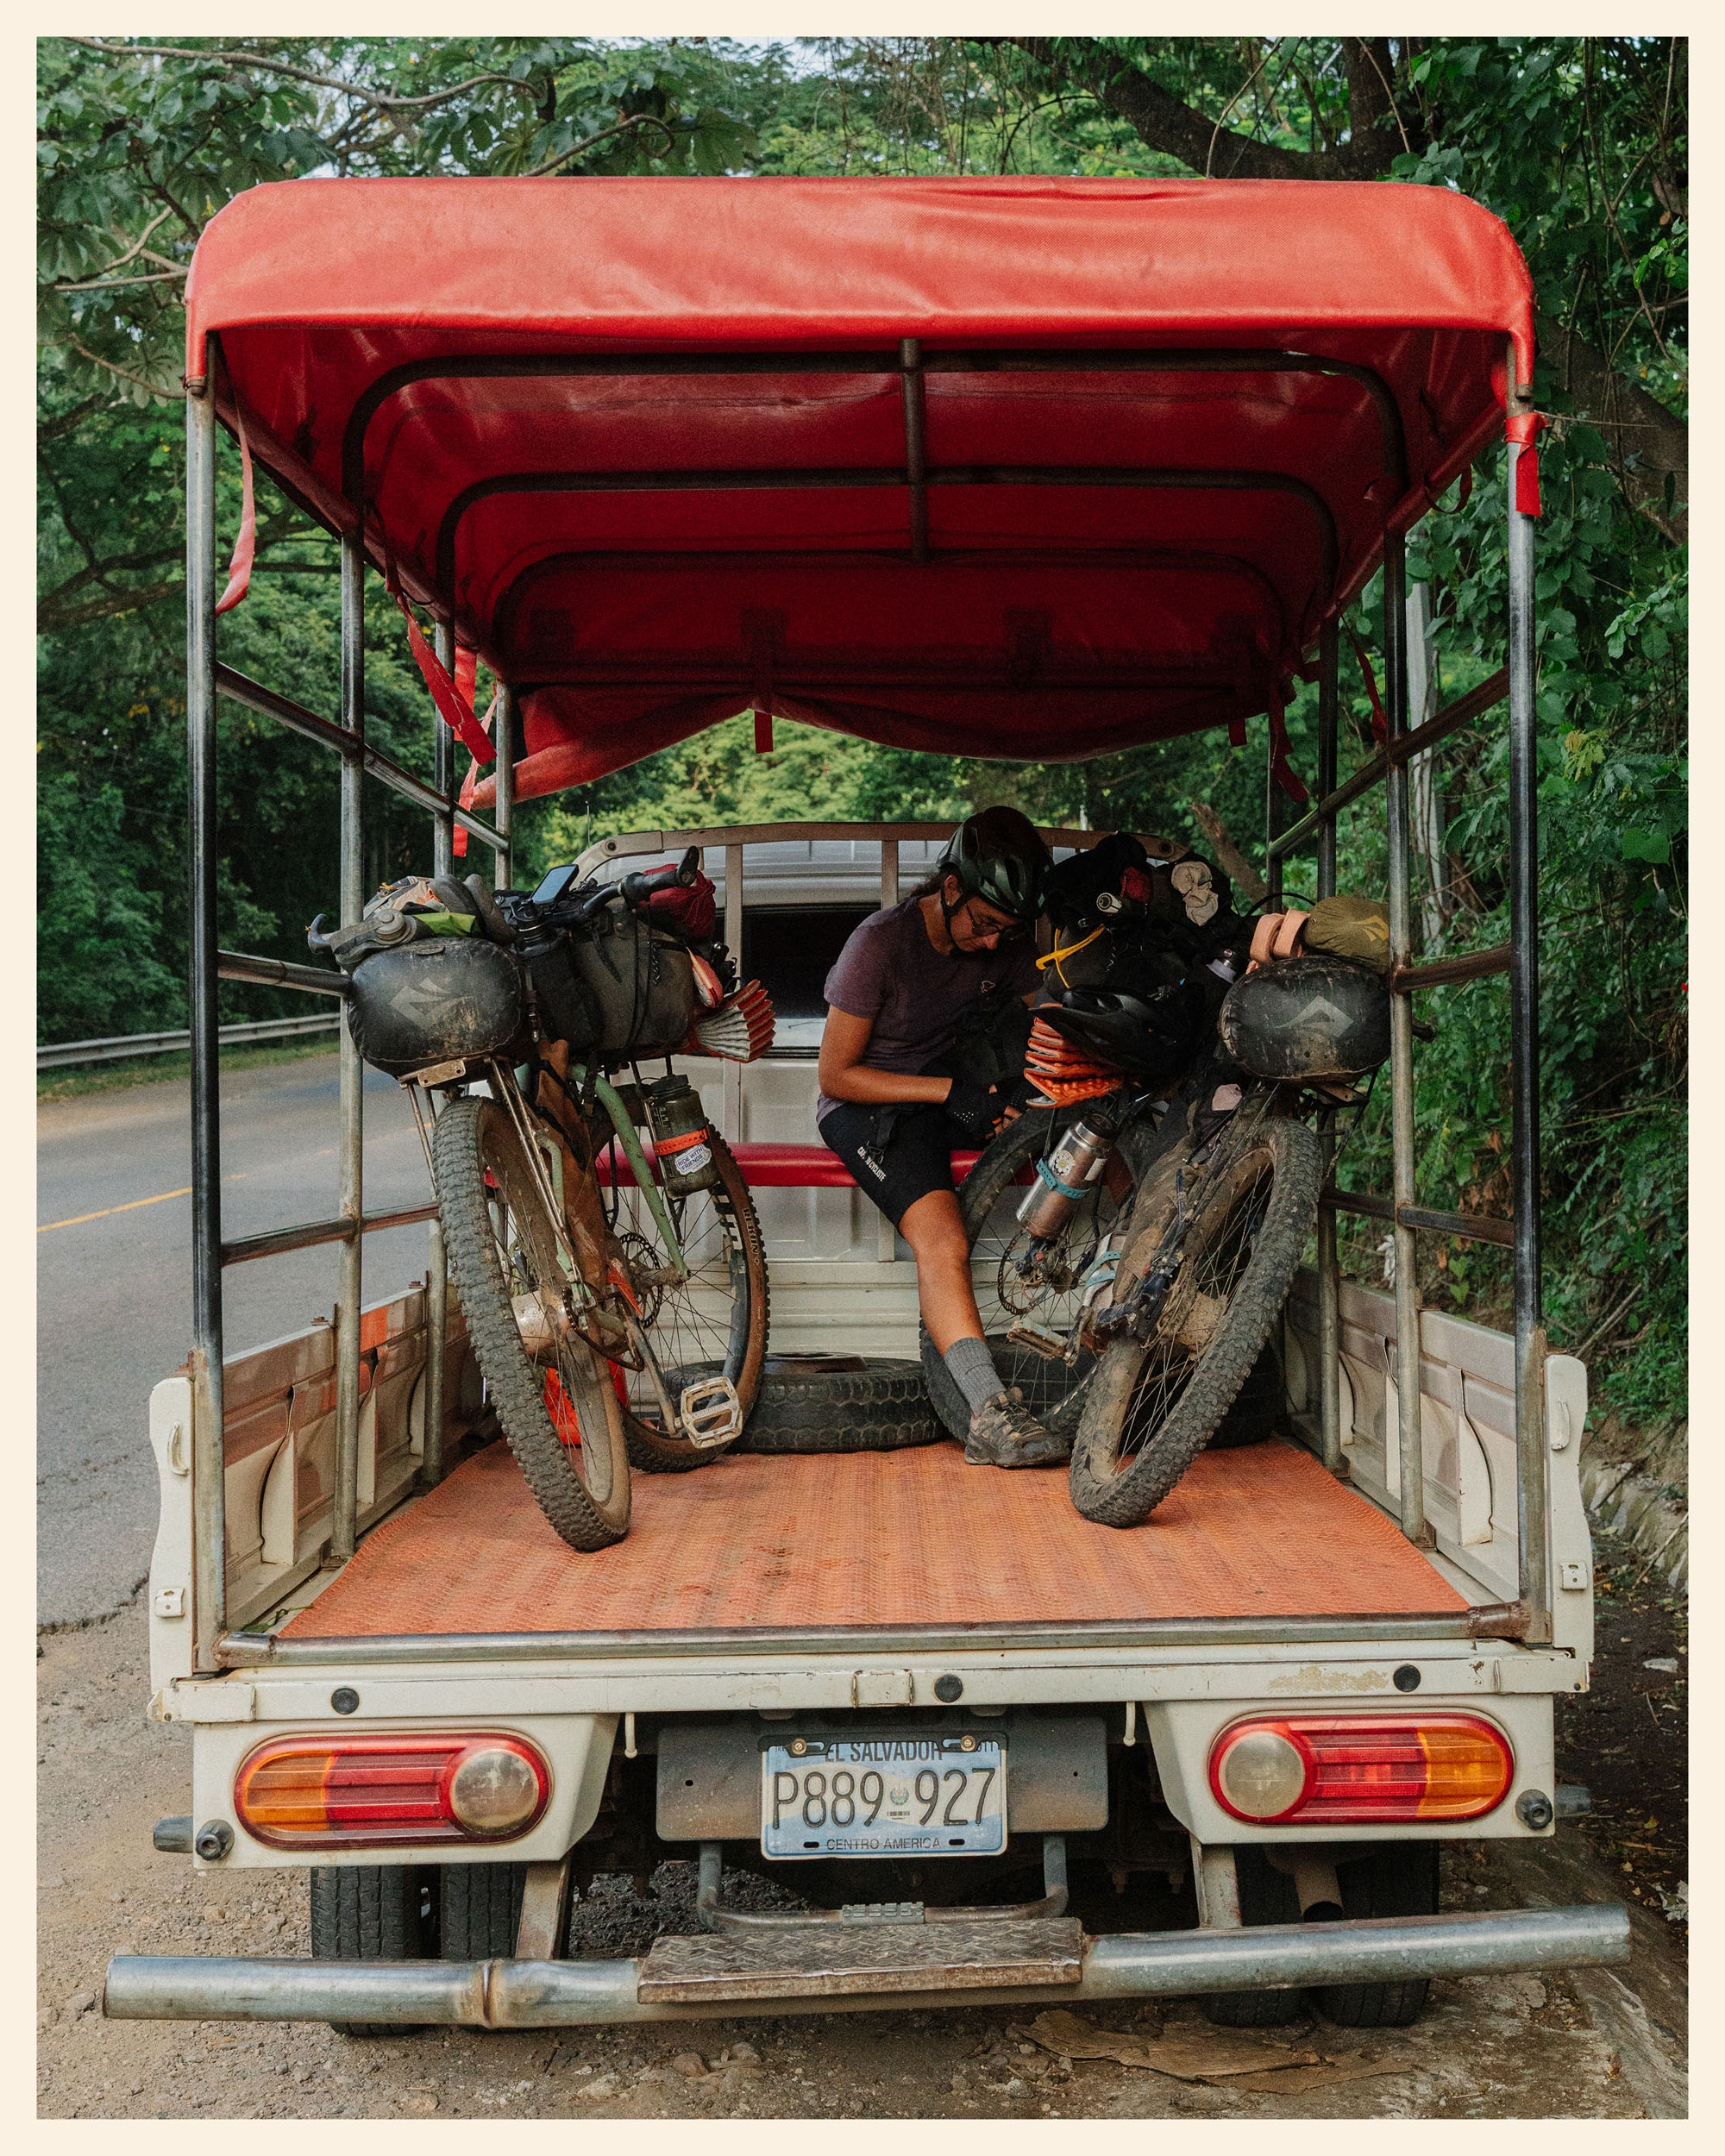
- Getting to the start: there is a direct bus from San Salvador. From the Terminal de Occidente in San Salvador, take bus Ruta 201 (also known as 201-A or TUDO) to Metapán. The journey takes around 1 hour and 40 minutes. From Metapán, you can reach the starting point of the route by bike or ask someone to give you a lift there. (about 8 km on the road).
- Leaving the route: from La Unión to San Salvador, there are several minibuses and regional buses that operate within the La Unión department. For example, bus 304 runs between La Unión and San Miguel, then to San Salvador.
- Visa: El Salvador is part of a C4 visa agreement between the four countries located between Guatemala and Nicaragua. This means you have a maximum of 90 days to travel through all four countries. Be aware that if you are from the UK, it is currently not possible to pass through Honduras, which is why we put the end of this road at La Unión. This situation is relatively recent and may affect other nationalities or be suspended. Before traveling, make sure to check with your embassy whether it applies to you.
- Currency:The local currency is the US dollar. If you haven’t managed to get some before arriving in the country, you can make a quick detour to Metapán (day one), where there is an ATM in town. After that, you’ll find ATMs regularly along the route.
- Spanish is the official language.
Dangers & Annoyances
- Security: As in all Central American countries, vigilance is advised. That said, the country felt very safe to us.
- River crossings: We had to cross a river on day two, which can be avoided by taking the road, and another ocean crossing on day nine, which varies in difficulty depending on the tide.
- Cattle gates: Some sections pass through areas closed off because of animals. There’s no danger in crossing these paths—just make sure to close any gates you open.
- Health: as with many Central American countries, the presence of insects carrying diseases or other potentially dangerous ailments should not be underestimated. Check with your country’s foreign office, state department, or health department about any active risks at the time of travel, and how or if you should prepare.
- Drone: be aware that if you are traveling with a drone, you cannot cross from El Salvador into Nicaragua with it. We had to make a detour to Usulután to ship ours via DHL before continuing the route.
What bike?
- Some muddy and rocky tracks require tires more than 2.2 inches (or larger) with a nice grip, especially so you can climb and go downhill without slipping. We recommend a rigid mountain bike or a hardtail with tubeless tires.
- Hotels and Hostels: Most towns along the route have hotels. El Salvador is experiencing a tourism boom, which has driven accommodation prices quite high.
- Airbnb: We only used Airbnb once in El Salvador, but found it to be much more affordable than traditional hotels.
- Fire Stations: We spent a night with the firefighters in the town of Ahuachapán. They were incredibly welcoming, offering us a shower, water, and even coffee.
- Churches: Along the route, we often asked local churches for a place to stay. One of the advantages of this route is that nearly every town has a large church, usually with space to host travelers.
- Camping: The few campsites we used were at the Mirador El Fin del Mundo. If you go up, we recommend staying at Mirador Amanecer, which provides a roof, toilets, electricity, a shower, and above all, an incredible view! The other is the Santa Ana volcano, which allows you to hike up to the summit from the main tourist entrance.
- Wild Camping: During the rainy season, it was quite difficult for us to camp outdoors without a roof for protection. In the dry season, however, camping on the beaches and in the mountains is highly recommended.
- Fútbol Fields: We’ve also marked several fútbol fields on our GPX files. Once night falls (and outside of the rainy season), feel free to set up camp there for the night.
- Water: The route offers reliable access to water, with no sections where it becomes a concern. All natural water sources should be treated before drinking. Many small shops sell gallon jugs of water (almost 4 liters) for just $1 to $1.50.
- Food: tiendas (small grocery stores) are frequent along the route and should make resupply easy.
- Comedores: Just as useful in the morning as during the day, comedores serve a variety of typical dishes, usually priced between $2 and $3.50.
- Papusas: El Salvador’s must-try dish! We’ve marked on the GPX file all the pupuserías we tried or that were recommended to us. Our top three are located in day one, four, and 16.
- Restaurant Torolomo (Day 13): A stop not to be missed! Even if you’re not staying overnight or climbing the volcano, make sure to eat here. The meat is of exceptional quality at a price that’s hard to beat.
- Note: The hike-a-bike sections can be long, especially under the heat. Be sure to carry enough food and water when approaching these points.
This is a proposed 16-day itinerary:
location From the Guatemalan Border to Metapán
Day 1 (28.5 km +540 m)
A beautiful first day in El Salvador. We hardly met anyone along the way, except for the soldiers stationed along the border. Friendly and curious about our setup, they didn’t stop us from passing—on the contrary, they proudly reminded us how safe their country is.
If you need to stock up on food or withdraw cash, head into downtown Metapán.
location Metapán to Colonia Gonzales
Day 2 (62.8 km +1,156 m)
We started the day early to beat the heat—a piece of advice we can’t emphasize enough: set off at 5 to 6 a.m.! It makes all the difference in enjoying the relatively “cool” mornings of El Salvador.
This section includes the first river crossing. Depending on rainfall in previous days, the water level and water flow can vary greatly. If crossing isn’t possible, you can always backtrack and take the main road.
That night, we slept in Colonia Gonzales, welcomed by the village church. Nearby, we tasted our very first pupusas—for only $0.50 each! They turned out to be some of the best we had on the whole route.
location Colonia Gonzales to Apaneca
Day 3 (50.5 km +1,305 m)
This is the day of the first hike-a-bike! The ascent took us around 4 hours. If you don’t have enough time or energy, you can either stop in Ahuachapán, where firefighters are known to host cyclists, or climb up to Apaneca via the paved road.
But honestly, it would be a shame to skip this hike-a-bike. The trail passes through lush coffee plantations, and reaching Apaneca feels even more rewarding after the effort. Once there, you can count on Alex’s Casa Ciclista for a warm welcome and a good rest.
location Apaneca to Los Naranjos
Day 4 (28.8 km +991 m)
A “short” day that will likely stay in your memory! After a quick coffee stop at Laguna Verde, the road climbs into the highlands of Apaneca. The forest track is steep and demanding, but the experience is unforgettable—the atmosphere up here feels different, almost otherworldly.
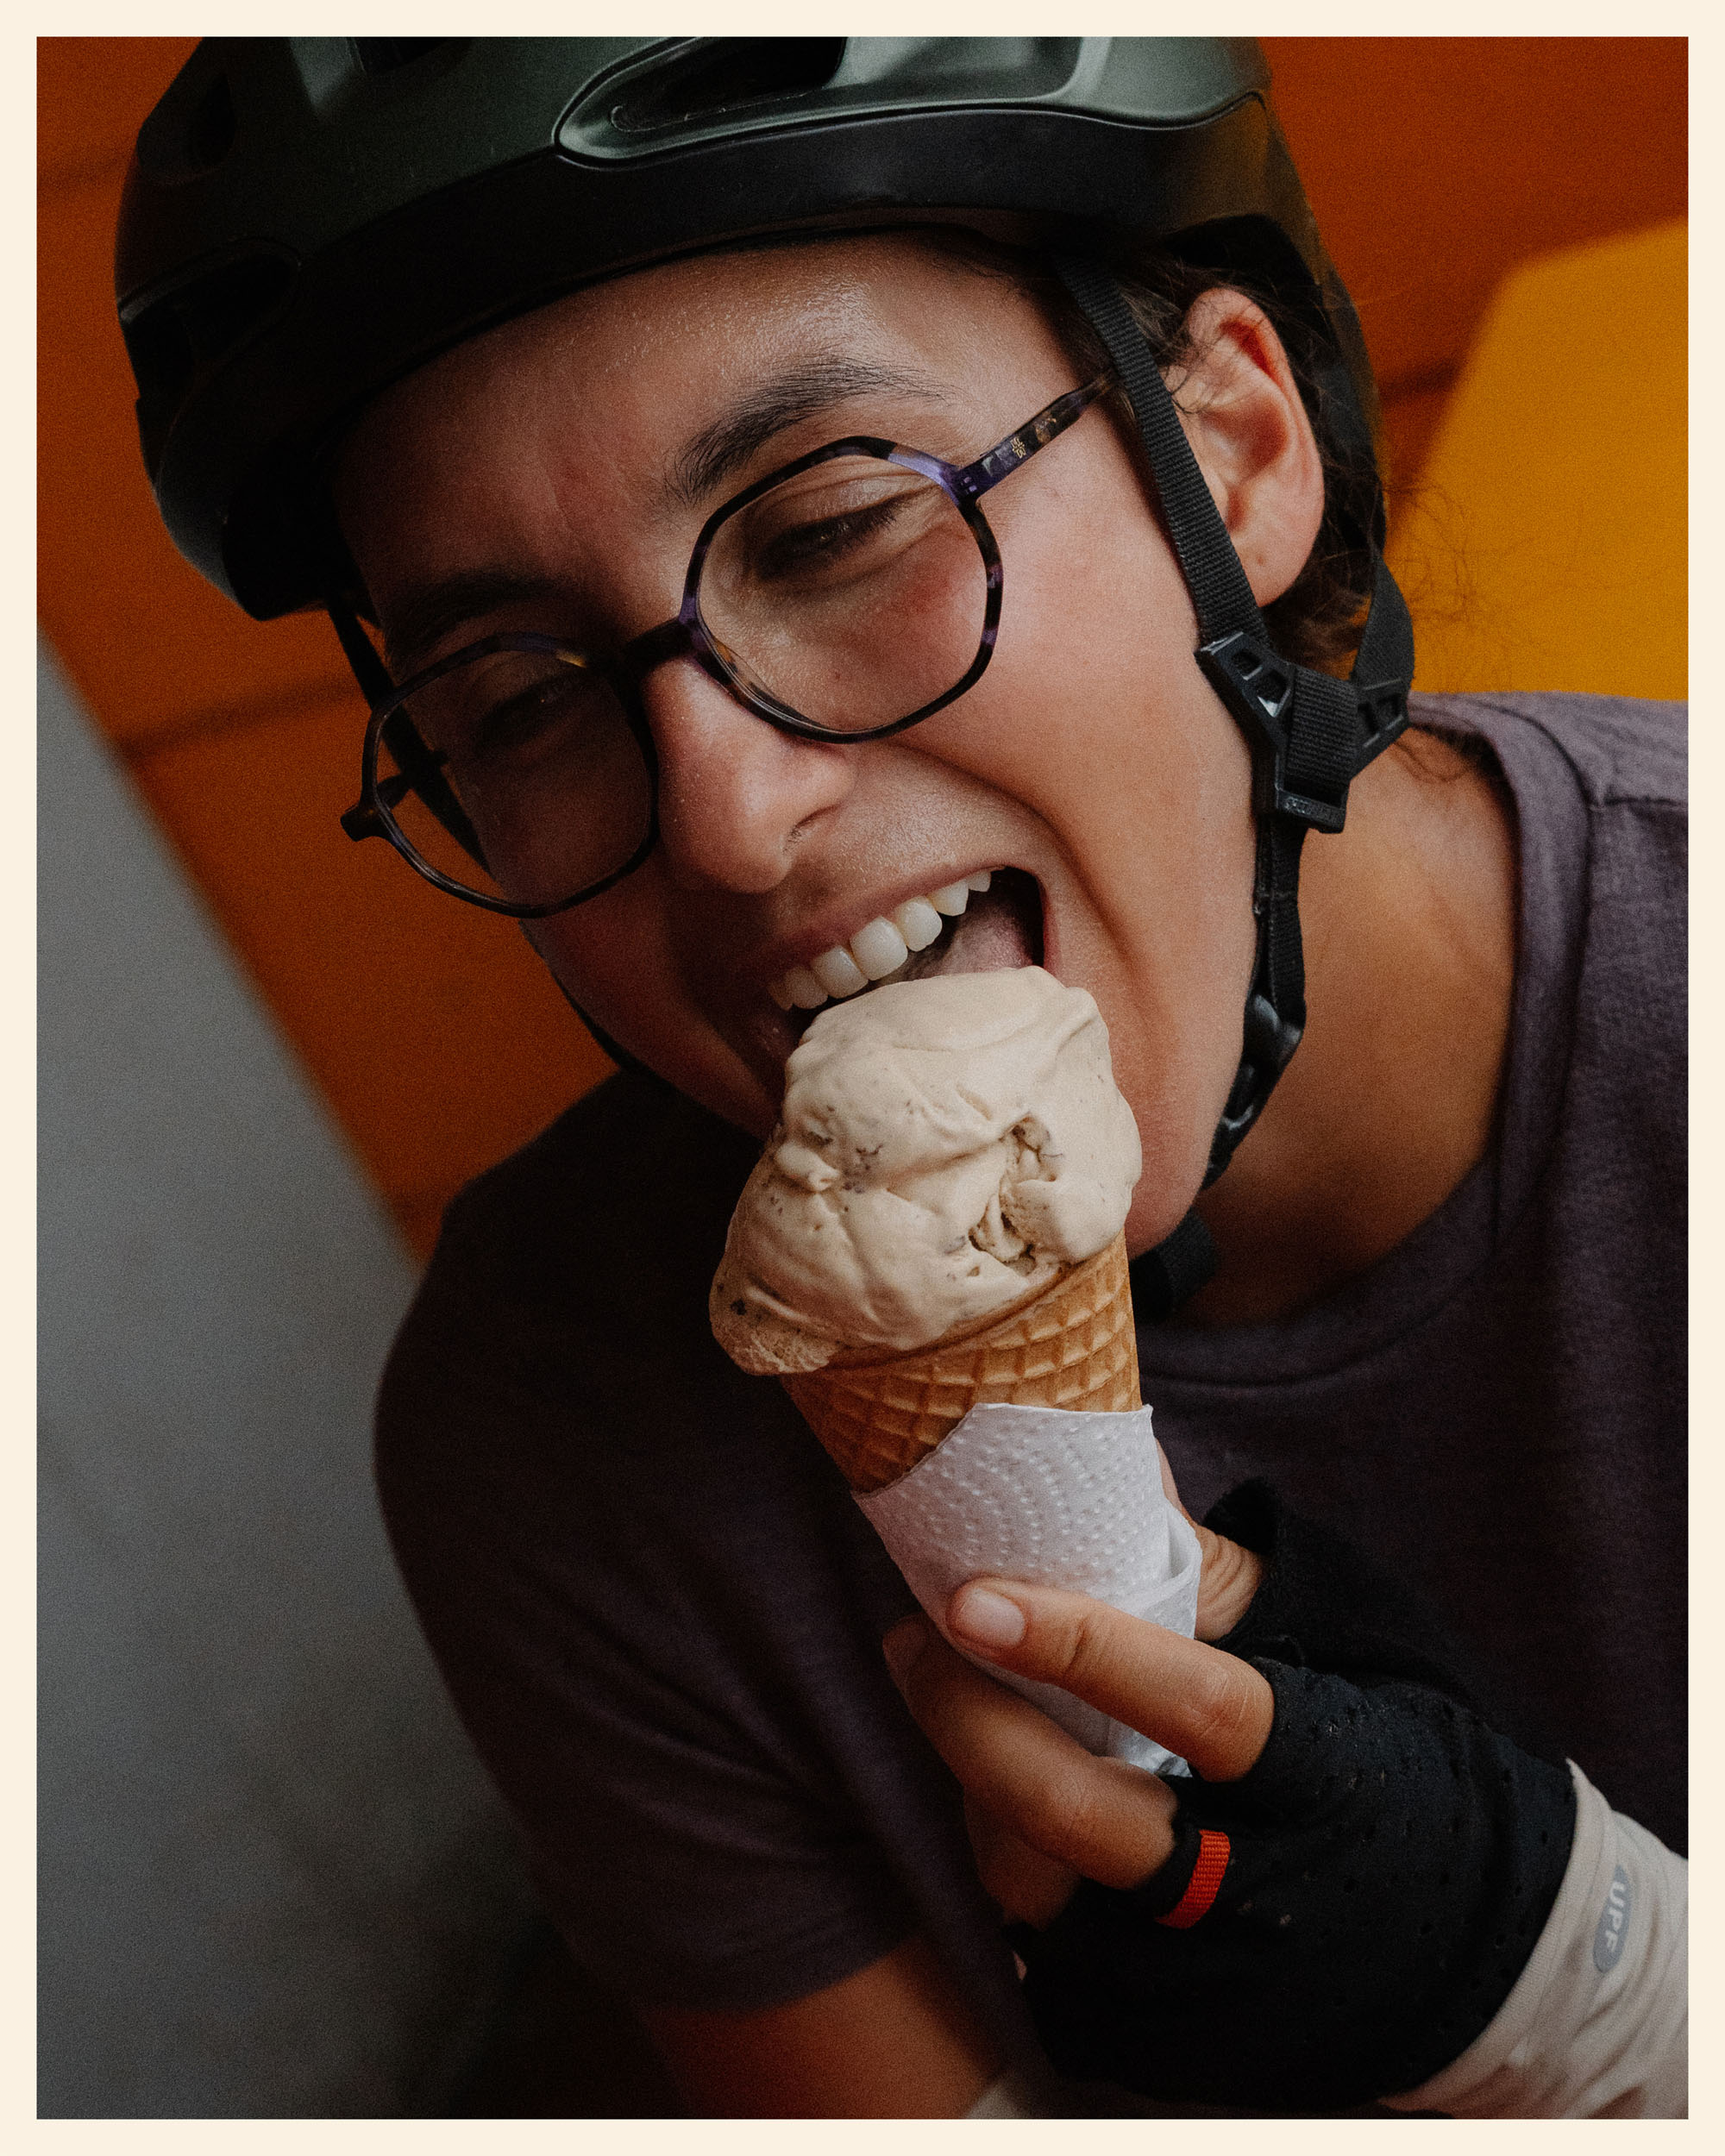
For a well-earned break, stop in the village square of Juayúa. We recommend Pastelería y Cafetería Festival for their excellent coffee and refreshing coconut juices.
We ended our day in Los Naranjos after being caught in a heavy downpour. Next to the gas station, a small restaurant served us delicious pupusas—the perfect comfort food after a long ride in the rain. For the night, we slept under the church porch after asking the priest’s permission. If the weather is better, you can also ask the local police to open the park across the road, which makes a pleasant camping spot.
location ELos Naranjos to the bottom of Santa Ana Volcano
Day 5 (10.1 km +619 m)
To fuel up for the day, we had a complete Salvadoran breakfast (eggs, cheese, beans, coffee) at the gas station—$3 well spent. The ride itself isn’t long, but the final meters up to the base of the Santa Ana volcano are steep and demanding. A local told us that the road we were on was a “forgotten road,” which felt like the perfect description.
Don’t worry—the reward is well worth the effort. At the volcano’s base, you’ll find a small campsite ($6 per person) where you can rest and prepare for the climb. From here, you can hike up Santa Ana by a lesser-known trail and enjoy the crater view completely on your own—a rare luxury! The ascent took us about 1 hour, and the descent about 40 minutes.
If you still have energy after the hike, it’s possible to continue straight into the next stage.
location Santa Ana Volcano to Lake Coatepeque
Day 6 (27.6 km +274 m)
A gentle day, almost entirely downhill—a welcome recovery after the efforts of the volcano. This stage allows you to relax and recharge before getting back into the rhythm of the journey.
Good to know: the lakeshore has a public beach, so you can set up camp once night falls. Falling asleep by the water with the volcano at your back is an unforgettable experience.
location Lake Coatepeque to Tepecoyo
Day 7 (43.4 km +1,106 m)
After days surrounded by coffee plantations, it’s now time to ride through El Salvador’s sugarcane fields. Sugar has become the country’s main agricultural export, as many farmers turned away from coffee when global prices dropped.
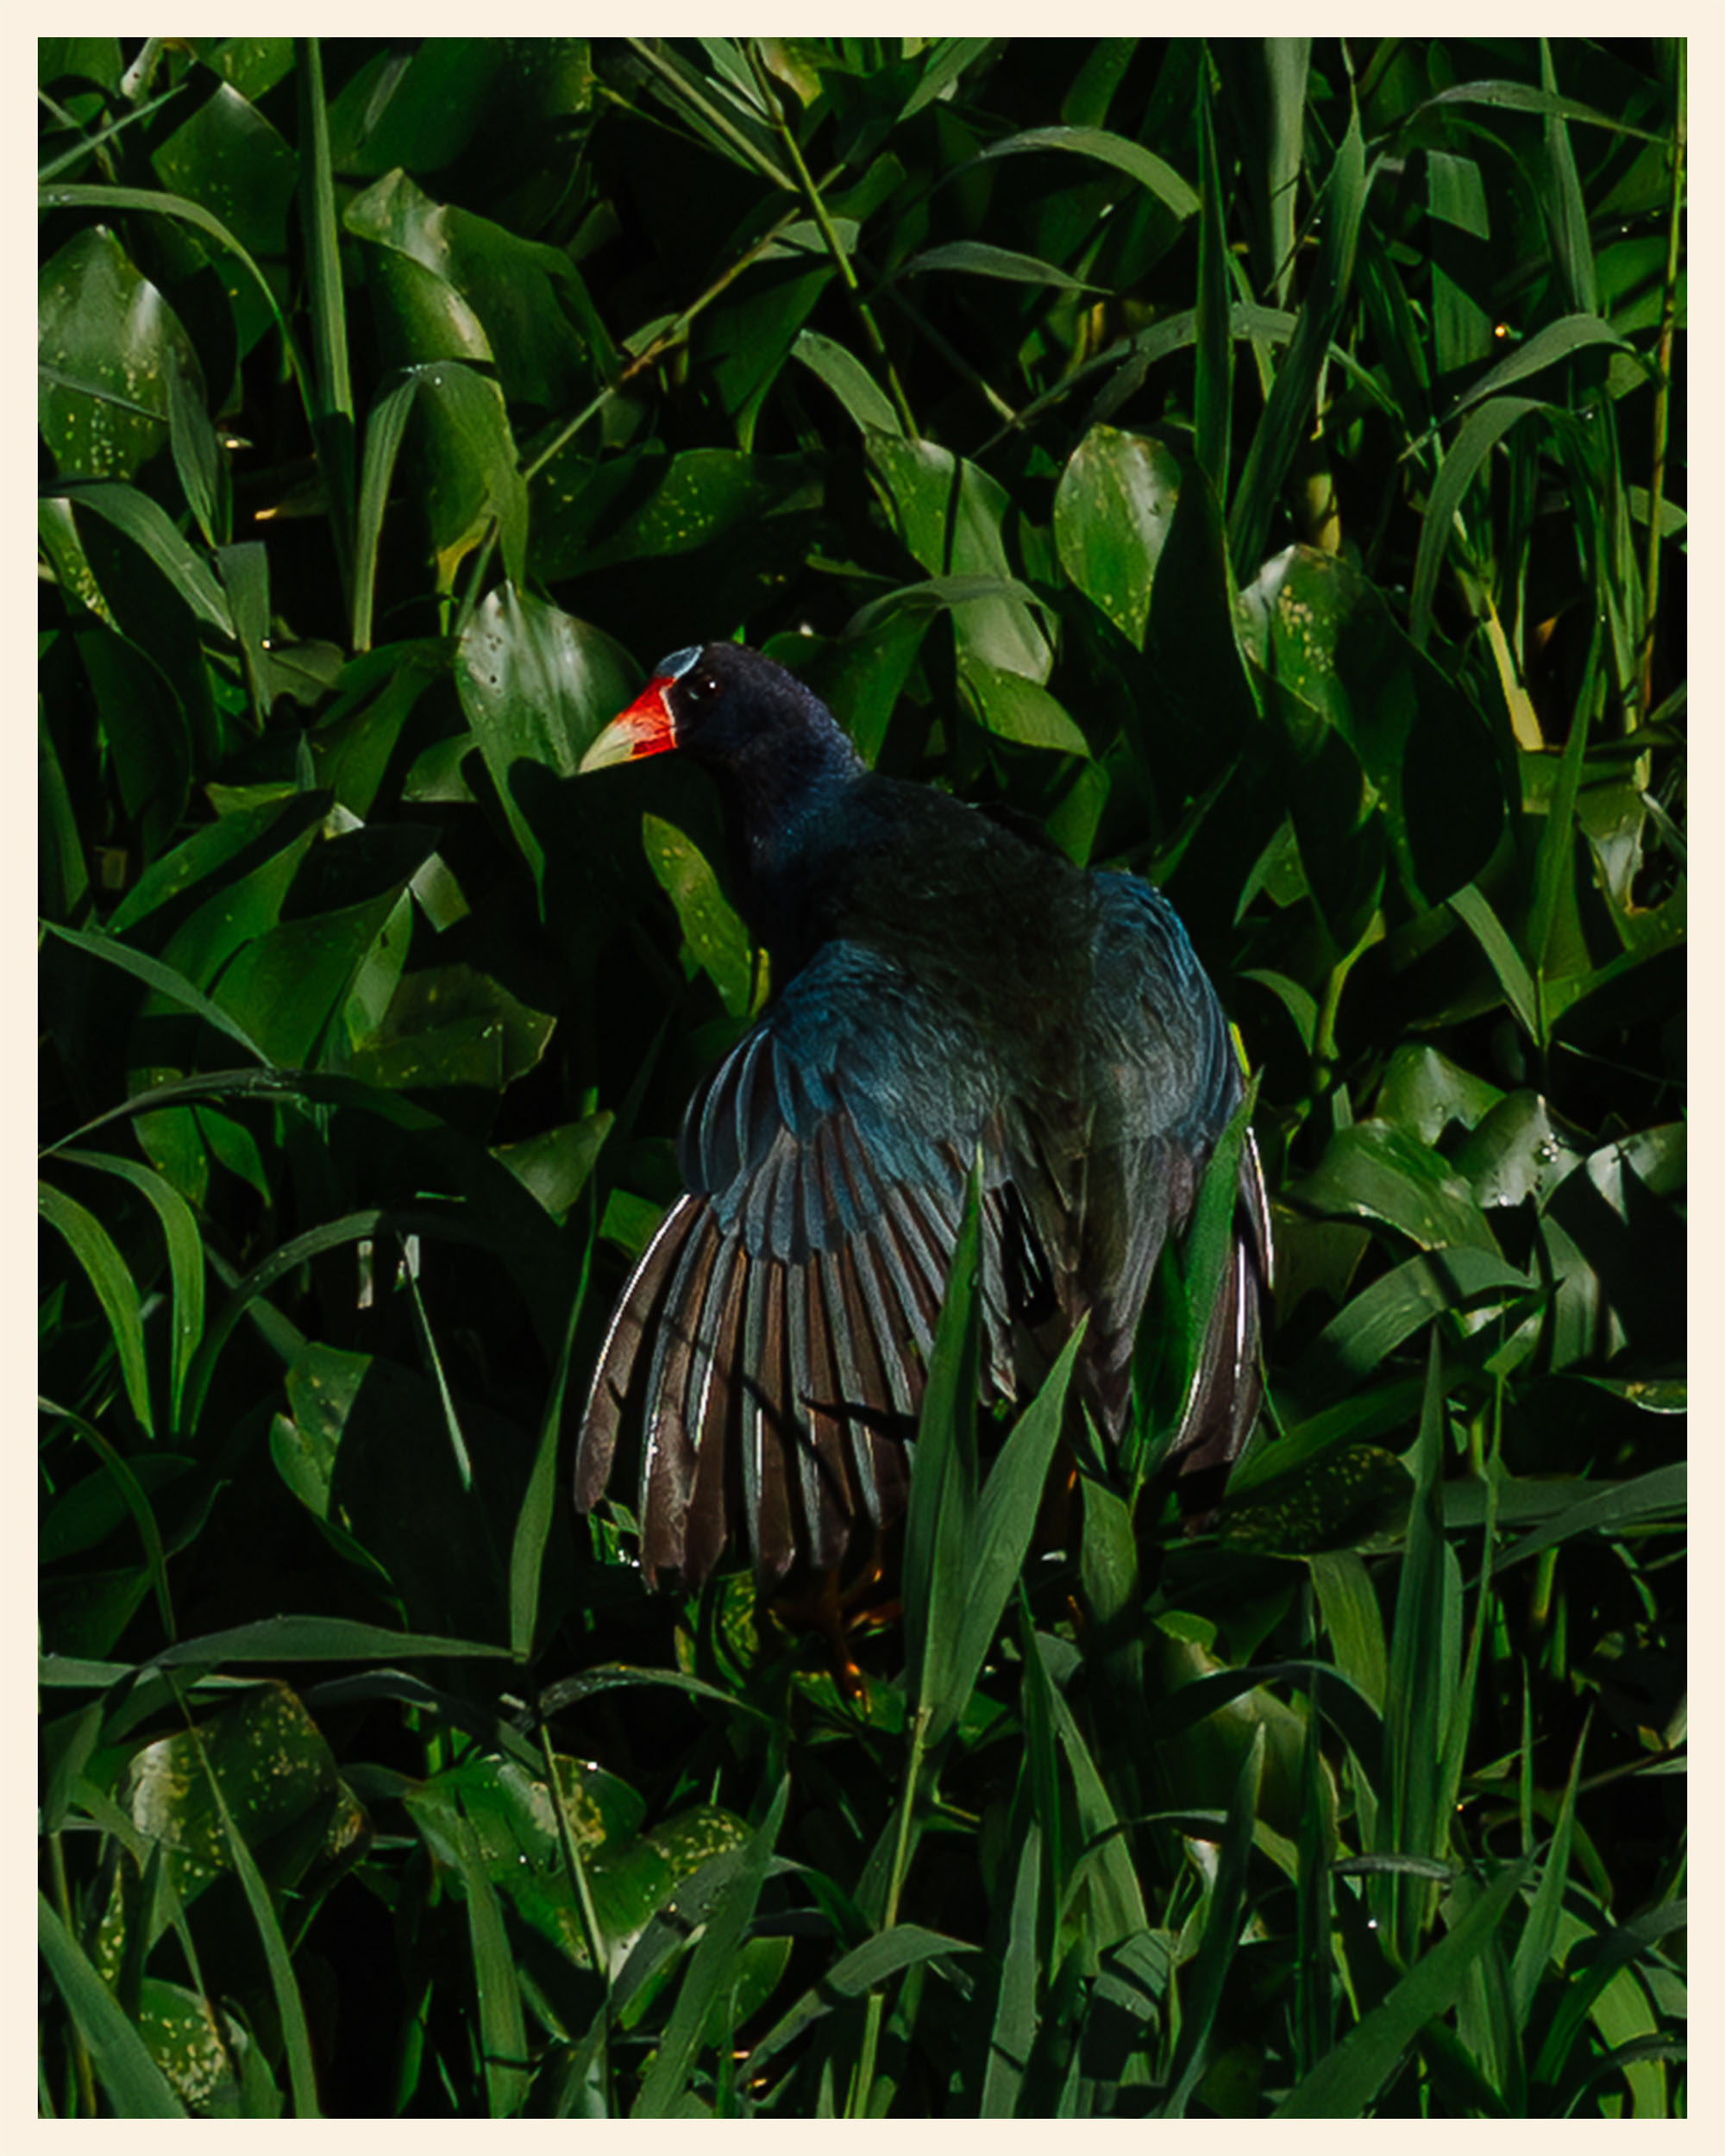
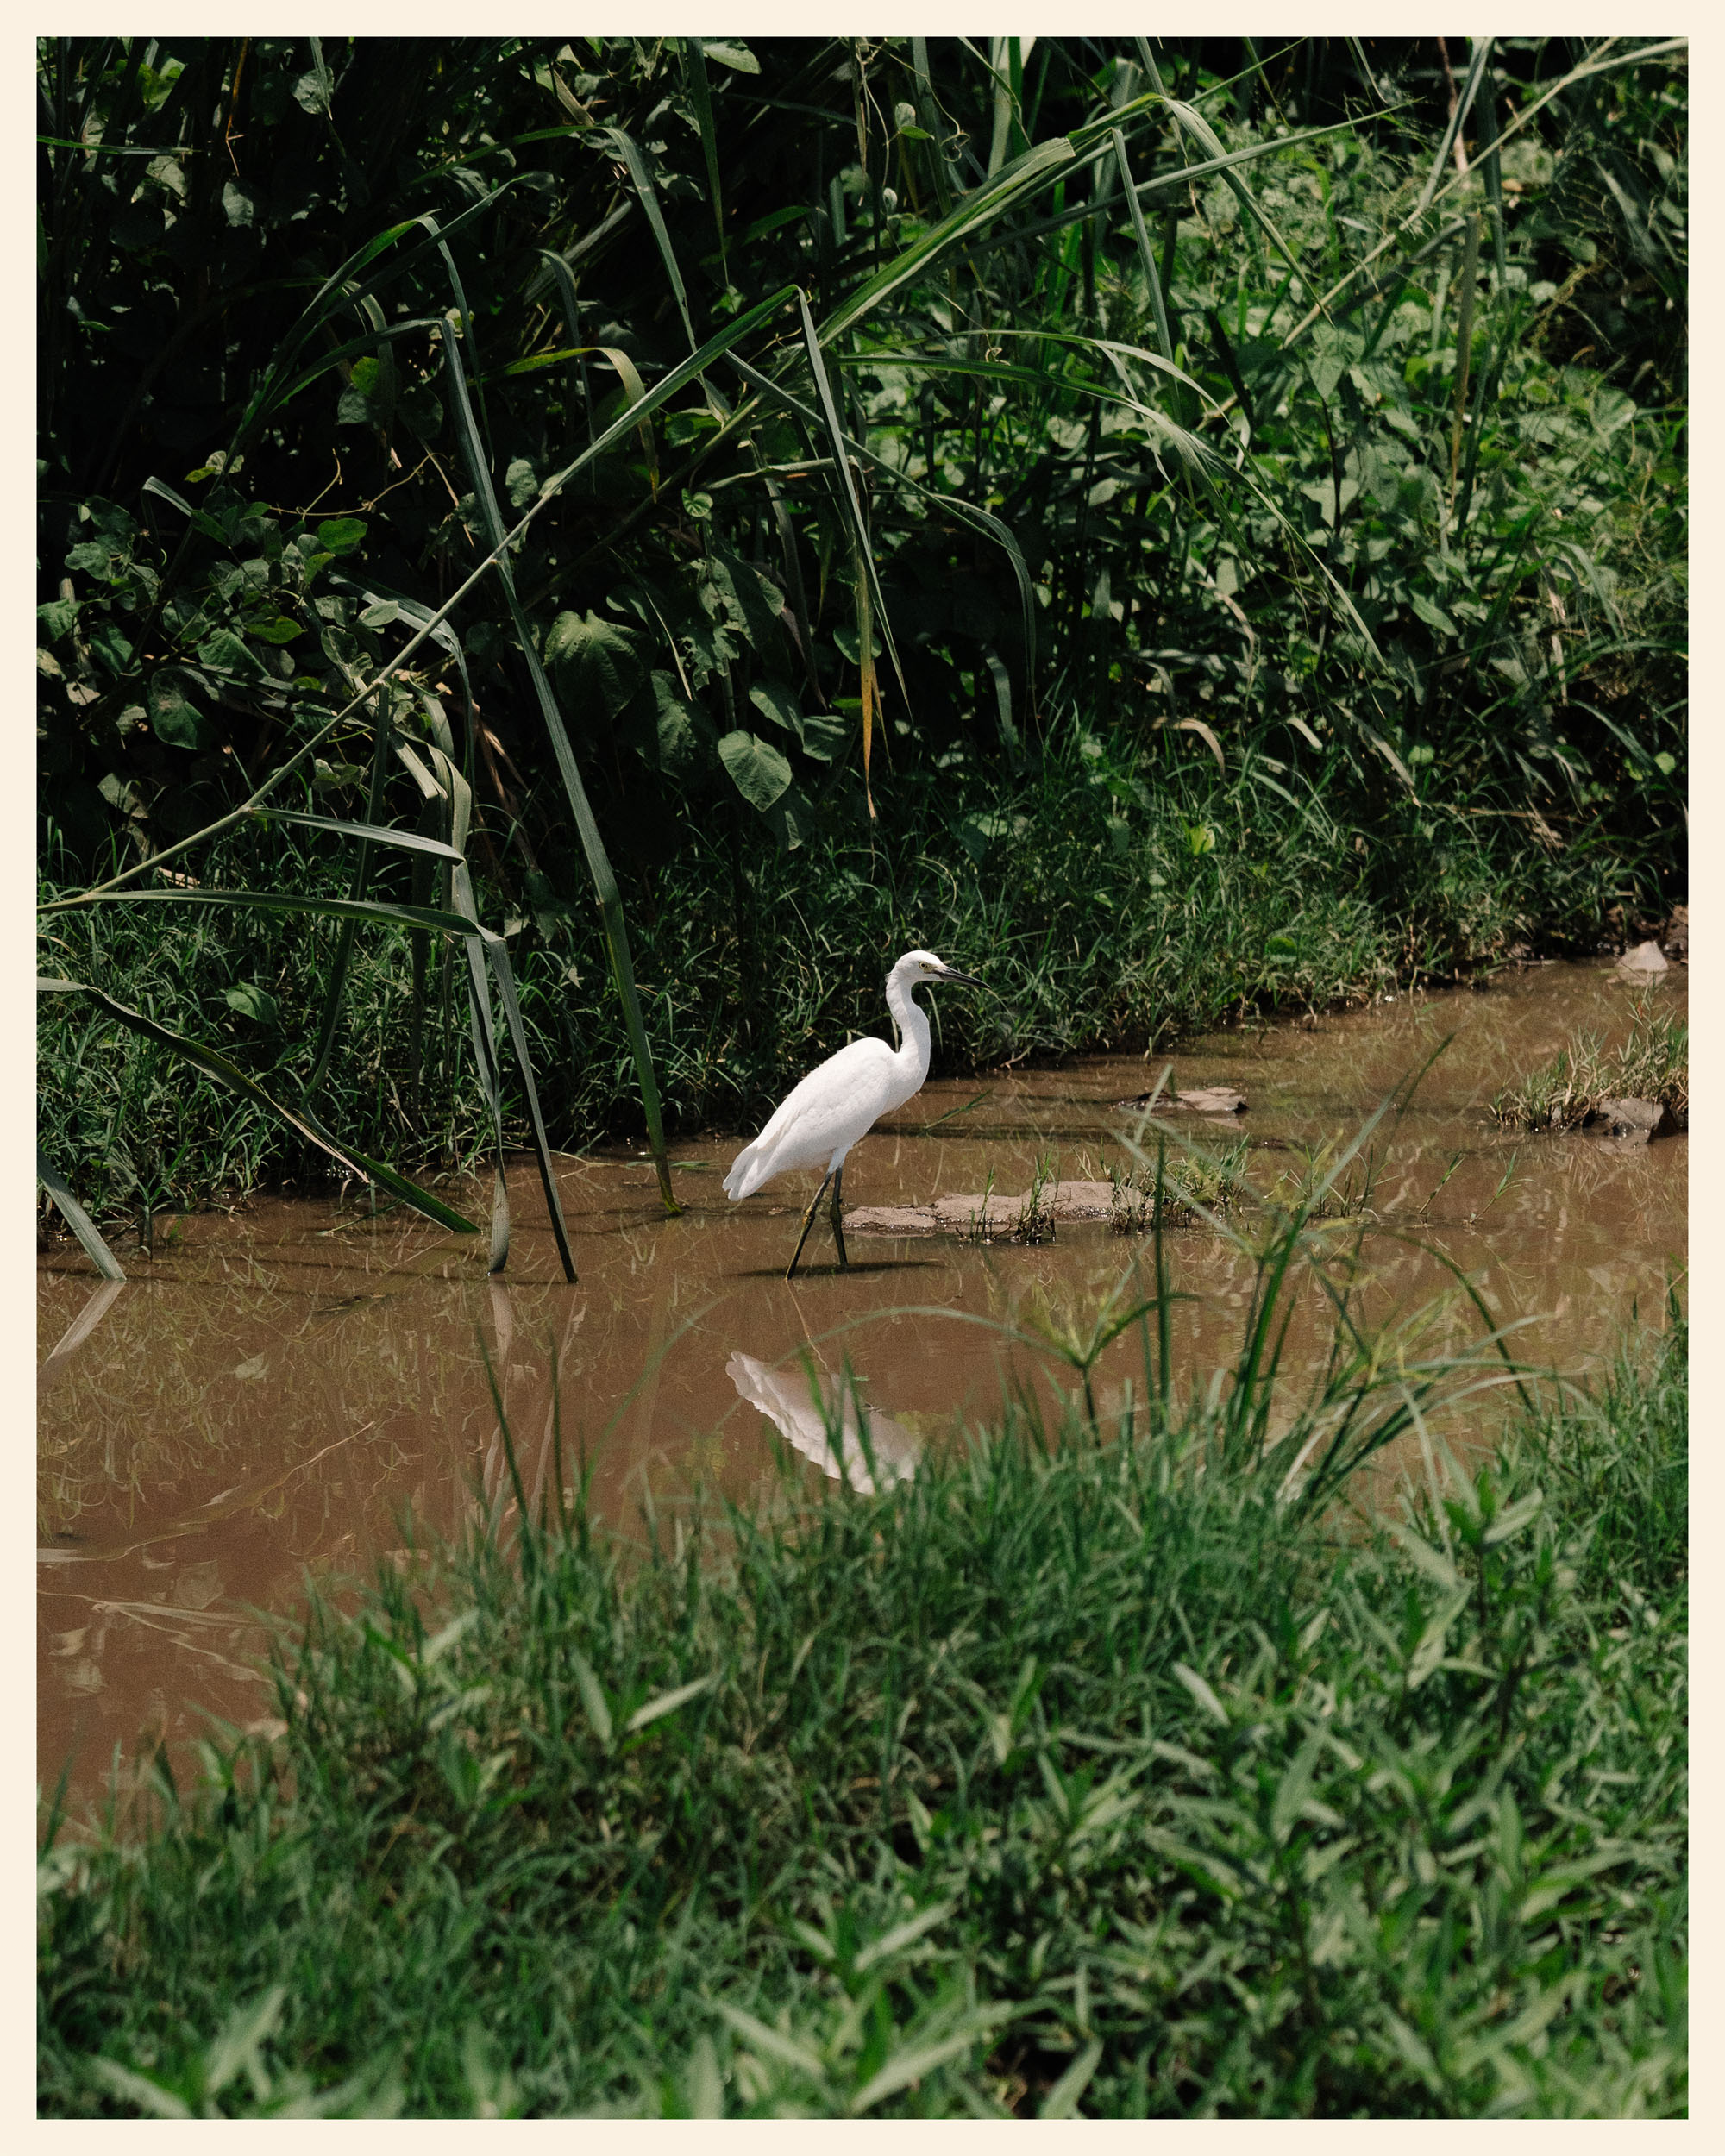
This stage reveals a new facet of the country, where agriculture dominates the landscape and the air is filled with birdlife. Keep your eyes open—El Salvador’s birds are dazzlingly colorful. Our favorite: the motmot, with its unmistakable double tail.
Upon arriving in Tepecoyo, we asked a local restaurant for shelter and were warmly offered a small room with a shower and toilet—a reminder that hospitality is never far away in El Salvador.
location Tepecoyo to El Tunco
Day 8 (47.8 km +1,096 m)
This day is as magical as it is demanding! The ride starts with nearly all of the day’s elevation gain packed into the first 15 km. It’s a tough climb, but the frequent open views make it easier to push through.
The descent begins with a rocky and technical section, before transforming into a true gravel paradise. If your tires (or your legs) aren’t up for it, you can always take the paved road instead.
And then comes the reward—you finally reach El Salvador’s Pacific coast! A spectacular milestone after the intensity of the past days. If you’re into surfing, you’ve just arrived at one of the country’s most iconic spots.
location El Tunco to Santiago Nonualco
Day 9 (87.6 km +381 m)
We recommend leaving the beach early to avoid the coastal traffic. To spice up what would otherwise be a fairly flat day, the GPX track offers an ocean crossing—yes, you can actually ride across the water for a short stretch. A playful challenge that adds flavor to the route.
That evening, we asked for shelter at the village church and were welcomed to spend the night there.
location Santiago Nonualco to San Vicente
Day 10 (37.4 km +1,070 m)
A beautiful day of smooth gravel riding. The long climb up toward San Vicente is steady and surprisingly enjoyable to ride, offering wide views of the surrounding countryside.
For the night, we once again asked the village priest for help. To our surprise, he didn’t just offer us a corner to sleep in—he gave us a room in the village’s small hotel! One of those unexpected moments of kindness that stay with you for the rest of the journey.
location San Vicente to San Agustín
Day 11 (65.1 km +806 m)
A day of gravel paradise leads you toward the town of San Marcos, with one highlight being the crossing of the impressive Río Lempa on a wide bridge. San Marcos itself has a few options for lunch, but we recommend pushing just a little further to escape the traffic. A pupusería with hammocks upstairs awaits you a few kilometers down the road—perfect for a mid-day rest.
From there, it’s a short ride to San Agustín. This small town has a charming feel, and its large central park is big enough for camping. A local food stand on the square served us a hearty meal (not pupusas this time, but just as delicious!).
location San Agustín to Lake Alegría
Day 12 (27.4 km +1,219 m)
The road to Berlín is a treat: smooth gravel most of the way, with the final stretch turning more technical on a rough cobblestone climb. We happened to arrive on market day, and the streets were alive with vendors, noise, and color. For lunch, we enjoyed a full comida típica in a comedor on the plaza: fried plantains, rice, beans, and an omelet, with juice or coffee included—for just $2.35 each.
Afterward, the route continues toward Alegría, where you’ll find a quiet crater lake surrounded by forest. It’s the perfect natural escape after the bustle of Berlín. Camping by the lake costs about $5 per person, and it’s absolutely worth it for a peaceful night under the stars.
location Lake Alegría to La Placita
Day 13 (36.6 km +800 m)
Another volcano! This one is truly magical, but you’ll have to work for it. The hike to the summit is about 14 km with 1,322 m of elevation gain, much of it packed into the final stretch. Trust in your shoes is essential—the climb is steep and demanding. It took us about 4 hours for the full round trip back to our base camp.
We recommend stopping at Restaurante Torolomo, where the owners warmly welcome travelers. We messaged them on Instagram beforehand to make sure we wouldn’t disturb. In exchange for a delicious dinner (absolutely worth it), they let us sleep on site.
location La Placita to the Pacific Coast
Day 14 (73.6 km +1,000 m)
On this section of the route, you can make a detour to Usulután if you need to ship a drone to Costa Rica (at the moment, it’s not allowed to enter the country with one).
Otherwise, enjoy a long descent toward the coast. A stunning sandy beach awaits you at the end. In the GPX file, we’ve marked a restaurant that kindly sheltered us from the rain and let us spend the night. It’s probably the most peaceful beach in El Salvador.
location From the Coast to Mirador El Fin del Mundo
Day 15 (51.1 km +1,581 m)
The last real day on this route, and definitely one of the toughest. The hike-a-bike section here is no joke: it took us 5 hours to cover just 5 km. If you’re short on time or energy, we recommend taking the paved road instead.
No matter which way you choose, the arrival at the top is magical. The viewpoint offers sweeping views of the surrounding islands. For the best experience, aim for the sunrise mirador, which has a roof for shelter, a small cafeteria serving breakfast, and—luxury bonus—a shower!
location Mirador to La Unión
Day 15 (18.2 km +136 m)
The final stretch of the route, and your last chance to savor a pupusa. Stop in Conchagua to enjoy one more, far from the bustle of La Unión.
From there, it’s just a downhill ride to the port and the immigration office, where you can book your spot on a boat.
Note: departures are very early in the morning—usually around 7 a.m. You can find the phone number of the captain on the Ride with GPS route file.
Additional Resources
- Bus information can be found at bus.sv.
- Continuing your trip: if you’re not ending your journey in El Salvador, you can also catch a boat from La Unión to Nicaragua or keep riding to Honduras.
- Check out Julien and Marie’s blog, Fast Won’t Last, for lots of great information about their route, bike set-up, and experiences along their bigger ride from Canada to Patagonia!


Terms of Use: As with each bikepacking route guide published on BIKEPACKING.com, should you choose to cycle this route, do so at your own risk. Prior to setting out check current local weather, conditions, and land/road closures. While riding, obey all public and private land use restrictions and rules, carry proper safety and navigational equipment, and of course, follow the #leavenotrace guidelines. The information found herein is simply a planning resource to be used as a point of inspiration in conjunction with your own due-diligence. In spite of the fact that this route, associated GPS track (GPX and maps), and all route guidelines were prepared under diligent research by the specified contributor and/or contributors, the accuracy of such and judgement of the author is not guaranteed. BIKEPACKING.com LLC, its partners, associates, and contributors are in no way liable for personal injury, damage to personal property, or any other such situation that might happen to individual riders cycling or following this route.
Further Riding and Reading
Here are some connected/nearby routes and related reports...
Please keep the conversation civil, constructive, and inclusive, or your comment will be removed.